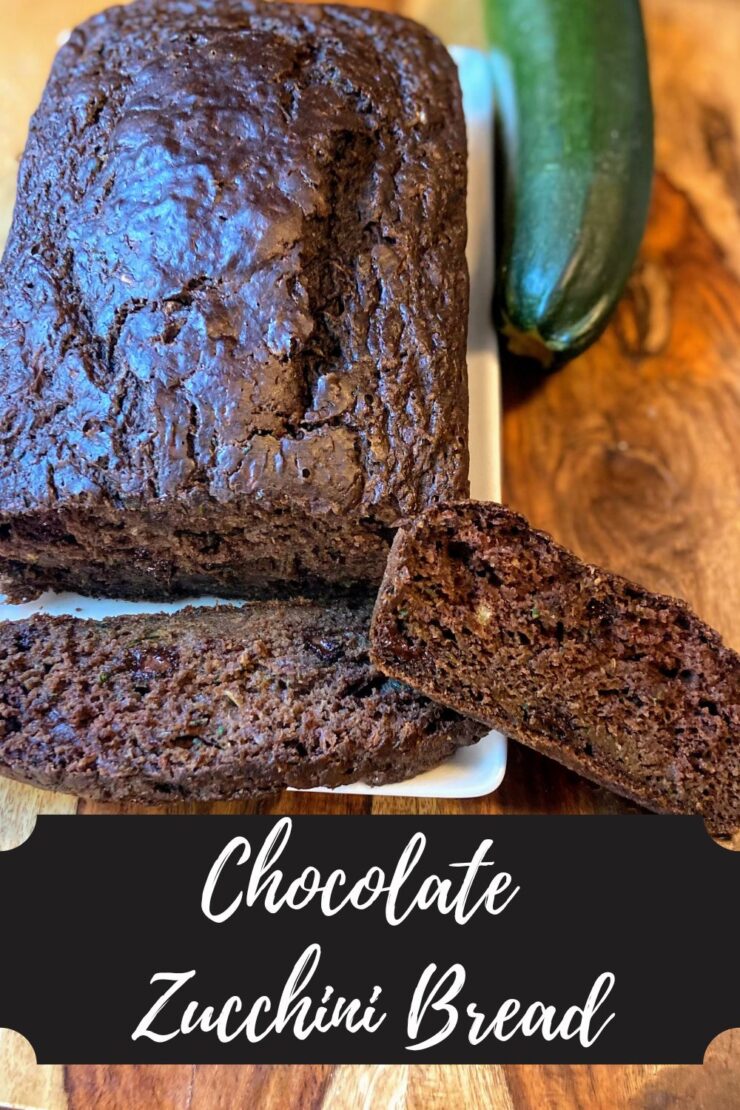
Who here has a kiddo who is much more likely to eat something that is chocolatey? *Raises hand.* Who here likes chocolate zucchini bread themselves? *Raises hand again*
I love zucchini bread in all forms, but my big kiddo isn’t a zucchini fan and will complain if it isn’t disguised well. Knowing that we have the intent to send our kids to school with more home lunches this year, I set out to create a chocolate zucchini bread that had some healthier ingredients while still pleasing the 12 year old.
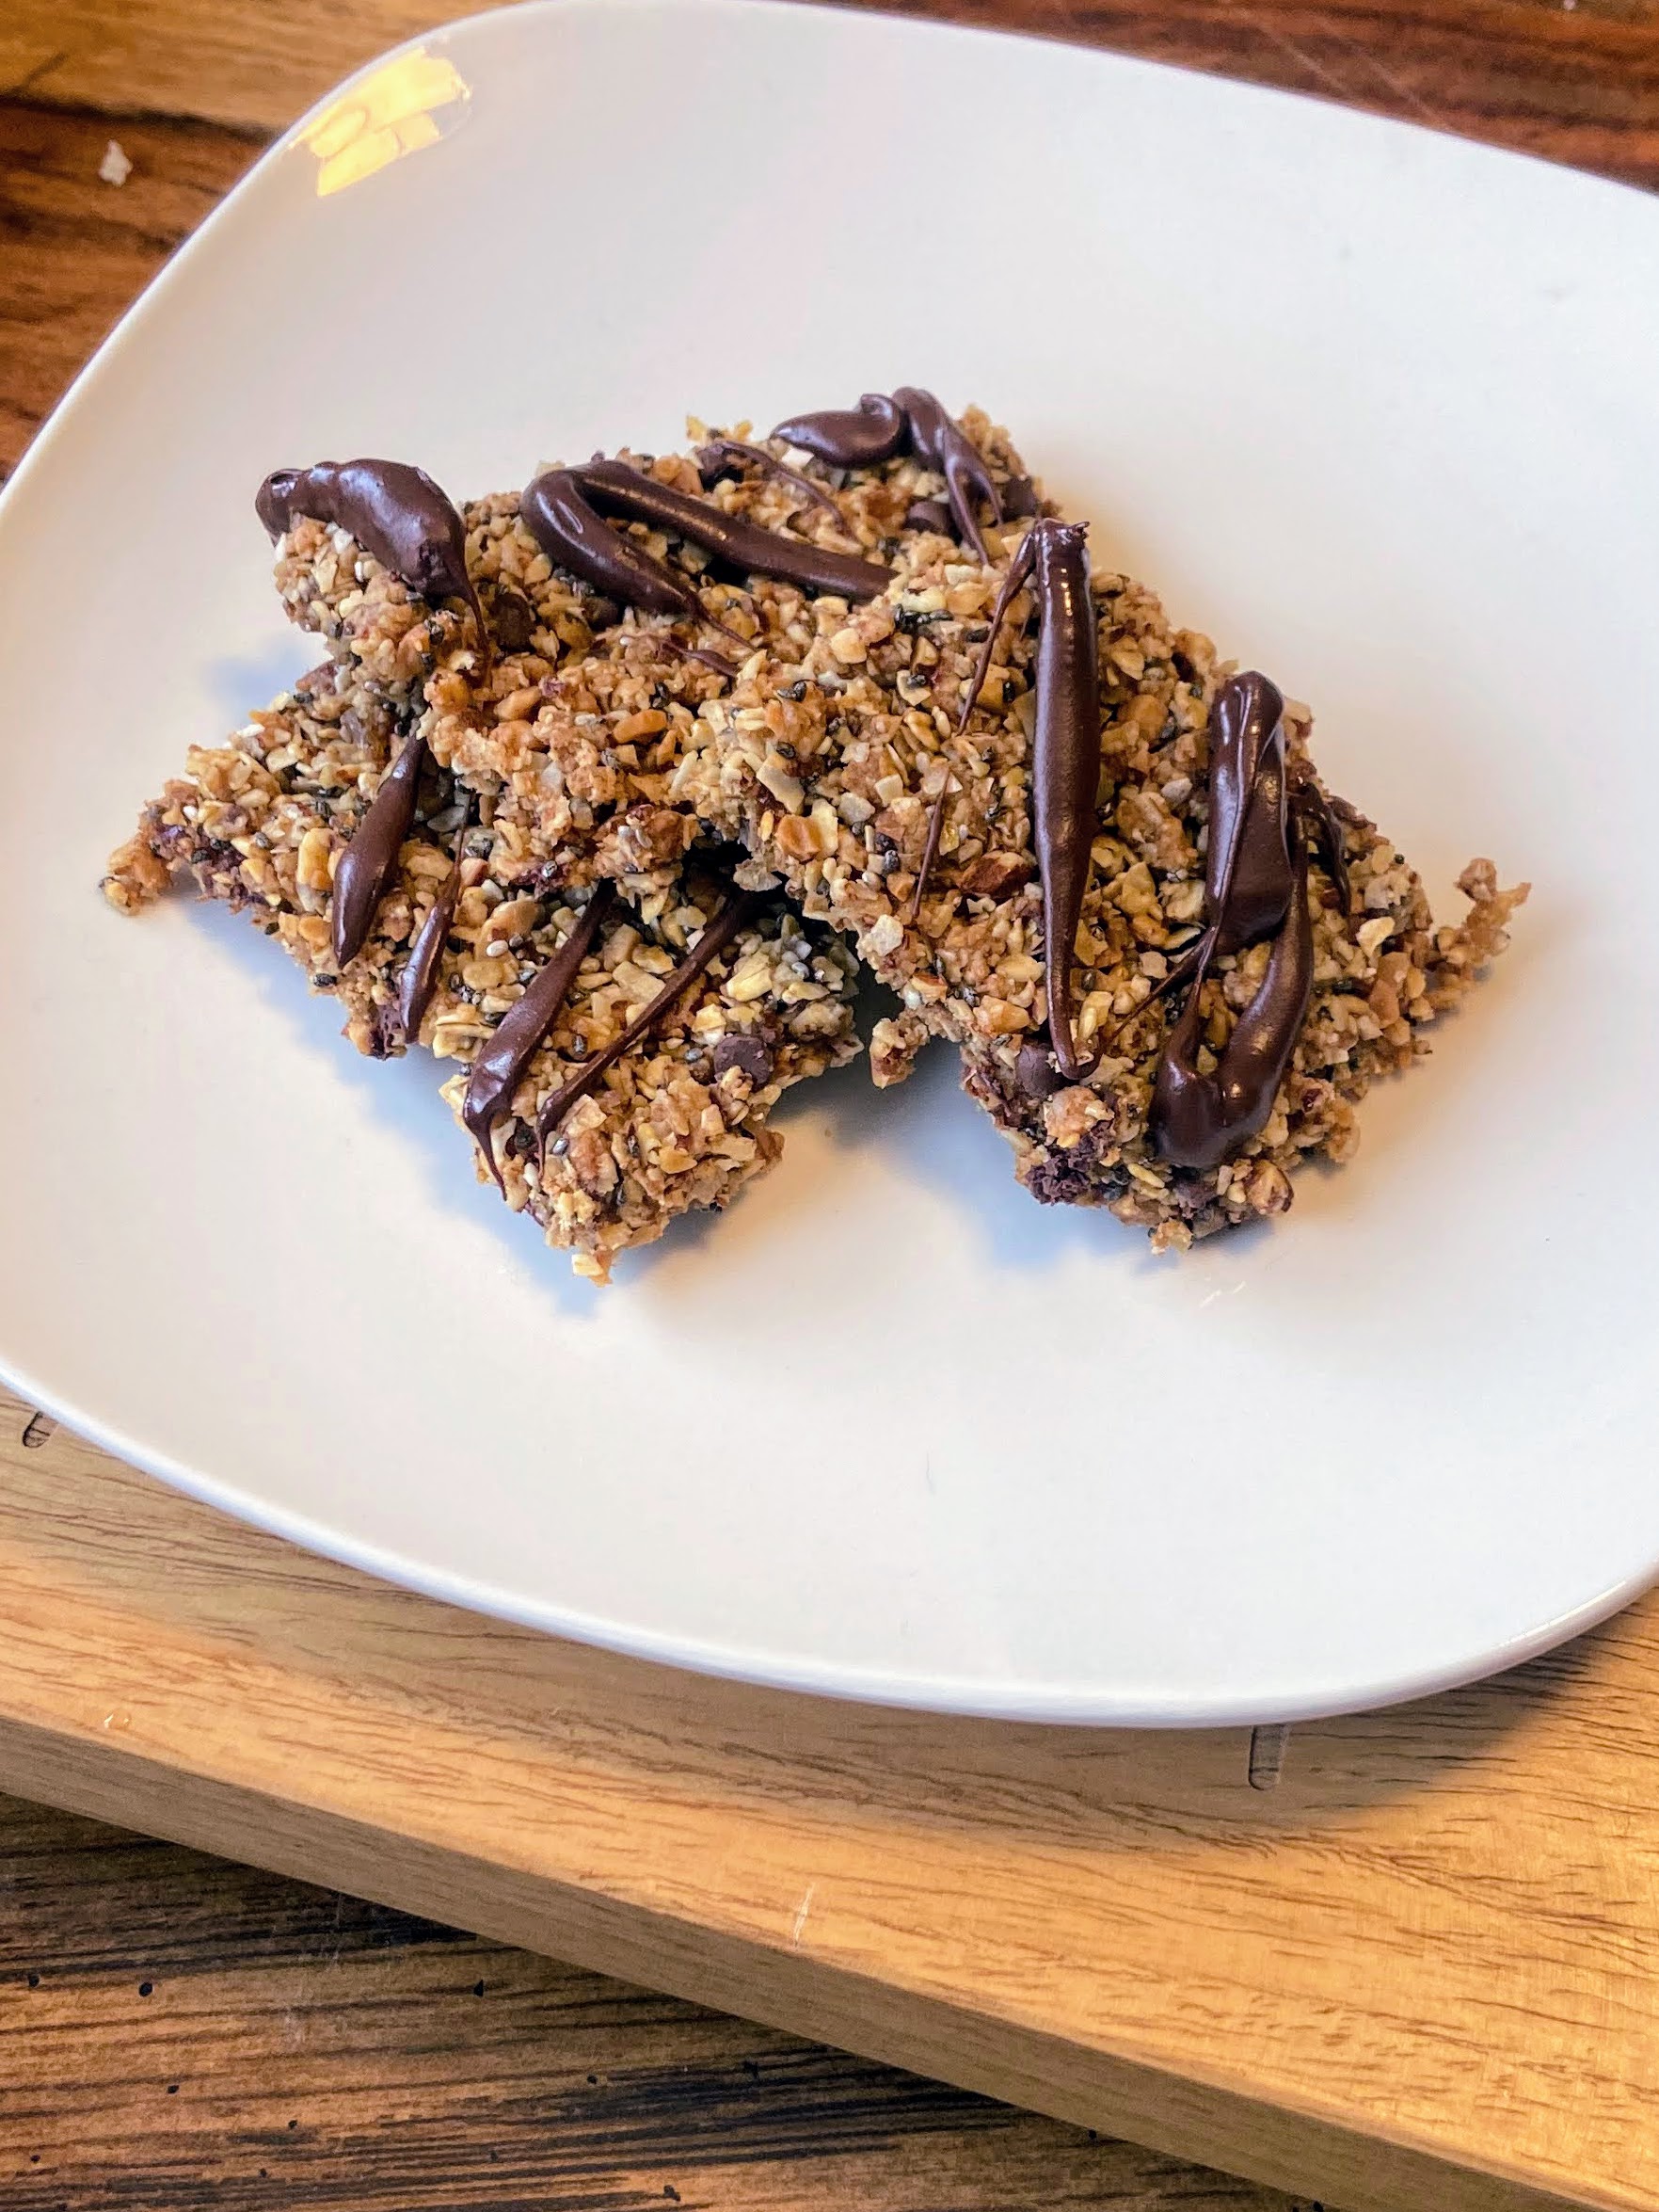
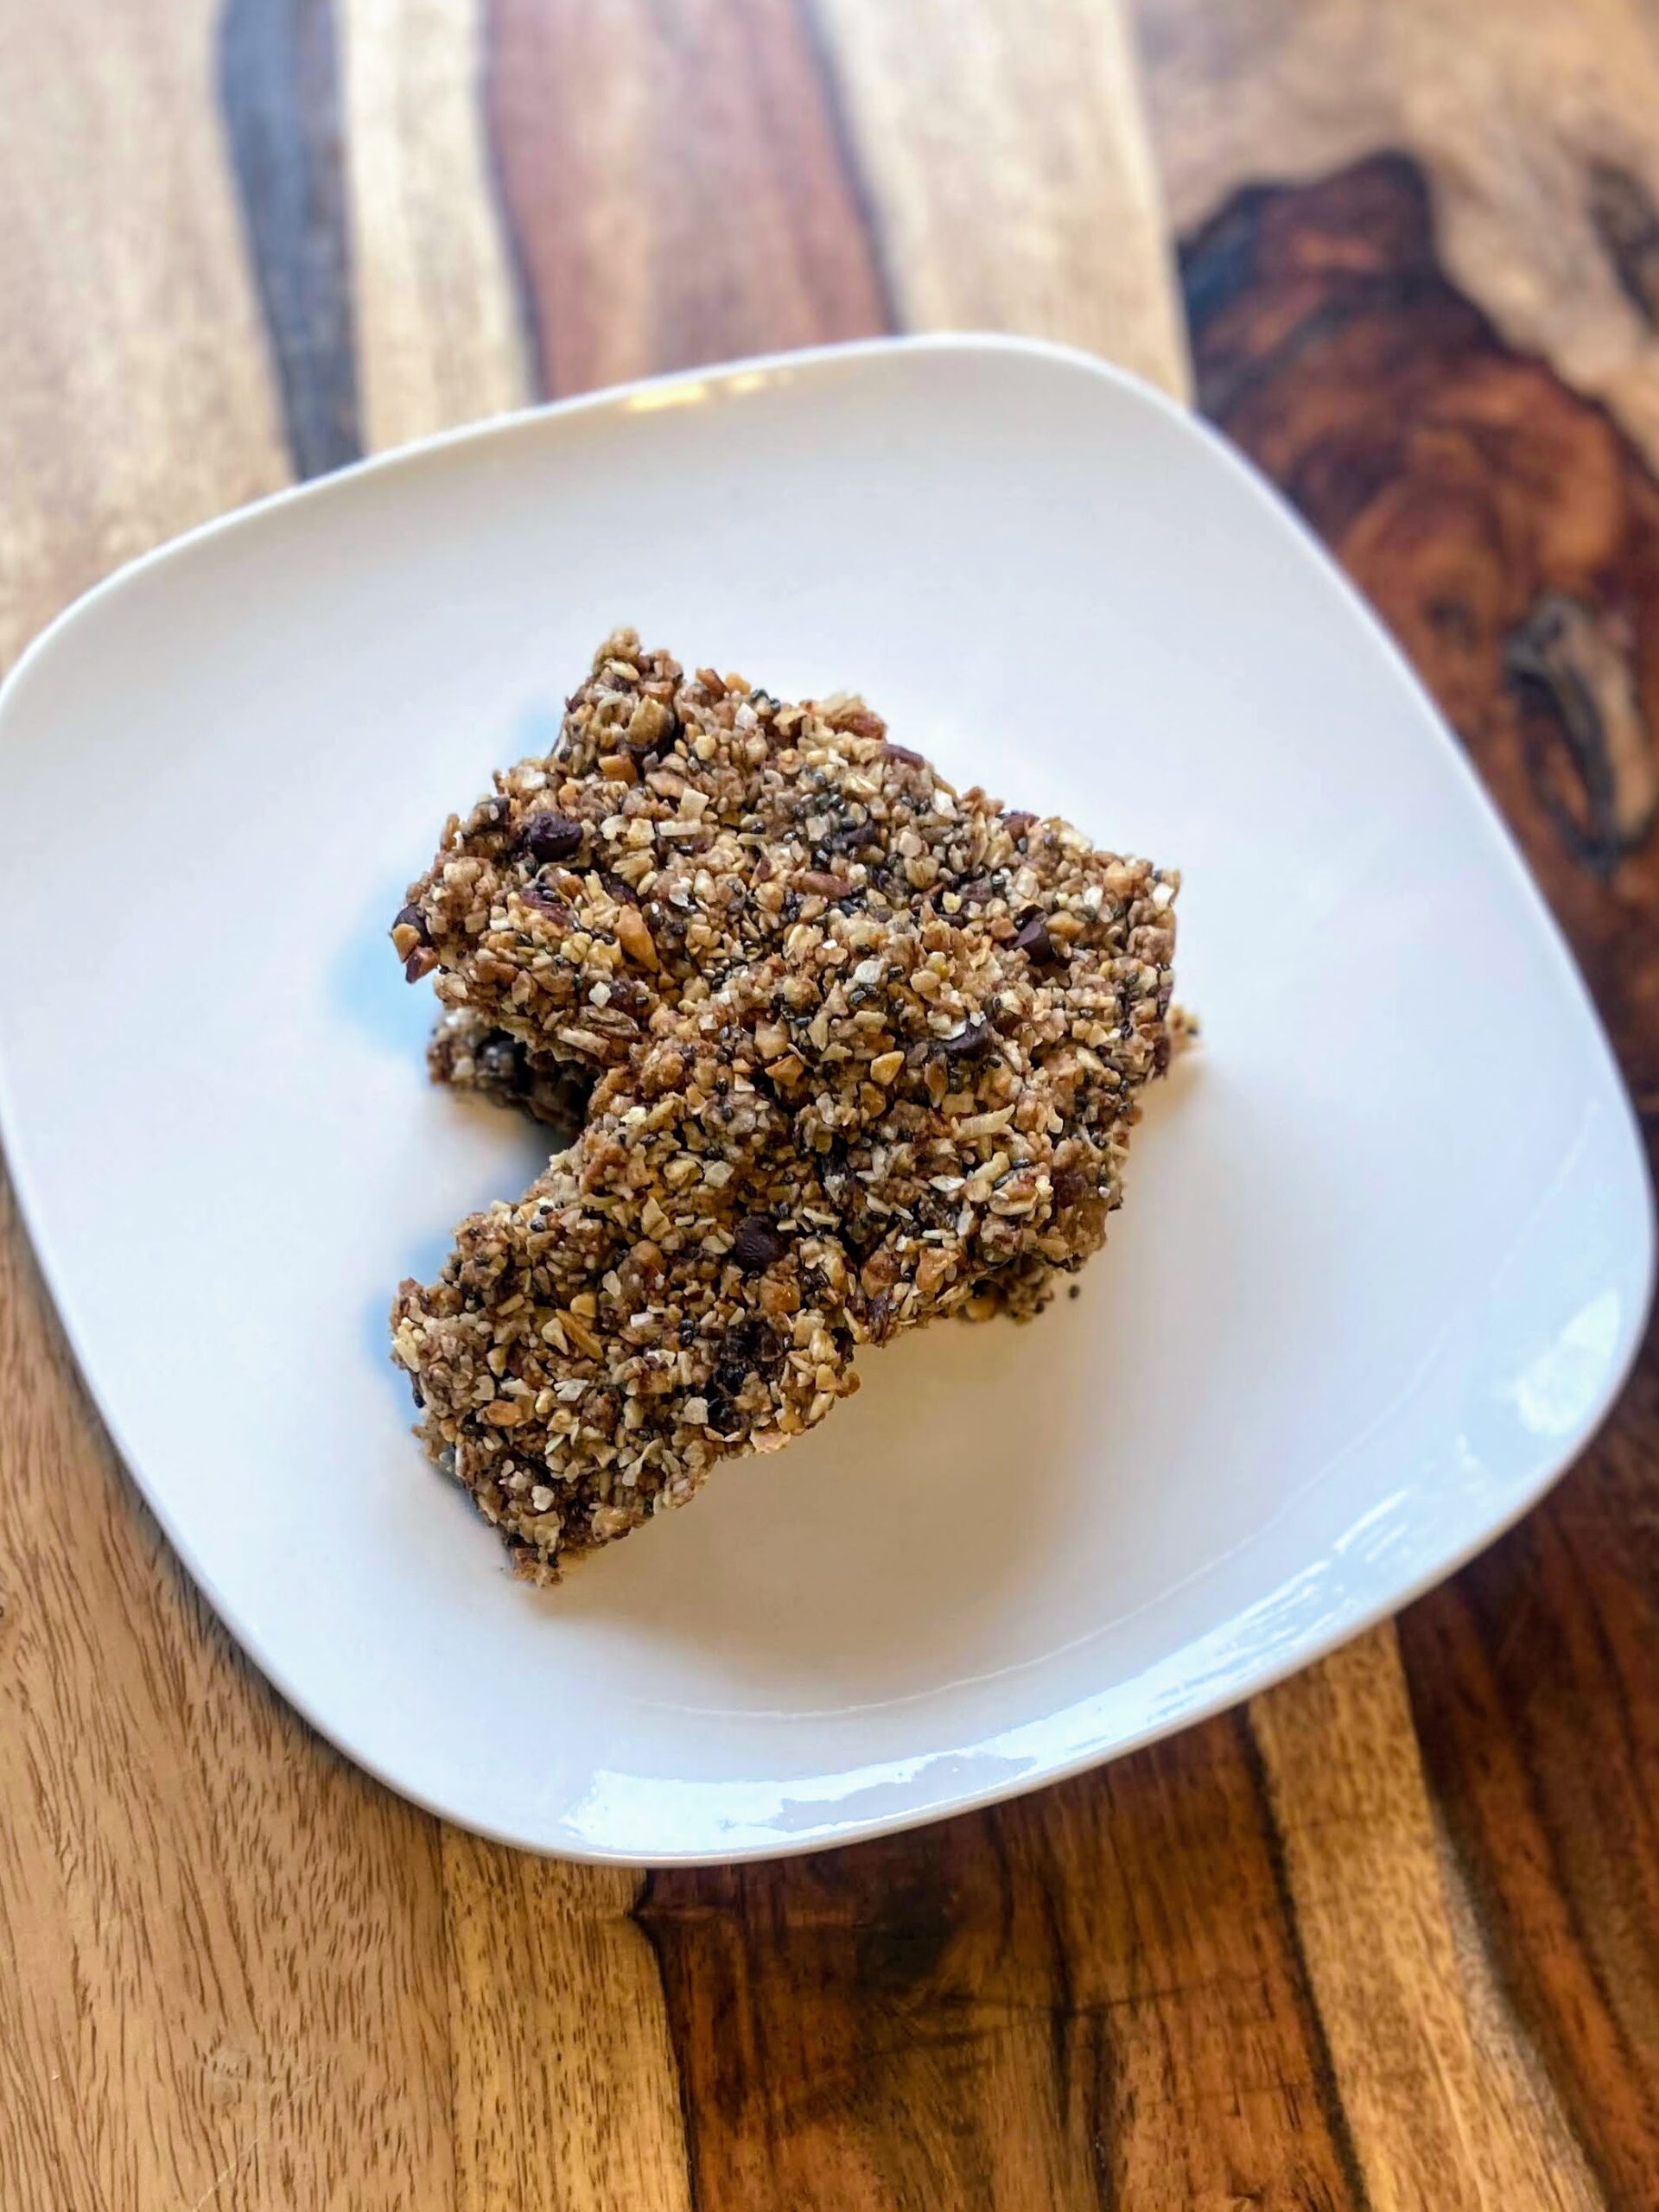
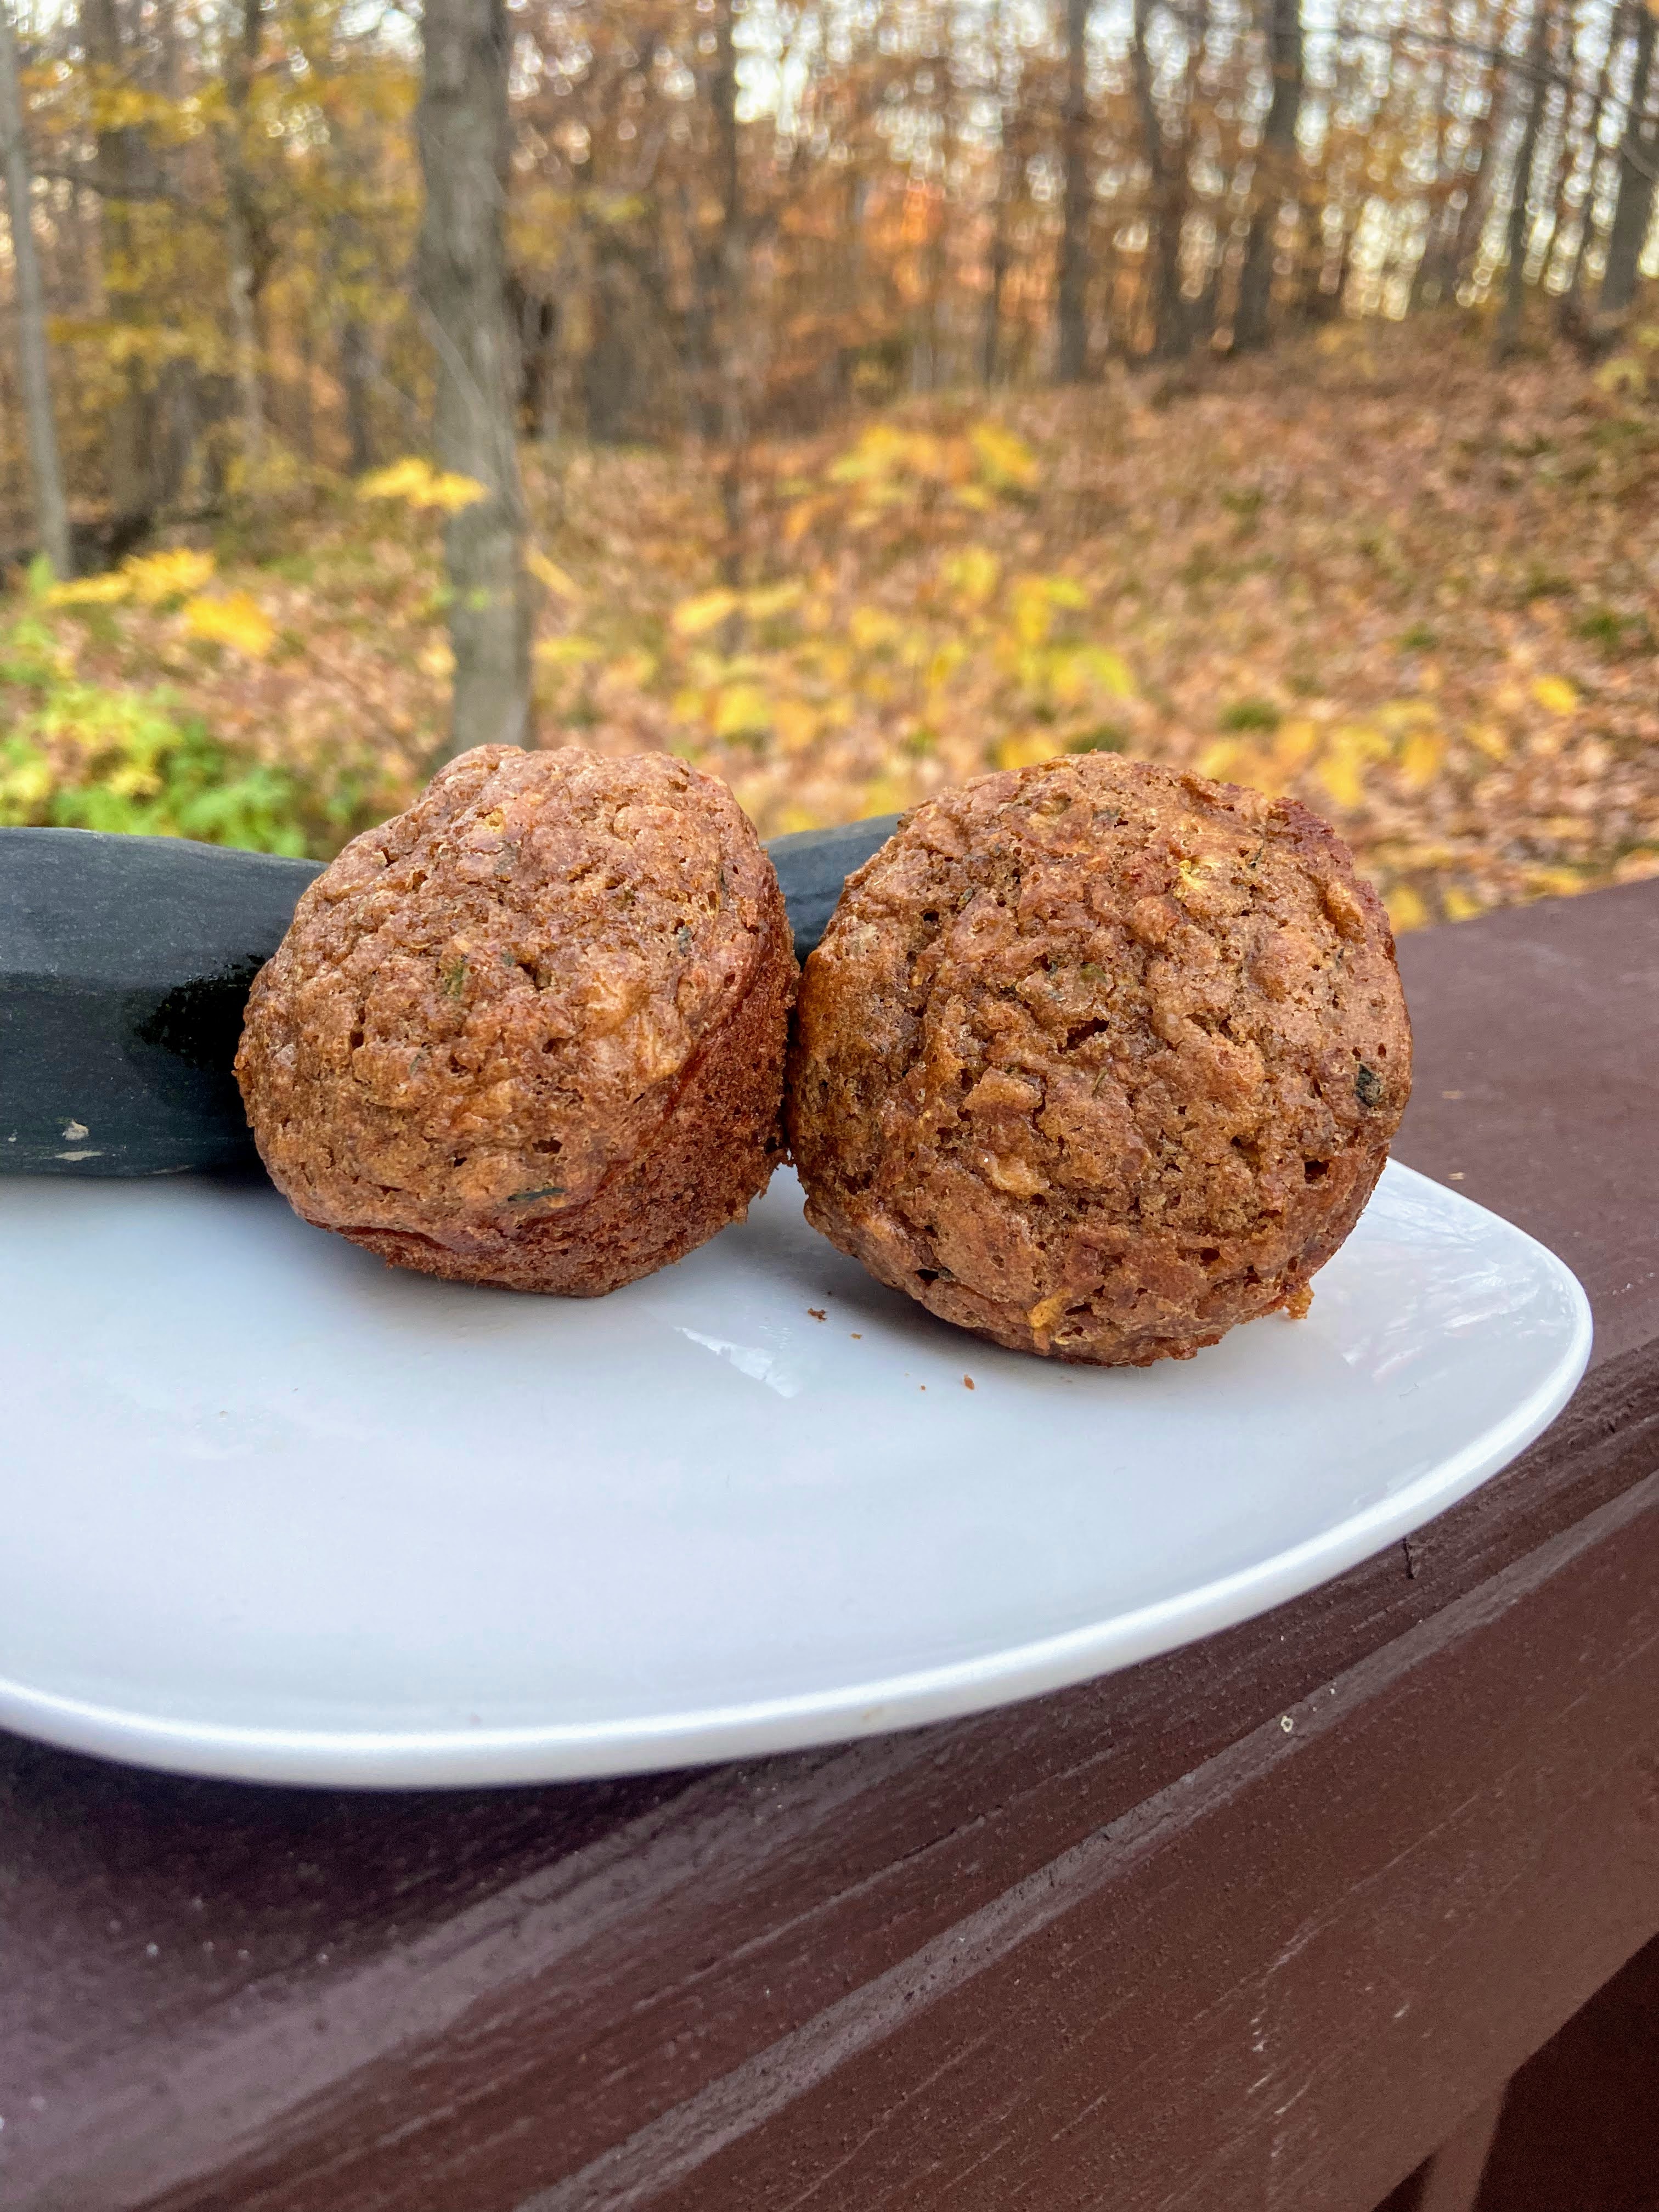
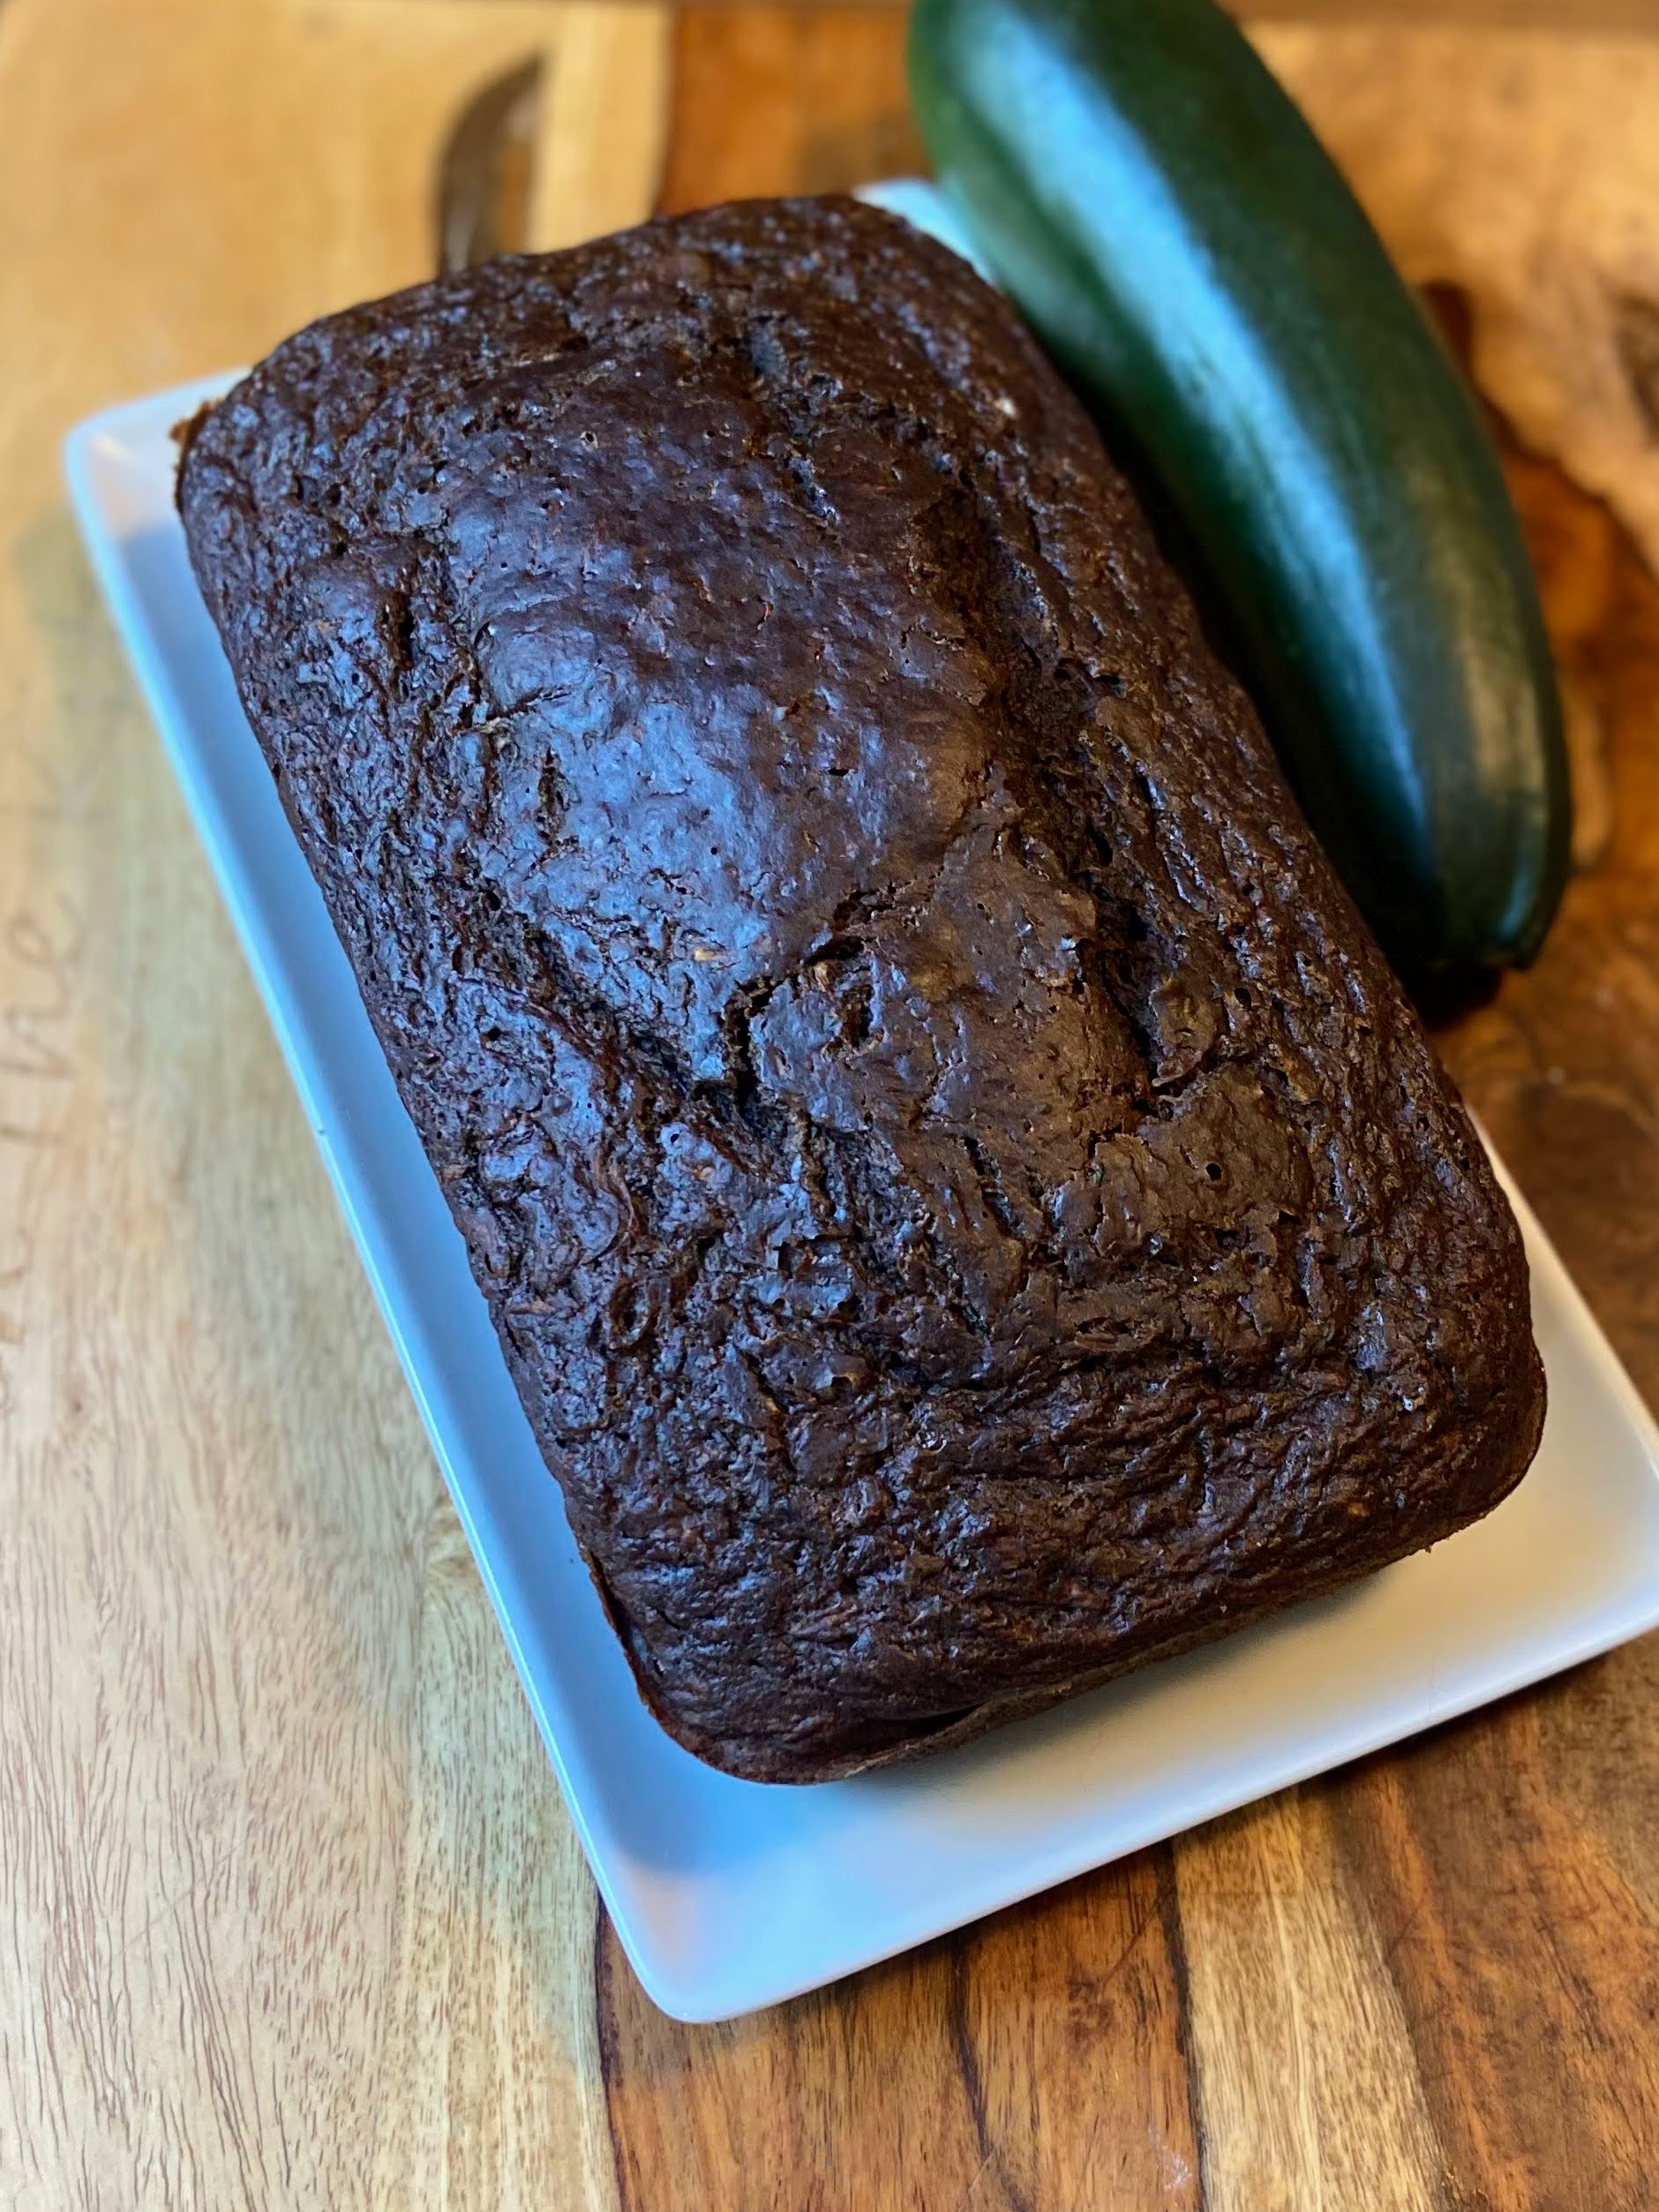
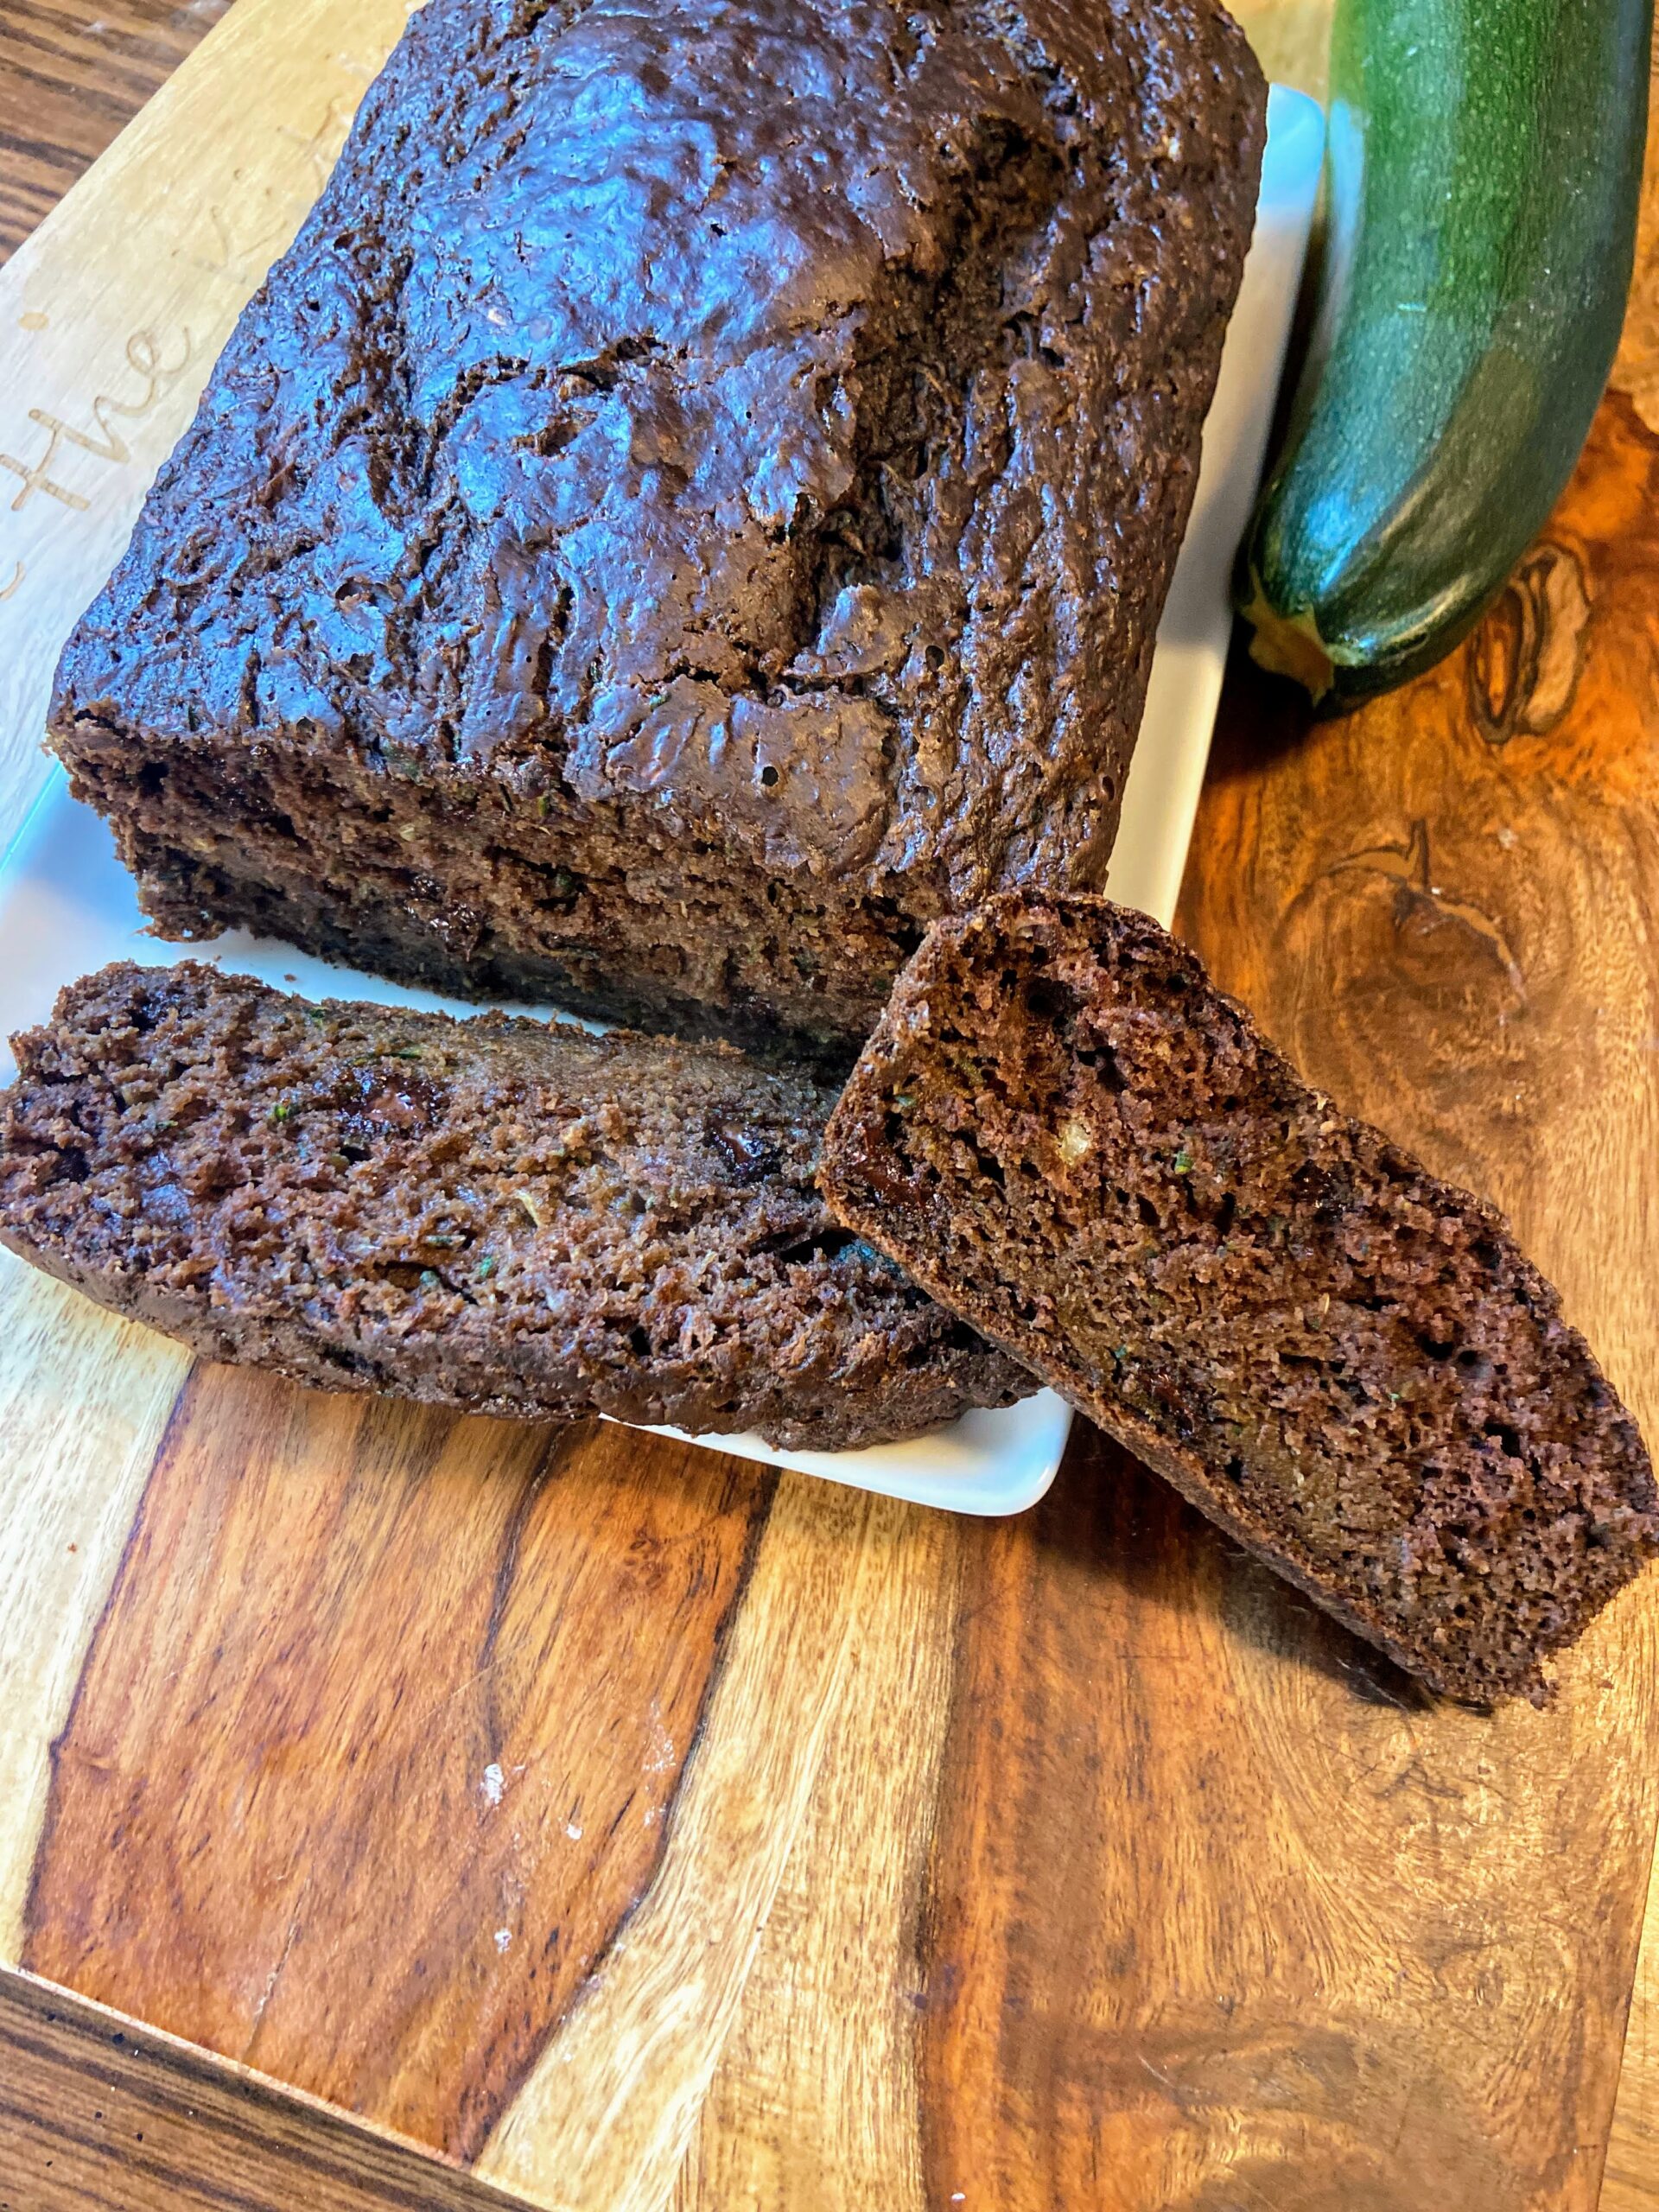
Upon taking it from the oven, he was questioning it. “Zucchini bread, really?” Then he cut himself a warm slice. He smiled and finished it with his eyes closed (the tell-tale sign that I won his tastebuds over). Then he cut another and finally stopped after ⅓ of the loaf was gone. When he and his sister finished the loaf a few days later, he immediately asked me to make more.
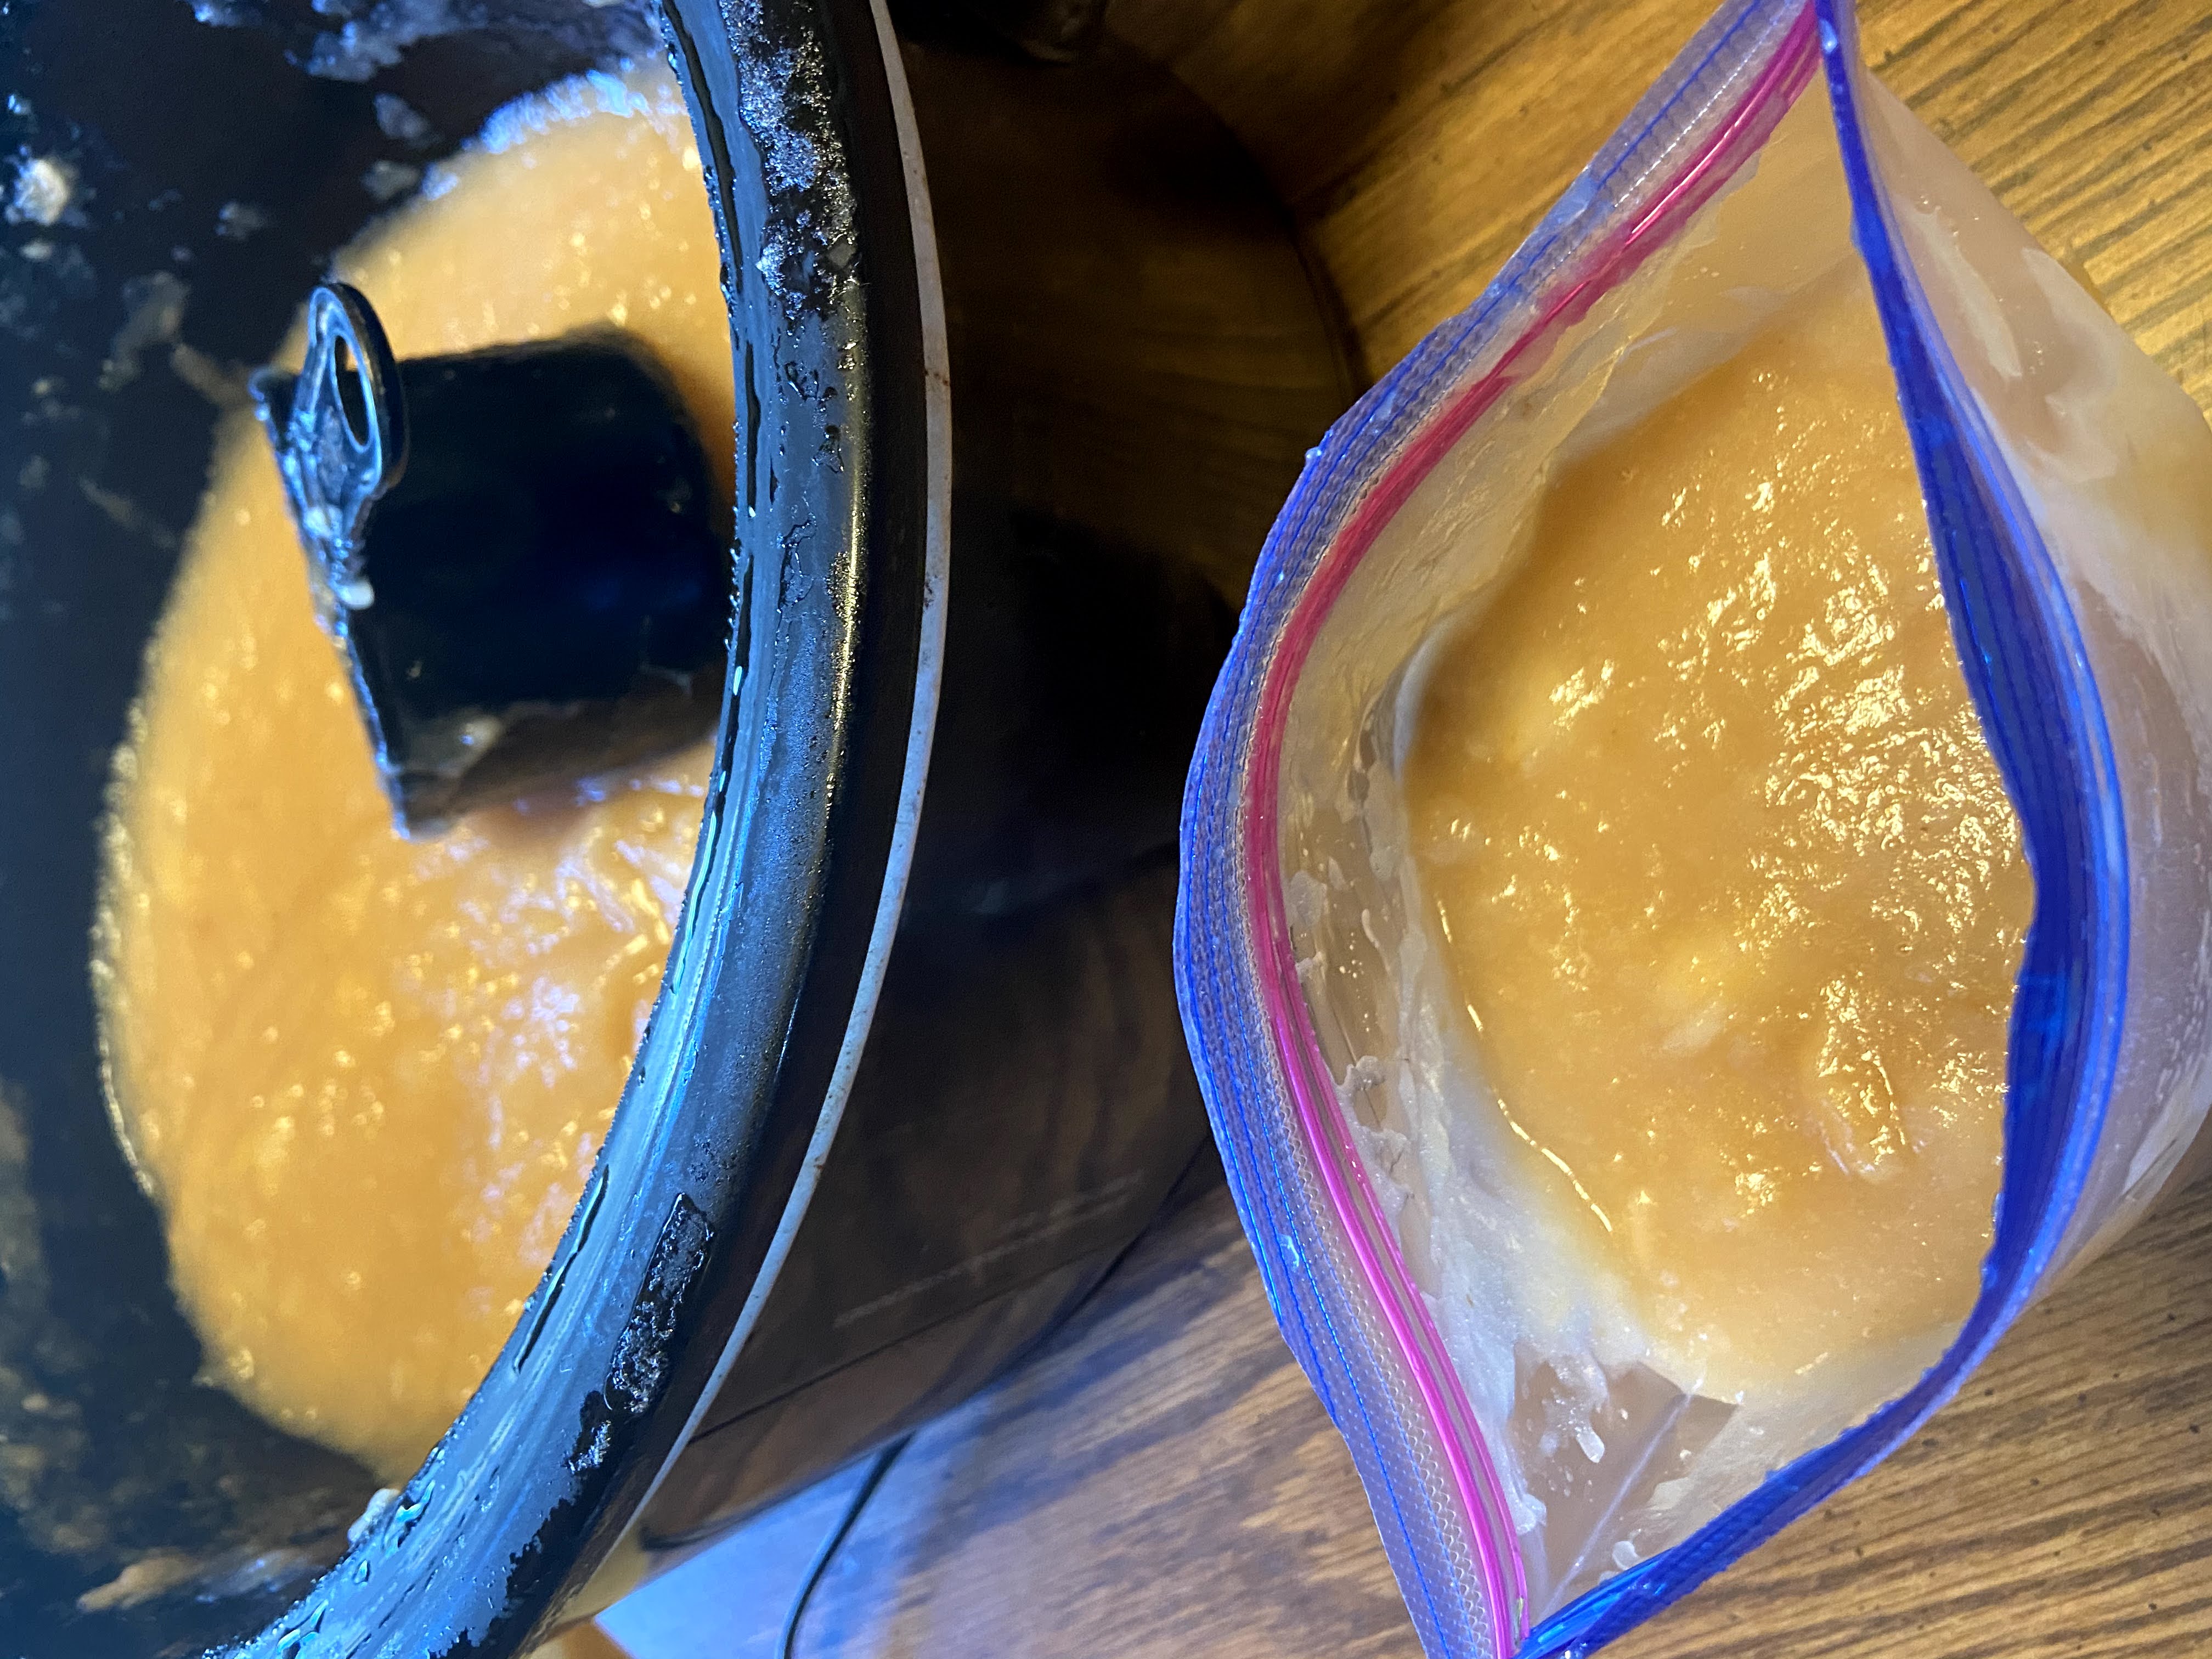
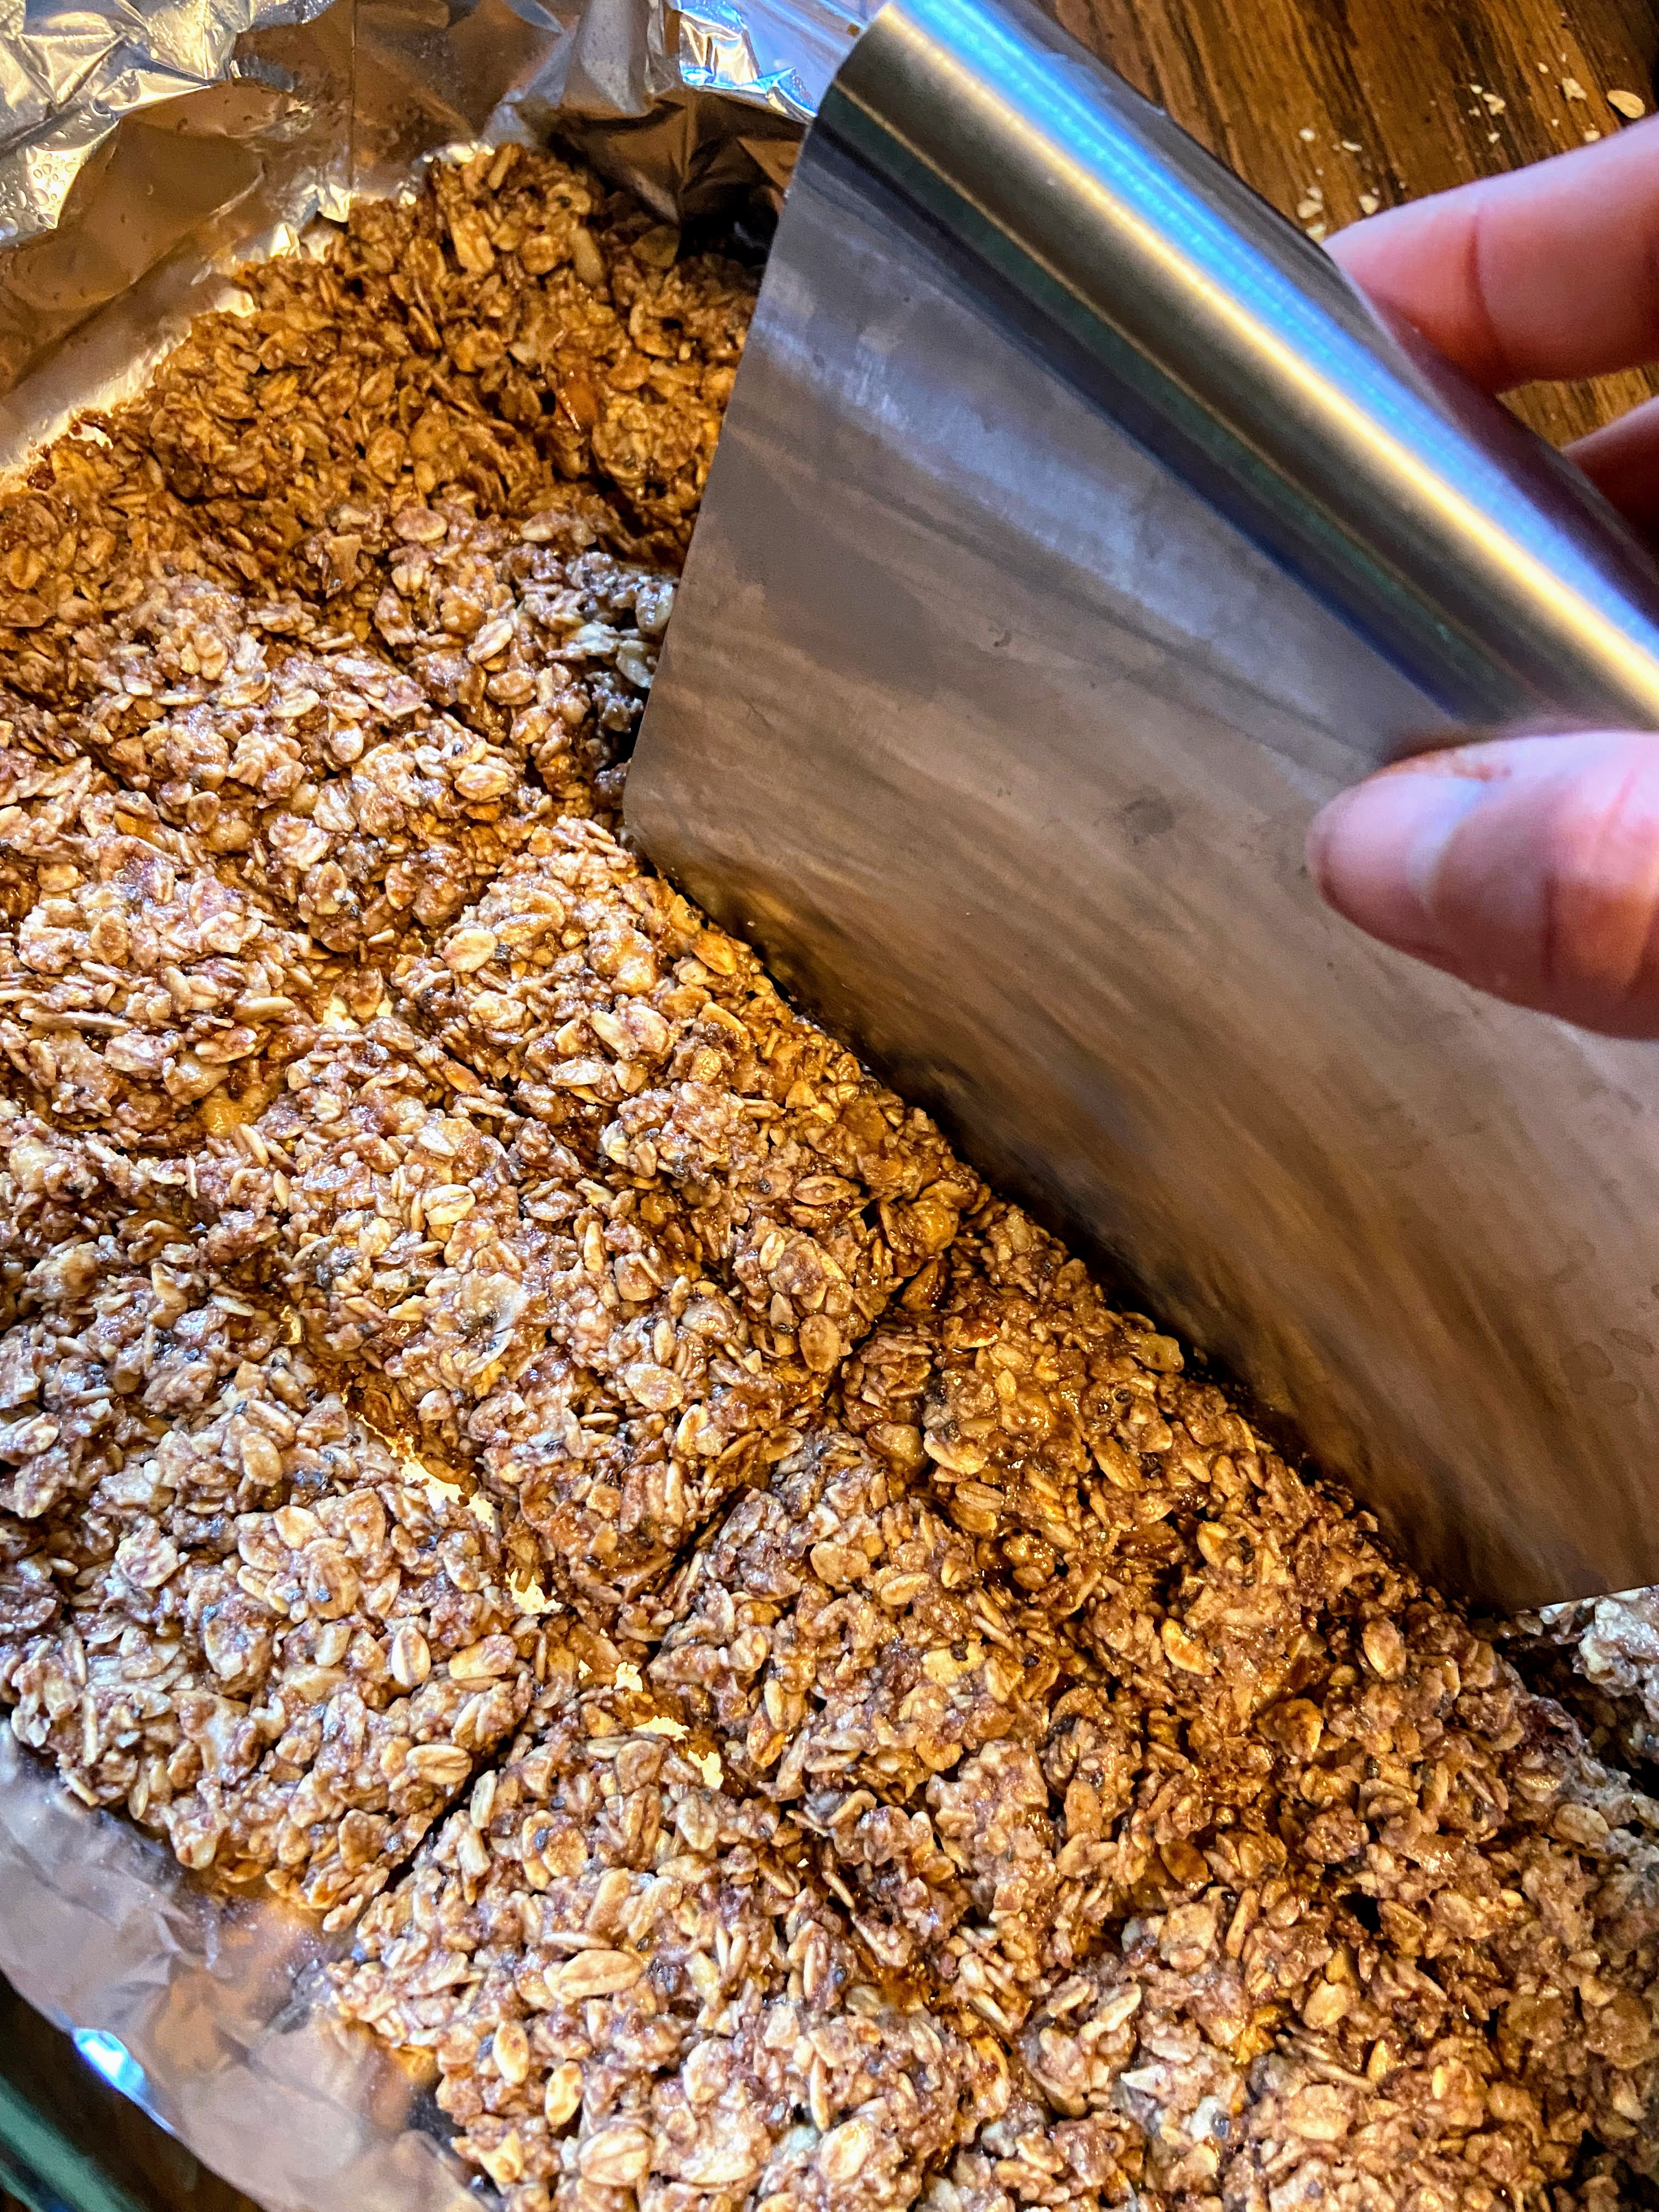
I played with the recipe in a few more batches, but the first one was “the one.” The one I will be baking this summer in this fun petite pan from Epicure. From there, I will freeze the portions and then place them in a freezer-safe bag. I think they will be perfect in lunch boxes. What do you think?
Don’t worry if you don’t have that sweet pan. The original recipe was baked in a 9 inch loaf pan, so you are set to go! Want muffins? That’s cool too! Cut the bake time to 20 minutes and you’ll be set!
Ready to start creating? Let’s go!
Your Ingredients for Chocolate Zucchini Bread
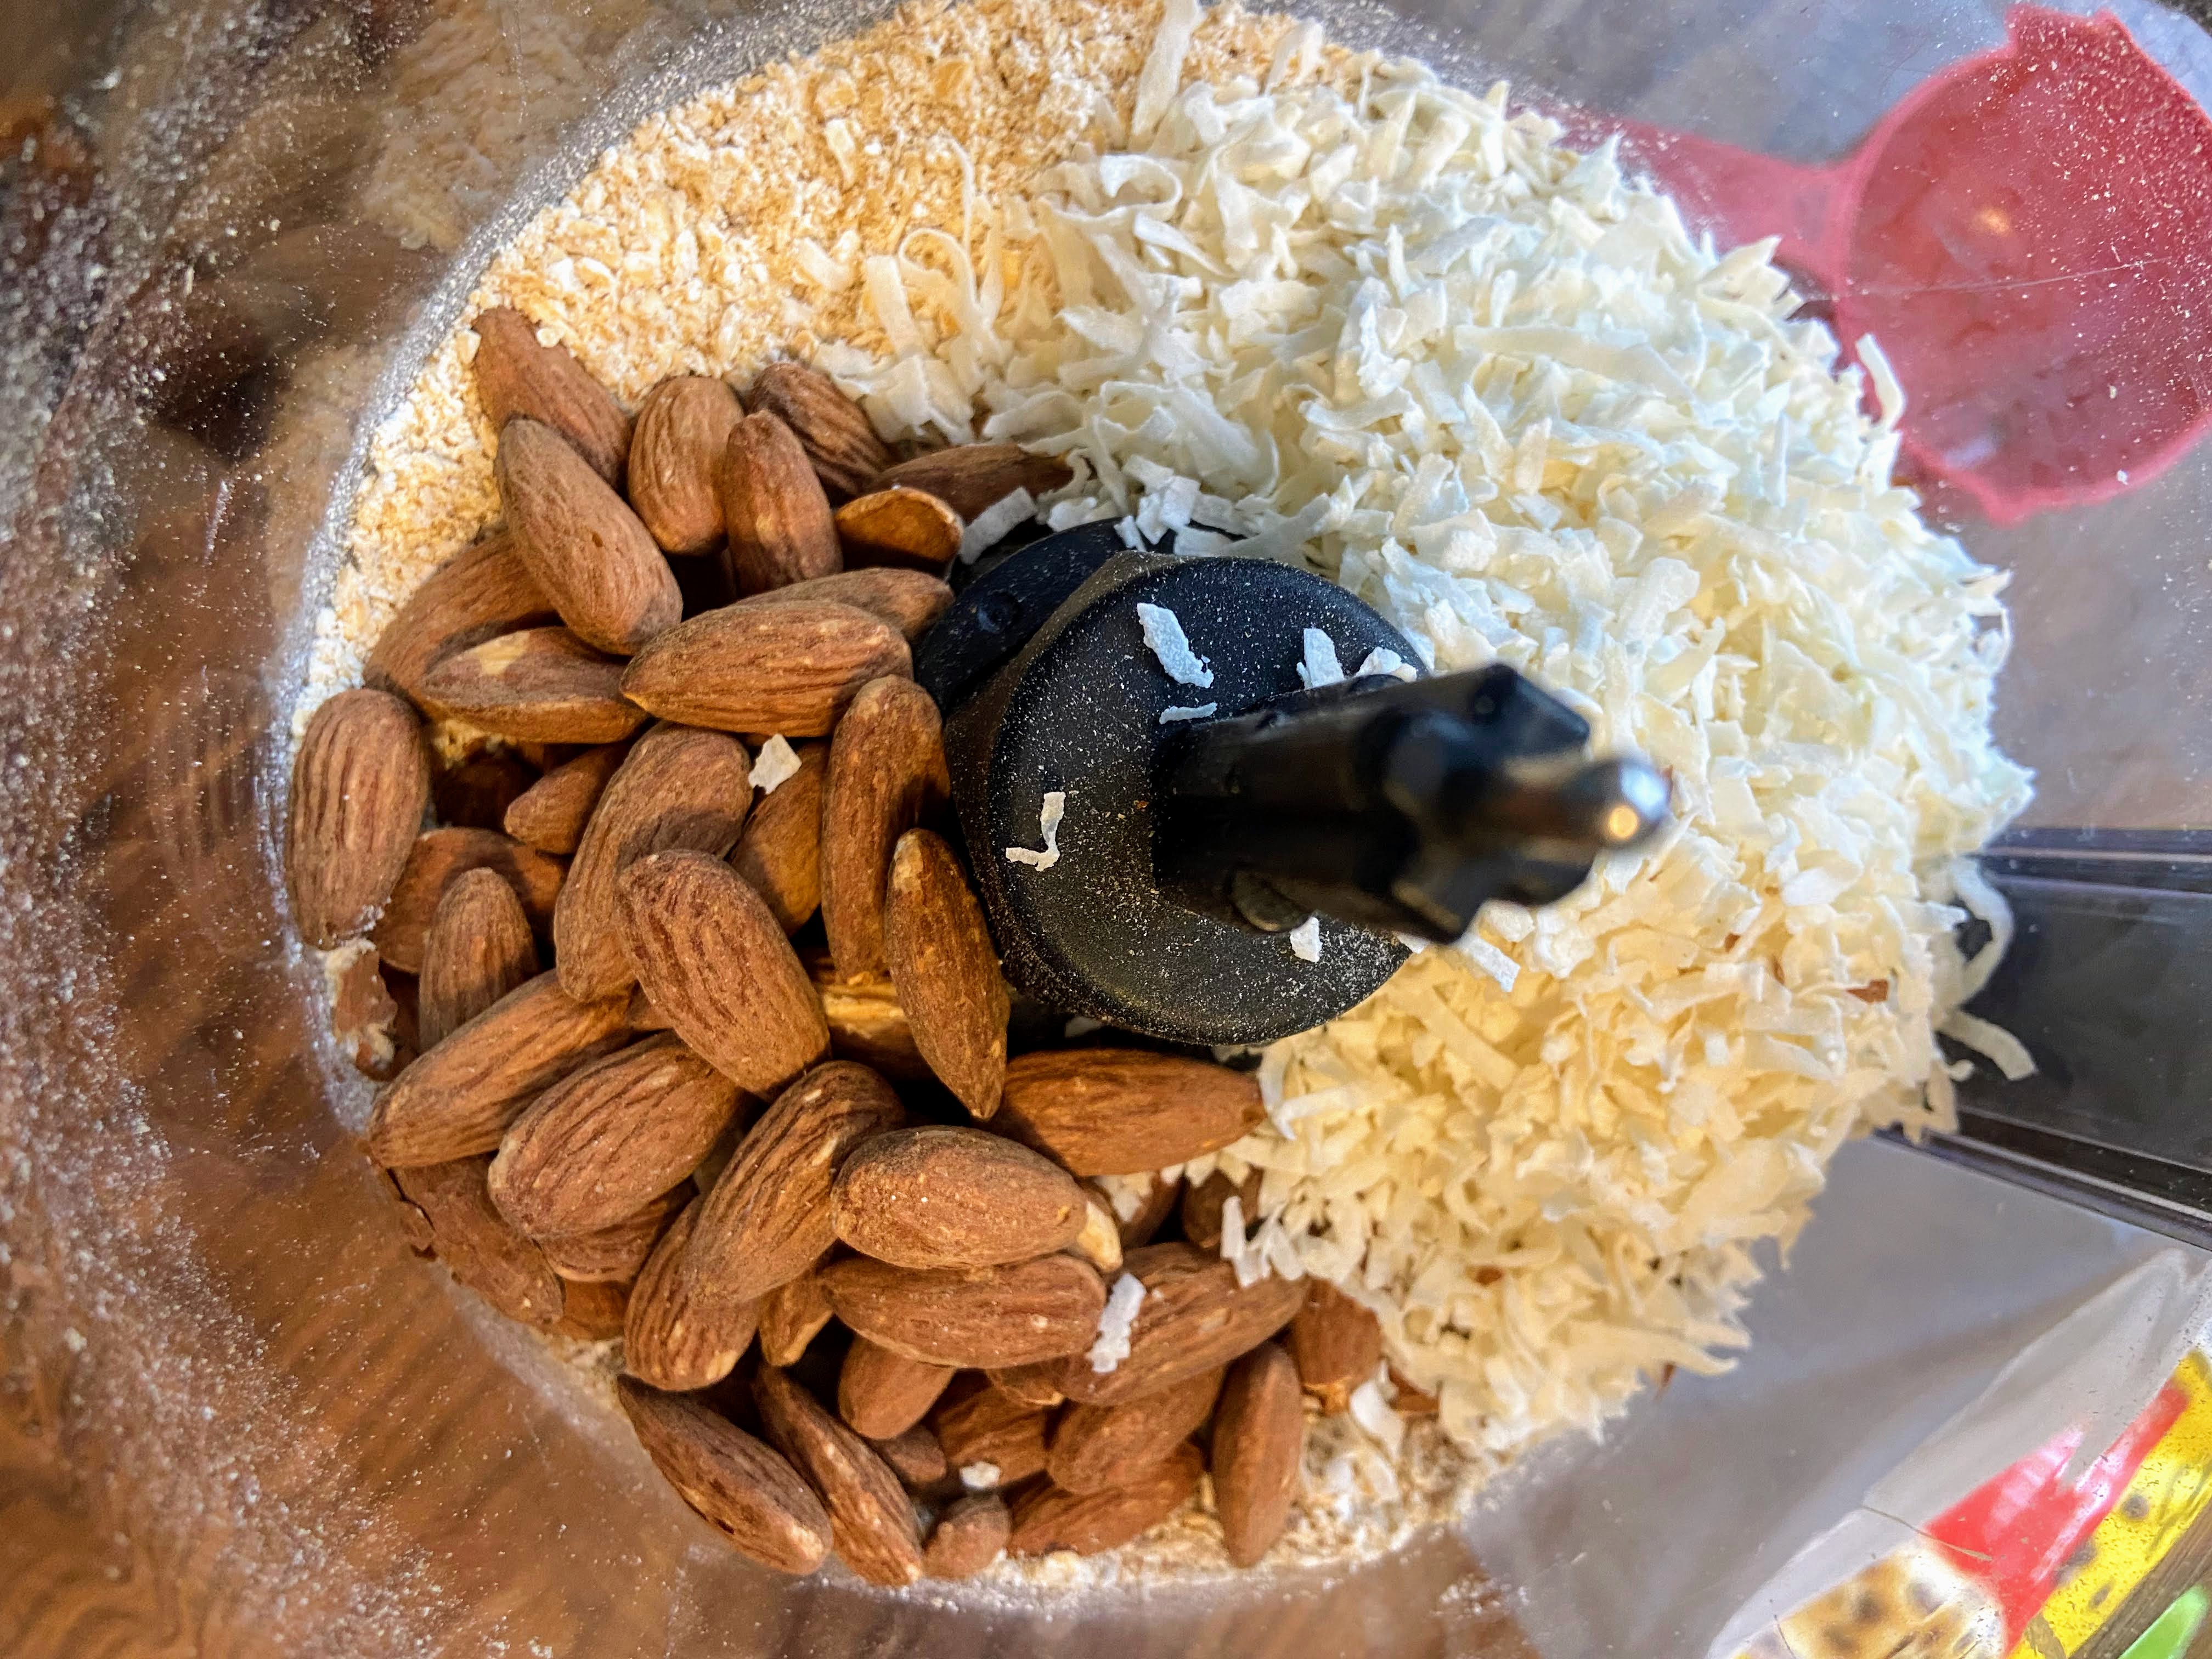
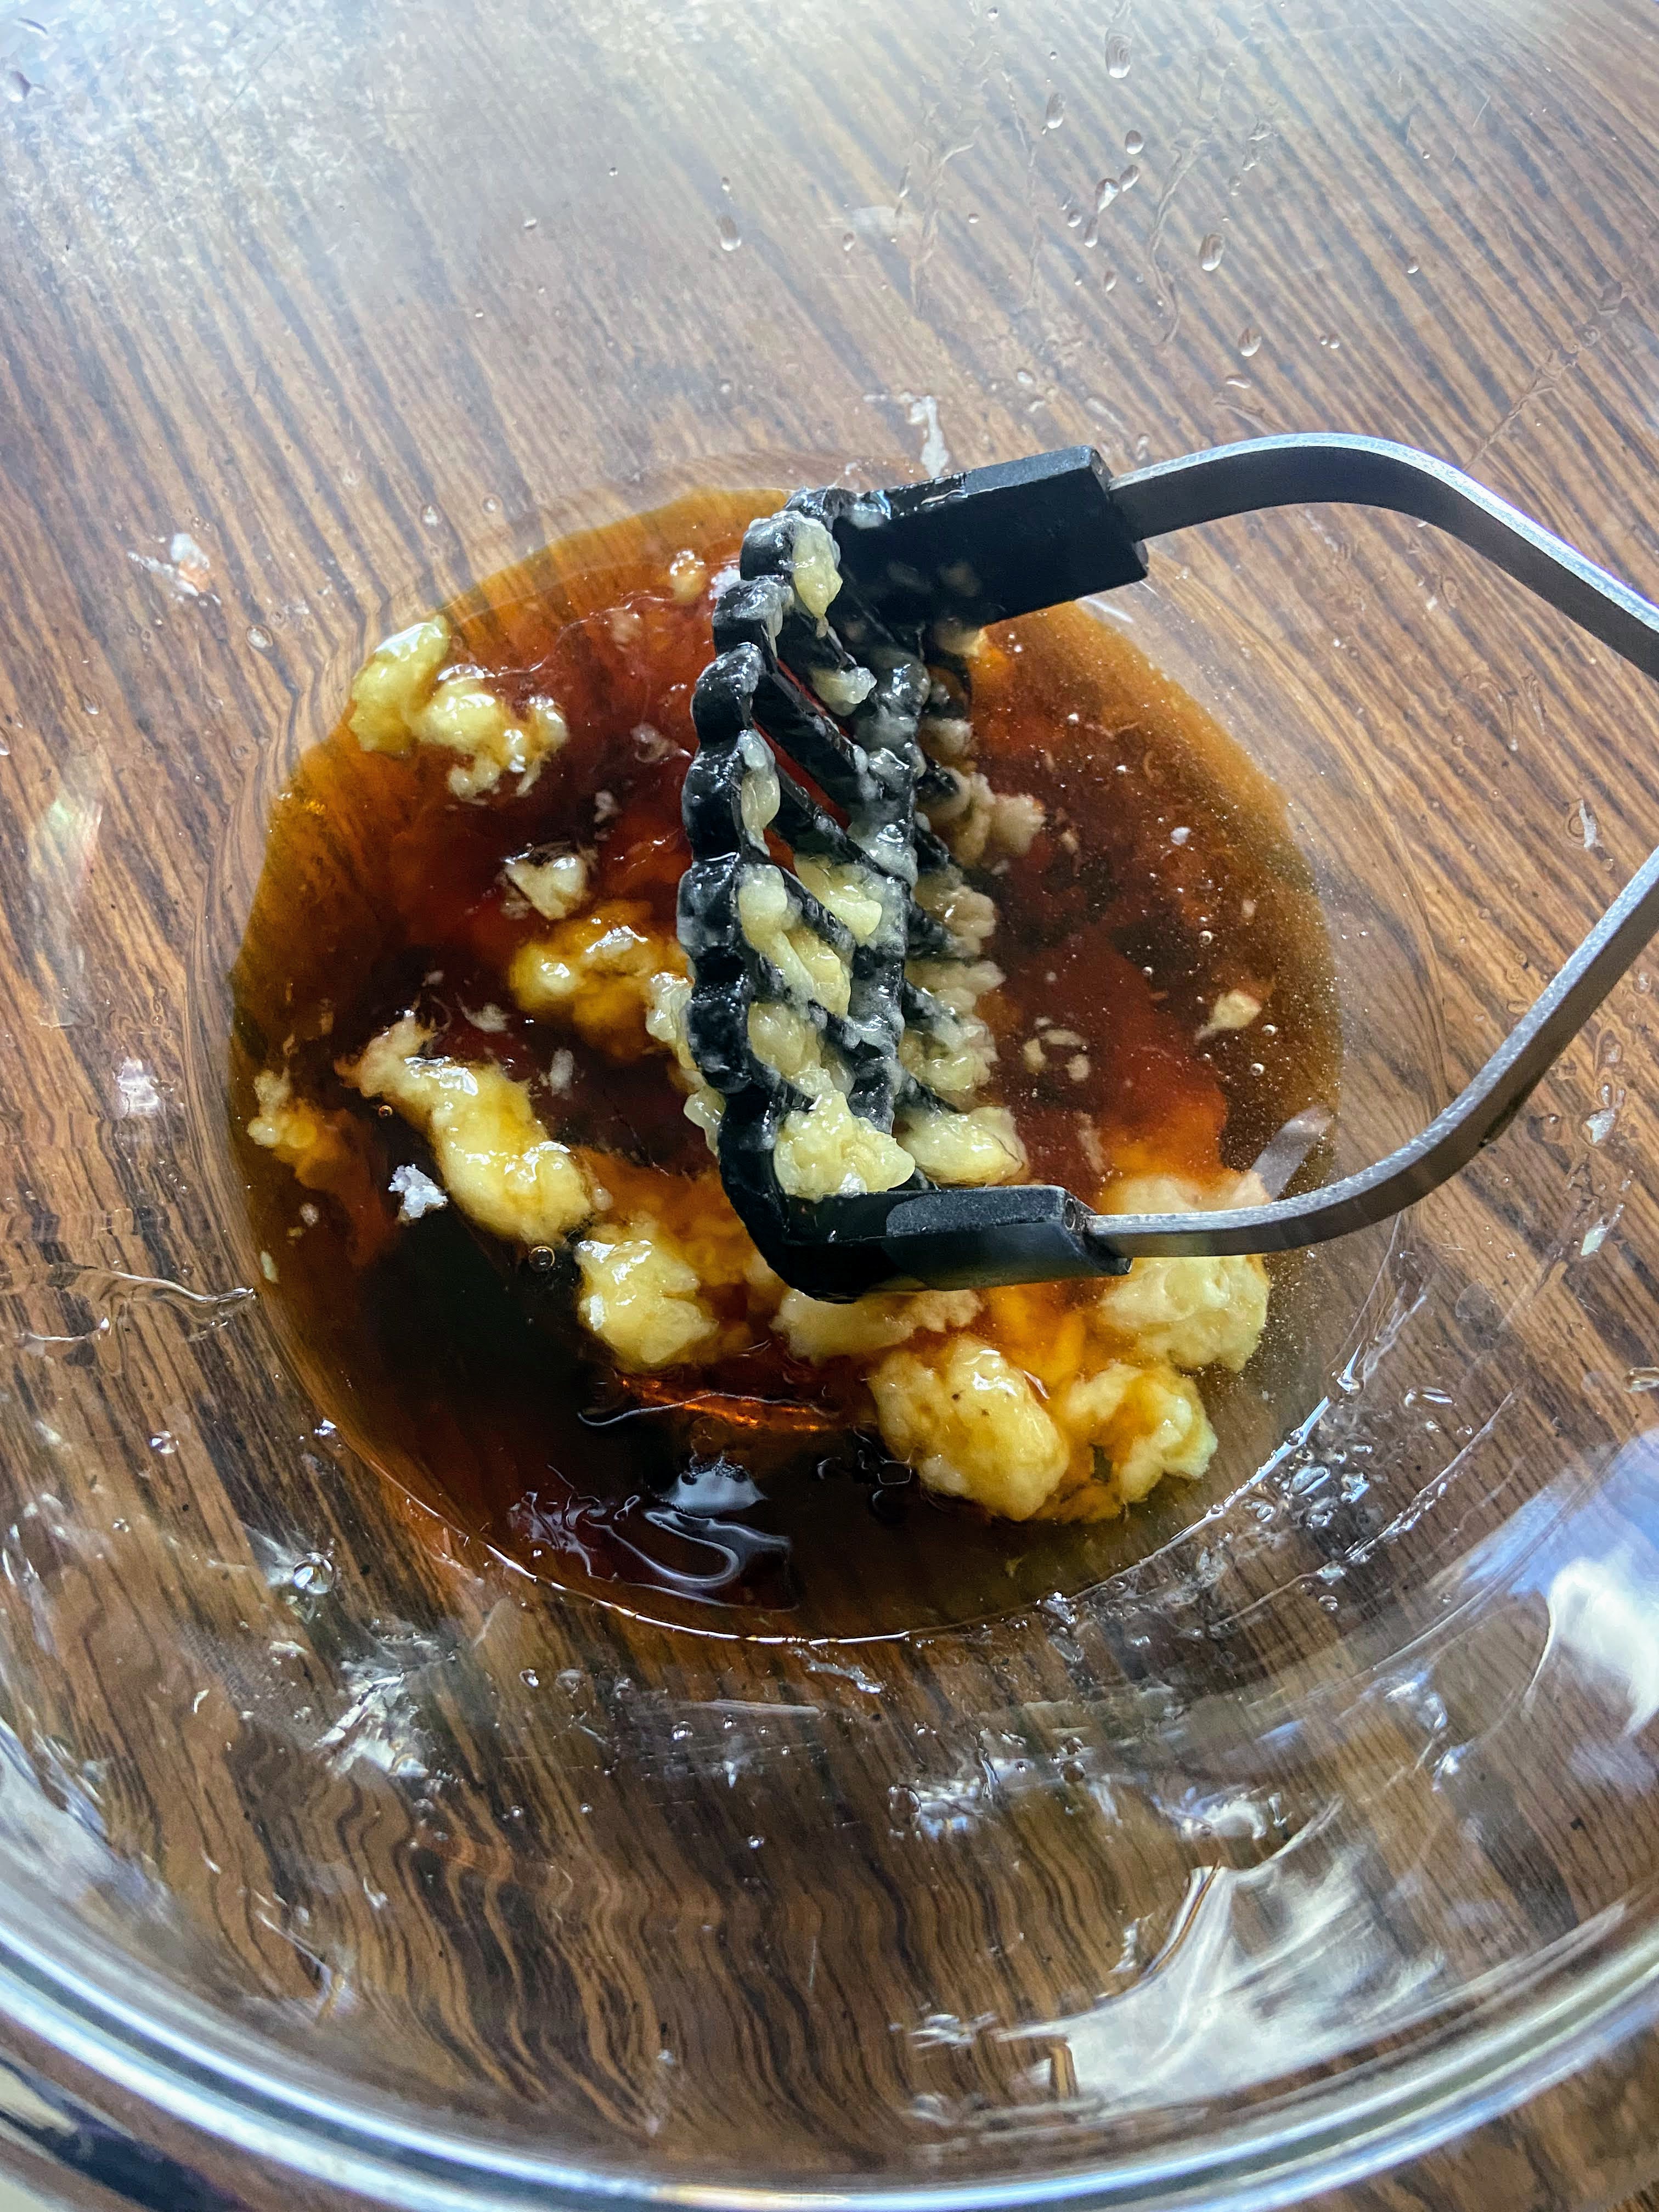
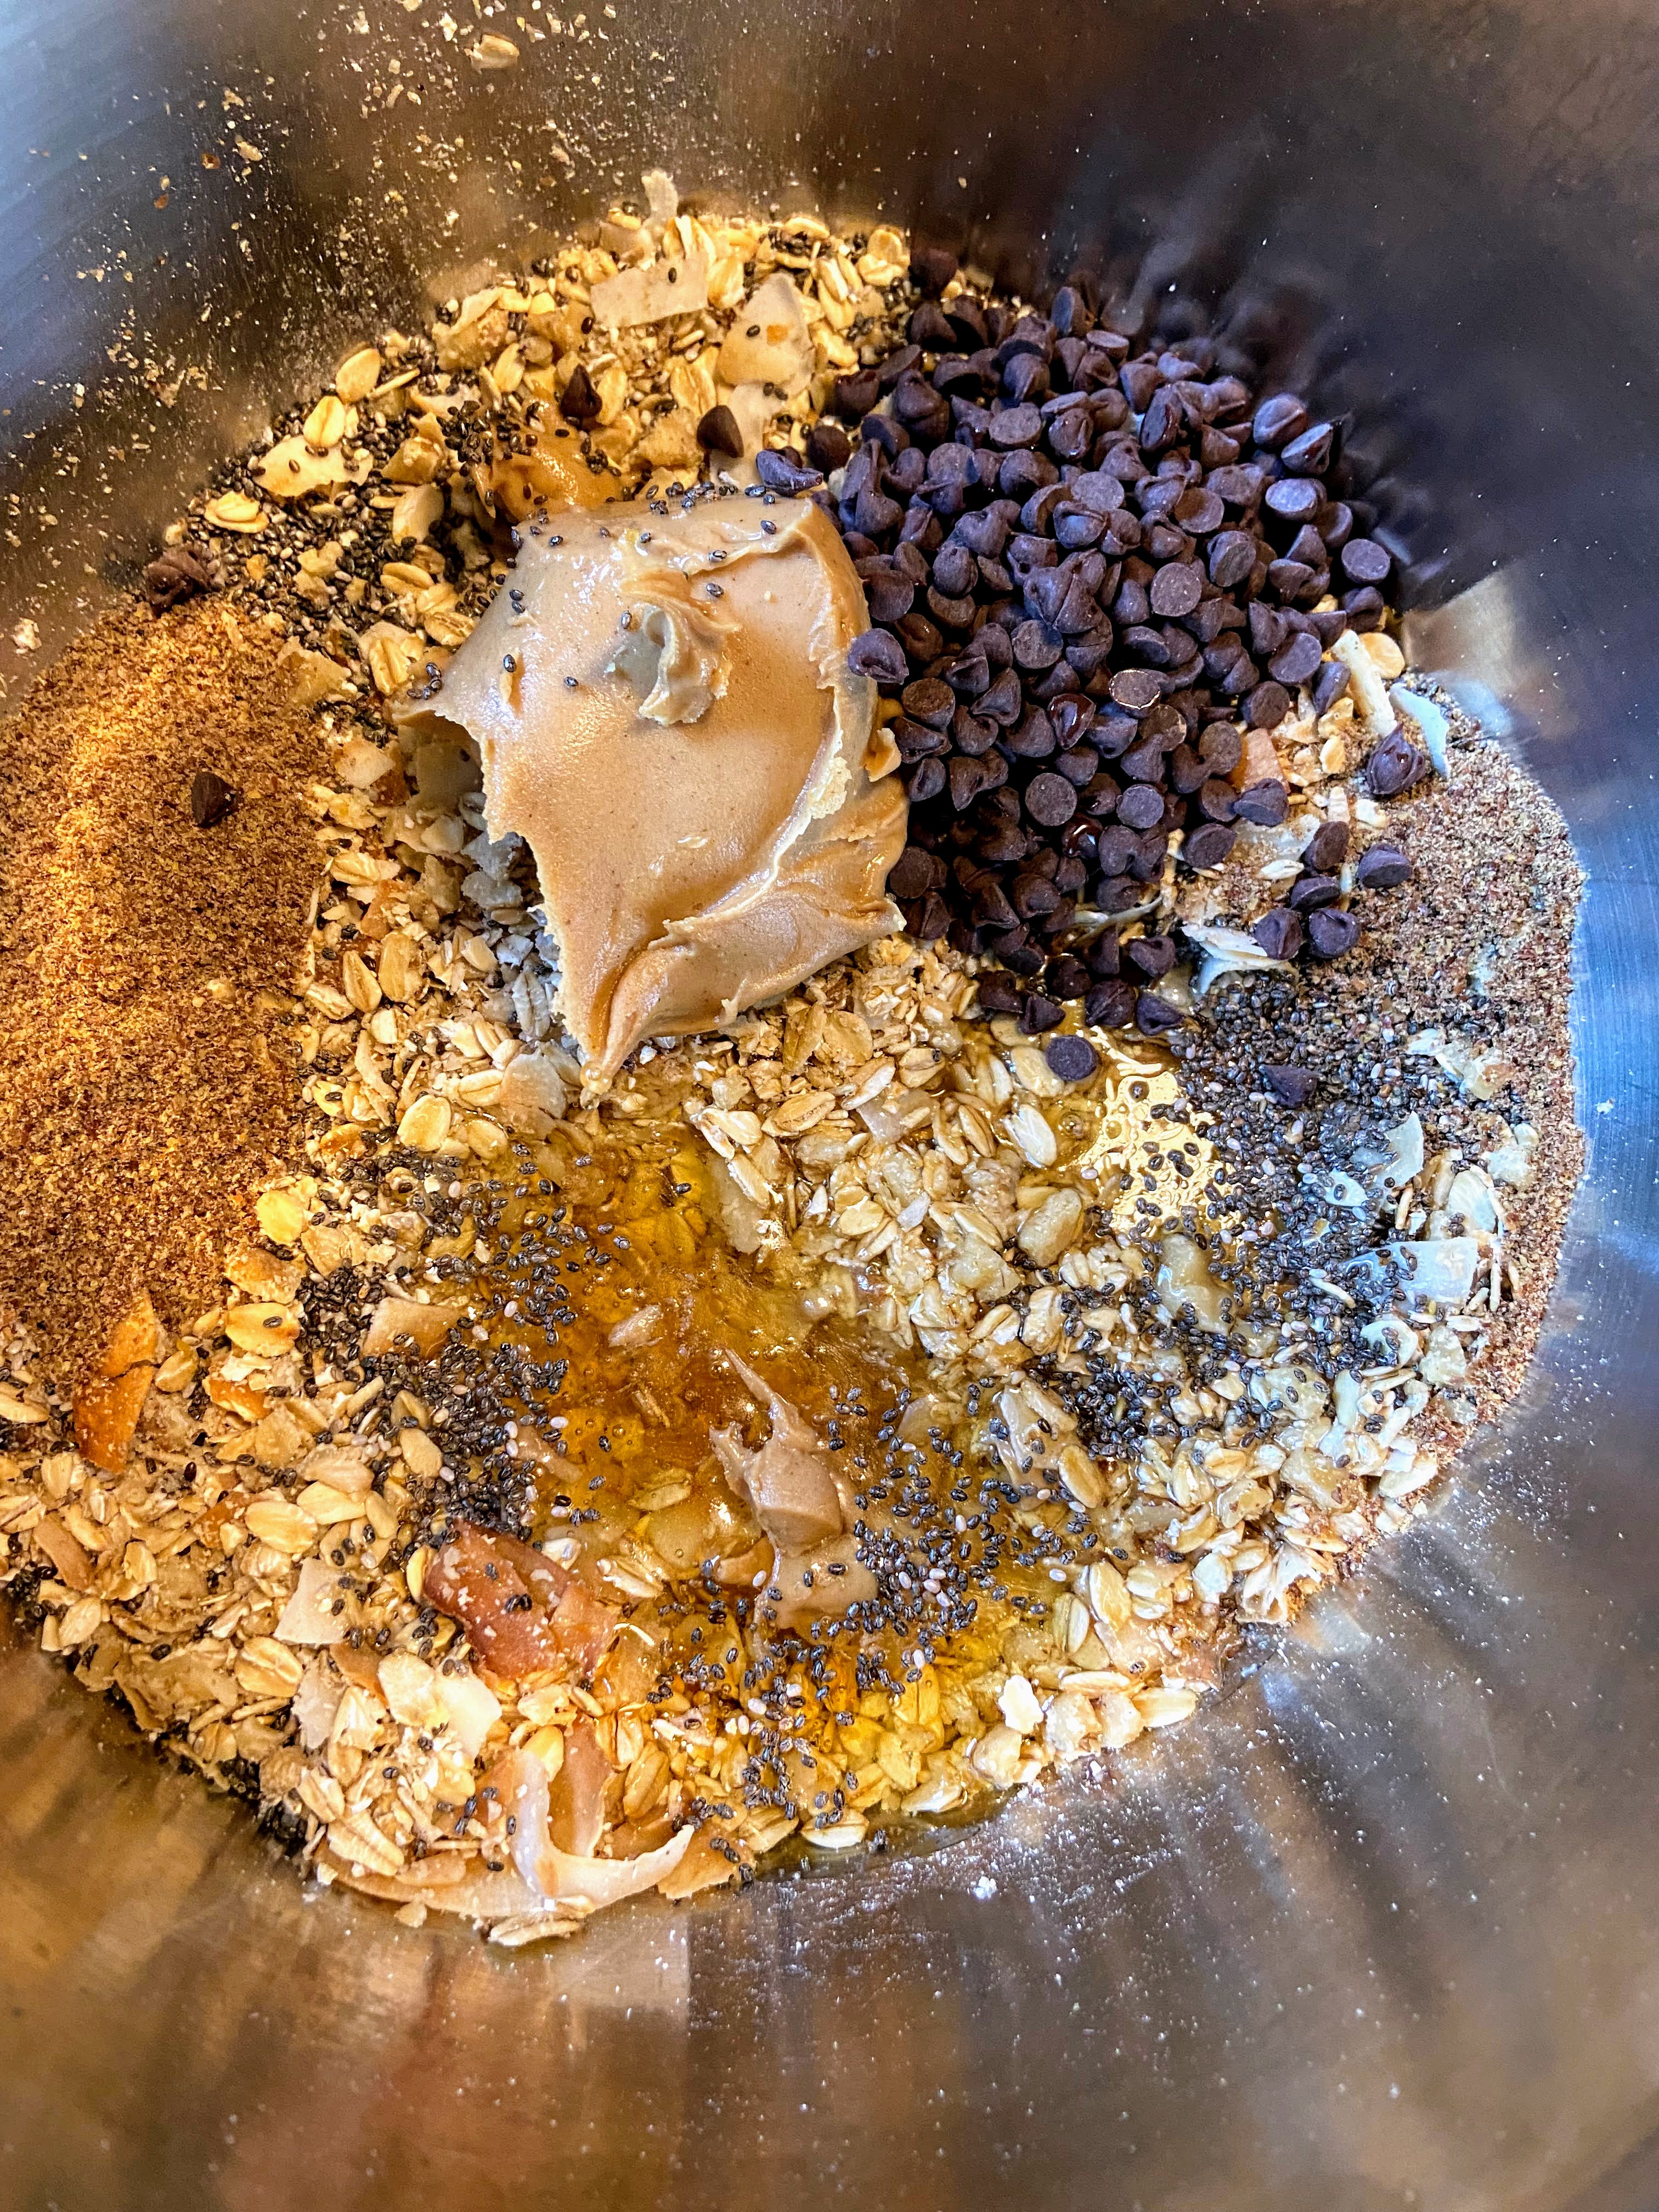
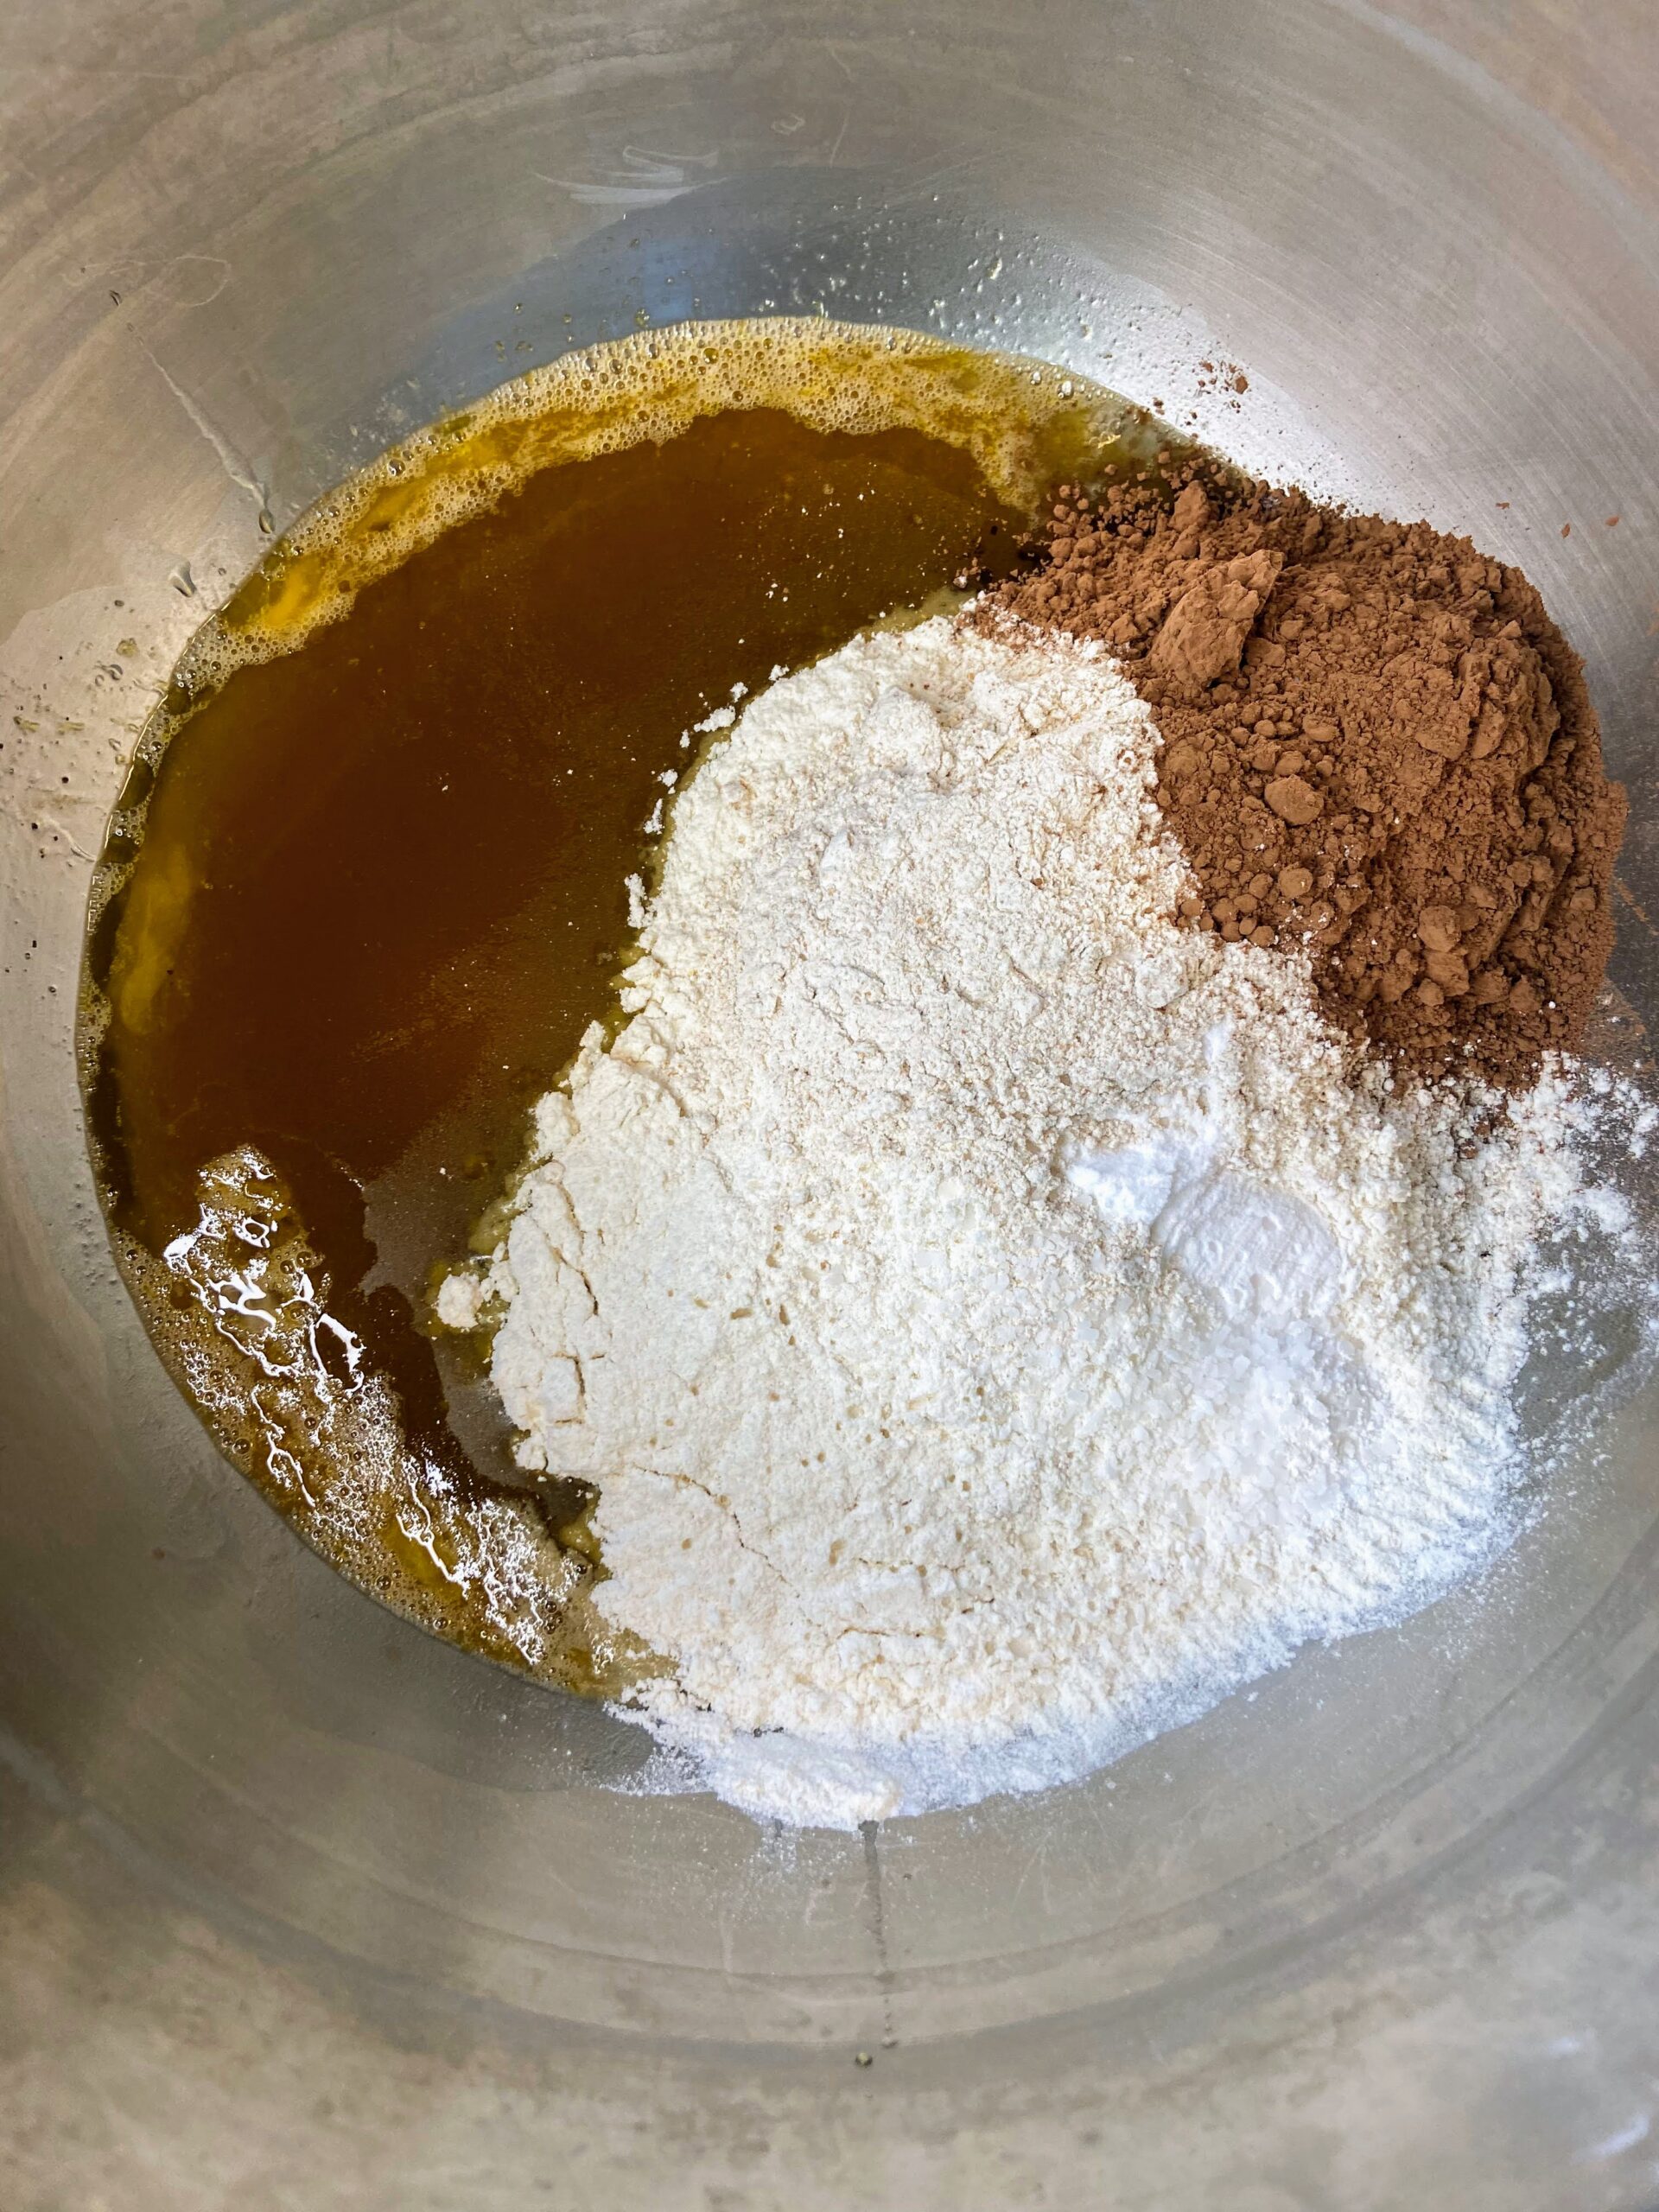
- ¼ cup olive oil or melted coconut oil
- ½ cup maple syrup
- ½ tablespoon vanilla
- 2 eggs
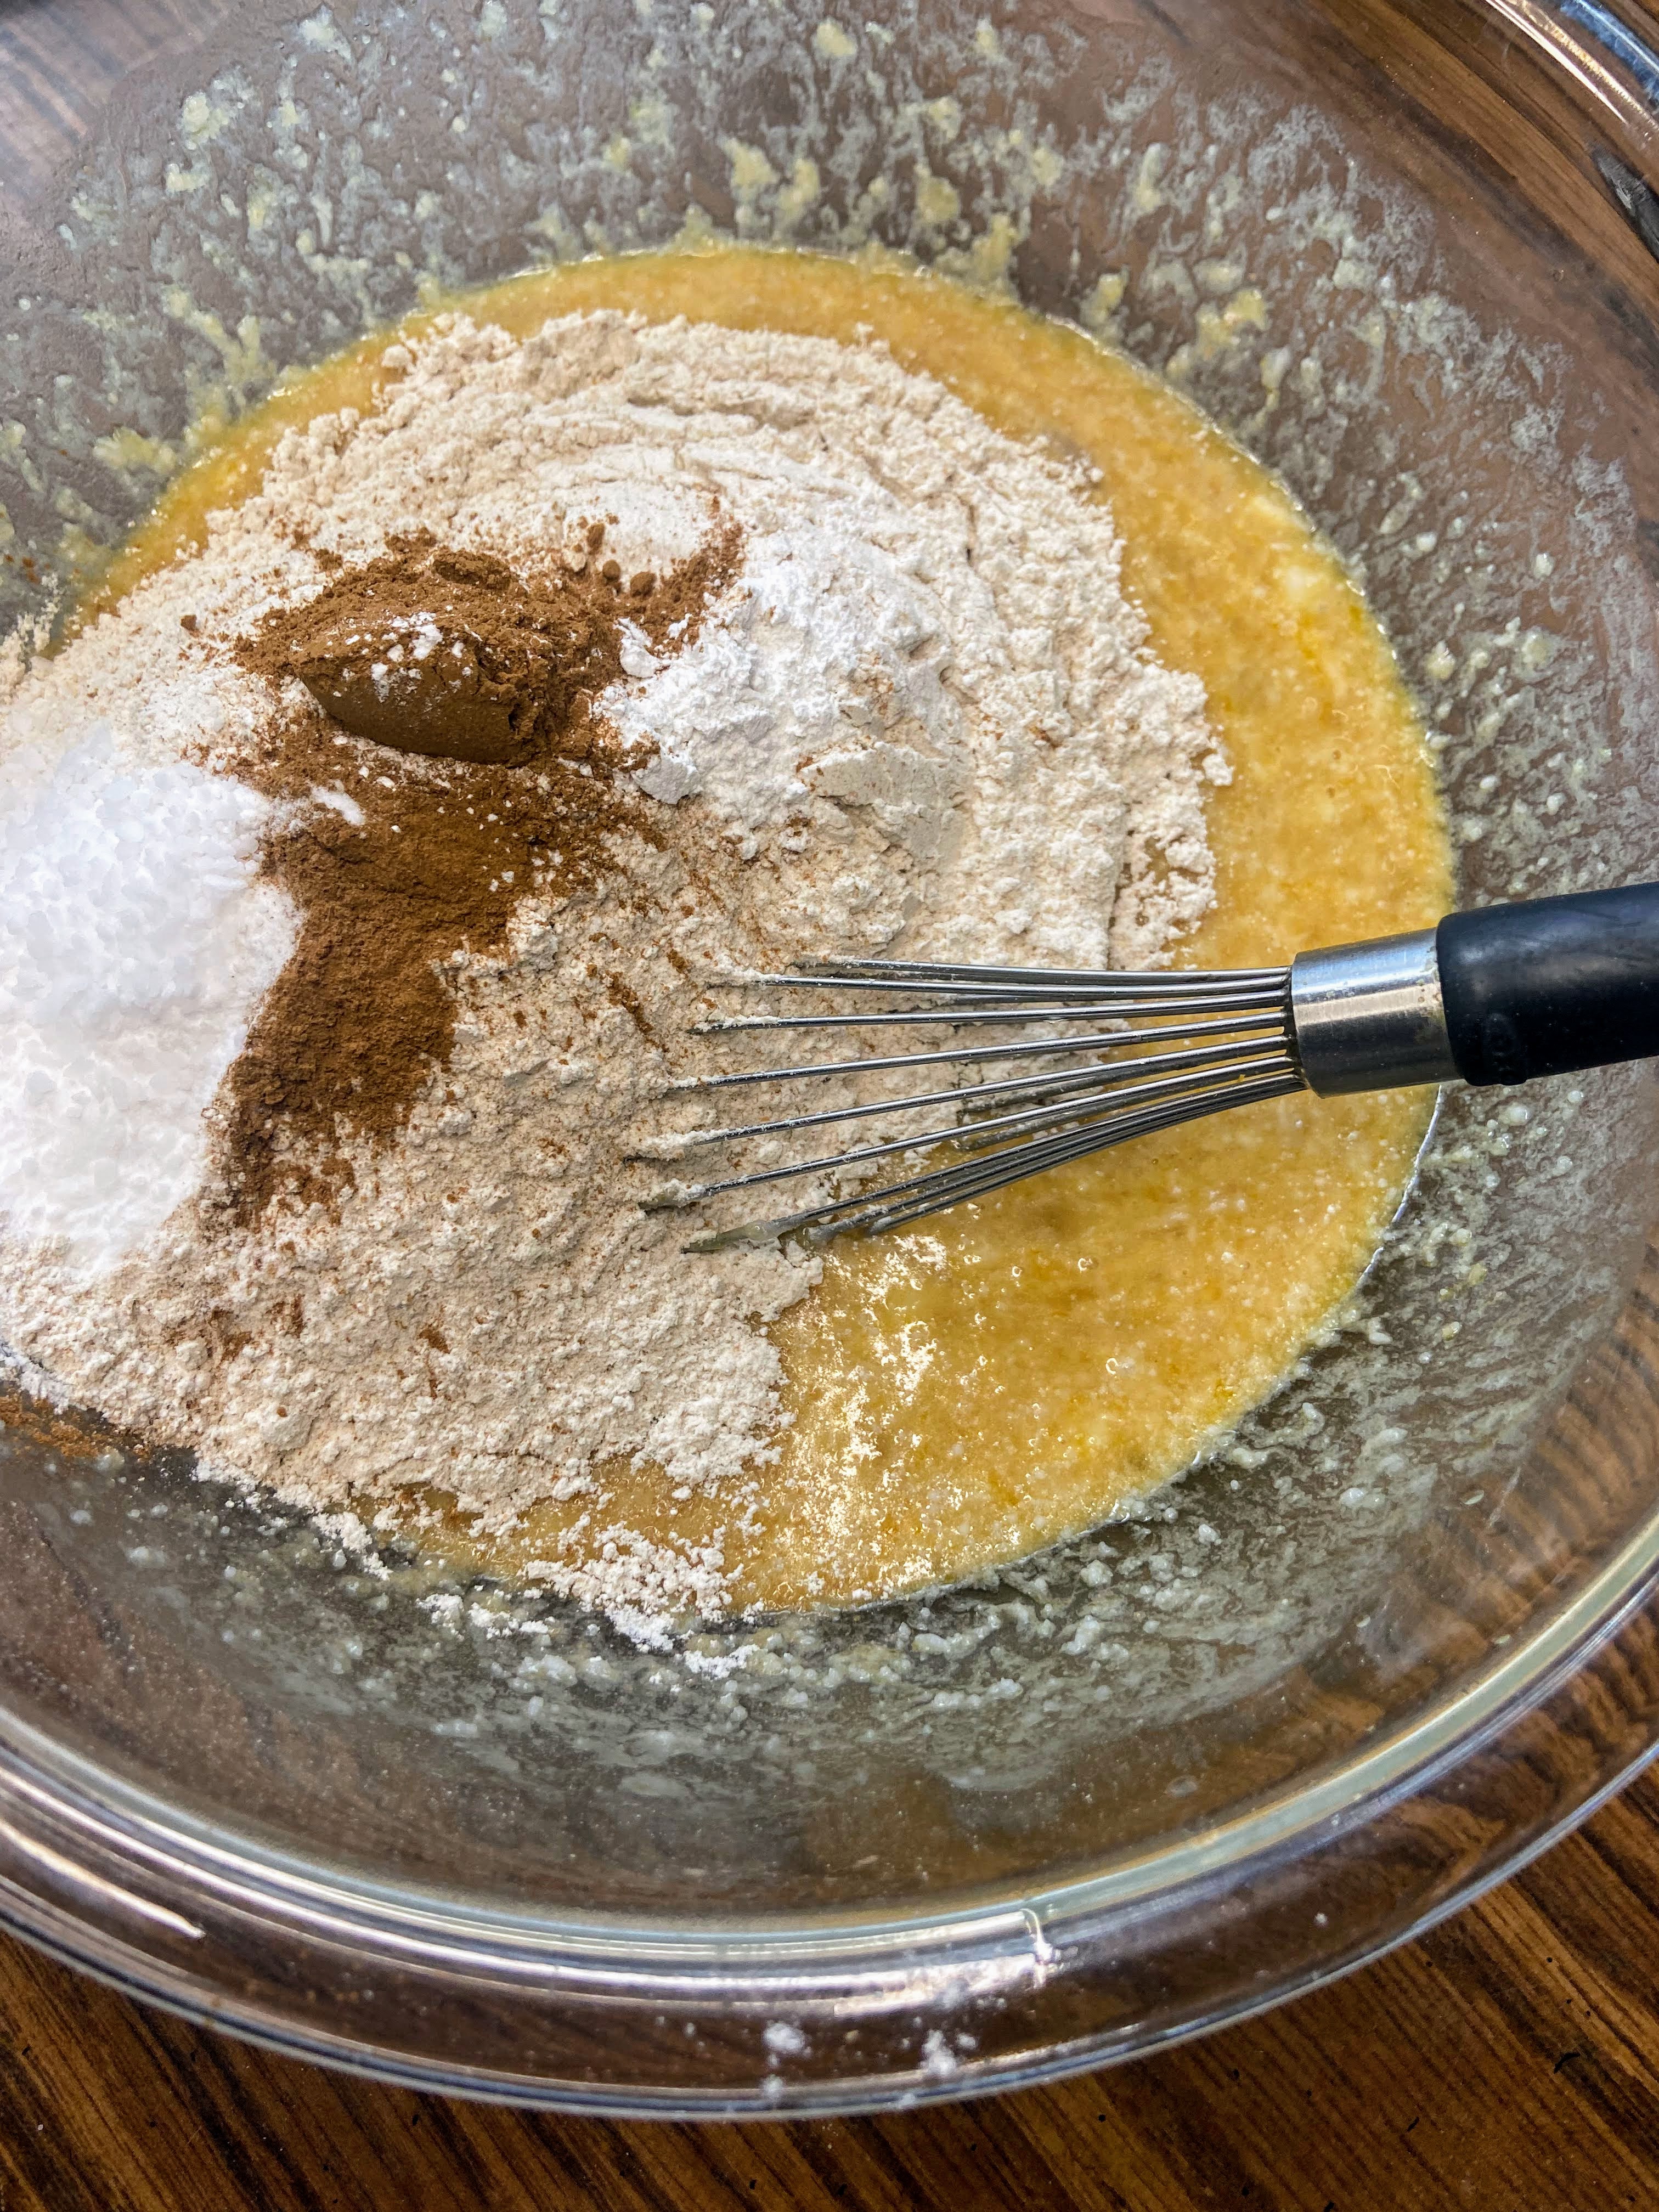
- 1 teaspoon baking soda
- ¾ teaspoon salt
- ½ teaspoon baking powder
- 1 cup whole wheat flour
- ½ cup all-purpose flour
- ¼ cup cocoa powder
- ¼-½ cup chocolate chips
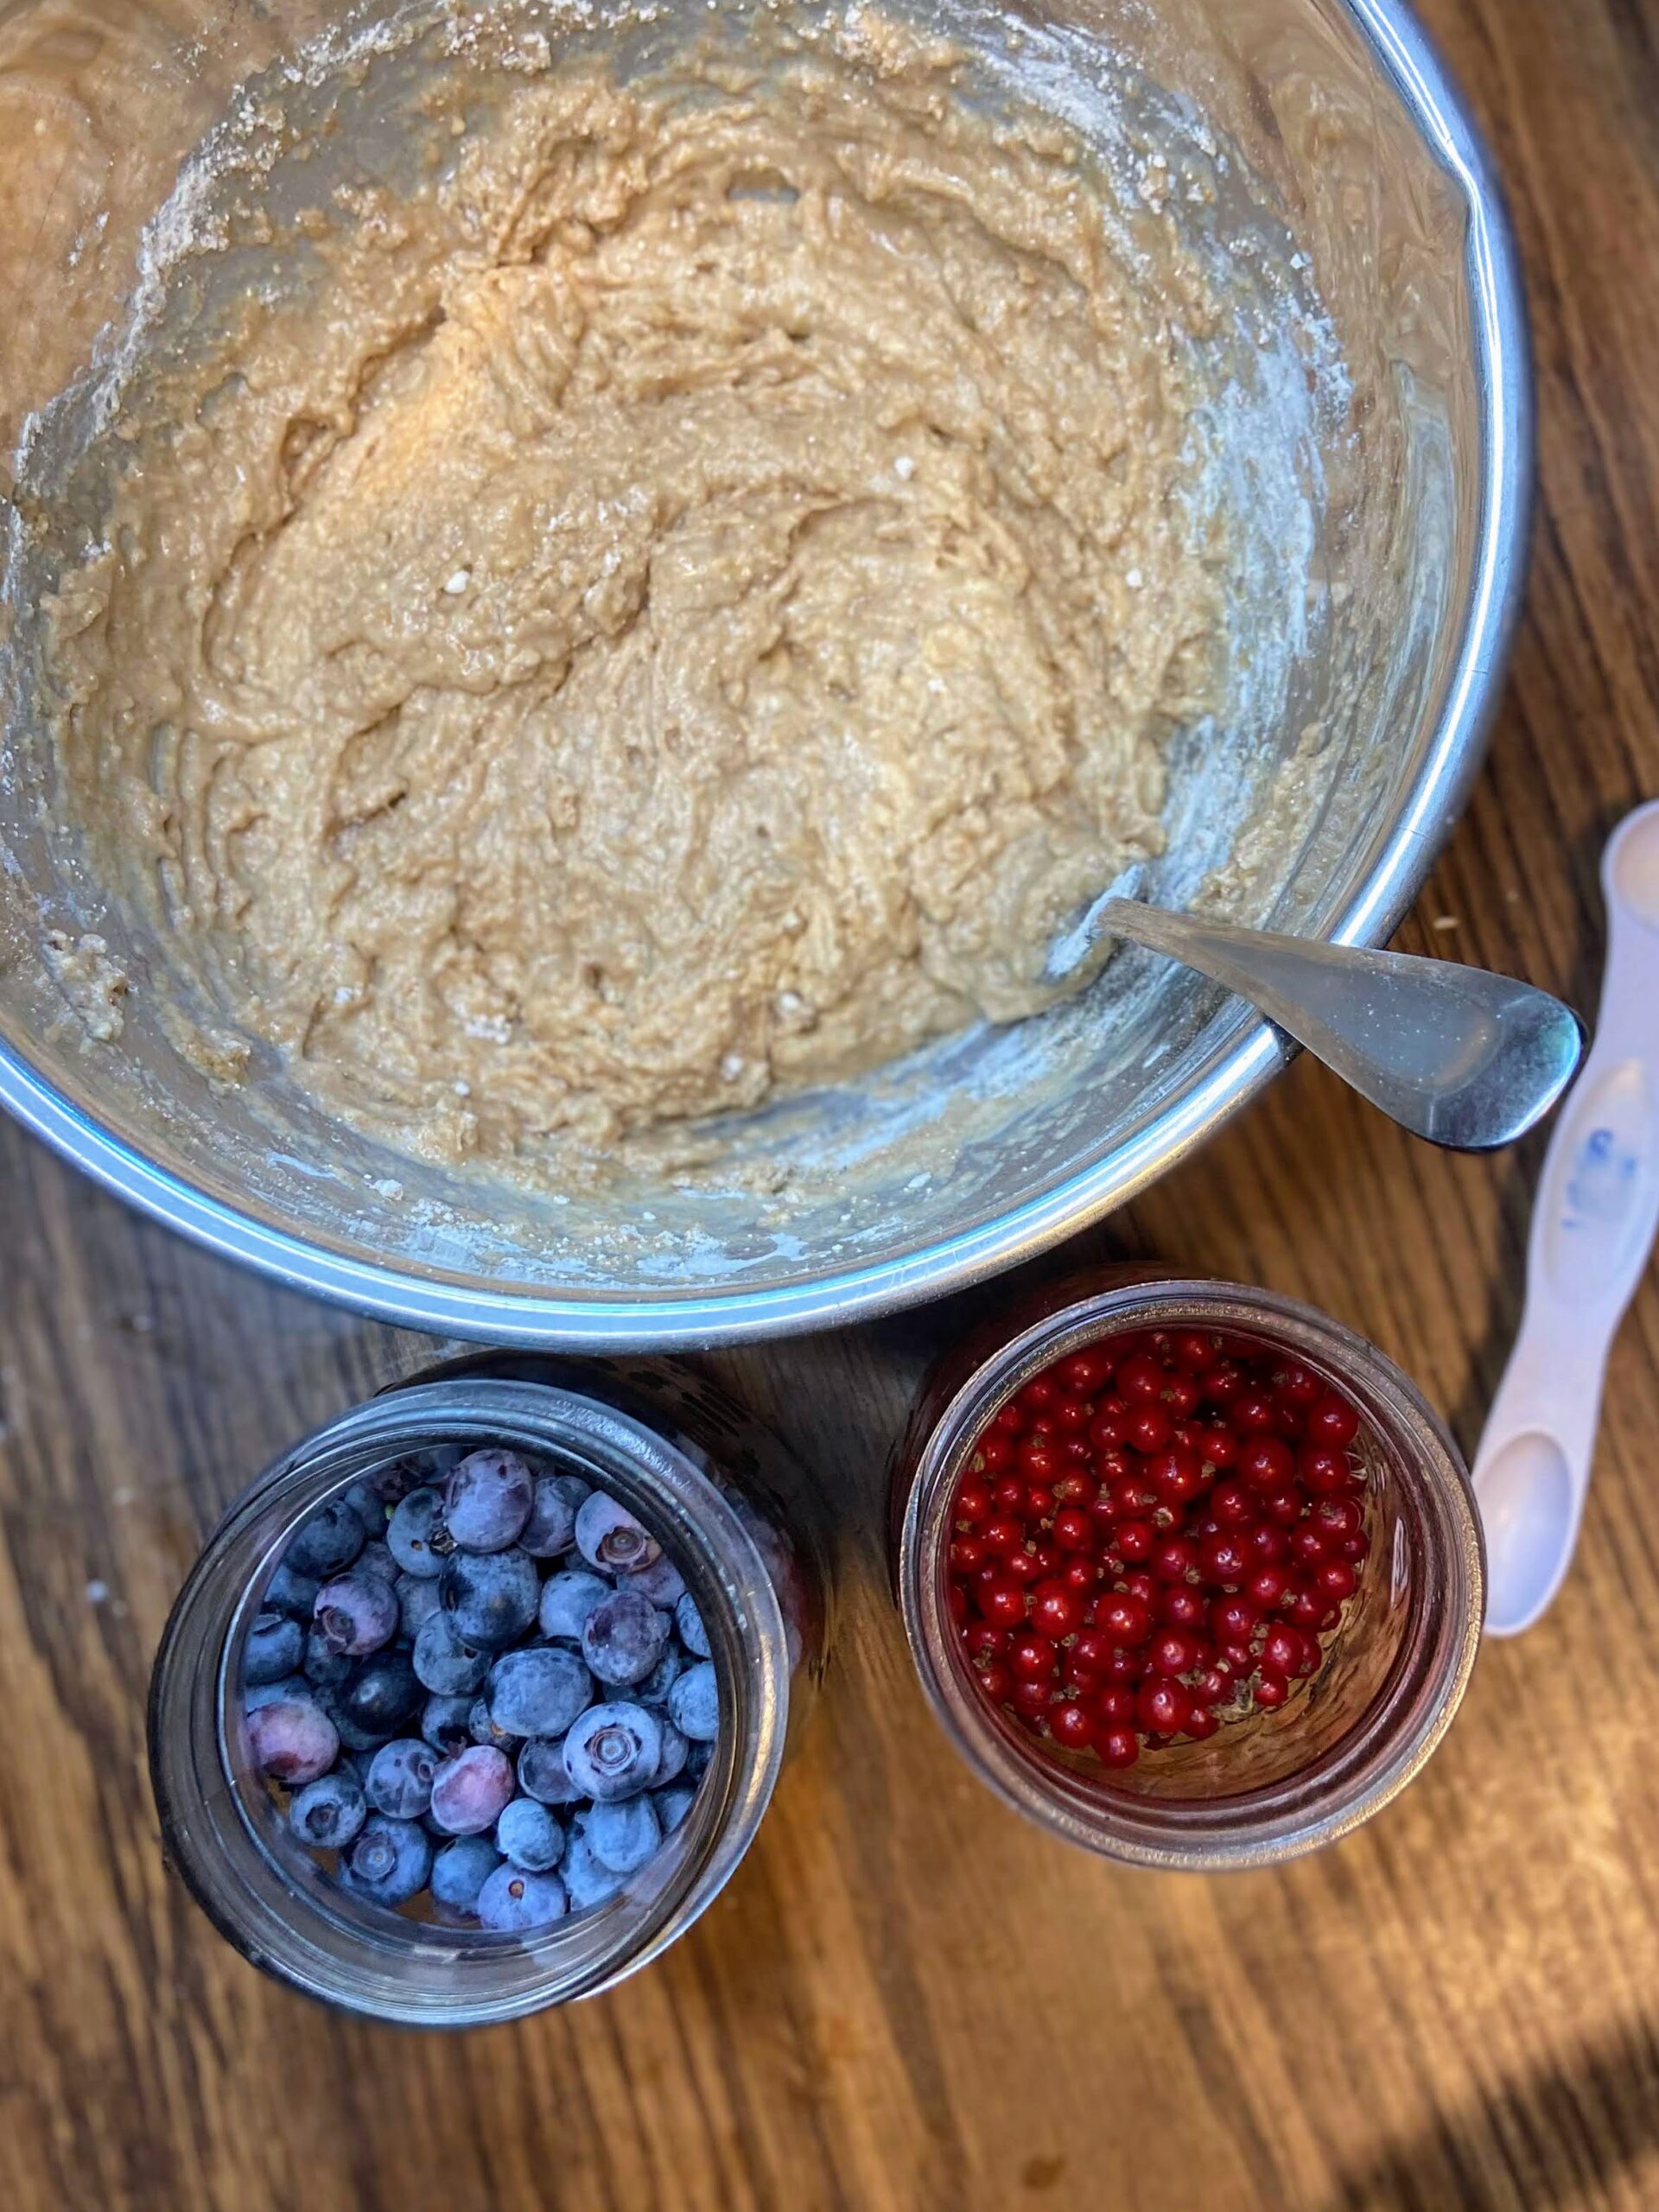
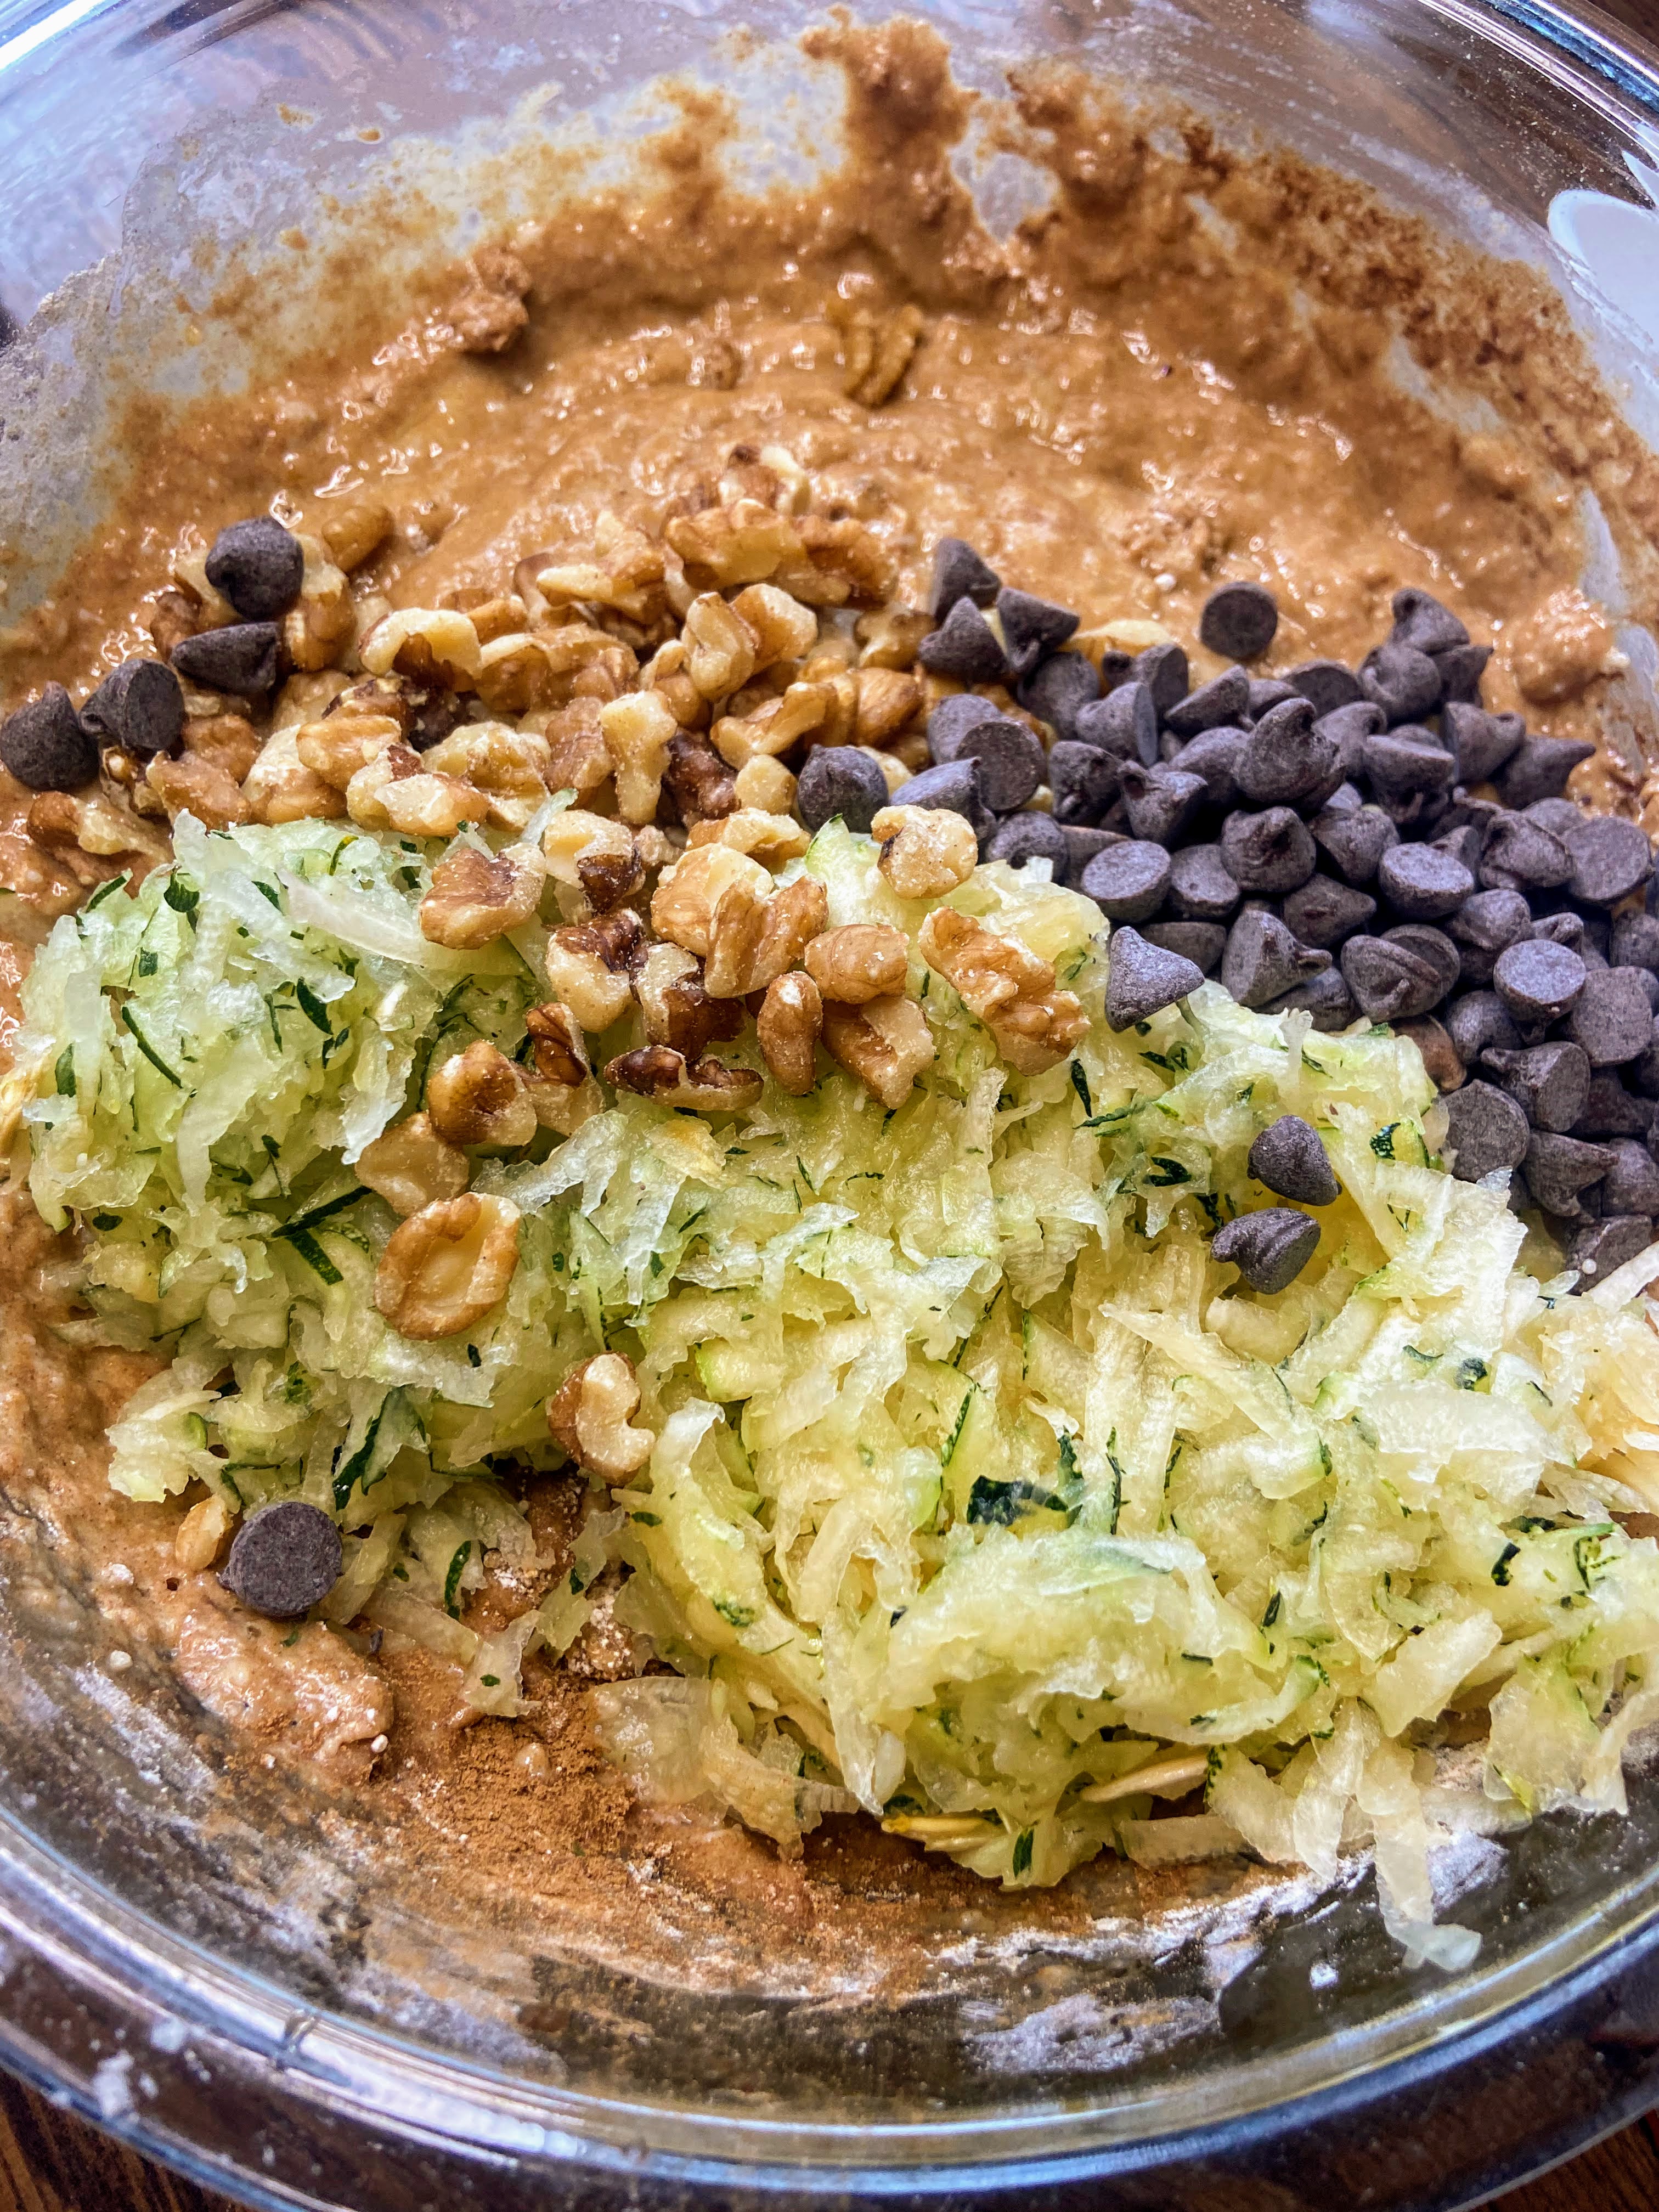
- 2 cups shredded zucchini, water squeezed out
- ½ cup chopped nuts, optional
Your Steps
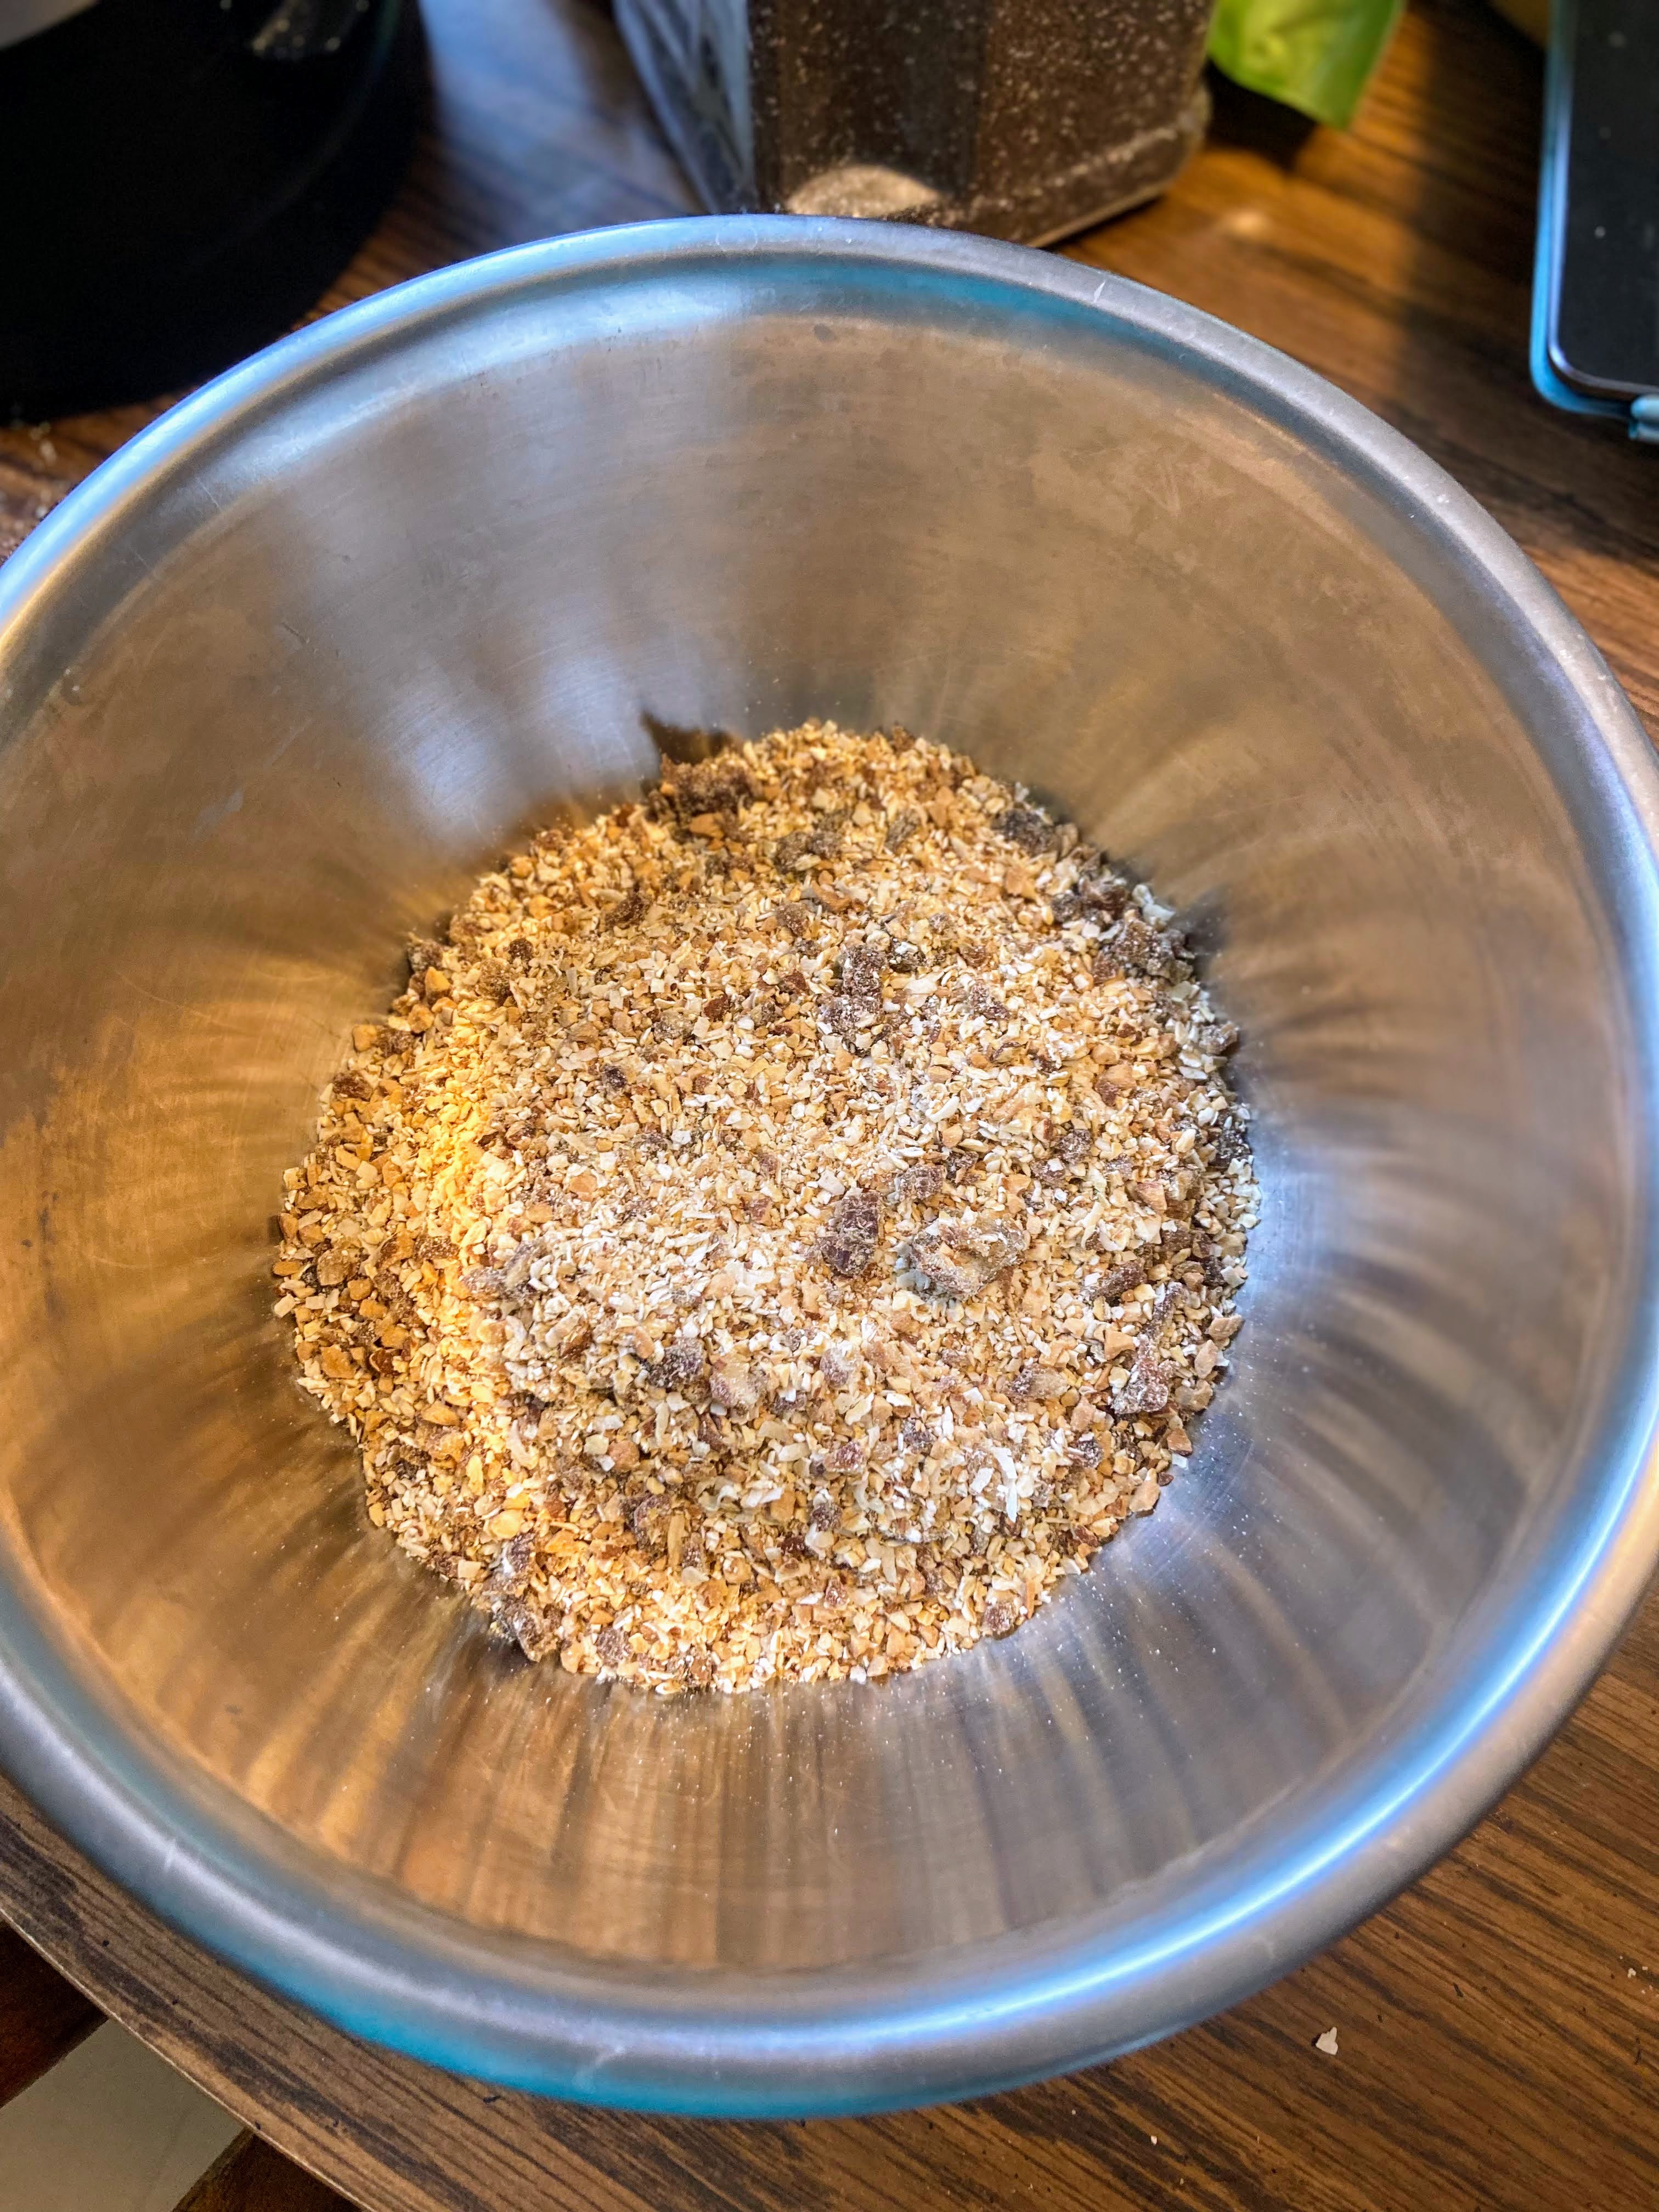
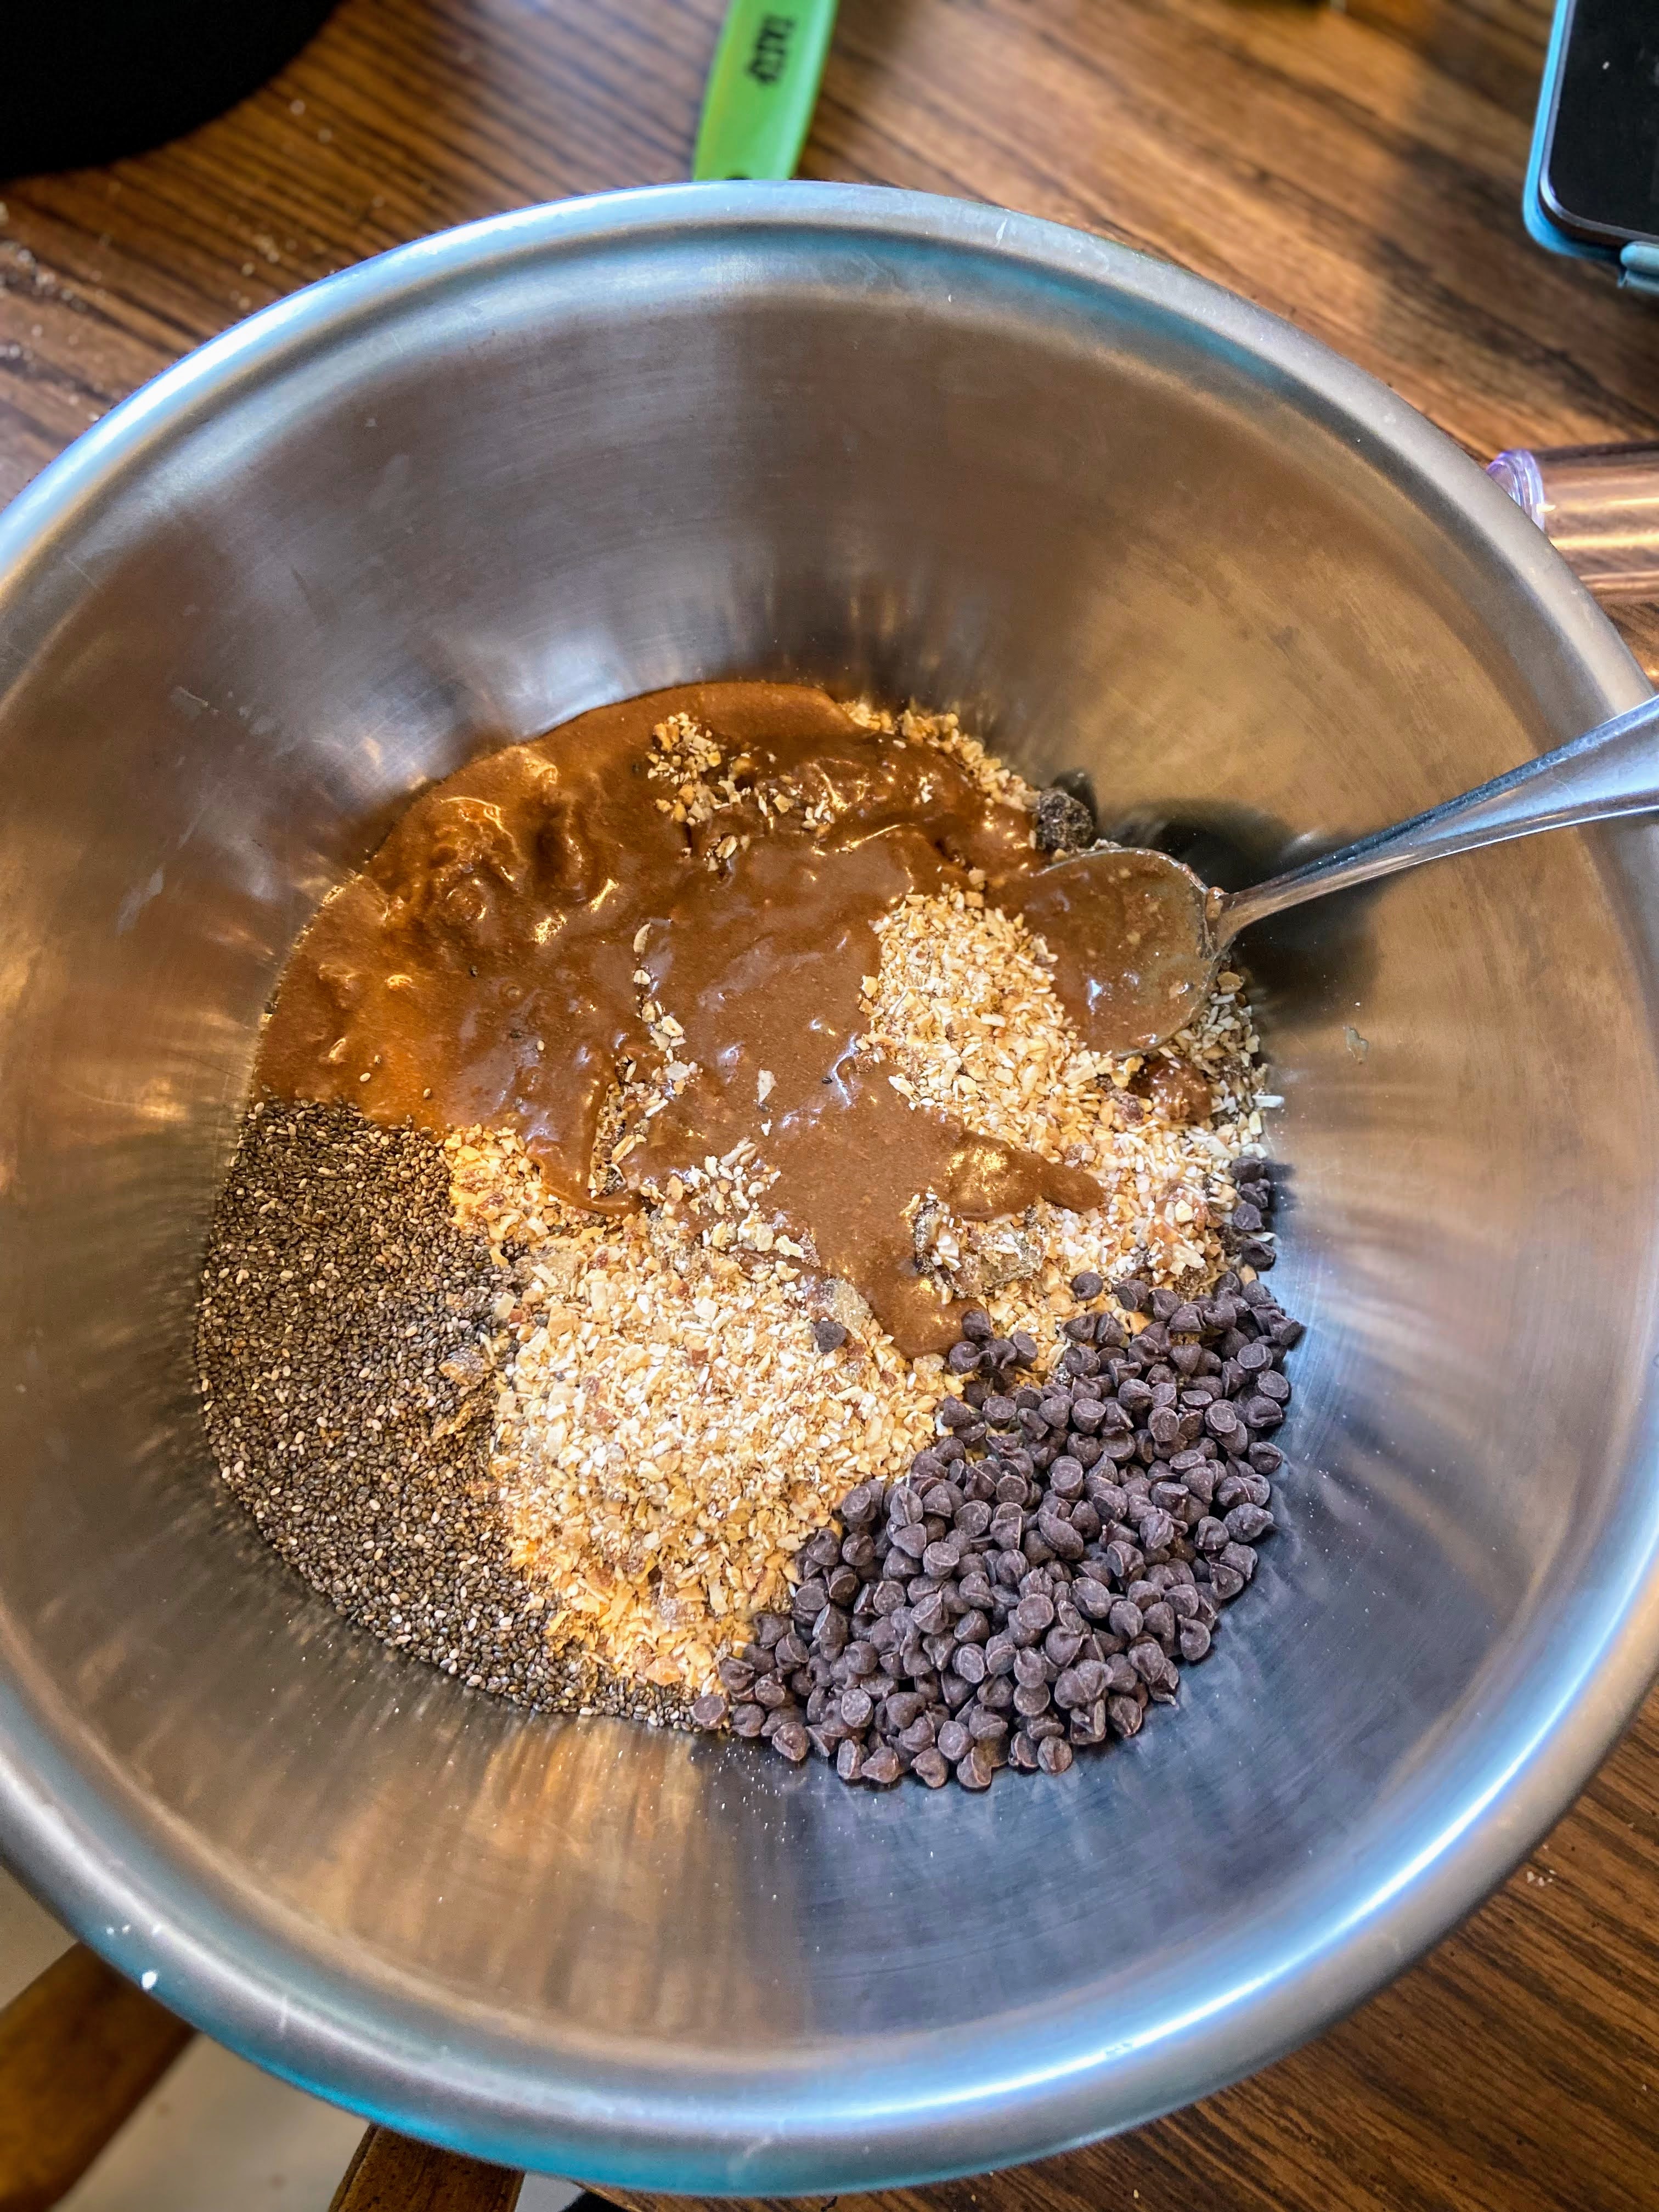
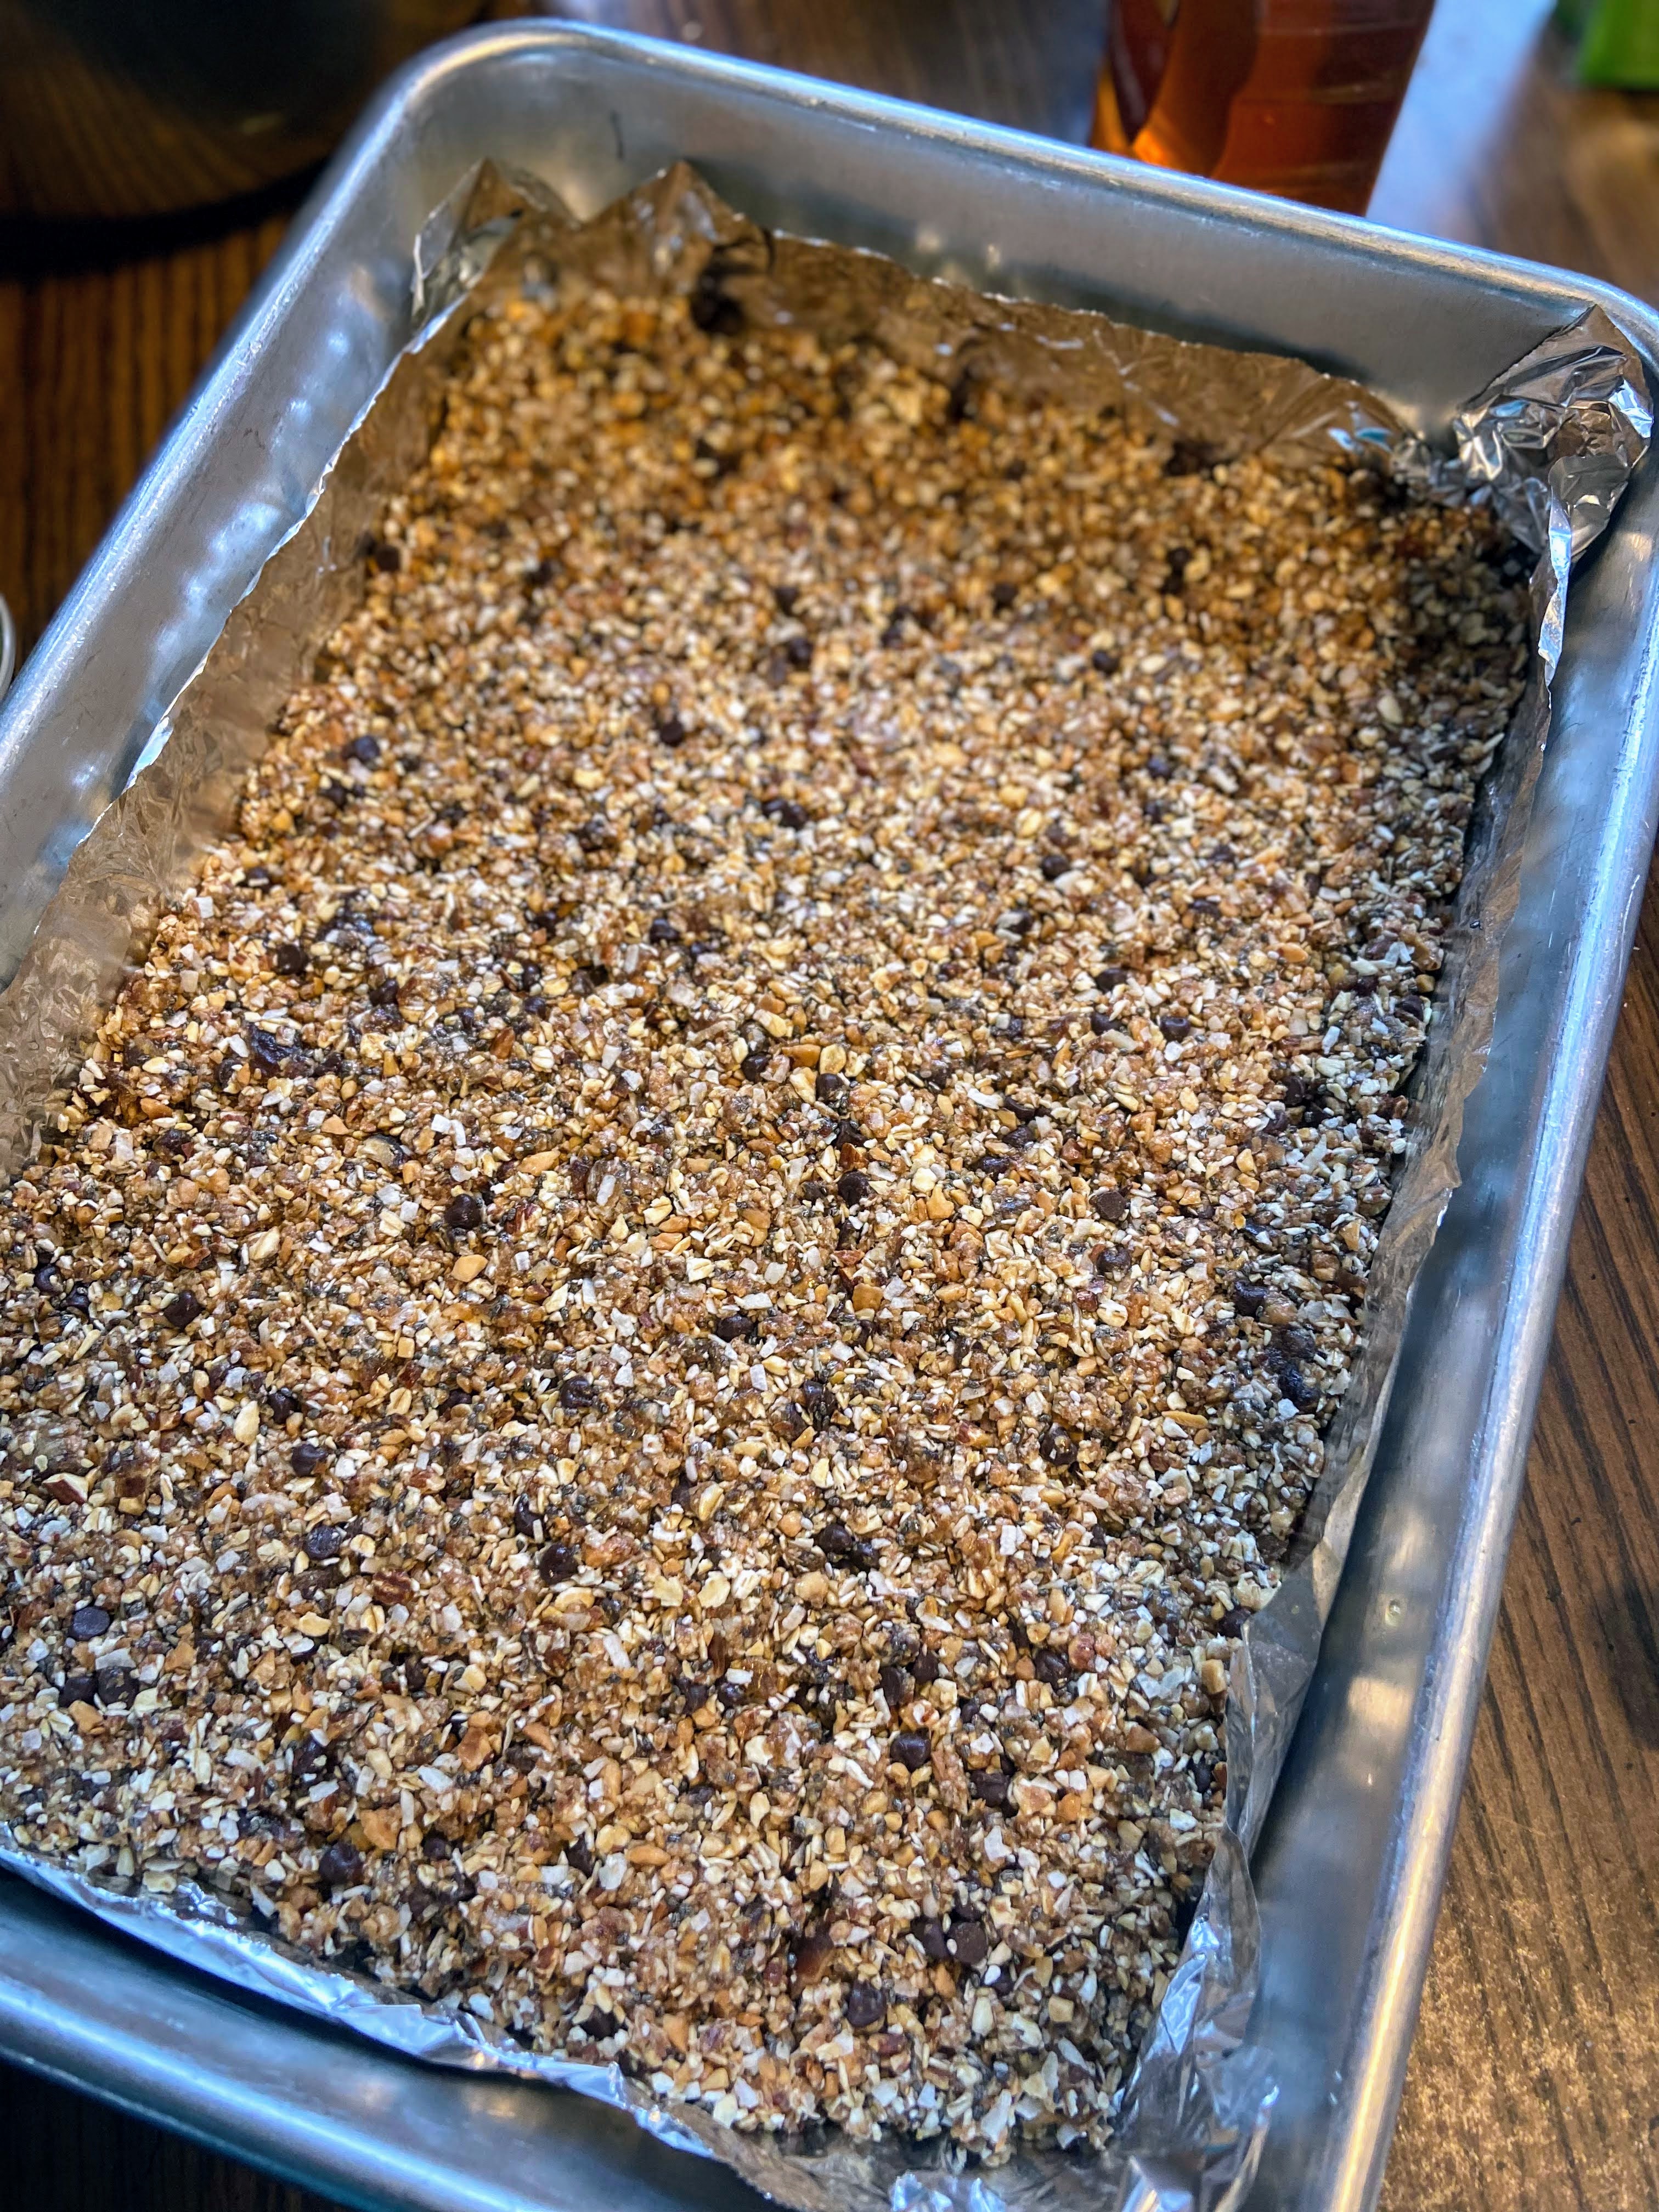
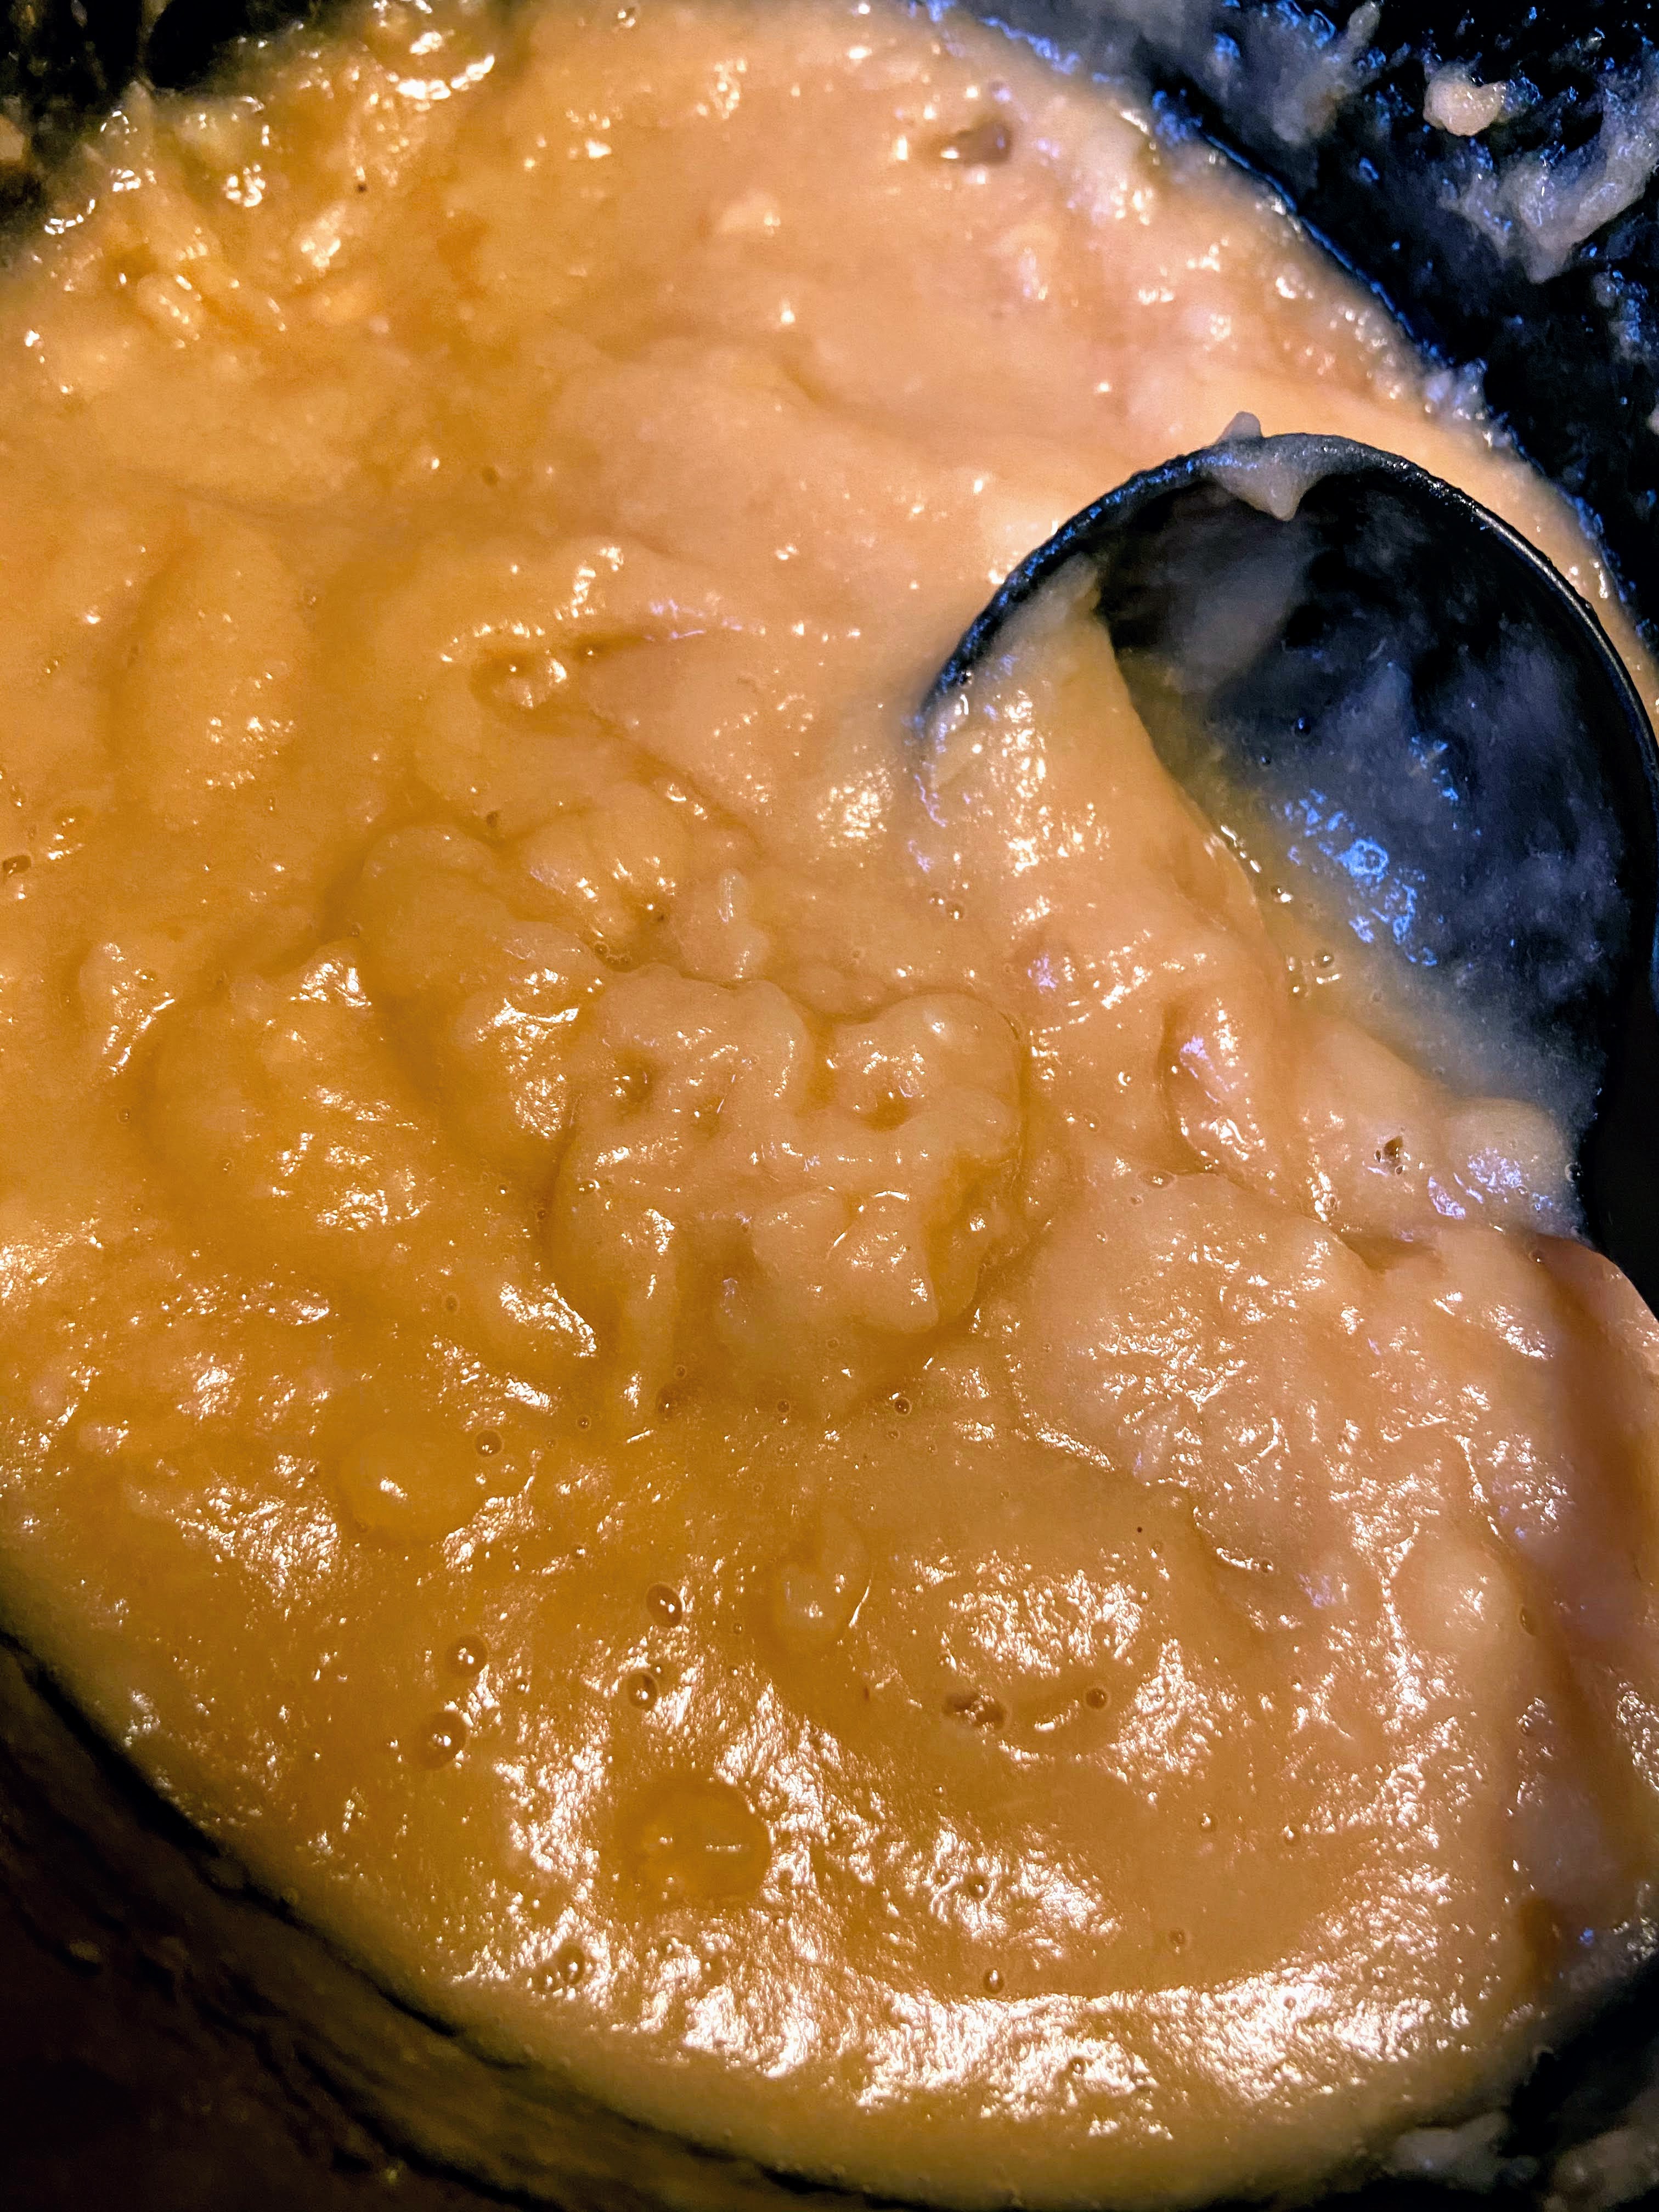
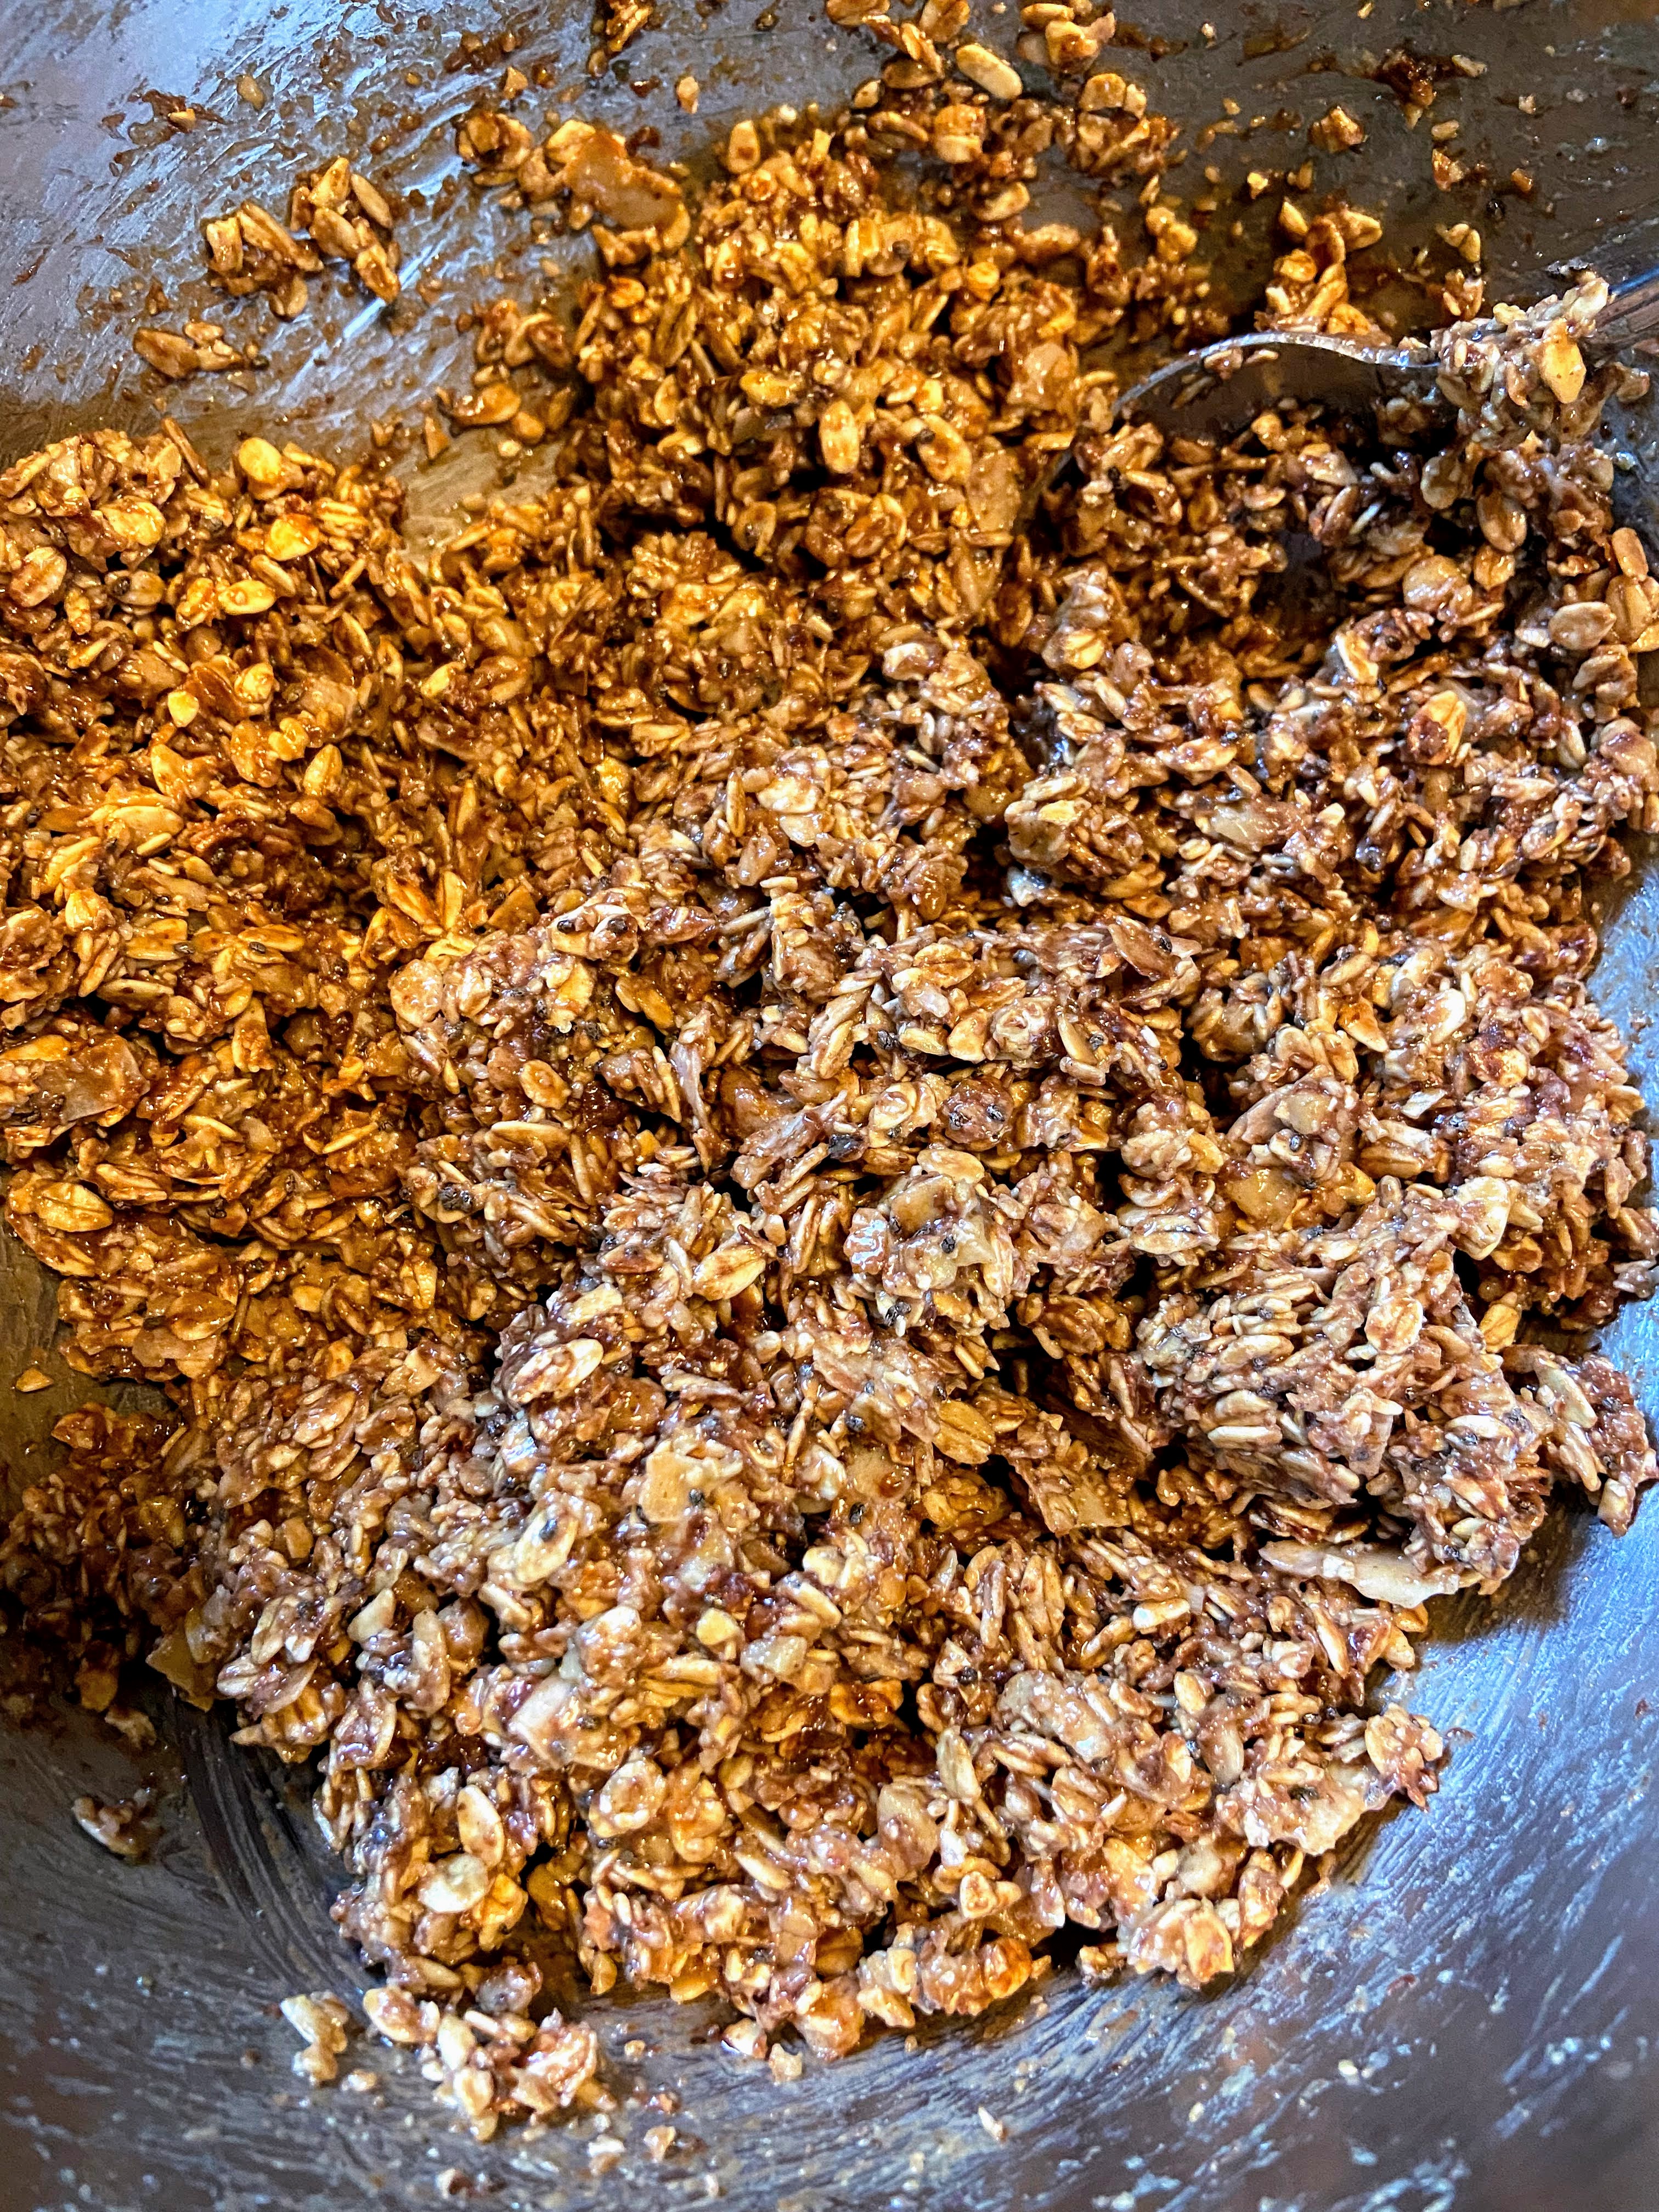
Preheat the oven to 350 degrees and prepare a 9-inch loaf pan with non-stick cooking spray. In a medium bowl, combine oil, syrup, vanilla, and eggs. In a separate bowl, combine the baking soda, salt, baking powder, flours, and cocoa powder. Stir into the wet ingredients until just combined.
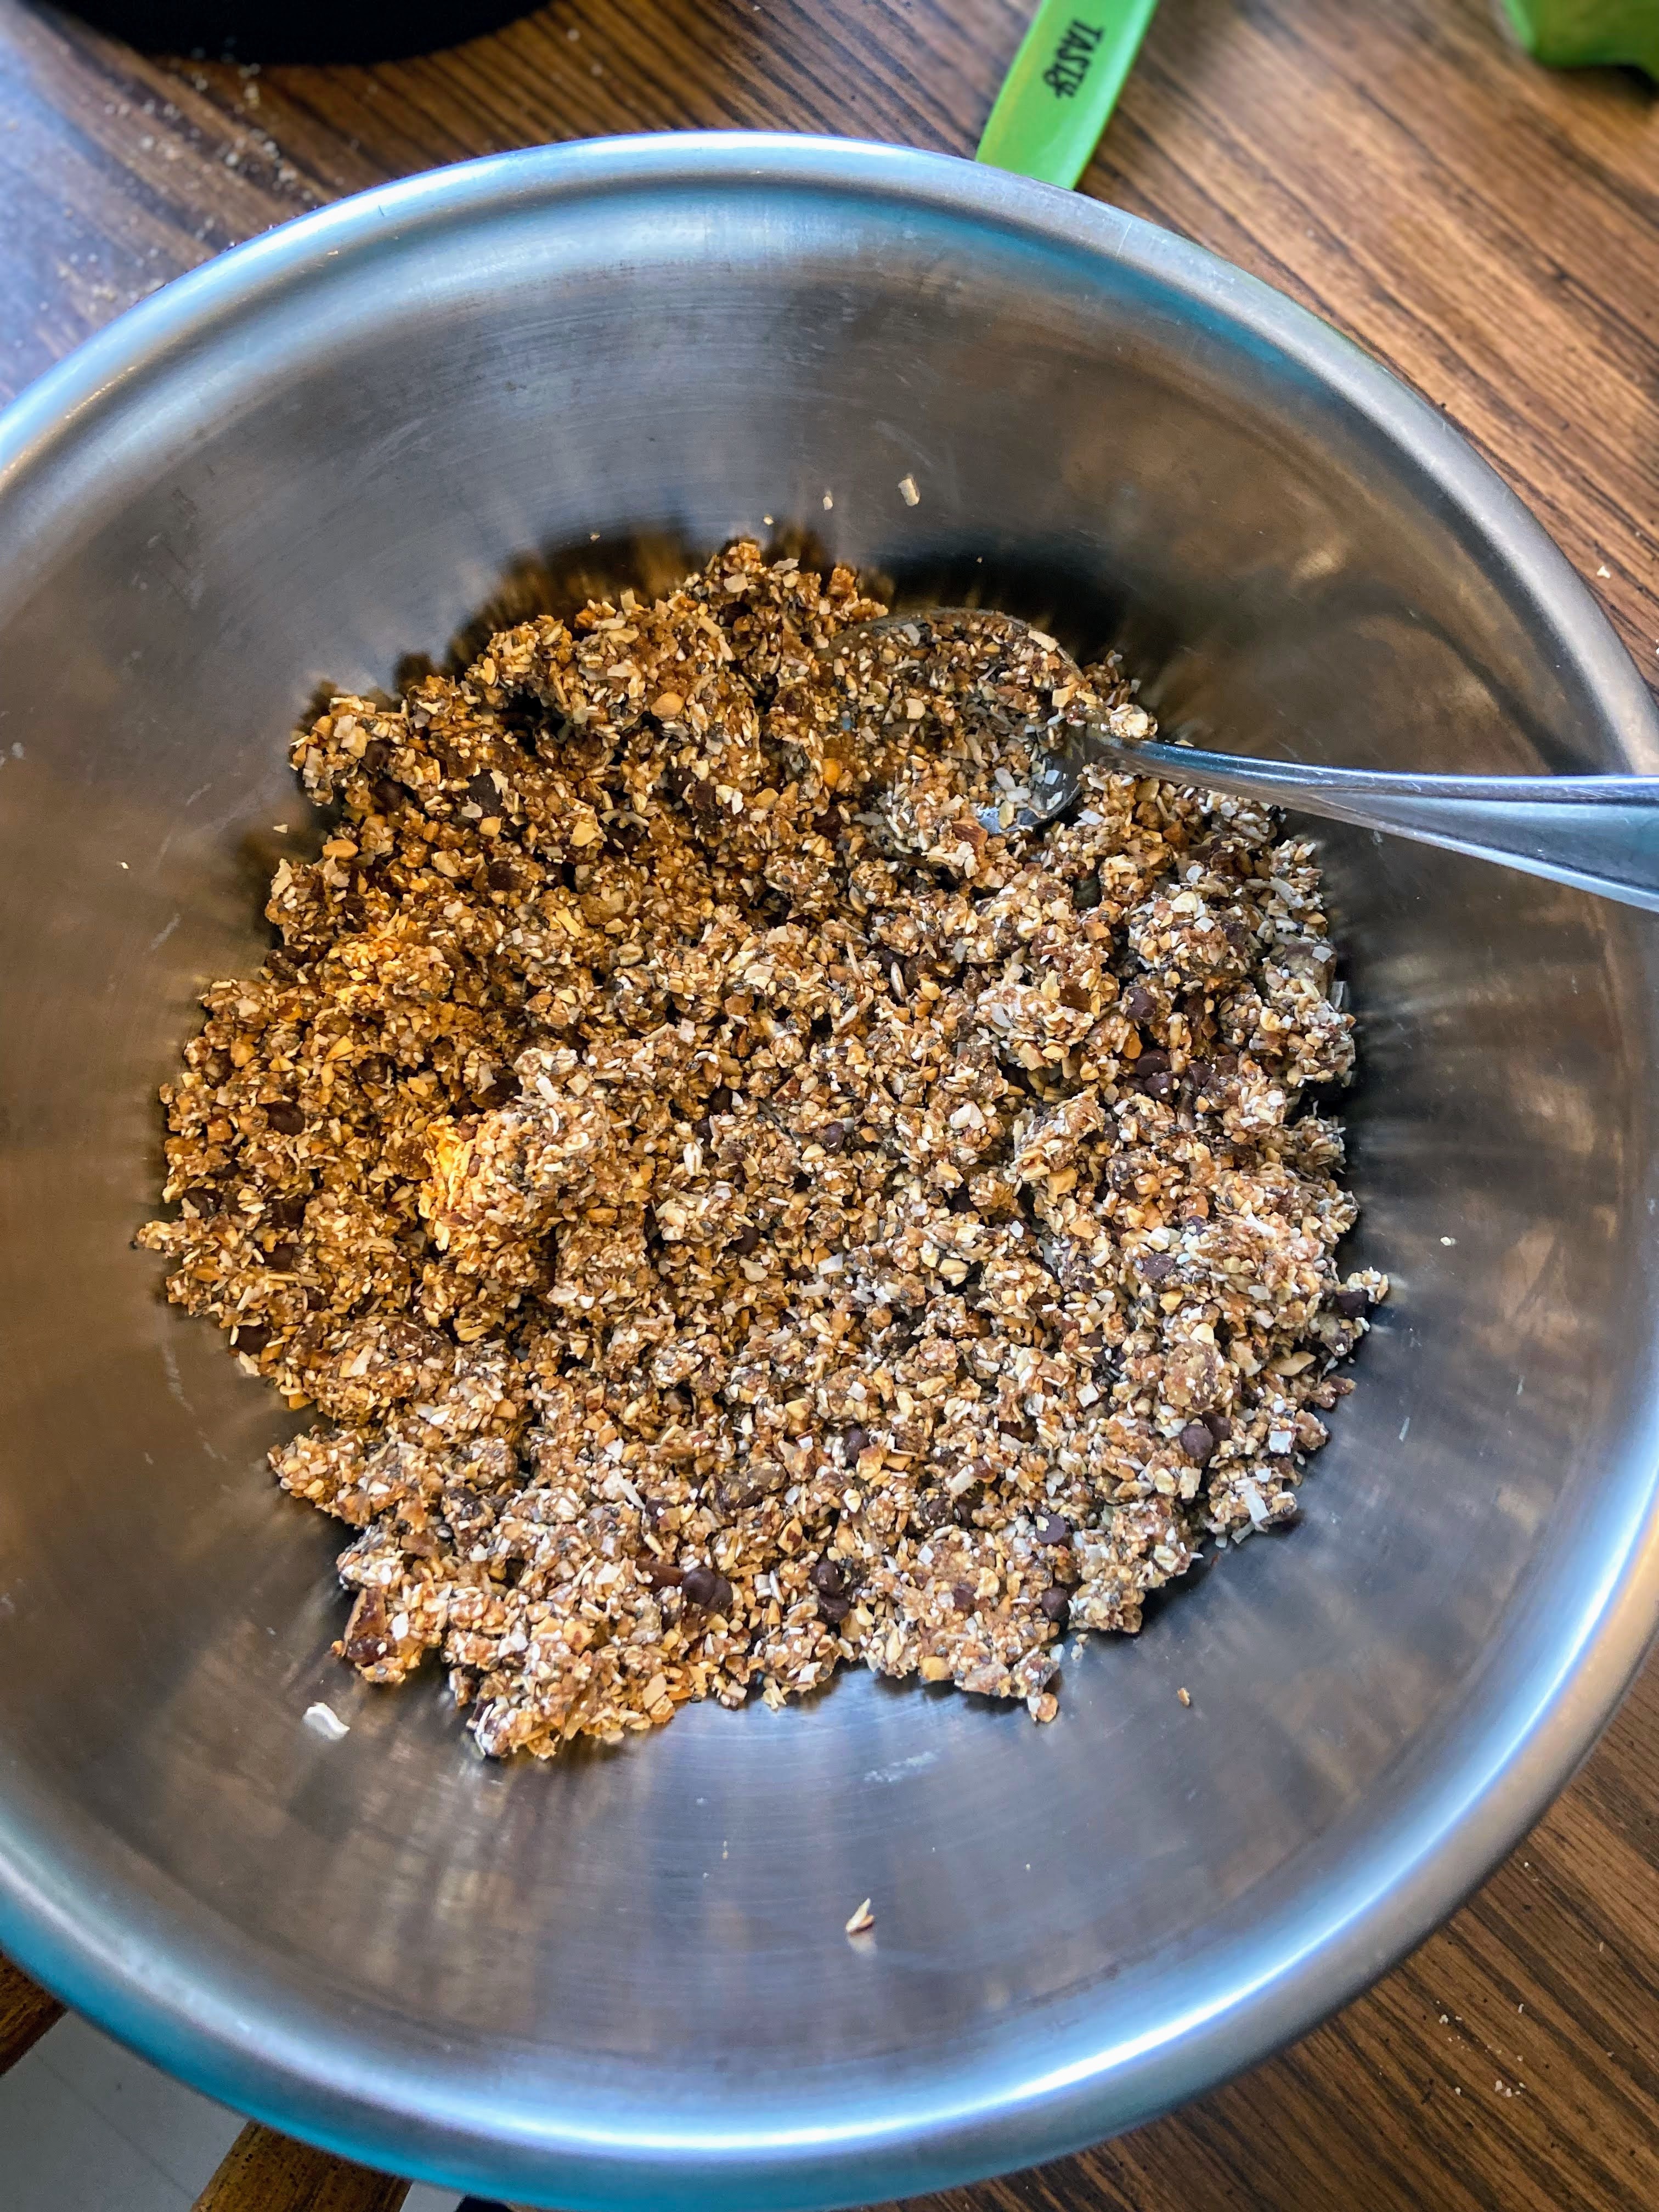
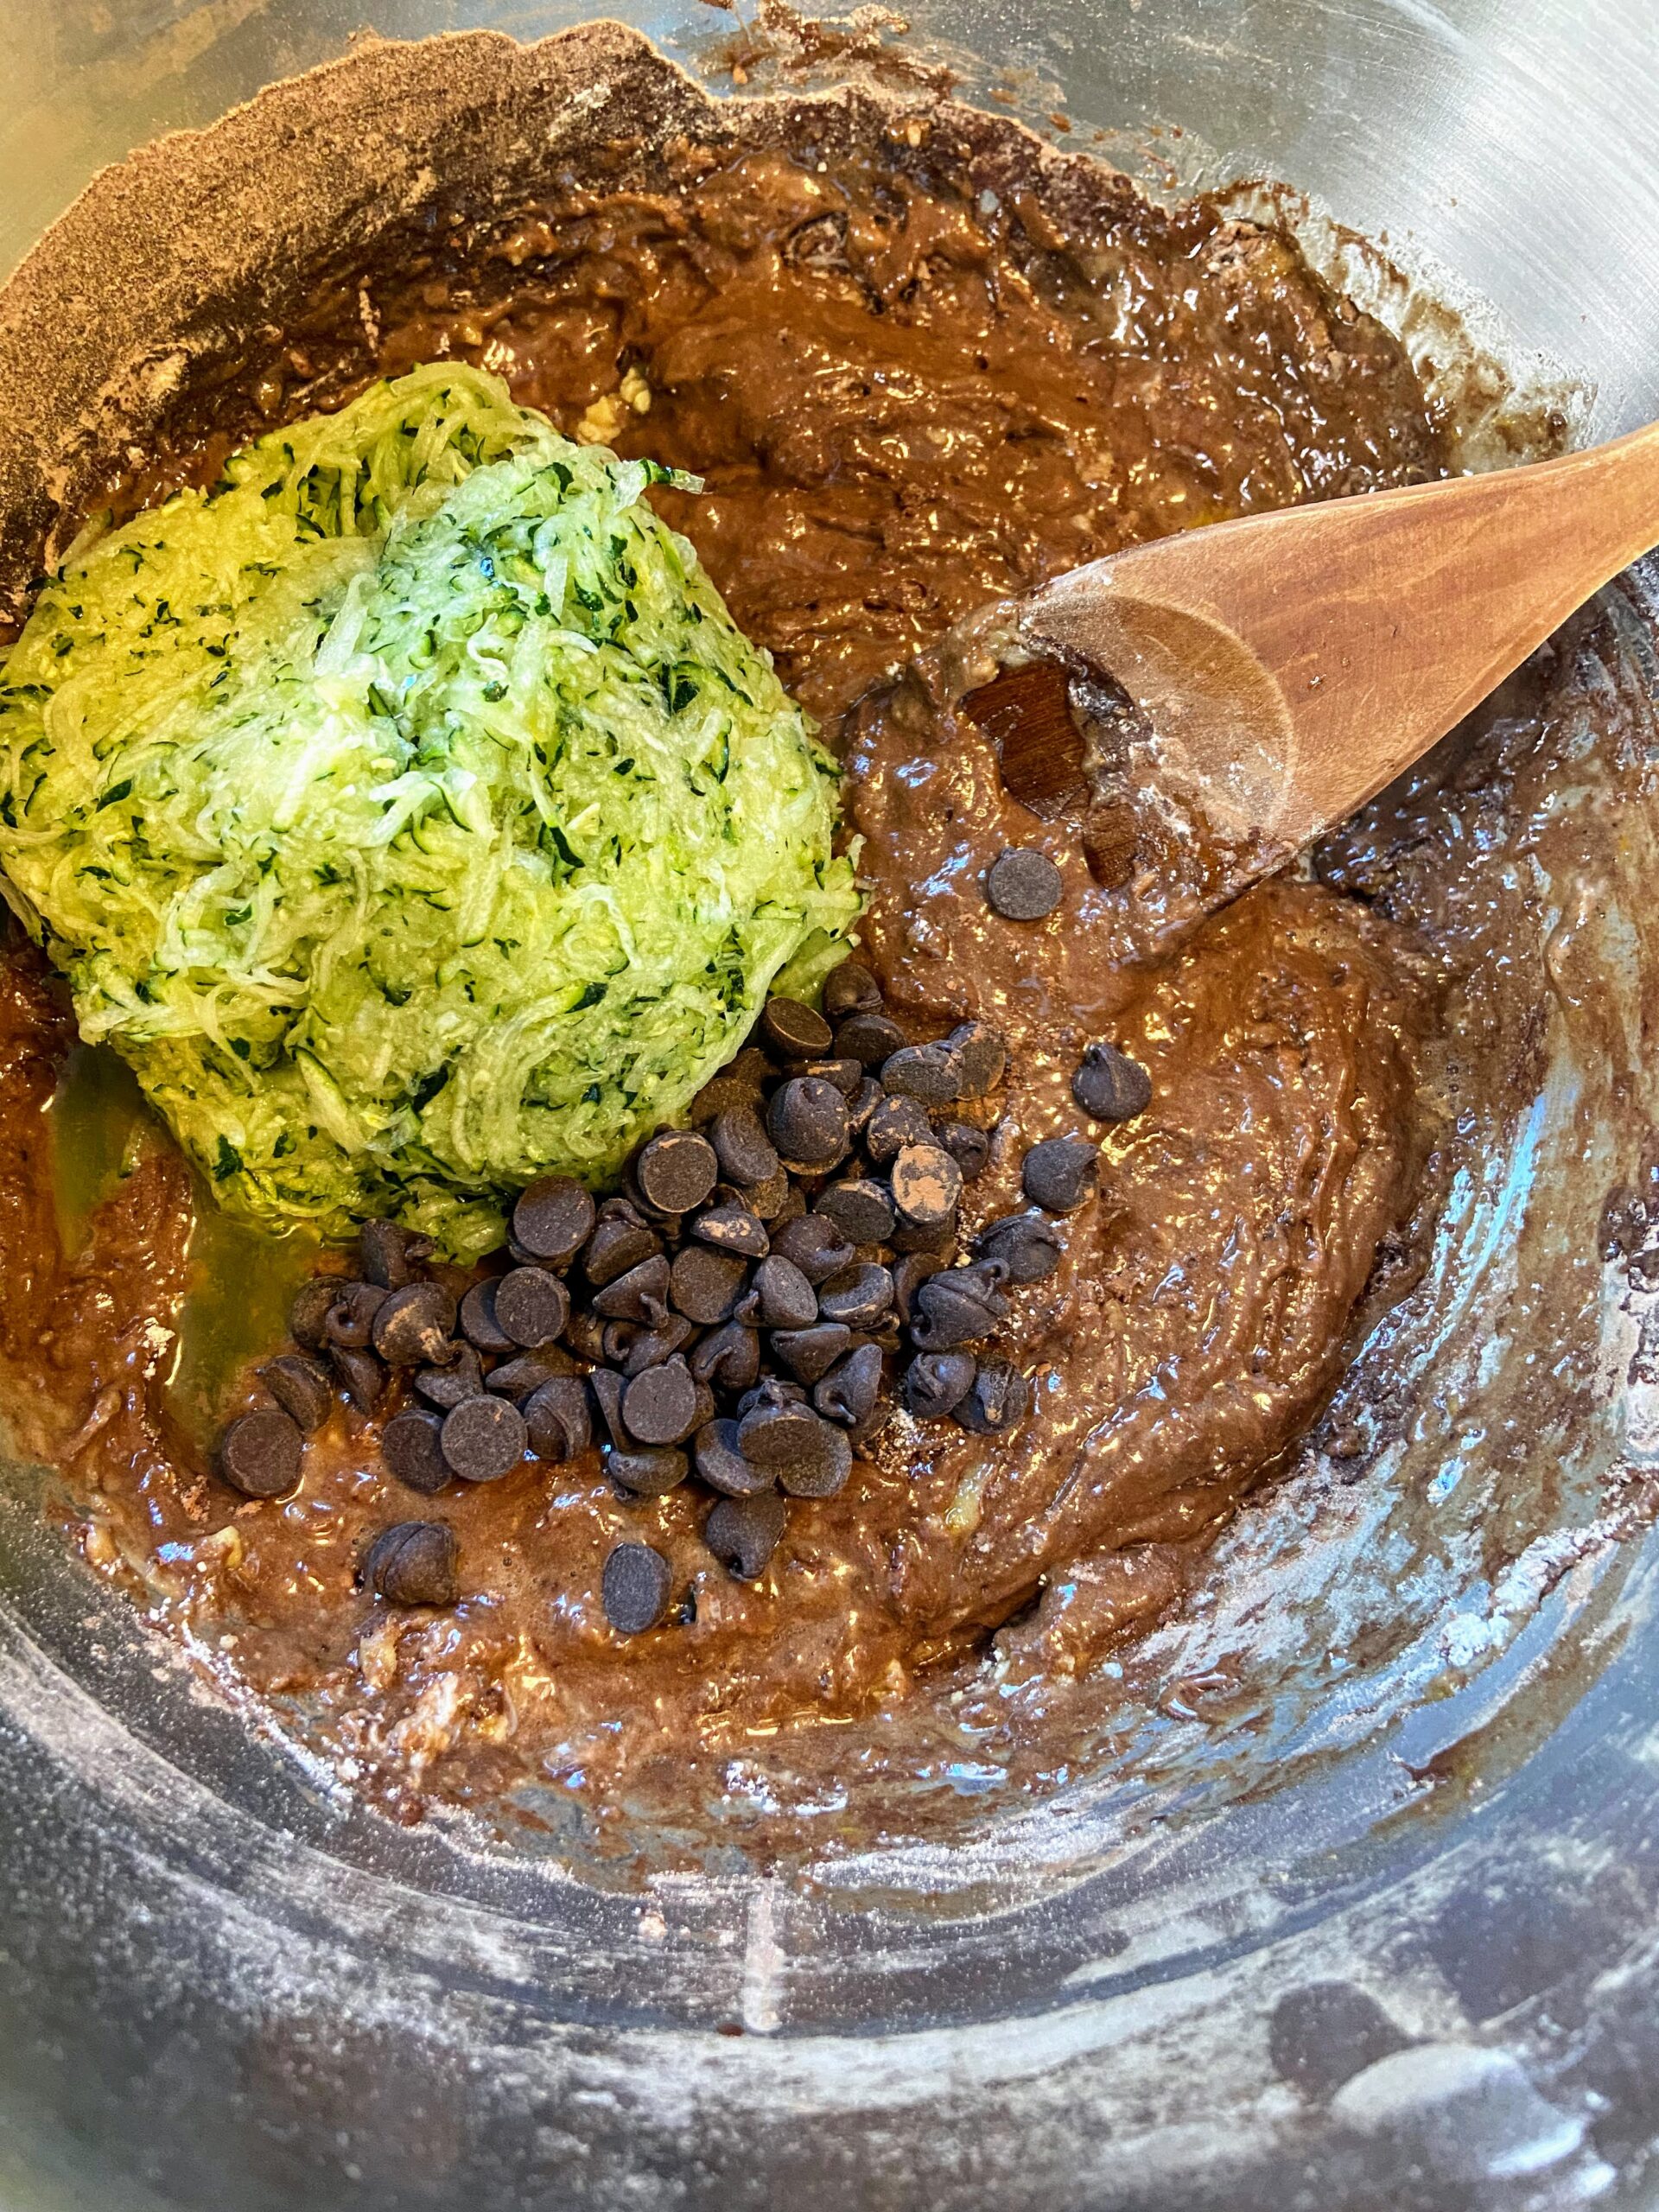
Add zucchini, chocolate chips, and nuts, if using. Fold into batter.
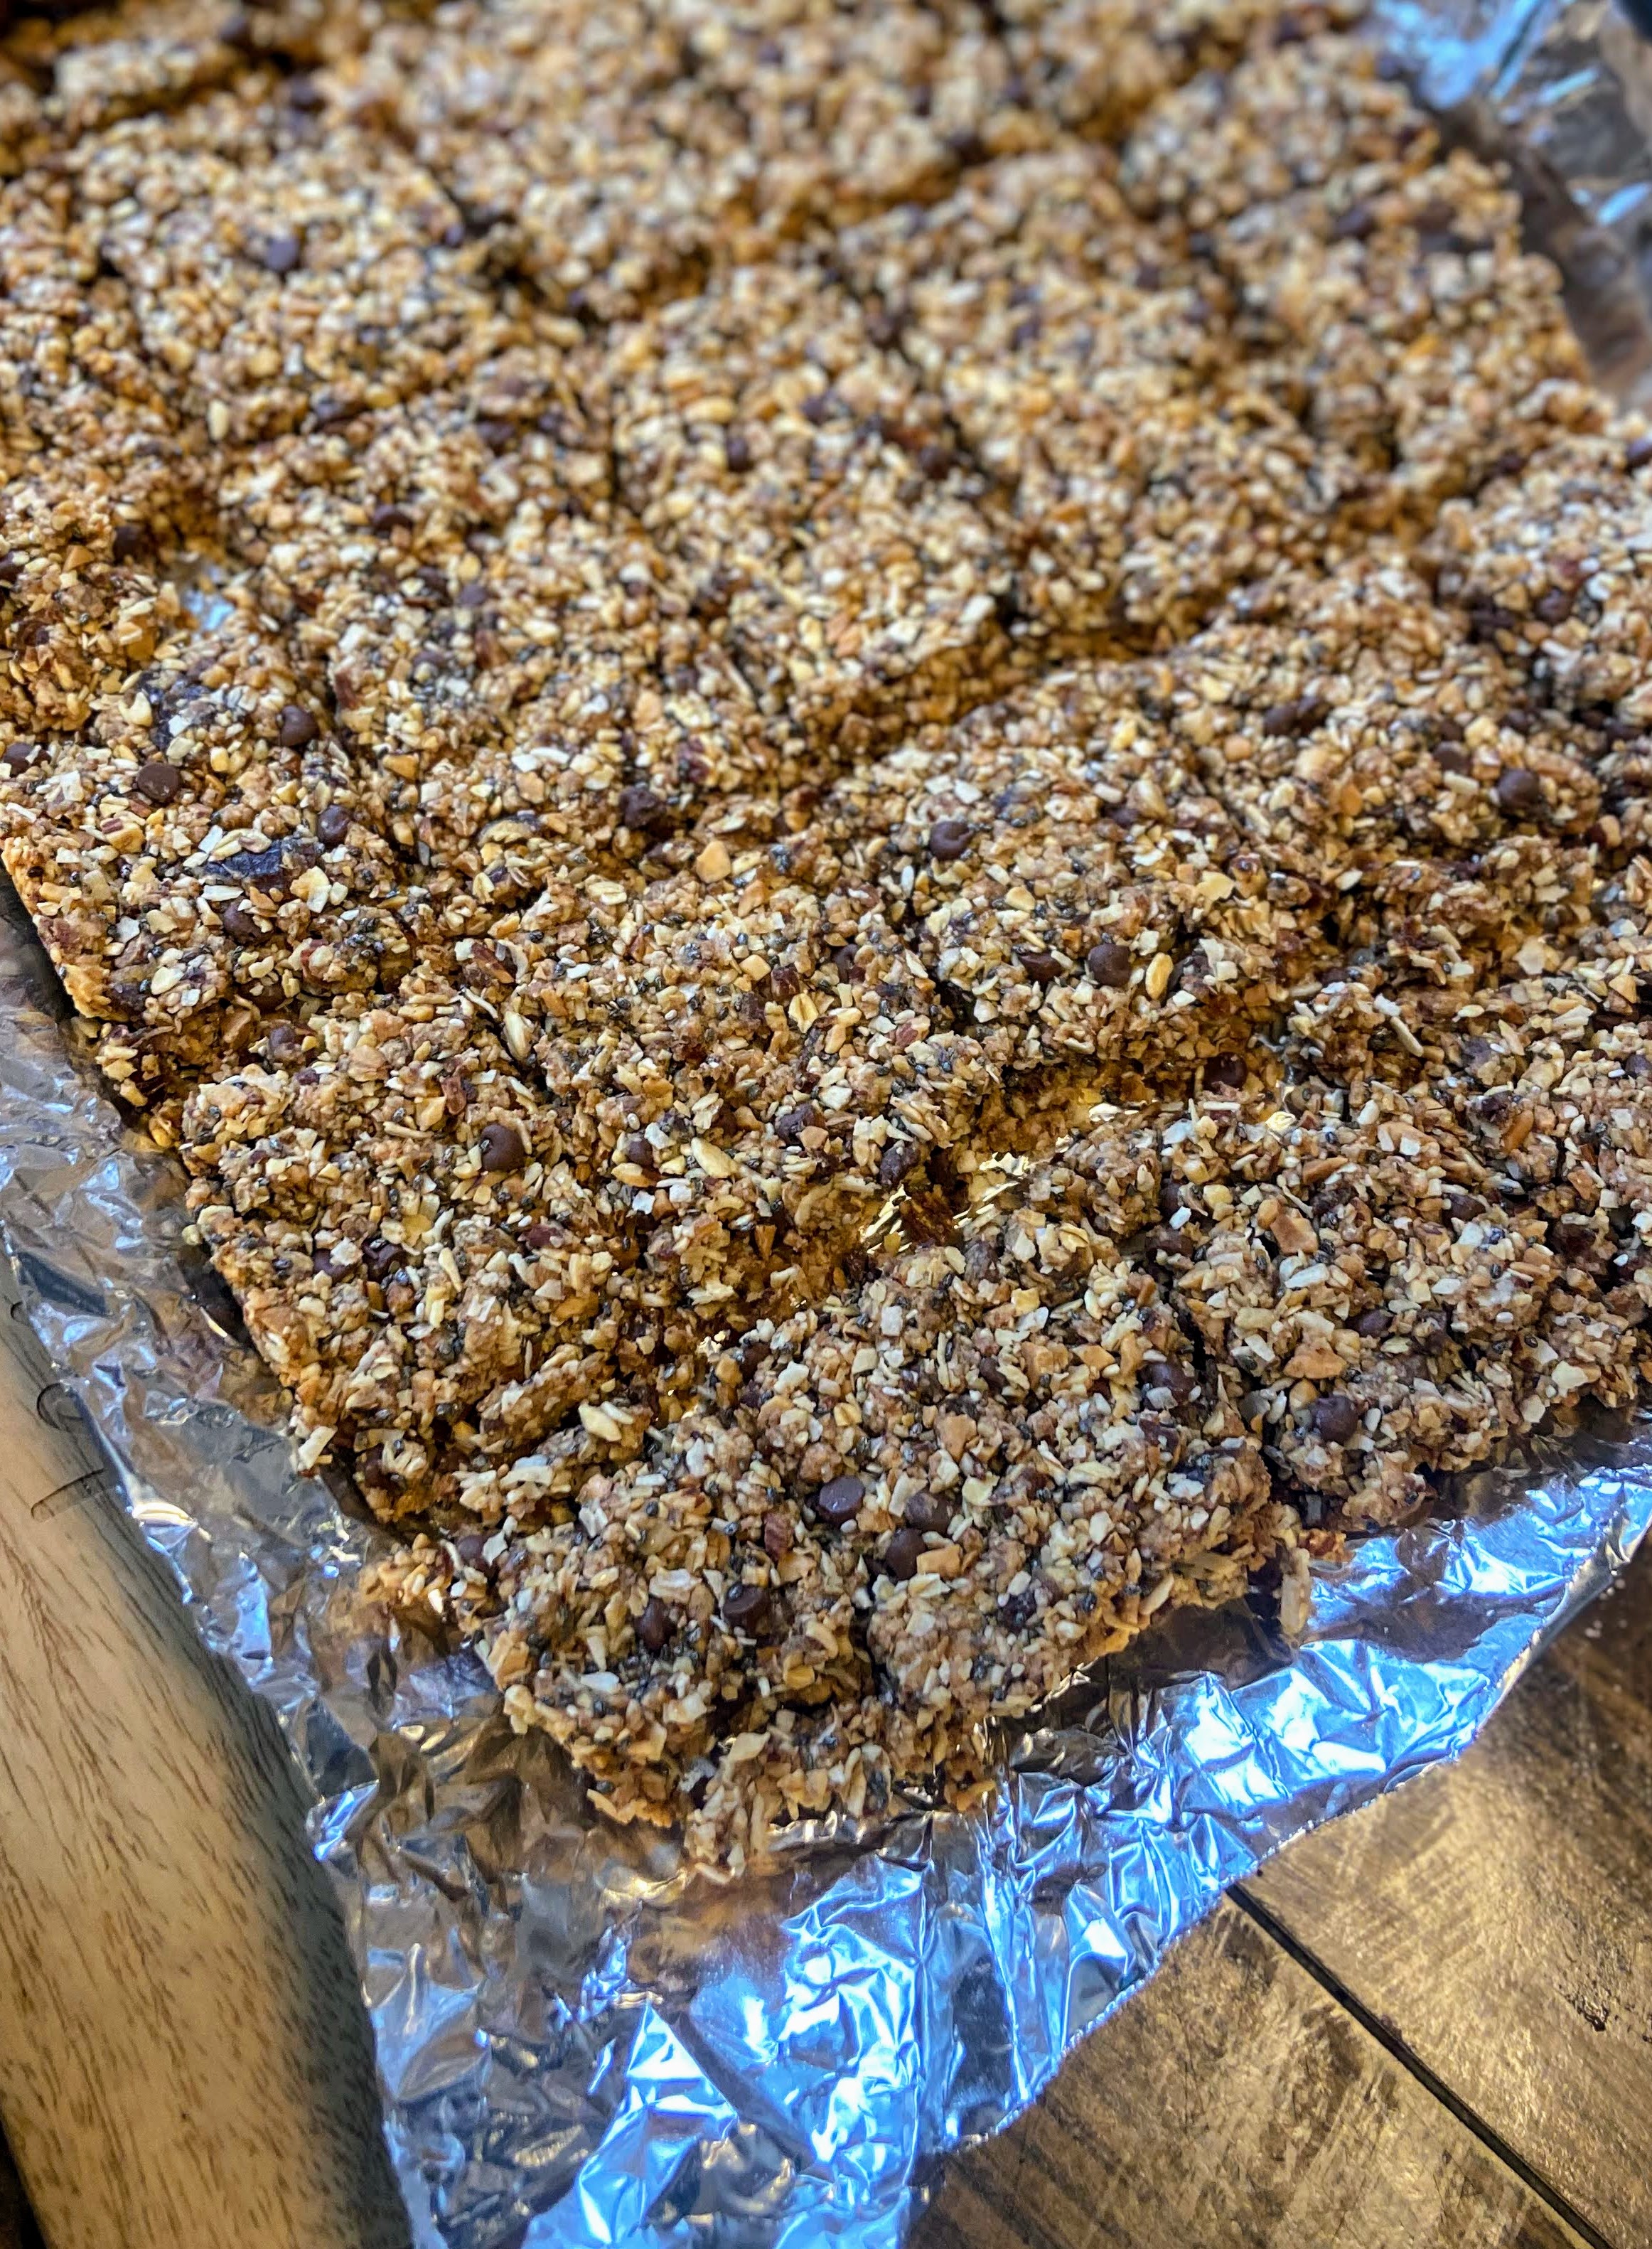
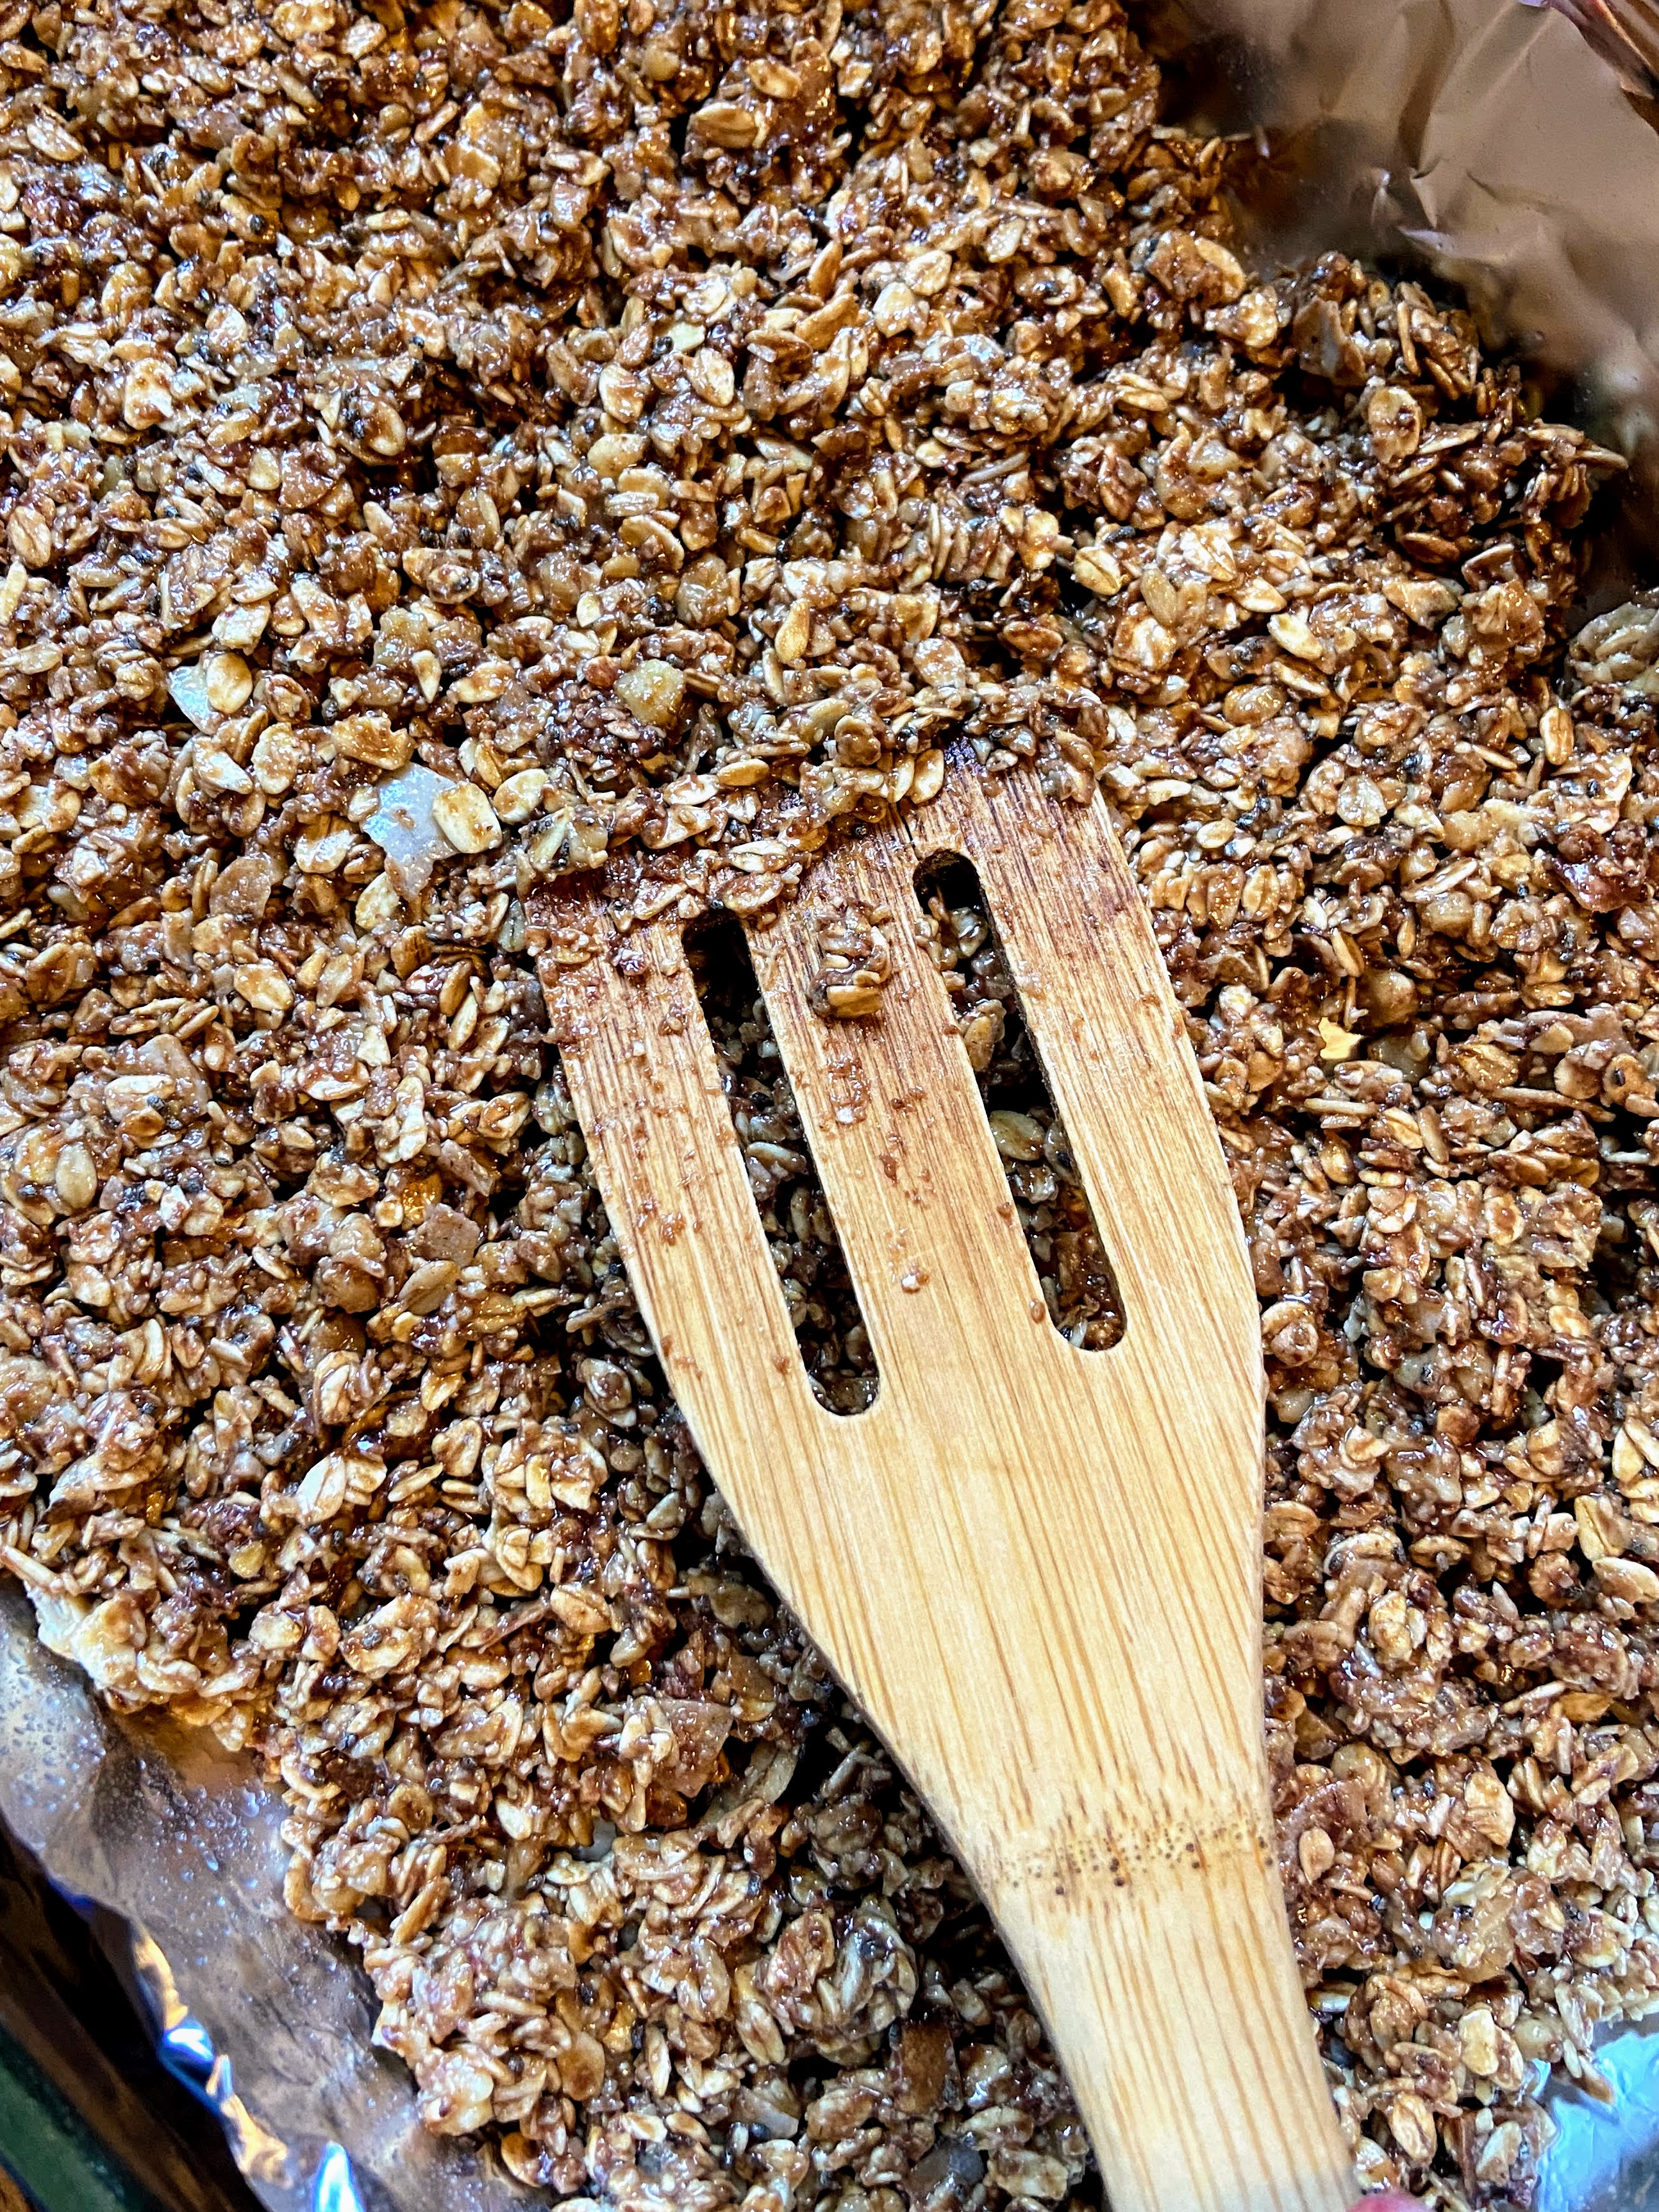
Pour into prepared loaf pan and bake for 50-60 min, until a toothpick inserted in the center comes out clean with no raw batter.


Chocolate Zucchini Bread
Ingredients
- ¼ cup olive oil or melted coconut oil
- ½ cup maple syrup
- ½ tablespoon vanilla
- 2 eggs
- 1 teaspoon baking soda
- ¾ teaspoon salt
- ½ teaspoon baking powder
- 1 cup whole wheat flour
- ½ cup all-purpose flour
- ¼ cup cocoa powder
- ¼-½ cup chocolate chips
- 2 cups shredded zucchini water squeezed out
- ½ cup chopped nuts optional
Instructions
- Preheat the oven to 350 degrees and prepare a 9-inch loaf pan with non-stick cooking spray.
- In a medium bowl, combine oil, syrup, vanilla, and eggs. In a separate bowl, combine the baking soda, salt, baking powder, flours, and cocoa powder.
- Stir into the wet ingredients until just combined.
- Add zucchini, chocolate chips, and nuts, if using. Fold into batter.
- Pour into prepared loaf pan and bake for 50-60, until a toothpick inserted in the center comes out clean with no raw batter.
Notes
Looking for other great recipes?
Check out a few suggestions below! Or feel free to head to my baking or cooking pages for all sorts of inspiration!