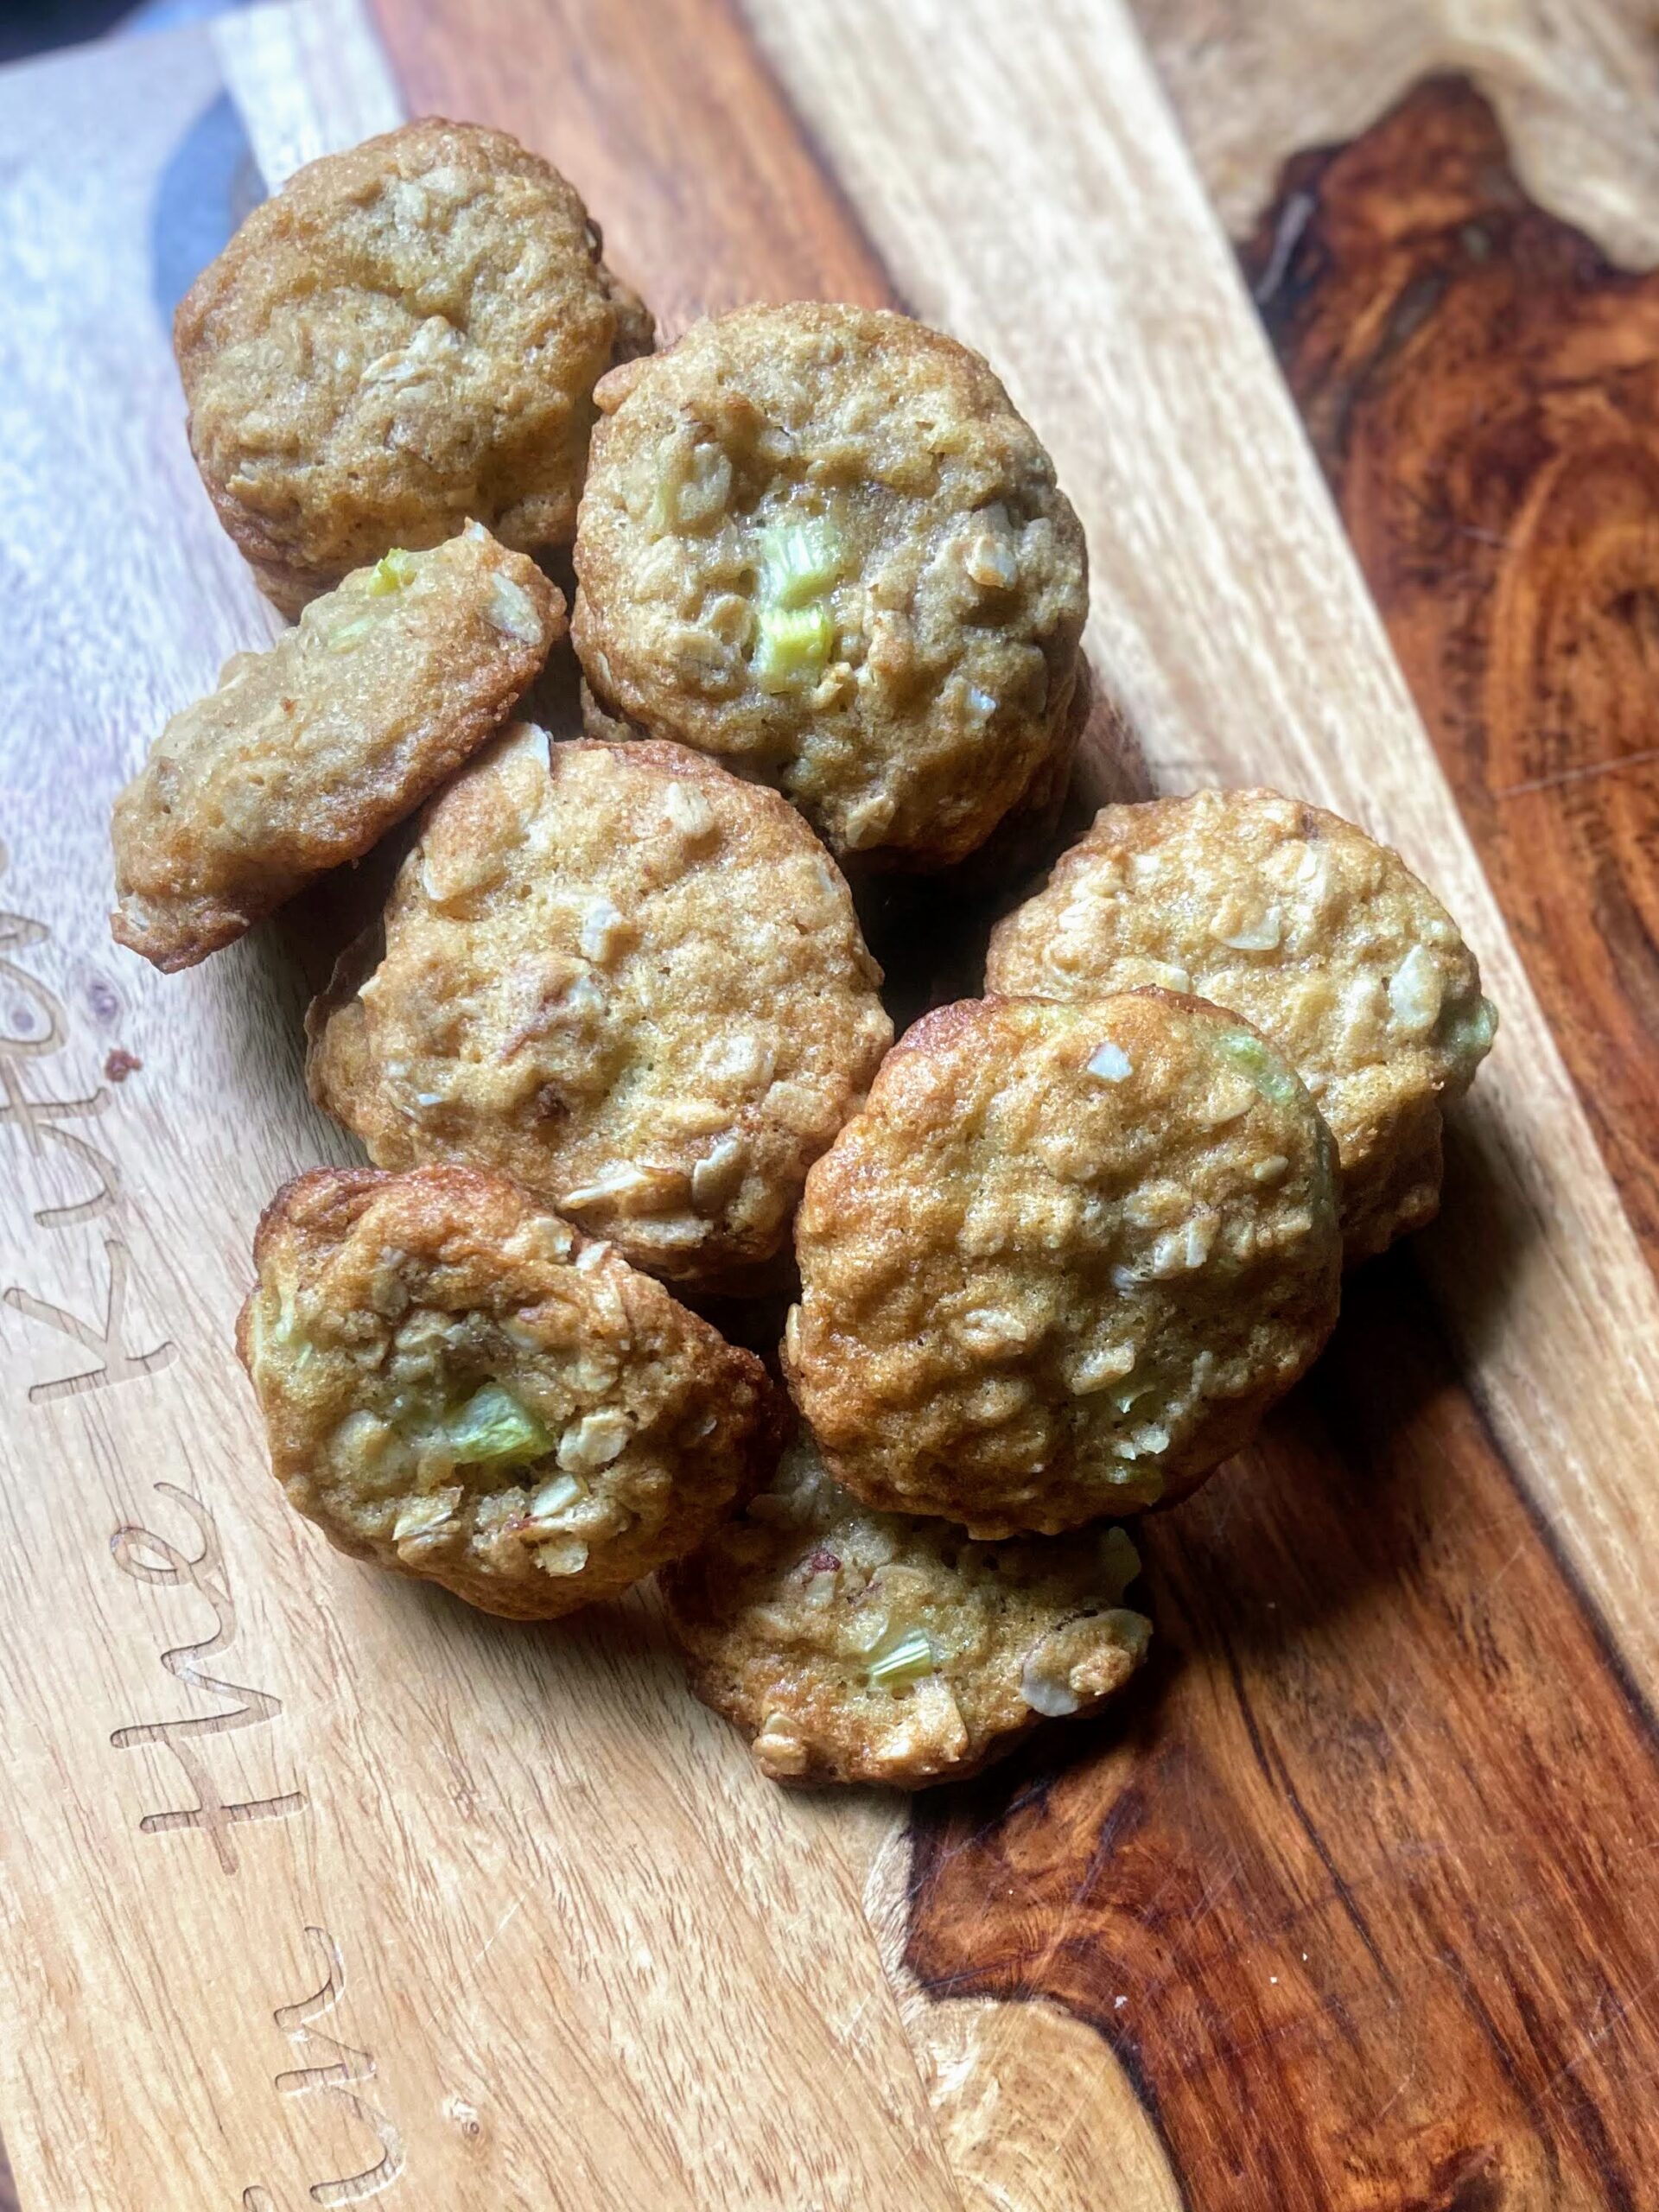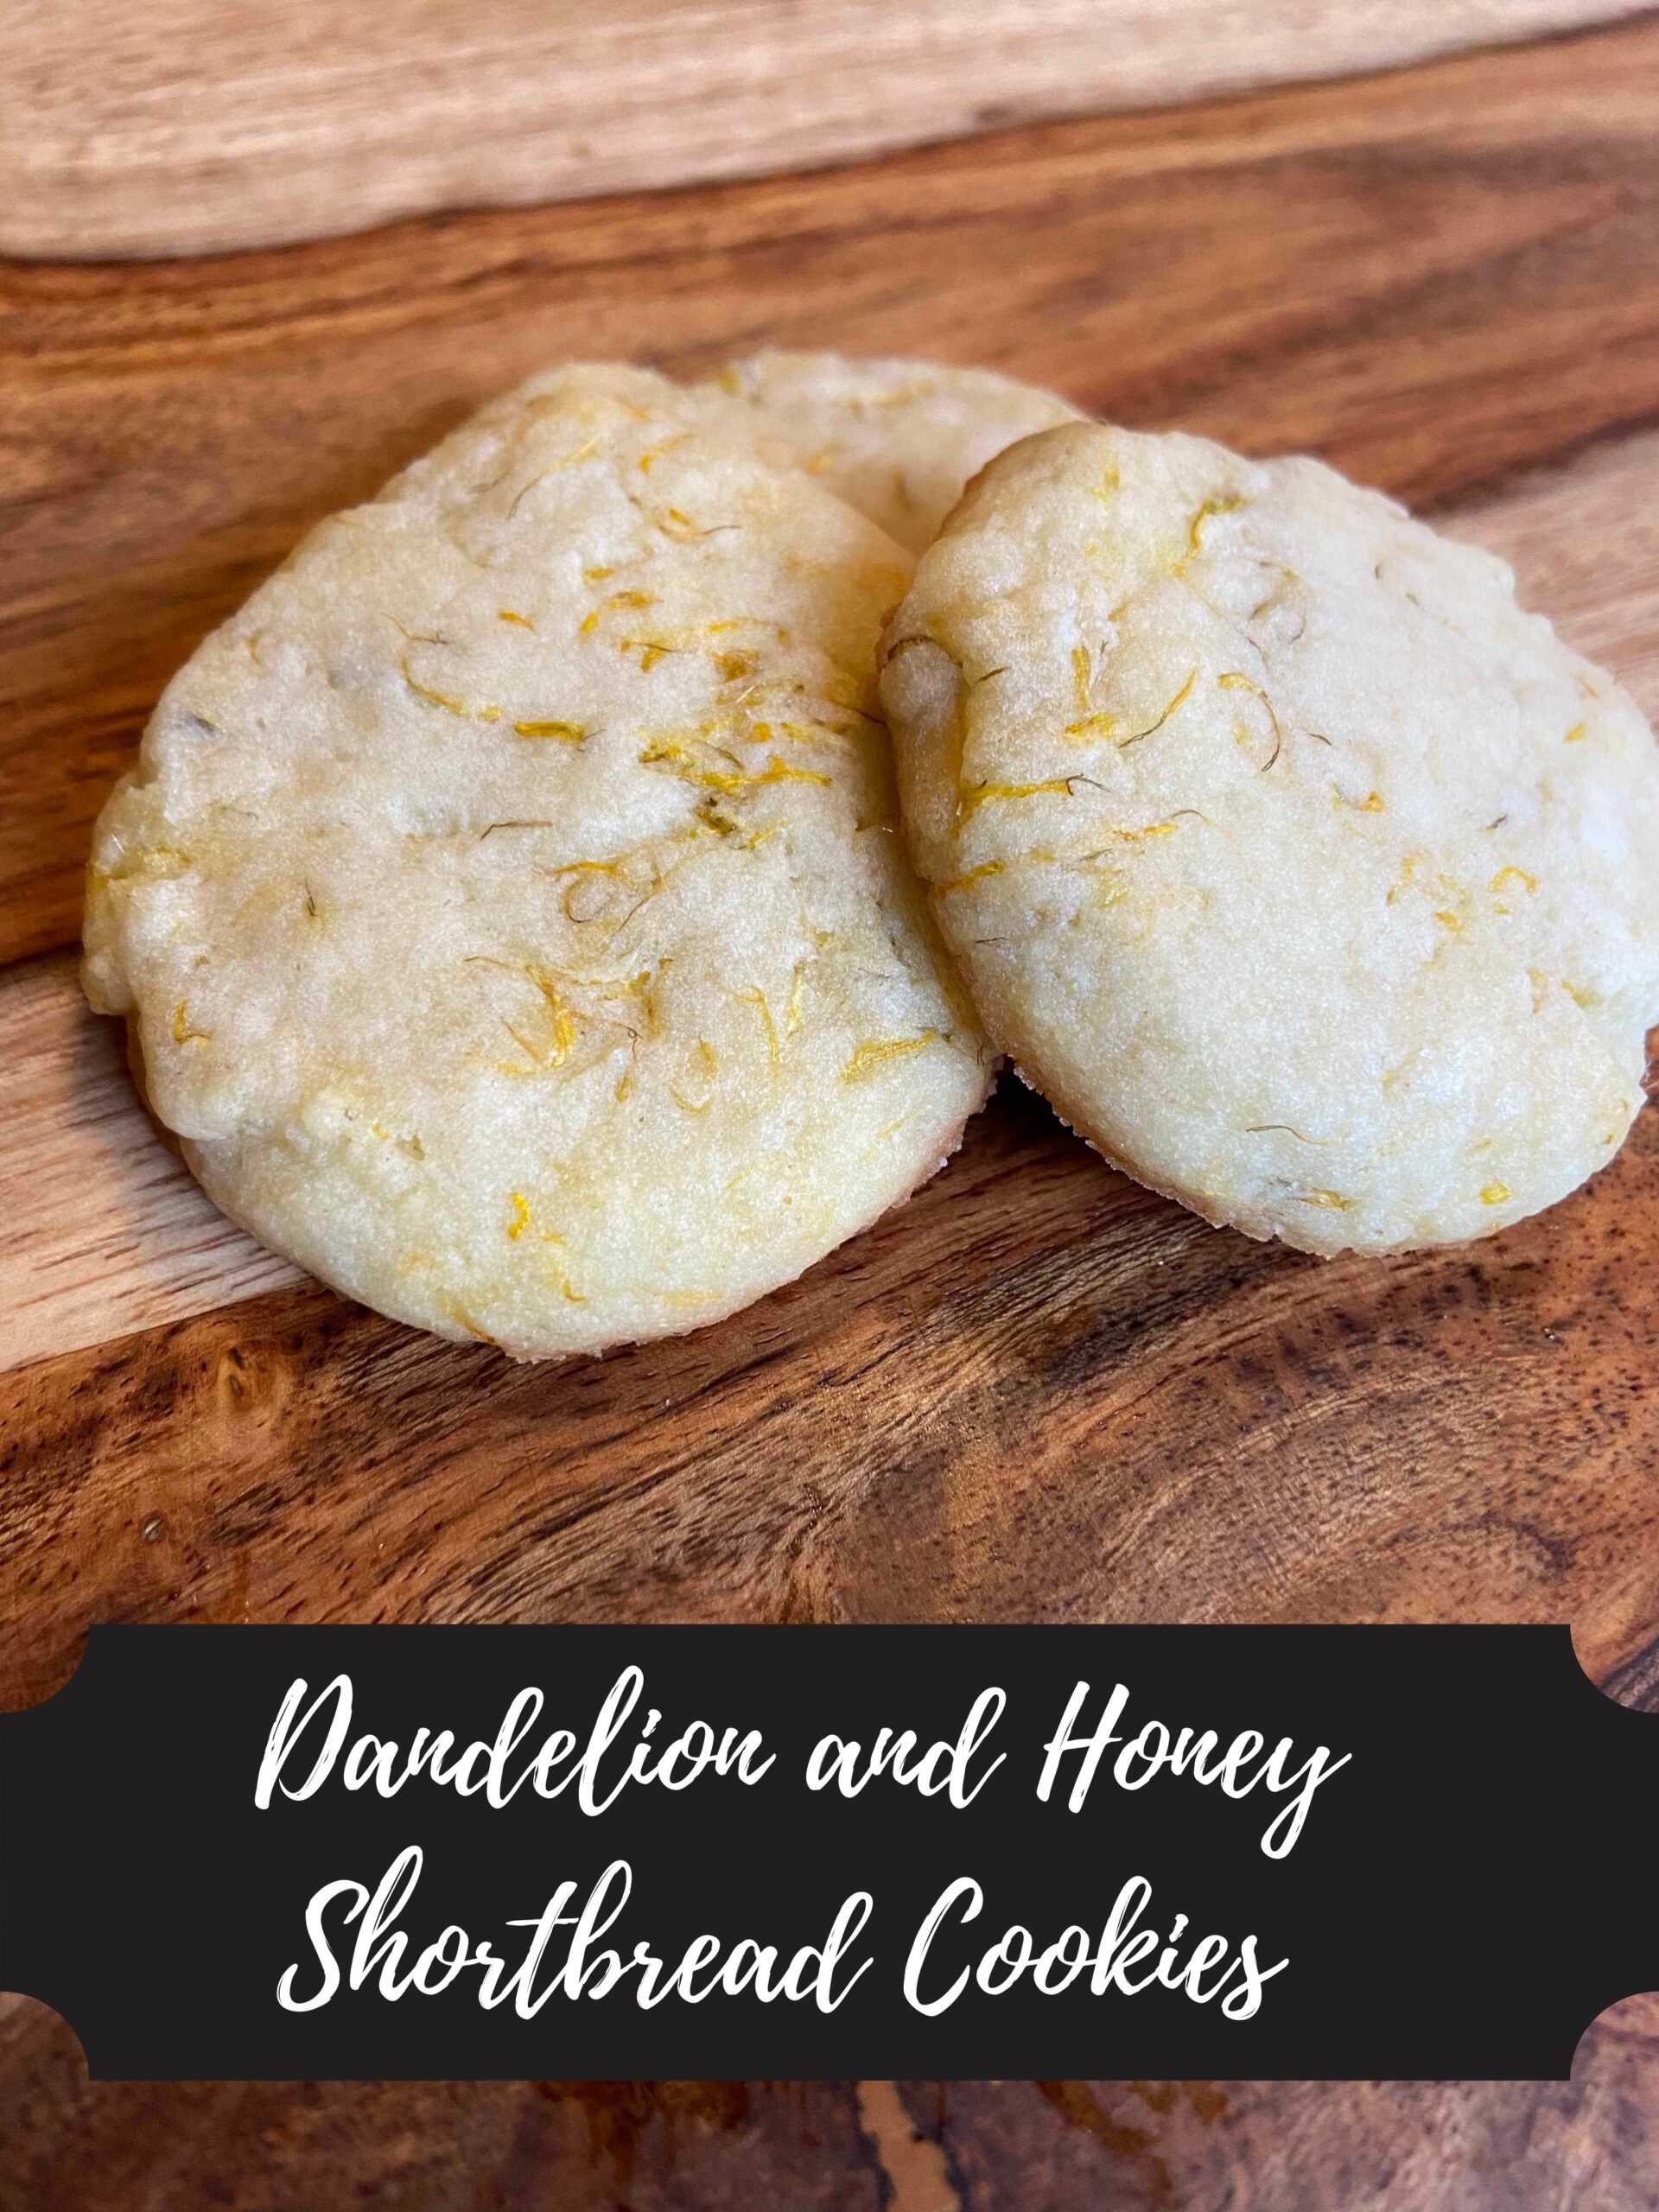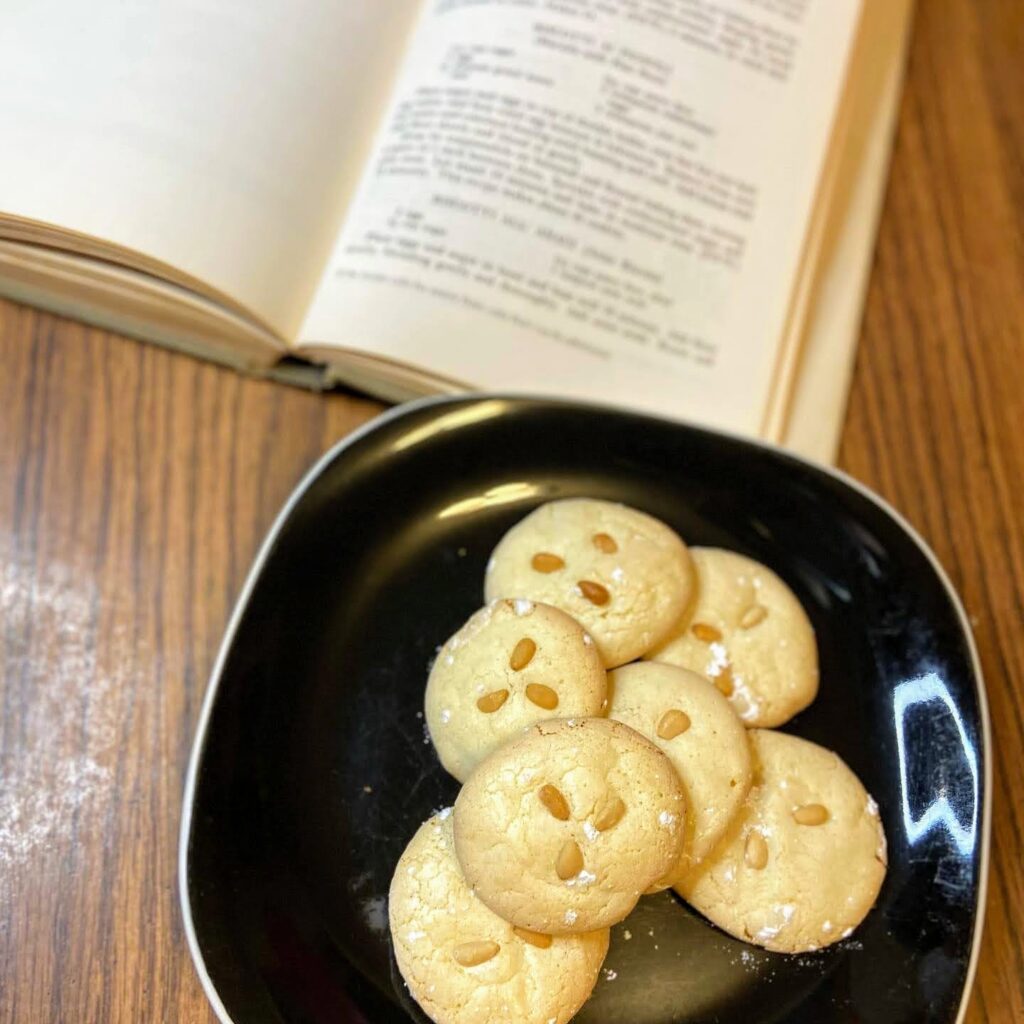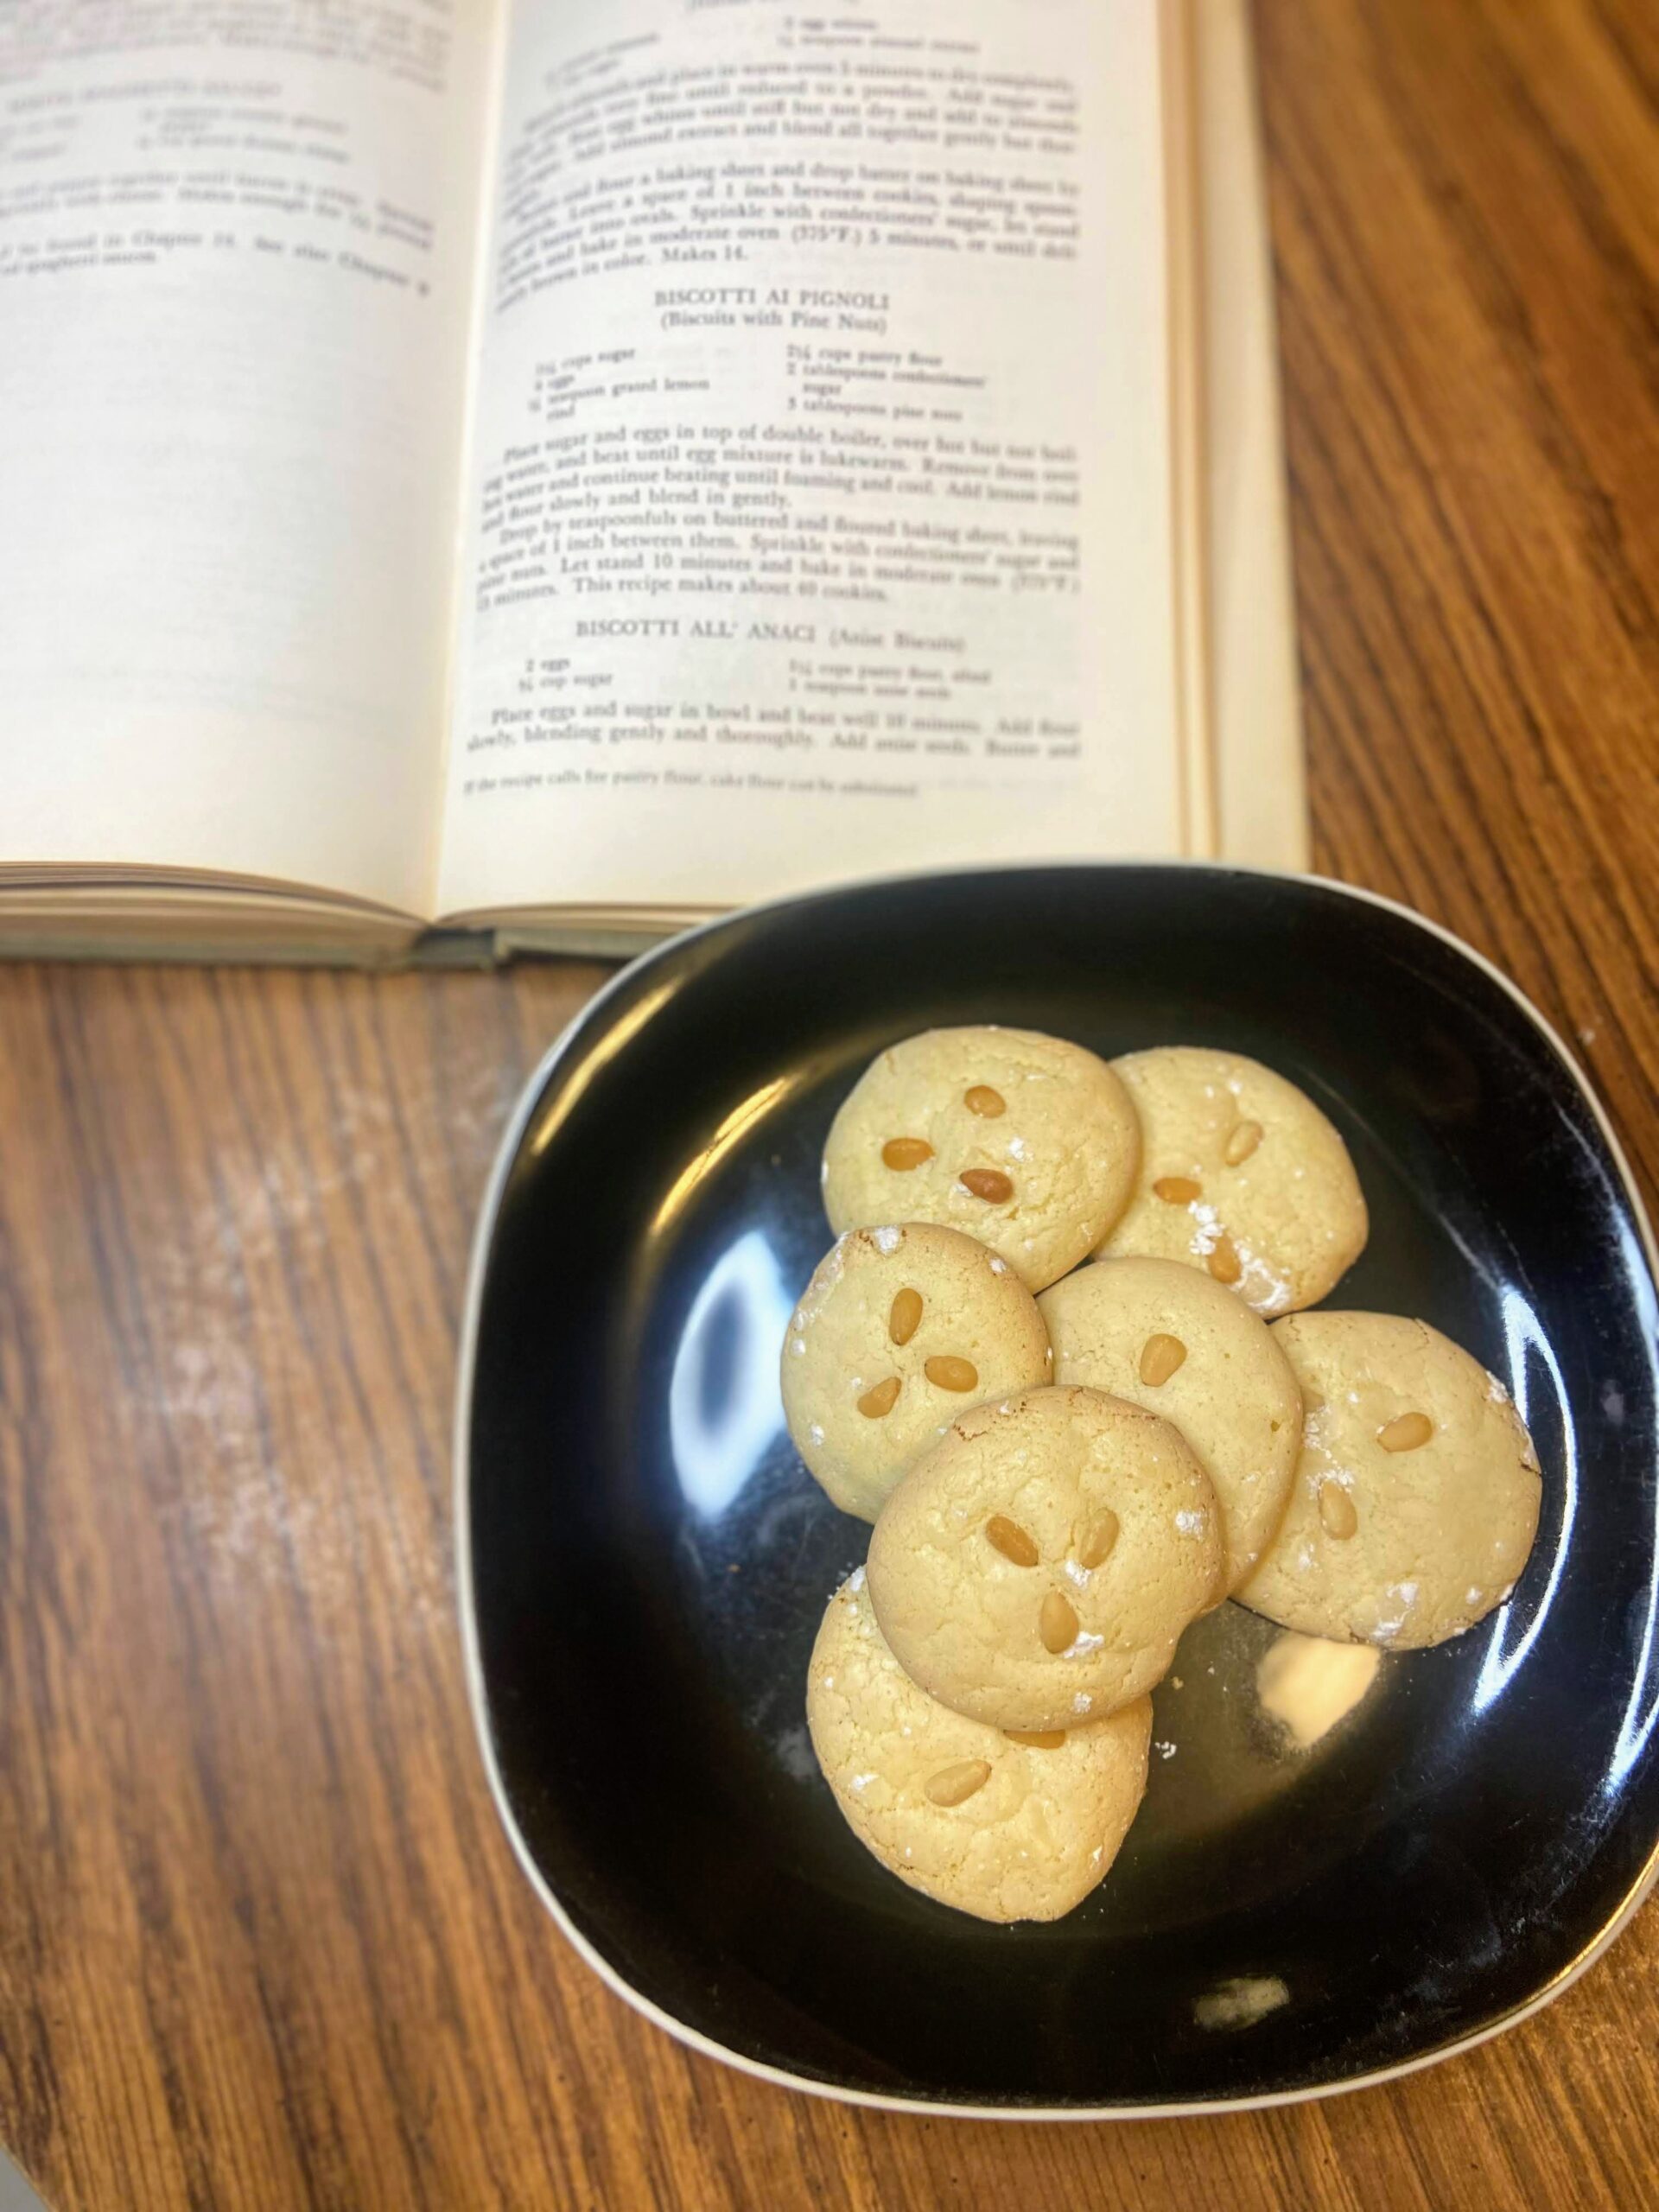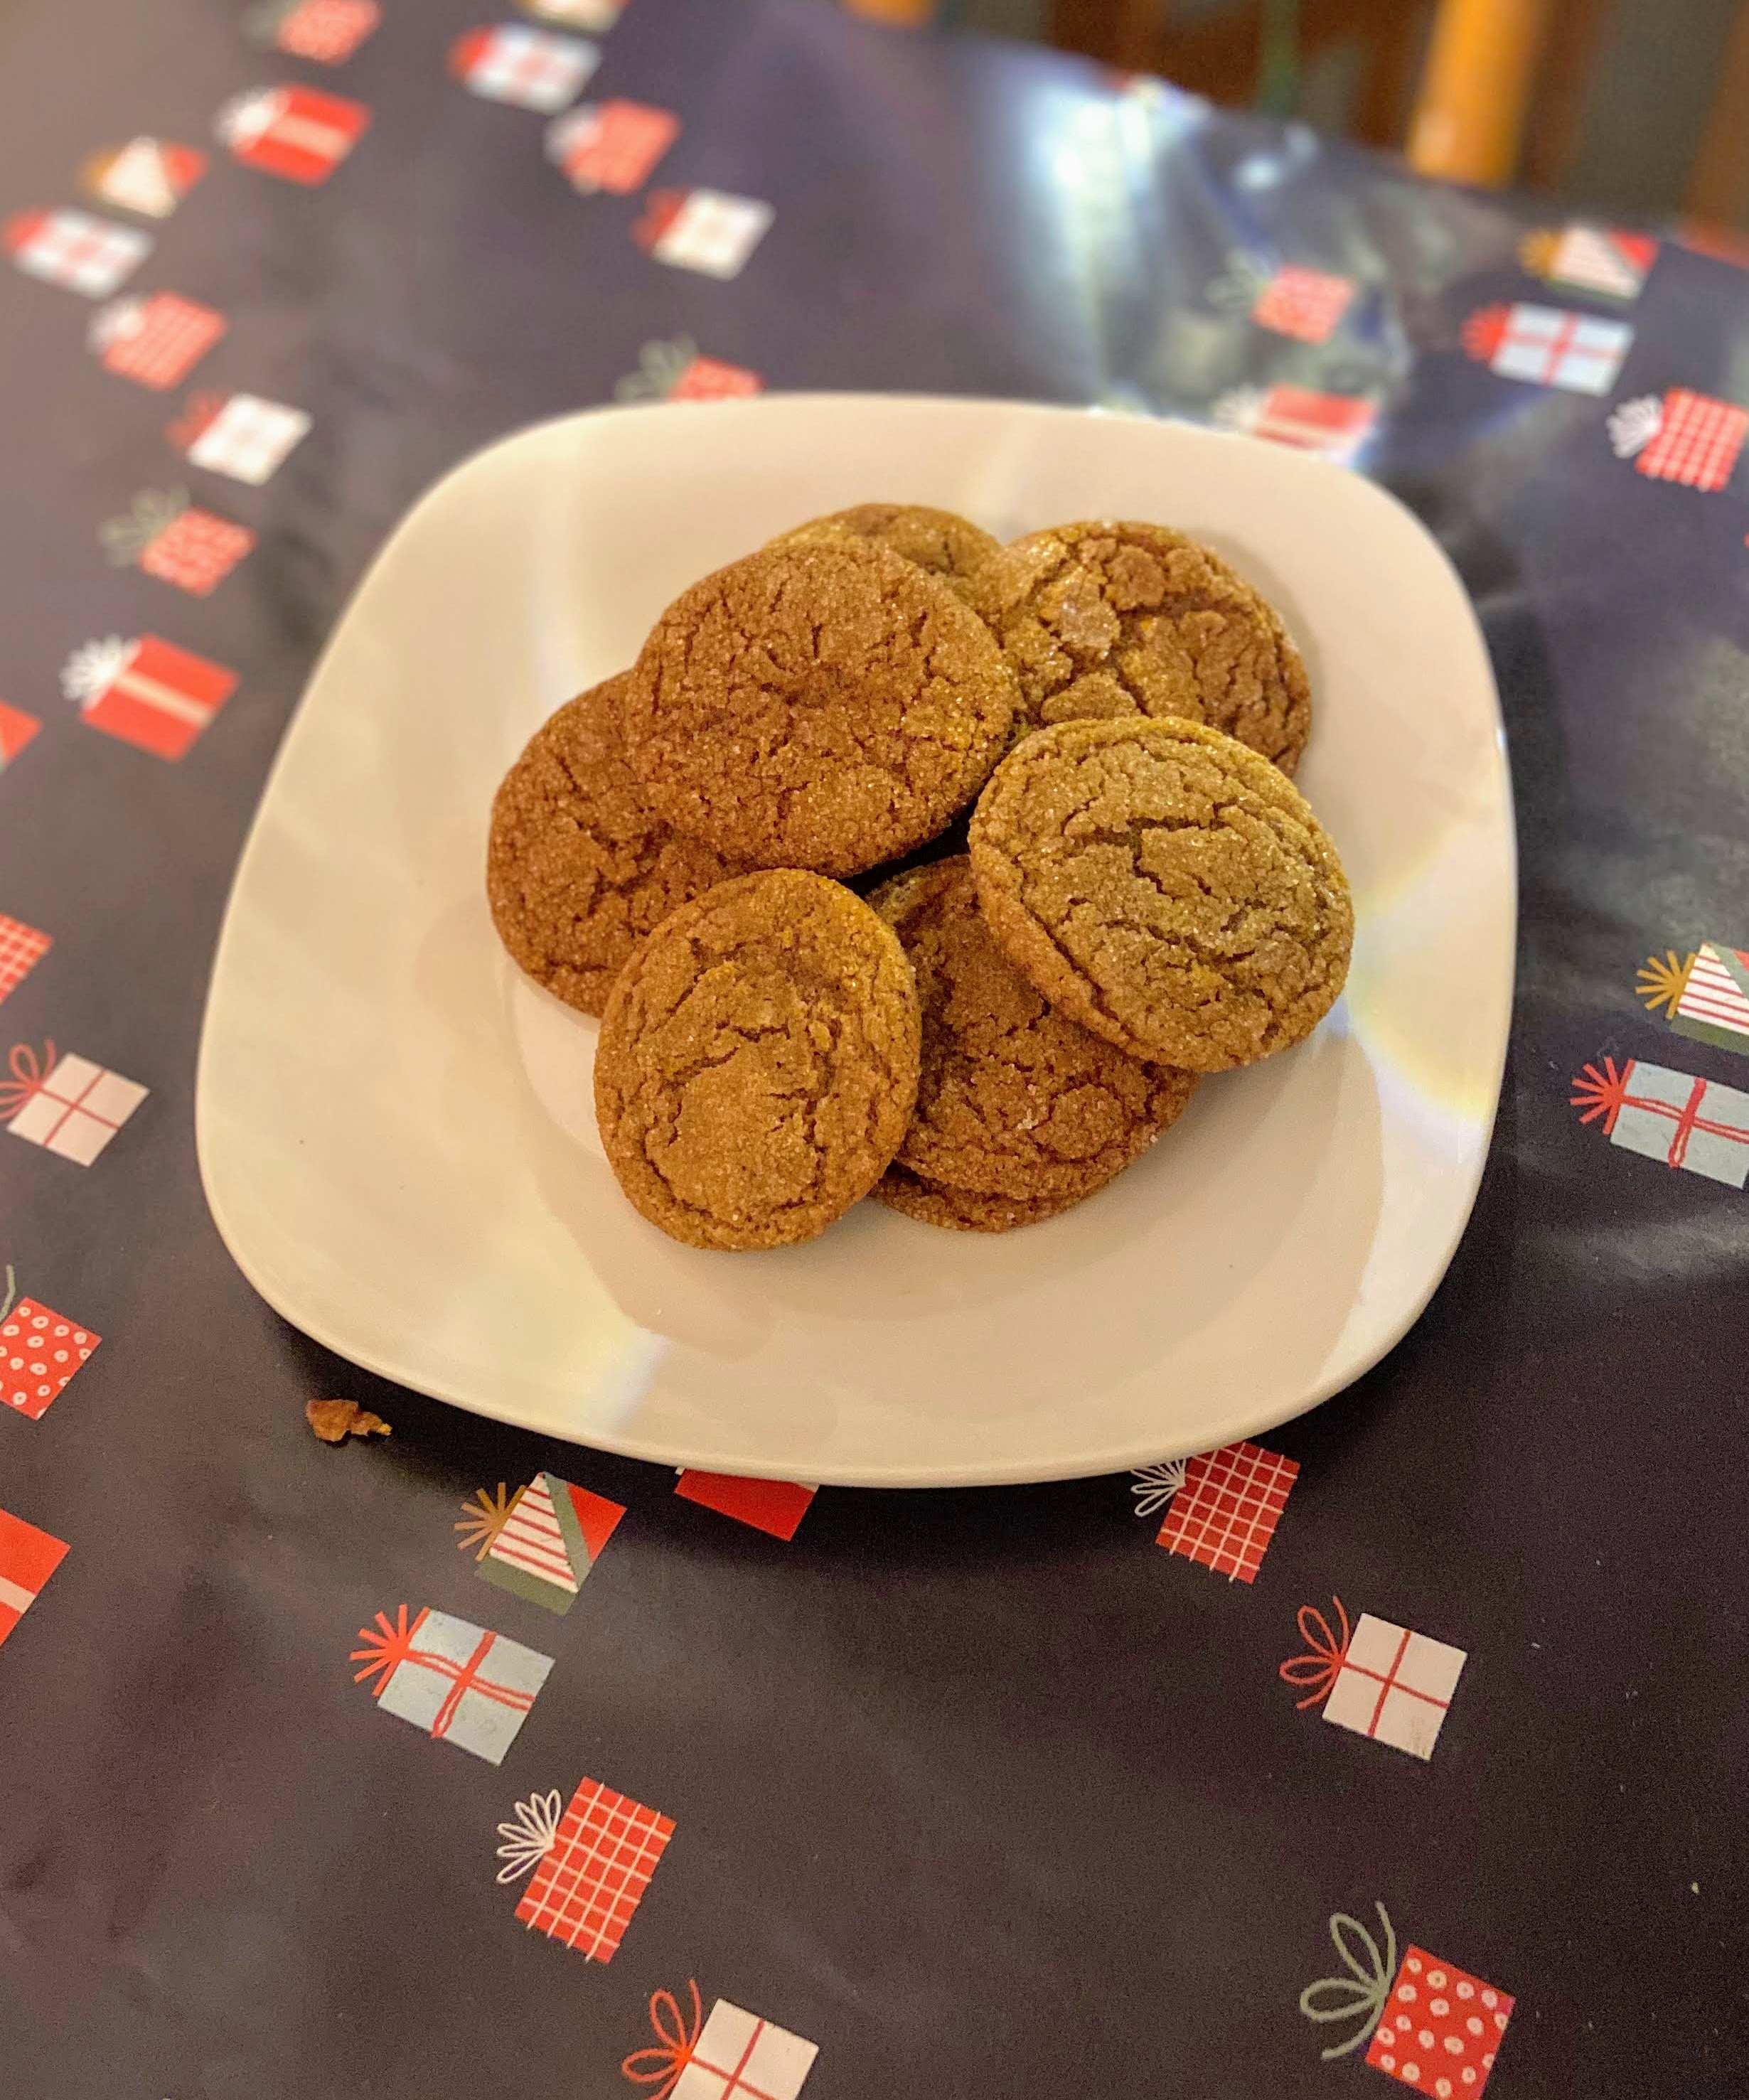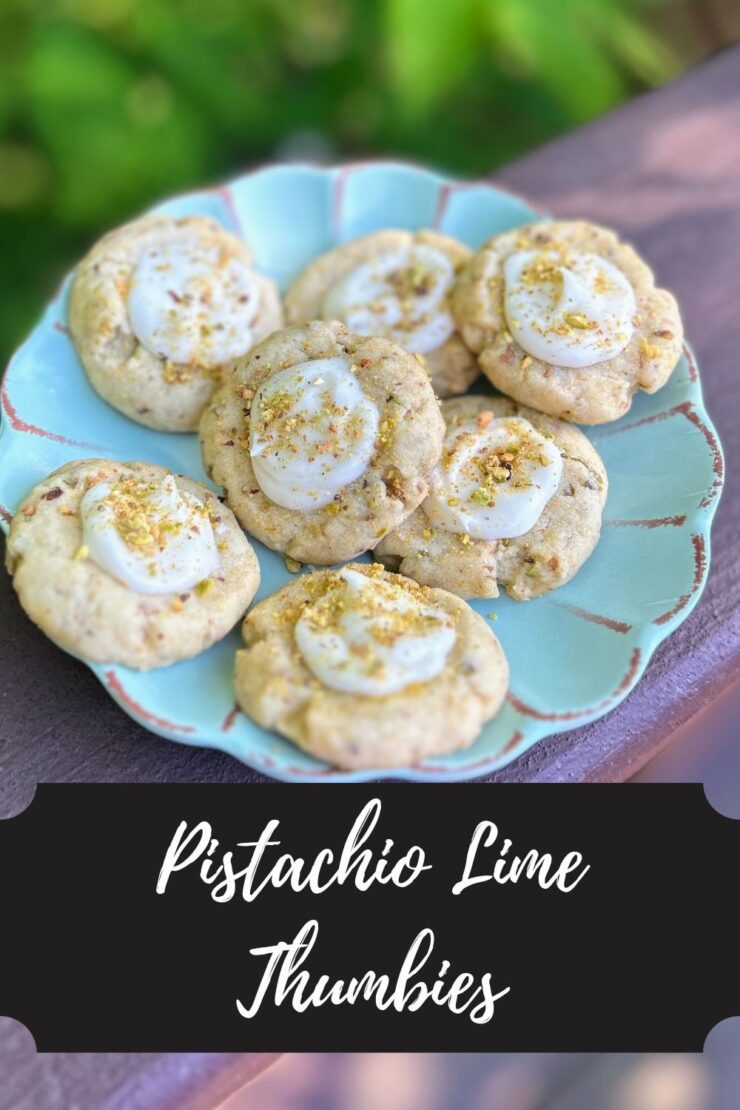
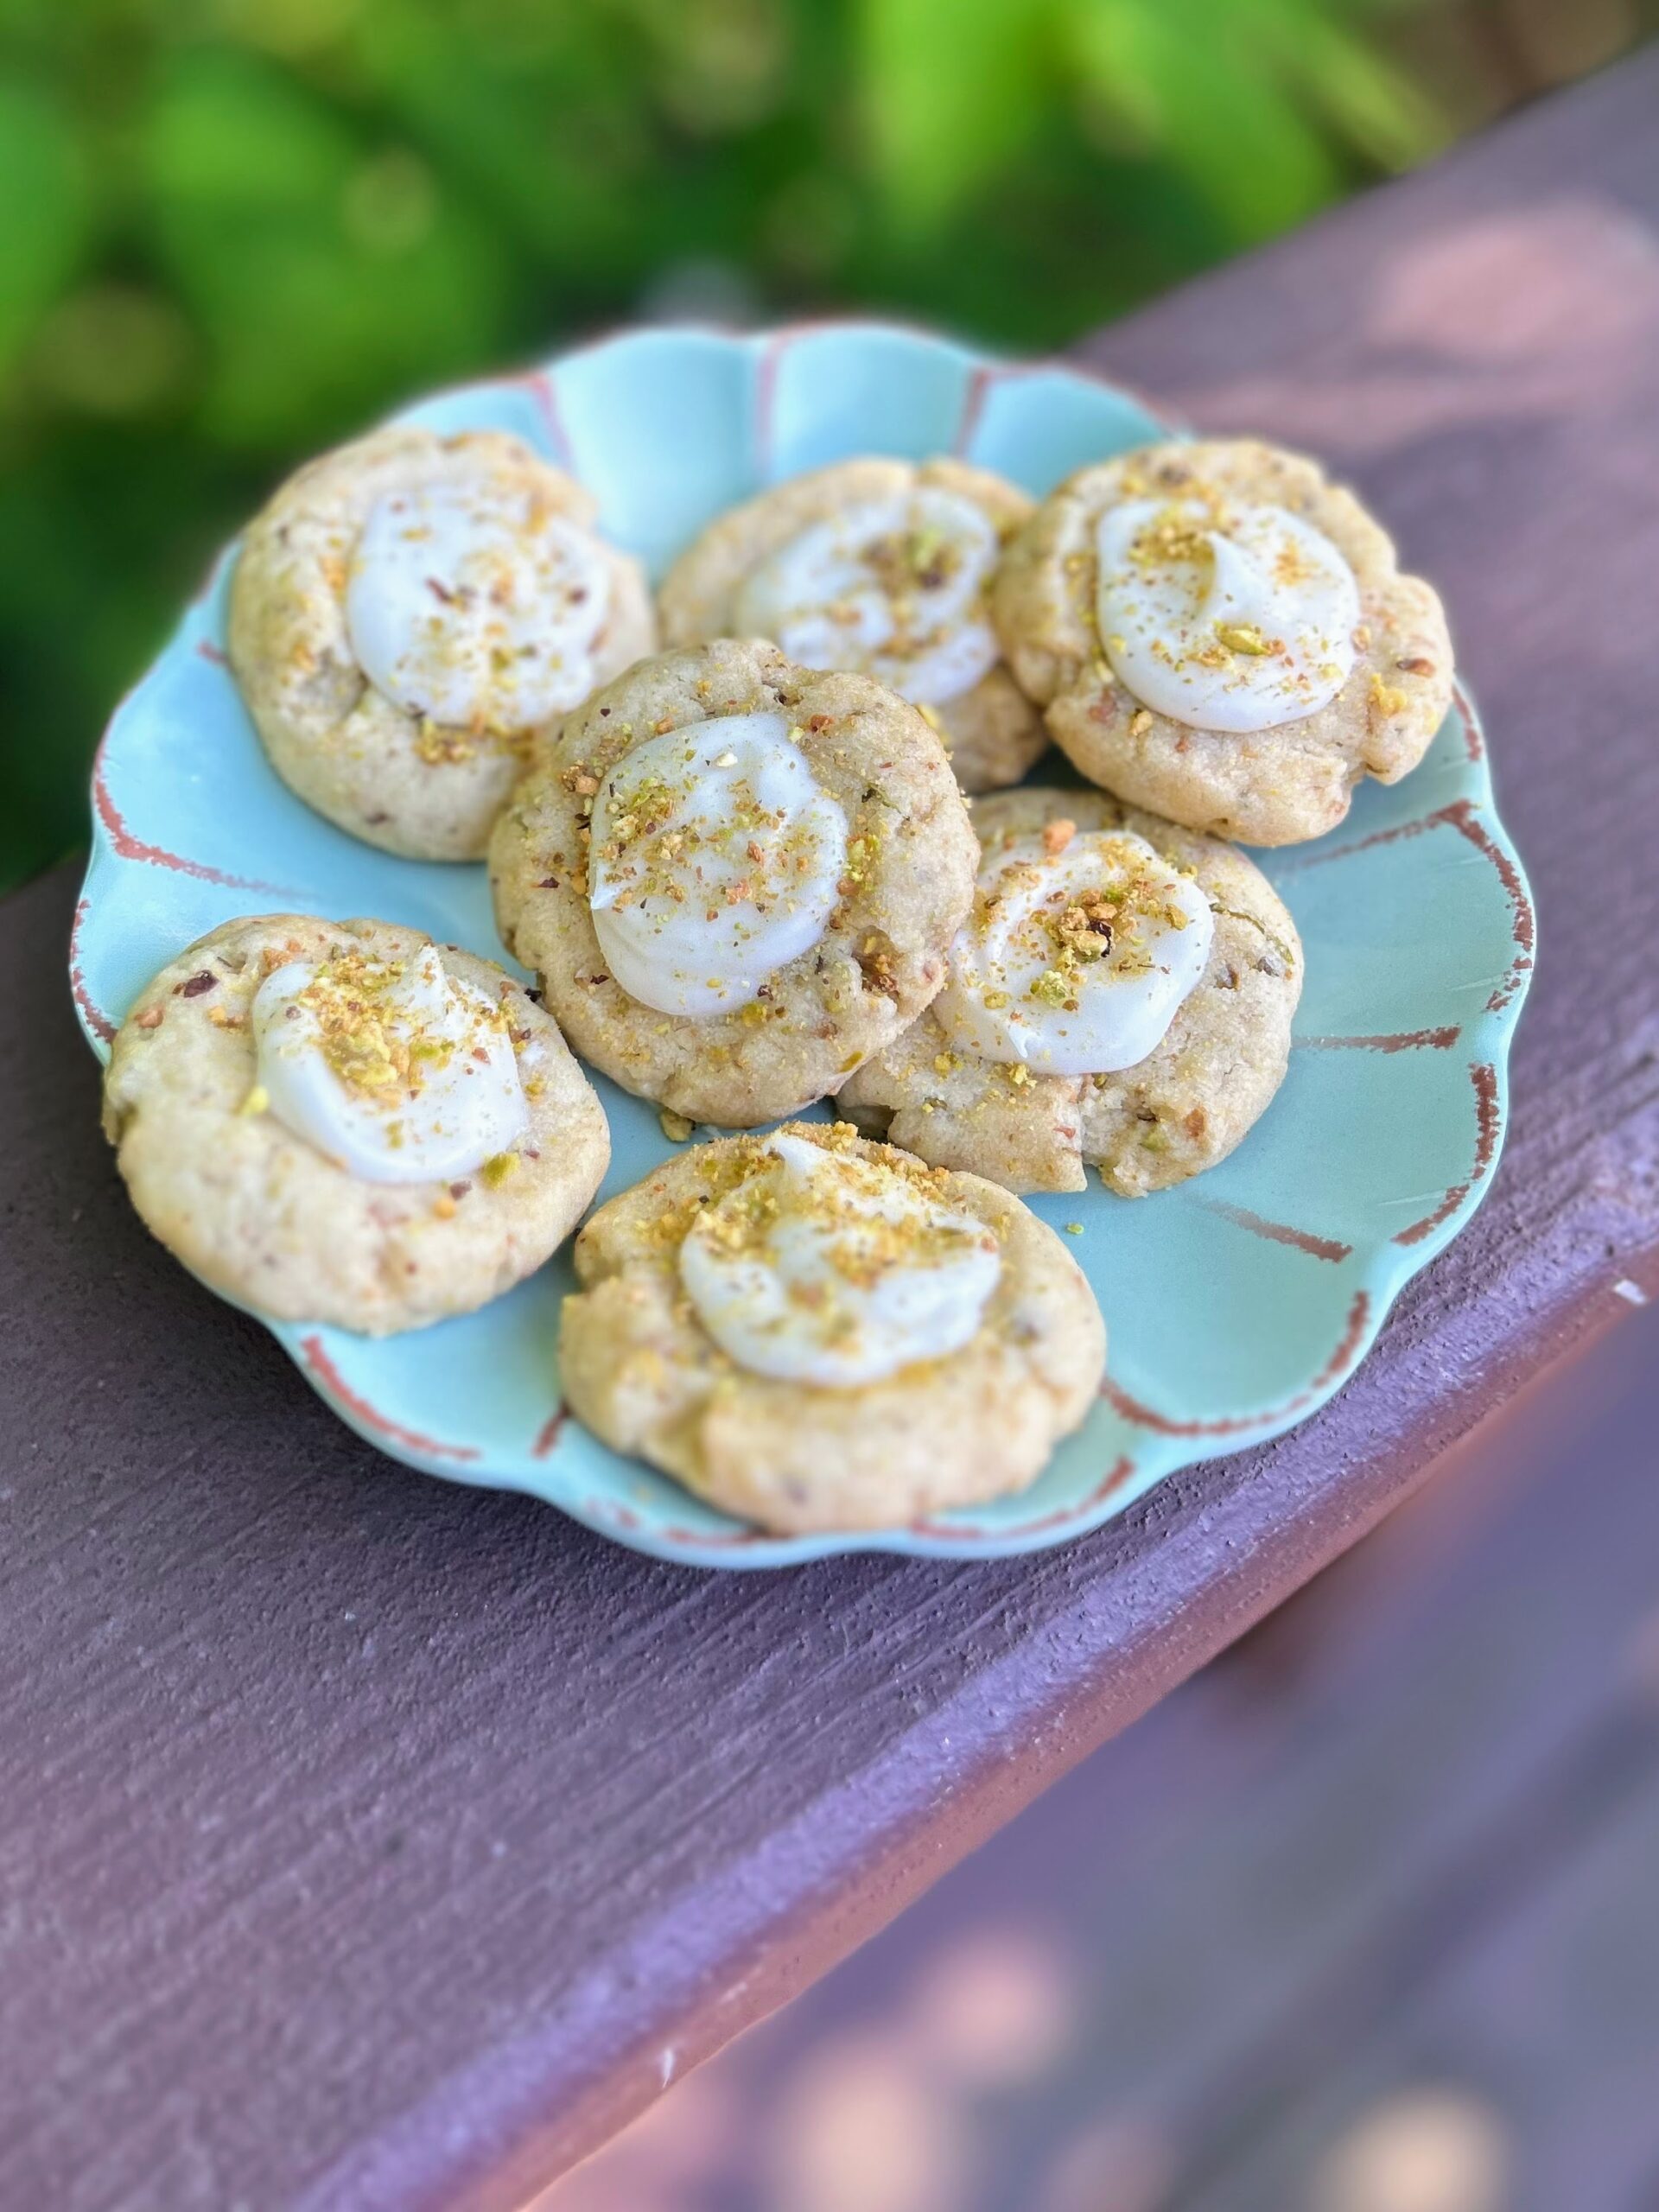
Oh these cookies. I had the hardest time naming them. Pistachios. Lime. Shortbread. A delightful frosting. What name could capture all of that loveliness?! I took to social media and got lots of recommendations and Pistachio Lime Thumbies had to be the winner!
Earlier this summer, I was baking from the cookbook The Great British Baking Show: Favorite Flavors for a foodie collab I have on Instagram and I was drawn to Pistachio Melting Moments. They were beautiful and so dang good. However, they were also bit of work, as with most recipes in this cookbook. I think they have proved to be worth it, but not everyone thinks like me. So, I wanted to play with the recipe and create a simplified version.
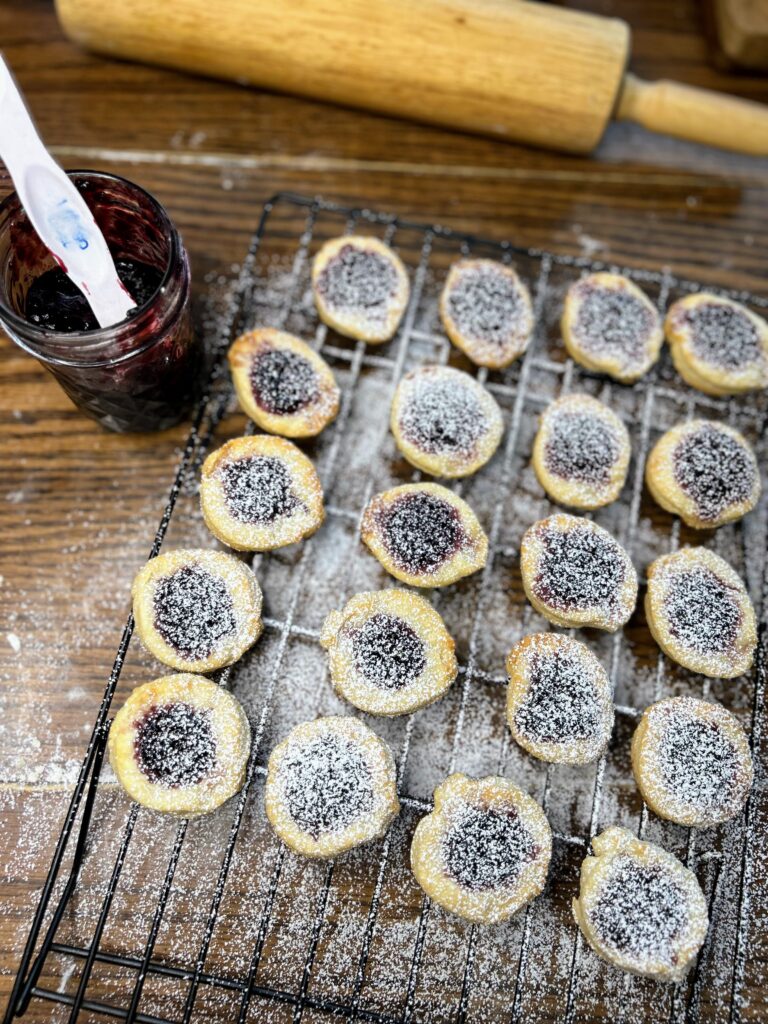
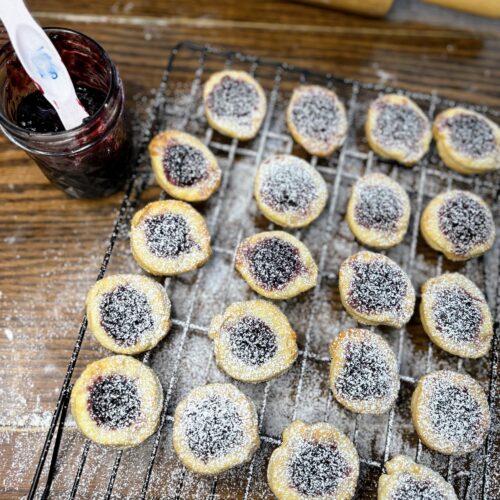
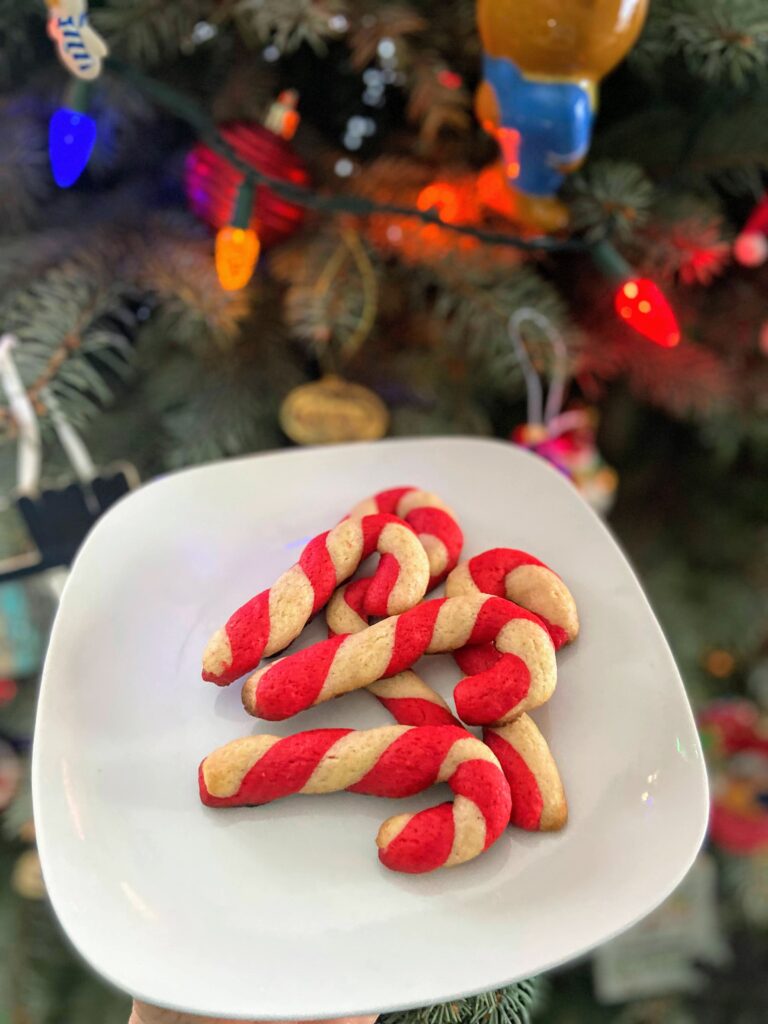
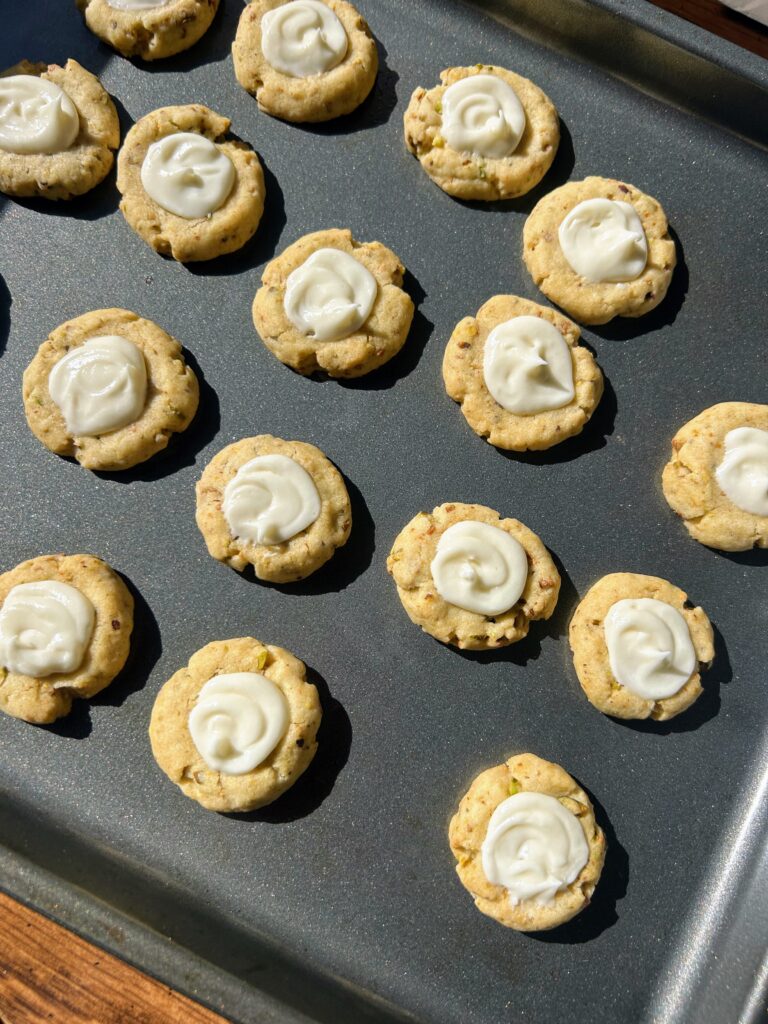
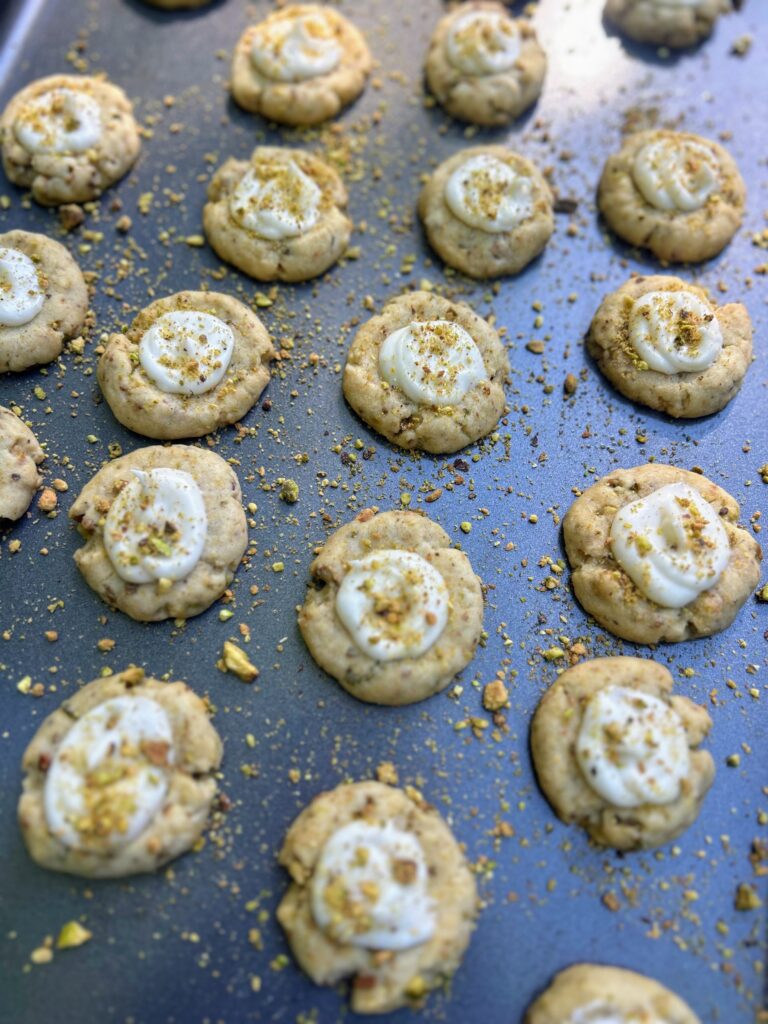
These Pistachio Lime Thumbies start as a simple shortbread with ground pistachios and a bit of lime zest. They get the thumbprint treatment to provide a little well for a lime buttercream frosting and a sprinkle of ground pistachio. Not too challenging and a flavor combination that is divine. But, if you want to skip the frosting, they could totally get the Russian Tea Cake treatment by bypassing the frosting and rolling them in some powdered sugar. Either way, they are TASTY!
Ready to start baking? Let’s do this thing!
Your Ingredients
Shortbread
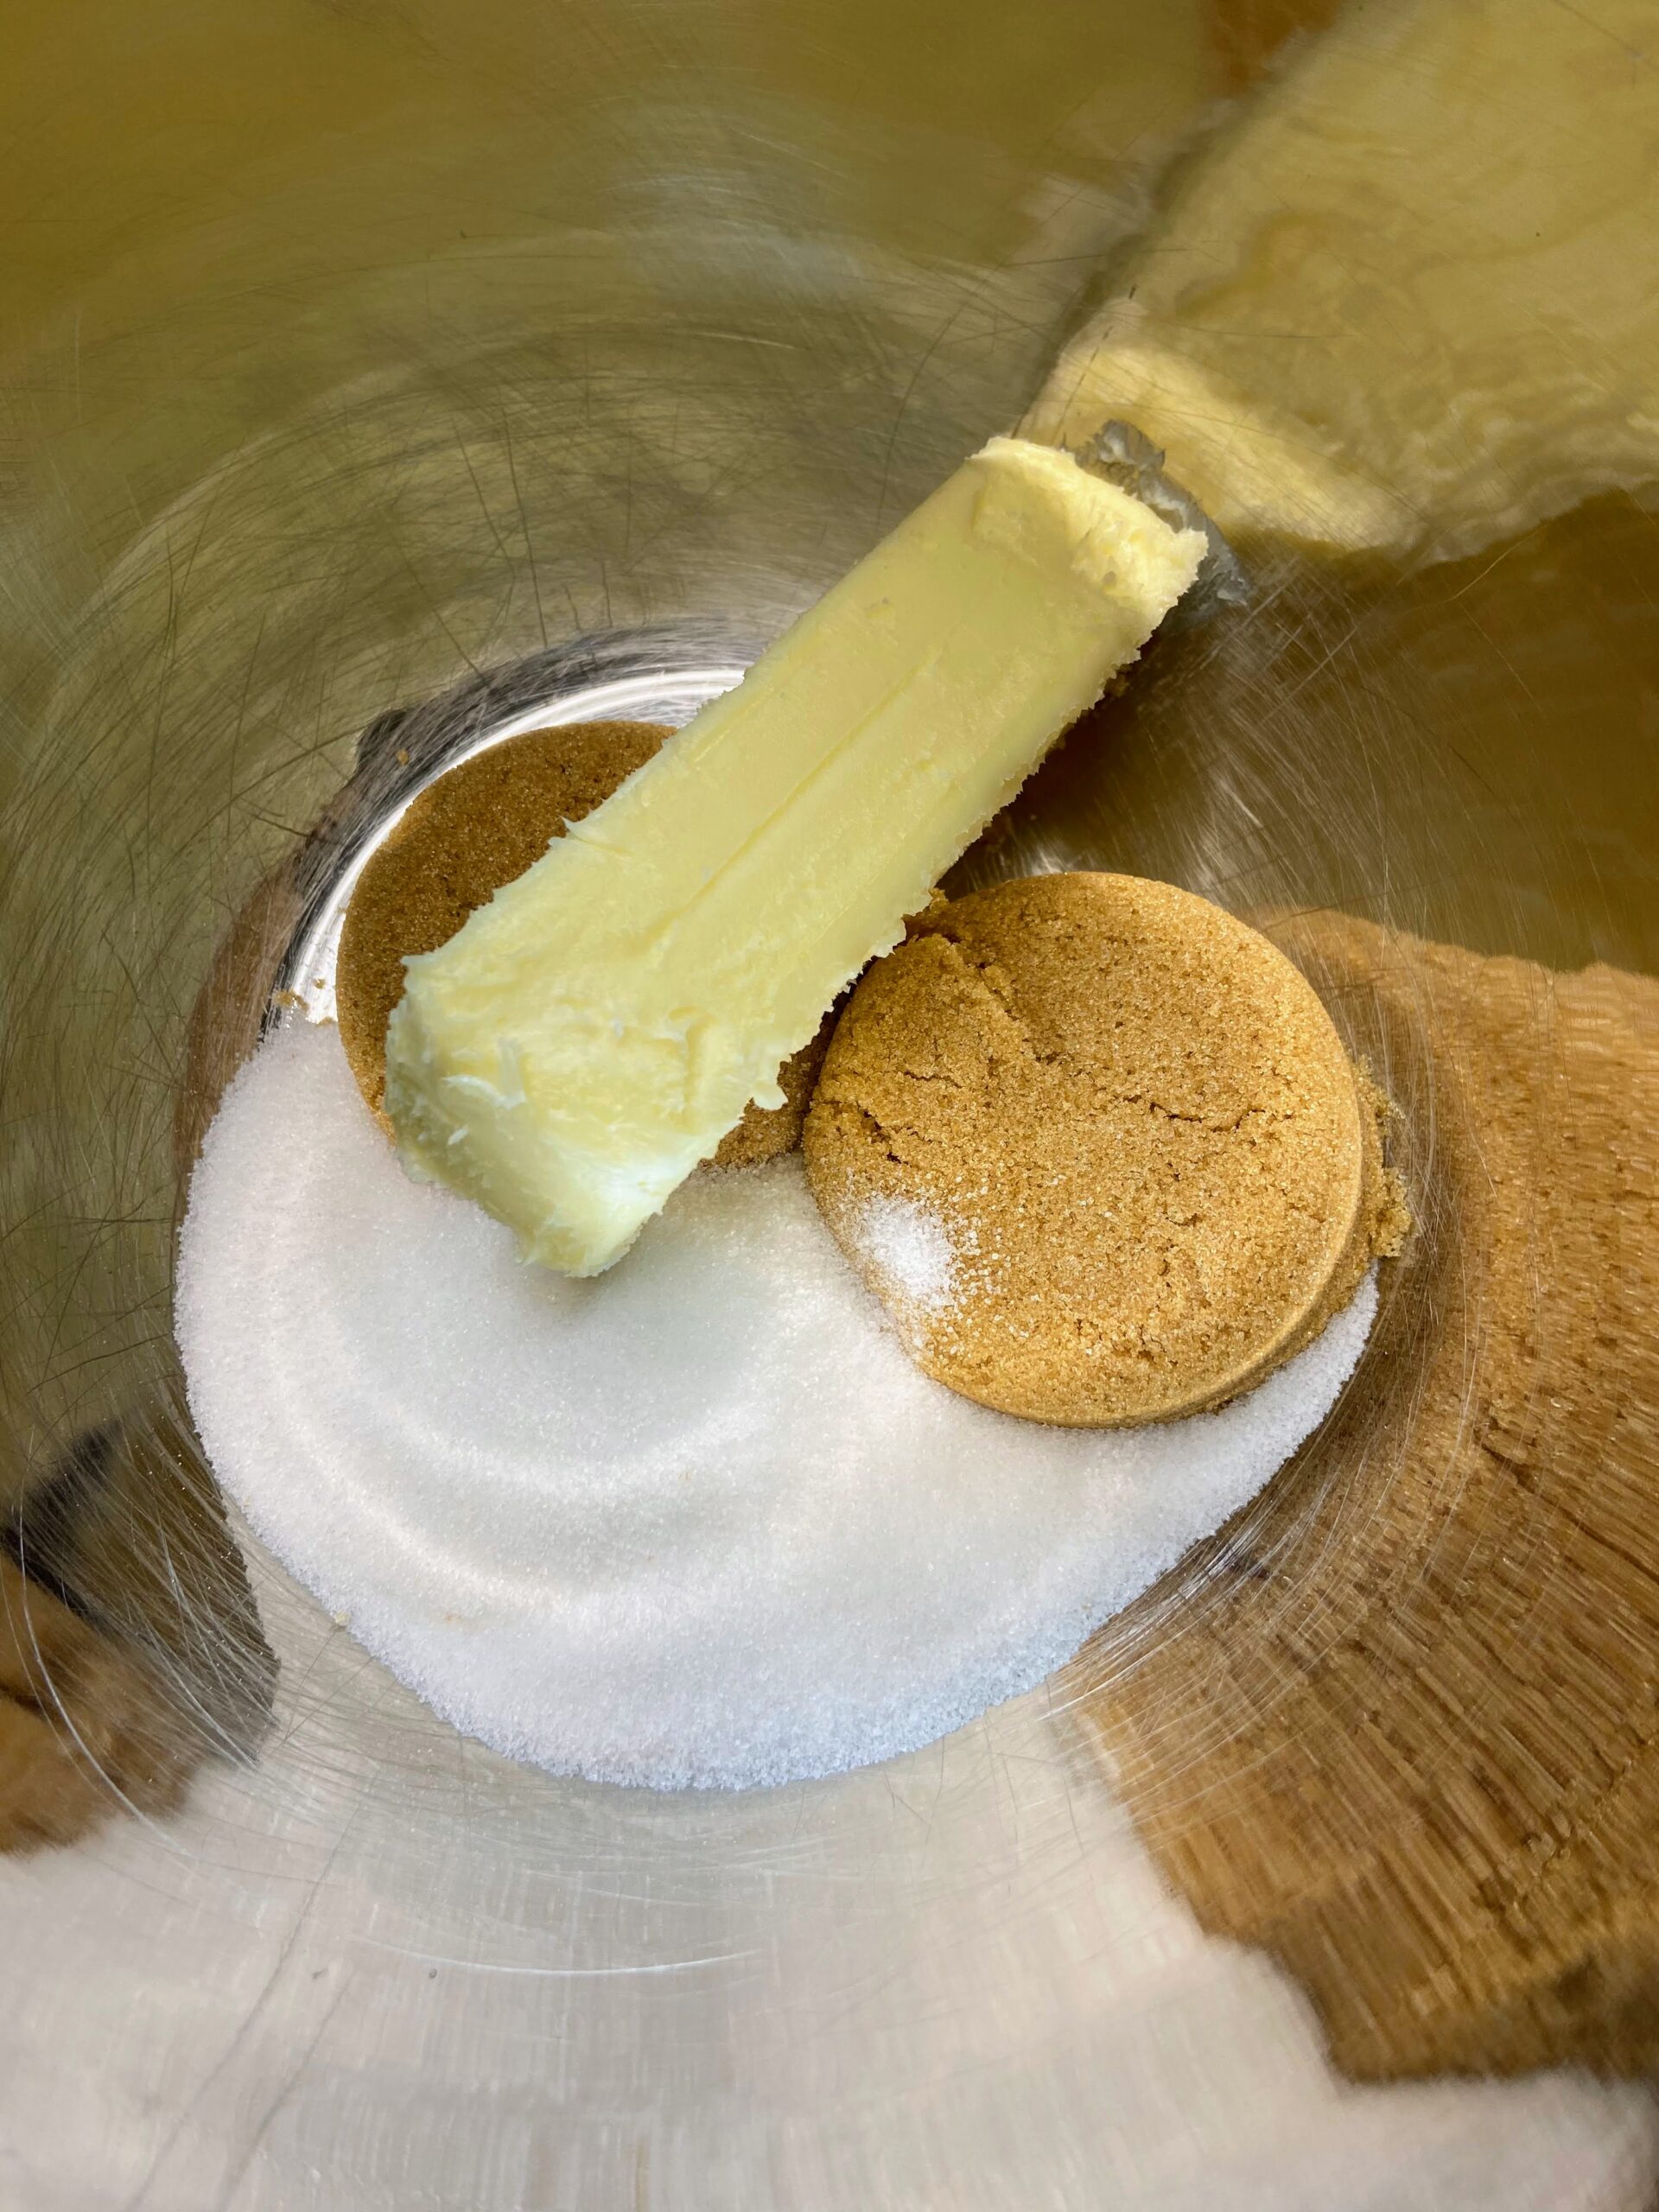
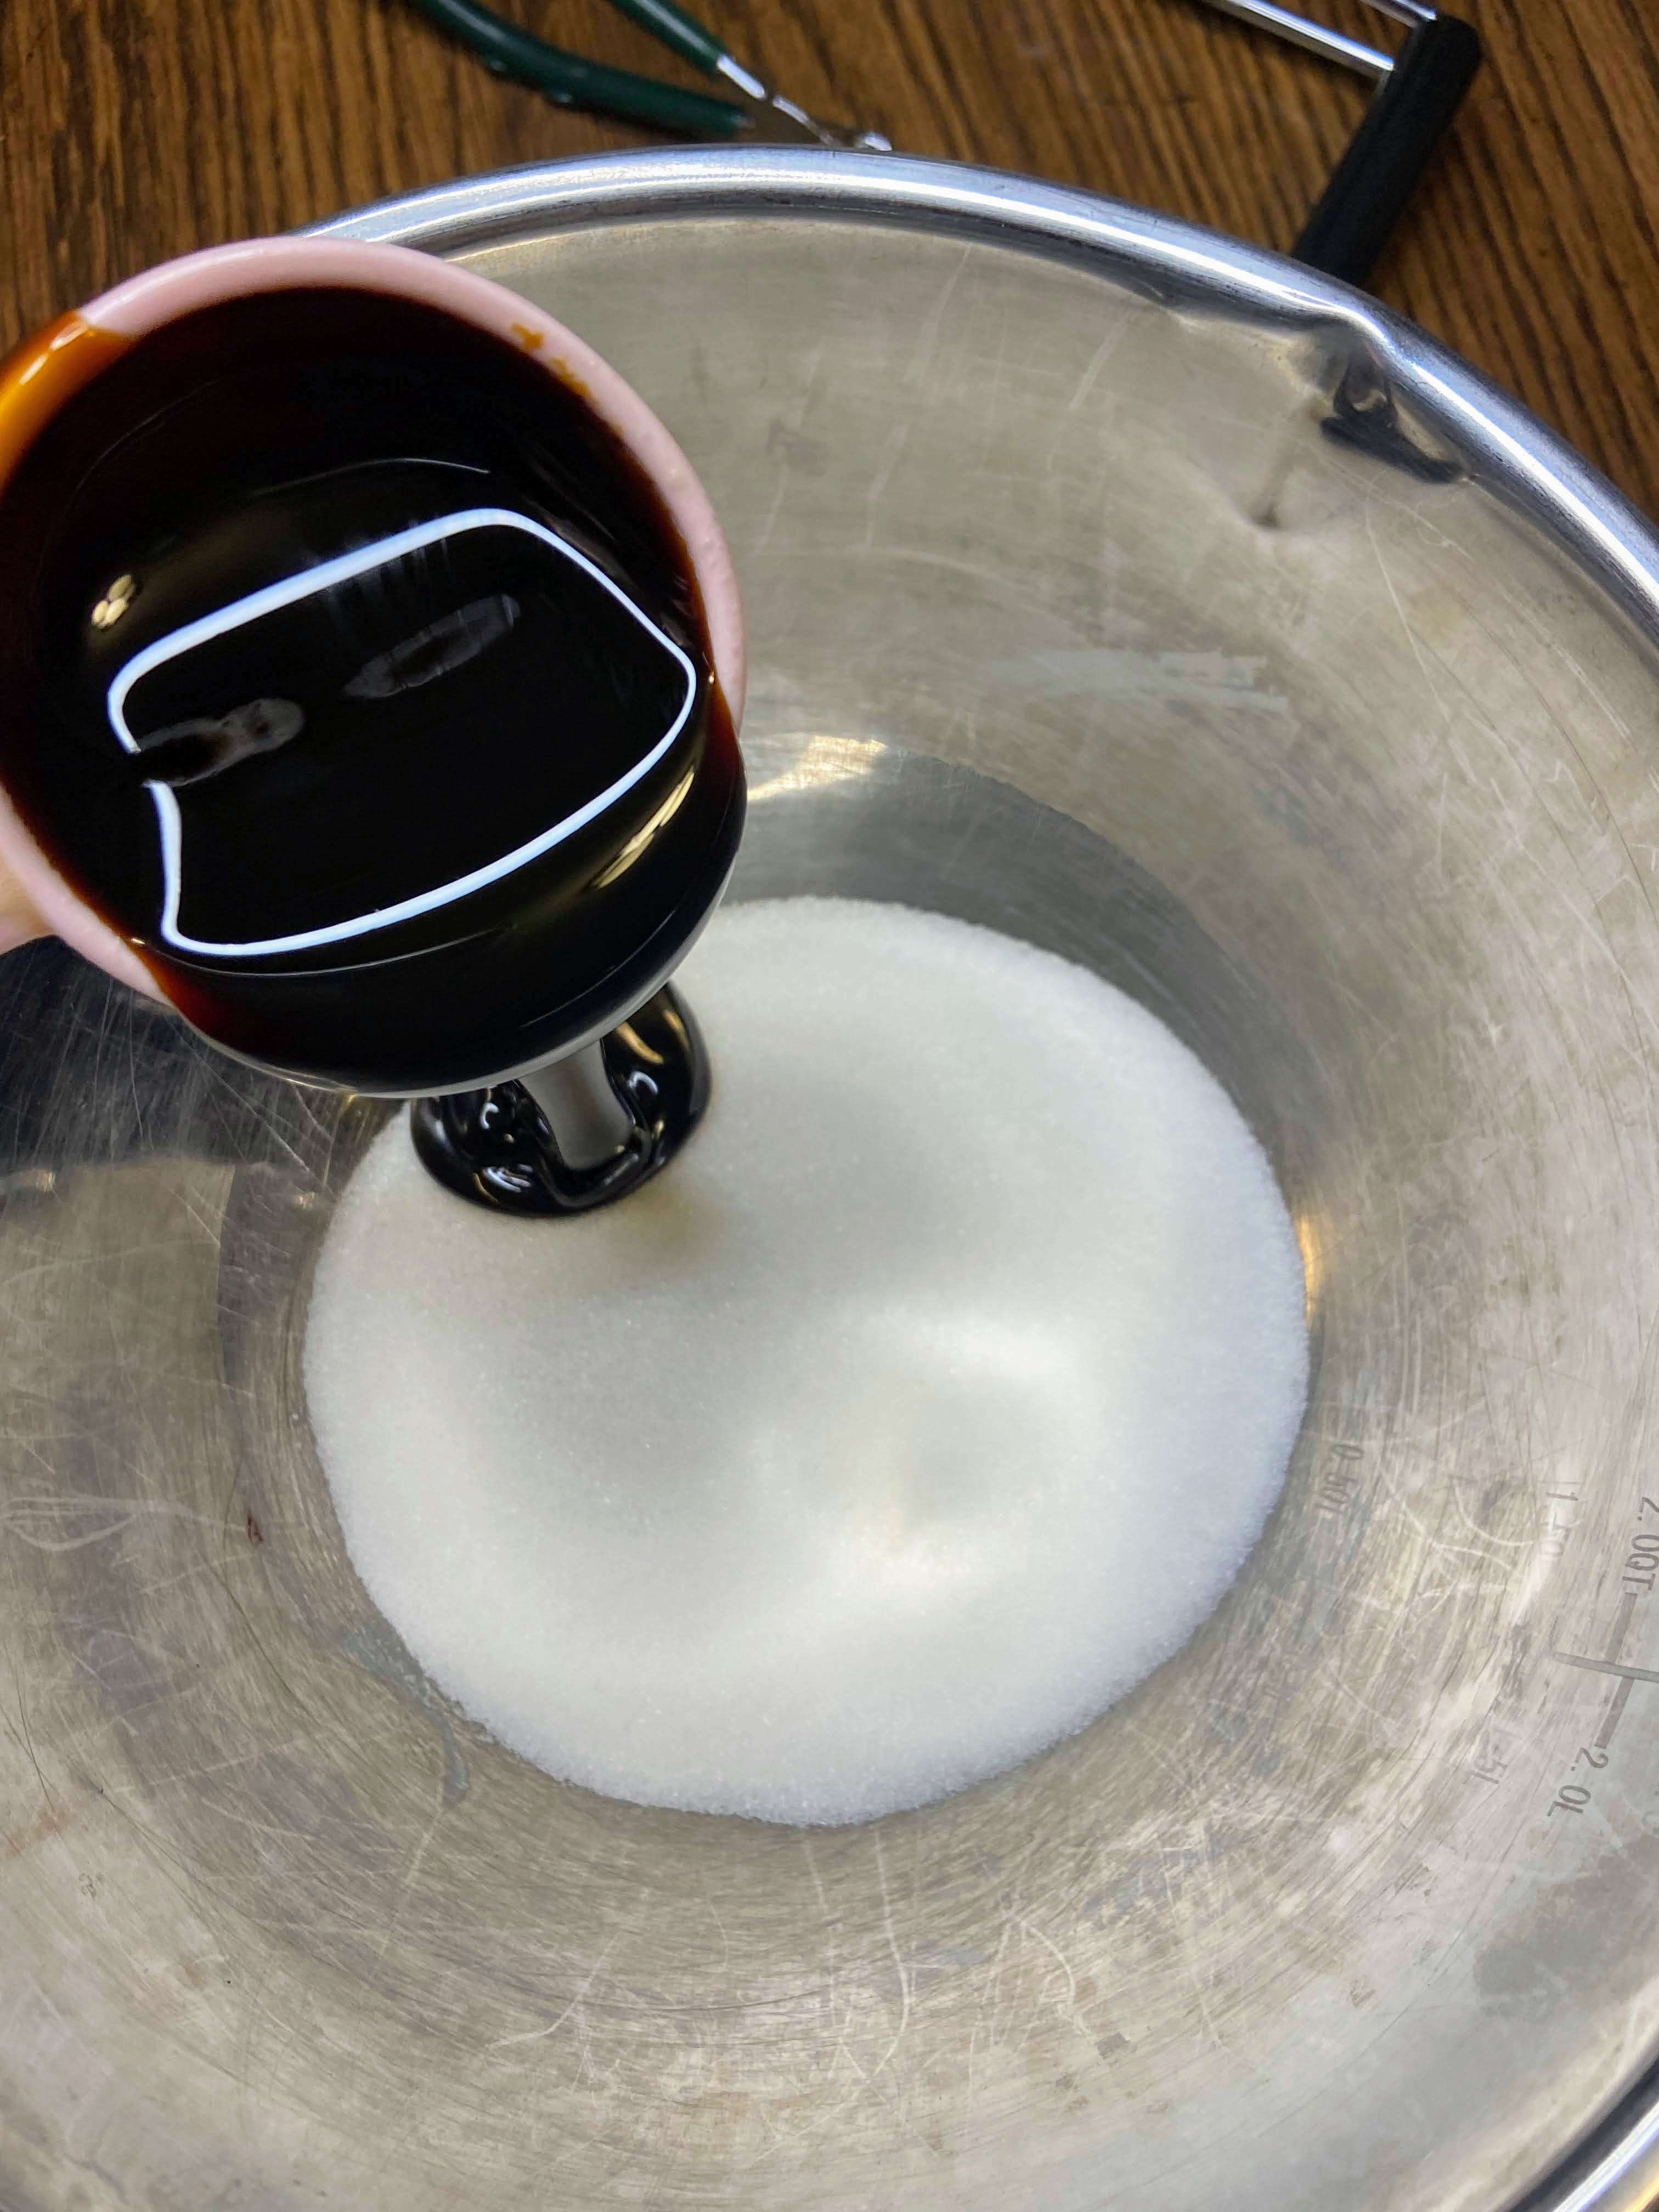
- ½ cup butter, softened
- ½ teaspoon vanilla
- ⅓ cup powdered sugar
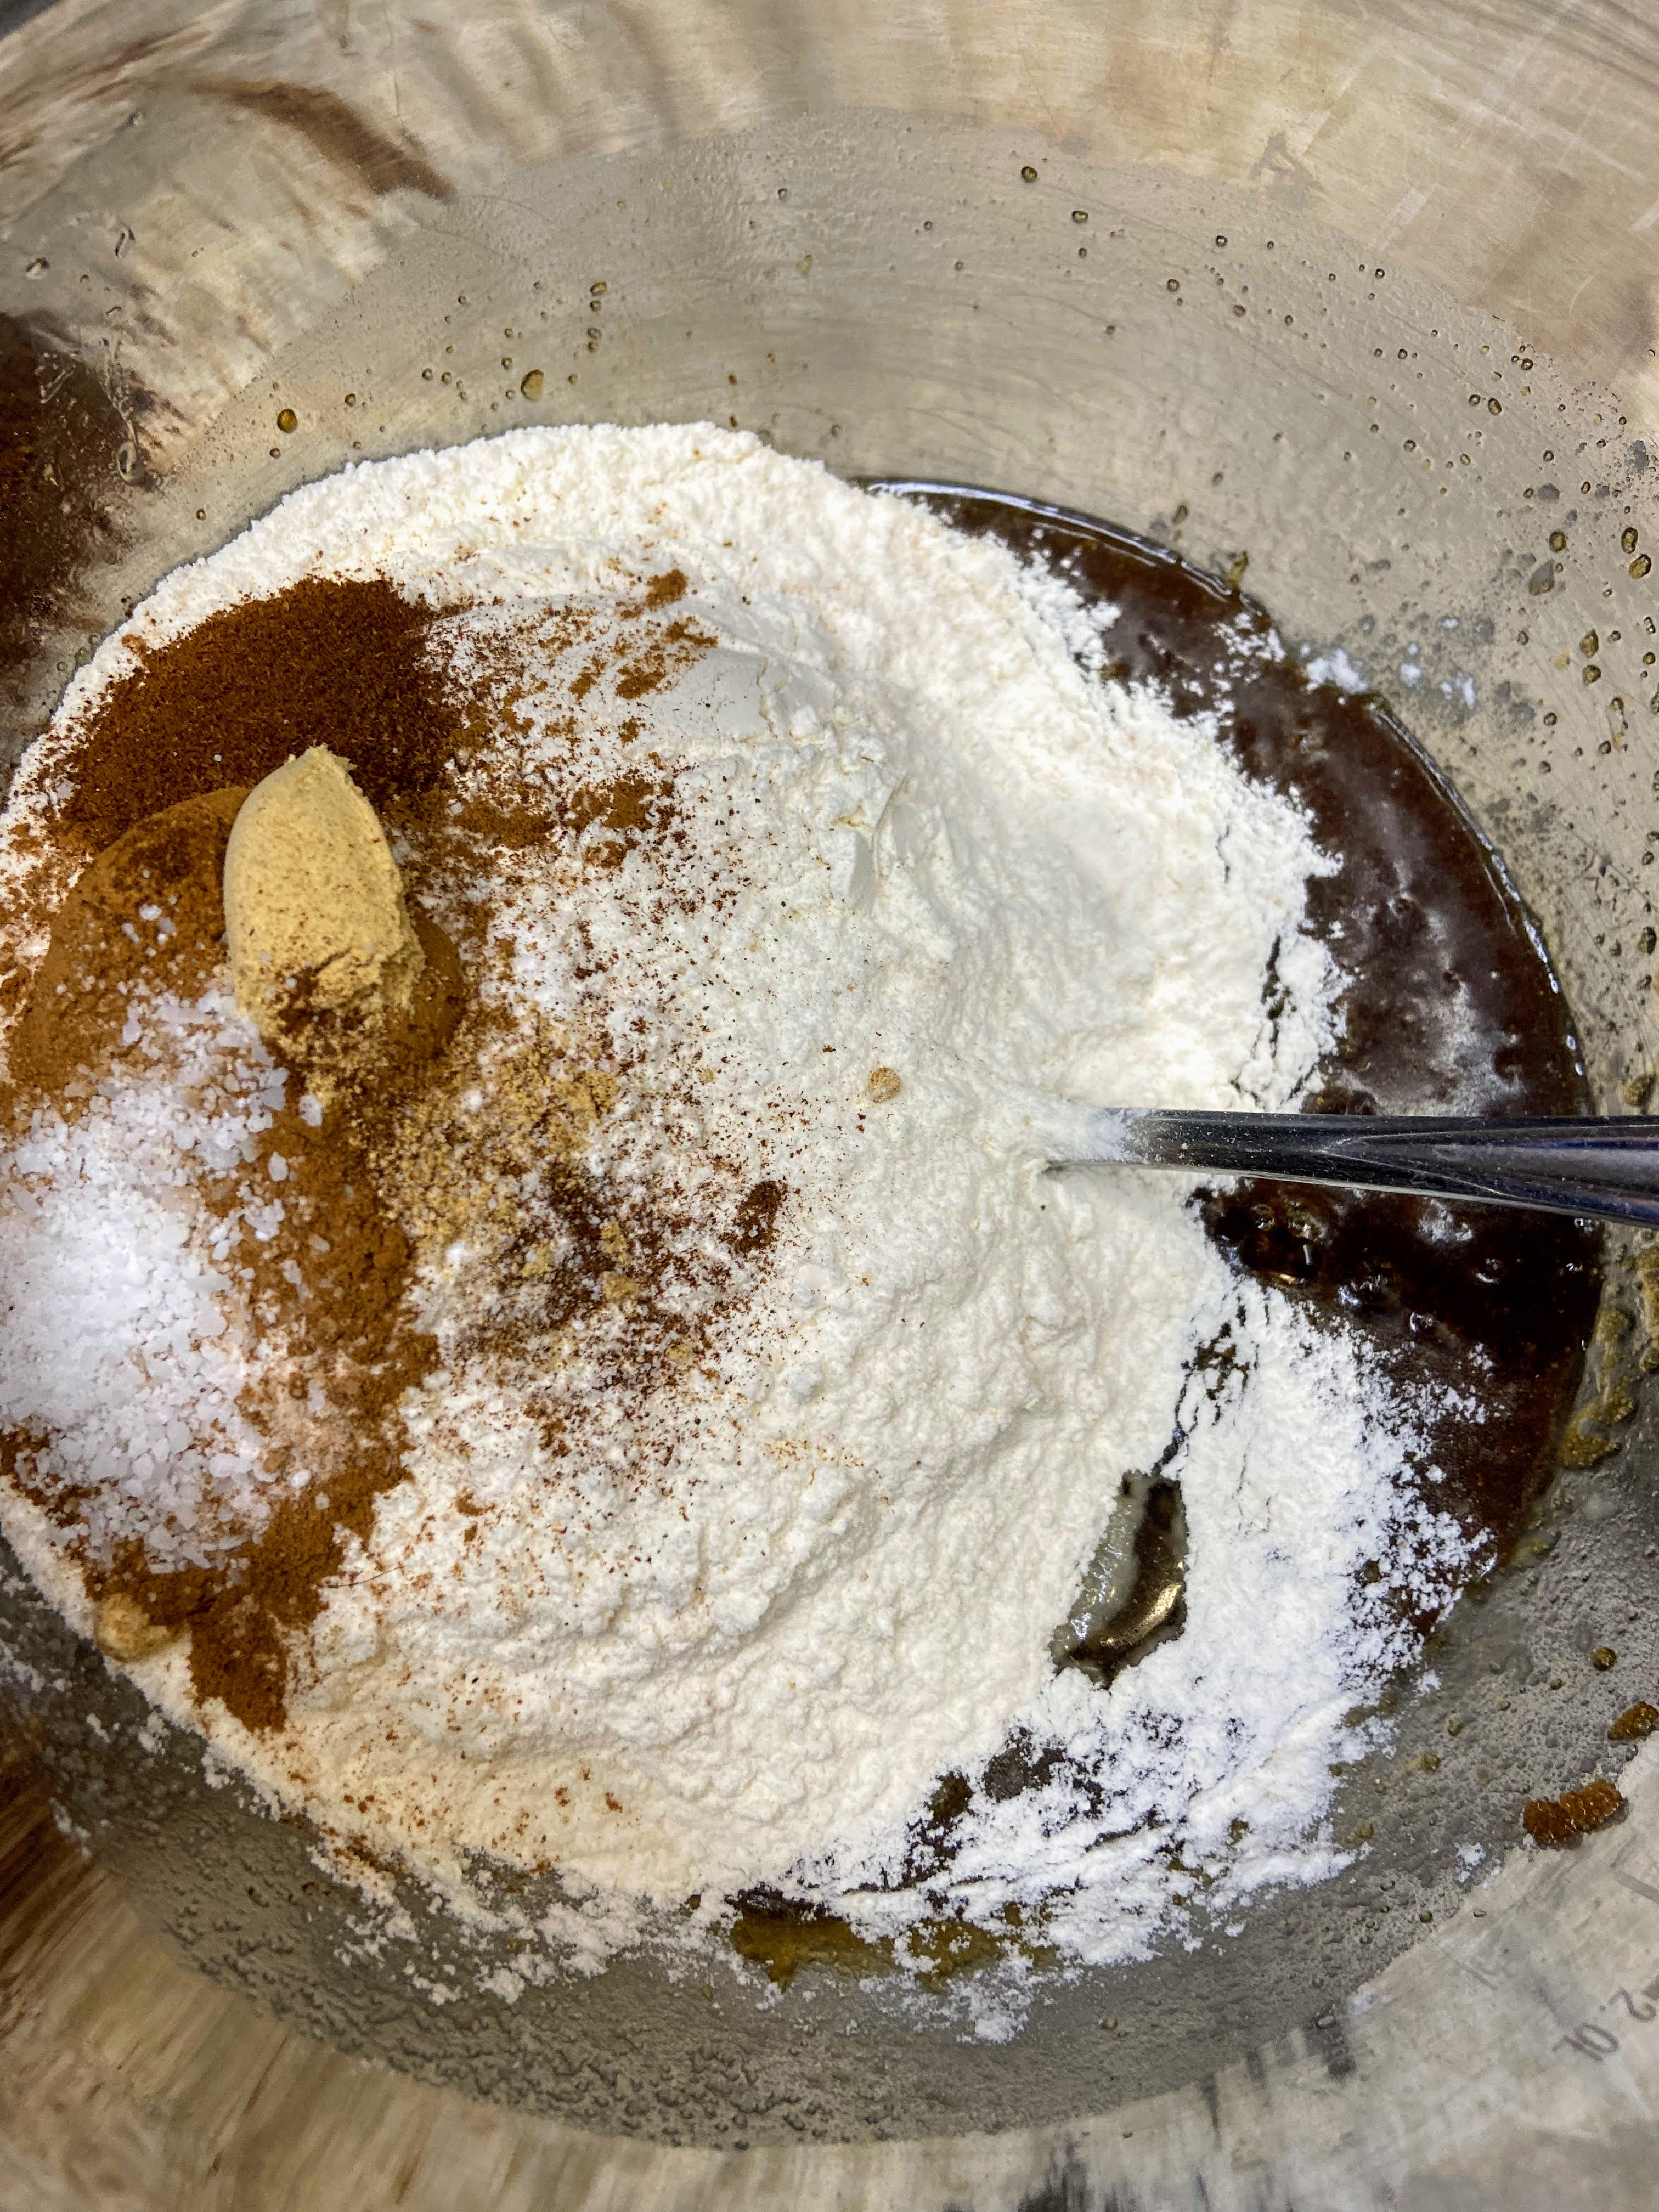
- 1 cup flour
- ½ tablespoon cornstarch
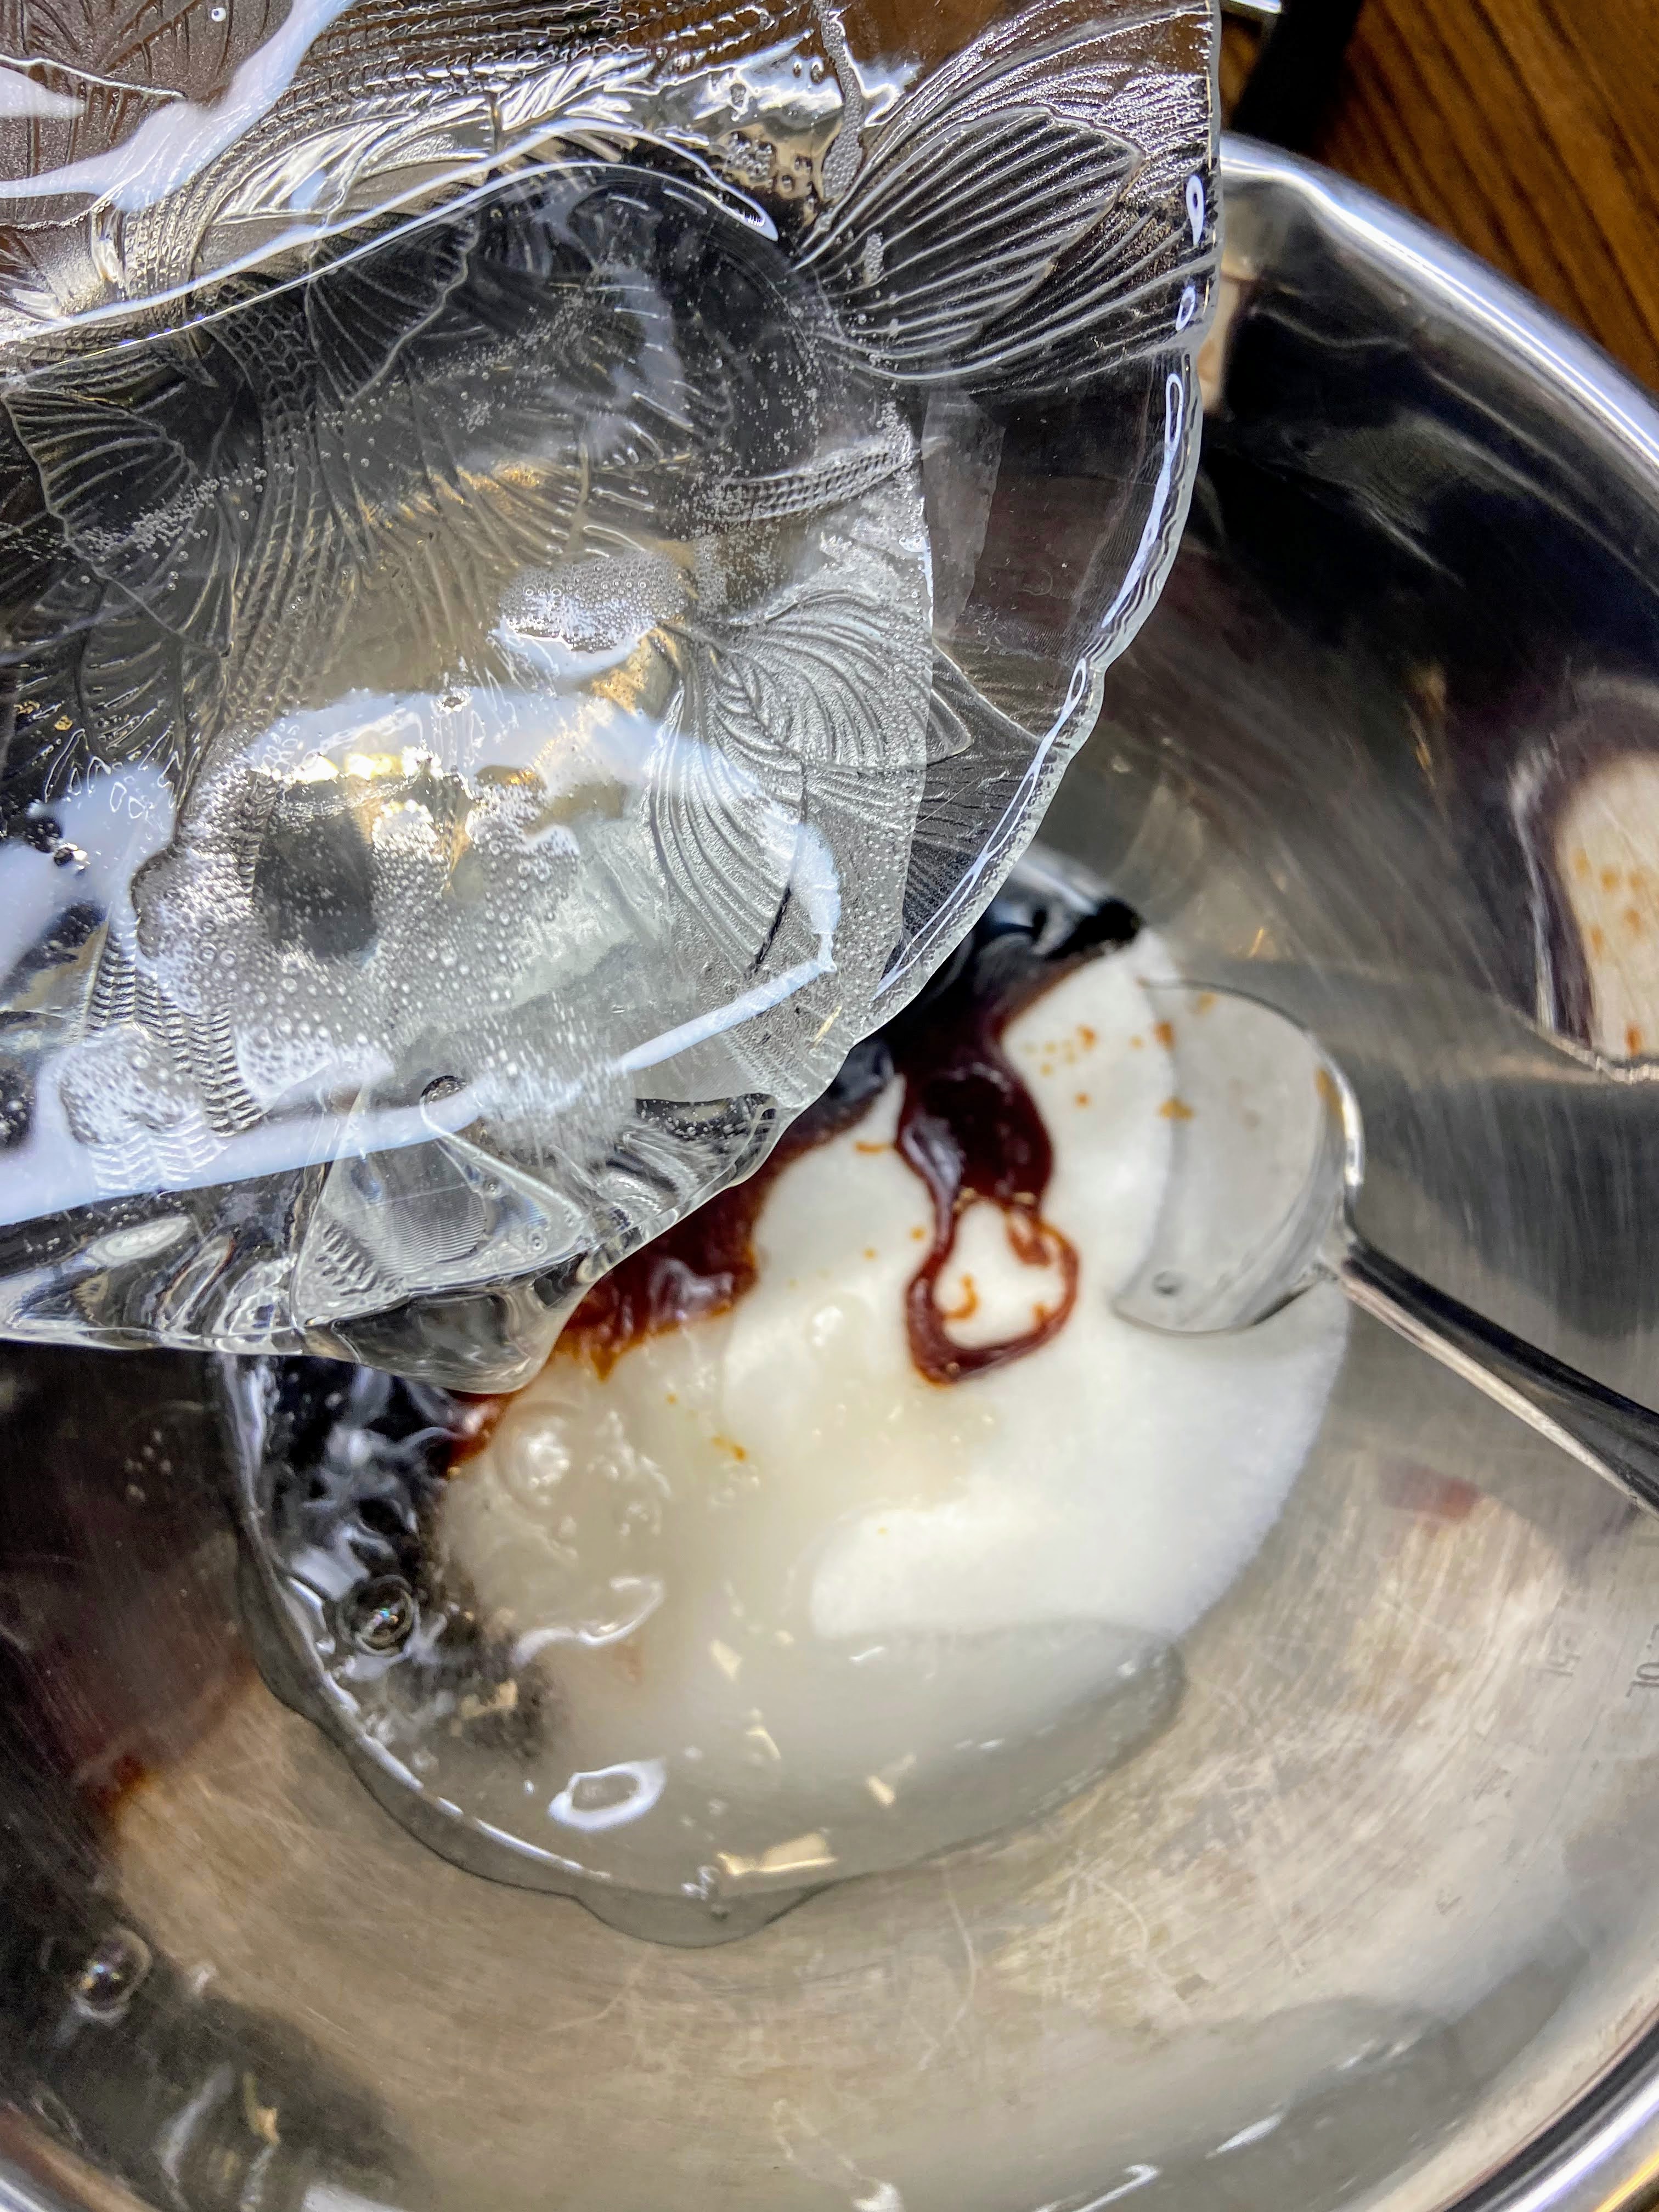
- ½ tablespoon milk
- ¼ teaspoon salt
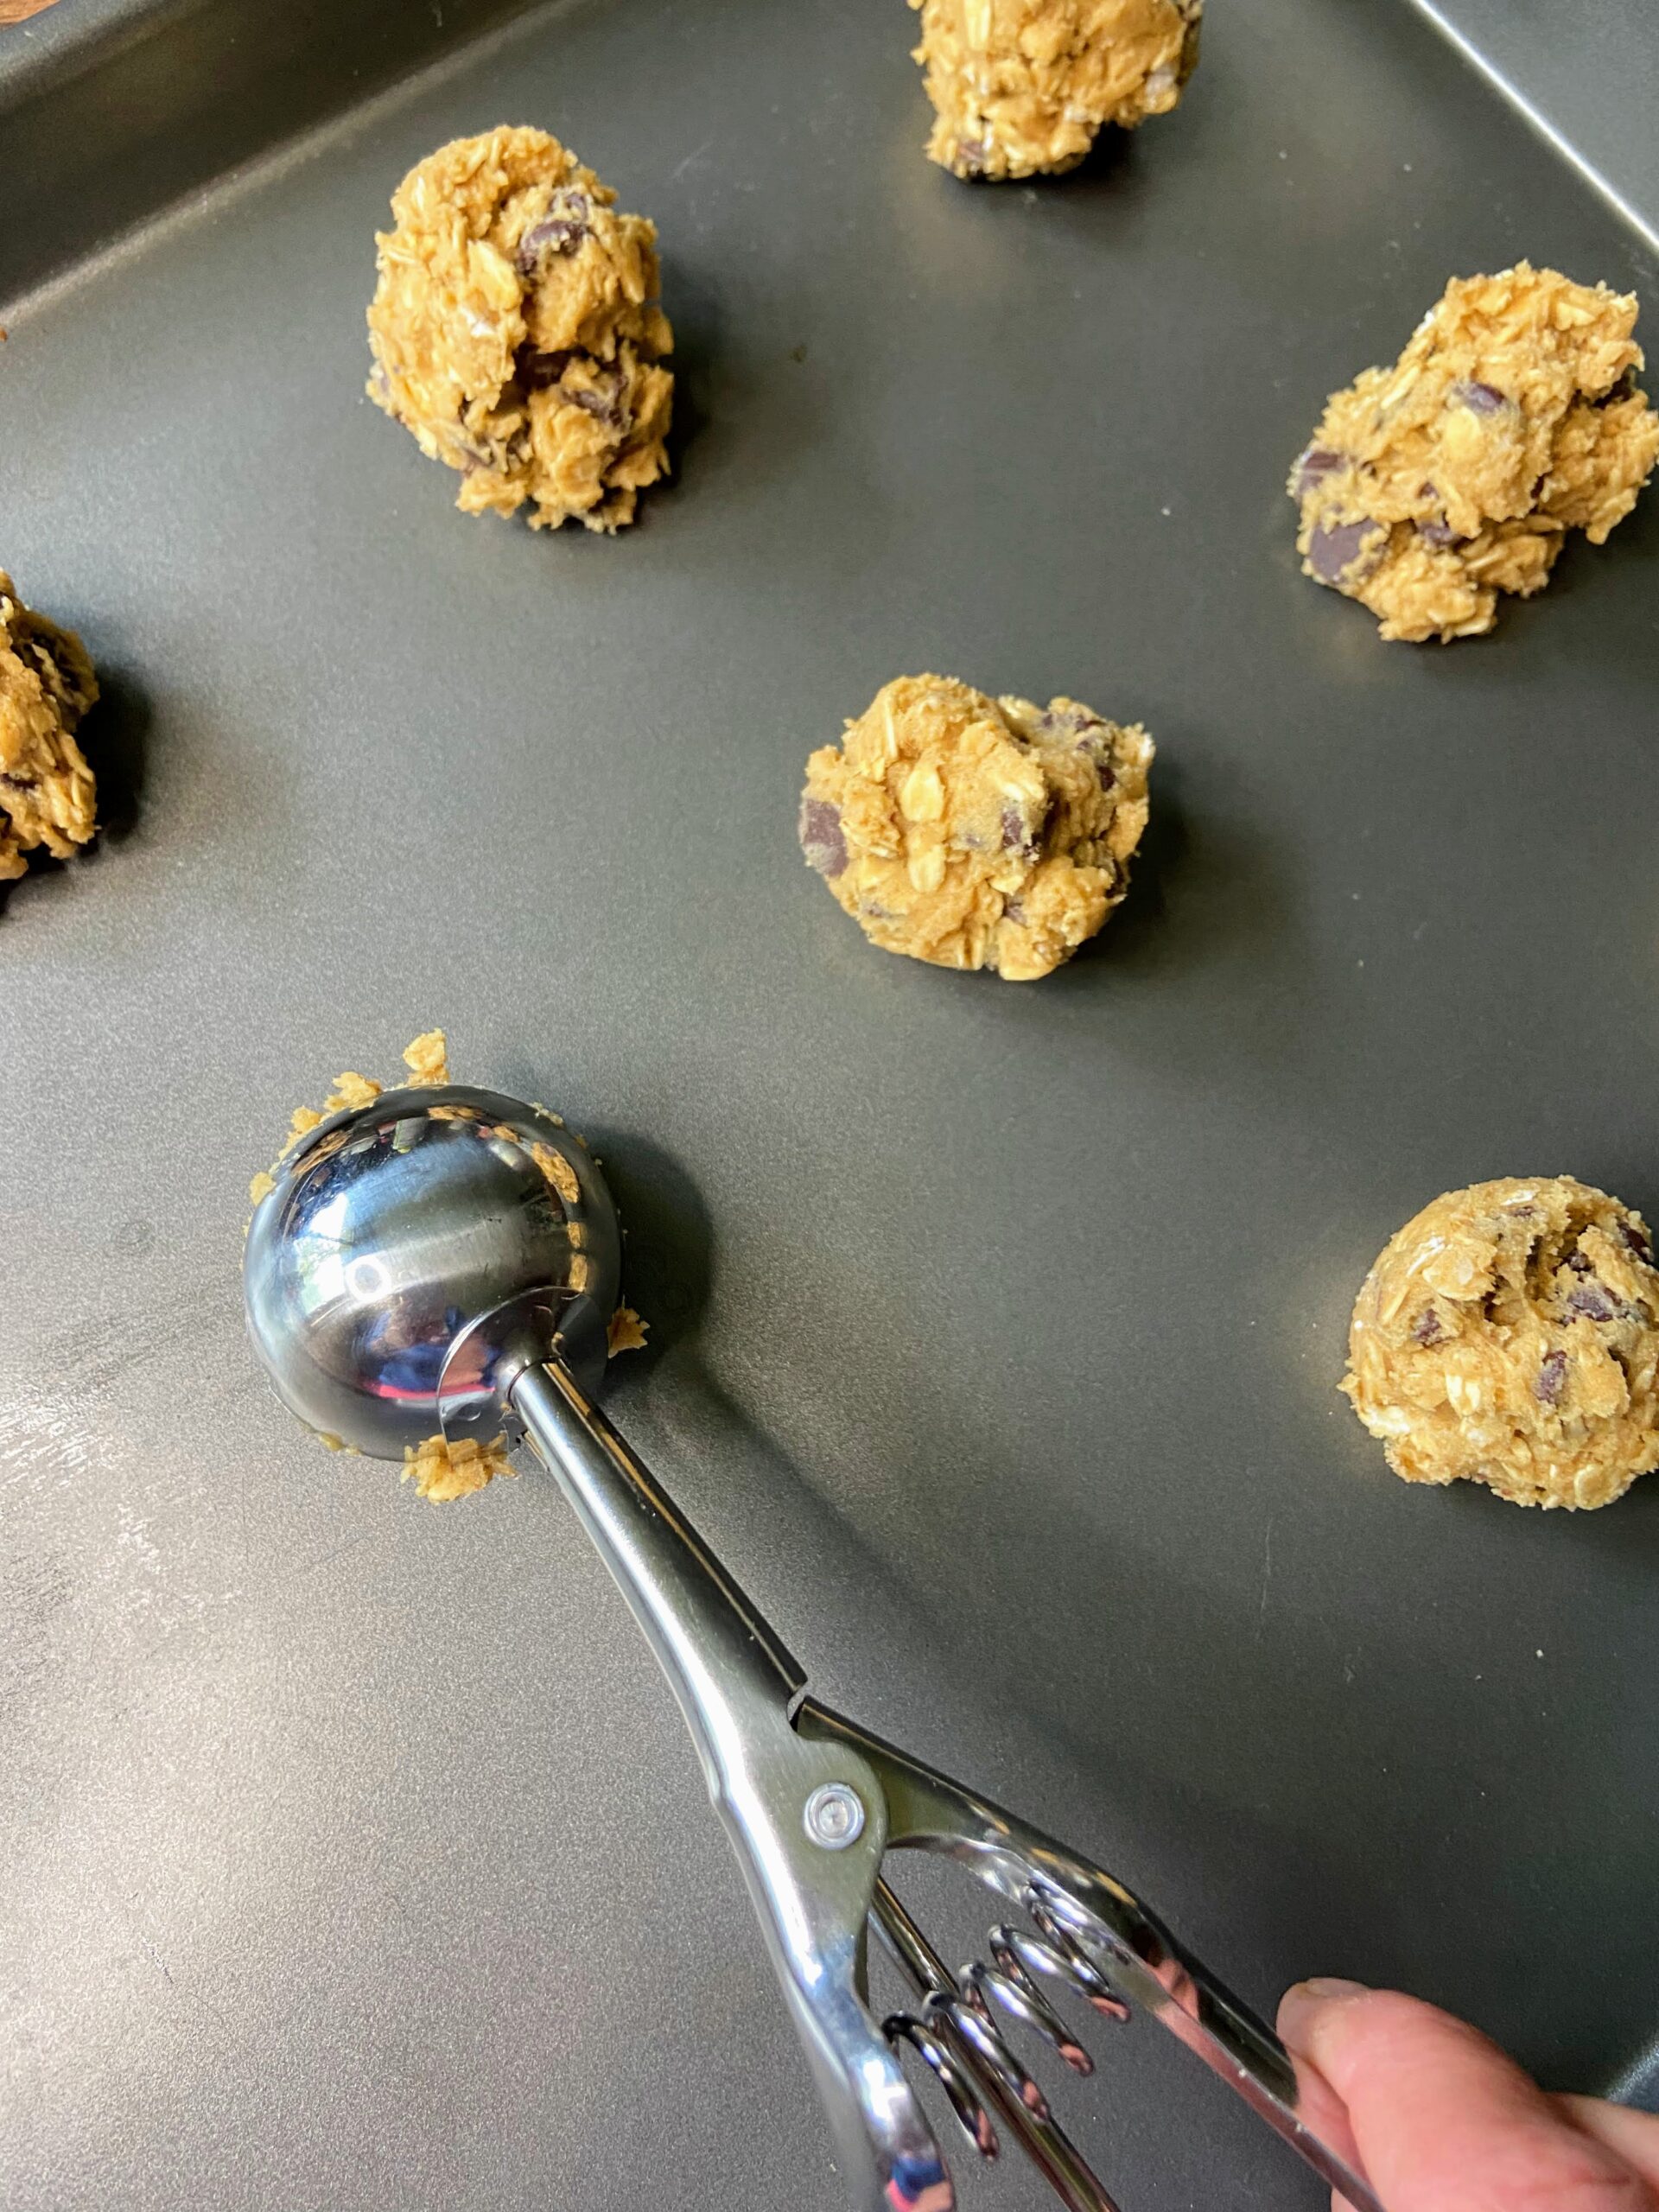
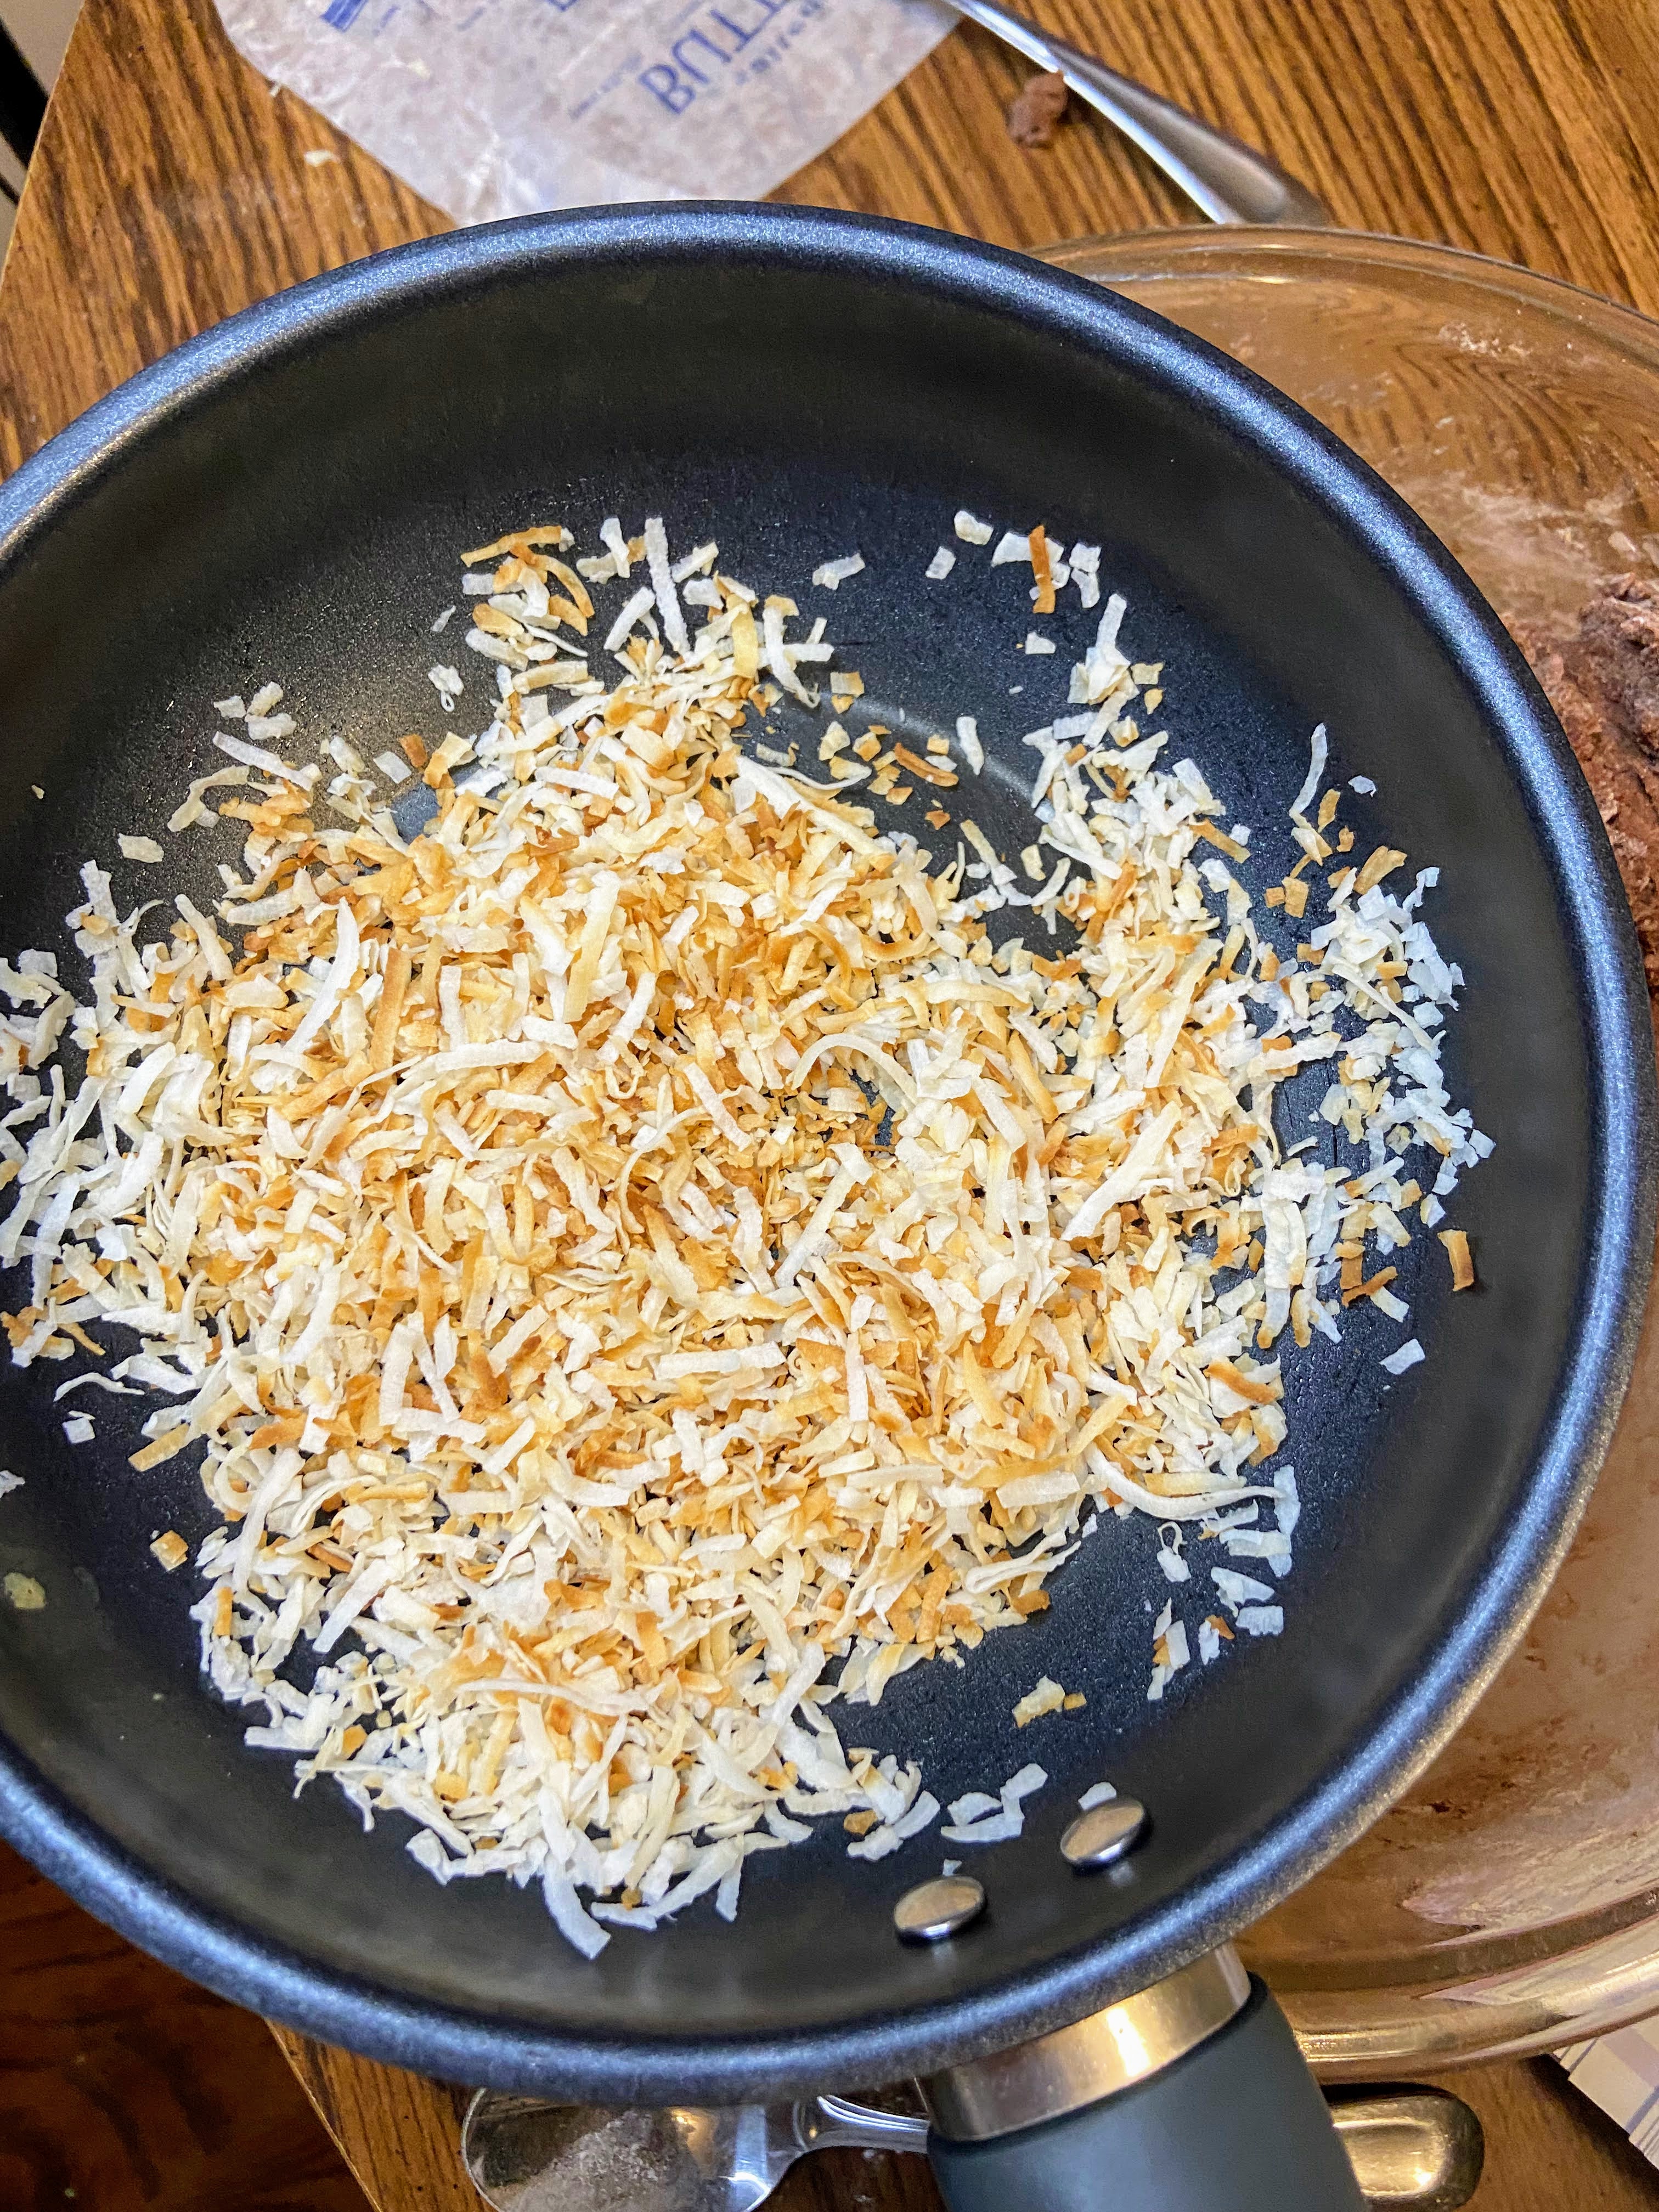
- ⅓ cup ground pistachios (I buy the lightly salted shelled pistachios from the snack aisle and grind them in my small food processor)
- Zest of one lime
Frosting
- 2 tablespoons butter, softened
- 1 teaspoon vanilla
- Pinch of salt
- 1 cup powdered sugar
- Juice from one lime (1-2 tablespoons)
- Splash of milk, as needed
- Additional ground pistachios
Your Steps to Pistachio Lime Thumbies
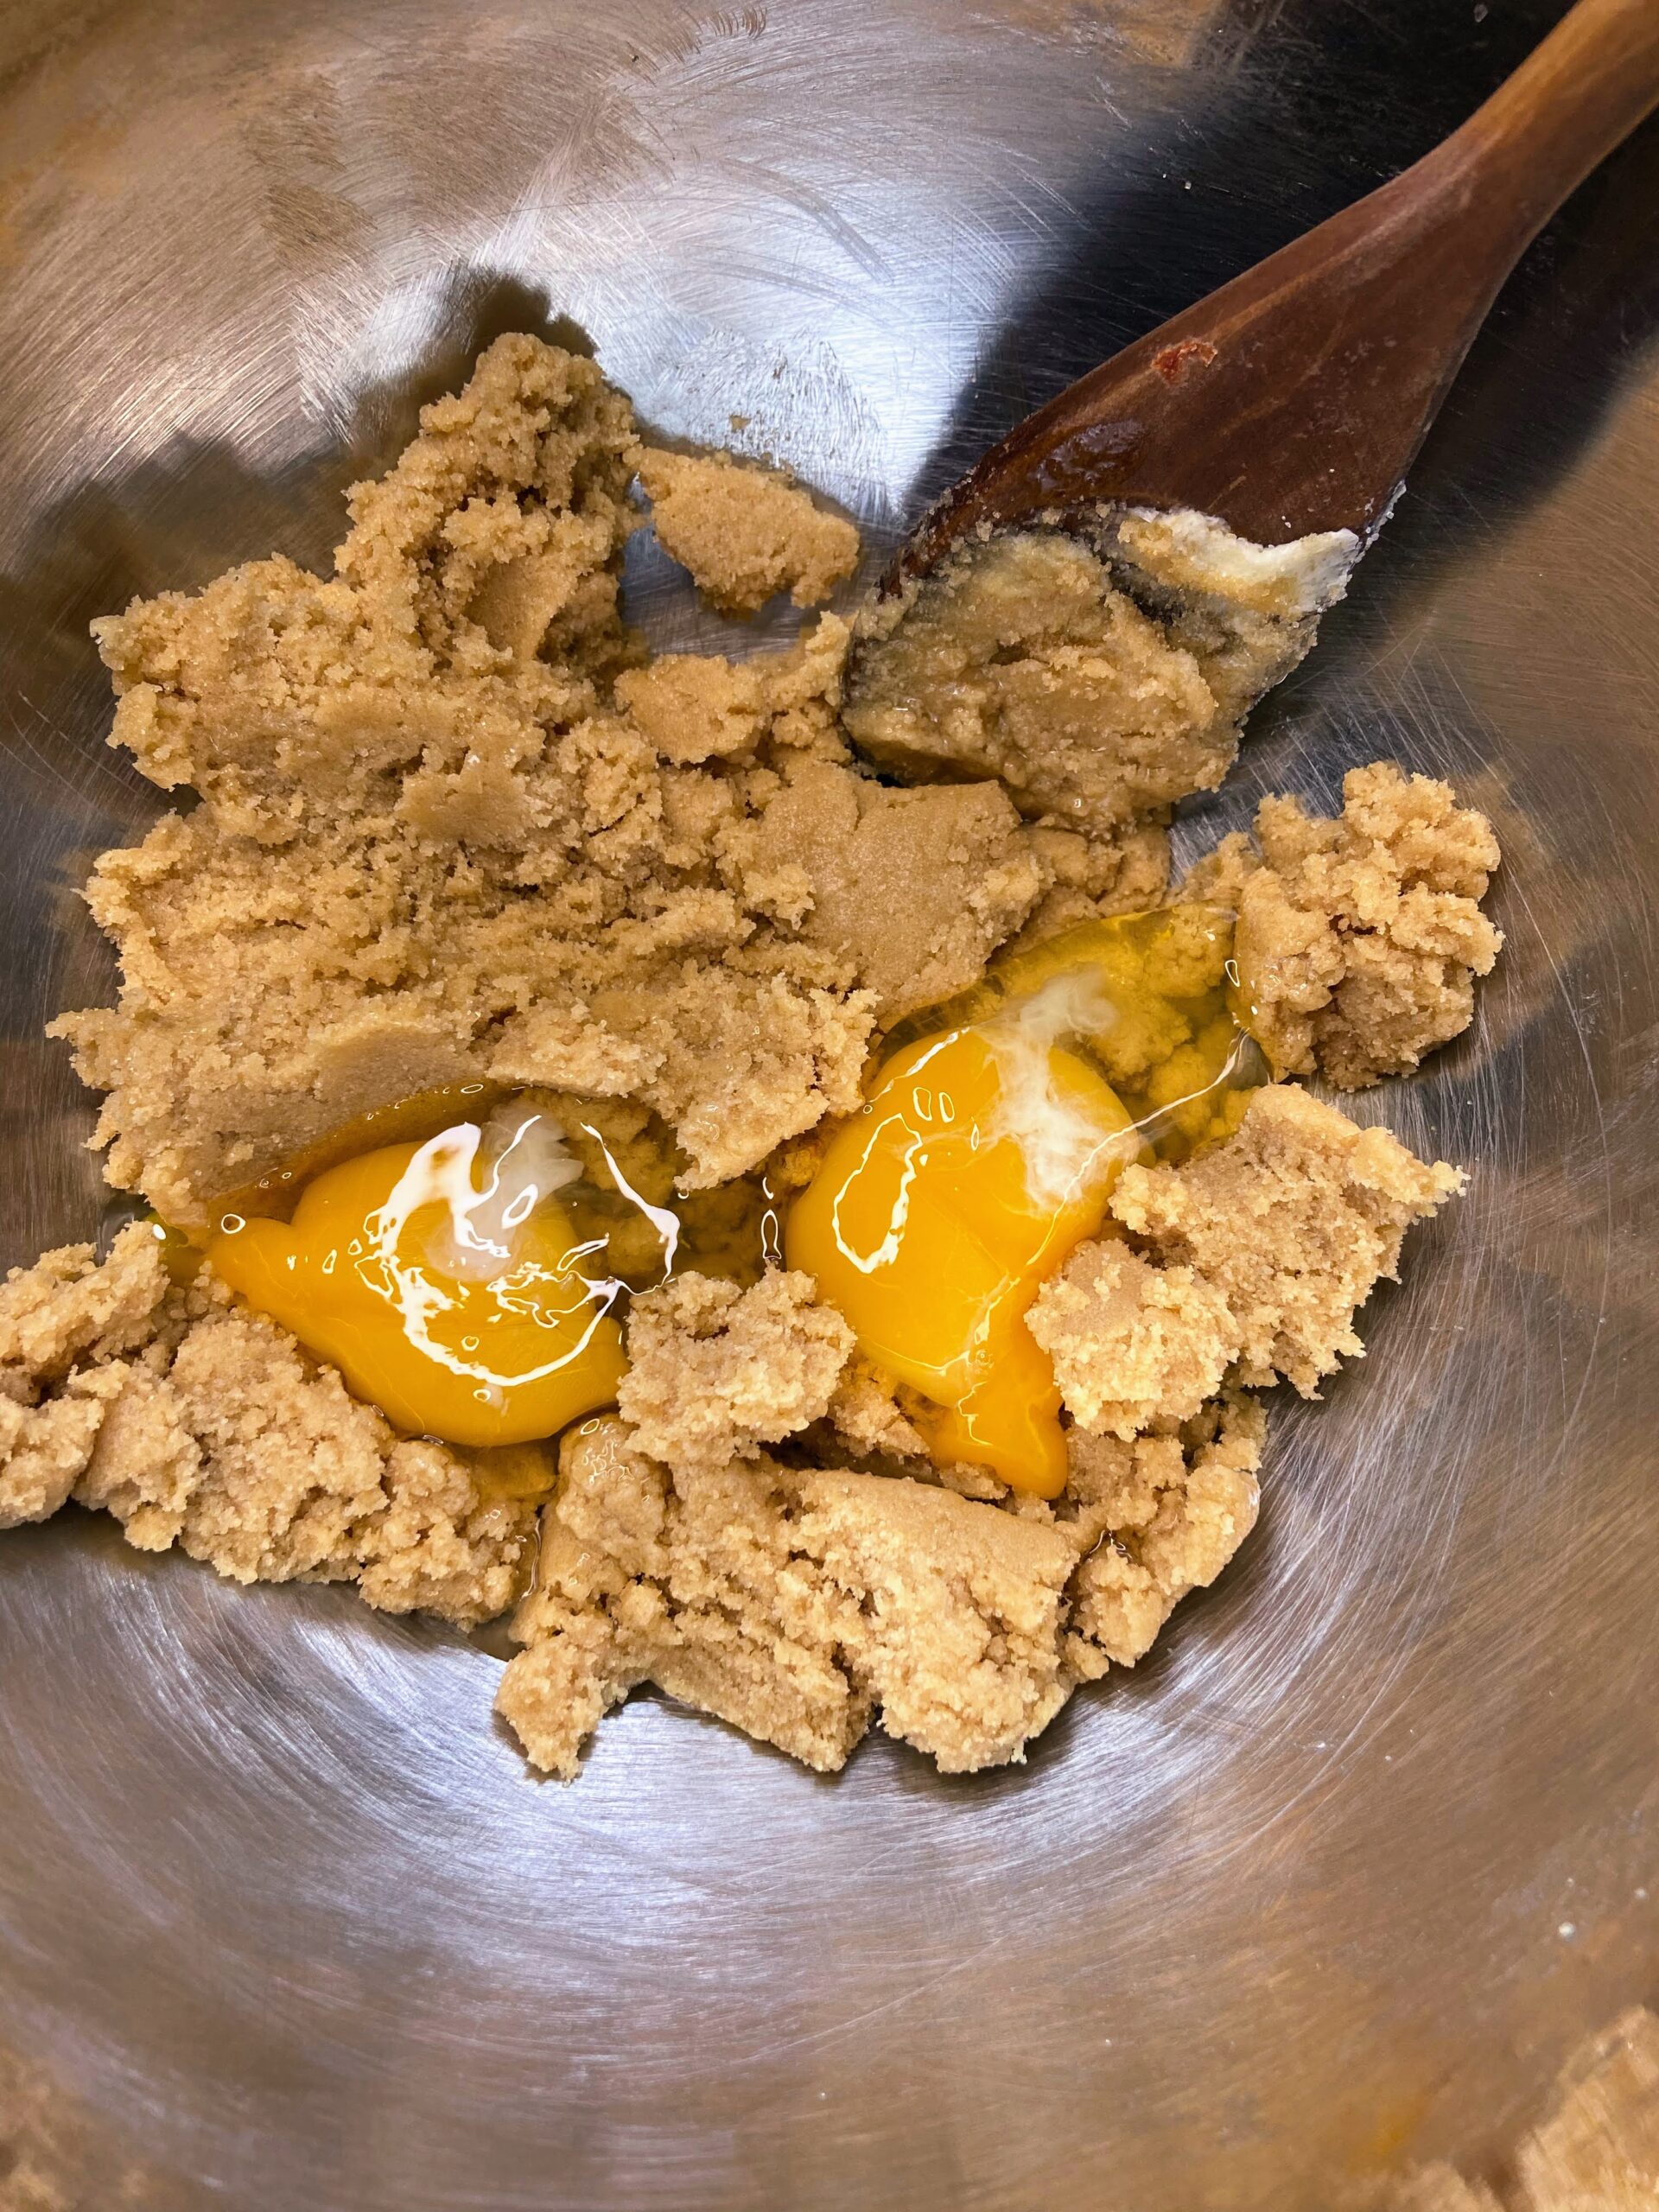
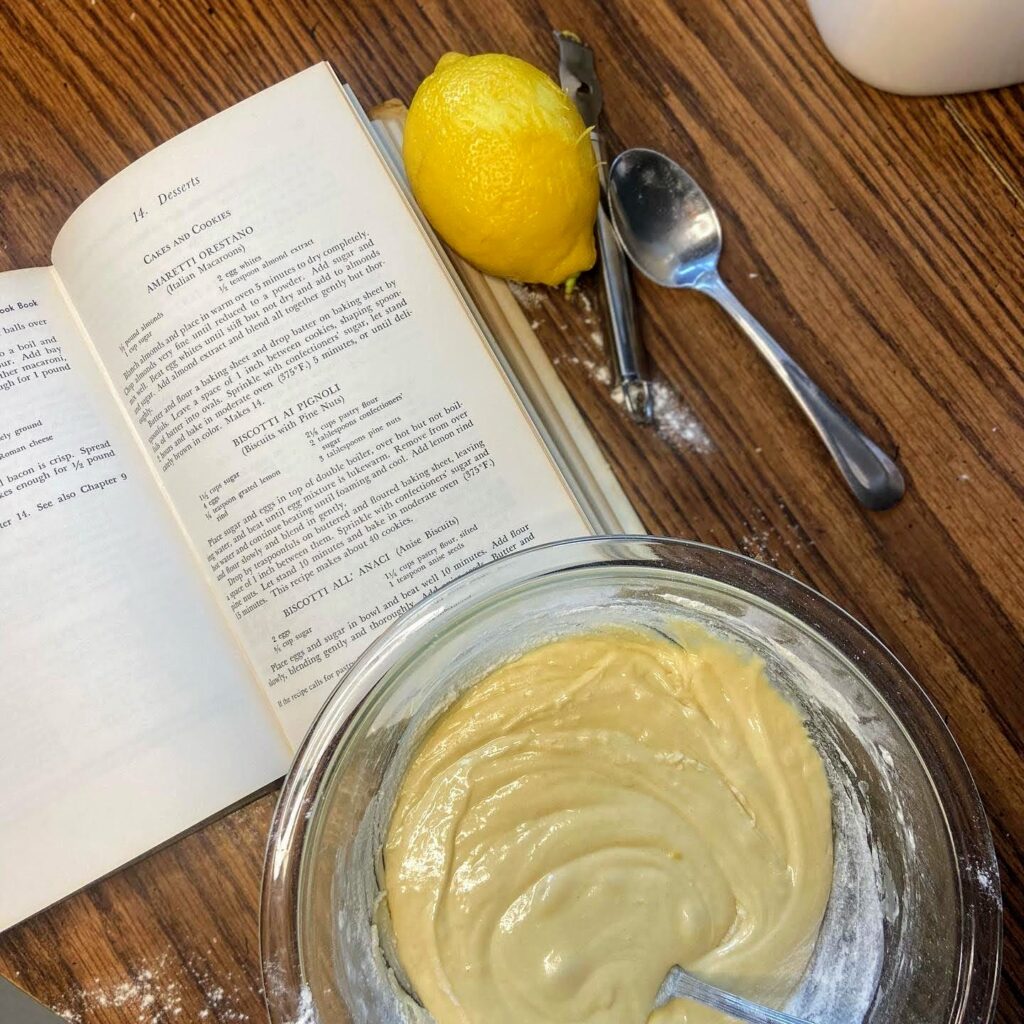
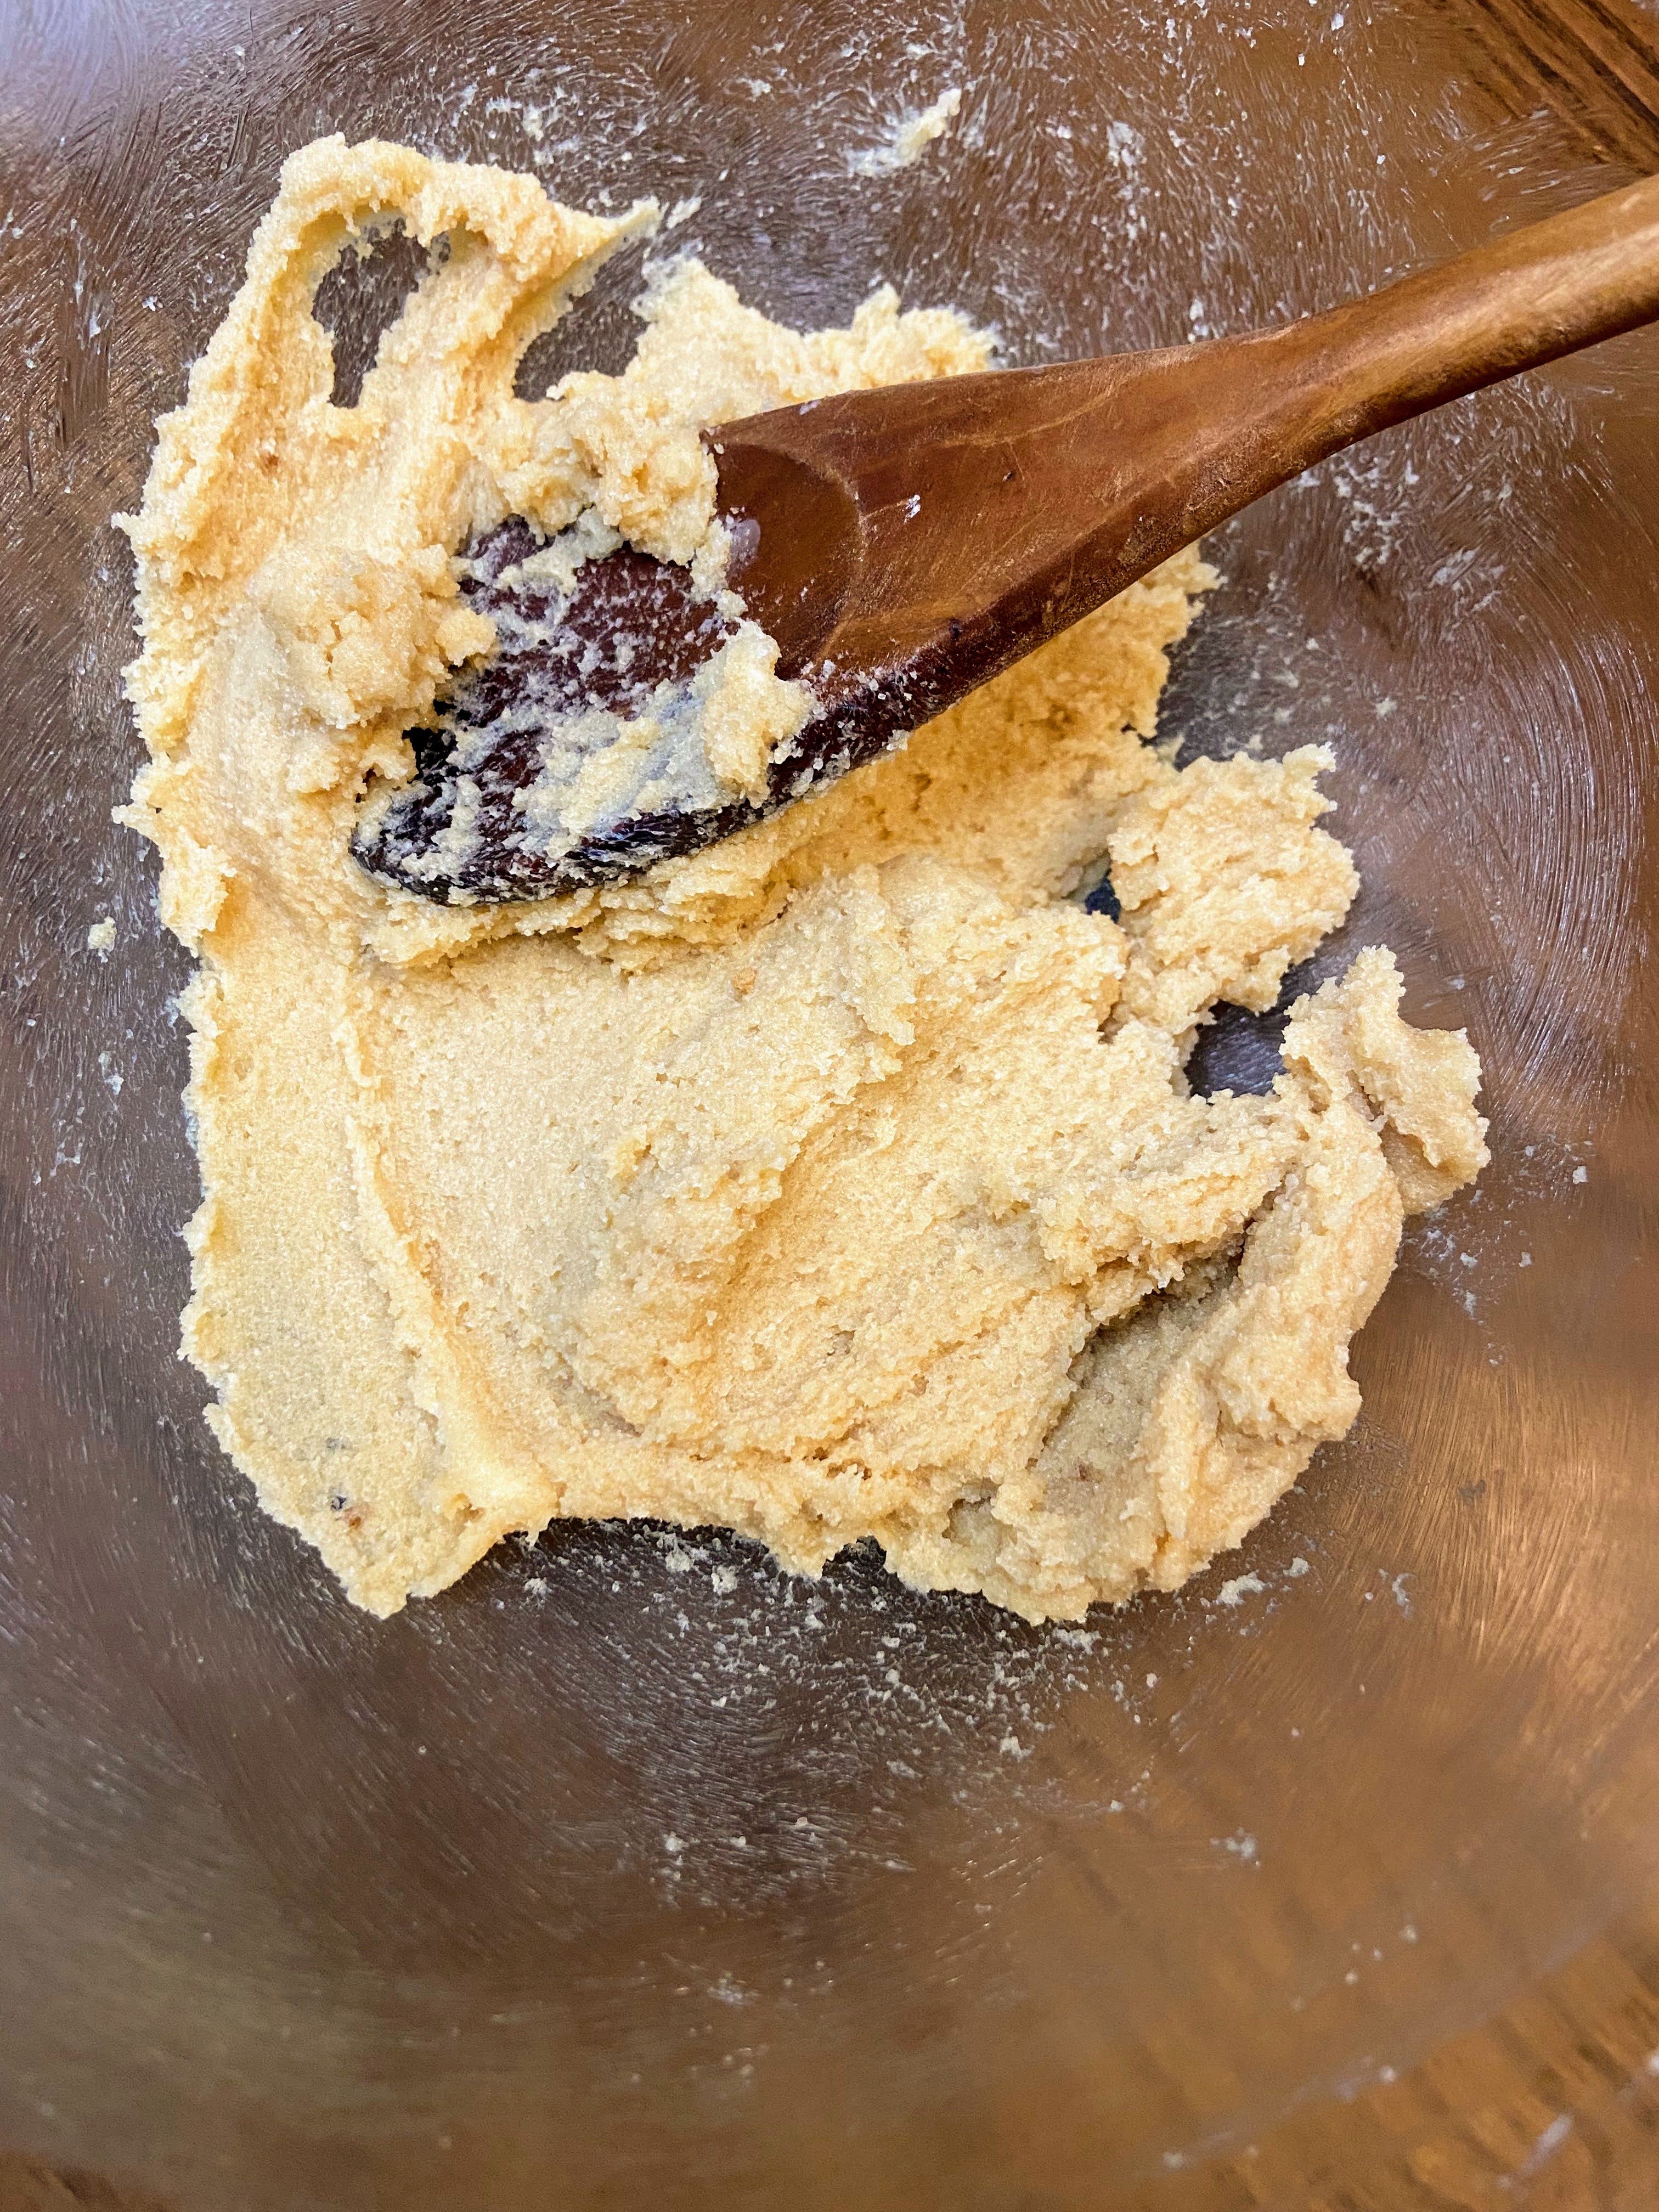
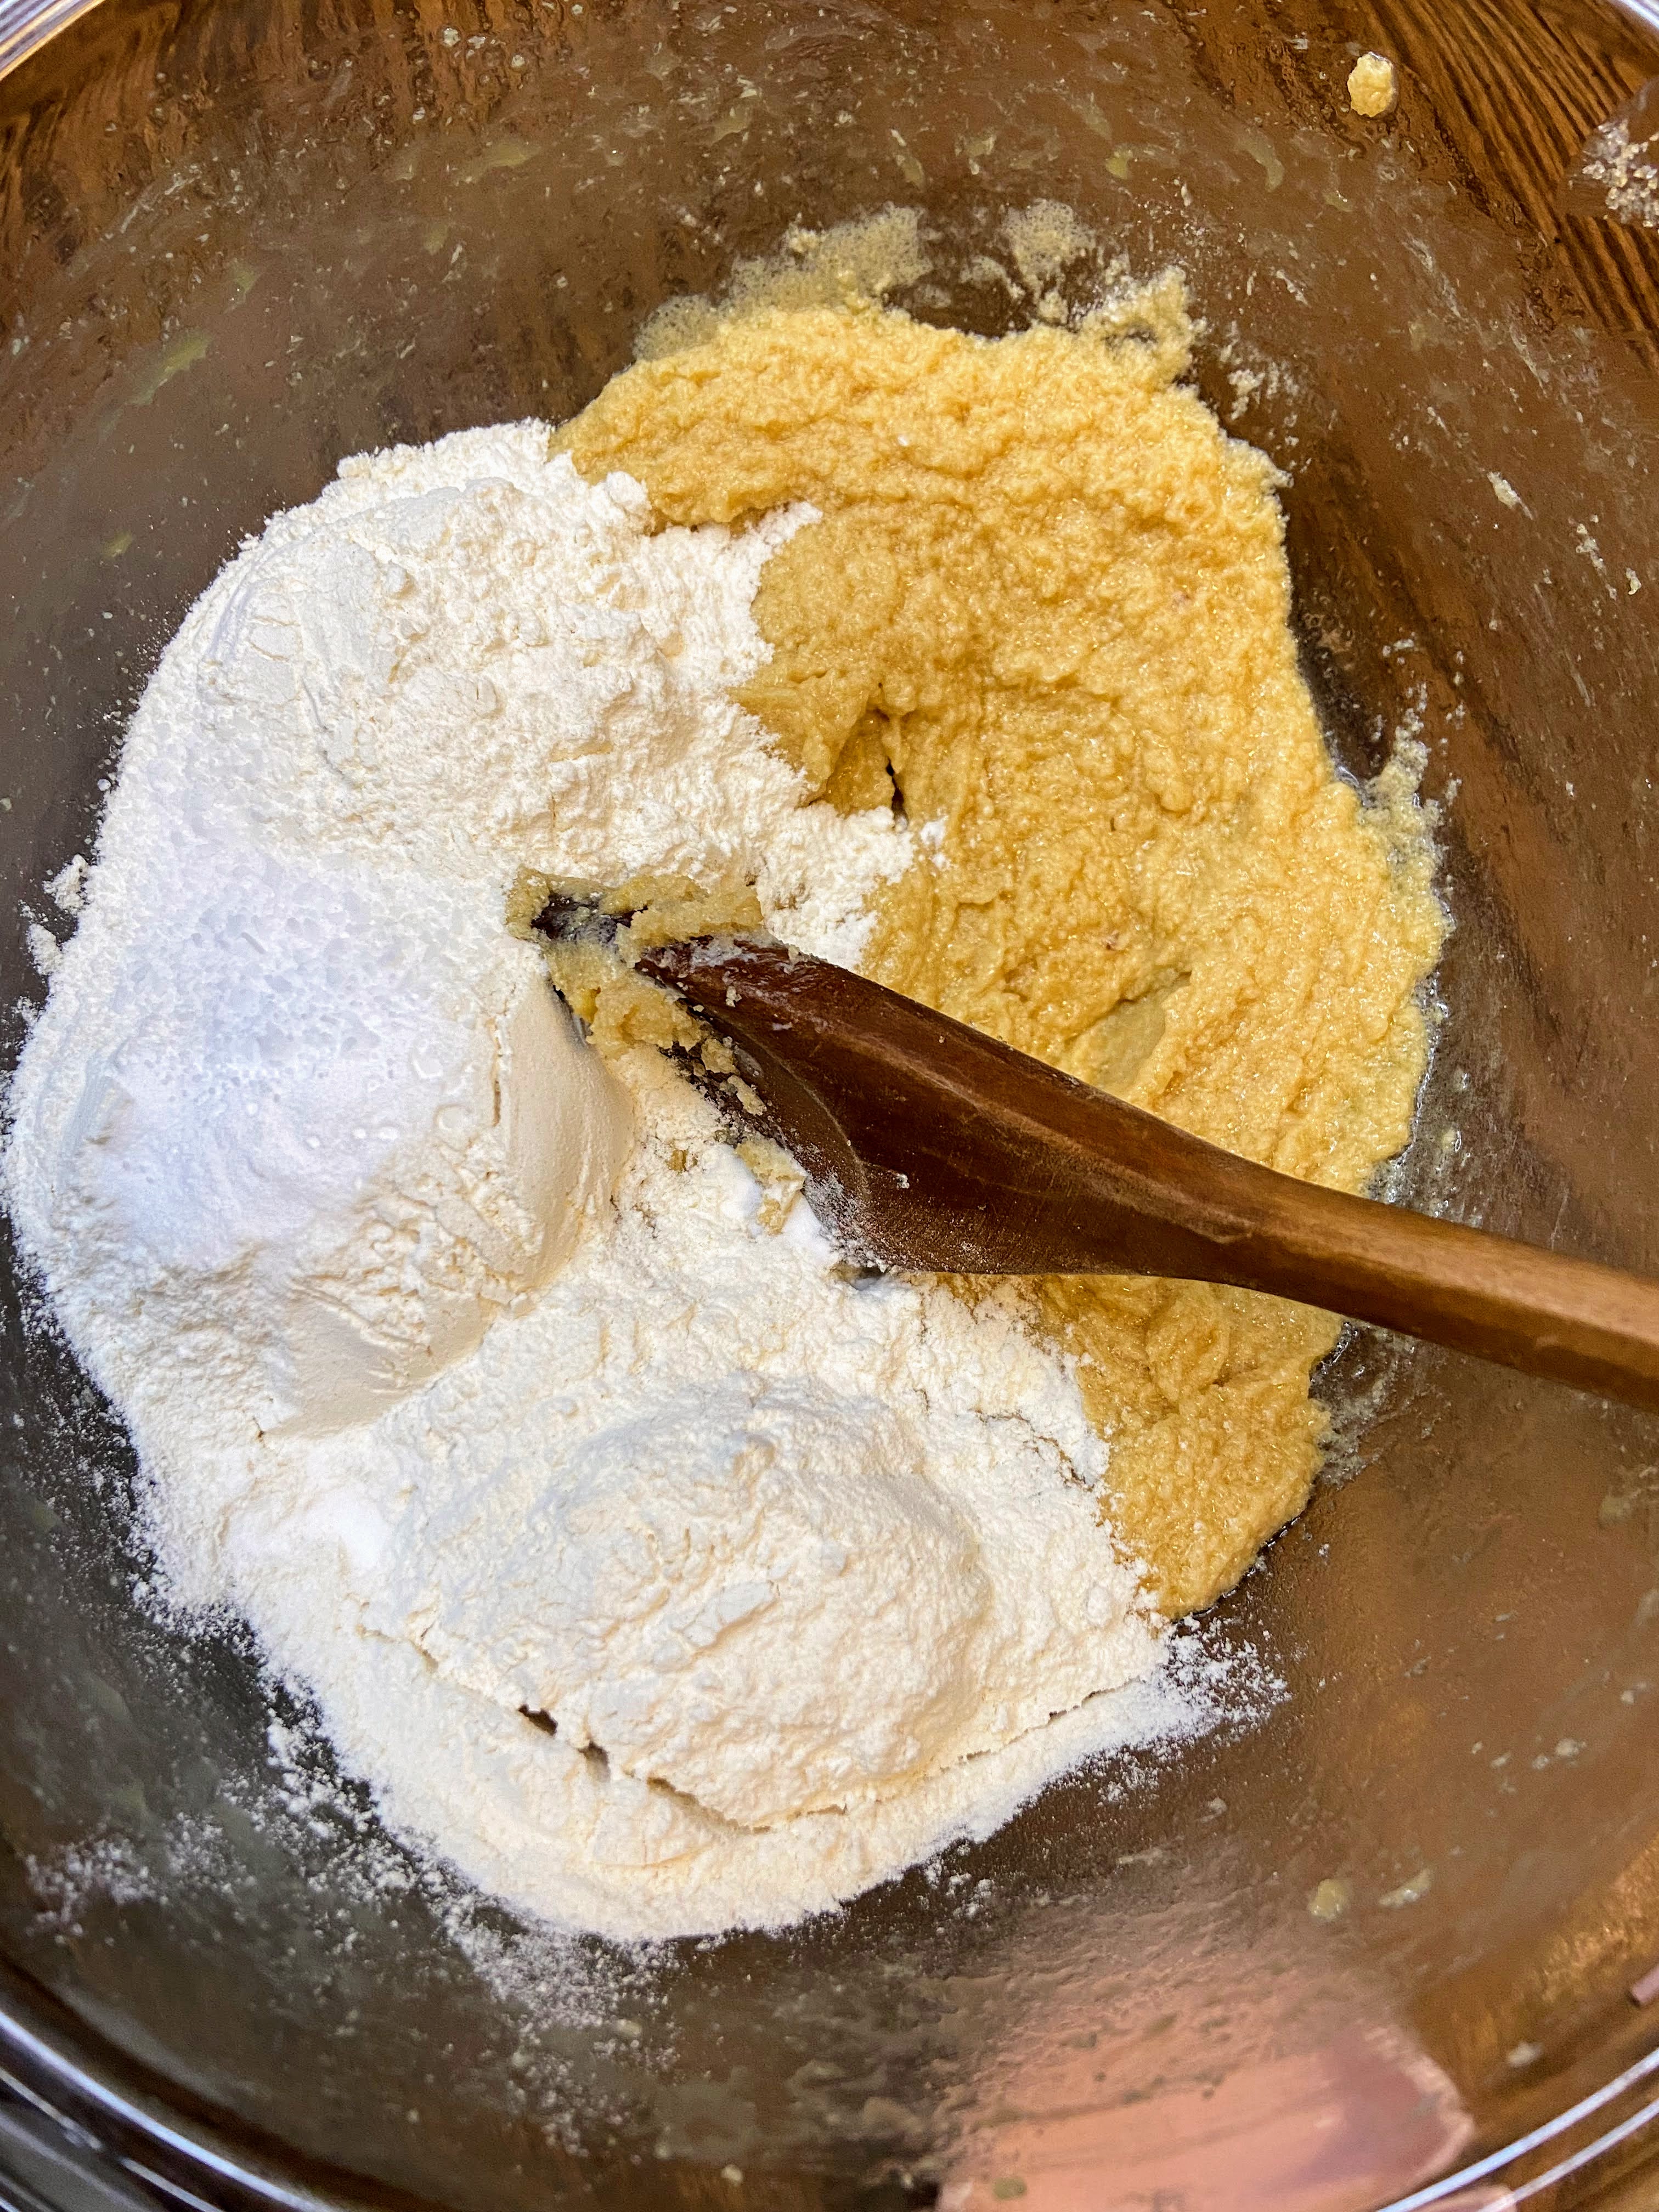
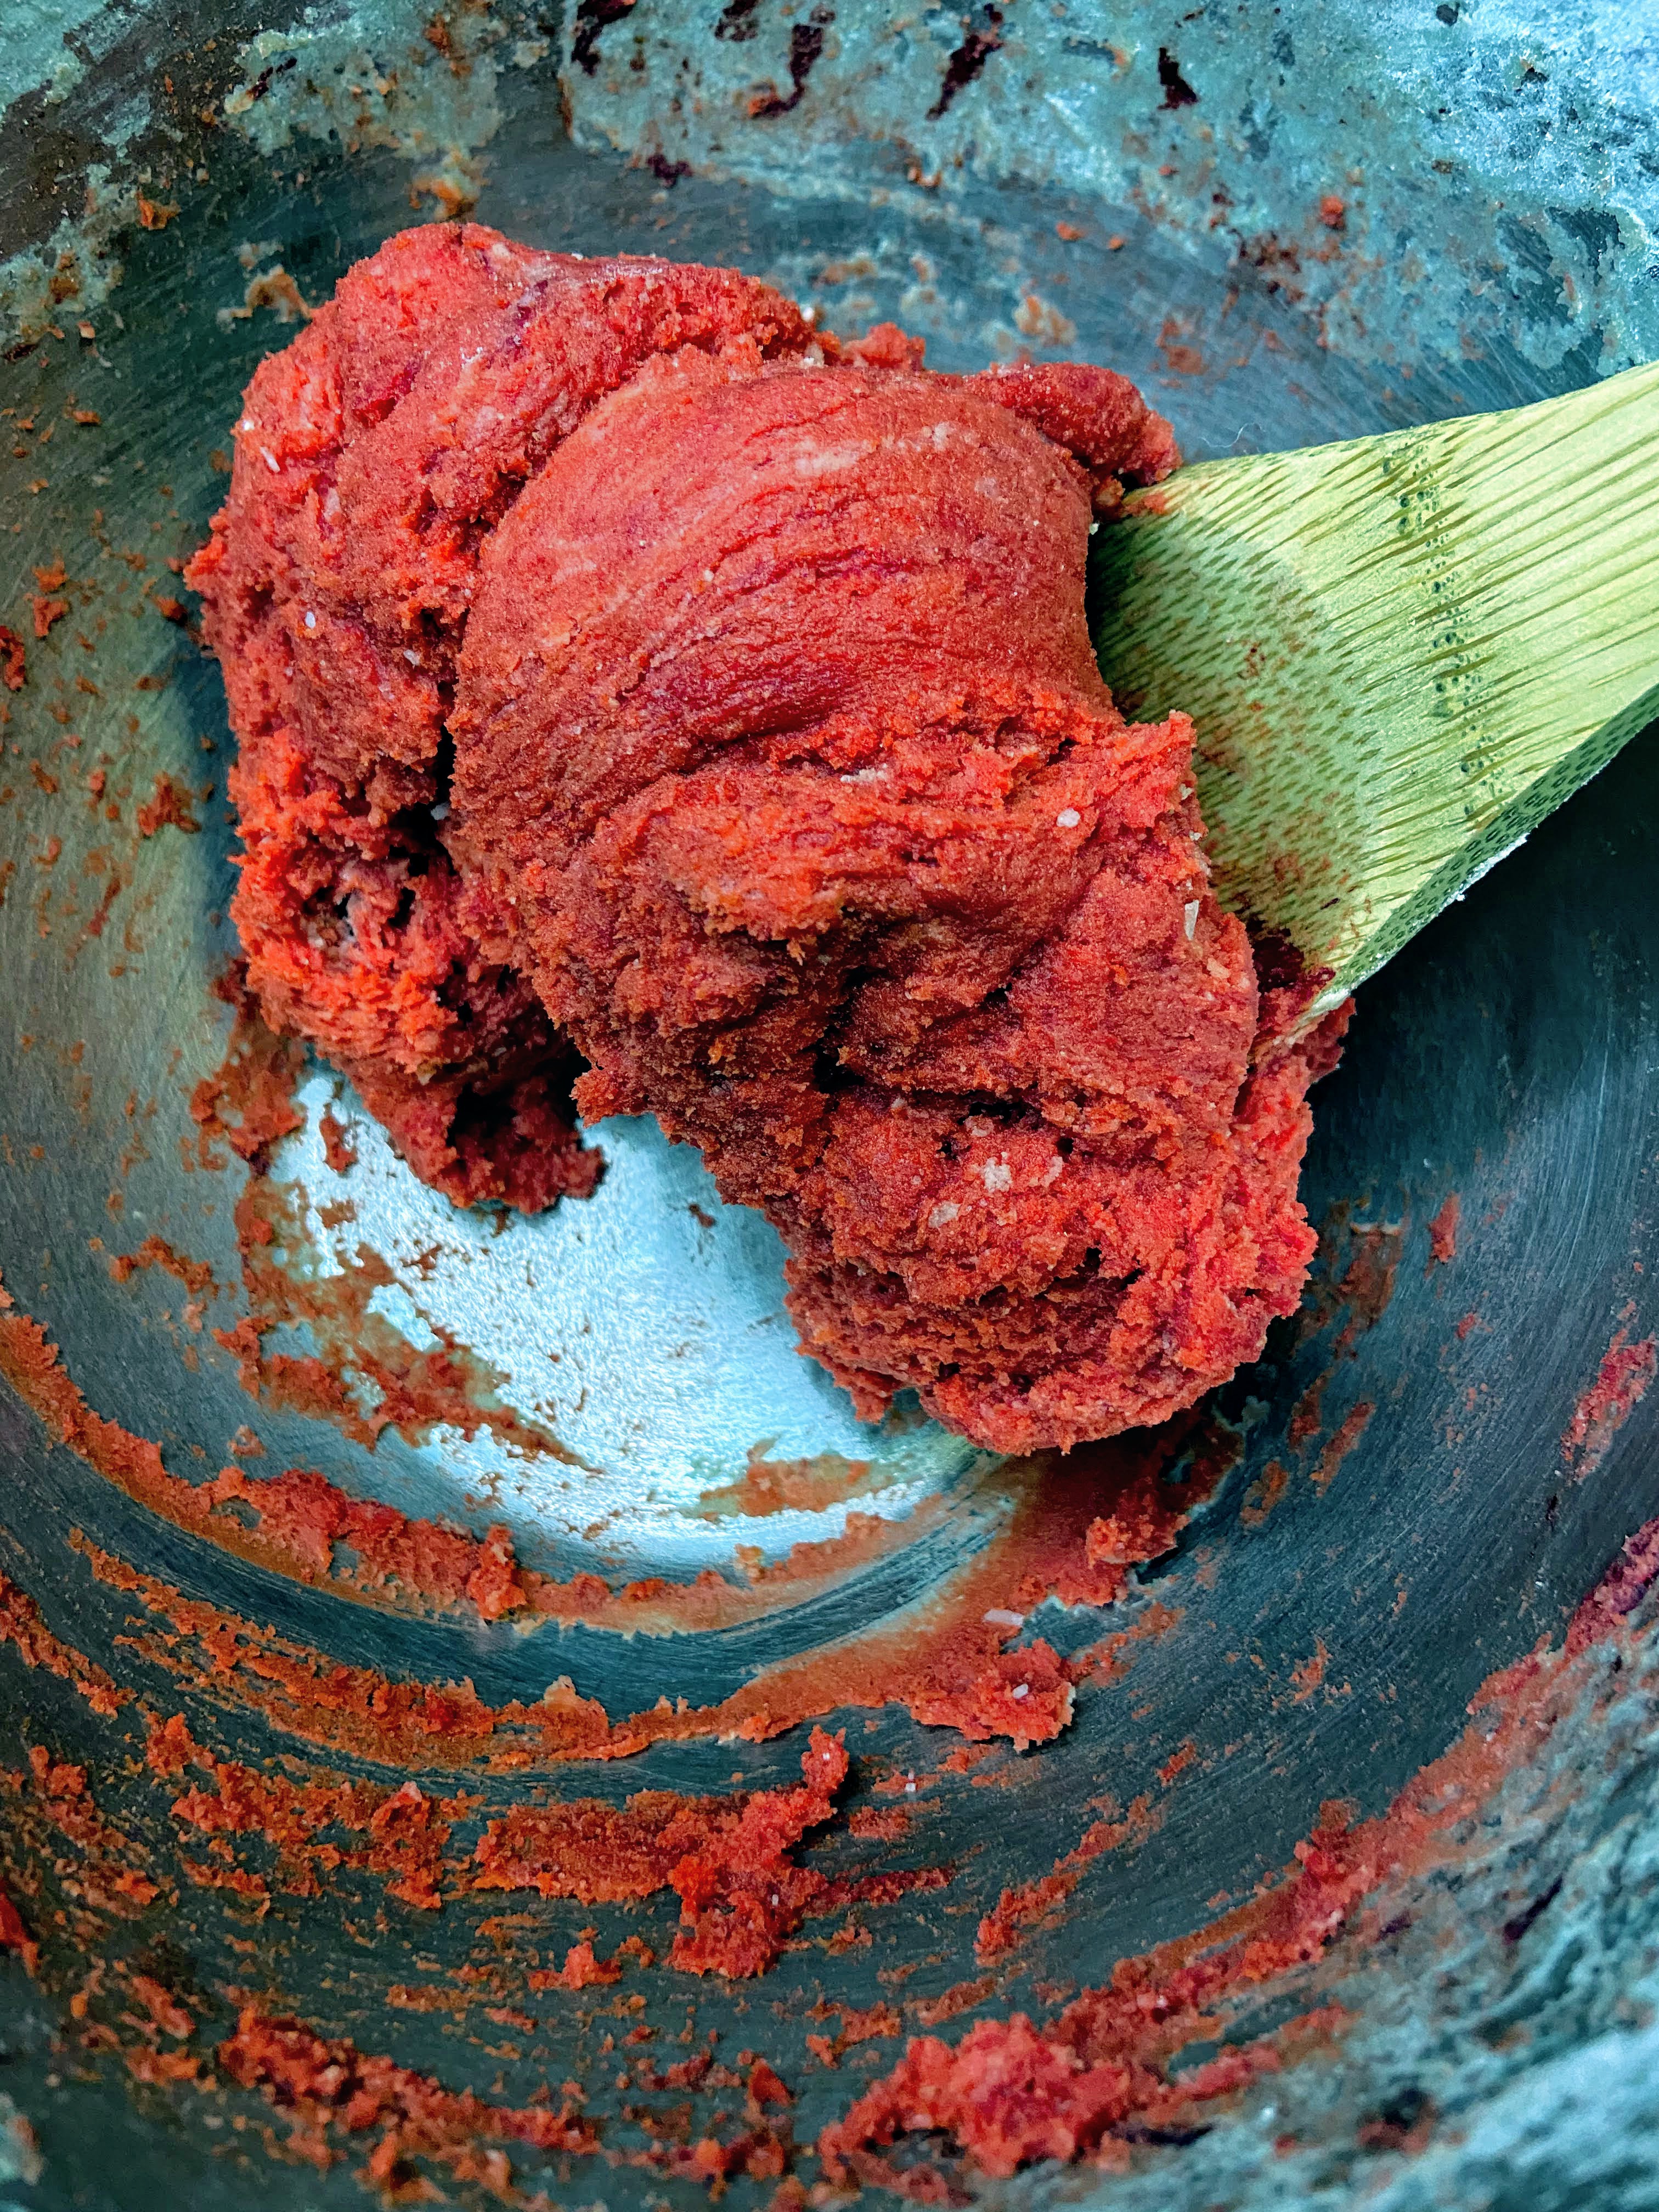
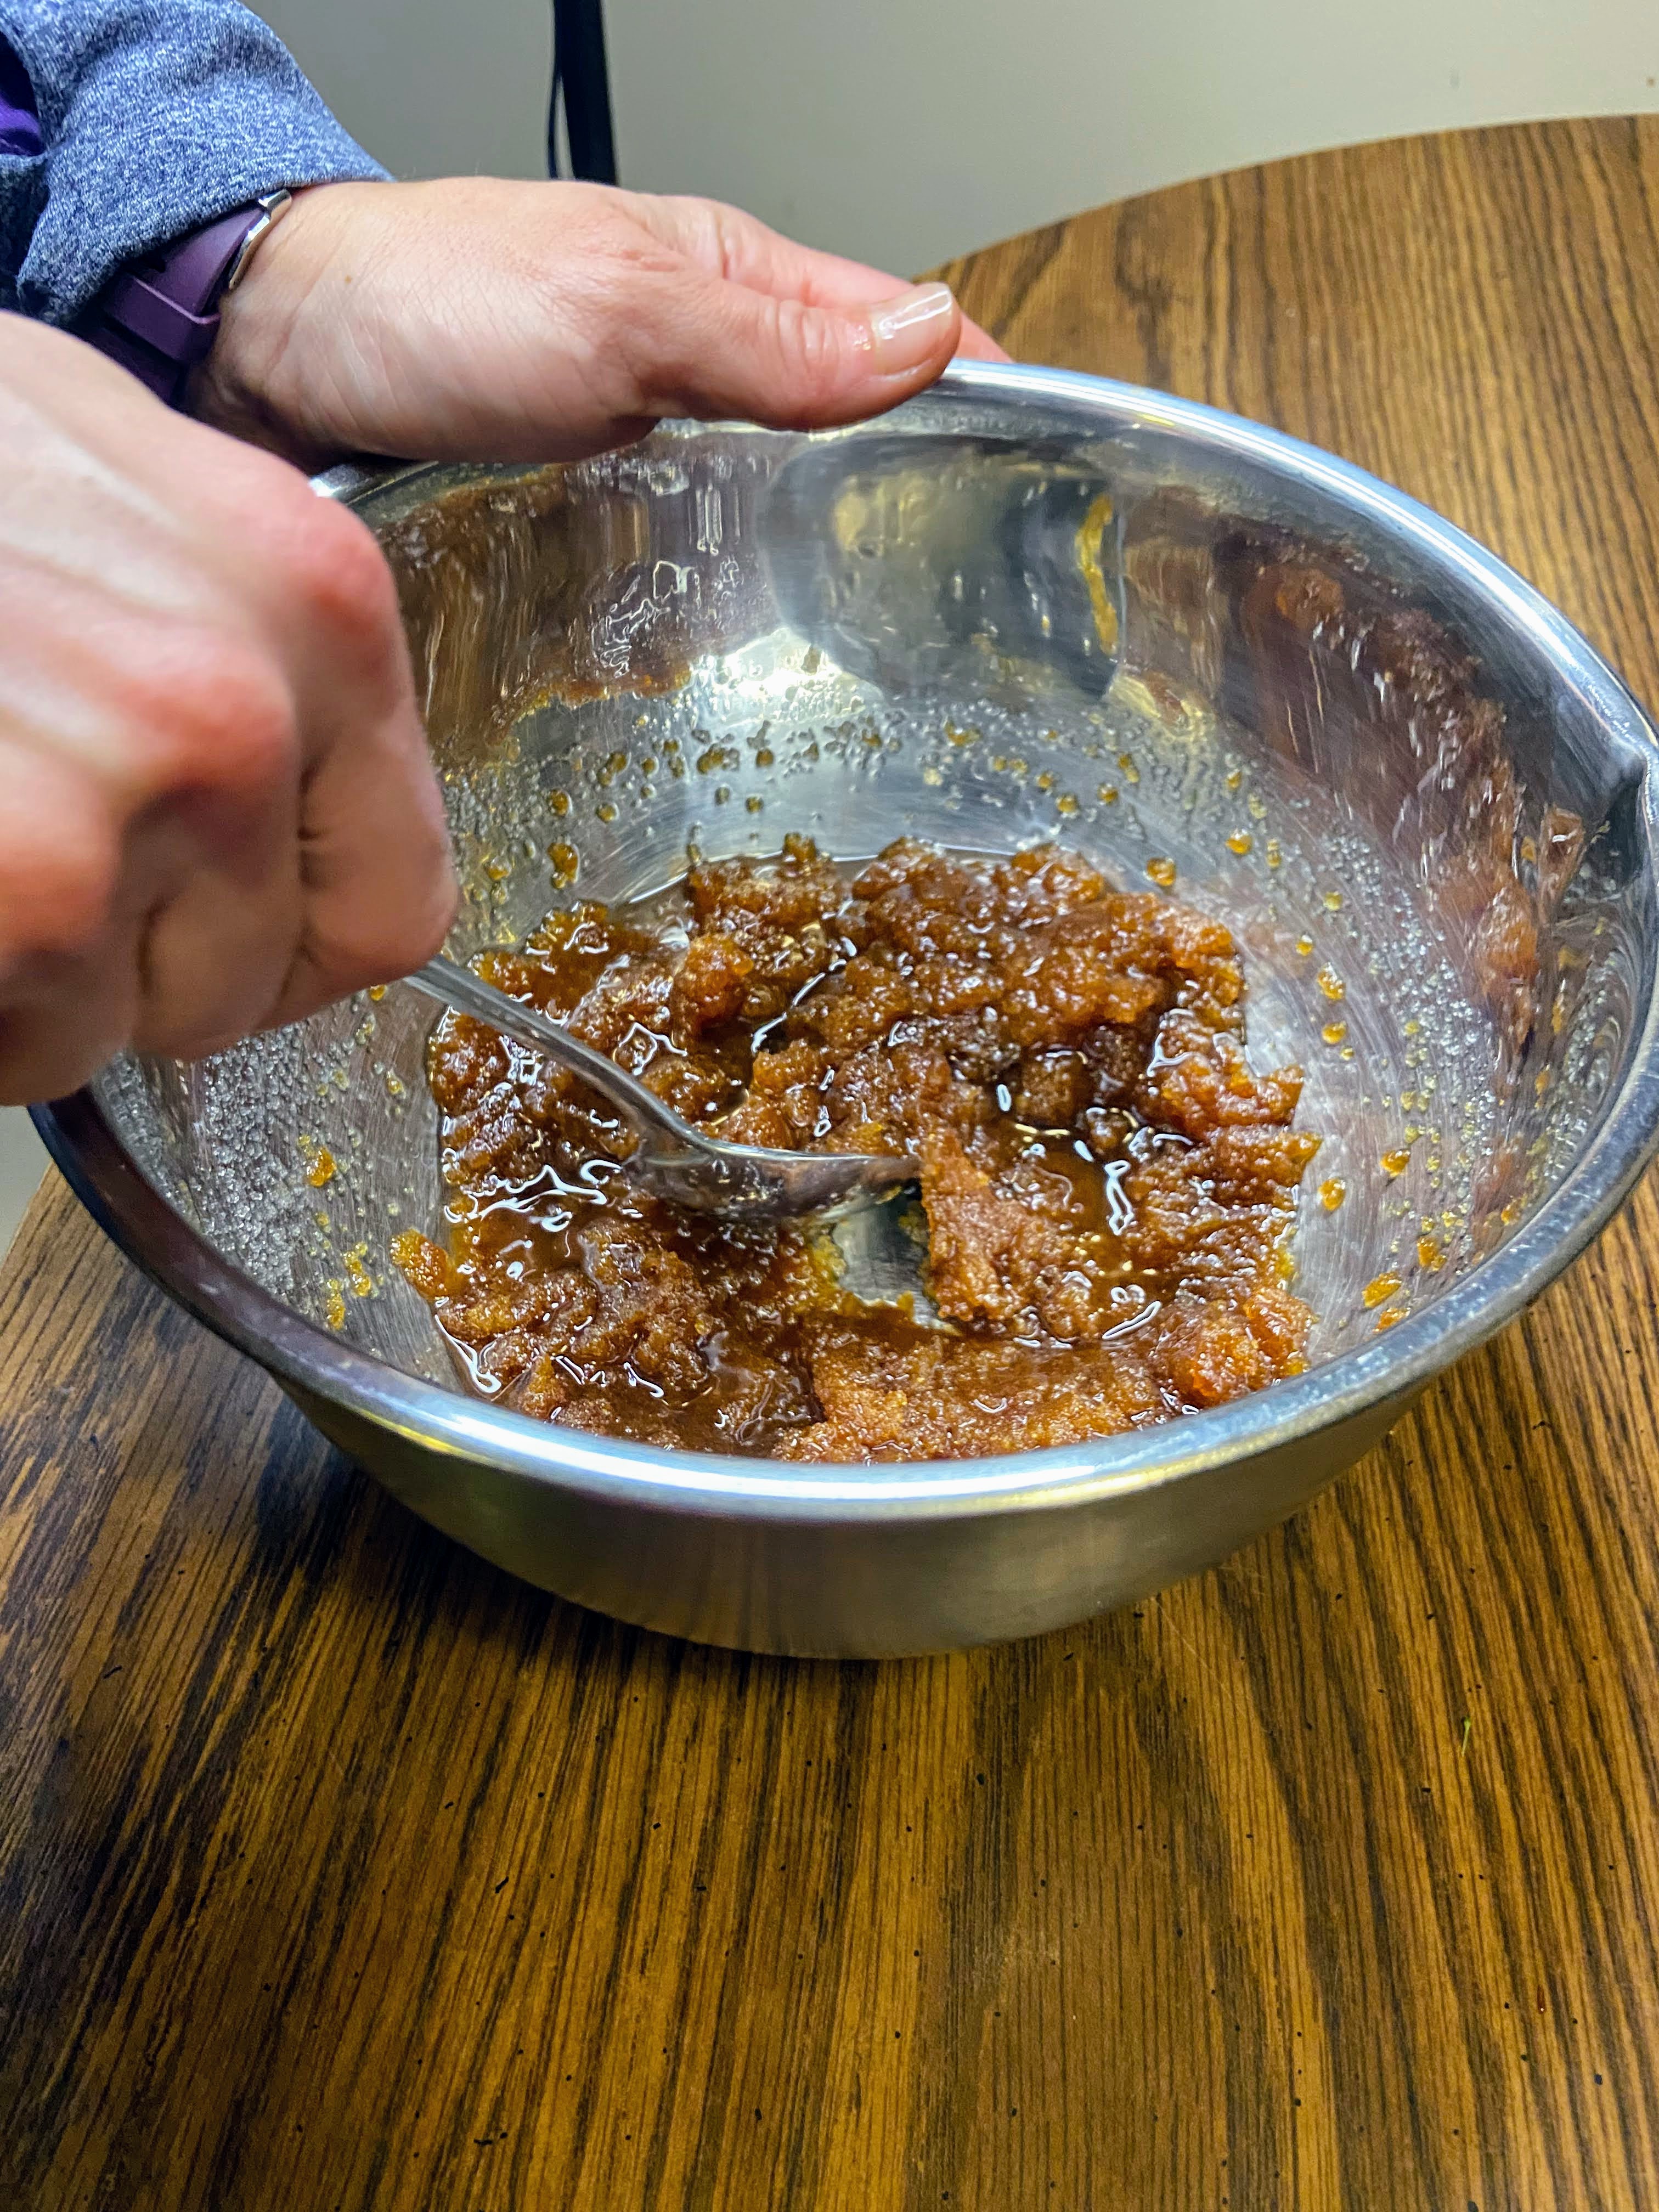
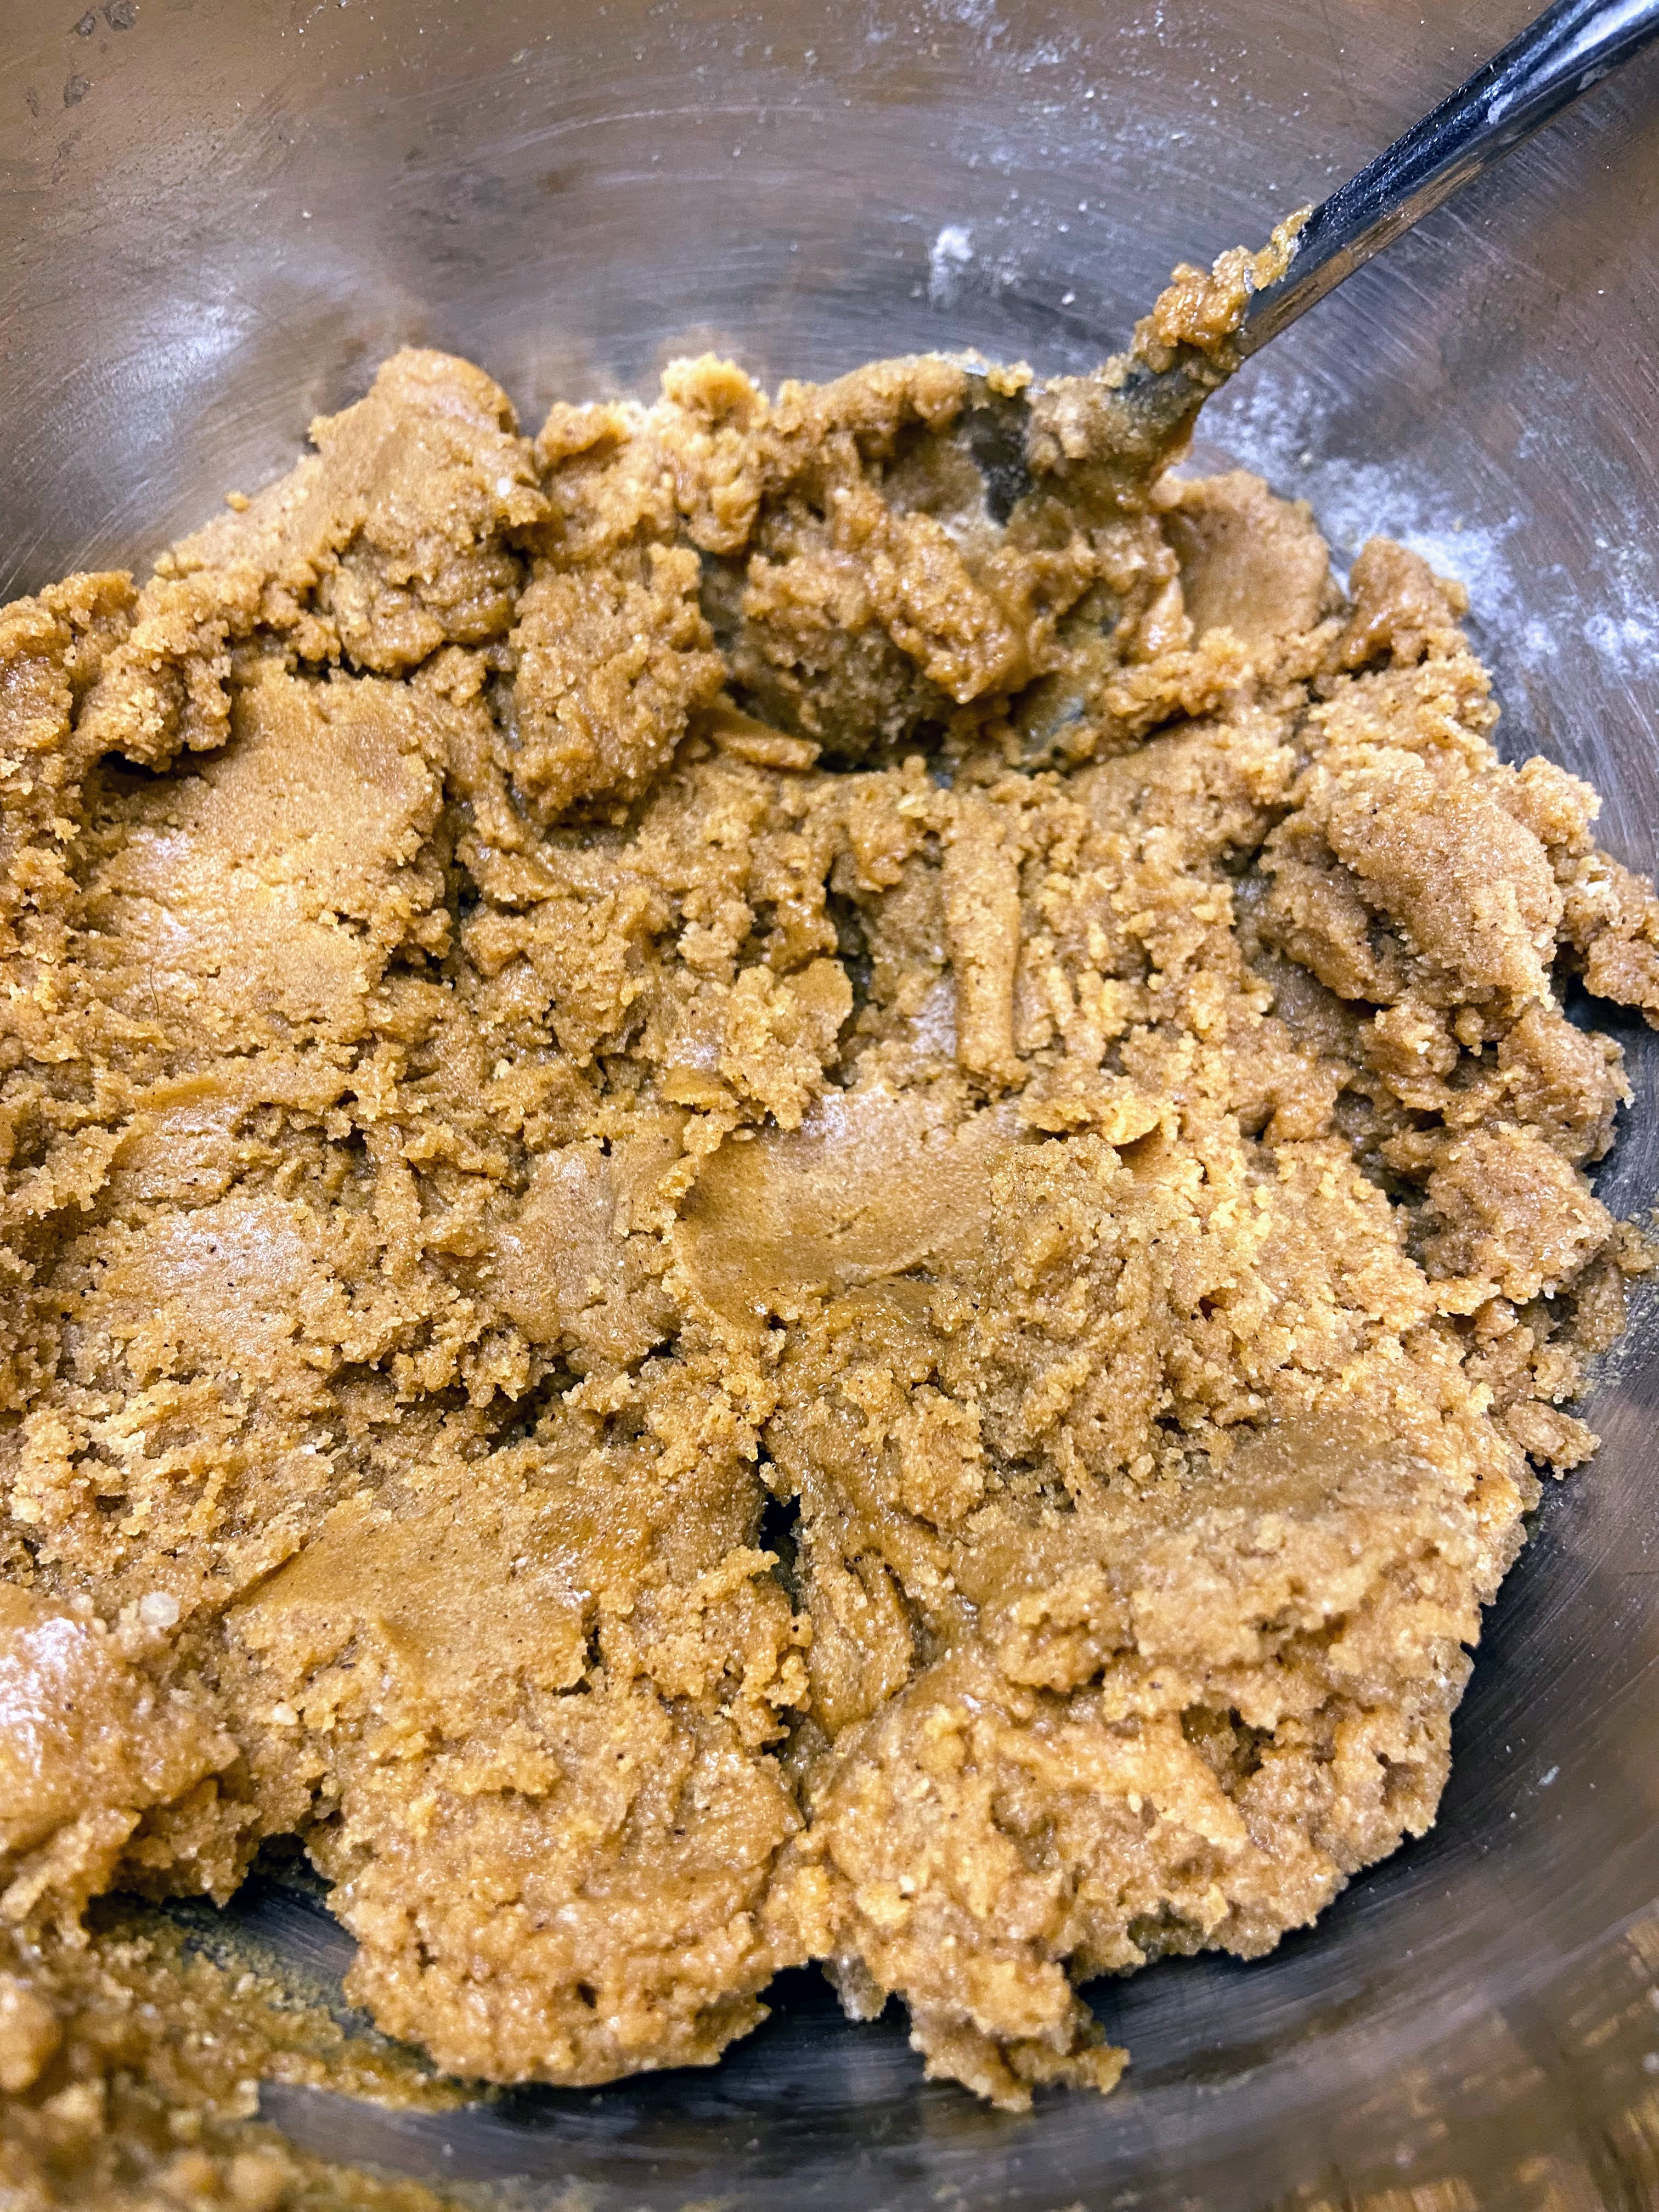
In a medium bowl, cream butter and sugar. Add the vanilla and mix until well combined. Combine the flour, cornstarch, and salt. Cream the flour mixture with the butter and sugar, mixing well. Stir in the milk and the pistachios, mixing until a ball is formed.
(Note: For the pistachios, I like to purchase the lightly salted shelled pistachios from the snack food aisle at the grocery store. Then I grind them myself in a small food processor. Make sure they are ground well so they get fully incorporated. Also grind a little extra for sprinkling on the frosting)
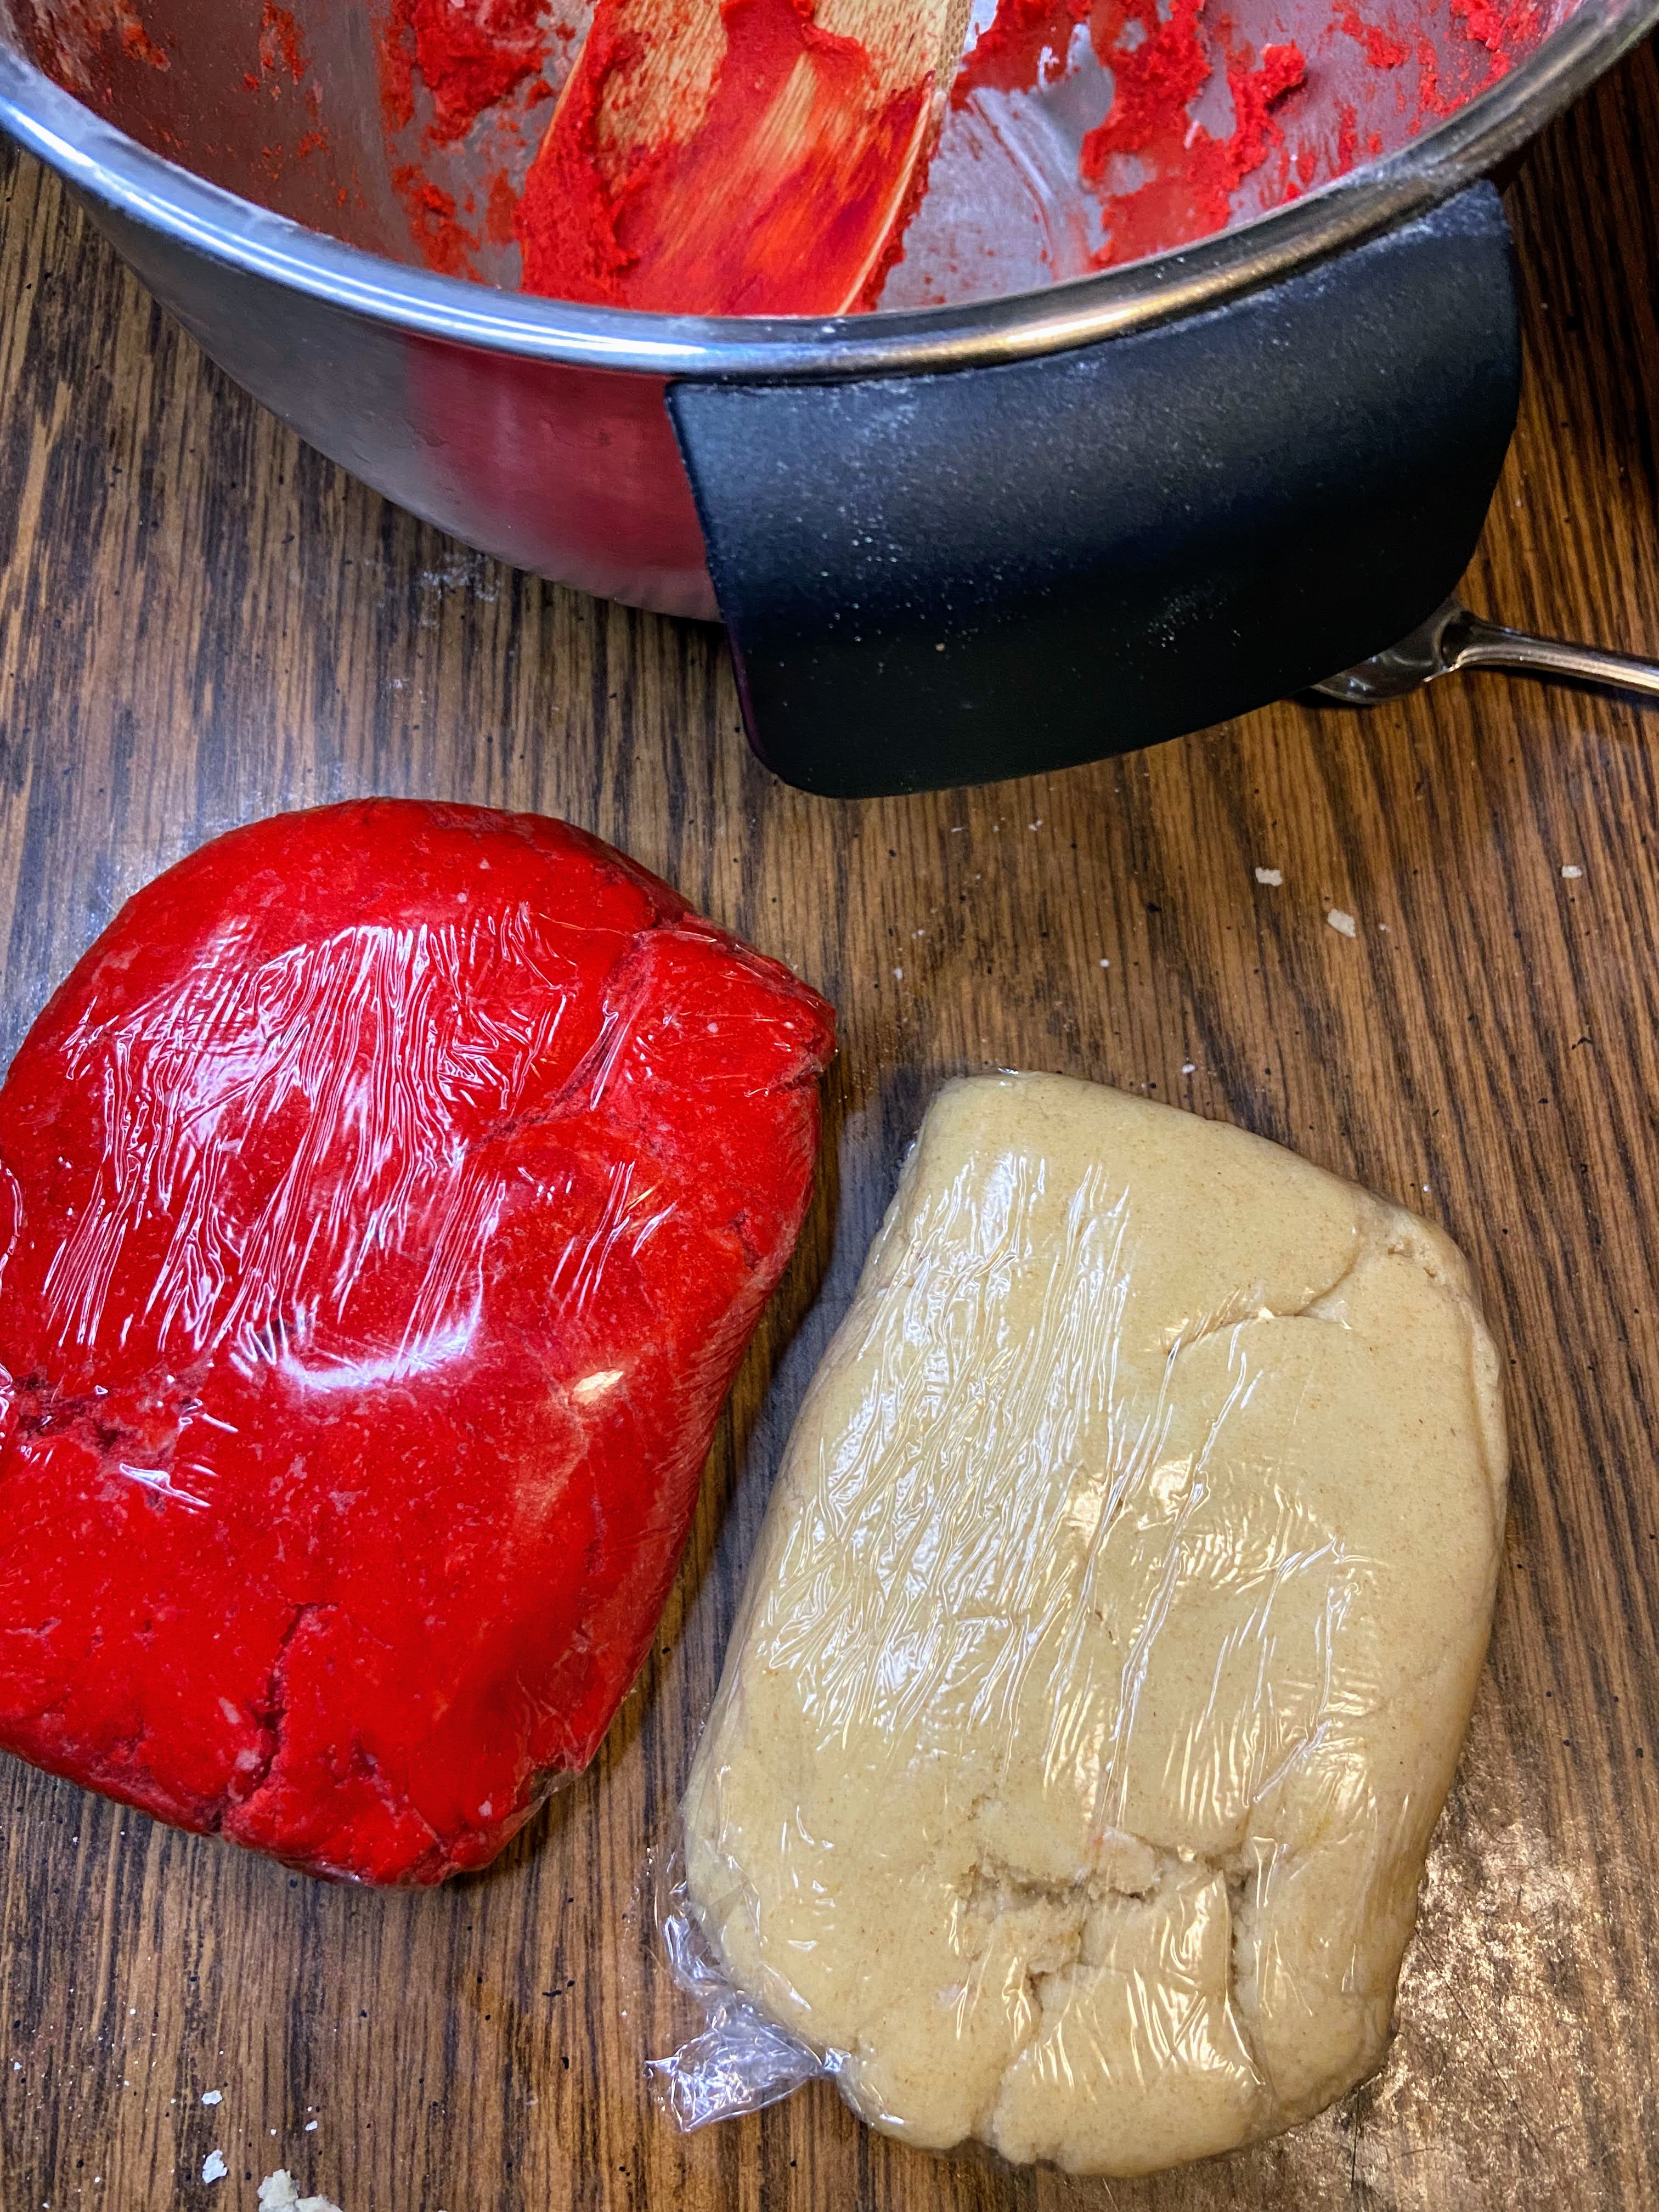
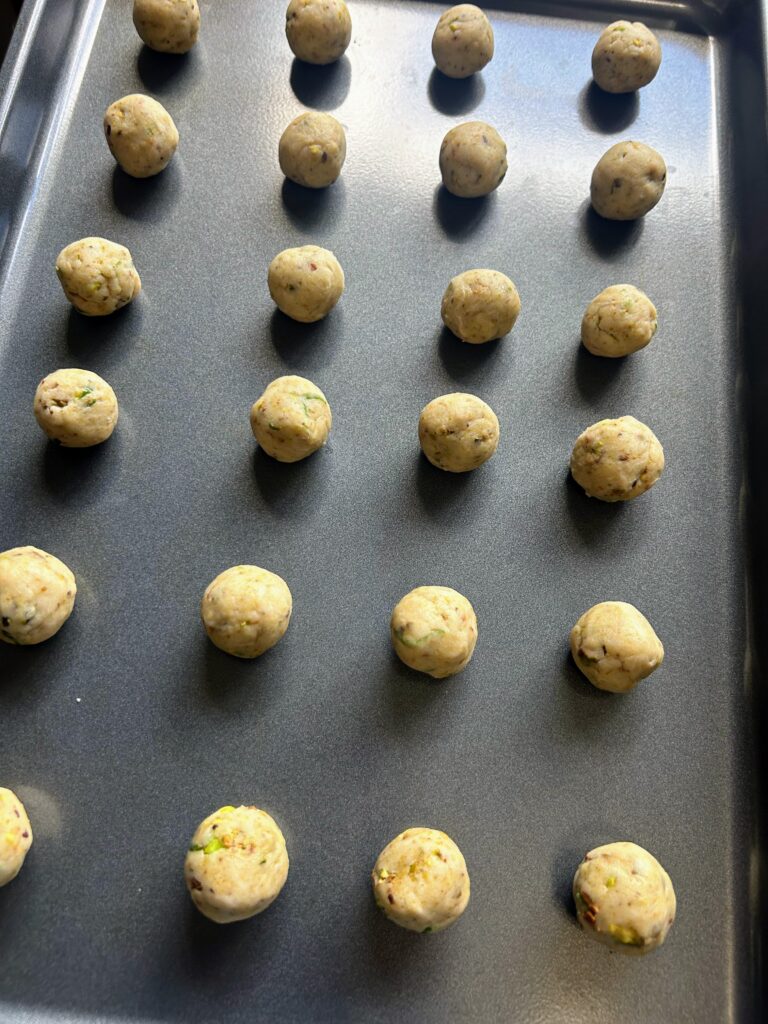
Remove the dough from the bowl, wrap in plastic wrap, and chill for an hour.
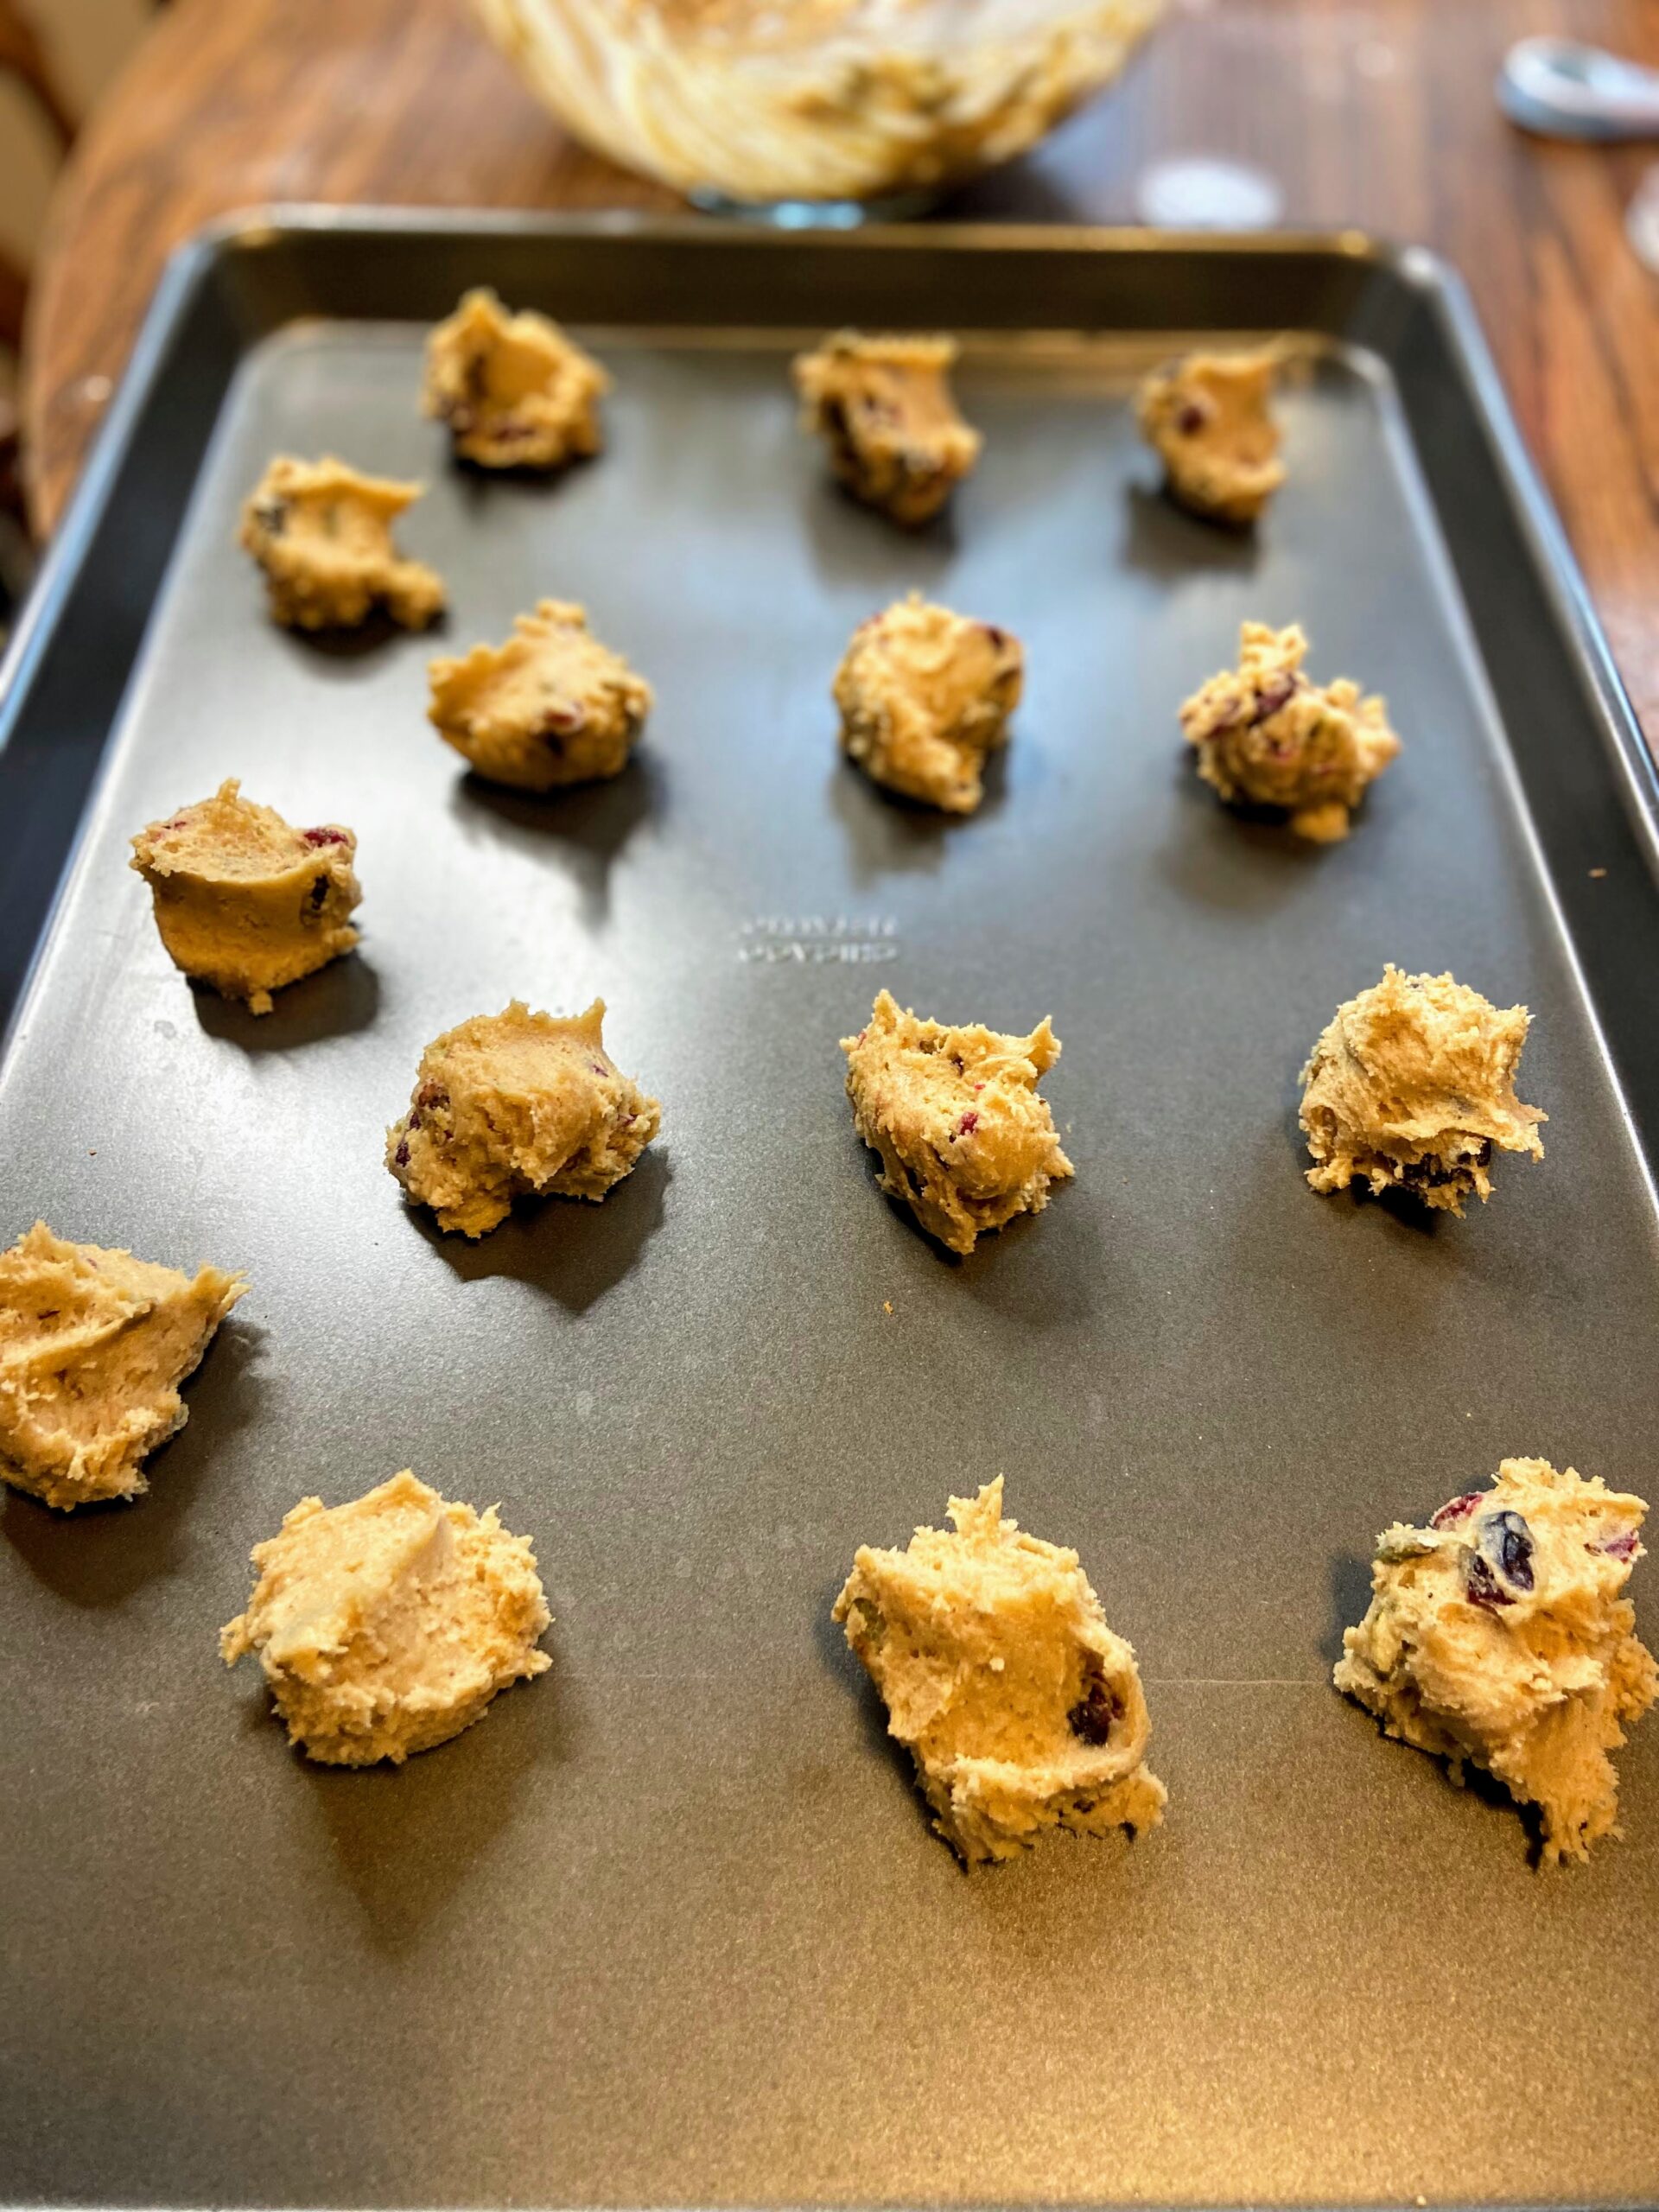
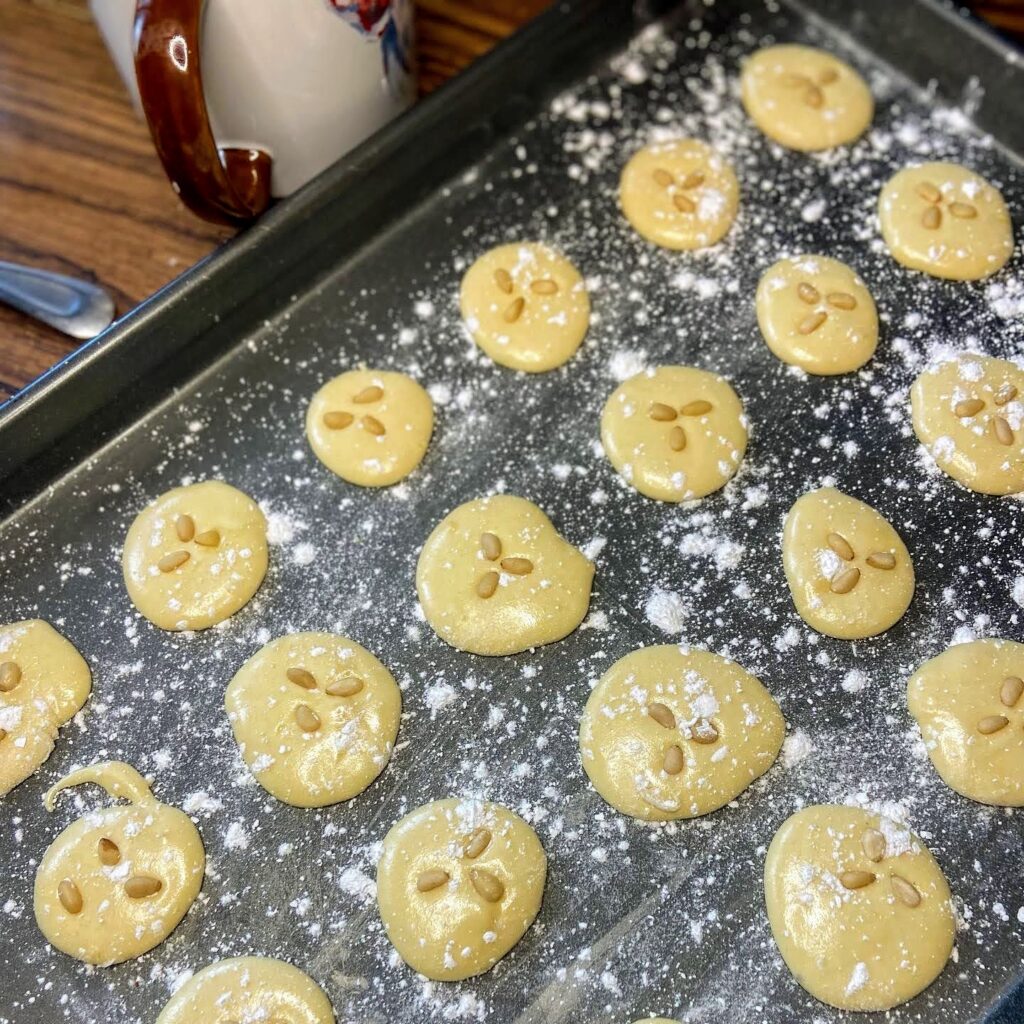
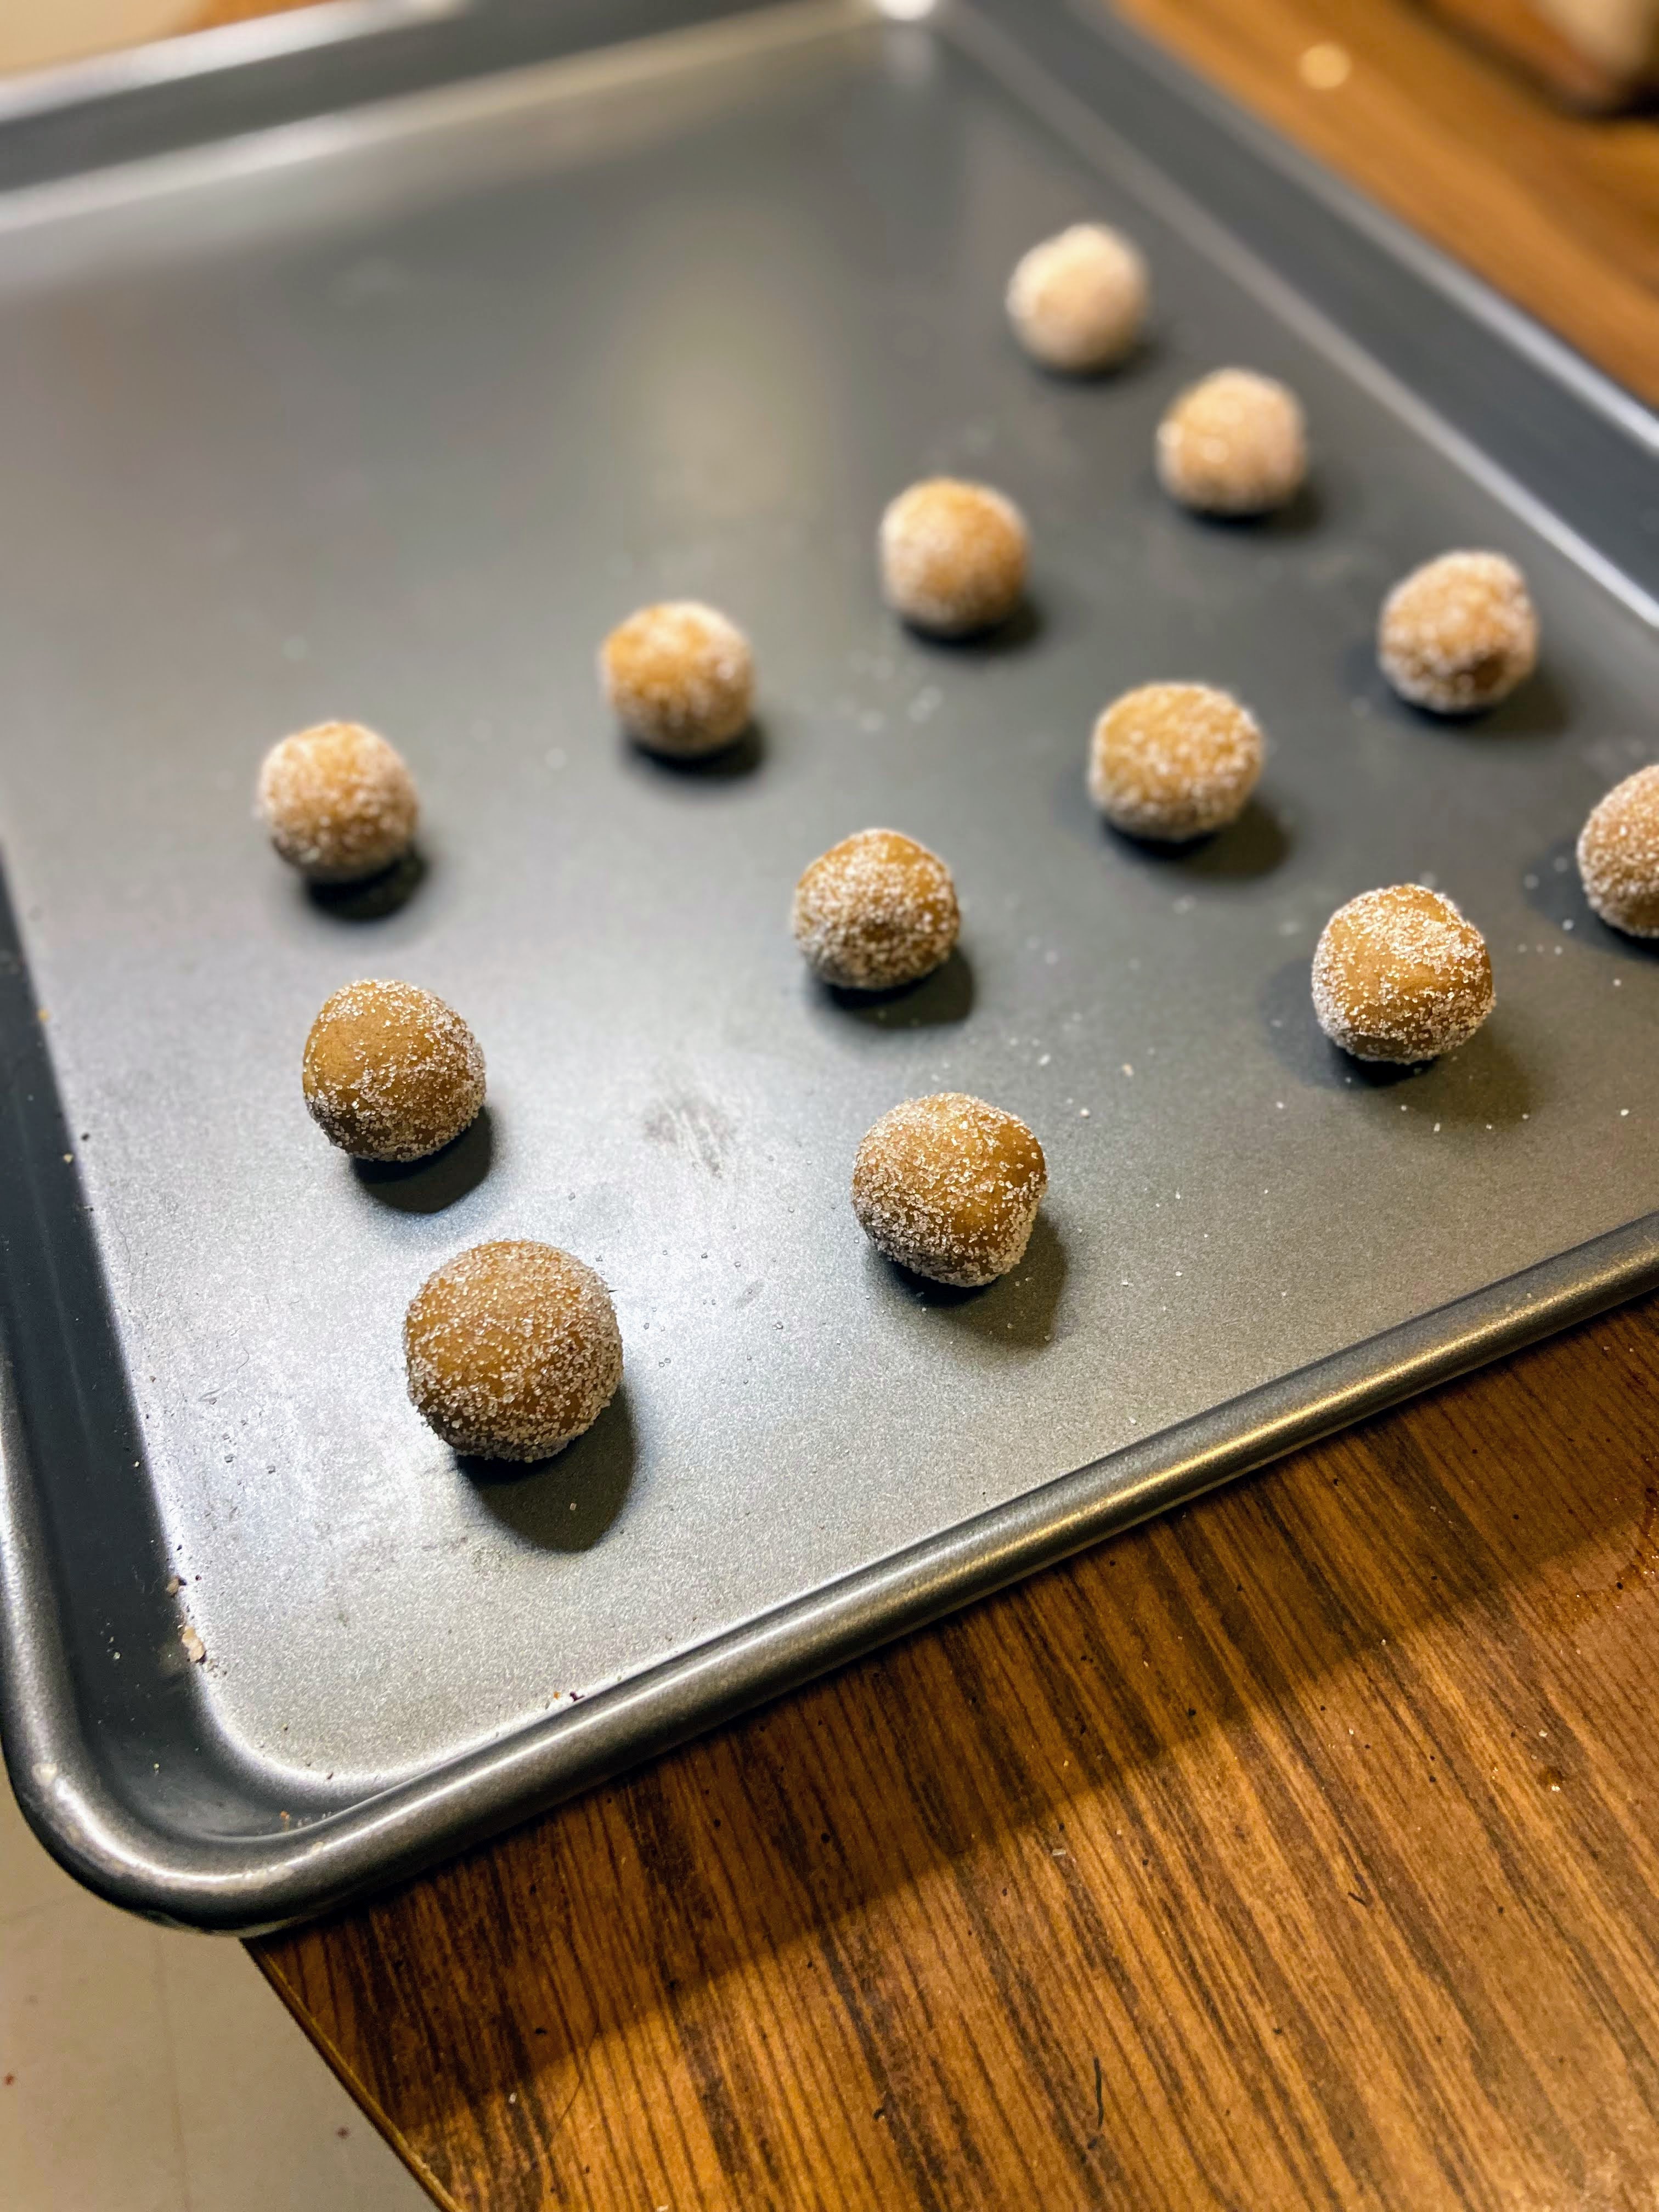
Once chilled, form into 24 balls, approximately a half of a tablespoon of dough. Place on an ungreased baking sheet and press down with your thumb to form an indent for the frosting, flattening a couple times. From here, preheat the oven to 350 degrees (325 on convect) and chill the cookies one more time while the oven preheats.
Time to Bake!
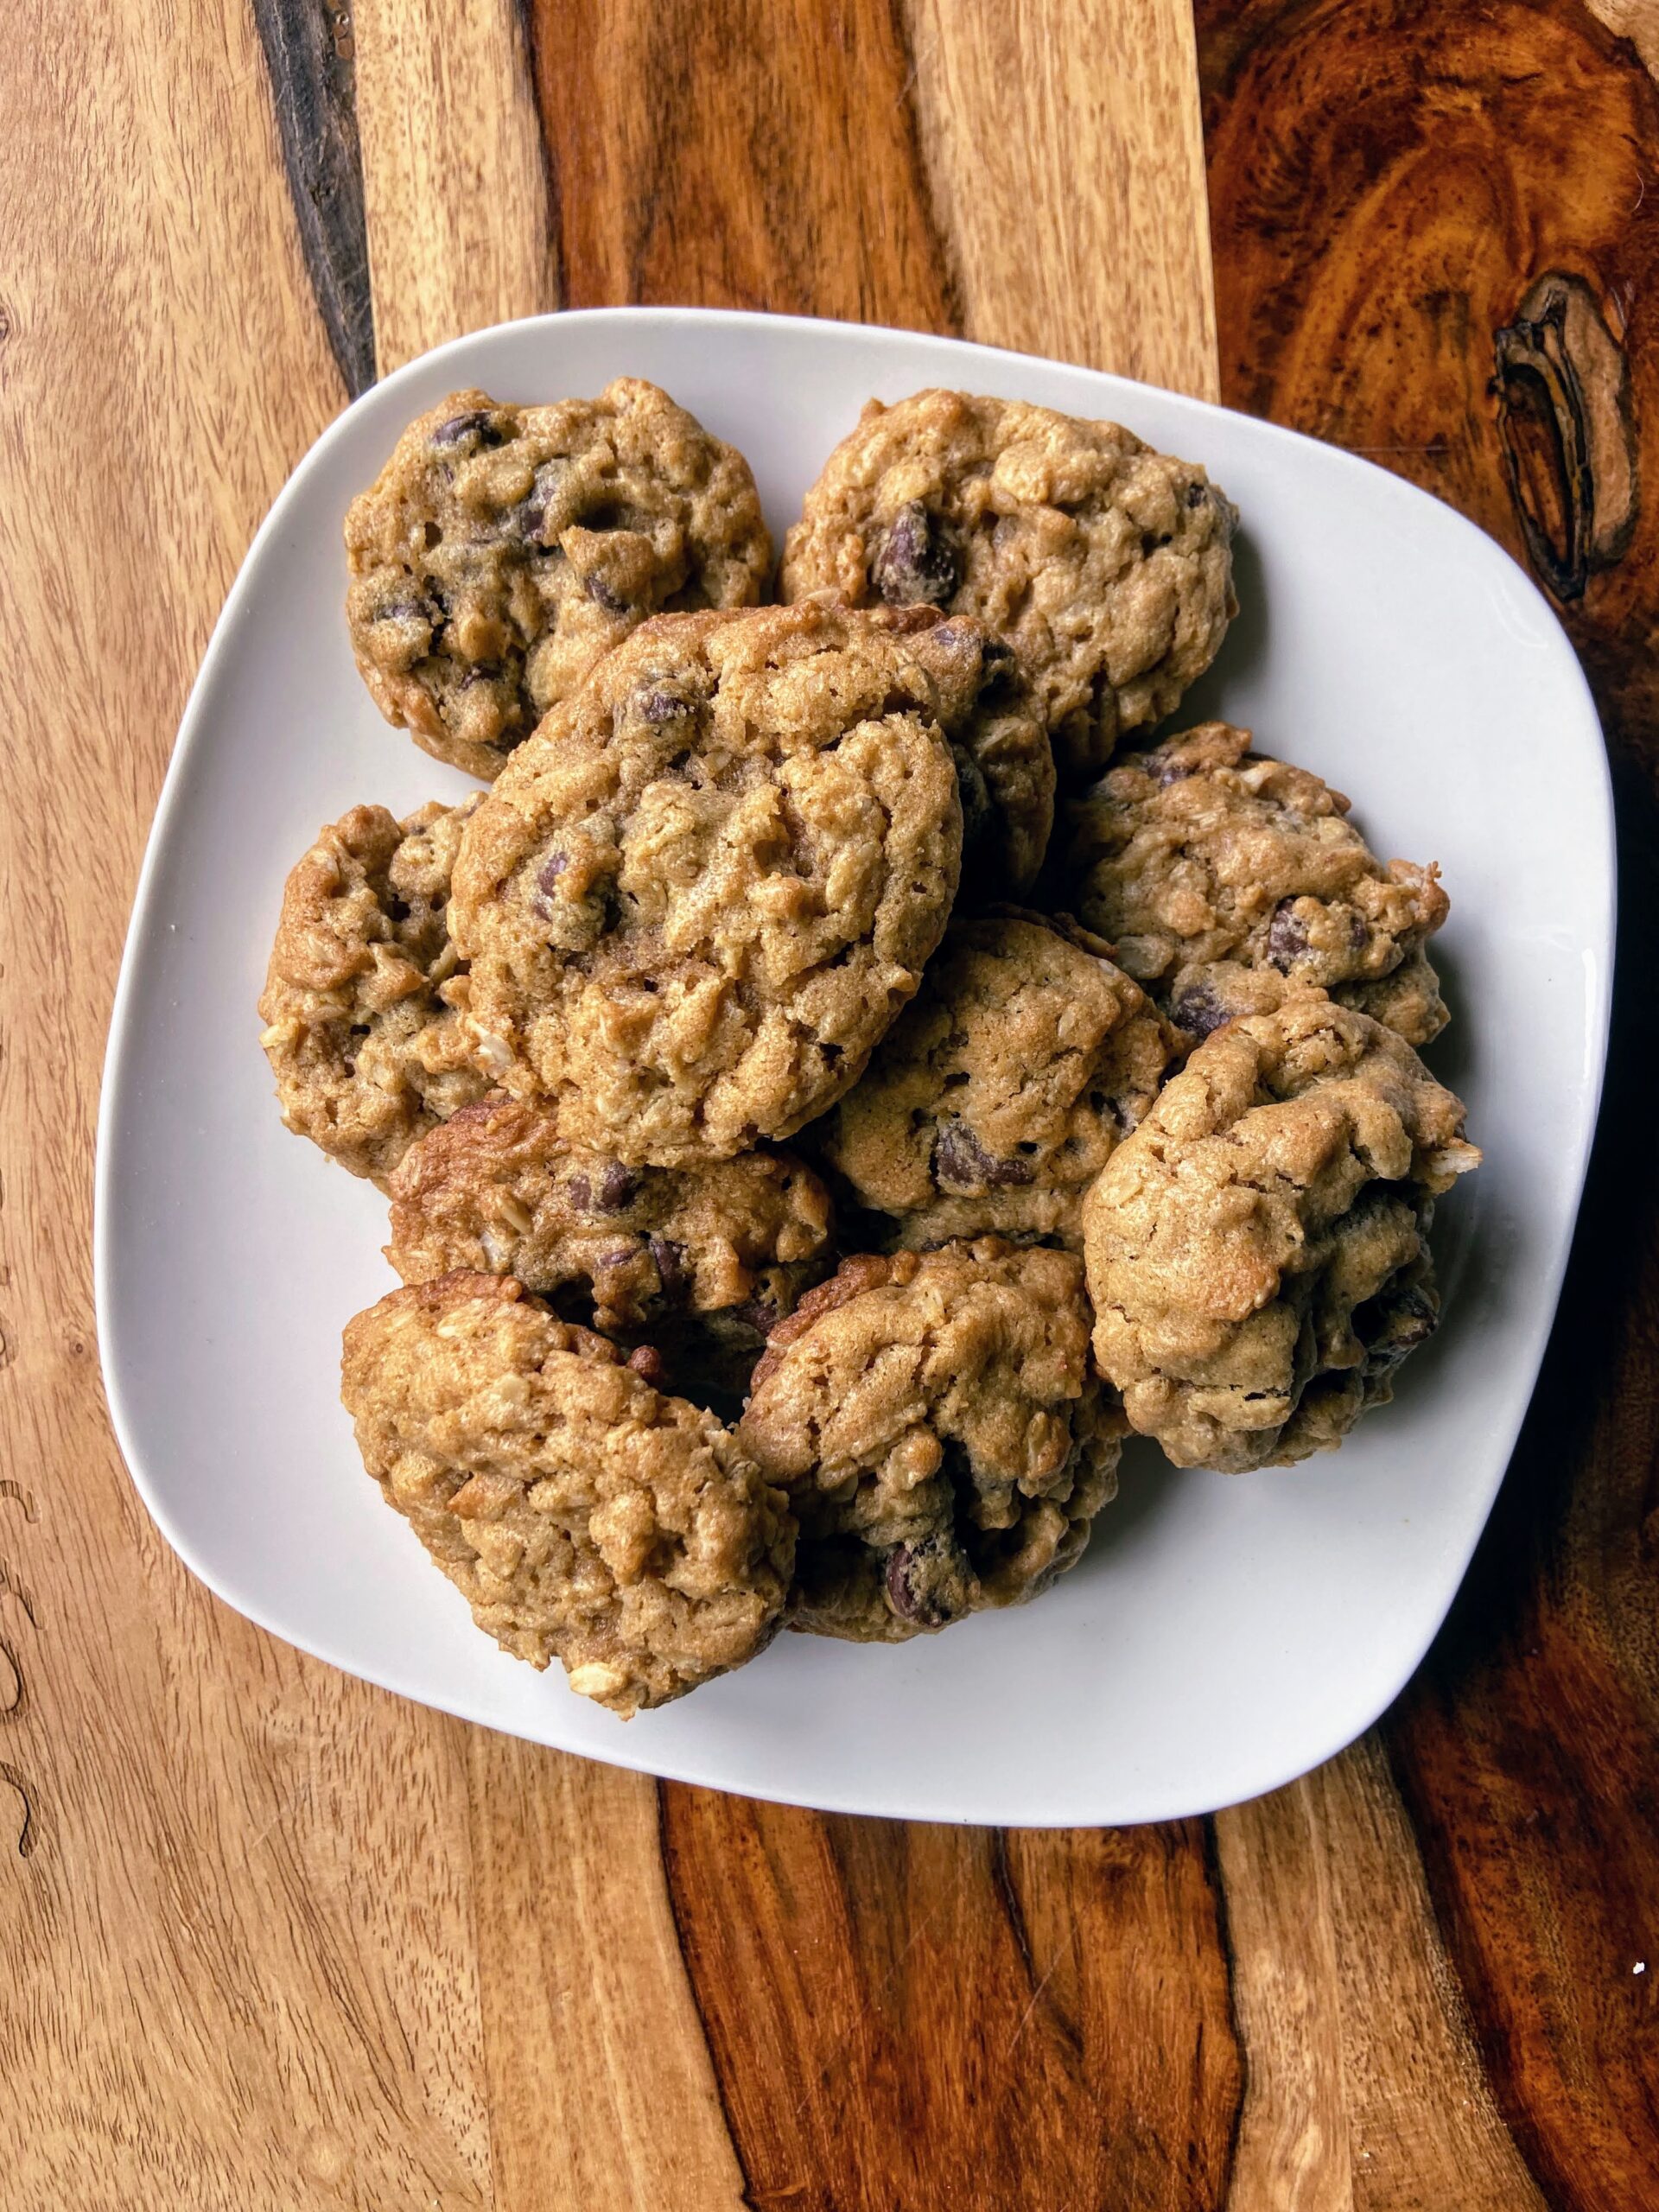
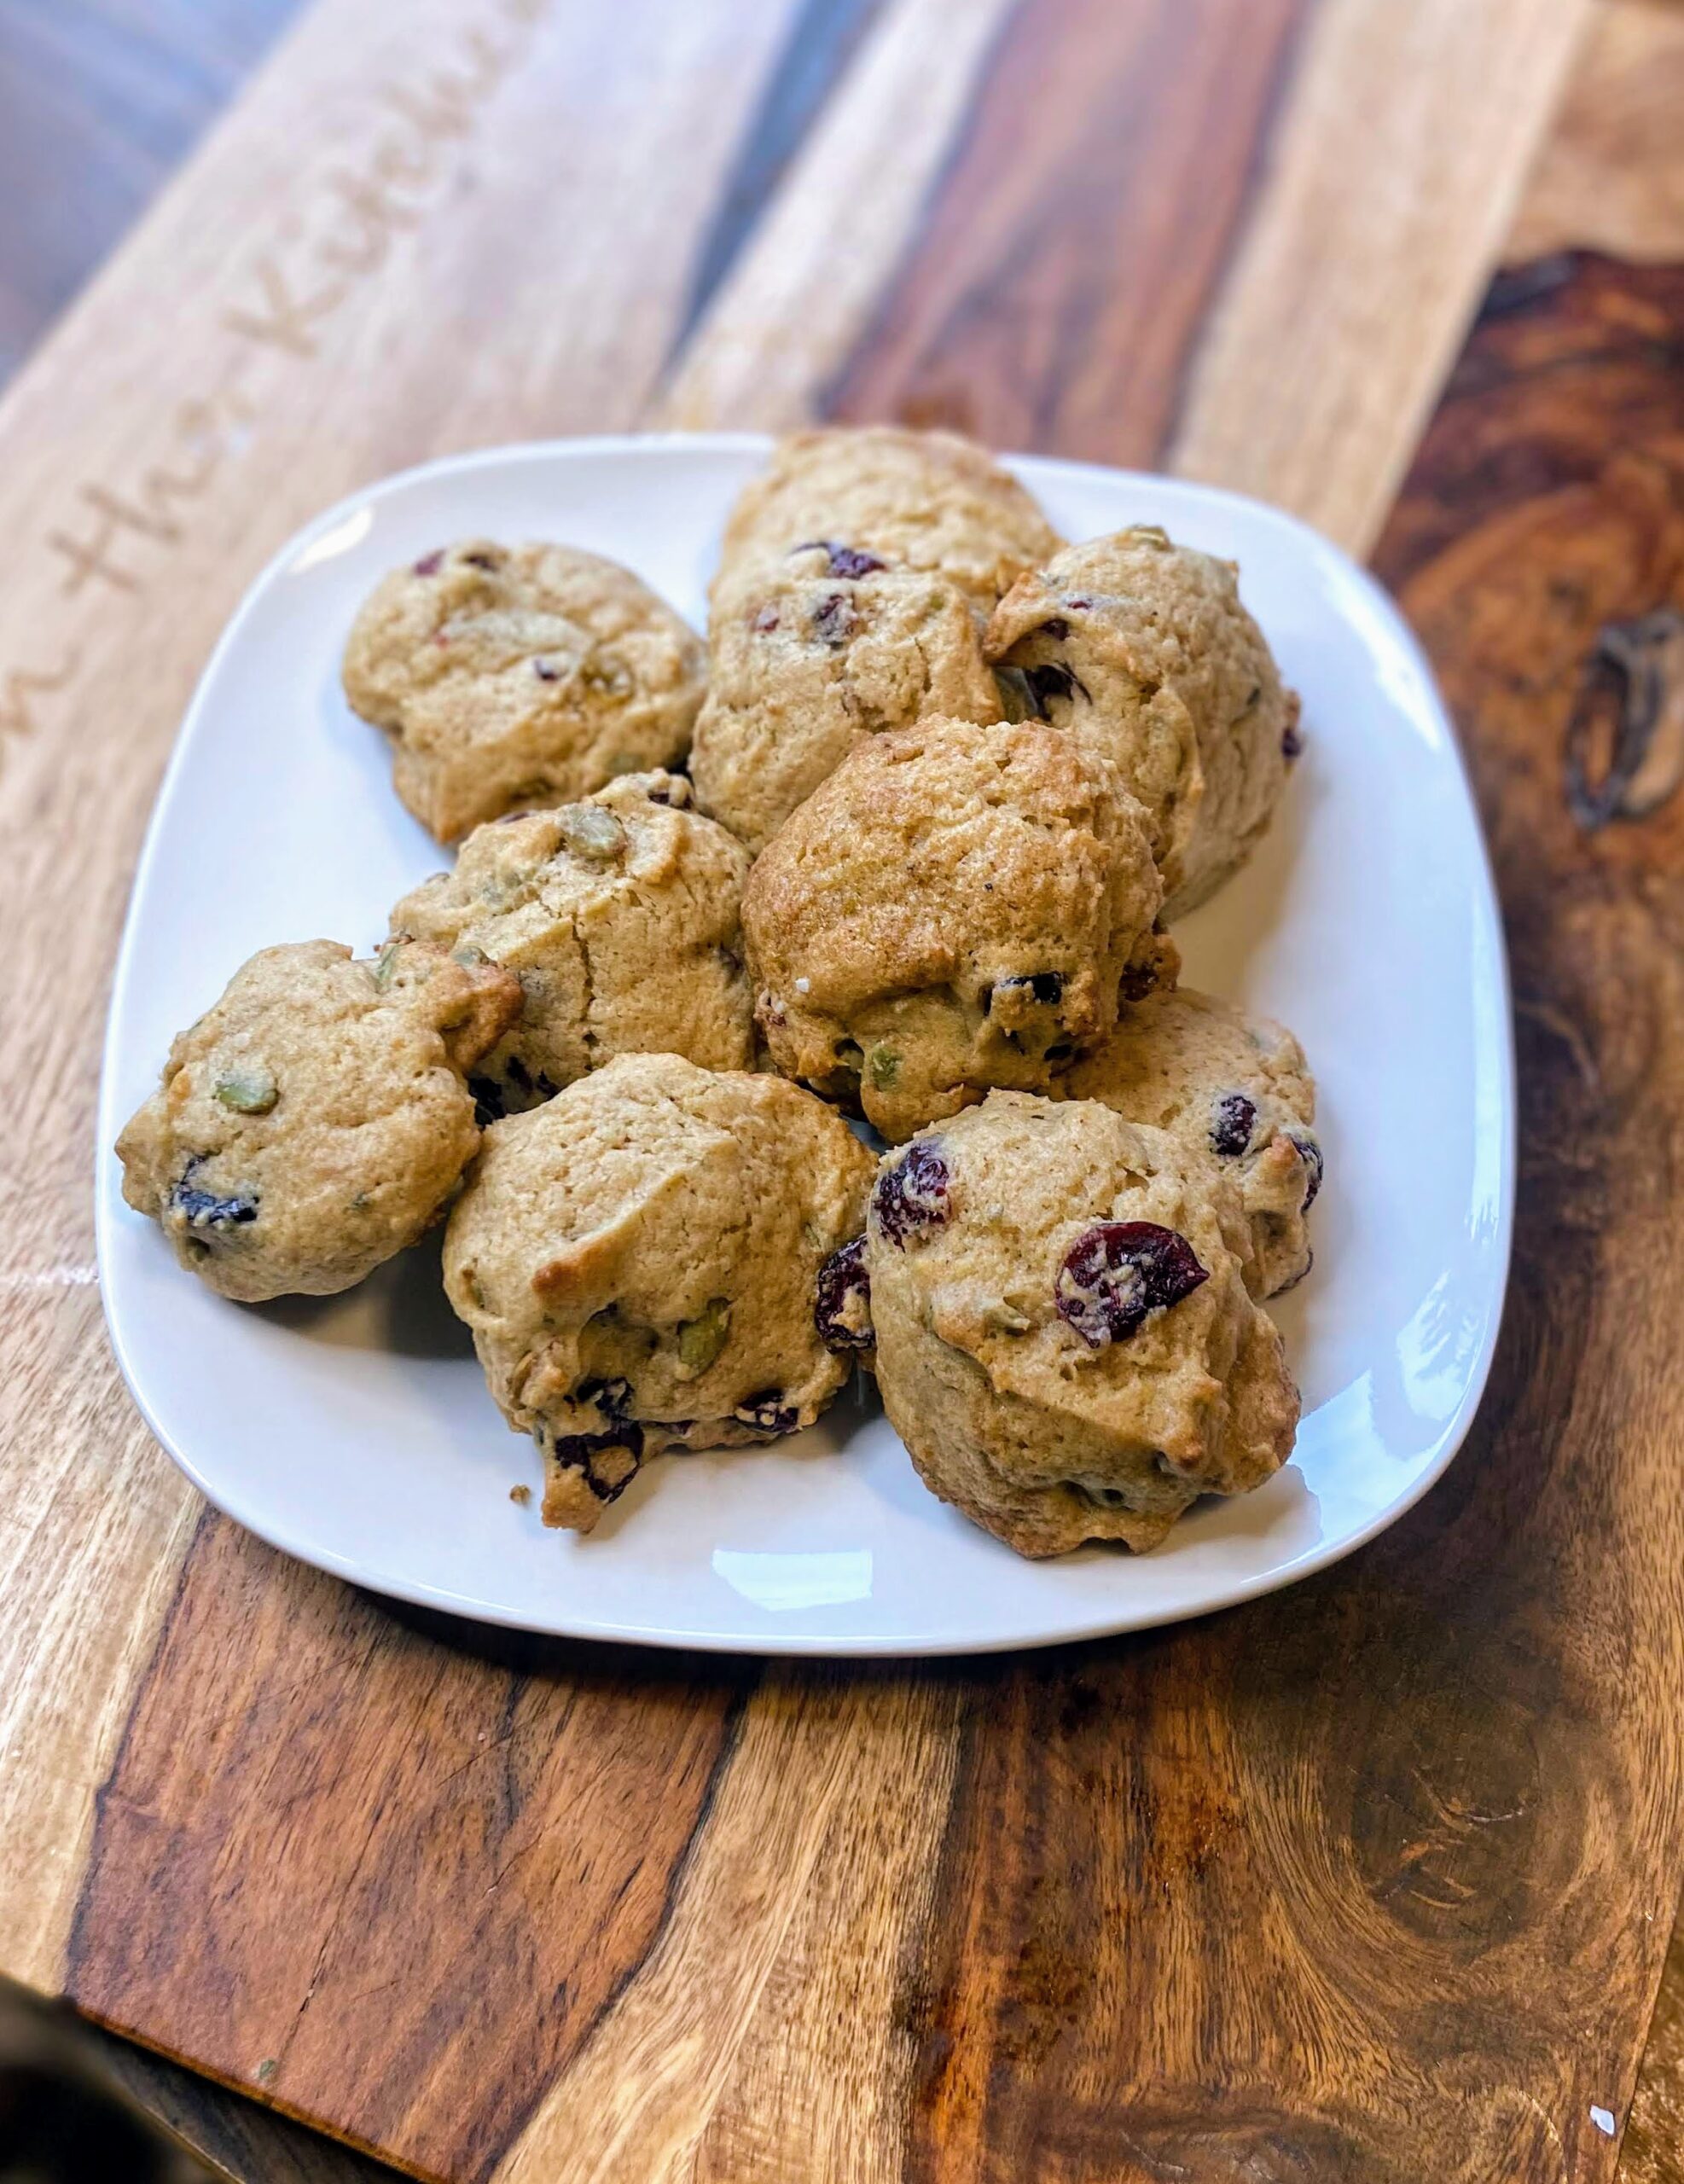
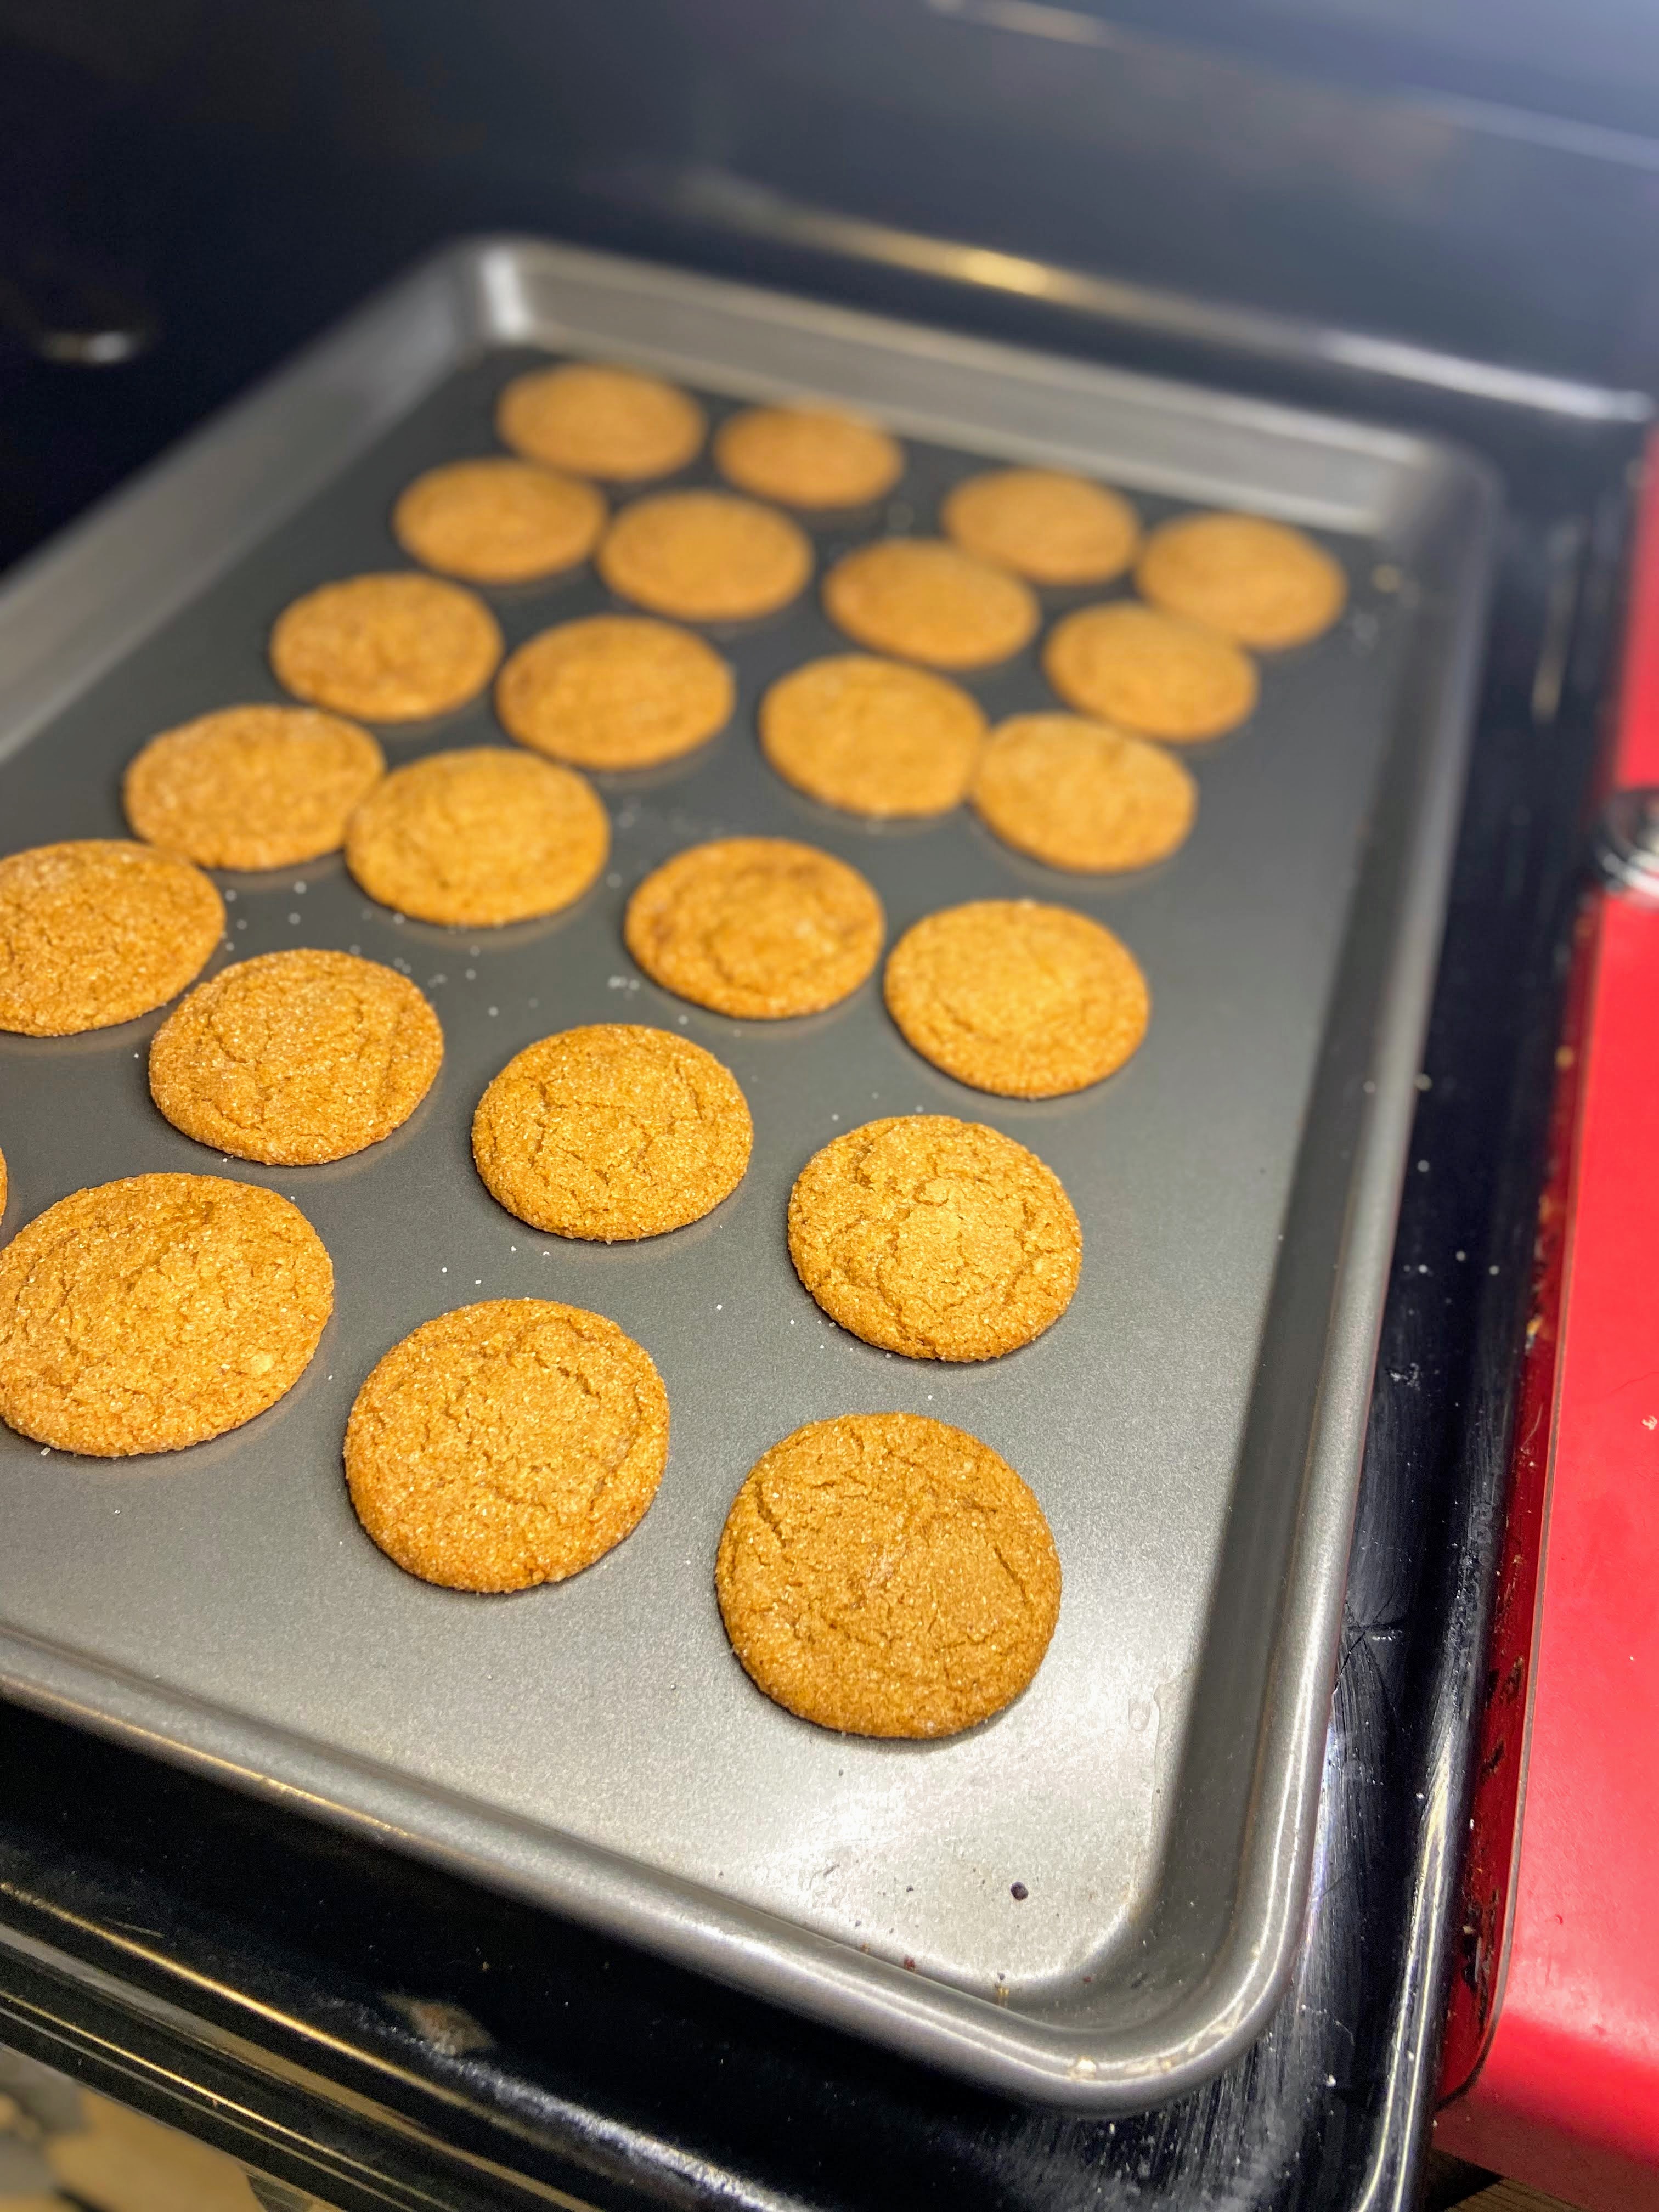
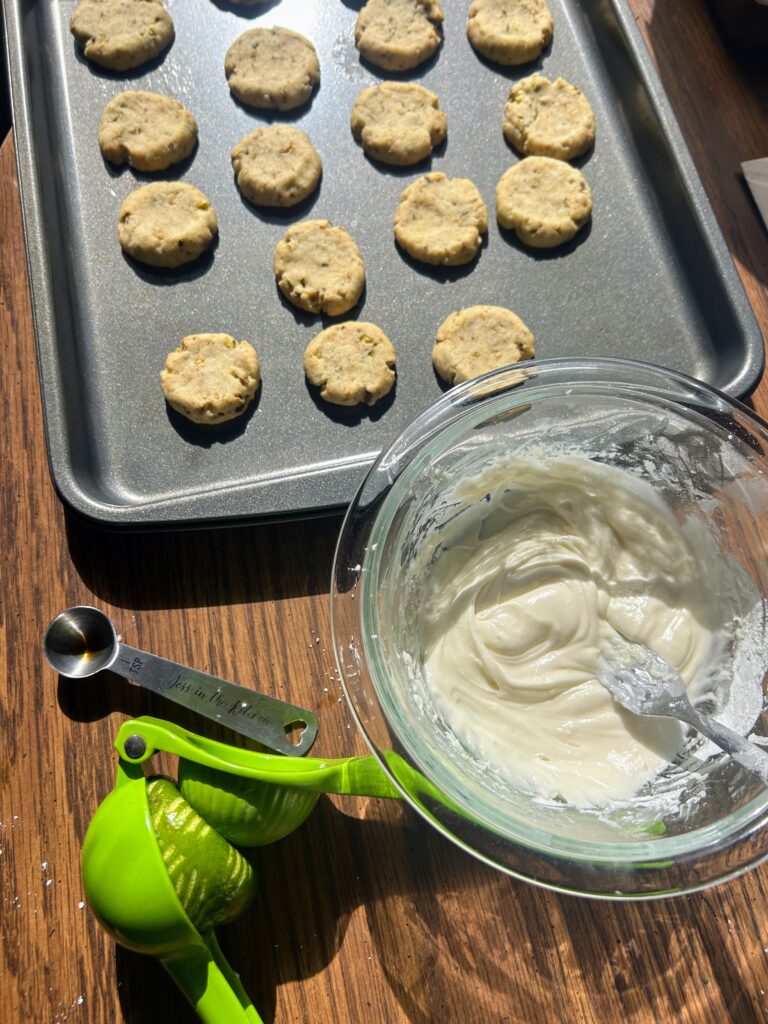
Bake for 12-15 minutes, until the cookies are just starting to brown. Shortbread is easy to overbake so watch them carefully. Once done, remove and allow to cool.
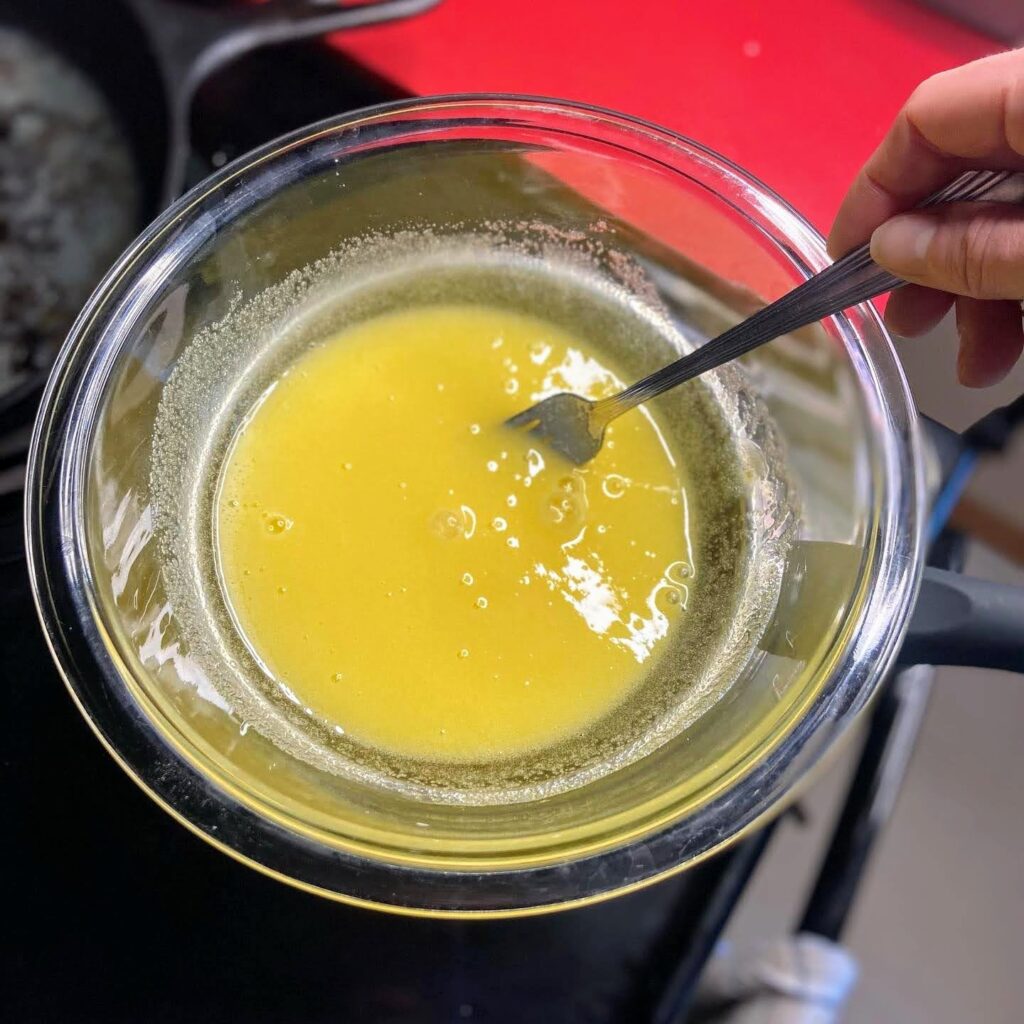
Meanwhile, make the frosting. Cream the butter and vanilla. Stir in the powdered sugar and a pinch of salt. Add the lime juice and cream until a smooth frosting is formed. Give it a taste test. If it is too tart, add a bit more sugar. If it is too thick, add a splash of milk (a tablespoon or so).
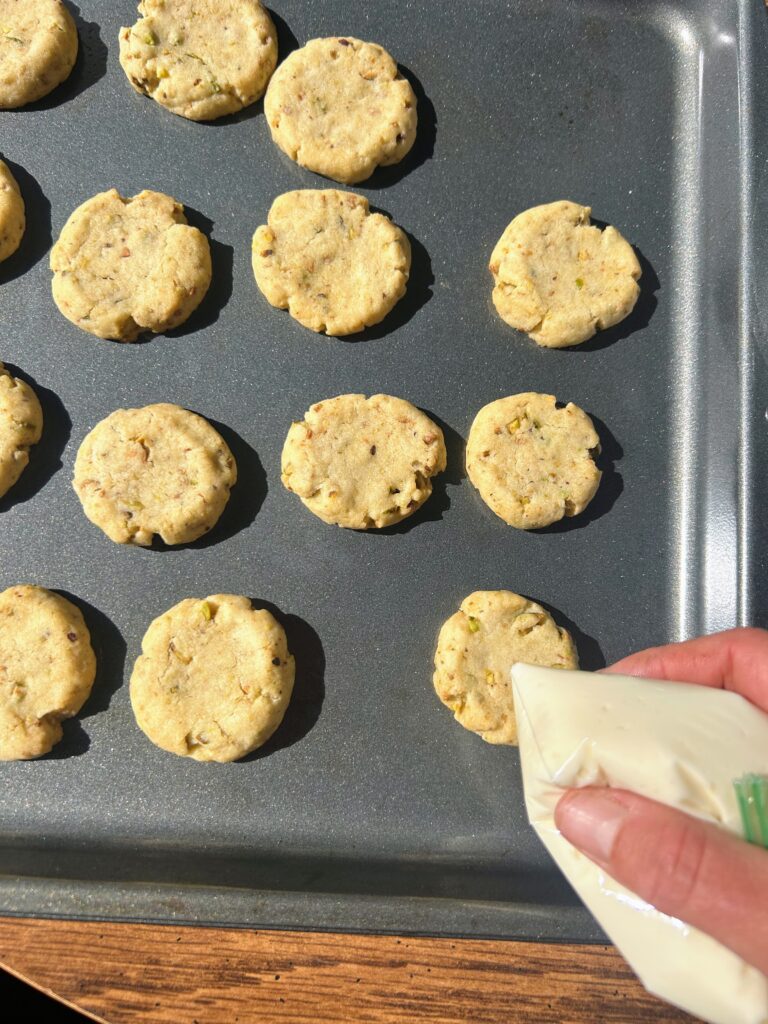
Put into a piping bag (Or if you’re like me, a ziplock bag that I put in a cup to keep me neat. Then I just snip the corner) and pipe the frosting into the center of each cookie. You will likely have extra, but that’s better than not enough, if you ask me! Sprinkle with remaining ground pistachios. Allow the frosting to harden before packaging in an airtight container, assuming you can keep your family and friends from eating them all!
A quick note
If frosting isn’t your thing, you can totally switch up these cookies. Rather than flattening them with your thumb, leave them as balls. Bake for 15 minutes and then roll the still hot cookies in additional powdered sugar. (Be gentle with the cookies. They break easily. I usually wait just a minute or two before I roll them.)


Pistachio Lime Thumbies
Equipment
Ingredients
Shortbread Ingredients
- ½ cup butter softened
- ½ teaspoon vanilla
- ⅓ cup powdered sugar
- 1 cup flour
- ½ tablespoon cornstarch
- ½ tablespoon milk
- ¼ teaspoon salt
- ⅓ cup ground pistachios see note
- Zest of one lime
Frosting
- 2 tablespoons butter softened
- 1 teaspoon vanilla
- Pinch of salt
- 1 cup powdered sugar
- Juice from one lime 1-2 tablespoons
- Splash of milk as needed
- Additional ground pistachios
Instructions
- In a medium bowl, cream butter and sugar. Add the vanilla and mix until well combined. Combine the flour, cornstarch, and salt. Cream the flour mixture with the butter and sugar, mixing well. Stir in the milk and the pistachios, mixing until a ball is formed.
- Remove the dough from the bowl, wrap in plastic wrap, and chill for an hour.
- Once chilled, form into 24 balls, approximately a half of a tablespoon of dough. Place on an ungreased baking sheet and press down with your thumb to form an indent for the frosting, flattening a couple times. From here, preheat the oven to 350 degrees (325 on convect) and chill the cookies one more time while the oven preheats.
- Bake for 12-15 minutes, until the cookies are just starting to brown. Shortbread is easy to over bake so watch them carefully. Once done, remove and allow to cool.
- Meanwhile, make the frosting. Cream the butter and vanilla. Stir in the powdered sugar and a pinch of salt. Add the lime juice and cream until a smooth frosting is formed. Give it a taste test. If it is too tart, add a bit more sugar. If it is too thick, add a splash of milk (a tablespoon or so).
- Put into a piping bag and pipe the frosting into the center of each cookie. Sprinkle with remaining ground pistachios. Allow the frosting to harden before packaging in an airtight container.