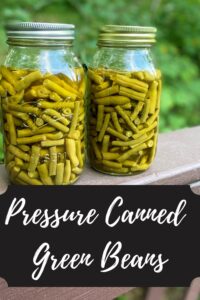
Each and every year, I plant at least two rows of beans. Always green, both bush and pole. Sometimes yellow wax beans (like this year!). Sometimes purple. We eat plenty of them fresh, right off of the bush, but I also have plenty that I need to preserve in some shape or form. I have a big kid who LOVES dilly beans, but I only do so many jars because let’s be honest, it’s kind of tedious. We also like to pressure can beans, but that takes a substantial amount of beans. When I only have a few pounds sitting in my refrigerator, I love preserving and freezing green beans.
Freezing green beans is such a simple way to save the flavors of summer for the cooler winter months. I love that everyone in our house can help out with the task, from nipping the ends of the beans, to trimming them to size, to blanching. It truly doesn’t take too much time and is easy as can be! (Want to learn more about preserving? Check out the National Center for Home Preservation for tons of information!
tools of the Trade
There are a few tools I would recommend, although not totally necessary (for most things, you can make do, but these tools will make it much easier!):
- Two strainer colanders, at least one of them metal similar to these.
- Food scale
- Baking sheet with parchment paper
- Food Safer Vacuum Sealer (definitely not necessary, but I love mine!)
When preparing to process beans, I collect over a few days of harvesting. Maybe you don’t have a garden, but you love the farmer’s market. Totally fine (I supplement from time to time, for sure!). My family has found that one pound of beans is a perfect amount for our family of four good eaters. We are a veggie loving family, so you can gauge from that.
Time to Process!
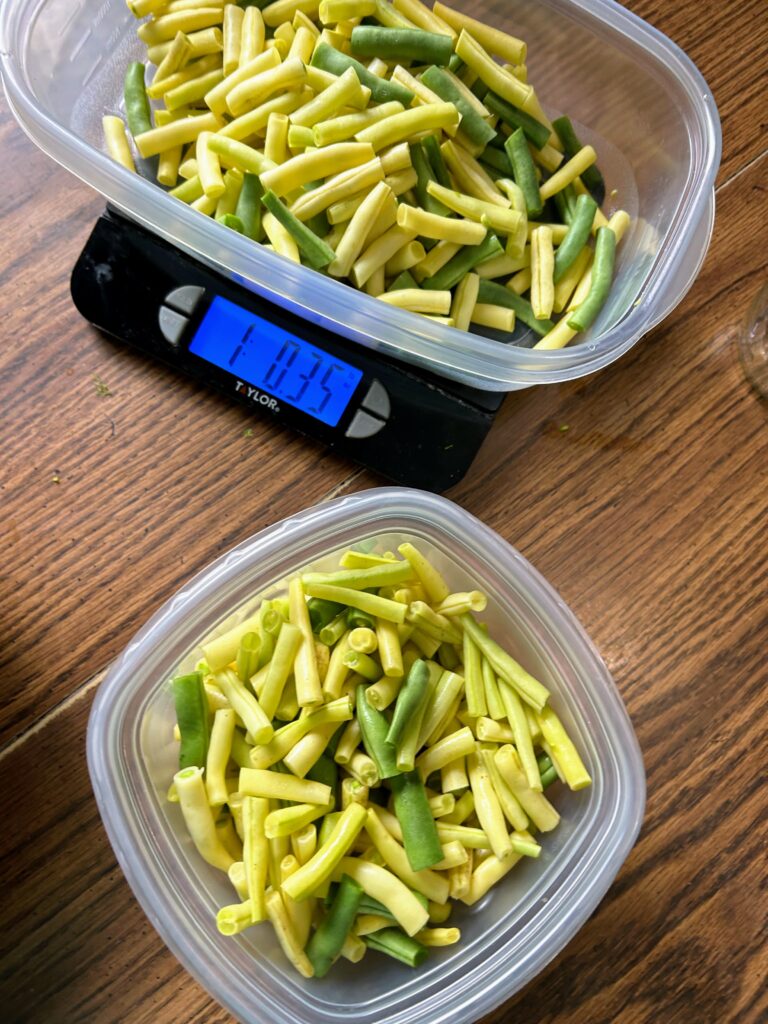
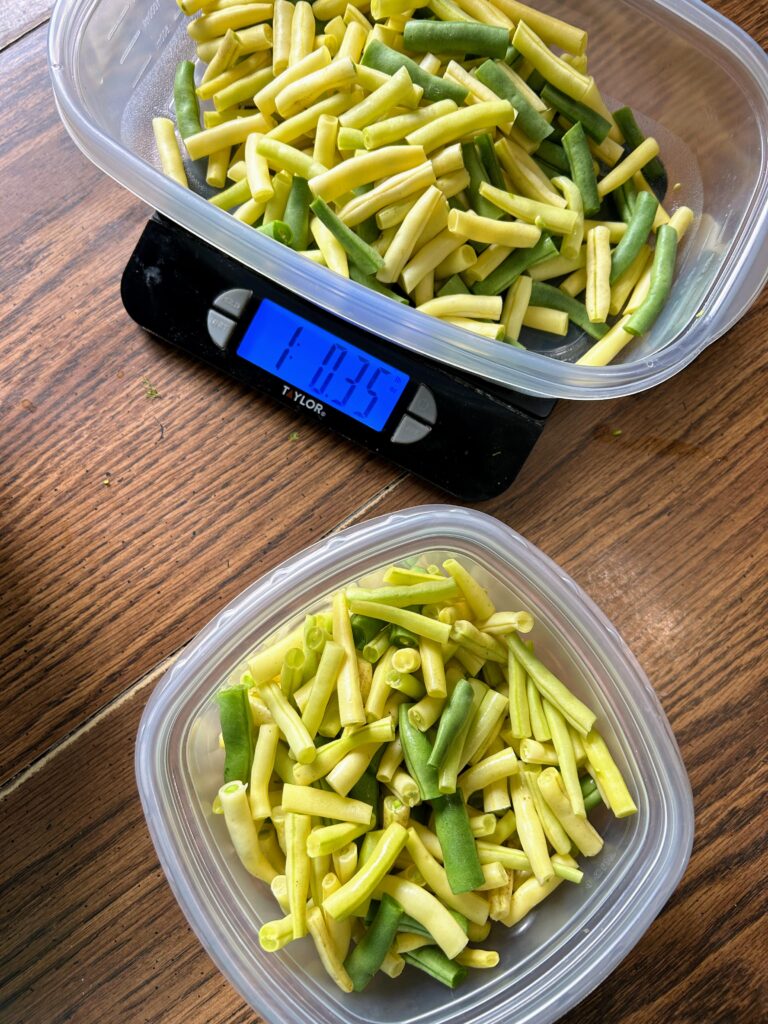
Beginning with washed beans, nip both ends of the beans. From here, cut each bean into 2-3 inch pieces. Using a food scale, measure batches of beans in the size you think would best suit your household for a meal (our family does 16 ounce packages). Set each batch aside in a bowl or other container. I have prepared as many as 4 batches of beans at a time.
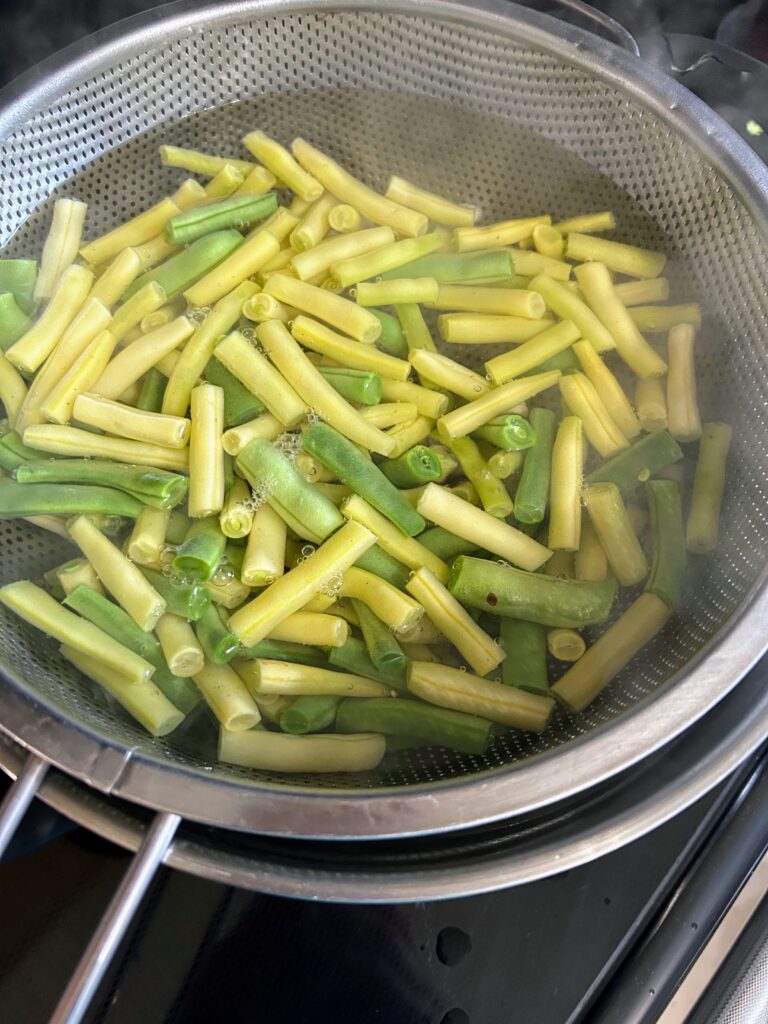
Find a large kettle that your metal colander will fit inside of. Fill the kettle with water and bring to a boil. Place your first batch of beans in the colander and place into the boiling water for 3 minutes.
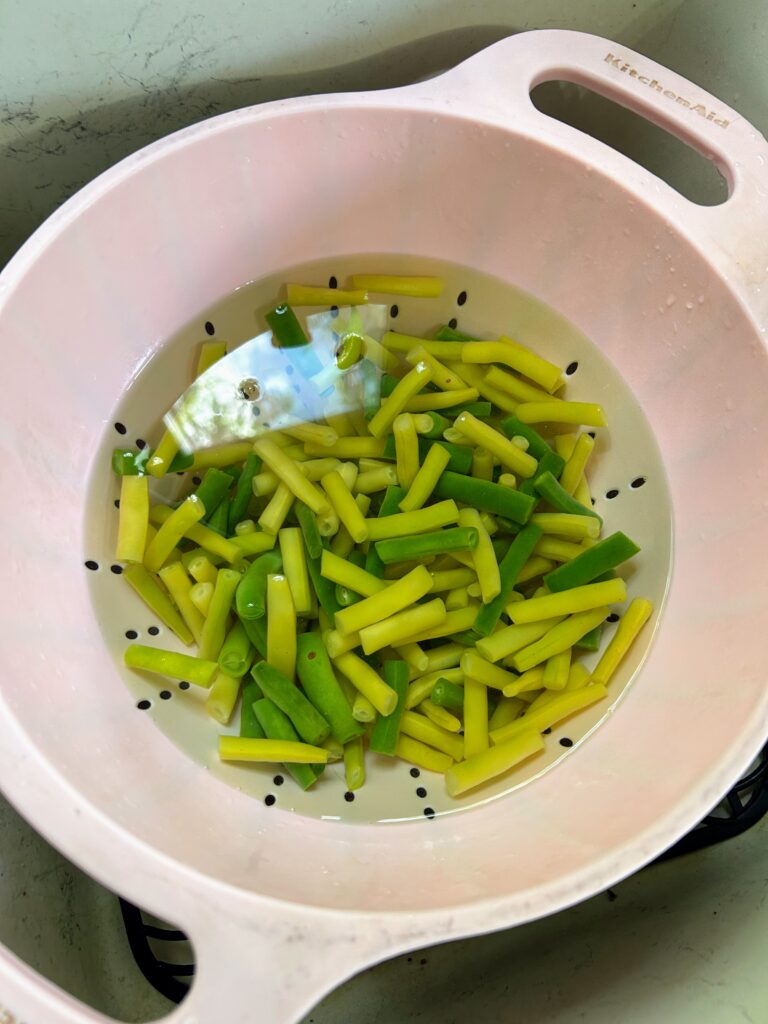
While the beans are in the boiling water, prepare a cold water or ice bath for the beans. I do this by filling a large bowl with cold, cold water and placing another colander in it. Immediately after the beans are done boiling, remove from the kettle and pour them from the metal colander to colander in the cold water bath. Cool for an additional 3 minutes. Repeat this process with additional batches of beans.
Freezing Green Beans
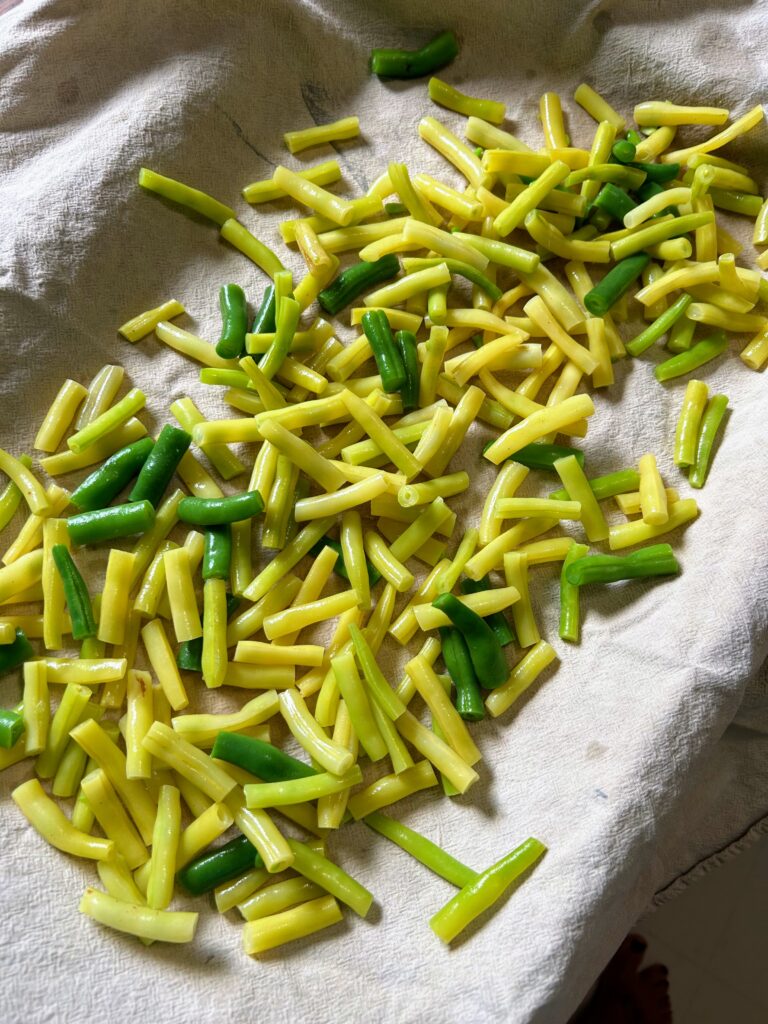
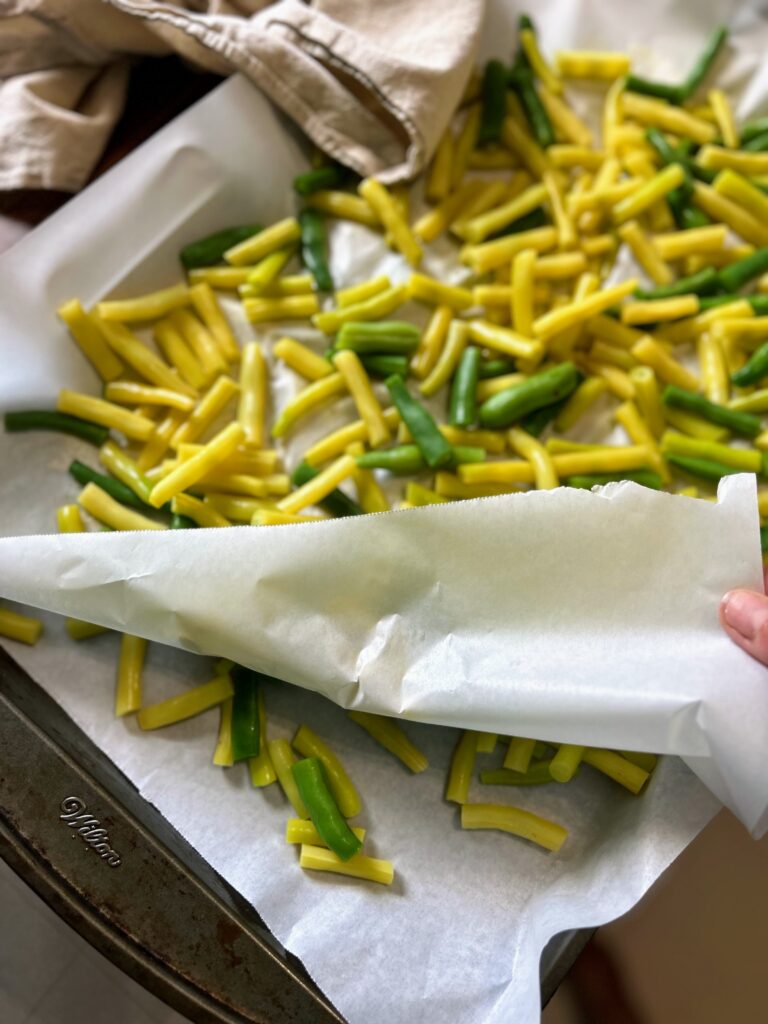
Once the beans have cooled, remove the colander from the water bath and allow it to drain well. You can even dry them a bit with a clean towel. From here, spread blanched beans on a parchment paper lined baking sheet. You can freeze an additional batch on top of the first by placing another sheet of parchment on top of the first batch.
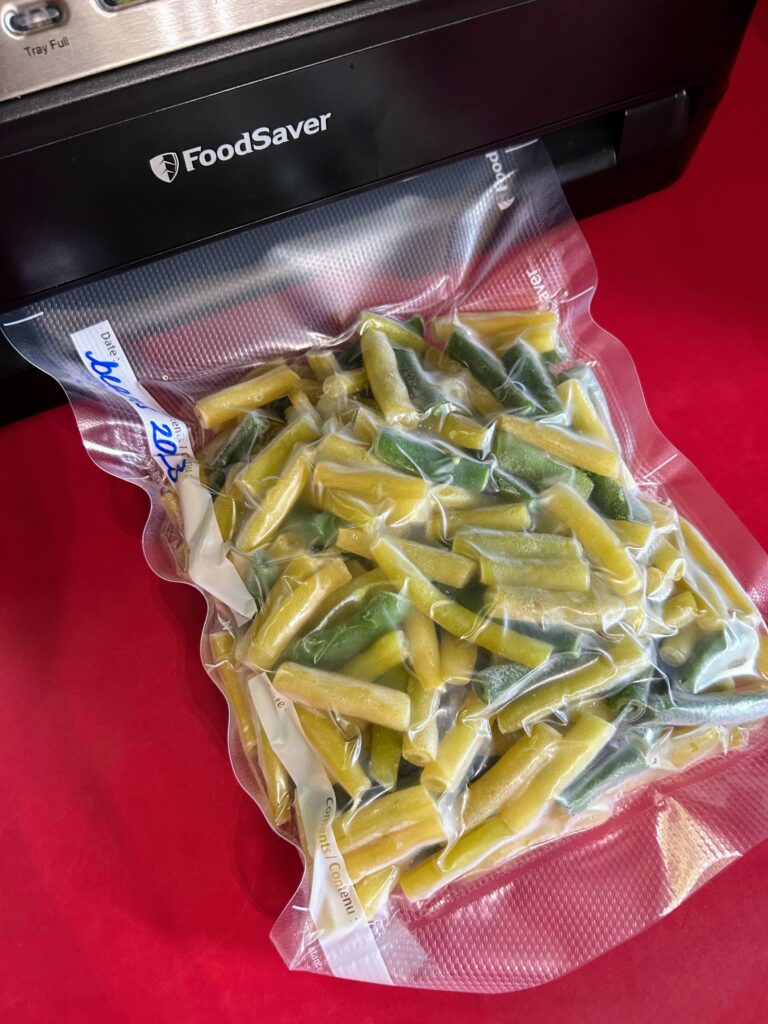
From here, place the beans in the freezer, preferably a chest or stand up freezer, if available. Allow to freeze until solid, generally a few hours, but I have left them overnight. Once frozen, transfer from your baking sheet to freezer safe containers or bags. I prefer to use my Food Saver Vacuum Sealer, but have also used simple quart freezer bags as well.
When you are ready to use your green beans, cook them the way you would cook any frozen vegetable. We especially like to steam them in our microwave!

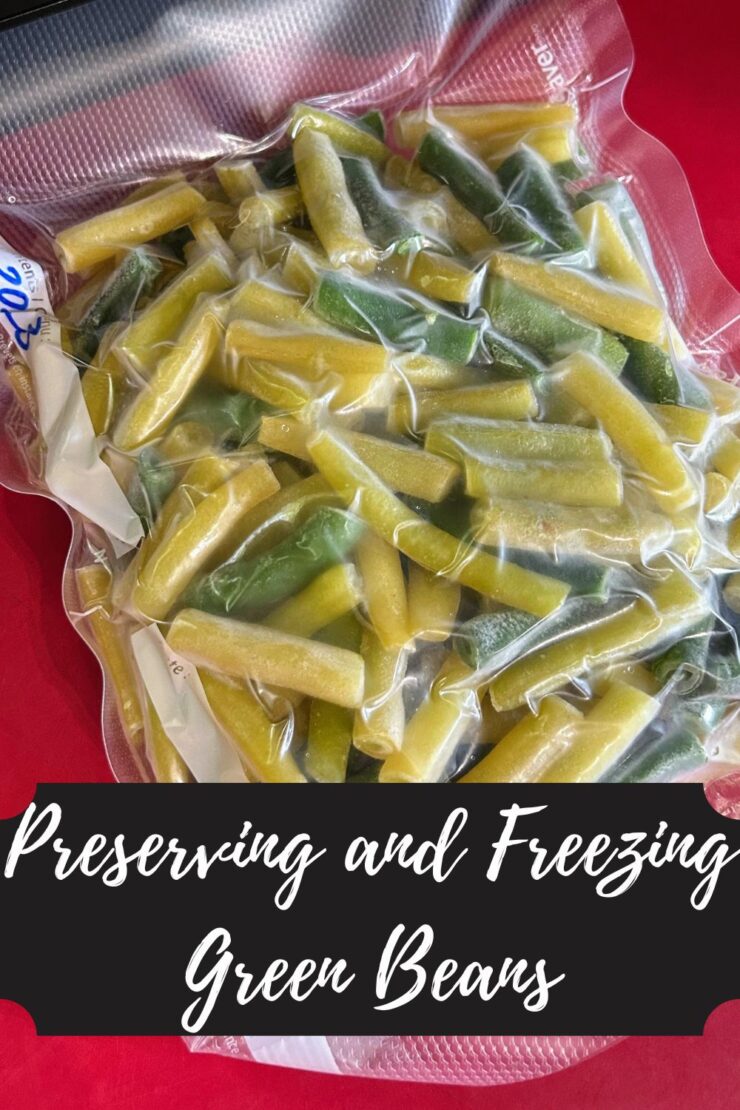
Preserving and Freezing Green Beans
Ingredients
- green, snap, or wax beans
Instructions
- Beginning with washed beans, nip the ends of each end. From here, cut each bean into 1-2 inch pieces. Using a food scale, measure batches of beans in the size you think would best suit your household for a meal. Set each batch aside in a bowl or other container.
- Find a large kettle that your metal colander will fit inside of. Fill the kettle with water and bring to a boil. Place your first batch of beans in the colander and place into the boiling water for 3 minutes.
- While the beans are in the boiling water, prepare a cold water or ice bath for the beans. I do this by filling a large bowl with cold, cold water and placing another colander in it. Immediately after the beans are done boiling, remove from the kettle and pour them from the metal colander to colander in the cold water bath. Cool for an additional 3 minutes. Repeat this process with additional batches of beans.
- Once the beans have cooled, remove the colander from the water bath and allow it to drain well. You can dry them a bit with a clean towel. Spread blanched beans on a parchment paper lined baking sheet. You can freeze an additional batch on top of the first by placing another sheet of parchment on top of the first batch.
- Place the beans in the freezer, preferably a chest or stand up freezer, if available. Allow to freeze until solid, generally a few hours. Once frozen, transfer from your baking sheet to freezer safe containers or bags.
- When you are ready to use your green beans, cook them the way you would cook any frozen vegetable. We especially like to steam them in our microwave!
Looking for other ways to preserve your beans?
Check out the recipes below or head to my canning and preserving page!