I started dating my husband during the beginning of our Junior year of college. The first time he brought me home to meet his parents, he did it by asking if I wanted to go apple picking. Turns out, his parents had a HUGE garden and well over a dozen fruit trees. He was asking me to pick apples at their house! But all of that produce that they grew (and continue to grow) leads to some delicious recipes being made in their kitchen, including raspberry torte.
My mother in law is notorious for ALWAYS having an option for dessert. Not just a piece of chocolate. There will always be a pie, a torte, cookies, something sweet to eat after both lunch and dinner. I, for one, am not complaining.
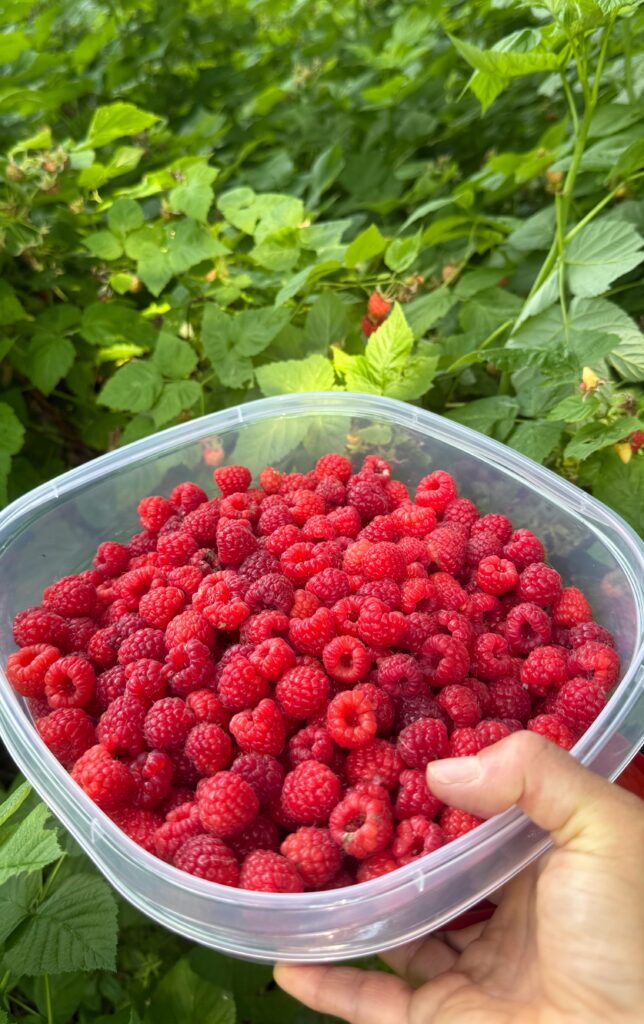
One of the favorites is her black raspberry torte and they grow an impressive amount of berries. Now we grow them, but not near as many. I also prefer red raspberries and we grow and preserve a lot of them. So I thought, “How does this torte translate into a red raspberry torte?”
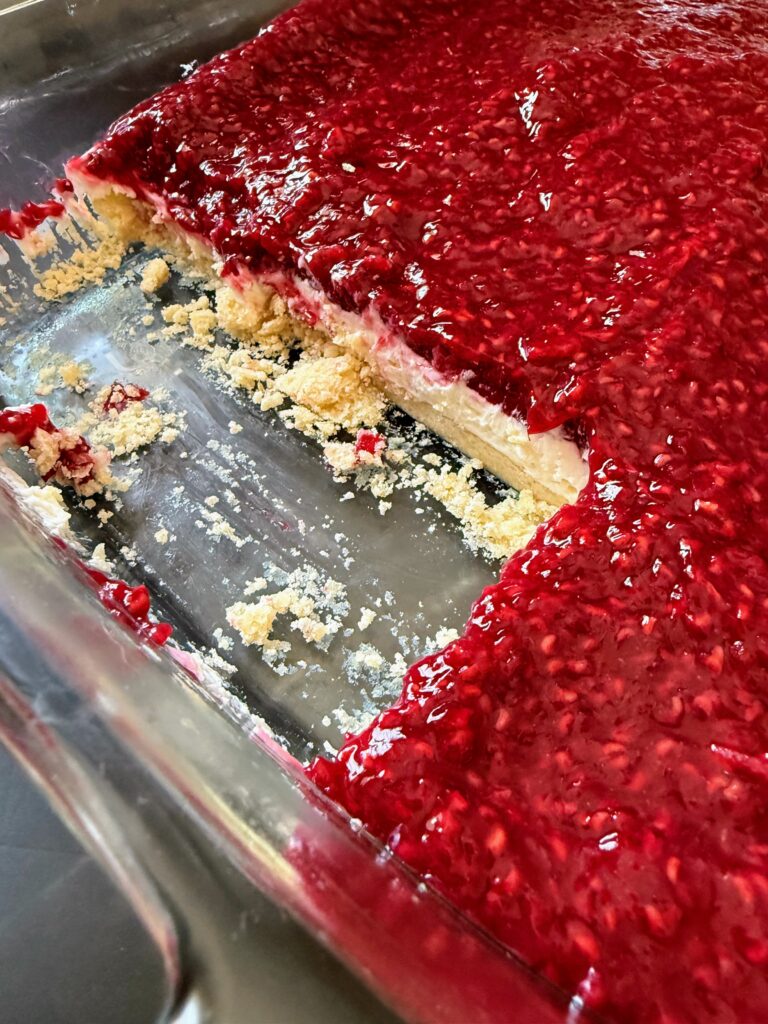
That answer: It translates so well! And my family would say it gets better over a few days as the filling gets to rest. The first time I made it, the Mr gave me a sly eye and said, “It’s good. I think you definitely need to practice and make another one,” with a large large grin on his face!
So this is my take (just a few tweaks) on my mother in law’s raspberry torte. I hope you enjoy it as much as everyone has in my husband’s family!
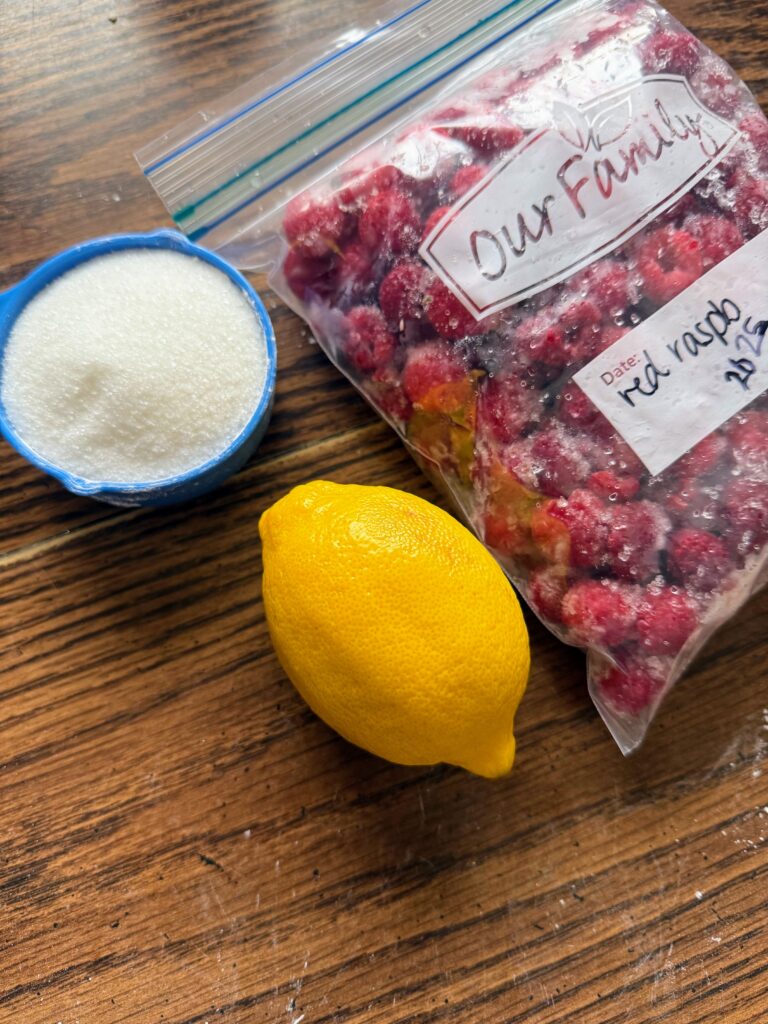
Your Ingredients for Raspberry Torte
Crust
- 1 stick butter, softened
- ¼ teaspoon salt
- 1 tablespoon sugar
- 1 cup + 2 tablespoons flour
Filling
- 8 ounces cream cheese, softened
- 1 cup powdered sugar
- 4 ounces cool whip
- 5 cups red raspberries, measured from frozen
- Zest and juice of 1 lemon
- ½ cup sugar
- 3-4 tablespoons cornstarch
- ⅓ cup cold water
Your Steps
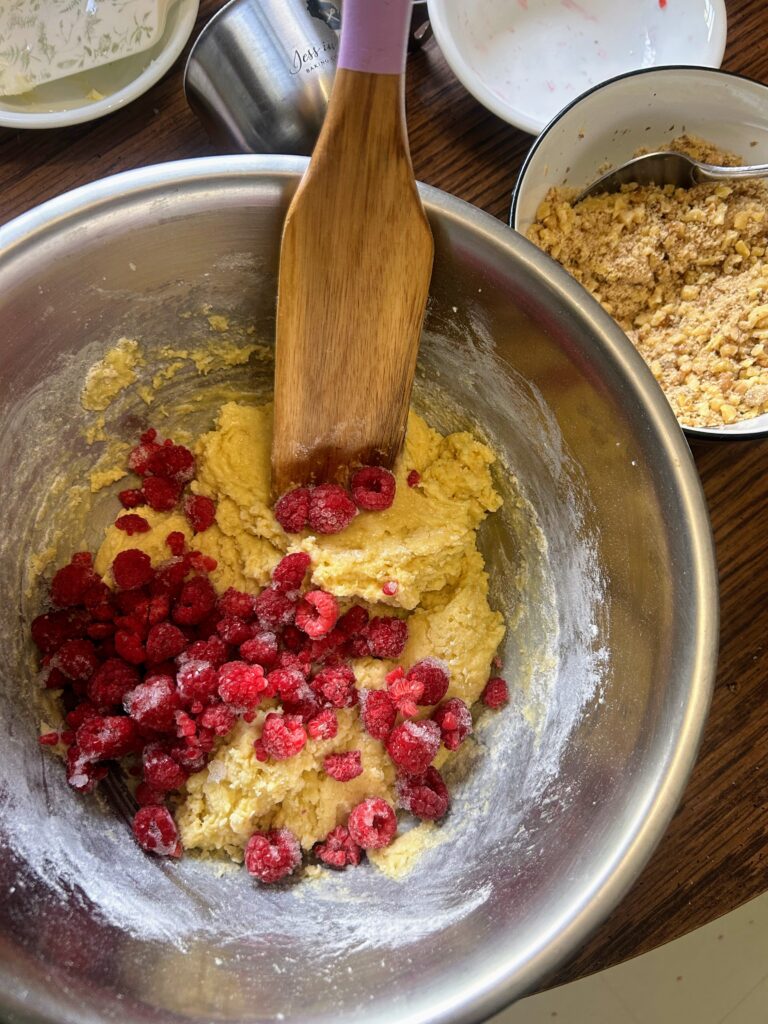
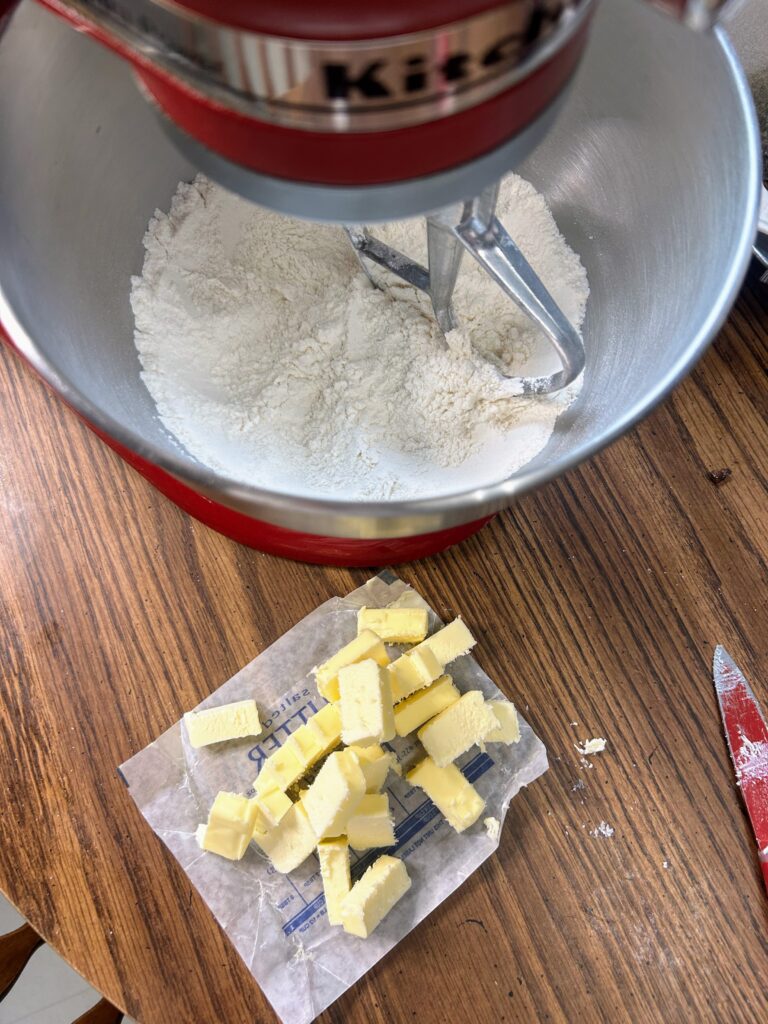
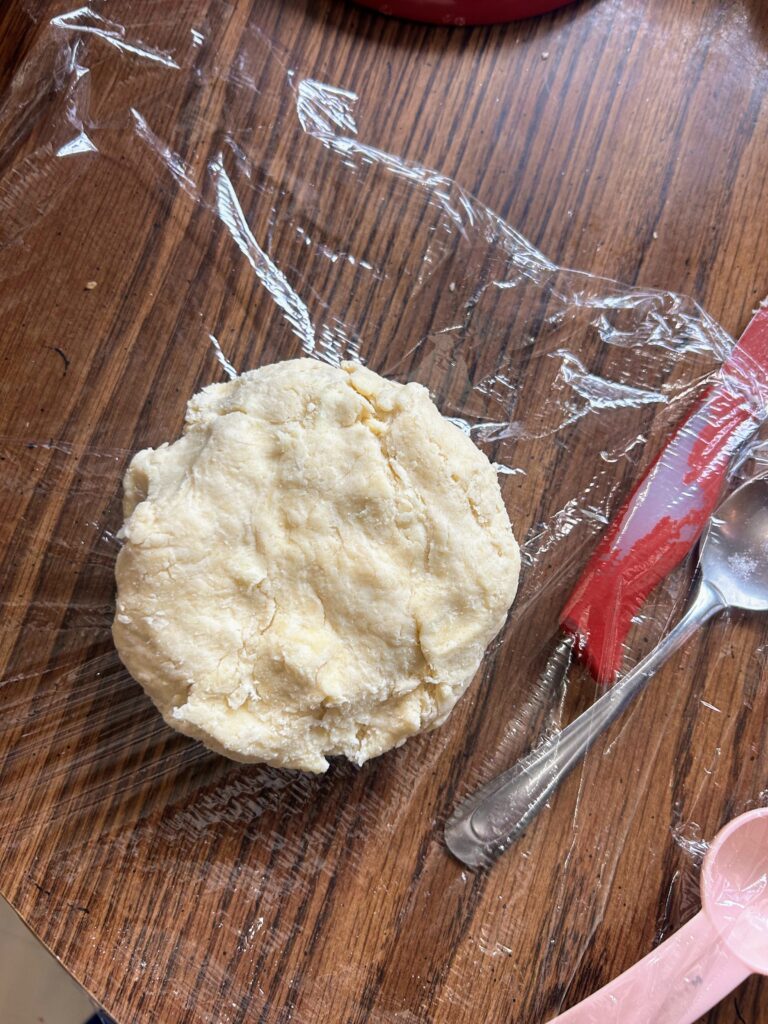
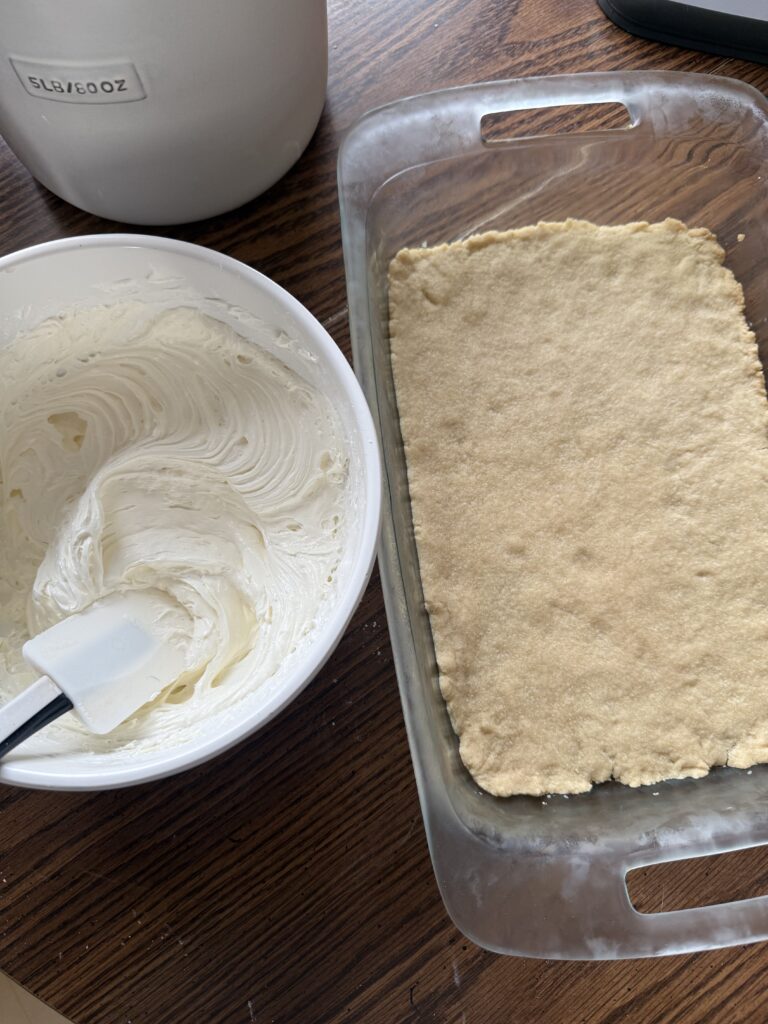
Preheat the oven to 375 degrees F and grease a 9×13 inch pan. In a medium bowl, cream butter. Prepare the crust by adding the flour, ¼ teaspoon salt, and 1 tablespoon sugar. Cream until well combined. Press into the prepared pan and bake for 10-15 minutes.
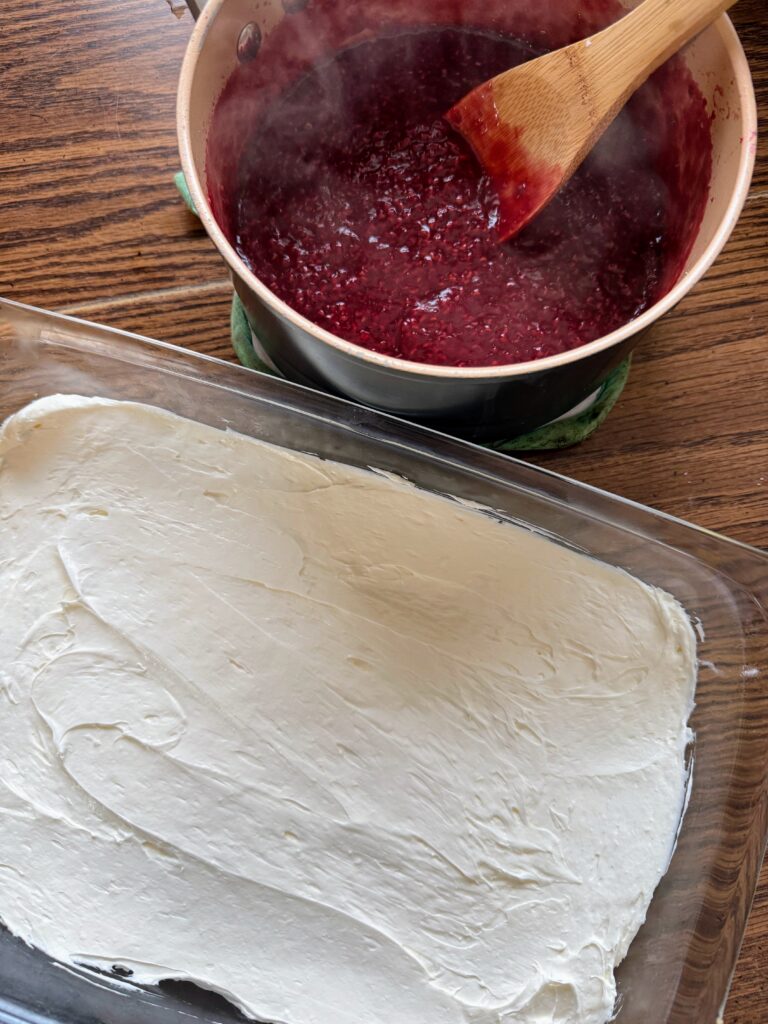
Allow the crust to cool. Once cool, prepare the filling. In a large bowl, combine the cream cheese, powdered sugar. Mix with an electric mixer until smooth. Spread over the cooled crust.
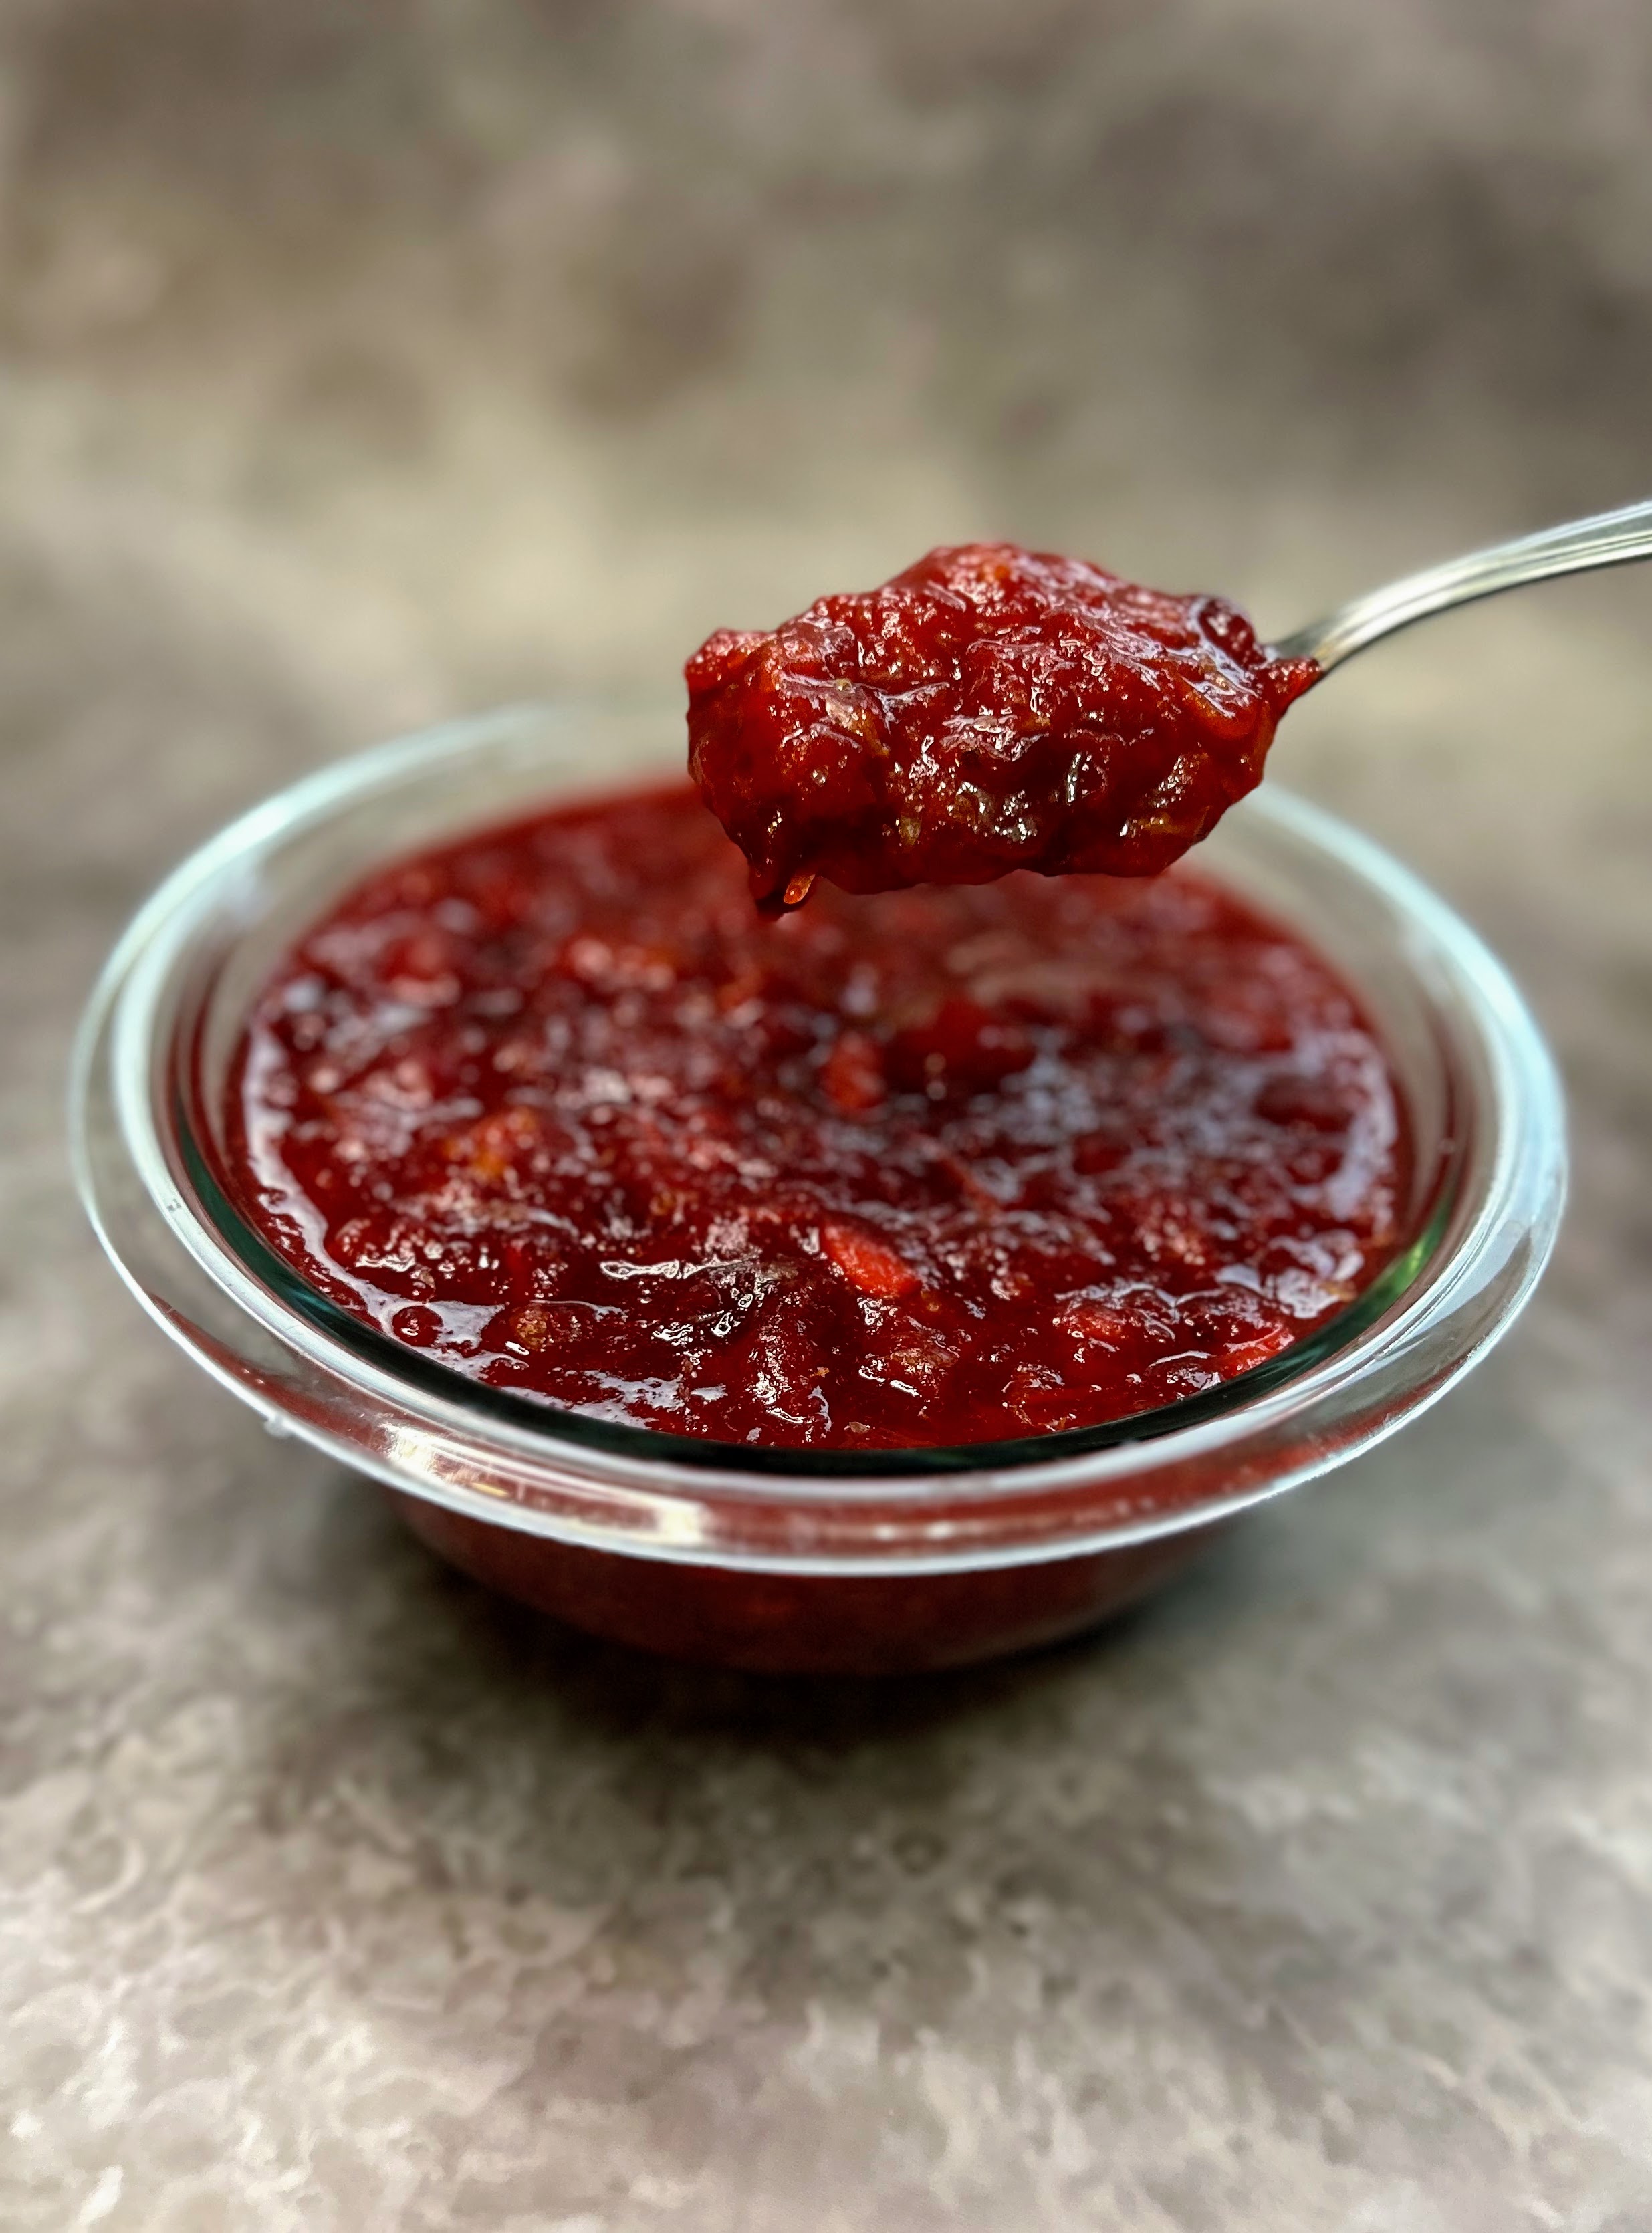
In a medium sauce pan, combine the raspberries, sugar, and lemon zest and juice. Cook until broken down and a smooth-ish sauce is made. That is, the raspberries should have mostly broken down. In a small dish, combine the cold water and cornstarch. Stir into the raspberries over a med-high heat and bring to a boil. Cook until the berries have thickened, about 4 minutes.
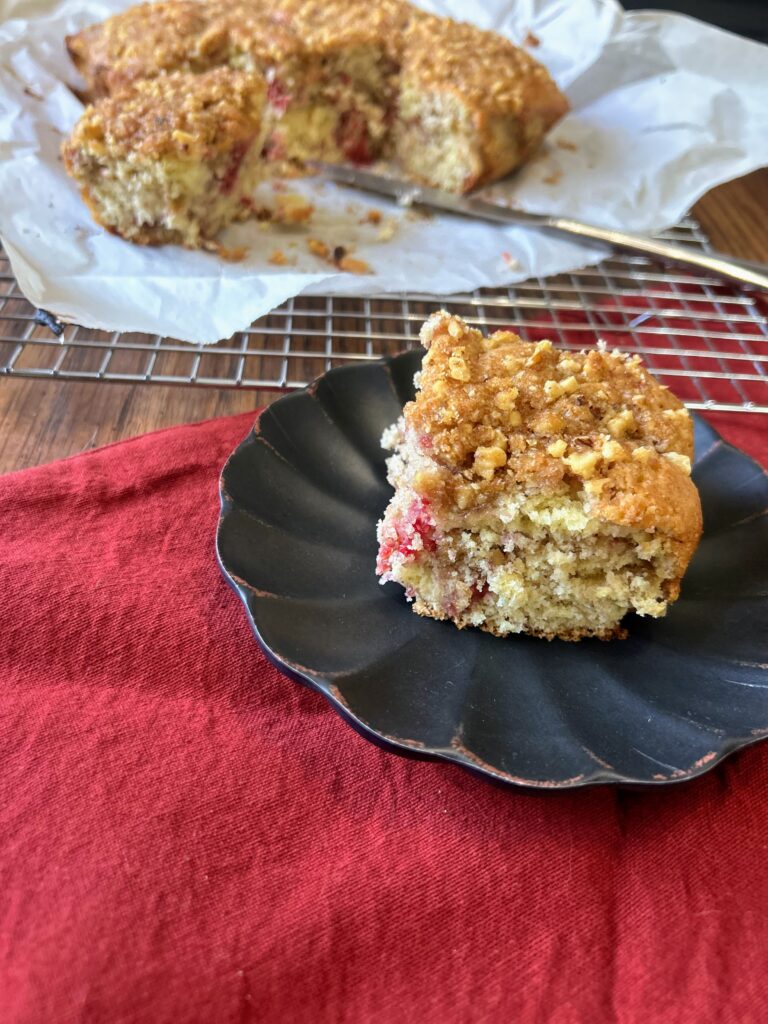
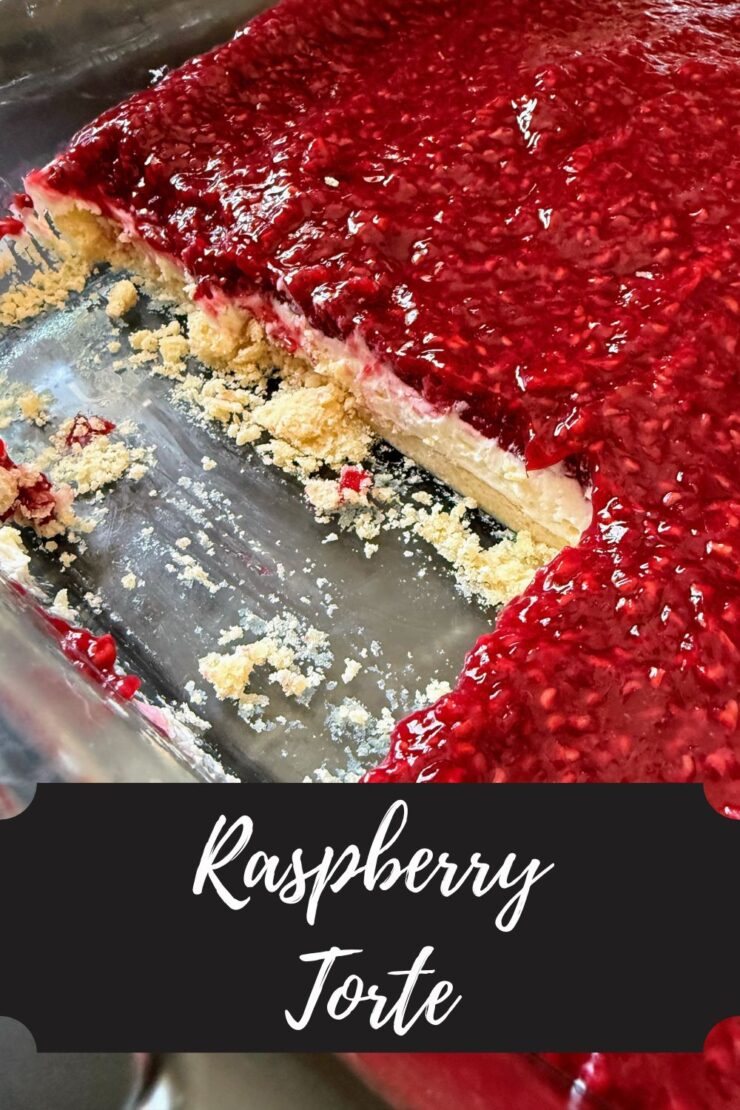
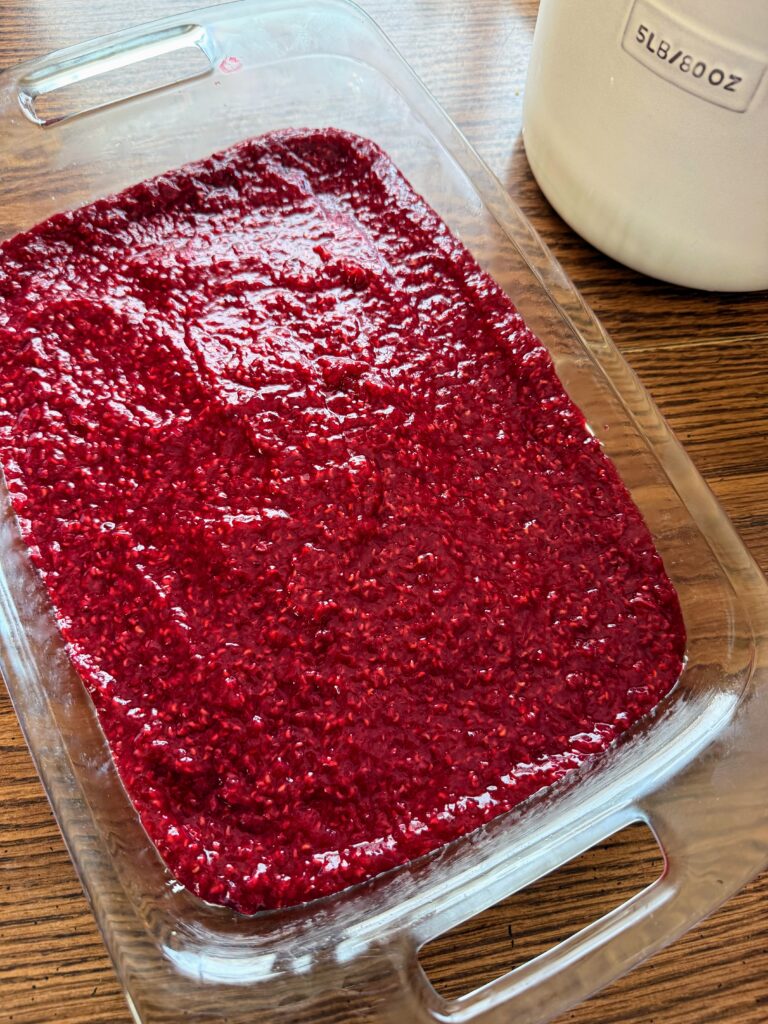
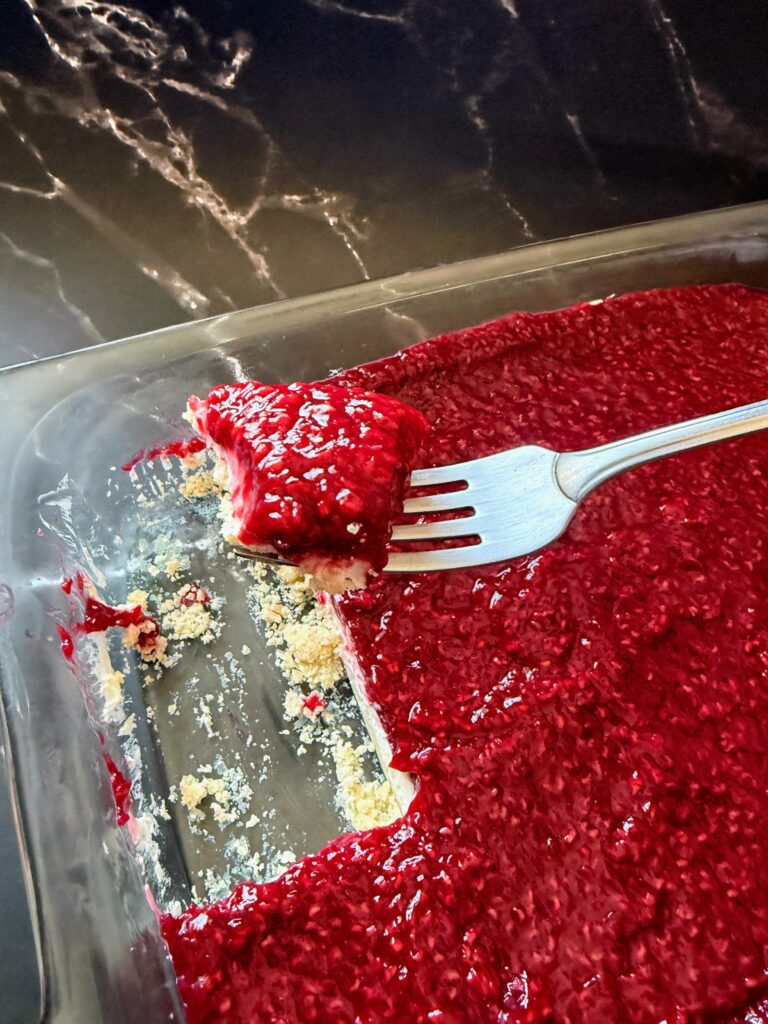
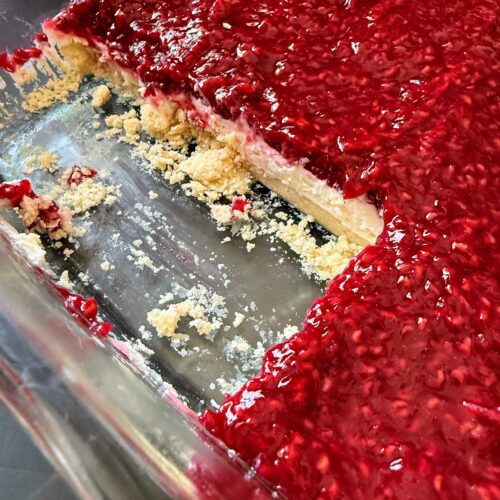
Allow the berry mixture to cool. Then spread on top of the cream cheese layer. Now, I would eat it almost immediately. My family said it got better a few days later, but I will let you be the judge!
Also, if you want to modify the amount of sugar added to the berries you absolutely can. Give them a taste before you add the cornstarch and water slurry and see if you want to add more. You can also add a little less, but I think ½ cup is the sweet spot, personally.
Raspberry Torte
Equipment
Ingredients
Crust
- 1 stick butter softened
- ¼ teaspoon salt
- 1 tablespoon sugar
- 1 cup + 2 tablespoons flour
Filling
- 8 ounces cream cheese softened
- 1 cup powdered sugar
- 4 ounces cool whip
- 5 cups red raspberries measured from frozen
- Zest and juice of 1 lemon
- ½ cup sugar
- 3-4 tablespoons cornstarch
- ⅓ cup cold water
Instructions
- Preheat the oven to 375 degrees F and grease a 9×13 inch pan.
- In a medium bowl, cream butter. Prepare the crust by adding the flour, ¼ teaspoon salt, and 1 tablespoon sugar. Cream until well combined.
- Press into the prepared pan and bake for 10-15 minutes.
- Allow the crust to cool.
- Once cool, prepare the filling. In a large bowl, combine the cream cheese, powdered sugar. Mix with an electric mixer until smooth. Spread over the cooled crust.
- In a medium sauce pan, combine the raspberries, sugar, and lemon zest and juice.
- Cook until broken down and a smooth-ish sauce is made. That is, the raspberries should have mostly broken down.
- In a small dish, combine the cold water and cornstarch.
- Stir into the raspberries over a med-high heat and bring to a boil. Cook until the berries have thickened, about 4 minutes.
- Allow the berry mixture to cool. Then spread on top of the cream cheese layer. Serve immediately or keep chilled.
Notes
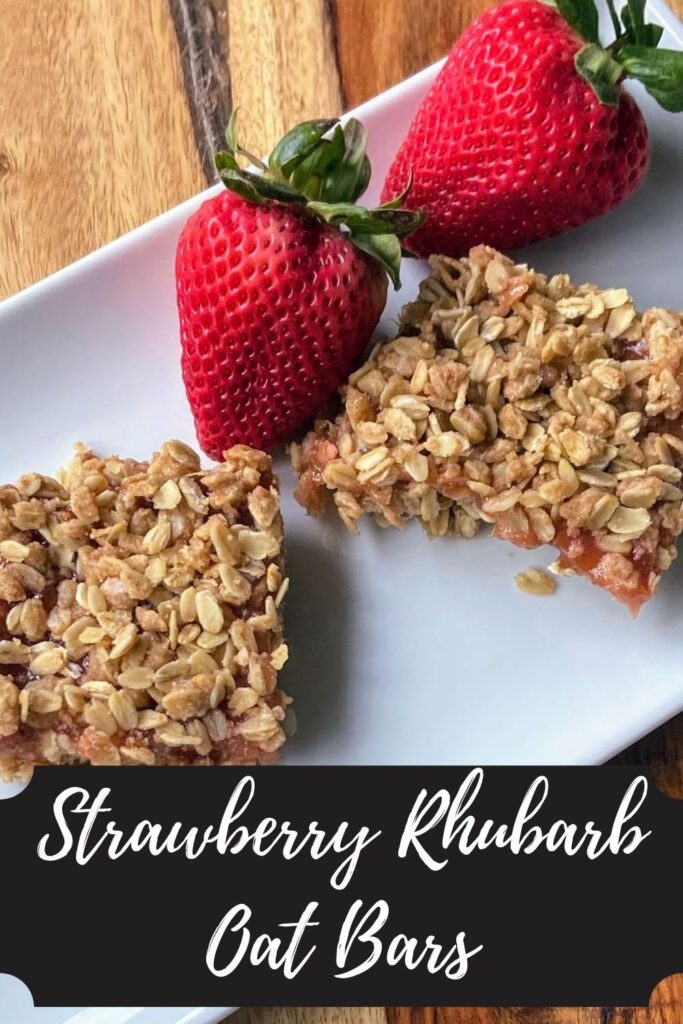
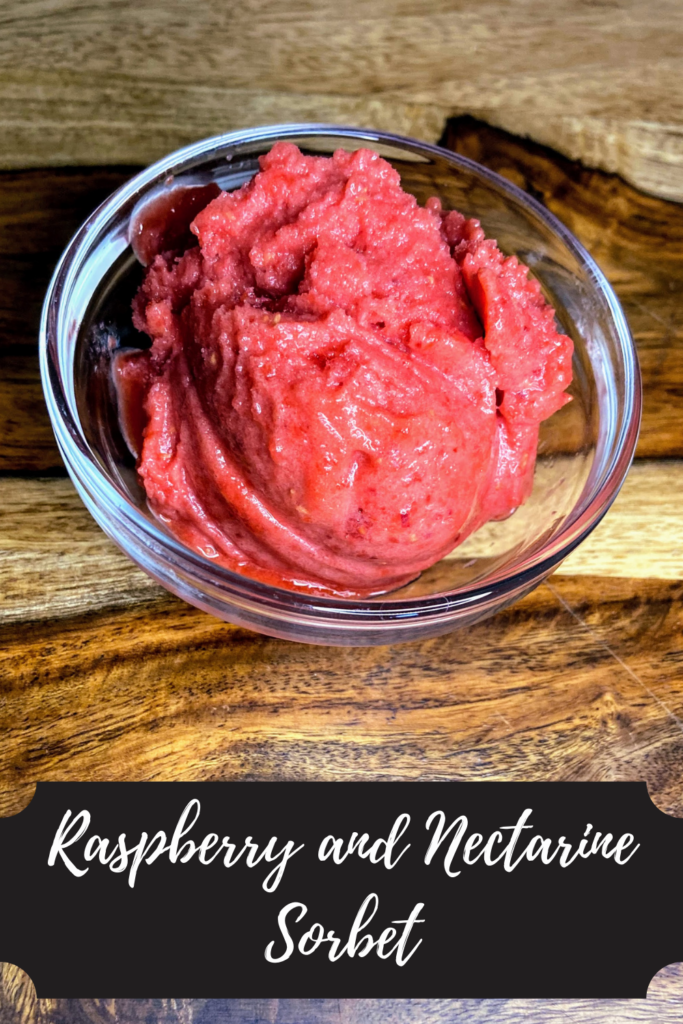
Looking for other sweet treats?
Give some of these a try! Or you can always check out my baking page!