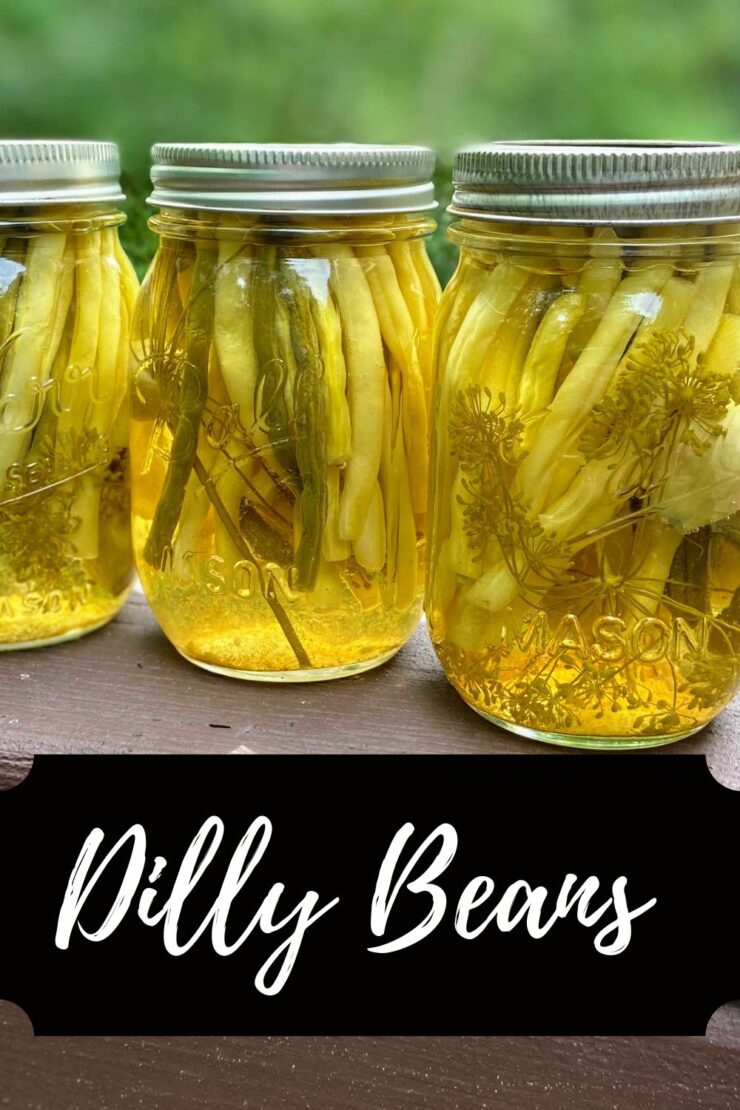
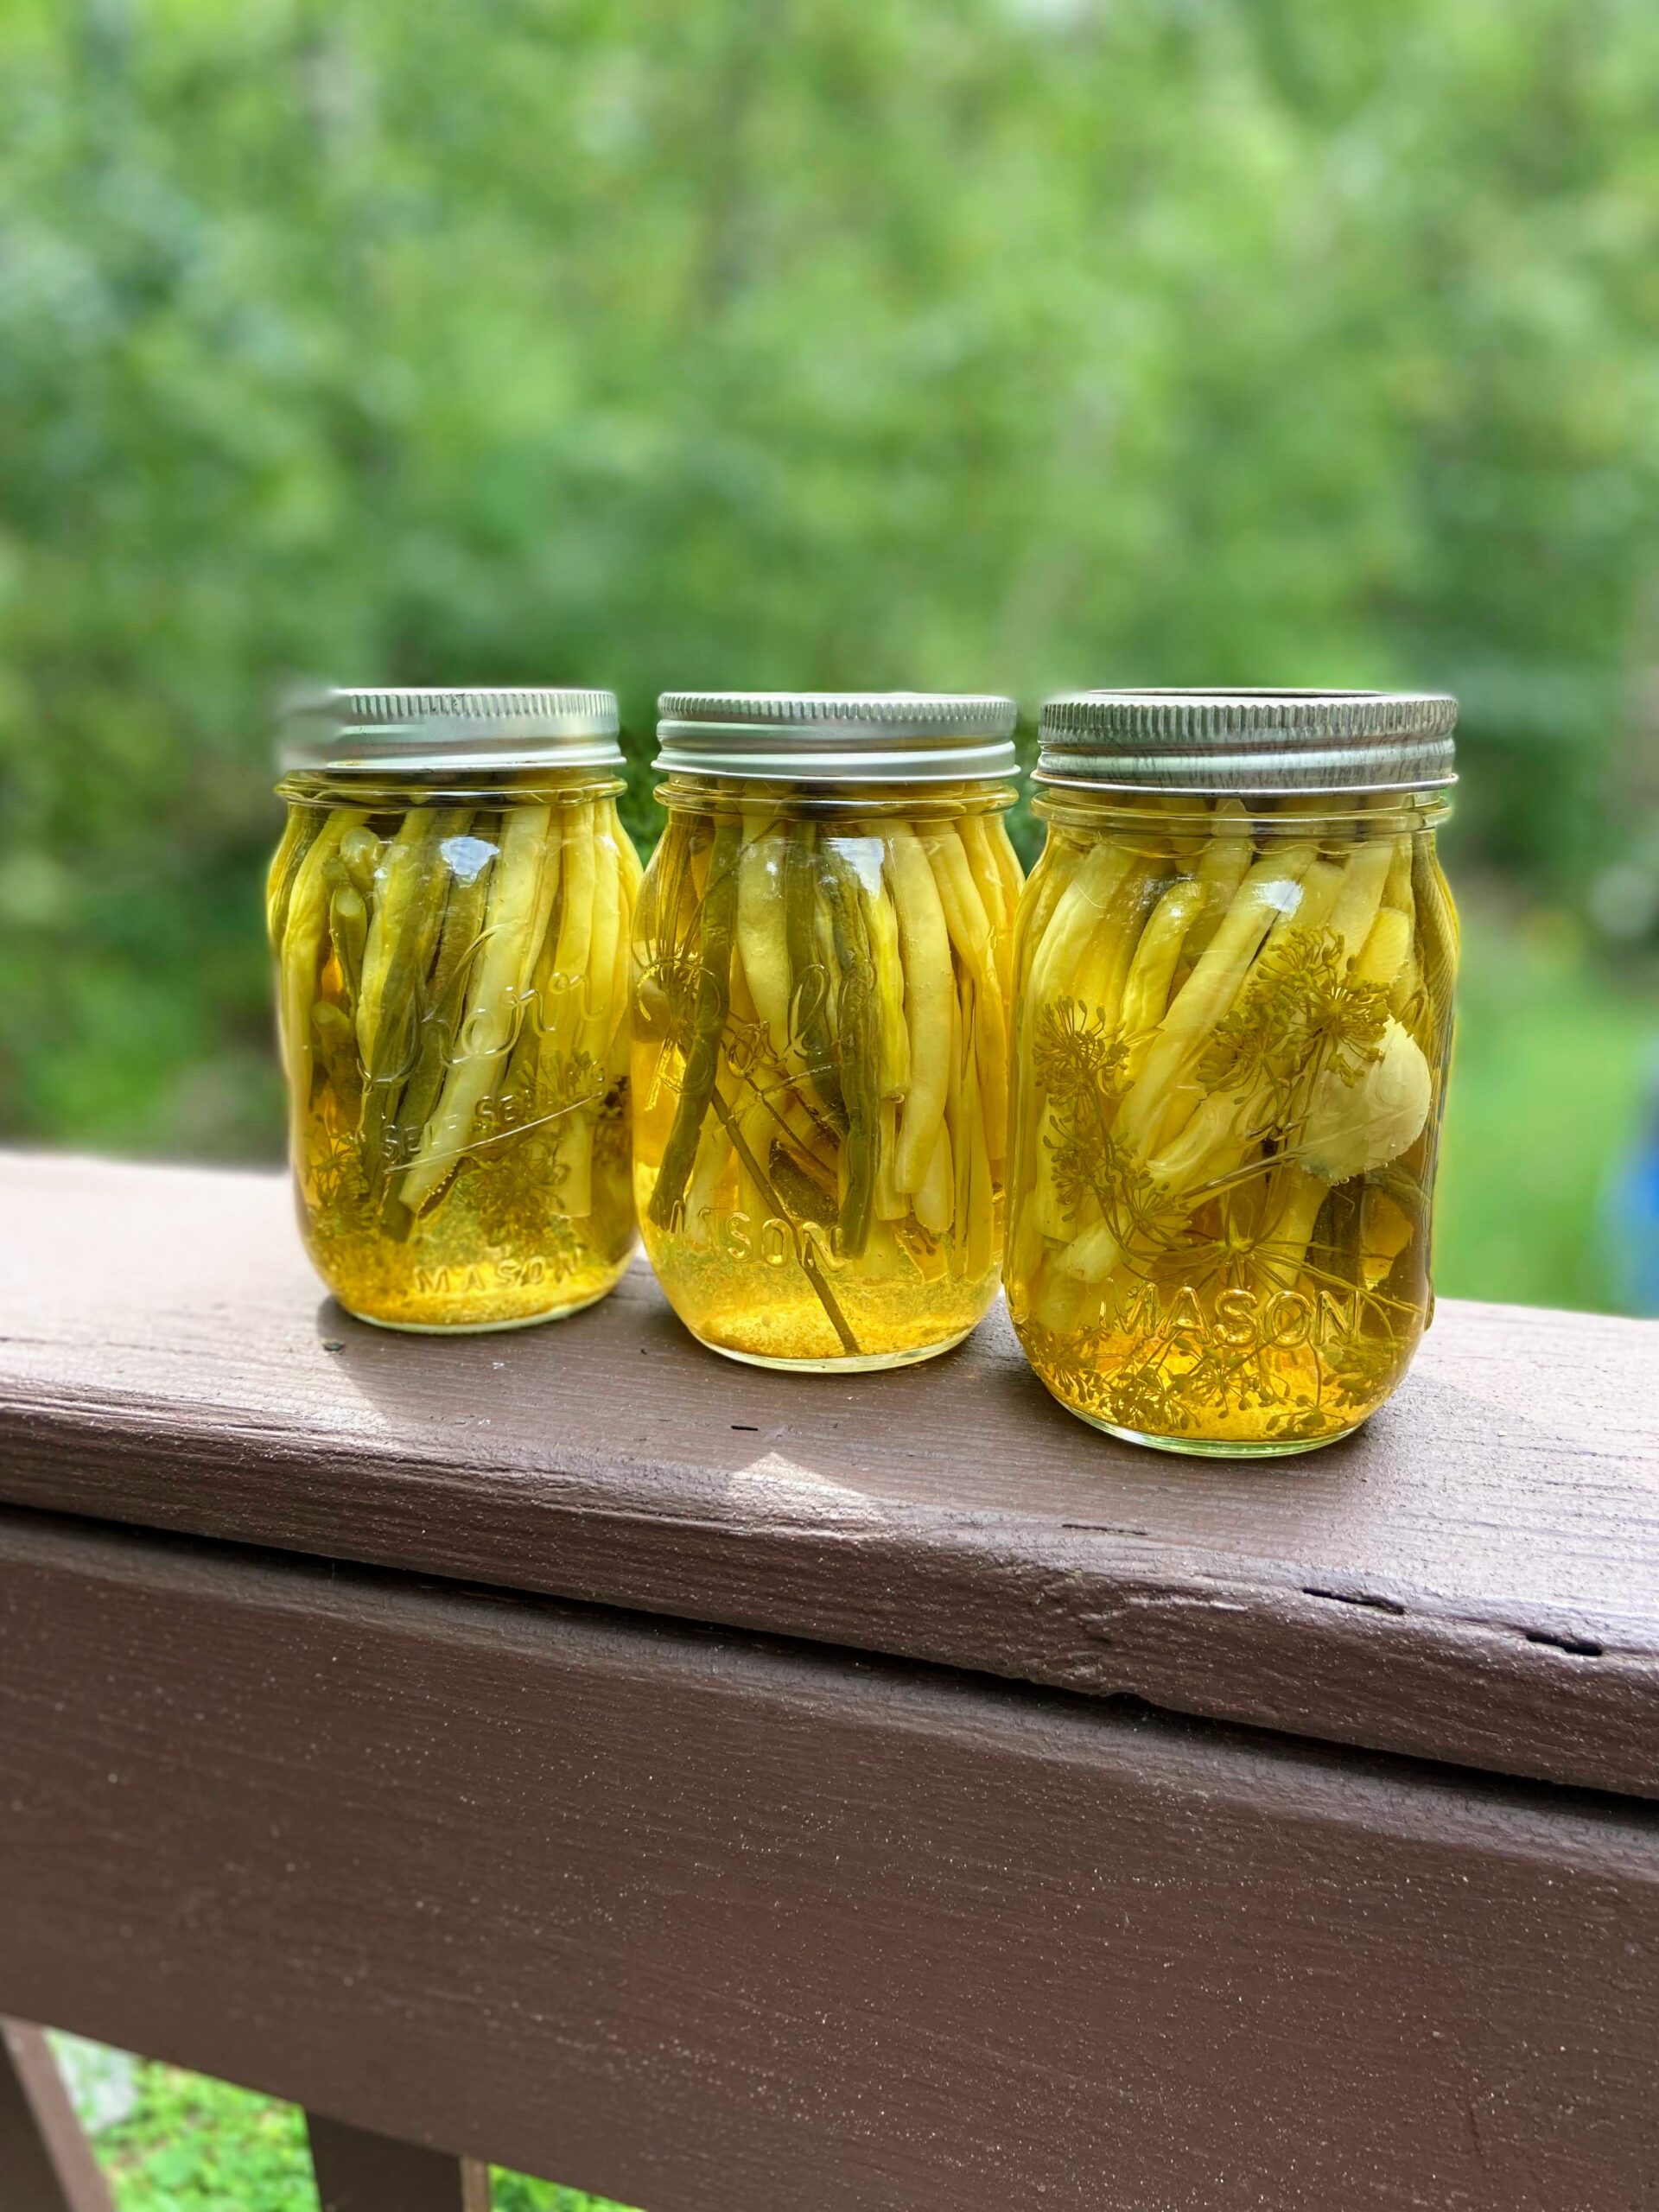
It’s pickling season! Okay, really, it’s gardening season which means it’s canning season around our house. But if it is canning season, you can bet some pickling is going to go down. One of my favorite things to pickle are dilly beans.
We always plant two to three rows of beans. This results in enough to eat plenty raw, put some in the freezer, pressure can some for meals, and then when I am feeling ambitious, some for dilly beans. Never had a dilly bean? They are similar to a dill pickle, but have a little more kick (if you want it), and stay crisp longer.
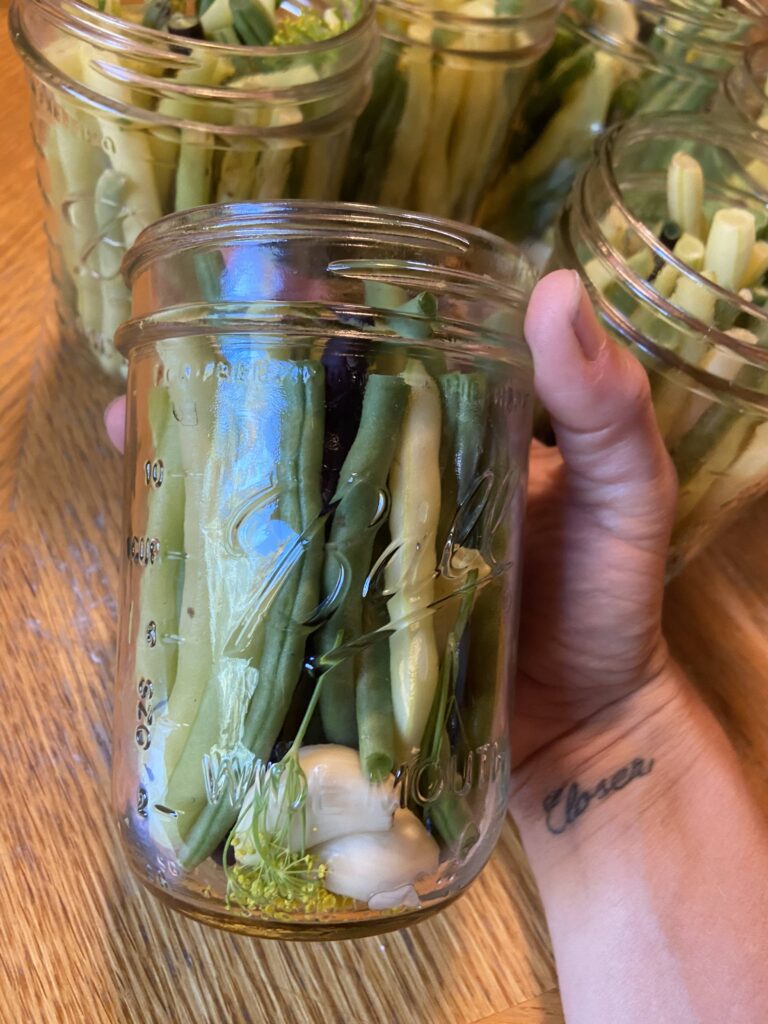
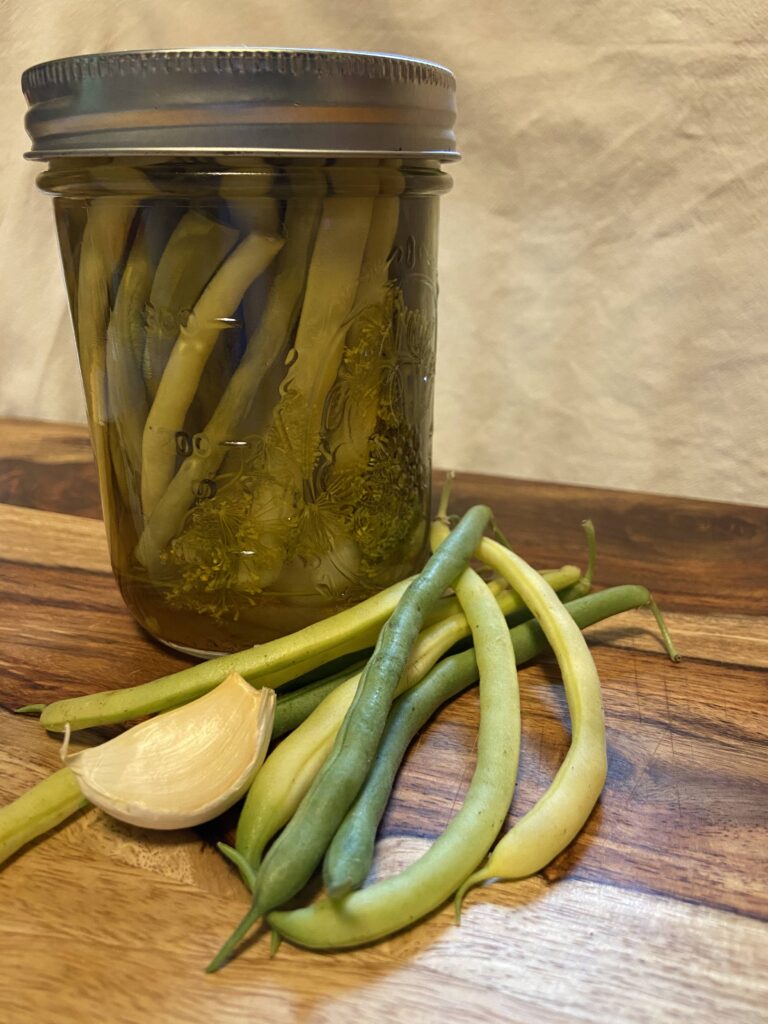
In our home, we eat them when we grill out or simply for a snack. The bonus treat is the pickled garlic clove at the bottom of the jar. My kids fight over it every time. I don’t love a Bloody Mary, but they are a great addition to a killer Bloody.
Originally, this recipe came from the Ball Canning and Perserving Book, but like any good recipe, has been modified to suit our needs in our home. I hope you enjoy them as much as my family does!
New to canning? Check out the Ball’s Book of Canning or The National Center for Home Food Preservation for more detailed information. I will give you the low down, but it will be short and sweet. You will want to read up more, I promise 🙂
Your Ingredients (per six pint jars)
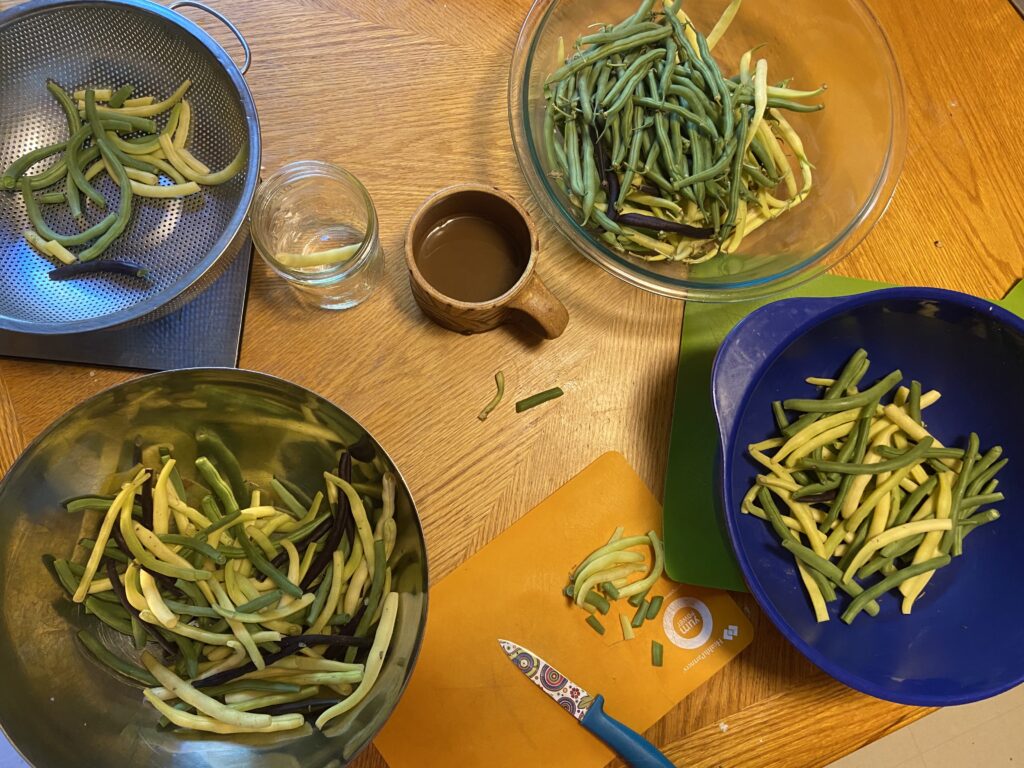
- 2 ½ pounds green beans and/or yellow wax beans, washed and trimmed
- 4 cups vinegar
- 4 cups water
- 6 tablespoons pickling salt
- ⅛ – ¼ teaspoon cayenne pepper, PER jar (to taste)
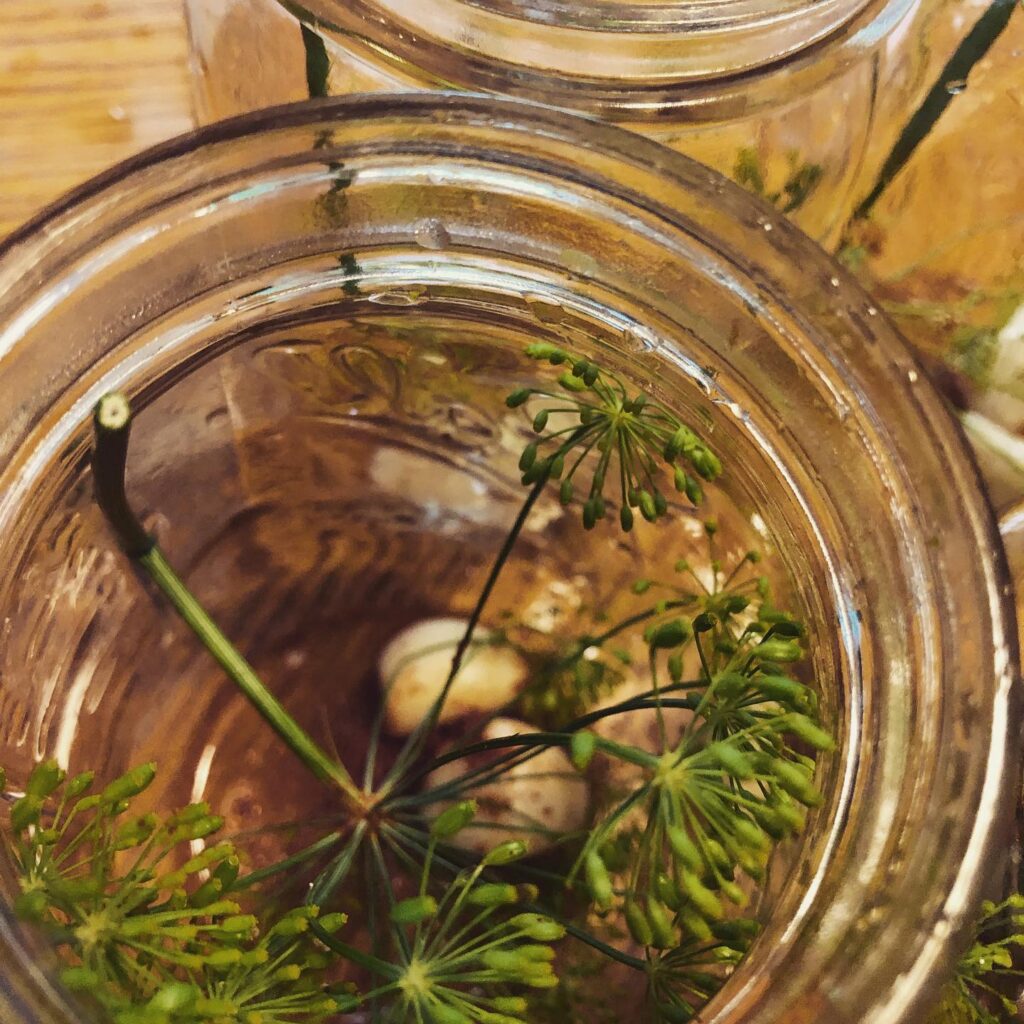
- 6 heads of dill
- 6-12 cloves of garlic (1-2 cloves per jar)
The Utensils
- Water bath canner with rack and lid
- Six pint jars with lids and rings (wide or narrow mouth)
- Large, non reactive kettle for pickling liquid
Your Preparation
The prep: the most time consuming portion of this recipe. When you make regular pickles, you just slice and fill jars. However, dilly beans need to be cut to length. After a number of years of canning, the following method has worked the best for me. Trim one bean to length so that it will fit just under the rim of the jar, approximately 4 inches. Now you have two options:
-Use this bean as your fondly called “measuring bean.” Measure the rest of the beans to that length, double checking from time to time because it’s easy to cut too long.
-If you have a non-opaque cutting board (think thin, flexible boards), make a mark with a permanent marker on the bottom of the board. Use this line to cut your beans to length. This is my preferred method.
Ultimately, you need to trim your beans so they will fit in your jar. Get there how you get there 🙂
Additionally, peel the garlic cloves and have them prepared.
Time to Can
Prepare jars, lids, and rings by washing and keeping warm. I generally set the jars in the rack of canner and have it rest above the water. Begin heating the water bath canner (make sure water will be at least one inch above jars once submerged). It is better to have too much water than too little.
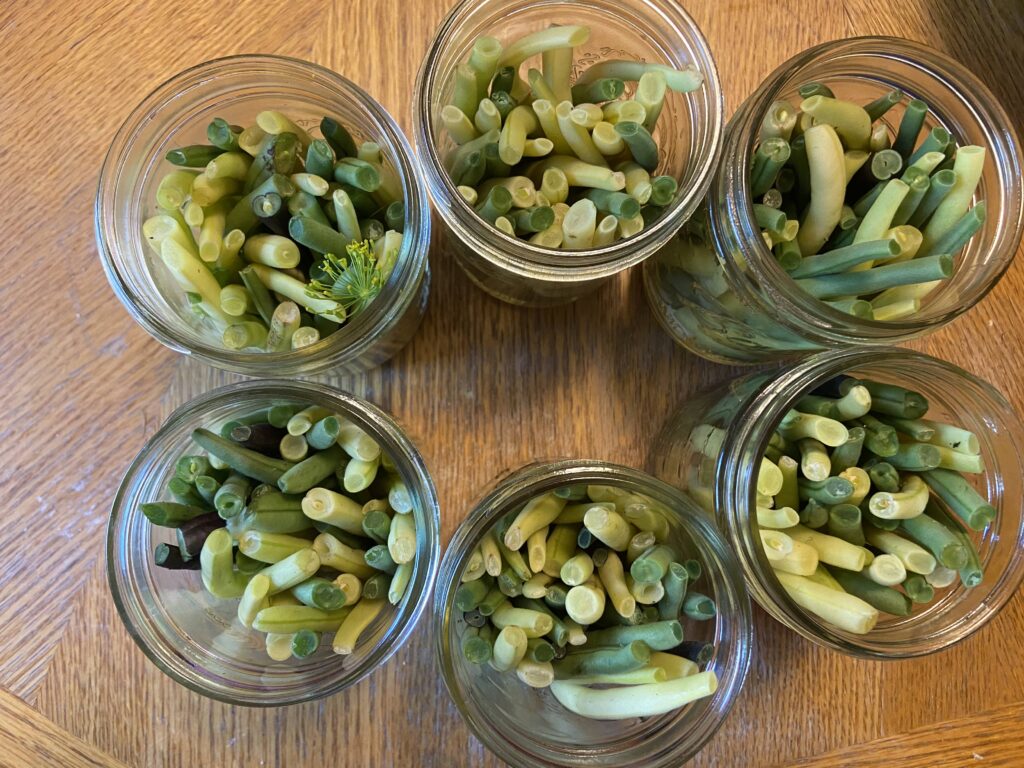
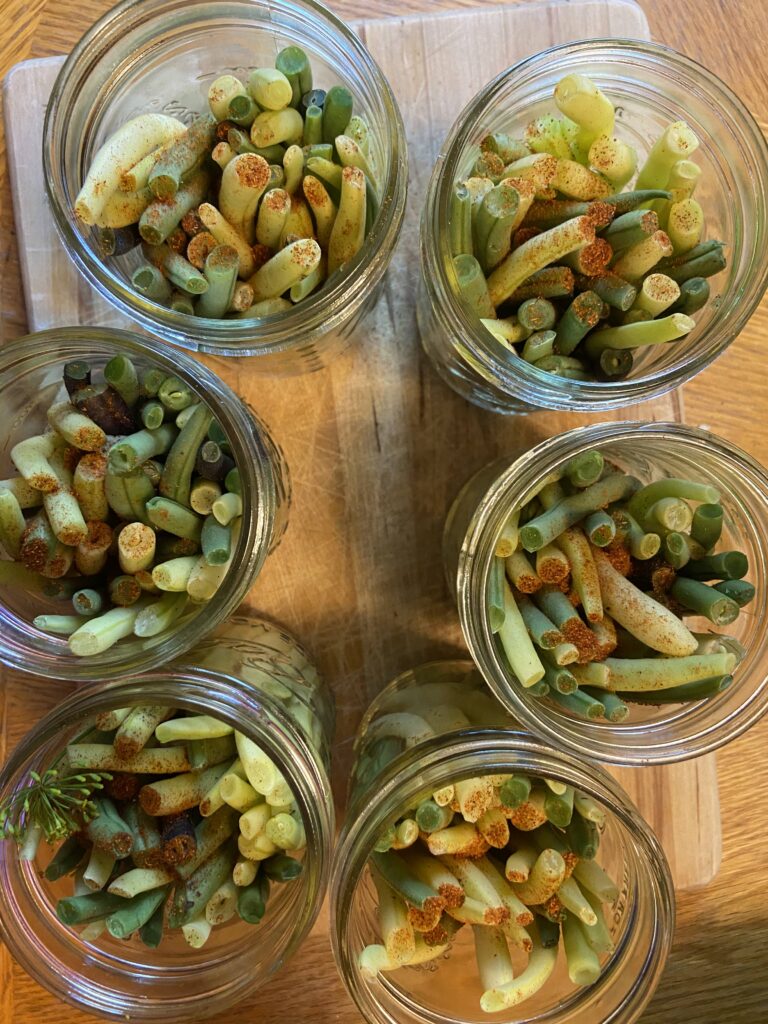
Fill each jar with one to two cloves of garlic, one head of dill, and 1/8-1/4 teaspoon cayenne pepper. Stuff jars with trimmed beans, keeping the beans below the top ring portion. This generally takes longer than I think it should, but not too terribly long.
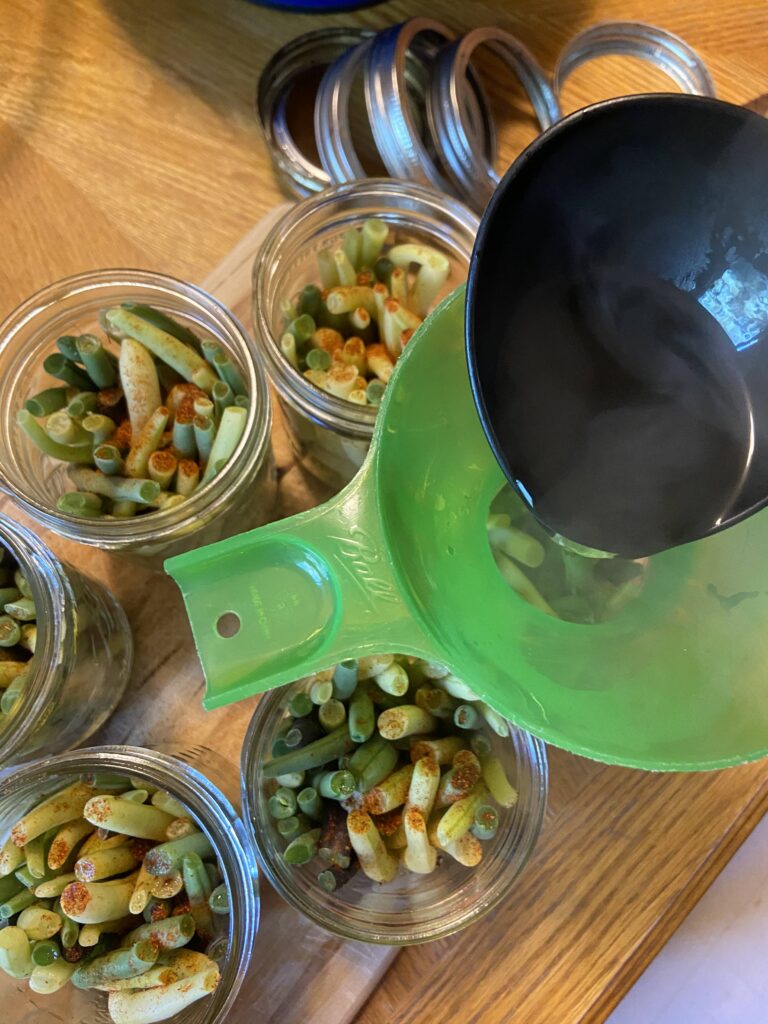
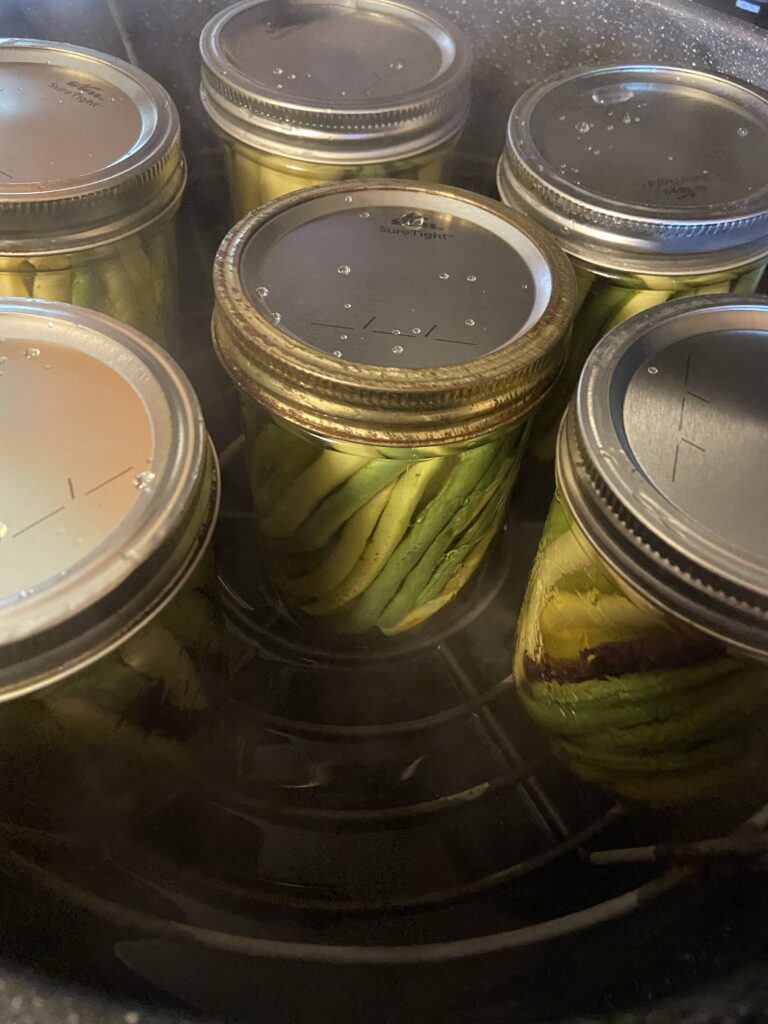
Meanwhile, bring salt, vinegar, and water to a boil reduce to a simmer until the jars are prepped. Pour the pickling liquid over beans, wipe the top of the jar with a damp piece of paper towel. Put lids and rings on, tightening to finger tip tight. Lower into canner, raising heat and bringing to a rolling boil. Process for 10 min, adjusting for altitude (if over 1000 feet). Remove the canner from heat, and allow jars to rest 5 min. Remove from canner and allow to cool at least 12 hours before storing jars.
There is no need to tighten rings. In fact, it is recommended they are removed entirely while storing. Enjoy! My kids say the best part is the garlic but those beans don’t last long either 😉
Dilly Beans with Garlic
Equipment
- 6 pint jars with lids and rings
Ingredients
- 2 ½ pounds green beans and/or yellow wax beans washed and trimmed
- 4 cups vinegar
- 4 cups water
- 6 tablespoons pickling salt
- ⅛ – ¼ teaspoon cayenne pepper PER jar (to taste)
- 6 heads of dill
- 6-12 cloves of garlic 1-2 cloves per jar
Instructions
- To prepare, trim beans so that they will just fit under the rim of pint jars, approximately 4 inches long. Additionally, peel the garlic cloves and have them prepared for canning.
- Prepare jars, lids, and rings by washing and keeping warm. Begin heating the water bath canner (make sure water will be at least one inch above jars once submerged).
- Fill each jar with one to two cloves of garlic, one head of dill, and 1/8-1/4 teaspoon cayenne pepper. Stuff jars with trimmed beans, keeping the beans below the top ring portion.
- Meanwhile, bring salt, vinegar, and water to a boil reduce to a simmer until the jars are prepped. Pour the pickling liquid over beans. Remove air bubbles.
- Wipe the top of the jar with a damp piece of paper towel. Put lids and rings on, tightening to finger tip tight.
- Lower into canner, raising heat and bringing to a rolling boil. Process for 10 min, adjusting for altitude (if over 1000 feet).
- Remove the canner from heat, and allow jars to rest 5 min. Remove from canner and allow to cool at least 12 hours before storing jars.
Notes
- Sealed jars are shelf-stable, meaning they can be stored on a shelf unrefrigerated. If your jars don’t ping (a sign that they have sealed), they are still good. Simply store them in the refrigerator.
- Most sources recommend removing the rings from jars for storage so that you will know if they unseal for any reason. I generally just loosen them as much as I can without removing them.
Looking for other canning and preserving recipes? Check out the page below!
Tools of the Trade
There are a handful of canning tools I can not live without. I love my water bath canner but also use my pressure canner as a water bath canner when I don’t want to use two different ones! You also need a set of canning tools to make the process so much easier!