Do you have those recipes that just feel a bit like home? Ones that you have to call your mom, your grandma, your uncle, (insert random relative here) to get the recipe because for some reason, you never really write the whole thing down? A recipe that maybe brings you such joy that it becomes a hyperfixation for a bit until you forget again? For me, that’s my mom’s ramen and cabbage salad.
Let me tell you, this isn’t about to be a fancy recipe. It has very few ingredients and most of which you can almost always have on hand. It isn’t a recipe I have doctored up to have all the flavors. I am keeping this just as my mom made it for years and years, and my goodness, it’s good just the way it is.
Why is this recipe coming out now?
Well, my kiddos both decided they loved cabbage over the past year and subsequently, we grew a TON of it. We don’t really eat sauerkraut so we needed a way to use the cabbage that everyone would love. My babies are also busy kids (okay, they aren’t babies, but they will always be my babies, right?) so we need things we can do on the fly without much thought when life gets busy.
That’s this recipe. It’s great since cabbage keeps so well in the fridge. And everything else is a pantry ingredient. When I have panicked with the, “WHAT’S GOING TO BE OUR VEGETABLE FOR DINNER?” this ramen and cabbage salad has been my go to solution.
Ready to give it a try? Let’s go!
Your Ingredients
- 1 head of shredded cabbage (any combination of color) or 1-2 bags of coleslaw mix
- 2 tablespoons butter
- 2 packages of dry ramen noodles, seasoning package removed
- ¾ cup slivered almonds
- 1 cup olive oil
- ⅔ cup white sugar (up to 1 cup, depending on your sweetness preference)
- ½ cup red wine vinegar
- 2 tablespoons soy sauce
Your Steps to Ramen and Cabbage Salad
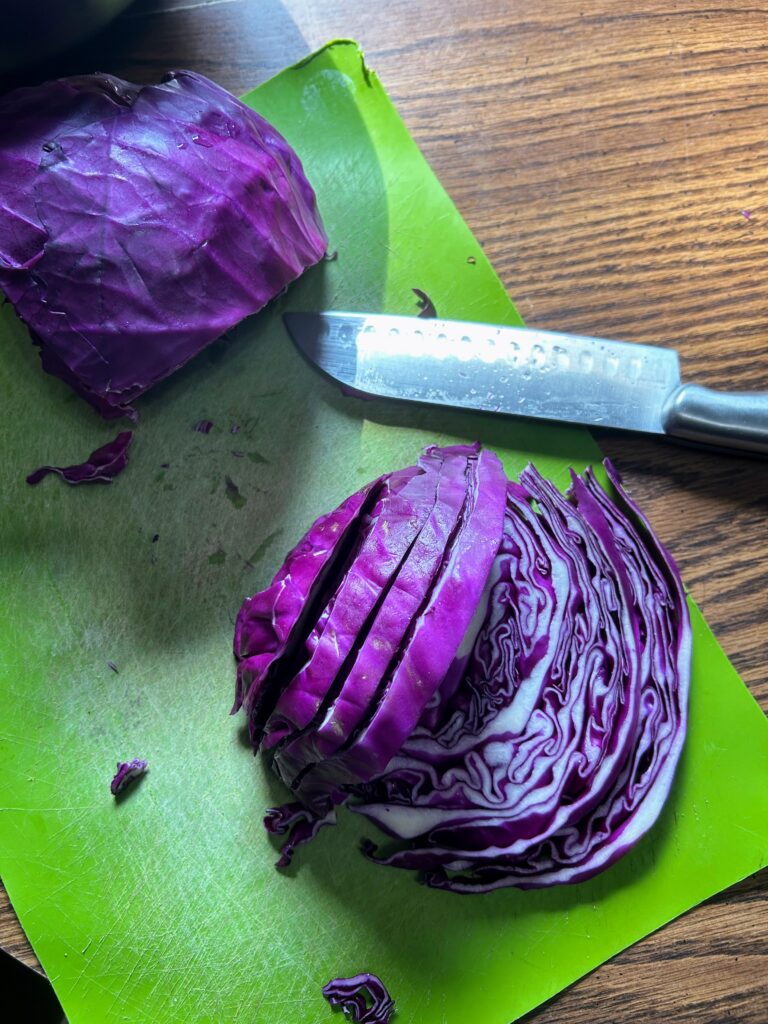
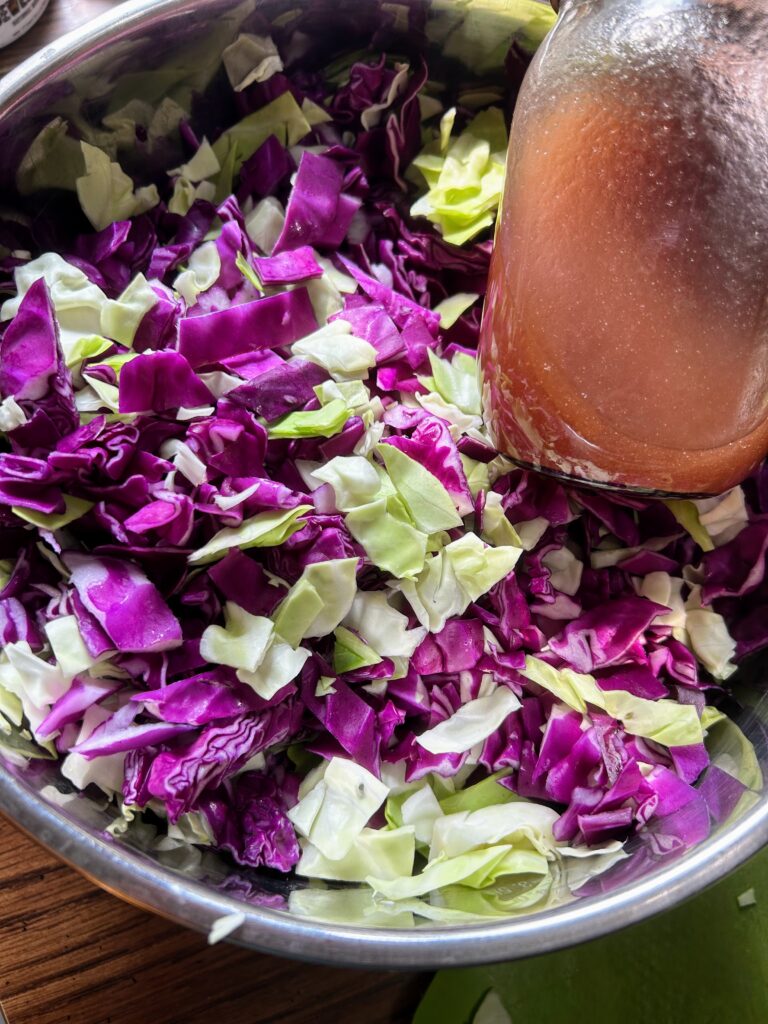
If you have not already, finely chop/shred your cabbage. A combination of red and green are definitely the prettiest, but any combination will do. I use what I have on hand.
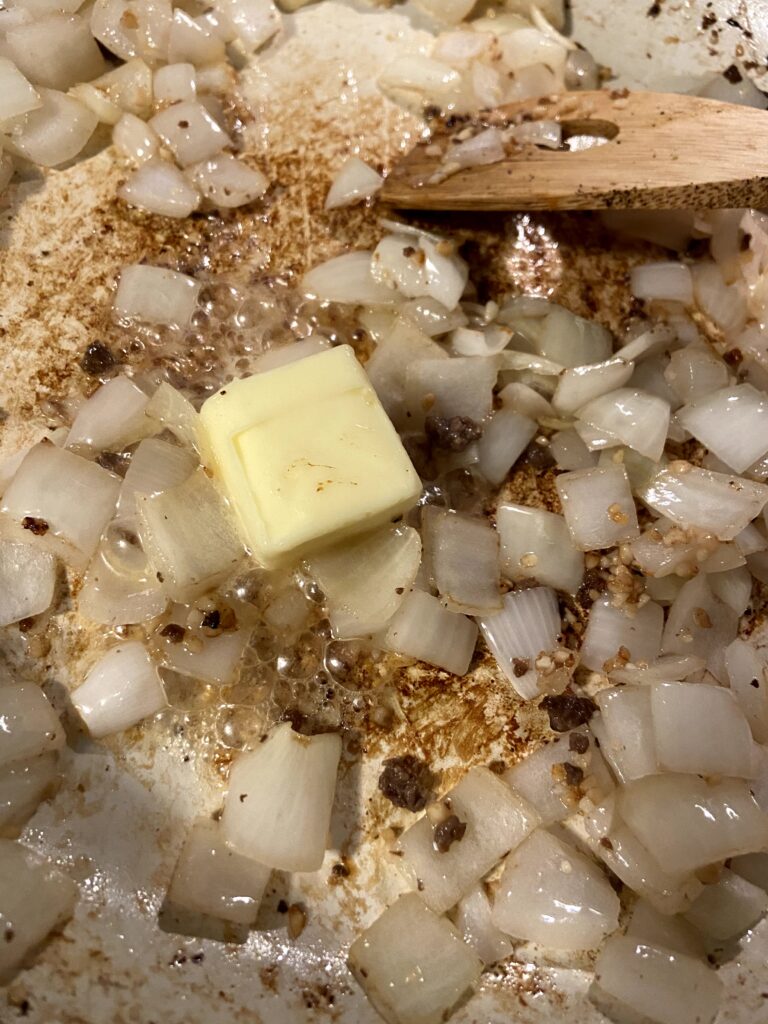
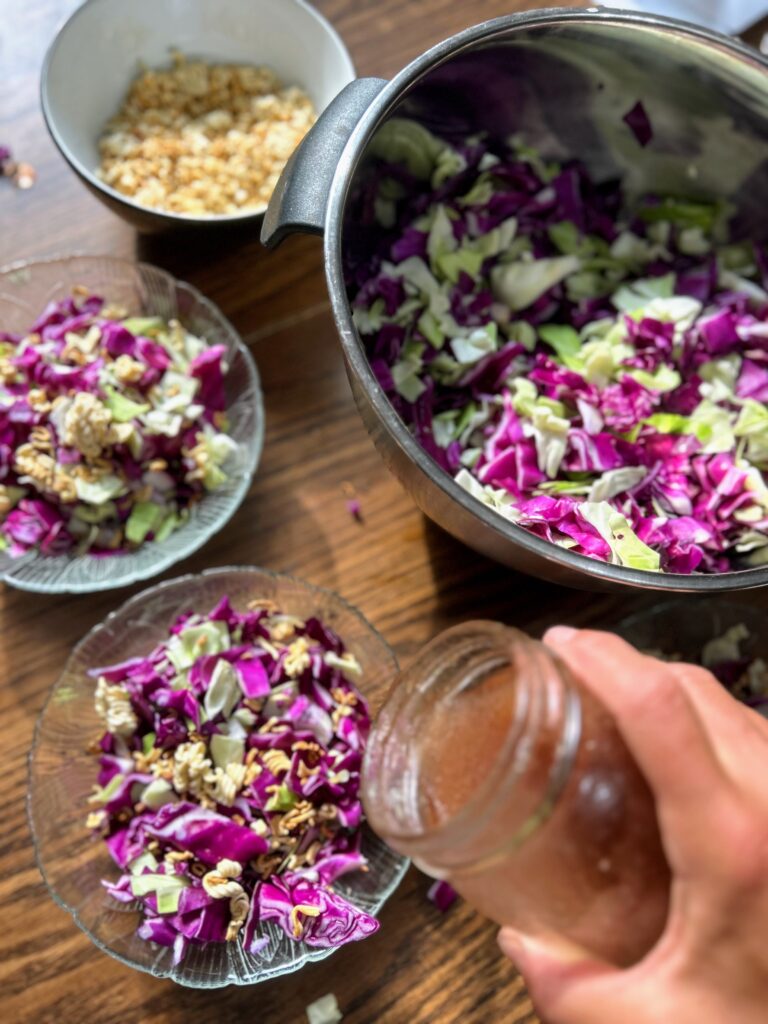
In a large saucepan, begin to melt the butter over medium high heat. While the butter is melting, crunch the dry ramen noodles into pieces. I find it easiest to do this when the package is still sealed and then I pull out the seasoning package. Once the butter is hot, add the broken noodles and almonds on the stove top. Toast them until golden brown, but watch it as they go from toasted to burned quickly. Remove from heat and set aside.
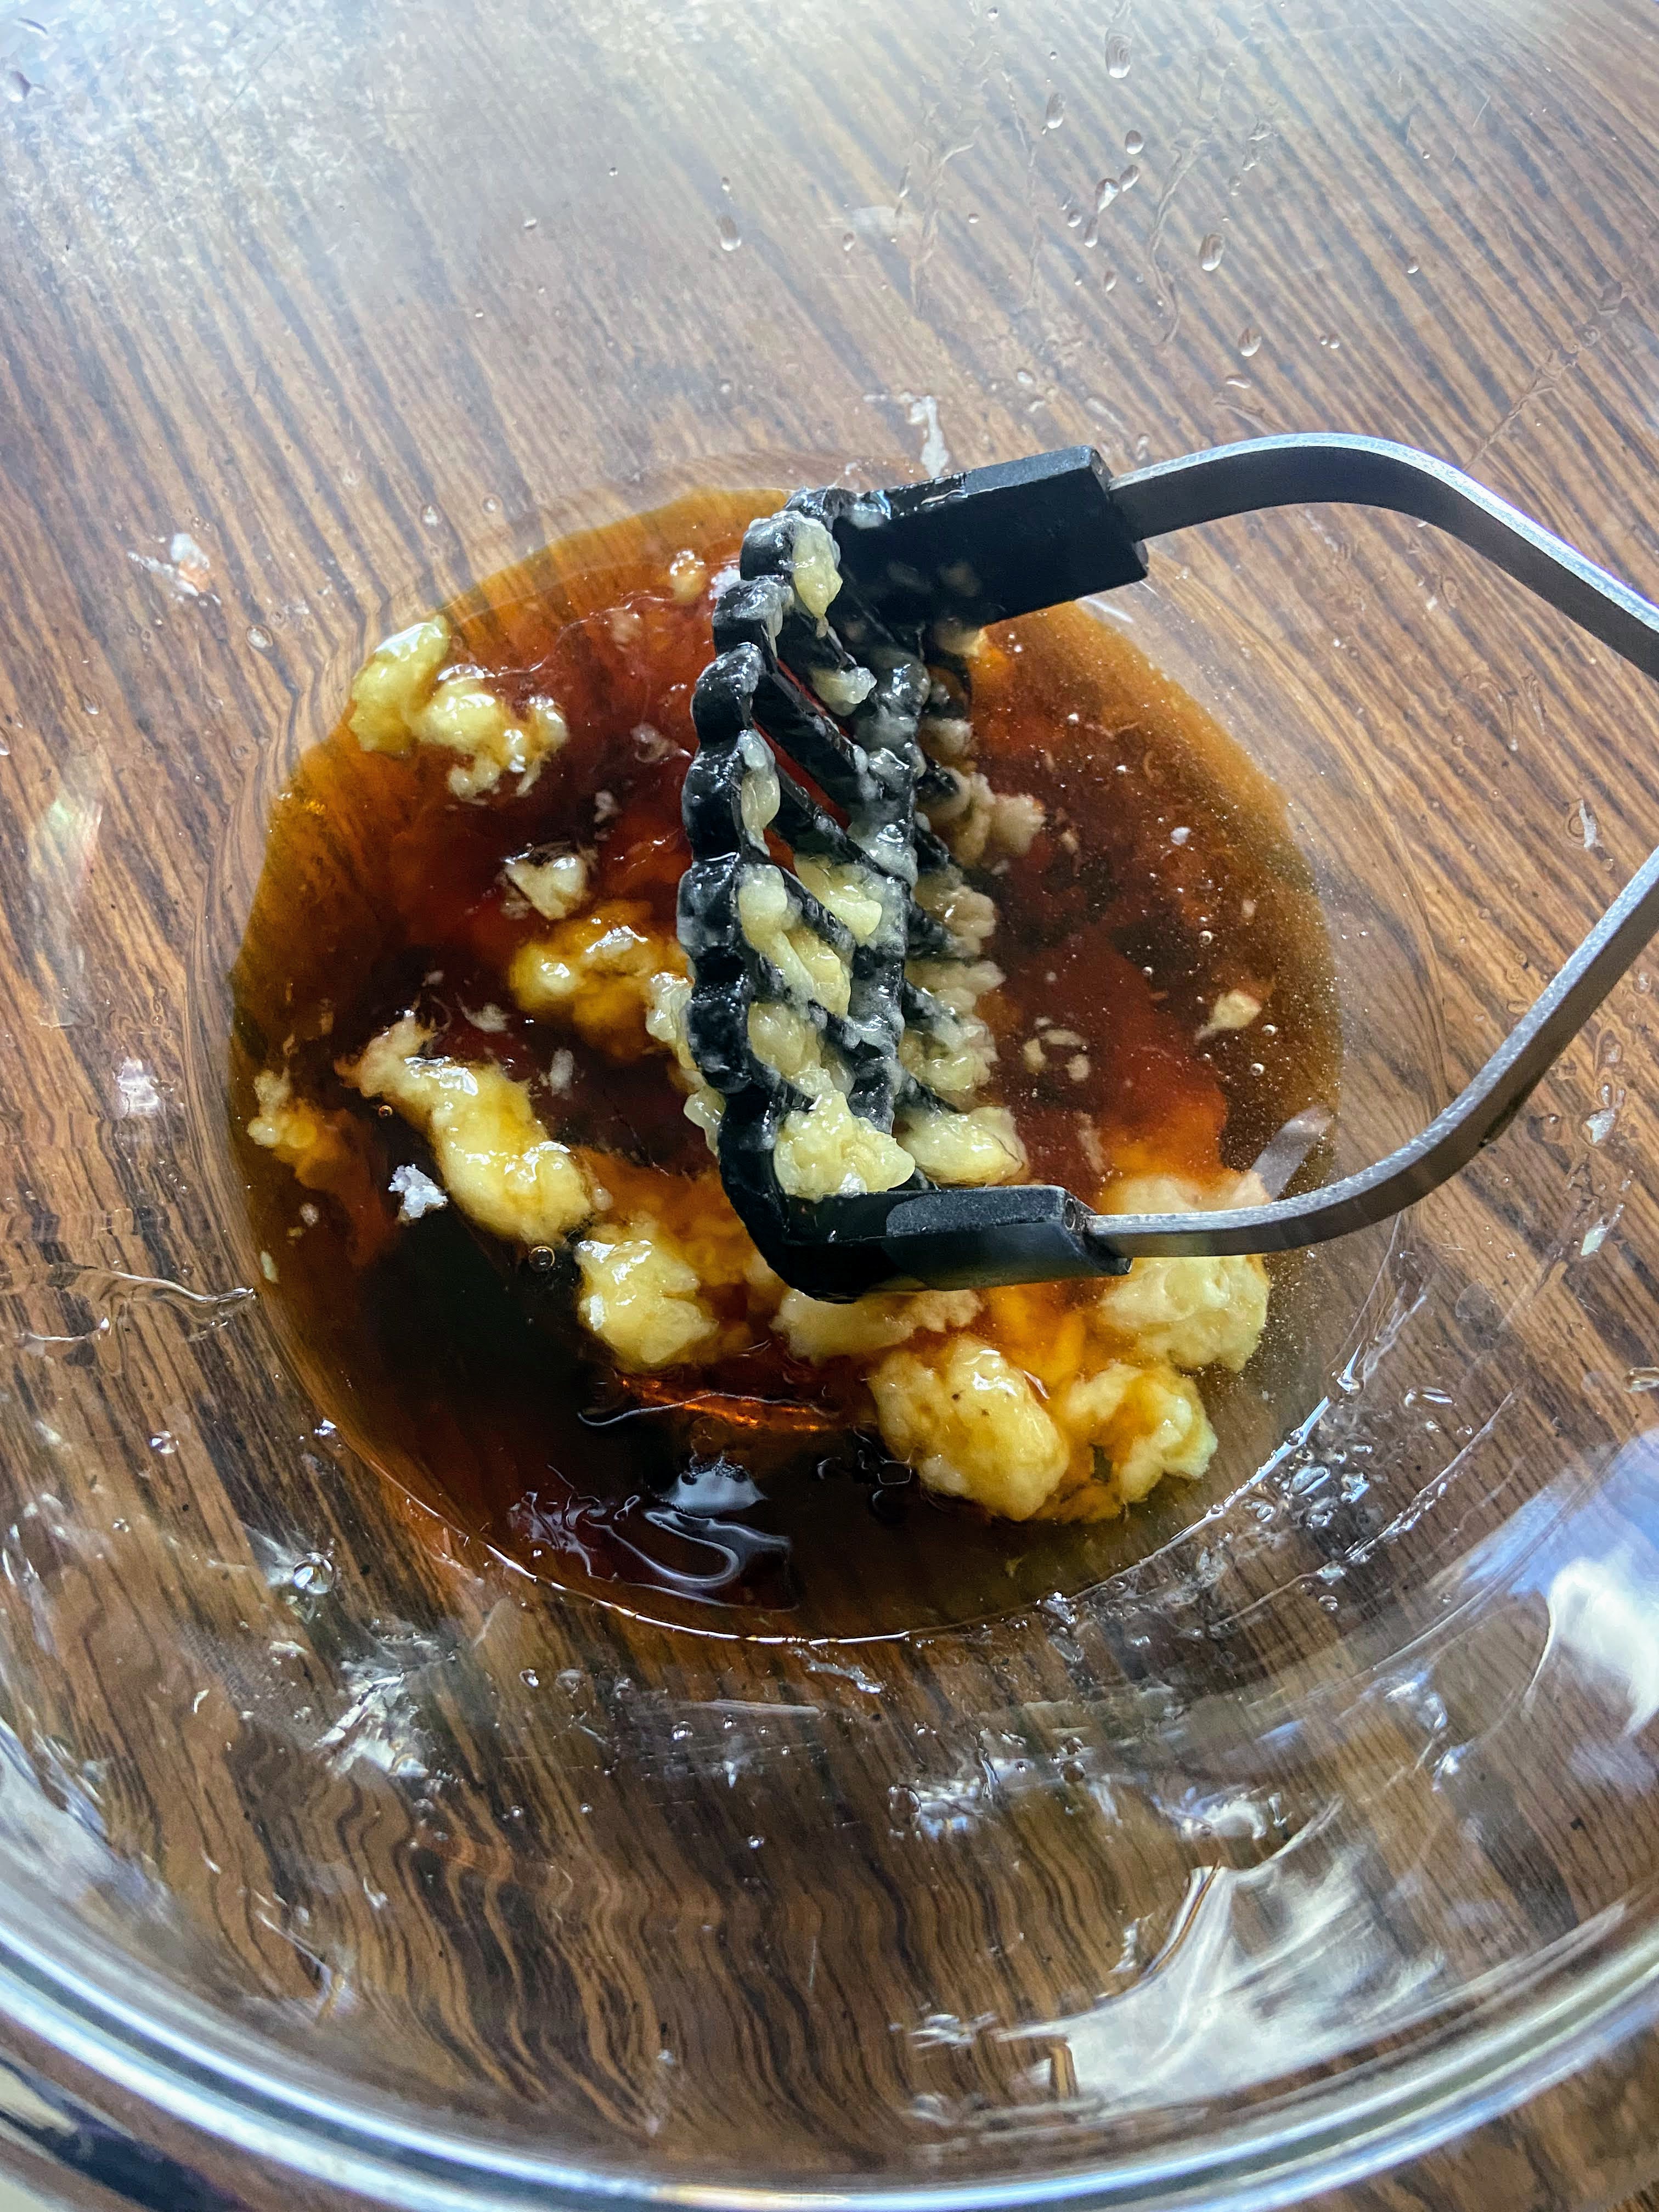
In a glass measuring cup or mason jar (my preferred method), combine olive oil, sugar, red wine vinegar, and soy sauce. Whisk or seal tightly and shake well.
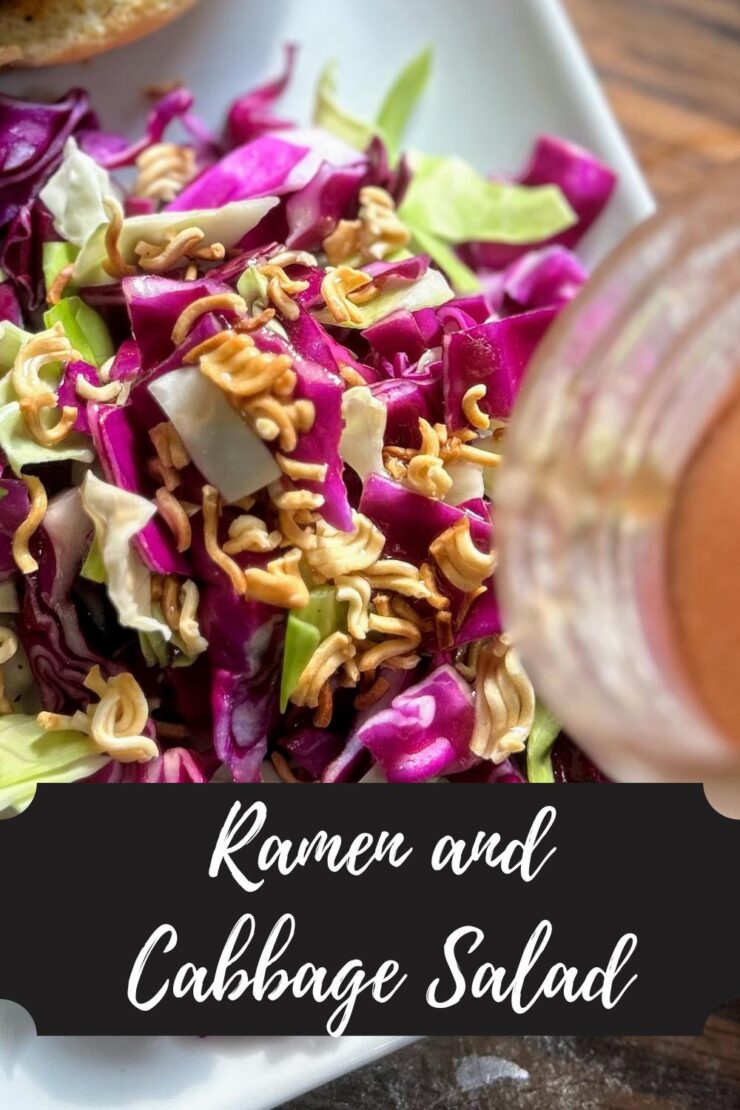
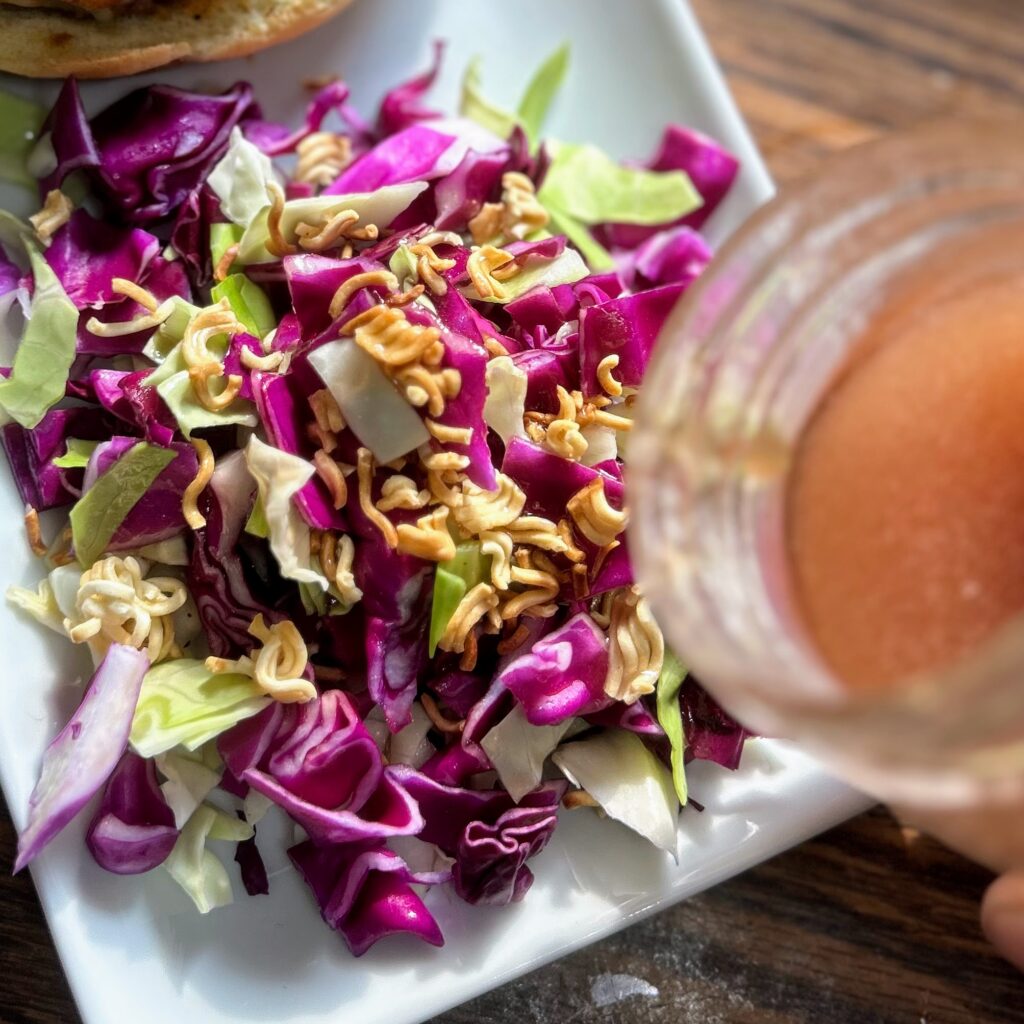
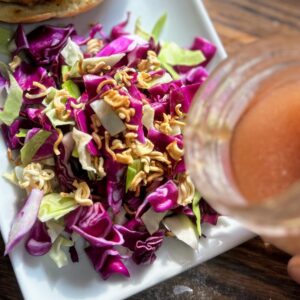
Serve the cabbage with the toasted noodles and almonds on top (I call this combination crunchies). Top with the dressing. I much prefer to serve this salad as a single serve, allowing people to put in their cabbage, then their crunchies, and finally their dressing. I love the texture of the crunchies and if you make it a make ahead salad, they will get soggy.
What I especially love about this ramen and cabbage slaw salad is that it keeps so well. I keep a bowl of chopped cabbage in the fridge and a container of the crunchies in an airtight container on the counter. The dressing is in a mason jar and it’s such an easy and filling side dish. When one of the three components runs out, it’s so simple to make more, even if it is just making a half batch of dressing.

Ramen and Cabbage Salad
Equipment
- Mason Jar
- Knife
Ingredients
- 1 head of shredded cabbage any combination of color or 1-2 bags of coleslaw mix
- 2 tablespoons butter
- 2 packages of dry ramen noodles seasoning package removed
- ¾ cup slivered almonds
- 1 cup olive oil
- ⅔ cup white sugar up to 1 cup, depending on your sweetness preference
- ½ cup red wine vinegar
- 2 tablespoons soy sauce
Instructions
- If you have not already, finely chop/shred your cabbage. A combination of red and green are definitely the prettiest, but any combination will do. I use what I have on hand.
- In a large saucepan, begin to melt the butter over medium high heat. While the butter is melting, crunch the dry ramen noodles into pieces. I find it easiest to do this when the package is still sealed. Remove the seasoning package.
- Once the butter is hot, add the broken noodles and almonds on the stove top. Toast them until golden brown.
- In a glass measuring cup or mason jar, combine olive oil, sugar, red wine vinegar, and soy sauce. Whisk or seal tightly and shake well.
- Serve the cabbage with the toasted noodles and almonds on top. Top with the dressing.
Notes
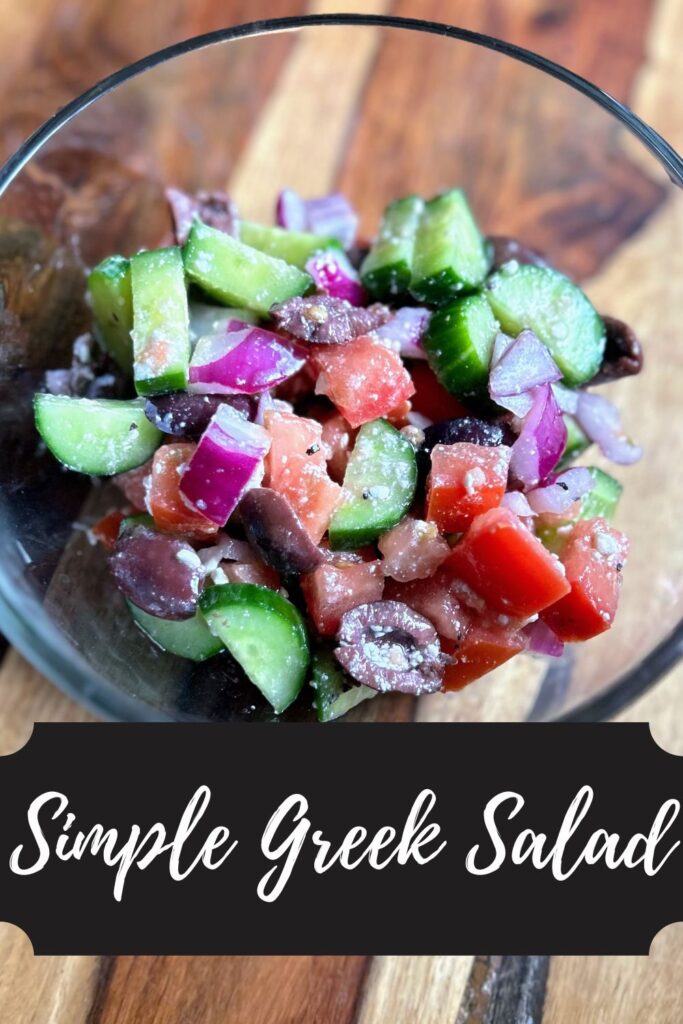
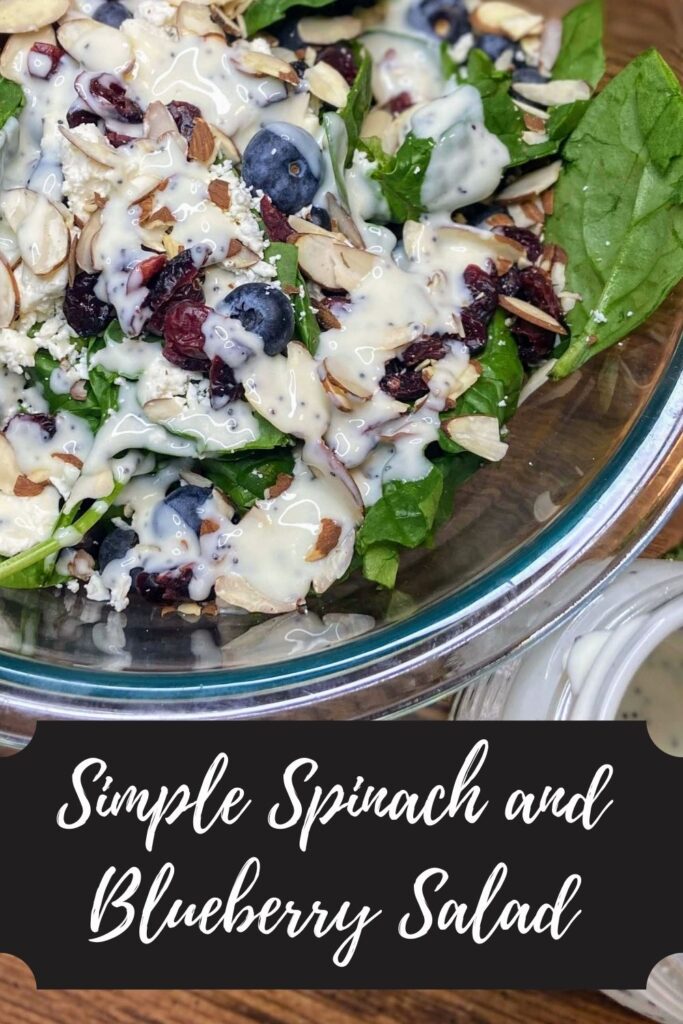
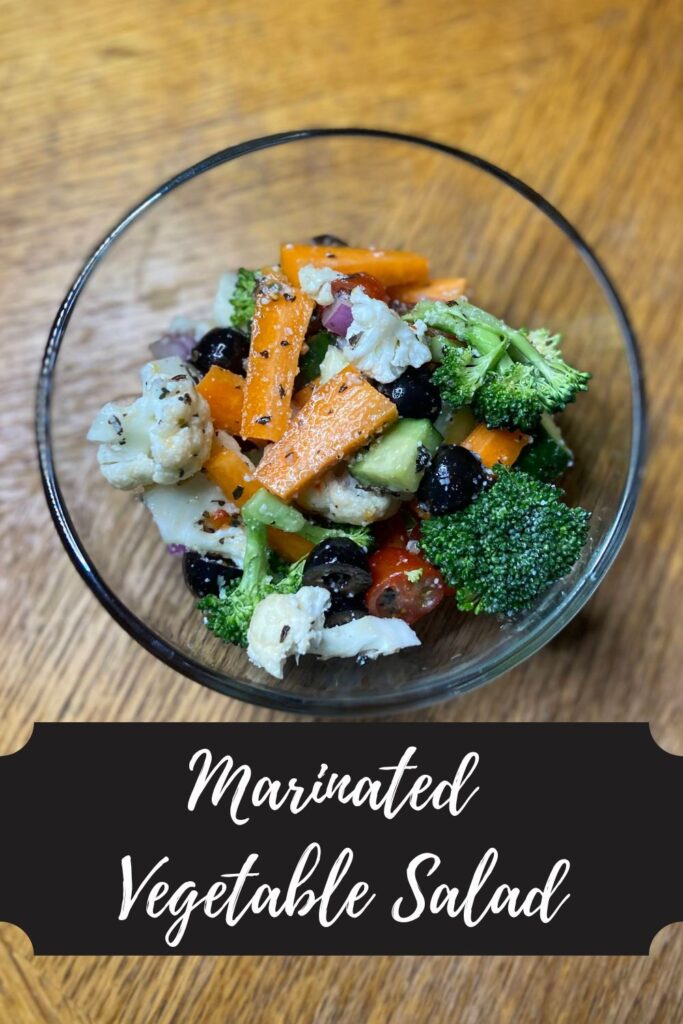
Looking for other great salads and sides?
Check out my cooking page for more inspiration! Or maybe one these recipes below will fit the bill!