Chocolate Chip Peanut Butter Energy Balls

Aren’t they pretty, all in a row? Albeit it crooked?

As an avid runner and overall fitness nut, I am always looking for healthy ways to fuel my body quickly and easily. I also enjoy snacking….a lot. My sister and I were just talking about how there has to be a snack break between breakfast and lunch. We can’t make it otherwise–and these are perfect for that!

When I am cooking and meal prepping, I can tell I have a winning clean eating recipe when my husband approves; With this recipe, he has been known to say, “You know what we are almost out of? Your yummy energy balls. You need to make more!” Guys, that’s a big deal. He is generally the biggest critic of my “overly-healthy” recipes so when he said that, you can bet I got into the kitchen and made another batch! I hope you enjoy them as much as we do! (The original recipe came from Rachel from Clean Food Crush, but has been modified by me to meet our needs at home)

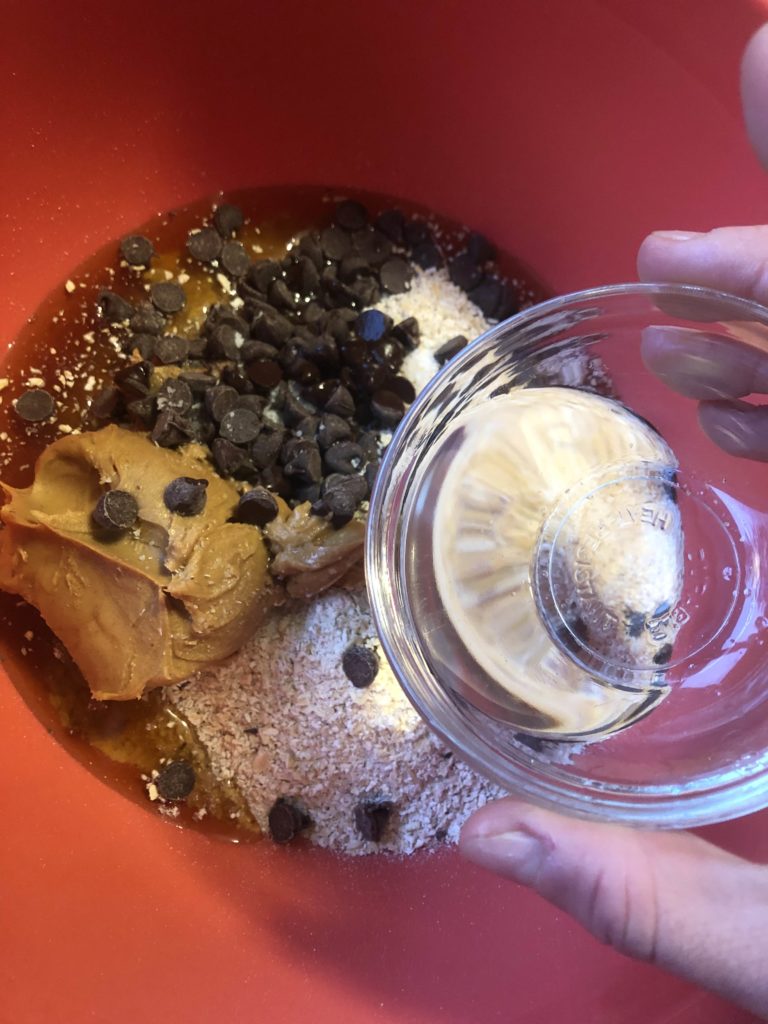
Here are your ingredients

  • 2 cups ground old-fashioned oatmeal (see details in the recipe)
  • 1/2 cup coconut flour ( It smells so delightful!)
  • 1/2 cup real maple syrup (honey would work too!)
  • 1/2 cup natural peanut butter
  • 1/4 t kosher salt
  • 1 1/2 Tablespoons coconut oil, melted (I accidentally forgot this once, and we didn’t even notice, so if you don’t have it, it won’t make or break the recipe)
  • 1/3 semisweet chocolate chips
  • 1 teaspoon almond extract (I LOVE the flavor this brings in)

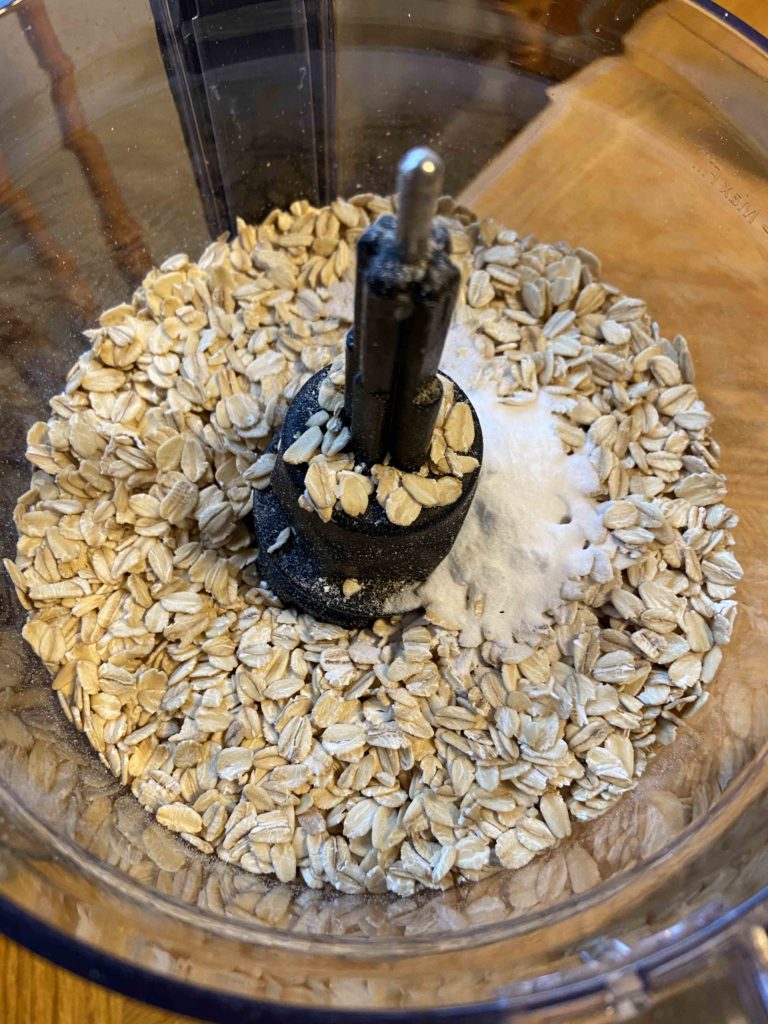
First, grind the oats to make a sort of oatmeal flour. To do this, place the old fashioned oats into a food processor and pulse them until you have a very coarse flour like texture. I like to be able to cook with what I have on hand so rather than buy oat flour, I did this and it worked great.

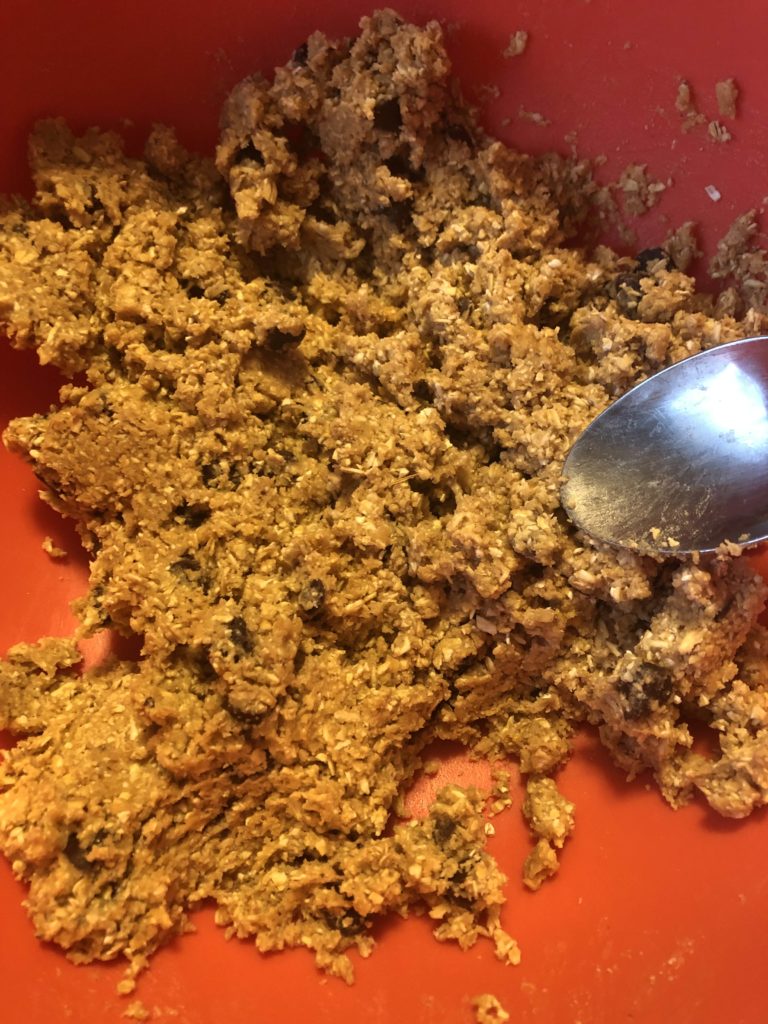
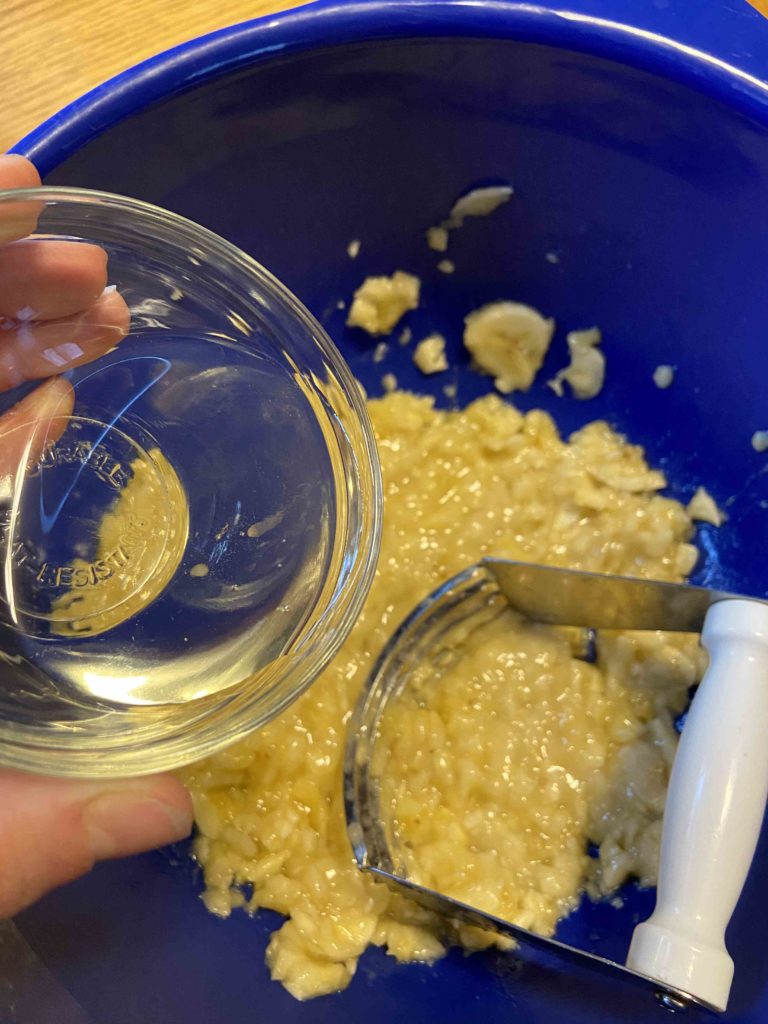
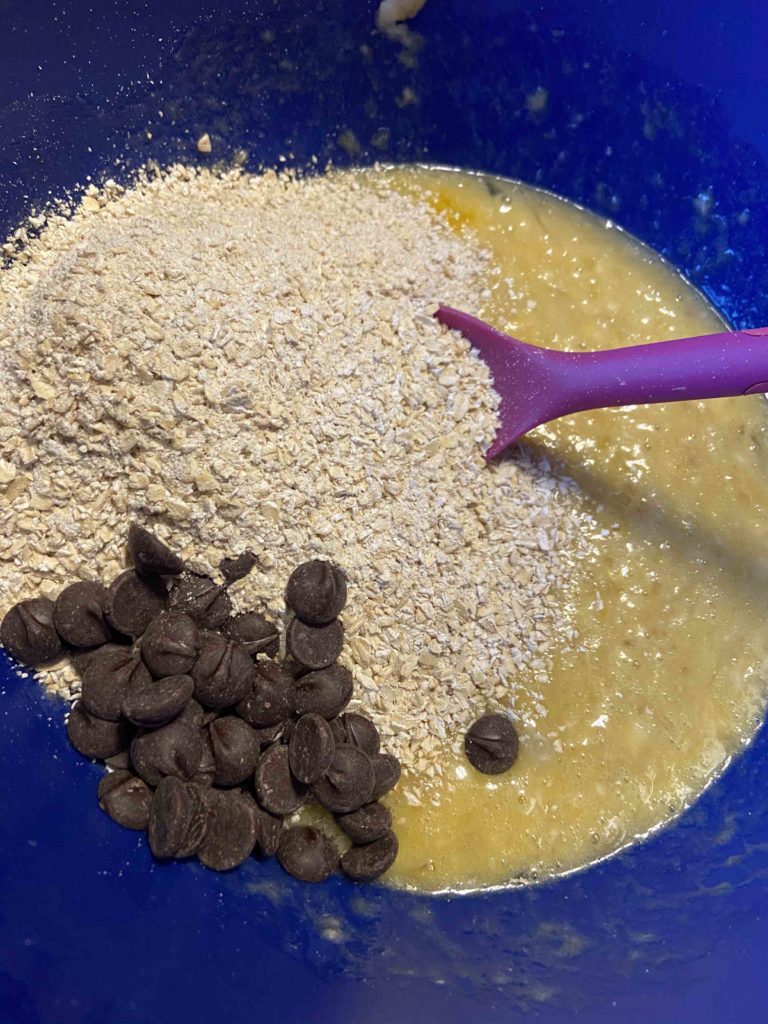
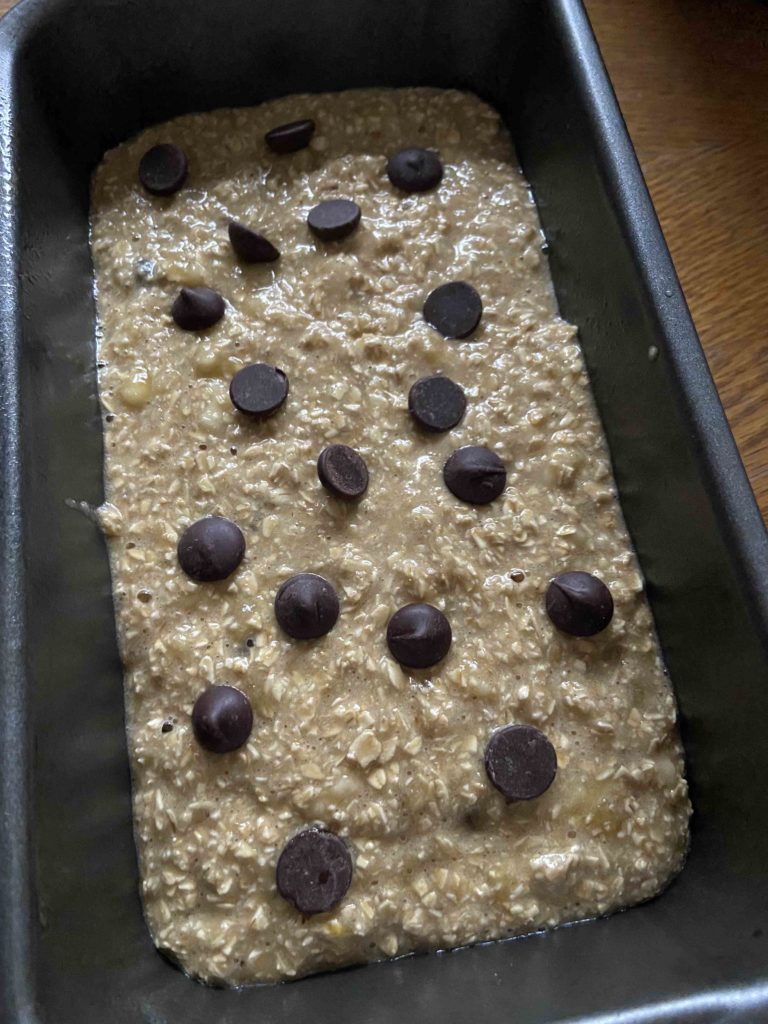
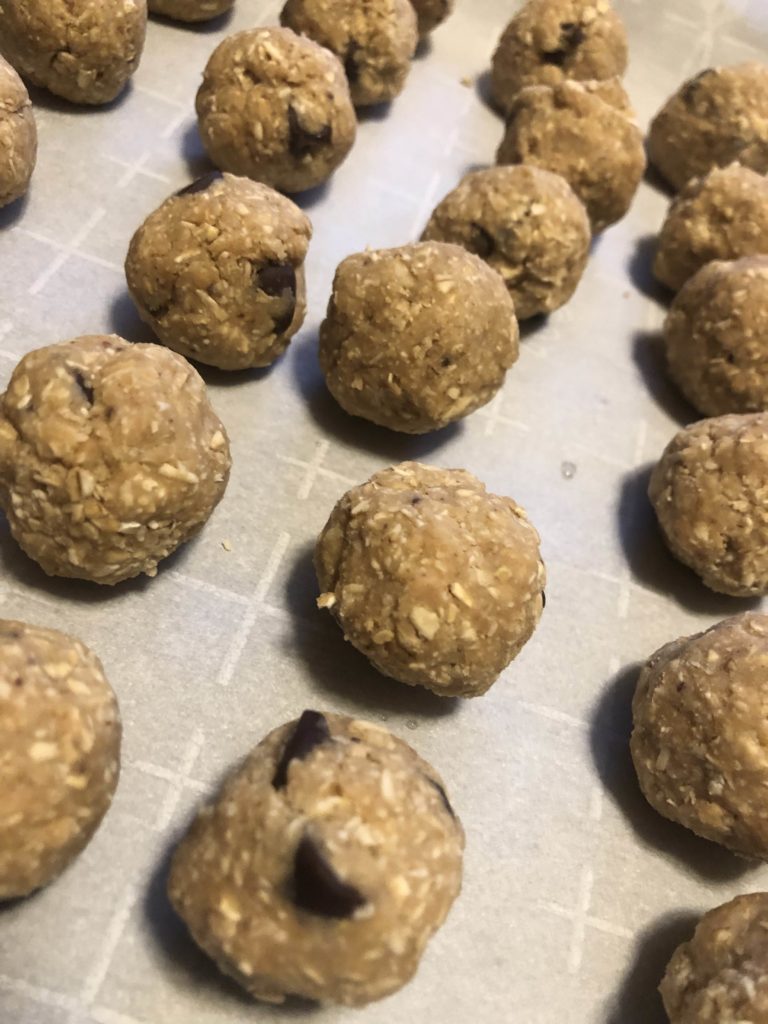
Then, combine all the ingredients in a large bowl and mix them with a wooden spoon (or by hand!) until well mixed. Form them into 1-2 inch balls (whatever suits your family. We like 1 inch energy balls around here.). Place on a cookie sheet that has been lined with parchment paper. Place the cookie in the fridge for approximately an hour to harden. Remove from the pan, place in an airtight container, and store them back in the fridge. I have read that you can freeze these for up to 3 months as well so if you are a food prep kind of person, I would whip up a few batches and put them in the freezer for a grab and go snack that can thaw over a few hours. (I’m thinking they would be great packed in a lunch and used for that sweet treat at the end to finish up your meal. As for me, I like to pack a few for my morning and afternoon snacks at work (See, I love all the snacks. My husband calls me a squirrel because I always have some food on hand…). As for my kids, they eat them like an after dinner treat, so I think I am winning. I hope you enjoy! –Jess

THE Banana Bread.

Jump to Recipe

I wanted to name this post, “The banana bread to make you forget all other banana breads.” Or maybe, “The banana bread you never new you were missing.” Or my favorite, “THE banana bread. Mic drop.” But those seemed a little long, and perhaps like they wouldn’t survive well as a link, so we will just stick with THE banana bread.

Honestly. This banana bread is dense. It’s so flavorful. It’s got great texture. And the best part? It’s made of good for you ingredients so when you go for your third slice, you know you’re putting good fuel into your body. Did I mention it’s gluten free too?! (I’m not gluten free, but I have a good friend who is so I am always on the look out for good recipes for her) Don’t get me wrong, I love my old school quick breakfast breads that my mother-in-law makes and what sits in my freezer for when guests show up, but I know that I will be hungry in an hour and the sugar will make my belly feel icky if I eat too much. It’s just the way it is for me.

So back to the bread, because seriously, you need to make it yesterday.

YOUR INGREDIENTS FOR THE BANANA BREAD

  • 2 cups old fashioned oats
  • 1 teaspoon baking soda
  • 1/2 teaspoon salt
  • 3 very ripe bananas, mashed (My go to tool for this? A pastry cutter. It works great AND young kids can easily get involved and do this step for you)
  • 2 eggs
  • 1/4 cup honey or real maple syrup
  • 2 tablespoons melted coconut oil
  • 1/4-1/2 cups chocolate chips

Your Steps to the banana bread

First, measure out and combine:

  • 2 cups old fashioned oats
  • 1 teaspoon baking soda
  • 1/2 teaspoon salt

Pulse these three ingredients in a food processor until they are a coarse flour texture.

In an additional bowl, combine:

  • 3 very ripe bananas, mashed (My go to tool for this? A pastry cutter. It works great AND young kids can easily get involved and do this step for you)
  • 2 eggs
  • 1/4 cup honey or real maple syrup
  • 2 tablespoons melted coconut oil

Stir in the oat mixture and 1/4-1/2 cup chocolate chips (dark chips are our new go to at our house…not to mention they fill the chocolate fix you may need after dinner!). Pour into a well greased bread pan and sprinkle a few chocolate chips on top, because, well, it’s pretty. Bake at 350 degrees for 40-50 minutes, until baked through.

I love that I can enjoy a good breakfast bread that is filling and the perfect amount of sweetness without overdoing it on the added sugar. It is also a perfect mid morning snack to get you to lunch! Give it a try! You may just toss out your old banana recipe and have a new favorite 🙂 —Jess

A few Notes…

I always thought that a small, 2 cup food processor was good enough. It’s what my mom used growing up, and if it was good enough for her, it was good enough for me. However, a few holidays ago, I asked for a 7 cup Kitchen Aid Mixer. It’s AMAZING and I can’t tell you how often I use it. Highly recommend the investment. It’s great for chopping veggies for salsa, making oat flour, or even mixing banana ice cream. Click the image below to check out a similar model!

THE Banana Bread

Gluten Free, Clean Eating Banana Bread
Prep Time 20 minutes
Cook Time 40 minutes
Total Time 1 hour
Course Breakfast
Cuisine American
Servings 12

Ingredients
  

  • 2 cups old fashioned oats
  • 1 teaspoon baking soda
  • 1/2 teaspoon salt
  • 3 bananas very ripe
  • 2 eggs
  • 1/4 cup honey (maple syrup)
  • 2 tablespoons coconut oil melted
  • 1/4-1/2 cup dark chocolate chips

Instructions
 

  • Preheat oven to 350° F.
  • Combine oats, salt, and baking soda in a food processor. Pulse until a coarse flour texture is obtained.
  • In a large bowl, mash bananas. Add honey and eggs. Mix well.
  • Stir oat mixture into mashed bananas. Add chocolate chips and coconut oil. Mix until just combined.
  • Pour into well greased bread pan. Bake for 40-50 minutes, until baked through.
Keyword Banana Bread, Breakfast, Gluten Free
Tried this recipe?Let us know how it was!

Kitchen Sink Vegetable and Venison Soup

If I was told I could only eat one type of food for the rest of my life, I would ask for soup in a heart beat. It’s my favorite. Maybe it’s because I always perpetually cold. Or maybe it’s because I get to chop all the vegetables, and for reasons I don’t understand, it’s cathartic for me. All I know is soup makes my soul and tastebuds sing and this vegetable and venison soup is so good, it surprises me every time I throw it together!

We had guests this weekend and the whole New Year’s Eve timing made it hard for us to think about planning for meals. It was Friday, but it sure felt like a Tuesday and our house wasn’t even clean! Enter this recipe–I love this vegetable and venison soup because I almost always have everything on hand, there are so many beautiful colors, and the flavor is delightful! The next time you need a quick meal that will leave you with some leftovers, give this one a try! –Jess

Your ingredients:

  • 1 pound ground protein (we do our own ground venison but pick your own favorite-turkey, beef, combination of both), seasoned with salt and pepper and browned
  • 2 1/4 cups diced carrots (3 large)
  • 2 cups diced onion (2 medium)
  • 1 1/2 cups diced celery (4 stalks)
  • 3 teaspoons minced garlic
  • 1 teaspoon each pepper, salt, and basil
  • 8 cups beef stock (I love the Orrington Farms beef base to make my own! Only thing I use 😉)
  • 1 14.5 ounce can diced tomatoes (I used oregano and basil seasoned)
  • 1 15 ounce can of kidney beans, drained and rinsed
  • 2 cups frozen corn
  • 2 cups frozen peas
  • 1/2 cup dry barley, cooked according to directions or tossed in with everything else (but you will need to simmer the soup longer if that’s the case)–optional
  • Olive oil

Your Steps to Vegetable and Venison Soup

Heat 1 tablespoon of olive oil in large saucepan. Add garlic, carrots, onion, and celery. Season with basil, salt, and pepper. Sauté for 8-10 minutes, until soft.
Put into large soup kettle with remaining ingredients (if you are using broth base, add 10 cups of water first, heat to boiling, and stir in broth base. The add in remaining ingredients). Allow to simmer on low for at least 30 minutes to allow all those flavors to mingle ❤️😍 Sometimes I like to mix in 1/4-1/2 cup dry barley too, cooking per directions on package. But truly, this is a great recipe to throw together even without it. Serve with some crusty bread and you’ll feel like you’re winning at life! Let me know what you think!

Tools of the trade

This beef base is to die for. And a cast iron Dutch oven? A must in the kitchen.

Looking for another wonderful, but totally different venison soup? Check out my root vegetable and venison soup!

Kitchen Sink Vegetable and Venison Soup

A family favorite: Full of good for you vegetables, ground protein, and a special flavor surprise in the basil. You'll be sure to come back for more!
Servings 12

Ingredients
  

  • 1 pound ground protein browned
  • 2 1/4 cups diced carrots 3 large
  • 2 cups diced onion 2 medium
  • 1 1/2 cups diced celery 4 stalks
  • 3 teaspoons minced garlic
  • 1 teaspoon pepper
  • 1/2 teaspoon salt
  • 1 teaspoon basil
  • 8 cups beef stock
  • 1 14.5 ounce can diced tomatoes undrained
  • 1 15 ounce can of kidney beans drained and rinsed
  • 2 cups frozen corn
  • 2 cups frozen peas
  • Olive oil

Instructions
 

  • Heat 1 tablespoon of olive oil in large saucepan.
  • Add garlic, carrots, onion, and celery. Season with basil, salt, and pepper.
  • Sauté for 8-10 minutes, until soft.
  • Put into large soup kettle with remaining ingredients.
  • Allow to simmer on low for at least 30 minutes to allow all those flavors to mingle.
Tried this recipe?Let us know how it was!

Looking for other comforting recipes?

Check out some of the suggestions below!

Brussel Sprout and Berry Salad with PoppySeed Dressing

As spring comes into full bloom, I get slightly obsessed with a spinach salad with strawberries and poppyseed dressing. I recently went grocery shopping and picked up some berries, but no spinach. However I did get some Brussel sprouts and I got to thinking, “I like my greens to provide some resistance anyway, and spinach just doesn’t do that for me.” I threw this Brussel sprout and berry salad together and I was pleasantly surprised! It’s better than its spinach counterpart, and major perk, Brussel sprouts keep better in the refrigerator than spinach, if you can let them last that long. I don’t know about you, but once I have a salad I love, I eat it every day until I am out. But enough chat, let’s get creating!

Your Ingredients

For each Brussel Sprout and Berry Salad, you’ll need:

  • 10 Brussel sprouts, chopped (I tried grating them first; chopping is the way to go!)
  • 1/4 cup chopped strawberries
  • 1/4 cup blueberries
  • A handful of walnuts (Try toasting them in a pan over medium heat for extra crunch!)

For the dressing, whisk together:

  • 1/4 cup plain Greek yogurt
  • 1 to 1 1/2 tablespoons white vinegar
  • 4 teaspoons honey
  • 1/4 teaspoon salt
  • 1 tablespoon olive oil
  • 1 teaspoon poppyseeds

(This was enough dressing for six salads)

Put together your salad: Brussel sprouts, berries, and then the walnuts; Top with dressing and enjoy! If the Brussel sprouts are a bit too tough for you (I like the texture and “work” they provide), you can also sear them in a sauté pan over a high heat until they just soften. Allow to cool before creating your salad.

Be sure to store the leftover dressing in the fridge and shake or stir prior to using for future salads.

Simple, colorful, delicious!

Looking for another summer time salad? Check out my Roasted Corn Tomato Basil Salad!

Brussel Sprout and Berry Salad with Poppyseed Dressing

Servings 1 serving

Ingredients
  

For each Brussel Sprout and Berry Salad:

  • 10 Brussel sprouts chopped
  • 1/4 cup chopped strawberries
  • 1/4 cup blueberries
  • handful of walnuts

Dressing (6 servings):

  • 1/4 cup plain Greek yogurt
  • 1 to 1 1/2 tablespoons white vinegar
  • 4 teaspoons honey
  • 1/4 teaspoon salt
  • 1 tablespoon olive oil
  • 1 teaspoon poppyseeds

Instructions
 

  • Whisk together dressing. Store in an airtight container like a mason jar.
  • Put together your salad: Brussel sprouts, berries, and then the walnuts.
  • Top with dressing and enjoy.

Notes

If the Brussel sprouts are a bit too tough for you (I like the texture and “work” they provide), you can also sear them in a sauté pan over a high heat until they just soften. Allow to cool before creating your salad.
Be sure to store the leftover dressing in the fridge and shake or stir prior to using for future salads.
Tried this recipe?Let us know how it was!