I know, I know. Making raspberry peach sauce sounds like baby food. That’s what people tell me, anyway. But I counter that with, “What do you call applesauce?” And then they shrug. But I win and I have them try it and they don’t care what you call it…it’s darn good.
The idea of peach sauce was born out of my hatred of blanching and peeling tomatoes, peaches, and the like. Honestly, I don’t have an issue with blanching beans for freezing. But the extra step of peeling? NO THANK YOU. They stay on when I make tomato sauce and it turns out just fine. So why not give it a try with peaches? And let me tell you, it works!
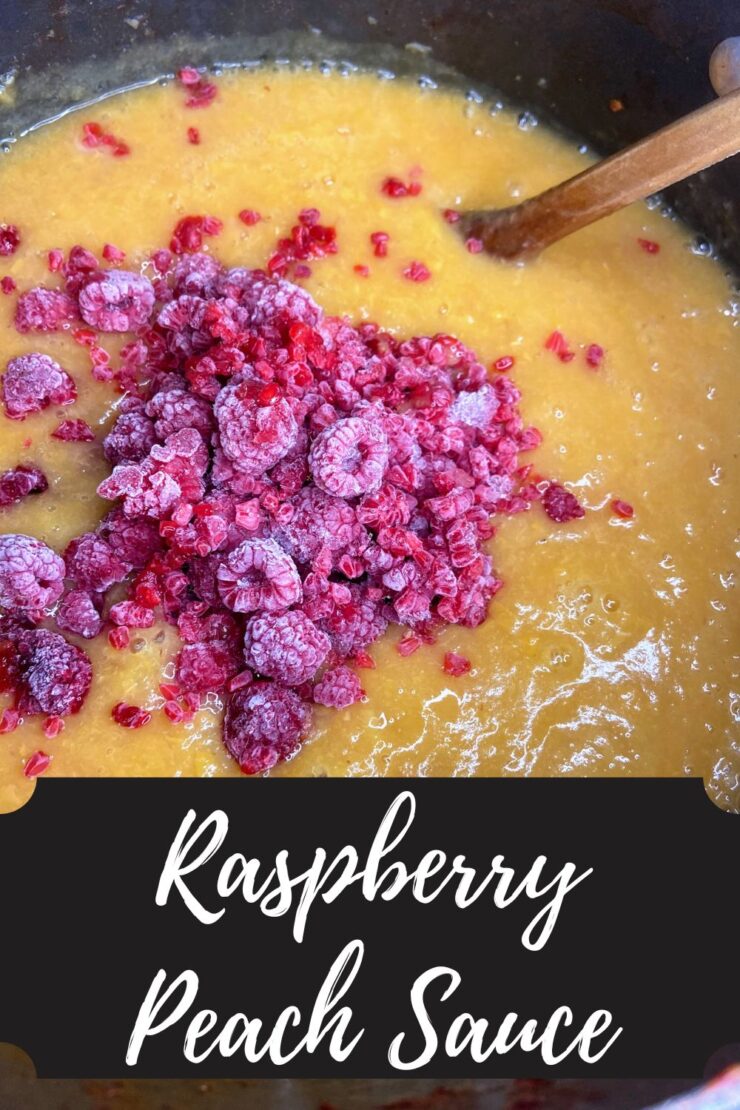
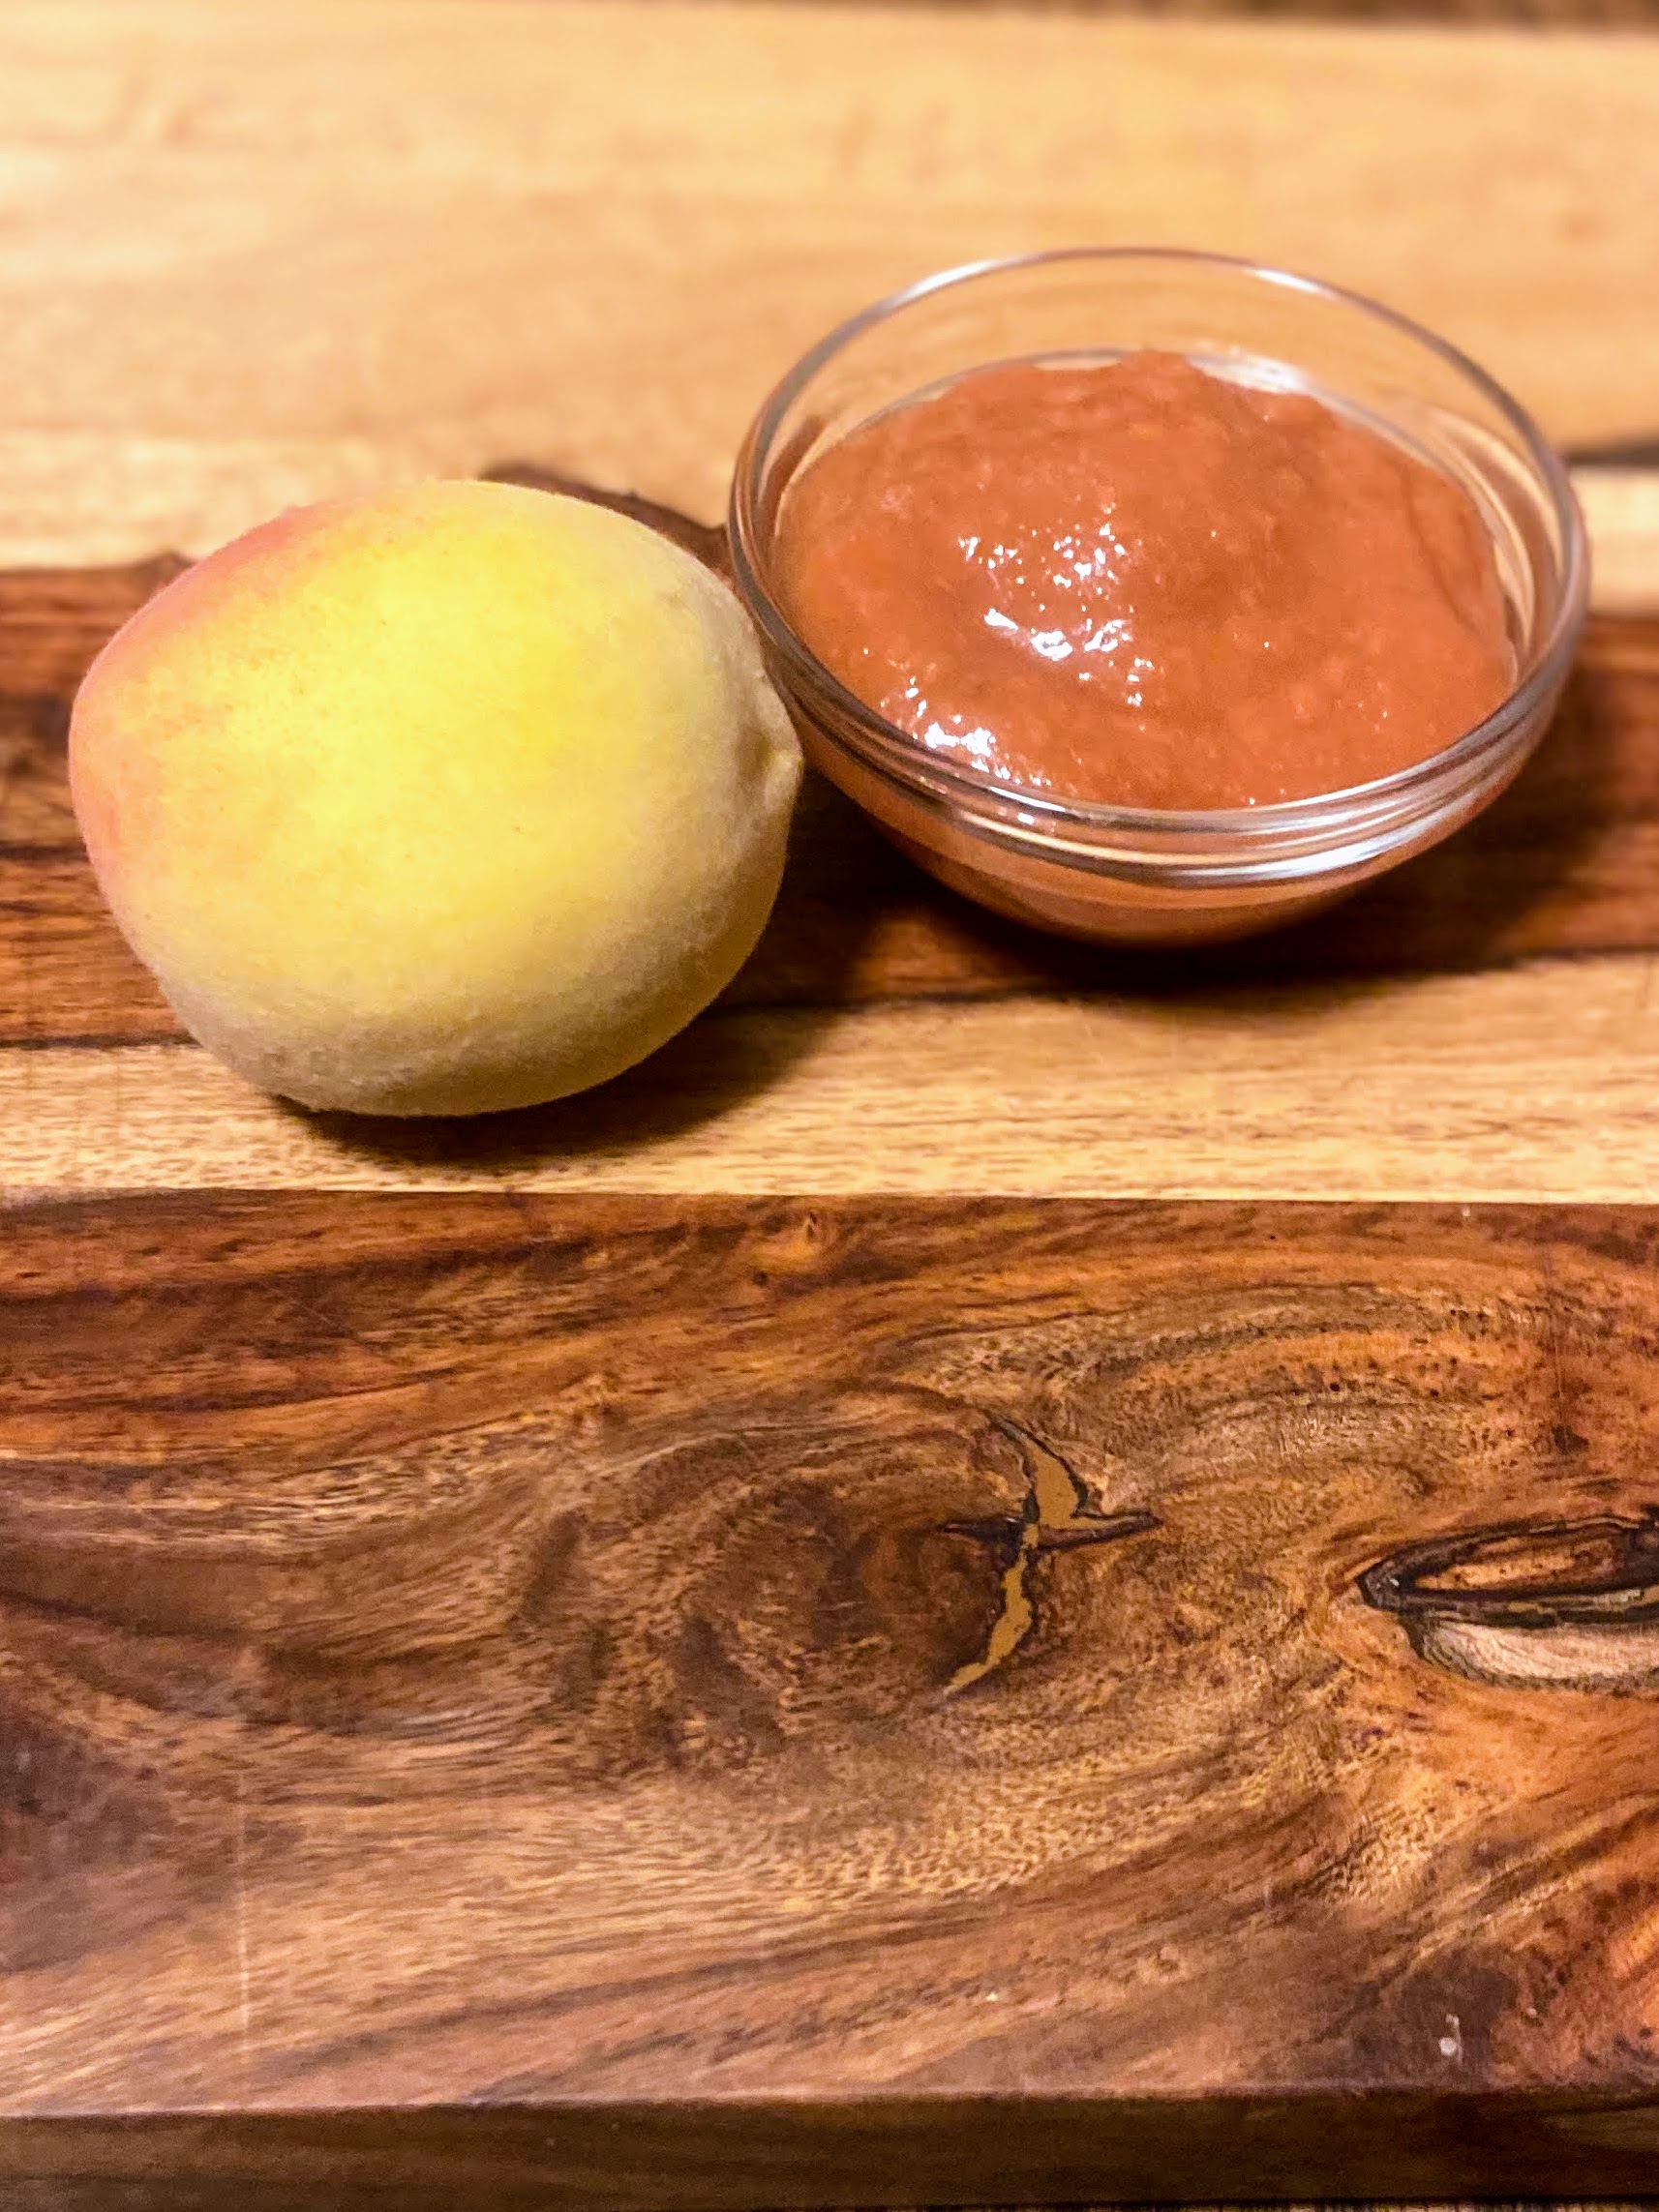
Most years, I simply wash, quarter, cook down, blend, can. This year, I added an extra layer of adding frozen raspberries from my garden to combine the flavors. Oh my. It was definitely an addition worthwhile and it was determined that I needed to share this raspberry peach sauce.
Enough talking, right? Let’s start creating peach sauce (and maybe raspberries? You get to decide!). Before you do though, you have to make a decision…are you going to can it or freeze it? (More on this later!)
Your Ingredients
- 1 ½ cups water
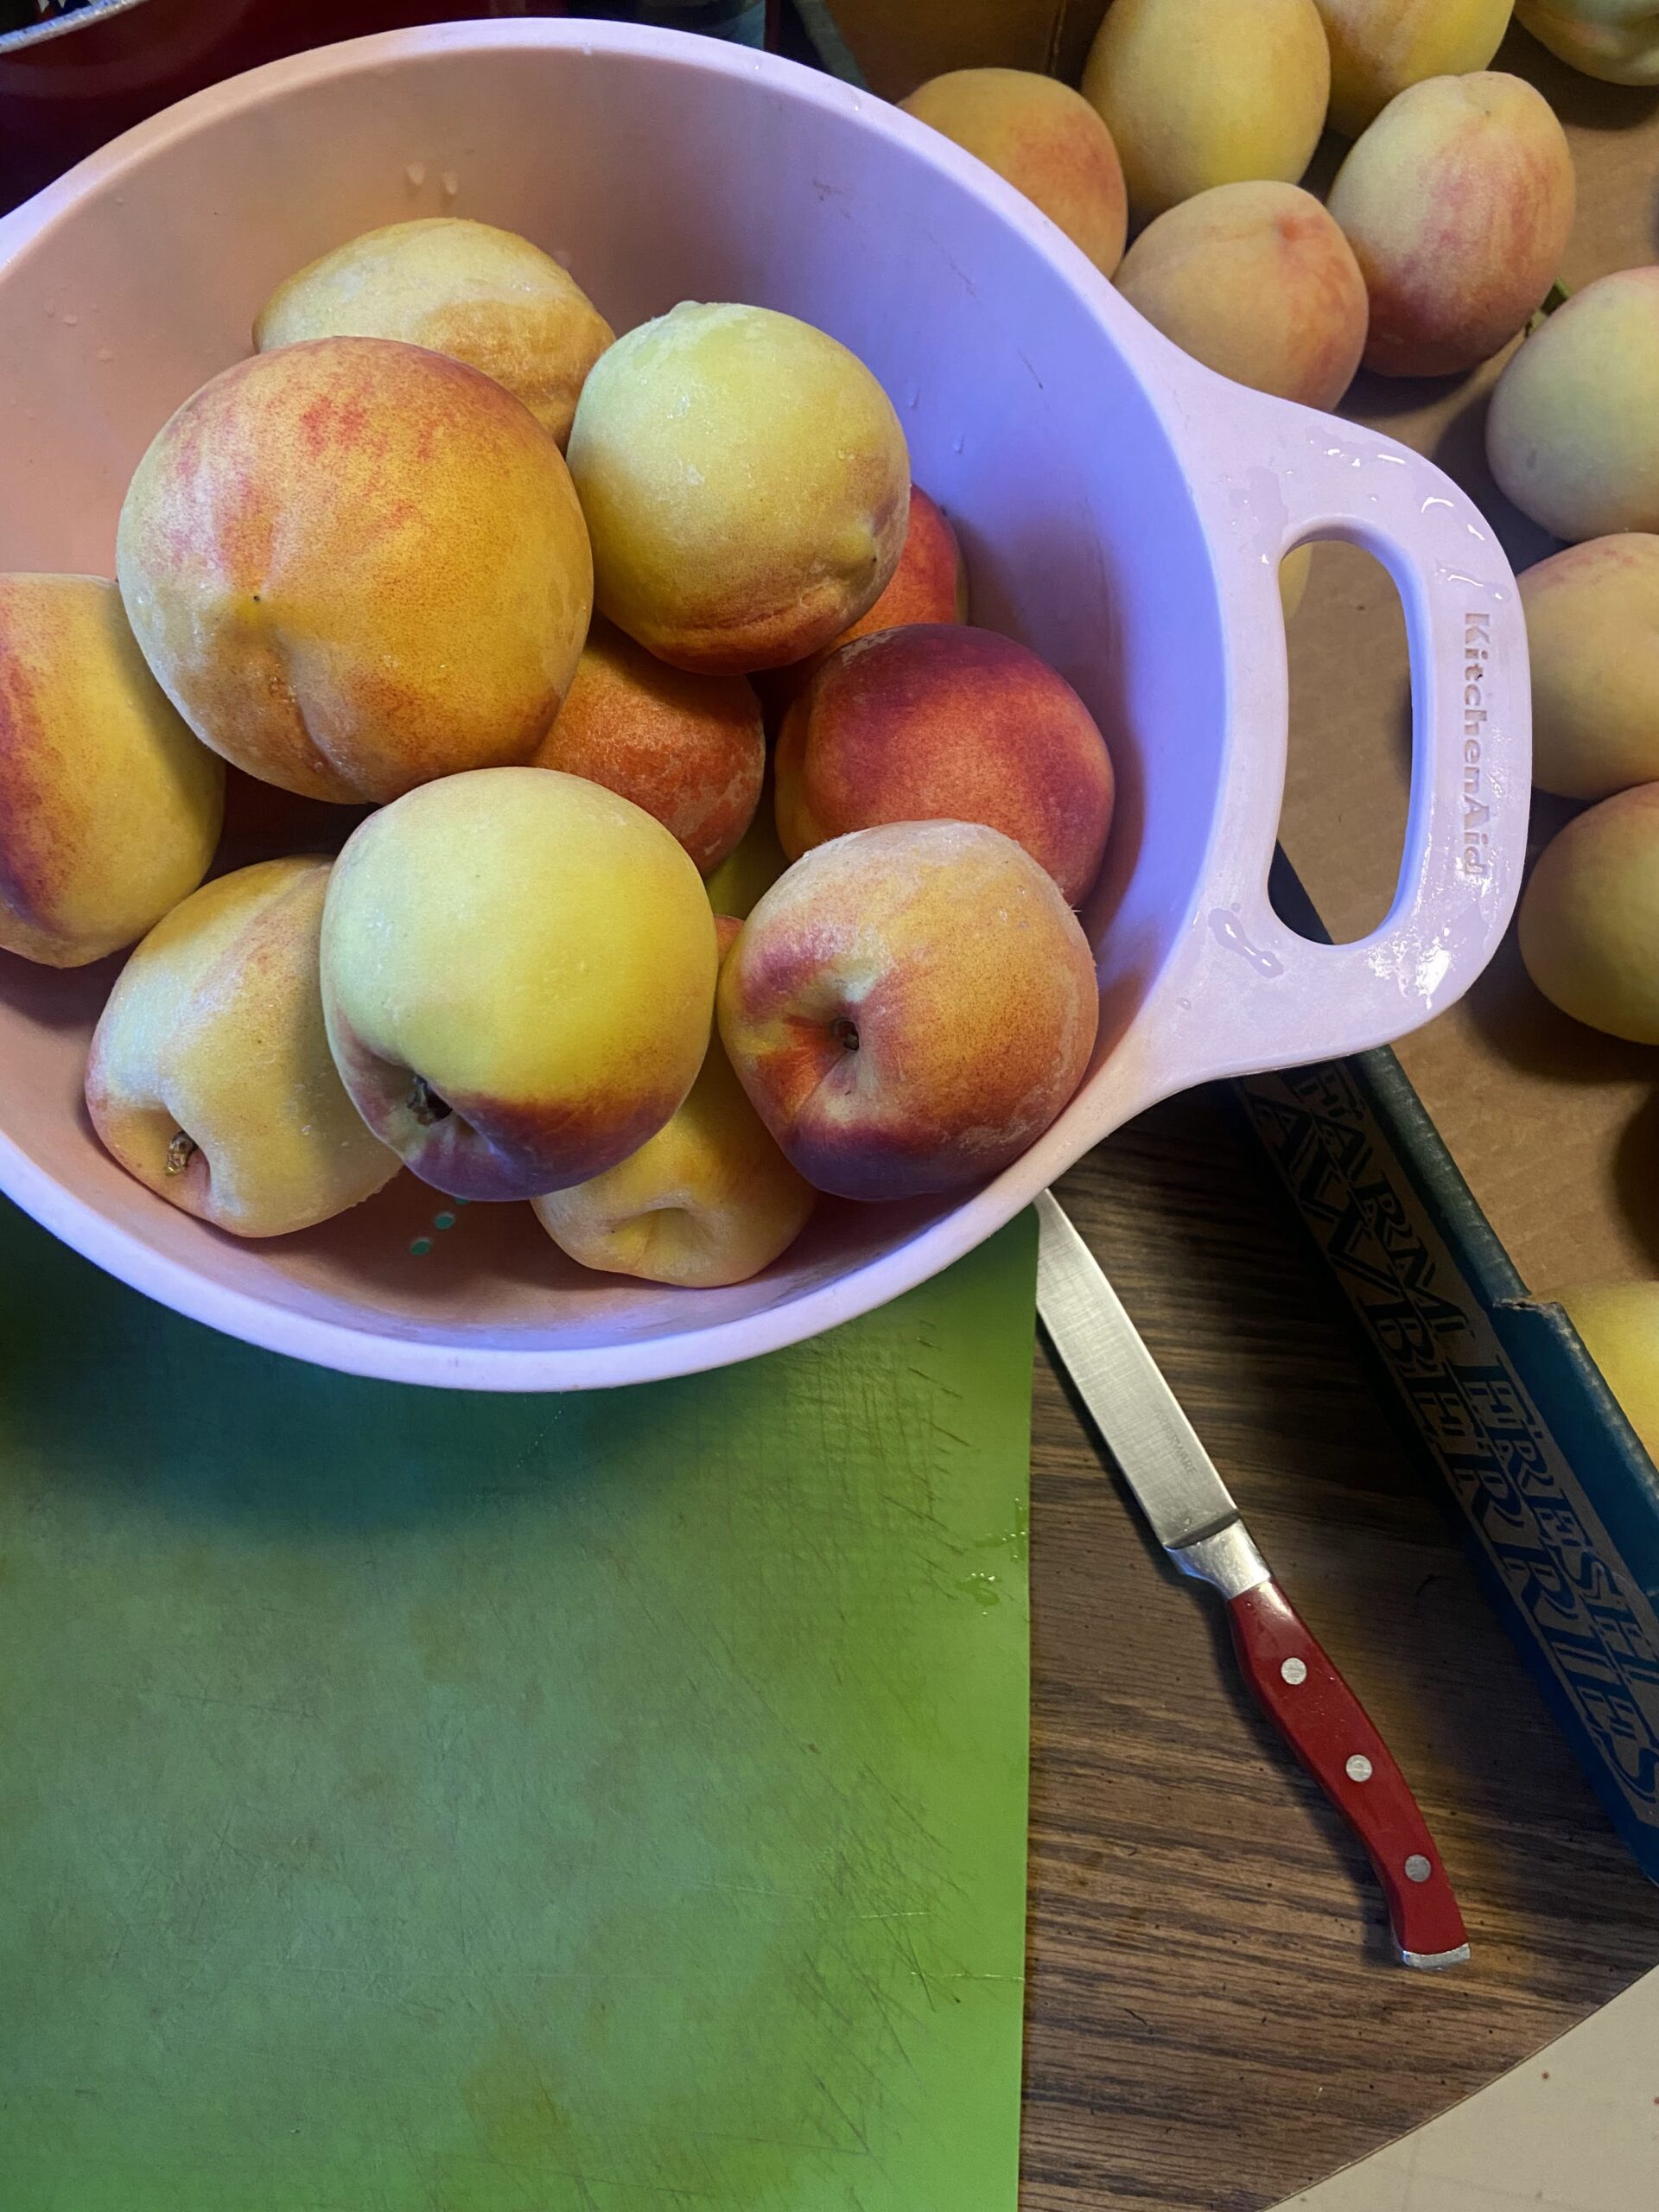
- 20-25 peaches, washed well
- 1-3 cups frozen raspberries (optional)
- ½-1 cup sugar, if desired
- Fruit fresh, if freezing
Prepping the Raspberry Peach Sauce
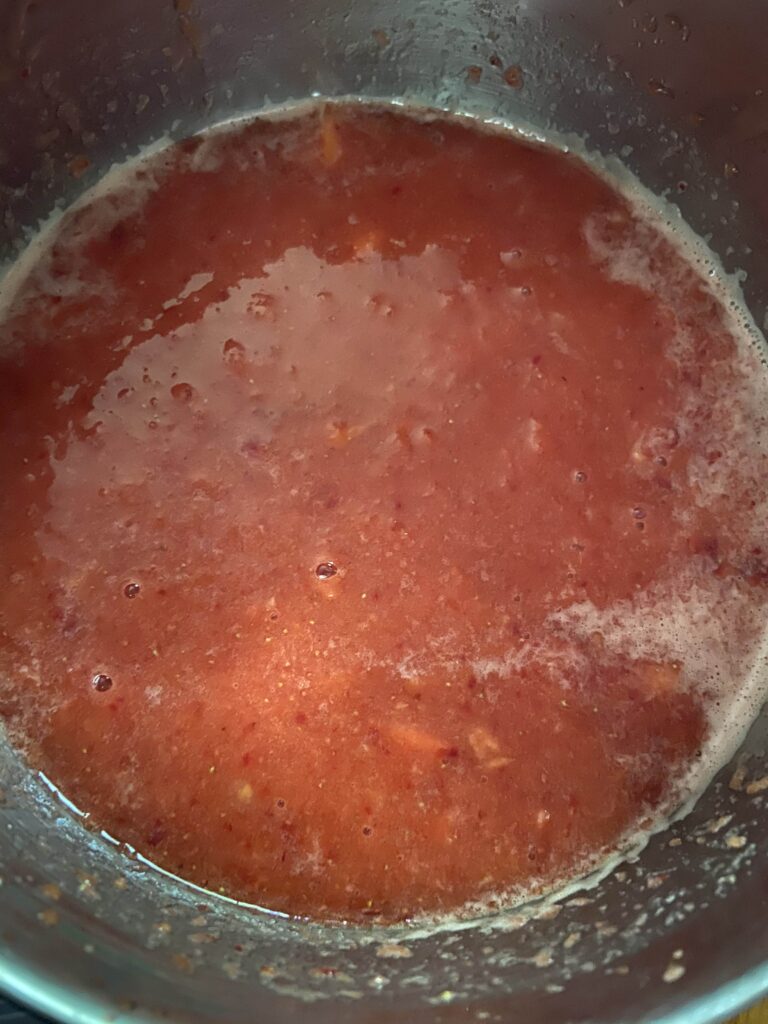
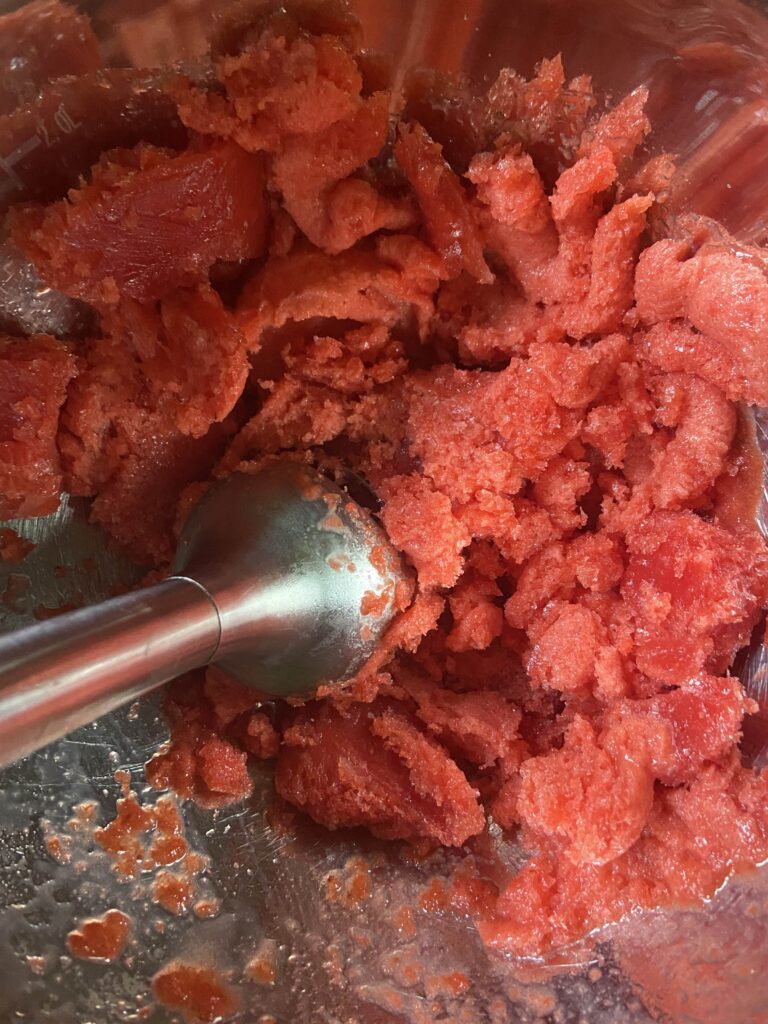
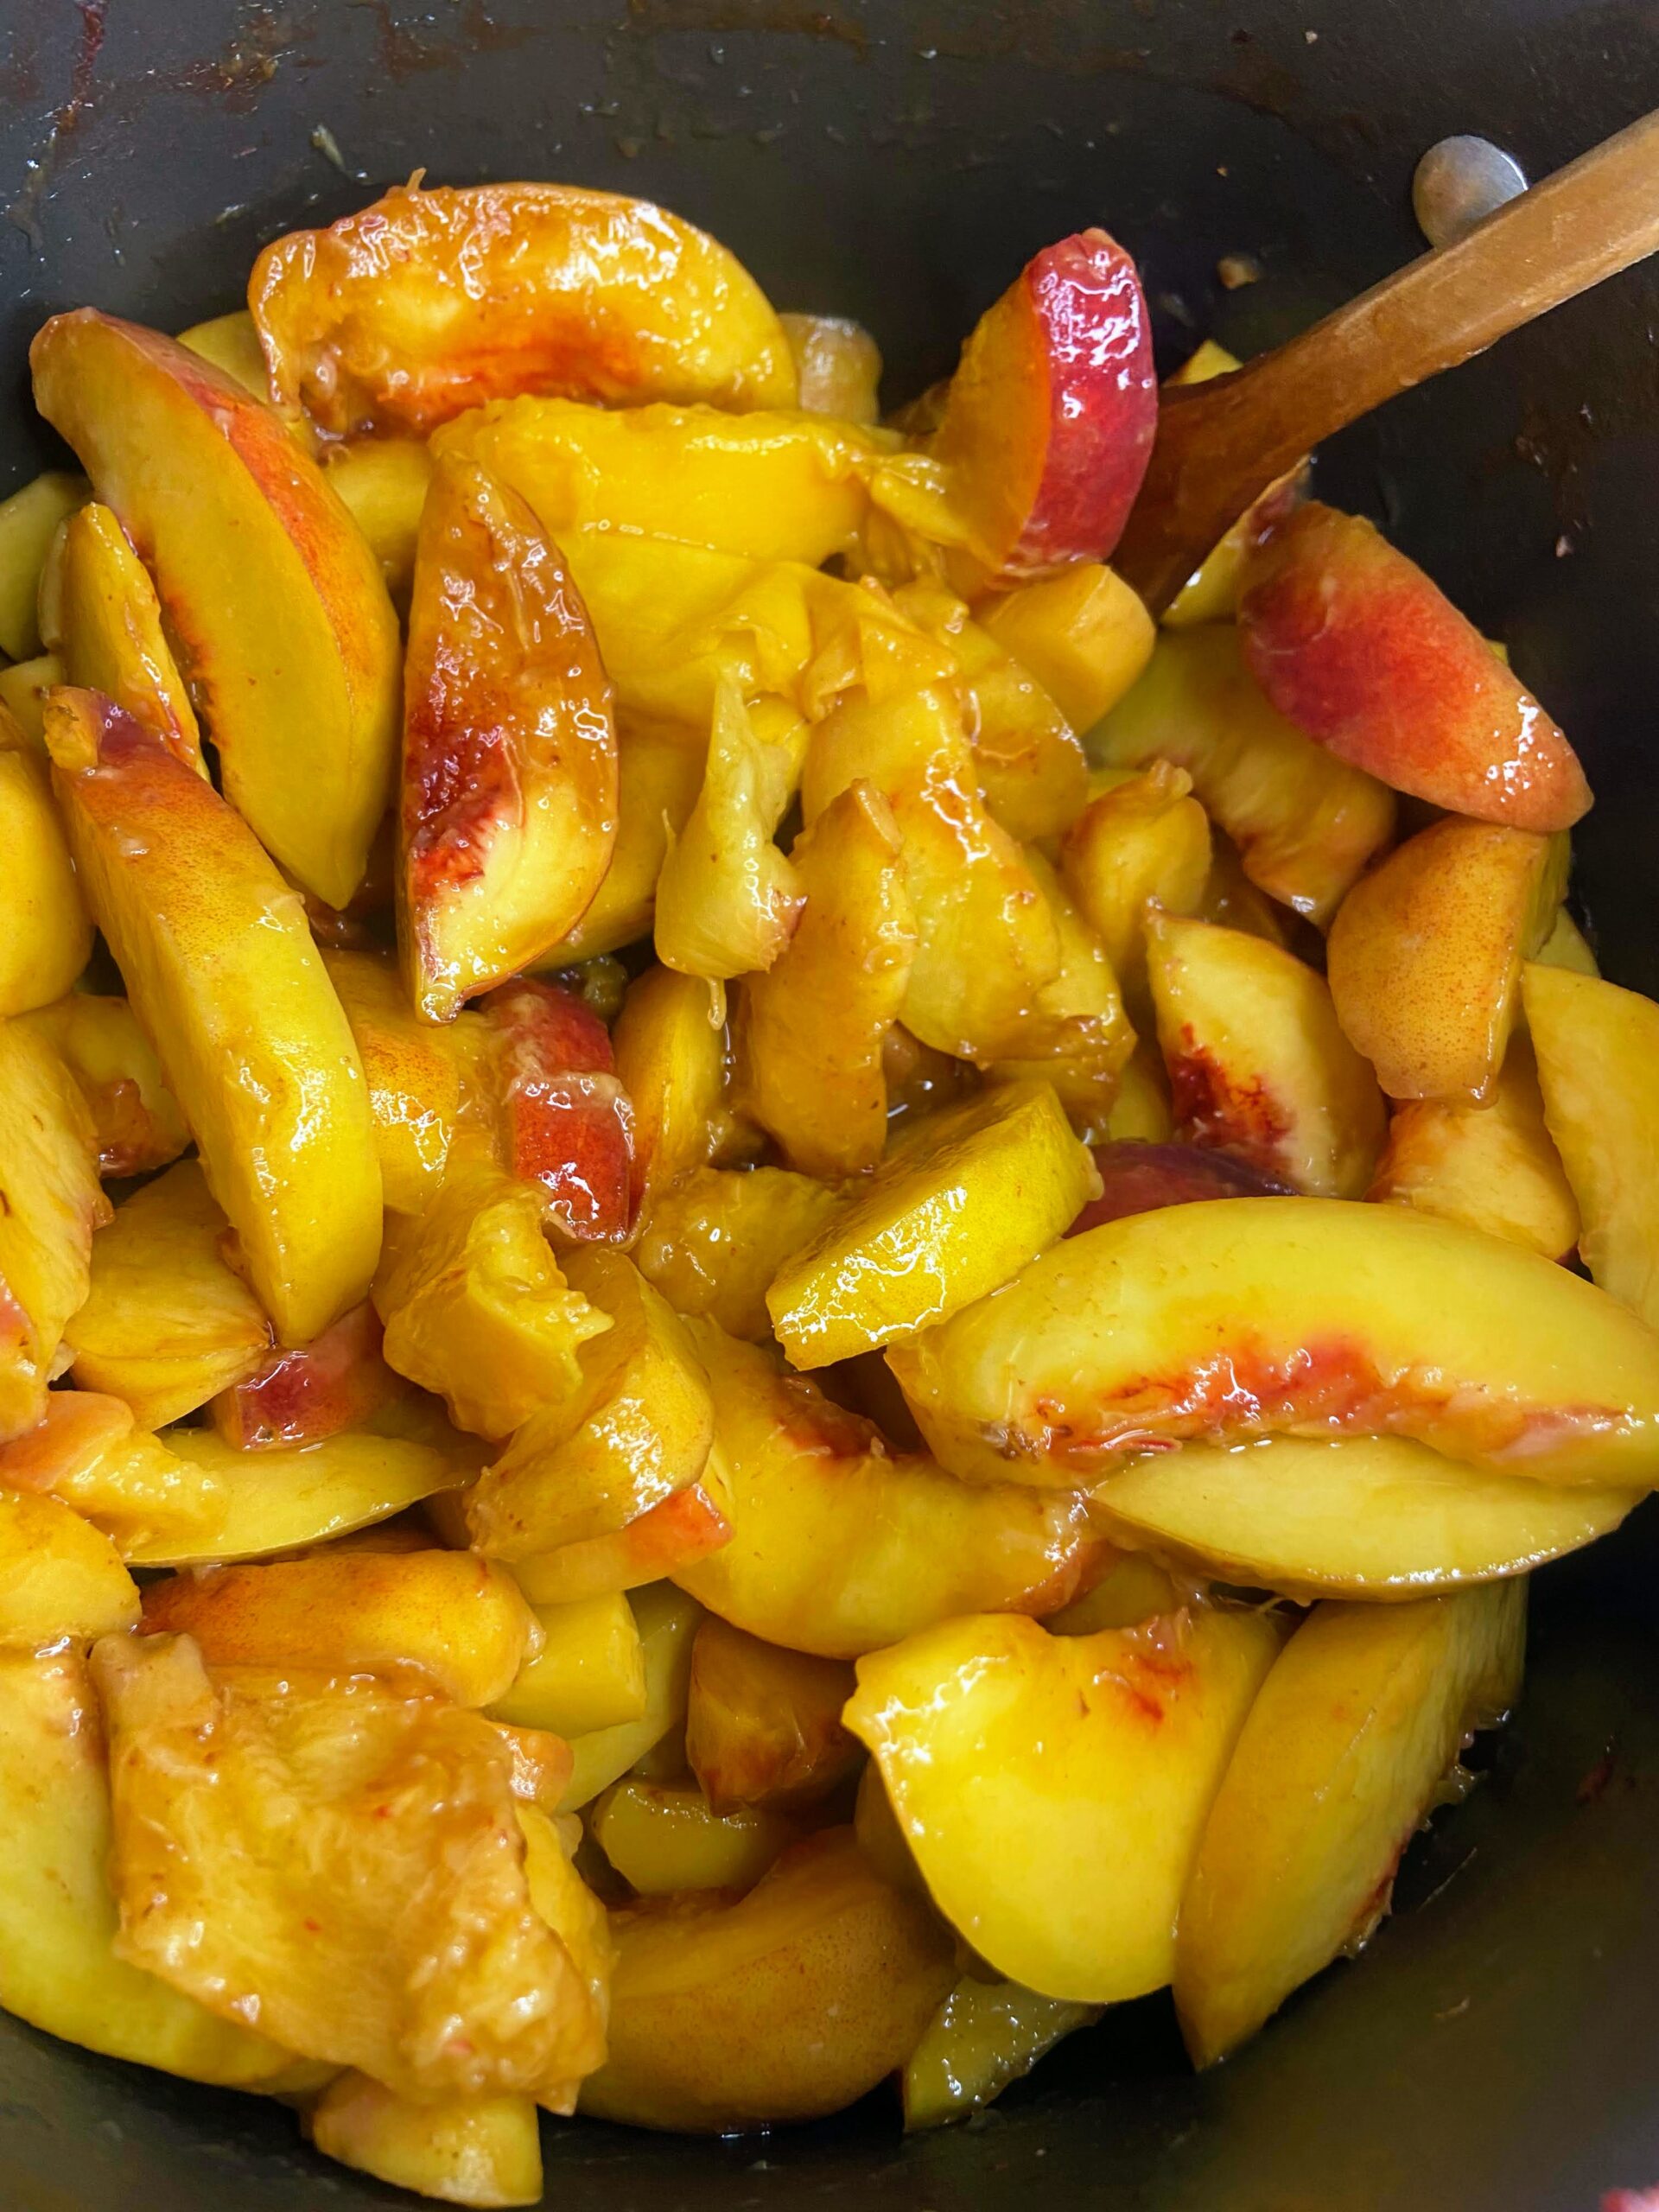
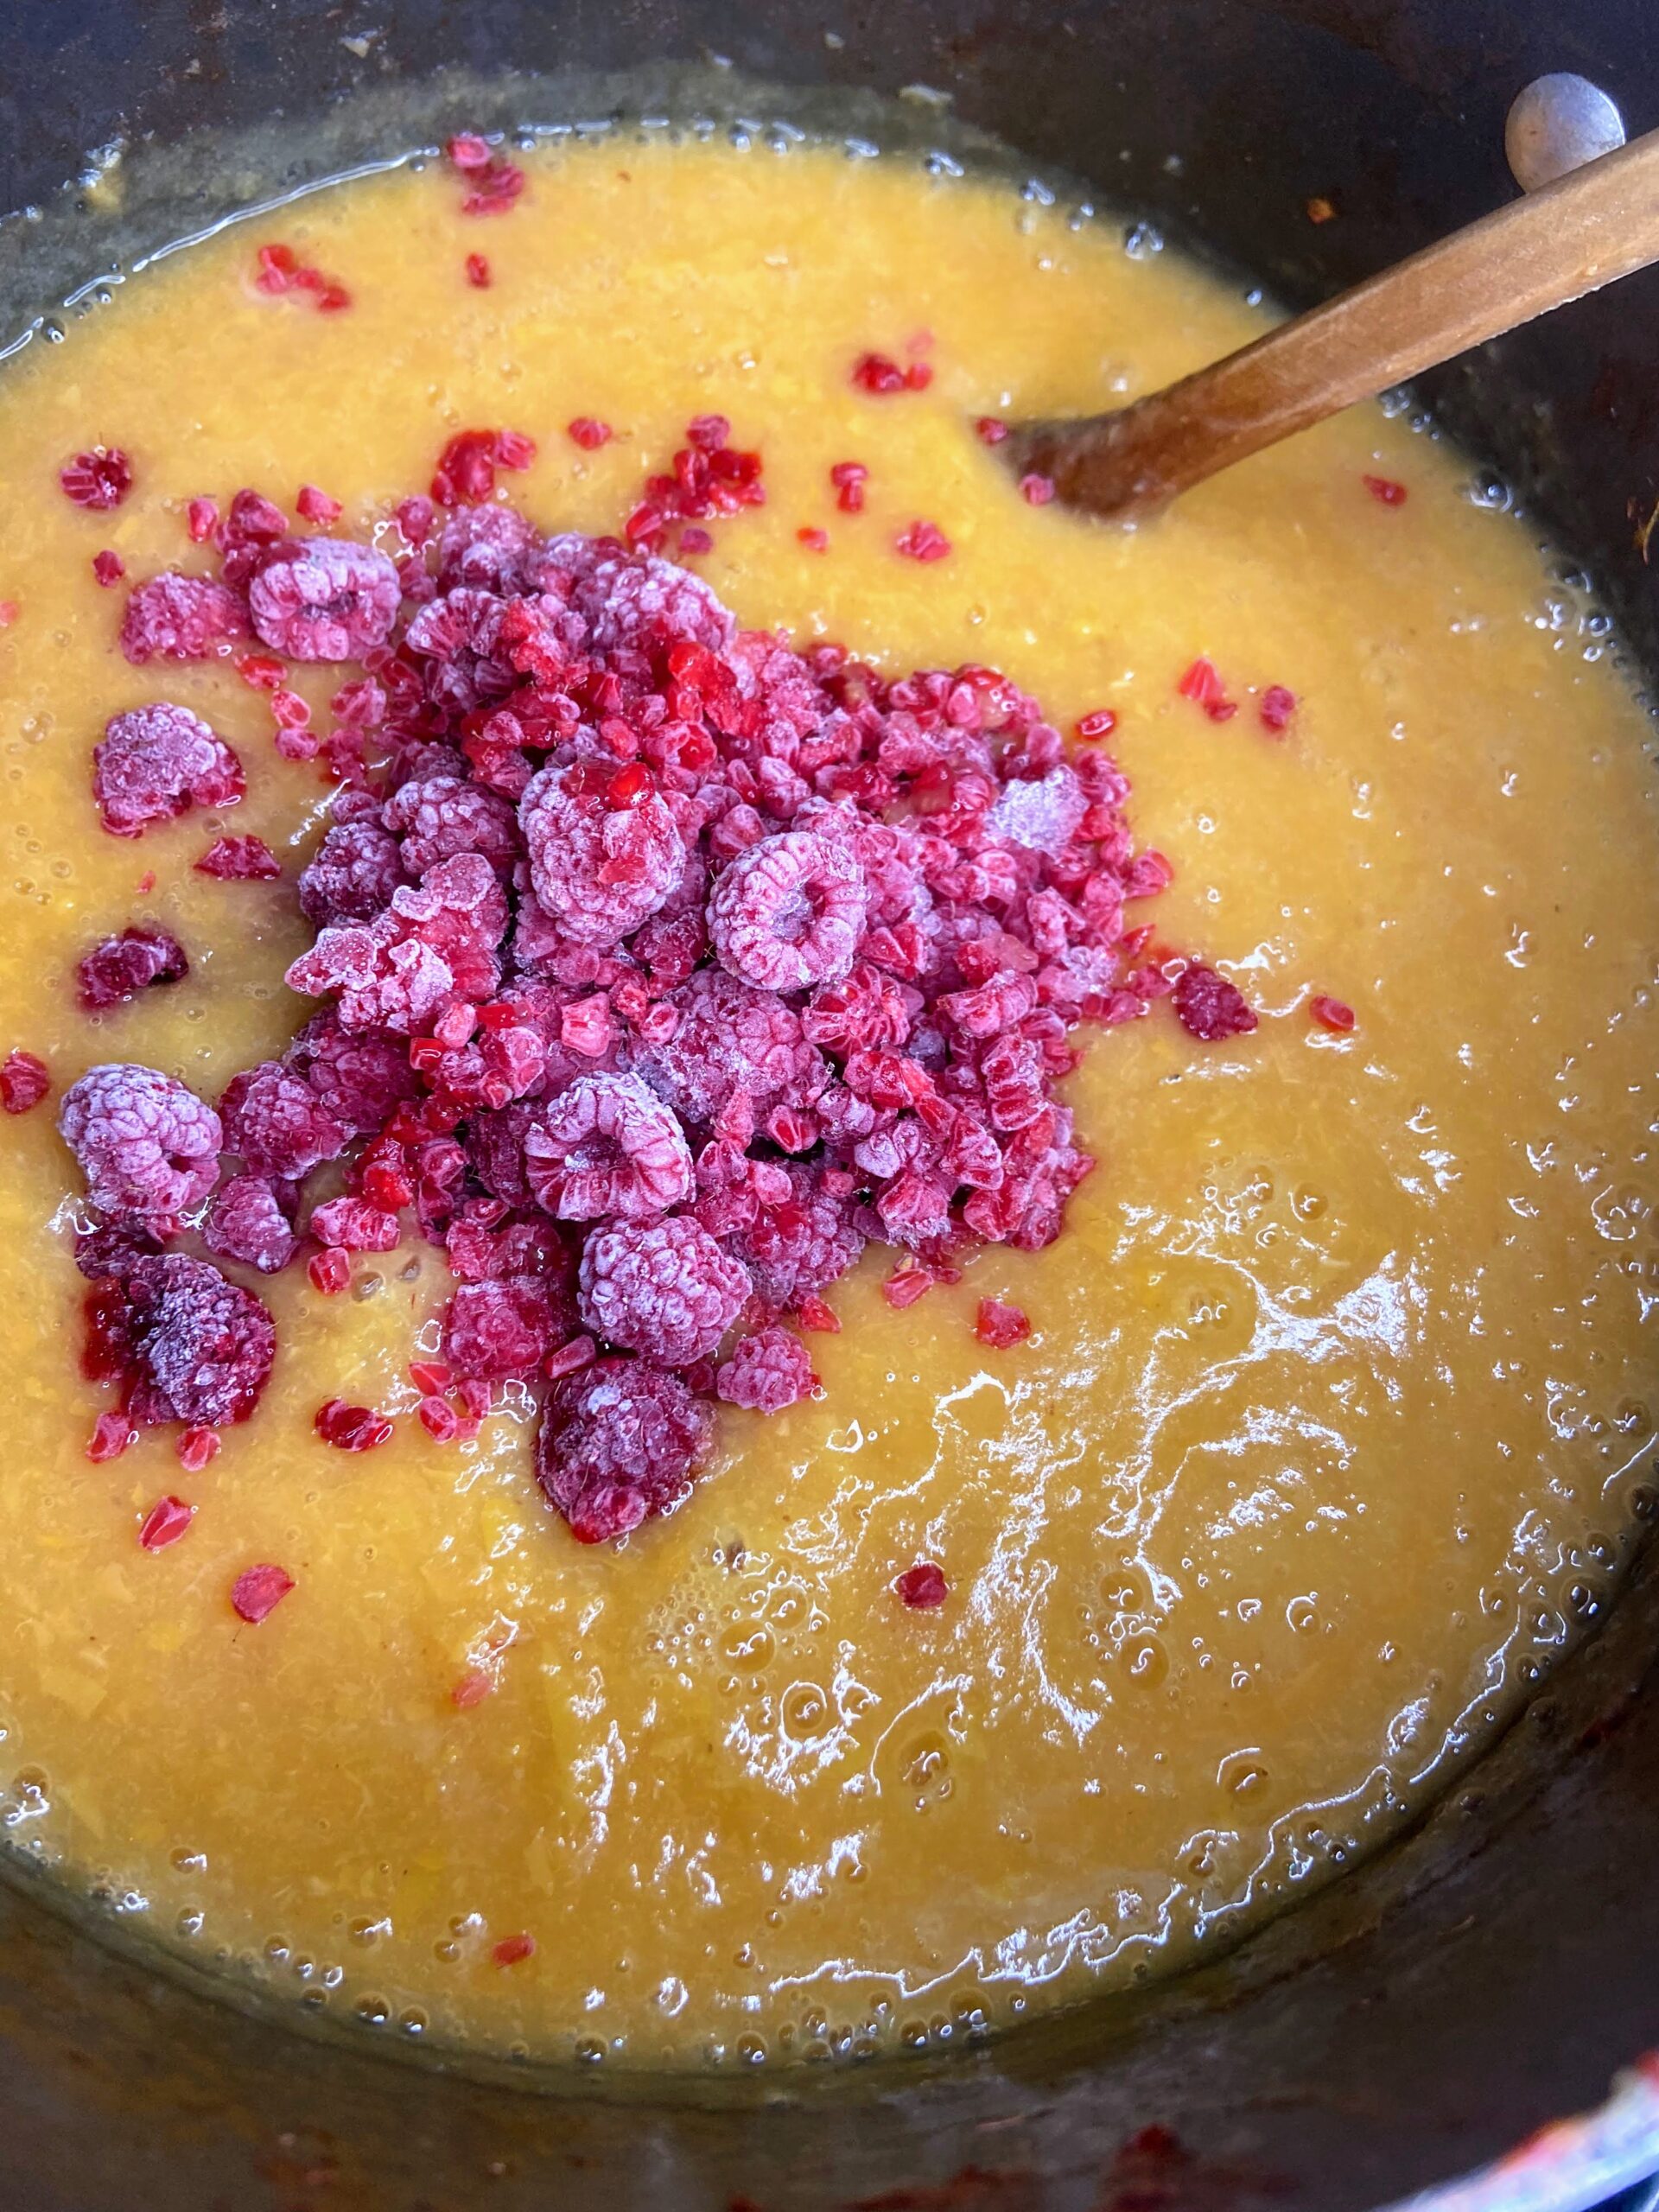
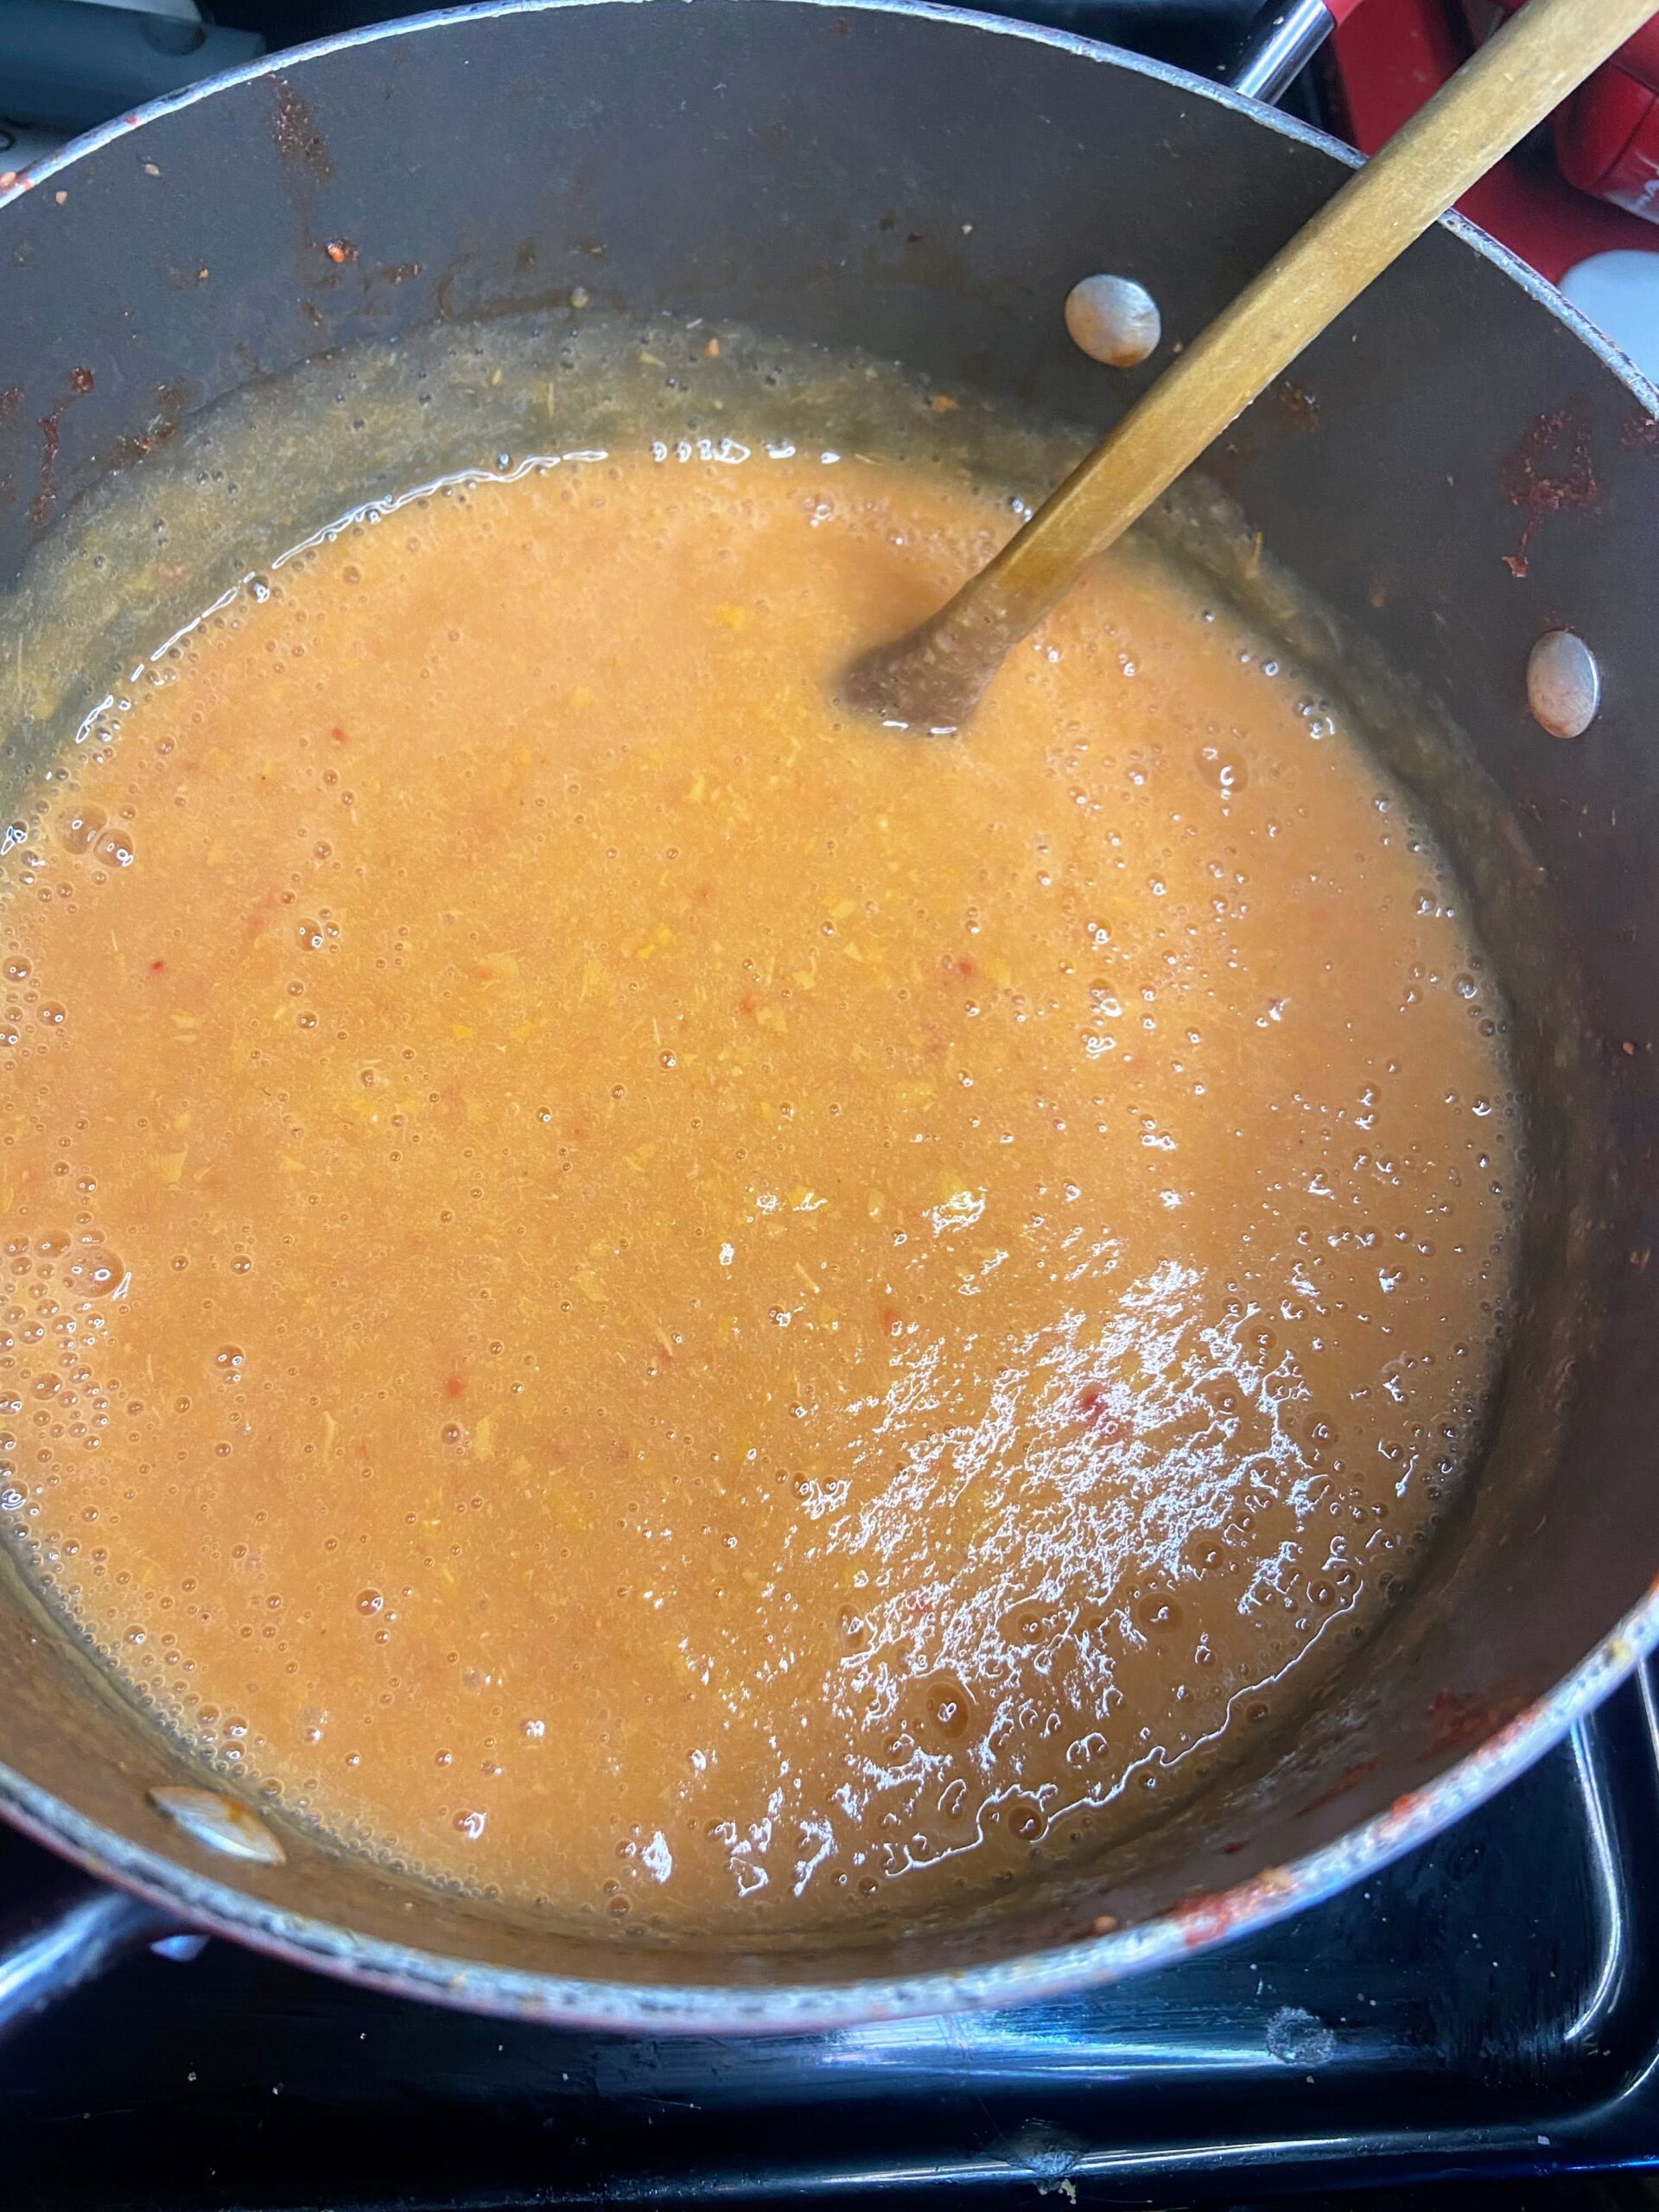
Wash your peaches well. Halve, pit, and quarter the peaches. Place in a large kettle with water. Begin to cook over medium heat, smashing periodically using a potato masher. As the peaches cook down, stir and mash. When the peaches have softened significantly, use an immersion blender or food mill to break down the peaches to a sauce. If you prefer to add raspberries, add 2-3 cups of frozen raspberries. Cook an additional 3-4 minutes and then blend again. Test the fruit at this point for sweetness. Add sugar by the ¼ cup, until desired sweetness is found.

Canning Your Raspberry Peach Sauce?
If you want to water bath can it, you have some prep. When your sauce is almost ready begin to prepare your water bath canner and jars if you plan on processing them.
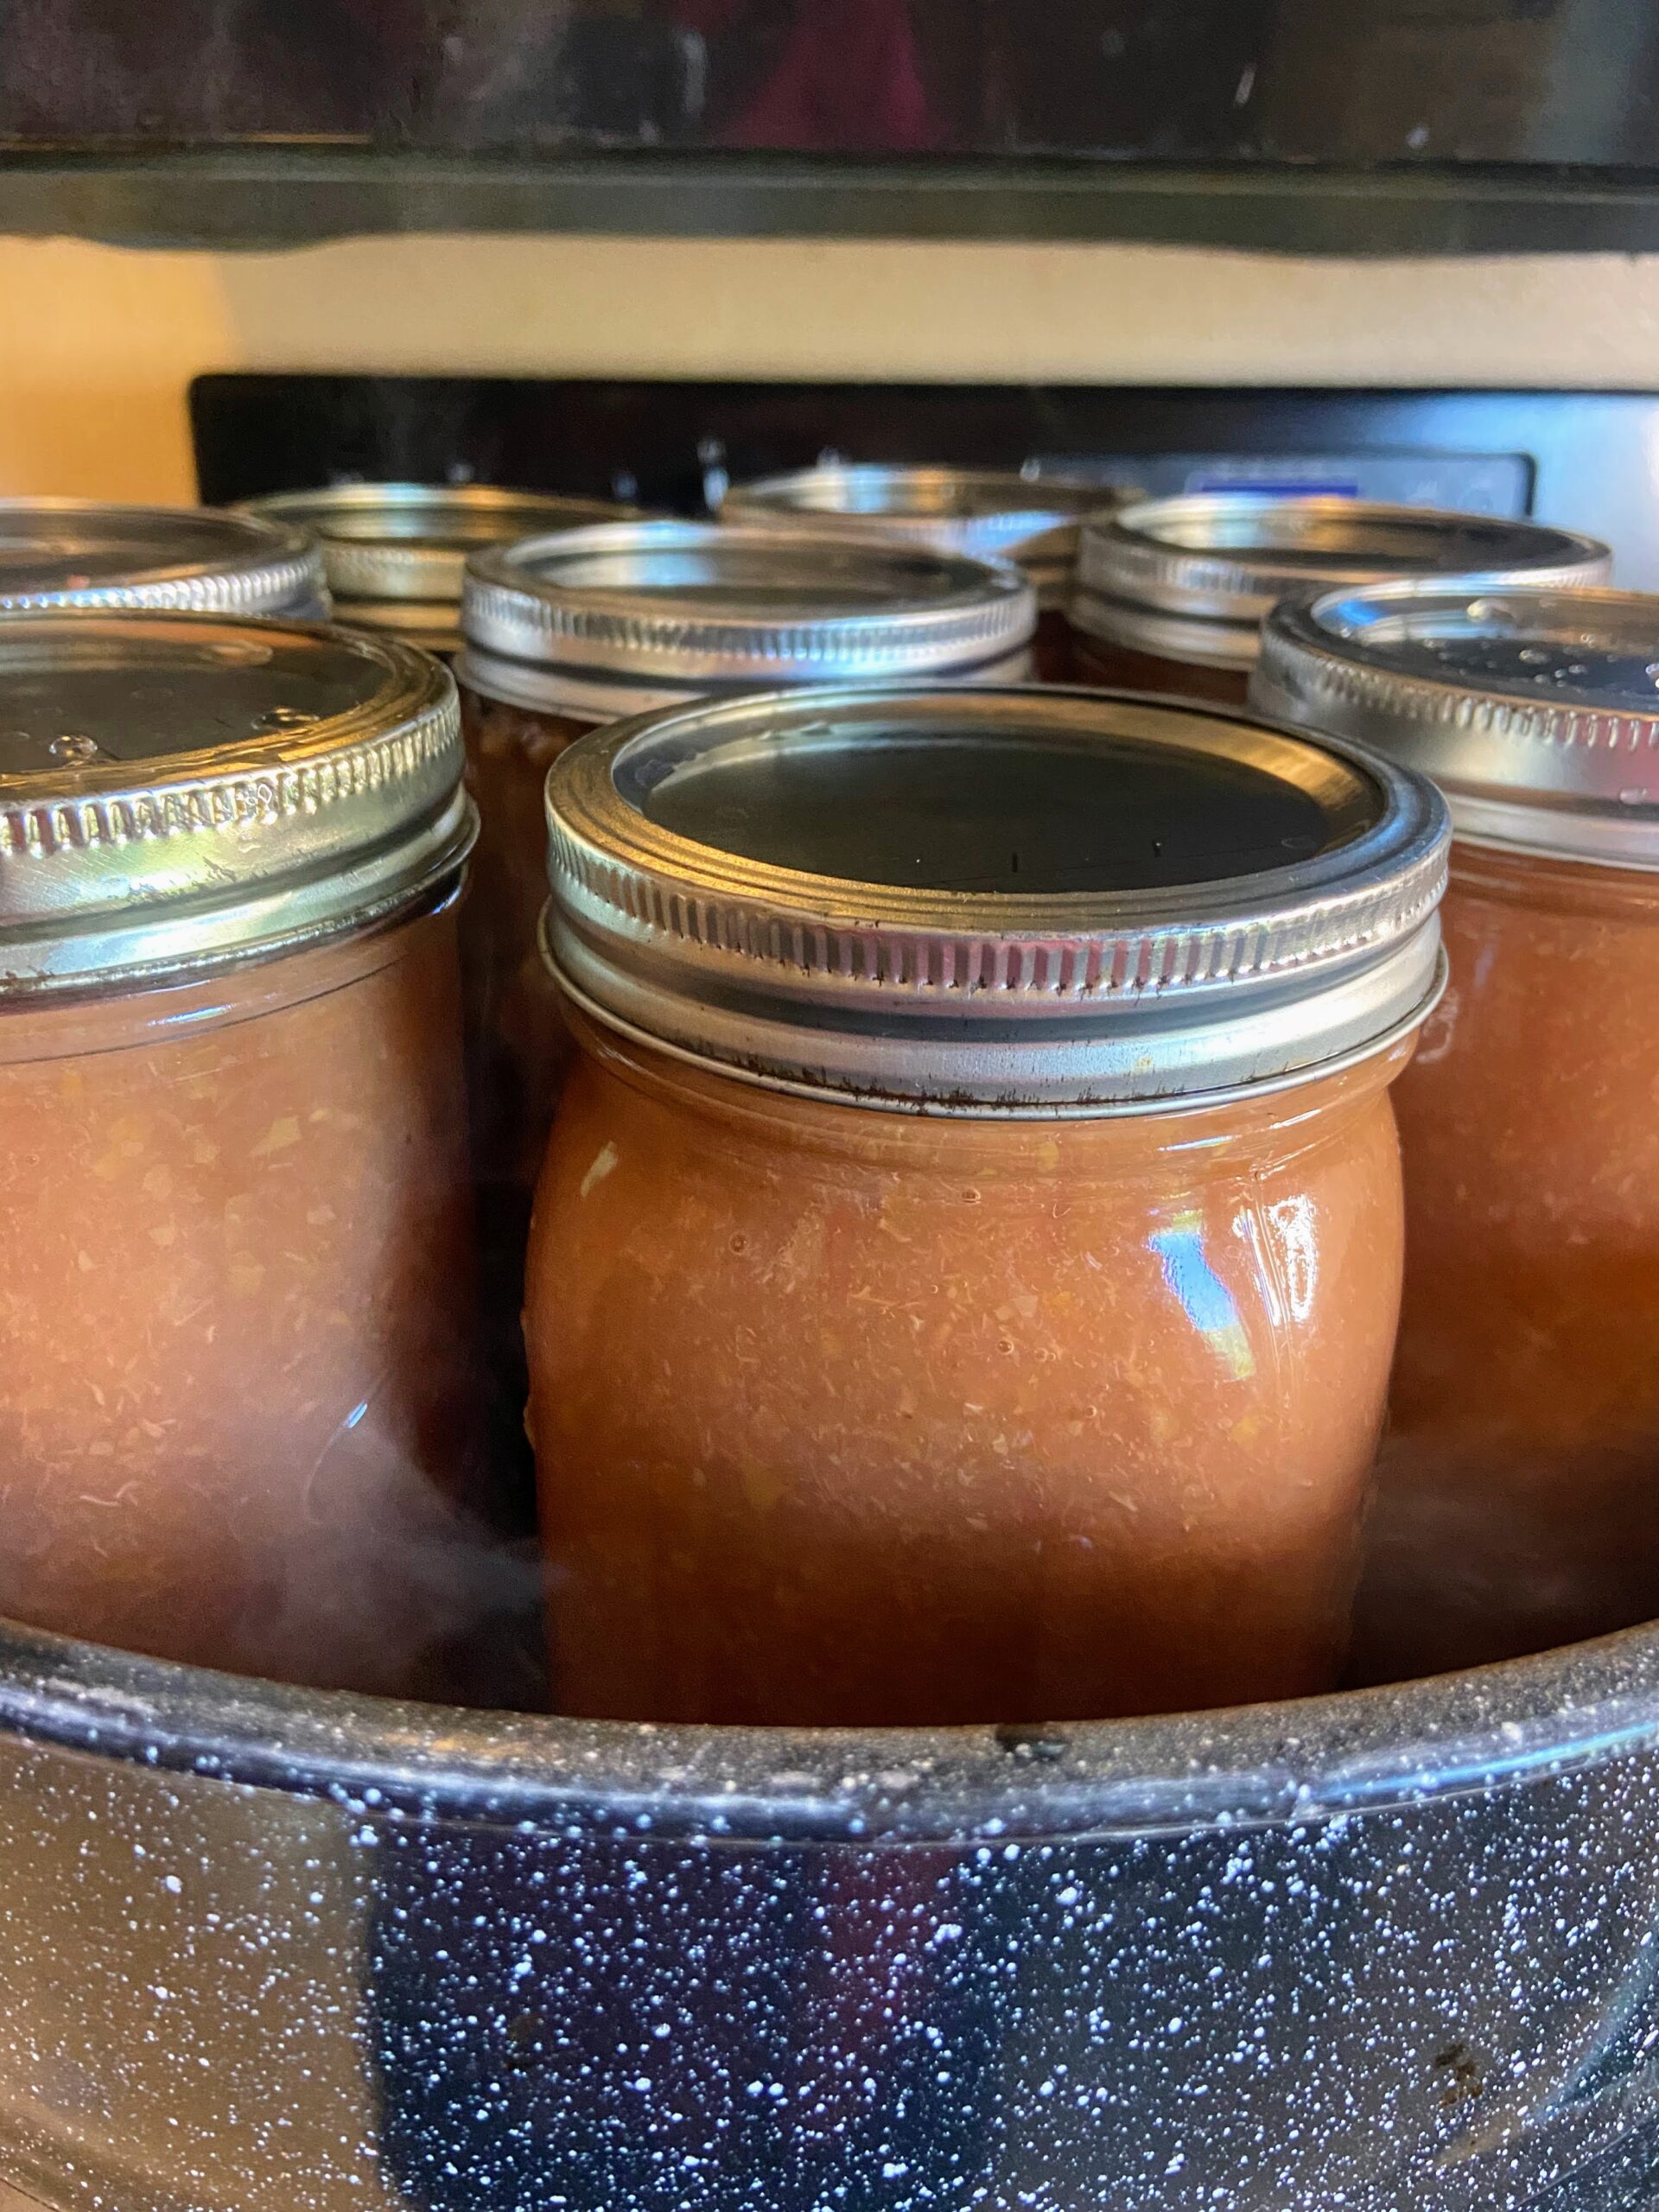
Wash and sanitize jars, rings, and lids. Keep warm. Fill the canner with enough water to cover the jars by at least 2 inches of water. Cover and heat on high. Watch the temperature, you want a simmer but not a boil when you place the jars in the water.
Bring peach sauce to a boil. Once you have reached a boil ladle into prepared jars, leaving ½ inch head space, maintaining the boil on the kettle as you go. Wipe rims of the jars with a damp cloth, add lids and rings, tightening to fingertip tight. Place in the canner, increasing the heat to high. Once the canner reaches a boil, process pint jars 20 minutes and quart jars 25 minutes (adjusting for altitude). Remove from heat and allow jars to cool in the canner over 5 minutes. Remove from canner, placing on the counter. Listen for the ping of the lids over the next 12 hours. Sealed jars are self stable. If any jar doesn’t seal, simply place it right in the refrigerator.
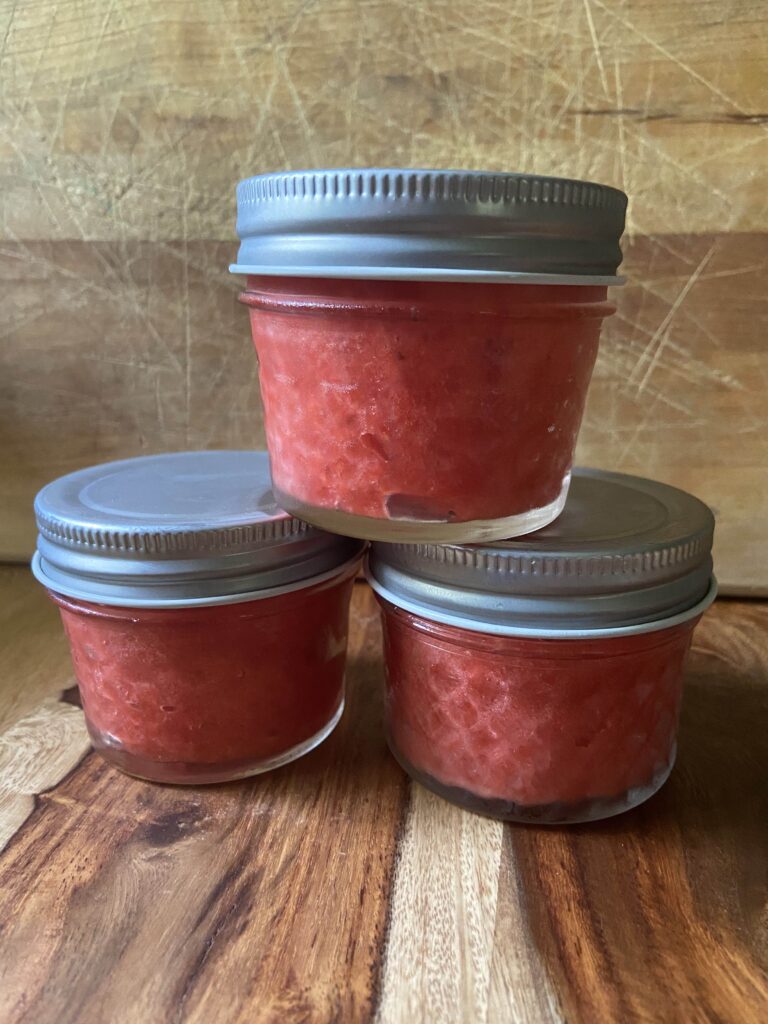
Freezing it?
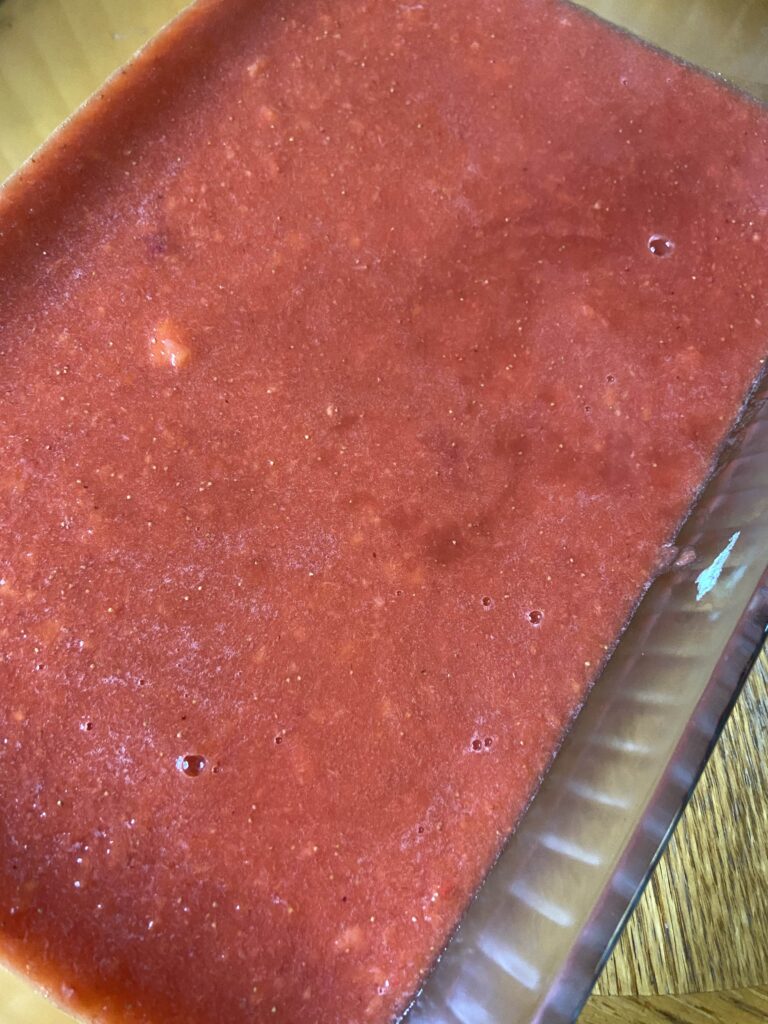
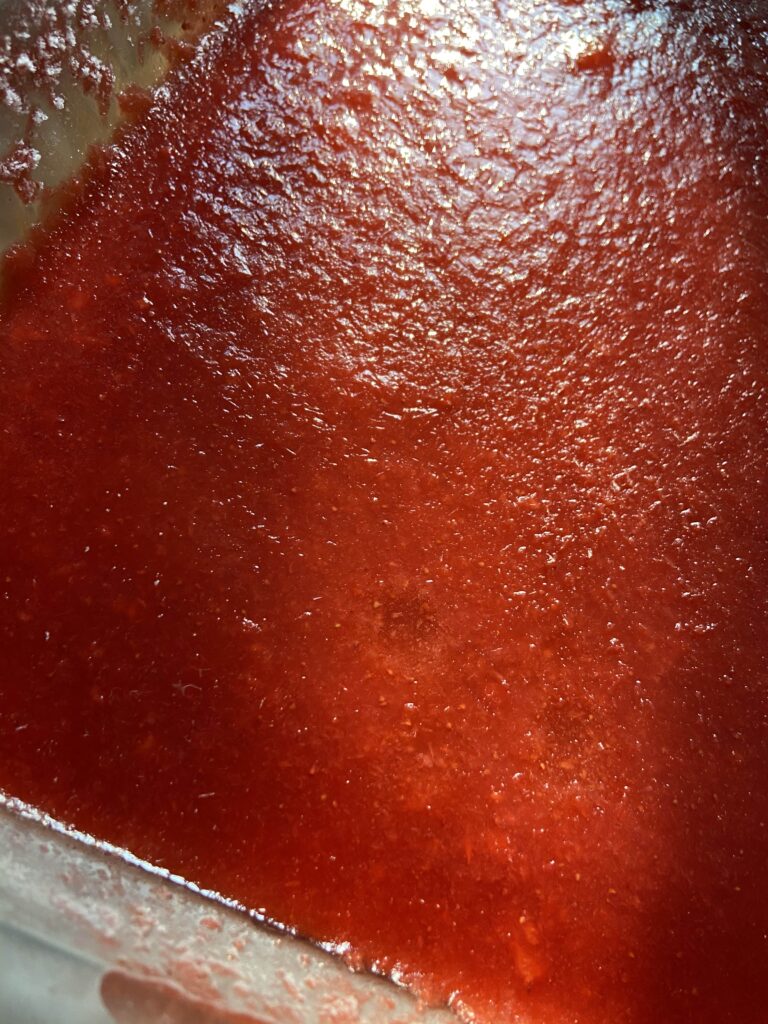
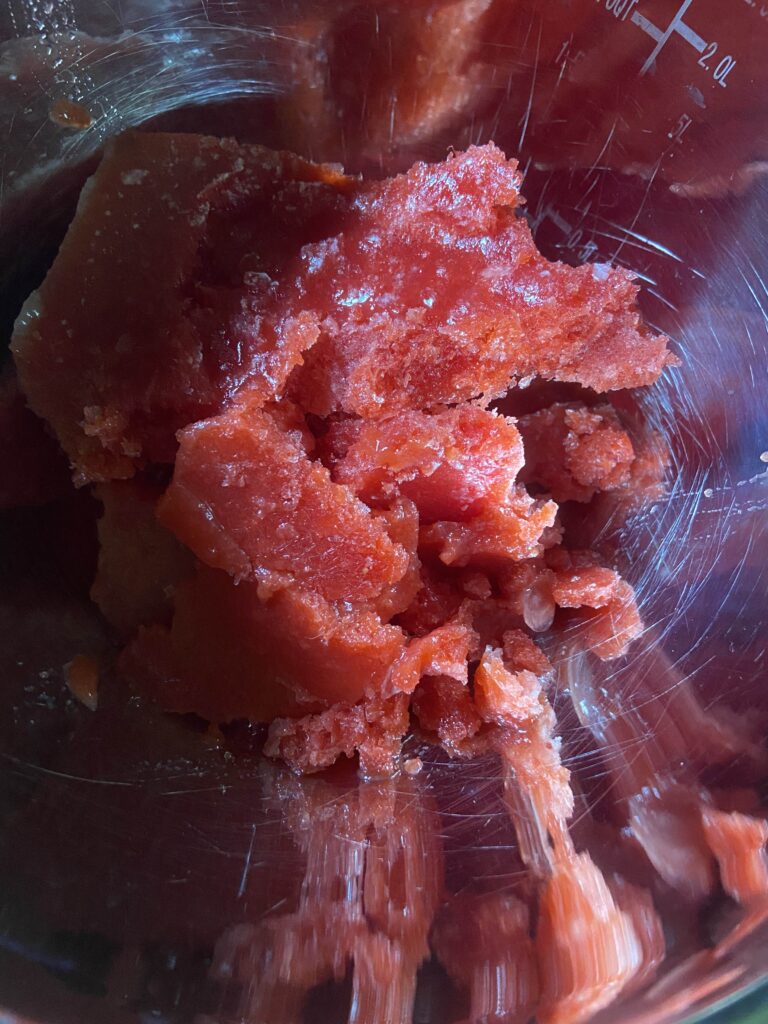
Once your sauce has reached a boil, allow to cool for an hour, stirring periodically. Ladel into freezer safe containers, leaving ½ inch head space. Cover, label, and freeze. Additionally, you can treat with fruit fresh to keep from browning. Add ¾ teaspoon per cup of fruit.
Looking for more information about canning? I highly recommend checking out the National Center for Home Preservation for information at your fingertips!
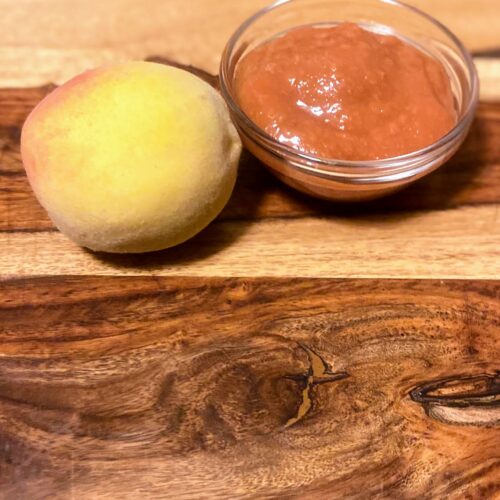
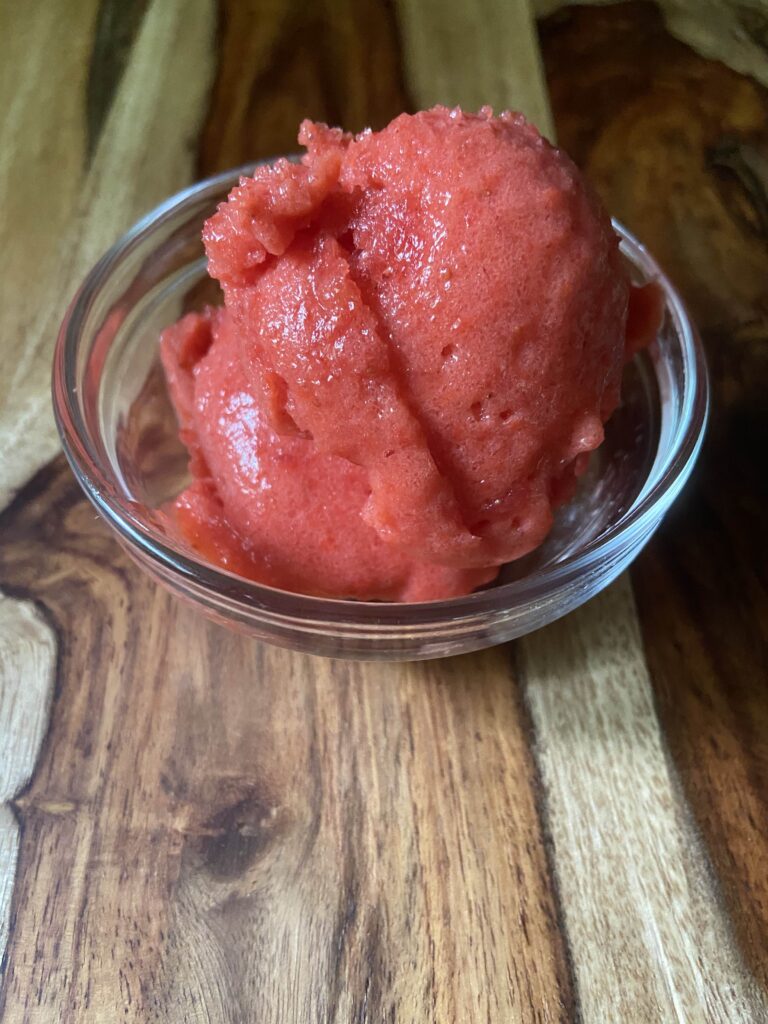
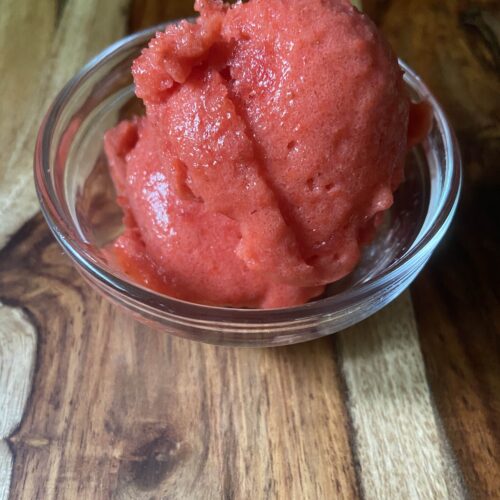
Raspberry Peach Sauce
Equipment
Ingredients
- 1 ½ cups water
- 20-25 peaches washed well
- 1-3 cups frozen raspberries optional
- Fruit fresh if freezing
- ½-1 cup sugar if desired
Instructions
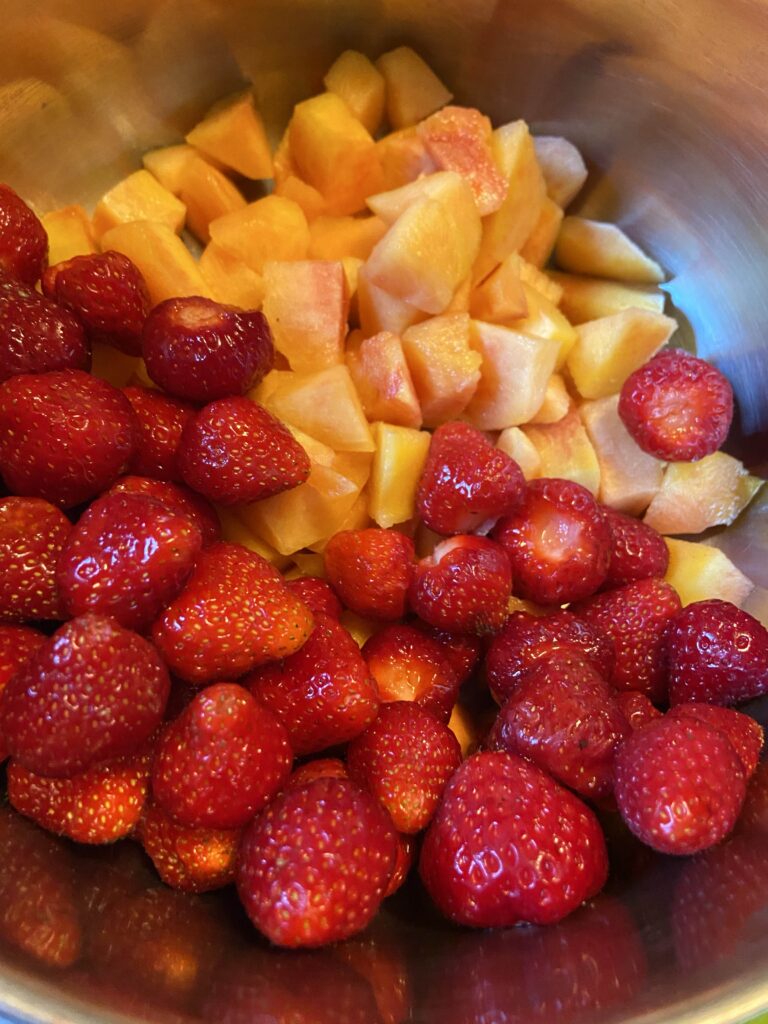
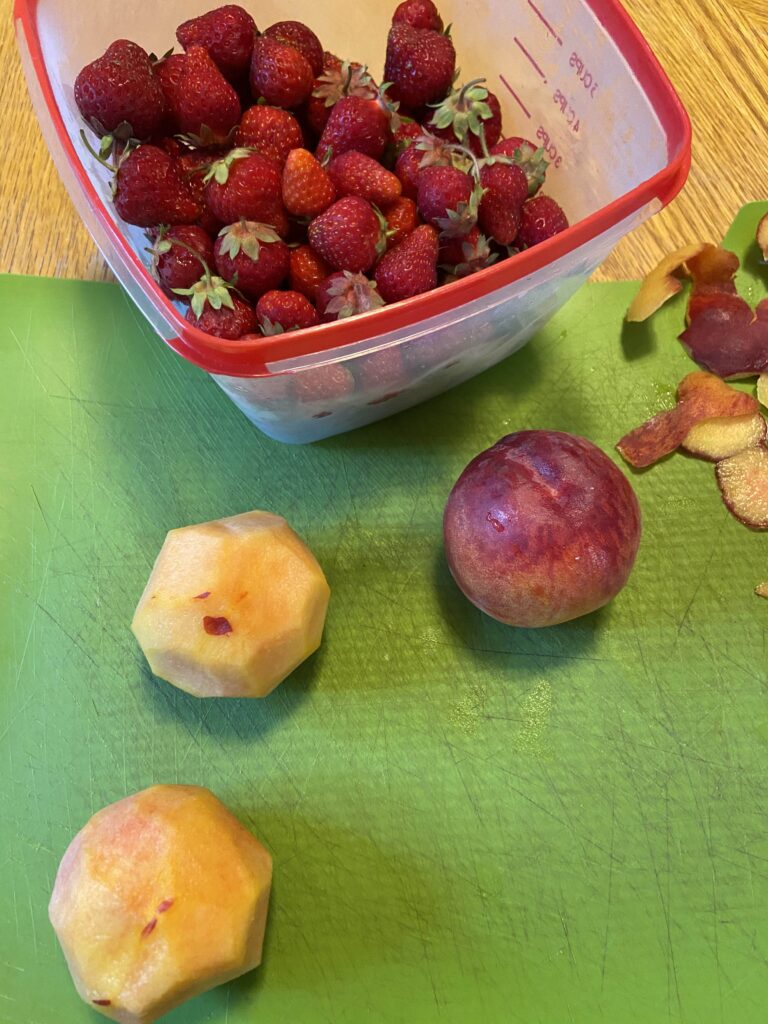
- Wash your peaches well. Halve, pit, and quarter the peaches. Place in a large kettle with the water.
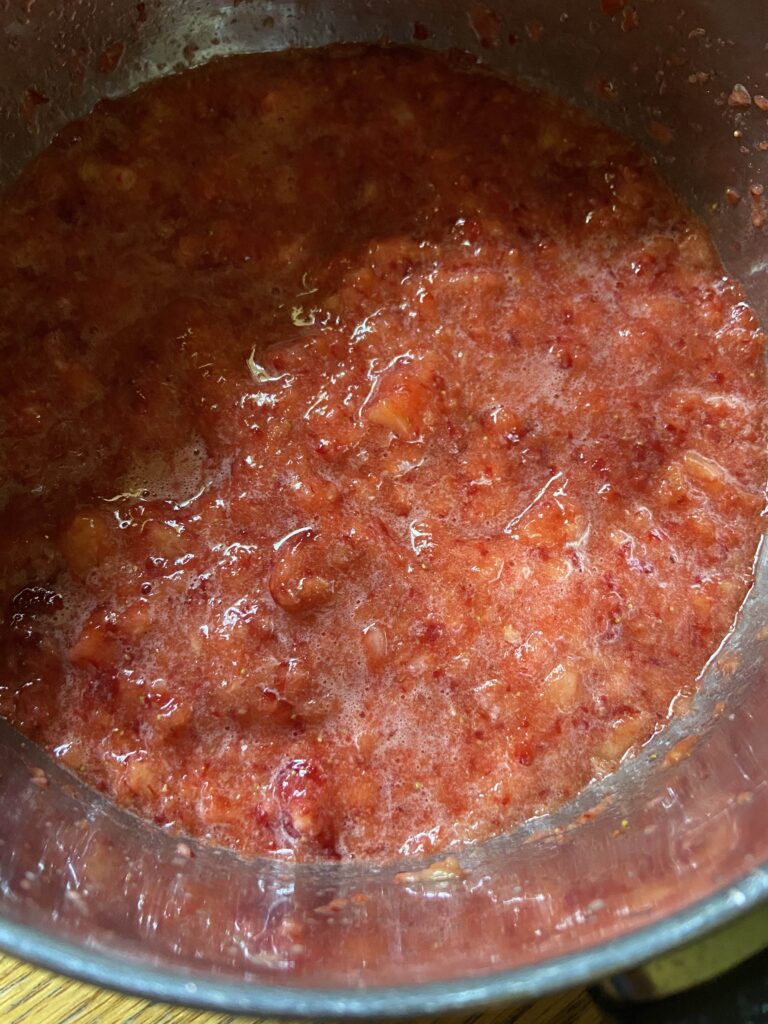
- Begin to cook over medium heat, smashing periodically using a potato masher. As the peaches cook down, stir and mash.
- When the peaches have softened significantly, use an immersion blender or food mill to break down the peaches to a sauce.
- If you prefer to add raspberries, add 2-3 cups of frozen raspberries.
- Cook an additional 3-4 minutes and then blend again.
- Test the fruit at this point for sweetness. Add sugar by the ¼ cup, until desired sweetness is found.
- Wash and sanitize six quart jars, rings, and lids. Keep warm. Fill the canner with enough water to cover the jars by at least 2 inches of water. Cover and heat on high. Watch the temperature, you want a simmer but not a boil when you place the jars in the water.
- Bring peach sauce to a boil. Once you have reached a boil ladle into prepared jars, leaving ½ inch head space, maintaining the boil on the kettle as you go.
- Wipe rims of the jars with a damp cloth, add lids and rings, tightening to fingertip tight.
- Place in the canner, increasing the heat to high. Once the canner reaches a boil, process pint jars 20 minutes and quart jars 25 minutes (adjusting for altitude).
- Remove from heat and allow jars to cool in the canner over 5 minutes. Remove from canner, placing on the counter. Listen for the ping of the lids over the next 12 hours.
Notes
Once your sauce has reached a boil, allow to cool for an hour, stirring periodically. Ladel into freezer safe containers, leaving ½ inch head space. Cover, label, and freeze. Additionally, you can treat with fruit fresh to keep from browning. Add ¾ teaspoon per cup of fruit.
Looking for more delicious fruit recipes?
Check out my canning and preserving page! Or maybe you can find something you like below!