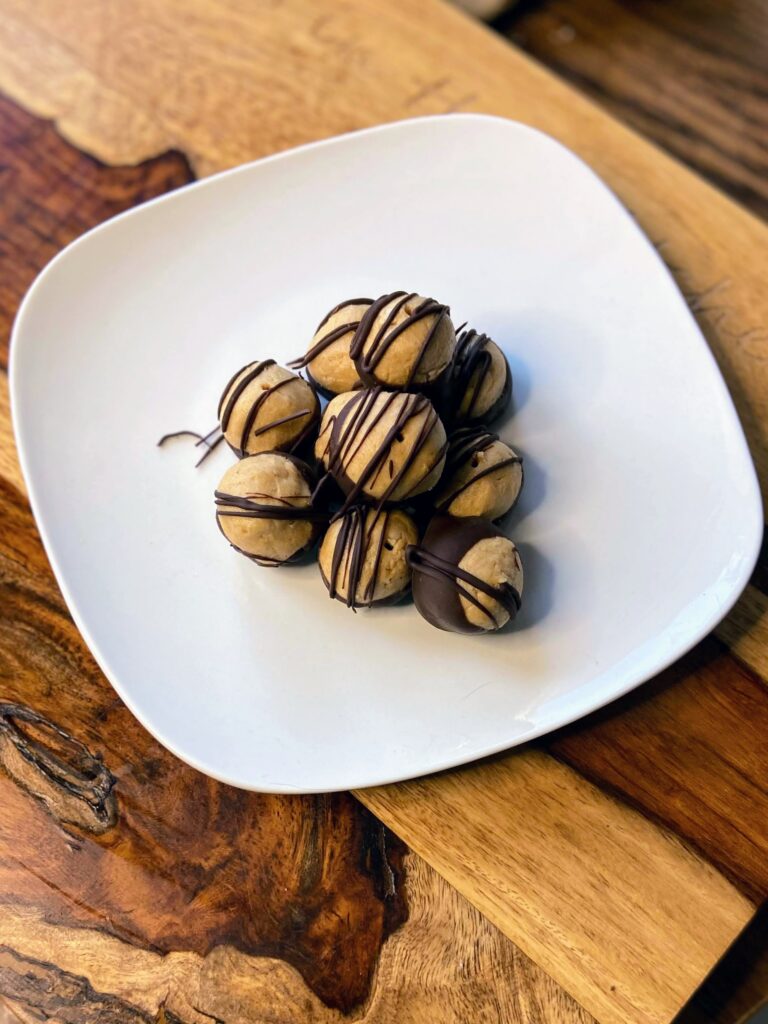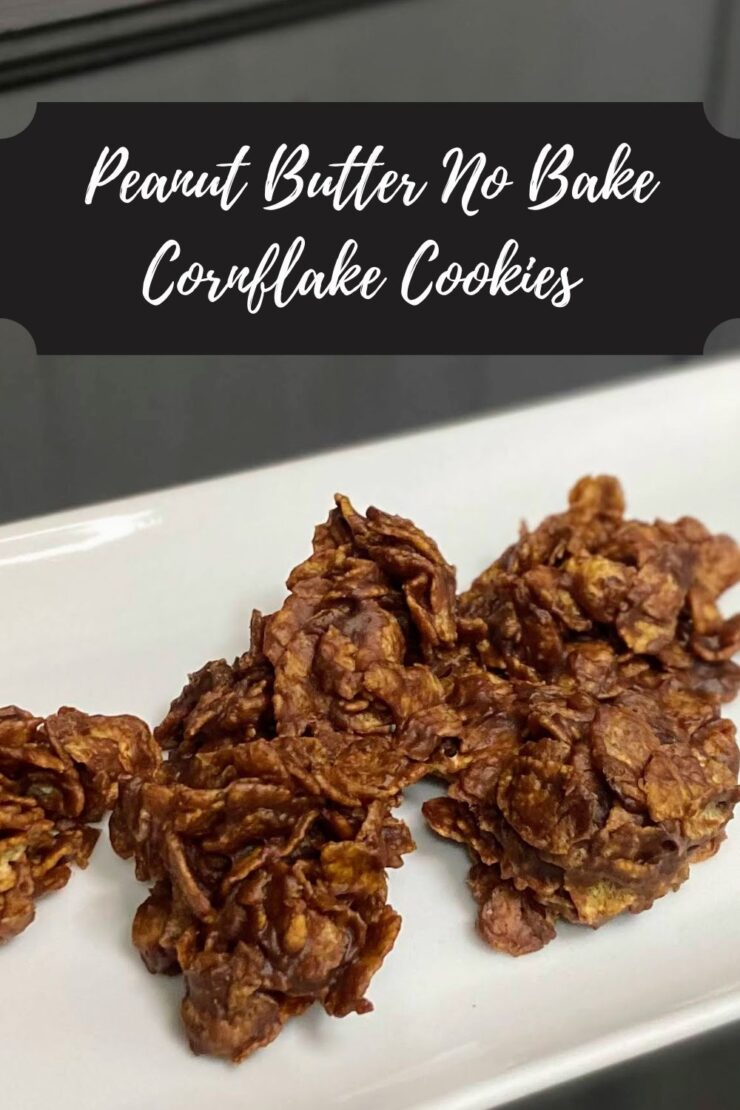
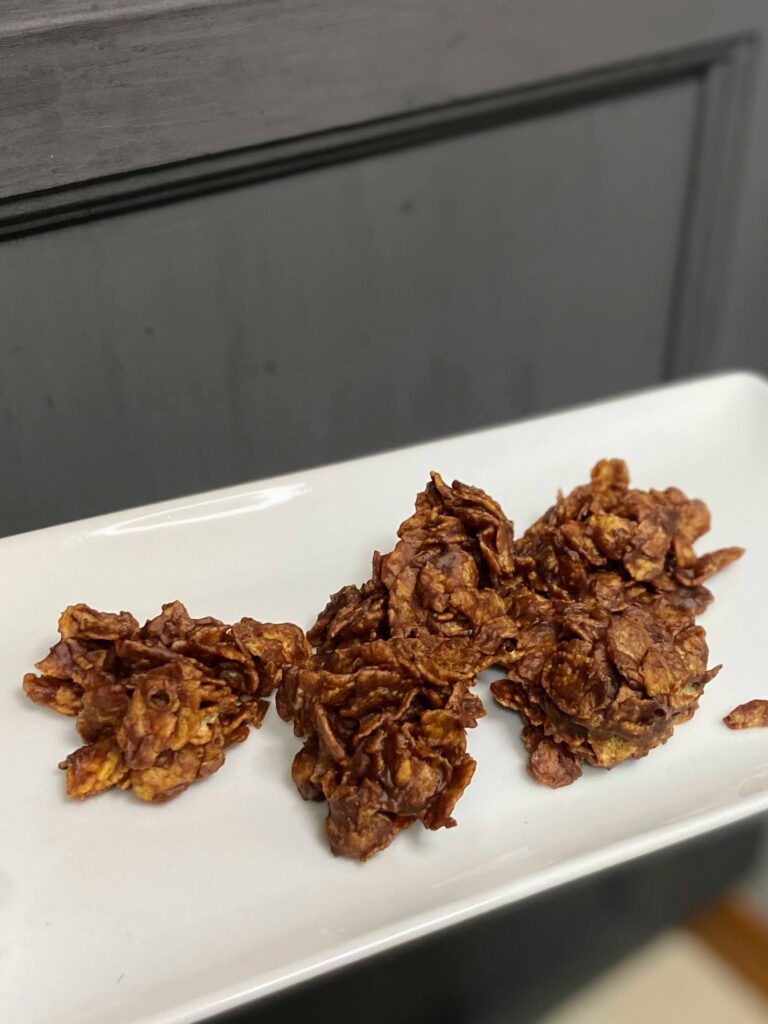
I have had a certain fondness for no bake cookies since I was little. I hadn’t made them often, but if they were an option at a bake sale or dessert bar, I generally would go for them; as long as there wasn’t a brownie or Rice Krispy treat as an option, of course. Then came the time I needed a no bake cookie, and these beautiful no bake cornflake cookies were the result!
Let me take a step back and explain. But where to start….My big kid has become an avid basketball player, and because of this, he plays 2-3 games most weekends in January and February all around the area. Our town hosts said games soon and the parents of my son’s team were assigned baked goods.
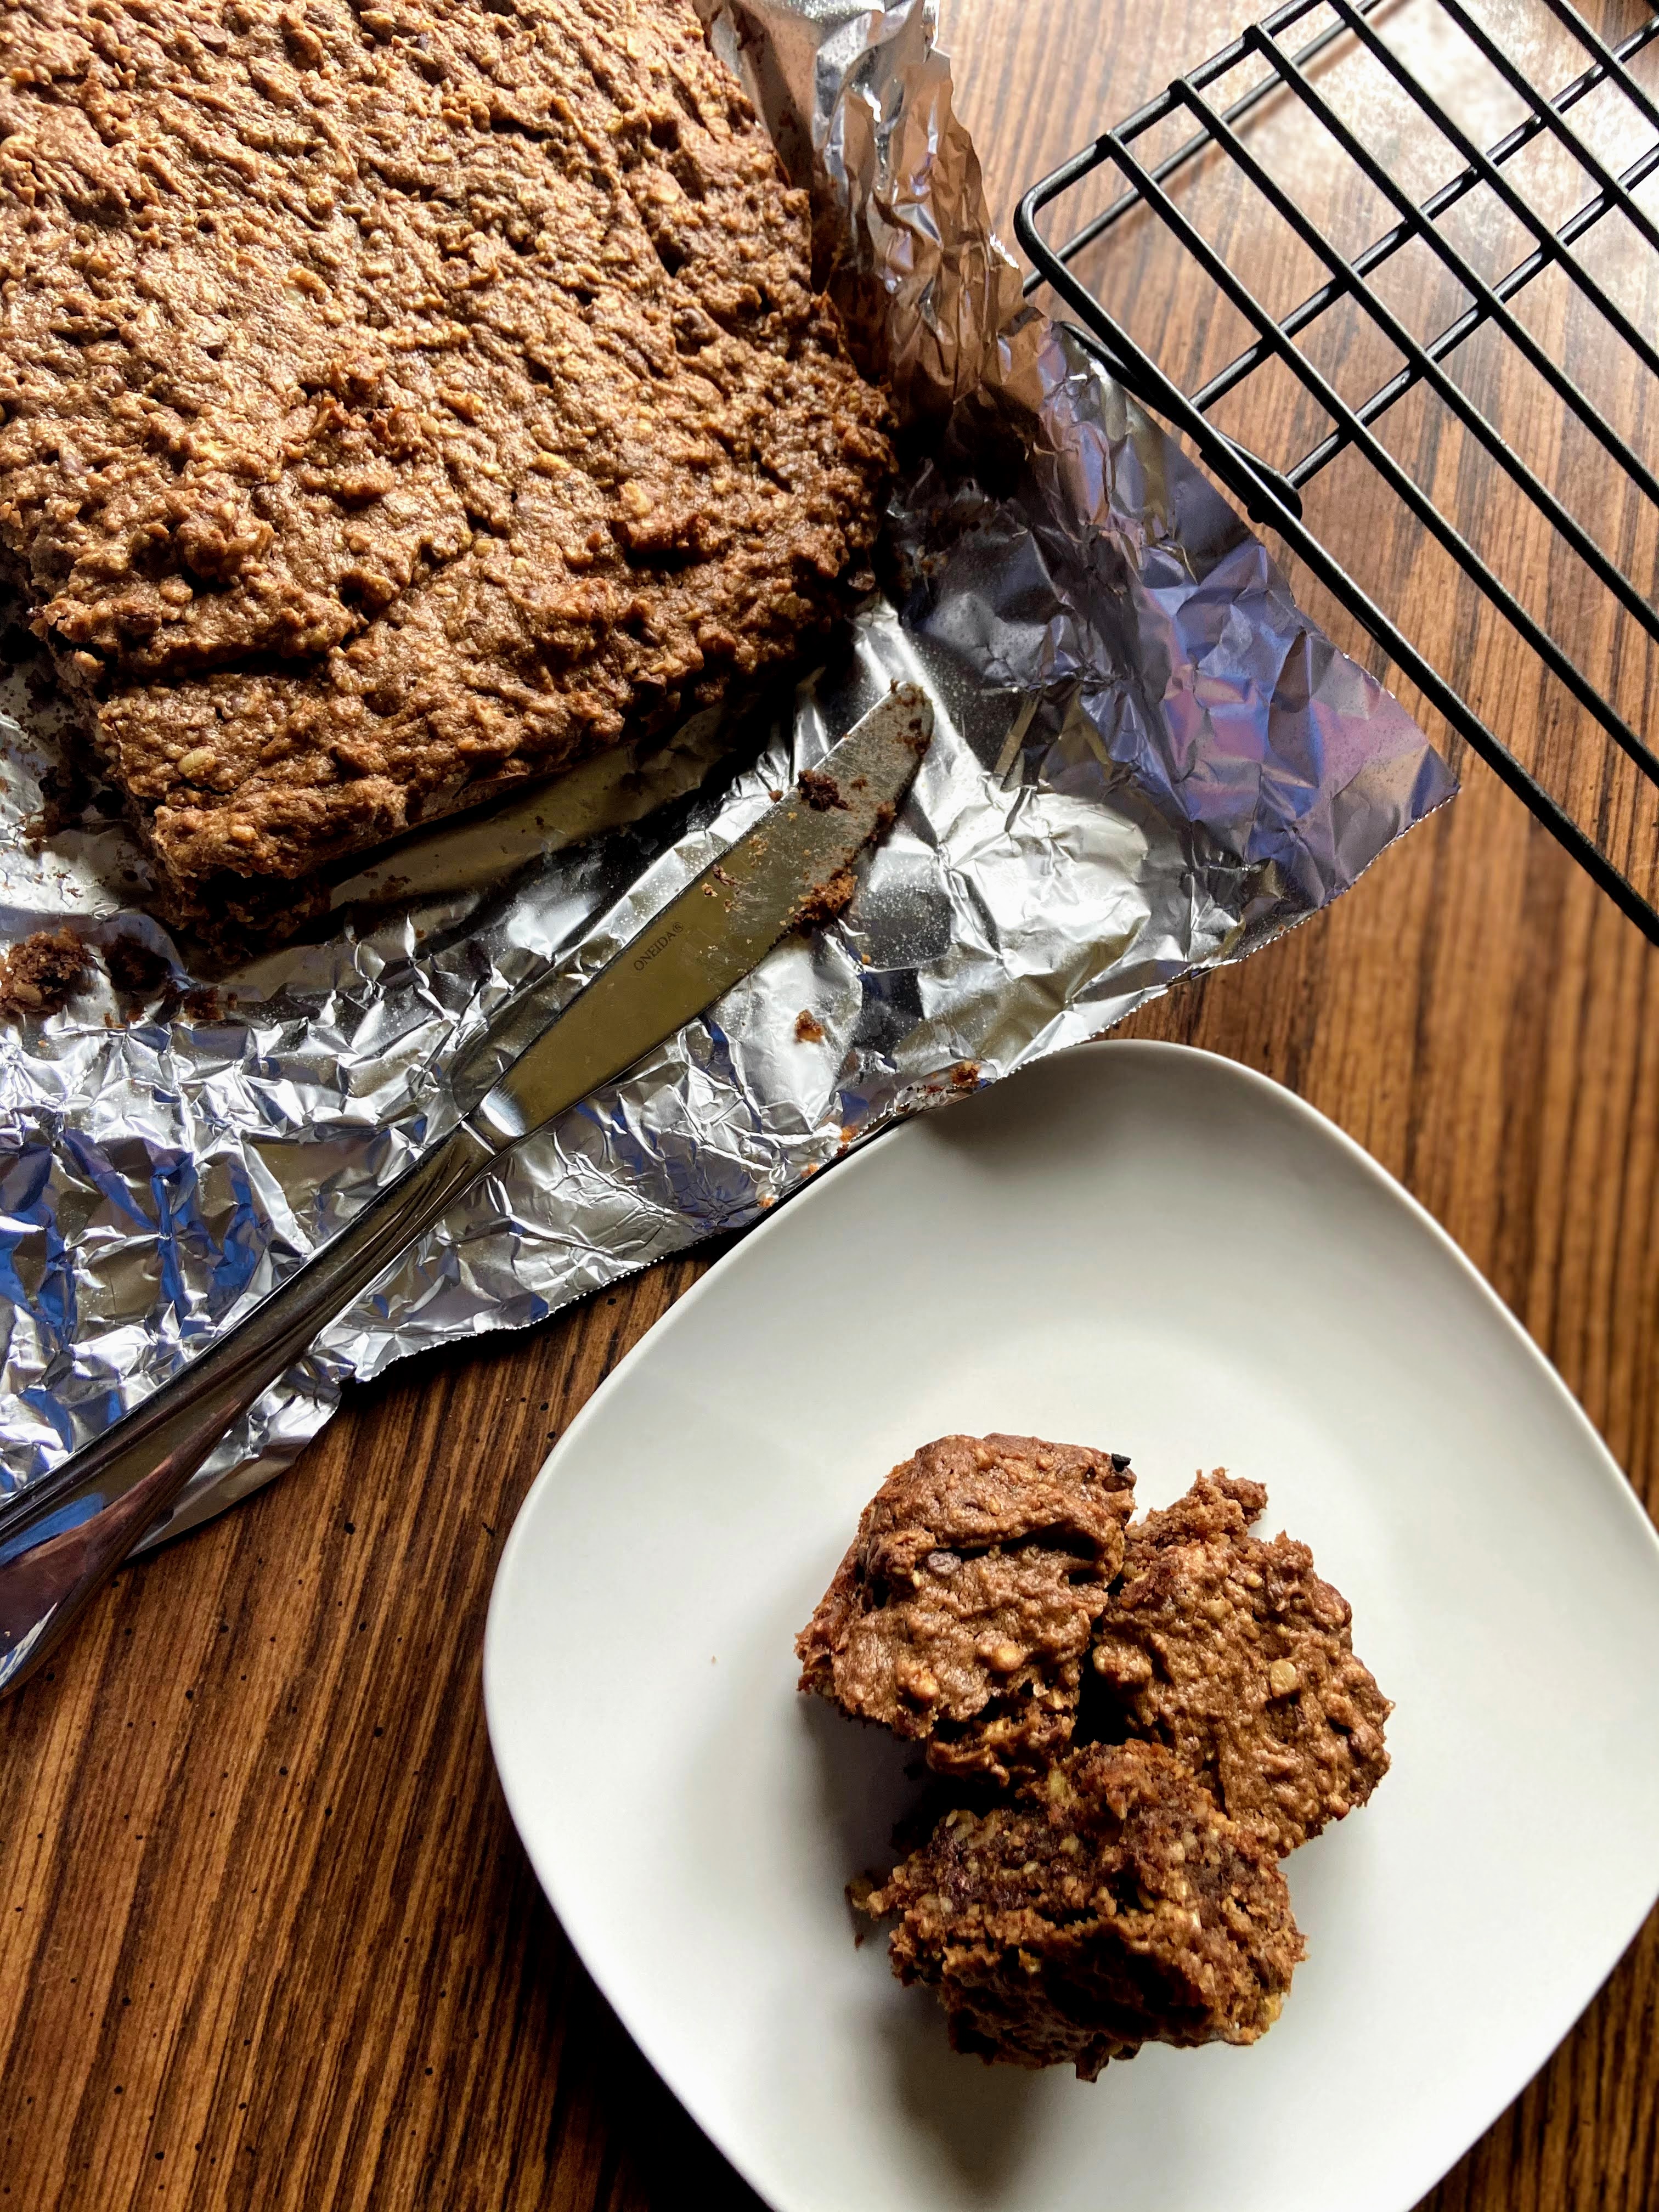
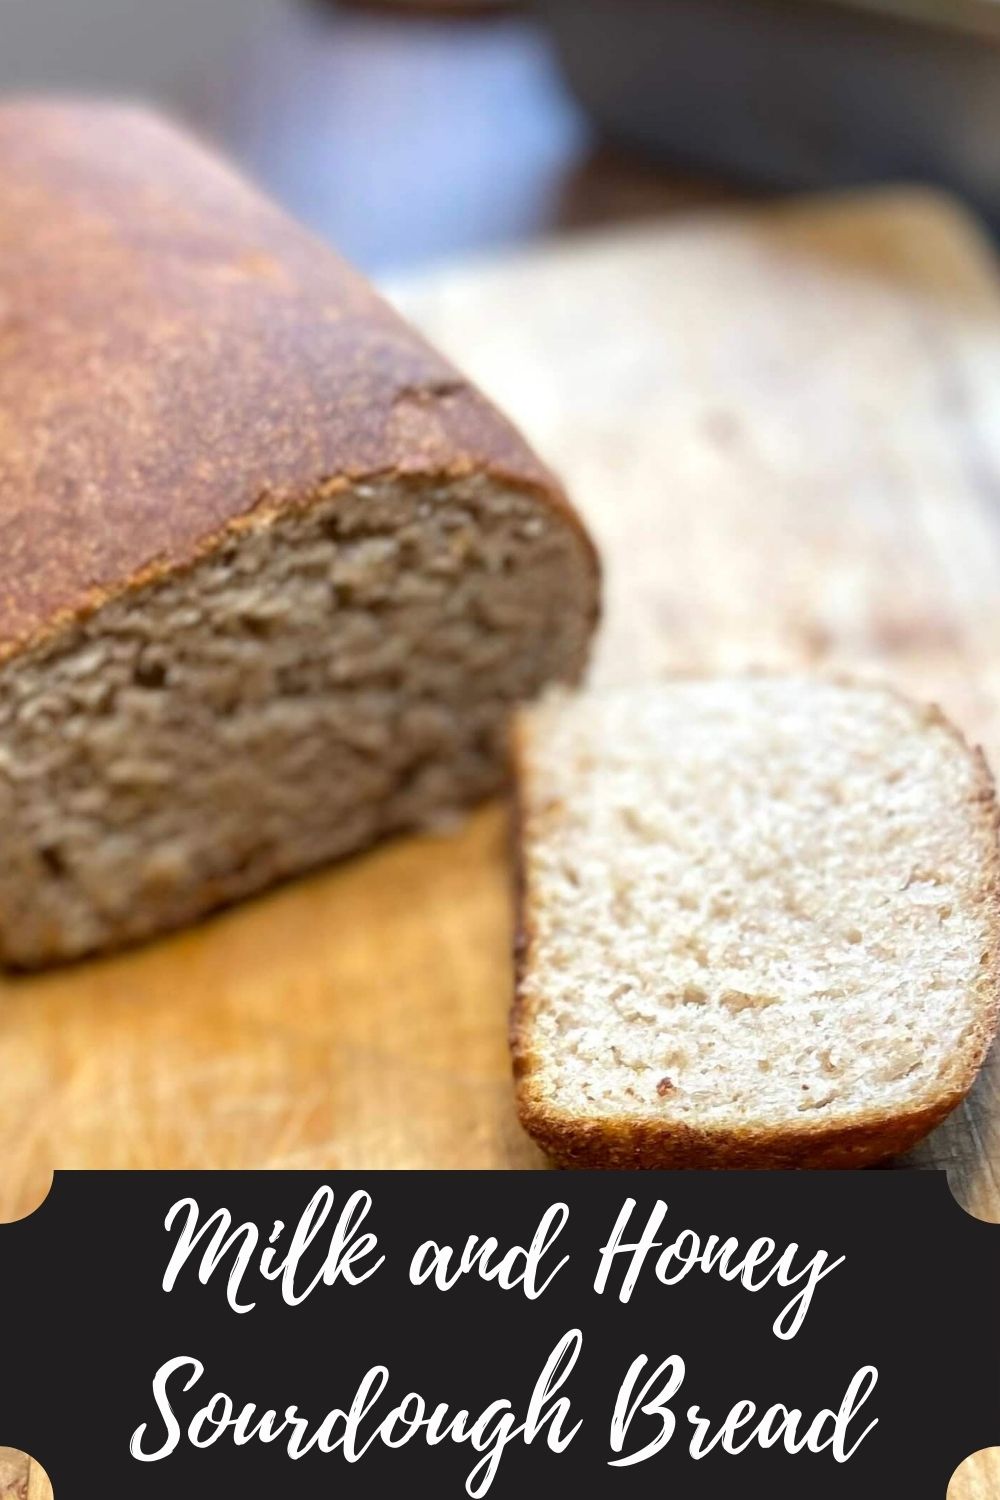
I LOVE baking and making cookies. But…a few weeks ago, my husband was doing some remodeling in our kitchen (yay!) and when he pulled out our range and then put it back, the oven stopped working correctly (booo!) That means for the last three weeks, I have baked exactly two loaves of bread and broiled one dish. Not great news for the baked goods.
Well, I guess this is a great opportunity to work on a no bake cookie recipe, right? And just a few weekends ago, I had purchased a GIANT box of corn flakes for cheesy potatoes. The stars had aligned for some delicious no bake cornflake cookies.
My issue?
In looking at all the recipes I could find, no bake cookies are just full of sugar and corn syrup. I love me some sugar and butter, but I also try to find balance and replace when I can.
My go to replacement for sugar is maple syrup (my family and I started tapping trees a few years ago. Learn about it here!) I was worried it wouldn’t allow the cookies to set, but it worked great! And because the only other real ingredients are corn flakes and peanut butter, I would ALMOST venture to say you could call these breakfast cookies. I mean, I won’t stop you…hehe.
Now let’s get creating! For this recipe, I’ll leave it in small batch format. You can easily double it to get more delicious no bake cookies, but as it is written, this will give you about 20 cookies.
Your Ingredients
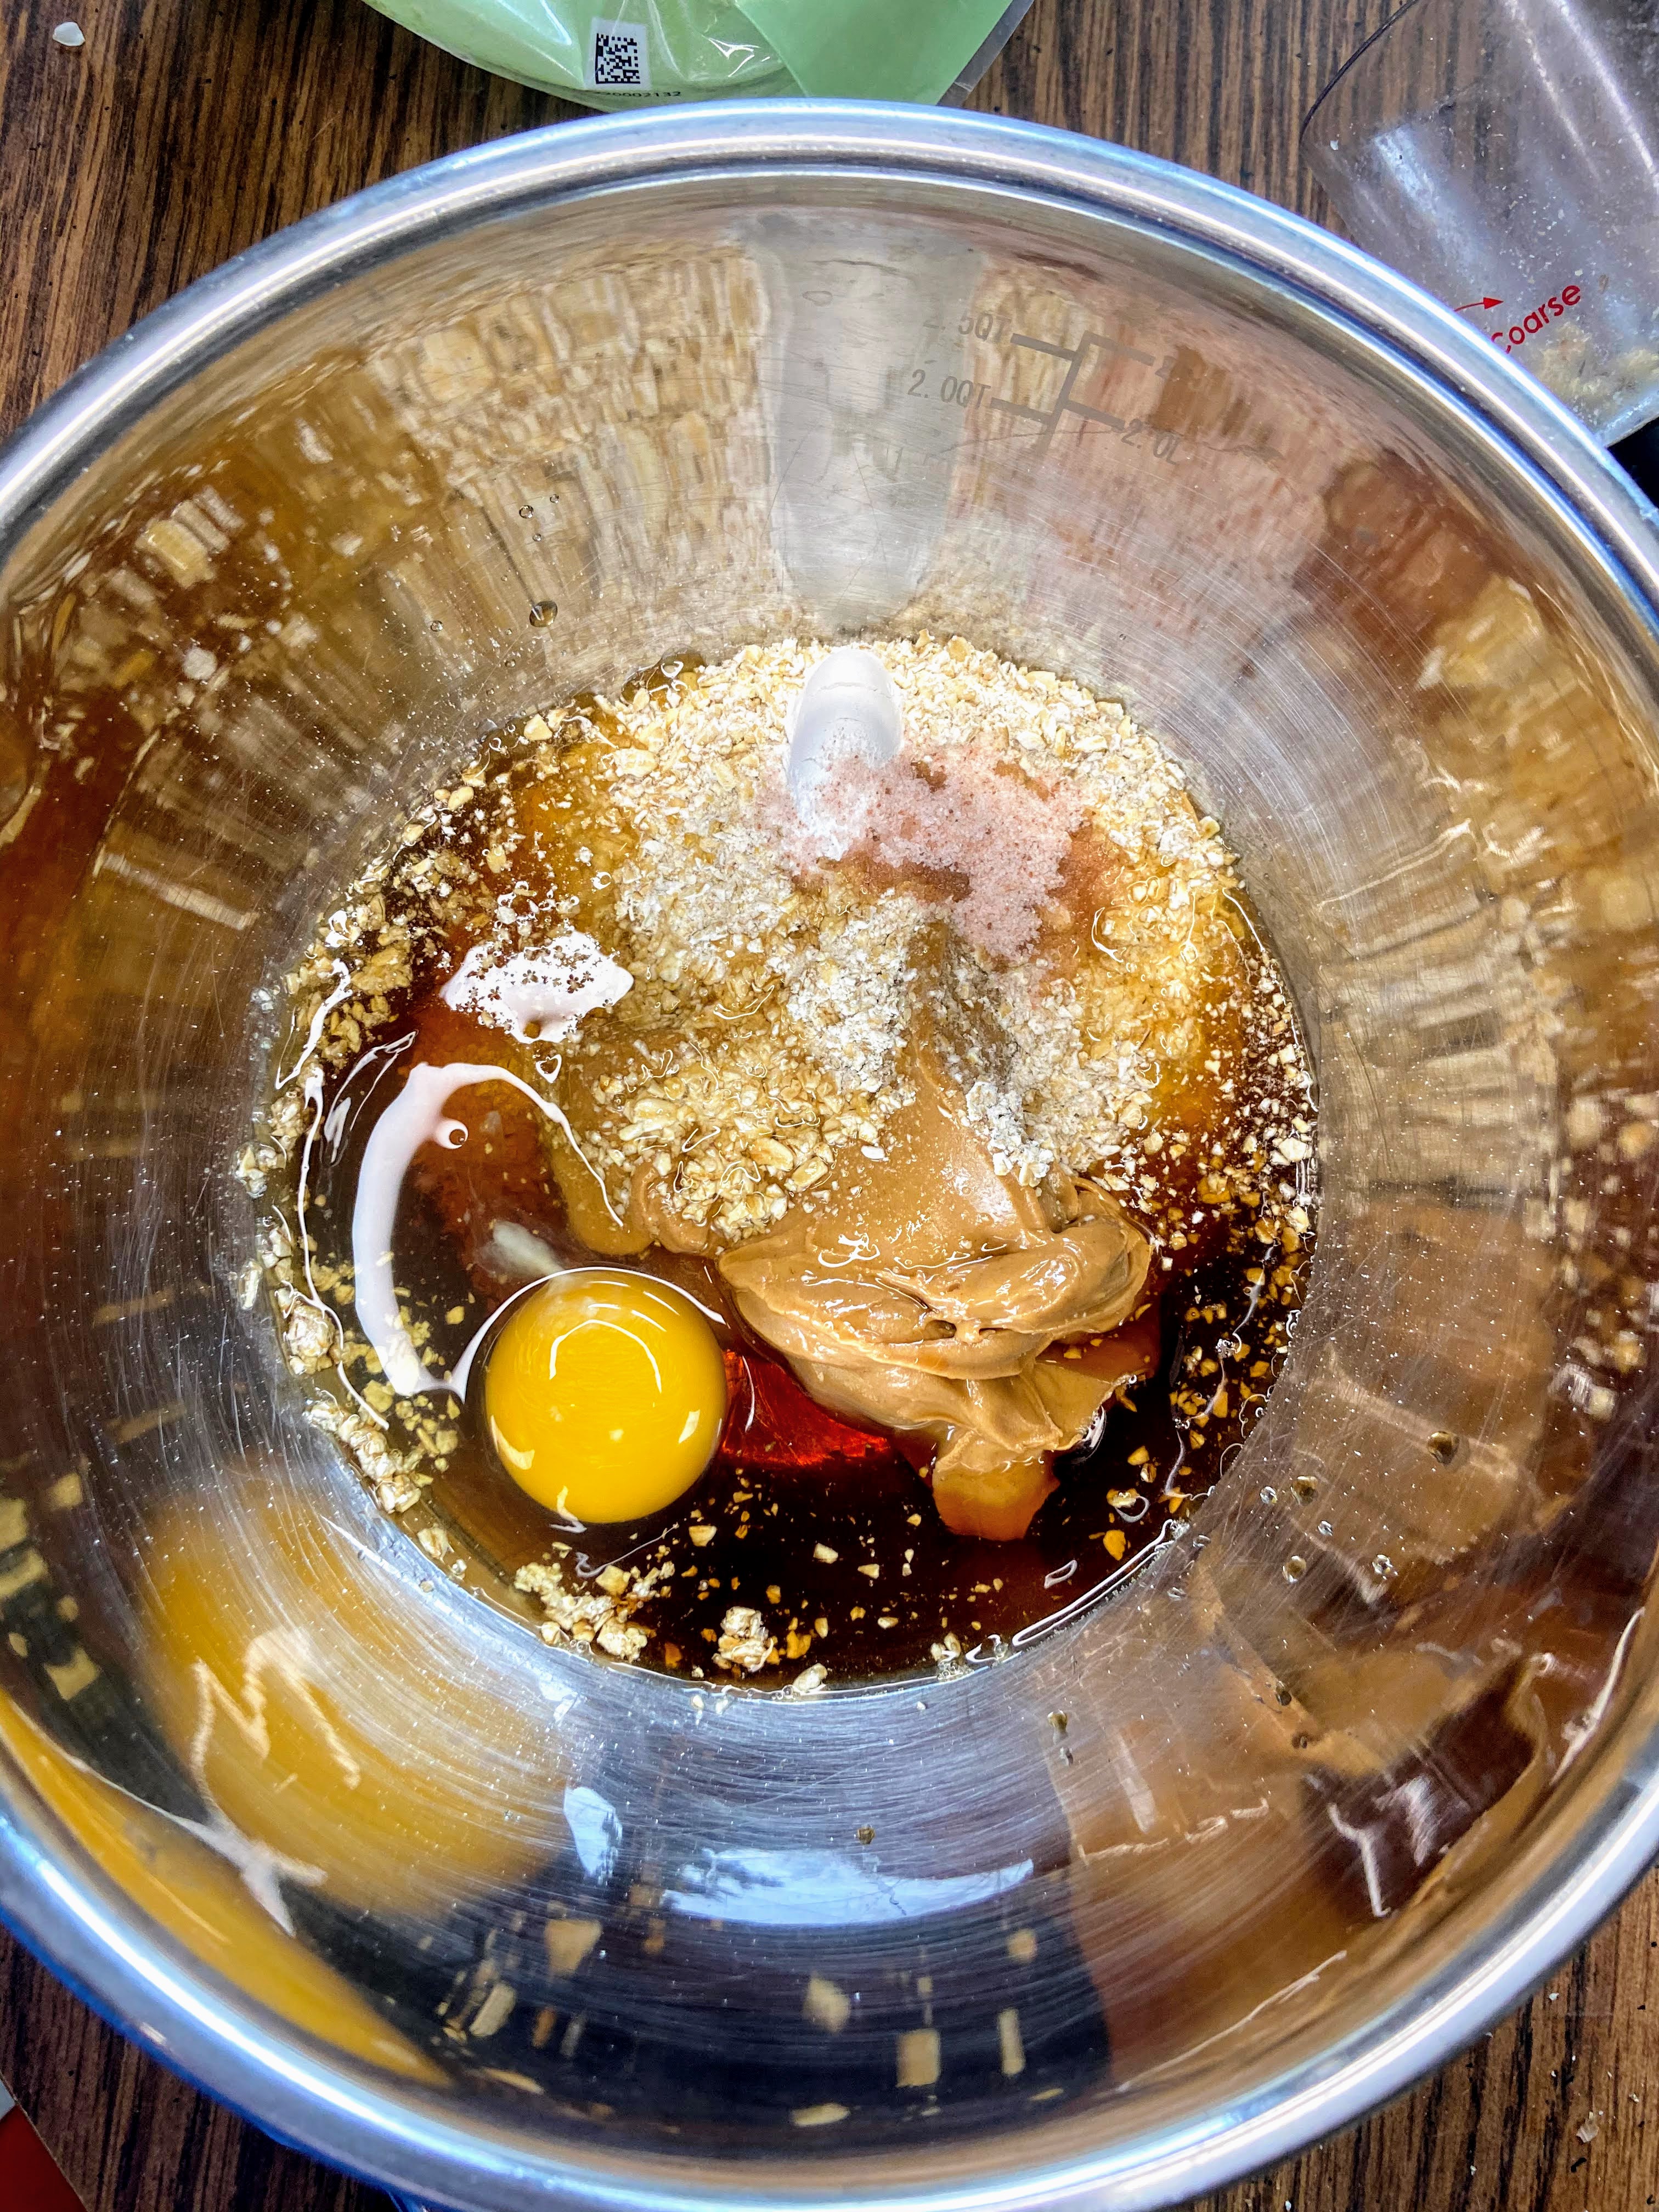
- ½ cup maple syrup
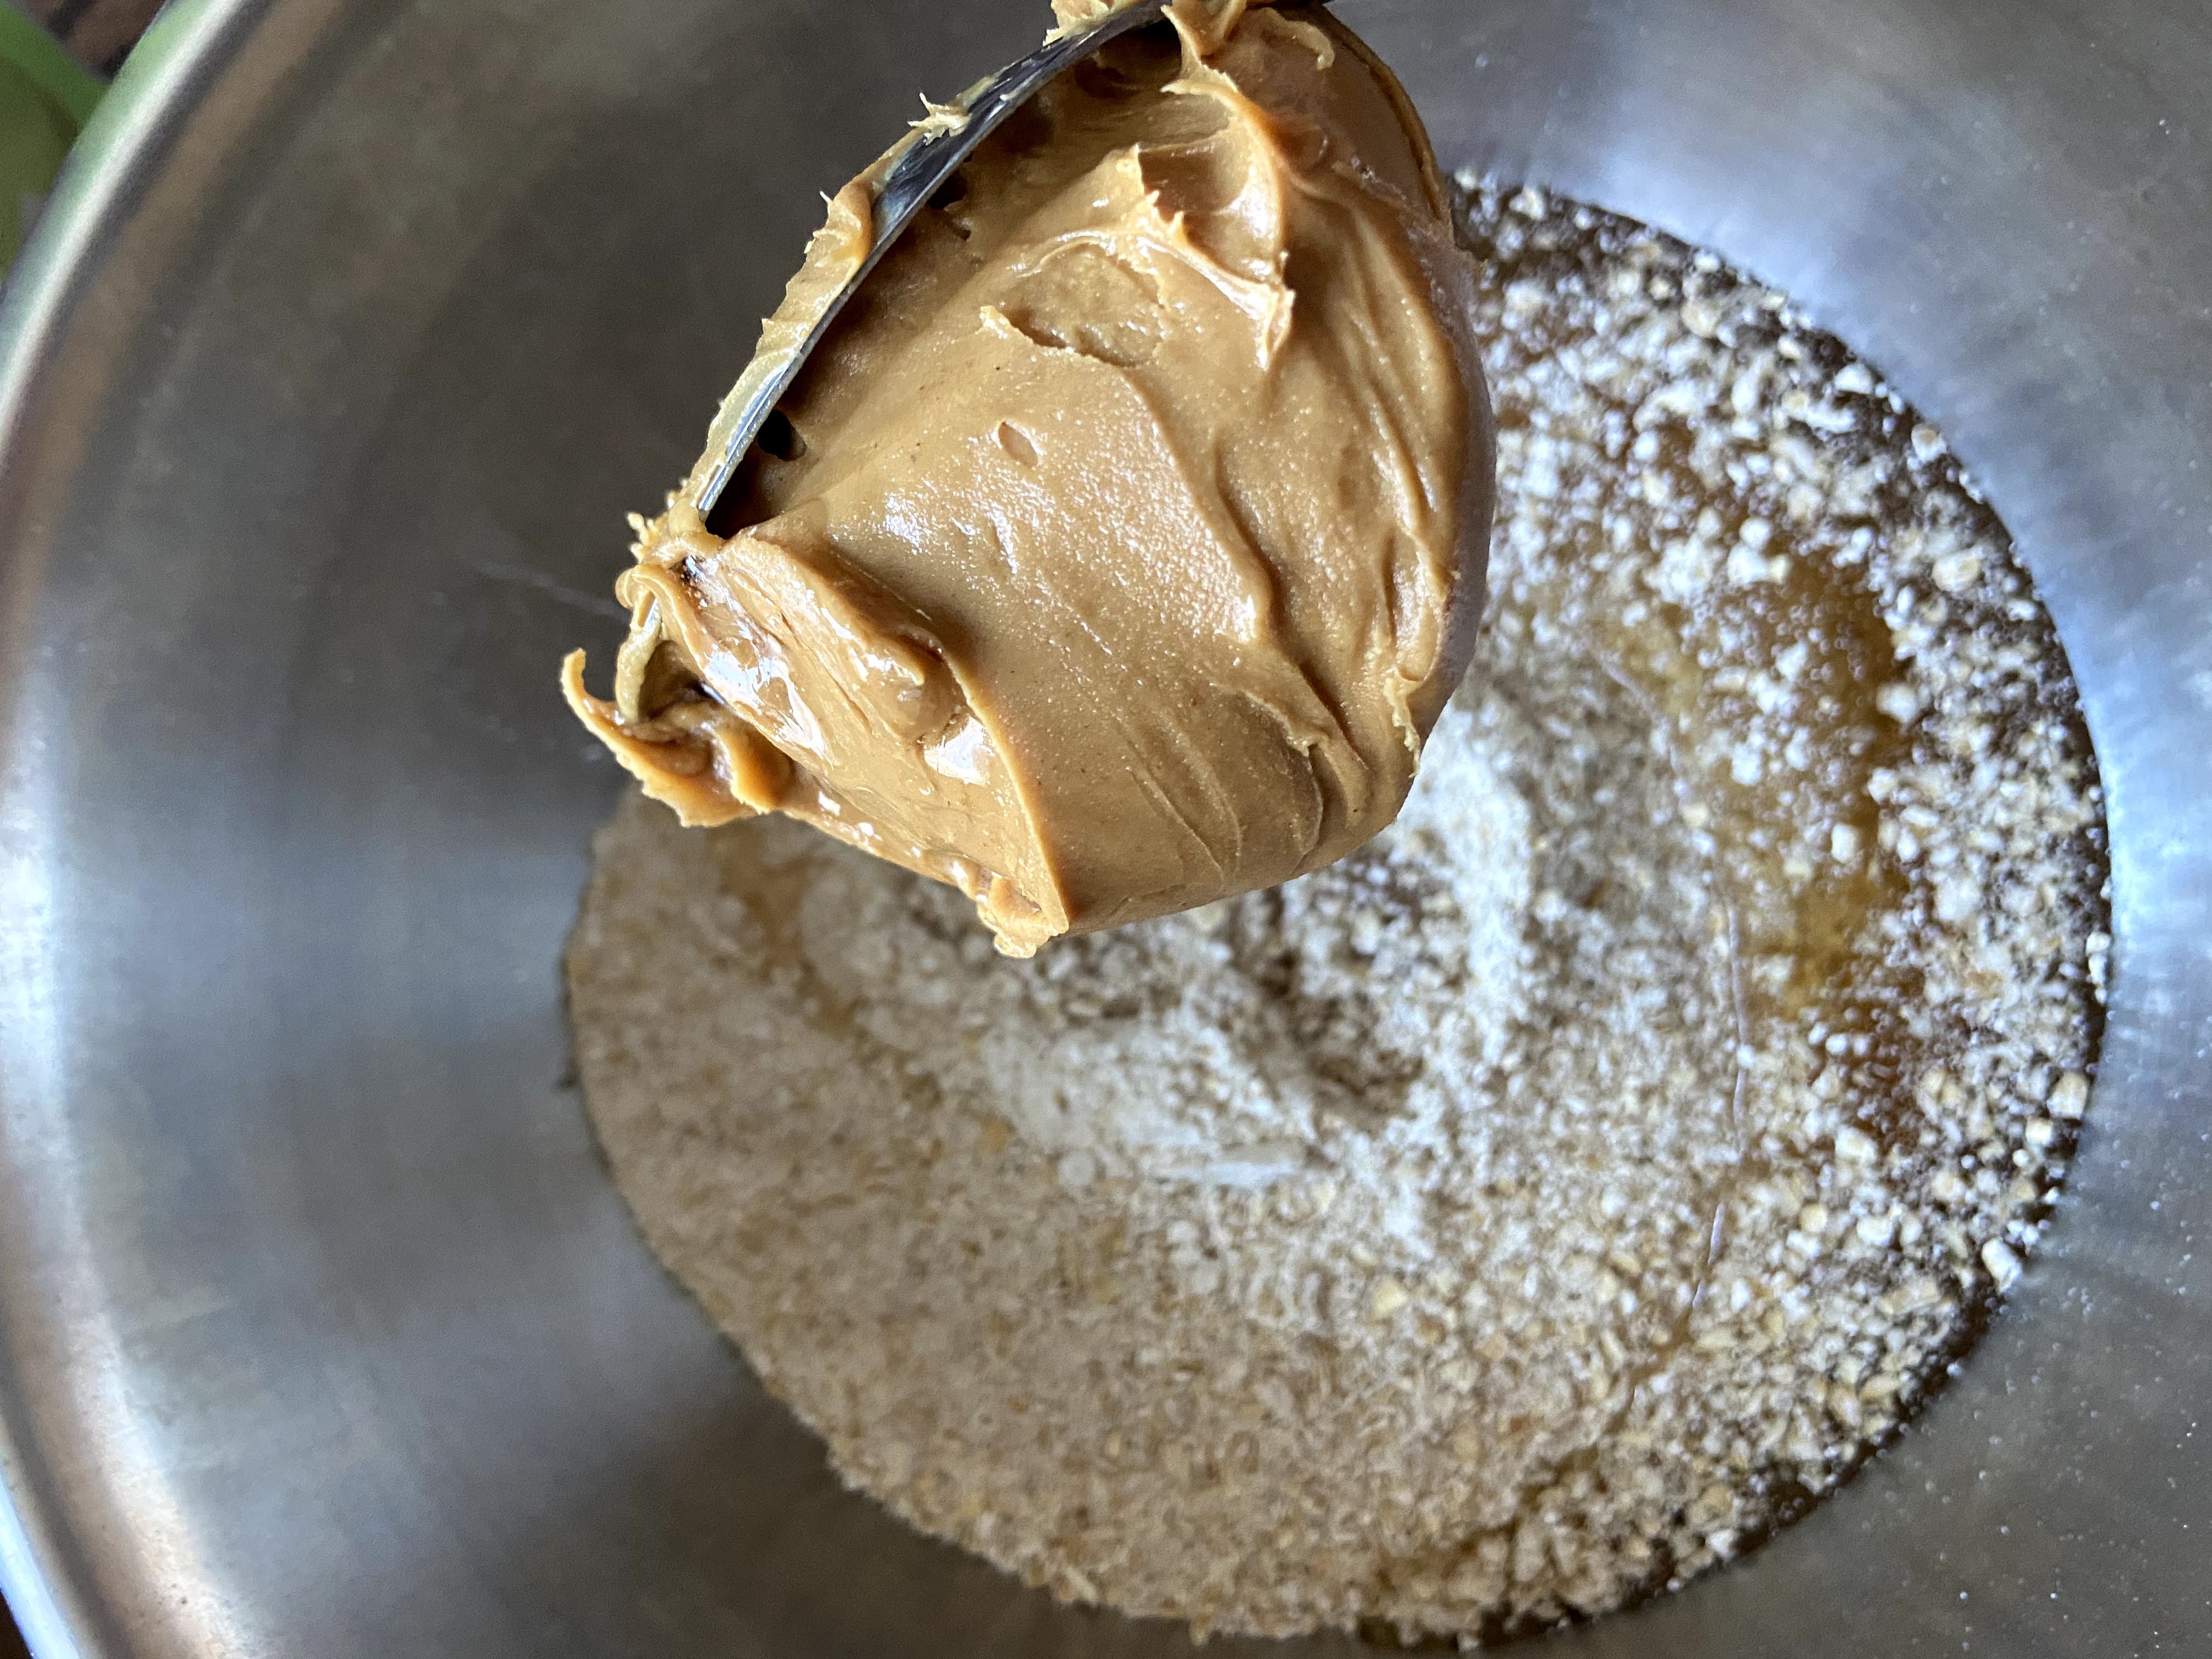
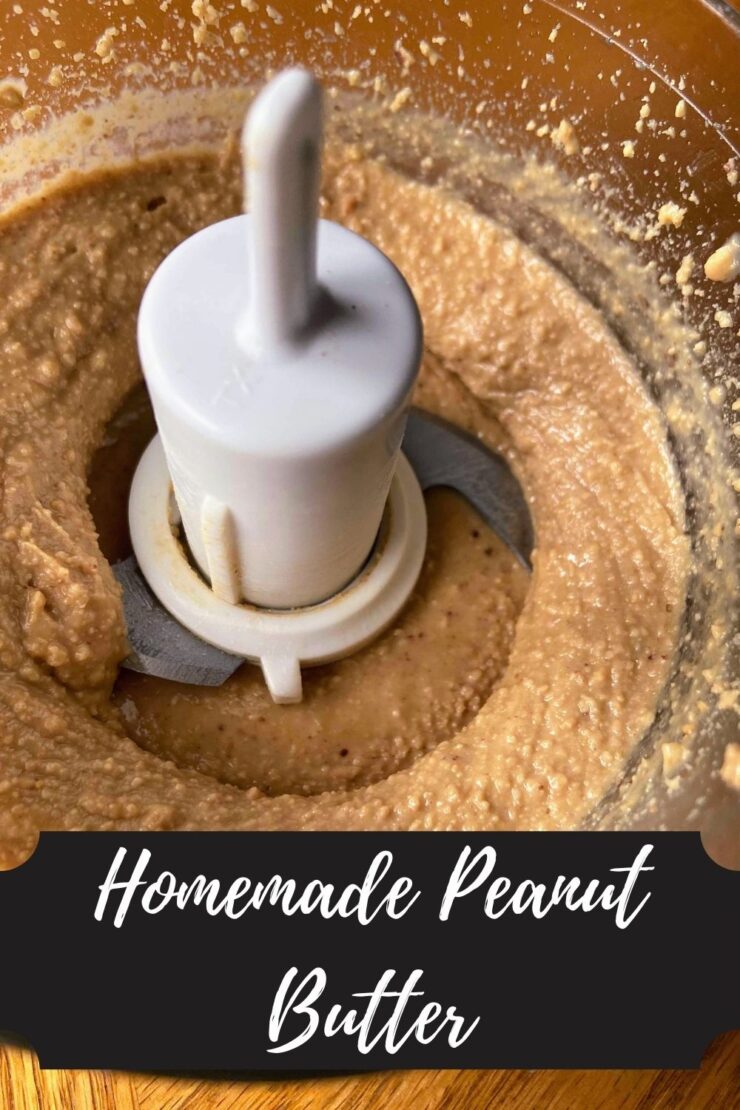
- ½ cup peanut butter
- ½ teaspoon vanilla
- Nice pinch of salt
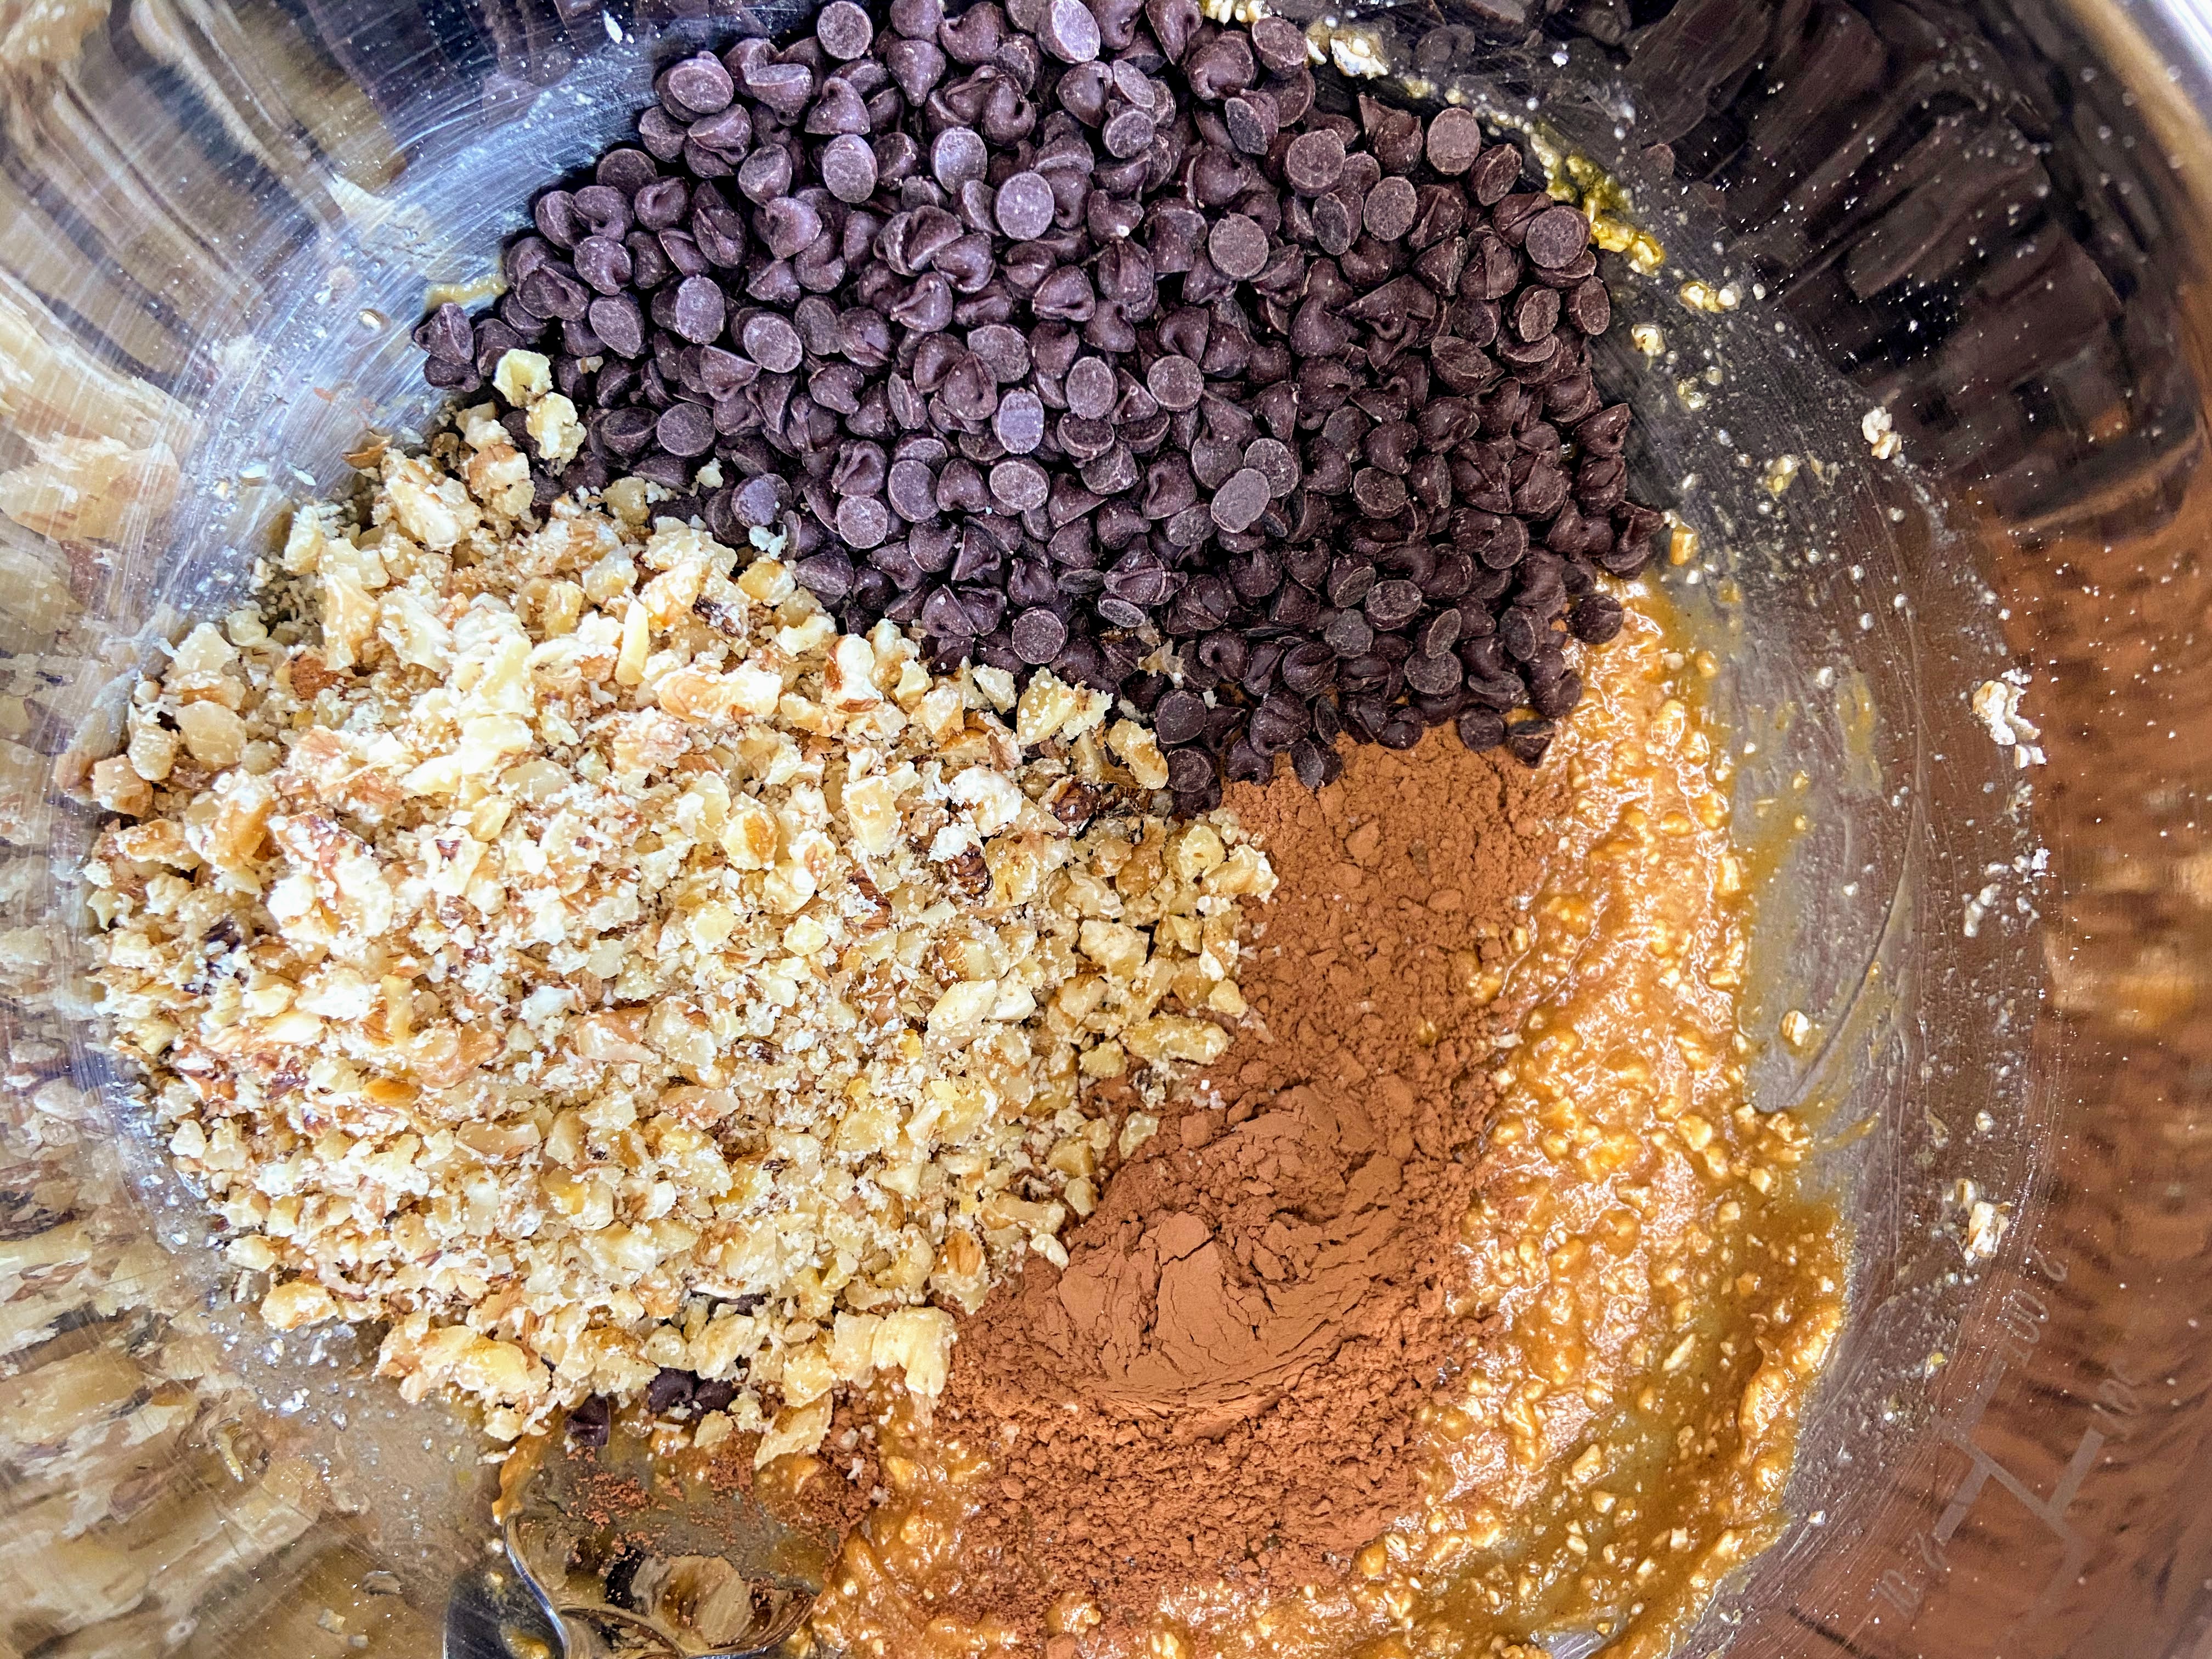
- 2 tablespoons cocoa powder
- 2-2 ½ cups corn flakes
- ½ cup finely chopped nuts (optional)
Your Steps to No Bake Cornflake Cookies
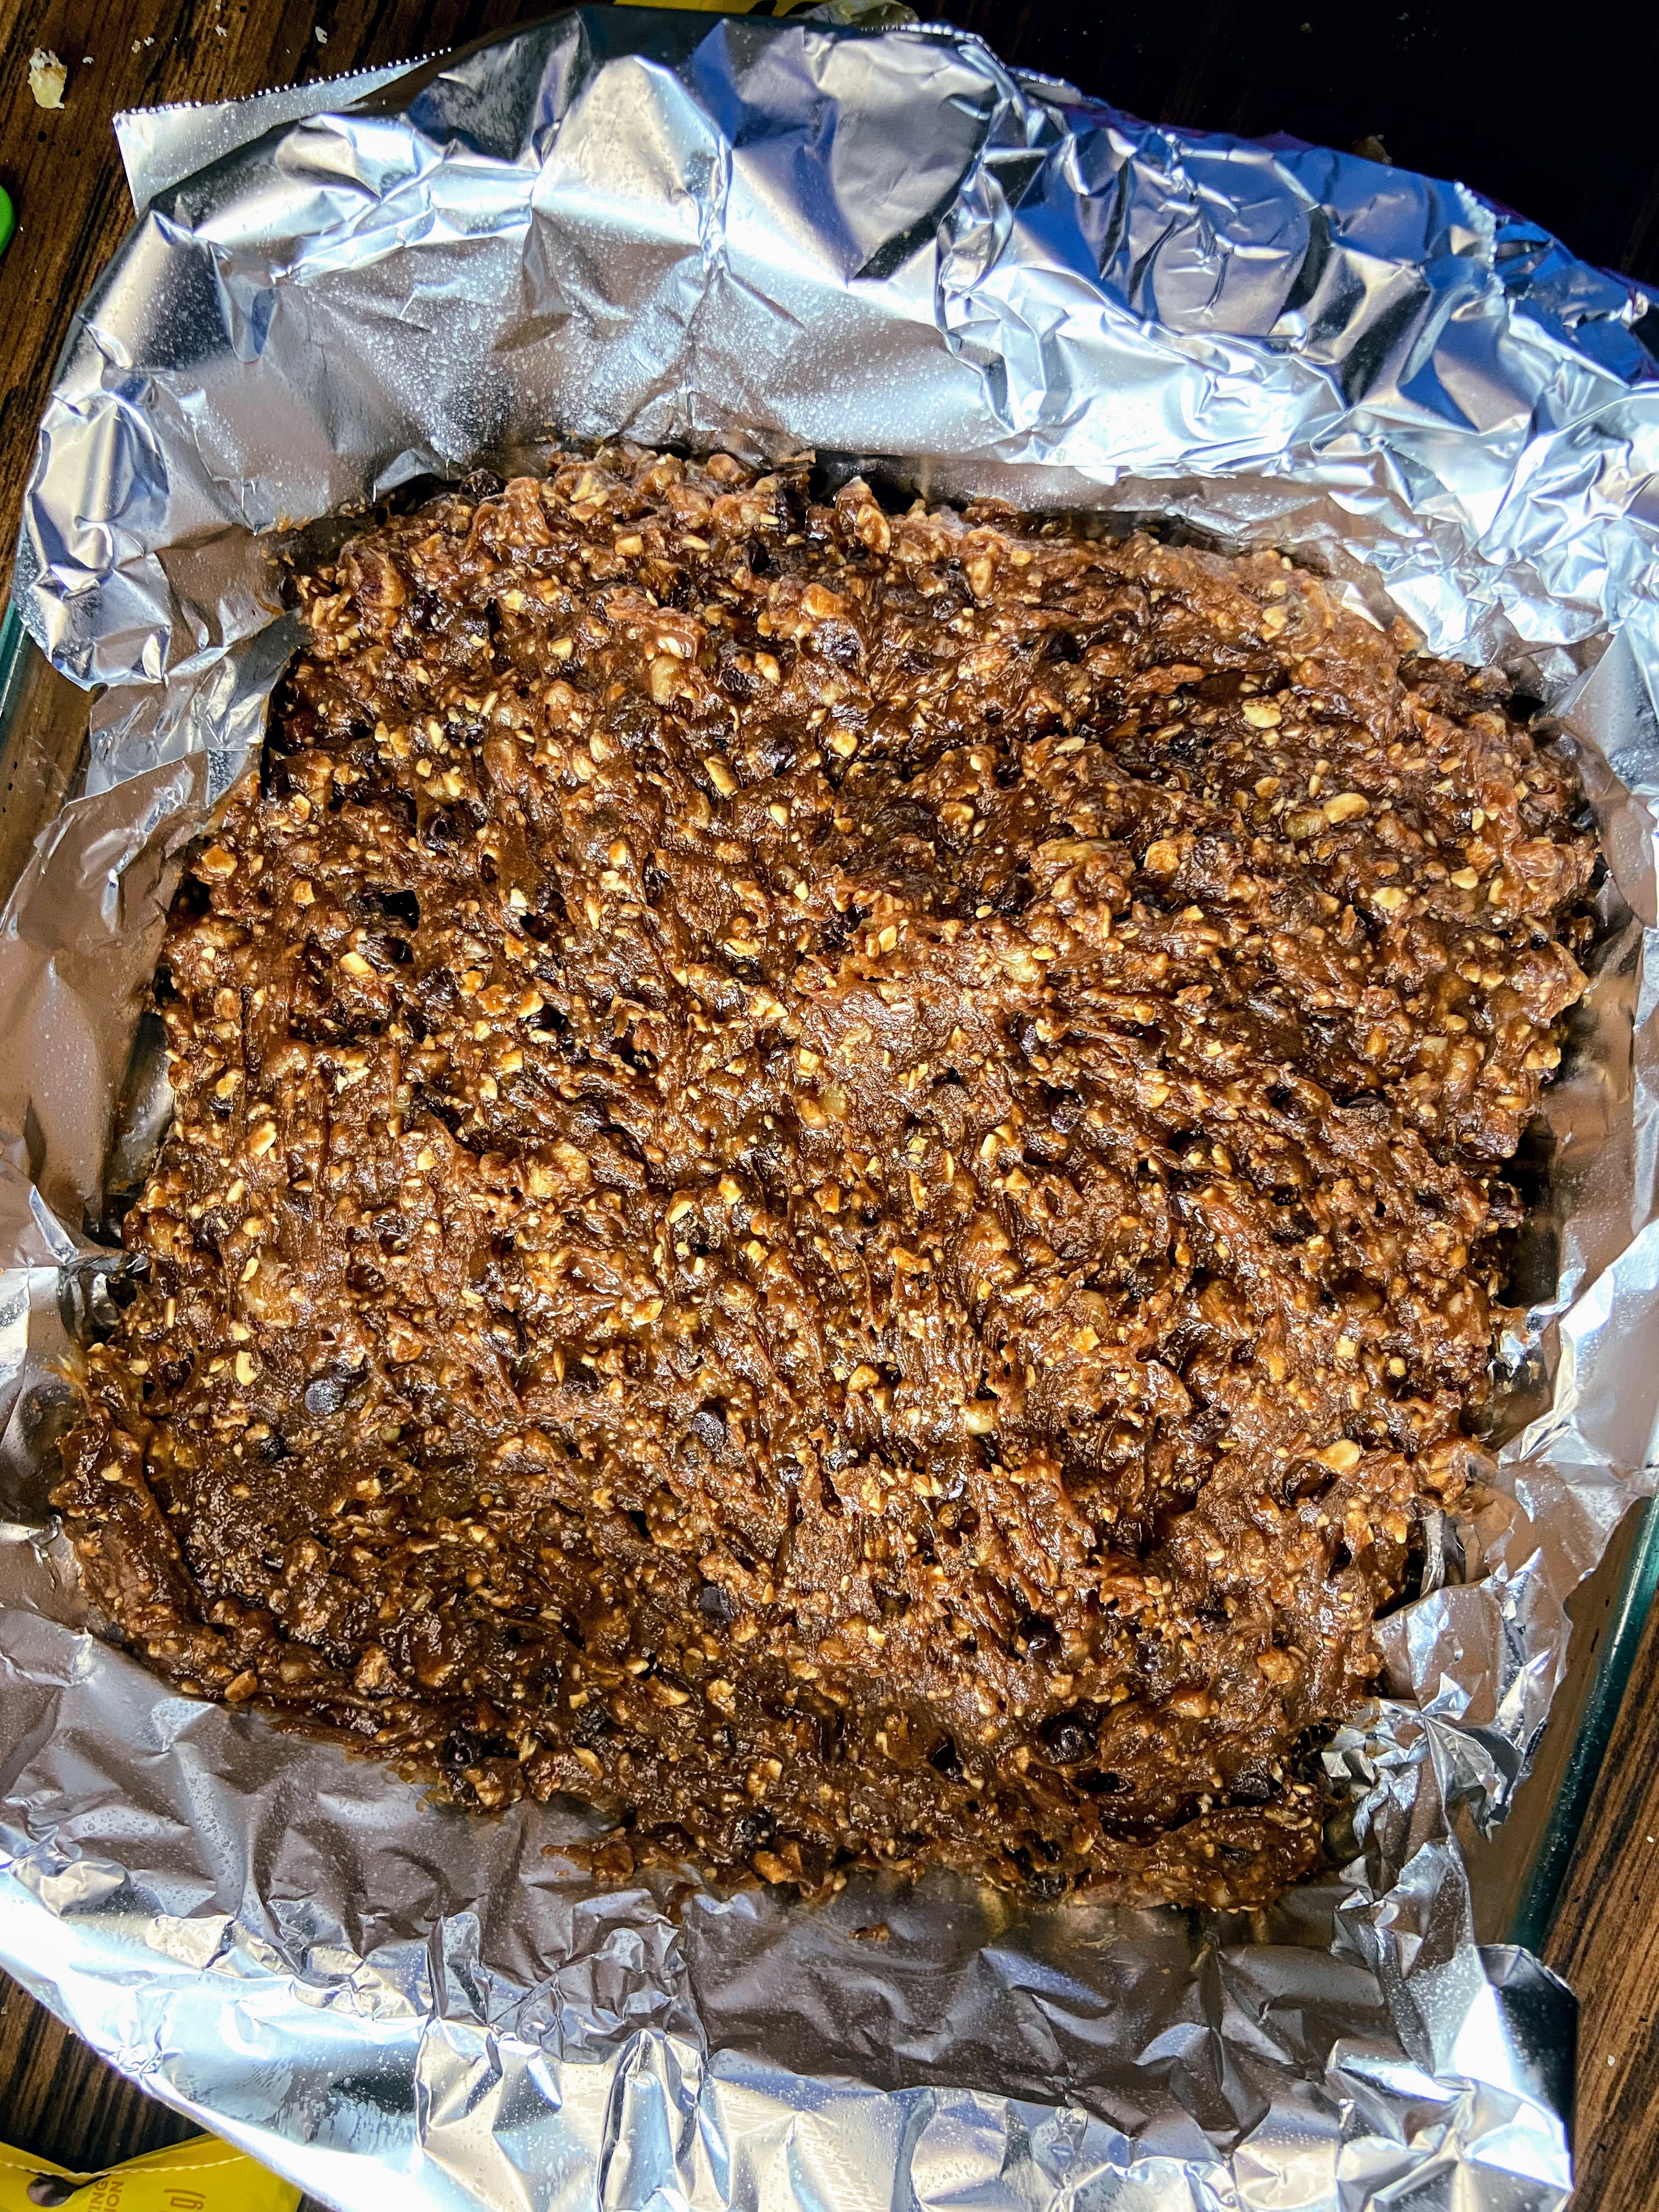
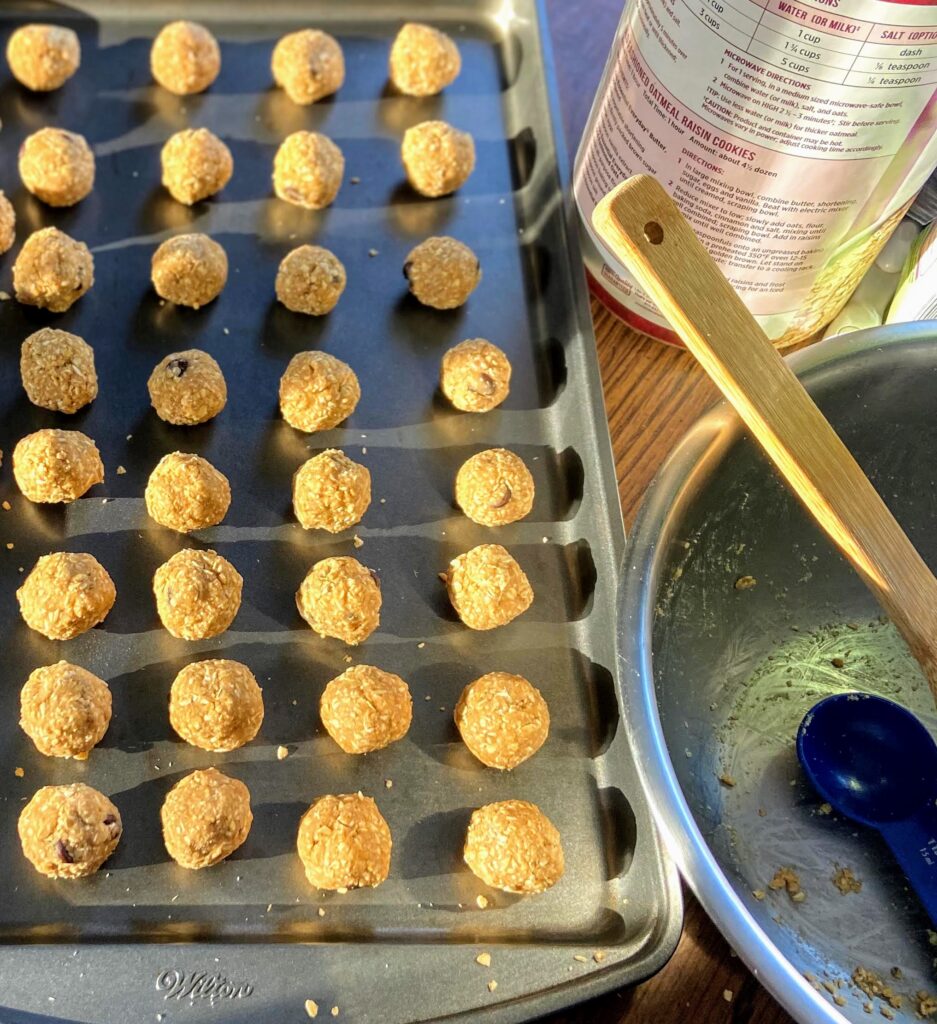
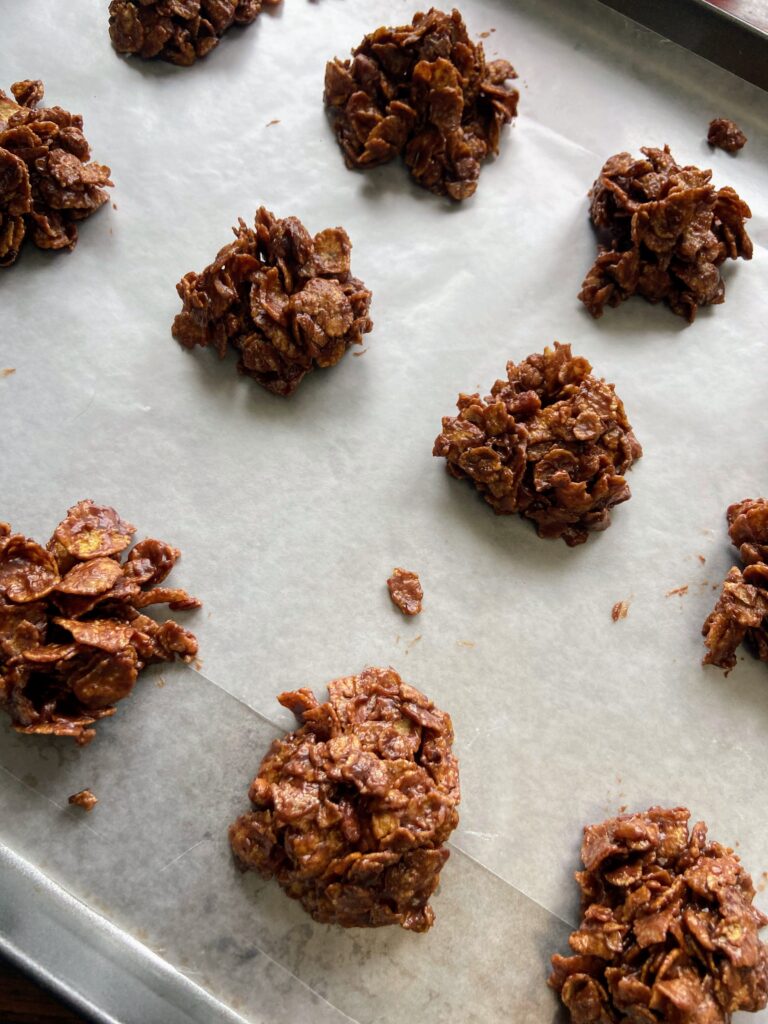
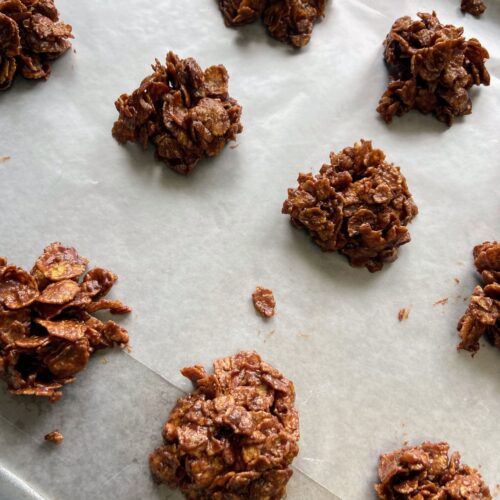
Prepare two baking sheets with wax or parchment paper to place the cookies on when they are cooling.
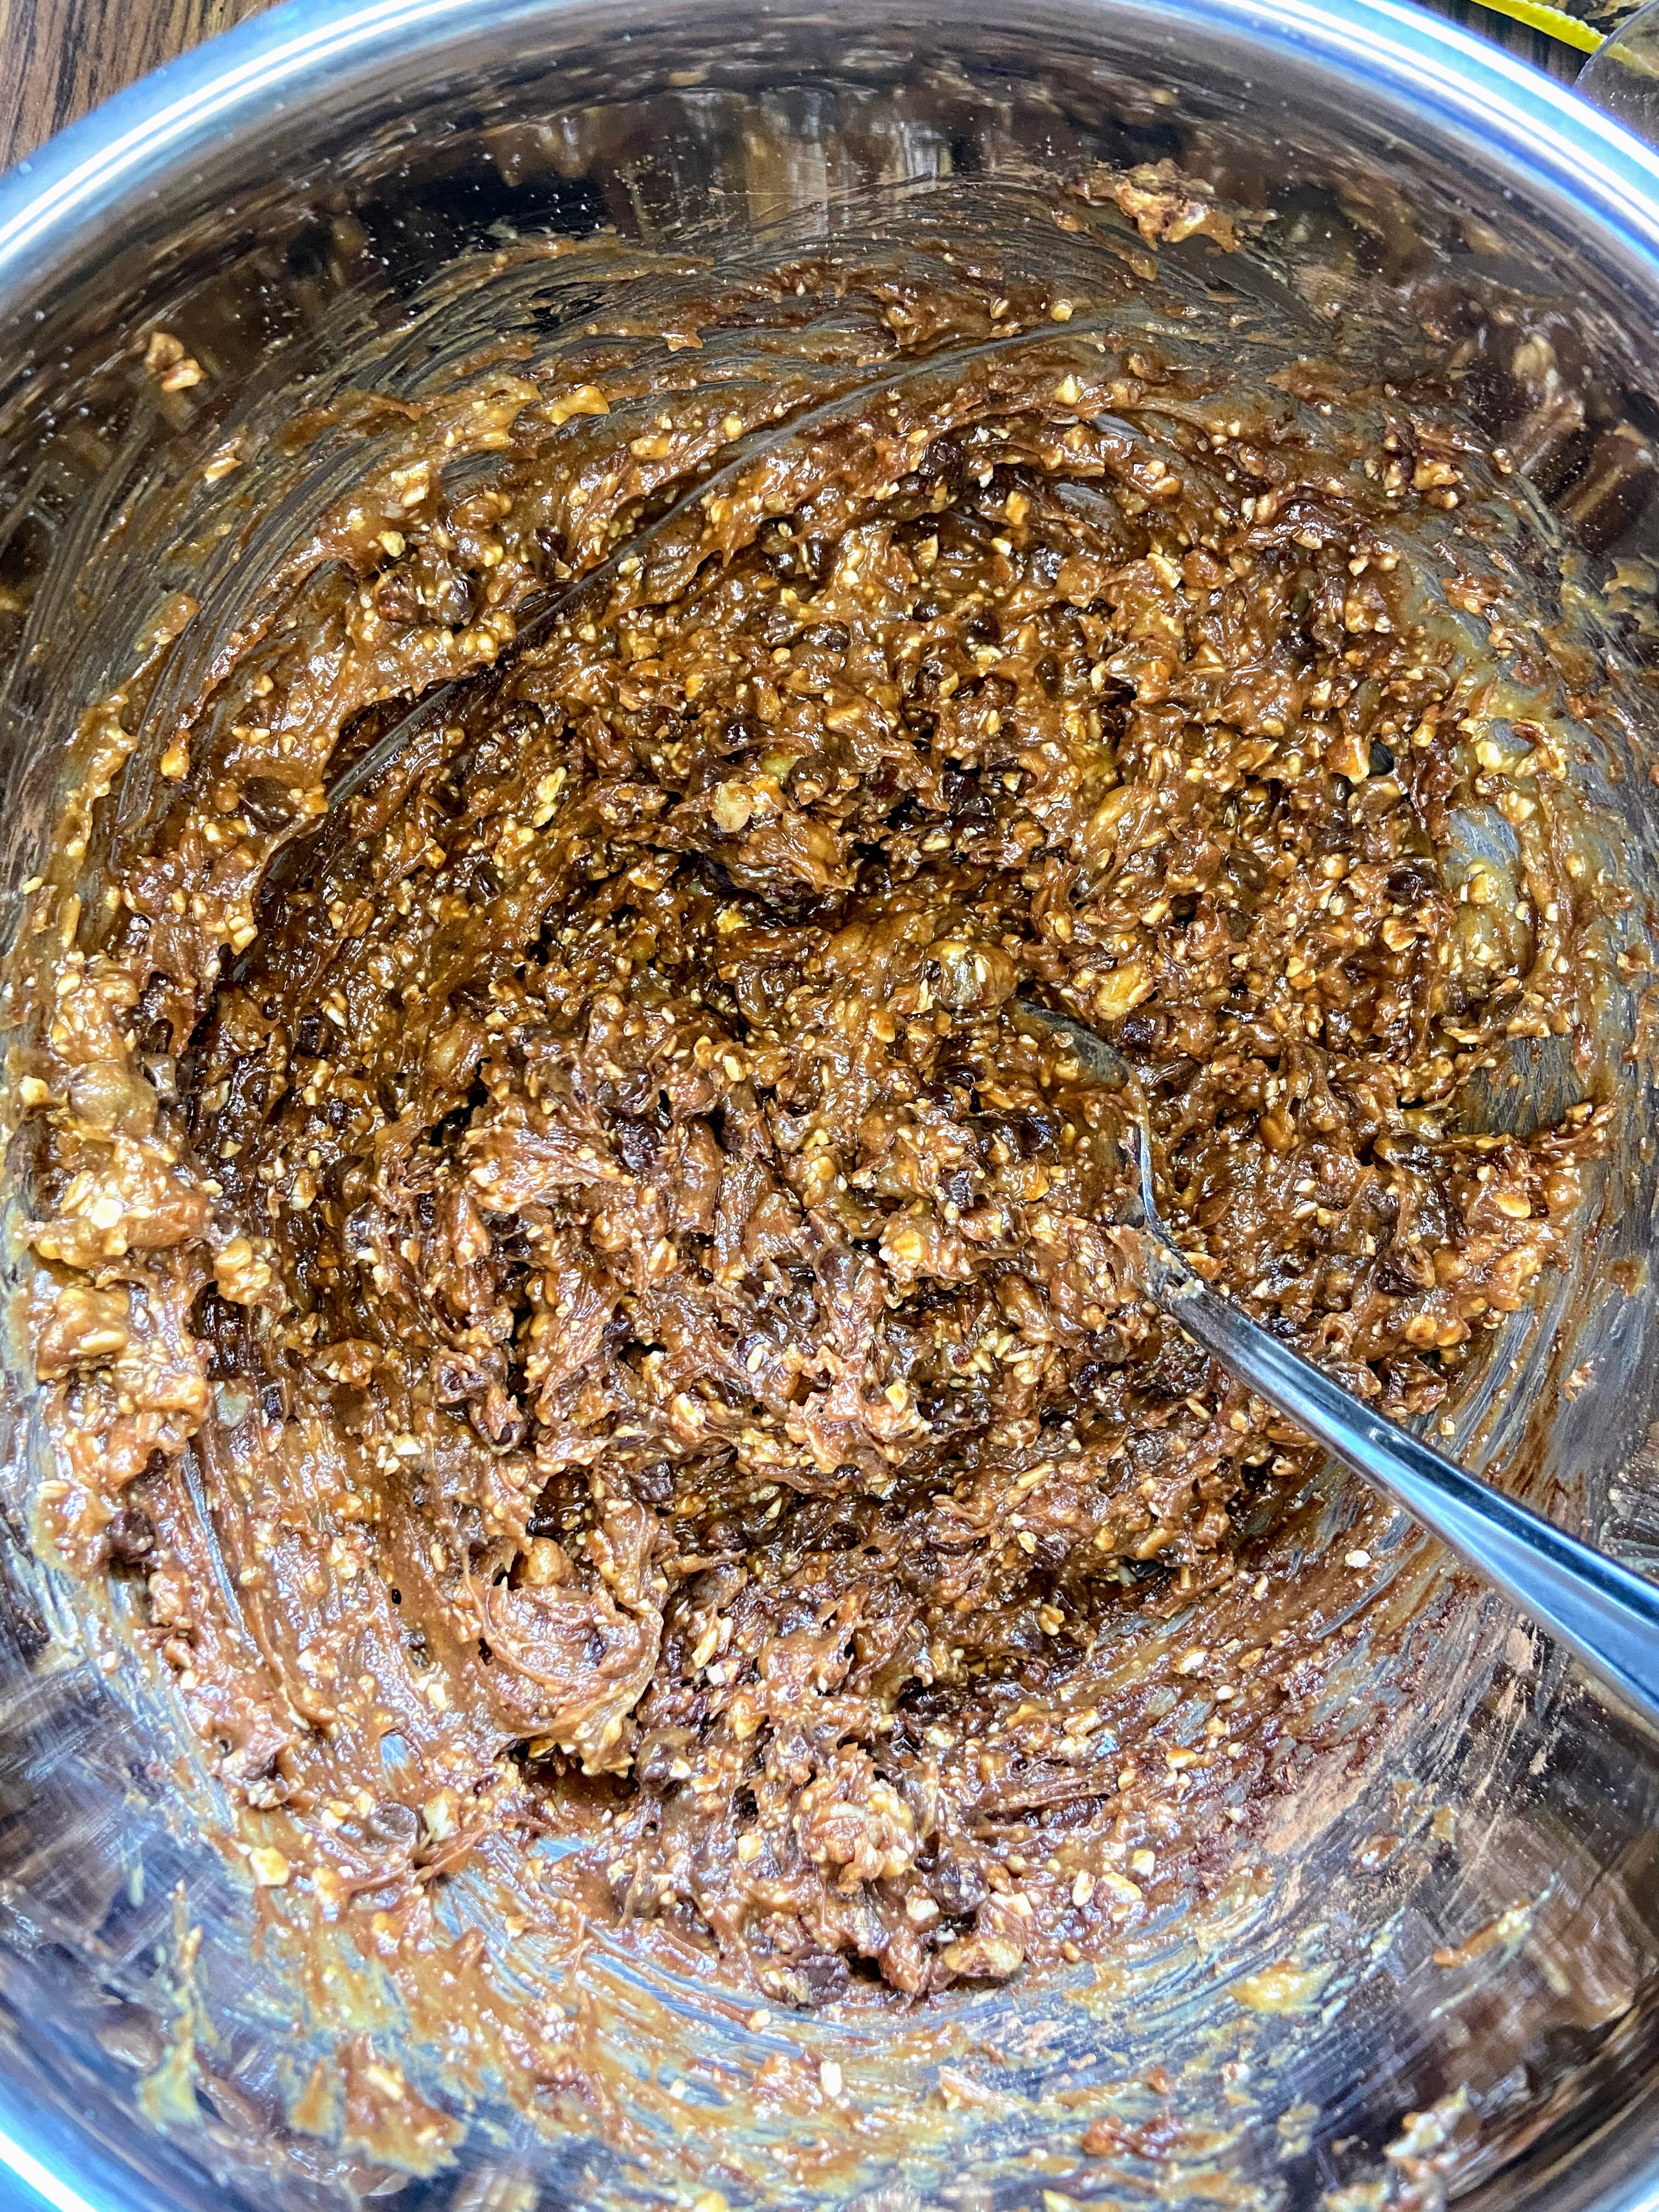
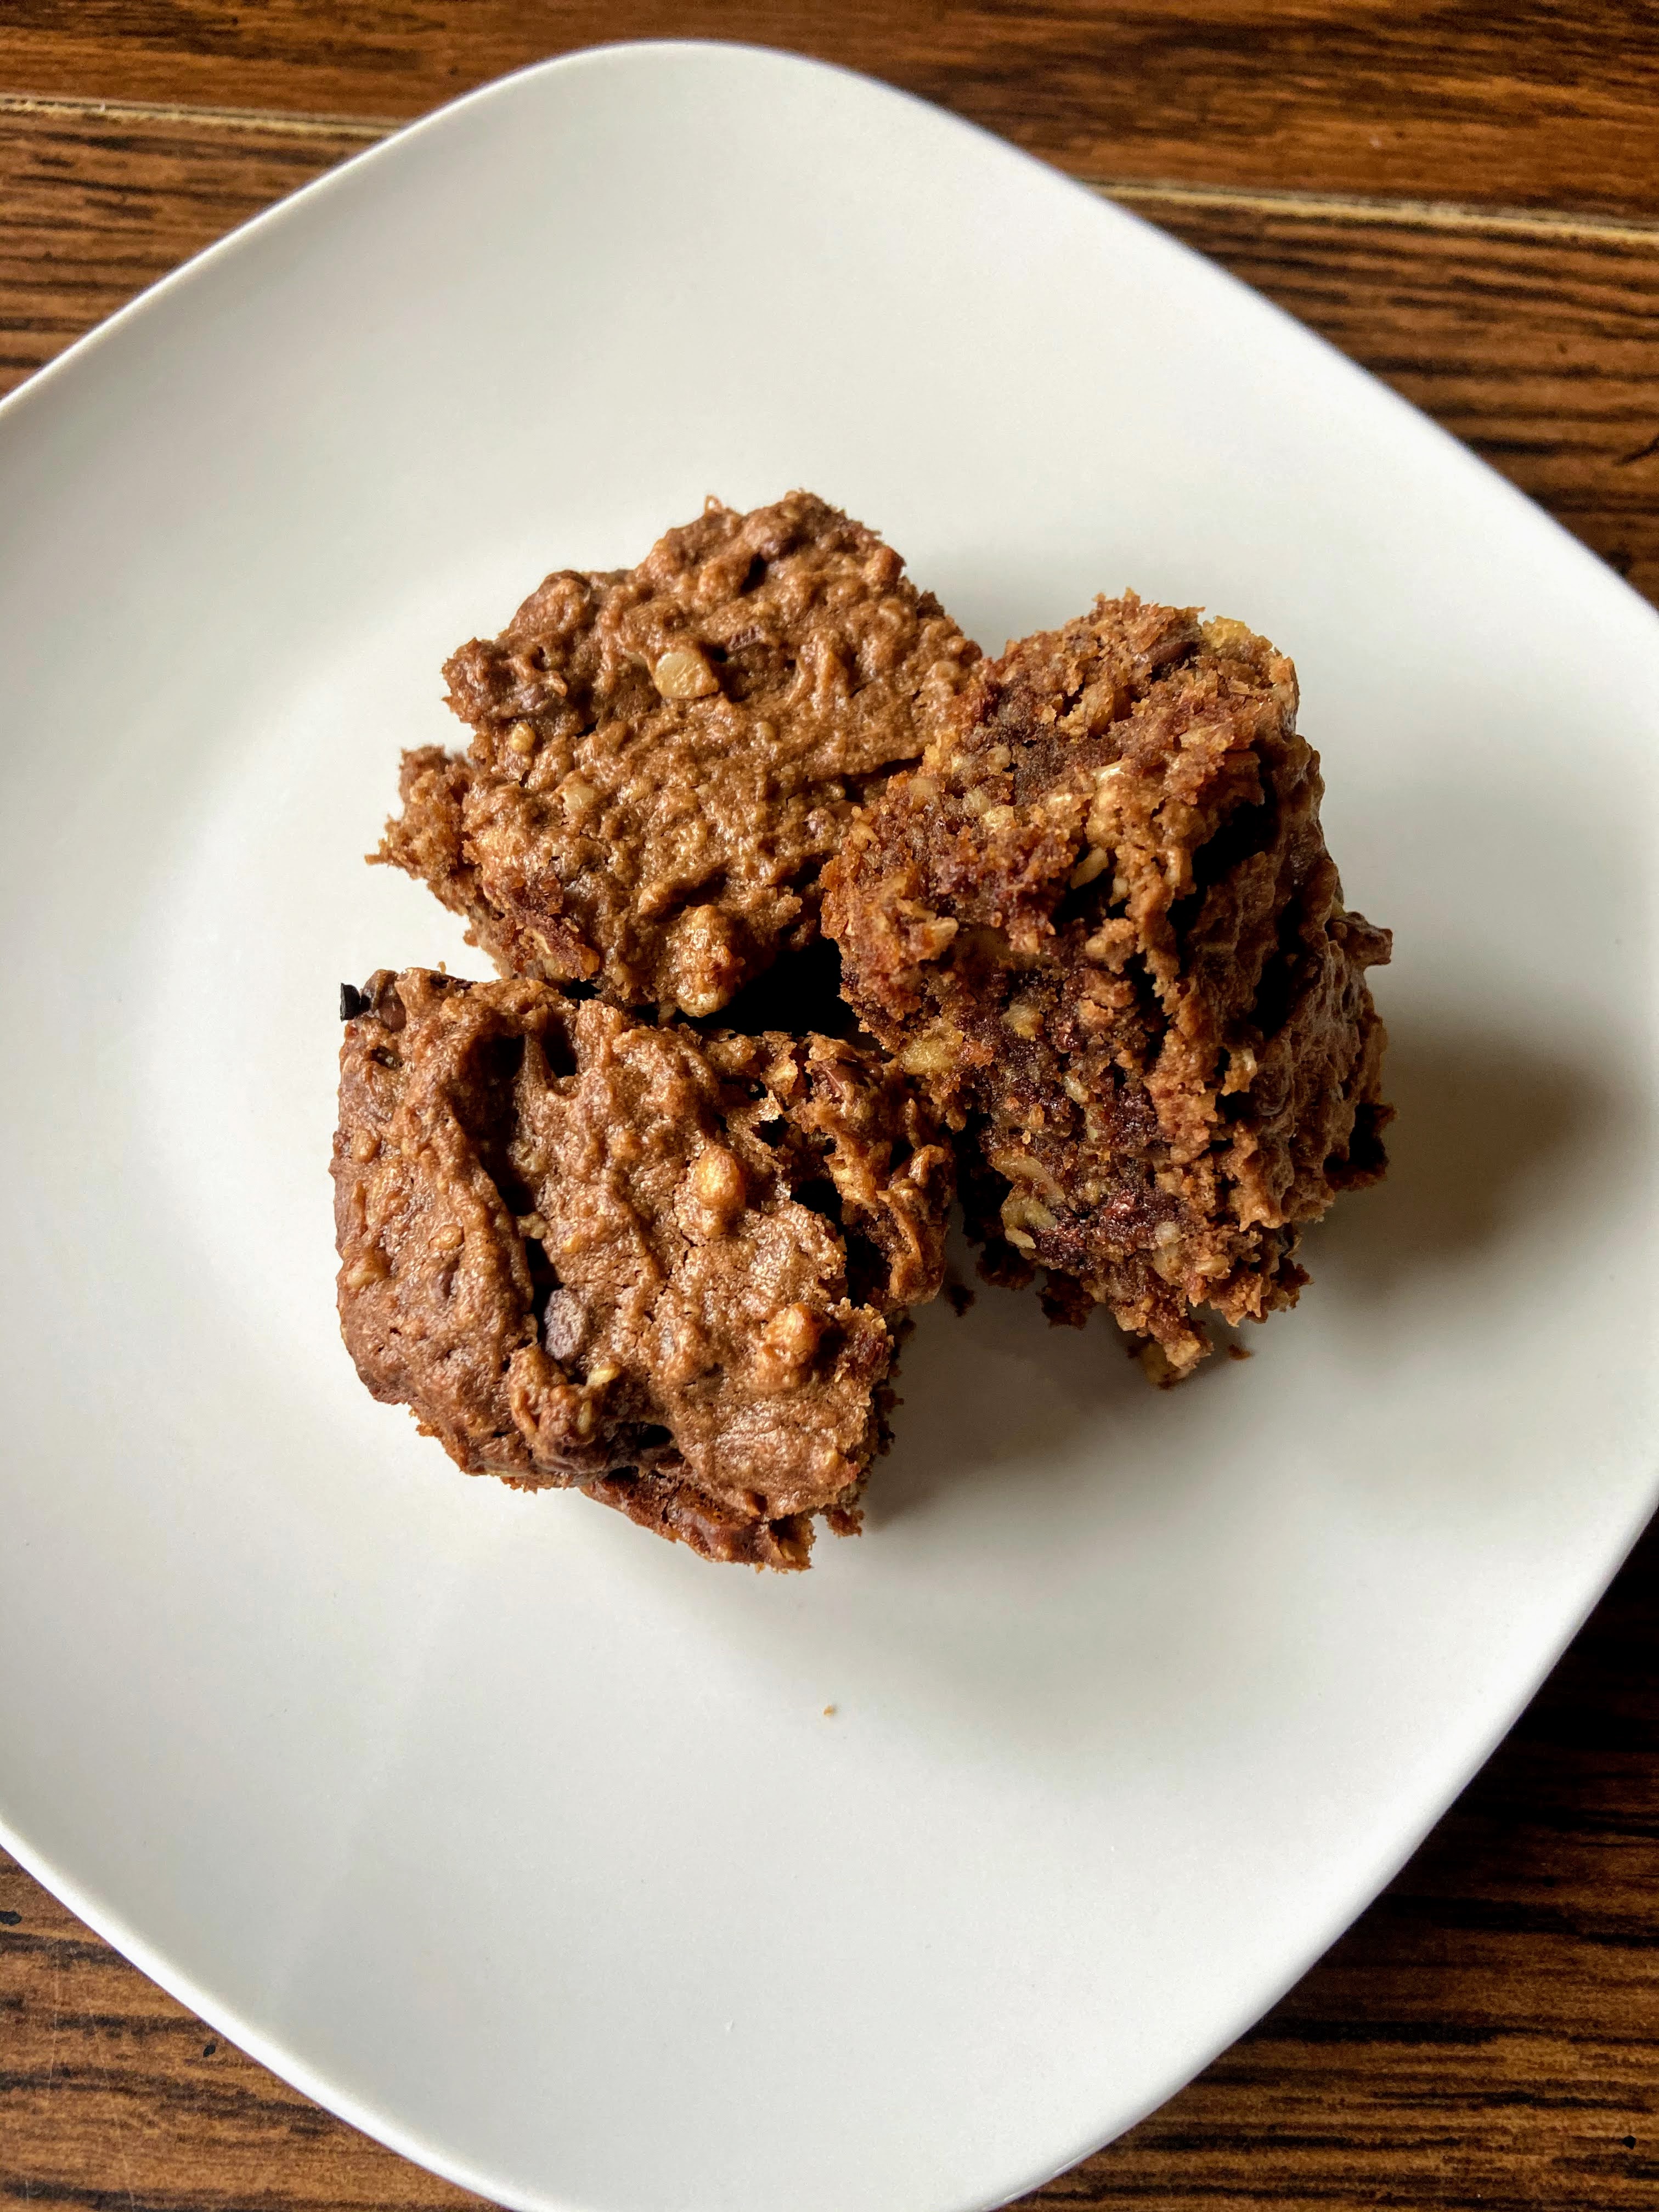
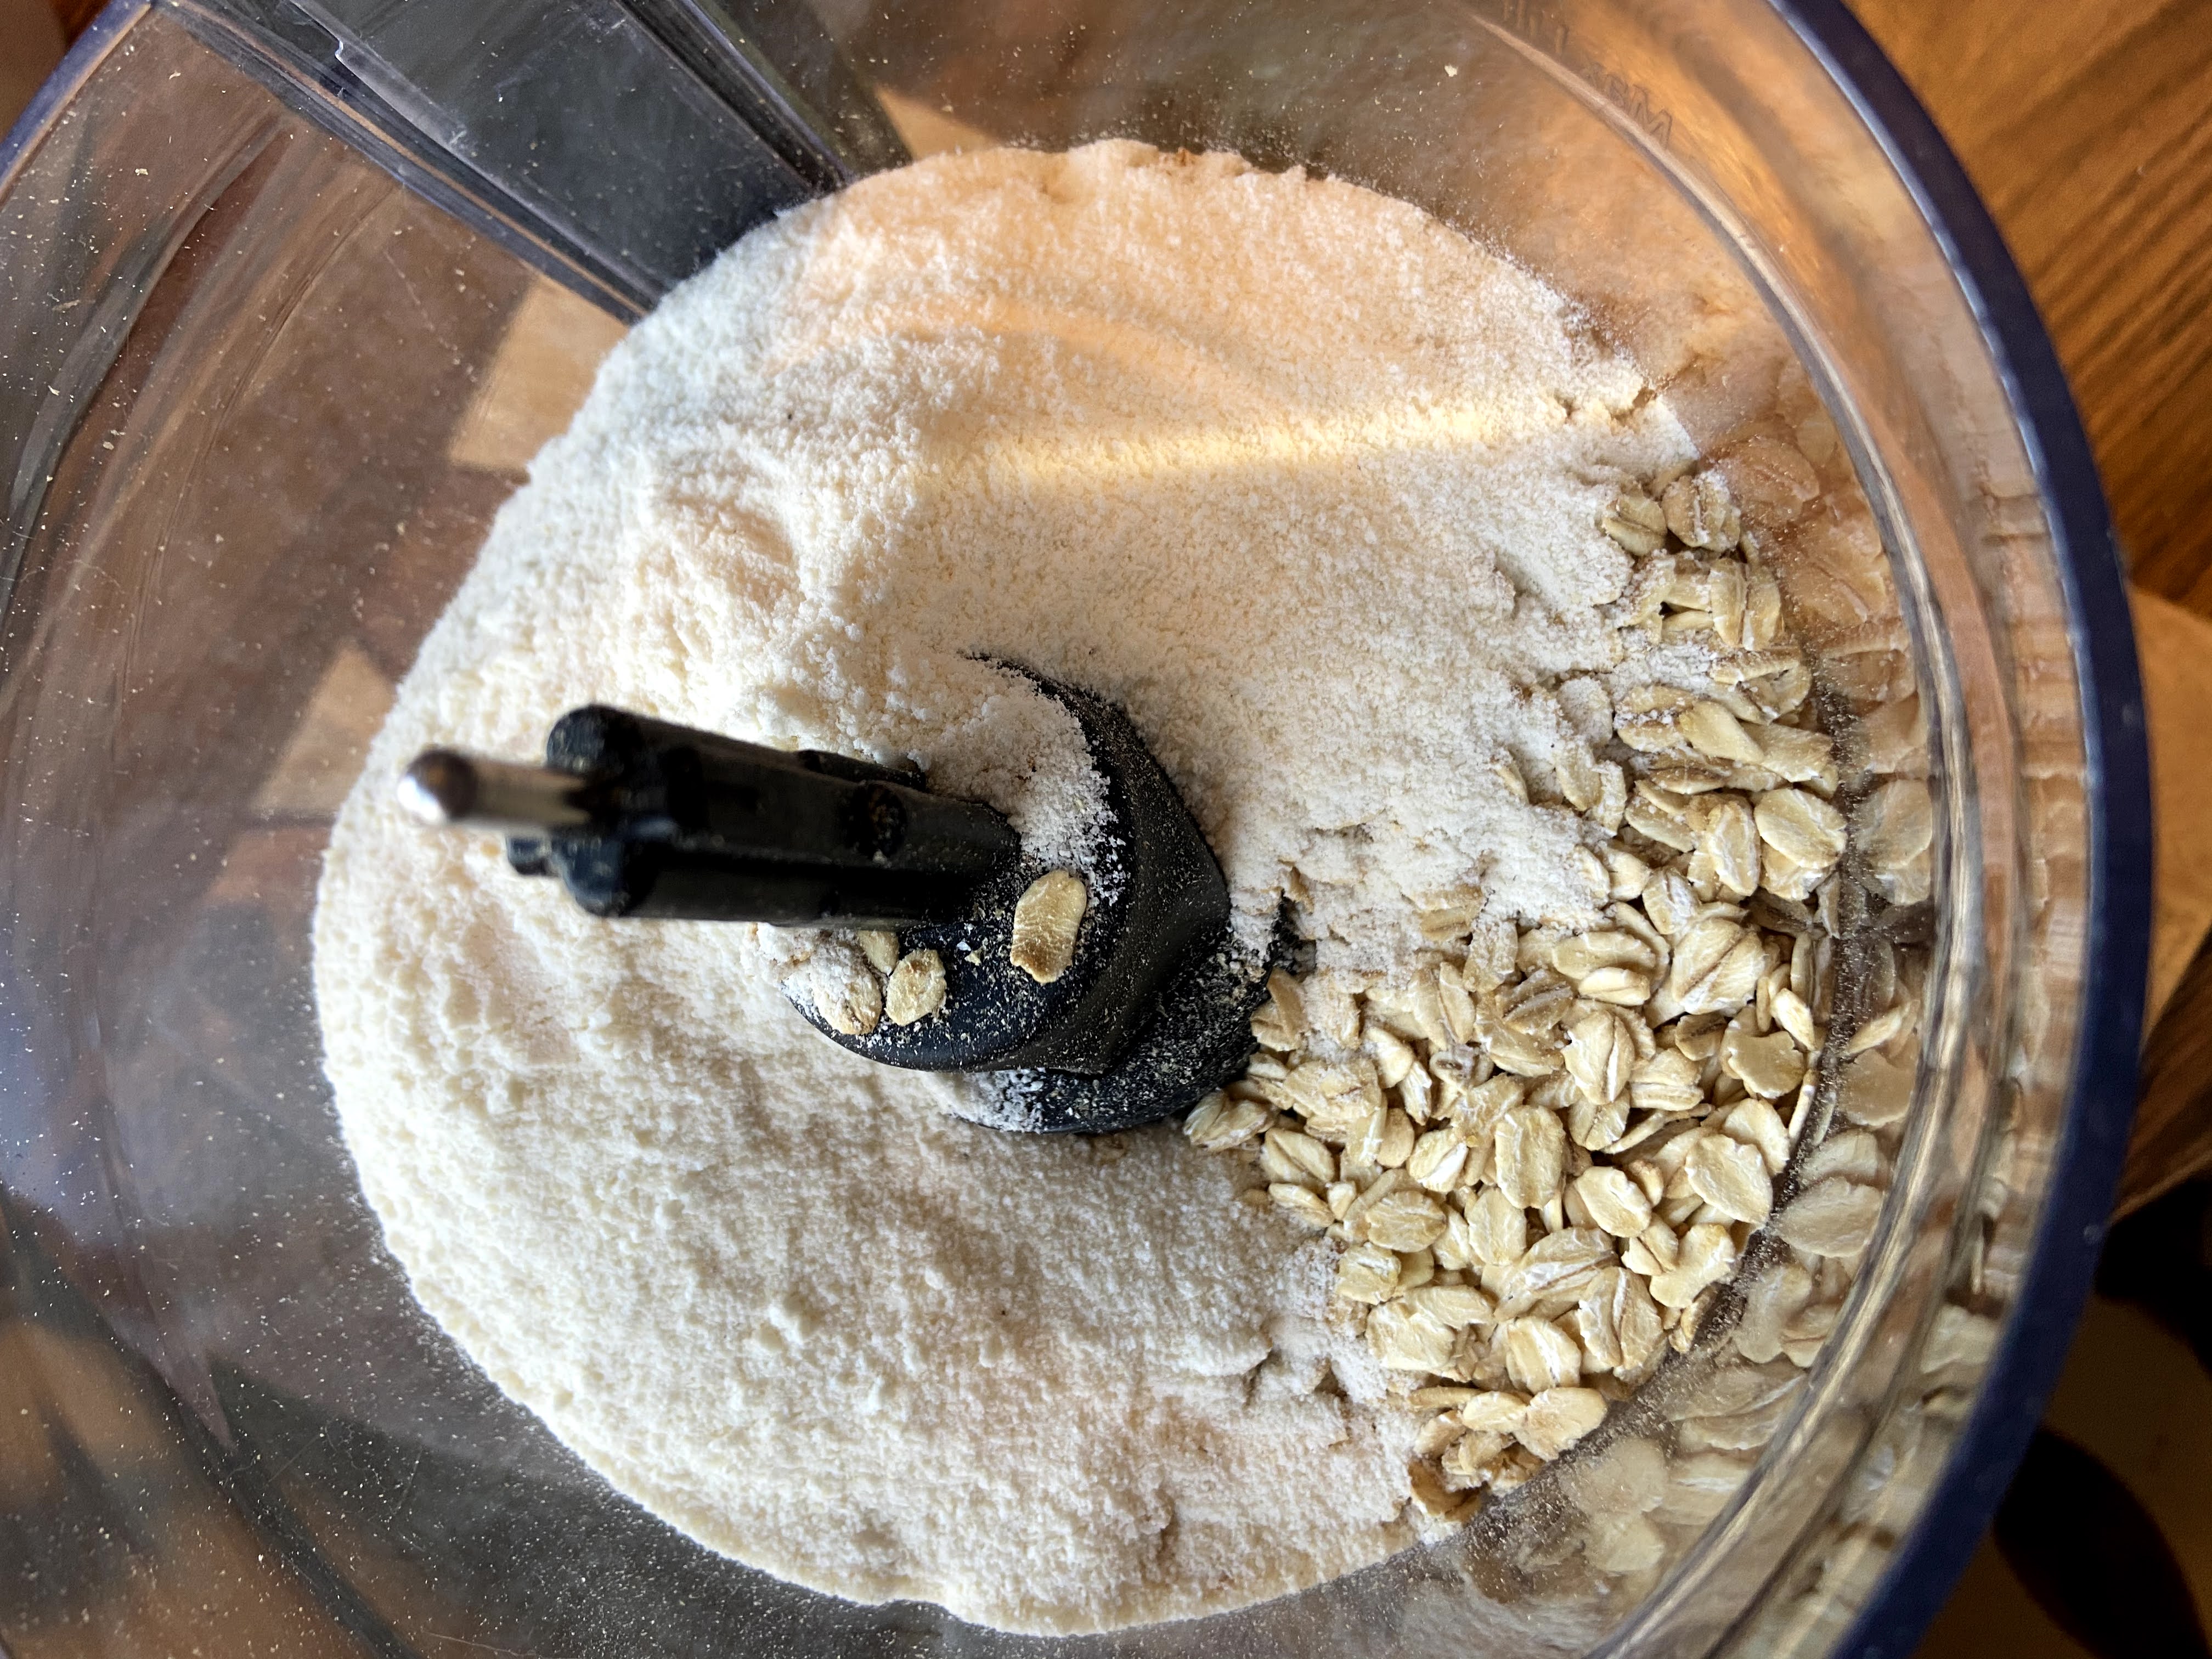
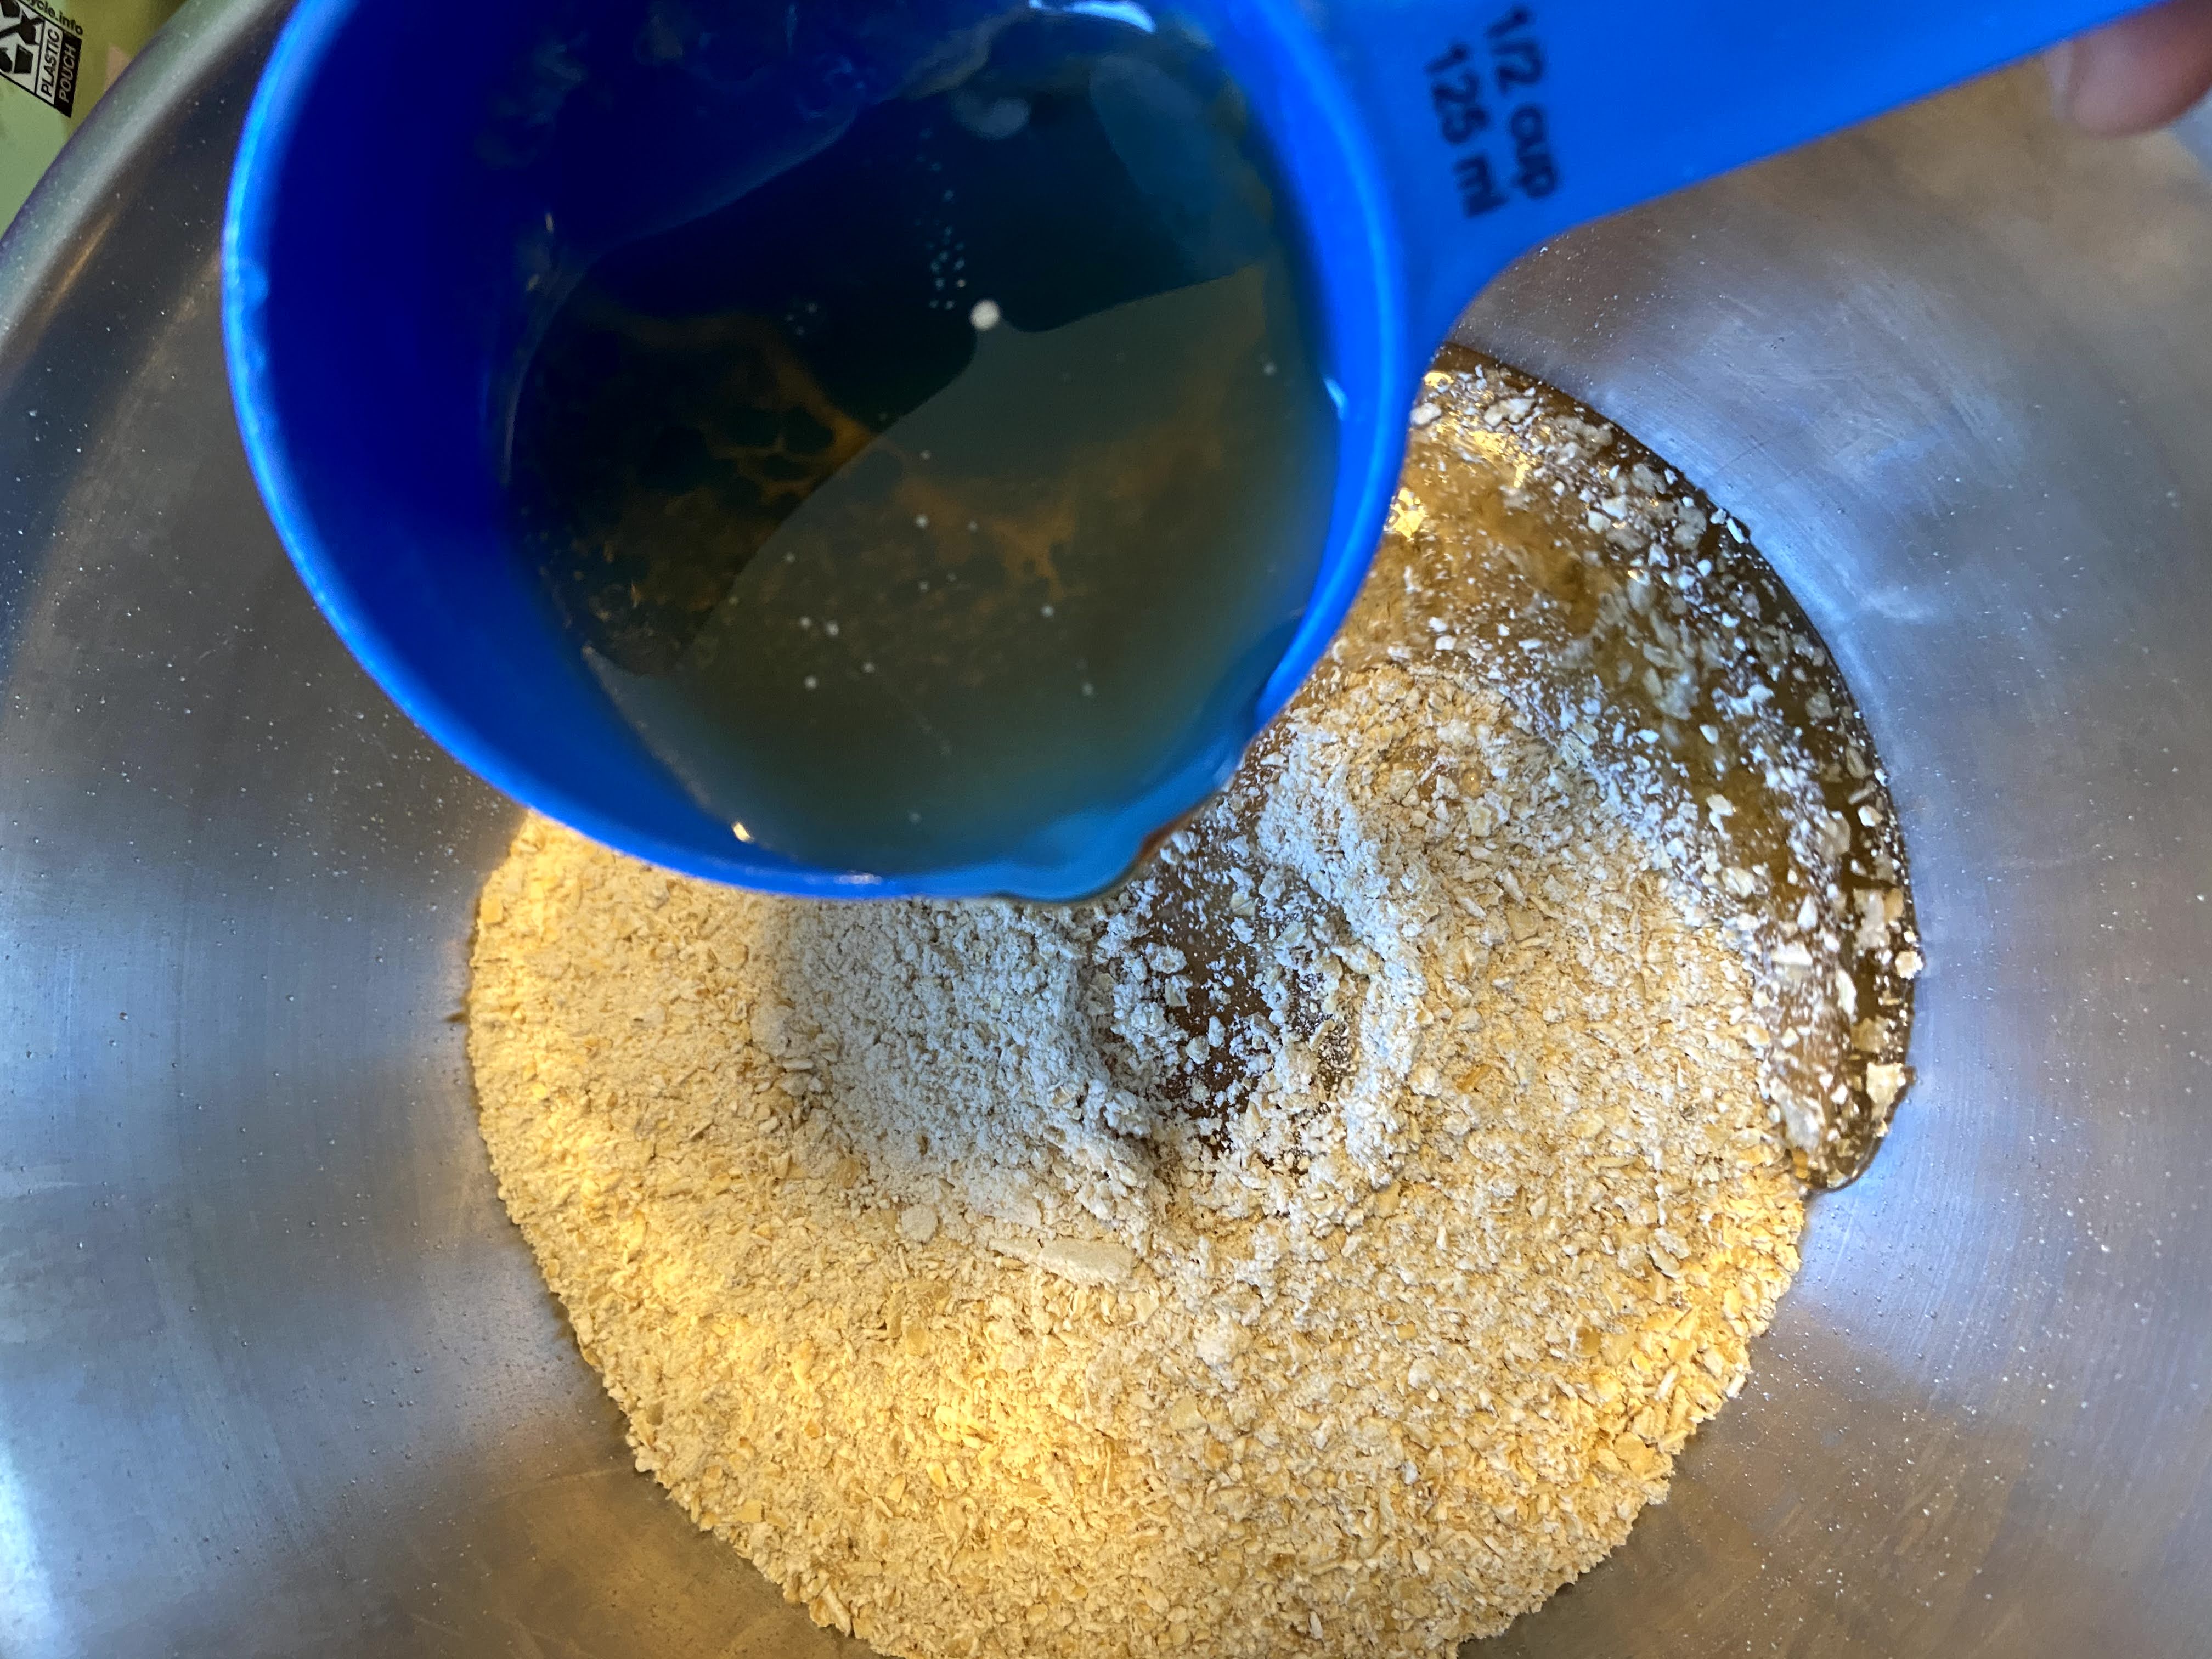
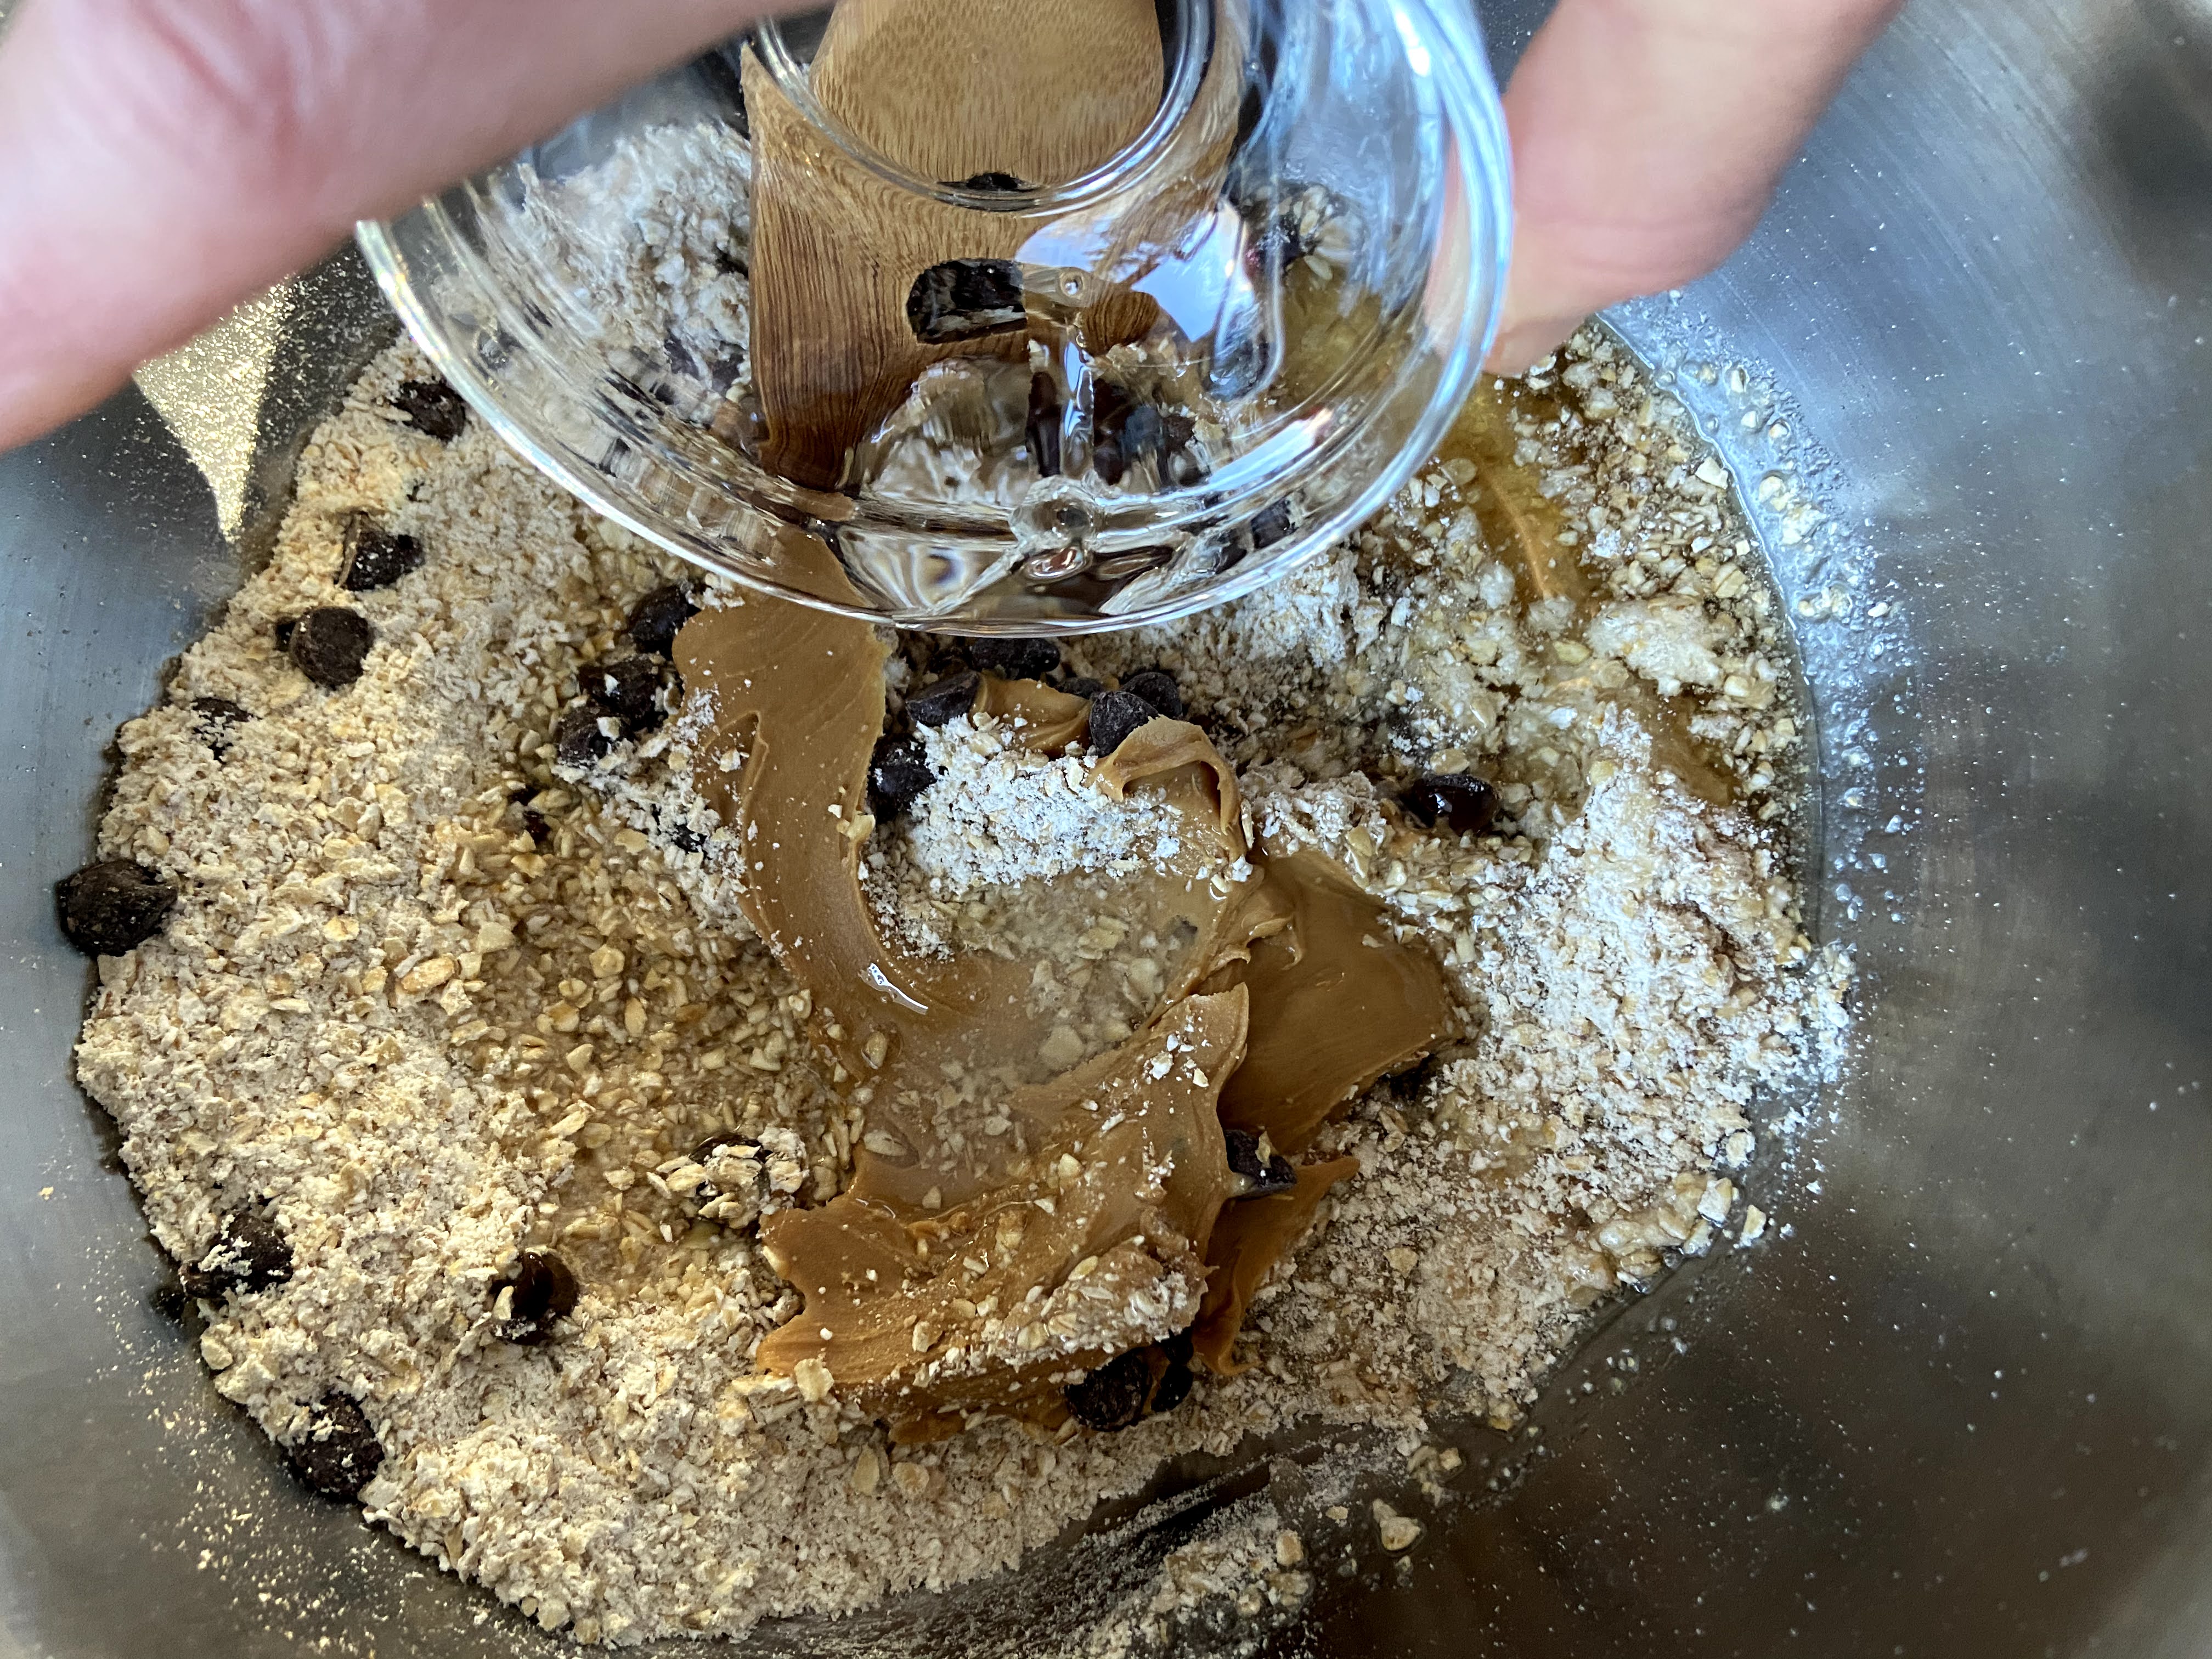
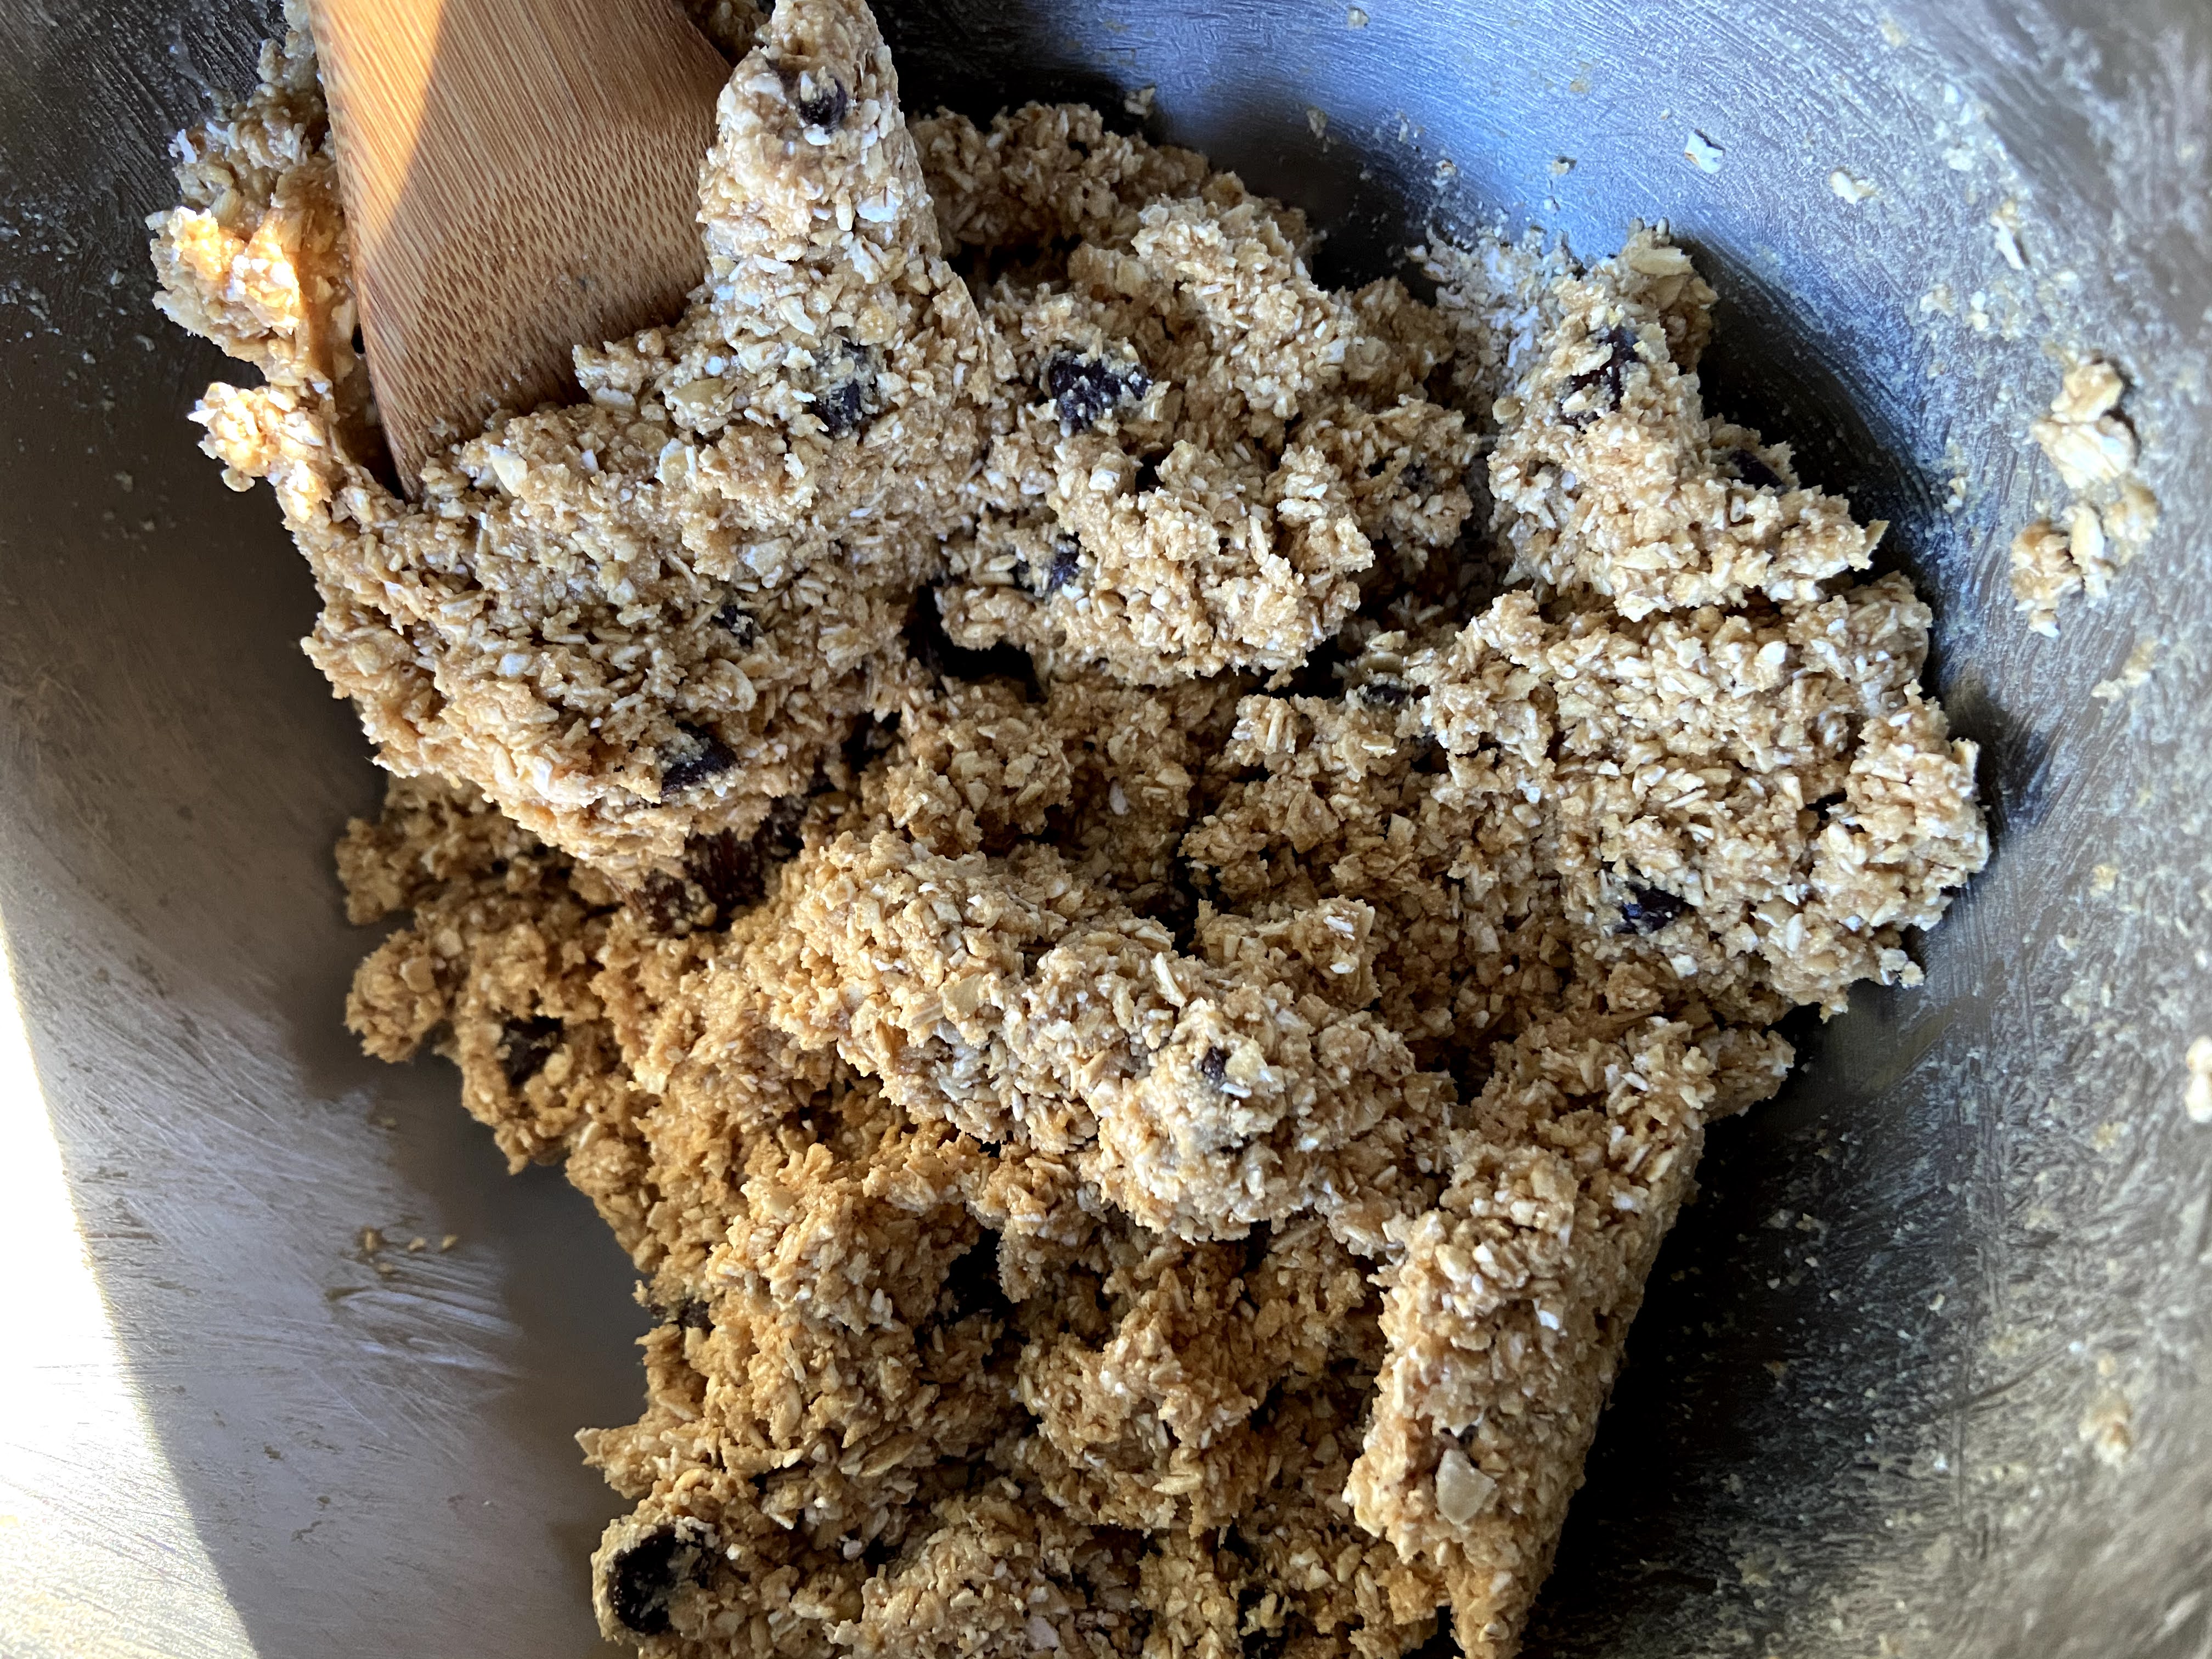
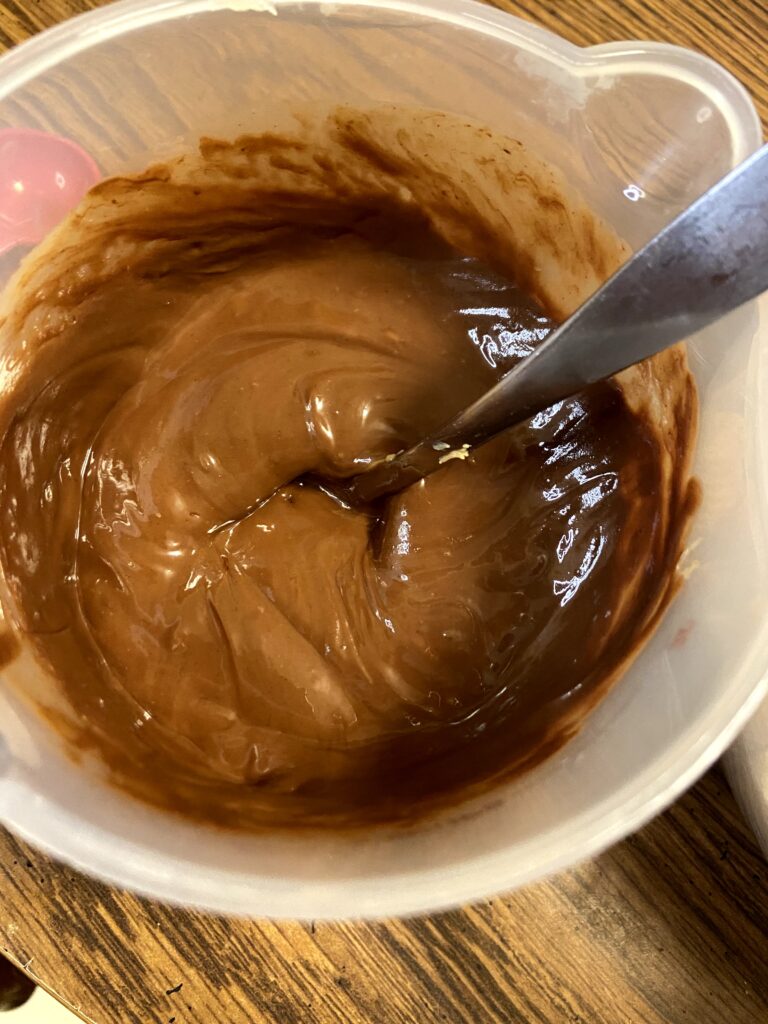
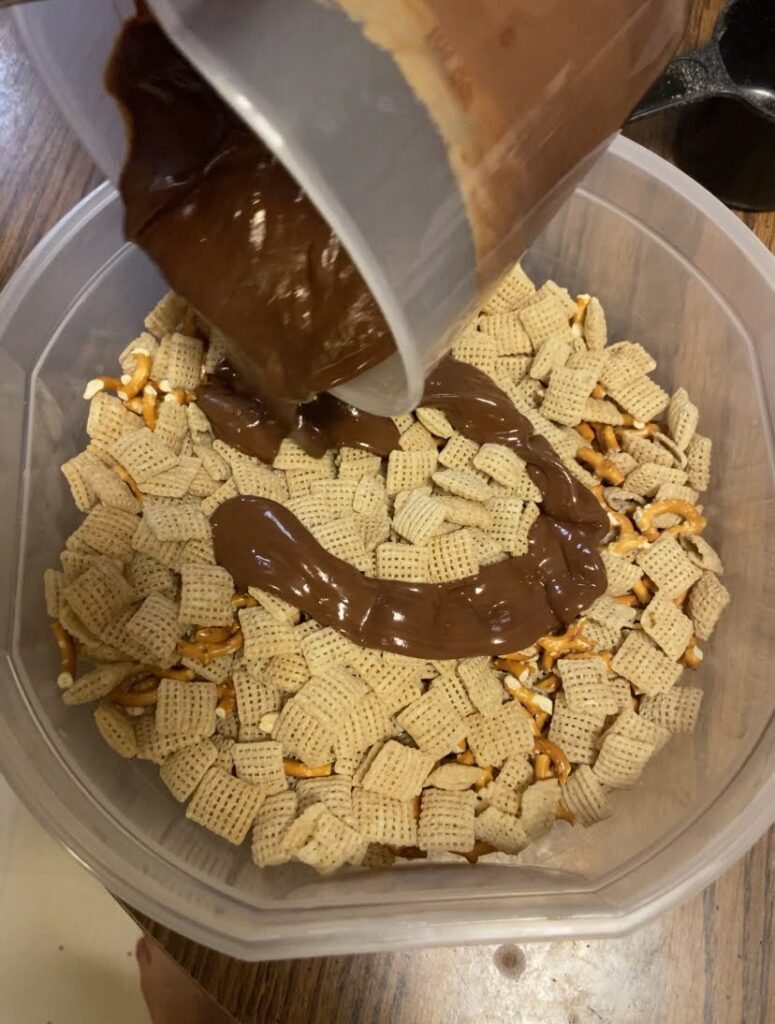
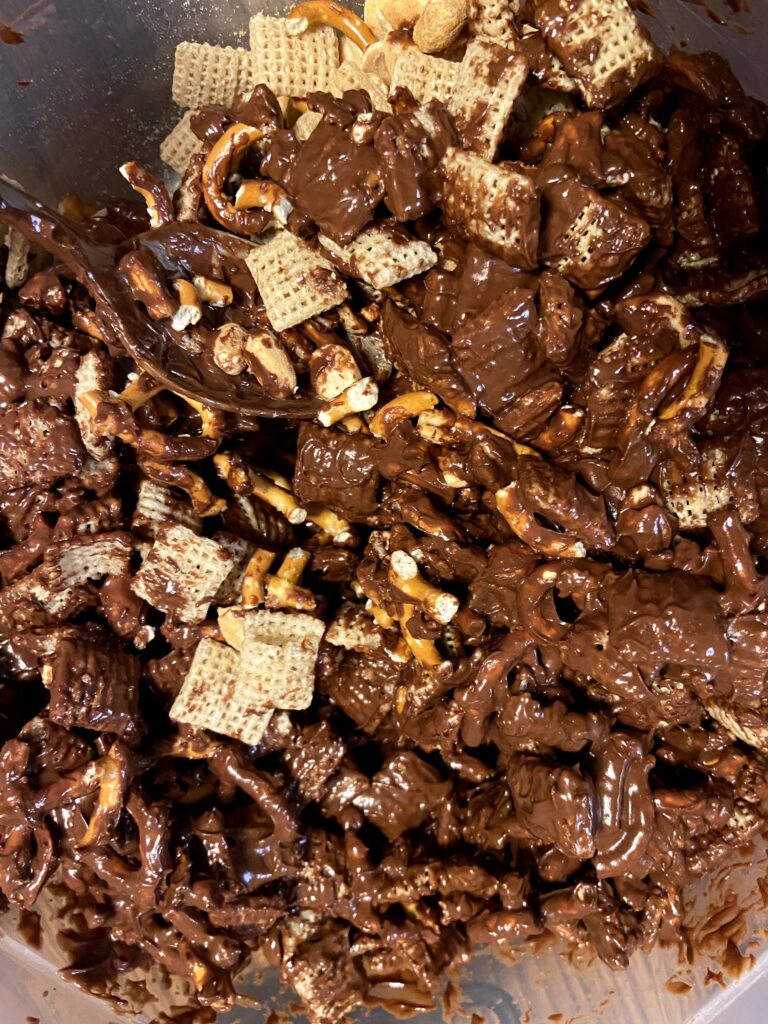
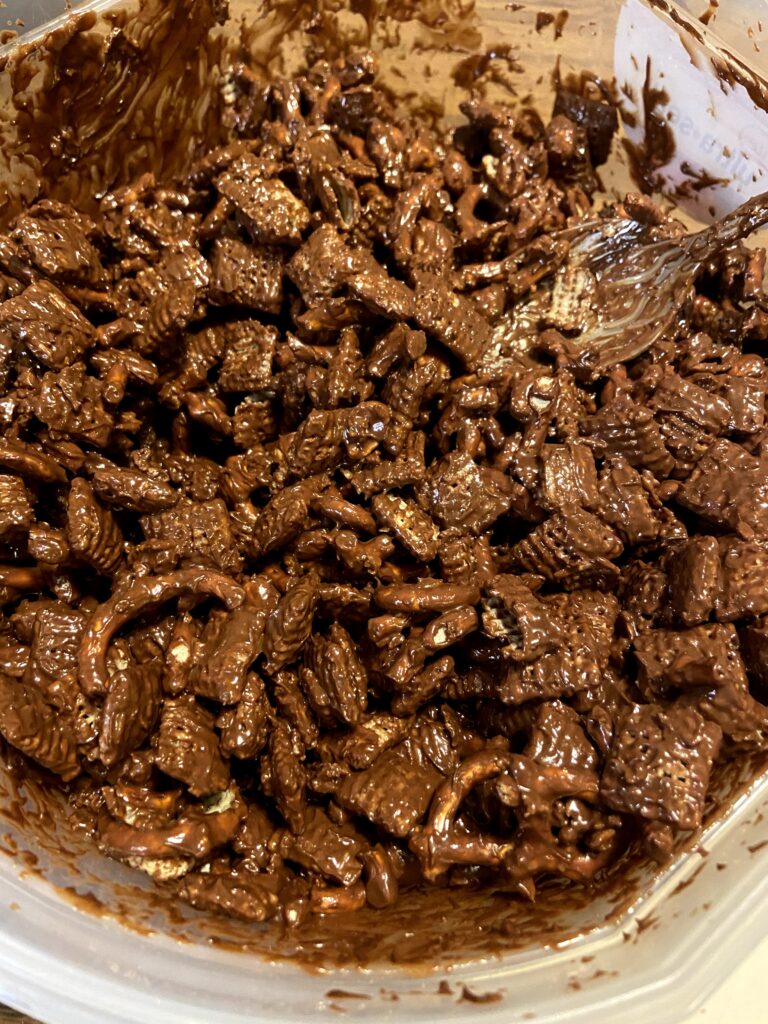
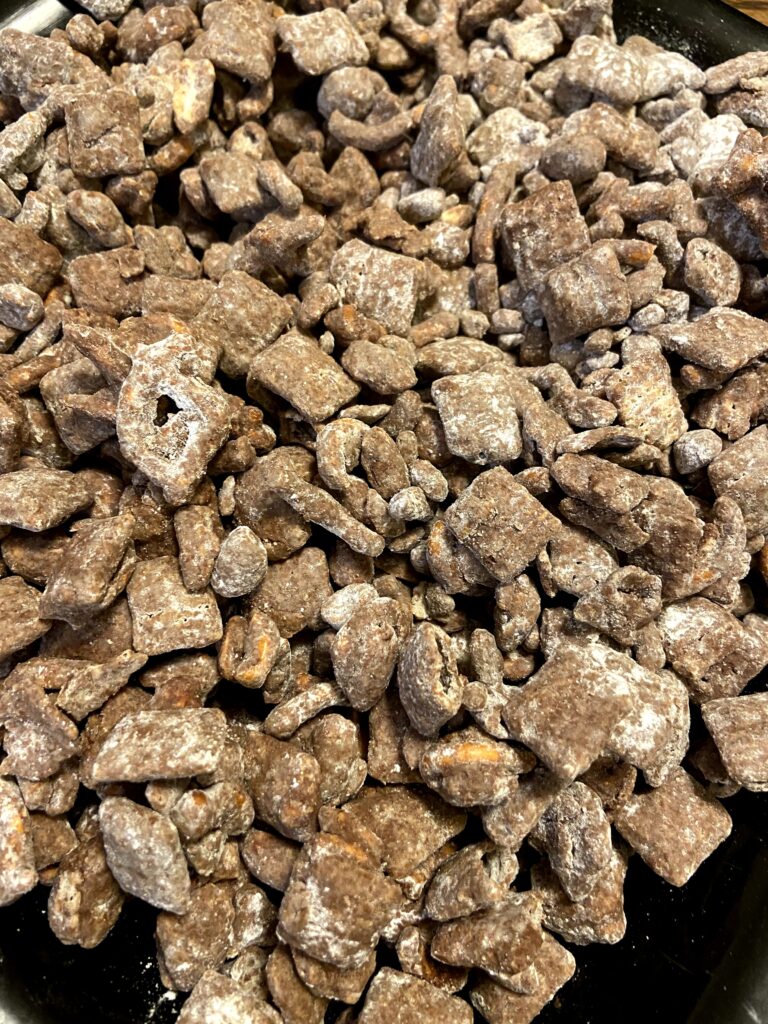
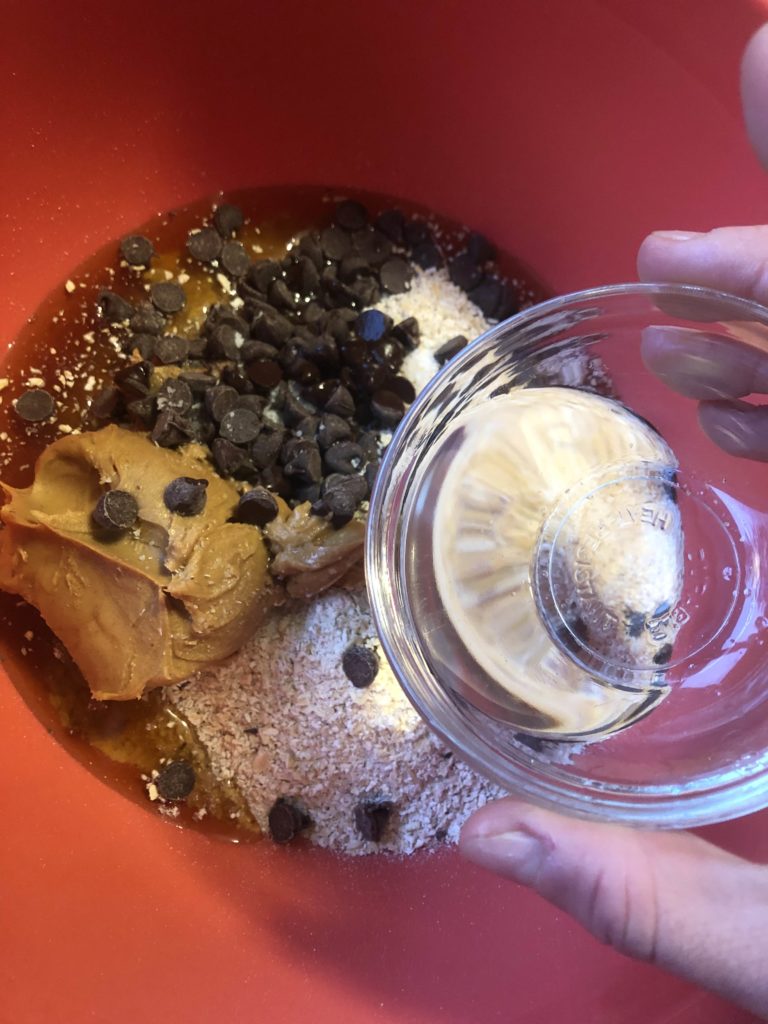
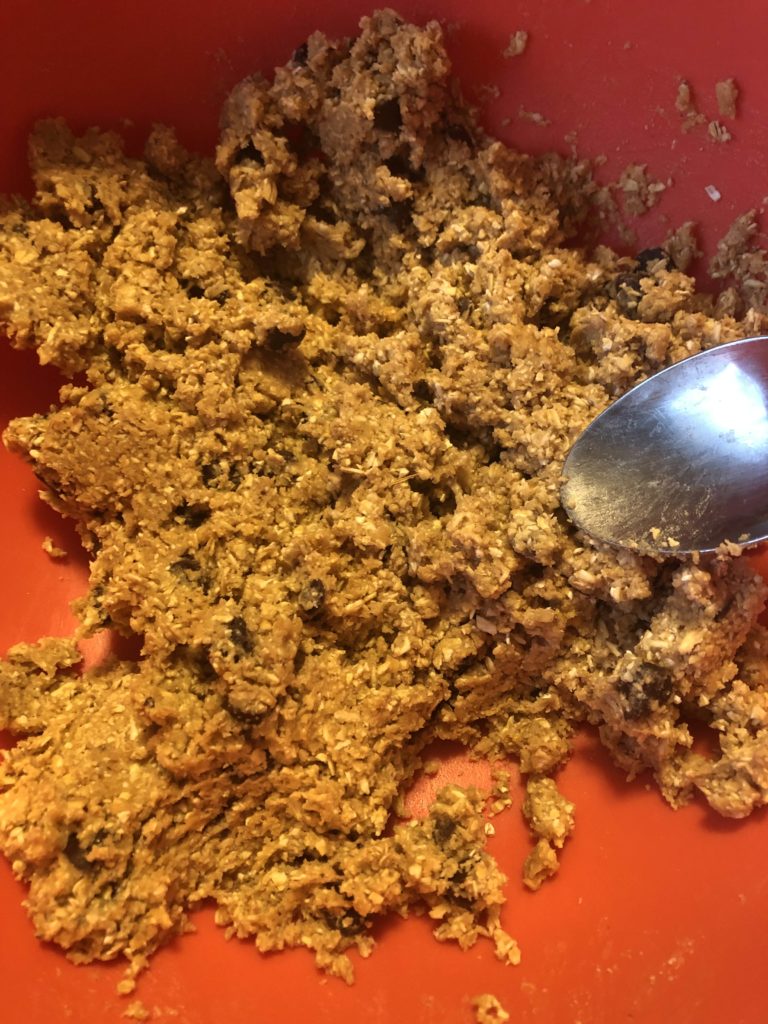
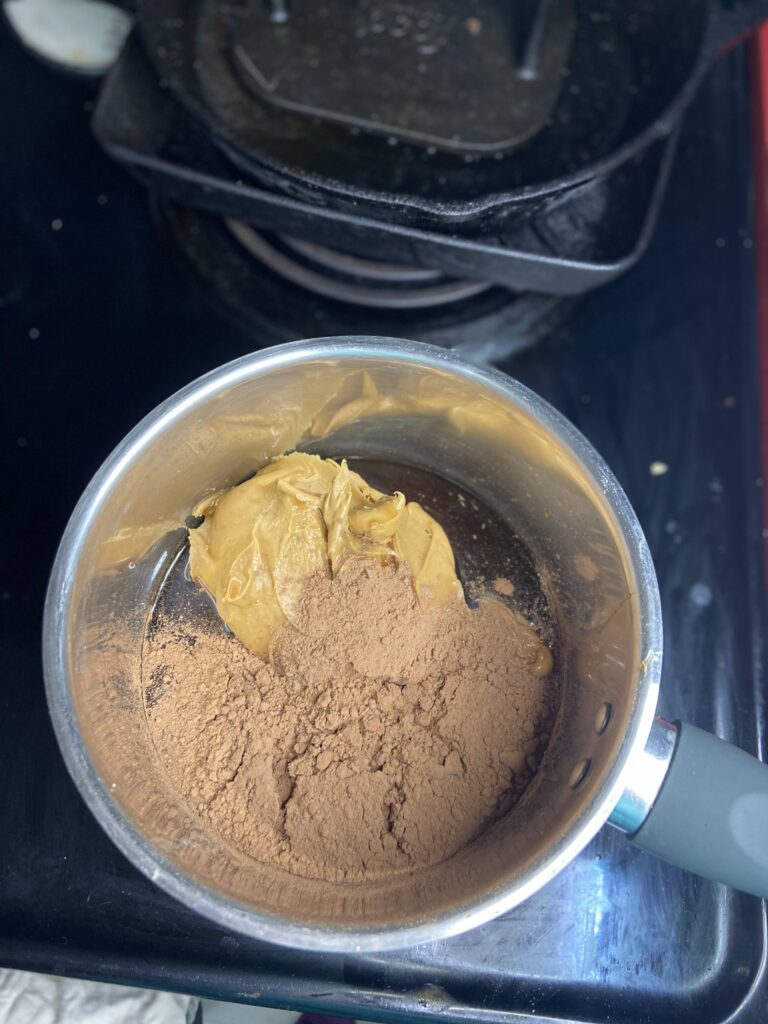
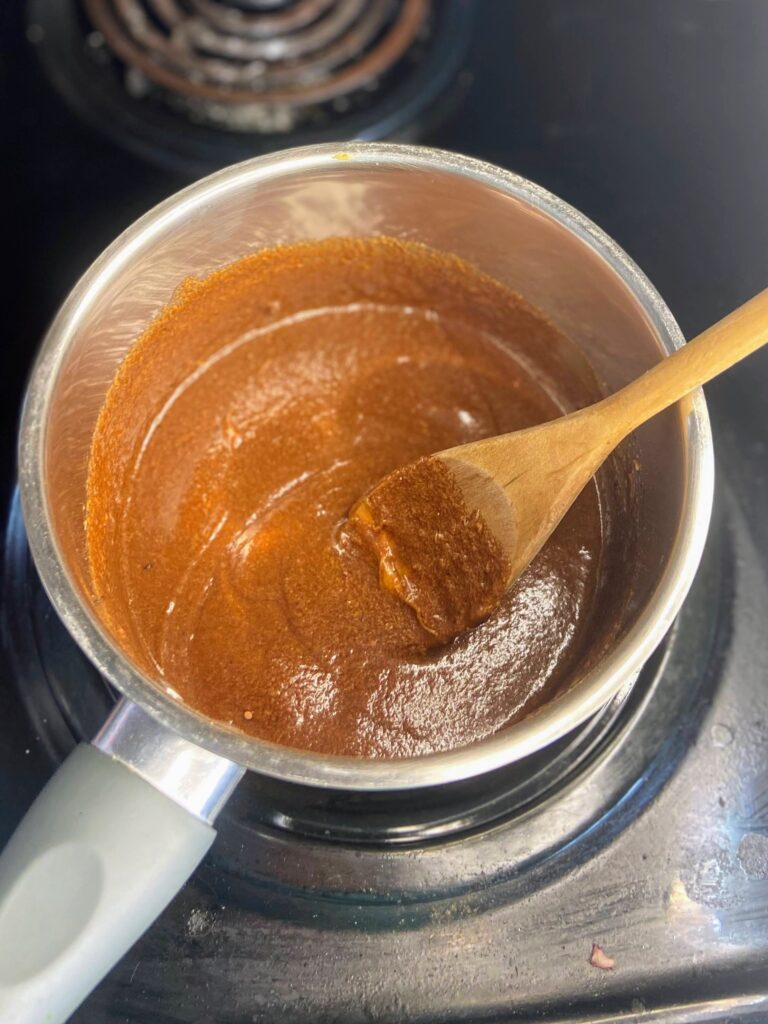
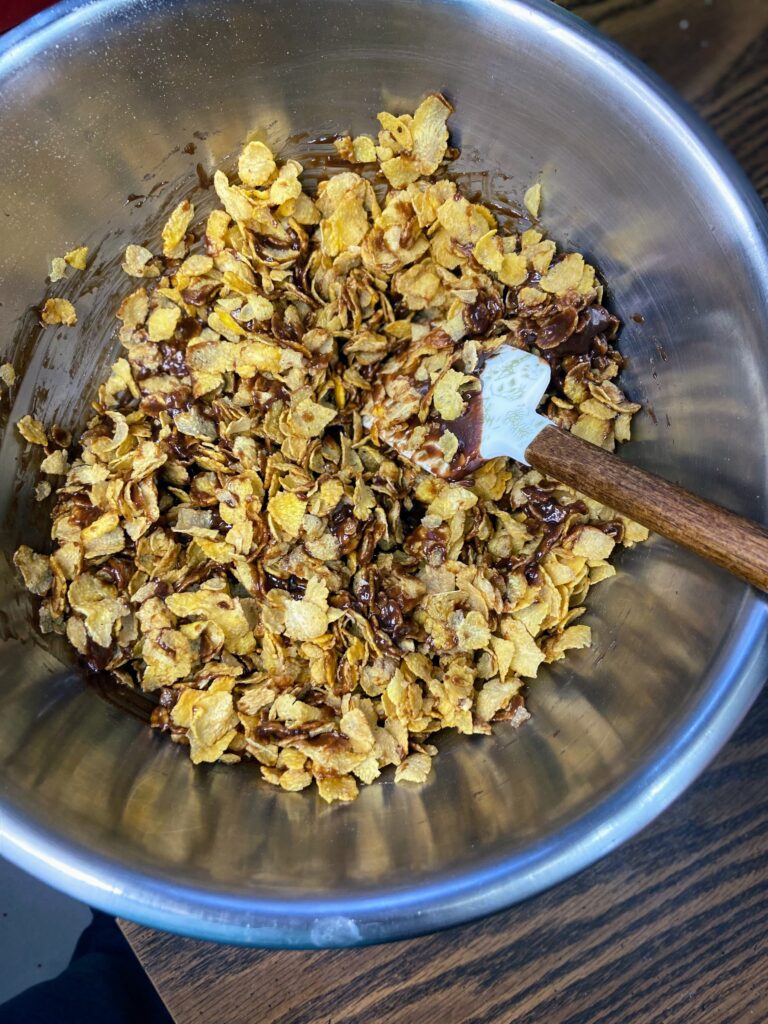
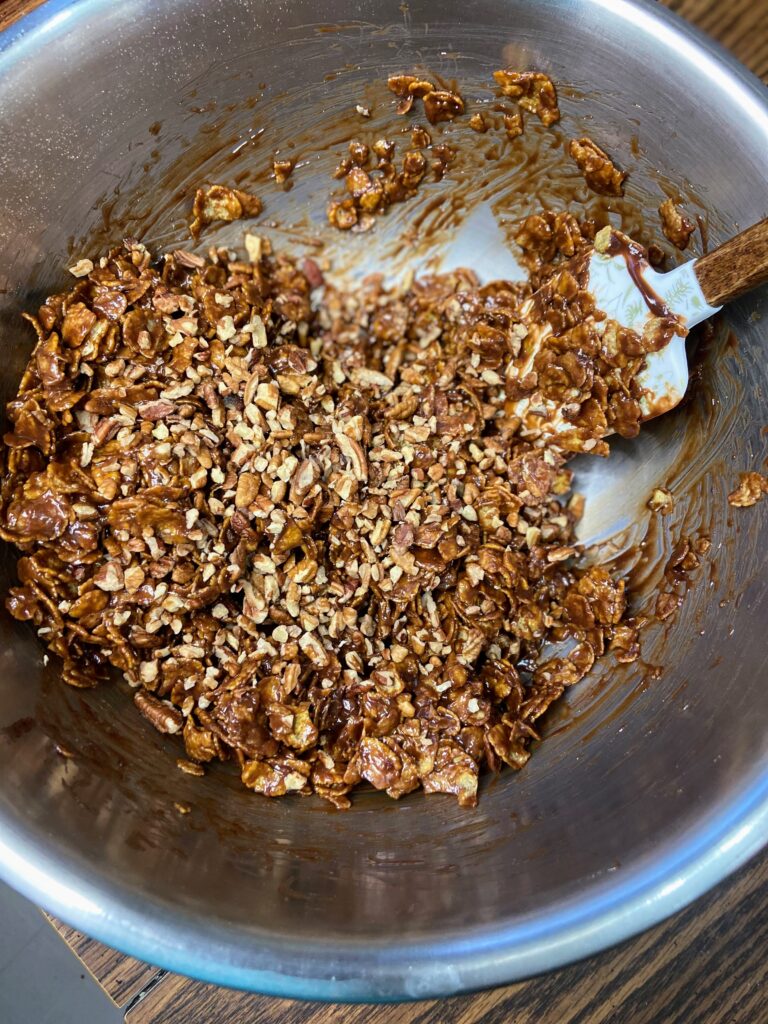
In a medium saucepan, combine syrup, peanut butter, cocoa powder, and the pinch of salt. Heat over a medium heat until the sauce JUST reaches a full boil. Remove the kettle from the heat and stir in the vanilla, corn flakes and nuts (if using) until well coated, adding more flakes if needed.
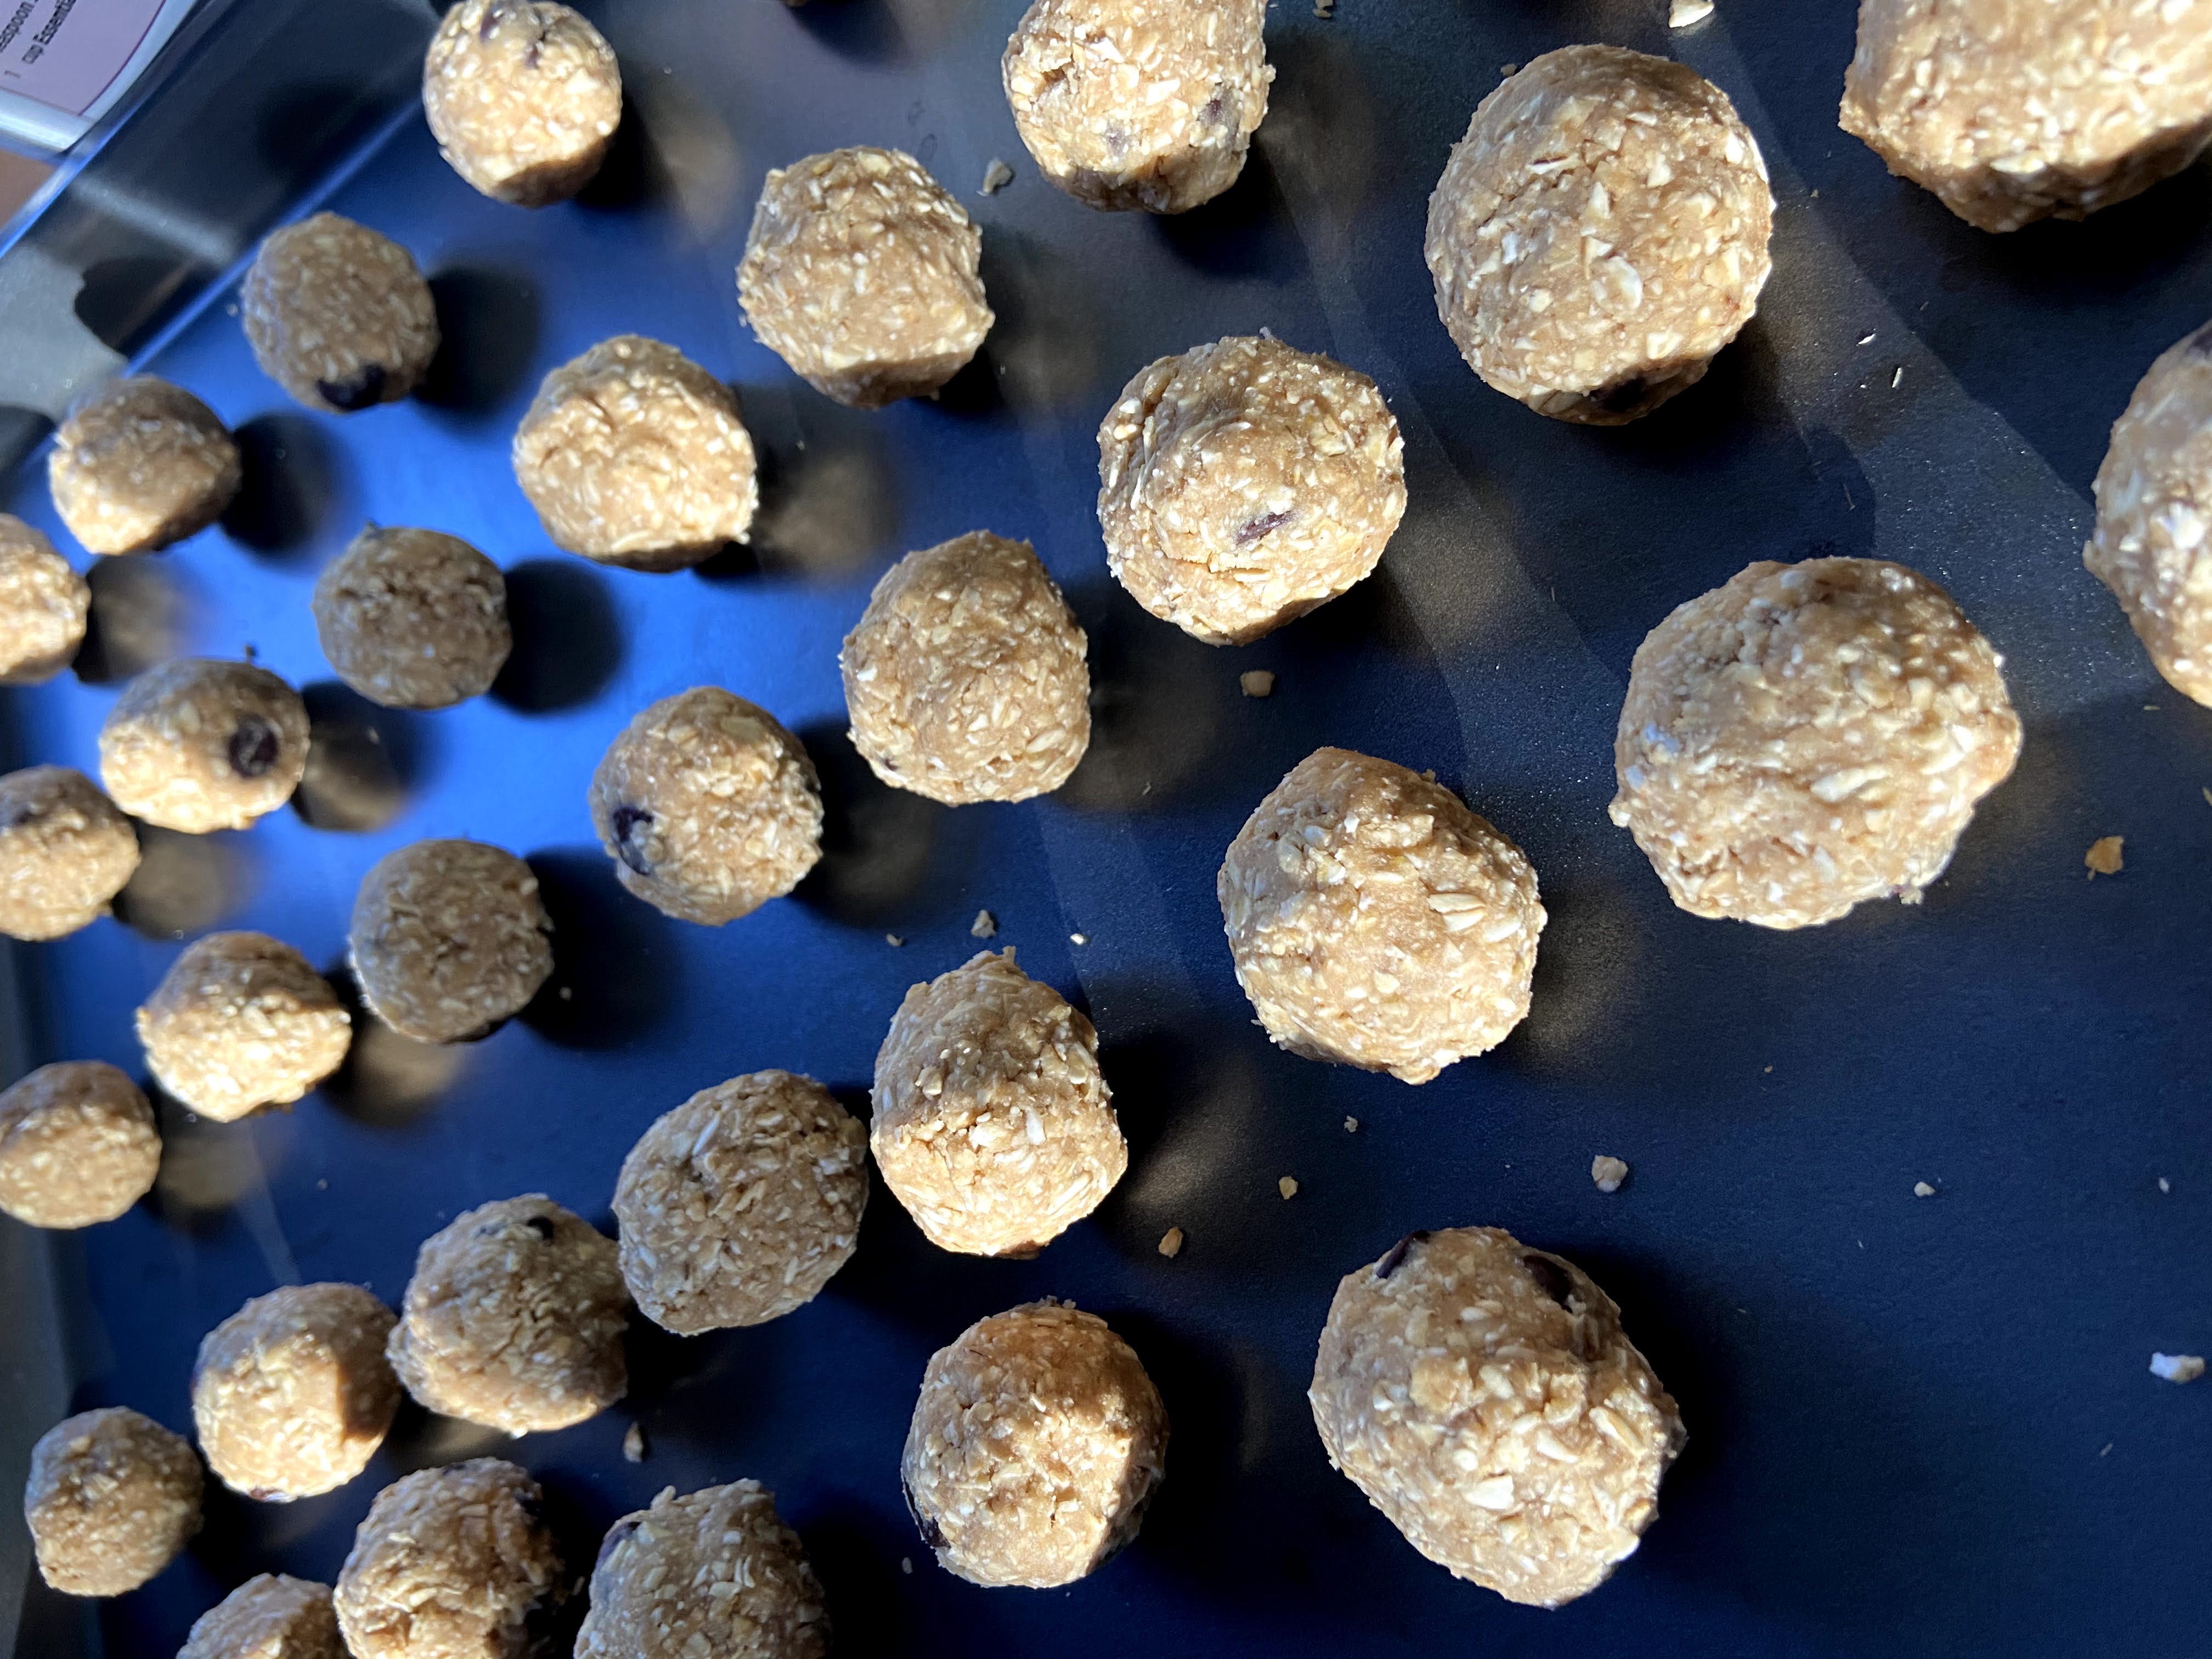
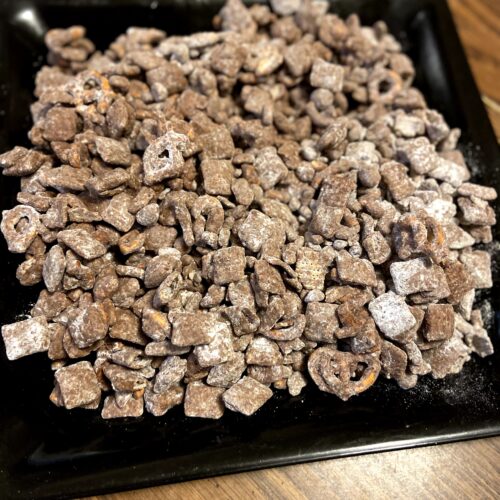
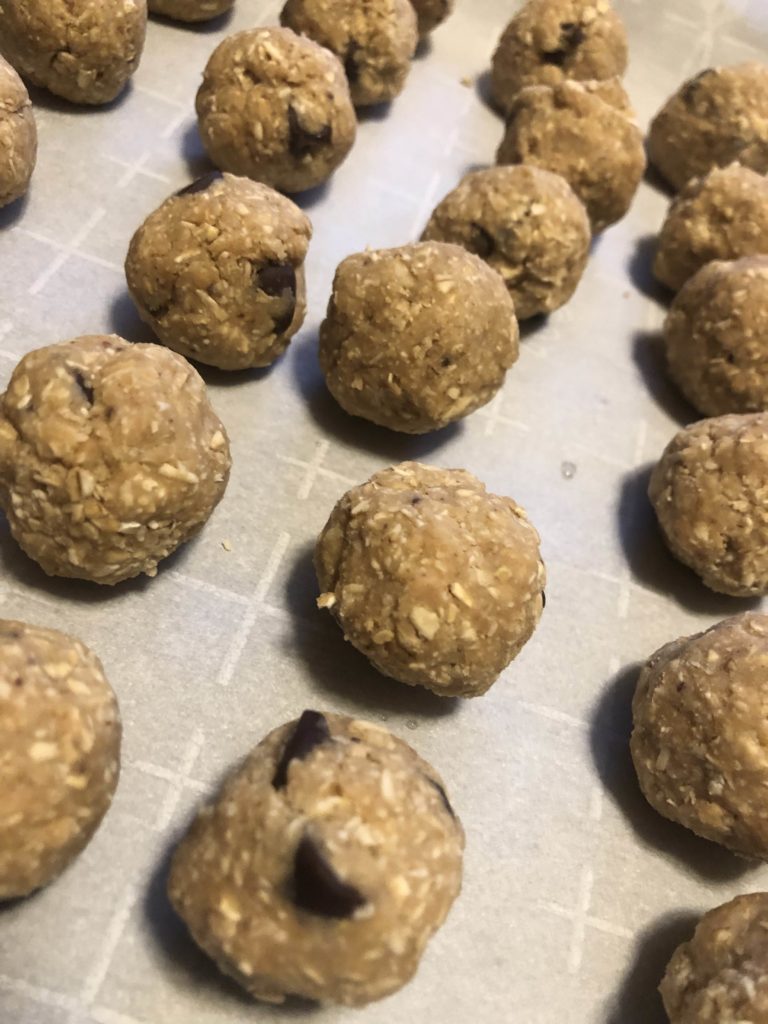
Using a cookie or ice cream scoop, scoop the cookies onto prepared baking sheets. They will stay together better if you give them a little squeeze. Allow to cool until set, about 30-60 minutes. Once set, store in an airtight container.
No Bake Cornflake Cookies
Ingredients
- ½ cup maple syrup
- ½ cup peanut butter
- ½ teaspoon vanilla
- Nice pinch of salt
- 2 tablespoons cocoa powder
- 2-2 ½ cups corn flakes
- ½ cup finely chopped nuts optional
Instructions
- Prepare two baking sheets with wax or parchment paper to place the cookies on when they are cooling.
- In a medium saucepan, combine syrup, peanut butter, cocoa powder and the pinch of salt. Heat over a medium heat until the sauce JUST reaches a full boil.
- Remove the kettle from the heat and stir in the vanilla, corn flakes, and nuts (if using) until well coated, adding more flakes if needed.
- Using a cookie or ice cream scoop, scoop the cookies onto prepared baking sheets.
- Allow to cool until set, about 30 minutes. Once set, store in an airtight container.
Looking for other sweet treat inspiration?
Head to one of the recipes below or go right to my Baking page!