Homemade Coleslaw

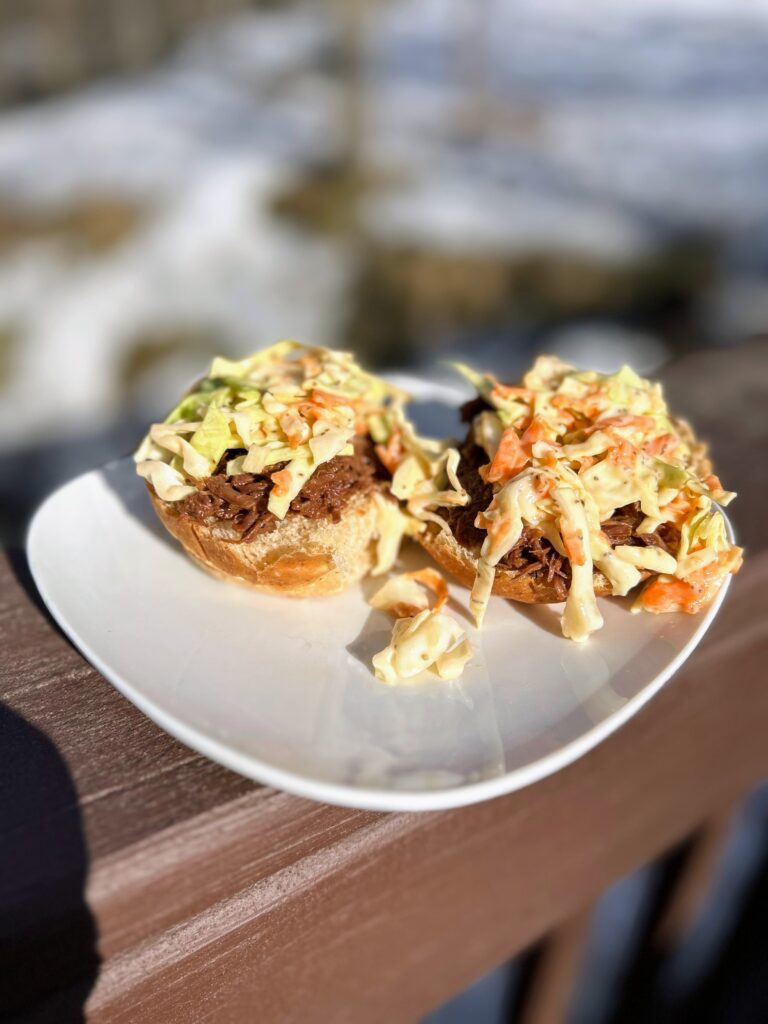
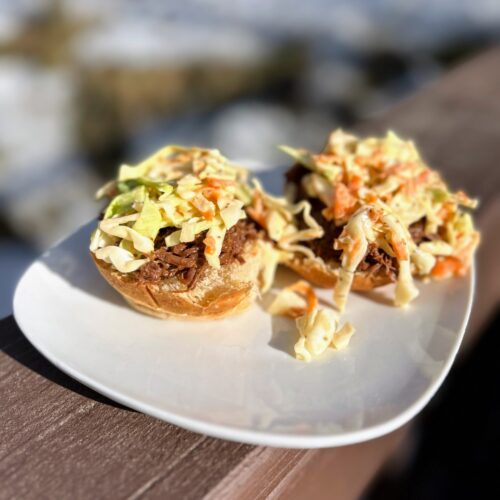
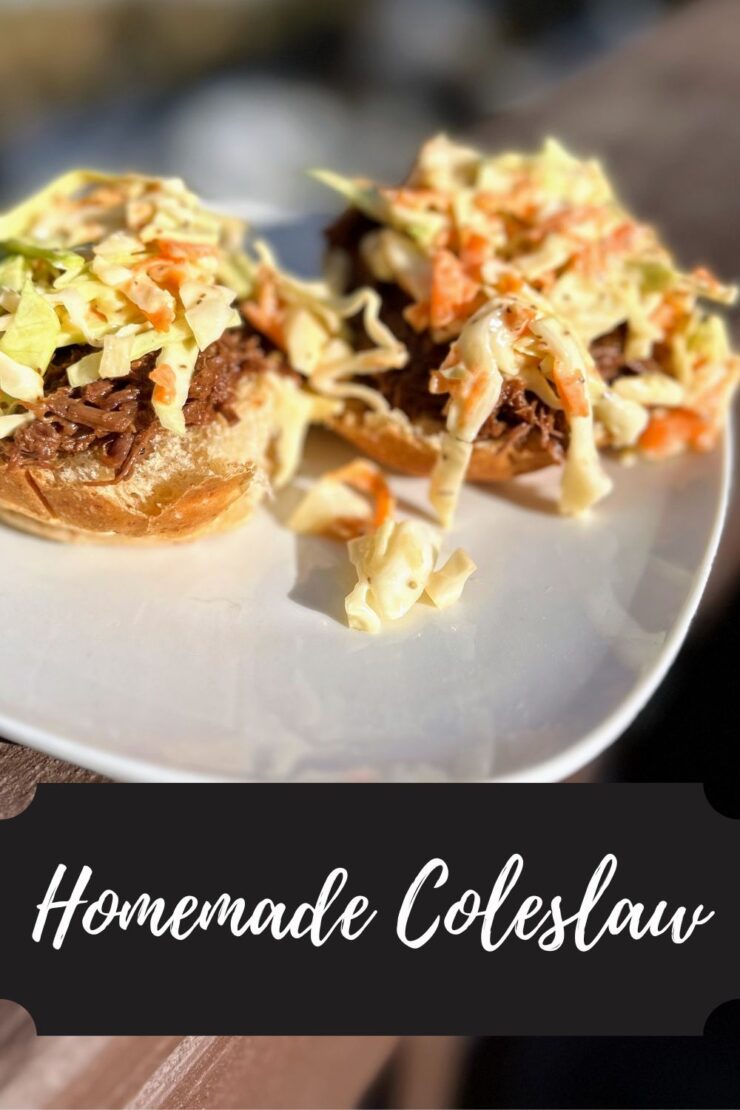
I don’t know when I changed my mind, but it sure happened. Changed my mind about what, you ask? Homemade coleslaw on pulled pork! I have always enjoyed both pulled pork and coleslaw separately. I have fond memories of working at a drive in and snacking on the coleslaw we served with our dinner boxes. As for the pulled pork, I mean, who doesn’t like pulled pork? 

But eating the two together? No way. It just seemed odd for this midwest gal who never let her food mix or touch. I wouldn’t want the slaw liquid to touch my bun, let alone be on it. Then I became an adult and started eating out a little more than when I was a kid. Of course, pulled pork with coleslaw is a classic sandwich. At one point I thought, “I mean, it can’t be that bad, can it?” I gave it a try. 

And are you kidding me?!

I was missing out on this my whole dang life and I didn’t know how good it was?! Now, I can hardly eat pulled pork without that delicious tangy salad on top. It simply doesn’t seem complete. 

Although I have to be honest, 99% of the time, I am not eating true pulled pork. In our house, we do pulled venison. You can check that out here: pressure canned seasoned venison. What I love about this stuff is that it is already cooked and so dang tender. If you have busy after work nights like we do, it”s best with a little BBQ sauce, rolls, and you guessed it, this coleslaw. 

First, let me say that I think the key to a good coleslaw is the celery seed. I never knew this. It adds just the right amount of kick and spice you need. Also, you’ll need the cabbage and carrots. I am about to give you two options: the quick way and the cheaper way. You do you friends and there will be no judgment.  

Option, the first: Buy one to two of the bags of pre shredded cabbage and carrots. This is the easy route, but can be a little more spendy. 

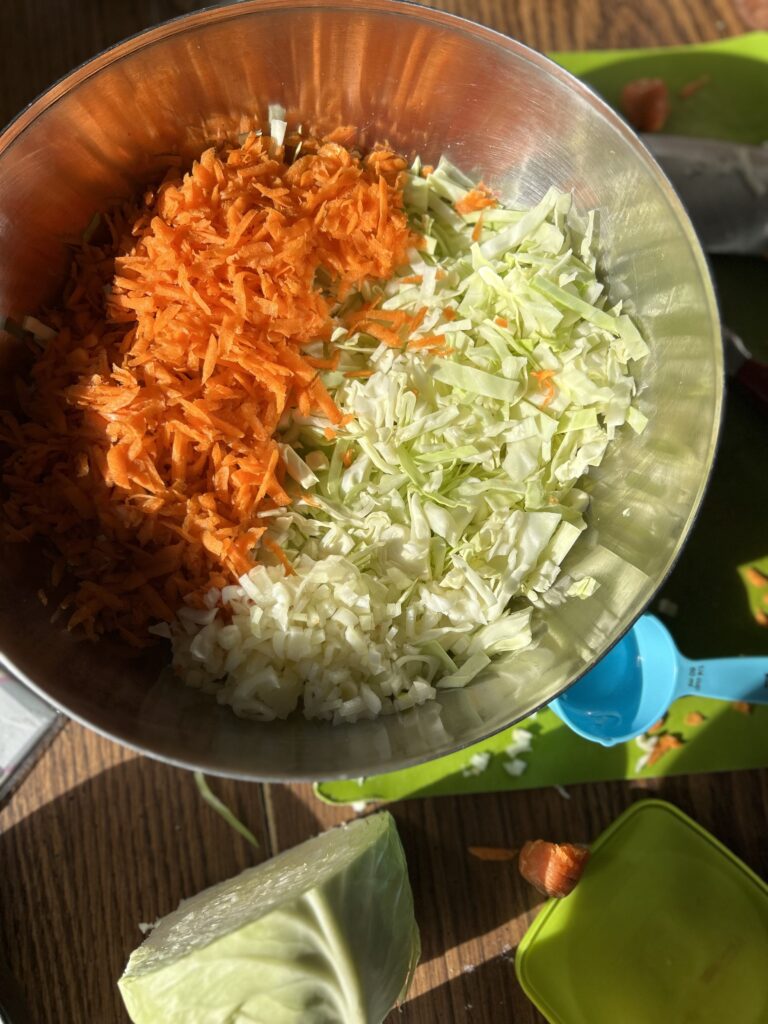
Option, the second: Buy a small to medium head of cabbage. If you’re like my house, you always have big carrots on hand. Maybe not though. If you don’t, pick a few of those up too! I finely chop the cabbage with a sharp knife and shred the carrots with a box grater. Cheaper, to be sure, but also a little more time consuming. 

Regardless of the veg you choose, let’s start making your homemade coleslaw! 

Your Ingredients

  • 1 small to medium head of cabbage
  • 3 large carrots
  • ¾ cup mayonnaise 
  • 2 tablespoons Greek yogurt 
  • ¼ cup finely diced onion 
  • 2 tablespoons sugar 
  • 2 tablespoons white vinegar 
  • 2 teaspoons celery seed 
  • Dash of dry mustard 
  • Salt and pepper 

Your Steps to Homemade Coleslaw 

Using a very sharp knife, finely chop the cabbage. Shred the carrots with a large grater. Combine in a large bowl and set aside. 

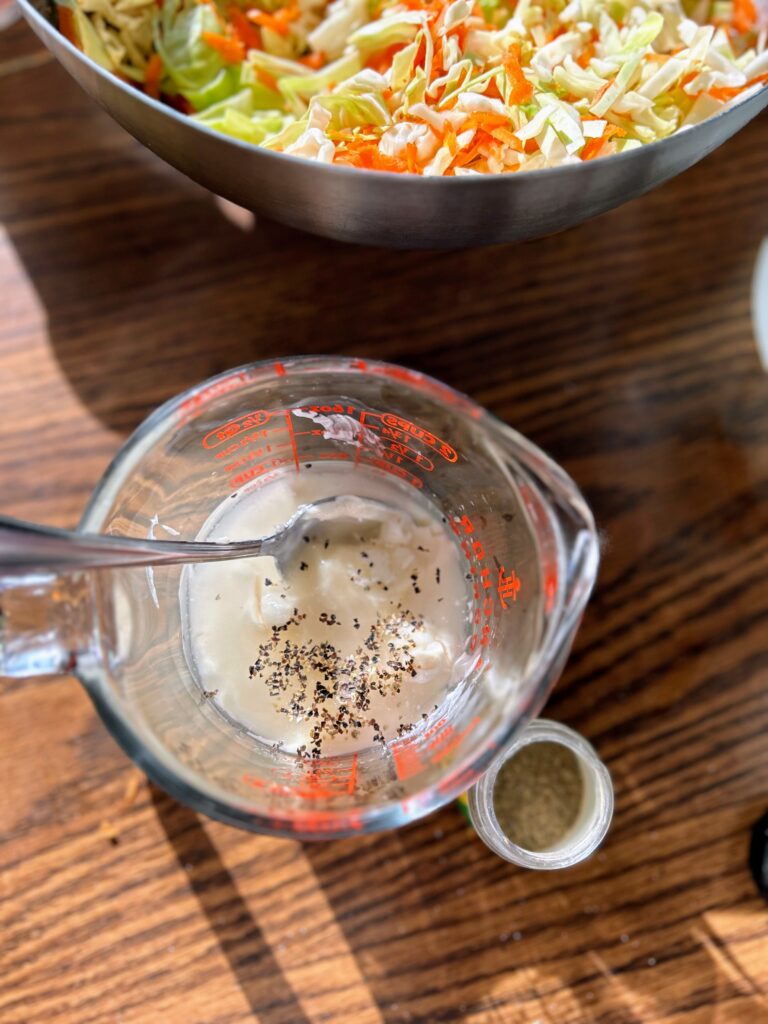
In a 2 cup liquid measuring cup, combine mayonnaise, yogurt, onion, sugar, vinegar, celery seed, dry mustard, salt and papper. Whisk well to combine thoroughly. Taste, adding salt, pepper, mustard, and perhaps vinegar to taste. 

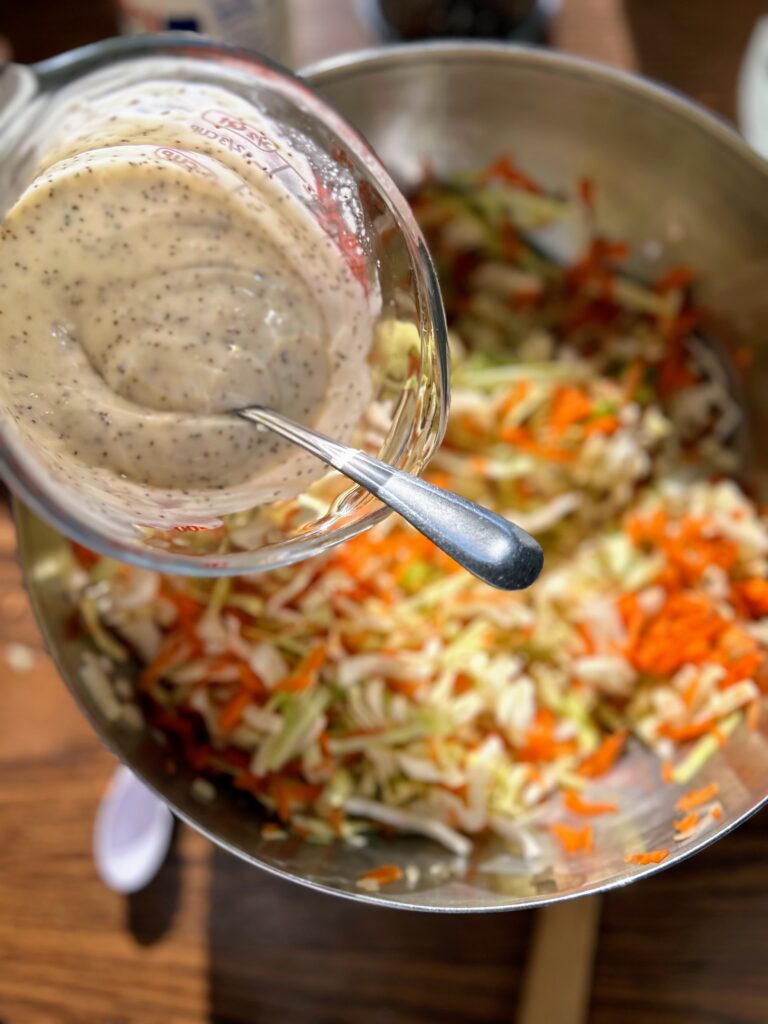
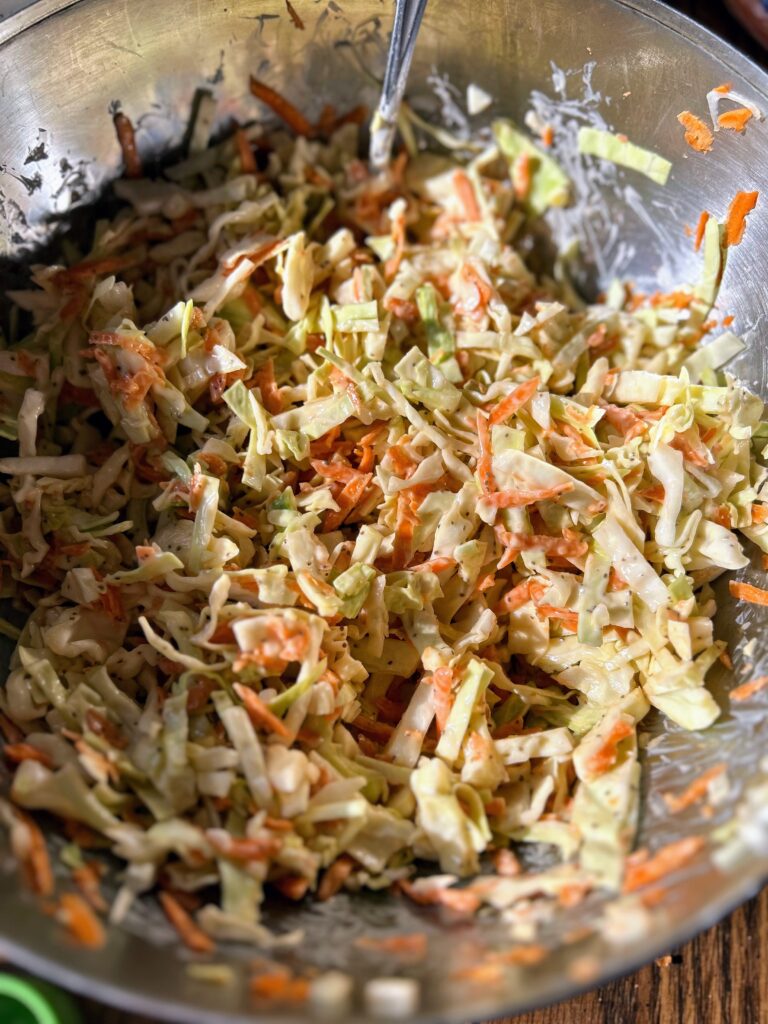
Pour the dressing over the carrots and cabbage and mix. Flavors will develop more if you allow it to rest overnight, but that requires planning ahead, which I almost never do 🙂 Kudos to you if you’ve got it in you! 
Homemade Coleslaw

Getting ready for a BBQ? You’ll never go back to store bought coleslaw when you give this homemade coleslaw a try!
Prep Time 15 minutes
Course Side Dish
Cuisine American
Servings 6

Equipment

Instructions
 

  • Using a very sharp knife, finely chop the cabbage. Shred the carrots with a large grater. Combine in a large bowl and set aside. Alternatively, pour 2 bags of pre shredded cabbage and carrots in a large bowl. Set aside.
  • In a 2 cup liquid measuring cup, combine mayonnaise, yogurt, onion, sugar, vinegar, celery seed, dry mustard, salt and pepper. Whisk well to combine thoroughly. Taste, adding salt, pepper, mustard, and perhaps vinegar to taste.
  • Pour the dressing over the carrots and cabbage and mix. Flavors will develop more if you allow it to rest overnight
Keyword cabbage, cabbage coleslaw, cabbage slaw, cold sides, coleslaw, pulled pork sides, side dishes, summer salad, summer side dish
Tried this recipe?Let us know how it was!

Looking for other great sides?

Check out my cooking page for some inspiration! Or maybe one of the recipes below may tickle your fancy?!
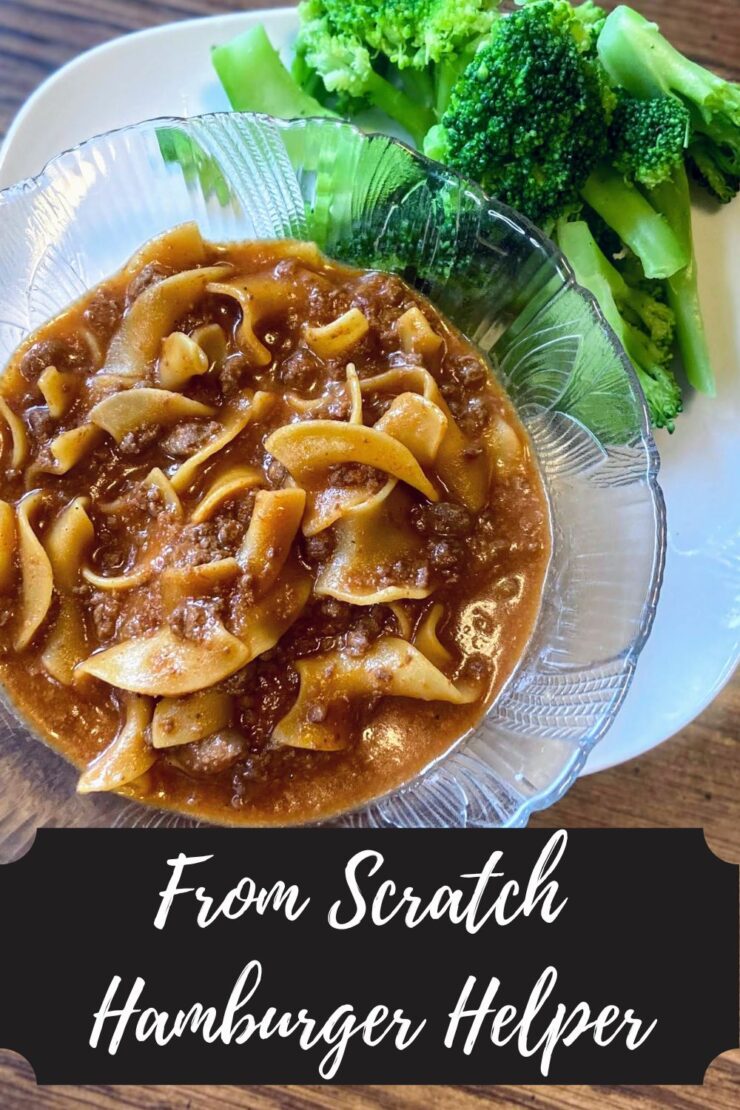
Homemade Hamburger Helper

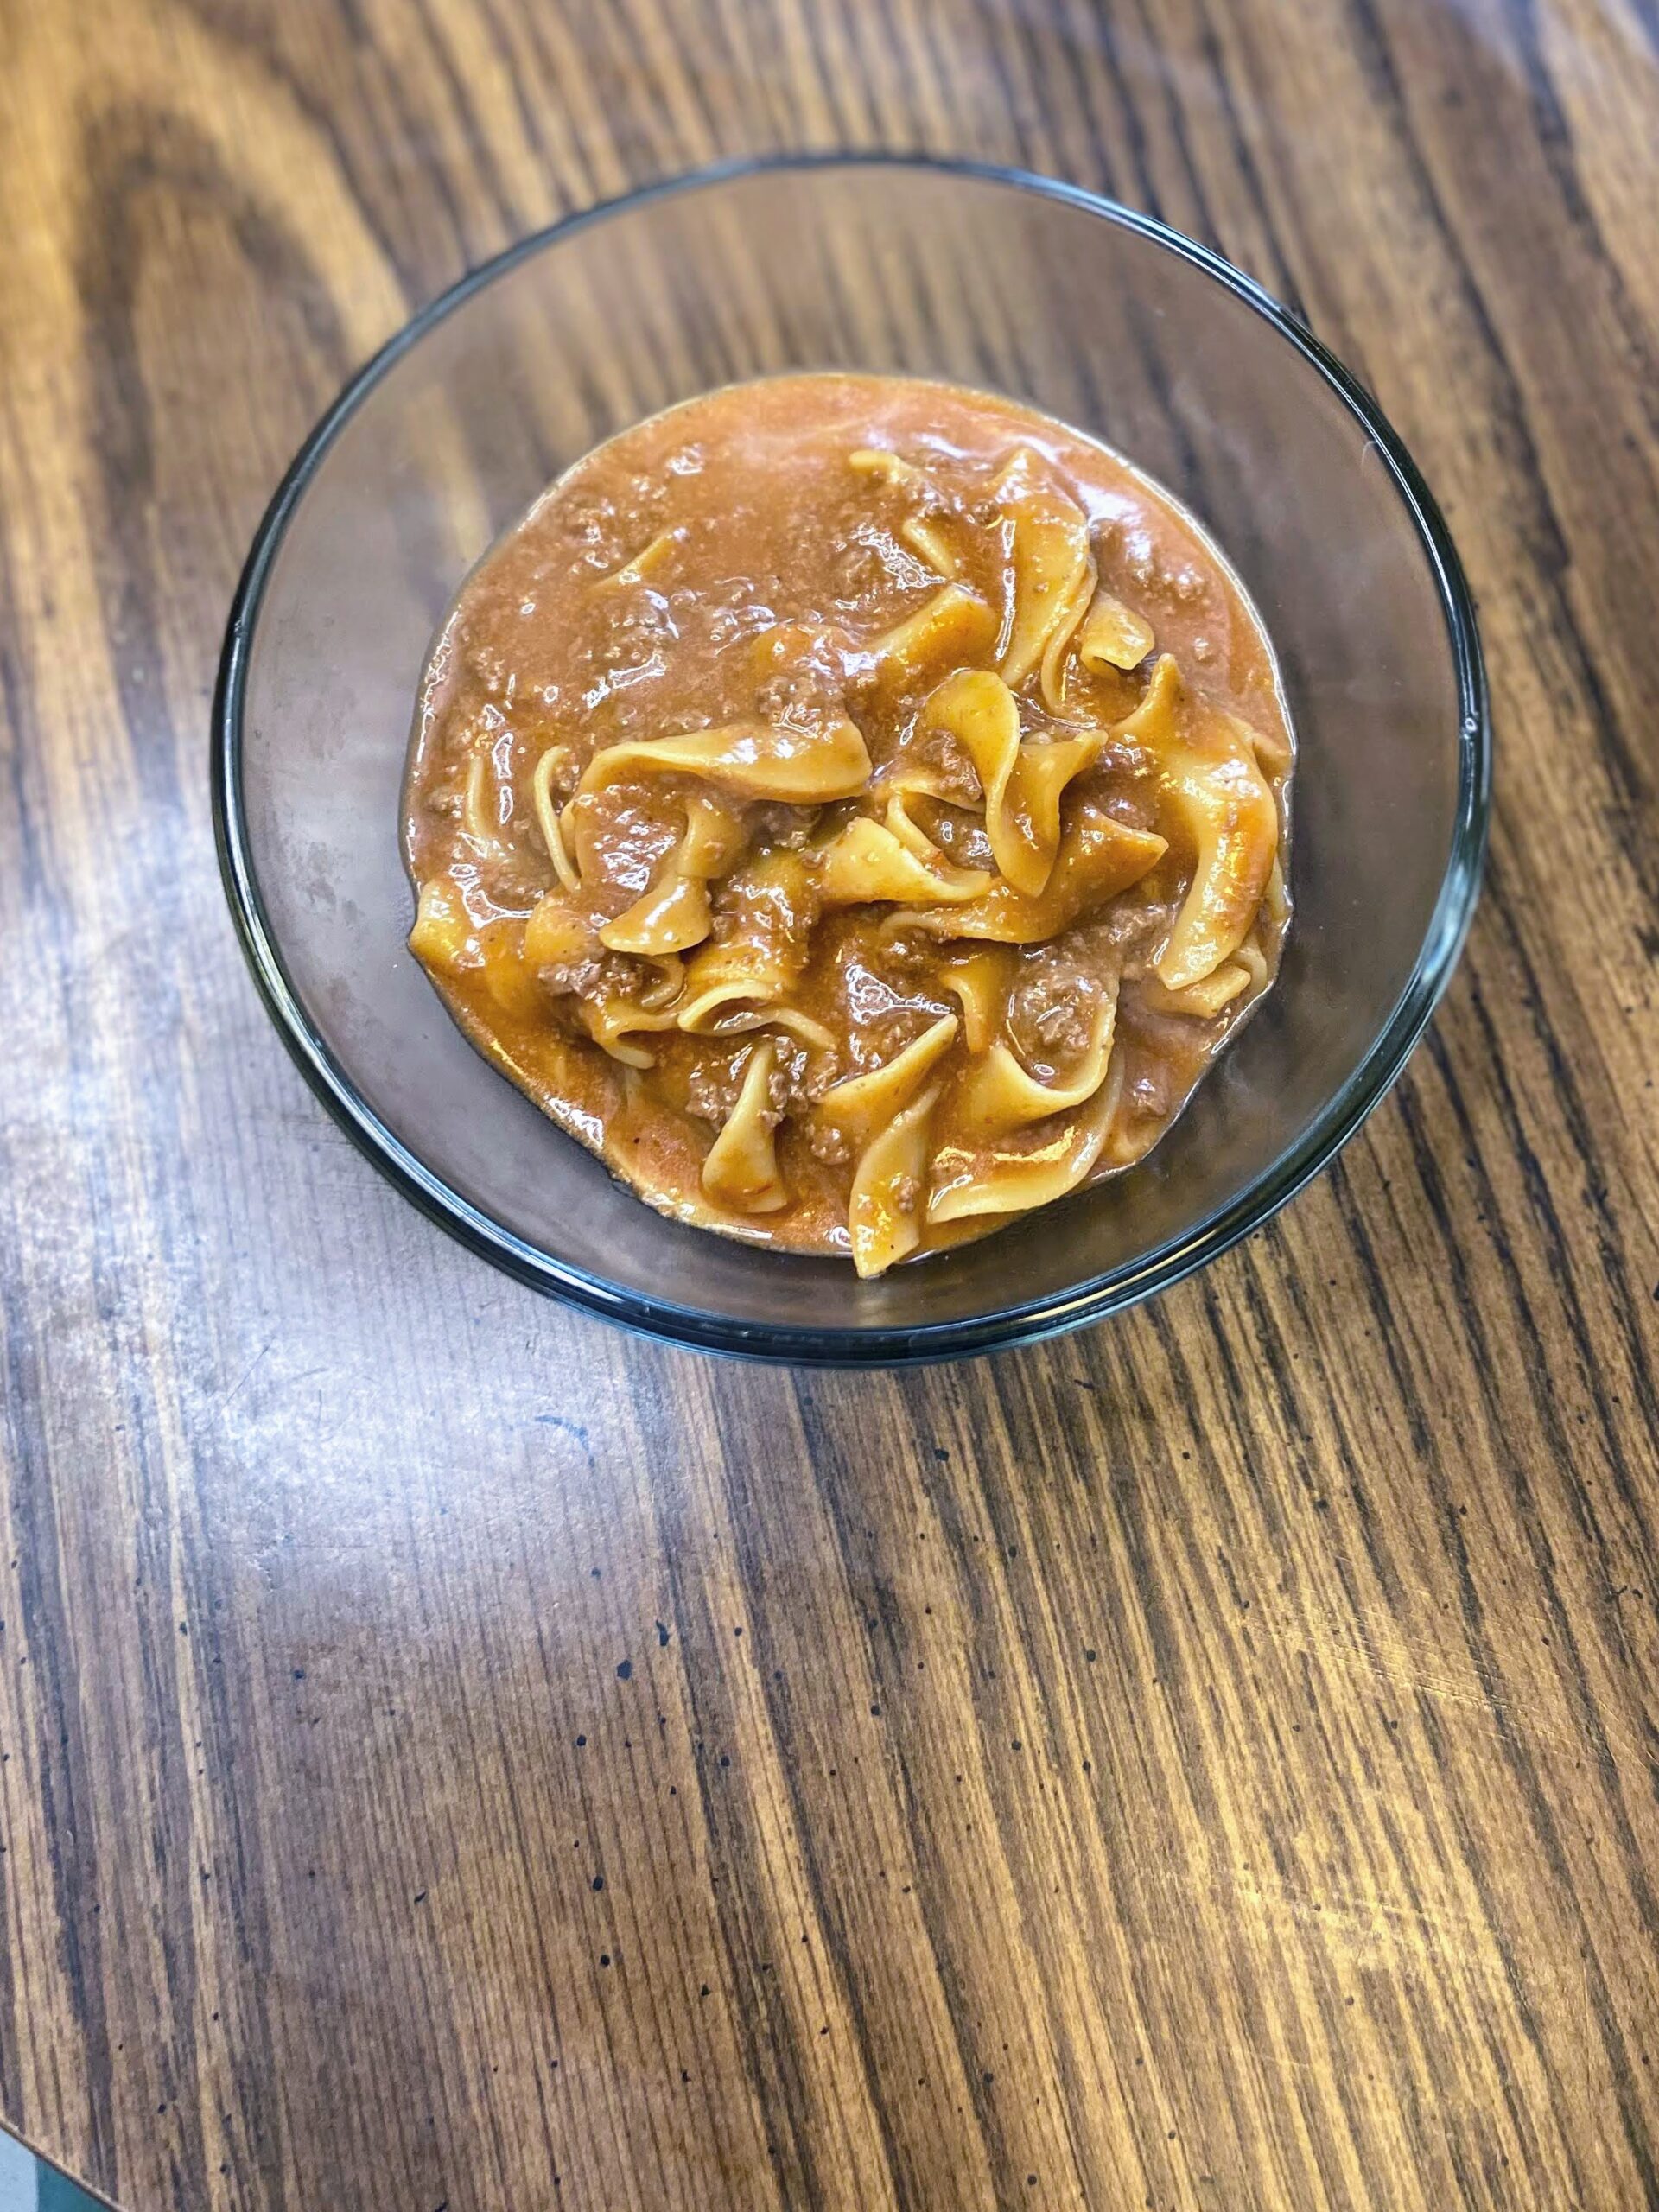
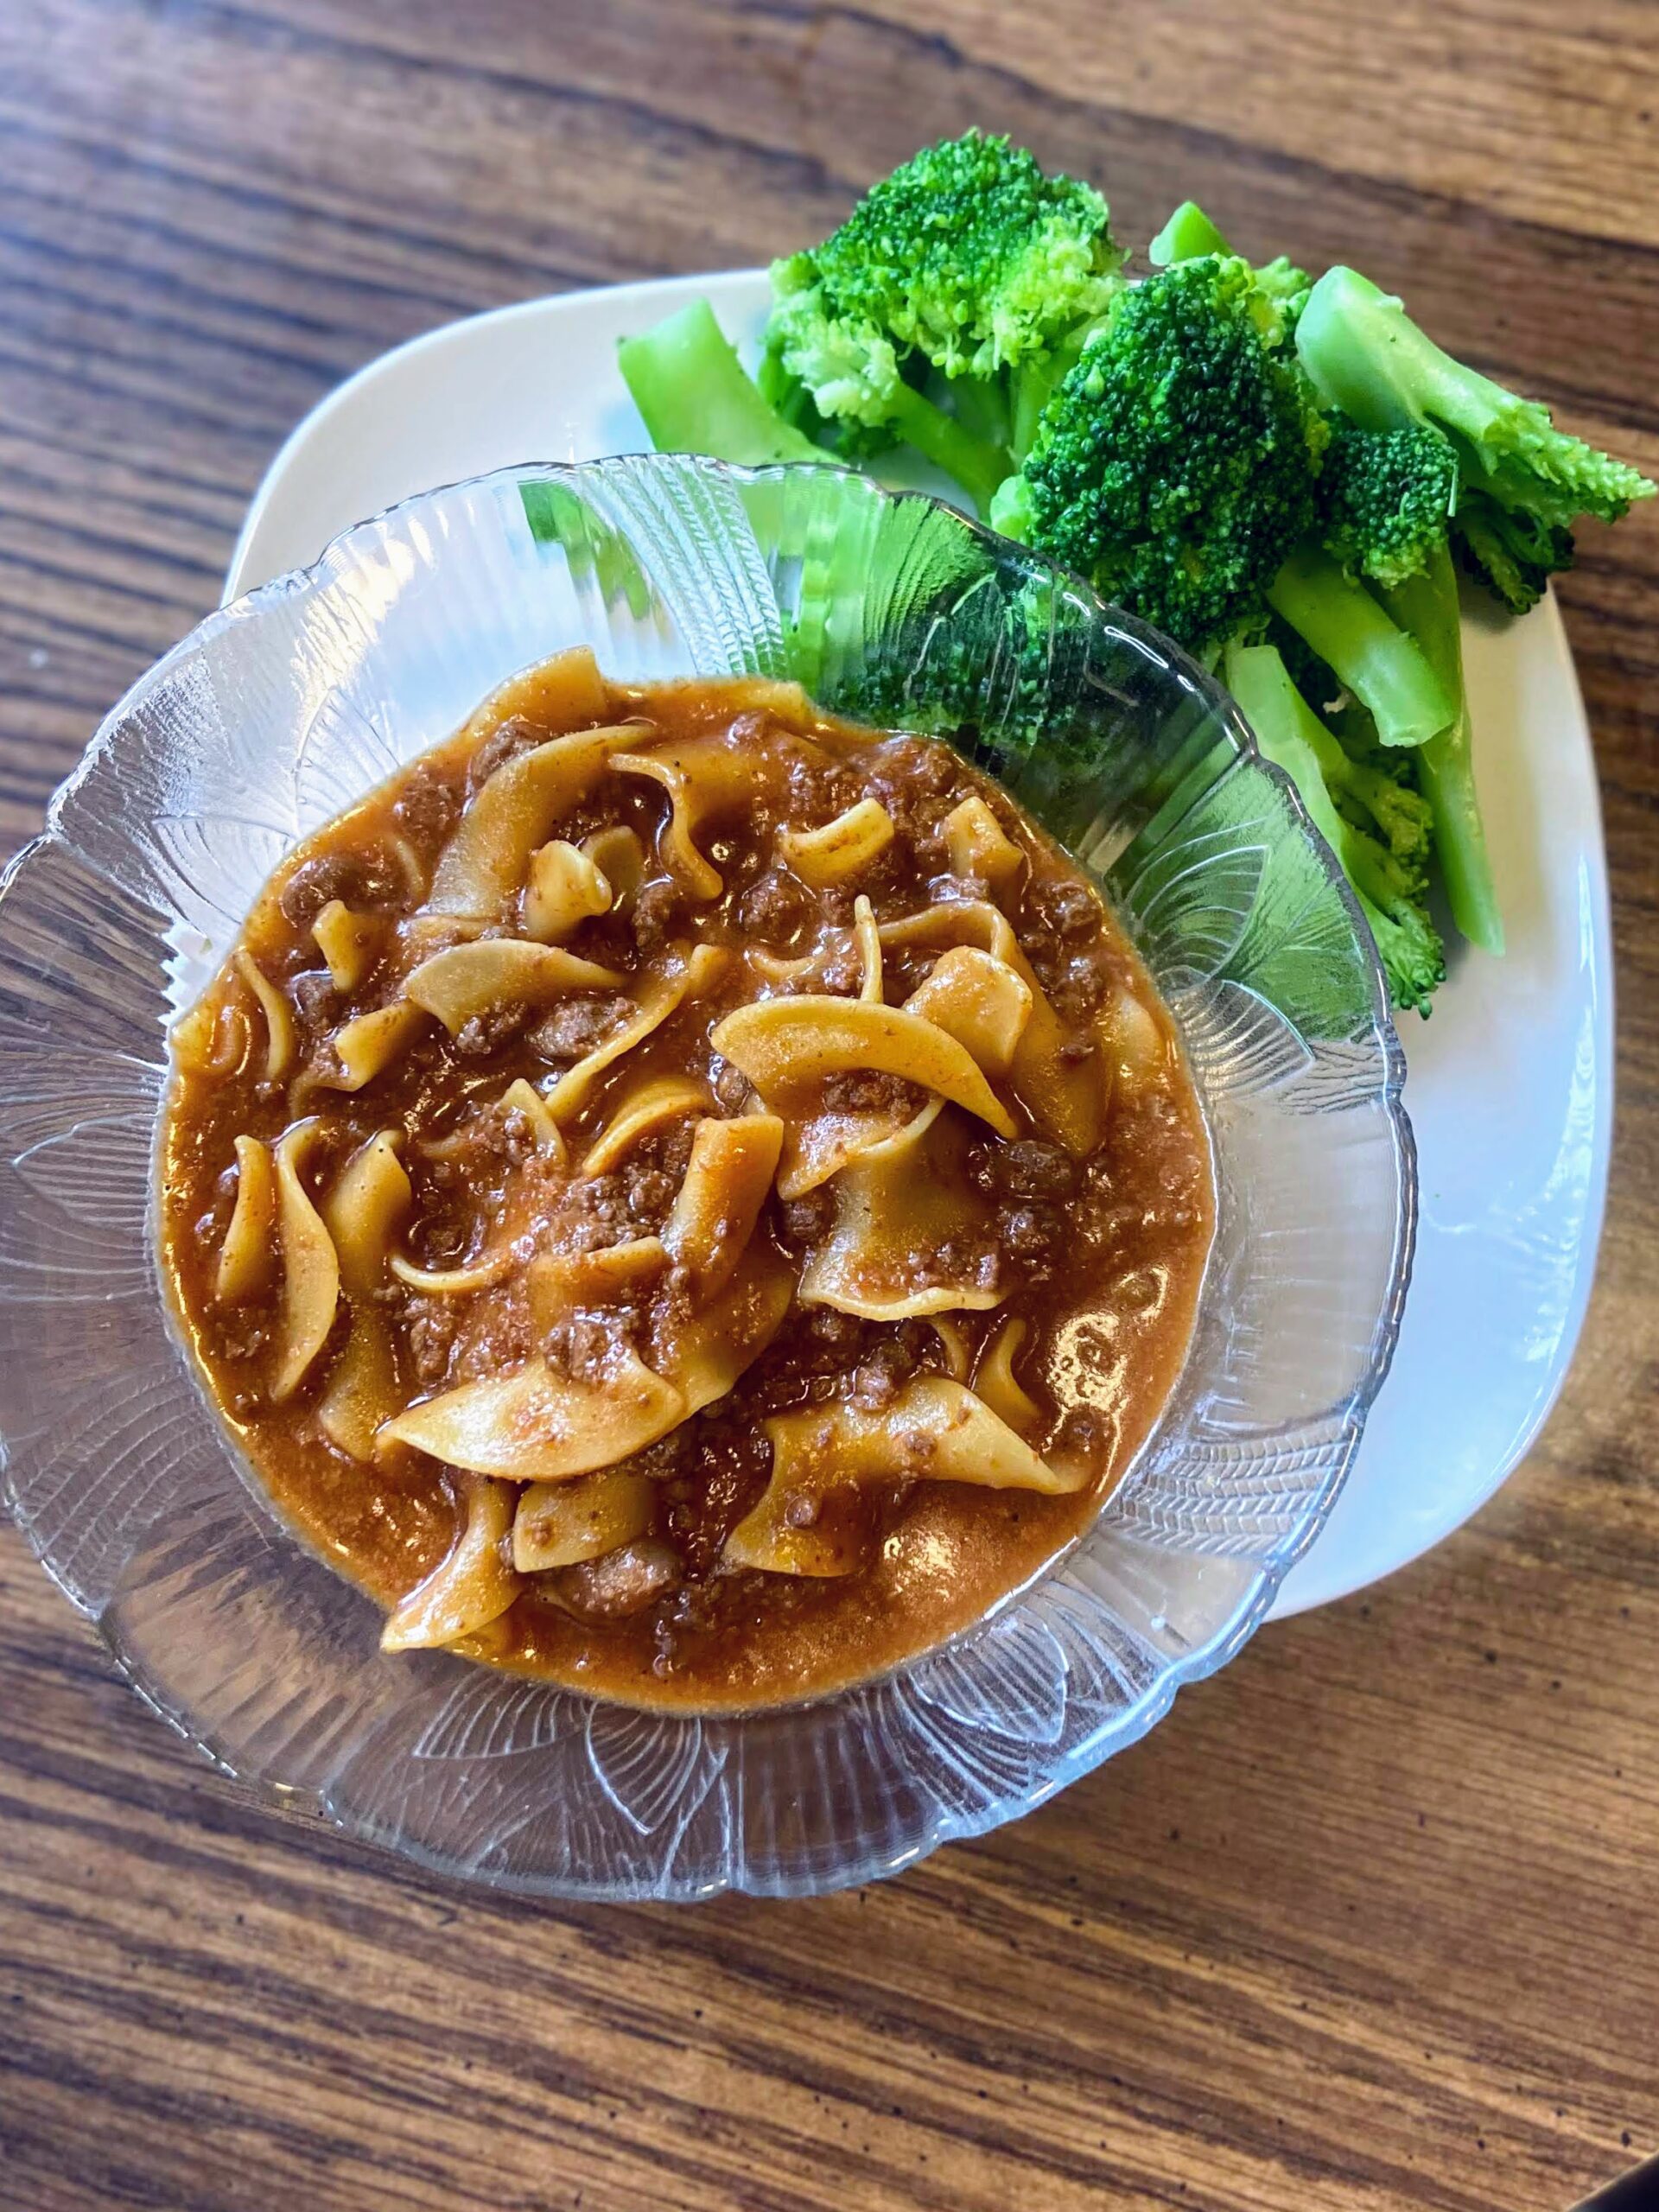
When I am asked what my niche is as a food blogger, I have a hard time coming up with a description because I truly am a dabbler. I love to can and preserve food from our homestead. I am a baker and comfort food is my jam. When I start to think about it deeper and see the big picture, my passion is creating good food for families from scratch. This homemade hamburger helper is such a perfect example of it. 

I don’t know about you, but I grew up eating a lot of hamburger helper as a kid. It was delicious, but now, I try to avoid as much pre-packaged and processed food as possible. When a friend shared her version of homemade hamburger helper, I had to give it a try. The skillet quickly became a family favorite and I had to ask if I could share it here. 

This homemade hamburger helper cooks up just a quick, if not quicker, than the box stuff. It’s a delicious and so simple recipe for busy people who still want to put good food on the table for their families. And without all the preservatives and added salt, it’s a meal parents can feel good about their kiddos devouring. 

Your Ingredients 

  • 1 pound ground protein (beef, venison, turkey)
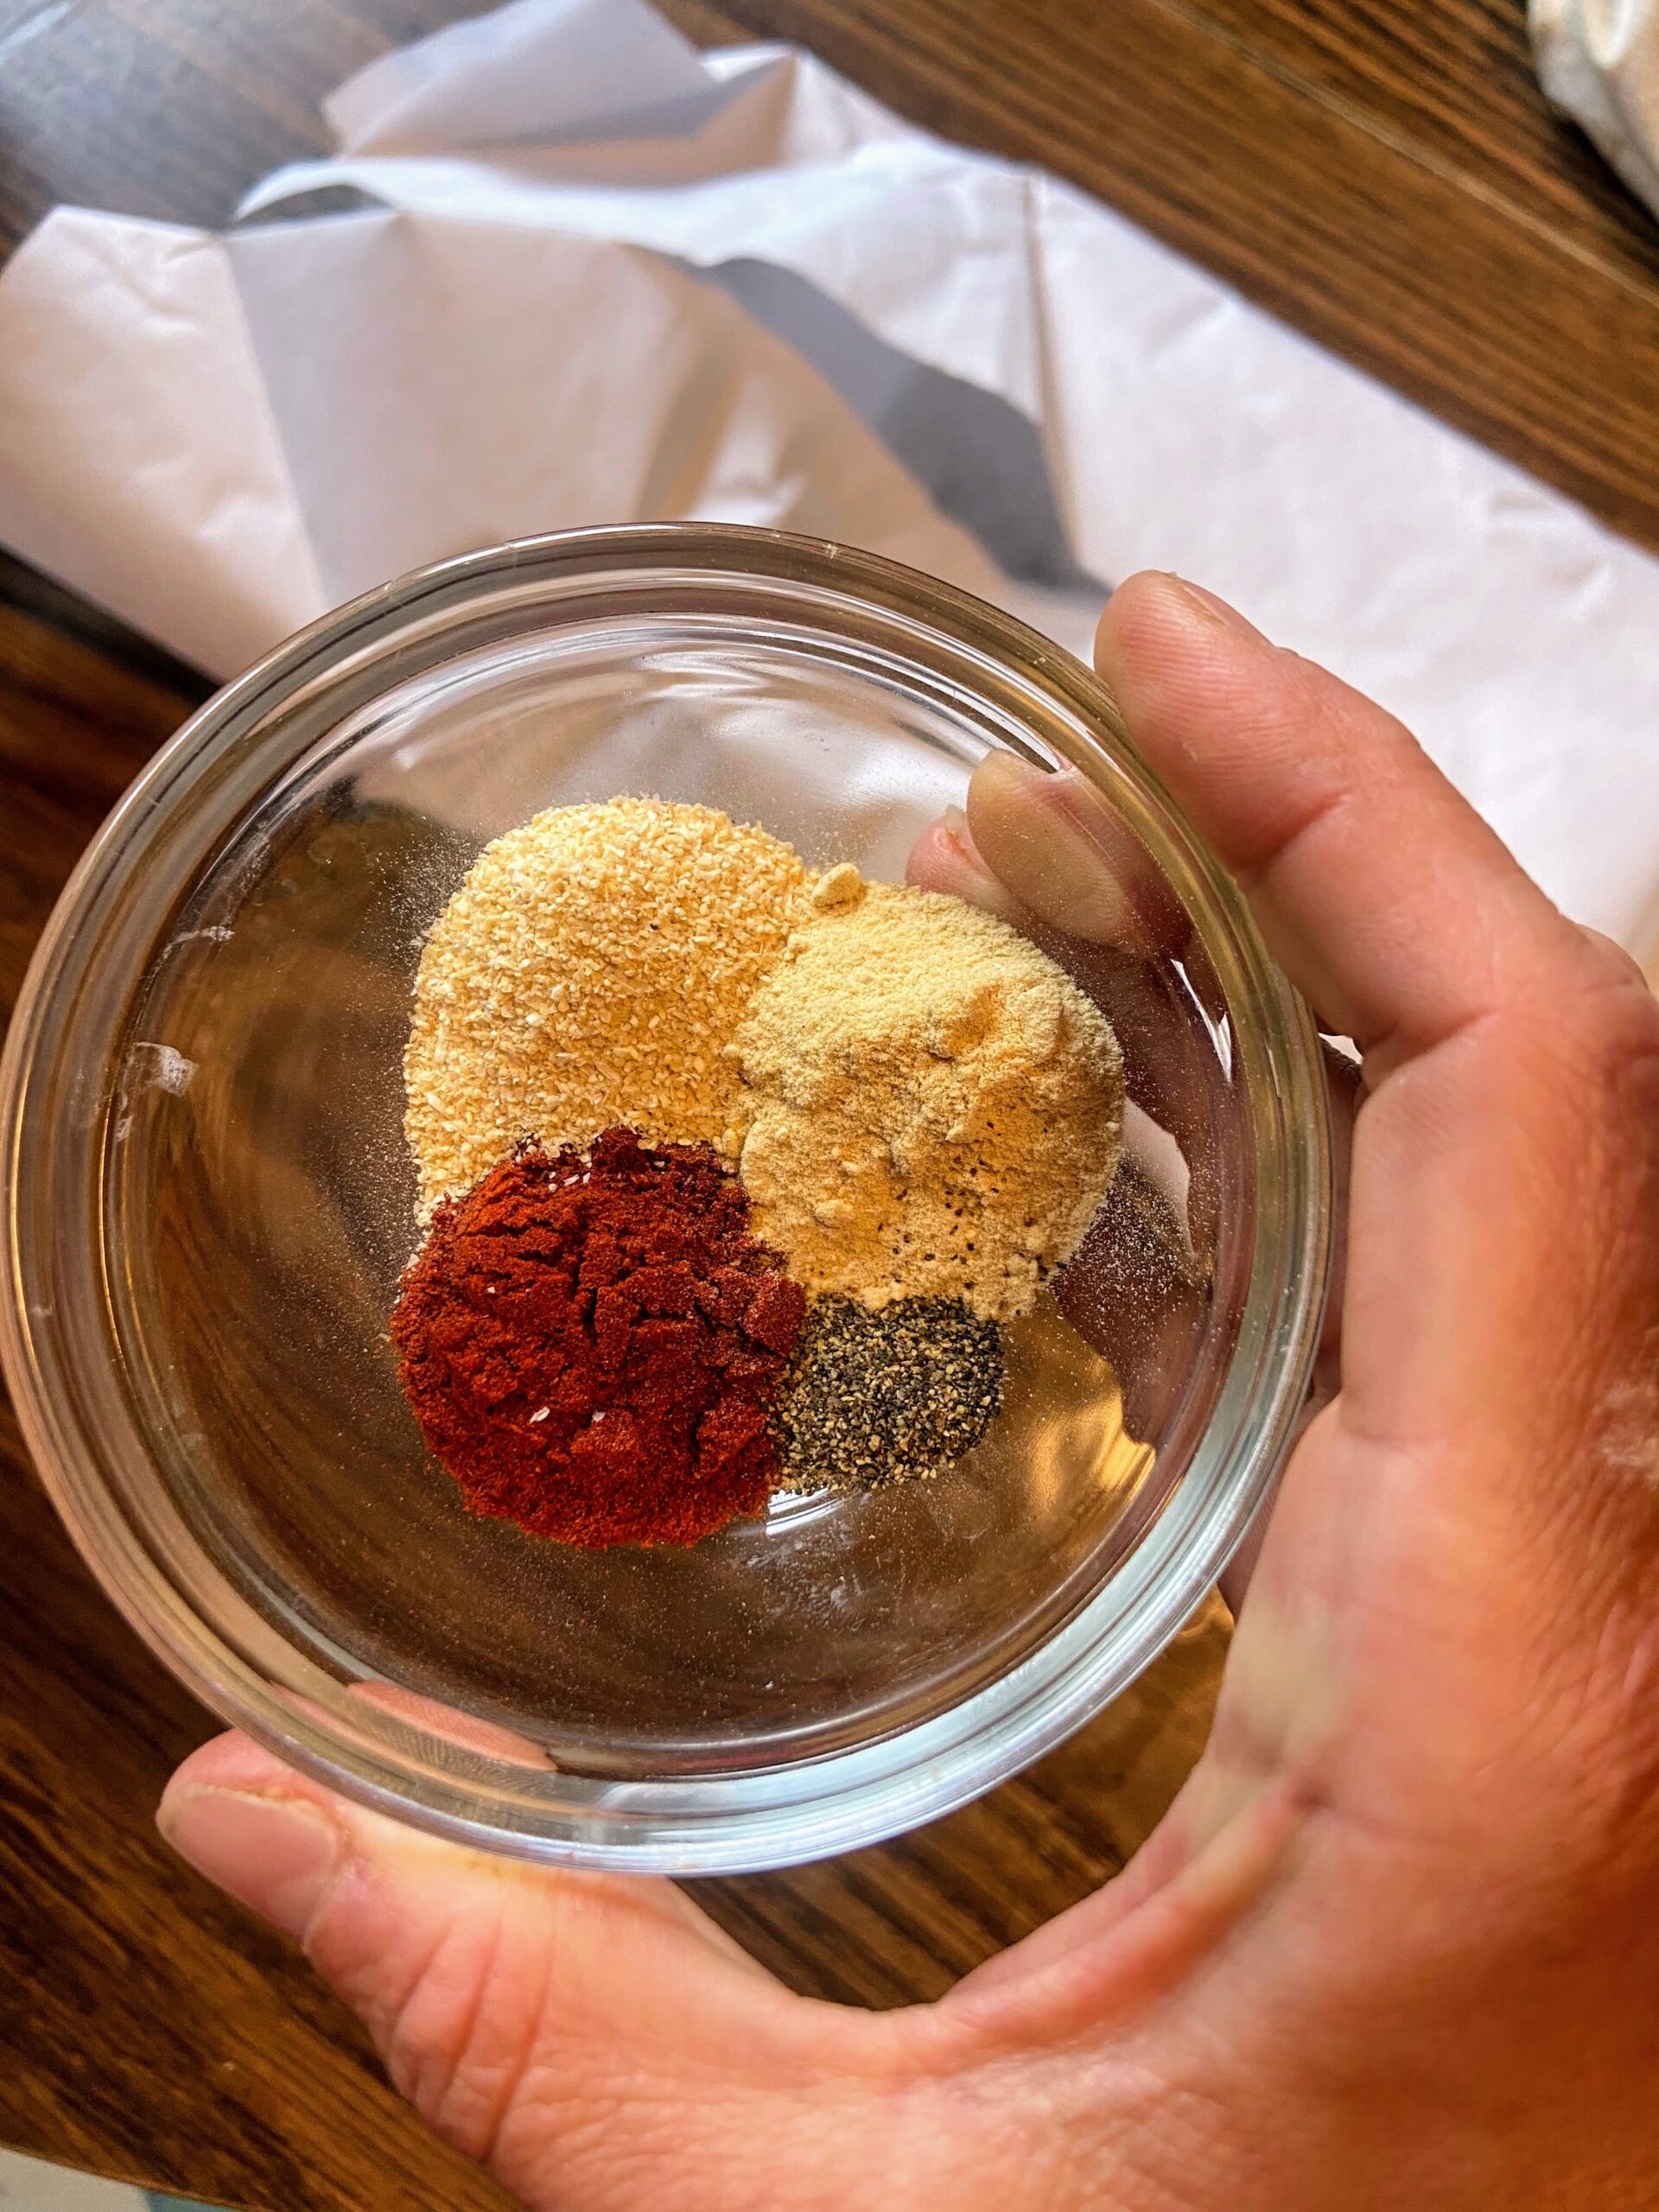
  • 1 teaspoon onion powder 
  • ¼ teaspoon ground pepper
  • 1 teaspoon paprika 
  • 1 teaspoon garlic powder 
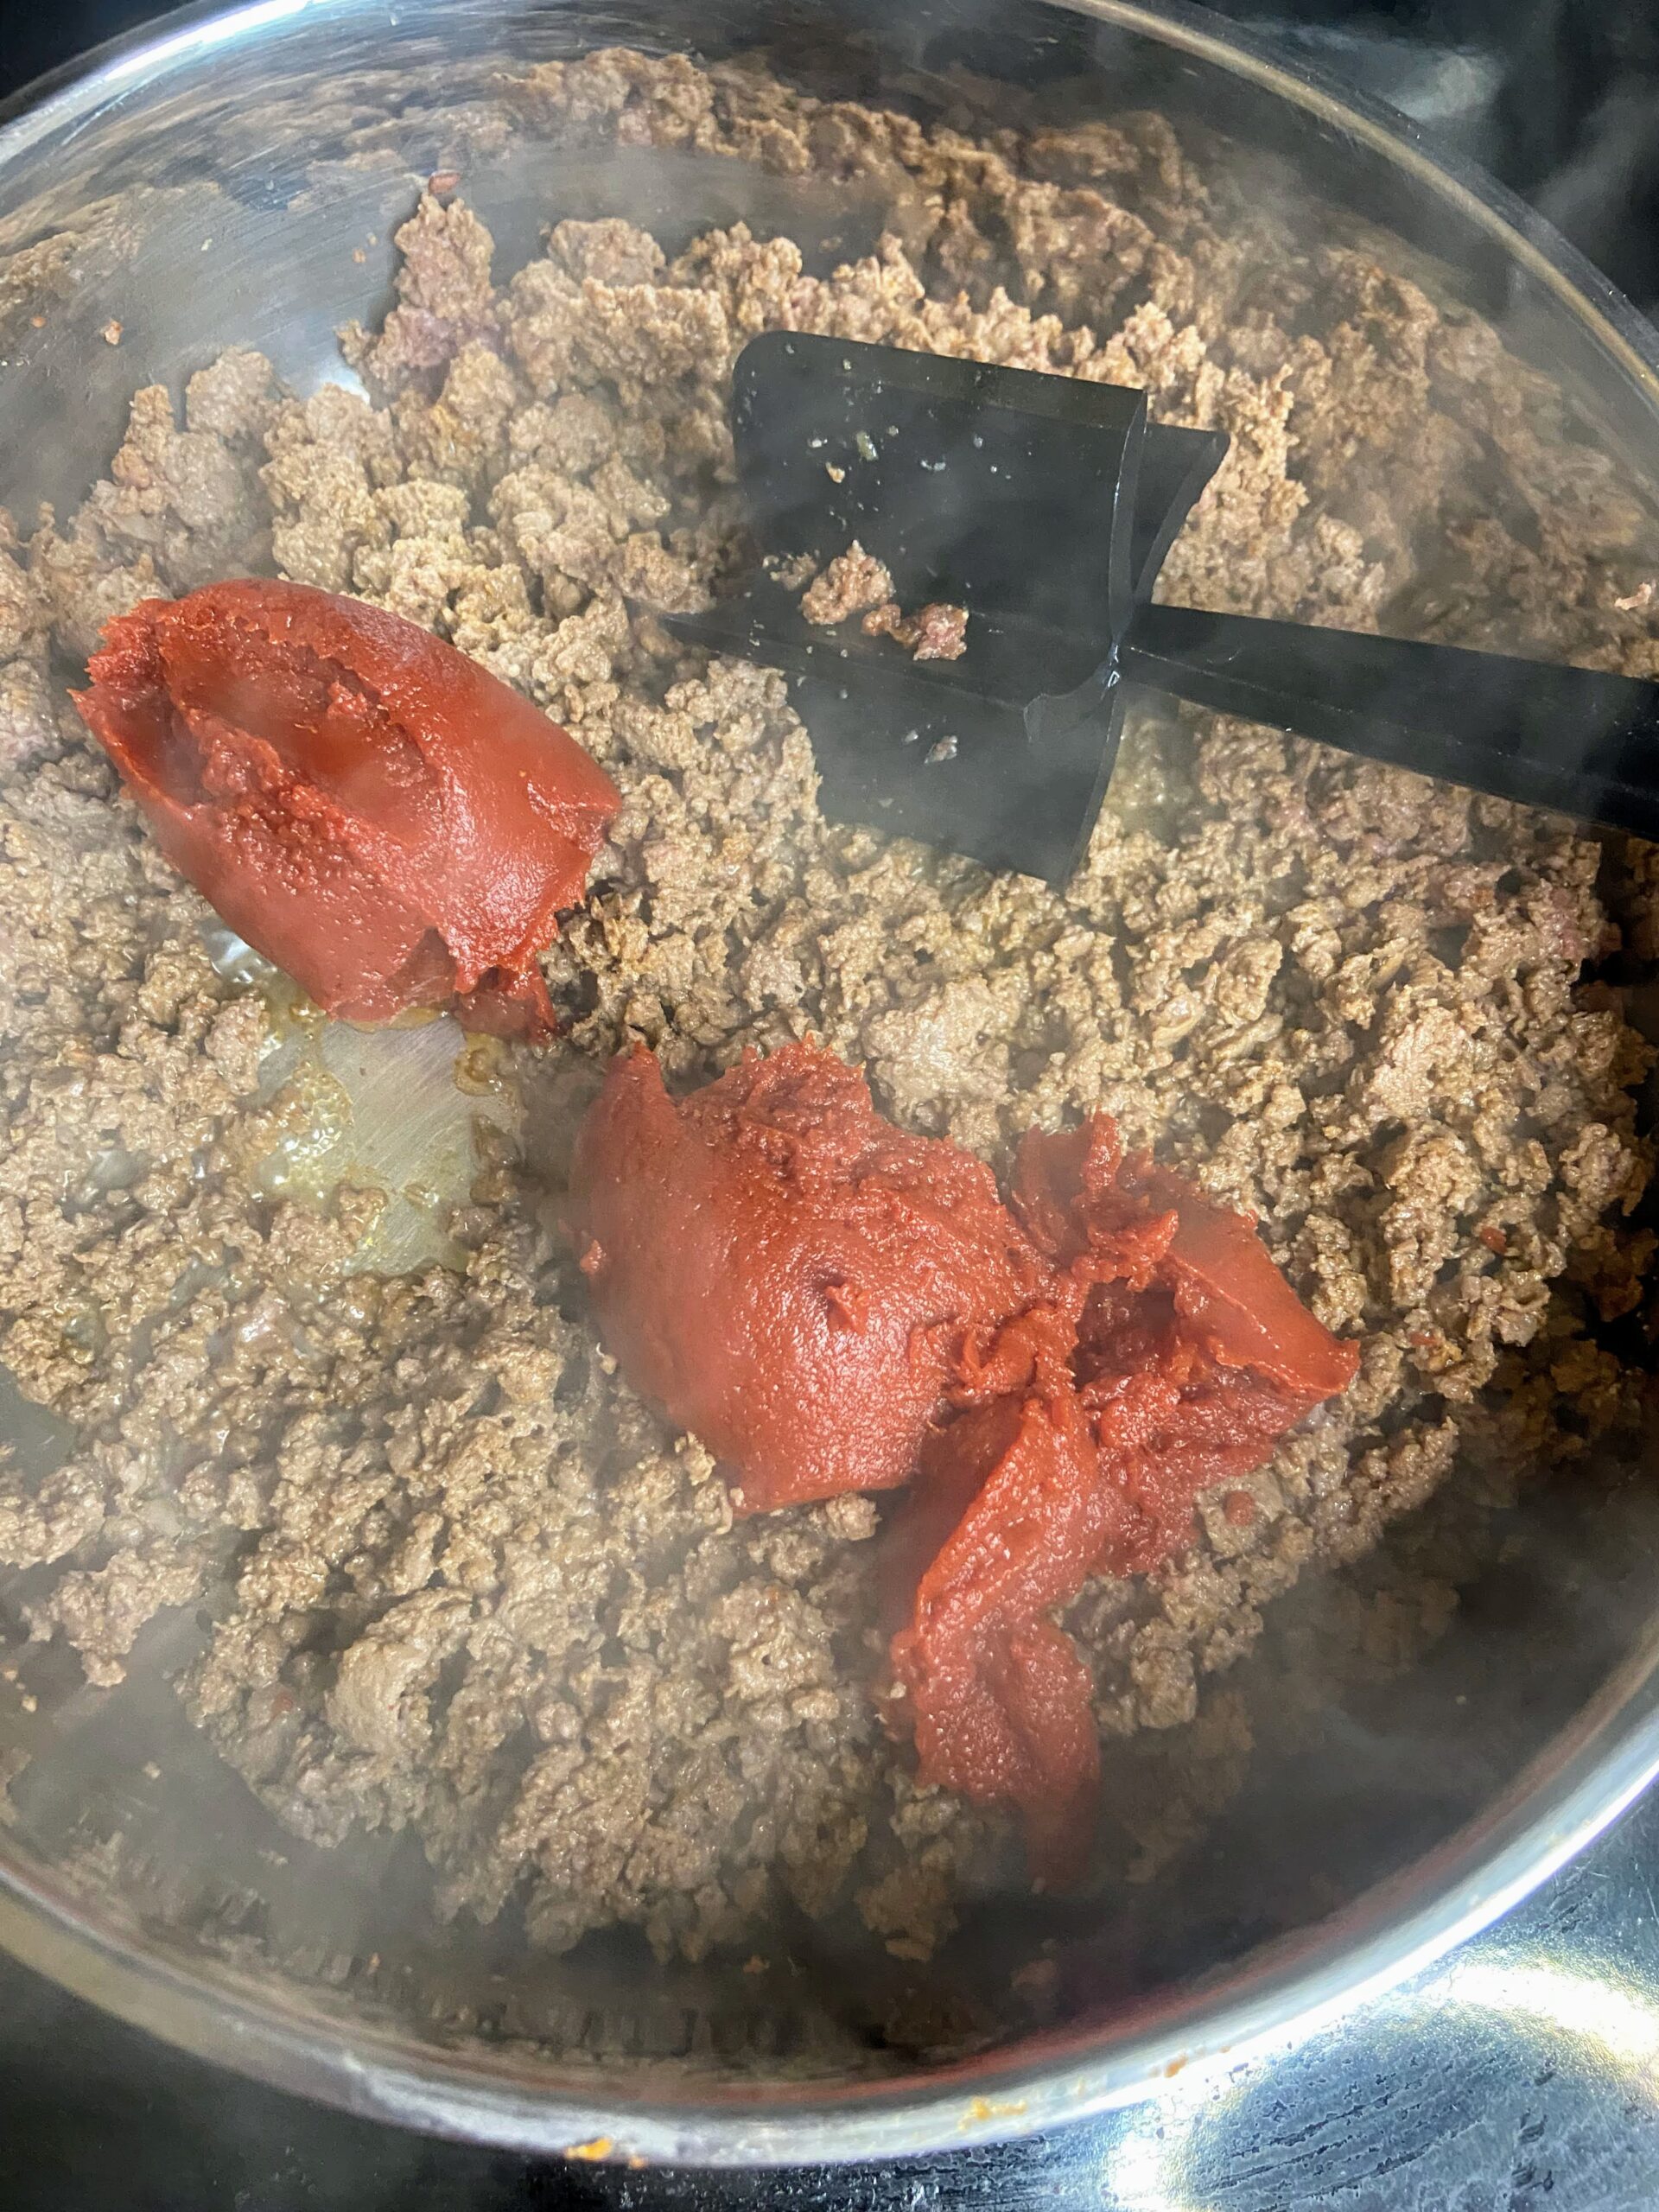
  • 6 ounces tomato paste or 8 ounces tomato sauce 
  • 1 ½ cups milk of your choice (regular, almond, etc) 
  • 1 ½ cups low sodium beef broth
    3 cups egg noodles
  • 1 ½ cups shredded cheddar cheese 
  • Olive oil, optional 
  • Salt, to taste

Your Steps to Homemade Hamburger Helper

Over medium heat, begin to heat olive oil (if using a low fat protein) in a large saute pan (that has a cover). Add ground protein. Season with onion powder, paprika, garlic powder, and ground pepper. Brown. Drain if necessary. 

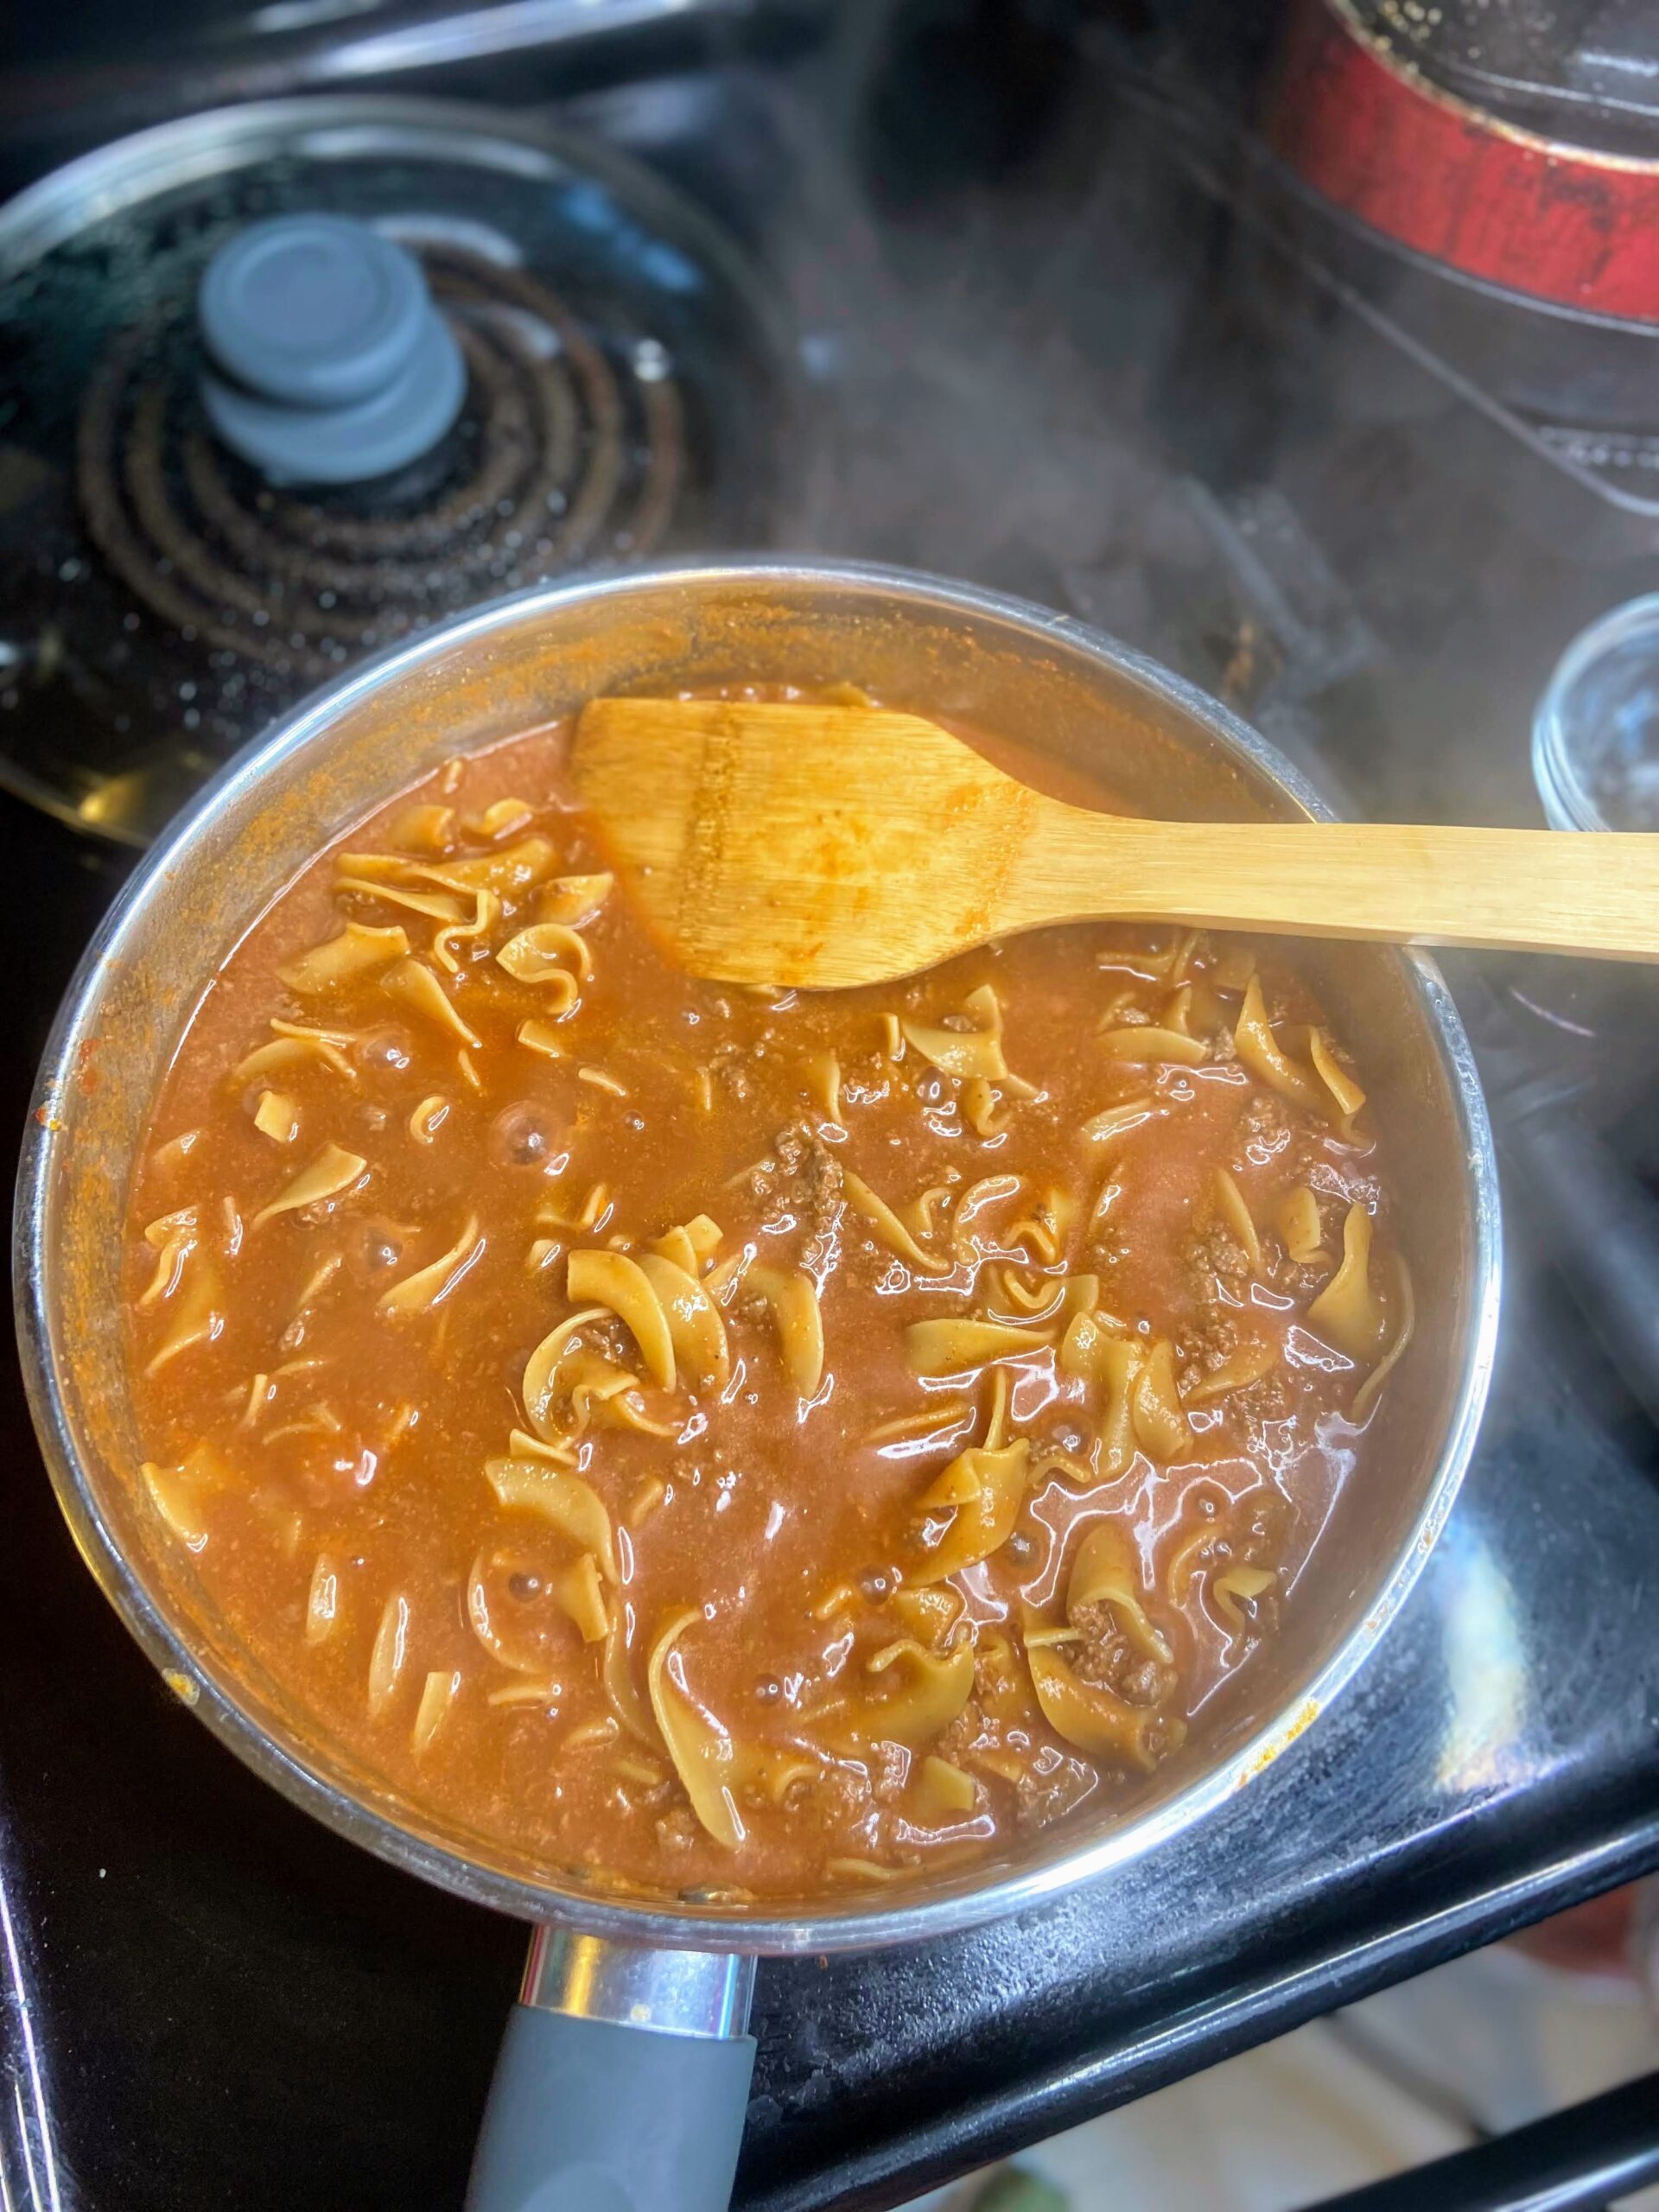
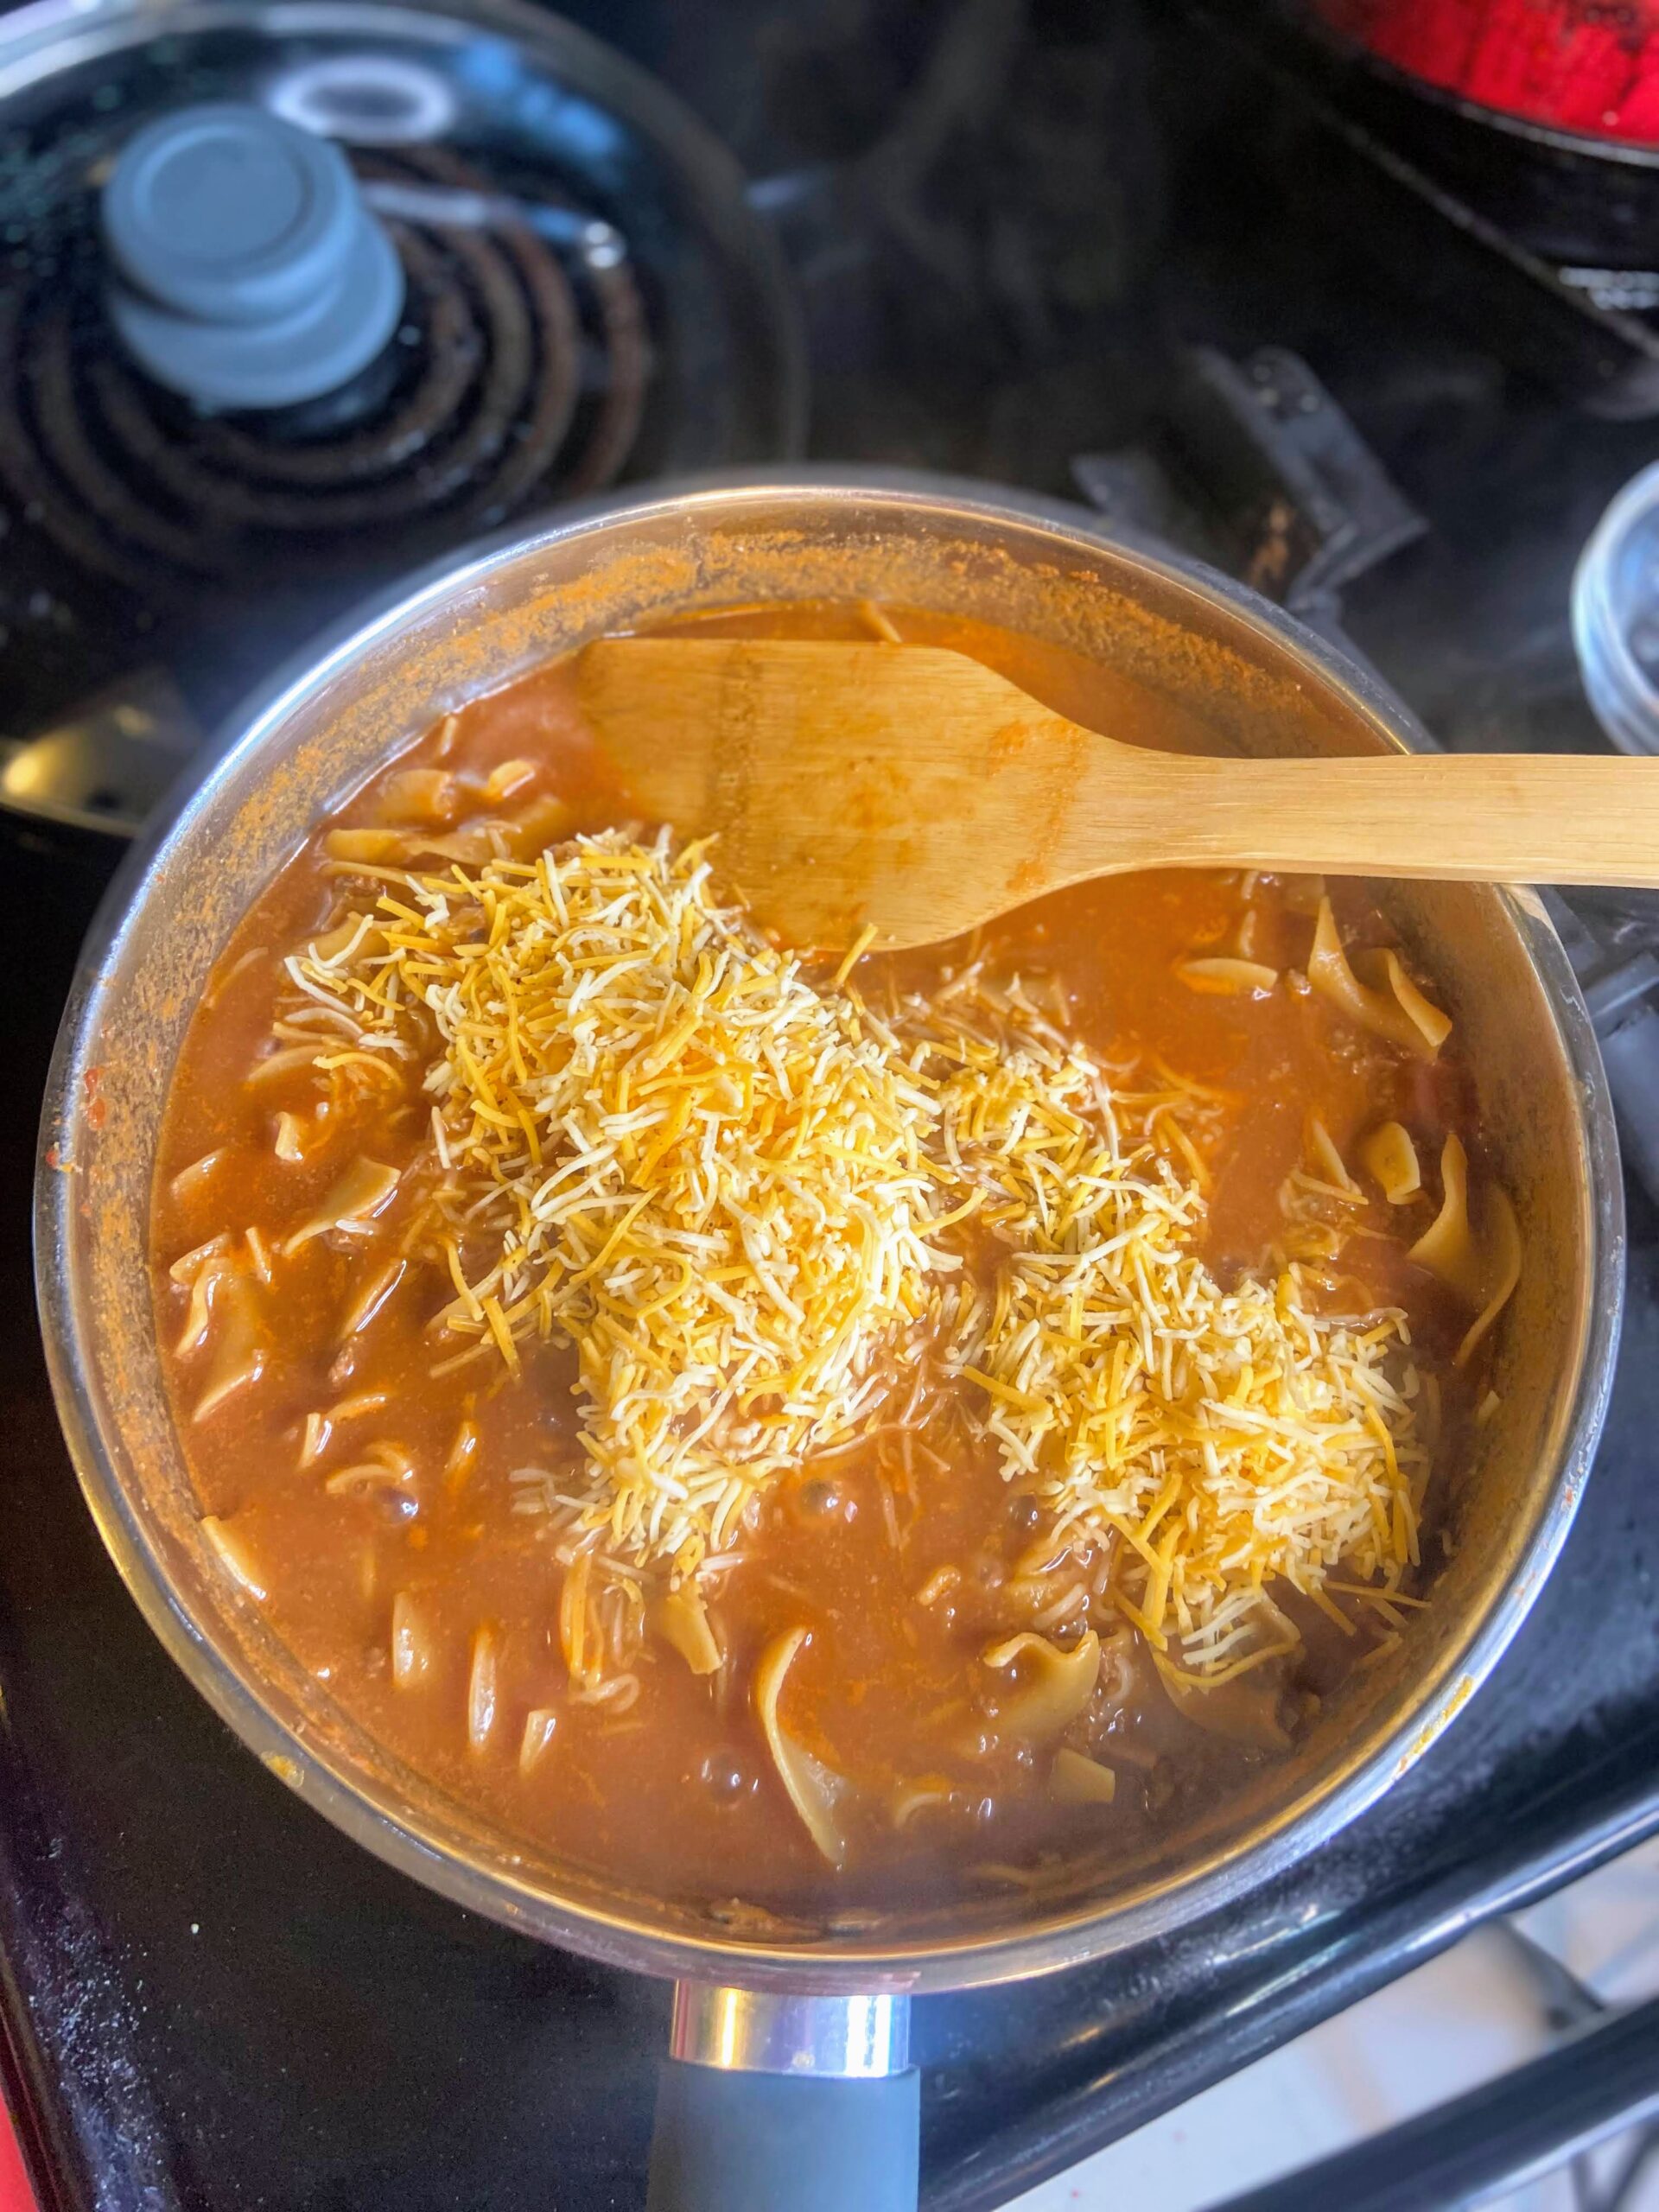
Stir in tomatoes, continuing to heat over medium-high temperature. Cook for 2-3 minutes. Stir in milk and beef broth. Bring to a boil. Add egg noodles, reduce heat, cover, and cook for 8-10 minutes, until the egg noodles are cooked through. Remove from heat and stir in cheese. Season with salt if needed. 

Homemade Hamburger Helper

Comfort food at its finest with the flavors of childhood without all the preservatives.
Prep Time 10 minutes
Cook Time 12 minutes
Servings 6 servings

Ingredients
  

  • 1 pound ground protein beef, venison, turkey
  • 1 teaspoon onion powder
  • ¼ teaspoon ground pepper
  • 1 teaspoon paprika
  • 1 teaspoon garlic powder
  • 6 ounces tomato paste or 8 ounces tomato sauce
  • 1 ½ cups milk of your choice regular, almond, etc
  • 1 ½ cups low sodium beef broth
  • 3 cups egg noodles
  • 1 ½ cups shredded cheddar cheese
  • Olive oil optional
  • Salt to taste

Instructions
 

  • Over medium heat, begin to heat olive oil (if using a low fat protein) in a large saute pan (that has a cover). Add ground protein. Season with onion powder, paprika, garlic powder, and ground pepper. Brown. Drain if necessary.
  • Stir in tomatoes, continuing to heat over medium-high temperature. Cook for 2-3 minutes.
  • Stir in milk and beef broth. Bring to a boil.
  • Add egg noodles, reduce heat, cover, and cook for 8-10 minutes, until the egg noodles are cooked through.
  • Remove from heat and stir in cheese. Season with salt if needed.
Tried this recipe?Let us know how it was!

Looking for other recipes?

Check out some great, family-friendly recipes below!

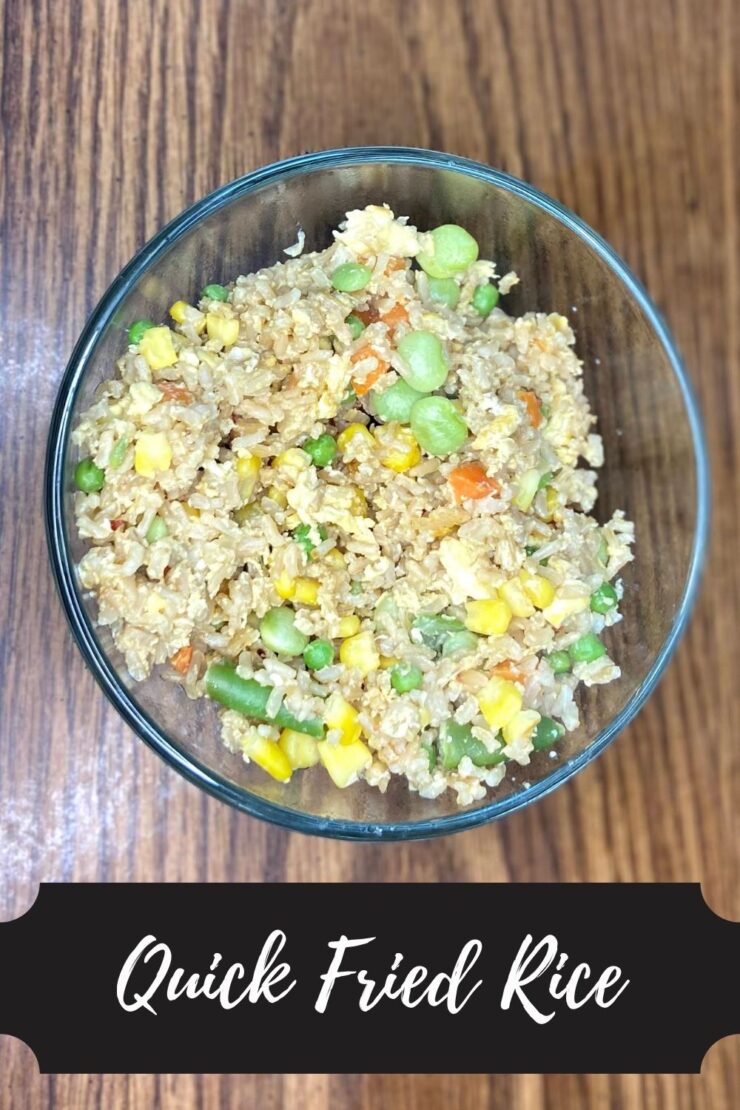
Quick Dish: Fried Rice

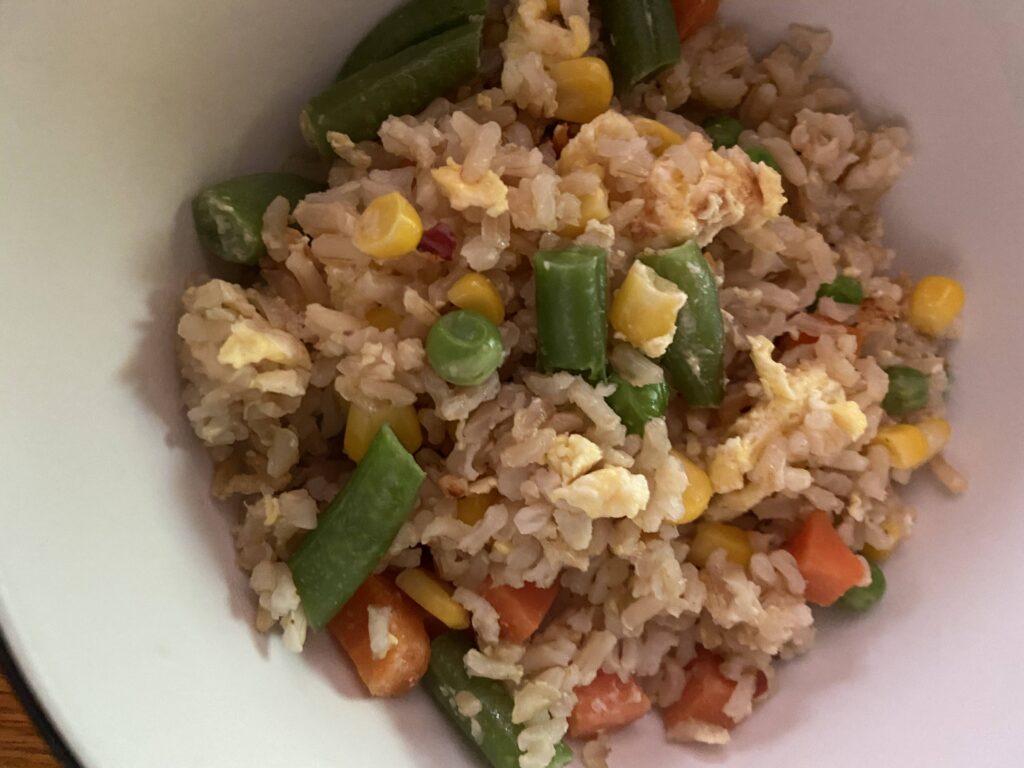
Recently, my family and I were away from home for a week. I don’t know about you, but when I get home from a week away, I need at least another day to reset. I do not want to do a thing but sit on the couch for hours, even if I was in the car for six hours leading up to getting home. And although the fridge is empty (if we did things right before we left), I certainly do not want to go grocery shopping. That, my friends, is unfortunate because I still need food for lunch the next day. However, I have discovered quick fried rice and my life has become a little easier and definitely a lot tastier.

After said trip, I looked around at what we had for food and realized we were low on proteins, at least any that were thawed. I am passionate about eating wholesome foods that are minimally processed, so this was a bit of a problem. However, I love me some brown rice with vegetables. I had some instant brown rice on hand as well as frozen Asian vegetables. Good. We also had cooked some Asian food while on vacation, so those flavors were on my mind. I opened the refrigerator to gather some liquid aminos and saw eggs. Eggs! Oh man, I can make a quick fried rice for lunch!

I felt as though I was winning at life. This meal had a starch/carb, vegetables, and a protein; a complete meal. It came together in less than 15 minutes, which is a major win in my book. Measuring is somewhat optional as you can really find flavors you love. Finally, nothing was processed and the ingredients are pantry items at our house. Let me tell you, this recipe is going into my everyday cooking brain when I need a quick, wholesome meal. I hope it does for you too!

Your Ingredients

  • 2 cups brown rice, cooked (instant or regular)
  • 8 ounces frozen mixed vegetables
  • 1-2 eggs, whisked
  • ½ tablespoon sesame oil 
  • ½ teaspoon minced garlic 

Seasonings, to taste: 

  • Ground ginger (¼-½ teaspoon) 
  • Pinch of red pepper flakes
  • Onion Powder
  • Soy sauce or liquid aminos (½ – 1 tablespoon)

Cook the vegetables according to the directions on the package. We adore these awesome steam bags that Ziploc makes for steaming frozen and raw vegetables in the microwave. (Here’s the link for them if you want to check them out: Ziploc Zip n’ Steam Bags)

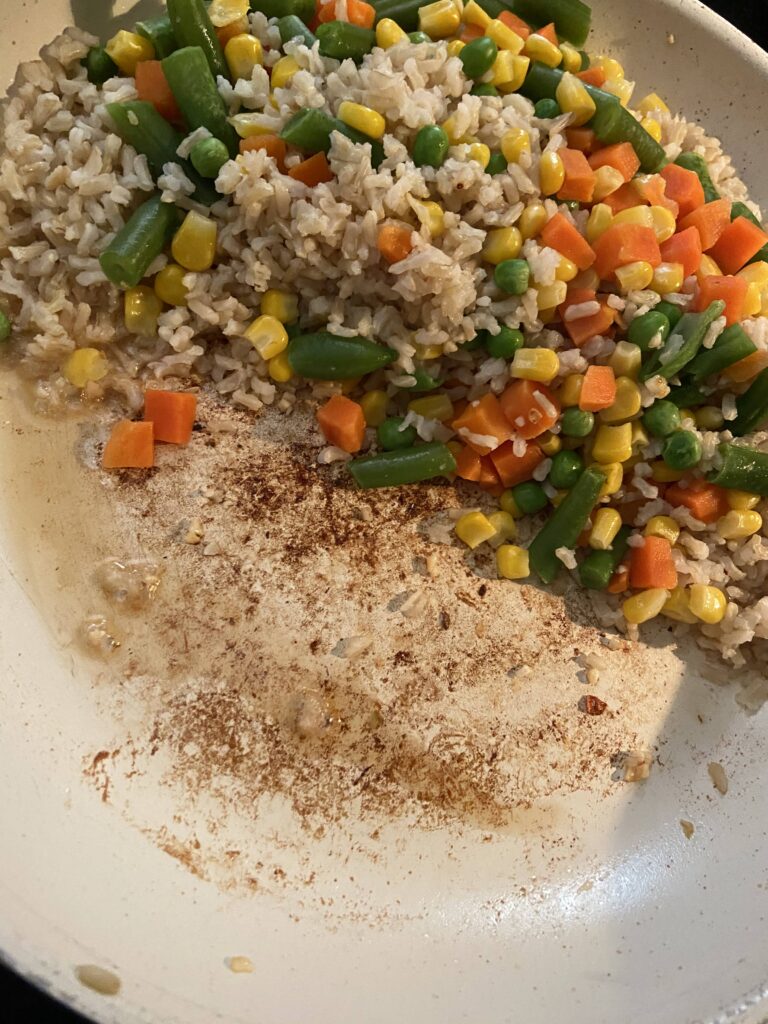
Meanwhile, heat the oil in a large skillet over medium high heat. Add the garlic and cook for 30 seconds, until fragrant. Add the rice, steamed vegetables, and seasonings to taste. Allow to cook for 2-3 minutes, stirring every 30 seconds or so. 

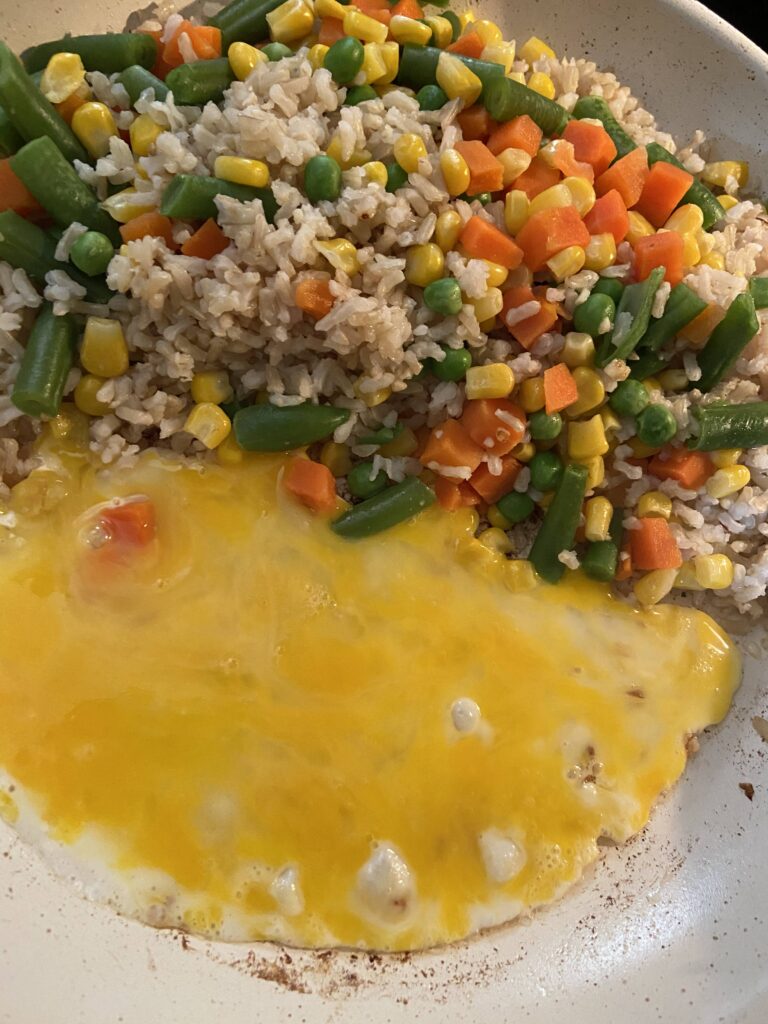
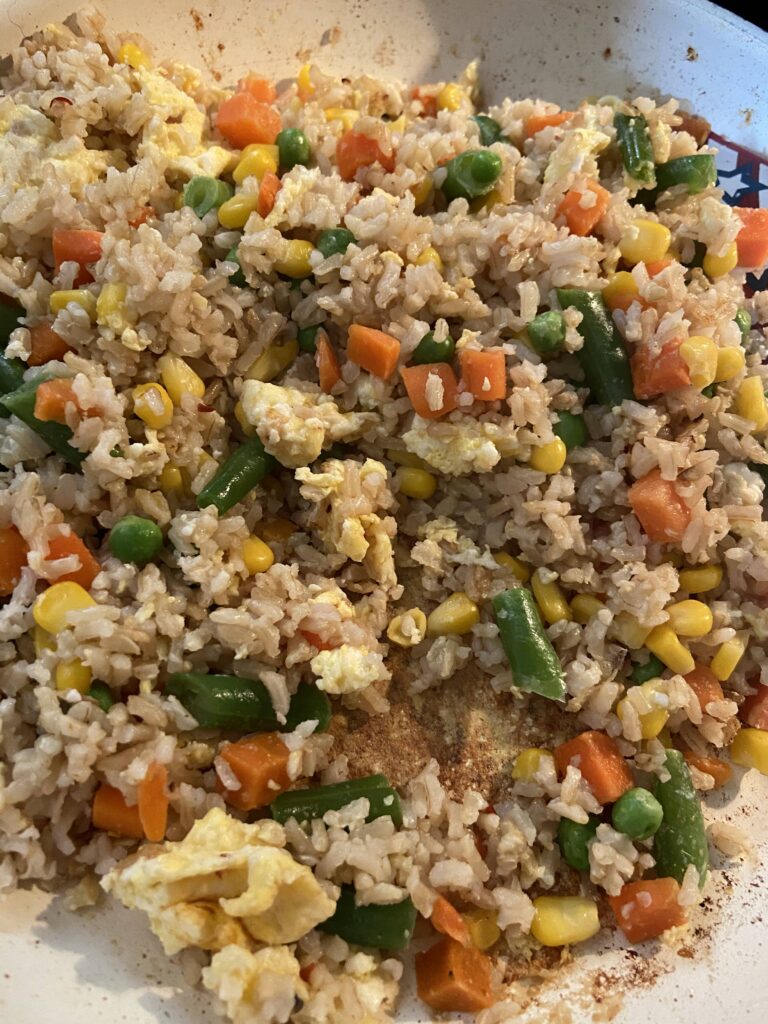
Push rice and vegetable mixture to the side. Pour in the whisked egg(s) in the cleared spot (spraying with cooking spray prior if there is worry the egg will stick. I add a touch more sesame oil). Allow to cook 1-2 minutes, as though you are going to scramble the egg. Once the egg is starting to become solid, fully incorporate it into the rice and vegetable mixture. Saute until the egg is fully cooked. Taste and add more soy sauce, ginger, or red pepper flakes as needed. 

Quick and easy. Delish, wholesome, and a complete meal from your pantry. That’s what I call a winner in my book. Give it a try next time you’re not quite ready to make a run to the grocery store. Or maybe anytime you need a meal at your fingertip in minutes. 

Looking for other from scratch recipes to cook for a meal? Click below.

Tools of the Trade

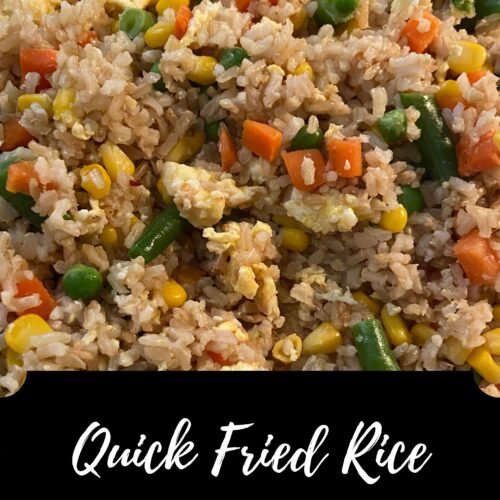
Quick Fried Rice

Short on grocery store items? Put together this quick fried rice using ingredients from your fridge and pantry in 15 minutes flat!
Prep Time 5 minutes
Cook Time 10 minutes
Course Main Course
Cuisine Chinese
Servings 2

Ingredients
  

  • 2 cups brown rice cooked (instant or regular)
  • 8 ounces frozen mixed vegetables
  • 1-2 eggs whisked
  • ½ tablespoon sesame oil
  • ½ teaspoon minced garlic

Seasonings, to taste:

  • Ground ginger ¼-½ teaspoon
  • Pinch of red pepper flakes
  • Soy sauce or liquid aminos ½ – 1 tablespoon
  • onion powder

Instructions
 

  • Cook the vegetables according to the directions on the package.
  • Meanwhile, heat the oil in a large skillet over medium high heat. Add the garlic and cook for 30 seconds, until fragrant.
  • Add the rice, steamed vegetables, and seasonings to taste. Allow to cook for 2-3 minutes, stirring every 30 seconds or so.
  • Push rice and vegetable mixture to the side.
  • Pour in the whisked egg(s) in the cleared spot, spraying with cooking spray if necessary.
  • Allow to cook 1-2 minutes.
  • Once the egg is starting to become solid, fully incorporate it into the rice and vegetable mixture.
  • Sauté until the egg is fully cooked.
  • Taste and add more soy sauce, ginger, or red pepper flakes as needed.

Notes

This will always be better if you use rice you cooked a day or two before. But I get it, you may not always have thought ahead. Go ahead and use what you have. 
Keyword Brown Rice, Eggs, Fried Rice
Tried this recipe?Let us know how it was!

Chicken and Quinoa Skillet

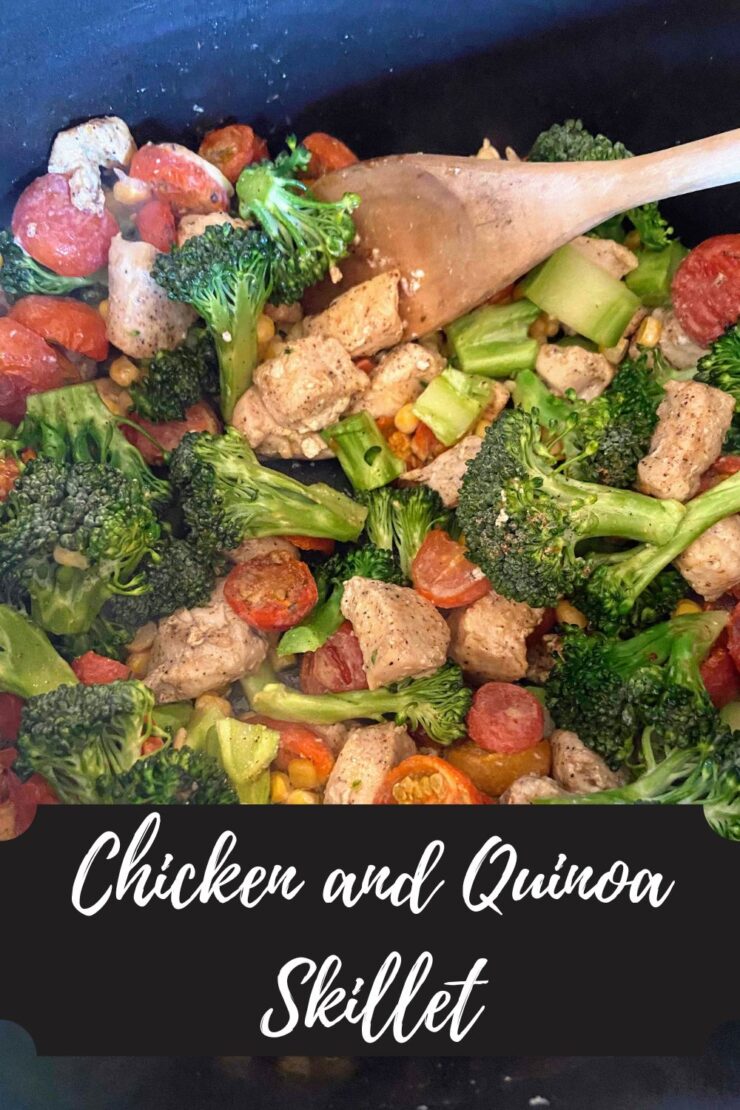
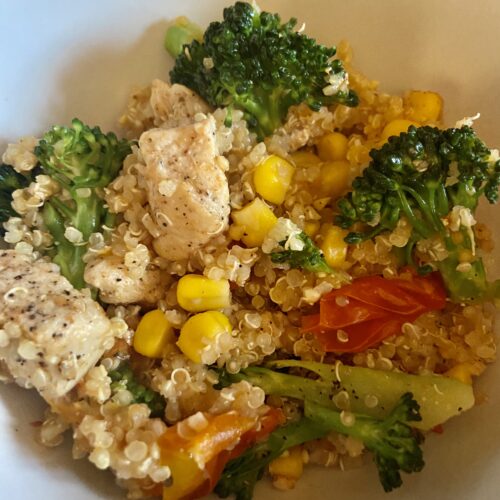
I don’t know about you, but I adore quinoa. I feel like it’s the grown up version of rice, maybe? It cooks quicker, is chock full of nutrients, and is such a blank canvas for your food artistry. Mix in some freshly cooked vegetables, seasoned, cooked chicken and you have this quick and easy dinner: Chicken and Quinoa Skillet. 

This isn’t a meal that my family necessarily meal plans. It’s a “Hey look! I have chicken and quinoa and all the veggies that go in that skillet! Let’s make that tonight for a quick meal!” kind of meal. Okay, I declared this a quick meal so let’s stop with the talking and get to the cooking!

Your INgredients:

  • 1 cup quinoa, rinsed and uncooked
  • 2 cups water (or chicken stock)
  • 1 pound boneless, skinless chicken breast, cut into bit size pieces
  • ½ teaspoon each of pepper, salt onion powder, garlic powder, and paprika, mixed together
  • 1 tablespoon olive oil
  • 1 teaspoon minced garlic
  • 4 cups chopped broccoli (about 1 head, if you include the stem)
  • 2 cups chopped tomatoes (I used my frozen roasted cherry tomatoes from the summer–recipe to come soon!)
  • 1 cup frozen corn
  • pinch of red pepper flakes and additional salt and pepper, to taste

Your Steps:

Add quinoa and water to a small saucepan. Bring to a boil, lower to a simmer and allow to cook for 15-20 minutes, uncovered, until all the water has absorbed. Fluff with a fork when finished and allow to rest. 

Meanwhile, season chicken with half of the seasoning mixture. Heat oil over medium-high heat in a larger skillet. Once hot, add chicken. Cook for 8-12 minutes, until just cooked through. Avoid over stirring to allow the chicken to crisp up just a little. Add minced garlic and cook 30 seconds before stirring in remaining ingredients (broccoli, tomatoes, corn, pepper flakes, and remaining seasoning mixture). Cook until broccoli is hot throughout, approximately 5-8 minutes. Remove from heat and stir in quinoa. Add additional salt, pepper, and red pepper flakes to taste. Enjoy!

I love it because its simple and full of flavor and color. Bonus: We don’t typically meal plan this one. It just comes together as “often in our house” pantry items. Don’t dig chicken? You can totally substitute in a different protein. Yum! 

Looking for a different dinner idea? Check out my cooking page here!

Chicken and Quinoa Skillet

Chicken and Quinoa Skillet

Chicken and Quinoa Skillet. A "full of veggie meal" for a quick, clean, and full of flavor meal for any day of the week! Done in under 30 minutes! Win!
Servings 6

Ingredients
  

  • 1 cup quinoa rinsed and uncooked
  • 2 cups water or chicken stock
  • 1 pound boneless skinless chicken breast, cut into bit size pieces
  • ½ teaspoon each of pepper salt onion powder, garlic powder, and paprika, mixed together
  • 1 tablespoon olive oil
  • 1 teaspoon minced garlic
  • 4 cups chopped broccoli about 1 head, if you include the stem
  • 2 cups chopped tomatoes
  • pinch of red pepper flakes and additional salt and pepper to taste

Instructions
 

  • Add quinoa and water to a small saucepan. Bring to a boil, lower to a simmer and allow to cook for 15-20 minutes, uncovered, until all the water has absorbed. Fluff with a fork when finished and allow to rest.
  • Meanwhile, season chicken with half of the seasoning mixture.
  • Heat oil over medium-high heat in a larger skillet. Once hot, add chicken.
  • Cook for 8-12 minutes, until just cooked through. Avoid over stirring to allow the chicken to crisp up just a little.
  • Add minced garlic and cook 30 seconds before stirring in remaining ingredients (broccoli, tomatoes, corn, pepper flakes, and remaining seasoning mixture). Cook until broccoli is hot throughout, approximately 5-8 minutes.
  • Remove from heat and stir in quinoa. Add additional salt, pepper, and red pepper flakes to taste. Enjoy!
Tried this recipe?Let us know how it was!