Sweet Potato Casserole

Sweet potatoes. I was in my thirties when I discovered just how much I loved them. Maybe they are a relatively new “mainstream” phenomenon like Brussels sprouts. Either way, I have developed a deep love for them in all forms. Roasted. Mashed. Baked. They are SO GOOD. A few years ago, I got to host my very first Thanksgiving for the Mr’s side of the family and you know we had to have a great sweet potato casserole. 
As I was looking at recipes, I saw your typical “overly sweet” sweet potatoes. I didn’t want to serve that to my family. That’s what dessert is for, right? 

What I developed was a blend of sweet potatoes with just a touch of sweetness in brown sugar to satisfy those “sweet” sweet potato lovers without going overboard. Let me tell you, I could sit and eat an entire dish of these in nearly a sitting. I have loved baking up a batch nowhere near Thanksgiving and using it for my meal prep vegetables when I am packing my lunches for school. It’s comfort in a dish and SO good. But if you are making it for Thanksgiving, let me recommend you pair it with my homemade cranberry sauce too!

Now, I try to keep the conversation to a minimum in my blog and get us to the cooking. Are we ready for the recipe? Let’s go! 

Your Ingredients for Sweet Potato Casserole

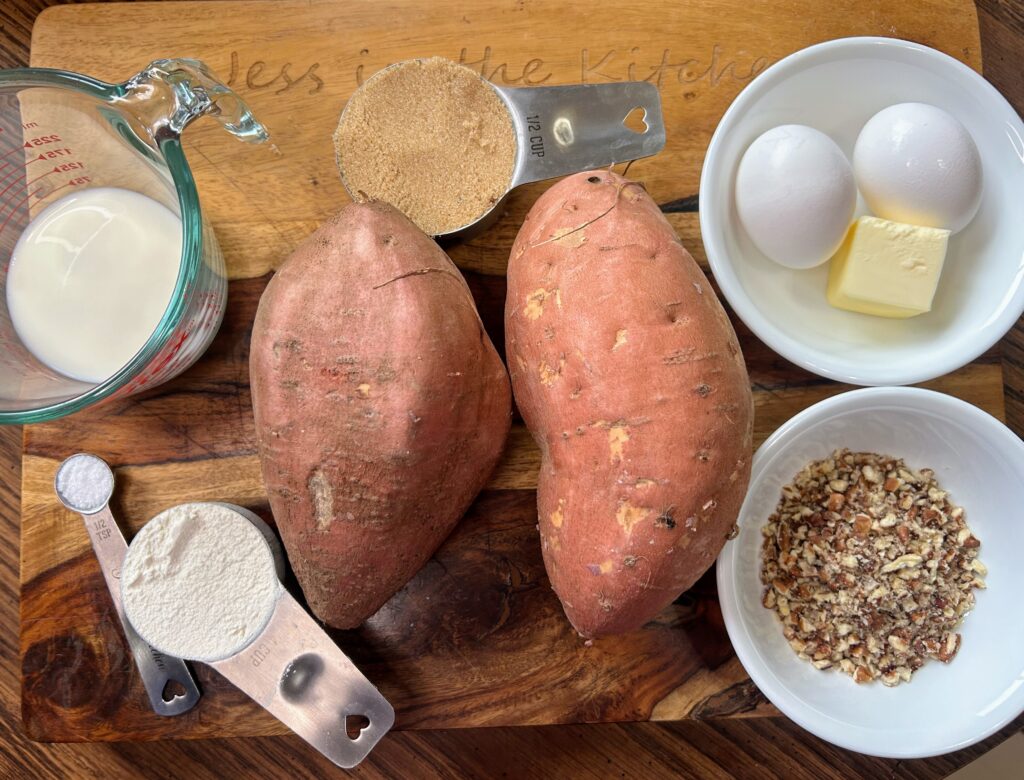
  • 2 ½ pounds of sweet potatoes, peeled and roughly cubed
  • ½ cup brown sugar, divided
  • ⅓ cup milk (I did whole)
  • 2 tablespoons butter, divided
  • 2 eggs, beaten
  • ½ teaspoon salt
  • ¼ cup flour
  • ⅓ cup chopped pecans

Your Steps 

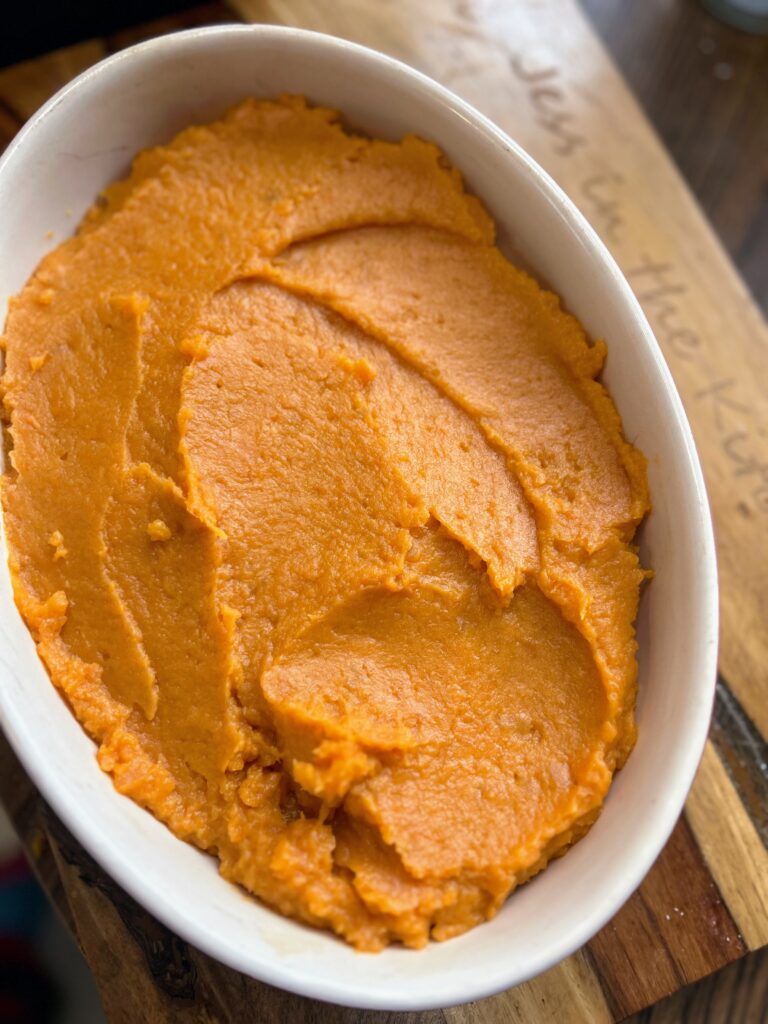
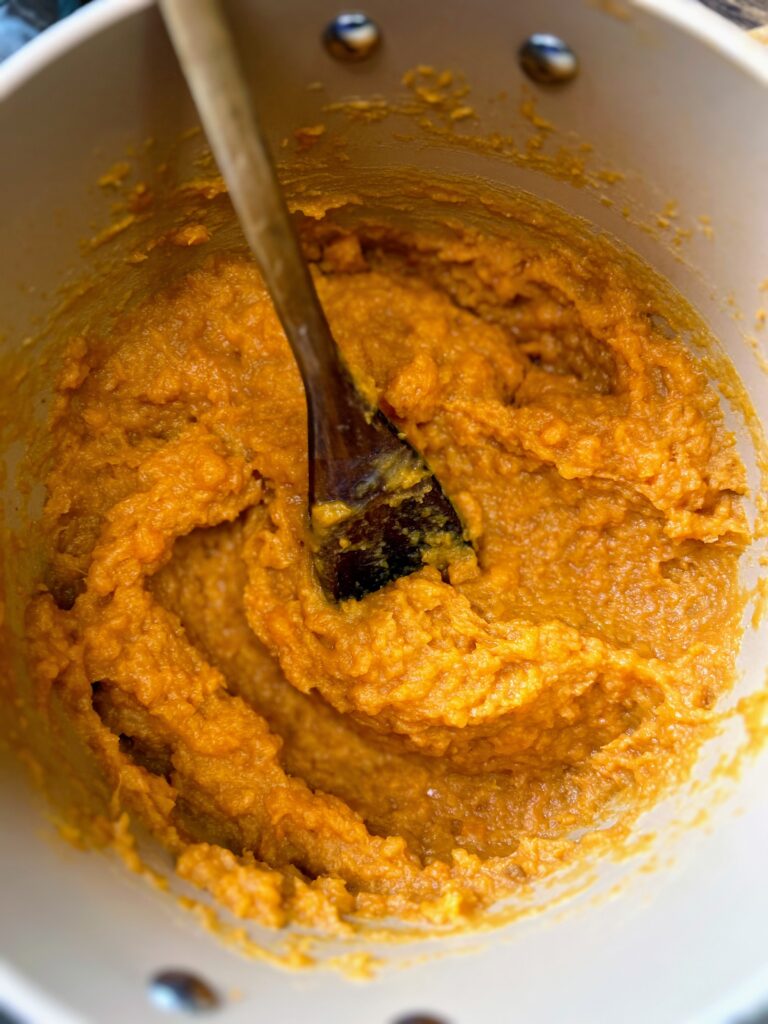
Place the potatoes in a large kettle and cover with water. Bring to a boil and cook until tender, about 25 minutes. Drain and mash with a potato masher. 

Preheat the oven to 350 degrees F. Allow the sweet potatoes to cool slightly (I always worry about “scrambling” eggs when I add them so I am careful to make sure the potatoes are cool enough). Stir in the milk, 1 tablespoon of butter (reserving 1 tablespoon for the topping), and sugar (reserving 3 tablespoons for the topping). Add the salt and eggs. Stir well. 

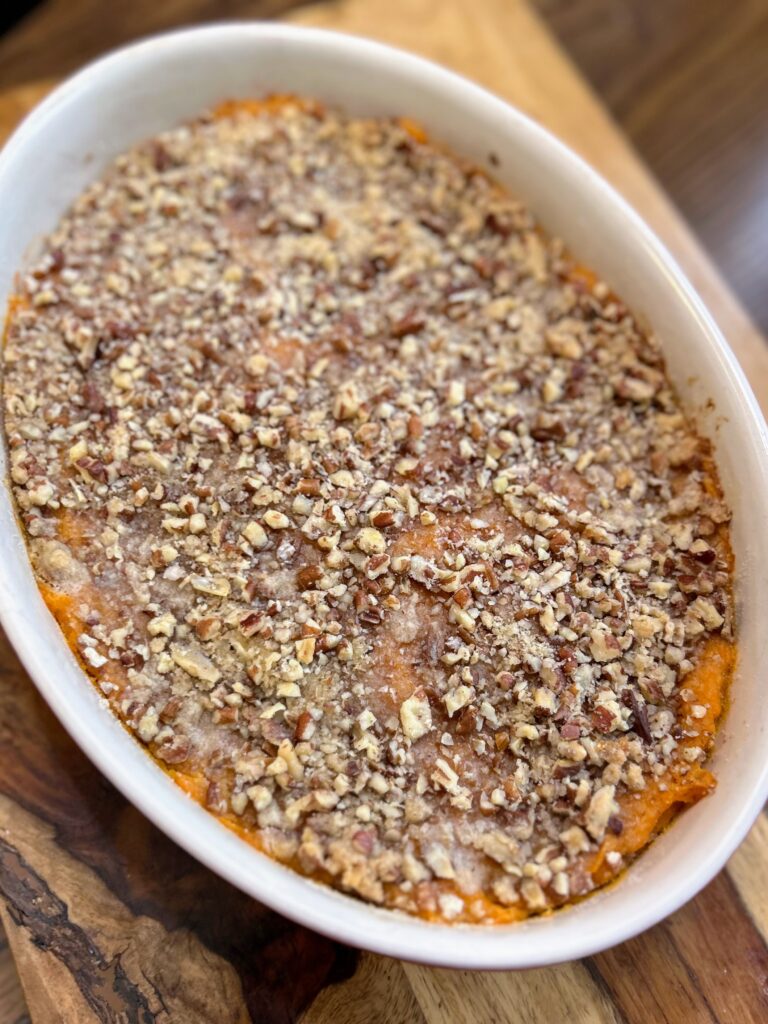
Spoon the mixture into an 8 in. by 8 in. casserole dish. In a small bowl, combine the reserved brown sugar, flour and butter. Cut with a pastry cutter until it looks like coarse sand. Alternatively, you can simply crumble with your fingers until it looks like coarse sand. Mix in the pecans. Sprinkle over the sweet potato mixture. 

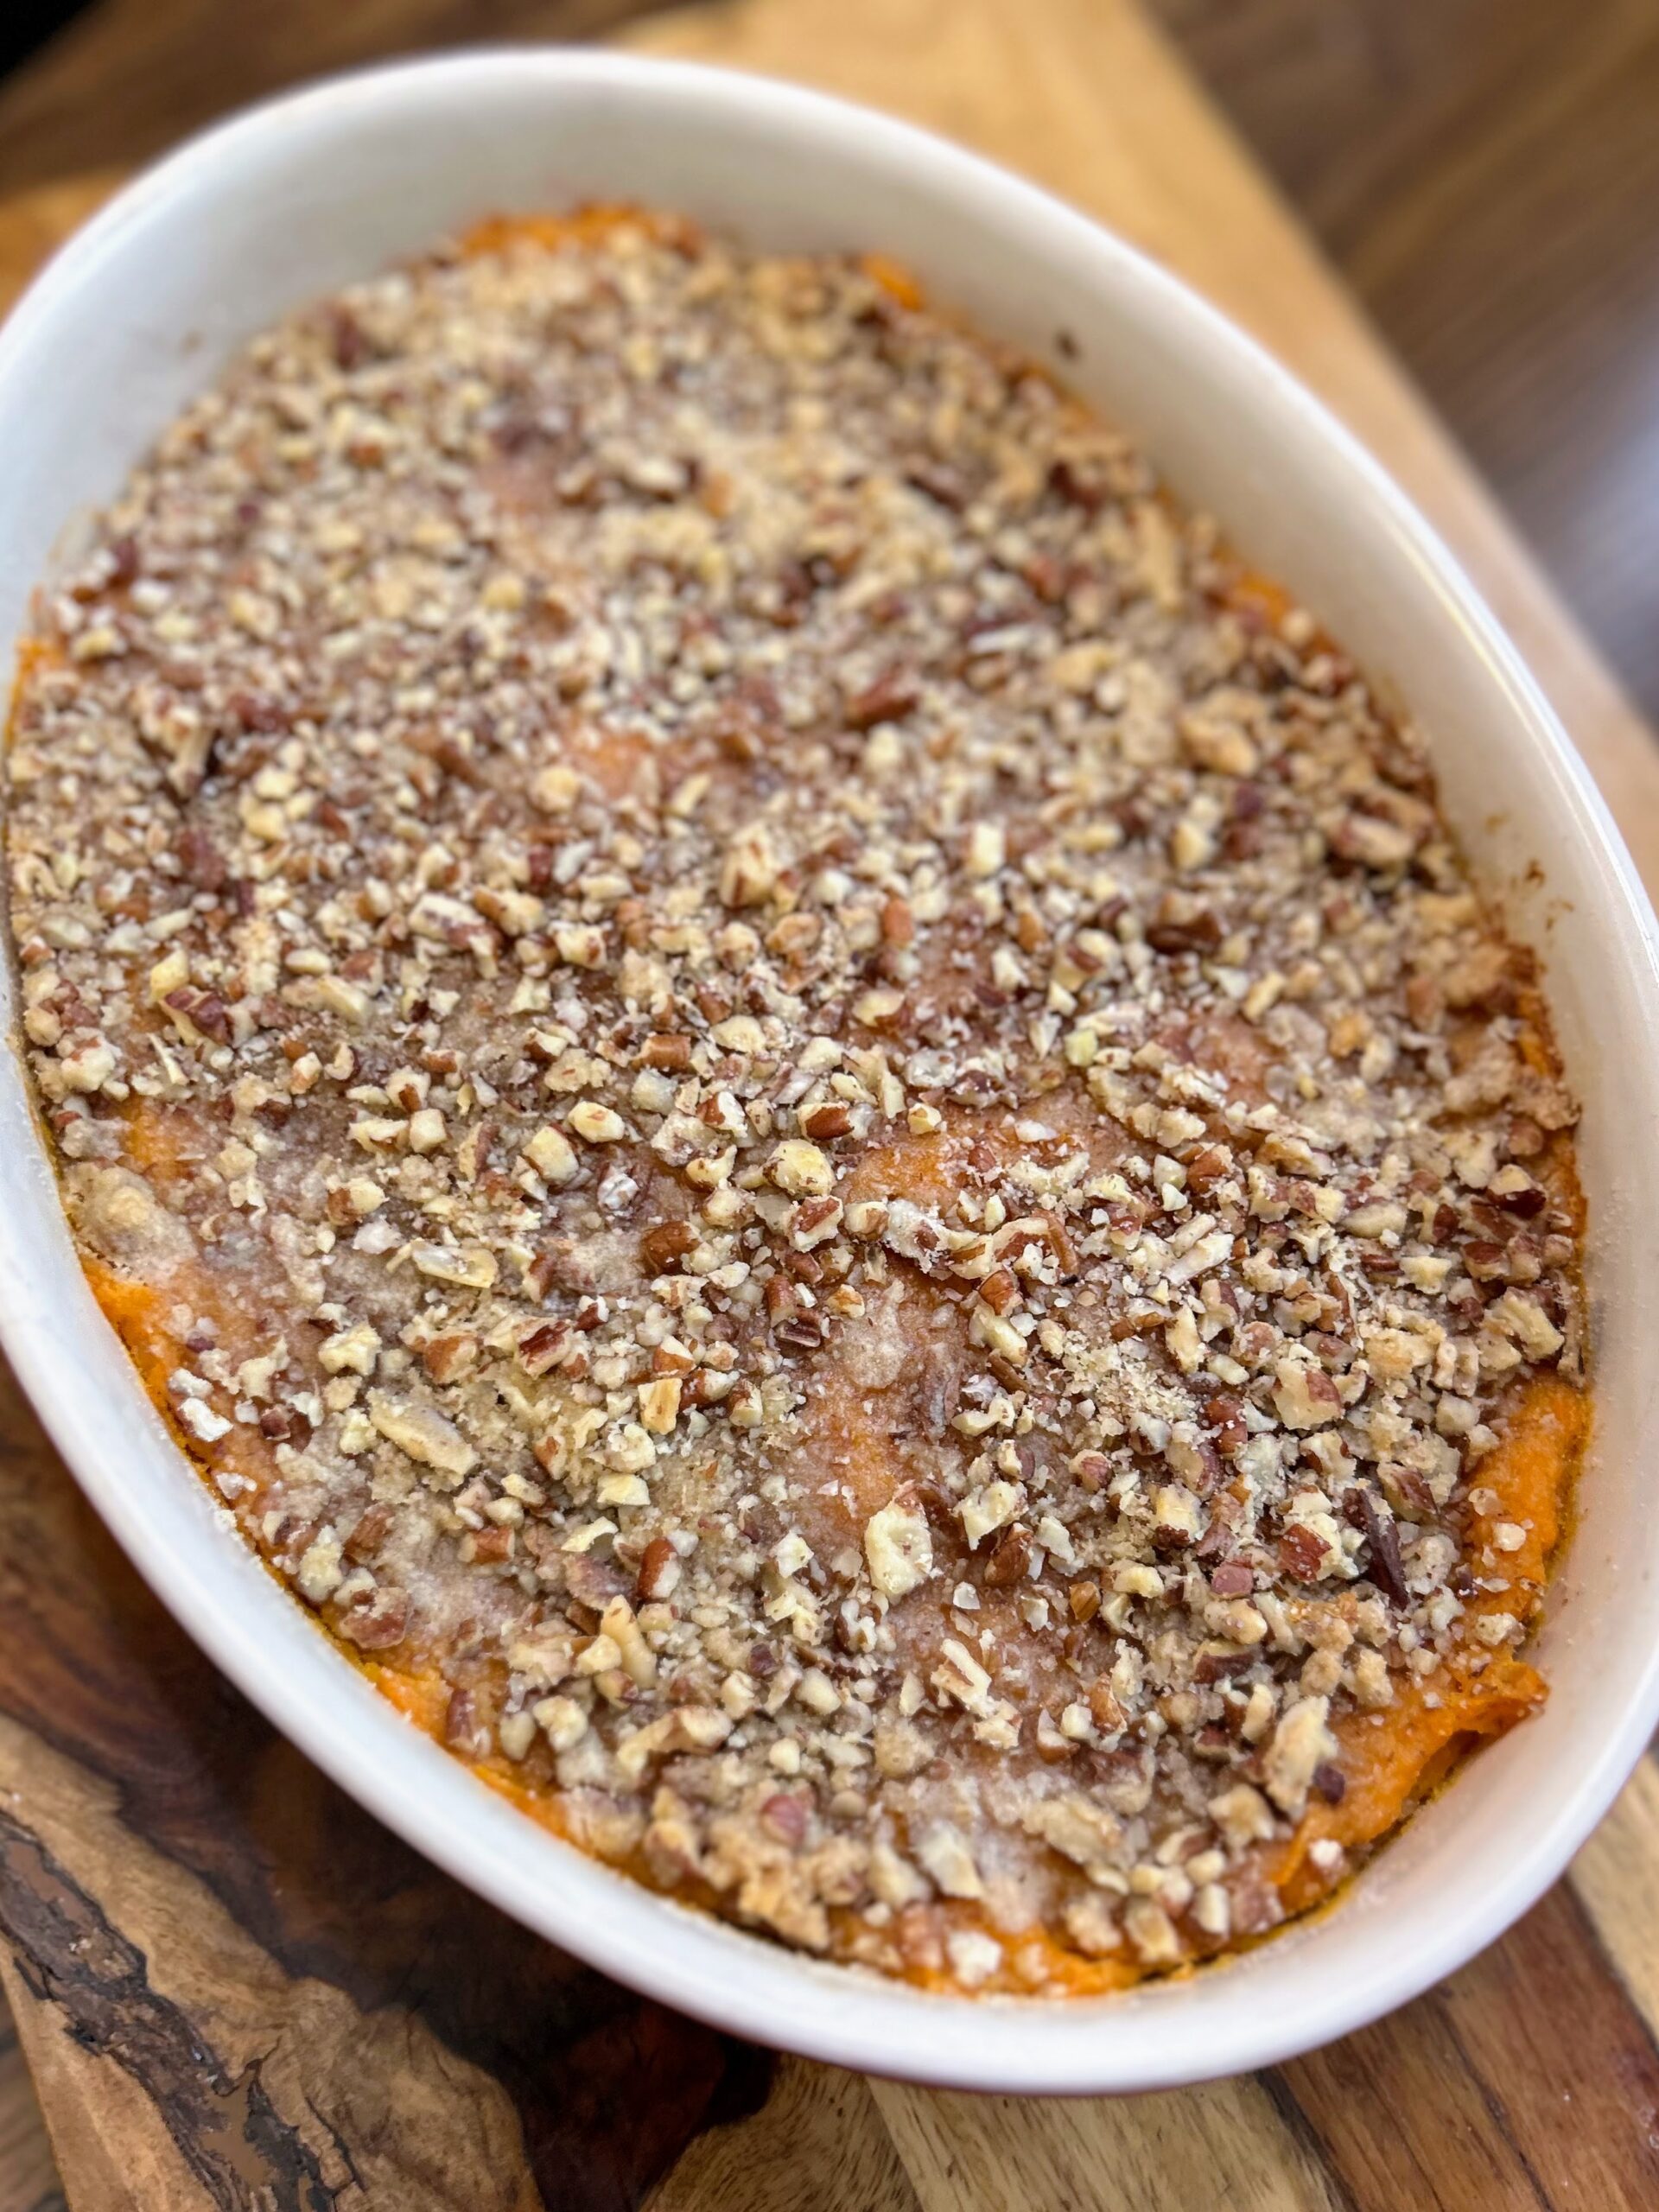
Bake for 45-50 minutes, until the mixture is heated through and the topping is slightly browned. 

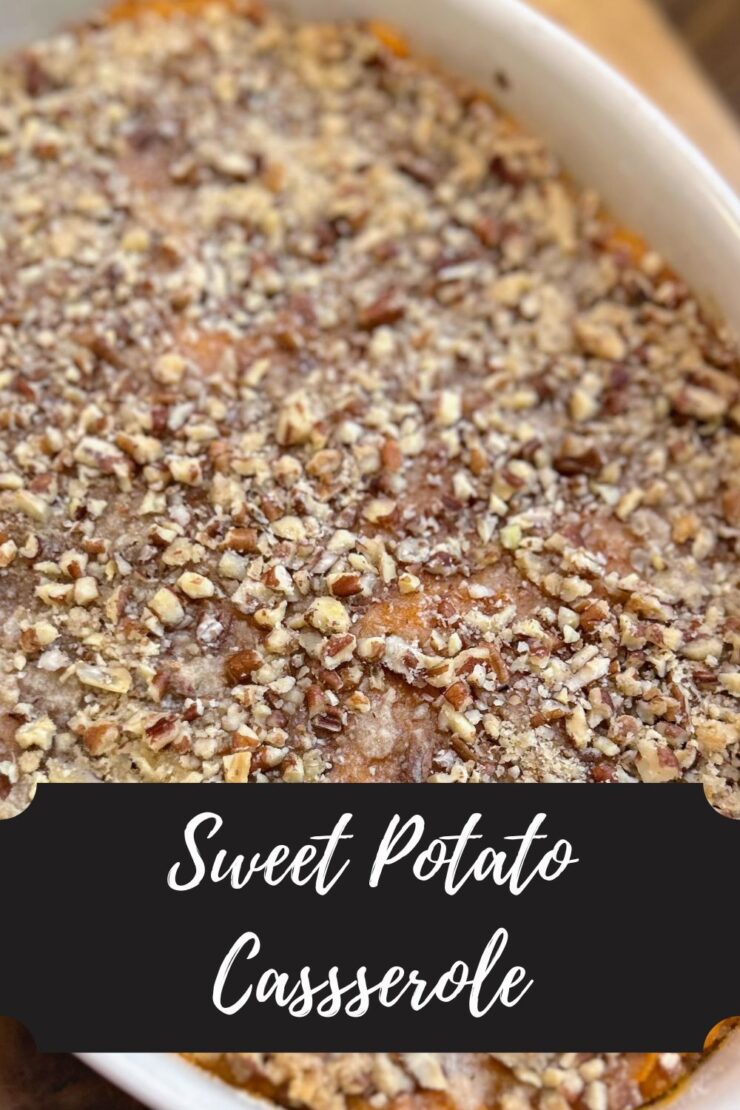
Sweet Potato Casserole

This sweet potato casserole strikes the perfect balance between sweetness and flavor, avoiding excessive sweetness. The delectable texture is further enhanced by the addition of crunchy pecans.
Prep Time 35 minutes
Cook Time 45 minutes
Course Side Dish
Cuisine American
Servings 10 servings

Equipment

  • casserole dish

Ingredients
  

  • 2 ½ pounds of sweet potatoes peeled and roughly cubed
  • ½ cup brown sugar divided
  • cup milk I did whole
  • 2 tablespoons butter divided
  • 2 eggs beaten
  • ½ teaspoon salt
  • ¼ cup flour
  • cup chopped pecans

Instructions
 

  • Place the potatoes in a large kettle and cover with water. Bring to a boil and cook until tender, about 25 minutes. Drain and mash with a potato masher.
  • Preheat the oven to 350 degrees F. Allow the sweet potatoes to cool slightly. Stir in the milk, 1 tablespoon of butter (reserving 1 tablespoon for the topping), and sugar (reserving 3 tablespoons for the topping). Add the salt and eggs. Stir well.
  • Spoon the mixture into an 8 in. by 8 in. casserole dish. In a small bowl, combine the reserved brown sugar, flour and butter. Cut with a pastry cutter until it looks like coarse sand. Alternatively, you can simply crumble with your fingers until it looks like coarse sand. Mix in the pecans. Sprinkle over the sweet potato mixture.
  • Bake for 45-50 minutes, until the mixture is heated through and the topping is slightly browned.
Keyword autumn flavor, autumn food, fall food, mashed sweet potato, pecans, sweet potato, sweet potato casserole, Thanksgiving sides
Tried this recipe?Let us know how it was!

Looking for other dishes to pass?

Let’s be honest, Sweet Potato Casserole is one of those “family get togethers” dishes. Maybe you need another dish to pass too! Check out some of my favorites below!
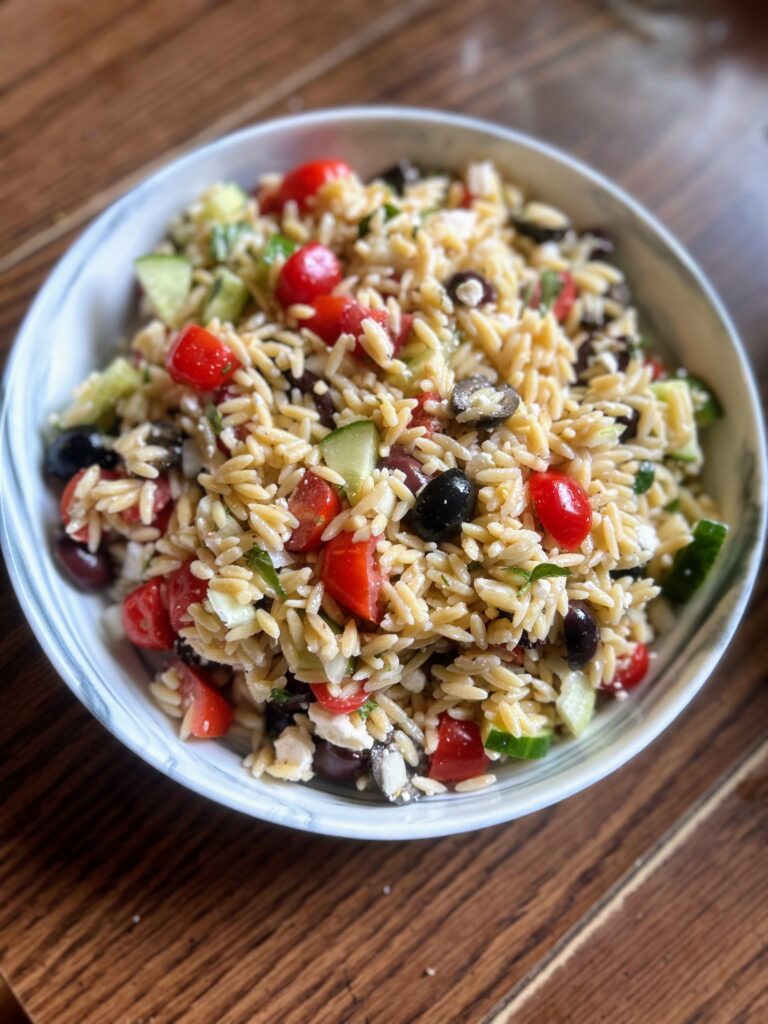
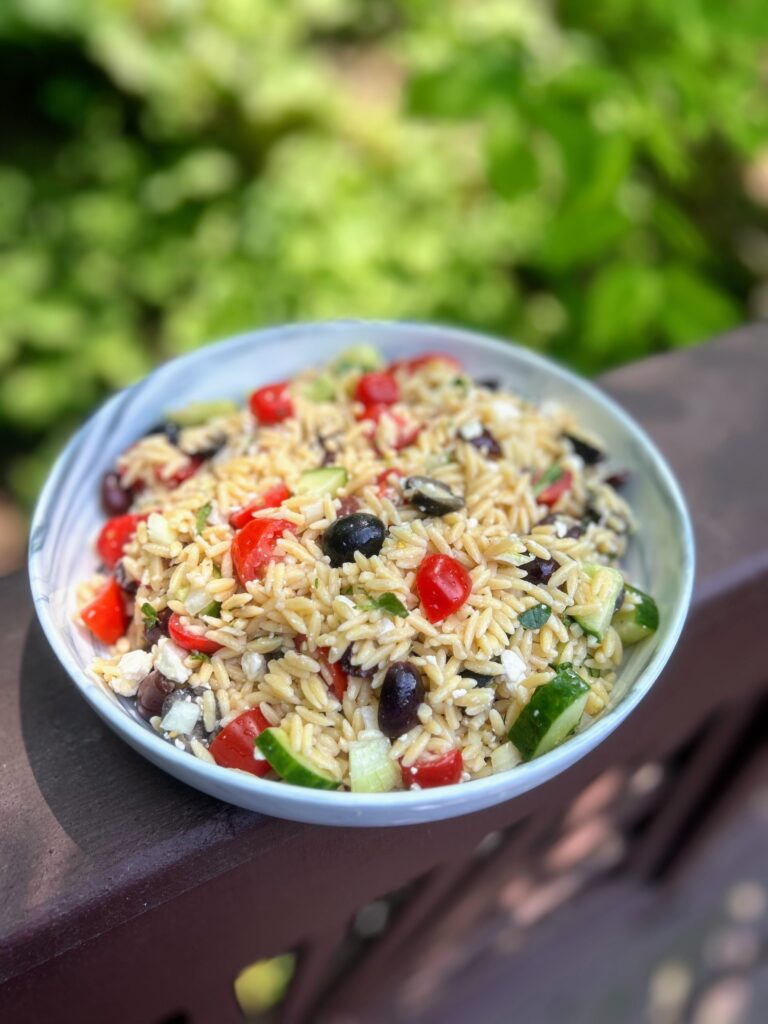
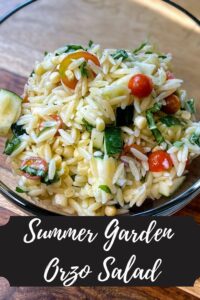
Greek Inspired Orzo Salad

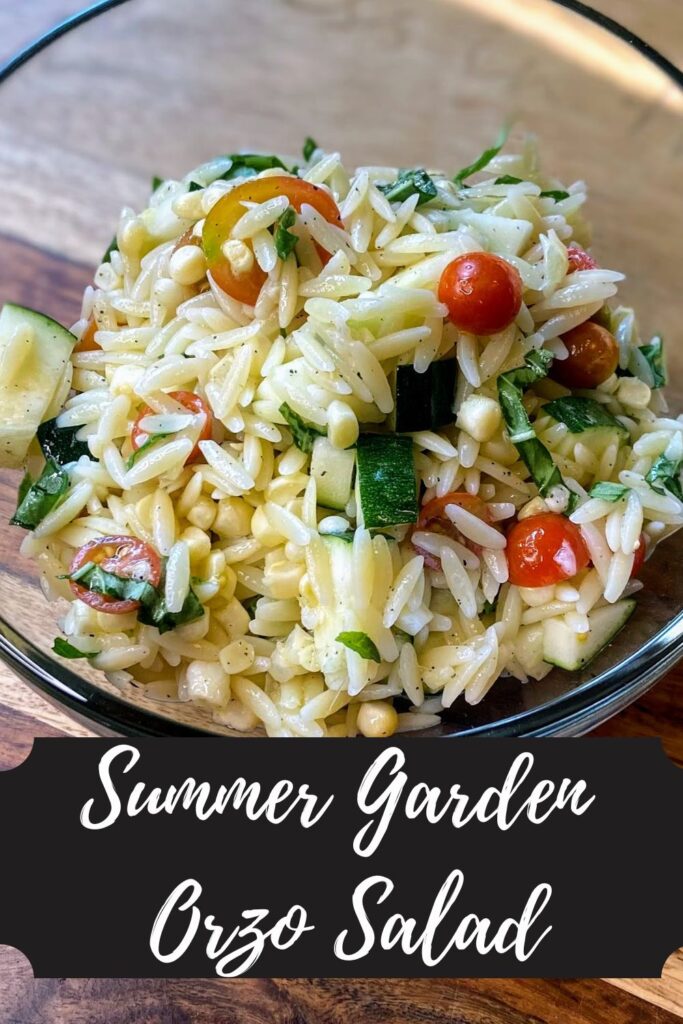
There are a few ingredients that have made their way into our fridge that we ALWAYS have to have on hand, crumbled feta and Kalamata olives being two of them. To quote my nephews, “Everything’s betta with feta!” and “Every day is a good day for a Kalamata olive!” The Mr and I have become a bit obsessed with any kind of Greek inspired salad, topping our lettuce with olives, tomatoes, feta, and a Greek dressing. But it’s BBQ season and everyone needs a good pasta salad to pass: I knew I needed to combine these loves to create a Greek Inspired Orzo Salad. 

Maybe you’ve been around awhile and you know my love of orzo. Maybe not. But it is definitely one of my top shapes when it comes to pasta. I don’t know if it’s the similarity to the shape of rice or something from my childhood, but I love it. 

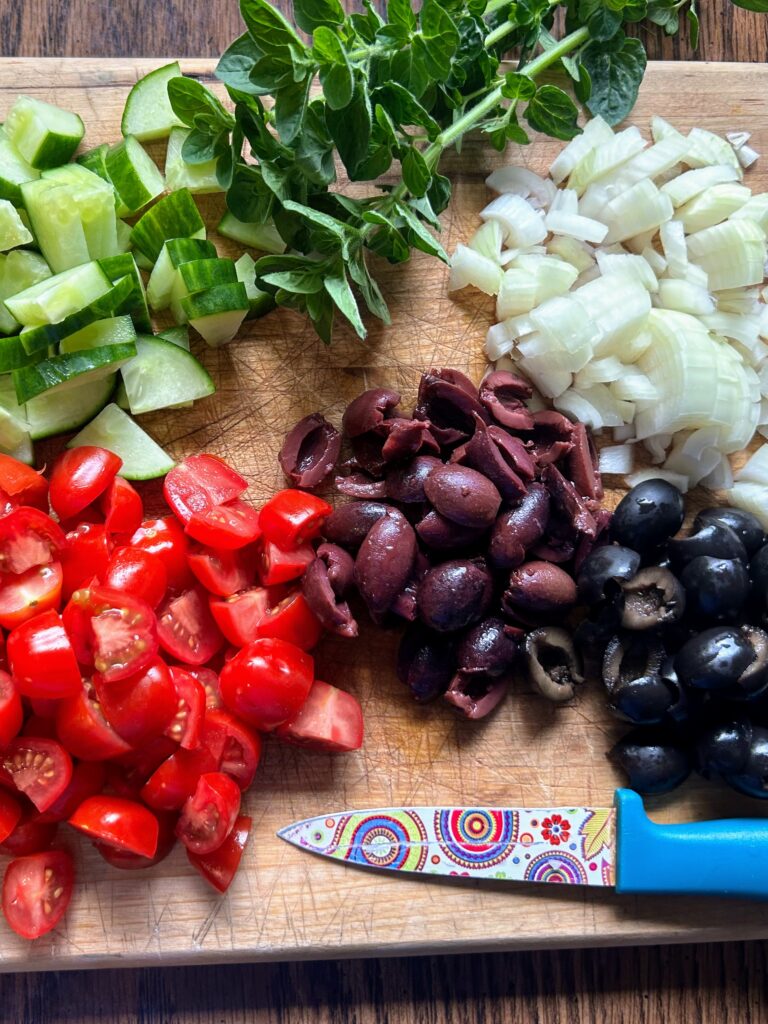
After the orzo, you’ll need a few ingredients: olives, feta cheese, tomatoes, cucumbers, onions, some fresh herbs. You can totally adjust the amounts of each of the ingredients to suit your own tastes. These, with the pasta, make a fresh salad that has a bit of a bite to it that is sure to make your taste buds sing!

If you dig a really juicy salad, feel free to double the dressing. I would start with the original amount and then add more as needed after the salad has had time to sit and marinate. 

Now that’s been enough talk. Are we ready to start prepping this great summertime (I mean, who am I kidding…ANY TIME!) salad? Let’s go! 

Your Ingredients 

  • 1 ¾ cups dry orzo
  • 1 cup cucumber, diced
  • 1 cup grape tomatoes, quartered
  • 1/2 cup onion, diced
  • 1/2 cup crumbled feta
  • 1/3 cup black olives, halved
  • 1/3 cup kalamata olives, halved
  • fresh basil and oregano, minced about 2 tablespoons of each

Dressing

  • ¼  cup olive oil
  • ⅓  cup red wine vinegar
  • ¼  teaspoon garlic powder
  • 1 teaspoon dried oregano
  • ¼  teaspoon onion powder
  • ¼ teaspoon dijon mustard
  • salt and pepper

Your Steps to Greek Inspired Orzo Salad

Begin by cooking the orzo to al dente according to package, being sure to salt the water. When finished, drain and rinse with cold water. Set aside. 

While the orzo is cooking, prep the vegetables. Again, it’s totally okay to have a little more or a little less of anything. You can adjust to your flavors. Love Kalamata olives, but not black, switch it up and do all Kalamata. Or maybe you’re the other way around. I won’t judge! As for the fresh herbs, my favorite way to cut them up is to place them in a coffee mug and use scissors to cut into the mug!

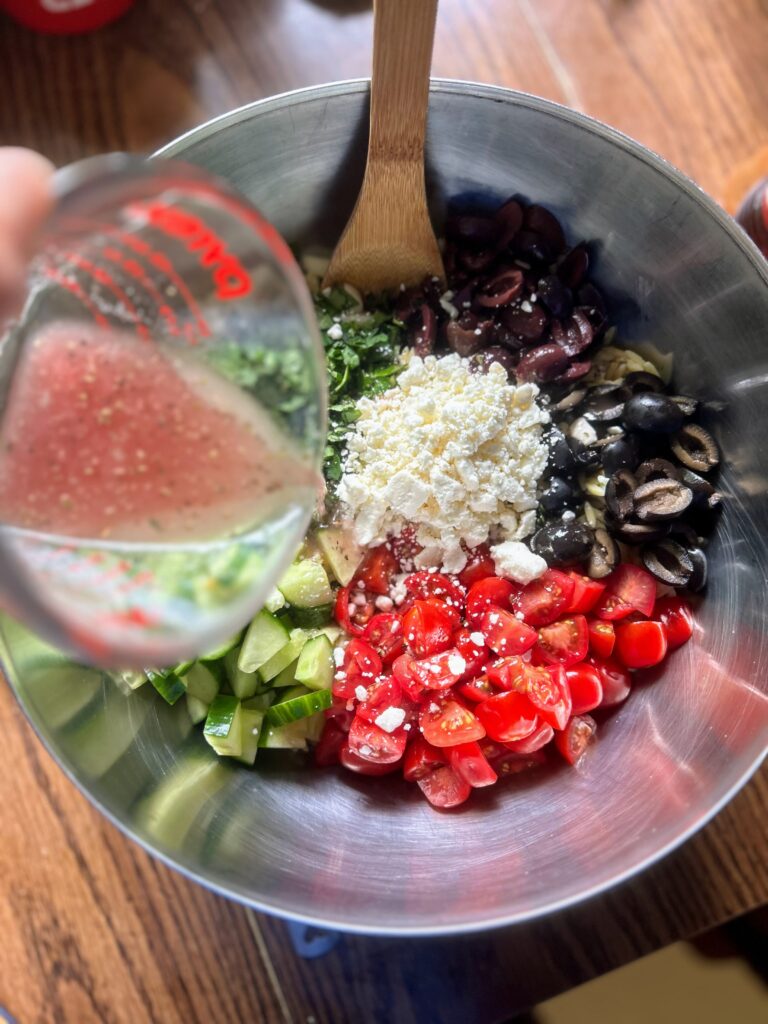
Once the orzo has been rinsed and cooled, combine with the onions, tomatoes, cucumbers, fresh herbs, olives, and feta in a large bowl with a cover. Stir to combine well. 

In a liquid measuring cup or mason jar with lid, combine the dressing ingredients (olive oil, vinegar, garlic powder, oregano, onion powder, mustard, salt, and pepper). Whisk or cover and shake vigorously. Immediately pour over the pasta salad, stirring to cover all the ingredients. If you like your salad a little more on the juicy side, double the dressing and add about ⅔ of it to start. You can always add more after it chills. Speaking of chilling…

This salad is best if you let it chill for a few hours before serving, but I always have a hard time 1. Planning ahead and 2. Waiting that long because I want to dig in. Best of luck to you on both regards. When you do serve it, I like to sprinkle a little more feta and perhaps a few more olives. They add a little zing I love!

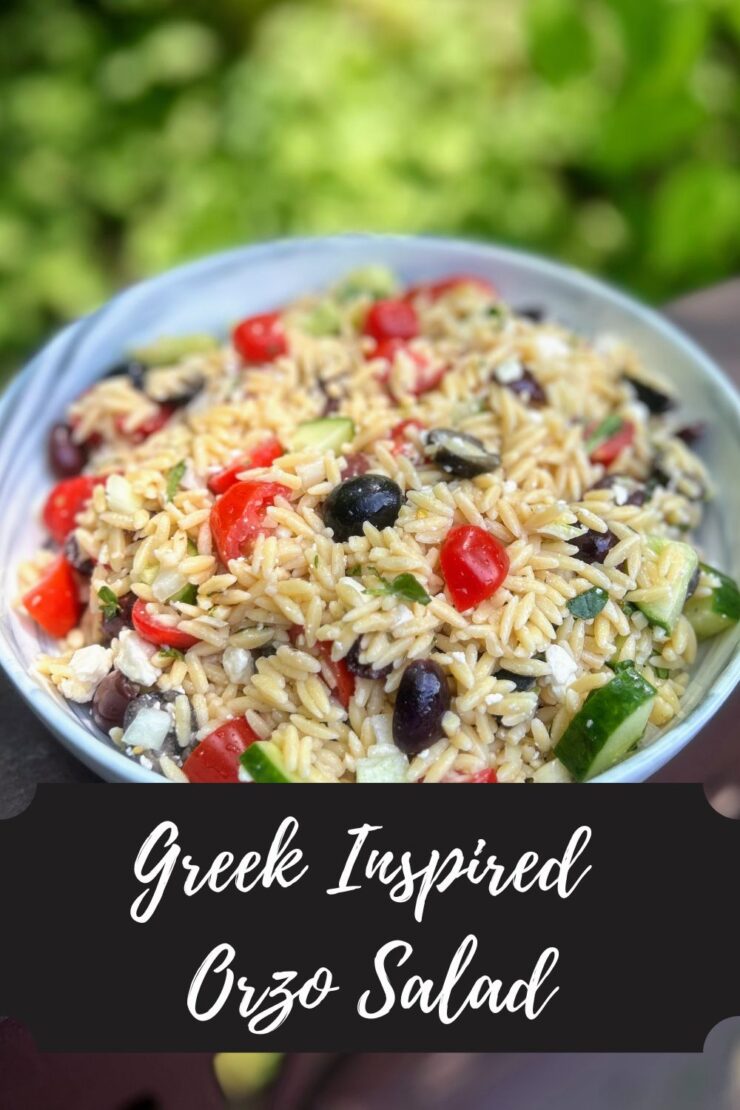
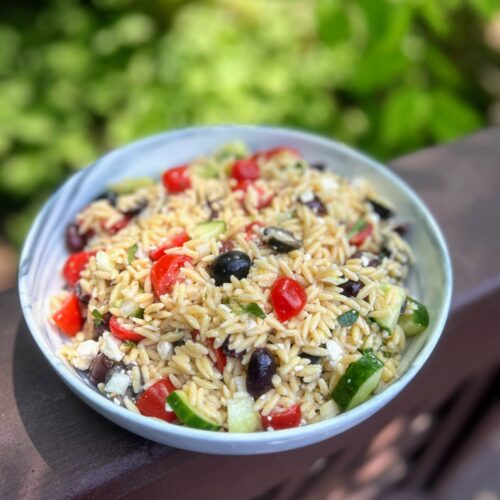
Greek Inspired Orzo Salad

This Greek Inspired Orzo Salad will be the perfect hit at your next BBQ with the familiar comfort of pasta salad topped with loads of veggies, and the zing from the feta and olives!
Prep Time 10 minutes
Cook Time 10 minutes
Chill Time 1 hour
Course Appetizer, Salad, Side Dish
Cuisine American, Greek
Servings 8 servings

Ingredients
  

  • 1 ¾ cups dry orzo
  • 1 cup cucumber diced
  • 1 cup grape tomatoes quartered
  • 1/2 cup onion diced
  • 1/2 cup crumbled feta
  • 1/3 cup black olives halved
  • 1/3 cup Kalamata olives halved
  • fresh basil and oregano minced about 2 tablespoons of each
  • Dressing
  • ¼ cup olive oil
  • cup red wine vinegar
  • ¼ teaspoon garlic powder
  • 1 teaspoon dried oregano
  • ¼ teaspoon onion powder
  • ¼ teaspoon dijon mustard
  • salt and pepper

Instructions
 

  • Begin by cooking the orzo to al dente according to package, being sure to salt the water. When finished, drain and rinse with cold water. Set aside.
  • While the orzo is cooking, prep the vegetables and herbs
  • Once the orzo has been rinsed and cooled, combine with the onions, tomatoes, cucumbers, fresh herbs, olives, and feta in a large bowl with a cover. Stir to combine well.
  • In a liquid measuring cup or mason jar with lid, combine the dressing ingredients (olive oil, vinegar, garlic powder, oregano, onion powder, mustard, salt, and pepper). Whisk or cover and shake vigorously. Immediately pour over the pasta salad, stirring to cover all the ingredients.
  • Cover and allow to chill for for an hour before serving.

Notes

Listen, I am terrible at chilling a salad. I want to dig in. It won’t be terrible if you do that (and I won’t judge), but know the flavor profile won’t be so deep if you dive in right away.
Also, If you like your salad a little more on the juicy side, double the dressing and add about ⅔ of it to start. You can always add more after it chills.
Finally, the ingredients are flexible. If you hate feta, skip it. Love Kalamata olives? Add all of those. I like to add more feta and olives when I serve it because I love them.
Keyword cherry tomatoes, cucumbers, feta, feta salad, Greek, Greek salad, olives, onions, pasta salad, side dish, summer salad, summer side dish
Tried this recipe?Let us know how it was!

Looking for other sides?

These are some of my absolute favorites! You can also head to my cooking page to see what else I have in store!

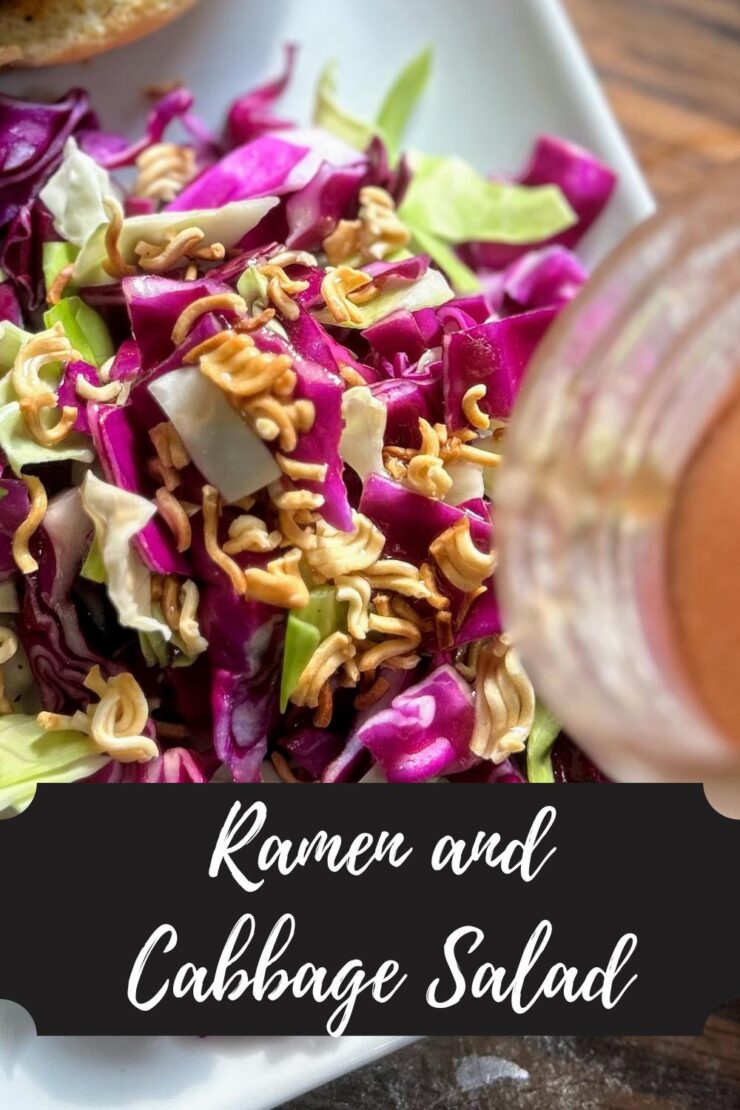
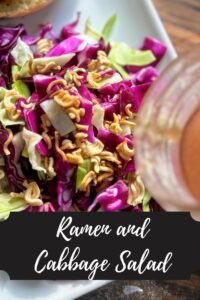
Ramen and Cabbage Salad

Do you have those recipes that just feel a bit like home? Ones that you have to call your mom, your grandma, your uncle, (insert random relative here) to get the recipe because for some reason, you never really write the whole thing down? A recipe that maybe brings you such joy that it becomes a hyperfixation for a bit until you forget again? For me, that’s my mom’s ramen and cabbage salad. 

Let me tell you, this isn’t about to be a fancy recipe. It has very few ingredients and most of which you can almost always have on hand. It isn’t a recipe I have doctored up to have all the flavors. I am keeping this just as my mom made it for years and years, and my goodness, it’s good just the way it is. 

Why is this recipe coming out now? 

Well, my kiddos both decided they loved cabbage over the past year and subsequently, we grew a TON of it. We don’t really eat sauerkraut so we needed a way to use the cabbage that everyone would love. My babies are also busy kids (okay, they aren’t babies, but they will always be my babies, right?) so we need things we can do on the fly without much thought when life gets busy. 

That’s this recipe. It’s great since cabbage keeps so well in the fridge. And everything else is a pantry ingredient. When I have panicked with the, “WHAT’S GOING TO BE OUR VEGETABLE FOR DINNER?” this ramen and cabbage salad has been my go to solution. 

Ready to give it a try? Let’s go! 

Your Ingredients 

  • 1 head of shredded cabbage (any combination of color) or 1-2 bags of coleslaw mix
  • 2 tablespoons butter
  • 2 packages of dry ramen noodles, seasoning package removed 
  • ¾ cup slivered almonds 
  • 1 cup olive oil 
  • ⅔ cup white sugar (up to 1 cup, depending on your sweetness preference) 
  • ½ cup red wine vinegar
  • 2 tablespoons soy sauce 

Your Steps to Ramen and Cabbage Salad 

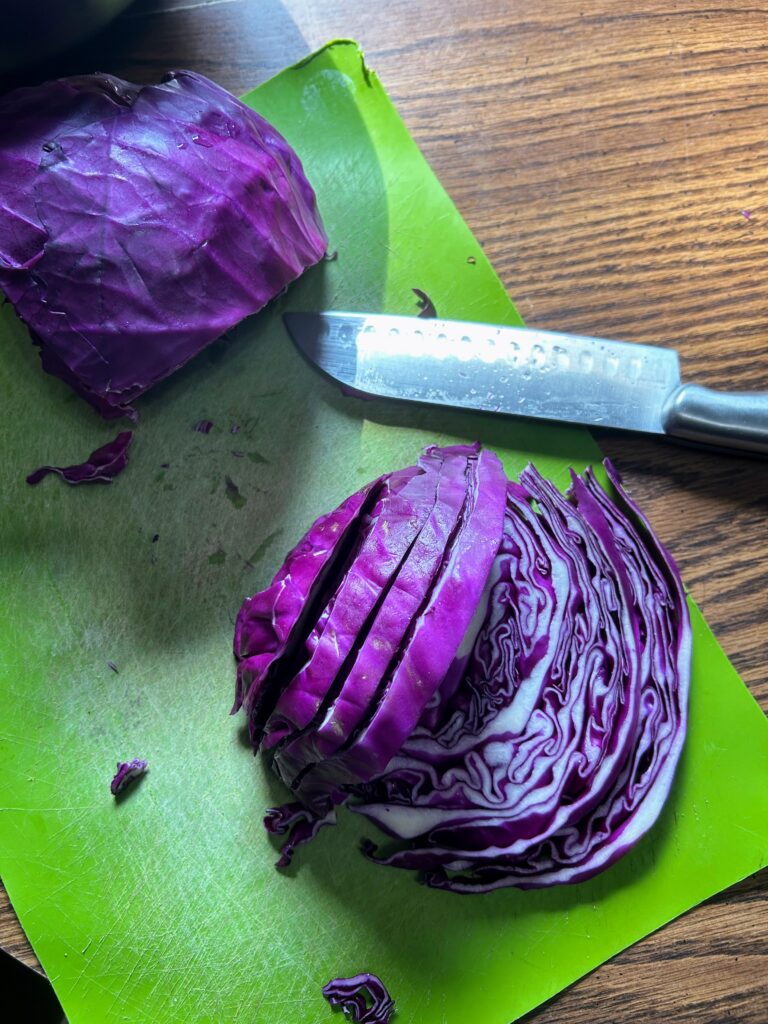
If you have not already, finely chop/shred your cabbage. A combination of red and green are definitely the prettiest, but any combination will do. I use what I have on hand. 

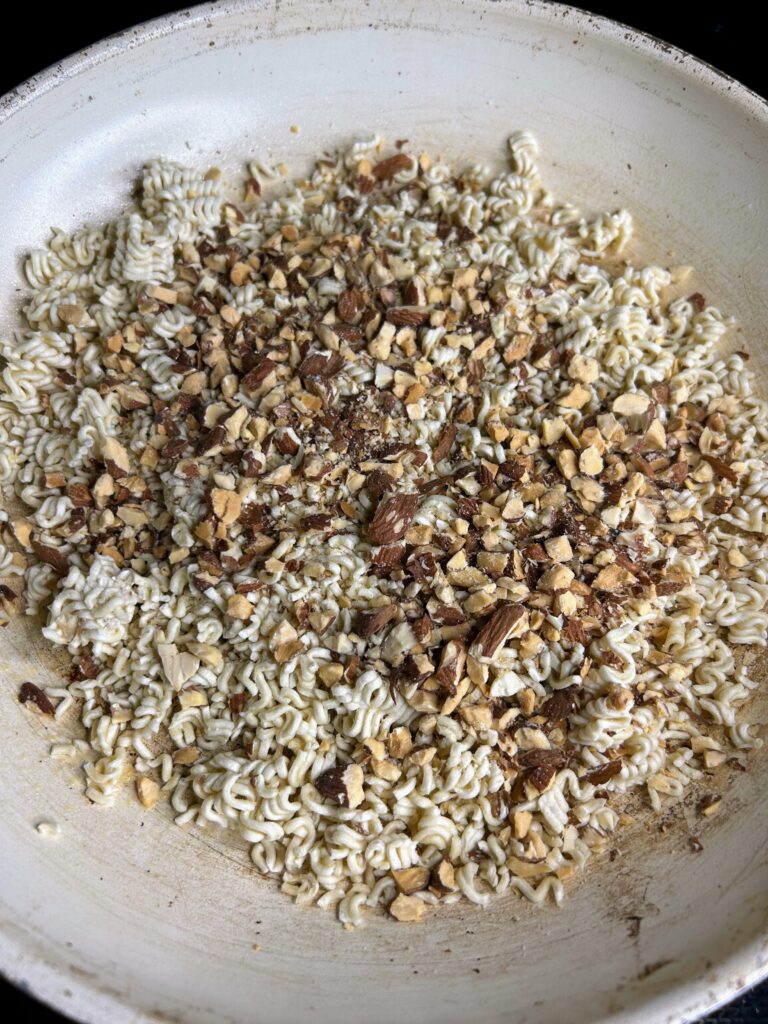
In a large saucepan, begin to melt the butter over medium high heat. While the butter is melting, crunch the dry ramen noodles into pieces. I find it easiest to do this when the package is still sealed and then I pull out the seasoning package. Once the butter is hot, add the broken noodles and almonds on the stove top. Toast them until golden brown, but watch it as they go from toasted to burned quickly. Remove from heat and set aside. 

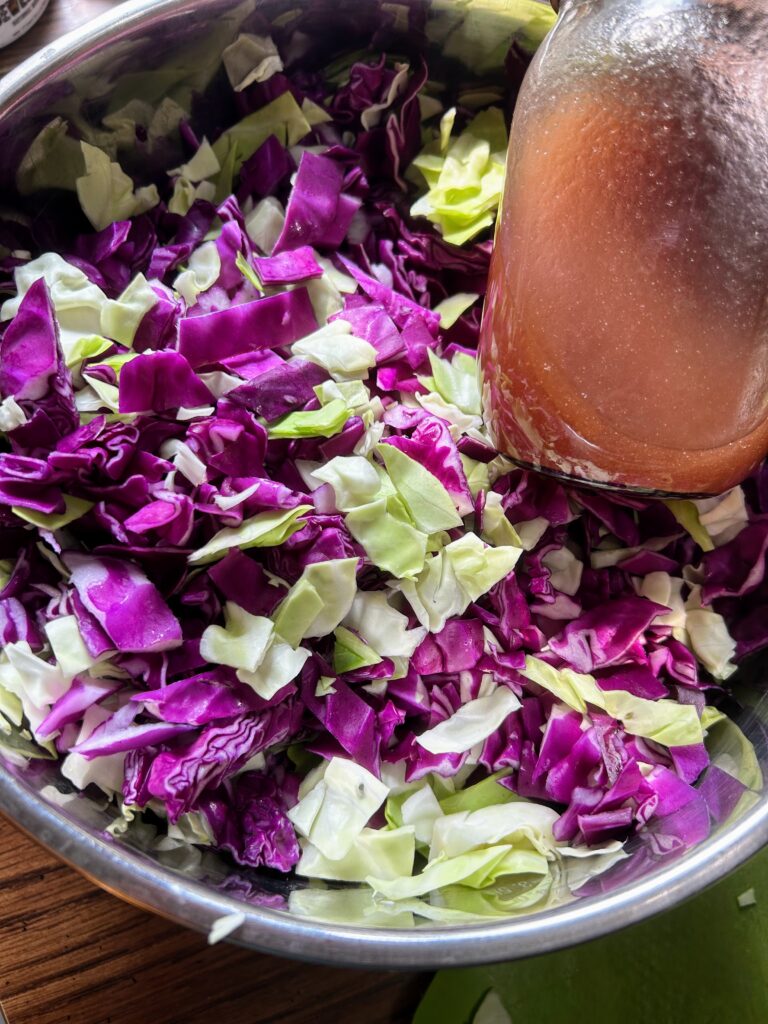
In a glass measuring cup or mason jar (my preferred method), combine olive oil, sugar, red wine vinegar, and soy sauce. Whisk or seal tightly and shake well. 

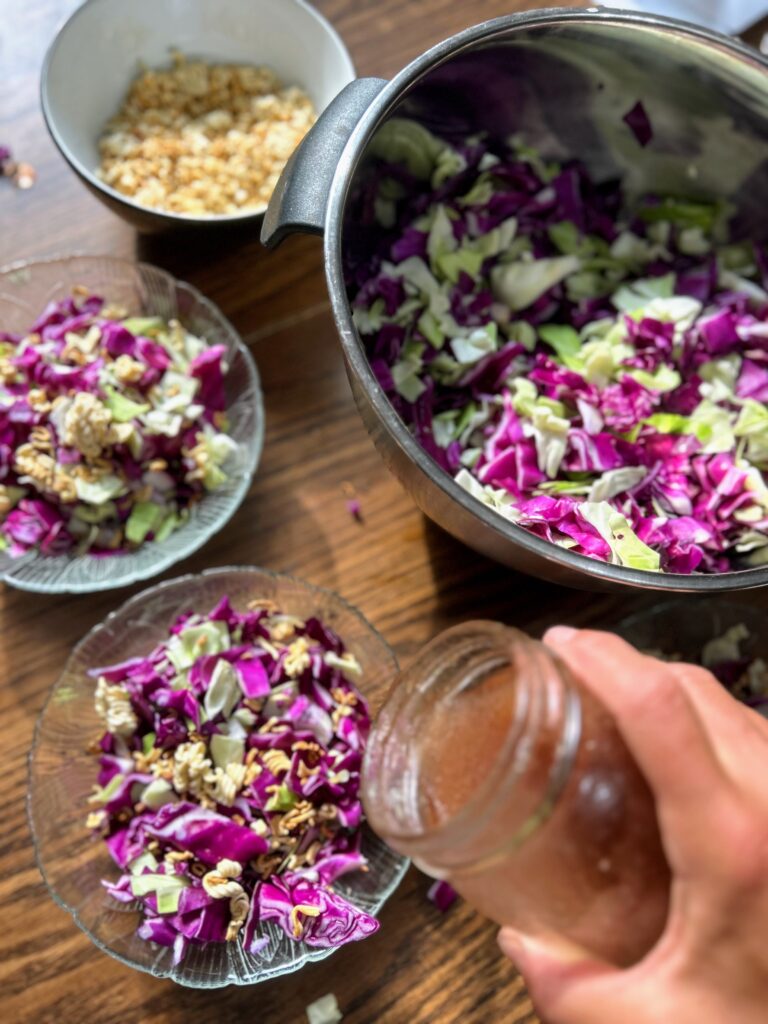
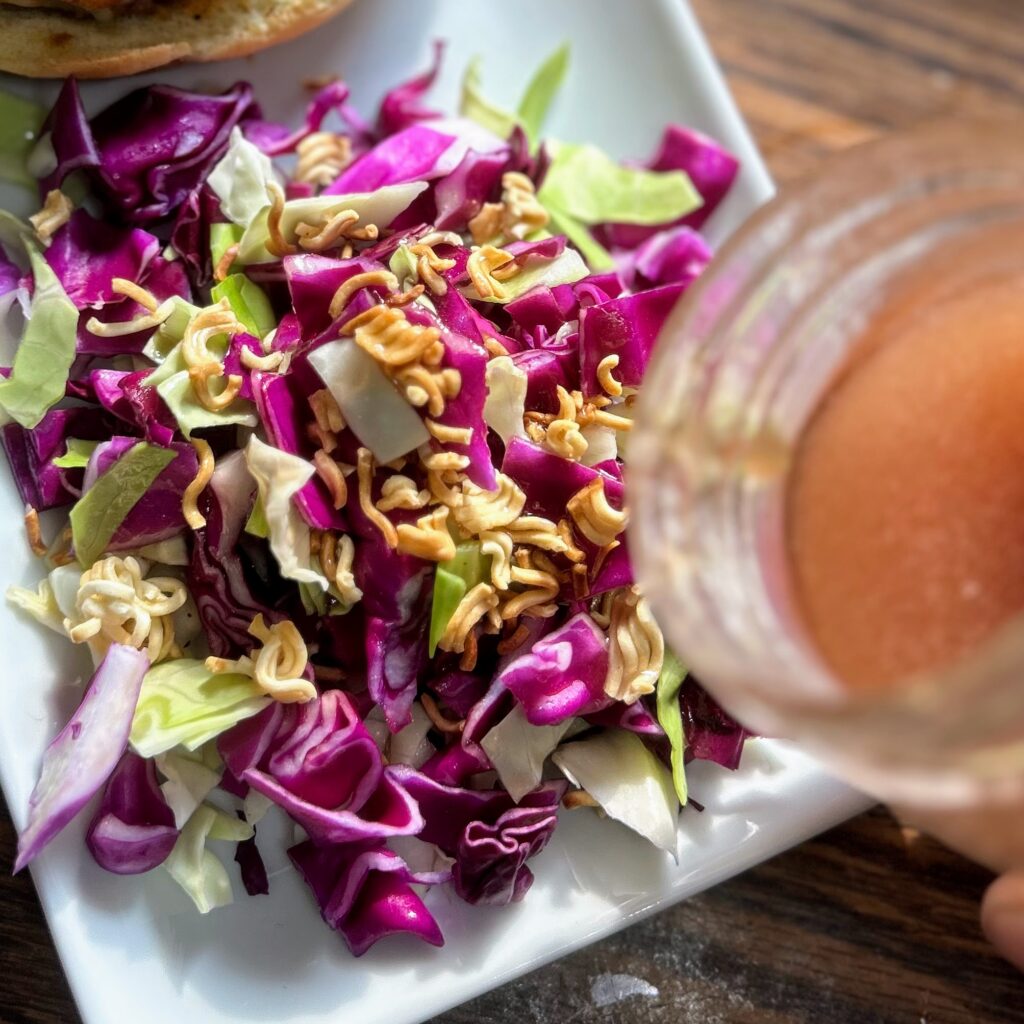
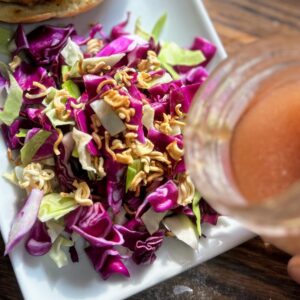
Serve the cabbage with the toasted noodles and almonds on top (I call this combination crunchies). Top with the dressing. I much prefer to serve this salad as a single serve, allowing people to put in their cabbage, then their crunchies, and finally their dressing. I love the texture of the crunchies and if you make it a make ahead salad, they will get soggy. 

What I especially love about this ramen and cabbage slaw salad is that it keeps so well. I keep a bowl of chopped cabbage in the fridge and a container of the crunchies in an airtight container on the counter. The dressing is in a mason jar and it’s such an easy and filling side dish. When one of the three components runs out, it’s so simple to make more, even if it is just making a half batch of dressing. 

Ramen and Cabbage Salad

This ramen and cabbage salad is packed with textures, from the crunchy noodles and almonds to the fresh cabbage. And the quick and easy dressing ties it all together!
Prep Time 10 minutes
Cook Time 0 minutes
Course Salad, Side Dish
Cuisine American
Servings 8 servings

Equipment

Ingredients
  

  • 1 head of shredded cabbage any combination of color or 1-2 bags of coleslaw mix
  • 2 tablespoons butter
  • 2 packages of dry ramen noodles seasoning package removed
  • ¾ cup slivered almonds
  • 1 cup olive oil
  • cup white sugar up to 1 cup, depending on your sweetness preference
  • ½ cup red wine vinegar
  • 2 tablespoons soy sauce

Instructions
 

  • If you have not already, finely chop/shred your cabbage. A combination of red and green are definitely the prettiest, but any combination will do. I use what I have on hand.
  • In a large saucepan, begin to melt the butter over medium high heat. While the butter is melting, crunch the dry ramen noodles into pieces. I find it easiest to do this when the package is still sealed. Remove the seasoning package.
  • Once the butter is hot, add the broken noodles and almonds on the stove top. Toast them until golden brown.
  • In a glass measuring cup or mason jar, combine olive oil, sugar, red wine vinegar, and soy sauce. Whisk or seal tightly and shake well.
  • Serve the cabbage with the toasted noodles and almonds on top. Top with the dressing.

Notes

I much prefer to serve this salad as a single serve, allowing people to put in their cabbage, then their noodles, and finally their dressing. I love the texture of the crunchies and if you make it a make ahead salad, they will get soggy.
Keyword almonds, cabbage, cabbage salad, cabbage slaw, cold sides, easy sides, ramen noodles, ramen salad, salads, side dishes, summer side dish
Tried this recipe?Let us know how it was!

Looking for other great salads and sides?

Check out my cooking page for more inspiration! Or maybe one these recipes below will fit the bill!

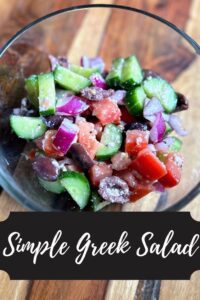
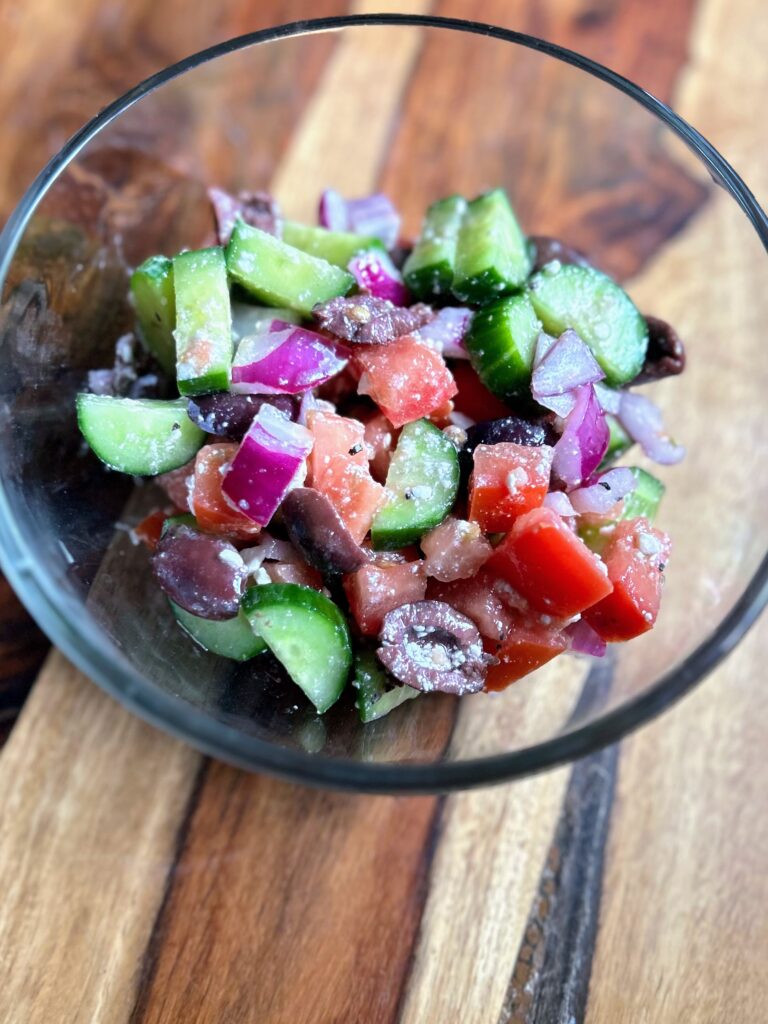
Simple Greek Salad

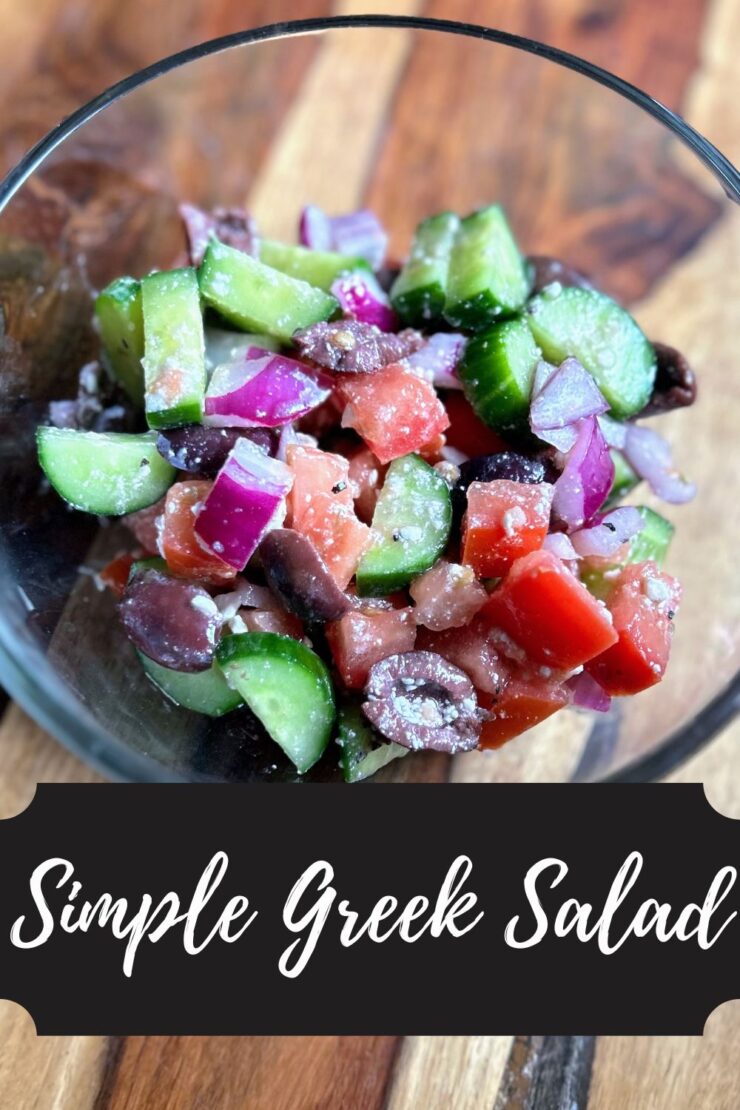
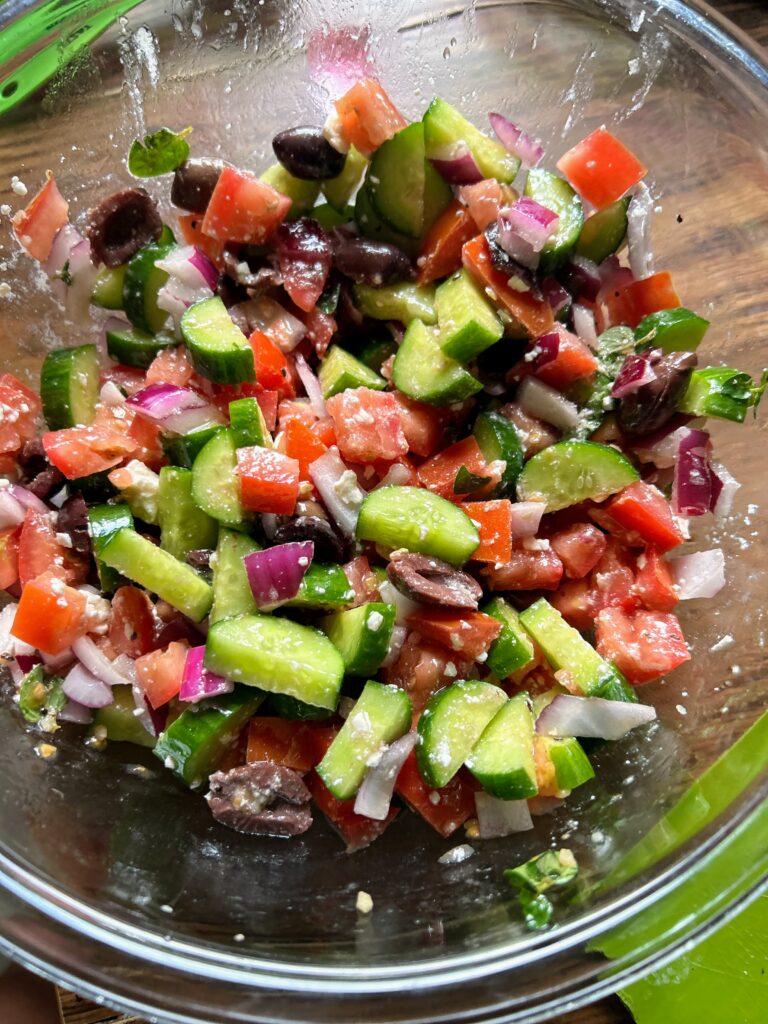
Not too terribly long ago, we had friends gift us some ground lamb after we checked in on their lambs while they were away. I’ll be honest, my only experience with lamb was in a gyro, and I am a HUGE fan. (although I am starting to think it’s just for the tzatziki sauce…am I right?!) However, I had never had an experience with ground lamb and quickly asked the friend how to use it. Burgers, of course! Well, you need a side if you’re having lamb burgers and this beautiful and delicious Simple Greek Salad was created. 

It quickly became a go to salad for me, with little to no measurements. I simply needed to make sure that I had cucumbers, feta, and kalamata olives on hand (every other ingredient is a pantry item for our household. And truly, feta is getting added to the list because “everything is betta with feta!”). No kalamata olives? No problem. Swap them out for black olives. 

I did recently take the time to measure out all of the ingredients should I could share it out with my friends. If a Greek Salad ISN’T on your summer salad list, let’s get it on there! 

Your Ingredients 

  • 2 cups chopped Roma tomatoes
  • 2 cups chopped cucumbers (preferably English or snacking) 
  • ⅔ cup diced red onions 
  • ½ cup sliced kalamata olives (or black olives)
  • 3 tablespoons crumbled feta cheese
  • 2 tablespoons red wine vinegar 
  • 2 tablespoons olive oil 
  • ½ teaspoon minced garlic
  • ¼ teaspoon dijon mustard 
  • 1 tablespoon chopped fresh oregano (or 1 teaspoon dried) 
  • Salt and pepper, to taste

Your Steps to Simple Greek Salad 

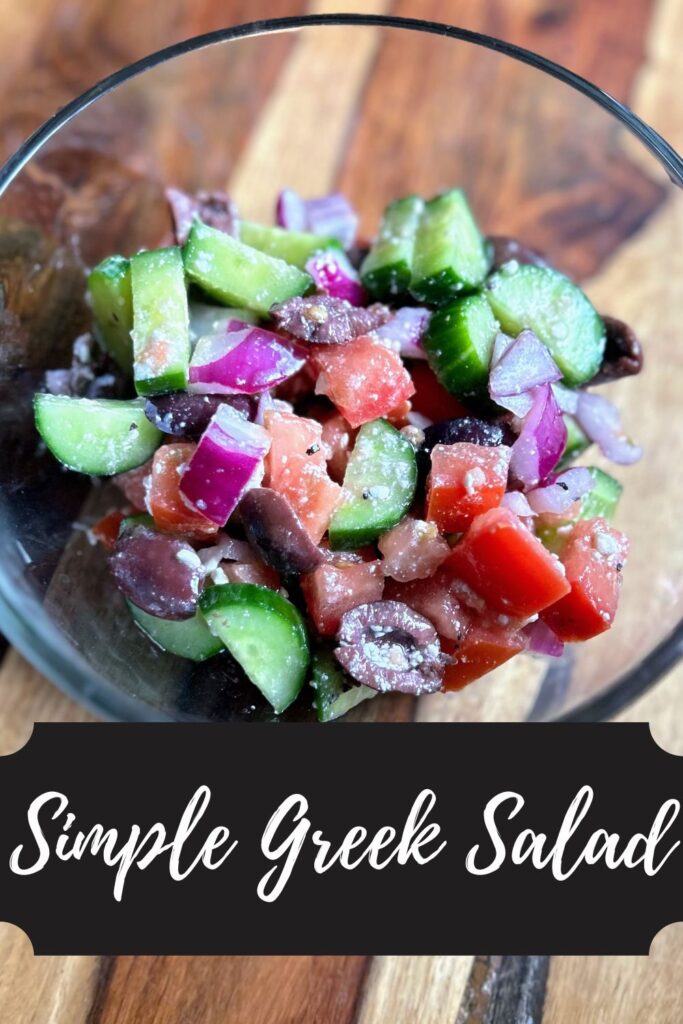
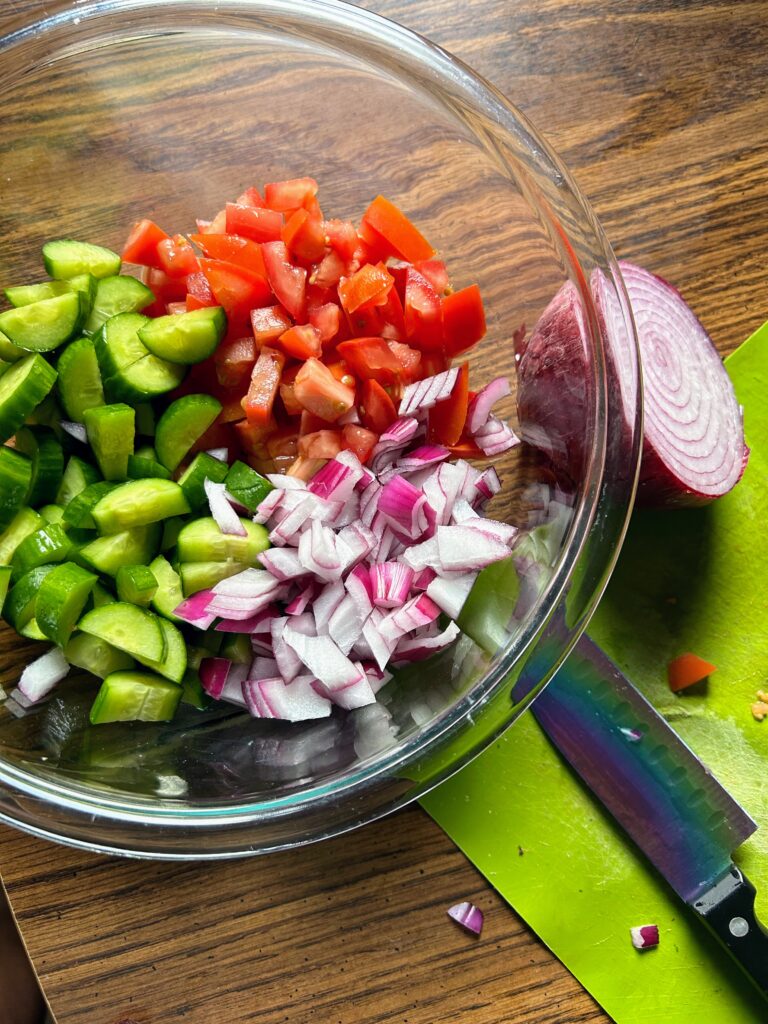
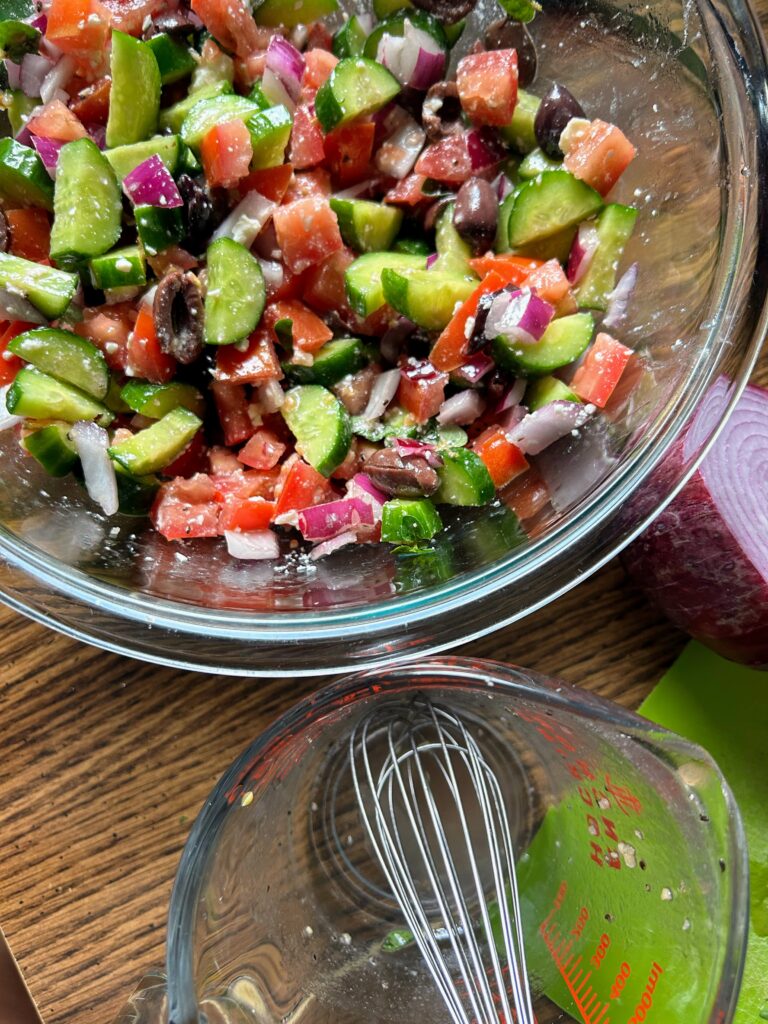
In a large bowl, combine tomatoes, cucumbers, and red onions. Add olives and feta cheese and stir once more. 

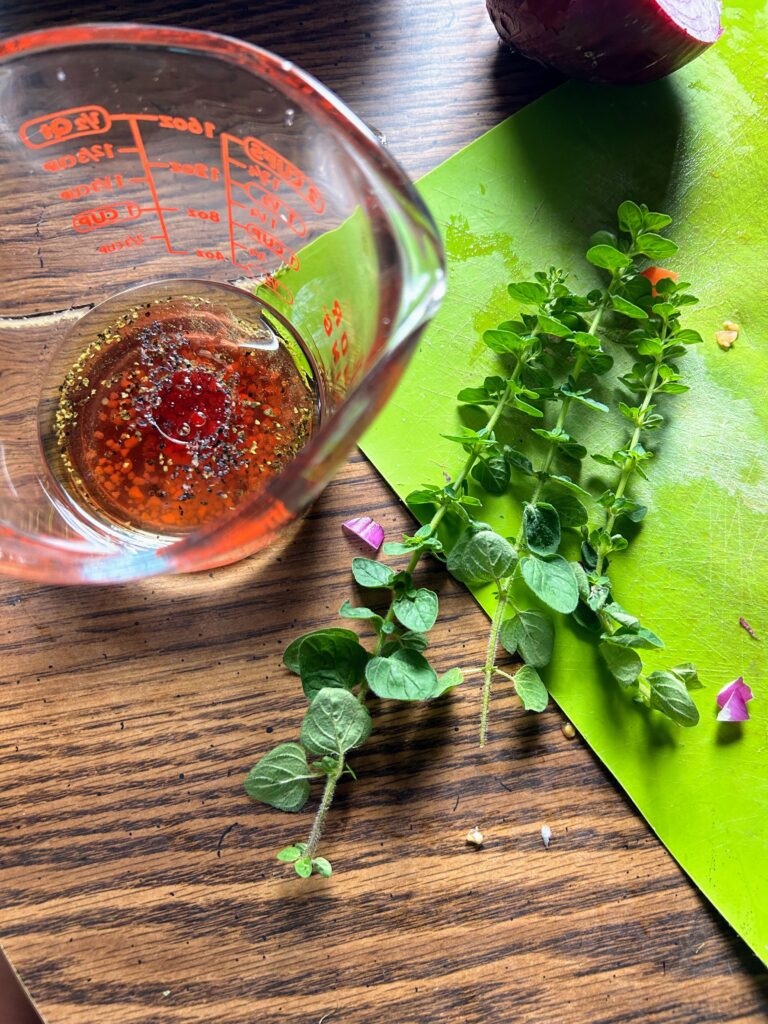
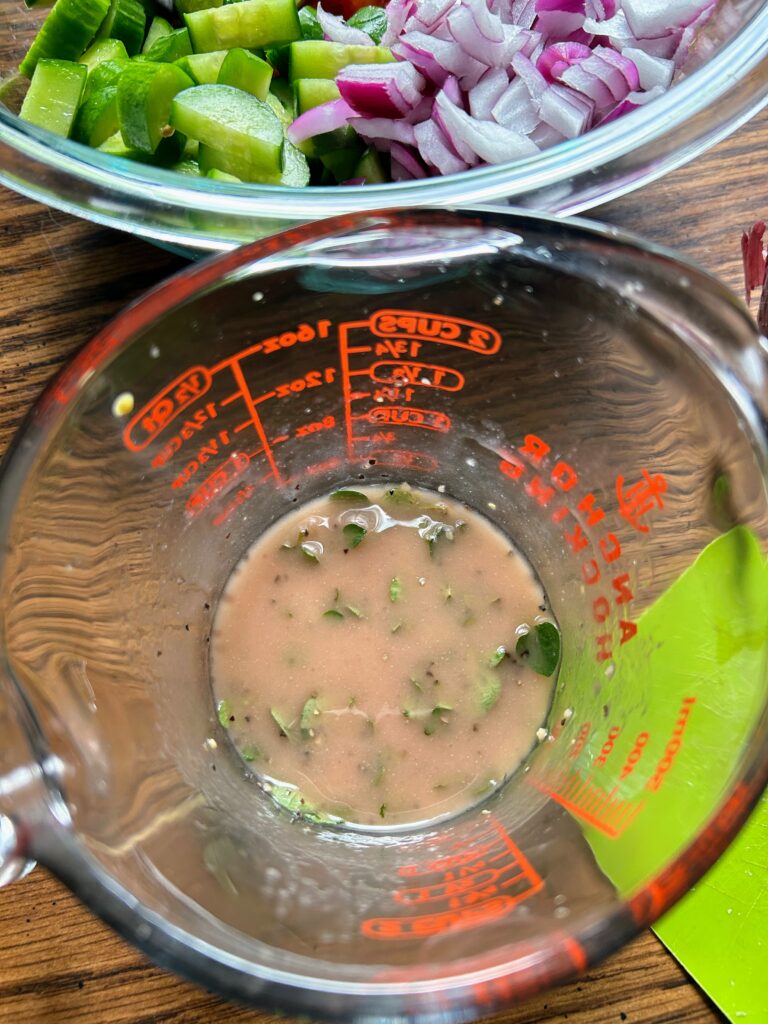
In a glass mason jar with a lid or liquid measuring cup, combine vinegar, oil, garlic, mustard, oregano, salt, and pepper. If using a mason jar, cover and shake well. If using the measuring cup, whisk well. 

Pour the dressing over the vegetables and allow to mellow over a few hours, if you are able. If you prefer a saucier salad, add 1 part red wine vinegar to 1 part olive oil, mixed together first. 

Enjoy!

Tools of the trade

I have a few tools I love and to when I am making any salad. First and foremost, I can’t live without my flexible cutting boards. I think they are a must in the kitchen. Closely behind that, I did my small whisk and glass measuring cups for making my dressing.

Simple Greek Salad

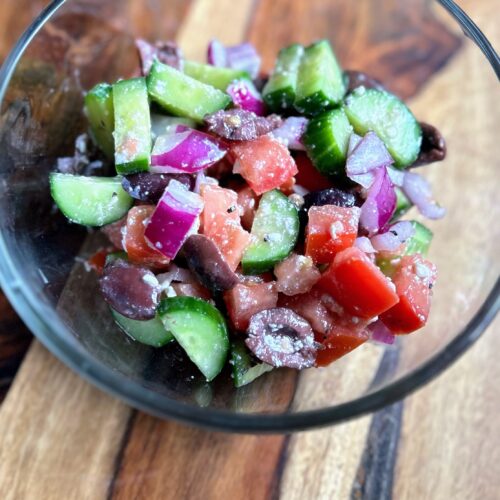
This simple Greek salad is full of tomatoes, red onions, and cucumbers combined with feta, oregano and a delicious dressing. A great side dish for any meal!
Prep Time 10 minutes
Total Time 10 minutes
Course Salad, Side Dish
Cuisine Greek
Servings 6 servings

Ingredients
  

  • 2 cups chopped Roma tomatoes
  • 2 cups chopped cucumbers preferably English or snacking
  • cup diced red onions
  • ½ cup sliced kalamata olives or black olives
  • 3 tablespoons crumbled feta cheese
  • 2 tablespoons red wine vinegar
  • 2 tablespoons olive oil
  • ½ teaspoon minced garlic
  • ¼ teaspoon dijon mustard
  • 1 tablespoon chopped fresh oregano or 1 teaspoon dried
  • Salt and pepper

Instructions
 

  • In a large bowl, combine tomatoes, cucumbers, and red onions. Add olives and feta cheese and stir once more.
  • In a glass mason jar with a lid or liquid measuring cup, combine vinegar, oil, garlic, mustard, oregano, salt, and pepper. If using a mason jar, cover and shake well. If using the measuring cup, whisk well.
  • Pour the dressing over the vegetables and allow to mellow over a few hours, if you are able. If you prefer a saucier salad, add 1 part red wine vinegar to 1 part olive oil, mixed together first.
  • Enjoy!
Keyword cucumbers, feta salad, Greek salad, Salad, summer salad, tomatoes, vegetables, vegetarian
Tried this recipe?Let us know how it was!

Looking for other great sides?

Check out my cooking page or see if any of the recipes below are a perfect fit for you!

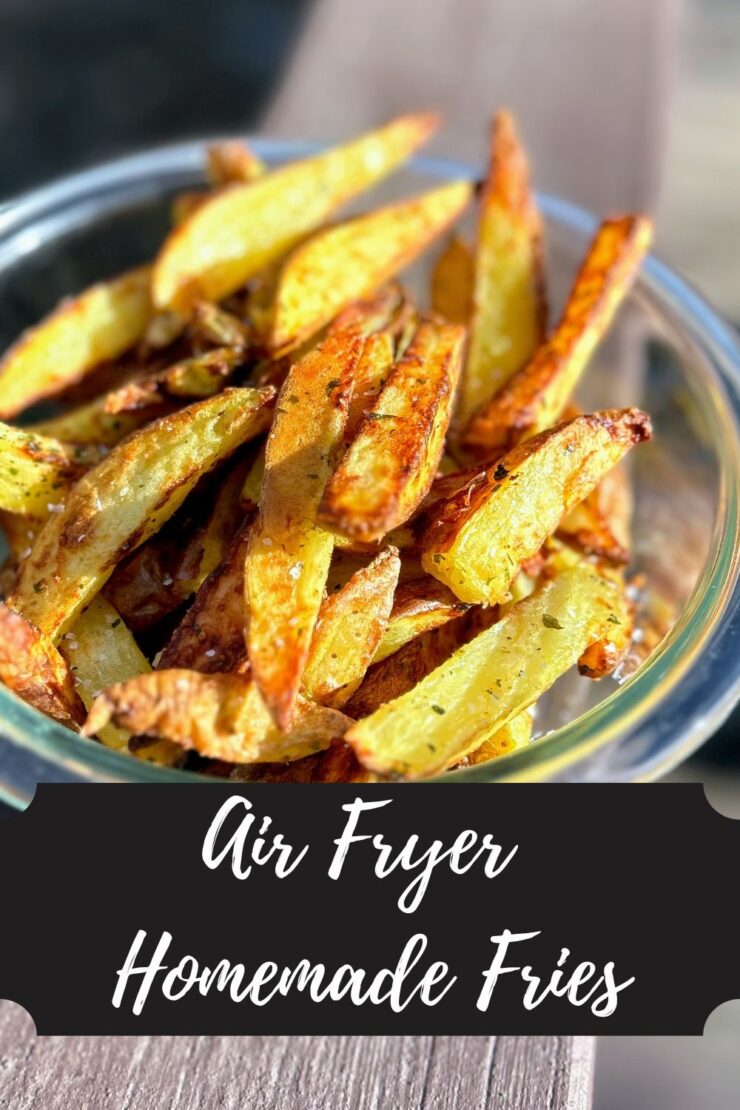
Air Fryer Homemade Fries

“I bought some fries for the burgers tonight…” The Mr, the other night. My response, “Why in the world did you buy fries? I will make air fryer homemade fries!” The Mr, “Well, you never know…it’s easier to just use the premade ones.” Me: “Nope, it takes all of 3 minutes to make homemade ones and they are SO MUCH BETTER.” 

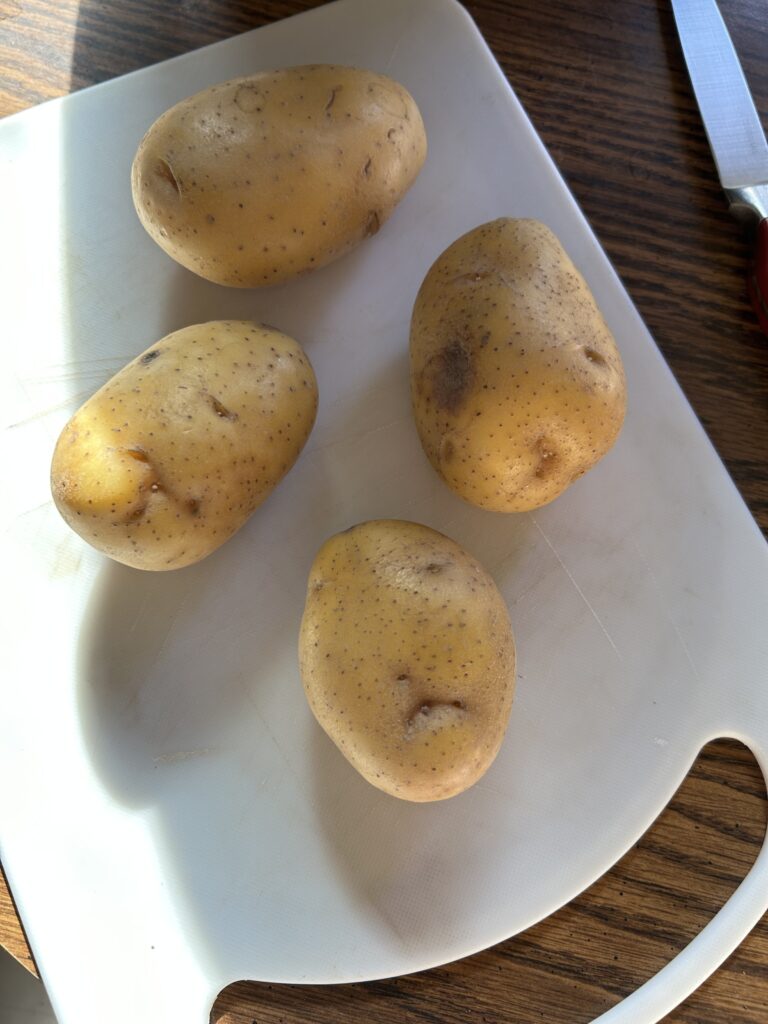
That’s an actual conversation from earlier this week. I don’t know what kind of fries are made when I am not home, but if I am around, I am grabbing some Yukon Gold potatoes (or others, if you don’t have Yukon Gold) and I am making homemade fries.

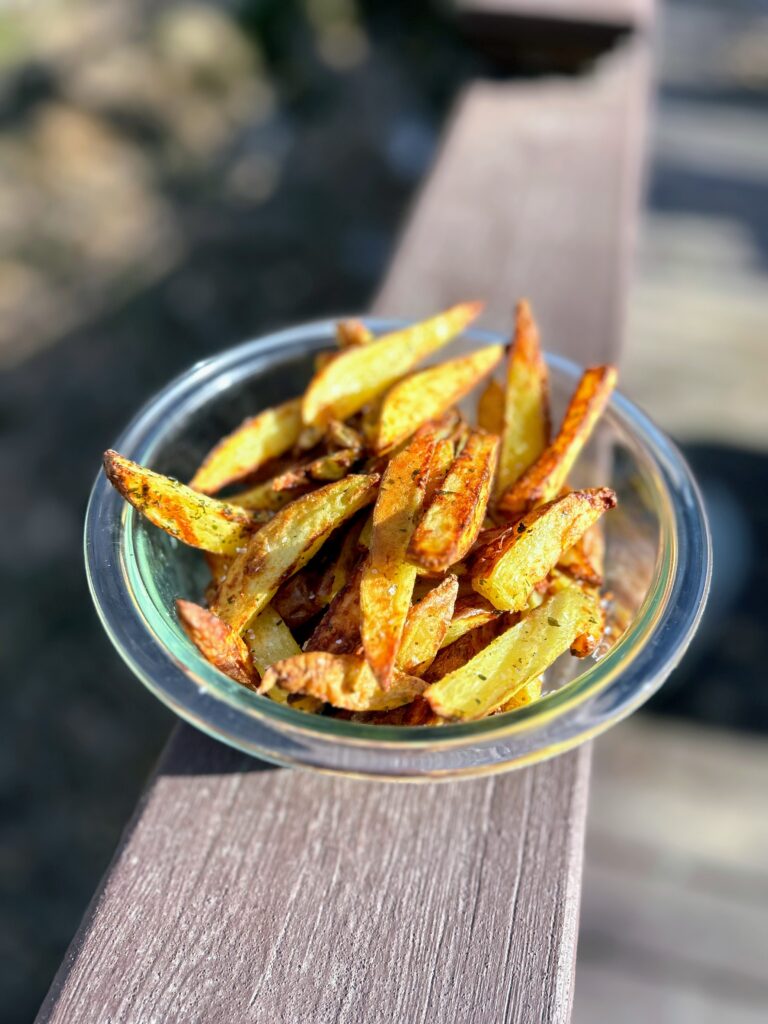
When I say that it takes all of 3 minutes to prep them, I promise, I am not lying. The longest piece of these delicious fries is cutting them. A little toss in olive oil, some salt, Parmesan, and parsley and you are set. And I swear, they come out like a great pub fry every single time. 

Some “from scratch” recipes take longer than you care for them to but, at least for me, you try to do them more often than not because it’s better for your family. This is not the case here. You’ll be making your own, beautiful air fryer homemade fries every time a burger, brat, or hotdog is served! 

Let’s get cooking! 

Your Ingredients (4-6 servings)

  • 1 ½ pounds Yukon Gold potatoes (or your other favorite potato)
  • 1 tablespoon olive oil 
  • ¼ cup grated Parmesan cheese 
  • 1 tablespoon parsley 
  • 1 teaspoon-½ tablespoon kosher salt 

Your Steps to Air Fryer Homemade Fries

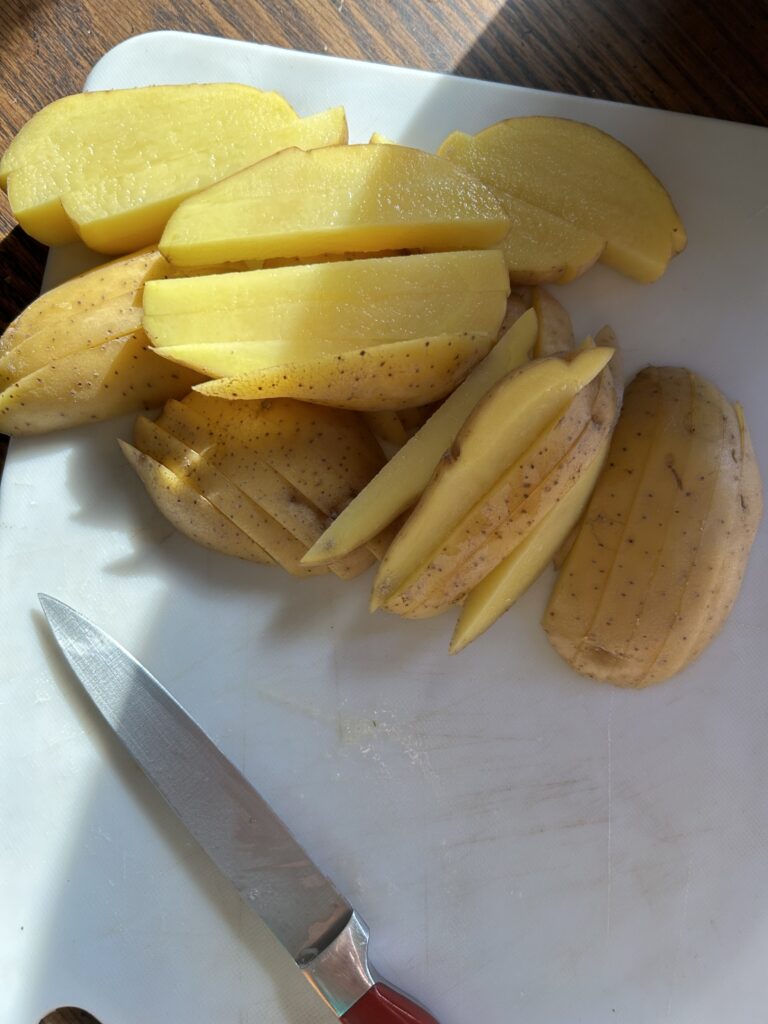
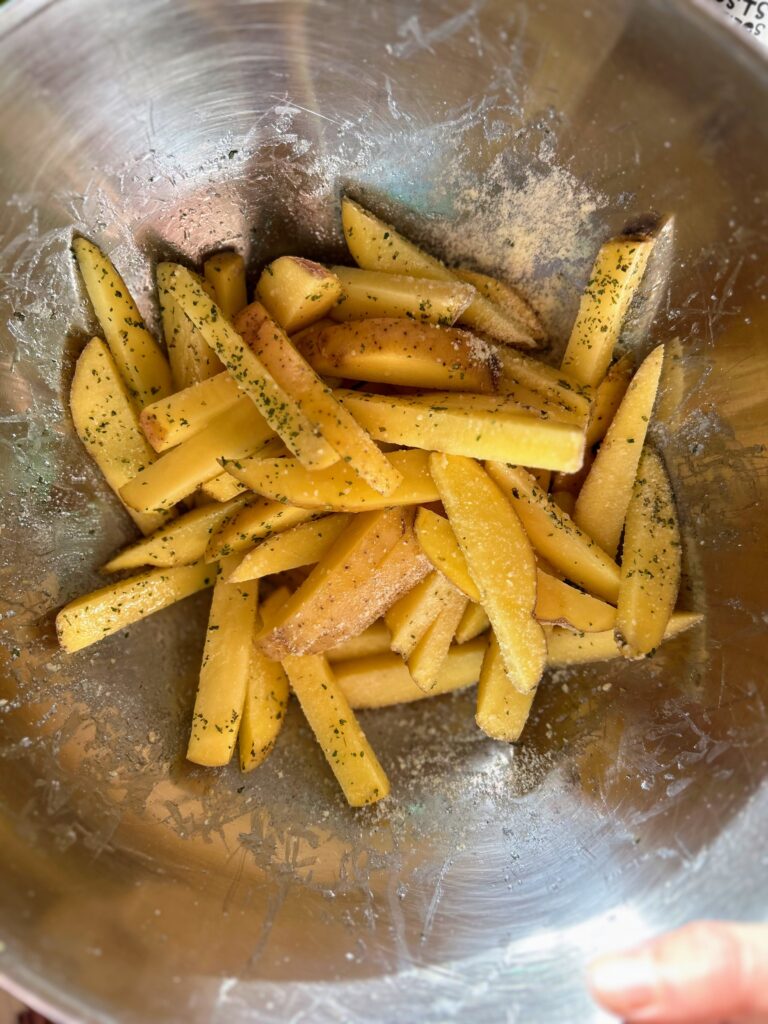
Preheat the air fryer to 400 degrees. Meanwhile, cut the potatoes into ¼-⅓ inch slices. Then cut into sticks. Toss the fries with olive oil. Then add Parmesan, parsley, and kosher salt. Honestly, I don’t measure the parsley and salt. I just pour it into my palm to get a feel for how much I have and sprinkle in. 

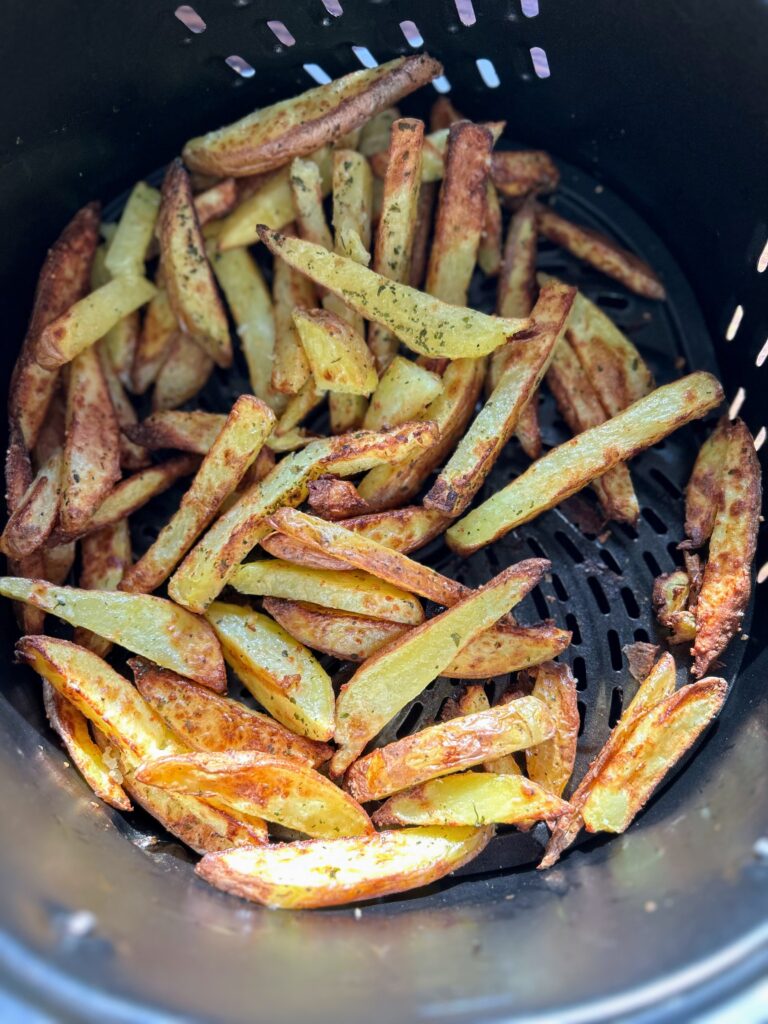
Put the fries into the basket and toss. Cook for 15-20 minutes, shaking/stirring the fries every 5 minutes or so. Cook until they have reached a desired color. Enjoy with your latest grilled protein! 

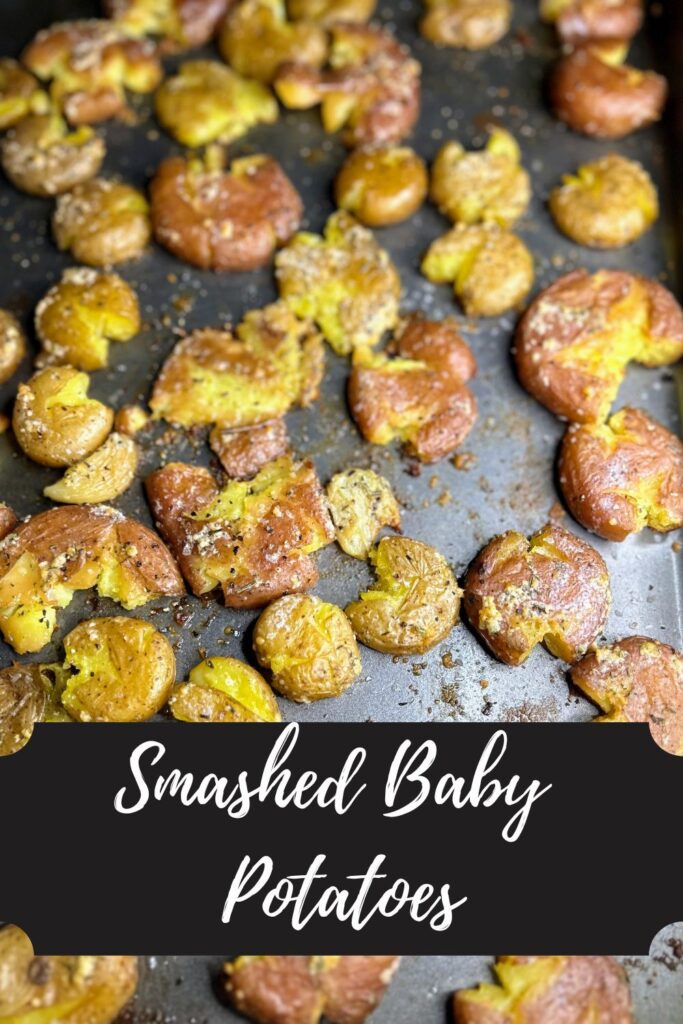
If you’re looking to fancy up your potato game, give these smashed baby potatoes a try! They are not hard, but they sure turn out amazing!

Air Fryer Homemade Fries

You won't be buying frozen bag fries again after you give these homemade air fryer fries a try! So simple and beyond good, this will become a go to recipe for those grill nights and more!
Prep Time 5 minutes
Cook Time 20 minutes
Course Appetizer, Side Dish
Cuisine American
Servings 4

Equipment

Ingredients
  

  • 1 ½ pounds Yukon Gold potatoes or your other favorite potato
  • 1 tablespoon olive oil
  • ¼ cup grated Parmesan cheese
  • 1 tablespoon parsley
  • 1 teaspoon-½ tablespoon kosher salt

Instructions
 

  • Preheat the air fryer to 400 degrees. Meanwhile, cut the potatoes into ¼-⅓ inch slices. Then cut into sticks.
  • Toss the fries with olive oil.
  • Then add Parmesan, parsley, and kosher salt. Toss again.
  • Put the fries into the basket and toss.
  • Cook for 15-20 minutes, shaking/stirring the fries every 5 minutes or so. Cook until they have reached a desired color.
Keyword air fryer, french fries, homemade fries, Potatoes, Yukon Gold
Tried this recipe?Let us know how it was!

Need some dishes to pass?

Check out my Cooking page for more inspiration. Or maybe I can share a few of my favs below!
Roasted and Preserved Tomatoes

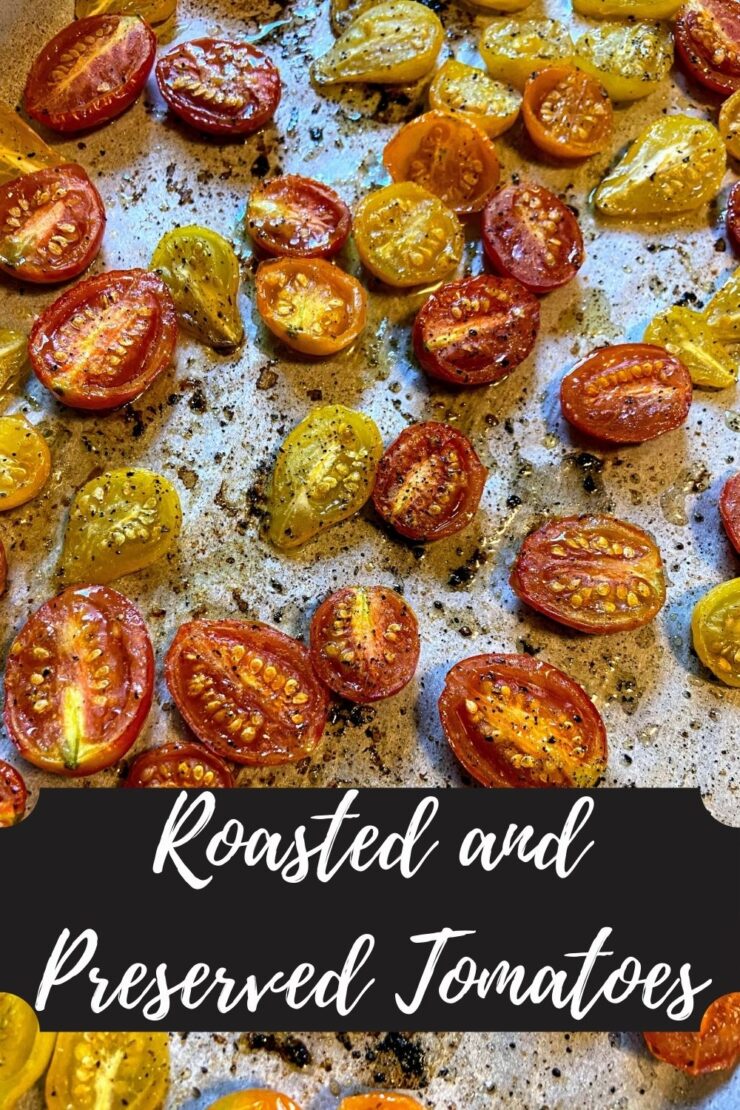
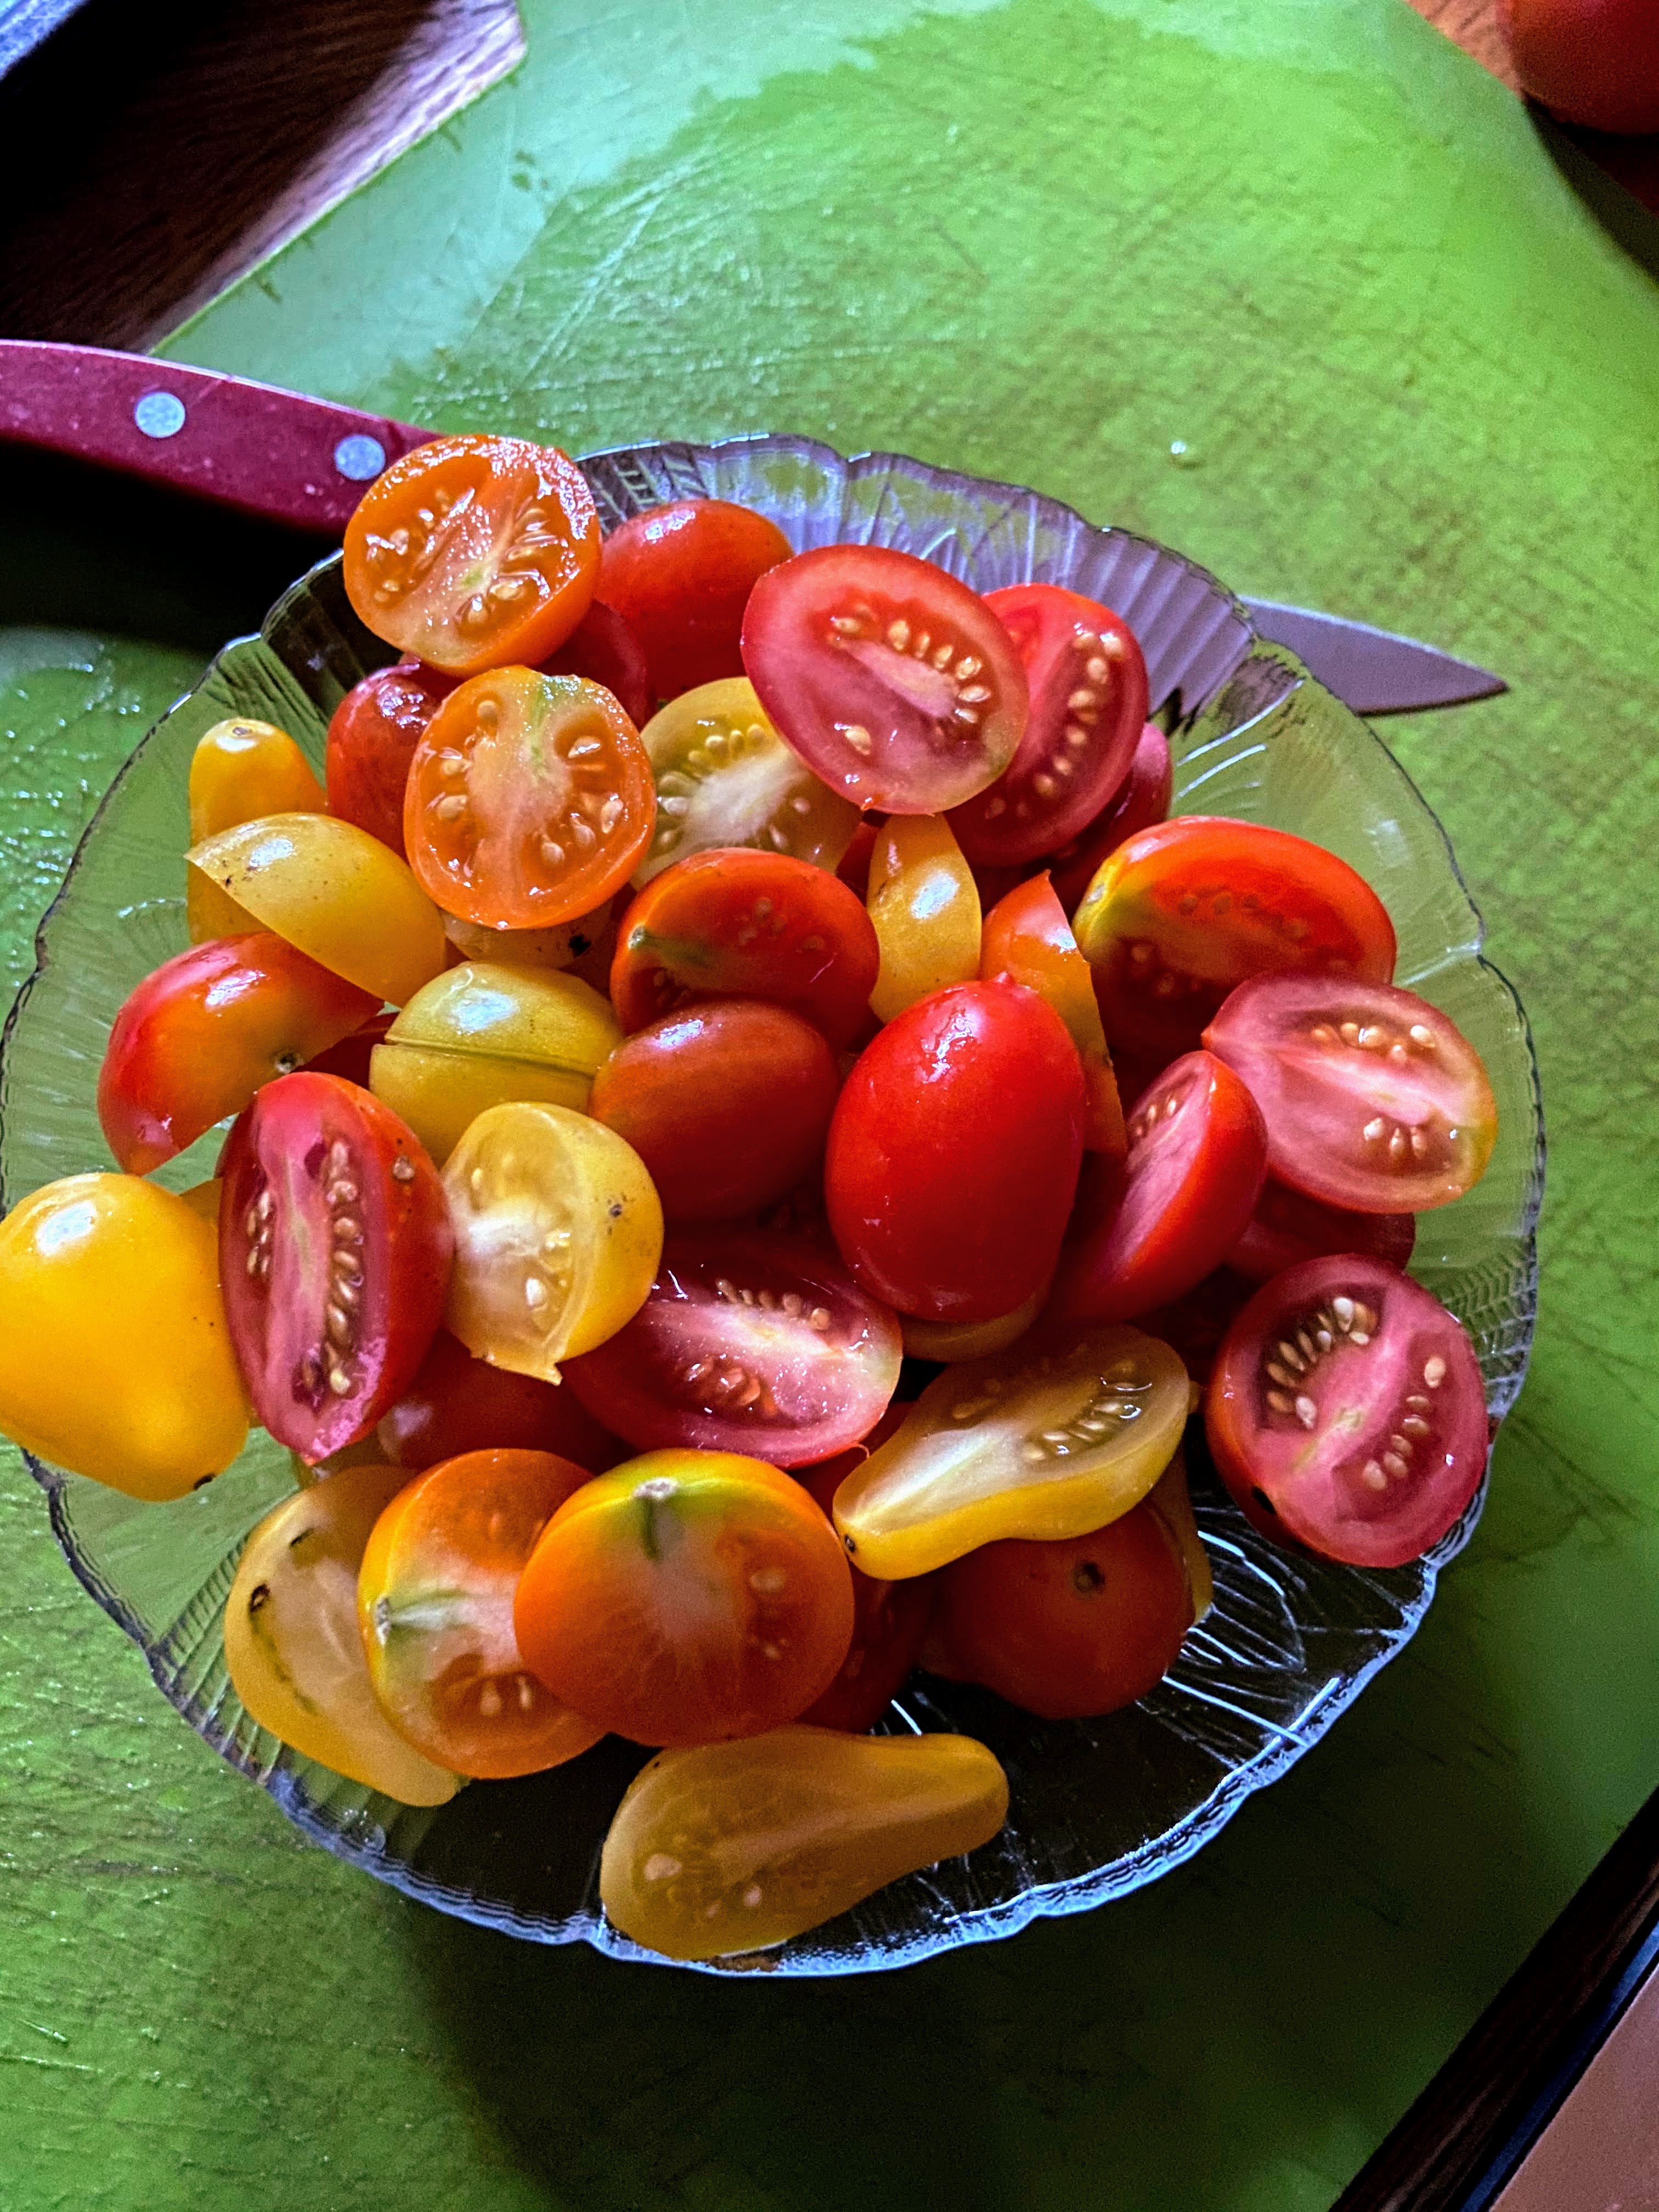
Every year, I get so excited to plant tomato plants. Even in our first years with a garden, we couldn’t keep up with our tomato love. I vividly remember my darling son as a toddler eating every single cherry or grape tomato we grew. They didn’t even make it out of the garden! Now, I get all those beautiful drops of red, orange, and yellow and turn them into roasted and preserved tomatoes. 
Now, it’s a joke between my husband and I that I will always plant too many cherry and grape tomato plants. Why buy one if you can buy four? And you have to have a few varieties, right? And so, we have an abundance of bit size tomatoes. One year, an acquaintance suggested roasting them, and I have never looked back! 

This is such a simple and flavorful way to preserve tomatoes. All you need is an oven, a baking sheet, some parchment paper, and your favorite tomato spices. Let’s get to creating some roasted and preserved tomatoes. 

Per pound of tomatoes, you will need: 

½ tablespoon olive oil 

¼ teaspoon each of: salt, pepper, oregano, garlic, or any other spice you love with tomatoes

Your Steps to Roasted and Preserved Tomatoes

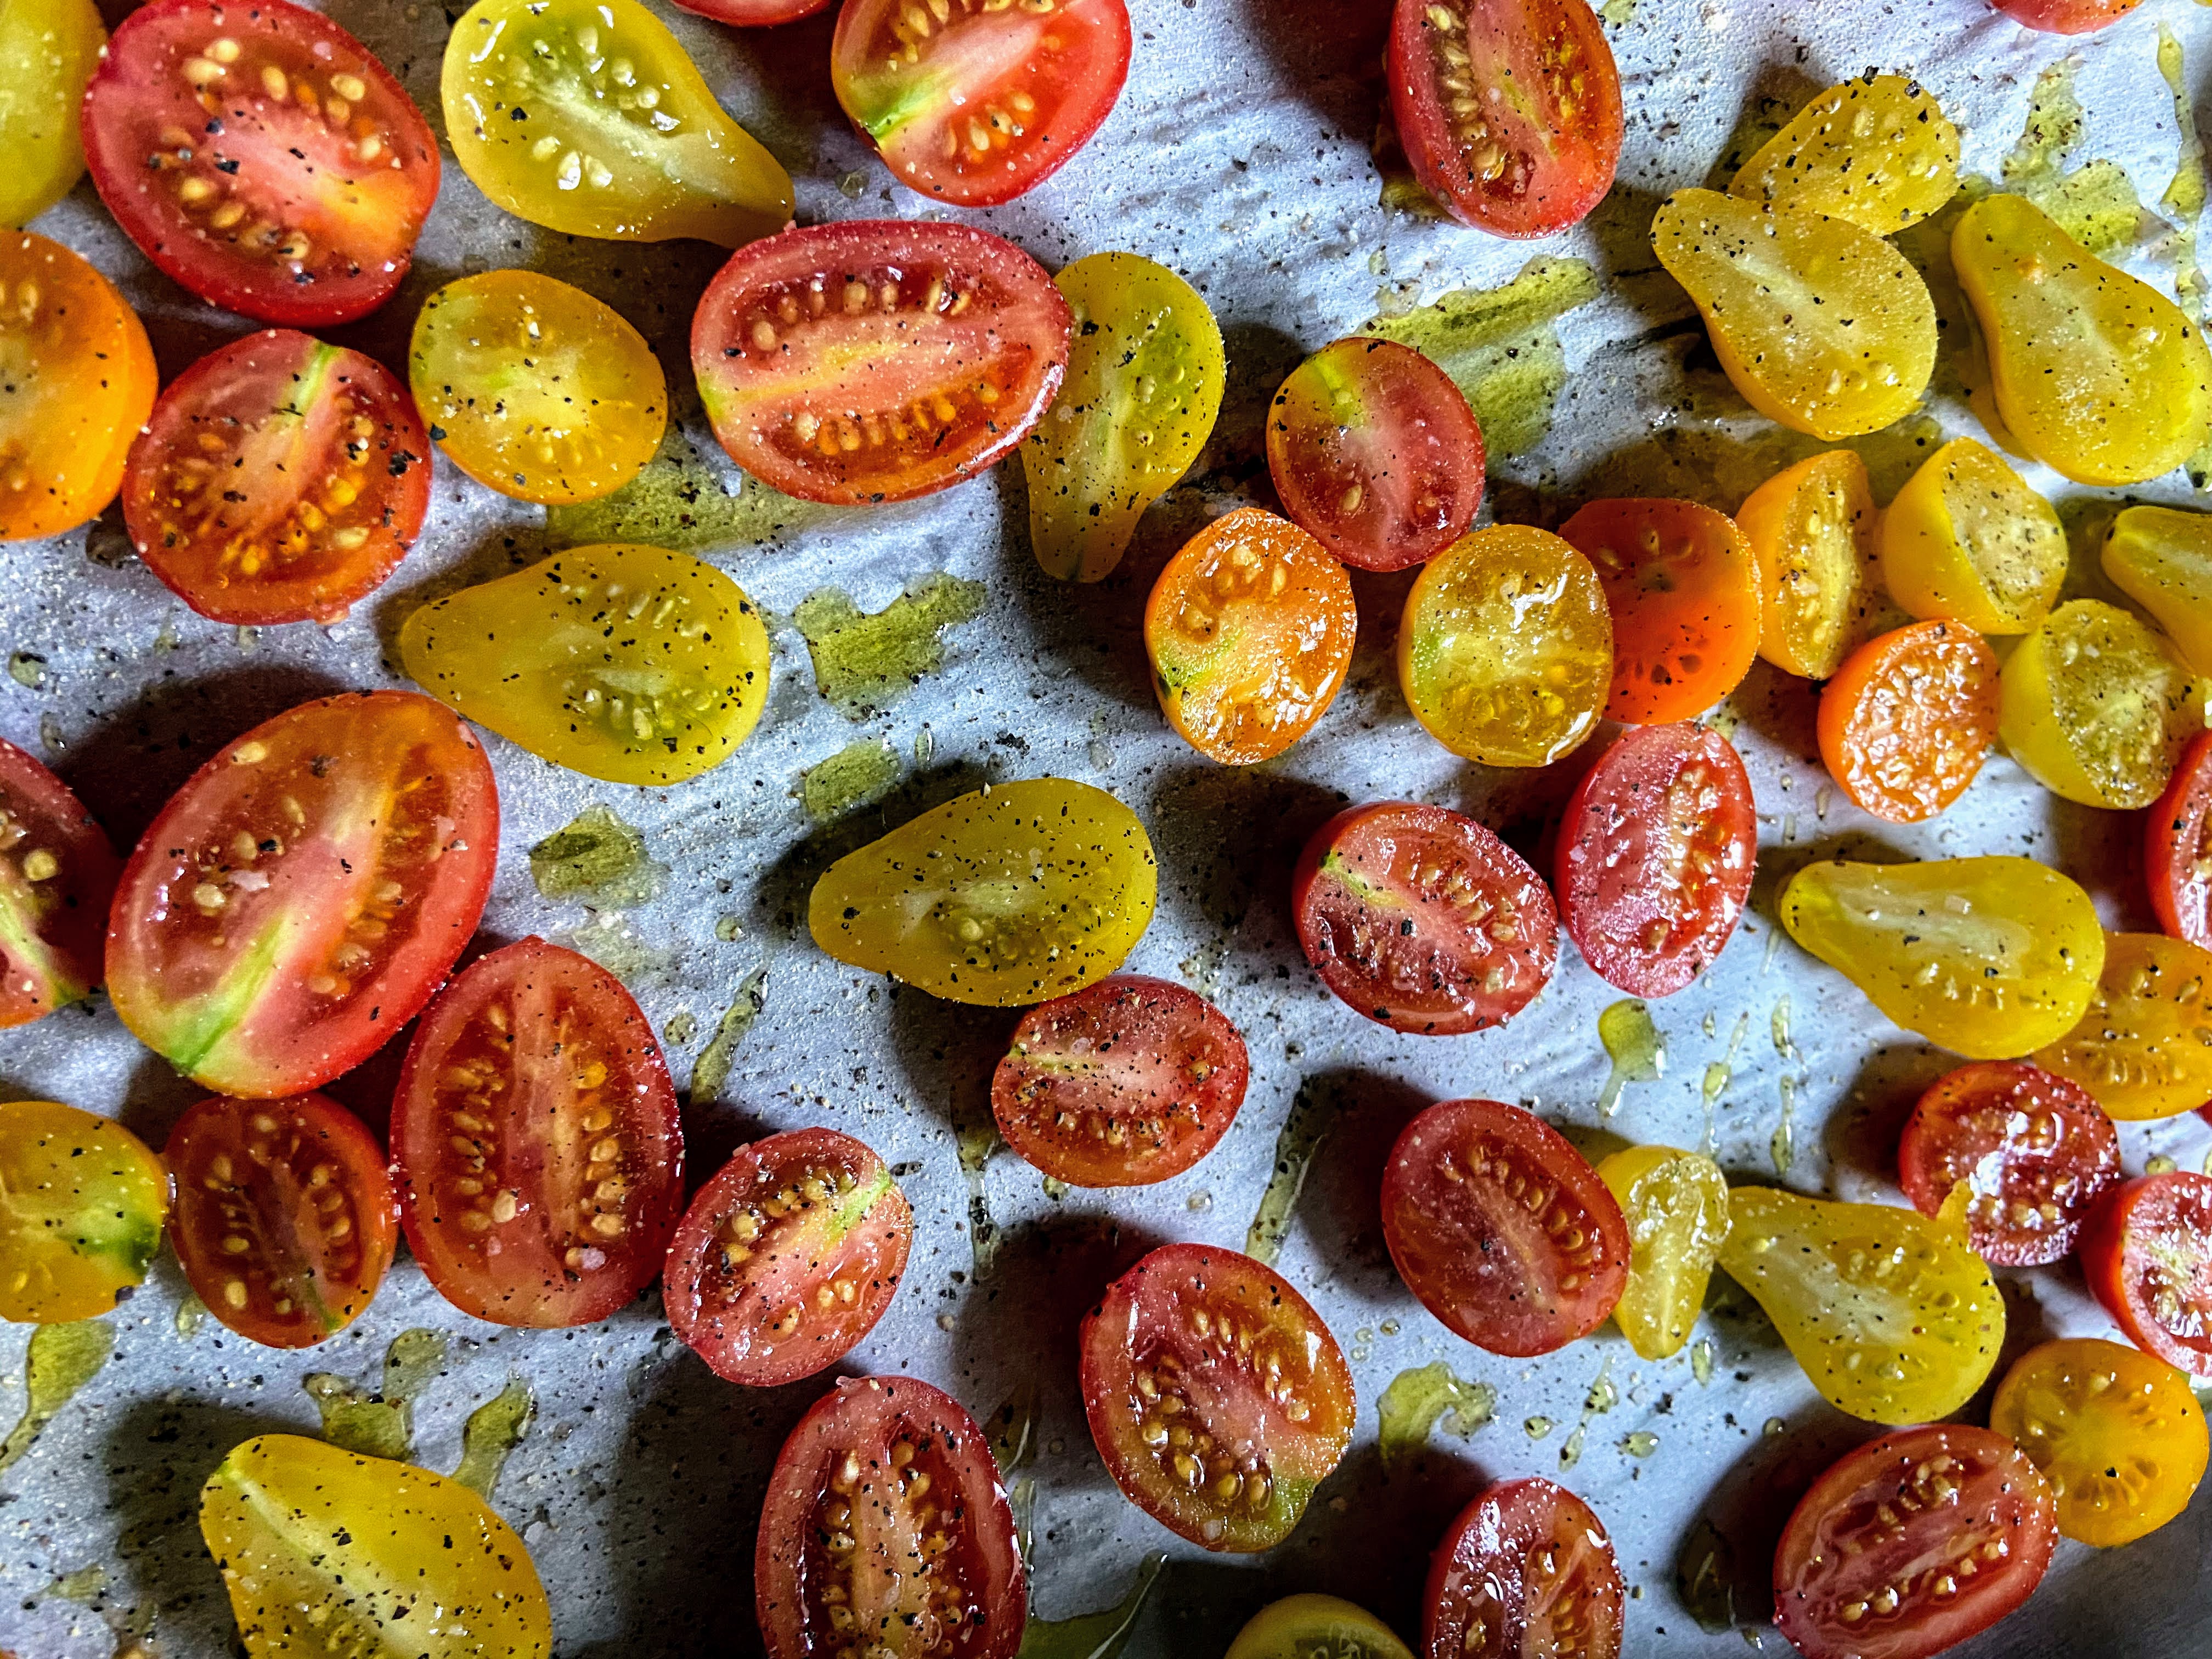
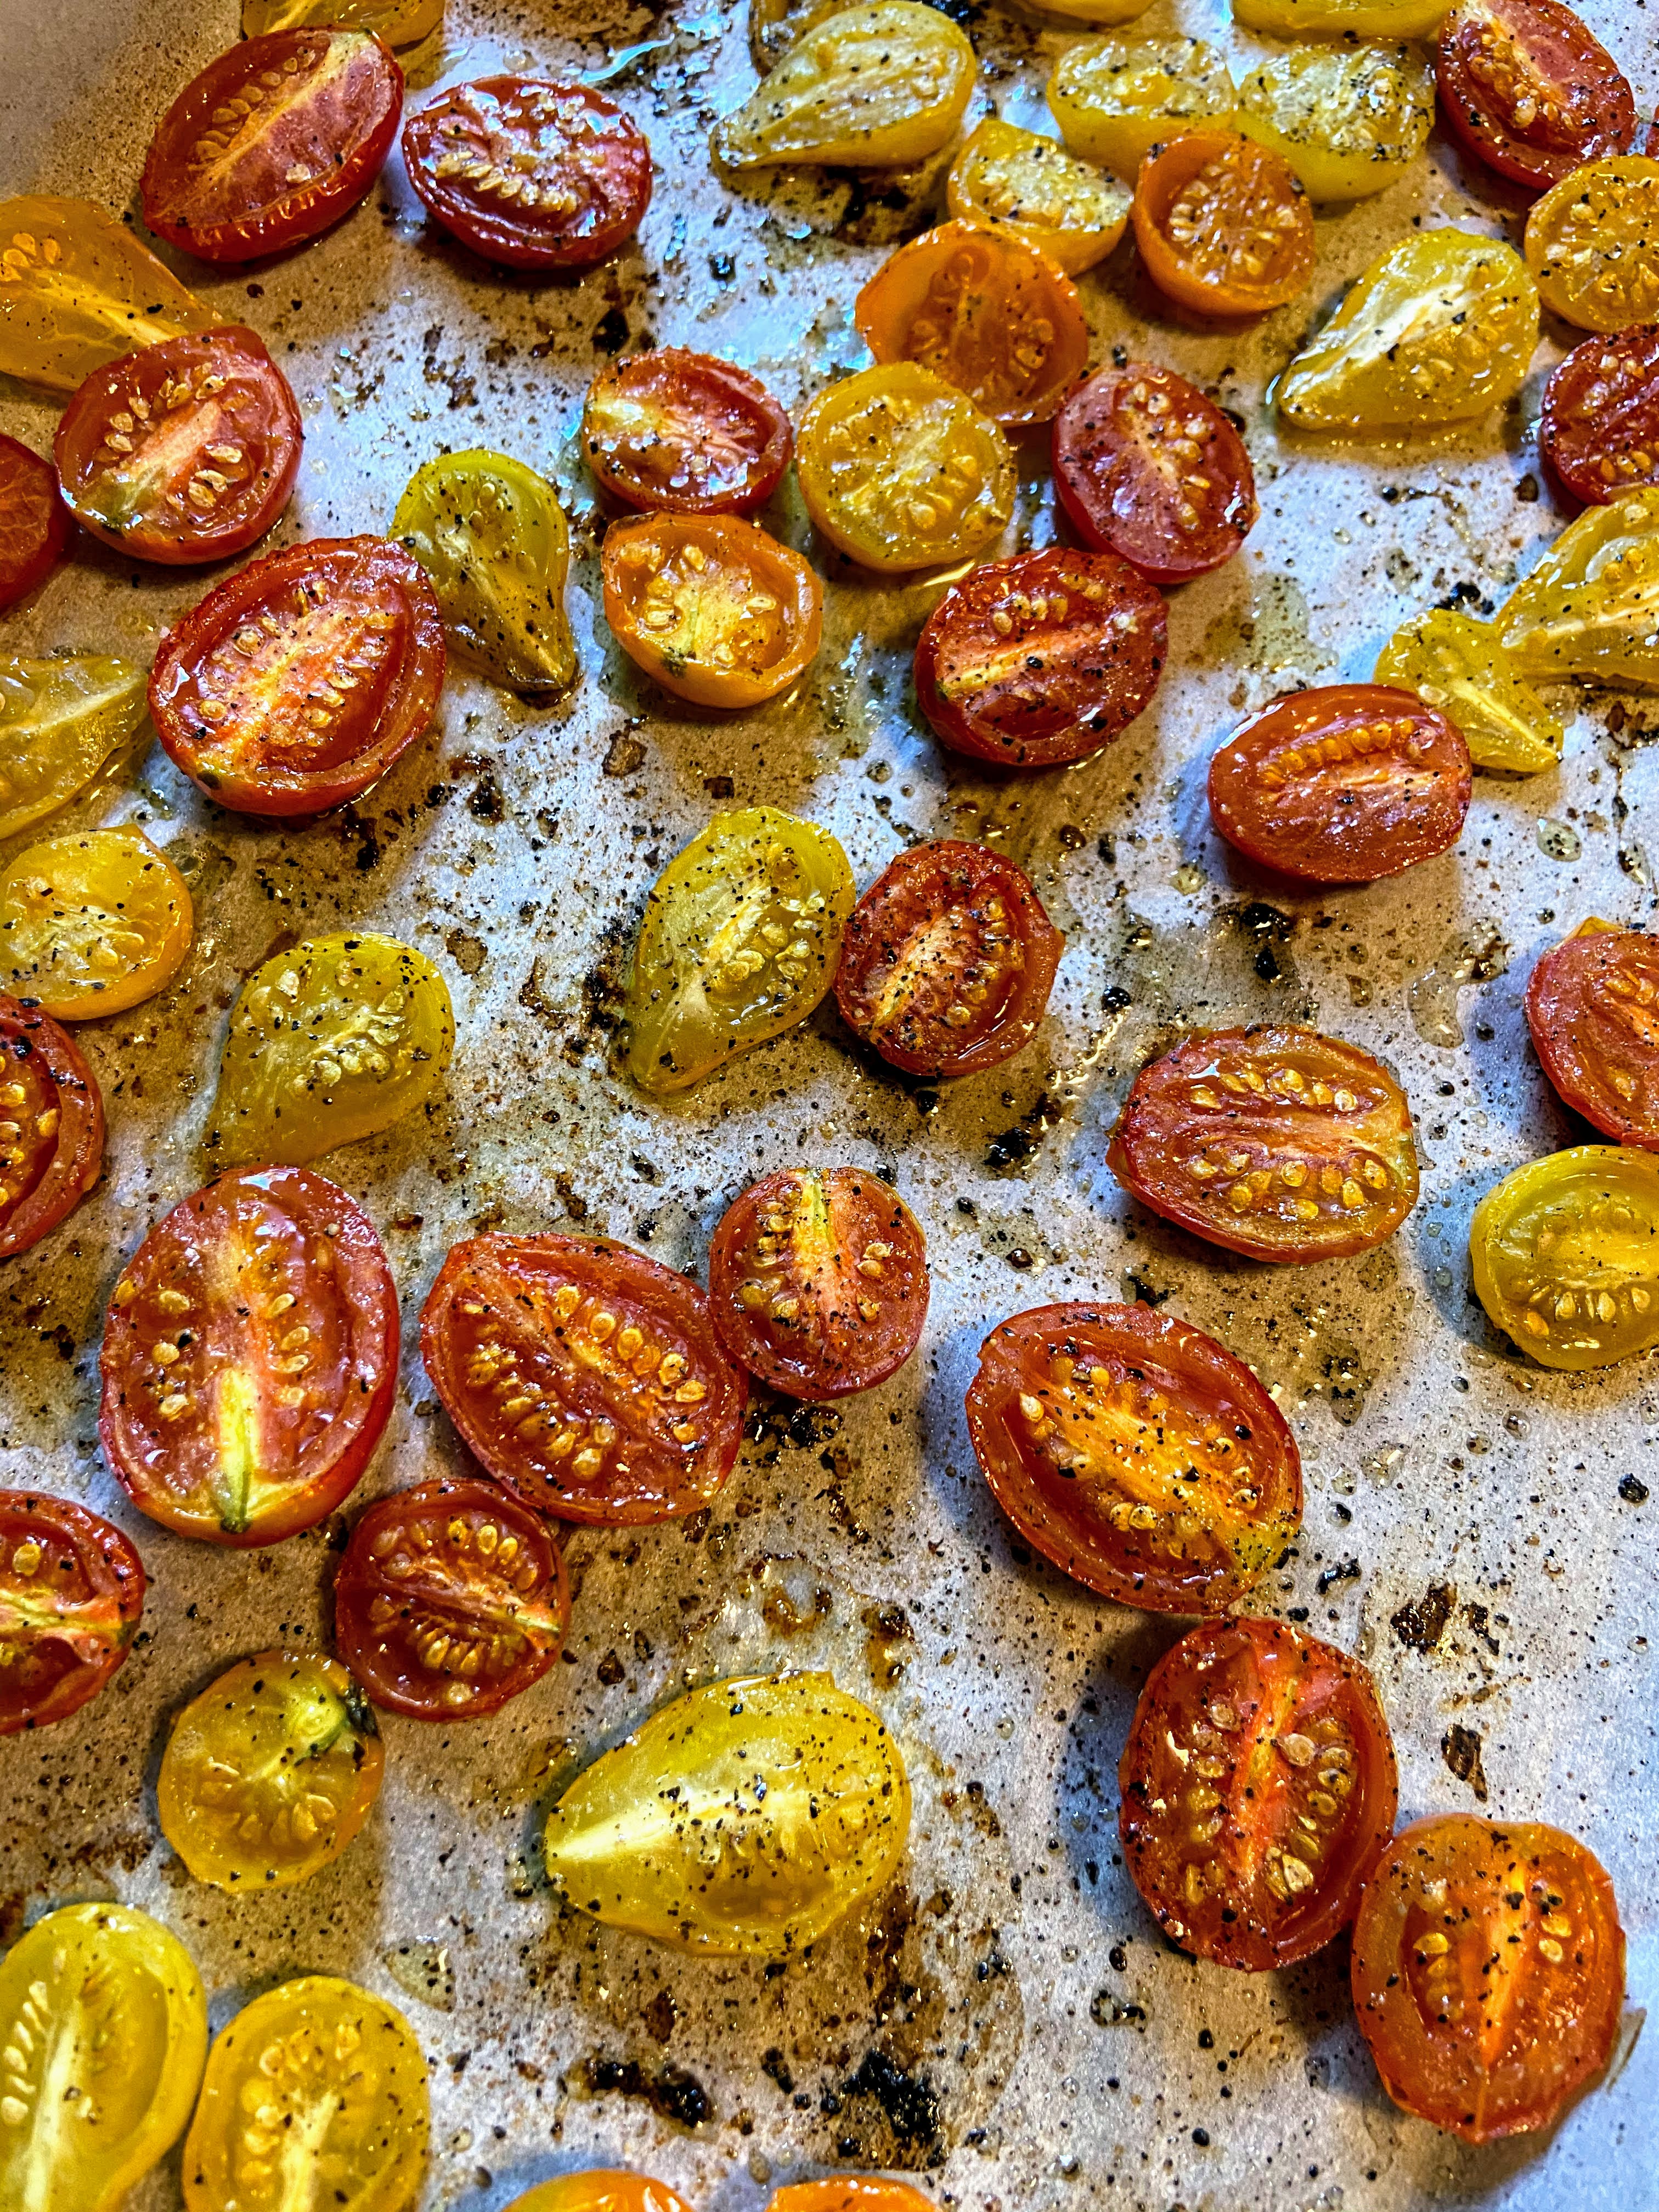
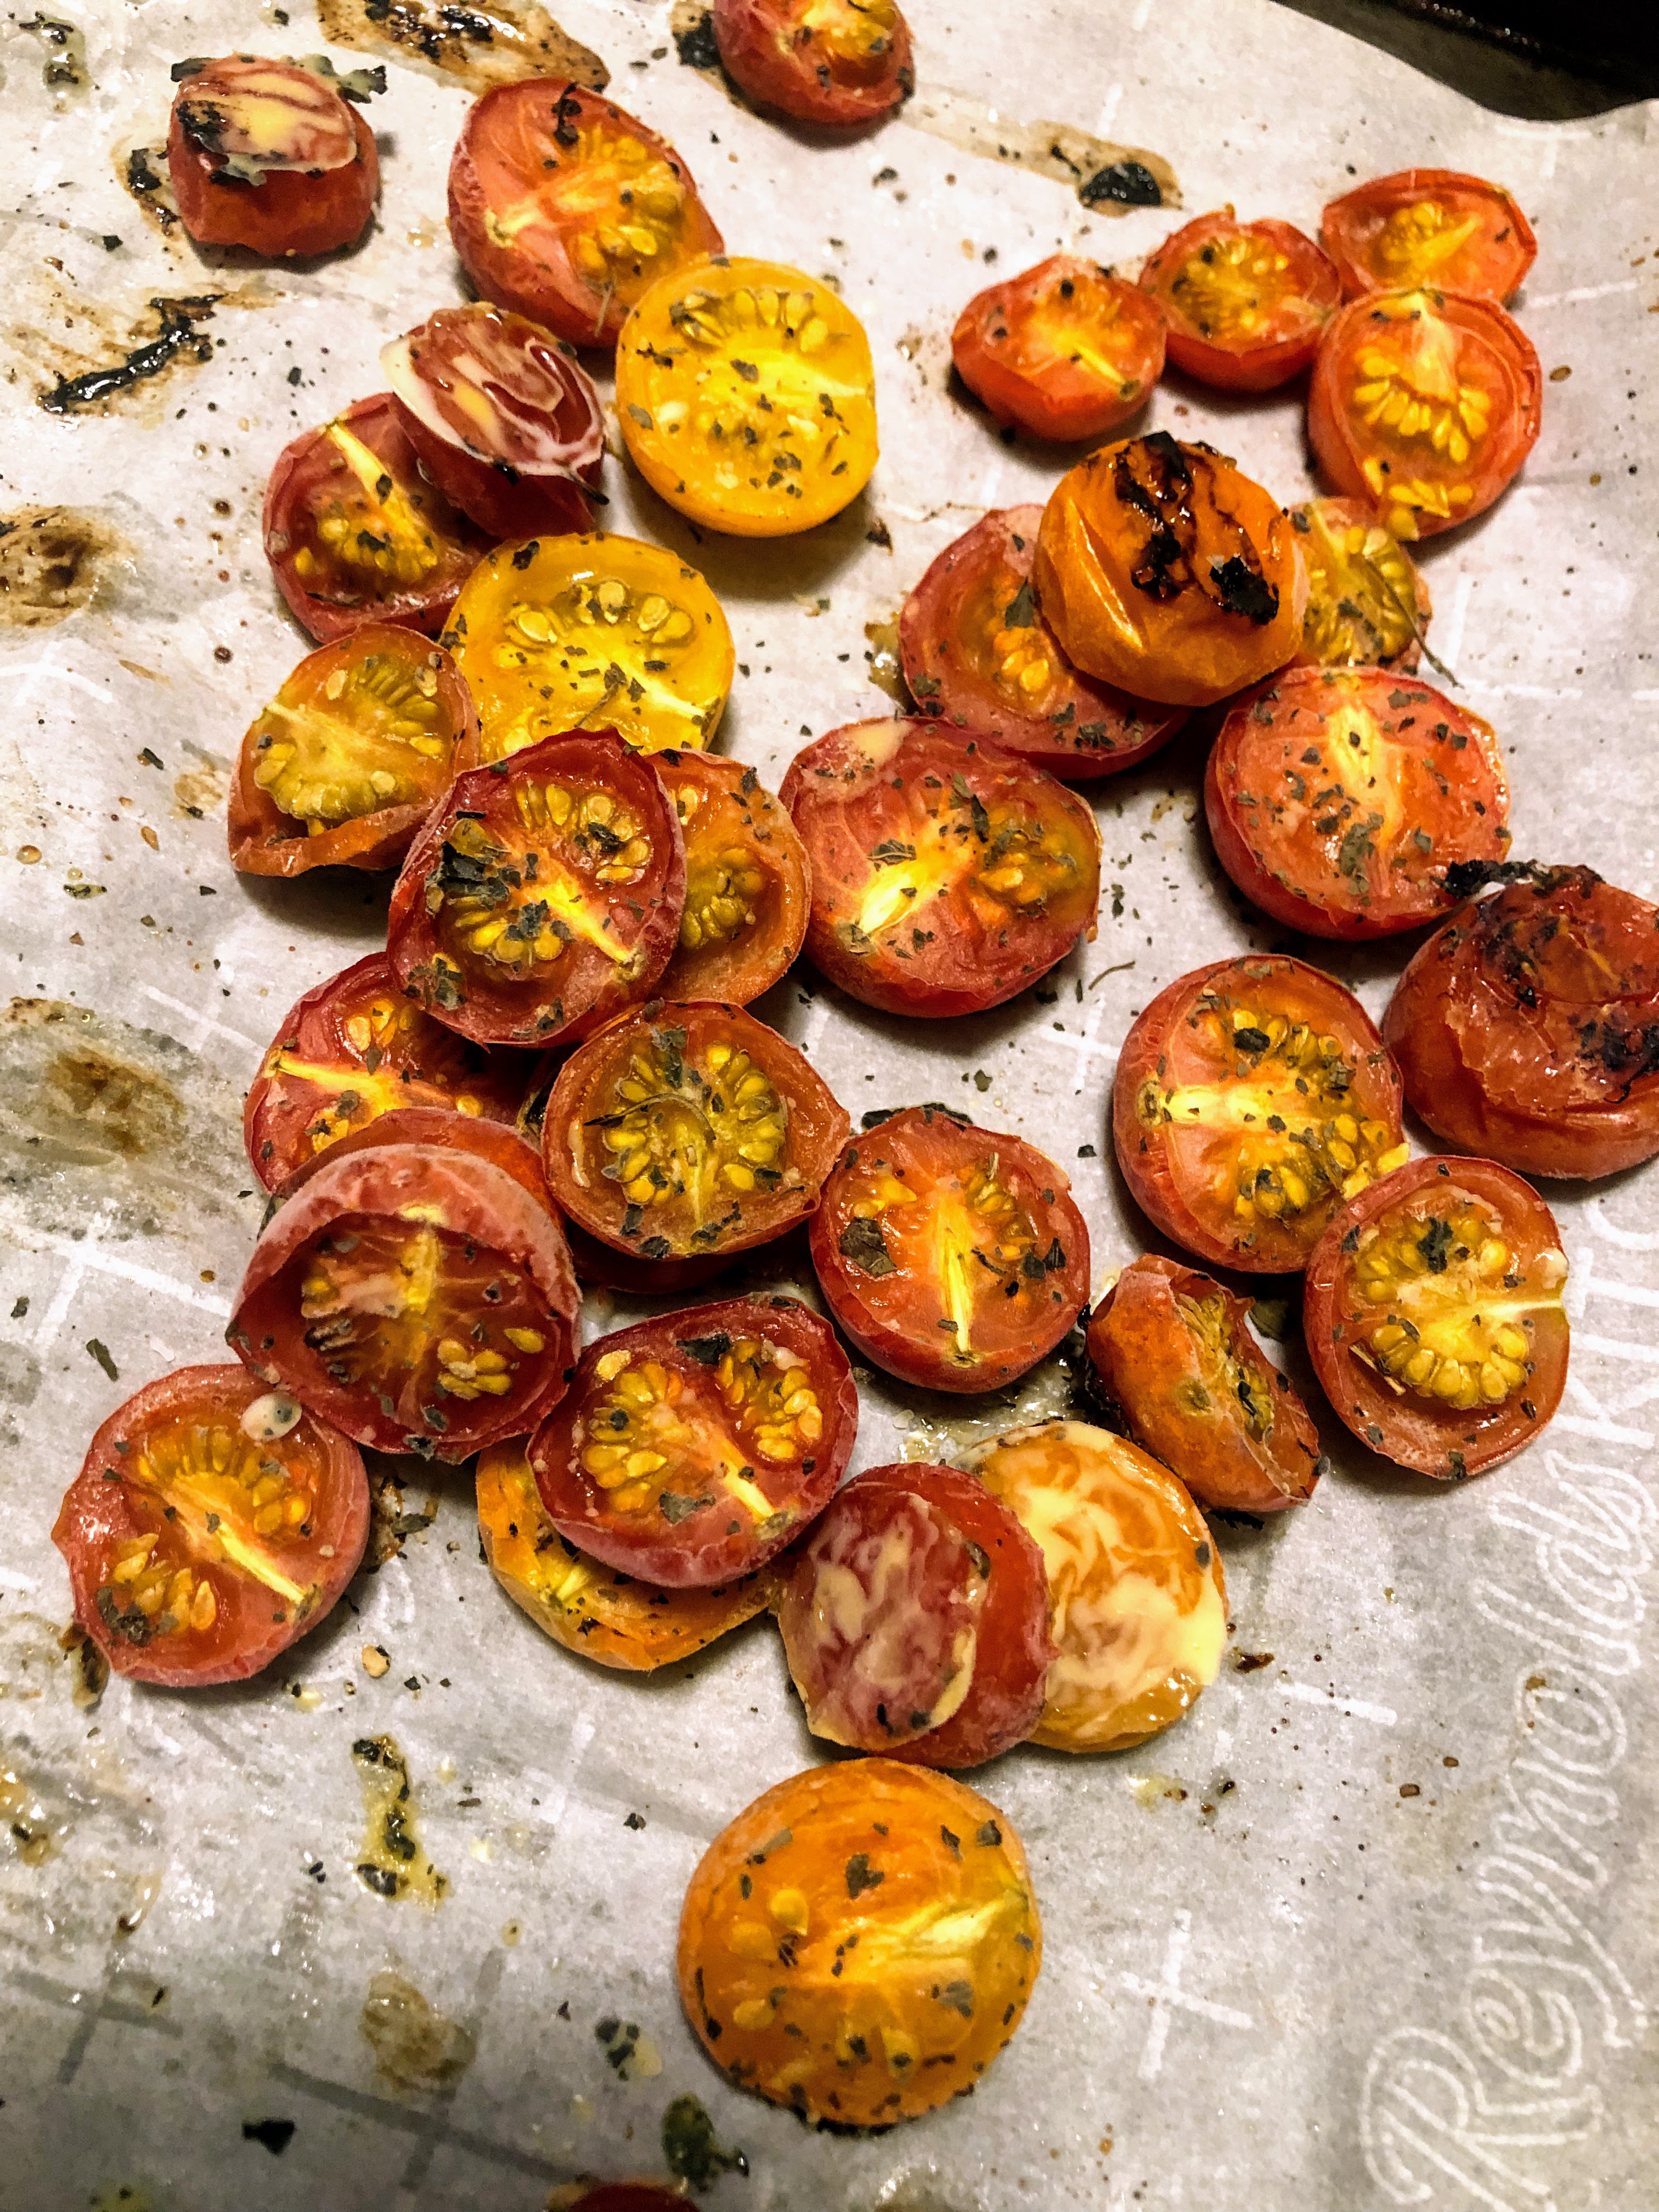
Preheat the oven to 425 degrees. Wash and dry the tomatoes. Slice each tomato in half. Lay cut side UP on a parchment lined baking sheet. Drizzle with olive oil and sprinkle salt, pepper, garlic, etc on top. Bake for 20-30 minutes, until just beginning to caramelize. Allow to cool. 

From here, you can totally just snack on them. If you want to preserve for later, stick the tray in the freezer for 2-3 hours. Transfer to a freezer safe container and use within a year. So quick, easy, and a great way to preserve your harvest!

Roasted and Preserved Tomatoes

Too many grape and cherry tomatoes? Like to preserve the flavor of summer for the winter months? Create these roasted and preserved tomatoes!
Prep Time 10 minutes
Cook Time 30 minutes
Course Side Dish
Cuisine Italian
Servings 5 servings

Ingredients
  

  • 1 pound cherry or grape tomatoes any variety
  • ½ tablespoon olive oil
  • ¼ teaspoon salt
  • ¼ teaspoon pepper
  • ¼ teaspoon oregano
  • ¼ teaspoon garlic

Instructions
 

  • Preheat the oven to 425 degrees.
  • Wash and dry the tomatoes.
  • Slice each tomato in half. Lay cut side up on a parchment lined baking sheet.
  • Drizzle with olive oil and sprinkle salt, pepper, garlic, etc on top.
  • Bake for 20-30 minutes, until just beginning to caramelize. Allow to cool.
  • To preserve, place the tray in the freezer for 2-3 hours.
  • Transfer to a freezer safe container and use within a year.
Keyword cherry tomatoes, freezing, preserving, side dish, tomatoes, Vegan, vegetables
Tried this recipe?Let us know how it was!

Looking for other preserving recipes?

Check out my canning and preserving page! Or maybe one of the recipes below will speak to you!

Quick Dish: Fried Rice

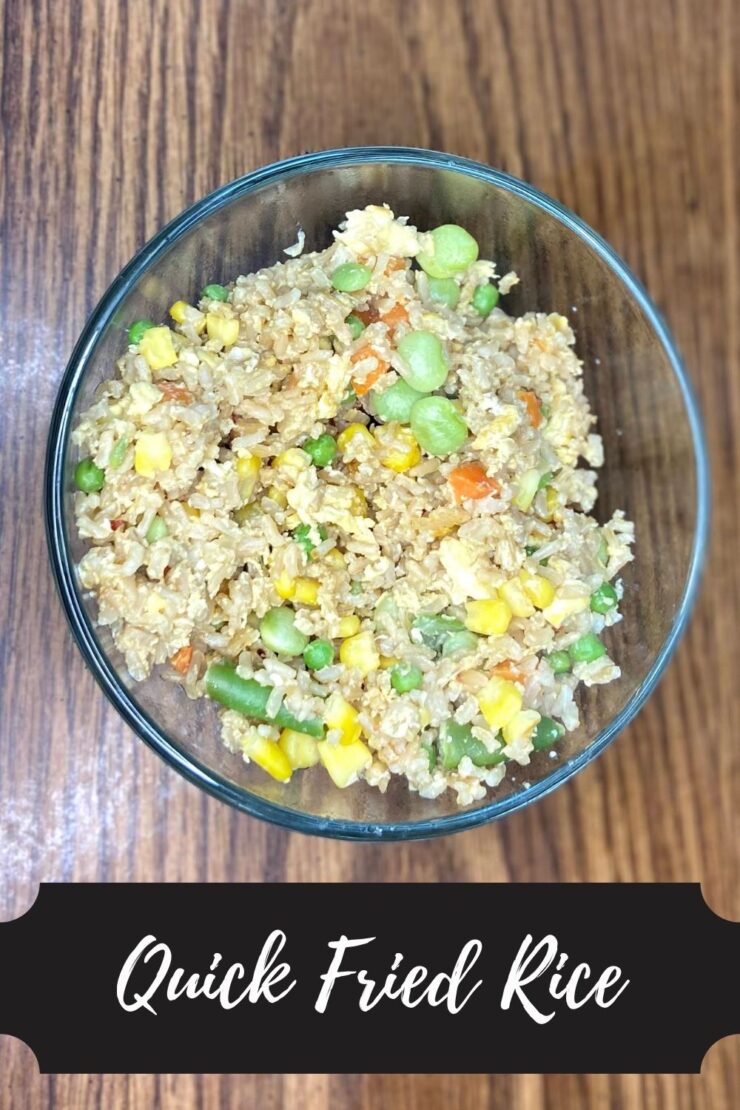
Recently, my family and I were away from home for a week. I don’t know about you, but when I get home from a week away, I need at least another day to reset. I do not want to do a thing but sit on the couch for hours, even if I was in the car for six hours leading up to getting home. And although the fridge is empty (if we did things right before we left), I certainly do not want to go grocery shopping. That, my friends, is unfortunate because I still need food for lunch the next day. However, I have discovered quick fried rice and my life has become a little easier and definitely a lot tastier.

After said trip, I looked around at what we had for food and realized we were low on proteins, at least any that were thawed. I am passionate about eating wholesome foods that are minimally processed, so this was a bit of a problem. However, I love me some brown rice with vegetables. I had some instant brown rice on hand as well as frozen Asian vegetables. Good. We also had cooked some Asian food while on vacation, so those flavors were on my mind. I opened the refrigerator to gather some liquid aminos and saw eggs. Eggs! Oh man, I can make a quick fried rice for lunch!

I felt as though I was winning at life. This meal had a starch/carb, vegetables, and a protein; a complete meal. It came together in less than 15 minutes, which is a major win in my book. Measuring is somewhat optional as you can really find flavors you love. Finally, nothing was processed and the ingredients are pantry items at our house. Let me tell you, this recipe is going into my everyday cooking brain when I need a quick, wholesome meal. I hope it does for you too!

Your Ingredients

  • 2 cups brown rice, cooked (instant or regular)
  • 8 ounces frozen mixed vegetables
  • 1-2 eggs, whisked
  • ½ tablespoon sesame oil 
  • ½ teaspoon minced garlic 

Seasonings, to taste: 

  • Ground ginger (¼-½ teaspoon) 
  • Pinch of red pepper flakes
  • Onion Powder
  • Soy sauce or liquid aminos (½ – 1 tablespoon)

Cook the vegetables according to the directions on the package. We adore these awesome steam bags that Ziploc makes for steaming frozen and raw vegetables in the microwave. (Here’s the link for them if you want to check them out: Ziploc Zip n’ Steam Bags)

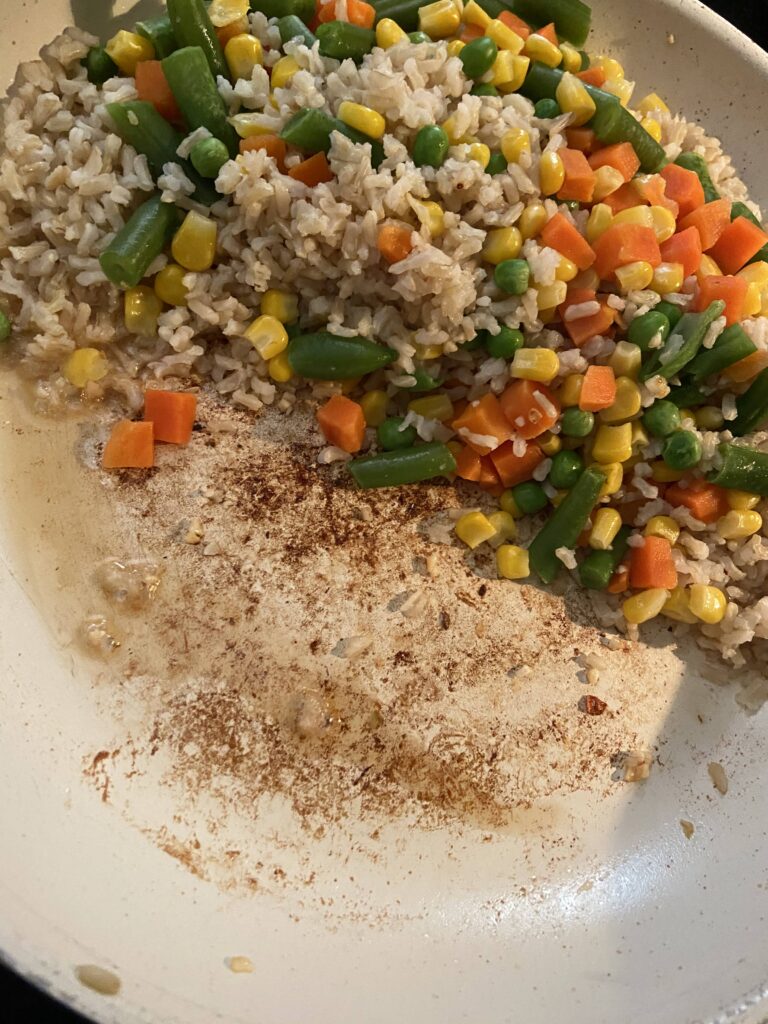
Meanwhile, heat the oil in a large skillet over medium high heat. Add the garlic and cook for 30 seconds, until fragrant. Add the rice, steamed vegetables, and seasonings to taste. Allow to cook for 2-3 minutes, stirring every 30 seconds or so. 

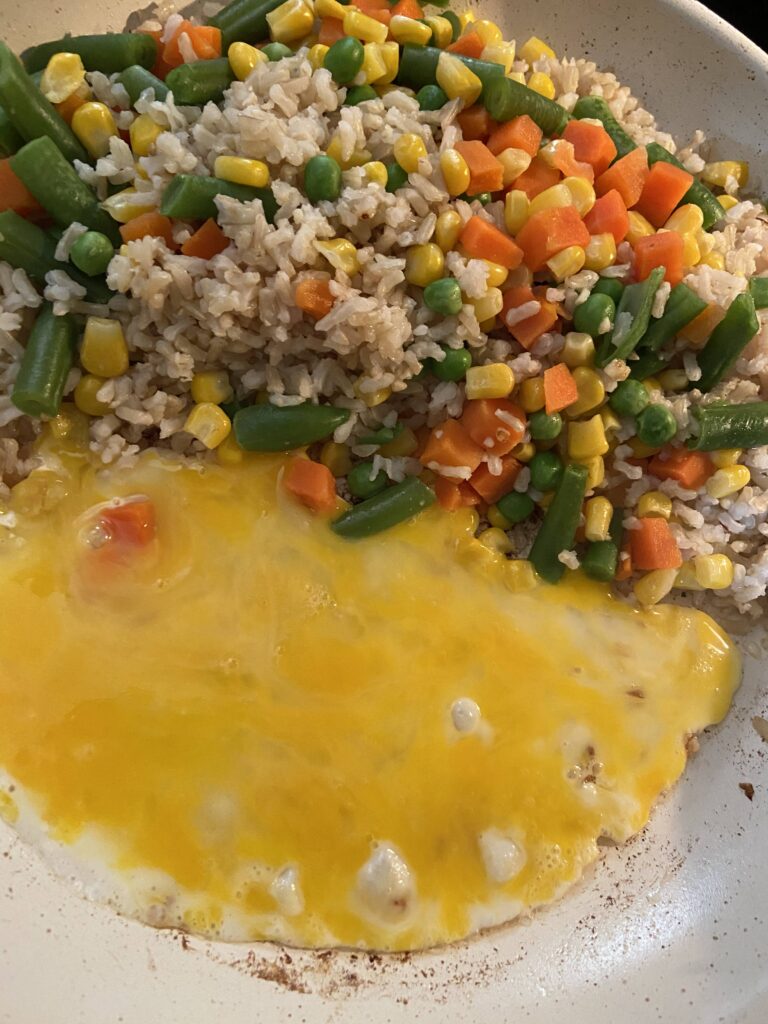
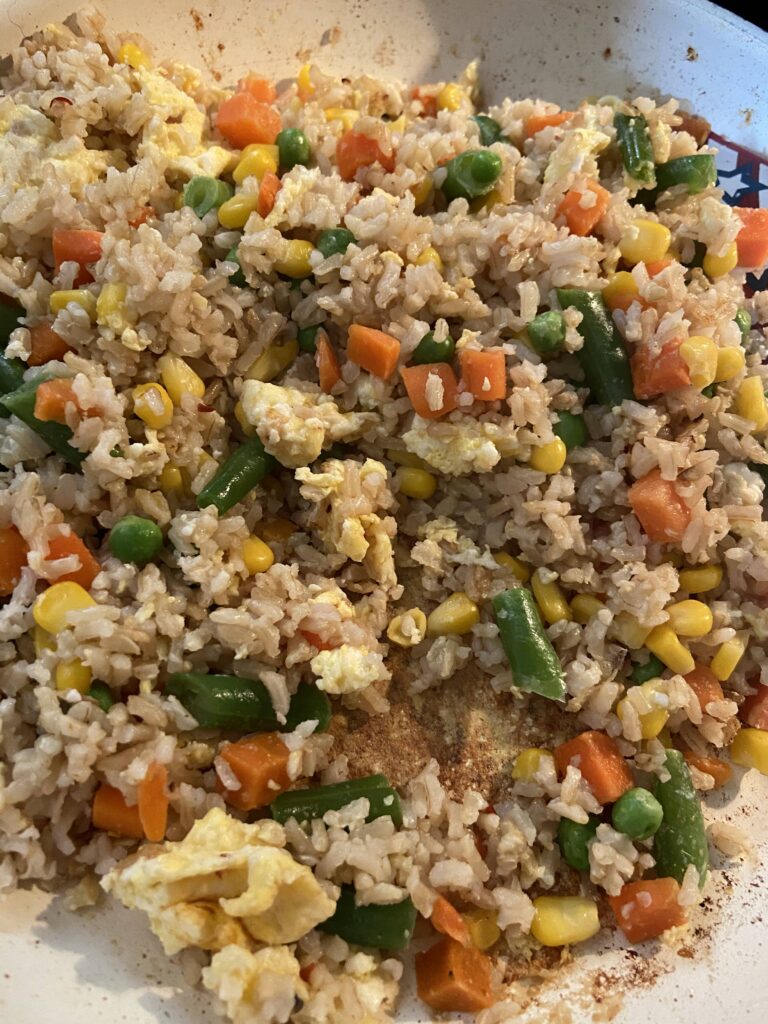
Push rice and vegetable mixture to the side. Pour in the whisked egg(s) in the cleared spot (spraying with cooking spray prior if there is worry the egg will stick. I add a touch more sesame oil). Allow to cook 1-2 minutes, as though you are going to scramble the egg. Once the egg is starting to become solid, fully incorporate it into the rice and vegetable mixture. Saute until the egg is fully cooked. Taste and add more soy sauce, ginger, or red pepper flakes as needed. 

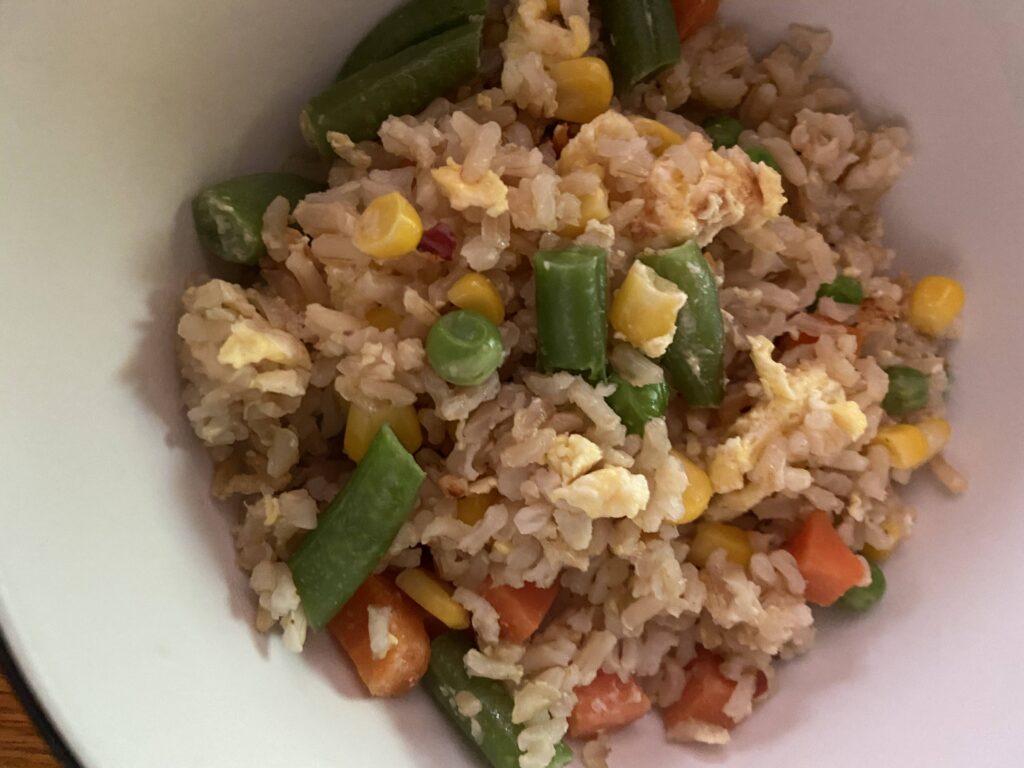
Quick and easy. Delish, wholesome, and a complete meal from your pantry. That’s what I call a winner in my book. Give it a try next time you’re not quite ready to make a run to the grocery store. Or maybe anytime you need a meal at your fingertip in minutes. 

Looking for other from scratch recipes to cook for a meal? Click below.

Tools of the Trade

Quick Fried Rice

Short on grocery store items? Put together this quick fried rice using ingredients from your fridge and pantry in 15 minutes flat!
Prep Time 5 minutes
Cook Time 10 minutes
Course Main Course
Cuisine Chinese
Servings 2

Ingredients
  

  • 2 cups brown rice cooked (instant or regular)
  • 8 ounces frozen mixed vegetables
  • 1-2 eggs whisked
  • ½ tablespoon sesame oil
  • ½ teaspoon minced garlic

Seasonings, to taste:

  • Ground ginger ¼-½ teaspoon
  • Pinch of red pepper flakes
  • Soy sauce or liquid aminos ½ – 1 tablespoon
  • onion powder

Instructions
 

  • Cook the vegetables according to the directions on the package.
  • Meanwhile, heat the oil in a large skillet over medium high heat. Add the garlic and cook for 30 seconds, until fragrant.
  • Add the rice, steamed vegetables, and seasonings to taste. Allow to cook for 2-3 minutes, stirring every 30 seconds or so.
  • Push rice and vegetable mixture to the side.
  • Pour in the whisked egg(s) in the cleared spot, spraying with cooking spray if necessary.
  • Allow to cook 1-2 minutes.
  • Once the egg is starting to become solid, fully incorporate it into the rice and vegetable mixture.
  • Sauté until the egg is fully cooked.
  • Taste and add more soy sauce, ginger, or red pepper flakes as needed.

Notes

This will always be better if you use rice you cooked a day or two before. But I get it, you may not always have thought ahead. Go ahead and use what you have. 
Keyword Brown Rice, Eggs, Fried Rice
Tried this recipe?Let us know how it was!