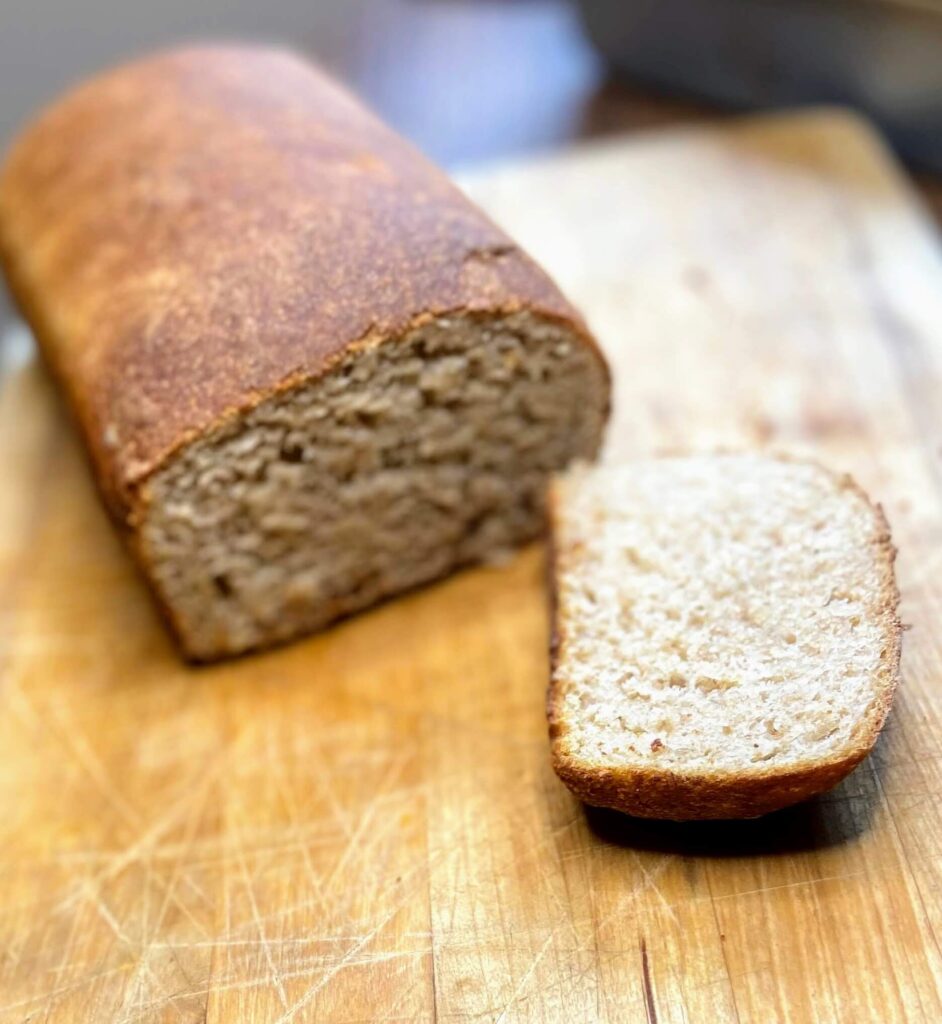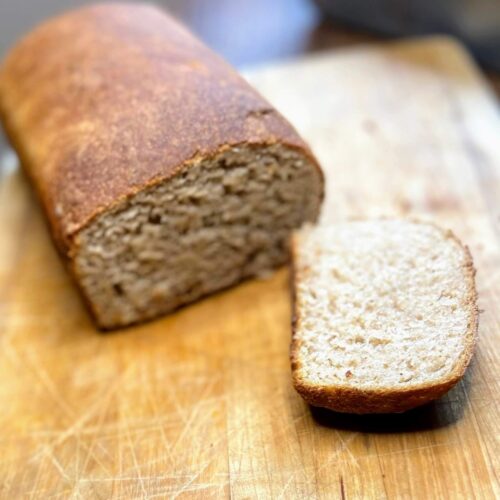
I have been on an English muffin kick. I love the size of them and the flavor is definitely a step above a bagel. They pair so well with a little jam and a piece of ham. We also have our own chickens, so an egg on the side is divine. However, for months, I was buying them because baking them myself and finding a recipe didn’t seem to be the best use of my time. But in the back of my mind, I was thinking, “These aren’t hard to make. And you have sourdough starter. You should make sourdough English muffins.”
I mentally added “make Sourdough English muffins” to my to do list every weekend. Then life happened and I never would get to it. Life of a mom and a teacher and a person who generally is a doer.
Finally, the day came that I had time, but I couldn’t find the recipe I had used one or two other time in the past from Sunrise Flour Mill. I read a few different recipes, tried a few recipes, and then took what I loved from each to develop my own.
And while lots of sourdough recipes have a lot of wait time, I love that you can have English muffins before lunch time with this recipe. Yes, this recipe results in between 2 and 2 ½ dozens muffins, but let me tell you, if you are making six you might as well make thirty. English muffins freeze incredibly well and keep well in the fridge as well.
And I promise, it may seem like this is a long recipe, but it comes together so quick and had minimal work. It’s worth every moment! Let’s start cooking!
Your Ingredients
- 2 ¼ teaspoon dry active yeast
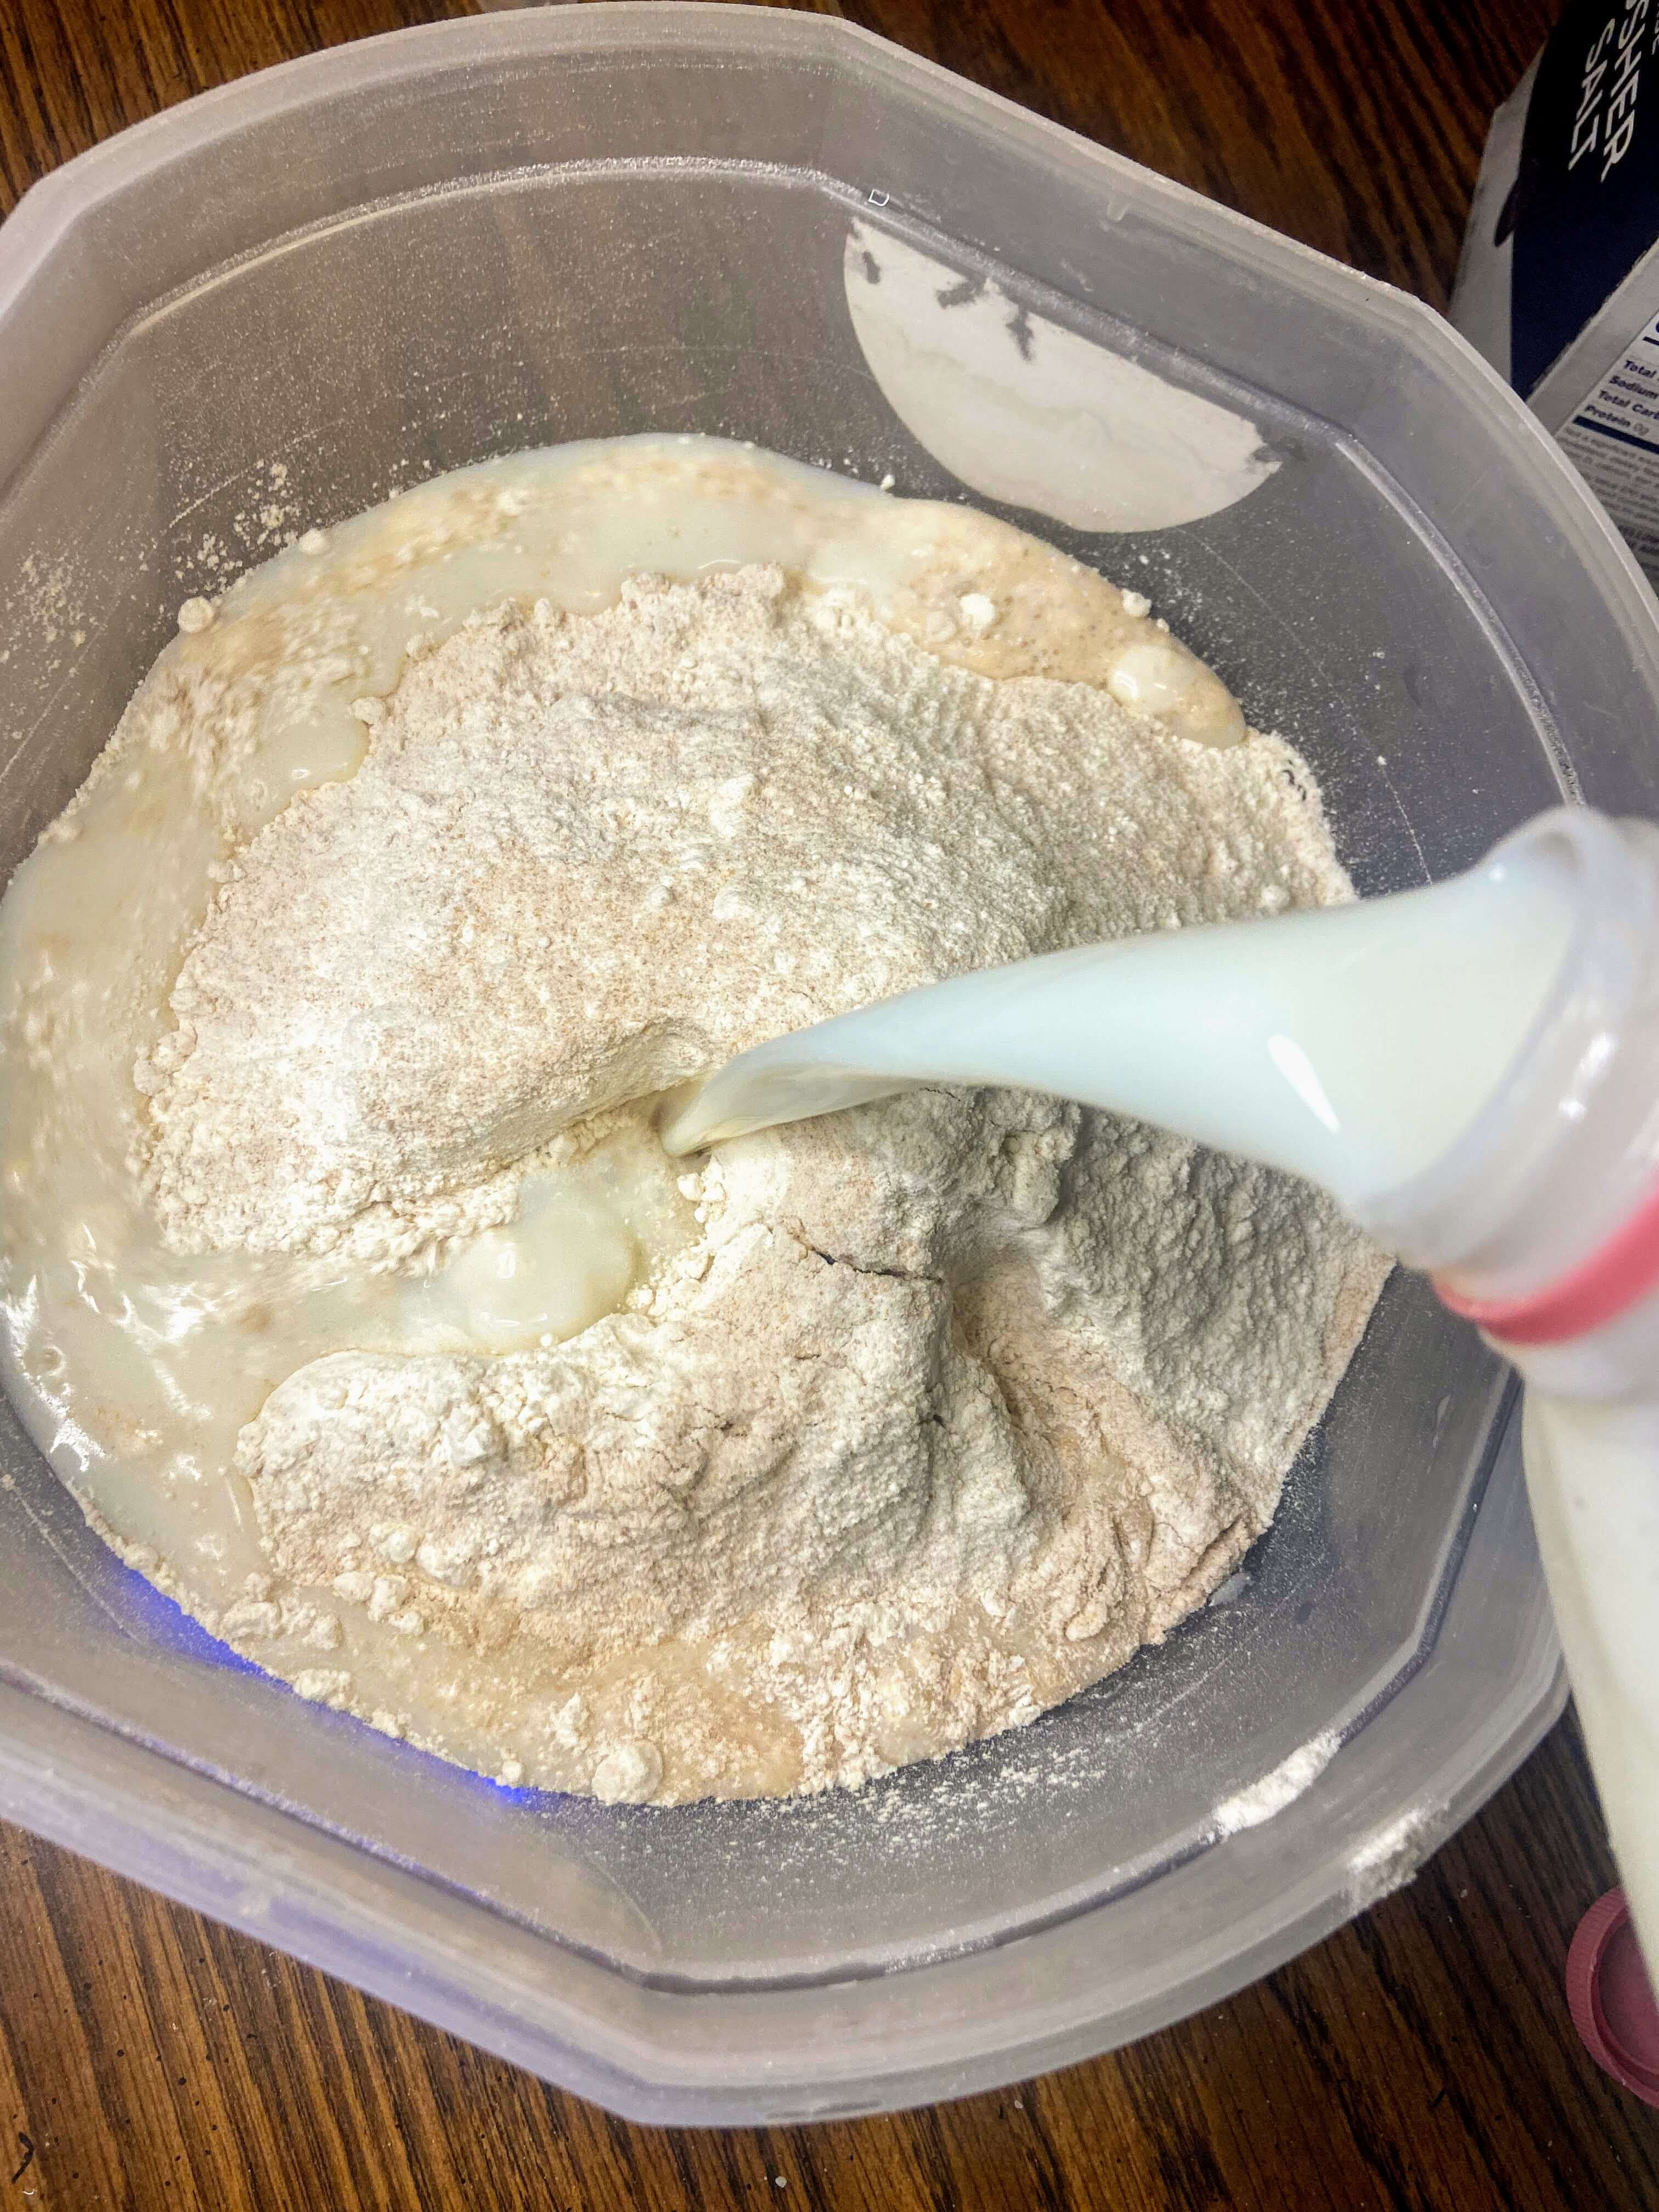
- 2 cups milk (warmed)
- 2 tablespoons sugar
- 4 tablespoons butter, softened
- 1 cup sourdough starter
- 2 eggs
- 1 tablespoon salt
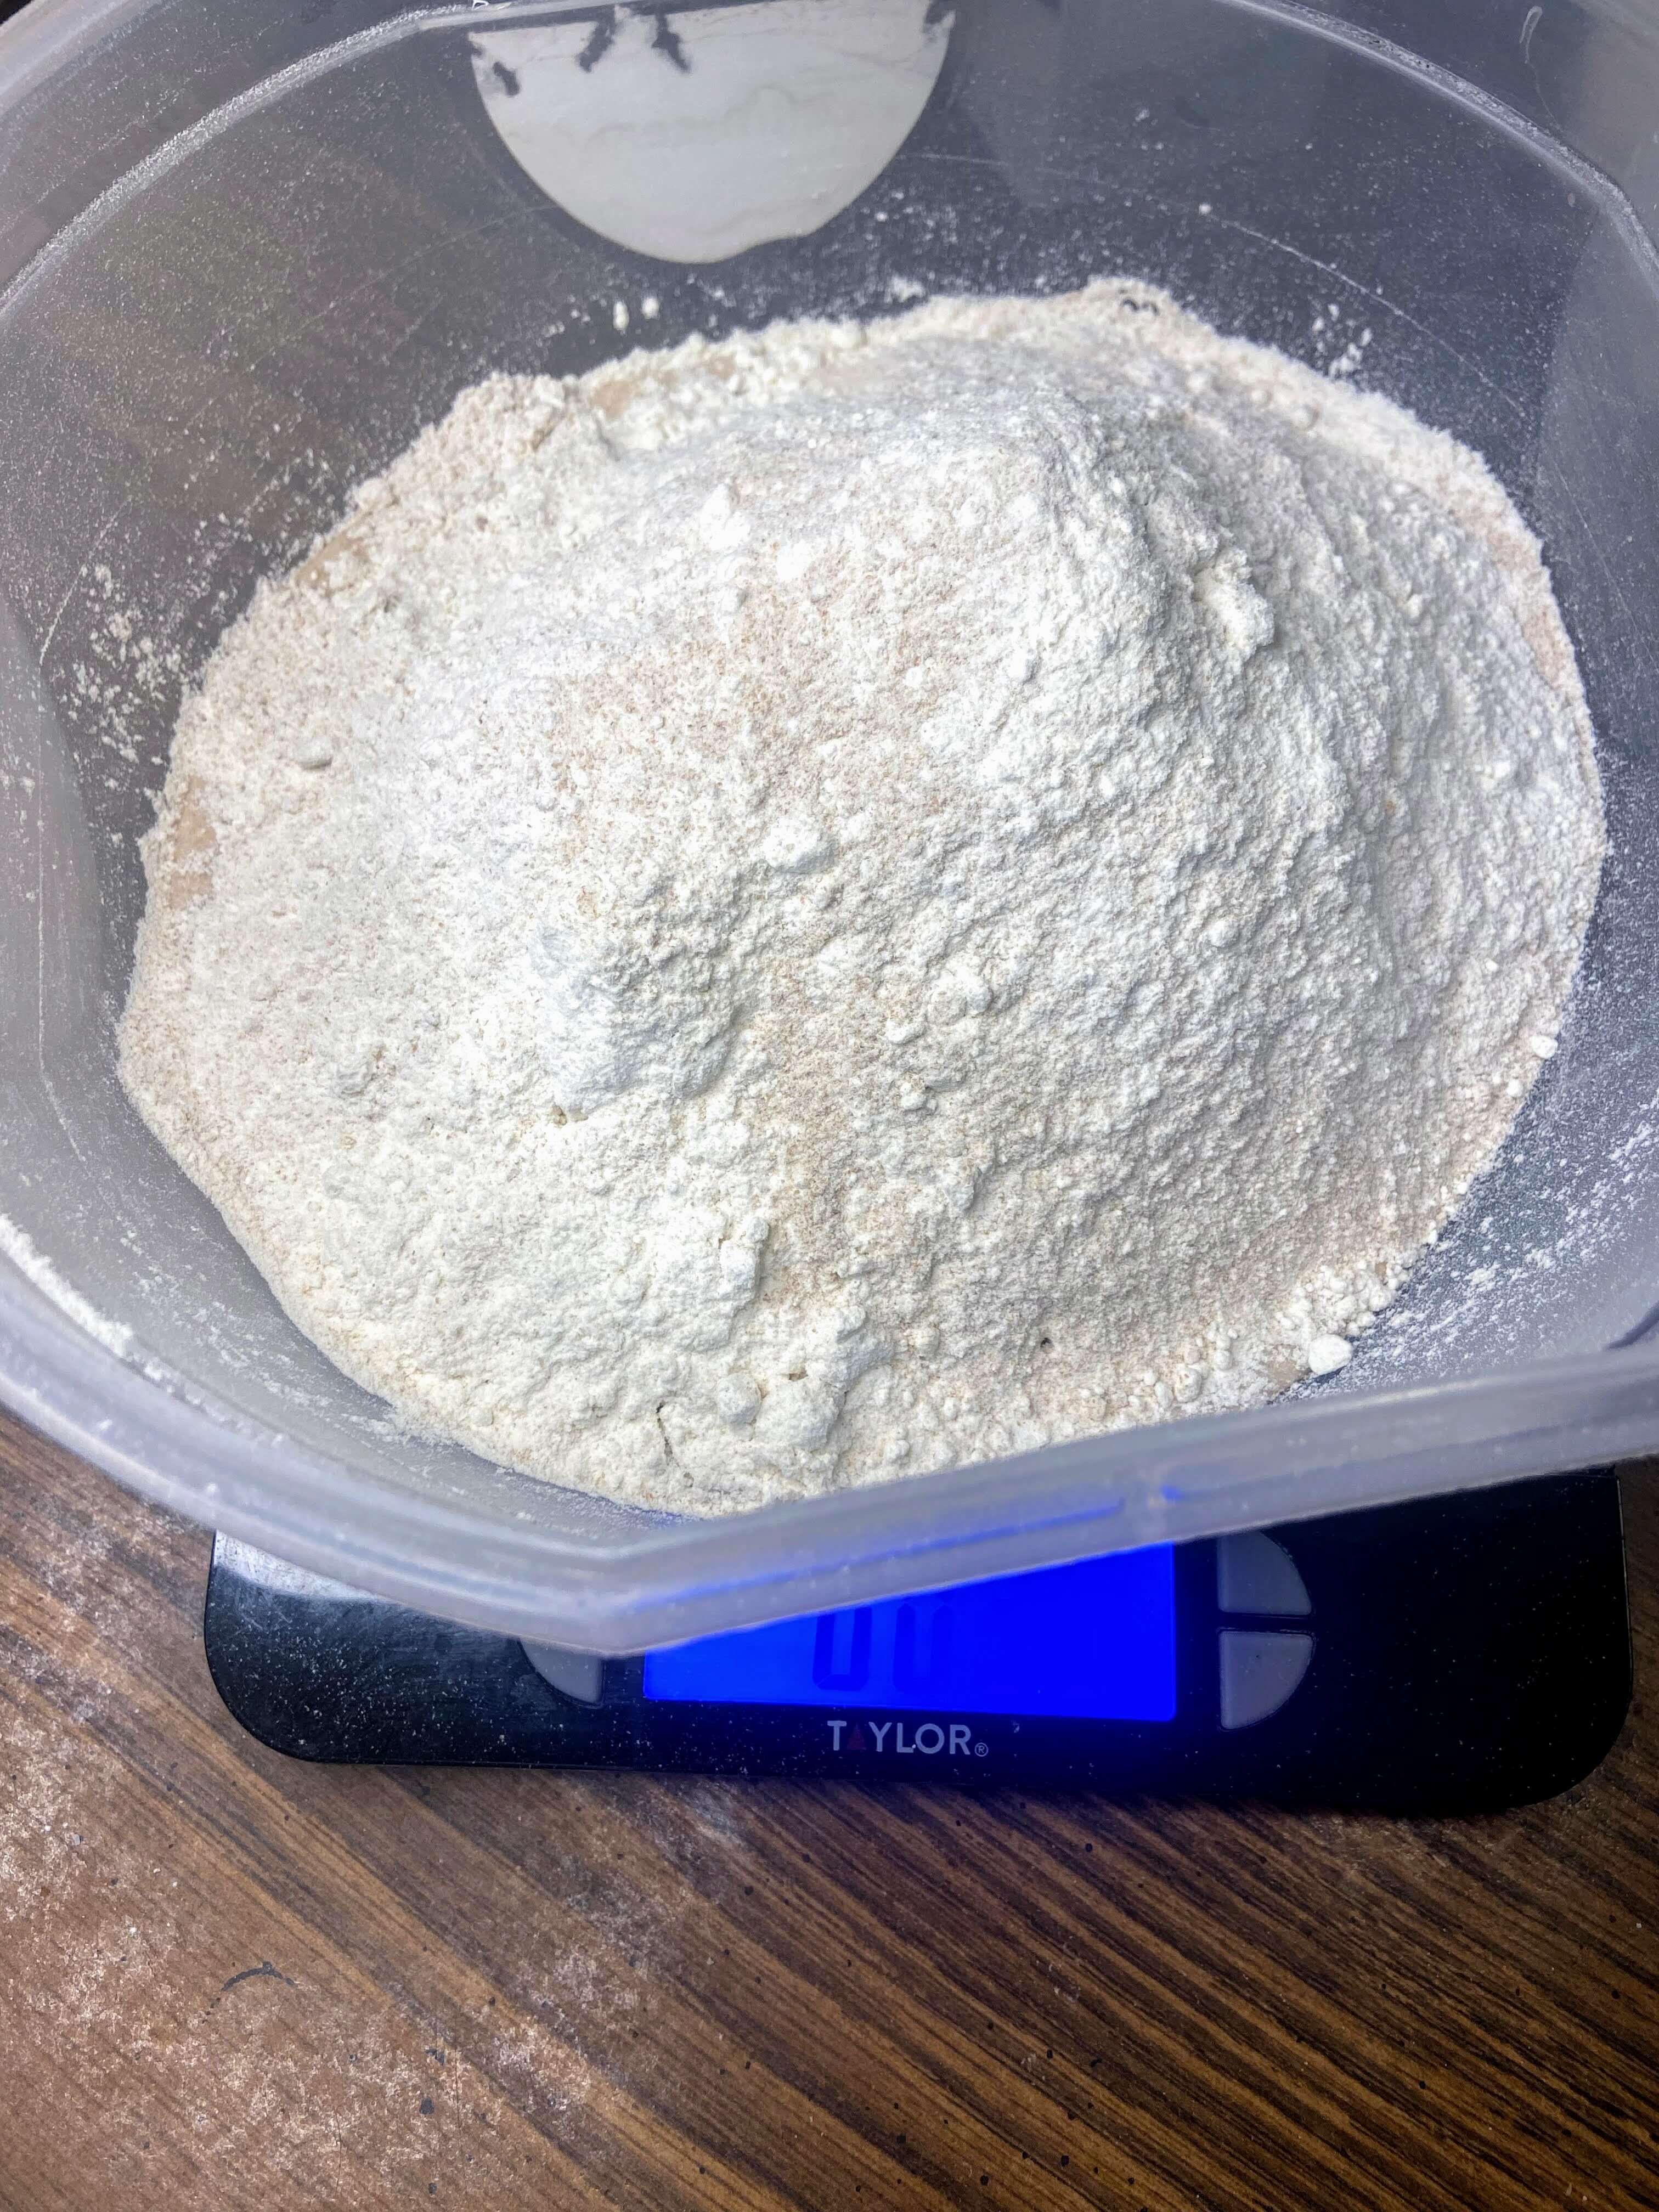
- 2 cups whole wheat flour
- 3-4 cups white flour
- Cornmeal, for dusting
Your Steps to Sourdough English Muffins
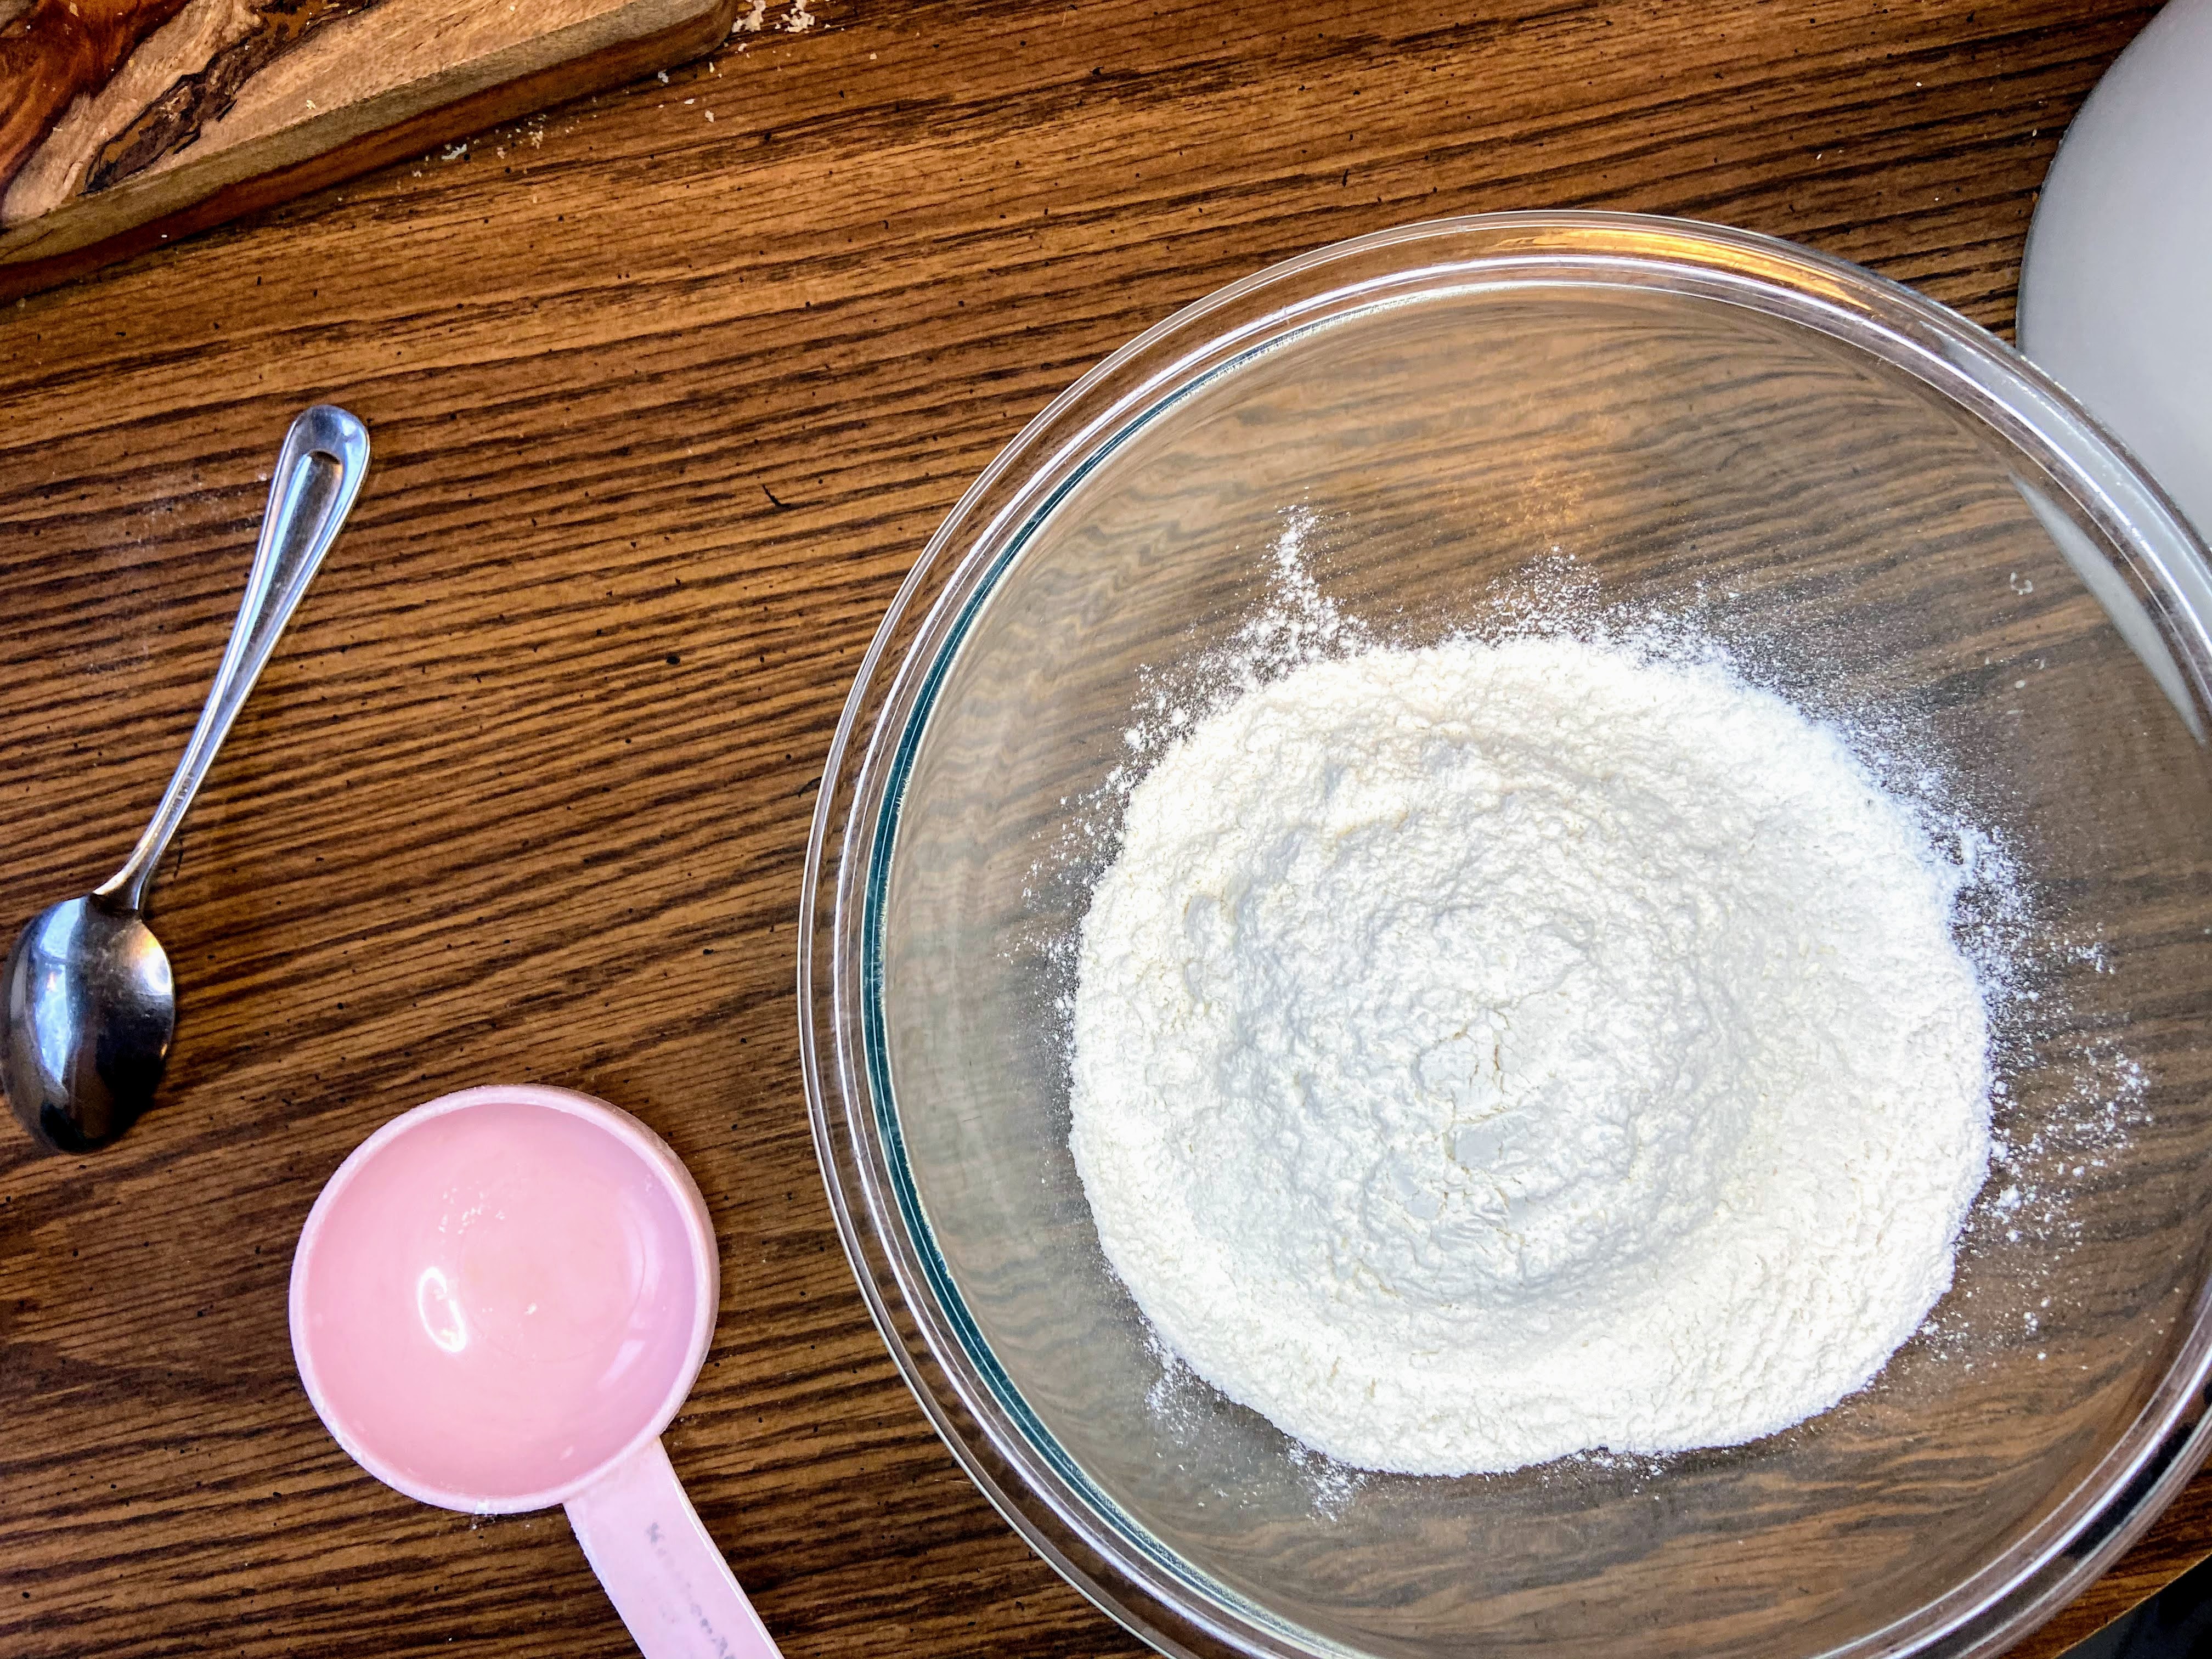
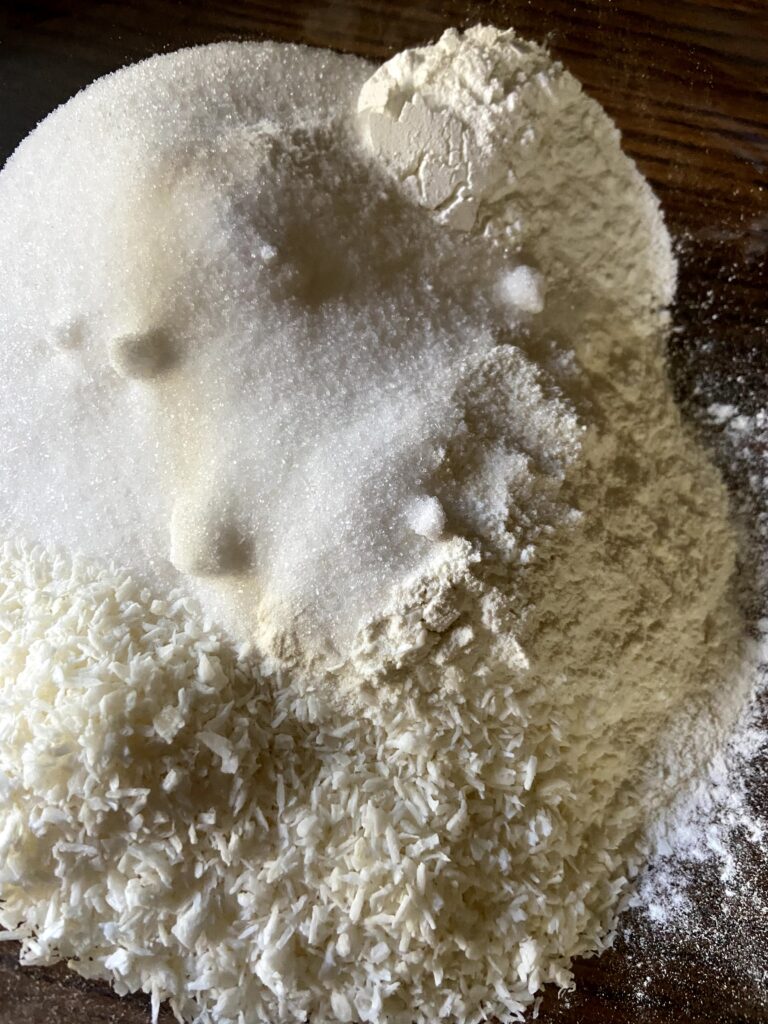
In a stand mixer, combine milk, dry yeast, and sugar. Allow to sit for 5 minutes to activate the yeast.
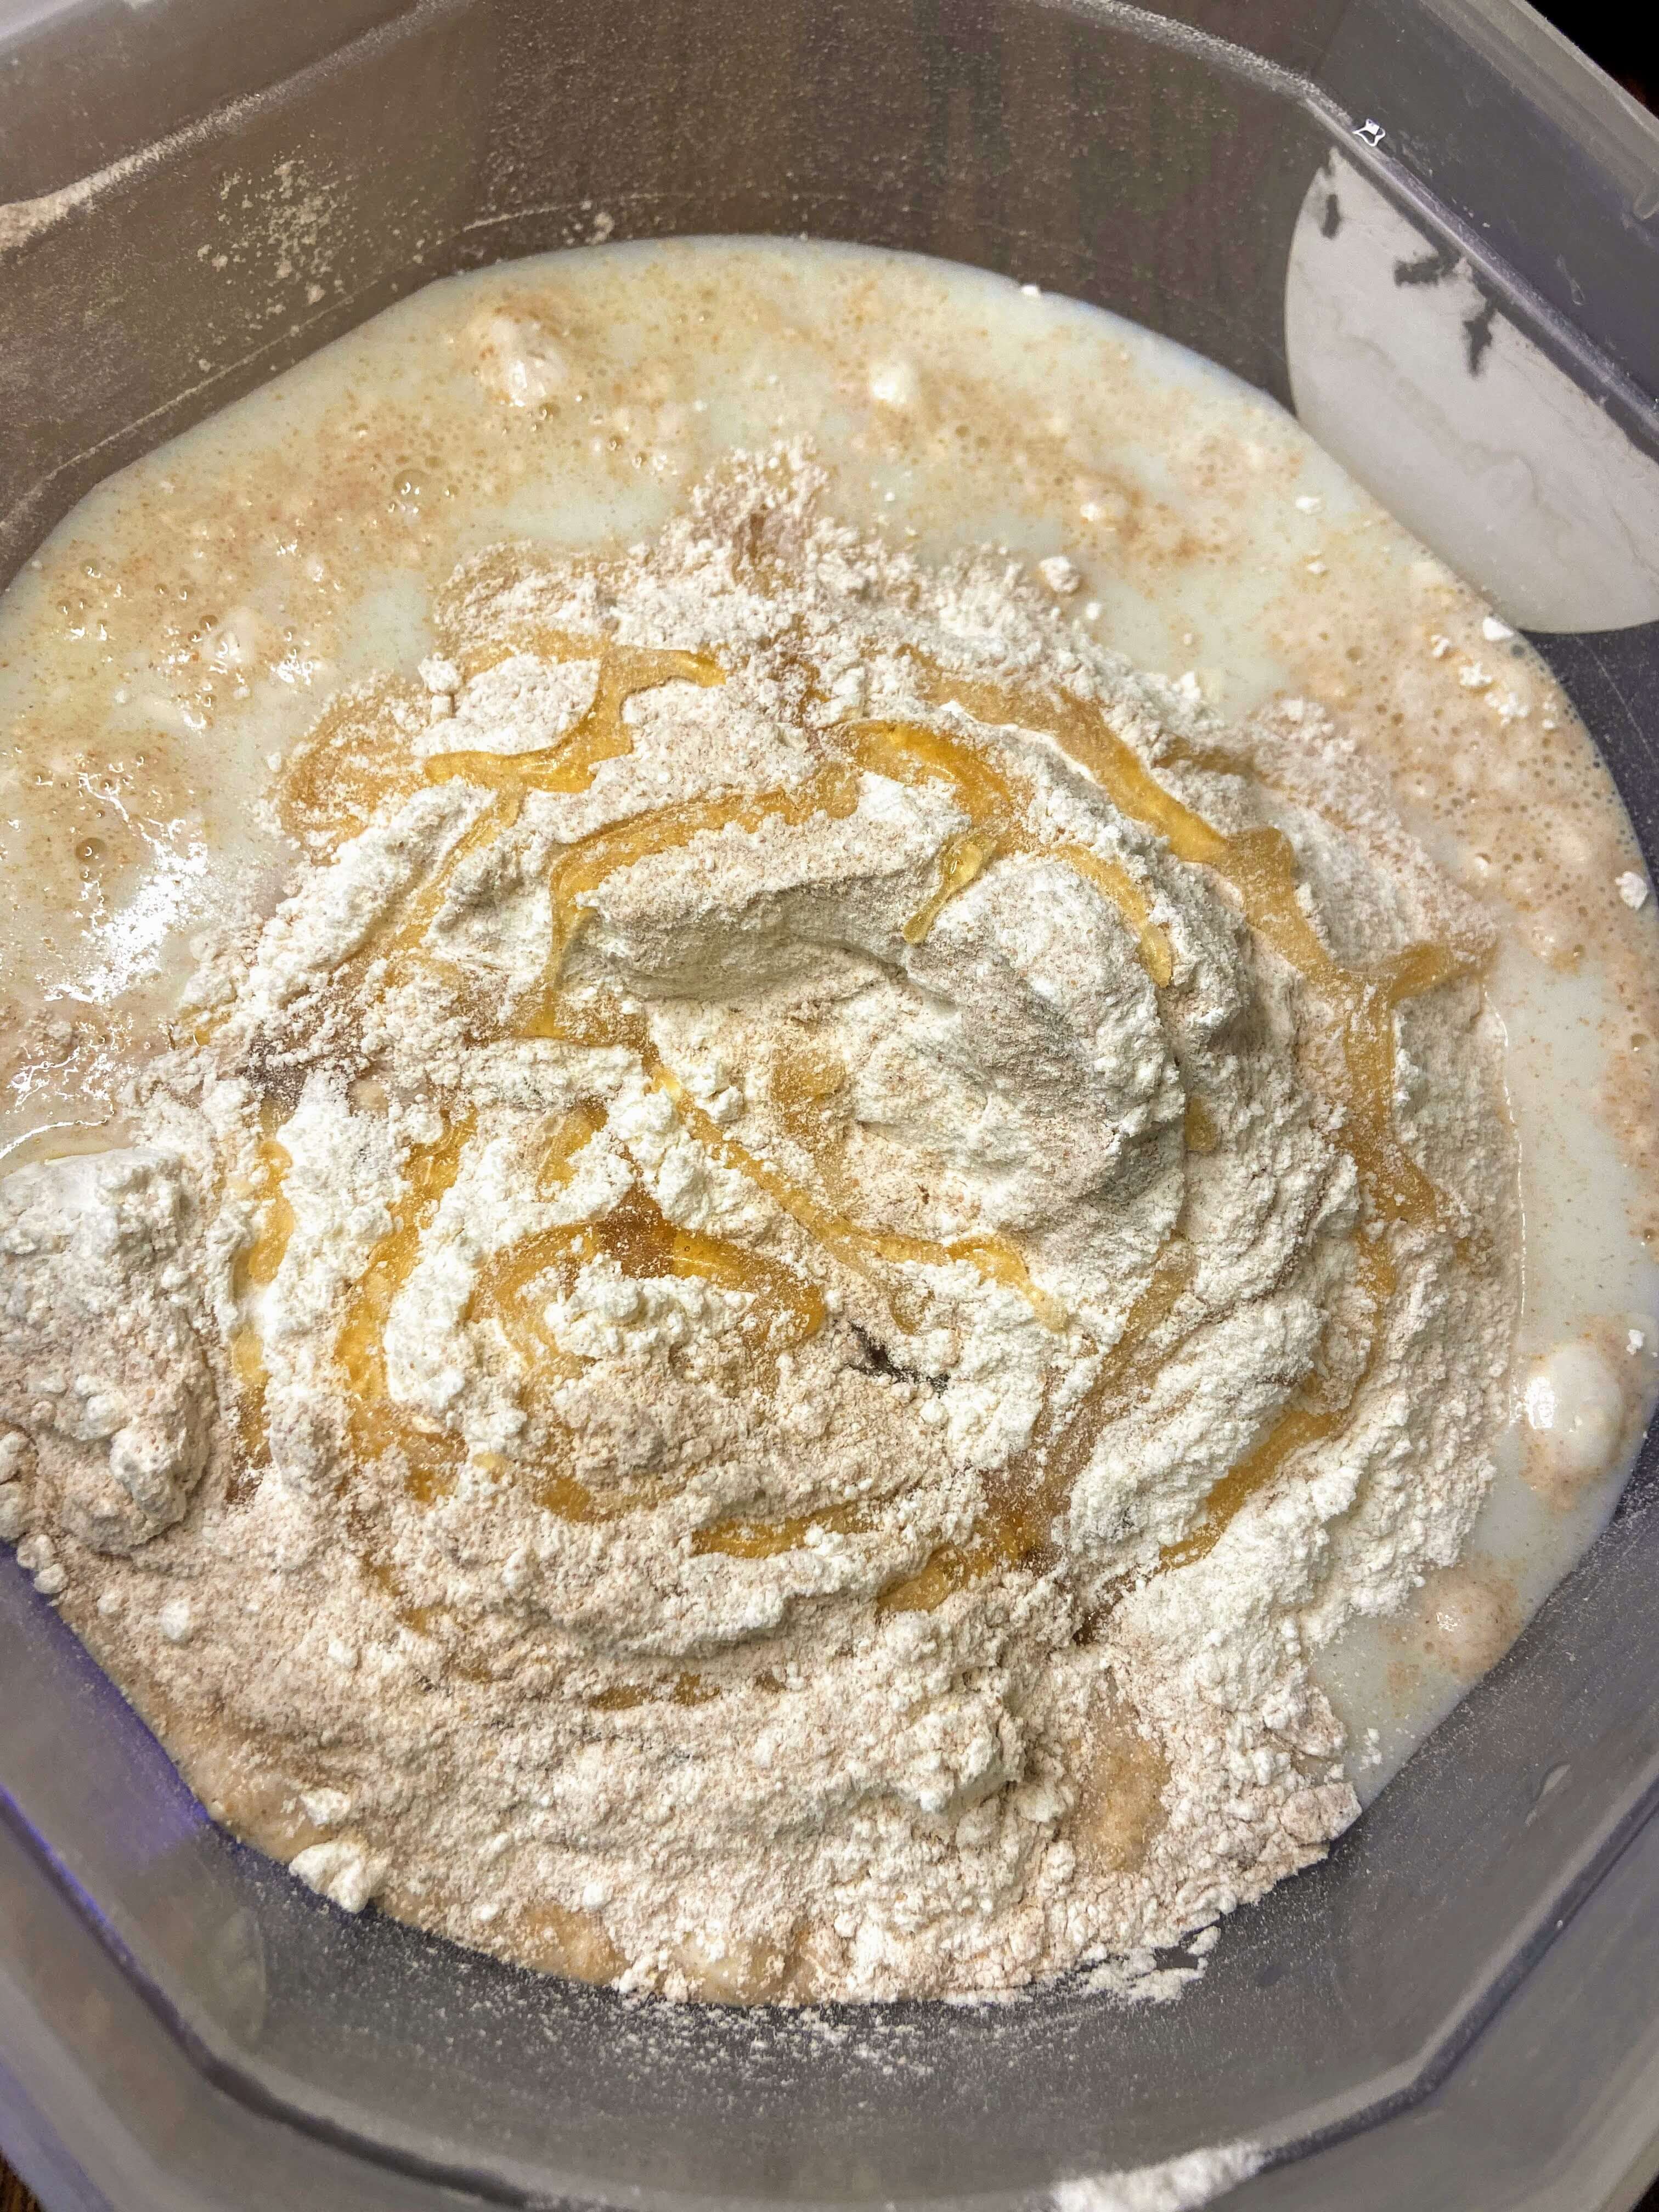
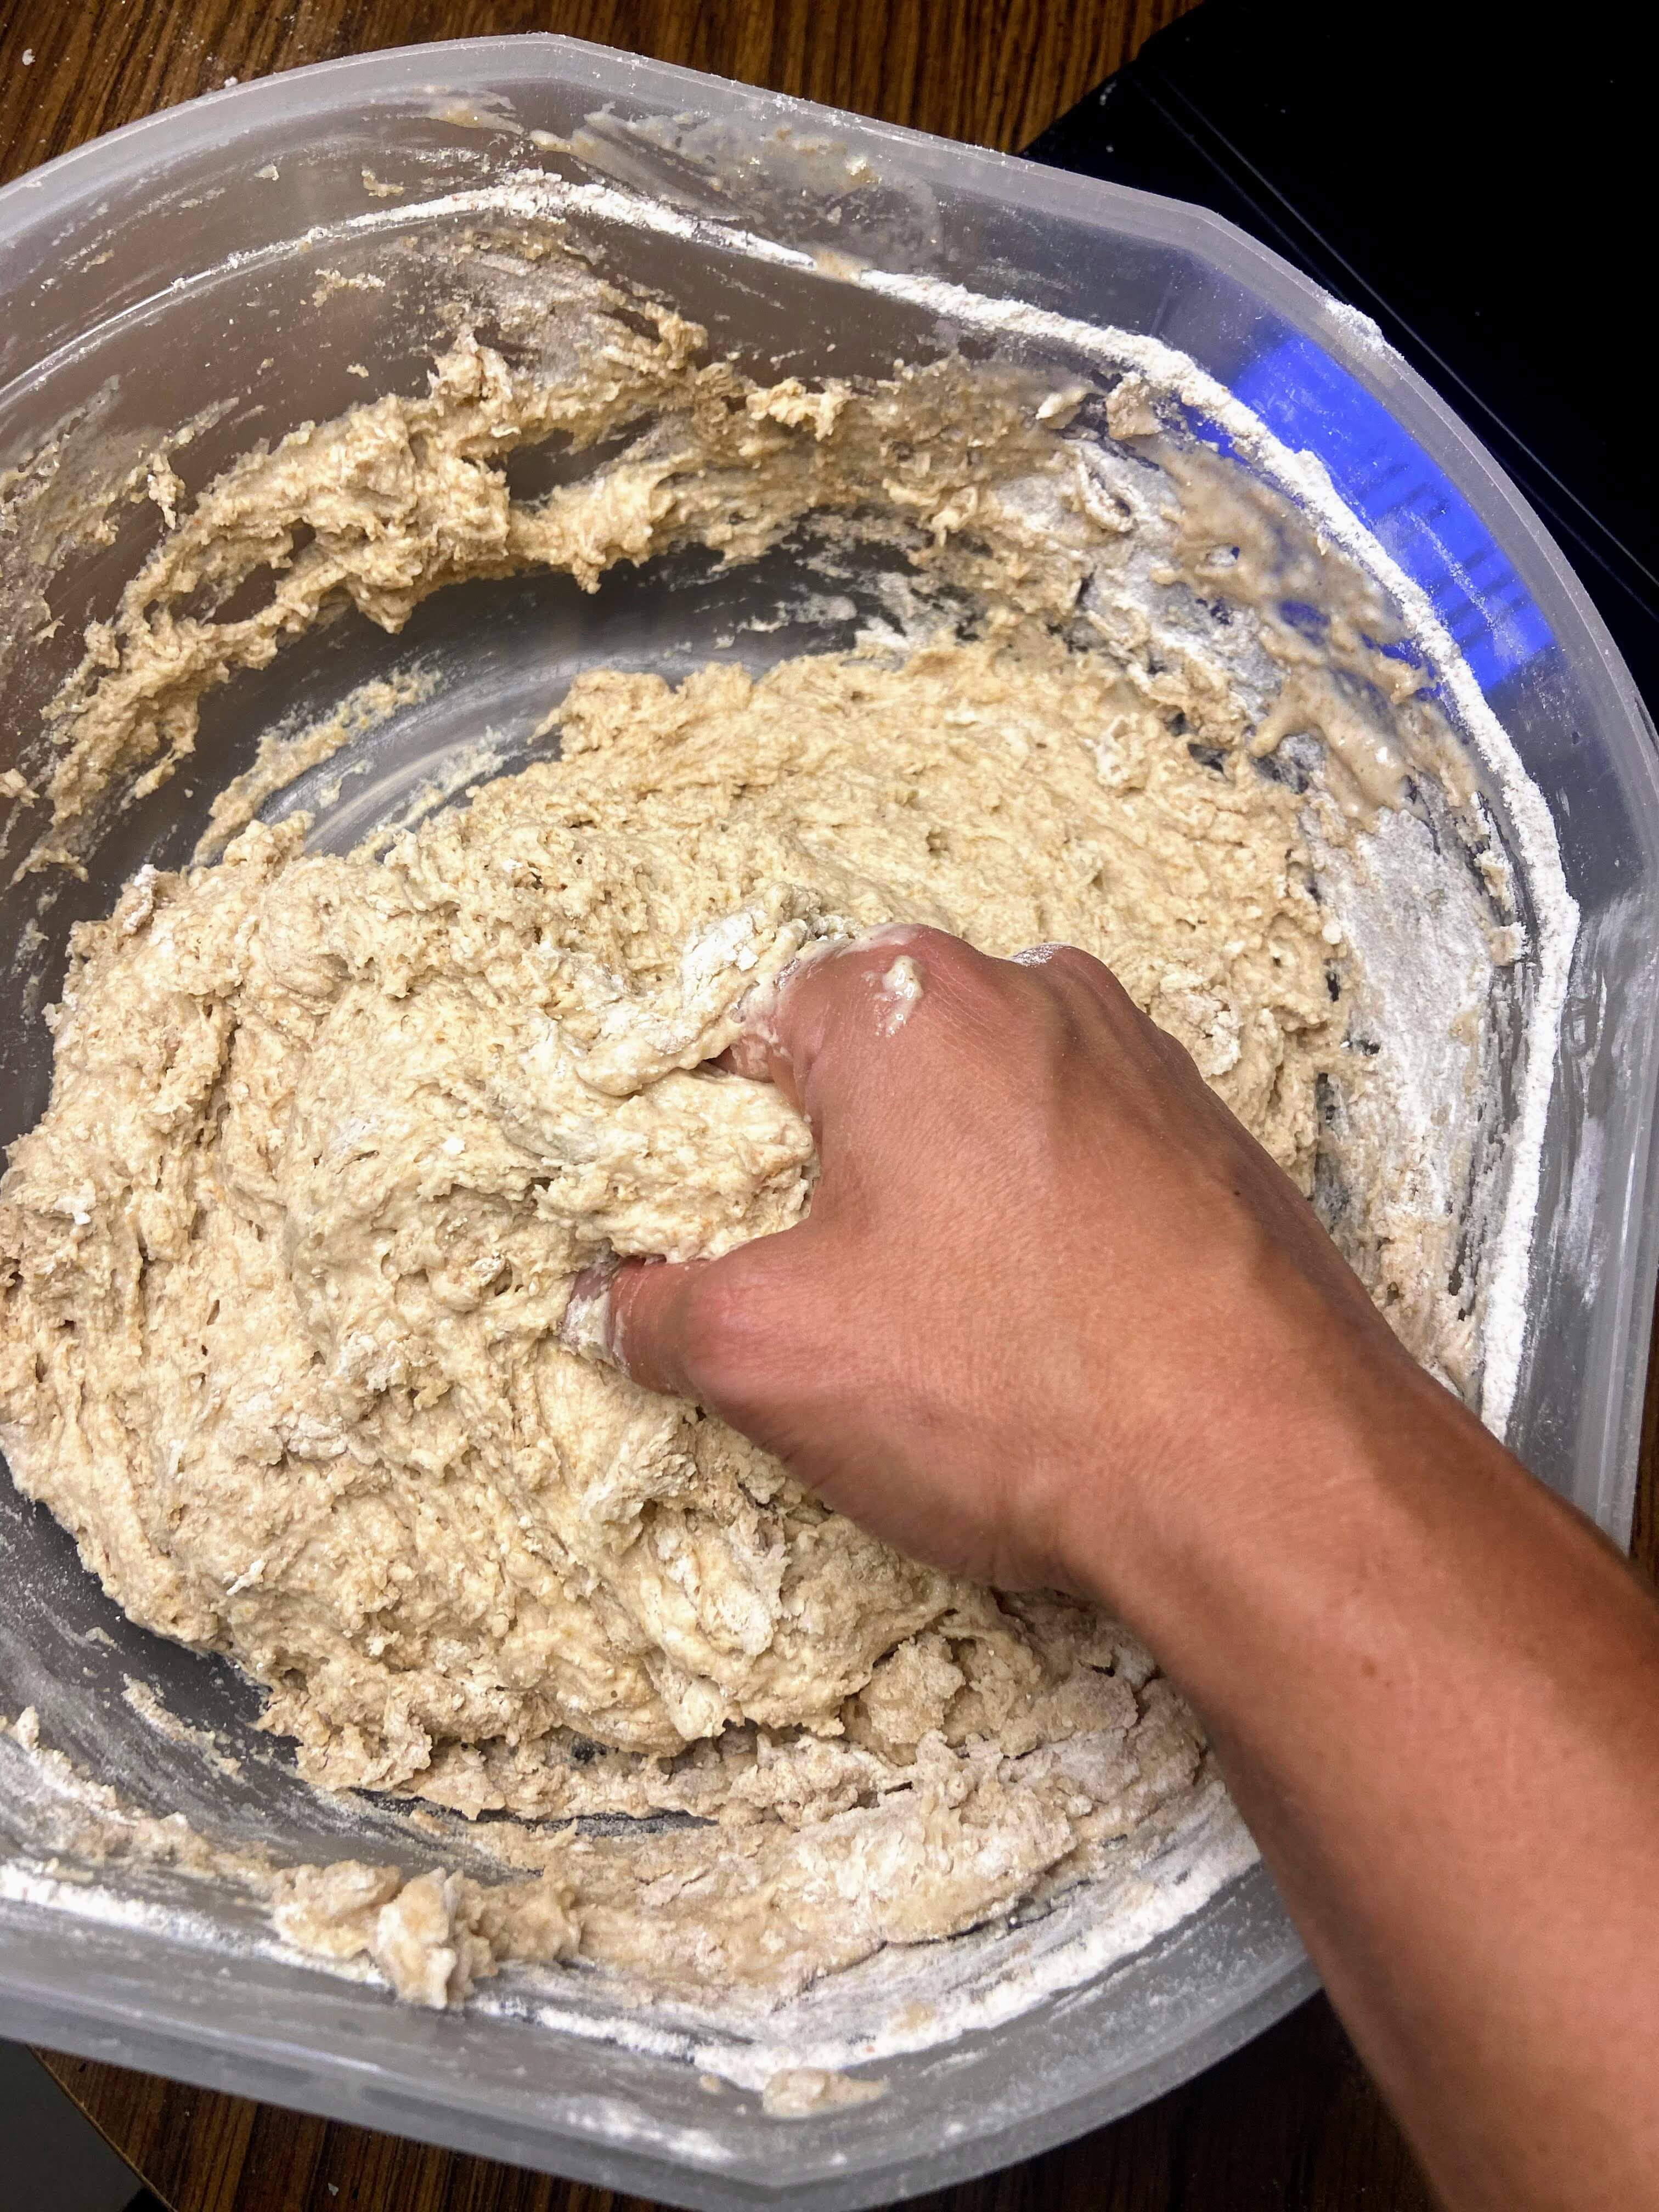
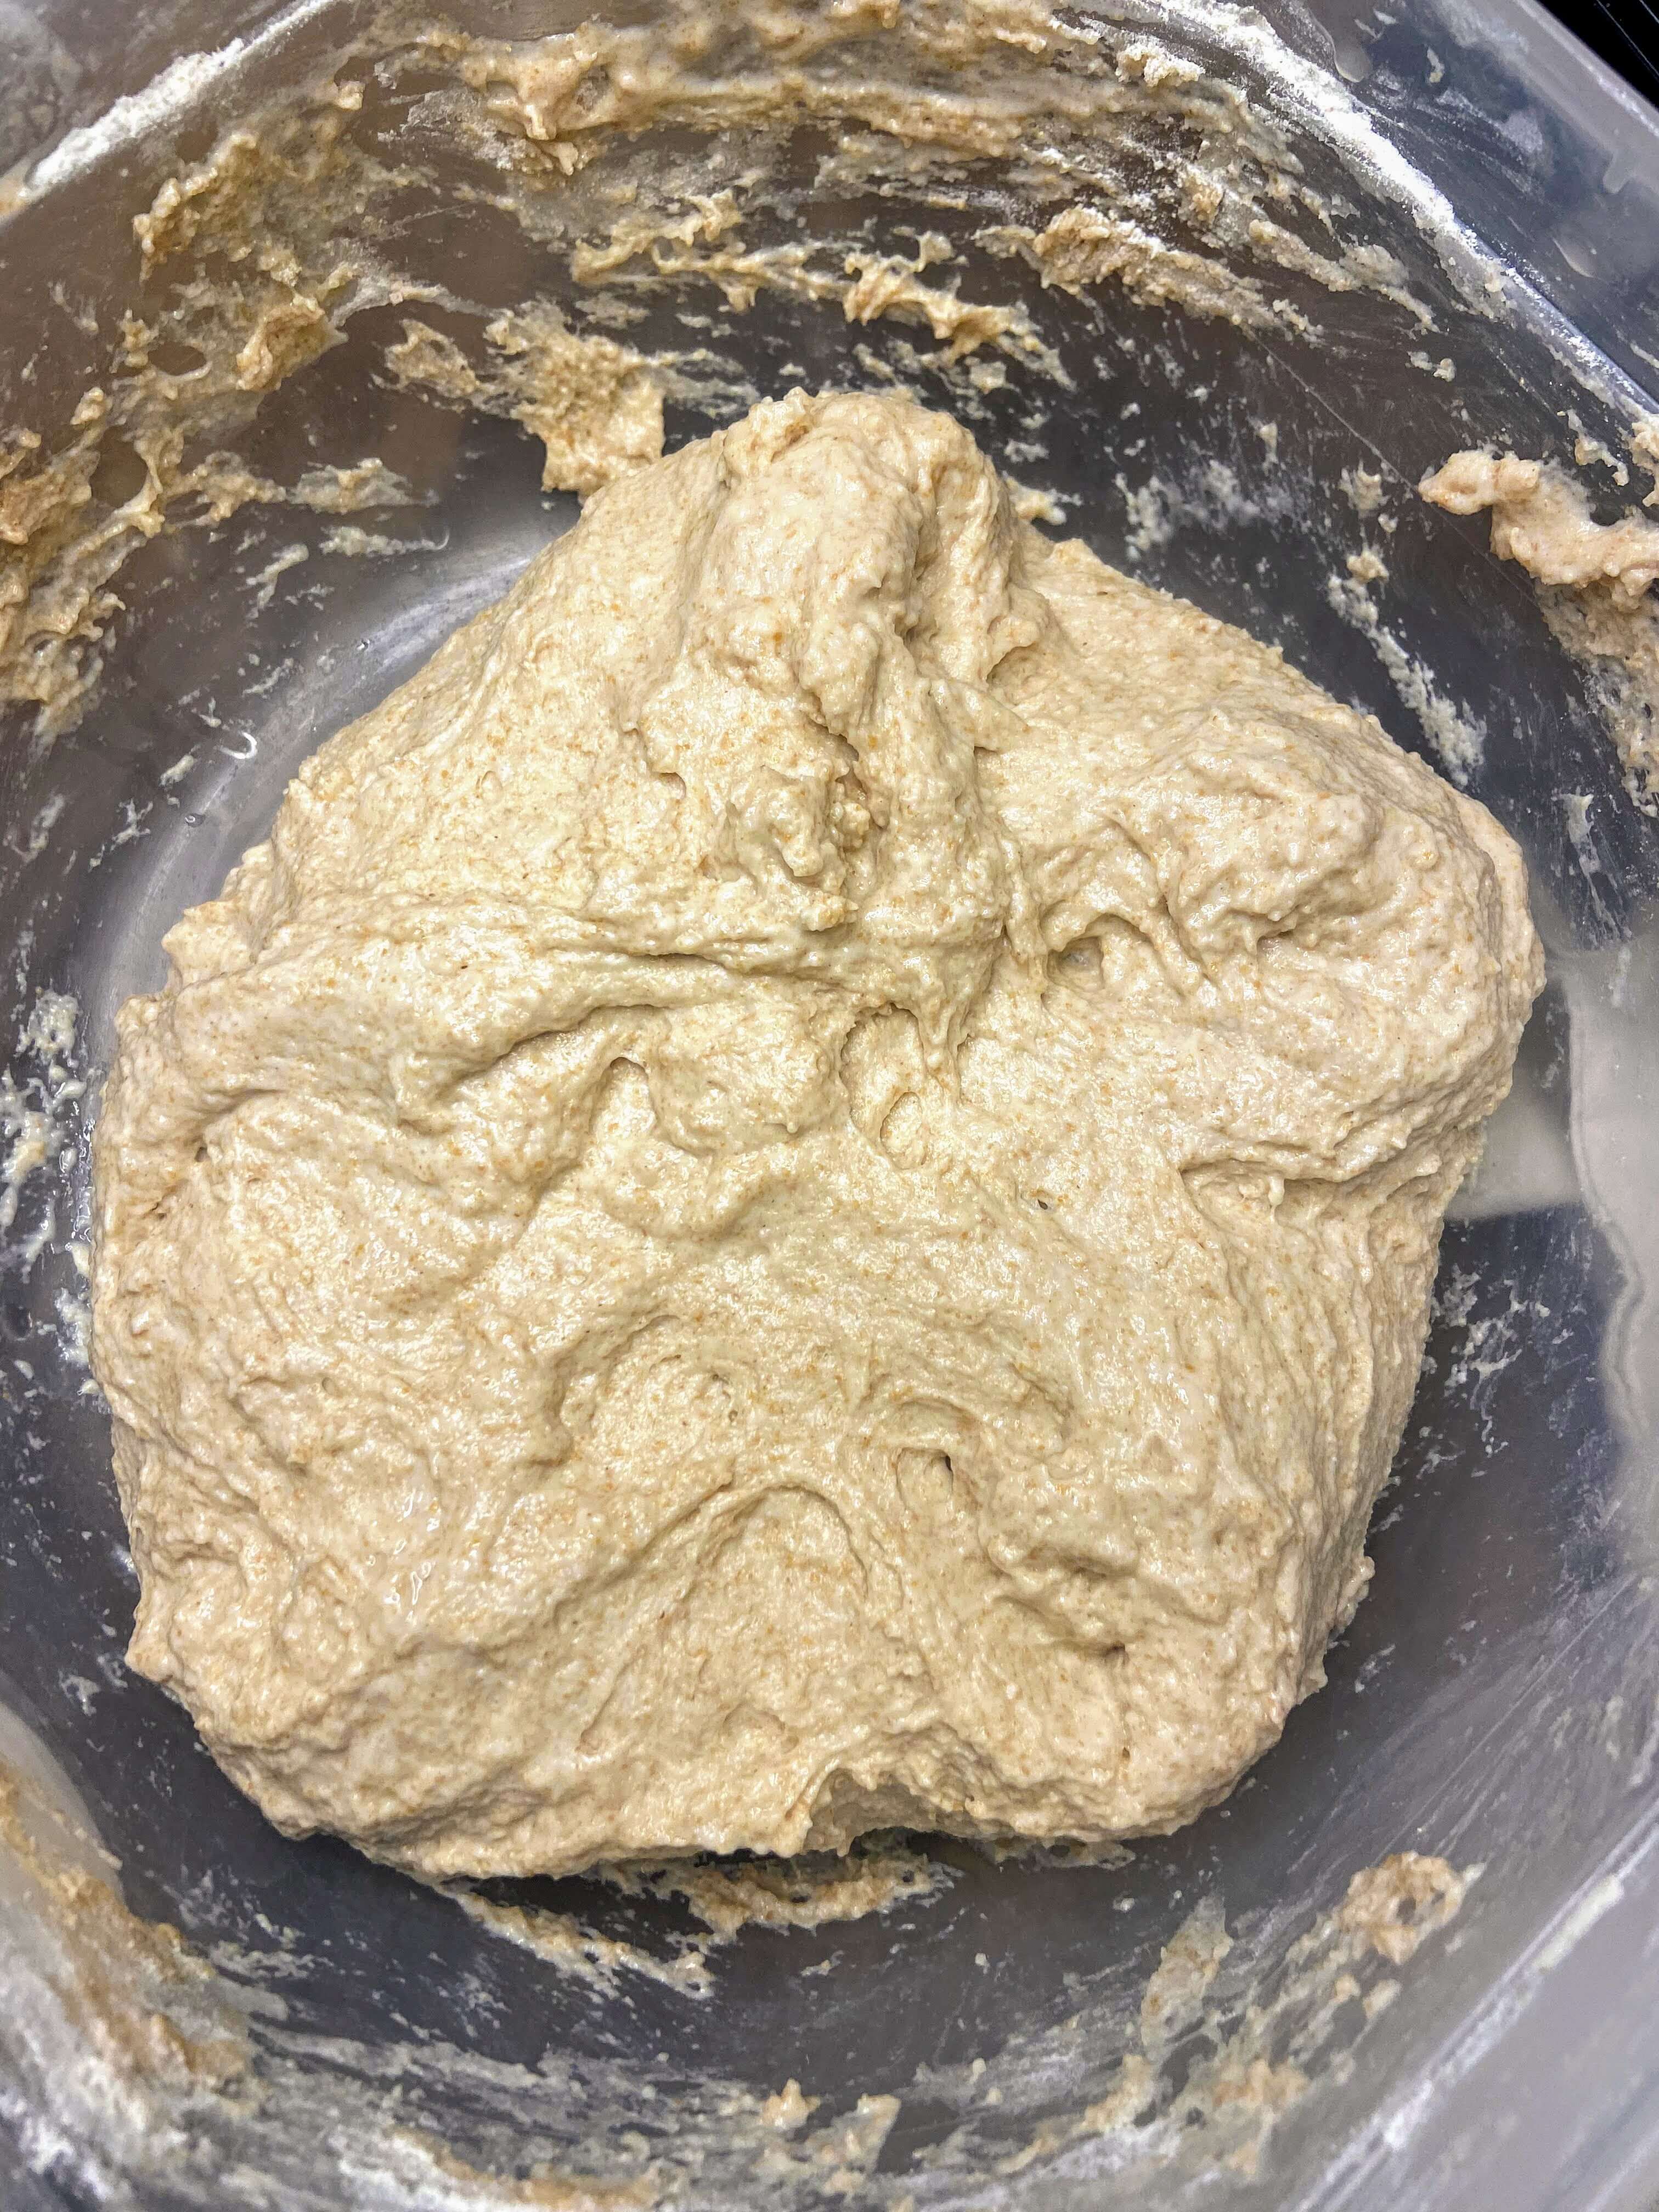
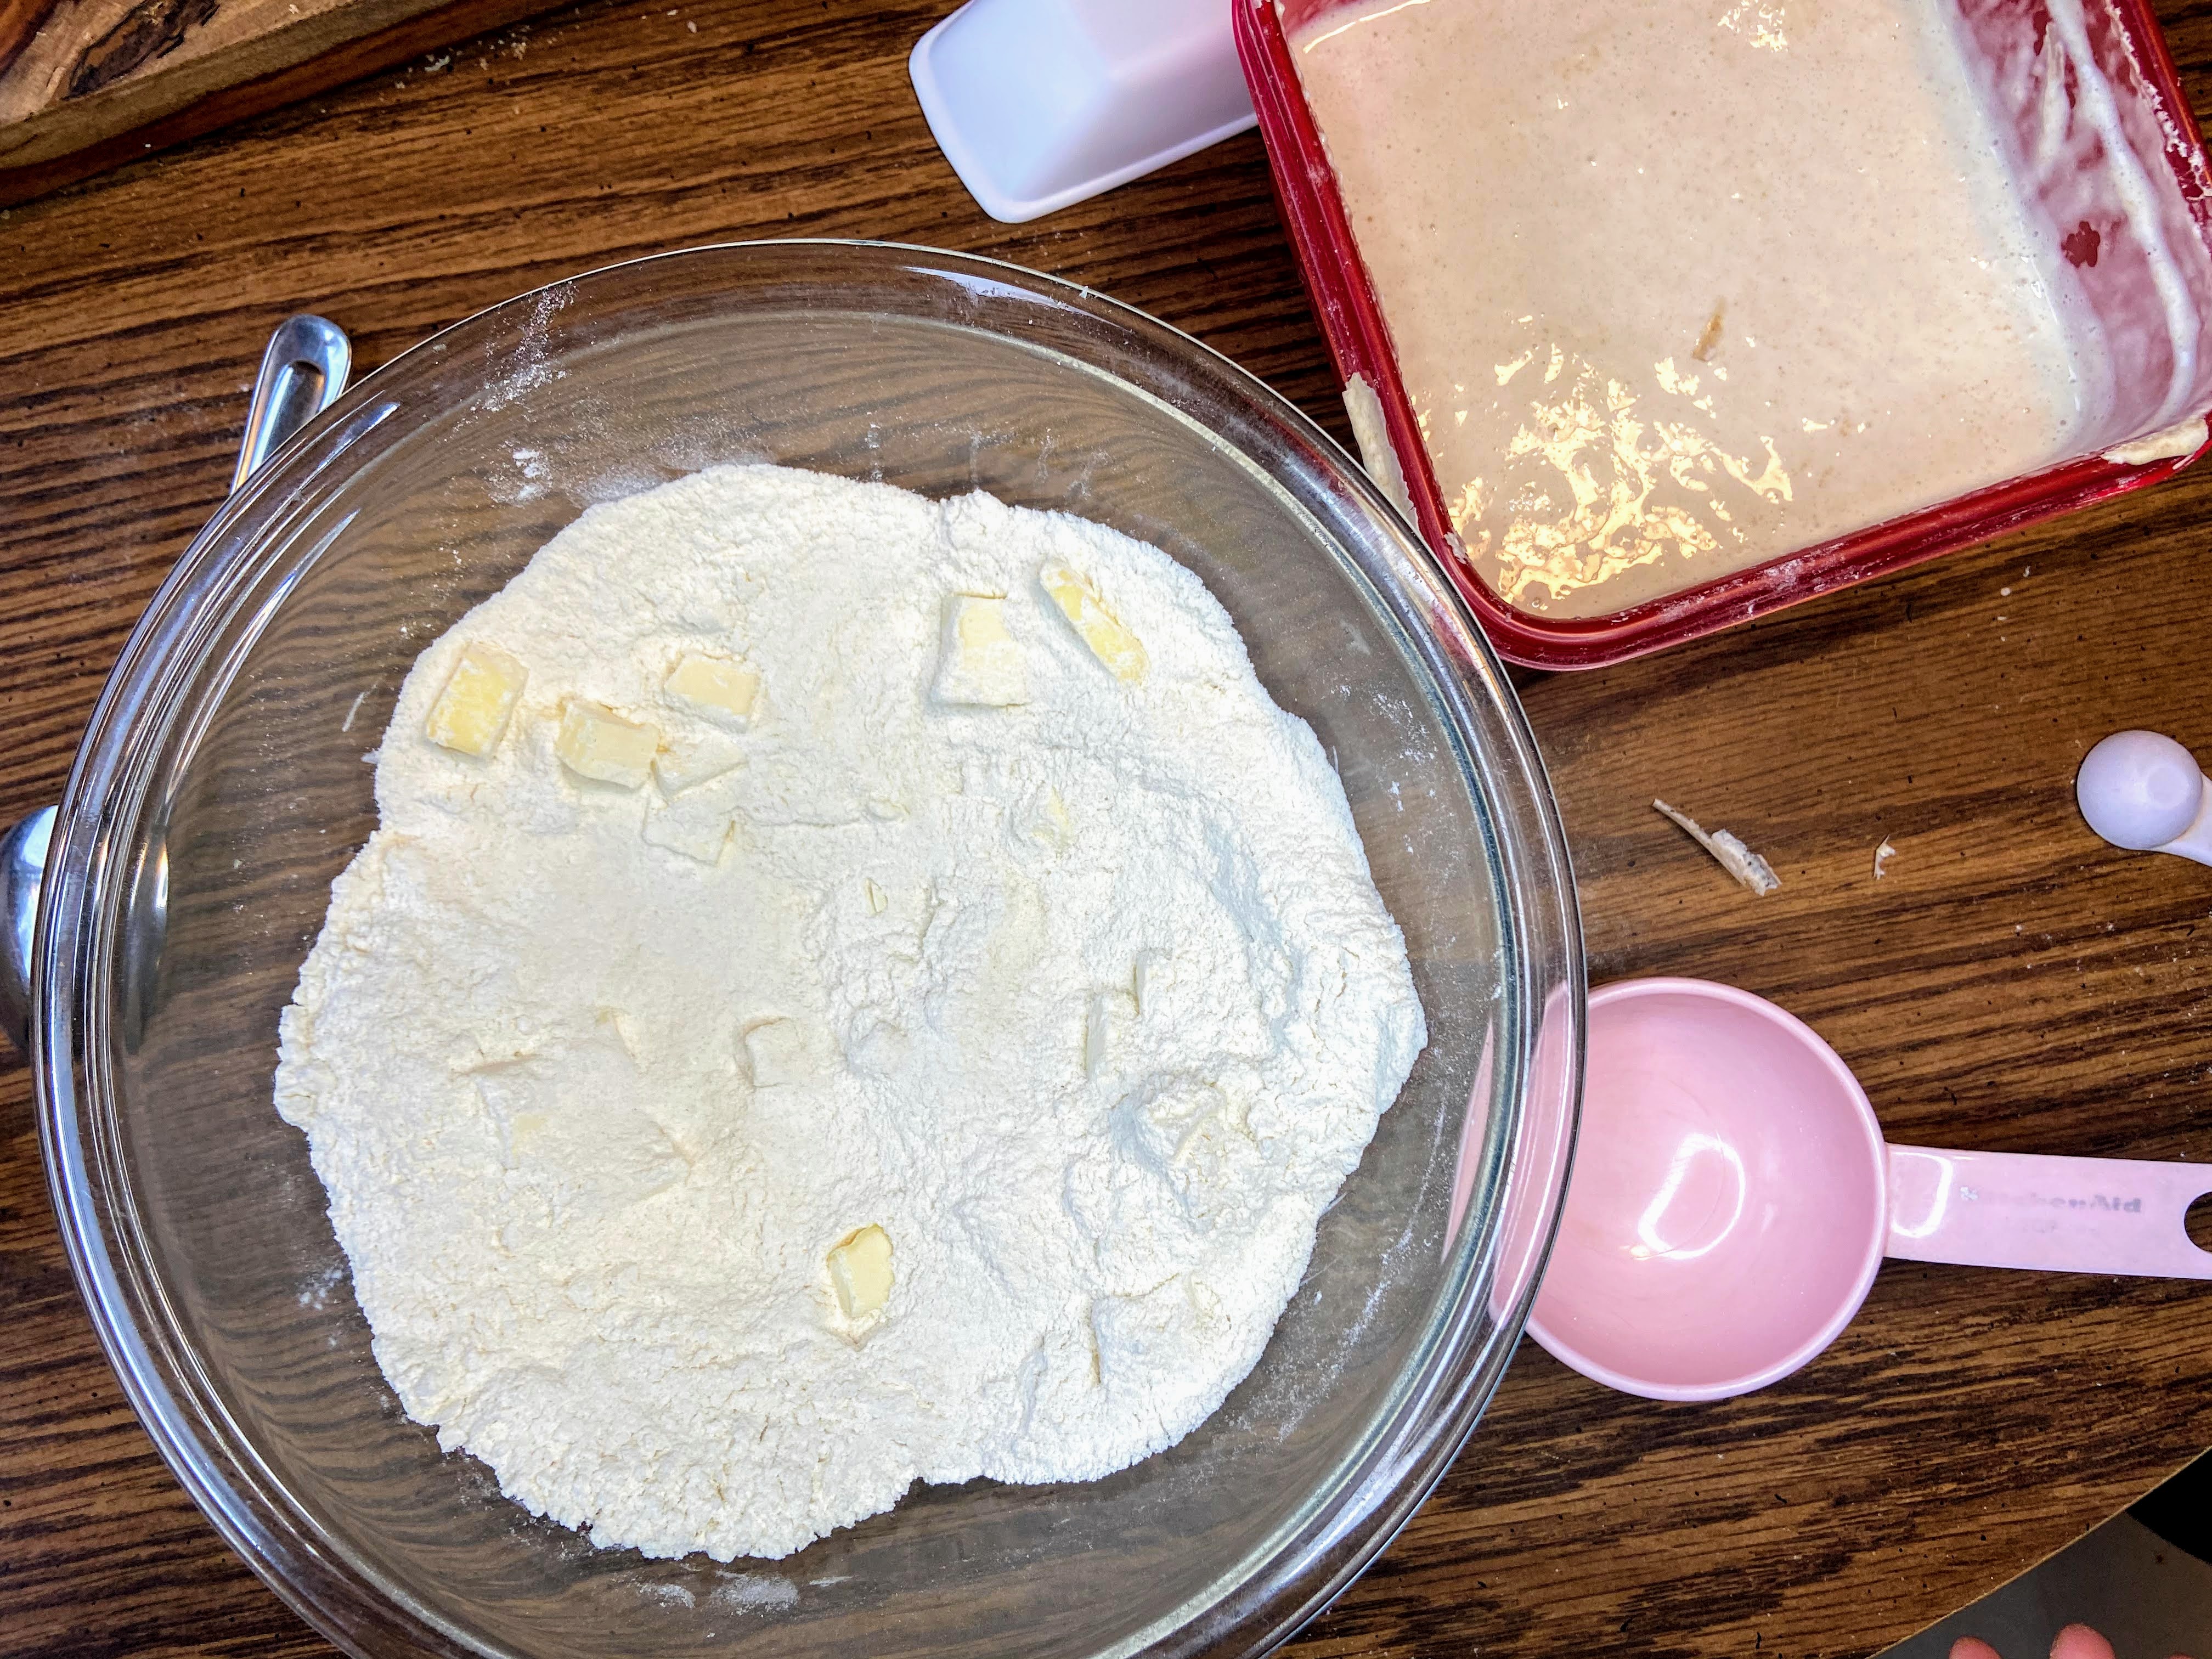
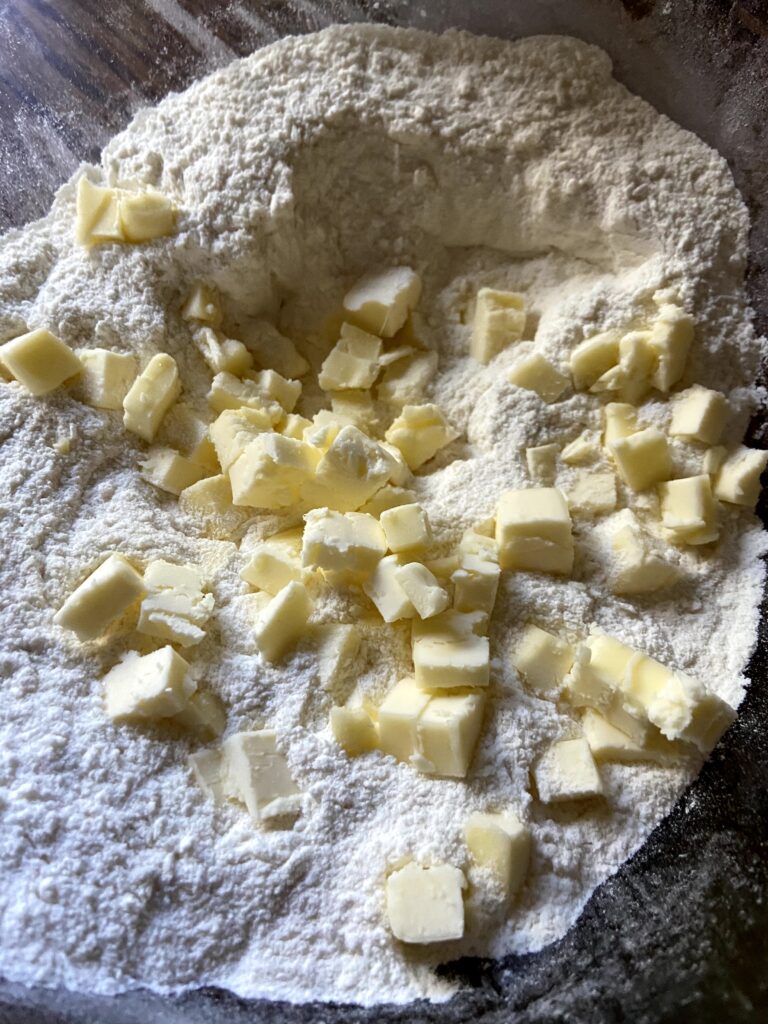
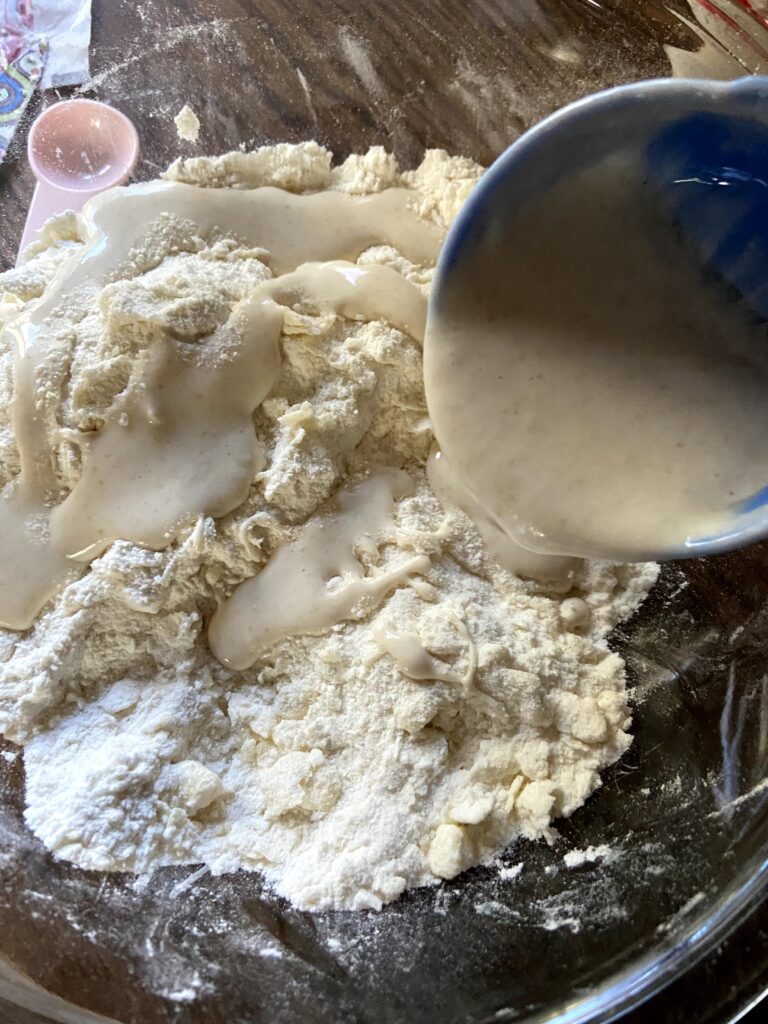
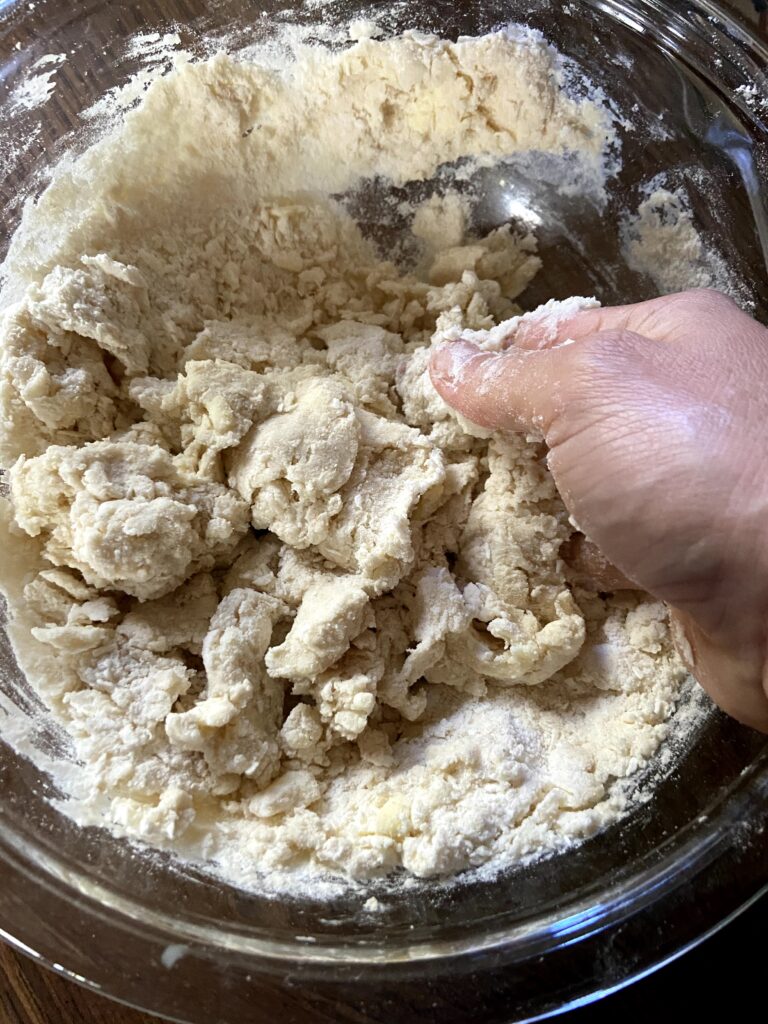
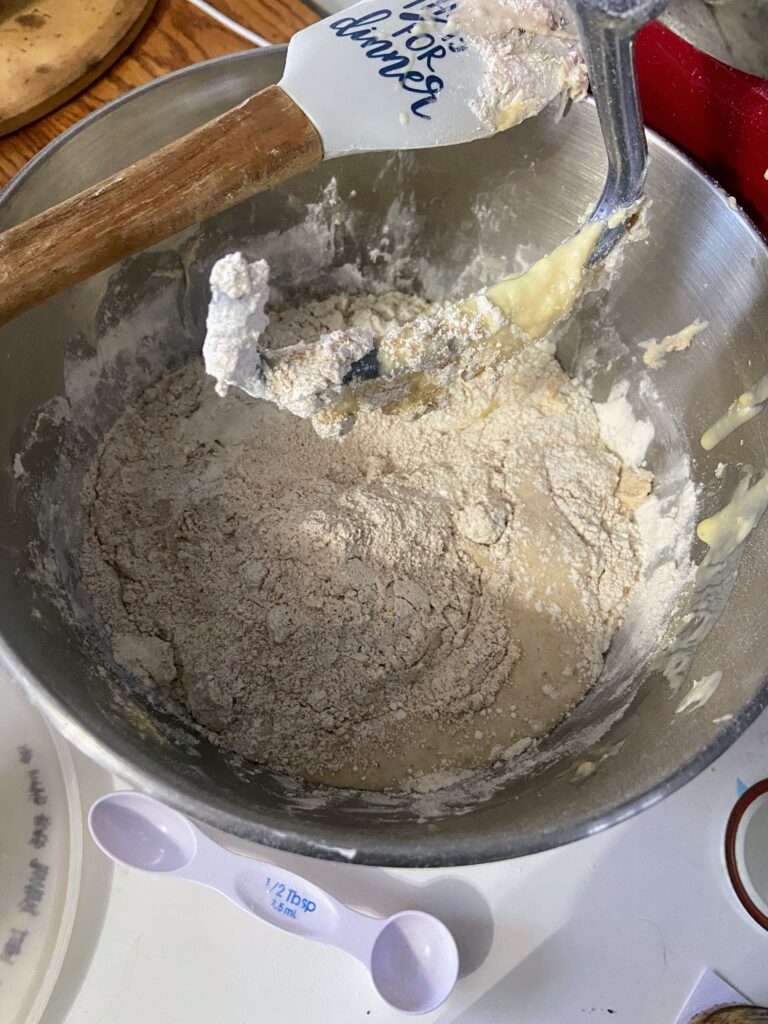
Add the sourdough starter, butter (cut into ½ tablespoon pieces), eggs, and salt. Mix until well combined. Slowly add flour, alternating wheat and white, by the ½ cup increments, until it forms a ball. The dough should not be too sticky. That is, you should be able to touch it and not have dough stuck to you.
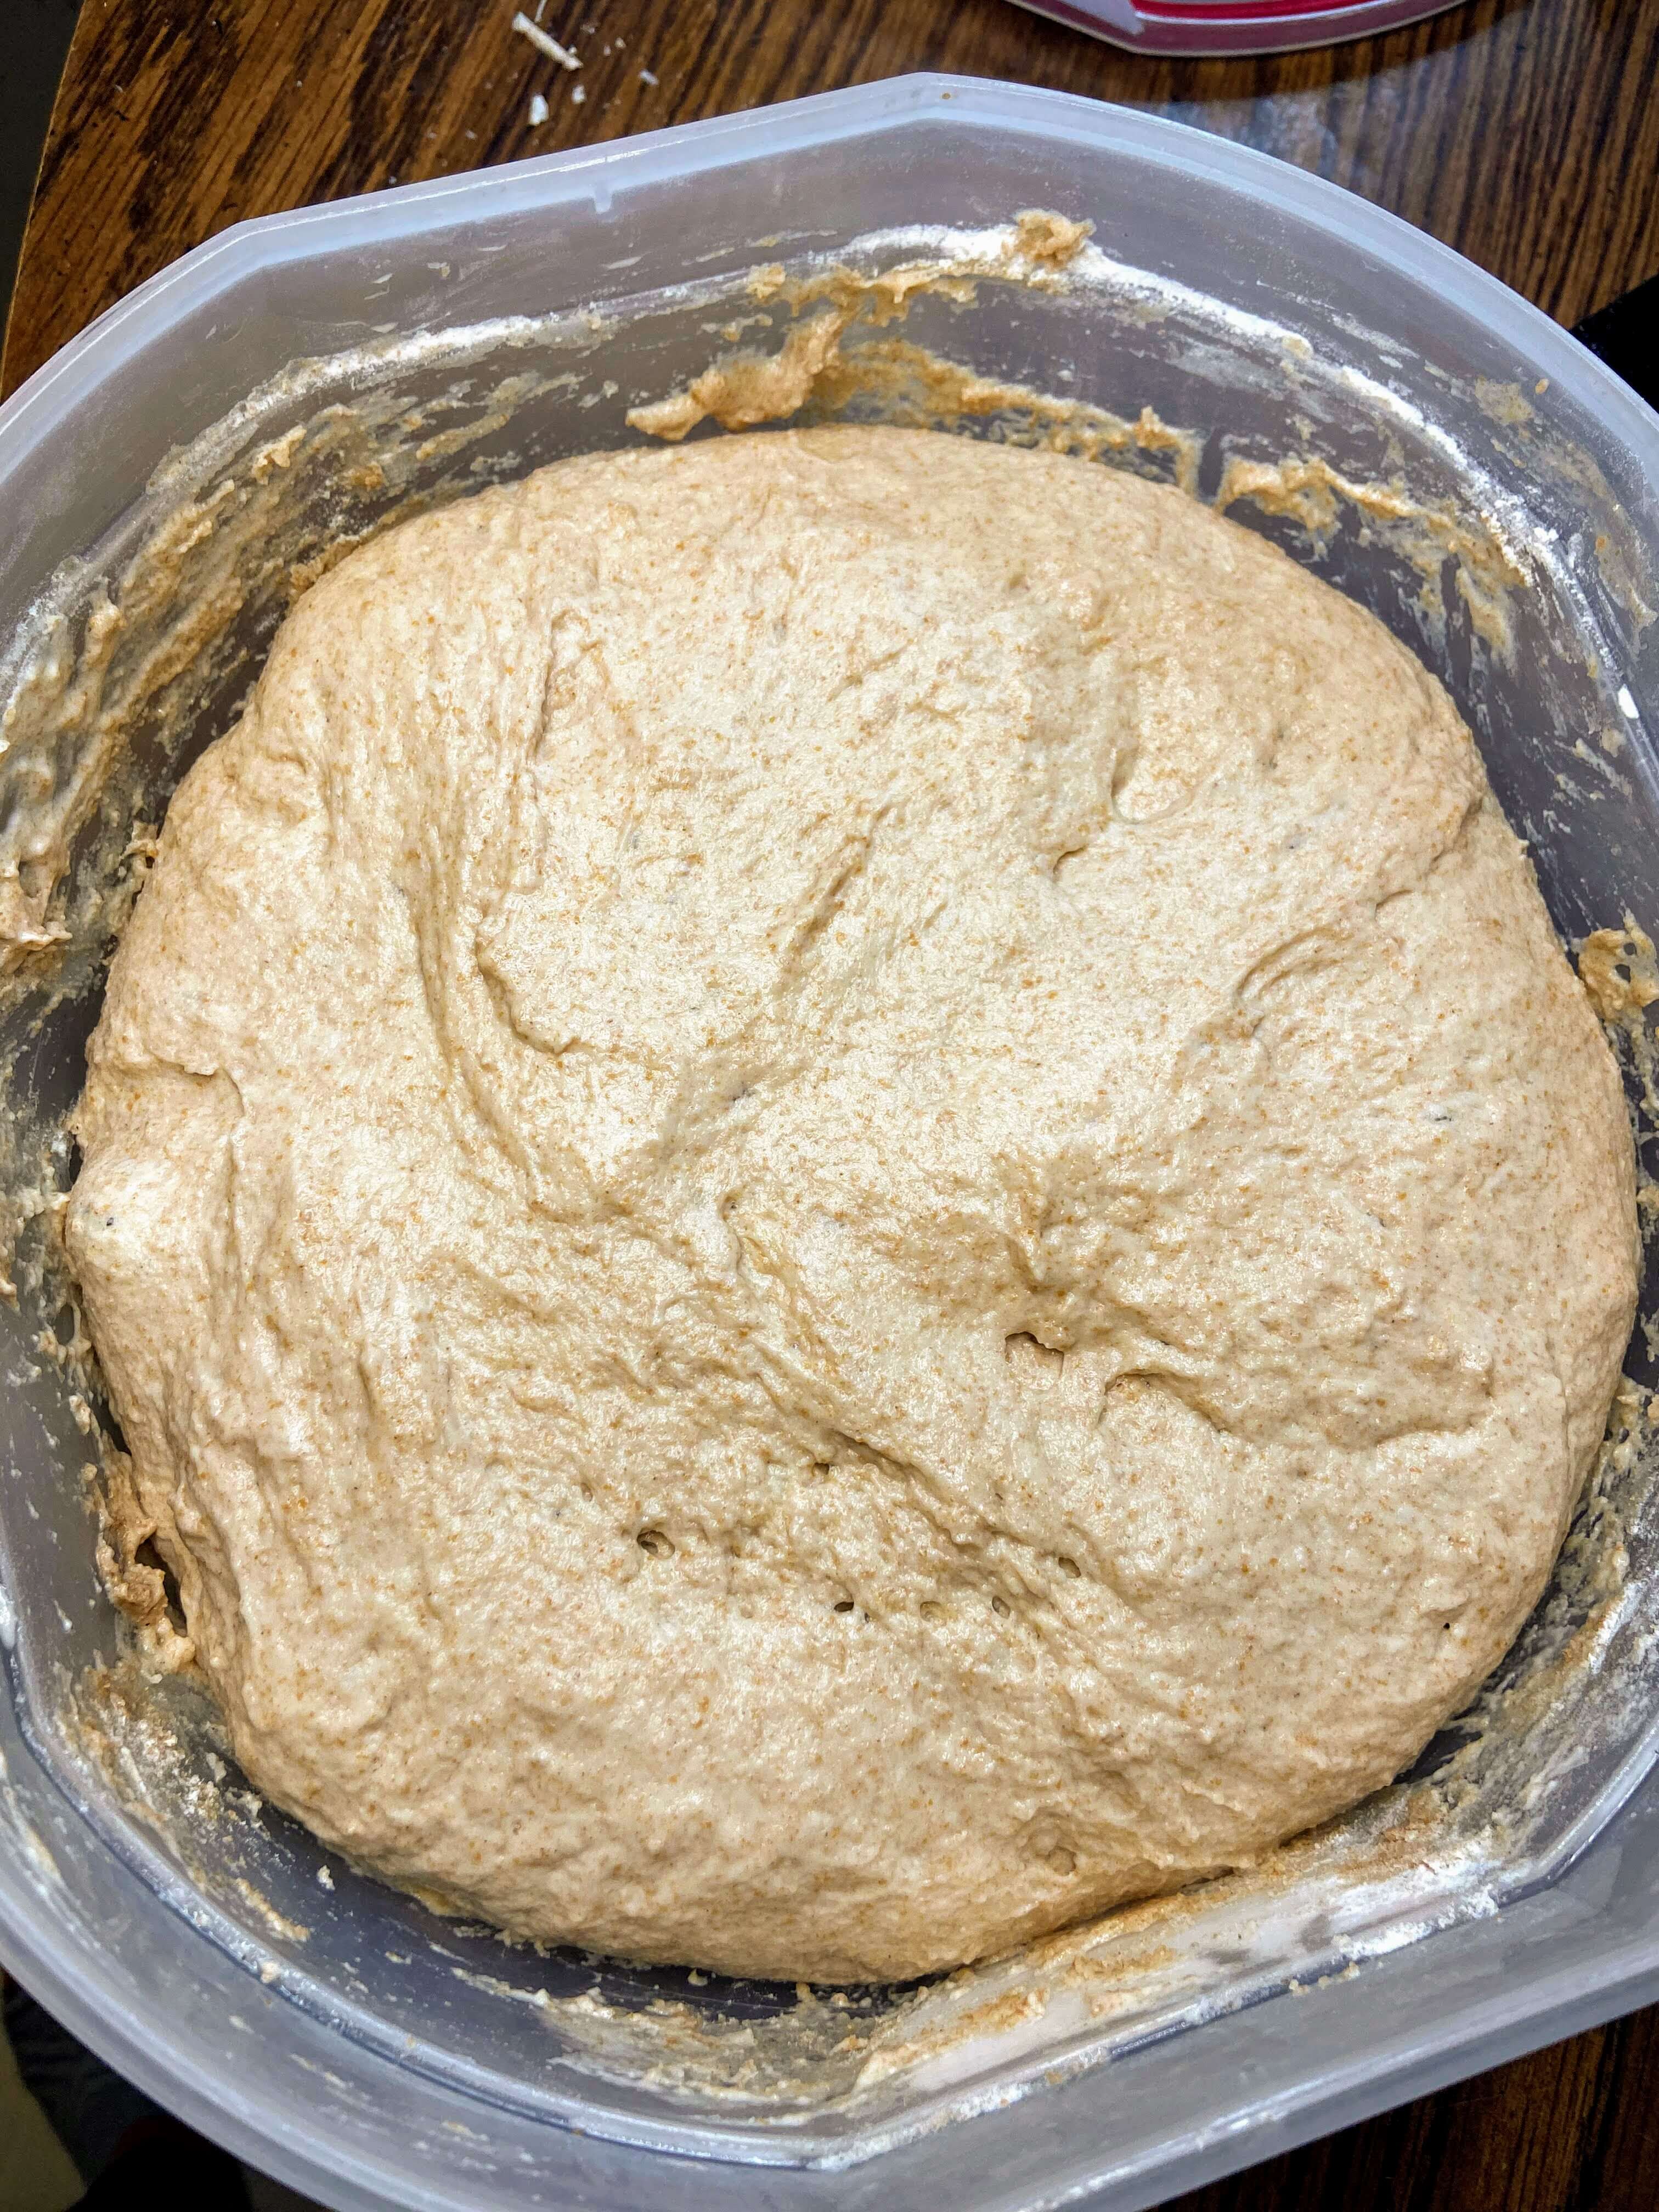
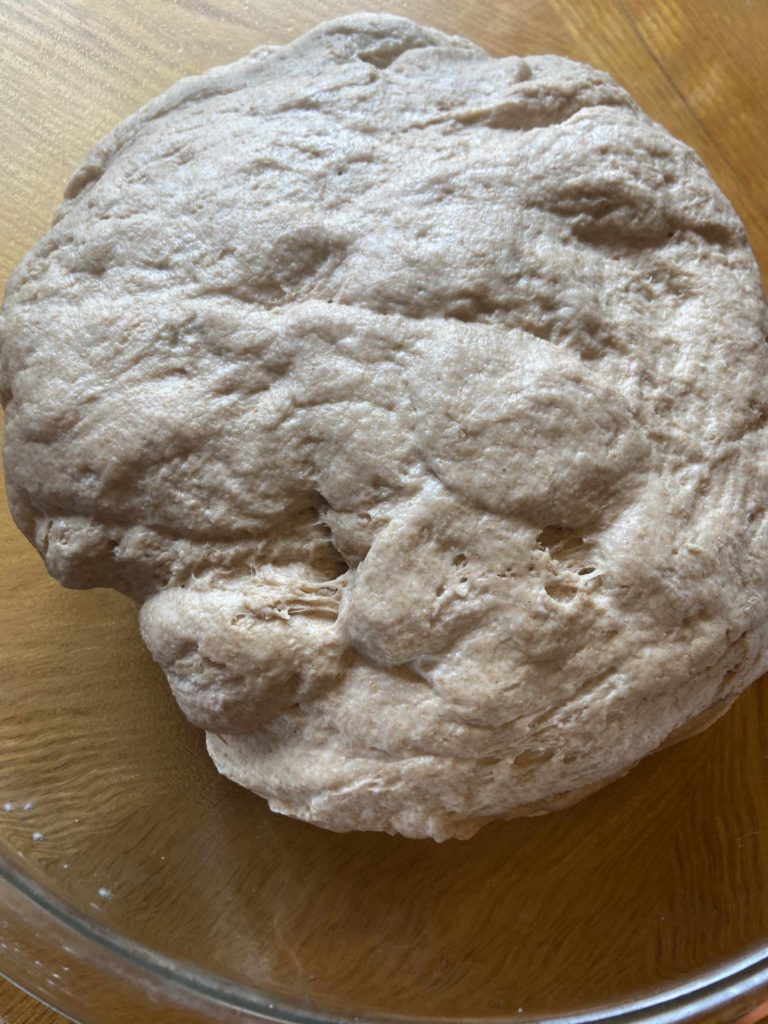
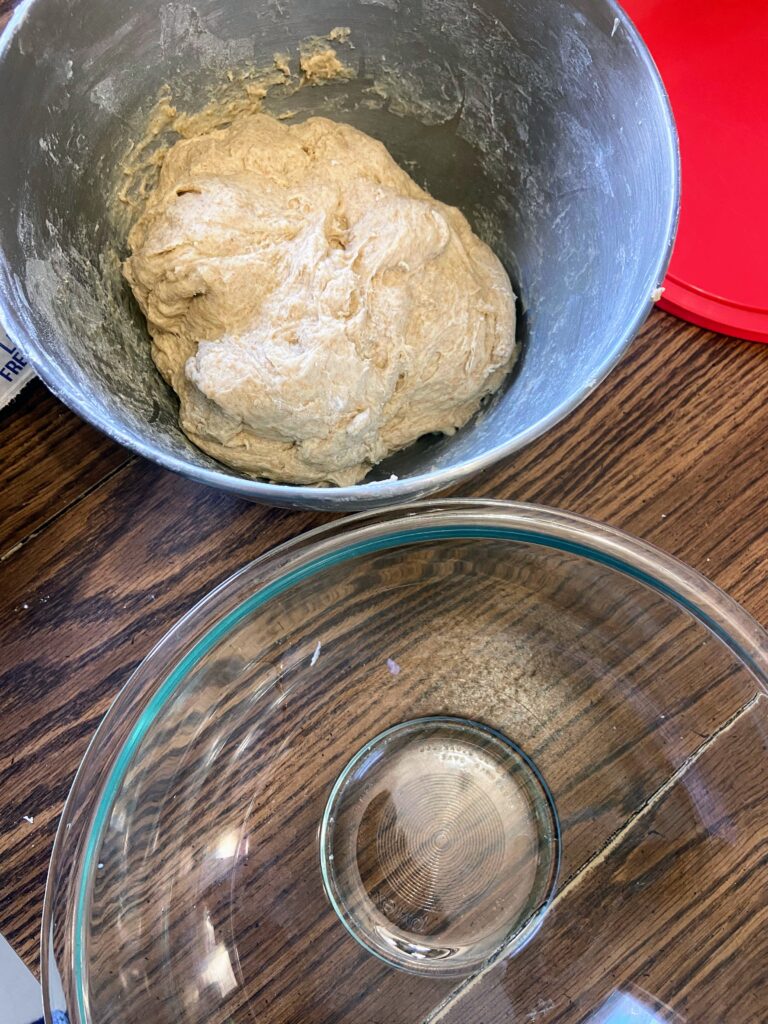
Allow the mixer to knead the dough for 5 minutes. Form the dough into a ball and put it in a greased bowl. Cover and allow to rest for 1-2 hours, until it has doubled in size.
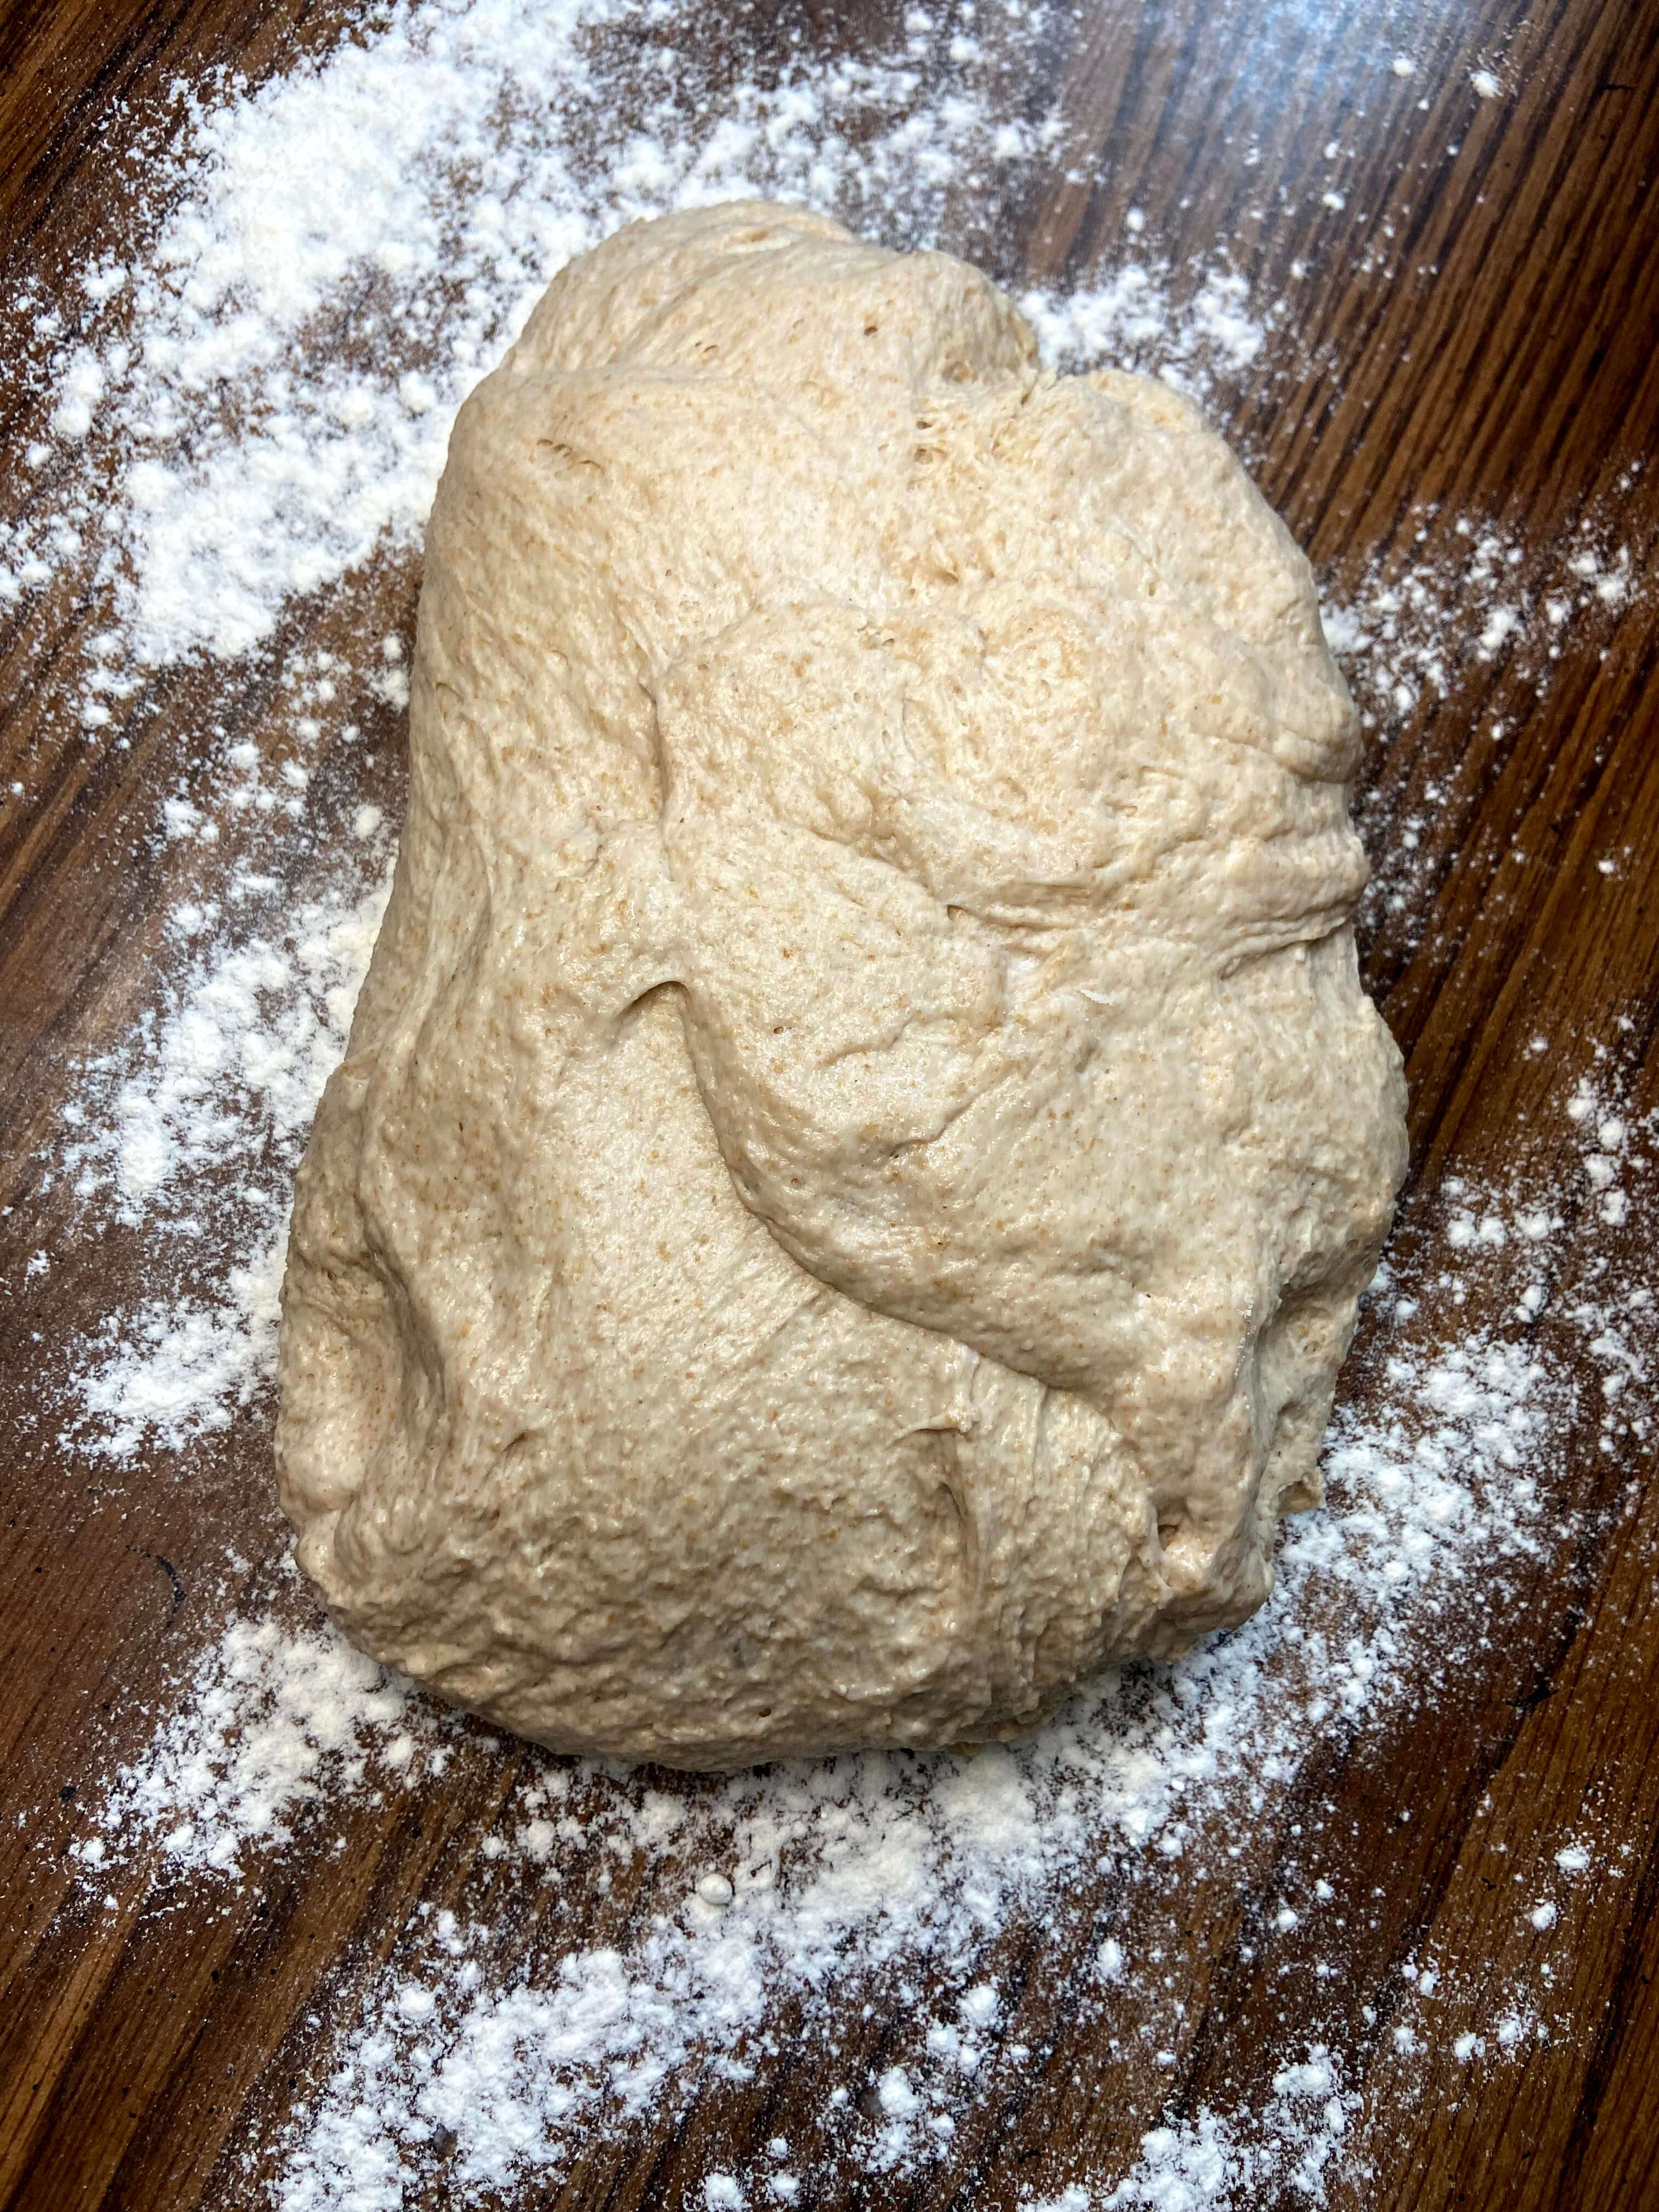
When the dough has doubled in size, gently punch it down and then form it into another bowl. Remove from the bowl and place on a lightly floured surface. Cut the dough into two portions. Set one aside.
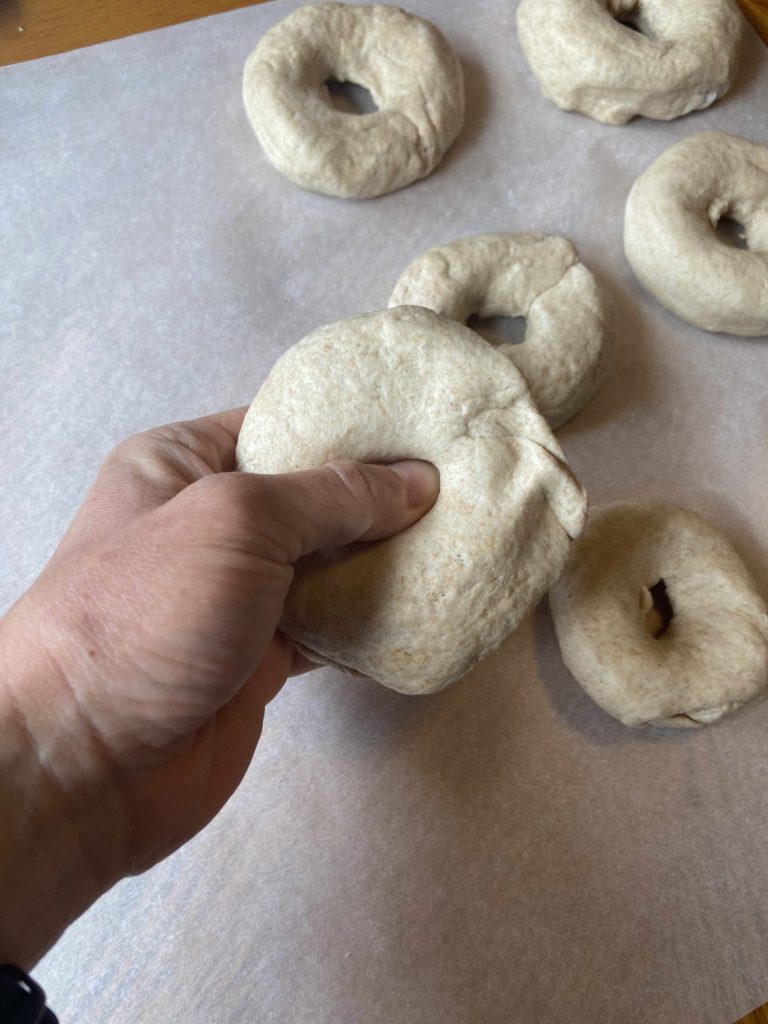
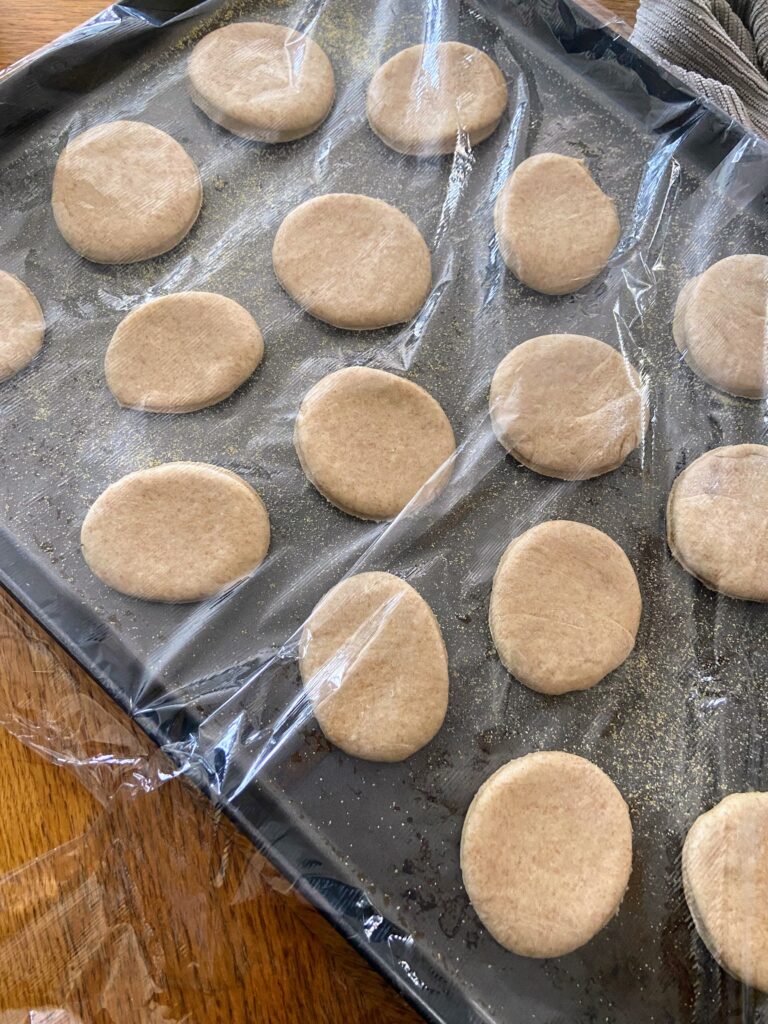
Roll one portion out until approximately ½ inch thick. Cut into discs using a 3 inch biscuit cutter (or a glass if you don’t have one!) Continue to roll out leftovers and cut discs until dough is used up. Do the same with the other portion.
Place discs on baking sheets that have been sprinkled with cornmeal, leaving space for them to rise. Sprinkle the tops with cornmeal as well. Cover with plastic wrap and allow to rise for another hour or so.
Let’s Cook them up!
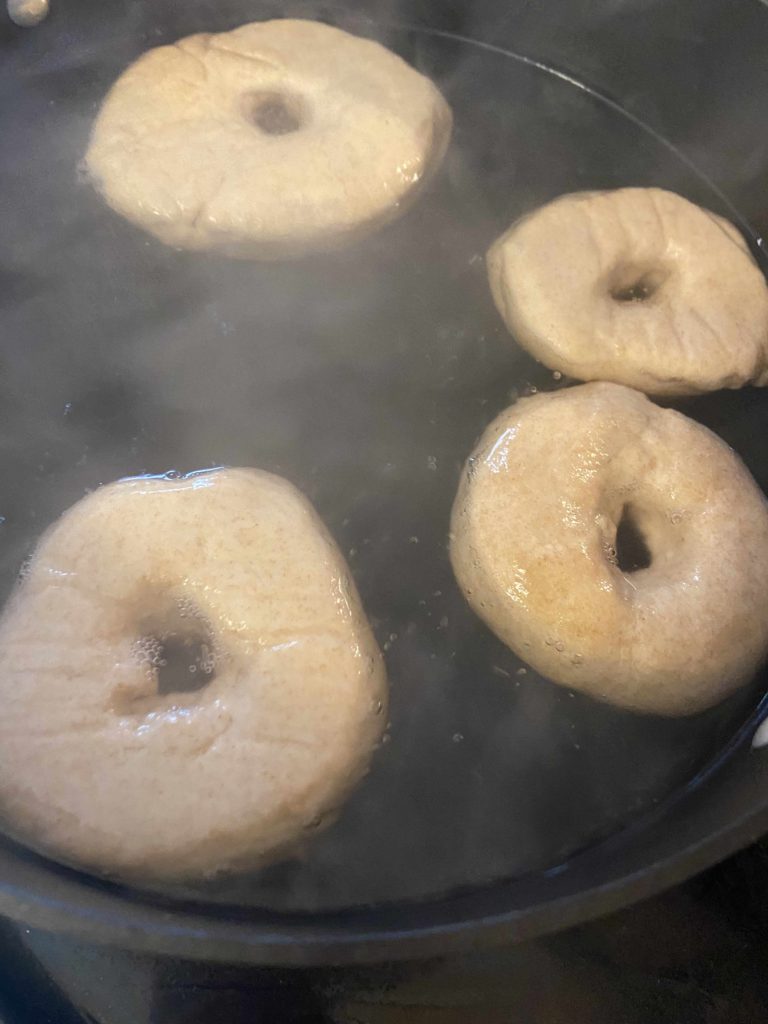
Preheat an electric griddle to 350 degrees. Leave it ungreased. Transfer discs to the griddle and cook for 5 minutes. Flip muffins. Once all muffins have been flipped, place a light baking sheet on top to keep the flat muffin shape rather than a rounded muffin. Cook an additional 5-7 minutes, until the muffins have reached an internal temperature of 190 degrees.
Store muffins at room temperature for 4-5 days, in the fridge for a few weeks, or freeze them for longer storage. They freeze REALLY well.


Tools of the Trade
Now, I have done English muffins with an electric griddle and without and let me tell you, the griddle is the way to go. You can get them done so much quicker. And I am always surprised how often I want to pull out my biscuit cutter for various things. Definitely a couple tools that are handy to have on hand!

Sourdough English Muffins
Equipment
Ingredients
- 2 ¼ teaspoon instant dry yeast
- 2 cups milk warmed
- 2 tablespoons sugar
- 4 tablespoons butter softened
- 1 cup sourdough starter
- 2 eggs
- 1 tablespoon salt
- 2 cups whole wheat flour
- 3-4 cups white flour
- Cornmeal for dusting
Instructions
- In a stand mixer, combine milk, dry yeast, and sugar. Allow to sit for 5 minutes to activate the yeast.
- Add the sourdough starter, butter (cut into ½ tablespoon pieces), eggs, and salt. Mix until well combined.
- Slowly add flour, alternating wheat and white, by the ½ cup increments, until it forms a ball. The dough should not be too sticky. That is, you should be able to touch it and not have dough stuck to you.
- Allow the mixer to knead the dough for 5 minutes. Form the dough into a ball and put it in a greased bowl. Cover and allow to rest for 1-2 hours, until it has doubled in size.
- When the dough has doubled in size, gently punch it down and then form it into another bowl. Remove from the bowl and place on a lightly floured surface. Cut the dough into two portions. Set one aside.
- Roll one portion out until approximately ½ inch thick. Cut into discs using a 3 inch biscuit cutter (or a glass if you don’t have one!) Continue to roll out leftovers and cut discs until dough is used up. Do the same with the other portion.
- Place discs on baking sheets that have been sprinkled with cornmeal, leaving space for them to rise. Sprinkle the tops with cornmeal as well. Cover with plastic wrap and allow to rise for another hour or so.
- Preheat an electric griddle to 350 degrees. Leave it ungreased. Transfer discs to the griddle and cook for 5 minutes. Flip muffins.
- Once all muffins have been flipped, place a light baking sheet on top to keep the flat muffin shape rather than a rounded muffin. Cook an additional 5-7 minutes, until the muffins have reached an internal temperature of 190 degrees.
- Store muffins at room temperature for 4-5 days, in the fridge for a few weeks, or freeze them for longer storage. They freeze REALLY well.
Notes
Looking for some other breakfast inspiration?
Check out a couple of the posts below or just head right to my breakfast page for more recipes!