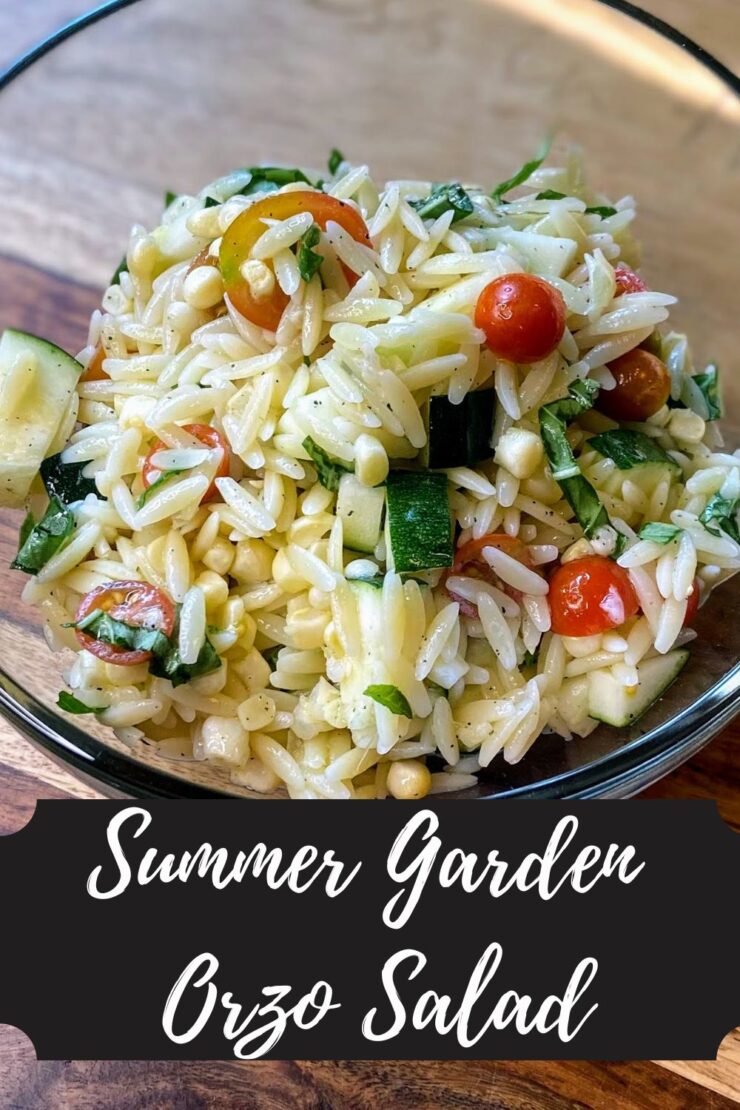
Before I share the recipe for this delicious Southwest chicken pasta bake, I have to share the story of how it came to be. I swear it will be short!
A few weeks back, a colleague of mine brought this delicious, albeit a bit tedious, dish to serve for a potluck. He is a lovely man who enjoys cooking full entrees for our “Appetizer Thursday” and always, always outdoes himself (we joked that he could bring a bag of chips sometime!). He called it Sonora Chicken Pasta, saying it was a copycat recipe from Ruby Tuesday.
I knew in a moment that my family would love it except for a few problems: It had a lot of steps to putting a bowl together (first the pasta, then the black beans and chicken, then cheese, then the tomatoes…you get the point) and we are super busy at night so a meal prepped bake is the way to go because it reheats so easily for our current basketball focused nights. I also don’t love cooking with a lot of processed ingredients so Velveeta is generally out. I wasn’t sure I could get the same feel without it, but I wanted to try.
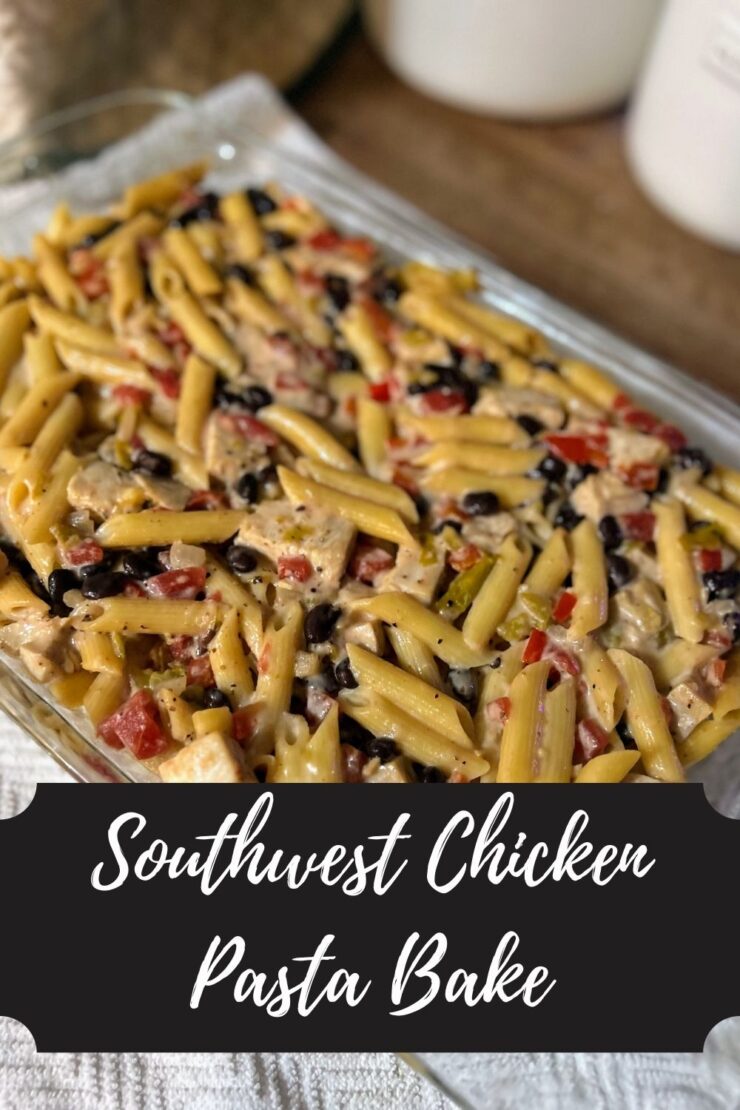
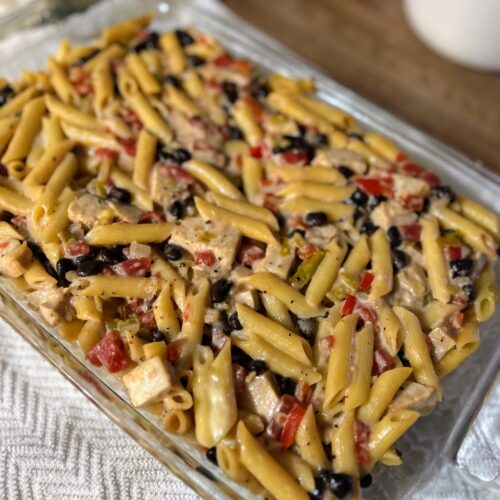
What came out was perfection. So much so that I promptly cooked it again four days later after my family devoured the first pan. My version uses Gouda for its melting point (I know it isn’t Southwest, but it works!) and a few less spices. It also all gets thrown together in a baking dish and reheats perfectly for meal prep or busy families! I hope you love it!
Your Ingredients for this Southwest Chicken Pasta Bake
- 16 ounces penne pasta
- Olive oil
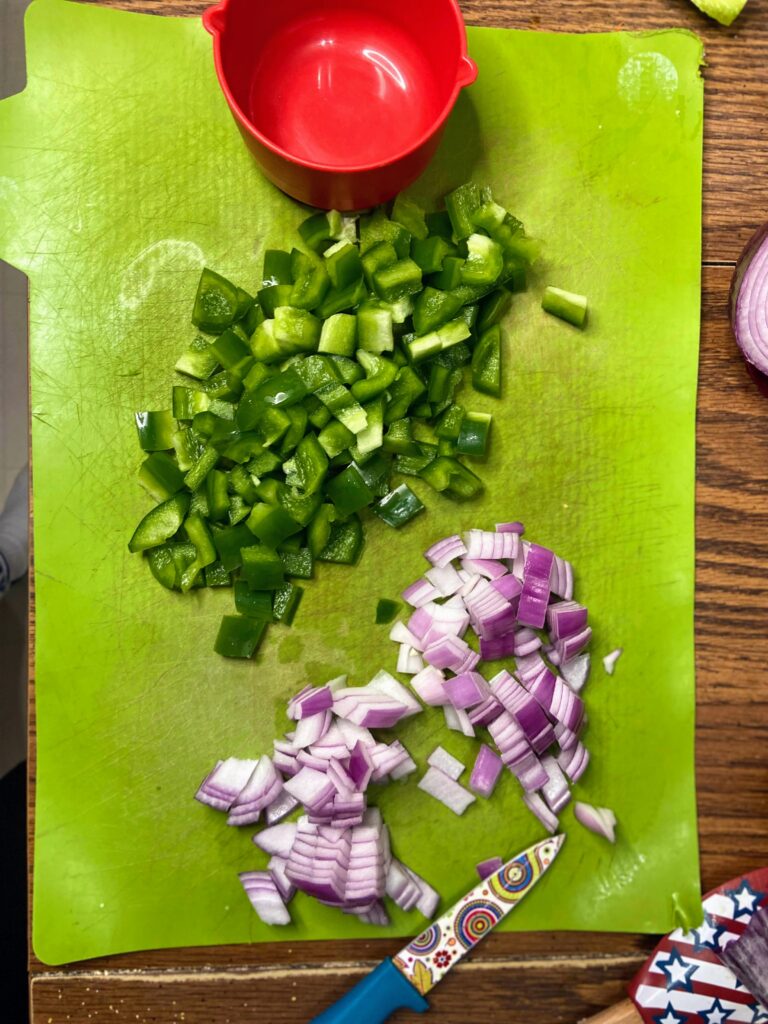
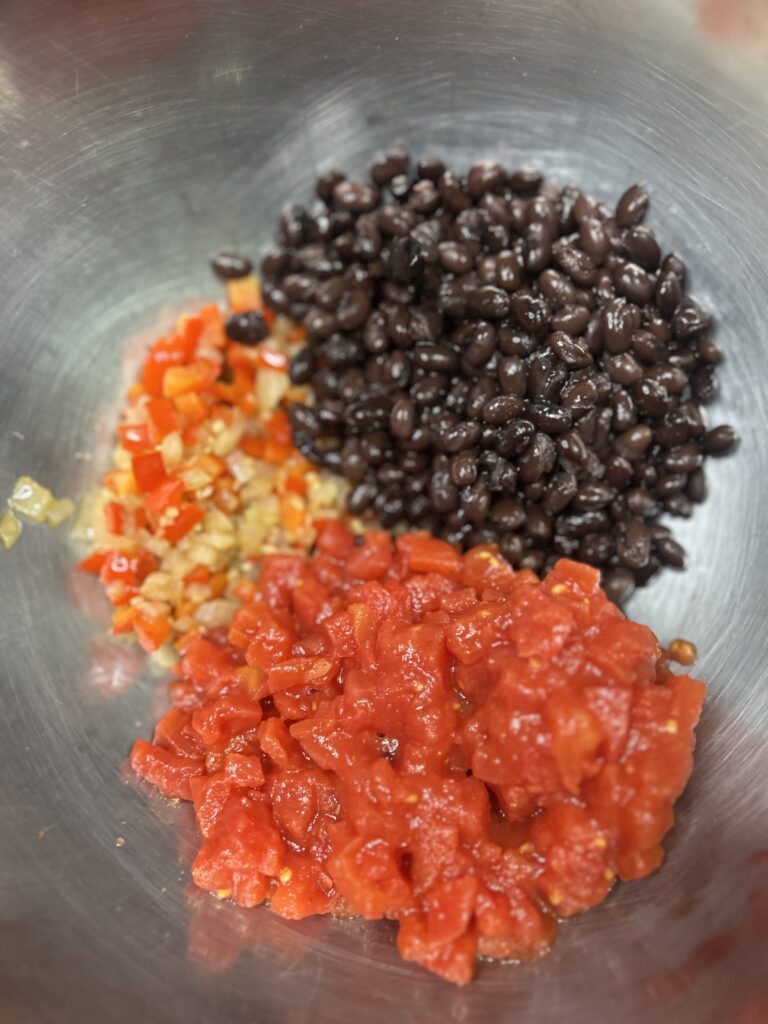
- ¾ cup diced red pepper
- ¾ cup diced onion
- ½ tablespoon garlic
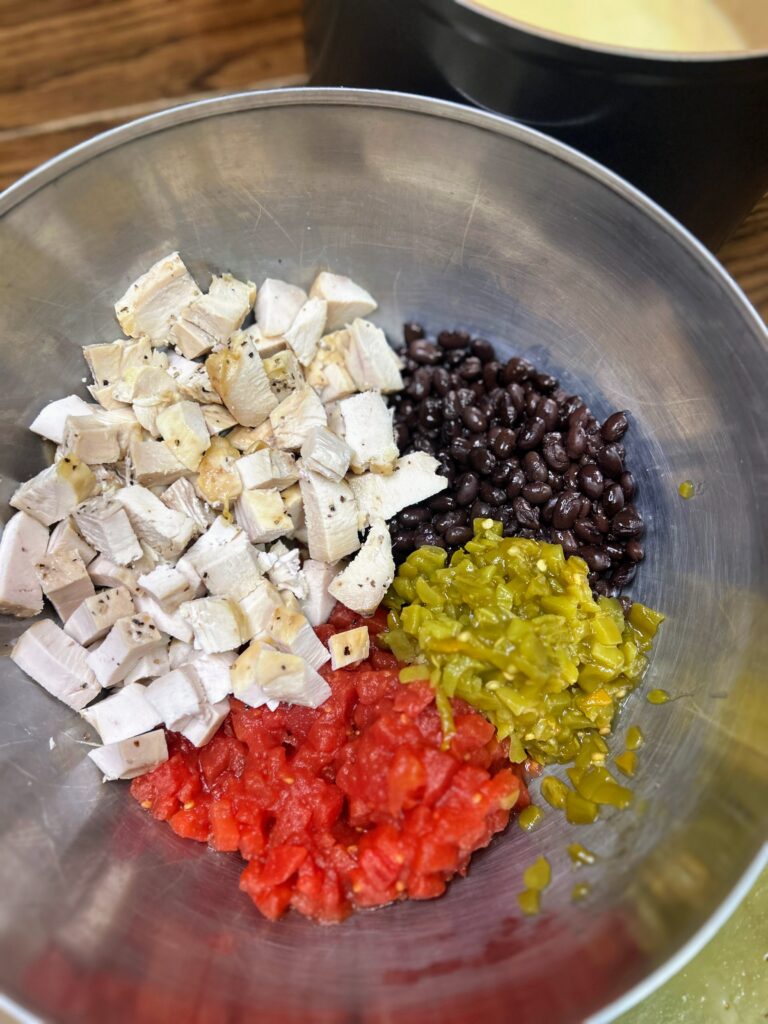
- 3 cups cooked, cubed or shredded chicken
- 1 can black beans, rinsed
- 2 10 ounce cans diced tomatoes with chiles (or 1 can diced tomatoes and 1 can chiles)
- 1 cup heavy cream
- 8 ounces Gouda, hand shredded
- ½ teaspoon salt
- Pinch of red pepper flakes
- ½ teaspoon cumin
Your Steps to Southwest Chicken Pasta Bake
First, you may not believe me, but do this. Rather than boil the pasta, fill a pot with HOT, salted water. Put the uncooked pasta in the pot and stir. While you are prepping everything else, let the pasta sit and soak up the water, stirring every once in a while. It will absorb the moisture without having to worry about over cooking it! Once it goes in the oven, it will cook the rest of the way without absorbing the moisture from your bake! (If you don’t believe me, you can totally just boil the pasta to al dente, but don’t say I didn’t share this great tip that I learned from The Food Lab by J. Kenji López-Alt)
Anywho…
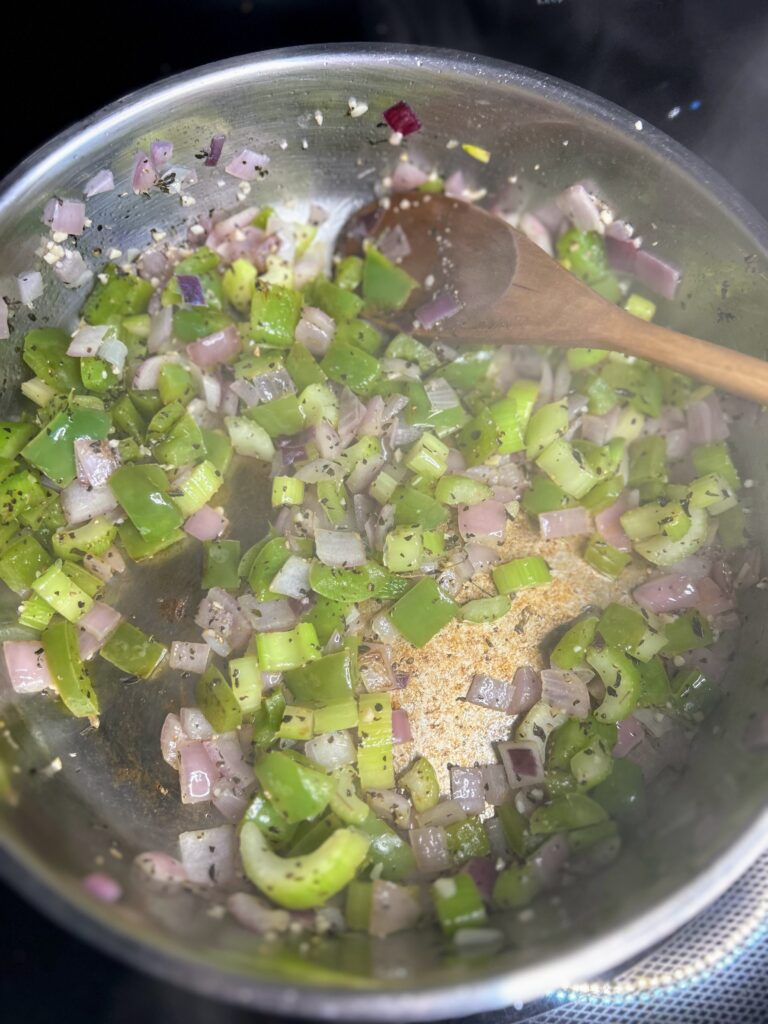
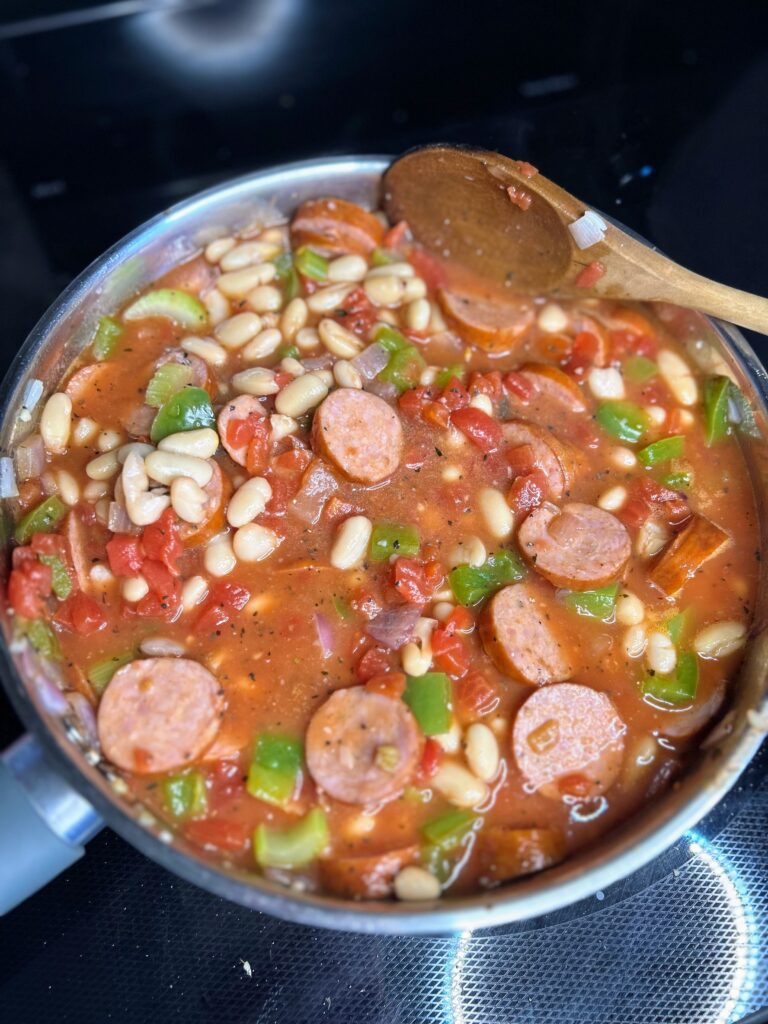
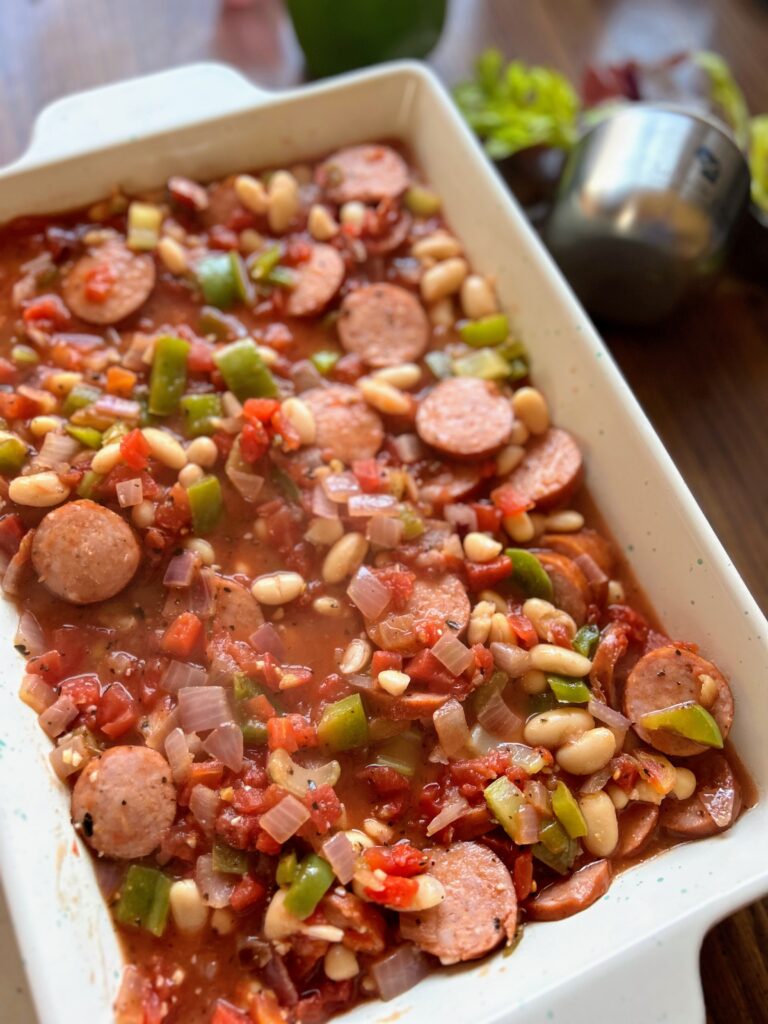
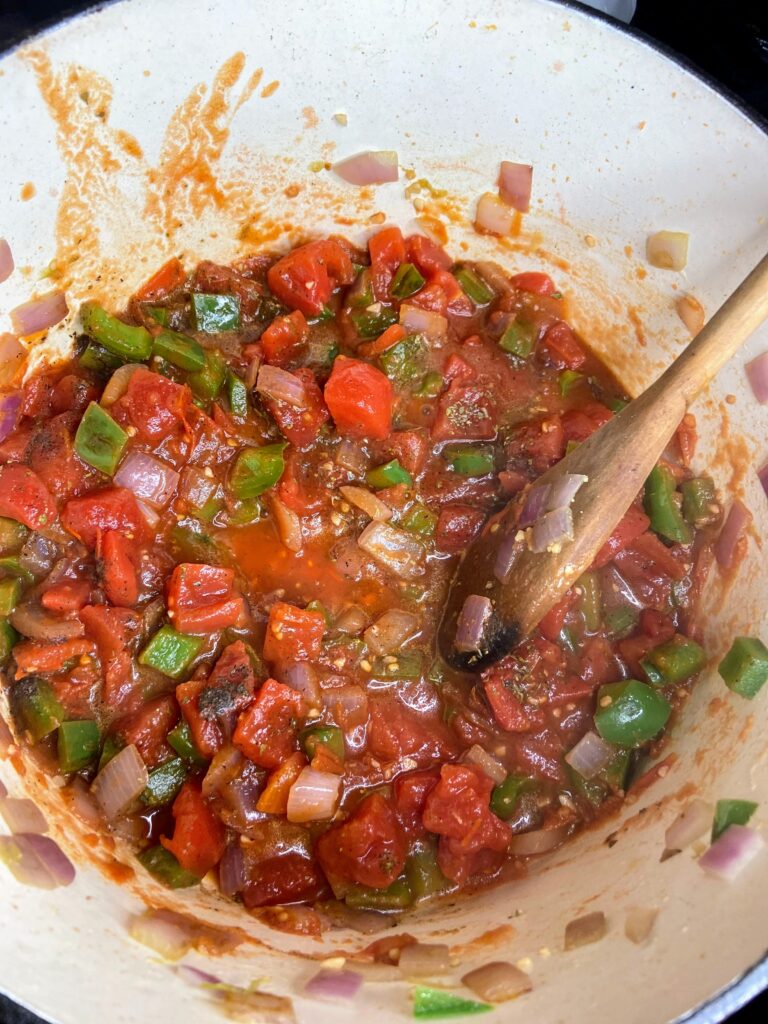
Preheat the oven to 350 degrees F. While the pasta is soaking (or cooking), heat a large pan over medium heat. Add olive oil once hot and then add the onion and pepper. Cook down until soft, about 8 minutes. Add the garlic and cook just a bit more. Remove from the pan and add to a large bowl with rinsed beans, cooked chicken, and tomatoes. Mix well.
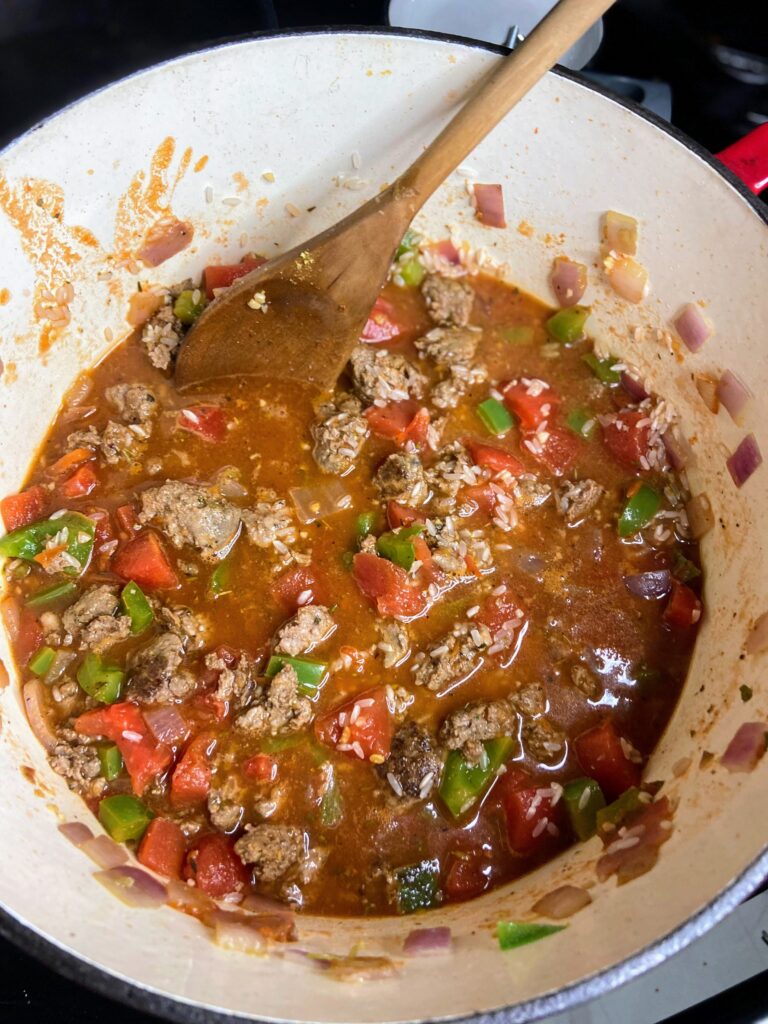
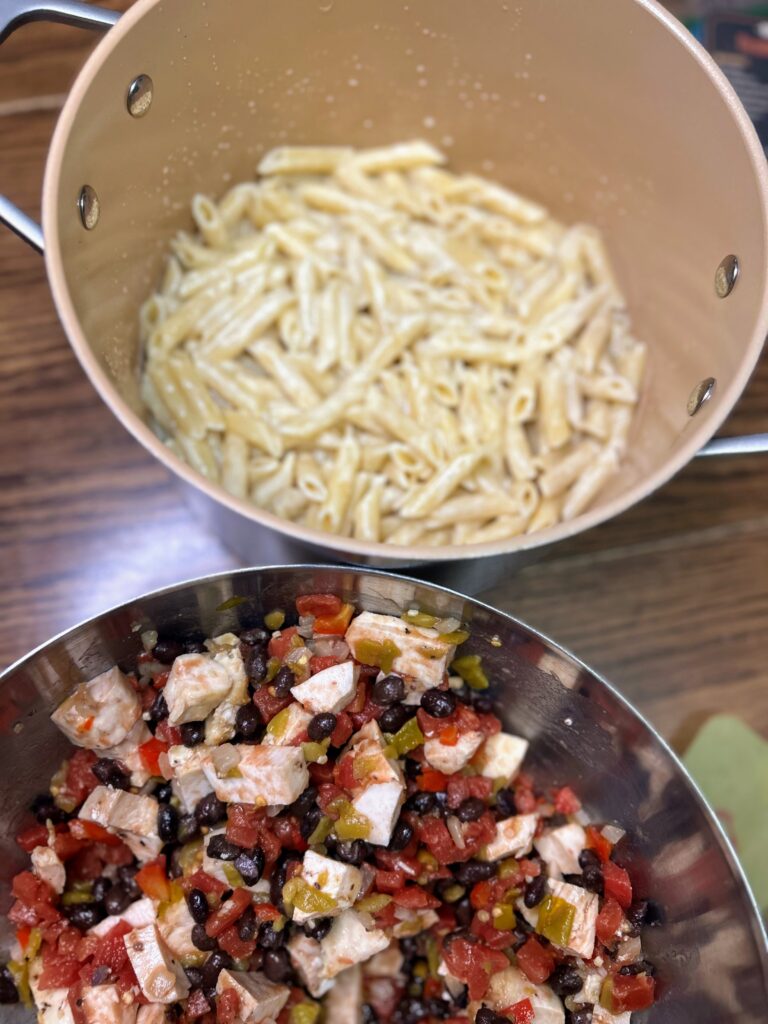
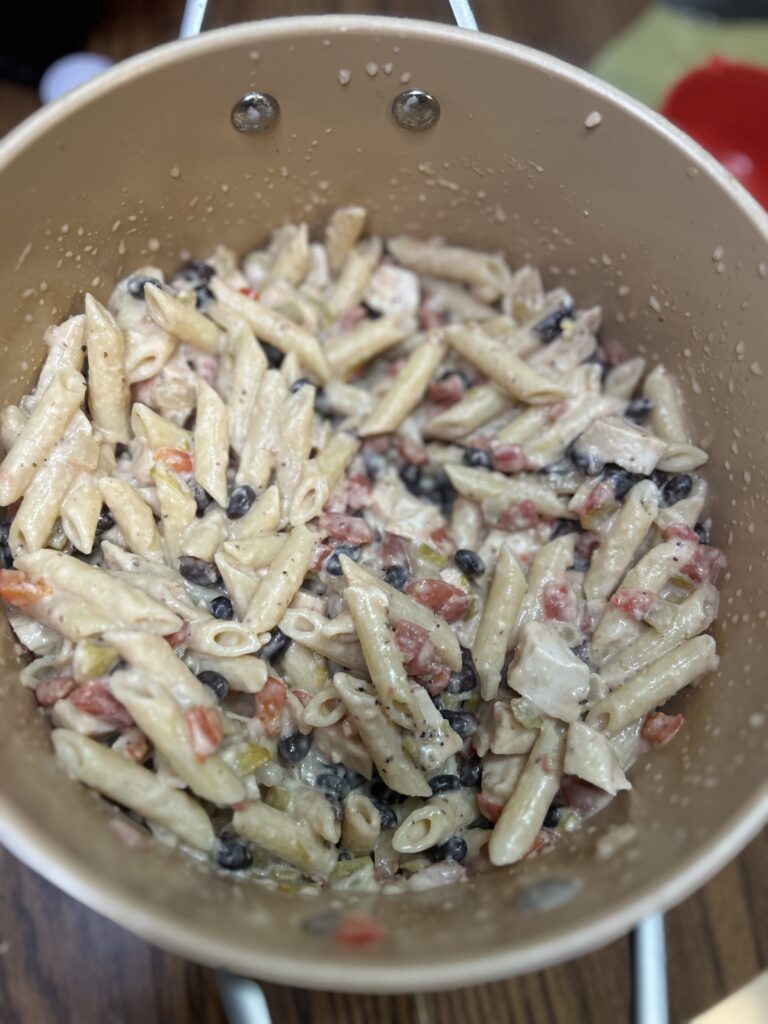
Heat the same pan back up over medium heat (less dishes!). Add the heavy cream, salt, red pepper flakes, and cumin. Once the cream is warm, slowly stir in the Gouda a small bit at a time, allowing it to melt before adding more. Remove from heat and stir in the drained pasta.
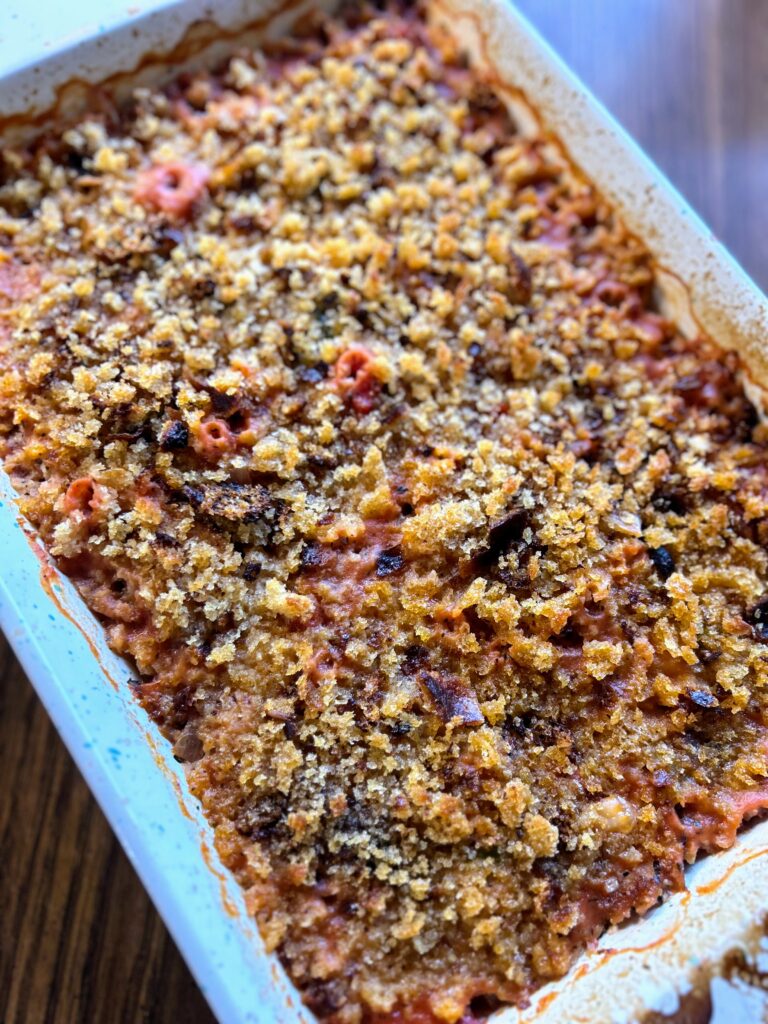
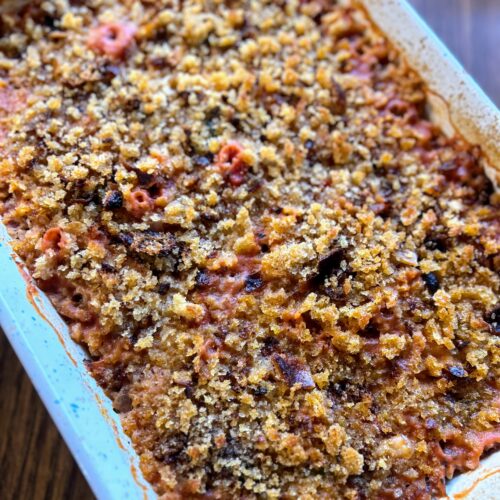
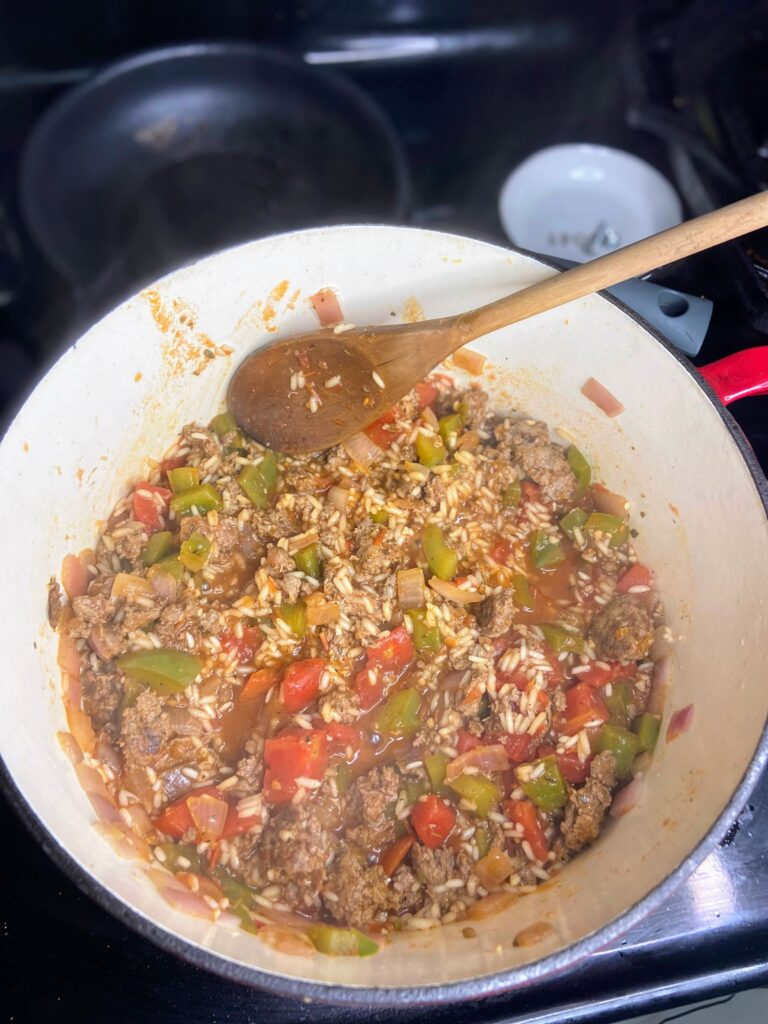
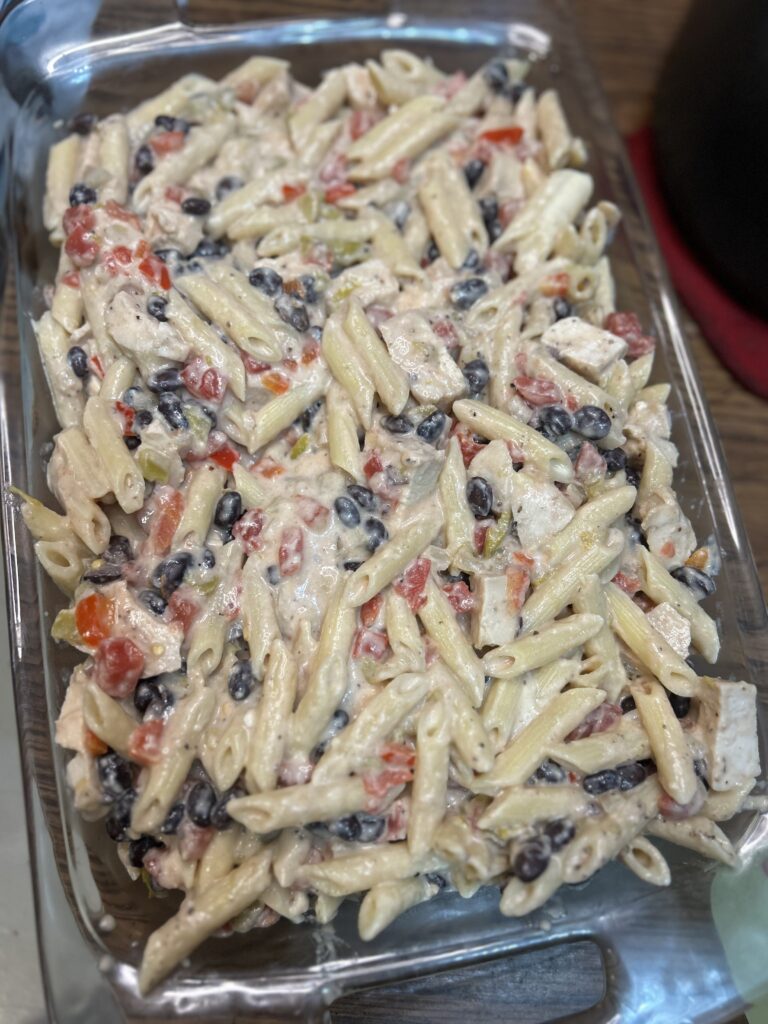
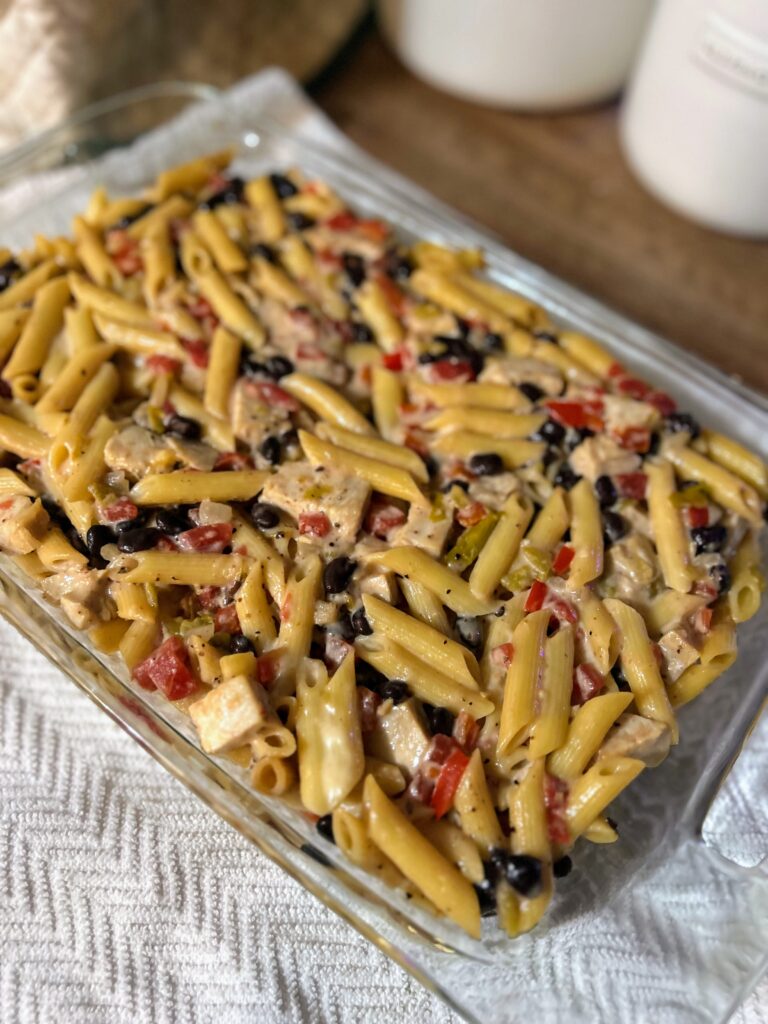
Combine the coated pasta and the chicken mixture. Stir well. Once combined, layer into a large baking dish, cover with foil, and bake for 30 minutes until warmed all the way through. Option to remove the foil 5 minutes before the bake time is over.
Southwest Chicken Pasta Bake
Ingredients
- 16 ounces penne pasta
- Olive oil
- ¾ cup diced red pepper
- ¾ cup diced onion
- ½ tablespoon garlic
- 3 cups cooked cubed or shredded chicken
- 1 can black beans rinsed
- 2 10 ounce cans diced tomatoes with chiles or 1 can diced tomatoes and 1 can chiles
- 1 cup heavy cream
- 8 ounces Gouda hand shredded
- ½ teaspoon salt
- Pinch of red pepper flakes
- ½ teaspoon cumin
Instructions
- Preheat the oven to 350 degrees F.
- Add HOT water a stock pot. Heavily salt it and place the pasta the in the hot water. Stir periodically. (See note)
- While the pasta is soaking (or cooking), heat a large pan over medium heat. Add olive oil once hot and then add the onion and pepper. Cook down until soft, about 8 minutes. Add the garlic and cook just a bit more.
- Remove from the pan and add to a large bowl with rinsed beans, cooked chicken, and tomatoes. Mix well.
- Heat the same pan back up over medium heat. Add the heavy cream, salt, red pepper flakes, and cumin. Once the cream is warm, slowly stir in the Gouda a small bit at a time, allowing it to melt before adding more. Remove from heat and stir in the drained pasta.
- Combine the coated pasta and the chicken mixture. Stir well. Once combined, layer into a large baking dish, cover with foil, and bake for 30 minutes until warmed all the way through. Option to remove the foil 5 minutes before the bake time is over.
Notes
Looking for other future family favorites?
I have tons of recipes on my cooking page, but might I suggest some favorites from our house?!