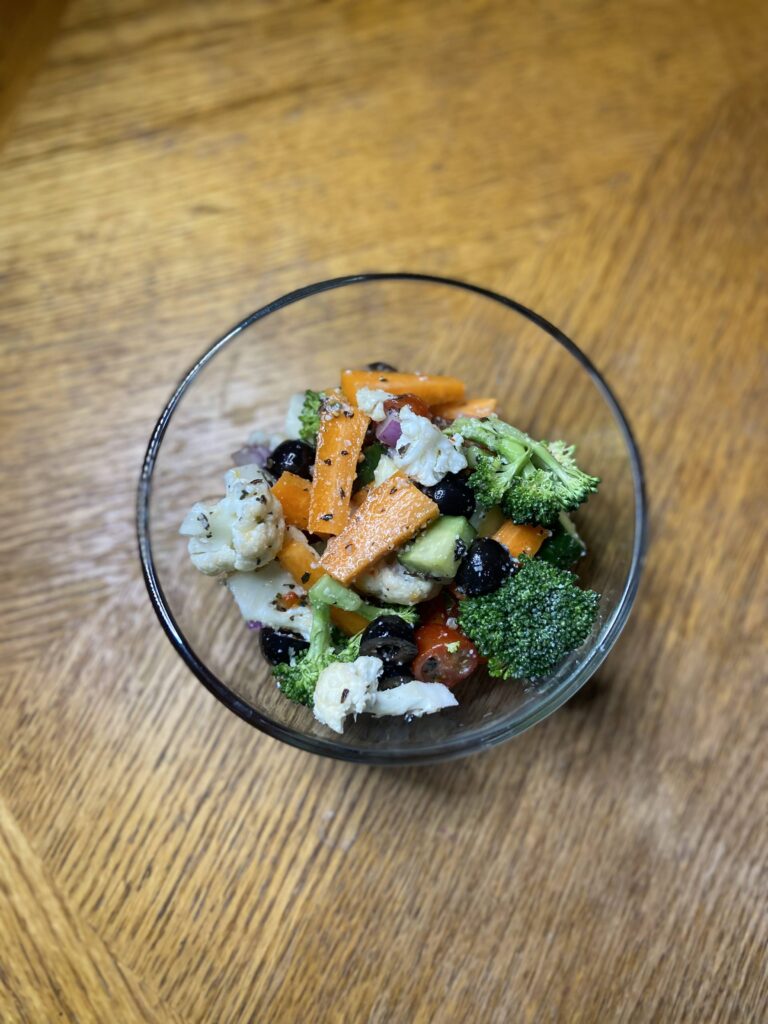
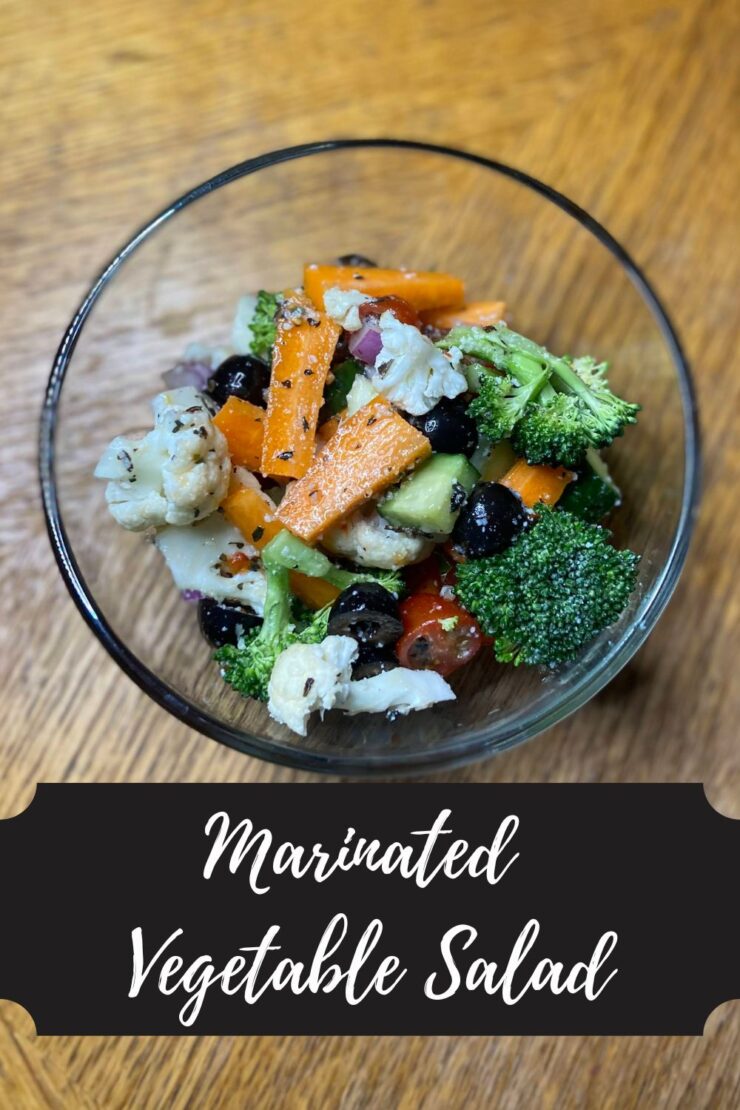
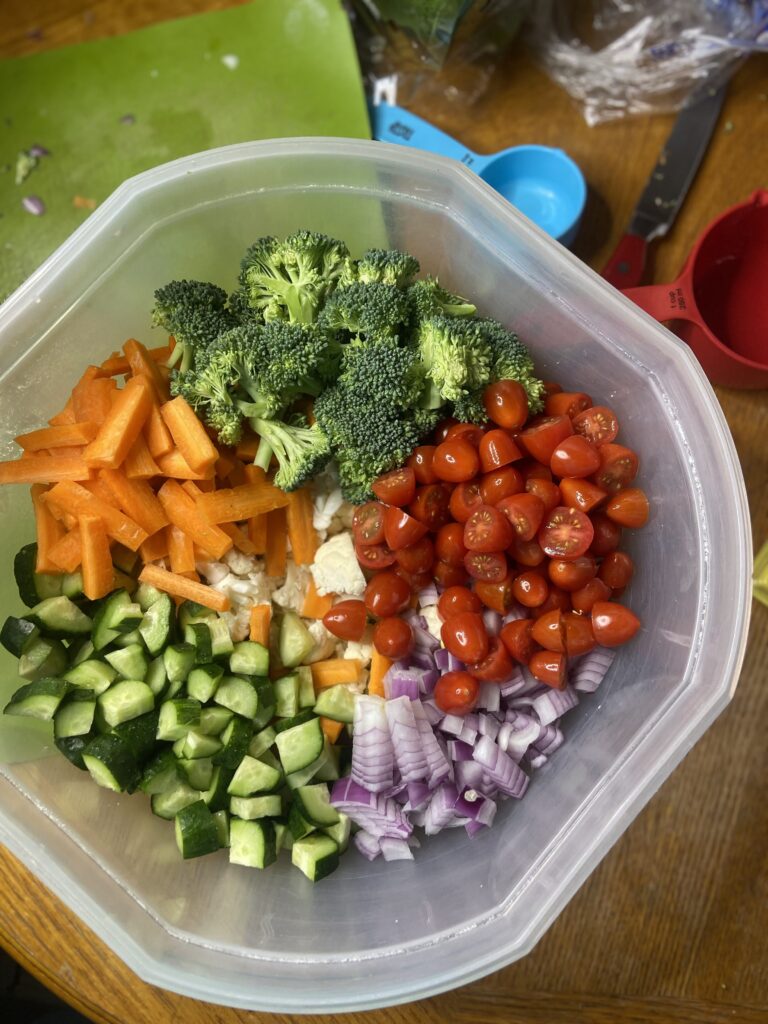
Marinated Vegetable Salad

You know when you get invited to a get together and you need to bring a dish to pass but definitely don’t want to think hard? This marinated vegetable salad is the dish you bring, my friends.

Years ago, I remember saying to the Mr, “I mean, you have a fruit salad…I wonder if there is such a thing as a vegetable salad?” As soon as it left my mouth, I felt so silly asking the question. Aren’t all salads vegetable salads? I mean, no, not if you live in the midwest. If you head to a potluck, you’ll see all sorts of non-vegetable salads. We have pasta salad. We have this Snicker apple salad. And the classic tuna salad. But this marinated vegetable salad is exactly what I envisioned when I asked that silly question. (I just brought it up again to him, and he gave me the most loving, but judgemental look). 

Back to my question…

I was picturing a salad full of chopped vegetables, like chopped fruit. But unlike the fruit salad I normally make, a vegetable salad needs a little sauce to give it a pizzazz. If you’ve been here a while, you know I love to make everything from scratch, and I probably could do that here. But I have found that Zesty Italian dressing from the store just works so well and makes for a quick and delicious side. 

This recipe has become my absolute go to when I have to bring a dish to pass. The healthier me loves that I can depend on vegetables being available when I am surrounded by a lot of other delicious things. It takes minimal prep and doesn’t really need to be kept cold or hot. It can just hang out at room temperature for the duration of the fest!

The best part though? It’s totally customizable. Don’t love peppers? Skip them. Want all the broccoli? Give it an extra cup! 

Ready to start creating? Let’s go!

Your Ingredients for Marinated Vegetable Salad

  • 1 head cauliflower
  • 1-2 heads of broccoli
  • 3 carrots
  • 2-3 cucumbers
  • 1 can black olives 
  • 1 red onion 
  • 2 cups halved grape tomatoes 
  • 1-2 sweet peppers
  • 1 cup zesty Italian dressing 
  • ¼ cup grated Parmesan cheese 
  • 1 teaspoon dried oregano
  • 1 teaspoon dried basil 

Your Steps

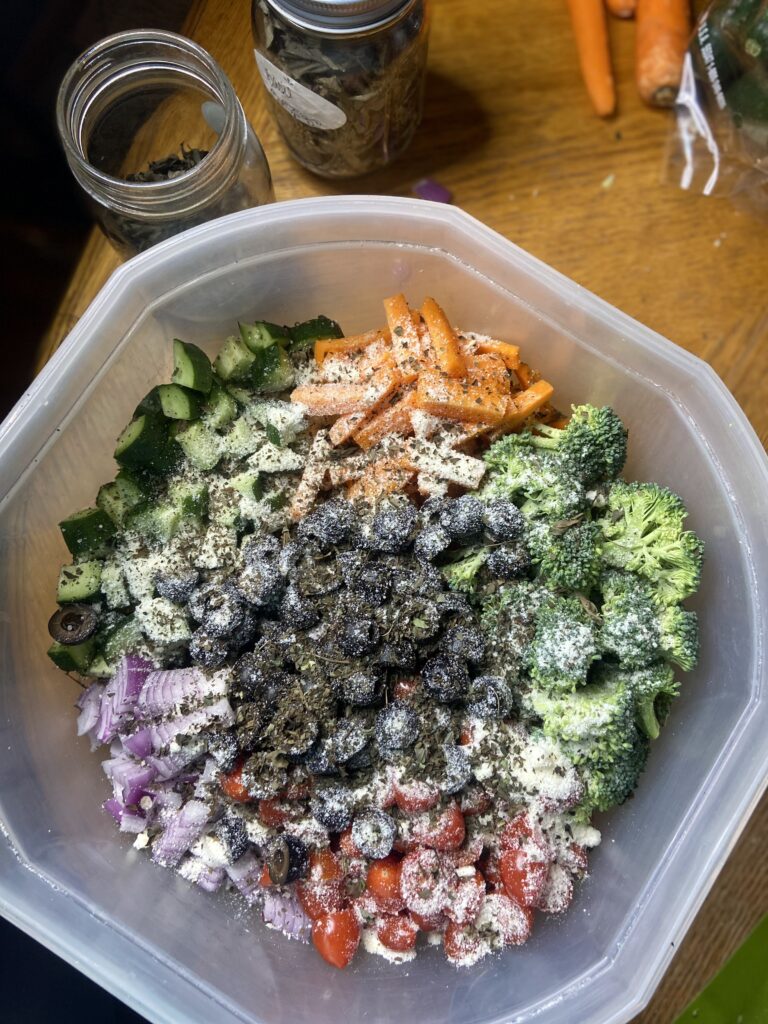
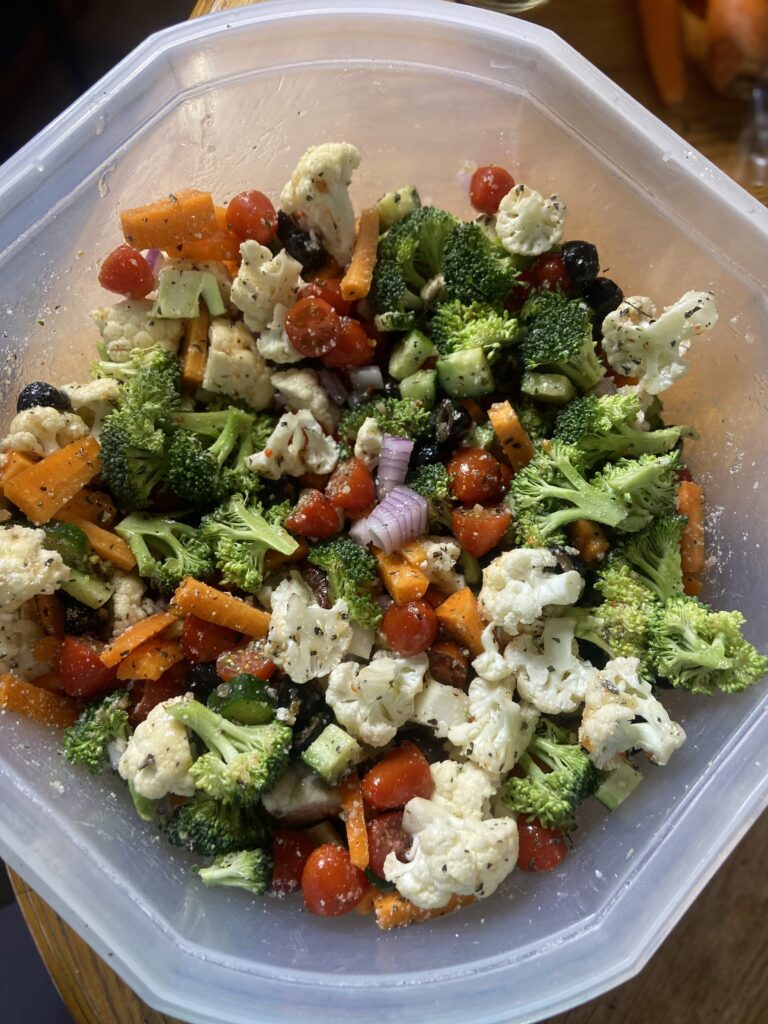
Dice the red onion and cut all the remaining veggies into bite size pieces. Slice the black olives in half. Combine all the ingredients in a bowl with a cover and mix. Pour on the dressing, cheese, oregano, and basil. Stir well. Chill a few hours before serving. But this salad is best made the night before so the vegetables can marinate and is honestly best about two days later. It’s definitely not something I complain about when I have leftovers! 
Marinated Vegetable Salad

You know when you get invited to a get together and you need to bring a dish to pass but definitely don’t want to think hard? This marinated vegetable salad is the dish you bring, my friends.
Prep Time 15 minutes
Cook Time 0 minutes
Course Appetizer, Salad, Side Dish
Cuisine American
Servings 12

Ingredients
  

  • 1 head cauliflower
  • 1-2 heads of broccoli
  • 3 carrots
  • 2-3 cucumbers
  • 1 can black olives
  • 1 red onion
  • 2 cups halved grape tomatoes
  • 1-2 sweet peppers
  • 1 cup zesty Italian dressing
  • ¼ cup grated Parmesan cheese
  • 1 teaspoon dried oregano
  • 1 teaspoon dried basil

Instructions
 

  • Dice the red onion and cut all the remaining veggies into bite size pieces. Slice the black olives in half.
  • Combine all the vegetables in a bowl with a cover and mix.
  • Pour on the dressing, cheese, oregano, and basil. Stir well.
  • Chill a few hours before serving.
Keyword broccoli, cauliflower, cold sides, dishes to pass, Italian dressing, onions, peppers, side dish, side dishes, vegetables
Tried this recipe?Let us know how it was!

Looking for other great Sides?

Check out my Cooking page for other inspiration. Or maybe you want to eat with your eyes! Then you can find a treat or two below!
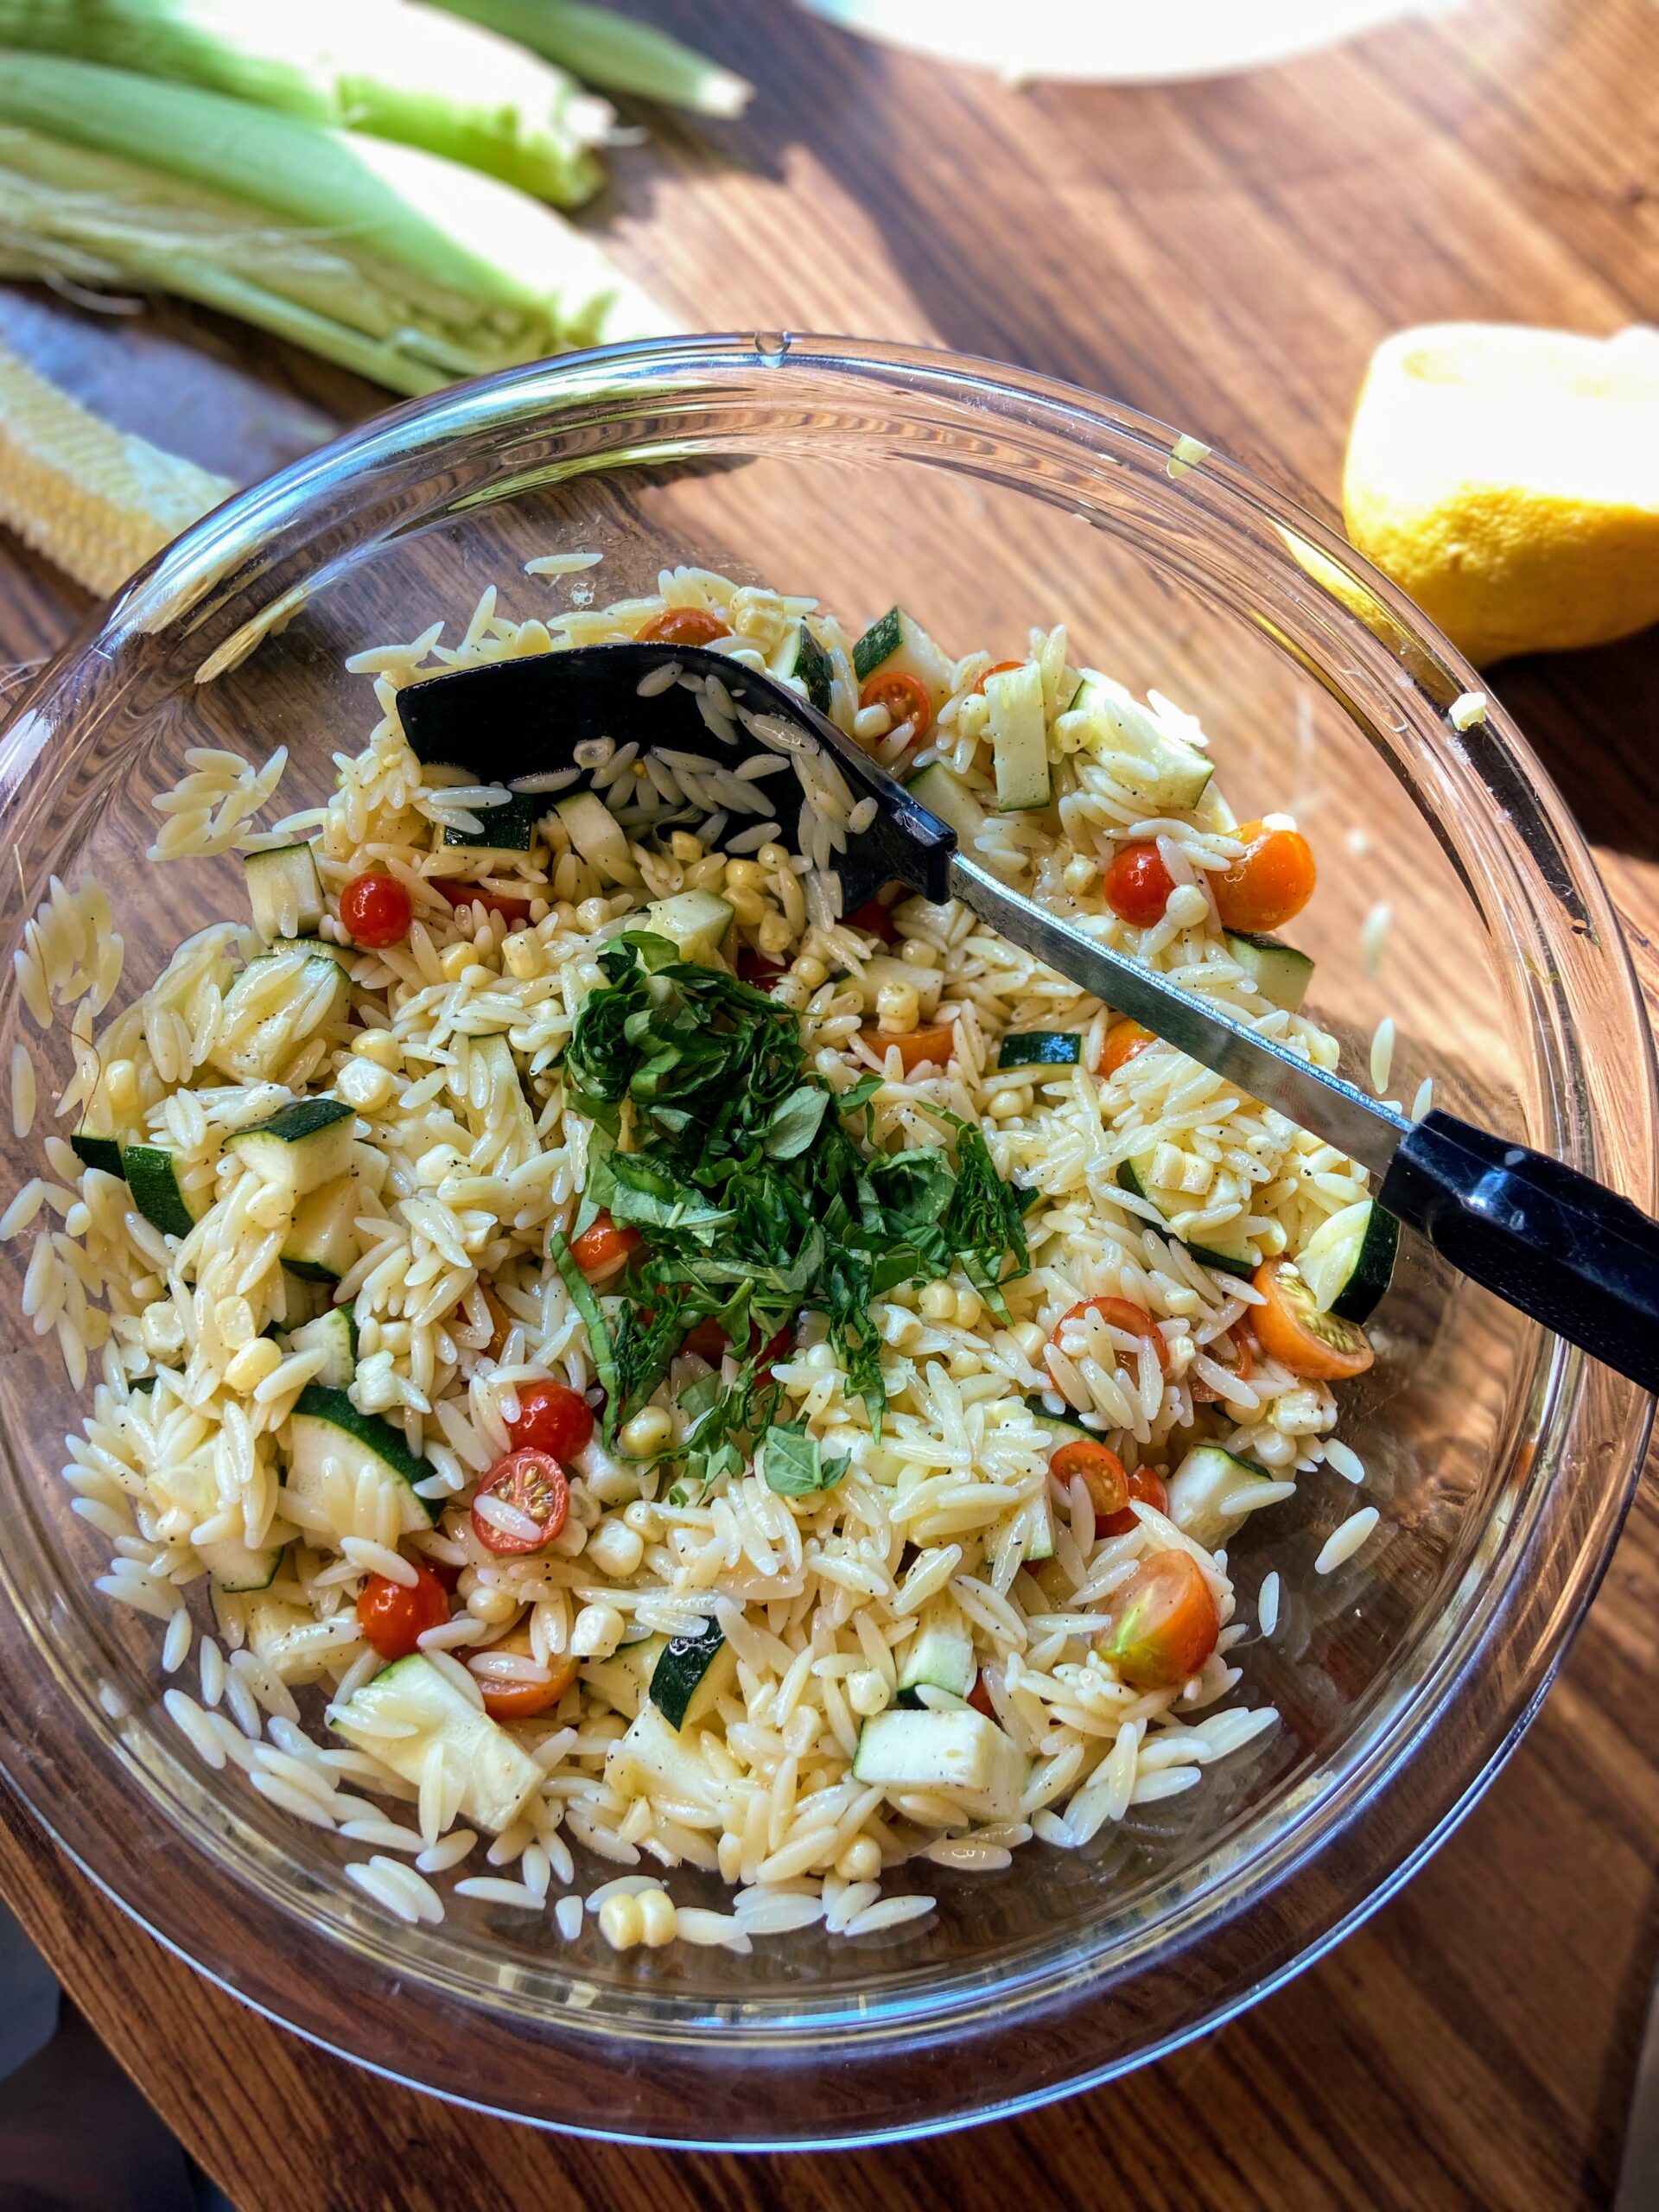
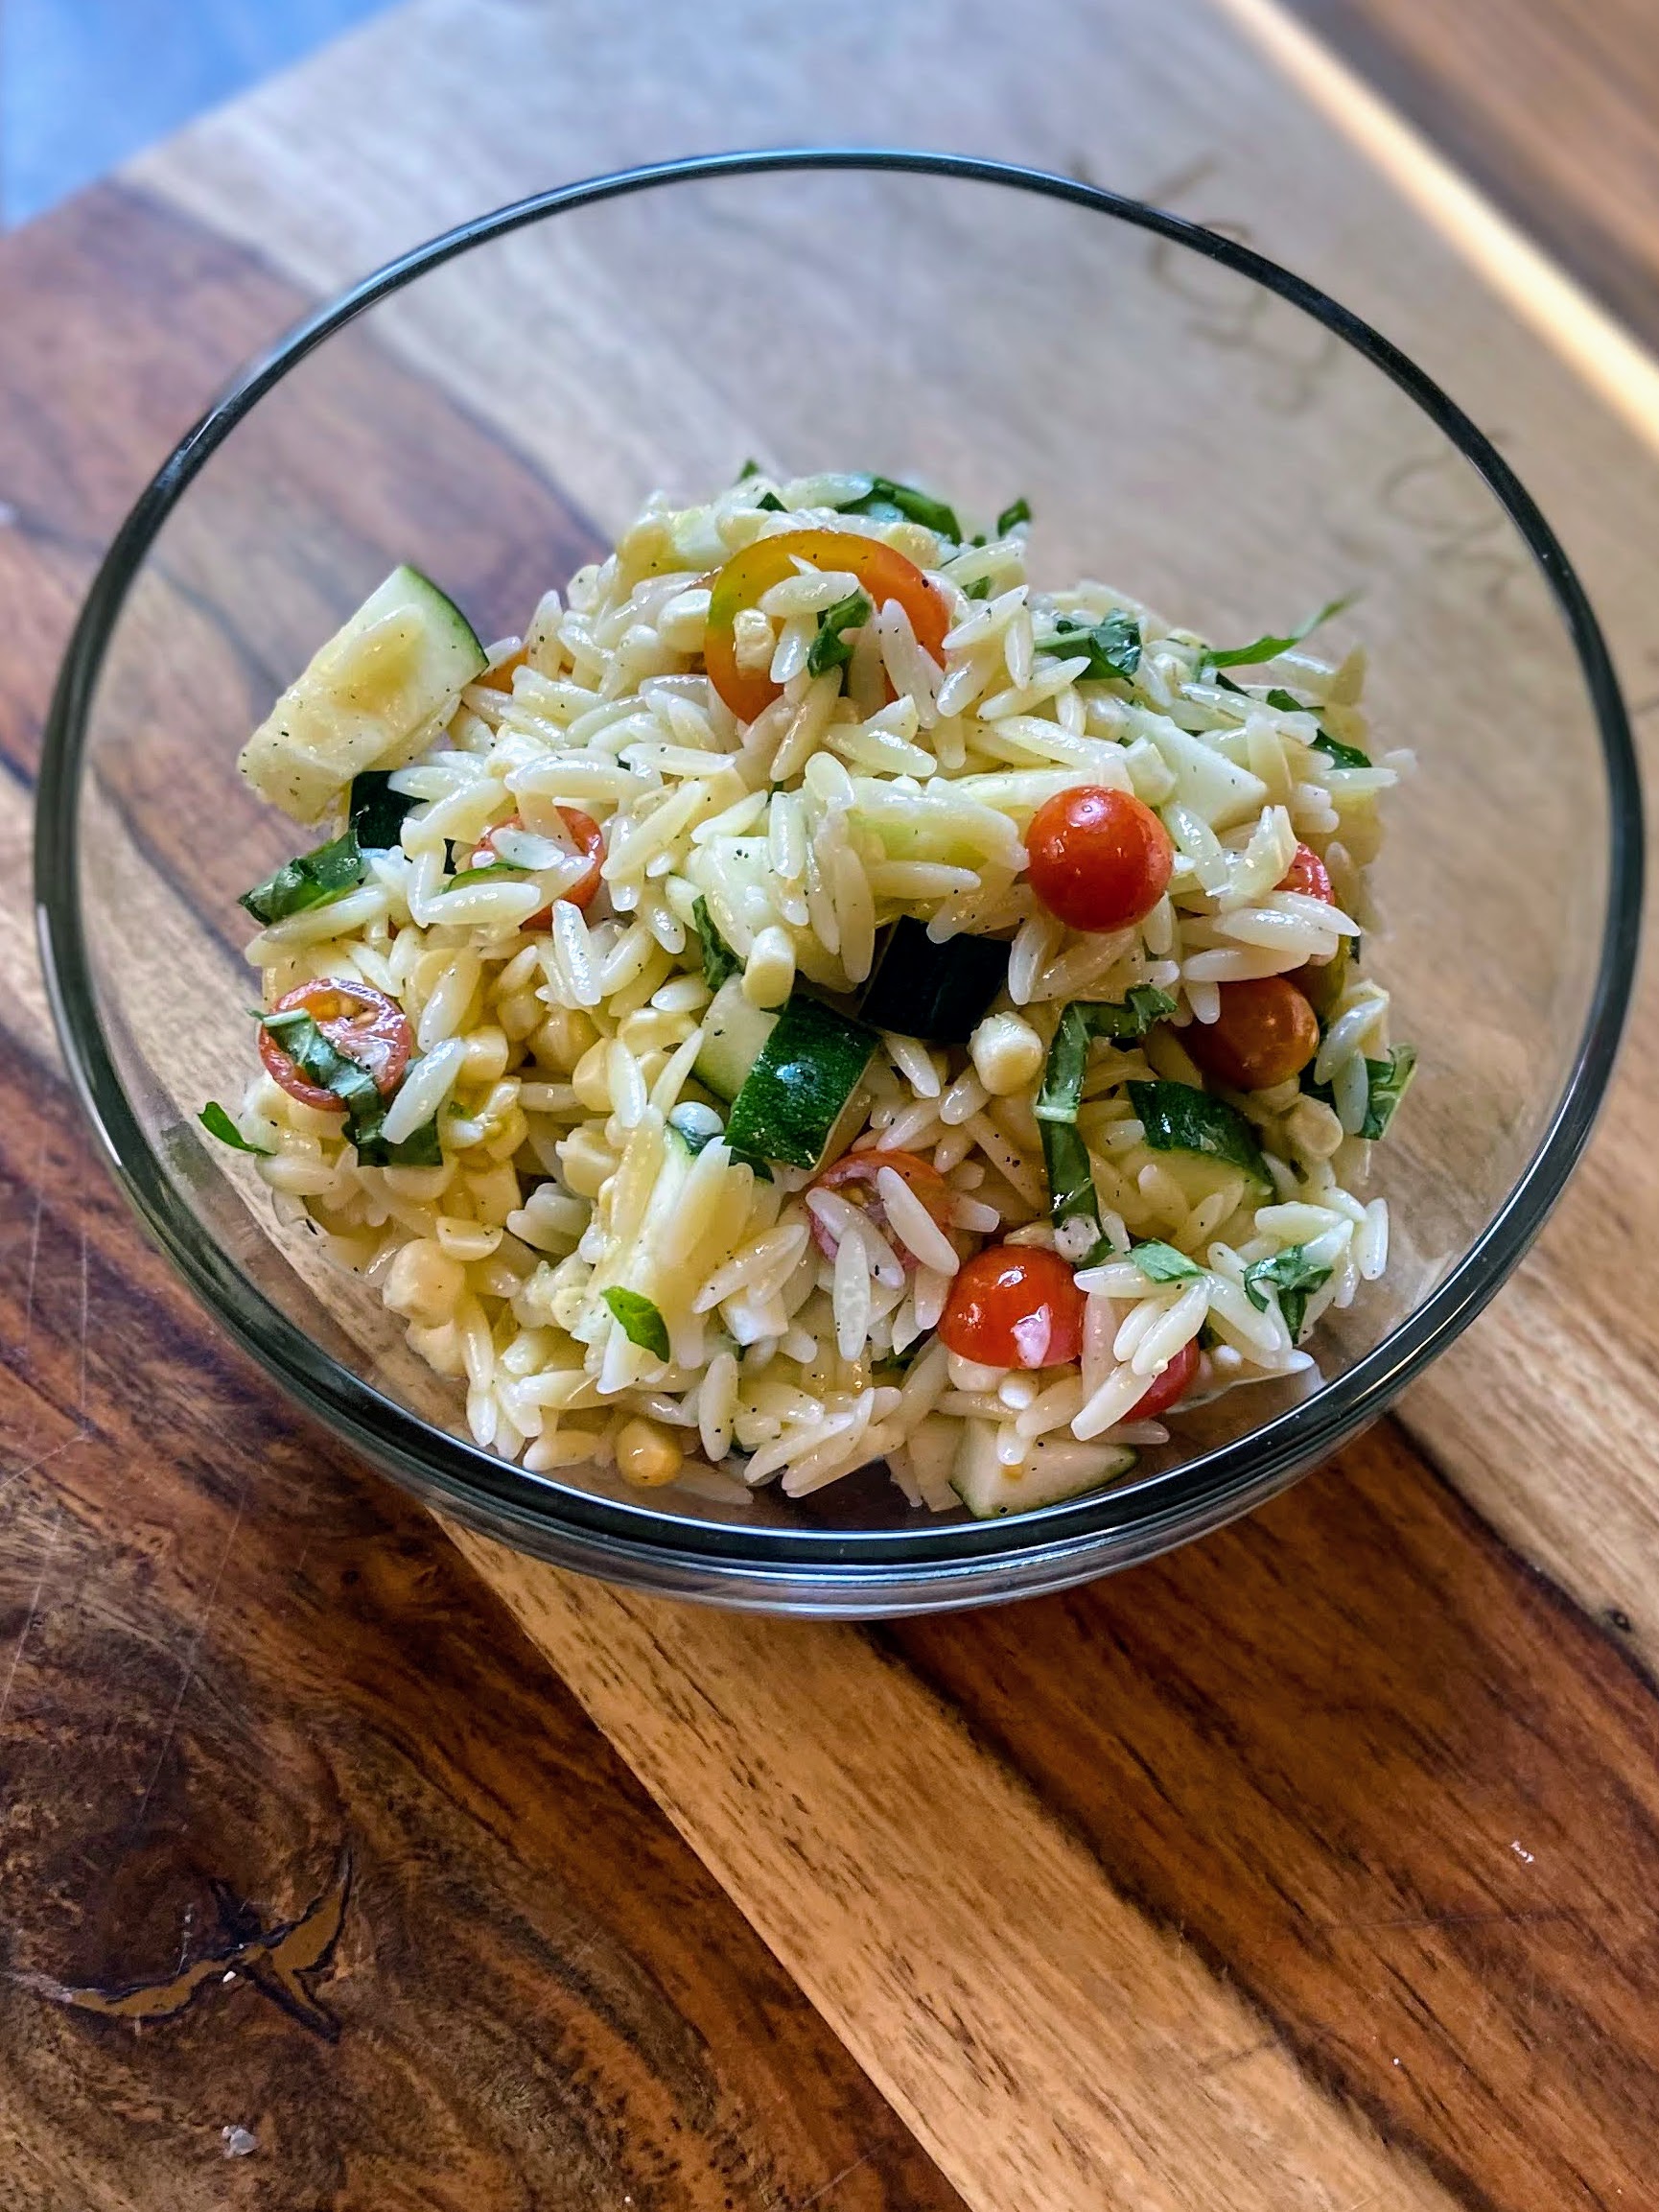
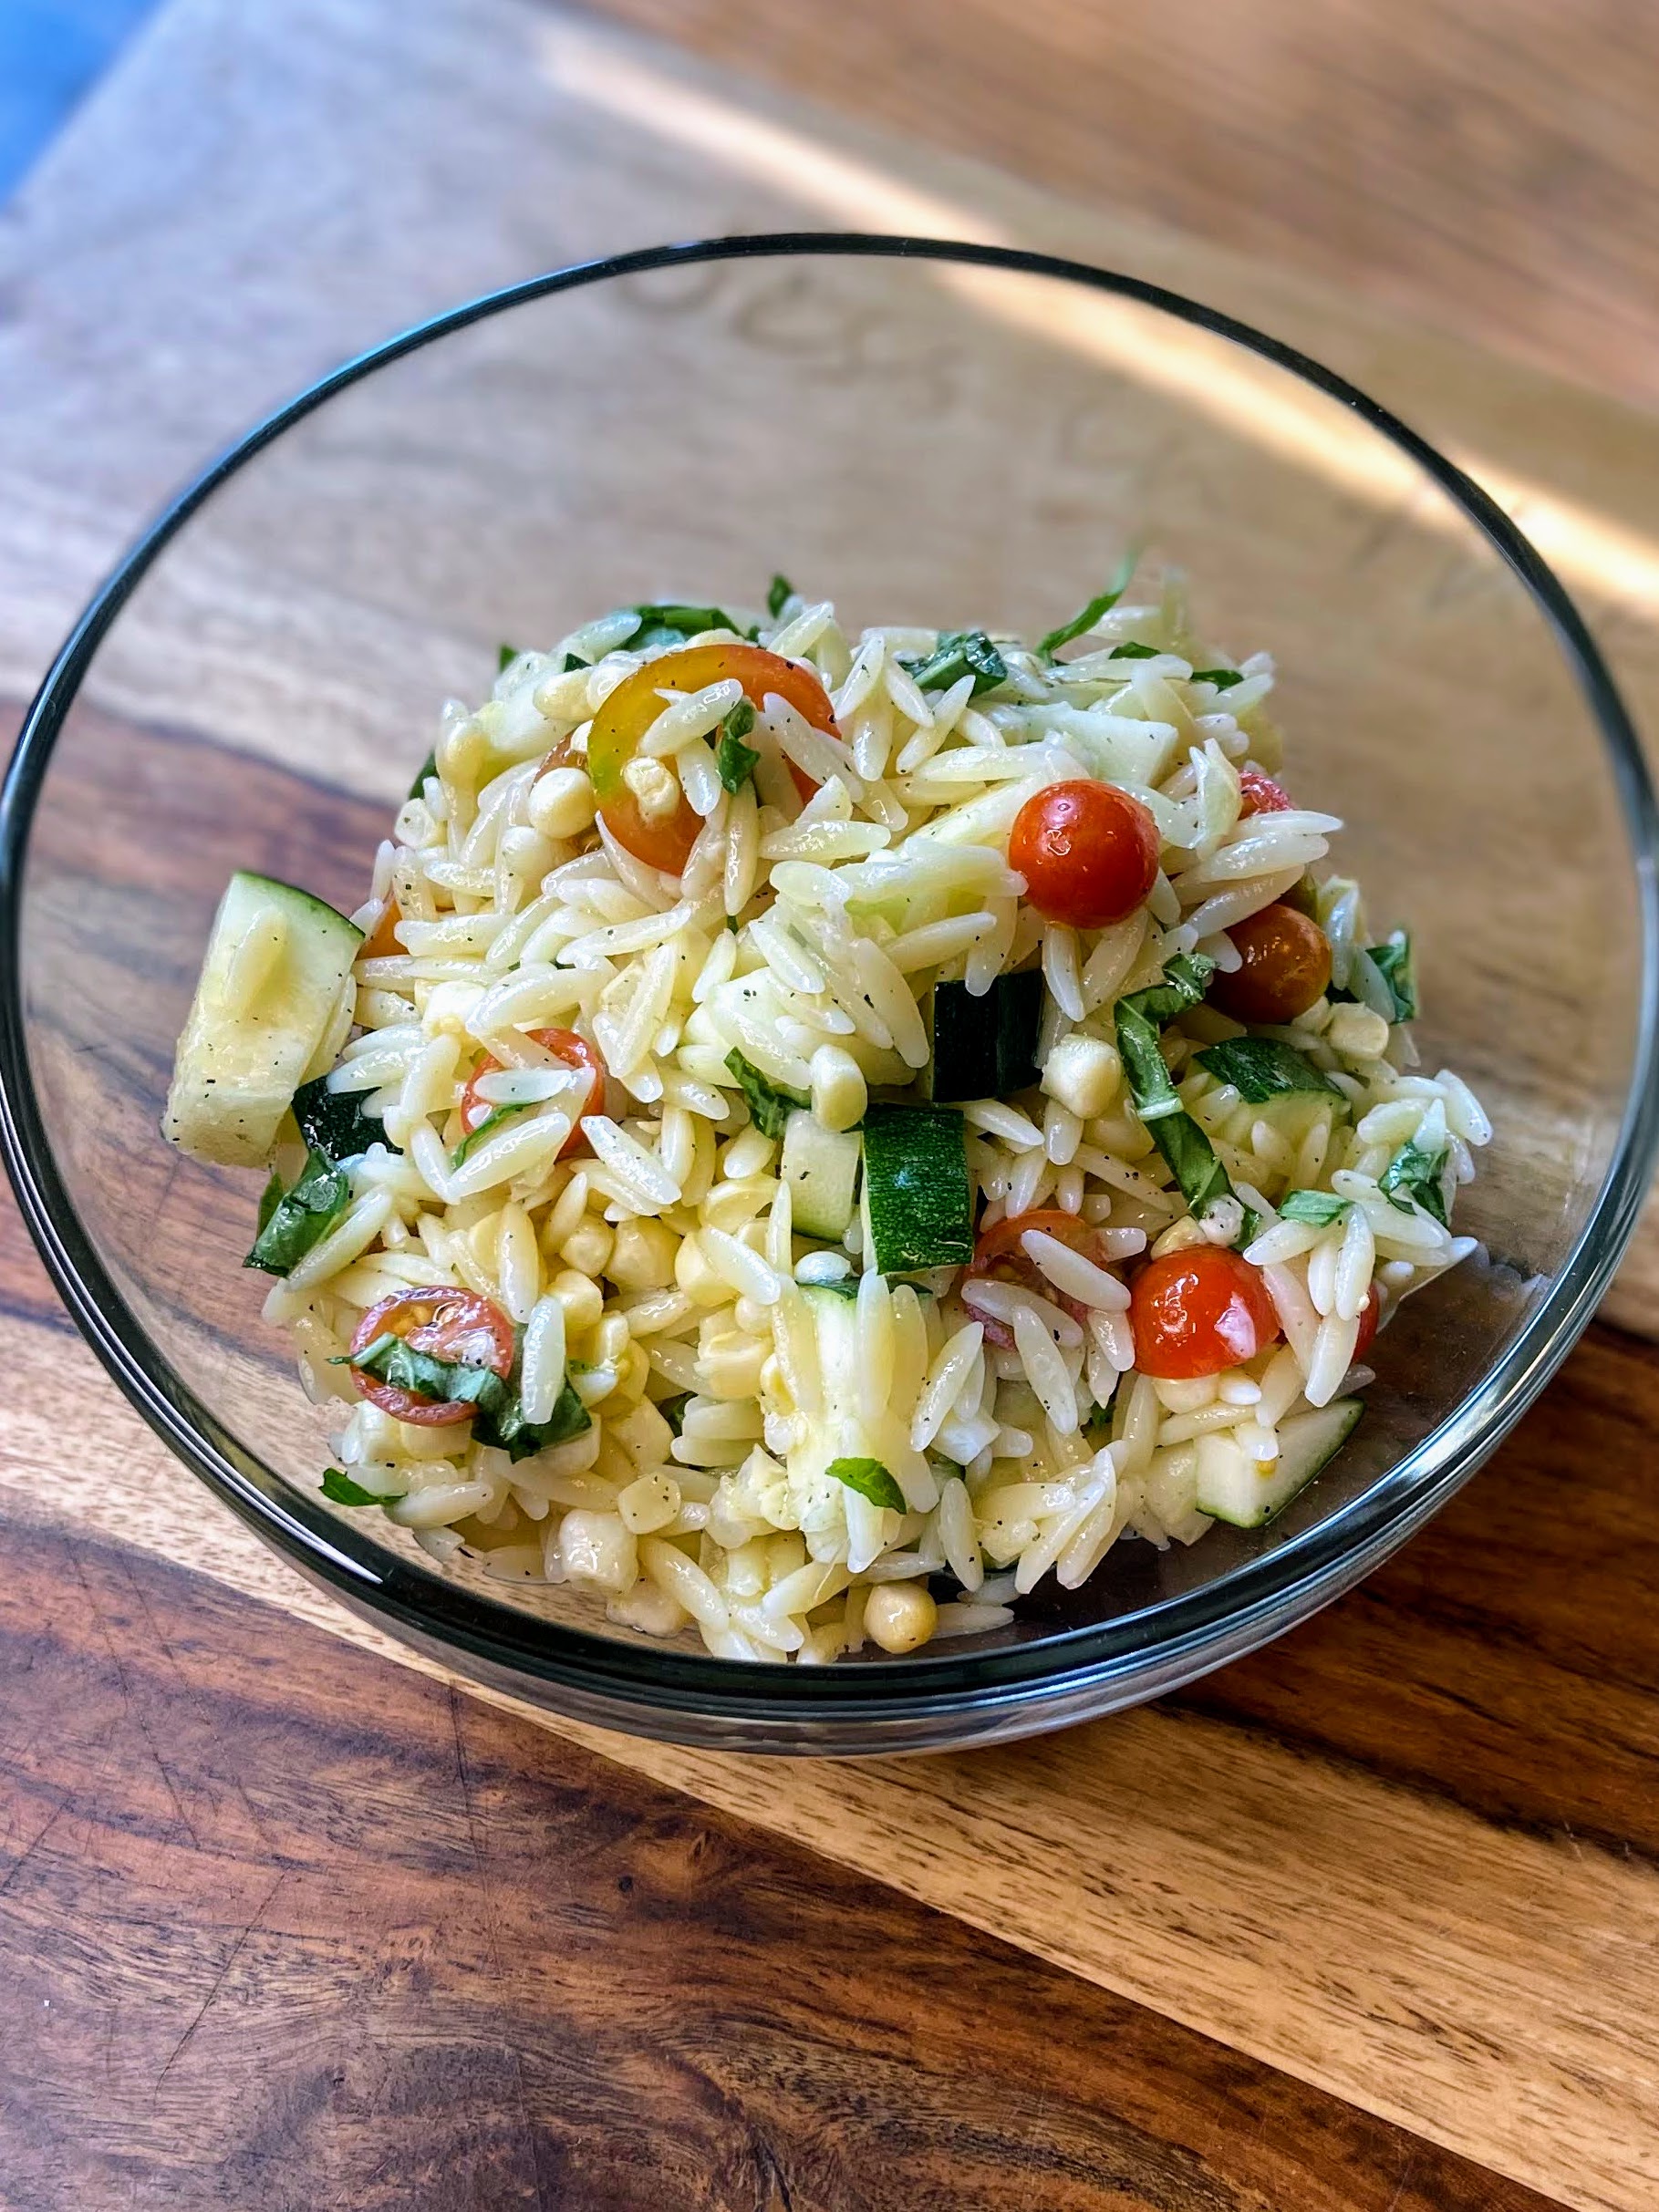
Summer Garden Orzo Salad

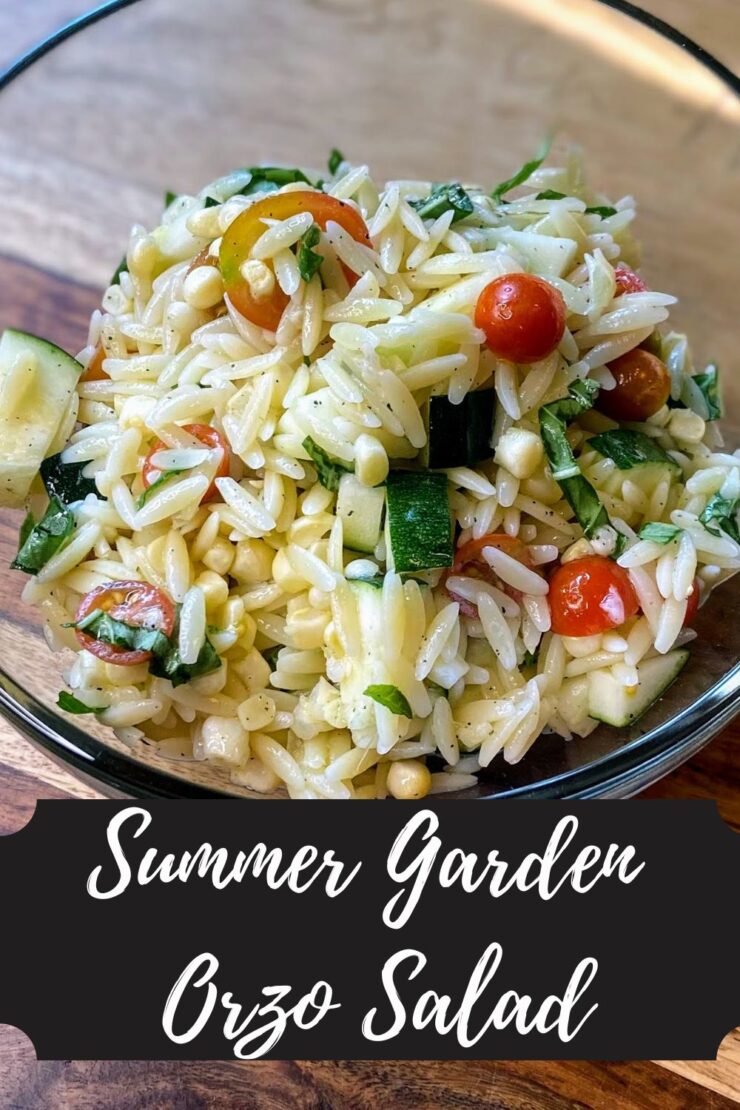
Summer Garden Orzo Salad

This time of year, my kitchen table is littered with fresh vegetables. Often, I am set on preserving them for eating in the cold winter months. It helps me remember the summer flavors. However, I also try to cook with the fresh vegetables so we can enjoy the fruits of our labor right away. This summer garden orzo salad takes just a few simple ingredients to create a beautiful and light dish for all the summer cooking. 

I especially love it because all of the vegetables present are ripening at the same time. As you harvest the zucchini, you are checking the tomatoes. The fragrance of the basil is heavy. And corn can JUST come off the stalk if you’re lucky. No garden? No problem! These are all easily found at the farmer’s market for the freshest taste! 

And as for the orzo? I have always loved it. It’s pasta, but has the feel of rice. In this recipe, a little goes a long way, so while we are only making about three servings of orzo, this side will create about 5-6 servings. 

Ready to get cooking? Let’s go! 

Your Ingredients for Summer Garden Orzo Salad 

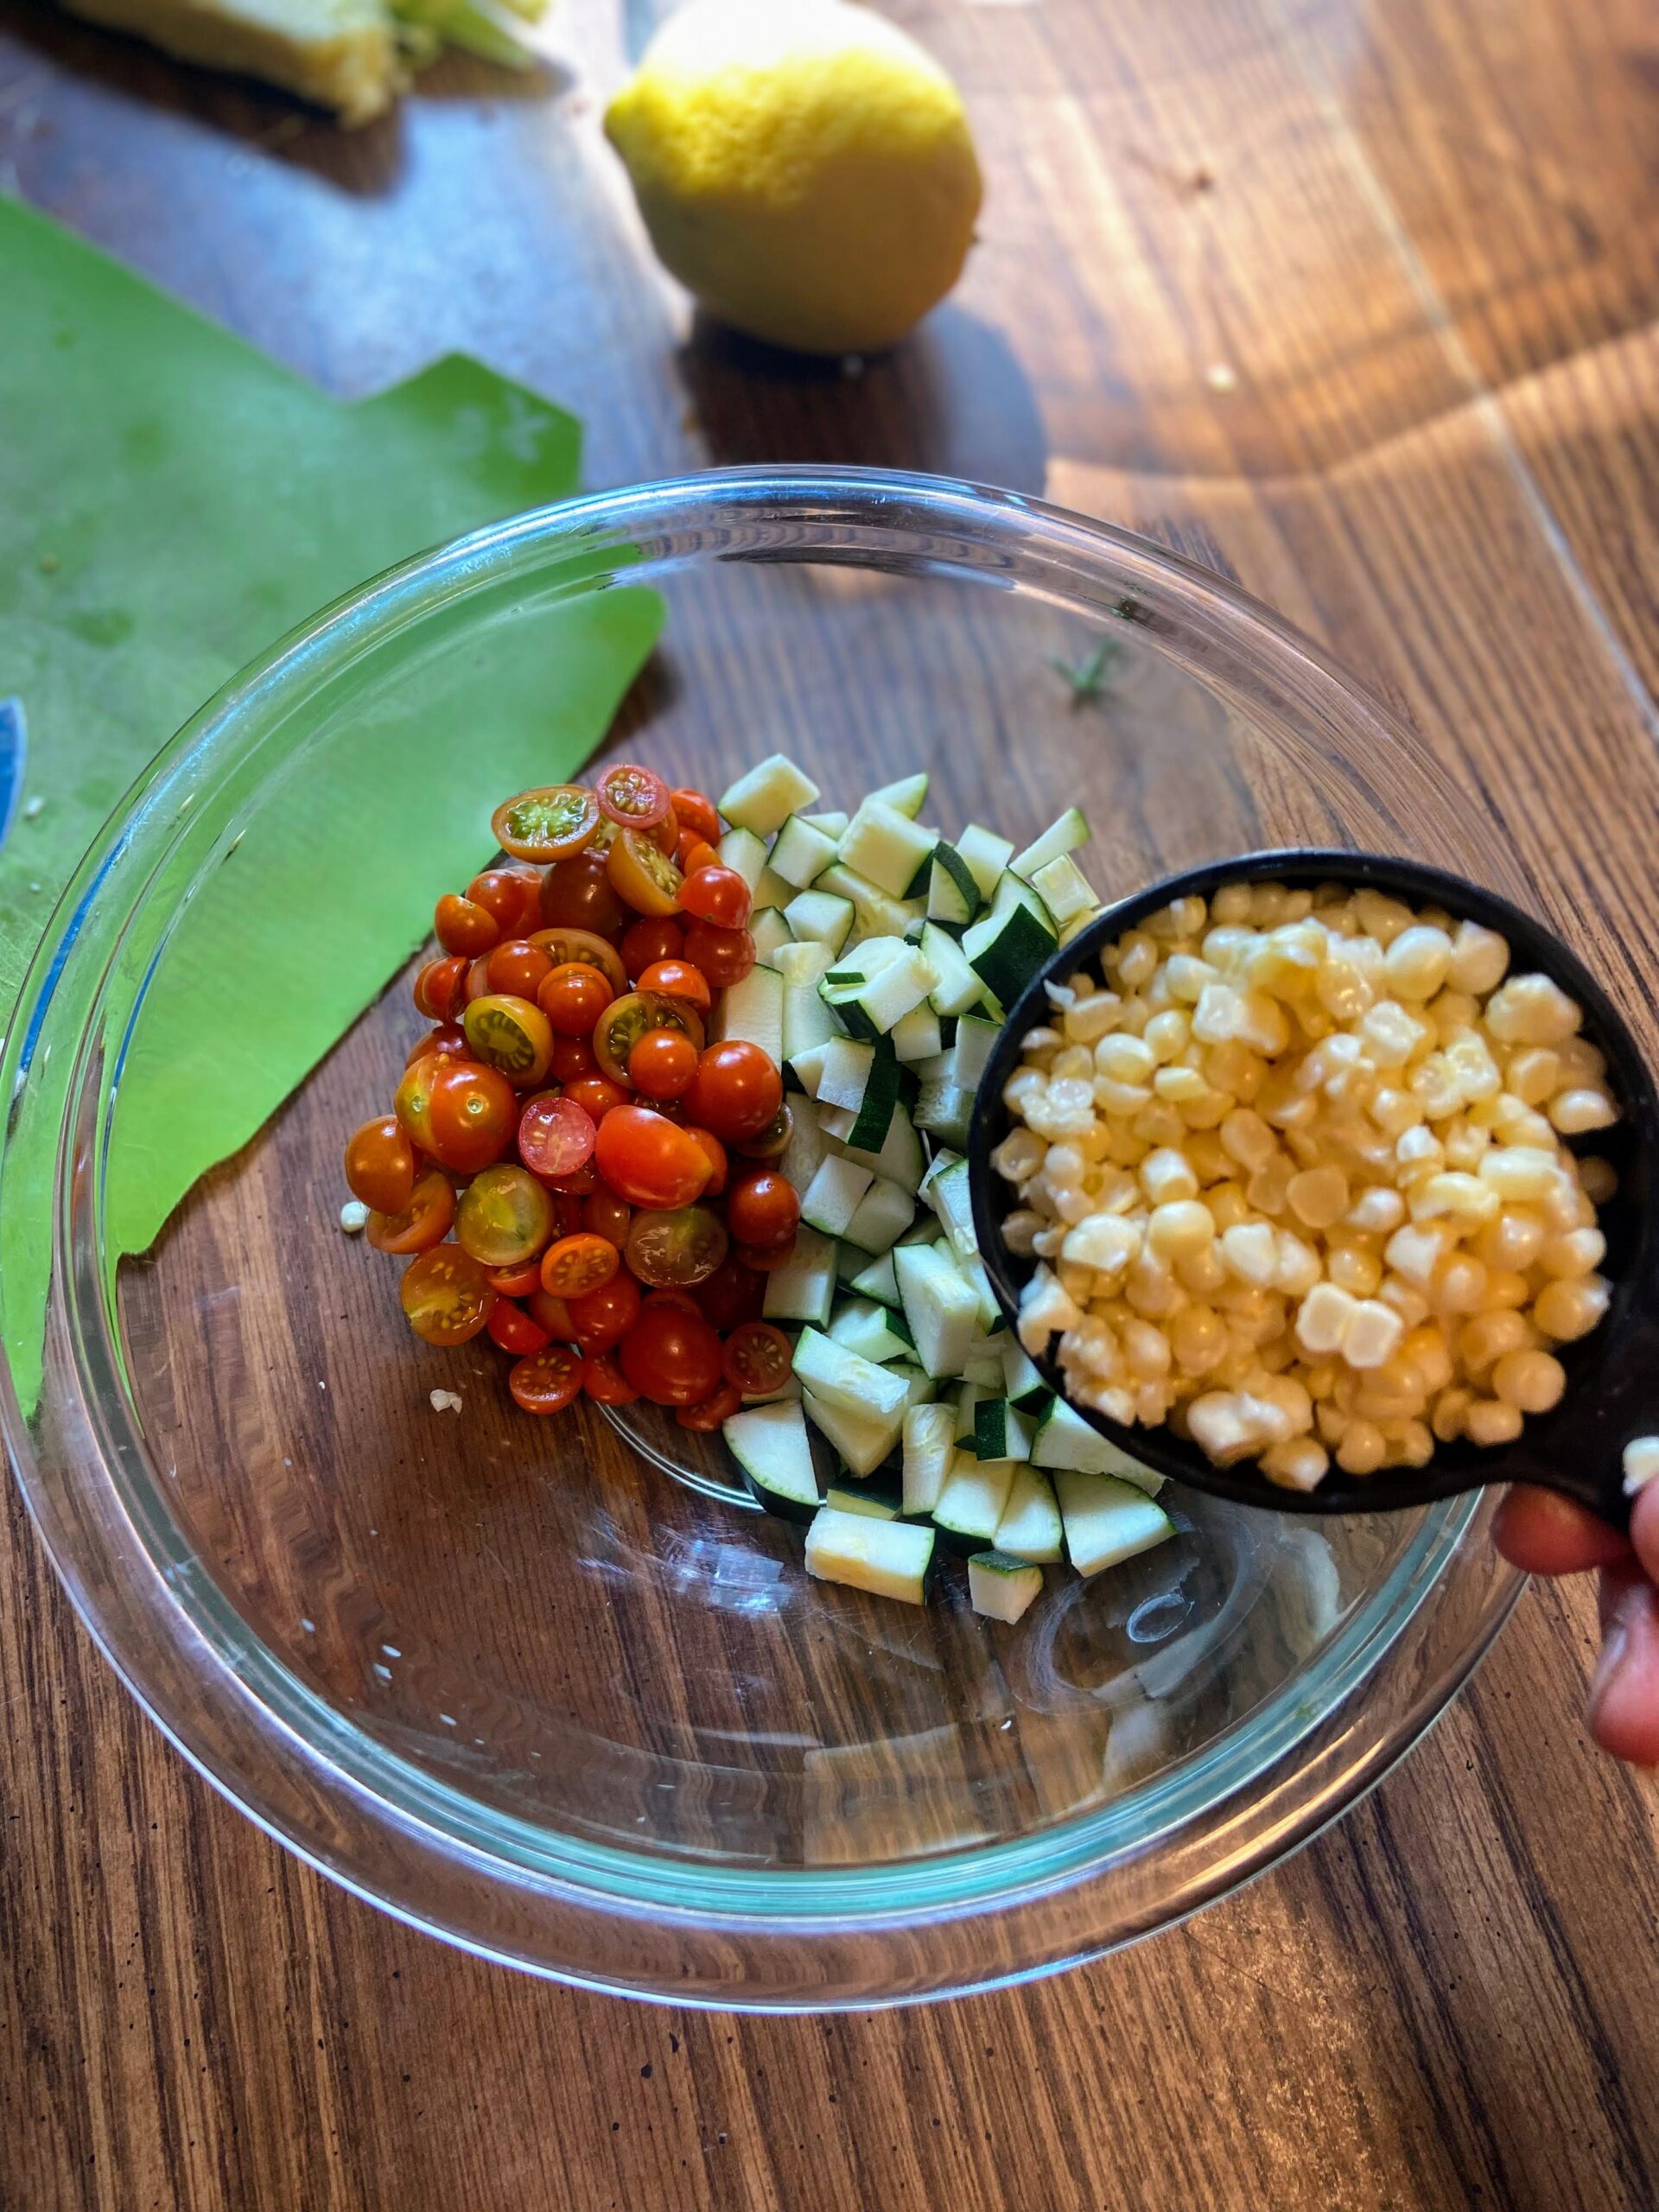
  • 1 small zucchini, diced (about 2 cups) 
  • 1 cup halved cherry tomatoes 
  • 1 cup fresh corn, cut off the cob
  • 1 cup dried orzo 
  • ¼ cup fresh basil, very lightly packed 
  • 3 tablespoons olive oil 
  • 3 tablespoons white wine vinegar
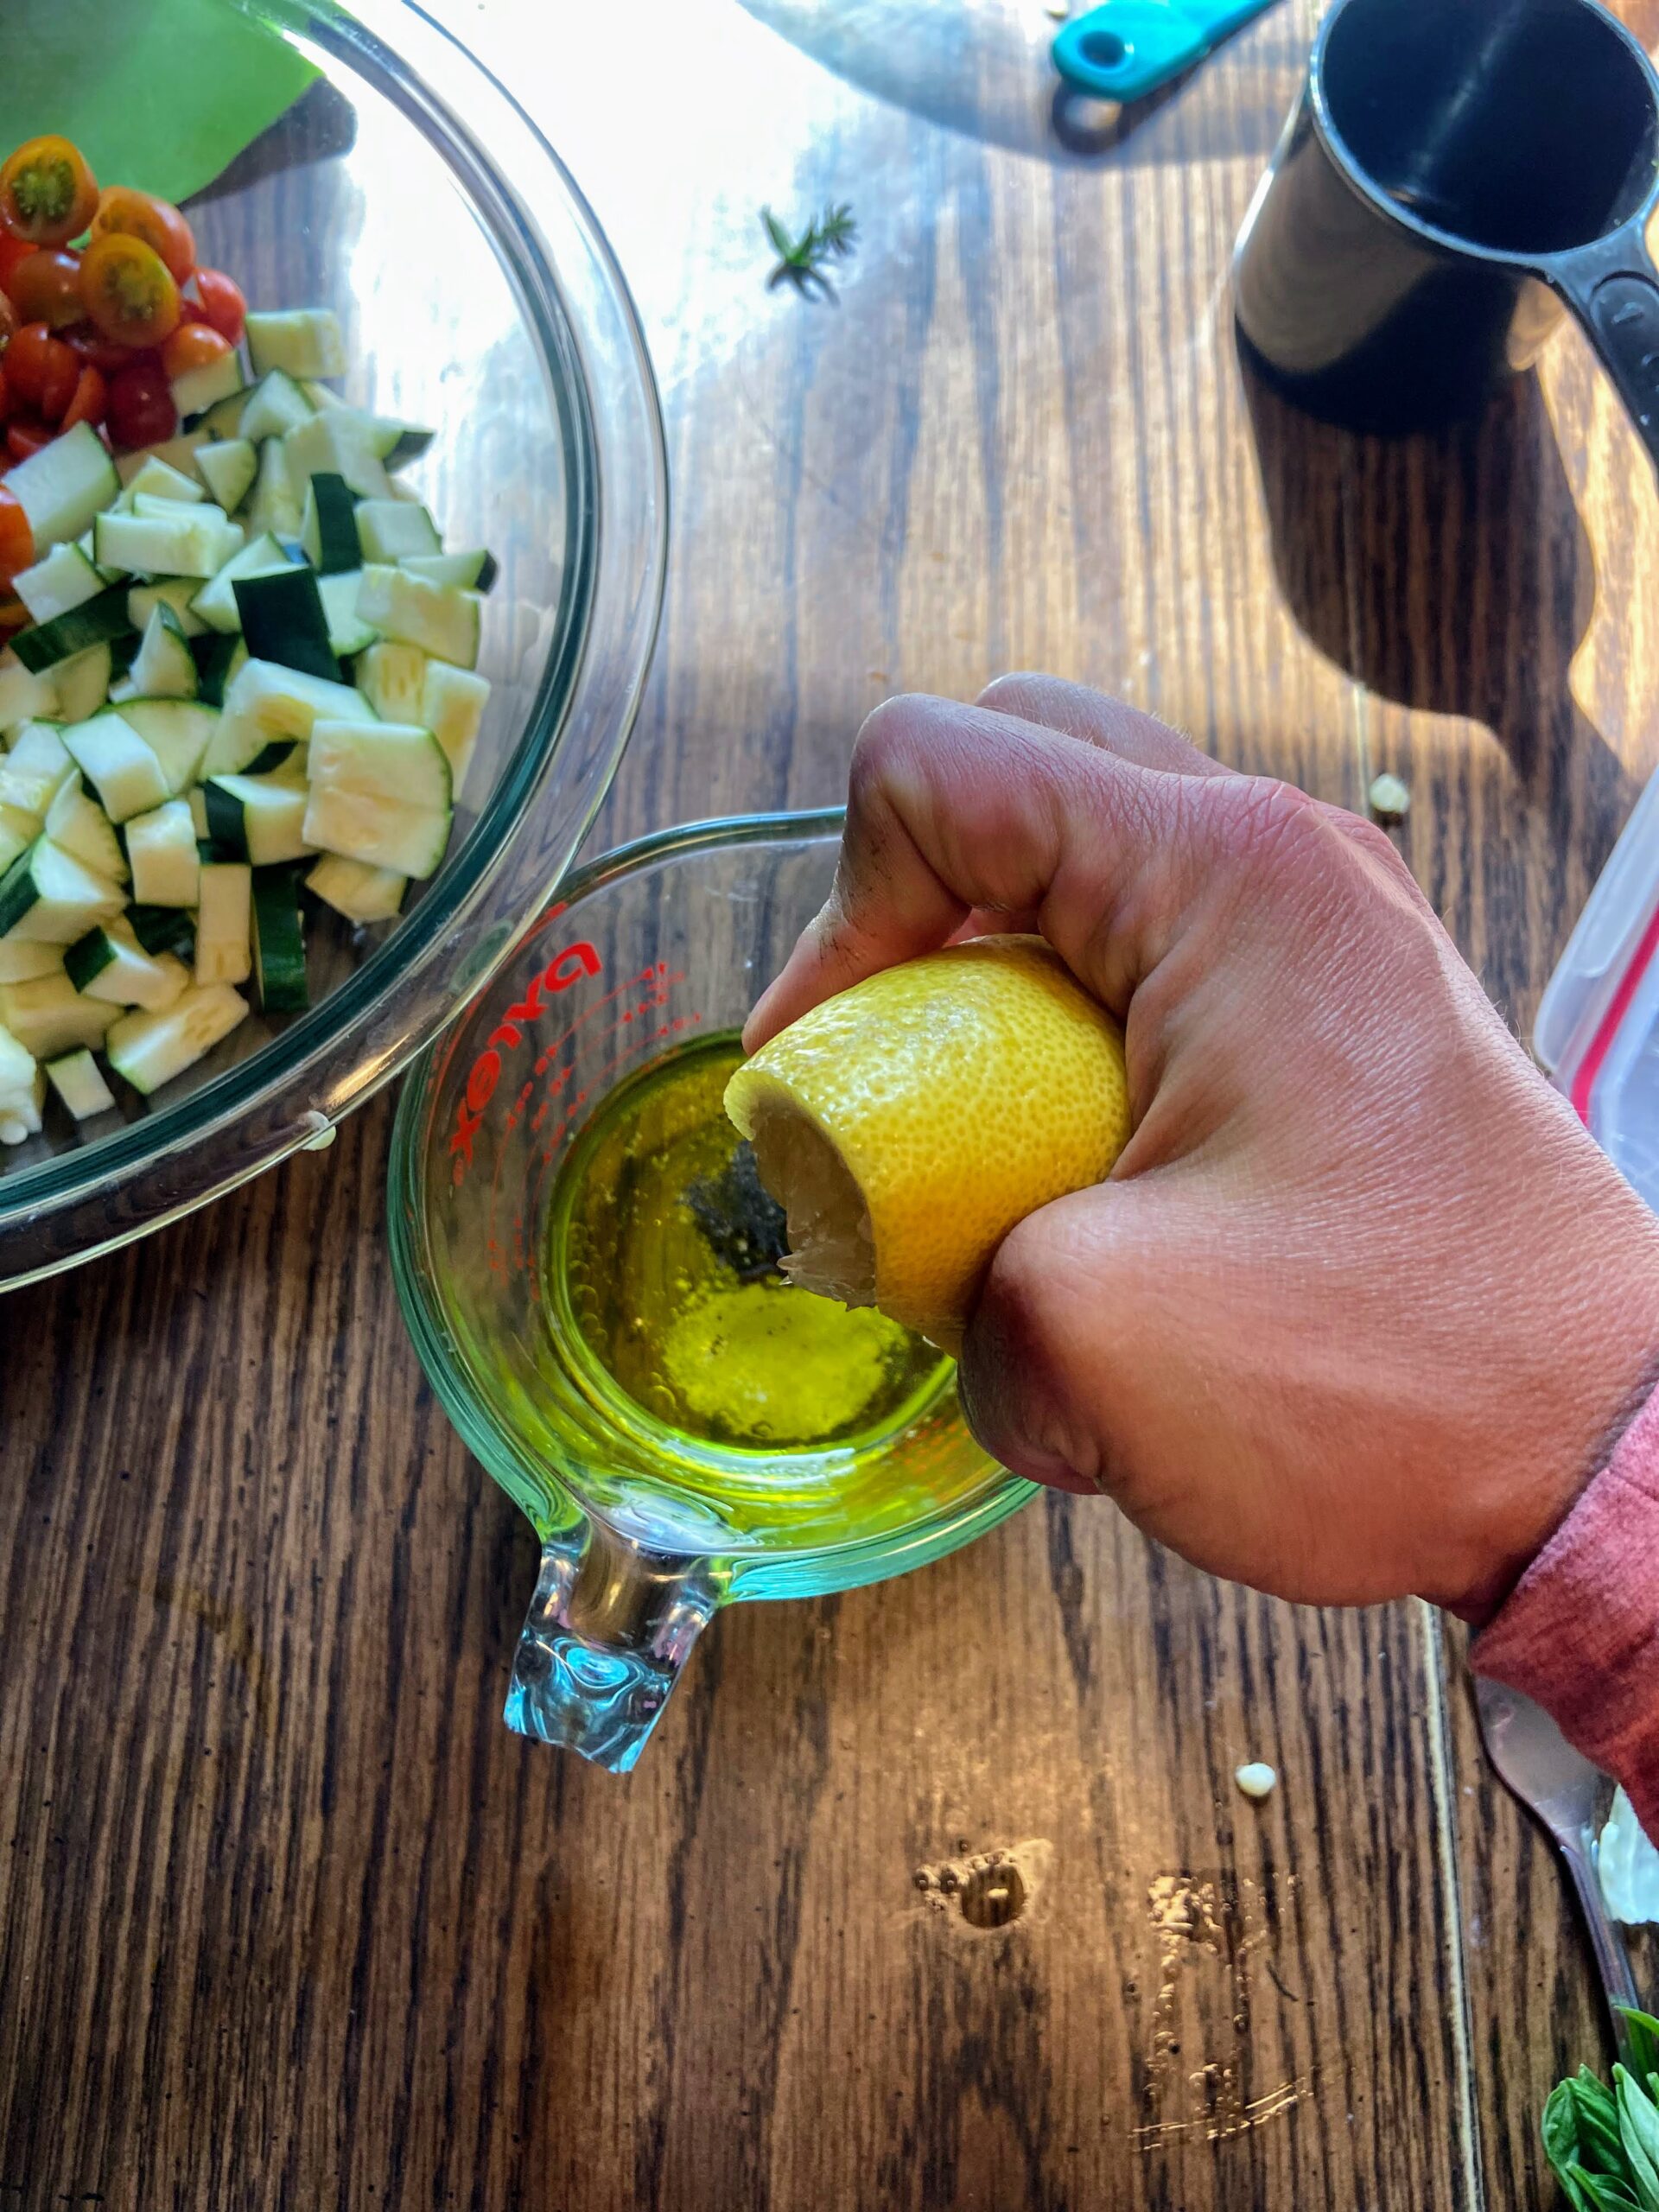
  • Juice from half of a lemon 
  • ½ teaspoon pepper
  • ½ teaspoon salt 

Your Steps 

Begin by cooking the orzo to al dente according to the package directions. While the orzo is cooking, dice zucchini and cherry tomatoes. Cut the corn from the cob. Set aside. 

Meanwhile, combine olive oil, vinegar, lemon juice, pepper, and salt in a liquid measuring cup. Whisk together. 

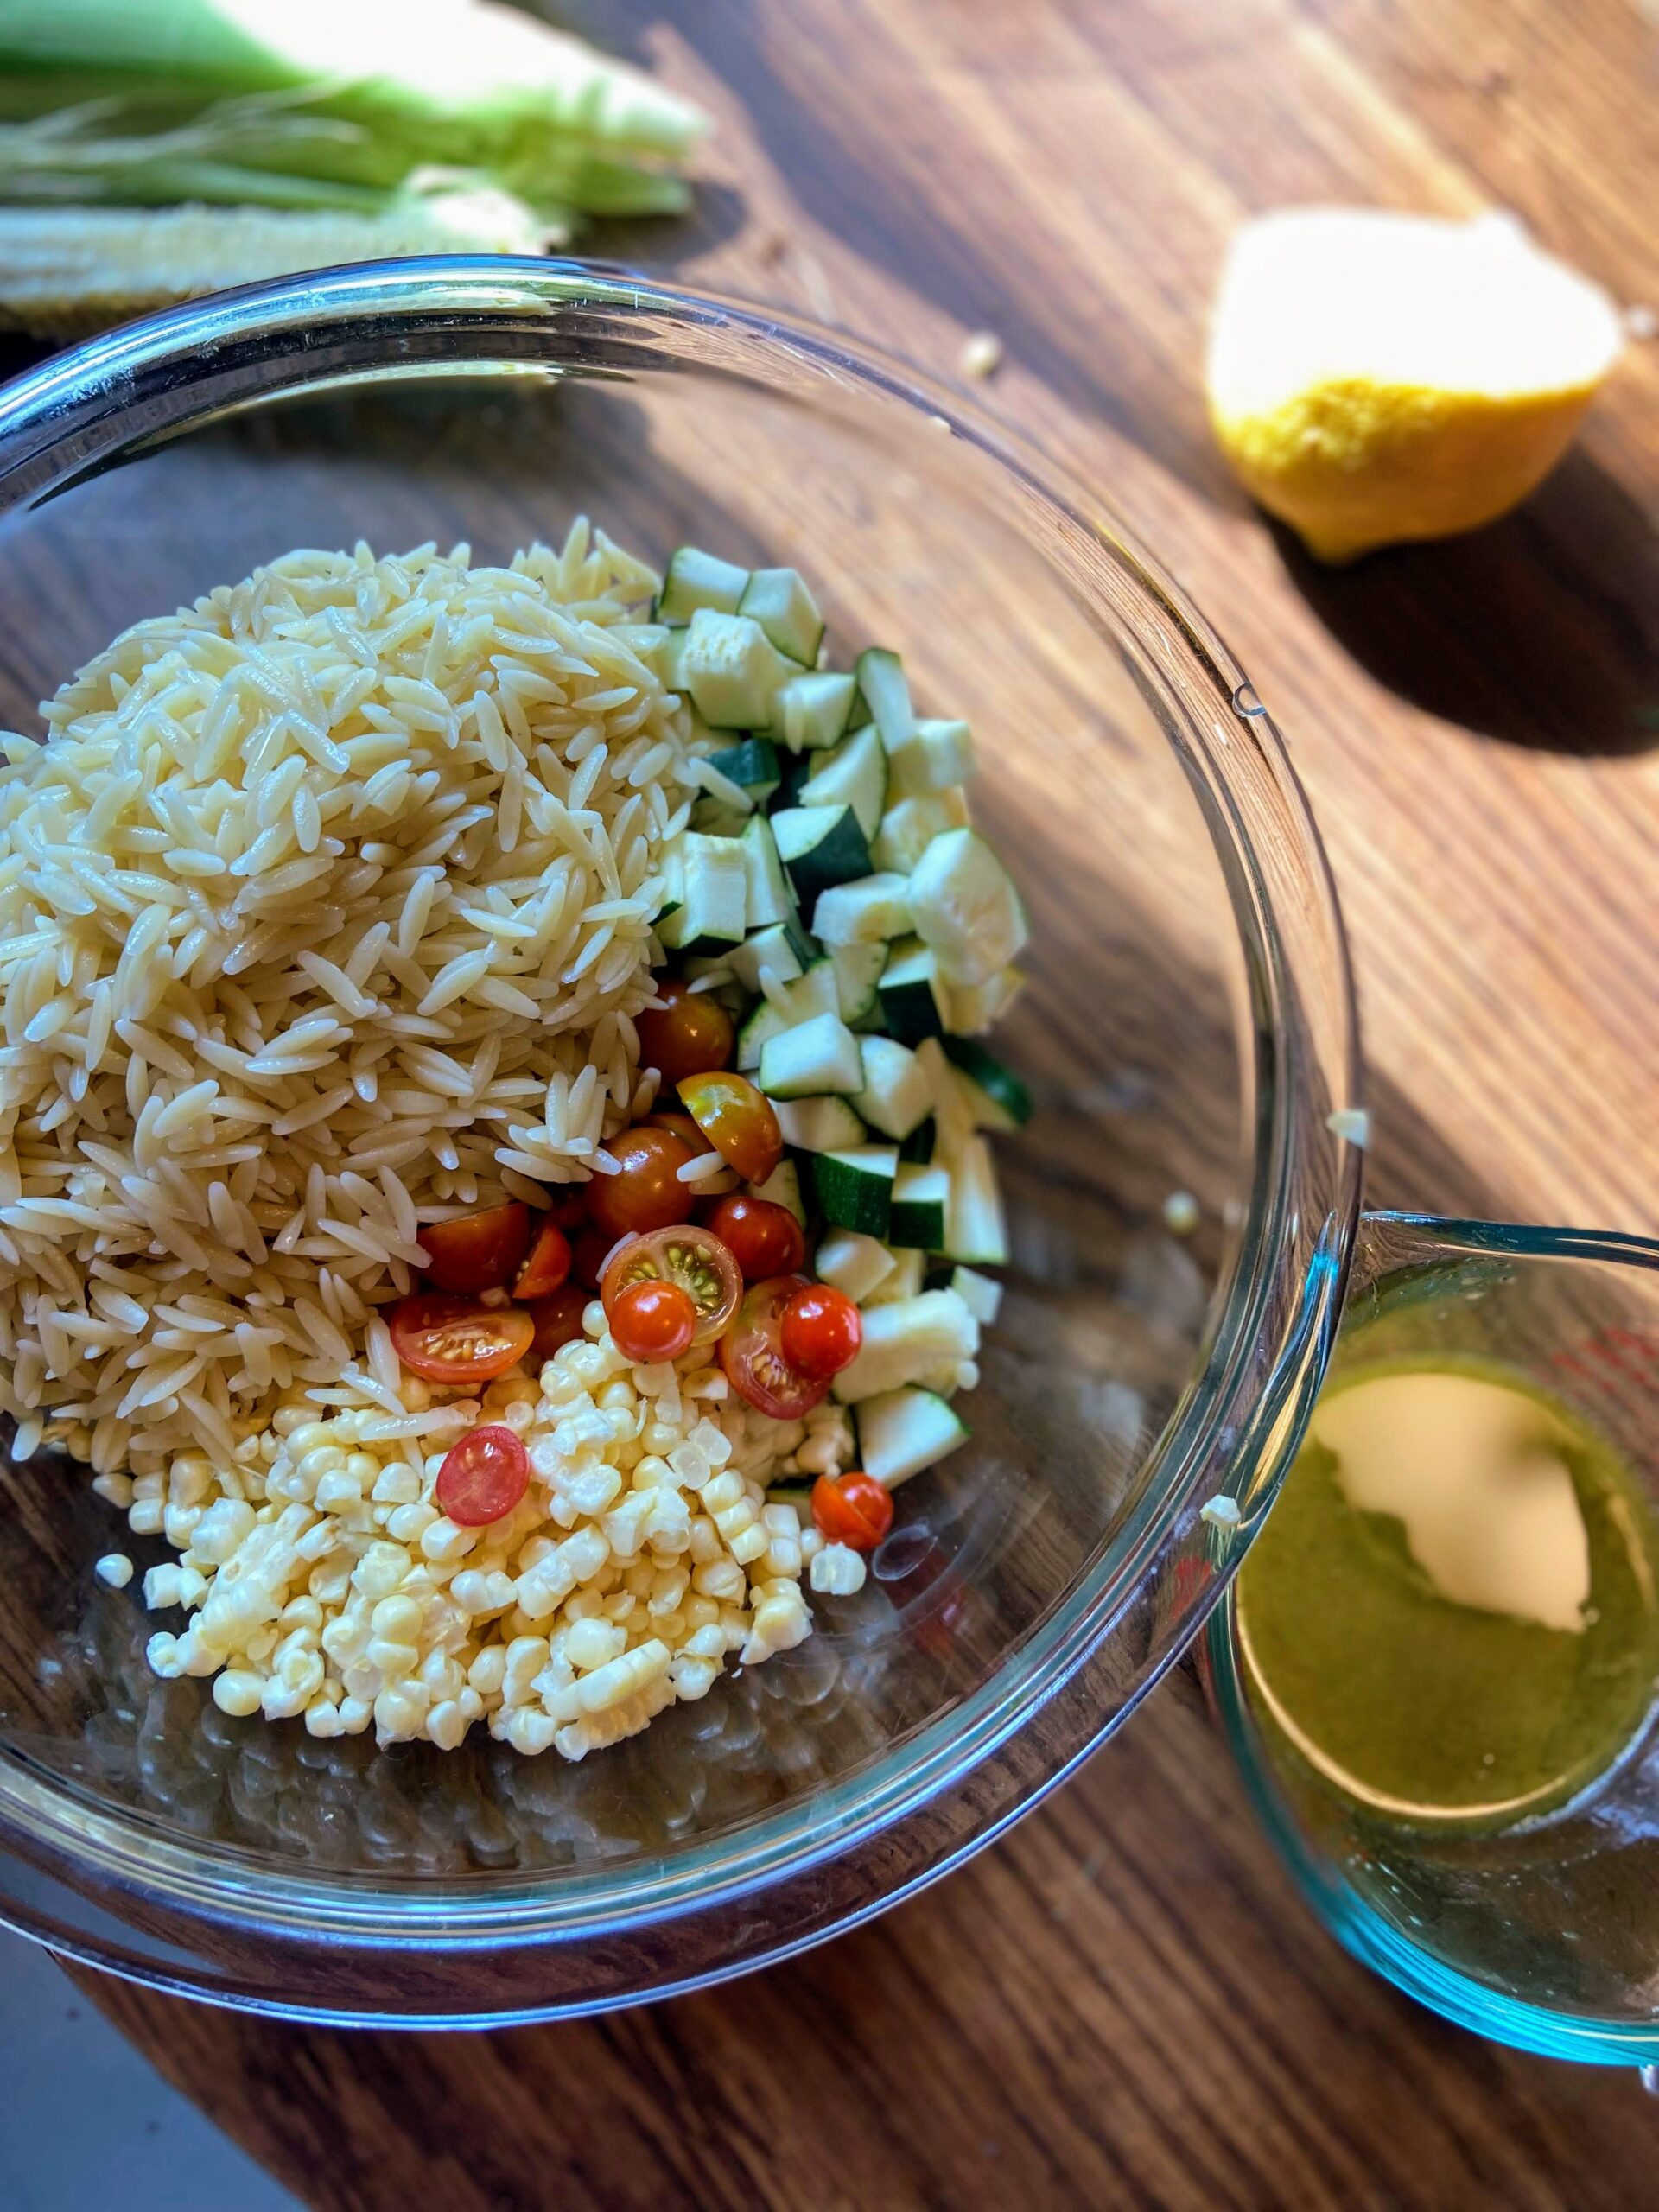
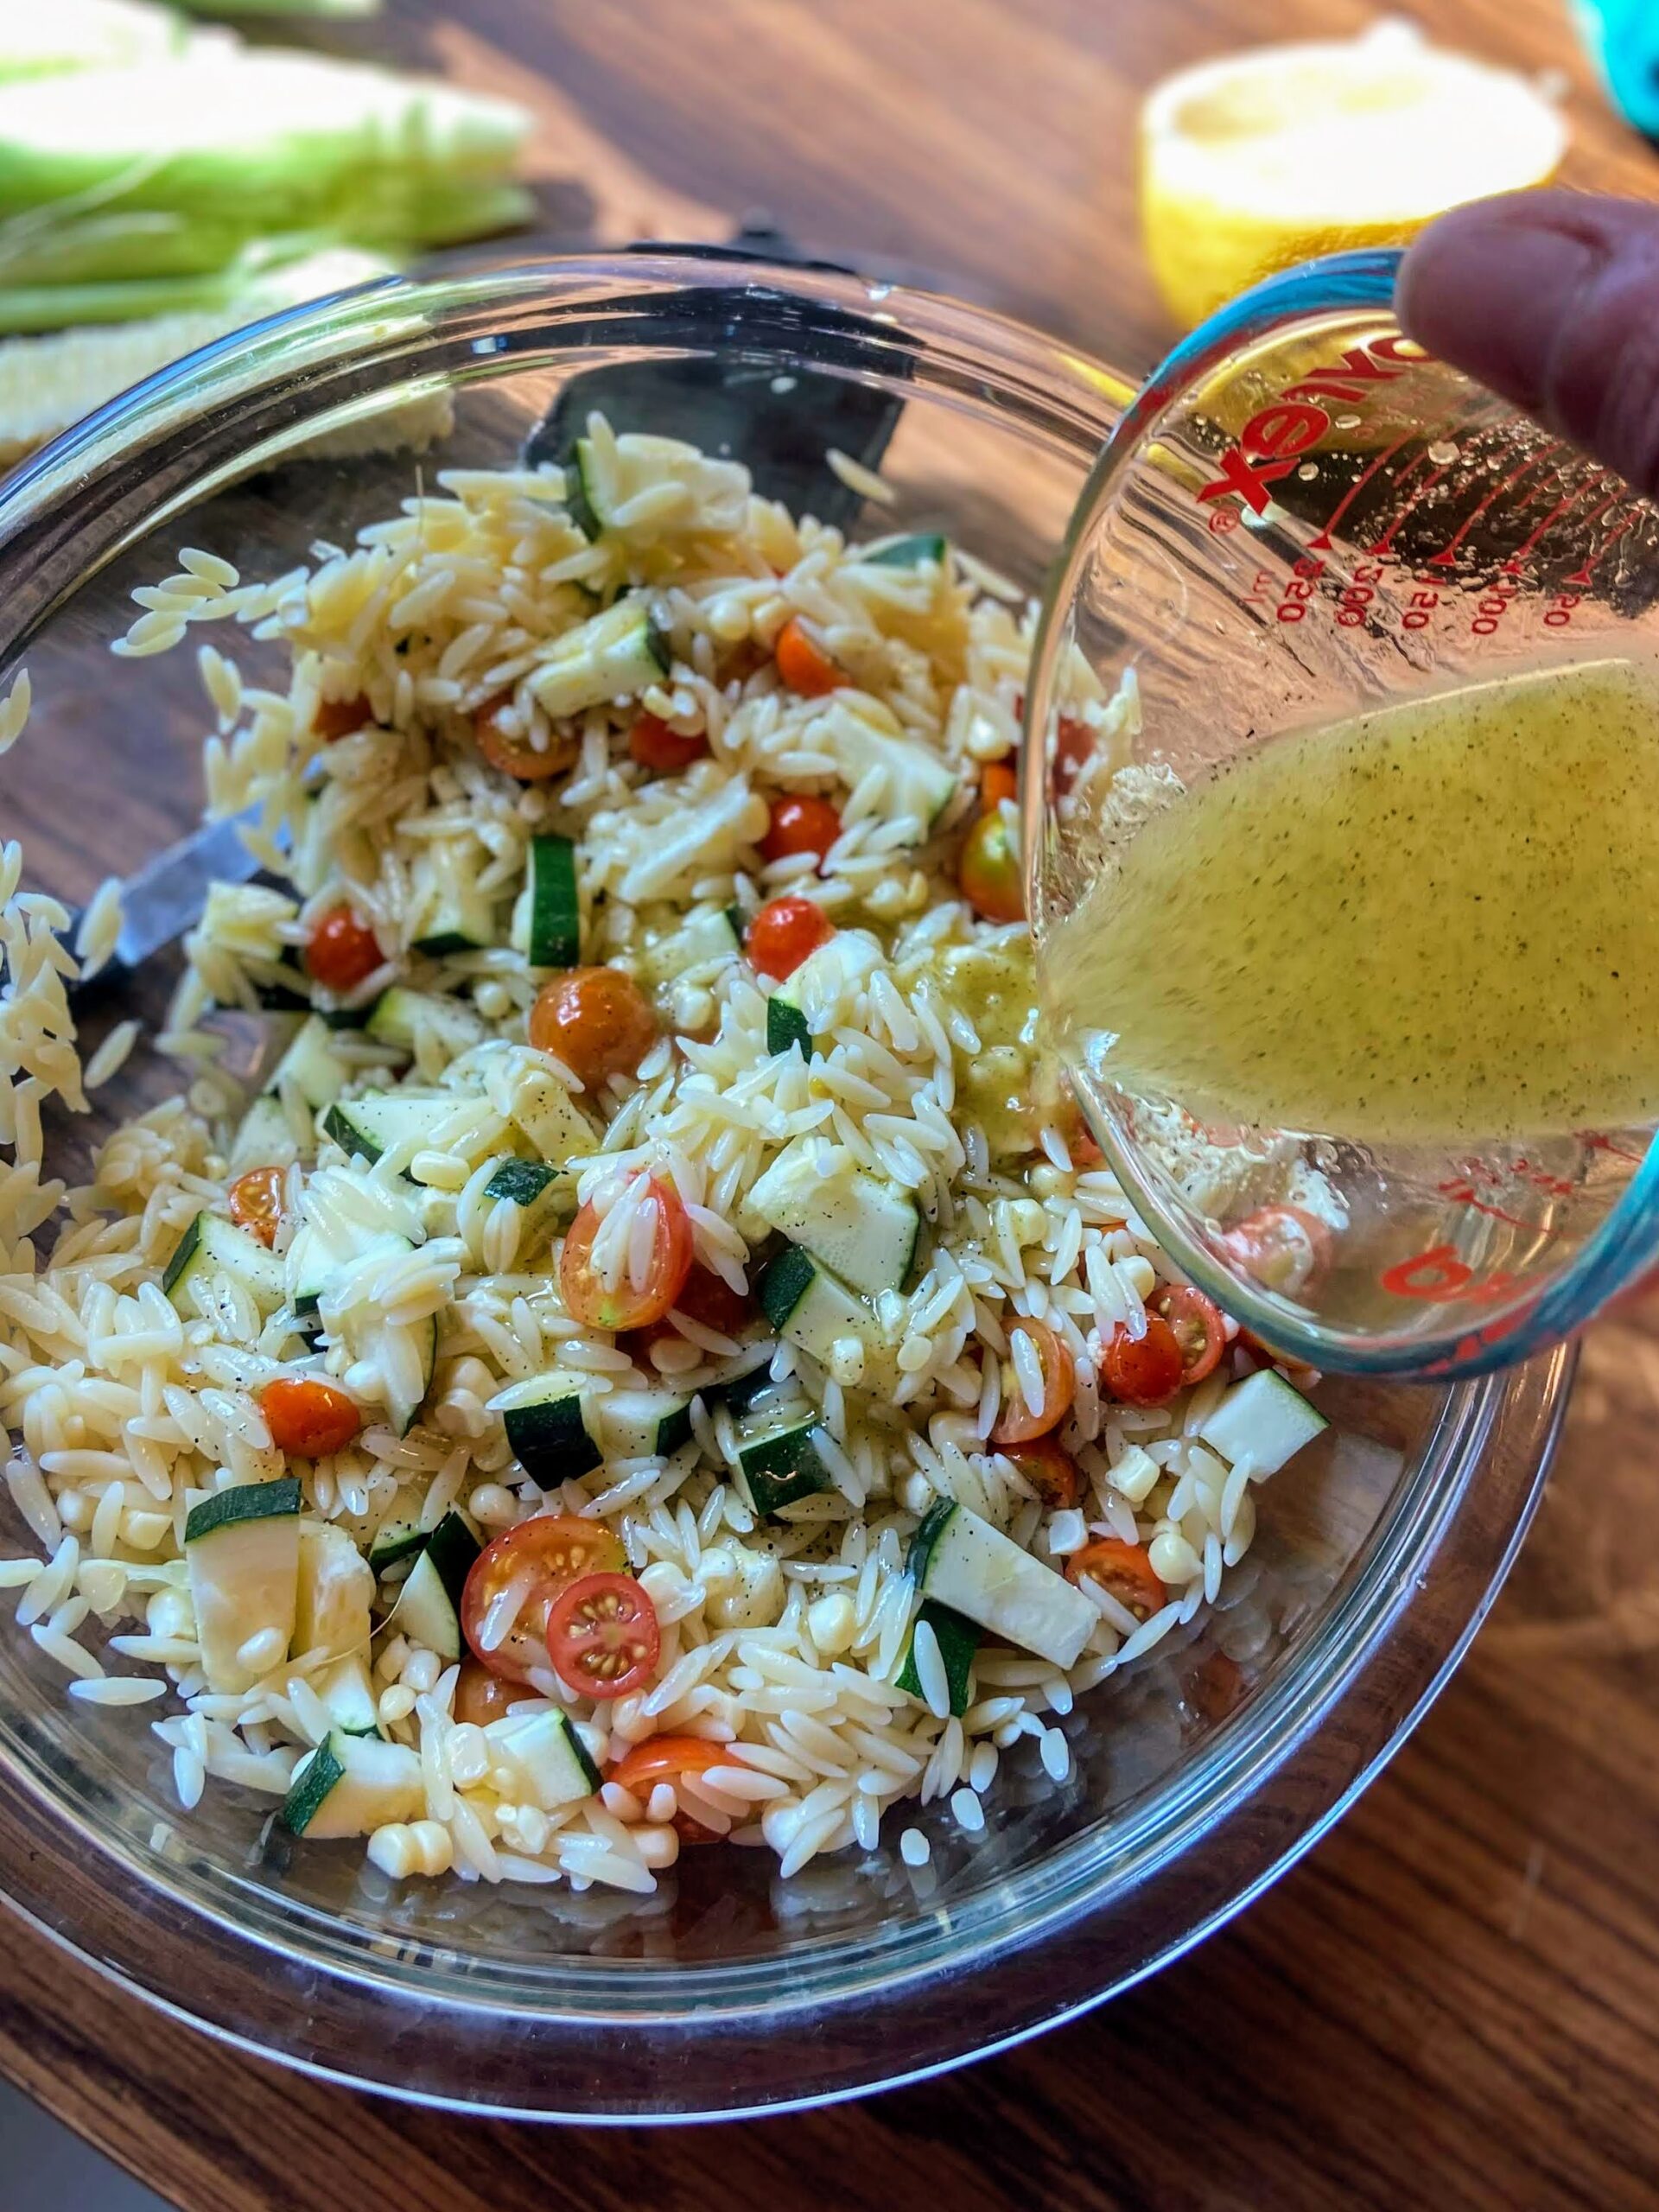
Drain the orzo and rinse with cool water. Combine the orzo and vegetables in a large boil. Whisk the dressing once more and then pour over the salad mixture. Stir to combine. Chiffon the basil into the bowl and stir once more. For the best flavor, allow the salad to chill for 2-3 hours, but I am awful at that. I always just have to dive in! 

Tools of the trade!

I have a few tools I use daily in my kitchen, without fail. I adore my flexible cutting boards (Seriously, if you don’t have them yet, invest. You’ll thank me!) I also really dig my Pyrex bowls that come with covers. They go from mixing to table to the fridge without another messy dish. Finally, whenever I am making salads that require dressing, I love my 1 cup liquid measuring cup. Everything gets measured right into there for pouring ease!

Summer Garden Orzo Salad

The flavors of a summer garden mix with orzo pasta and lemon for a light and simple summer salad!
Prep Time 5 minutes
Cook Time 15 minutes
Course Side Dish
Cuisine American
Servings 6 people

Ingredients
  

  • 1 small zucchini diced (about 2 cups)
  • 1 cup halved cherry tomatoes
  • 1 cup fresh corn cut off the cob
  • 1 cup dried orzo
  • ¼ cup fresh basil very lightly packed
  • 3 tablespoons olive oil
  • 3 tablespoons white wine vinegar
  • Juice from half of a lemon
  • ½ teaspoon pepper
  • ½ teaspoon salt

Instructions
 

  • Begin by coooking the orzo to al dente according to the package directions. While the orzo is cooking, dice zucchini and cherry tomatoes. Cut the corn from the cob. Set aside.
  • Meanwhile, combine olive oil, vinegar, lemon juice, pepper, and salt in a liquid measuring cup. Whisk together.
  • Drain the orzo and rinse with cool water. Combine the orzo and vegetables in a large boil.
  • Whisk the dressing once more and then pour over the salad mixture. Stir to combine.
  • Chiffon the basil into the bowl and stir once more.
  • For the best flavor, allow the salad to chill for 2-3 hours.
Keyword basil, cherry tomatoes, orzo, orzo salad, pasta salad, tomatoes, zucchini
Tried this recipe?Let us know how it was!

Looking for other great recipes to pair with the Summer Garden Orzo Salad?

Give any of these a try! Or head to my baking or cooking page!

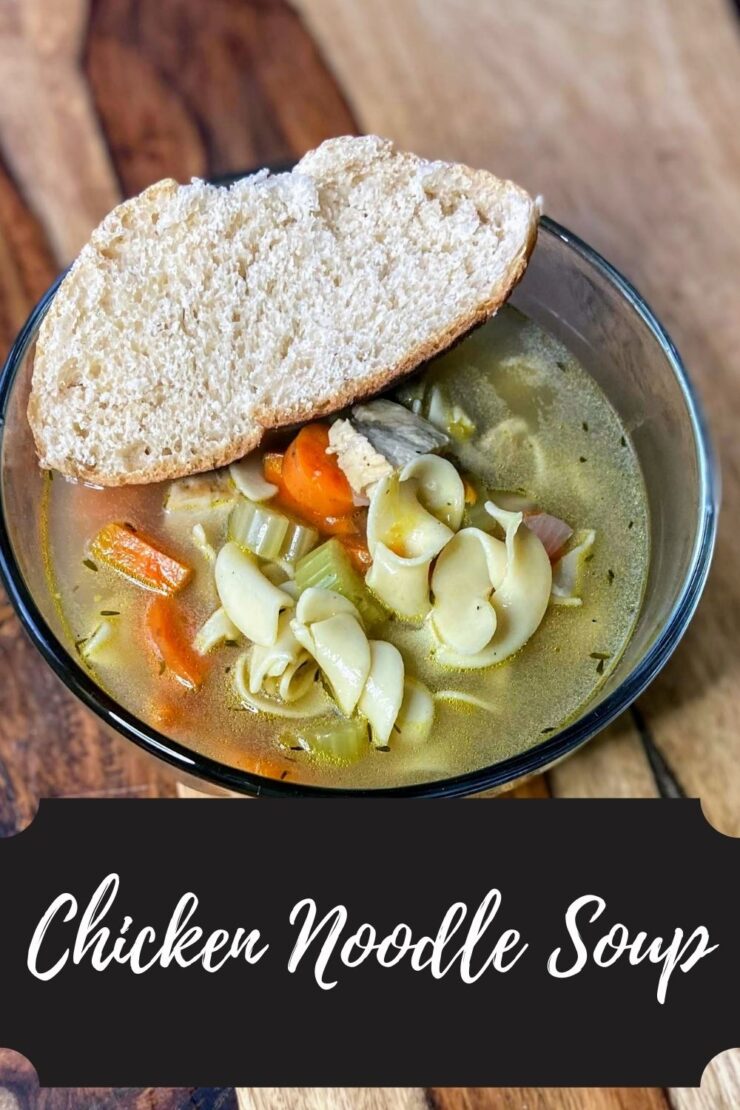
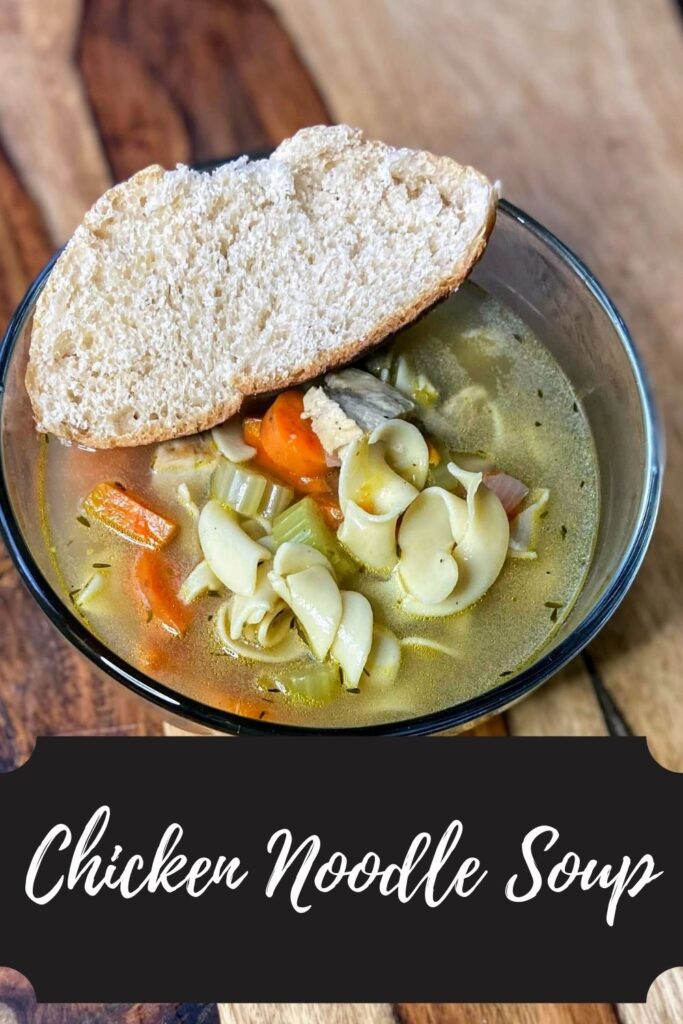
Chicken Noodle Soup

I have tried to write down my chicken noodle soup recipe countless times. I would start chopping the vegetables, cooking the chicken. The next step is grabbing the measuring cups and spoons so I could get exact measurements. The thing is, I couldn’t get to that step. I don’t measure when I make chicken noodle soup; it’s a “go by feel” kind of thing. Everytime I tried to measure, it was painful. Couldn’t do it. 

Then a friend of mine said she usually doesn’t measure, but she finally wrote it down, in her own handwriting, so that her kids would have it and would be able to duplicate it if/when she was gone. 

That hit me hard. Chicken noodle soup is my son’s favorite meal. He has had it for his birthday meal countless times (I mean, he’s only eleven, but I can’t tell you how many times he asked for it, so I am calling it countless. HA!) What if he wanted to make my soup and could never get it right? I had to write it down. 

Also, what kind of comfort food food blogger would I be if I didn’t have chicken noodle soup on my blog? Especially one that declares soup one of her favorite meals? And so, here it is! I ACTUALLY measured everything. I taste tested. My son double checked it all and gave it two thumbs up. I hope you love it as much as we do! 

Let’s get cooking! 

Your Ingredients for Chicken Noodle Soup

  • 1 pound cooked chicken (about 2 ½ cups), cubed or shredded 
  • 1 tablespoon olive oil 
  • 2 ½ cups chopped carrots (about 2-3 large) 
  • 2 ½ cups chopped celery (about 3-4 stalks)
  • 1 ½ cups chopped onion (about 1 large) 
  • ¾ teaspoon pepper 
  • ½ – 1 teaspoon salt, to taste
  • ¾ teaspoon thyme
  • 2 teaspoons minced garlic 
  • 6 cups chicken stock, see note
  • 4-6 cups water, see note
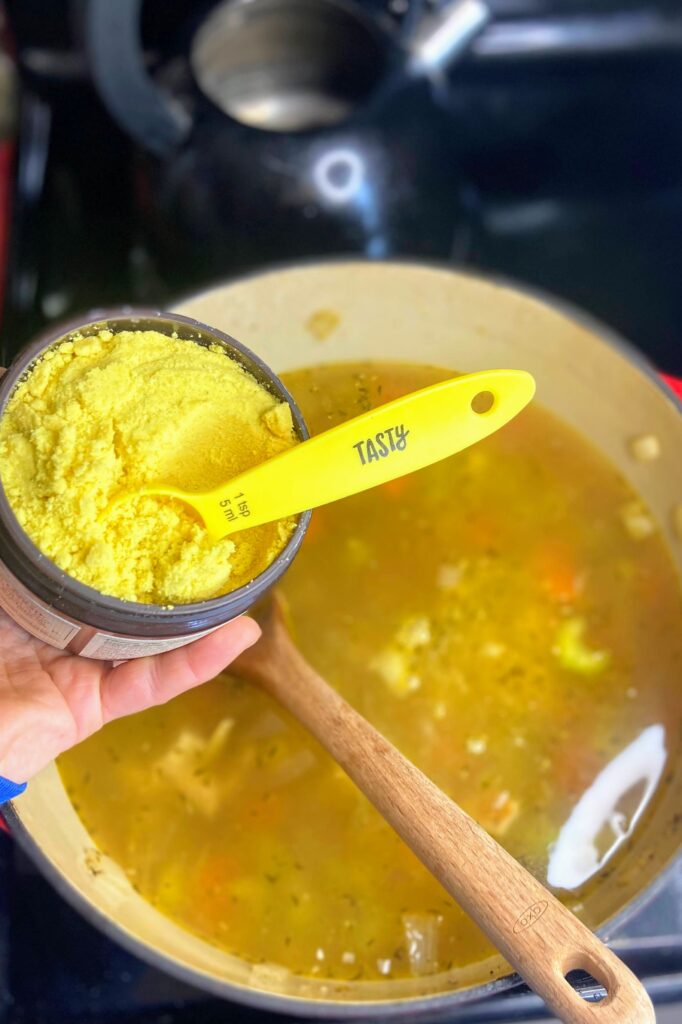
  • 1-2 teaspoons broth base and seasoning (I ADORE Orrington Farms), optional, see note
  • 3 cups egg noodles 

A couple notes before you get started

A couple notes before you get started

  • The chicken I use depends on my time. Sometimes I cook a couple breasts in a cast iron pan, starting on the stove and then putting it in the oven at 400 degrees until cooked to 165 degrees. If I have more time and bone in chicken, I will make stock while cooking the chicken.  
  • To make a stock, cover the chicken with water in a stockpot. Add a stalk of celery, a carrot, and an onion, all quartered. Add some pepper, salt, and a clove or two of garlic. Bring it to a boil and then lower to a simmer, cooking until the chicken is cooked through. Strain out vegetables and chicken. Skim off the foam. Broth can be used right away or frozen for later! That’s what I used in this recipe. Allow the chicken to cool, peel off the skin and shred chicken.
  • I love Orrington Farms Broth Base and Seasoning because I can control the flavor and sodium in my stock. Depending on the stock you use (homemade or from a box), you will have a different depth of flavor. This allows you to add a little more if needed. You can totally use a cube of bouillon or whatever you favorite broth base is. The bottom line is this for you to find YOUR taste. 
  • About the water: The egg noodles will absorb liquid as the soup sits. If you are serving the chicken noodle soup right after you finish cooking it, stick with the 4 cups of water. If you are meal prepping and serving it a day or two later, you will likely have to add an additional cup or two, depending on how you like your soup. You do you friend.

Your Steps To Homemade Chicken Noodle Soup 

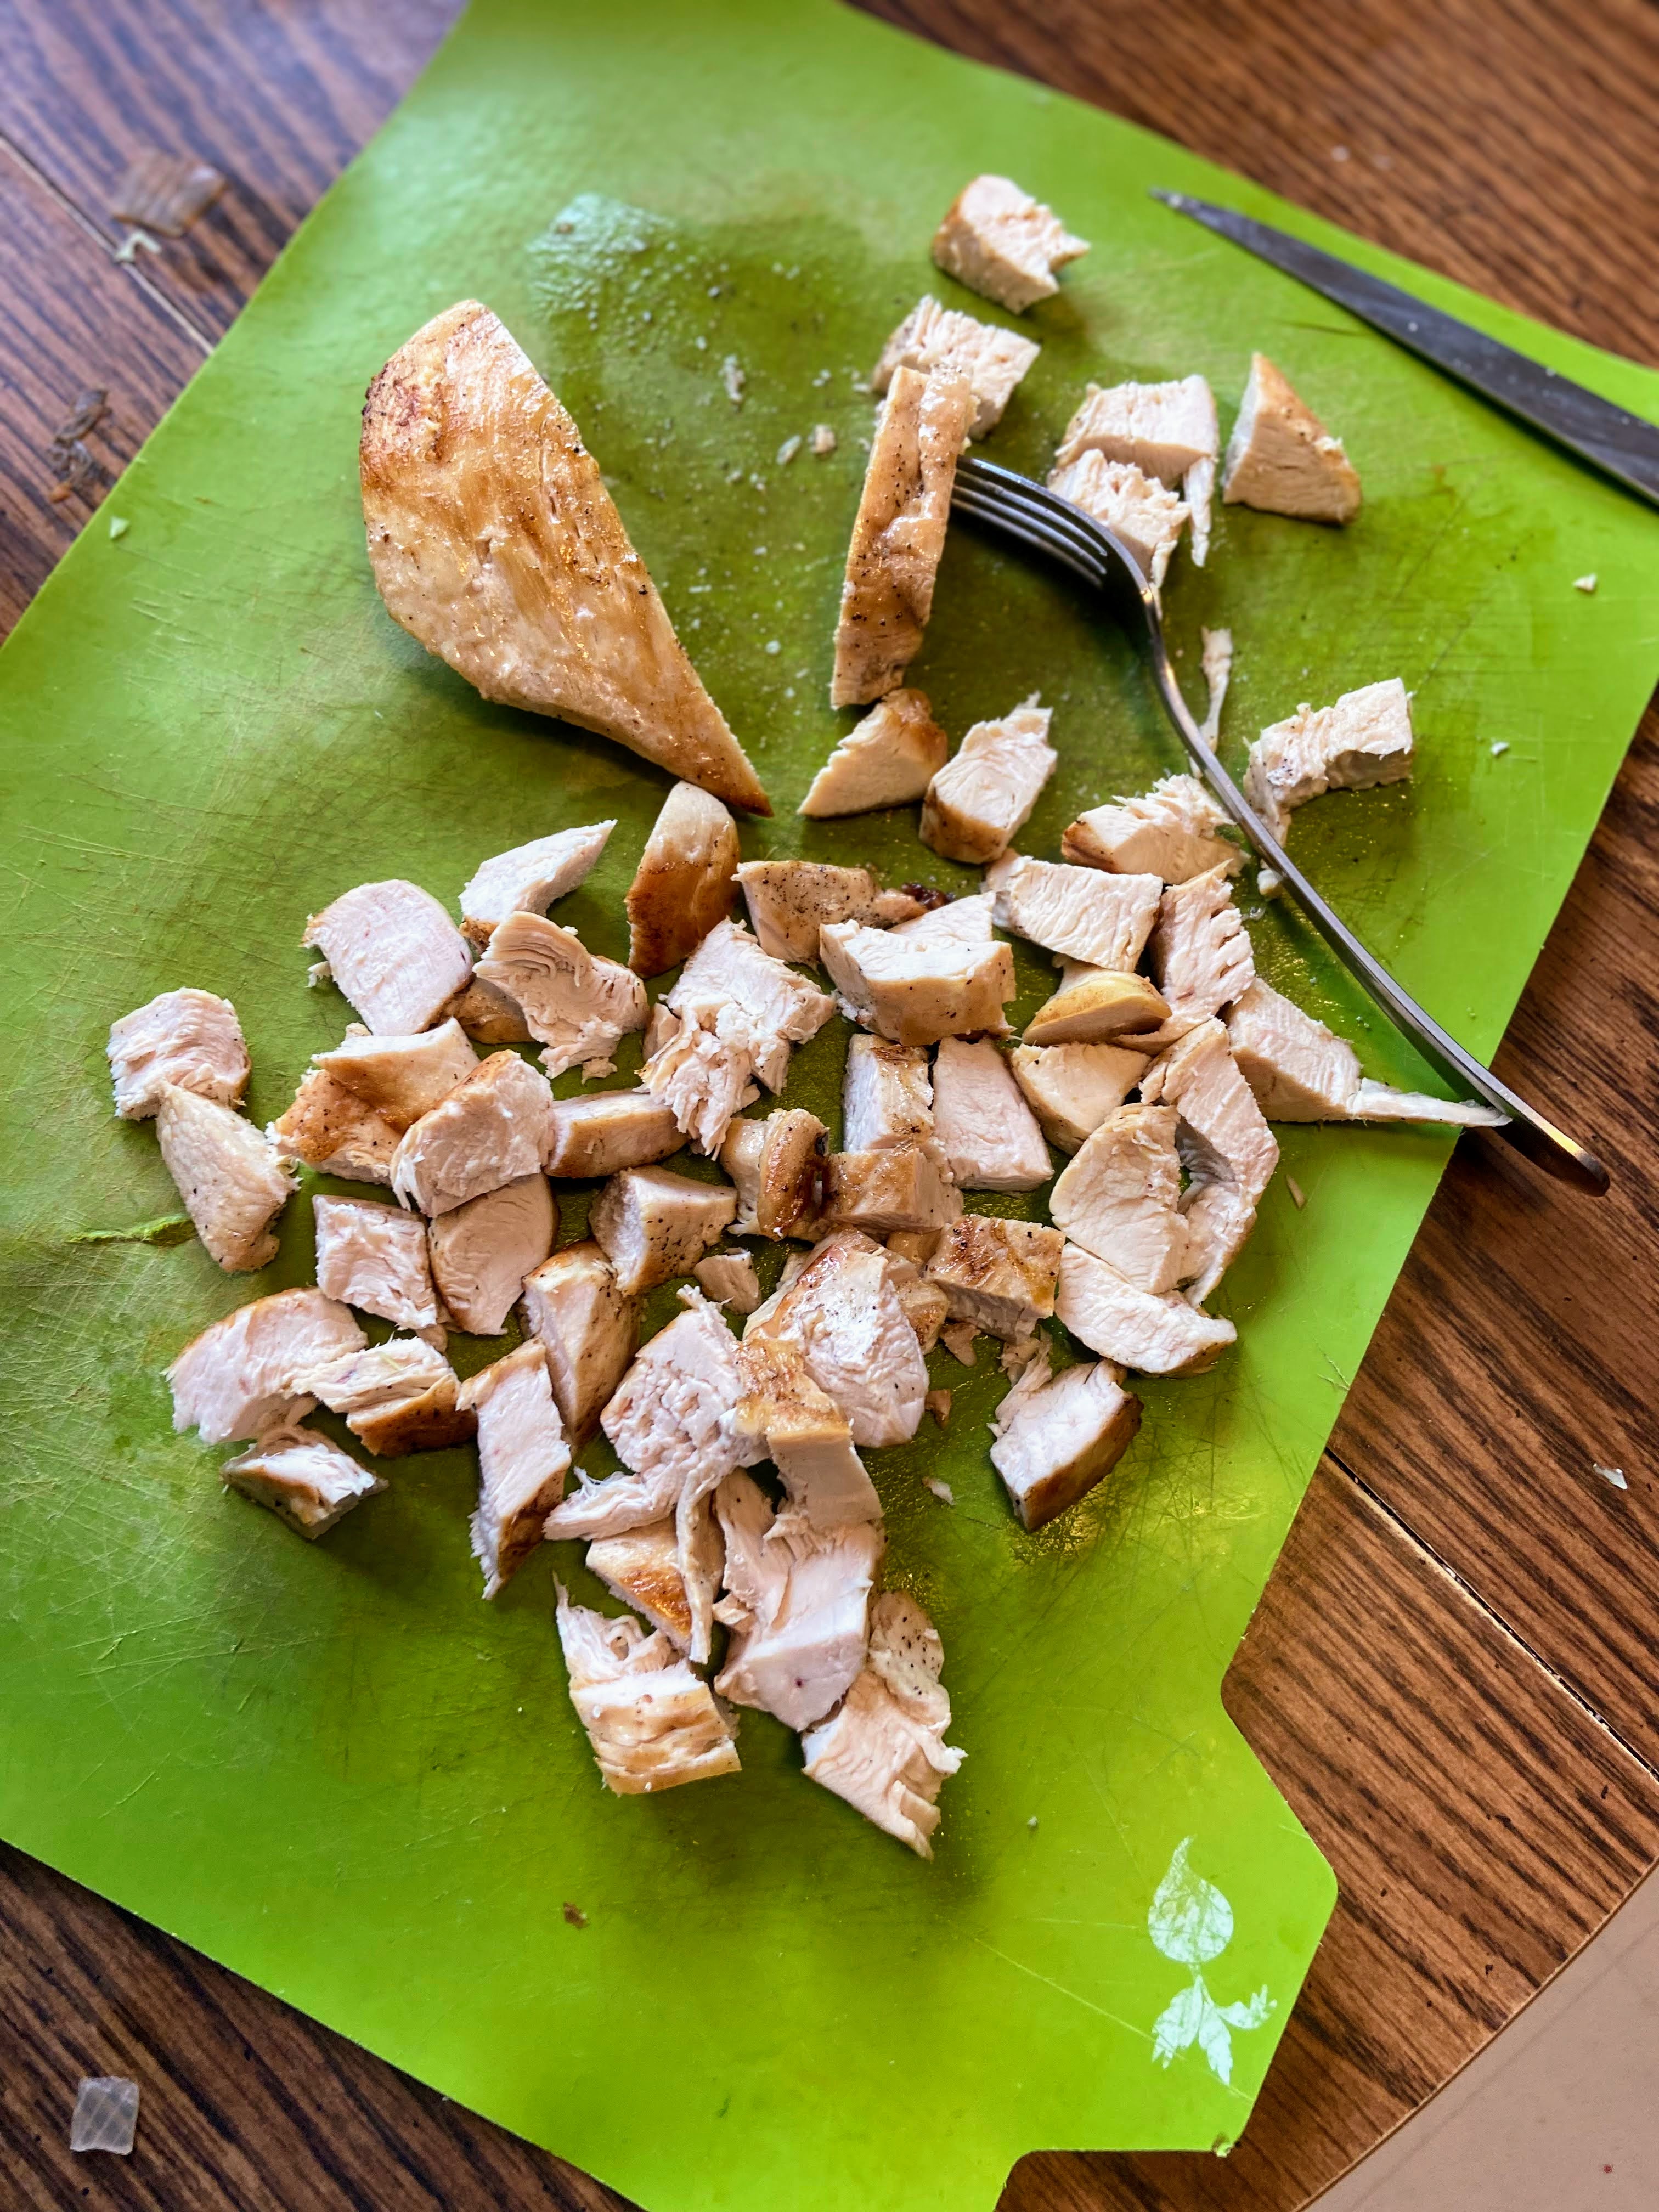
If you have not already, begin with cooking the chicken you plan on using. Short on time? Season a couple chicken breasts with salt and pepper. Heat an oven safe pan over medium heat with ½ tablespoon olive oil. Once hot, add chicken. Flip after 5 minutes, searing both sides. Once done, stick in a 400 degree oven, cooking until 165 degrees, about 14 minutes. Once cooked, cube it up and set aside. Alternatively, you could pick up a rotisserie chicken and measure 2 ½ cups of meat. (If you do this, DO NOT throw the bones away. Make a stock for later!

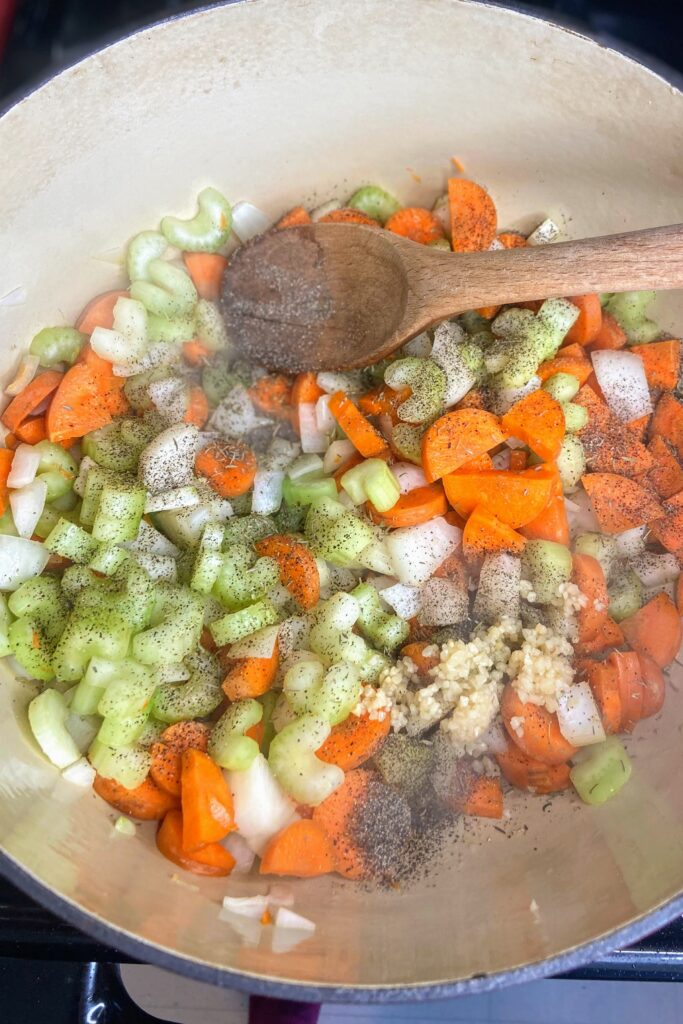
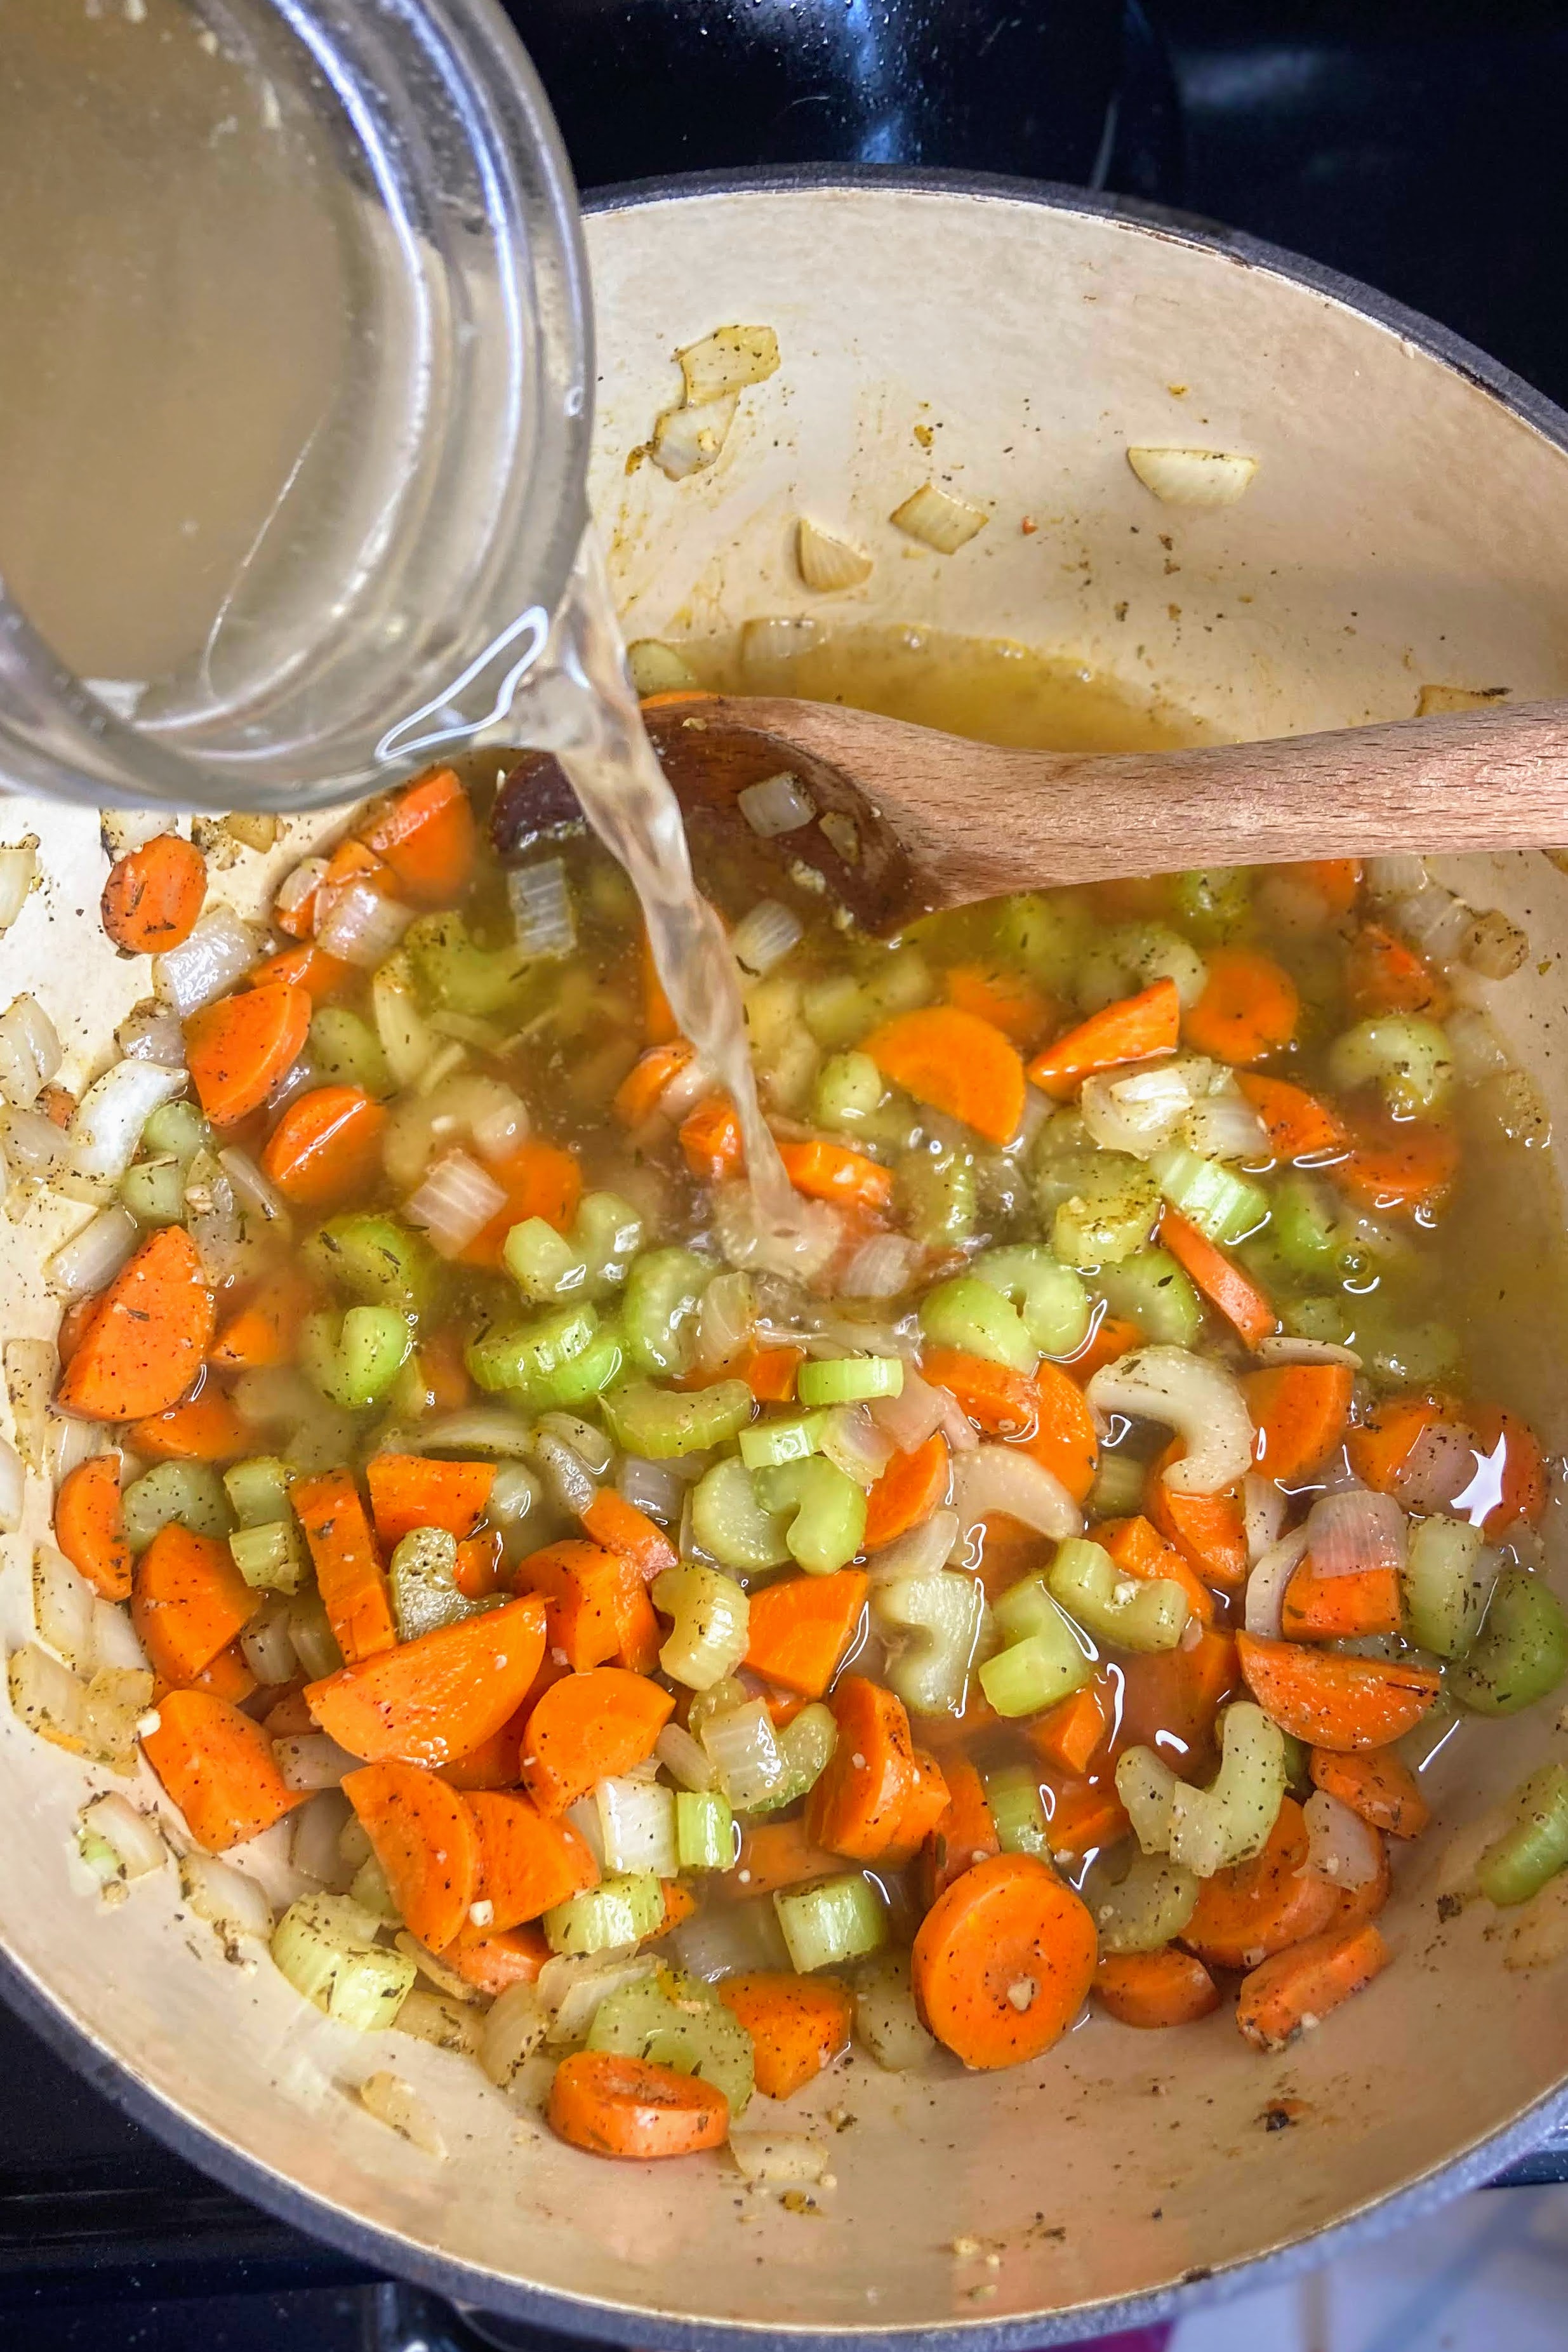
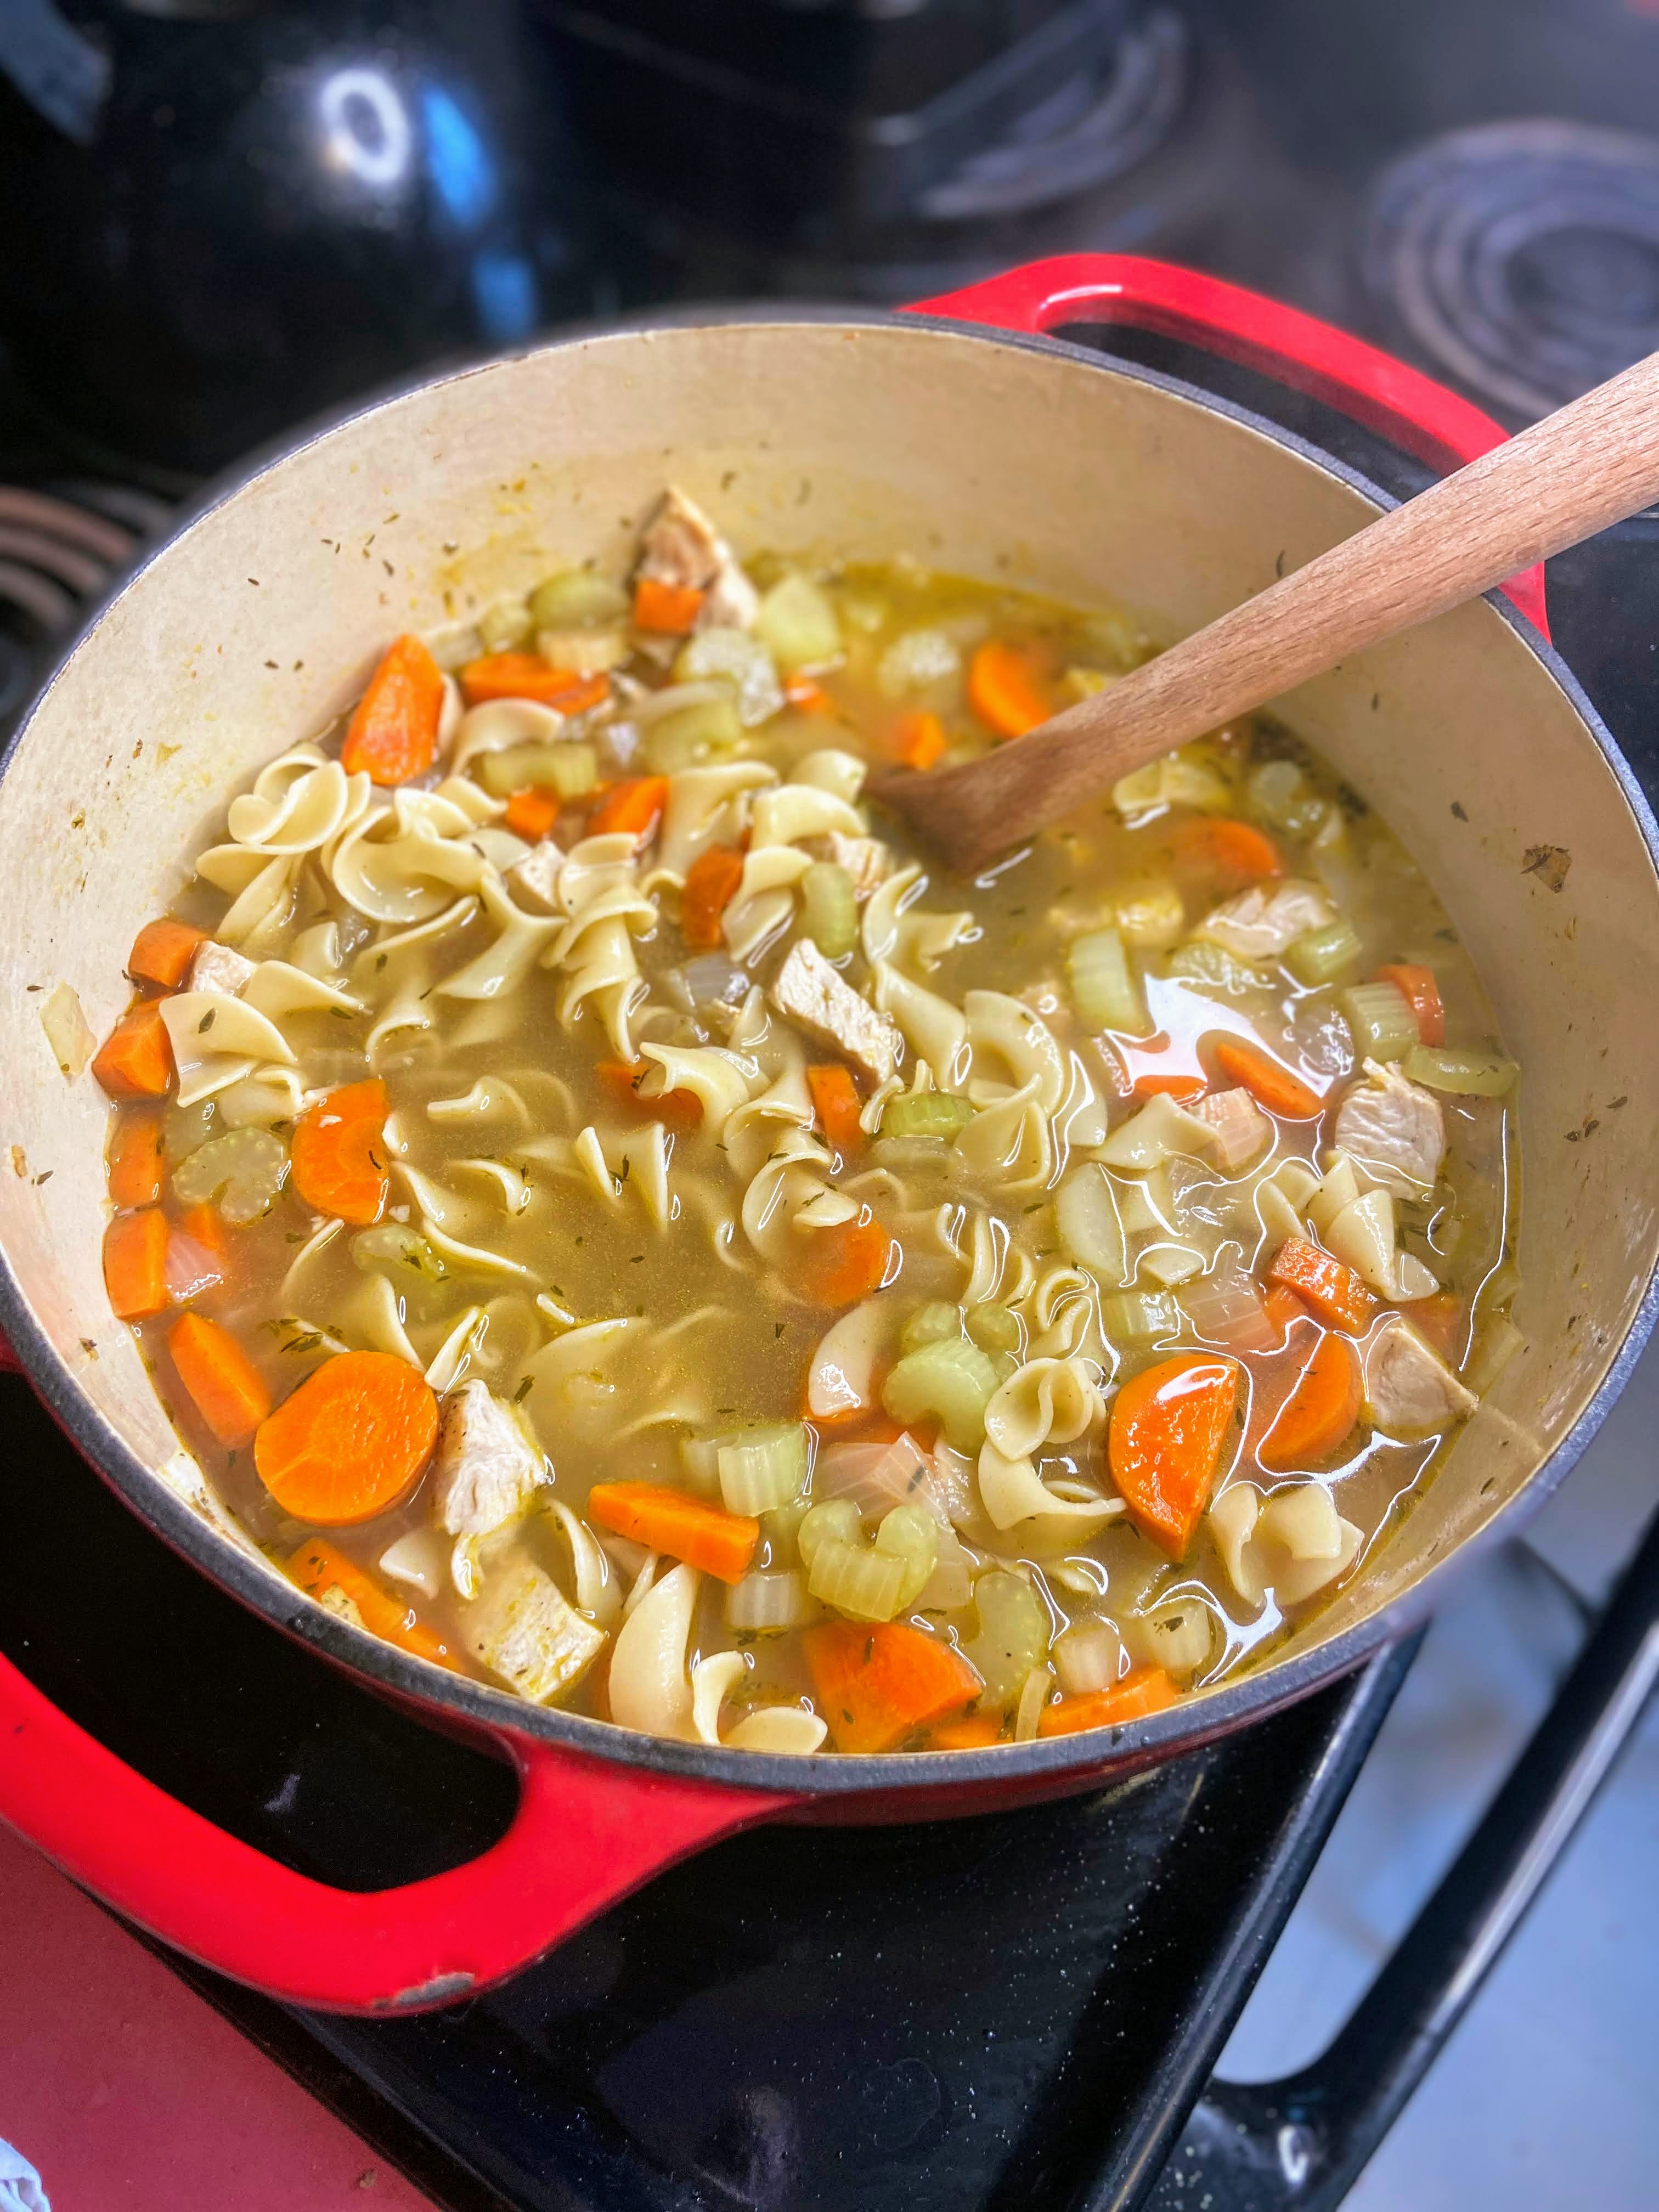
Meanwhile, heat olive oil in a soup kettle (I dig The Lodge Cast Iron Dutch Oven) over medium heat. Once hot, add carrots, celery, and onion. Season with pepper, thyme, and garlic. Cook over medium heat until softened, about 10 minutes, stirring often. Season with ½ teaspoon salt. Stir in chicken stock, 4 cups of water, and chicken. Increase the heat, bringing to a boil. Add egg noodles, lower the heat to medium and cook for seven minutes, cooking noodles to al dente. 

Almost there!

At this point, give the soup a taste. If you want more salt and chicken flavor, add the broth base, 1 teaspoon at a time. I also like to check the pepper level here but know that pepper sinks in the soup. If you add too much, the end of the soup kettle will be on the peppery side. 

Again, the noodles will absorb liquid over time. If you are serving this soup right away, 4 cups of water should be perfect. If you are serving it hours later or the next day, be prepared for a thicker soup. You may want to add that additional water. 

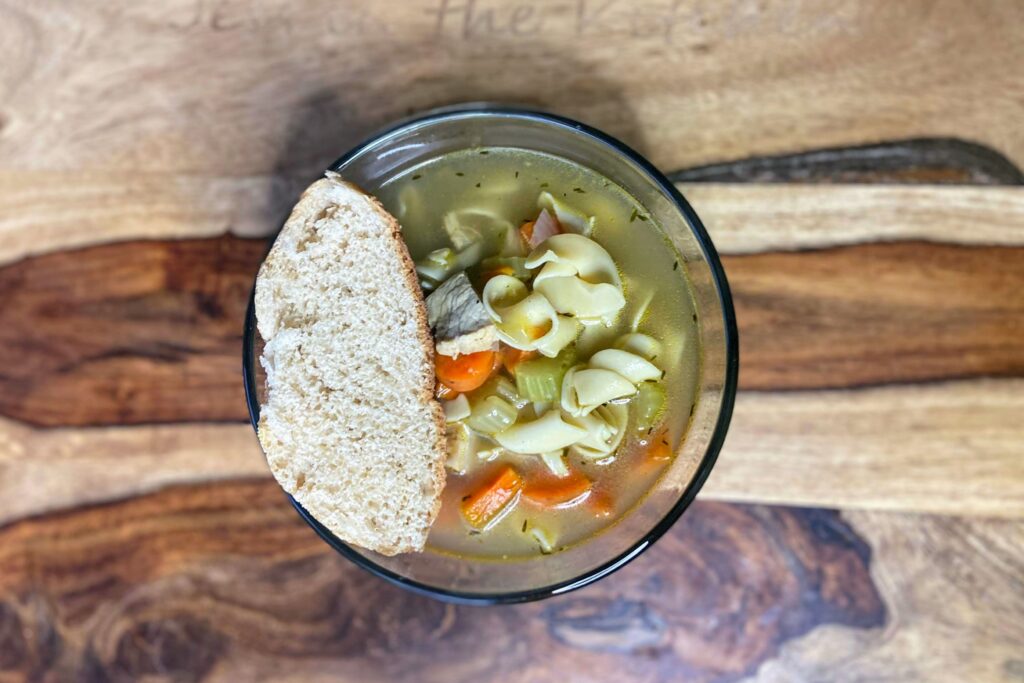
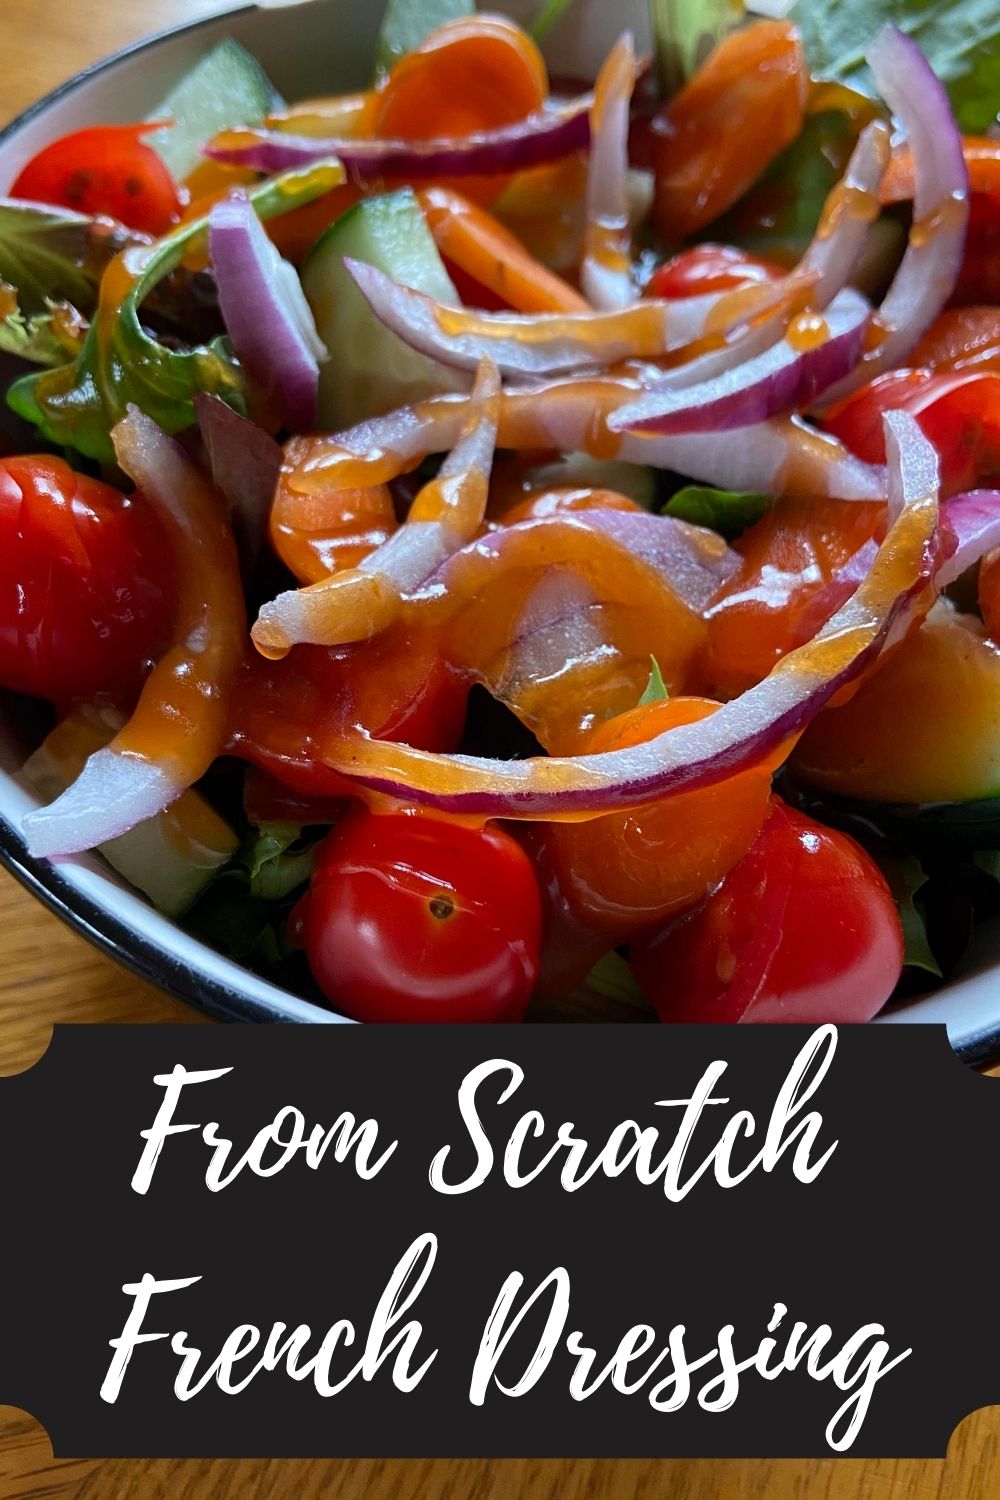
I am a firm believer that a good kettle of soup should be served with a salad (I love my homemade french dressing!) and sourdough bread (get the details here!). It hard to get something better 💕

Tools of the Trade

I keep all the flavors of Orrington Farms broth base on hand. It keeps well and allows me to season my soups and stews with just the right amount of flavor.

parts is that they go from stove top to oven so easy and you can even bake bread in them! And

And my flexible cutting boards are a go to item in the kitchen. If I am shopping for a wedding registry, I will buy them even the couple doesn’t have it on the list because I figure they just must not know how wonderful they are!

Chicken Noodle Soup

A classic soup recipe that will keep everyone coming back for seconds (and thirds!)
Prep Time 10 minutes
Cook Time 20 minutes
Course Soup
Cuisine American
Servings 8

Ingredients
  

  • 1 pound cooked chicken about 2 ½ cups, cubed or shredded
  • 1 tablespoon olive oil
  • 2 ½ cups chopped carrots about 2-3 large
  • 2 ½ cups chopped celery about 3-4 stalks
  • 1 ½ cups chopped onion about 1 large
  • ¾ teaspoon pepper
  • ½ – 1 teaspoon salt to taste
  • ¾ teaspoon thyme
  • 2 teaspoons minced garlic
  • 6 cups chicken stock see note
  • 4-6 cups water see note
  • 1-2 teaspoons broth base and seasoning optional, see note
  • 3 cups egg noodles

Instructions
 

  • Heat olive oil in a soup kettle over medium heat.
  • Once hot, add carrots, celery, and onion. Season with pepper, thyme, and garlic.
  • Cook over medium heat until softened, about 10 minutes, stirring often.
  • Season with ½ teaspoon salt. Stir in chicken stock, 4 cups of water, and chicken.
  • Increase the heat, bringing to a boil.
  • Add egg noodles, lower the heat to medium and cook for seven minutes, cooking noodles to al dente.
  • Check the flavor profile of your soup. If needed, add broth base or bouillon, 1 teaspoon or cube at a time. Add additional pepper to taste.

Notes

  • The chicken I use depends on my time. Sometimes I cook a couple breasts in a cast iron pan, starting on the stove and then putting it in the oven at 400 degrees until cooked to 165 degrees. If I have more time and bone in chicken, I will make stock while cooking the chicken.  You could also shorten time by using a rotisserie chicken and shredding the meat, discarding the skin.  
  • To make a stock, cover the chicken with water in a stockpot. Add a stalk of celery, a carrot, and an onion, all quartered. Add some pepper, salt, and a clove or two of garlic. Bring it to a boil and then lower to a simmer, cooking until the chicken is cooked through. Strain out vegetables and chicken. Skim off the foam. Broth can be used right away or frozen for later! That’s what I used in this recipe. Allow the chicken to cool, peel off the skin and shred chicken.
  • I love Orrington Farms Broth Base and Seasoning because I can control the flavor and sodium in my stock. Depending on the stock you use (homemade or from a box), you will have a different depth of flavor. This allows you to add a little more if needed. You can totally use a cube of bouillon or whatever you favorite broth base is. The bottom line is this for you to find YOUR taste. 
  • About the water: The egg noodles will absorb liquid as the soup sits. If you are serving the chicken noodle soup right after you finish cooking it, stick with the 4 cups of water. If you are meal prepping and serving it a day or two later, you will likely have to add an additional cup or two, depending on how you like your soup. 
Keyword chicken, chicken noodle, soup, soups and stews
Tried this recipe?Let us know how it was!

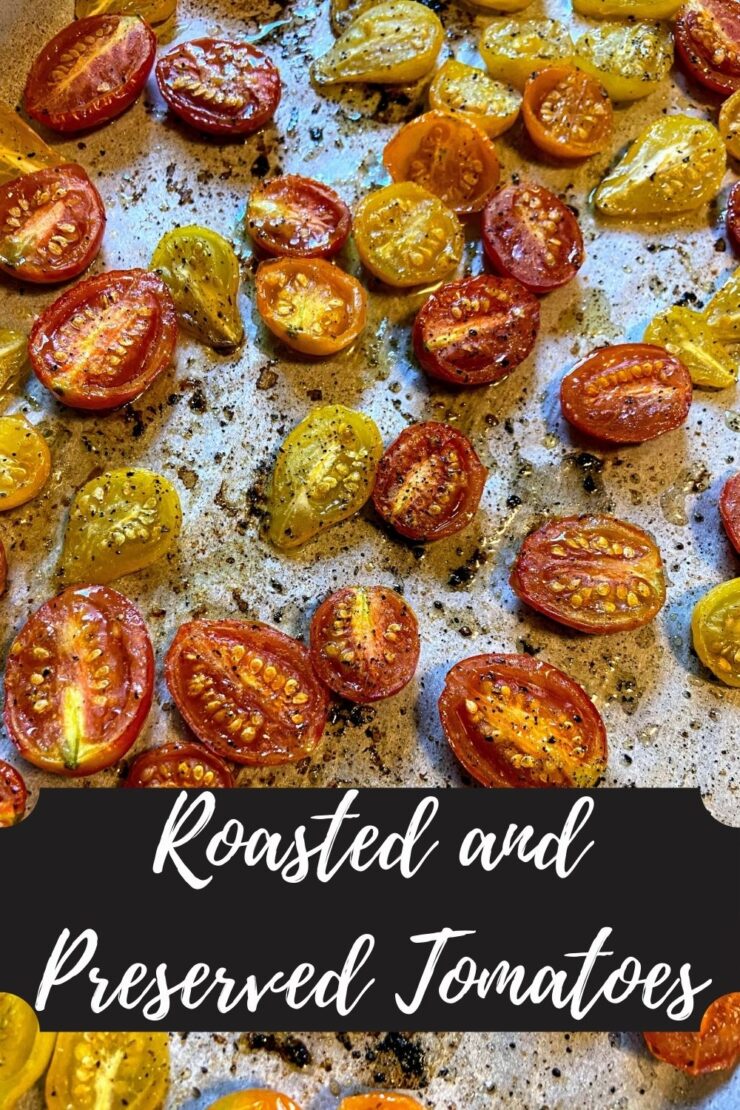
Roasted and Preserved Tomatoes

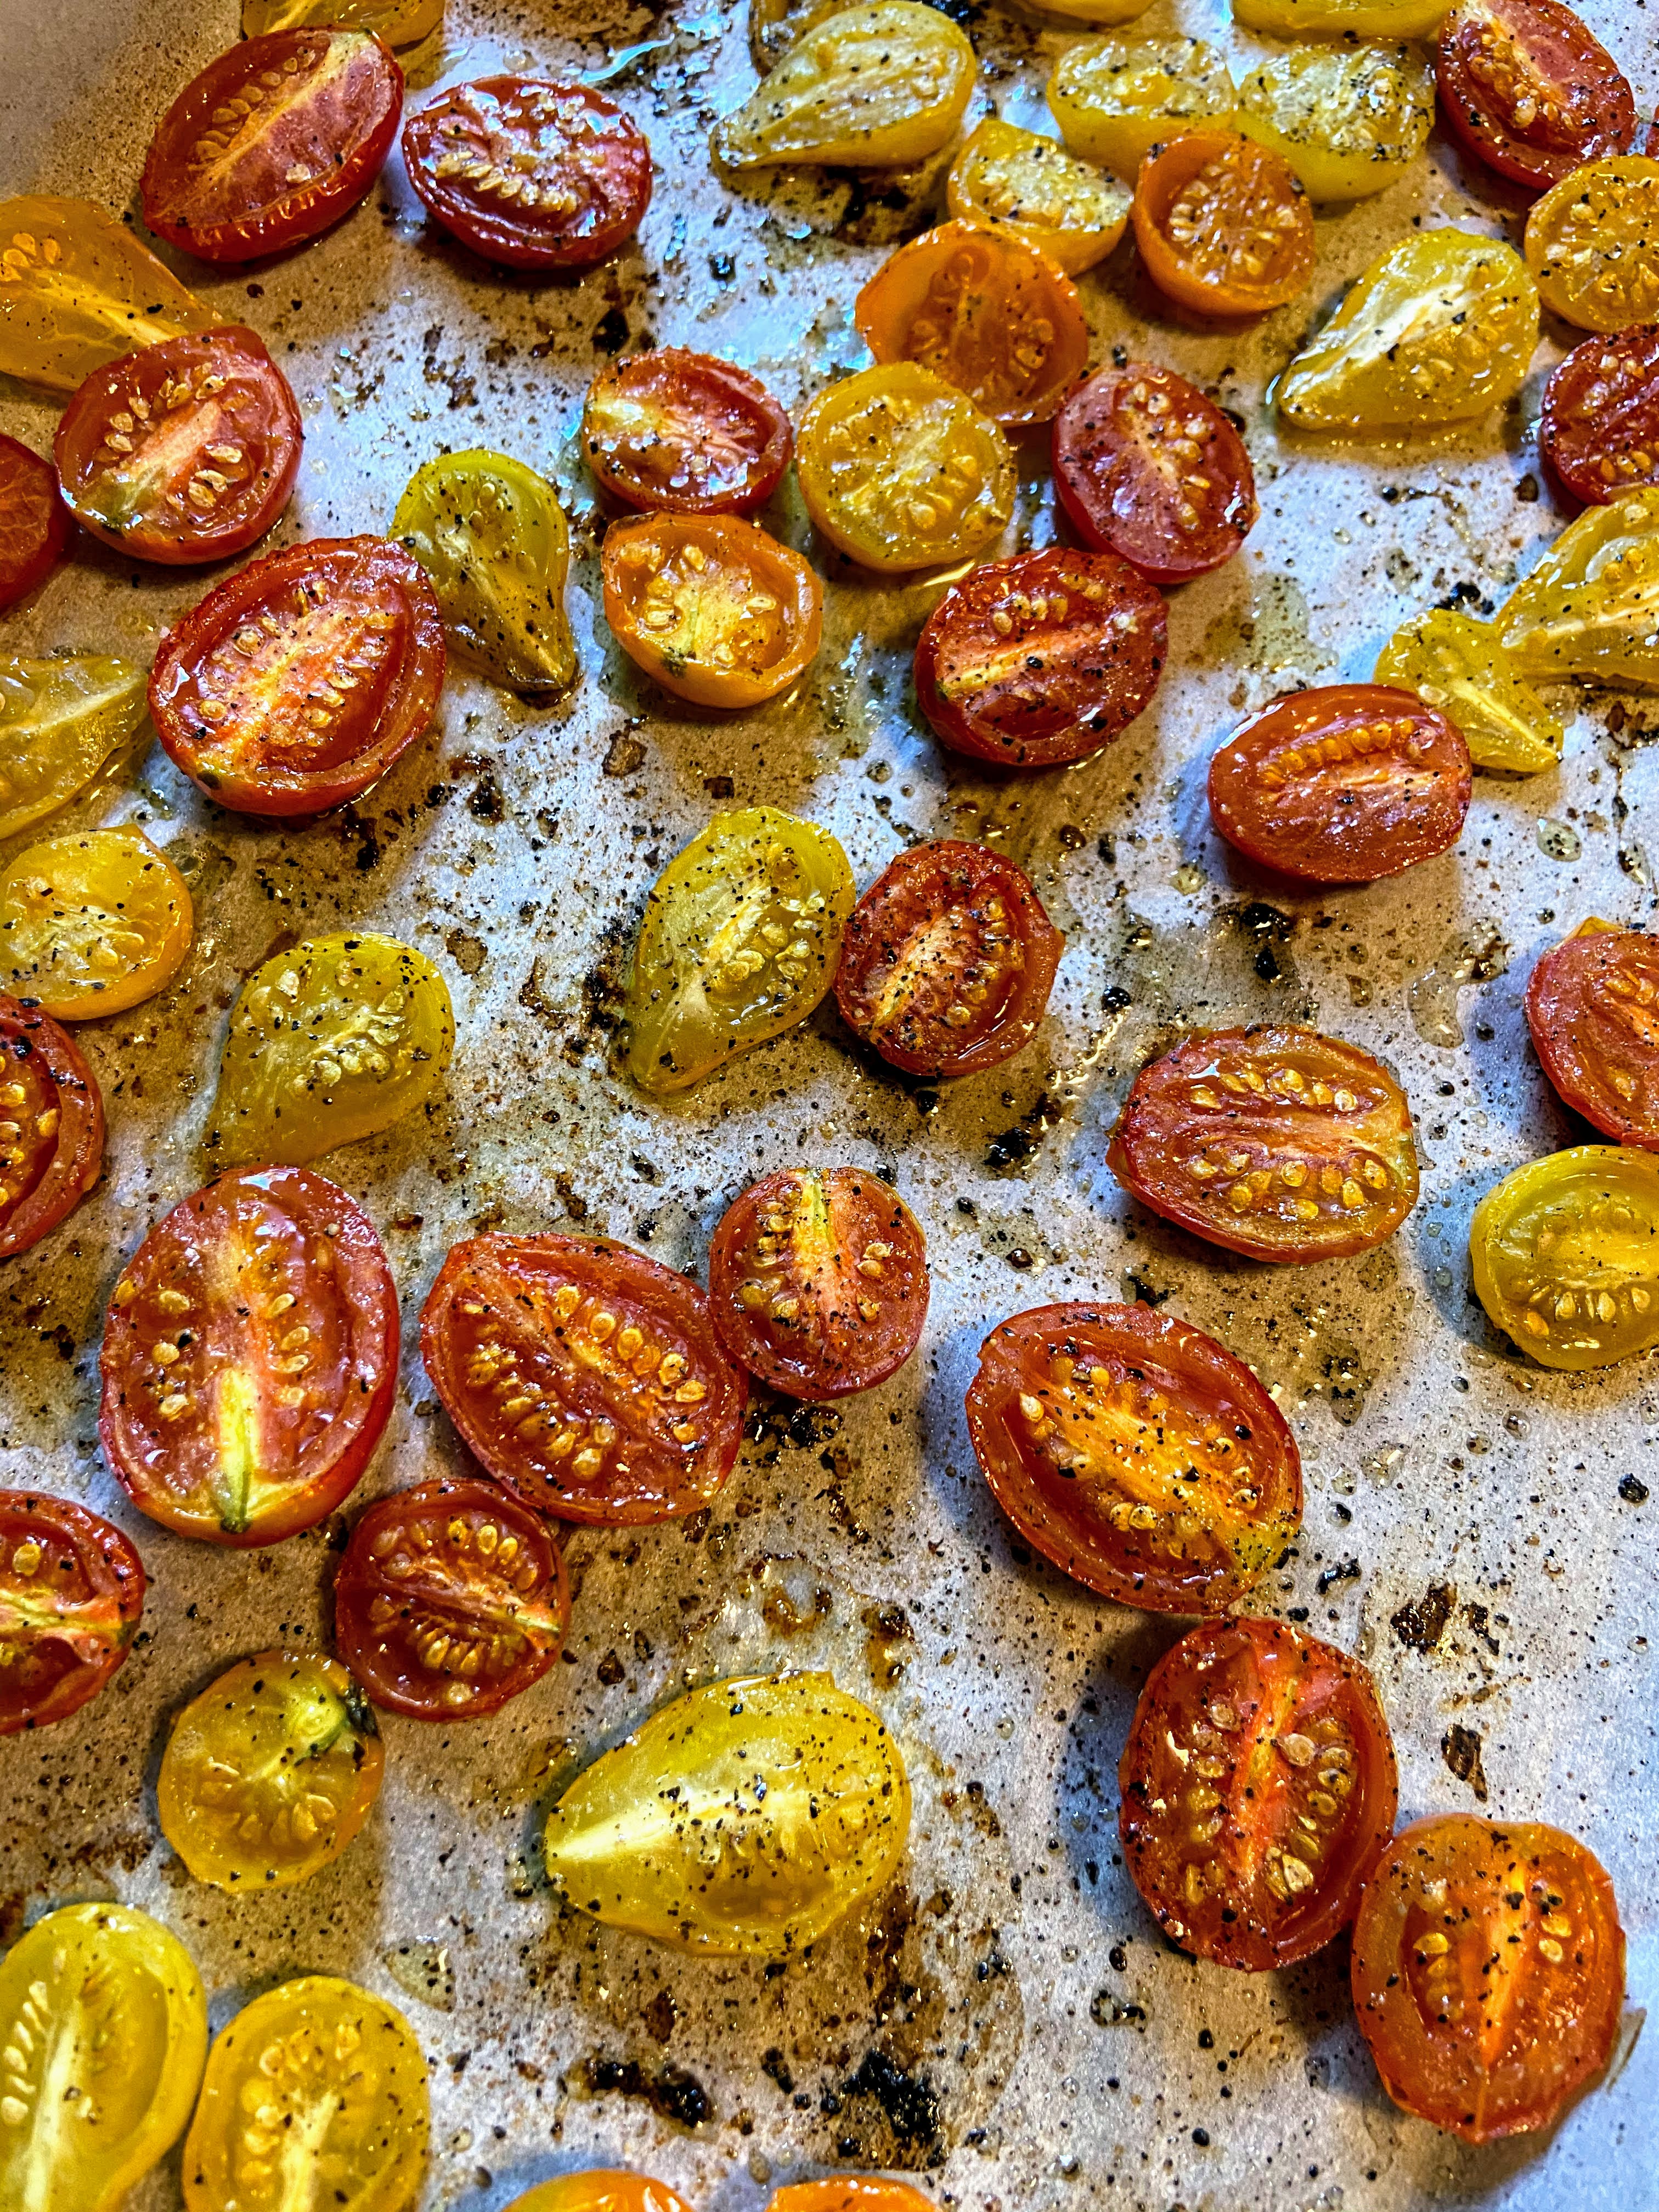
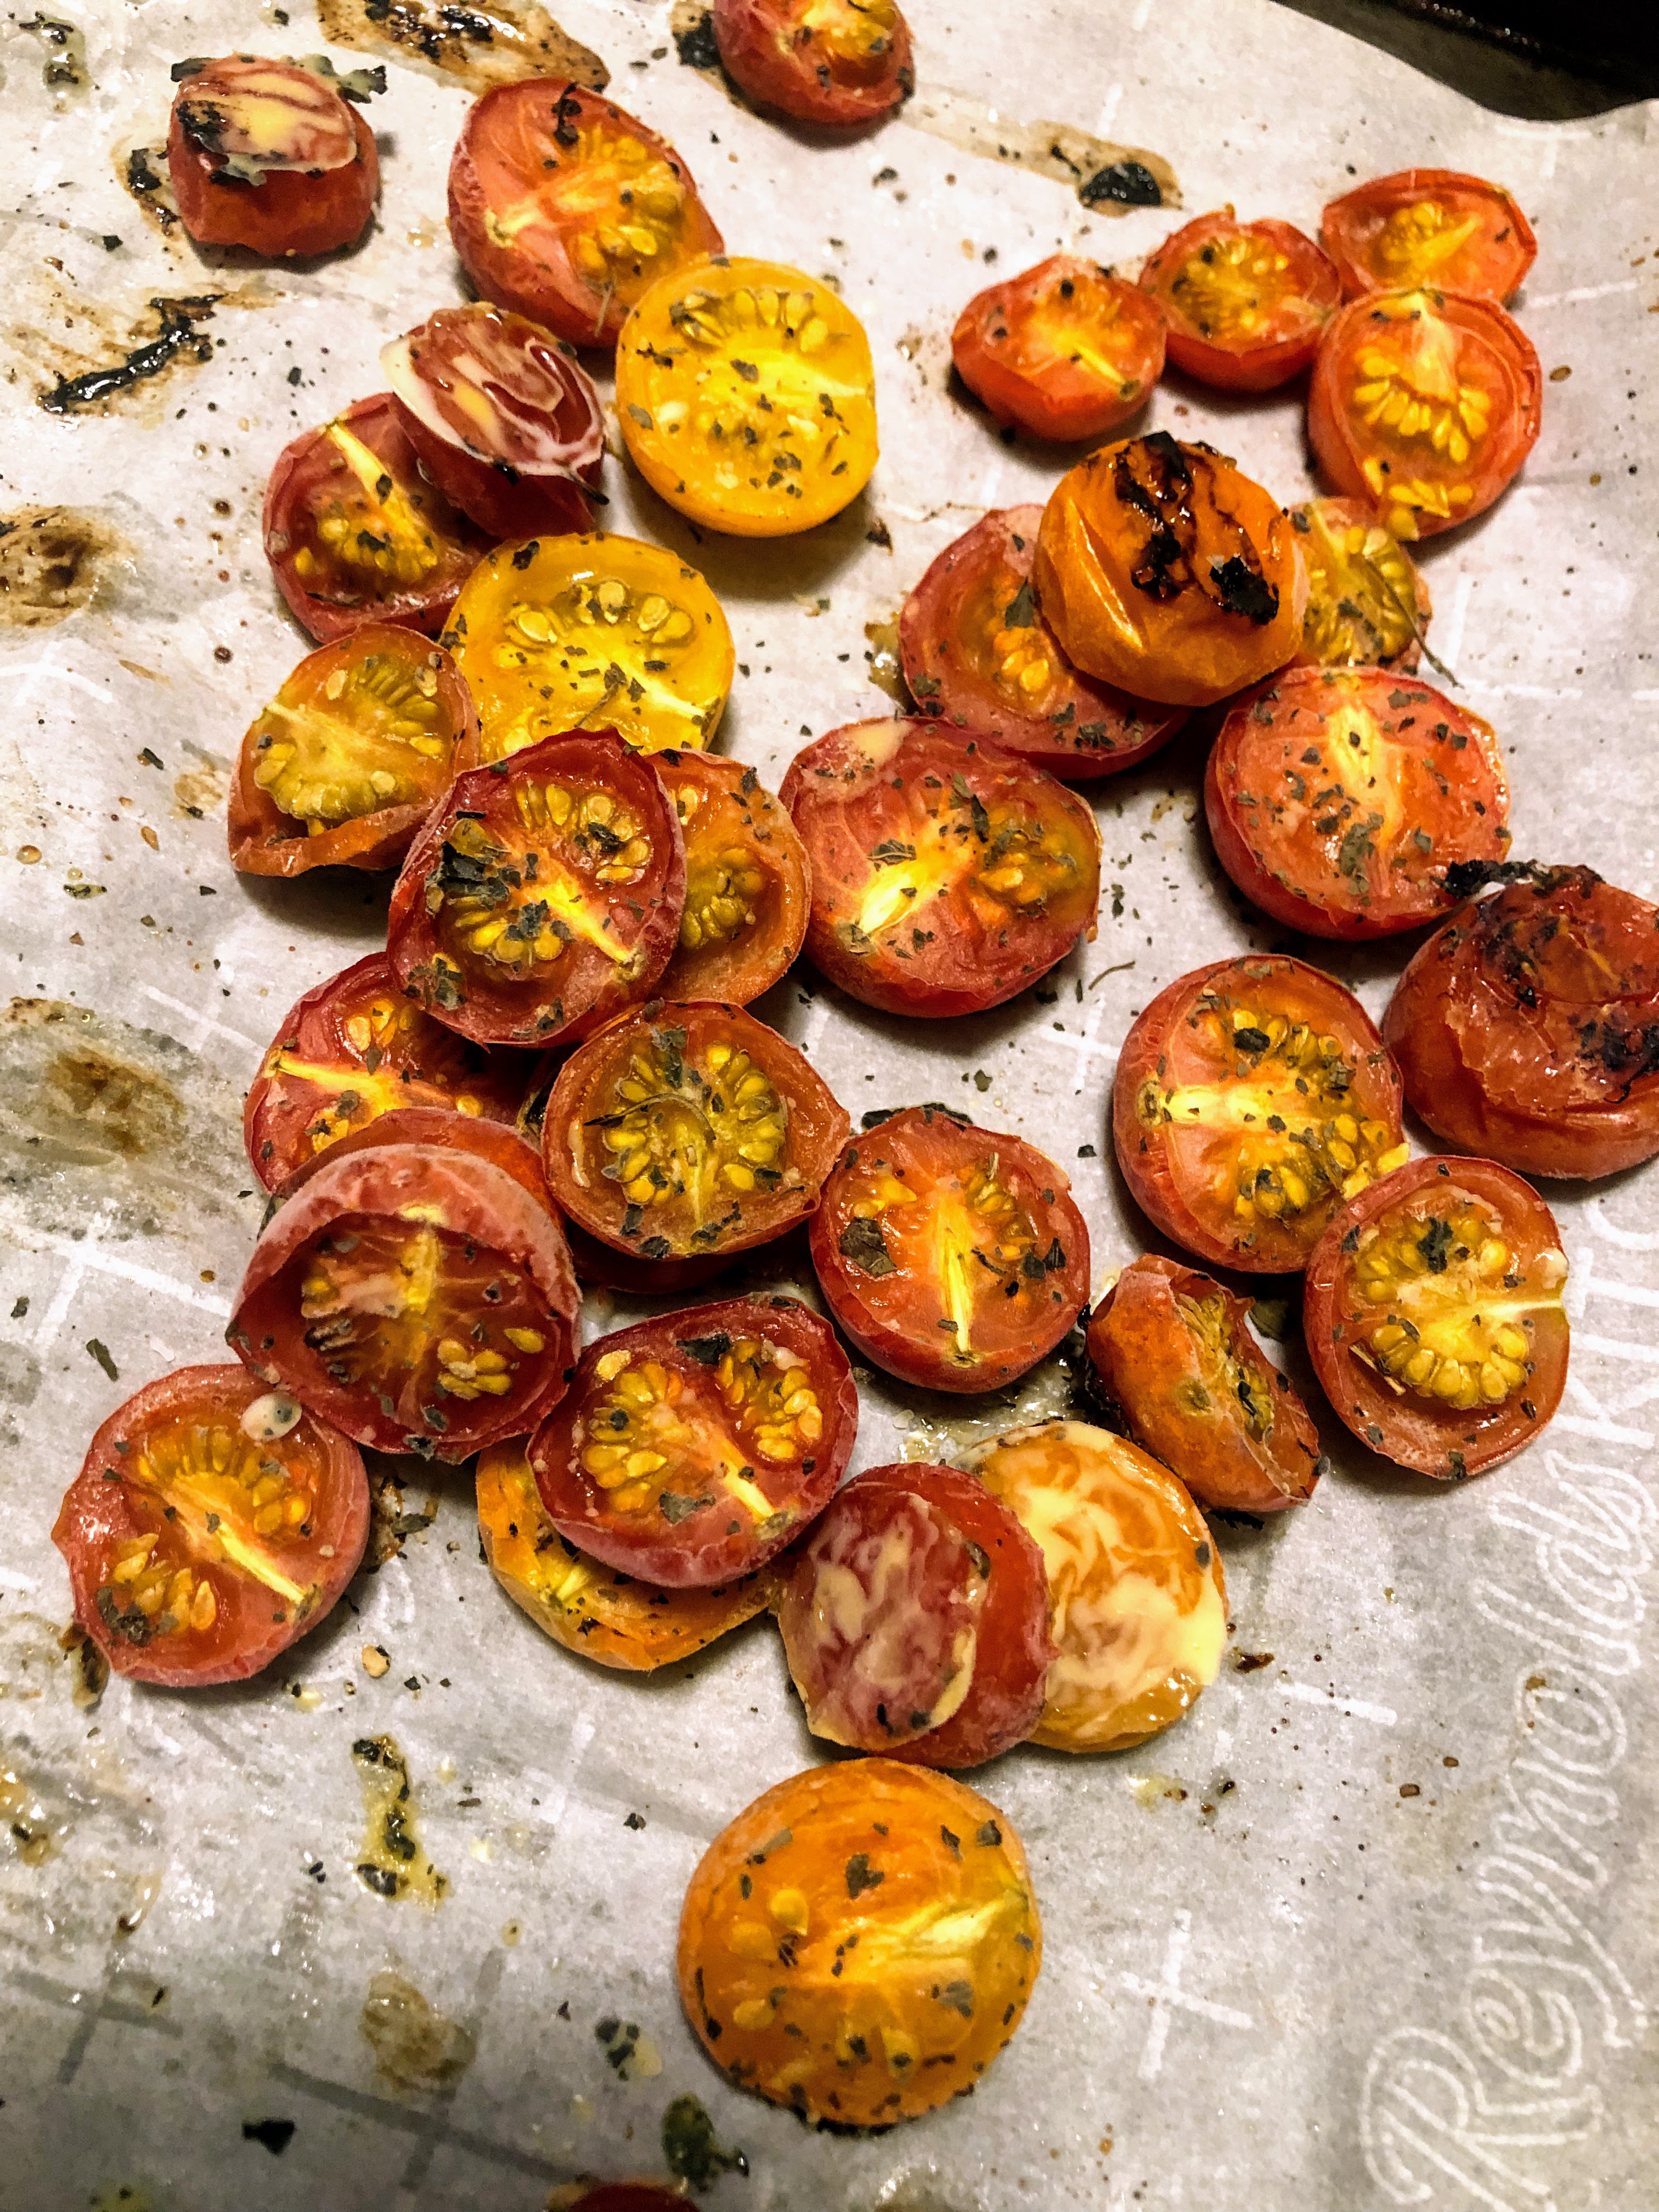
Every year, I get so excited to plant tomato plants. Even in our first years with a garden, we couldn’t keep up with our tomato love. I vividly remember my darling son as a toddler eating every single cherry or grape tomato we grew. They didn’t even make it out of the garden! Now, I get all those beautiful drops of red, orange, and yellow and turn them into roasted and preserved tomatoes. 

Now, it’s a joke between my husband and I that I will always plant too many cherry and grape tomato plants. Why buy one if you can buy four? And you have to have a few varieties, right? And so, we have an abundance of bit size tomatoes. One year, an acquaintance suggested roasting them, and I have never looked back! 

This is such a simple and flavorful way to preserve tomatoes. All you need is an oven, a baking sheet, some parchment paper, and your favorite tomato spices. Let’s get to creating some roasted and preserved tomatoes. 

Per pound of tomatoes, you will need: 

½ tablespoon olive oil 

¼ teaspoon each of: salt, pepper, oregano, garlic, or any other spice you love with tomatoes

Your Steps to Roasted and Preserved Tomatoes

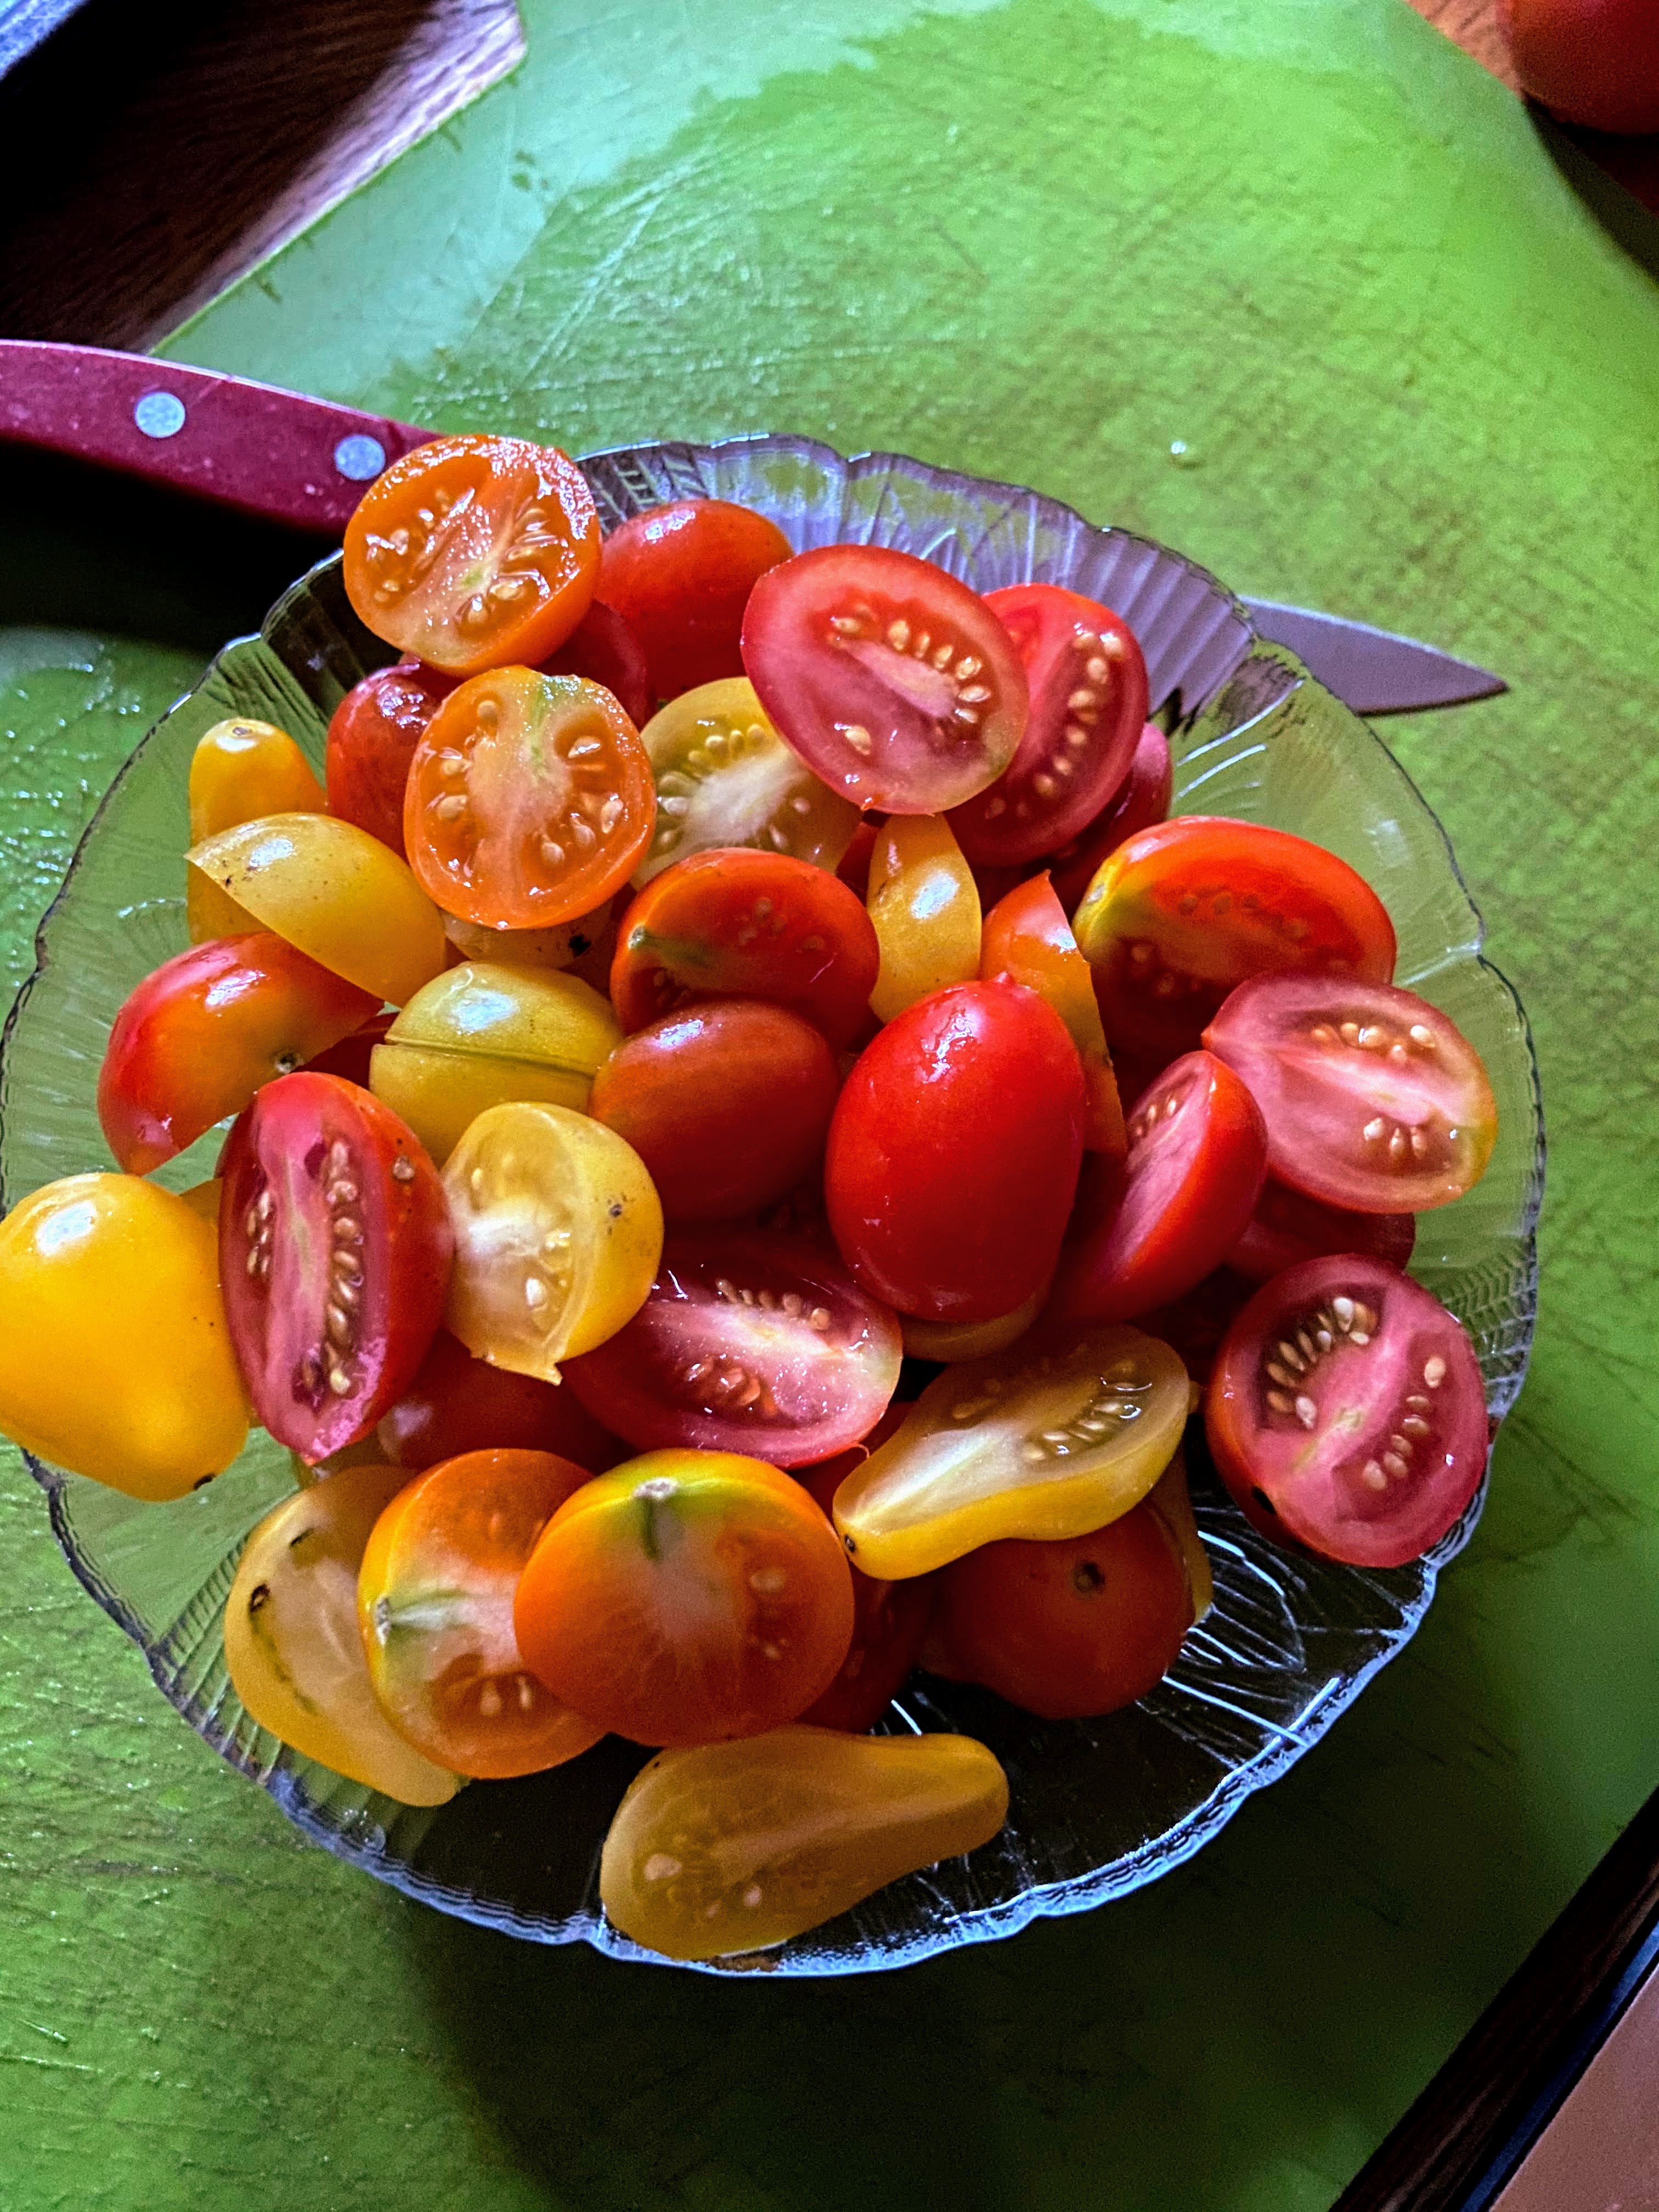
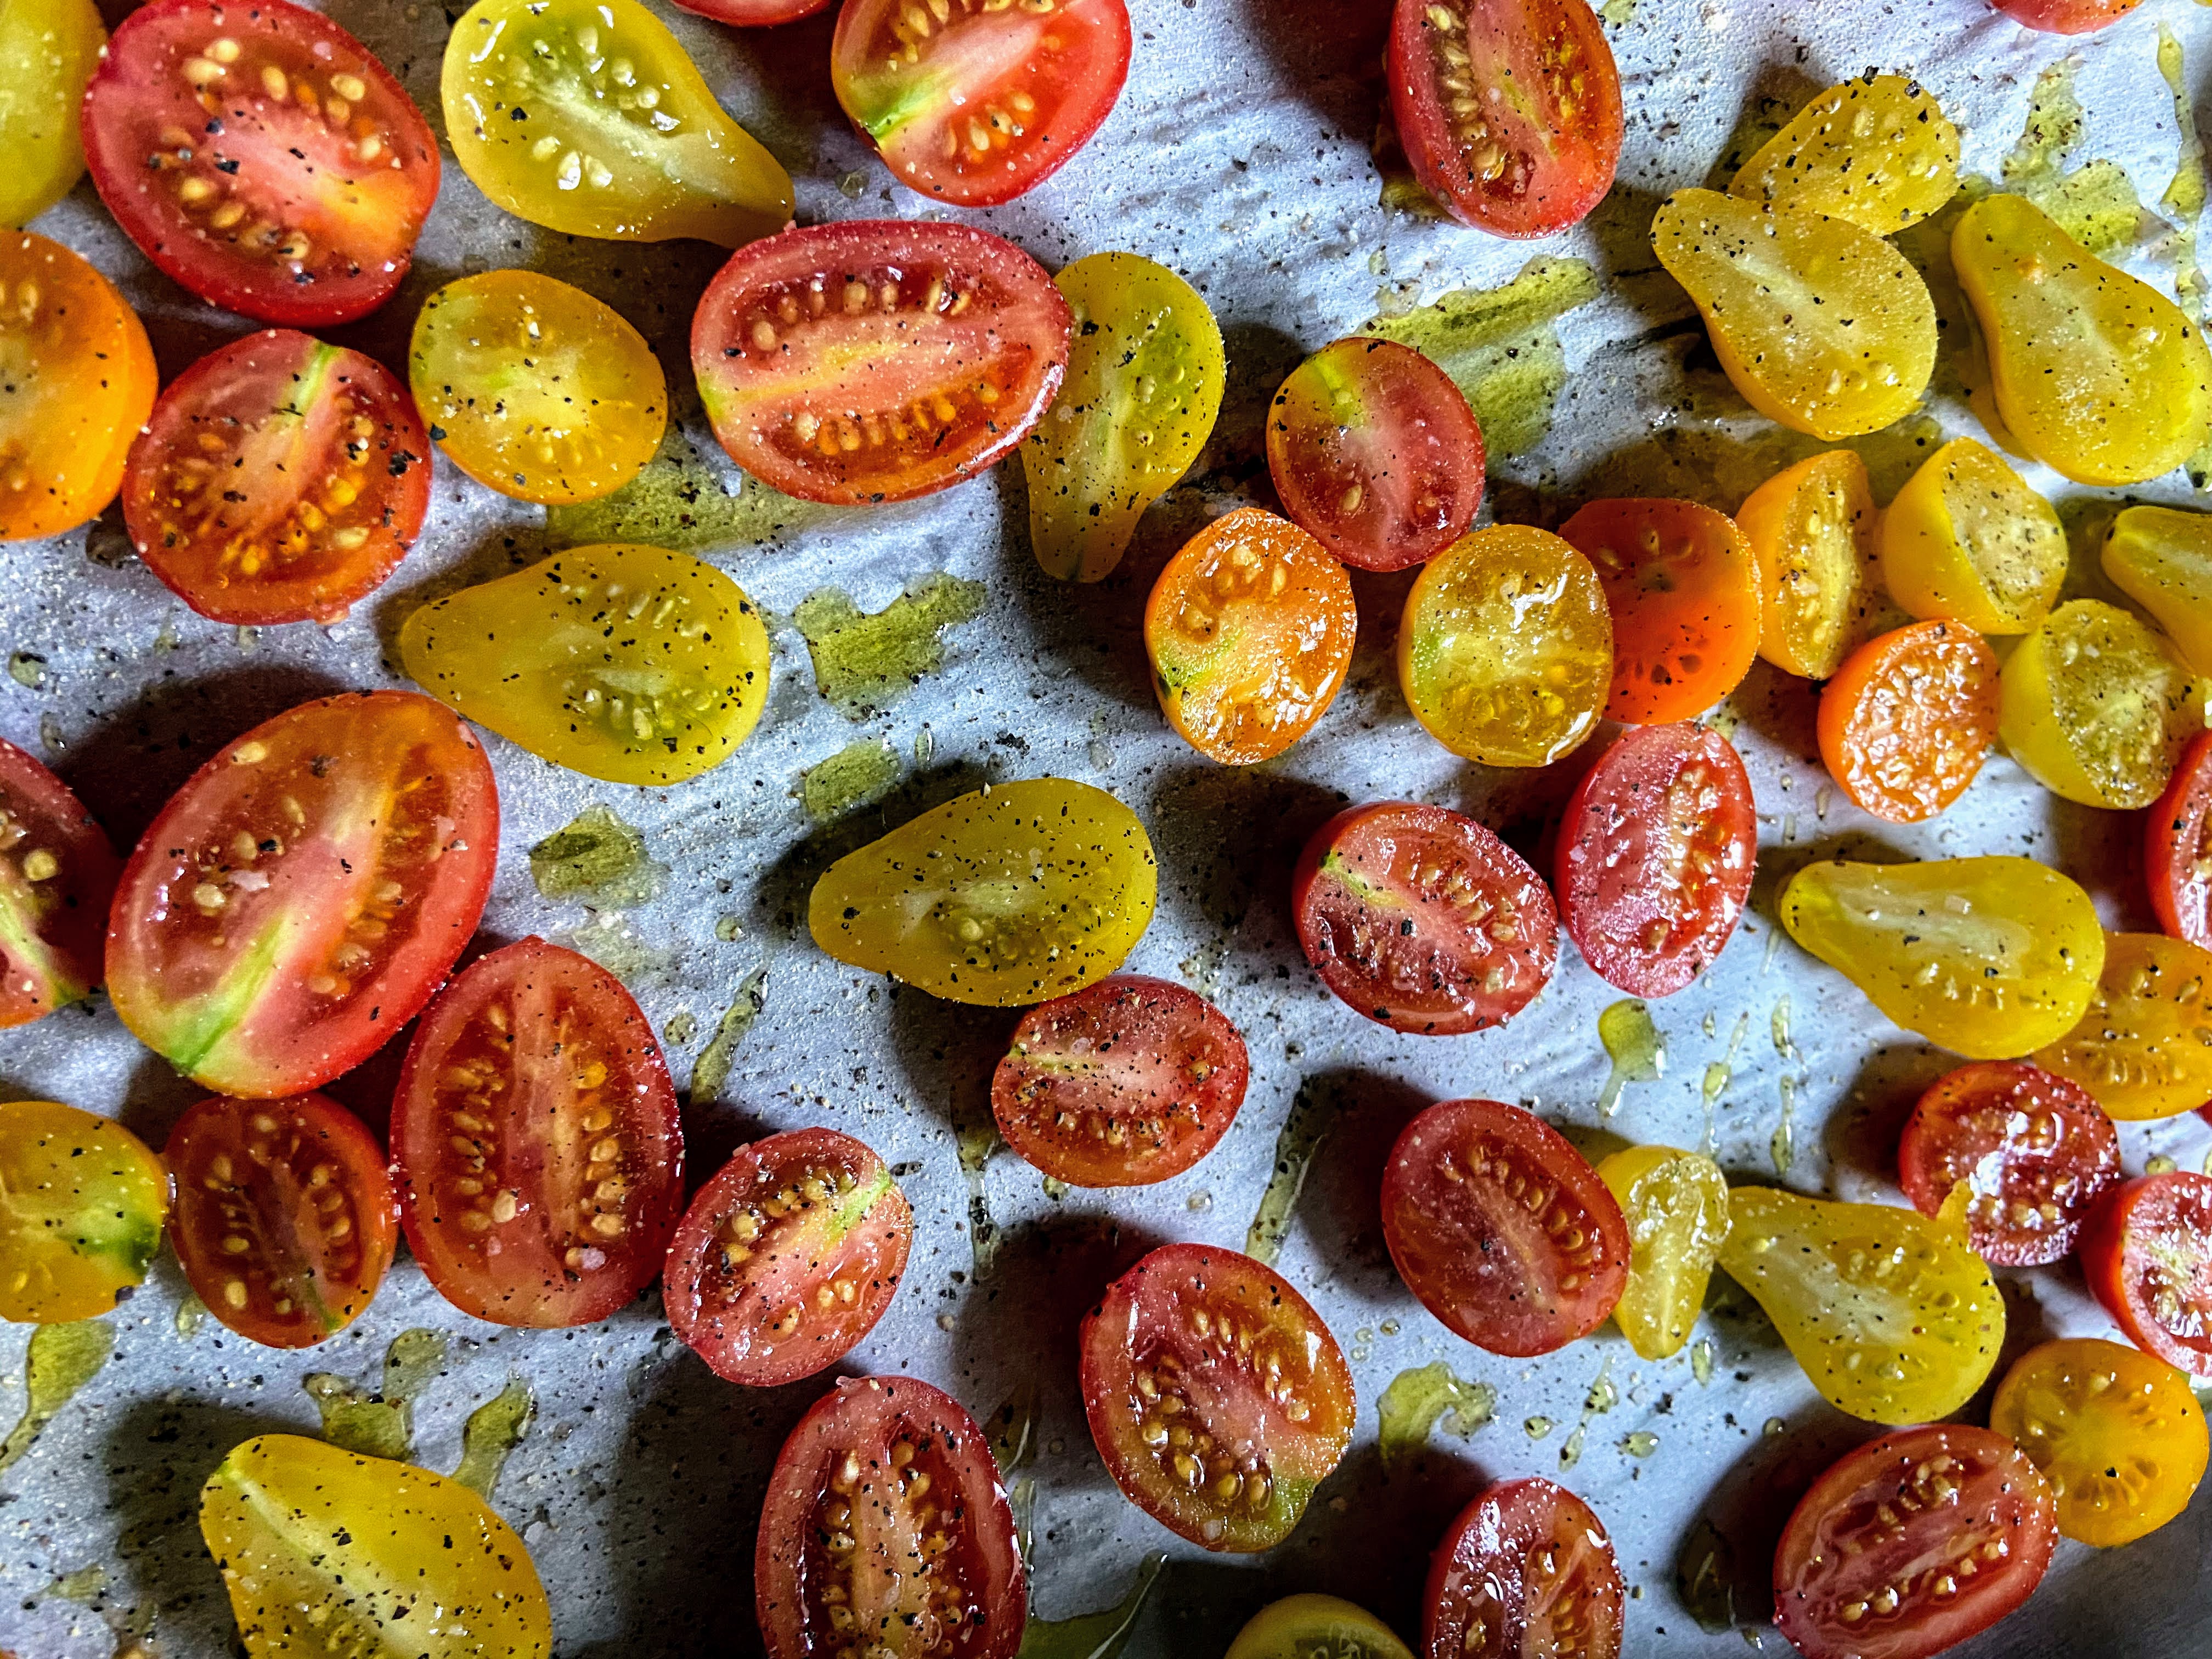
Preheat the oven to 425 degrees. Wash and dry the tomatoes. Slice each tomato in half. Lay cut side UP on a parchment lined baking sheet. Drizzle with olive oil and sprinkle salt, pepper, garlic, etc on top. Bake for 20-30 minutes, until just beginning to caramelize. Allow to cool. 

From here, you can totally just snack on them. If you want to preserve for later, stick the tray in the freezer for 2-3 hours. Transfer to a freezer safe container and use within a year. So quick, easy, and a great way to preserve your harvest!

Roasted and Preserved Tomatoes

Too many grape and cherry tomatoes? Like to preserve the flavor of summer for the winter months? Create these roasted and preserved tomatoes!
Prep Time 10 minutes
Cook Time 30 minutes
Course Side Dish
Cuisine Italian
Servings 5 servings

Ingredients
  

  • 1 pound cherry or grape tomatoes any variety
  • ½ tablespoon olive oil
  • ¼ teaspoon salt
  • ¼ teaspoon pepper
  • ¼ teaspoon oregano
  • ¼ teaspoon garlic

Instructions
 

  • Preheat the oven to 425 degrees.
  • Wash and dry the tomatoes.
  • Slice each tomato in half. Lay cut side up on a parchment lined baking sheet.
  • Drizzle with olive oil and sprinkle salt, pepper, garlic, etc on top.
  • Bake for 20-30 minutes, until just beginning to caramelize. Allow to cool.
  • To preserve, place the tray in the freezer for 2-3 hours.
  • Transfer to a freezer safe container and use within a year.
Keyword cherry tomatoes, freezing, preserving, side dish, tomatoes, Vegan, vegetables
Tried this recipe?Let us know how it was!

Looking for other preserving recipes?

Check out my canning and preserving page! Or maybe one of the recipes below will speak to you!

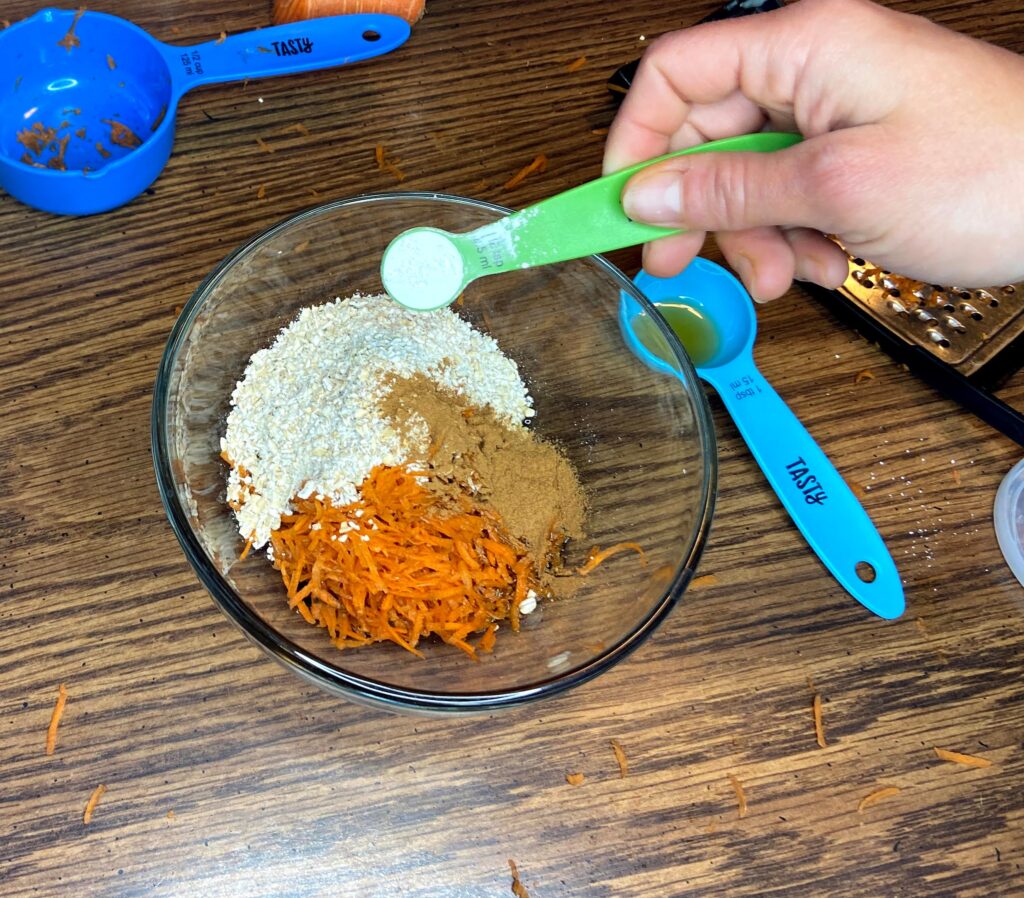
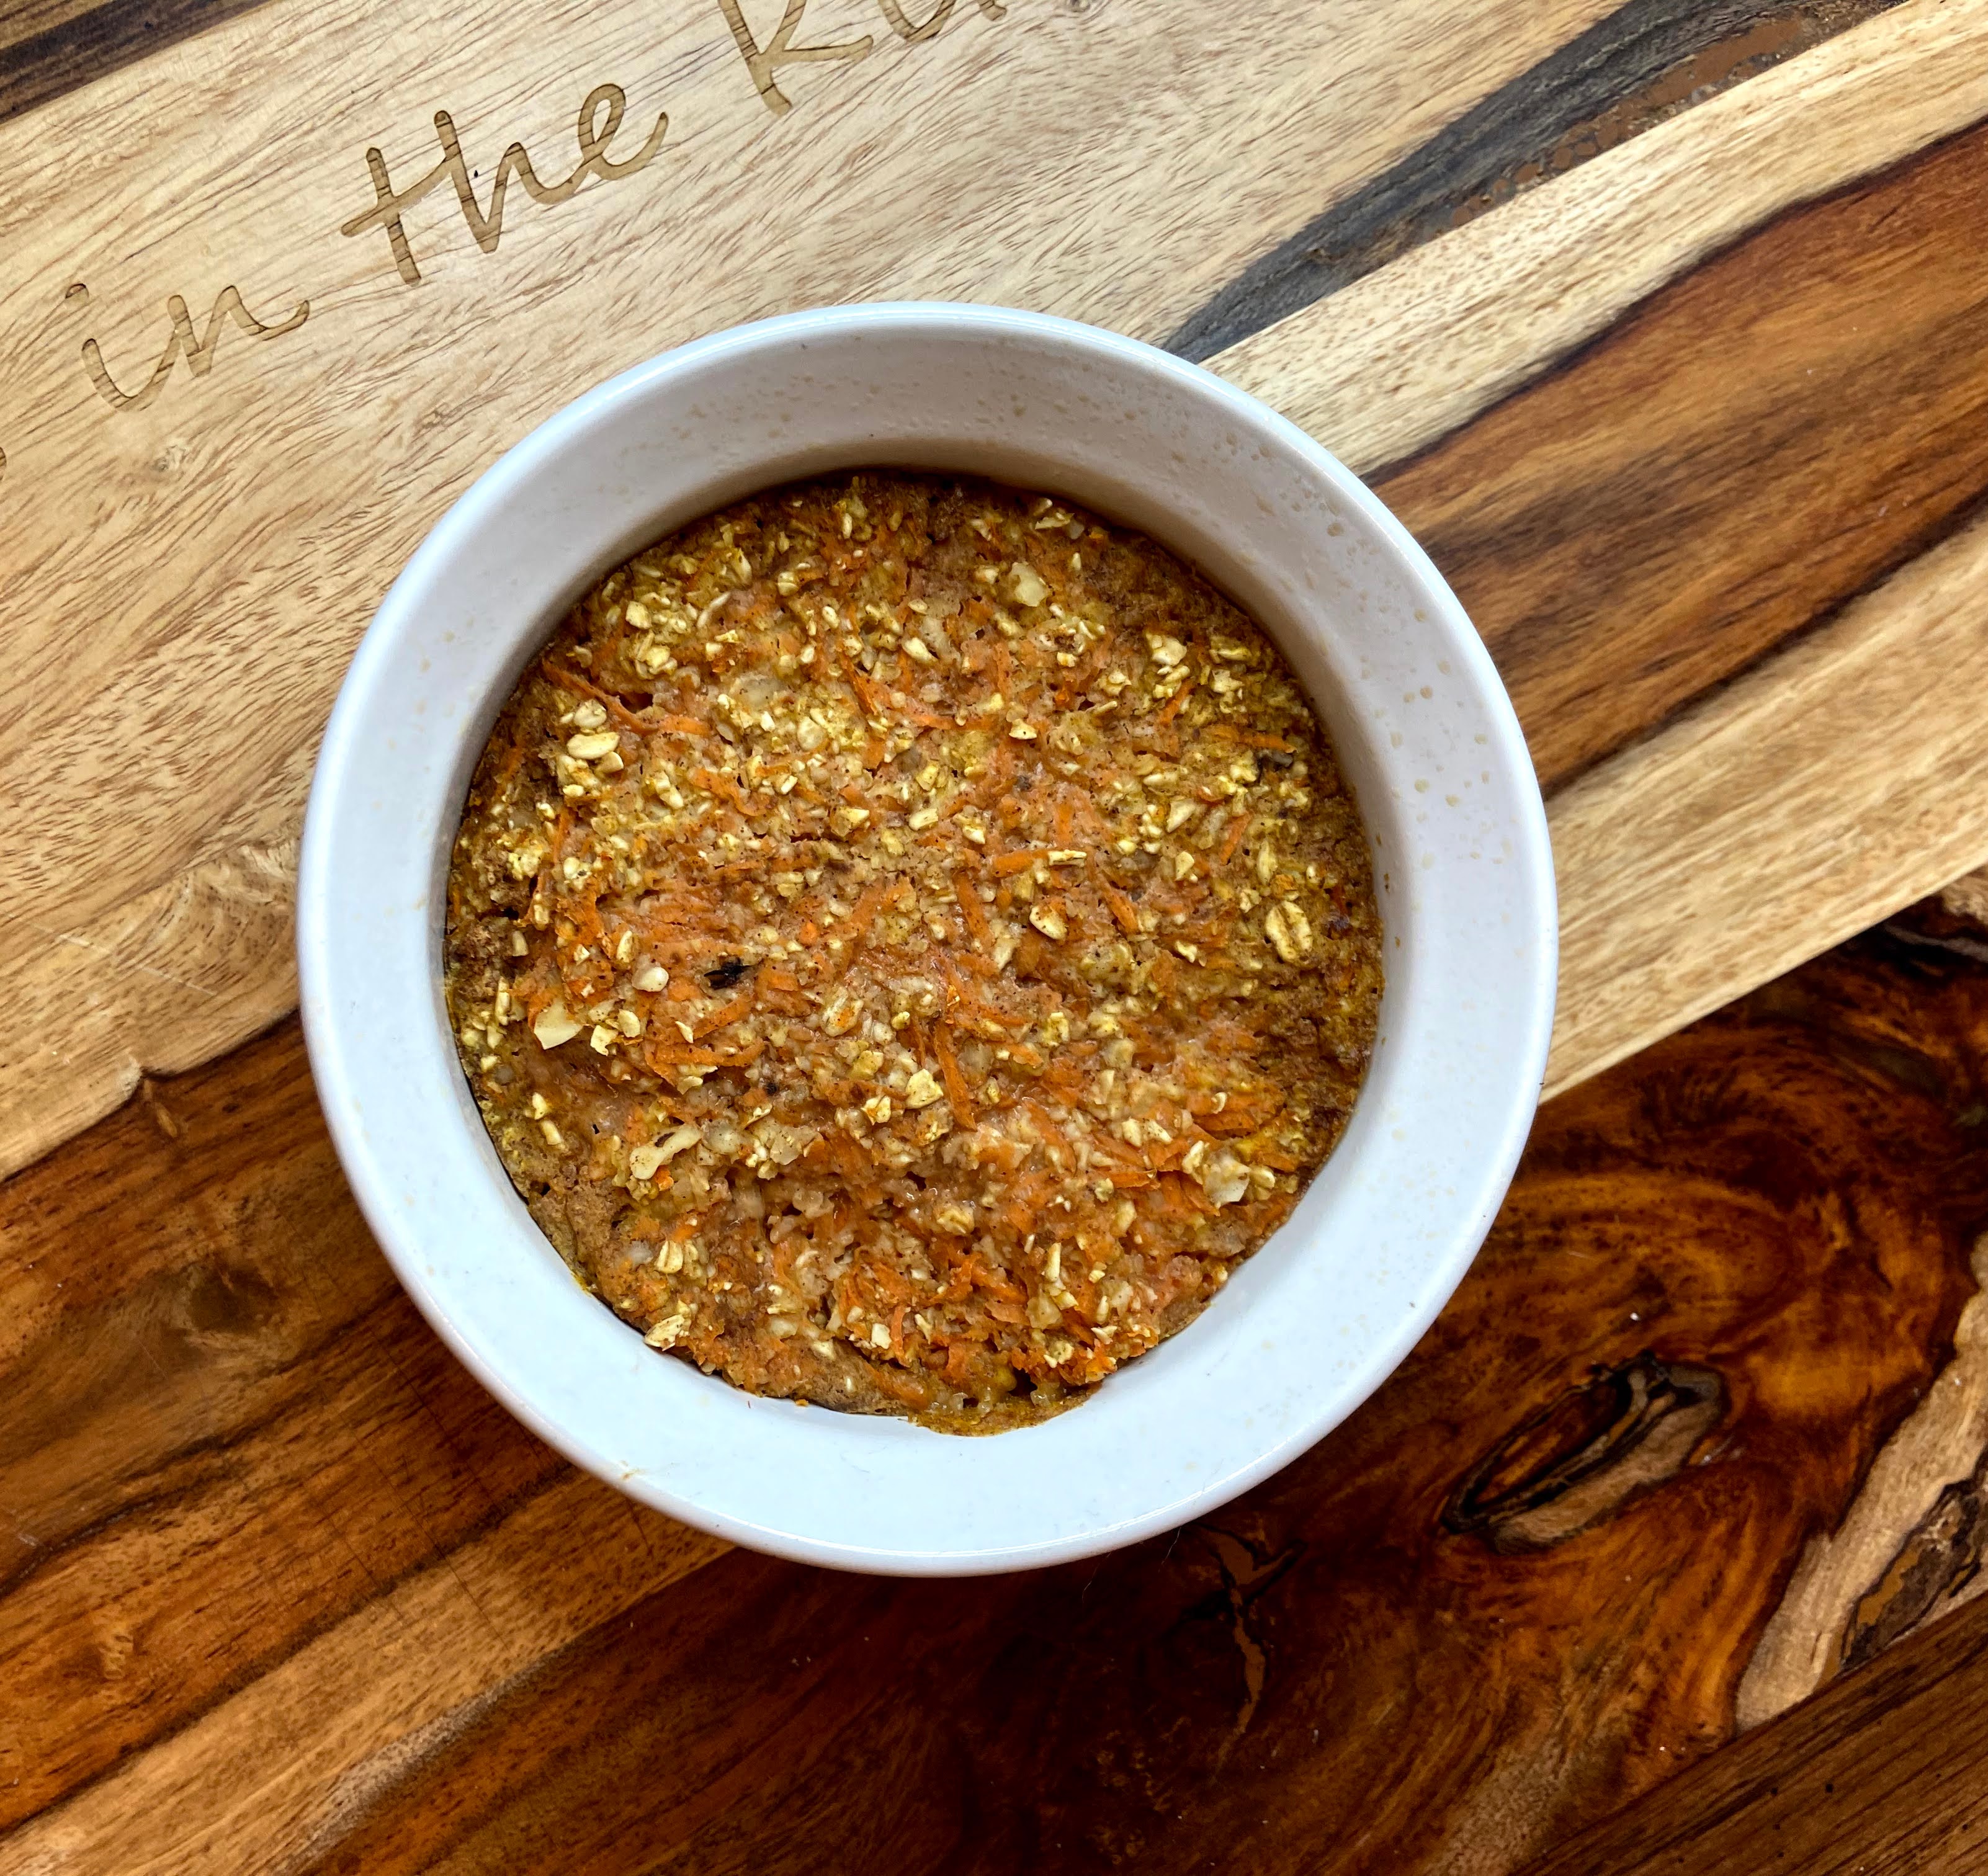
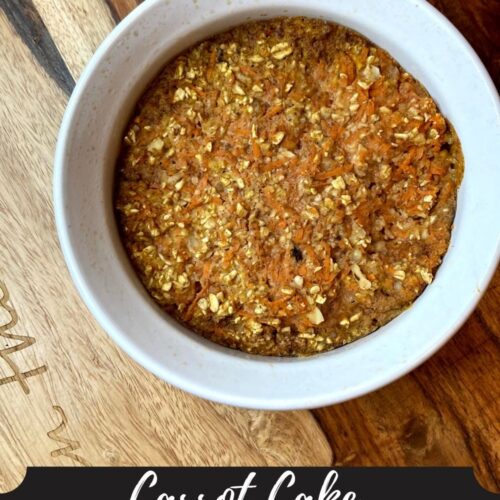
Carrot Cake Baked Oatmeal

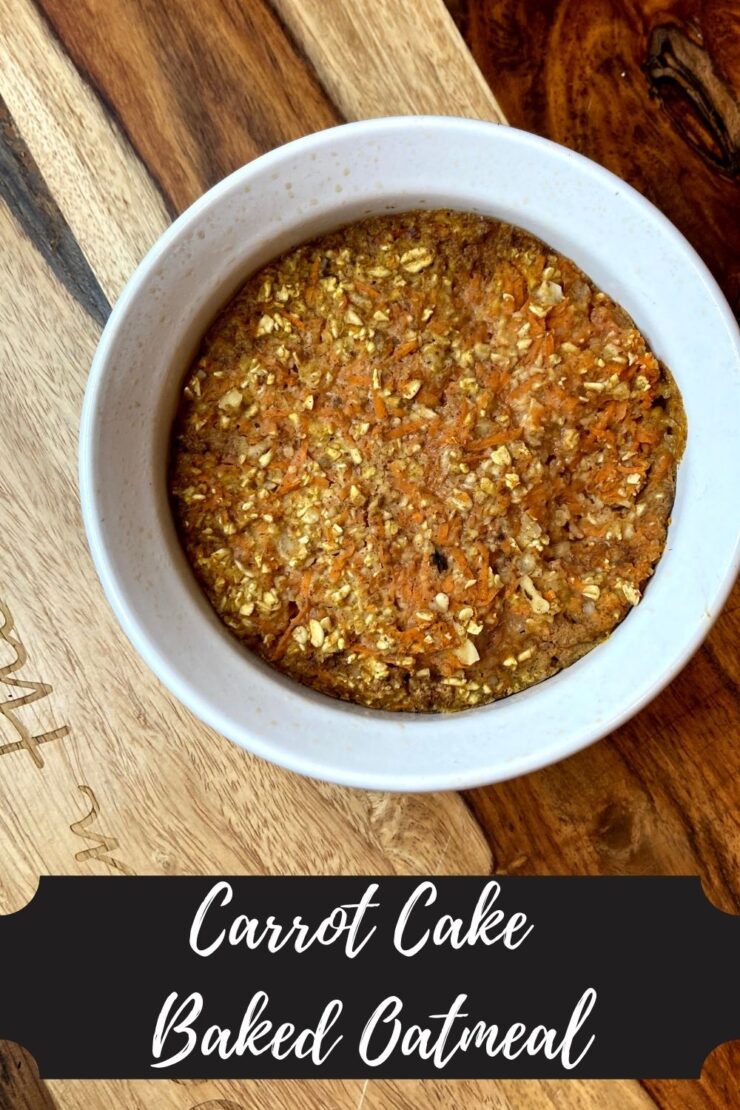
I am back with another baked oatmeal recipe: carrot cake baked oatmeal! After I tried my first baked oatmeal recipe, I was itching to try another. I generally say that I don’t love breakfast. I have a few stand by things I eat and that’s it. When I ate at McDonald’s, I used to be so annoyed when I got there 20 minutes before their breakfast menu switched to lunch and I had to get breakfast. Now, I still don’t dig breakfast, but I am starting to branch out and discover new, healthy meals!

In a recent post, I talked about my favorite things: cooking from scratch, using what is on hand, and finally, inserting vegetables whenever I can. Which I did here, but we will call it a cake to trick our brains, right? 🙂 

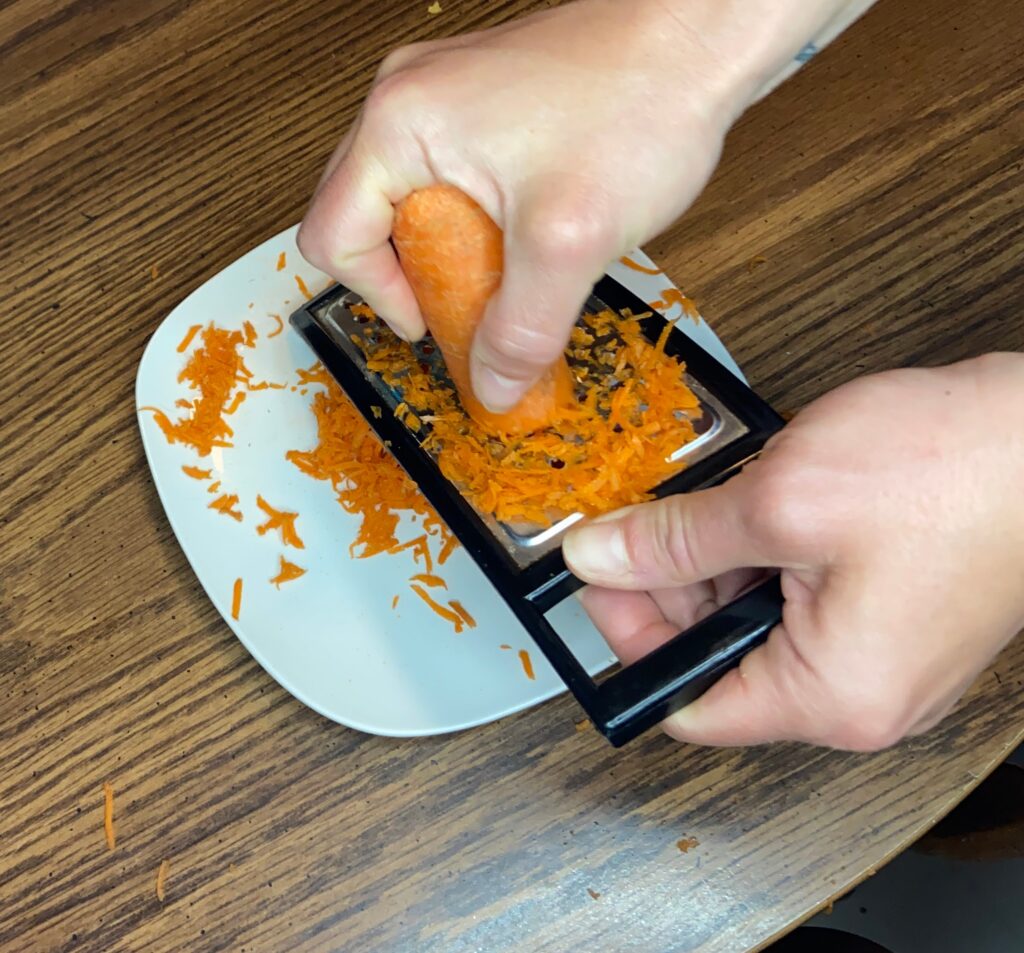
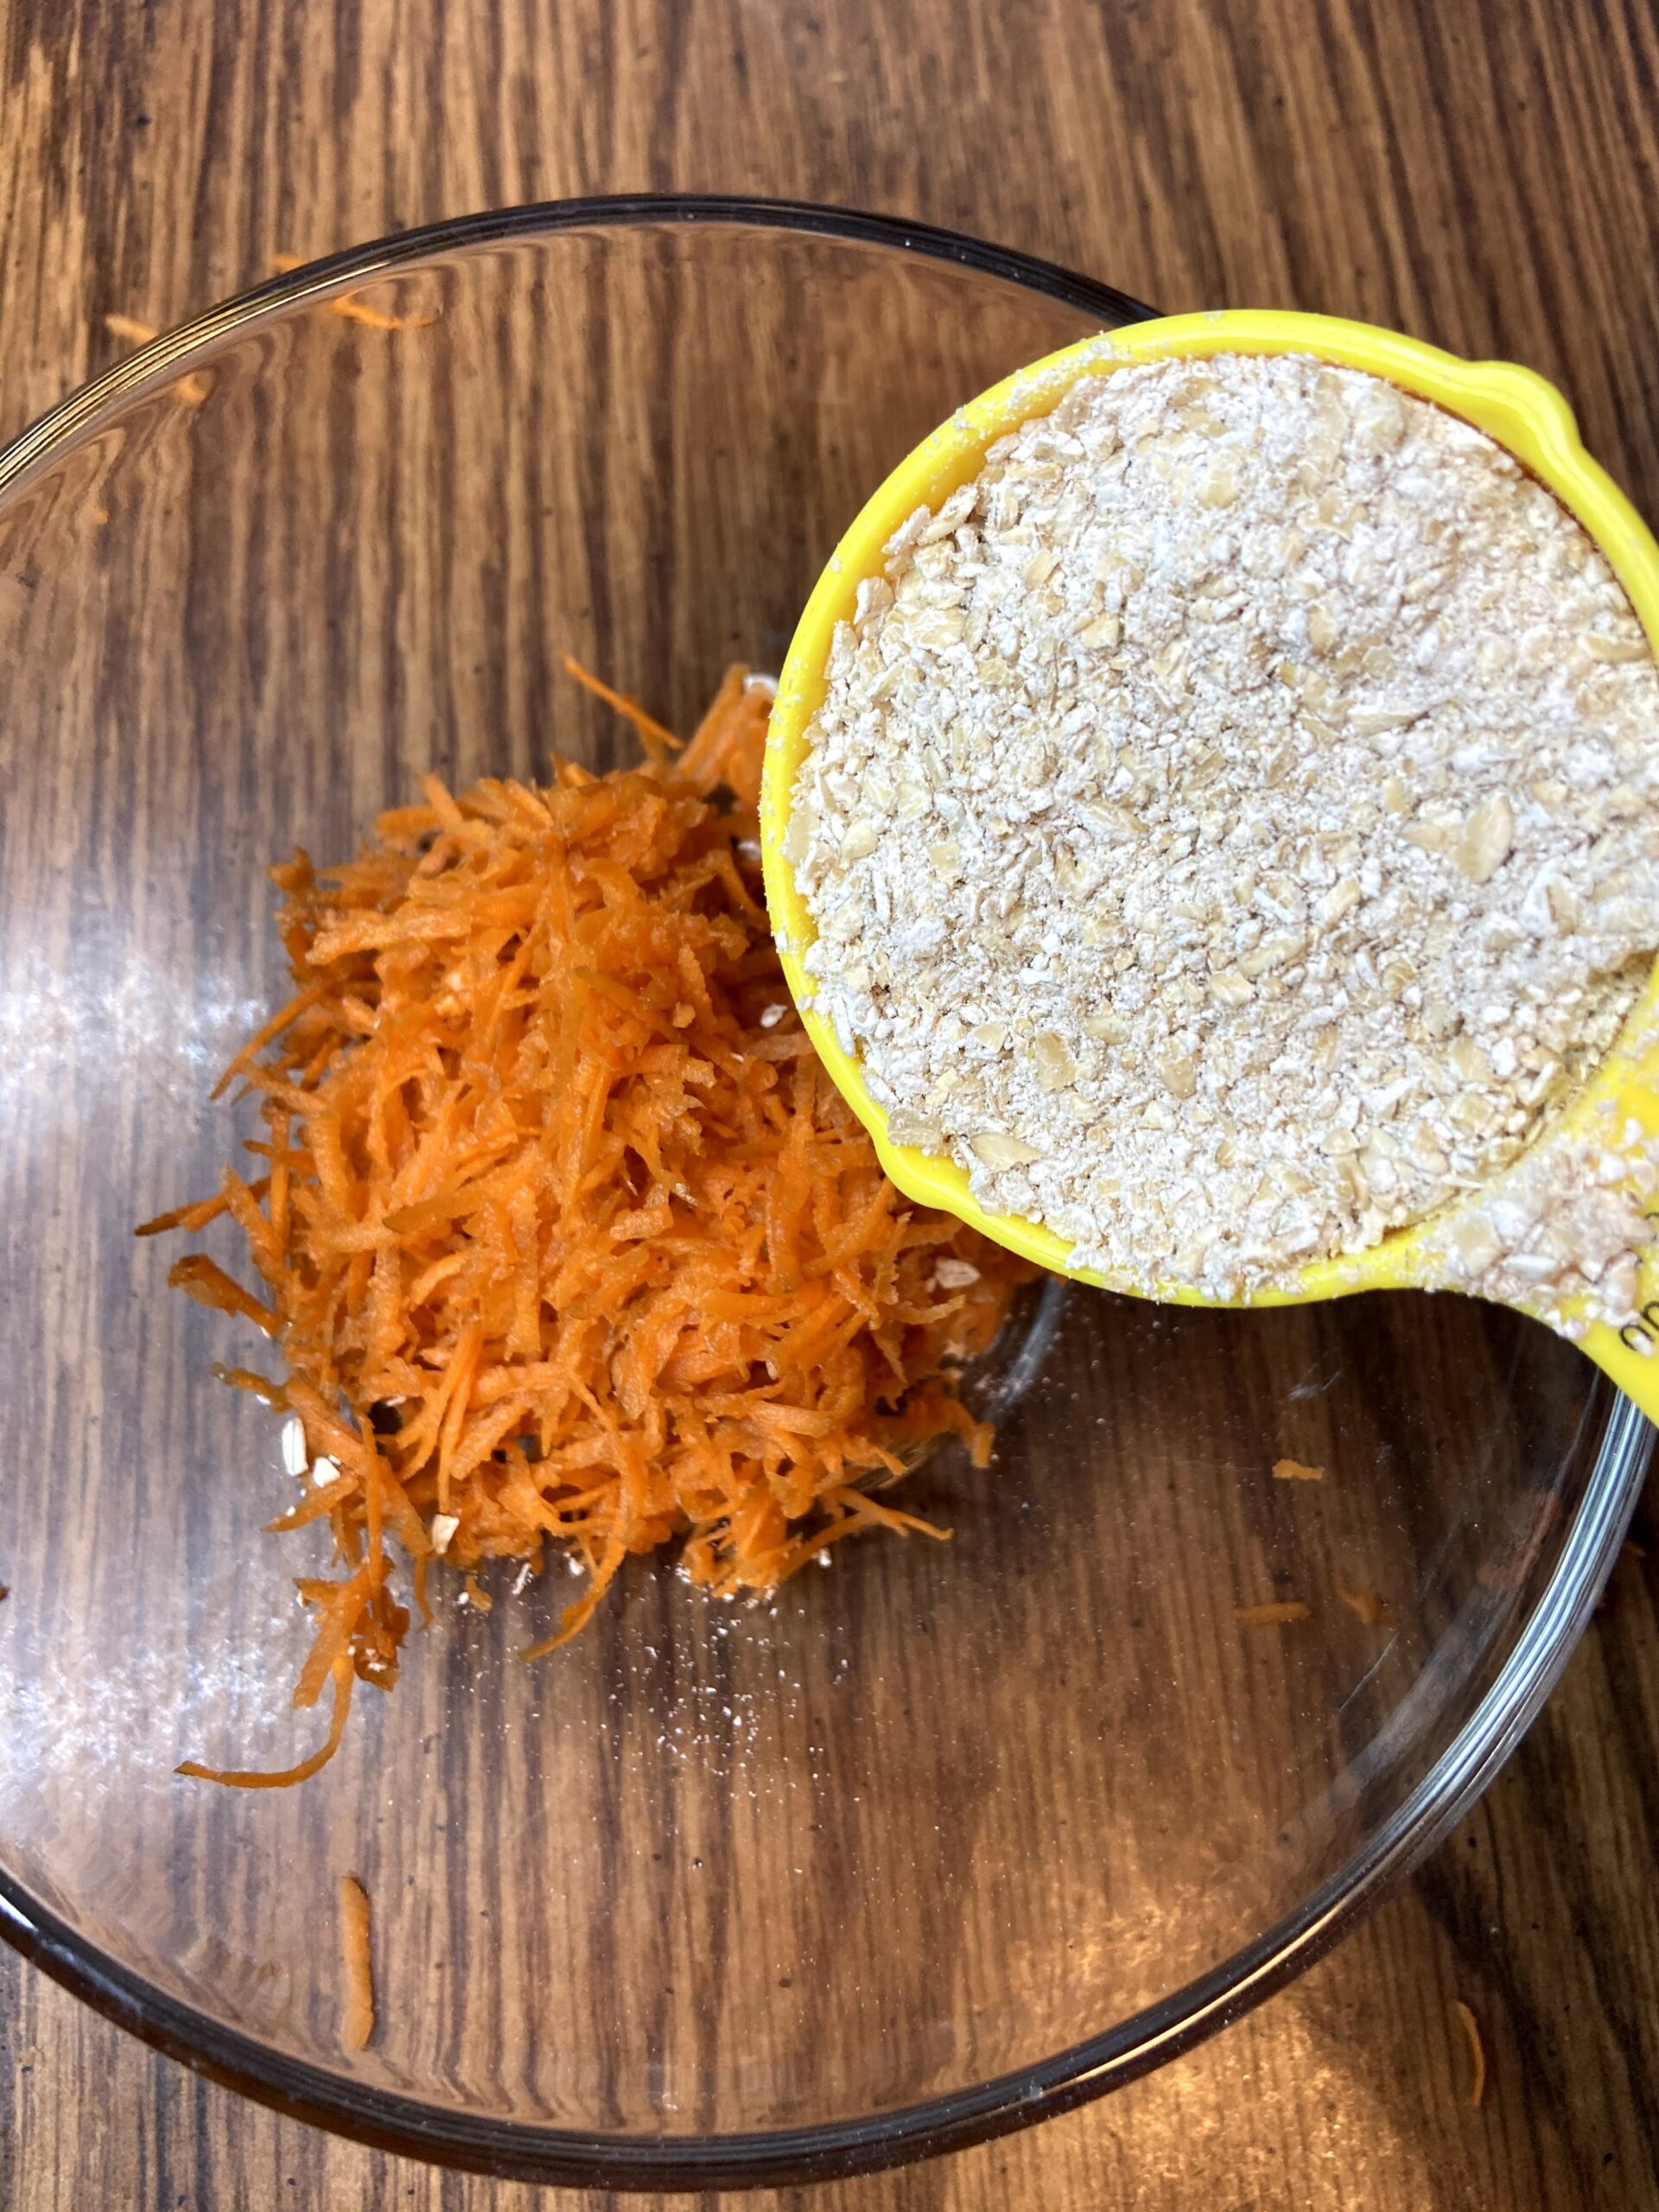
Rather than buy oat flour, I made my own using my food processor. It’s so simple my friends. Just put some old fashioned oats into your processor and hit blend until your texture is very coarse flour (I use my Kitchen Aid 7 Cup and it’s grand!). I poured a few cups of oats into my mixture, ground them up, and stored them in an air tight container. 

I have a few other recipes that call for ground oats like these simple energy balls, banana nut baked oatmeal, and this great banana bread, so having some on hand isn’t a bad idea. 

Ready to get mixing and baking? I hope so! Let’s make some carrot cake baked oatmeal!

Your Ingredients for Carrot Cake Baked Oatmeal 

  • ⅓ to ½ cup grated carrot 
  • ⅓ cup oat flour
  • 1 tablespoon maple syrup 
  • ½ teaspoon cinnamon
  • ½ teaspoon baking powder
  • 2 tablespoons chopped walnuts
  • ⅓ cup unsweetened almond milk 
  • ⅛-¼ teaspoon vanilla extract, optional 

Your Steps to Banana Nut Baked Oatmeal 

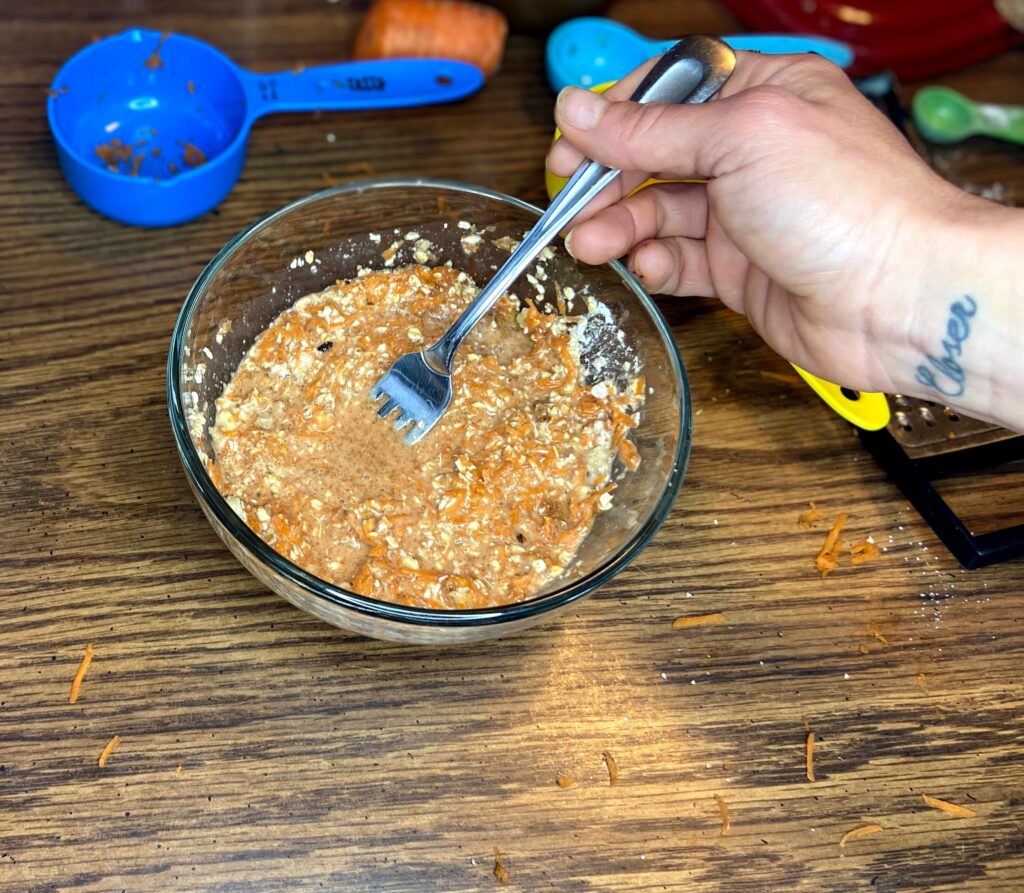
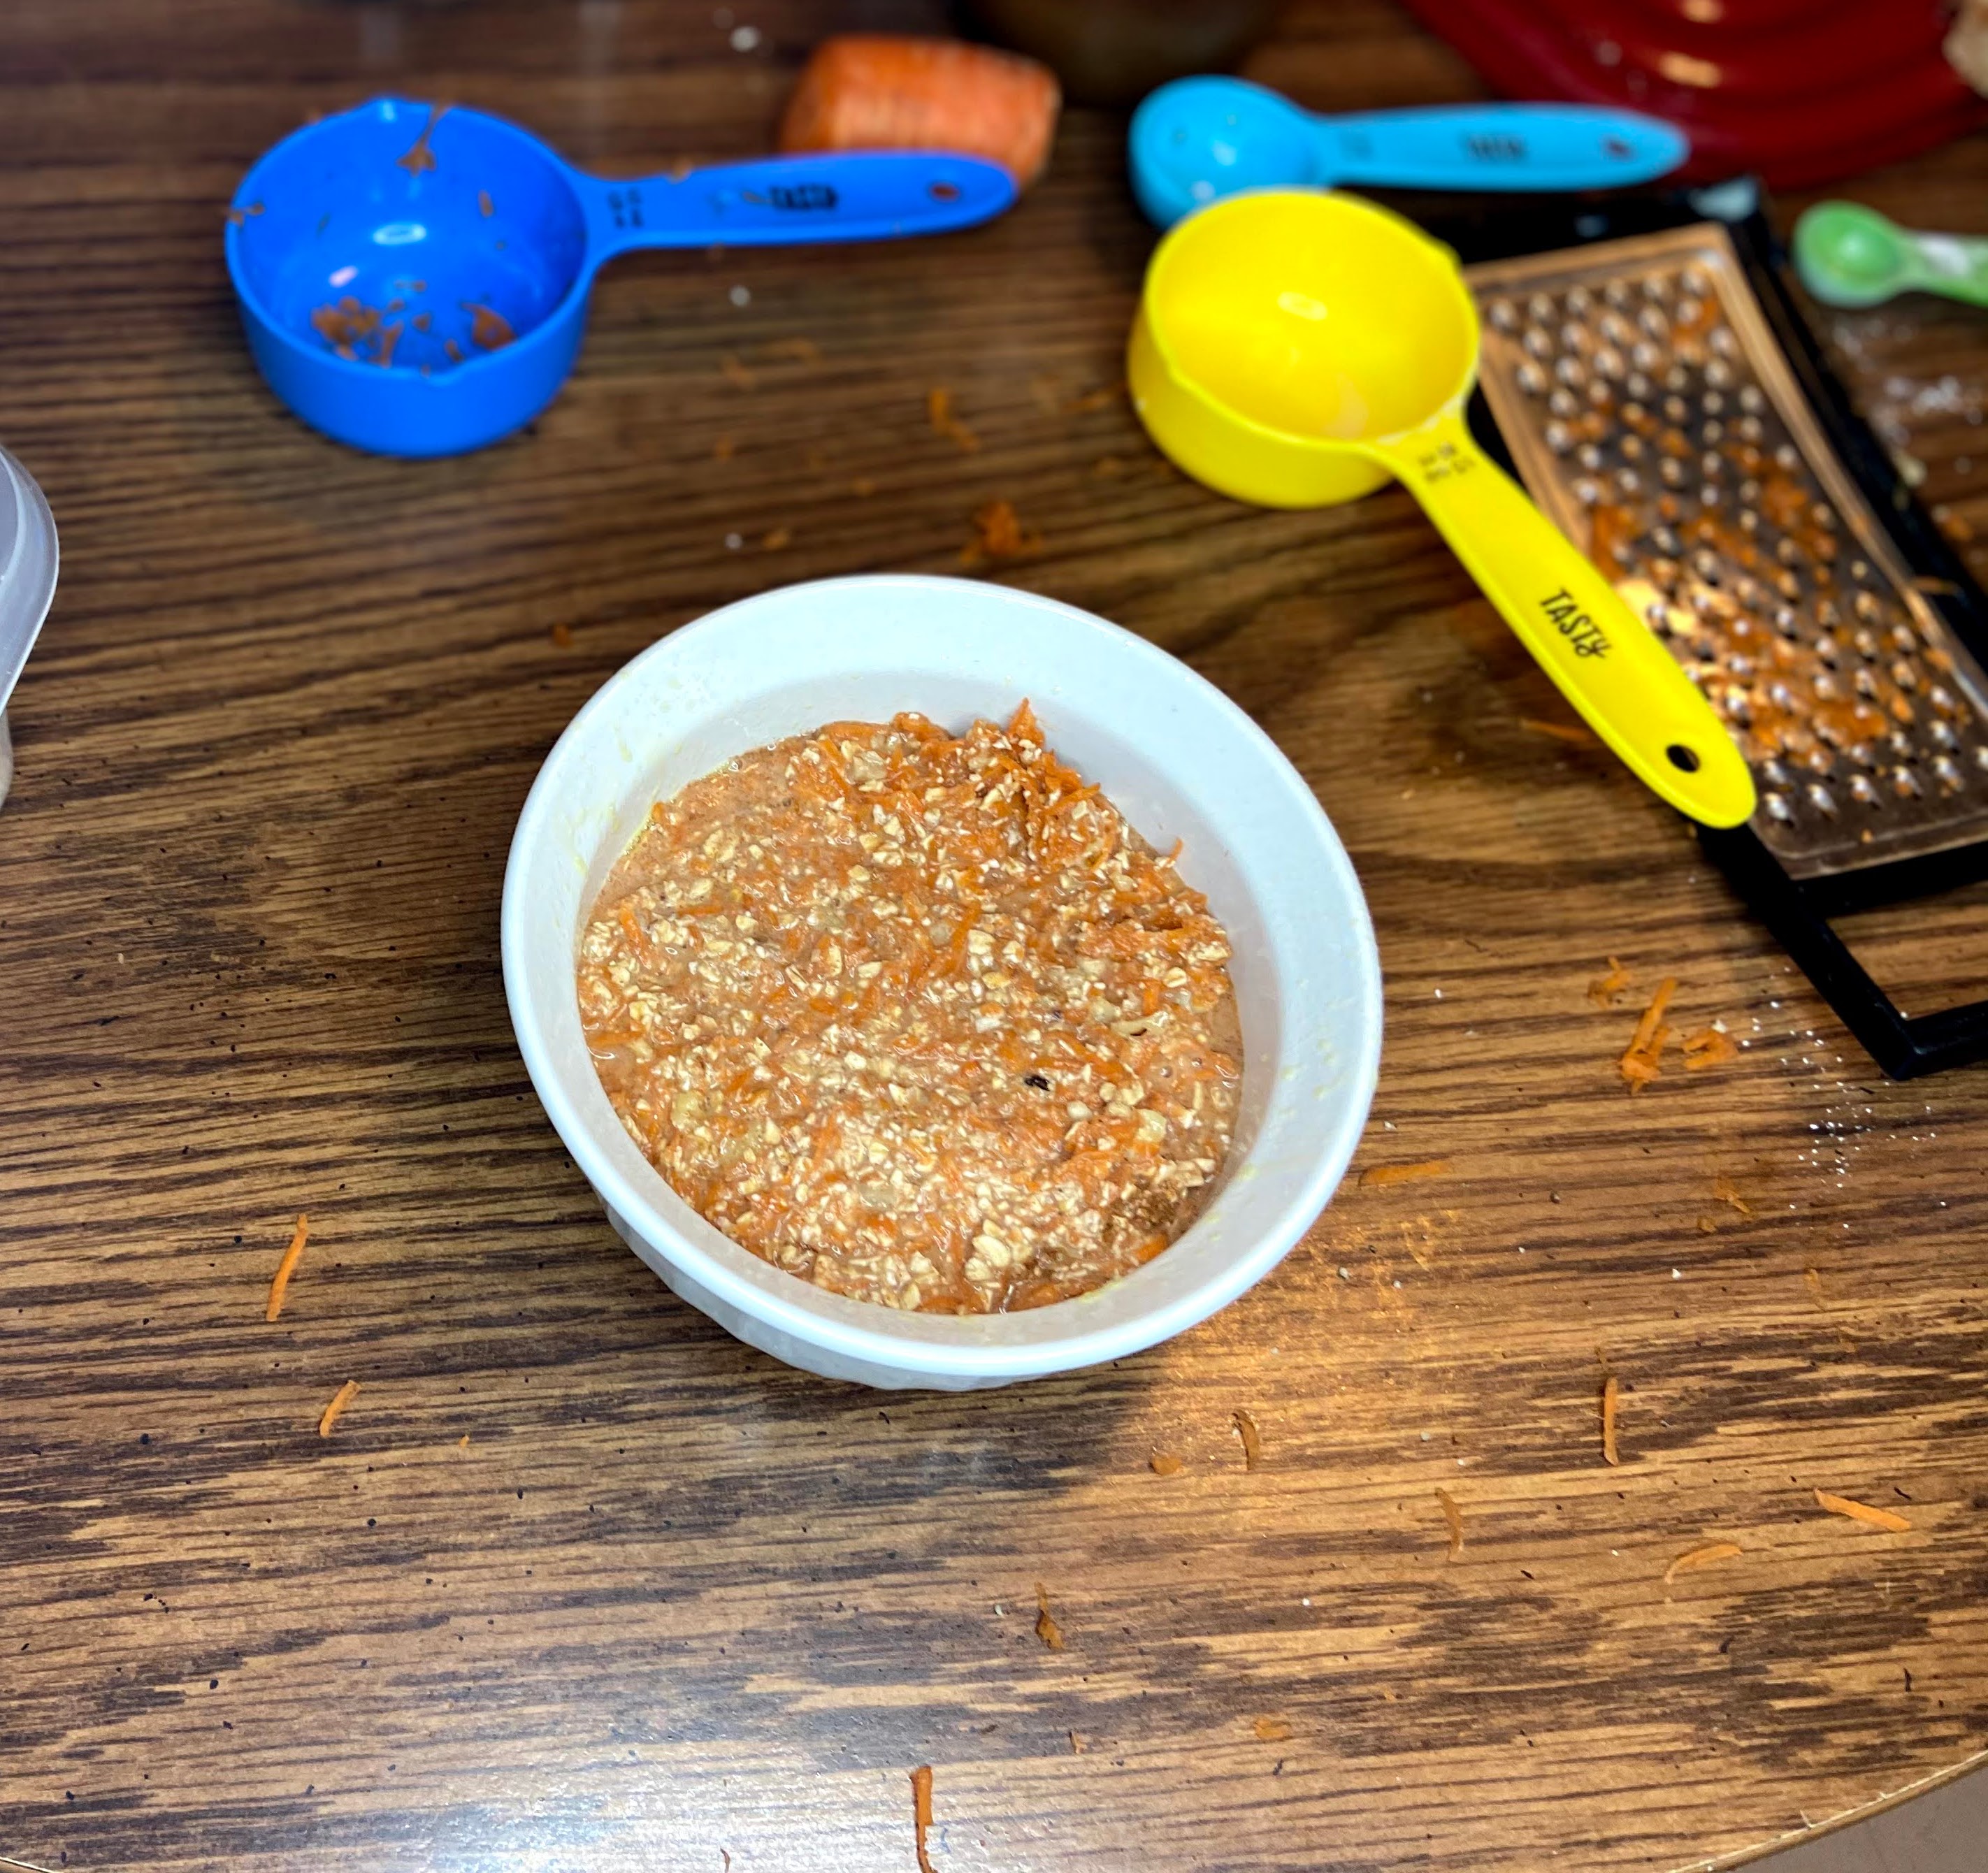
Preheat the oven to 375 degrees. Grease a ramekin with non-stick cooking spray. Combine all ingredients in a small bowl, mixing until well combined. Pour into greased ramekin. Bake on the middle shelf for 15-20 minutes, depending on the texture you want your oatmeal to be. I like it to feel more like a bread than goo-ey, so I shoot for the 20 minute mark. 

Carrot Cake Baked Oatmeal

Cake and vegetables for breakfast?! Why not?
Course Breakfast
Cuisine American
Servings 1

Ingredients
  

  • ⅓ to ½ cup grated carrot
  • cup oat flour
  • 1 tablespoon maple syrup
  • ½ teaspoon cinnamon
  • ½ teaspoon baking powder
  • 2 tablespoons chopped walnuts
  • cup unsweetened almond milk
  • ⅛-¼ teaspoon vanilla extract optional

Instructions
 

  • Preheat the oven to 375 degrees. Grease a ramekin with non-stick cooking spray.
  • Combine all ingredients in a small bowl, mixing until well combined.
  • Pour into greased ramekin. Bake on the middle shelf for 15-20 minutes, depending on your texture preference.
Keyword baked oatmeal, Breakfast, carrot, carrot cake
Tried this recipe?Let us know how it was!

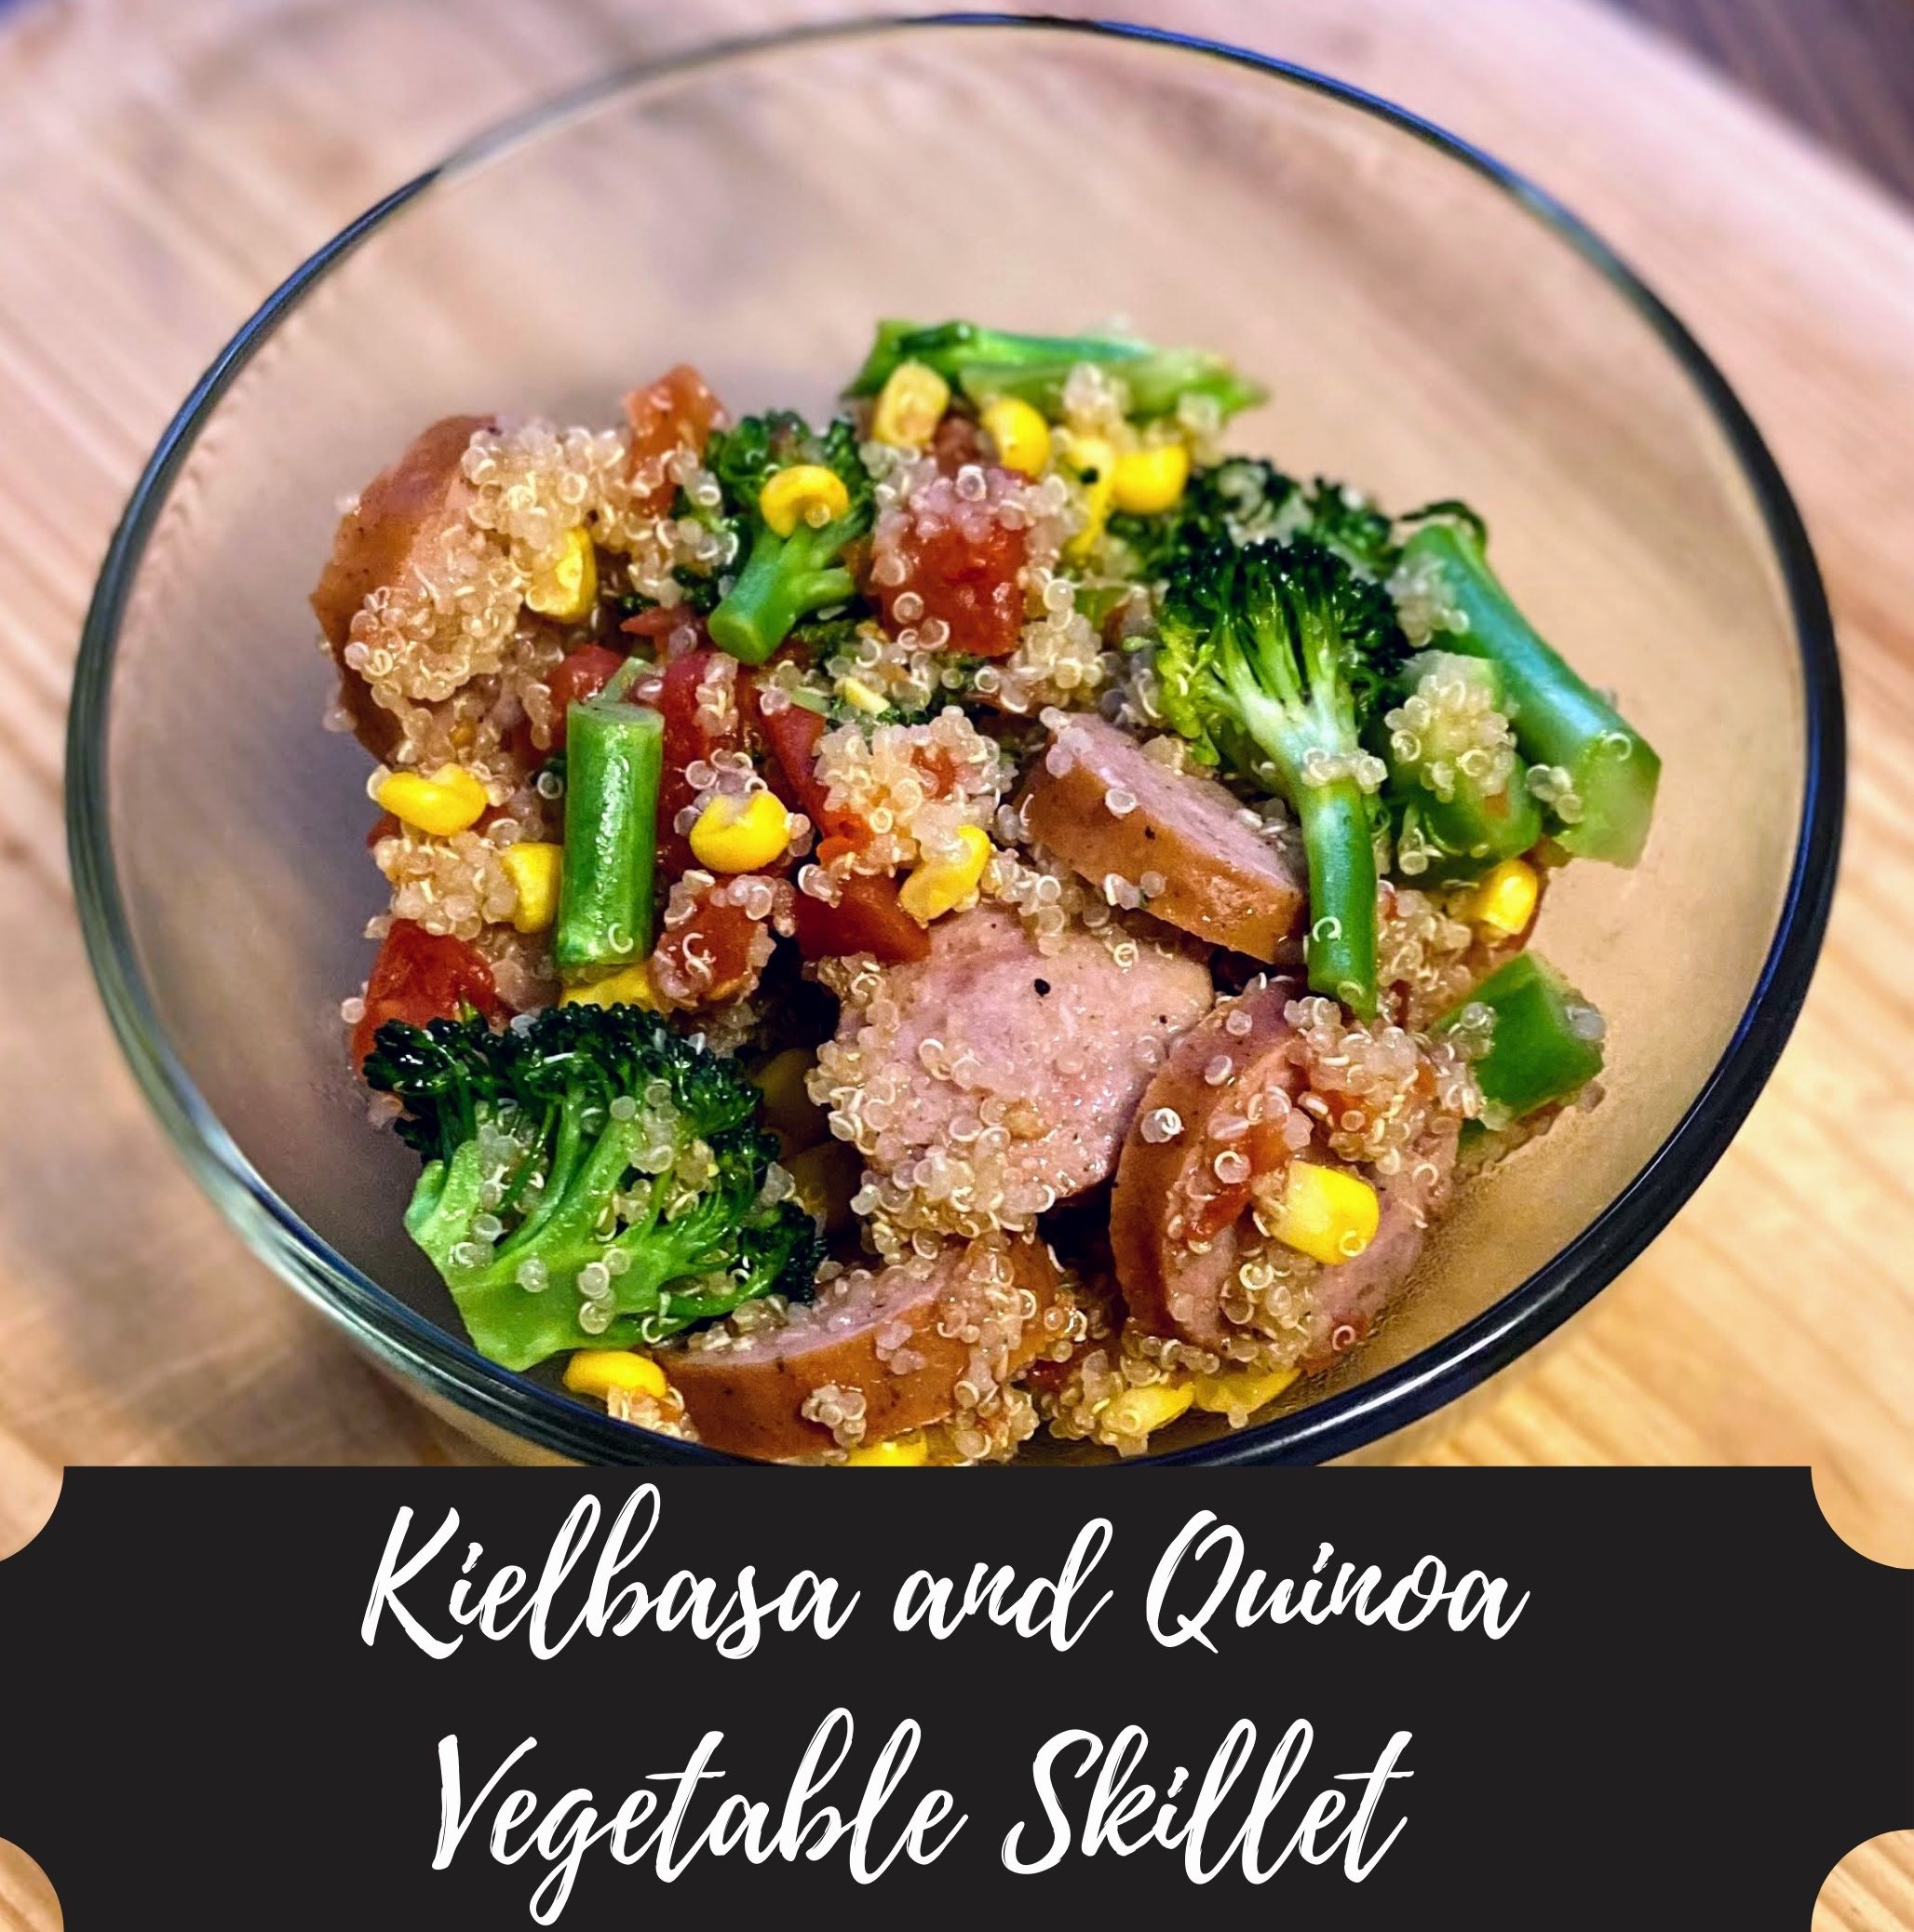
Kielbasa and Quinoa Vegetable Skillet

The scene: It’s 5 o’clock and you still have no idea what’s for dinner, but you know you don’t want to cave to the temptation of take out or the quick rotisserie chicken from the local grocery store. You know that life? It was mine just recently. I was coming home from a training to teach cycling (Eeee!) and hadn’t a clue what was for dinner. Enter this delightful little diddy: Kielbasa and Quinoa Skillet. 

You guys know me…I sneak all the extra vegetables into a meal. And this one is full of about 5 cups of them. You get all the color with broccoli, tomatoes, and corn. Quinoa provides a nice little base, and the kielbasa has the spices mixed in already so you only need a little garlic, some salt, and some pepper. Best yet? It comes together in under 30 minutes! Winning on all the fronts. 

Ready to get cooking? I sure am! 

Your Ingredients 

  • ¾ cup dry quinoa 
  • 1 ½ cups chicken stock (or water will do!)
  • 2 teaspoons minced garlic 
  • 1 tablespoon olive oil 
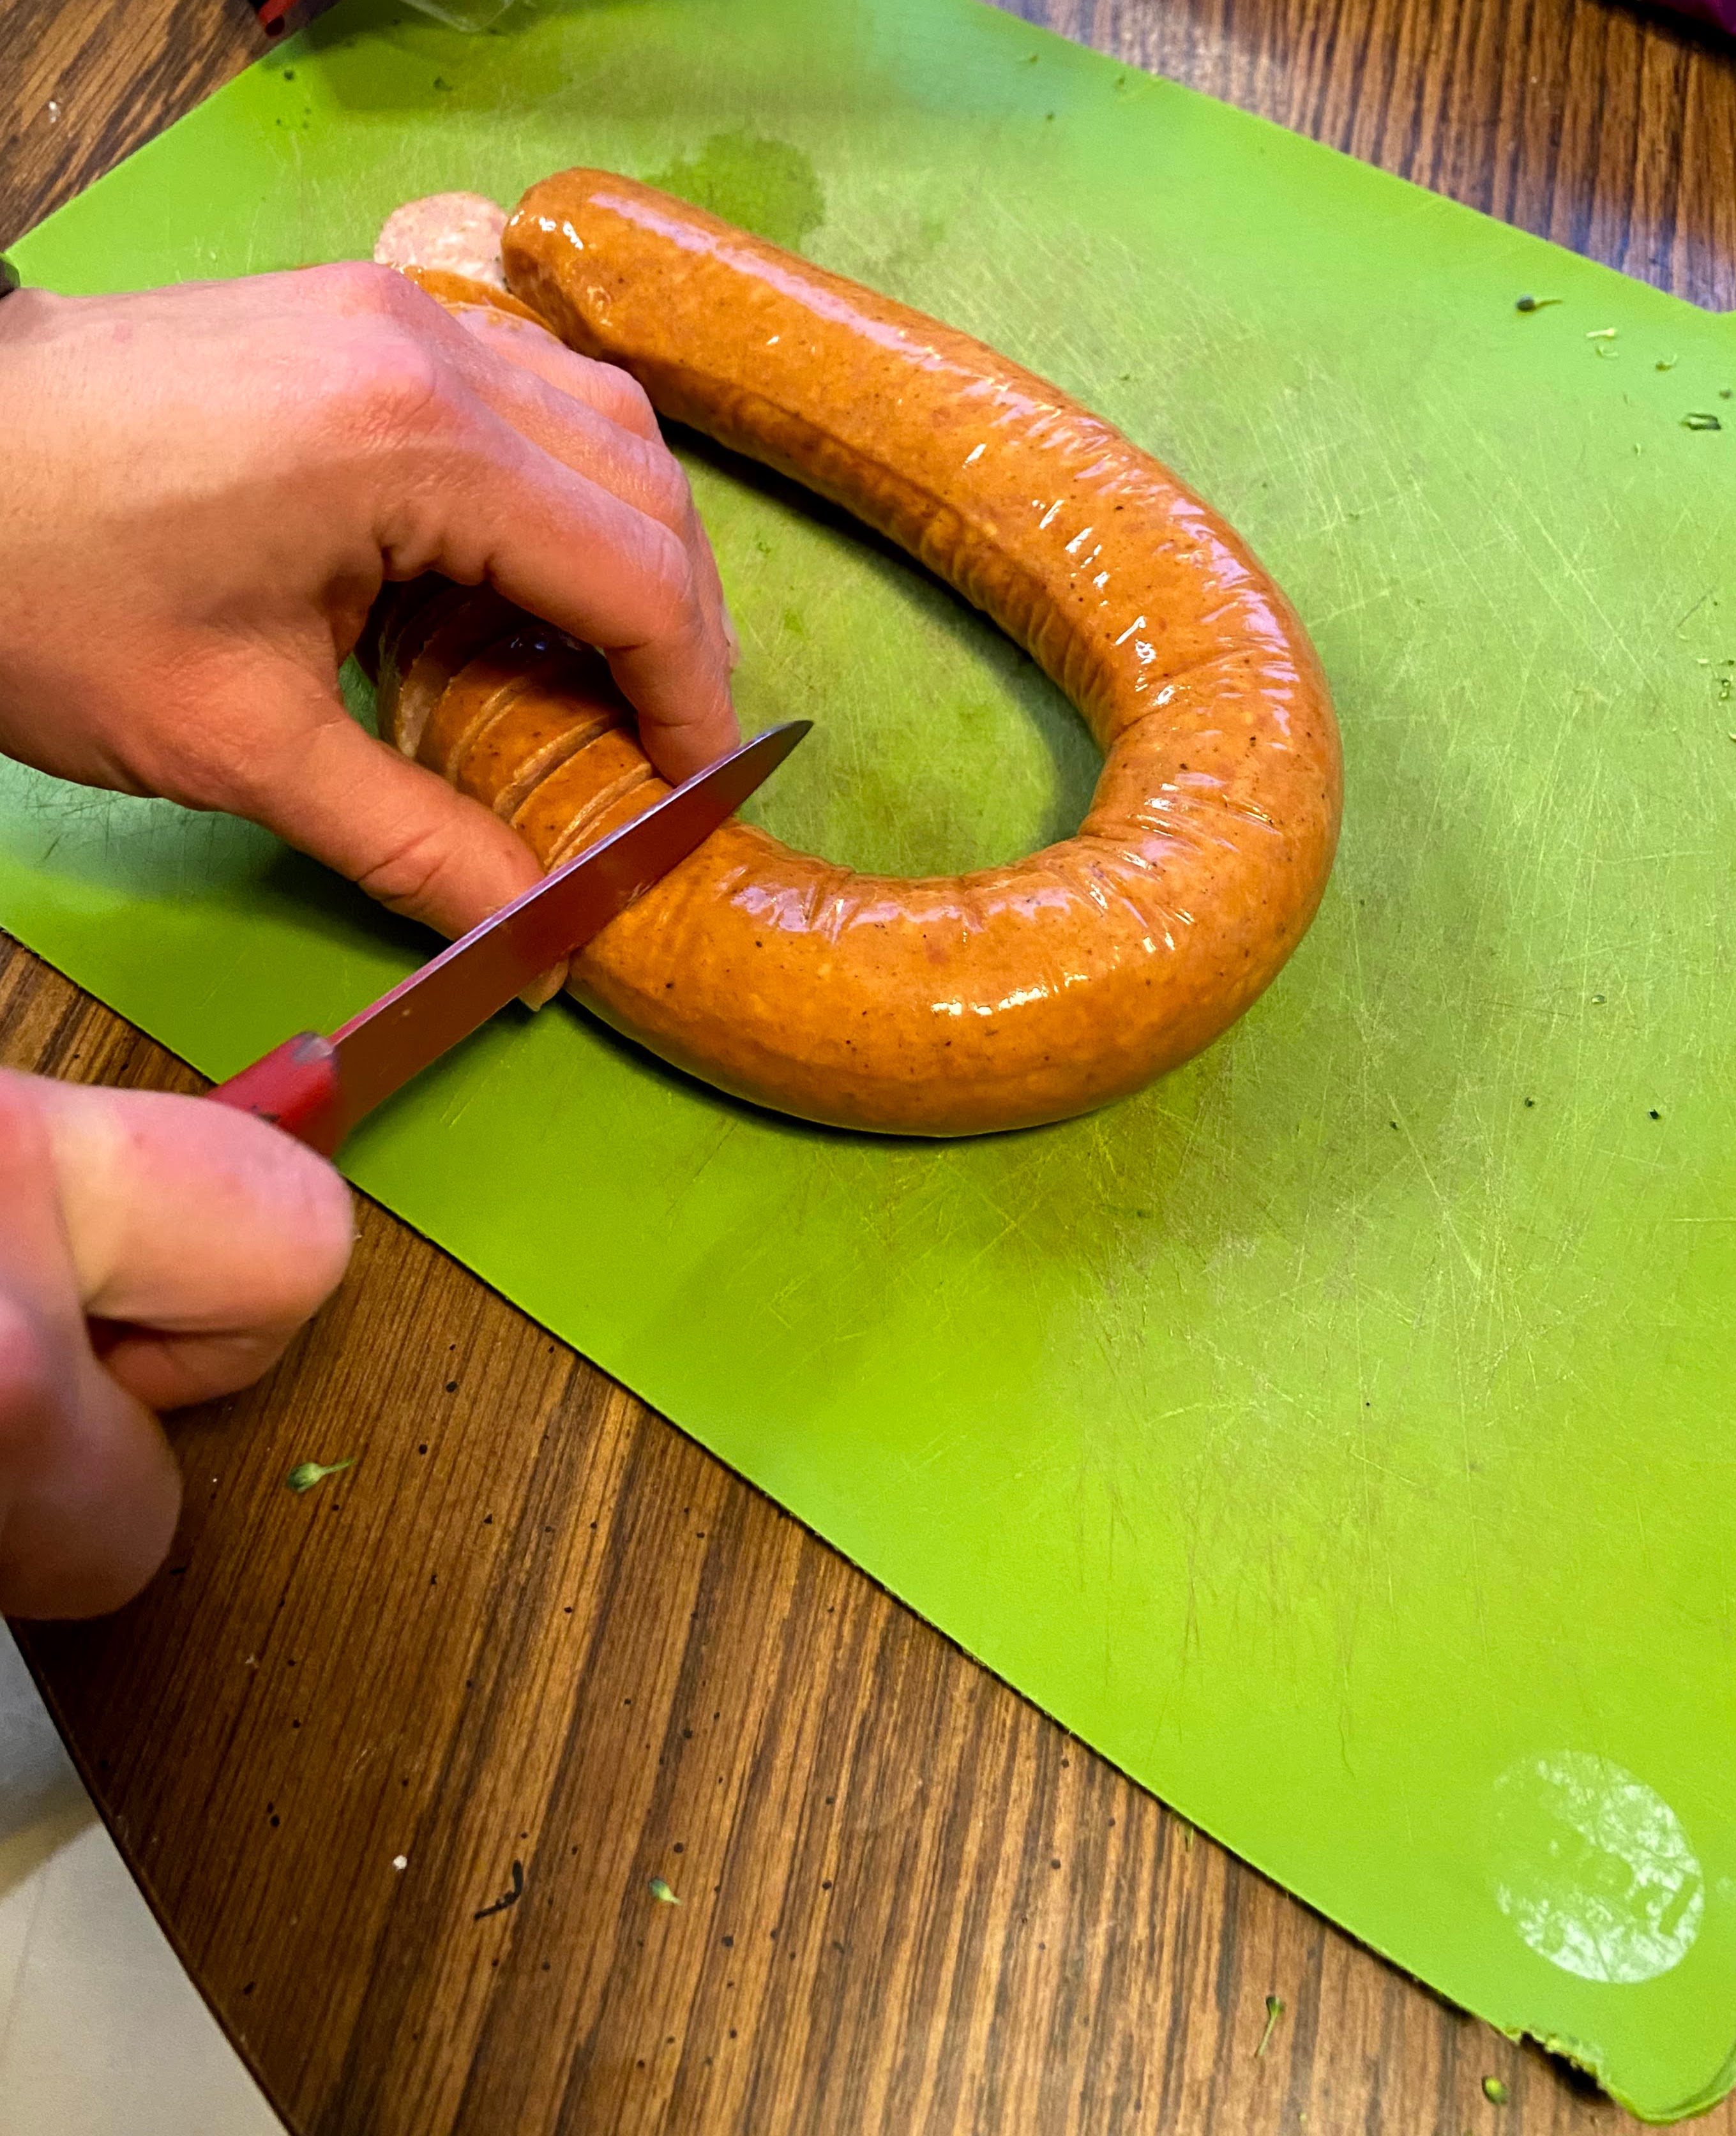
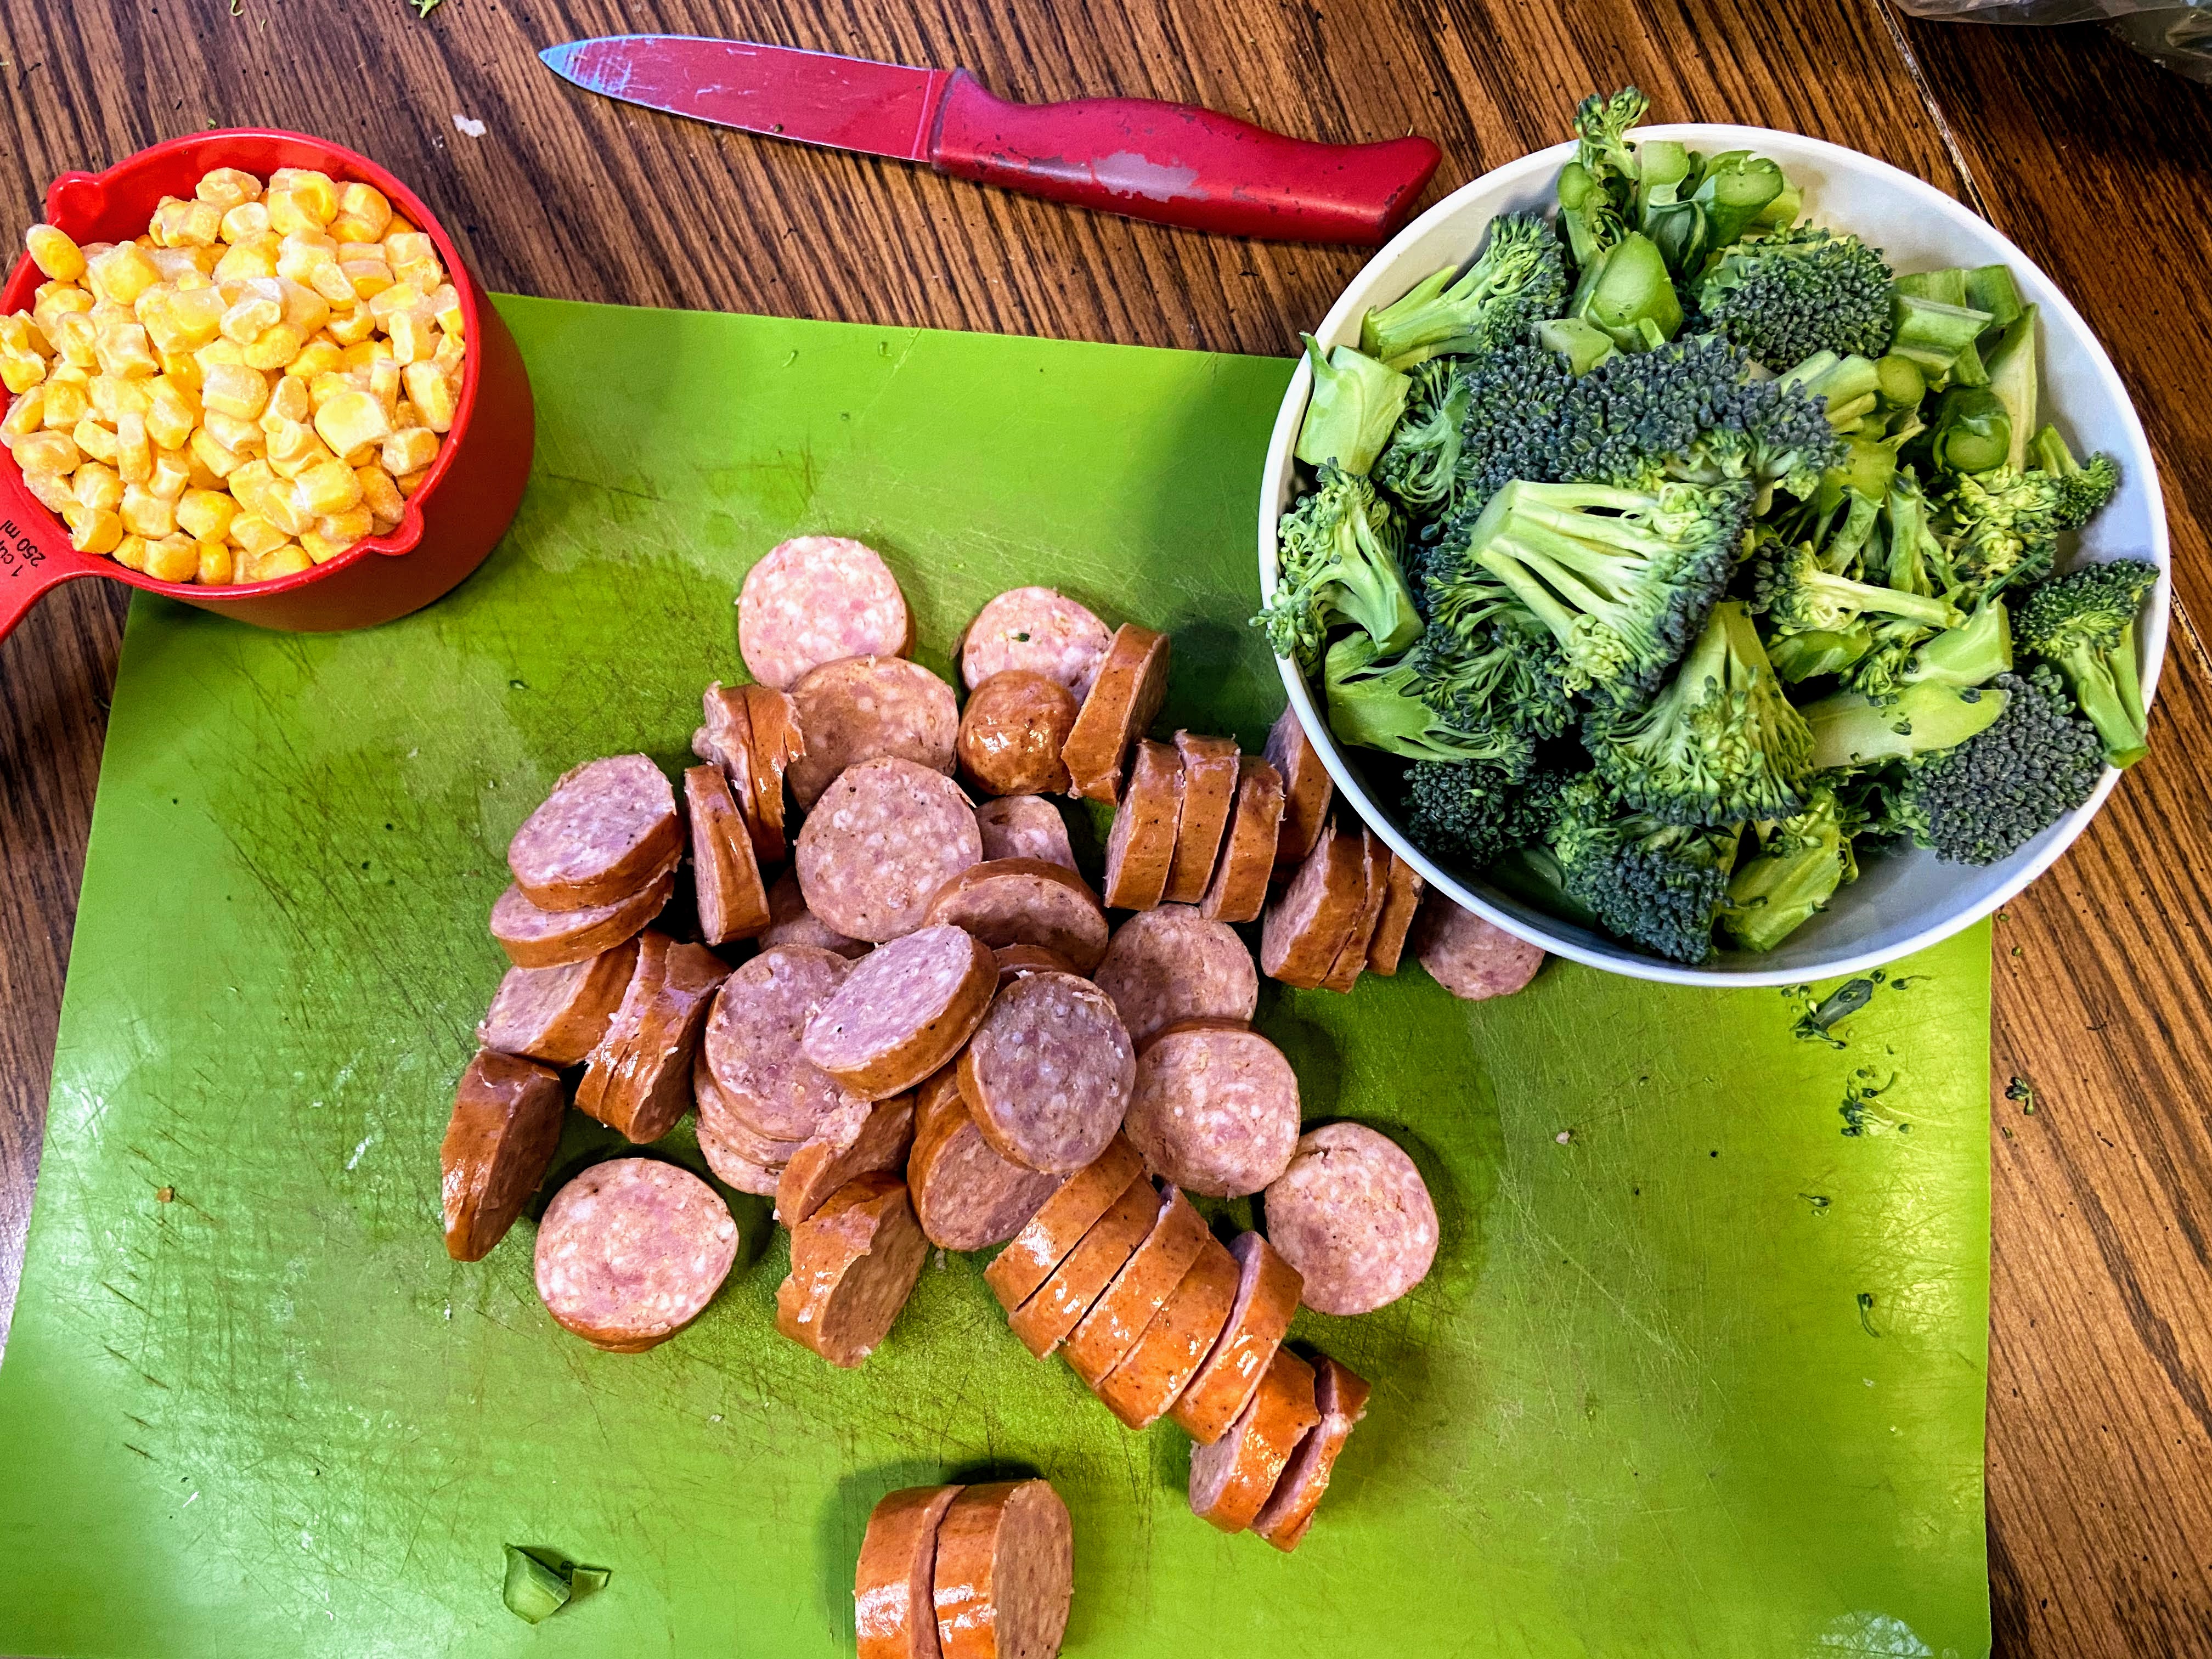
  • 1 kielbasa, sliced
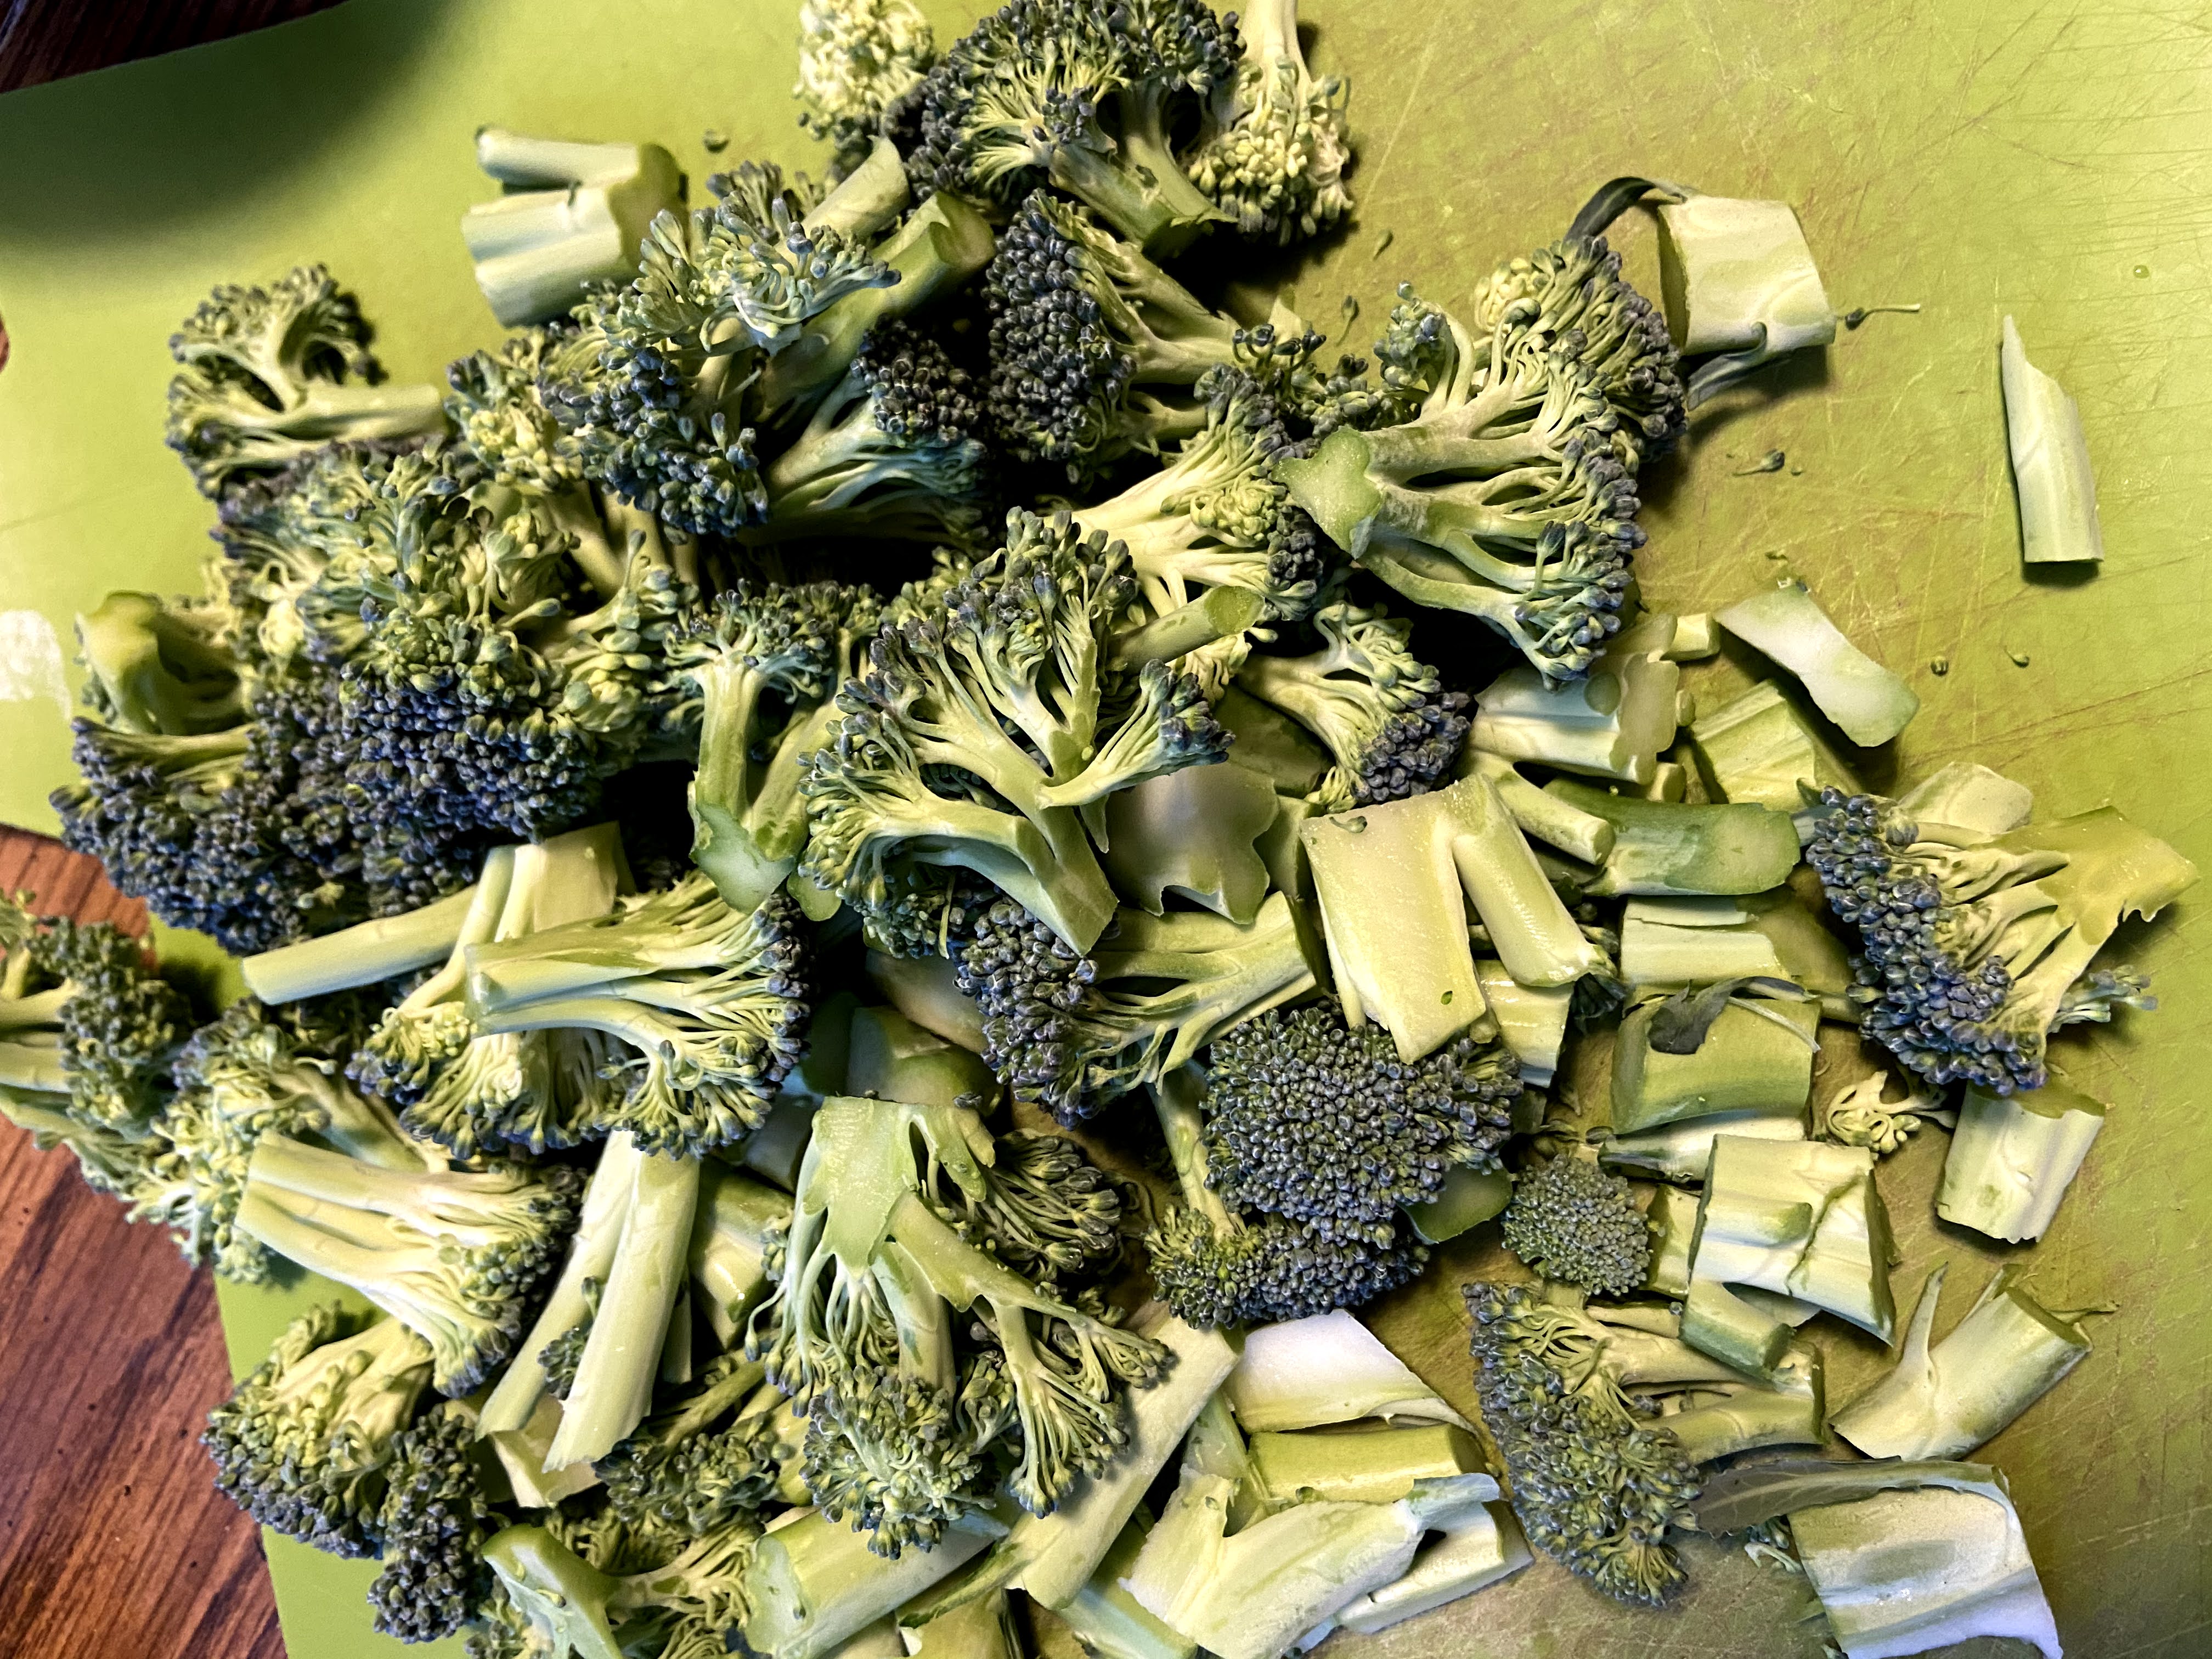
  • 3 ½ cups broccoli, chopped (include the stems!)
  • 1 15 ounce canned diced tomatoes, drained and salt free
  • 1 cup frozen corn
  • Salt, pepper, and red pepper flakes, to taste

Your Steps to Kielbasa and Quinoa Skillet

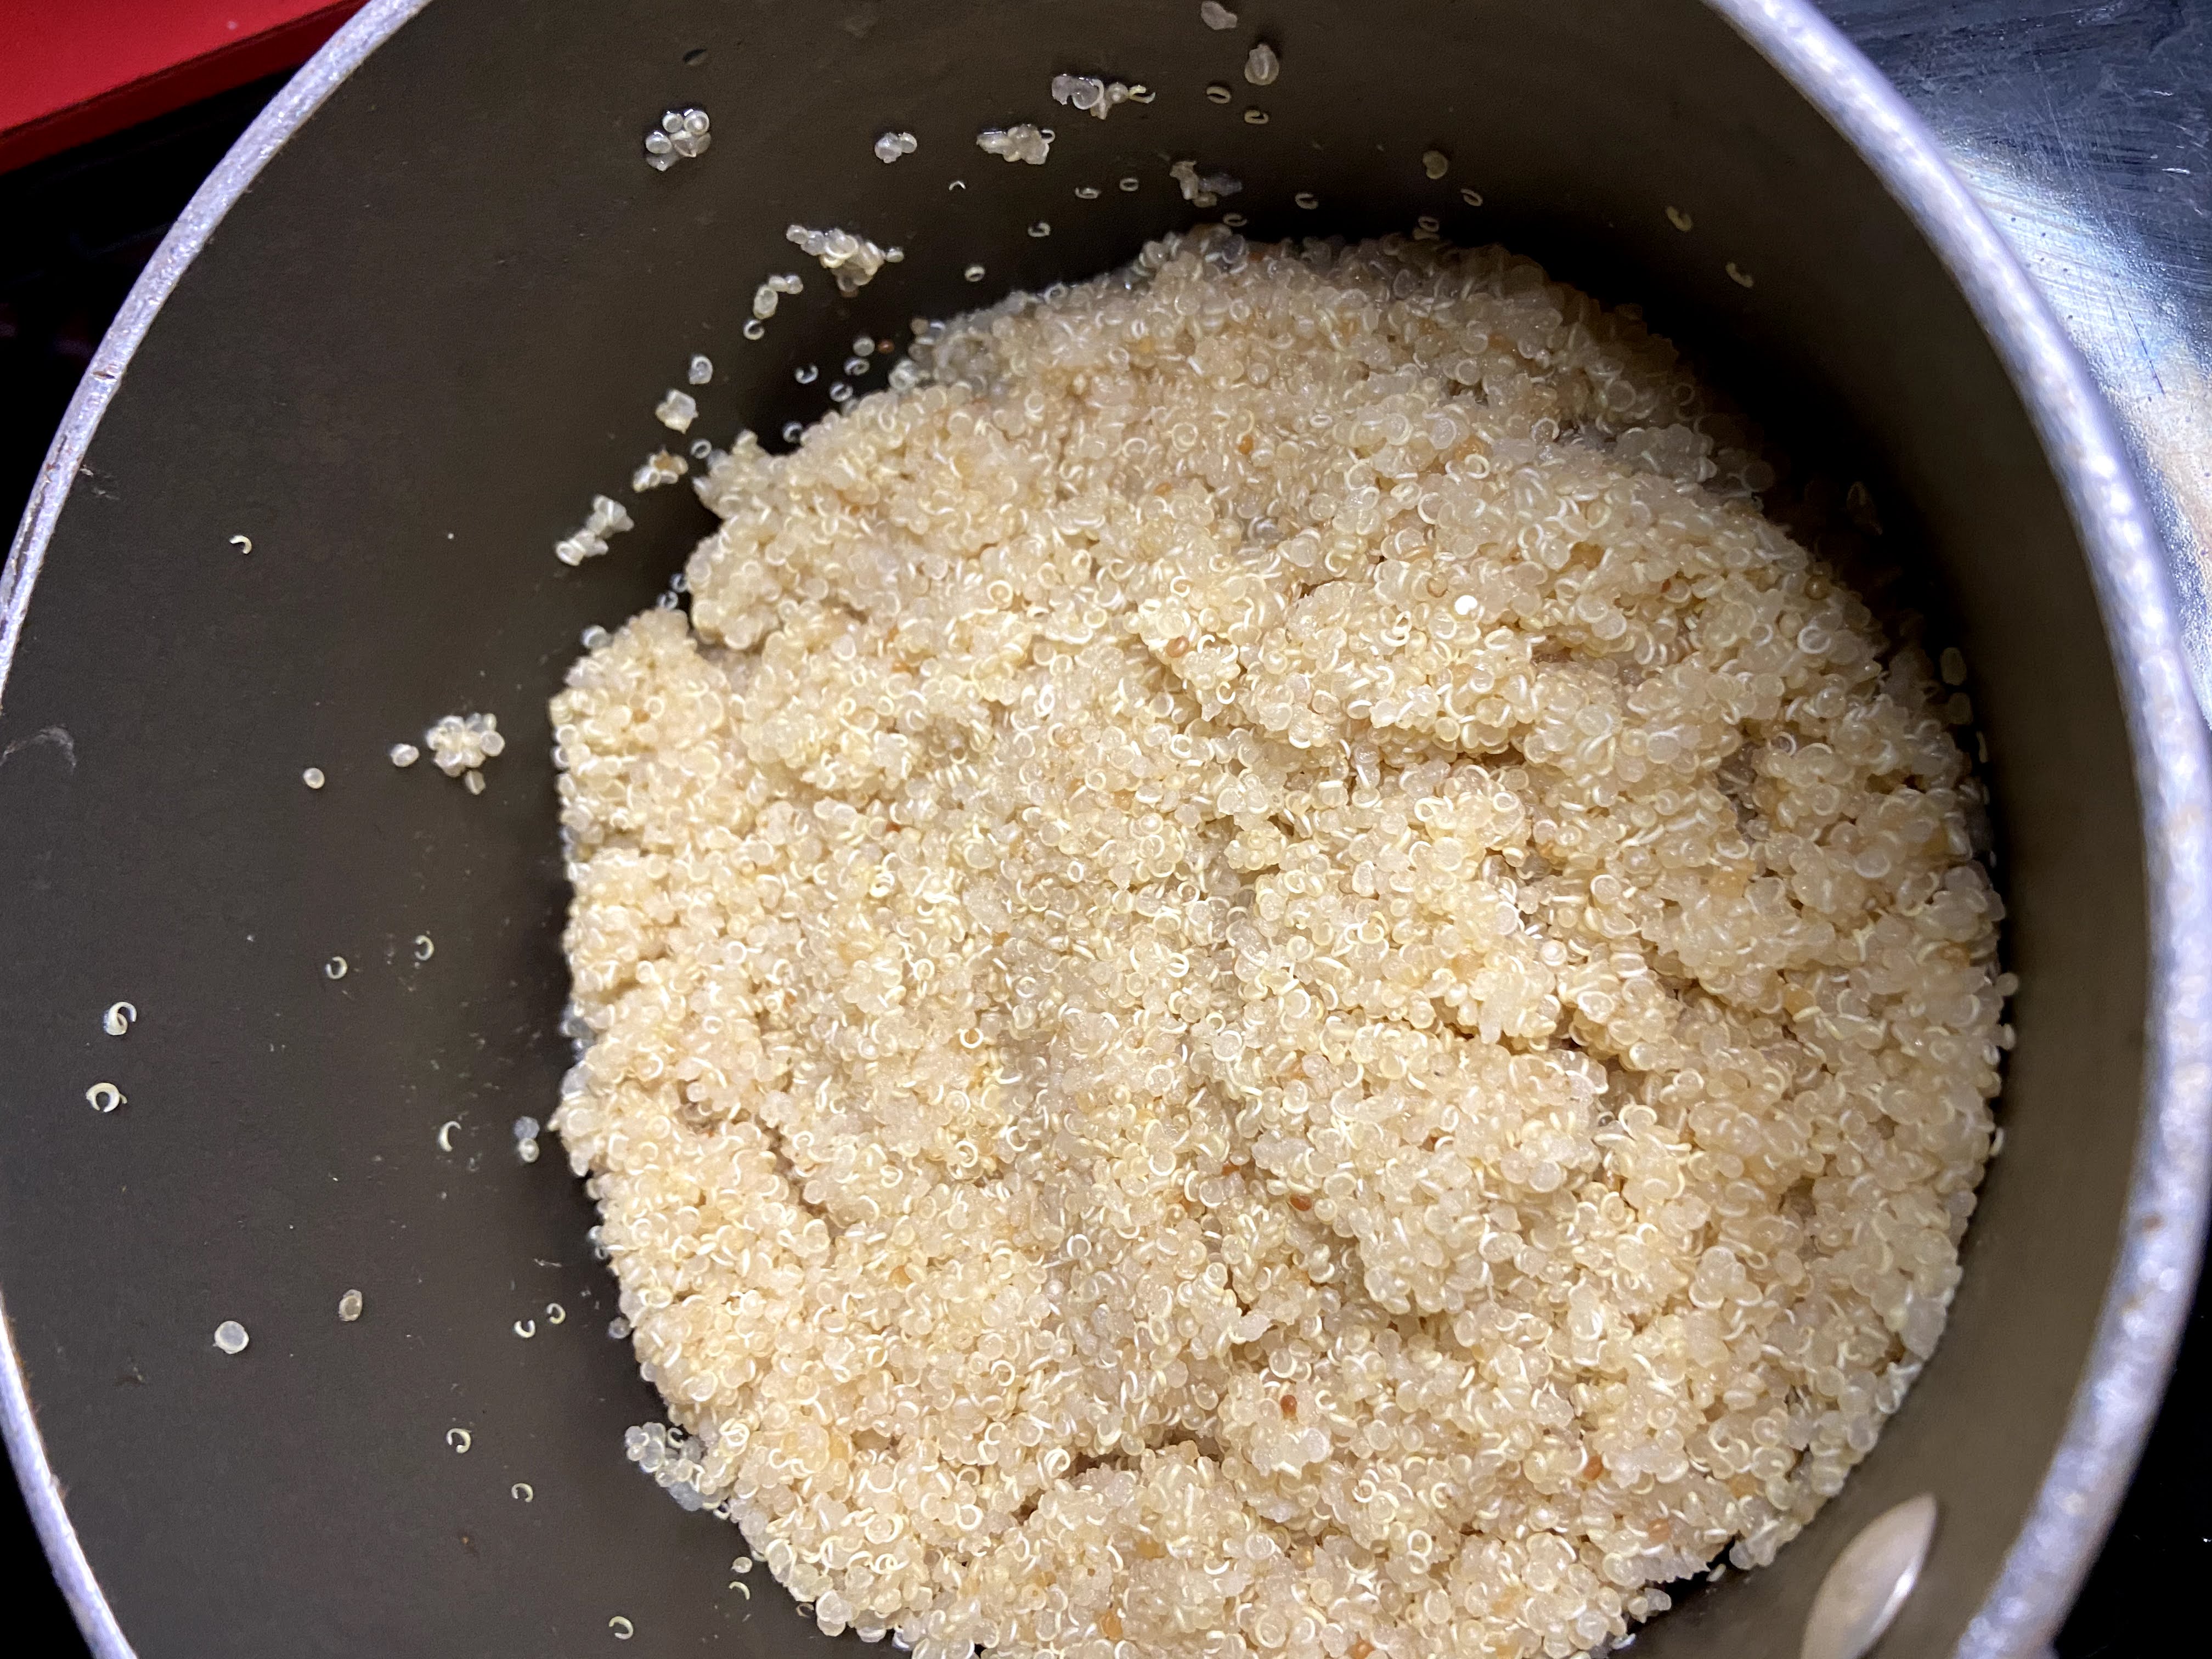
In a saucepan, bring chicken stock to a boil. Add quinoa and lower the temperature to a simmer. Cover and simmer for 15 minutes. 

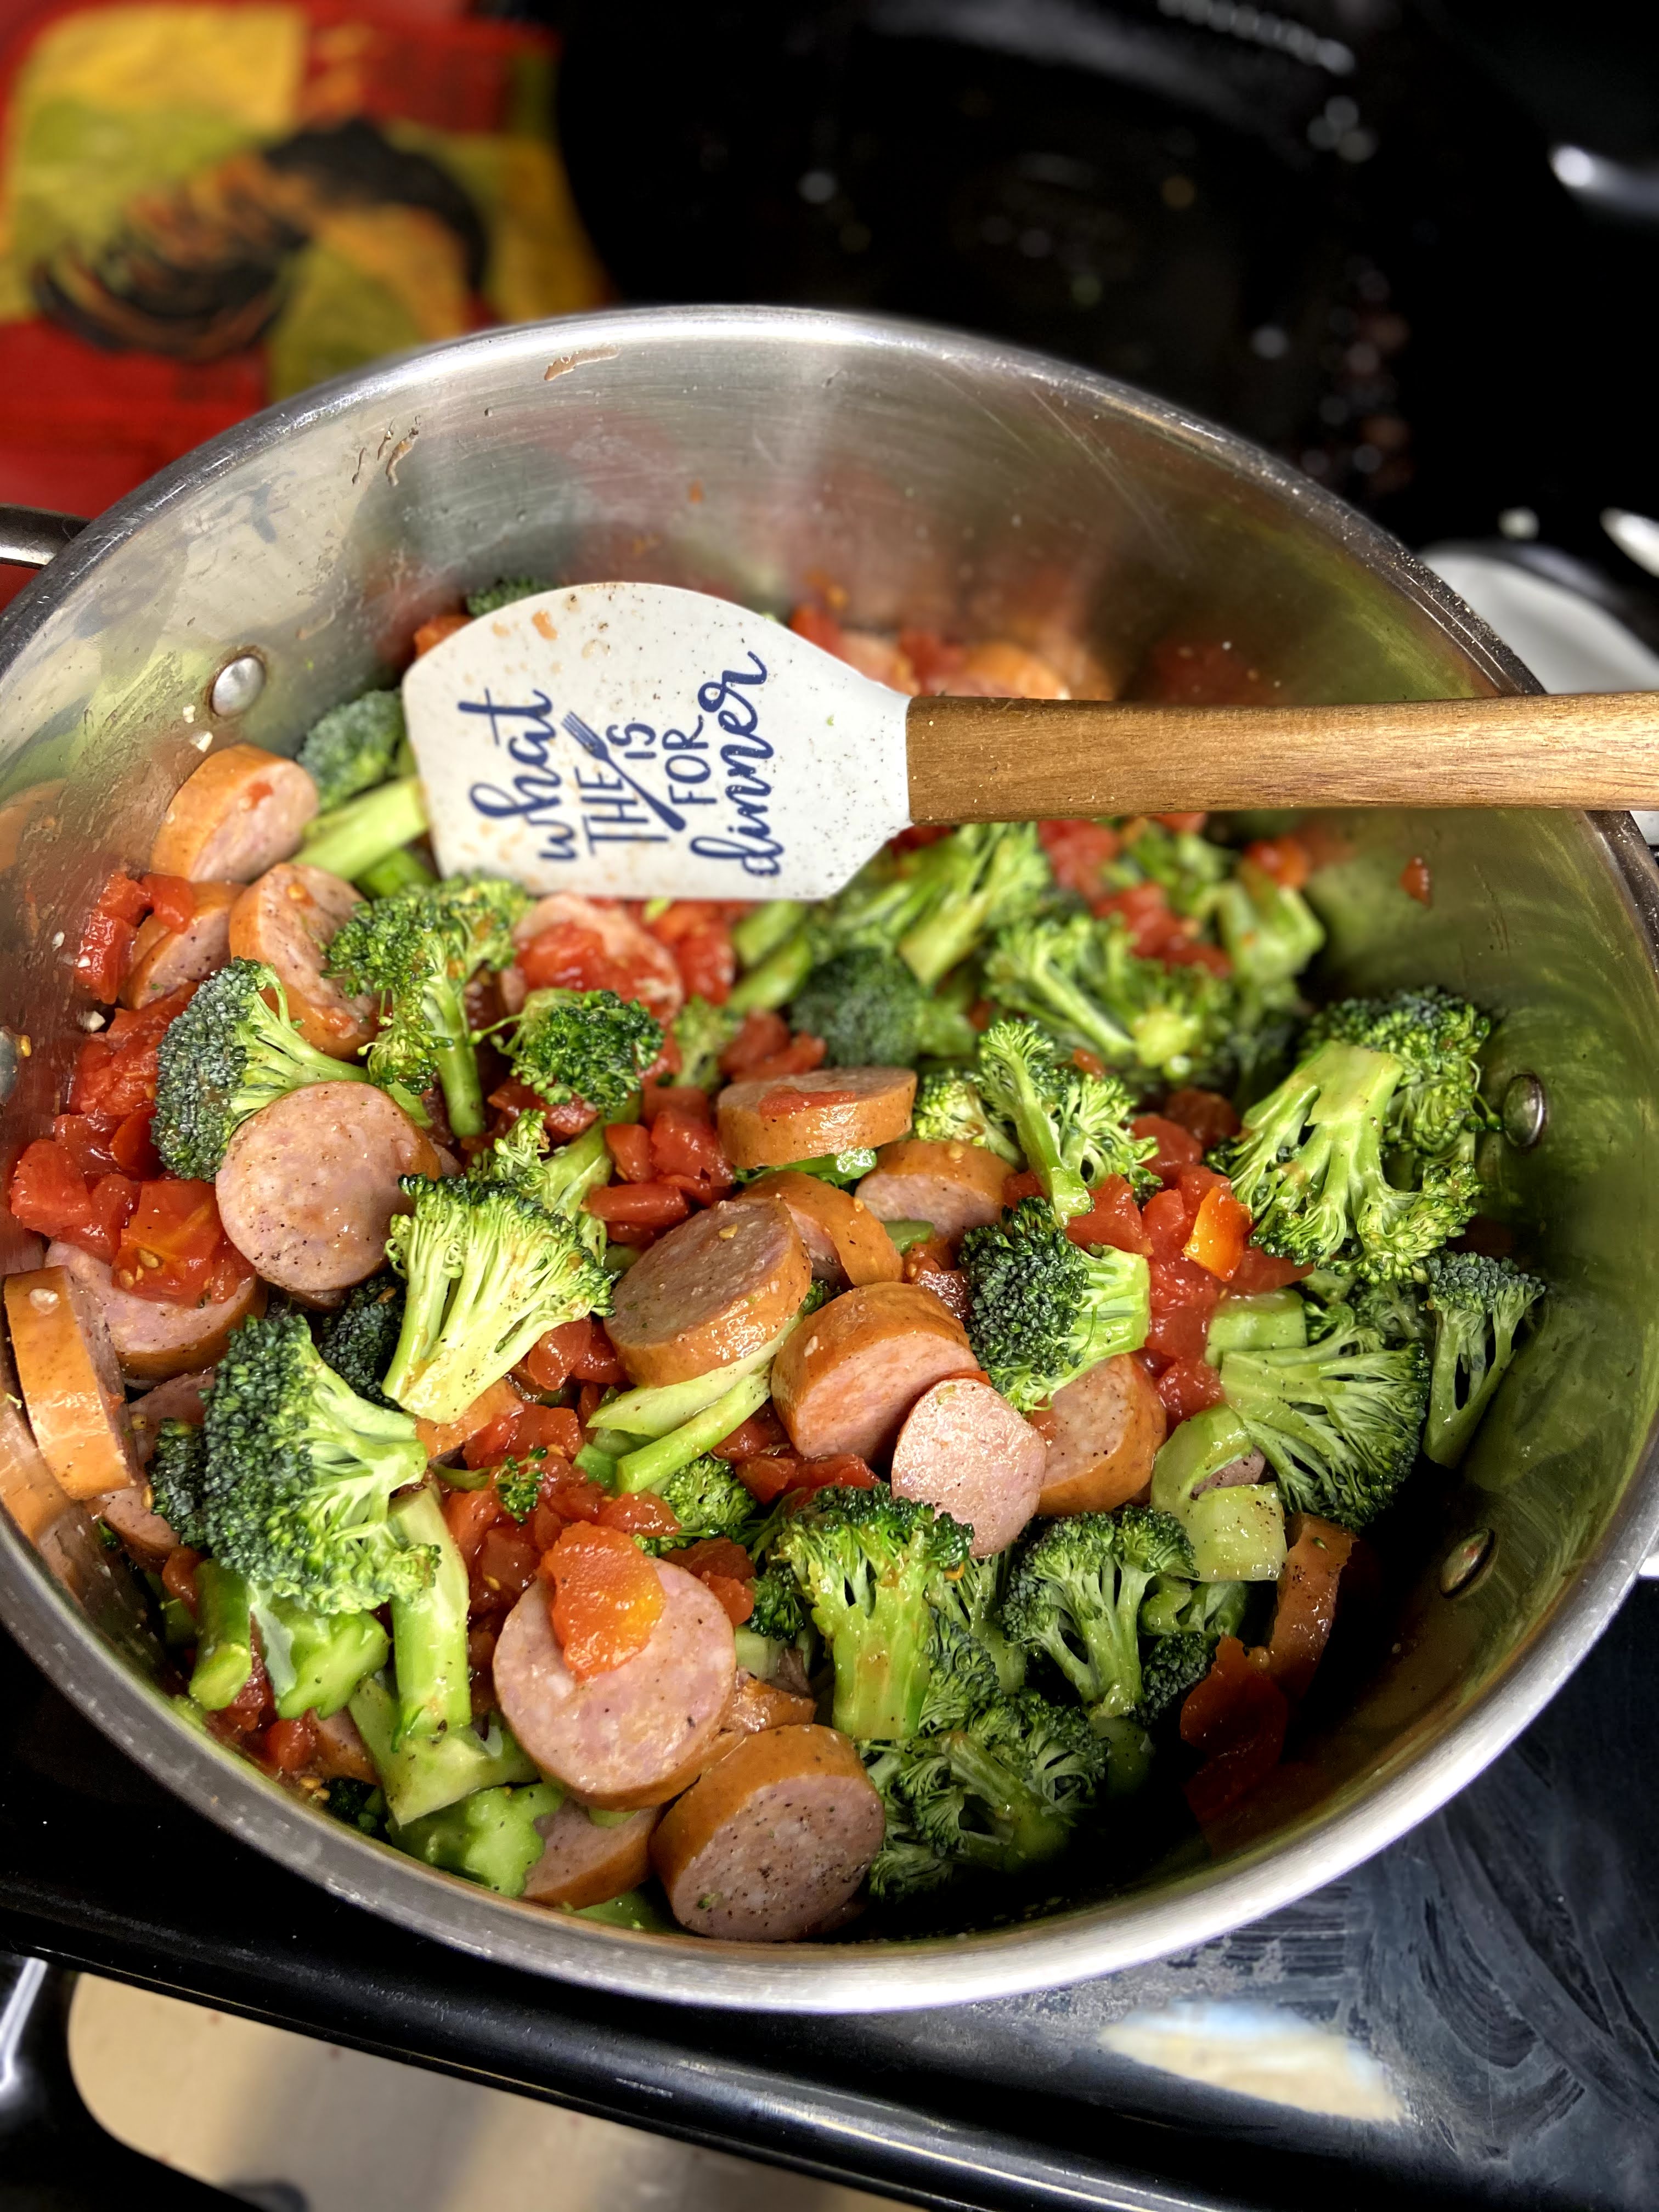
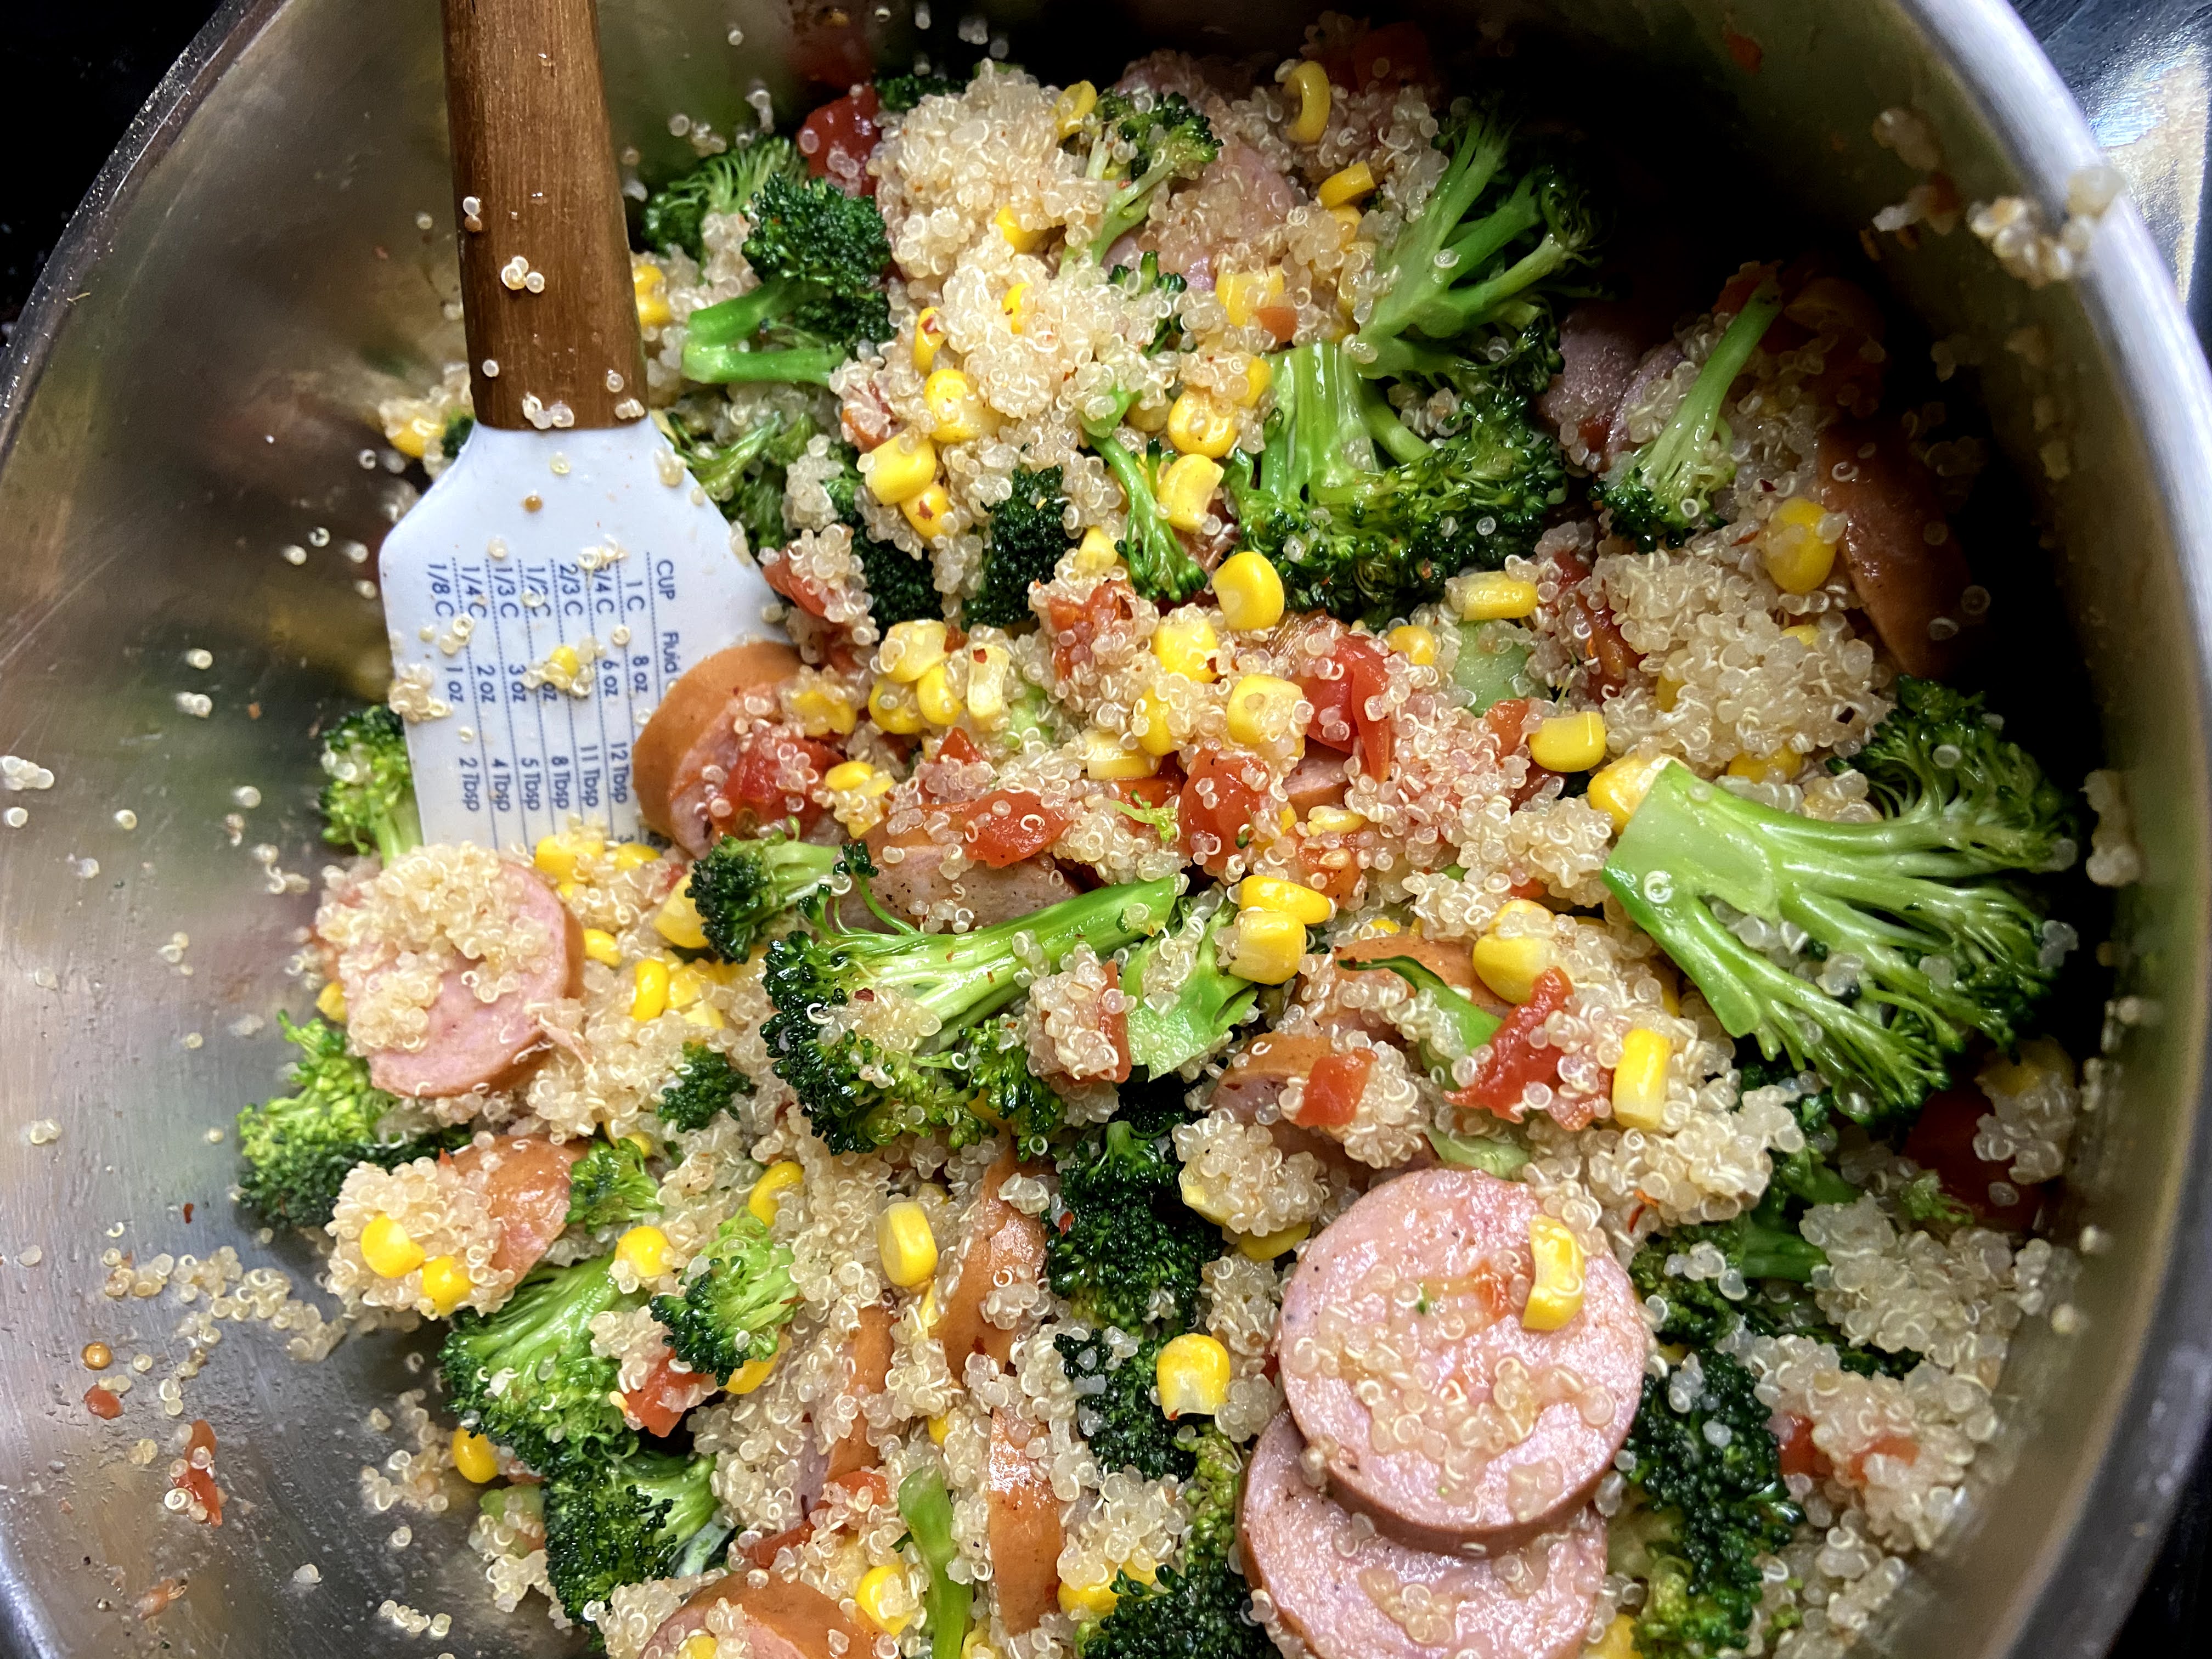
Meanwhile, heat olive oil in a large pan over medium heat. Once the oil is hot, add garlic and saute for 30 seconds. Add broccoli and kielbasa. Cook for 5 minutes over medium heat. Stir in the tomatoes and cook an additional 4 minutes. Finally, add corn, quinoa, salt, pepper, and red pepper flakes. Cook over medium-high heat until the corn is heated all the way through. 

Yup. That’s it. A complete dinner in truly 20 minutes. Does it get any better than that? And yes, it seems short on spices, but the kielbasa will give it all it needs. And the color? It’s dreamy. A definite recipe to add to your rotation. 

Interested in planning out some other meals? Check out my cooking page for all sorts of soups, bakes, and more! Click here!

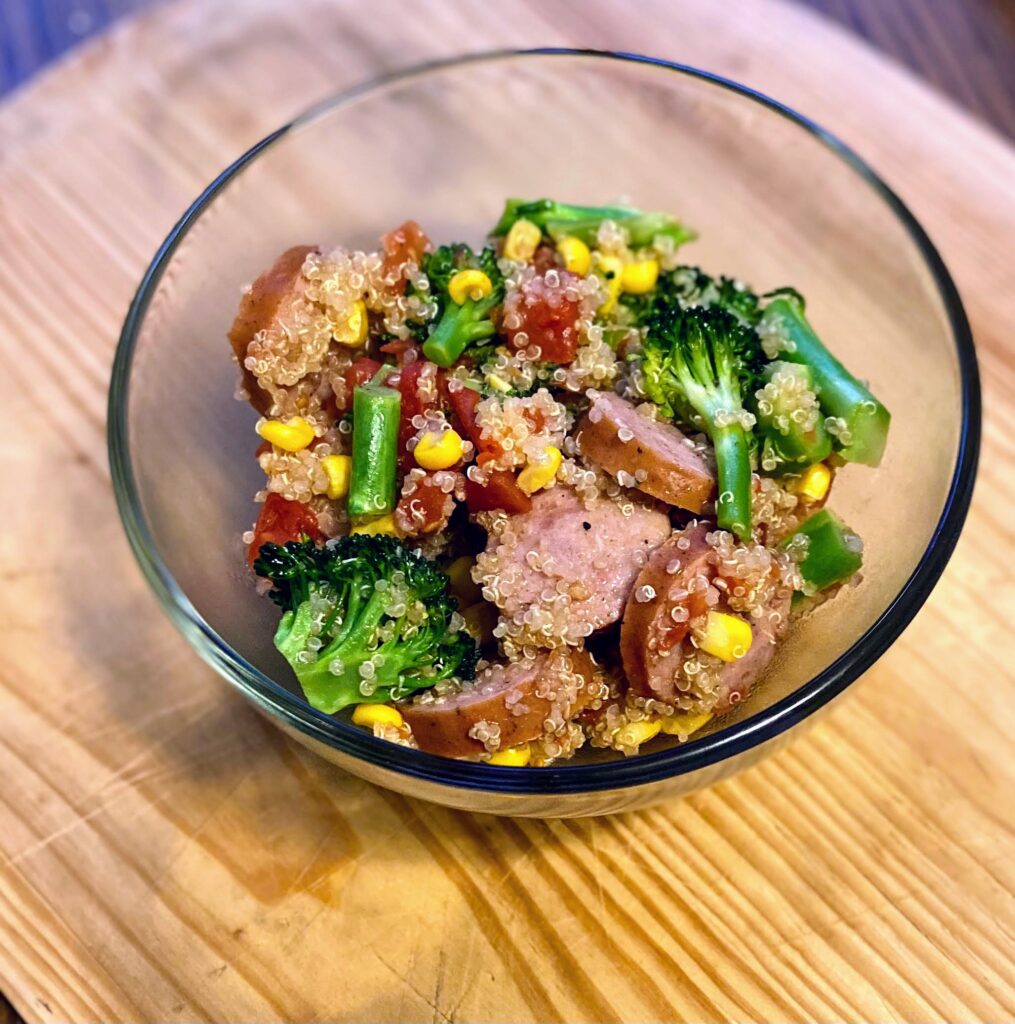
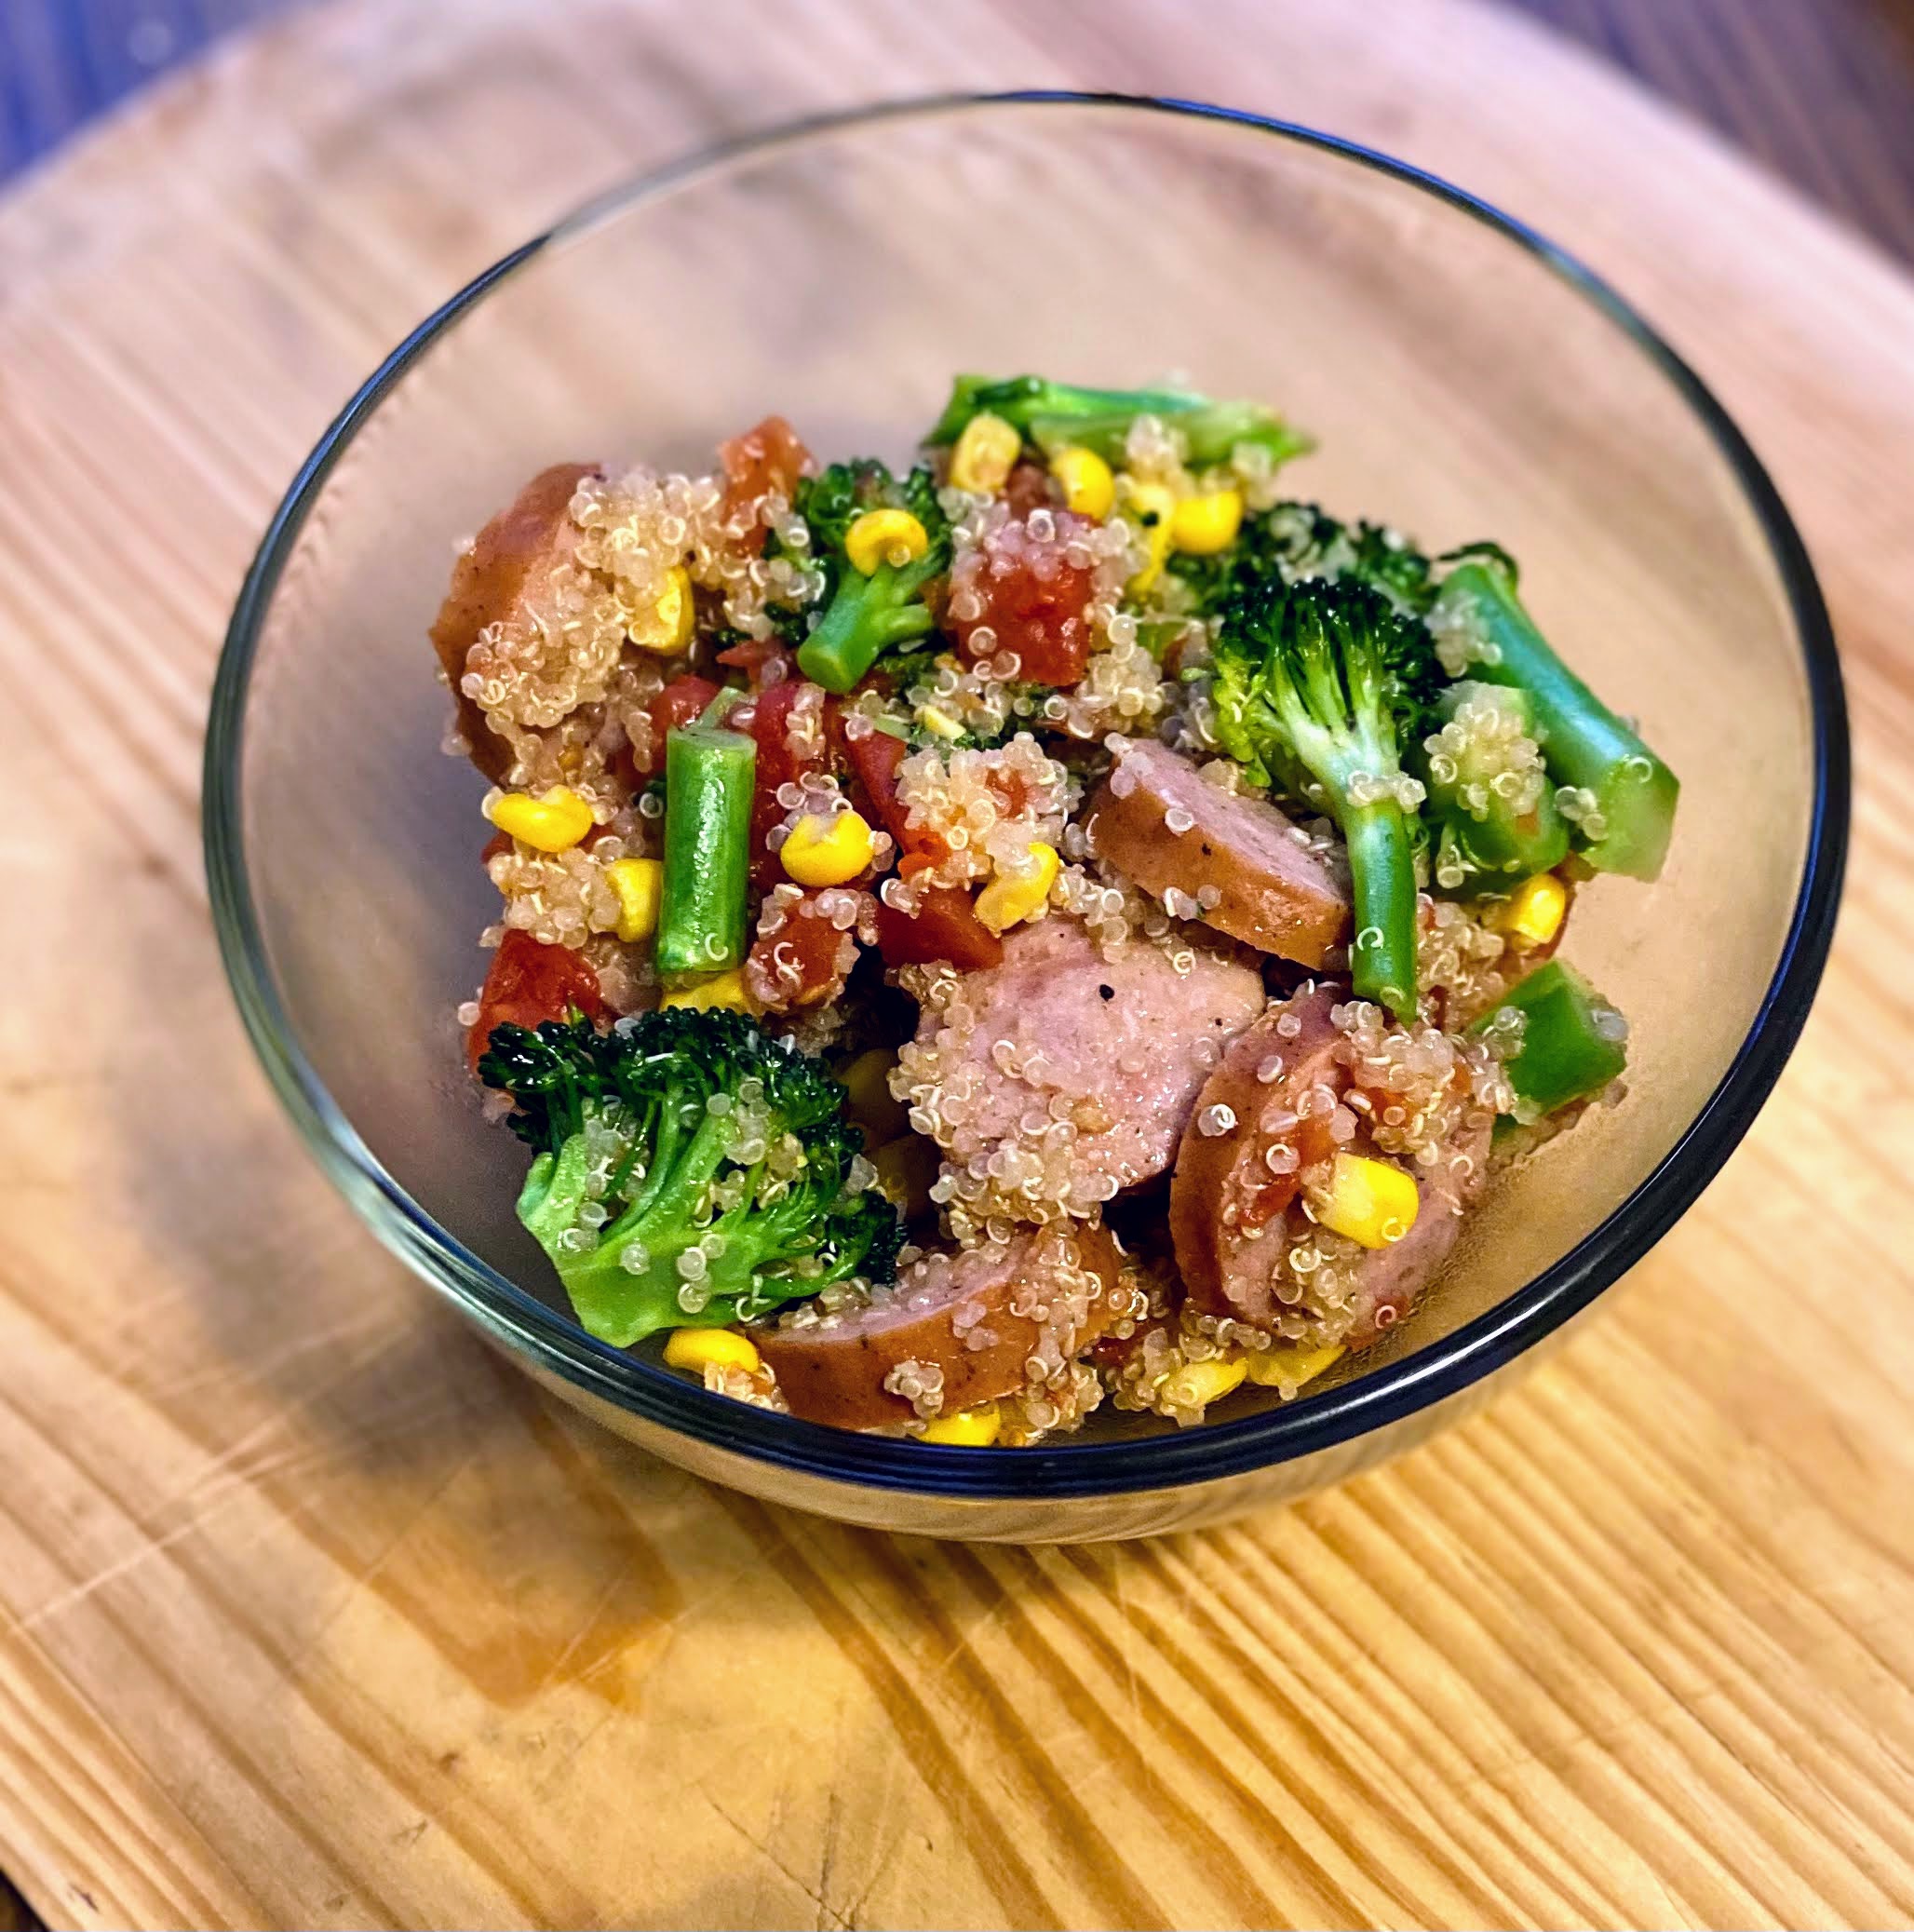
Finished bowl

Kielbasa and Quinoa Vegetable Skillet

Kielbasa and Quinoa Skillet: Eight ingredients, full of color, and comes together in under 30 minutes. This complete dinner is perfect for any weeknight!
5 from 1 vote
Prep Time 5 minutes
Cook Time 15 minutes
Total Time 20 minutes
Course Main Course
Cuisine American
Servings 4

Ingredients
  

  • ¾ cup dry quinoa
  • 1 ½ cups chicken stock or water will do!
  • 2 teaspoons minced garlic
  • 1 tablespoon olive oil
  • 1 kielbasa sliced
  • 3 ½ cups broccoli chopped (include the stems!)
  • 1 15 ounce canned diced tomatoes drained and salt free
  • 1 cup frozen corn
  • Salt pepper, and red pepper flakes, to taste

Instructions
 

  • In a saucepan, bring chicken stock to a boil. Add quinoa and lower the temperature to a simmer. Cover and simmer for 15 minutes.
  • Meanwhile, heat olive oil in a large pan over medium heat.
  • Once the oil is hot, add garlic and saute for 30 seconds. Add broccoli and kielbasa.
  • Cook for 5 minutes over medium heat.
  • Stir in the tomatoes and cook an additional 4 minutes.
  • Finally, add corn, quinoa, salt, pepper, and red pepper flakes. Cook over medium-high heat until the corn is heated all the way through. Serve.
Keyword kielbasa, quinoa, skillet, vegetables
Tried this recipe?Let us know how it was!

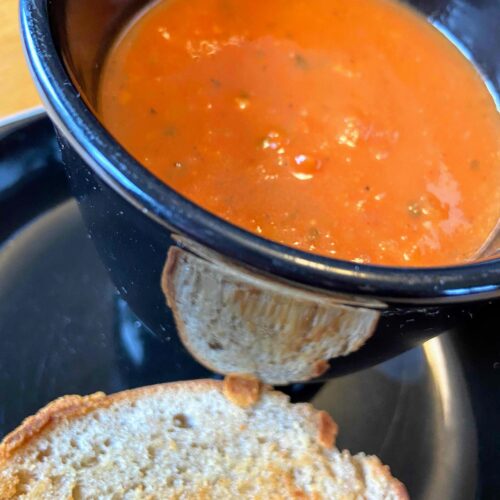
So Simple Tomato Soup

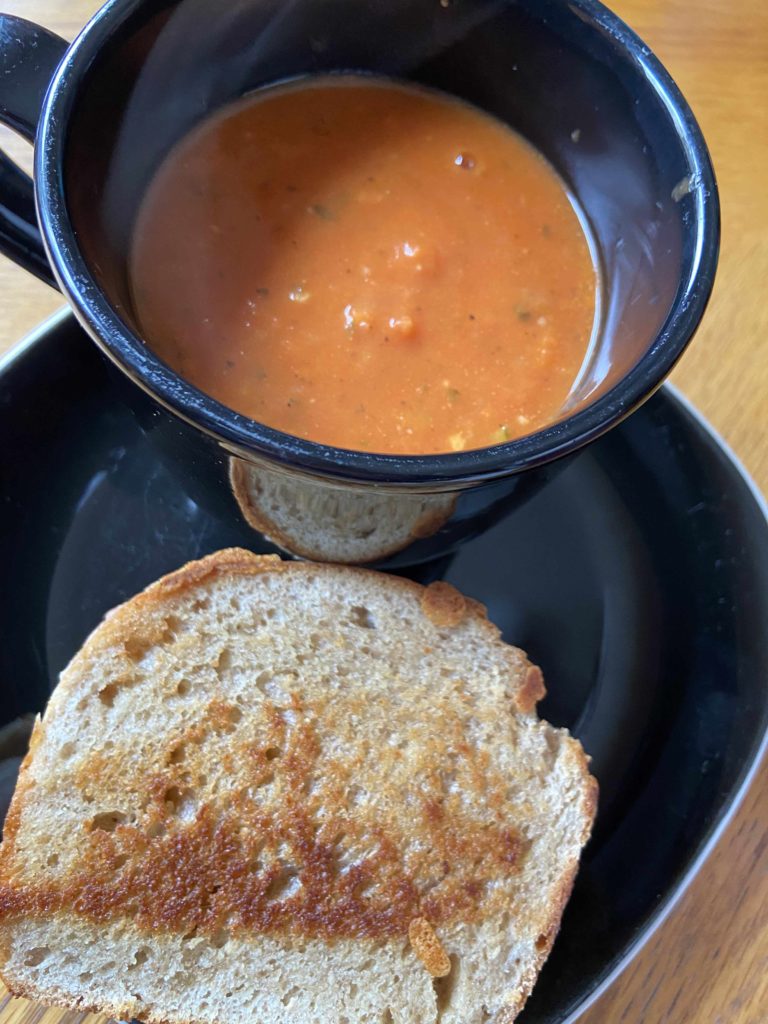
I’ve always enjoyed a grilled cheese and some tomato soup. It wasn’t on my top list of favorites, but it definitely provides a source of comfort. Then I started baking sourdough bread and let me tell you, homemade sourdough quite possibly makes the best grilled cheese you’ll ever have. It’s been my “easy lunch” on the weekend countless times because it makes me so happy. Wait, you don’t bake sourdough…yet? What are you waiting for? Check it out here!

Okay, I digress. Sourdough grilled cheese is incredible, but tomato soup makes it so much better. And alas, we don’t generally have it on hand anymore since I make my own soups from scratch (I have an entire Pinterest board dedicated to soup…it’s a bit of an obsession). But recently it was chilly out and I just needed tomato soup. I looked around my fridge and pantry and put this together in flash…along with a grilled cheese of course.

A few notes from me: Most tomato soups (and creamy soups in general) call for heavy cream. I never have that on hand, and I like to make soups with things that I have on hand. I find that milk works just fine and makes for a slightly lighter soup without compromising too much. If you dig a creamier soup, feel free to use heavy cream rather than milk. If you haven’t noticed yet, I like to sneak all the veggies I can into a meal. It’s how I roll. This soup isn’t any different. Finally, this soup makes use of an immersion blender/stick blender (click here to see which one I have). If you don’t have one, it’s a pretty sweet kitchen gadget that has tons of uses and doesn’t take up too much space. I recommend it 🙂

Okay, let’s get cooking!

Your ingredients:

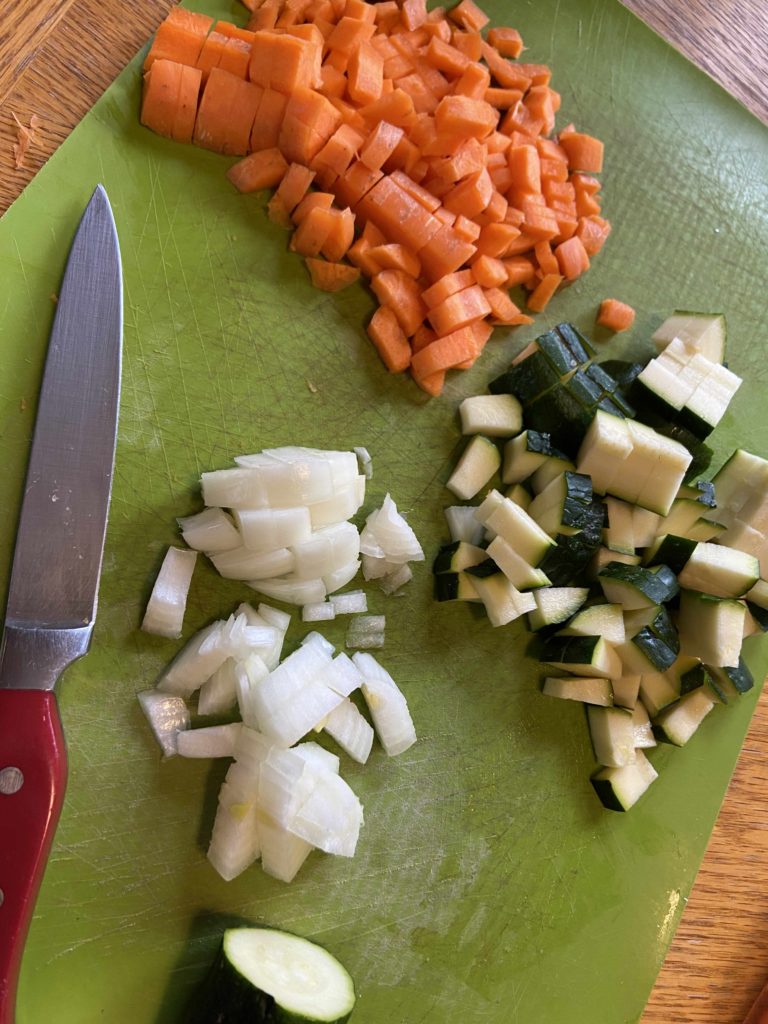
  • 1 cup diced carrot
  • 1/3 cup diced onion
  • 1 tablespoon olive oil
  • 1 cup diced zucchini (about 1 small)
  • 1/2 cup tomato paste
  • 2 14.5 ounce cans diced tomatoes (I used one salt free and one garlic seasoned), NOT drained
  • 1/2 teaspoon pepper (or to taste)
  • 1/2 teaspoon salt
  • 1 teaspoon minced garlic
  • 1 teaspoon dried basil
  • 2 cups chicken stock/broth
  • 1 cup milk (I used 1%)
  • 1/2 tablespoon honey (to taste)

Directions:

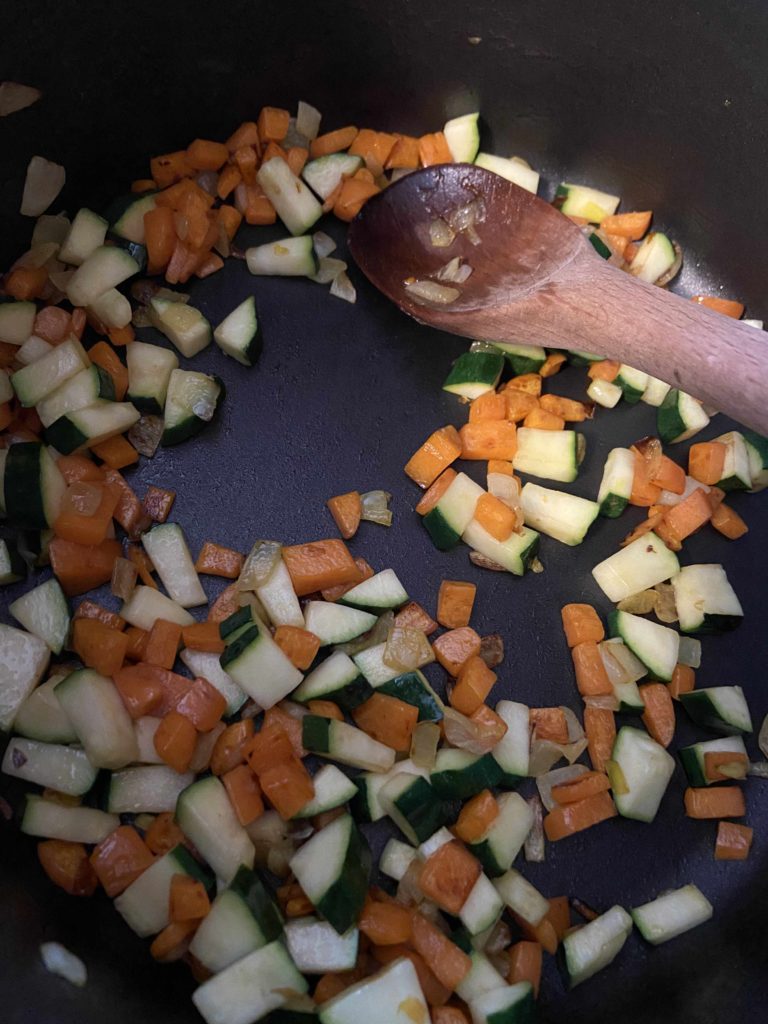
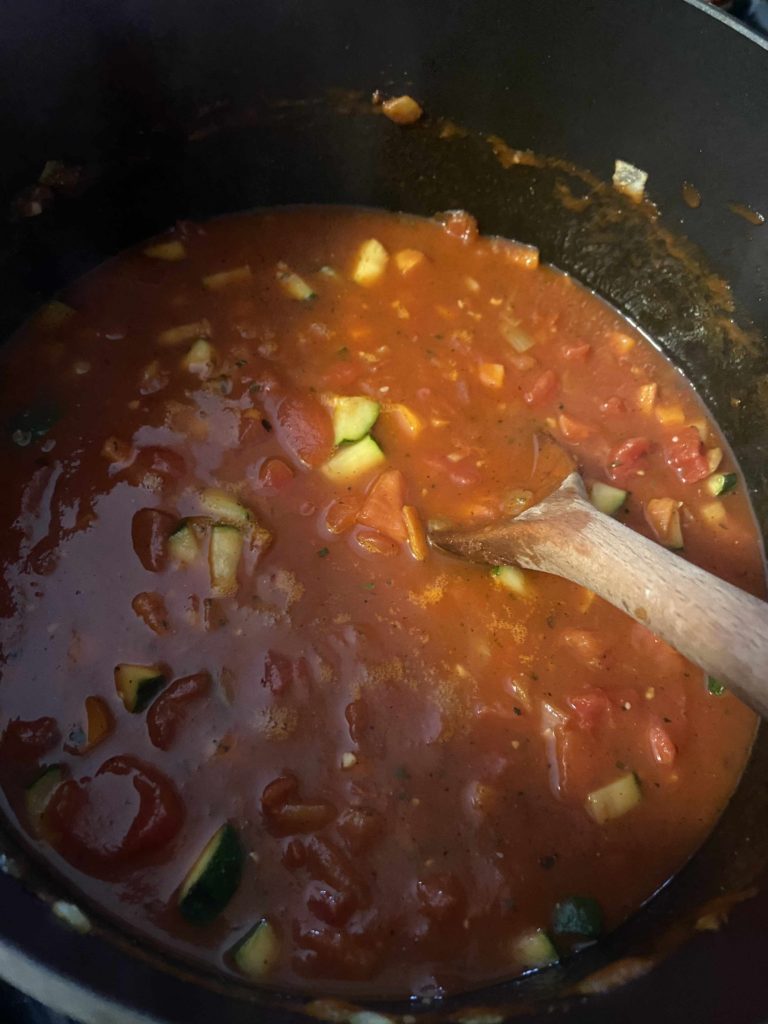
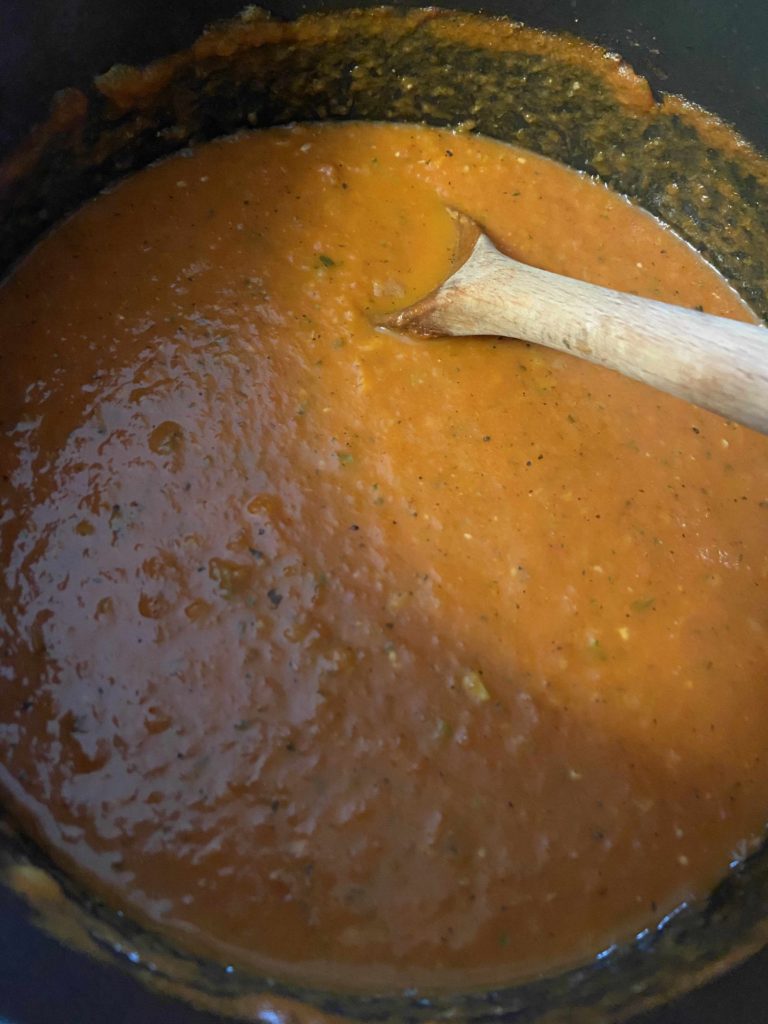
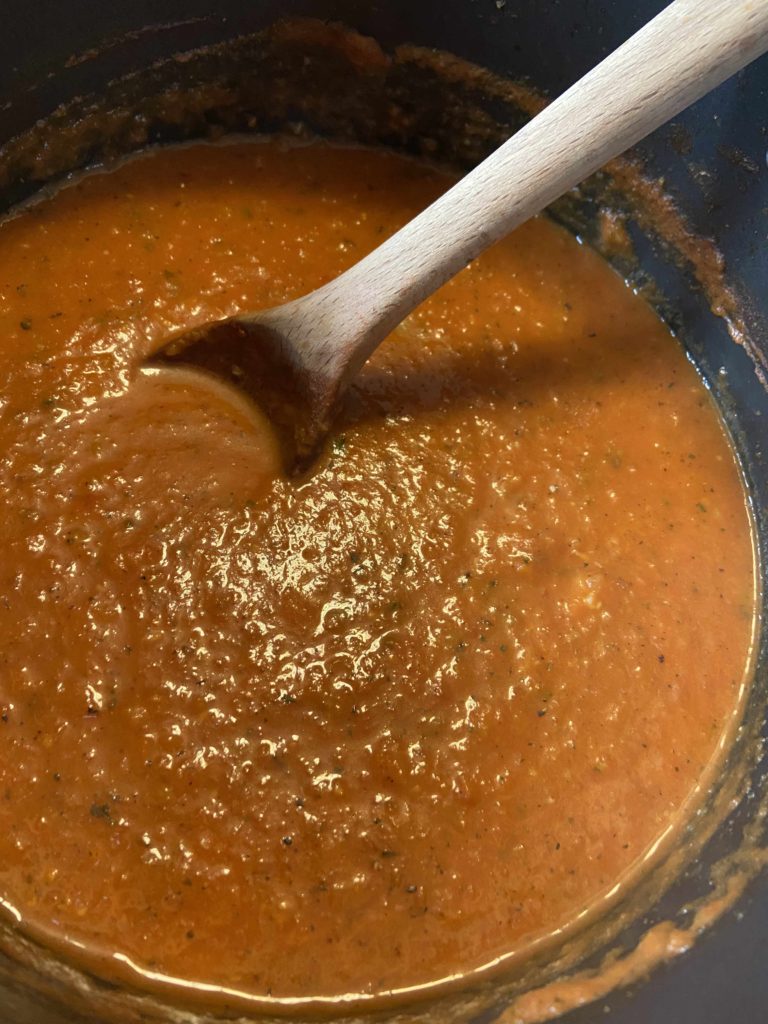
Heat oil over medium heat in a large kettle. Once hot, add carrot, onion salt, pepper, and basil. Sauté for 8-10 minutes, until soft. Add minced garlic, zucchini, cooking for an addition 5-8 minutes. Stir in tomato paste and allow to just caramelize. (If you are worried about burning it, you can skip the caramelize). Stir in diced tomatoes and chicken stock. Allow to simmer for 10 minutes, making sure your vegetables are nice and soft. Hit all your soup goodness with the immersion blender and blend until smooth (a shorter time if you want texture, a longer time if you want a more commercial tomato soup). Slowly stir in milk and honey. Leave over the heat until warm.

If you want a thicker soup, feel free to allow it to cook down a little bit. But if you’re like me at all, you’ll just be itching to get that warm goodness in your belly and you’ll eat it right away, complete with a grilled cheese. Yum!

So Simple Tomato Soup

A few easy, on hand ingredients combine to make a simple from scratch tomato soup everyone will love!
5 from 1 vote
15 minutes
Total Time 20 minutes
Course Side Dish
Cuisine American
Servings 4

Ingredients
  

  • 1 cup diced carrot
  • 1/3 cup diced onion
  • 1 tablespoon olive oil
  • 1 cup diced zucchini about 1 small
  • 1/2 cup tomato paste
  • 2 14.5 ounce cans diced tomatoes NOT drained
  • 1/2 teaspoon pepper or to taste
  • 1/2 teaspoon salt
  • 1 teaspoon minced garlic
  • 1 teaspoon dried basil
  • 2 cups chicken stock/broth
  • 1 cup milk I used 1%
  • 1/2 tablespoon honey to taste

Instructions
 

  • Heat oil over medium heat in a large kettle. Once hot, add carrot, onion salt, pepper, and basil. Sauté for 8-10 minutes, until soft.
  • Add minced garlic, zucchini, cooking for an addition 5-8 minutes.
  • Stir in tomato paste and allow to just caramelize. (If you are worried about burning it, you can skip the caramelize).
  • Stir in diced tomatoes and chicken stock. Allow to simmer for 10 minutes, making sure your vegetables are nice and soft.
  • Blend until smooth using an immersion blender and blend. (a shorter time if you want texture, a longer time if you want a more commercial tomato soup).
  • Slowly stir in milk and honey. Leave over the heat until warm.
  • If you want a thicker soup, feel free to allow it to cook down a little bit.
Keyword Gluten Free, soup recipe, tomato soup
Tried this recipe?Let us know how it was!

Looking for other soup recipes?

Check out some of the recipes below!
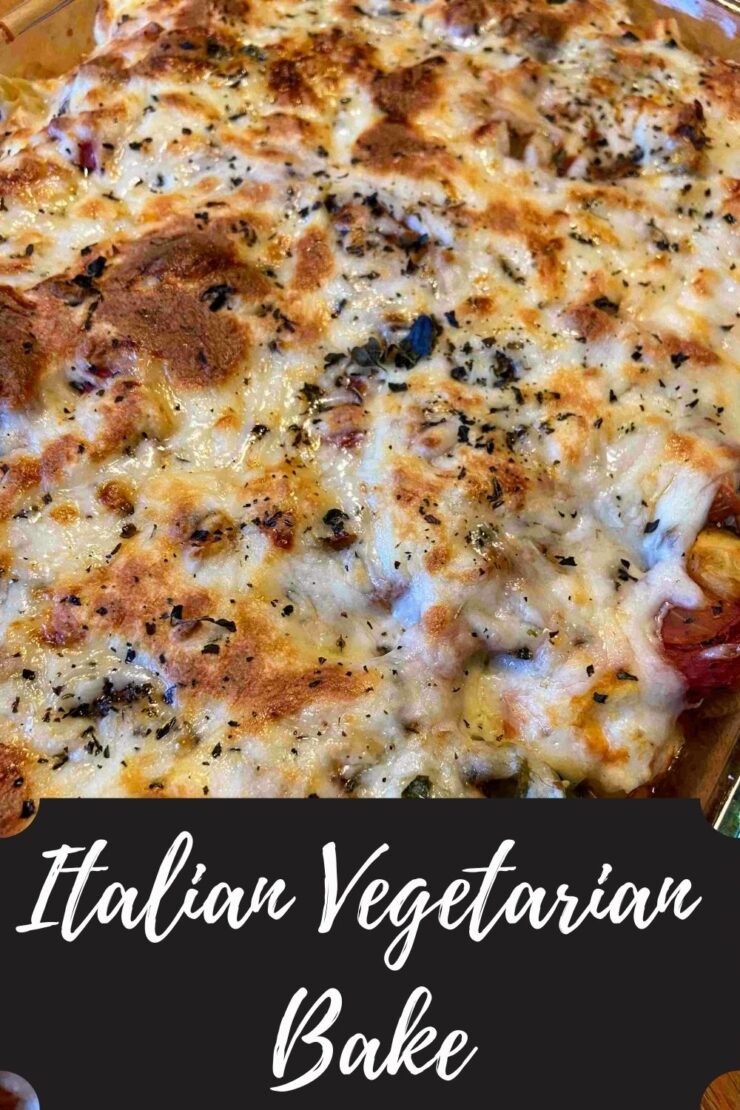
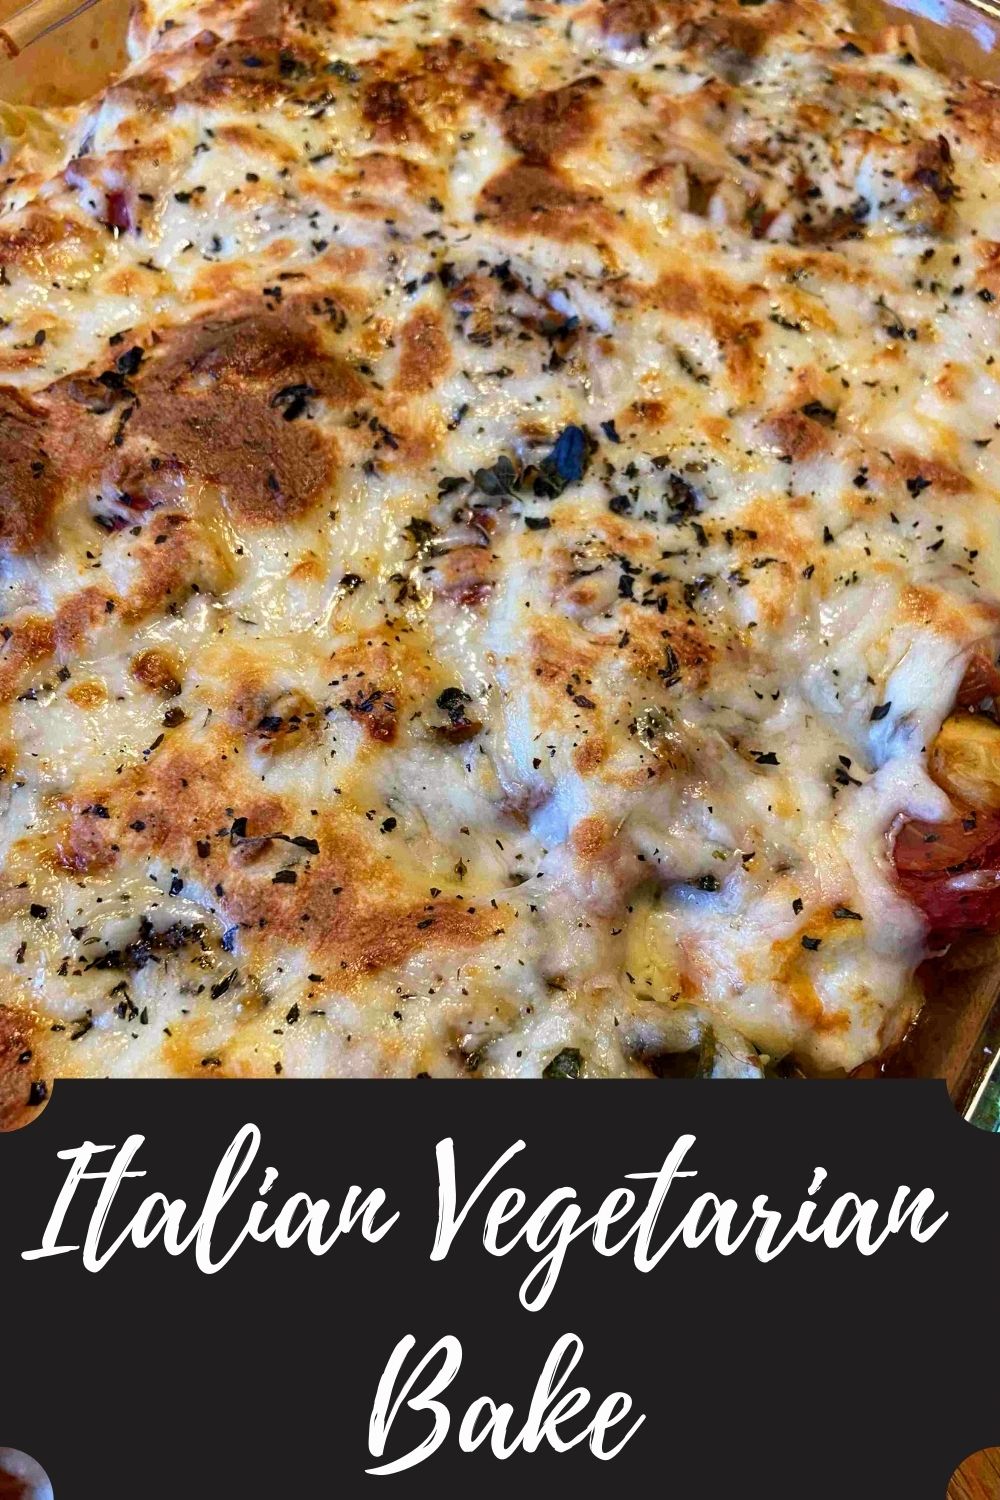
Forget the Meat Italian Vegetarian Pasta Bake

I love me a good Italian dish. Then you put it in bake form and I am essentially in heaven. I hope you enjoy this Italian vegetarian pasta bake as much as my family did!

True confession: This recipe wasn’t supposed to be vegetarian. I browned this fantastic ground Italian venison that my family makes and had it all set on the table. It smelled amazing and I was excited. You see, I had this delightful combination of vegetables simmering and well…I think I got too excited. After I finished layering the vegetables, pasta, and cheese, sprinkling some last bit of mozzarella and some basil and oregano. I marveled at the layers and their beauty. Then I saw it. The bowl of browned venison! How could I forget?! Oh, I forget a lot, so I don’t know why I am so surprised 😀 I looked at my husband and he said, “I don’t need a protein with my Italian and you don’t want to take that apart!” So in the oven it went, and by golly, it was amazing, meatless and all.

It oozes with cheese and has tons of fresh vegetables. My son doesn’t love zucchini, so I knew if I did zoodles or shaved them to replace lasagna noodles, I would have a complainer on my hands. He would eat it, but it wouldn’t be a fun dinner at our house, and I am not a short order cook (no special meals for kids around these parts!). However, I thought I could sneak them in by dicing them up, and he didn’t say a word as he gobbled it up! Give it a try!

Your ingredients for your Italian Pasta Bake

  • 12 ounces tri-color rotini (or other noodle of your choice!)
  • 1/2 cup chopped green pepper
  • 1 cup chopped green zucchini
  • 1 cup chopped yellow zucchini
  • 1/2 cup chopped onion
  • 1 cup chopped mushrooms
  • 1 tablespoon olive oil
  • 3 teaspoons minced garlic
  • 1/2 tablespoon dried basil
  • 1 teaspoon dried oregano
  • 1/2 teaspoon salt
  • 1/4 teaspoon red pepper flakes
  • 2 15 ounce cans of diced tomatoes, salt free
  • 1 15 ounce can of tomato sauce
  • 15 ounces ricotta
  • 3 cups mozzarella, divided
  • 3/4 cup shredded parmesan, divided
  • 1 egg
  • 1 teaspoon minced garlic
  • 1/4 teaspoon black pepper

Your Steps

Preheat oven to 375 degrees. Bring a kettle of water to boil and cook rotini to al dentè. Drain and set aside. Cook Heat olive oil in a large sauce pan (I actually just used my pasta kettle!) over medium heat. Add 1 tablespoon minced garlic, green pepper, and onion. Sauté for 4-5 minutes, until just tender. Add salt, red pepper flakes, basil, oregano, zucchini, and mushrooms. Cook for an additional 5 minutes. Stir in diced tomatoes and tomato sauce, allowing to simmer while you mix the cheese mixture.

Speaking of the cheese mixture, is it even Italian if it doesn’t have cheese?! This recipe is creamy and cheesy in all the right ways, but if cheese doesn’t speak to your soul like it does to a Wisconsinite, feel free to cut this down just a touch. In a separate bowl, mix ricotta, 1 cup of the mozzarella, 1/2 cup of shredded parmesan, egg, 1 teaspoon of minced garlic and pepper.

Now to build your Italian Vegetarian Pasta bake!

Layer approximately 2 cups of the vegetable mixture on the bottom of a pyrex pan. Add approximately 1/3 of the noodles and then 1/3 of the cheese mixture. Continue layering until two more times, but end with the vegetable mixture. Sprinkle with remaining mozzarella and parmesan. Add a little basil and oregano if you’re feeling fancy. Bake for 30 minutes, or until the cheese is melted and the mixture is heated through. I love my cheese browned on top, so I turn on the broiler at 500 degrees and cook for 1-3 minutes more, watching VERY closely. The broiler is AMAZING, but you can go from perfection to burned in a snap!

I loved that this bake stays saucy. Sometimes a pasta bake can become dry over a day or two as the noodles absorb the extra liquid. Serve with some crusty bread and maybe a salad because you know you need ALL the vegetables 😉 A perfect prep on the weekend to enjoy on those crazy weekday nights! Enjoy! —Jess

Looking for other great bakes and dishes for dinner prep? Check out my cooking page for more ideas or click one of the links below!
Tools of the trade

Whenever I am creating casseroles and baked dishes in my kitchen, I have a couple go to tools I need: flexible cutting boards, Pyrex dishes, and good parring knives. I don’t know if I really can live without them, what can I say?

Italian Vegetarian Pasta Bake

No ground protein on hand? No problem! Throw this Italian vegetarian pasta bake together for dinner tonight! Bonus leftovers for smaller families!
Prep Time 30 minutes
Cook Time 30 minutes
Course Main Course
Cuisine Italian

Ingredients
  

  • 12 ounces tri-color rotini or other noodle of your choice!
  • 1/2 cup chopped green pepper
  • 1 cup chopped green zucchini
  • 1 cup chopped yellow zucchini
  • 1/2 cup chopped onion
  • 1 cup chopped mushrooms
  • 1 tablespoon olive oil
  • 3 teaspoons minced garlic
  • 1/2 tablespoon dried basil
  • 1 teaspoon dried oregano
  • 1/2 teaspoon salt
  • 1/4 teaspoon red pepper flakes

Instructions
 

  • Preheat oven to 375 degrees. Bring a kettle of water to boil and cook rotini to al dentè. Drain and set aside.
  • Heat olive oil in a large sauce pan over medium heat.
  • Add 1 tablespoon minced garlic, green pepper, and onion. Sauté for 4-5 minutes, until just tender.
  • Add salt, red pepper flakes, basil, oregano, zucchini, and mushrooms. Cook for an additional 5 minutes.
  • Stir in diced tomatoes and tomato sauce, allowing to simmer while you mix the cheese mixture.
  • In a separate bowl, mix ricotta, 1 cup of the mozzarella, 1/2 cup of shredded parmesan, egg, 1 teaspoon of minced garlic and pepper.
  • Layer approximately 2 cups of the vegetable mixture on the bottom of a pyrex pan.
  • Add approximately 1/3 of the noodles and then 1/3 of the cheese mixture.
  • Continue layering until two more times, but end with the vegetable mixture.
  • Sprinkle with remaining mozzarella and parmesan. Add a little basil and oregano if you’re feeling fancy.
  • Bake for 30 minutes, or until the cheese is melted and the mixture is heated through. If you loved browned cheese, urn on the broiler at 500 degrees and cook for 1-3 minutes more, watching VERY closely.
Keyword pasta, pasta bake, vegetarian
Tried this recipe?Let us know how it was!

Looking for other great dinner ideas?

Check out the recipes below or head right to my Cooking page!

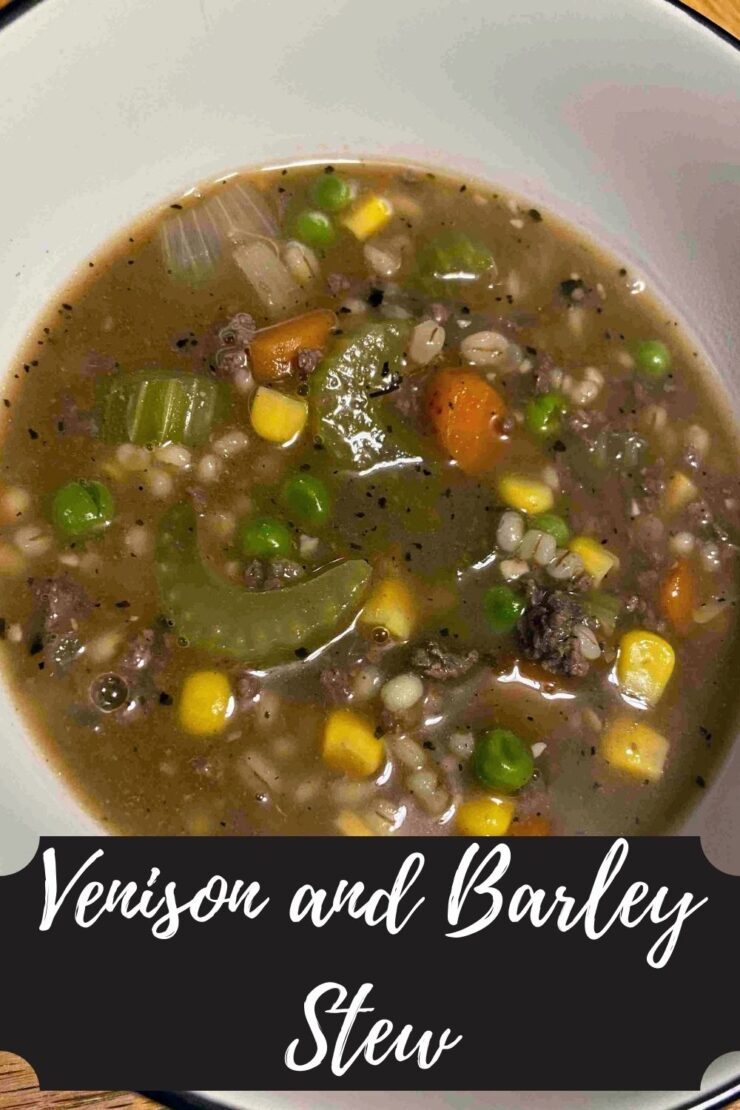
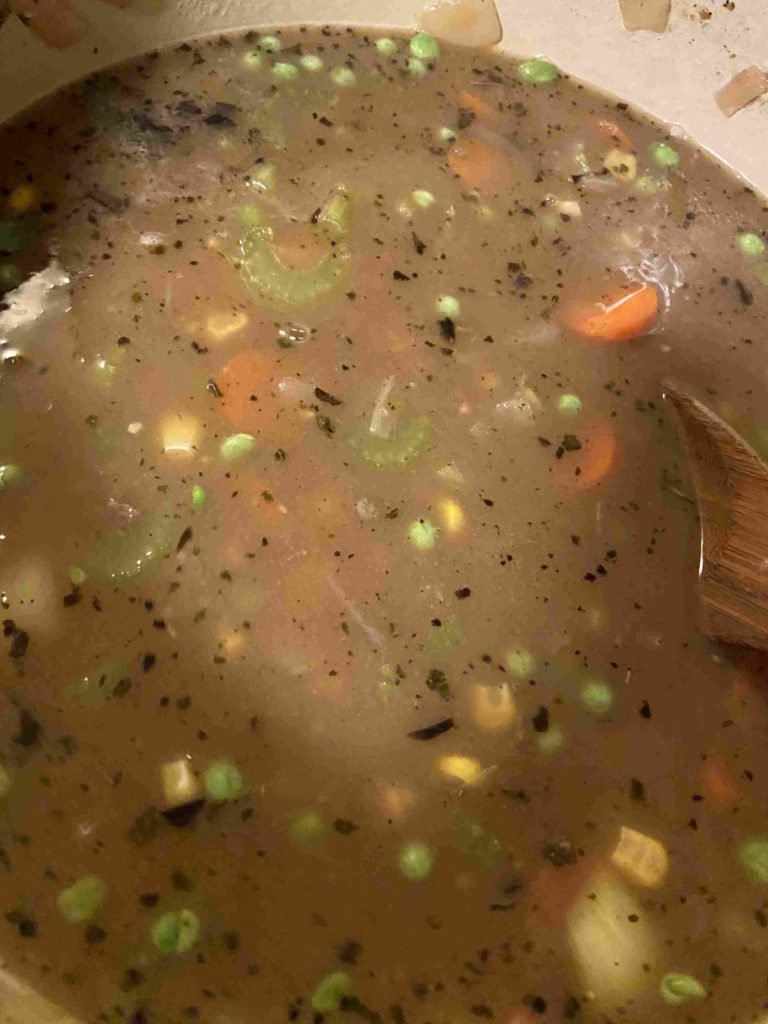
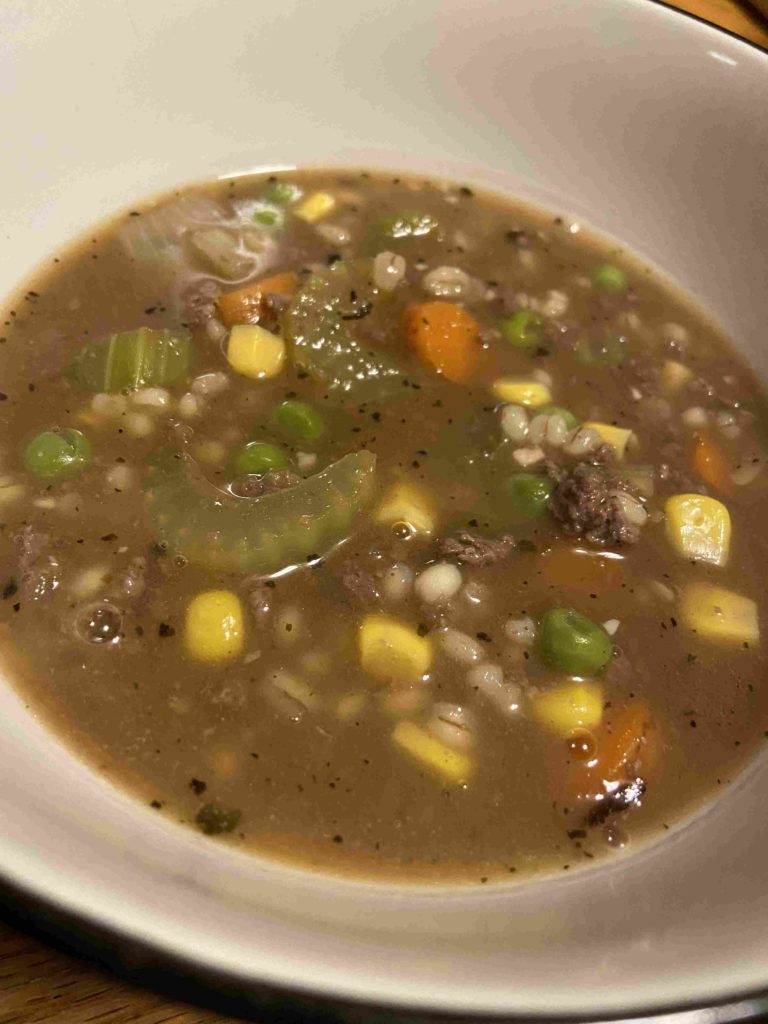
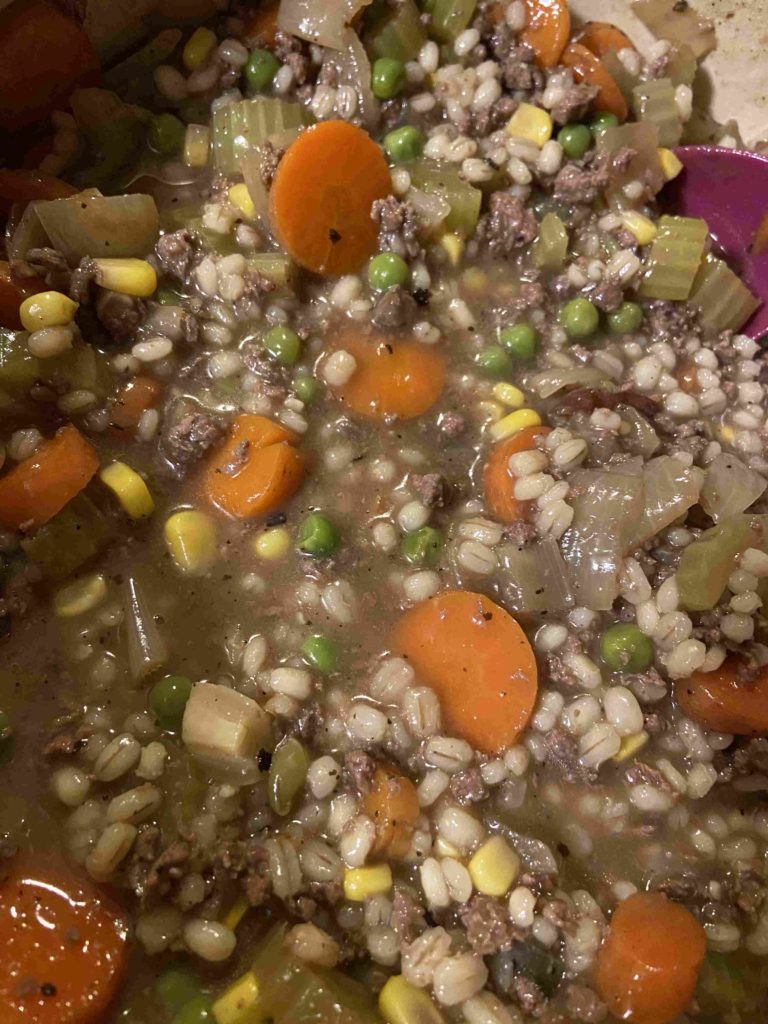
Stick to Your Ribs Venison and Barley Stew

Living in Wisconsin, it is chilly from mid-October through April. But don’t get me wrong, I love everything about Wisconsin, even the chilly season. I embrace and enjoy it all, from the -30 windchills to the humidity and mosquitoes. Perhaps I love the winter months because it gives me five solid months where it is 100% acceptable to eat soup every week. It’s my go to meal prep option and this venison and barley stew is a great one! Reasons why soup is the best (in no particular order):

  1. It’s comforting, they way it just warms your belly and soul.
  2. It makes fantastic left overs and reheats in no time.
  3. You can get all the color and vegetables you could ask for.
  4. I get to chop all those said vegetables, which is one of my favorite parts of cooking.
  5. Soup making is SO versatile. You don’t like a certain veggie? Cut it. You have extra of something else? Throw it in the pot.

We are just beginning the crazy life of kids having after school activities and sitting down together for meals is a big priority for my husband and me. I want to know about my kids and their days and I want them to know about ours too. Because of this, I try to put together a kettle of soup to feed an army every other week or so. (okay, not an army, but maybe enough for 2-3 meals for our little family) I also like to make food with what I have on hand. Yes, I keep a stocked pantry, but there aren’t any crazy “one time use” ingredients here, I promise. This is filling and wonderful and does everything a good soup should do: warm your heart and belly, leaving you feeling full and satisfied. Give it a try!

Your ingredients:

  • 1 1/2 tablespoons olive oil, divided
  • 1 1/2 tablespoons minced garlic, divided
  • 2 cups chopped carrots
  • 2 cups celery
  • 1 cup diced onion, divided
  • 1 pound ground venison (We grind our own and do not mix anything with it. Feel free to use any version of ground meat that your family loves)
  • 1 cup frozen peas
  • 1 cup frozen corn
  • 1/2-1 teaspoon each: salt, pepper, ground sage (to taste)
  • 2 tablespoons butter
  • 2 tablespoons flour (If you are gluten free or like a soup rather than a stew, you can totally leave out the butter and flour)
  • 9-10 cups low sodium beef stock (I always make my own base using Orrington Farms base. You can easily control how much sodium you add this way)
  • 1 cup pearled barley, uncooked

Your Steps to Venison and Barley Stew

Heat a large dutch oven on the stove. Add 1/2 tablespoon olive oil. Once hot, add 1/2 cup diced onion and 1/2 tablespoon garlic. Sauté over medium heat for 3 minutes. Add ground venison. Sprinkle with a little salt and pepper. Brown meat, breaking into larger pieces, taking about 7 minutes or so. Remove from the kettle, but keep it warm. Add remaining olive oil. Once hot, add remaining onion, carrots, and celery. Add garlic, salt, pepper, and sage. Sauté for approximately 10 minutes, until just tender, stirring often.

Remove the vegetables from pan. Put the meat and onions back into the pan with the butter. Once the butter has fully melted, stir in the flour. Cook over medium heat for 1-2 minutes. The SLOWLY stir in the beef stock, 1/2 cup-1 cup at a time, allowing to thicken as you go. (I suck at this game. I am not patient when it comes to maintaining a rue, but when you are able to, it’s magic, so try your best. You can always grow here, right?! Or maybe I just need to…maybe you rock. Go you!).

Stir the vegetables back in, along with the peas and corn. Bring up to a low boil and stir in the barley. Allow to simmer for 40-50 minutes, until the barley is cooked through. This stew becomes so creamy over the next few days as you allow the barley to settle in. Sometimes soup and stew need another side to make a meal, but believe me, this wonderful venison and barley stew is a meal in and of itself. Yum!

Note: You can watch the stock and allow the thickness to suit your needs. It will thicken over time, so you may want to hold onto a cup or two of stock and add it later if you are serving this over a few days like I like to do.

Looking for other recipe inspiration?

Check out my cooking or my baking pages or click the links below!
Stick to Your Ribs Venison and Barley Stew

Ground venison and barley combine for a comforting soup perfect for those cool winter nights.
Prep Time 15 minutes
Cook Time 1 hour
Servings 8 people

Ingredients
  

  • 1 1/2 tablespoons olive oil divided
  • 1 1/2 tablespoons minced garlic divided
  • 2 cups chopped carrots
  • 2 cups celery
  • 1 cup diced onion divided
  • 1 pound ground venison
  • 1 cup frozen peas
  • 1 cup frozen corn
  • 1/2-1 teaspoon salt
  • 1/2-1 teaspoon pepper
  • 1/2-1 teaspoon ground sage
  • 2 tablespoons butter
  • 2 tablespoons flour
  • 9-10 cups low sodium beef stock
  • 1 cup pearled barley uncooked

Instructions
 

  • Heat a large dutch oven on the stove. Add 1/2 tablespoon olive oil. Once hot, add 1/2 cup diced onion and 1/2 tablespoon garlic. Sauté over medium heat for 3 minutes.
  • Add ground venison. Sprinkle with a little salt and pepper. Brown meat, breaking into larger pieces, taking about 7 minutes or so.
  • Remove from the kettle, but keep it warm. Add remaining olive oil. Once hot, add remaining onion, carrots, and celery. Add garlic, salt, pepper, and sage. Sauté for approximately 10 minutes, until just tender, stirring often.
  • Remove the vegetables from pan. Put the meat and onions back into the pan with the butter.
  • Once the butter has fully melted, stir in the flour. Cook over medium heat for 1-2 minutes.
  • The SLOWLY stir in the beef stock, 1/2 cup-1 cup at a time, allowing to thicken as you go.
  • Stir the vegetables back in, along with the peas and corn.
  • Bring up to a low boil and stir in the barley. Allow to simmer for 40-50 minutes, until the barley is cooked through. This stew becomes so creamy over the next few days as you allow the barley to settle in.
Tried this recipe?Let us know how it was!
Wild Rice and Vegetable Pilaf

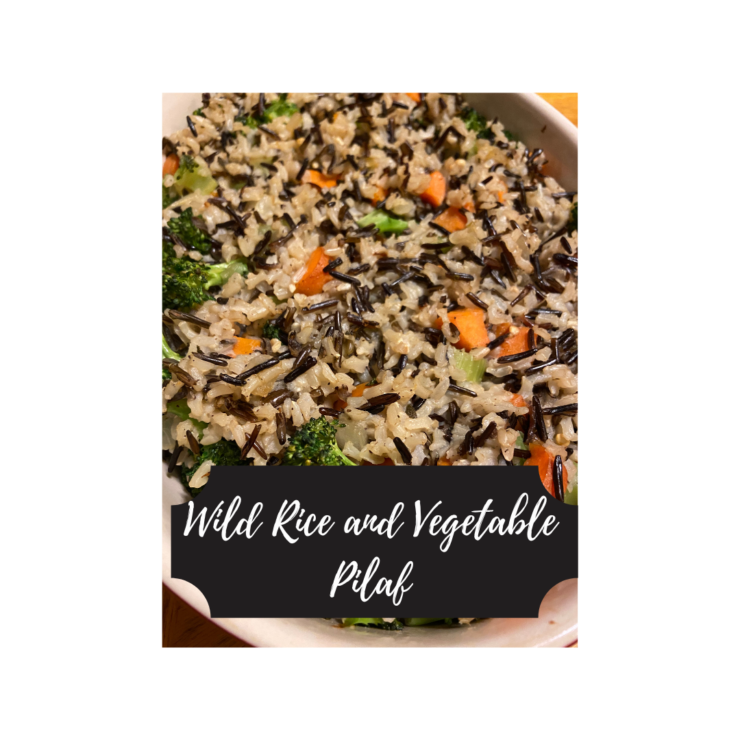
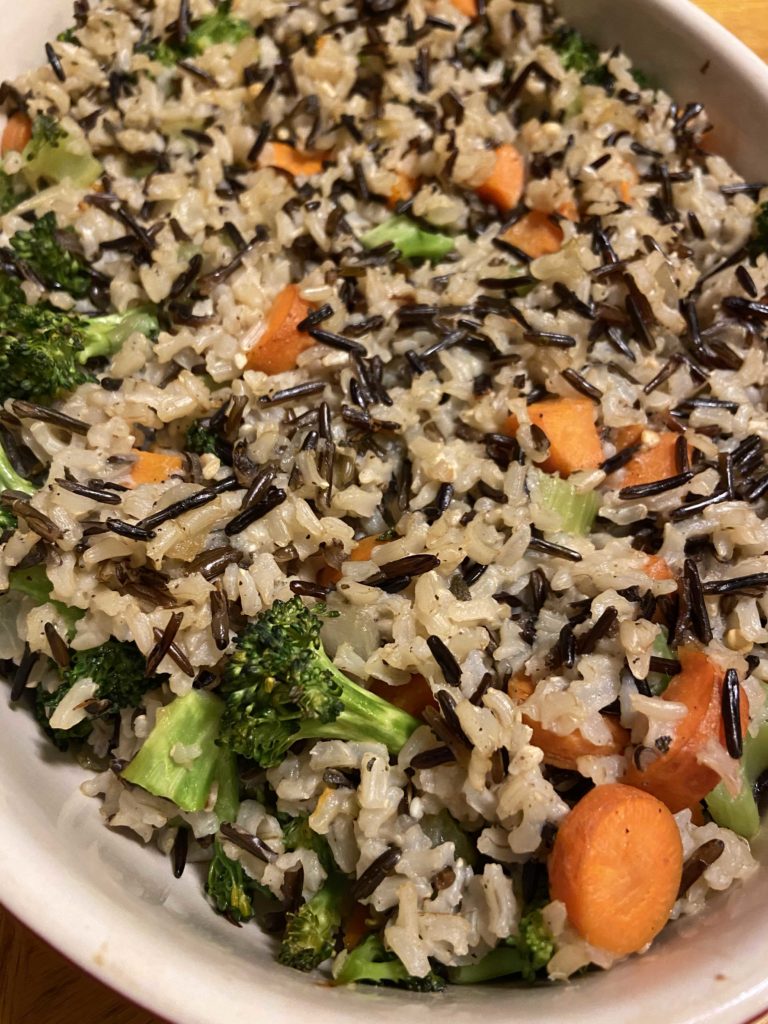
When my husband cooks, our plates look like this: protein, carb/starch, veggie. Separate piles. I am totally okay with that. He cooks some mean wild game and I dig a roasted potato. But when I cook, I’m a girl who loves all things that can go in a casserole dish. Case in point: Wild Rice and Vegetable Pilaf.

I cook for leftovers so that we can enjoy my favorite meals a few times a week or at least I can meal prep my lunches so they are thought out and healthy. (Who am I joking…as these kiddos of mine get older, I hardly get a second meal sometimes!) Enter rice pilaf. It’s flexible. It goes GREAT with chicken or a pork chop. I love that I can have it as a side and then toss my left over protein with it and it becomes a sort of rice bowl. I don’t know why, but it feels like a different meal to me when the protein is mixed in. And that’s okay 🙂

Here’s what we put together tonight to go with some chicken breasts that I did up super simple (searing hot cast iron with some rosemary olive oil, salt and pepper. Seared them on both sides and into the oven at 450 for 20 minutes.) I love a cast iron, but that’s a different blog post. Back to my simple rice pilaf…

Your ingredients:

  • 1 cup brown rice, uncooked
  • 1/2 cup wild rice, uncooked
  • 3 1/2 cup chicken stock (regular or low sodium to suit your taste)–I actually use 3 1/2 cups water and use 1 tablespoon Orrington Farms Broth Base. It’s my go to!
  • 1/2 teaspoon ground sage
  • 1 teaspoon pepper, divided
  • 1 tablespoon minced garlic, divided
  • 1/2 teaspoon salt (I like coarse kosher salt)
  • 1/2 tablespoon olive oil
  • 2 cups chopped broccoli, smaller, bite size pieces
  • 1 cup diced carrots (about 1 large)
  • 3/4-1 cup diced onion (about 1/2 large onion)
  • 1 cup diced celery (about 2 stalks)

Your Steps to Wild Rice and Vegetable Pilaf

In a medium saucepan, bring chicken stock to a boil. Add sage, 1/2 teaspoon pepper, 1/2 tablespoon garlic and both rices. Cover, lower to a simmer, and cook for 40-50 minutes, stirring periodically to check that you still have water. You want your rice to just be tender. Test it at 40 minutes. If it gets over cooked, it will be mush once you bake it.

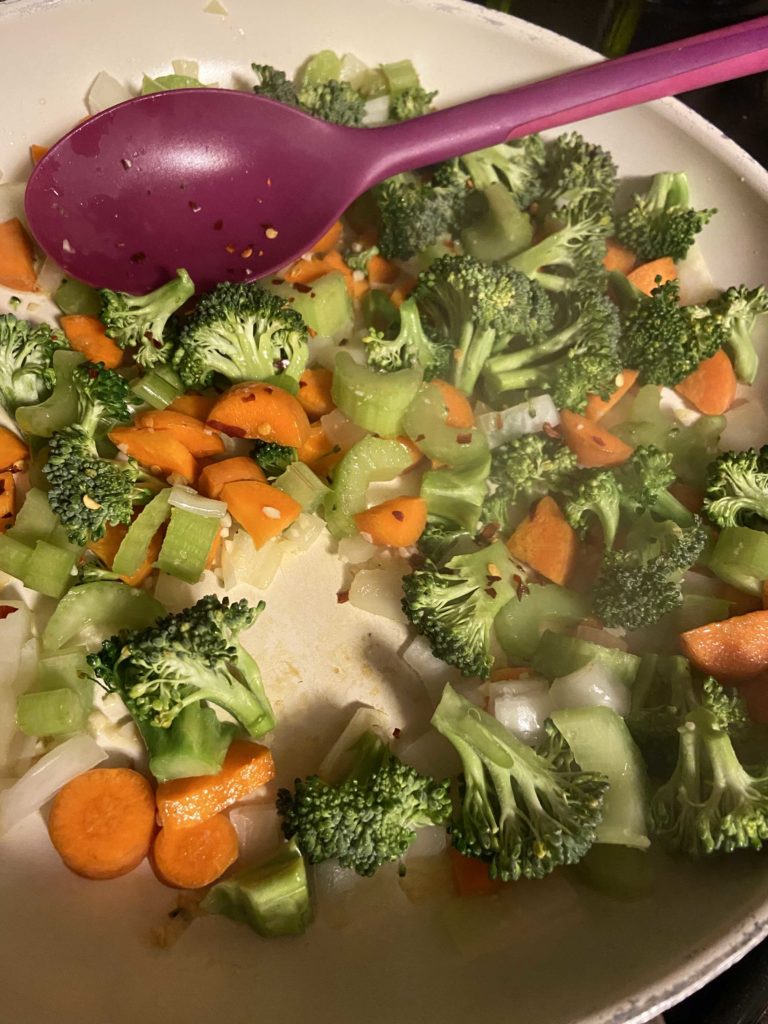
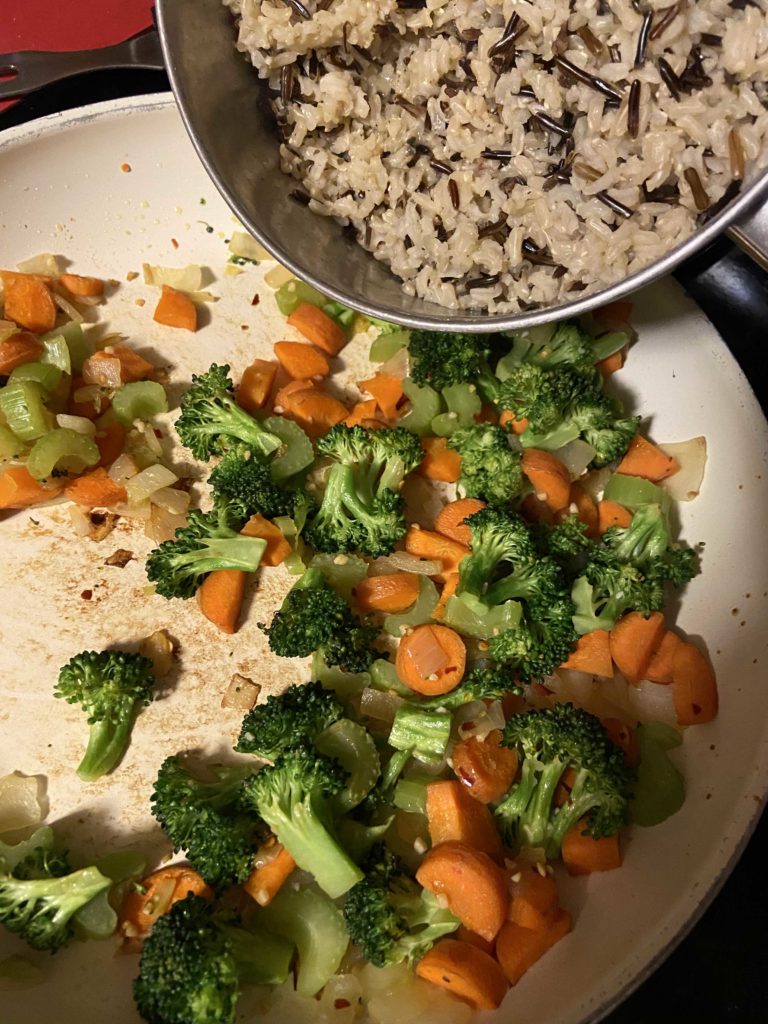
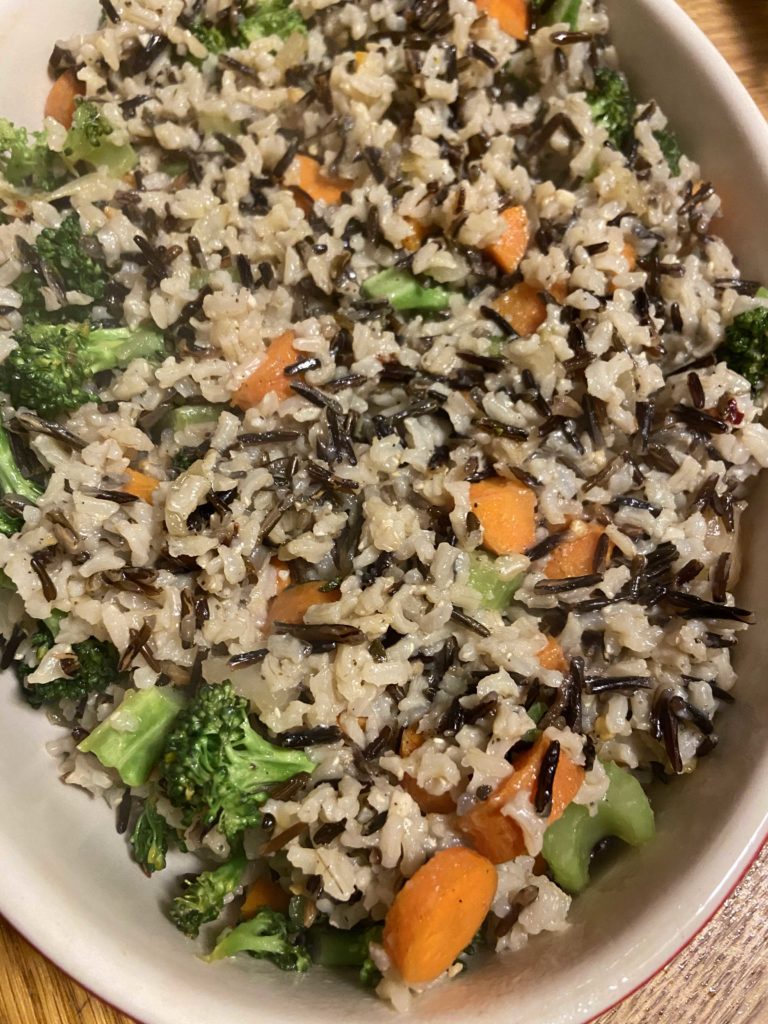
Meanwhile, heat olive oil in a large skillet over medium-high heat and preheat your oven to 400 degrees. Add onion, carrots, celery, salt, and remaining 1/2 teaspoon pepper and 1/2 tablespoon garlic. Cook over medium heat for 5 minutes. Add broccoli and cook an additional 5 minutes, until vegetables have just become tender. Stir in cooked rice. I would test it here and see if you are happy with your salt and pepper levels (and heck, check the garlic while you’re at it). Pour rice/vegetable mixture into a greased casserole dish and bake in the oven for 15-20 minutes, until the rice just begins to crisp up on the top (That’s my favorite…I also like the corner brownie, it seems to be a trend).

Serve it up!

At our house, we serve rice pilaf most often with grilled or pan “fried” chicken breasts or boneless pork chops with a salad. I like to “sneak” extra veggies in wherever we can, so this pilaf does the trick! It reheats well and has all the colors, which is also a theme I go for. Let me know what you think! (PS…Sage not your thing? I also love to mix this up with rosemary and/or thyme. Like mushrooms, throw a 1/2 cup of those in too! That’s the beauty of this recipe, you can pick a seasoning mixture that you love.) I hope this recipe finds you cooking for those you love–Jess

Wild Rice and Vegetable Pilaf

Wild rice, brown rice, and your choice of vegetables combine in this wild rice and vegetable pilaf that fit for a side for any protein: chicken, pork, or wild game!
Prep Time 15 minutes
Cook Time 1 hour
Servings 12

Ingredients
  

  • 1 cup brown rice uncooked
  • 1/2 cup wild rice uncooked
  • 3 1/2 cup chicken stock
  • 1/2 teaspoon ground sage
  • 1 teaspoon pepper divided
  • 1 tablespoon minced garlic divided
  • 1/2 teaspoon salt
  • 1/2 tablespoon olive oil
  • 2 cups chopped broccoli smaller, bite size pieces
  • 1 cup diced carrots about 1 large
  • 3/4-1 cup diced onion about 1/2 large onion
  • 1 cup diced celery about 2 stalks

Instructions
 

  • In a medium saucepan, bring chicken stock to a boil. Add sage, 1/2 teaspoon pepper, 1/2 tablespoon garlic and both rices. Cover, lower to a simmer, and cook for 40-50 minutes, stirring periodically to check that you still have water.
  • You want your rice to just be tender. Test it at 40 minutes. If it gets over cooked, it will be mush once you bake it.
  • Meanwhile, heat olive oil in a large skillet over medium-high heat and preheat your oven to 400 degrees.
  • Add onion, carrots, celery, salt, and remaining 1/2 teaspoon pepper and 1/2 tablespoon garlic. Cook over medium heat for 5 minutes.
  • Add broccoli and cook an additional 5 minutes, until vegetables have just become tender.
  • Stir in cooked rice. Taste and add salt and pepper, if needed.
  • Pour rice/vegetable mixture into a greased casserole dish and bake in the oven for 15-20 minutes, until the rice just begins to crisp up on the top. Serve.
Tried this recipe?Let us know how it was!

Looking for other dinner inspiration?

Check out some of the recipes below!