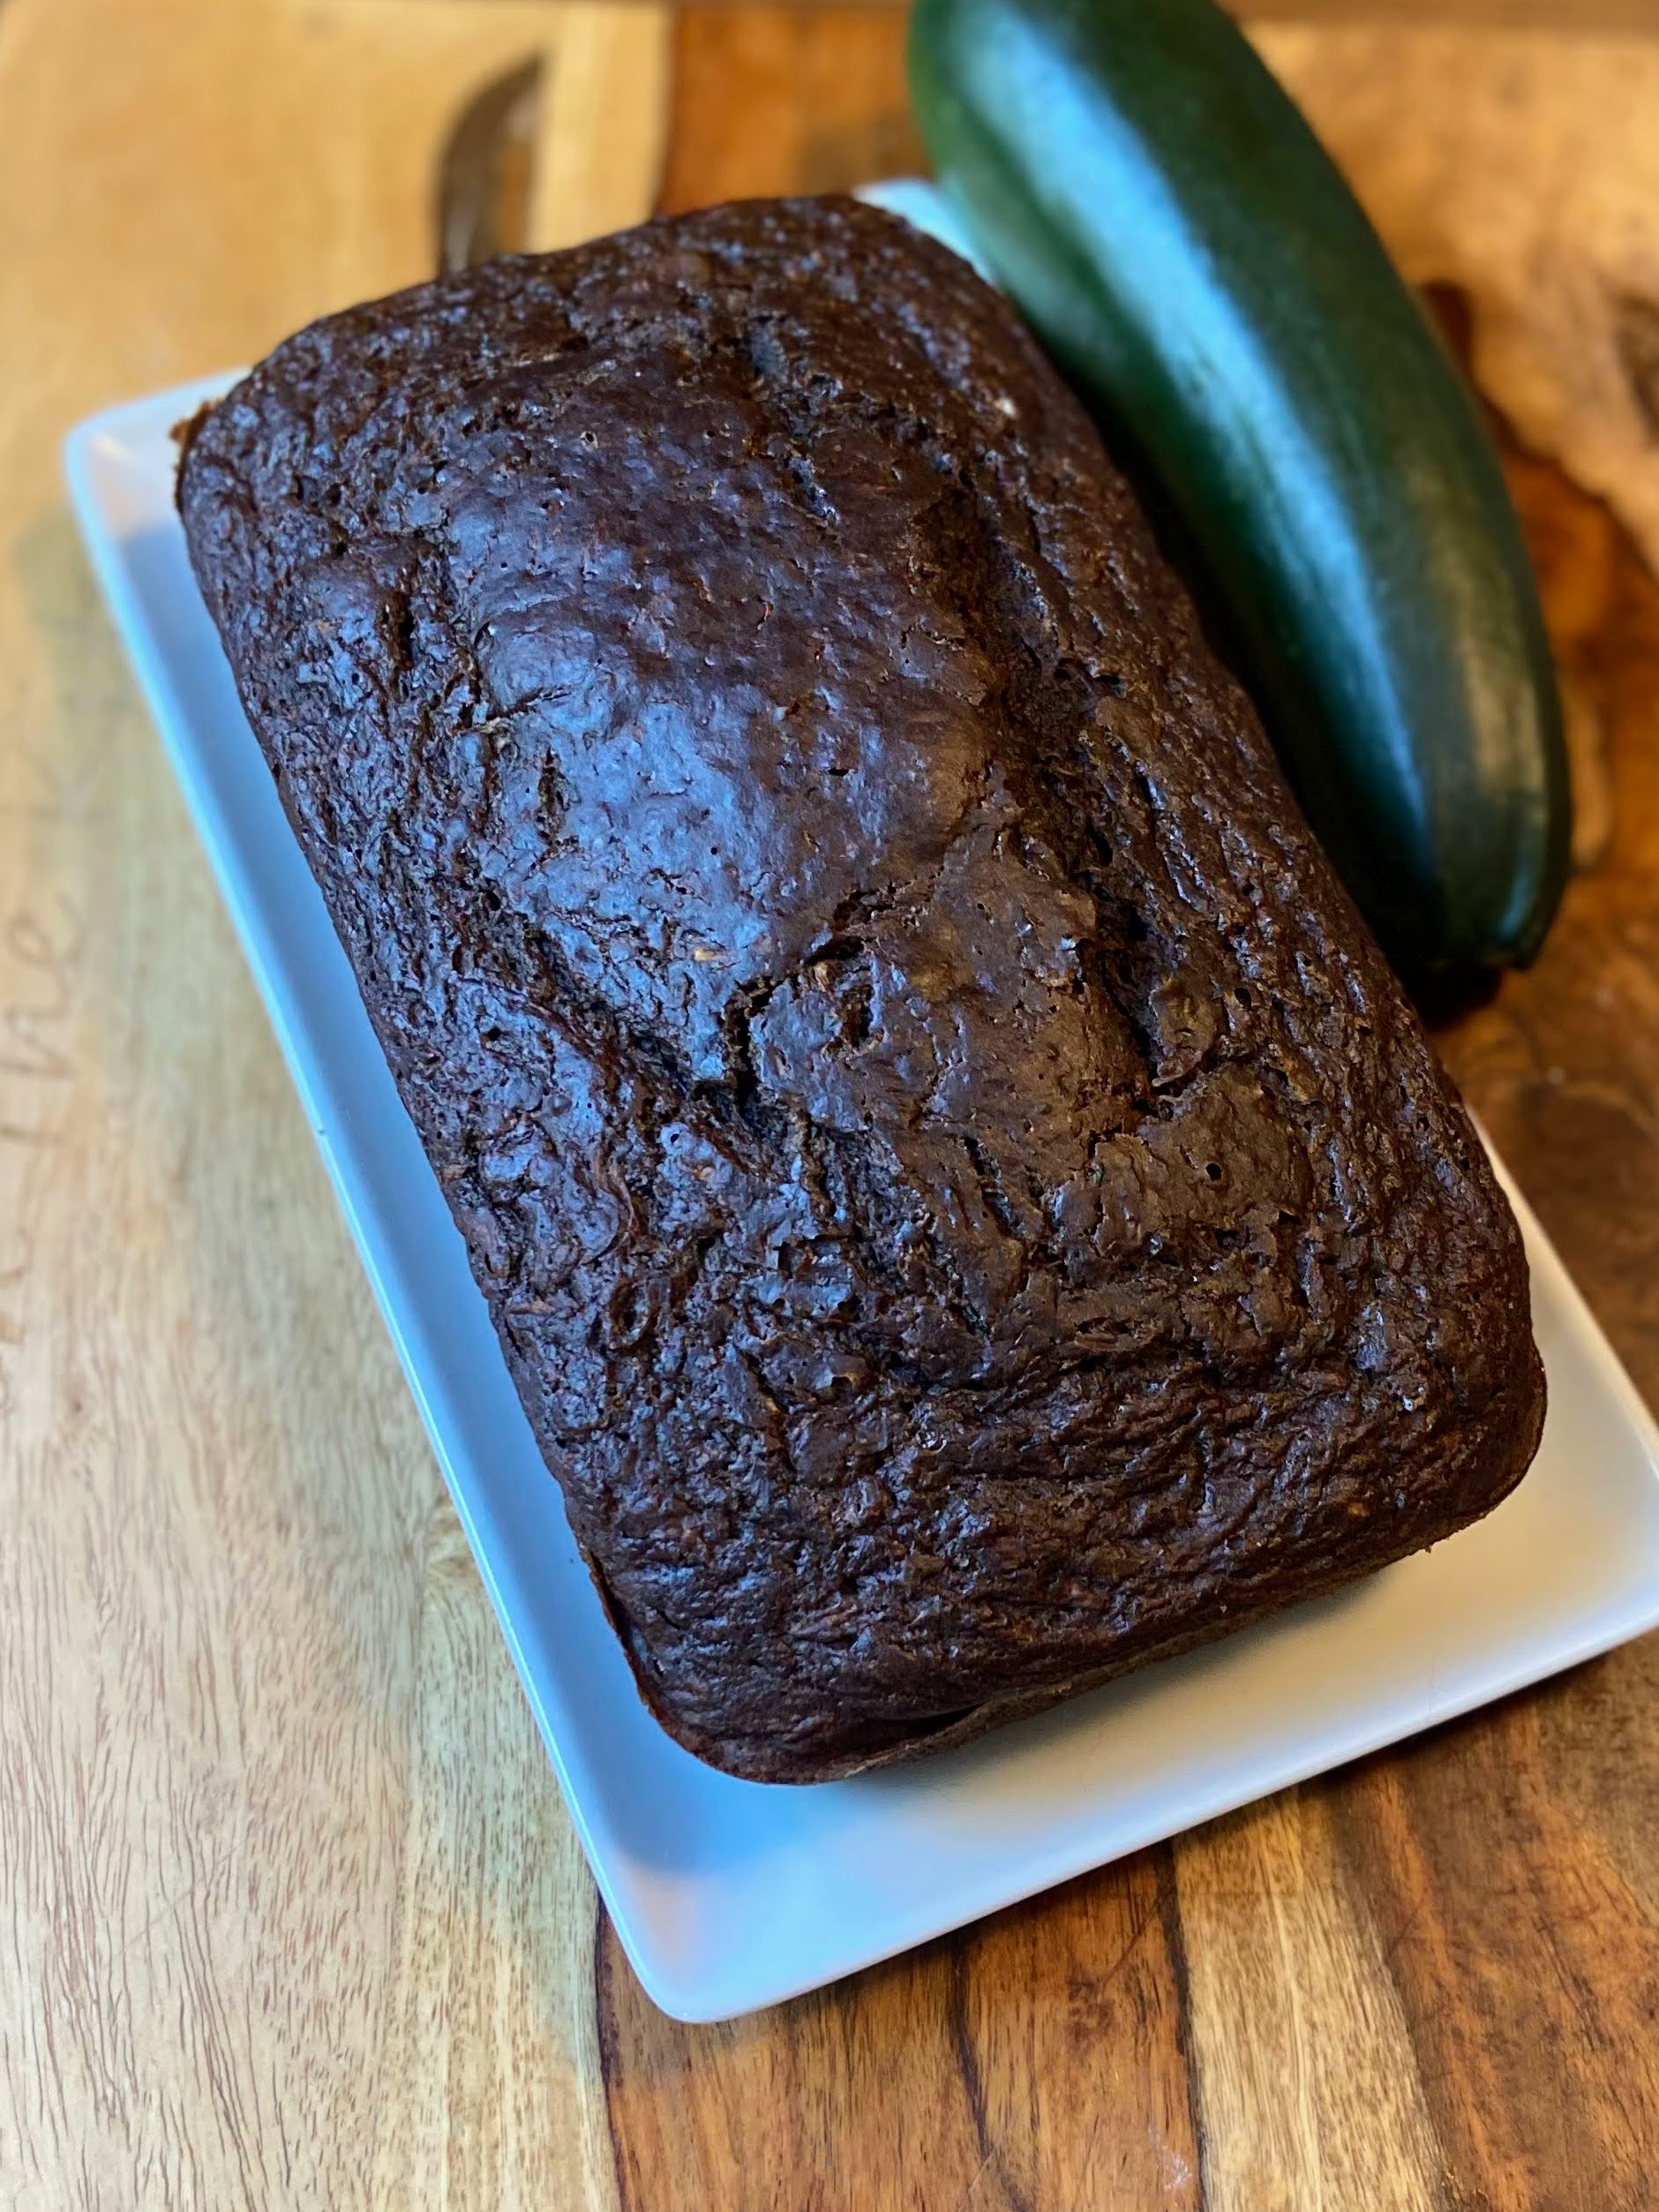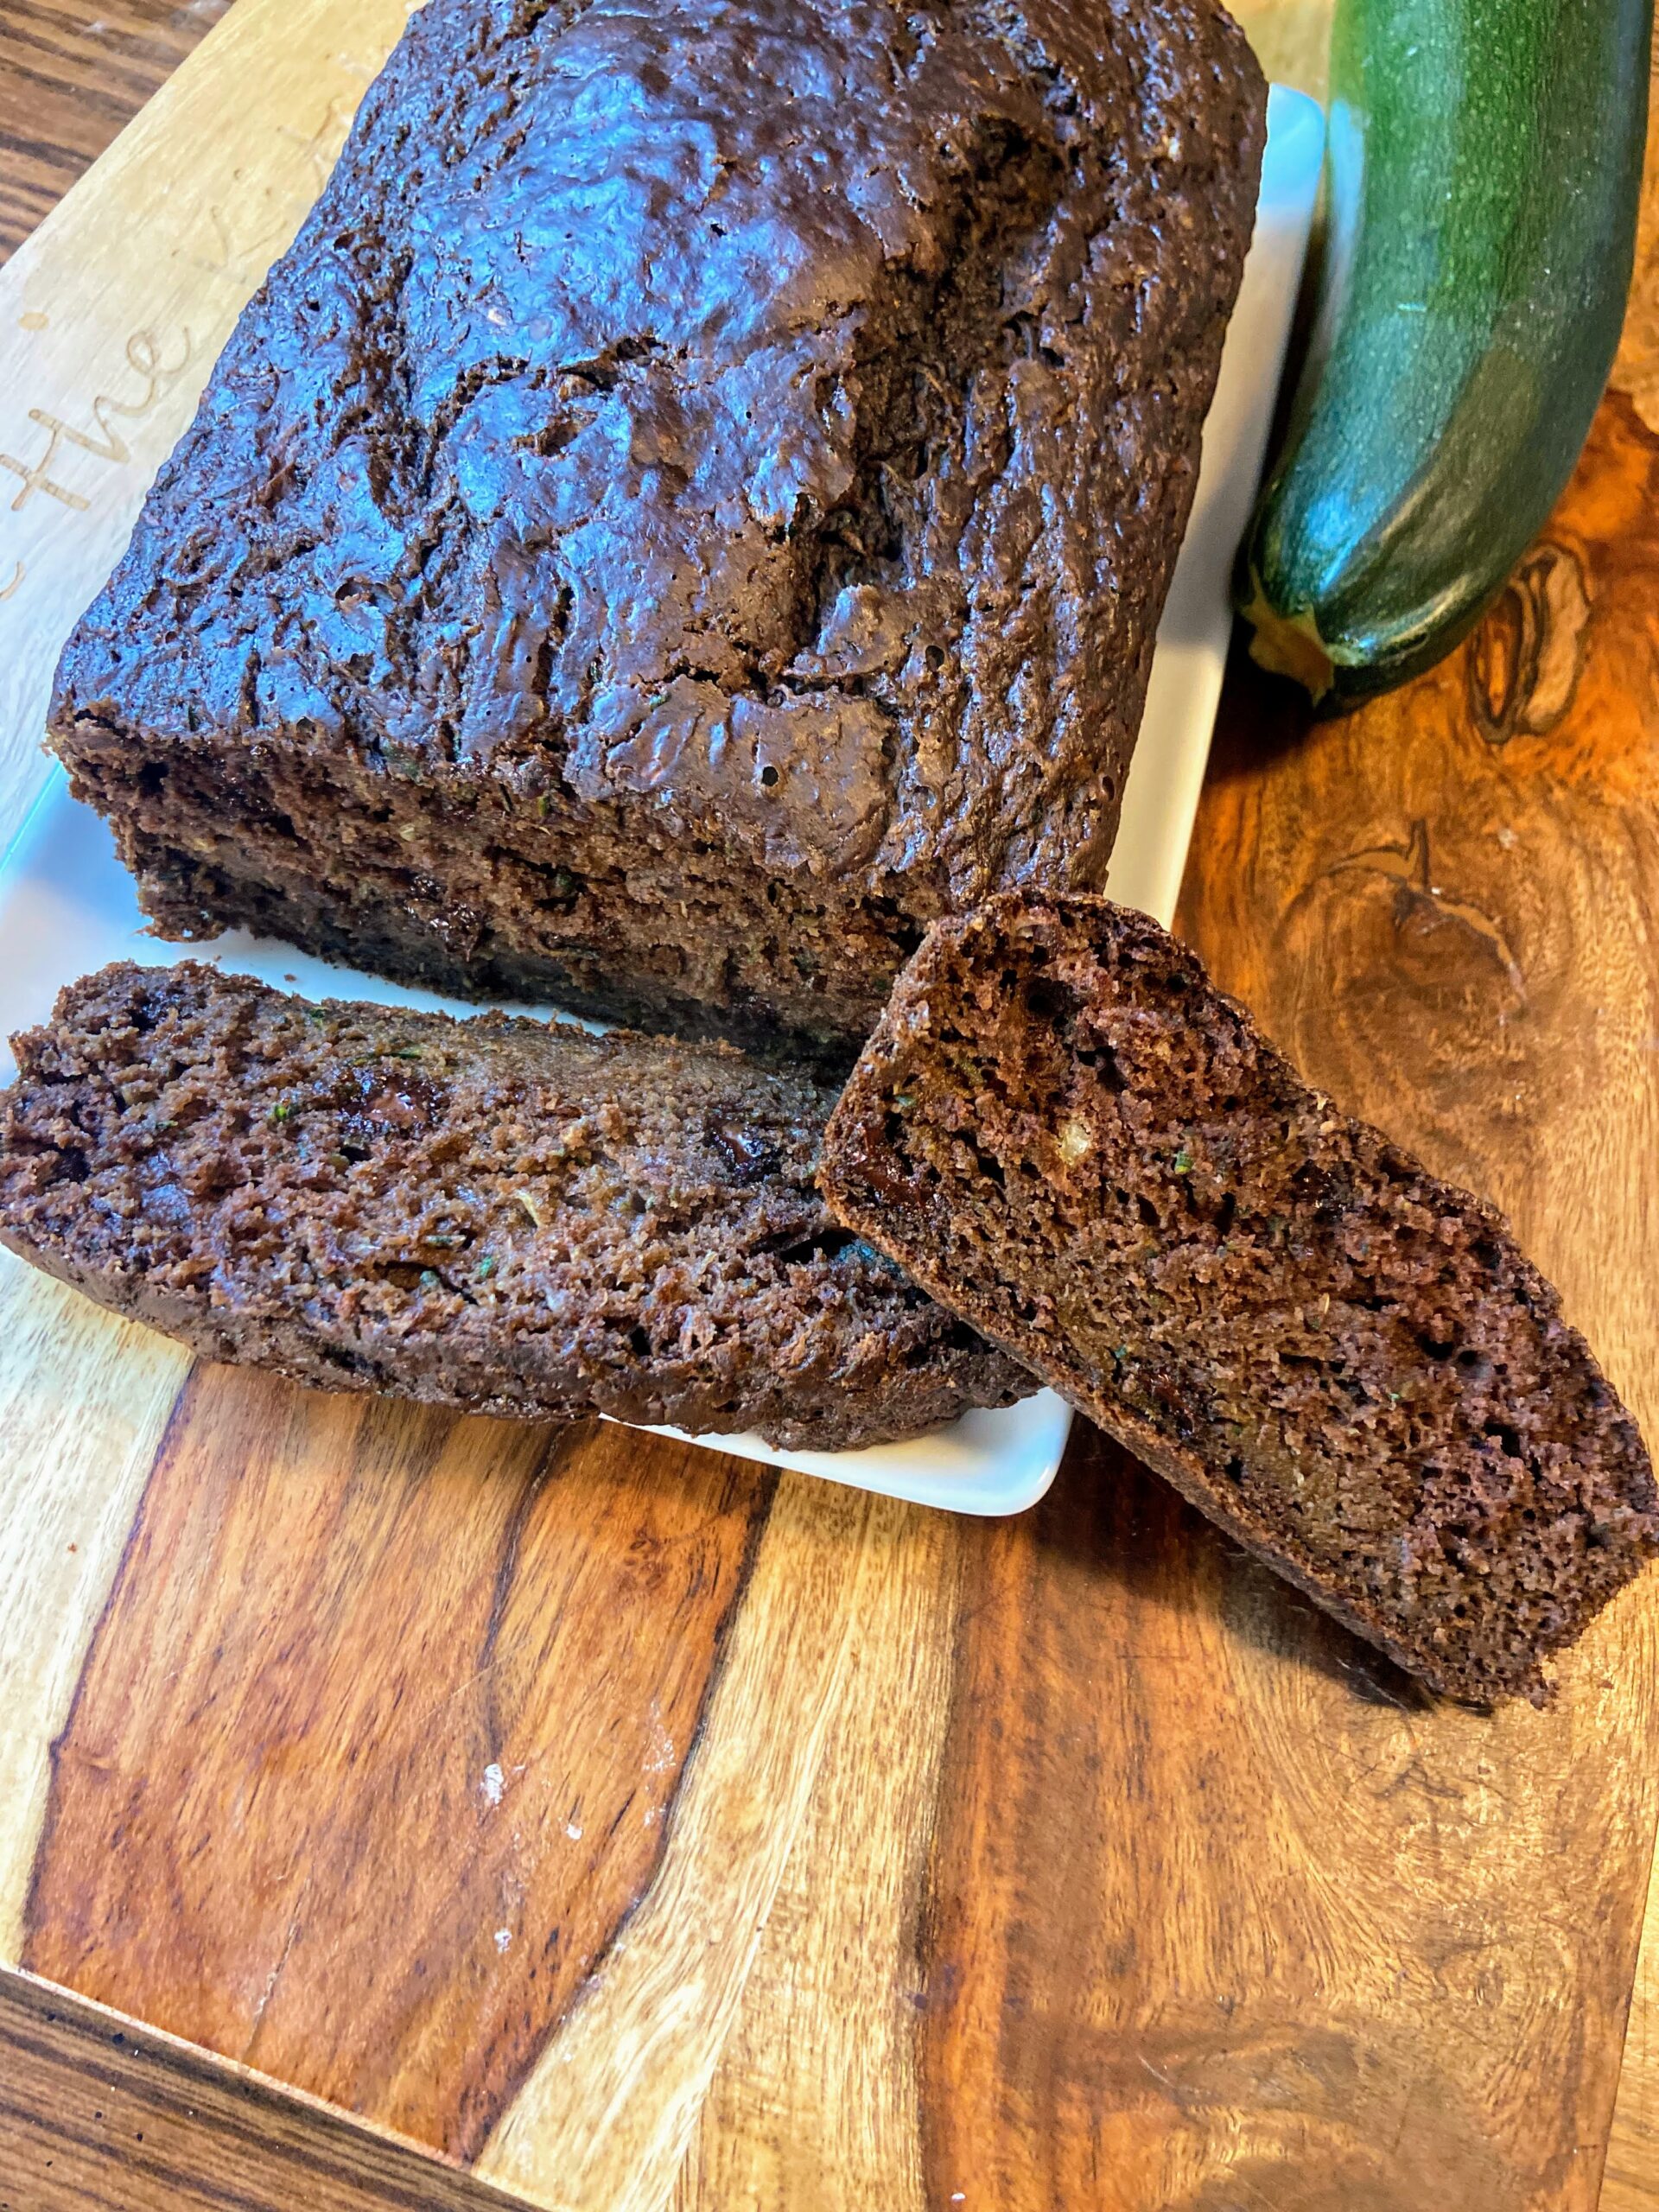
This year, my zucchini plants have been perfectly prolific. Not too many, not too little. Just the right amount of squash has grown in our garden and I couldn’t be happier. While my babies were requesting my chocolate zucchini bread, I was fermenting some zucchini and carrot relish. It got me thinking, how good would zucchini carrot muffins be?! So I got to work!
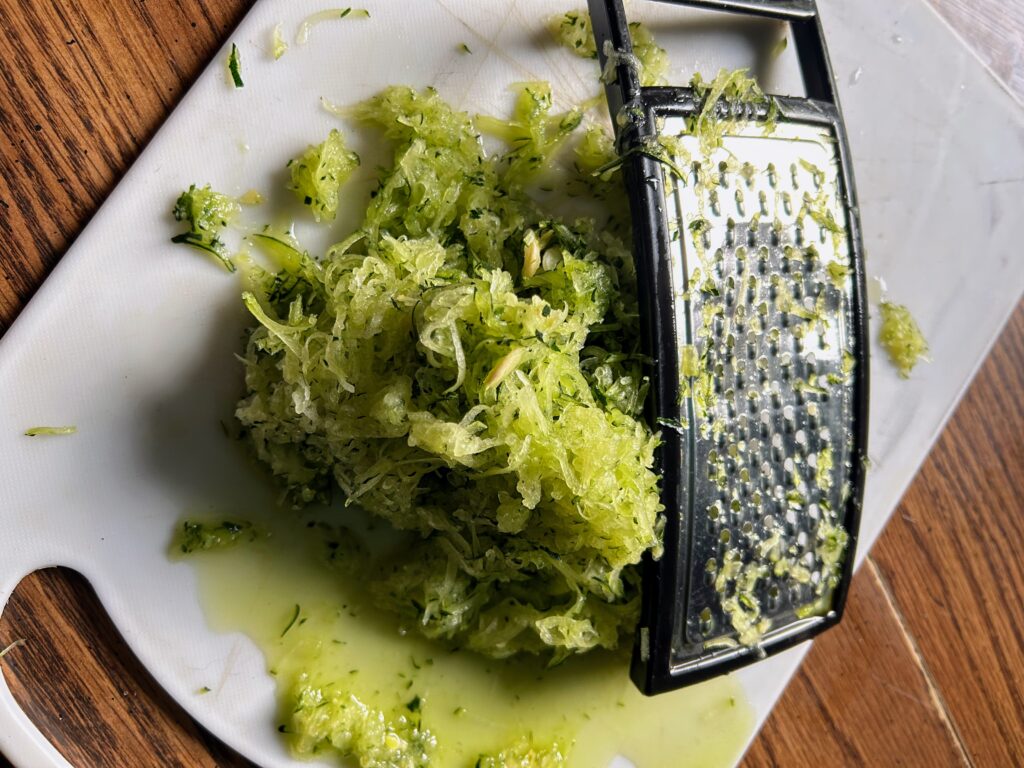
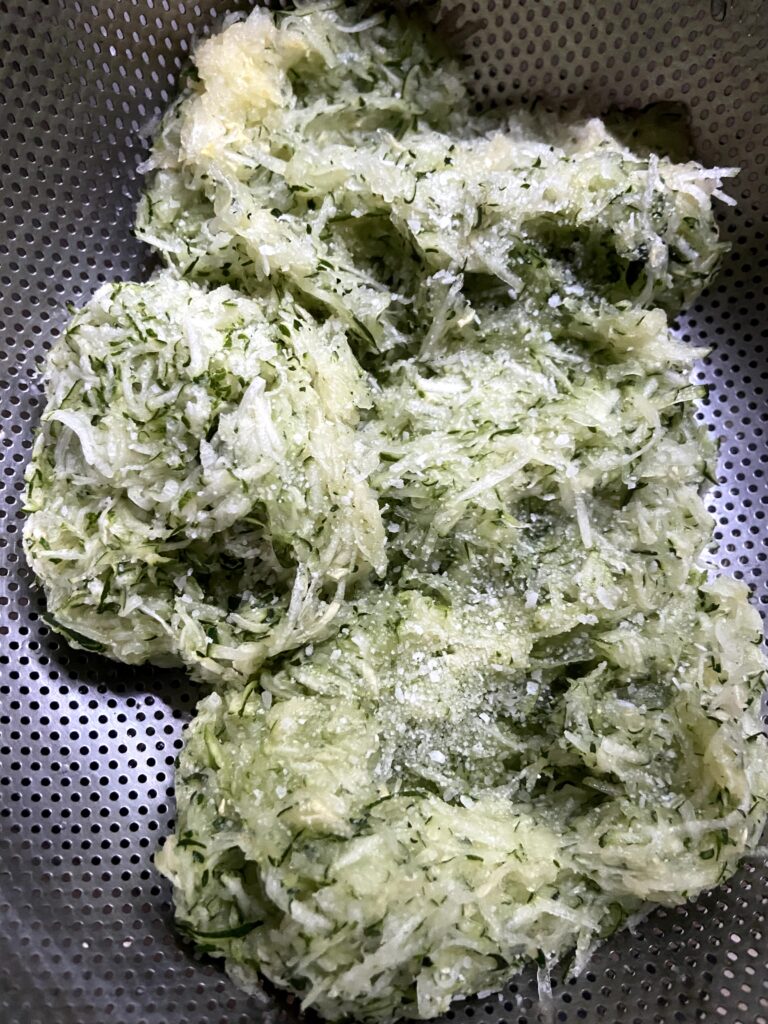
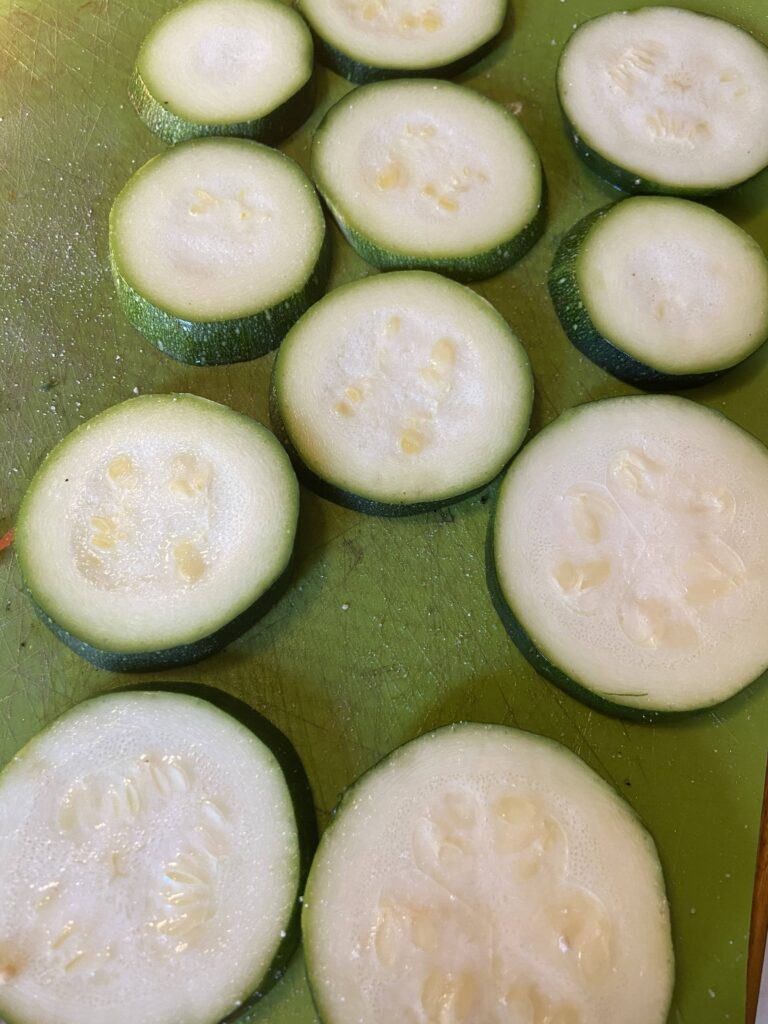
Years ago, I ate a zucchini, carrot, and apple bread that I adored. I perhaps baked it a few times while my big kiddo was a tot (he’s in high school now!), but hadn’t made it since then. While that was delicious, I thought giving the two a try might be equally good. I gathered a few ingredients, shredded some zucchini and carrots, and got to work.
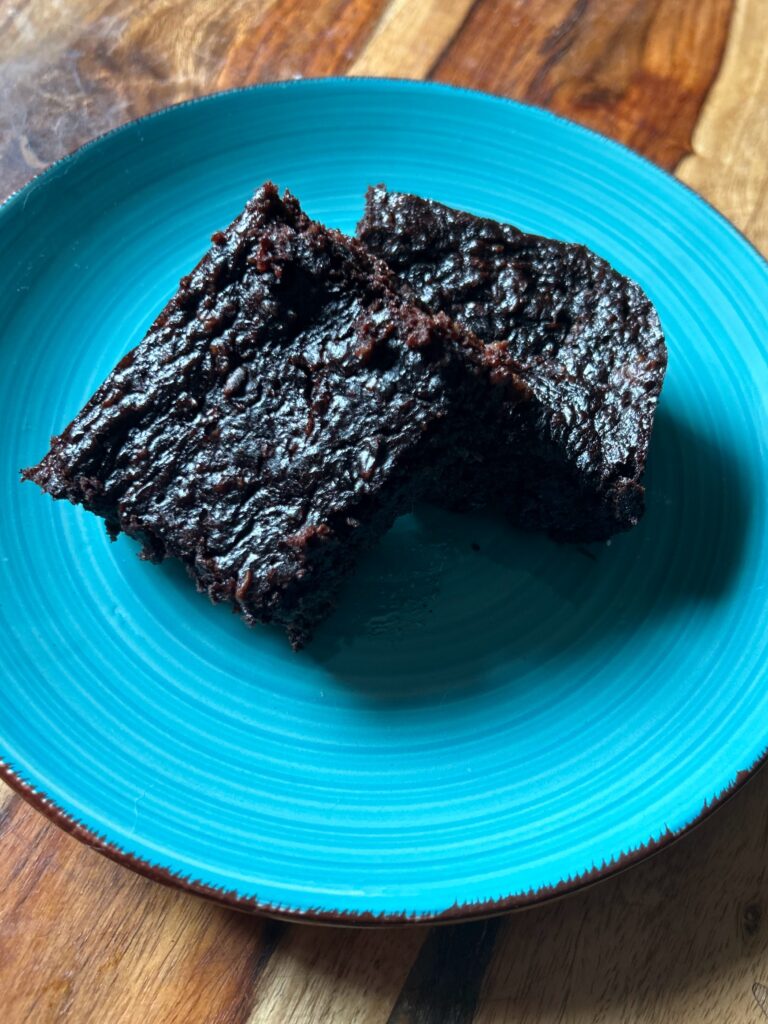
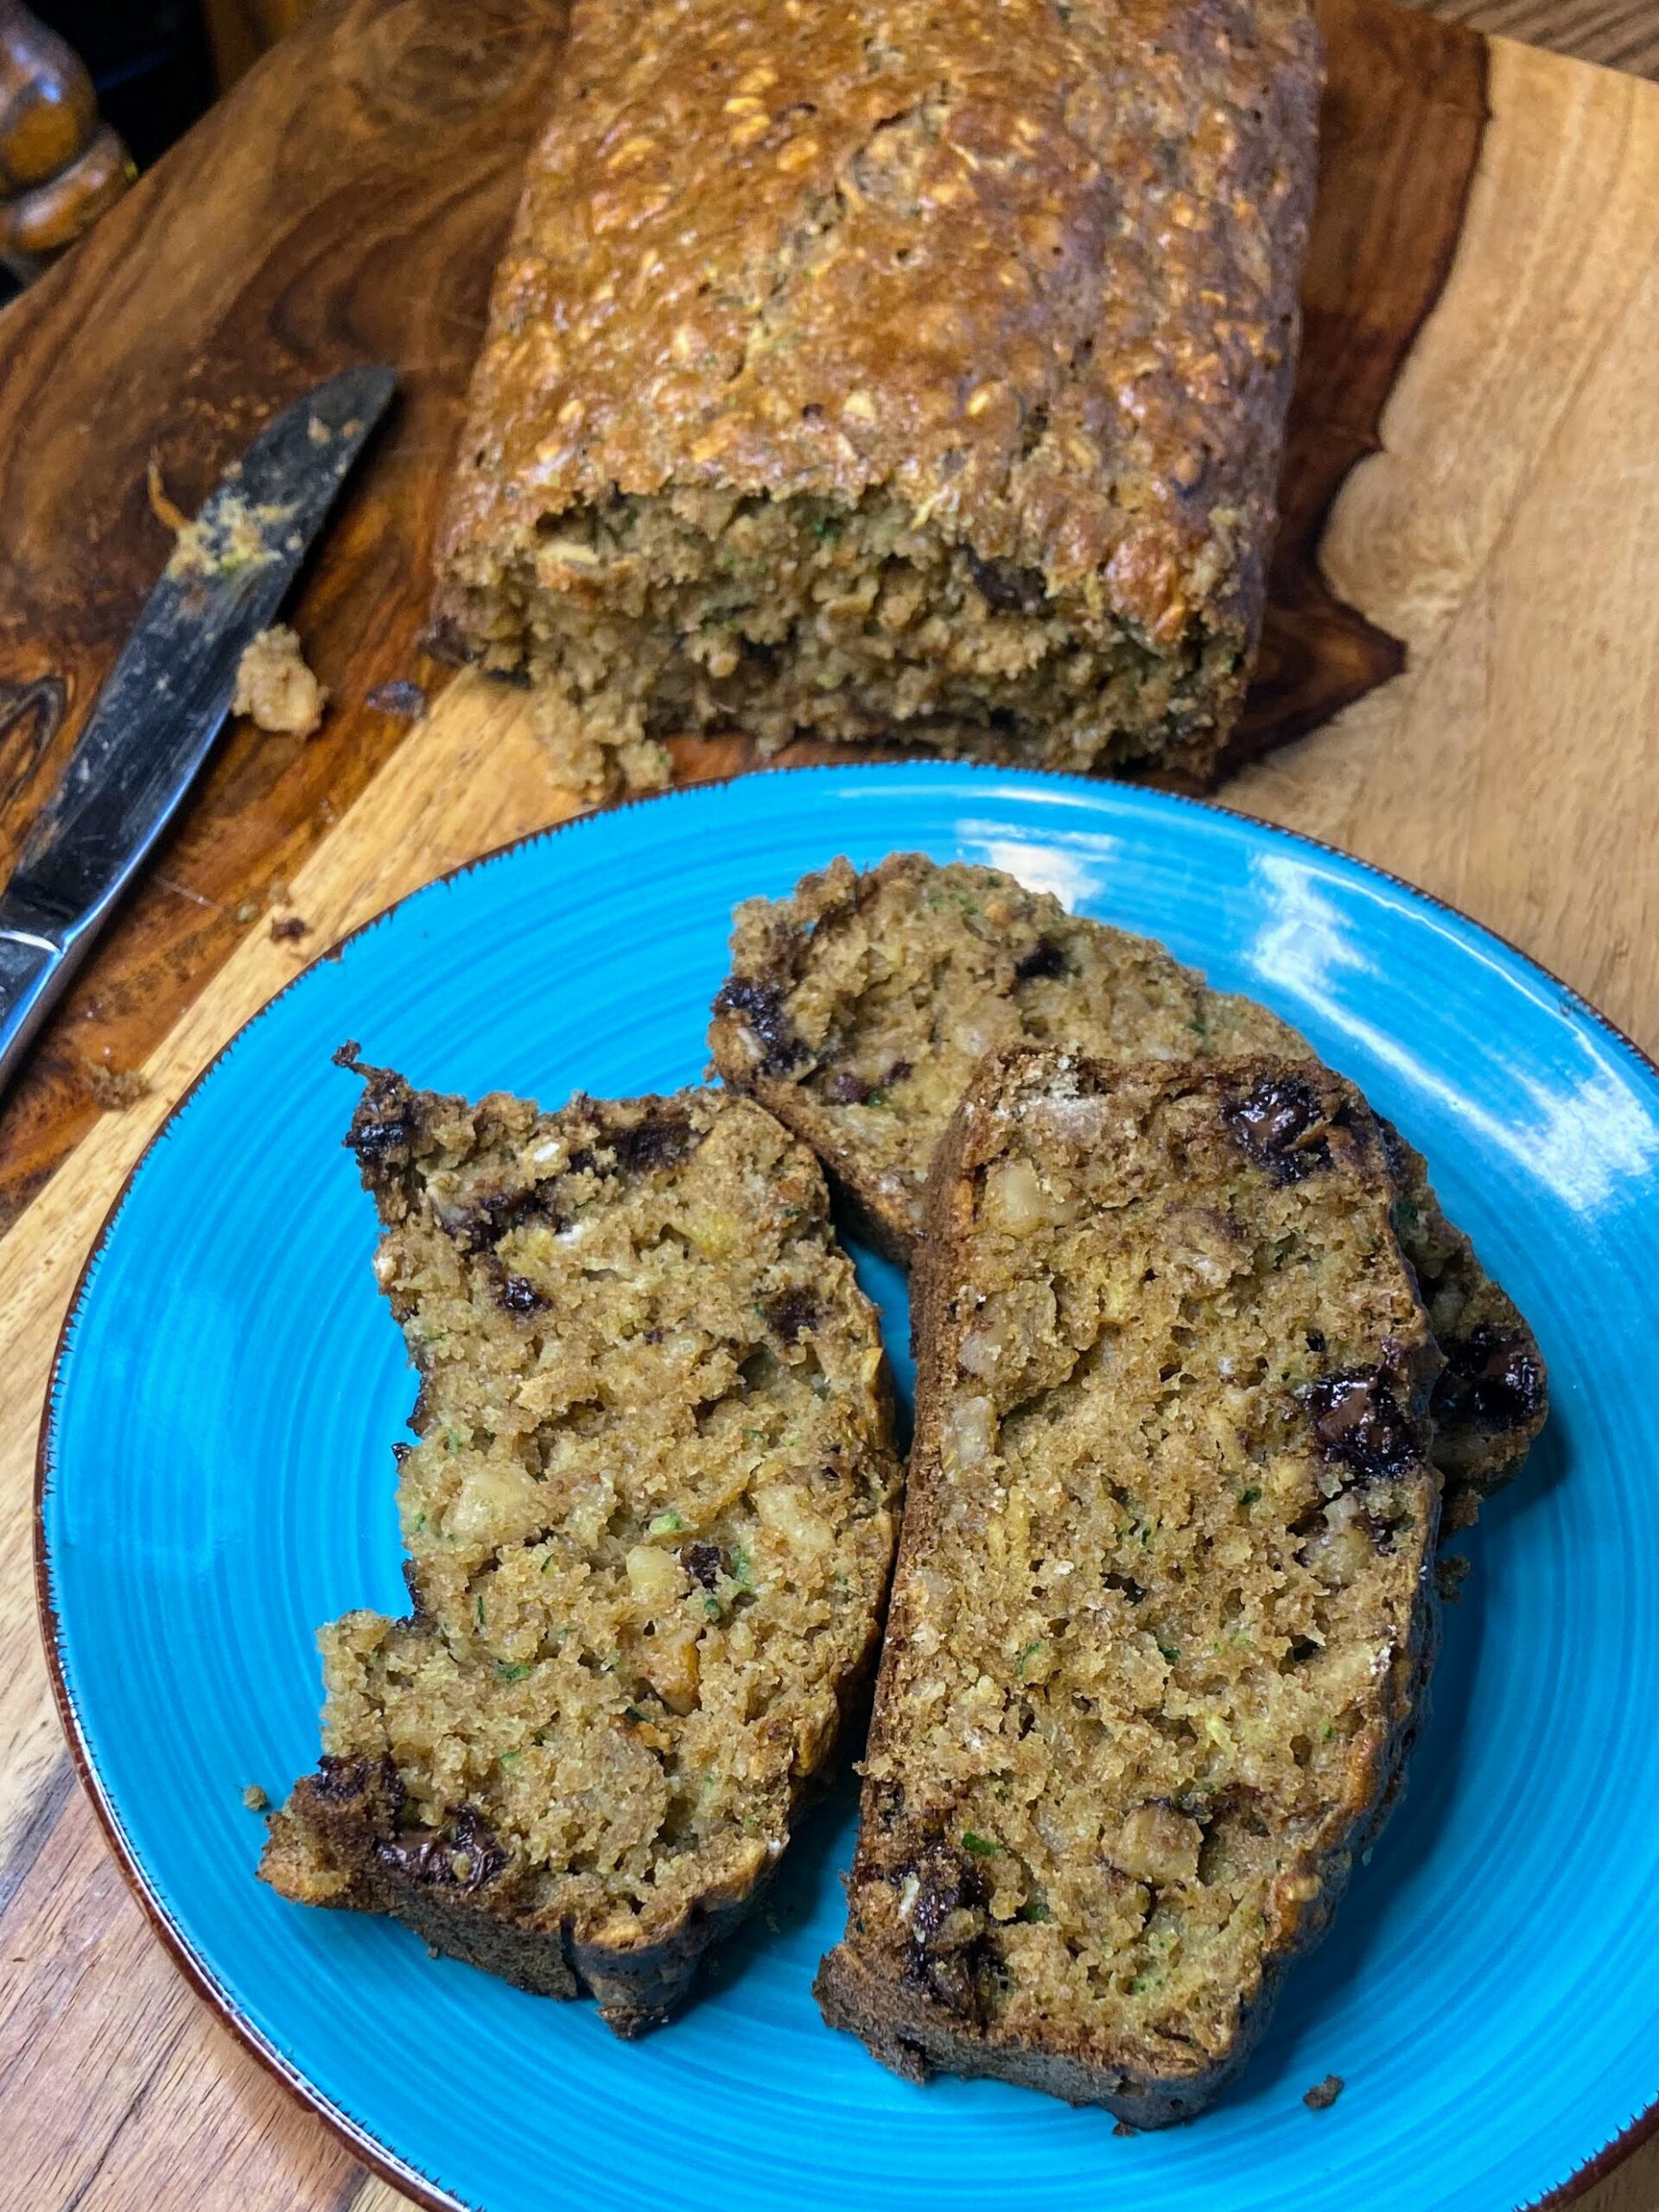
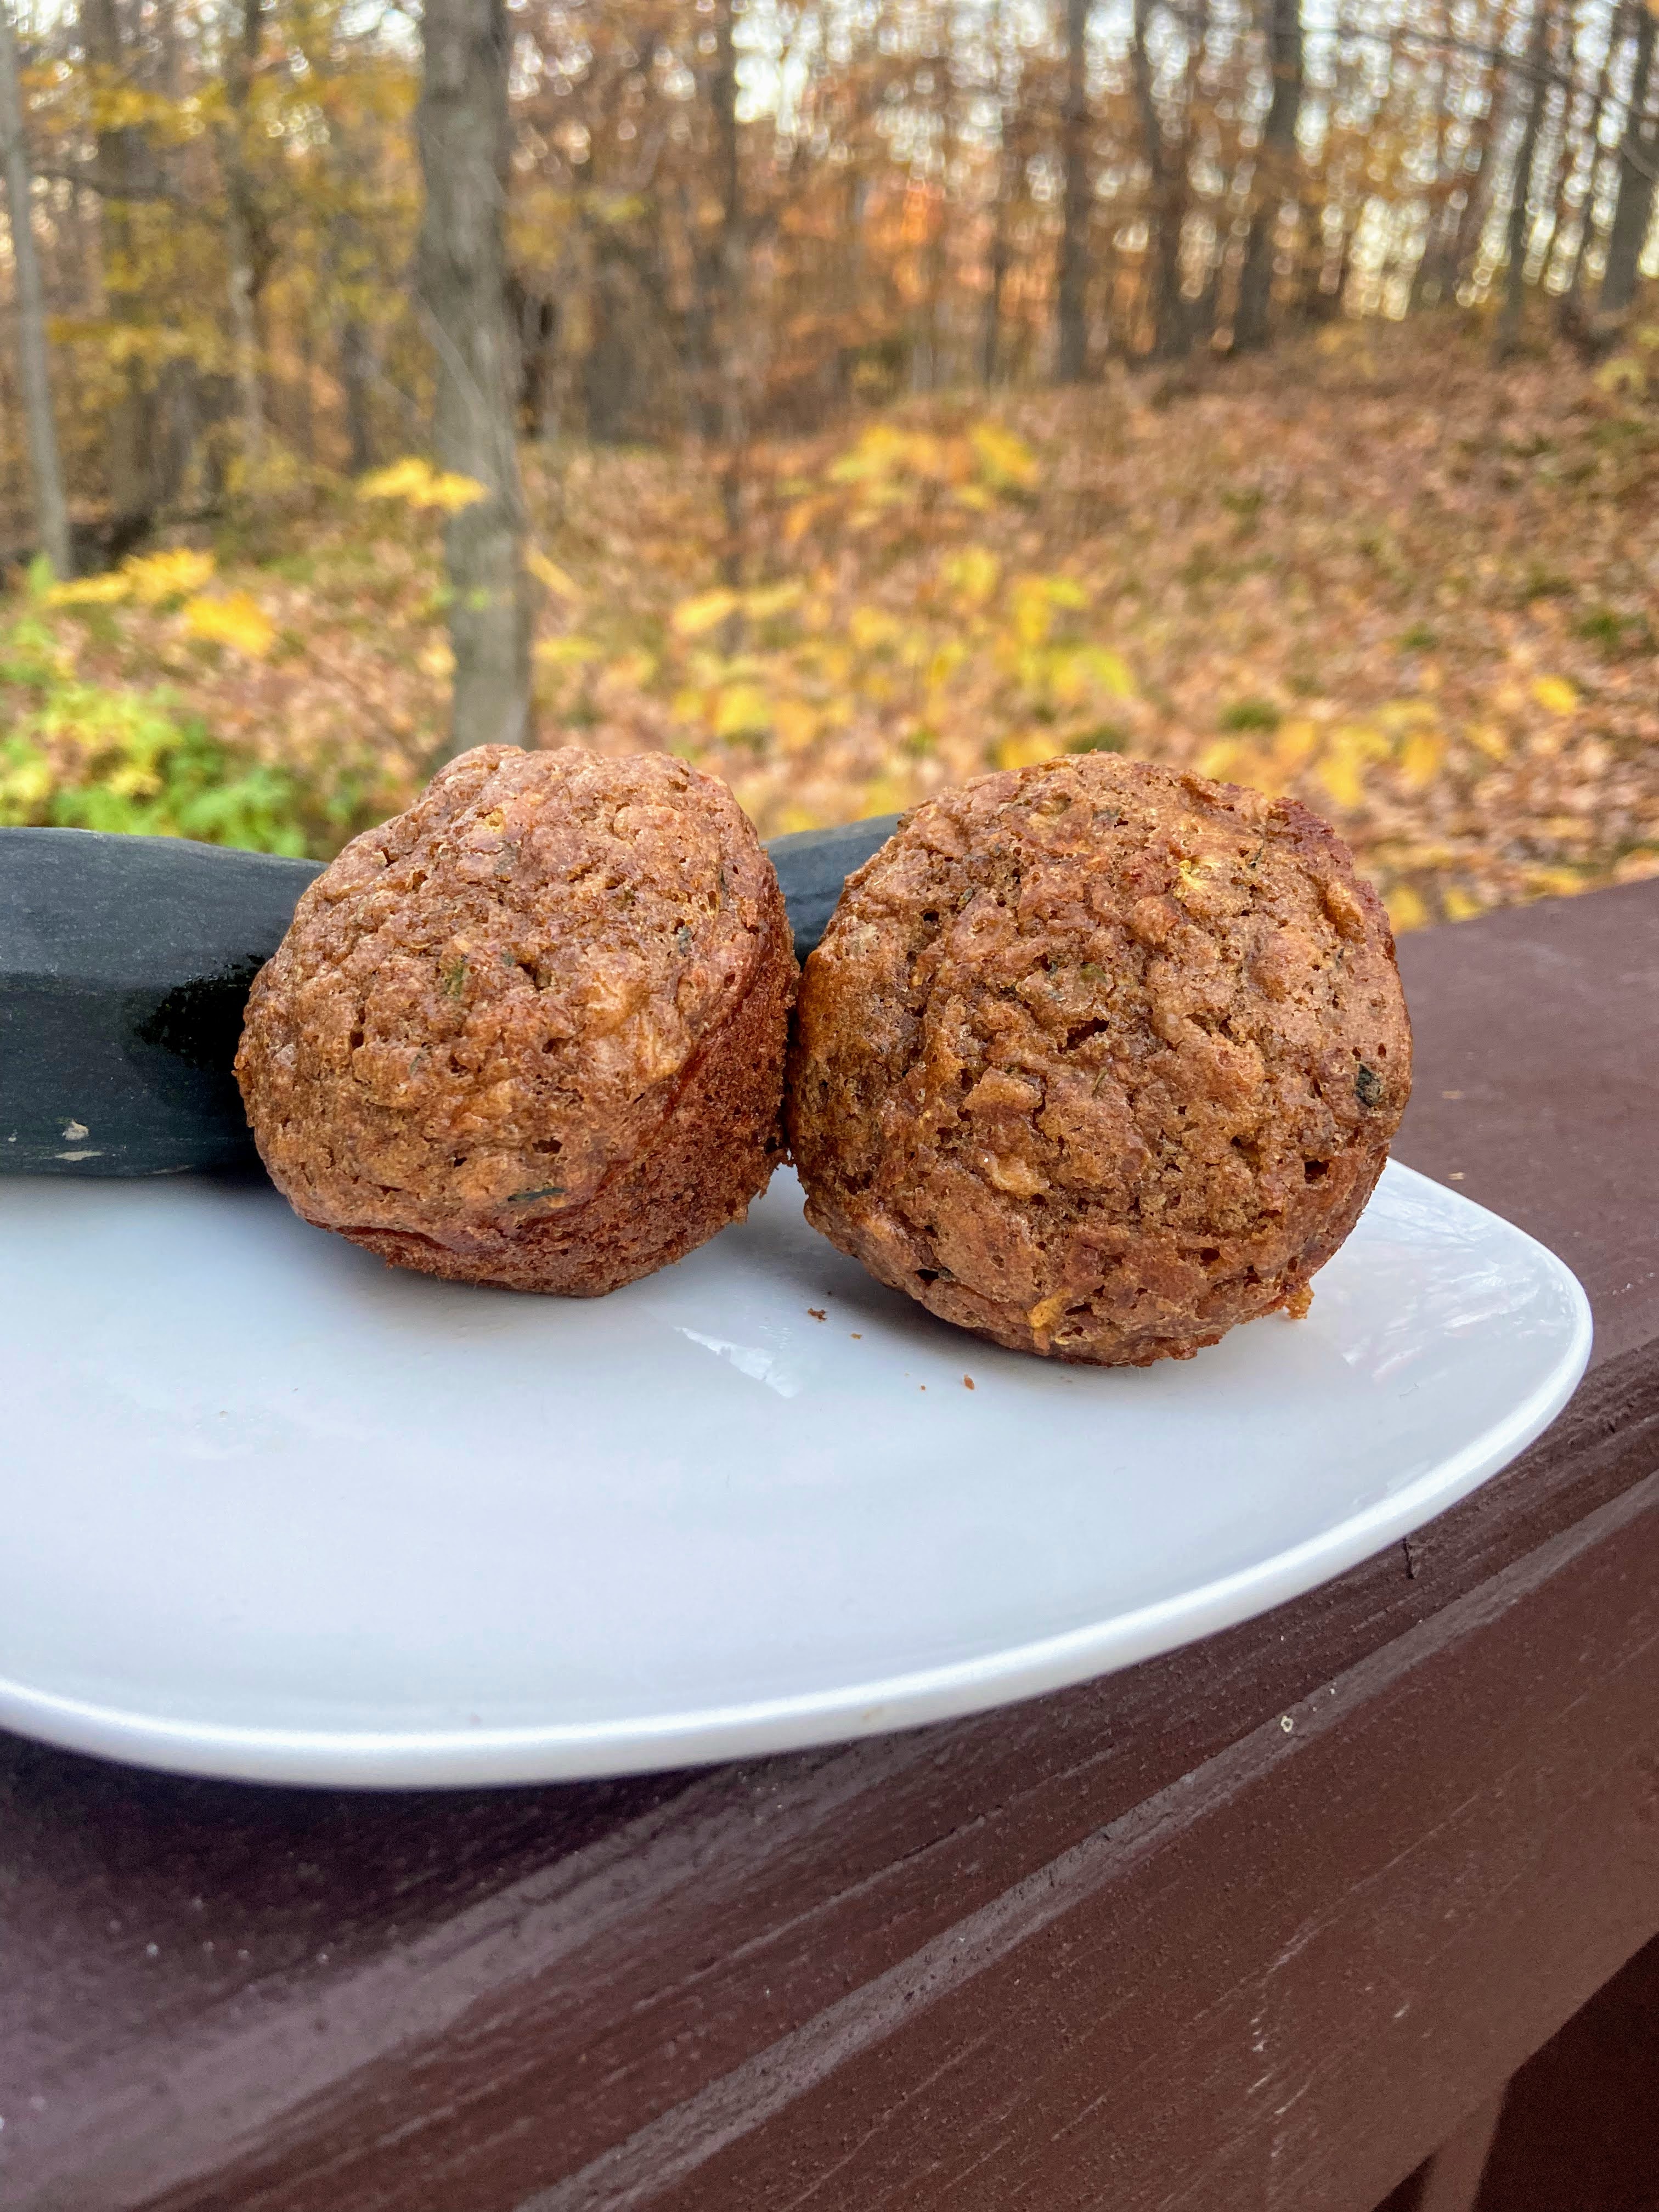
Needless to say, my little one ate them all for breakfast. And when I saved a few for snacks during the day, she was disappointed in me. What I know is that it’s a fun way to sneak a few veggies into breakfast for my babies and I am totally happy with that! Ready to start baking? Let’s get going!

Your Ingredients for Zucchini Carrot Muffins
- ¼ cup oil
- ½ cup brown sugar
- 2 eggs
- ½ tablespoon vanilla
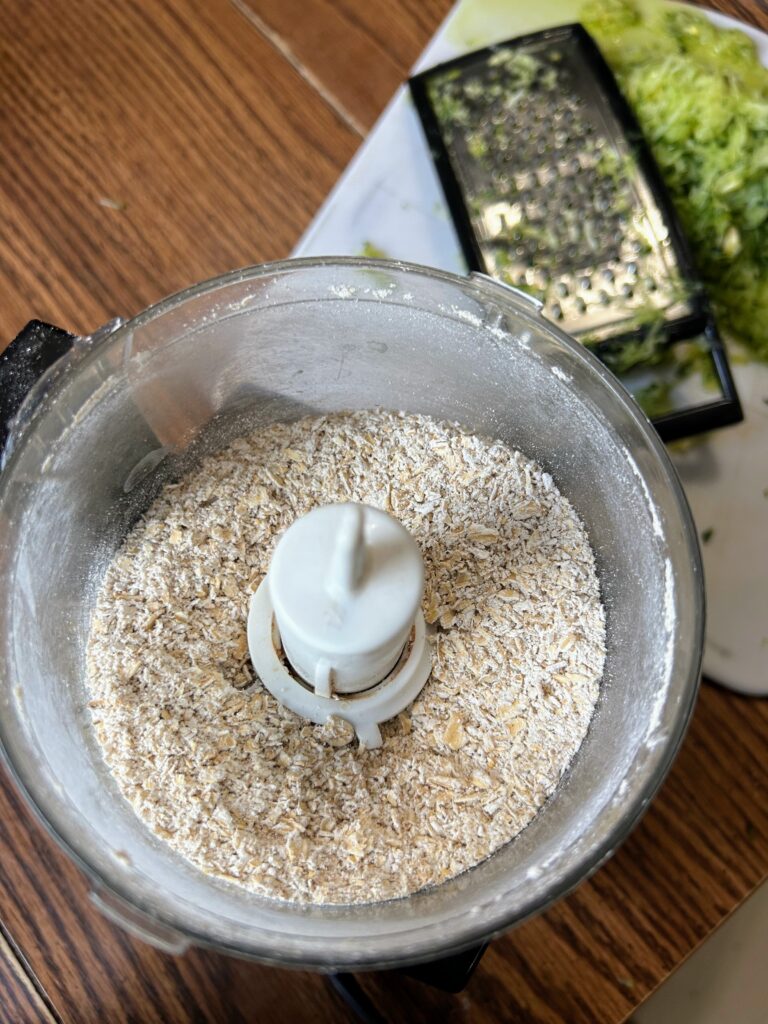
- 1 ½ cup flour
- 1 teaspoon baking soda
- ½ teaspoon salt
- ½ teaspoon baking powder
- ½ teaspoon cinnamon
- ¼ teaspoon nutmeg
- ⅛ teaspoon cloves
- 1 cup shredded zucchini
- 1 cup shredded carrot
- ½ cup ground nuts, optional
Your Steps
Preheat the oven to 350 degrees. Prepare 12-15 muffin tin vessels with liners or by spraying with cooking spray.
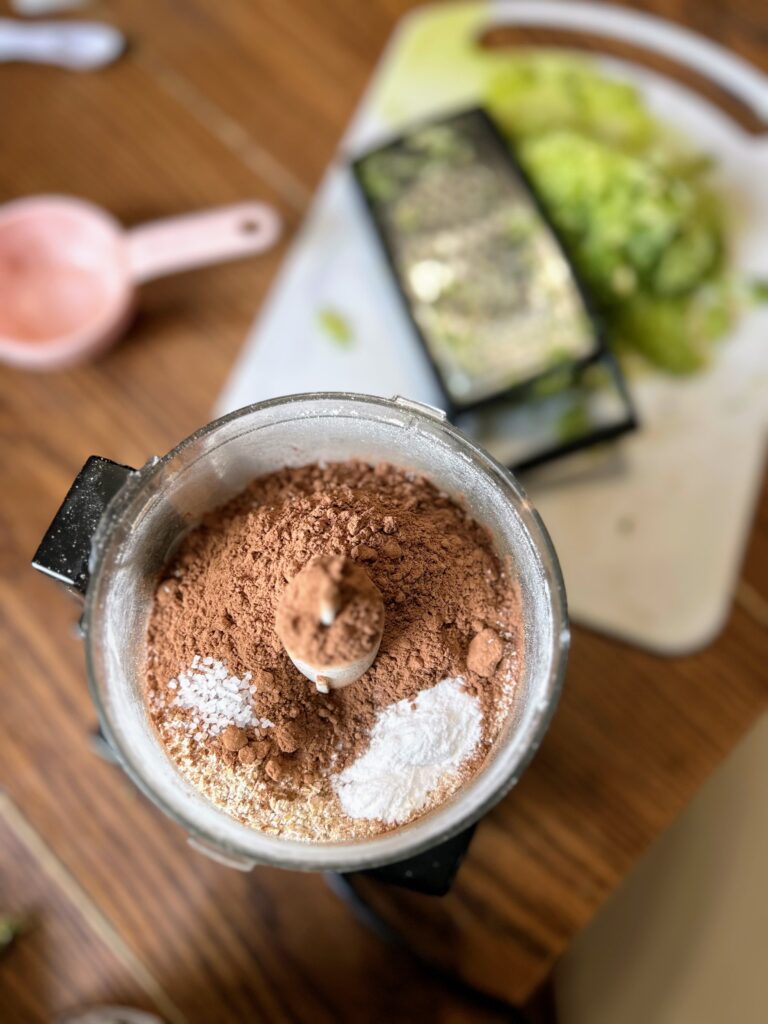
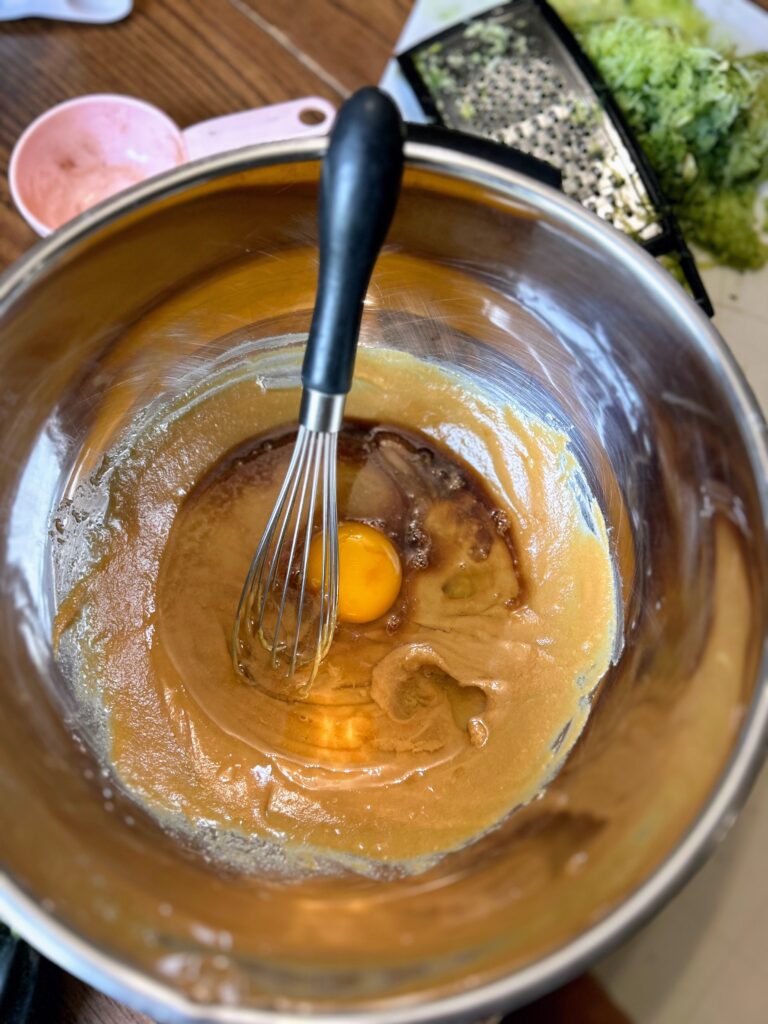
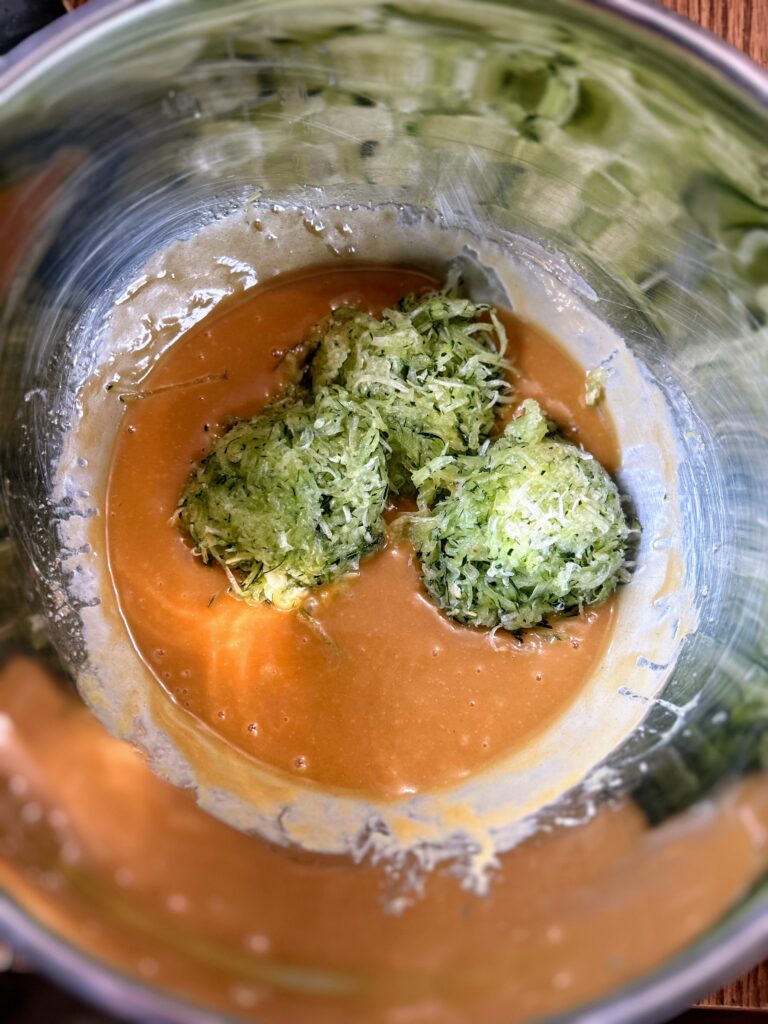
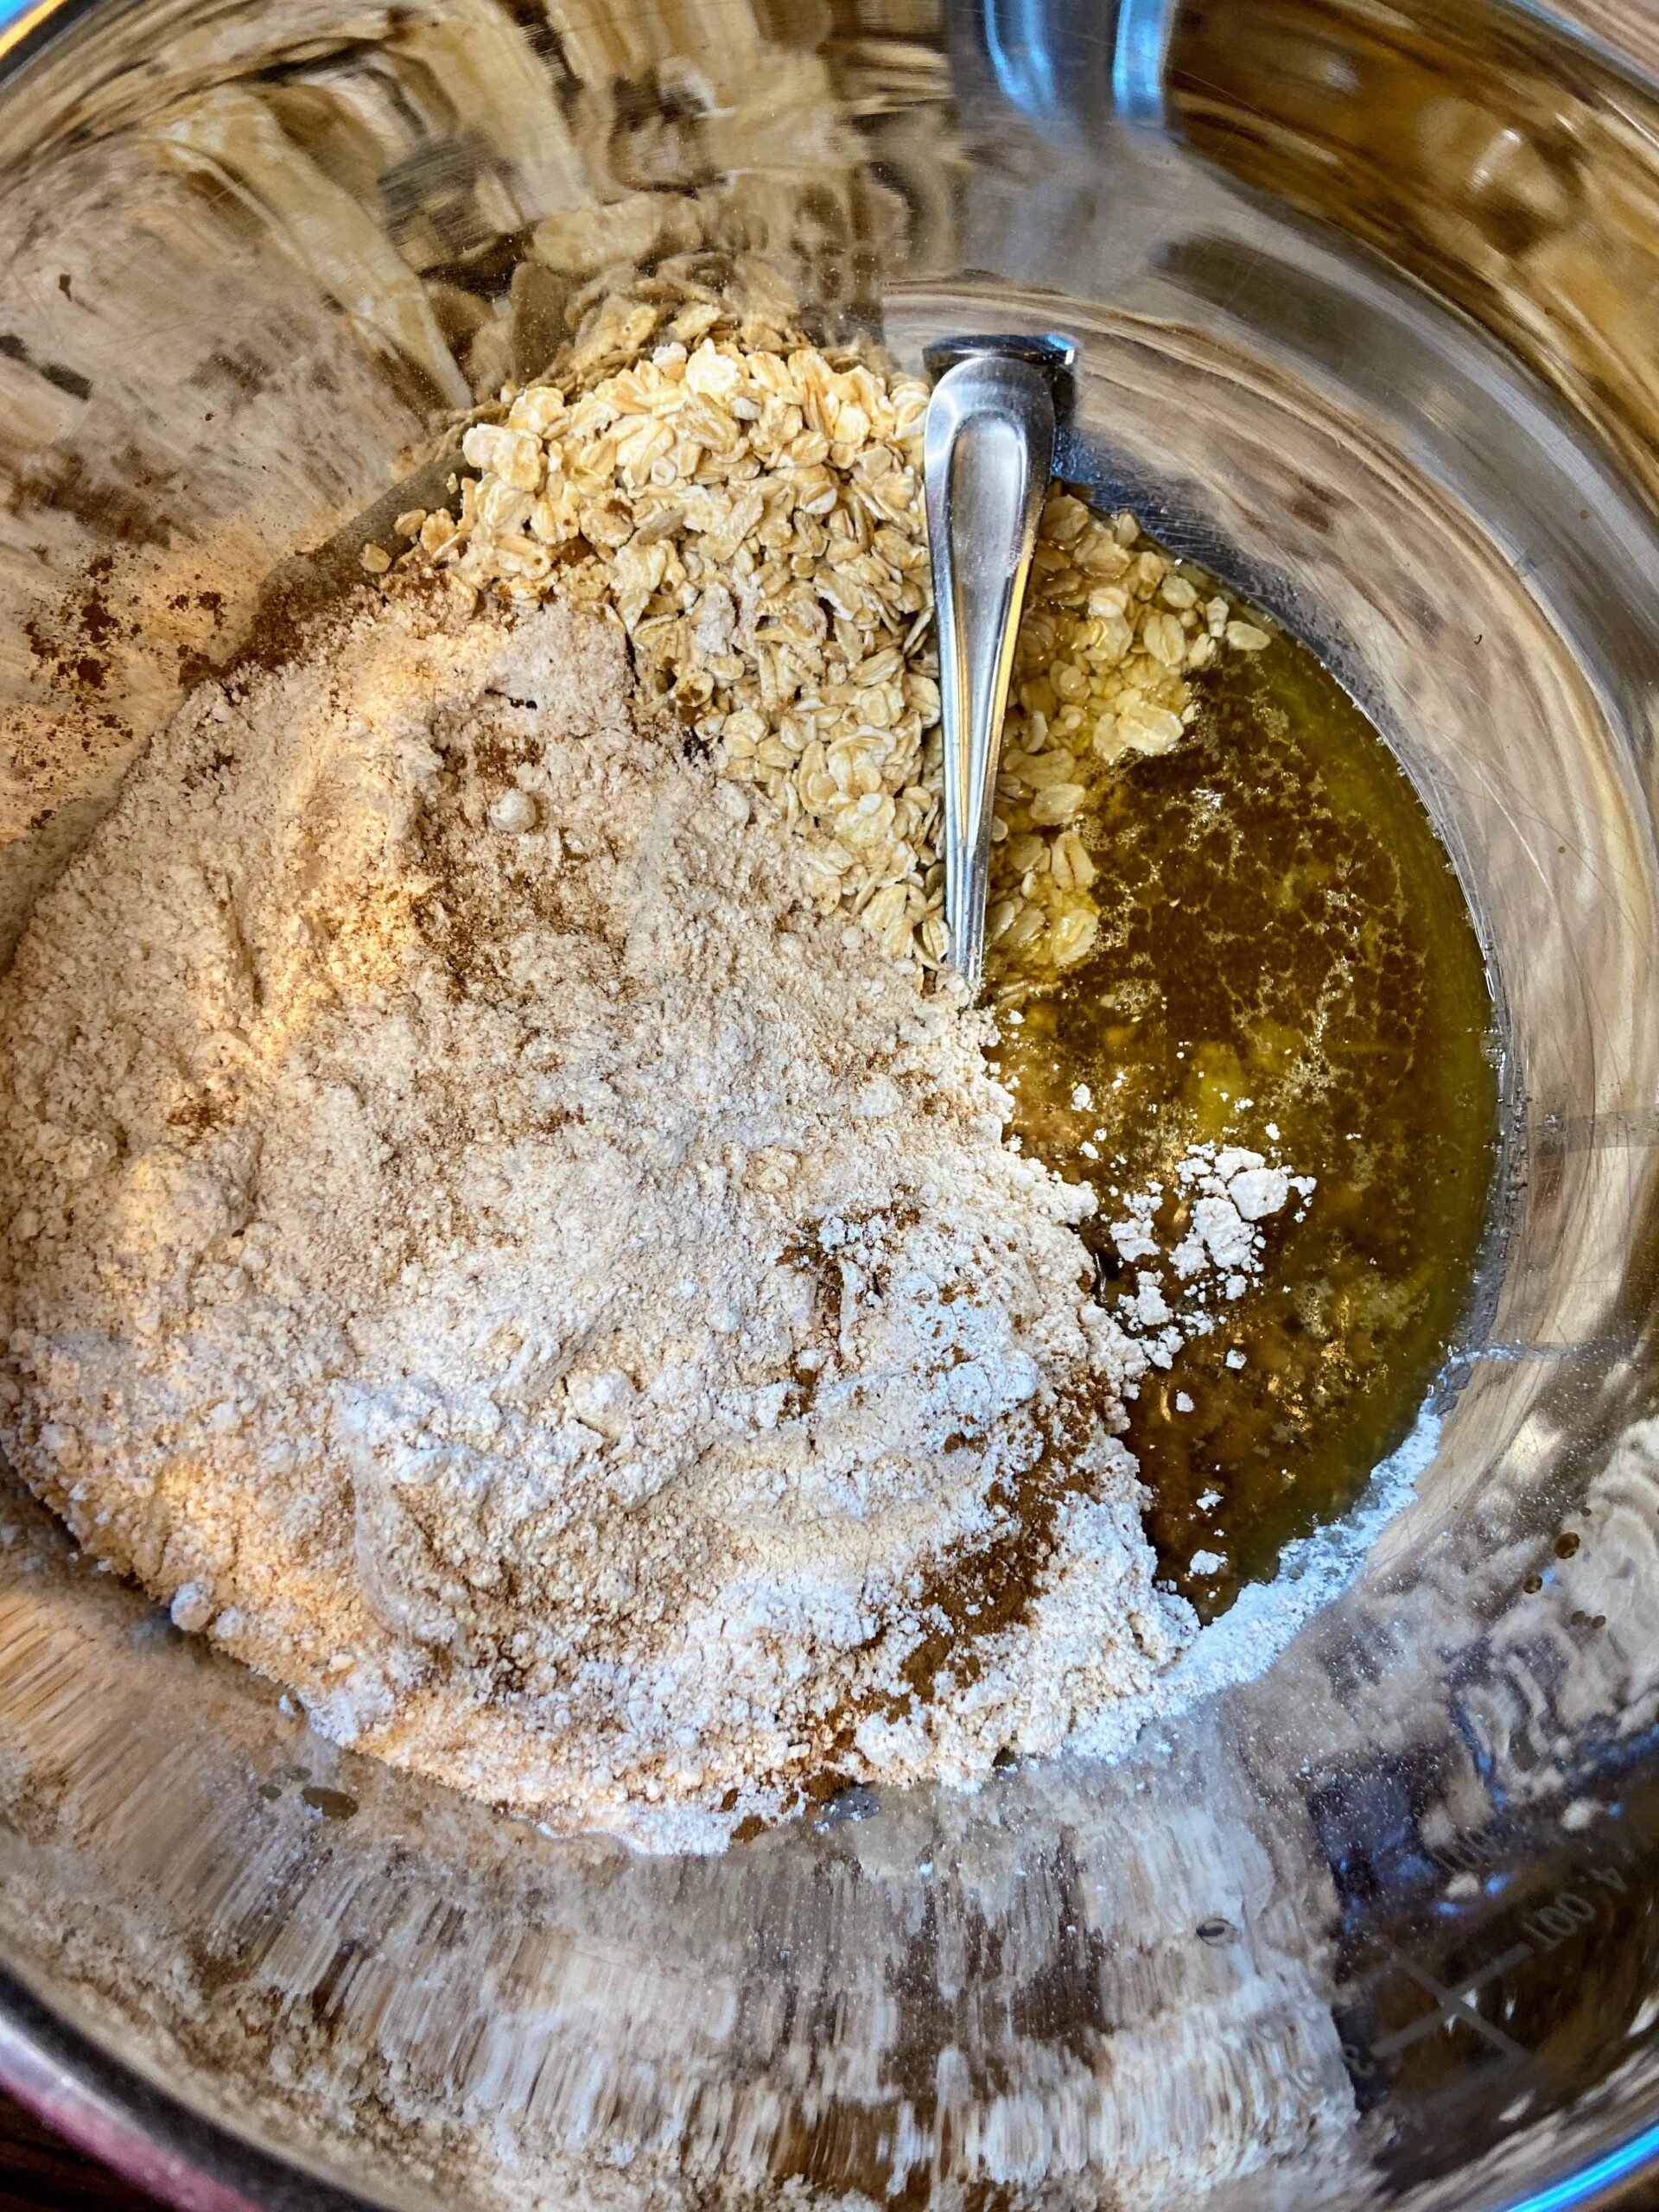
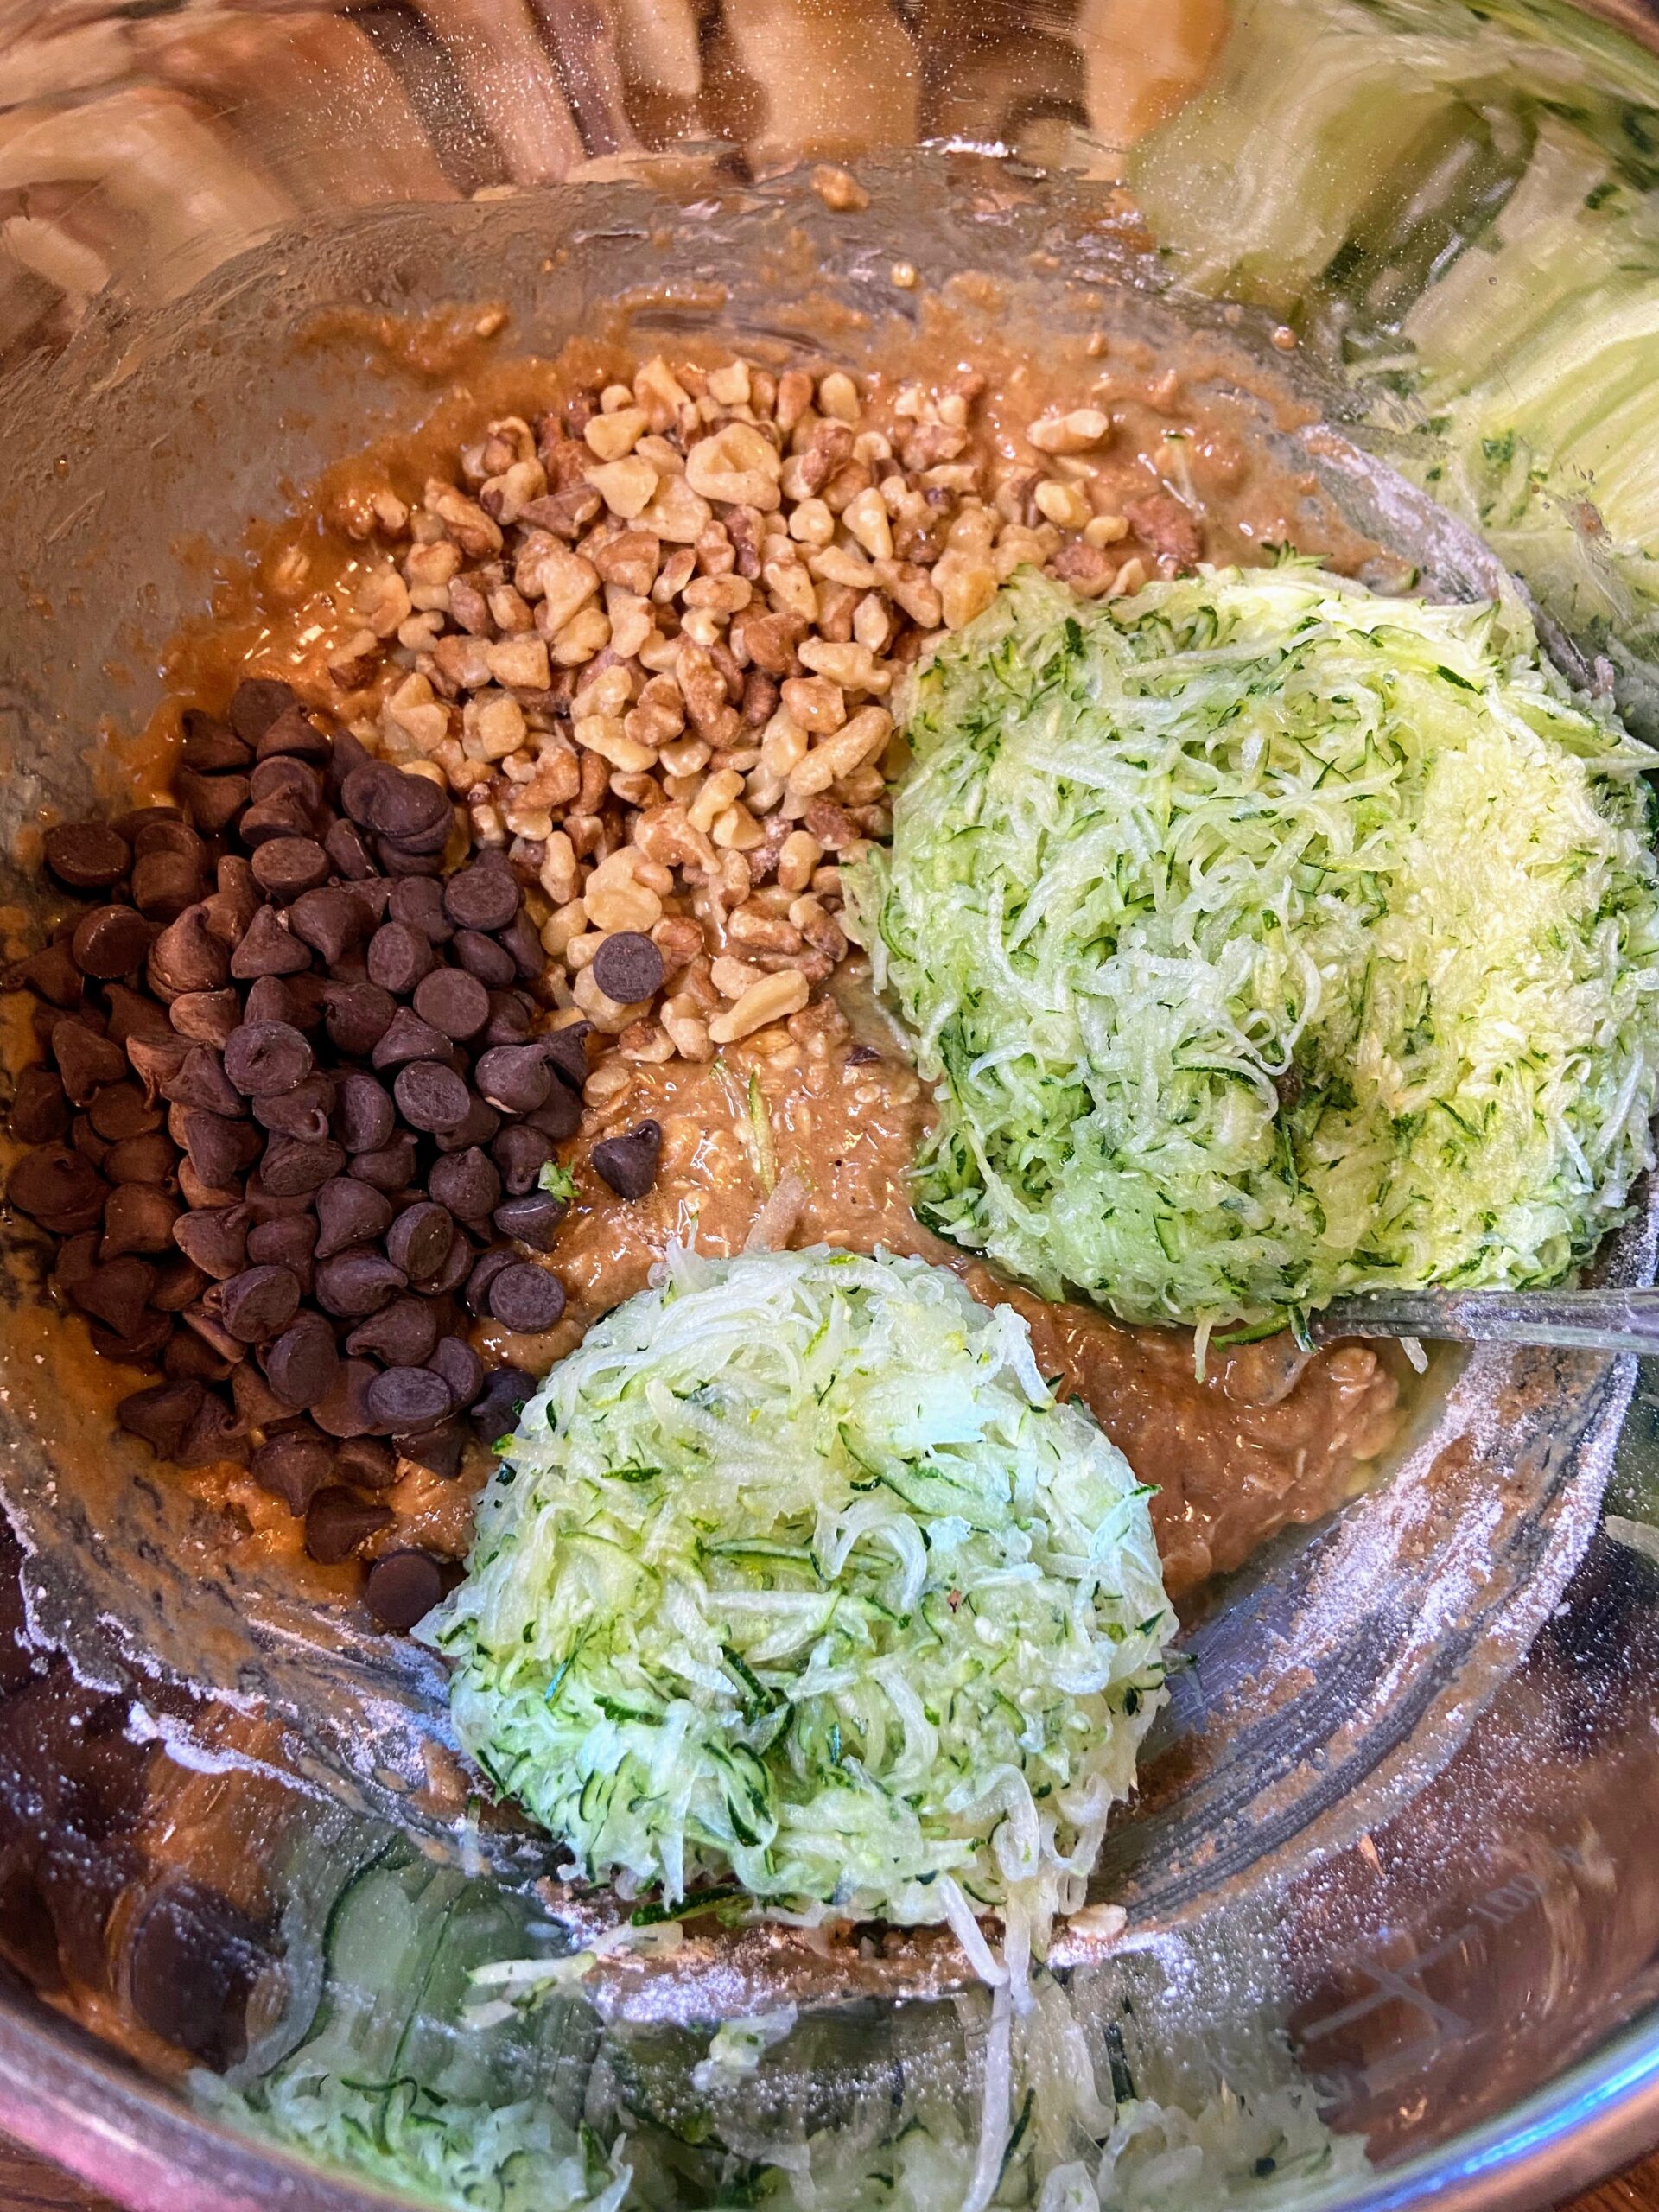
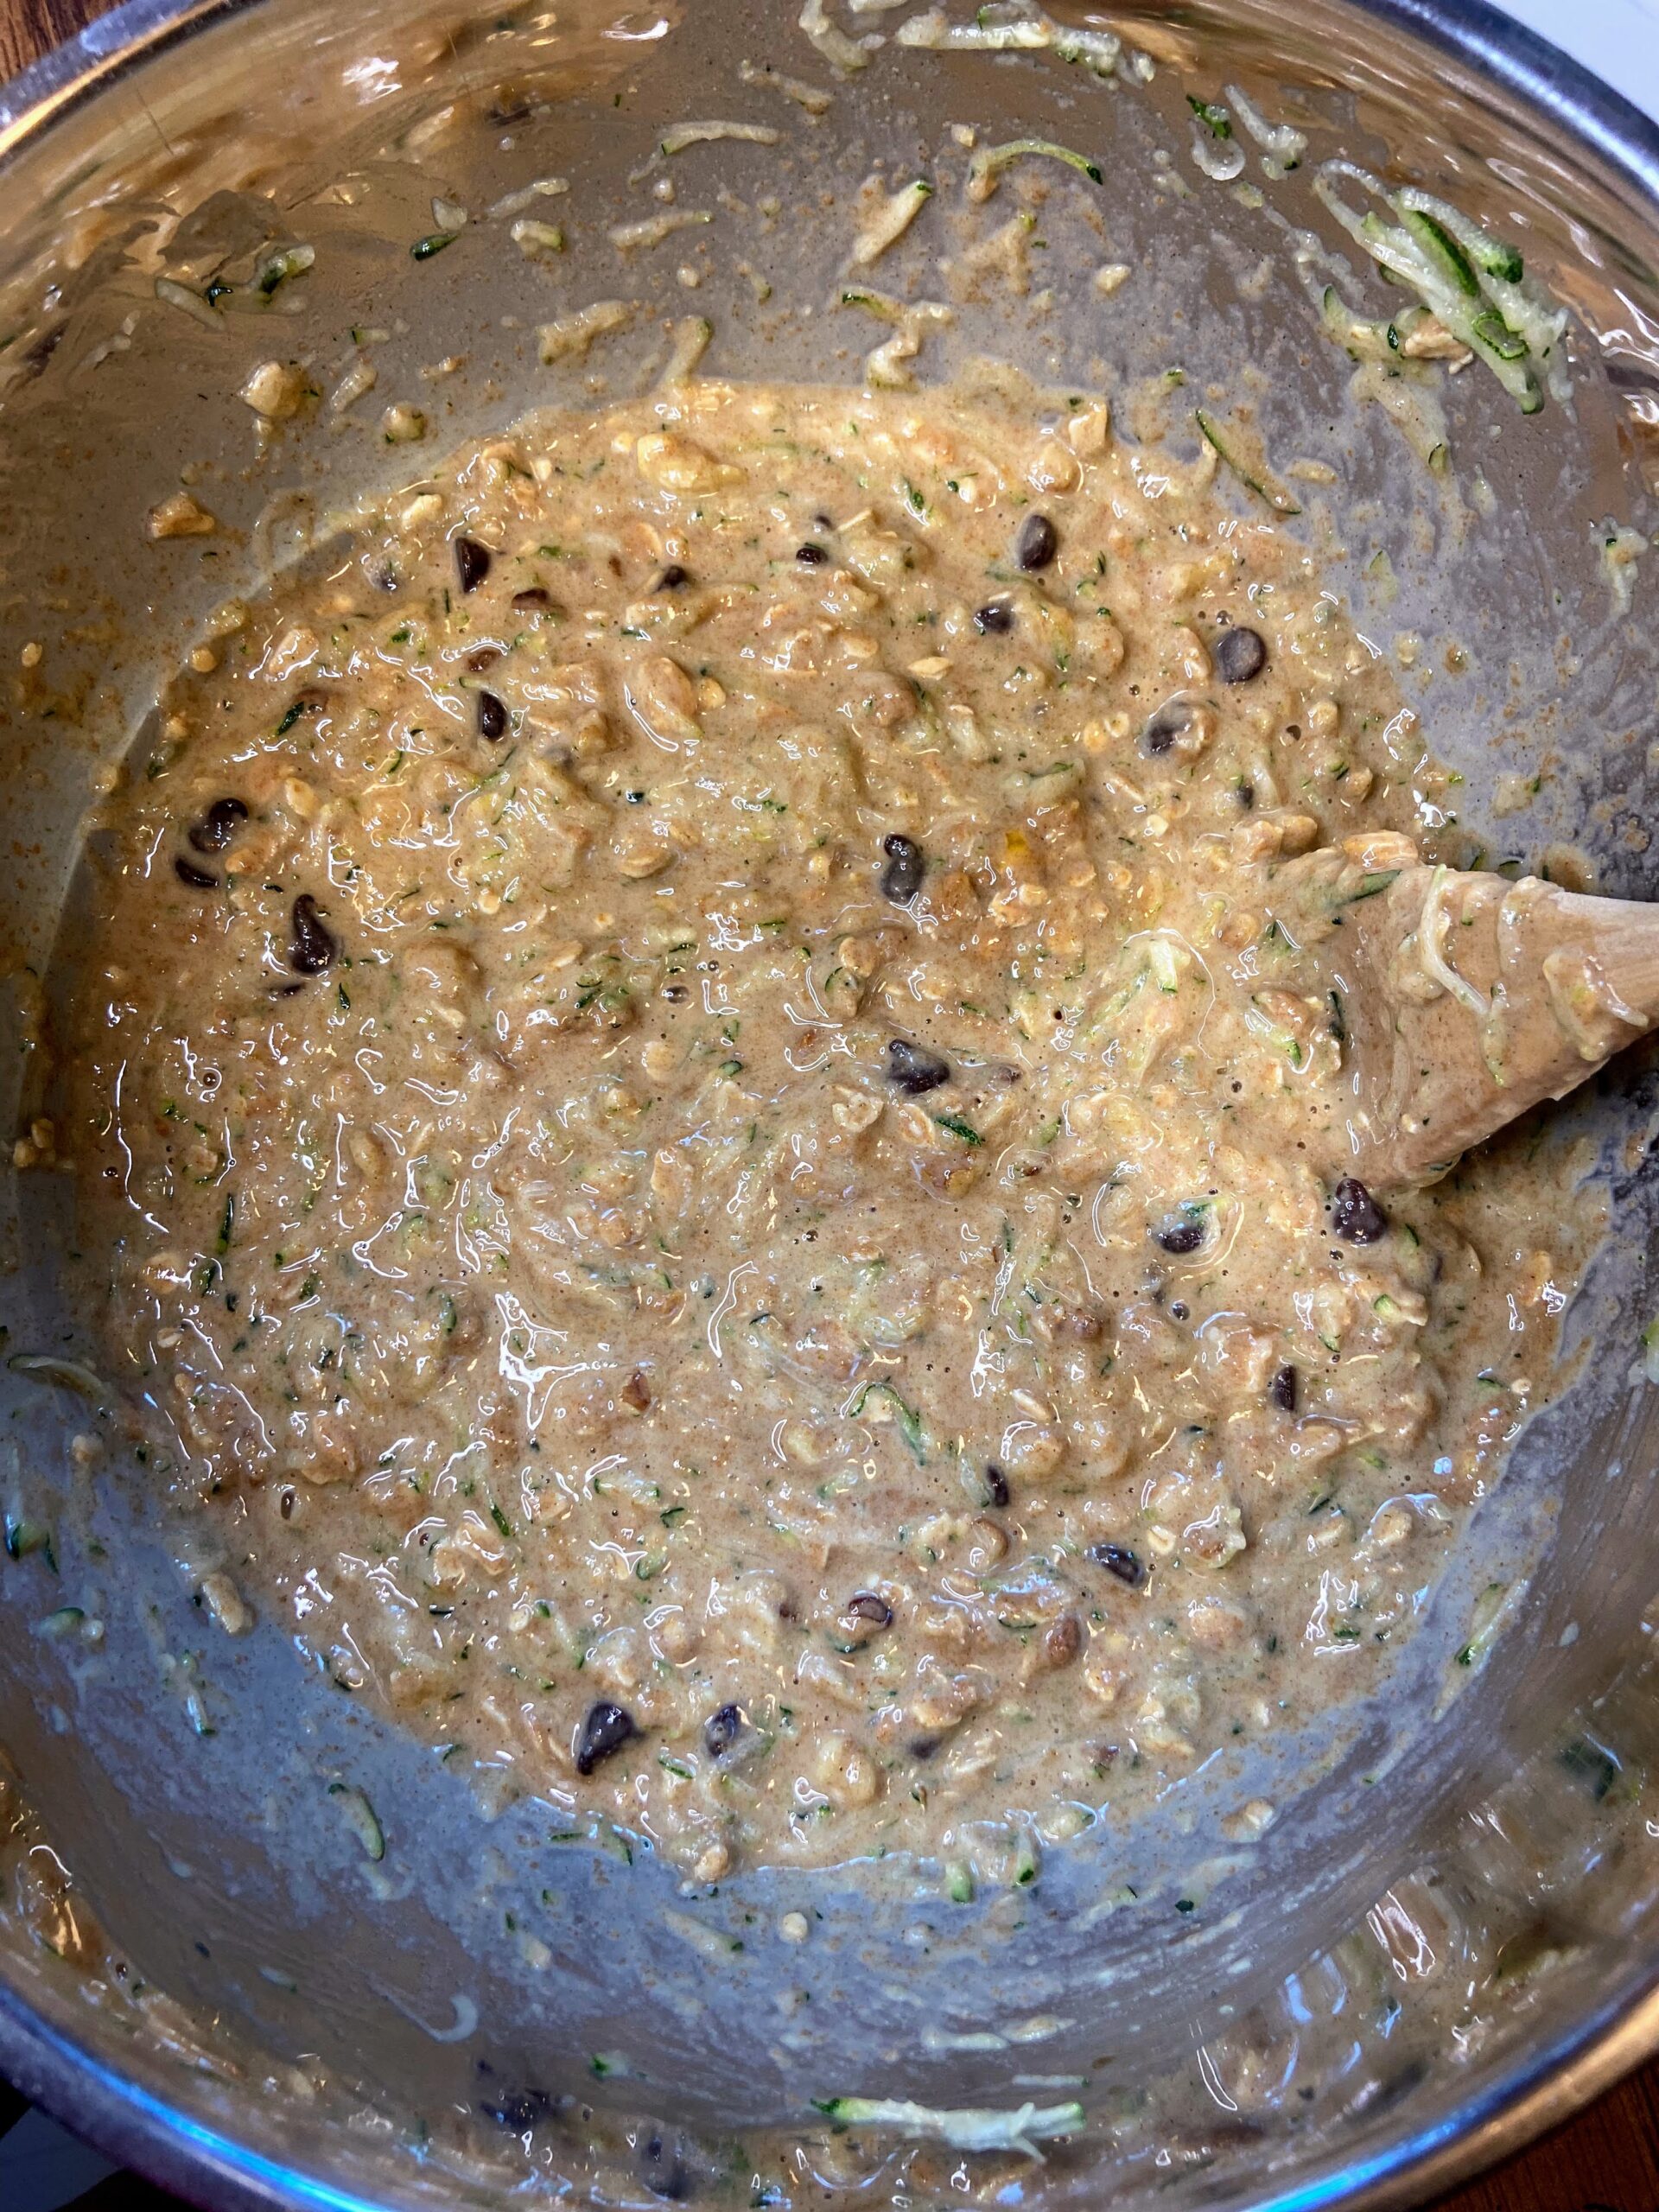
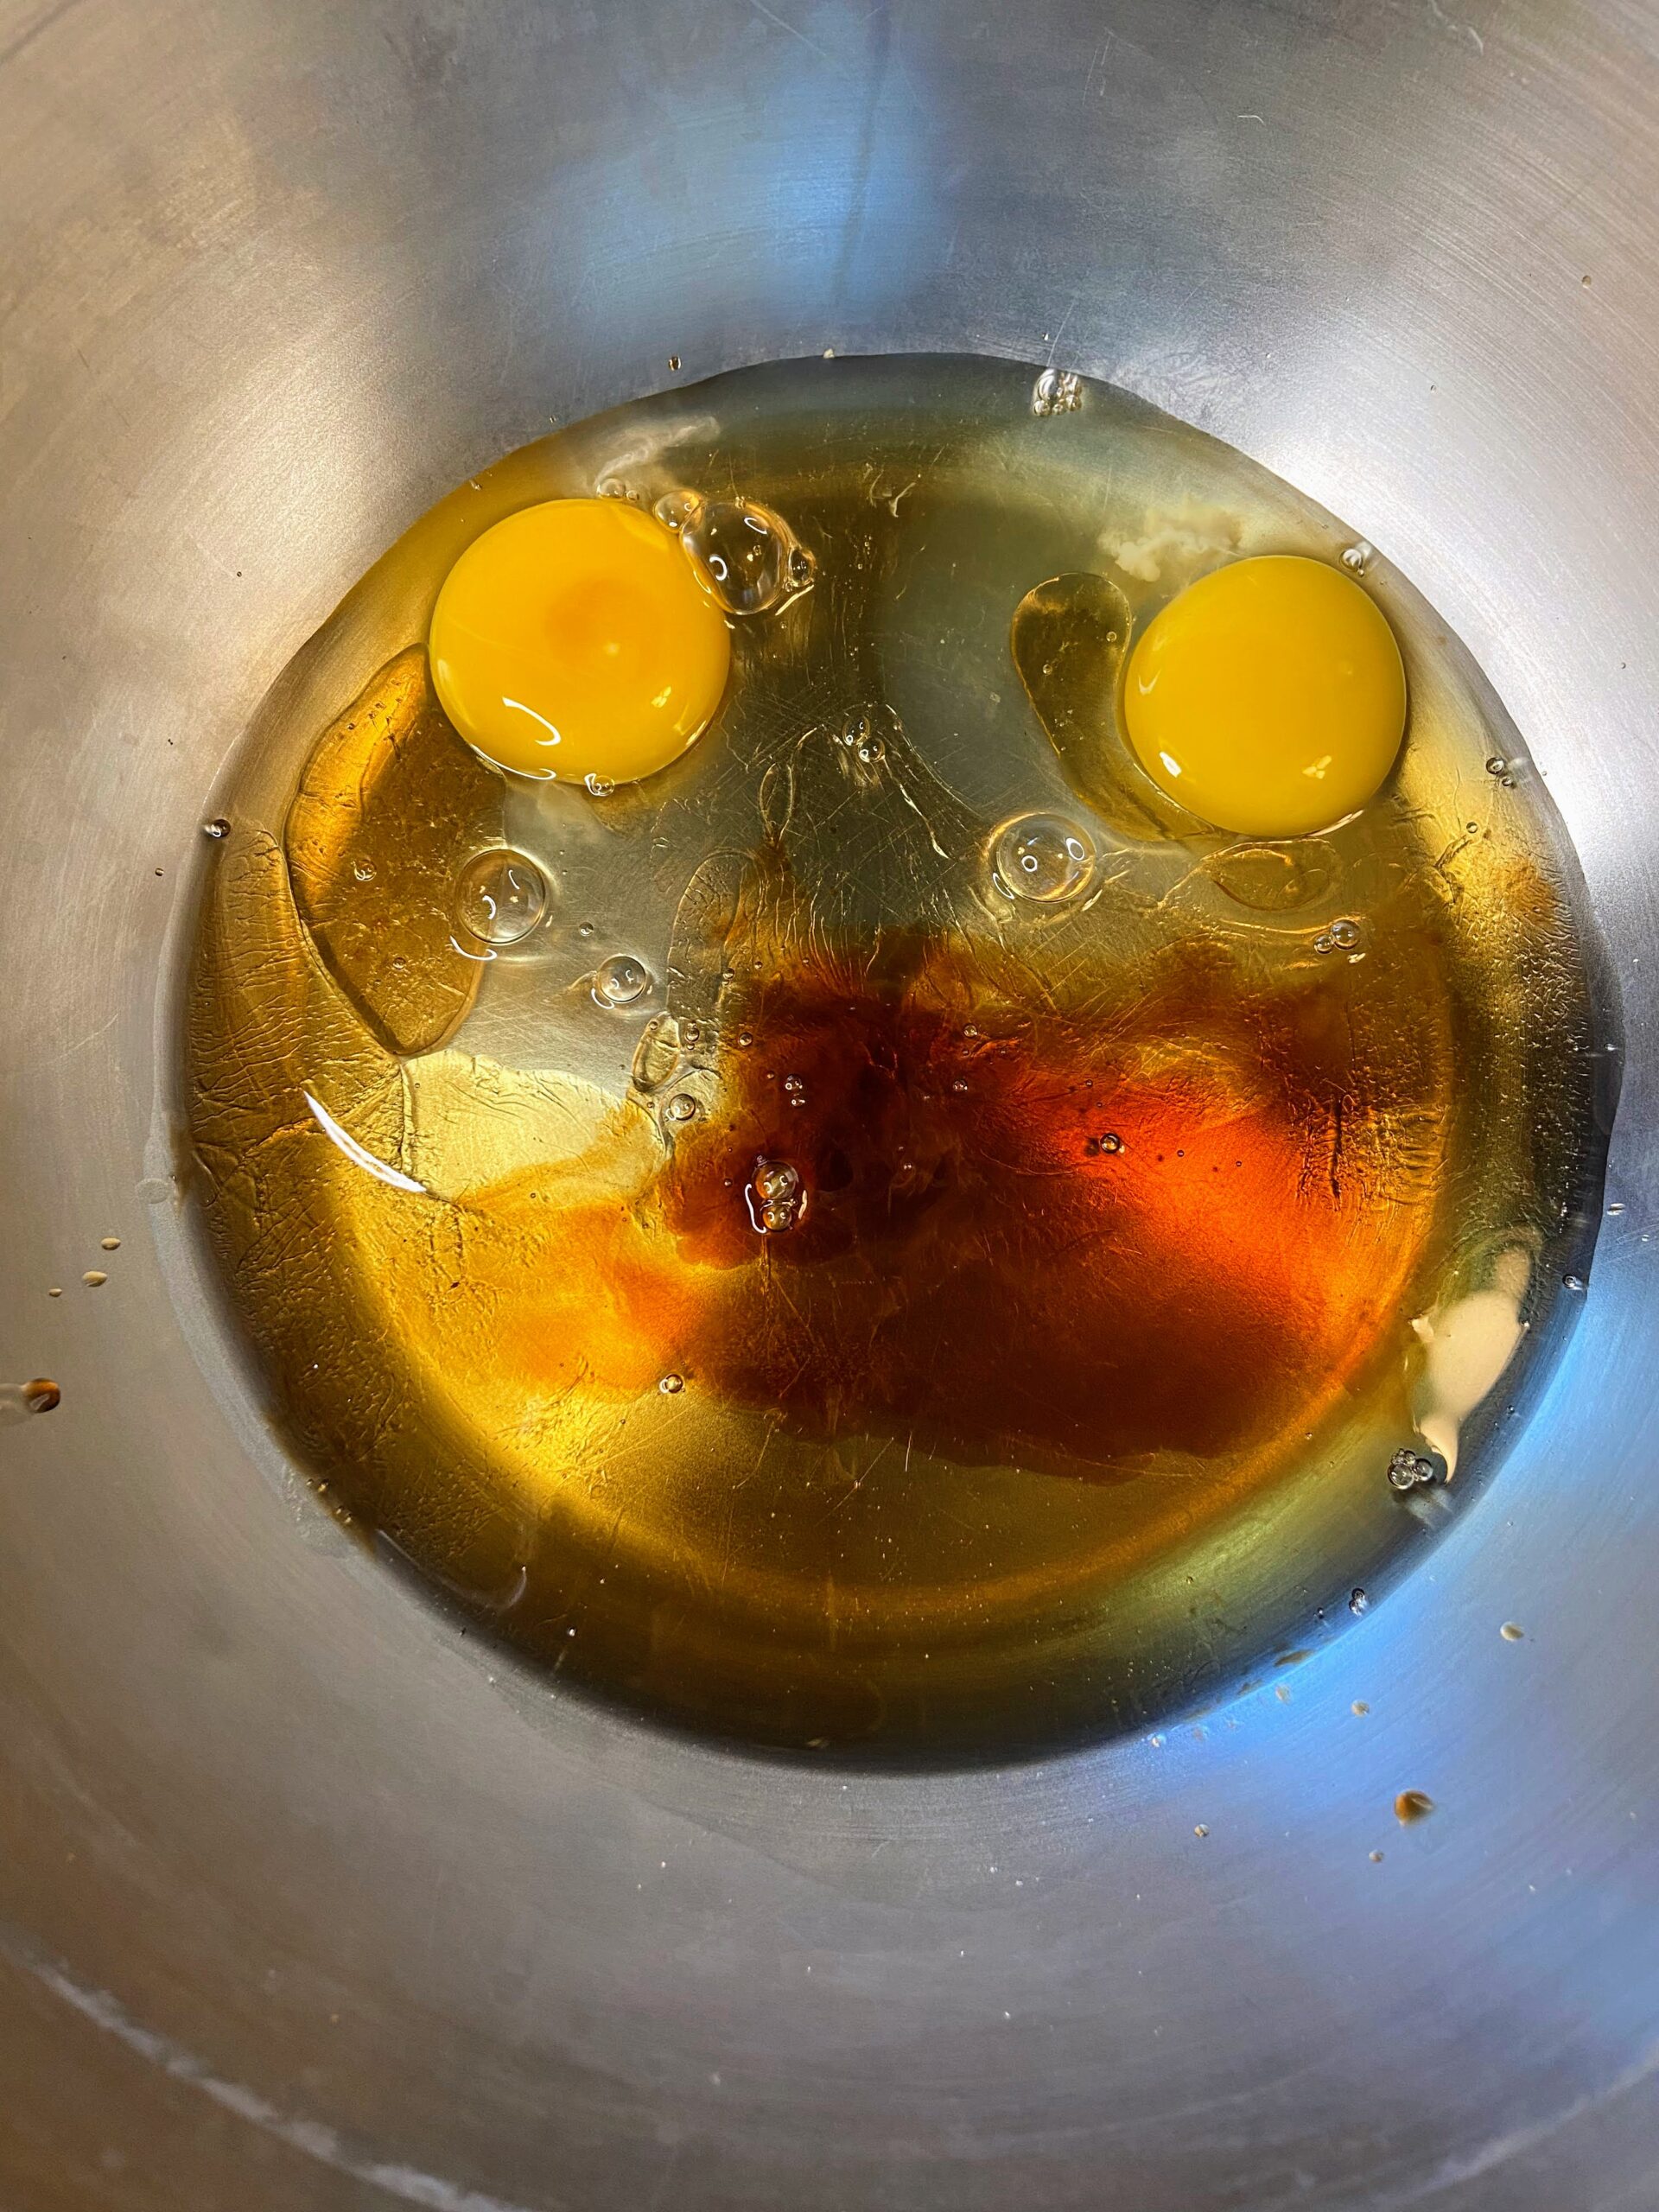
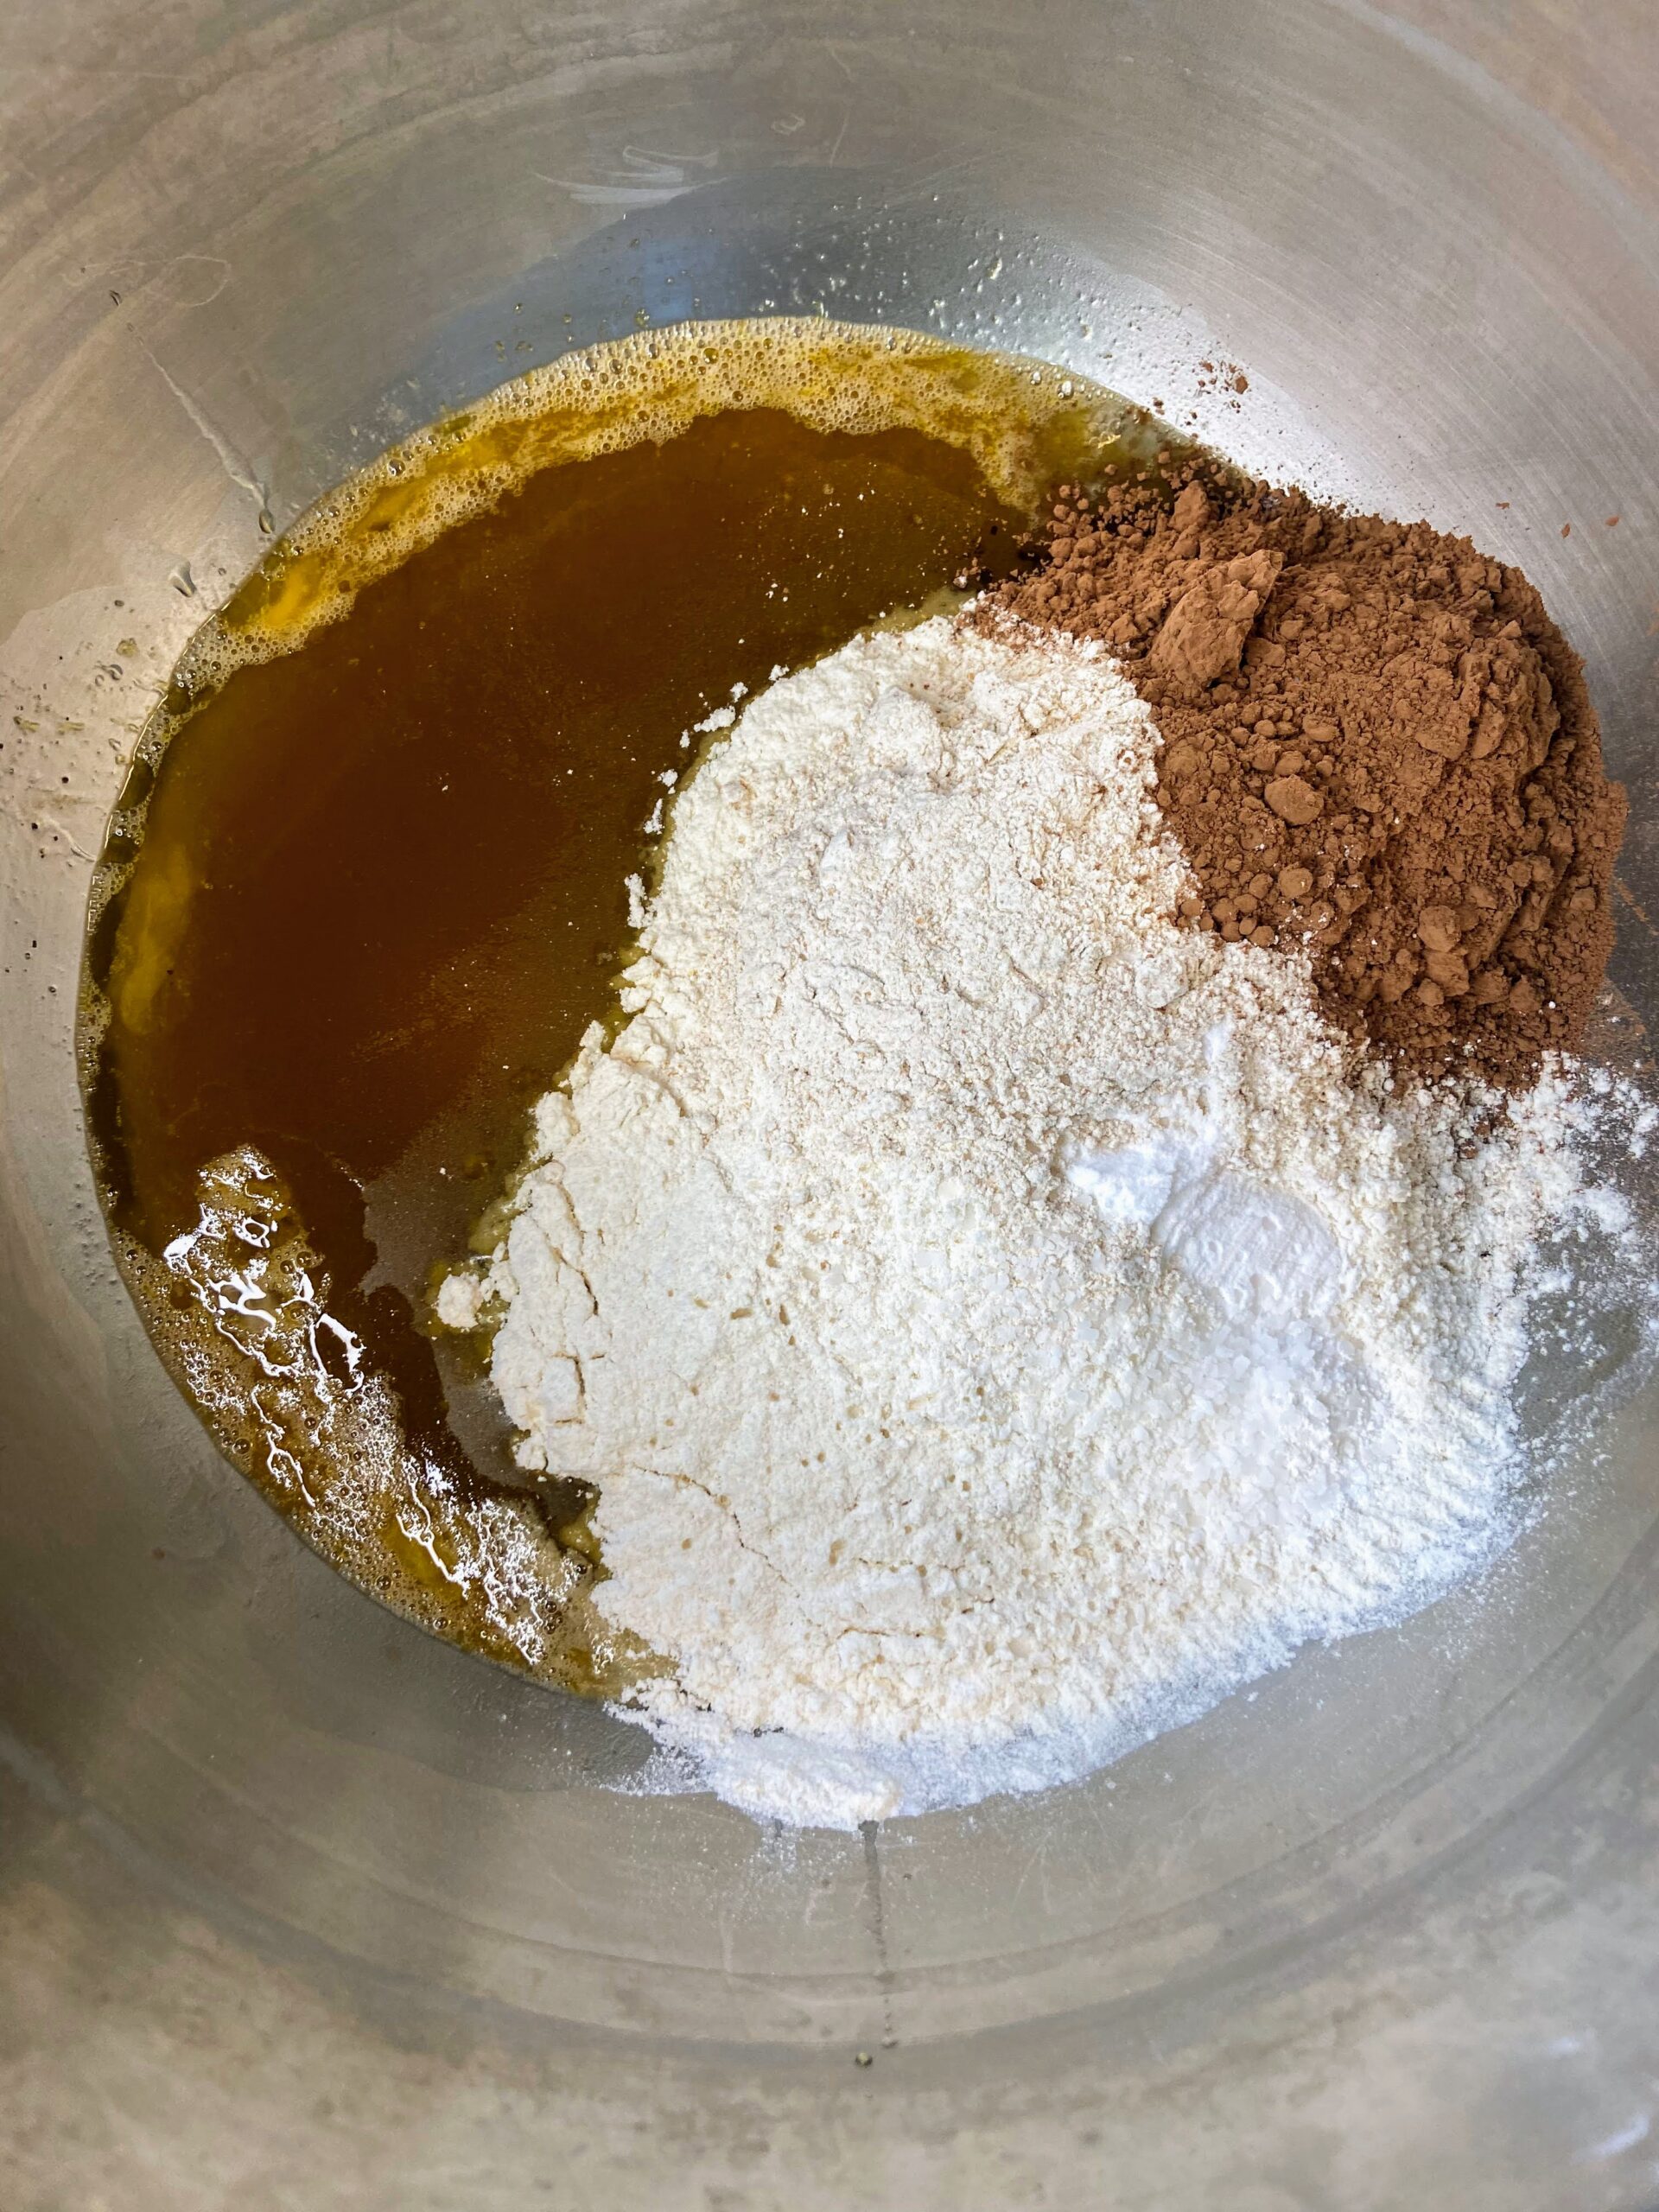
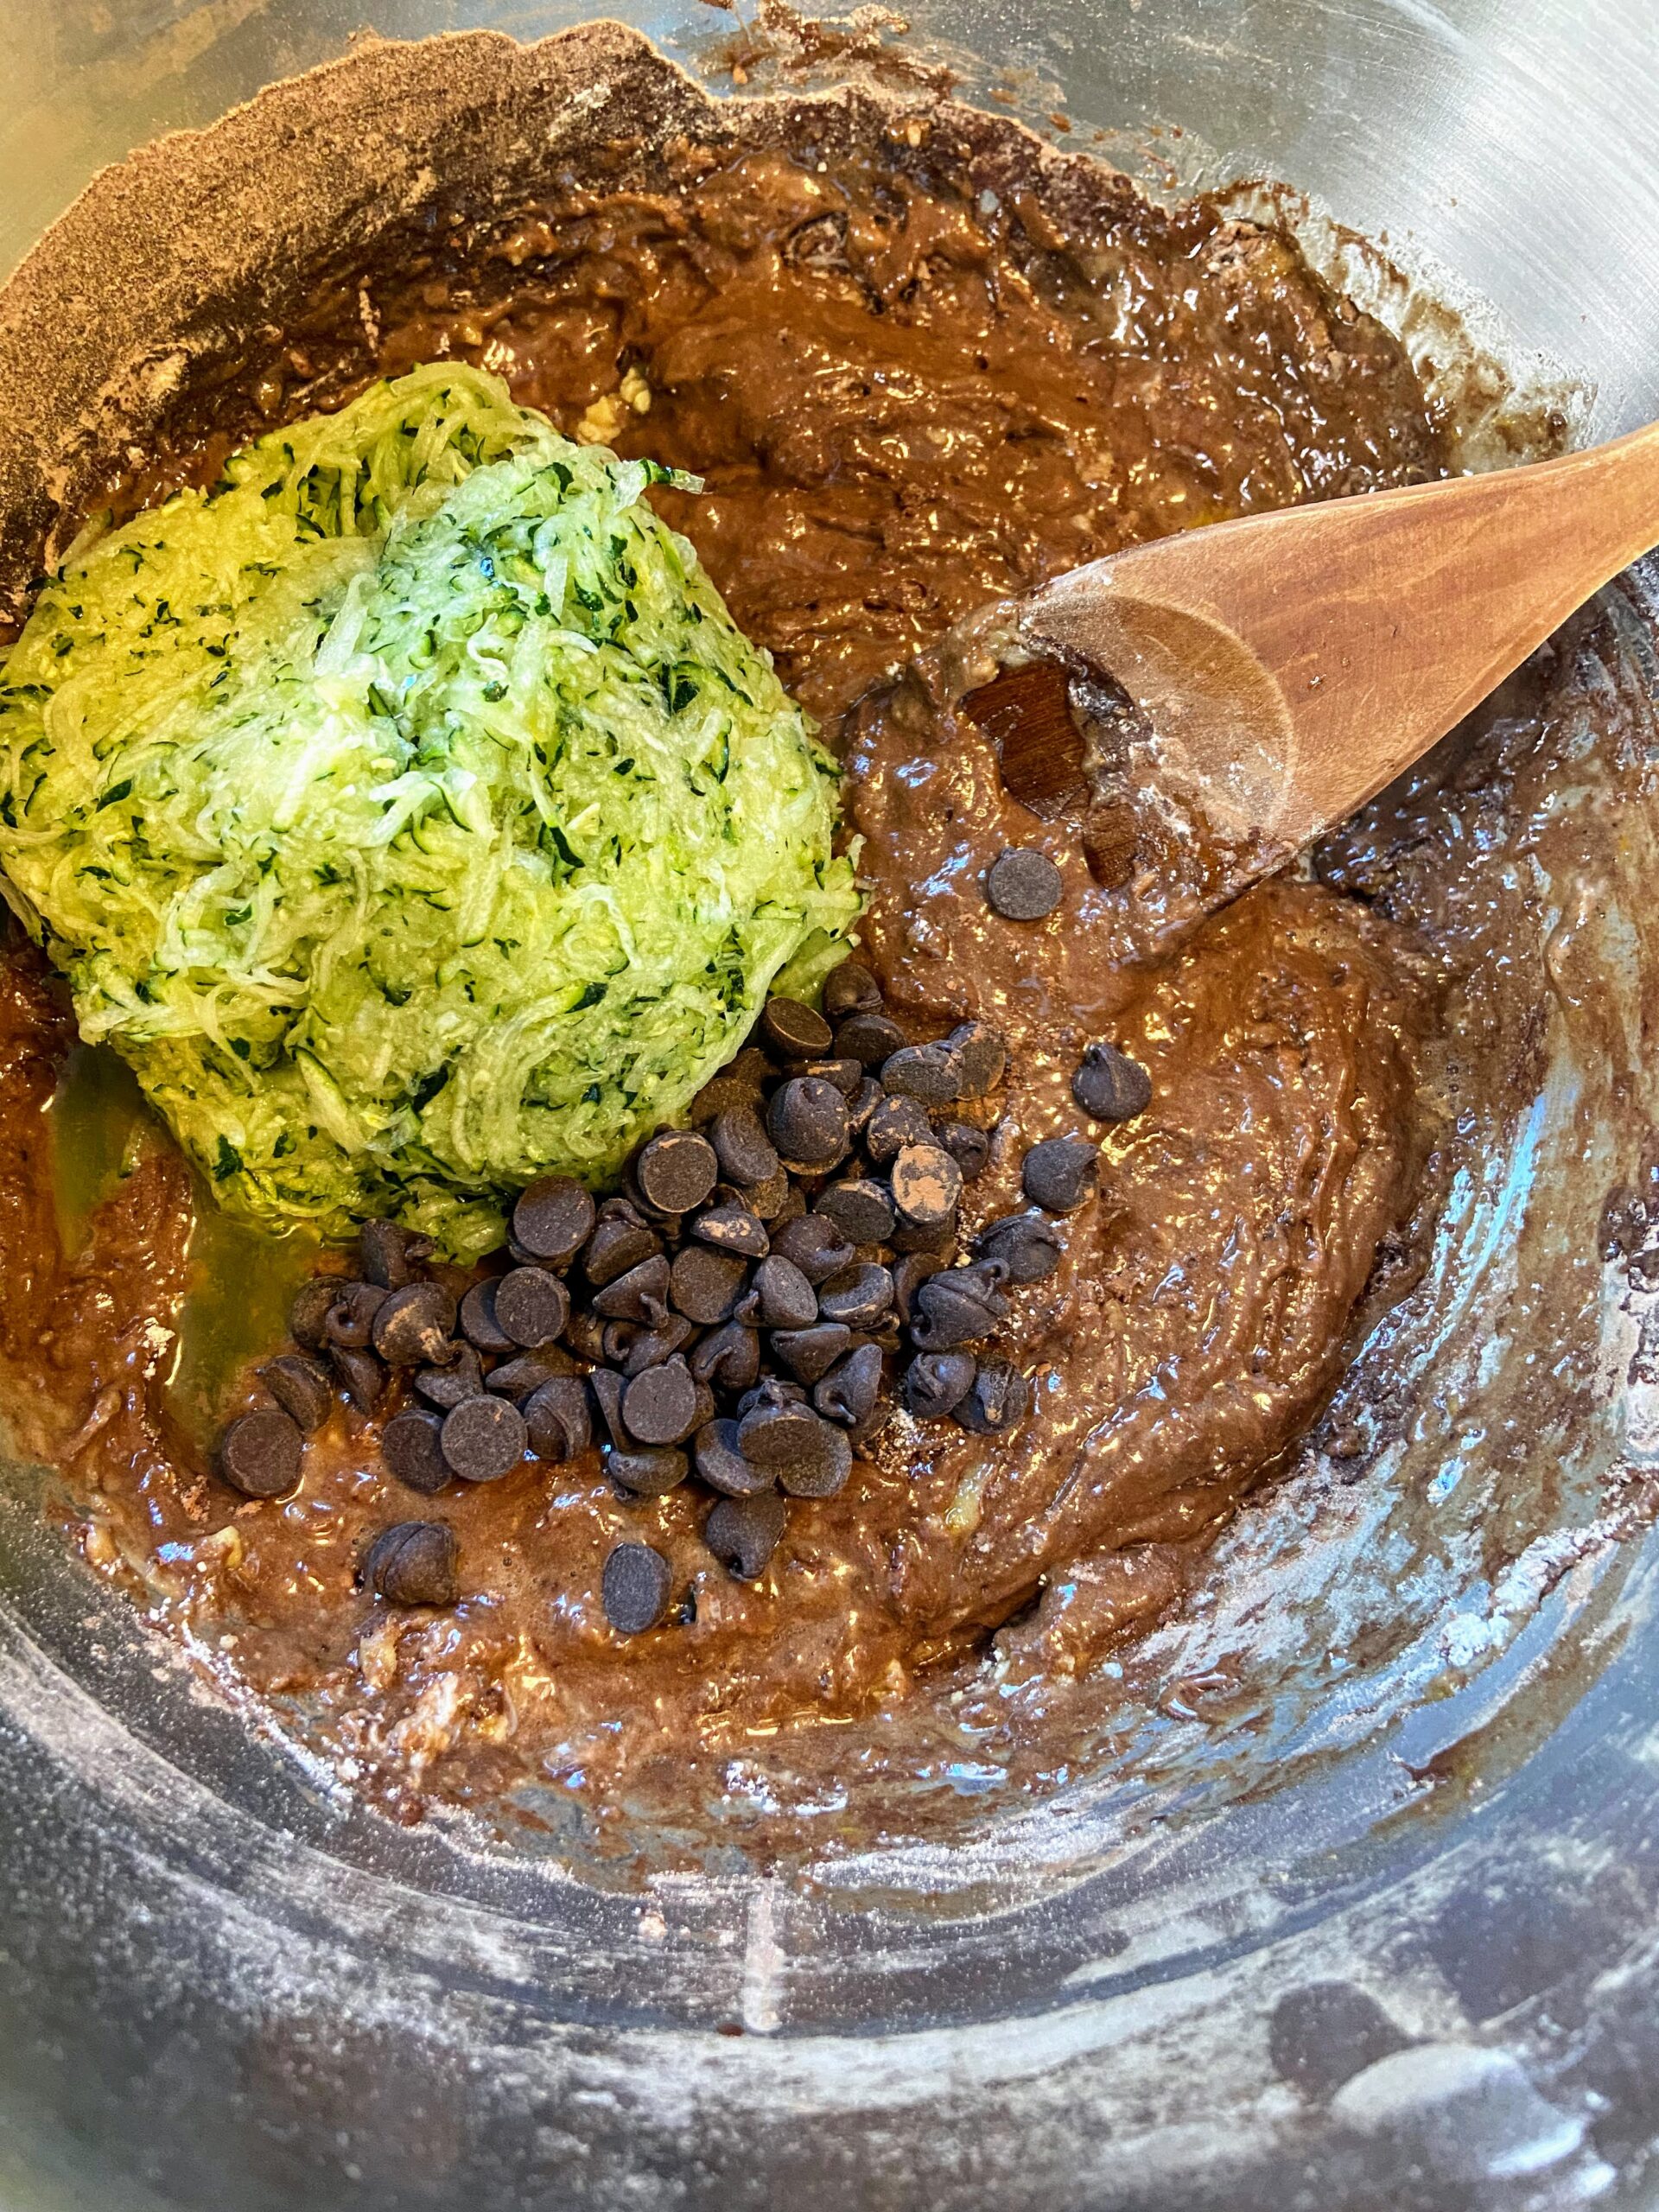
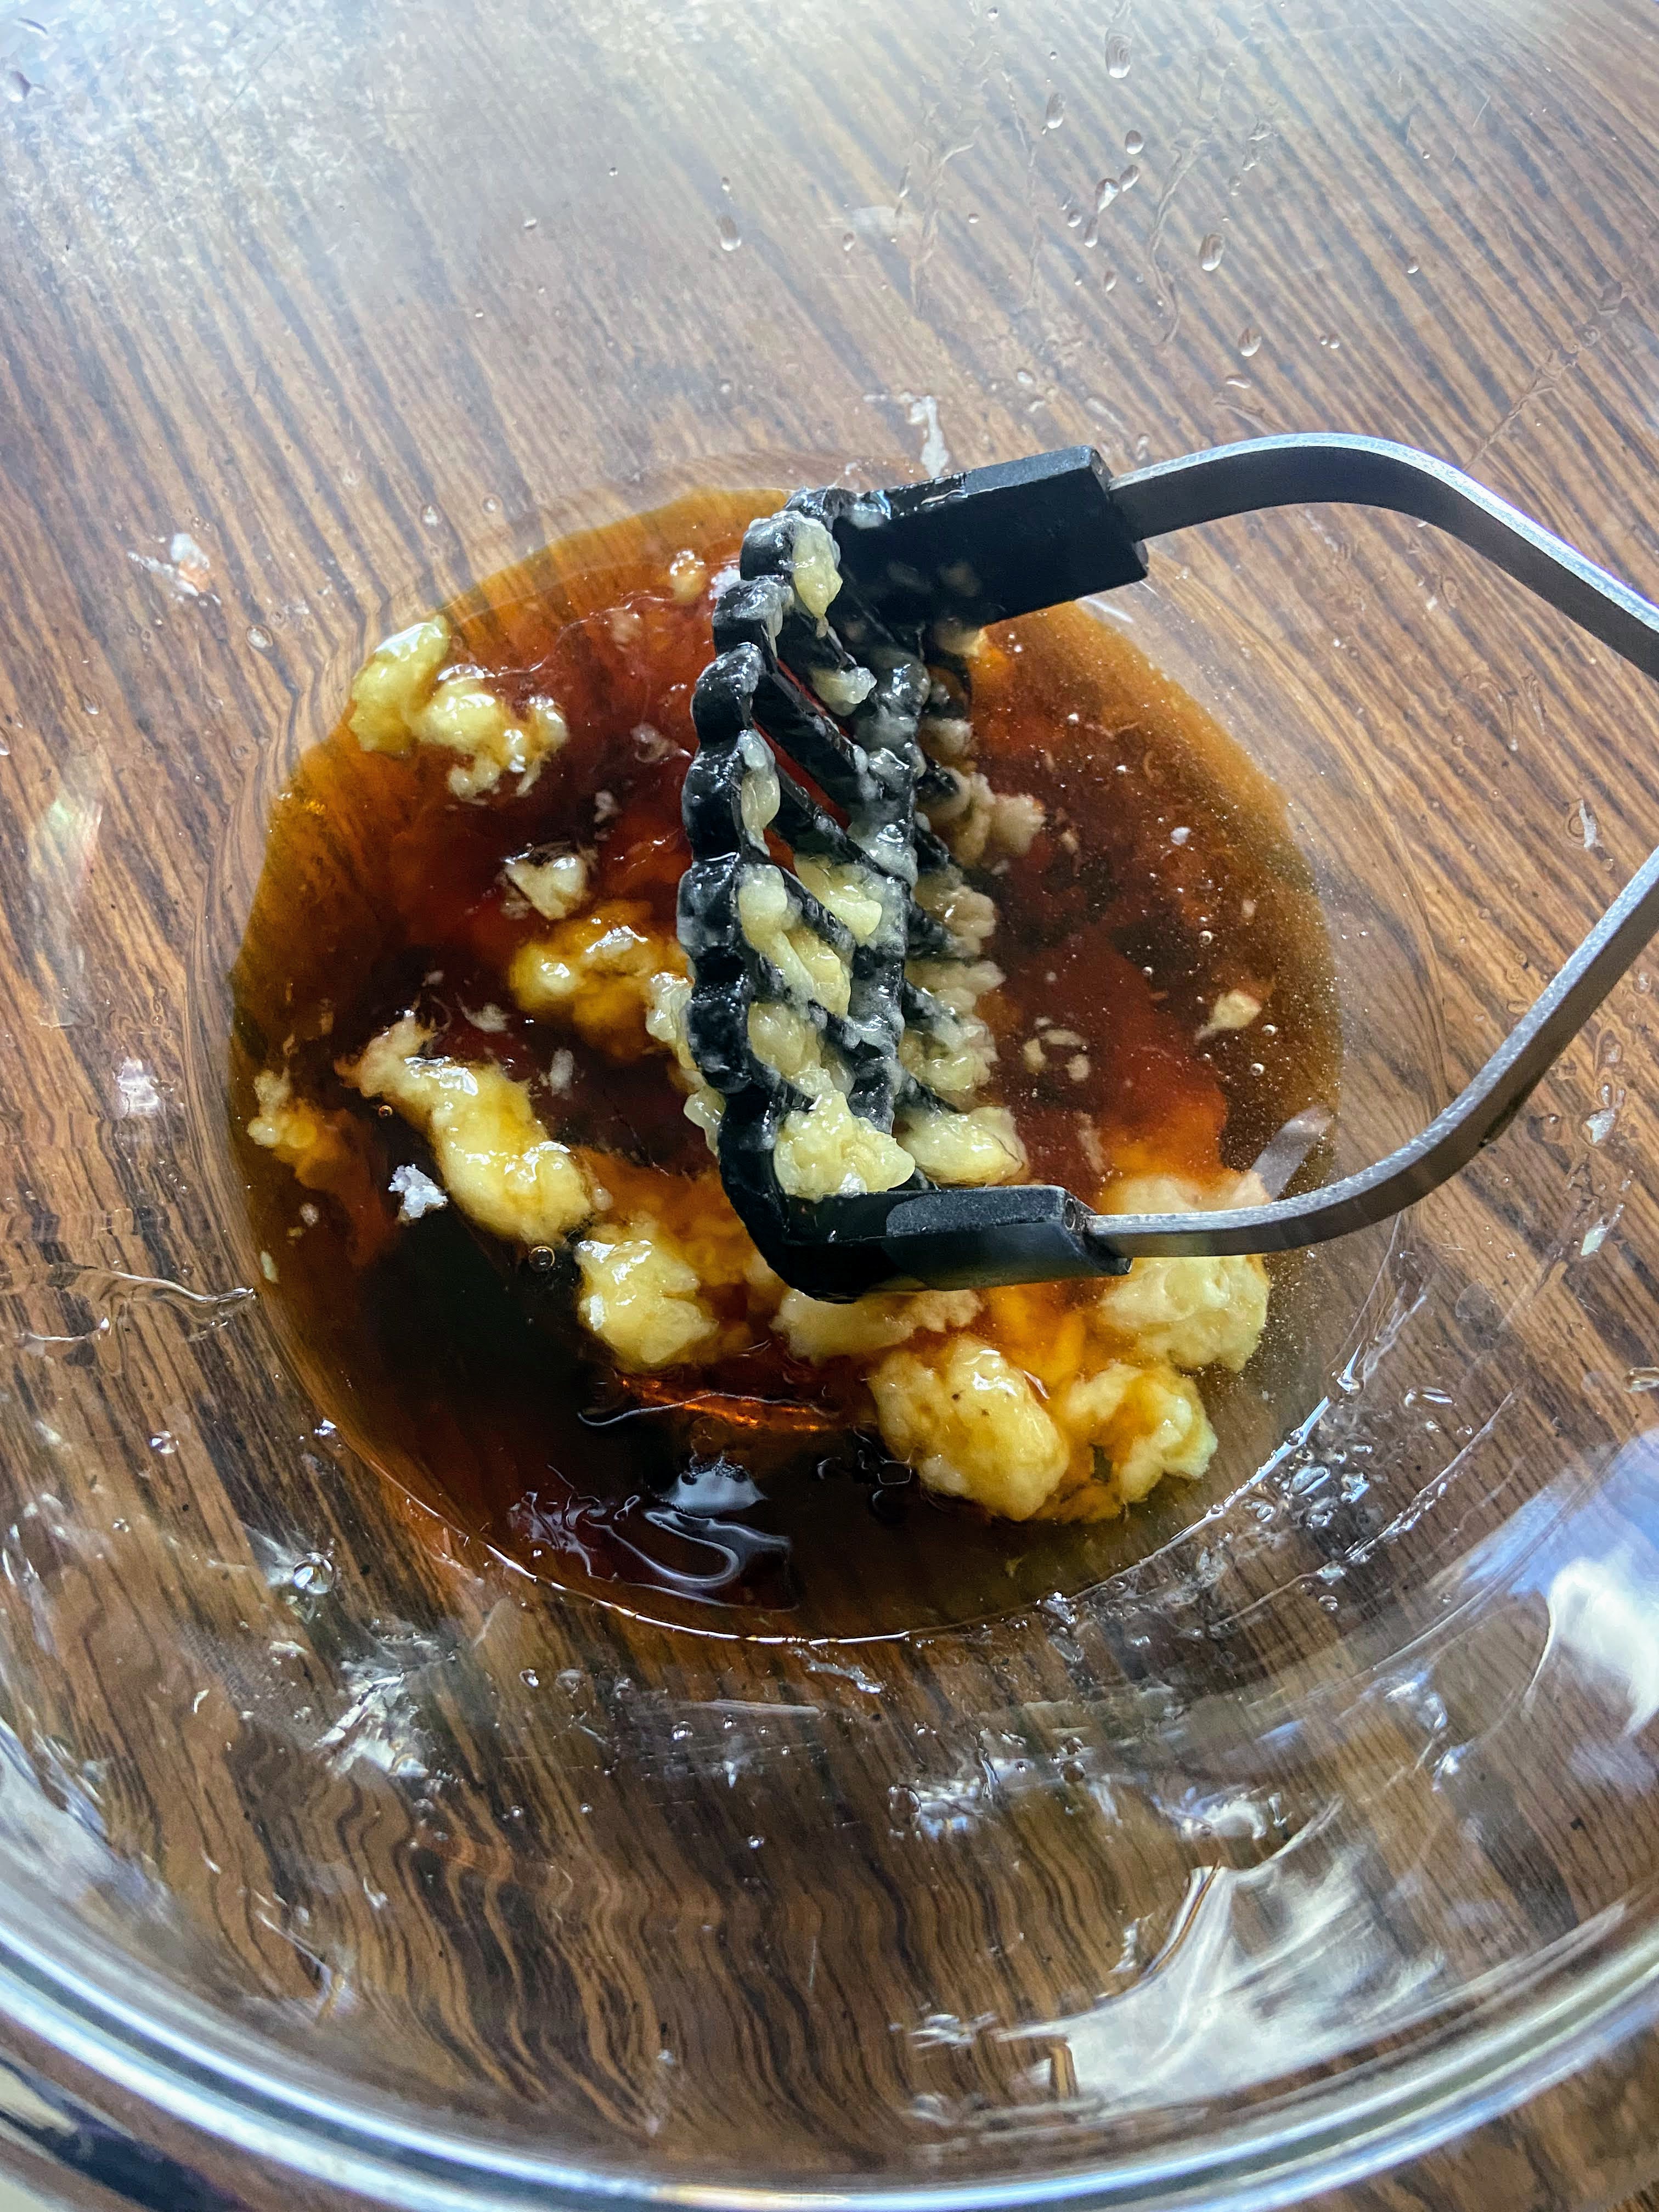
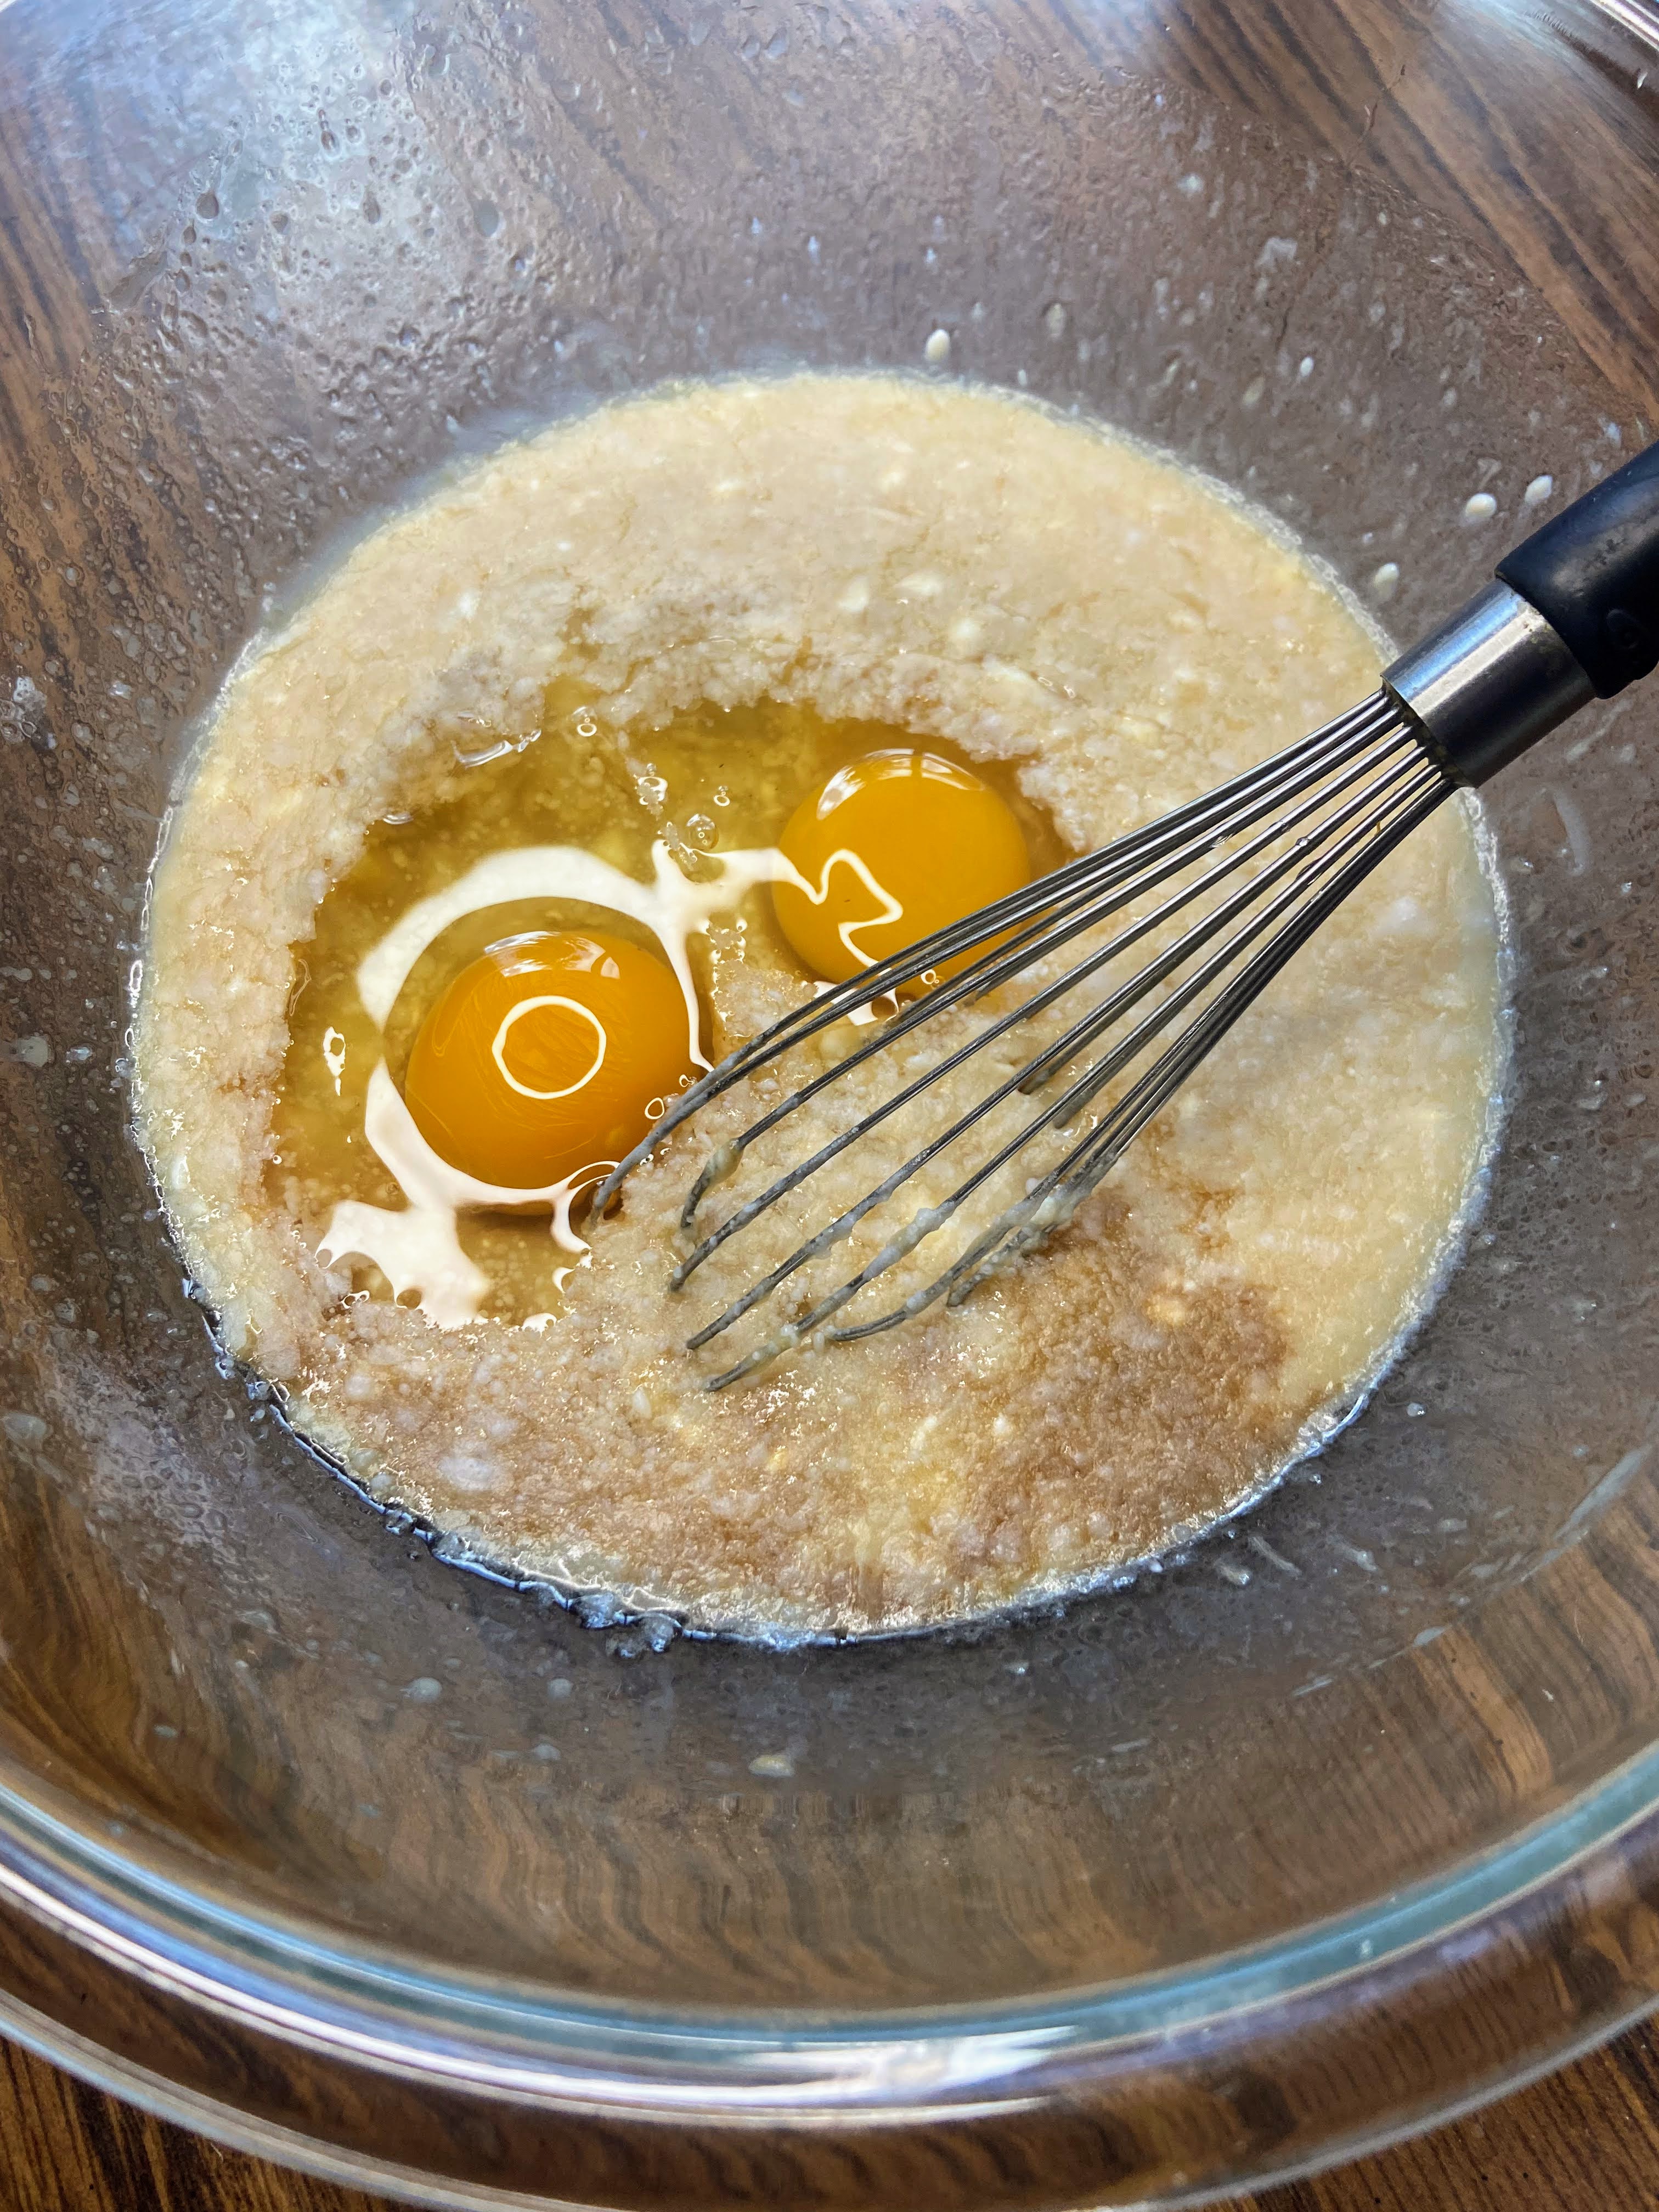
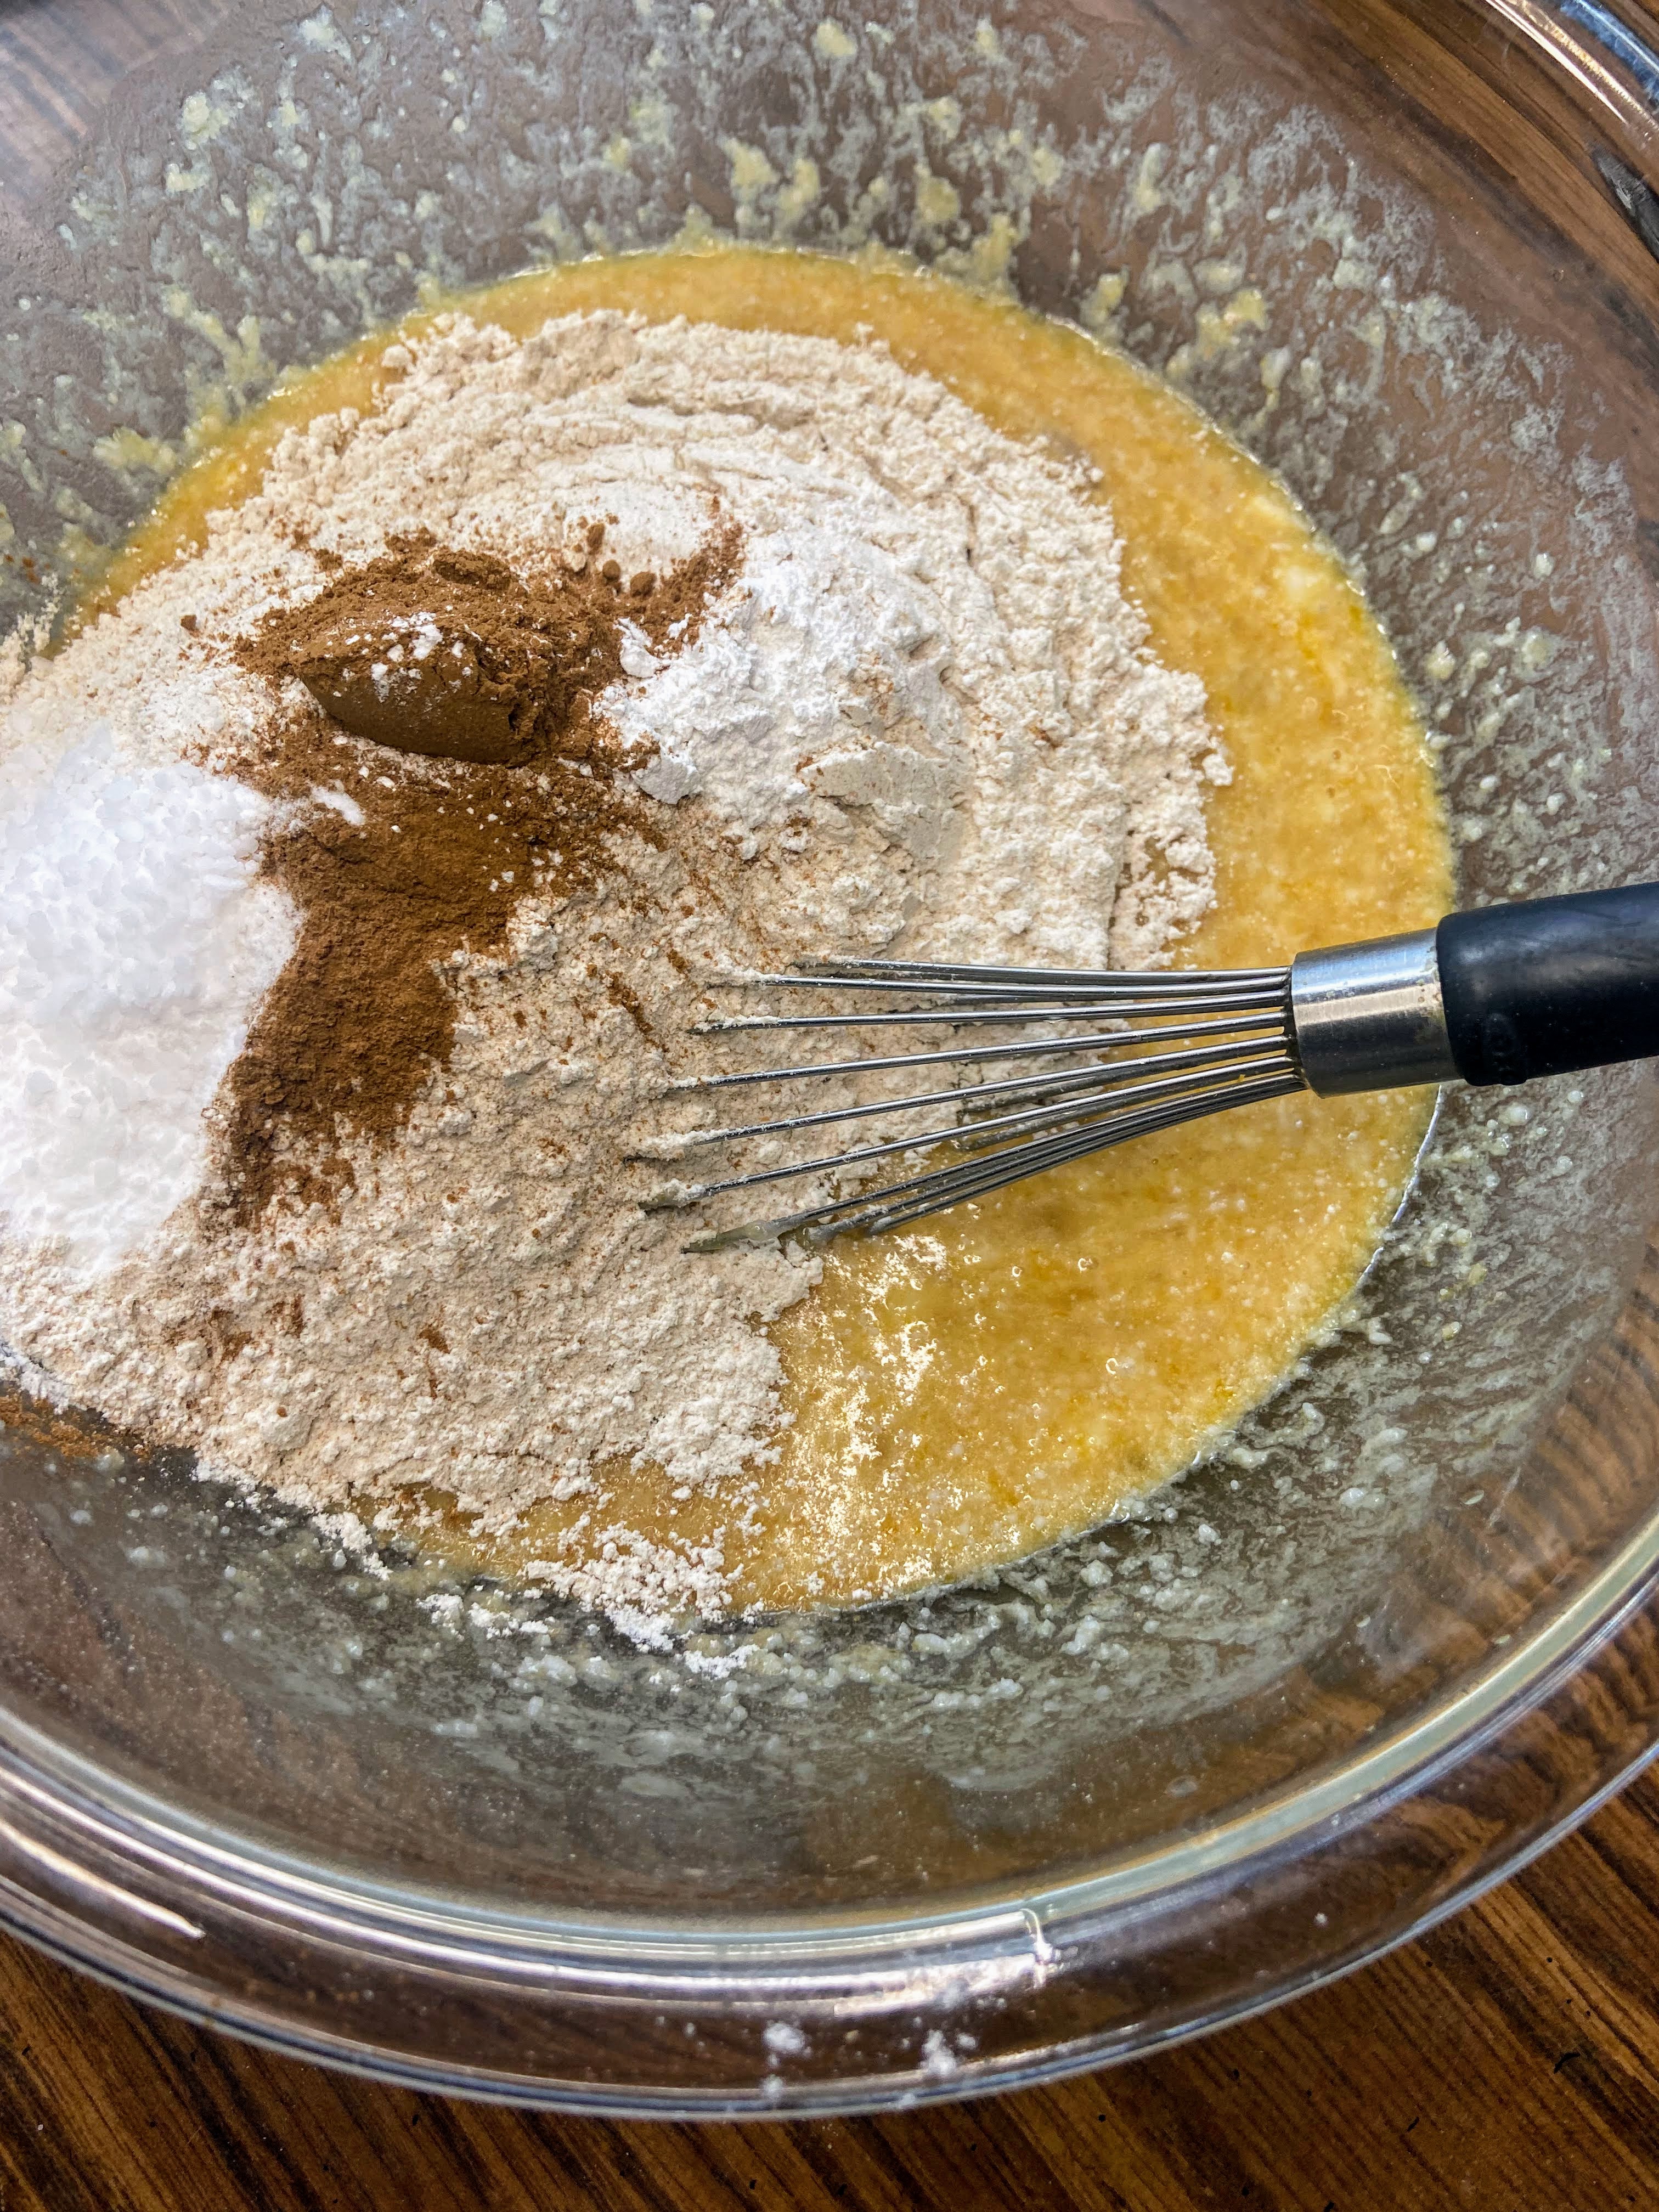
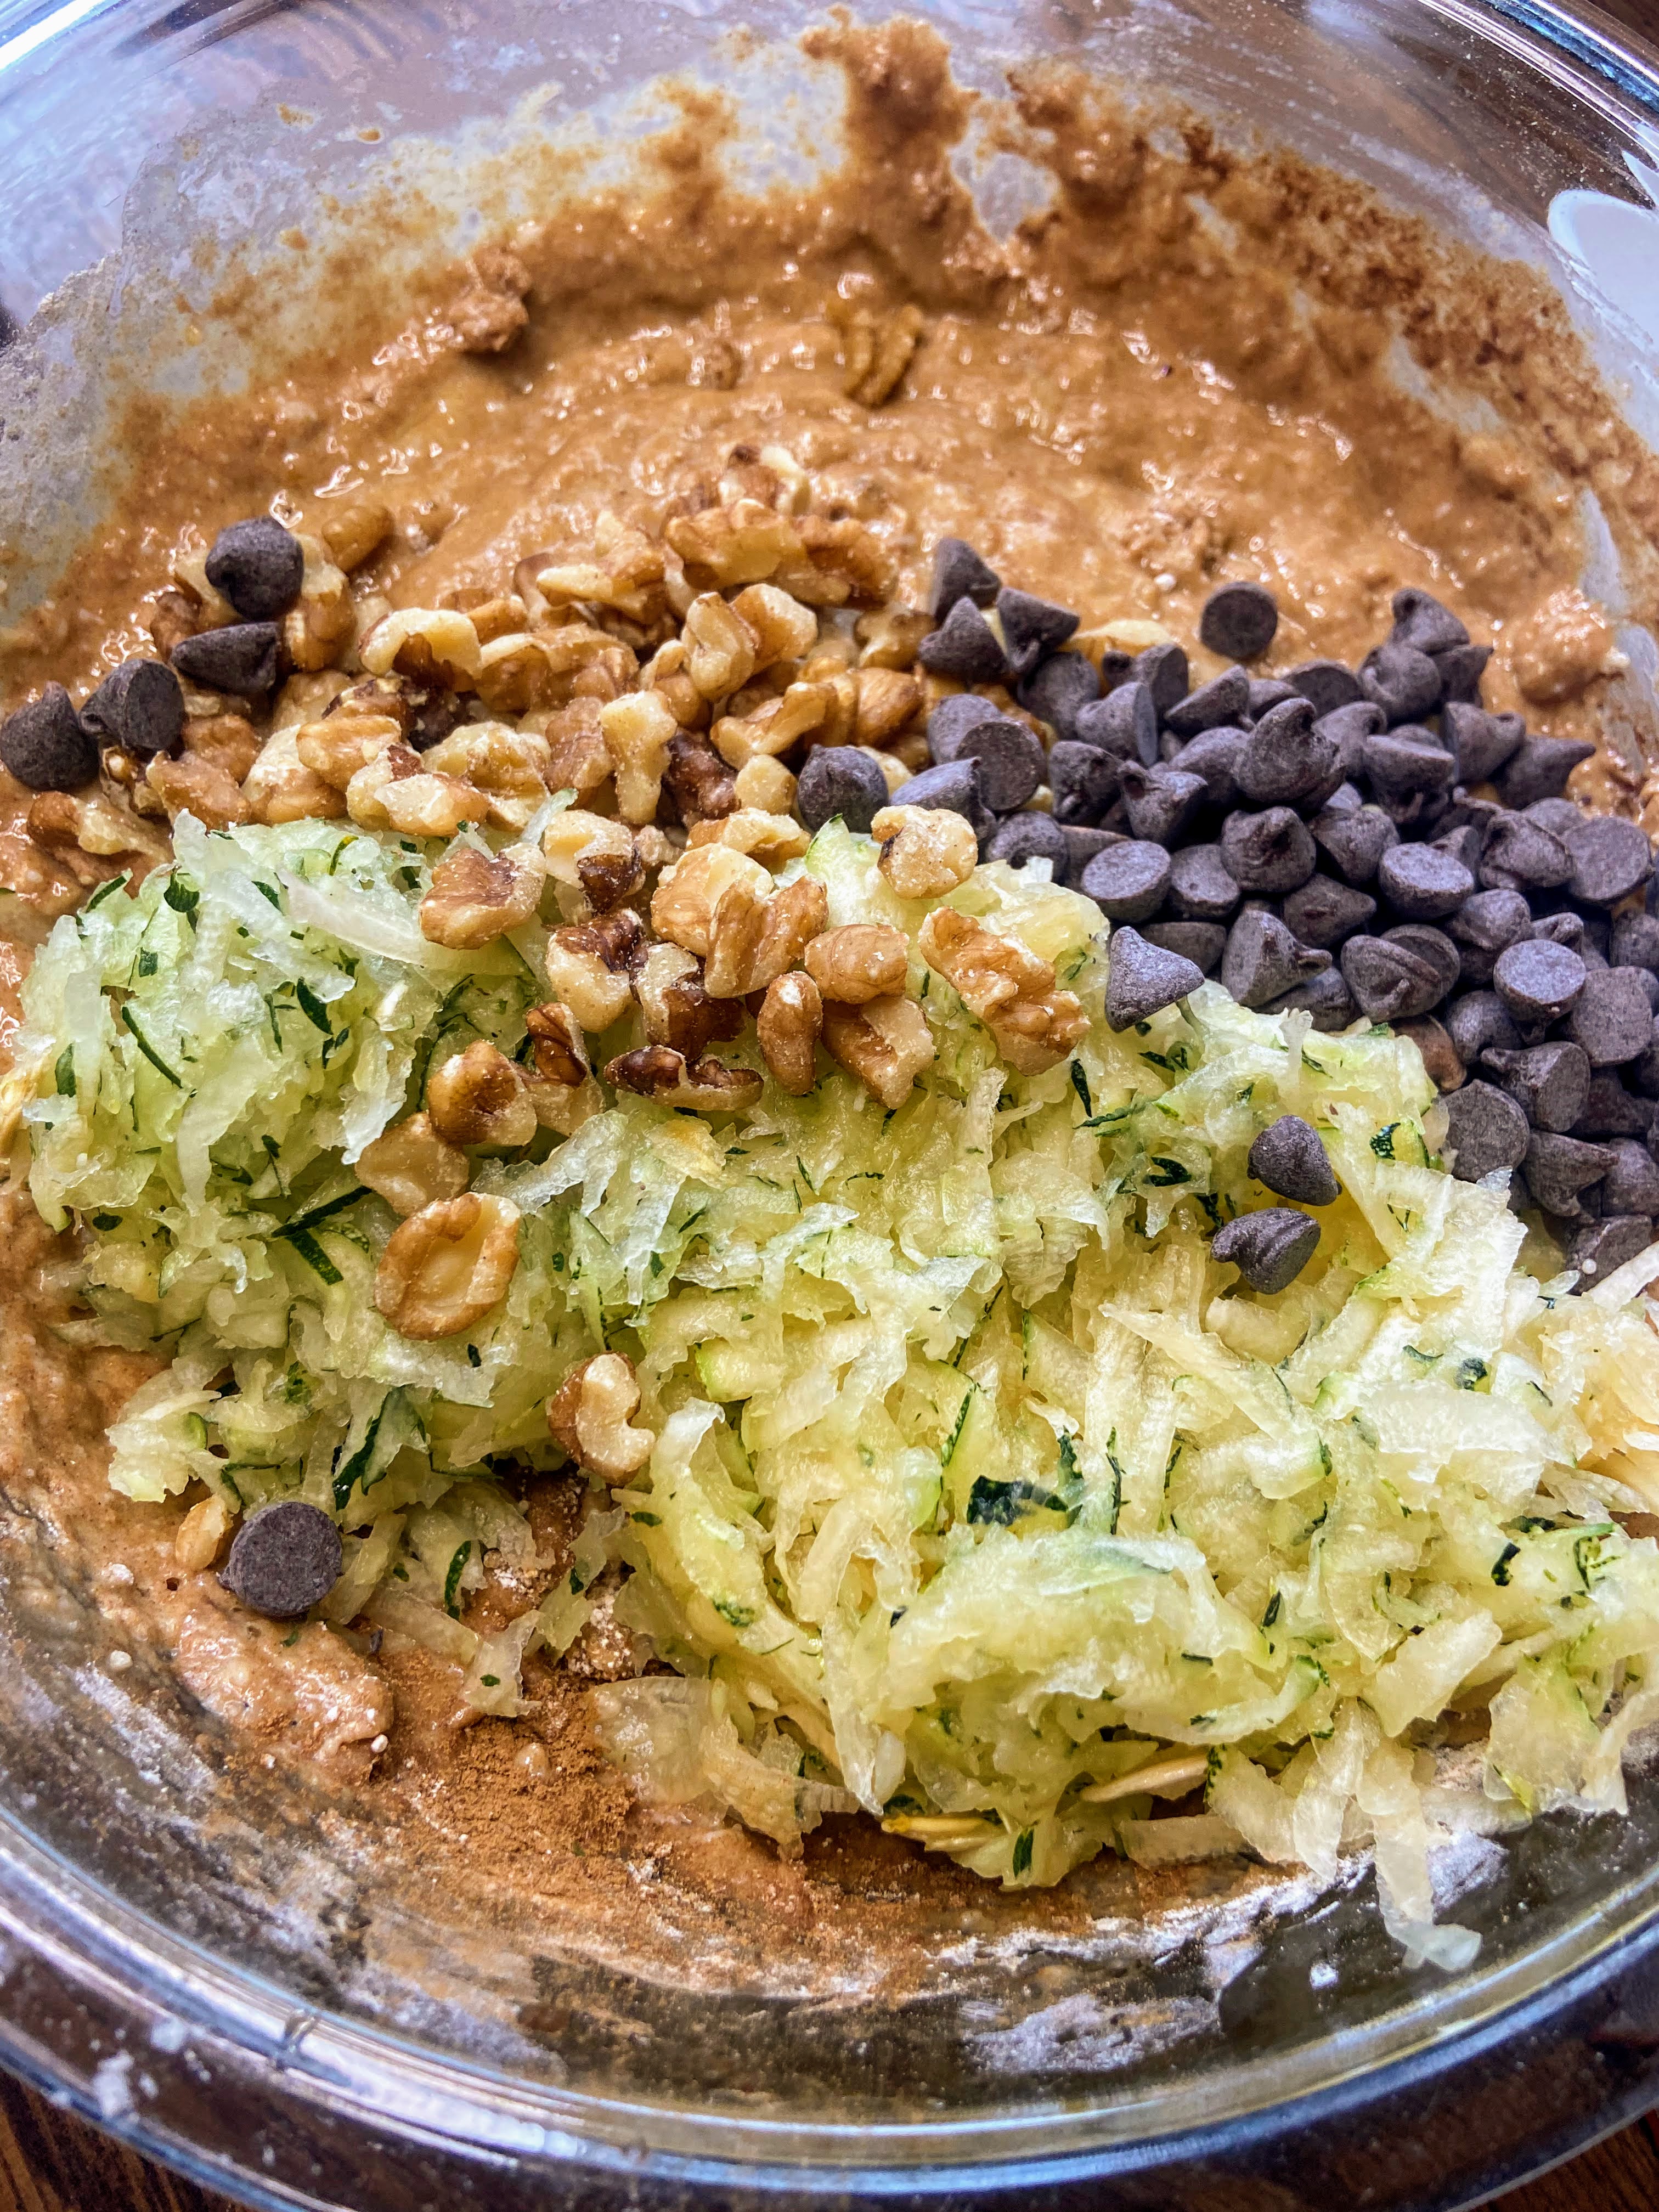
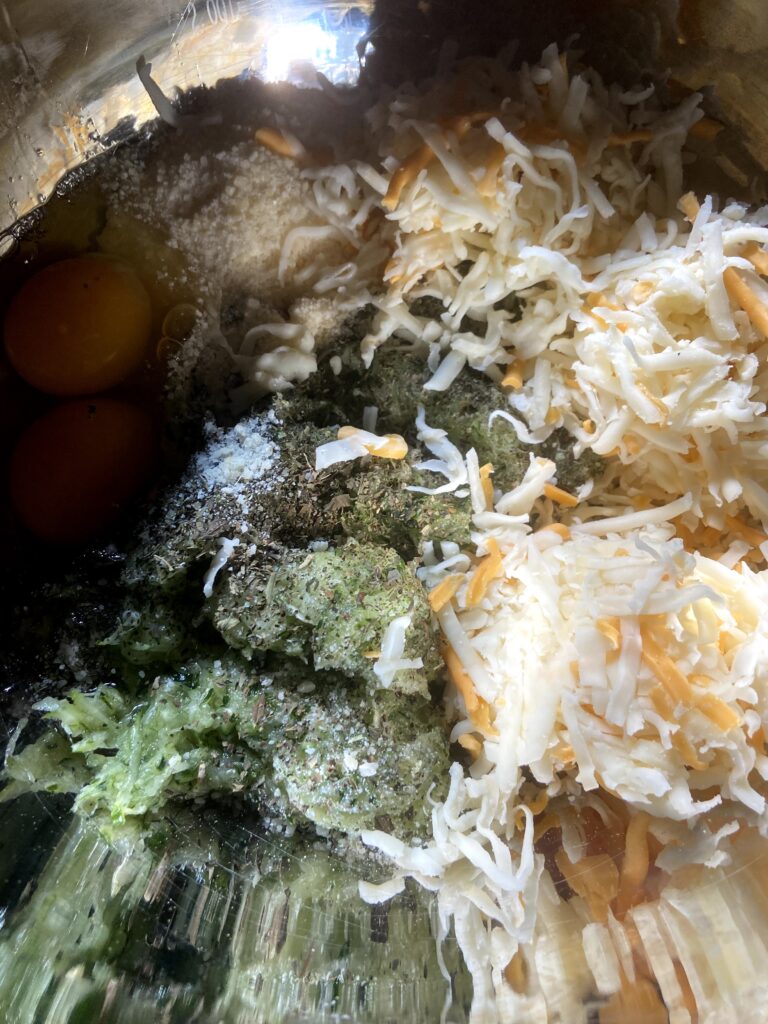
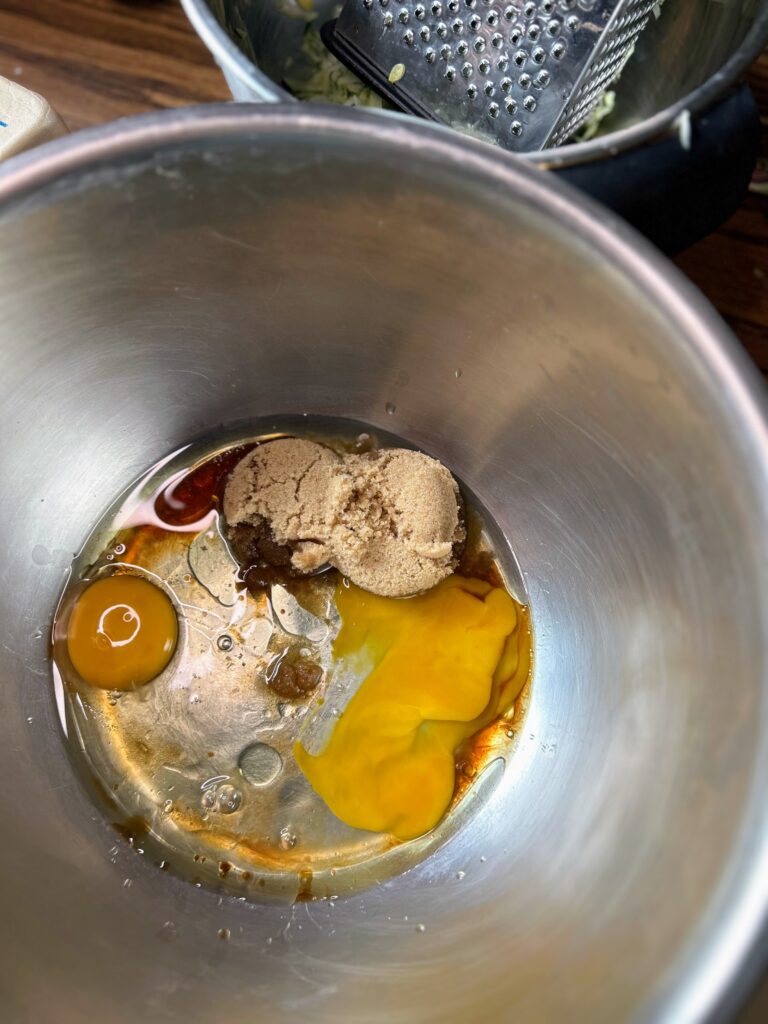
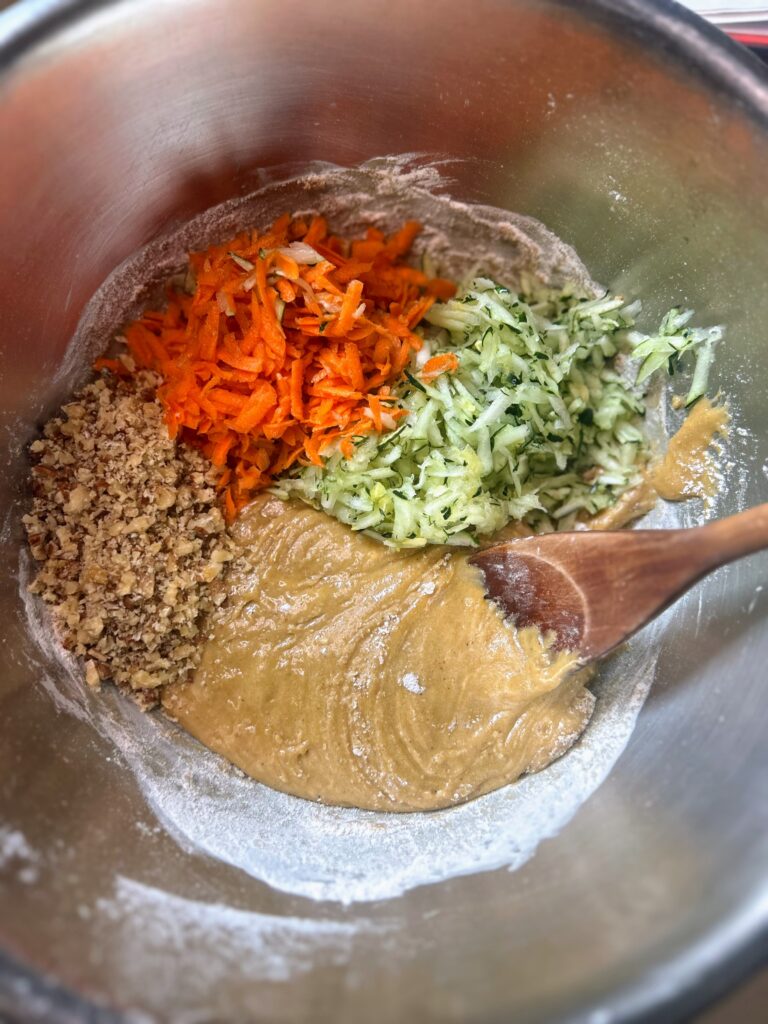
In a large bowl, combine oil, brown sugar, eggs, and vanilla. Combine well. In a separate bowl, combine flour, salt, baking powder, baking soda, cinnamon, nutmeg, and cloves. Stir into the wet ingredients until just combined. Add zucchini, carrot, and nuts. Fold them into the batter.
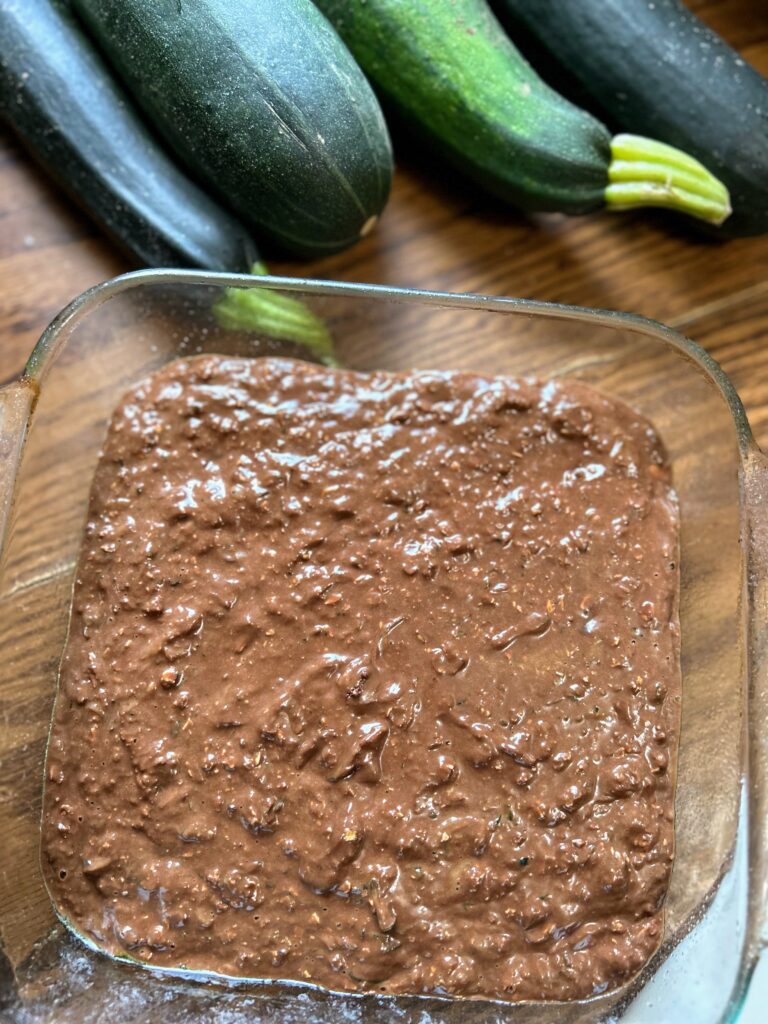
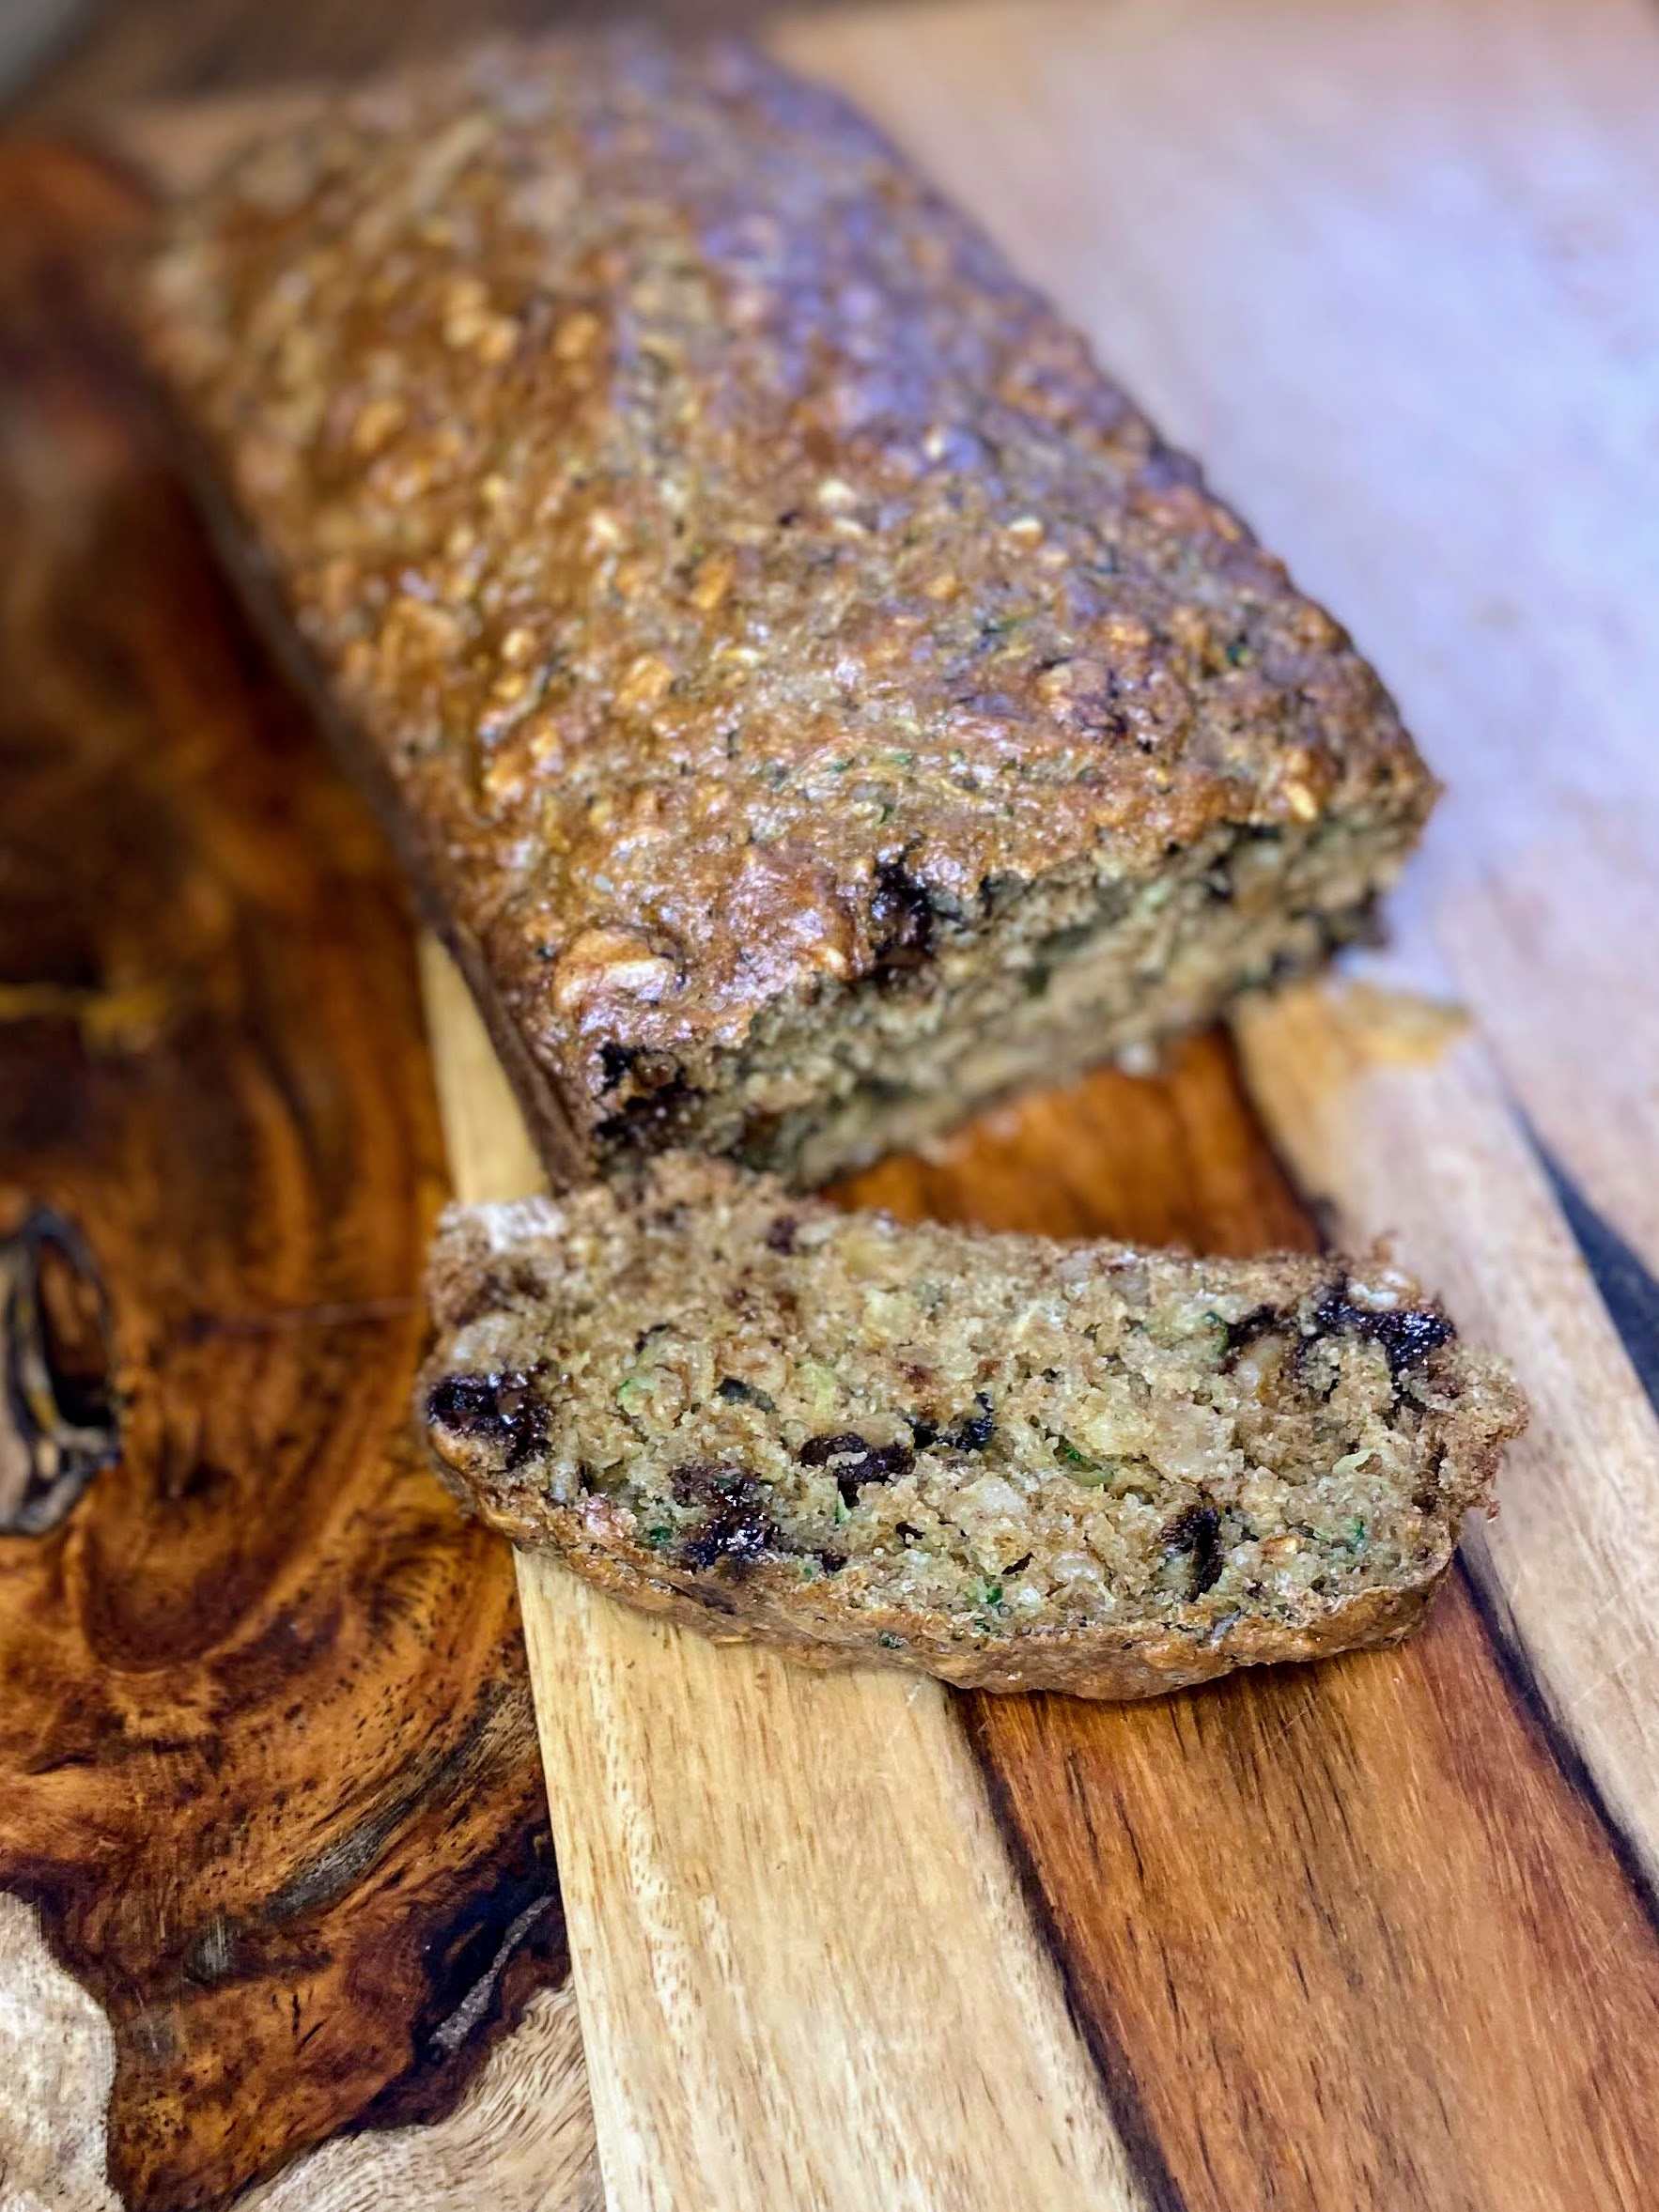
Spoon the batter into prepared muffin tin, filling ¾ of the way full. Bake for 16-20 minutes, until a toothpick can be inserted and when removed, comes out clean.


Zucchini Carrot Muffins
Equipment
- shredder
Ingredients
- ¼ cup oil
- ½ cup brown sugar
- 2 eggs
- ½ tablespoon vanilla
- 1 ½ cup flour
- 1 teaspoon baking soda
- ½ teaspoon salt
- ½ teaspoon baking powder
- ½ teaspoon cinnamon
- ¼ teaspoon nutmeg
- ⅛ teaspoon cloves
- 1 cup shredded zucchini
- 1 cup shredded carrot
- ½ cup ground nuts optional
Instructions
- Preheat the oven to 350 degrees. Prepare 12-15 muffin tin vessels with liners or by spraying with cooking spray.
- In a large bowl, combine oil, brown sugar, eggs, and vanilla.
- Combine well. In a separate bowl, combine flour, salt, baking powder, baking soda, cinnamon, nutmeg, and cloves.
- Stir into the wet ingredients until just combined. Add zucchini, carrot, and nuts. Fold them into the batter.
- Spoon the batter into prepared muffin tin, filling ¾ of the way full. Bake for 16-20 minutes, until a toothpick can be inserted and when removed, comes out clean.
Looking for other delicious muffin recipes?
I love a good muffin and that means I have a ton of recipes for you to try! Check out my baking page to find all of them. Or click a link below!