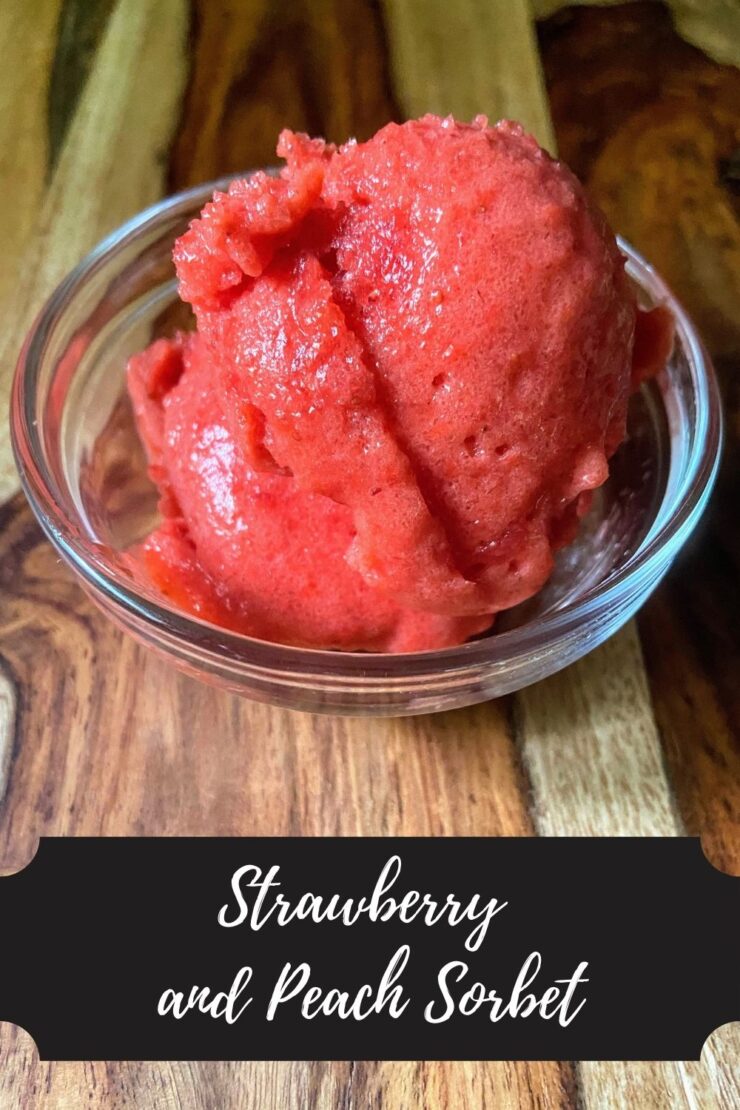
Strawberry and Peach Sorbet

Last Updated on June 7, 2021 by Jess

The Scenario…

Over picking at the strawberry patch because you don’t realize just how many berries fit in your bucket until you weigh it.

Looking at the fruits at the farmer’s market and buying it all because the color is beyond appealing.

Planting countless raspberry plants and then not being able to keep up with the bounty they produce in July.

The delicious solution!

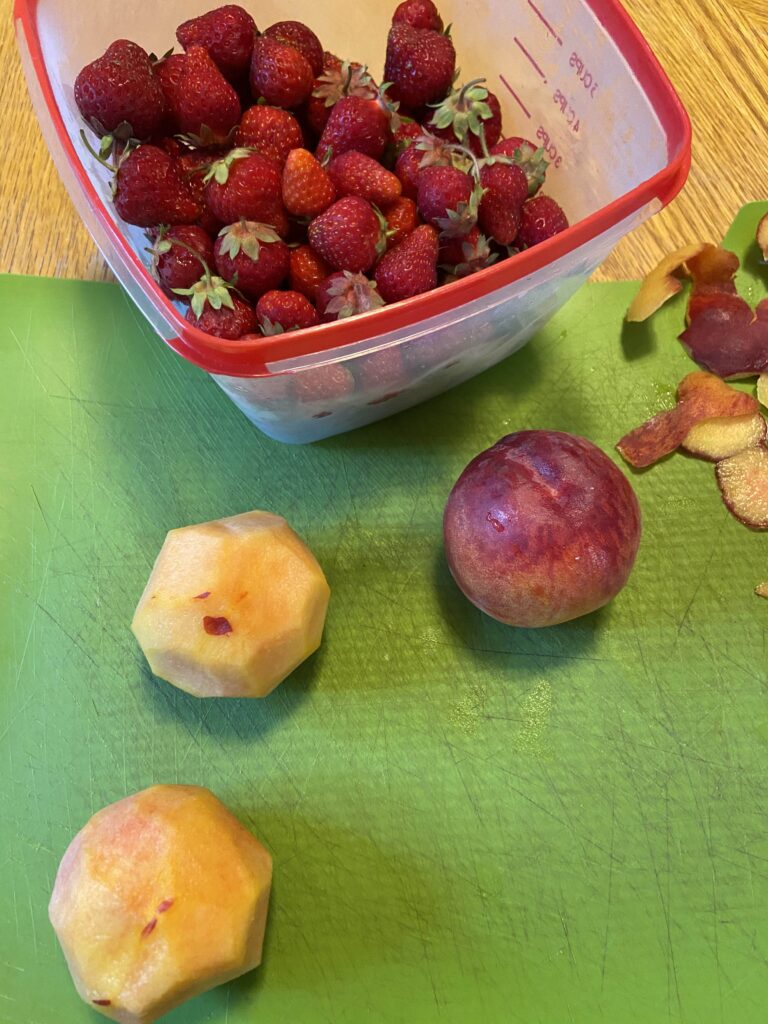
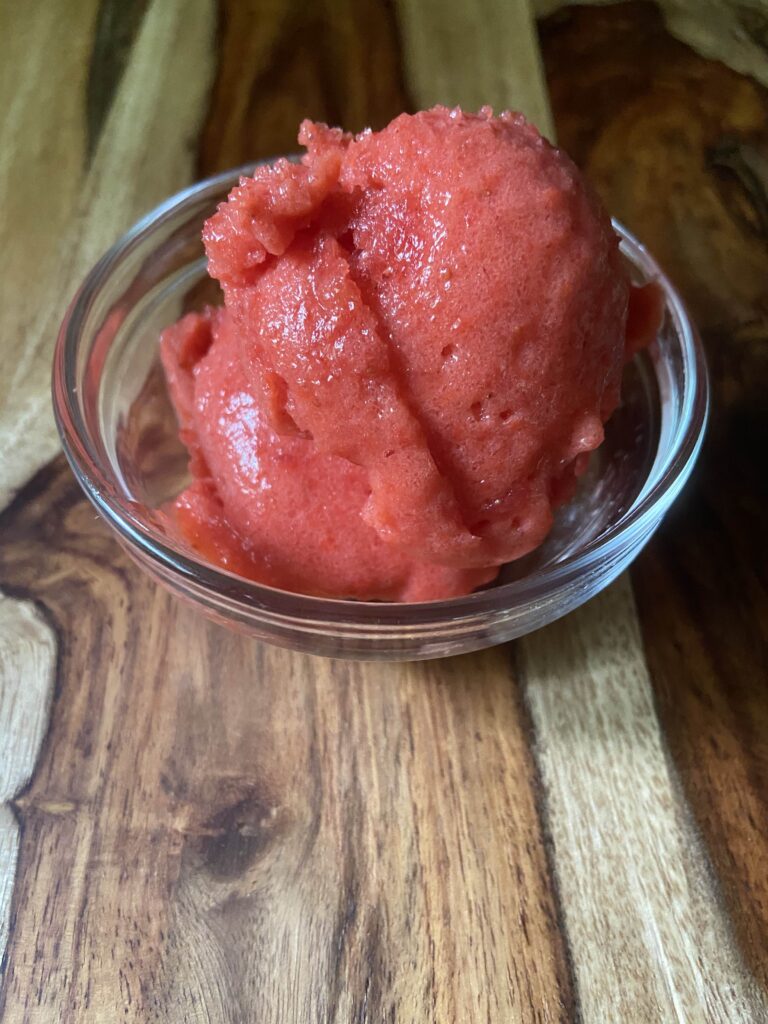
Do any of these scenarios sound familiar? Let me tell you, I have experienced them all. One would think that I would learn from my mistakes, but I still continue to get sucked into ALLLLL the fruits and then need to find something to do with them. This week, it was strawberries and peaches. And thus, a homemade strawberry and peach sorbet was born. 
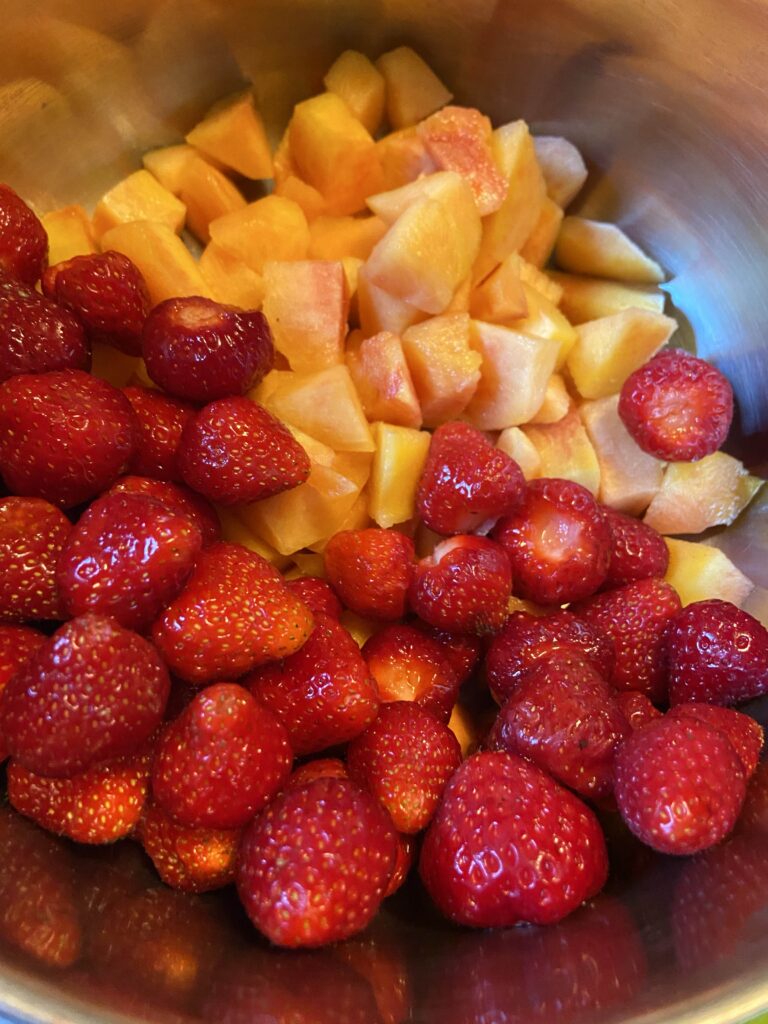
Strawberries and peaches

Last year, I had a crazy red raspberry crop. Crazy, as in it took me over an hour to harvest during its peak time. This meant I needed to find new and fun ways to preserve them. I made all the jam. I froze bags of them. Then I stumbled across a fruit sorbet recipe while flipping through my Ball’s Guide to Preserving Book. It sounded amazing, but had SO much added sugar. I modified it some last year, and now have improved it again to not use raspberries but the strawberries from our garden and peaches from the store. 

If you’ve been following me for a little time, you know that I like to use my son as my ultimate taste tester. He isn’t afraid to tell me something is too healthy tasting, too salty, lacking vegetables, etc. He’s a good egg, that kid. Anywho…I took a scoop of what couldn’t fit in the jars and had him try it. He closed his eyes, smiled, and kind of whispered, “What IS that?!” I don’t know about you, but that screams approval if you ask me 😉

Don’t have strawberries and/or peaches? I have such good news! This recipe is totally moldable to your favorite flavor combination. Ultimately, you will need 4 cups of chopped soft fruit. Think berries, peaches, nectarines, etc. (Ball says you can use melon, but I haven’t tested it). 

Your Ingredients: 

  • 2 cups chopped strawberries
  • 2 cups diced peaches, peeled first then cut up
  • ½ cup orange juice
  • 2 tablespoons lemon juice 
  • 2 tablespoons honey 

Your steps

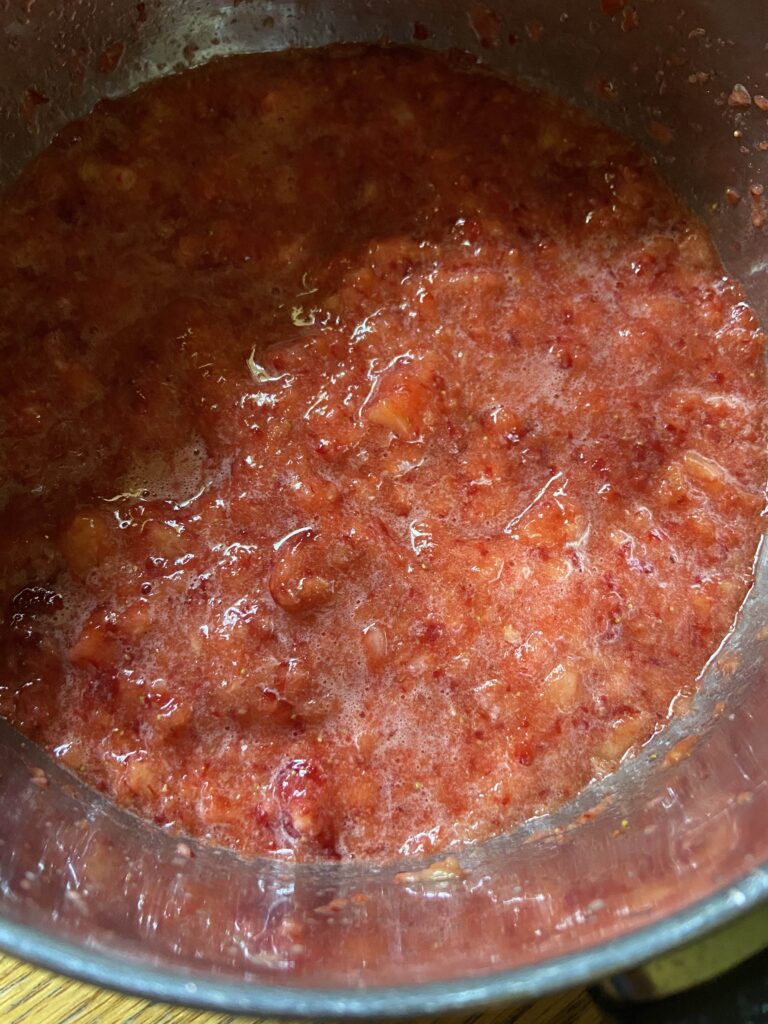
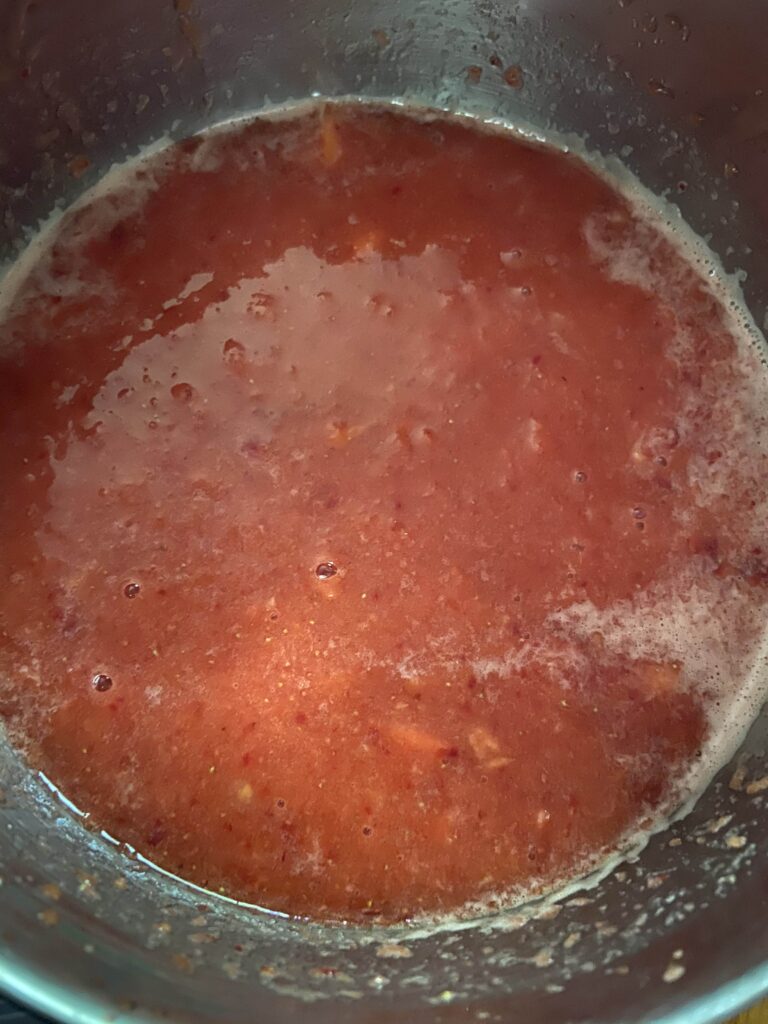
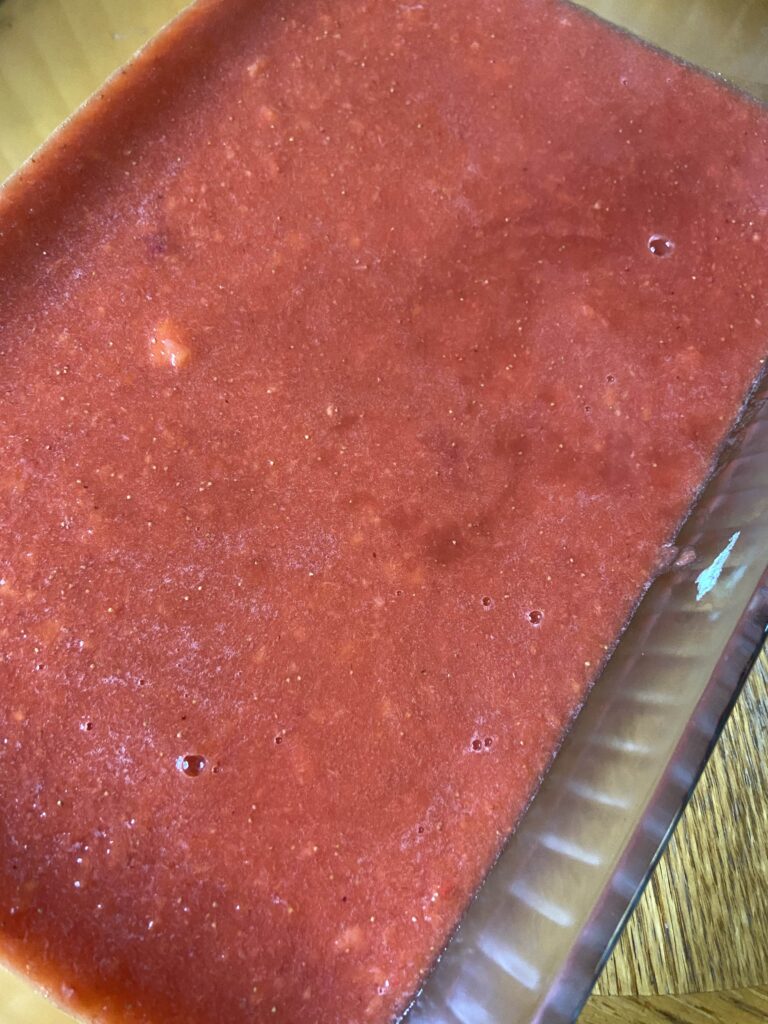
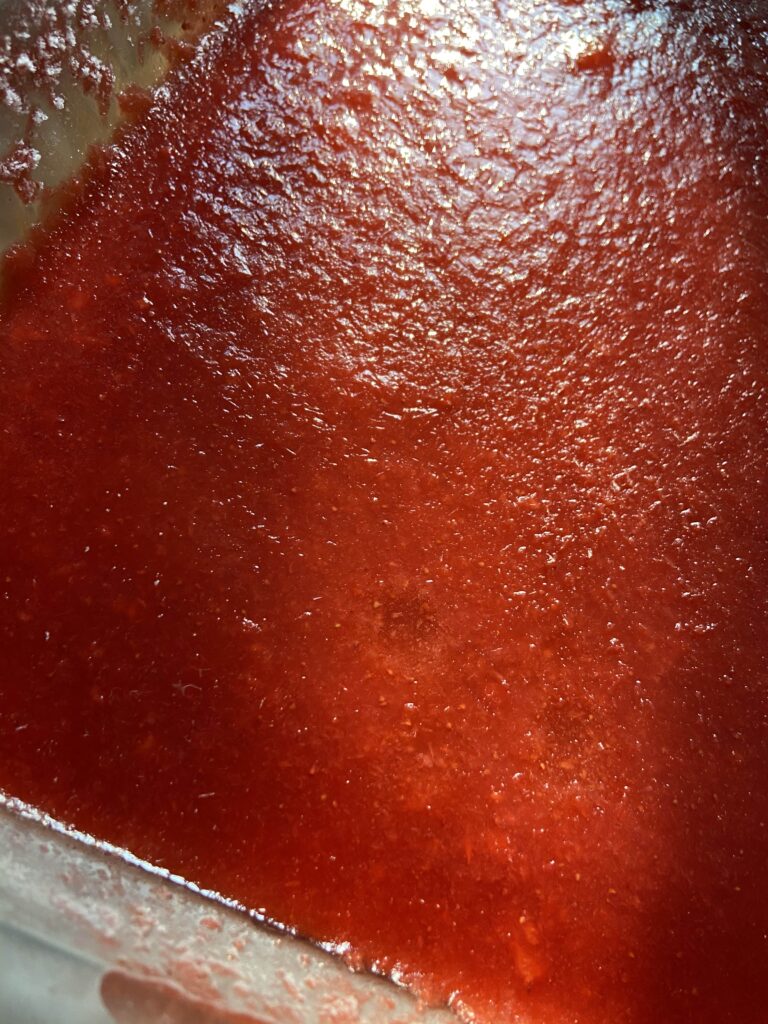
Combine fruit. Use a blender or immersion blender to break fruit down. I use an immersion blender and blend right in the kettle I will be heating them in. Add remaining ingredients. From here, use the immersion blender to mix everything together once more. Once combined, heat over medium heat until the mixture is beginning to simmer, stirring often. Pour into a 9×13 pan, cover, and place in the freezer and allow to freeze solid. 

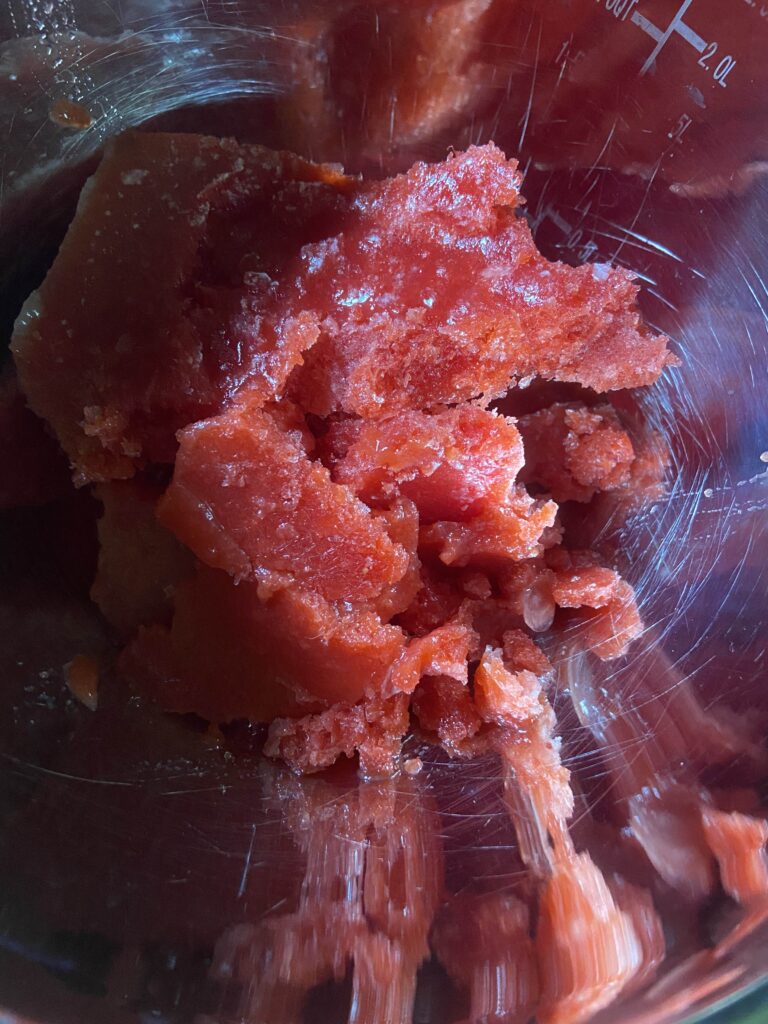
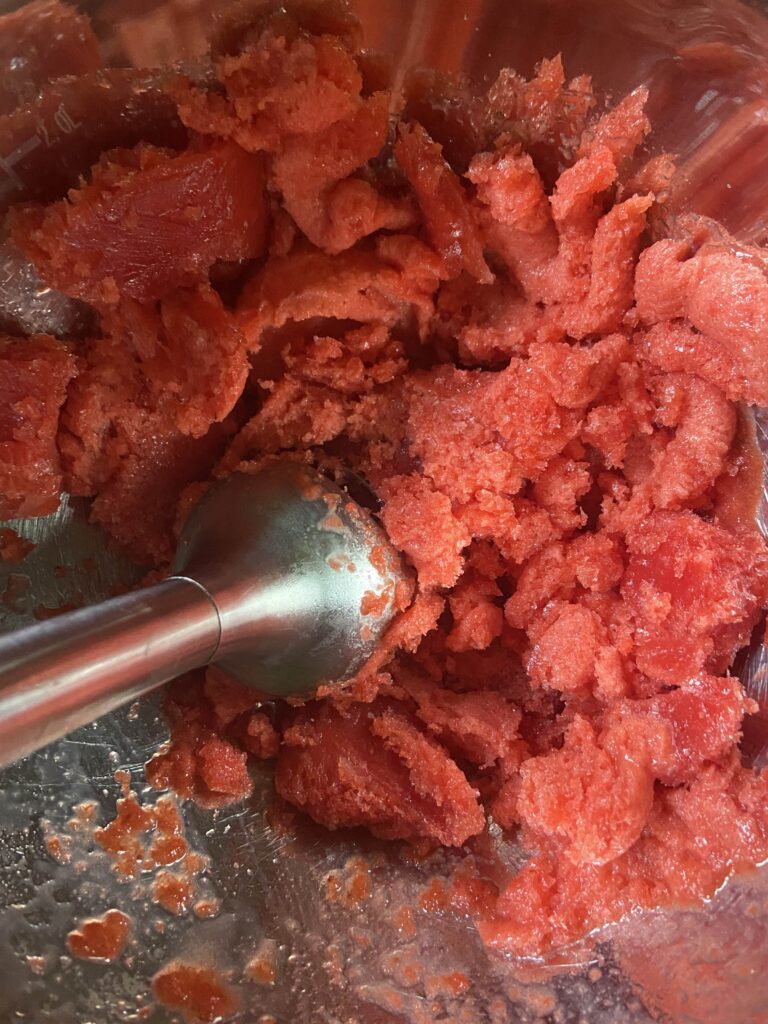
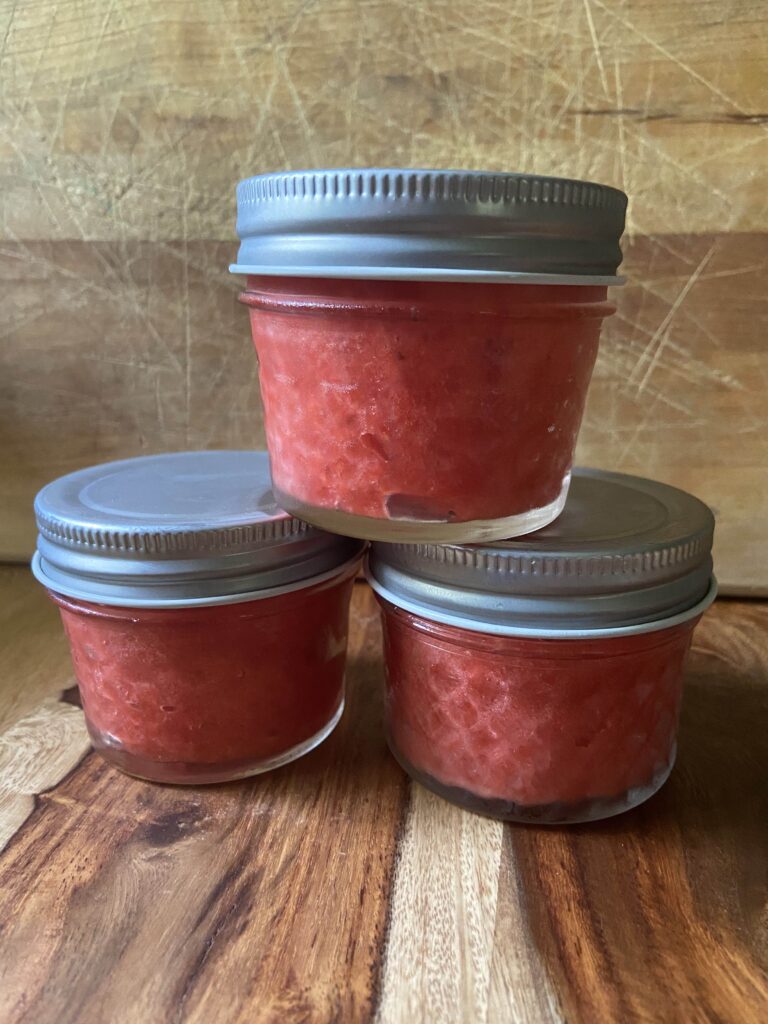
Once fully frozen, remove and allow to sit at room temperature for 5-10 minutes. This will make it easier to remove the sorbet. Working in small batches, puree frozen sorbet. There are lots of options for this. You can use a blender, a food processor, or an immersion blender. For me, I dig the immersion blender because clean up is so easy. Scoop the puree into freezer safe containers, leaving ½ inch headspace at the top. I like to use 4 ounce jelly jars for ½ cup servings ready to go! Finally, be sure to label and return to the freezer until you’re ready to enjoy them! 

A few notes

When I initially found this recipe, I wanted to cut the second blending of the sorbet. It is critical to complete if you want fluffy sorbet that you remember from childhood. It’s worth the extra step. Don’t skip it! 

Initially, I tried this recipe freshly picked raspberries so feel free to mix it up in terms of fruit. Ultimately, you need 4 cups of chopped/crushed fruit so let your taste buds to the work here. 

Looking for an adult version? I found that adding ½ cup of lime twisted gin was a delight to the raspberry sorbet! Be mindful of how much alcohol you add as it will effect the ability of the sorbet to freeze. 

Have a sweeter tooth? The recipe originally calls for 2 cups of sugar. If you’d like, add more to suit your own tastes.

Tools I use

Hoping to use some of the tools I love for creating these? Here’s the link for the 4 ounce jelly jars I used as well an immersion blender. Seriously, the immersion blender is an underrated tool in the kitchen and it hardly takes up any storage space! If you don’t have one yet, I highly recommend investing. You’ll thank me! 

As for the jelly jars, I am usually a Ball or Kerr jar lover, but a friend gifted me these Verone jars and I loved that they came with two piece lids for canning as well as one piece lids for storage. Double duty in one pack of jars. Super cool 🙂

Looking for other ways to preserve your summer bounty? Check out my canning and preserving page!
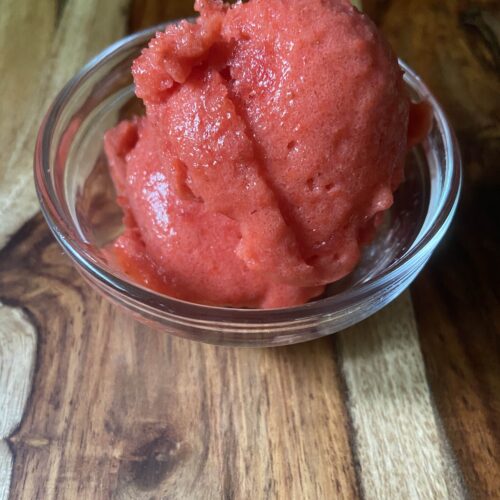
Strawberry and Peach Sorbet

A fruit sorbet
Prep Time 30 minutes
Freeze Time 4 hours
Course Dessert
Cuisine Canning
Servings 7 1/2 cup servings

Ingredients
  

  • 2 cups chopped strawberries
  • 2 cups diced peaches peeled first then cut up
  • ½ cup orange juice
  • 2 tablespoons lemon juice
  • 2 tablespoons honey more to taste

Instructions
 

  • Combine fruit.
  • Use a blender or immersion blender to break fruit down into a puree.
  • Add remaining ingredients. Blend once more to fully break down the fruit and incorporate added ingredients.
  • Once combined, heat over medium heat until the mixture is beginning to simmer, stirring often.
  • Pour into a 9×13 pan, cover, and place in the freezer and allow to freeze solid.
  • Once fully frozen, remove and allow to sit at room temperature for 5-10 minutes to make it easier to remove from pan. Working in small batches, puree frozen sorbet using food processor, blender or immersion blender.
  • Scoop the puree into freezer safe containers, leaving ½ inch headspace at the top. Label and return to freezer if not enjoying immediately.

Notes

Don’t have strawberries or peaches? No problem. Any soft fruit will do. Think, berries of any kind, nectarines, even melon perhaps? 
You may be tempted to skip the second blend step. Don’t! It’s critical for the sorbet to be fluffy, just the way you remember it. 
Keyword clean, peach, sorbet, strawberry, sweets
Tried this recipe?Let us know how it was!

Quick Strawberry Bread

Last Updated on June 16, 2022 by Jess

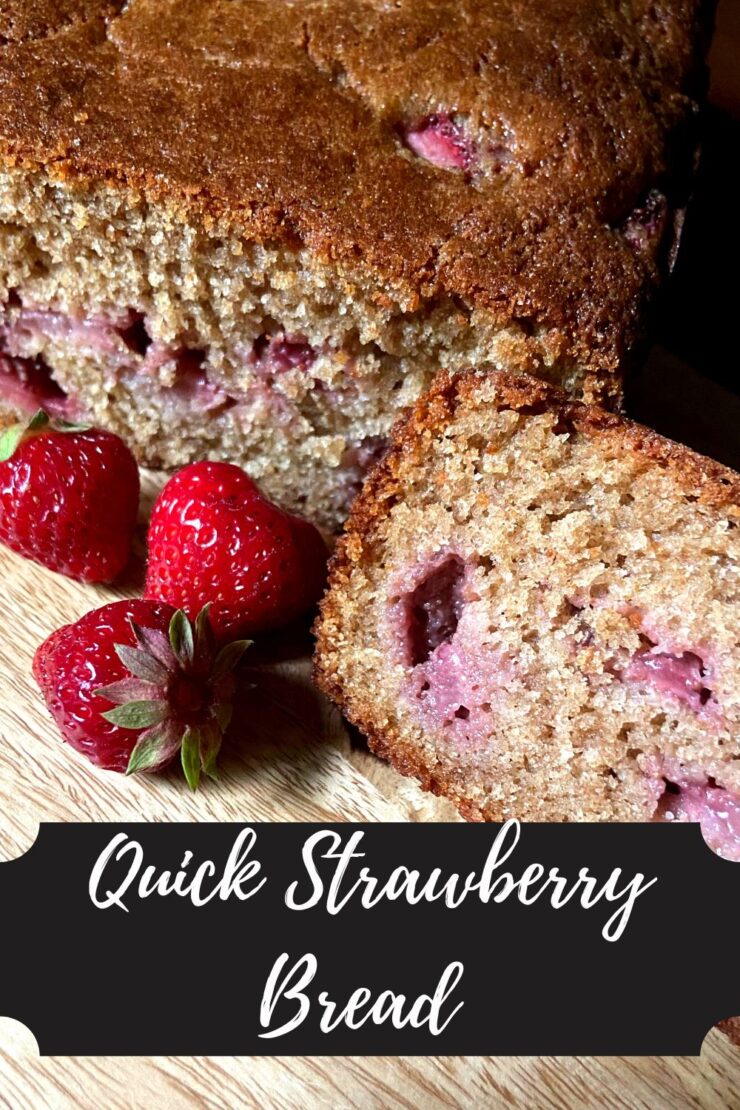
I never knew I needed strawberry bread in my life until I tried this recipe. A number of years ago, I was minding my own business at my end of the hallway while at school when three students ran over to me and HAD to share what they had just created in their Family and Consumer Science class. It was this bread. Let me tell you, it was delicious. If three teenage boys could create such a delicious treat, I knew I needed to give it a try on my own. 

I immediately went to the teacher and asked if I could have the recipe. She shared a folded up copy students had left in her classroom, and it went straight into my files. Now it’s a sheet of paper I hold dear because not only is it full of stains from repeated use (aren’t those THE best recipes?!), but it also reminds me of those awesome students I got to teach so early on in my career. 

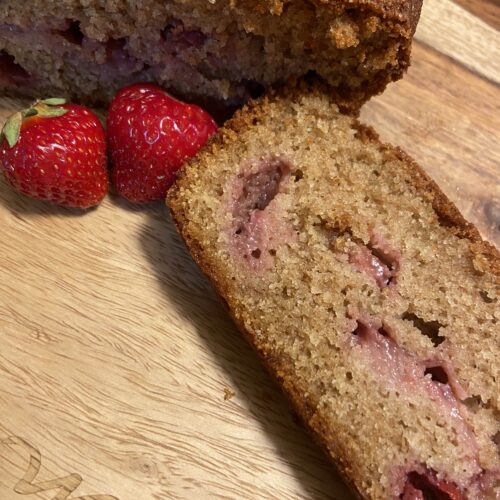
Wondering what makes this strawberry bread so good? I believe it’s the Greek yogurt (or sour cream, if that’s what you have on hand). It makes for this moist, delightful summer bread. In fact, when I want an indulgent quick bread, I look for Greek yogurt in the recipe. It’s a secret, take this recipe to the next level, kind of ingredient. 

Now, I know most recipes I share have had a “let’s make it healthier” make over. This strawberry bread will not be one of those recipes. Sometimes you just need to follow your taste buds and enjoy a little sugar and sweetness, right? 

Your ingredients

  • 1 ¾ cup flour (I used whole wheat)
  • ½ teaspoon baking powder
  • ¼ teaspoon baking soda
  • ½ teaspoon salt 
  • ¼ teaspoon cinnamon 
  • ½ cup butter, softened 
  • ½ cup white sugar
  • ¼ cup brown sugar
  • 2 eggs (room temperature)
  • ½ cup plain Greek yogurt (or sour cream) 
  • 1 teaspoon vanilla 
  • 1 ¼ cup finely chopped strawberries 

Your Steps

Preheat the oven to 350 degrees. In a small bowl, combine flour, baking powder, baking soda, salt, and cinnamon. Set aside. 

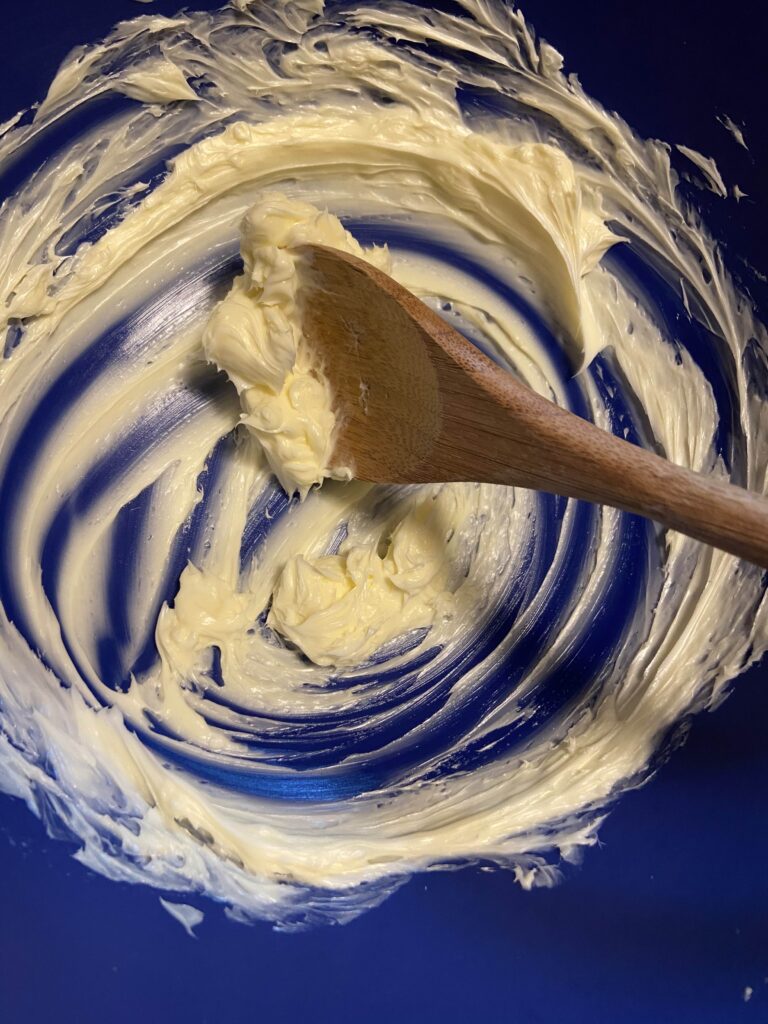
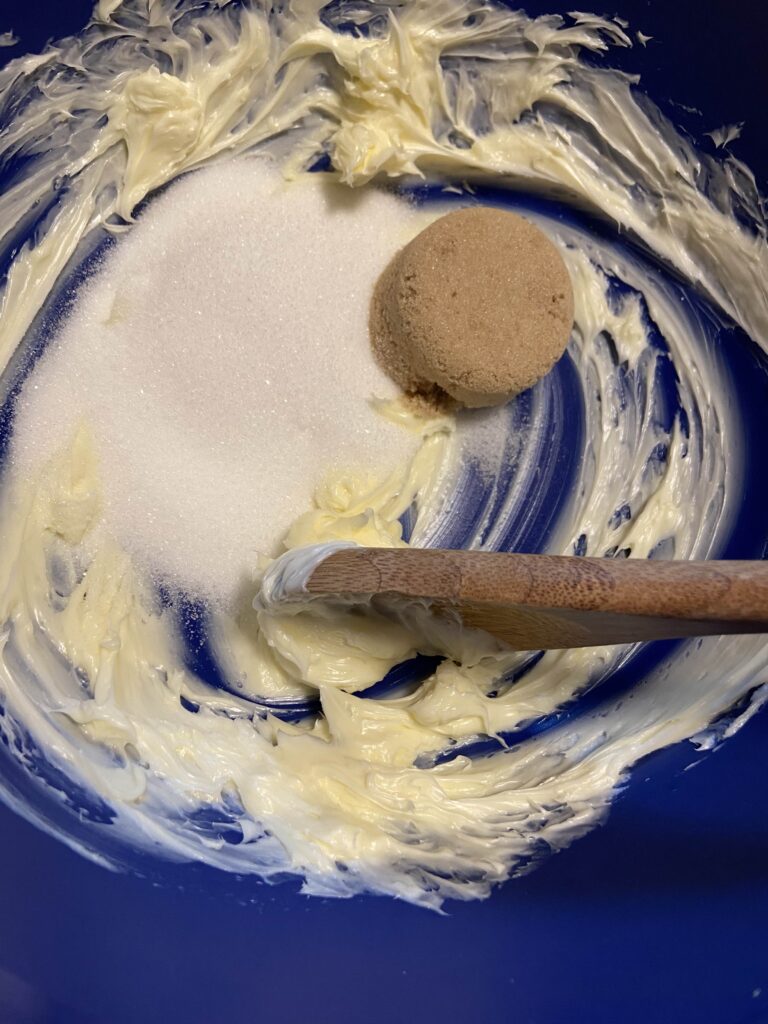
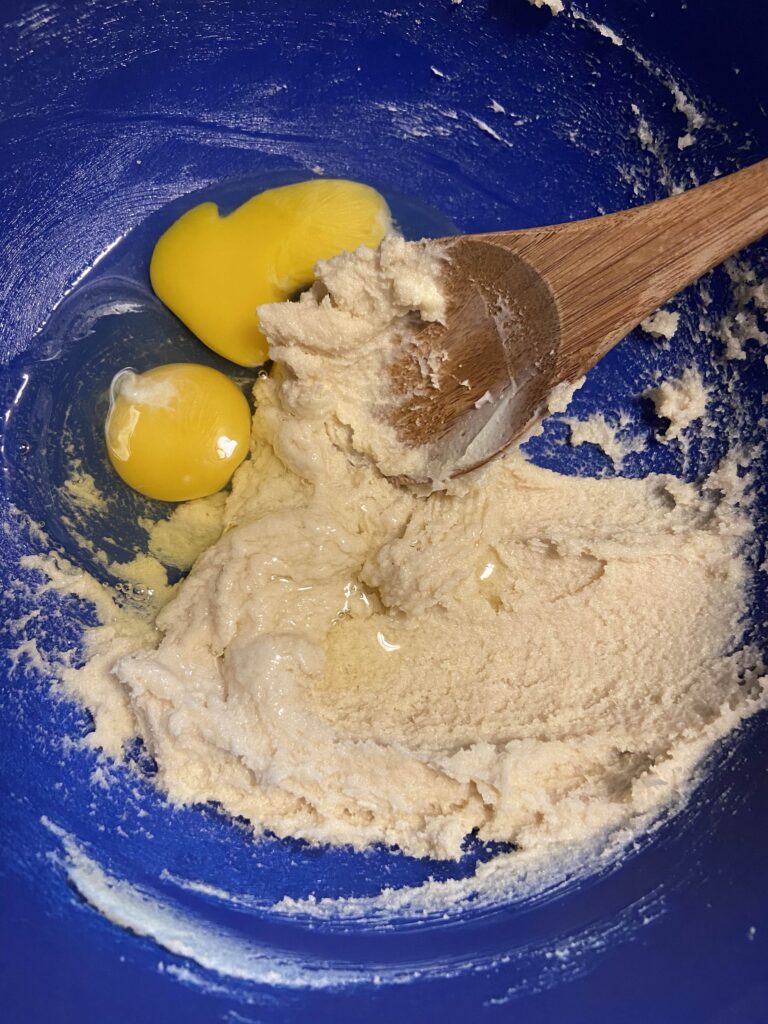
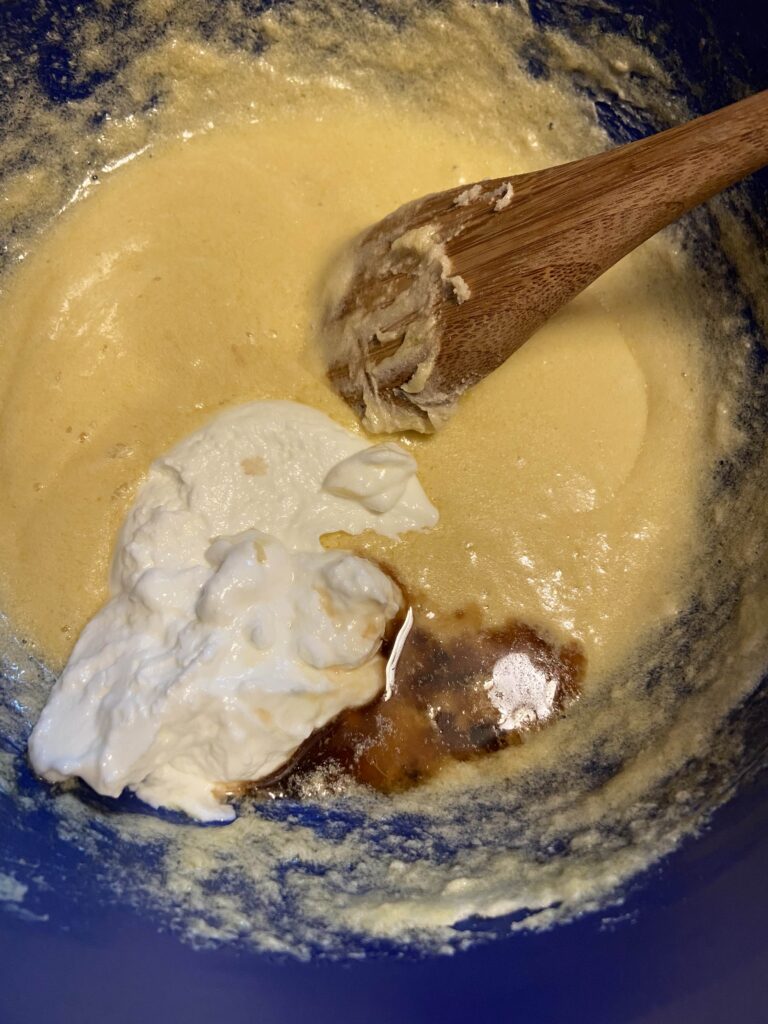
In a larger bowl, beat butter until creamy. Gradually add sugars and beat until light and airy. Beat in eggs, ideally one at a time. But let’s be real, who remembers to do that? I mean, I don’t ⅔ of the time. Add sour cream and vanilla and mix until well combined. 

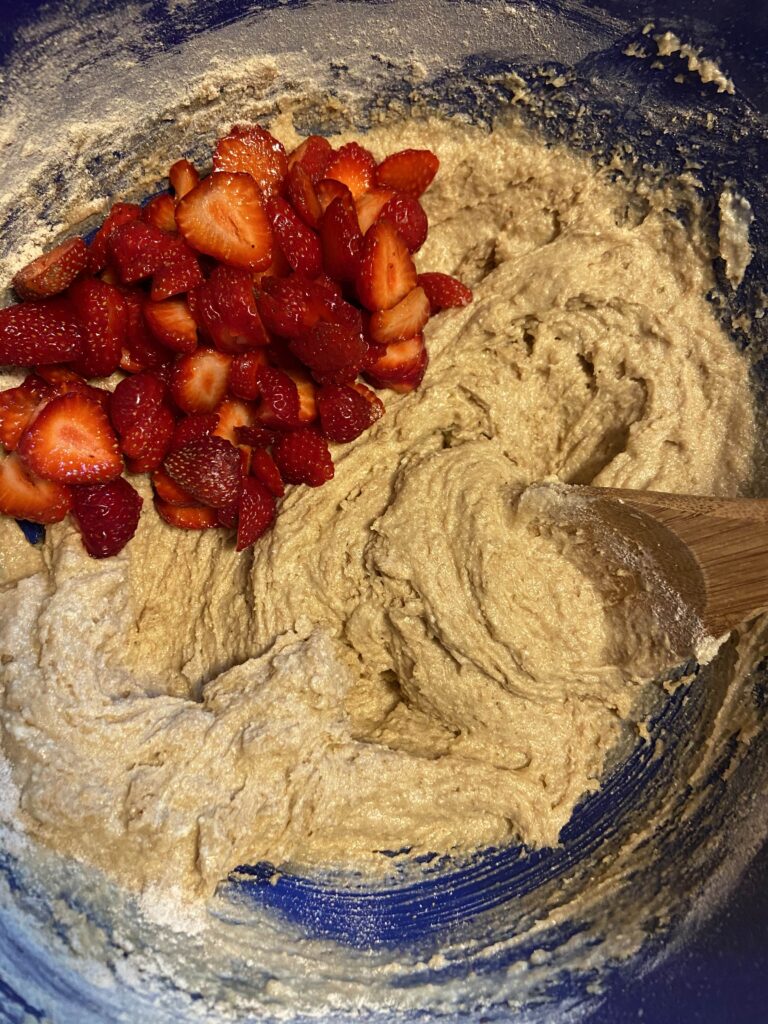
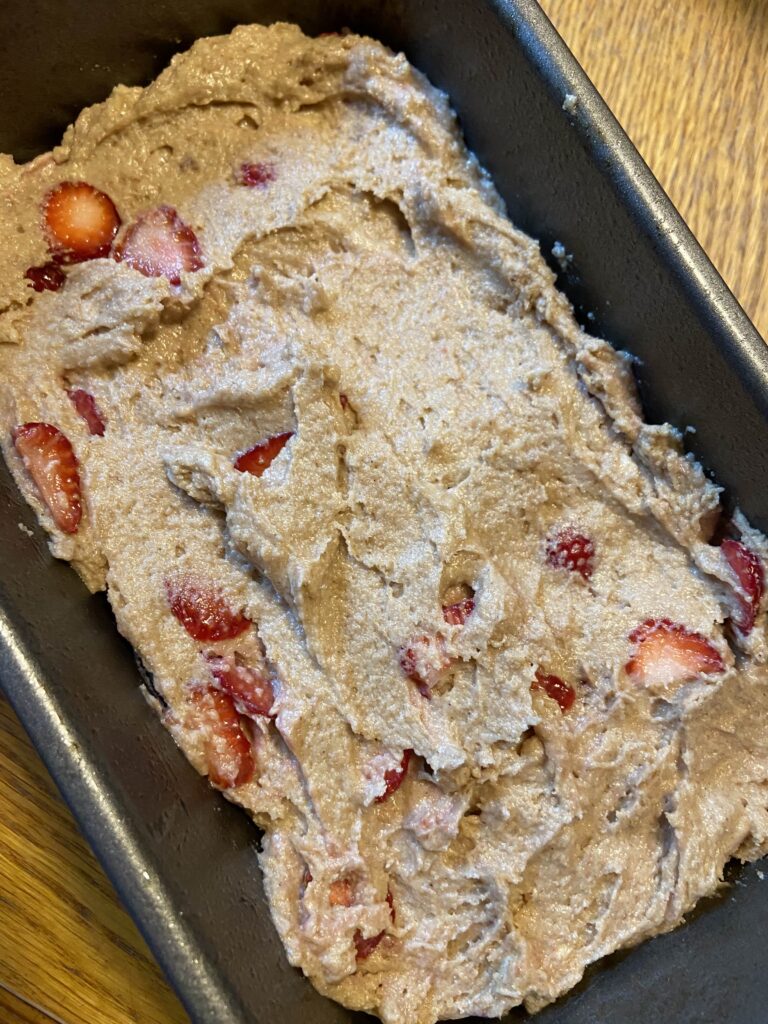
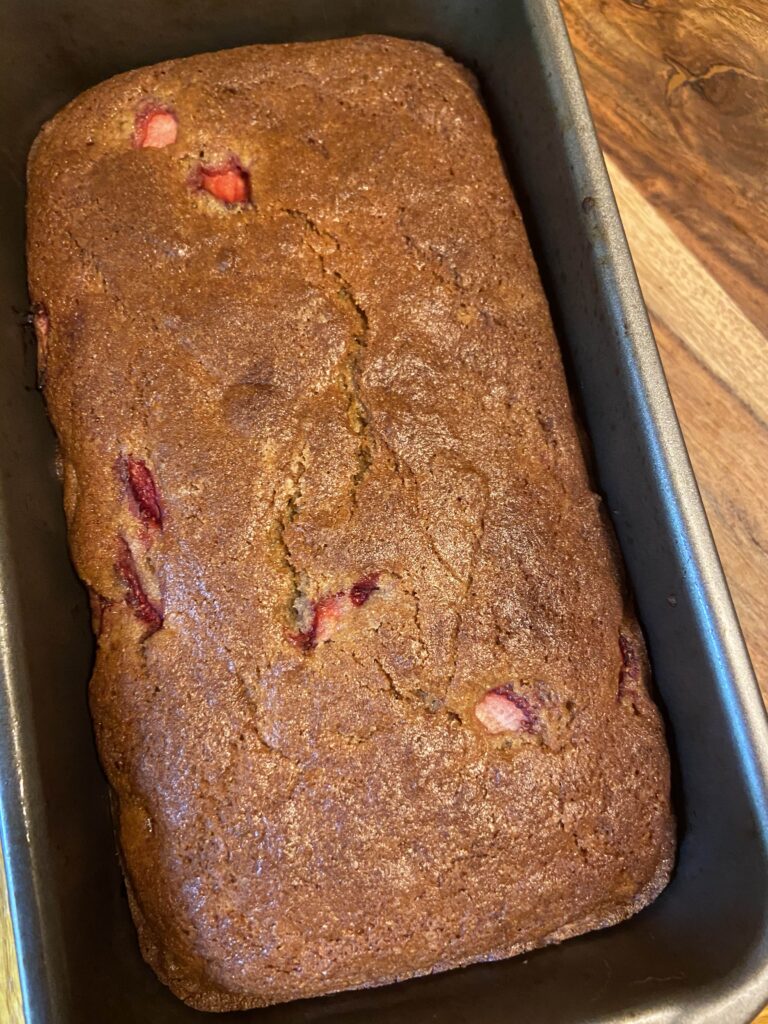
Stir in flour mixture until just combined. Avoid over mixing. Fold in strawberries. Be gentle with them or you will end up with a pink bread. Pour into a greased bread pan and bake for 60-65 minutes in the center of the oven. 

A few notes:

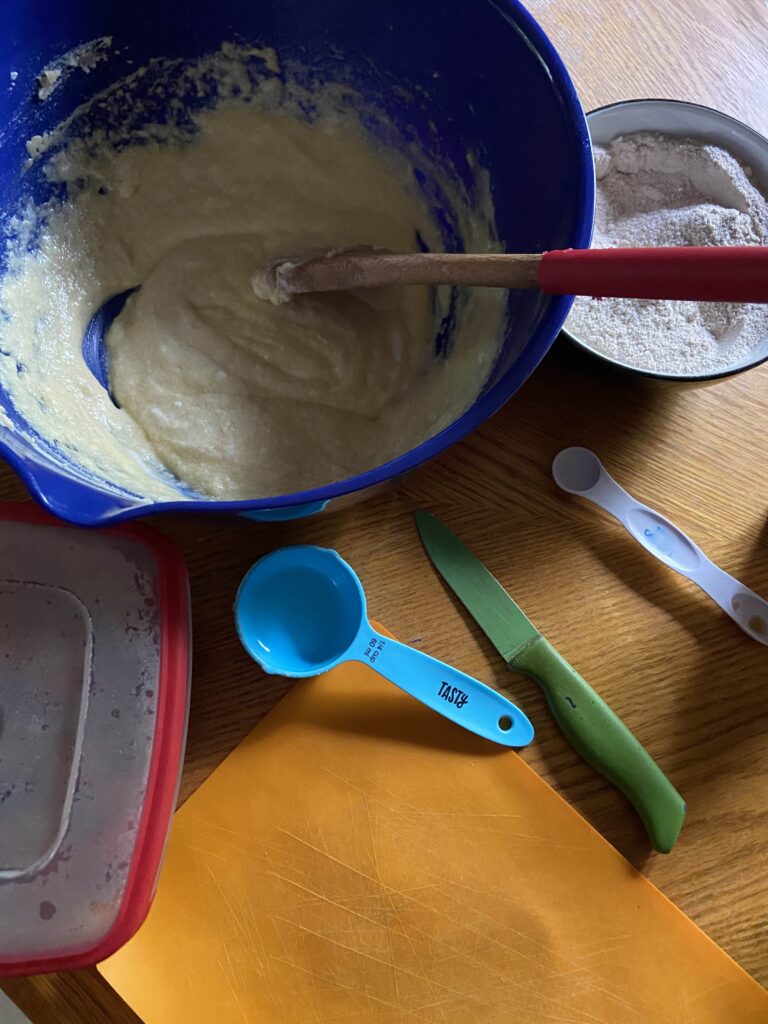
  • I know I said mix the dry ingredients in a small bowl. But for real, I hate extra dishes. I am the kind of cook that will intentionally use a smaller measuring cup to measure out 1 cup measurements if it means using one less dish. That being said, I have often made this recipe by adding the dry ingredients to the top of the wet, mixing slightly to blend the spices, and then stirring it all together. But you do you 🙂
  • I ADORE my flexible cutting boards for all sorts of cooking. They are actually the only kind of cutting boards I use (if I can help it). If you haven’t used them before, check out the link below. They are color coded for different types of food and make scraping into a bowl or pan easy as can be.
  • I used fresh strawberries from our garden, which are generally smaller than store bought. Because of this, I simply sliced them rather than chopping them small. Again, do what you prefer.

Looking for other sweet treats to bake? Check out my baking page here!

Quick Strawberry Bread

Greek yogurt and strawberries combine to make a perfect addition to your breakfast table.
Prep Time 30 minutes
Cook Time 1 hour
Course Breakfast
Cuisine American
Servings 12

Ingredients
  

  • 1 ¾ cup flour
  • ½ teaspoon baking powder
  • ¼ teaspoon baking soda
  • ½ teaspoon salt
  • ¼ teaspoon cinnamon
  • ½ cup butter softened
  • ½ cup white sugar
  • ¼ cup brown sugar
  • 2 eggs room temperature
  • ½ cup plain Greek yogurt or sour cream
  • 1 teaspoon vanilla
  • 1 ¼ cup finely chopped strawberries

Instructions
 

  • Preheat the oven to 350 degrees. In a small bowl, combine flour, baking powder, baking soda, salt, and cinnamon. Set aside.
  • In a larger bowl, beat butter until creamy.
  • Gradually add sugars and beat until light and airy.
  • Beat in eggs, one at a time.
  • Add sour cream and vanilla and mix until well combined.
  • Stir in flour mixture until just combined. Avoid over mixing.
  • Gently fold in strawberries.
  • Pour into a greased bread pan and bake for 60-65 minutes in the center of the oven.
Keyword Breakfast Bread, Quick Bread, Strawberries
Tried this recipe?Let us know how it was!

Banana Ice Cream

Last Updated on March 9, 2021 by Jess

Ice cream. It’s the go to treat at my house after dinner. My husband LOVES it, and has instilled the love to my children. I mean really, what’s not to love in terms of flavor?! For me, I indulge maybe once a week. Not because I am lactose intolerant or dieting. More so, I know my taste buds will want more than a servings’ worth and my “health conscious” stomach won’t dig the aftermath. Then I discovered chocolate banana ice cream and I instantly fell in love. It’s creamy, the right amount of sweetness, and full of good for you ingredients. A dessert I can enjoy a serving (or two!) a few times a week and know I’m actually fueling my body. In fact, I realized it makes a great pre-workout snack before my longer runs. How can it get much better?!

To create this delicious treat, it will take a little planning and ideally a large food processor. No 5-7 cup food processor? No worries! An immersion blender will work well in a pinch. Just know that it will likely need some help along the way as you blend the frozen bananas. (And this may seem like common sense, but make you unplug it before clearing the blades out. Believe me, I have the hospital bill and scar on my finger to prove it’s a good idea. Yikes!) Let’s get started!

Your ingredients

  • 3 ripe bananas
  • 2 tablespoons nut butter, your choice
  • ¼ cup cocoa powder
  • 1 teaspoon vanilla 
  • 1 tablespoon almond milk (or other milk), as needed
Optional mix ins: 

Coconut flakes, chopped nuts, chocolate chips, peanut butter chips, you name it! 

Your steps

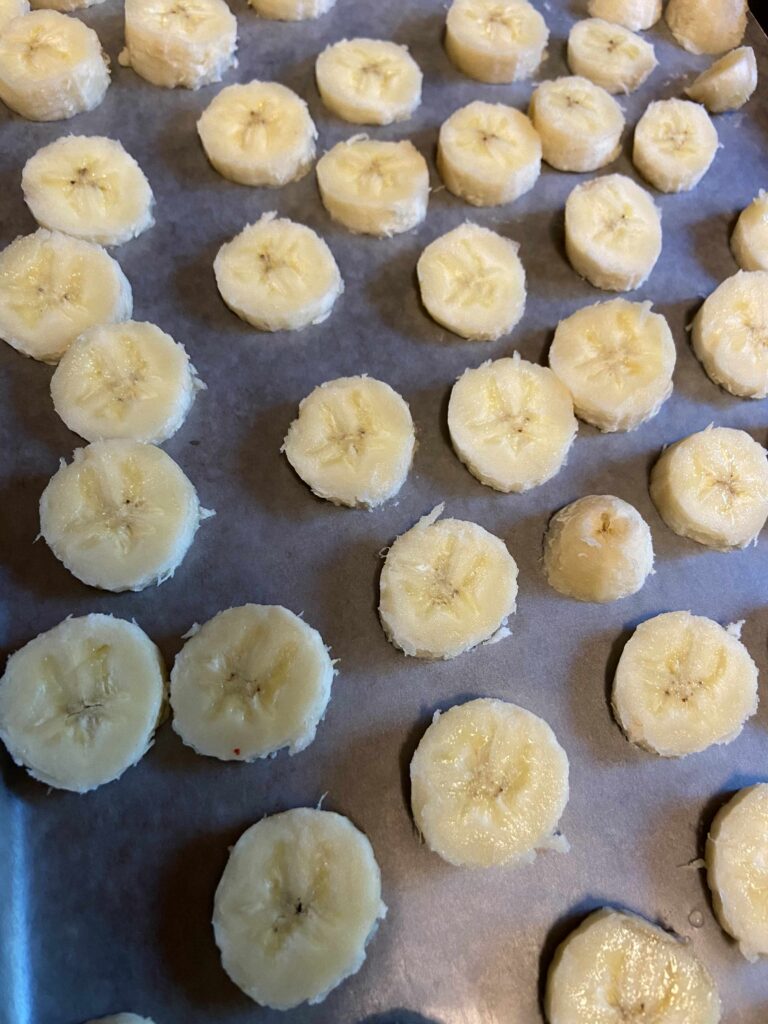
Line a jelly roll pan with wax or parchment paper. Slice bananas into ½ inch slices and place on paper. Stick the pans in the freezer and allow the bananas to harden, generally over a few hours. (If you are like me, you’ll forget about them for a few days, open the freezer and declare, “OH! MY BANANAS!” It’s okay, I get you 🙂 )

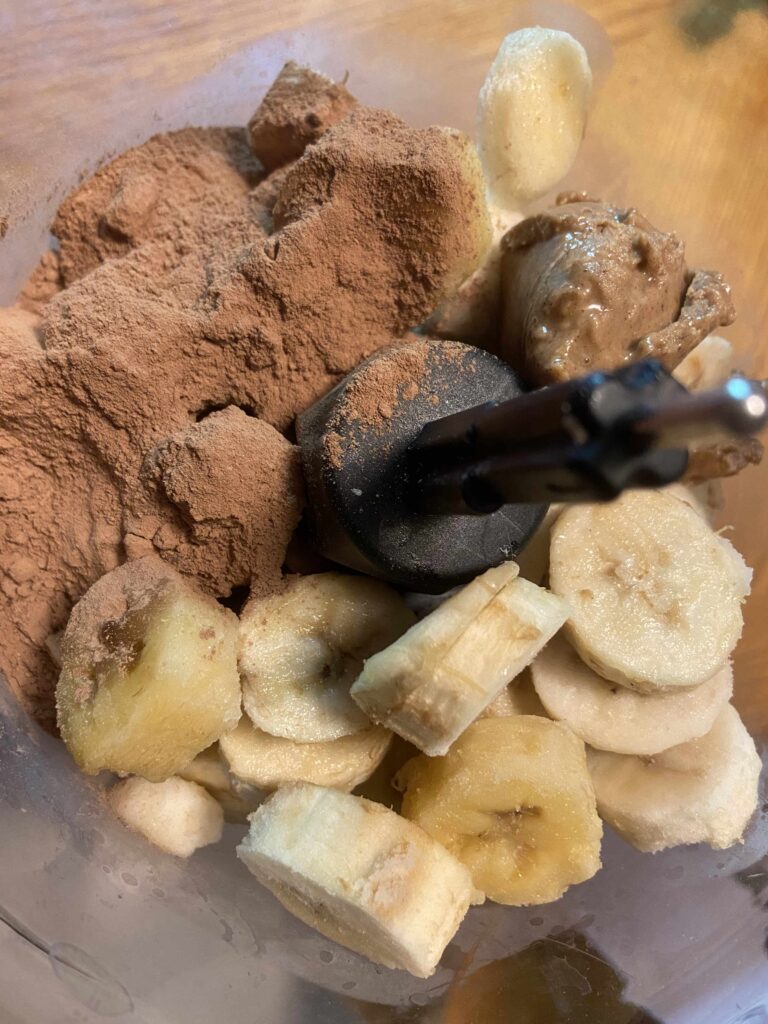
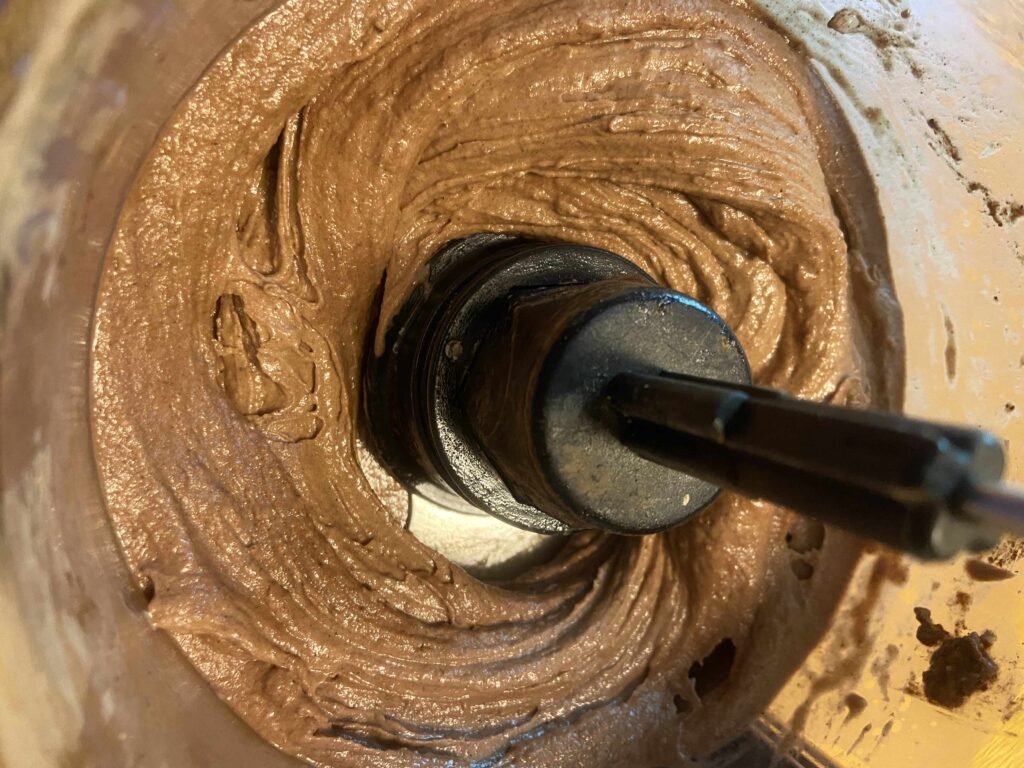
Remove bananas from pans and place in food processor. Add remaining ingredients and pulse to blend until smooth. This will take some time, but be patient. Add more milk if necessary to get desired texture. Add optional mix ins and pulse just a couple times to incorporate them into the blended bananas. 

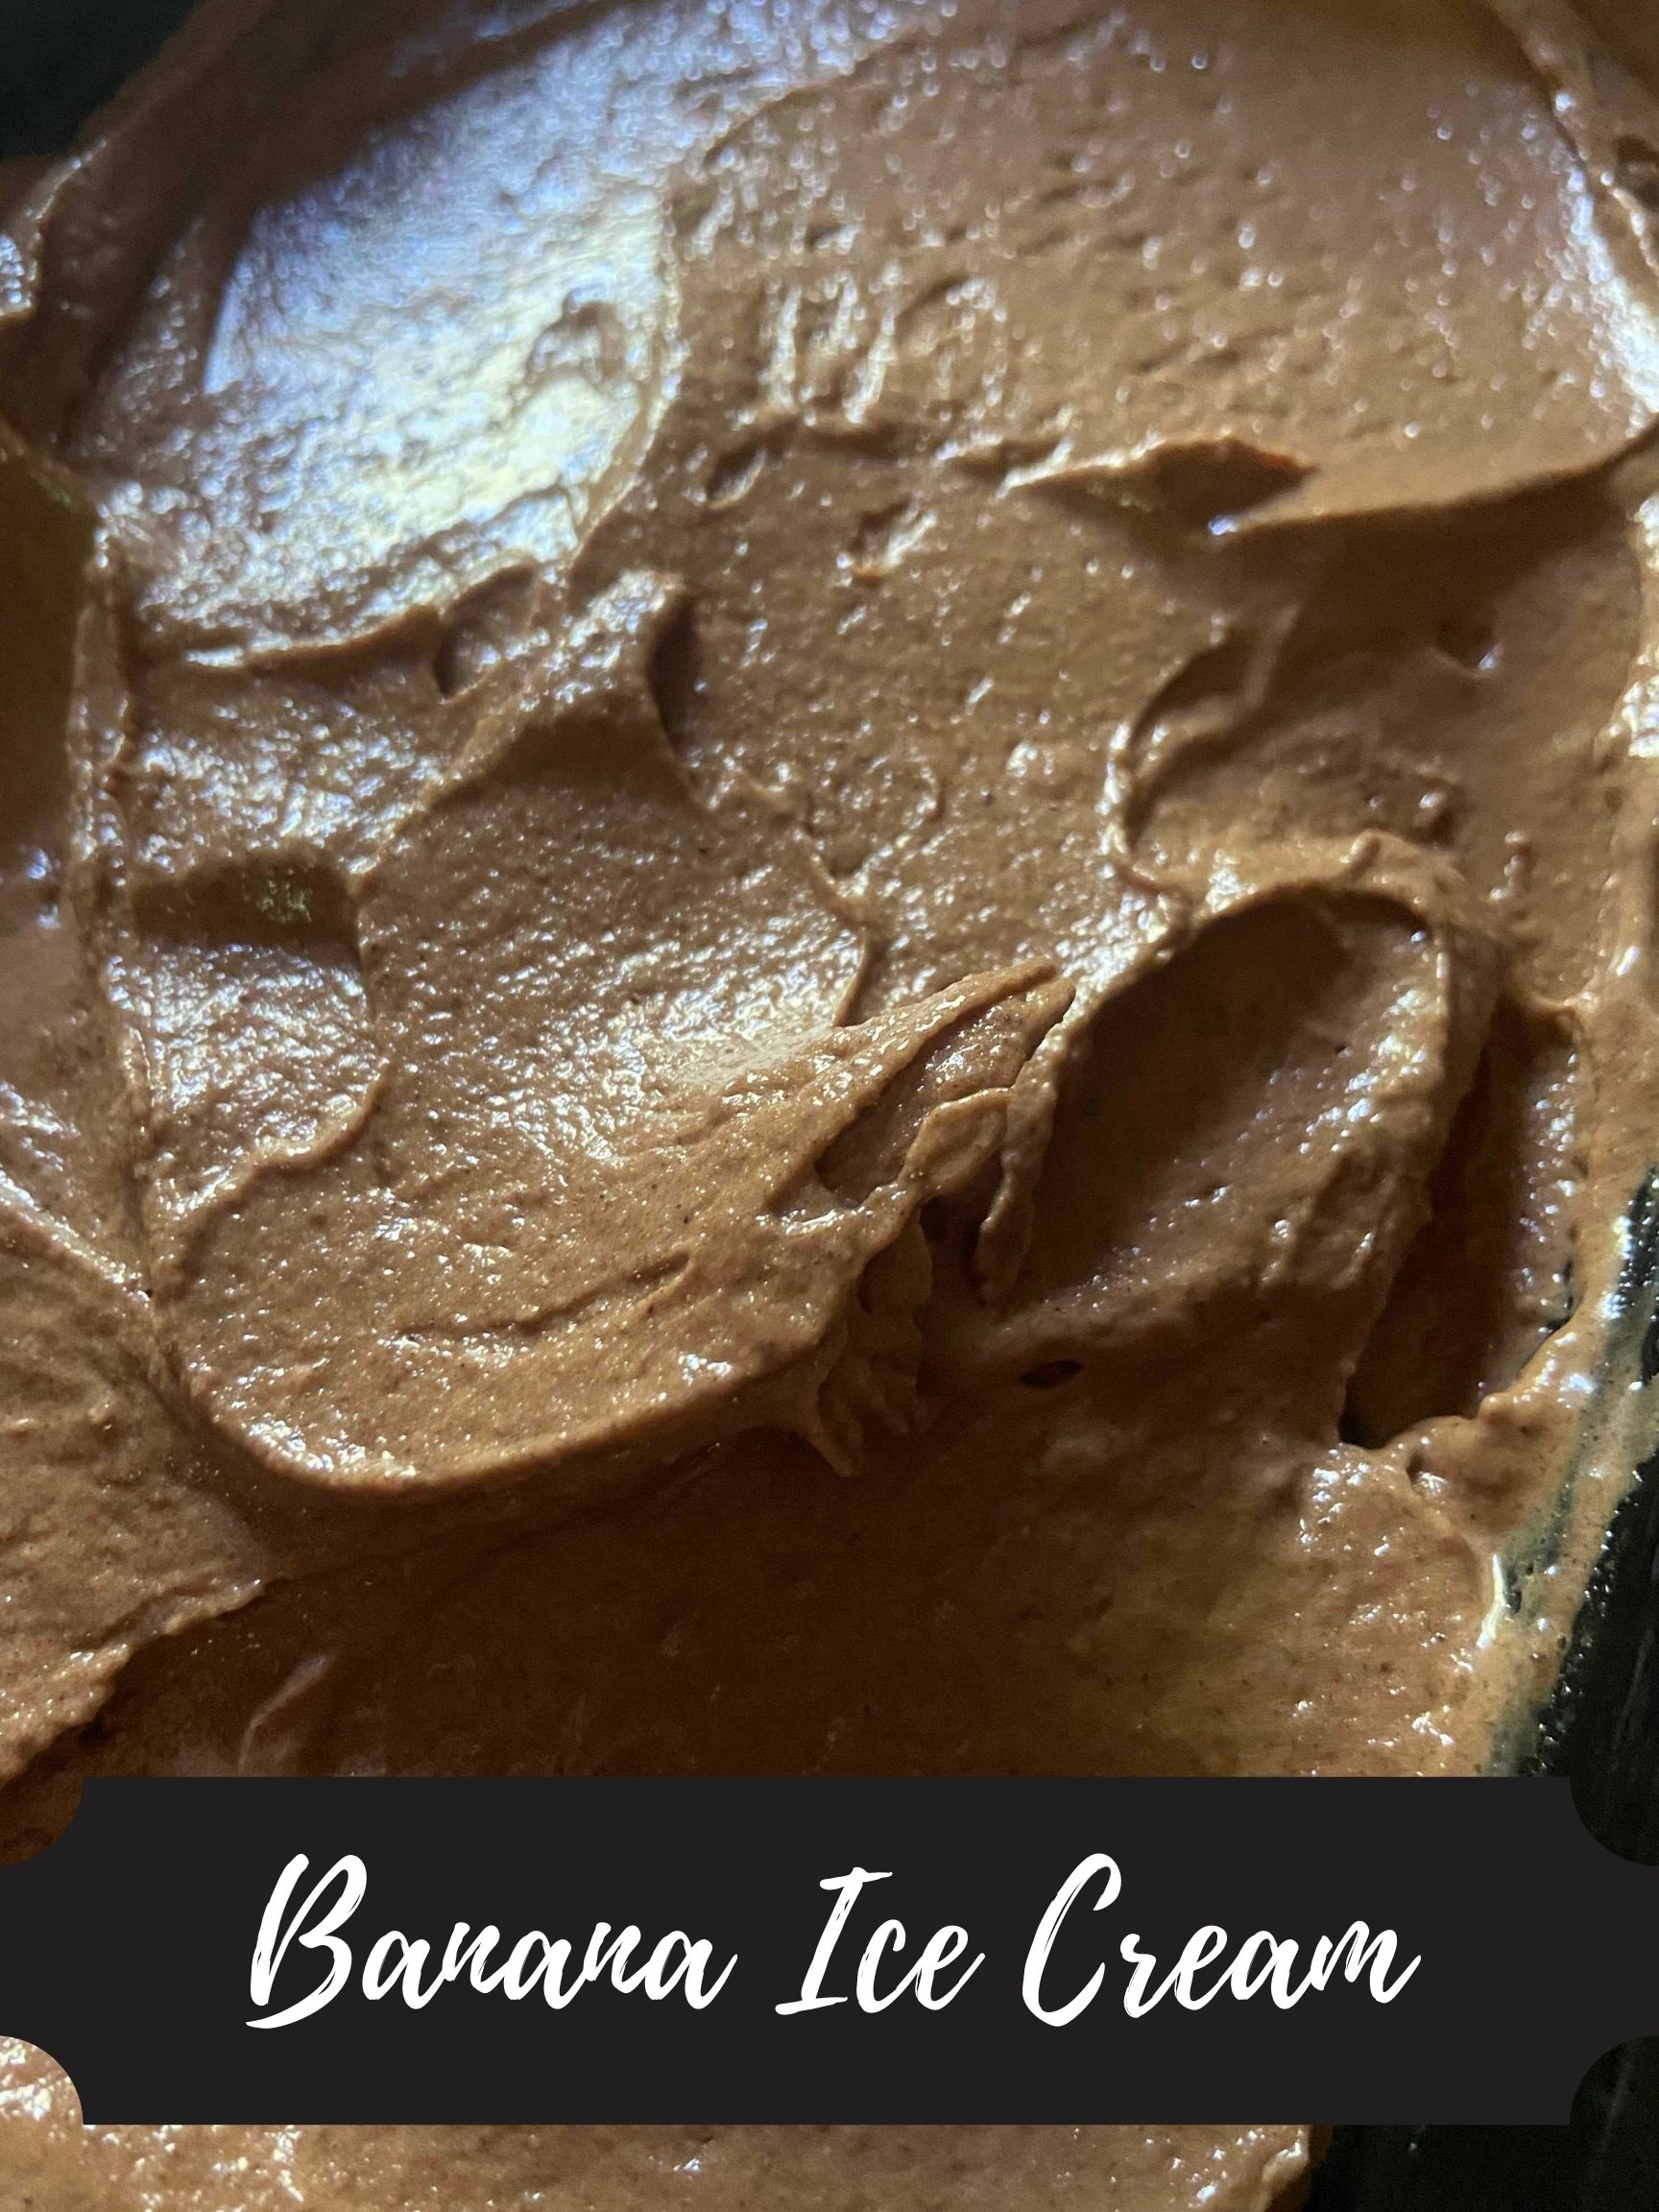
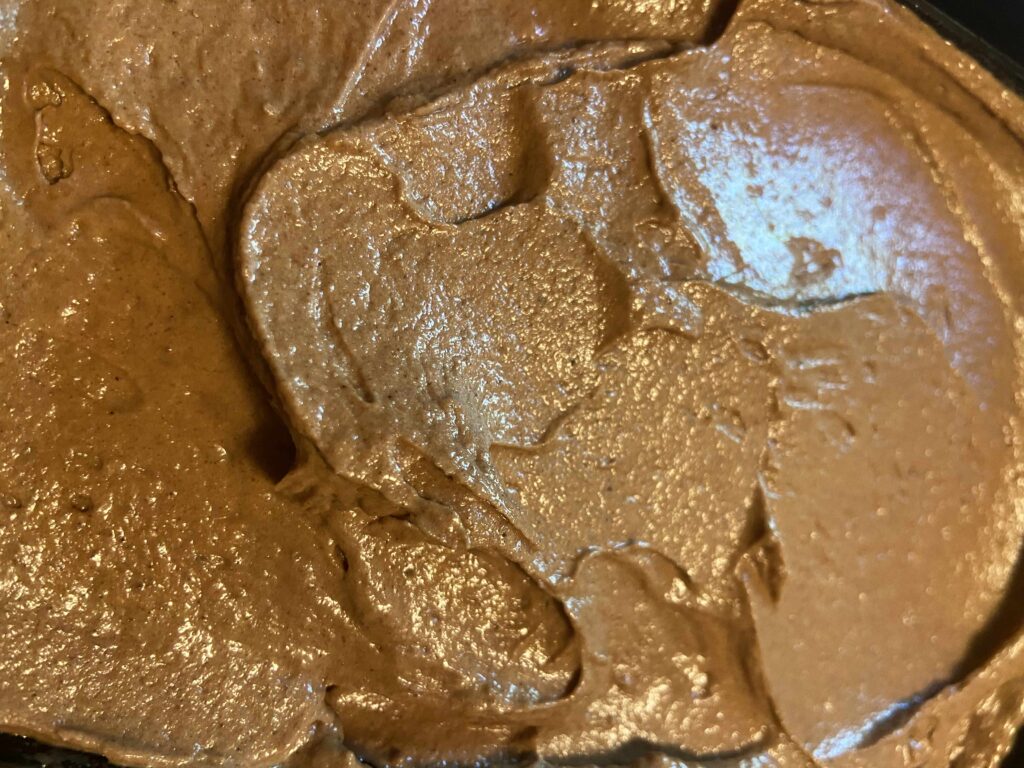
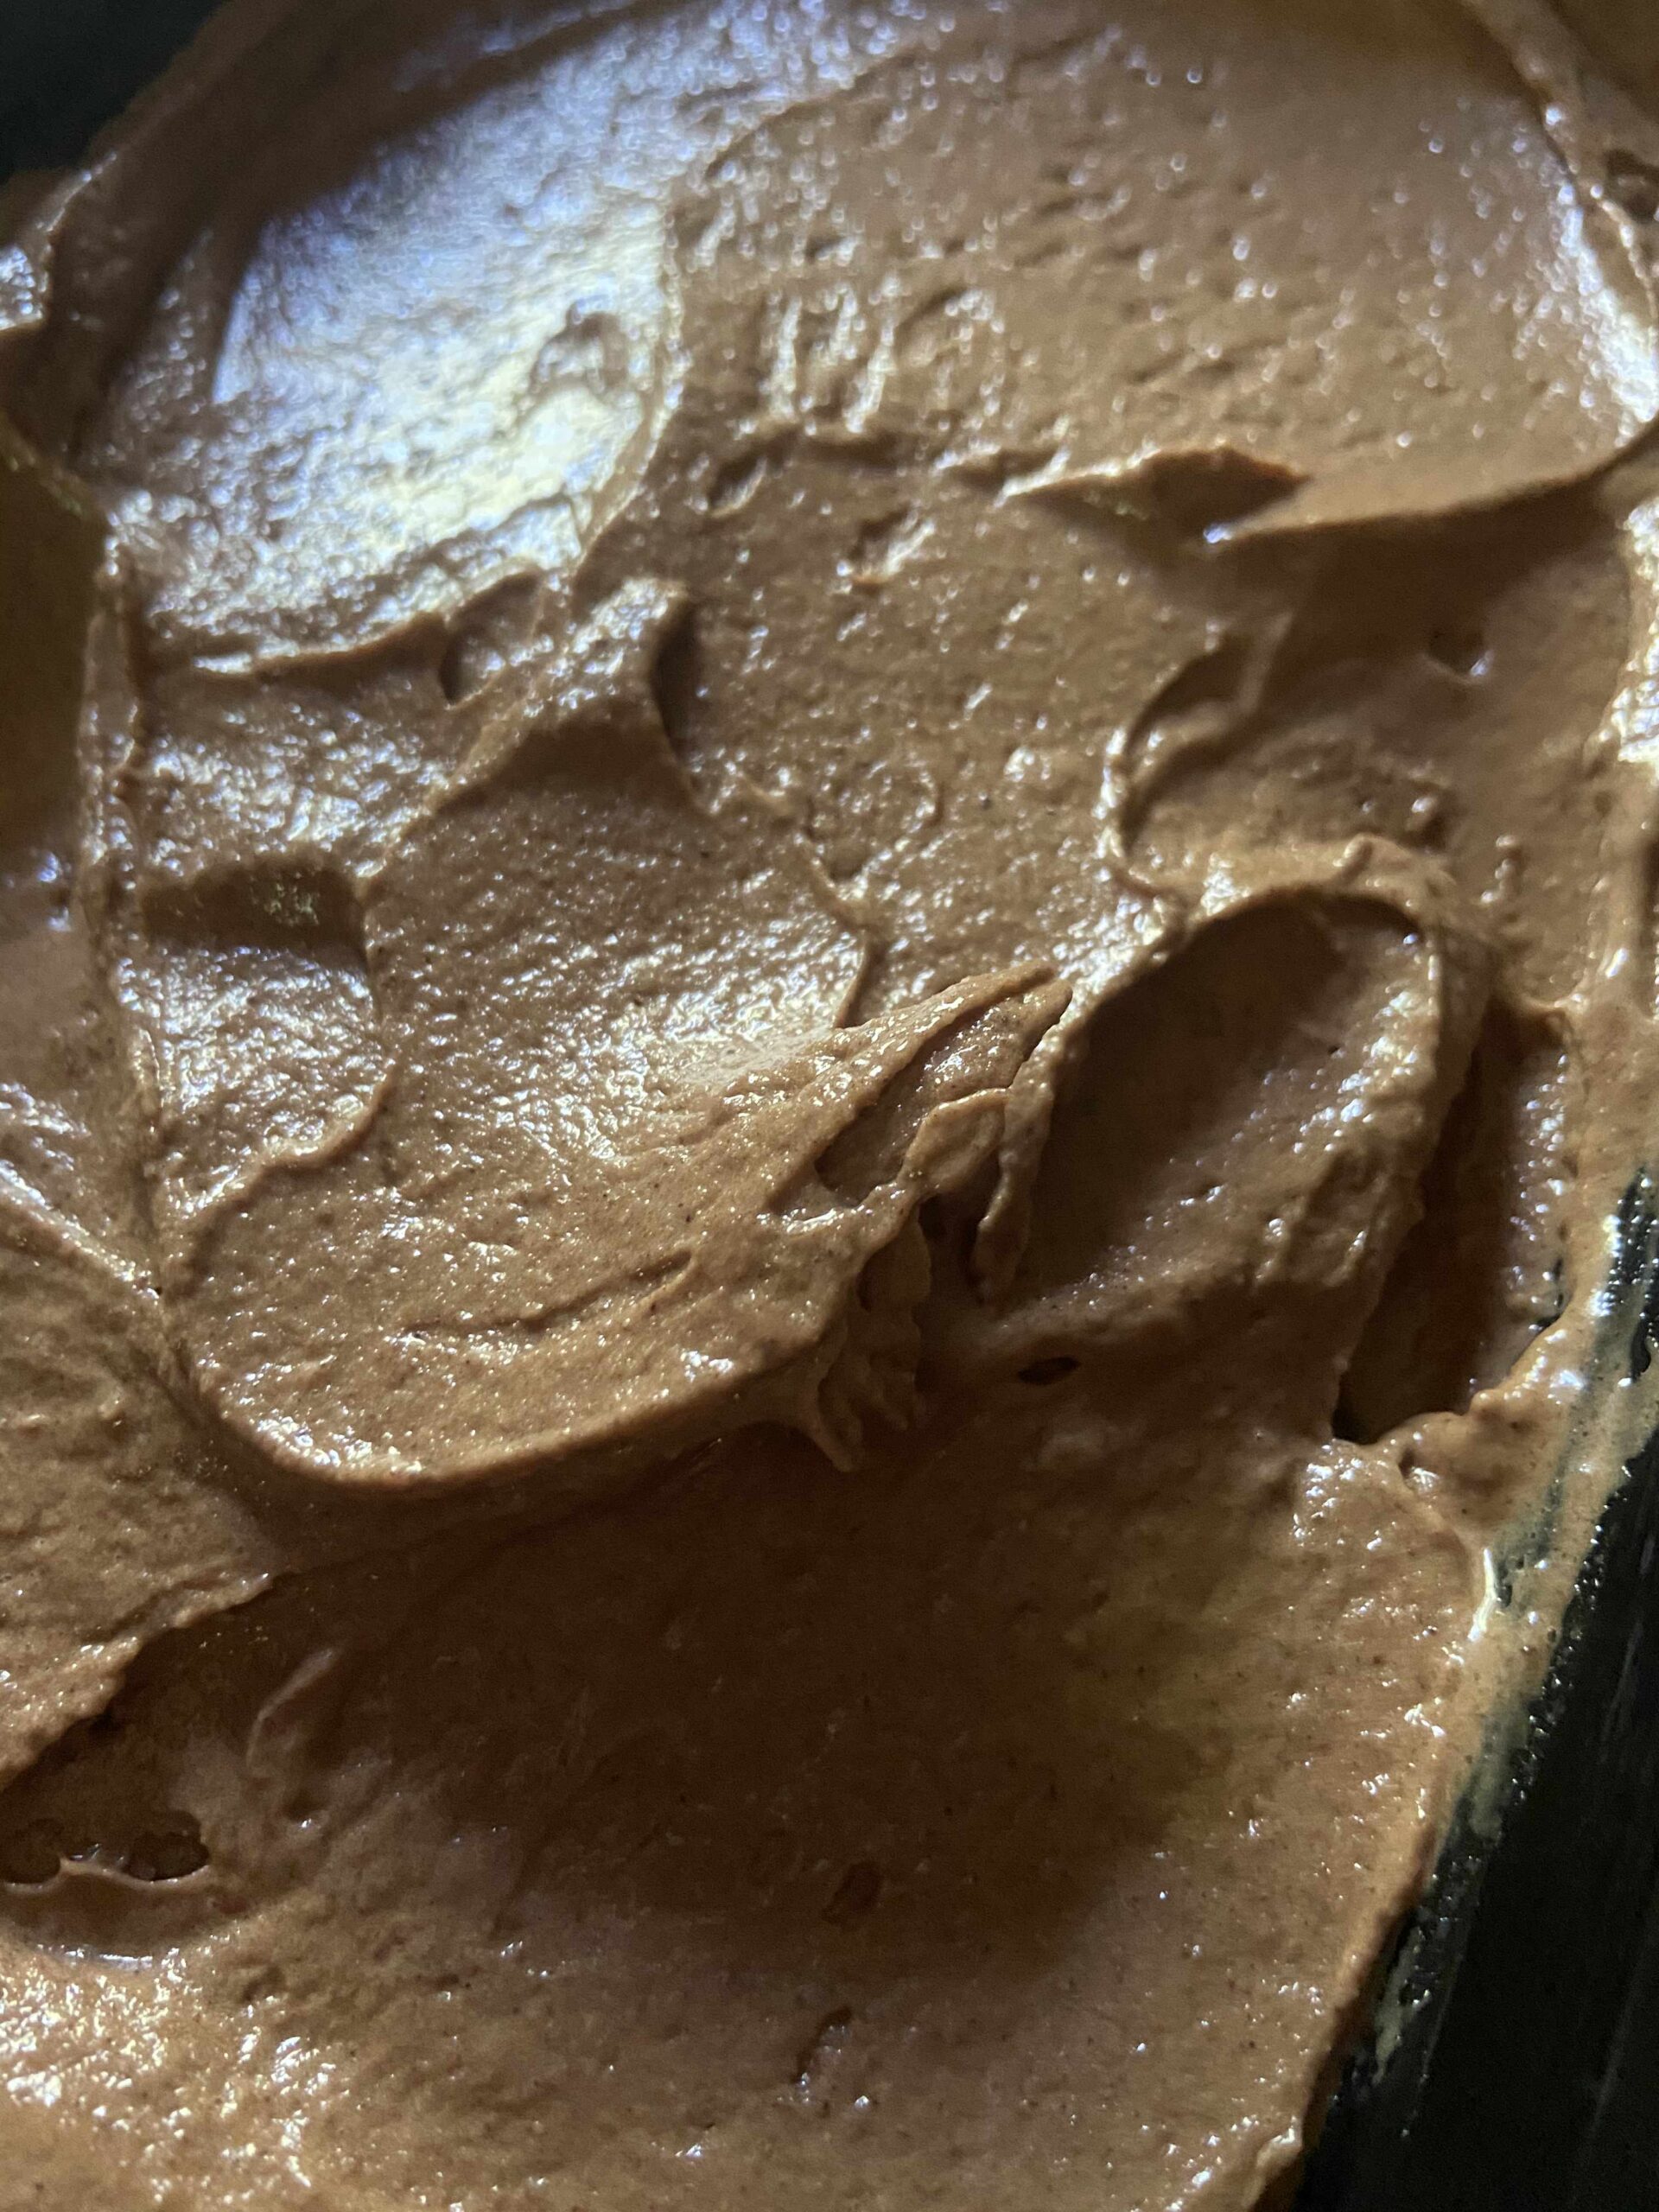
Use a spatula to smooth banana ice cream into a freezer safe container and return to the freezer. Since there is minimal milk in the blended banana, it will freeze harder than normal ice cream. I usually take it out 5-10 minutes before I want to eat it to allow it to soften slightly. My absolute favorite is to sprinkle a little coconut and some salted nuts on top. SO GOOD! And even better news? You now have another idea for those overripe bananas you have sitting on your counter. 
As for the equipment I use

Initially, I used an immersion blender and loved it. I didn’t want to drag out my large food processor. Like I said earlier in the post, this did result in me being silly and trying to clear out the frozen mess with my finger and heading to the hospital. Learn from me, don’t do that 🙂 However, my mind was changed once I brought out my 7 cup food processor. It’s SO much easier to use and clean up isn’t bad at all. That being said, I ADORE both kitchen tools and they get used often in my home. Check out the links below if your interested in adding to your kitchen tool collection!

Banana Ice Cream

No added sugar and all the chocolate. A velvety smooth alternative to dairy ice cream made with good for you ingredients.
Prep Time 30 minutes
Freezing Time 3 hours
Total Time 3 hours 30 minutes
Course Dessert
Servings 6

Ingredients
  

  • 3 ripe bananas
  • 2 tablespoons nut butter your choice
  • ¼ cup cocoa powder
  • 1 teaspoon vanilla
  • 1 tablespoon almond milk or other milk, as needed

Instructions
 

  • Line a jelly roll pan with wax or parchment paper. Slice bananas into ½ inch slices and place on paper. Stick the pans in the freezer and allow the bananas to harden, generally over a few hours.
  • Remove bananas from pans and place in food processor.
  • Add remaining ingredients and pulse to blend until smooth. Add more milk to gain desired texture, if necessary.
  • Use a spatula to smooth banana ice cream into a freezer safe container. Enjoy right away or return to the freezer for a snack later.
Notes

There are lots of optional mix ins you can add to this ice cream: coconut flakes, chocolate chips, nuts, etc. Add after you have done the initial blending and pulse a few times to incorporate.
Since there is minimal or no dairy in this ice cream, it will freeze quite hard. You will likely want to take it out of the freezer to soften 5-10 minutes before serving.
Keyword Banana, Banana Ice Cream, Vegan
Tried this recipe?Let us know how it was!

Looking for other sweet treats to create in your kitchen? Check out the baking page here!

French Dressing From Scratch

Last Updated on March 5, 2022 by Jess

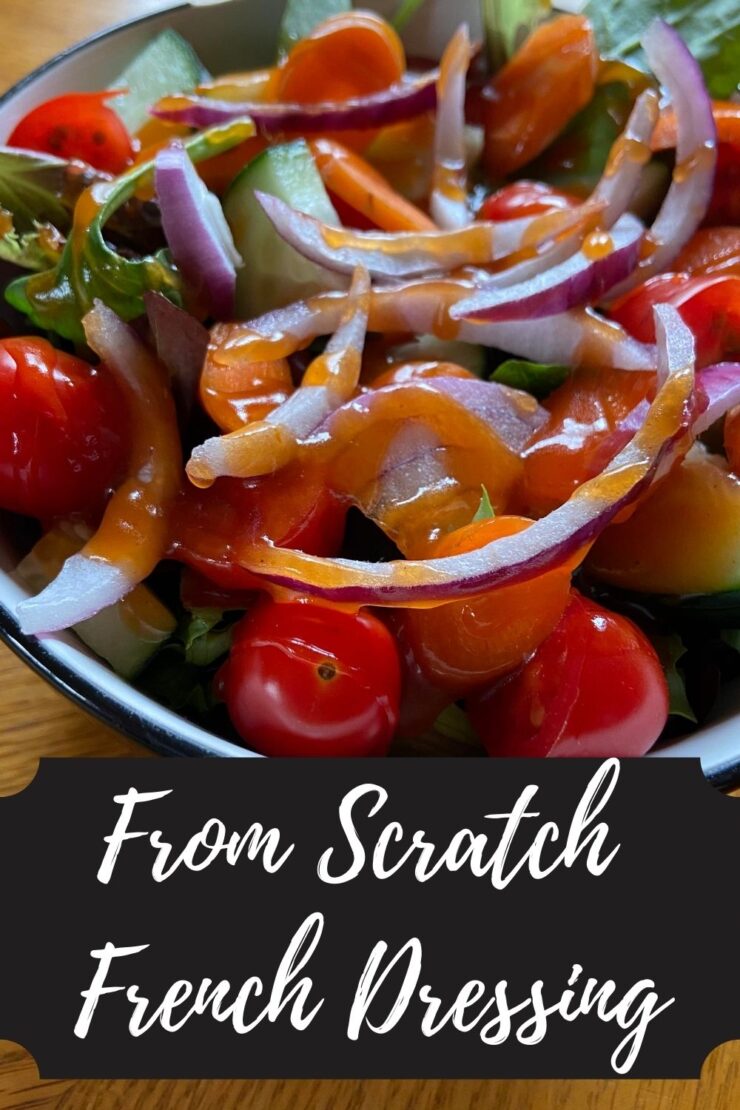
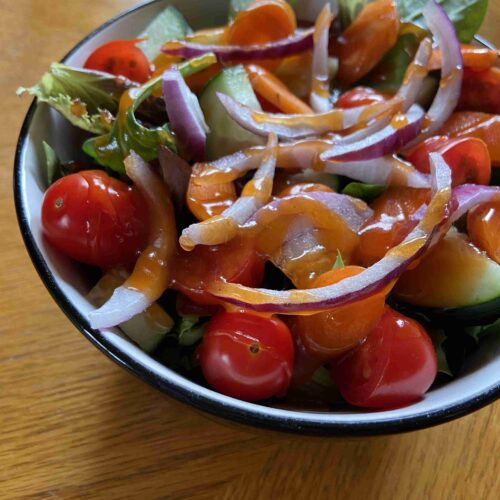
Salads are life. I decide on a restaurant by the quality of the side salad I can get on a regular basis. They don’t have to be anything special: I am always down for some leafy greens, onion, tomato, carrot, and cucumber salad. Add a few black olives, croutons and french dressing and I am happy as a clam. I often get made fun of for this. Our best couple friends quote the Simpsons, “You don’t make friends with salad.” Maybe not , but I’ll be your friend if you have a strong salad game. 

French dressing has been my go to for as long as I can remember. After I made my health a major priority a few years ago, I tried to change over to a vinaigrette. Every change makes a difference, right? Ugh, it was so hard though. Don’t get me wrong, I do love some good vinaigrettes, but in the end my loyalty lies with French dressing. 

The search for a homemade recipe begins

I set out to find a recipe that I could make from scratch to cut out some of the “yuck” that comes with the dressings found in the inner isles of the grocery store. Namely, I wanted to cut the added, refined sugars and maybe the oil. It just feels good to know what is in the food you are eating. At first, I called this recipe “a work in progress” on Instagram. And while all recipes will always be work in process (Isn’t everything? That’s my growth mindset and fitness lover talking), I have been digging on this one more and more. It’s simple to put together with many “on hand” ingredients, which is a constant focus of mine. So here’s my work in progress, delicious, cut the sugar French Dressing. I hope you love it as much as I do!

YOur Ingredients

  • ¼ cup ketchup 
  • ¼ cup olive oil 
  • ¼ cup honey 
  • ½ teaspoon onion powder 
  • ½ teaspoon minced garlic/garlic powder
  • ½ teaspoon Worcestershire sauce
  • 1 tablespoon apple cider vinegar

Your steps

Using a 1 cup liquid measuring cup, measure out the ketchup, olive oil, and honey. (I am all about the least amount of dishes possible, so I like to do ketchup to the ¼ cup, olive oil to the ½ cup line, and then the honey to the ¾ cup line). Add onion powder, garlic, Worcestershire sauce, and vinegar. Whisk together until well blended. It might take a little longer than you think it should because of the honey and ketchup. Once well mixed, pour into a container with a lid to be stored in the refrigerator. For best results, remove from the refrigerator 5-10 minutes prior to using and shake well just before pouring.

A few notes…

The flavors get better the longer you let them mingle, so if you have enough forethought, mix this up the night before. But if you’re anything like me, you’ll be mixing this 5 minutes before you put your salad together. Oh well, live and learn 😉 


Also, you may have noticed that I have a sweet mixer bottle for my dressings. I actually have two and they are almost always full of my own homemade dressings. They are the Kolder Salad Dressing Mixing Bottles and you can get them for yourself by clicking here or the picture below.

They clean up easily and are great for an even pour of your dressings. Notice, they also have recipes on them. Some I love, some I don’t. As a person who loves to experiment in the kitchen, I usually use them more for storage, but maybe the recipes will speak to you. Only way to know is to try them out!

Looking for some made dishes to go with your sides? Check out the links below or the cooking page for some inspiration!

French Dressing

French Dressing

A classic French Dressing sweetened with honey
Prep Time 5 minutes
Course Salad
Cuisine American
Servings 6

Ingredients
  

  • ¼ cup ketchup
  • ¼ cup olive oil
  • ¼ cup honey
  • ½ teaspoon onion powder
  • ½ teaspoon minced garlic/garlic powder
  • ½ teaspoon Worcestershire sauce
  • 1 tablespoon apple cider vinegar

Instructions
 

  • Using a 1 cup liquid measuring cup, measure out the ketchup, olive oil, and honey.
  • Add onion powder, garlic, Worcestershire sauce, and vinegar.
  • Whisk together until well blended.
  • Once well mixed, pour into a container with a lid to be stored in the refrigerator. Shake well before pouring.

Notes

This recipe gets better with age, so mix a few hours before you plan on using it. It will pour easier if you take it out of the refrigerator 5-10 minutes prior to using. 
Keyword Dressings, French Dressing, Salad
Tried this recipe?Let us know how it was!

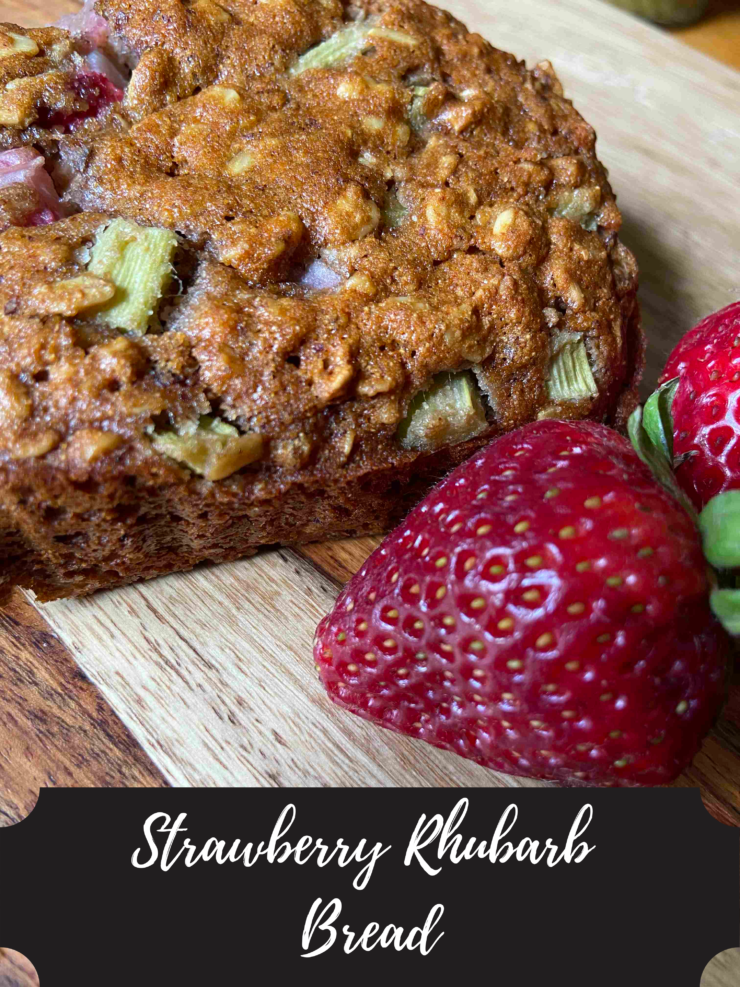
Strawberry Rhubarb Bread

Last Updated on May 16, 2021 by Jess

Jump to Recipe

As spring makes way to summer, gardeners all around Wisconsin watch for the rhubarb to break through the ground and produce stems of tart goodness. Then you can pair that with the strawberries that are turning red right now, and you have some tasty baking and cooking that happens. Rhubarb pie. Jams and jellies. However, my favorite is probably strawberry rhubarb bread.

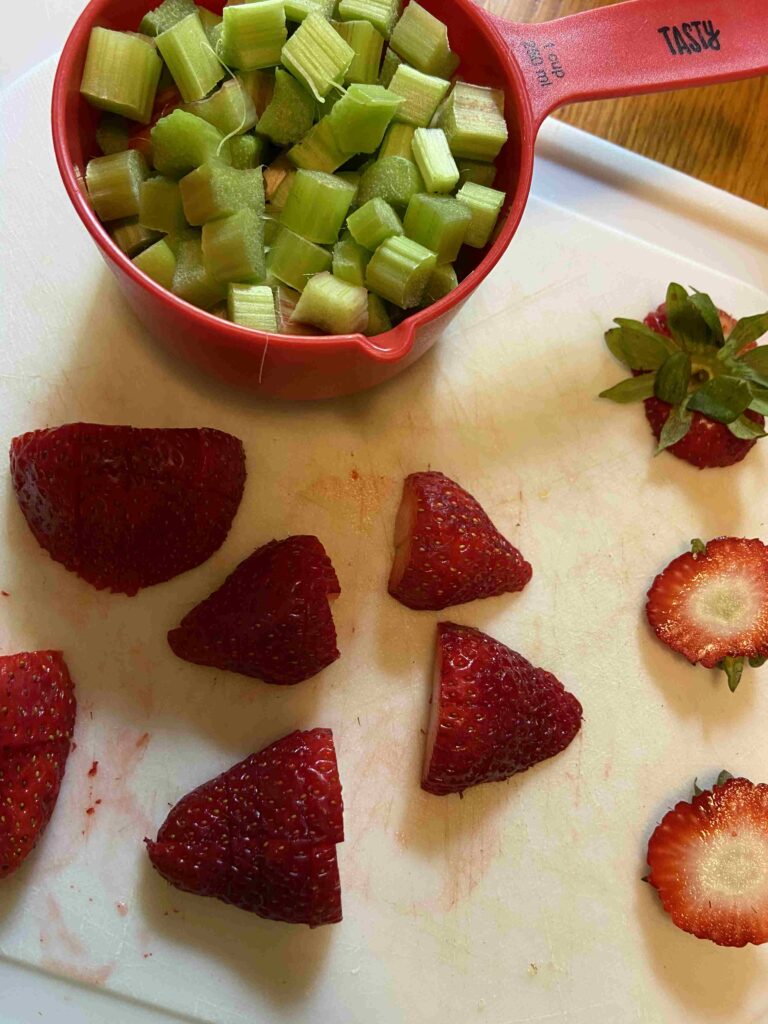
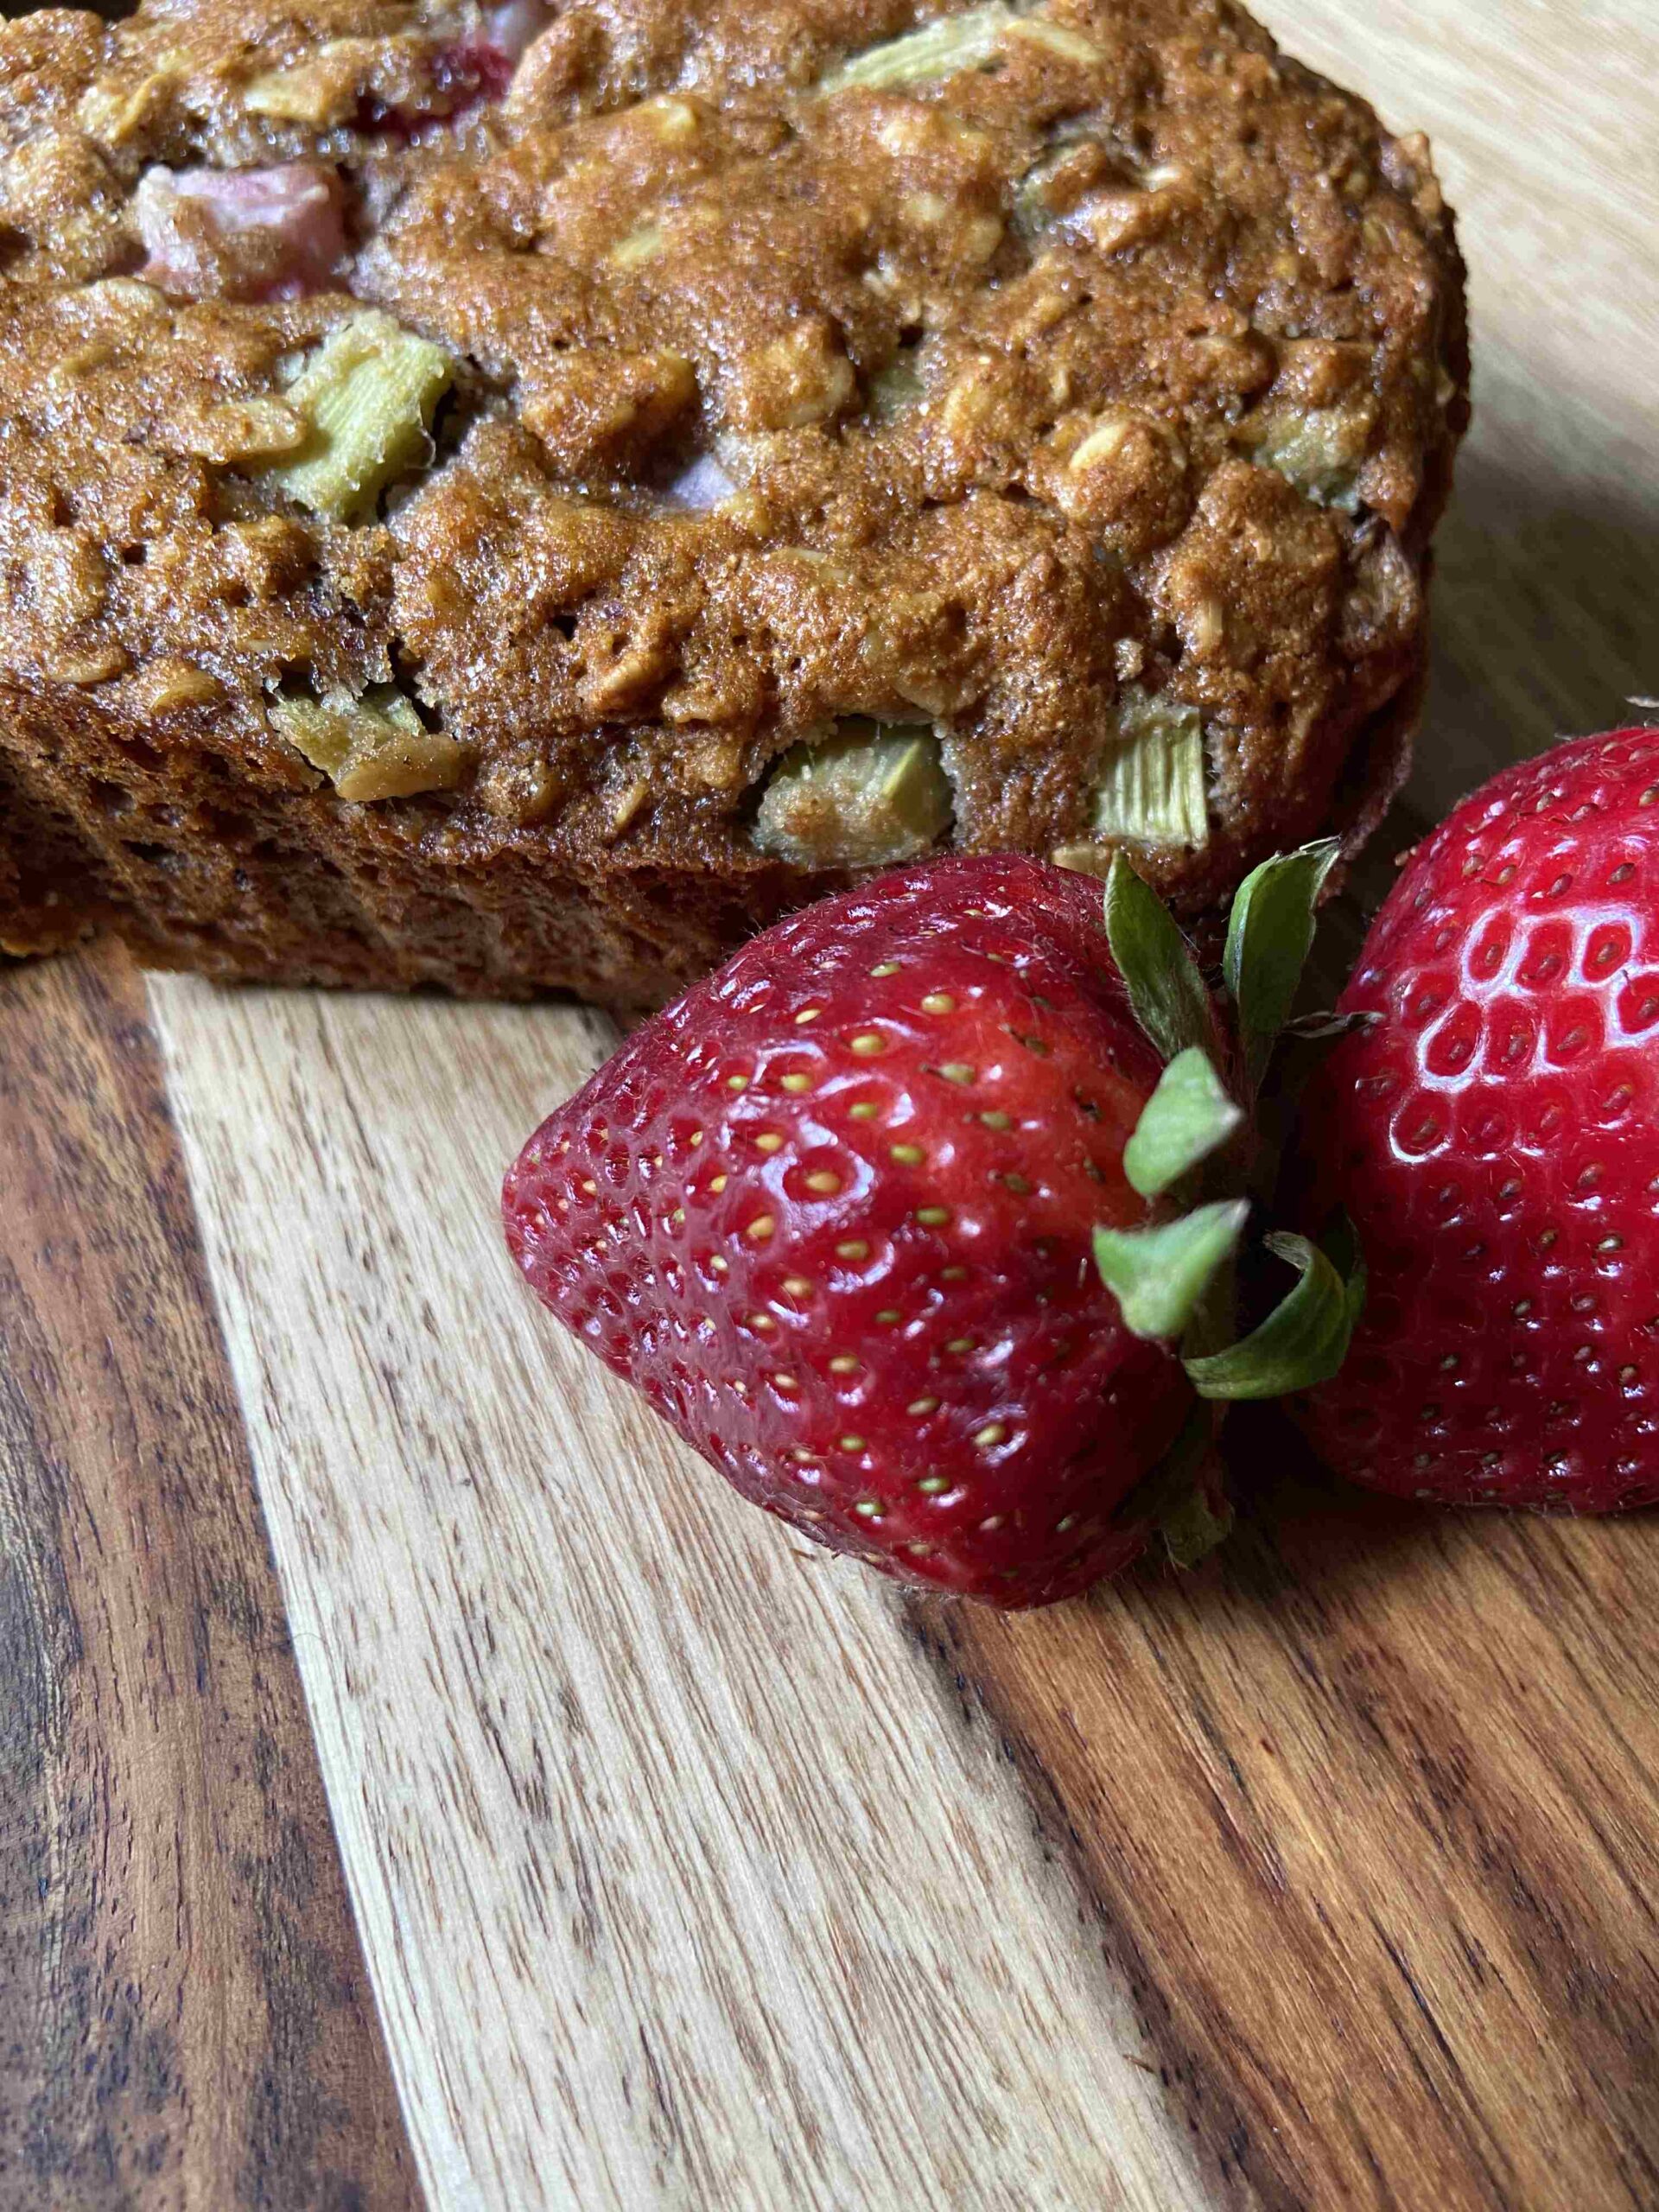
Springtime on a cutting board: strawberries and rhubarb

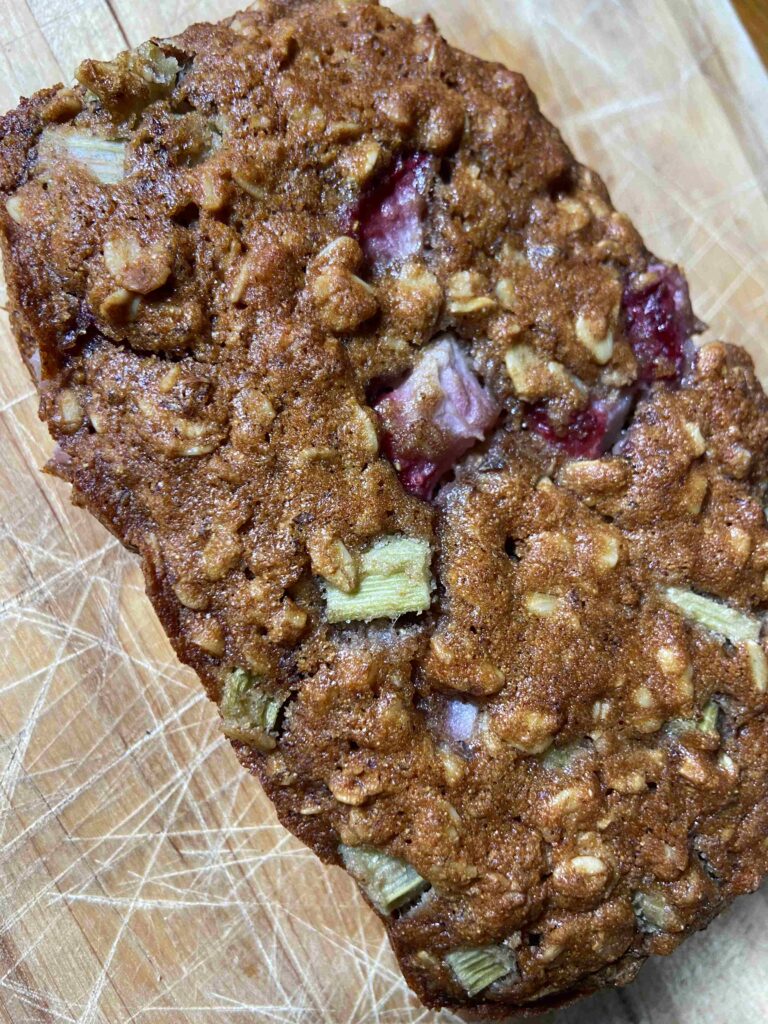
Here, the sweetness from the berries and the tart from the rhubarb mix perfectly. And the color! It brings me so much joy. My mother-in-law has a fantastic recipe for strawberry rhubarb bread; however, I try to be mindful of the amount of sugar I serve my family and friends so I began to play with a few recipes to make my own, healthier version. 

A few weeks ago, I tried to tweak this great banana bread recipe to work as a strawberry rhubarb bread. Let me tell you, it was a fail. Maybe not an EPIC fail. But I will say, I don’t waste much food, and it went in the garbage after a few days.

Determined not to fail, I wrote in my planner, “FIX THE STRAWBERRY RHUBARB BREAD,” everyday. I found the time, sat down with the banana bread recipe and my mother in law’s recipe and boom…this recipe was born as a hybrid of them both. A cleaner, healthier Strawberry Rhubarb Bread.

As an aside, my husband is my go to recipe tester when I try to make it healthier. He isn’t quiet about when I “ruin” things by cutting too much sugar or replacing pasta with vegetables. He hated the first “banana bread” try. However, he gave glowing reviews to the one you’re about to bake. It’s tasty, just the right amount of sweetness, and perfectly moist. Yum. I can’t wait for you to try it and let me know what you think! Let’s get baking 🙂 

Your Ingredients

  • 1 cup old fashioned oats (I get these fantastic thick oats from the natural food store in town)
  • 1 cup whole wheat flour
  • ½ teaspoon salt
  • 1 teaspoon baking soda
  • ½ cup chopped nuts (I did walnuts) 
  • 1 cup peeled and chopped rhubarb
  • 1 cup chopped strawberries
  • ½ cup honey or maple syrup (I did honey) 
  • ¼ cup coconut oil, melted (but any oil will do) 
  • 1 teaspoon vanilla 
  • 1 egg, beaten
  • 6 tablespoons milk (I did almond)

Your Steps 

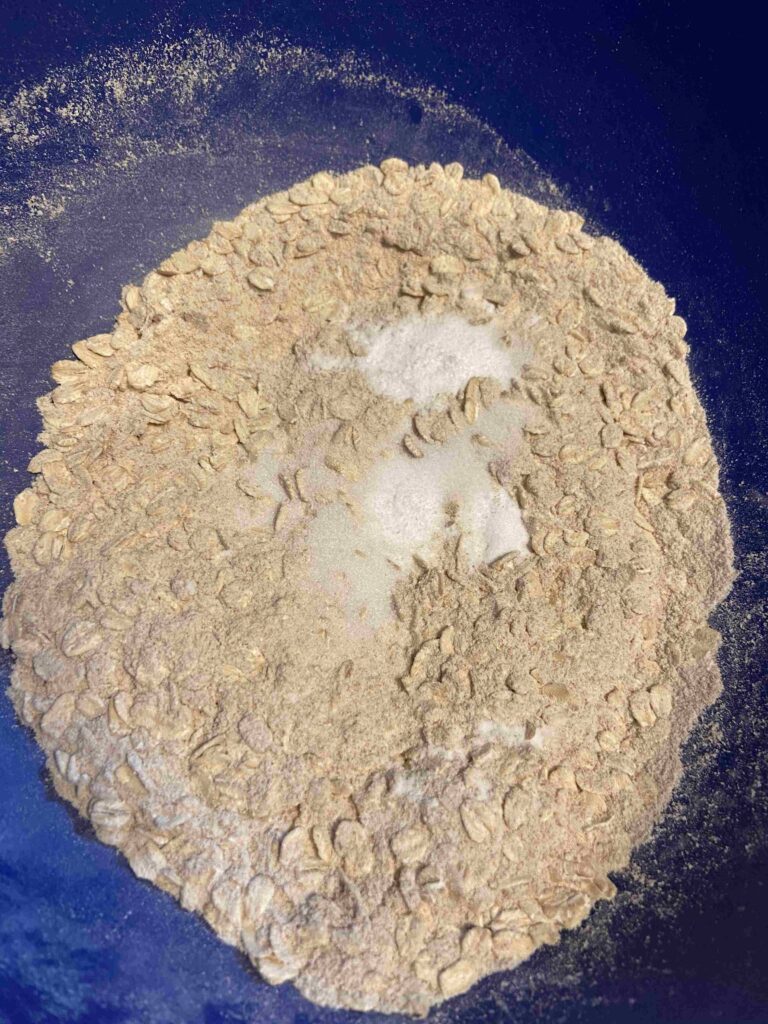
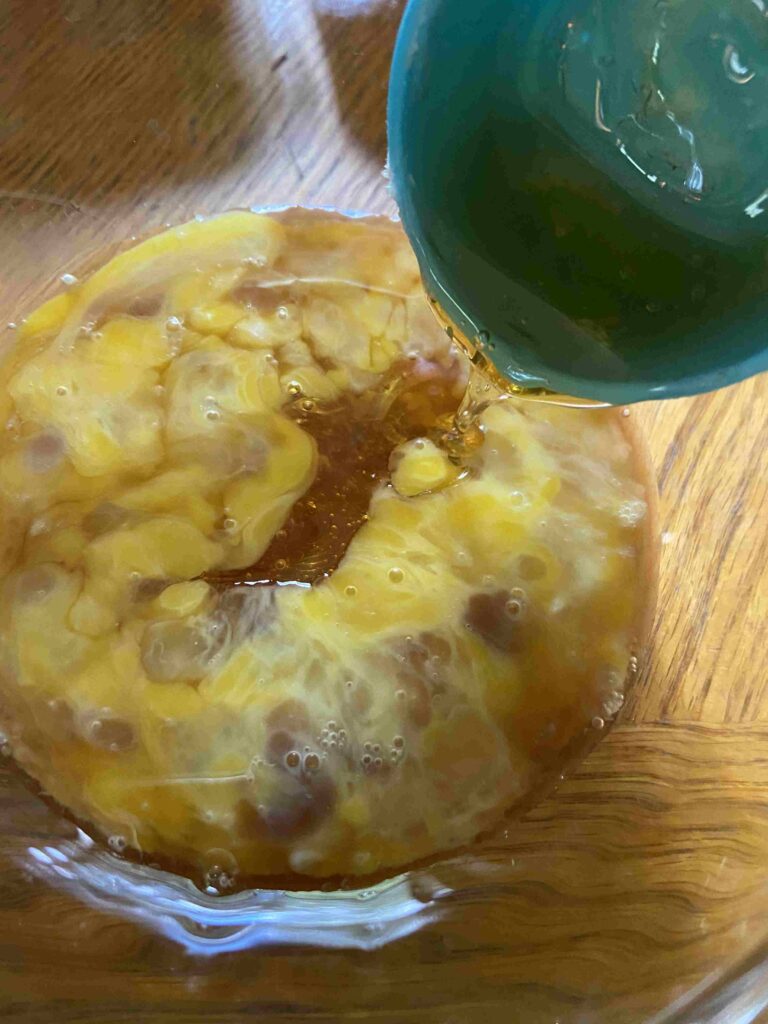
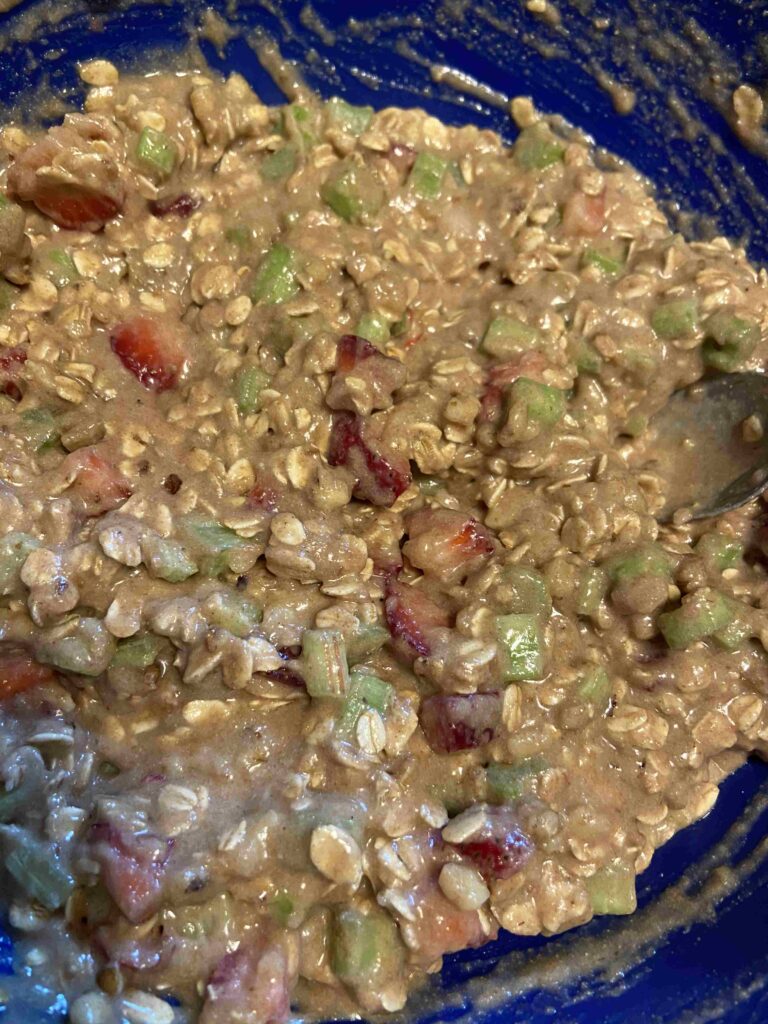
Preheat oven to 350 degrees. Prepare one loaf pan (or three miniature pans) by spraying with cooking spray. Combine oats, flour, salt, baking soda, and nuts in a large bowl. In a small bowl, combine honey, vanilla, egg, and milk.

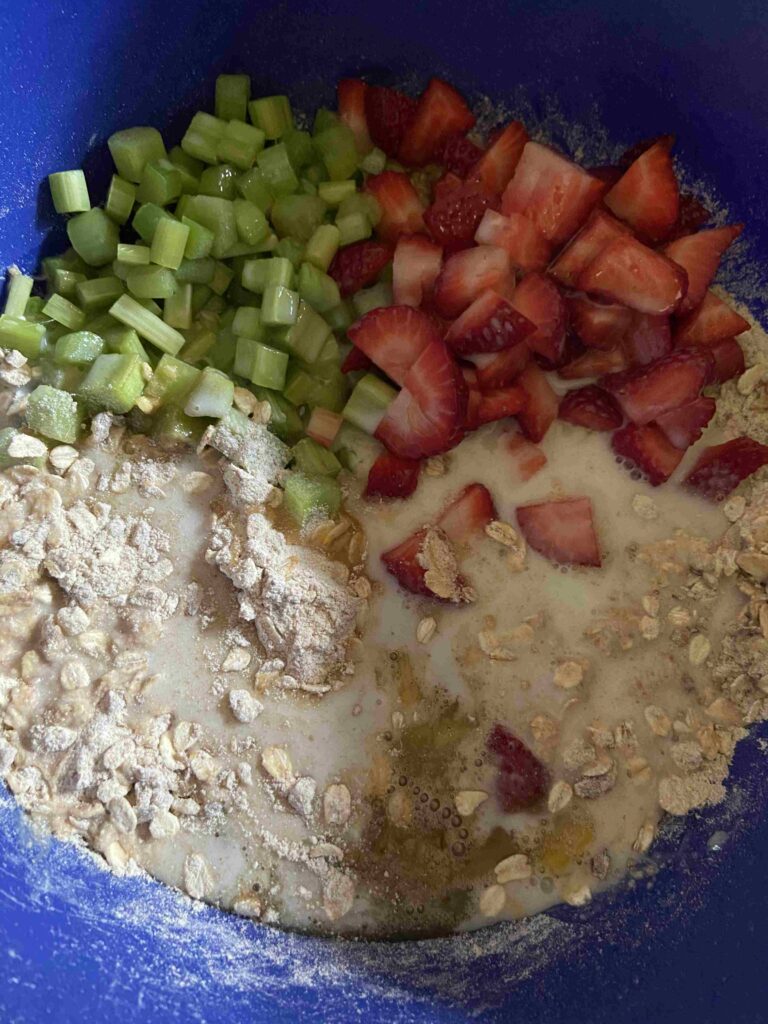
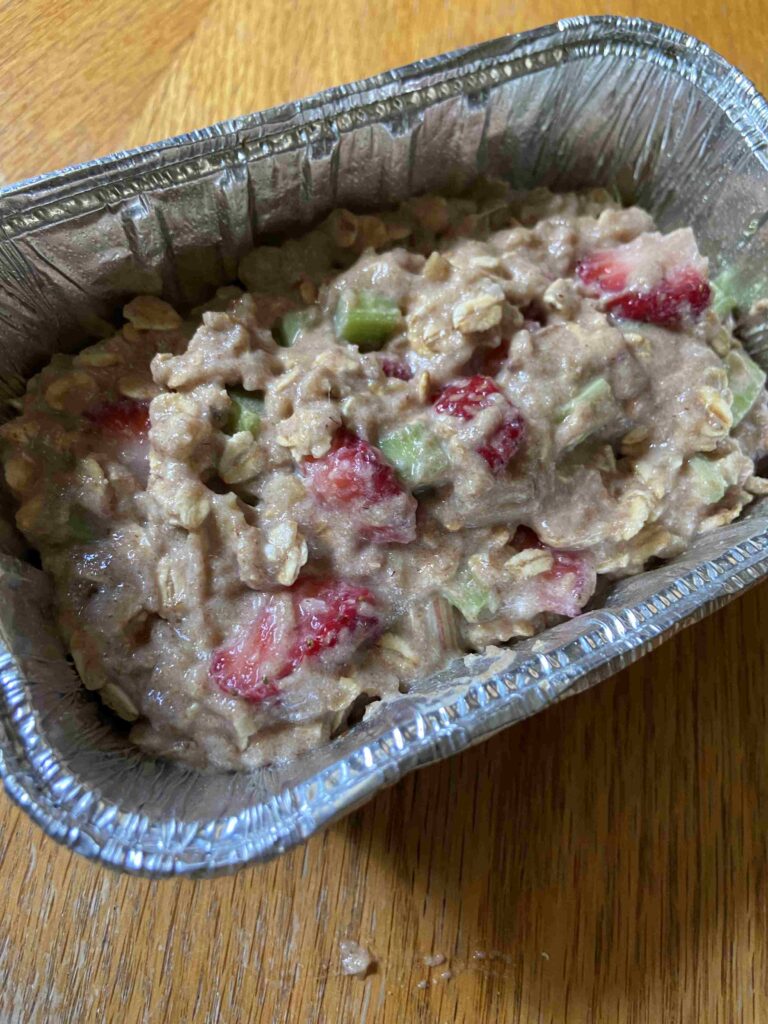
Add the honey mixture to dry mixture along with rhubarb and strawberries. Stir until just combined. (Be sure to mix all the way to the bottom. I can’t tell you how often I pour my batter into a pan and find dry ingredients I missed while mixing to “just combined.” Alas, I will learn someday.)

Quickly pour in oil and stir. Pour into prepared pan(s) and bake for 40-55 minutes, depending on the depth of your batter. Finally, use a toothpick or knife to check if it is cooked all the way to through. Enjoy! 

A few notes

  • The batter will seem dry. That’s okay. It will moisten up at it bakes.
  • You should be able to switch up the ratios of strawberries and rhubarb. Just shoot for about 2 cups of cut up fruits/vegetables. (Did you know rhubarb is technically a vegetable?!
  • I add the oil last and stir fast so that it doesn’t have the time to begin to turn solid. This was a recent “ah ha” moment I had while making my own waffles with friends. Get that recipe here!

Looking for more baking recipes? Click here!

Strawberry Rhubarb Bread

Sweet Strawberries and Tart Rhubarb join together in this cleaner version of a classic combination.
Prep Time 30 minutes
Cook Time 50 minutes
Course Breakfast
Cuisine American
Servings 12

Ingredients
  

  • 1 cup old fashioned oats
  • 1 cup whole wheat flour
  • ½ teaspoon salt
  • 1 teaspoon baking soda
  • ½ cup chopped walnuts
  • 1 cup chopped rhubarb peeled
  • 1 cup chopped strawberries
  • ½ cup honey (or maple syrup)
  • ¼ cup coconut oil melted
  • 1 teaspoon vanilla
  • 1 egg beaten
  • 6 tablespoons milk your choice

Instructions
 

  • Preheat oven to 350° F. Grease bread pan.
  • Combine oats, flour, salt, baking soda, and chopped nuts in a large bowl.
  • In a small bowl, combine honey, vanilla, egg, and milk.
  • Stir wet ingredients, strawberries, and rhubarb into dry ingredients until just combined.
  • Stir in melted coconut oil.
  • Pour into prepared pan and bake for 40-55 minutes, until cooked all the way through. Test using a toothpick or knife. If it comes out clean, it is done.

Notes

  • The batter will seem dry. That’s okay. It will moisten up at it bakes.
  • You should be able to switch up the ratios of strawberries and rhubarb. Just shoot for about 2 cups of cut up fruits/vegetables. (Did you know rhubarb is technically a vegetable?!)
  • I used almond milk in this recipe, but I am certain any milk will be fine. 
Keyword Bread, Breakfast, Rhubarb, Strawberries
Tried this recipe?Let us know how it was!

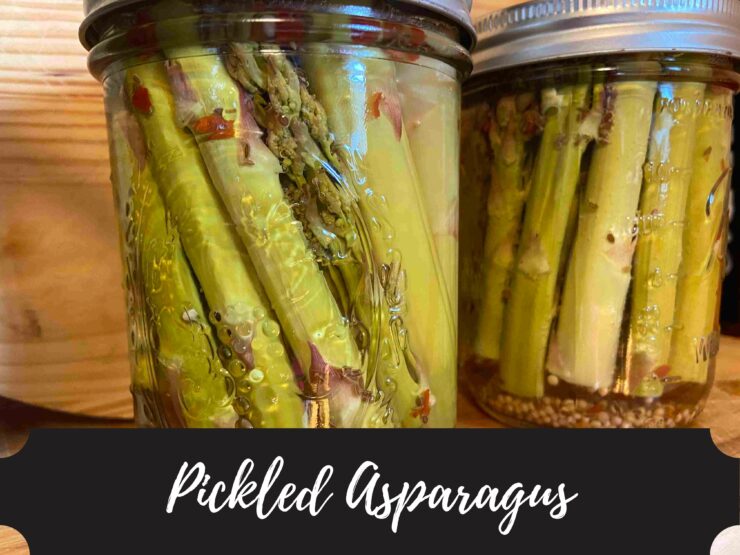
Pickled Asparagus

Last Updated on May 19, 2021 by Jess

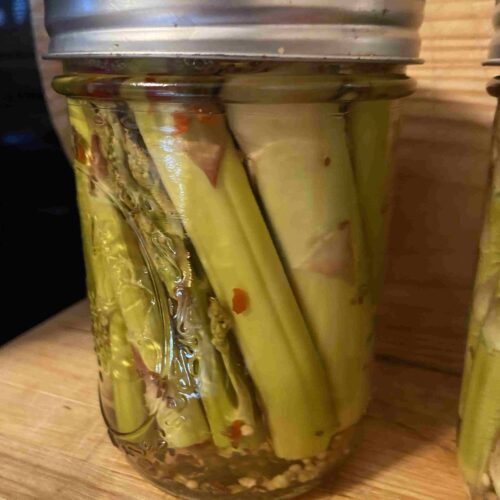
Here in Wisconsin, we are finally entering the full swing of gardening season. The seeds are sprouting, plants are in the ground, and the spring plants are ready for harvest. At our home, that means we have rhubarb, winter onions, and asparagus all around us. My husband and I love asparagus. Our kids, not so much. Generally, I am not the mom that avoids foods because her kids don’t like them (“suck it up buttercup”), but my son REALLY doesn’t like it even after we’ve made him try it countless times. Because of this, we have an abundance of it that isn’t being eaten during meals. So of course, I got my water bath canner out and put together some pickled asparagus. 

Since there isn’t a ton of other vegetables to be harvested out of the garden yet, I tend to forget to harvest the asparagus. My husband and I walk around the garden every morning with our coffee. And almost every morning I say, “OH! I must harvest the asparagus today!” If you know me, you won’t be surprised that it is out of my head by the time we get back inside and I am back to saying, “OH! I must harvest the asparagus today!” the next day. 

Why am I telling you this? Well, this factoid actually worked in my favor. I ended up with longer stalks than normal, but they made for perfect pickled asparagus. I could cut them into the exact length for a pint jar without wasting too much. So excited for that! And although I am not a Bloody Mary lover (gosh, I wish I were), I know that pickled asparagus is almost a quintessential accompaniment to the Sunday morning drink. 

Don’t have a garden to harvest asparagus from? Hop on over to your local farmer’s market, support local farmers, and make yourself something delicious you can enjoy, with or without a Bloody Mary underneath it. 

For this recipe, I had a 1 ½ pounds of asparagus, which was the ideal amount to make three pint jars. That is, you can assume you’ll get one pint jar per half pound of asparagus. The recipe will be written “per jar” so you can make as little or as much as you desire! 

New to canning?

The Ball’s Blue Book Guide to Preserving has been my go to resource for the past 4 years or so. But they also have a few other great books you can get on Amazon:

Your ingredients (per pint jar): 

  • ½ cup water
  • ½ cup vinegar
  • 1 tablespoon canning salt 
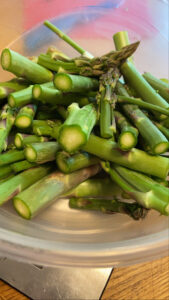
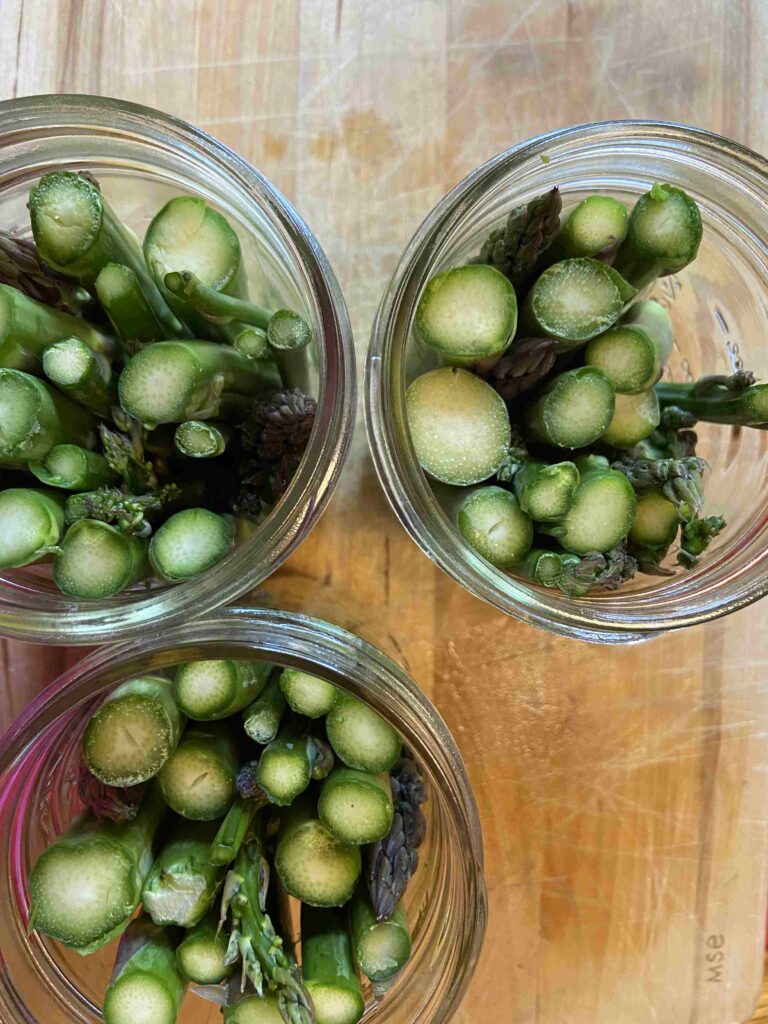
  • ½ pound asparagus, cleaned and the woody stem broken off
  • ½ teaspoon dill seed
  • 1 clove garlic, peeled
  • ⅛ teaspoon red pepper flakes
  • ½ teaspoon mustard seed 

Your Steps 

To begin, prepare your water bath canner. Fill the canner with enough water so that once the jars are in the canner, they will be covered by at least one inch of water. Too much water is better than not enough, but remember that some water will be displaced by the jars. Begin to heat over a medium-high heat. 

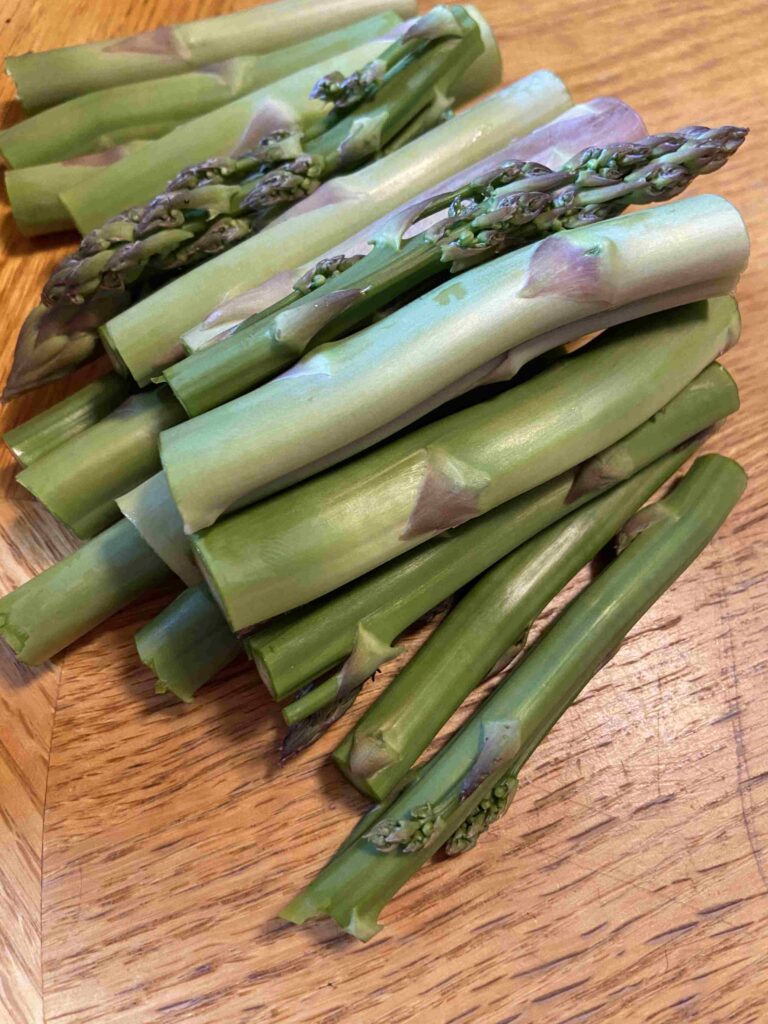
Prepare jars, rings, and lids by washing with soapy water and keeping warm. Cut asparagus to length that will fit within the pint jars, ending just before the ring. I like to cut one spear to length and then use that spear as a “measuring spear” for the rest of the asparagus. 

Combine salt, water, and vinegar in a large non-reactive saucepan. Heat to a boil and then reduce to a simmer. 

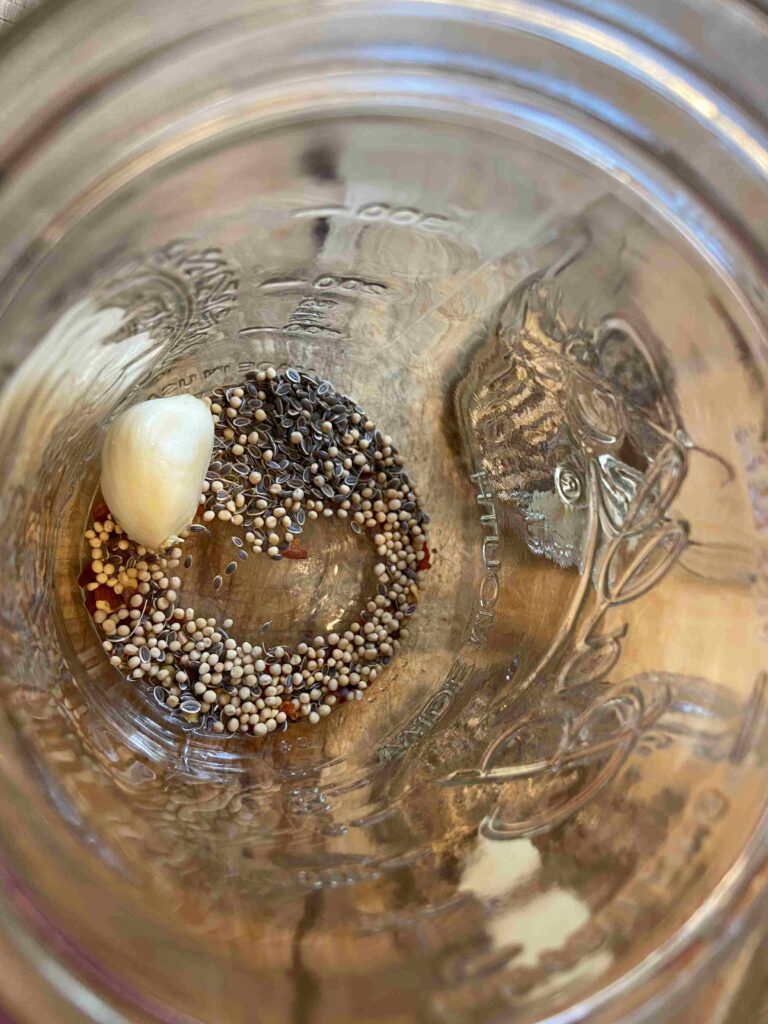
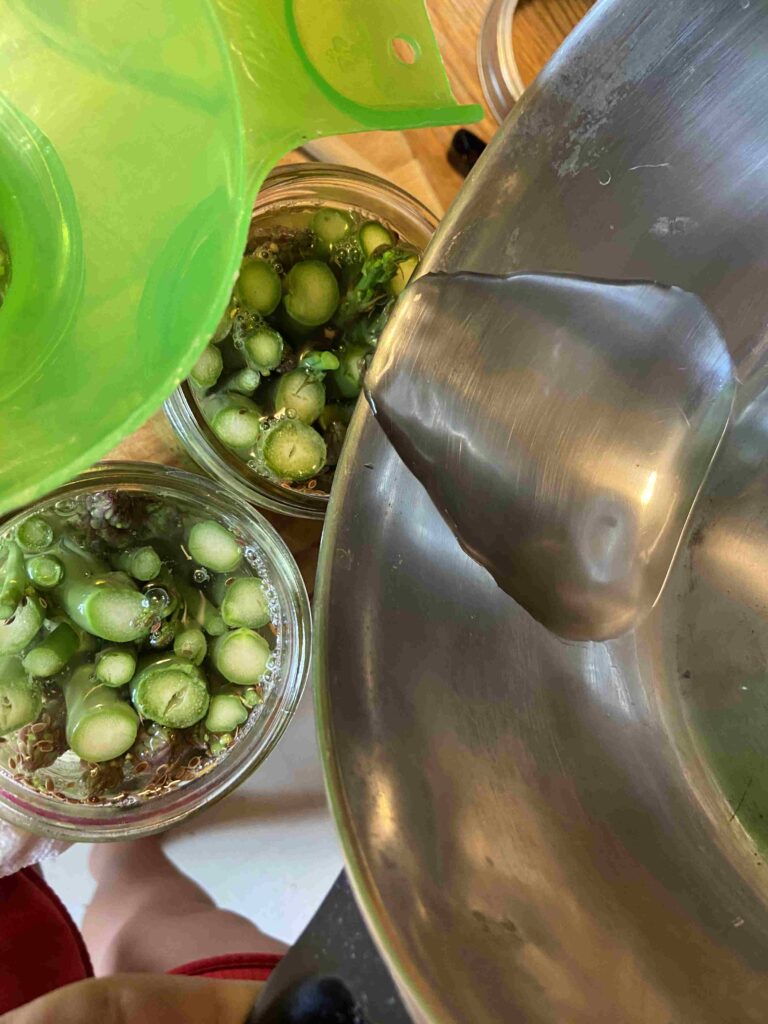
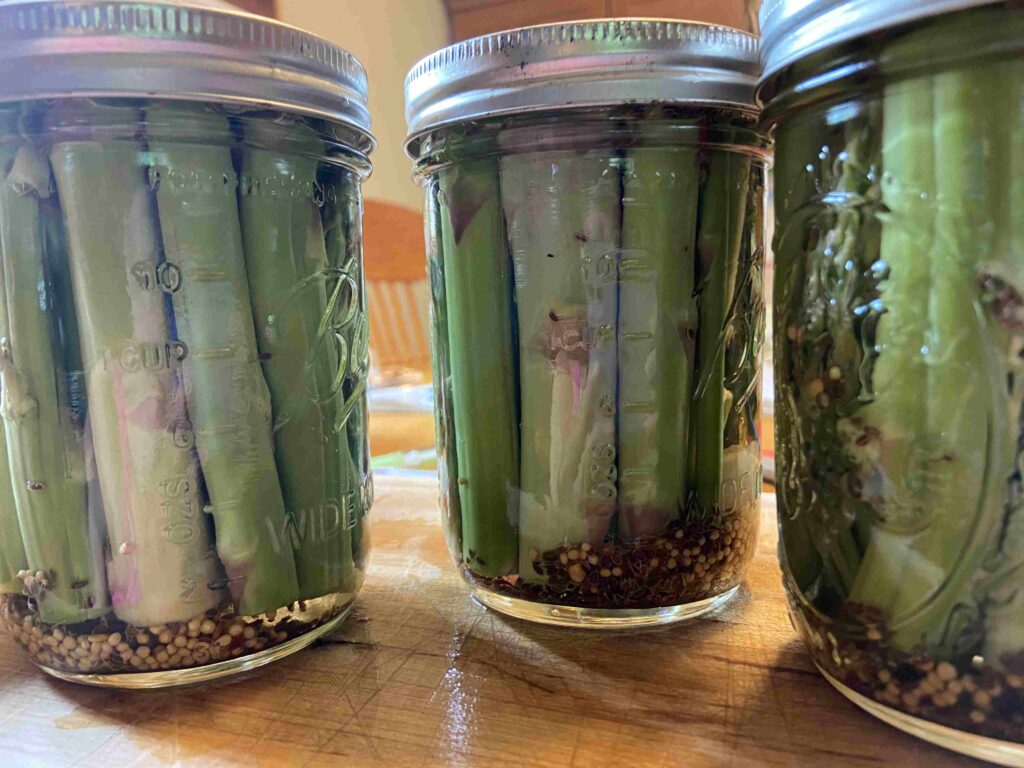
While the pickling liquid is heating, pack the jars (they should be hot when you pack them). First, add dill seed, garlic clove, red pepper flakes, and mustard seed. Then add asparagus, leaving ½ inch head space. Ladle pickling liquid over asparagus, leaving ½ inch head space. Remove air bubbles. Wipe the jar rim with a damp paper towel. Place lids and rings on jars, tightening to finger-tip tight. 

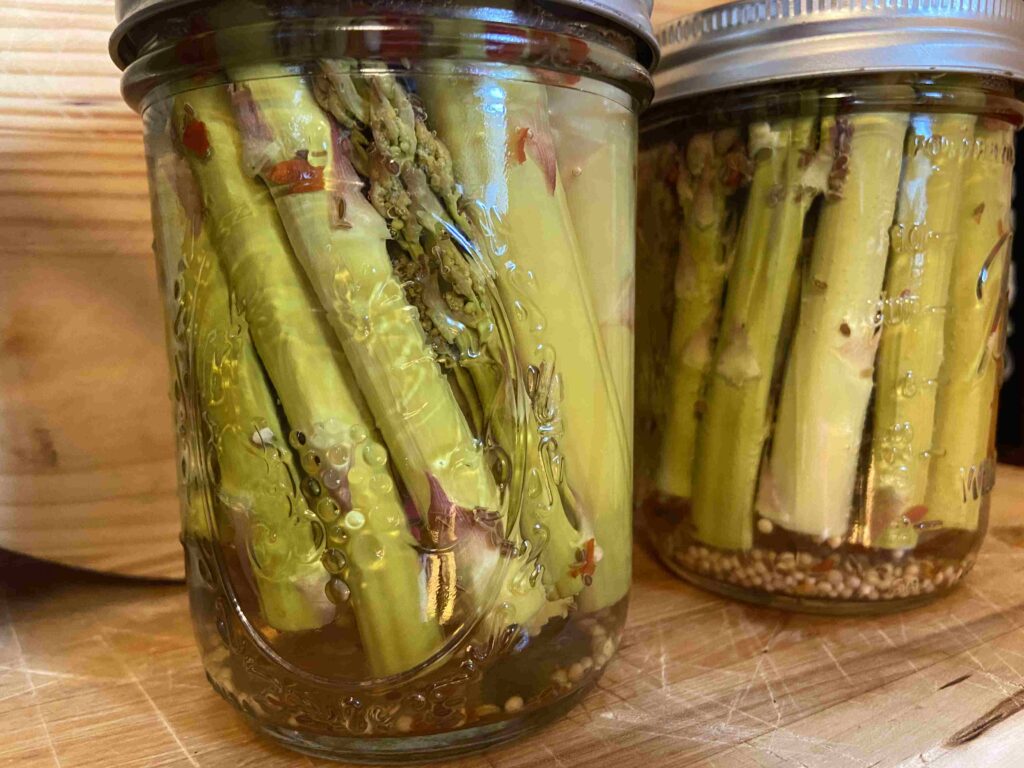
Place jars on rack in canner, lower into simmering water, cover, and bring to a rolling boil. Process jars for 15 minutes. Remove from heat and allow to cool 5 additional minutes. Remove the jars from the canner and leave to cool completely over 12-24 hours. Do not touch the lids or the rings, but definitely listen for the ping of the jars sealing. It’s the best! 

Pickled Asparagus

Whether you simply crave pickled treats or you love a good Bloody Mary, this pickled asparagus is for you!
Prep Time 20 minutes
Cook Time 20 minutes
Servings 1 pint jar

Ingredients
  

  • ½ cup water
  • ½ cup vinegar
  • 1 tablespoon canning salt
  • ½ pound asparagus cleaned and the woody stem broken off
  • ½ teaspoon dill seed
  • 1 clove garlic peeled
  • teaspoon red pepper flakes
  • ½ teaspoon mustard seed

Instructions
 

  • To begin, prepare your water bath canner. Fill the canner with enough water so that once the jars are in the canner, they will be covered by at least one inch of water. Too much water is better than not enough, but remember that some water will be displaced by the jars. Begin to heat over a medium-high heat.
  • Prepare jars, rings, and lids by washing with soapy water and keeping warm. Cut asparagus to length that will fit within the pint jars, ending just before the ring. I like to cut one spear to length and then use that spear as a “measuring spear” for the rest of the asparagus.
  • Combine salt, water, and vinegar in a large non-reactive saucepan. Heat to a boil and then reduce to a simmer.
  • While the pickling liquid is heating, pack the jars (they should be hot when you pack them). First, add dill seed, garlic clove, red pepper flakes, and mustard seed. Then add asparagus, leaving ½ inch head space. Ladle pickling liquid over asparagus, leaving ½ inch head space. Remove air bubbles. Wipe the jar rim with a damp paper towel. Place lids and rings on jars, tightening to finger-tip tight.
  • Place jars on rack in canner, lower into simmering water, cover, and bring to a rolling boil. Process jars for 15 minutes. Remove from heat and allow to cool 5 additional minutes. Remove the jars from the canner and leave to cool completely over 12-24 hours.
Tried this recipe?Let us know how it was!

Looking for more canning recipes? Check out this page here!

Notes: 

  • You can add pickle crisp to each jar (following directions on the container) to keep the asparagus more crisp. Some swear by it. Others don’t like the idea of adding more ingredients to your jars. 
  • Canning is totally doable alone, but I love to have my husband by my side during “GO TIME!” That is, the time when I am ladling the pickling liquid and putting on the lids. It’s helpful to have a second set of hands to put the lids and rings on. In case you’re wondering, I do actually yell, “IT’S GO TIME!” and my family assembles. Otherwise, canning is my jam and I don’t let him help 😉 
  • When I say break off the woody stem of the asparagus, I really mean that. The awesome thing about asparagus is that if you bend it slightly, it will naturally break at the point where it begins to be woody (NOT fun for chewing). In the past, I thought the canning process would soften this up so I wouldn’t be wasting it. Not the case. 

Stuffed Pepper Bake

Last Updated on January 16, 2021 by Jess

Jump to Recipe

I’ll be honest, I don’t love green peppers. I think I can count on one hand how many vegetables I don’t like, but green peppers would be on that list. However, I keep trying them and cooking with them because I am certain that with enough tries, I will grow to love them. (As an aside, my sister feels the same way about tomatoes. But she would say, “You’re a grown adult. It’s okay. You don’t HAVE to like them.”)

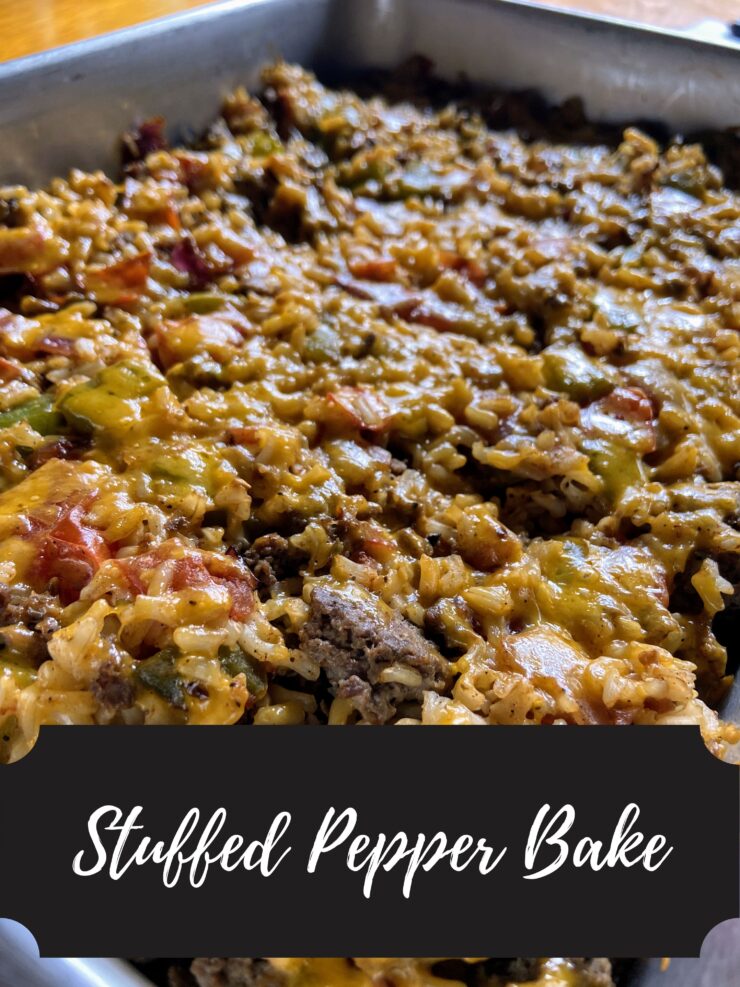
That being said, one recipe I do enjoy them in is stuffed peppers. I know, it doesn’t make a whole lot of sense, I just don’t ask questions. Let’s be honest, stuffed peppers seem like a lot of work and you have these predetermined servings, which isn’t awesome for the kiddos I am trying to feed at my home as well. This “I want to like green peppers” and “I need to feed my children” line of thought inspired this recipe: Stuffed Pepper Bake. 

Reasons I love It

It’s a 30-40 minute prep kind of recipe! Clearly, I love cooking and providing homemade meals for my family. But head cooks in the households will agree, it’s getting a little old during our “safer at home order.” We have our staple recipes that are seeing a lot of use. Yes, I want to try new things, but we only shop once a week. I decided to through this recipe together for dinner around 1 pm on a weeknight; there was no “pre-prep.” Heck, the meat wasn’t even thawed yet! So it came together quick, I had everything on hand, and my family loved it. 

It’s got intense, wonderful flavor! If you follow me, you know I am all about some standard spices: salt, pepper, oregano, rosemary and ALL the garlic. This stuffed pepper bake takes it up a notch. Our families’ tastebuds danced for joy as we ate it for the first time. 

Finally, I just love a good dish baked in a casserole pan. Maybe it’s the midwestern in me, but a casserole (let’s be real, I fancy it up with the word bake) has comfort written all over it. Not to mention, casseroles are classic “prep on Sunday, eat on a weeknight.” Gotta love that life! 

Okay, enough talk, let’s get to cooking that Stuffed Pepper Bake!

Your Ingredients

  • 1 cup brown rice
  • 2 cups water
  • ¼ teaspoon of the following: salt, pepper, garlic powder 
  • 1 pound ground Italian sausage (if you know me, I’ll be using ground Italian seasoned venison)
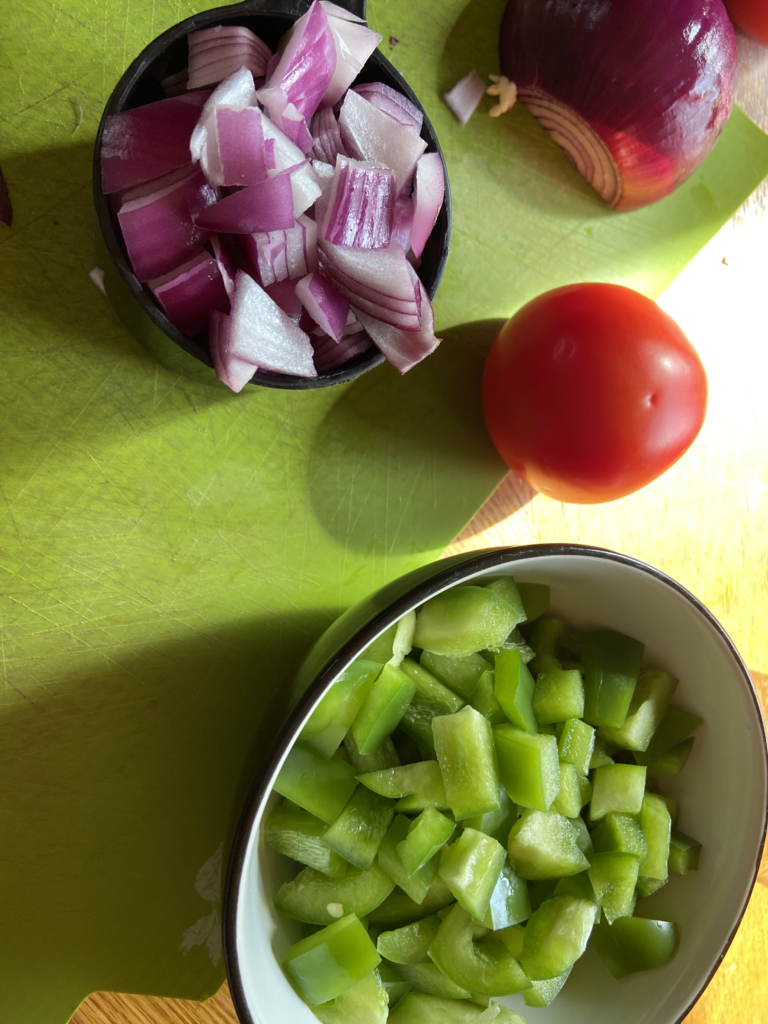
  • 2 cups diced green pepper (about 1 large)
  • 1 cup diced onion (I used red)
  • ½ tablespoon minced garlic
  • 1 ½ cup diced tomatoes 
  • ½ teaspoon of the following: pepper, salt, cumin chili powder
  • Pinch of red pepper flakes 
  • 1 cup shredded cheddar cheese 

Your Steps 

Begin by cooking the brown rice according to the directions on the package. For me, that looked like combining the water, brown rice, and salt, pepper, and garlic powder. Bring the mixture to a boil, lower to a simmer, and cook for 30-40 minutes, until al dente. 

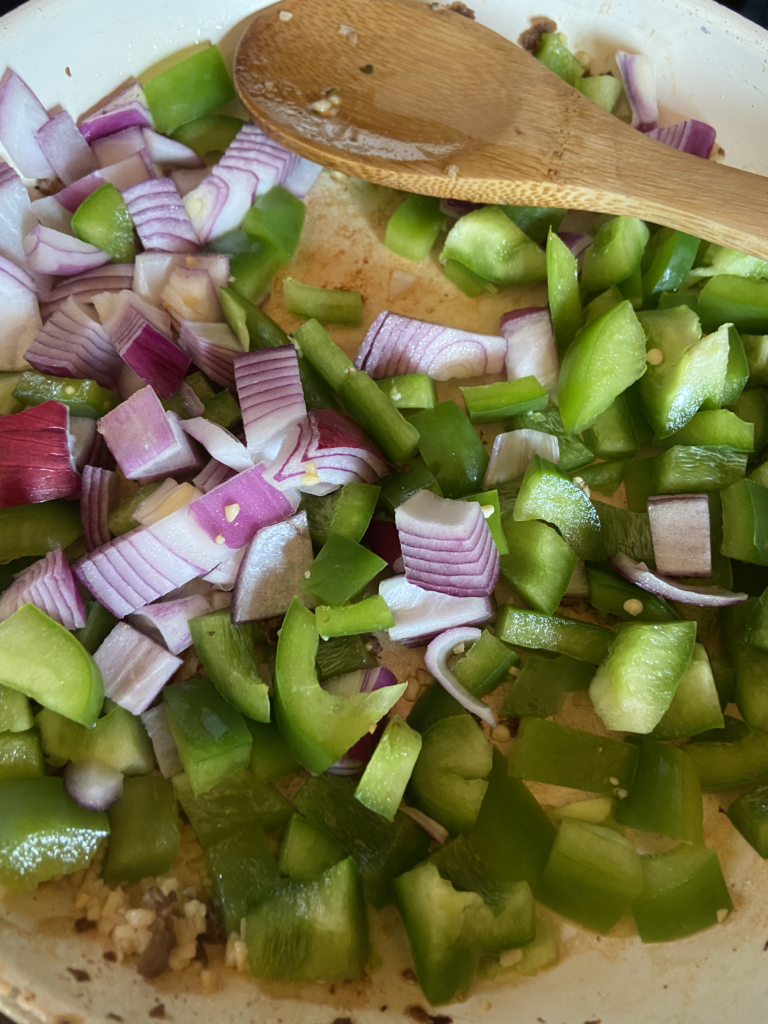
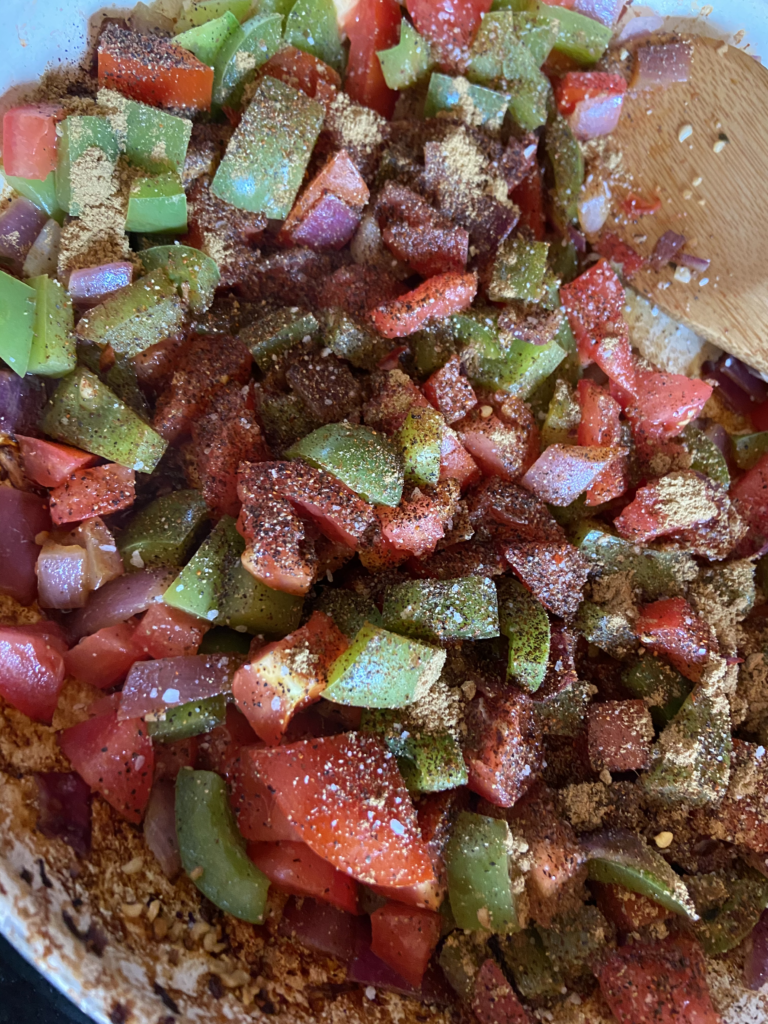
Meanwhile, heat a large frying pan to medium high heat and brown sausage (If you are using a lean protein, feel free to add a little oil before heating up the pan. Cook until just browned. Remove from pan and set aside for the time being. Keeping the pan on the medium-high heat, add green pepper, onions, and minced garlic. Cook for 5-8 minutes, until just softened. Stir in remaining spices and diced tomatoes. Keeping at medium high heat, cook for an additional 3-5 minutes.

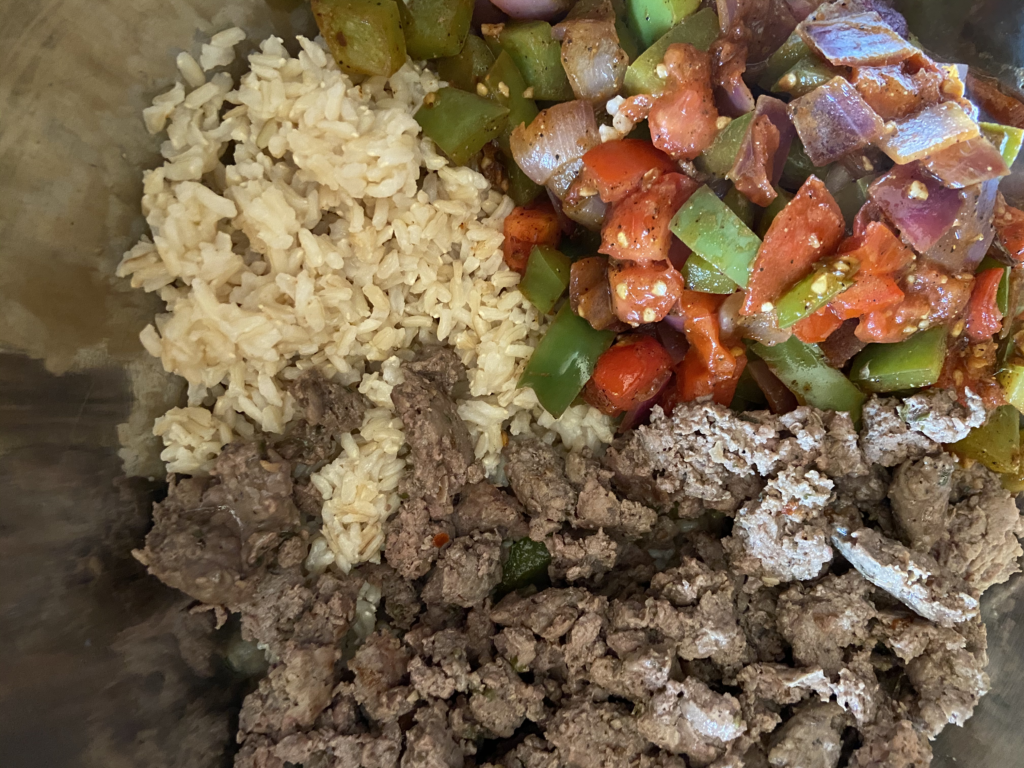
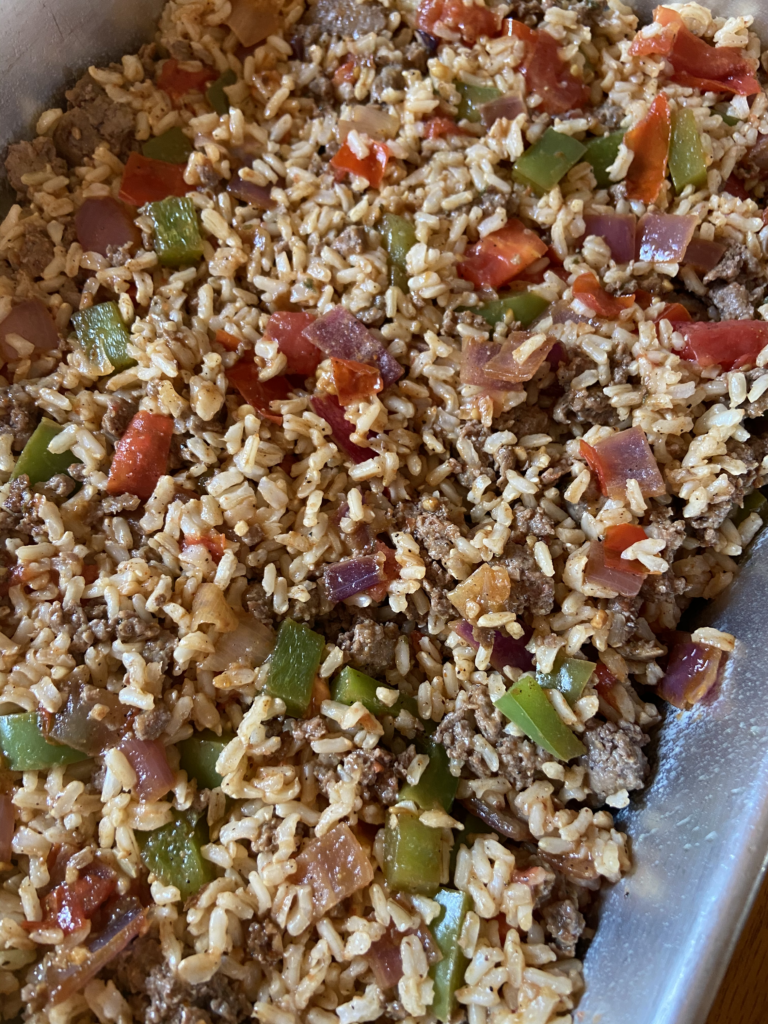
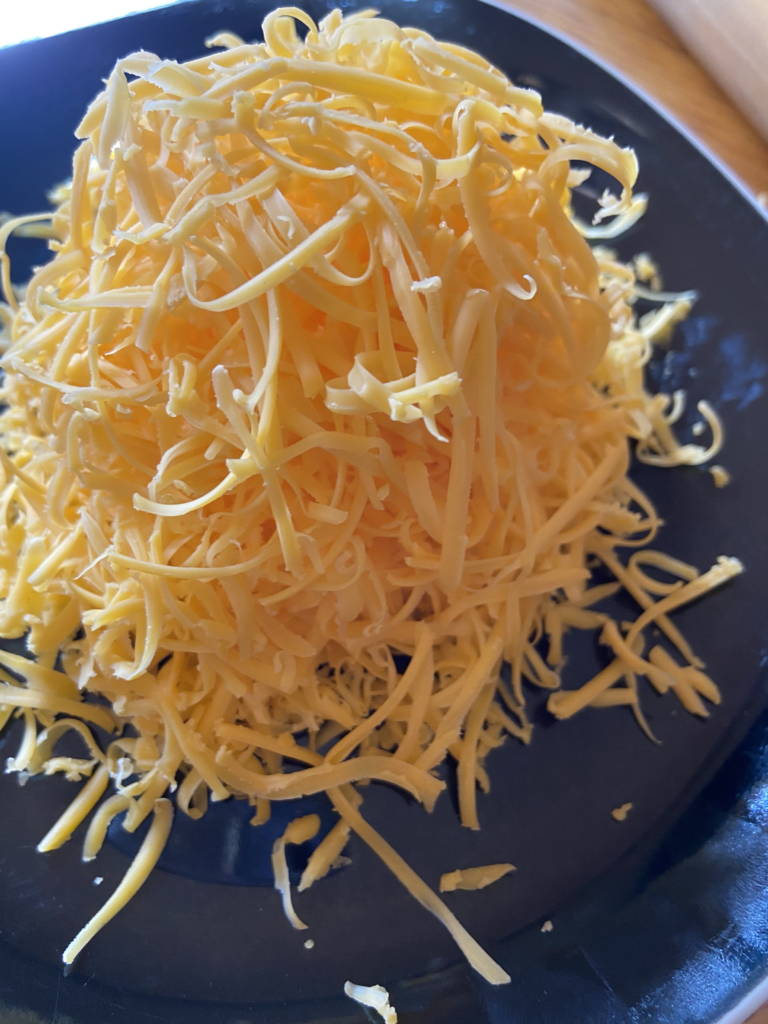
After the vegetables are done cooking, stir in cooked rice and browned sausage until well mixed. If your pan is big enough, do it there. If not, grab yourself a bowl and get mixing. Spread the rice, sausage, and vegetable mixture into a greased 9×13 casserole dish. Finally, top with shredded cheese. Bake for 15-20 minutes at 400 degrees. You may want to allow it to cool 5 minutes before serving, and here’s to hoping you get leftovers. My husband went back for seconds; and then thirds! Stuffed Pepper Bake: A quick, flavorful, good for you meal made from scratch. My kind of cooking! 

Other hints and tips

  • I used fresh tomatoes that I diced because I had them on hand. Make this even easier by using canned diced tomatoes. If possible, I would use salt free, but everyone has their own tastes. Also, I would drain them about half way prior to adding them. 
  • I am 100% guilty of using pre shredded cheese often. Let me tell you as a True Wisconsin girl, block cheese that is shredded right before cooking is SO MUCH BETTER. If you have it on hand, I would go that route for sure. 
  • I love my Italian venison sausage. I don’t have it on Jess in the Kitchen here yet, but I can give you some info about how we do it: We grind our own venison. Additionally, we purchase a fattier cut of pork, which we hand grind as well. Those two get mixed 50/50 with an Italian Sausage seasoning mix that I mix up. I have used this recipe for a guide. Then we freeze it in 1 pound packages. Perfect for pasta and all our favorite Italian dishes! 

Looking to find some other dishes for dinner? Click here!

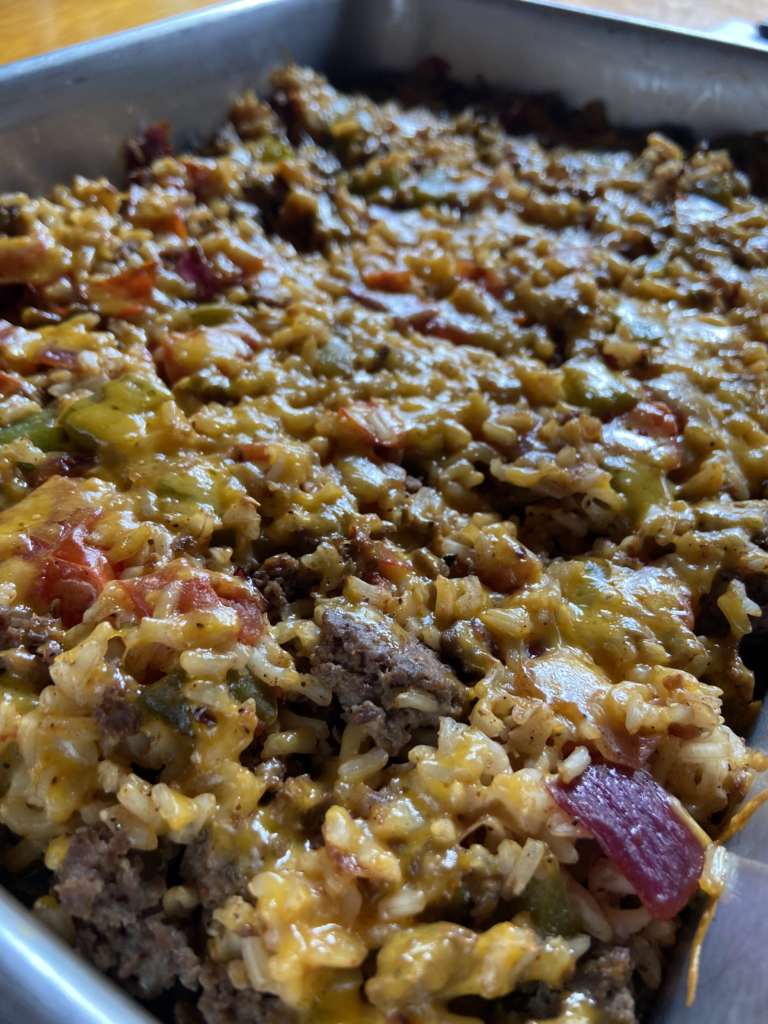
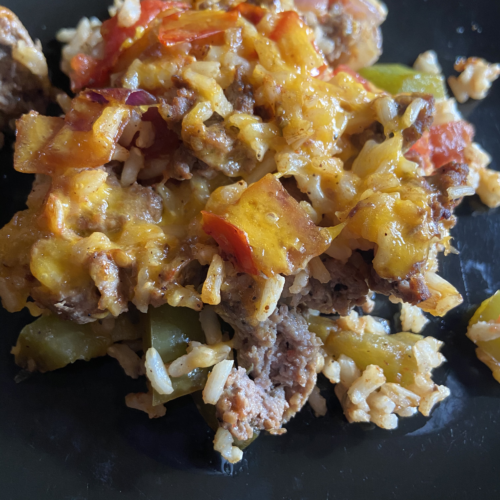
Stuffed Pepper Bake

Stuffed Pepper Bake

All the flavor of stuffed peppers without all the work. A quick to put together and healthy take on the classic in a casserole dish!
Prep Time 40 minutes
Cook Time 15 minutes
Course Main Course
Cuisine American
Servings 8

Ingredients
  

  • 1 cup brown rice
  • 2 cups water
  • ¼ teaspoon salt
  • ¼ teaspoon pepper
  • ¼ teaspoon garlic powder
  • 1 pound ground Italian sausage
  • 2 cups diced green pepper about 1 large
  • 1 cup diced onion I used red
  • ½ tablespoon minced garlic
  • 1 ½ cup diced tomatoes
  • ½ teaspoon pepper
  • ½ teaspoon cumin
  • ½ teaspoon chili powder
  • Pinch of red pepper flakes
  • 1 cup shredded cheddar cheese

Instructions
 

  • Combine rice, water, and salt, pepper, and garlic powder. Bring to boil and then lower to a simmer. Simmer for 35-45 minutes, until al dente. Set aside.
  • Heat large frying pan over medium-high heat. Brown sausage (using some olive oil if using a lean protein). Cook until just browned. Remove from pan.
  • Keeping the pan on medium-high heat, heat olive oil. Add green pepper, onions, and minced garlic. Cook 5-8 minutes.
  • Stir in remaining spices and diced tomatoes. Cook an additional 3-5 minutes, until all vegetables are soft.
  • Combine rice, browned meat and vegetables. Spread into a greased 9×13 casserole dish. Top with shredded cheese.
  • Bake for 15-20 minutes at 400° F, until cheese is melted.
Keyword bake, casserole, dinner, stuffed peppers
Tried this recipe?Let us know how it was!