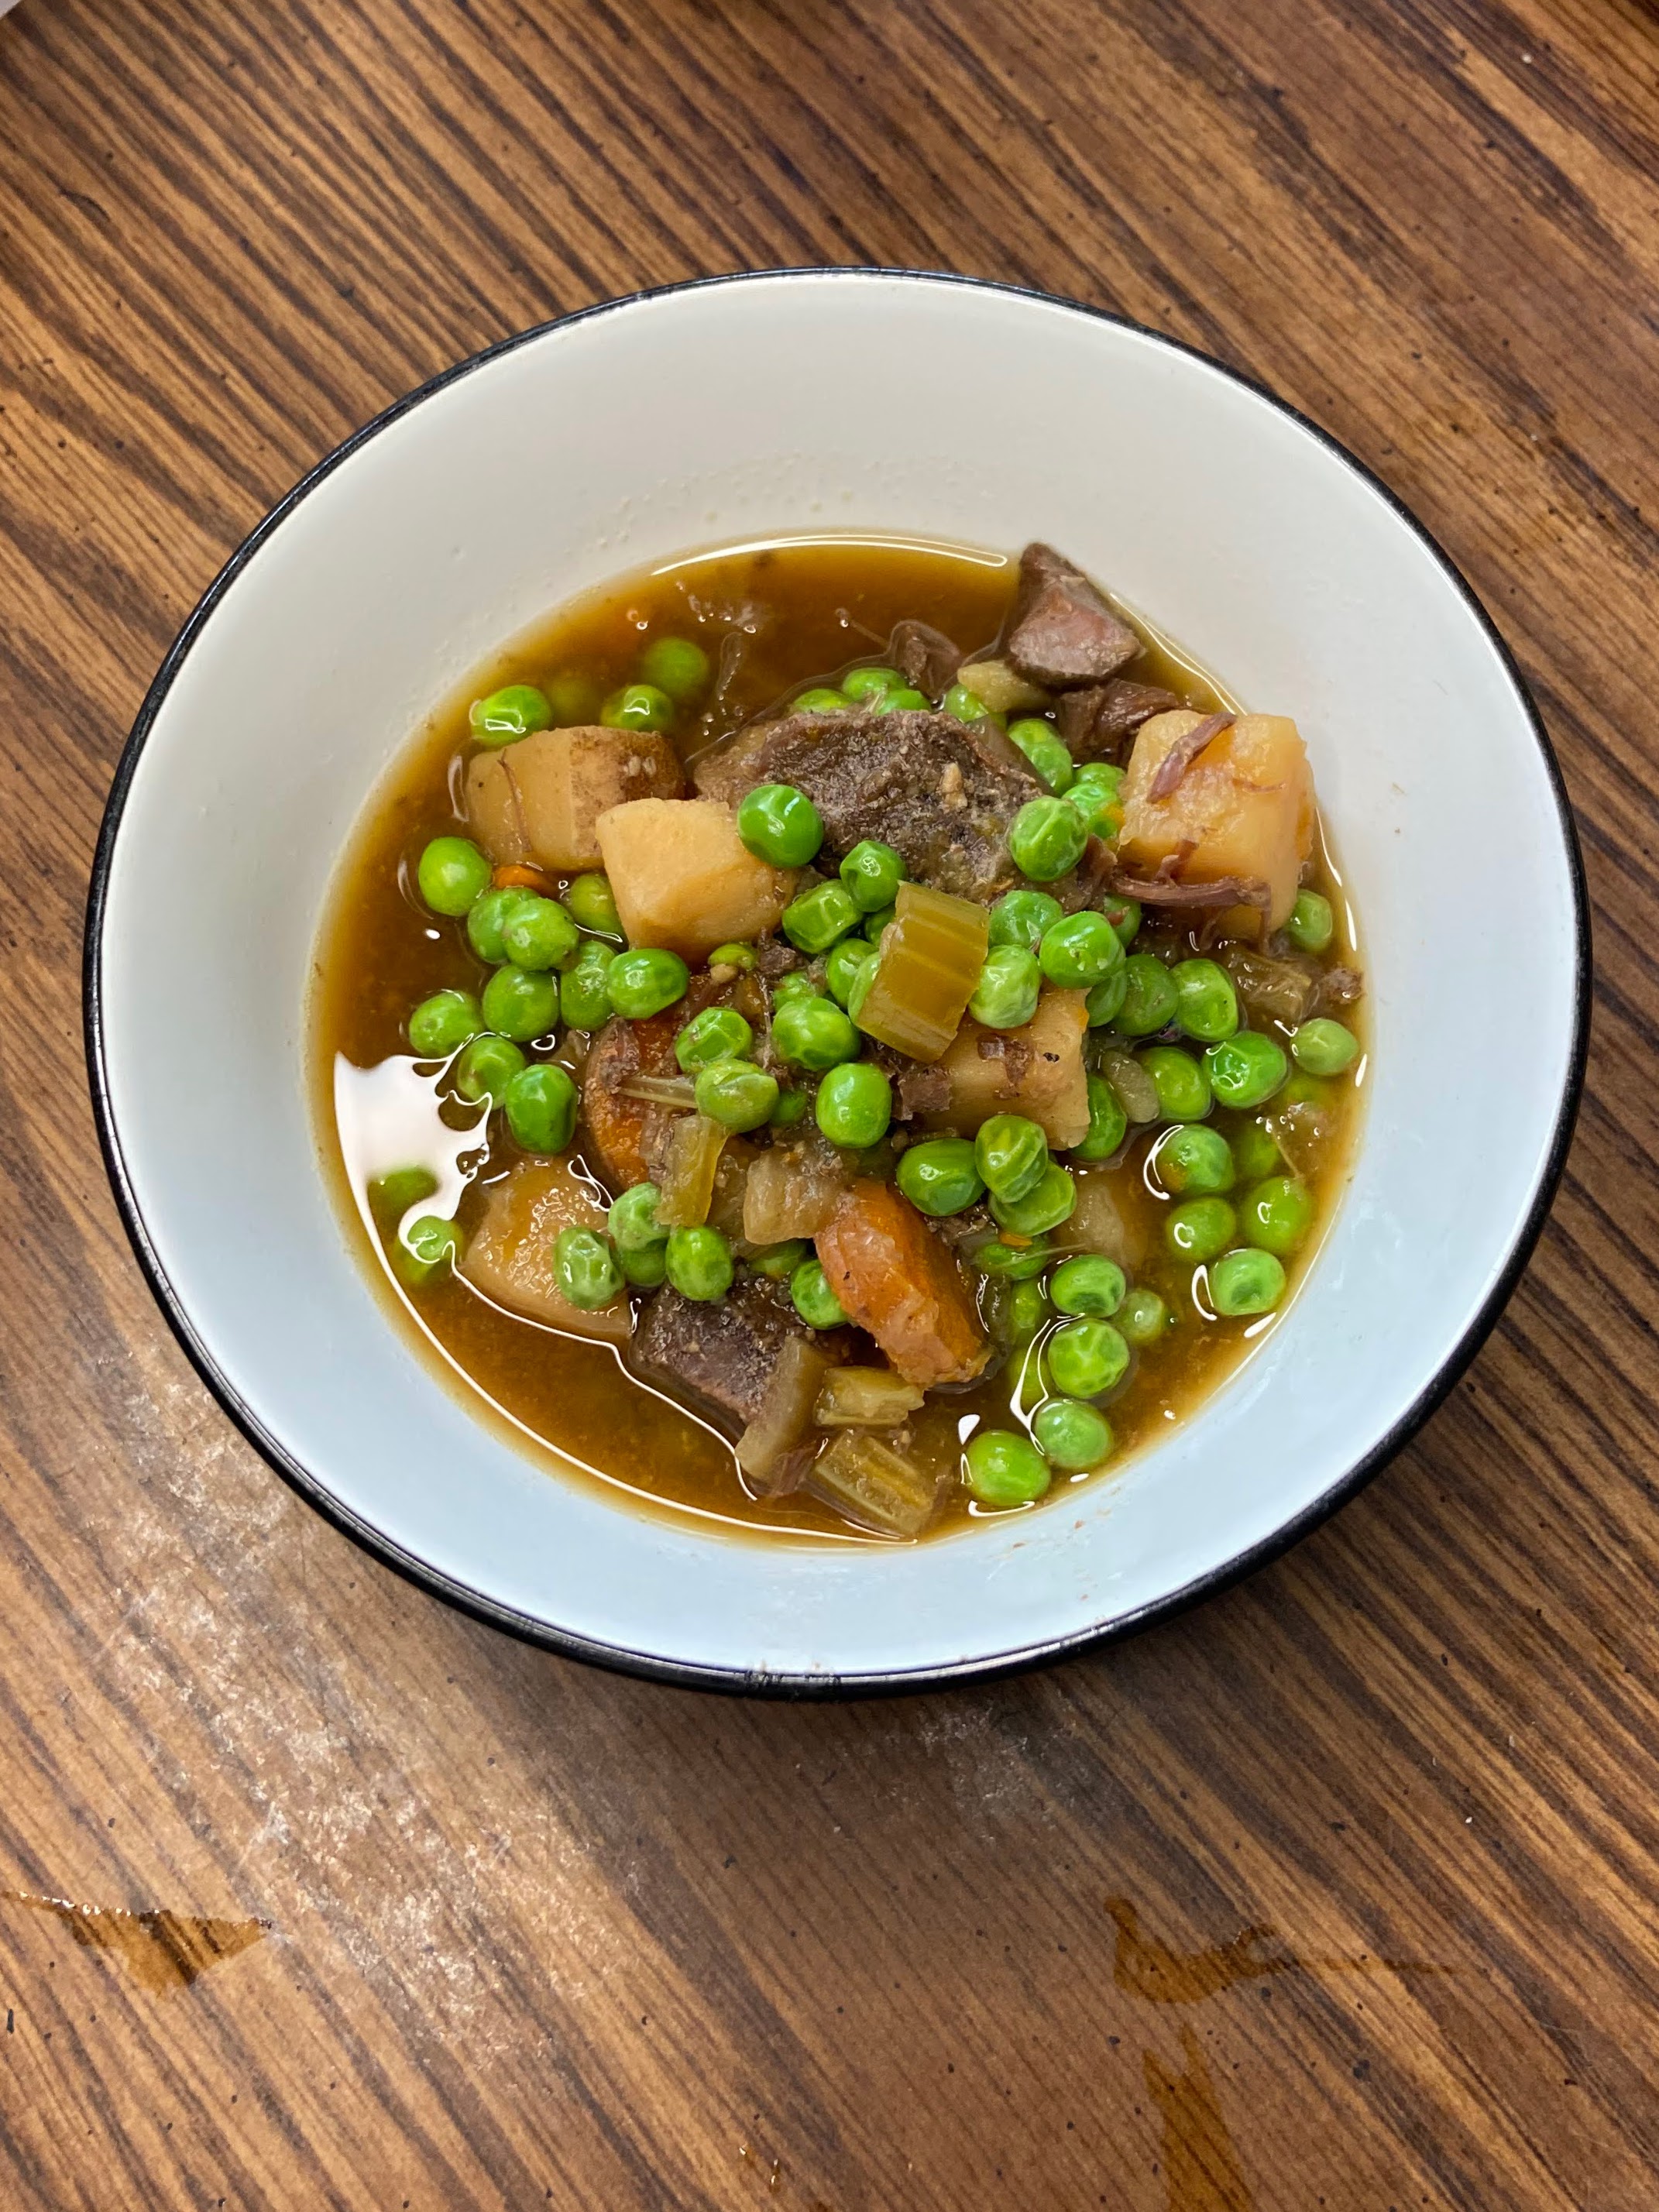
I love fall as it turns to winter. The warmth of sweatshirt and jeans weather. Fires. And hunting. Now, I am not a hunter (hunter’s safety was offered during girl’s basketball and I had to choose), but I do love filling my freezer with protein harvested from the woods. I also fill my shelves with pressure canned venison: Both in the form of venison stew and pressure canned seasoned venison.
Pressure canning is my job in our home, and I wouldn’t have it any other way. I know there are horror stories of pressure canning out there and a number of people are afraid of it. And if they aren’t afraid of the act of canning the meat, they are hesitant to eat pressure canned seasoned venison. “How can meat be self stable and room temperature and still be okay to eat?” I promise, its easier than you think and the meat is great to eat. I follow all the recommendations from the National Center for Home Preservation. Let me tell you, this stuff is GOOD.
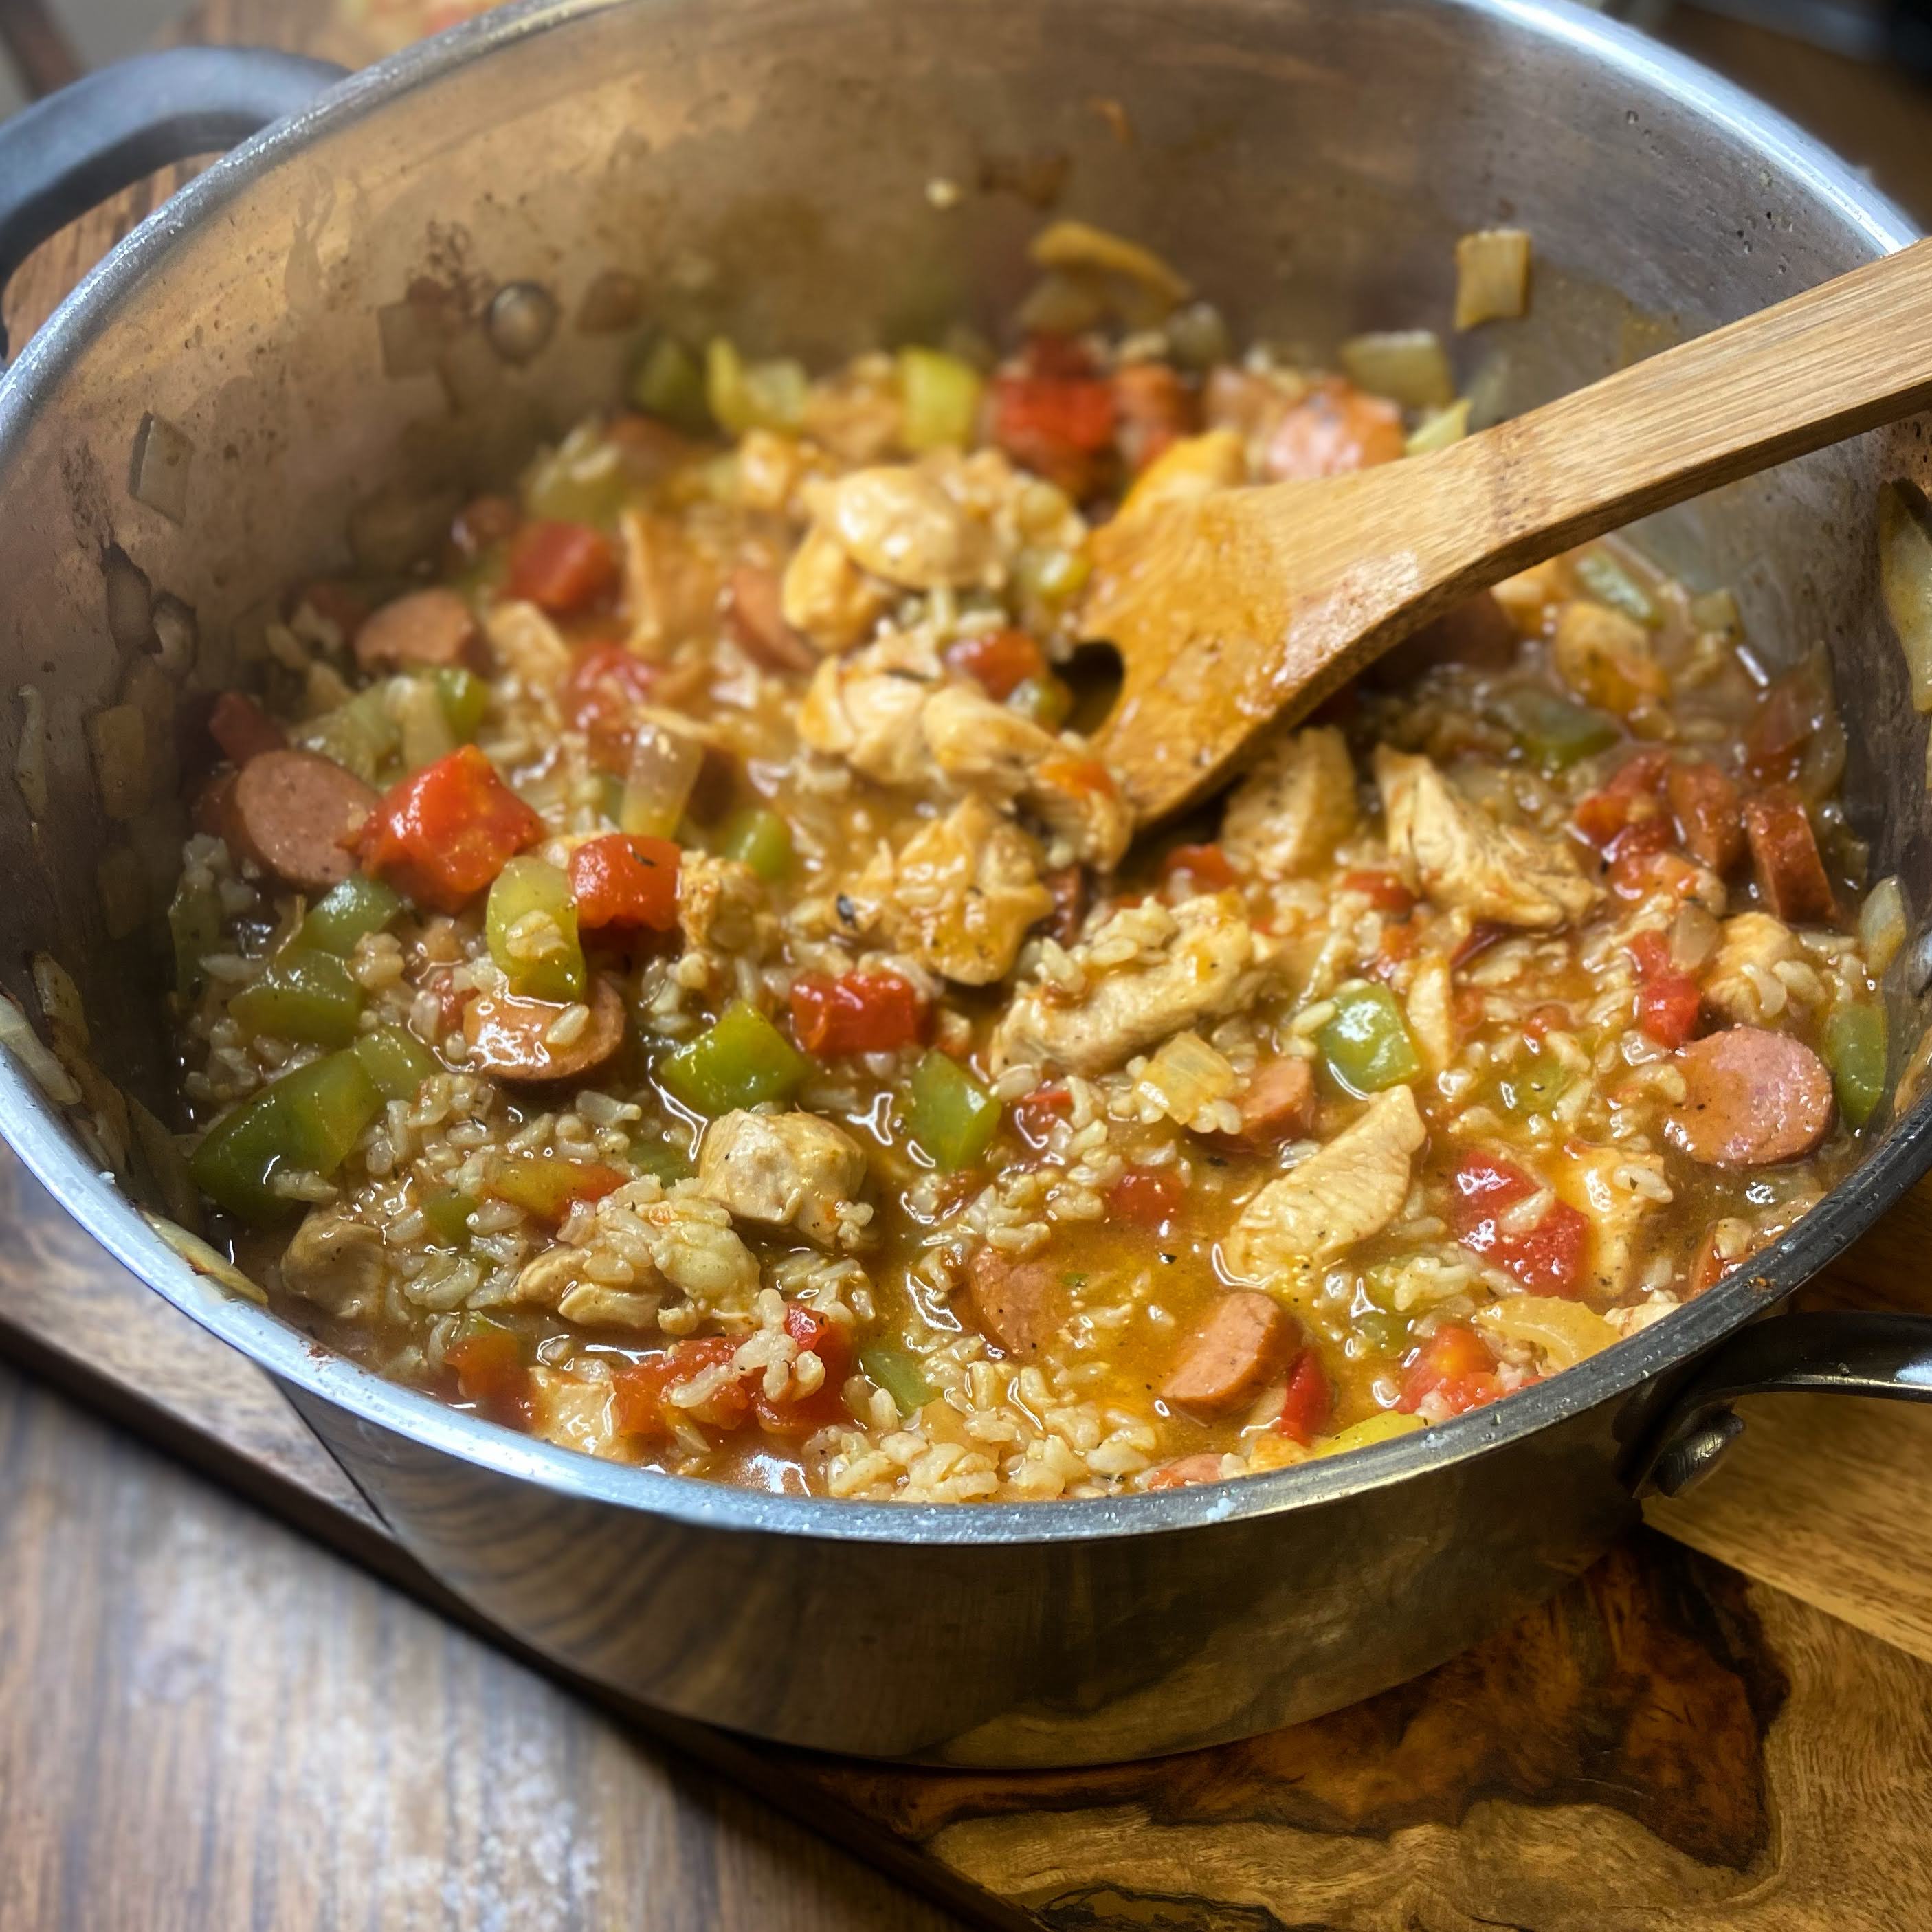
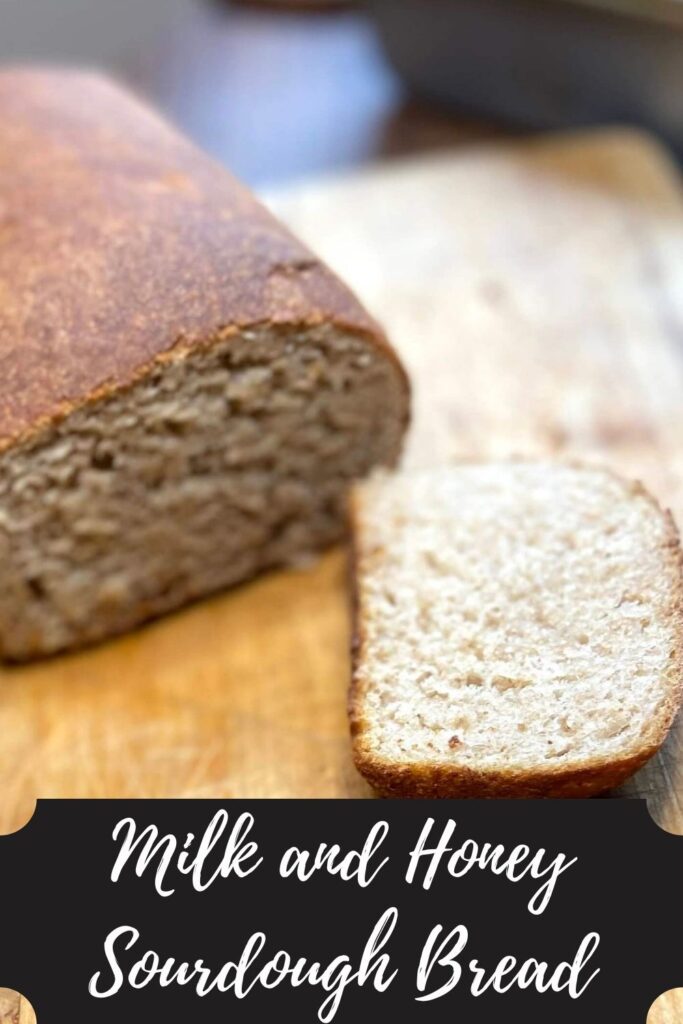
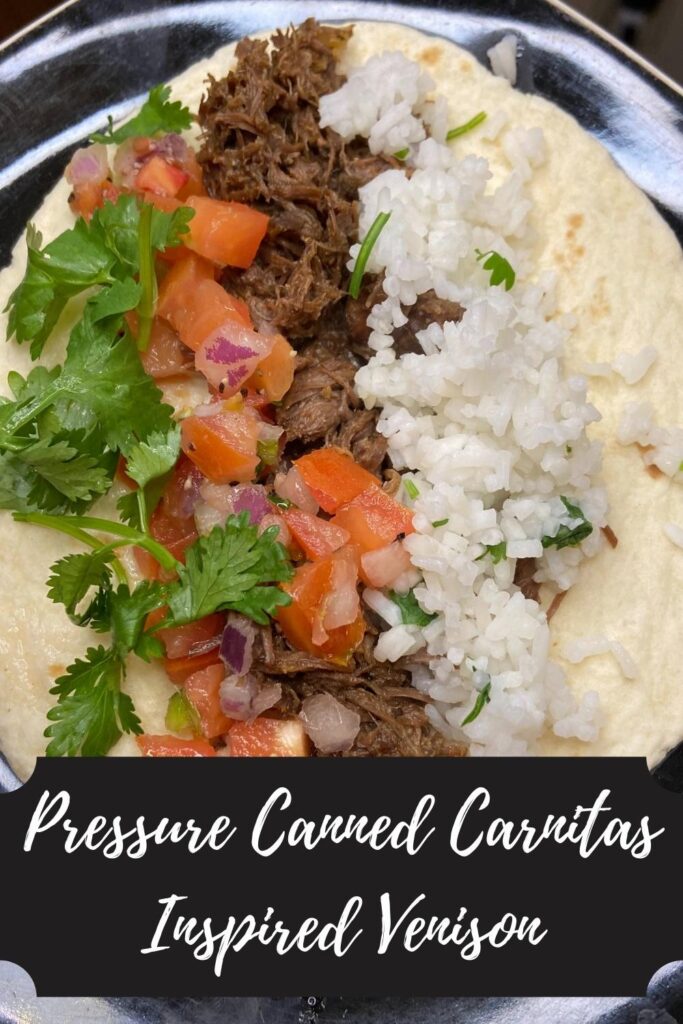
The meat is SO tender. It heats up in minutes, and you can have a meal on the table in under ten. The convenience is out of this world and you are still able to serve your family good for you food without being processed. Our favorite way to use our seasoned venison is to drain off a little of the liquid and heat it in a kettle with BBQ sauce. As the meat is stirred, it will break down (so tender!) and create a shredded venison that can be served with rolls (may I recommend my silver dollar rolls?) and some coleslaw. YUM.
Bottom line?
I am beyond excited to share how I prepare my seasoned venison with all of you. There is no reason to be afraid of a pressure canner. I was 100% a novice who simply did some reading at the beginning. The only caution I want to give is that it does take time (primarily hands off) for it to cook. I would say make sure you have three hours to be around the house, but truly you can be doing other things while it cooks. Just be present. If you do want more information, read your canner’s directions or check out the NCHP.
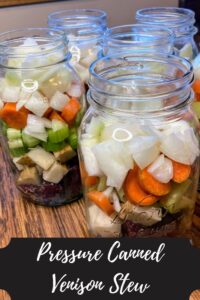
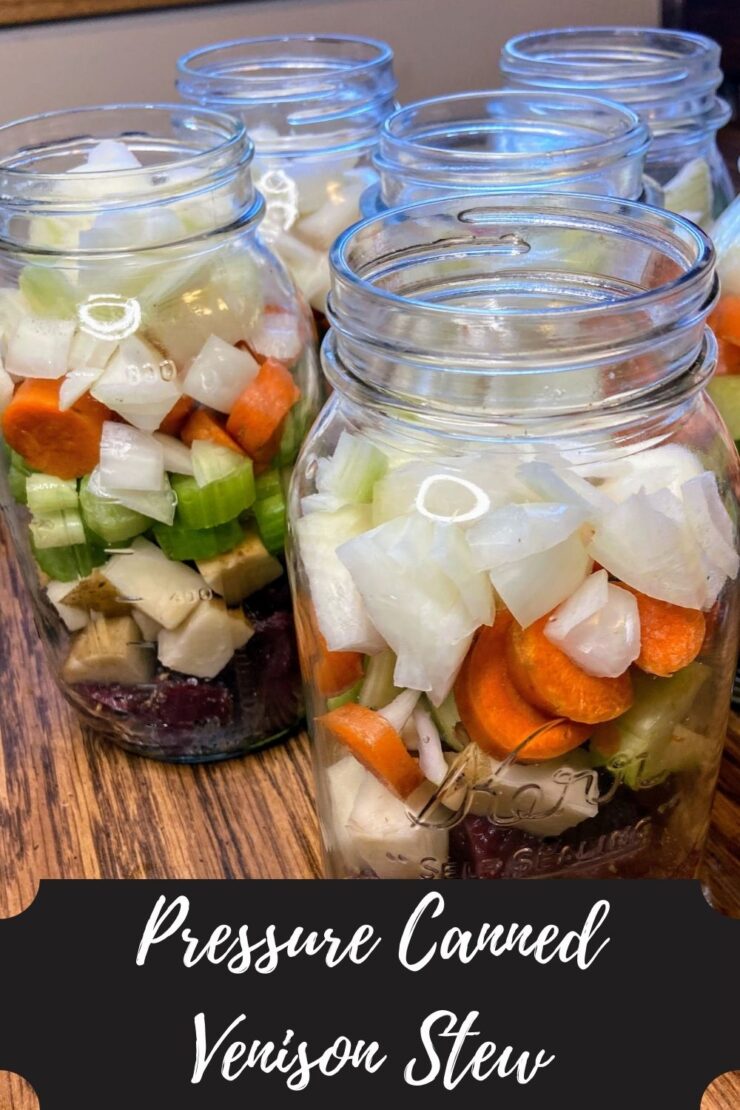
Ready to create some pressure canned venison stew? Let’s go!
Your Ingredients (per quart jar)
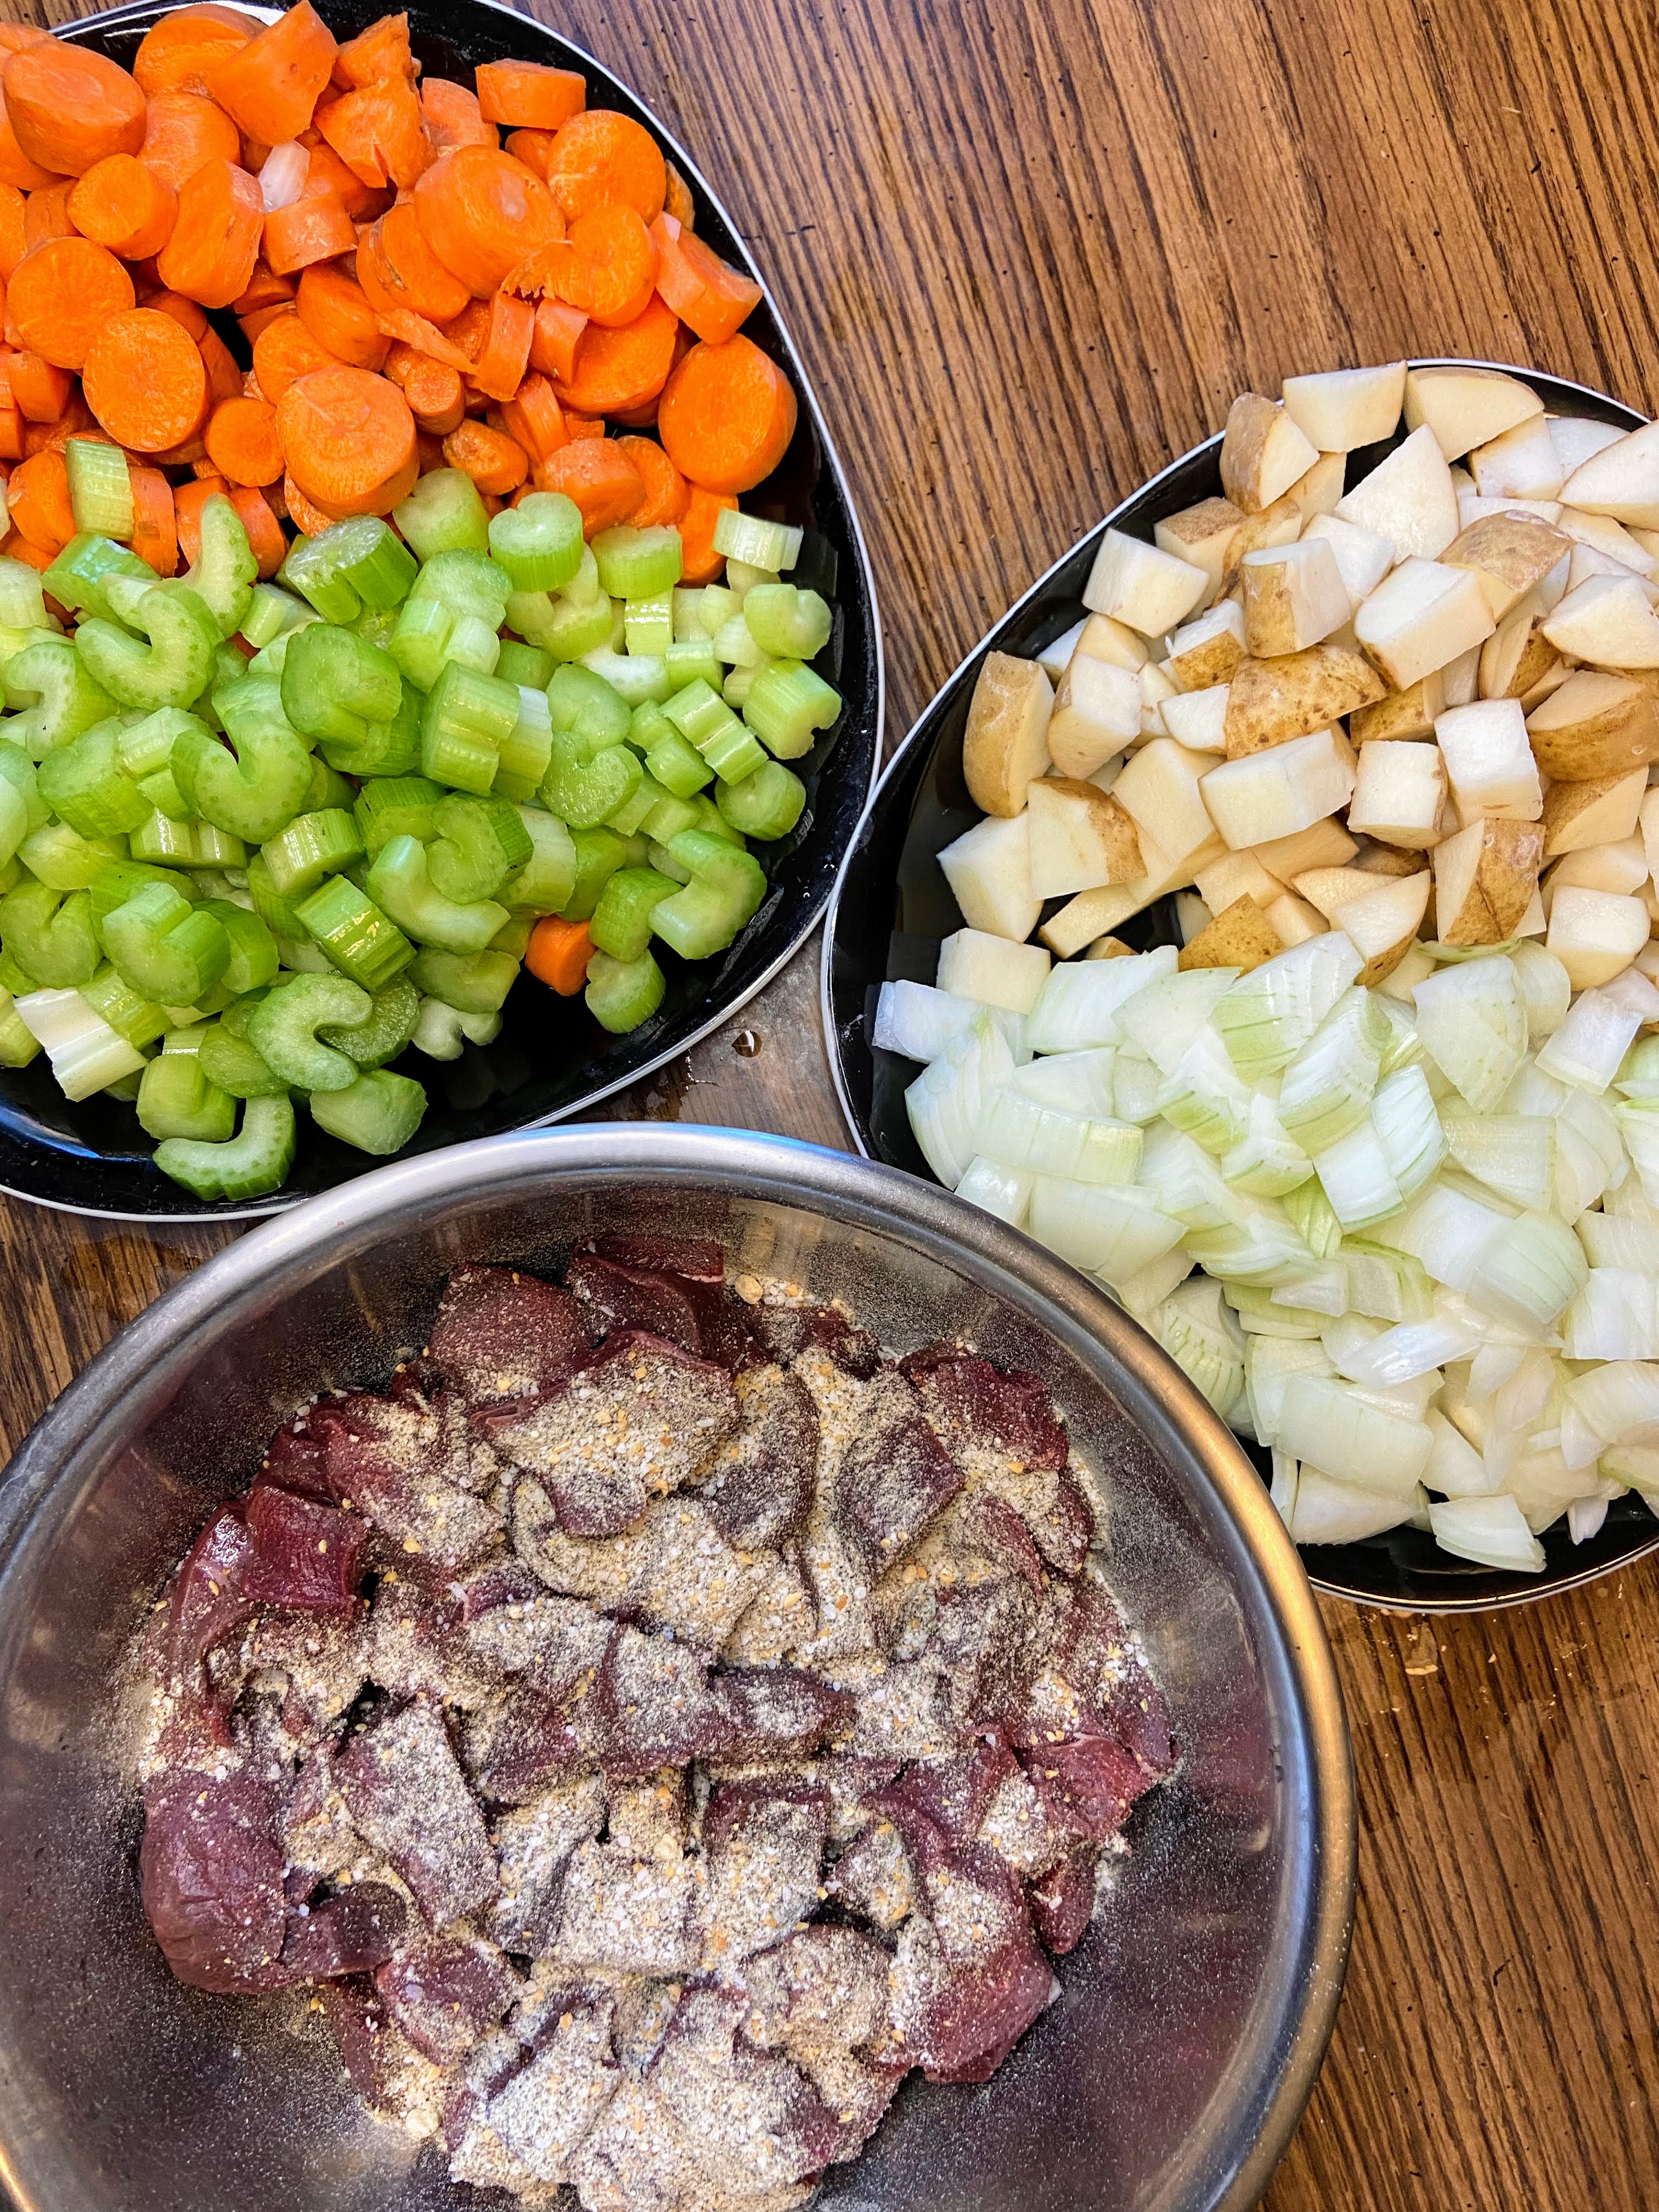
4 cups cubed venison stew meat, raw
Seasoning (see below)
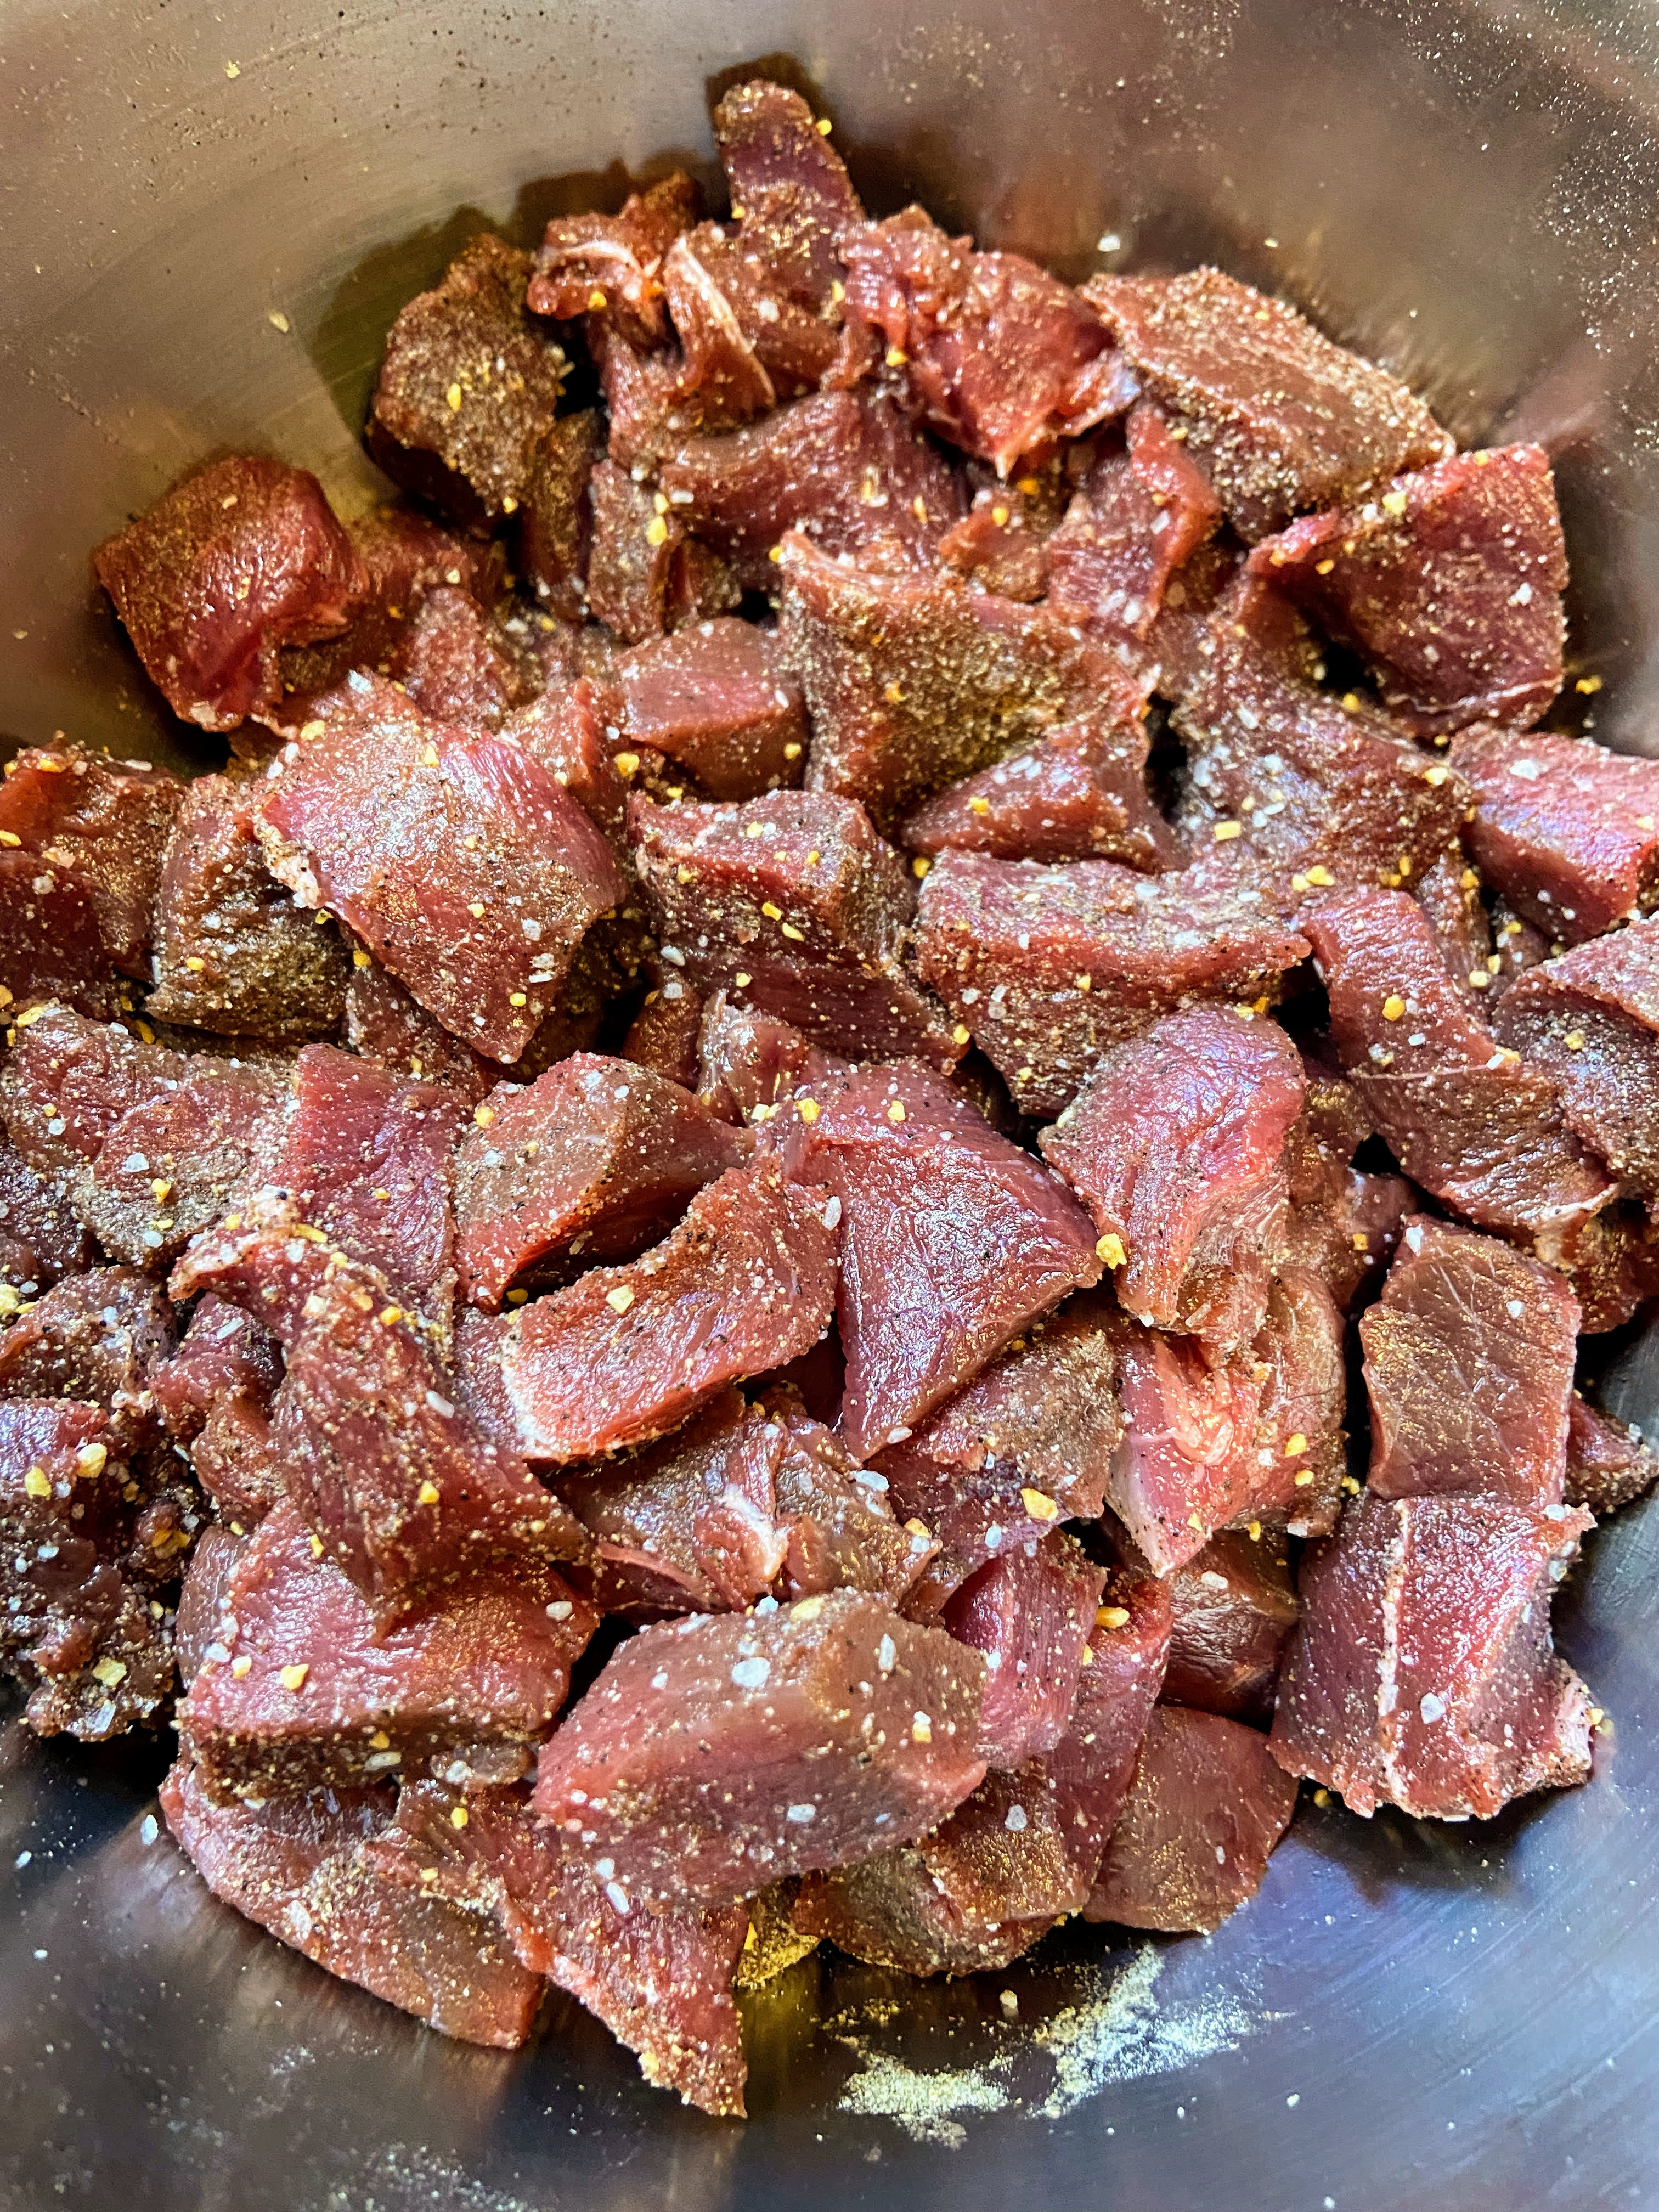
We keep a seasoning mixture on hand of 1 part pepper, 1 part dried minced garlic, 1 part dried minced onion, and 1-2 parts kosher salt. I use this on everything from chicken to venison to roasted vegetables. It’s fantastic and versatile. When I am canning meat, I season every 2 ½ pounds of meat with about 1-2 tablespoons seasoning mix. This is to our taste.
Tools of the Trade
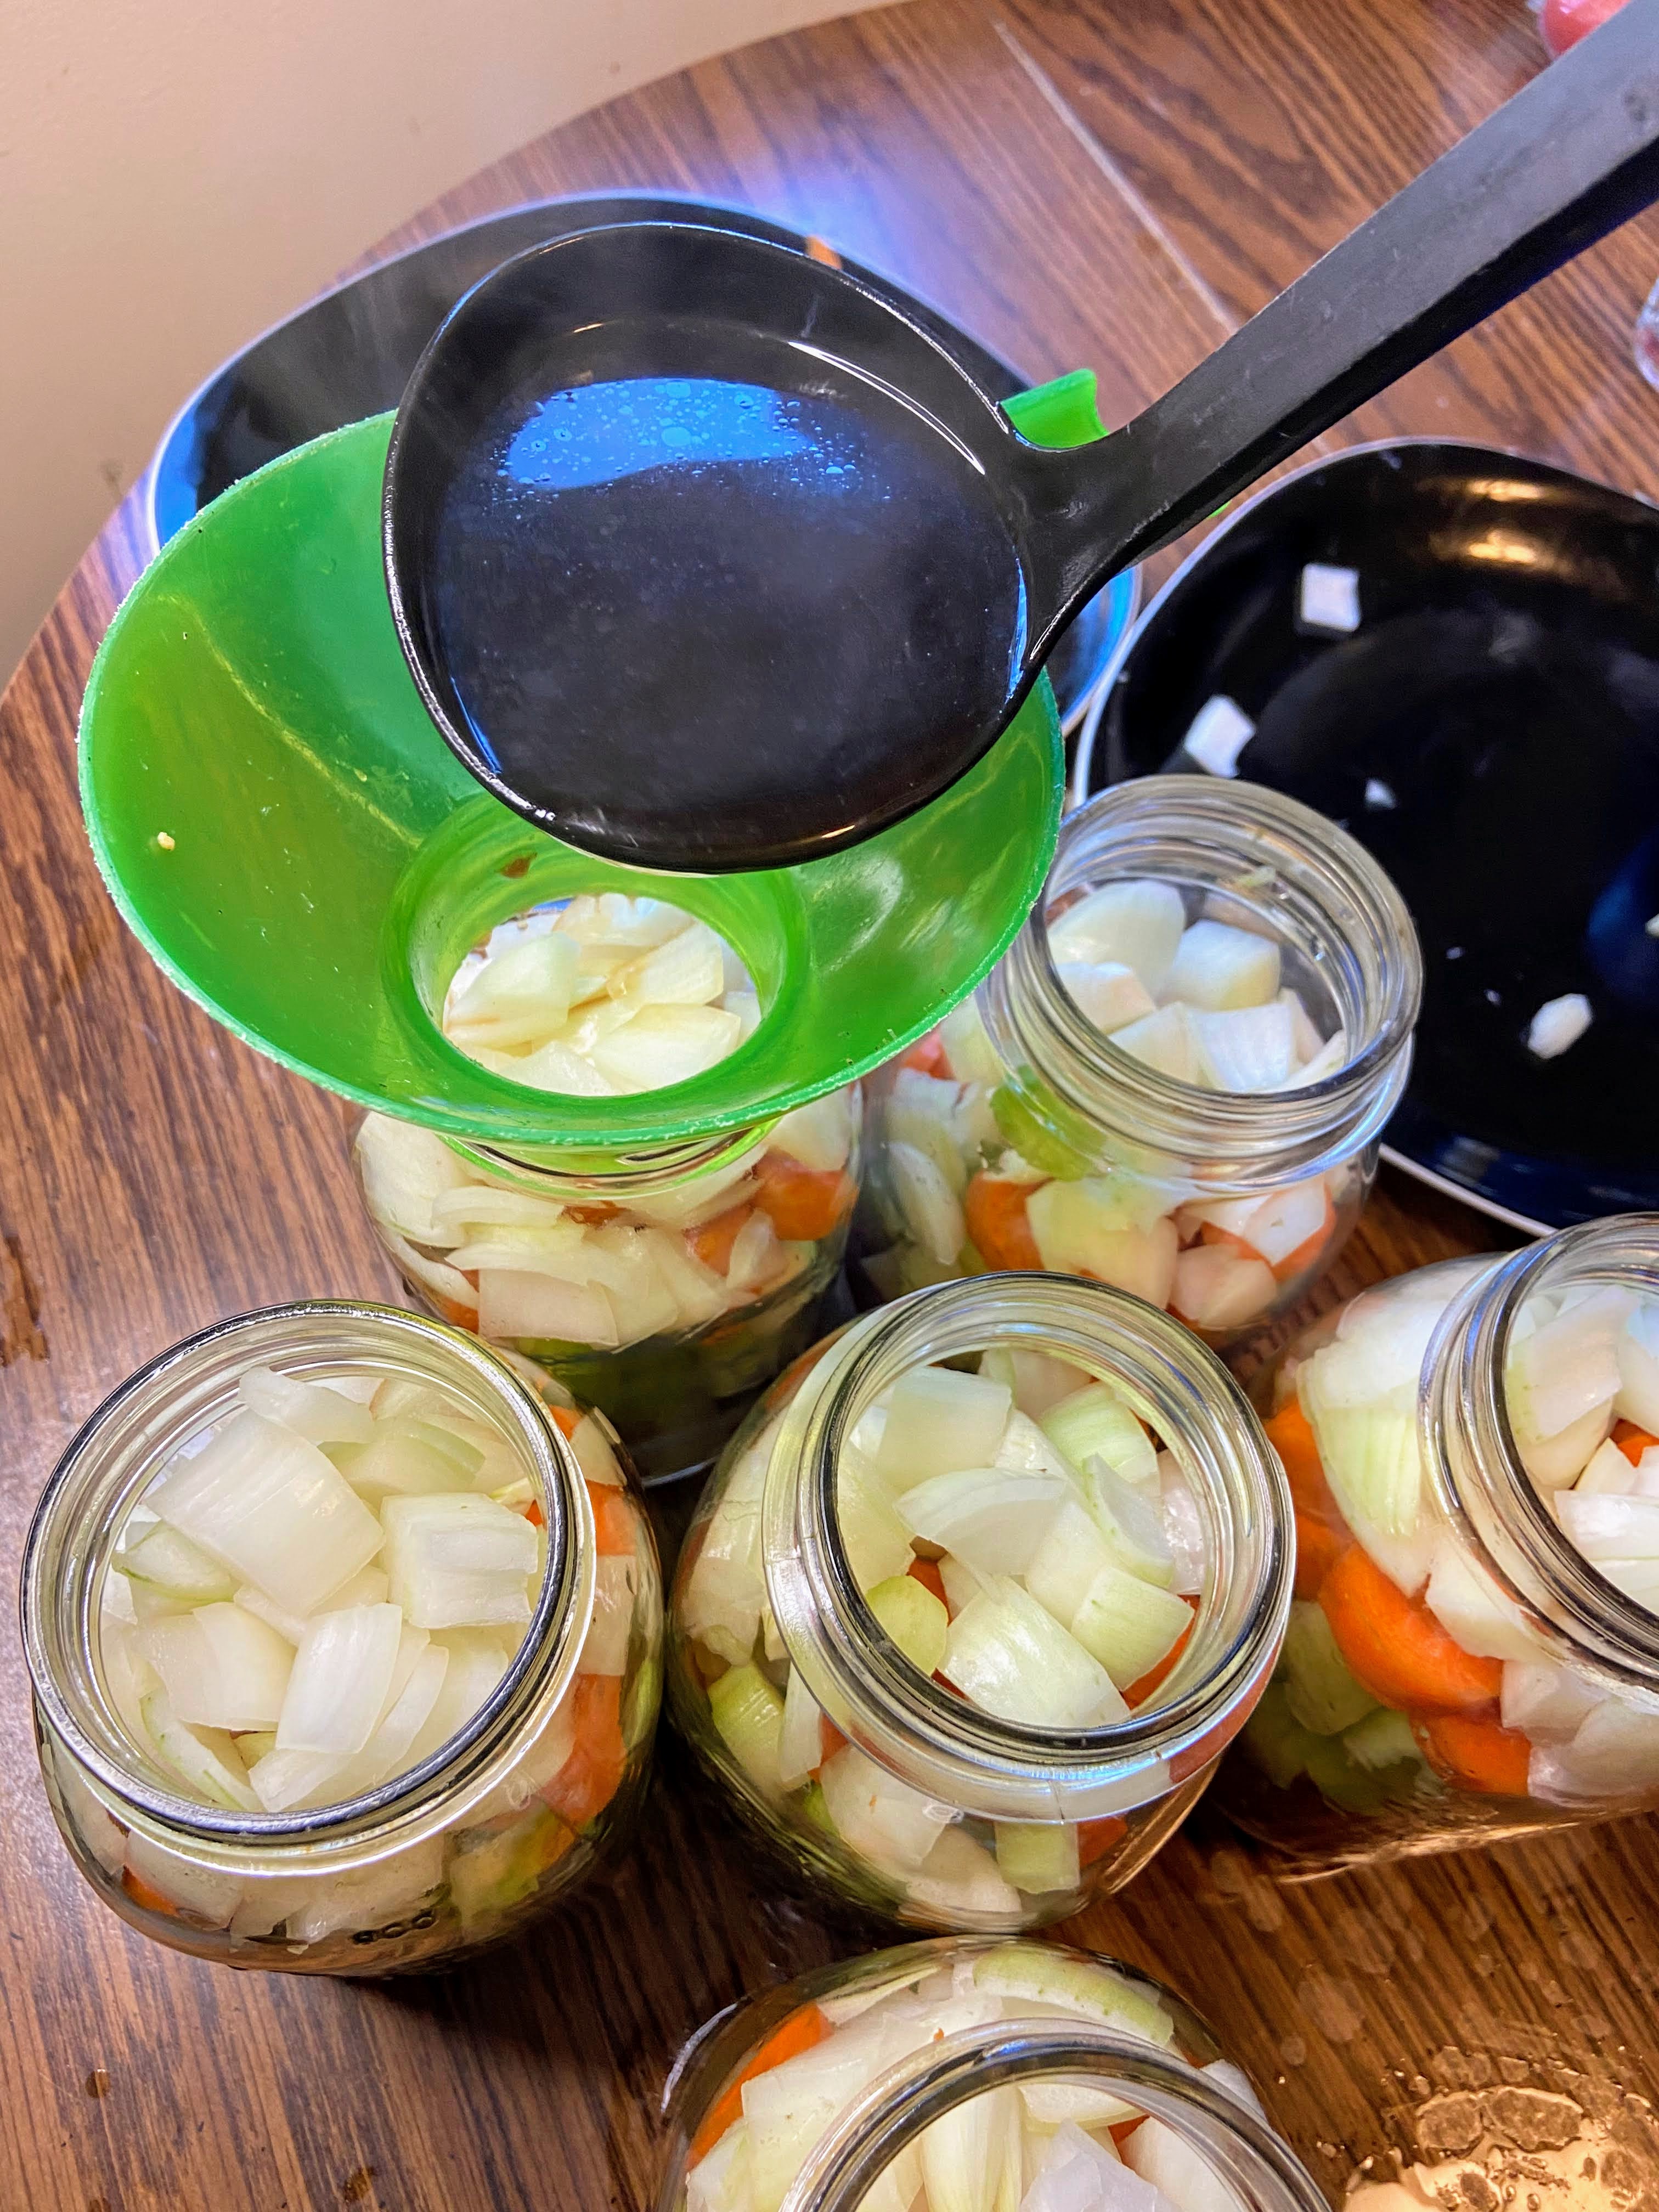
Normally, I put this at the end of a post, but with a pressure canner, I feel as though I should put it at the beginning. I love using my weighted pressure canner. It doesn’t stress me out and I can create so many great things with it. I also think a canning funnel is a must here.
Before you start this process, make sure you read the general directions to your own pressure canner. They may differ from what I am sharing, and you should always follow those directions first. Also, if you are a beginner canner or even advanced, it is always a great idea to check out the National Center for Home Preservation Site for more information!
Your Steps to Pressure Canned Venison Stew
Begin by preparing your canner and jars. Wash and sterilize quart jars, rings, and lids. Keep warm. Check the seal and center vent of your lid of the canner. Set aside.
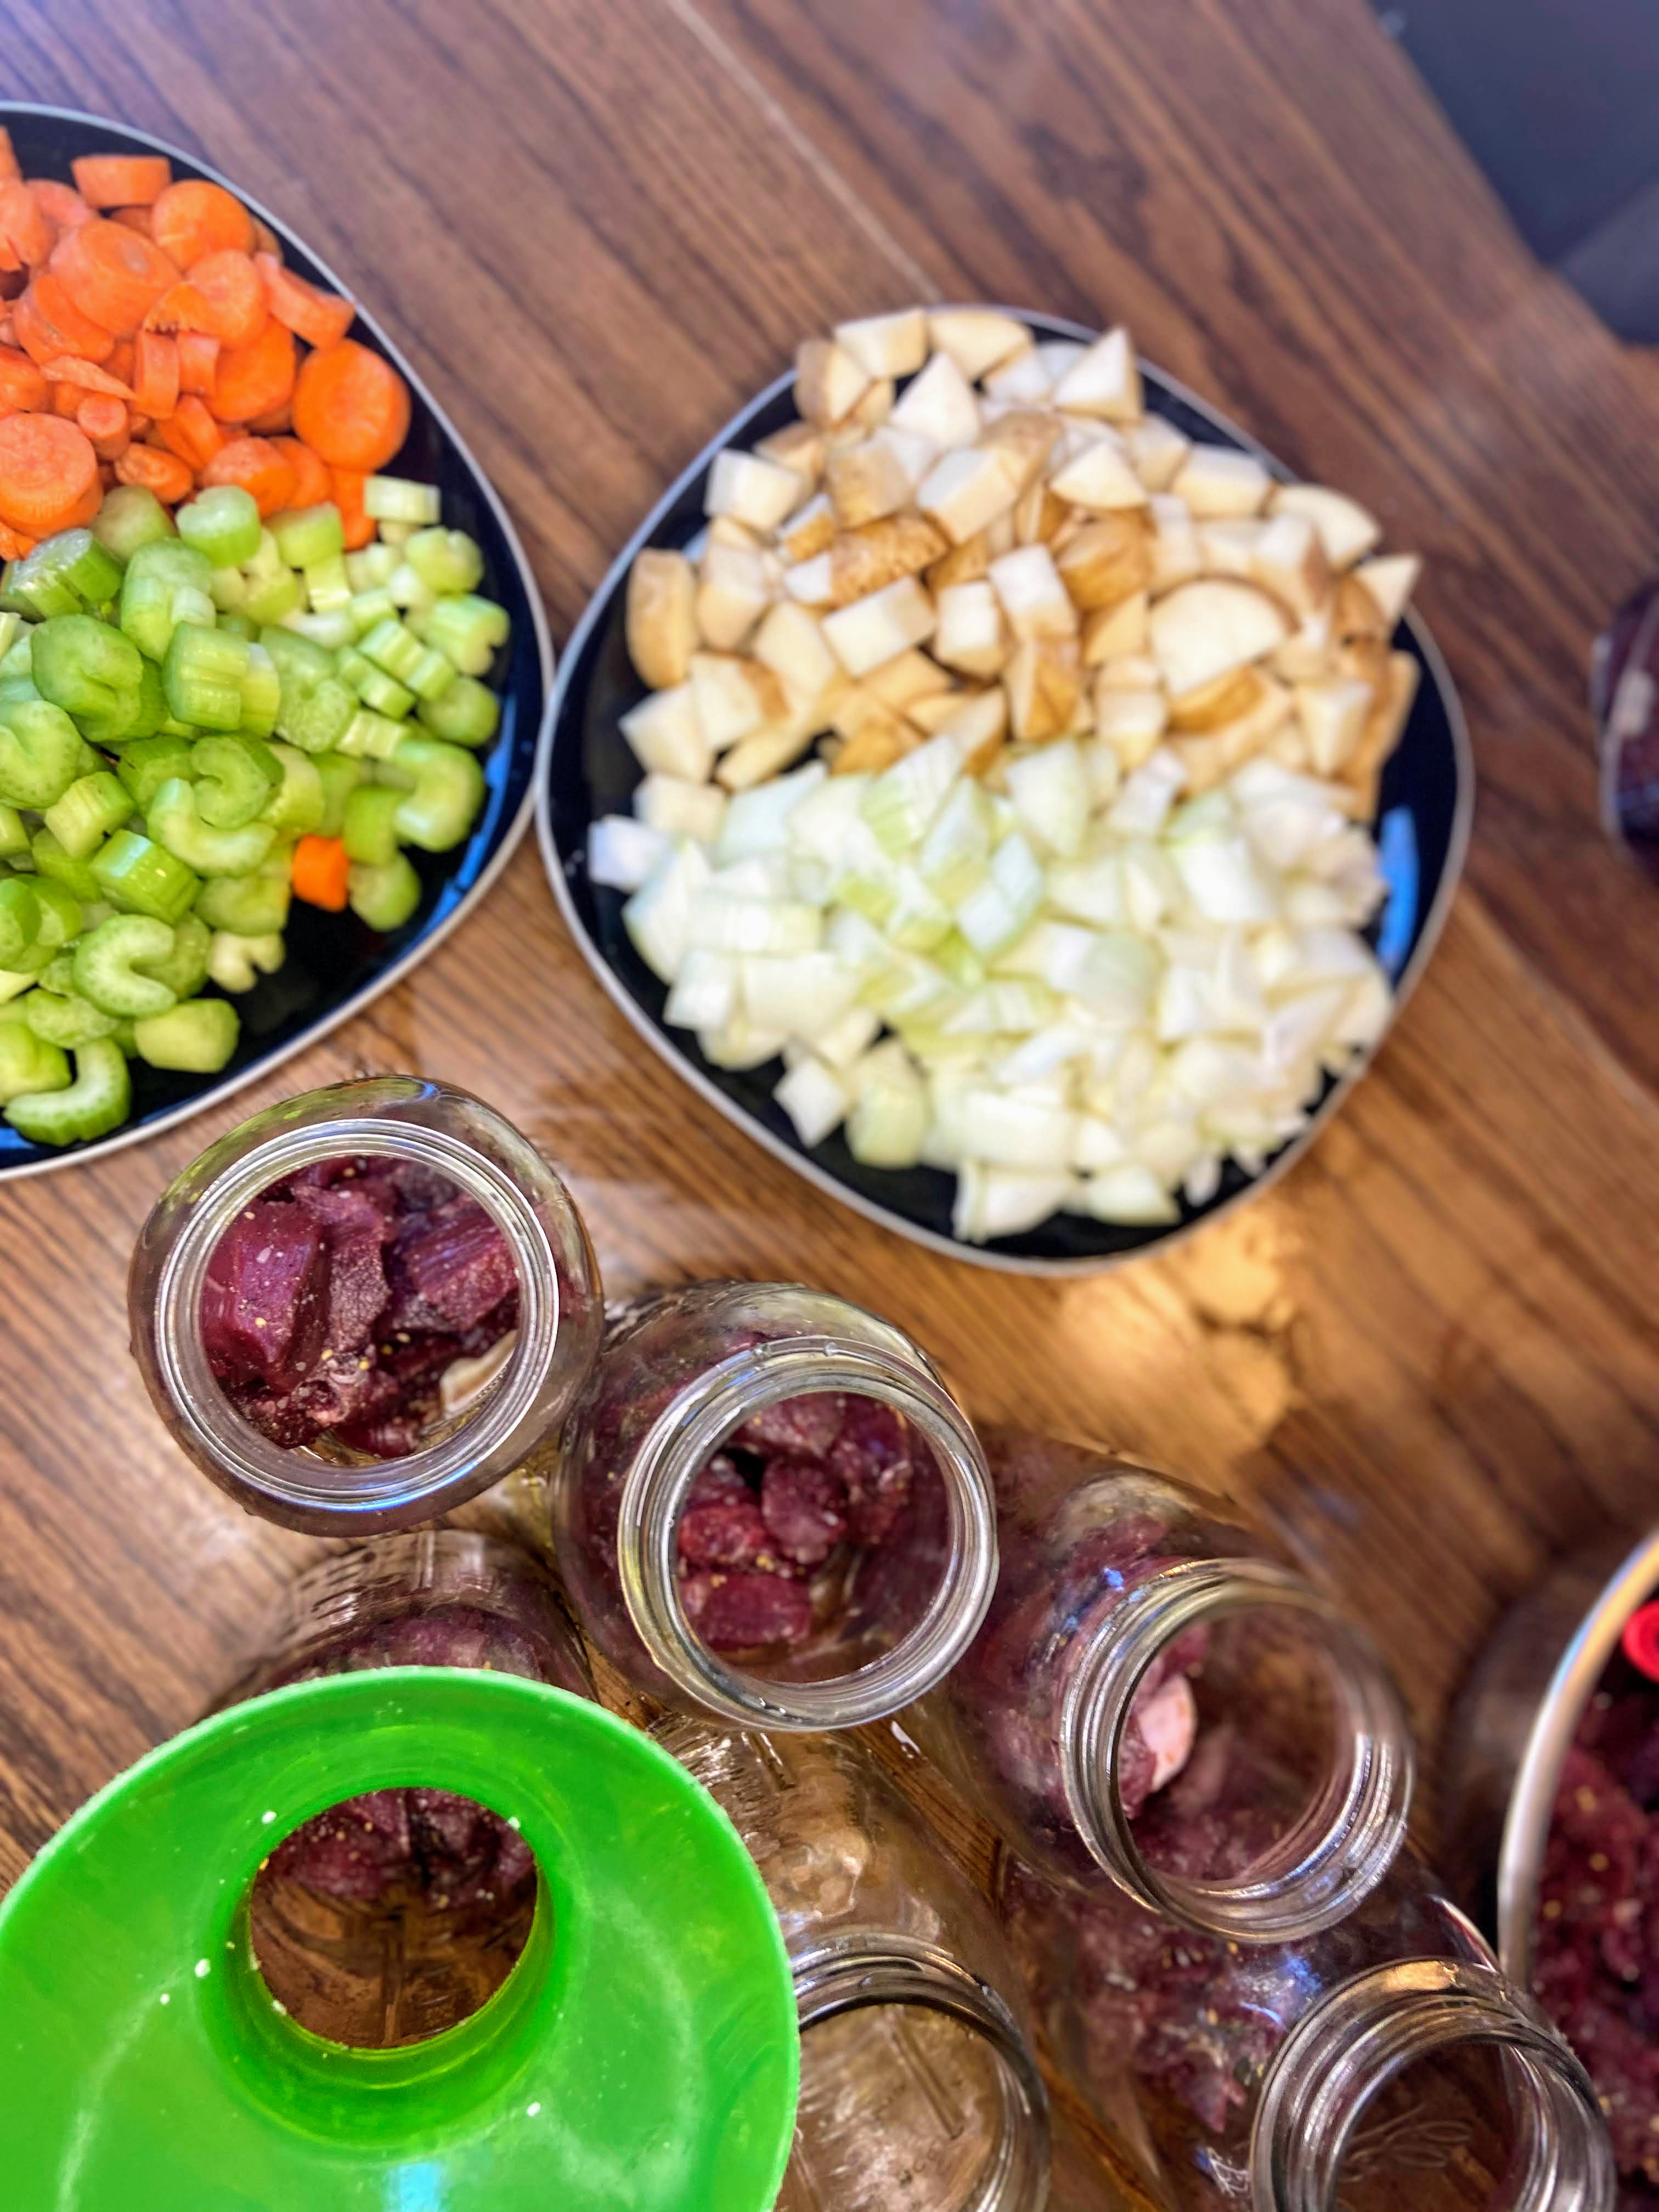
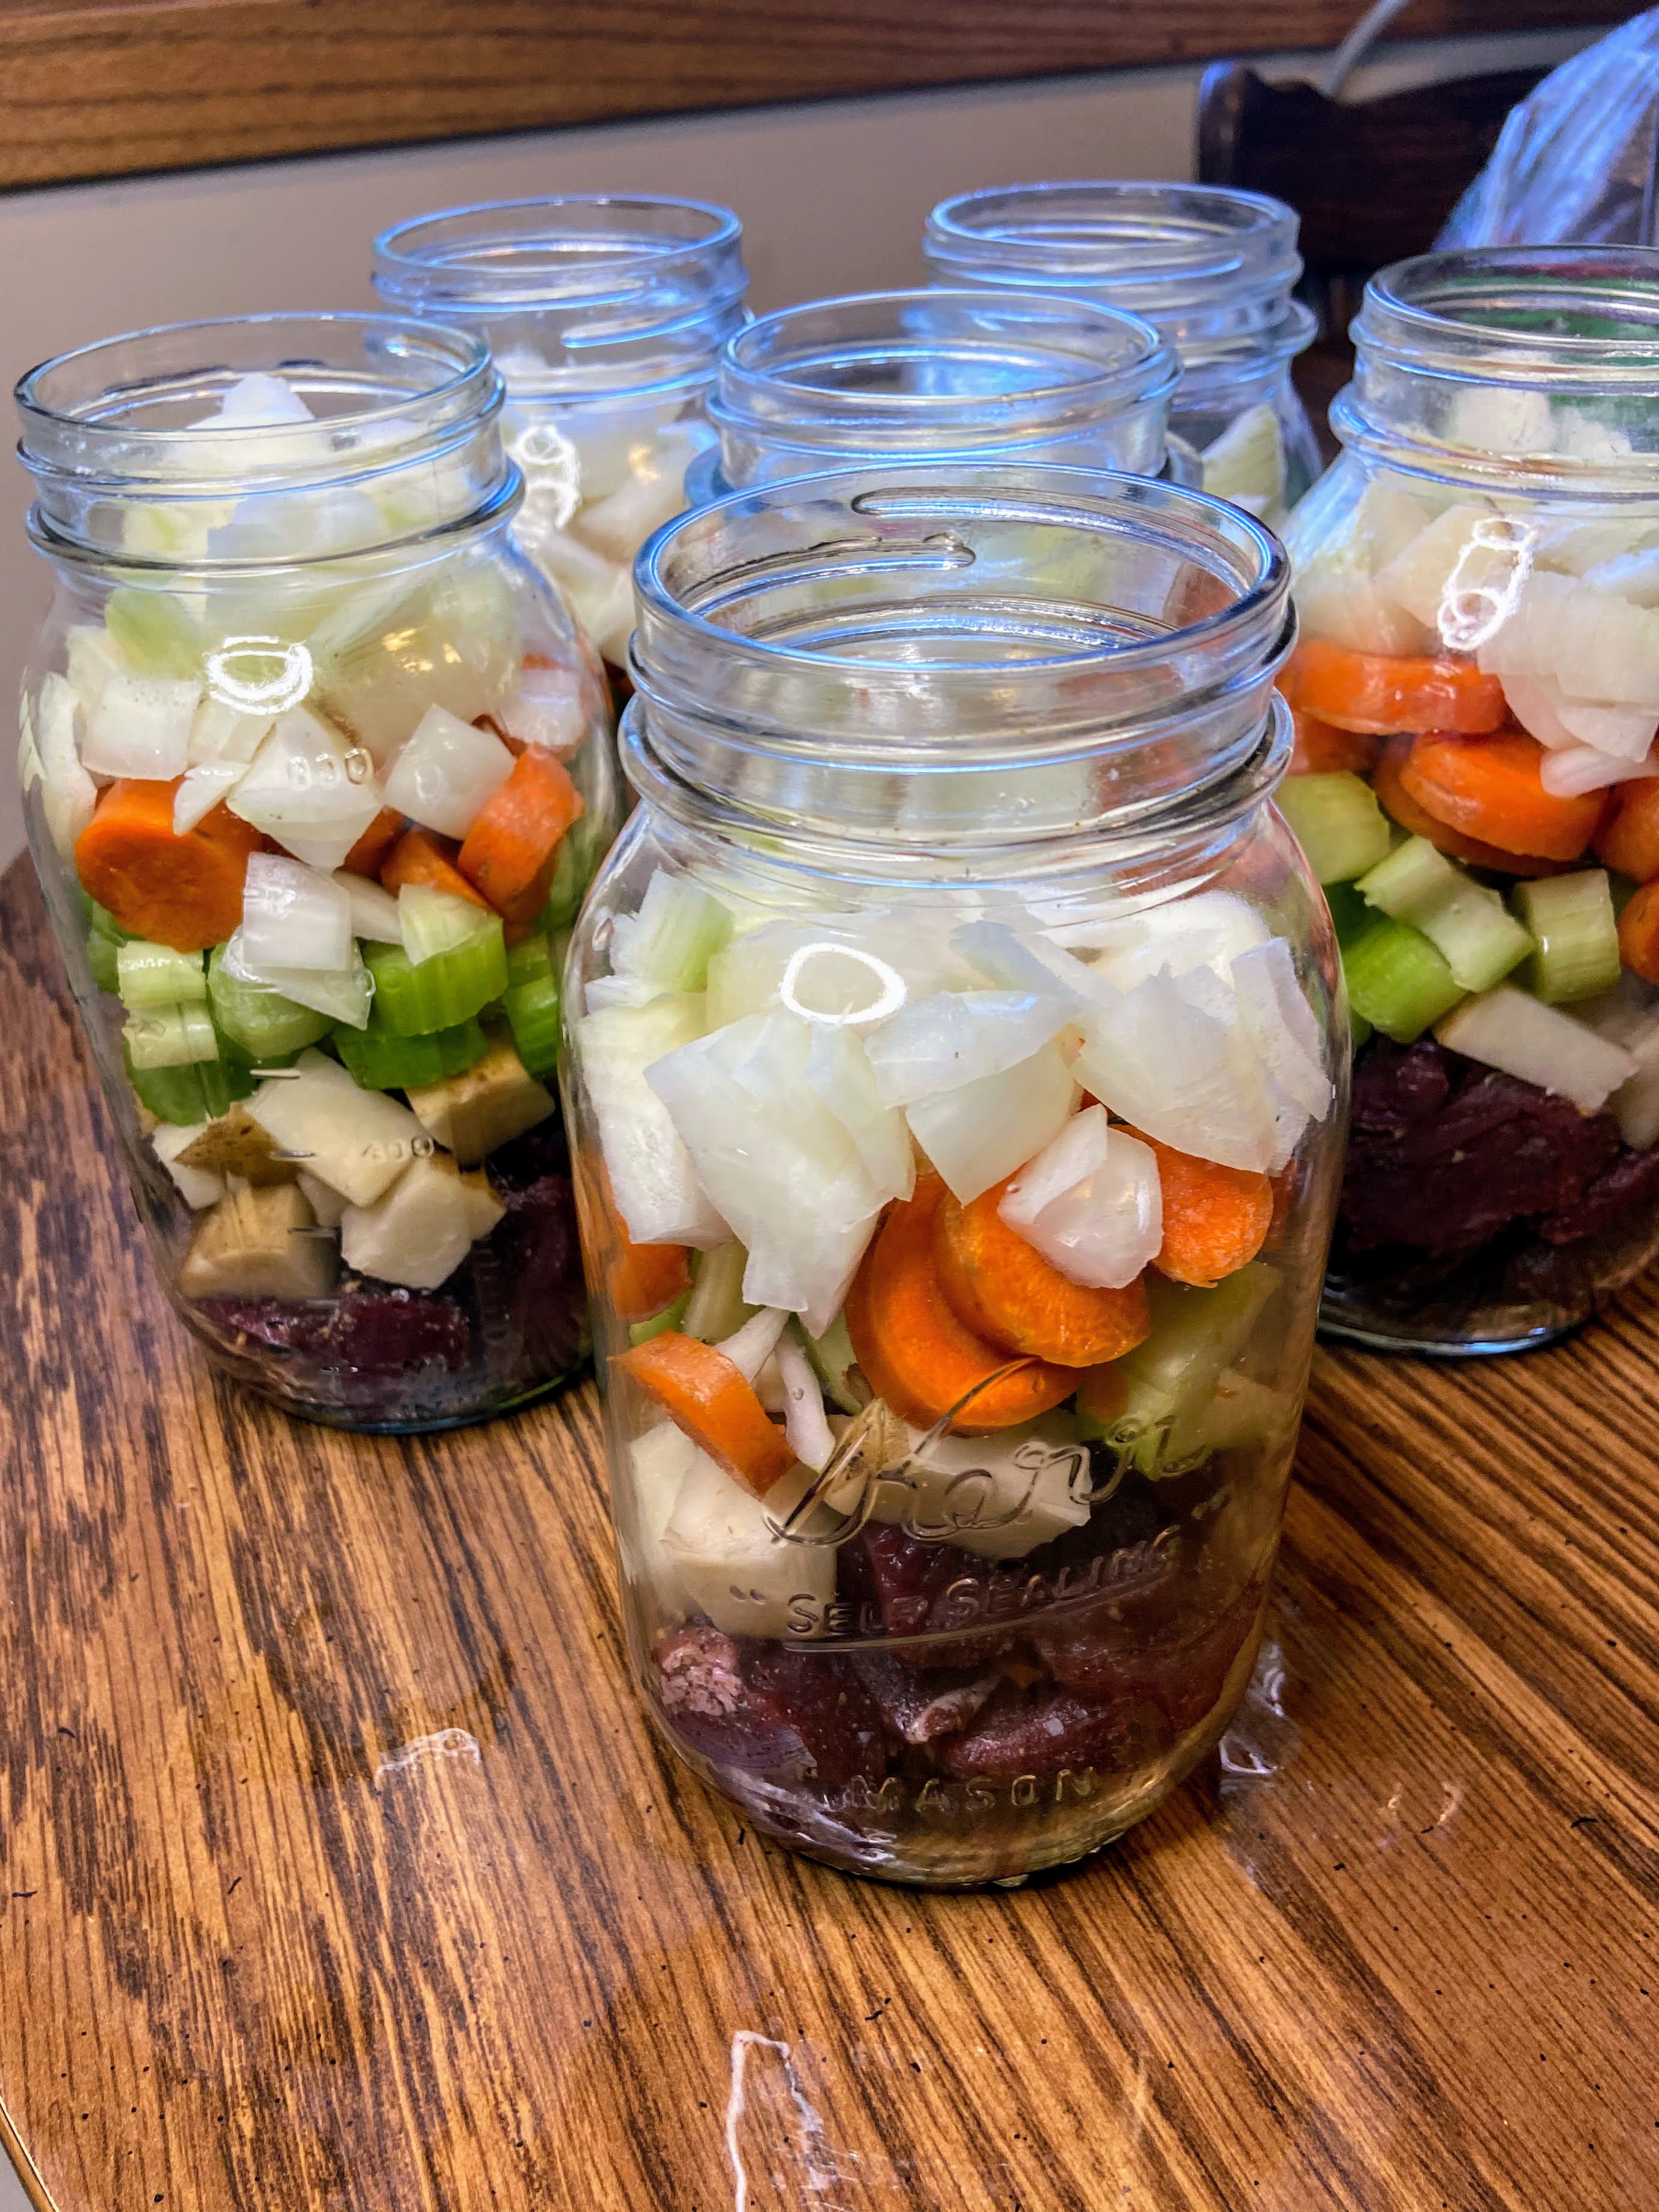
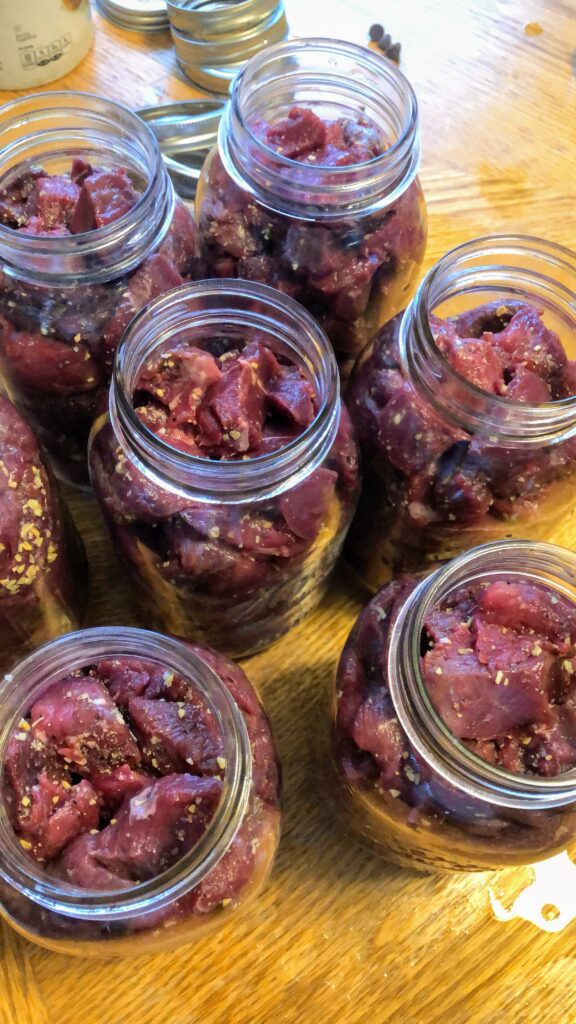
Season prepared meat with seasoning mixture mentioned above (2 tablespoons per 2 ½ pounds of meat). Using a canning funnel, stuff jars with 4 cups of raw meat each, leaving 1 inch of headspace.
Wipe rims with a damp cloth, center the lid on the jar and adjust the band to fingertip tight.
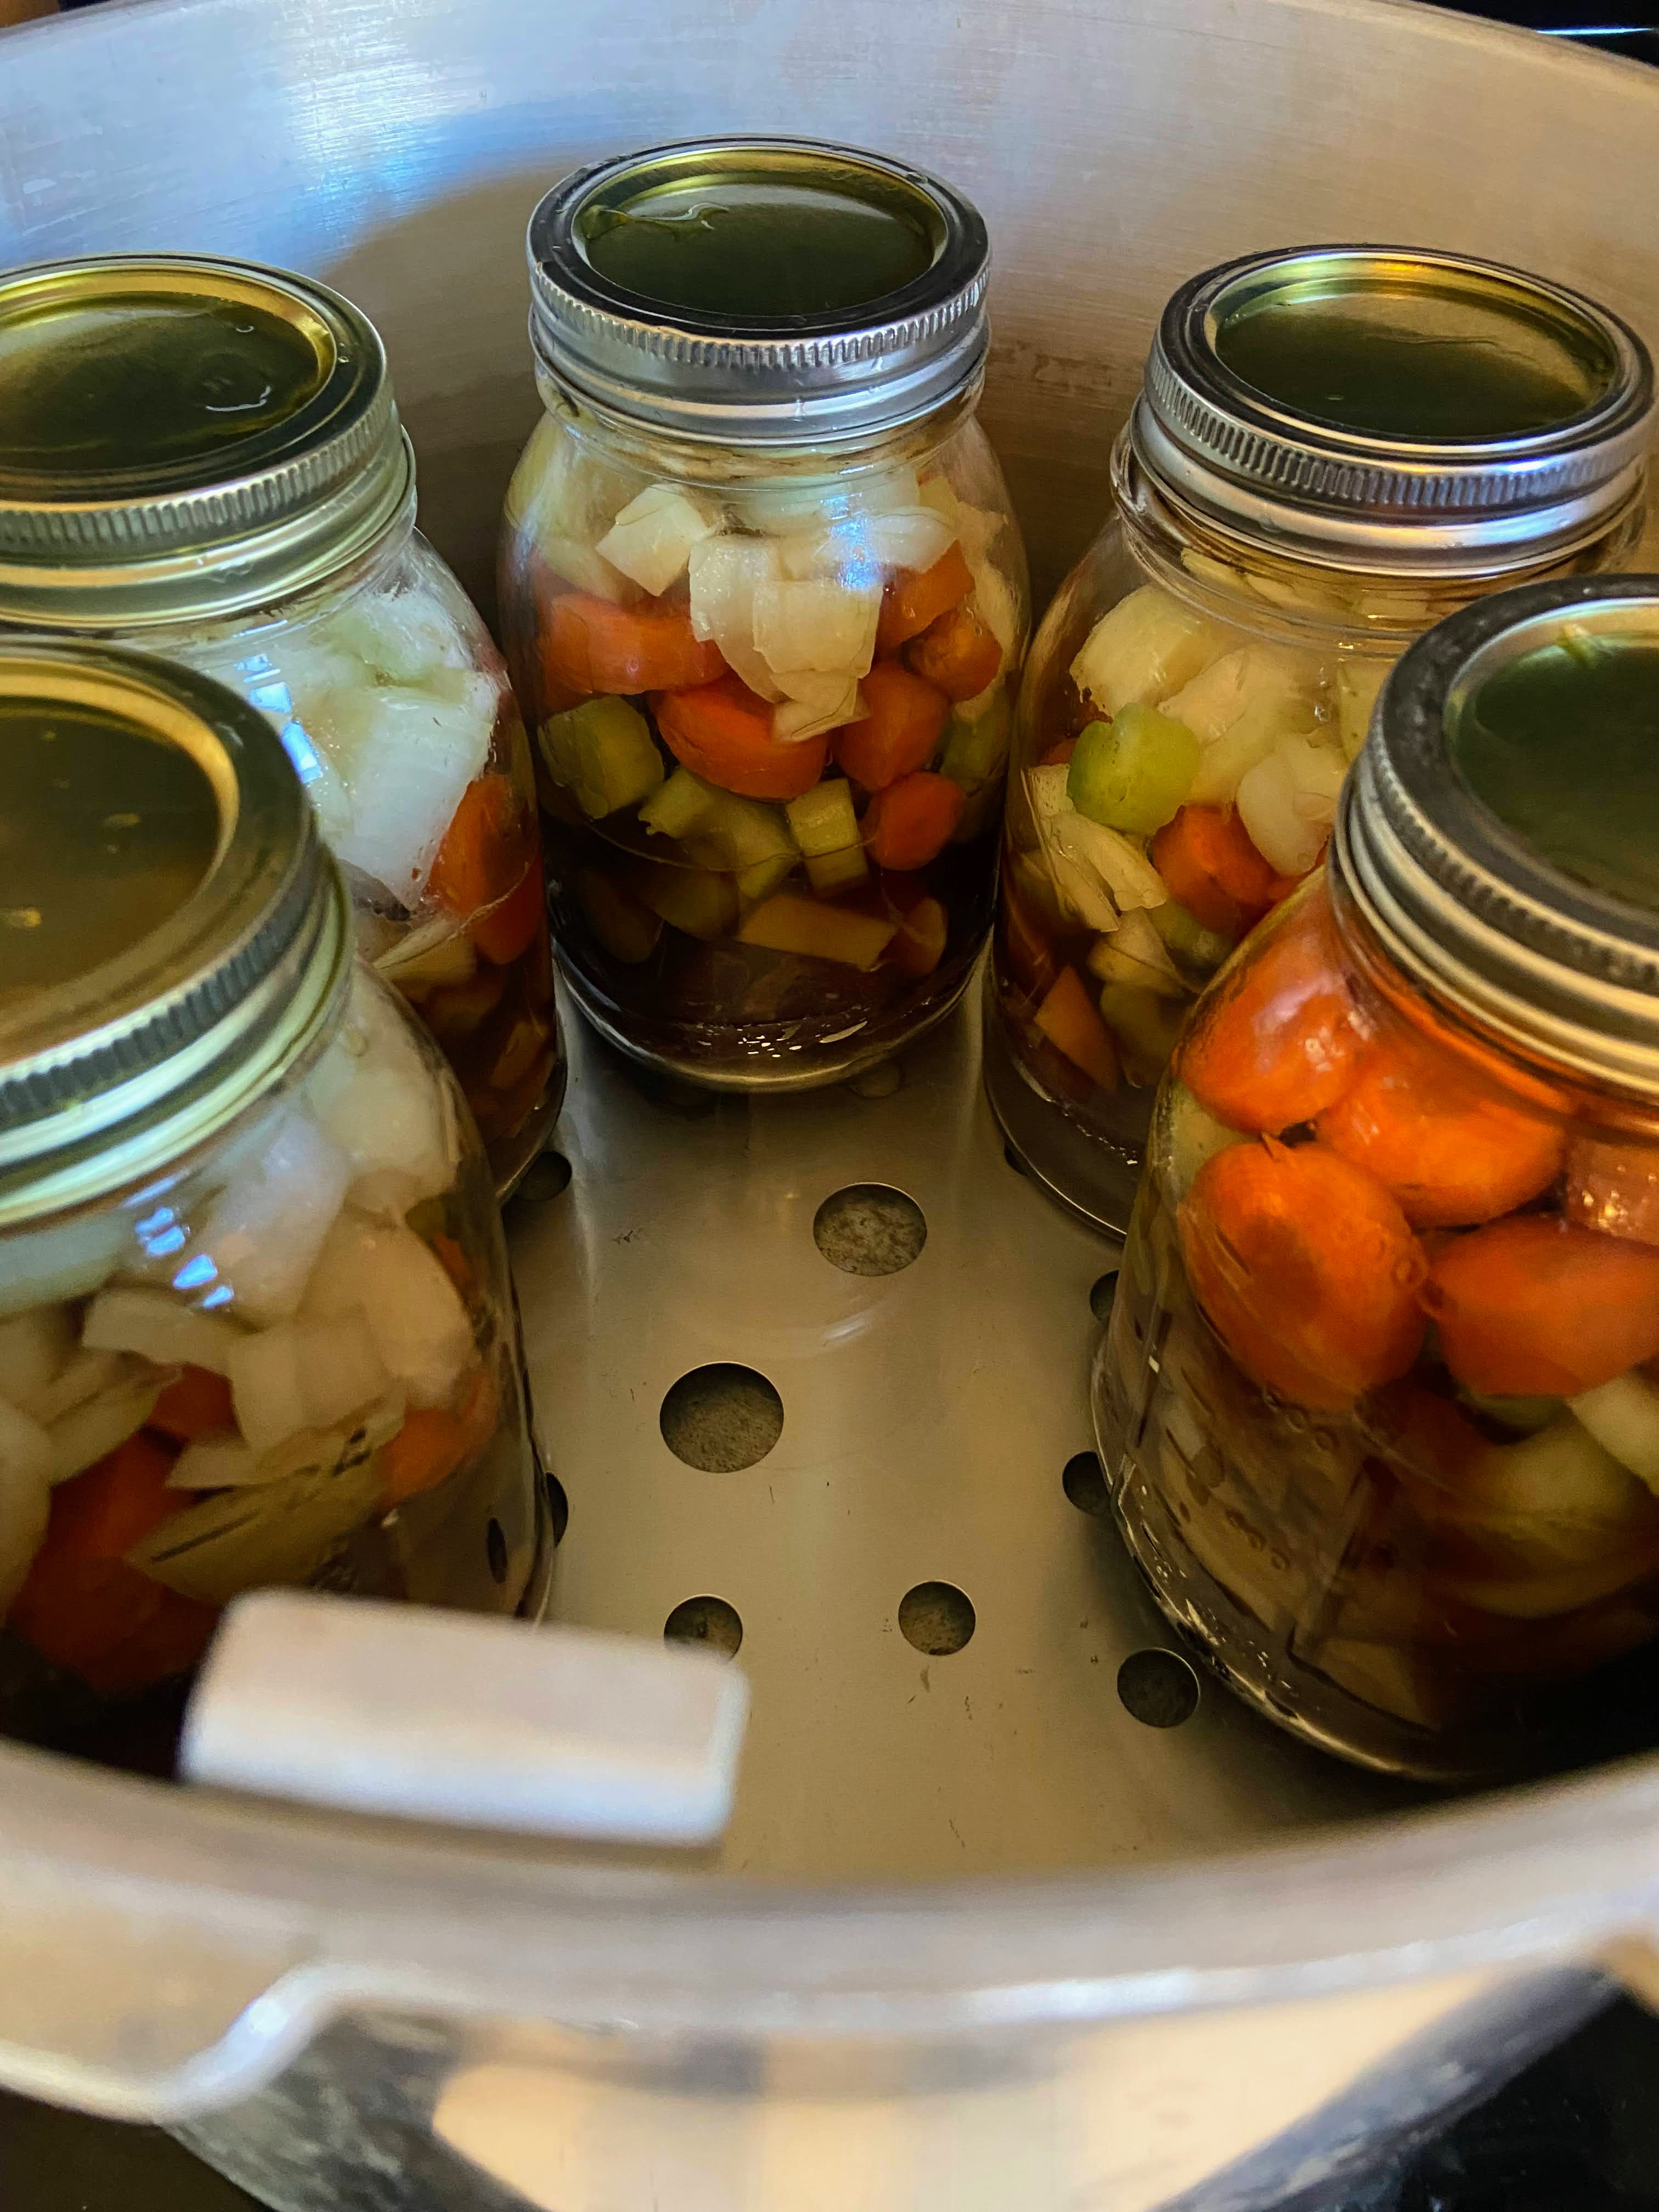
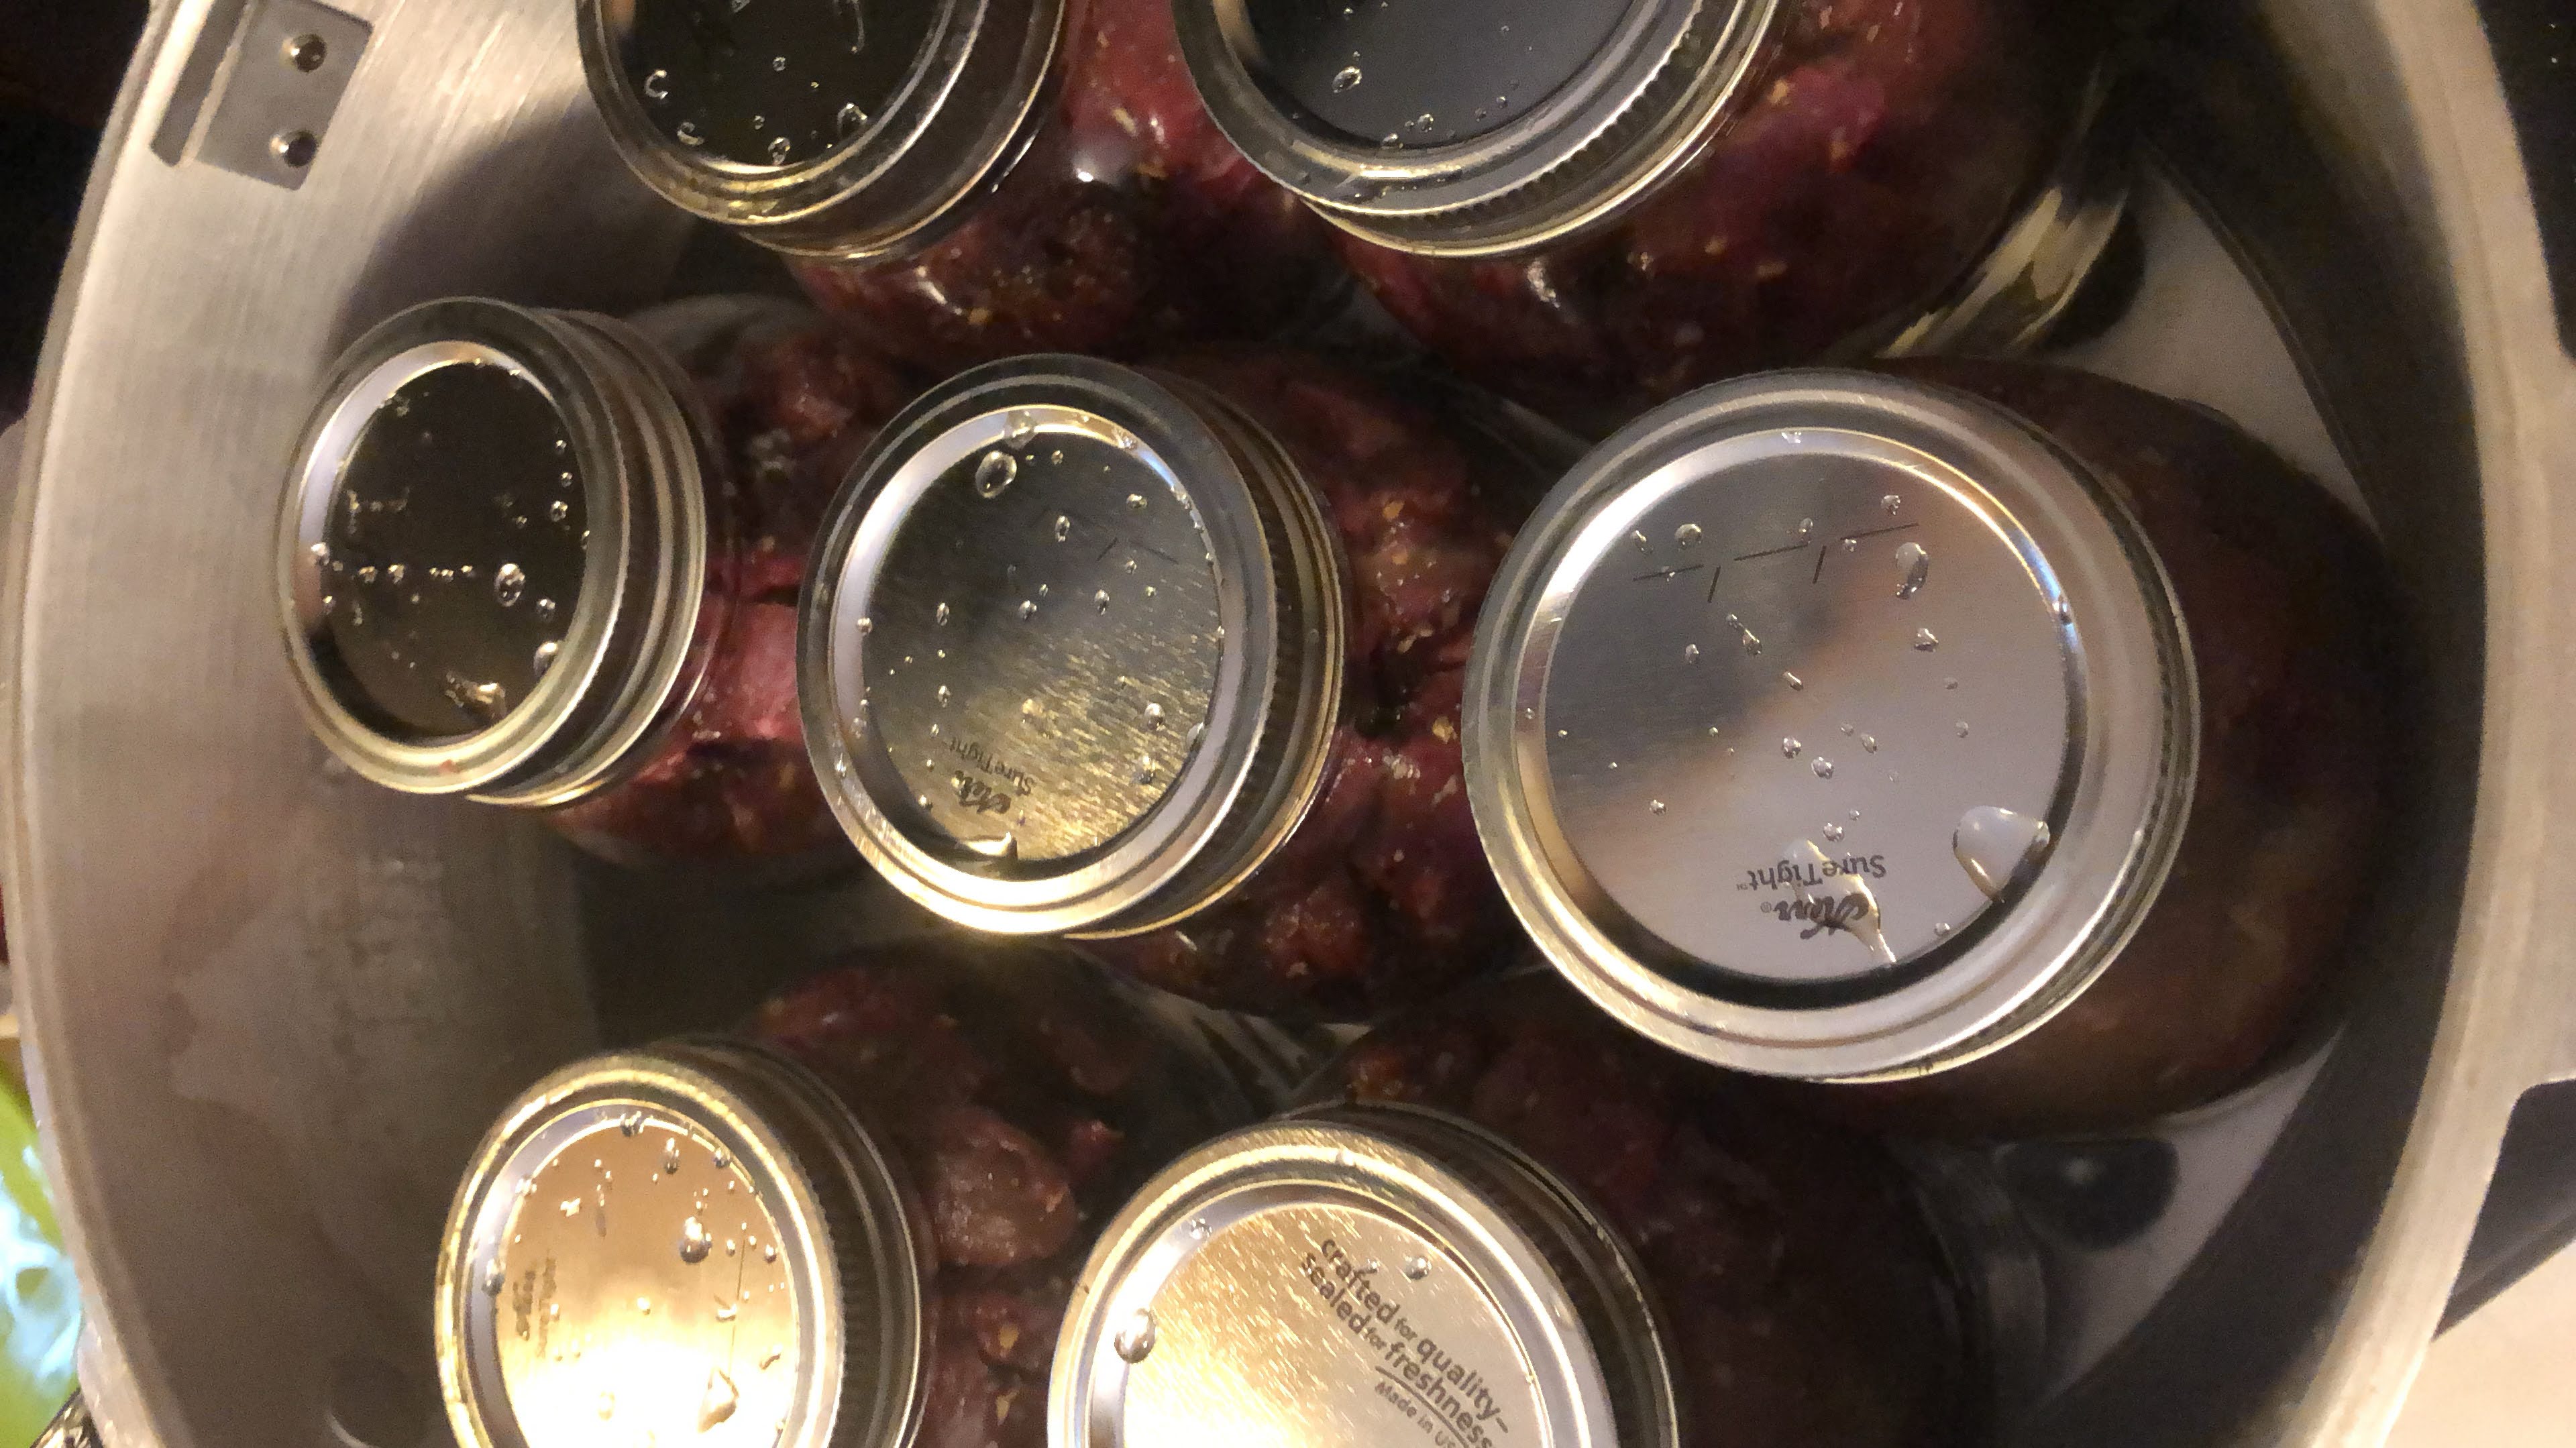
Place jars on the rack of a prepared pressure canner (mine needs 3 quarts of hot water plus a splash of vinegar).
Time to Can that Pressure Canned Seasoned Venison!
Place the lid on the canner and heat to high heat. Once a steady stream of steam can be seen/felt, vent for 10 minutes, adjusting the heat if needed to have a steady but not crazy stream of steam. After 10 minutes, put the weighted gauge on the vent. You will want 10 pounds if your altitude is under 1000 ft; 15 pounds if you are over 1000 ft.
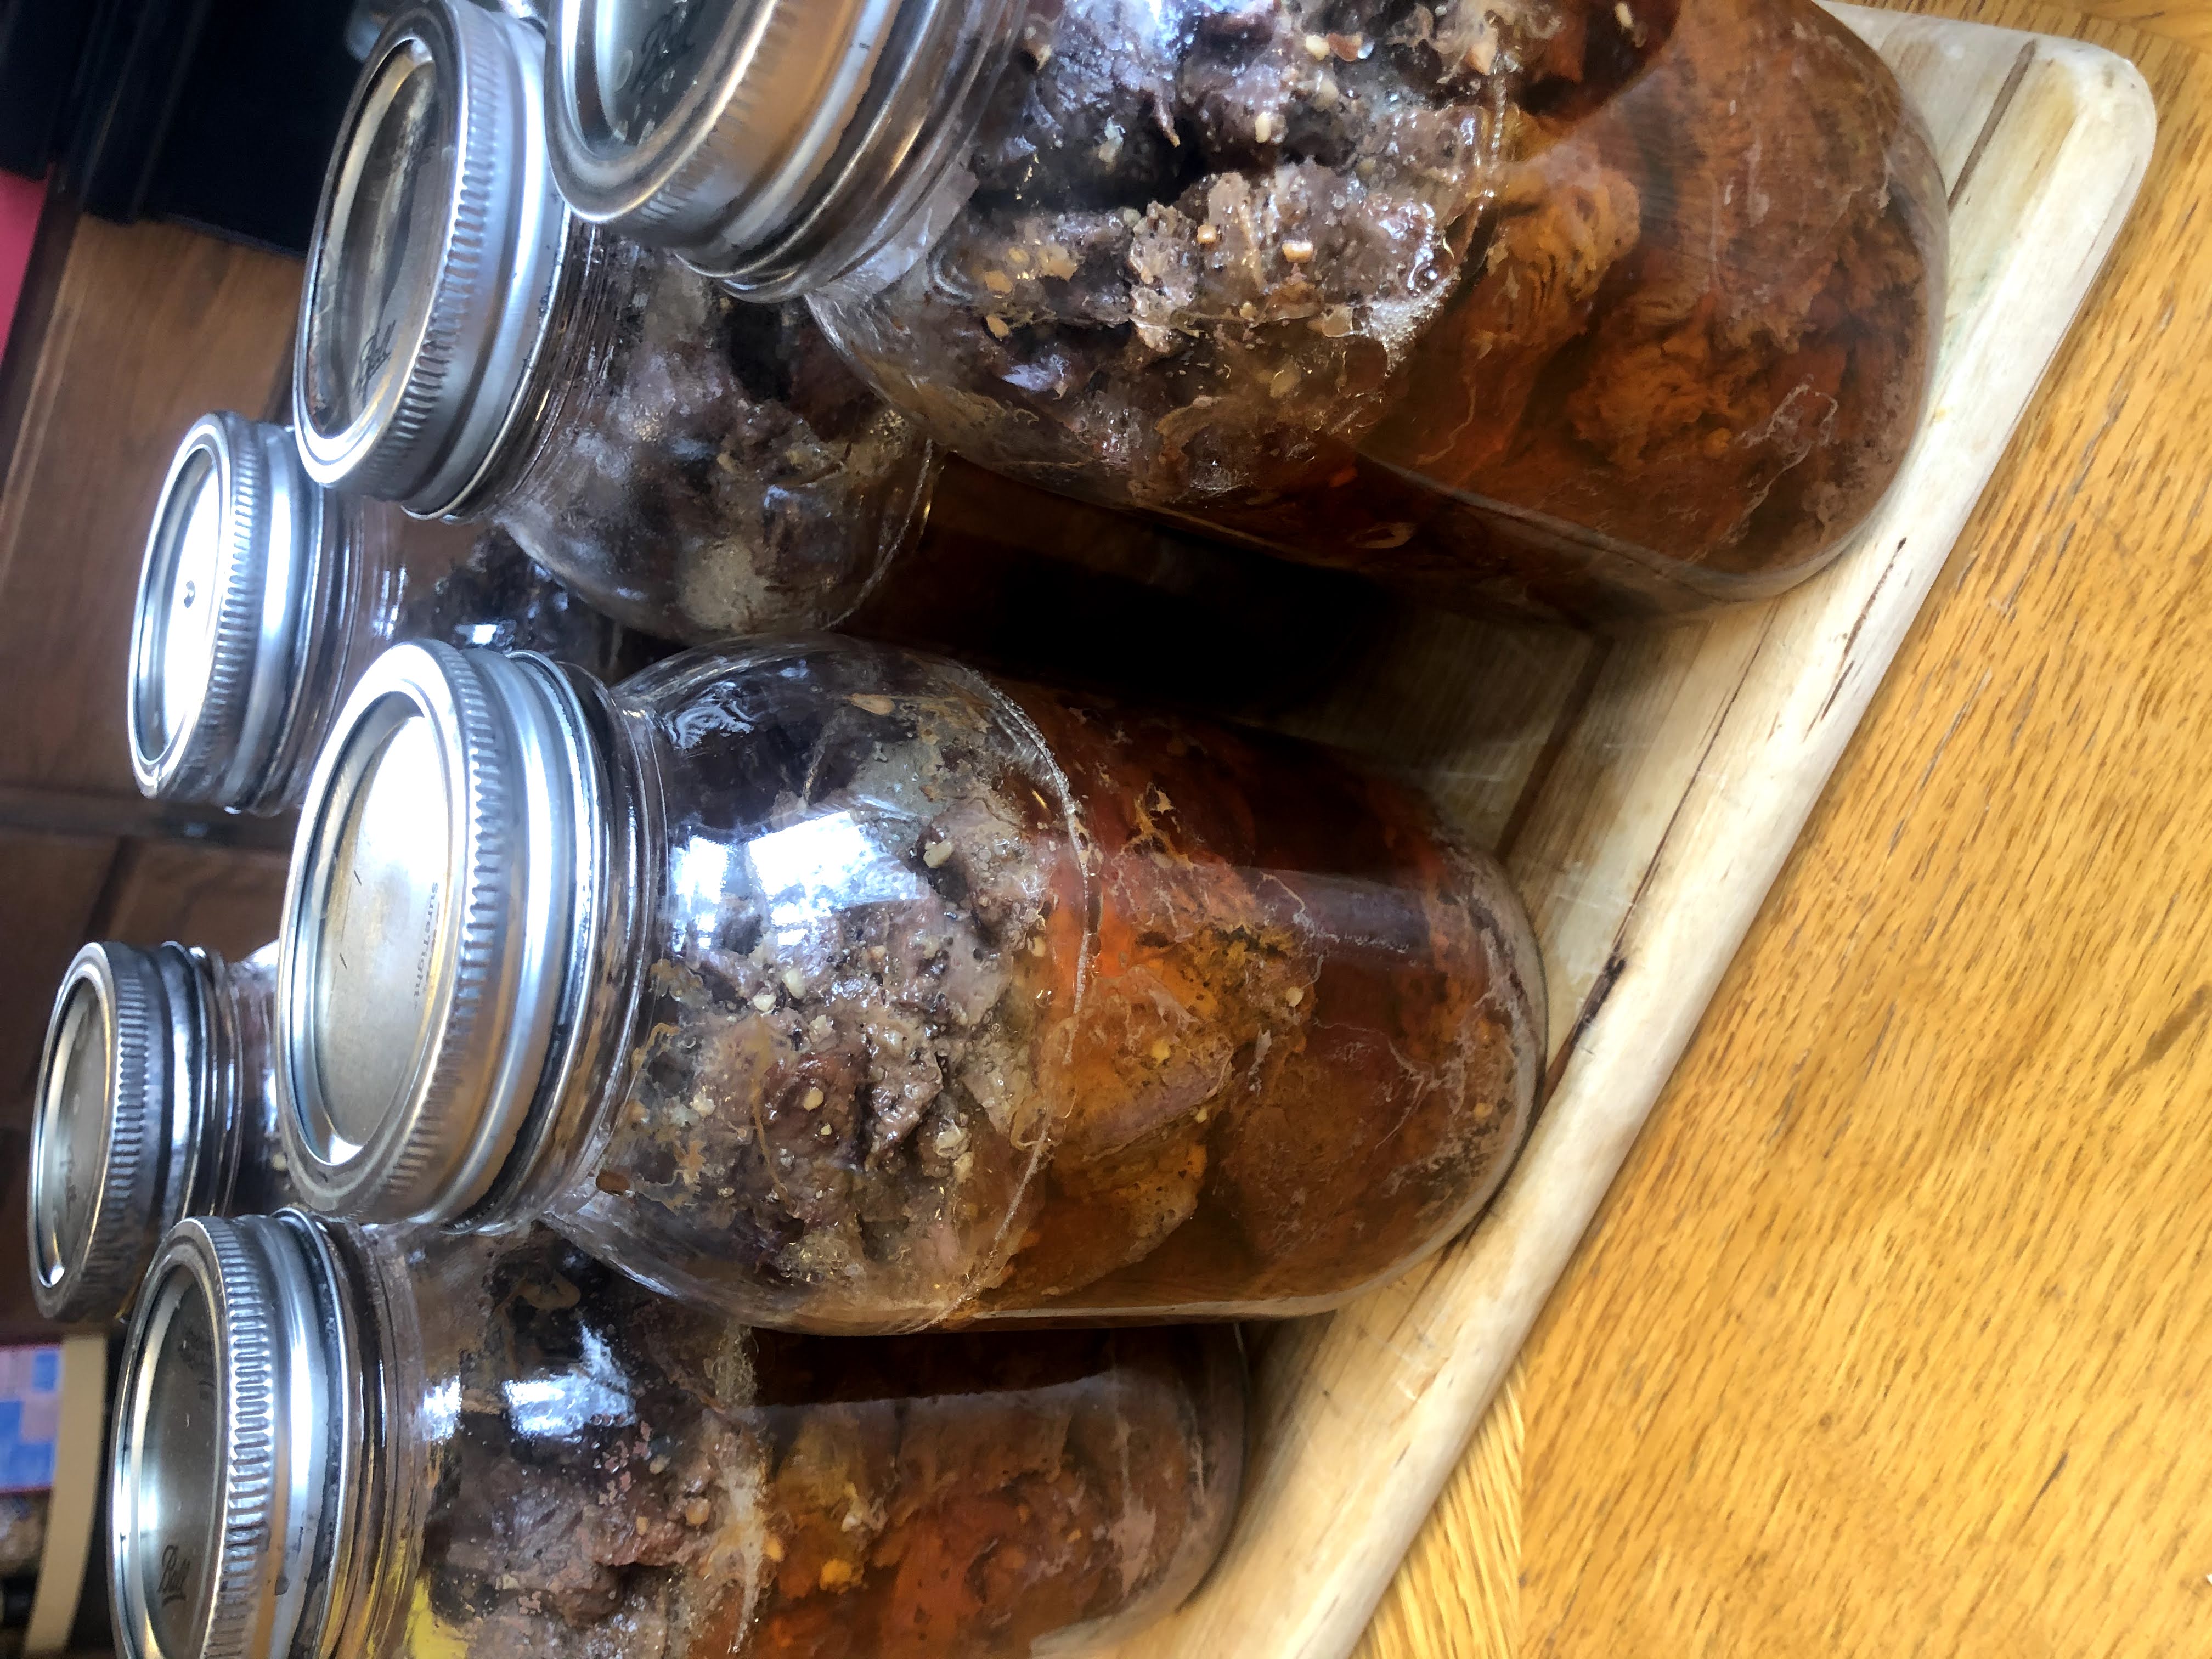
Once the weight starts to jiggle (indicating it has reached the appropriate pressure), begin timing. You will need to process pint jars for 75 minutes and quart jars for 90 minutes. Once the timer has gone off, turn off and remove the canner from heat. Allow the pressure to drop on the canner all the way (read specific canner instructions for the indicator-this takes about 45 minutes). Remove weight and allow to cool an additional 10 minutes. Remove jars from canner; do not retighten bands. Cool 12 hours, then check their seals, label, and store jars.
Again, we like to create pulled venison with ours by heating it with some BBQ sauce. It will shred as you stir, getting the perfect texture. Add some coleslaw and rolls and you are set!
Pressure Canned Seasoned Venison
Equipment
Ingredients
- 20 cups cubed venison stew meat (about 10 pounds)
- ¼-½ cup seasoning mixture of minced garlic, minced onion, salt, and pepper see directions for additional information
Instructions
- Begin by preparing your canner and jars. Wash and sterilize quart jars, rings, and lids. Keep warm. Check the seal and center vent of your lid the canner. Set aside.
- Create the seasoning mixture: 1 part pepper, 1 part dried minced garlic, 1 part dried minced onion, and 1-2 parts kosher salt (or canning salt).
- Season prepared meat with seasoning mixture.
- Stuff jars with raw seasoned meat, leaving 1 inch of head space.
- Wipe rims with a damp cloth, center the lid on the jar and adjust the band to fingertip tight.
- Place jars on the rack of a prepared pressure canner (mine needs 3 quarts of hot water plus a splash of vinegar).
- Process quart jars for 90 minutes at 10 pounds. If your altitude is greater than 1000 feet, use 15 pounds. Follow the directions of your pressure canner or see the more detailed directions in the notes.
Notes
Once the weight starts to jiggle (indicating it has reached the appropriate pressure), begin timing. You will need to process pint jars for 75 minutes and quart jars for 90 minutes. Once the timer has gone off, turn off and remove the canner from heat. Allow the pressure to drop on the canner all the way (read specific canner instructions for the indicator). Remove weight and allow to cool an additional 10 minutes. Remove jars from canner; do not retighten bands. Cool 12 hours, then check their seals, label, and store jars.
Looking for other venison recipes?
Check some of these out!