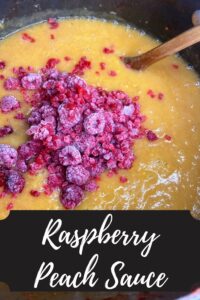
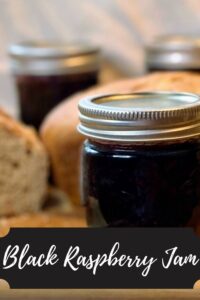
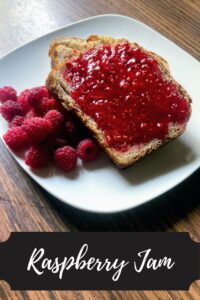
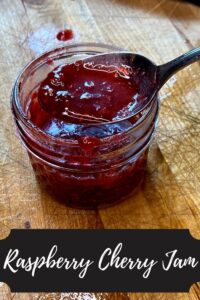
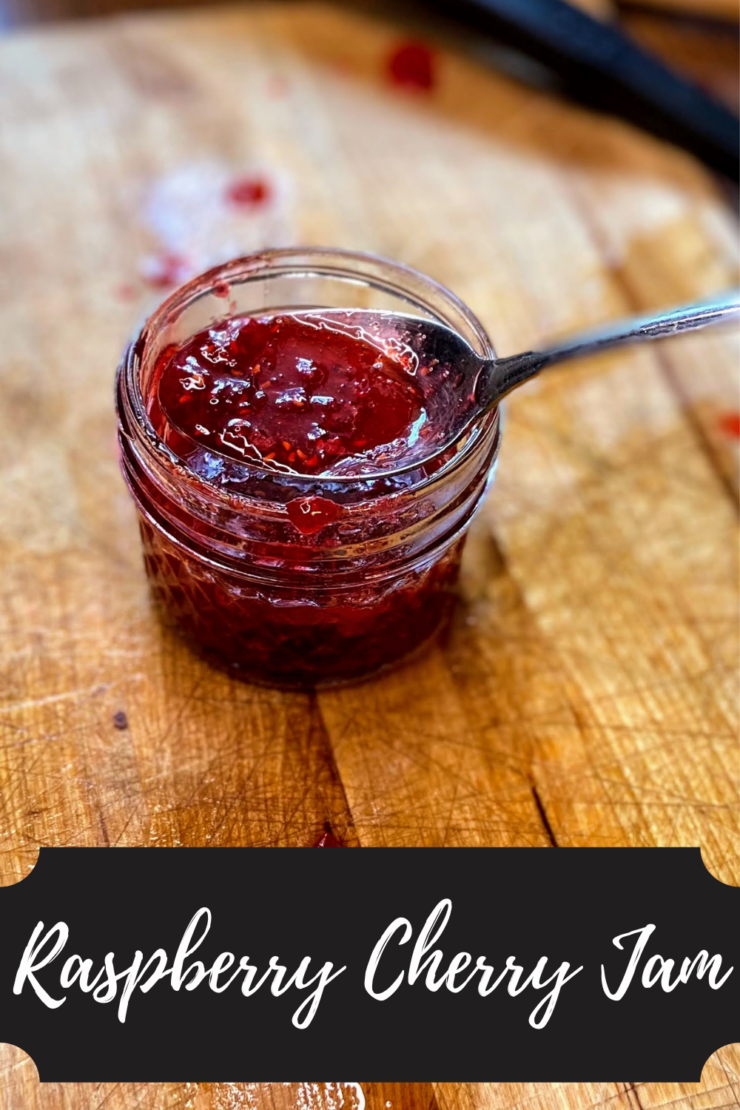
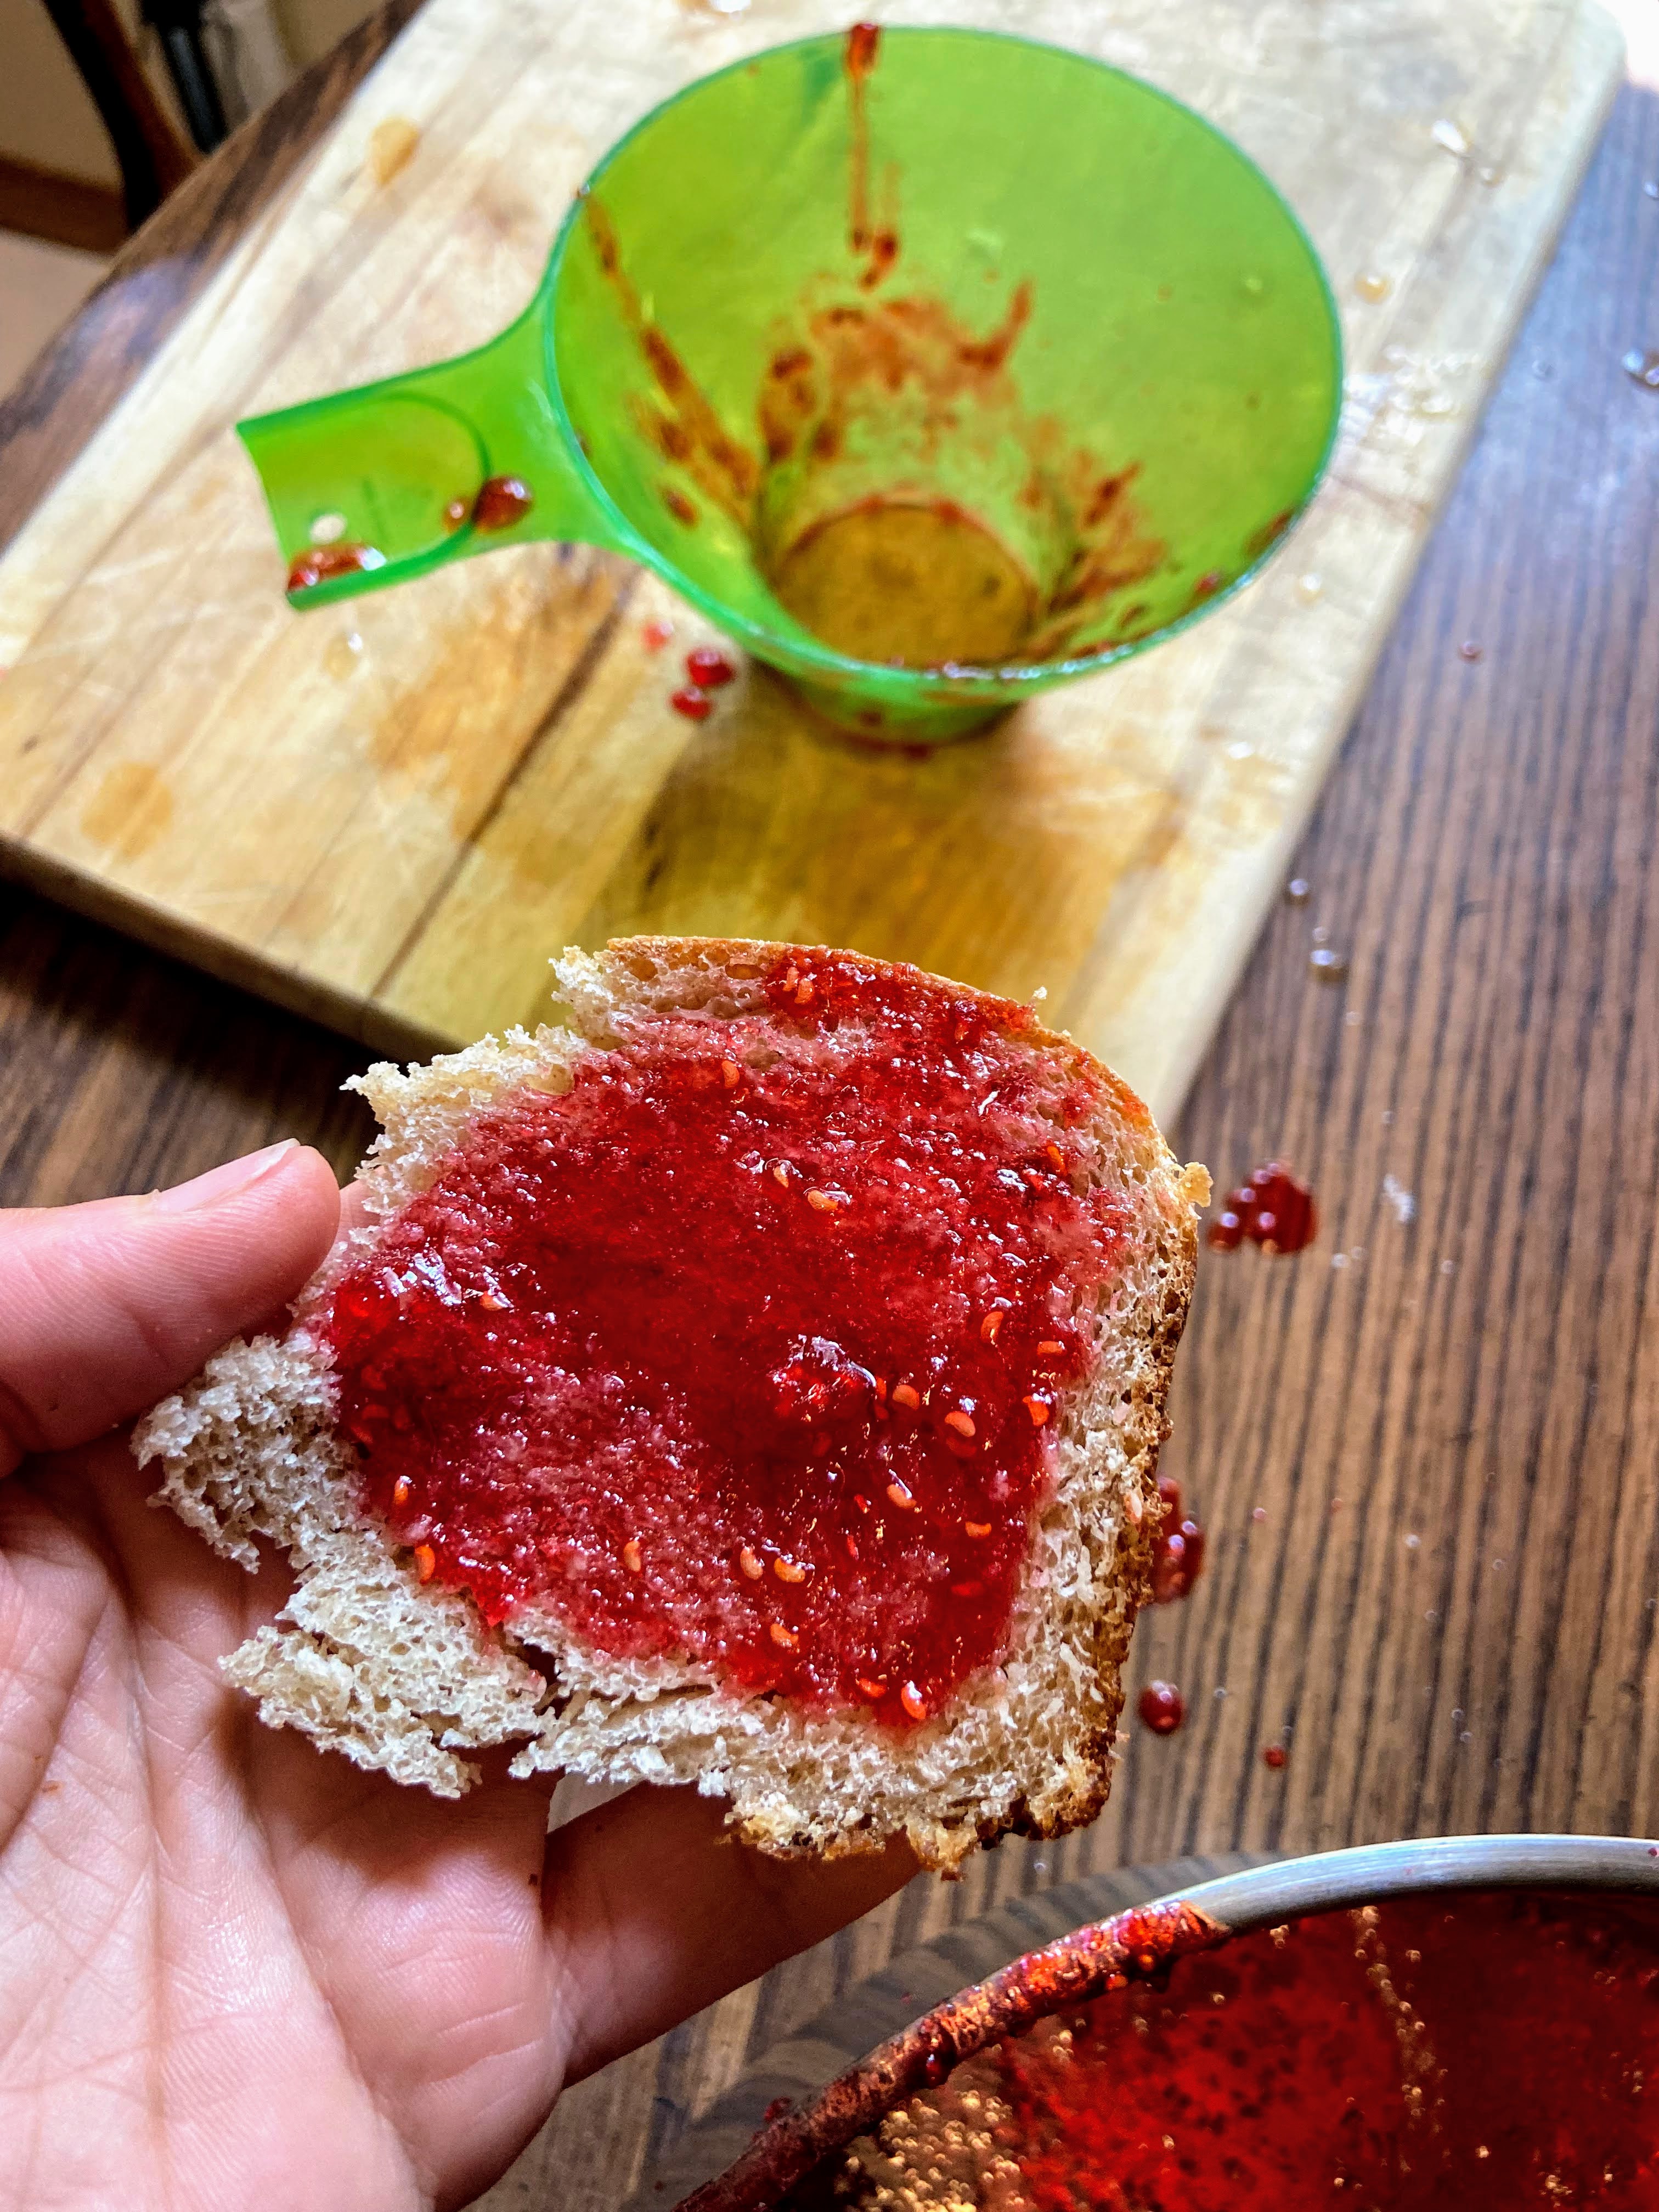
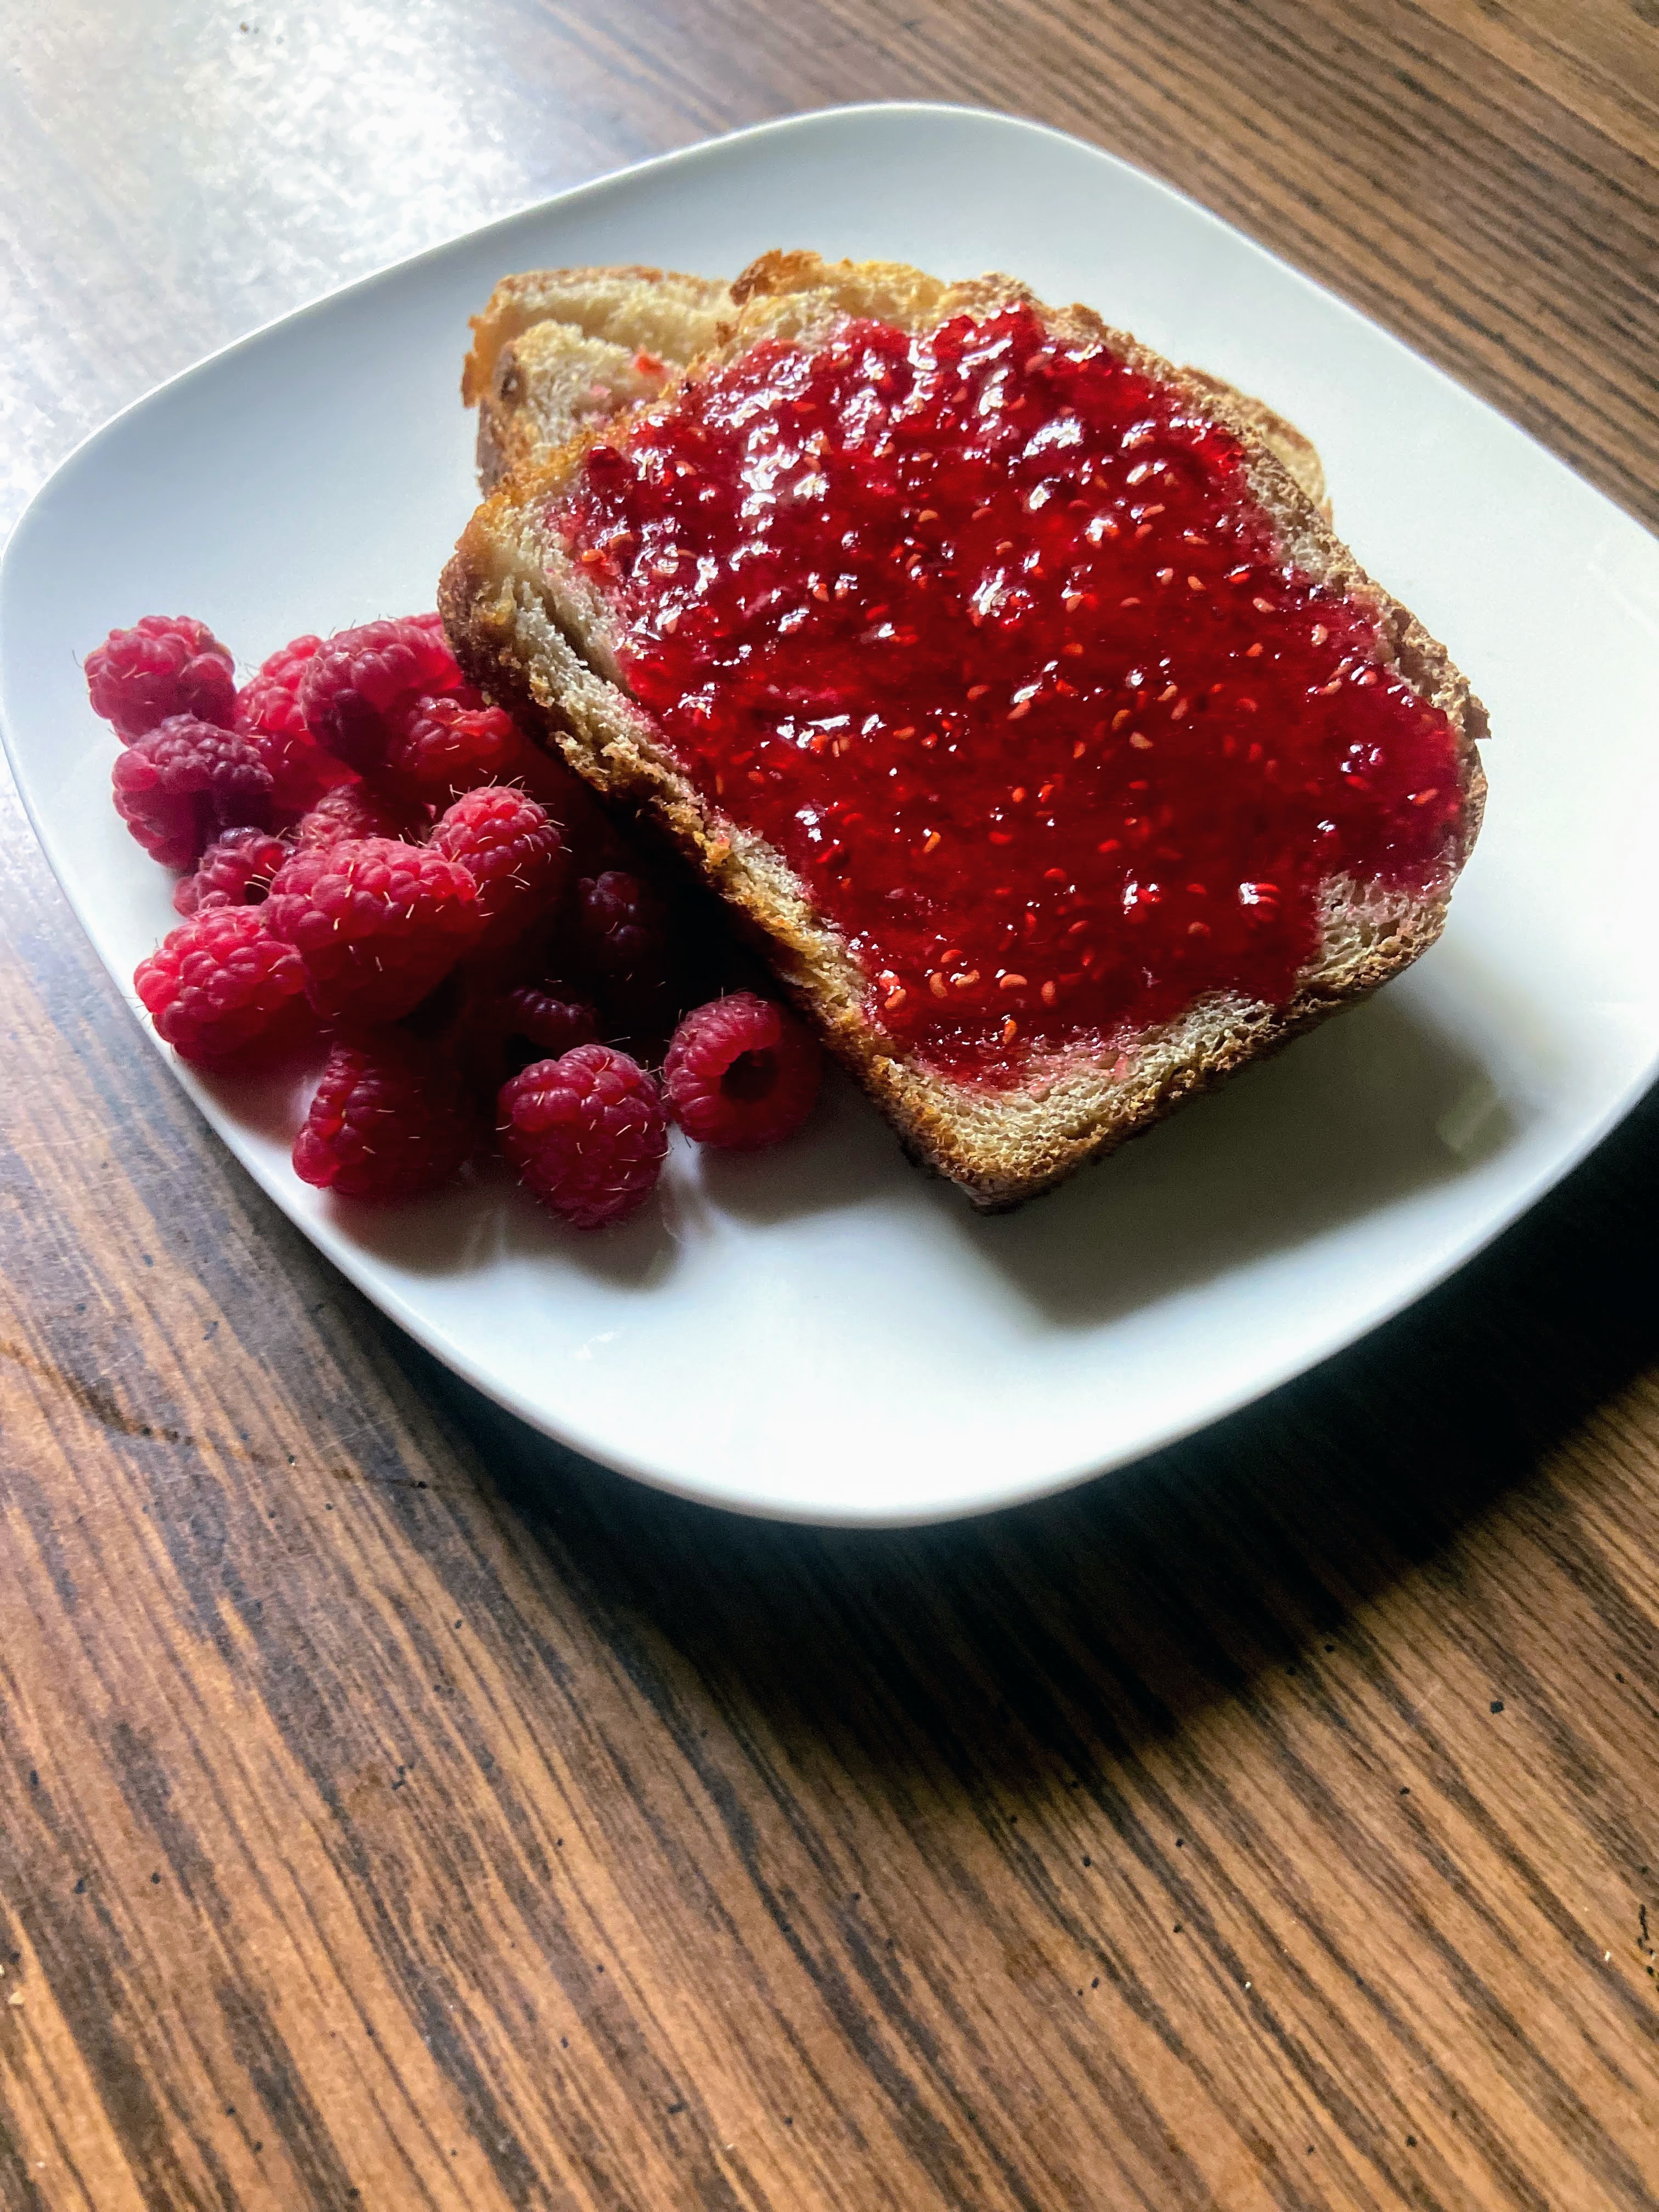
Oh my goodness friends. I think you may be to the point of, “Enough with the raspberries!” But this year, they just keep coming and I’m beyond grateful for the harvest and all I have created using them. If you have missed it, you can check out regular raspberry jam, raspberry cherry jam, and raspberry jalapeño jam by clicking their links. Now, it’s raspberry and nectarine sorbet. Let me tell you, it’s a heavenly summertime treat.
As a long distance runner (Training for my 5th marathon this summer!), I need a snack that will provide a quick refuel but will also cool me down when I get done with a long run. These little guys have been the answer to that need. I have been known to make a training partner’s stomachs growl as I describe raspberry and nectarine sorbet as we near mile 20. Sorry, not sorry, right?
Beyond myself, my kids love sorbet and will default to that even at the best ice cream shops. But I also love being able to control the amount of sugar they consume, and while this does still have some added sugar, it is far less than I have seen in a number of recipes. You can cut it even further if you care to, which I do from time to time.
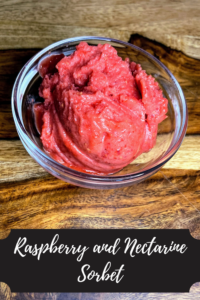
The color alone brings me immense joy. It is simply summer in a jar. Even in the bitter cold of Wisconsin winters, I crave little jars of sorbet to bring back that “sunburned lips and summer” feeling. I hope you enjoy these jars of sunshine as much as my family does!
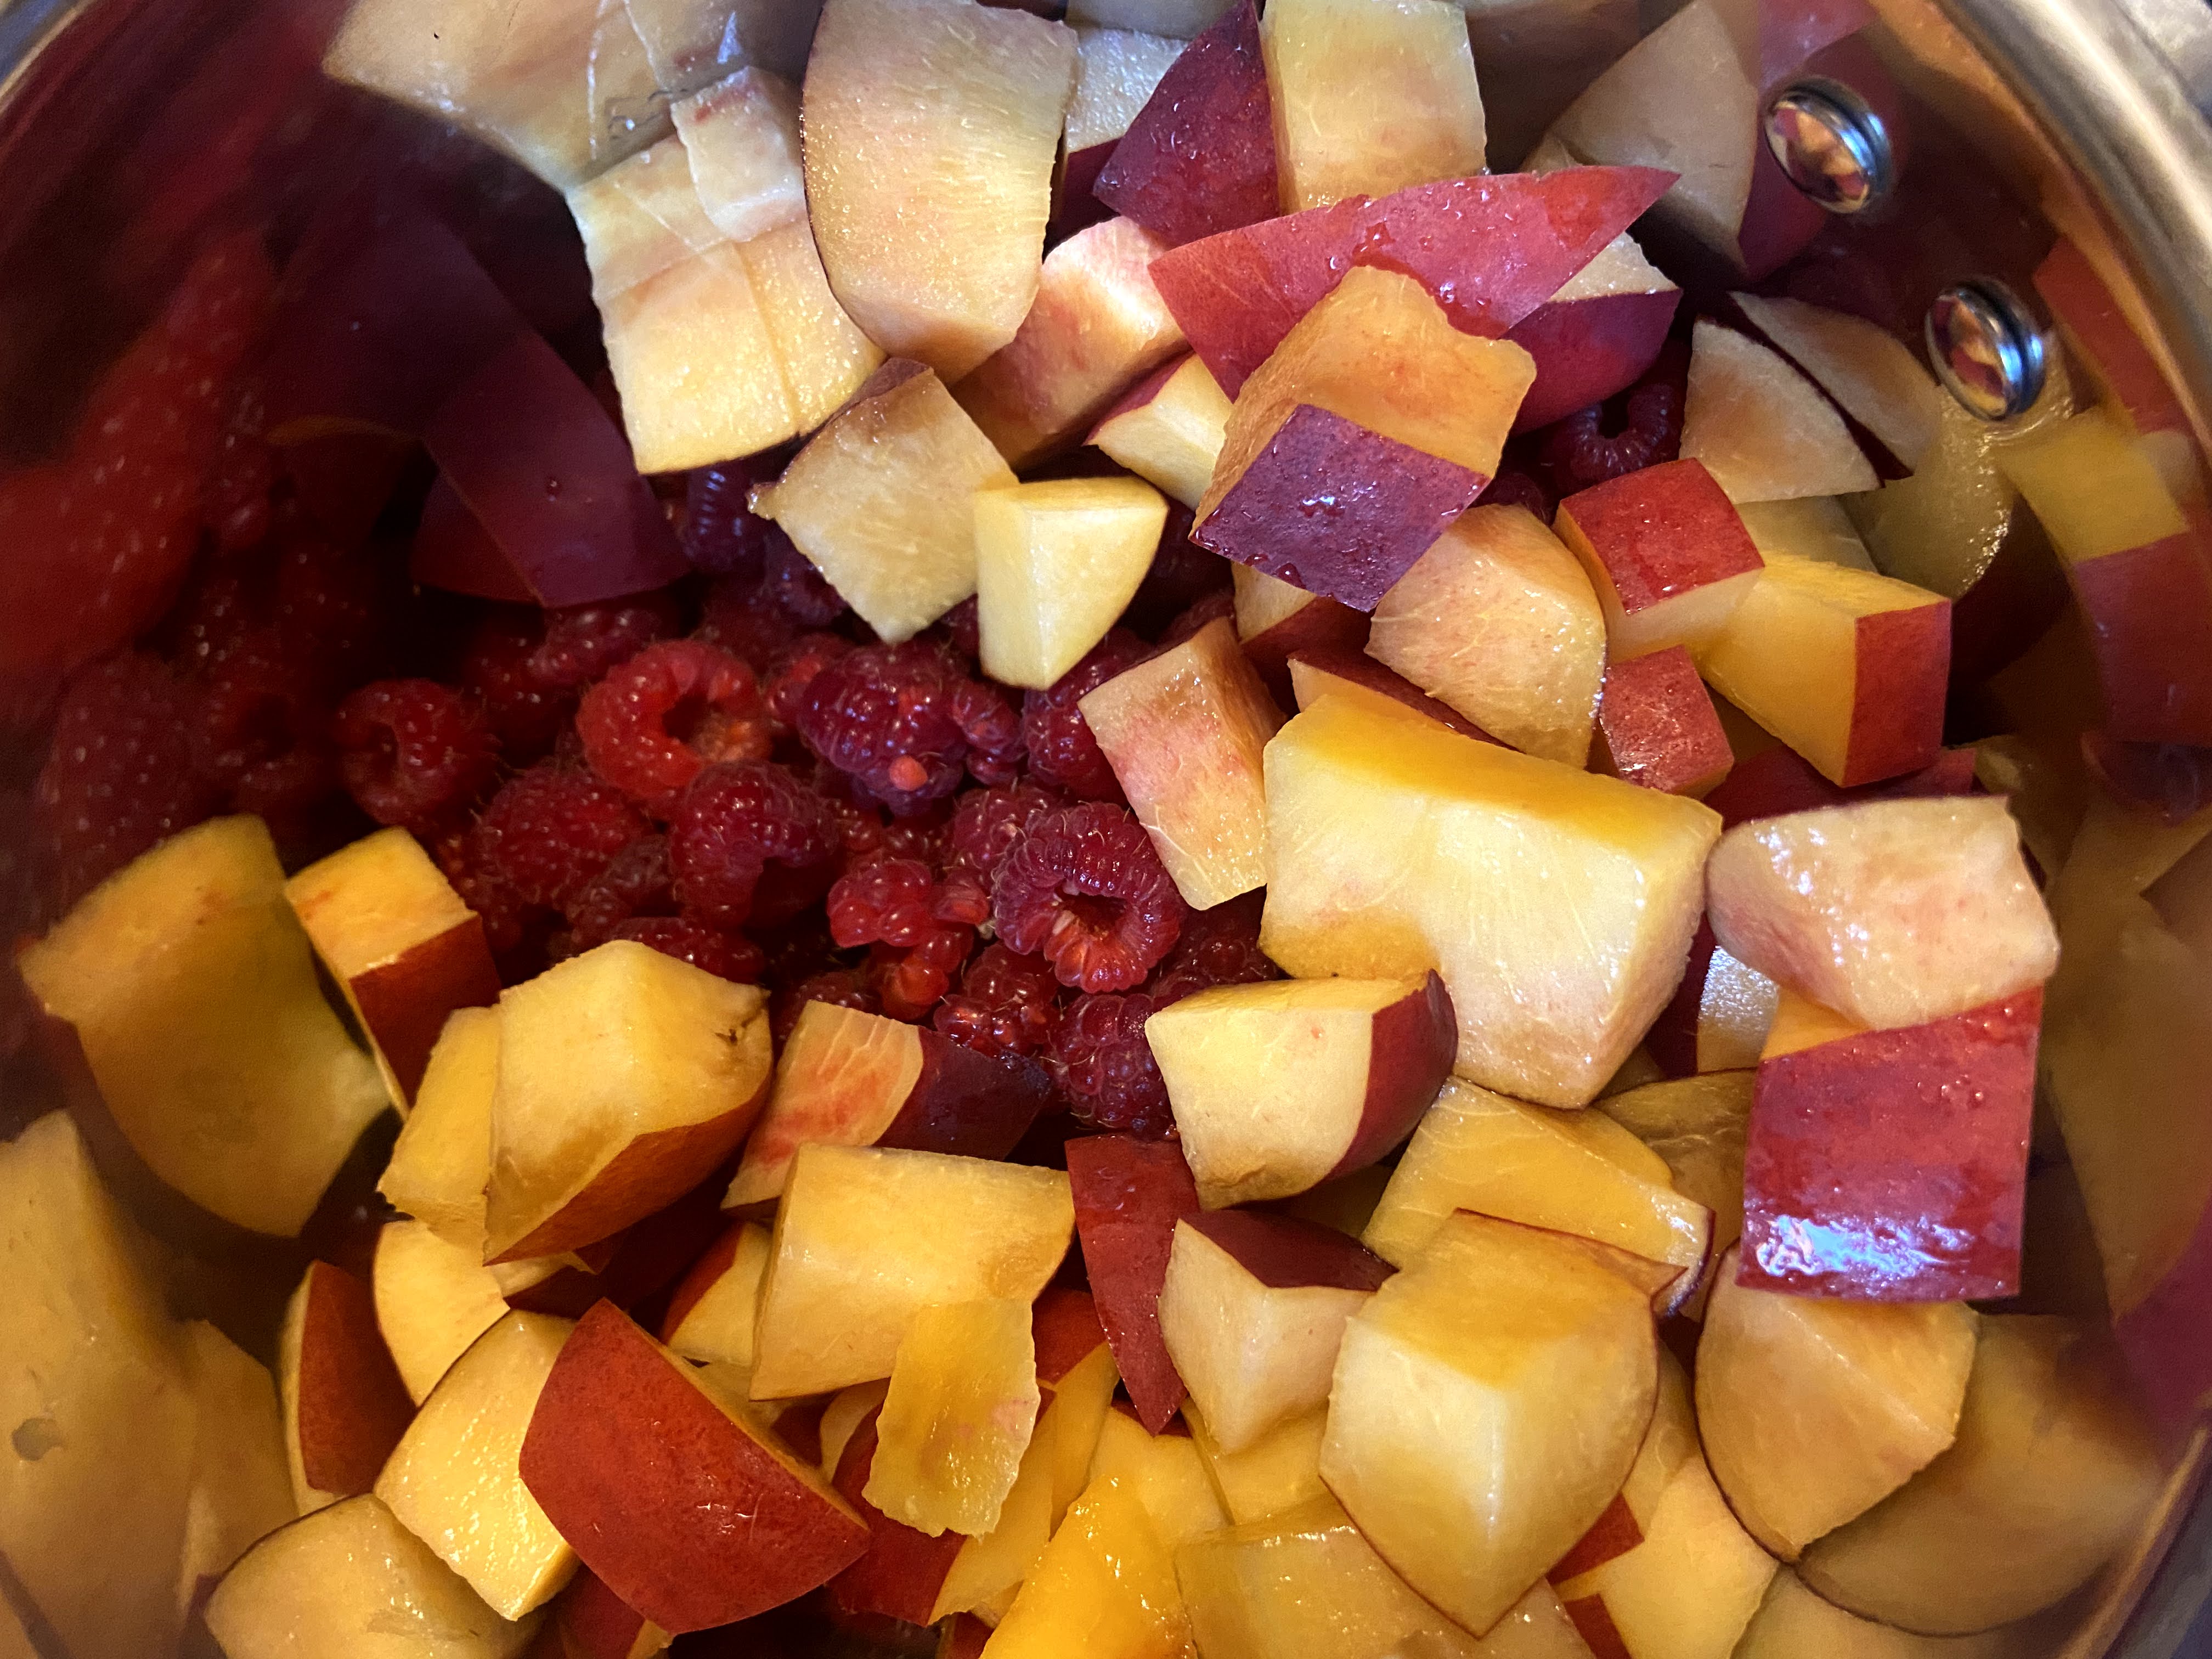
PS…Don’t have raspberries or nectarines? I have such good news! This recipe is totally moldable to your favorite flavor combination. Ultimately, you will need 4 cups of chopped soft fruit. Think berries, peaches, nectarines, etc.
Your Ingredients for Raspberry Nectarine Sorbet
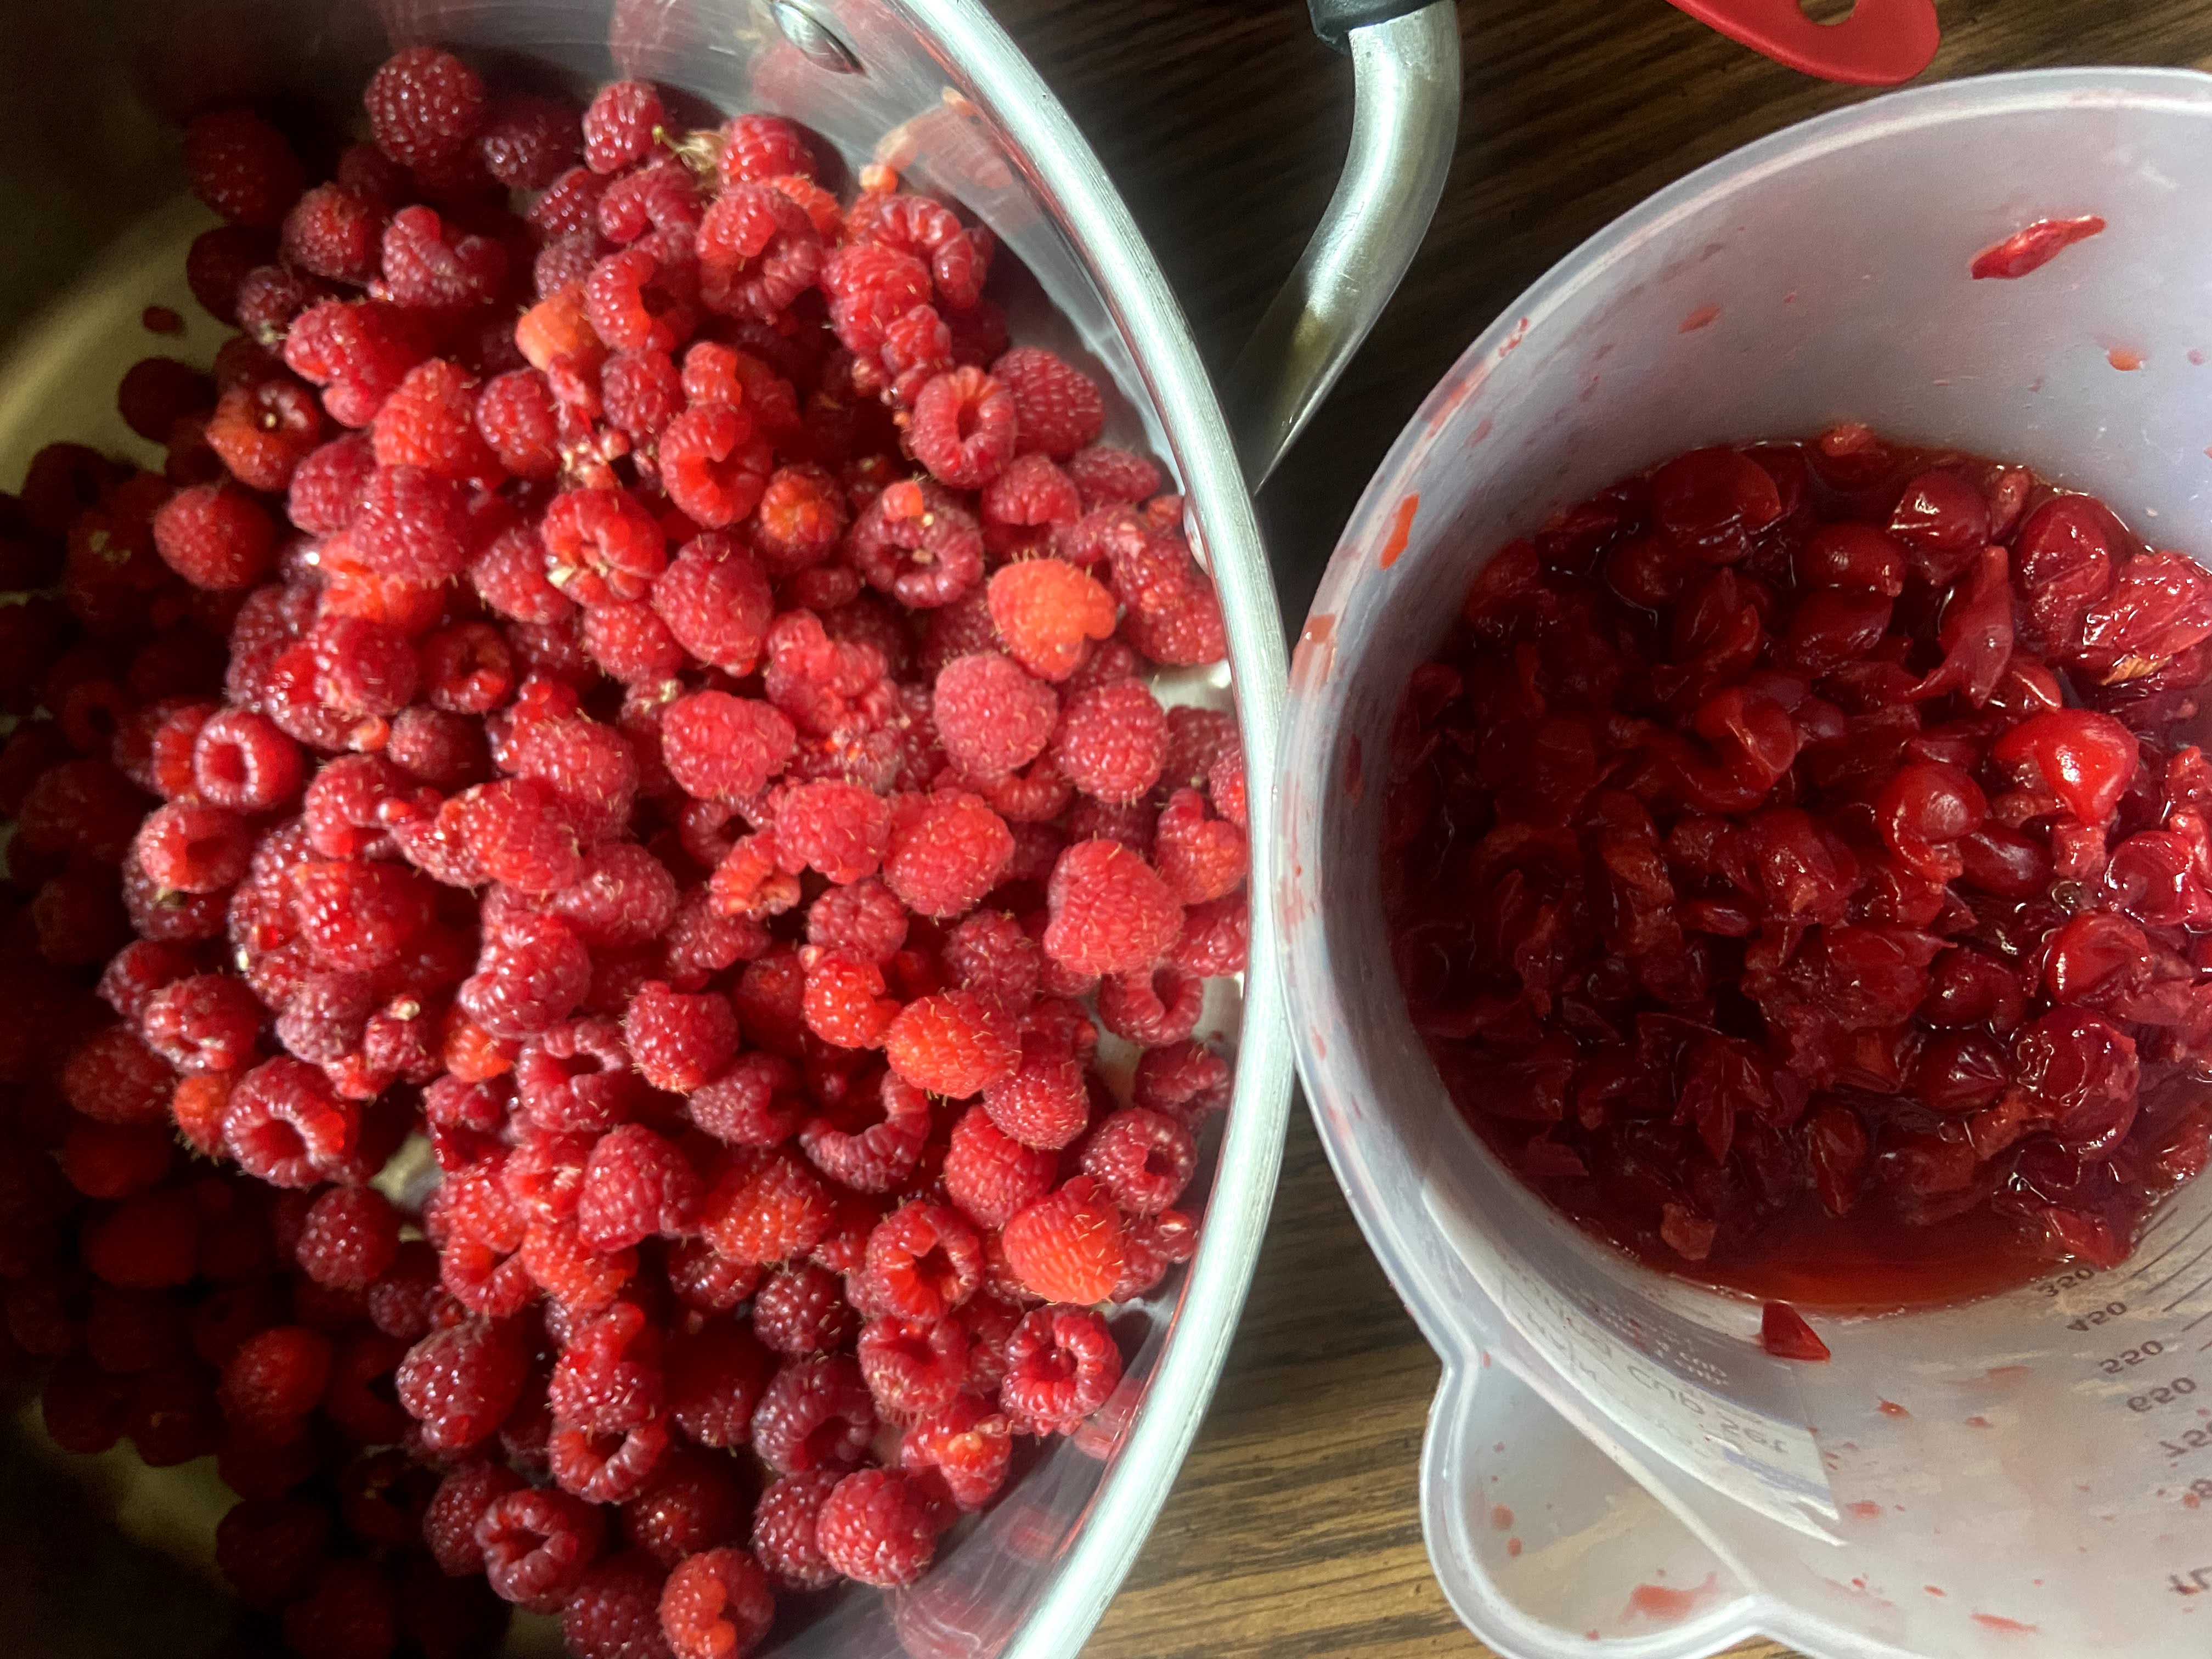
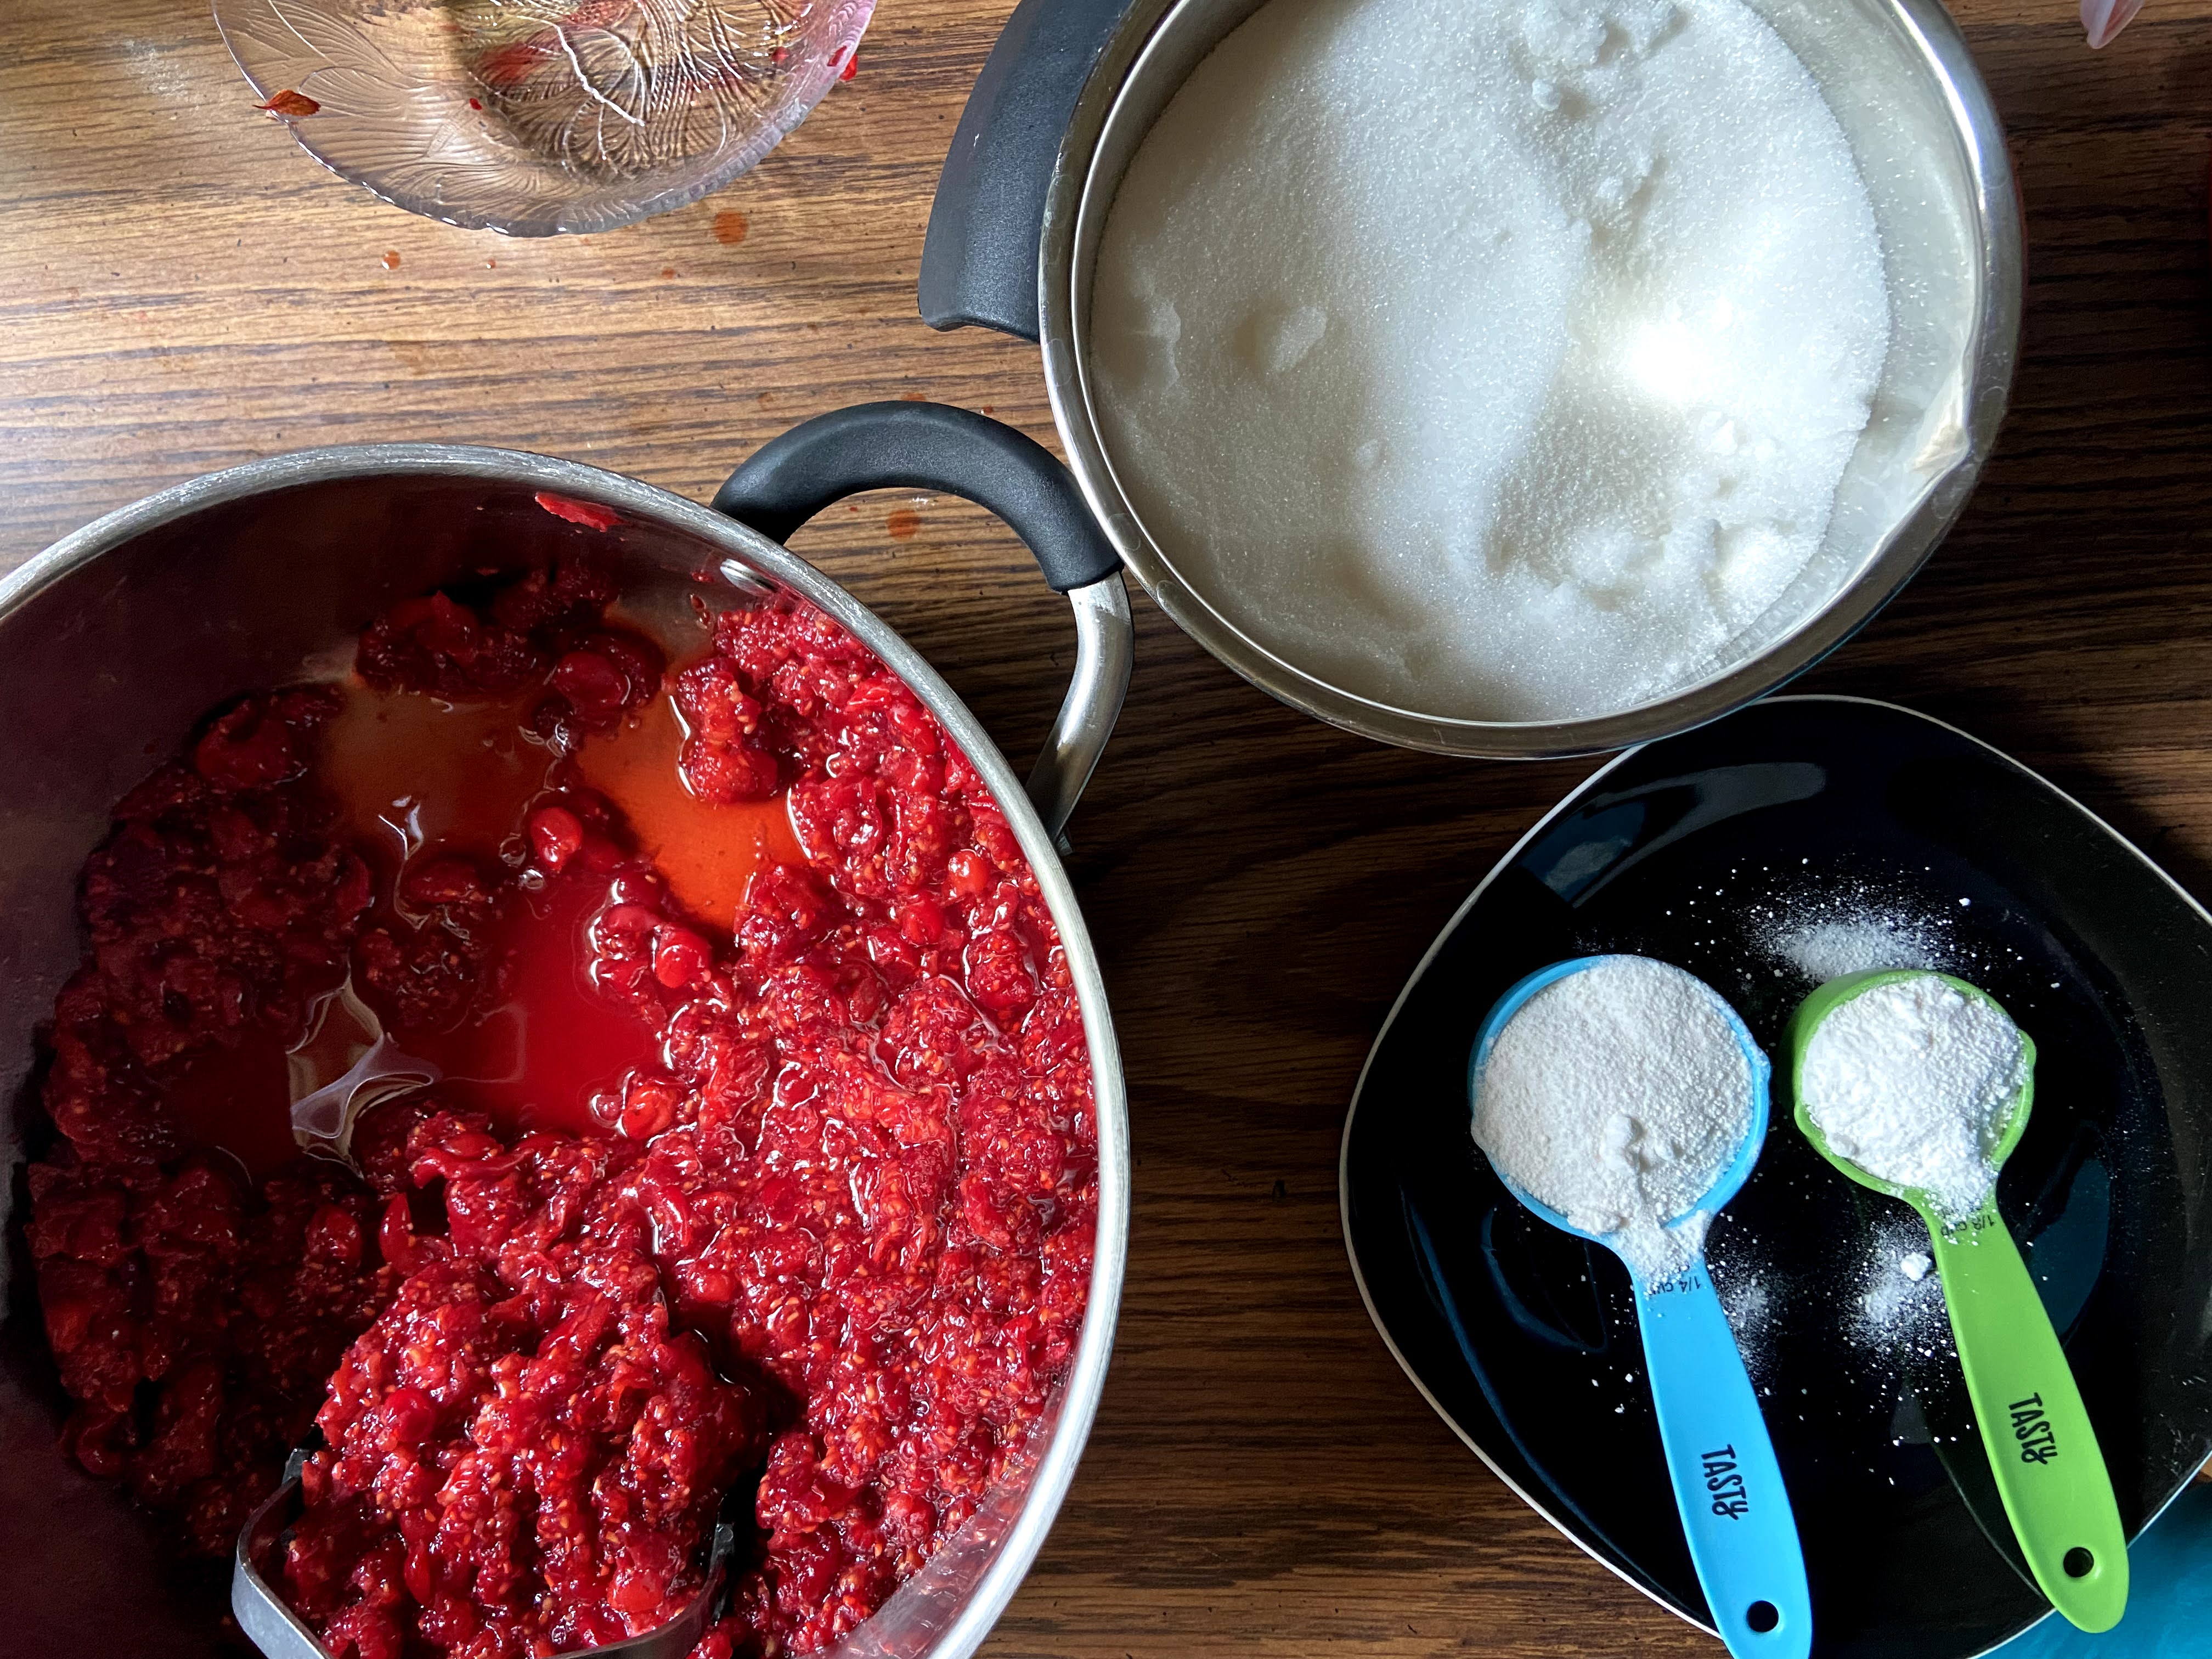
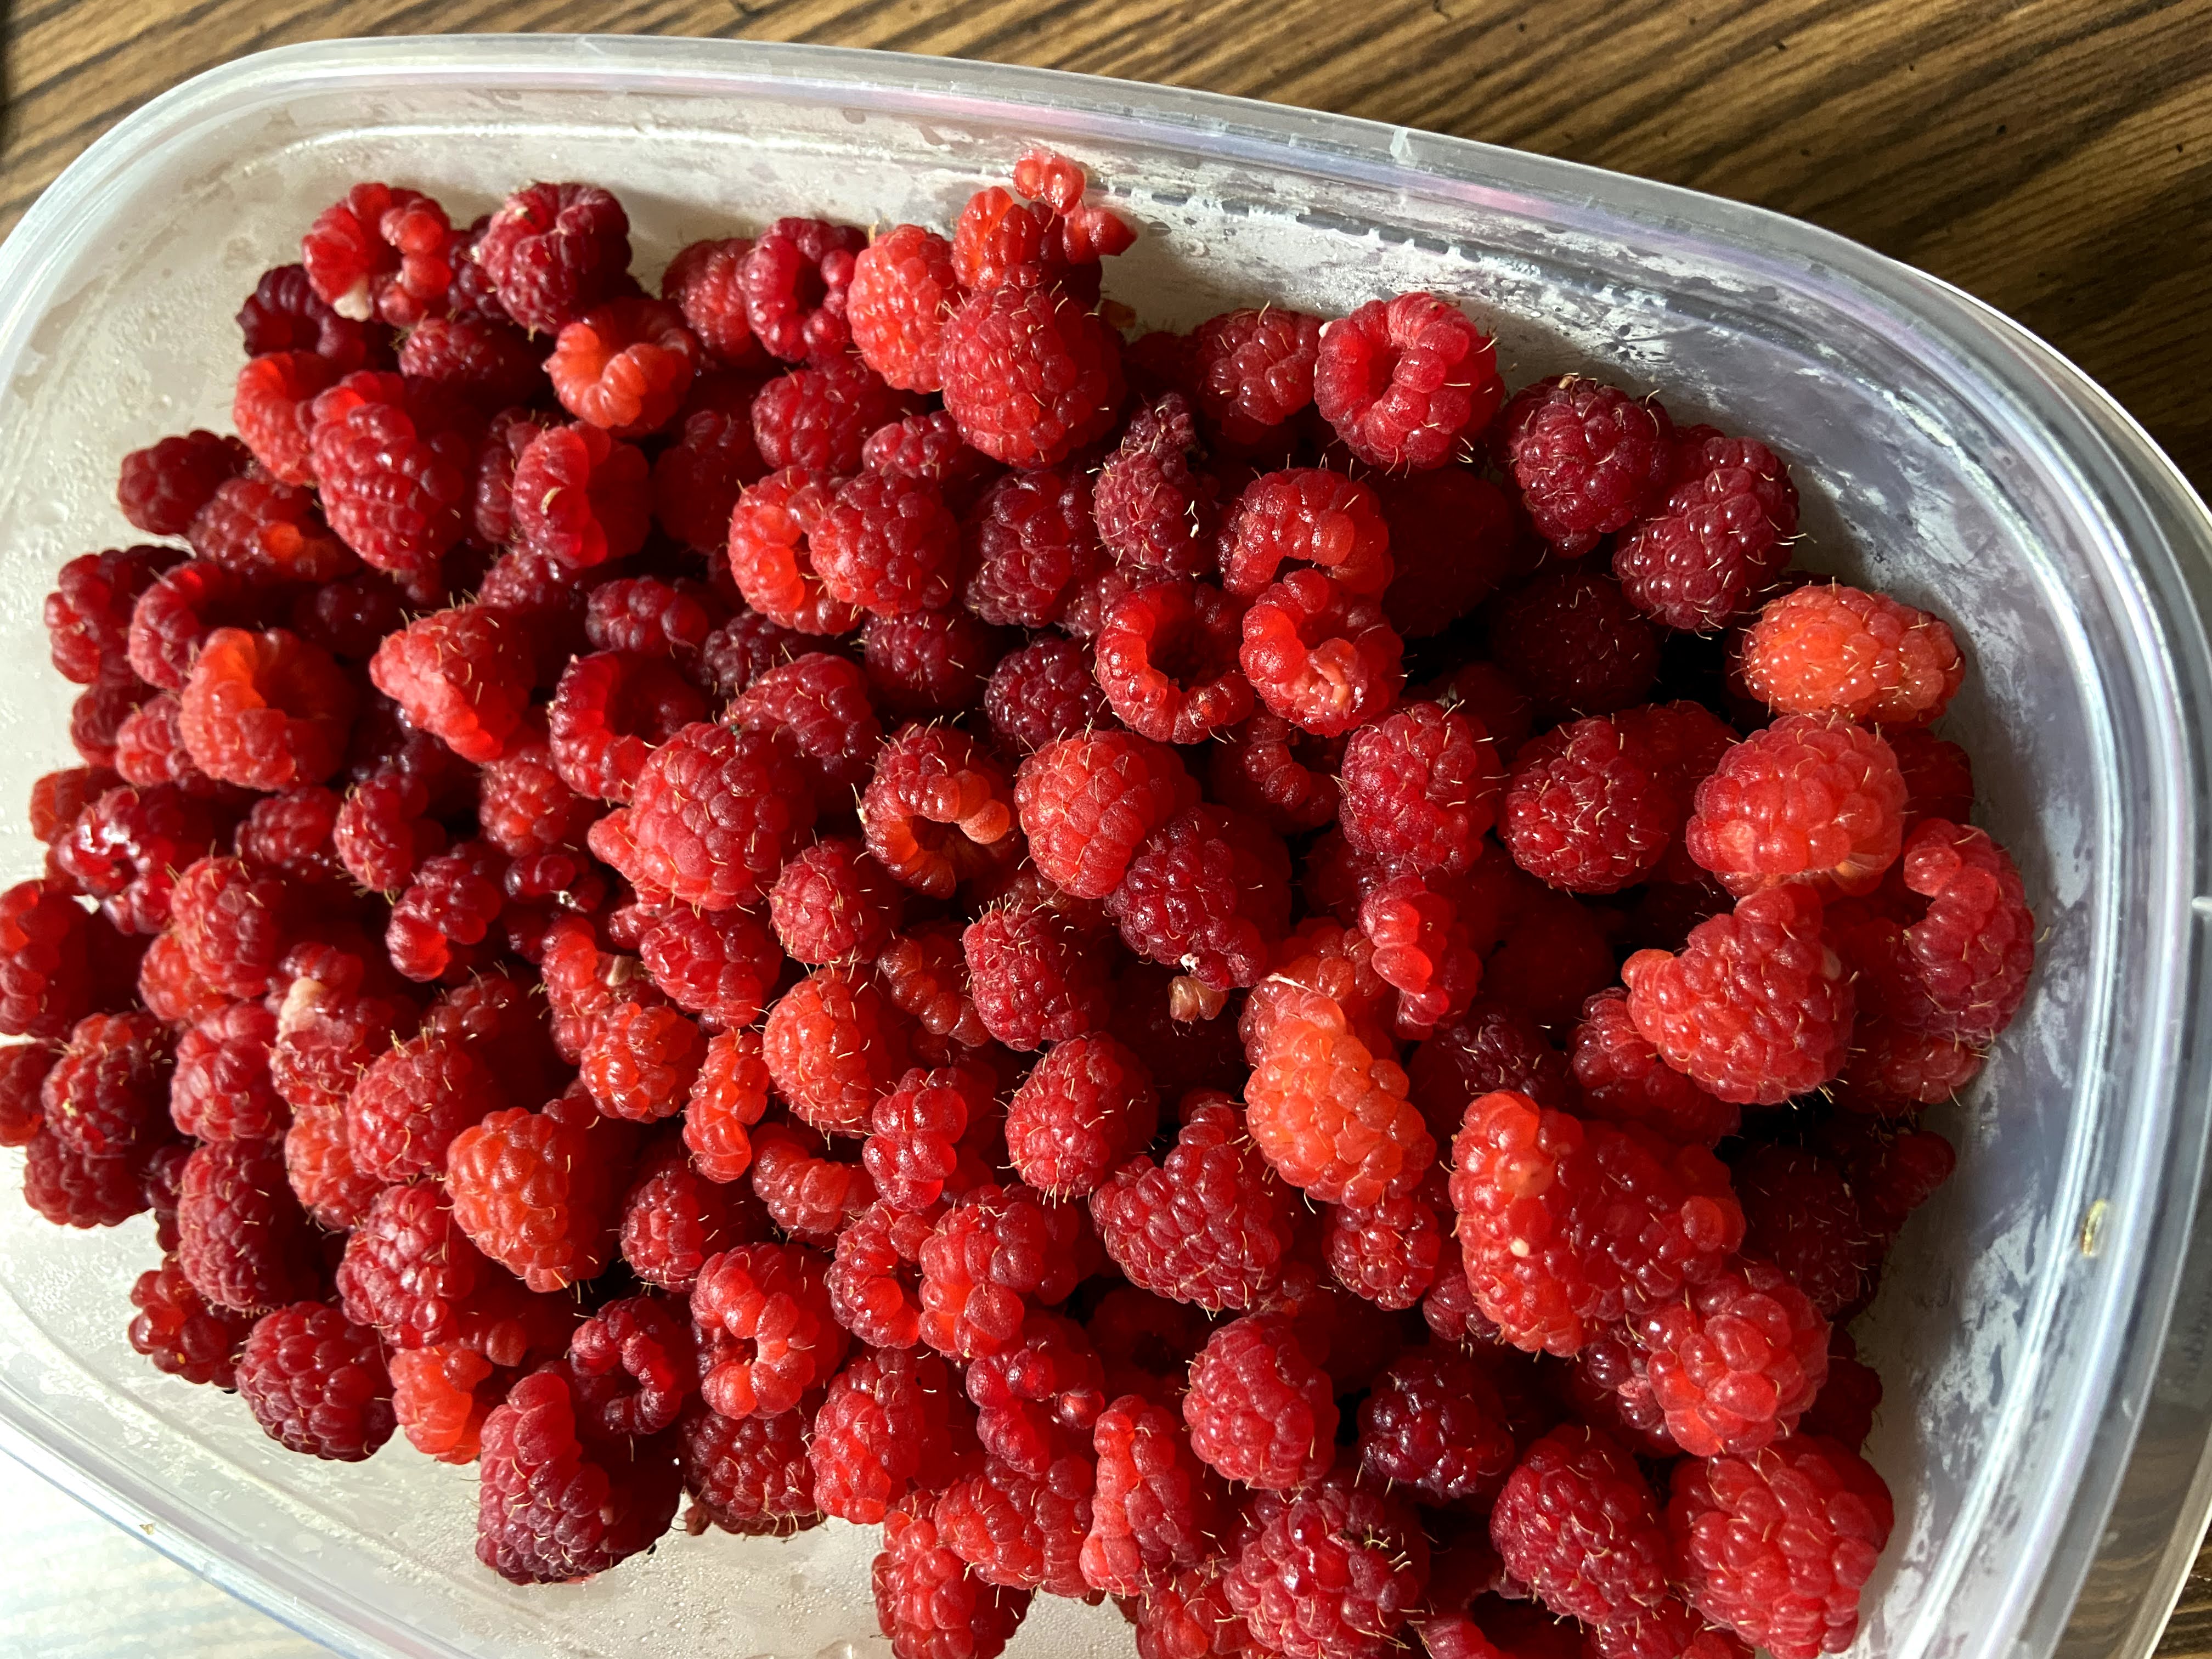
- 2 cups raspberries
- 2 cups diced nectarines, about 2 nectarines
- ½ cup orange juice
- 2 tablespoons lemon juice
- ¼ – ½ cup sugar
Your steps to Sorbet
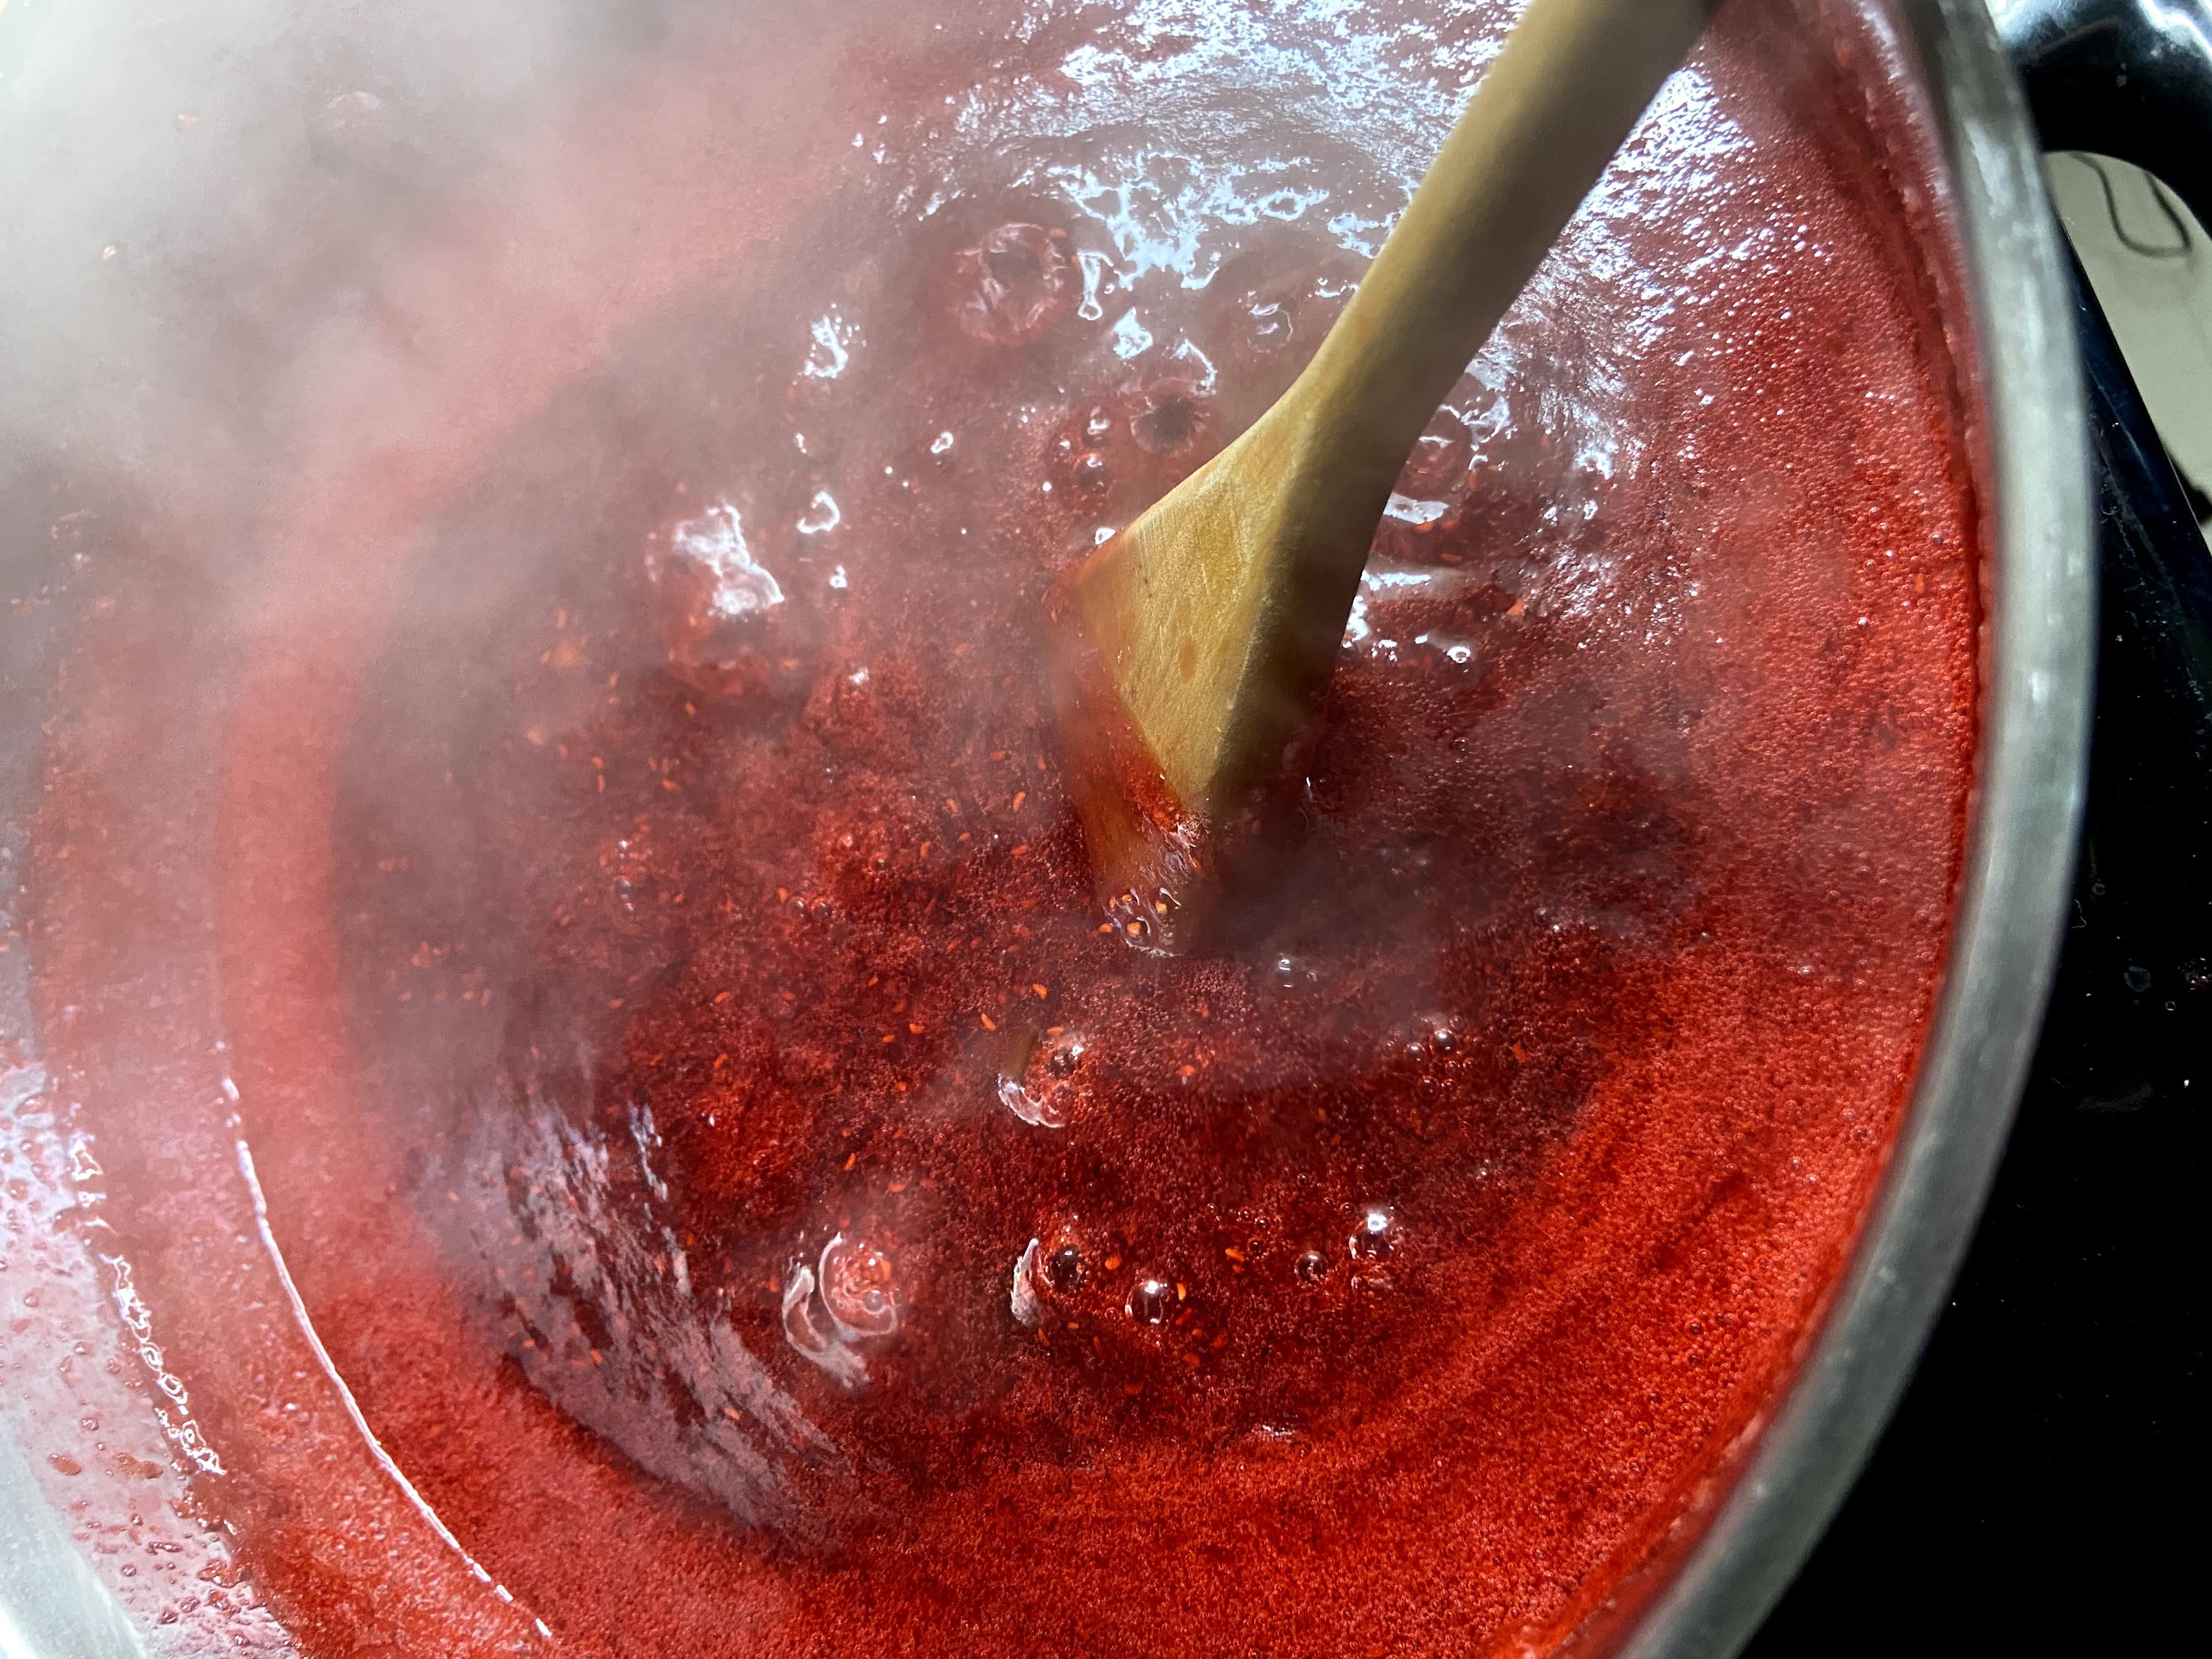
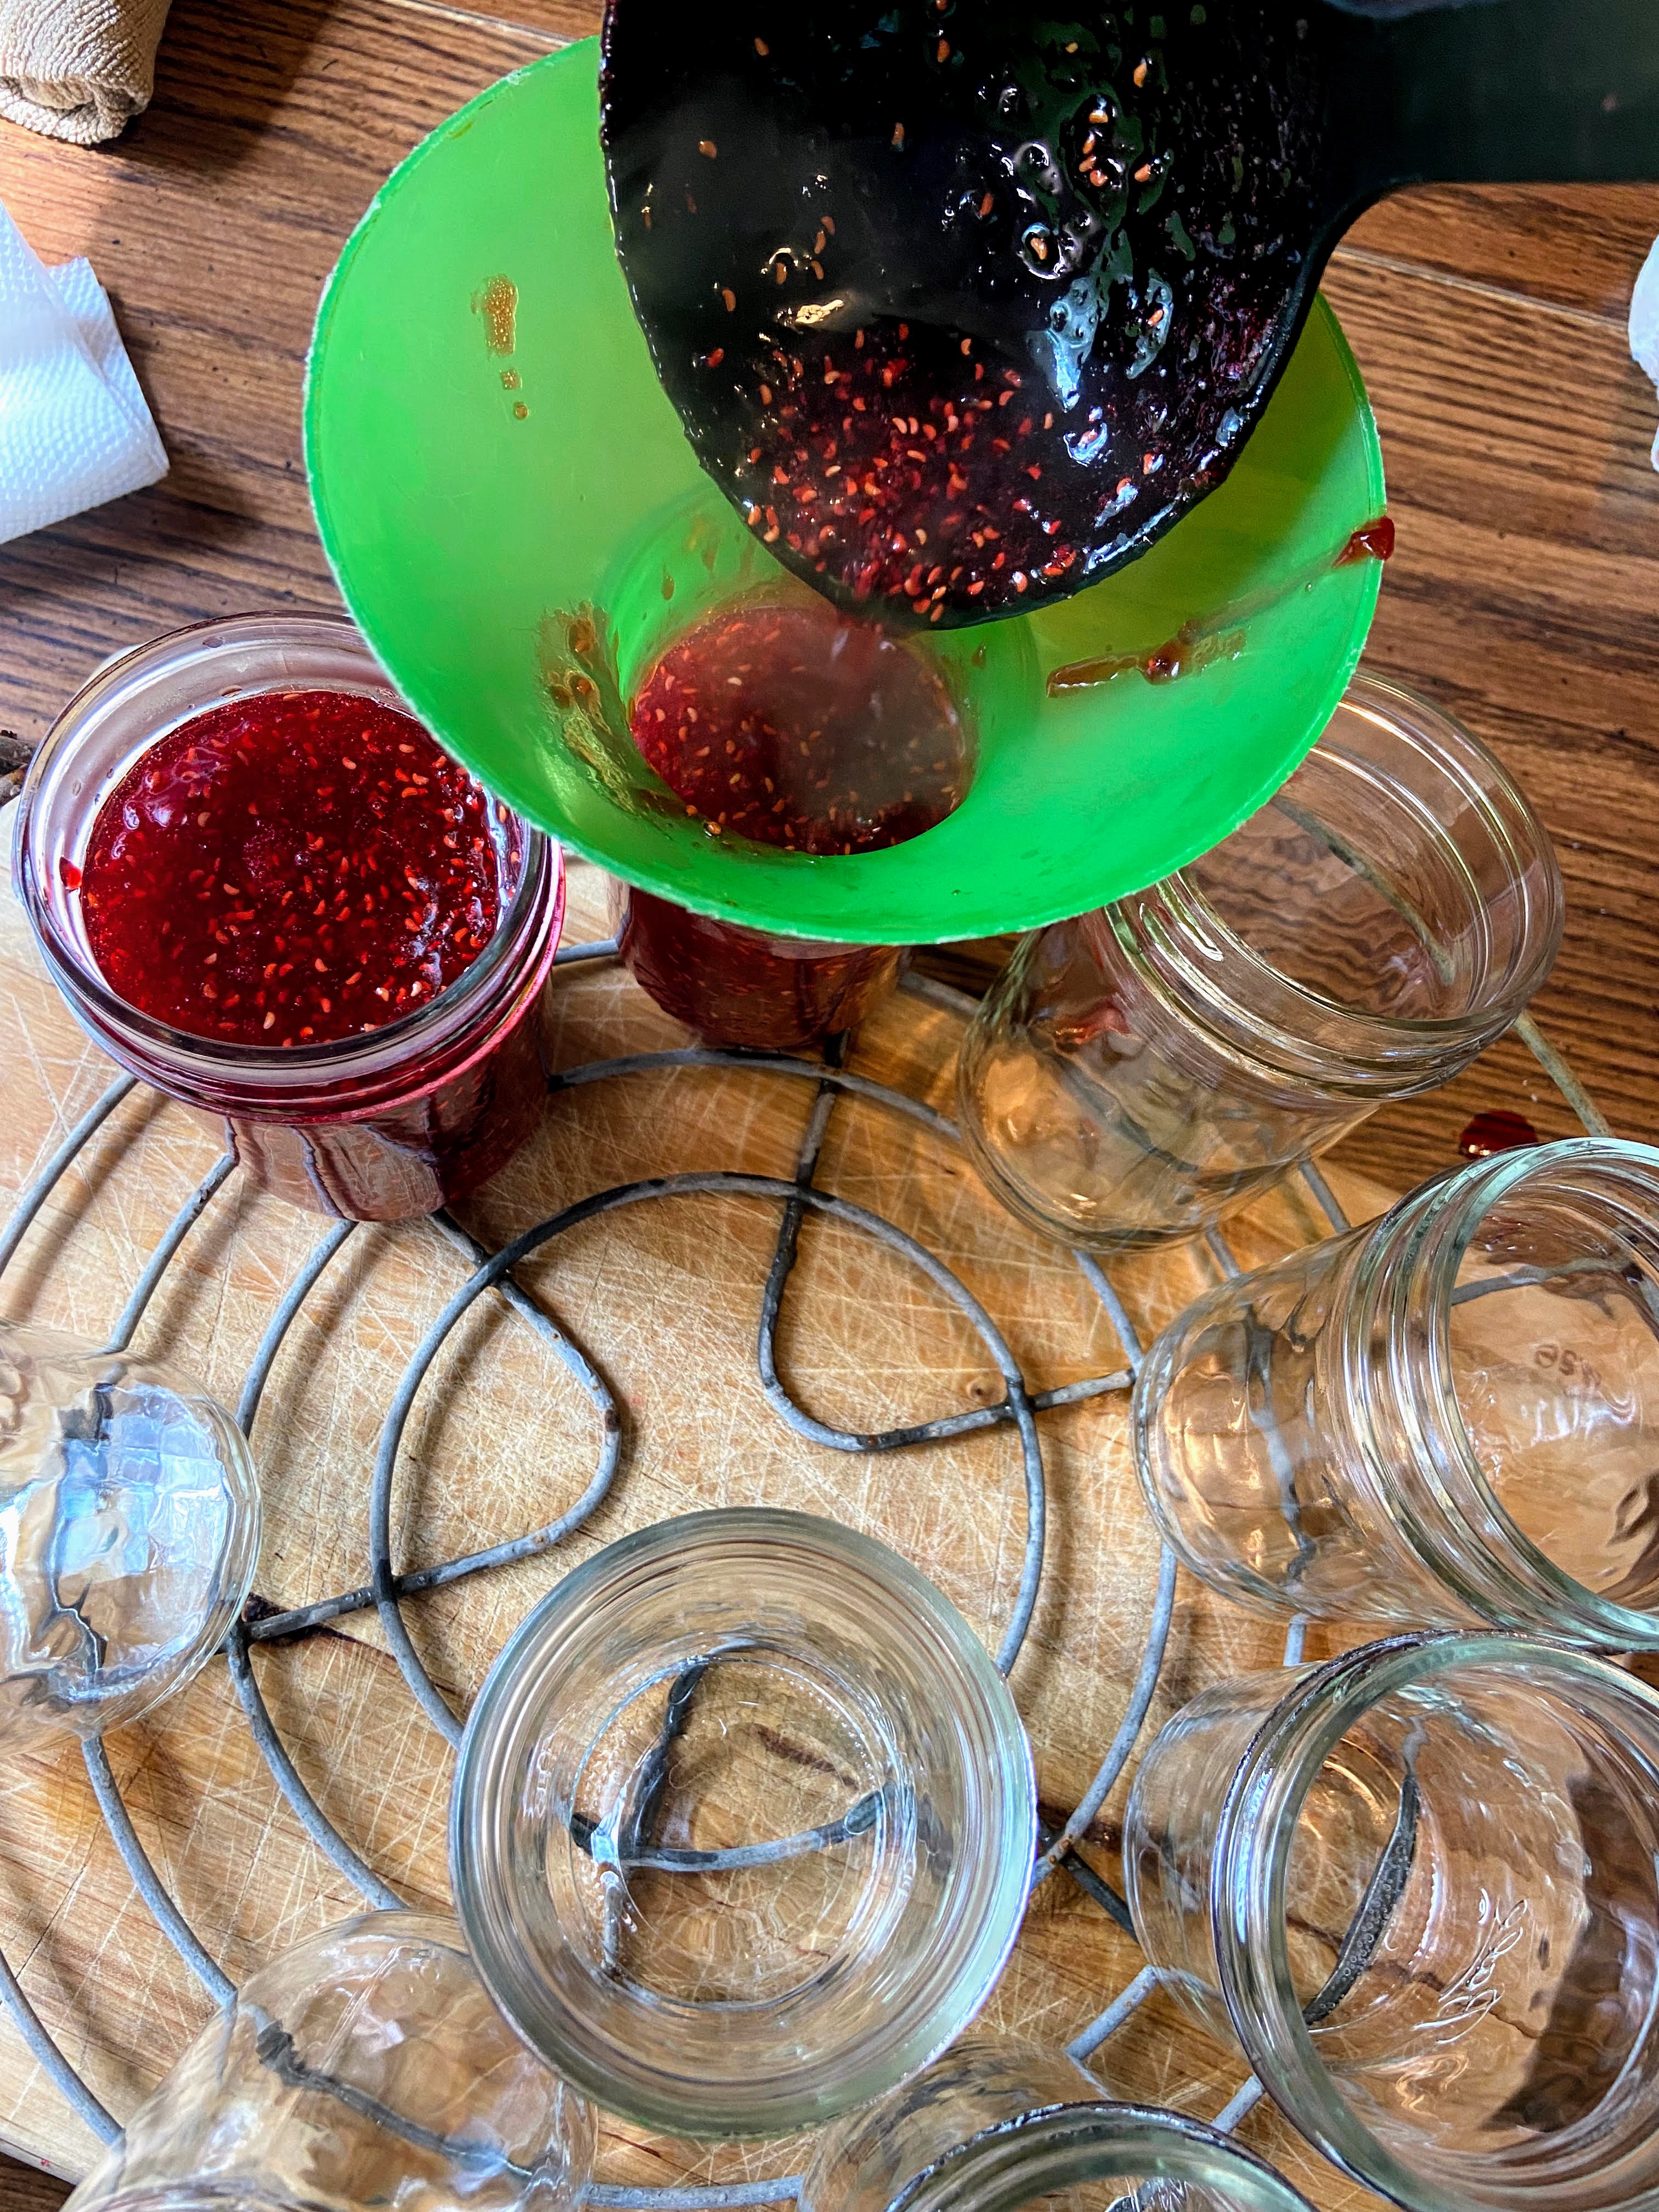
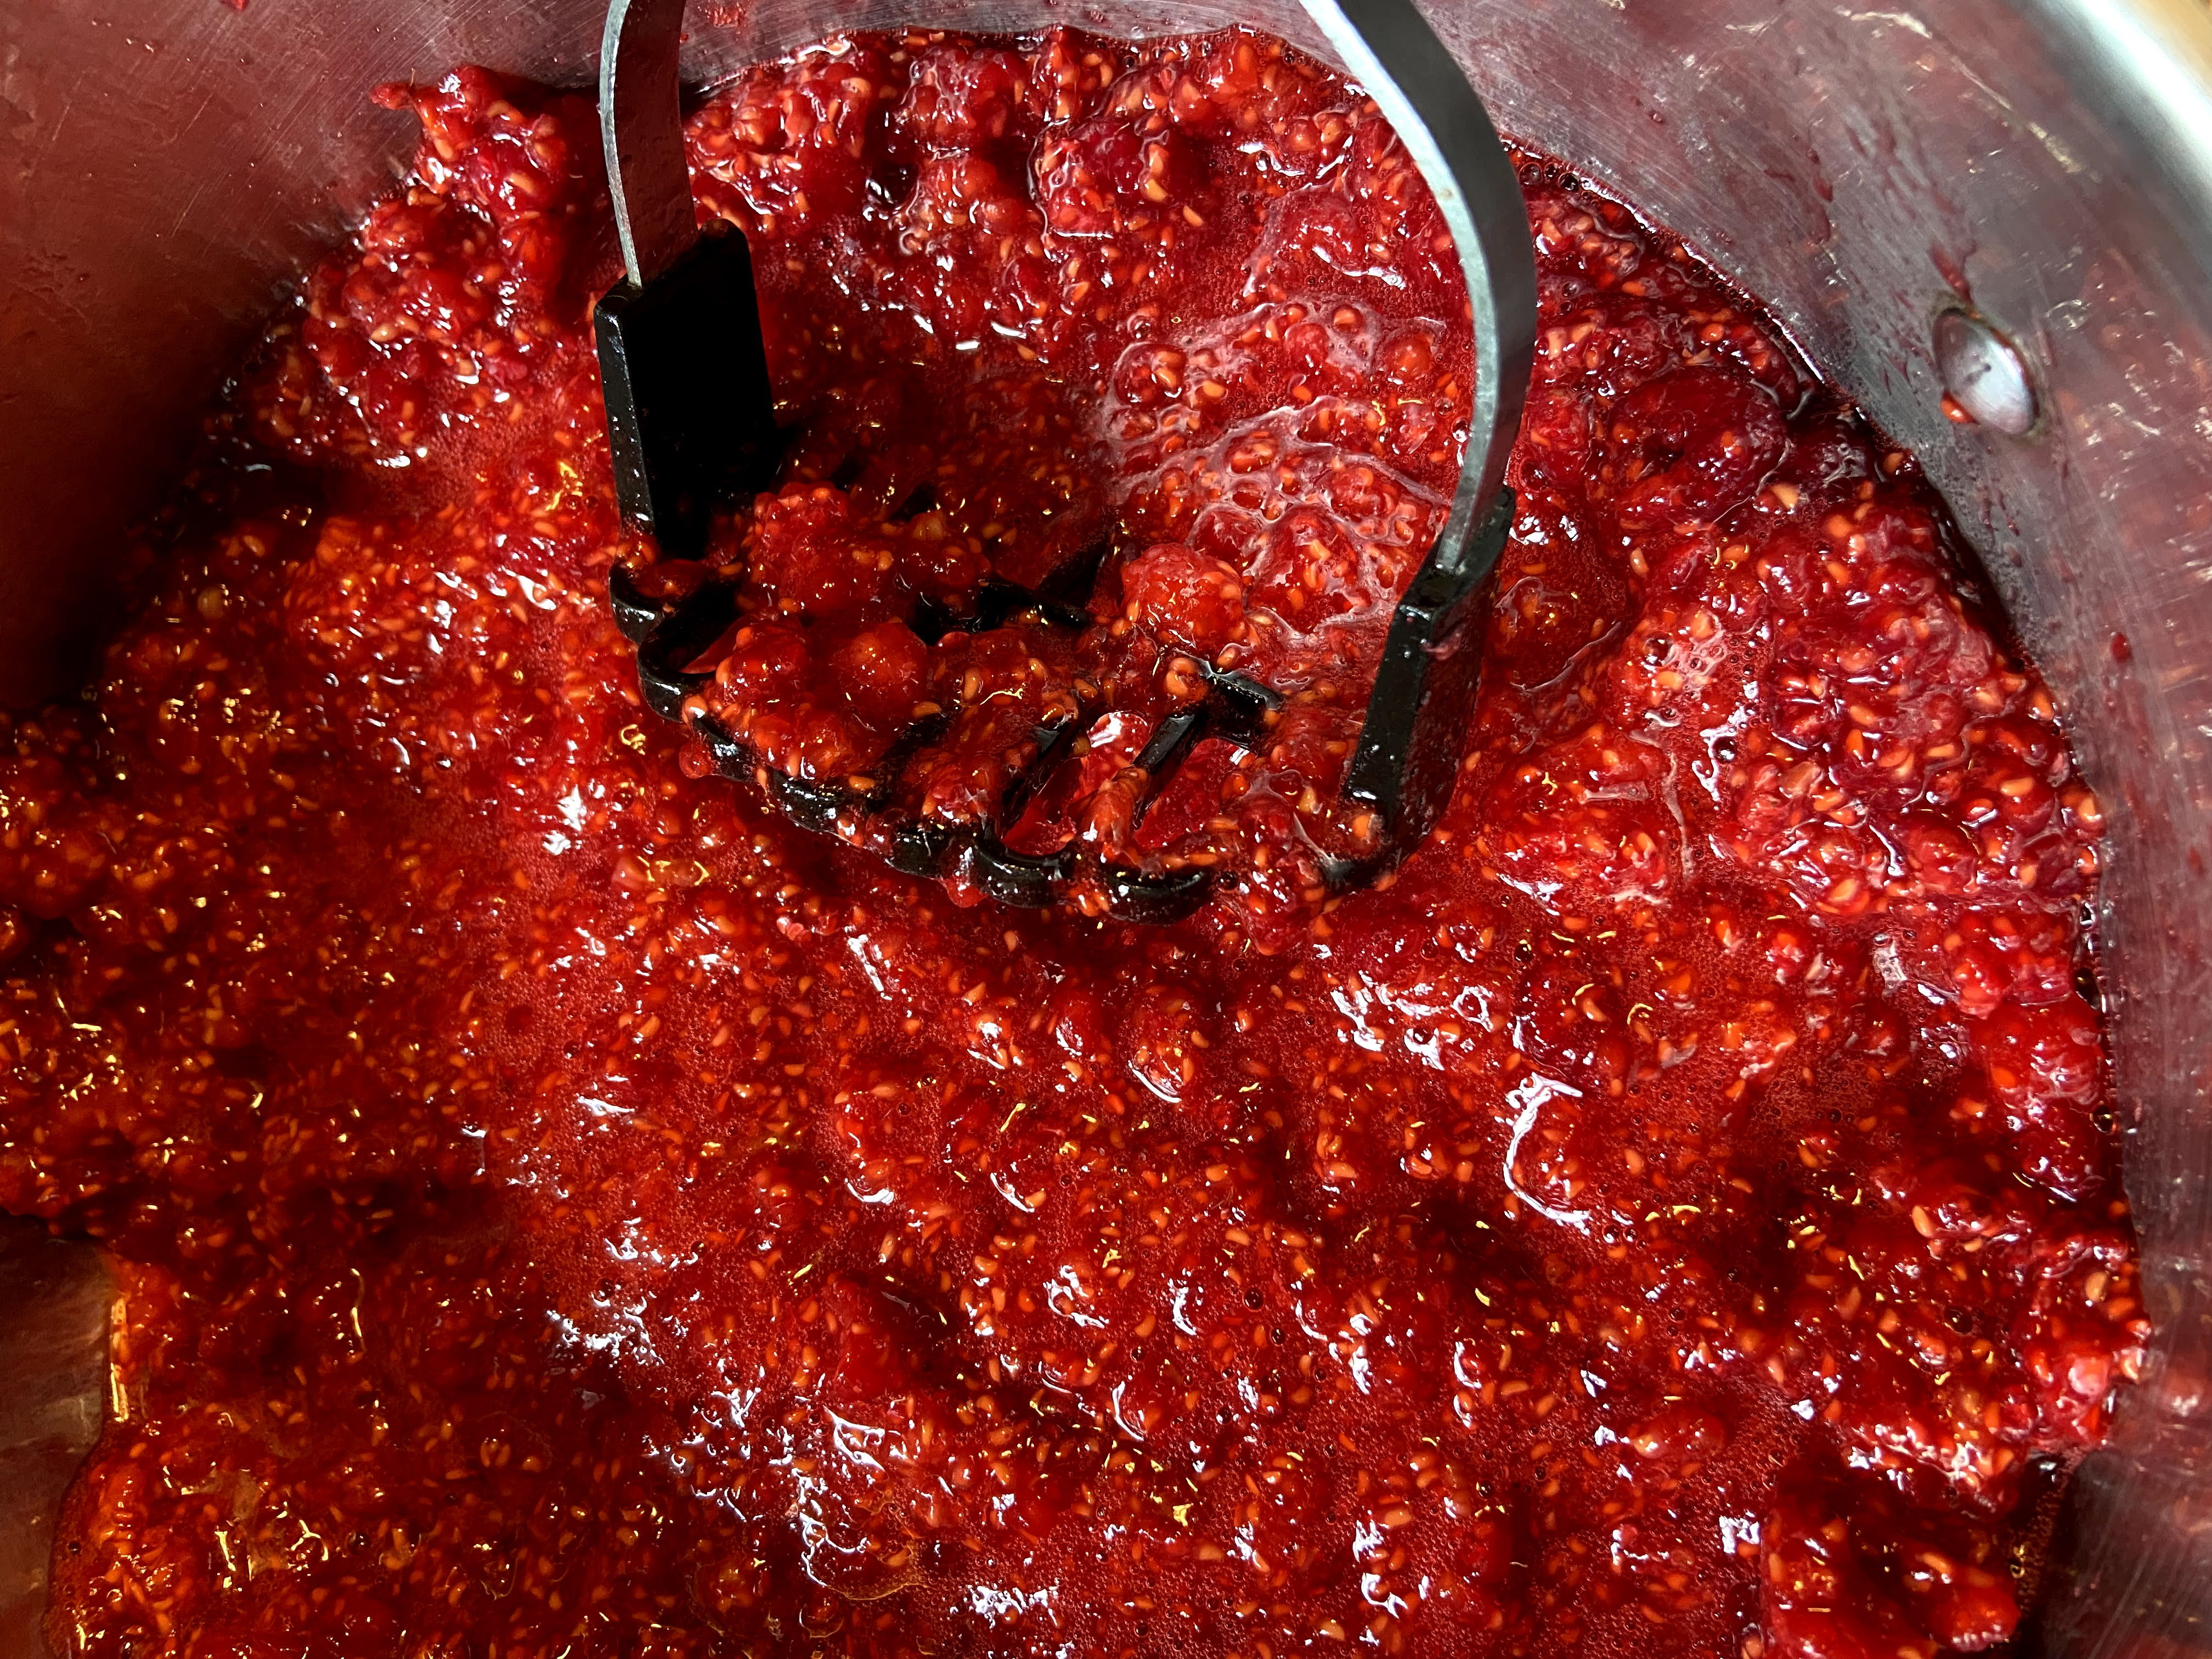
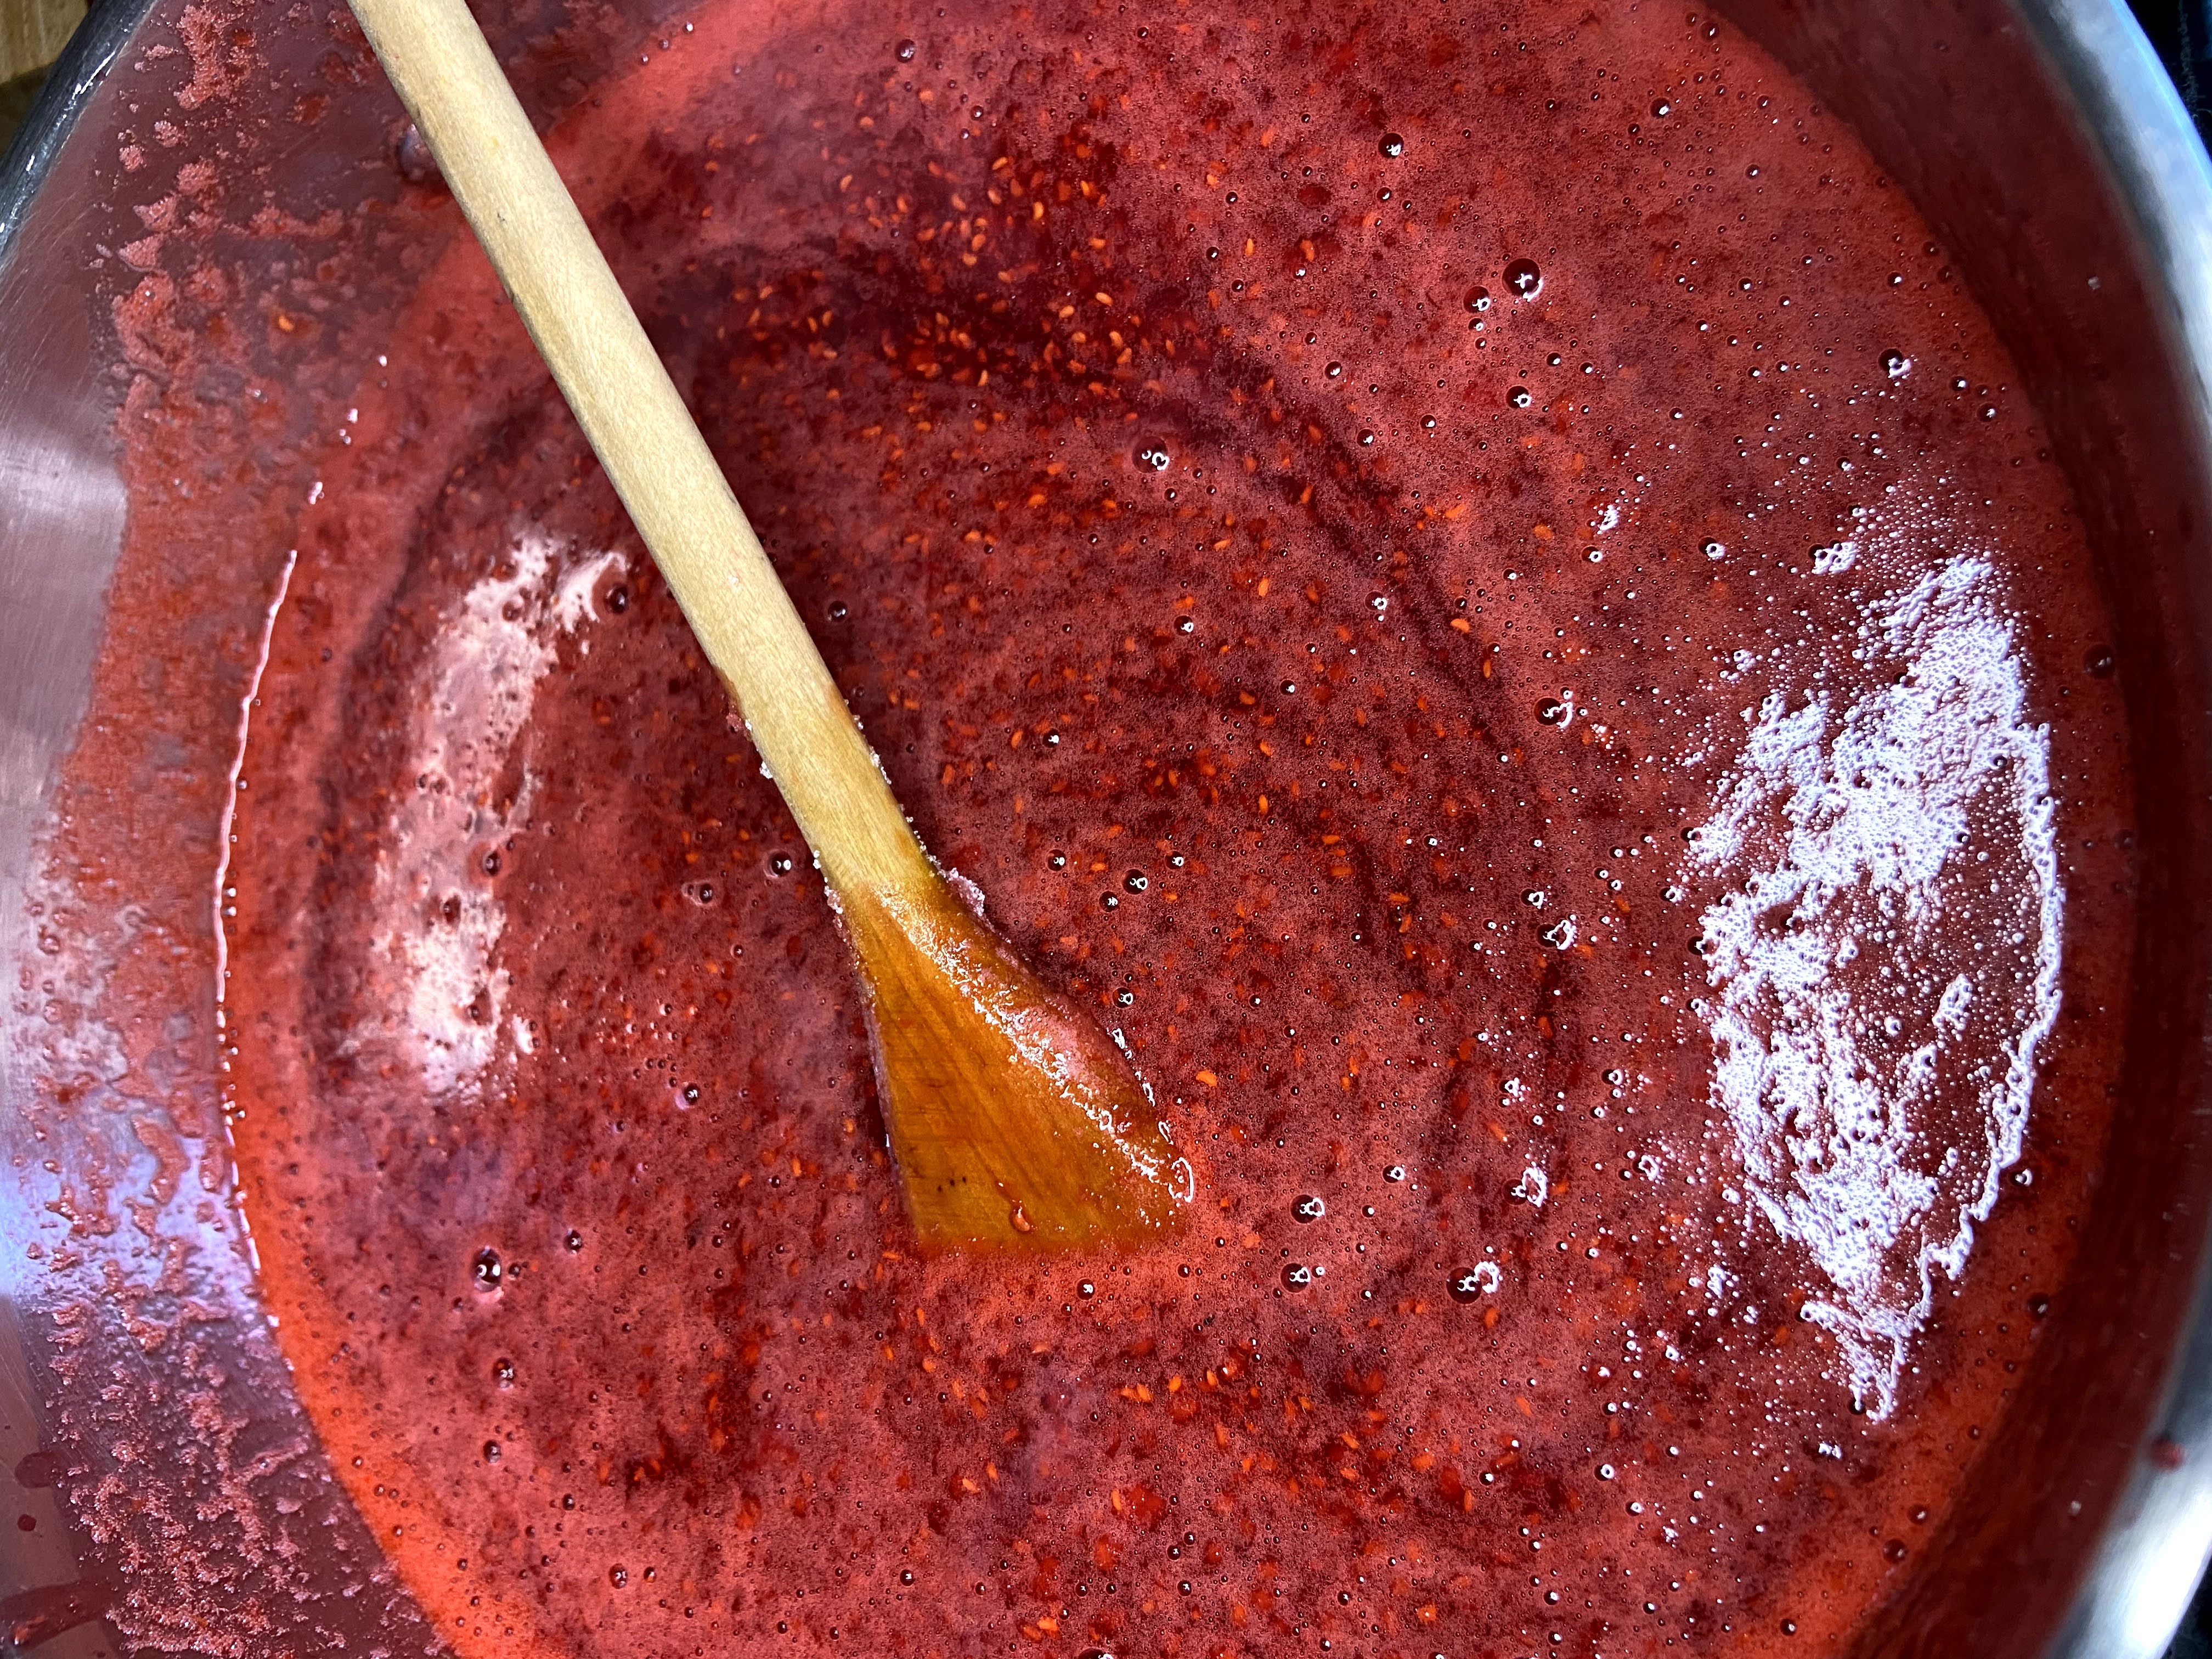
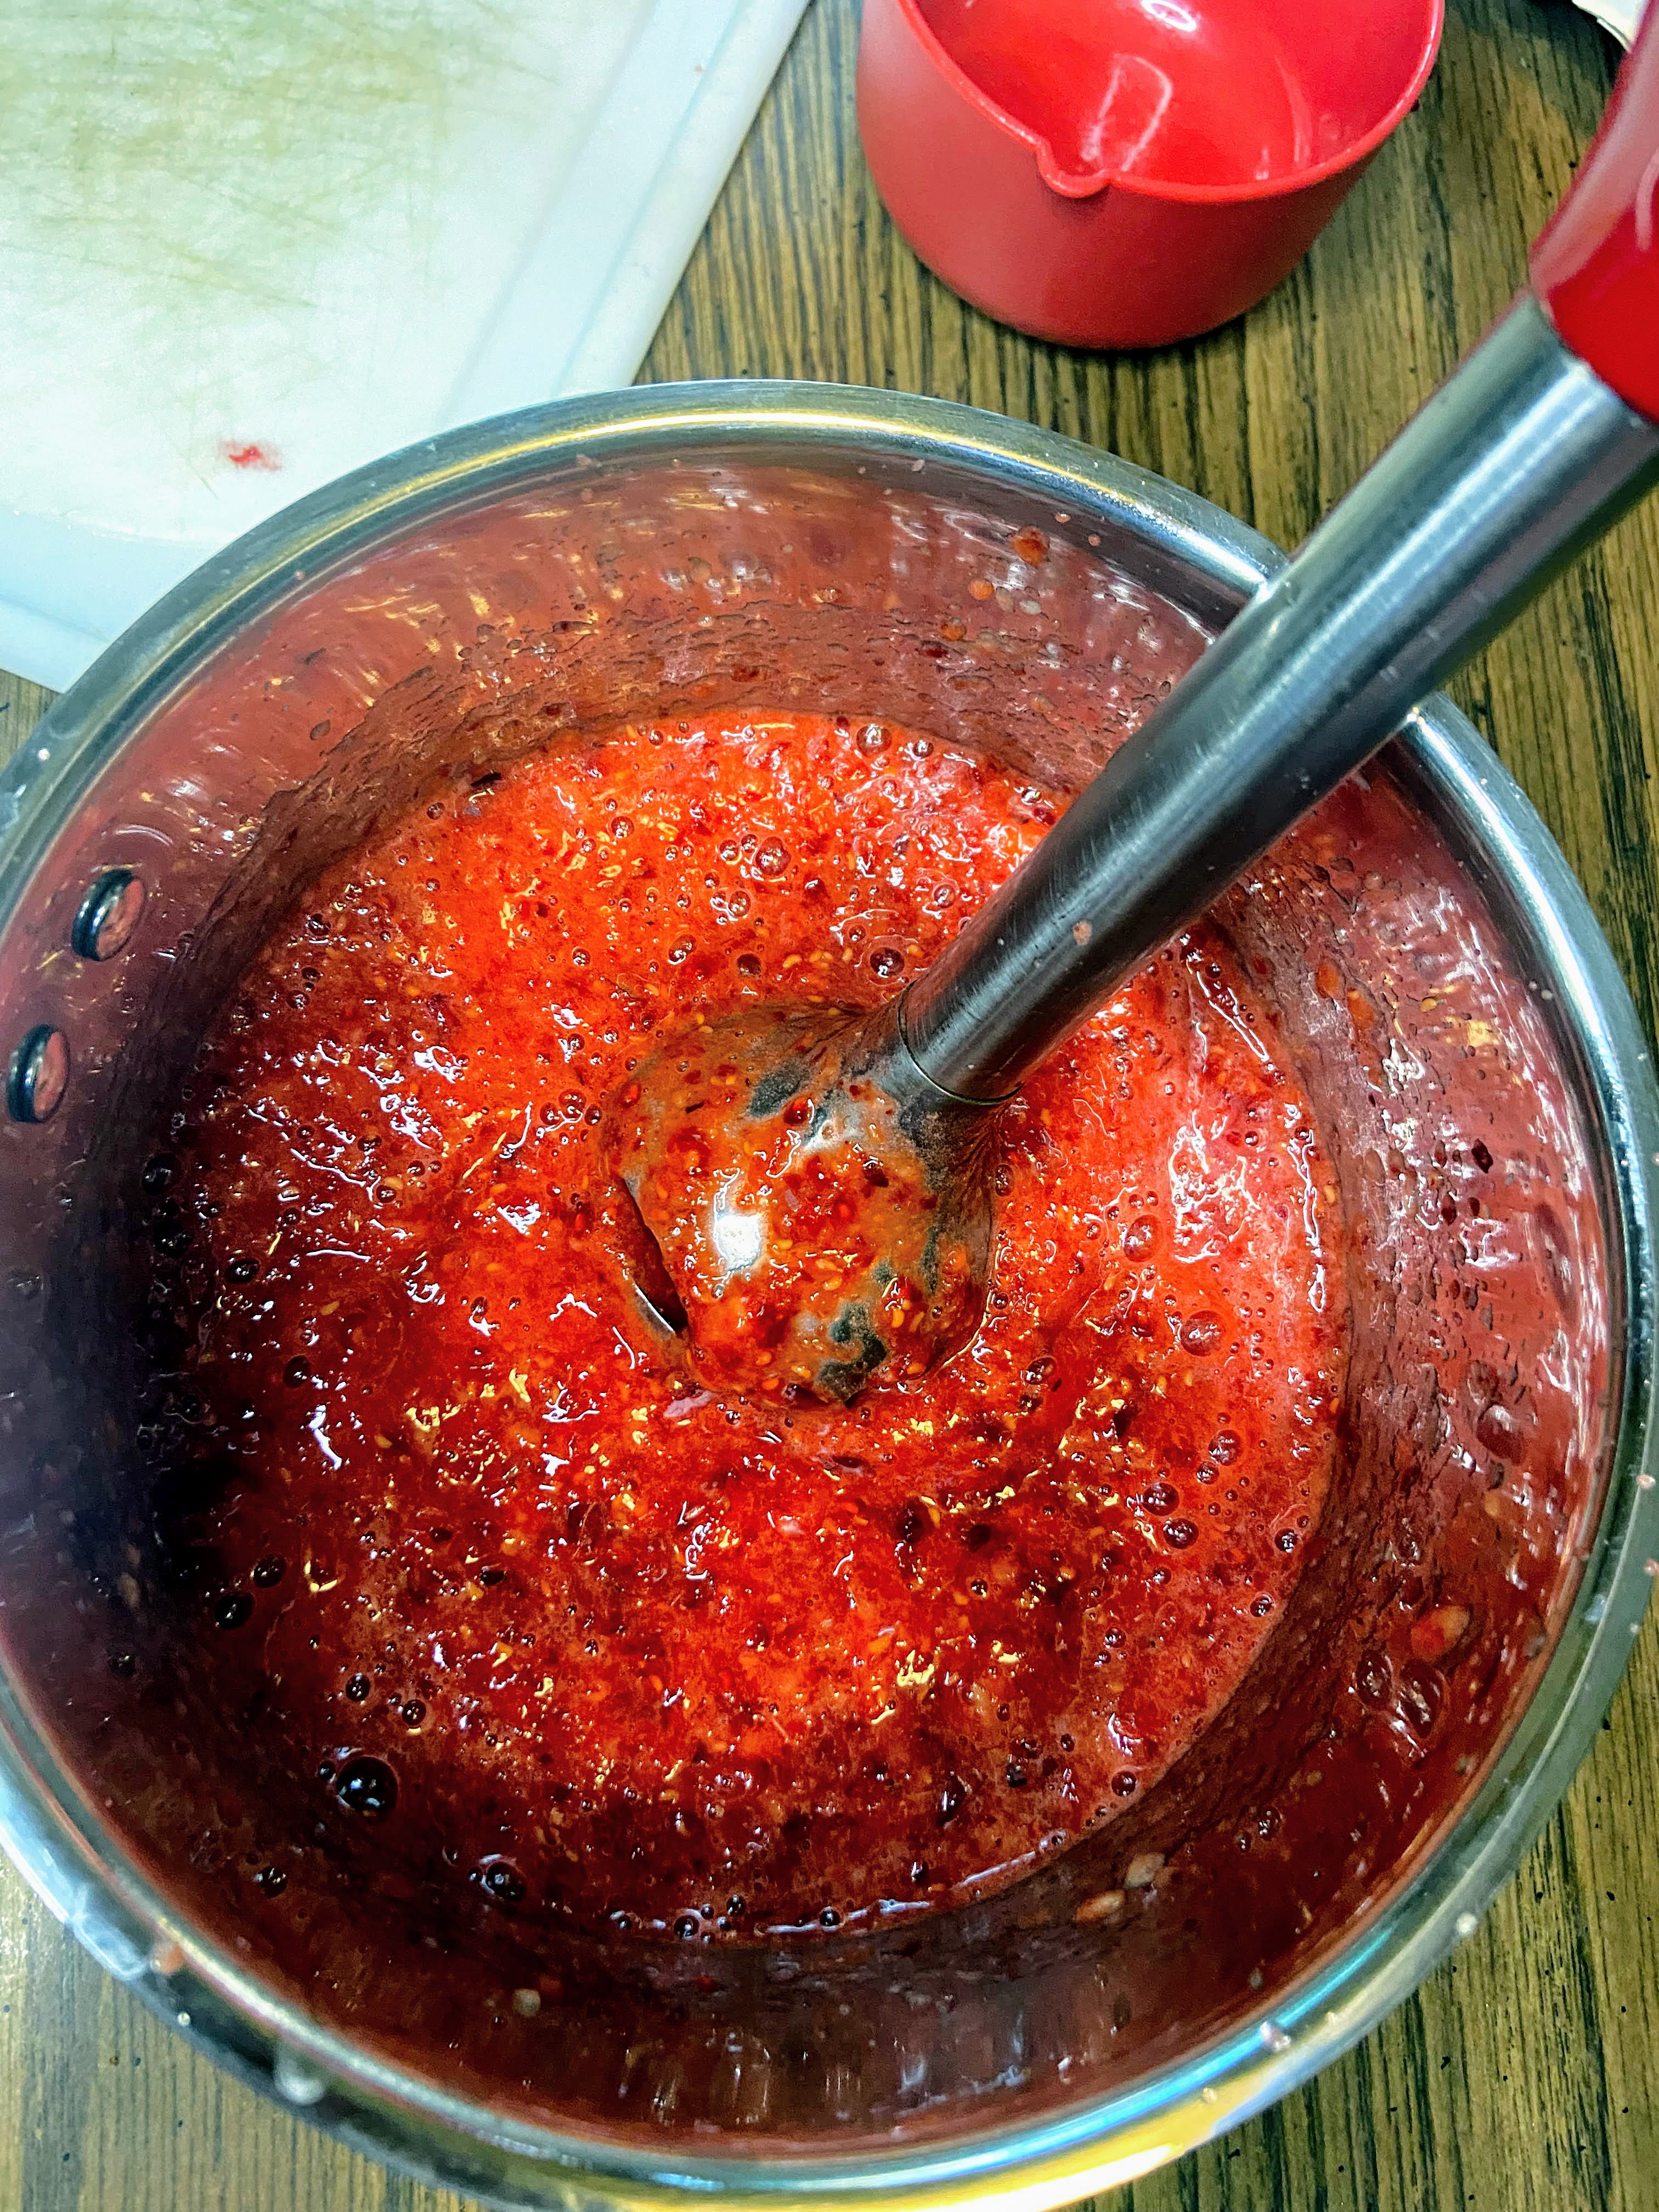
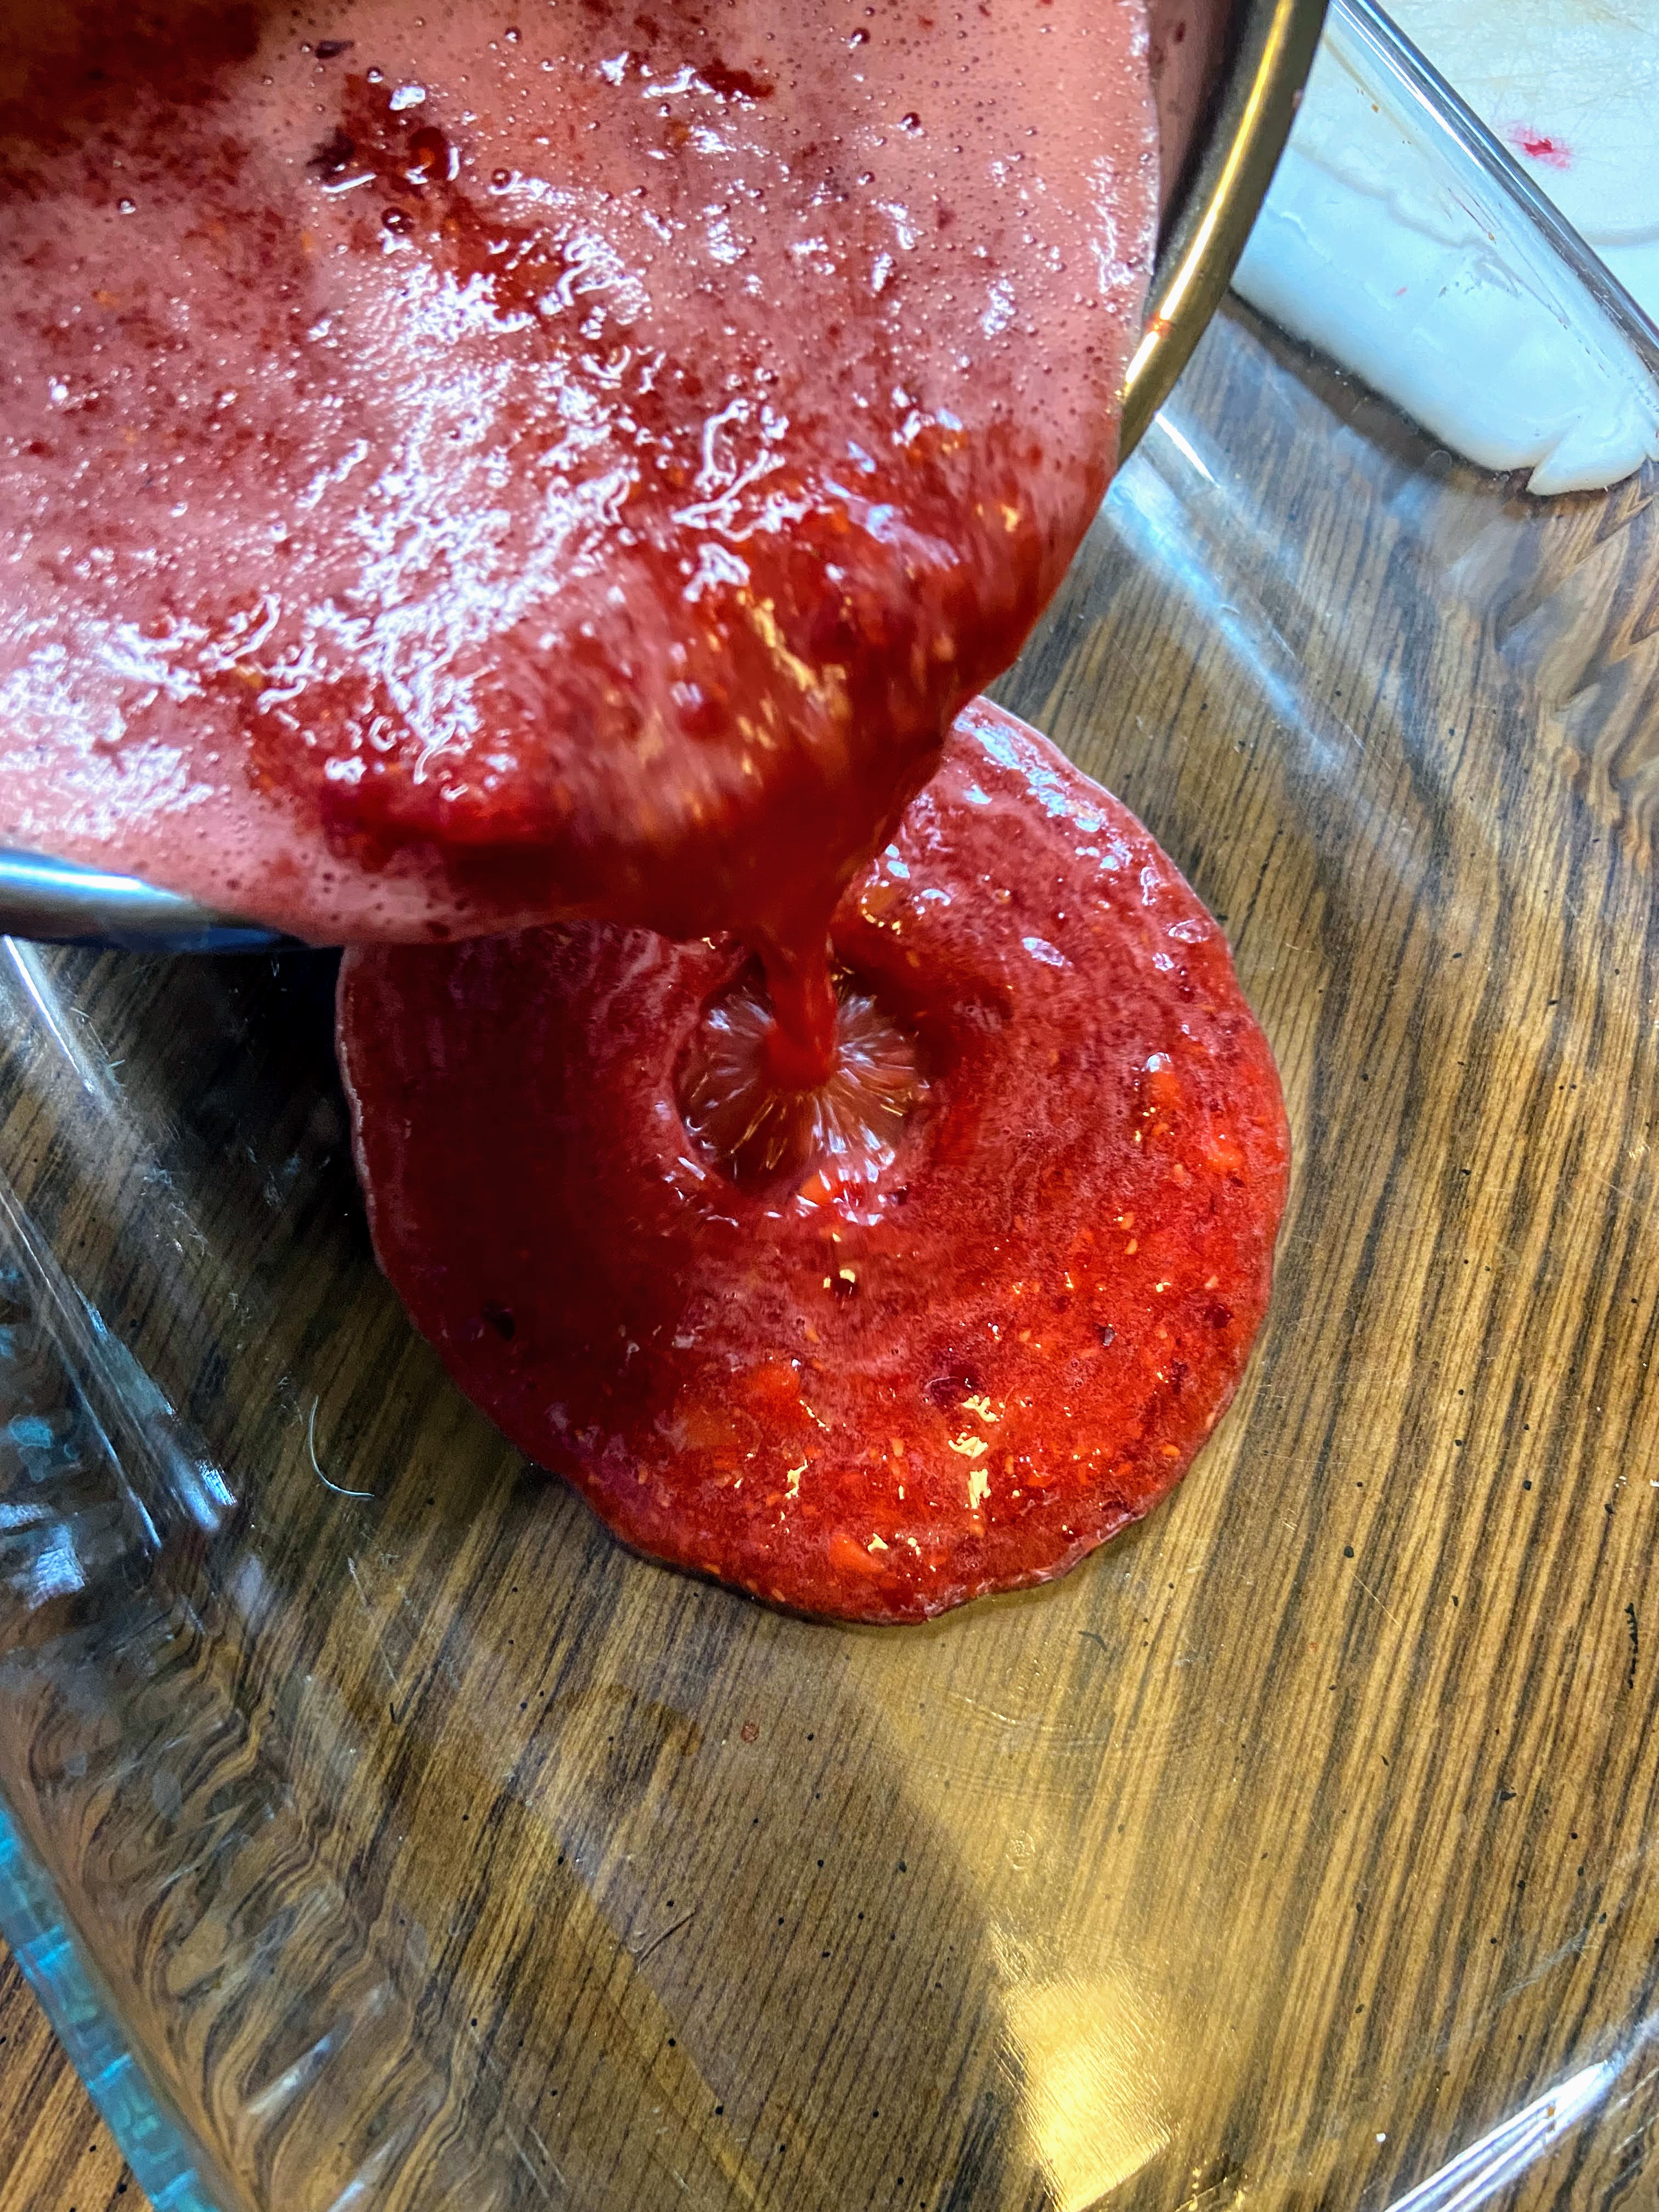
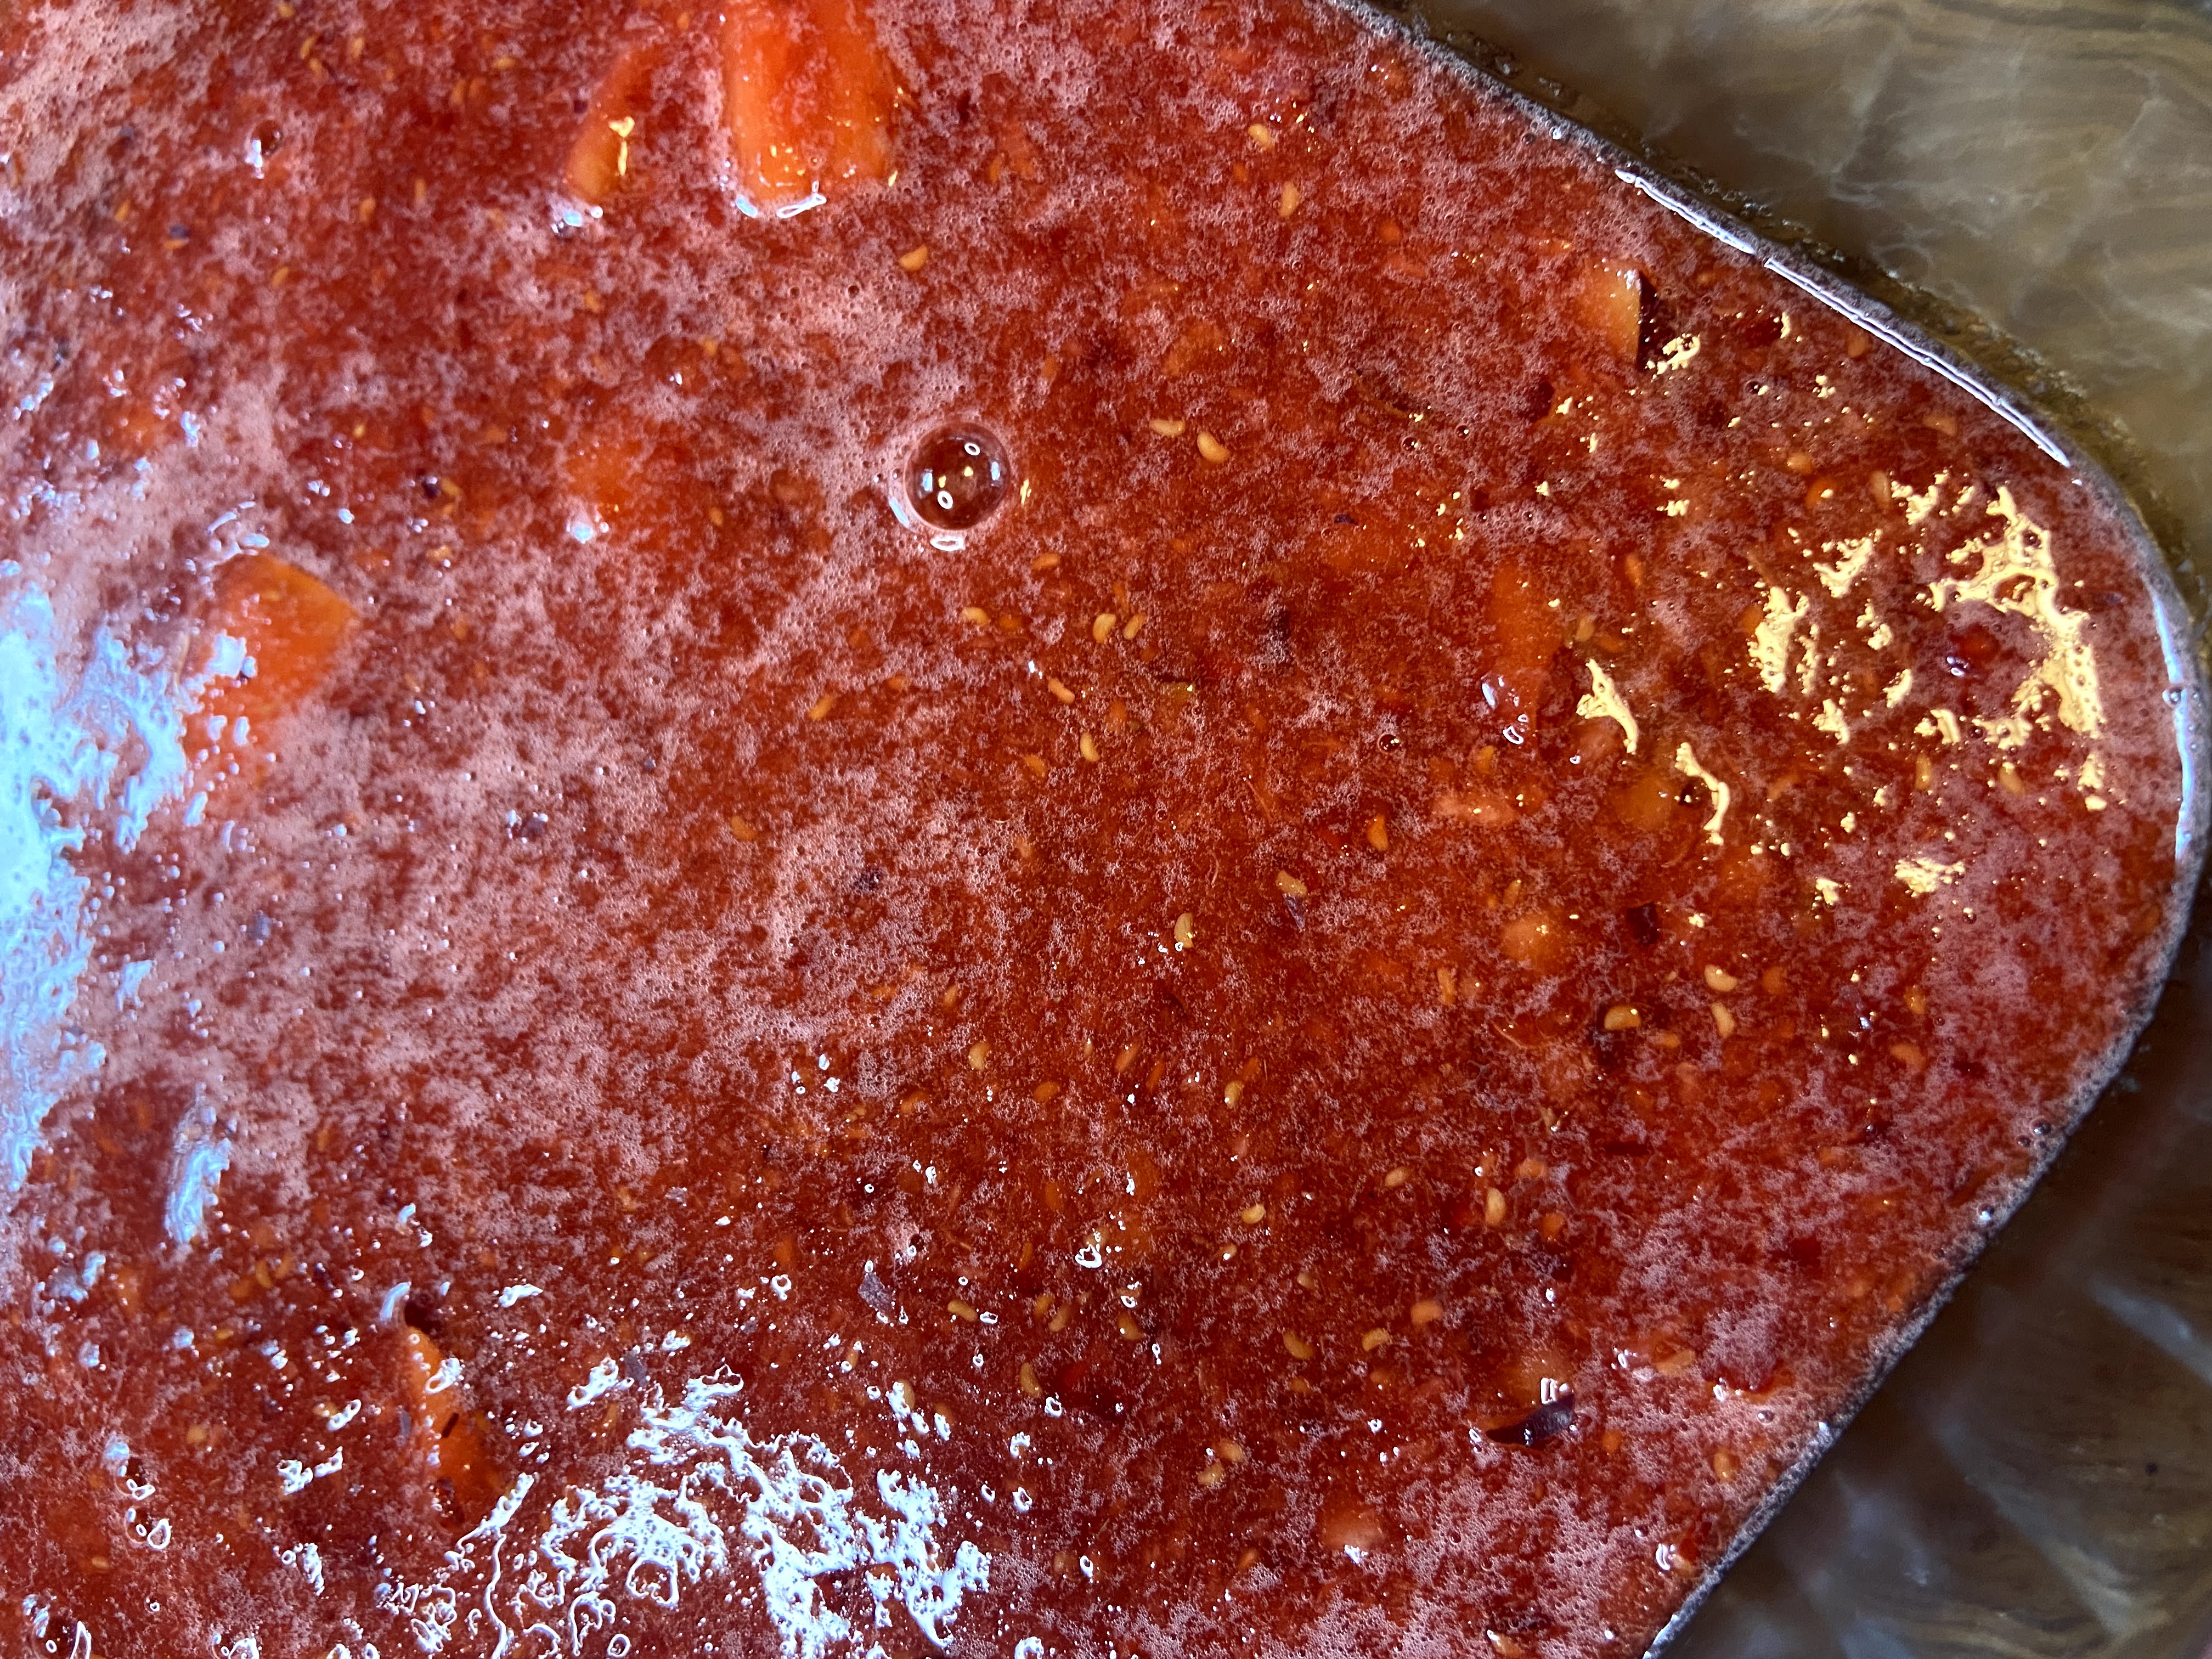
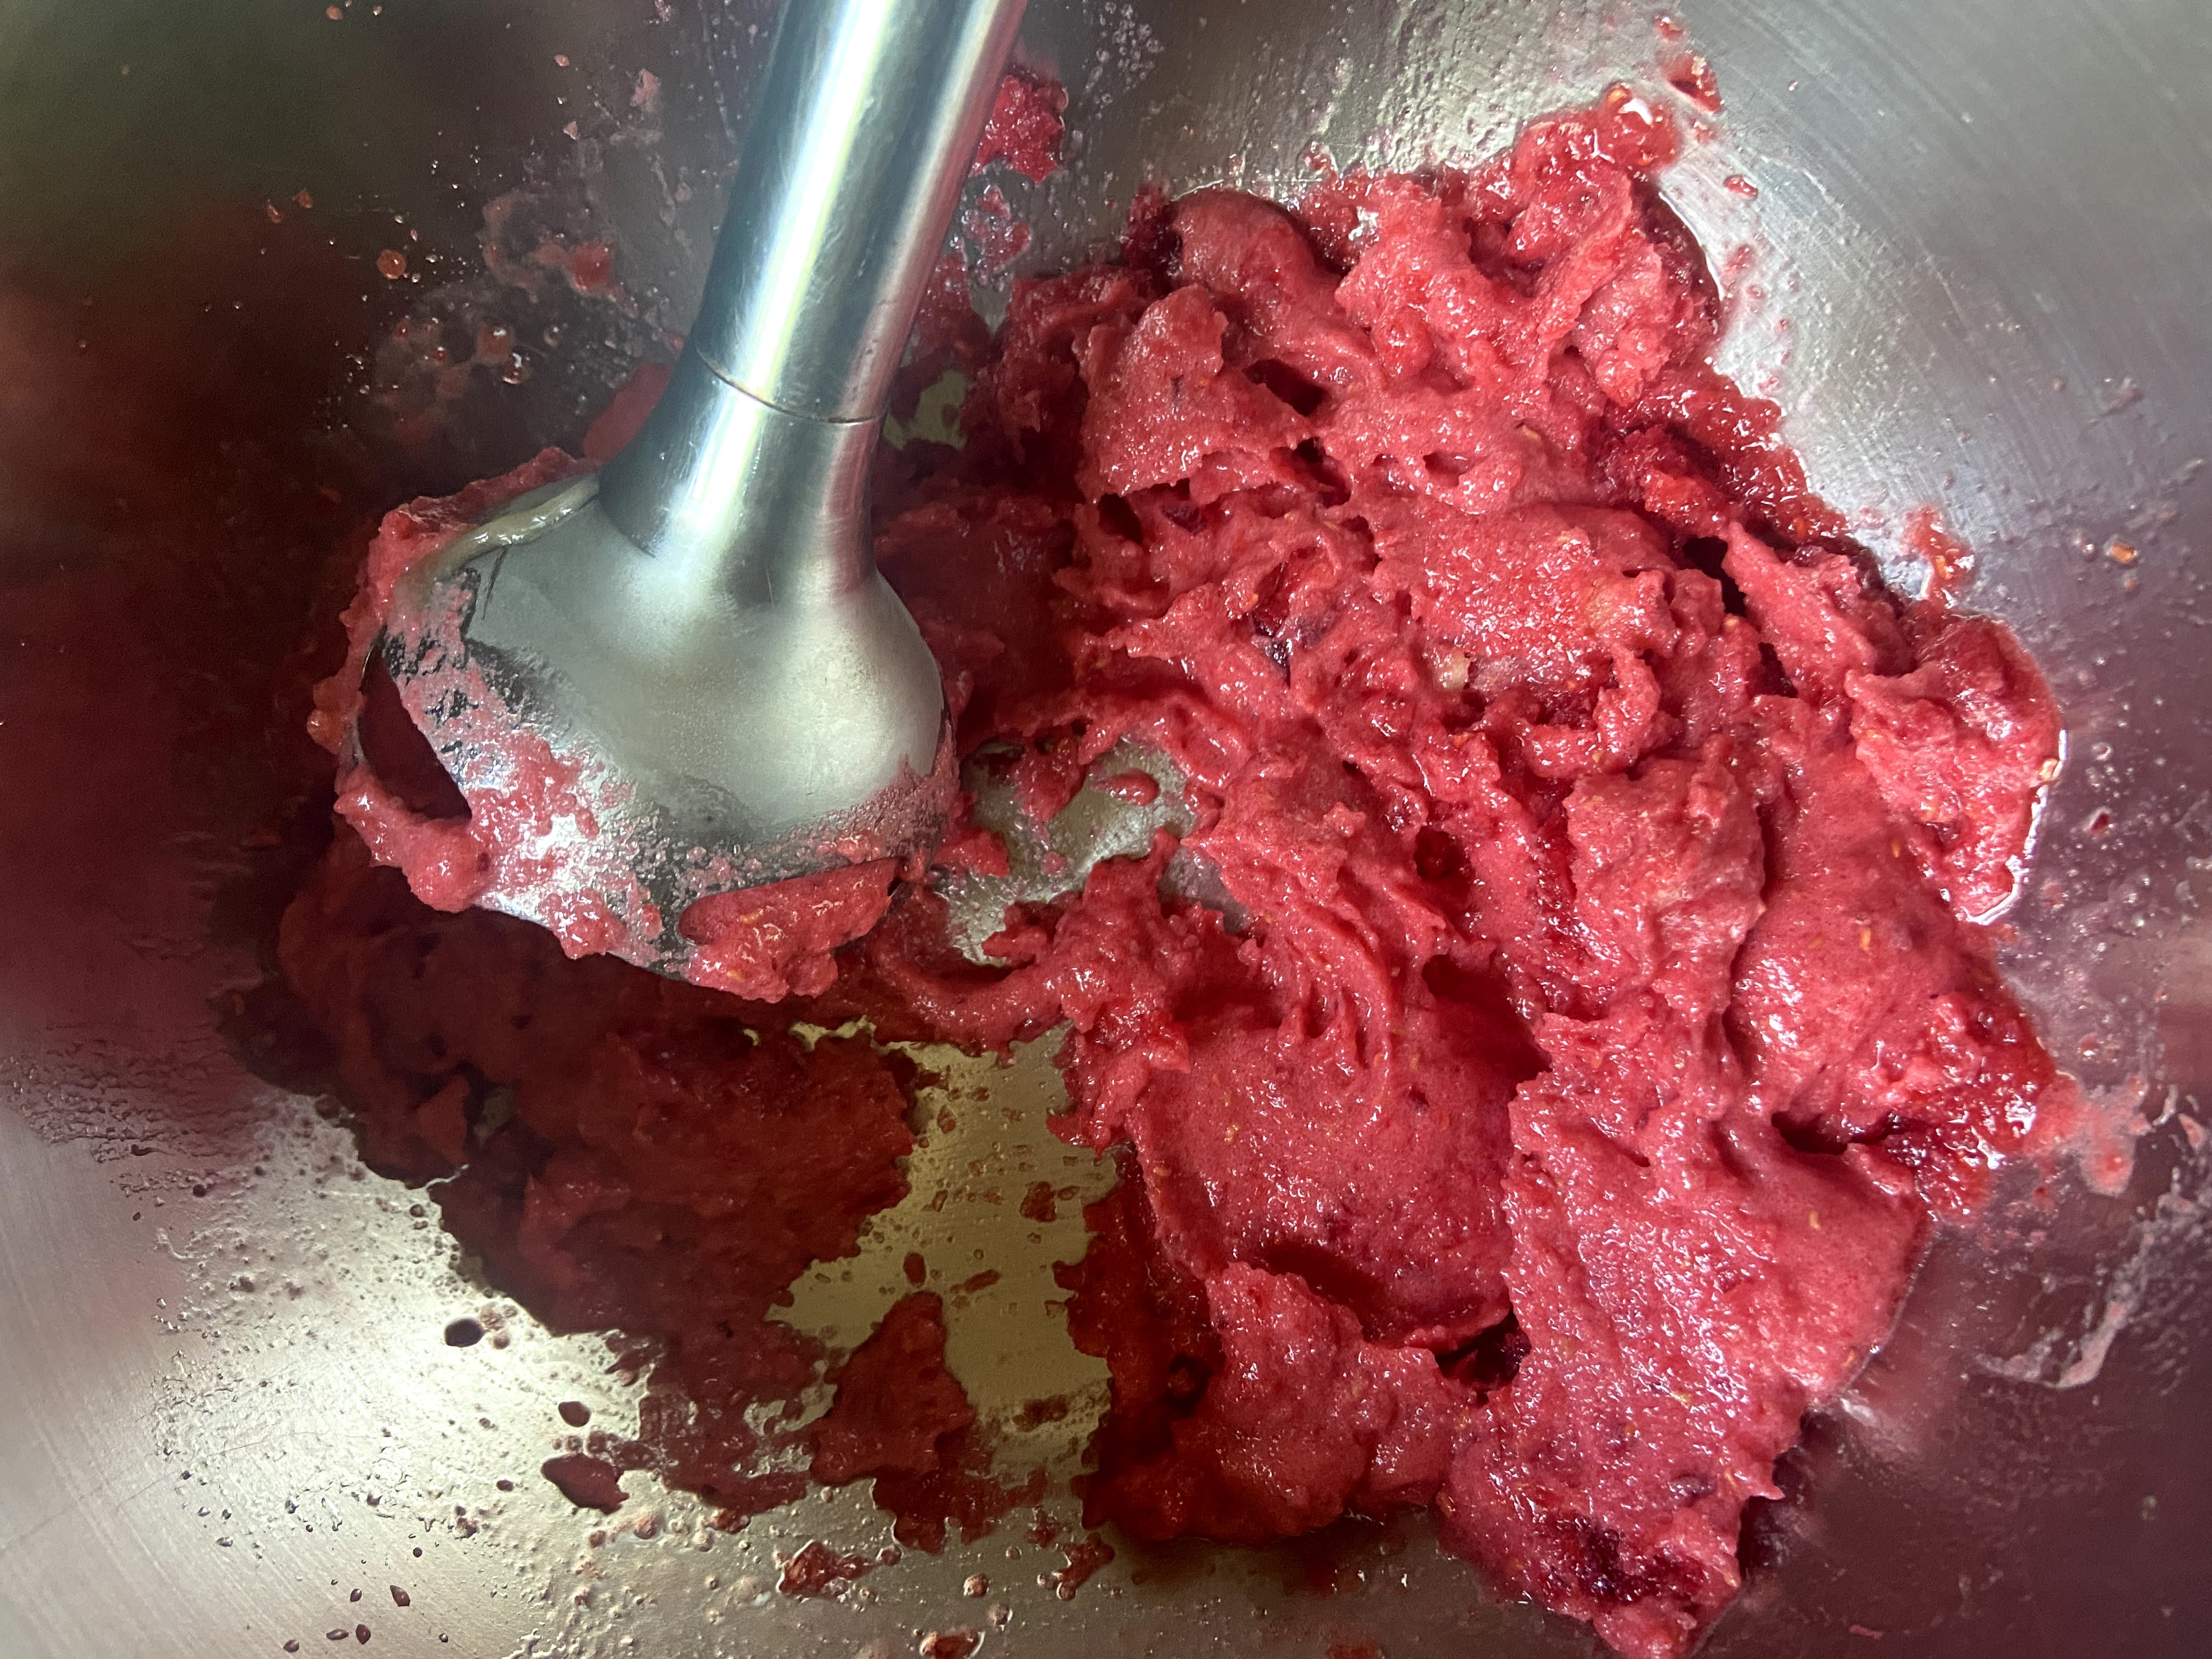
Combine fruit. Use a blender or immersion blender to break fruit down. I use an immersion blender and blend right in the kettle I will be heating them in. Add remaining ingredients. Use the immersion blender to mix everything together once more. Once combined, heat over medium heat until the mixture is beginning to simmer, stirring often. Pour into a 9×13 pan, cover, and place in the freezer and allow to freeze solid. I generally wait overnight.
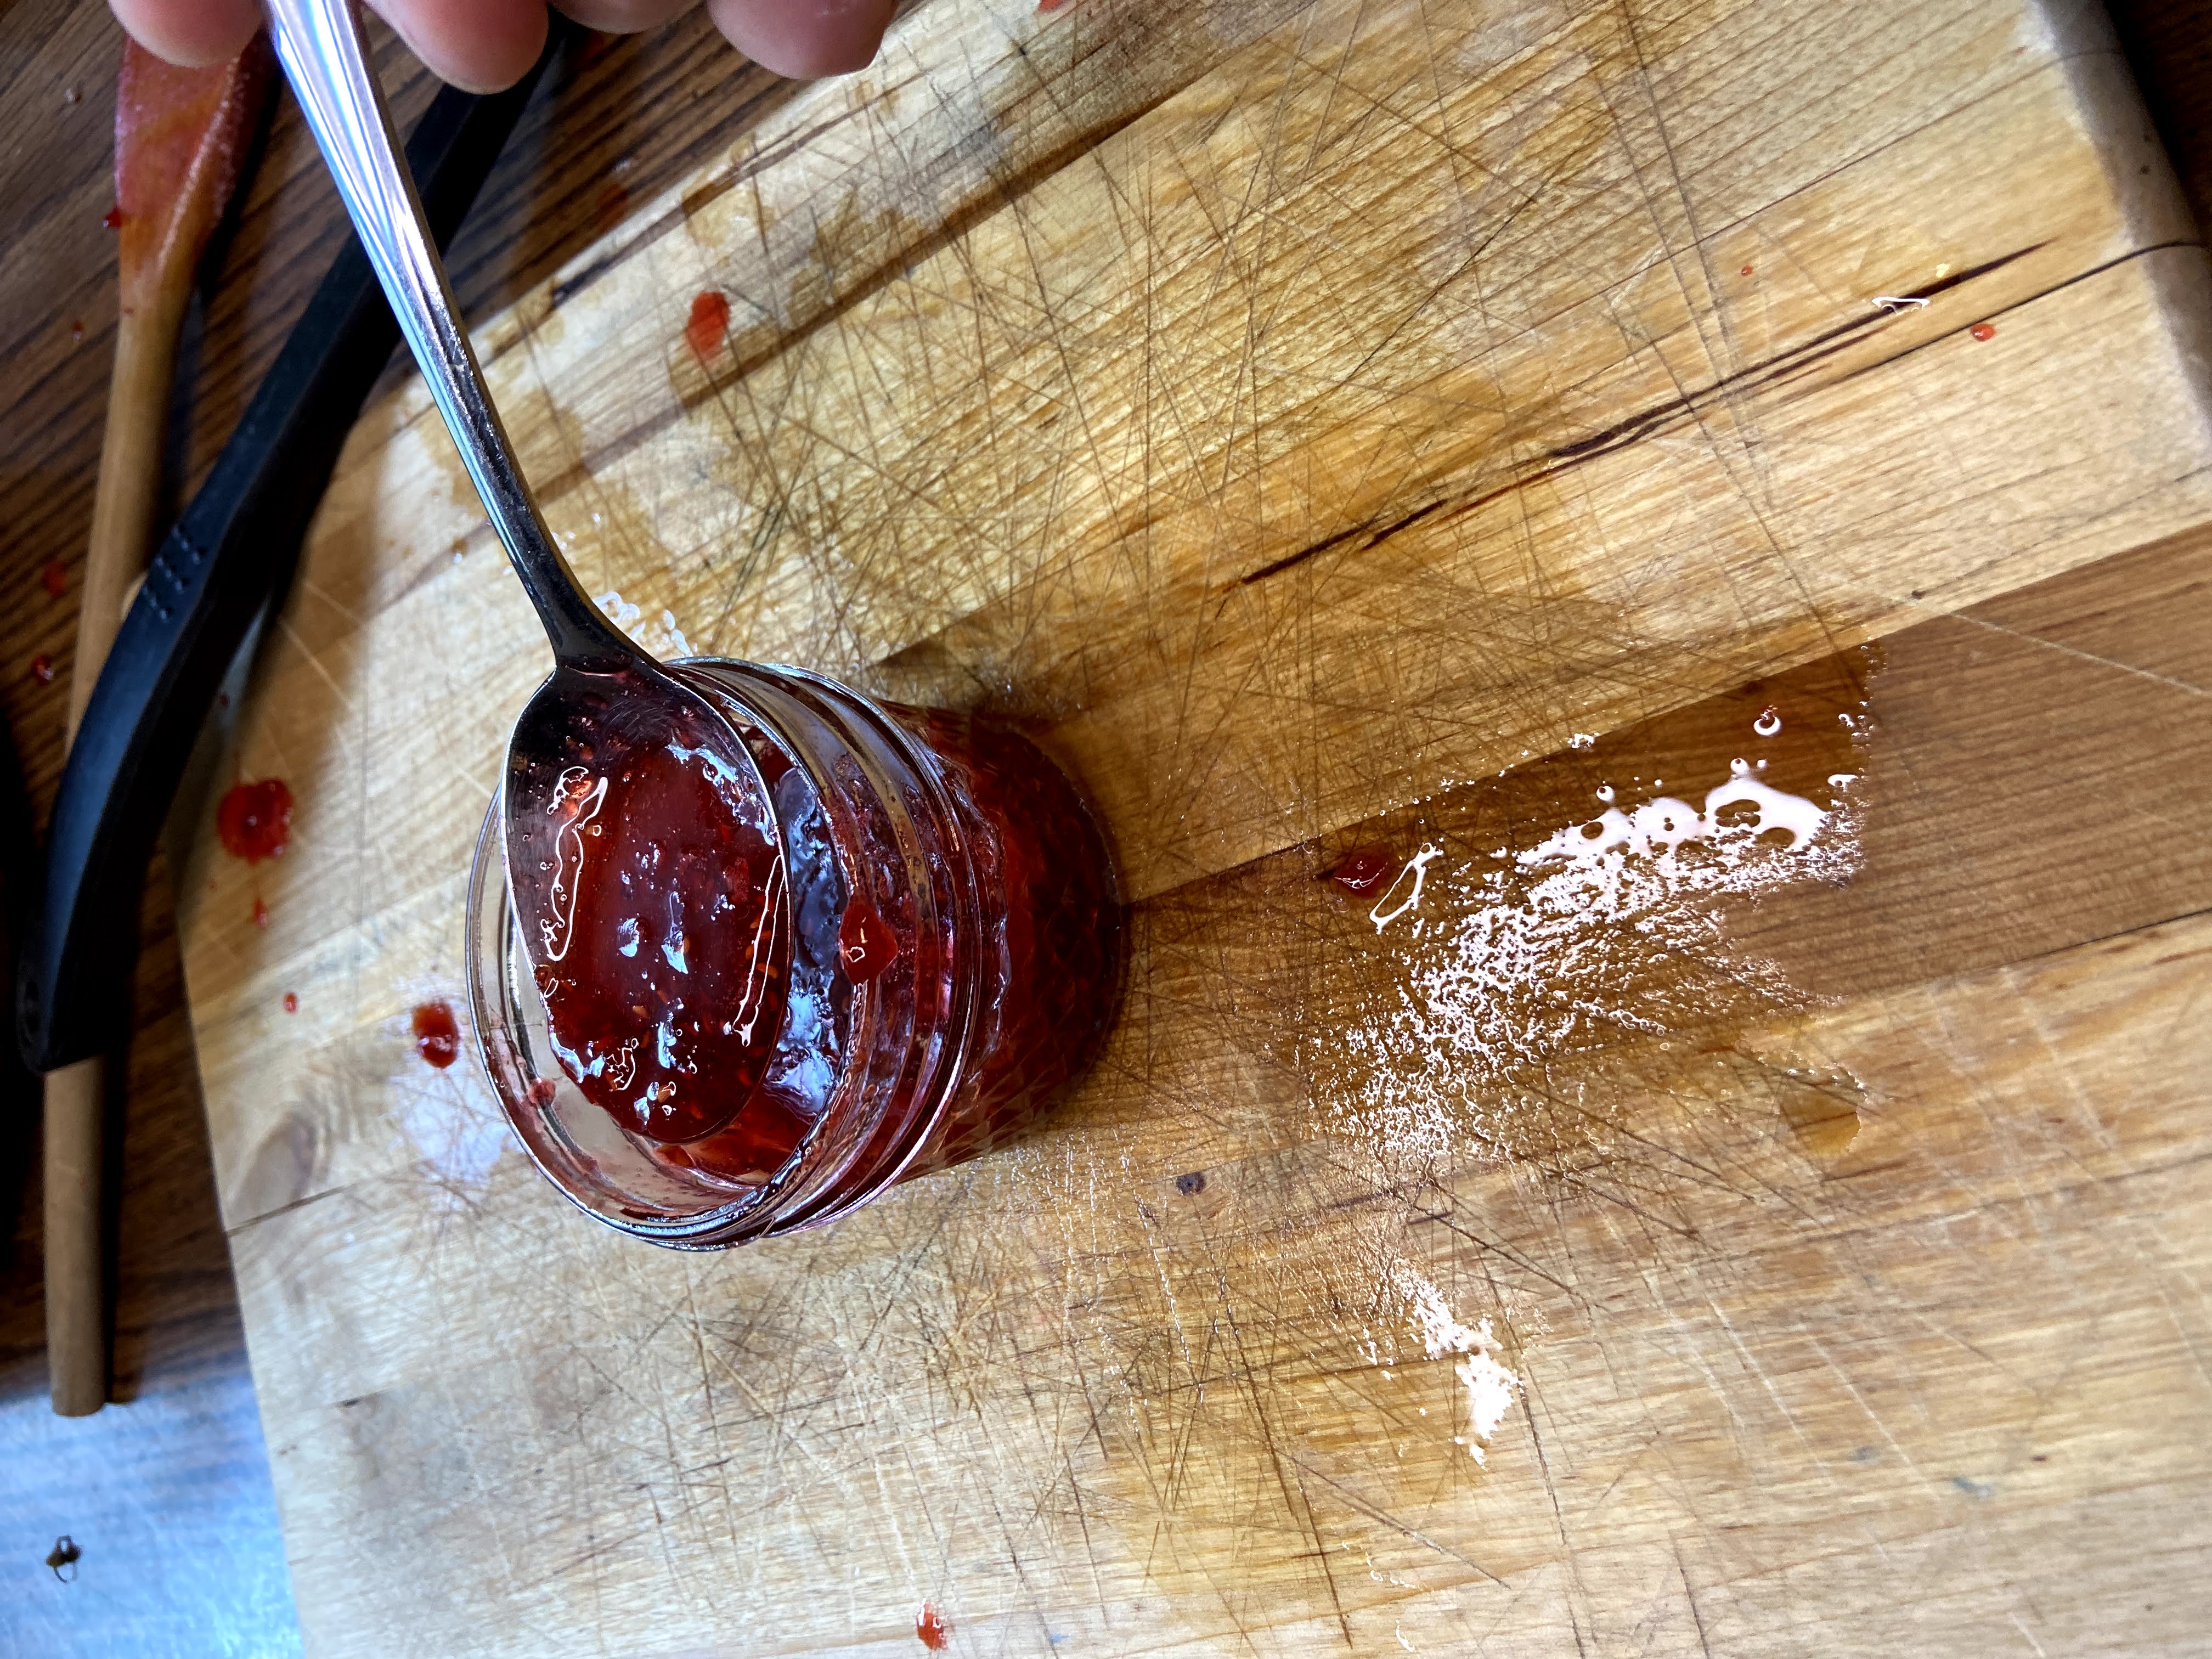
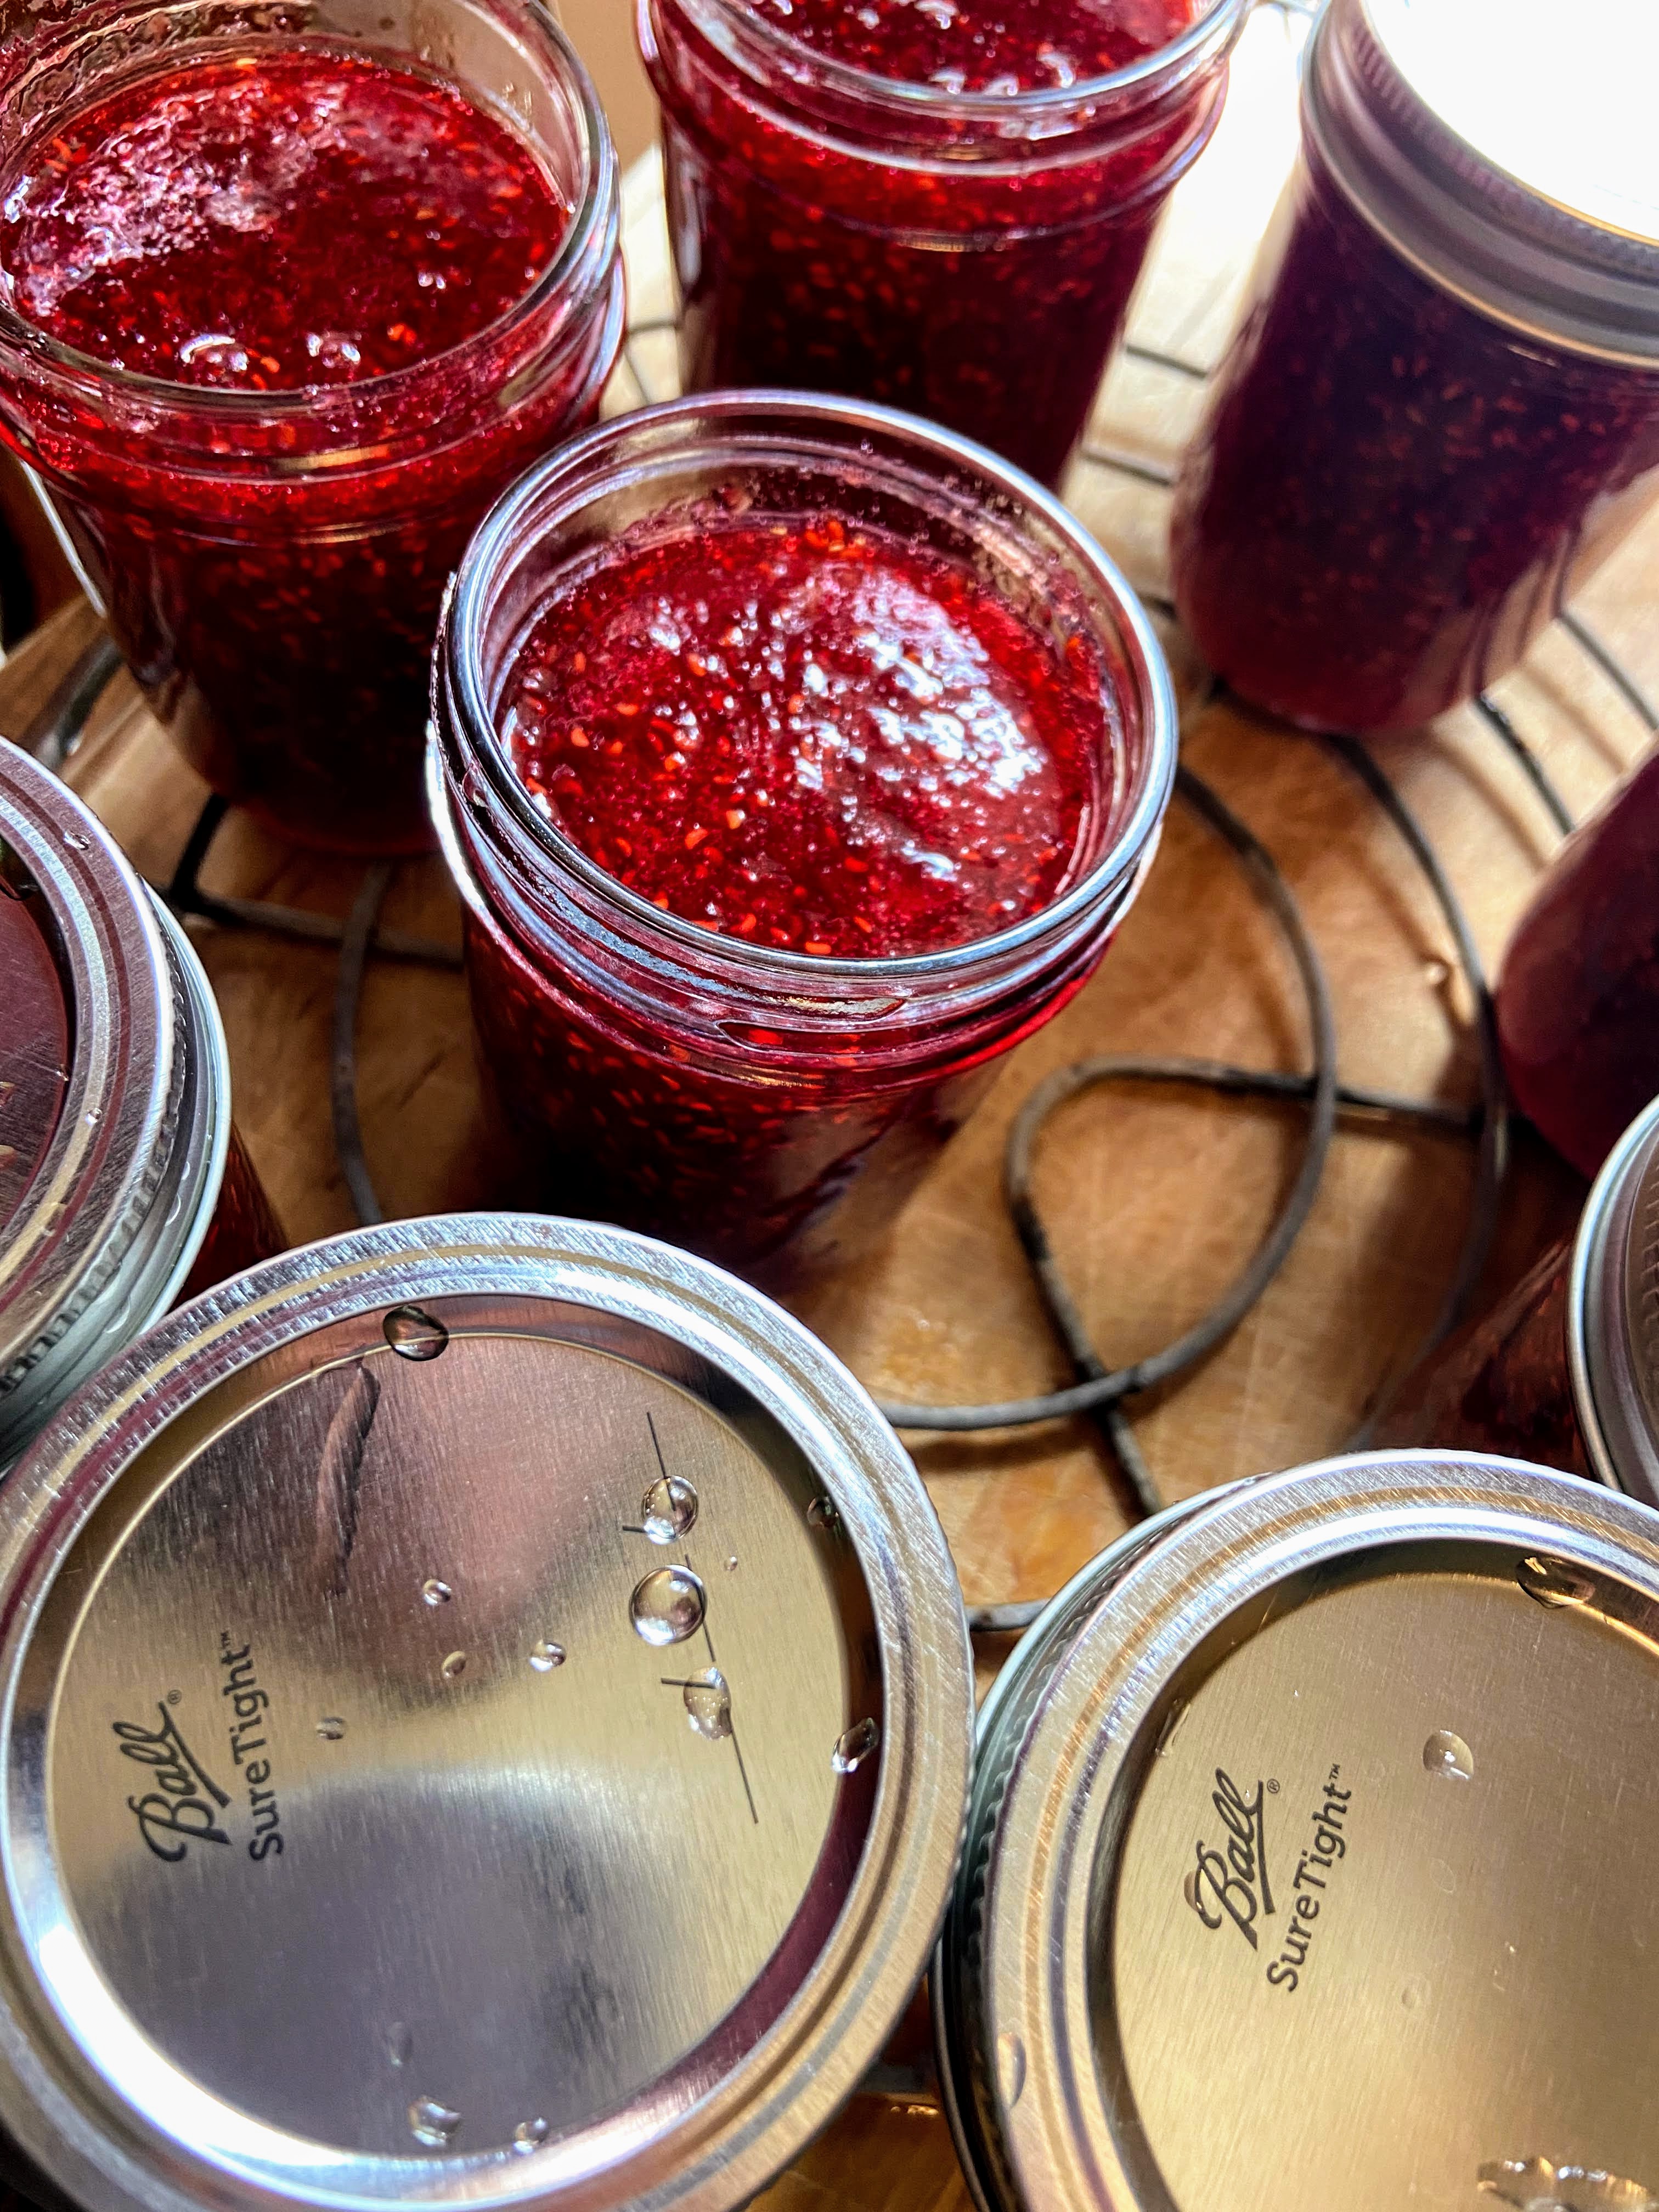
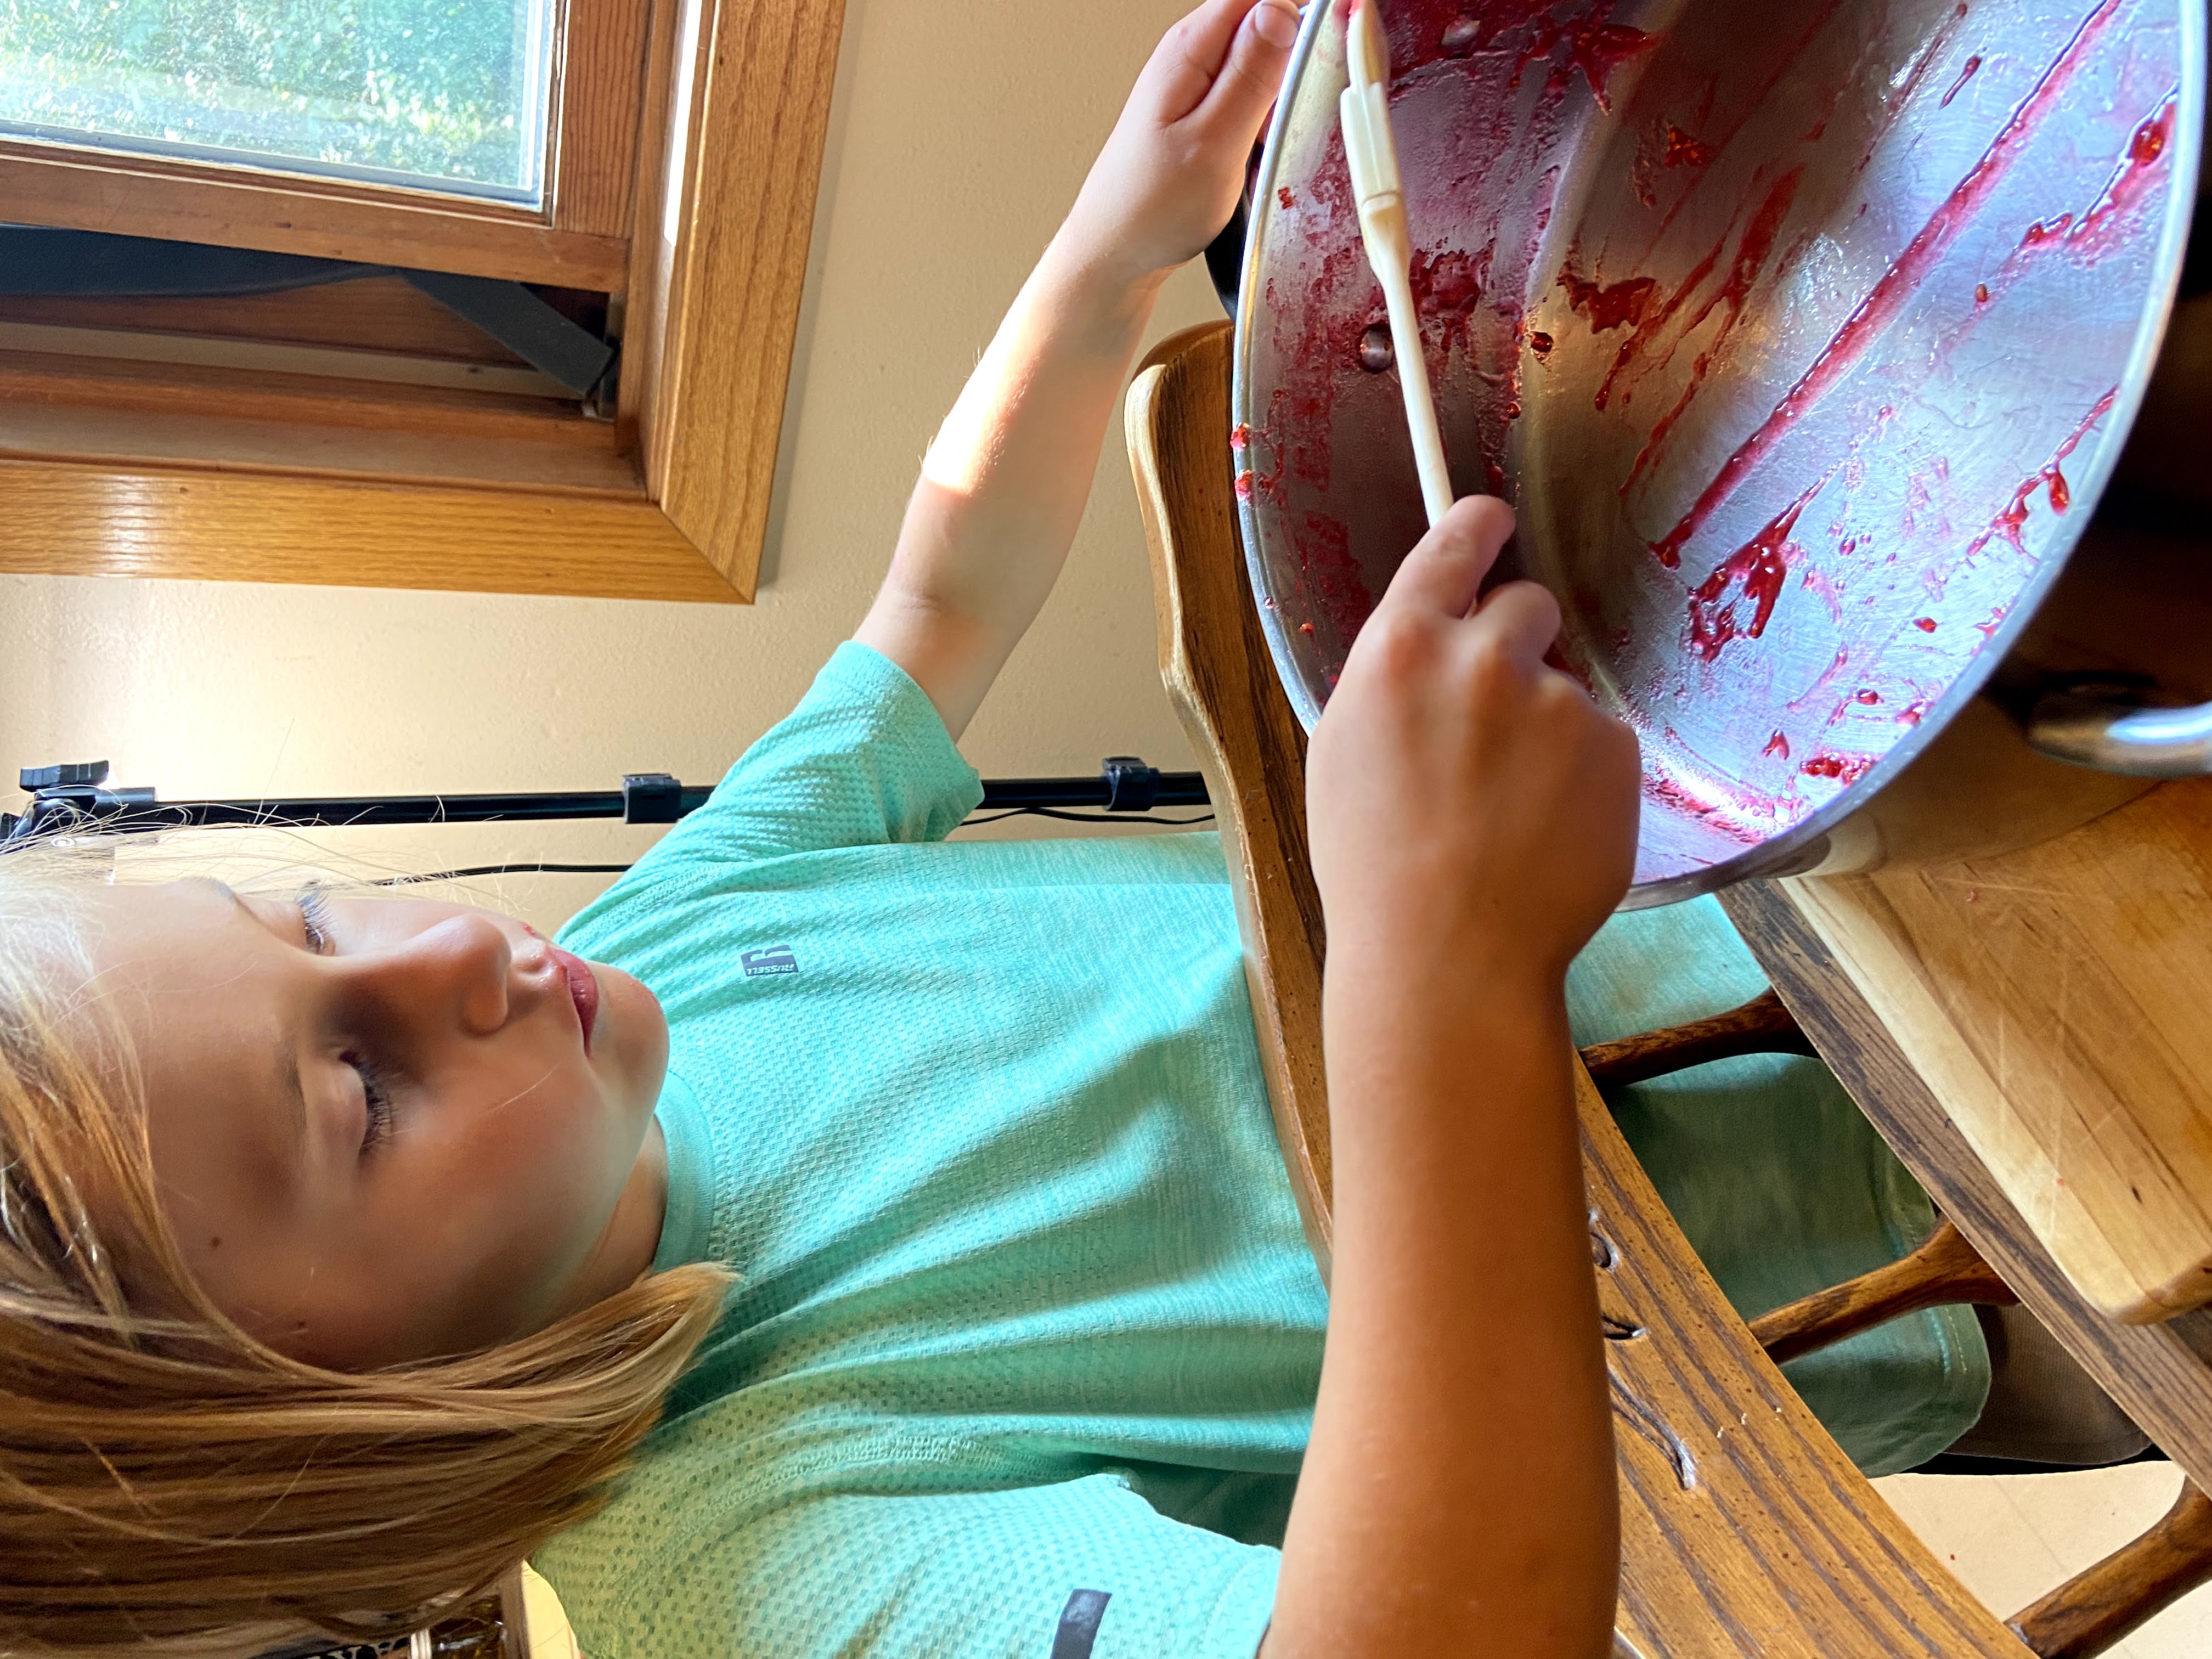
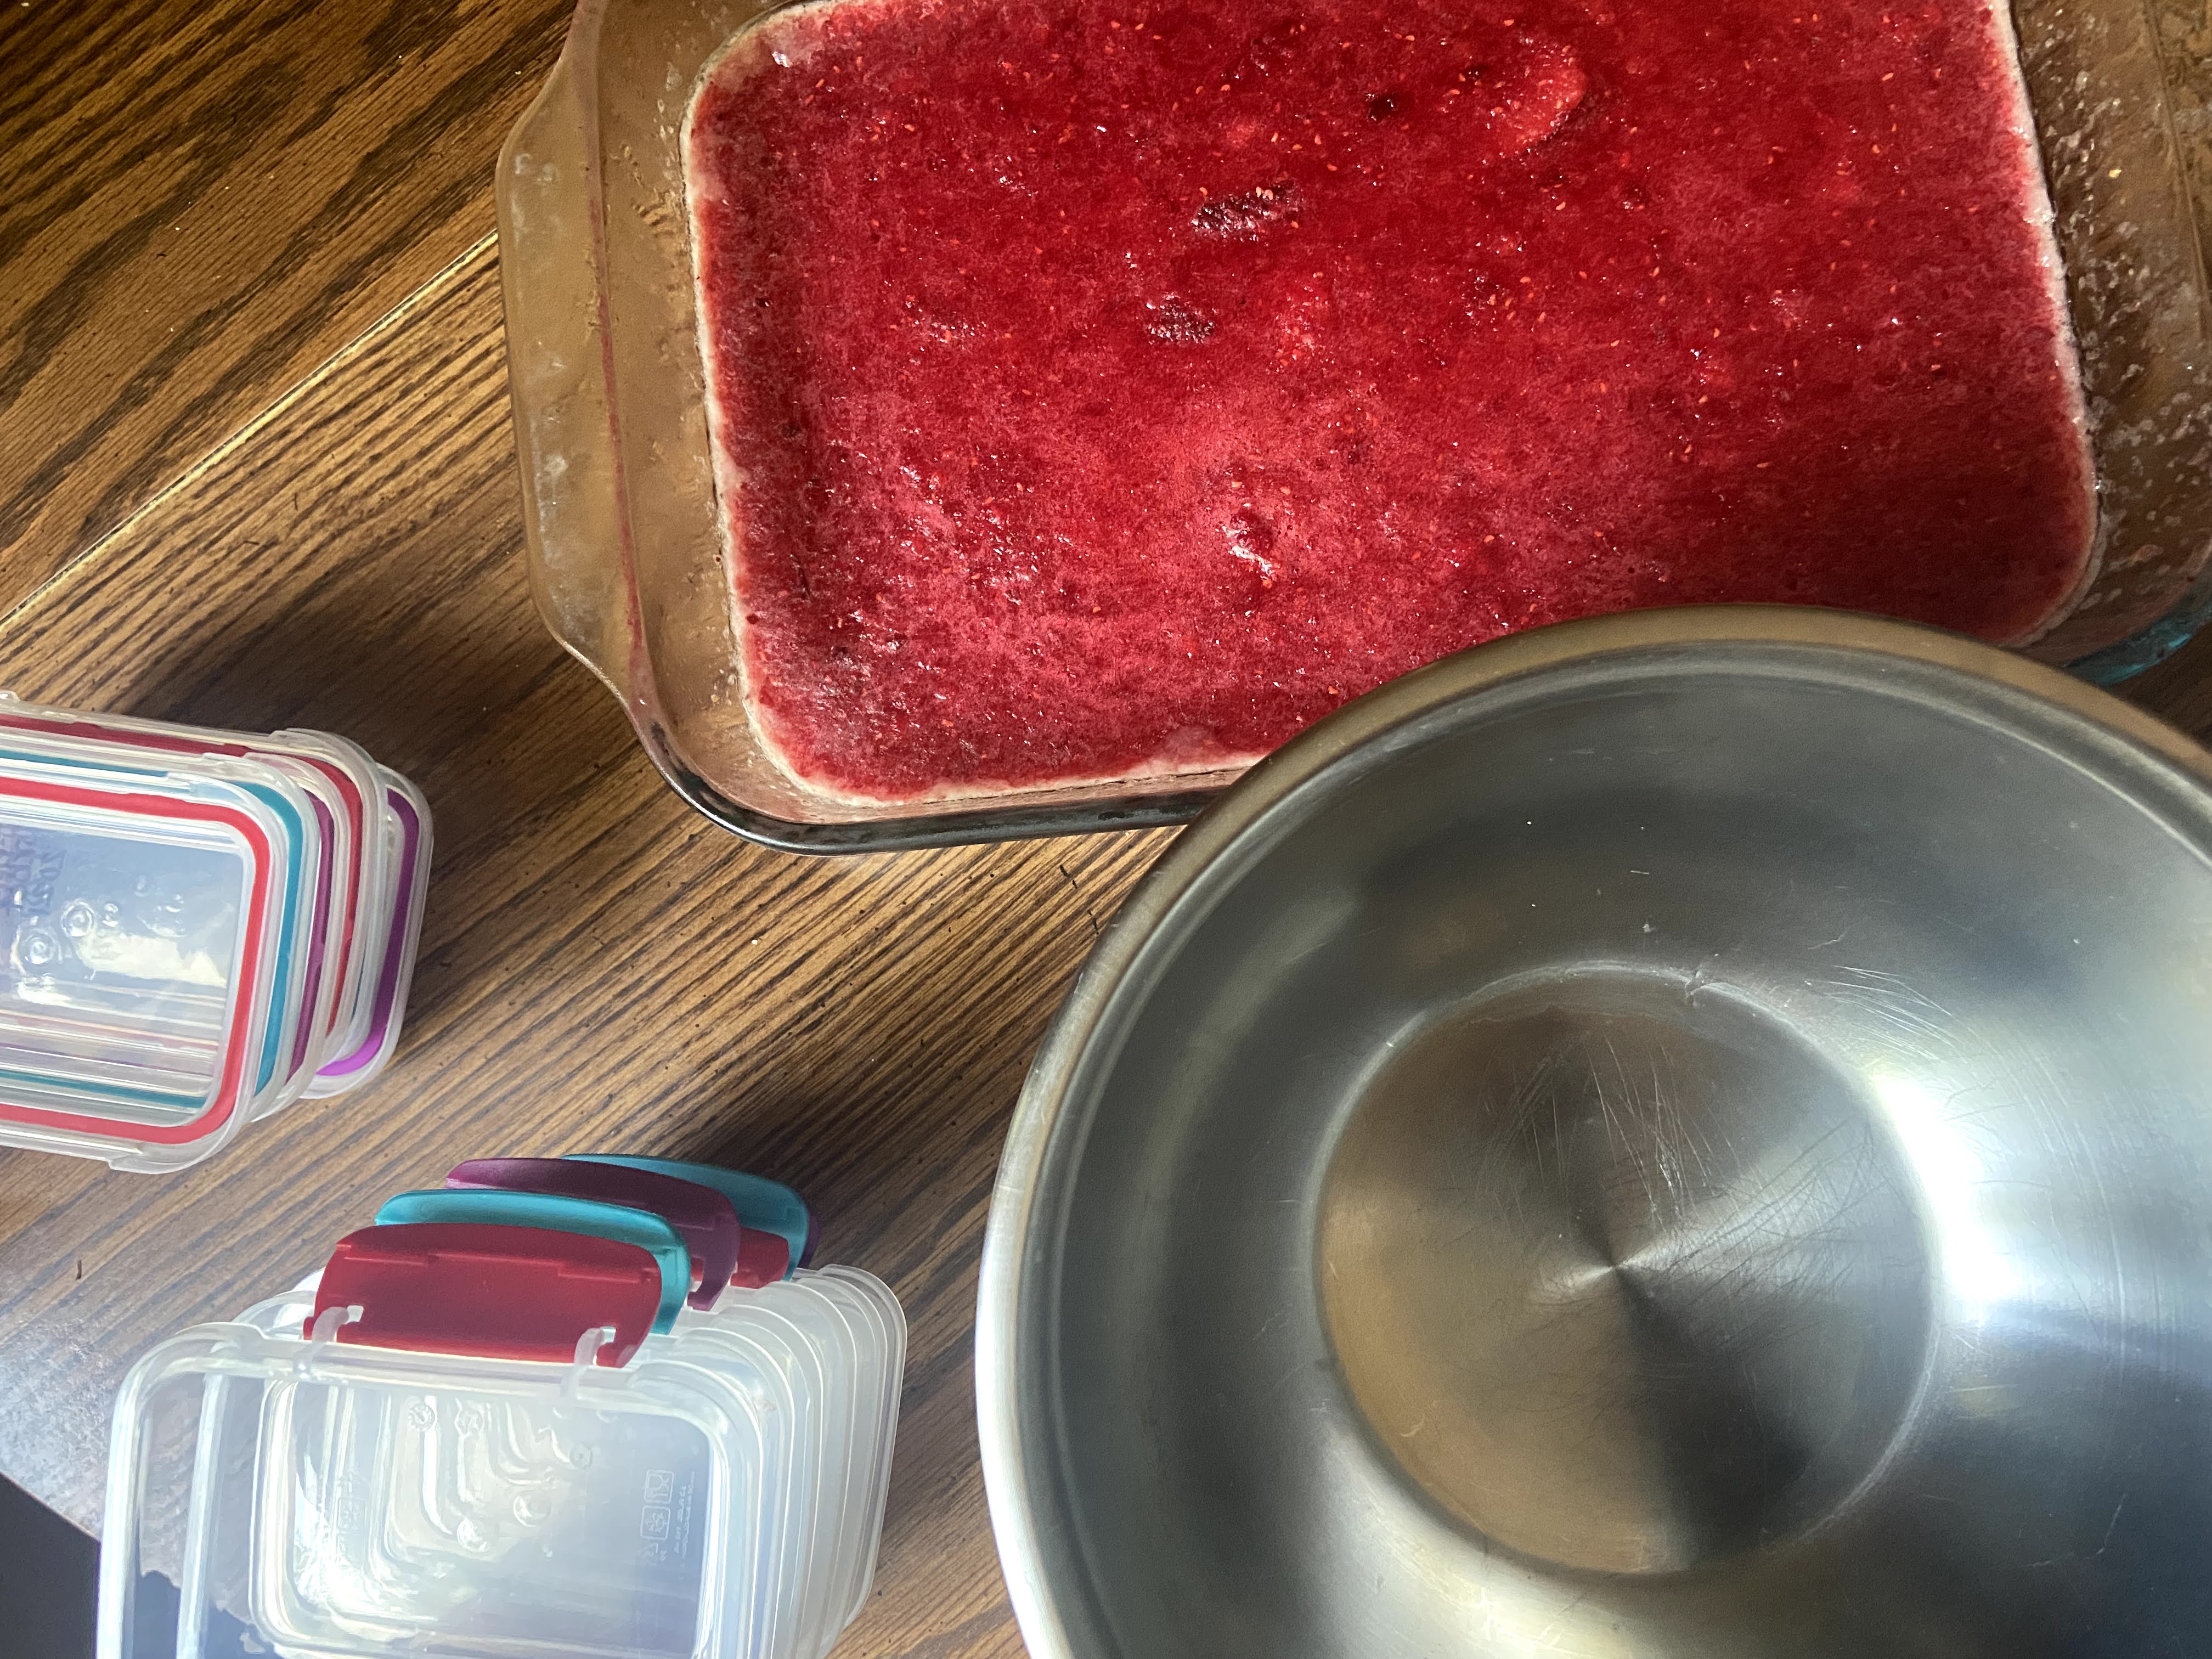
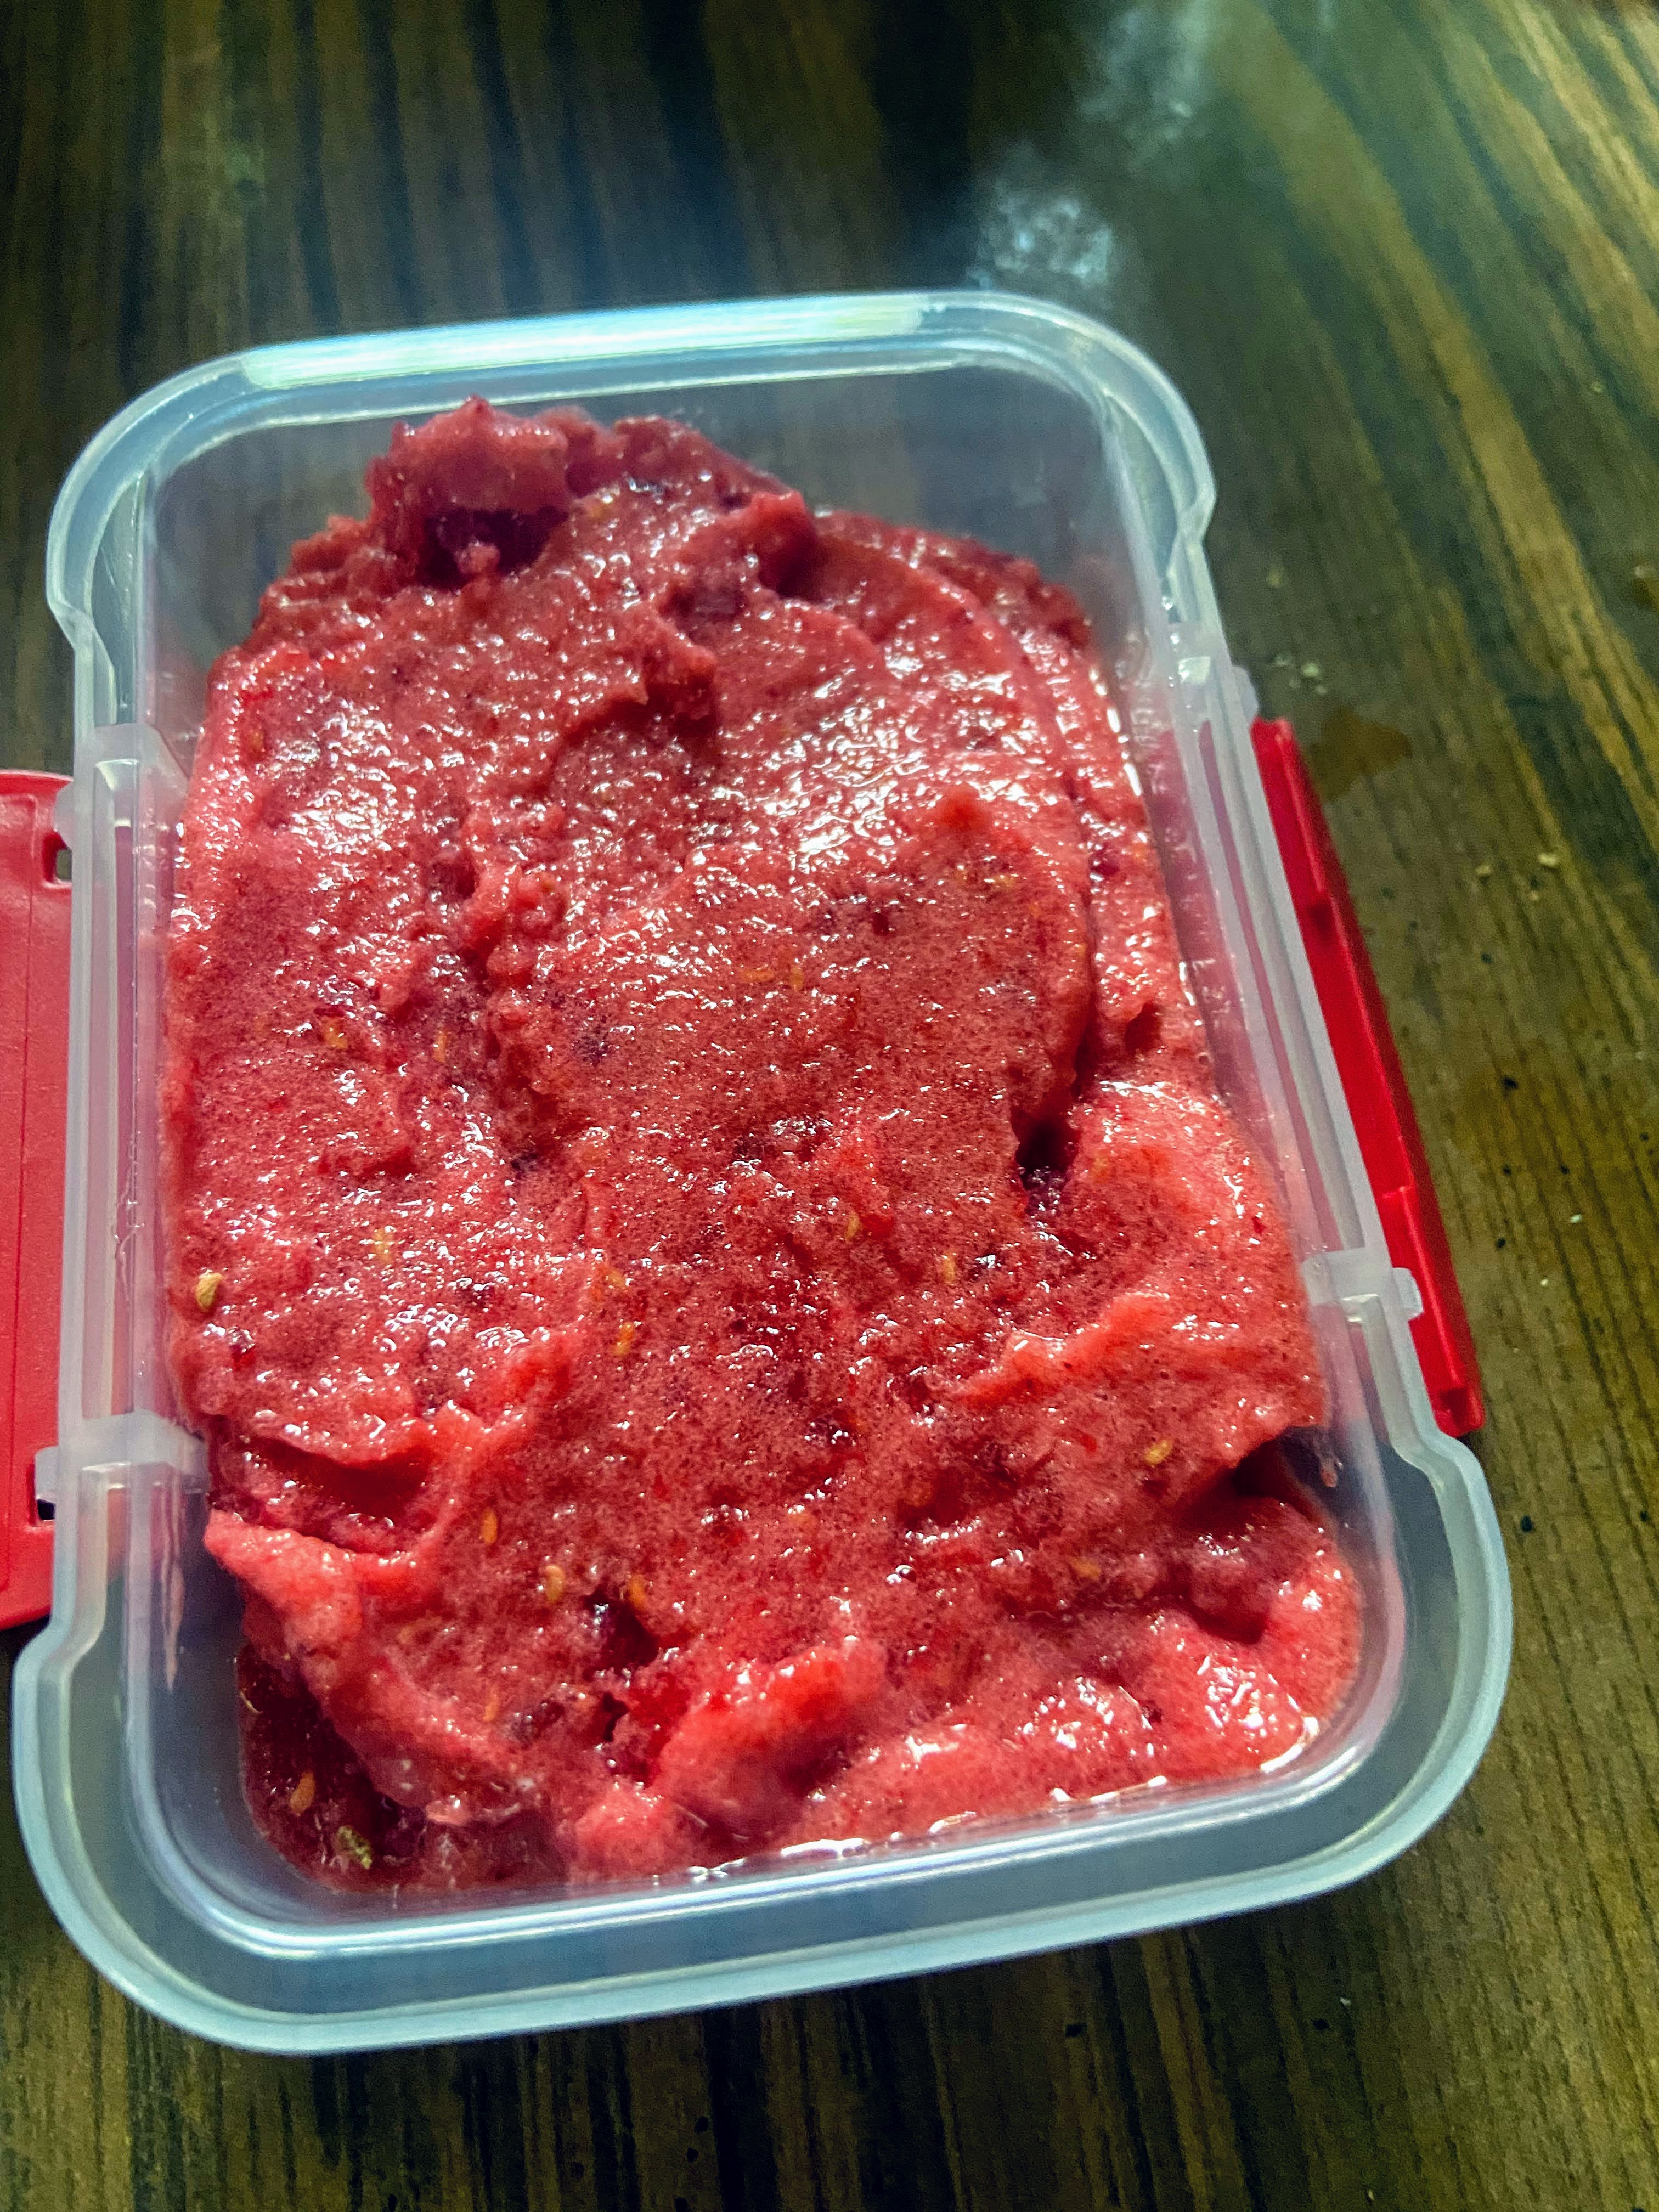
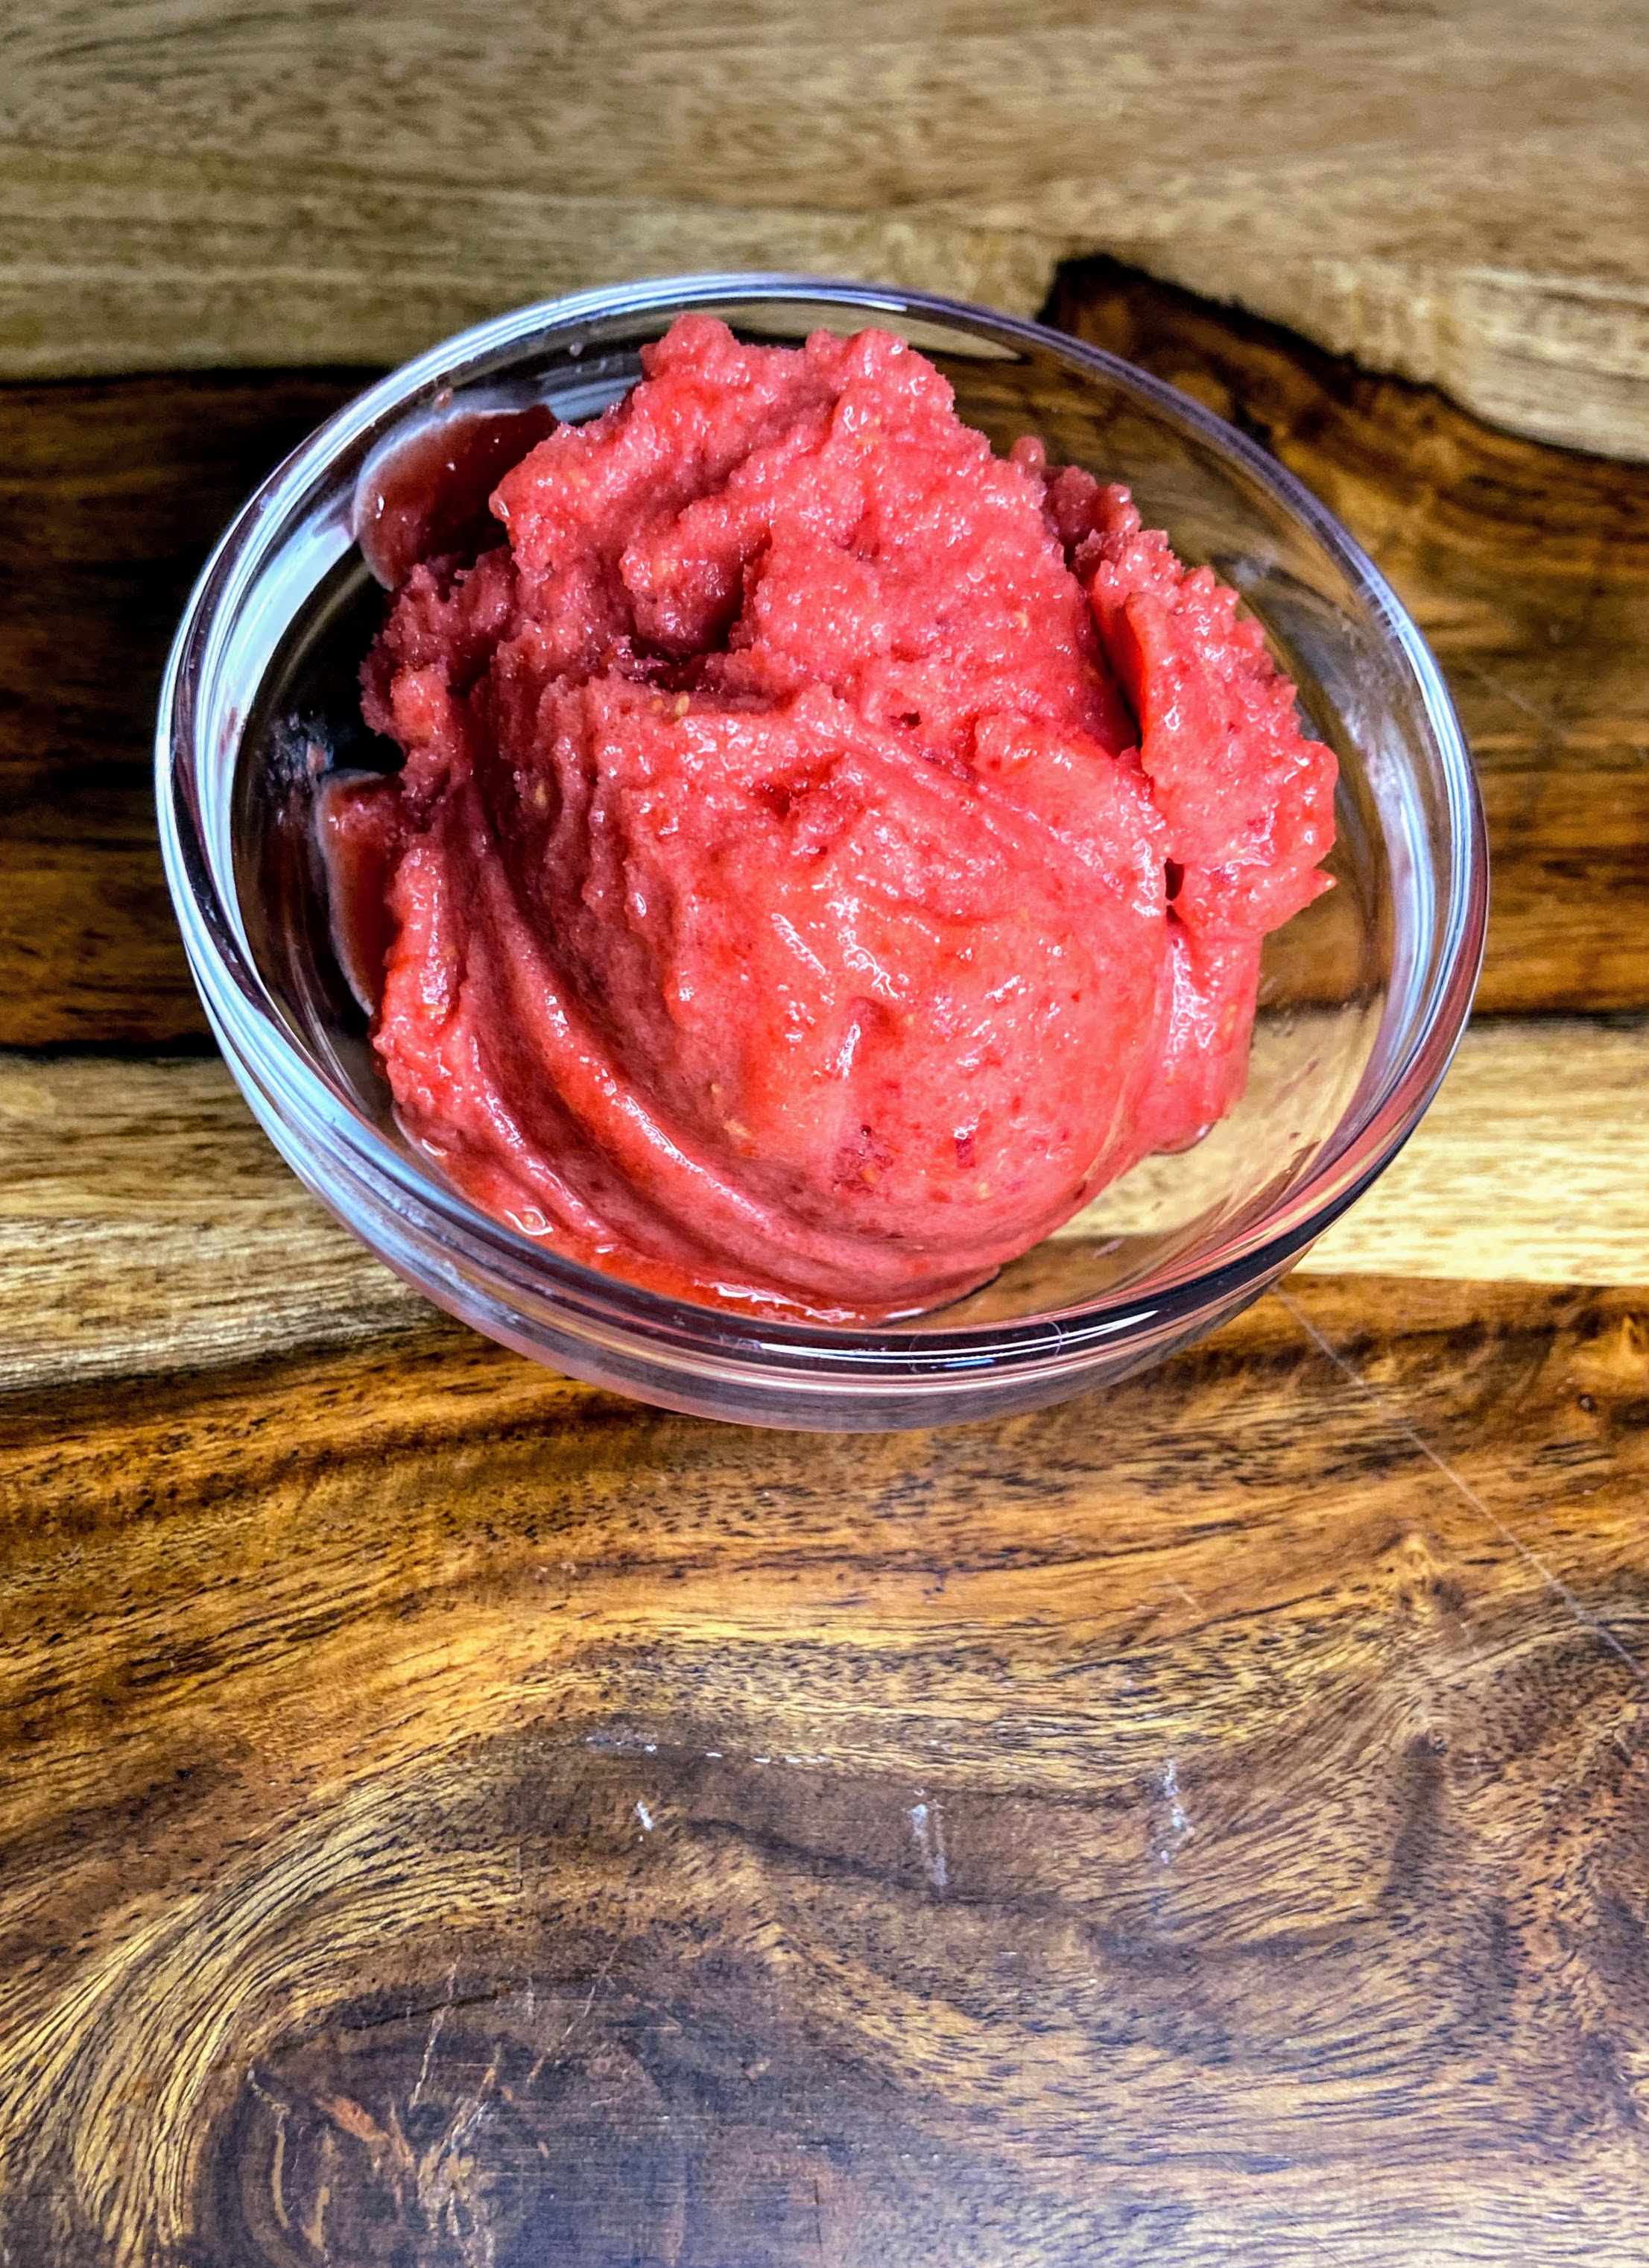
Once fully frozen, remove and allow to sit at room temperature for 5 minutes. This will make it easier to remove the sorbet. Working in small batches, puree frozen sorbet. There are lots of options for this. You can use a blender, a food processor, or an immersion blender. I dig the immersion blender because clean up is so easy. Scoop the puree into freezer safe containers, leaving ½ inch headspace at the top. I like to use 4 ounce jelly jars for ½ cup servings ready to go! Be sure to label and return to the freezer until you’re ready to enjoy them!
A few notes
When I initially found this recipe, I wanted to cut the second blending of the sorbet. It is critical to complete if you want fluffy sorbet that you remember from childhood. It’s worth the extra step. Don’t skip it!
I did love this with freshly picked raspberries so feel free to mix it up in terms of fruit. Ultimately, you need 4 cups of chopped/crushed fruit so let your taste buds do the work here.
Looking for an adult version? I found that adding ½ cup of lime twisted gin was a delight to the raspberry sorbet! Be mindful of how much alcohol you add as it will affect the ability of the sorbet to freeze.
Have a sweeter tooth? The recipe originally calls for 2 cups of sugar. Feel free to add more to suit your own tastes. I think the fruit flavor is great the way it is and doesn’t need the extra sugar.
Hoping to use some of the tools I love for creating these? Here’s the link for the 4 ounce jelly jars I used as well as an immersion blender. Seriously, the immersion blender is an underrated tool in the kitchen and it hardly takes up any storage space! If you don’t have one yet, I highly recommend investing. You’ll thank me!
Raspberry and Nectarine Sorbet
Equipment
Ingredients
- 2 cups raspberries
- 2 cups nectarines diced
- ½ cup orange juice
- 2 tablespoons lemon juice
- ¼-½ cup sugar to taste
Instructions
- Combine fruit.
- Use a blender or immersion blender to break fruit down into a puree.
- Add remaining ingredients. Blend once more to fully break down the fruit and incorporate added ingredients.
- Once combined, heat over medium heat until the mixture is beginning to simmer, stirring often.
- Pour into a 9×13 pan, cover, and place in the freezer and allow to freeze solid.
- Once fully frozen, remove and allow to sit at room temperature for 5-10 minutes to make it easier to remove from pan. Working in small batches, puree frozen sorbet using food processor, blender or immersion blender.
- Scoop the puree into freezer safe containers, leaving ½ inch headspace at the top. Label and return to freezer if not enjoying immediately.
Notes