I am back with another baked oatmeal recipe: carrot cake baked oatmeal! After I tried my first baked oatmeal recipe, I was itching to try another. I generally say that I don’t love breakfast. I have a few stand by things I eat and that’s it. When I ate at McDonald’s, I used to be so annoyed when I got there 20 minutes before their breakfast menu switched to lunch and I had to get breakfast. Now, I still don’t dig breakfast, but I am starting to branch out and discover new, healthy meals!
In a recent post, I talked about my favorite things: cooking from scratch, using what is on hand, and finally, inserting vegetables whenever I can. Which I did here, but we will call it a cake to trick our brains, right? 🙂
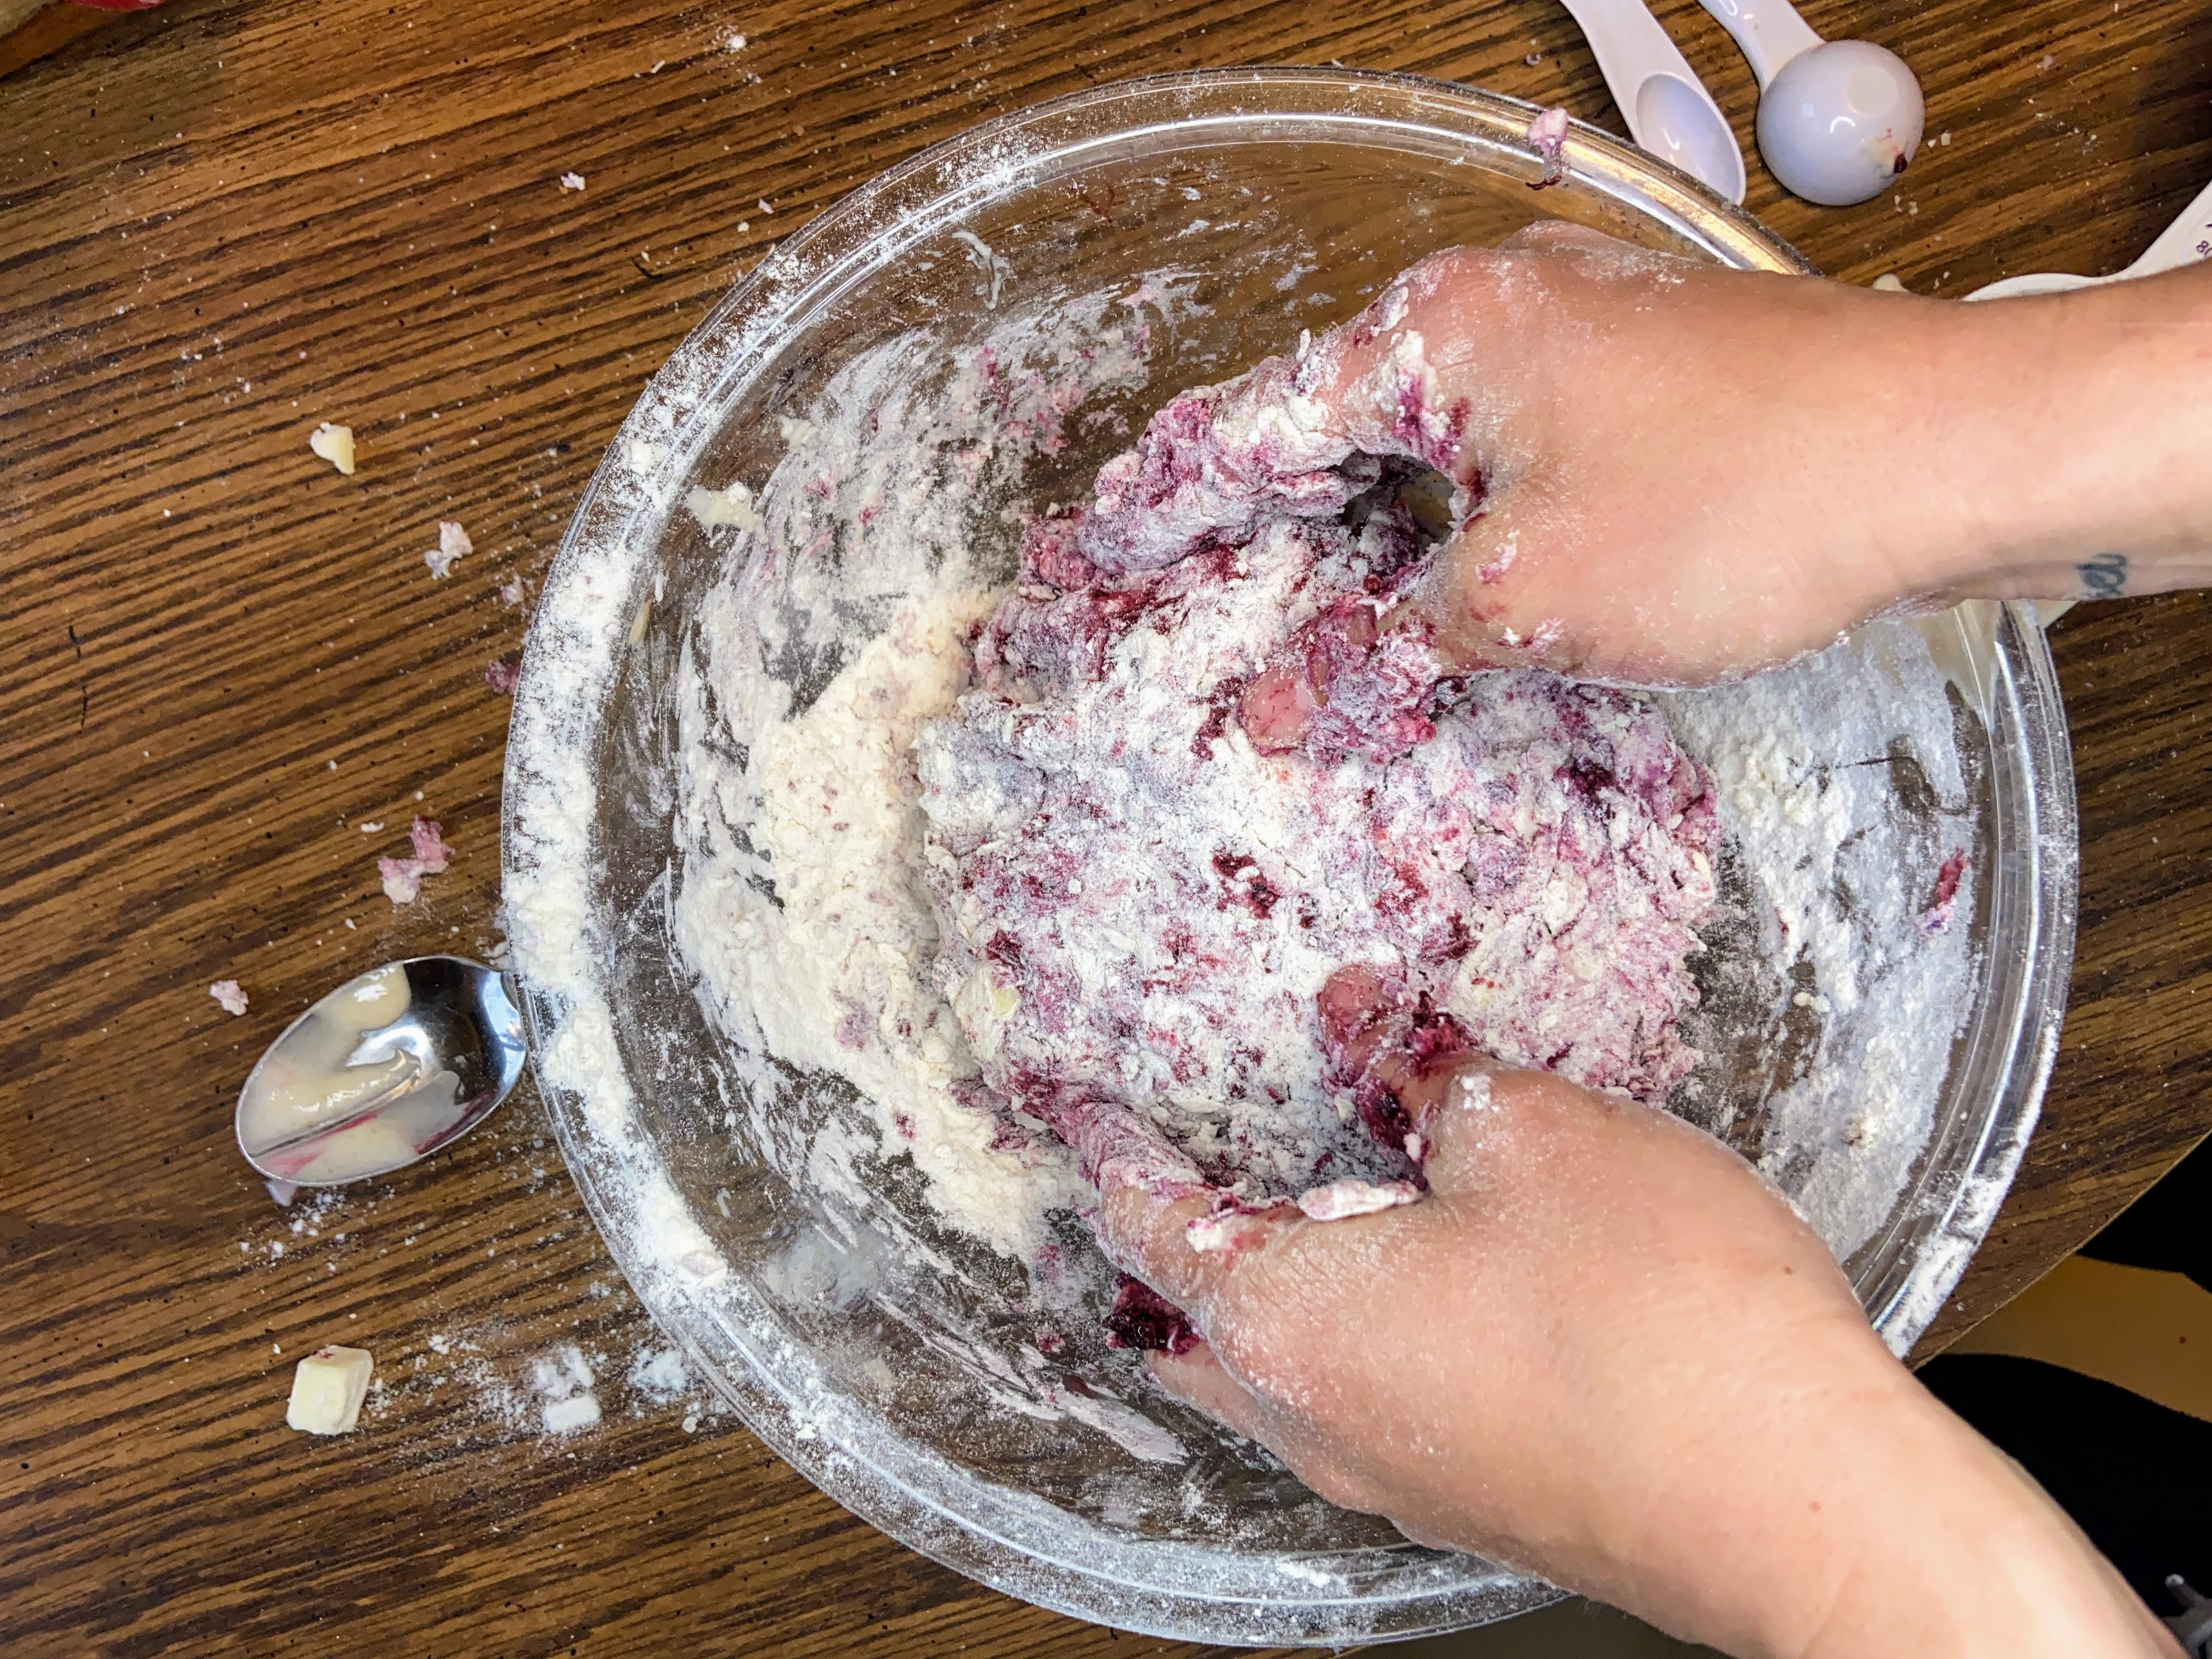
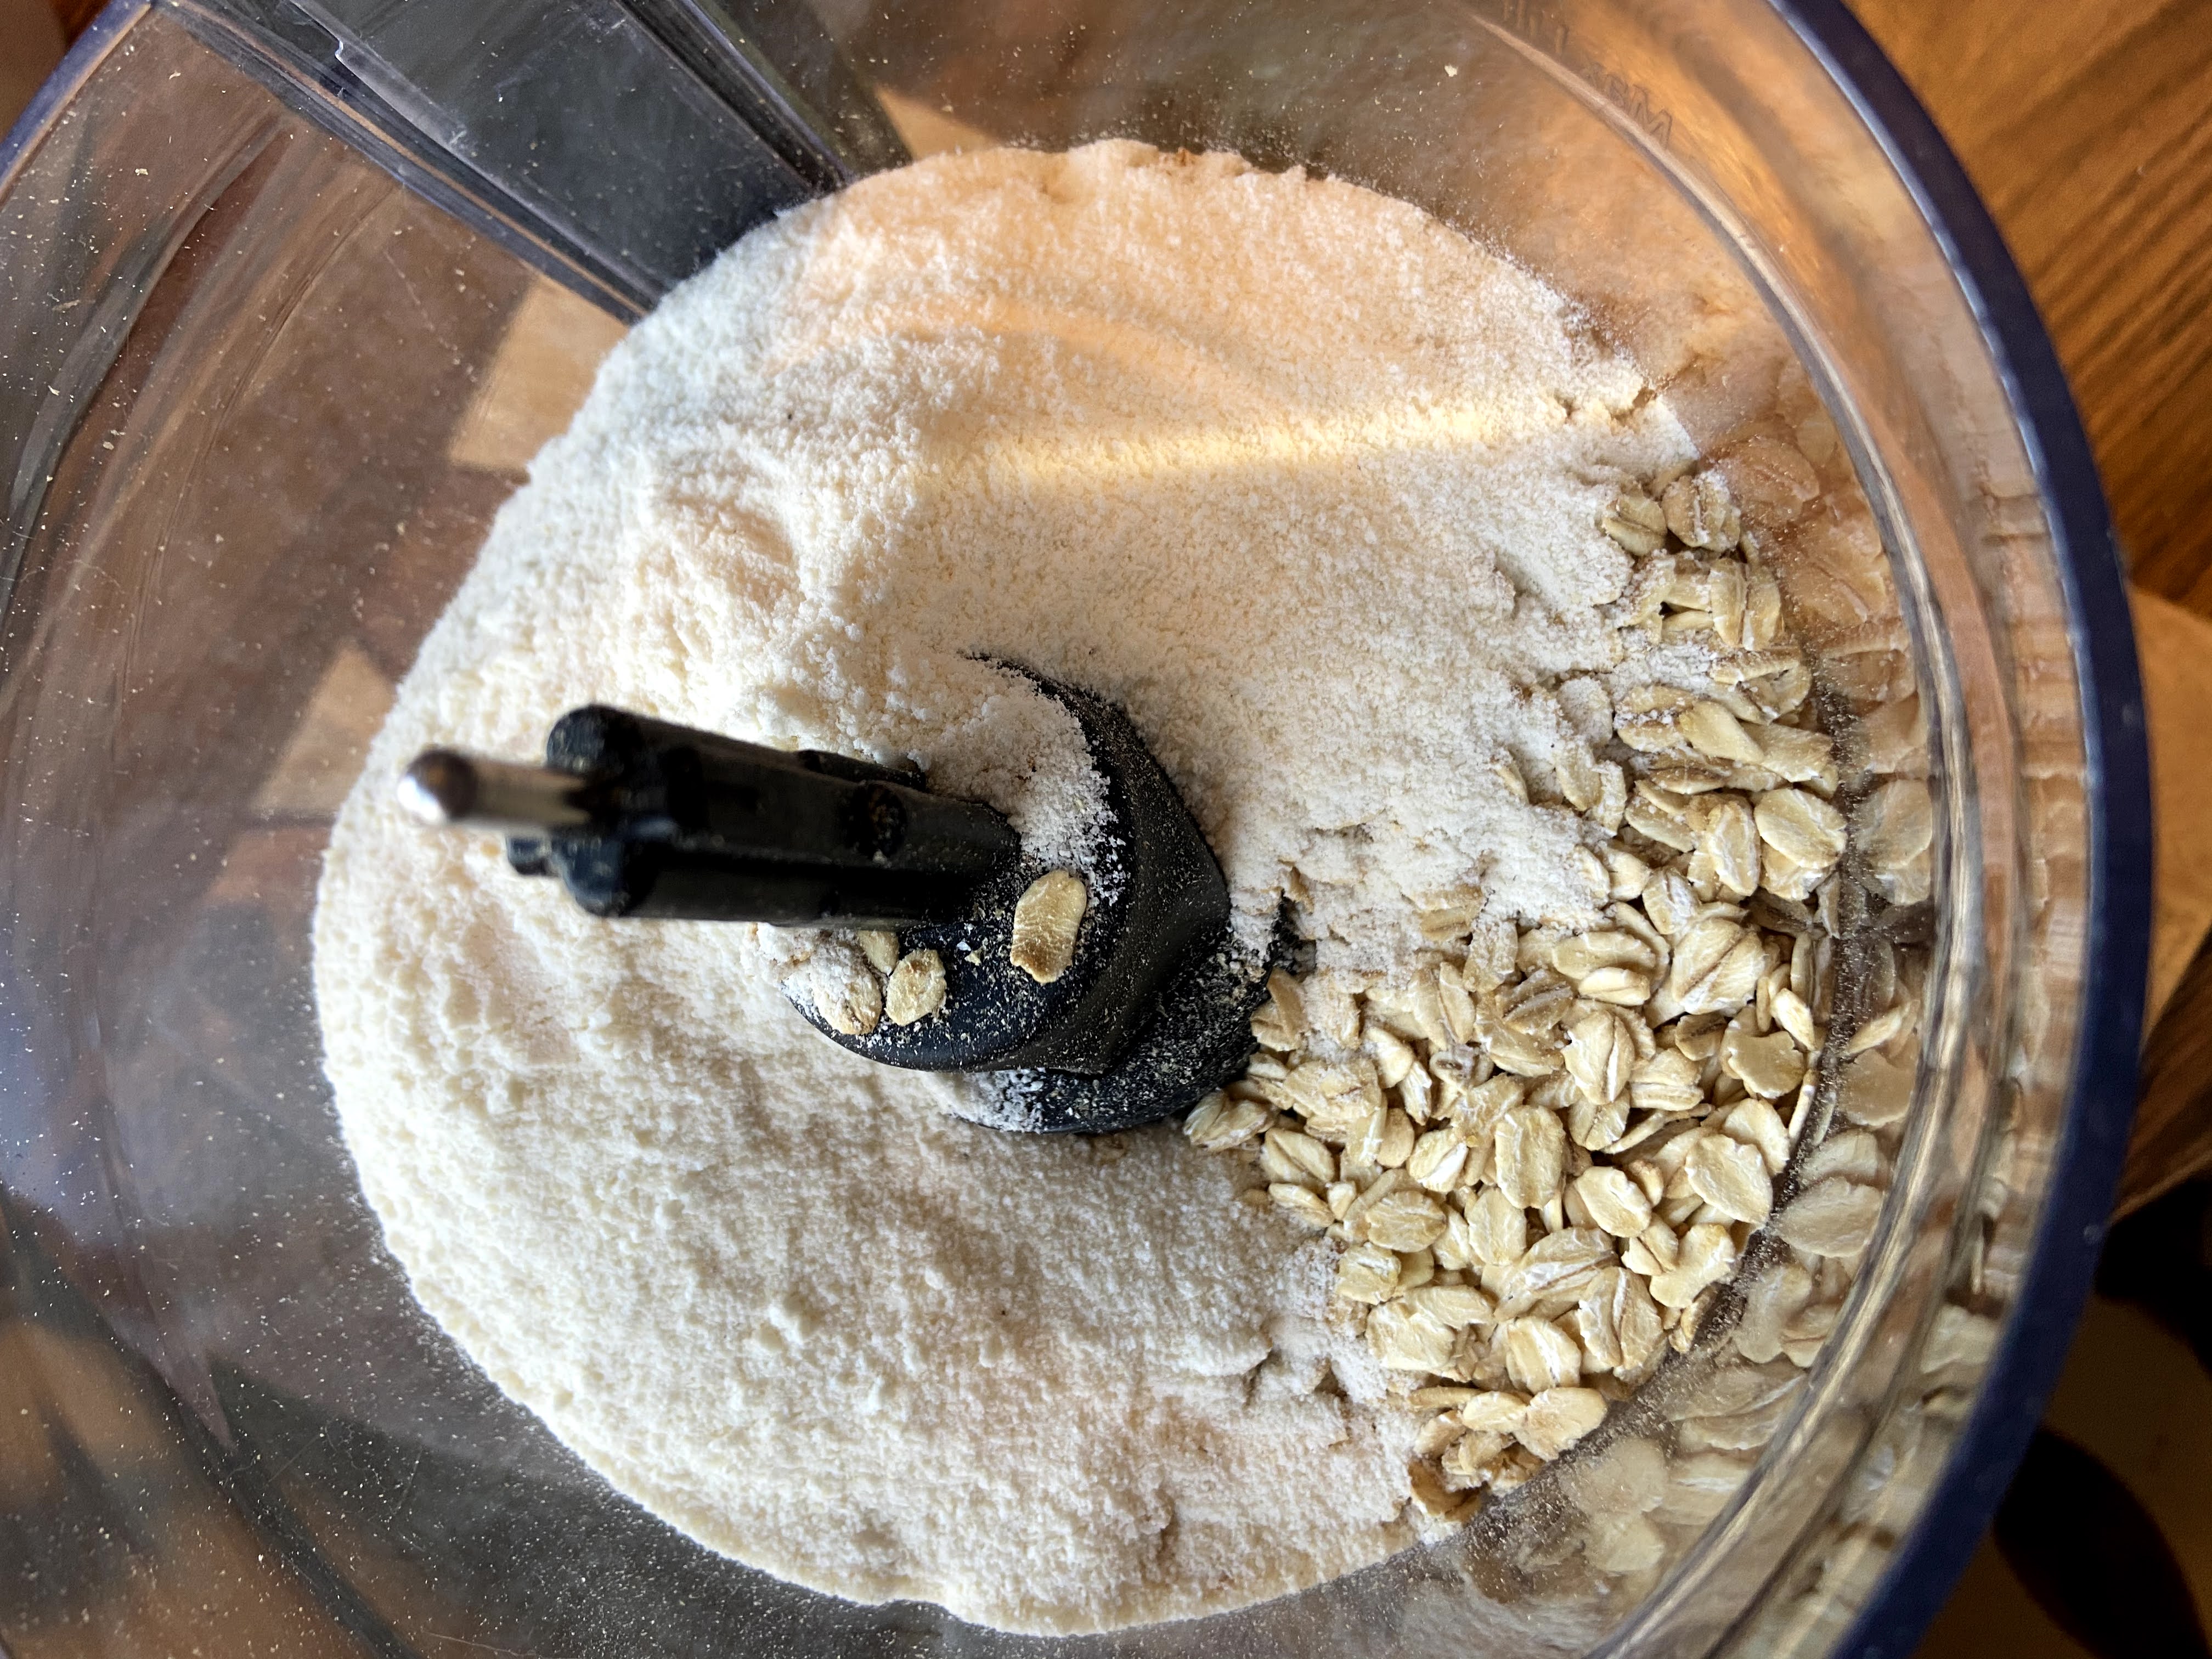
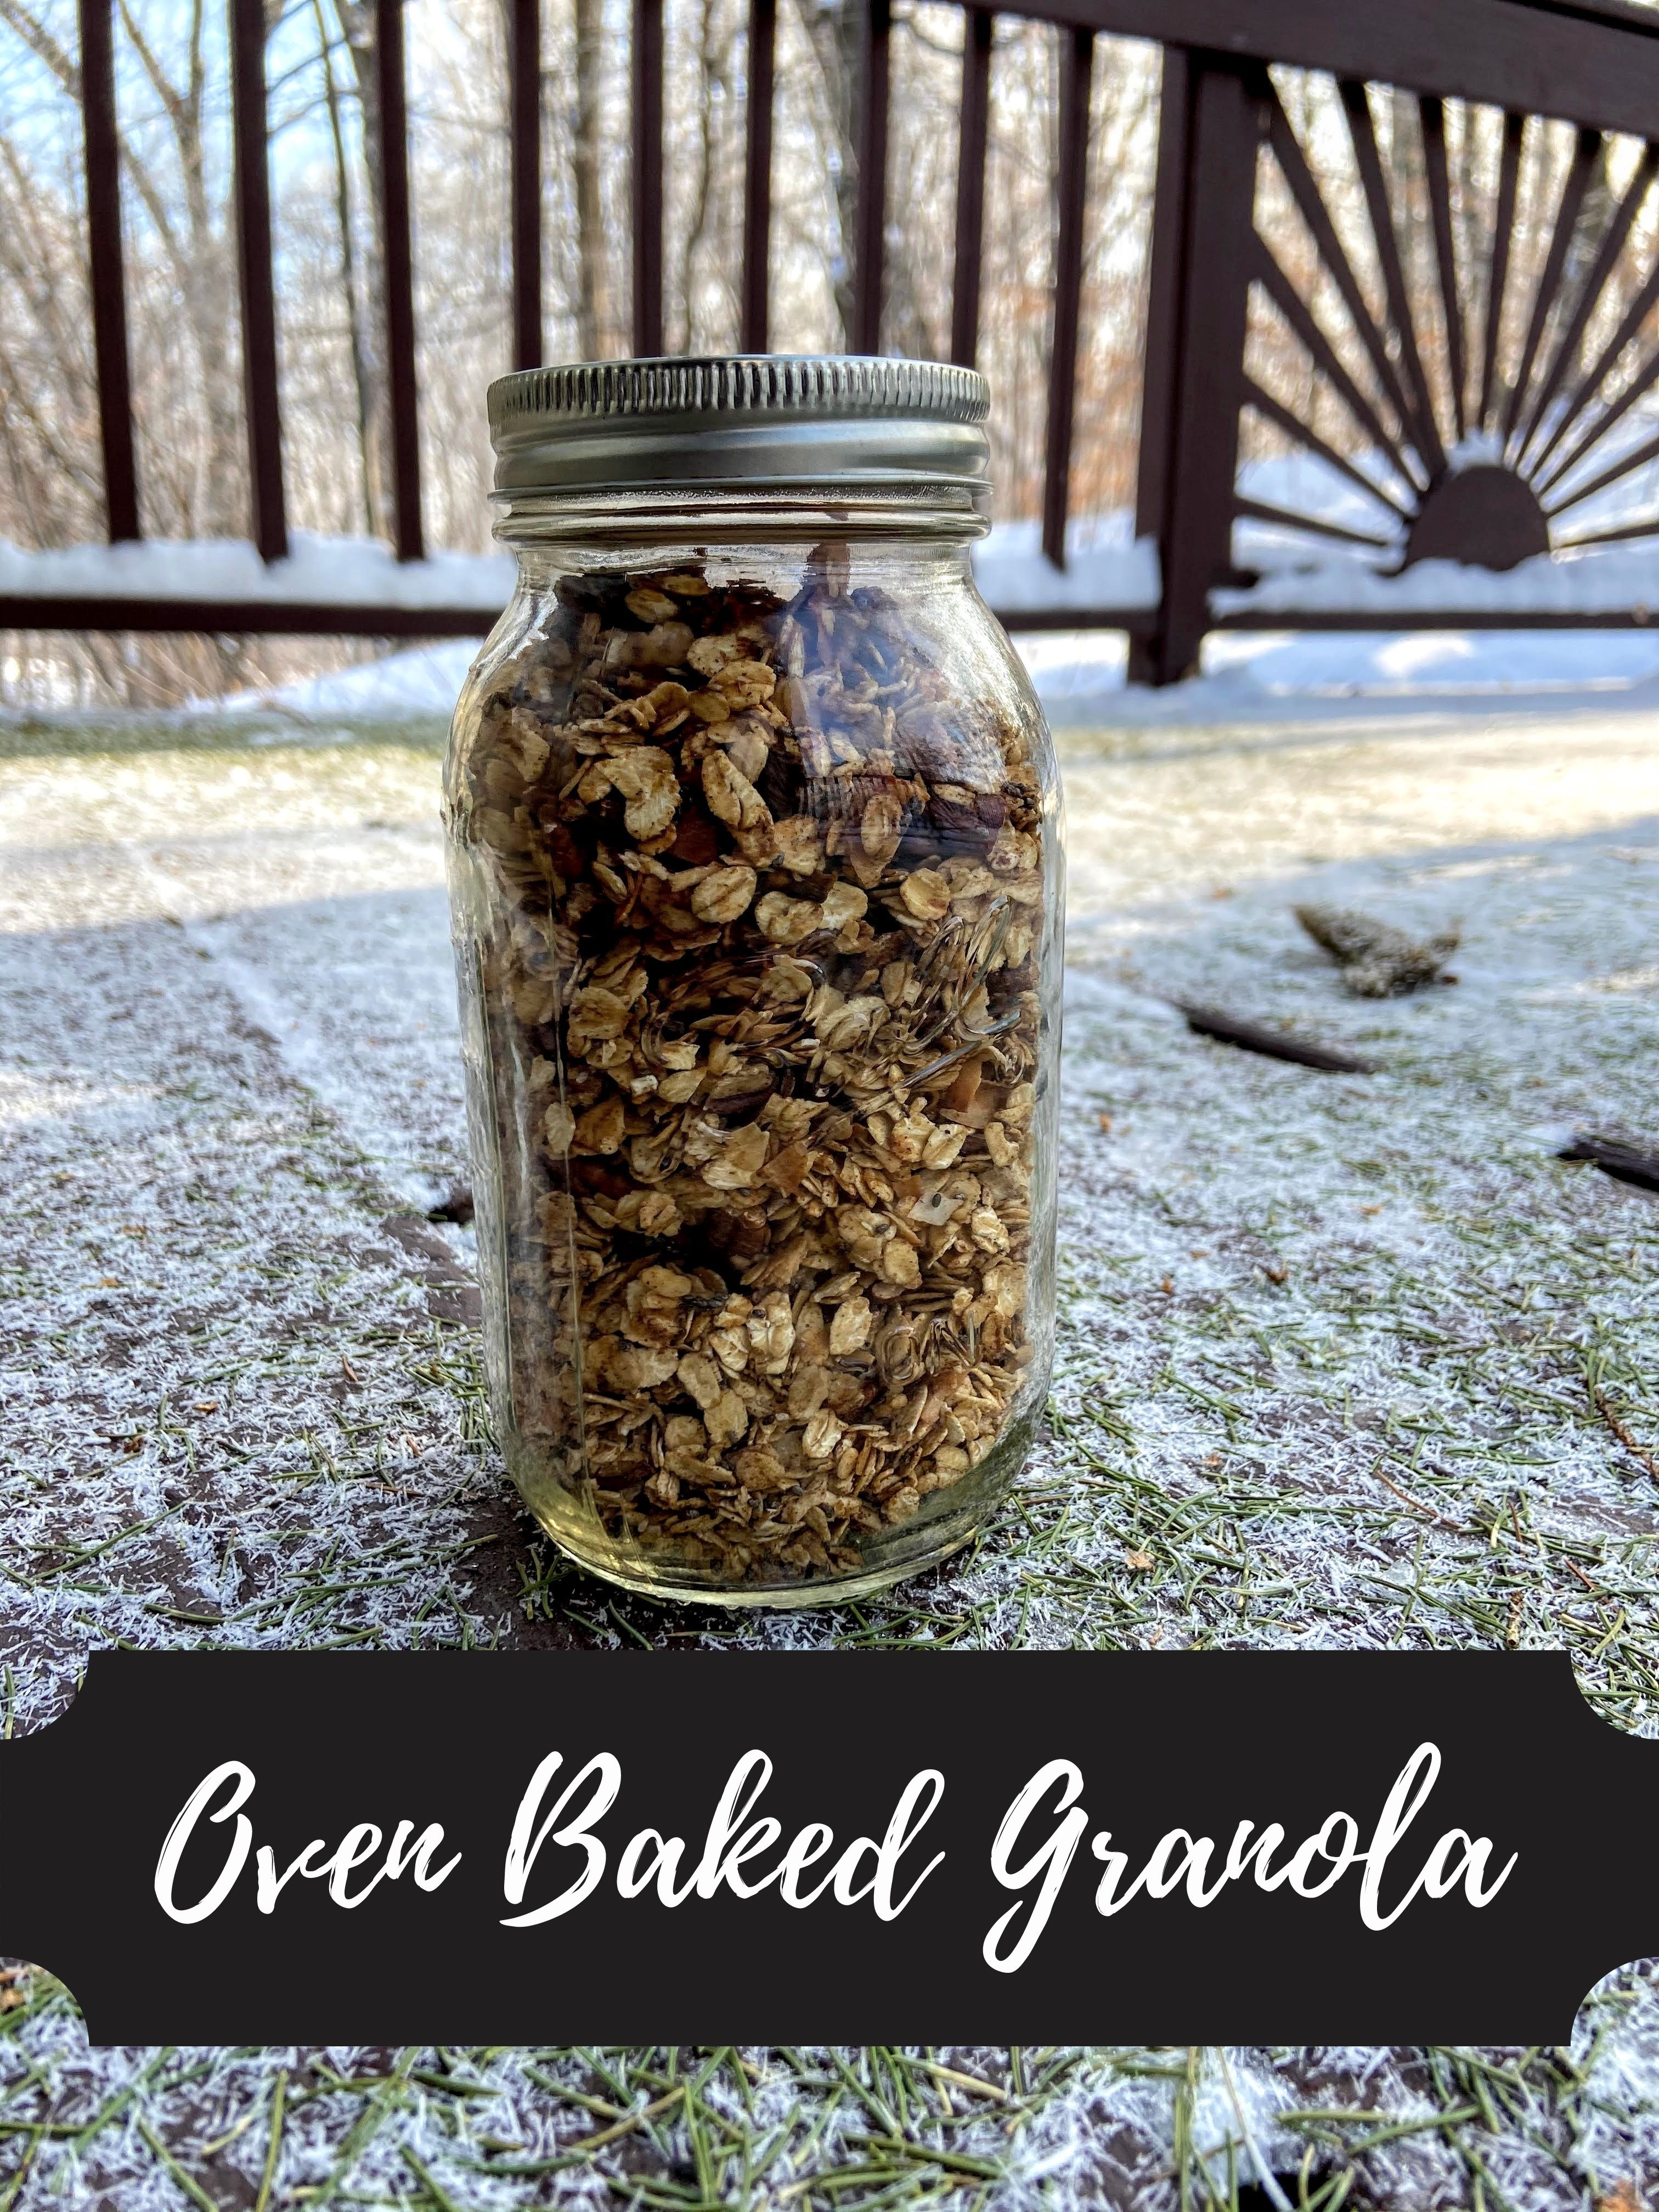
Rather than buy oat flour, I made my own using my food processor. It’s so simple my friends. Just put some old fashioned oats into your processor and hit blend until your texture is very coarse flour (I use my Kitchen Aid 7 Cup and it’s grand!). I poured a few cups of oats into my mixture, ground them up, and stored them in an air tight container.
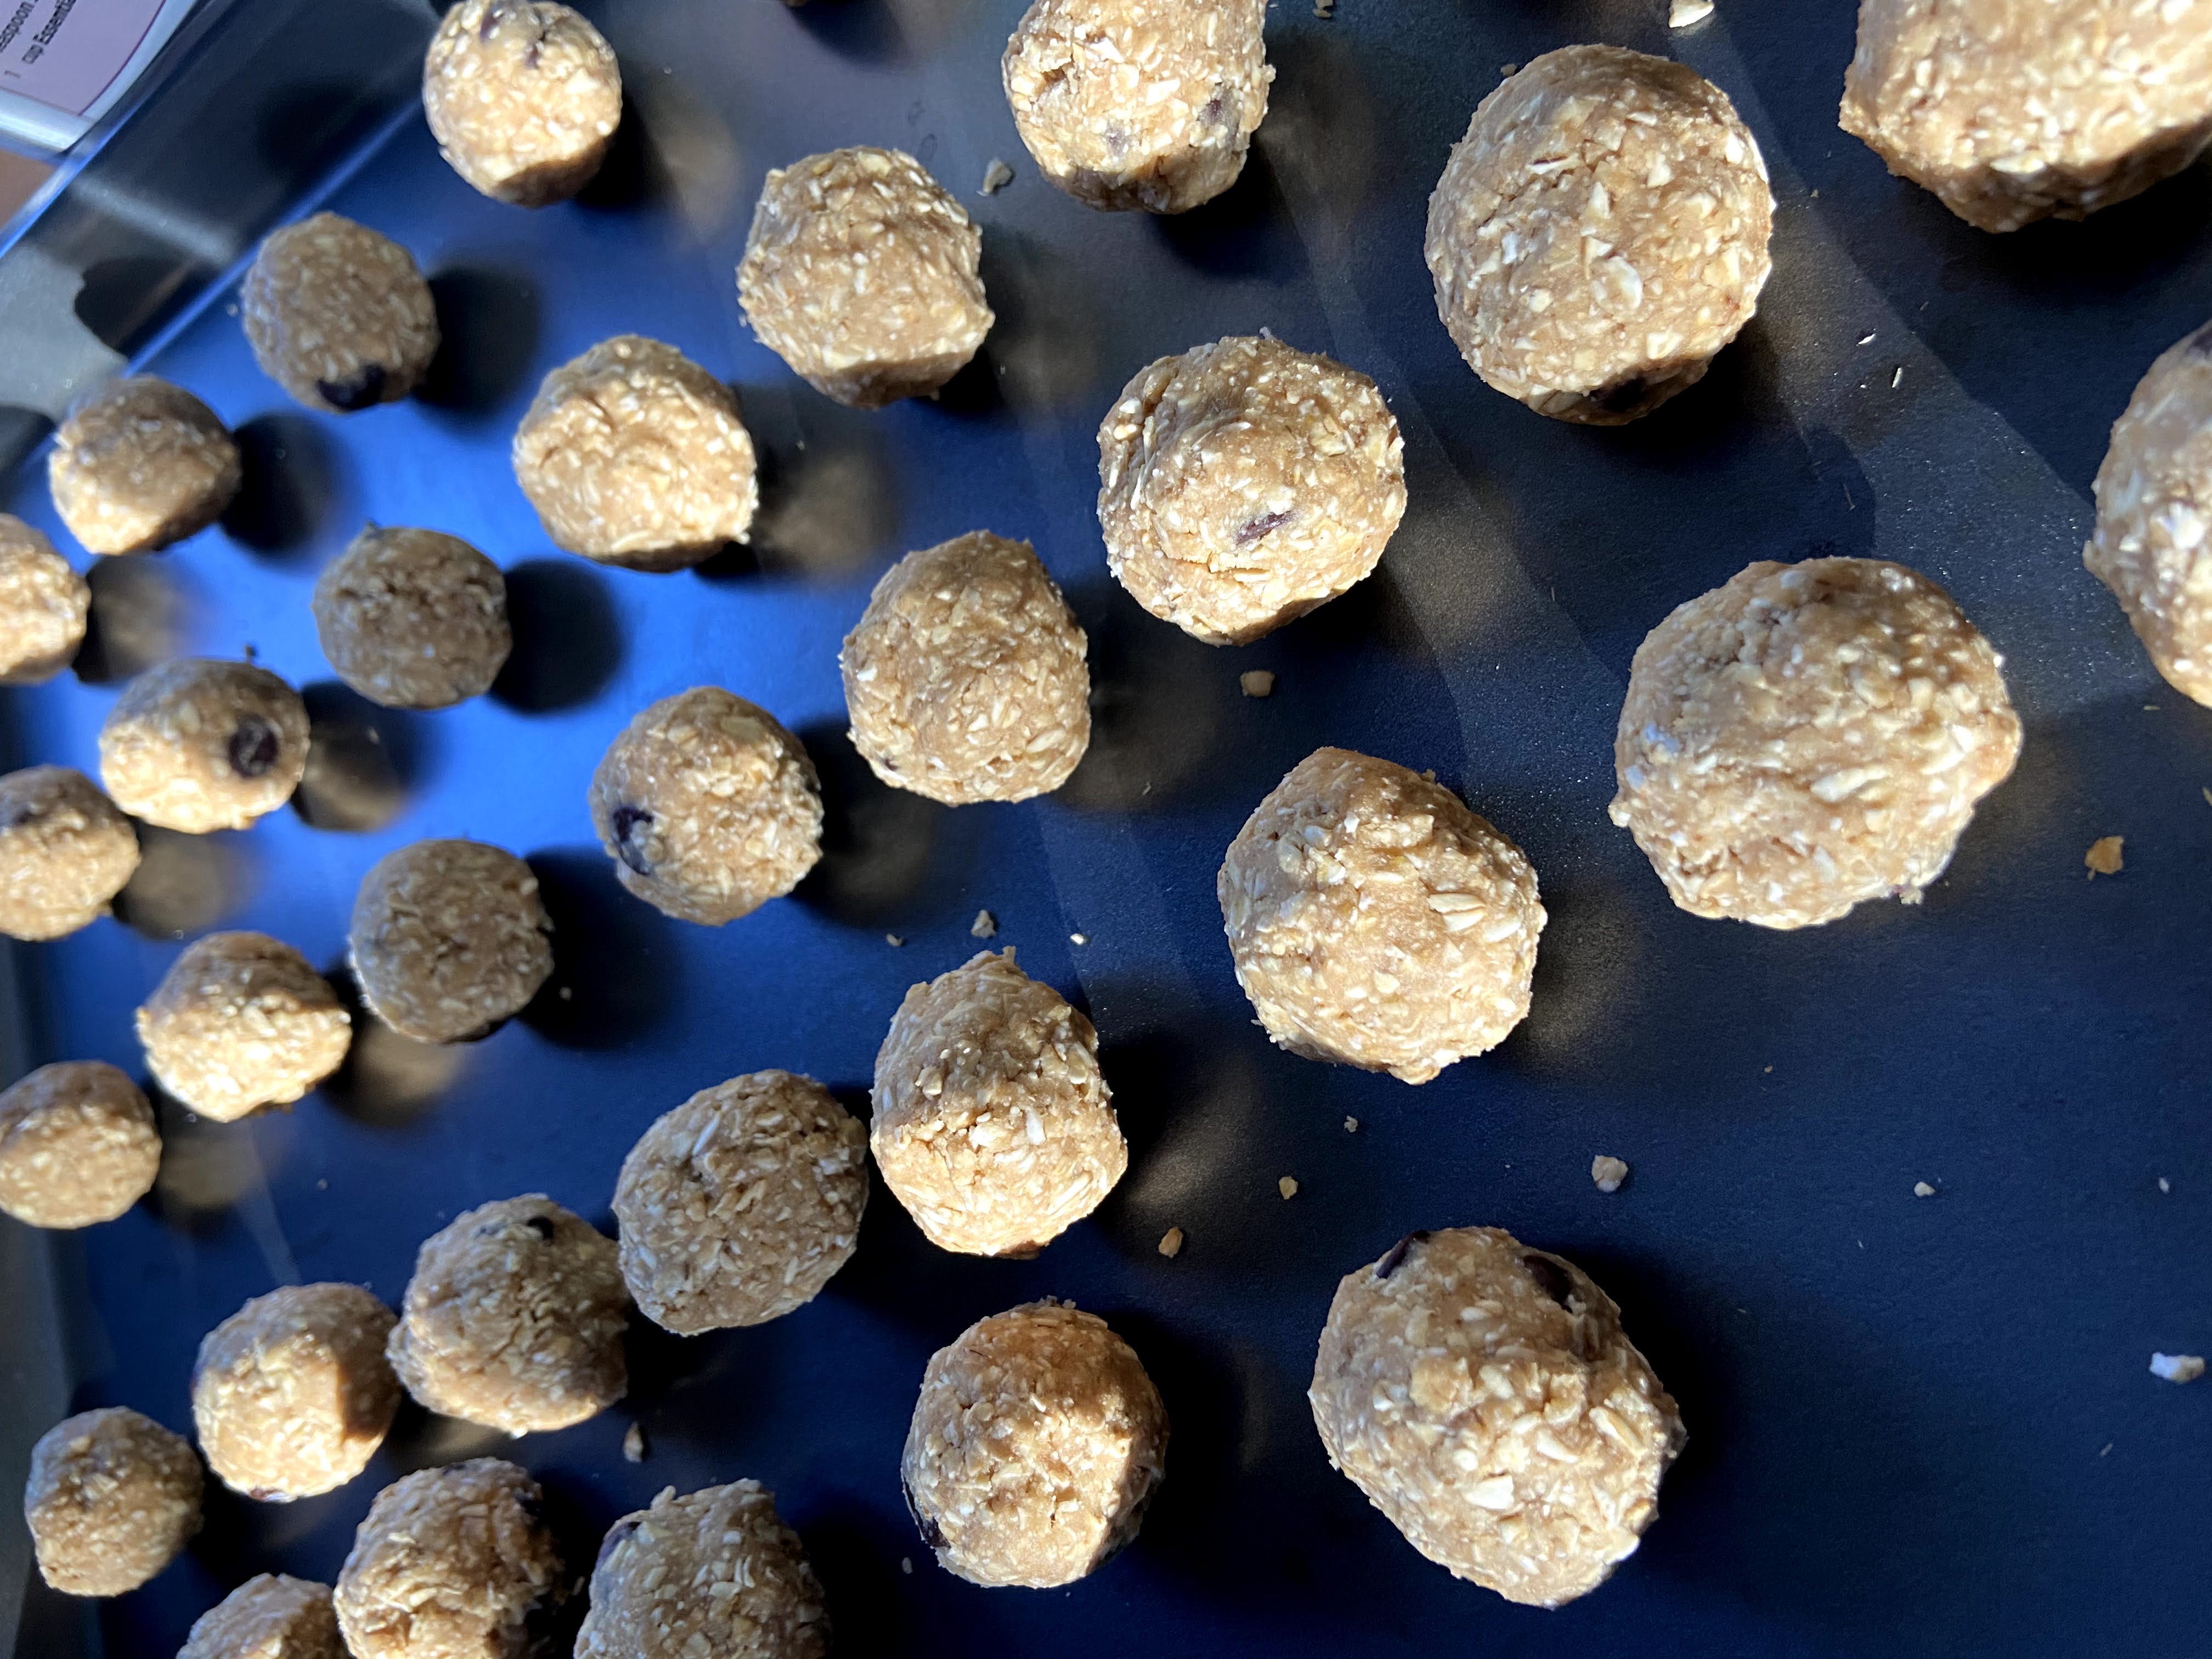
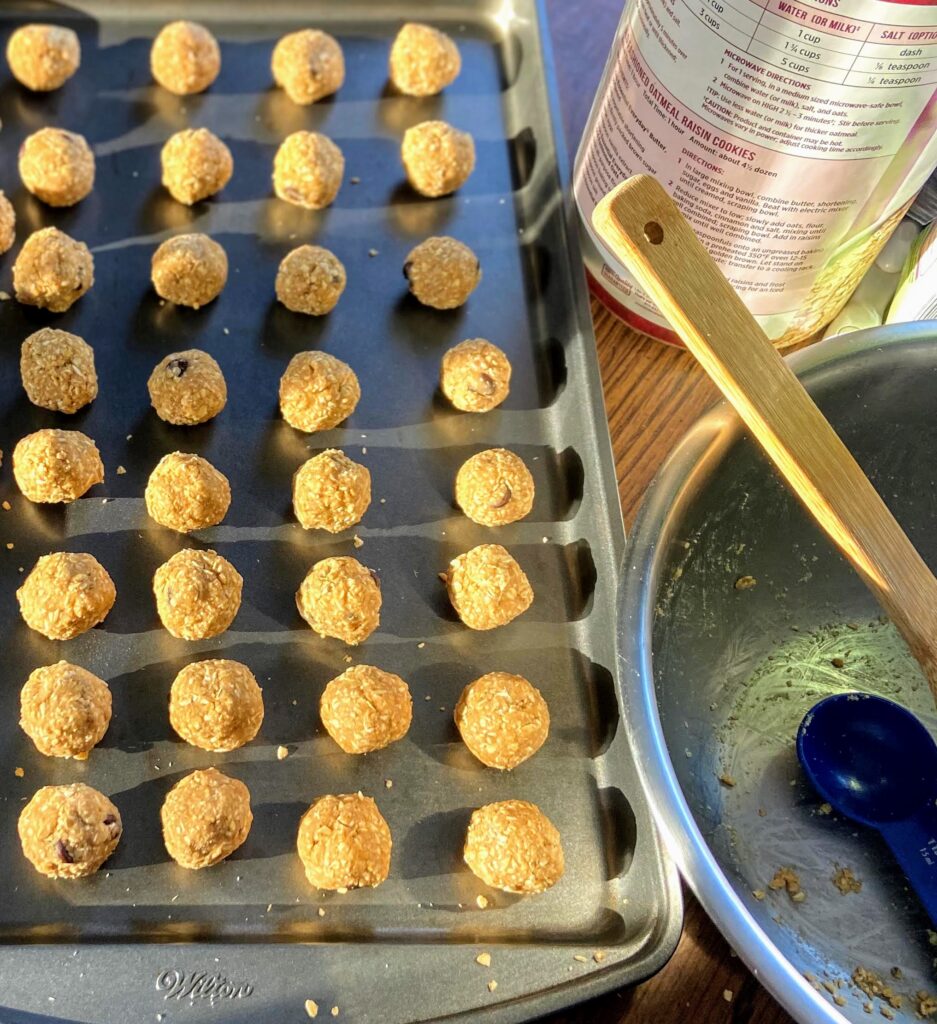
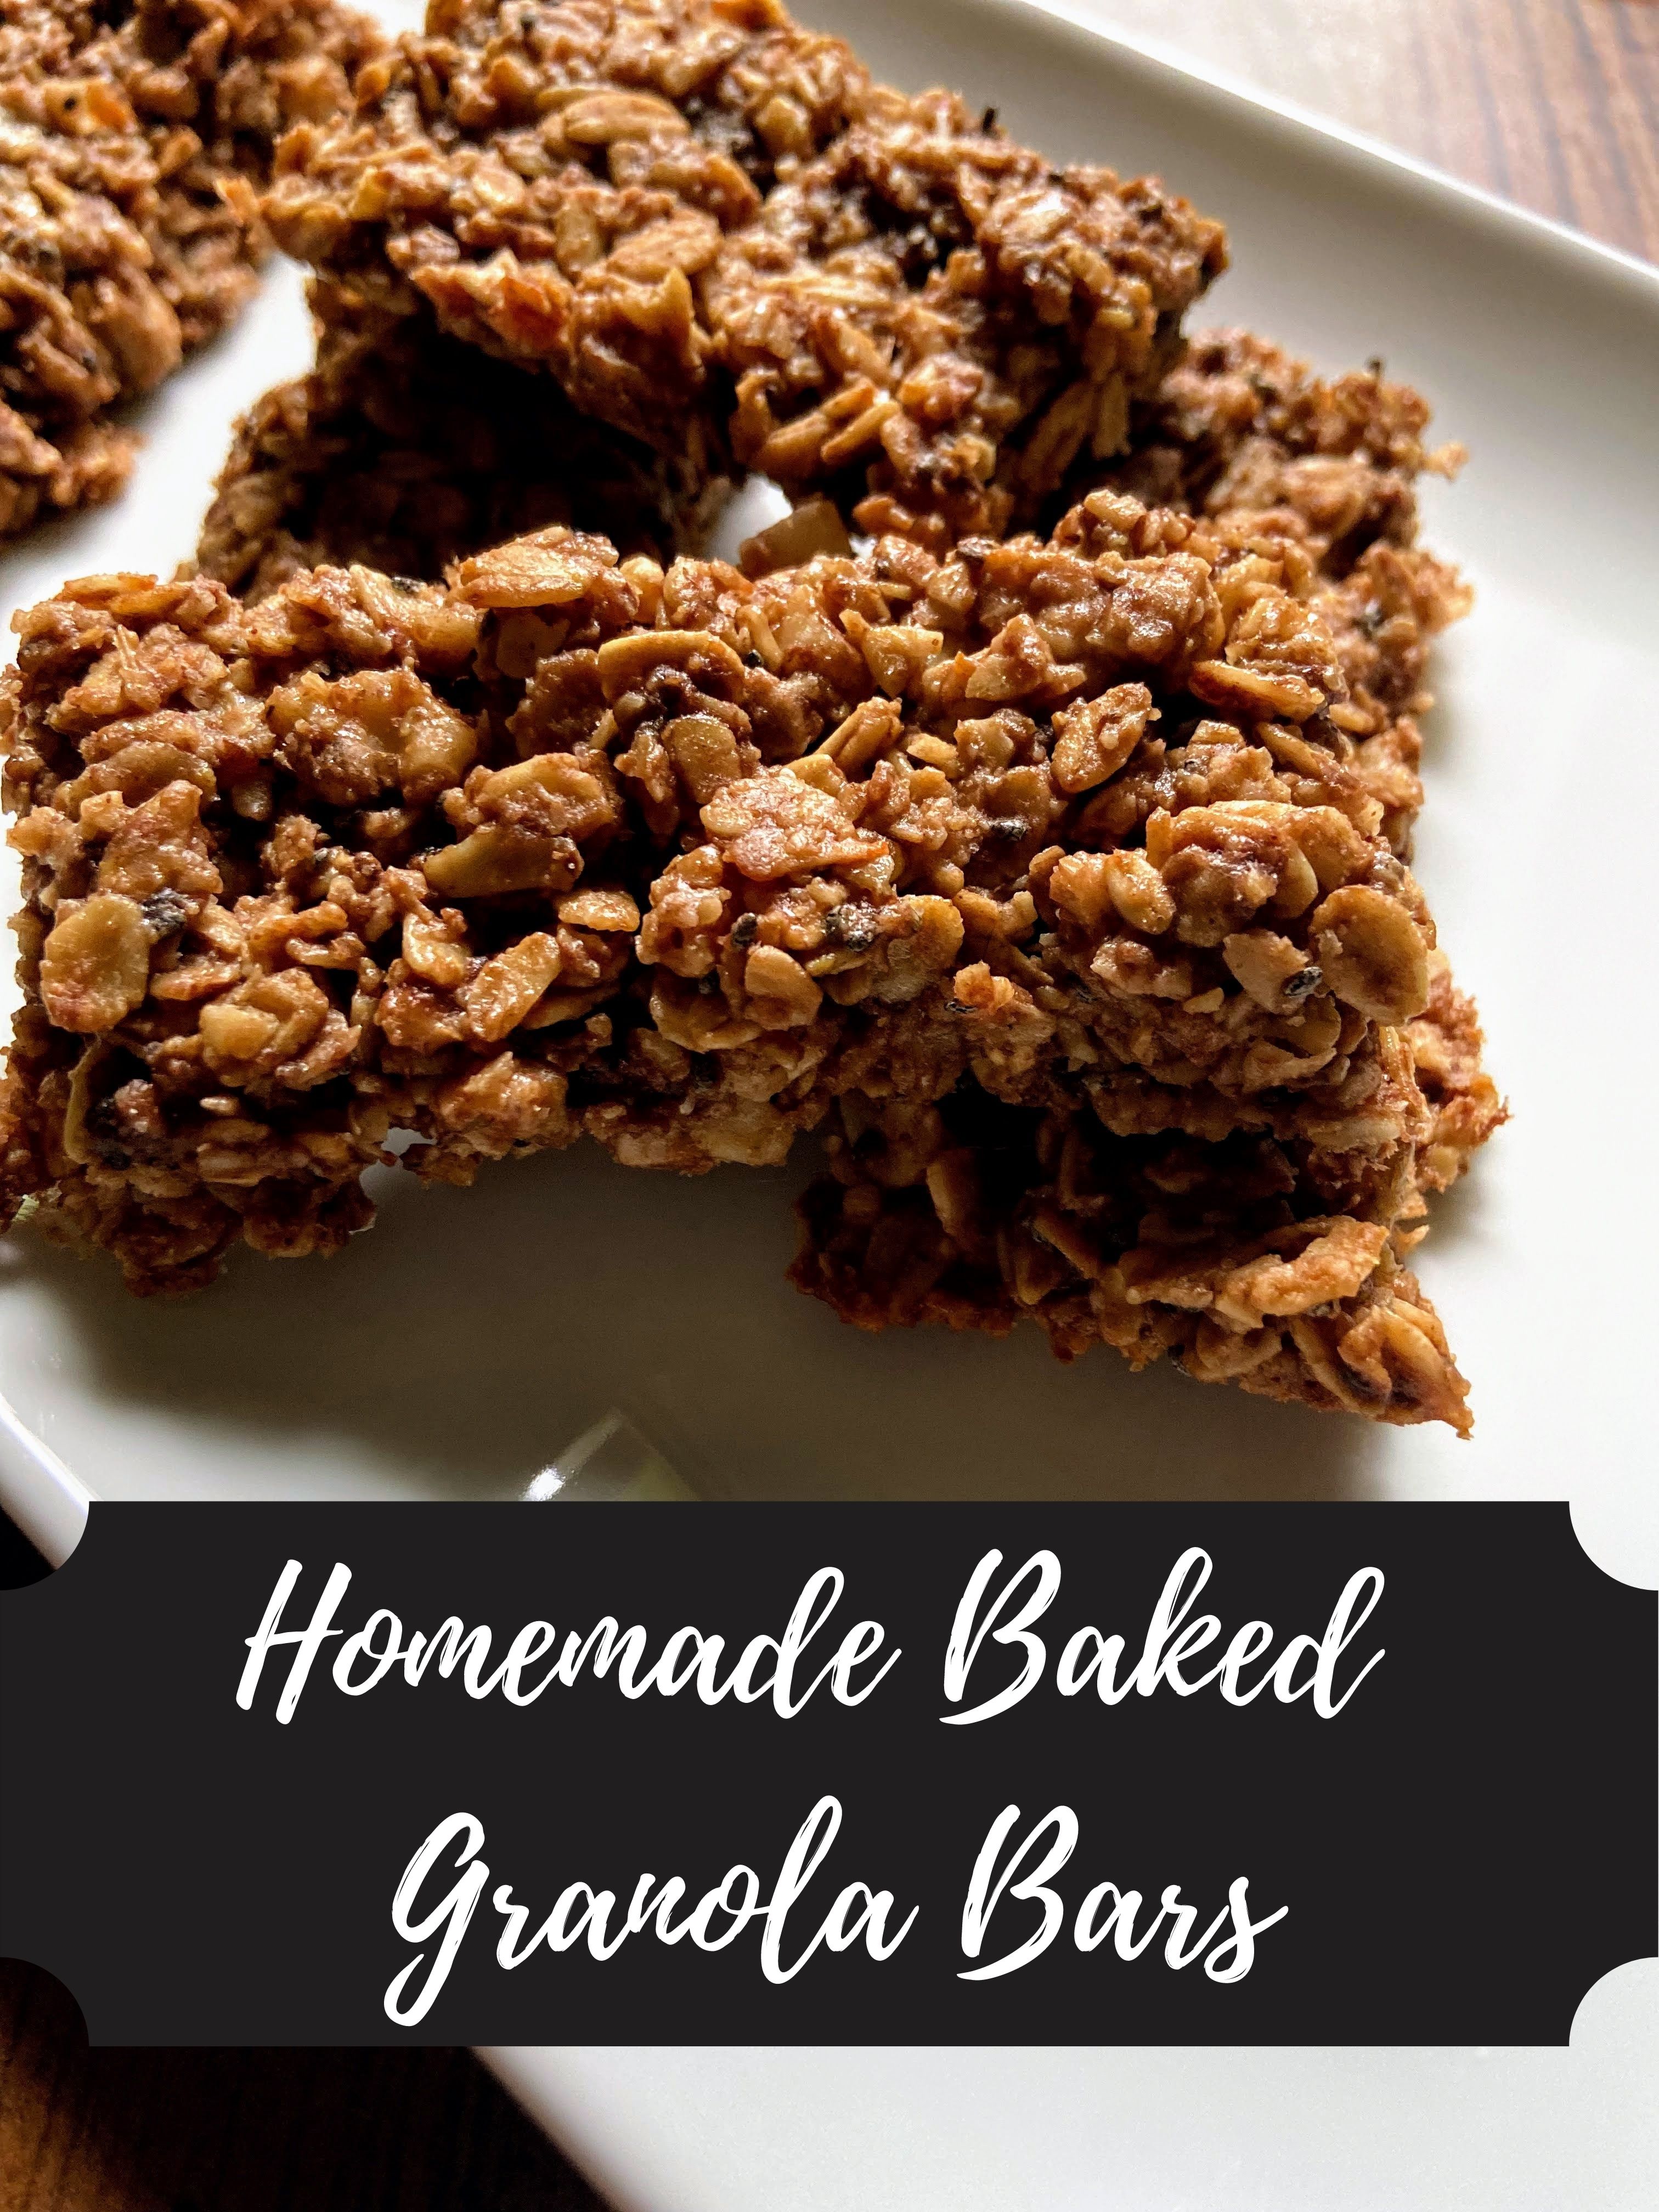
I have a few other recipes that call for ground oats like these simple energy balls, banana nut baked oatmeal, and this great banana bread, so having some on hand isn’t a bad idea.
Ready to get mixing and baking? I hope so! Let’s make some carrot cake baked oatmeal!
Your Ingredients for Carrot Cake Baked Oatmeal
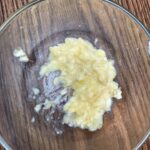
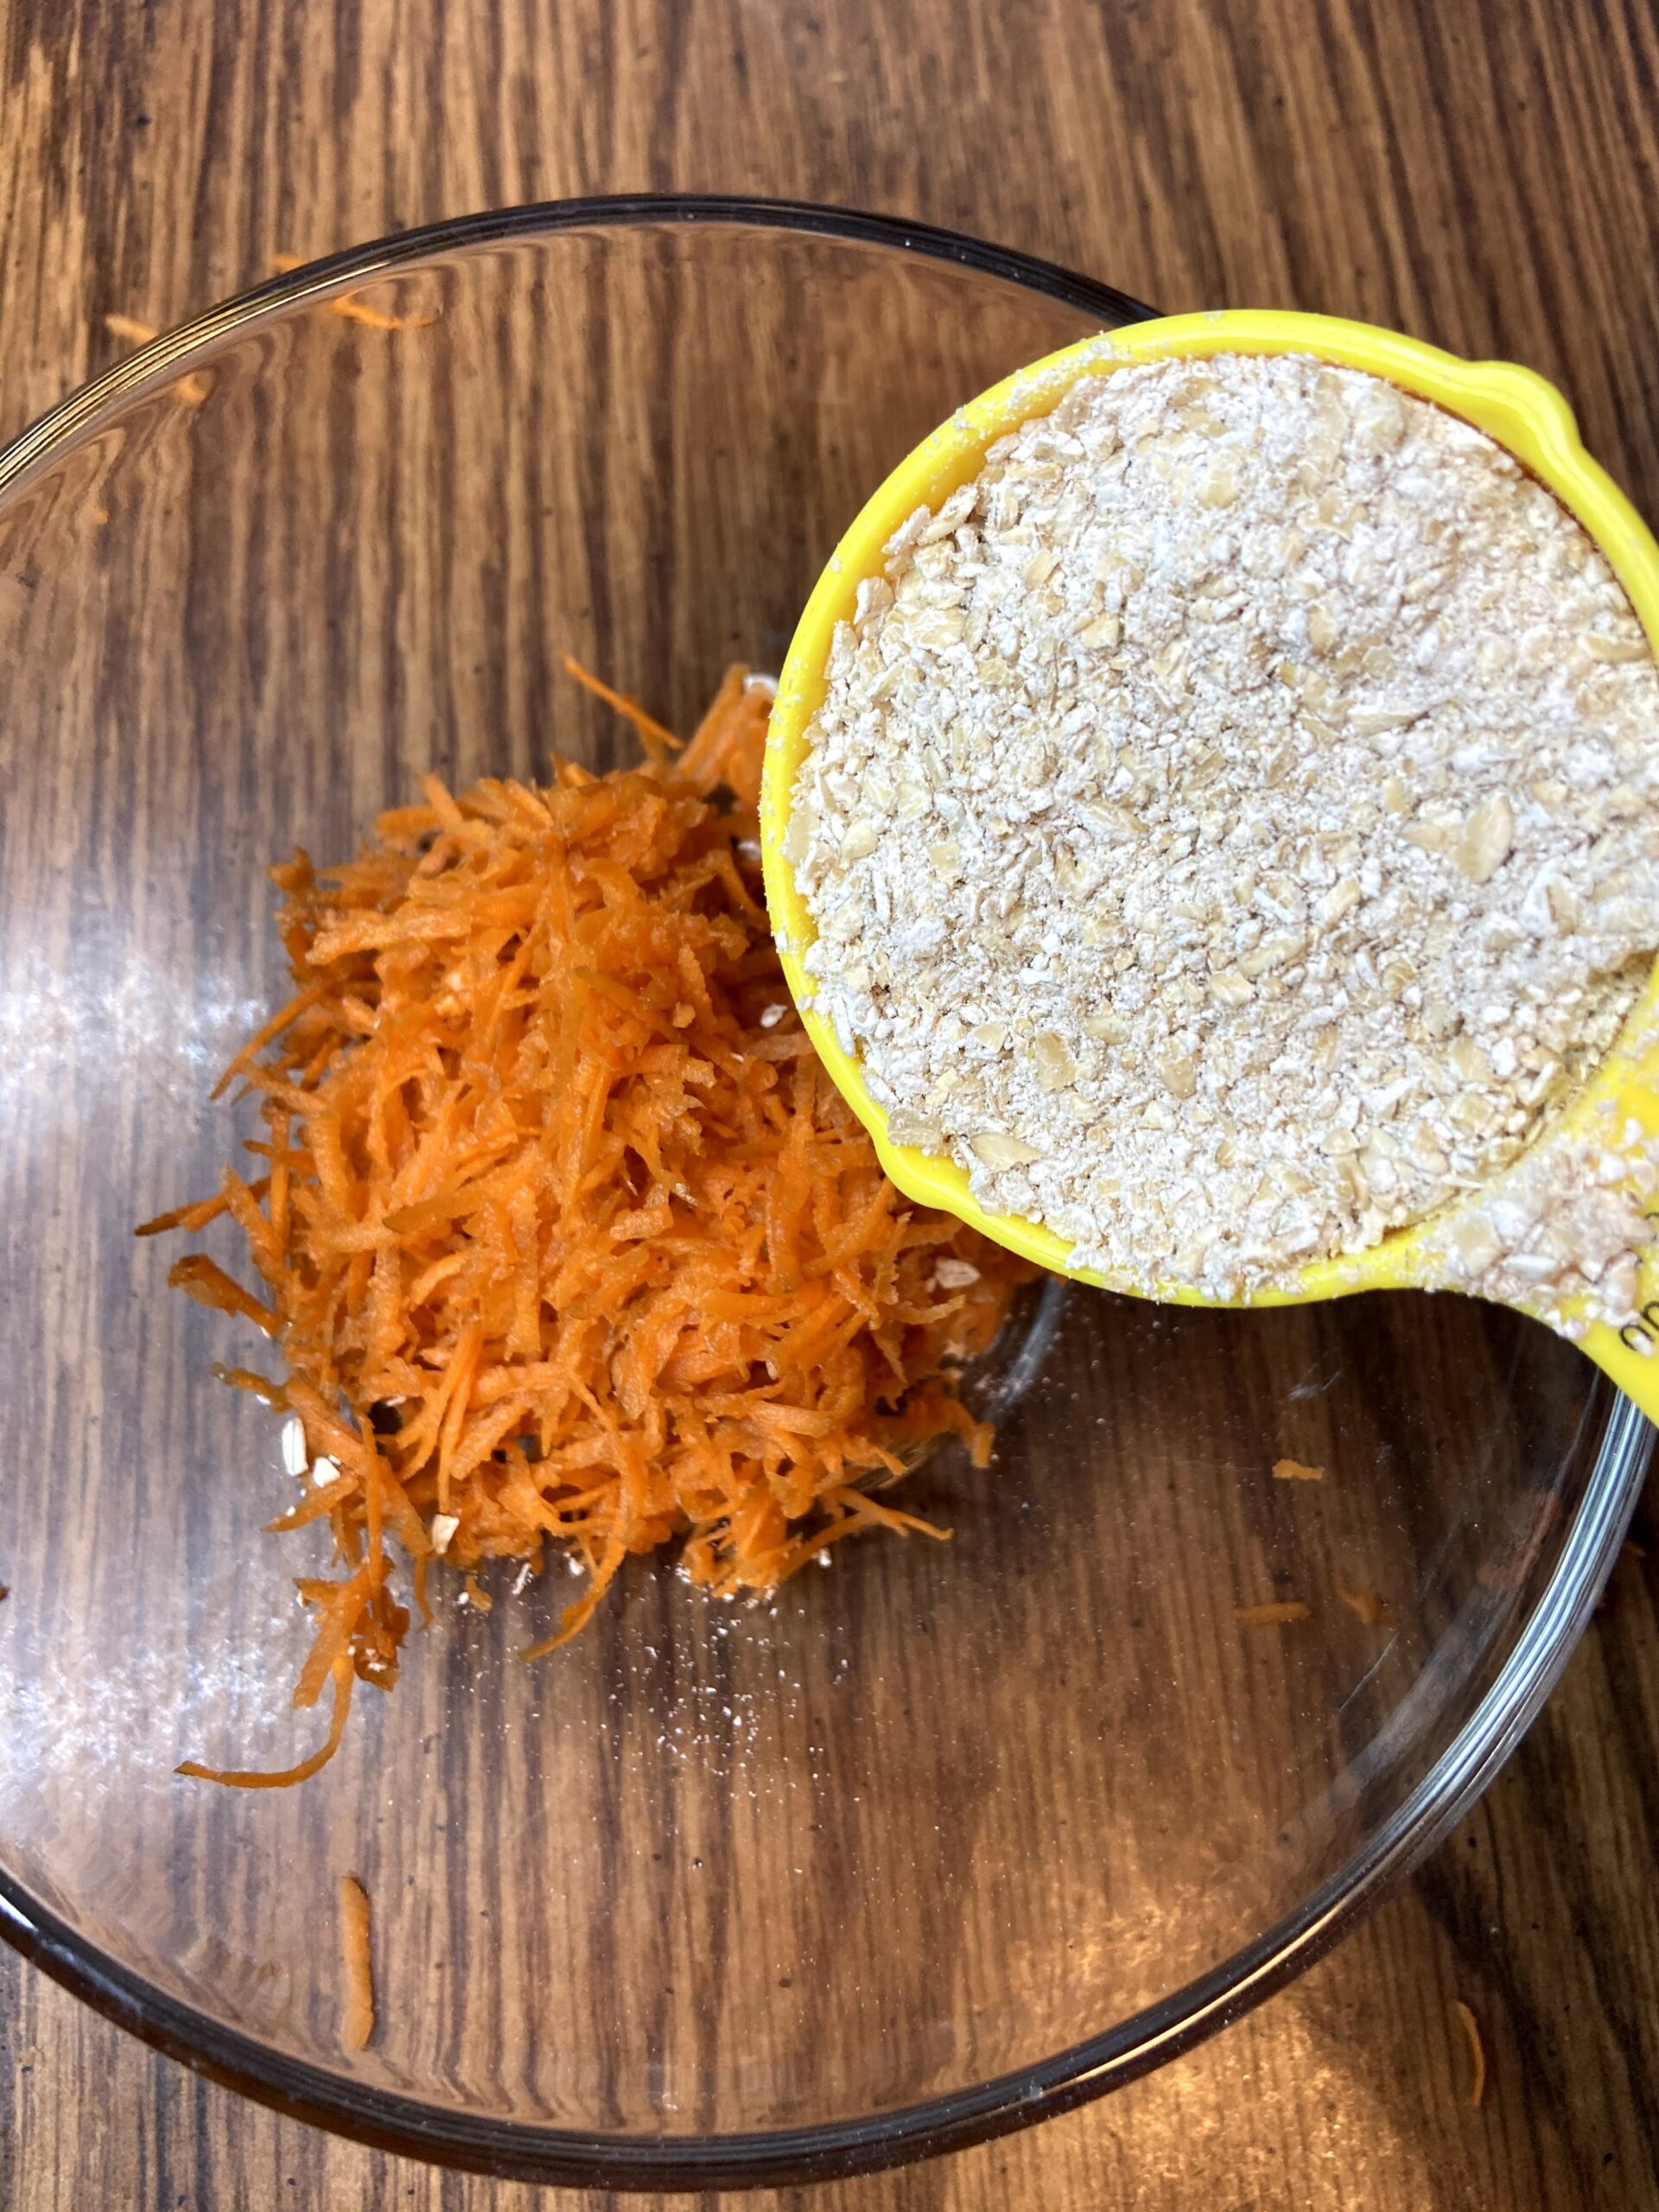
- ⅓ to ½ cup grated carrot
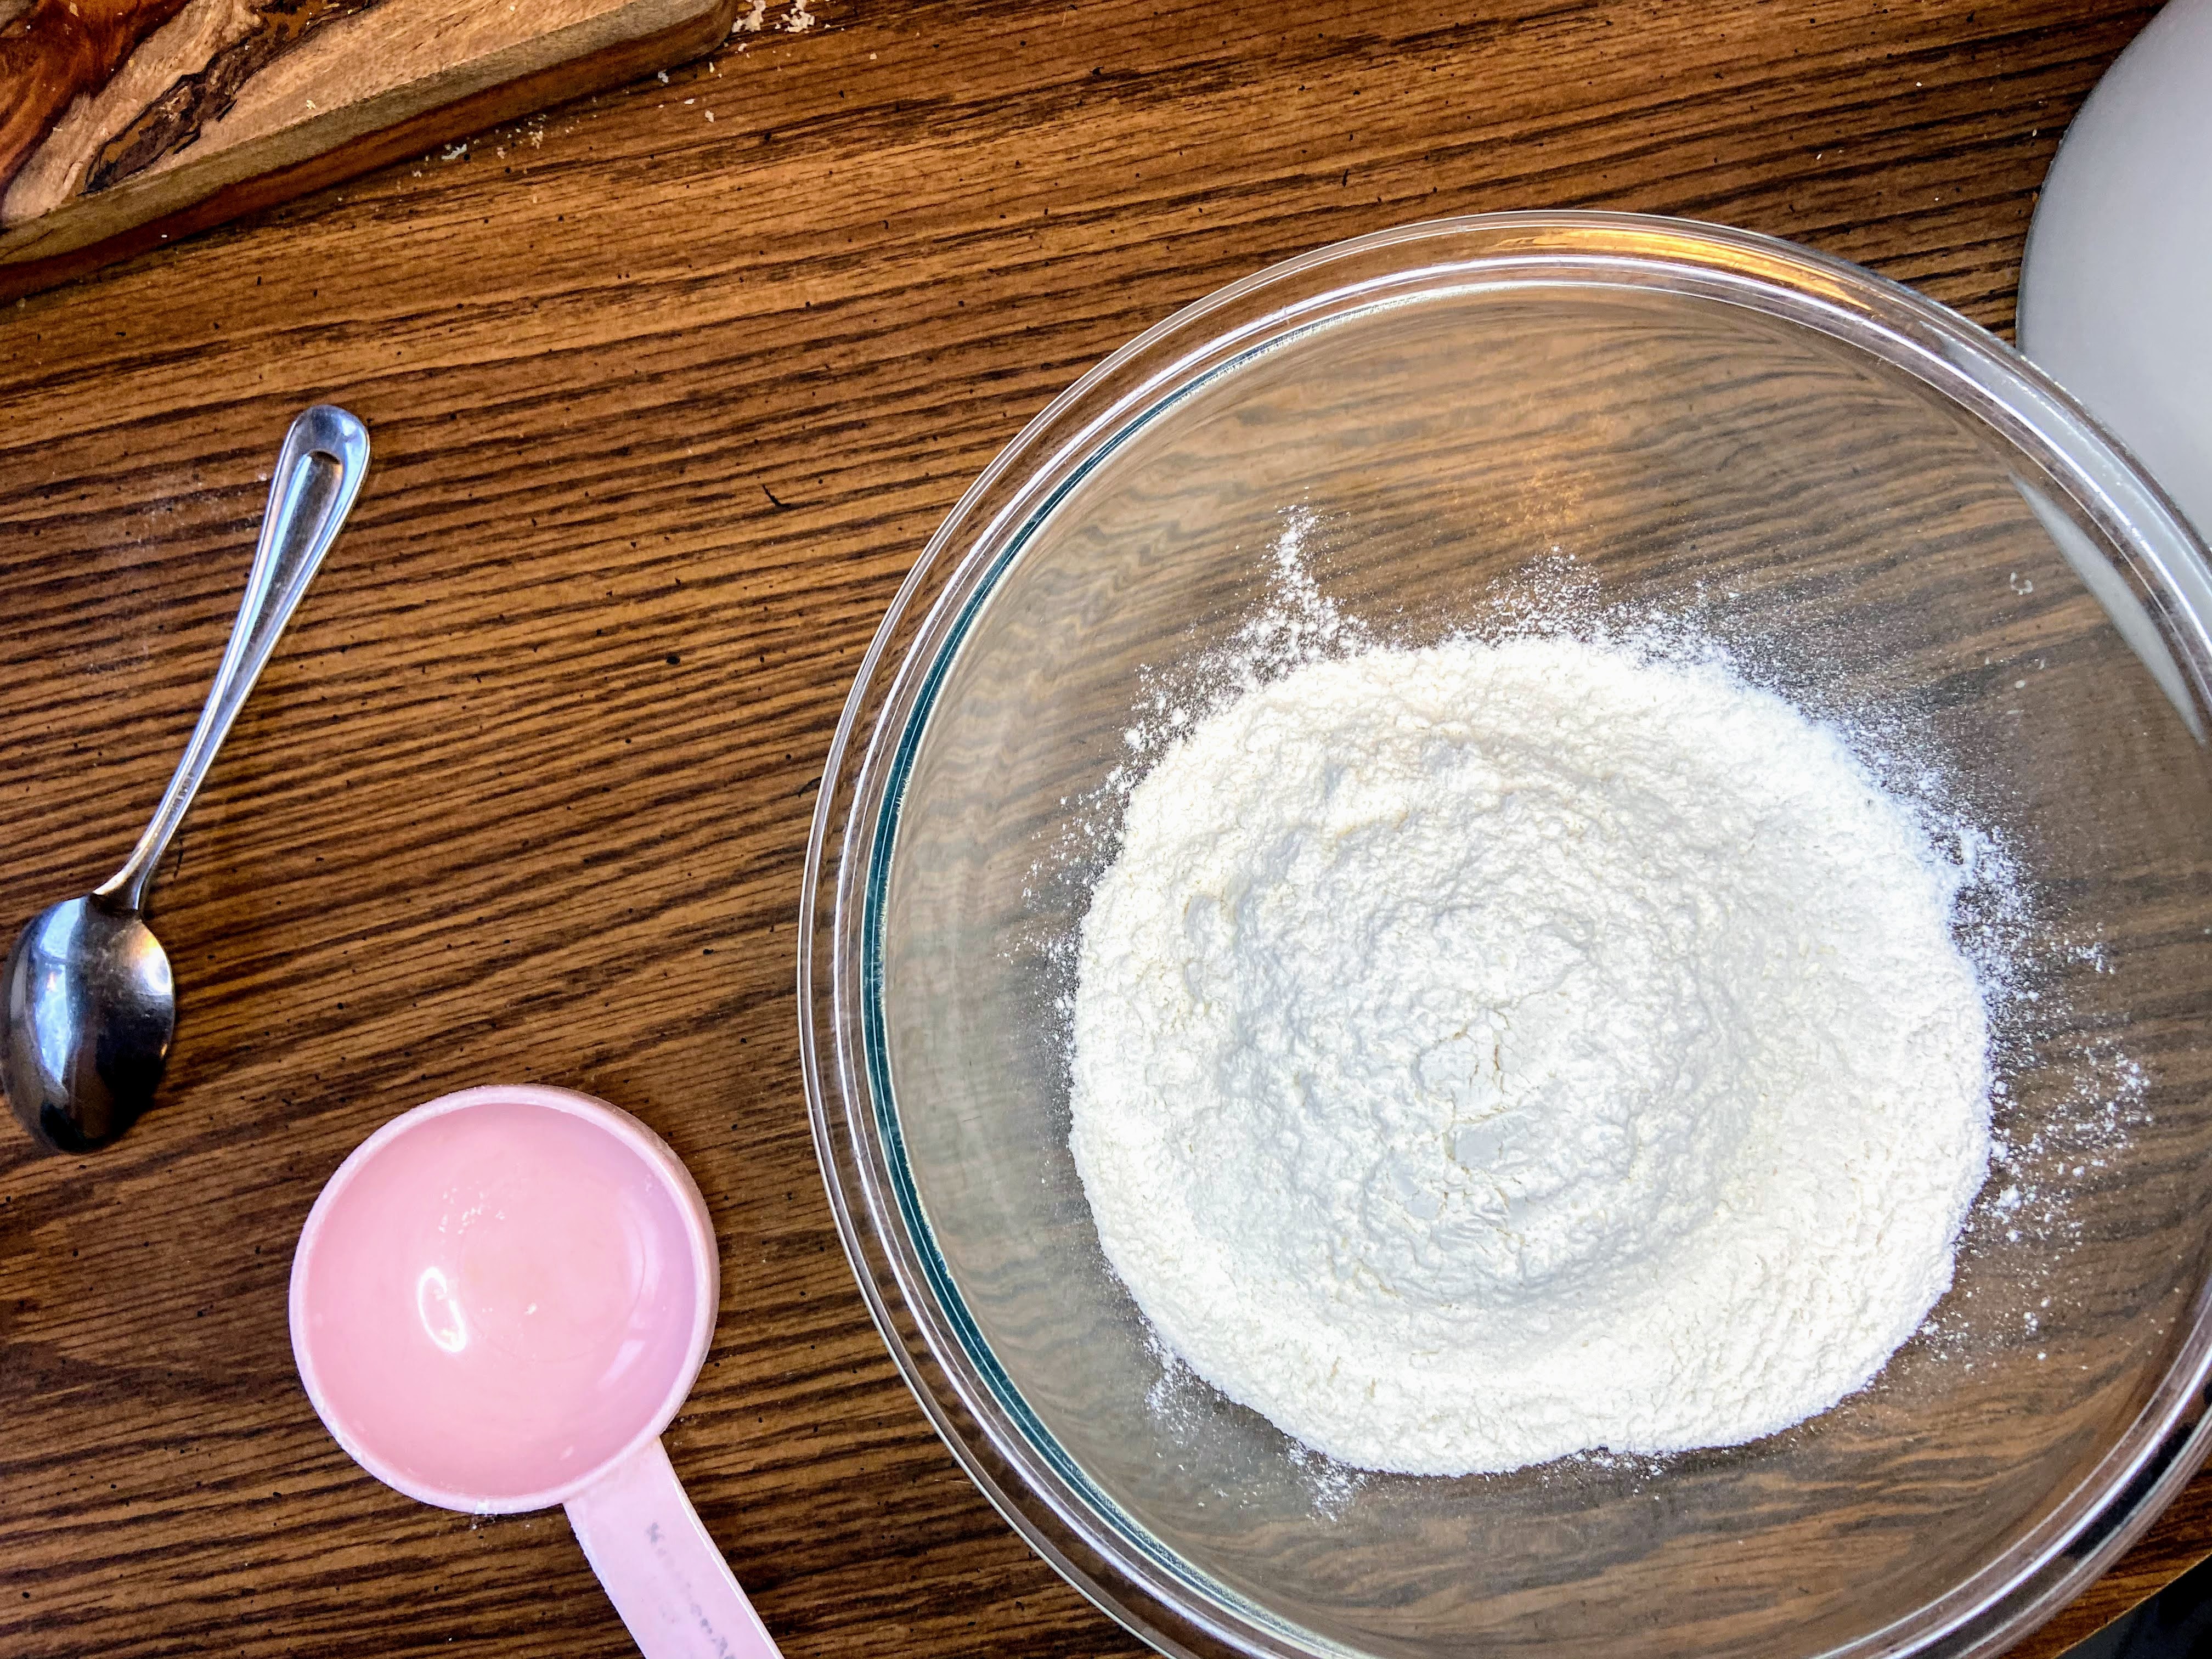
- ⅓ cup oat flour
- 1 tablespoon maple syrup
- ½ teaspoon cinnamon
- ½ teaspoon baking powder
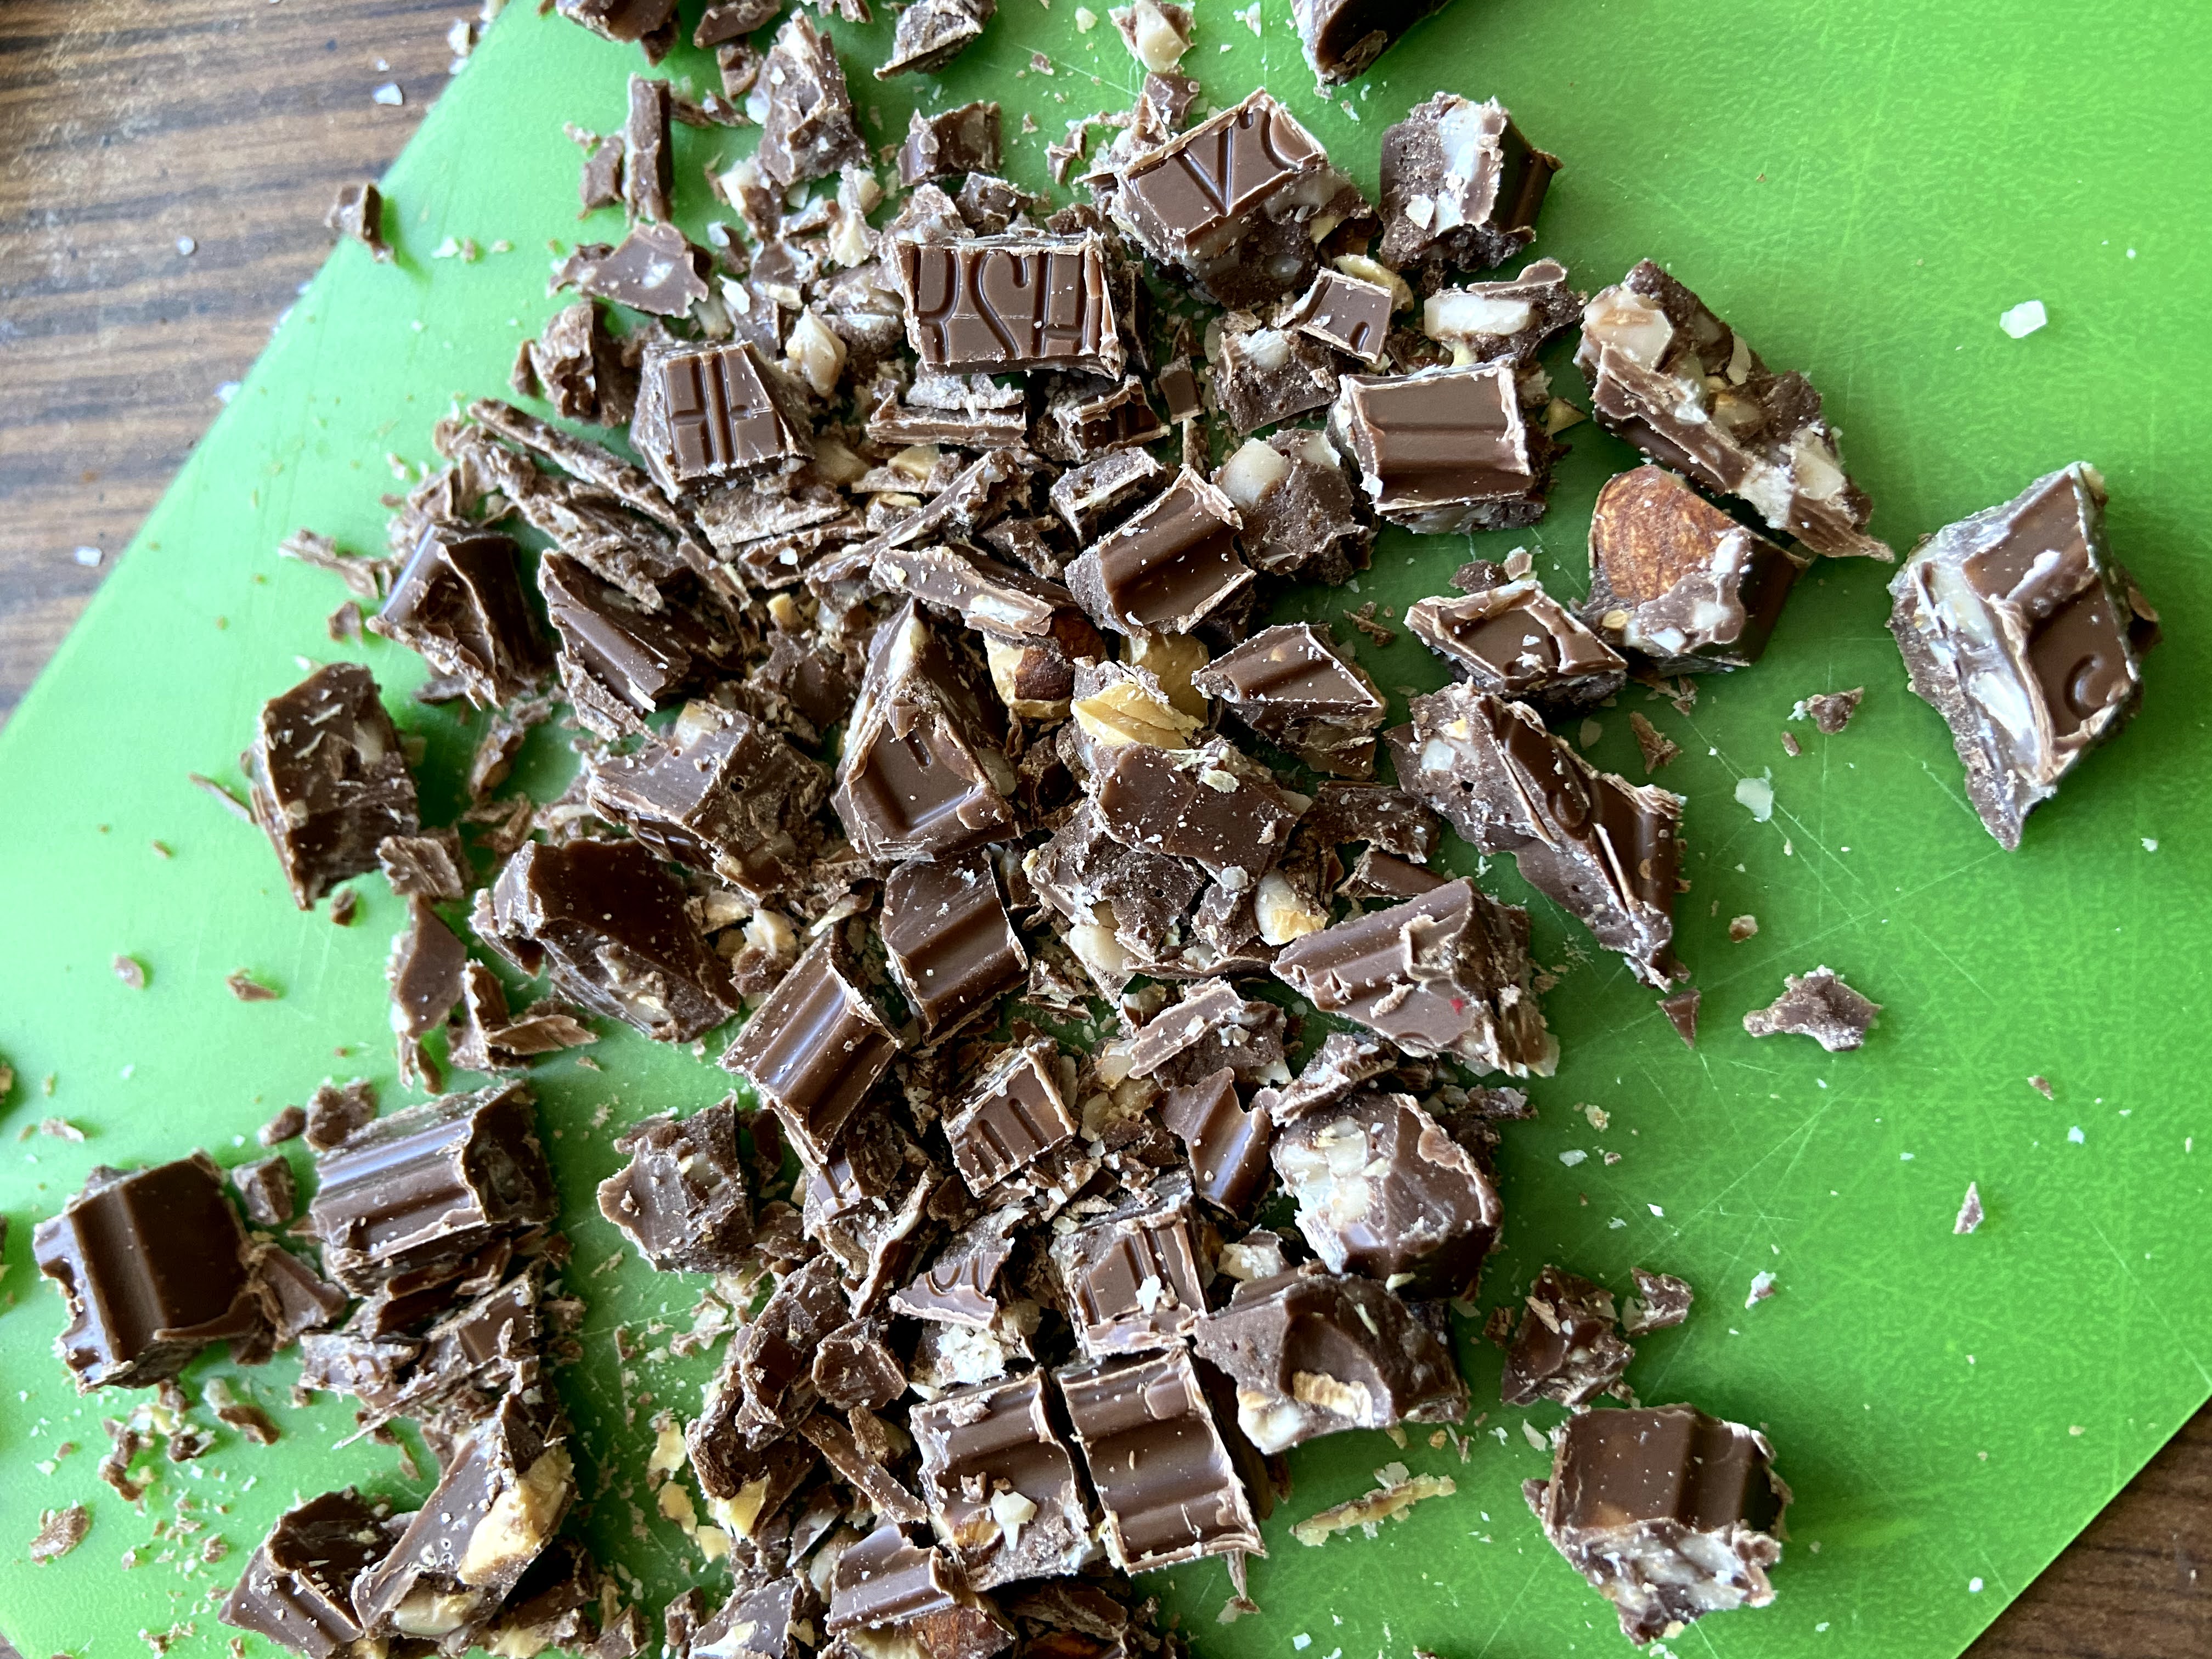
- 2 tablespoons chopped walnuts
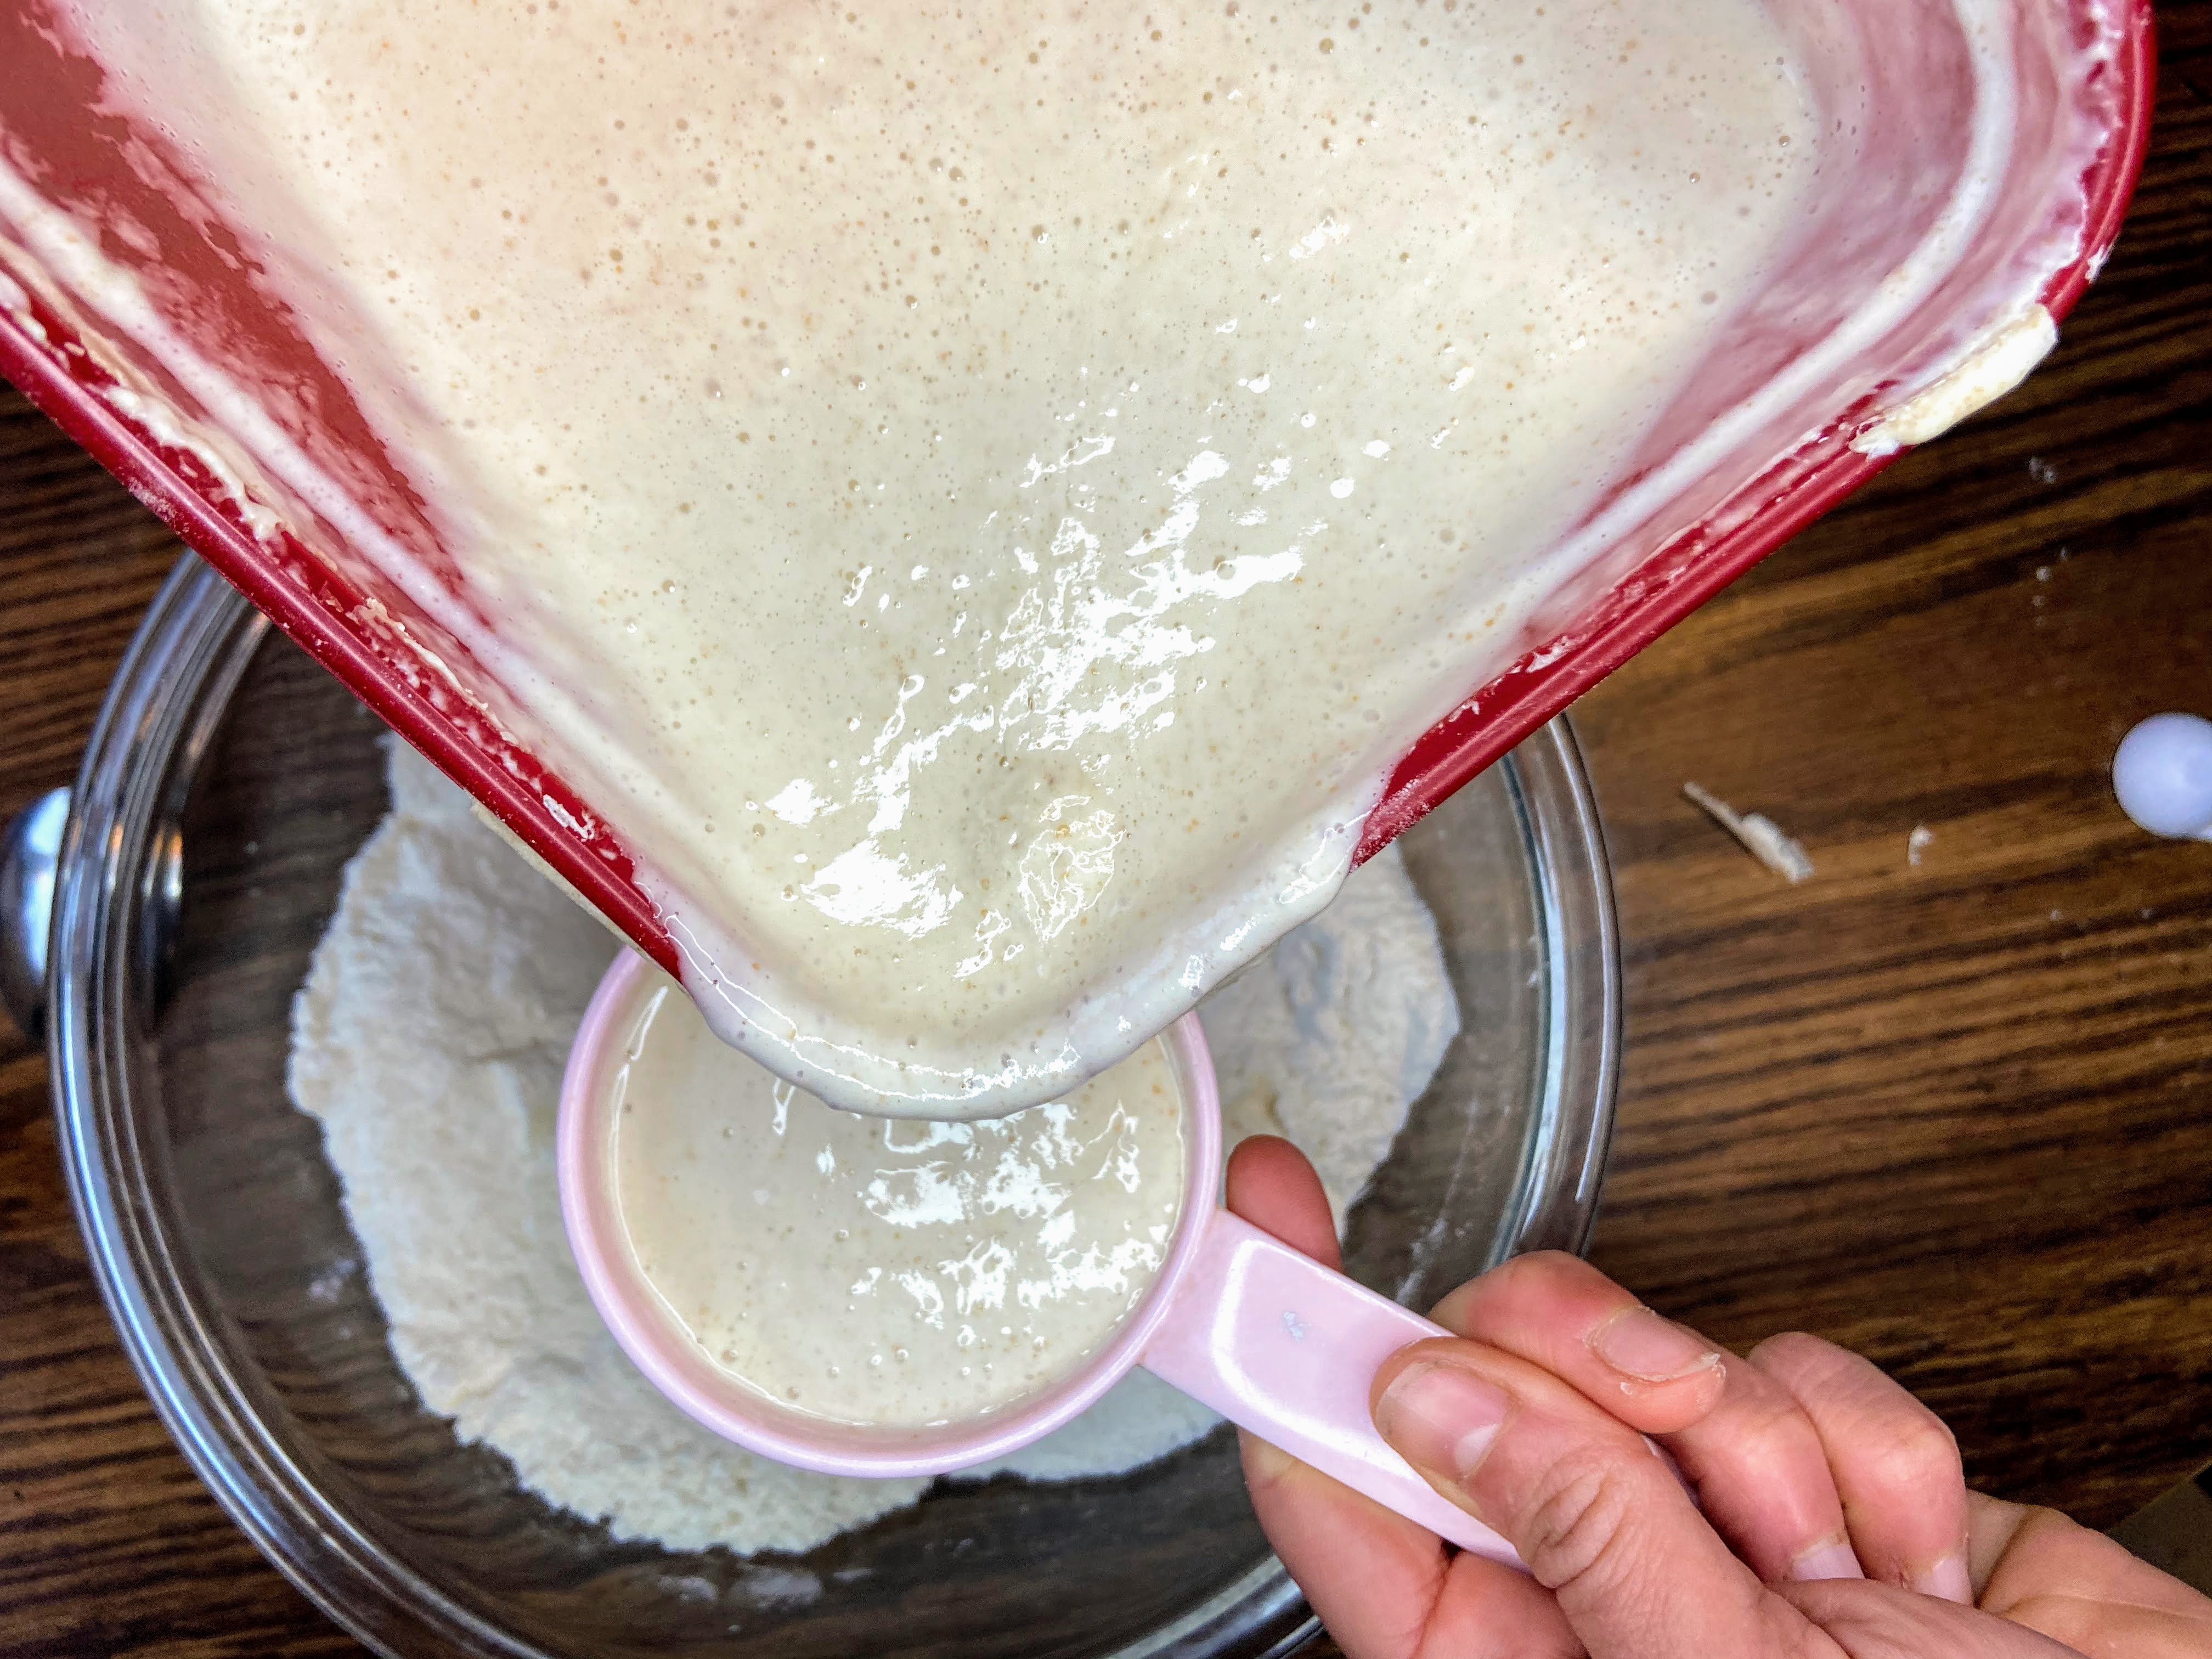
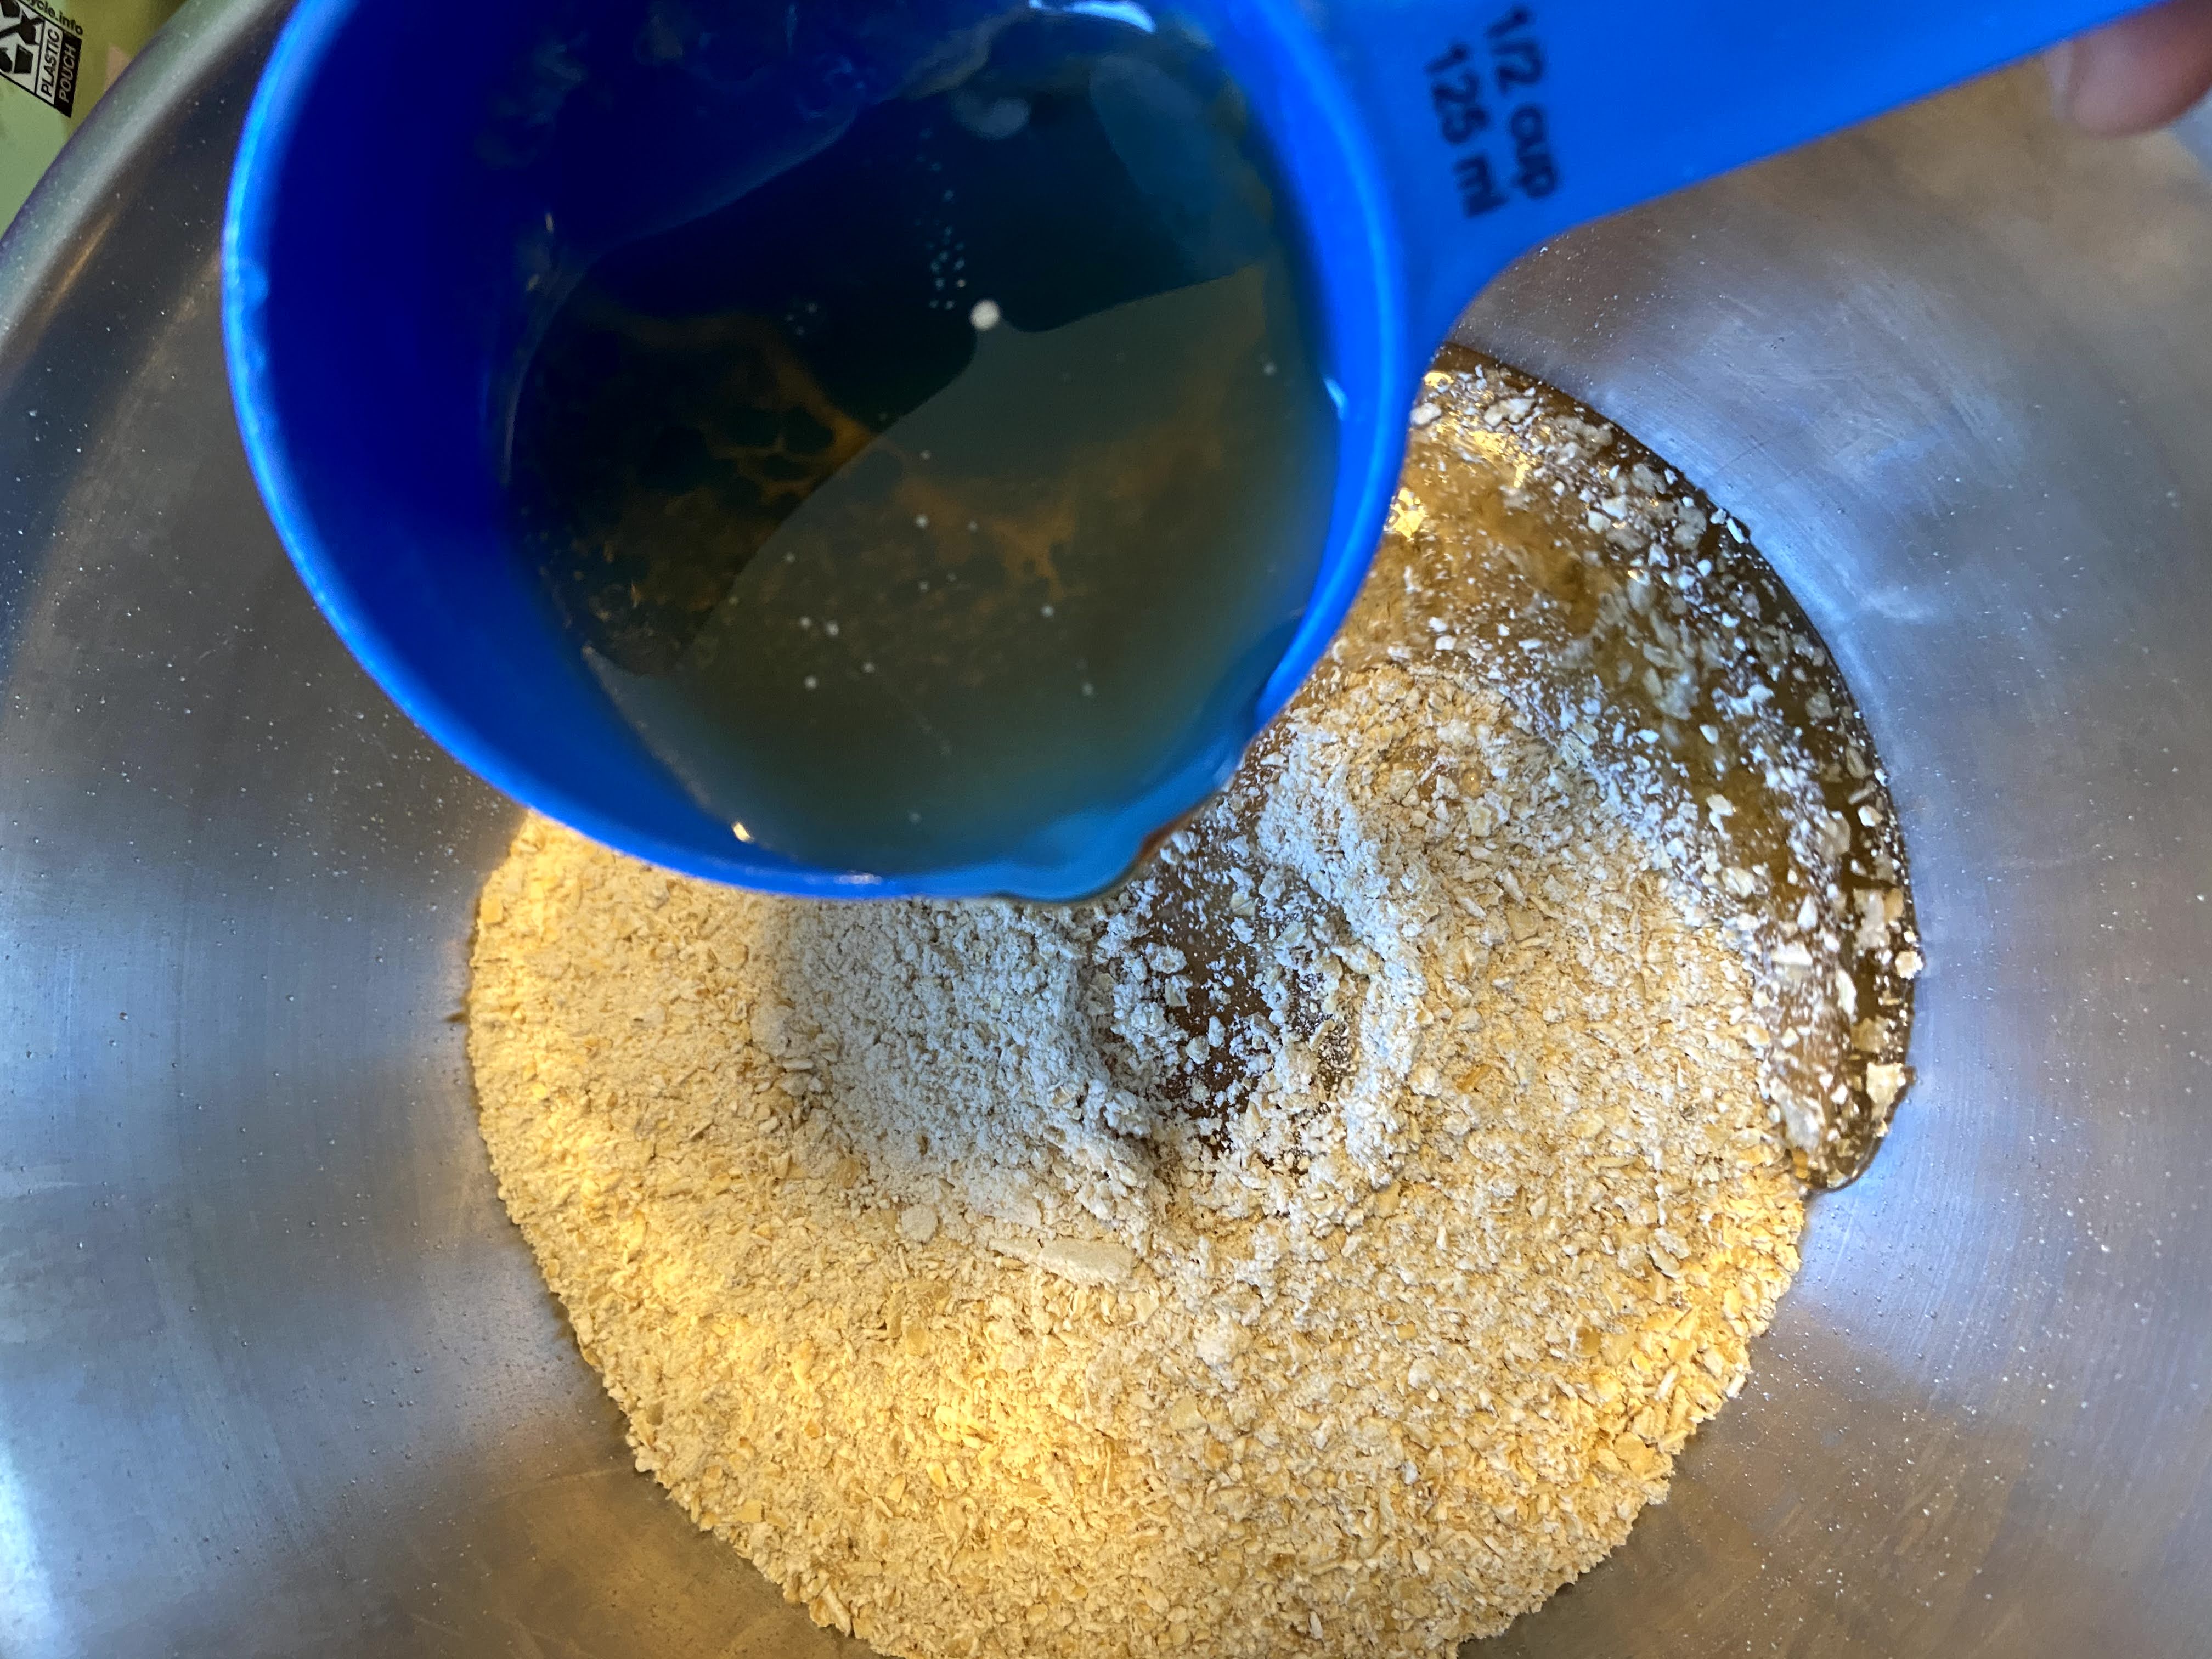
- ⅓ cup unsweetened almond milk
- ⅛-¼ teaspoon vanilla extract, optional
Your Steps to Banana Nut Baked Oatmeal
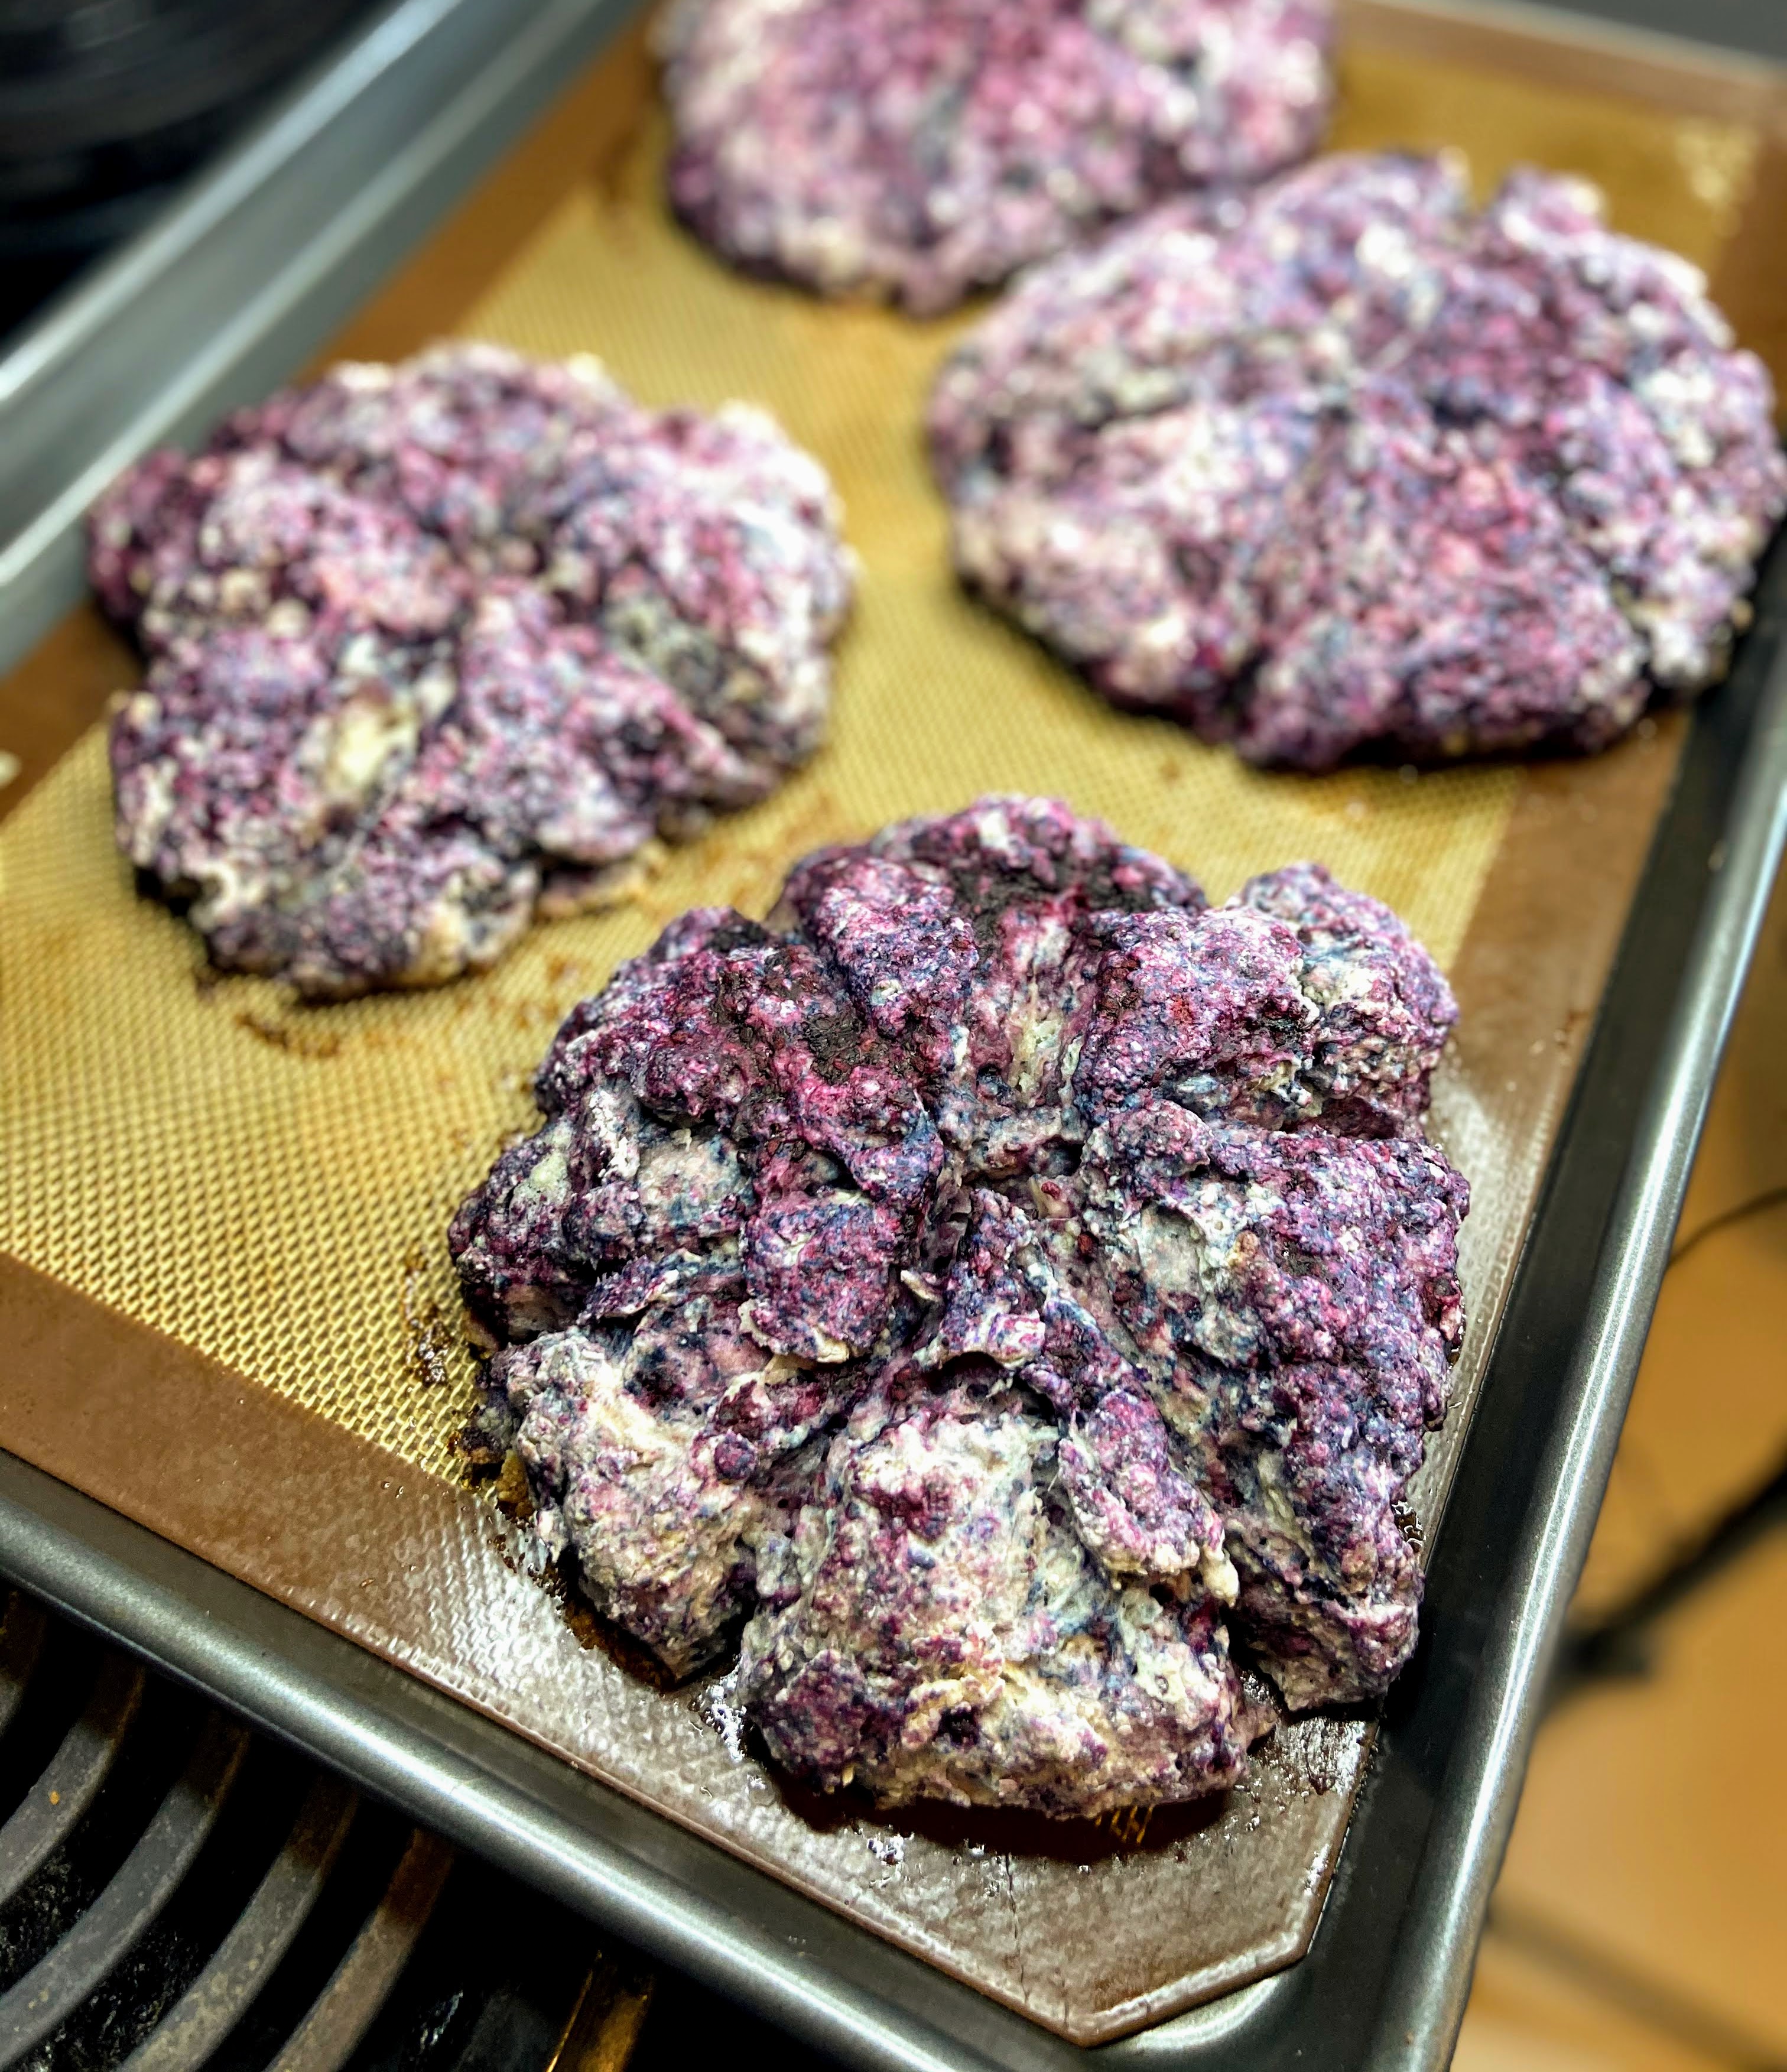
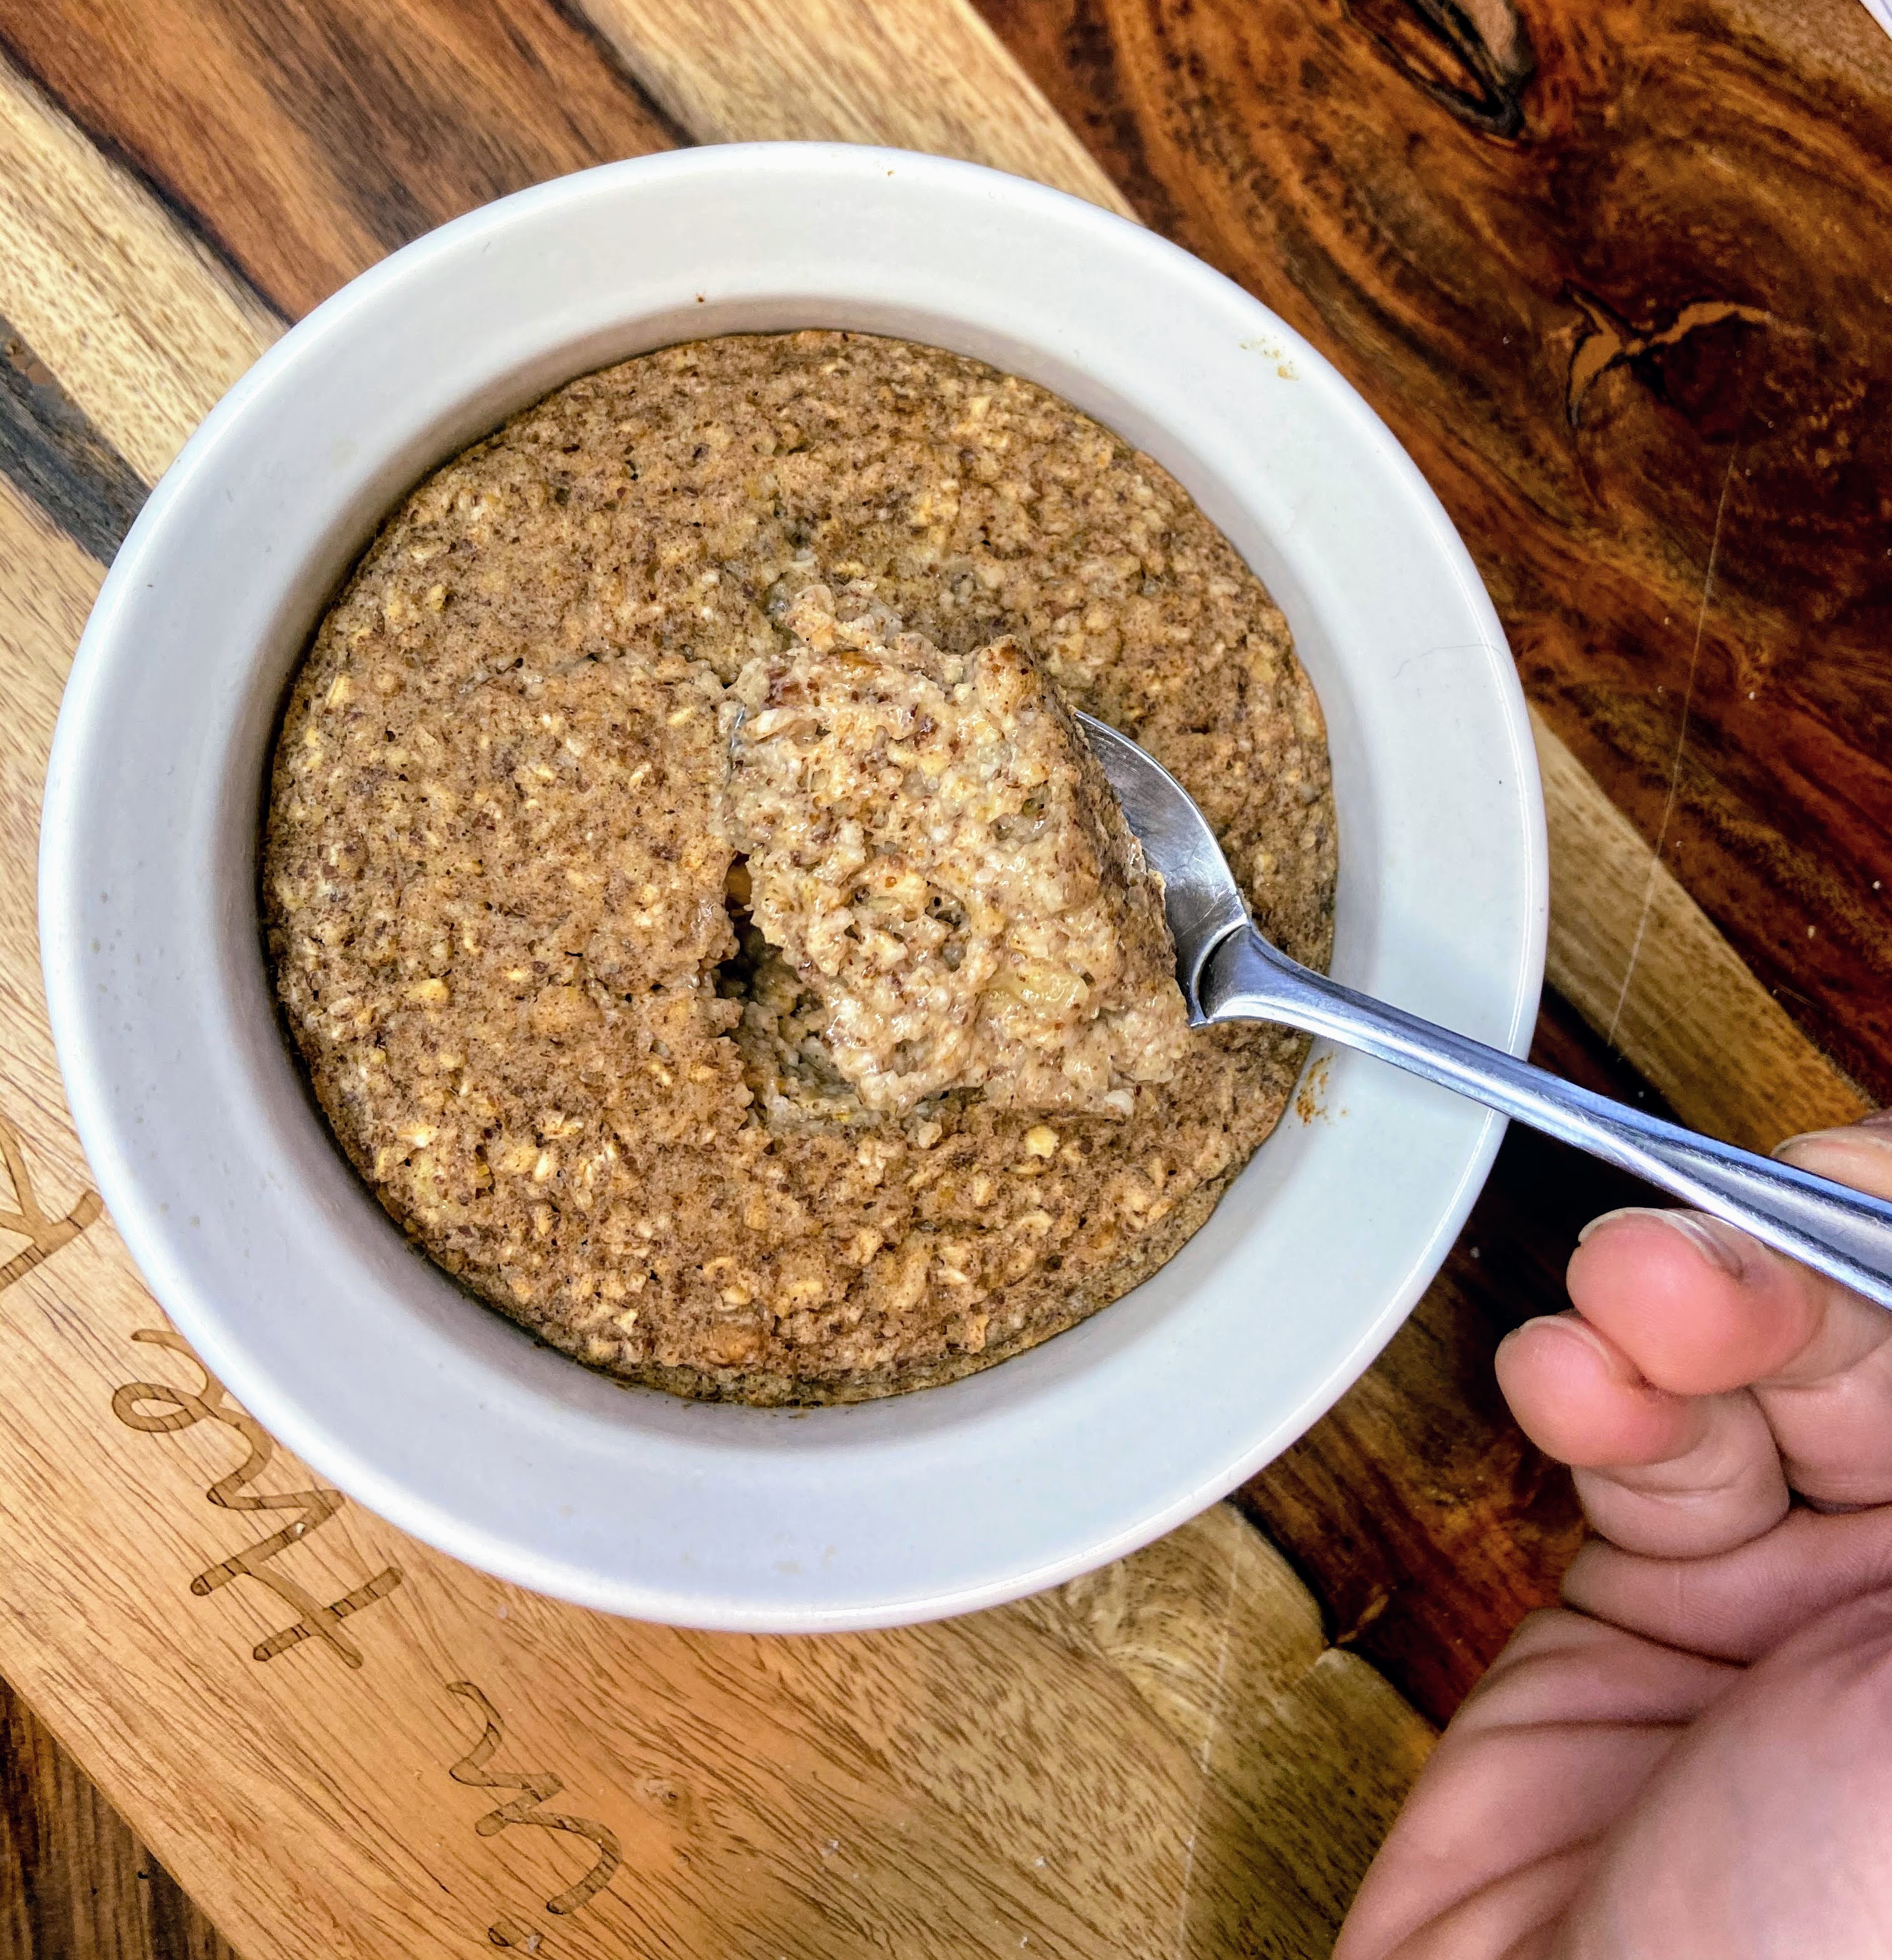
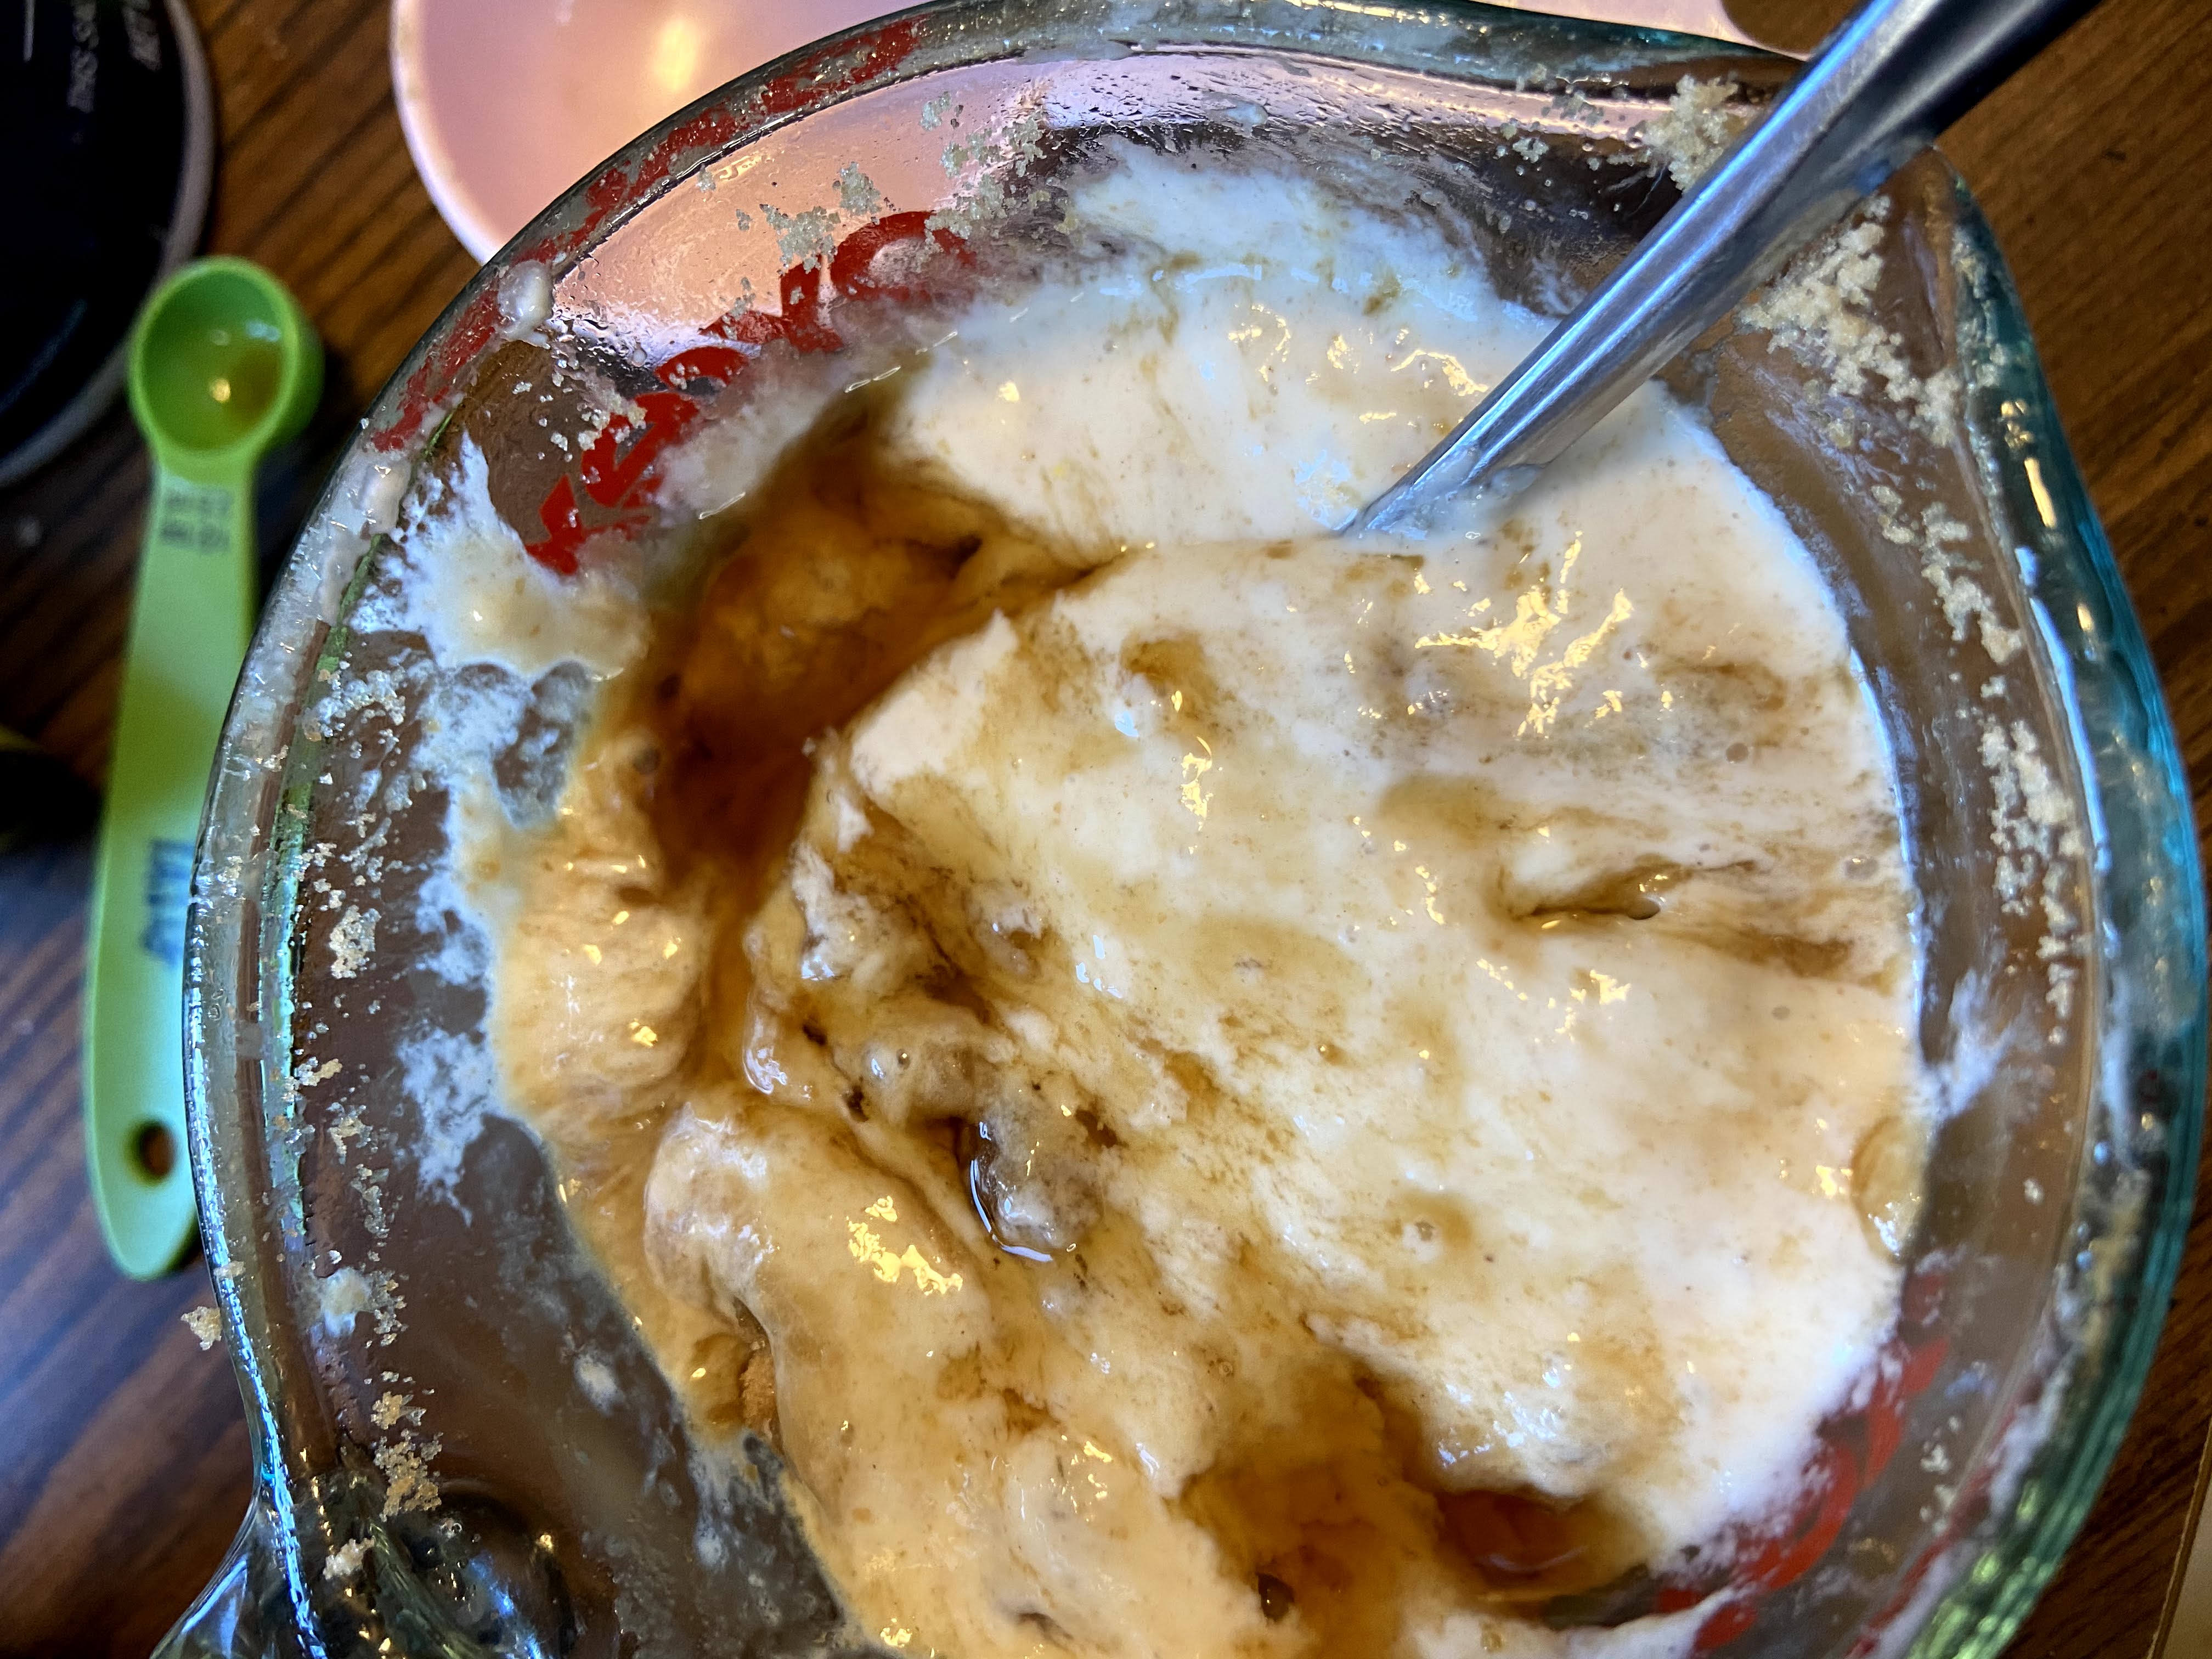
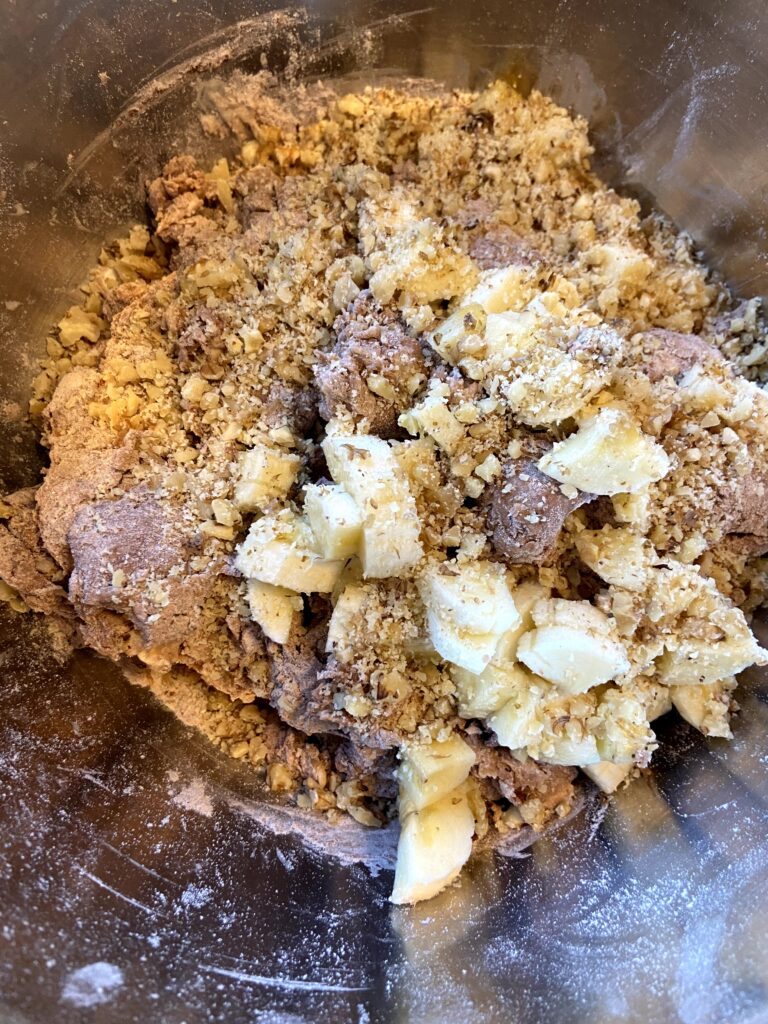
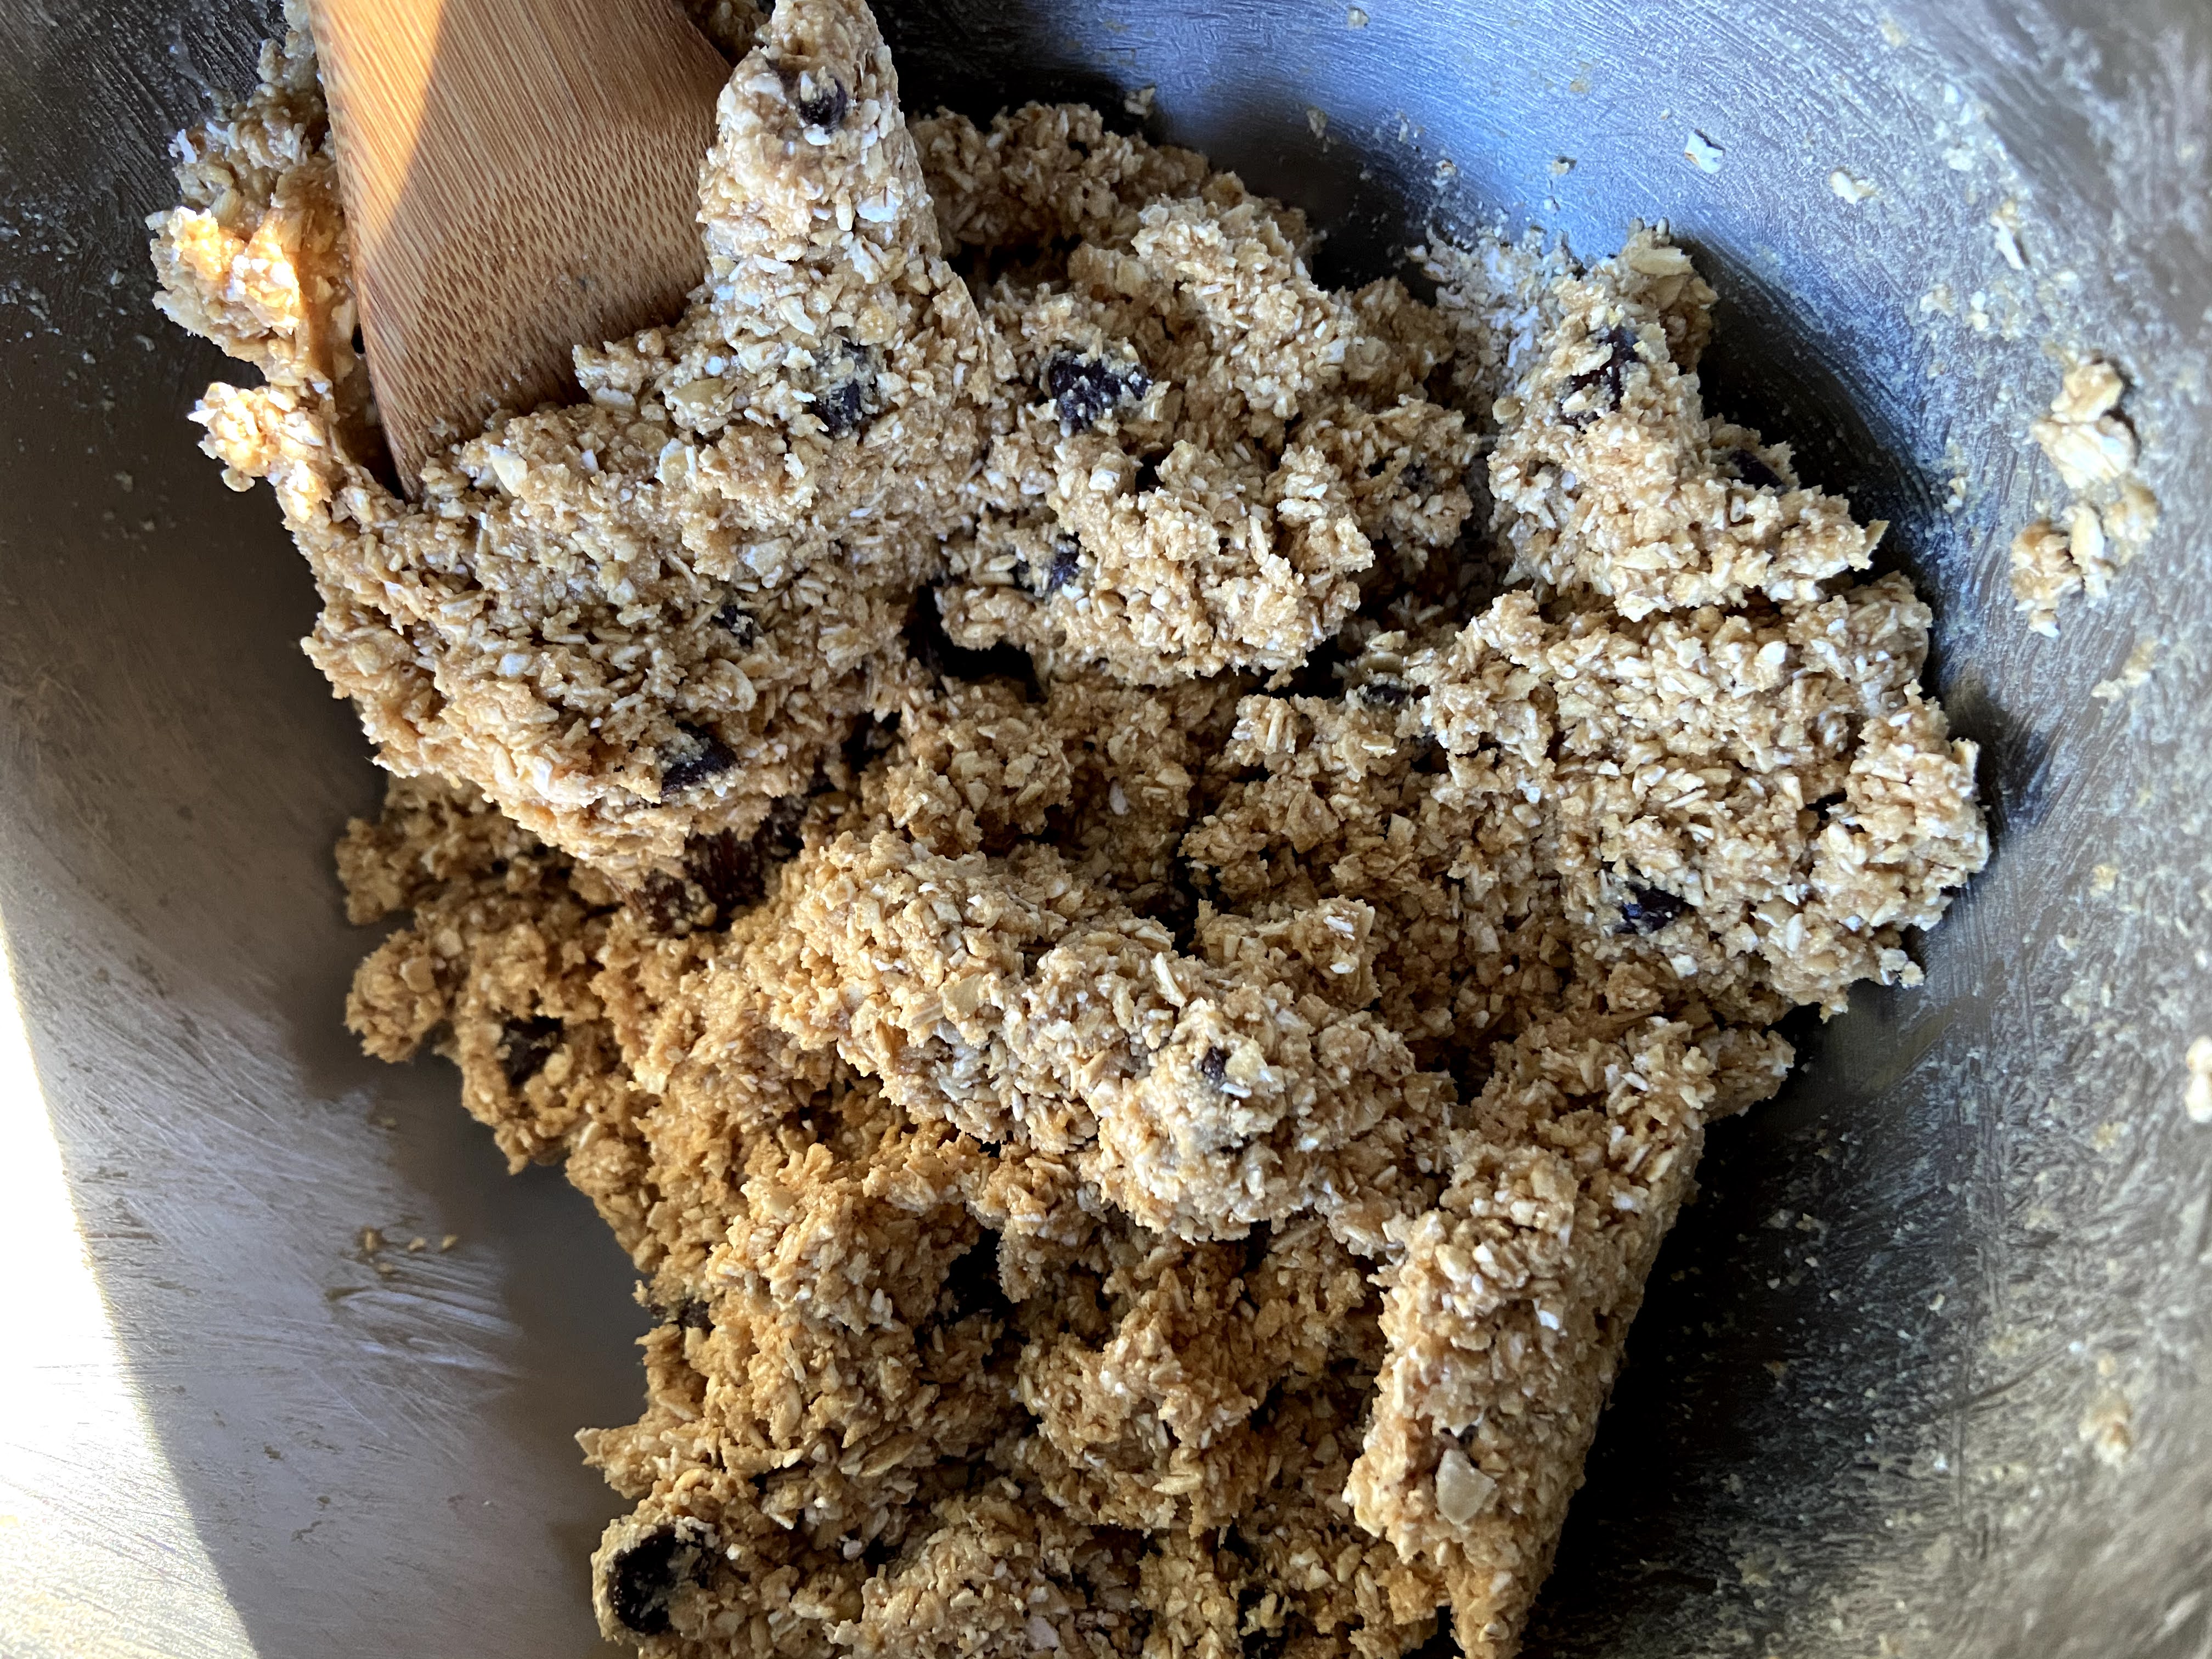
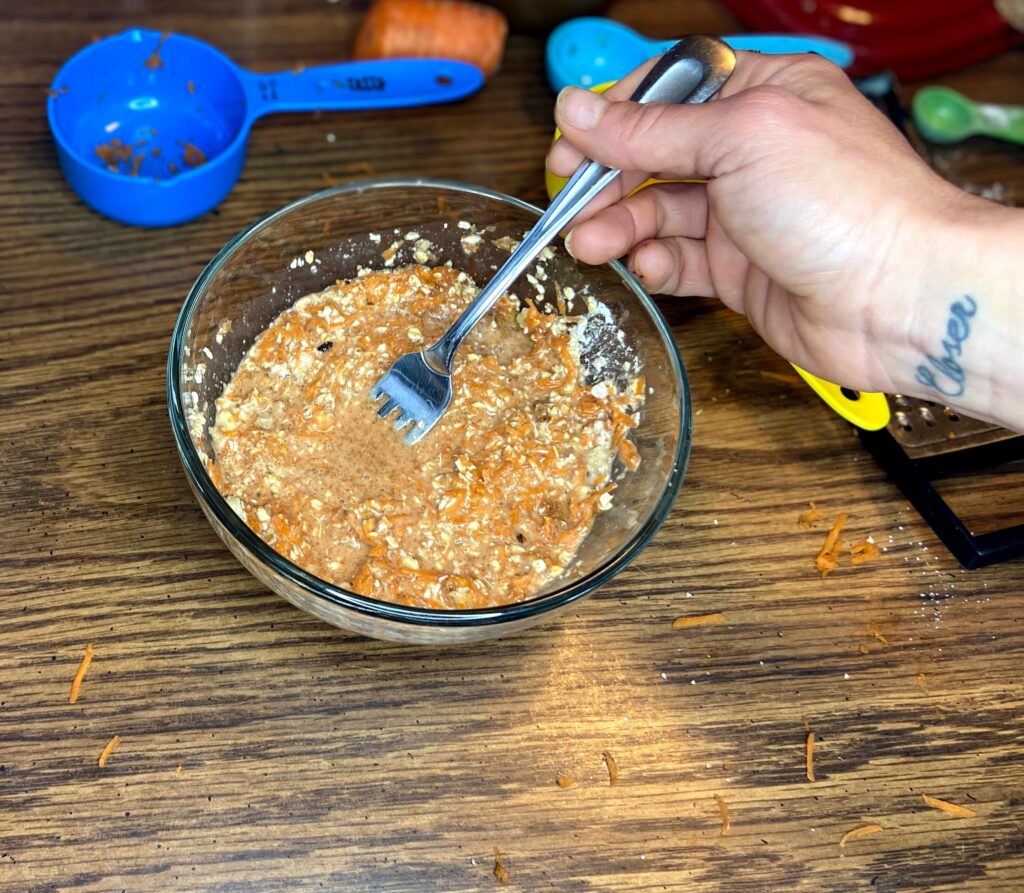
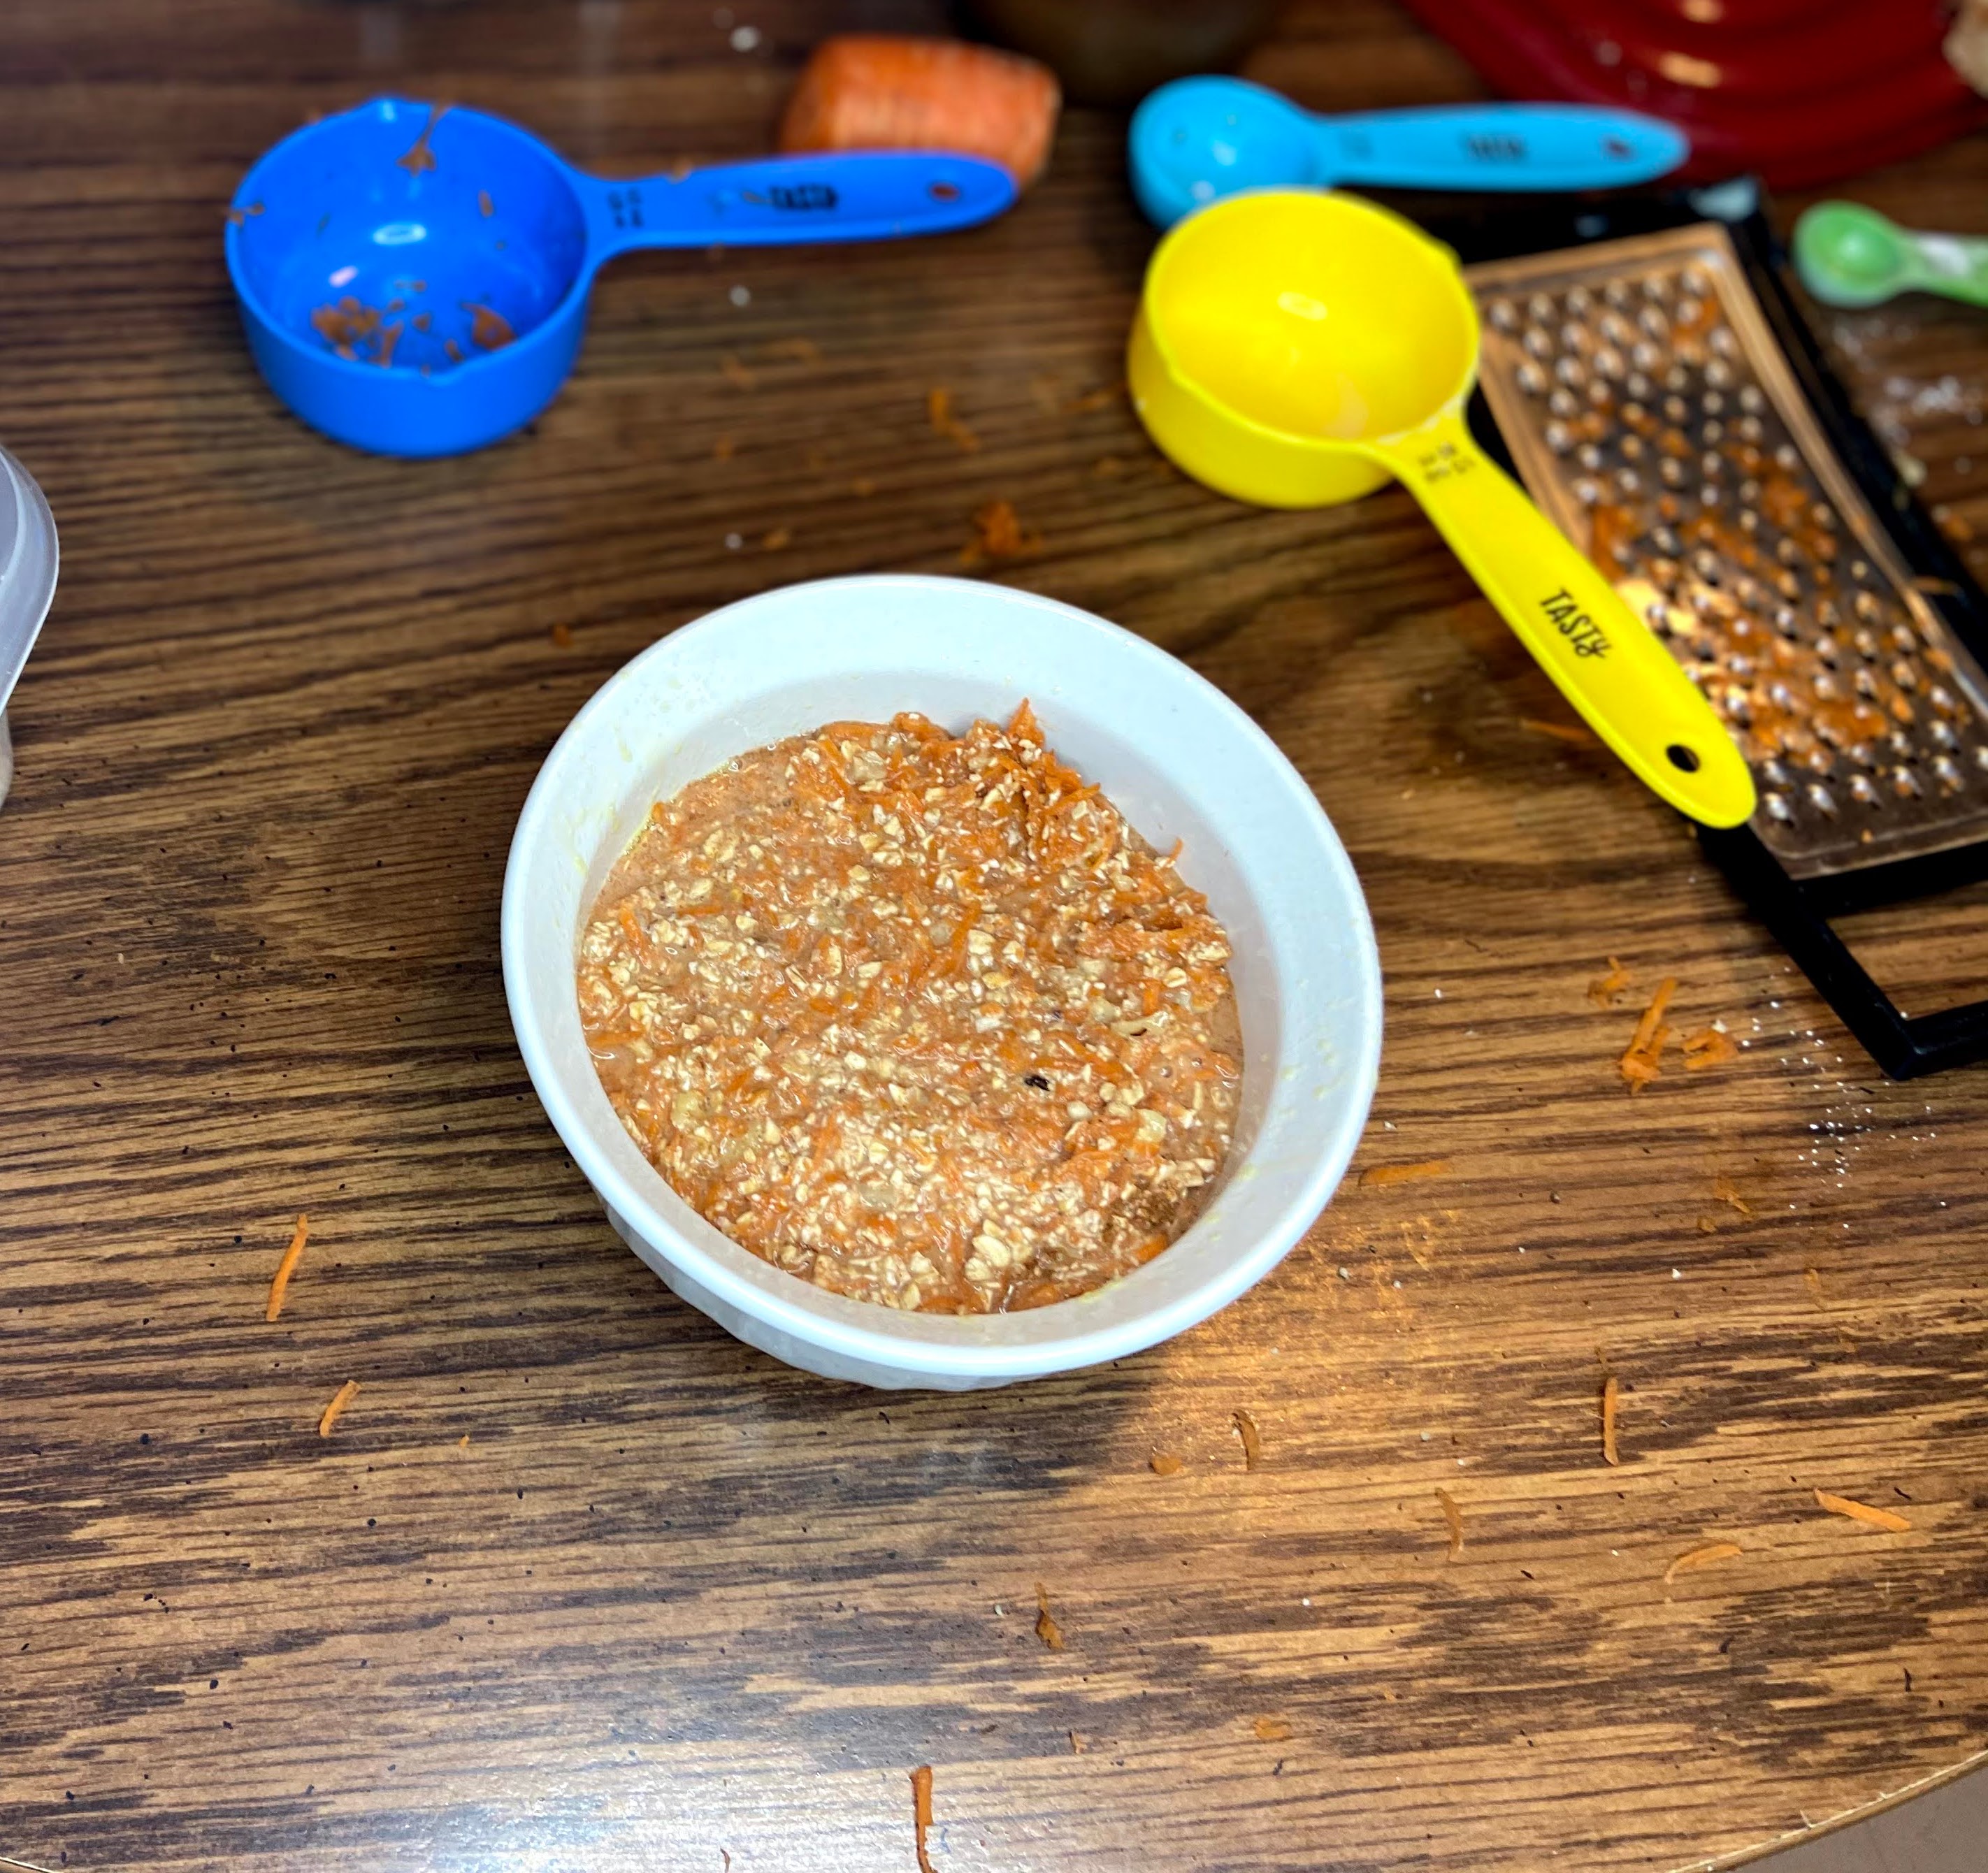
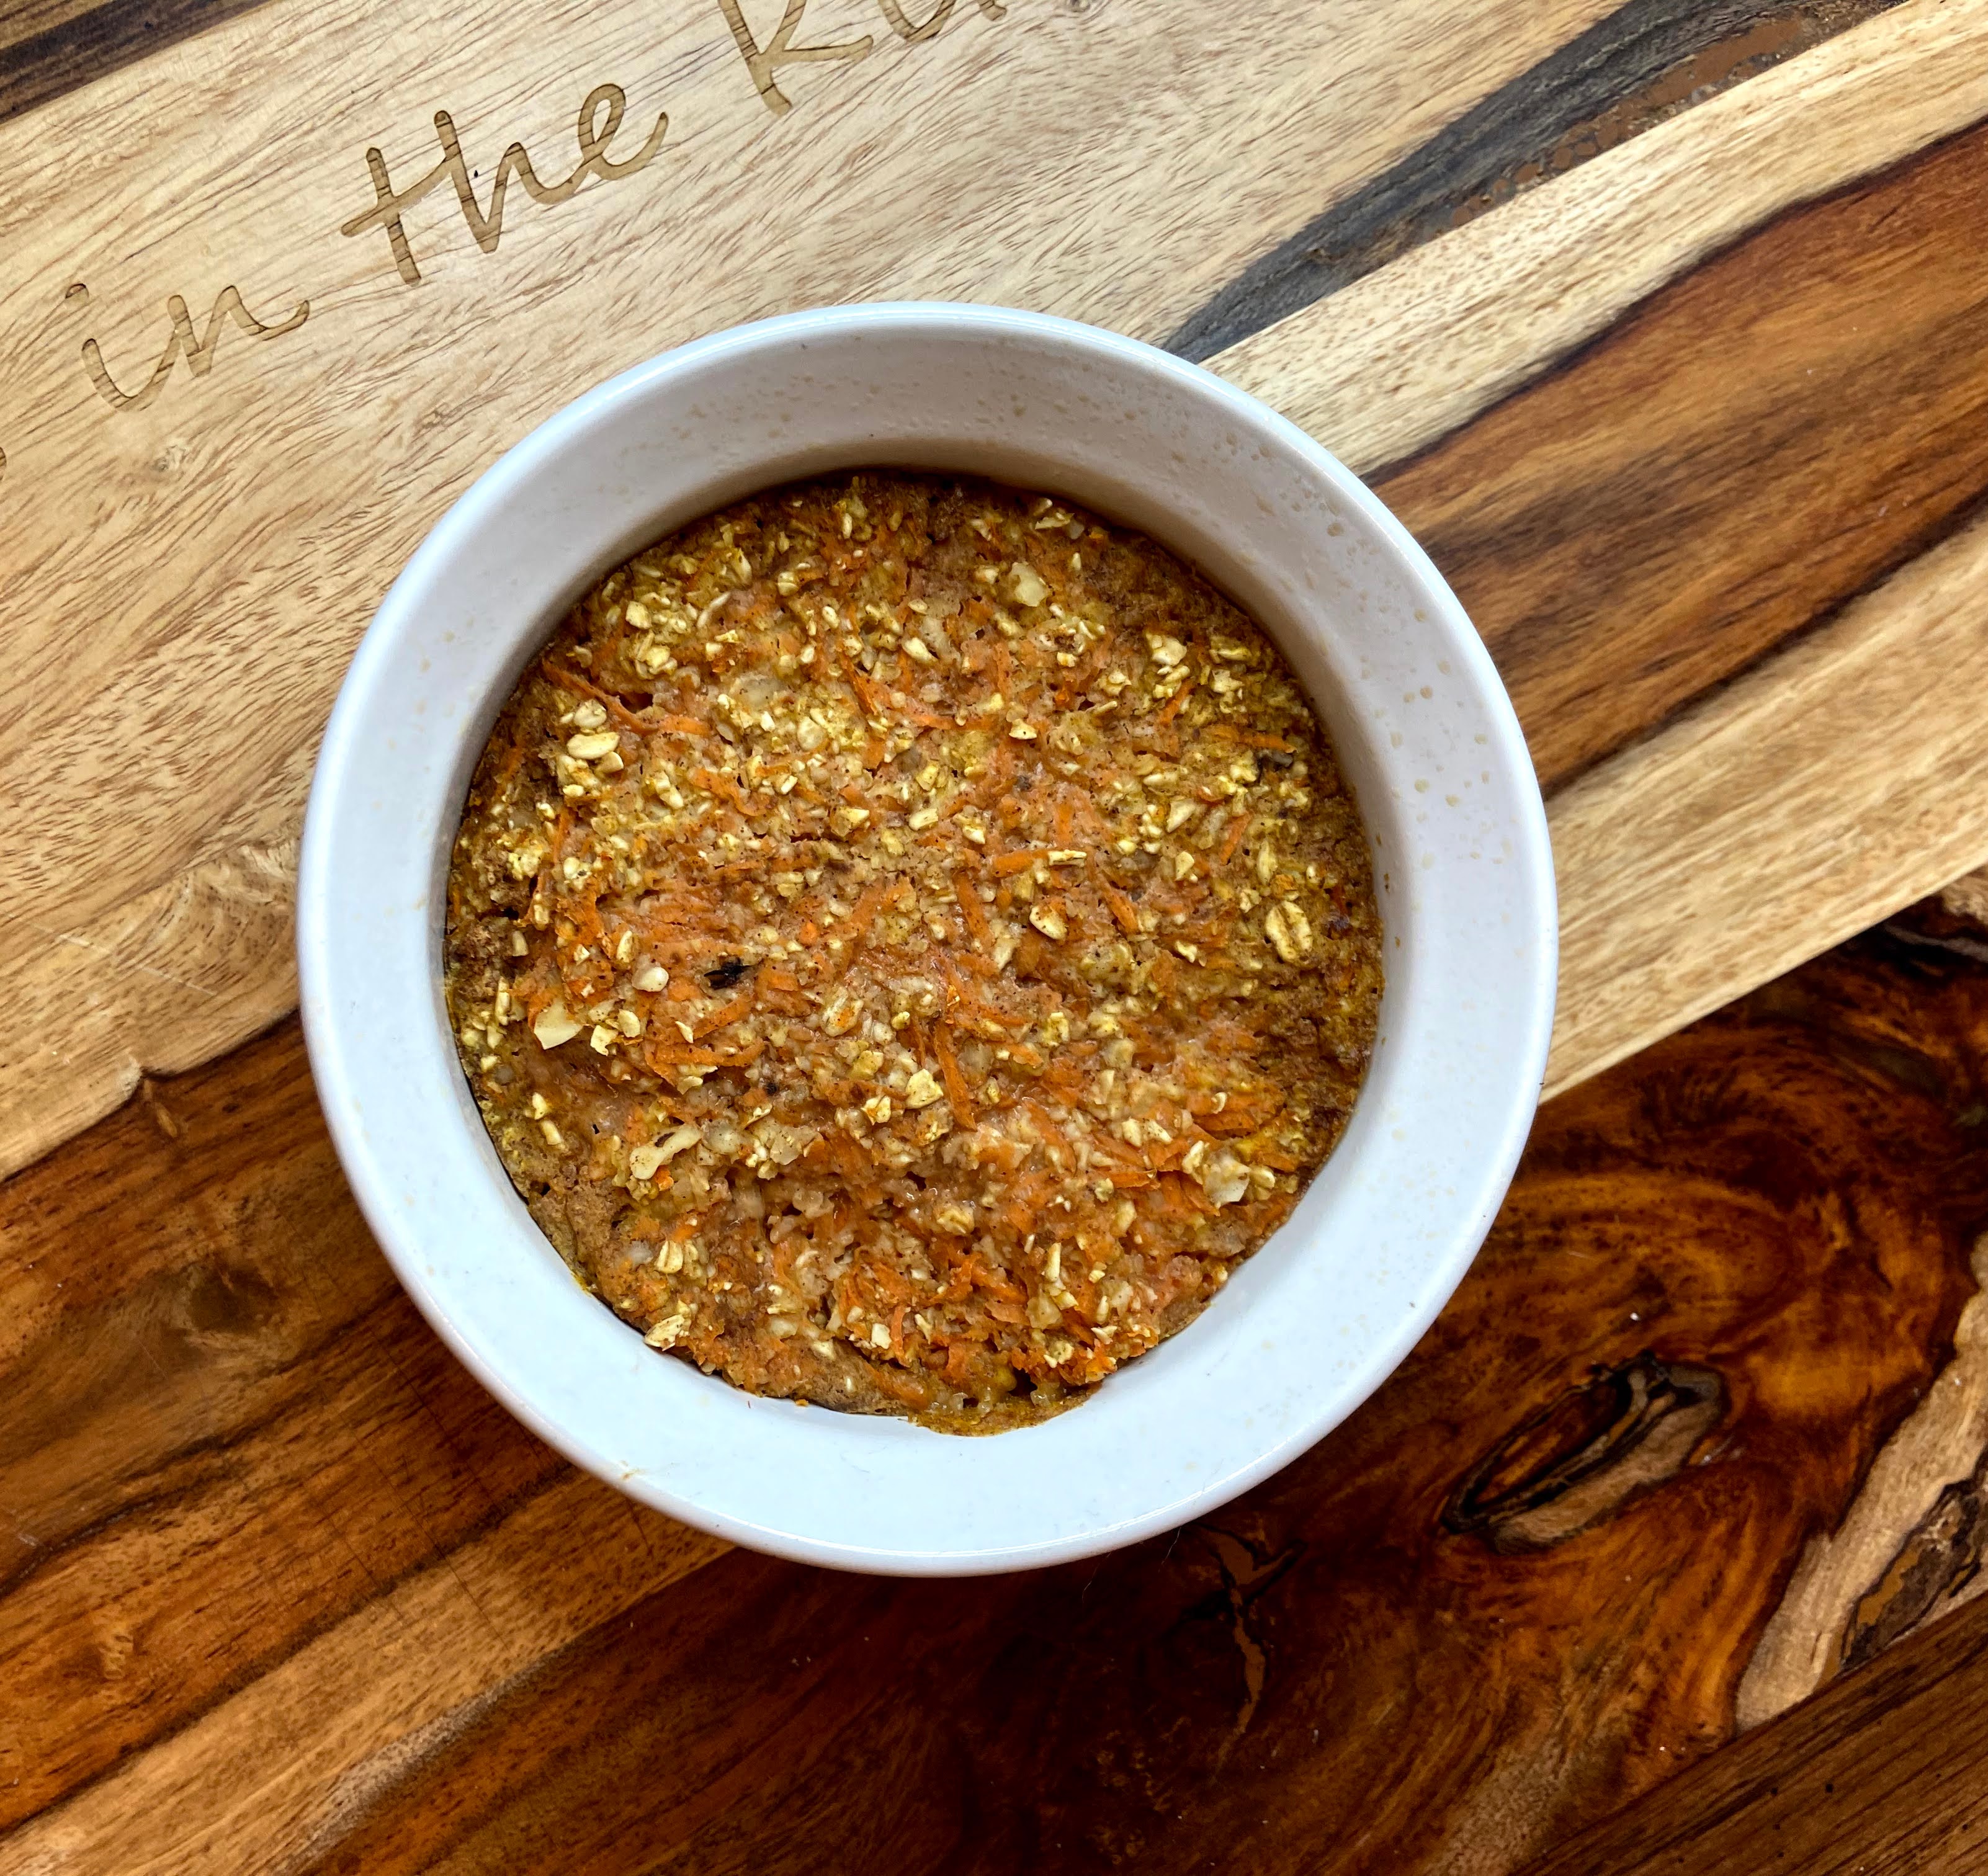
Preheat the oven to 375 degrees. Grease a ramekin with non-stick cooking spray. Combine all ingredients in a small bowl, mixing until well combined. Pour into greased ramekin. Bake on the middle shelf for 15-20 minutes, depending on the texture you want your oatmeal to be. I like it to feel more like a bread than goo-ey, so I shoot for the 20 minute mark.

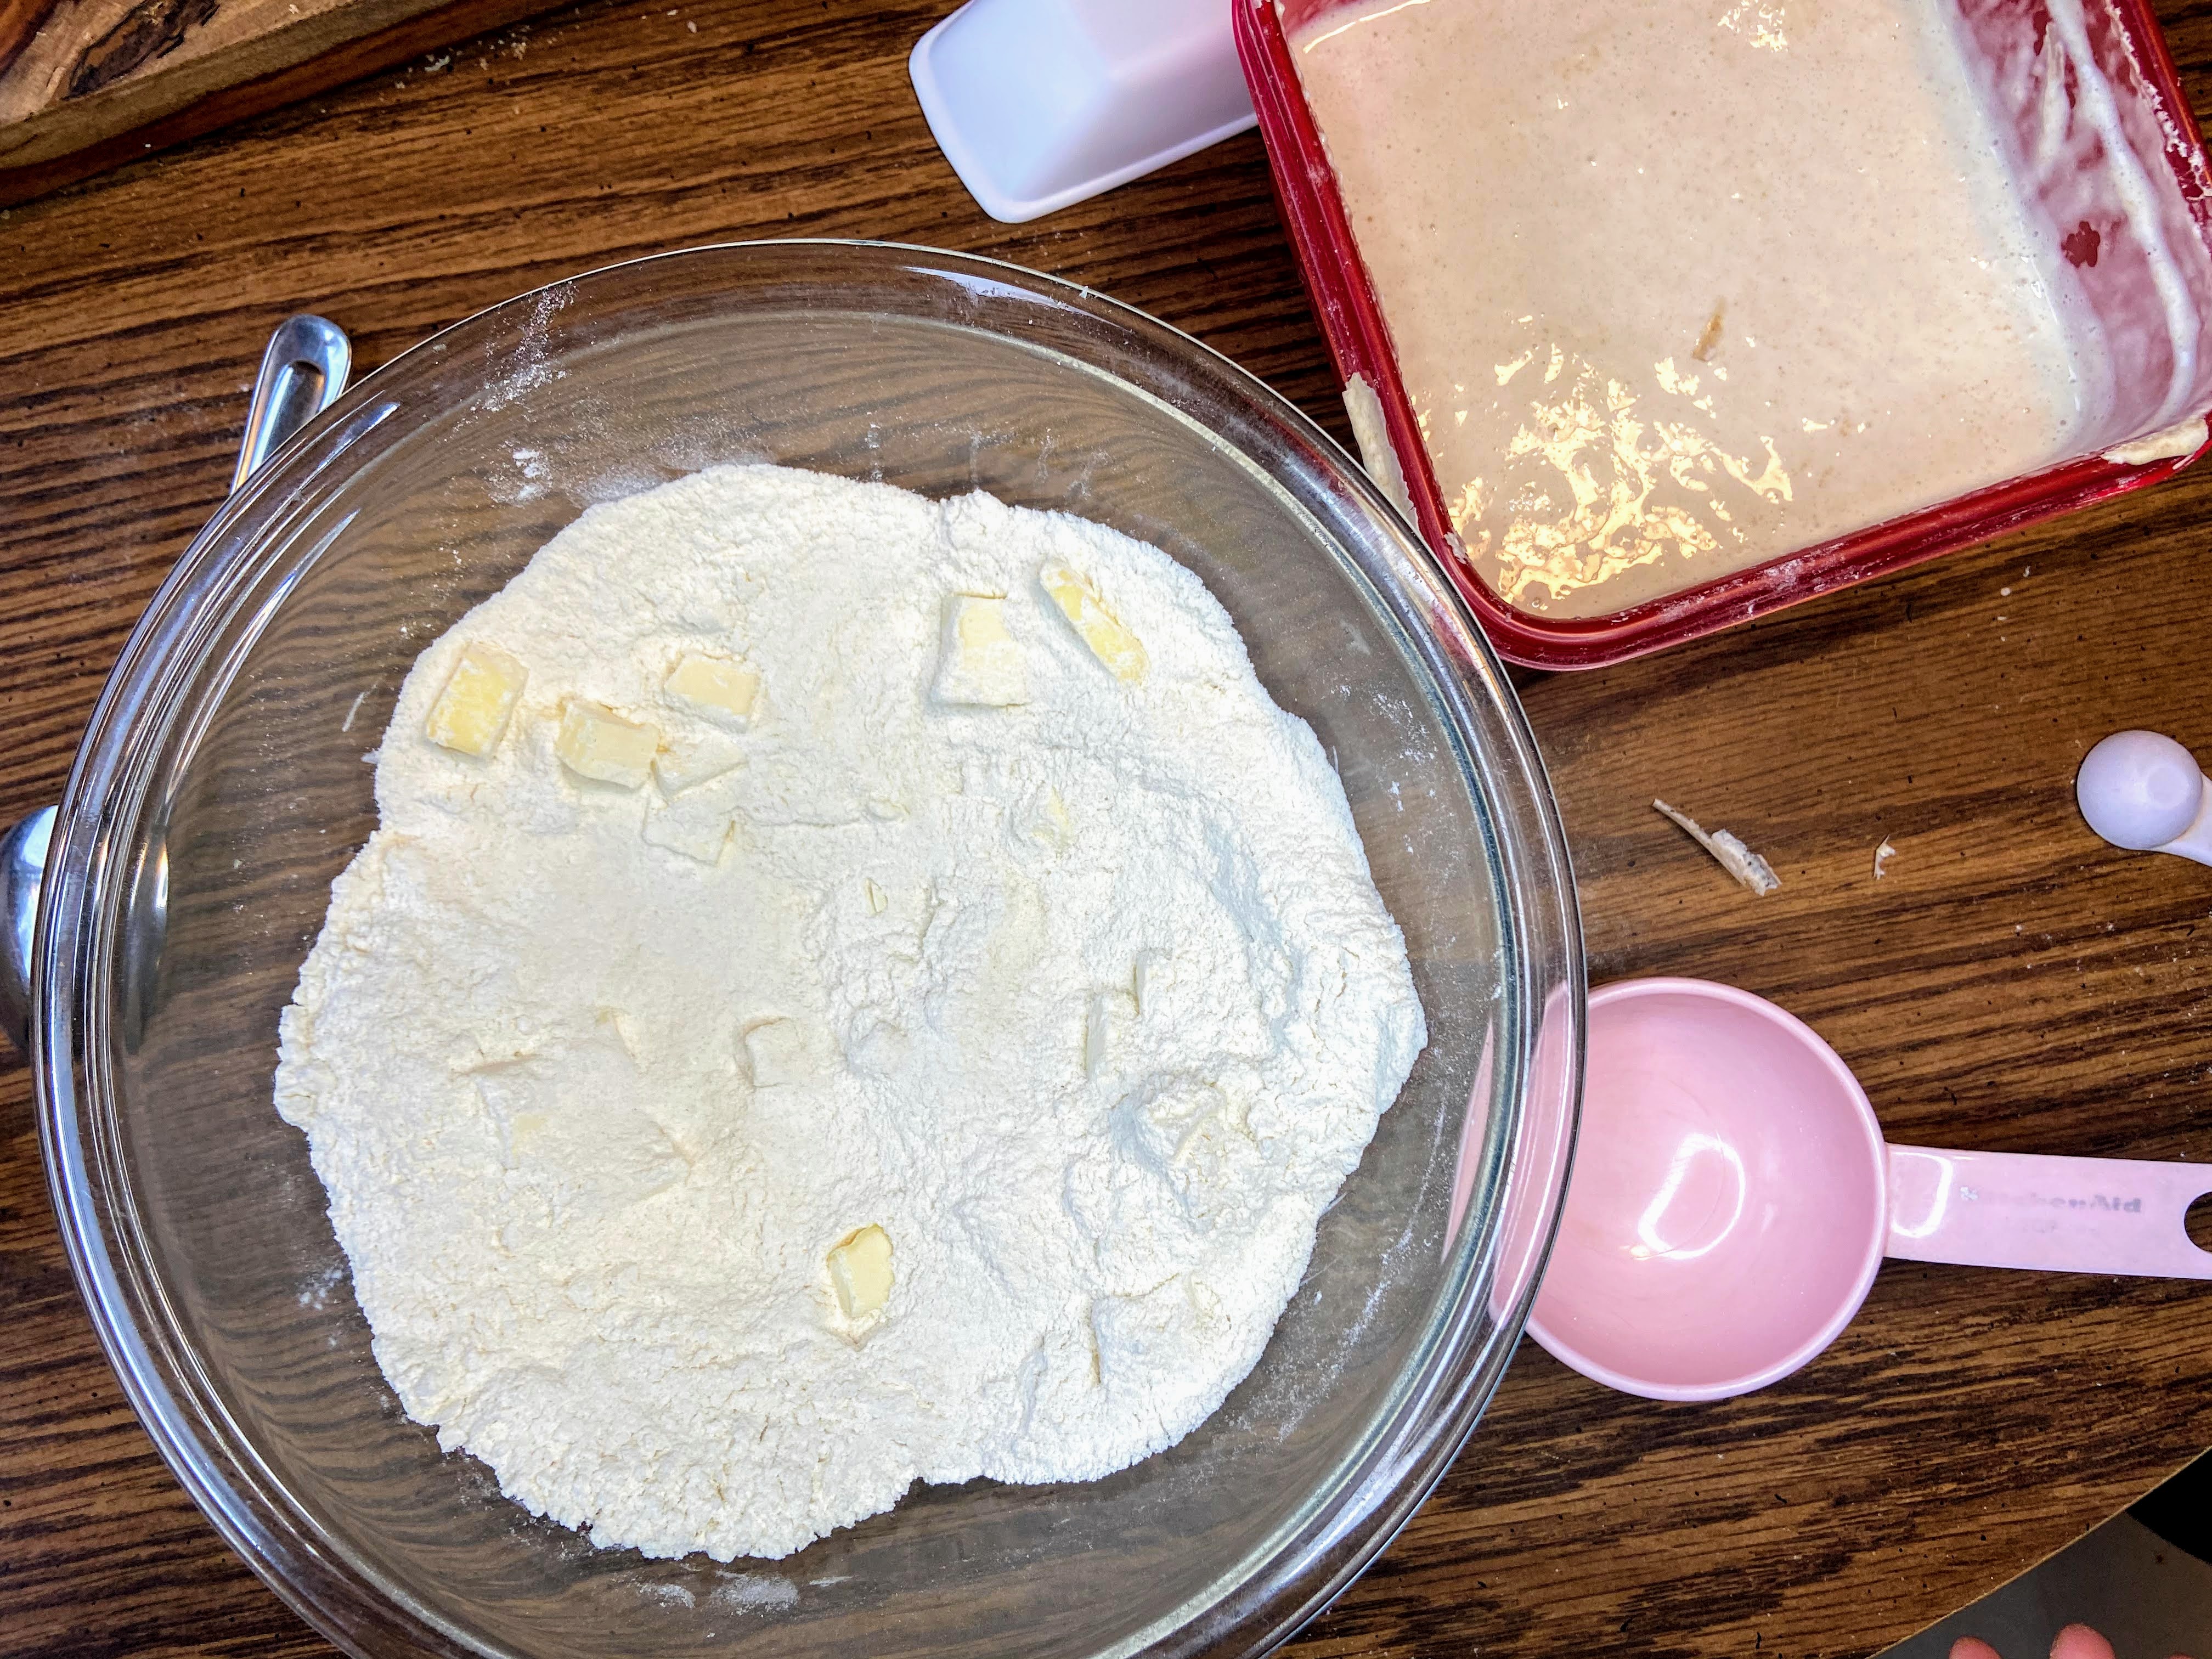
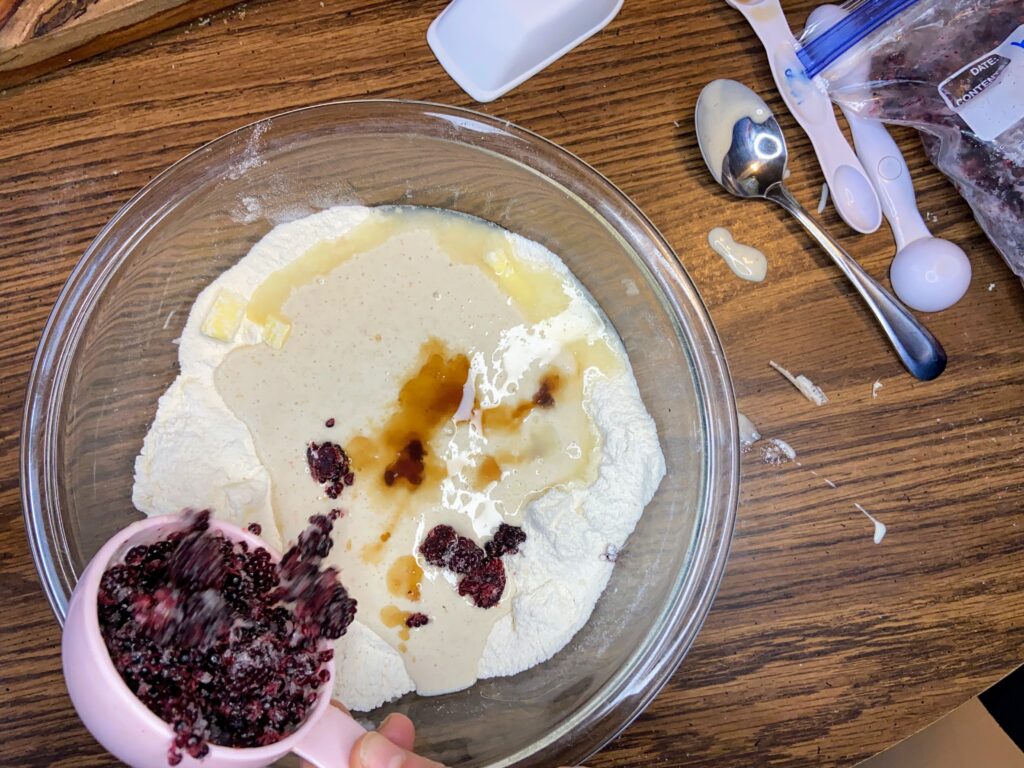
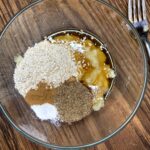
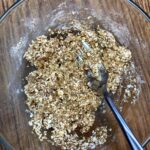
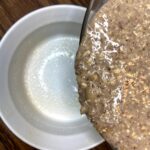
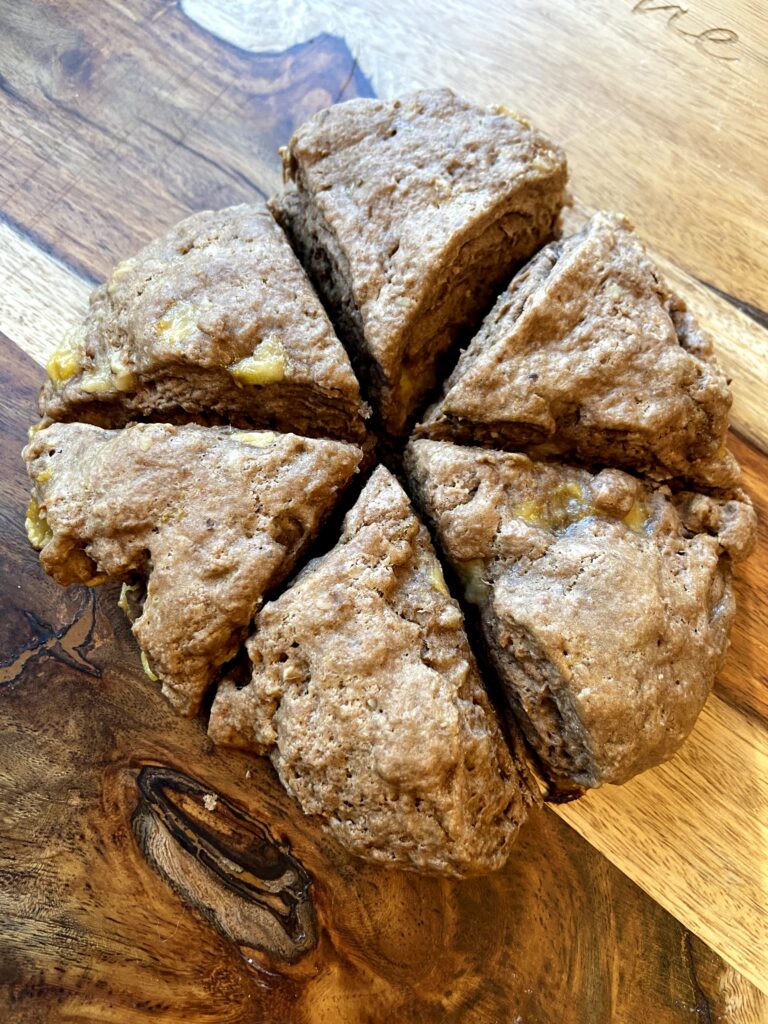
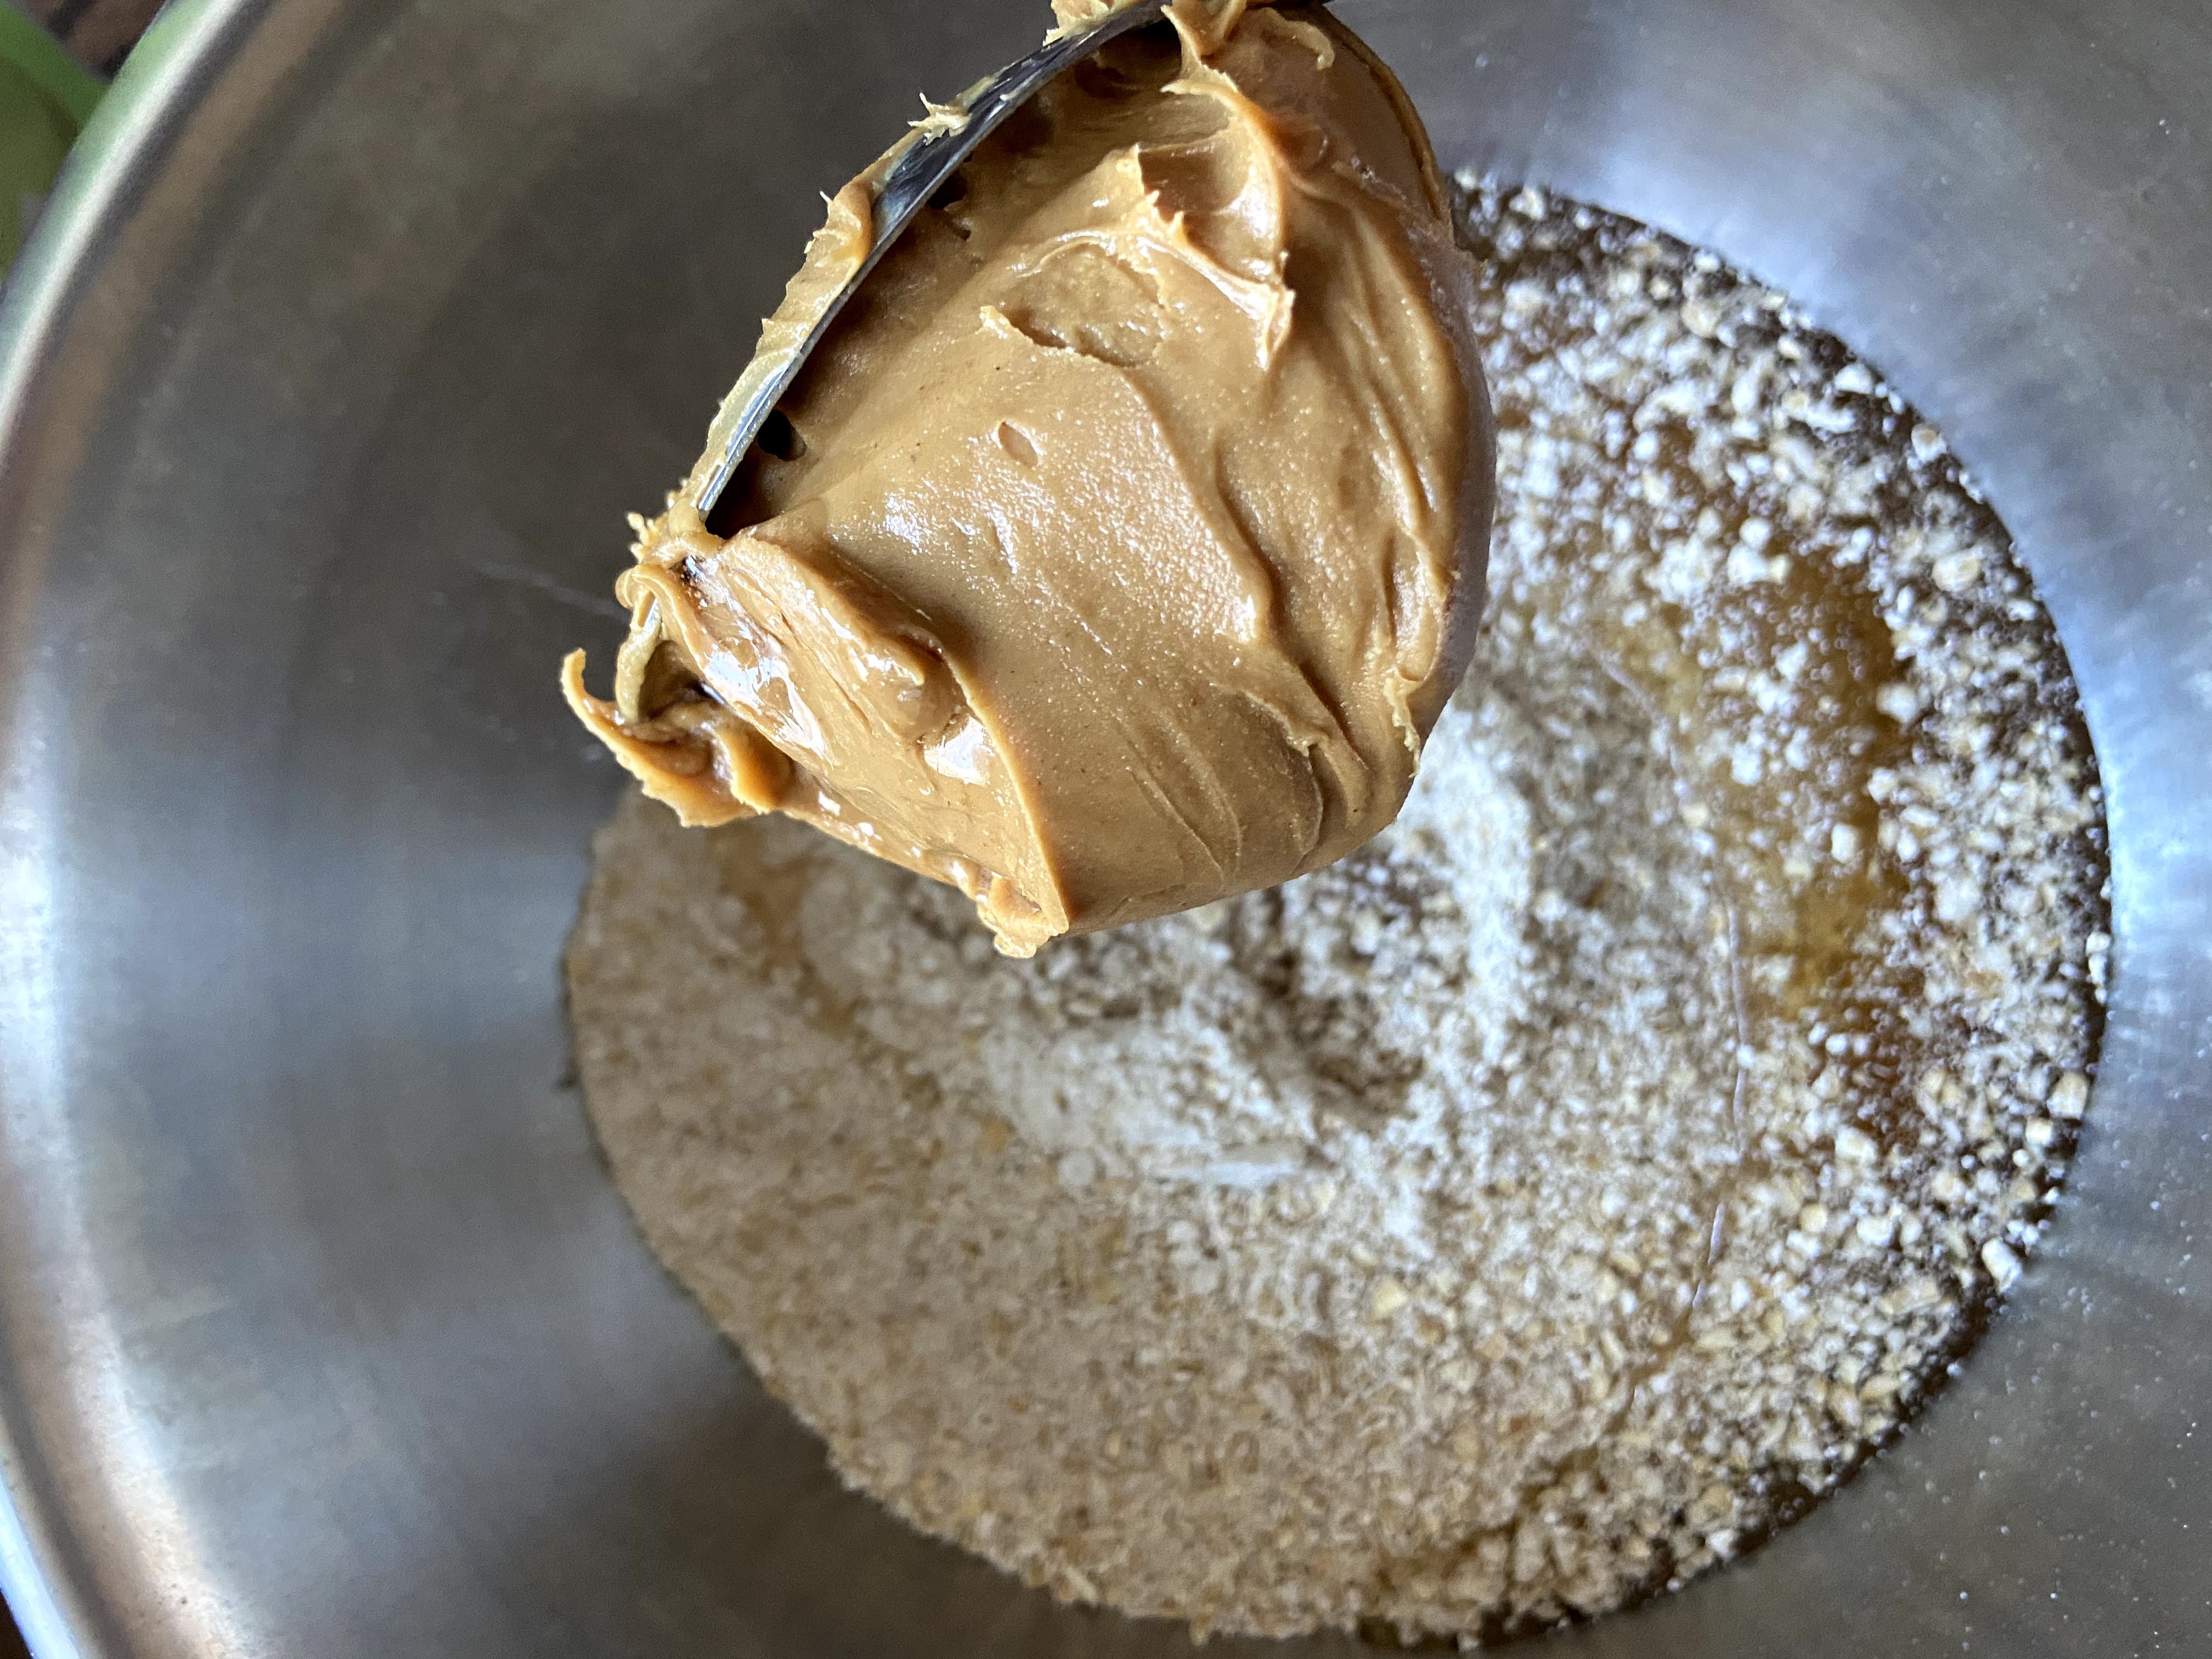
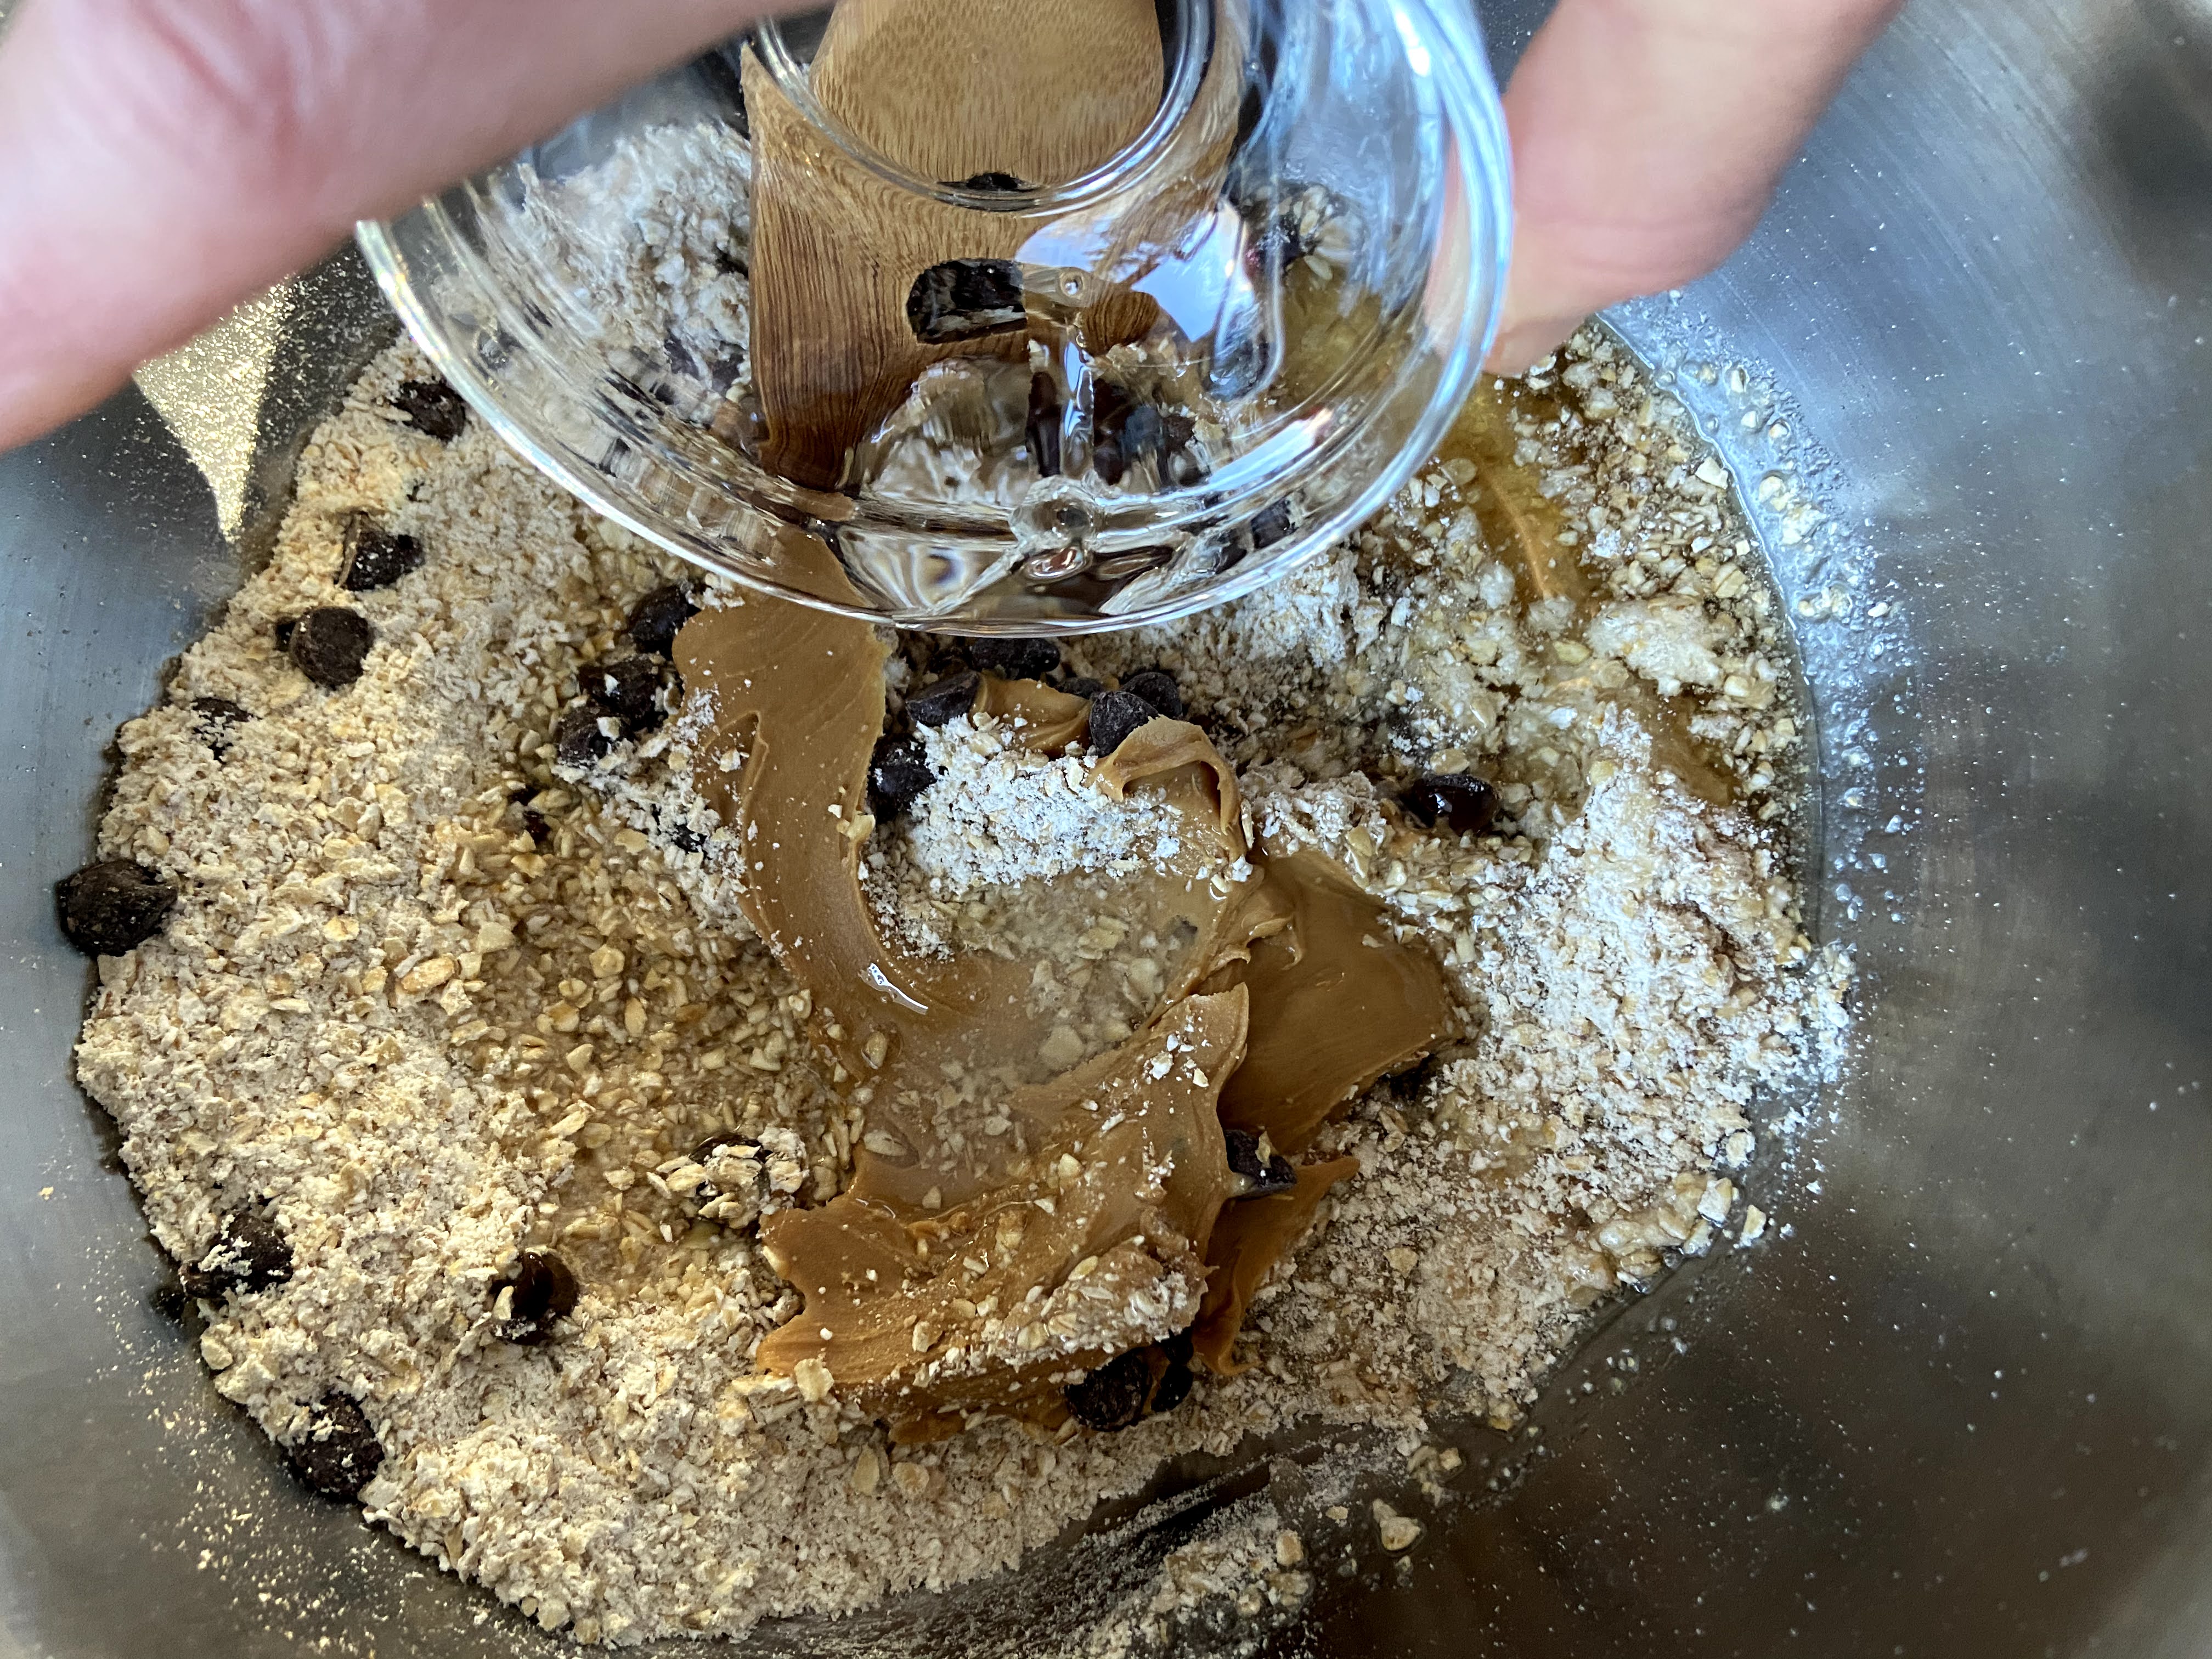
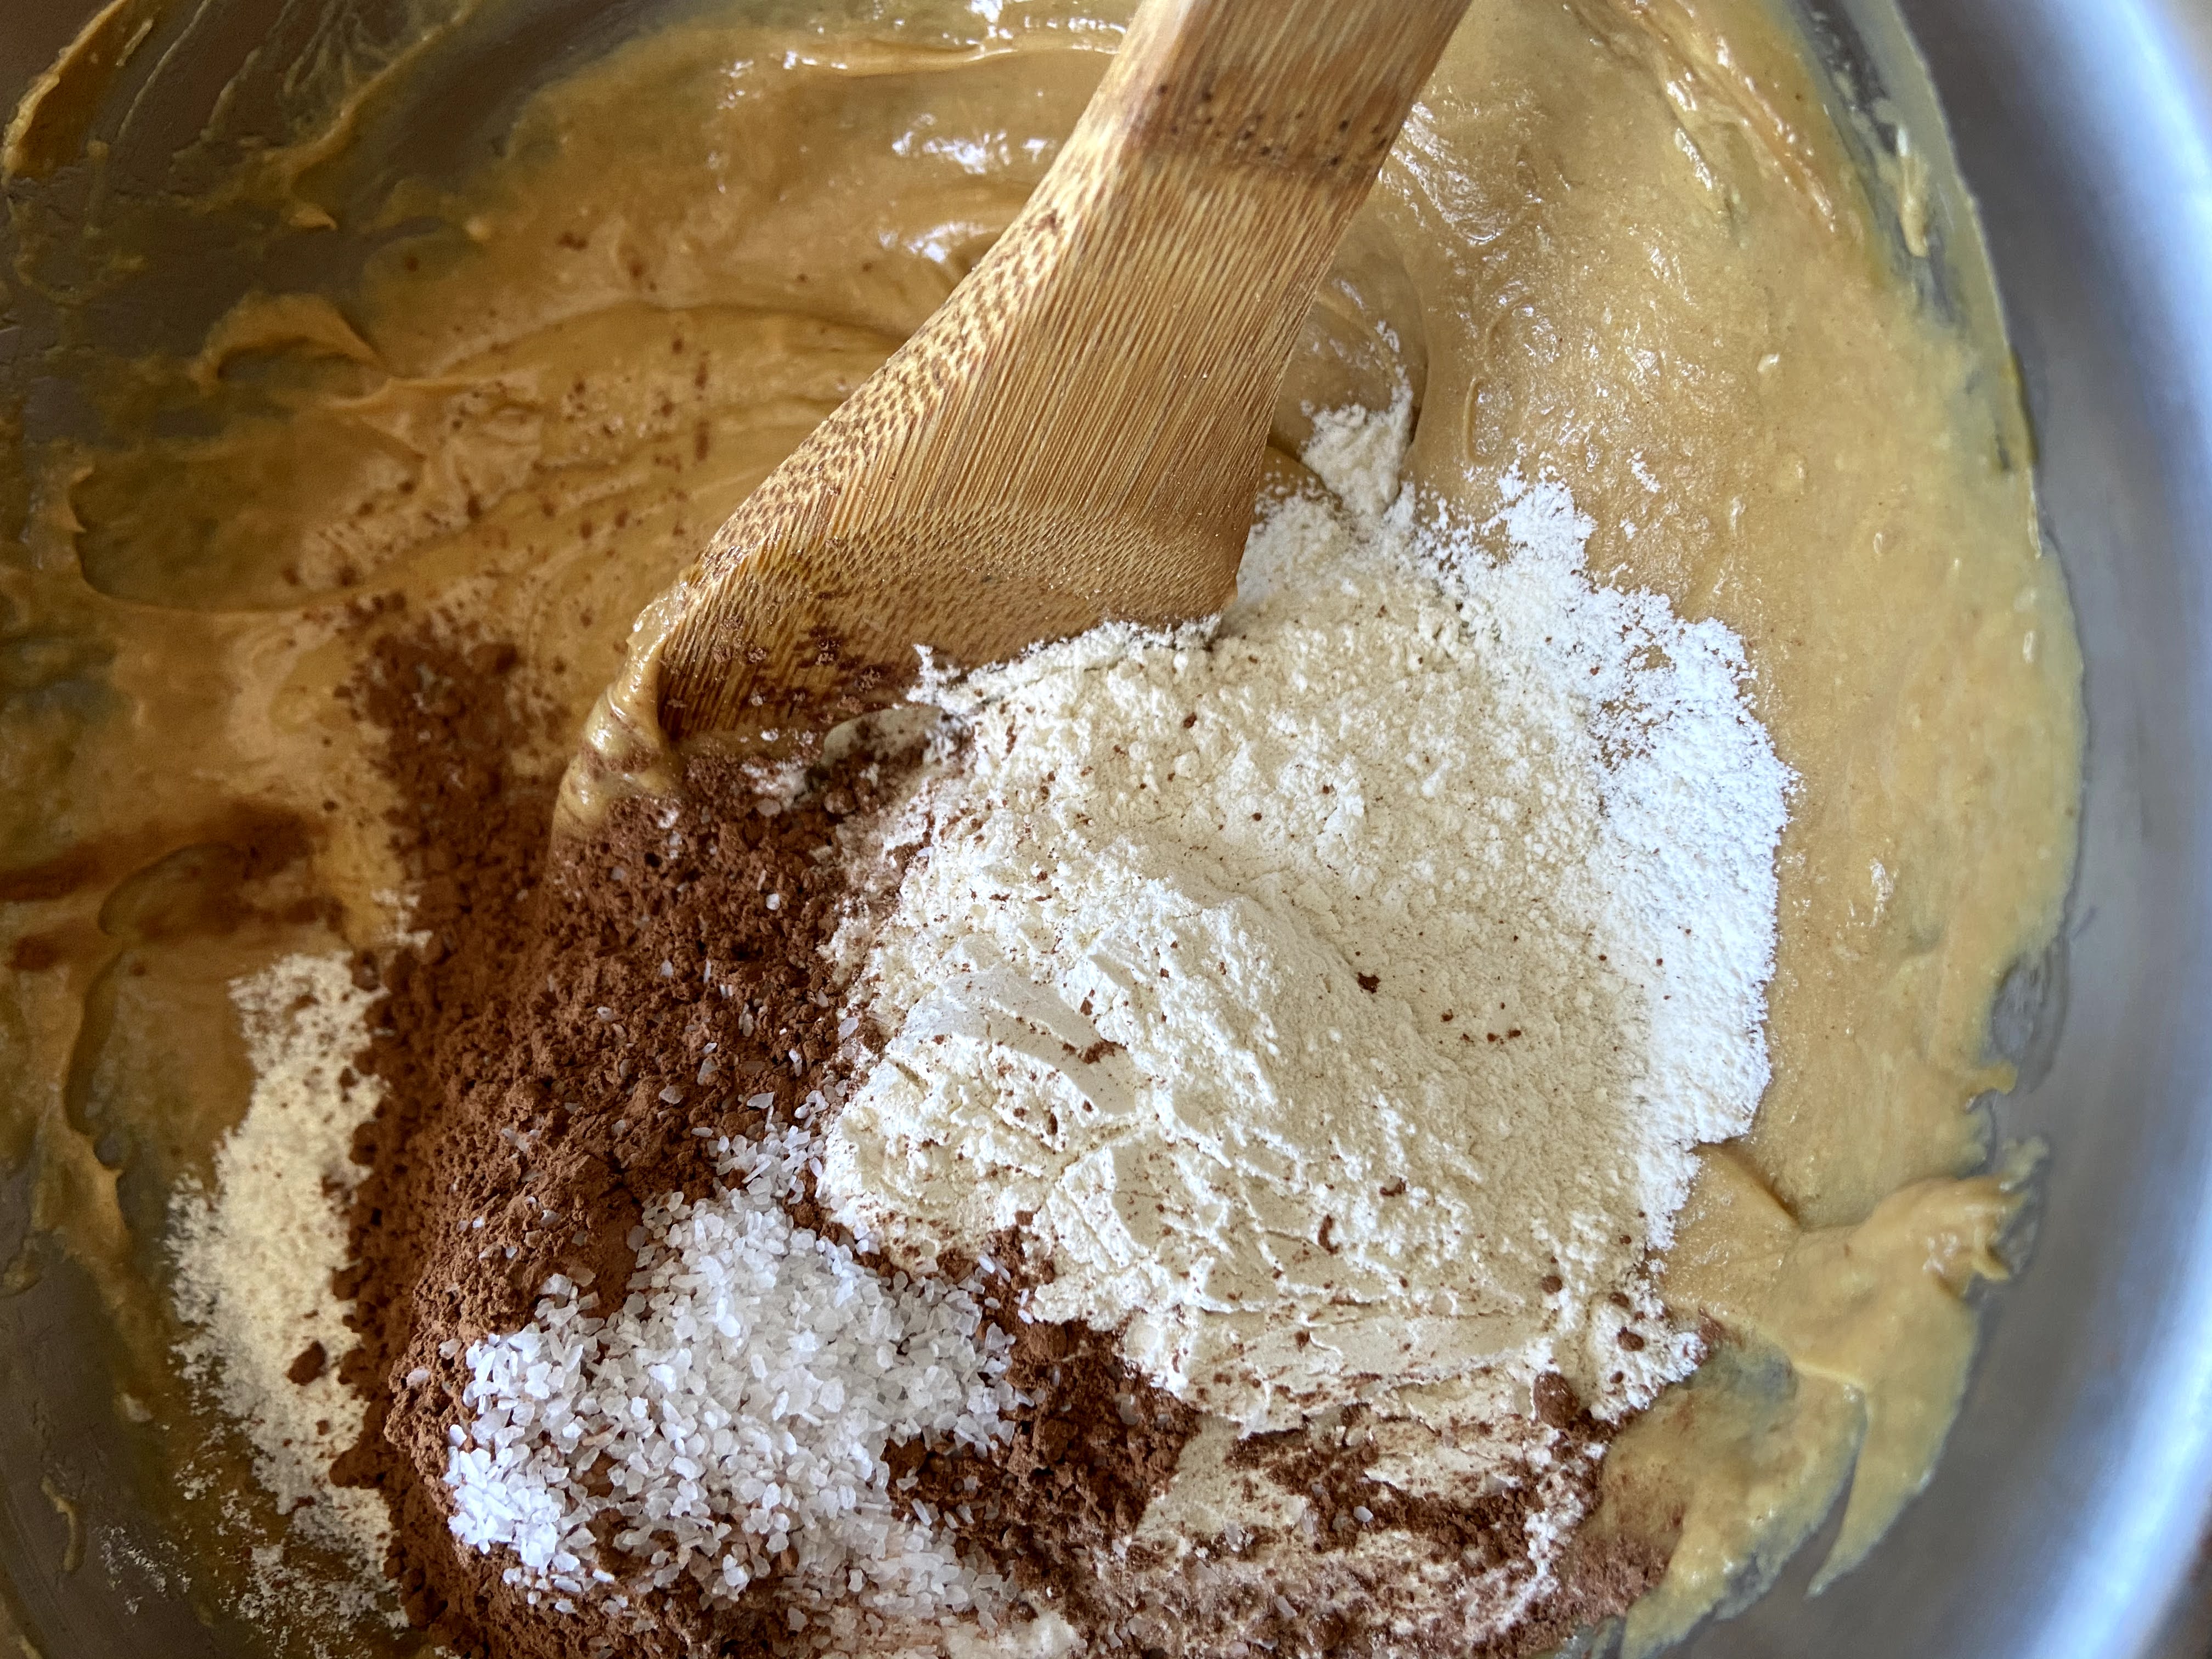
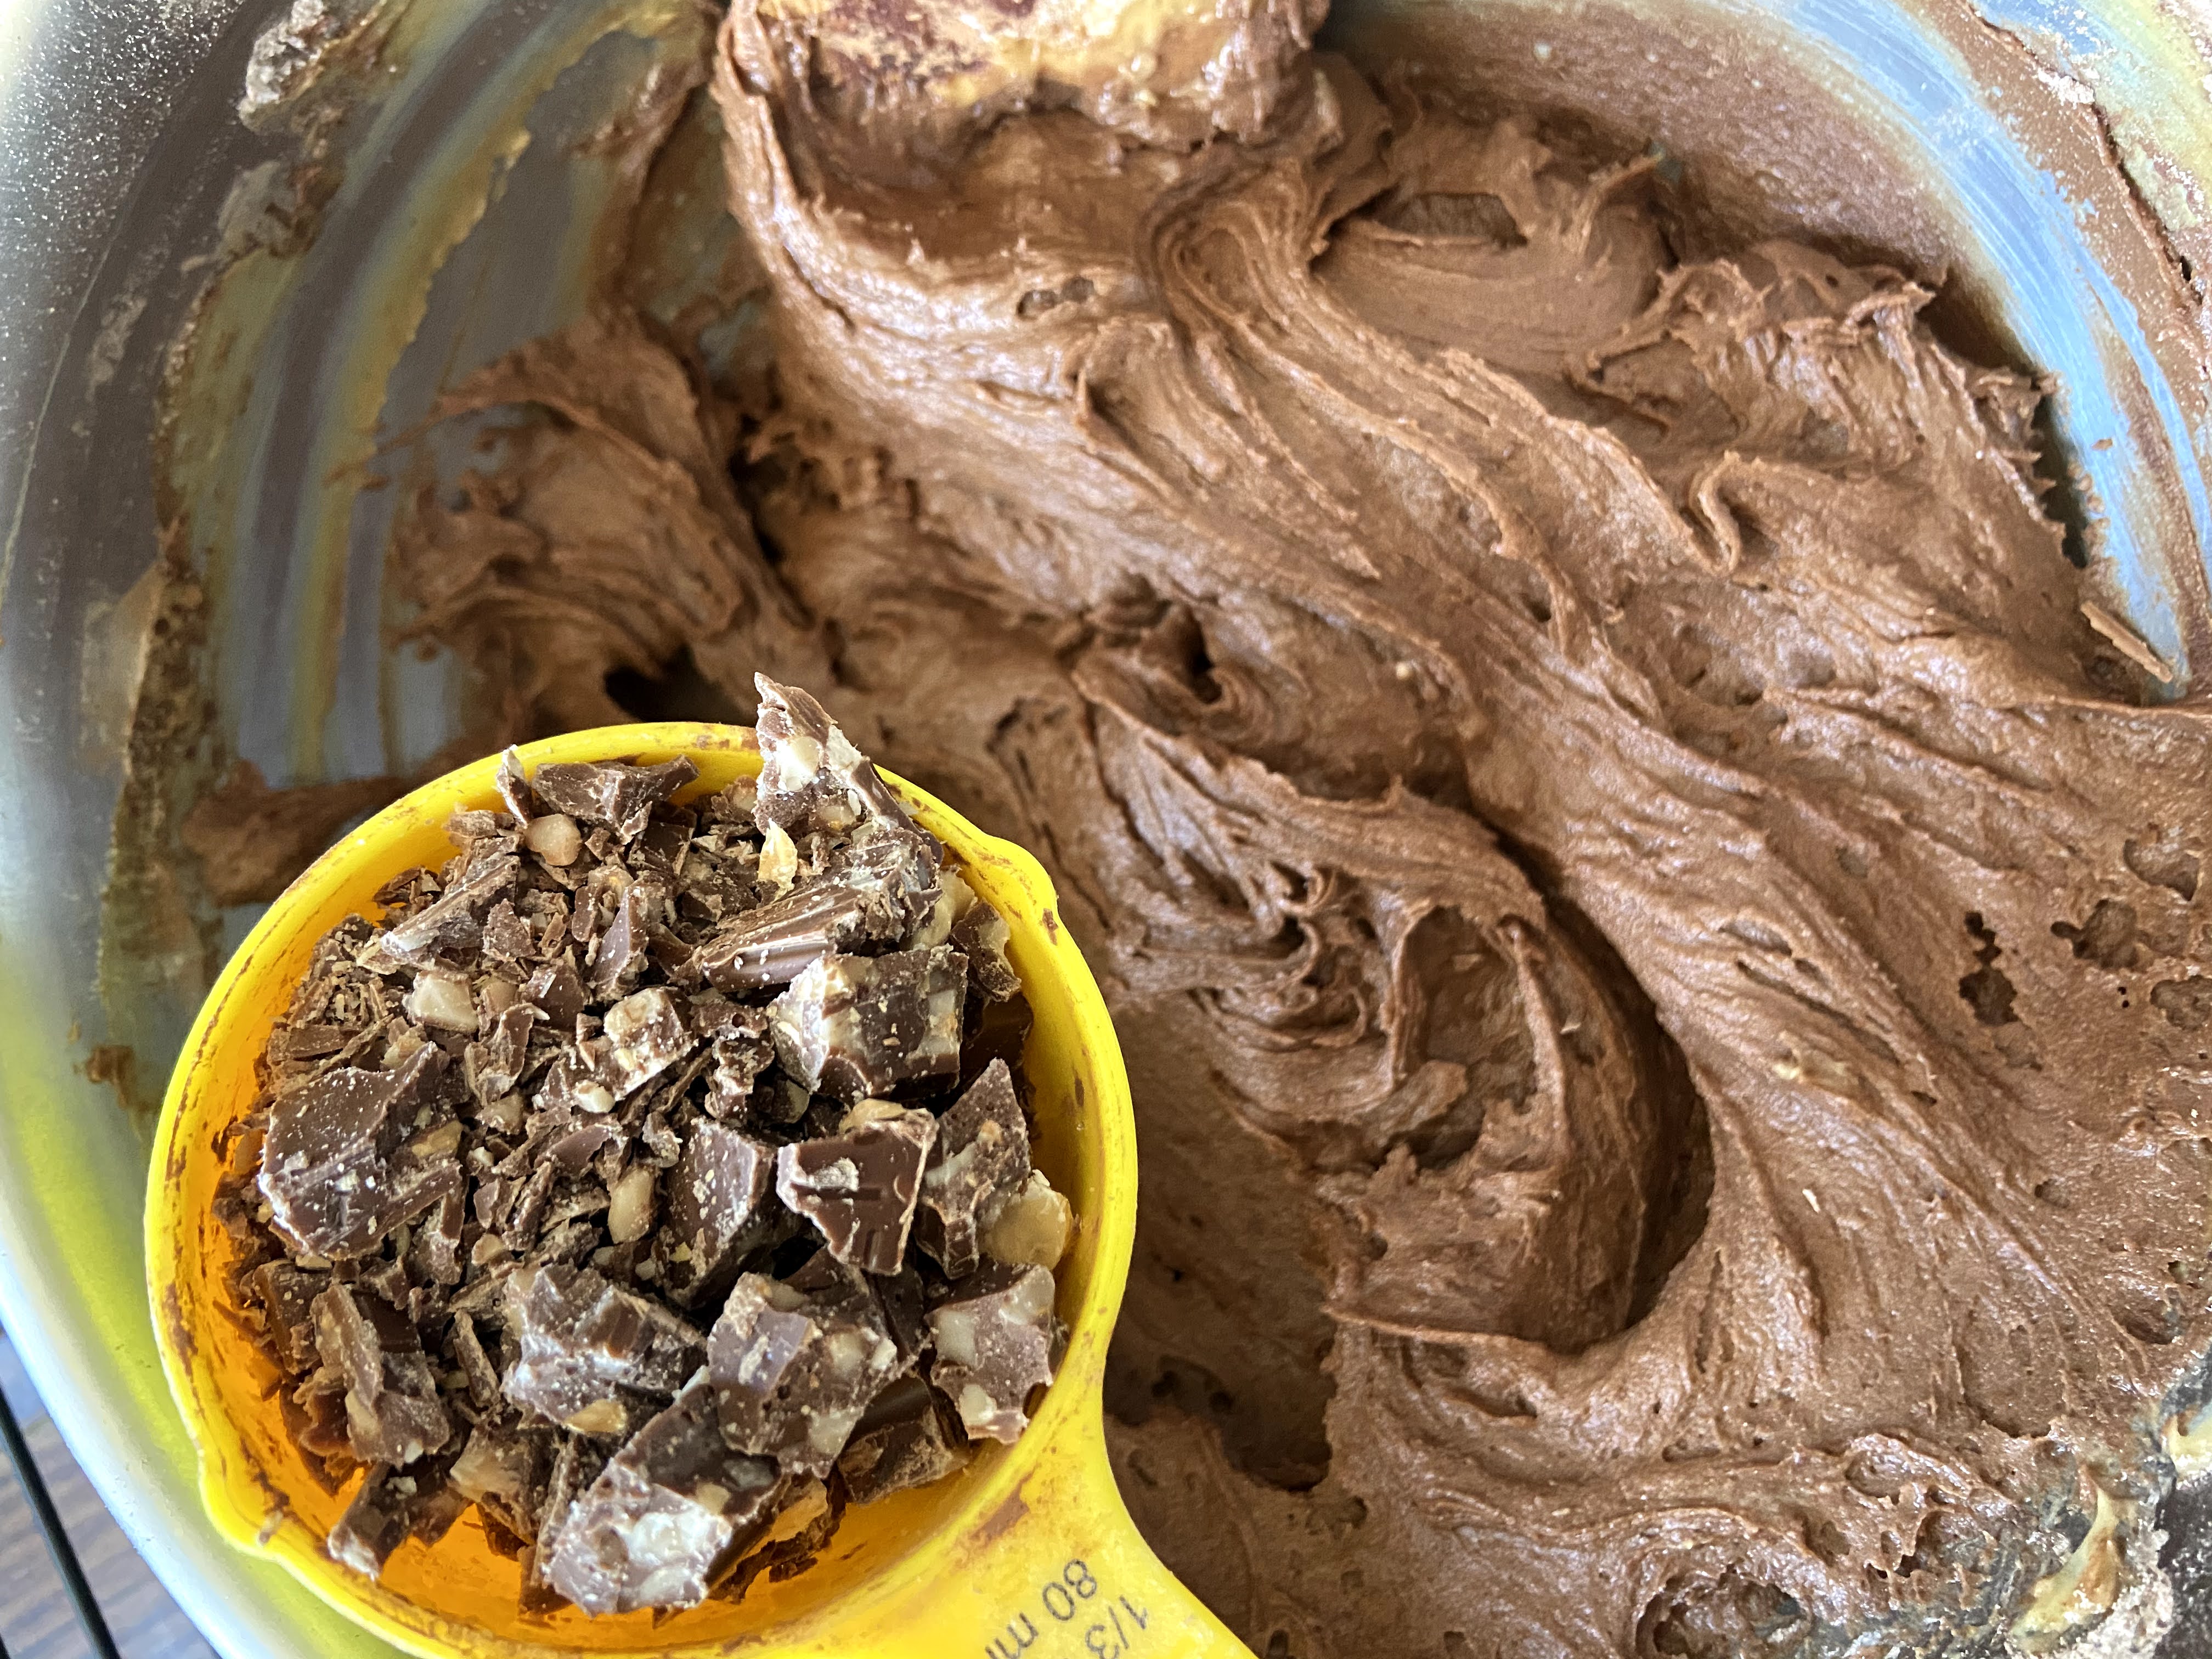
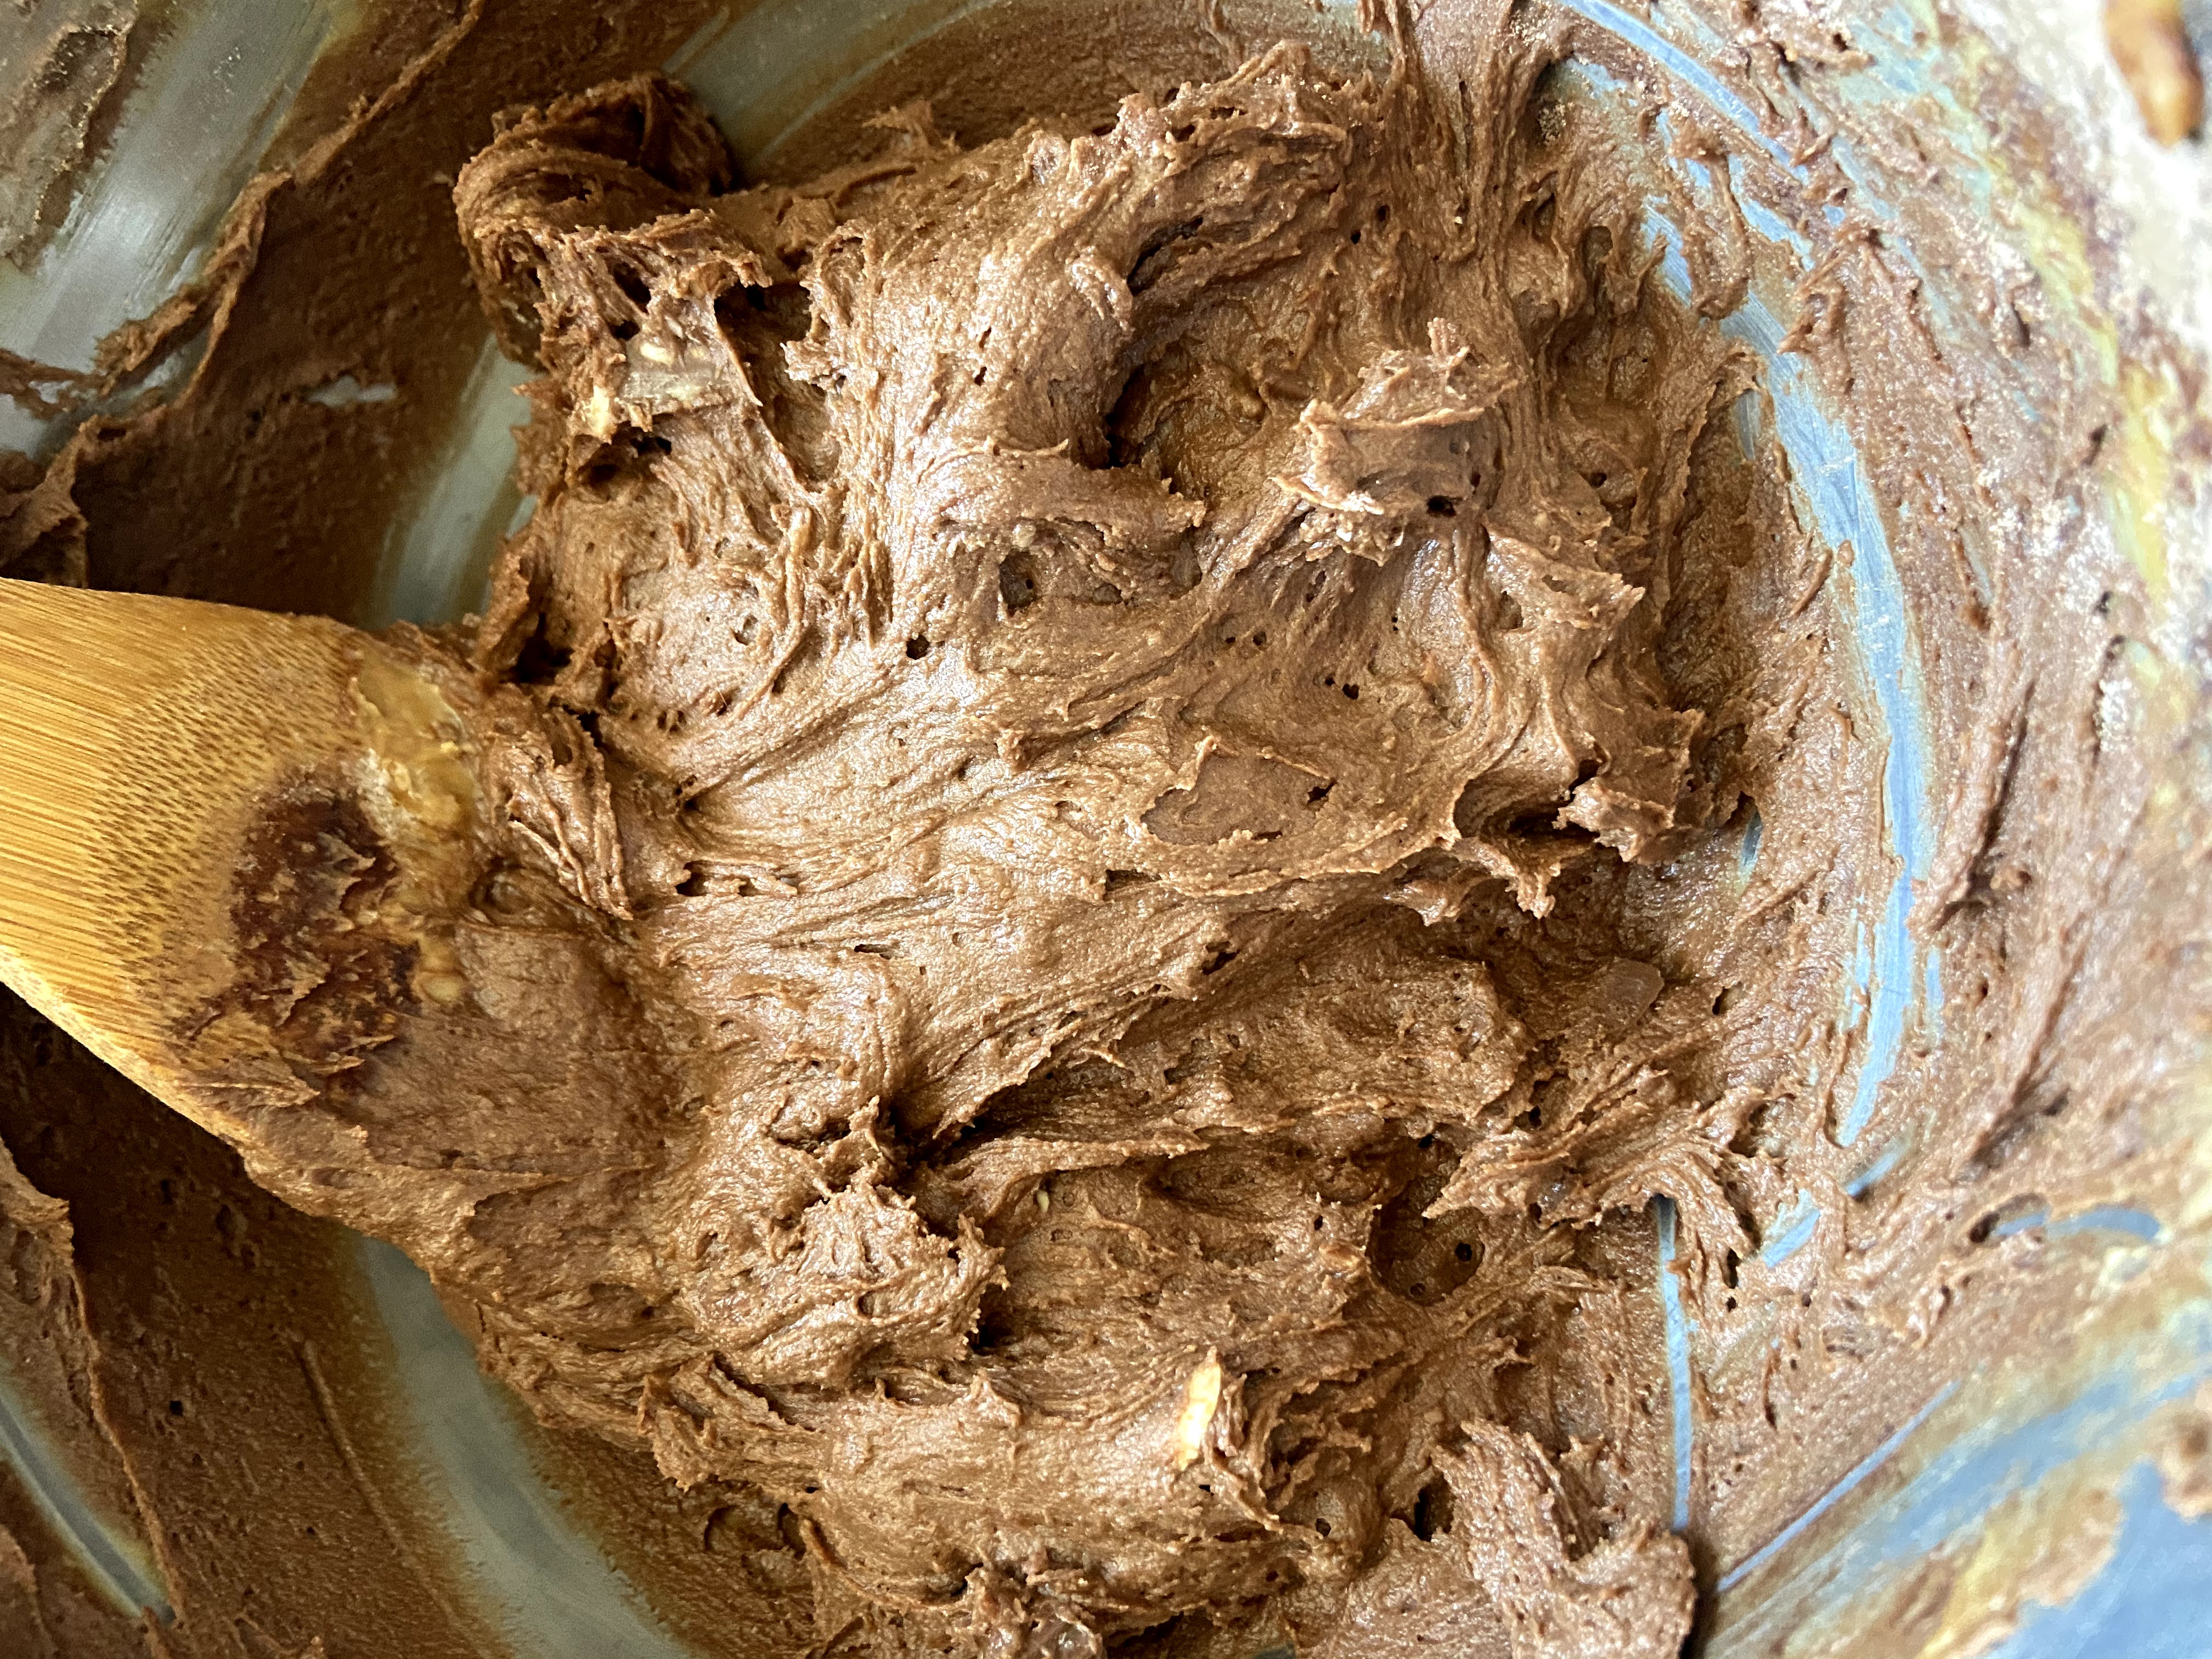
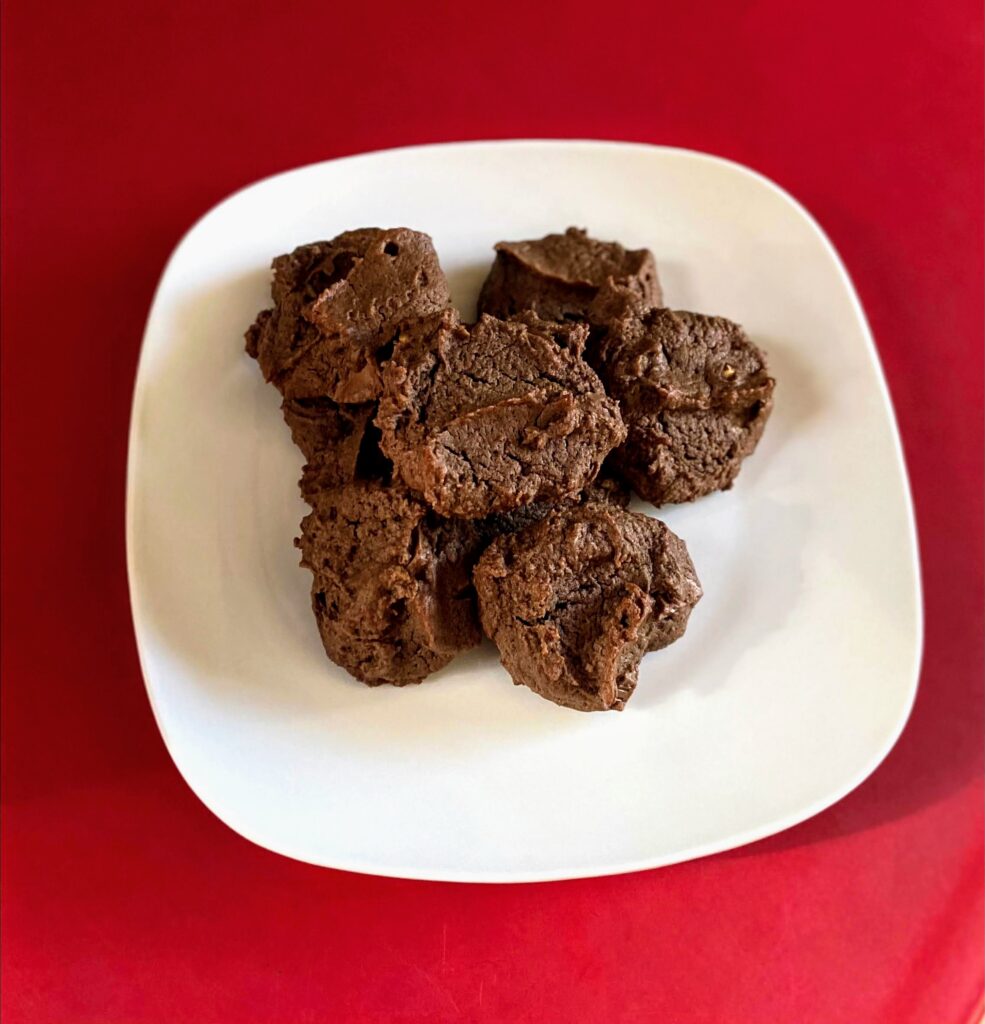
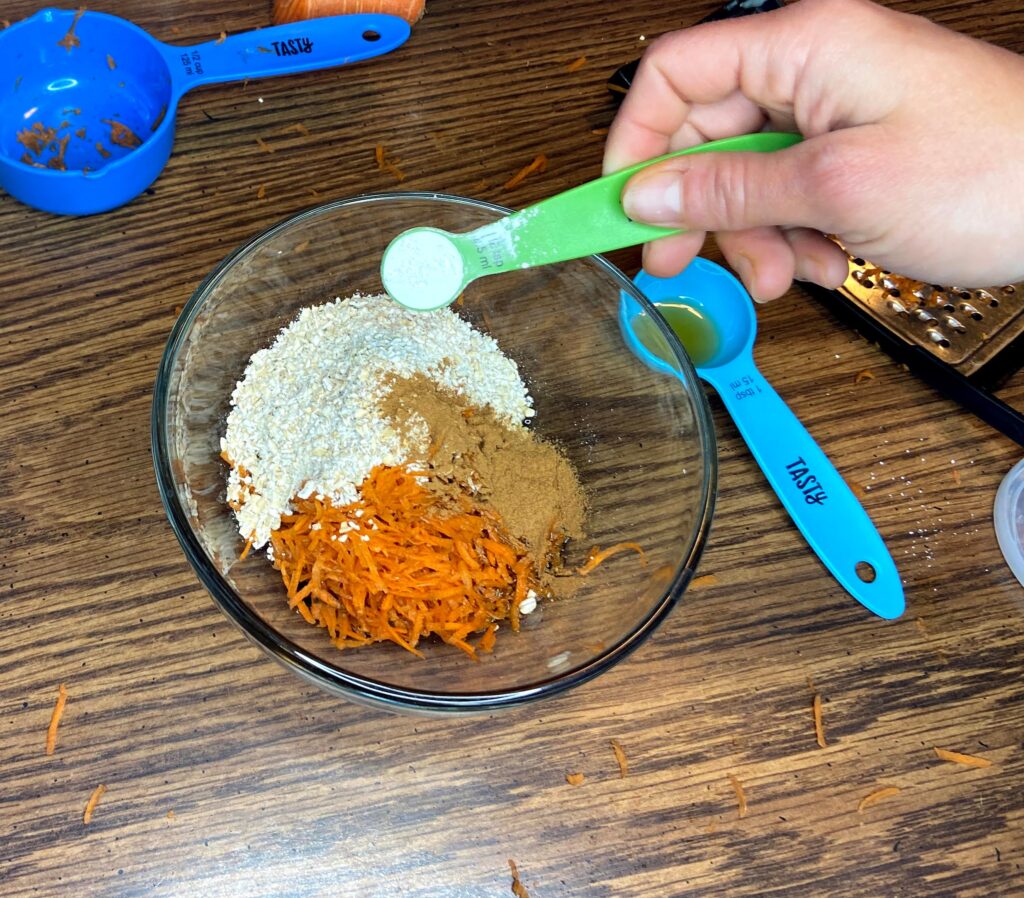
Grate it up! Some oat flour! Add the rest of the dry ingredients. The liquid ingredients and mix. Ramekin it up! And baked! Let’s eat!

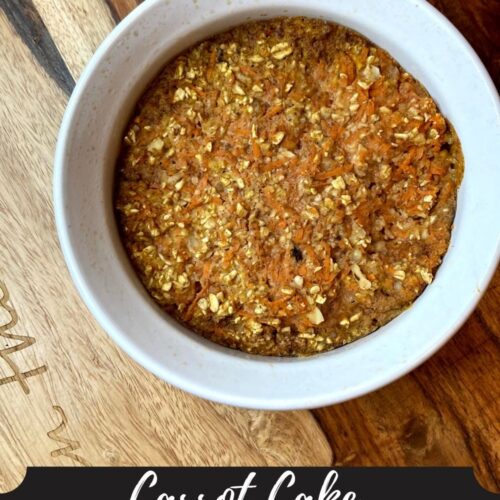
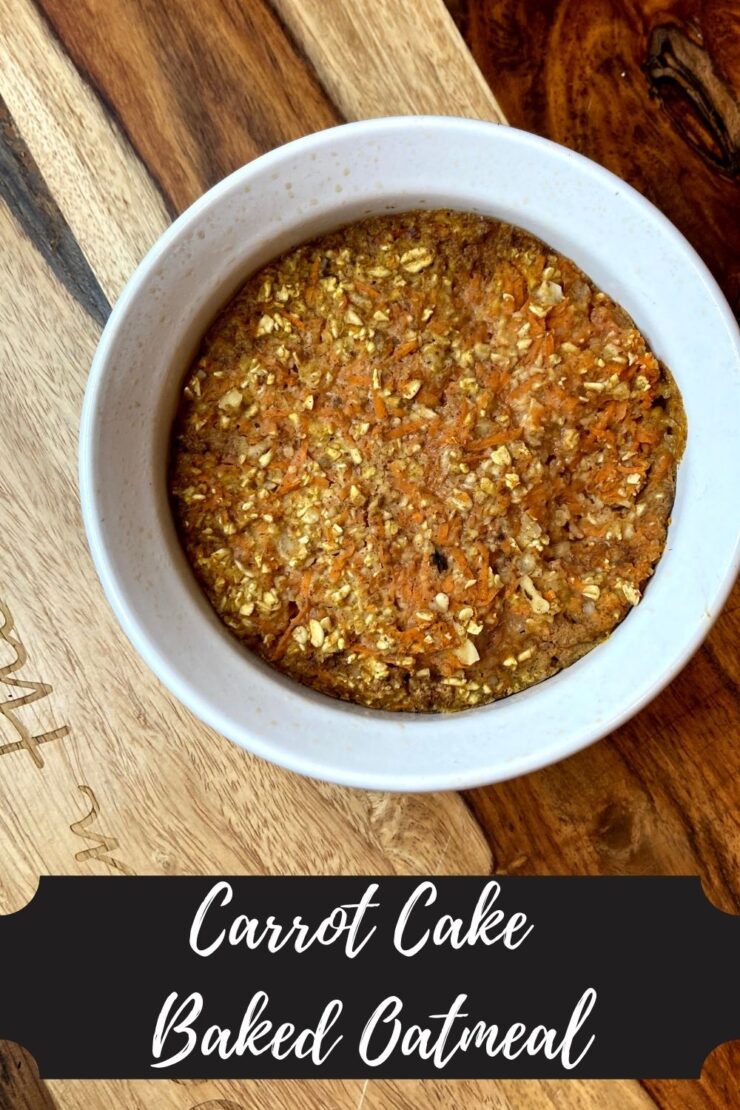
Carrot Cake Baked Oatmeal
Ingredients
- ⅓ to ½ cup grated carrot
- ⅓ cup oat flour
- 1 tablespoon maple syrup
- ½ teaspoon cinnamon
- ½ teaspoon baking powder
- 2 tablespoons chopped walnuts
- ⅓ cup unsweetened almond milk
- ⅛-¼ teaspoon vanilla extract optional
Instructions
- Preheat the oven to 375 degrees. Grease a ramekin with non-stick cooking spray.
- Combine all ingredients in a small bowl, mixing until well combined.
- Pour into greased ramekin. Bake on the middle shelf for 15-20 minutes, depending on your texture preference.