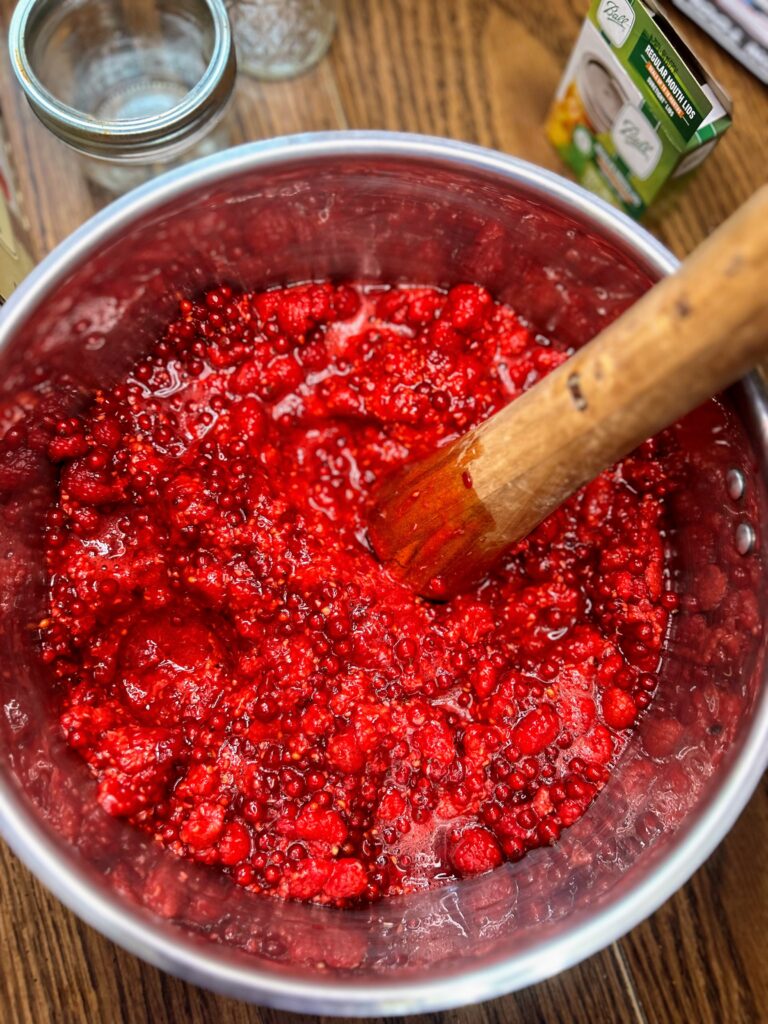
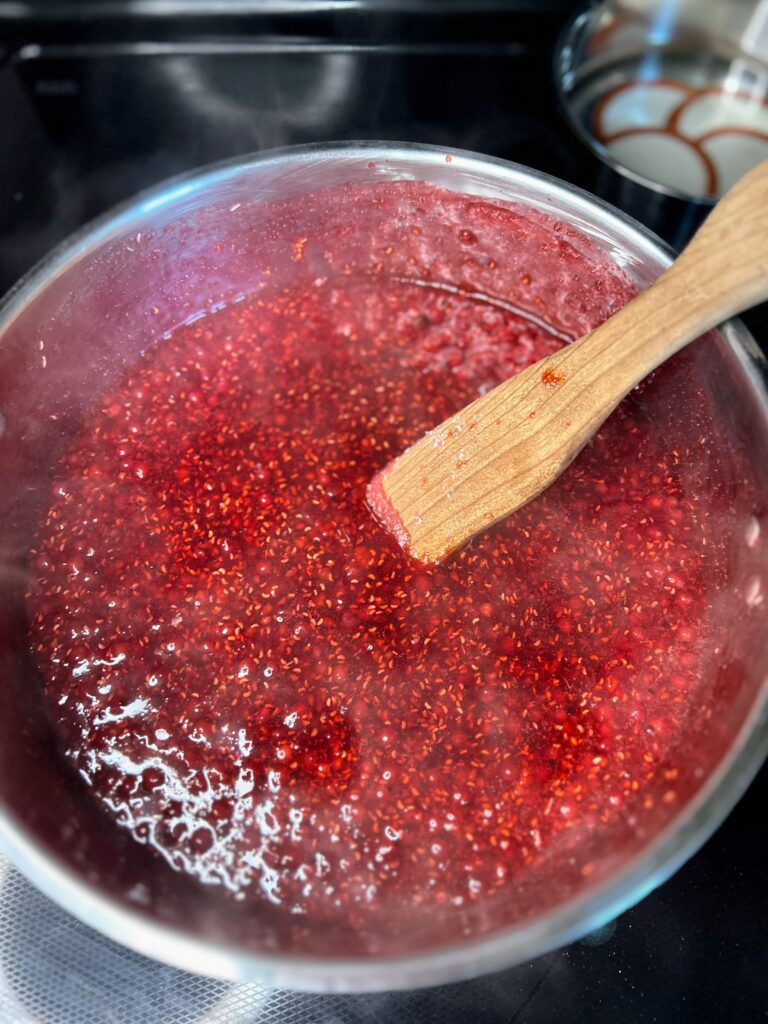
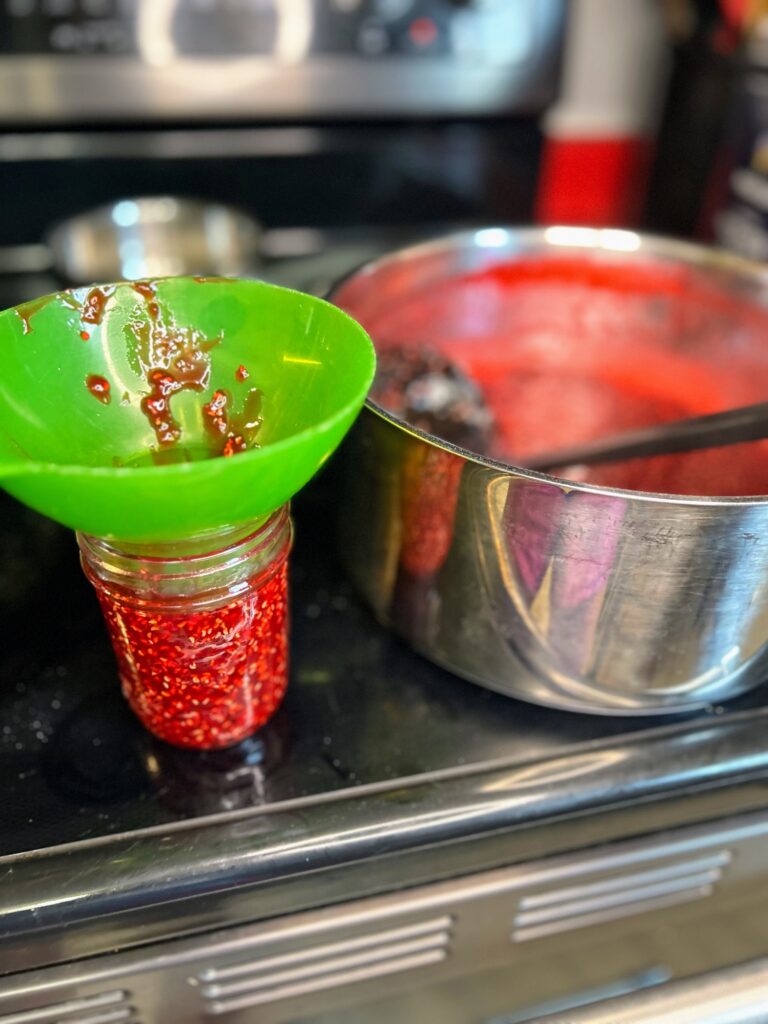
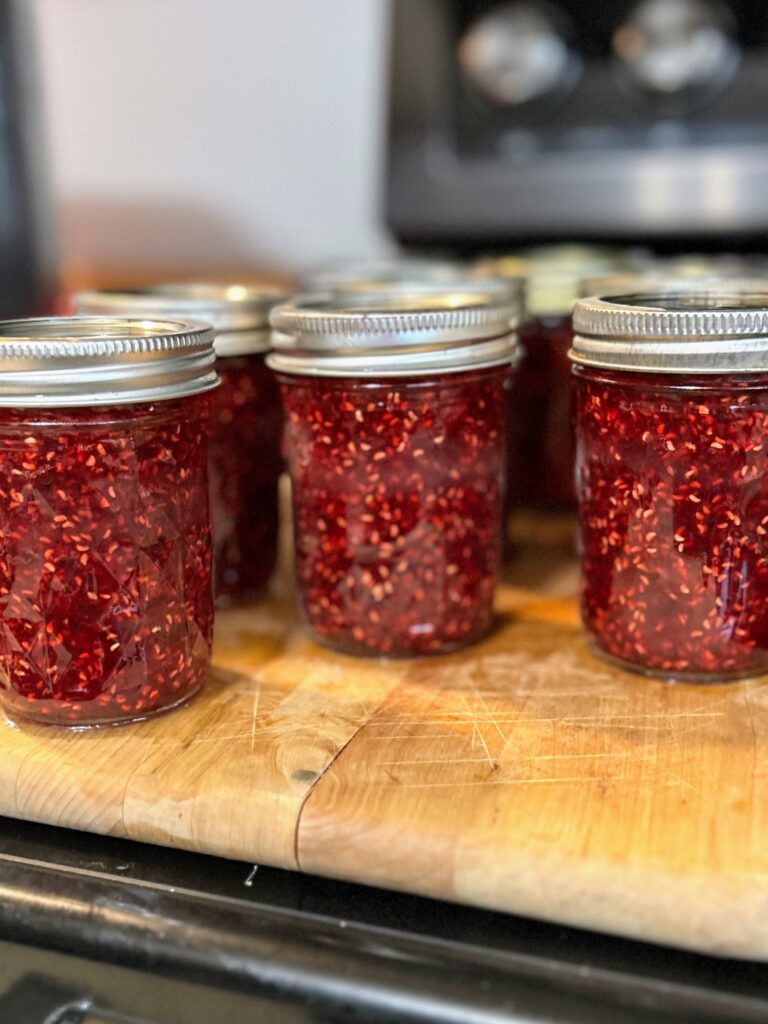
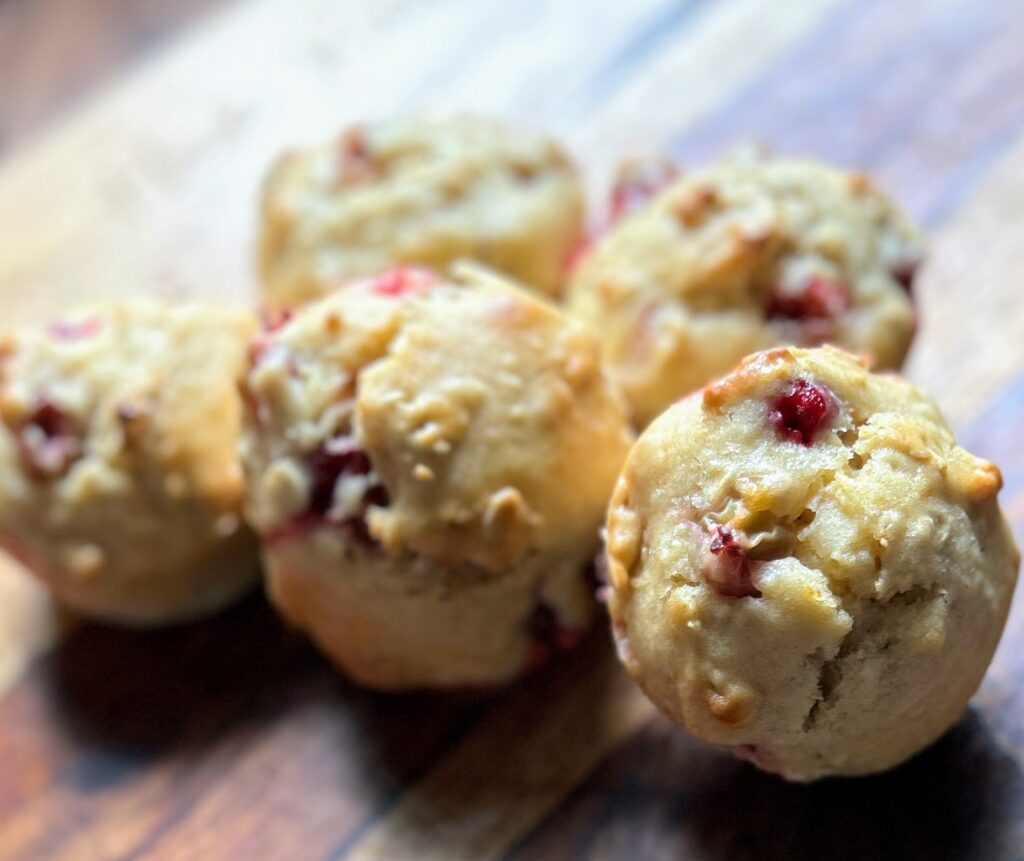
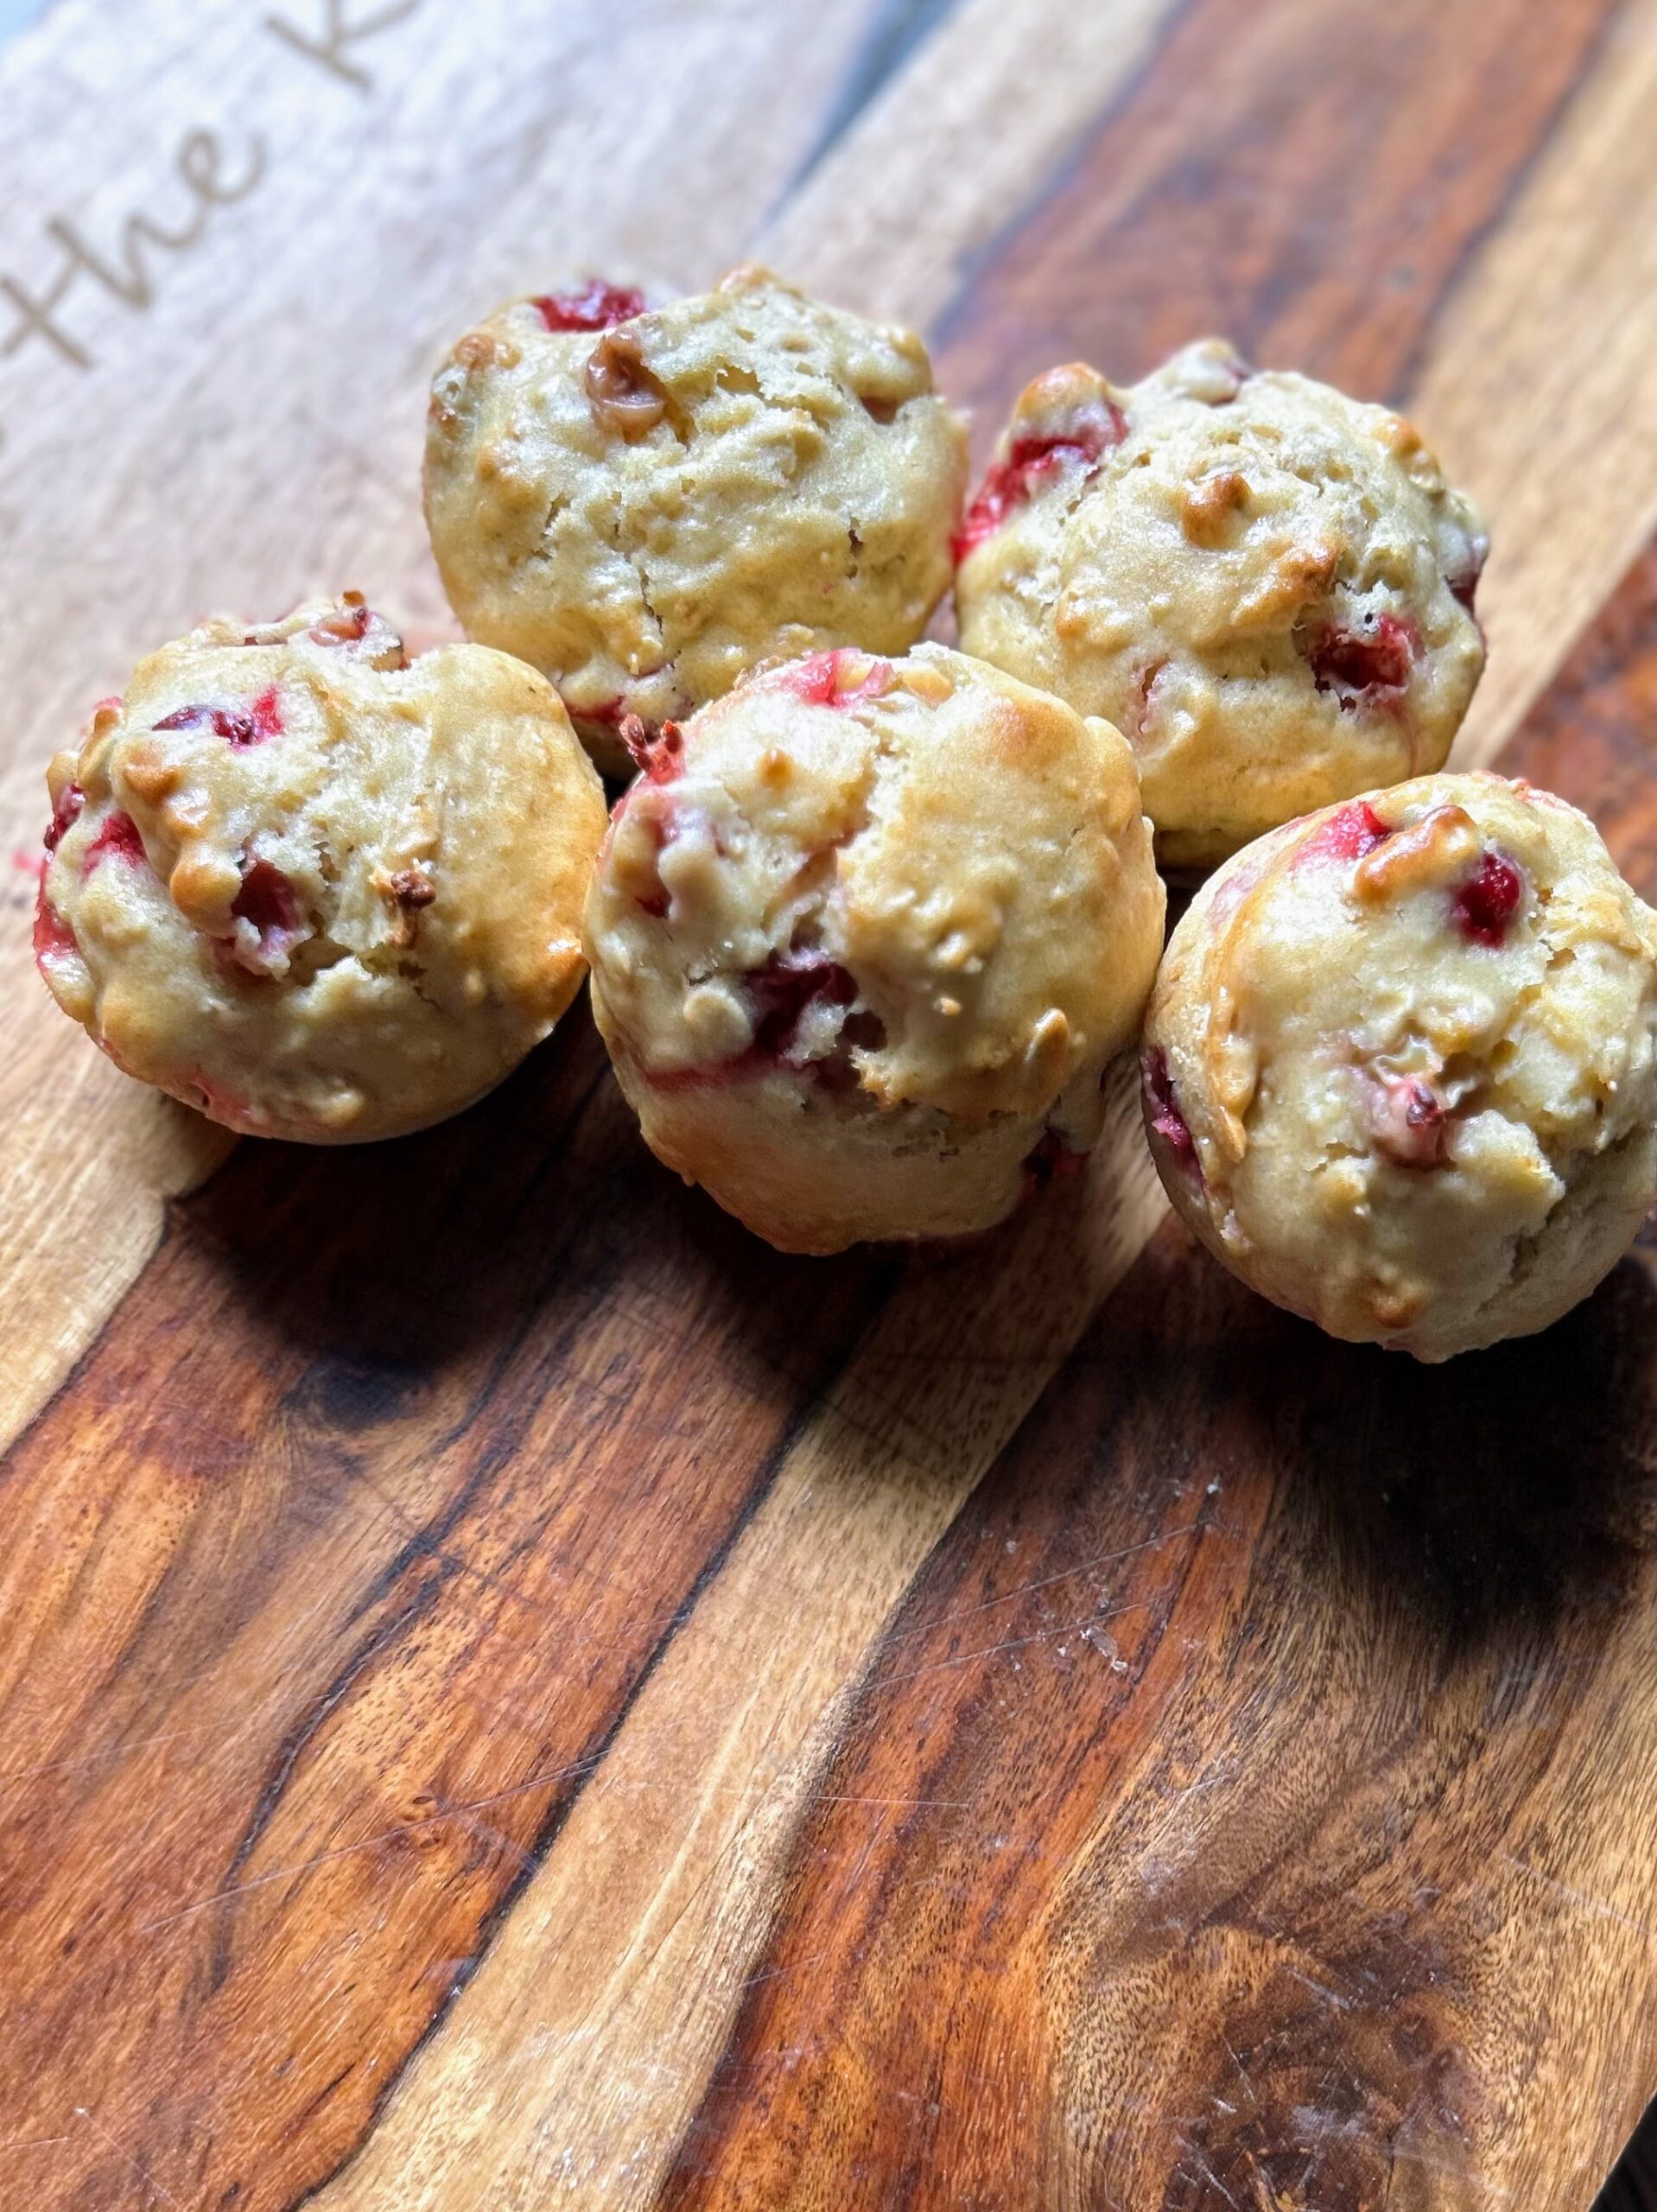
Gooseberries are not a traditional midwestern gardener’s fruit. I stumbled on them when I thought I had tried some at a farmer’s market and loved the fruit so much I wanted to grow my own. Turns out, gooseberries weren’t the correct fruit, but it certainly was a happy mistake. Each year, I make a few batches of delicious gooseberry jam and now these upgraded gooseberry muffins.
Never had a gooseberry? They are about the size of a large blueberry, but look like a miniature watermelon with the texture of a grape. Typing that just makes me smile. It almost sounds like a description from a Dr. Seuss book, but I think it’s a great description. They can be tart like a green grape or sweeter like a red grape. They grow on bushes with some gnarly thorns. I see that as part of the adventure of having them…can I get away without getting pricked?
I have an original gooseberry muffin recipe that went light on the sugar, heavy on the whole wheat, and may not be everyone’s cup of tea. This recipe has dropped the whole wheat, added some brown sugar, and has been tested by my family with two thumbs up! I hope you enjoy!
I have an original gooseberry muffin recipe that went light on the sugar, heavy on the whole wheat, and may not be everyone’s cup of tea. This recipe has dropped the whole wheat, added some brown sugar, and has been tested by my family with two thumbs up! I hope you enjoy!
Your Ingredients
- 1 egg
- ½ cup Greek yogurt
- ¼ cup+ 2 tablespoons milk
- 1 teaspoon vanilla
- 2 tablespoon oil
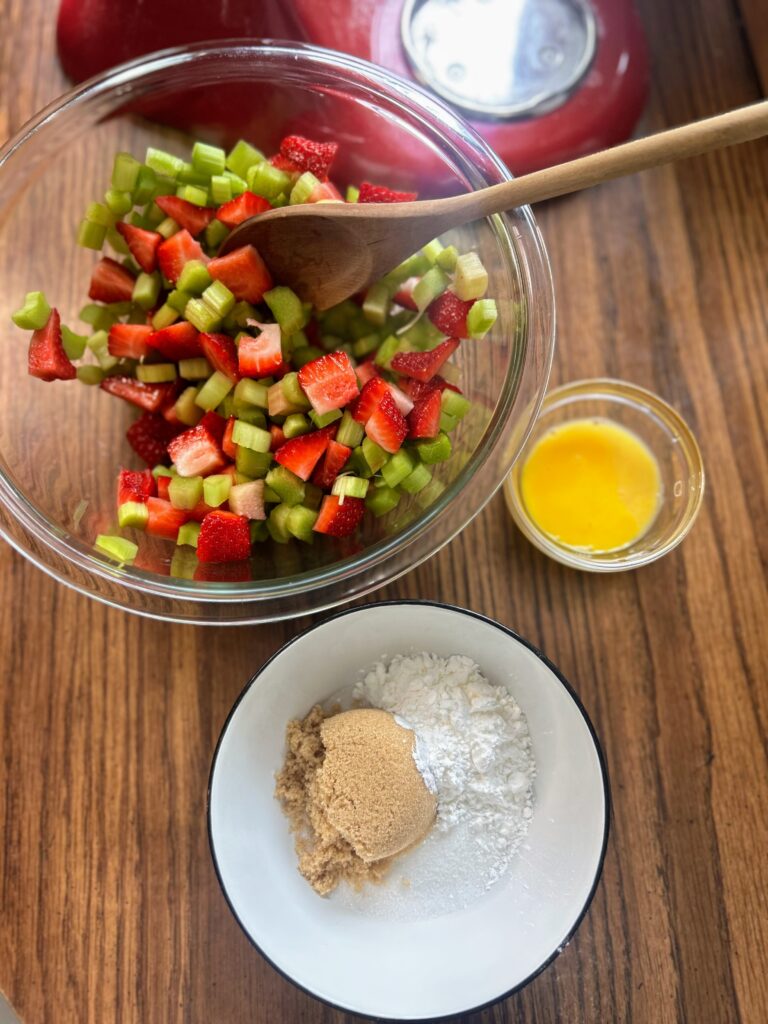
- ¼ cup brown sugar, packed
- ¼ cup white sugar
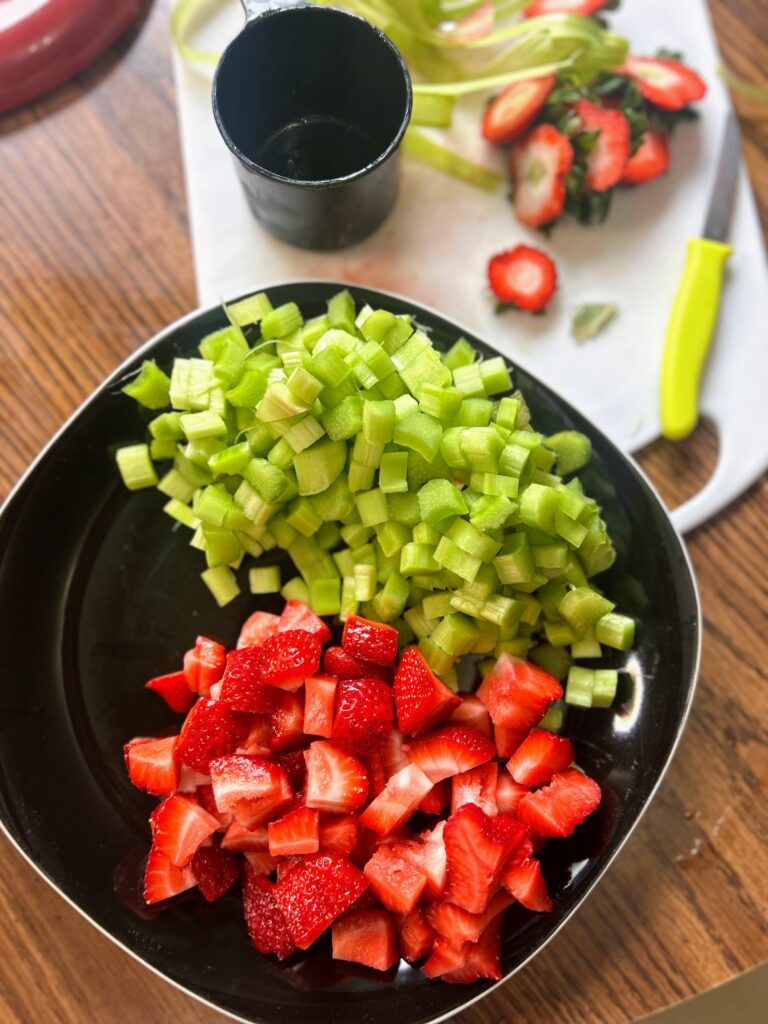
- 1 – 1 ½ cups gooseberries, cleaned (1 ½ cups if you dig the tart flavor. 1 cup if you want it a little sweeter)
- ½ cup old fashioned oats
- 1 ½ cups all purpose flour
- ½ teaspoon salt
- 1 teaspoon baking powder
Your steps to Gooseberry Muffins
If you haven’t yet, nip off the ends on the gooseberries. You only want the berry portion in the muffin, Then, preheat the oven to 400 degrees. Prepare your muffin tin with non-stick cooking spray or muffin liners. This recipe will result in approximately 12 muffins.
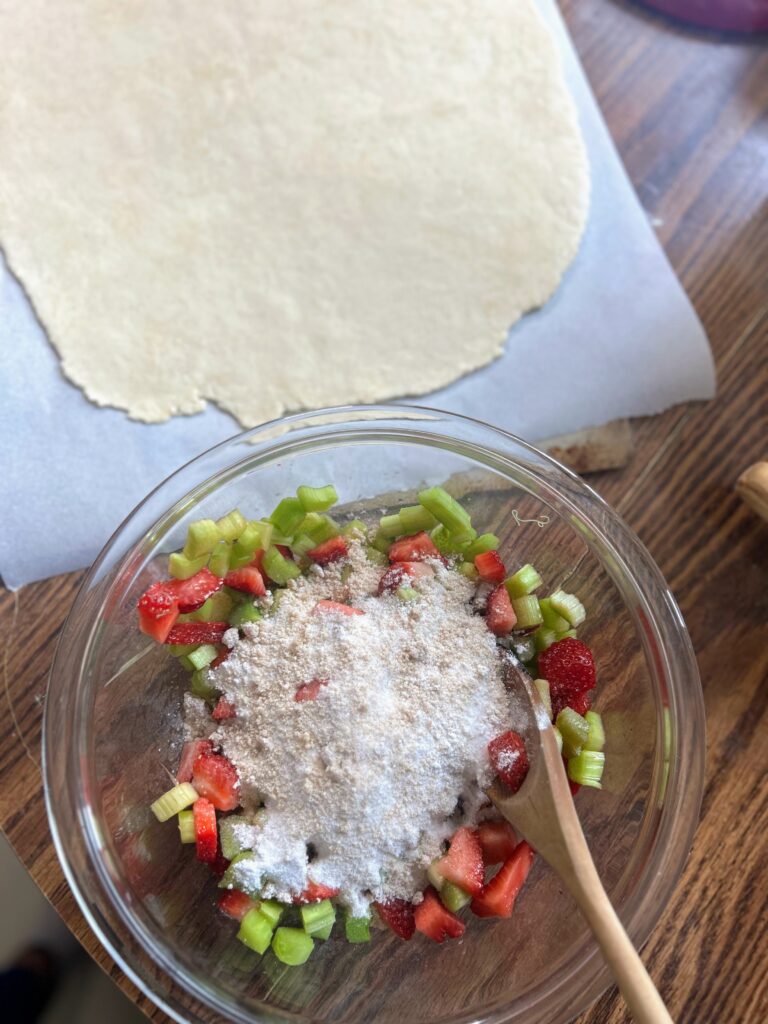
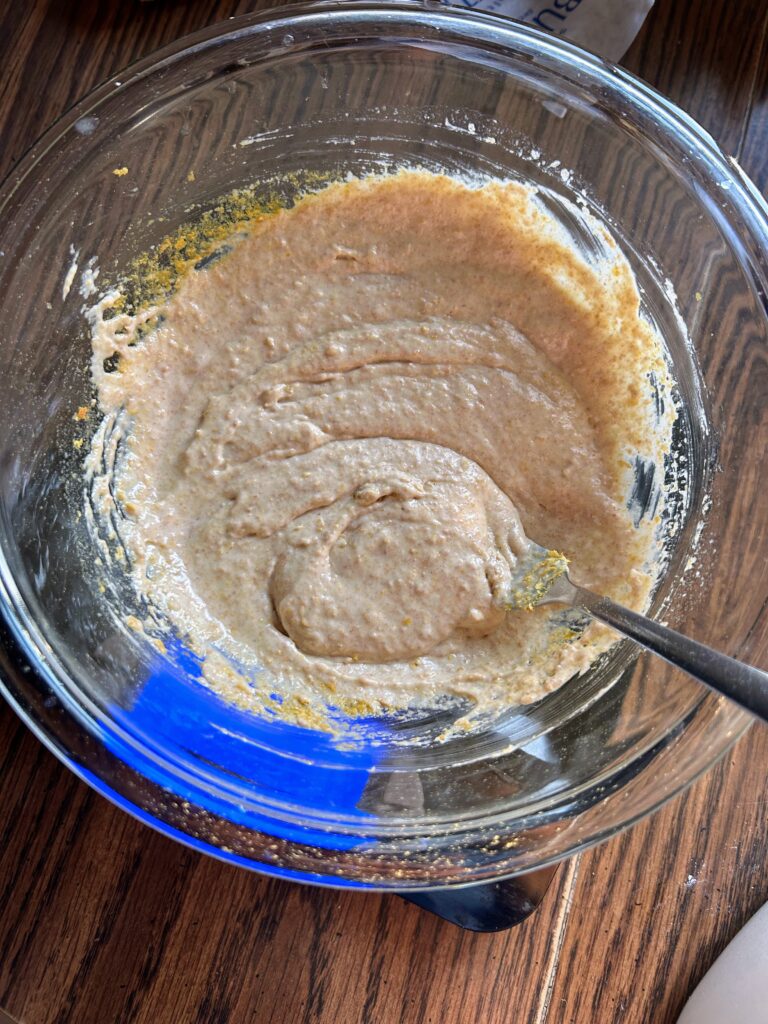
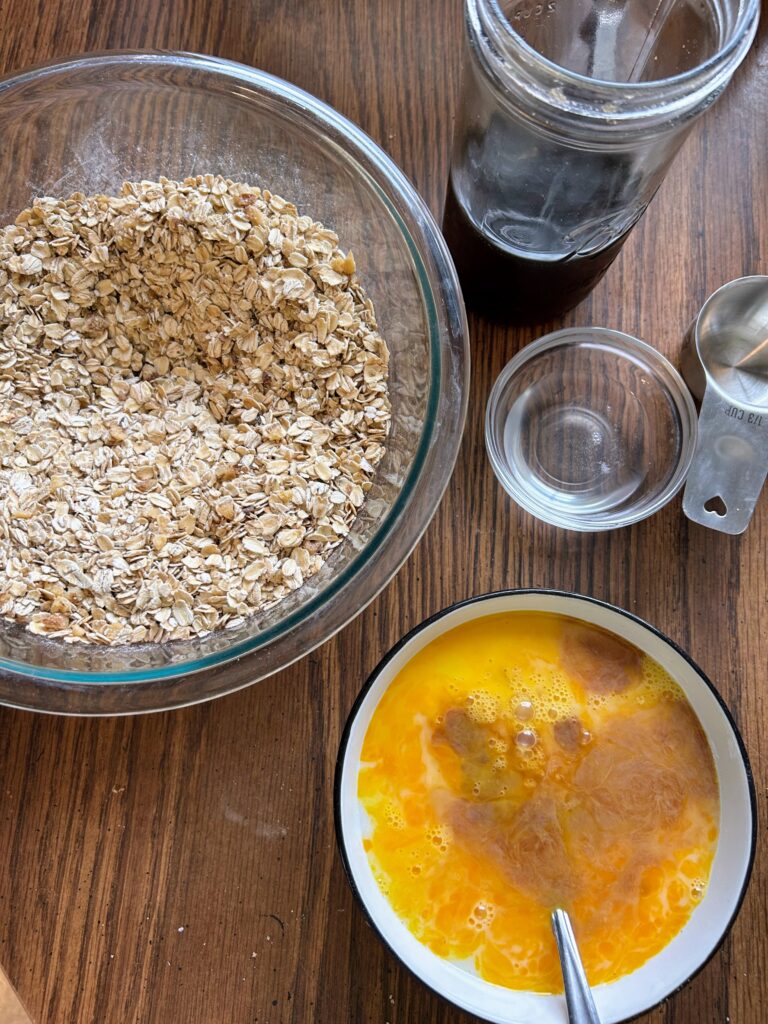
In a large bowl, combine the flour, salt, and baking powder. Set aside.
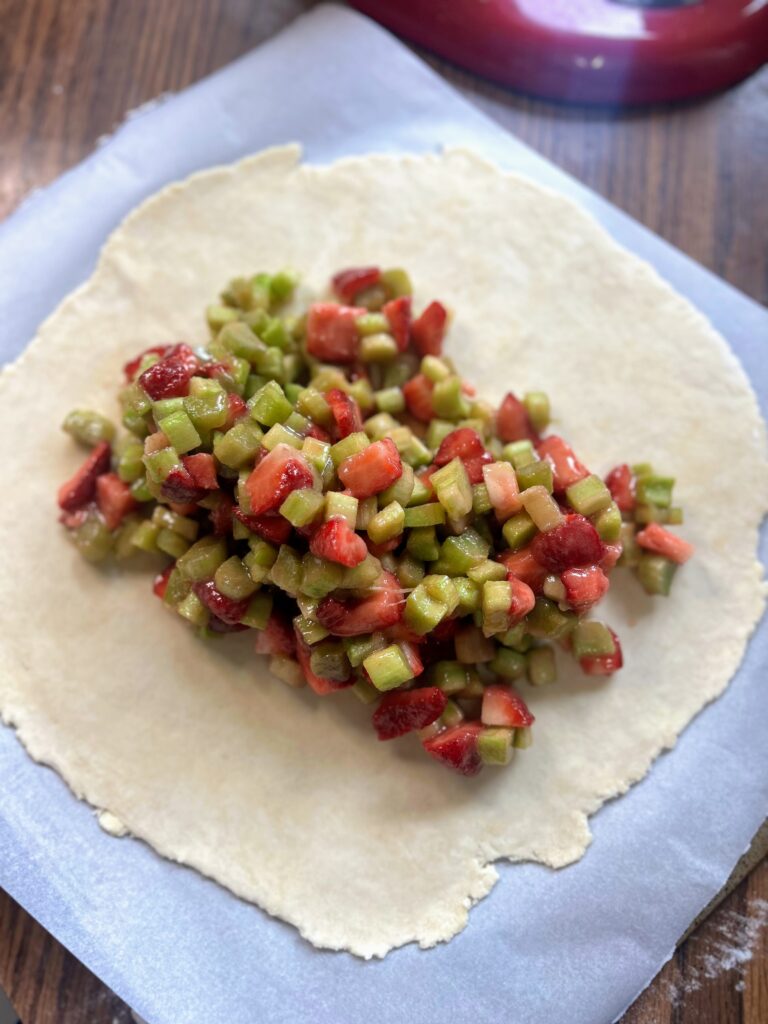
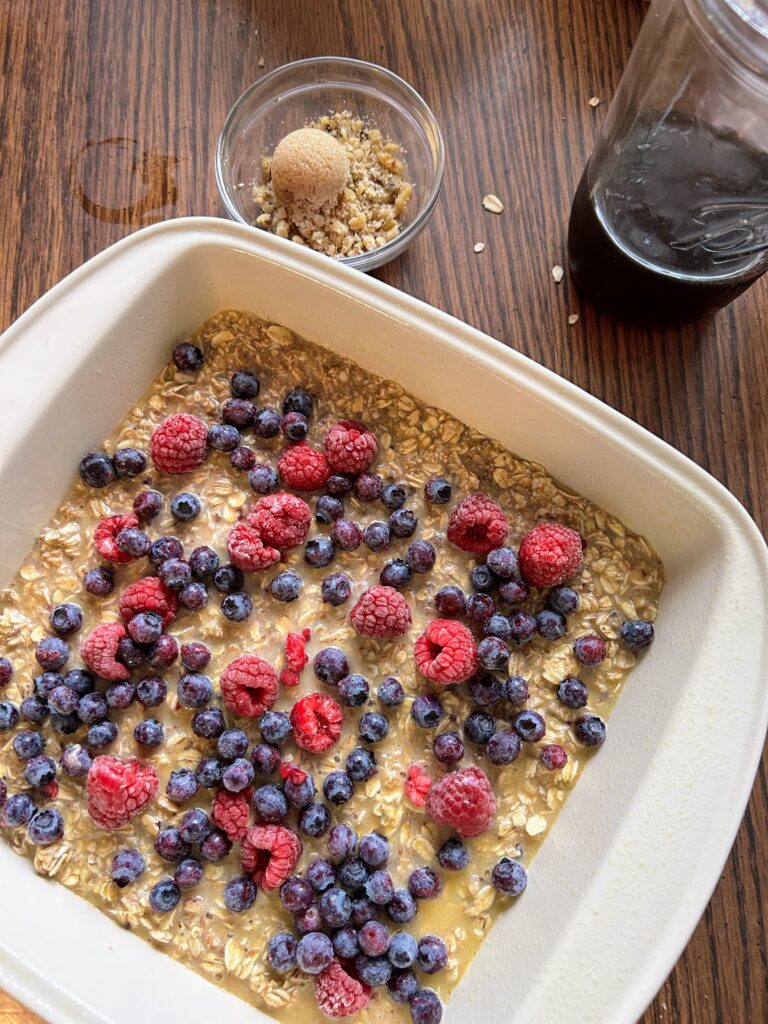
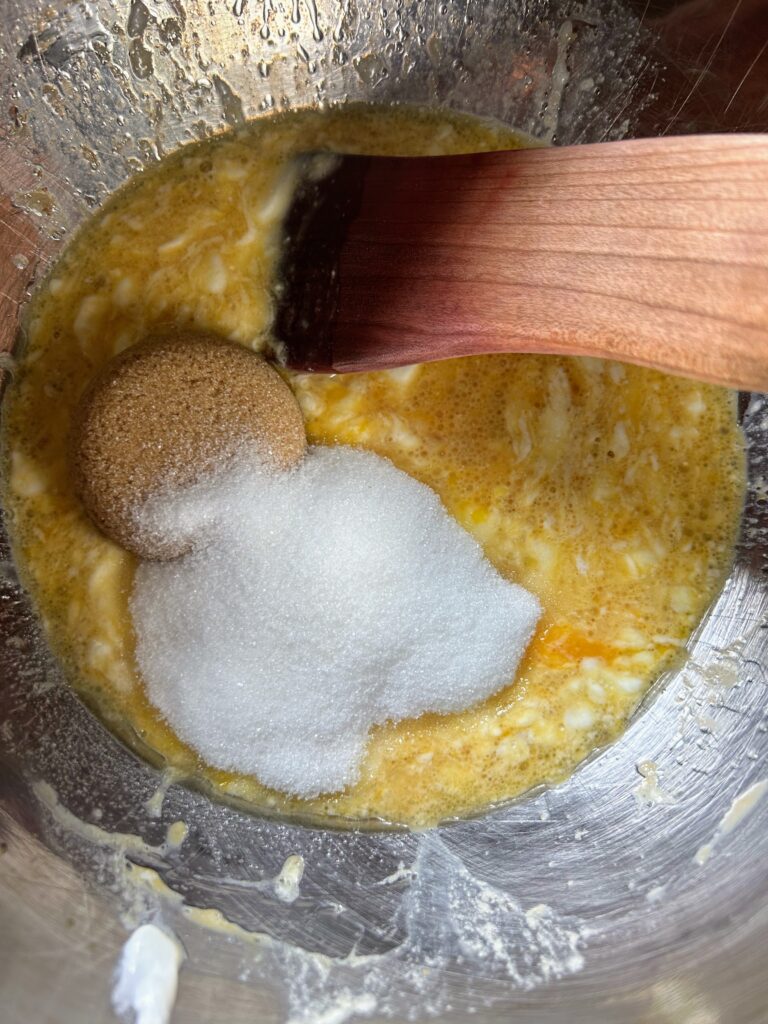
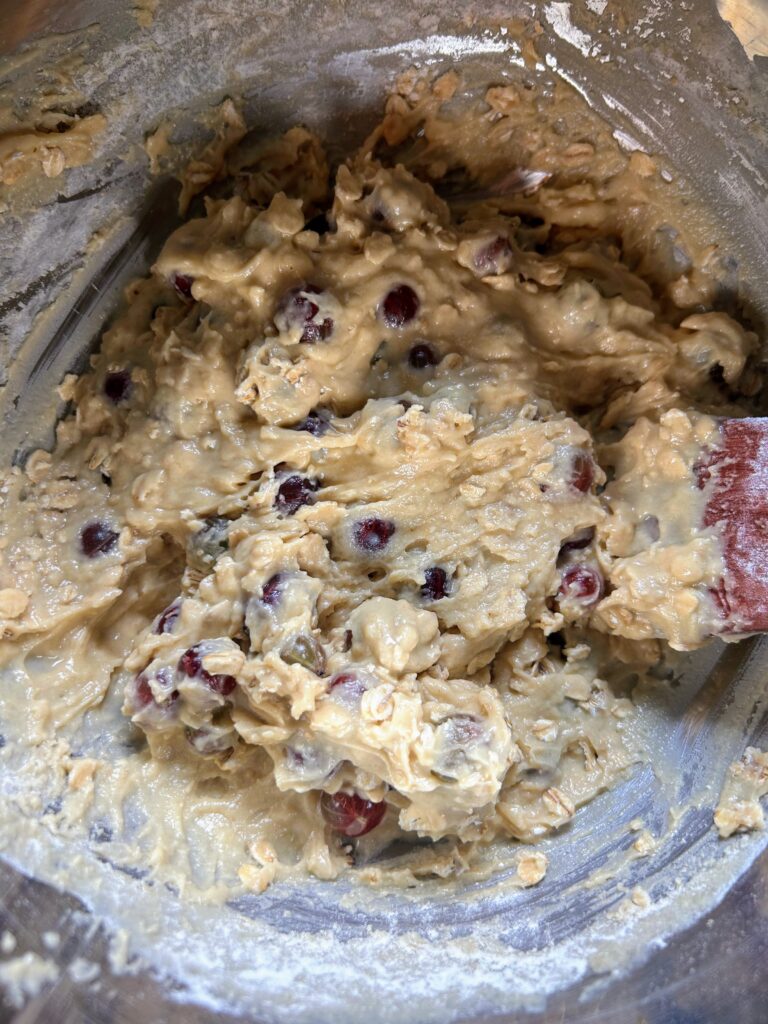
In a small bowl, whisk egg. Add the yogurt, milk, vanilla, and oil. Whisk well. Stir in the white and brown sugar. Pour into the dry ingredients, stirring until just combined. Fold in oats and cleaned gooseberries. Again, you can use one to one and a half cups, depending on your preference of flavor. My family loves tart (think, rhubarb bread and pie), so I add more berries.
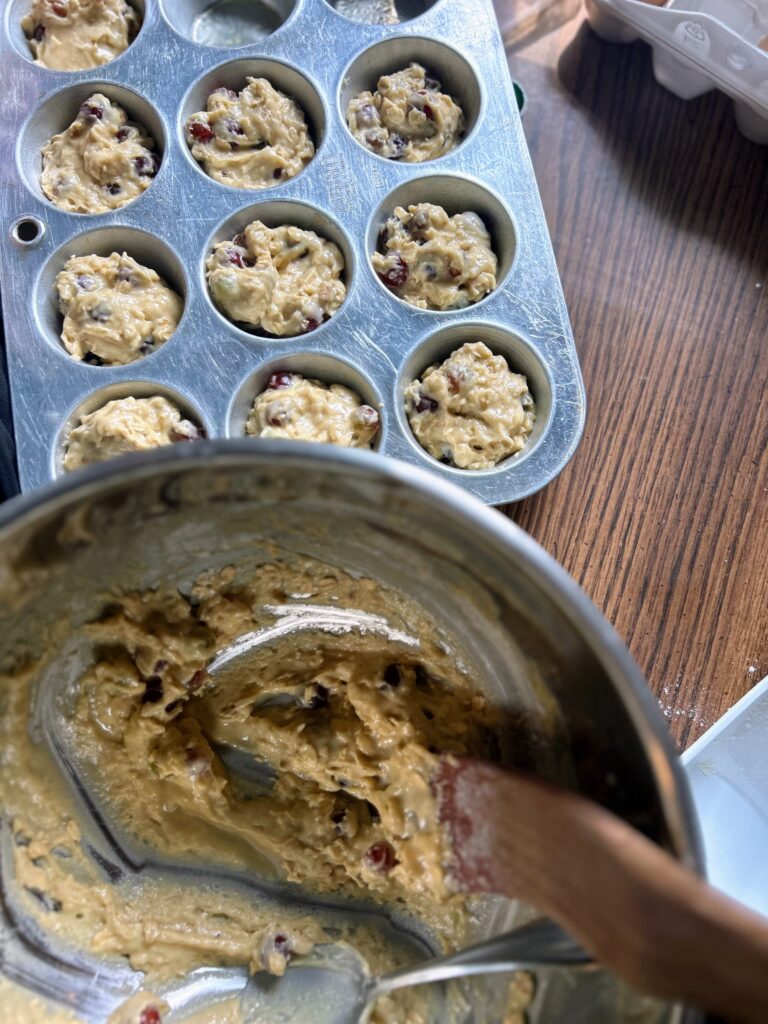
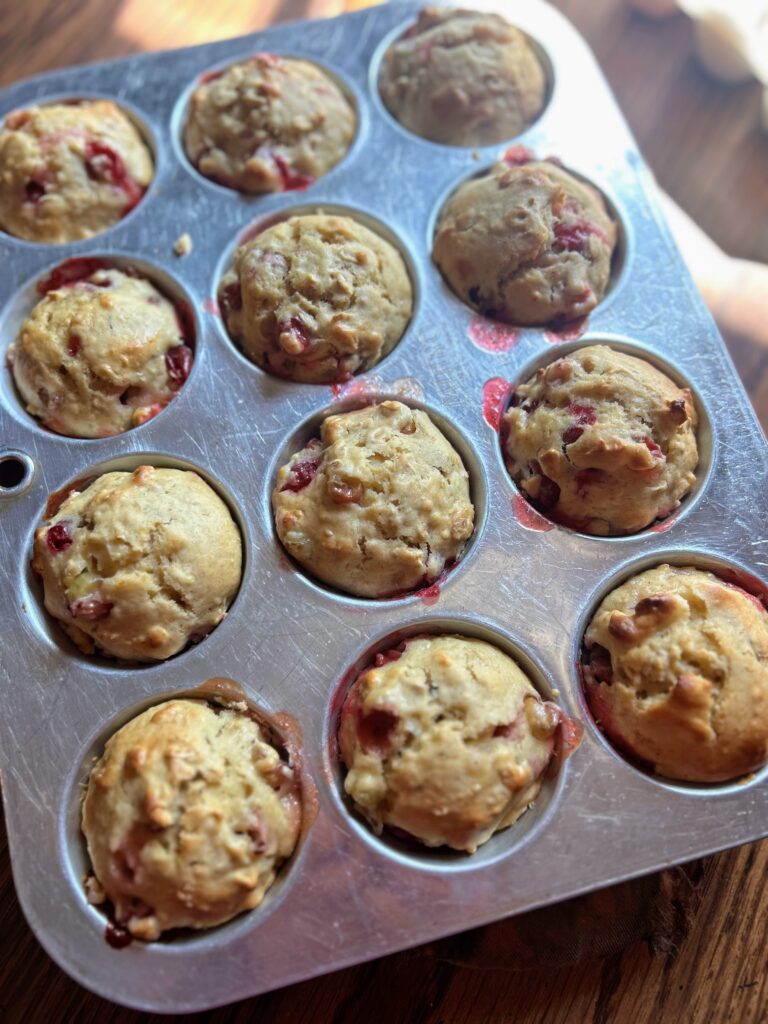
Divide the batter among the 12 muffin cups. Bake for 20-25 minutes, until cooked through. Allow to cool in the tin a few minutes before removing. I think these are best served warm with a cup of coffee.

Gooseberry Muffins
Equipment
Ingredients
- 1 egg
- ½ cup Greek yogurt
- ¼ cup + 2 tablespoons milk
- 1 teaspoon vanilla
- 2 tablespoon oil
- ¼ cup brown sugar packed
- ¼ cup white sugar
- 1 – 1 ½ cups gooseberries cleaned (1 ½ cups if you dig the tart flavor. 1 cup if you want it a little sweeter)
- ½ cup old fashioned oats
- 1 ½ cups all purpose flour
- ½ teaspoon salt
- 1 teaspoon baking powder
Instructions
- If you haven’t yet, nip off the ends on the gooseberries. You only want the berry portion in the muffin, Then, preheat the oven to 400 degrees. Grease or line a muffin tin. This recipe will result in approximately 12 muffins.
- In a large bowl, combine the flour, salt, and baking powder. Set aside.
- In a small bowl, whisk egg. Add the yogurt, milk, vanilla, and oil. Whisk well.
- Stir in the white and brown sugar.
- Pour into the dry ingredients, stirring until just combined. Fold in oats and cleaned gooseberries.
- Divide the batter among the 12 muffin cups. Bake for 20-25 minutes, until cooked through. Allow to cool in the tin a few minutes before removing.
Notes
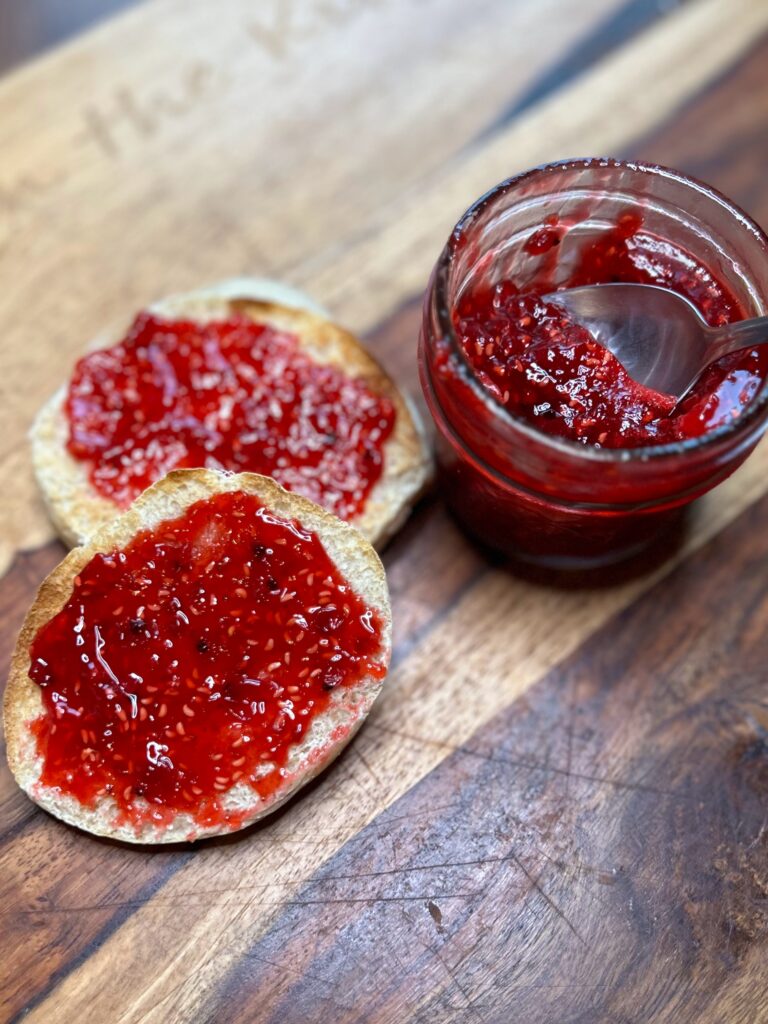
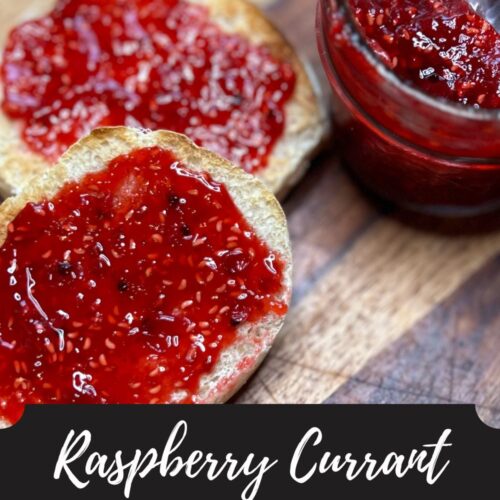
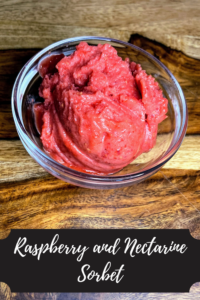
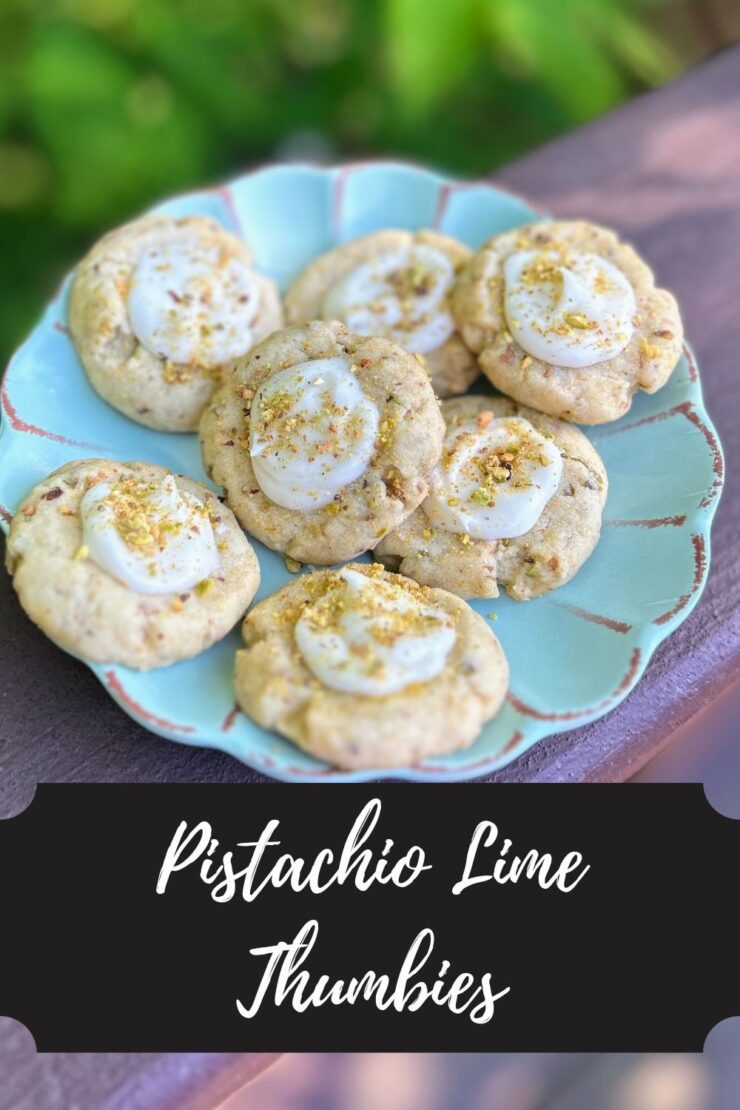
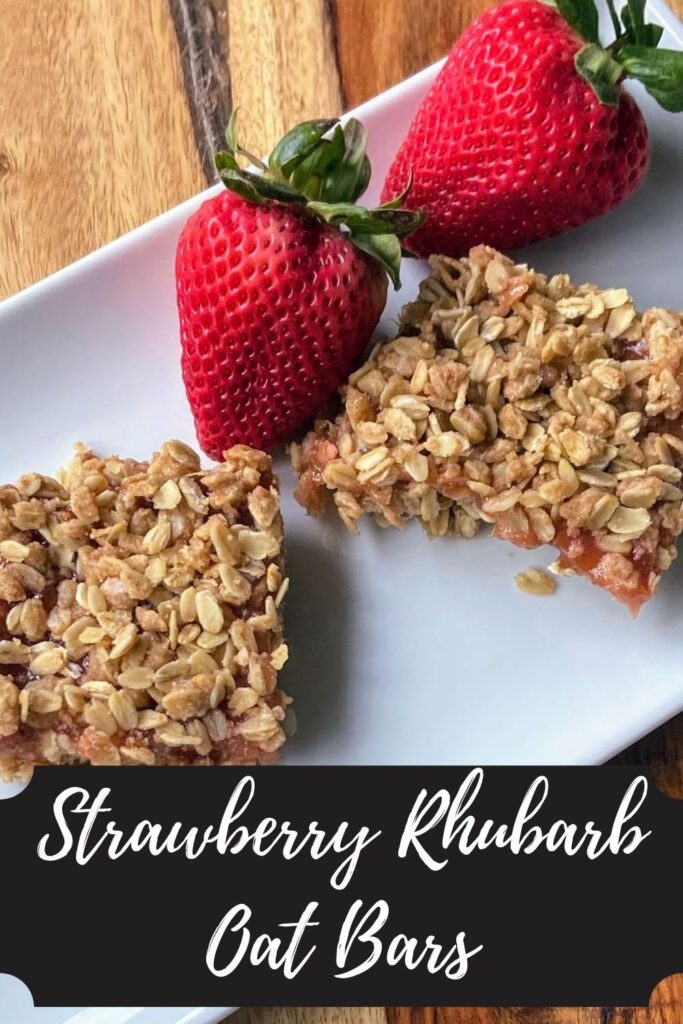
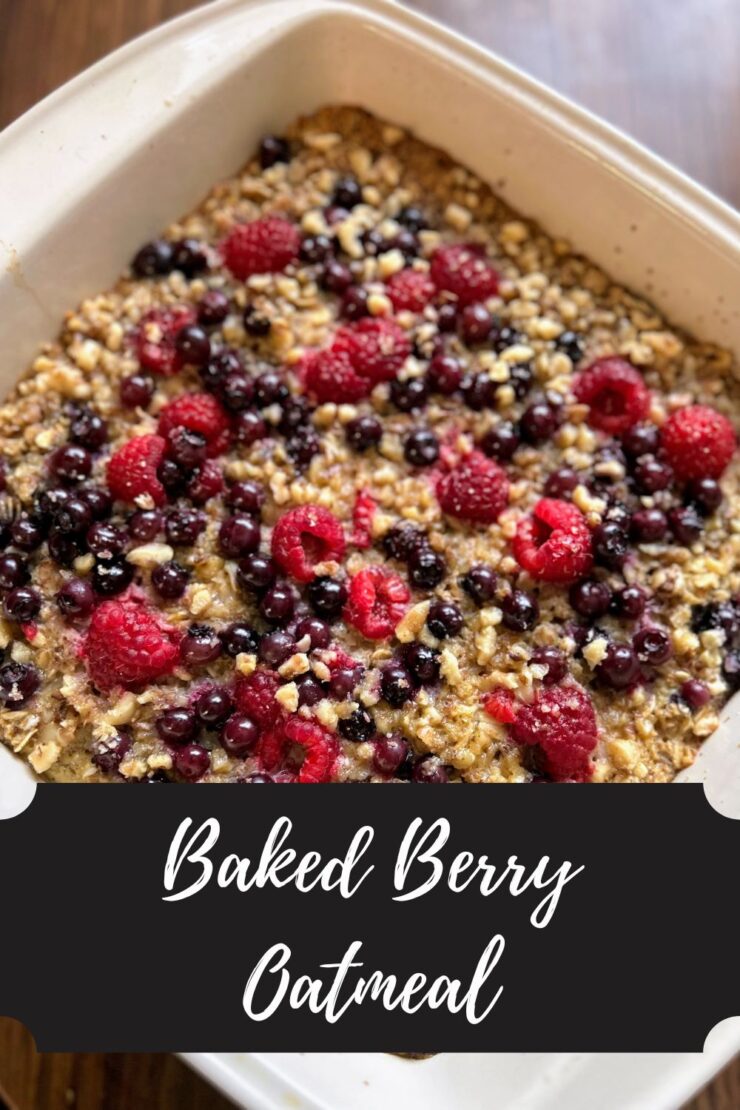
Looking for other fun ways to use berries in your kitchen?
Check out my canning and preserving page for more inspiration or perhaps one of my favorites below will become a favorite of yours!