Soup is nearly my favorite thing in the world to cook. It’s incredibly flexible. It generally involves chopping a ton of vegetables, which is something that is very cathartic for me. And most of all, it reheats and serves so well. While thinking about some of my favorite soups, I got to thinking that it would be fun to turn some of them into bakes or skillets. And in this, Italian Wedding Soup Orzo was born.
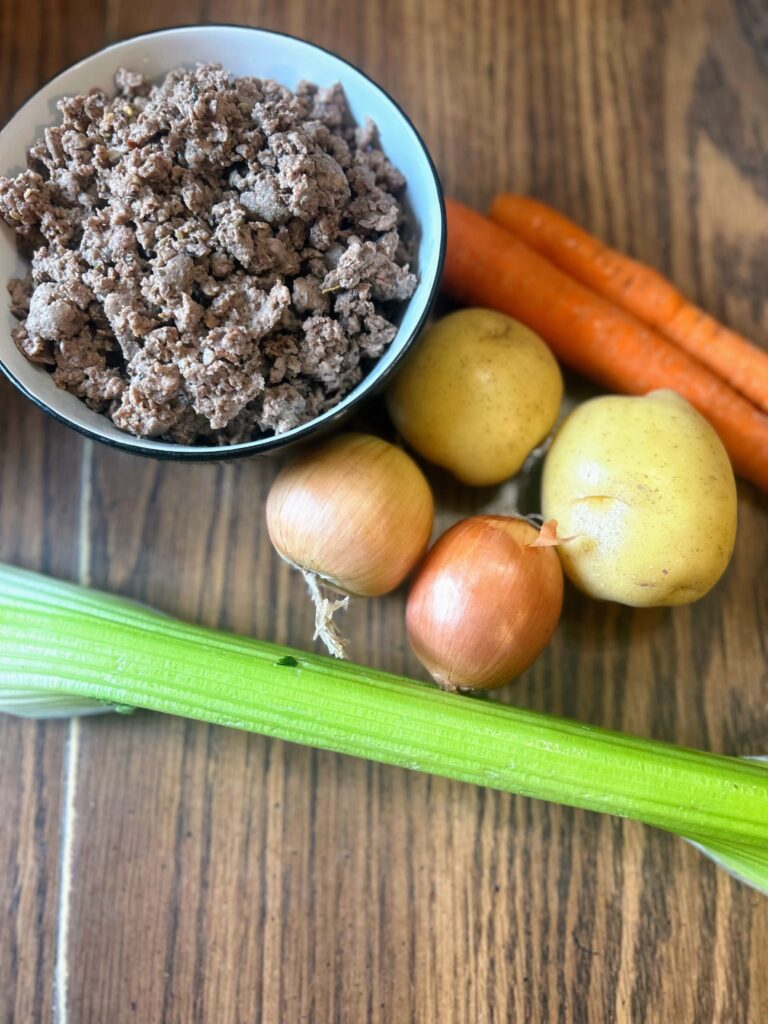
I like to “shop” our pantry and try to keep many recipes with things we have on hand. If you open our fridge, you will always see carrots and celery (part of the base in so many soups, you see a theme right?). We have a ton of ground Italian venison in our freezer and I always have orzo. I even had spinach on hand after making my spinach and blueberry salad.
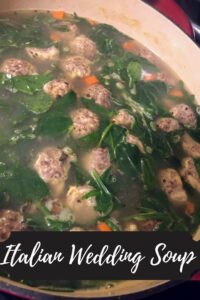
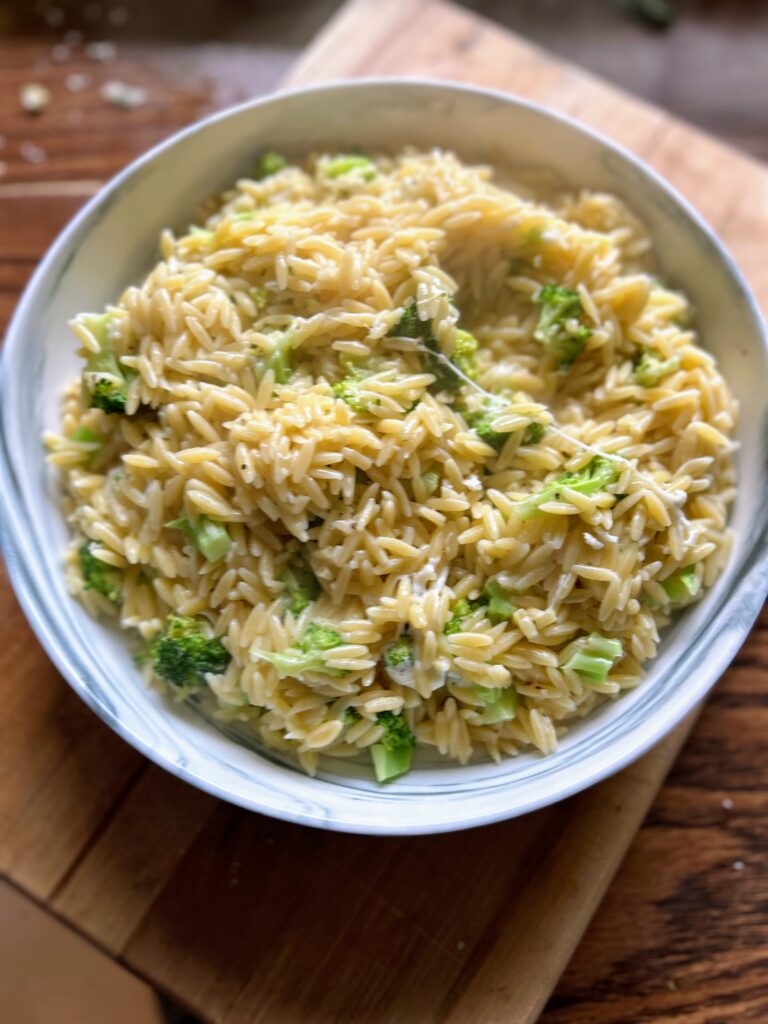
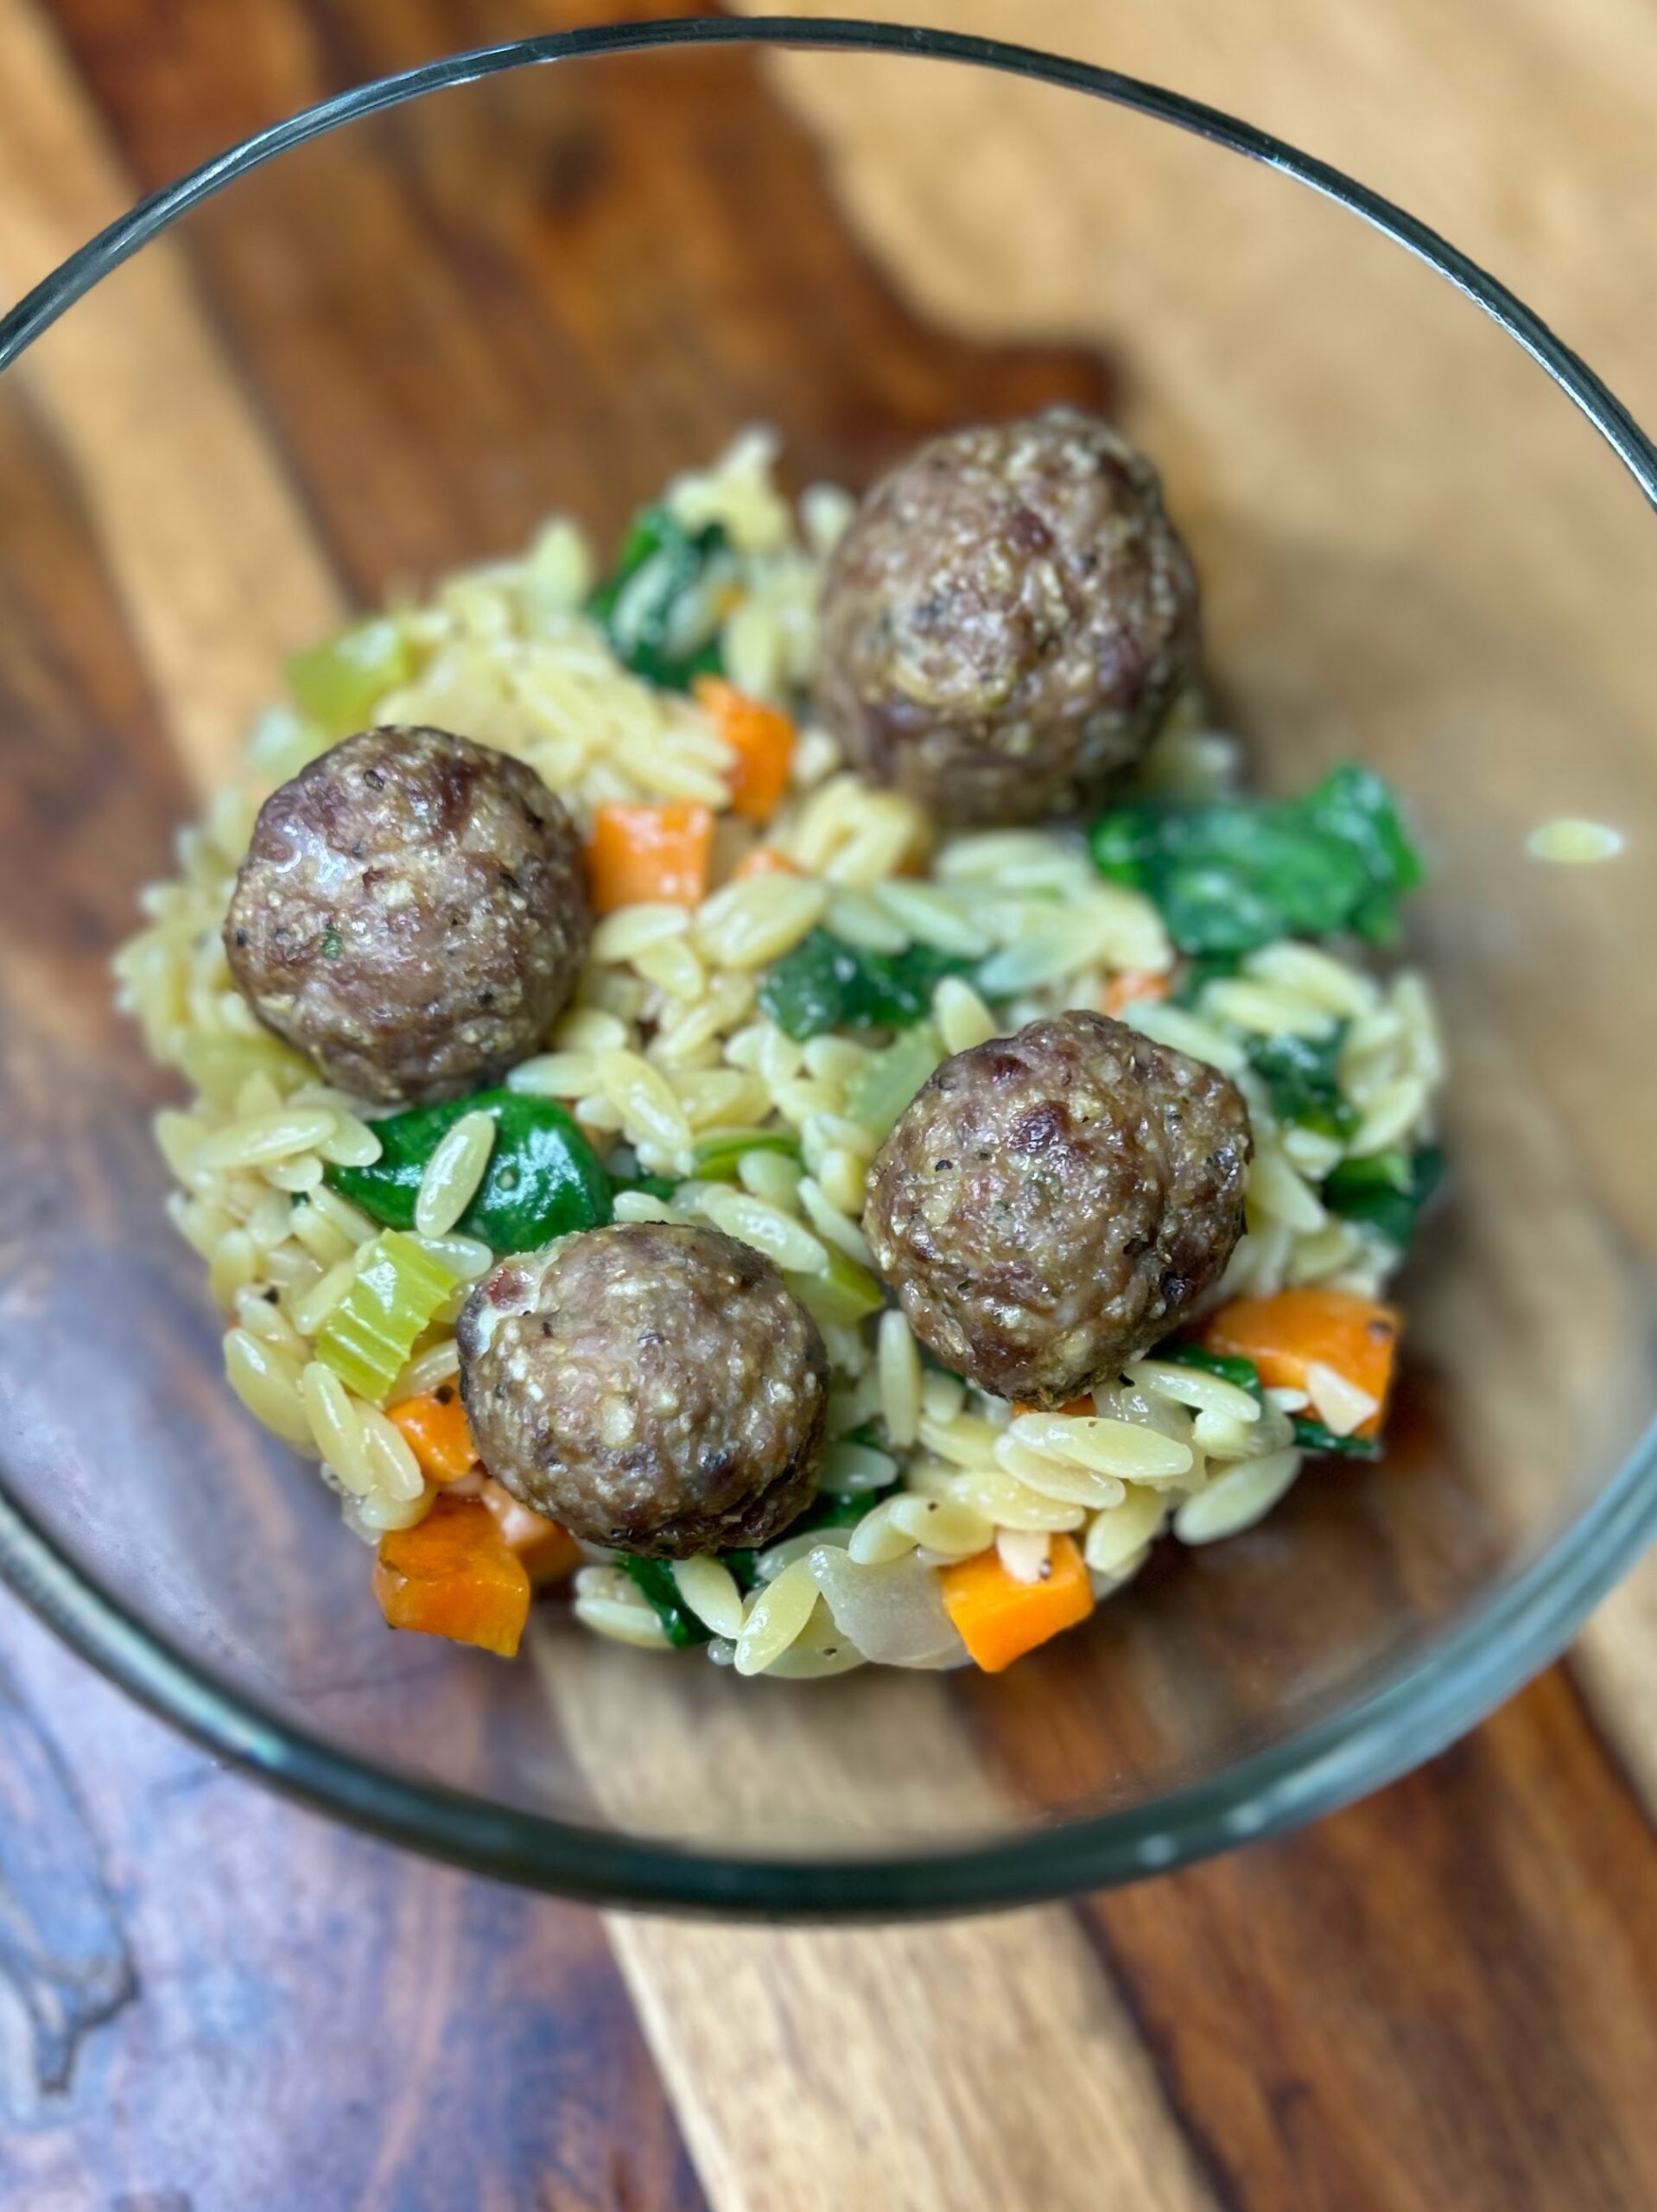
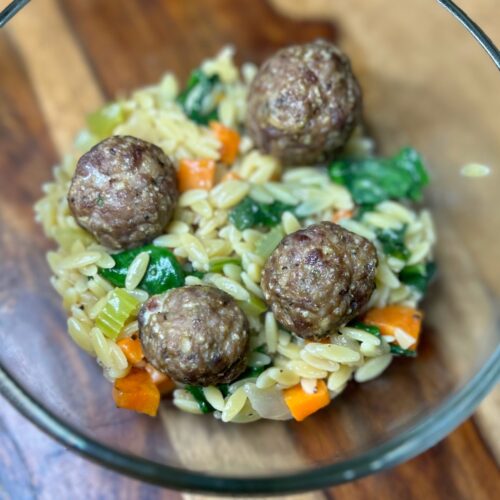
I got to work making an orzo dish that has a feel of risotto in the way the orzo is prepared. The family was definitely pleased with the way it all came together: A soup without the broth! I hope you like it as much as we did!
Your Ingredients for Italian Wedding Soup Orzo
- 1 pound ground Italian sausage (we use our Italian venison)
- 1 egg
- ½ cup bread crumbs
- ¼ cup grated parmesan cheese
- Salt and pepper, to taste
For the orzo:
- 1 tablespoon olive oil
- ½ cup celery, diced
- ½ cup onion, diced
- ½ cup carrots, diced
- 2 garlic clove, minced
- 1 tablespoon orzo
- 1 ¼ cup orzo
- 4 cups chicken stock, warmed
- 1 cup chopped spinach
- 3 tablespoons shredded parmesan cheese
- ½ teaspoon pepper
Your Steps to Italian Wedding Soup Orzo
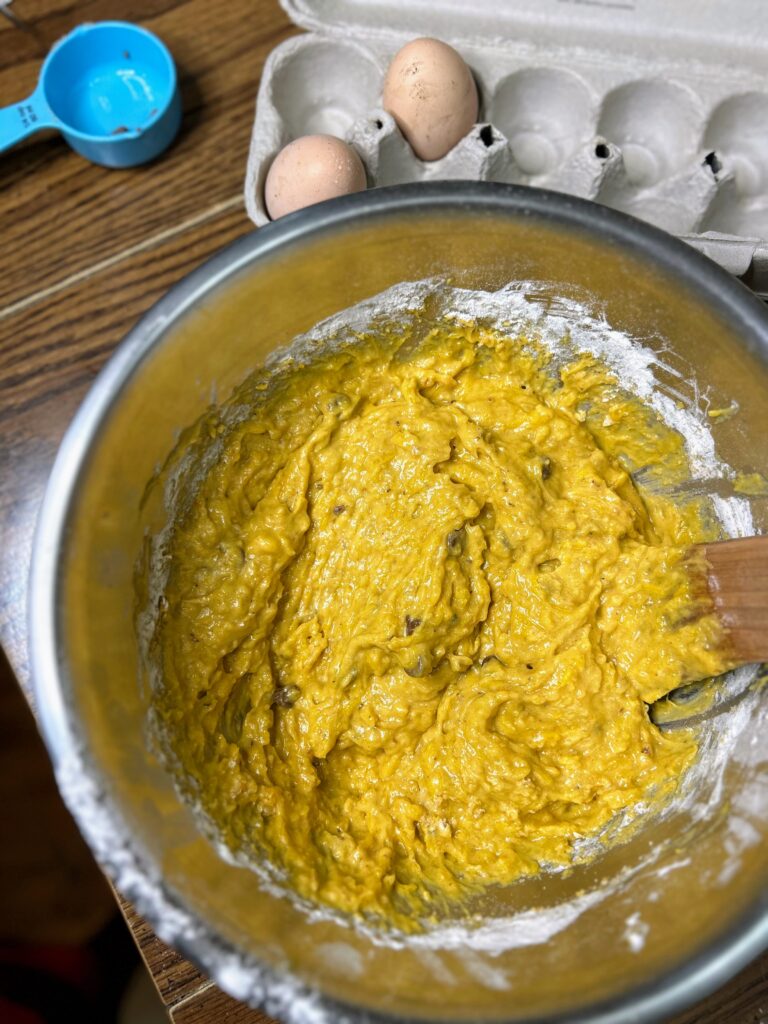
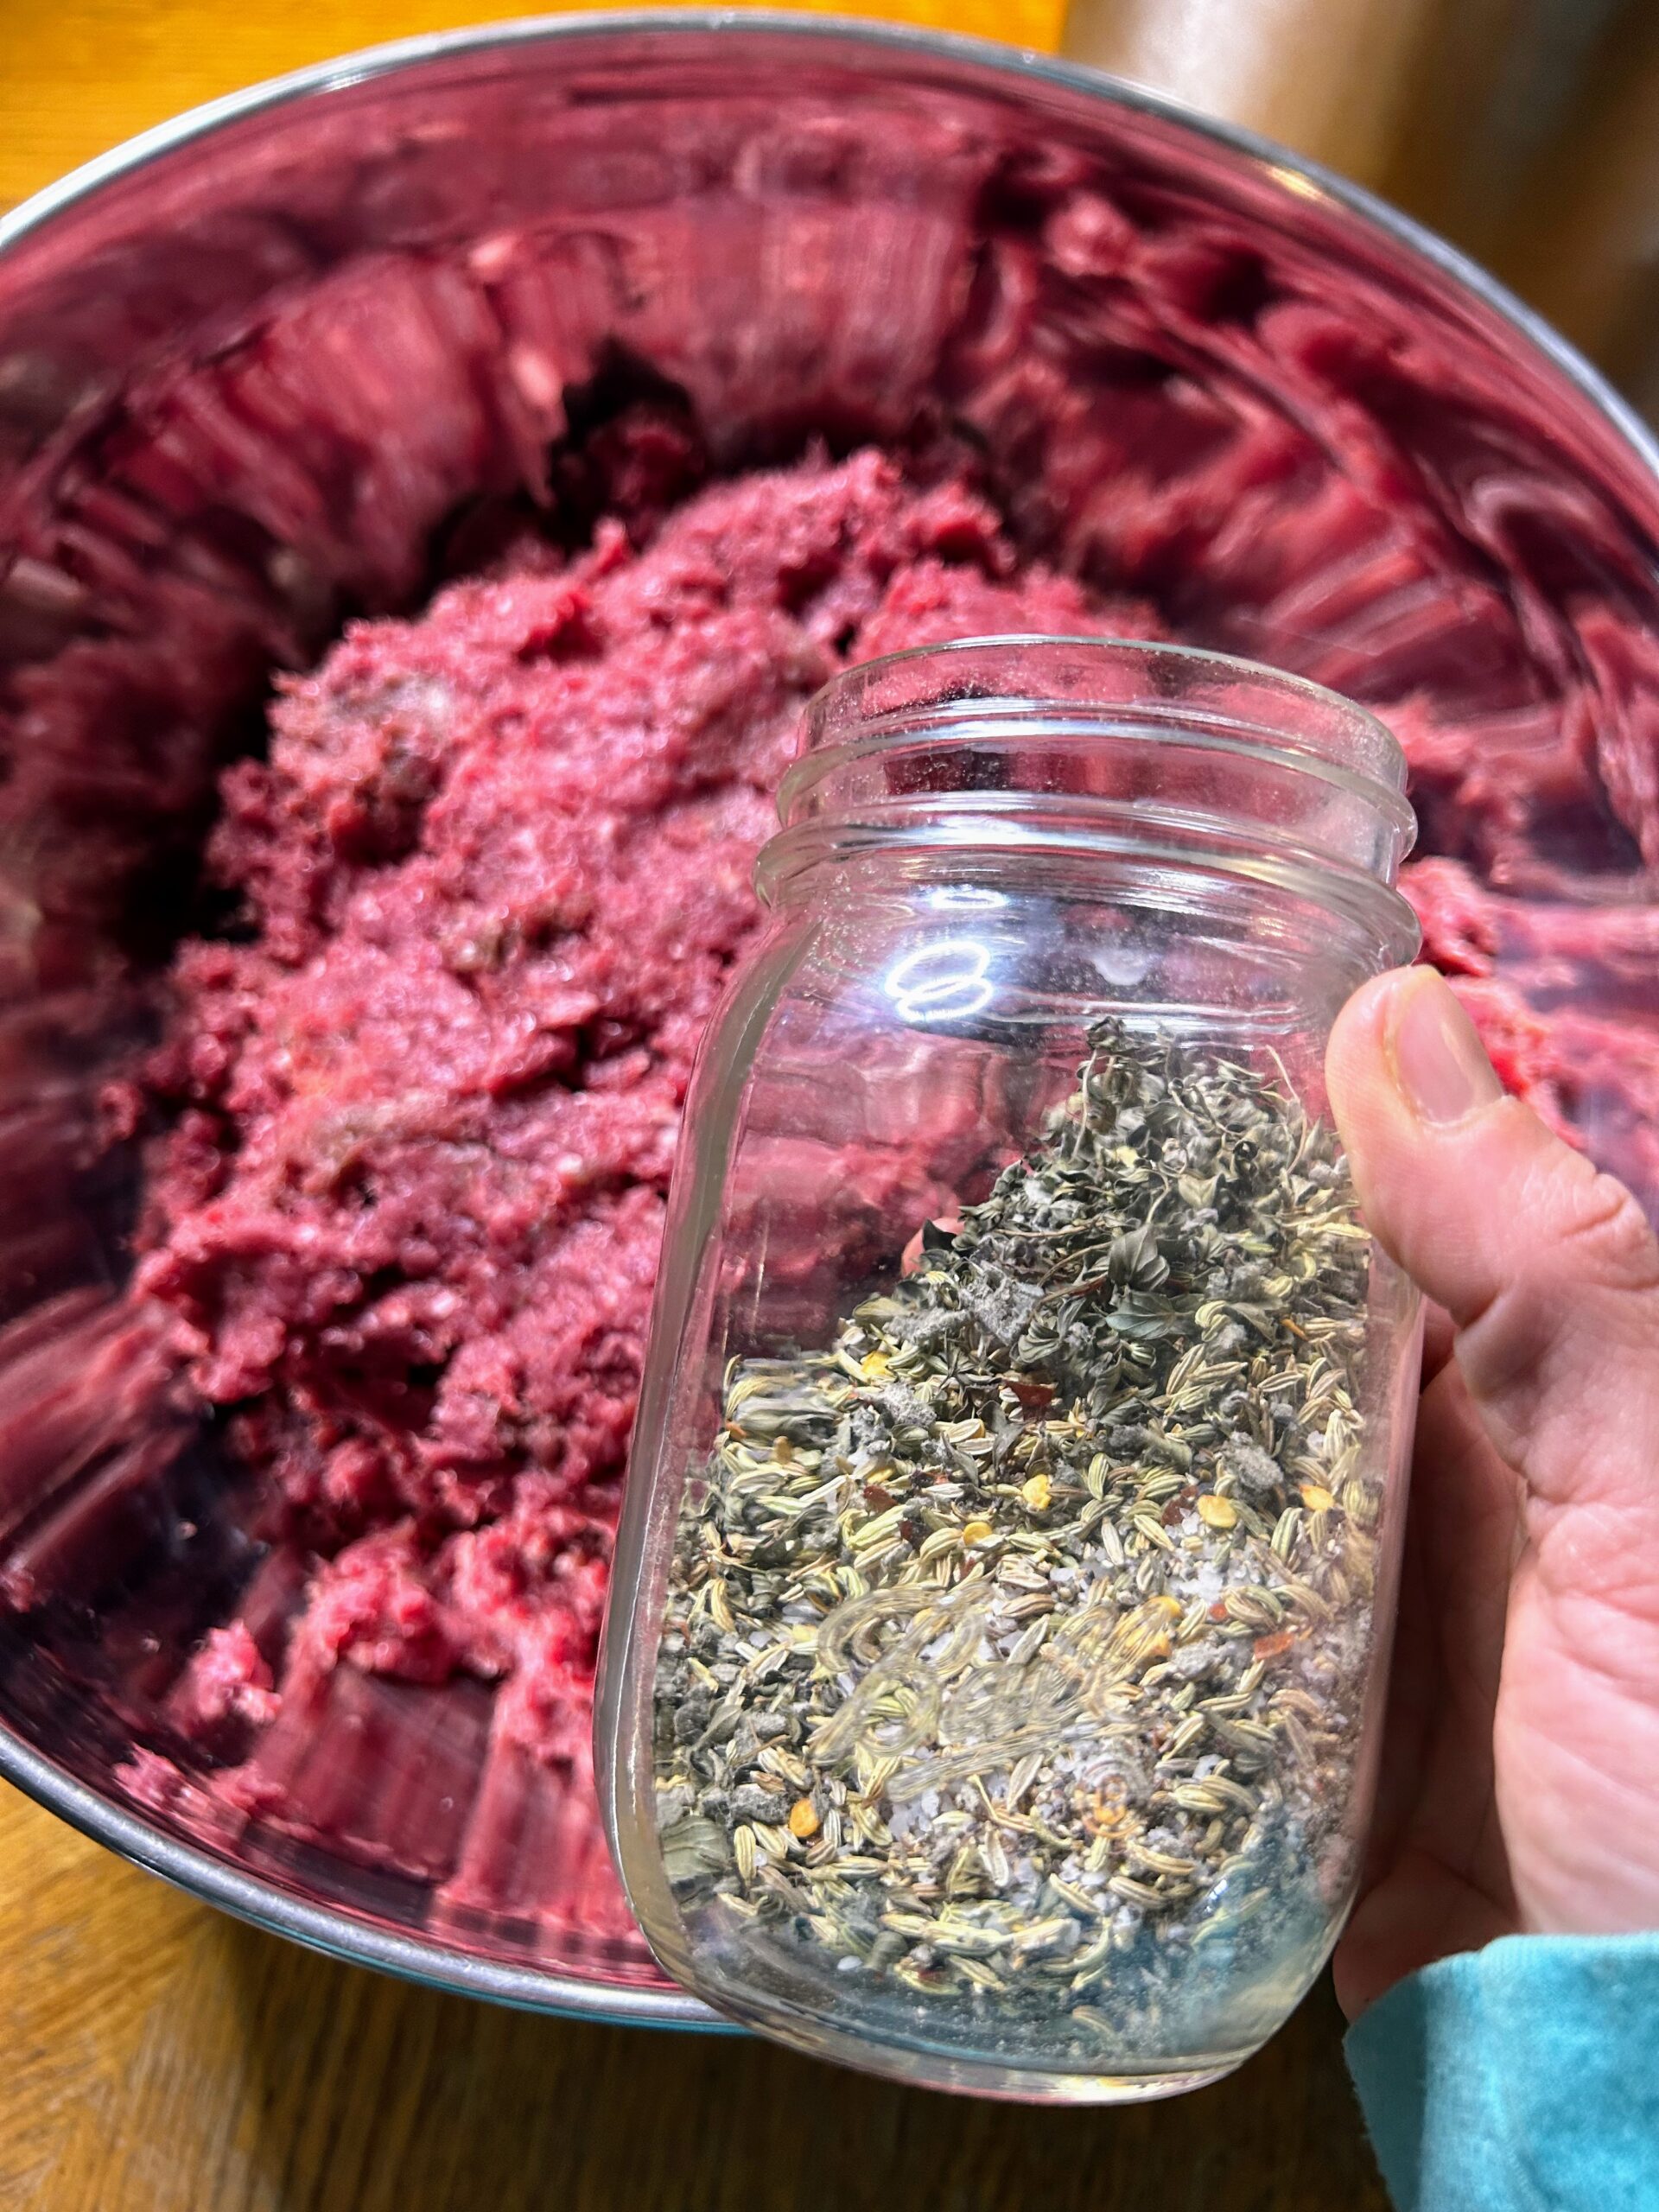
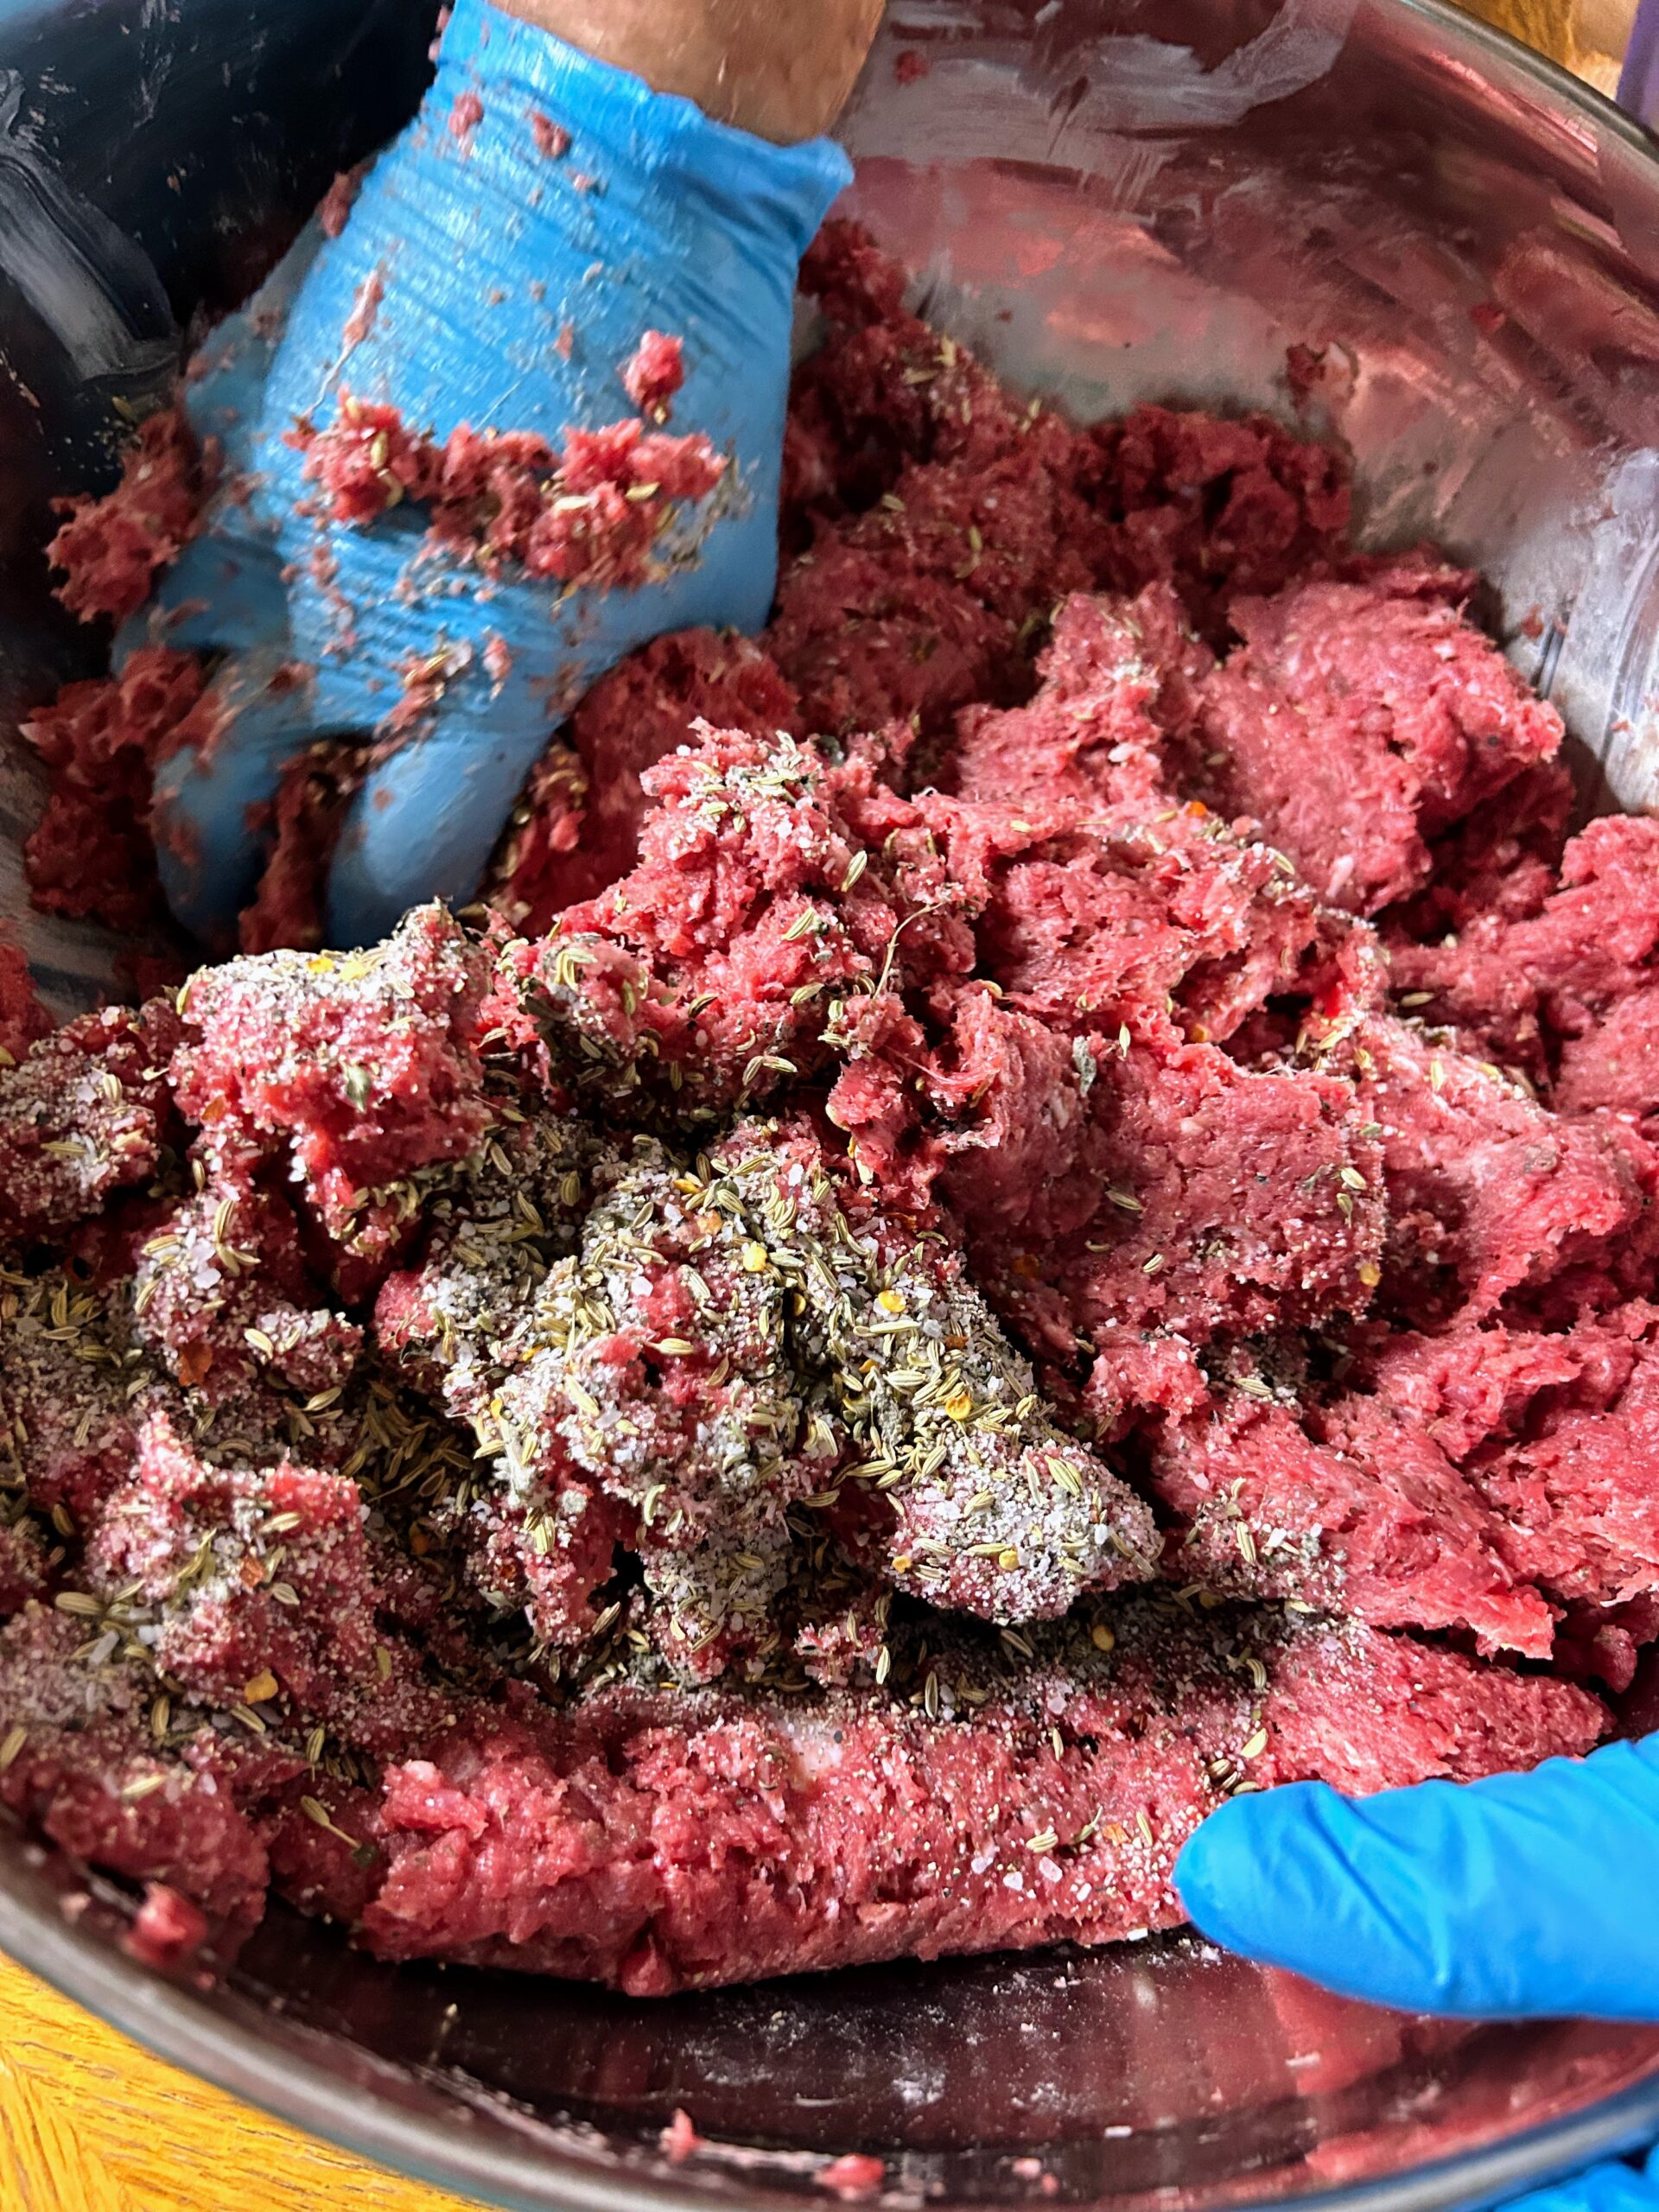
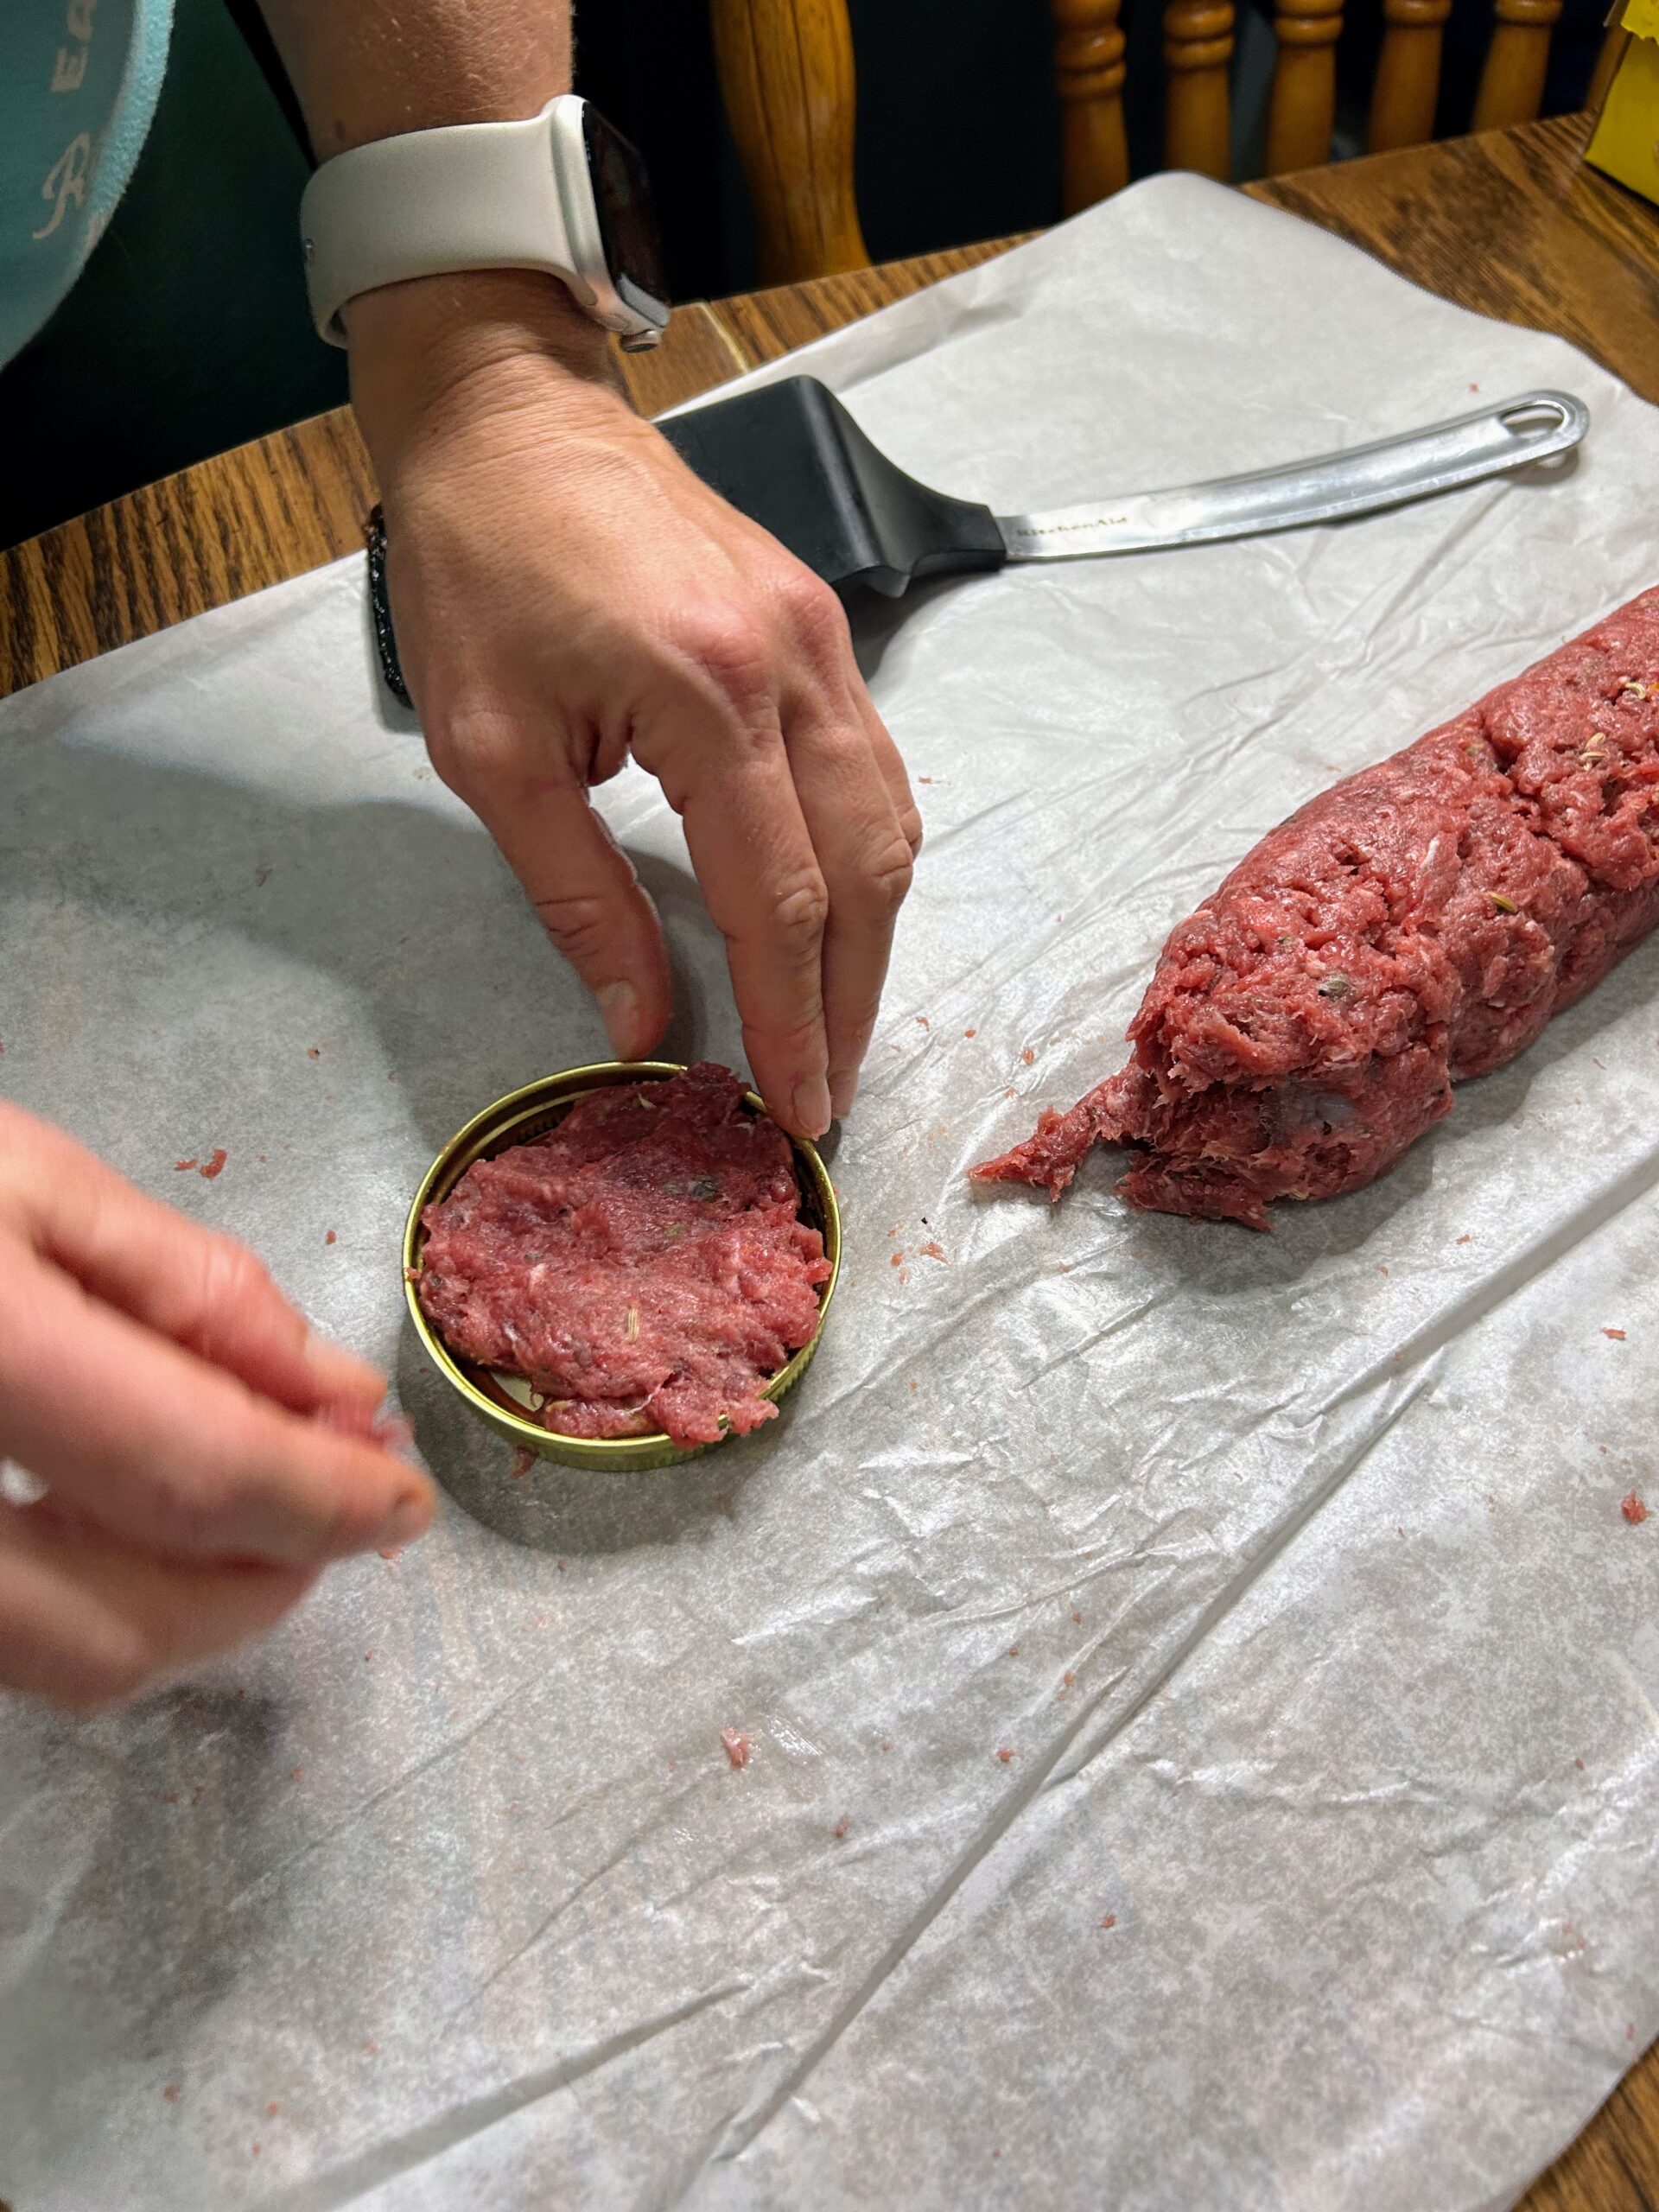
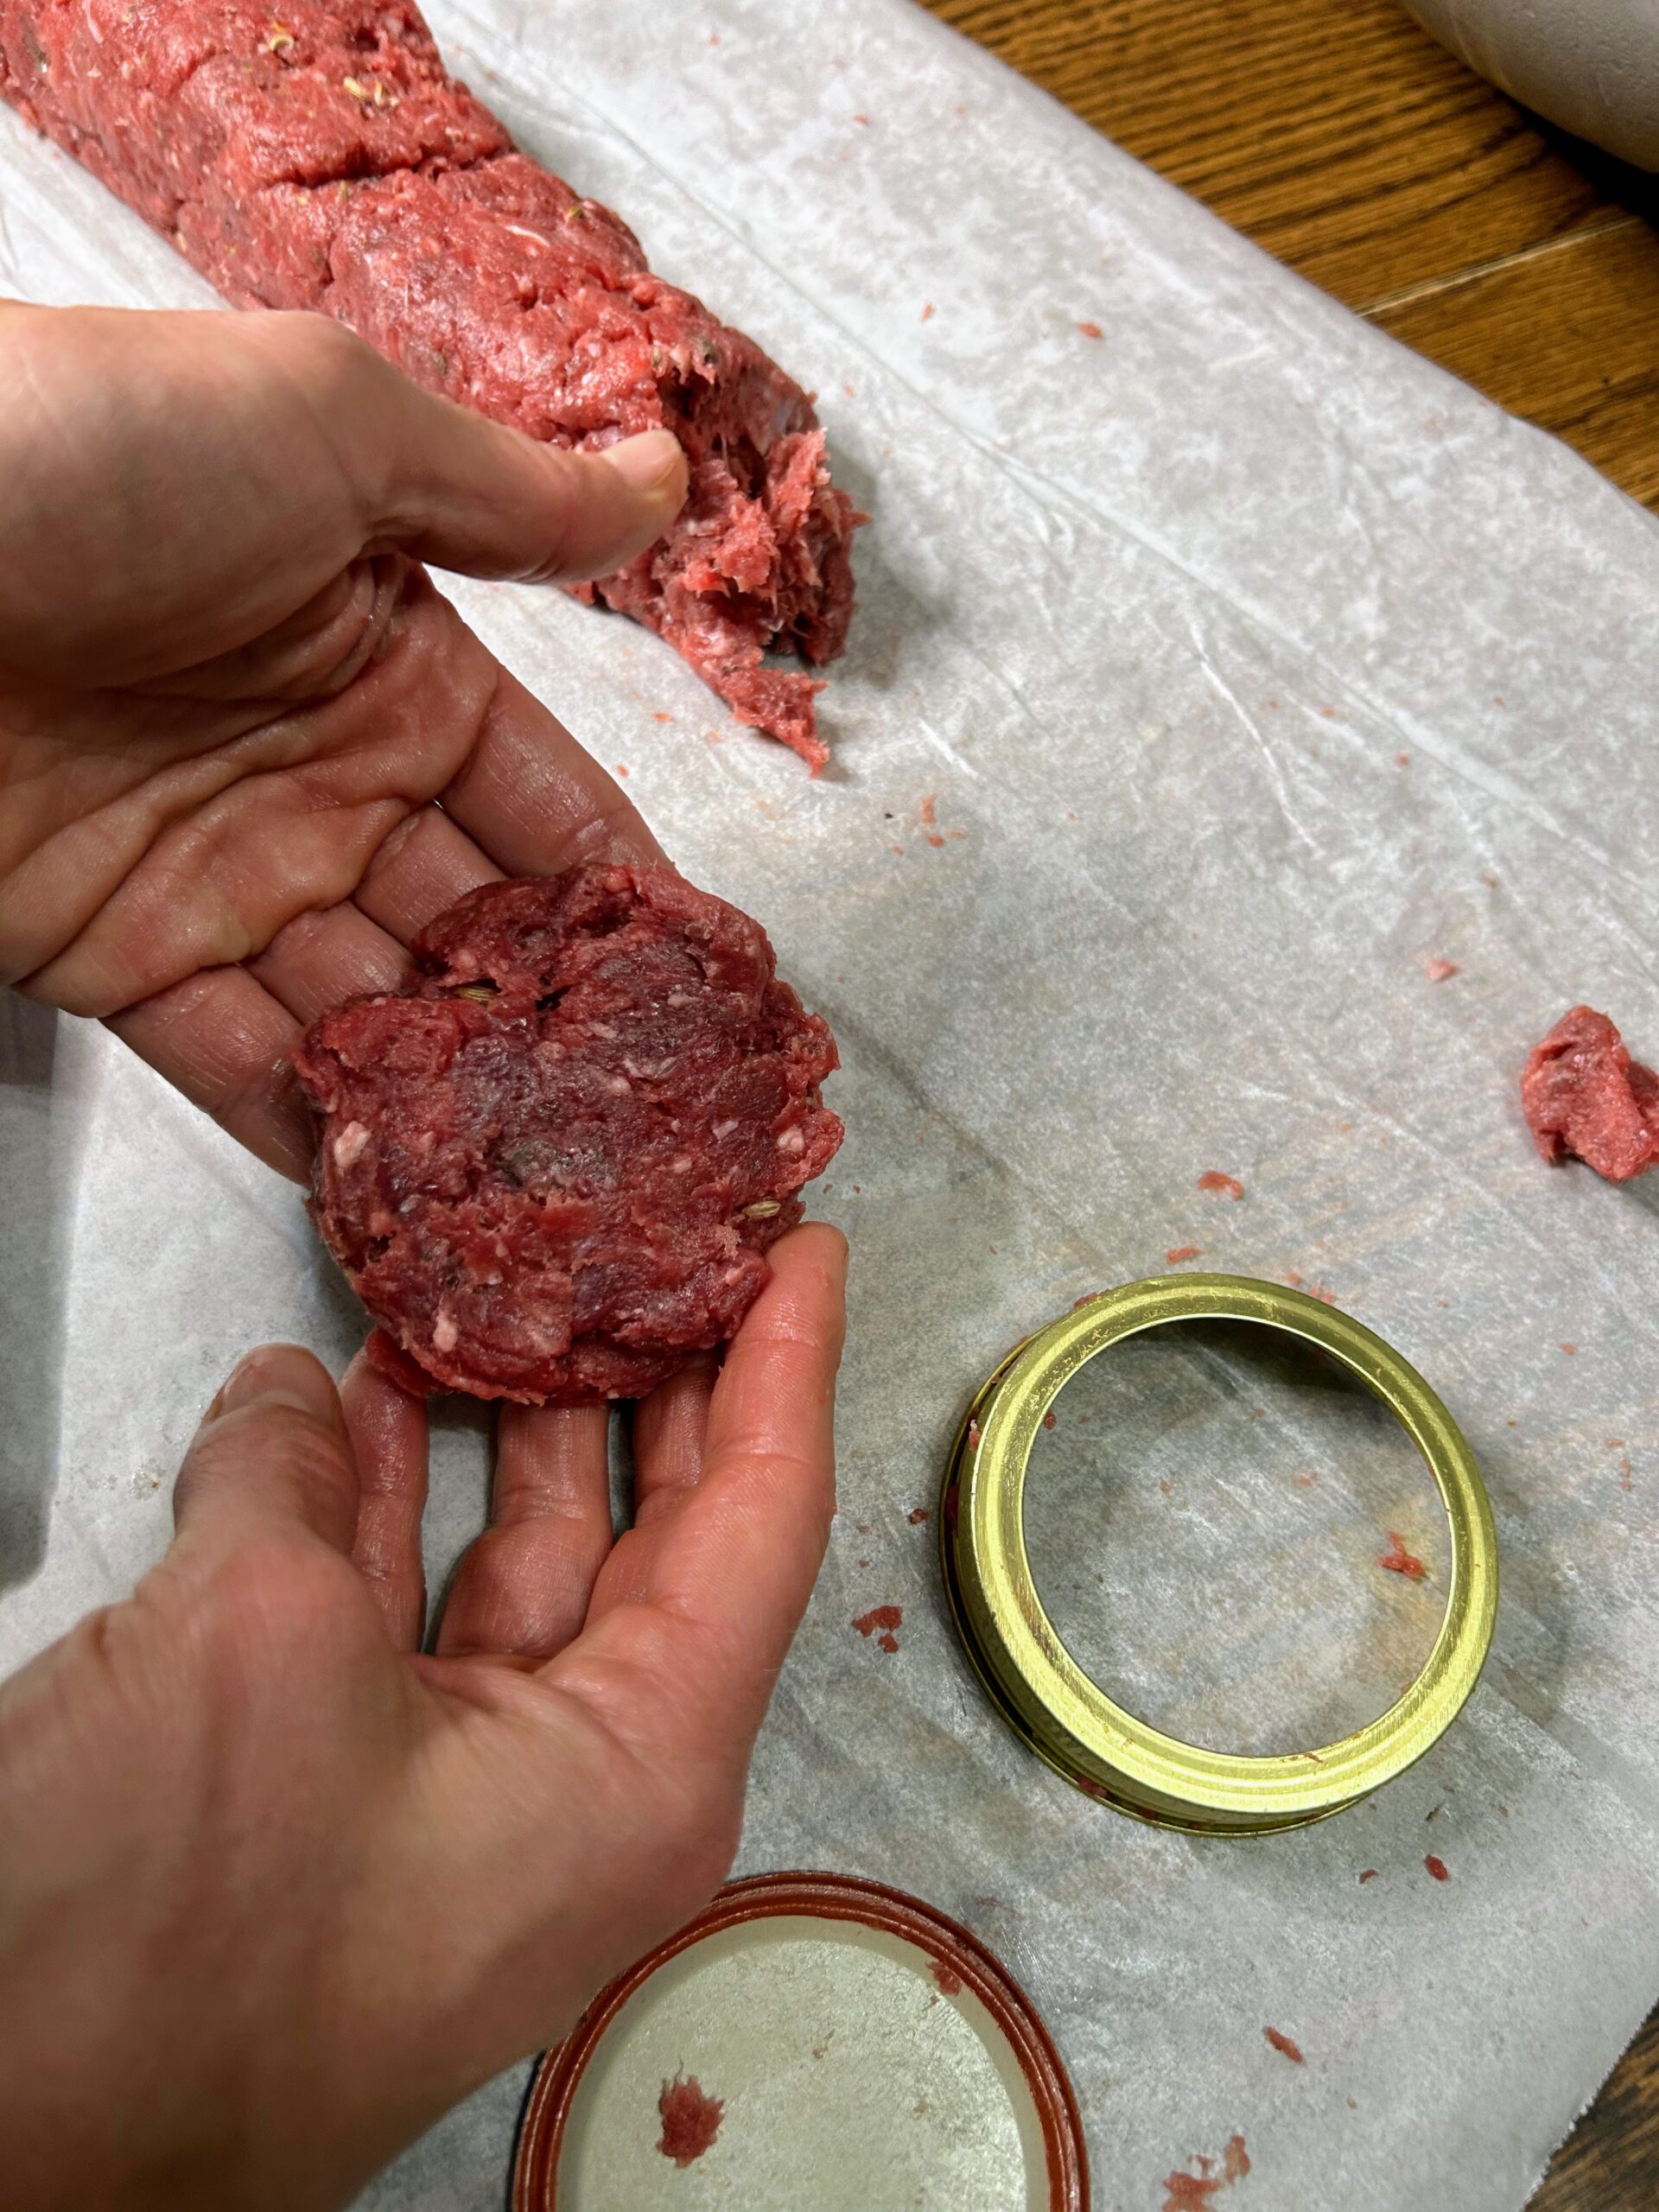
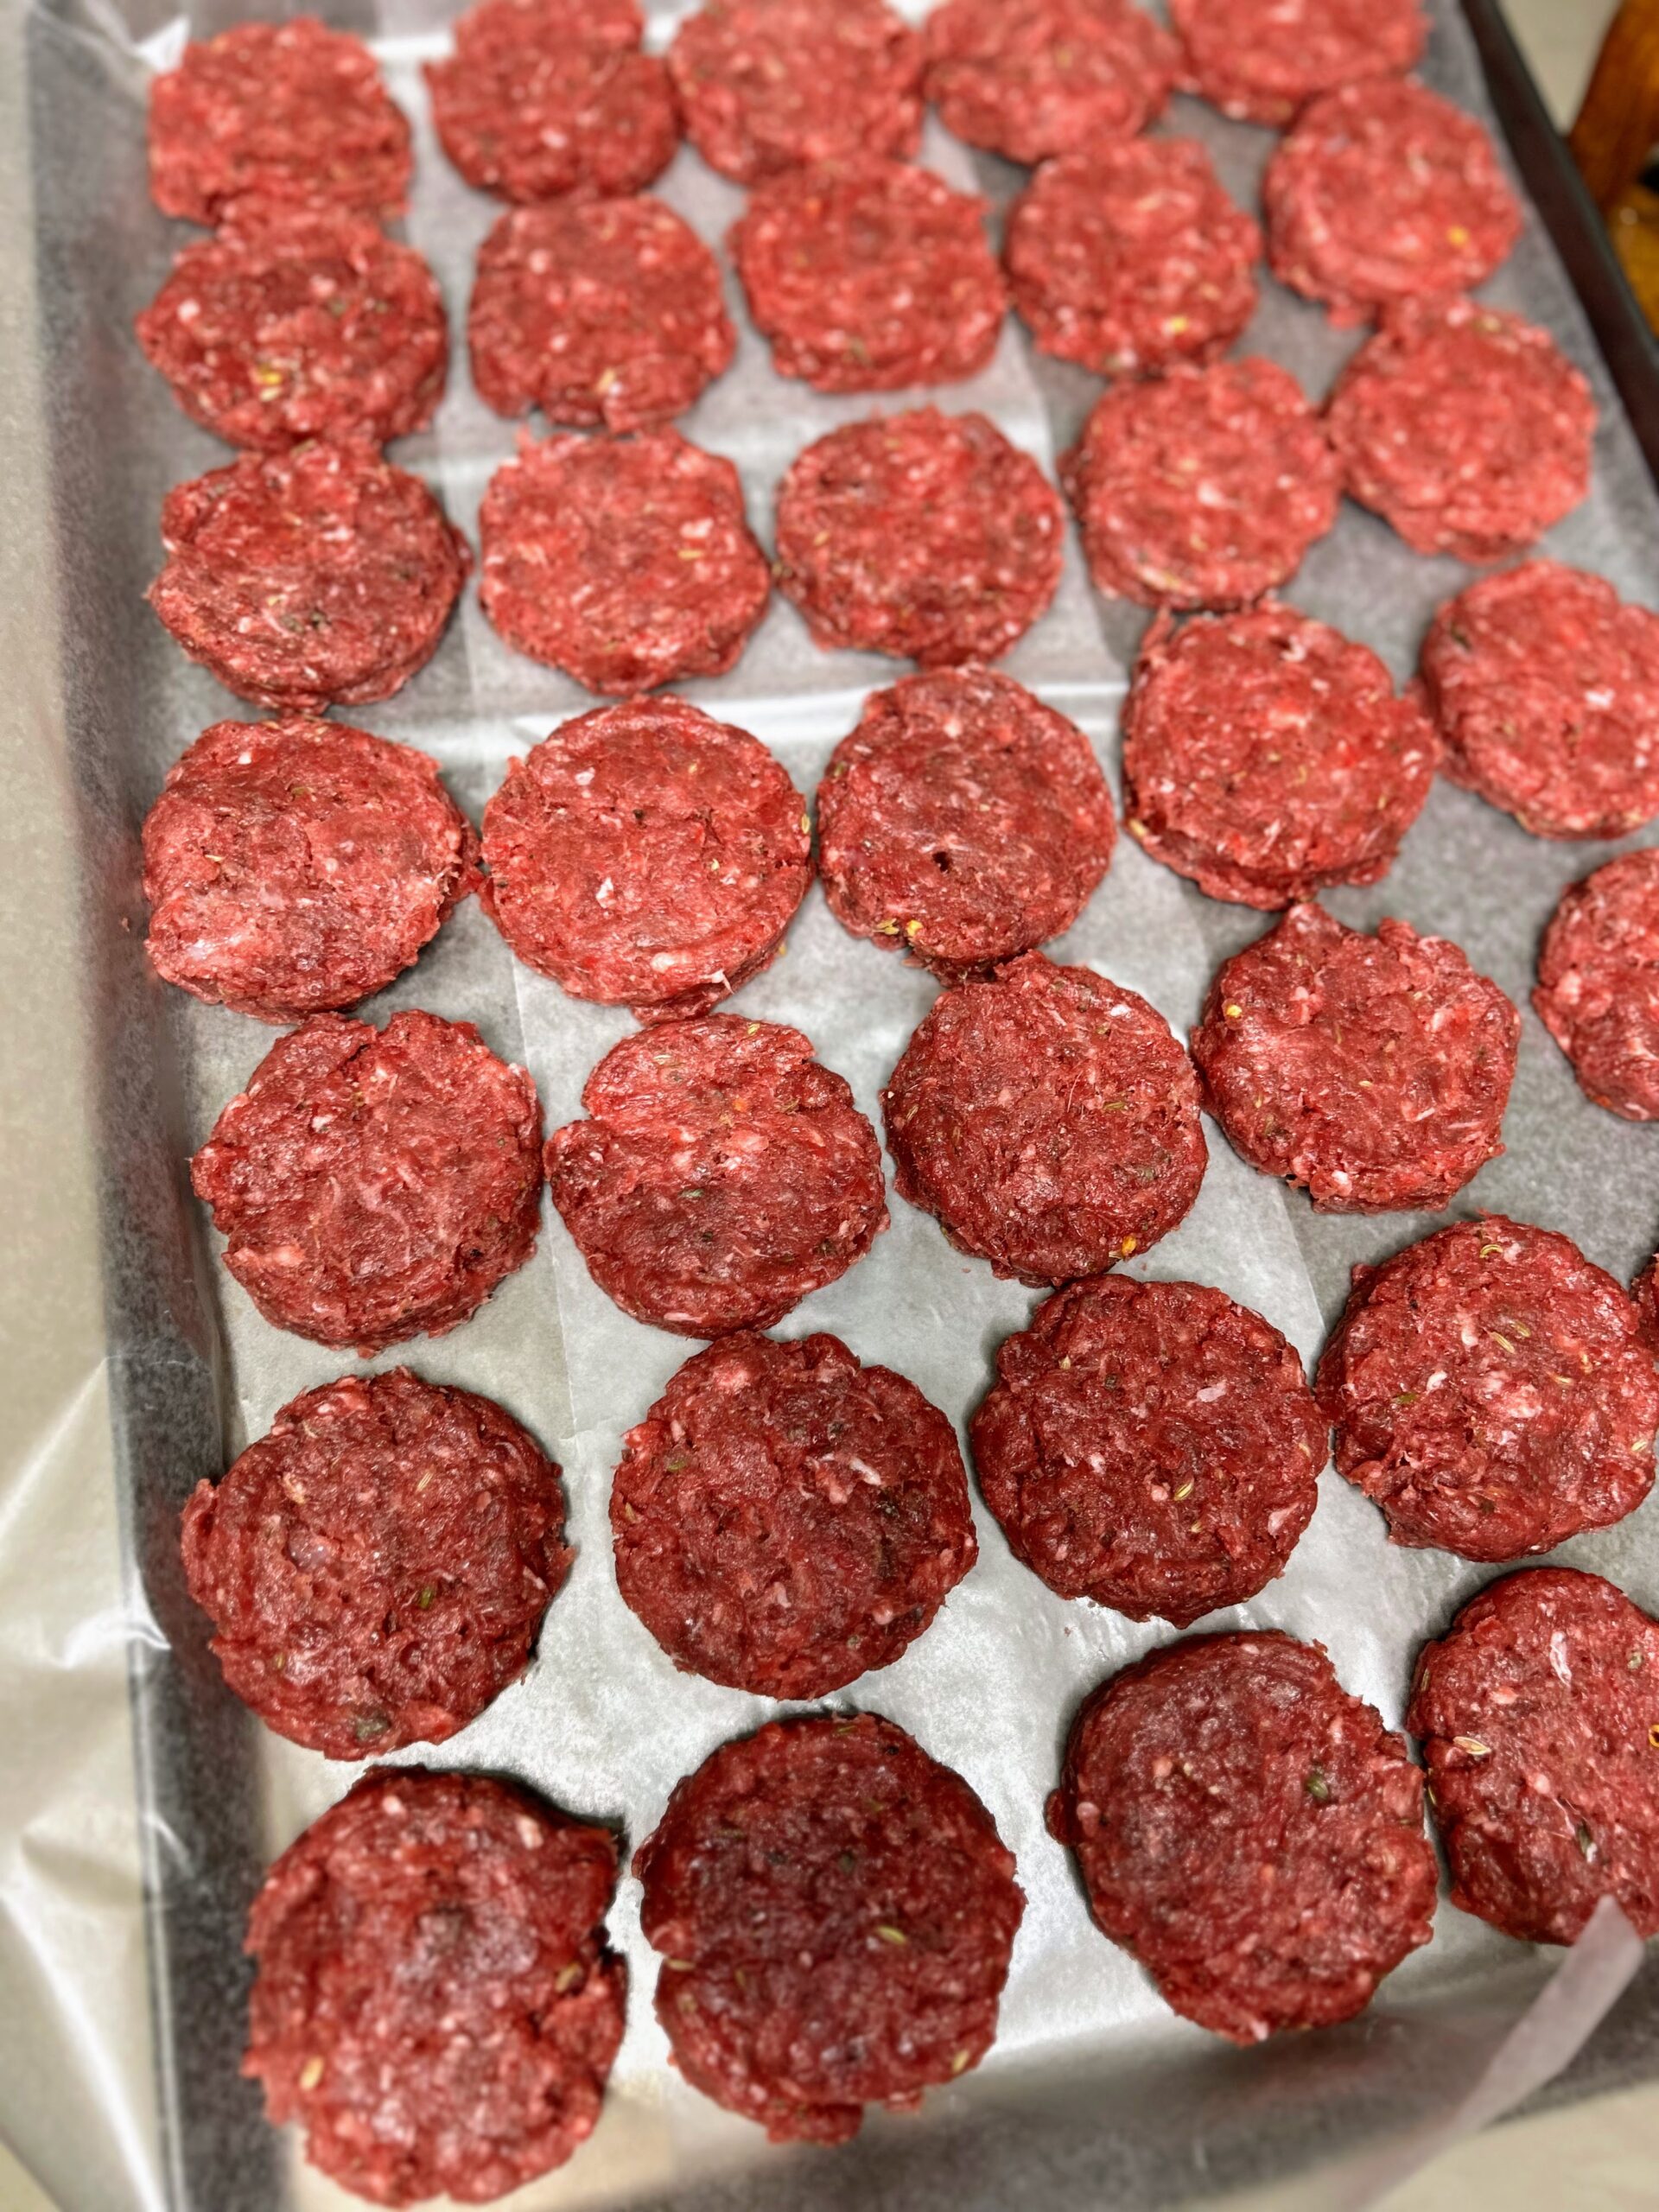
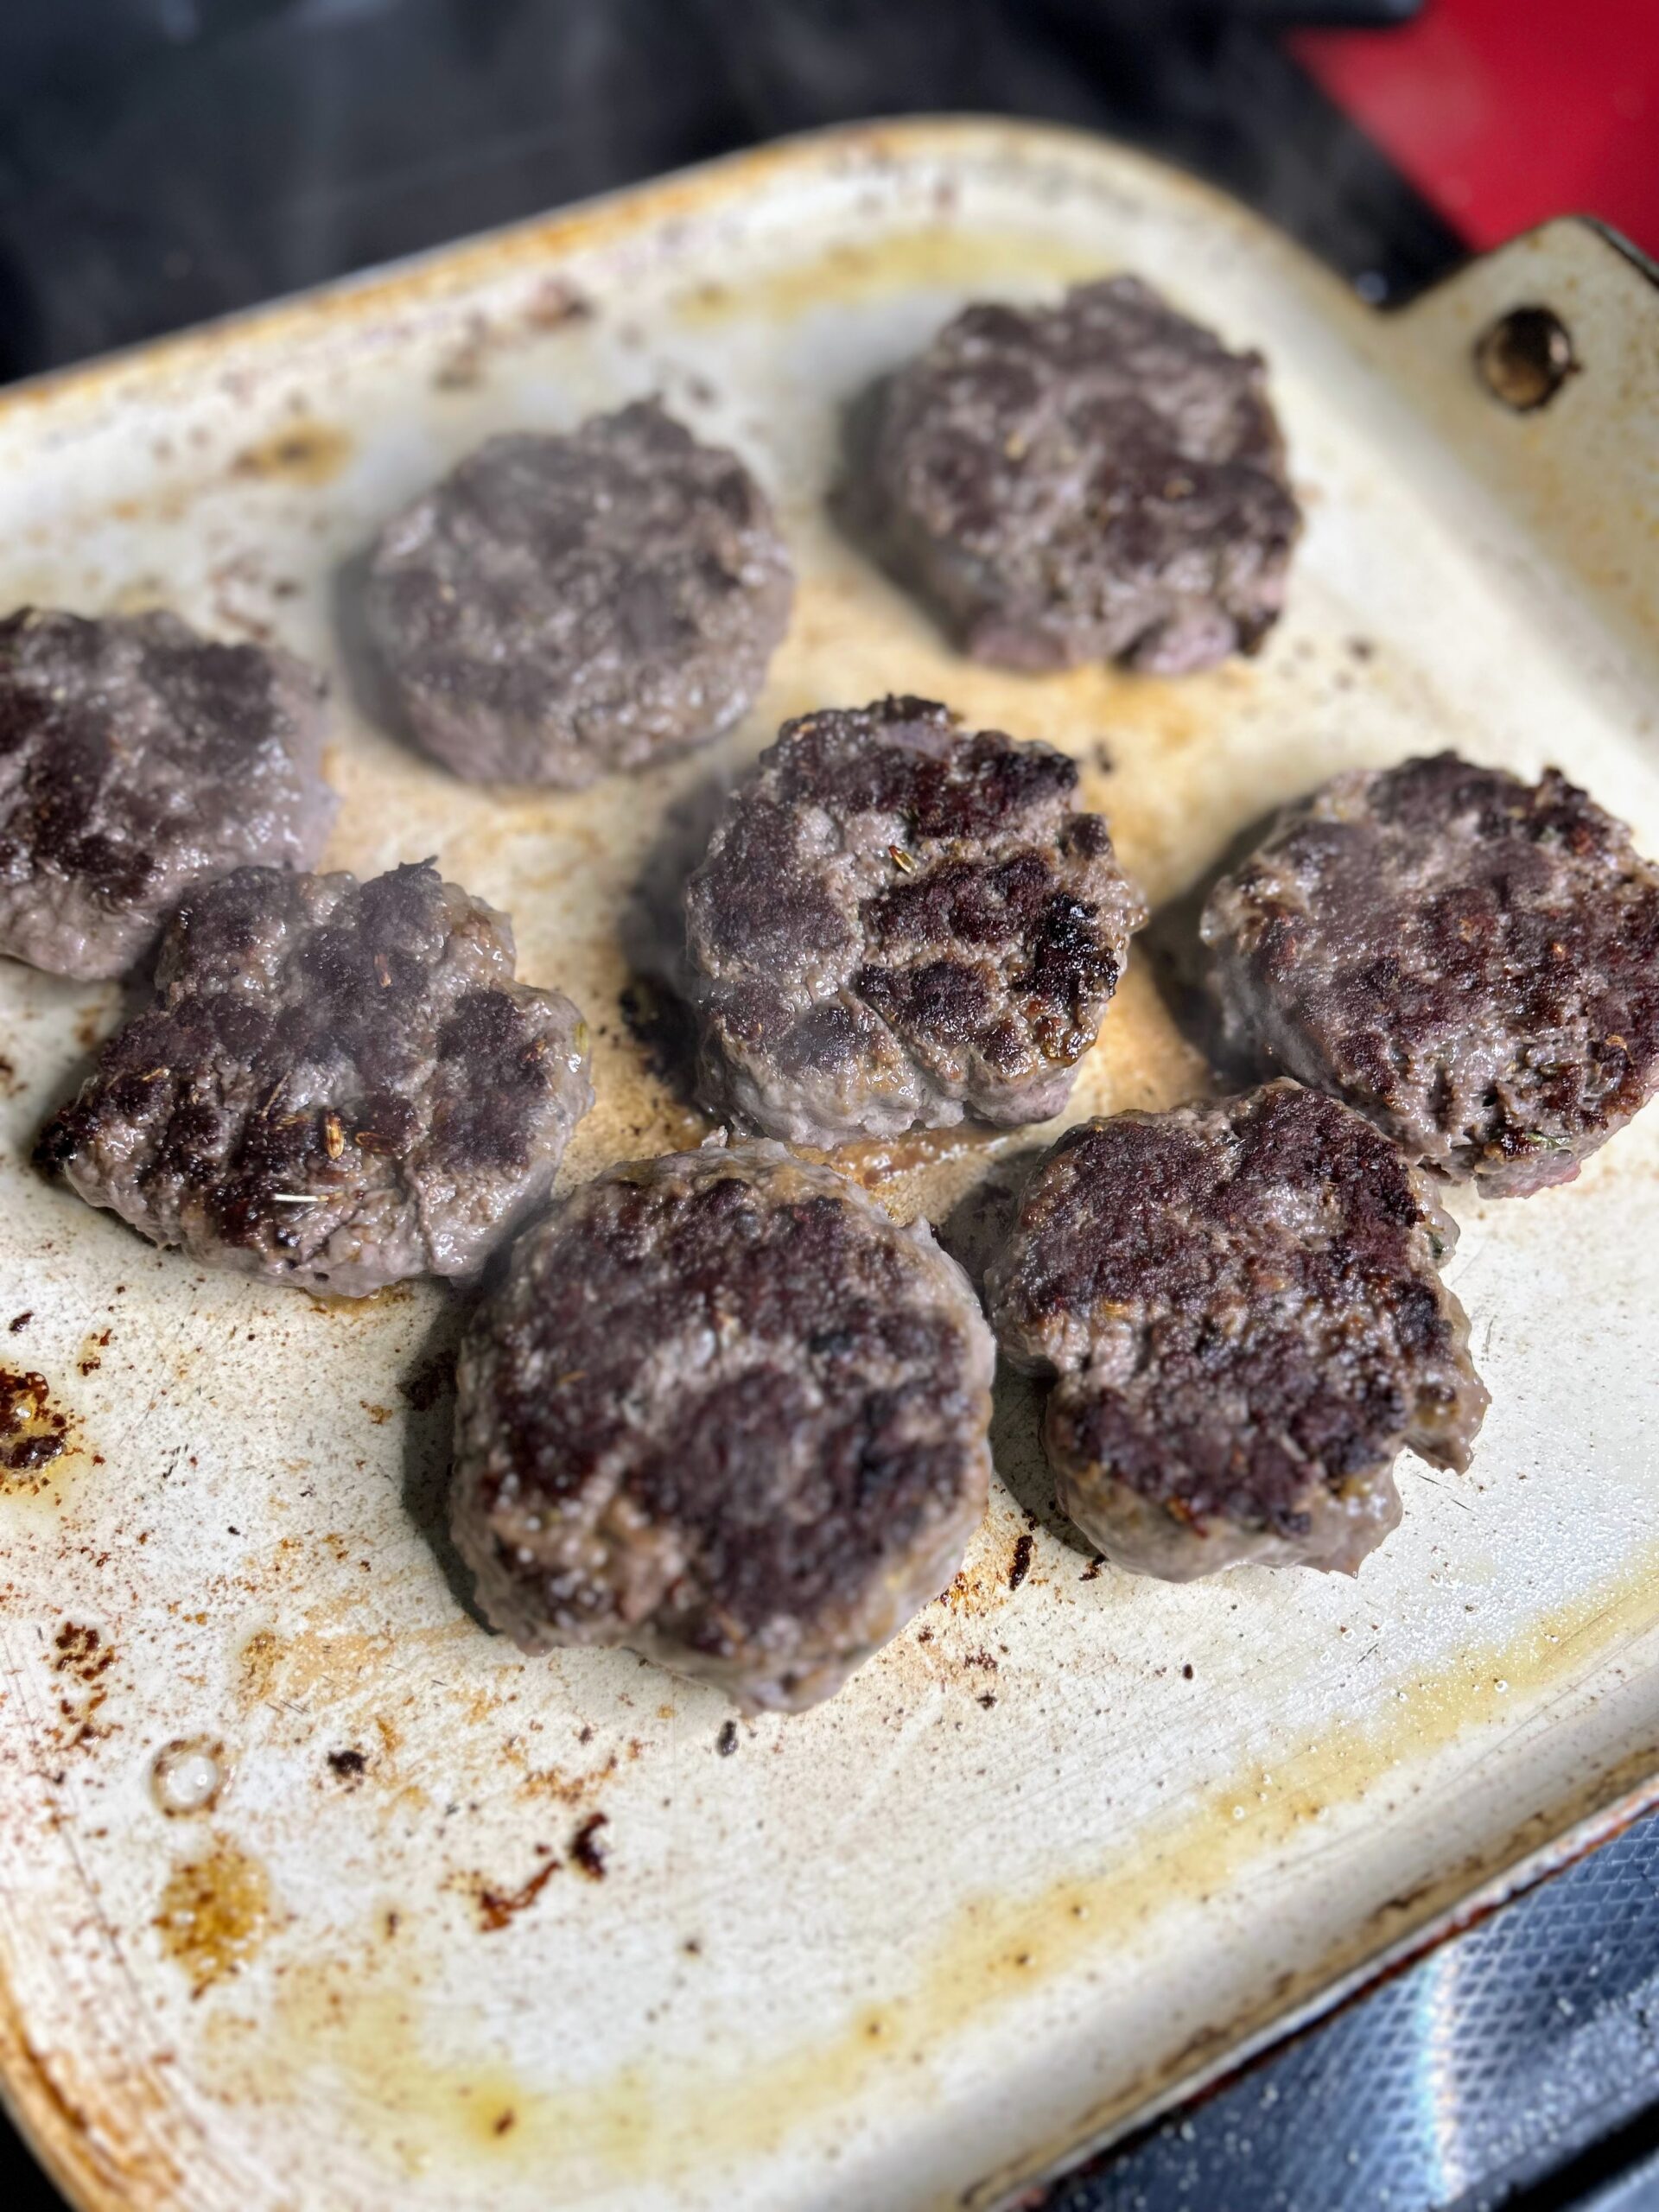
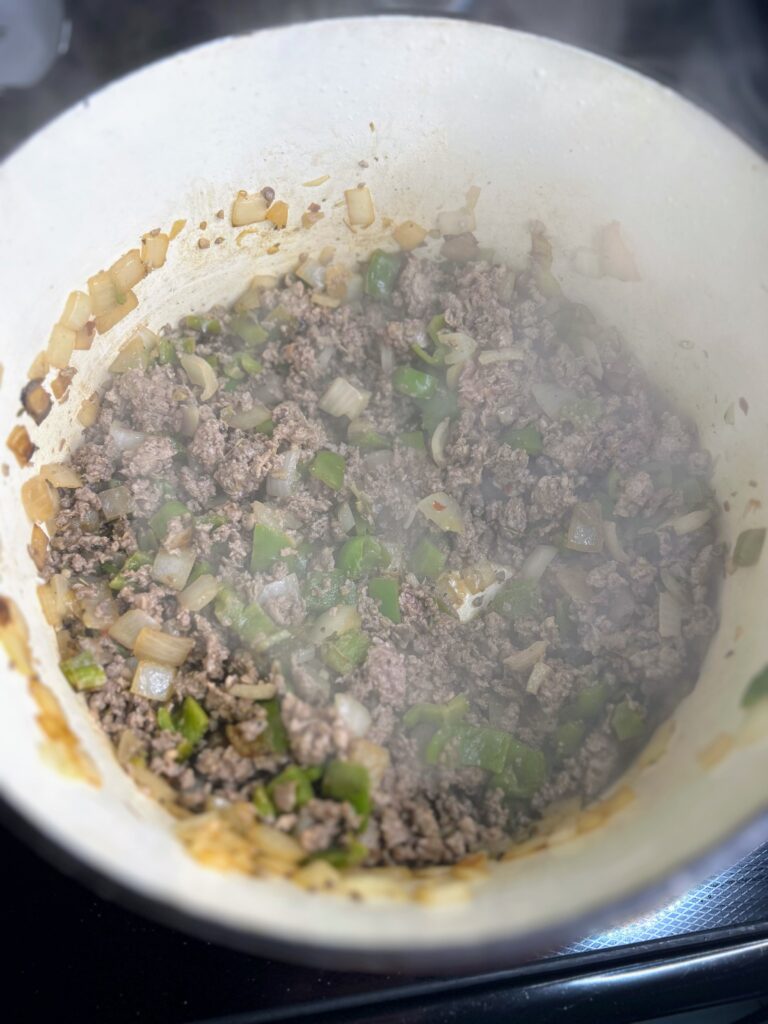
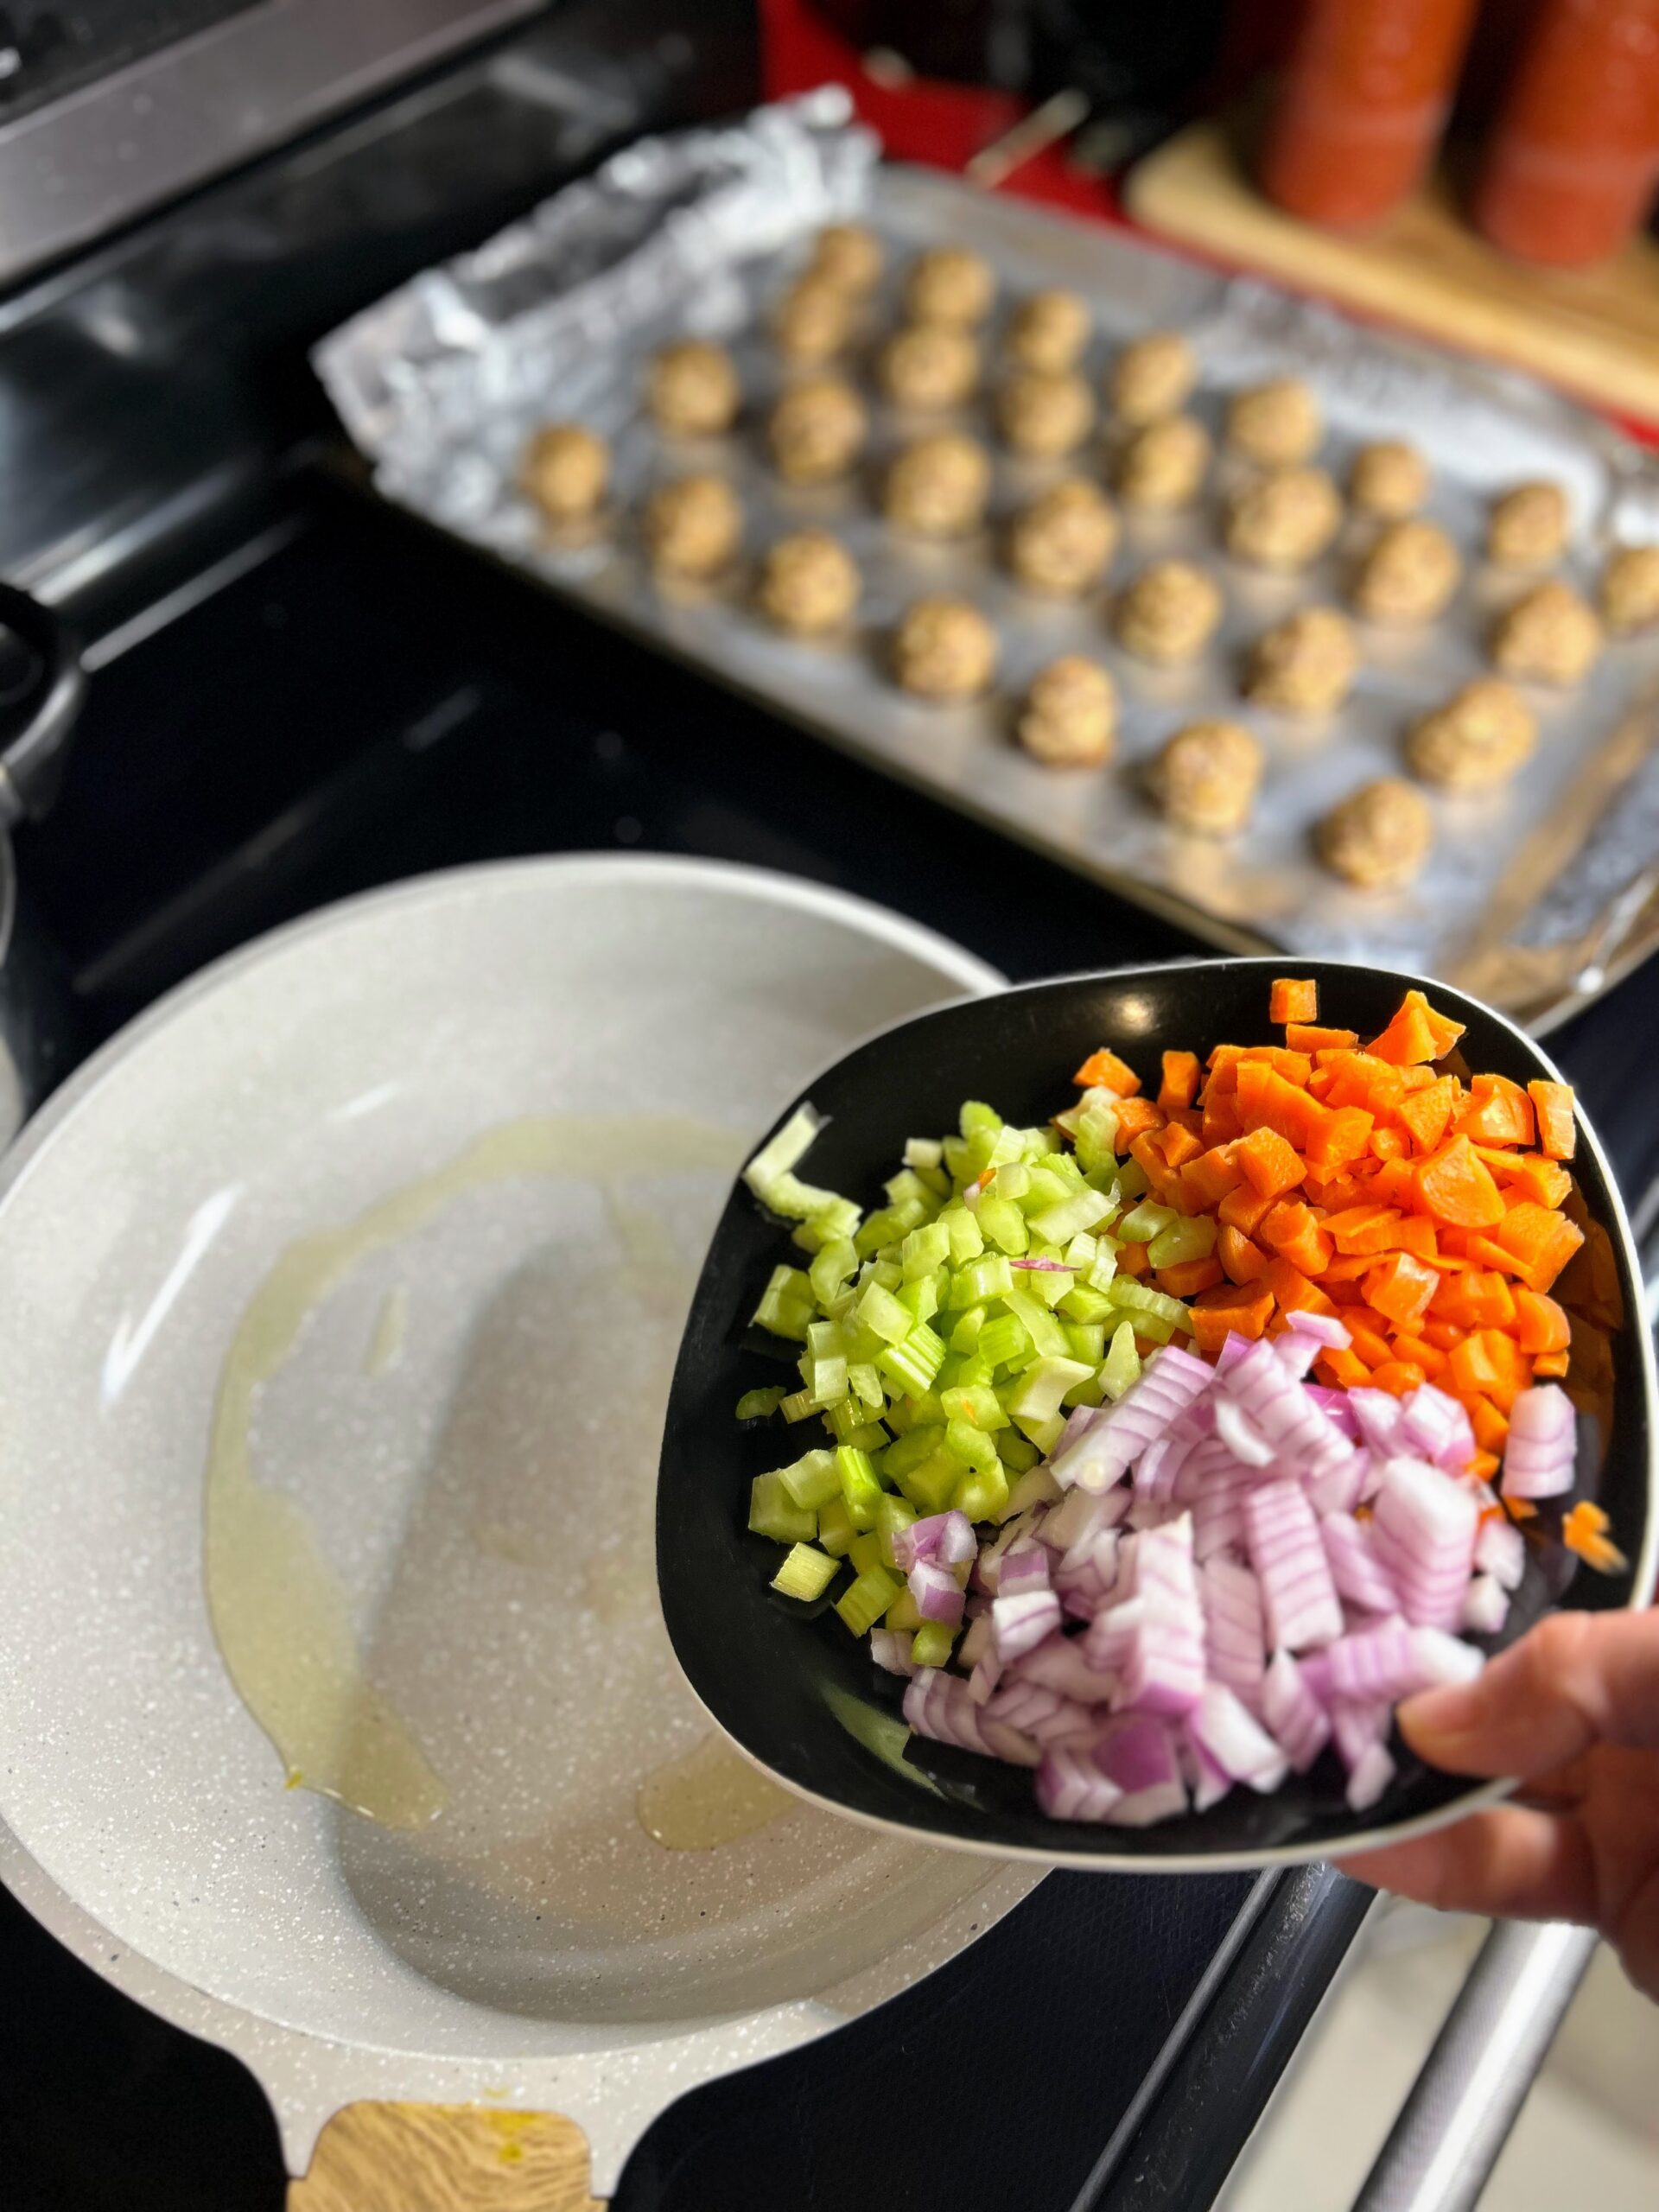
Preheat the oven to 350 degrees. Mix Italian sausage, egg, bread crumbs, and parmesan cheese (salt and pepper, if wanted). Mix until well combined. Form into 1 inch diameter meatballs. Place on a foil lined baking sheet and bake for 30 minutes, until cooked through.
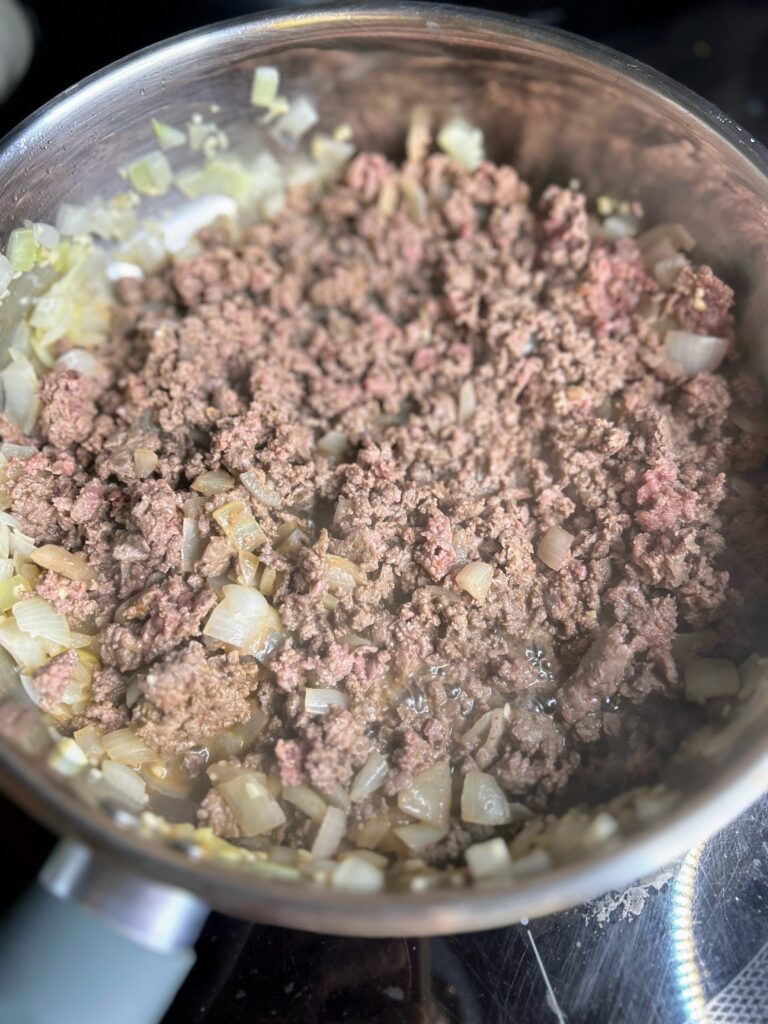
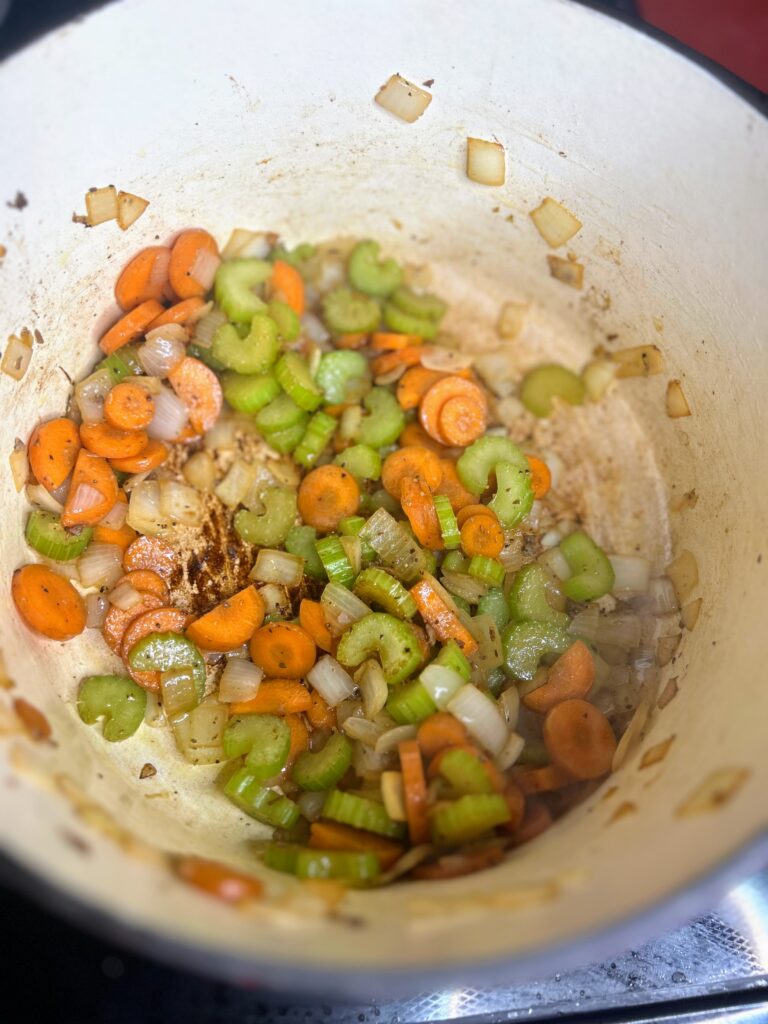
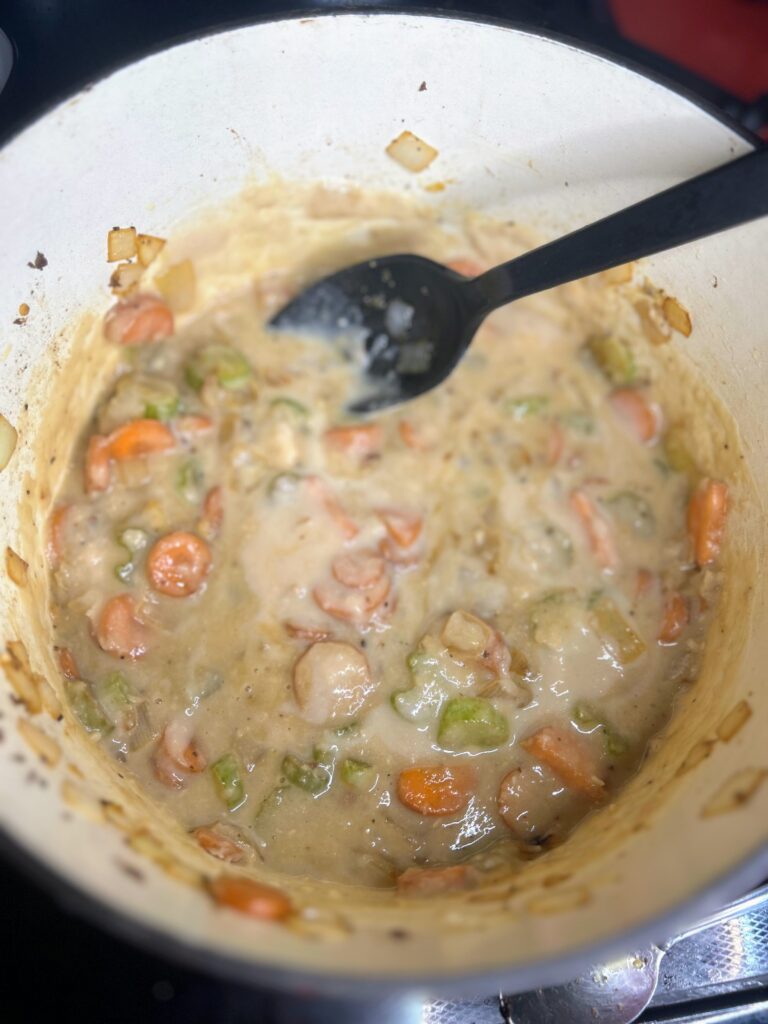
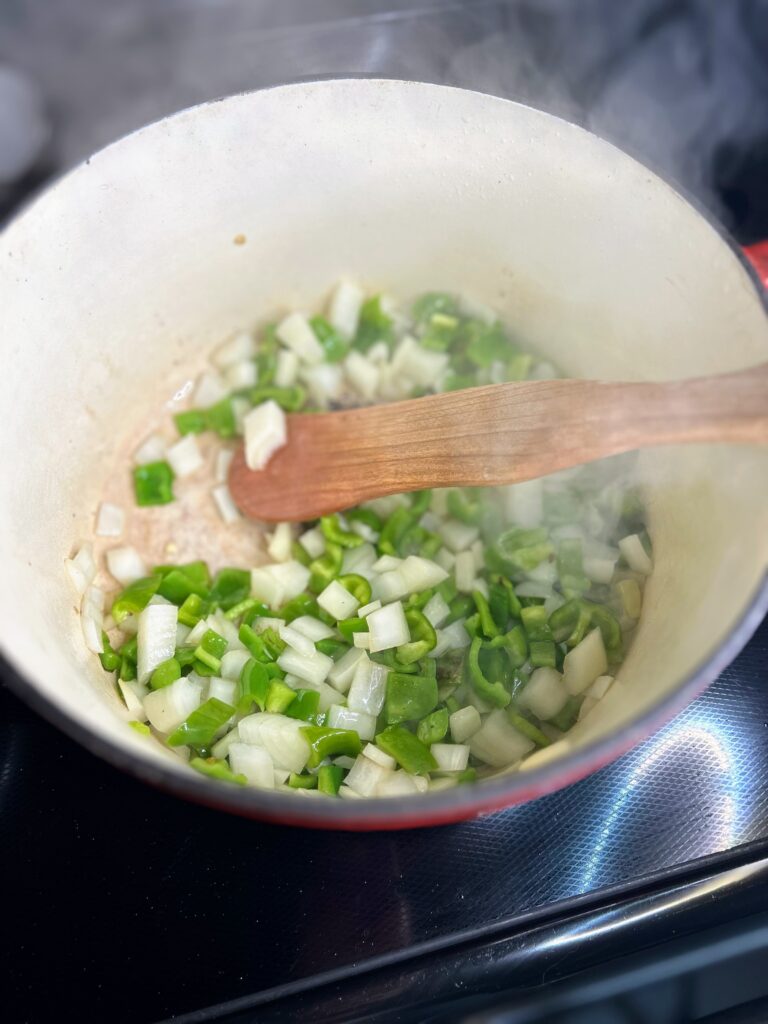
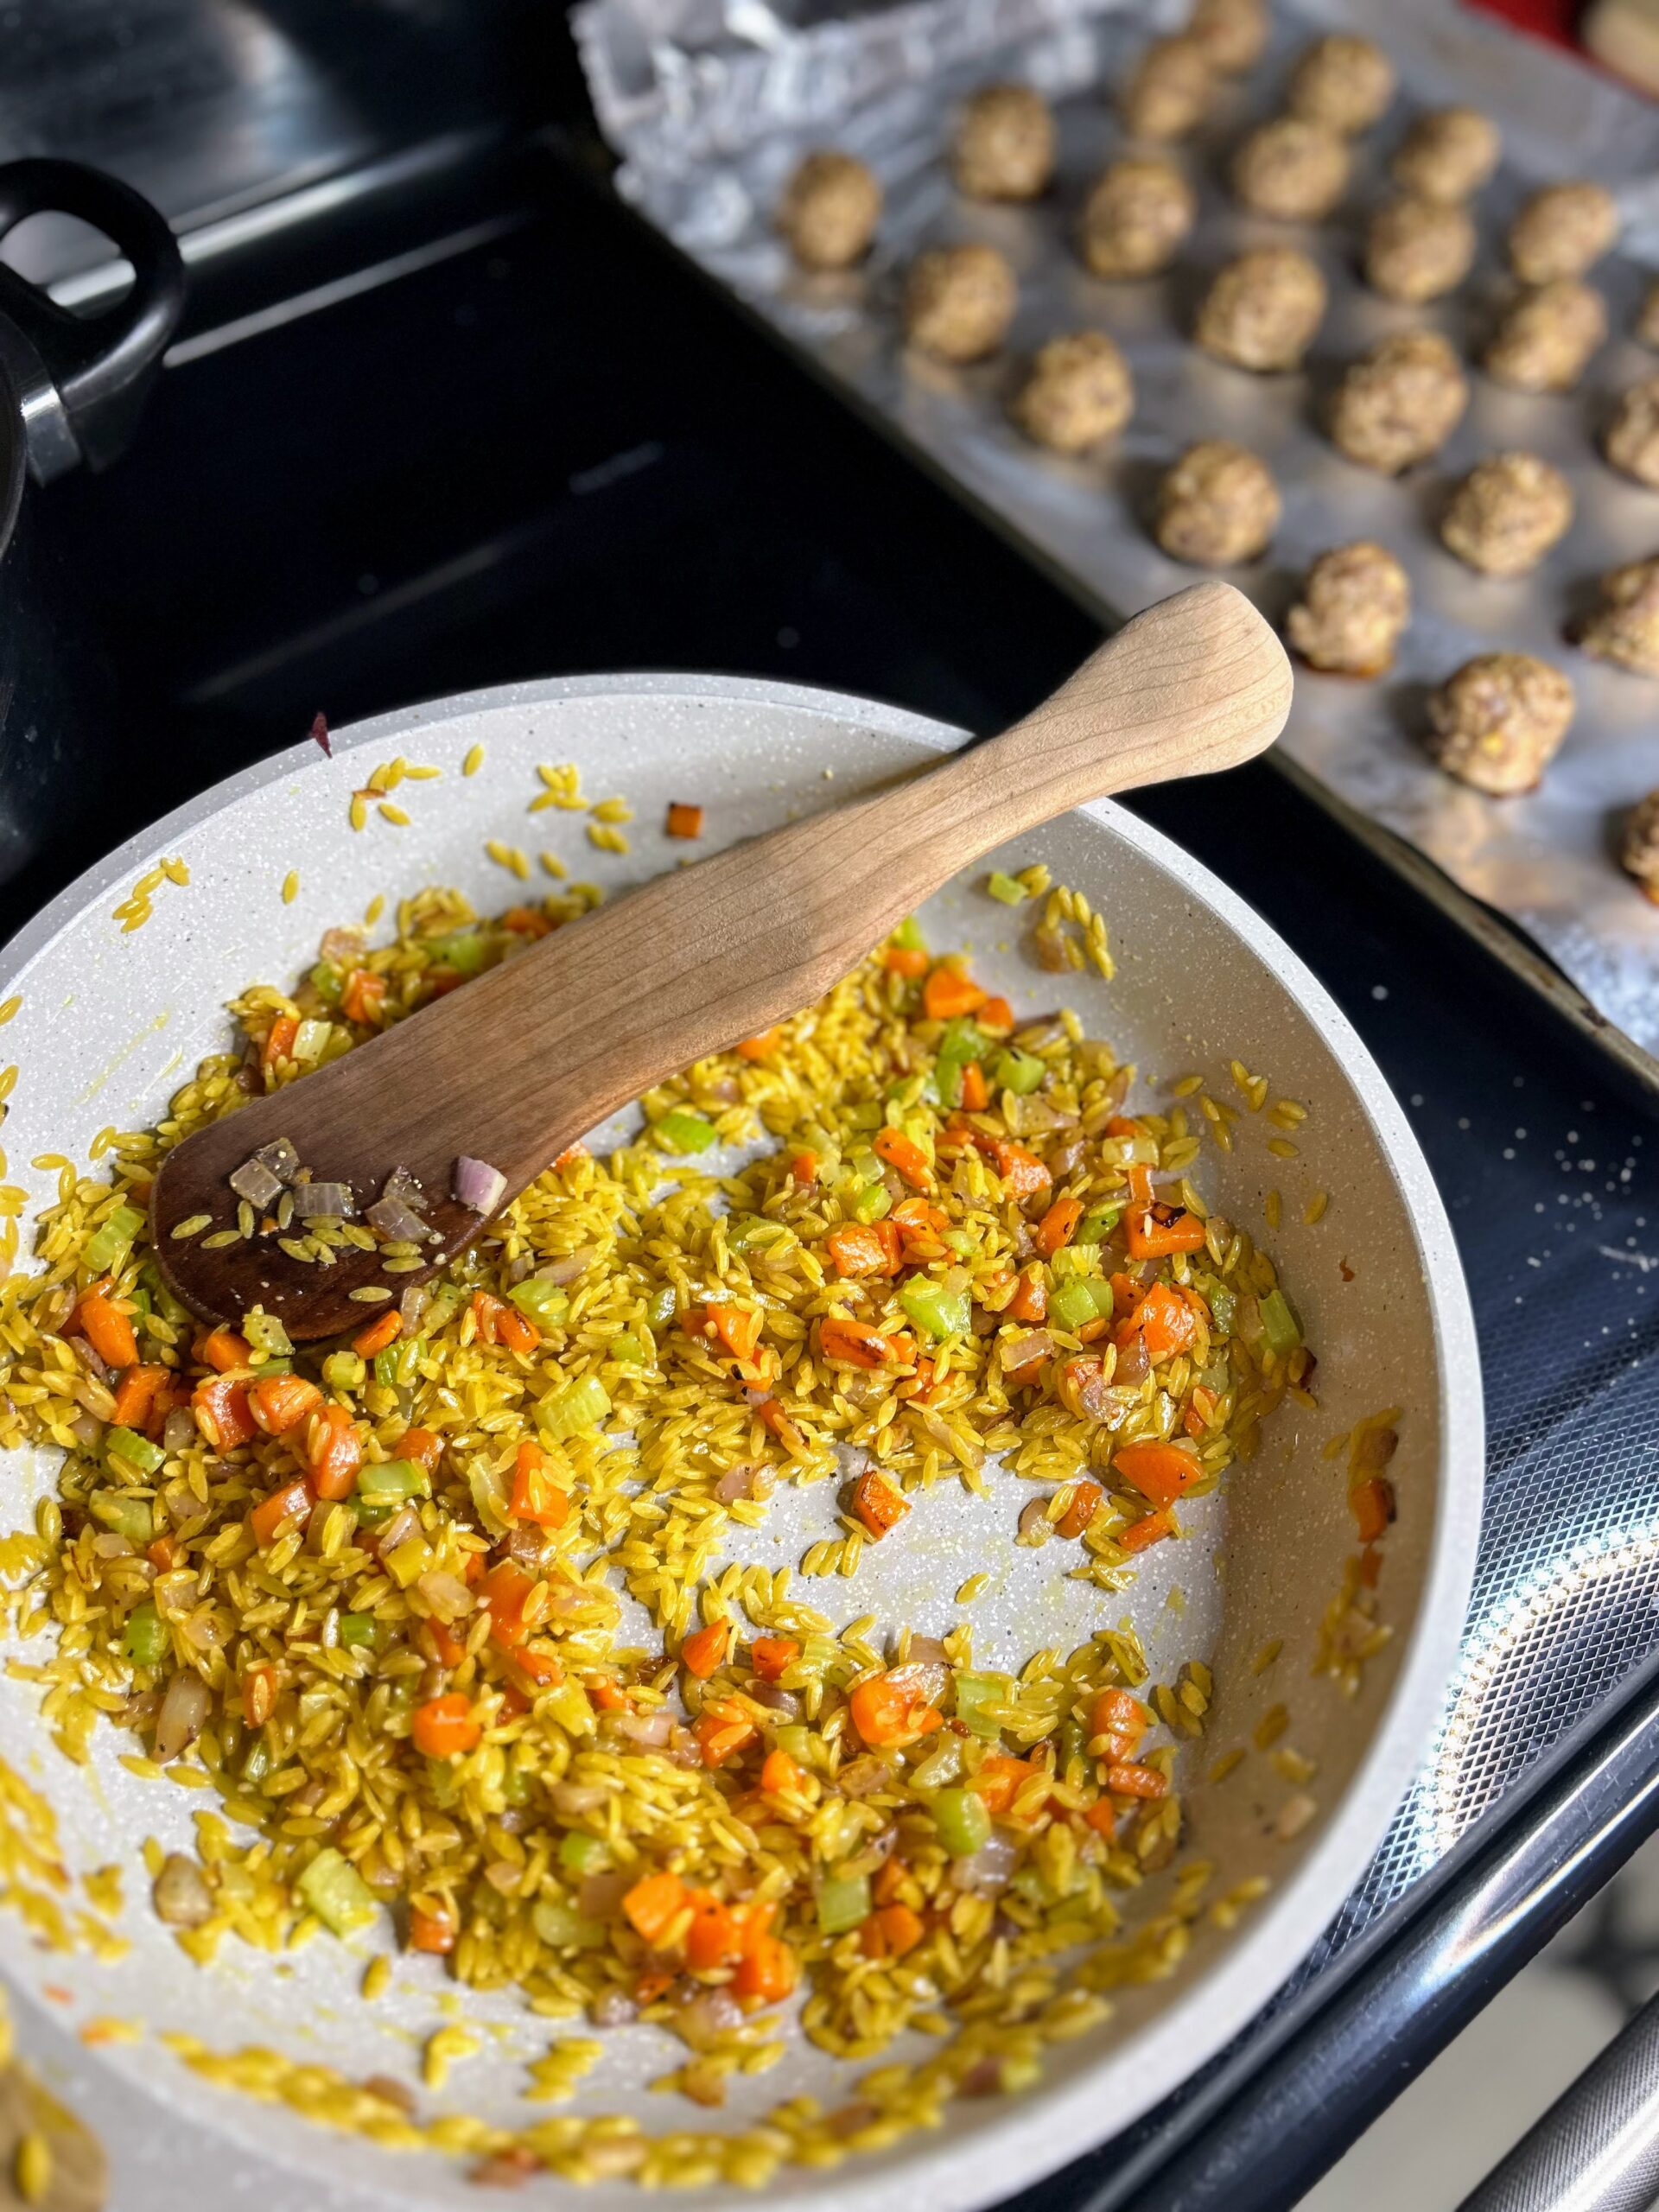
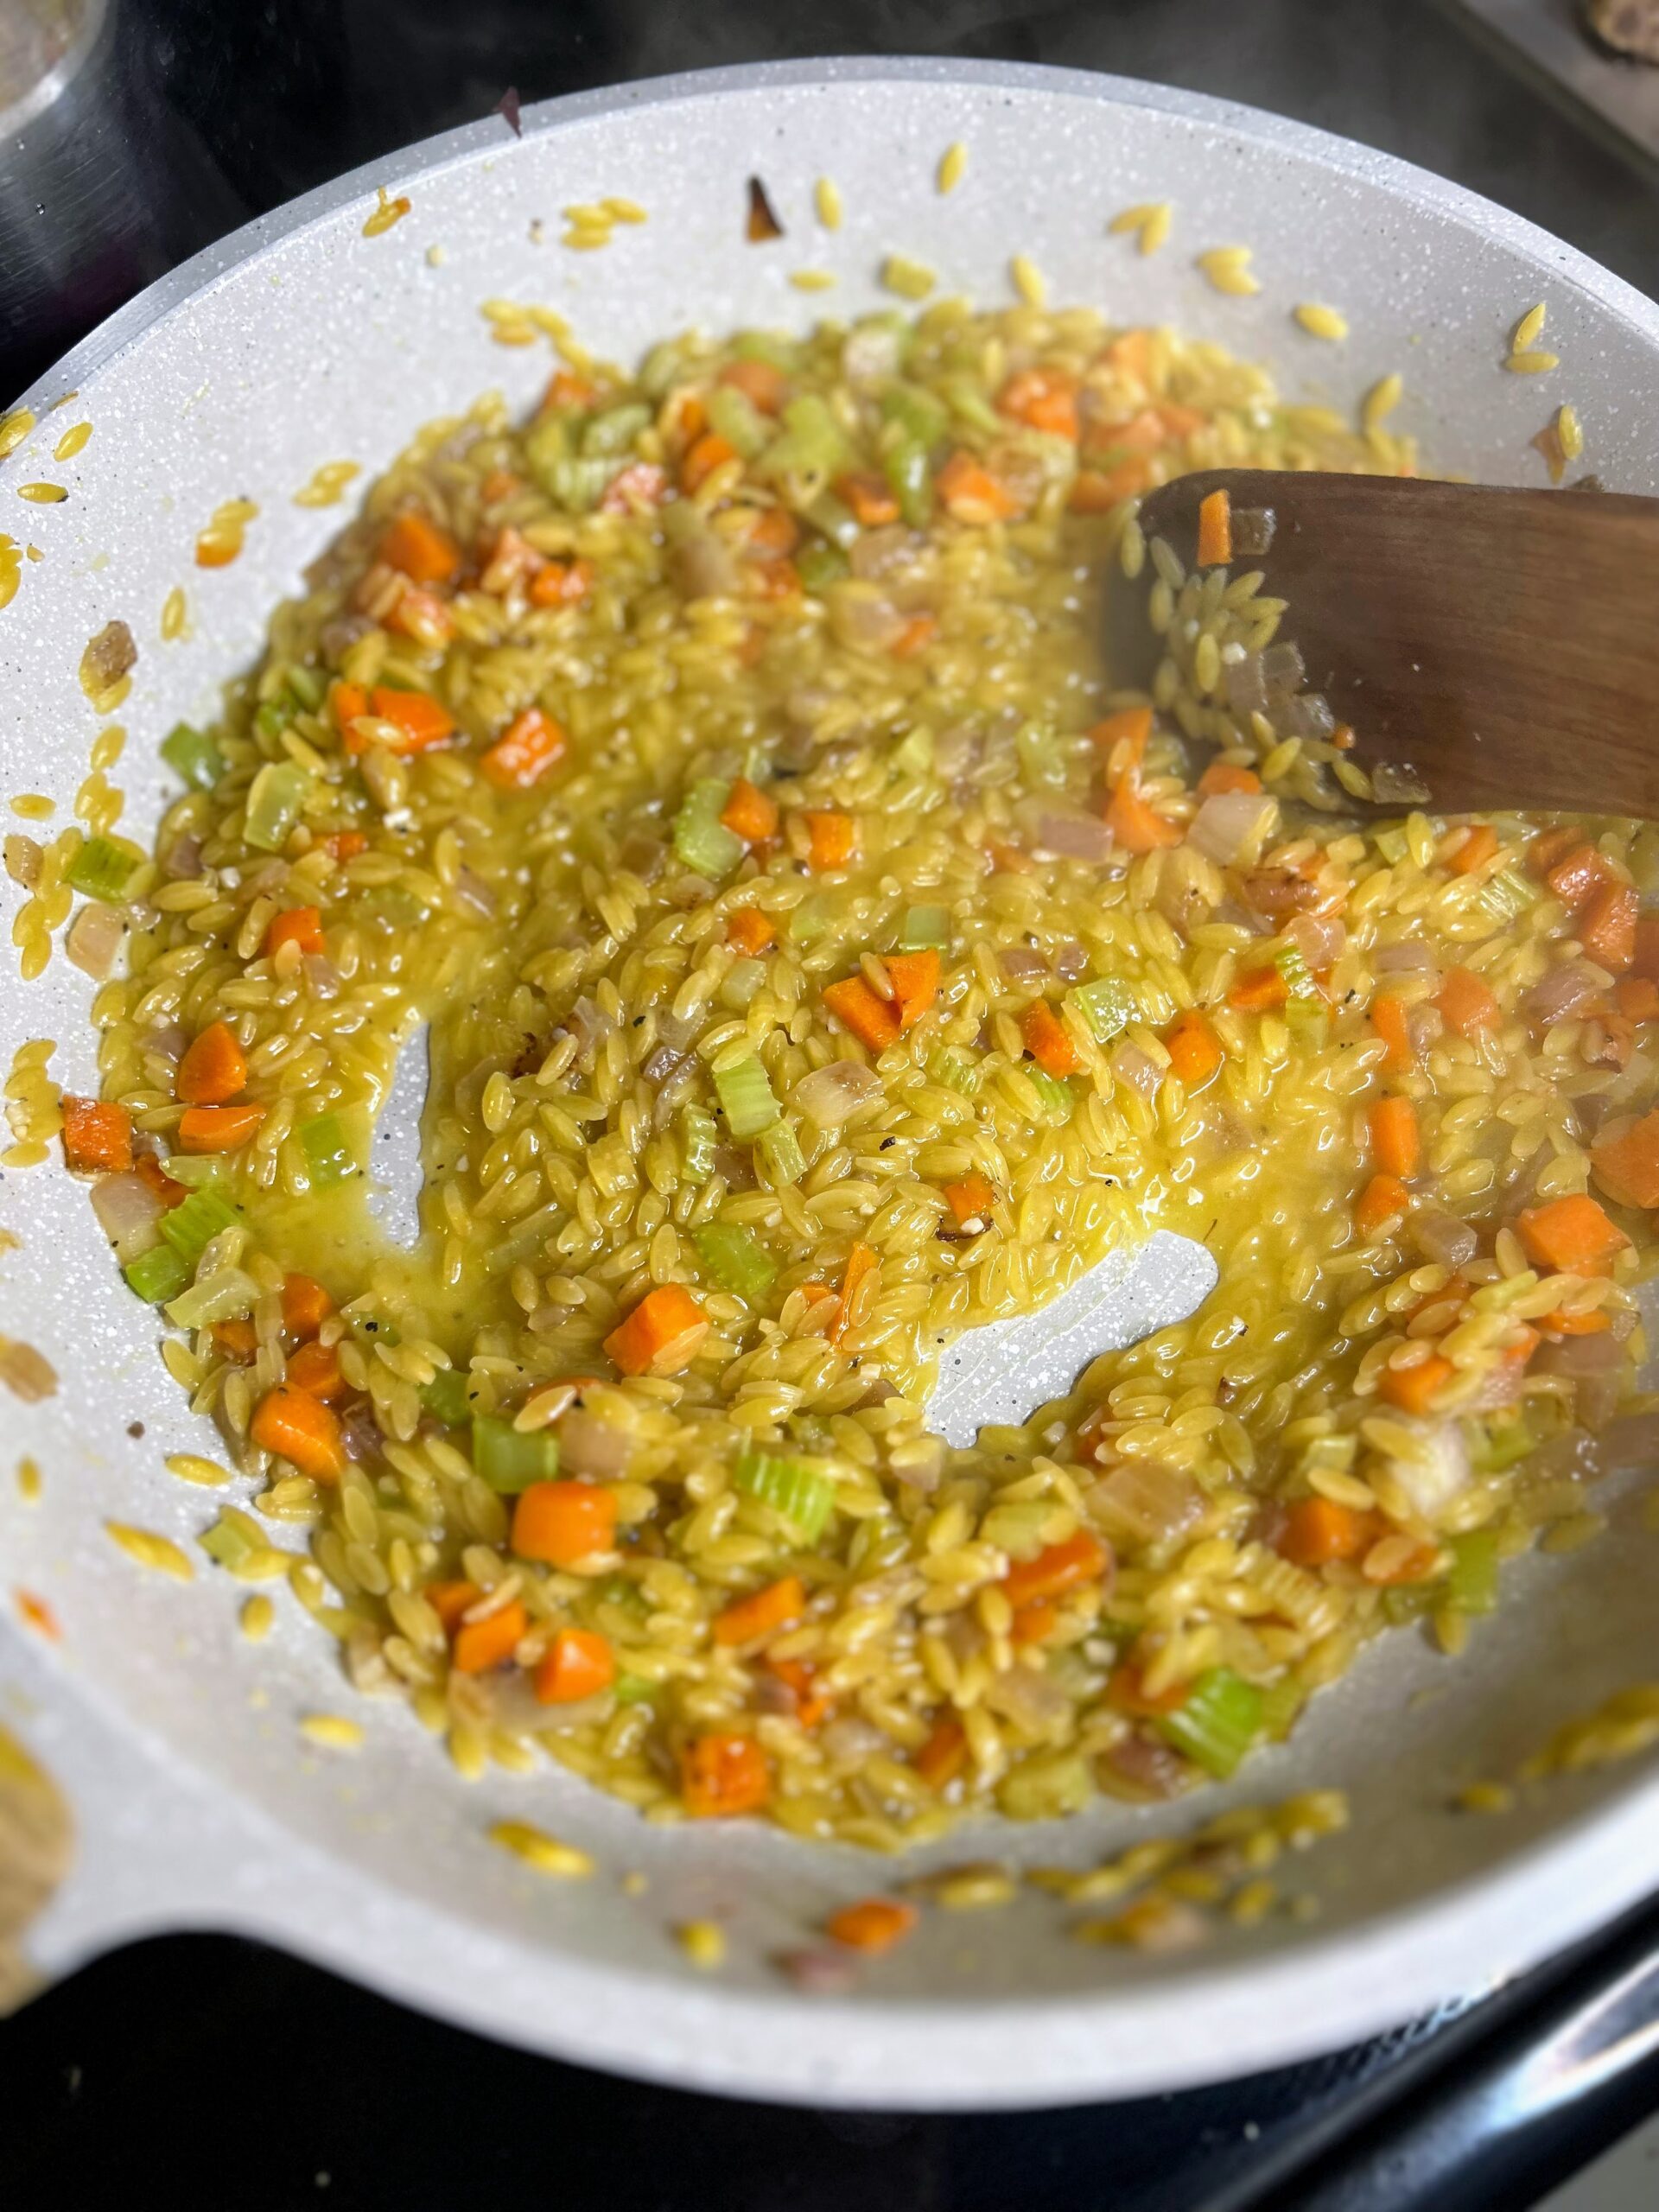
Meanwhile, begin to prep the orzo. Heat the olive oil in a deep saucepan over medium-high heat. Once hot, add onion, celery, and carrots. Cook until softened, about 5-8 minutes. Add the butter and garlic. Once the butter has melted, add the orzo and toast for 4-5 minutes, stirring often. From here, add the chicken stock in half cup increments, stirring very often. Once each ½ cup has been absorbed, add the next ½ cup, cooking about 15-18 minutes, until the orzo is al dente. (Think risotto)
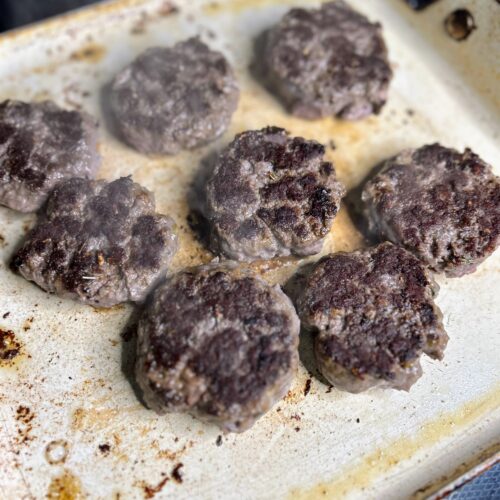
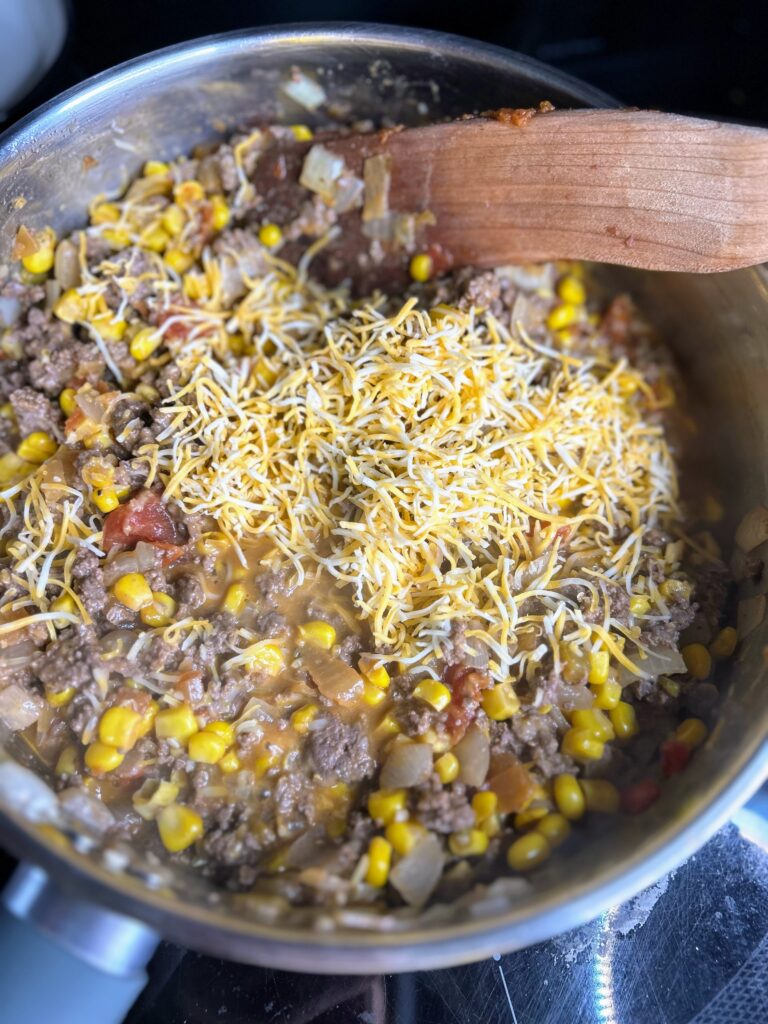
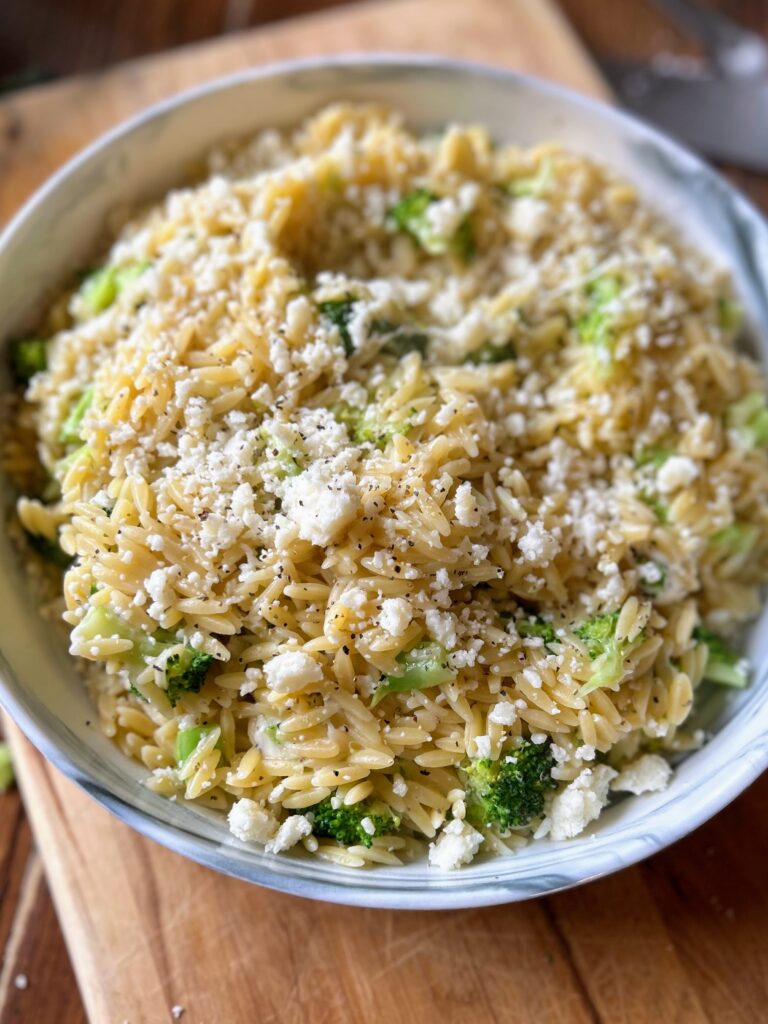
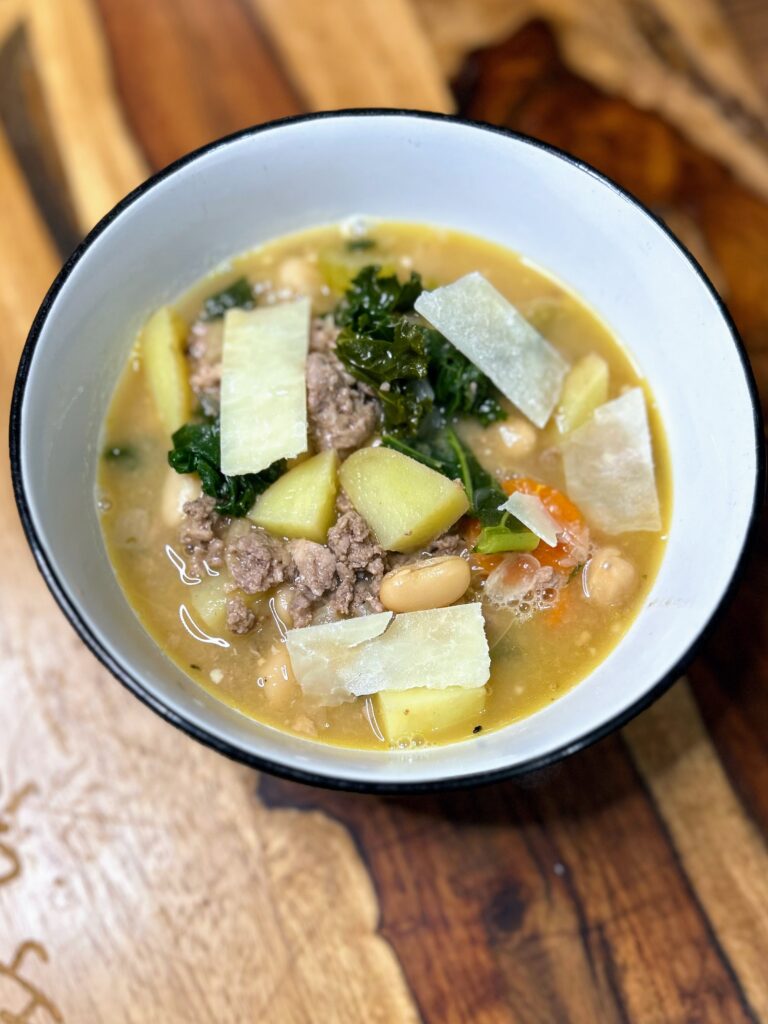
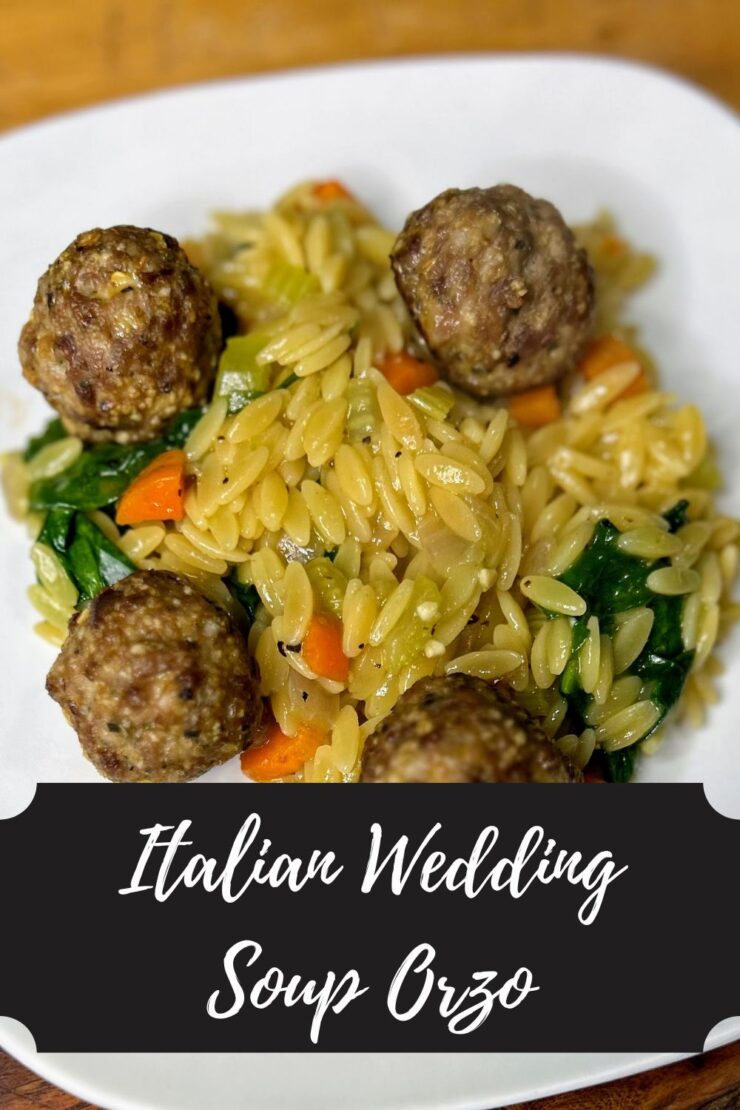
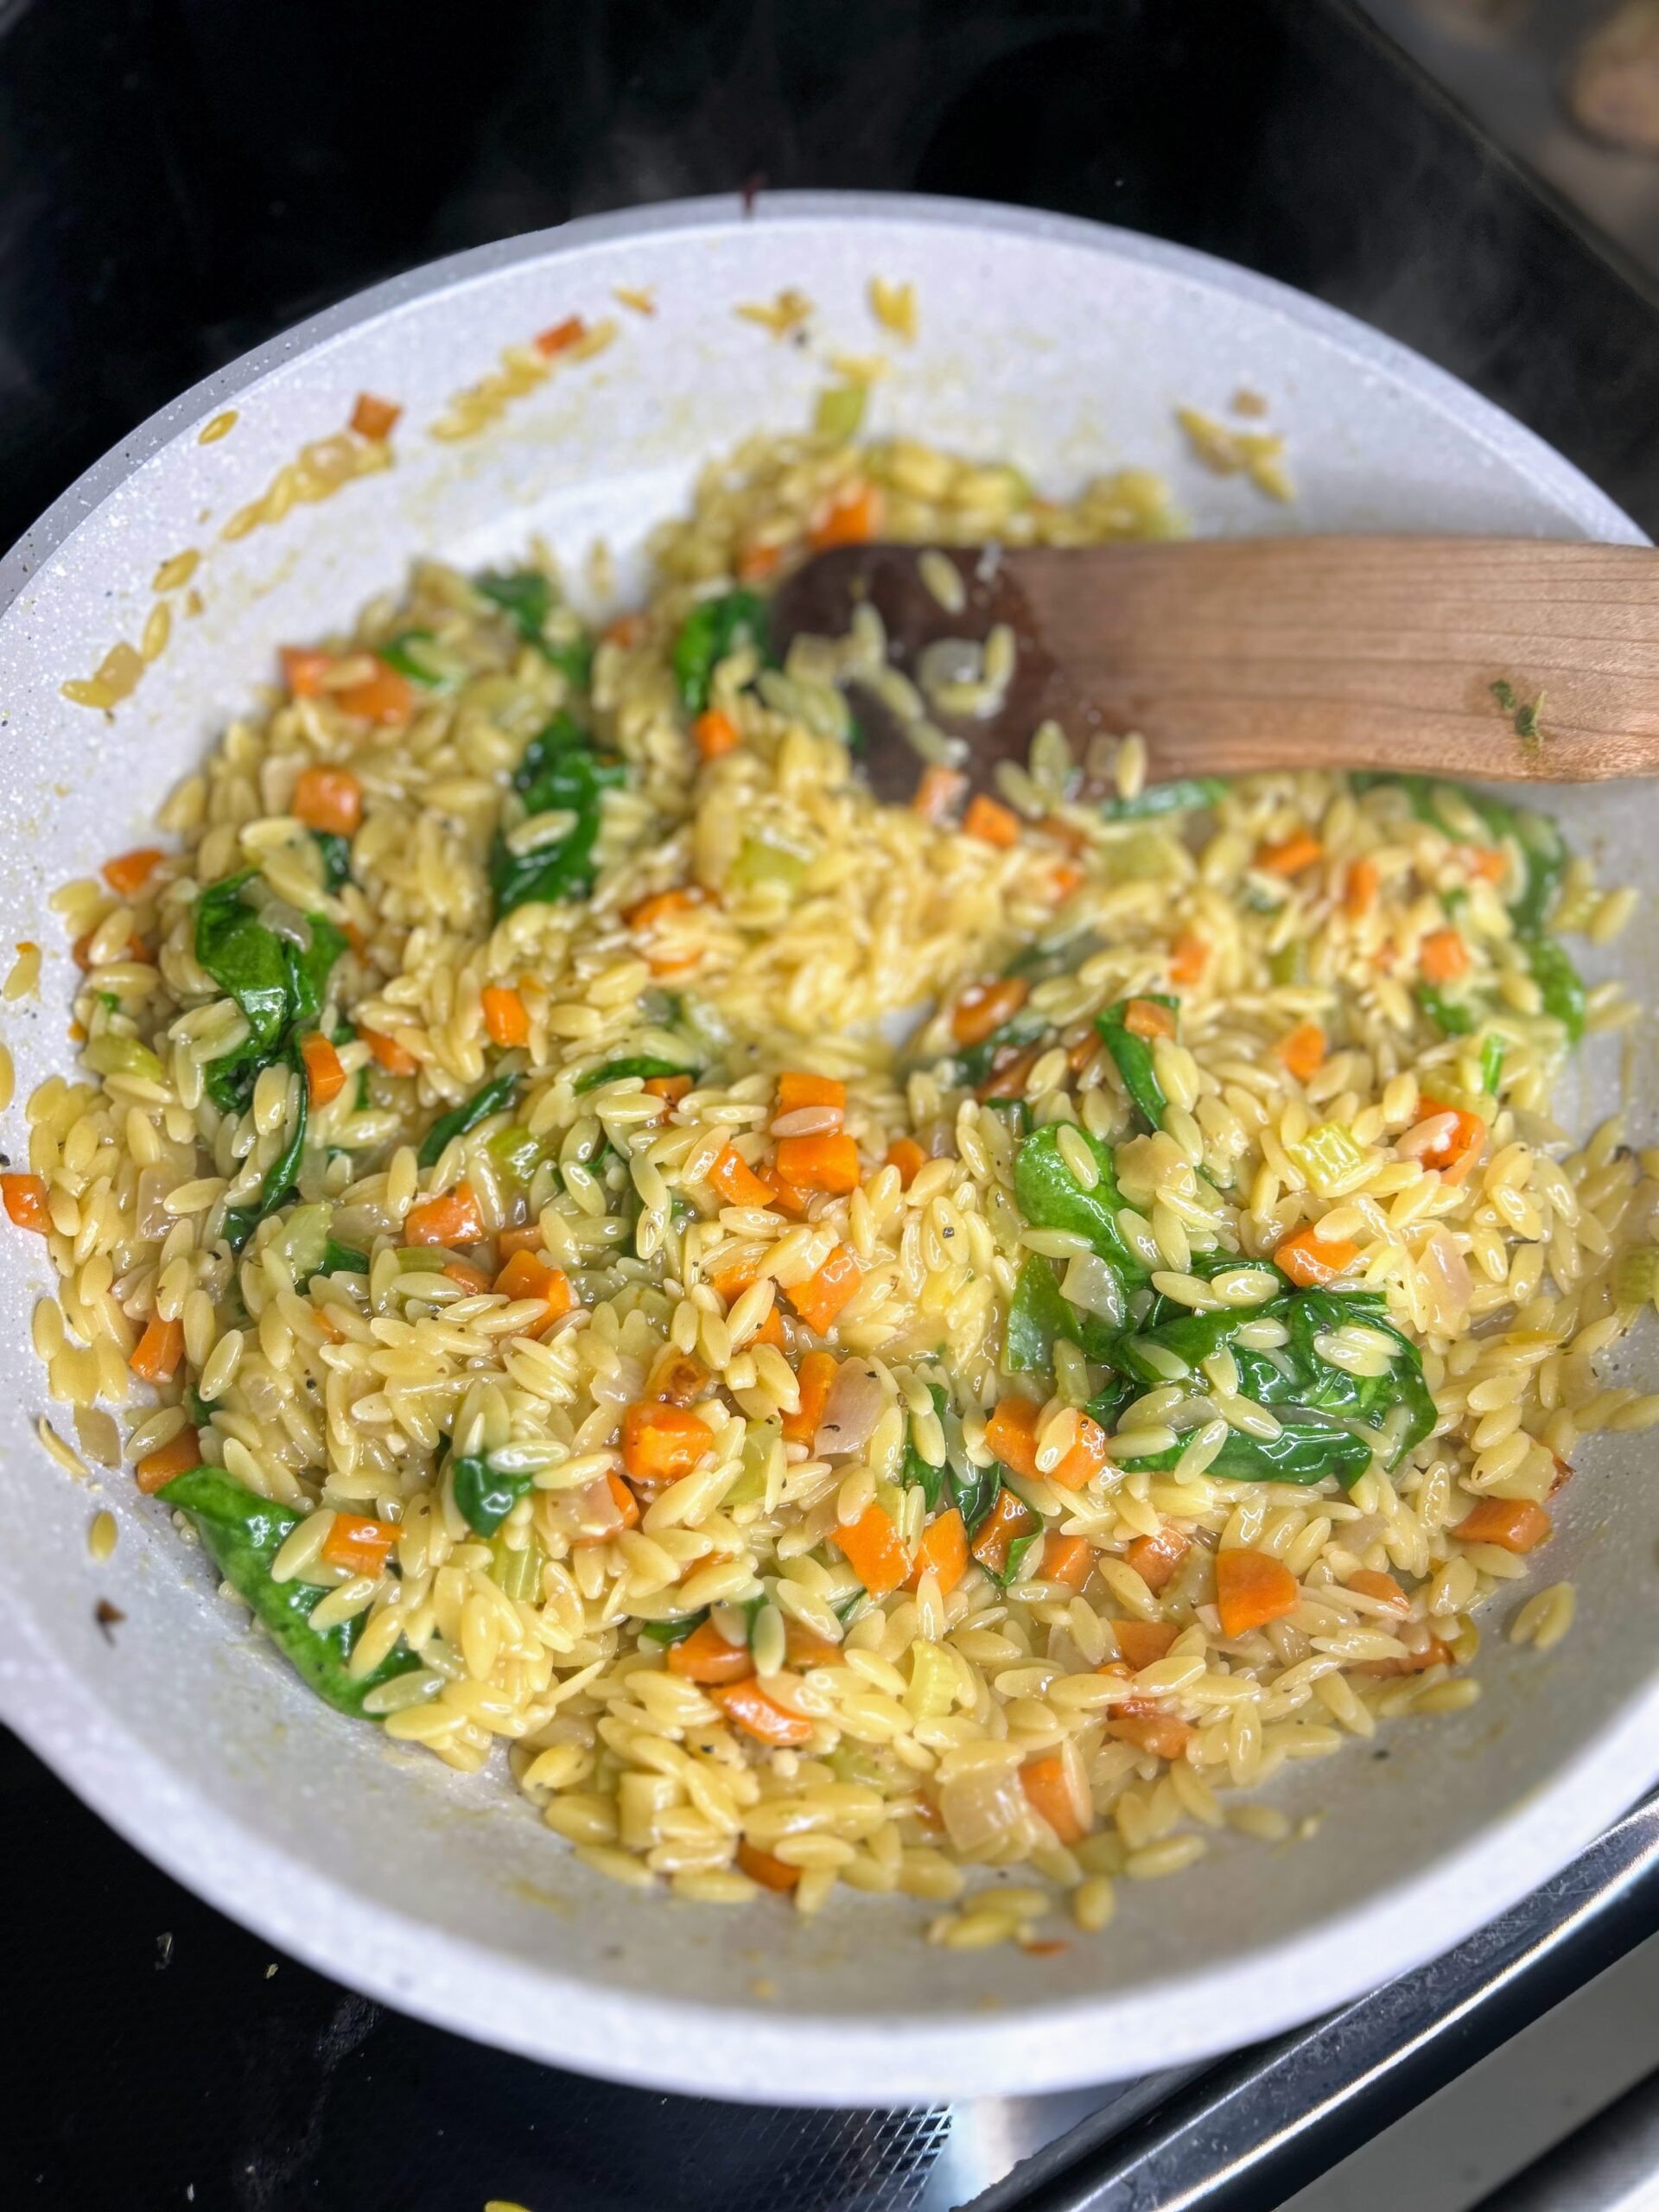
From here, add just a bit more stock and stir in the spinach, parmesan cheese, and pepper. Cook until the spinach is wilted. Plate the orzo and top with baked meatballs.

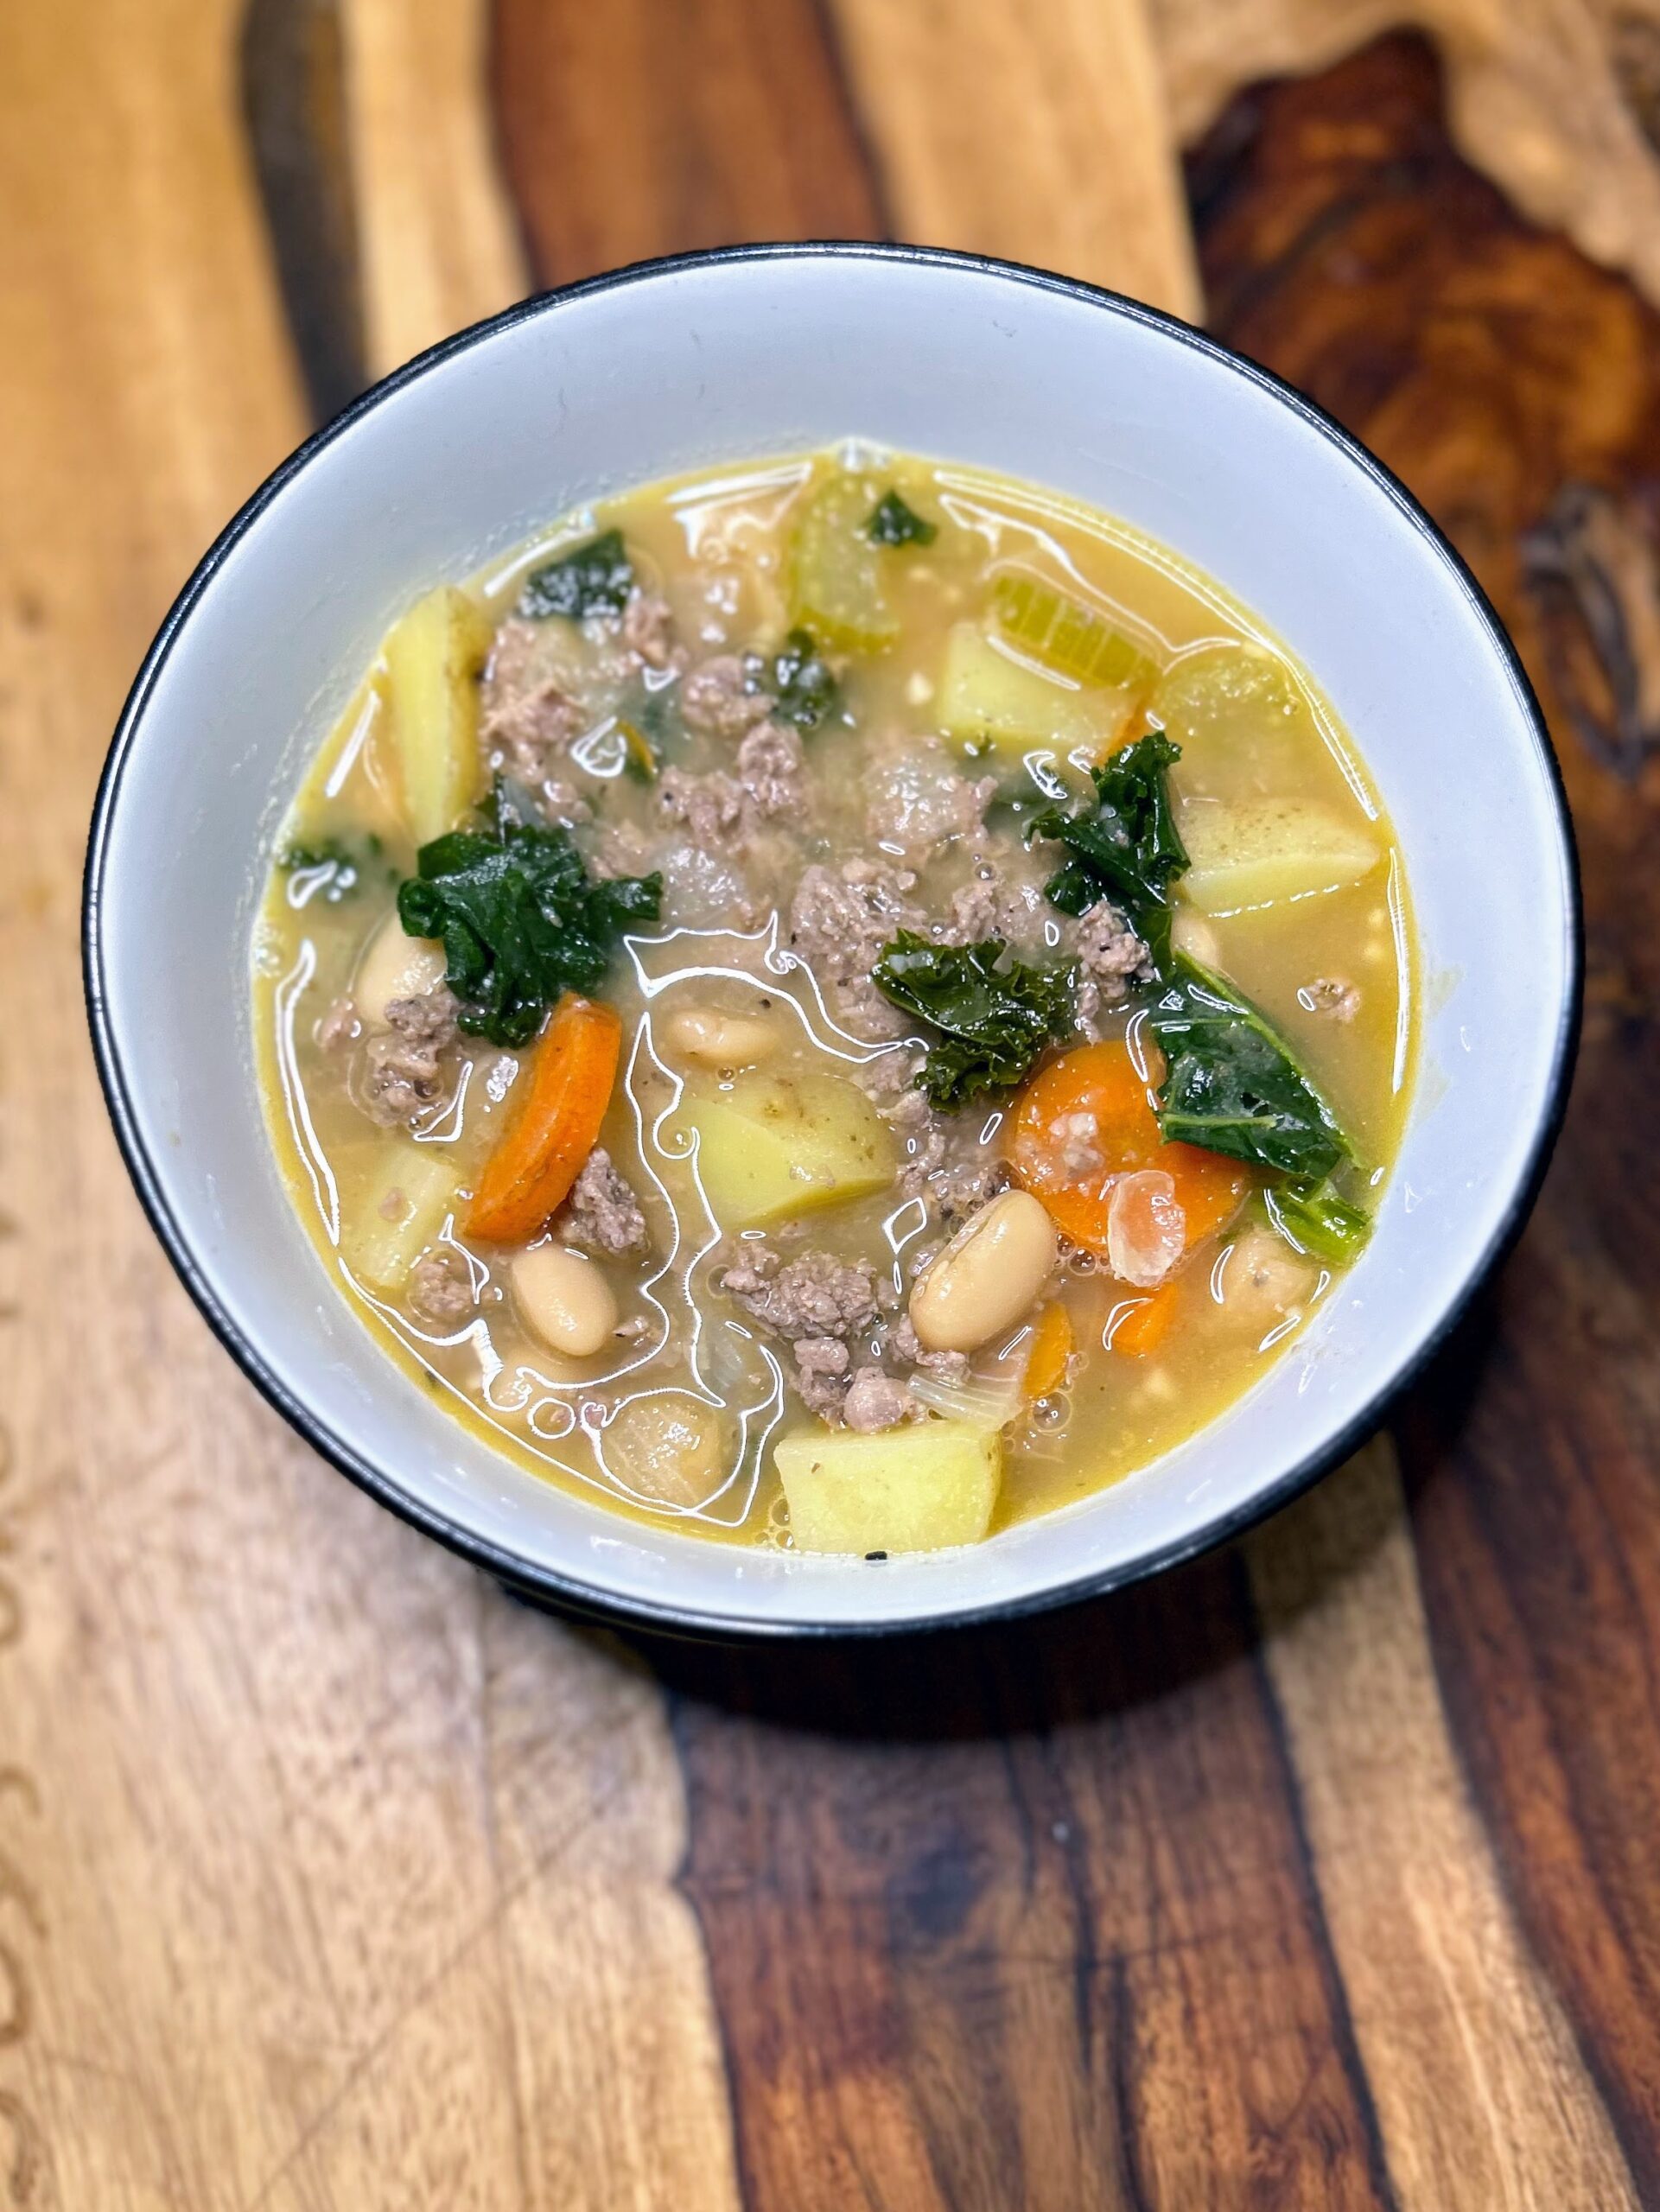
Italian Wedding Soup Orzo
Equipment
Ingredients
- 1 pound ground Italian sausage
- 1 egg
- ½ cup bread crumbs
- ¼ cup grated parmesan cheese
- Salt and pepper to taste
Orzo
- 1 tablespoon olive oil
- ½ cup celery diced
- ½ cup onion diced
- ½ cup carrots diced
- 2 garlic clove minced
- 1 tablespoon orzo
- 1 ¼ cup orzo
- 4 cups chicken stock warmed
- 1 cup chopped spinach
- 3 tablespoons shredded parmesan cheese
- ½ teaspoon pepper
Instructions
- Preheat the oven to 350 degrees. Mix Italian sausage, egg, bread crumbs, and parmesan cheese (and salt and pepper, if wanted). Mix until well combined. Form into 1 inch diameter meatballs. Place on a foil lined baking sheet and bake for 30 minutes, until cooked through.
- Meanwhile, begin to prep the orzo. Heat the olive oil in a deep saucepan over medium-high heat. Once hot, add onion, celery, and carrots. Cook until softened, about 5-8 minutes.
- Add the butter and garlic. Once the butter has melted, add the orzo and toast for 4-5 minutes, stirring often.
- Add the chicken stock in half cup increments, stirring very often. Once each ½ cup has been absorbed, add the next ½ cup, cooking about 15-18 minutes, until the orzo is al dente. (Think risotto)
- Add just a bit more stock and stir in the spinach, parmesan cheese, and pepper. Cook until the spinach is wilted. Plate the orzo and top with baked meatballs.
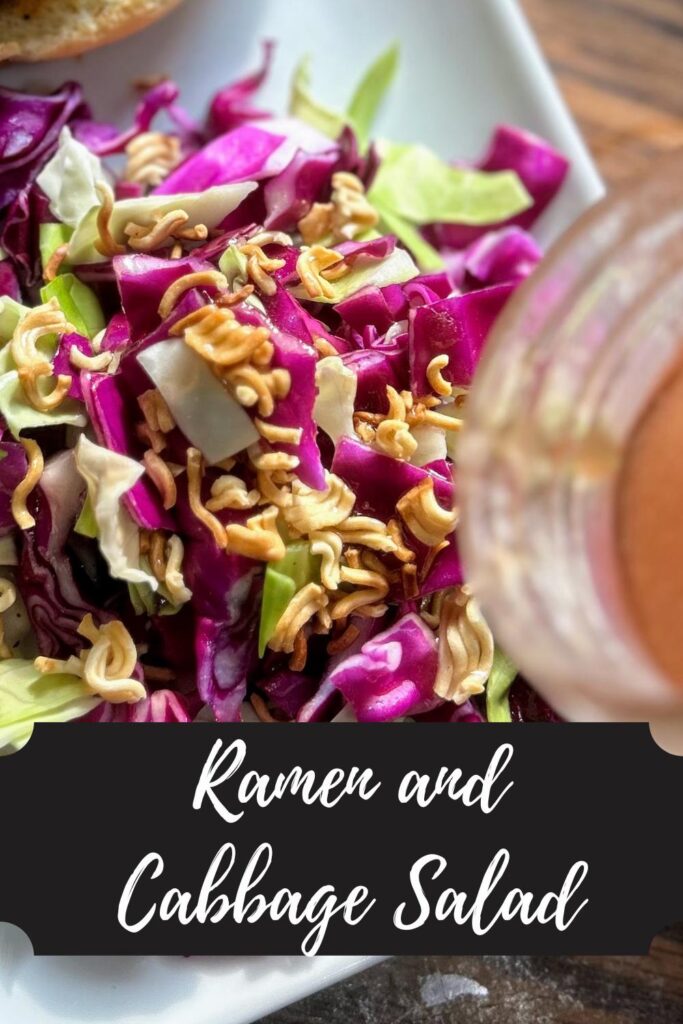
Looking for other delicious dinner ideas?
Check out my cooking page for some inspiration, or perhaps some of these hand picked ideas will tickle your fancy!