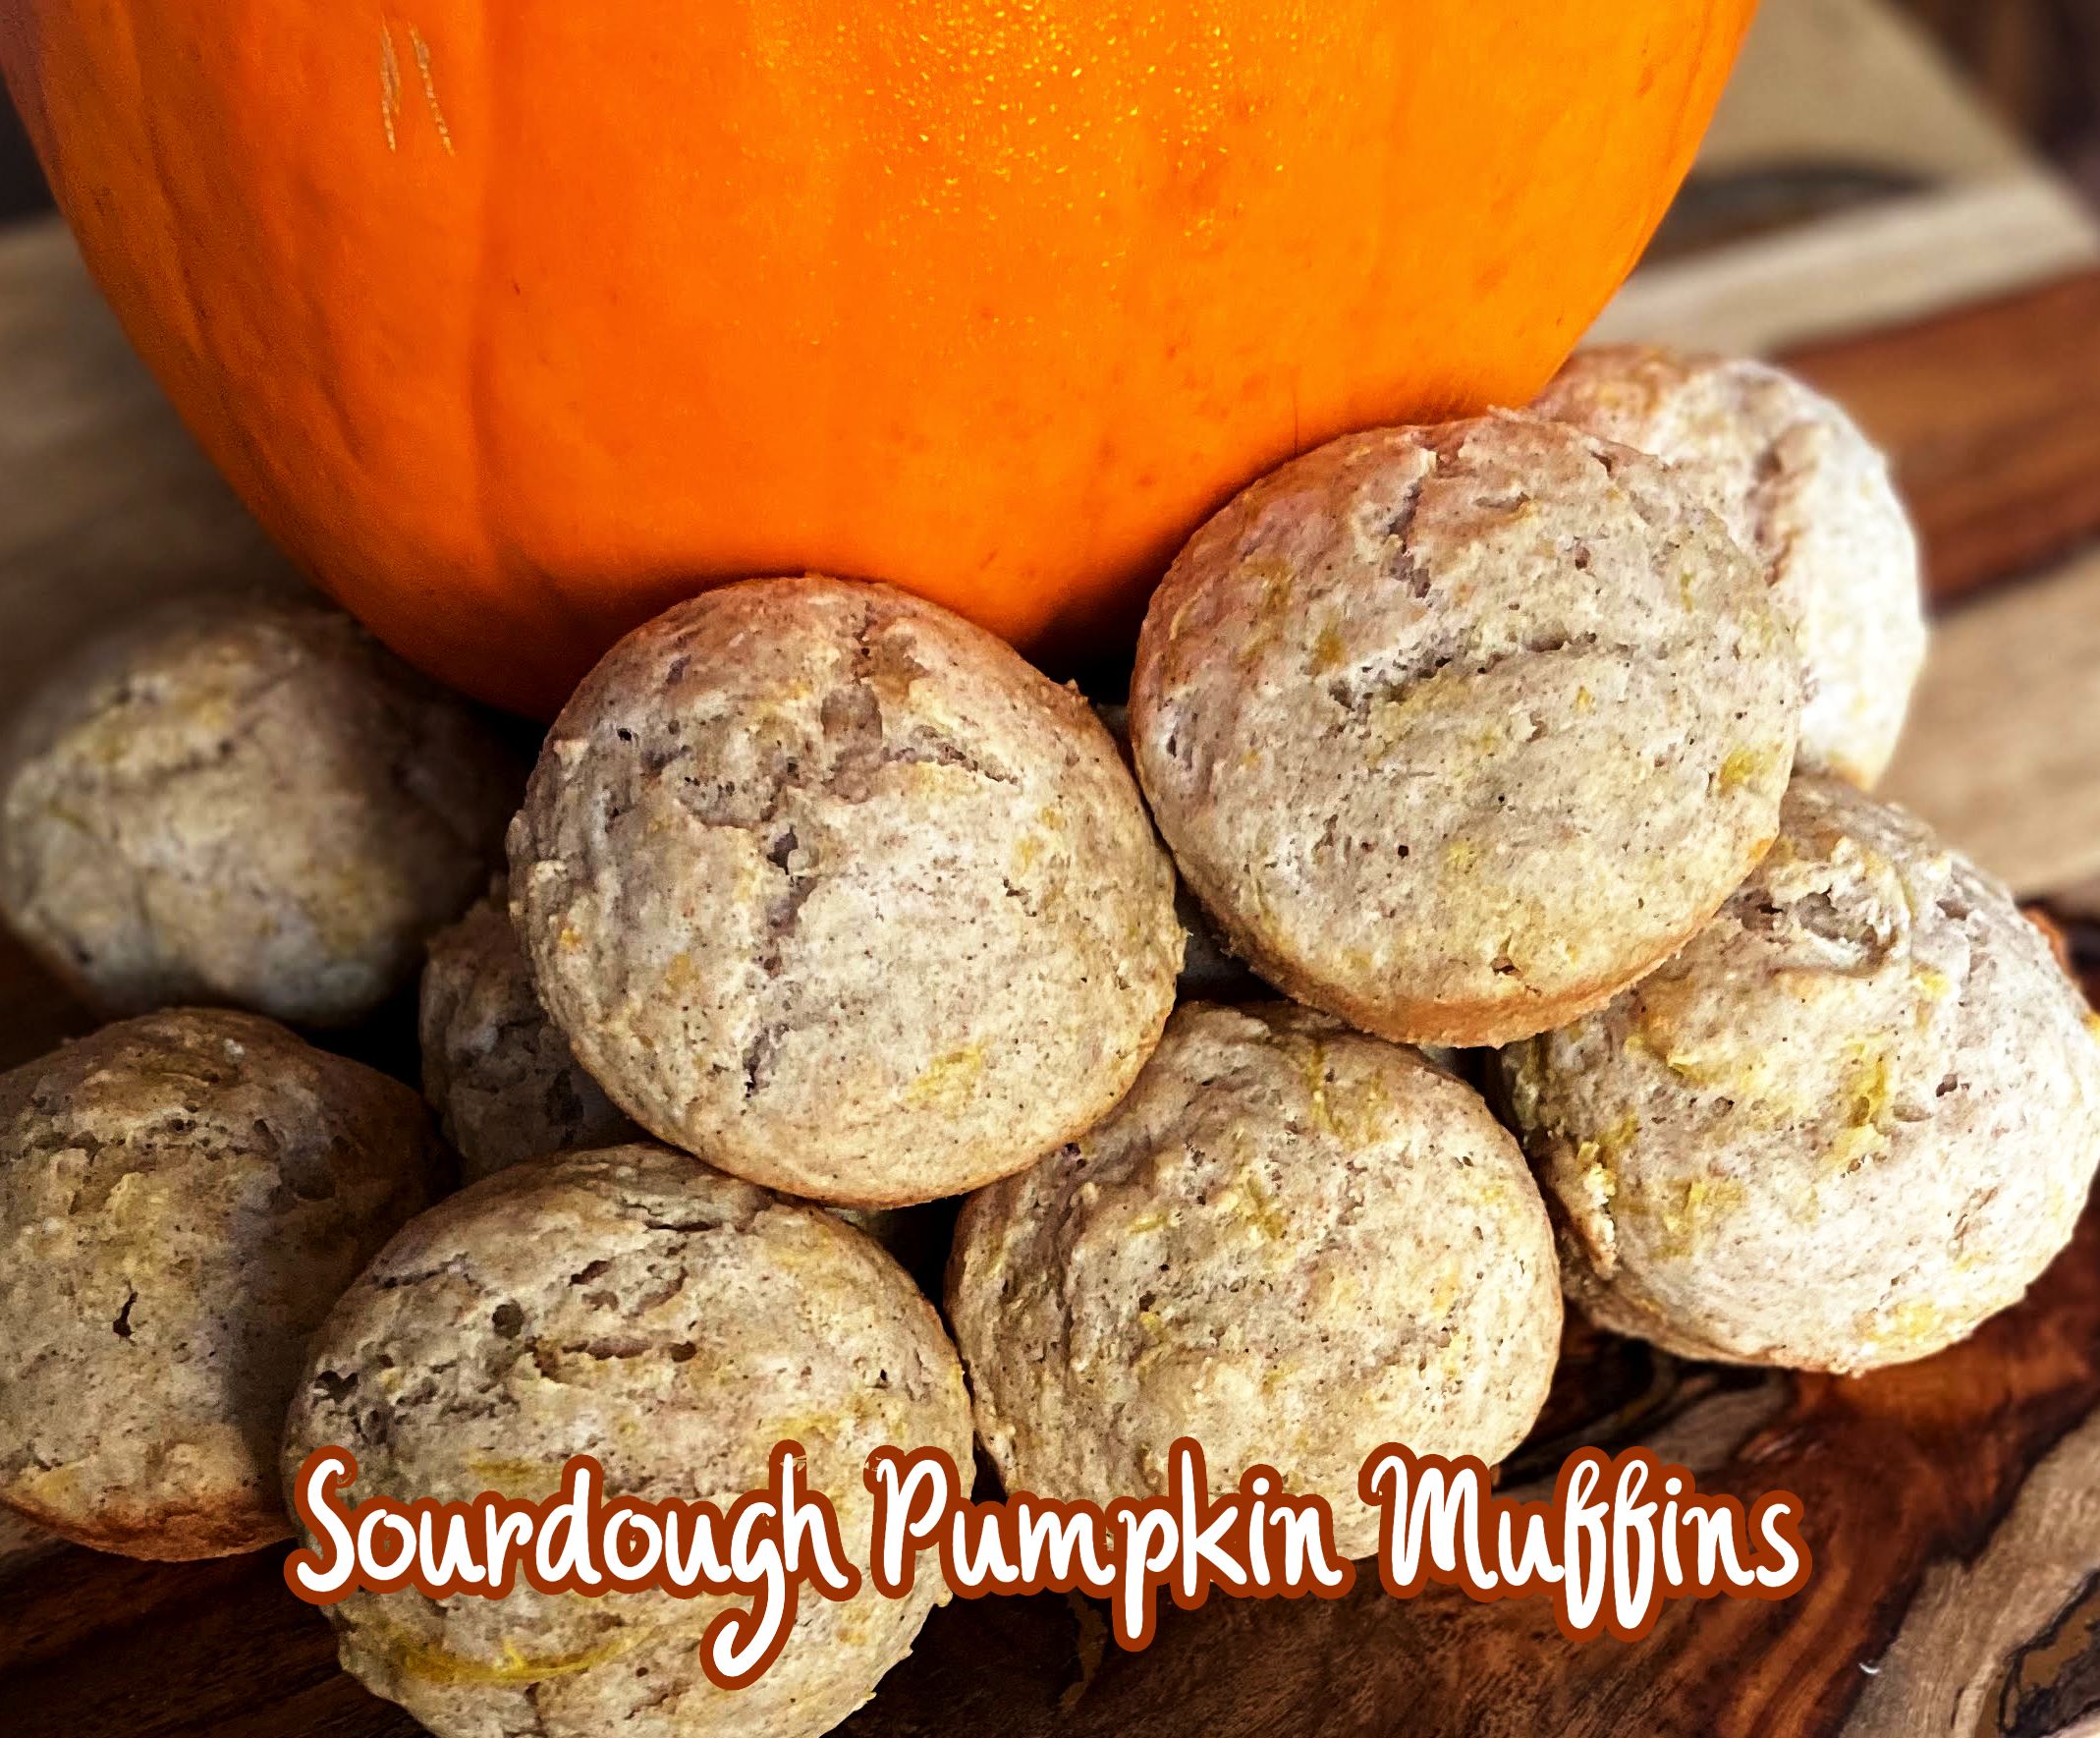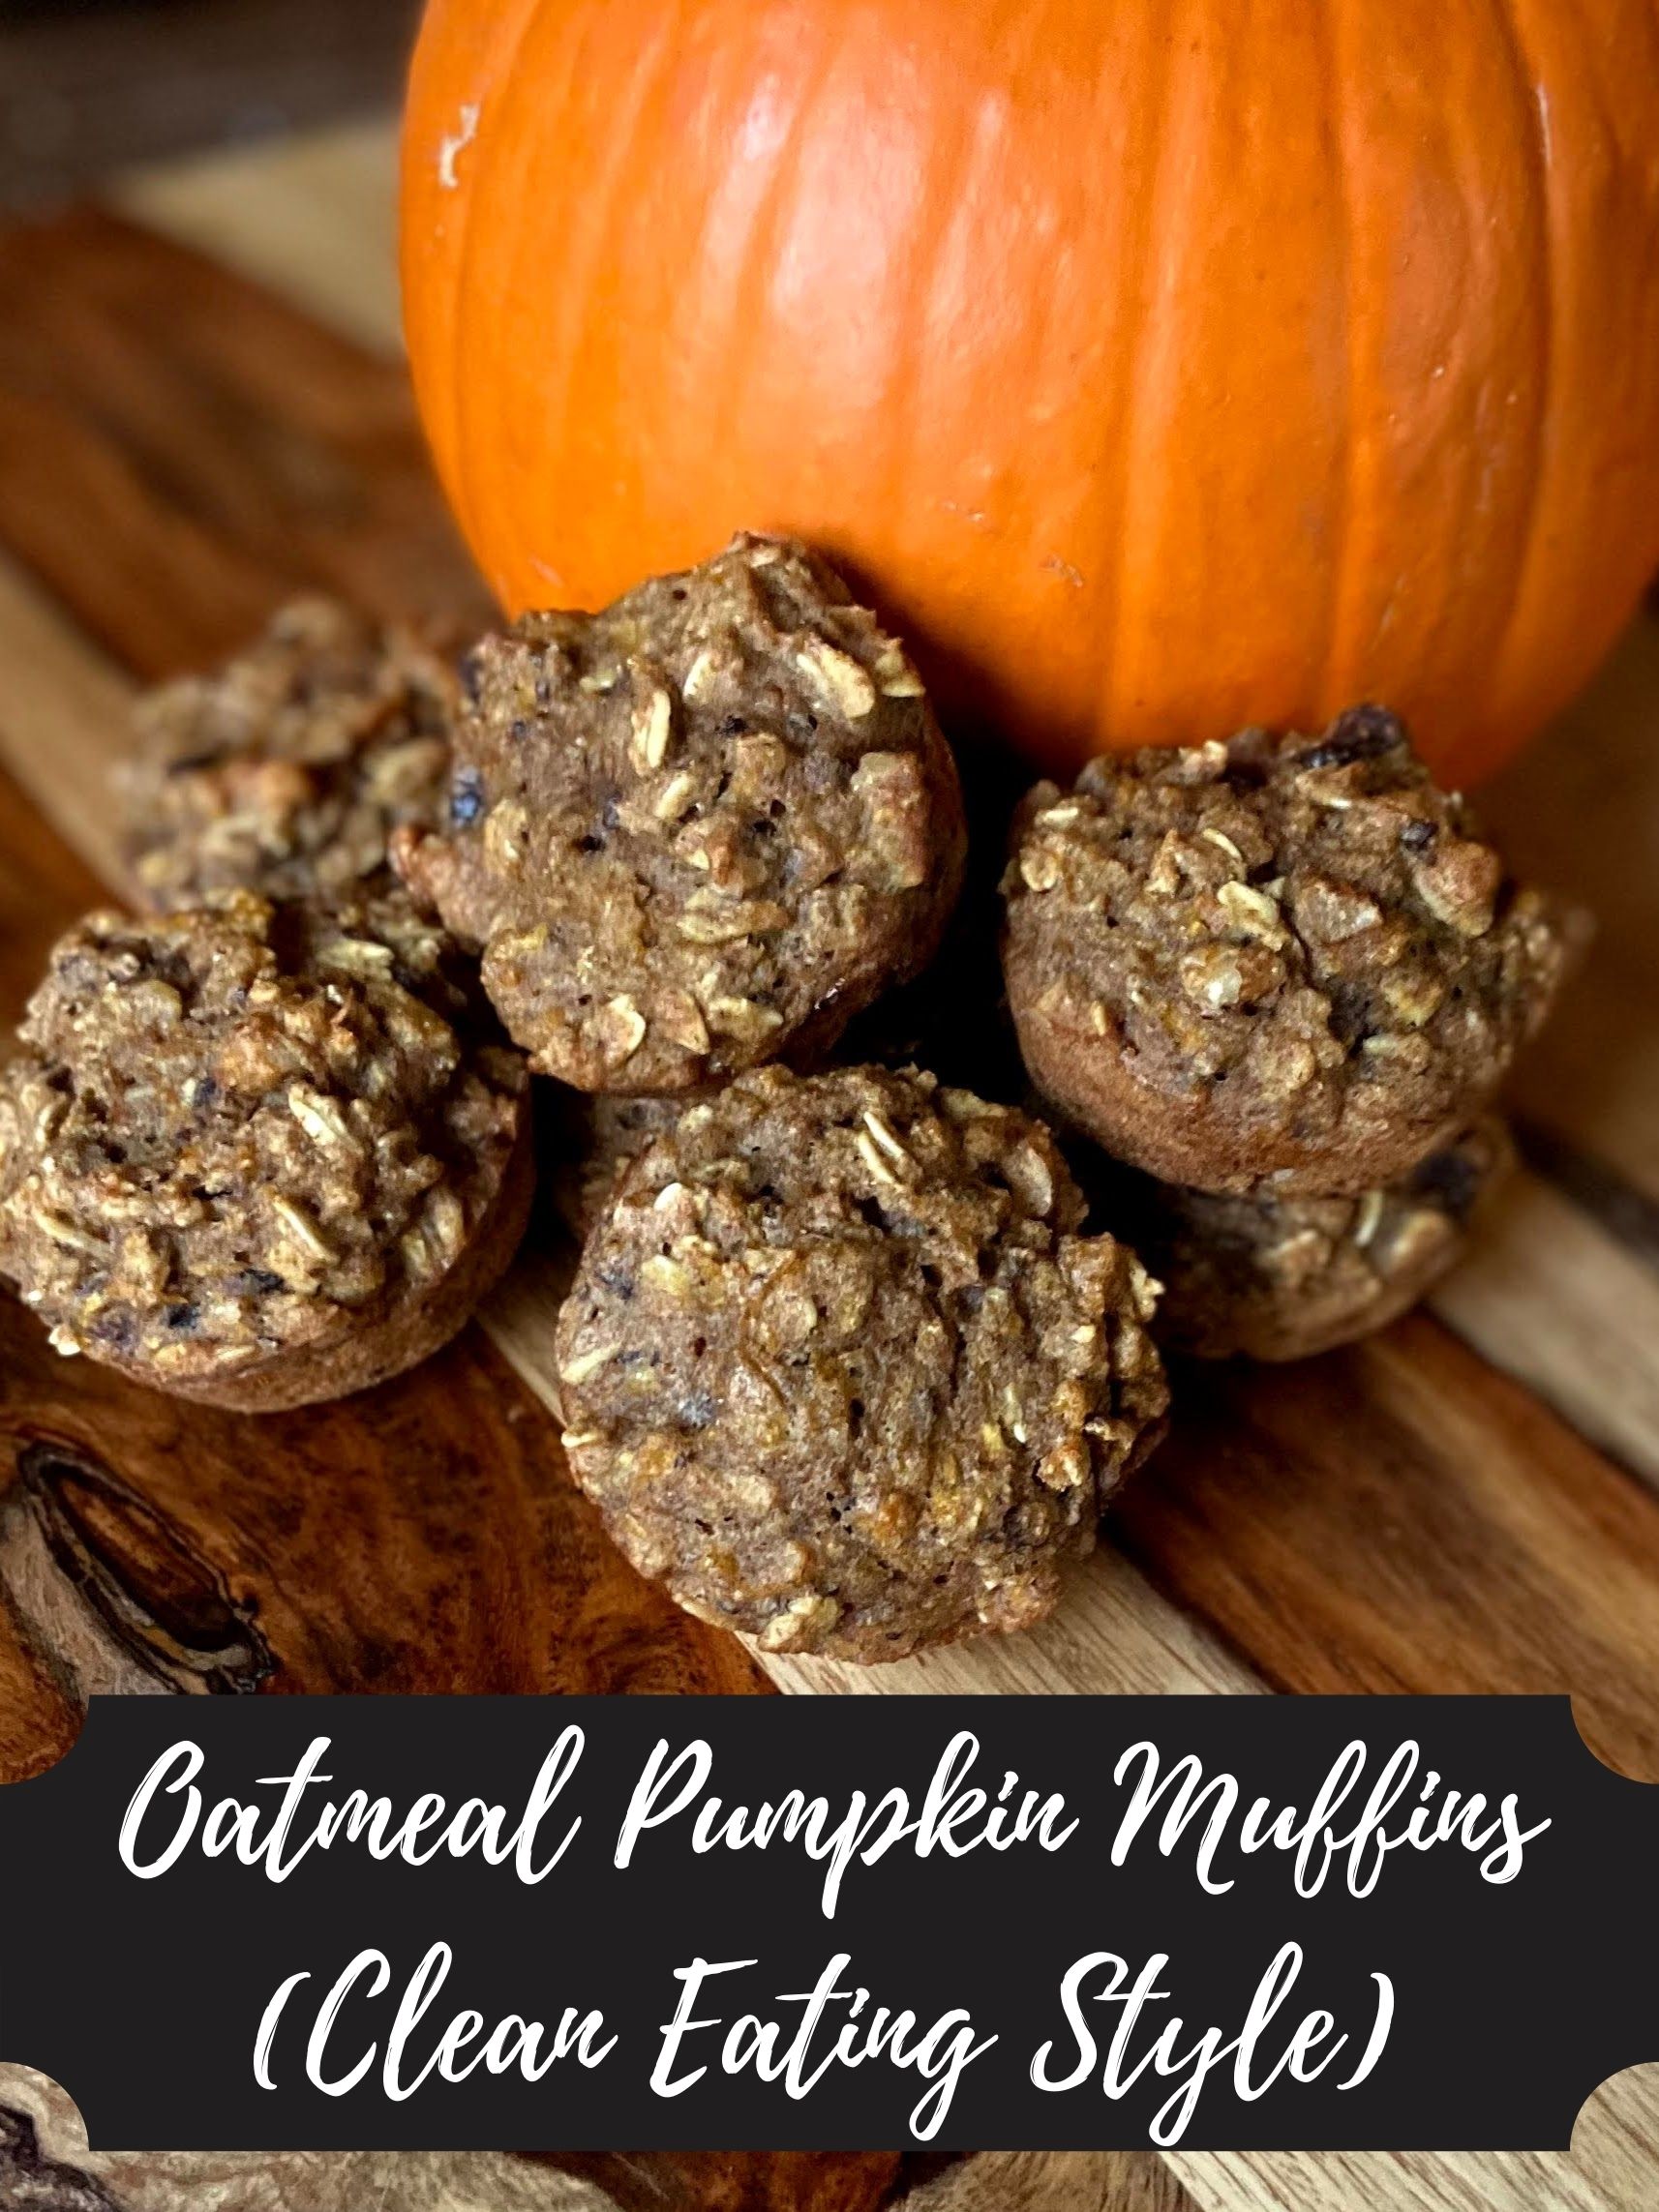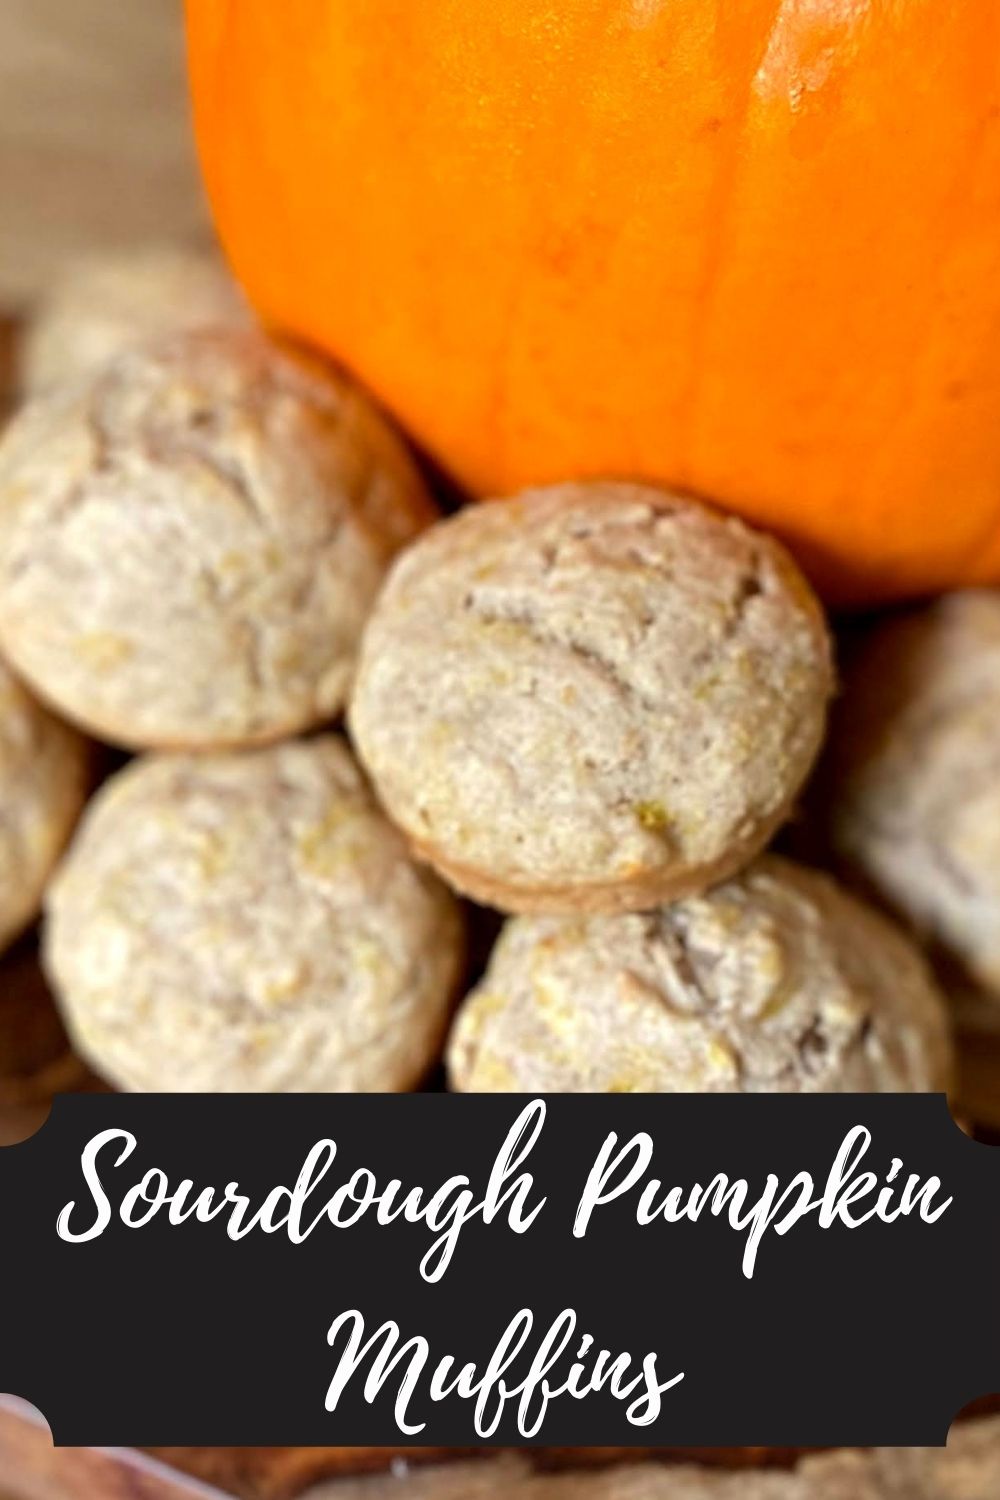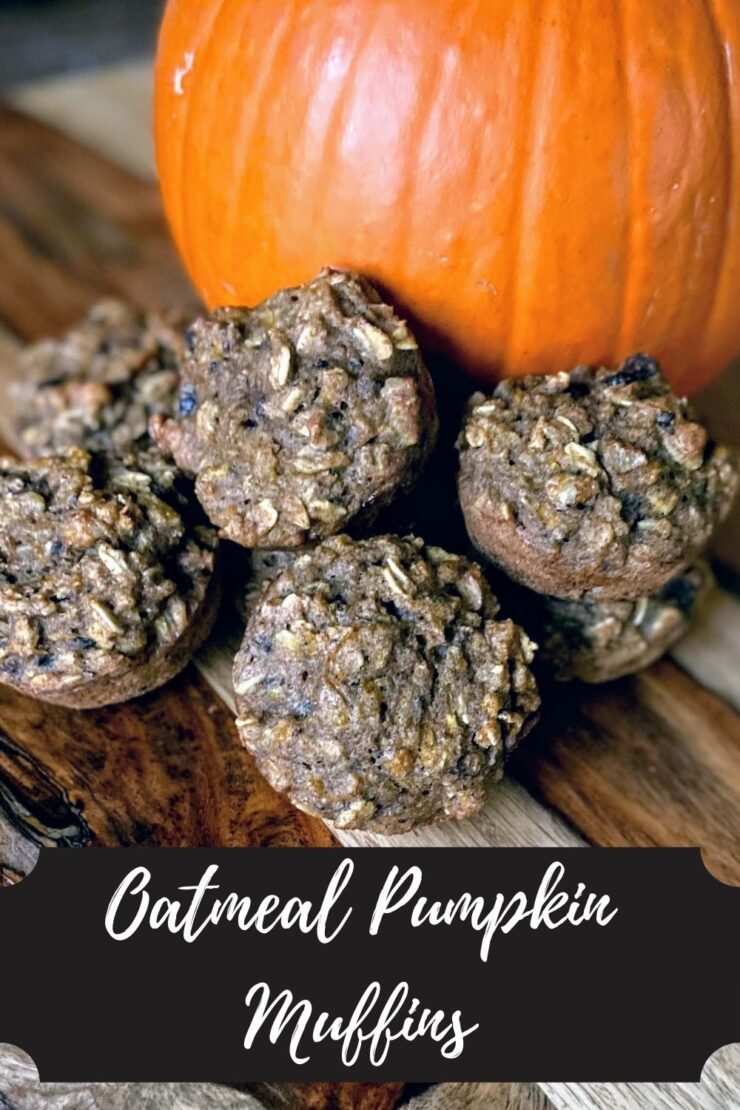
Recently, I put together some delightful sourdough pumpkin muffins. However, all my friends who aren’t sourdough bakers yet (You know you want to! Here’s a great link by King Arthur’s Flour on how to get started!) requested a non-sourdough pumpkin muffin, preferably of the healthy persuasion. After a little bit of testing and trying, here it is! Oatmeal Pumpkin Muffins (with chocolate chips!).
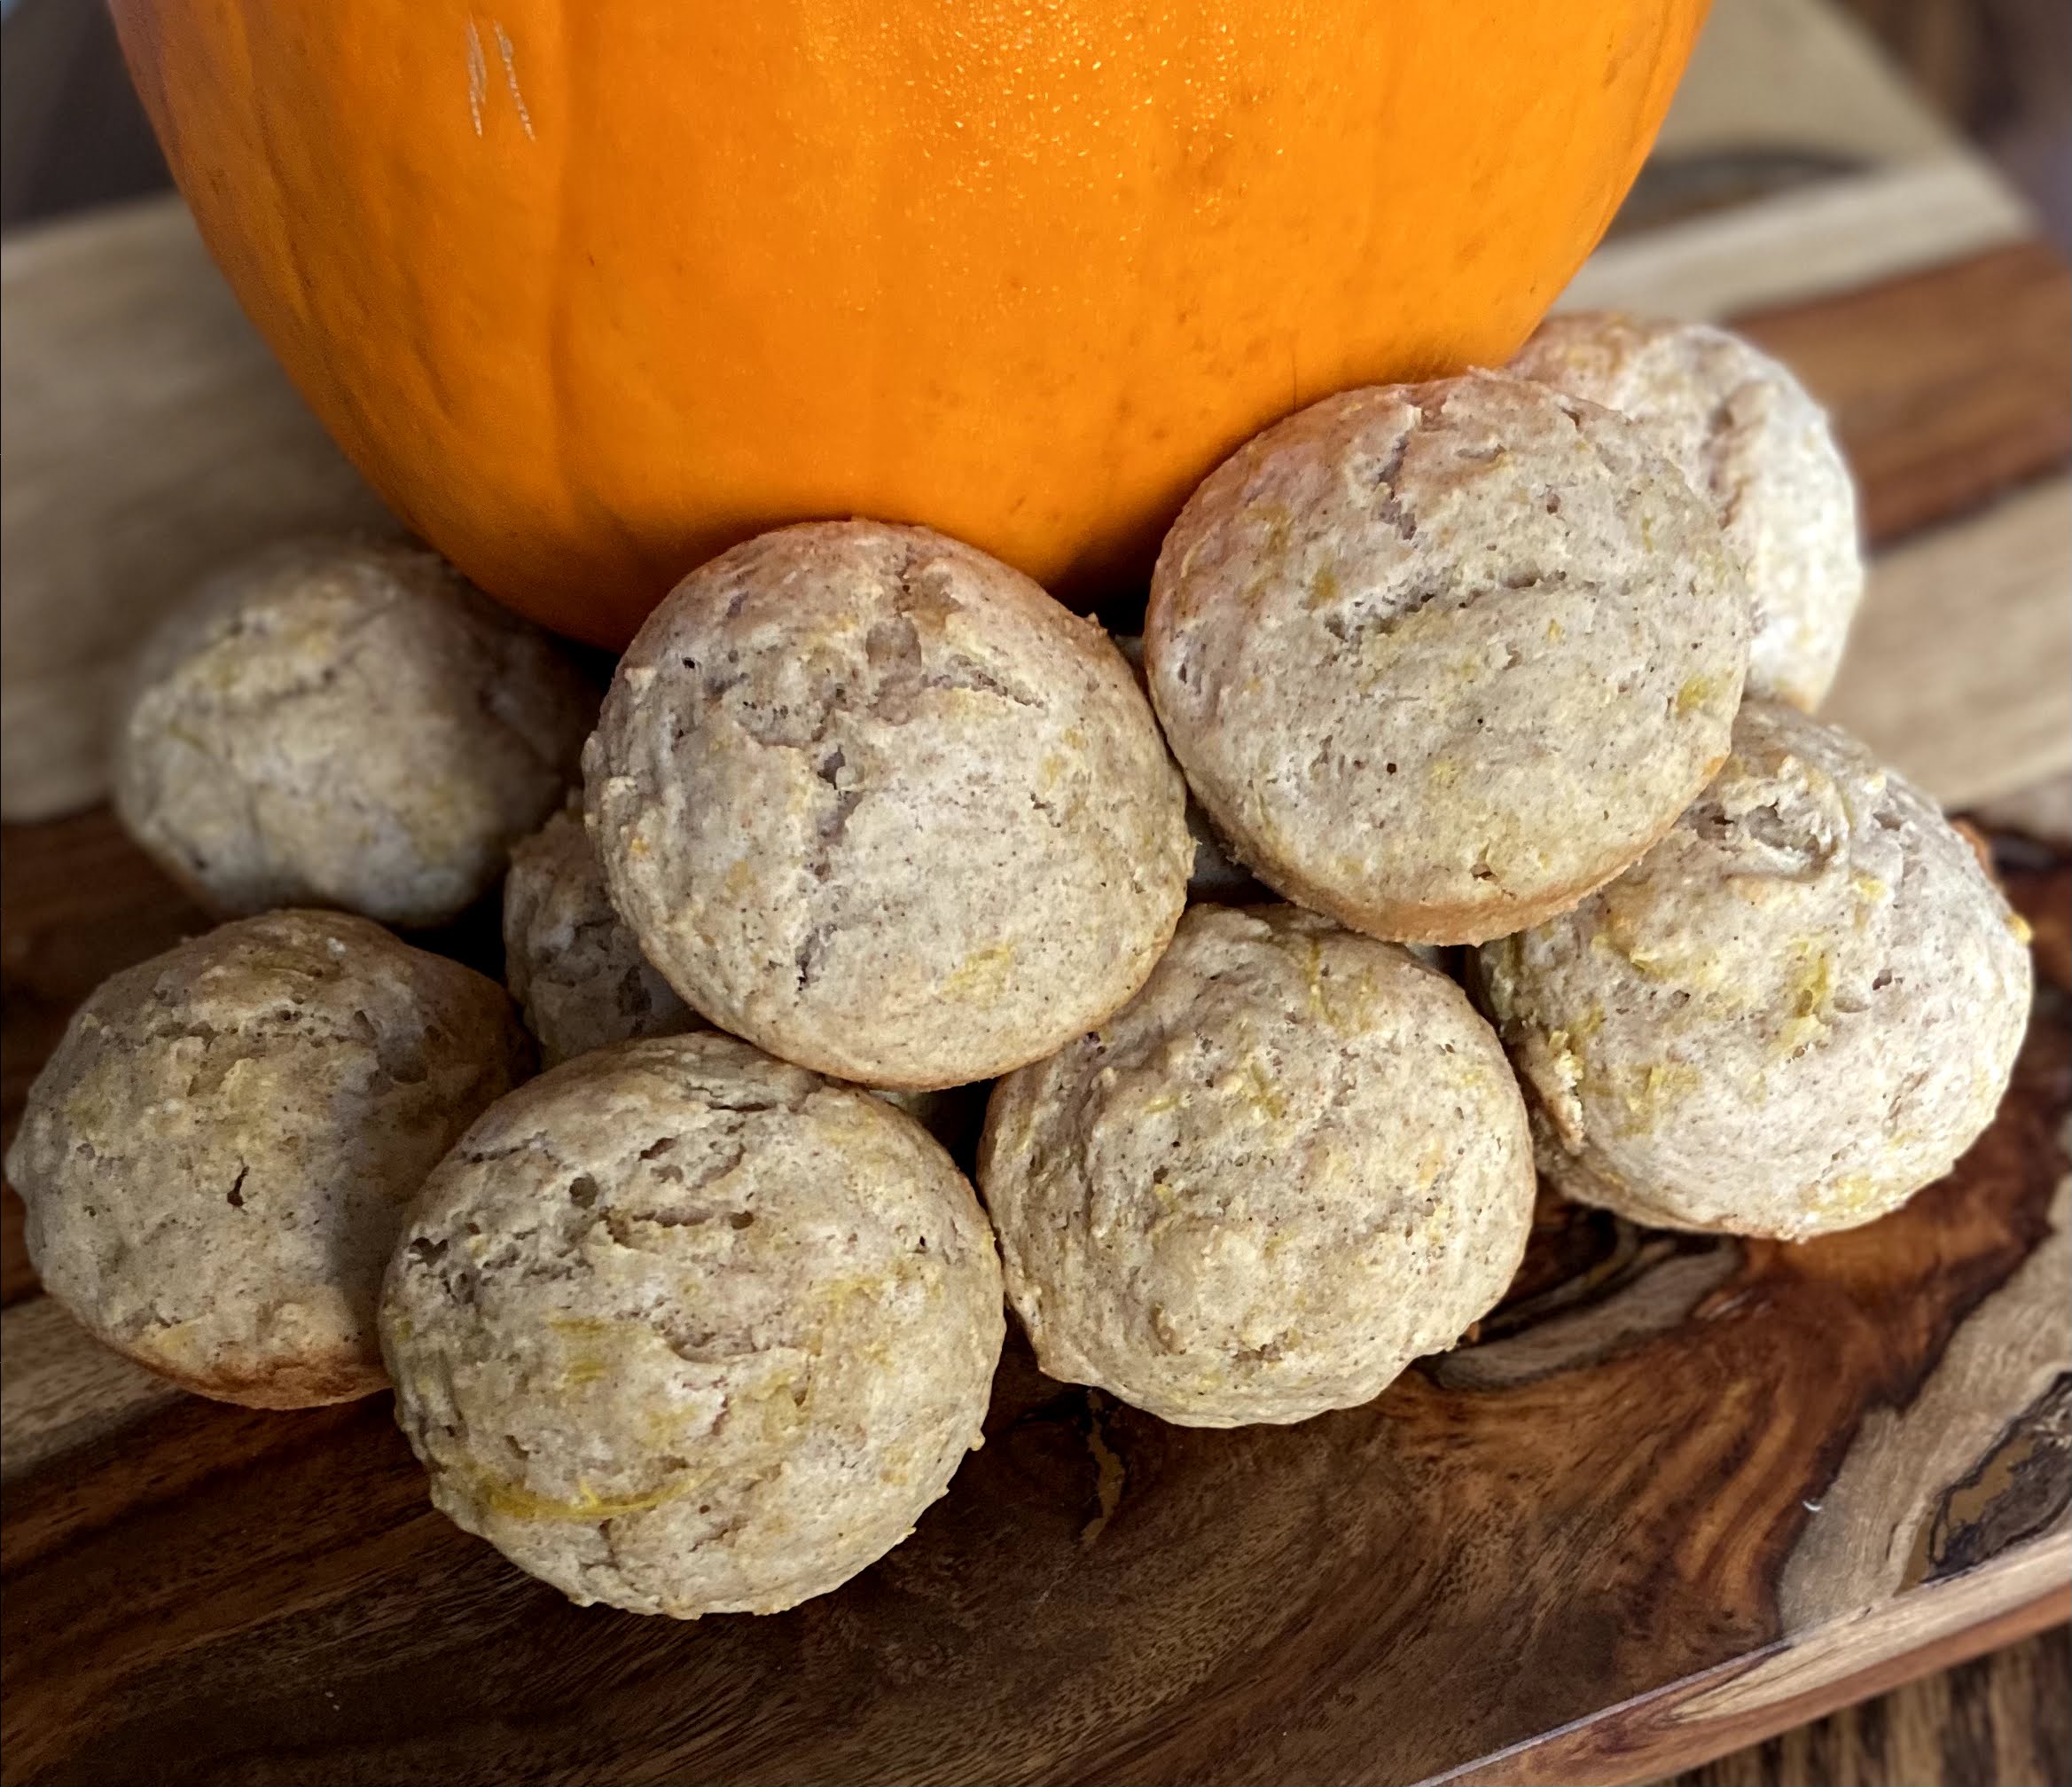
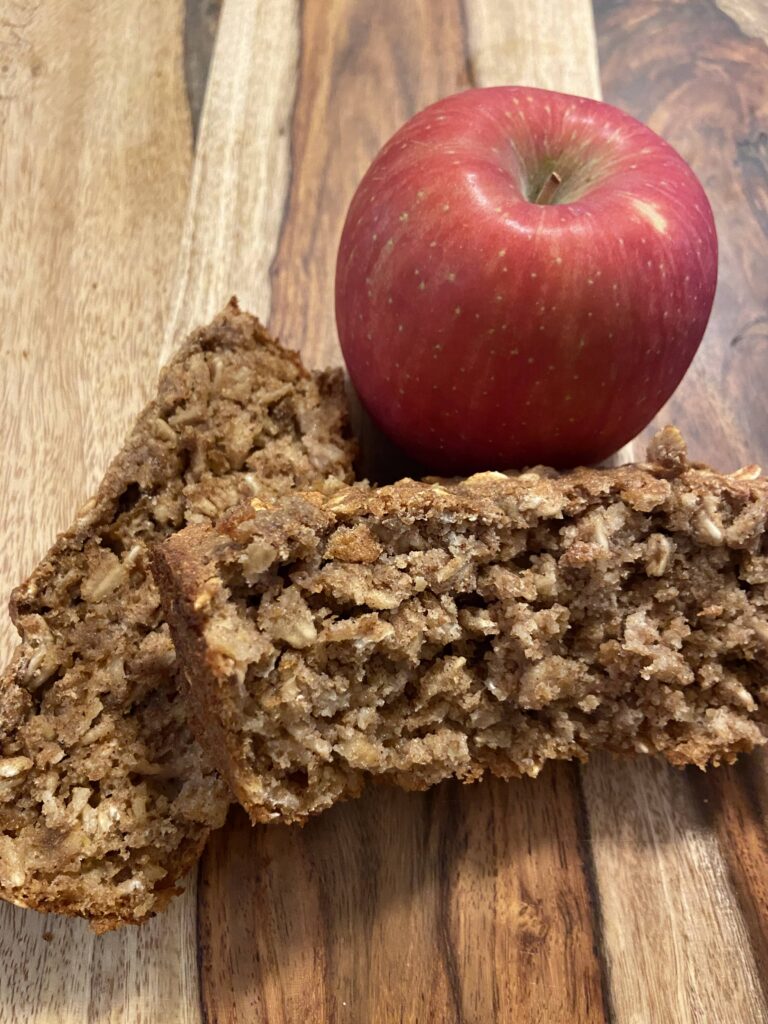
This Oatmeal Pumpkin Muffin pairs well with a warm cup of coffee in the morning. I love that it isn’t overly sweet and that it’s a baked good I can feel good about putting into my body. While it pains me at times, I just can’t do too much sweet in the morning. It leaves me a feeling out of sorts and not fueled the right way to tackle all the big goals I have!
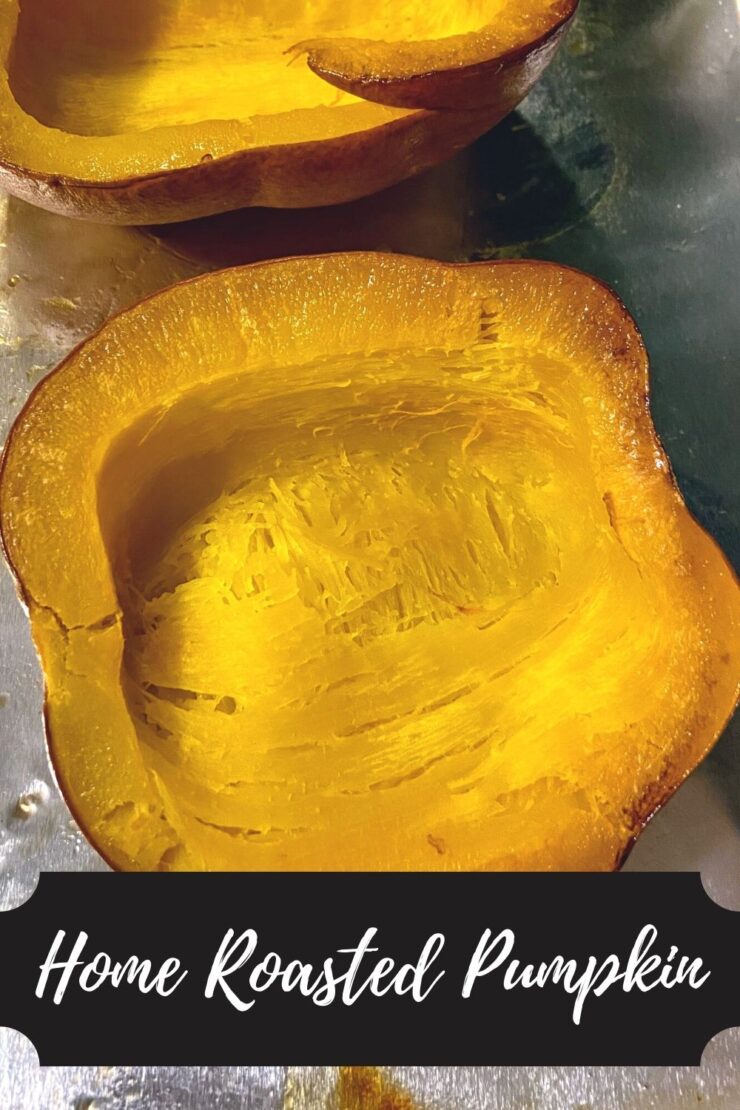
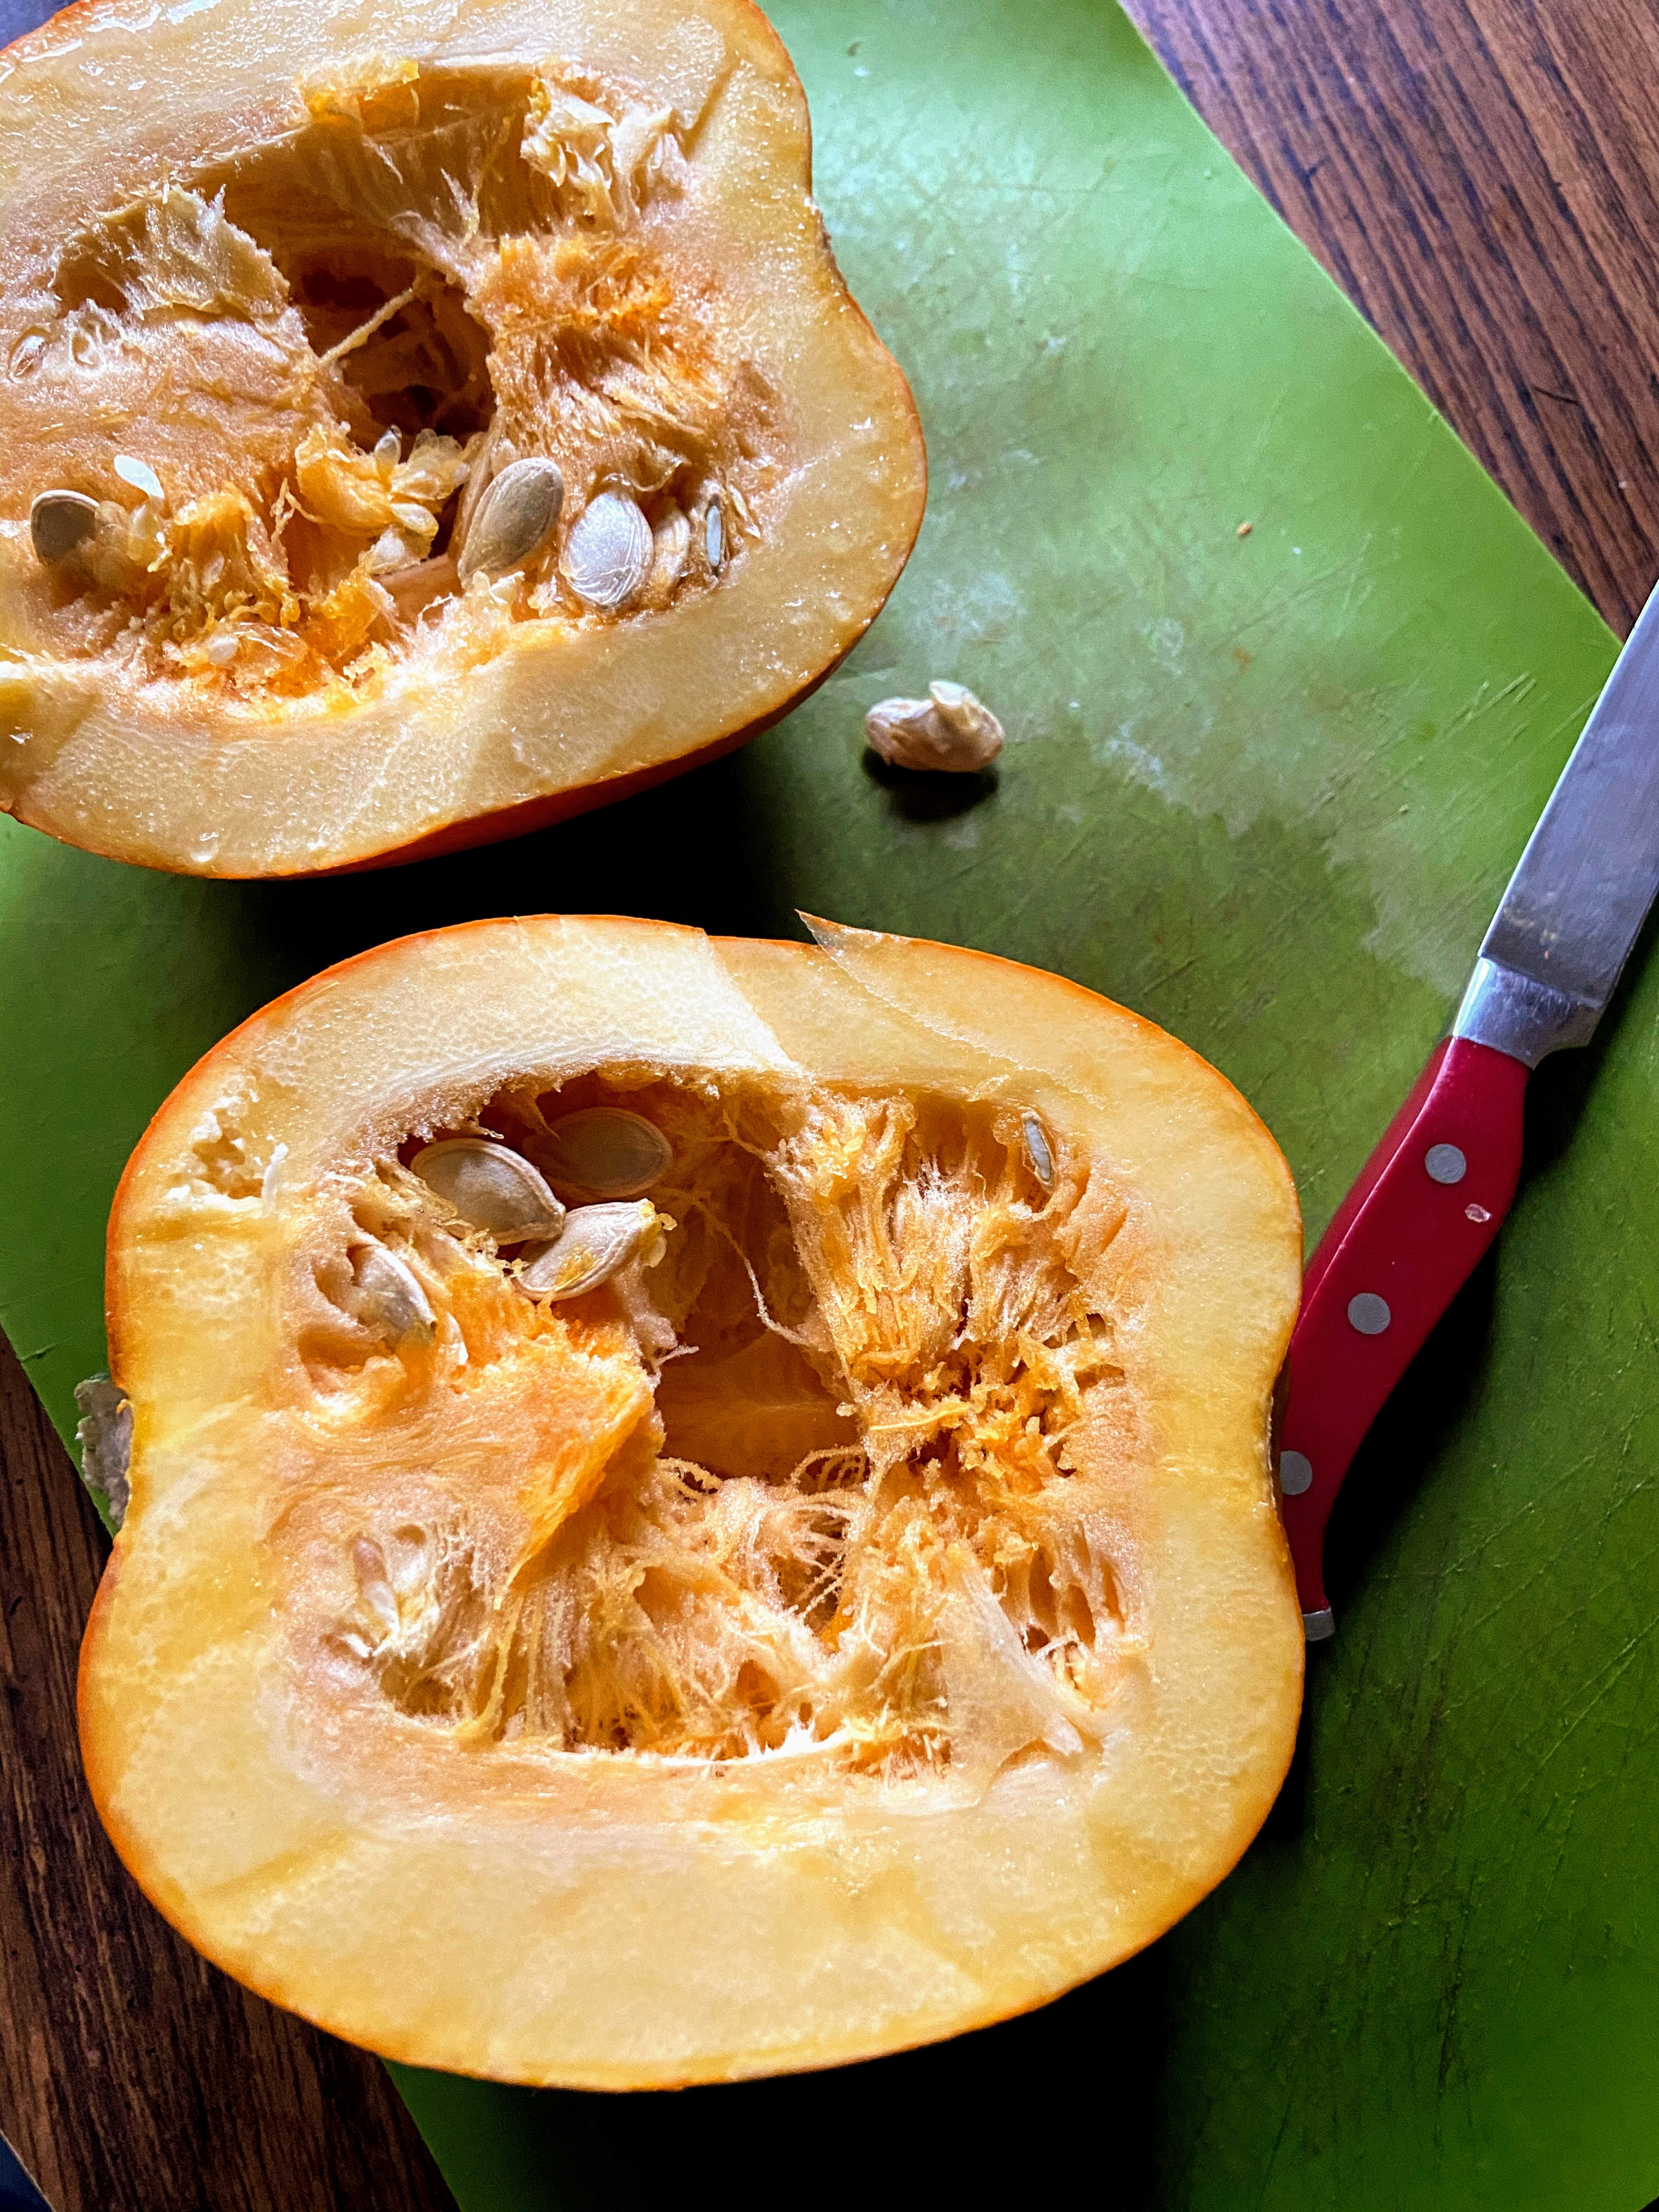
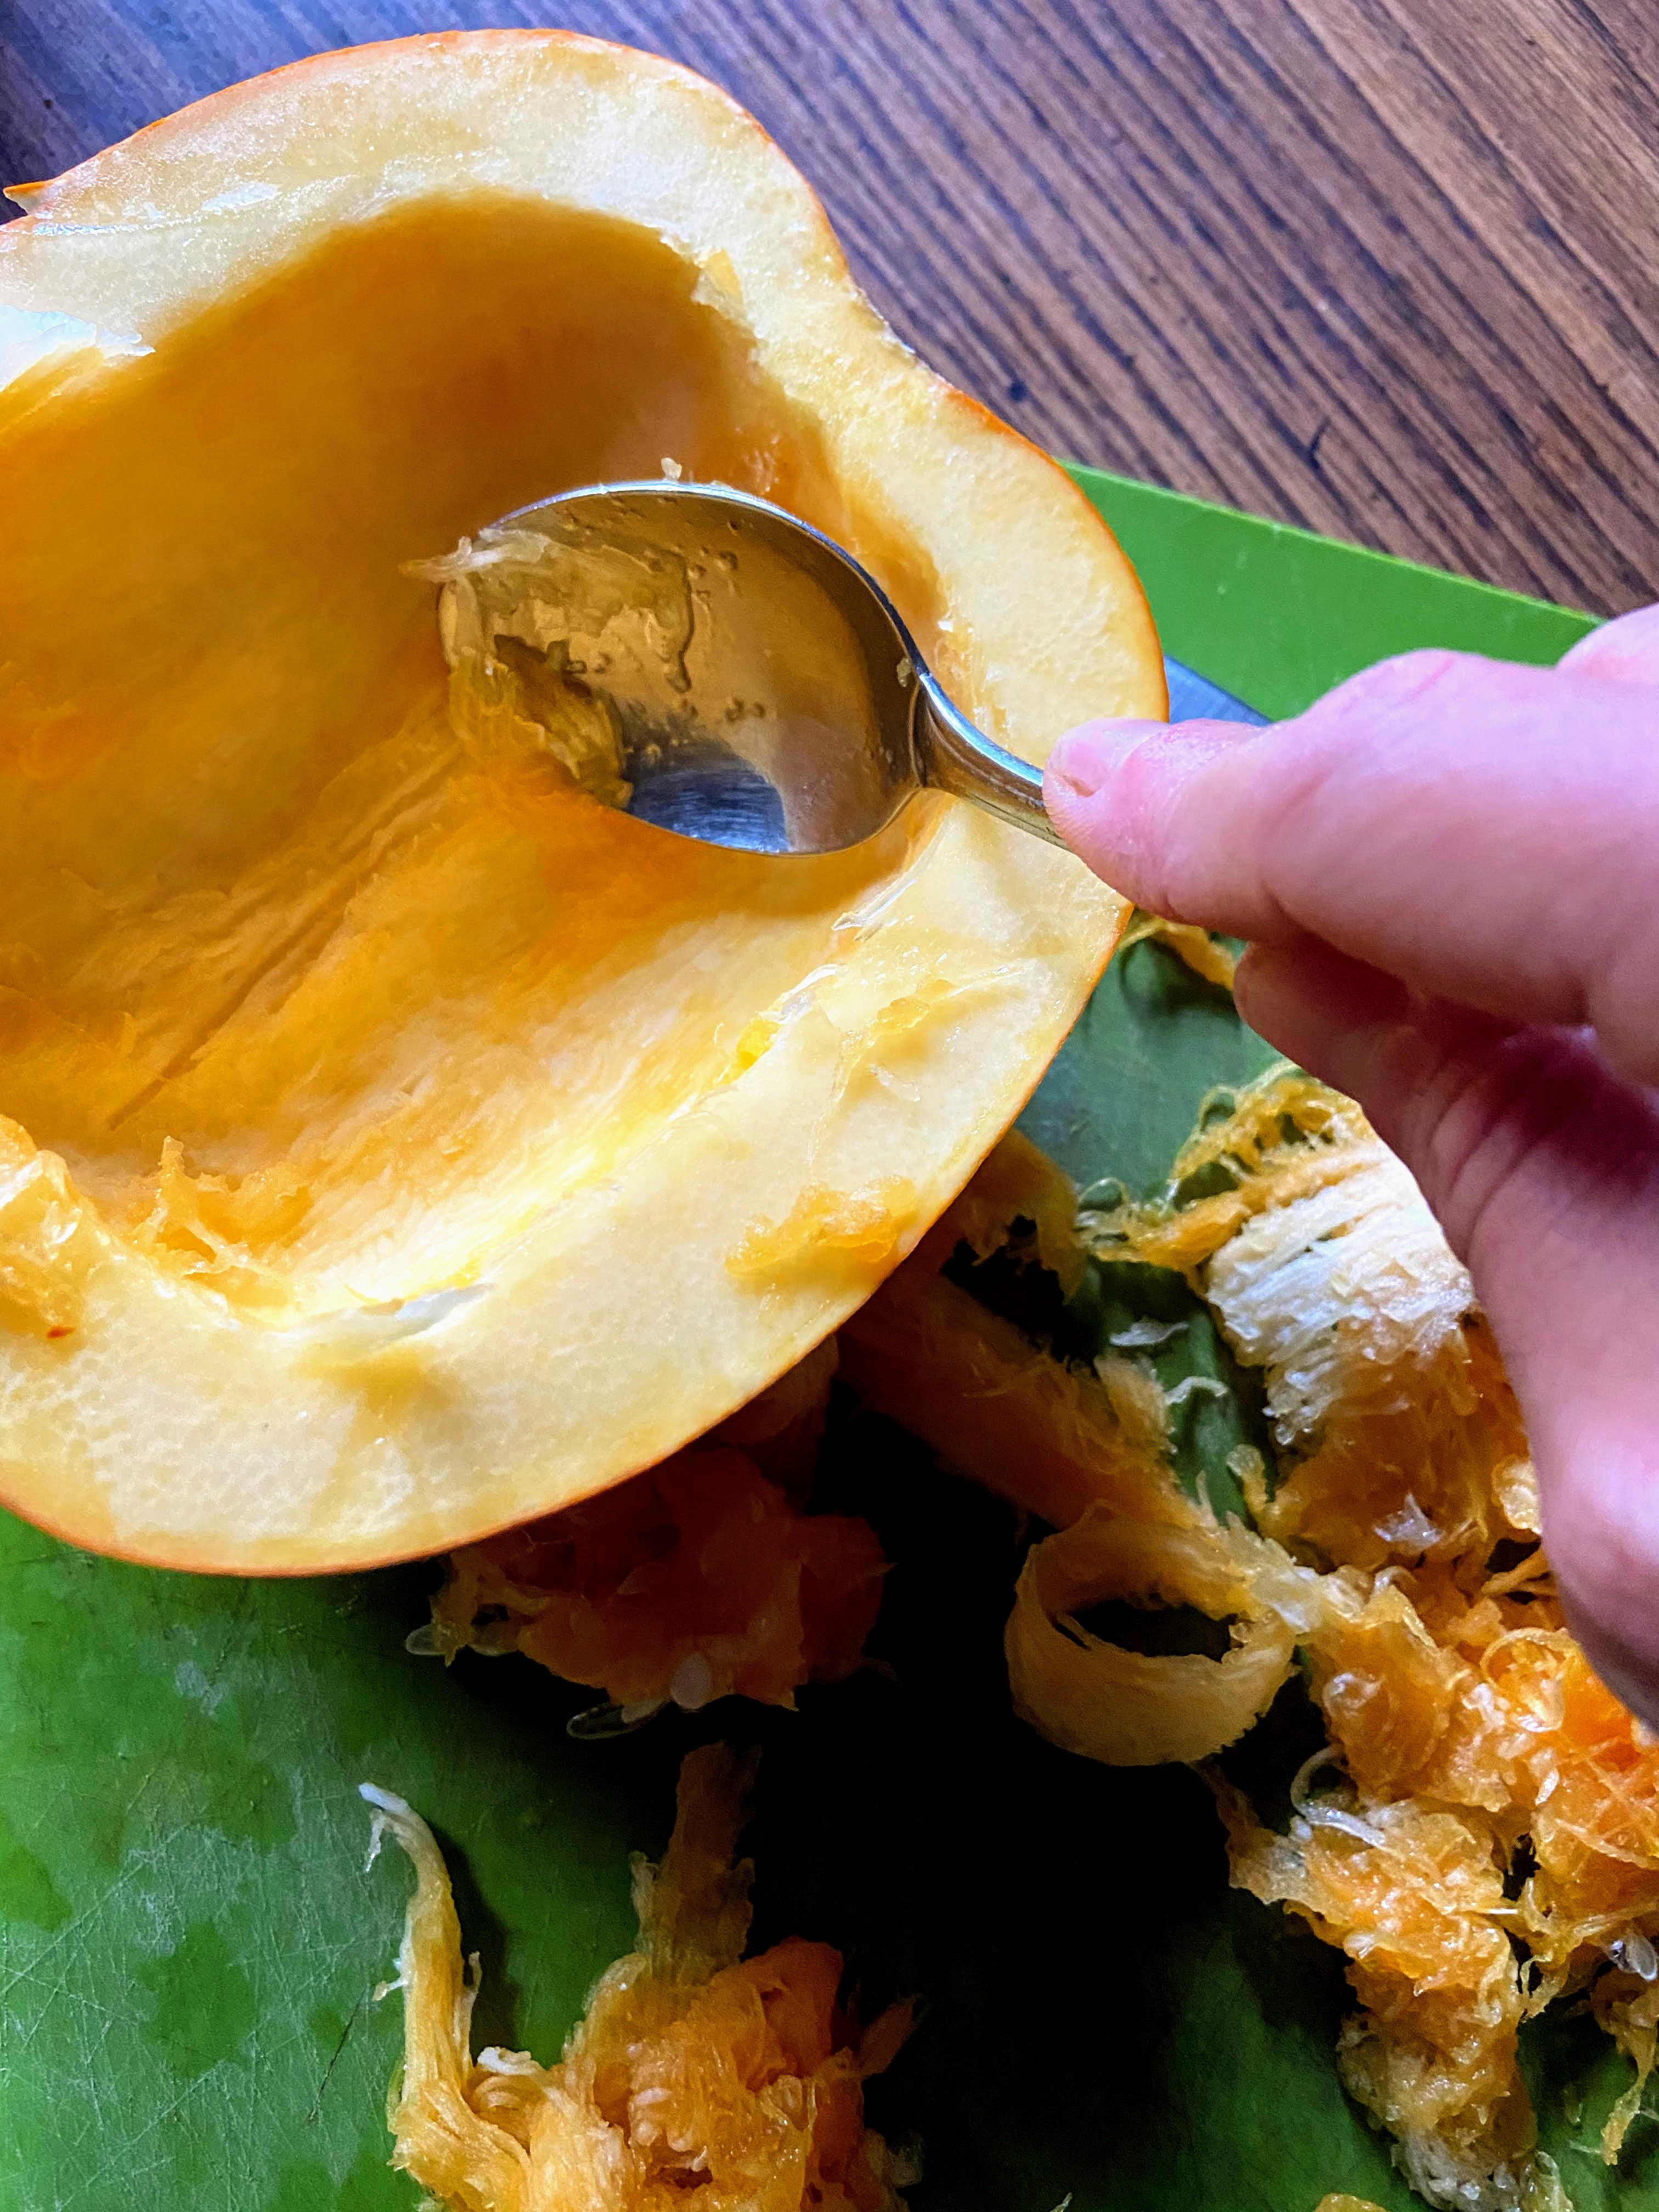
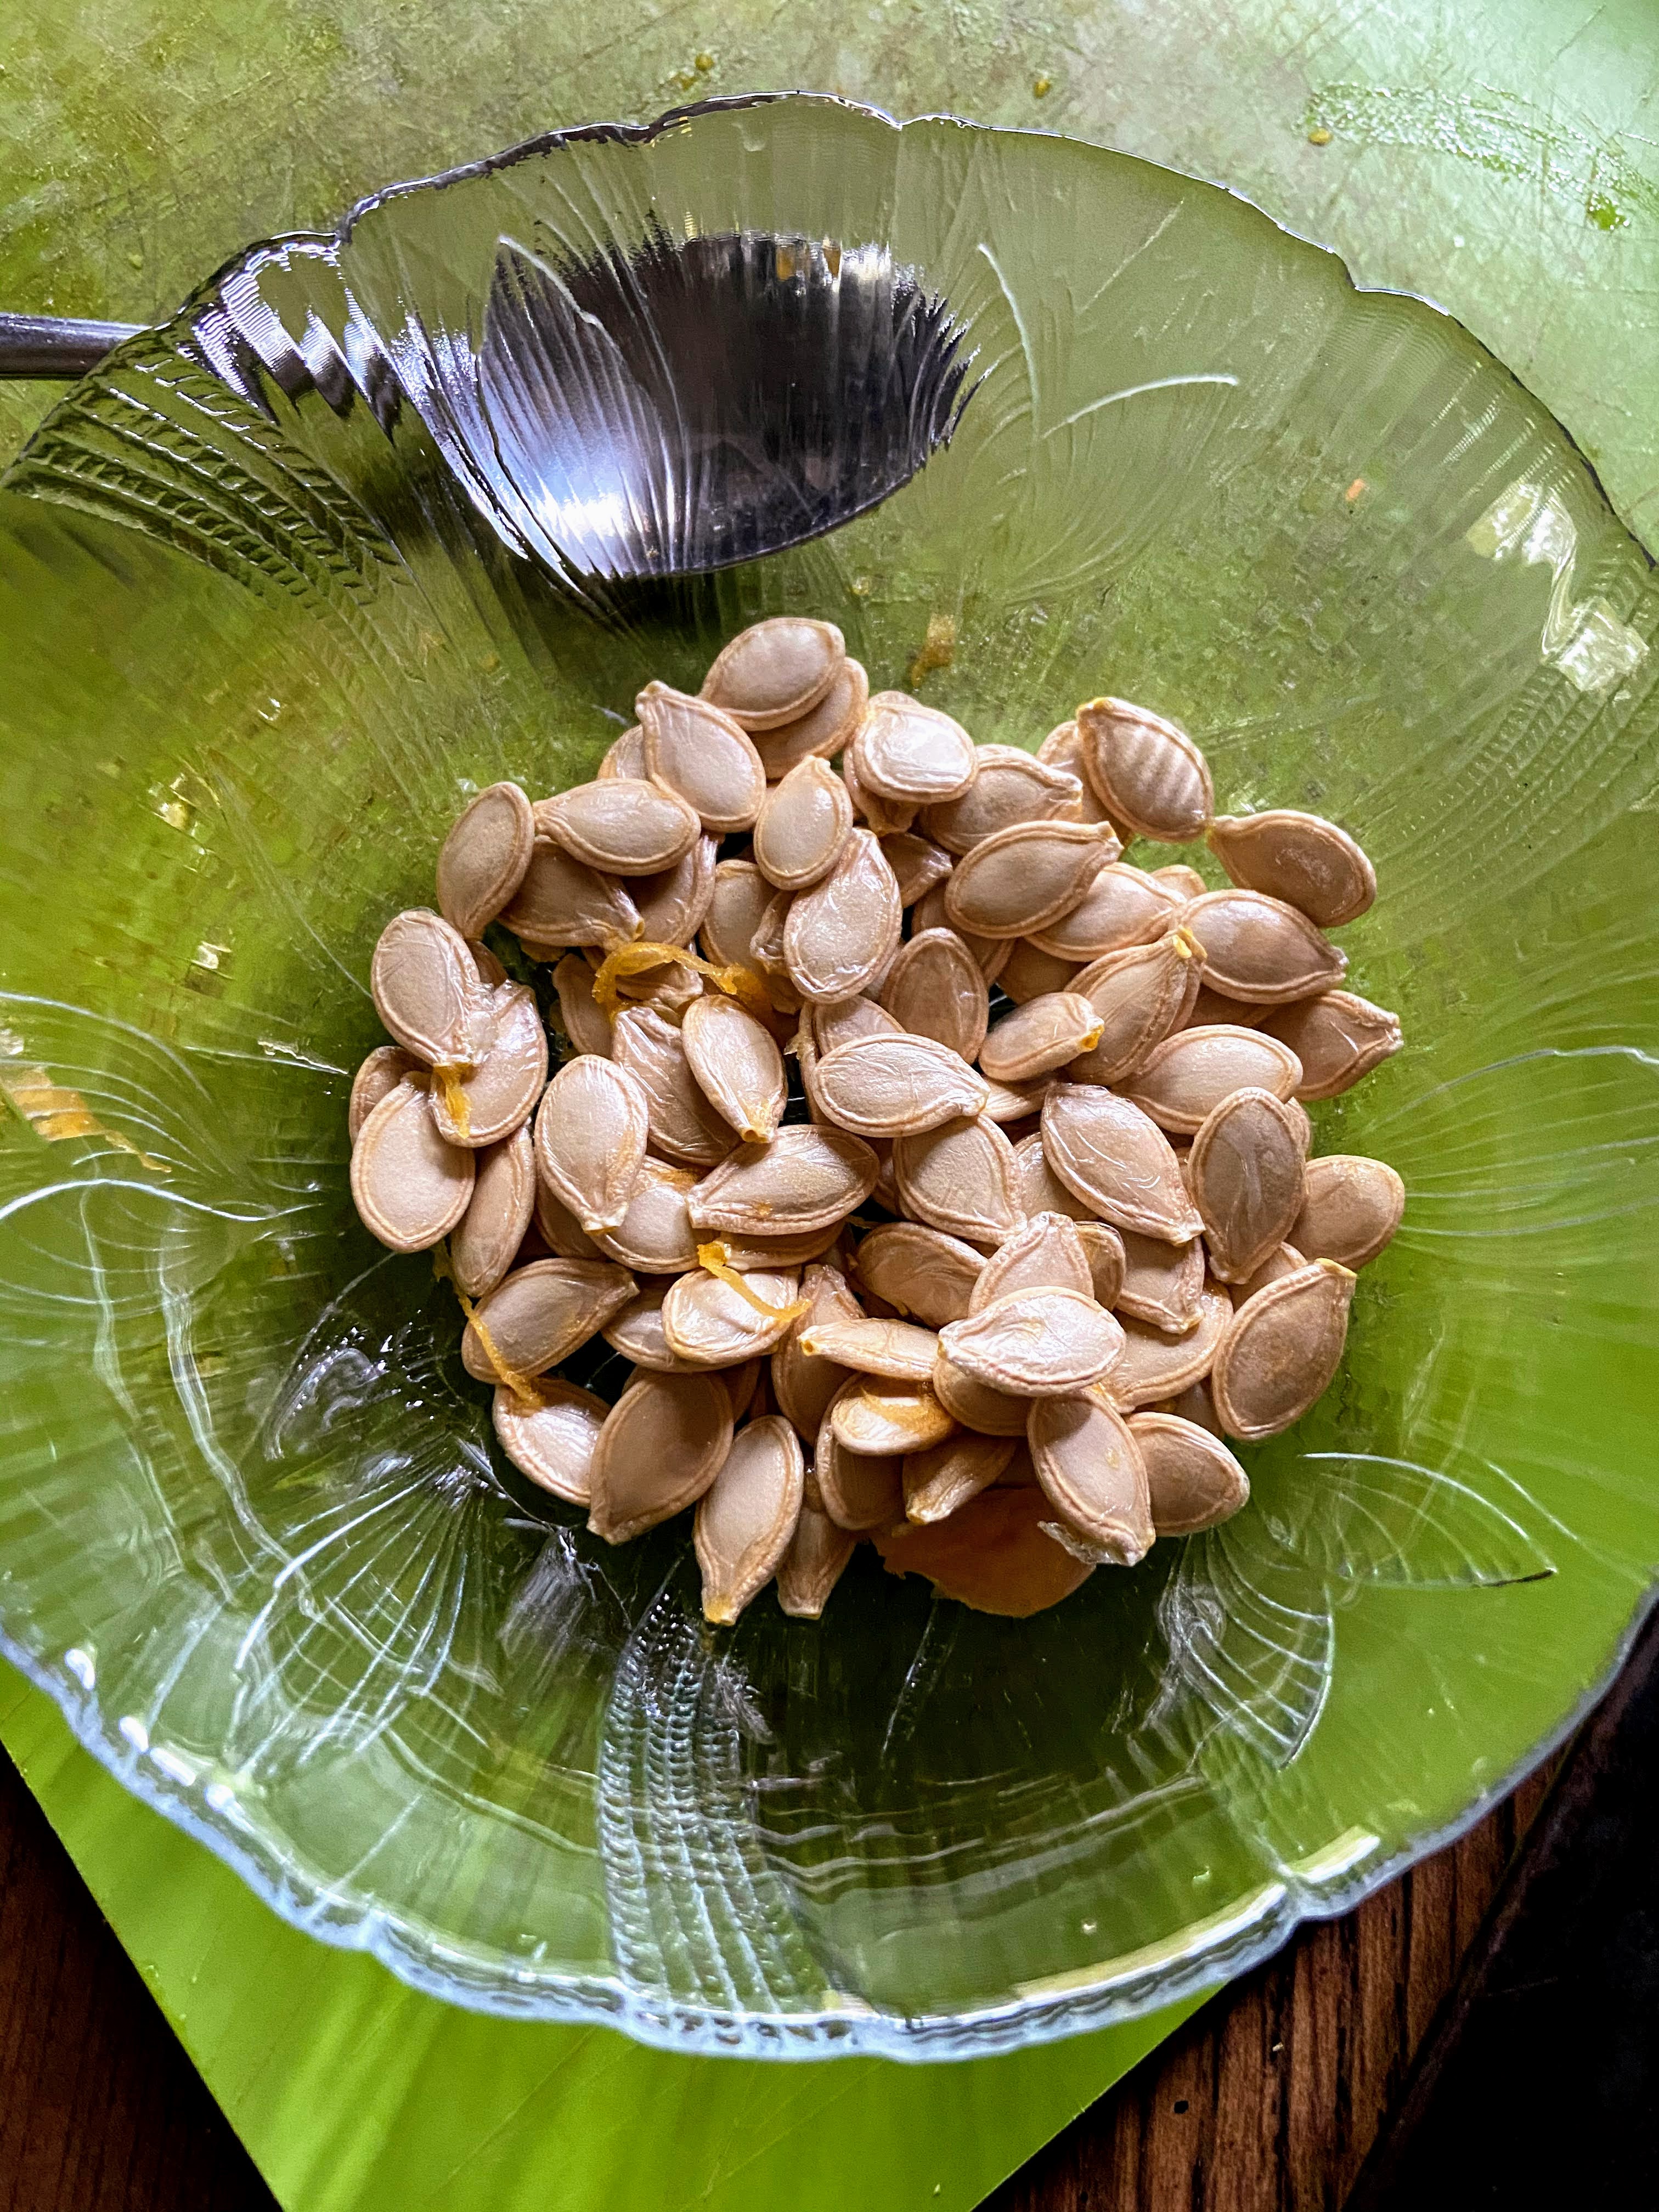
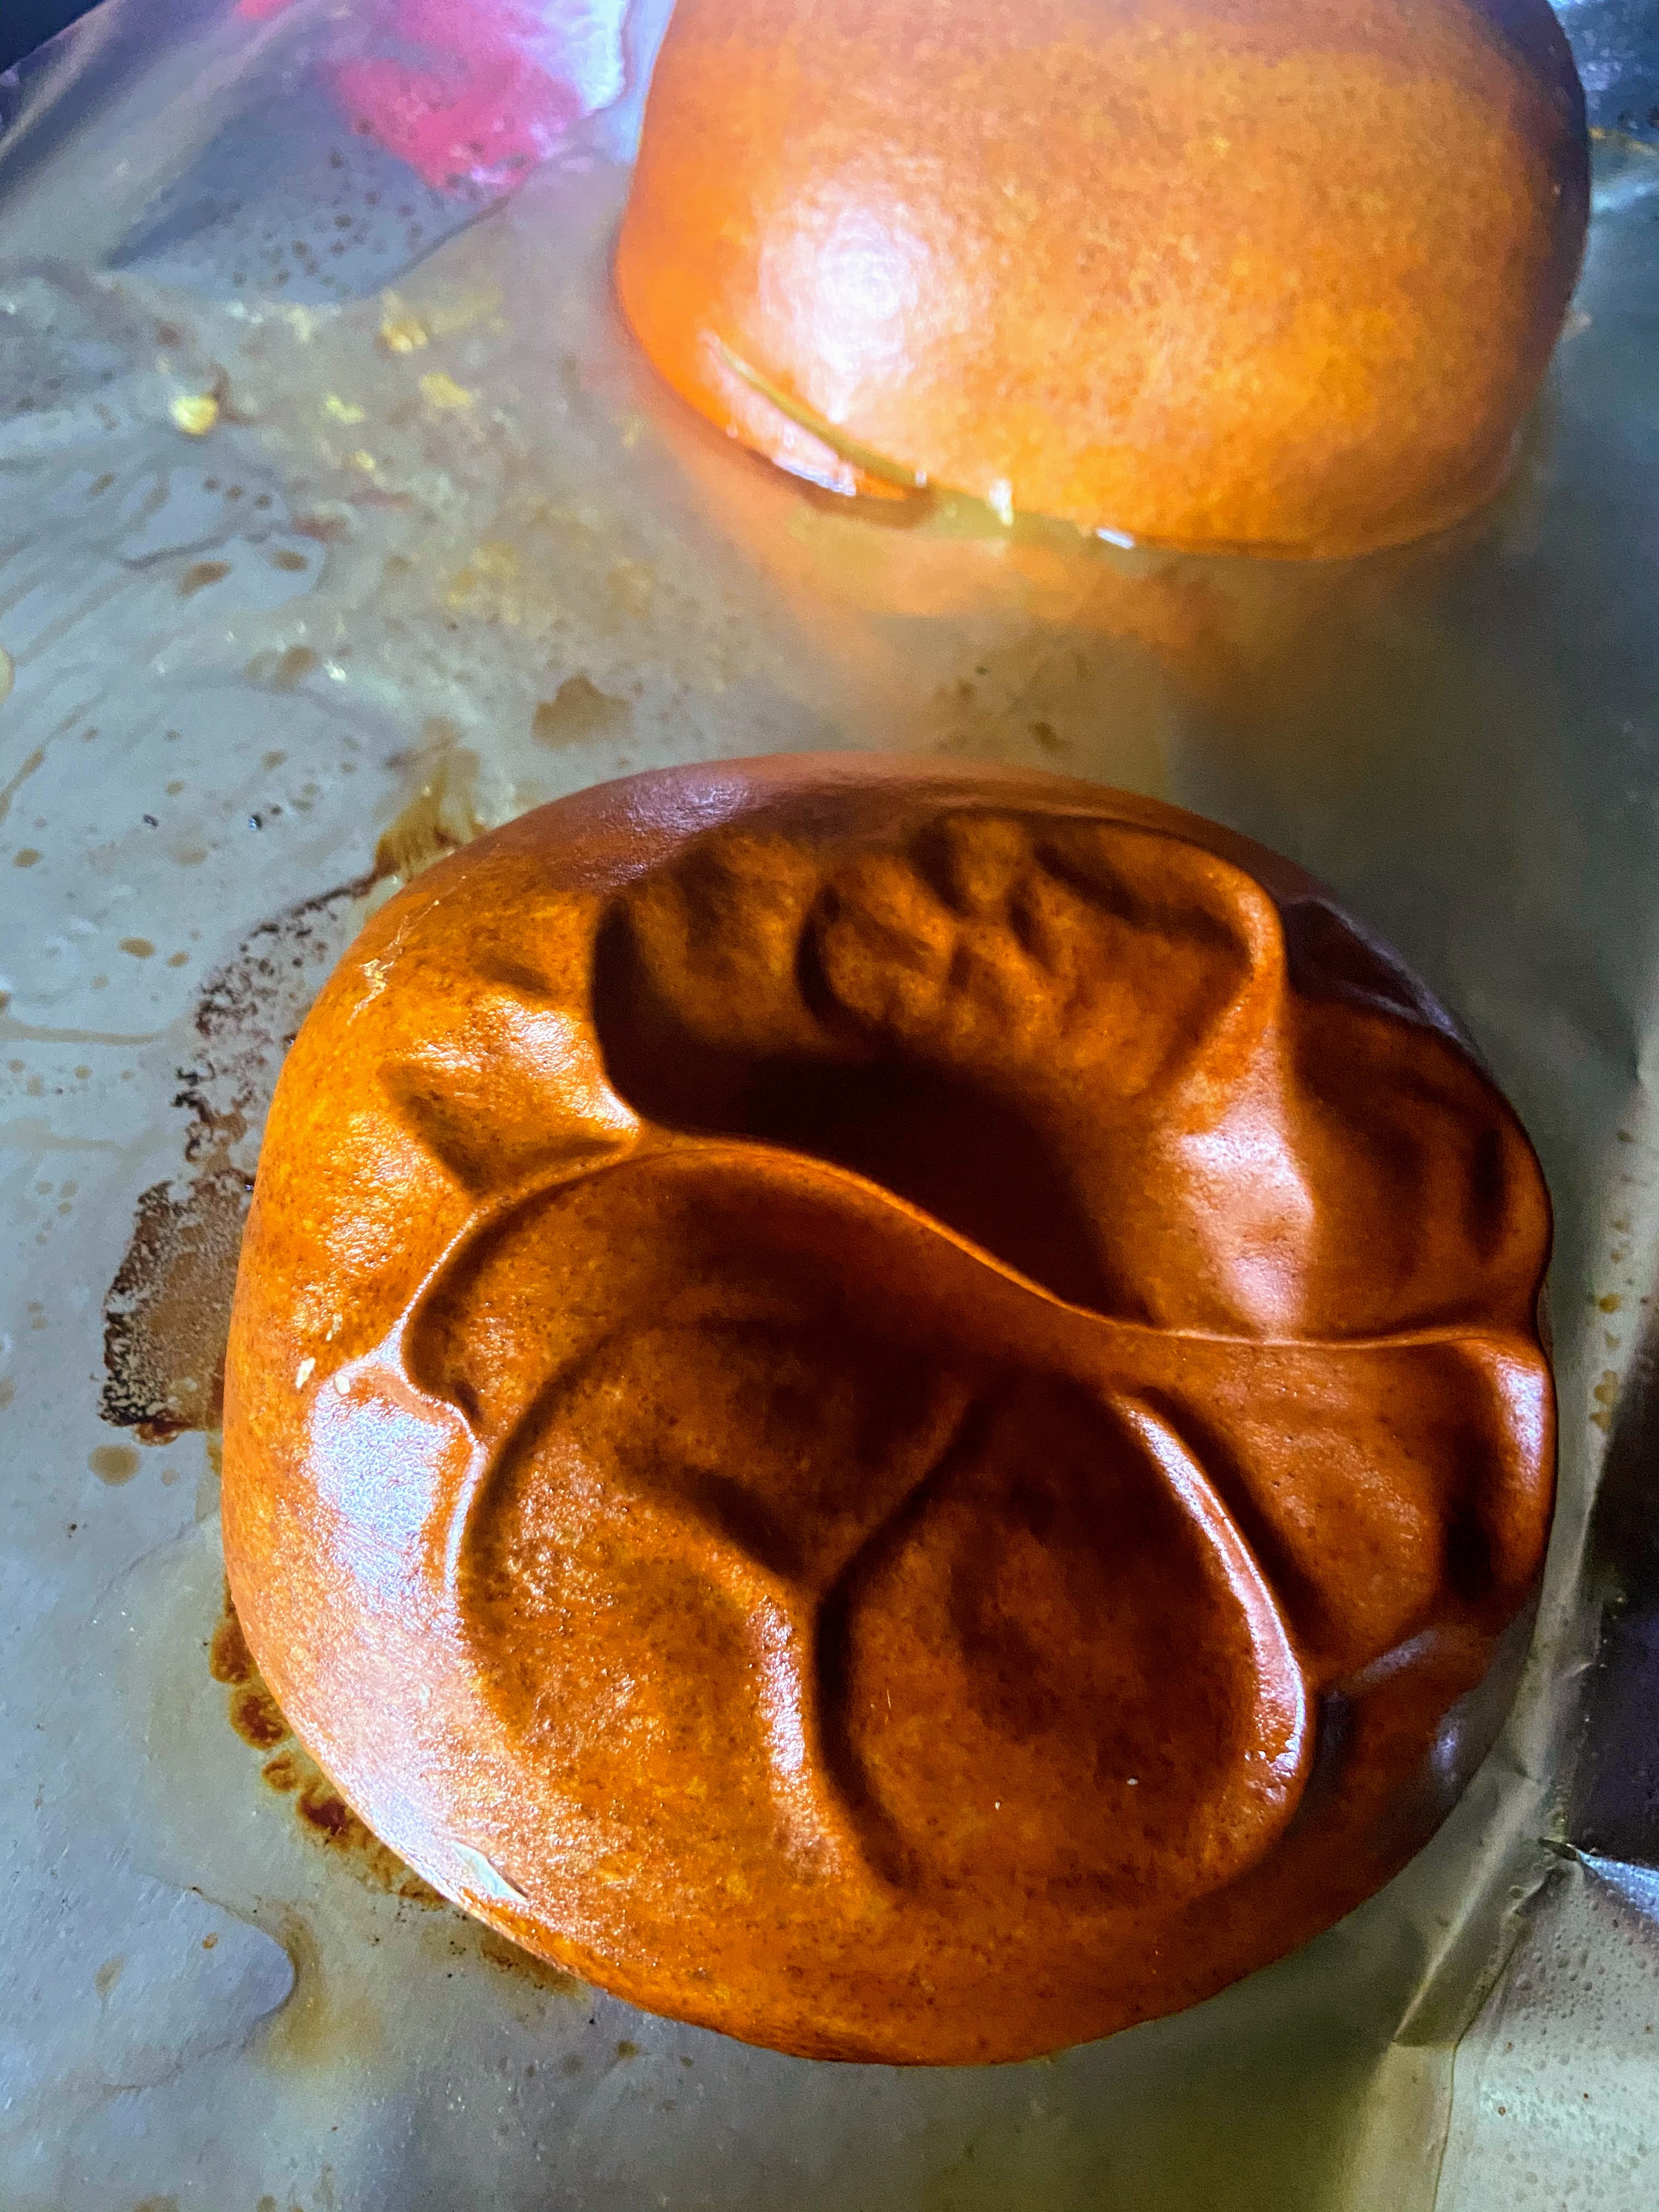
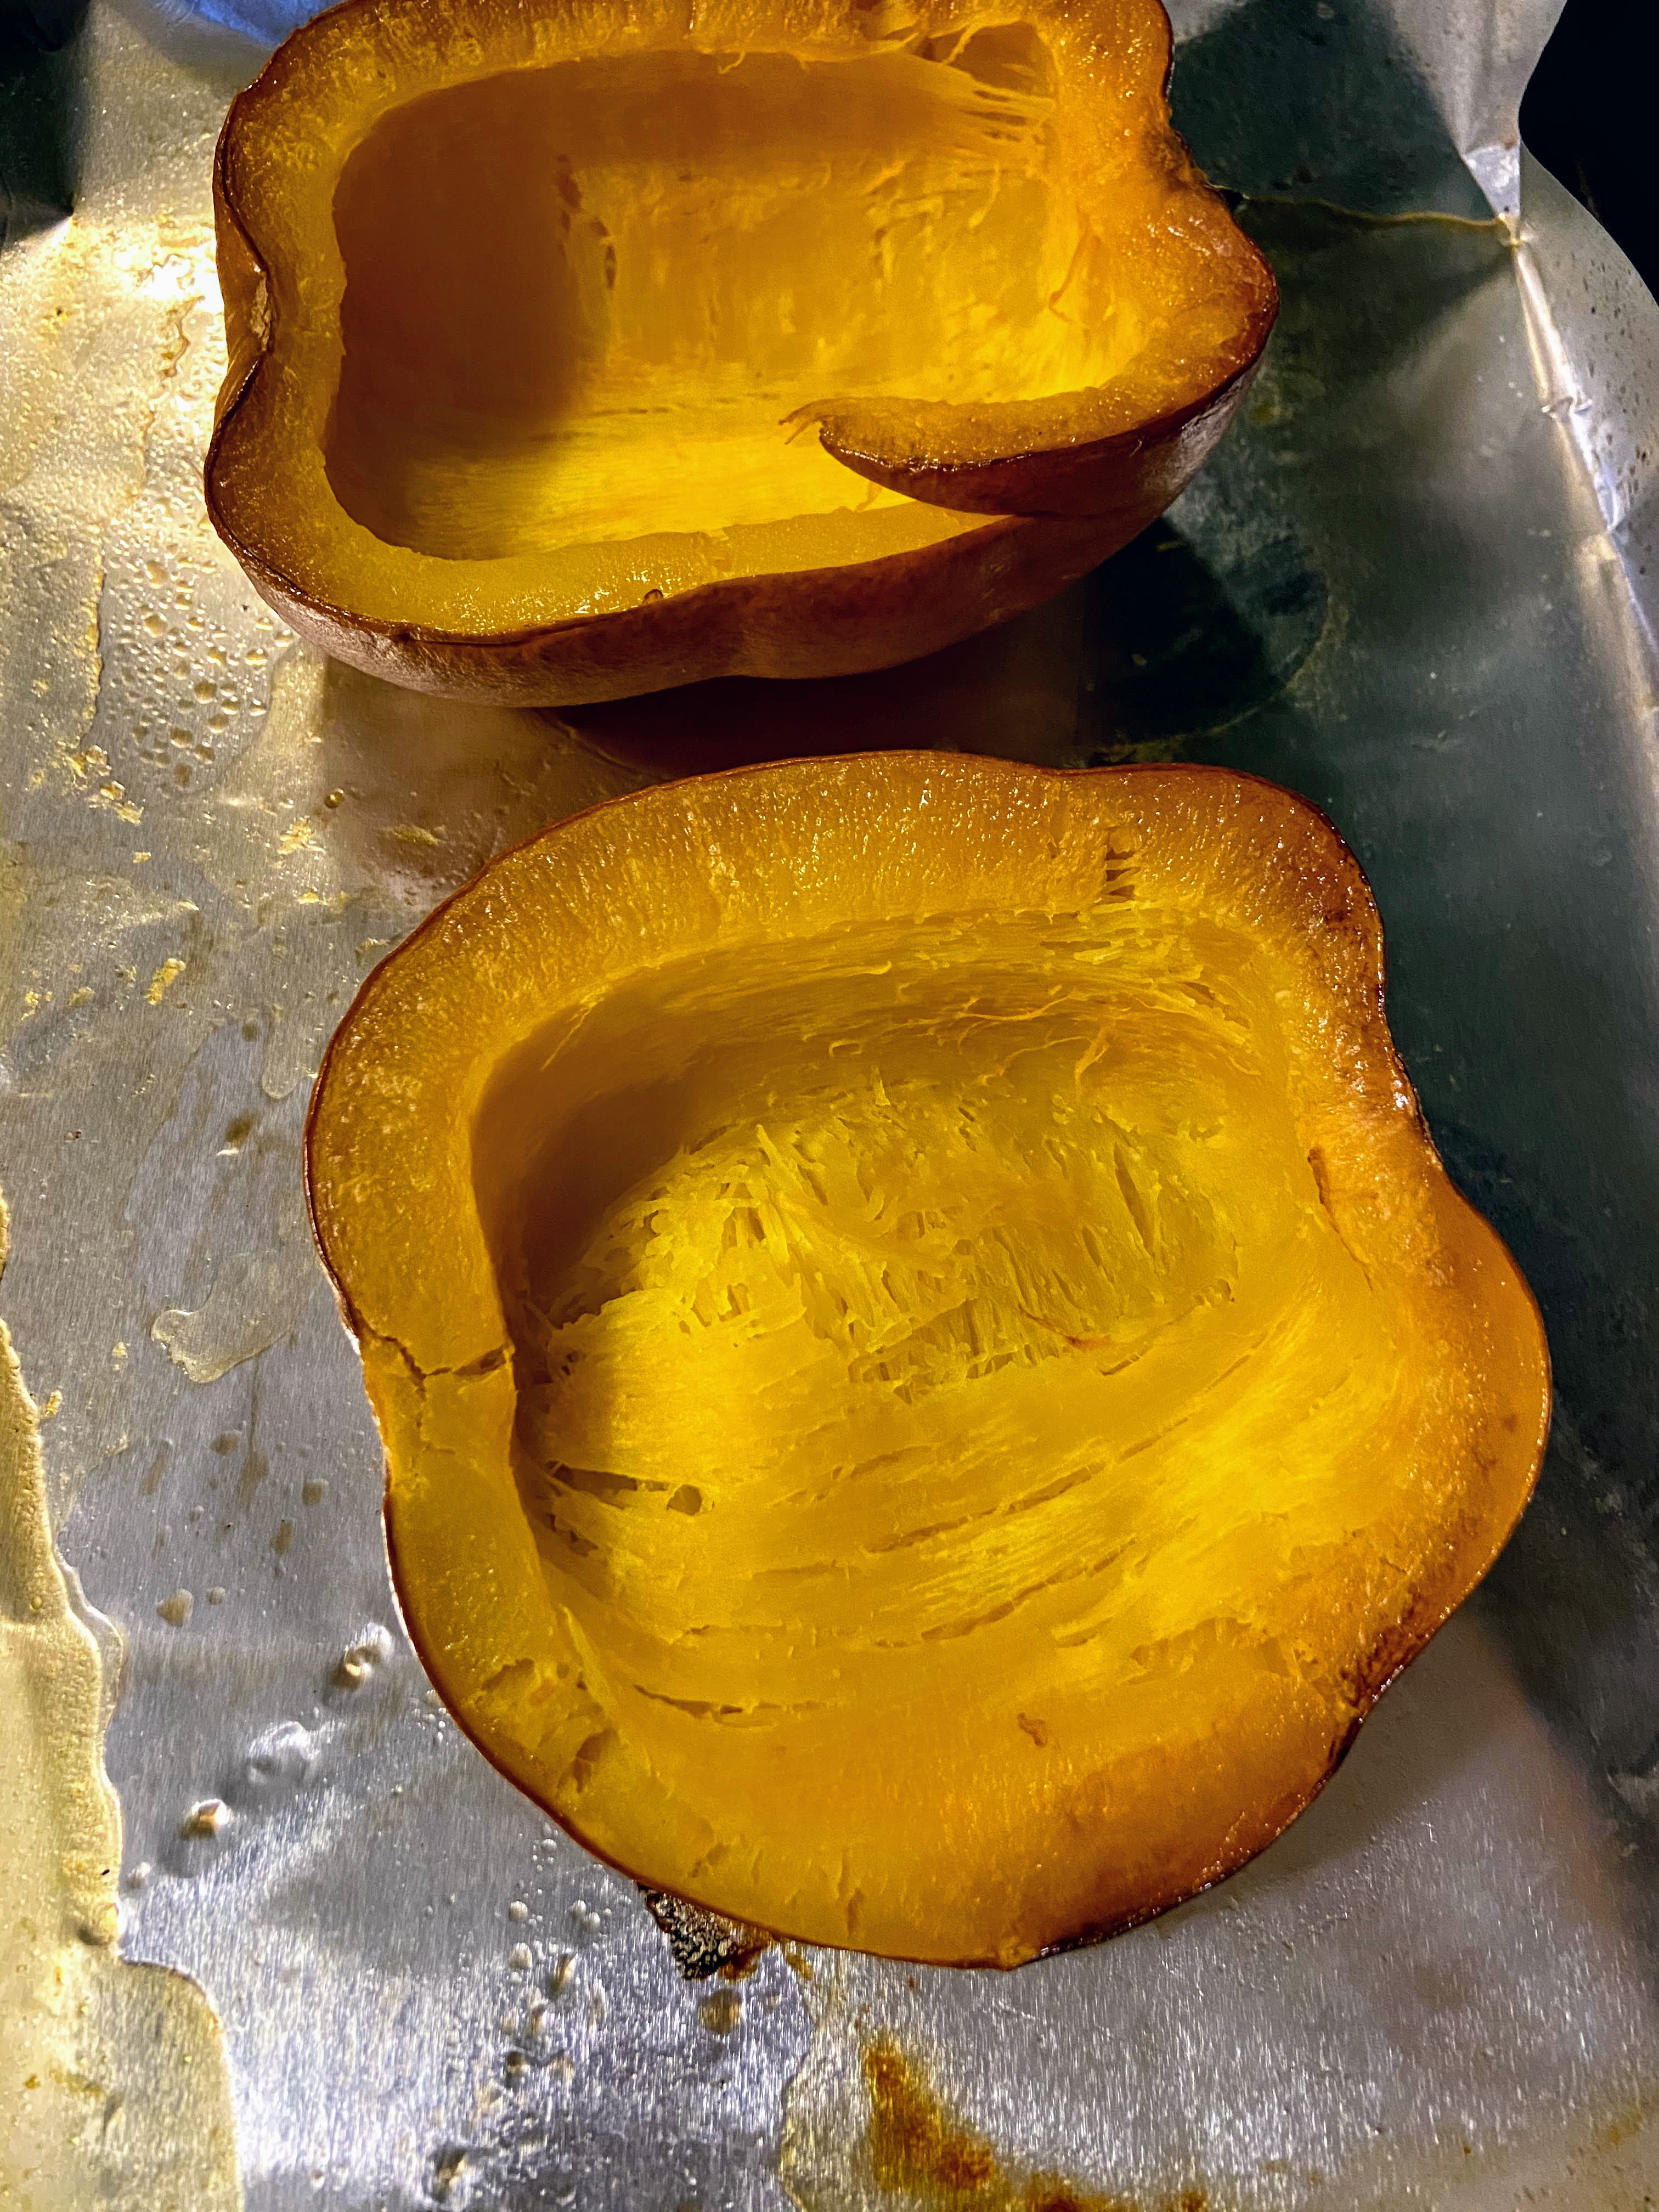
One more note: This recipe was created using a home roasted pumpkin. If you haven’t tried roasting your own pumpkin yet, I highly recommend it and the time is still right. Pick up a pumpkin or two from the local market, roast them up using the directions you can find here. Then freeze some so you can have fresh pumpkin baked goods all year round!
Okay, enough talking, let’s get baking some Oatmeal Pumpkin muffins my friends!
Your Ingredients (about 18 muffins)
- 2 cups pumpkin puree
- 2 eggs, room temperature
- ⅓ cup real maple syrup (if you like things on the sweeter side, up this to ½ cup)
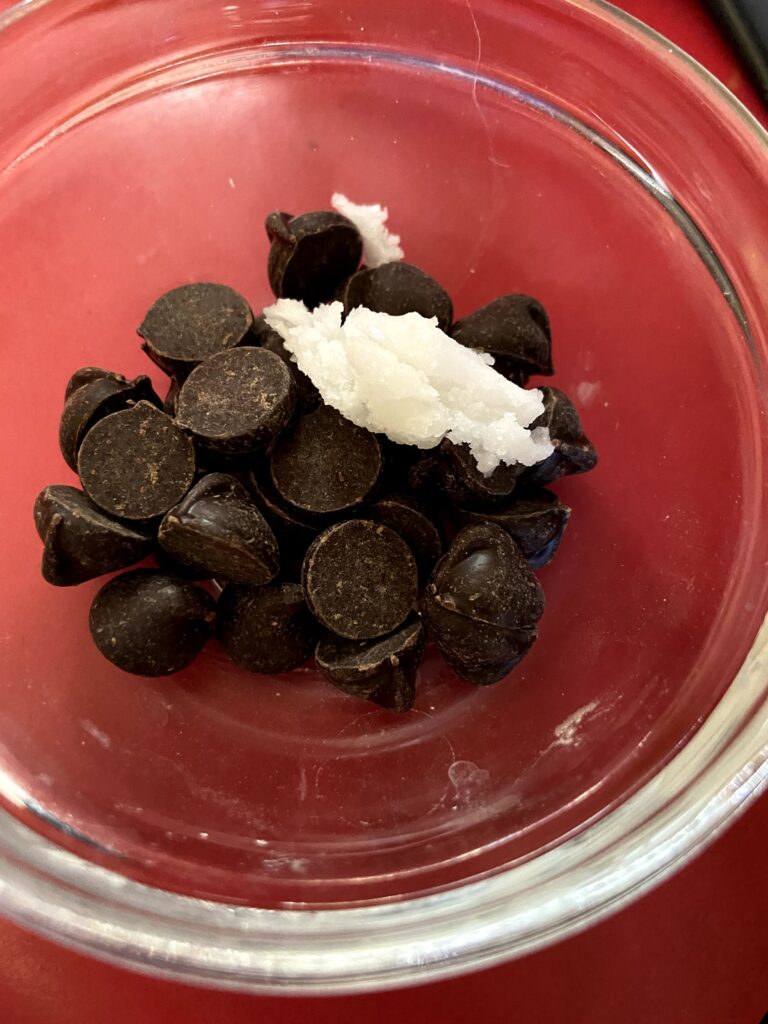
- 2 tablespoons coconut oil, melted
- 1 ½ cups whole wheat flour
- 1 cup old fashioned oats
- ¾ teaspoon pumpkin spice (or a combination of cinnamon and nutmeg with a dash of clove)
- 1 teaspoon baking soda
- ½ teaspoon salt
- ⅓ cup chopped walnuts
- ⅓ cup chocolate chips
Your Steps to great Oatmeal Pumpkin Muffins
Preheat the oven to 350 degrees. Prepare two muffin tins with muffin cups or by spraying with non-stick cooking spray.
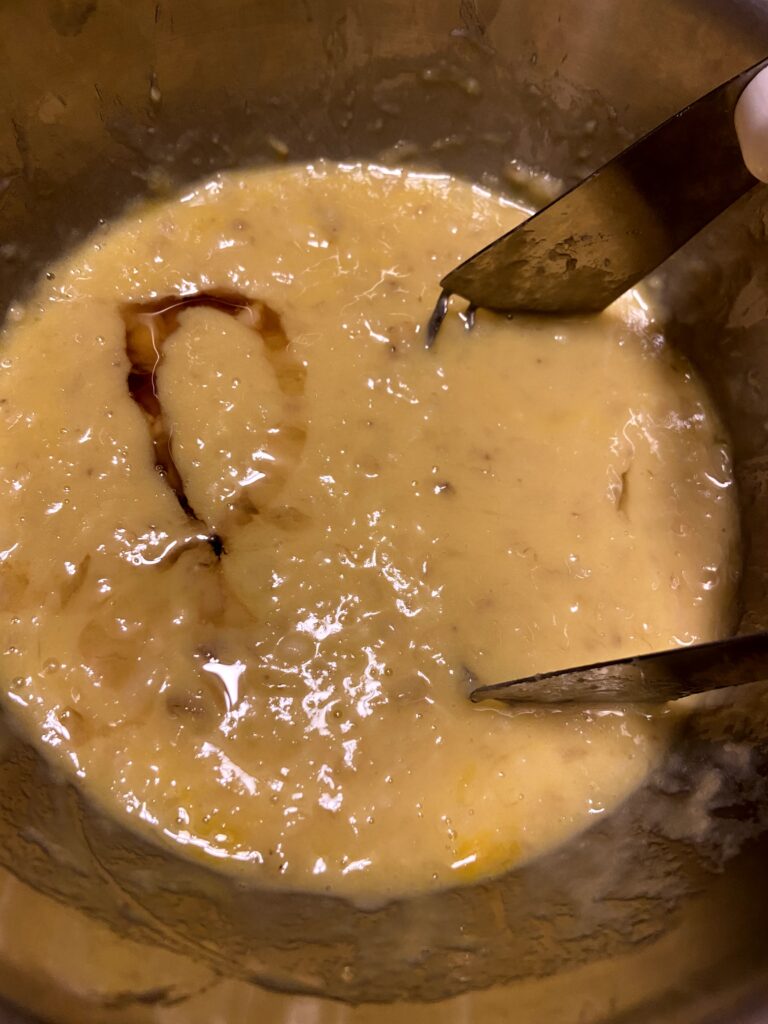
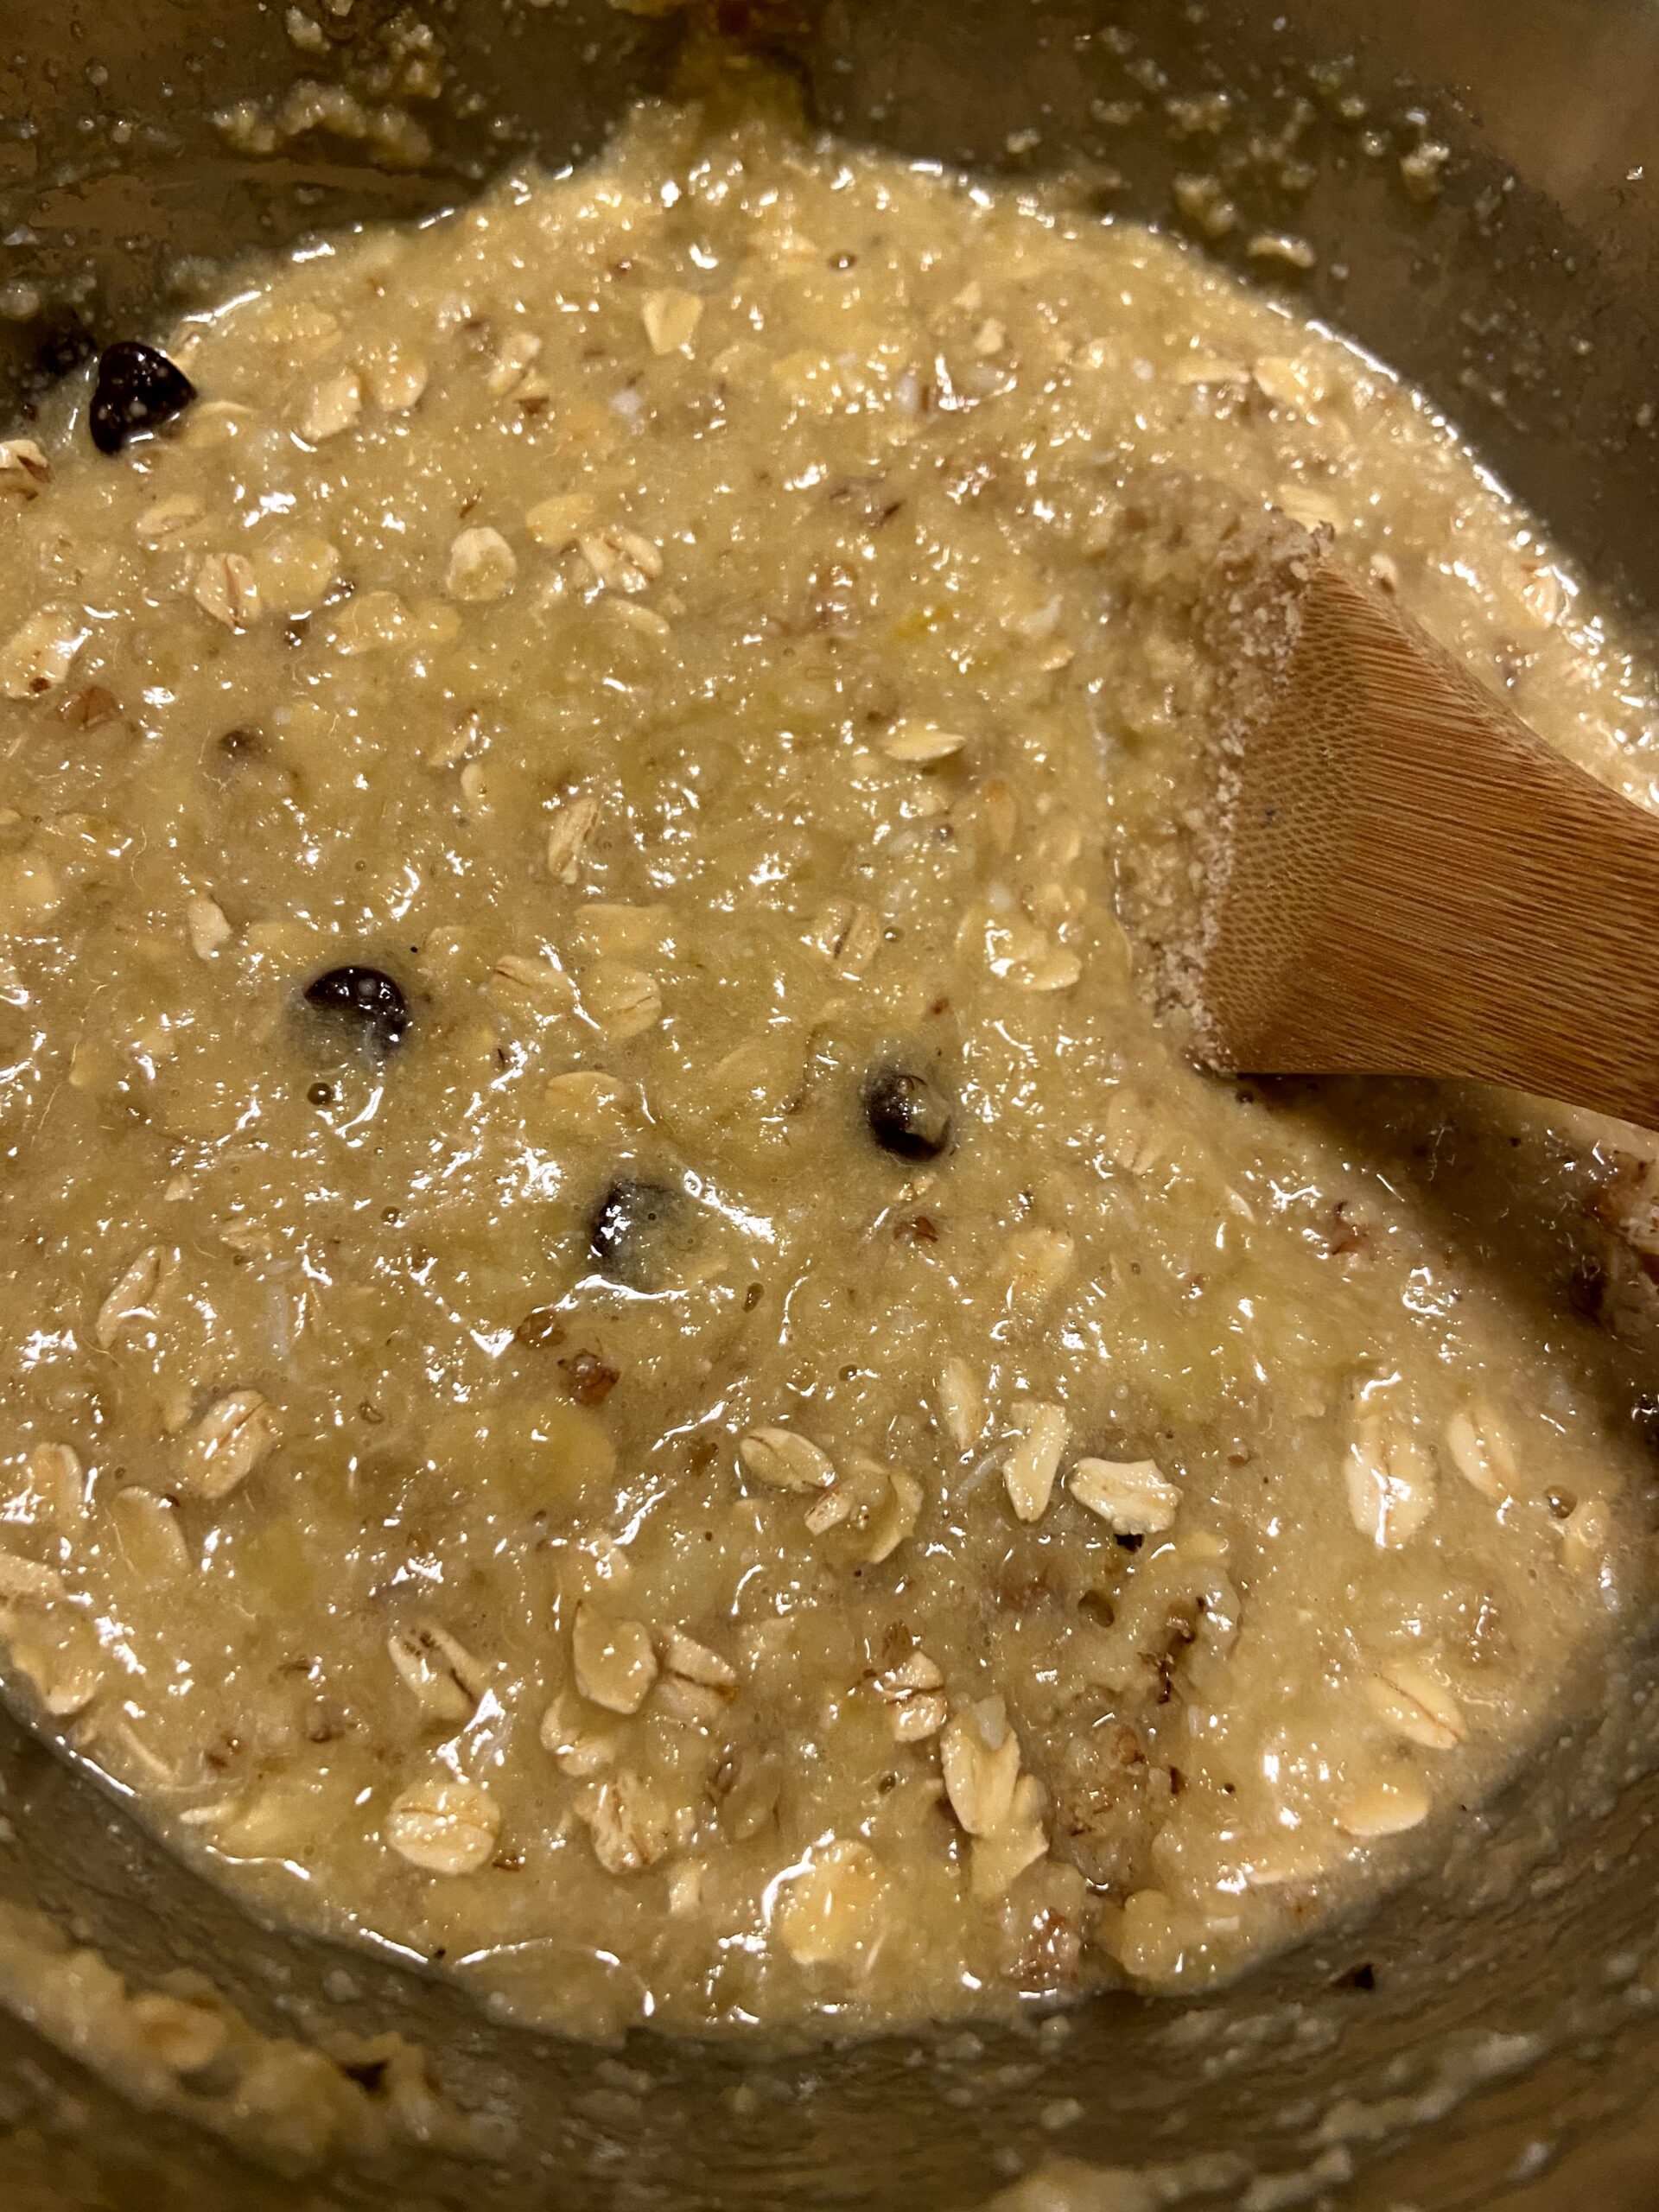
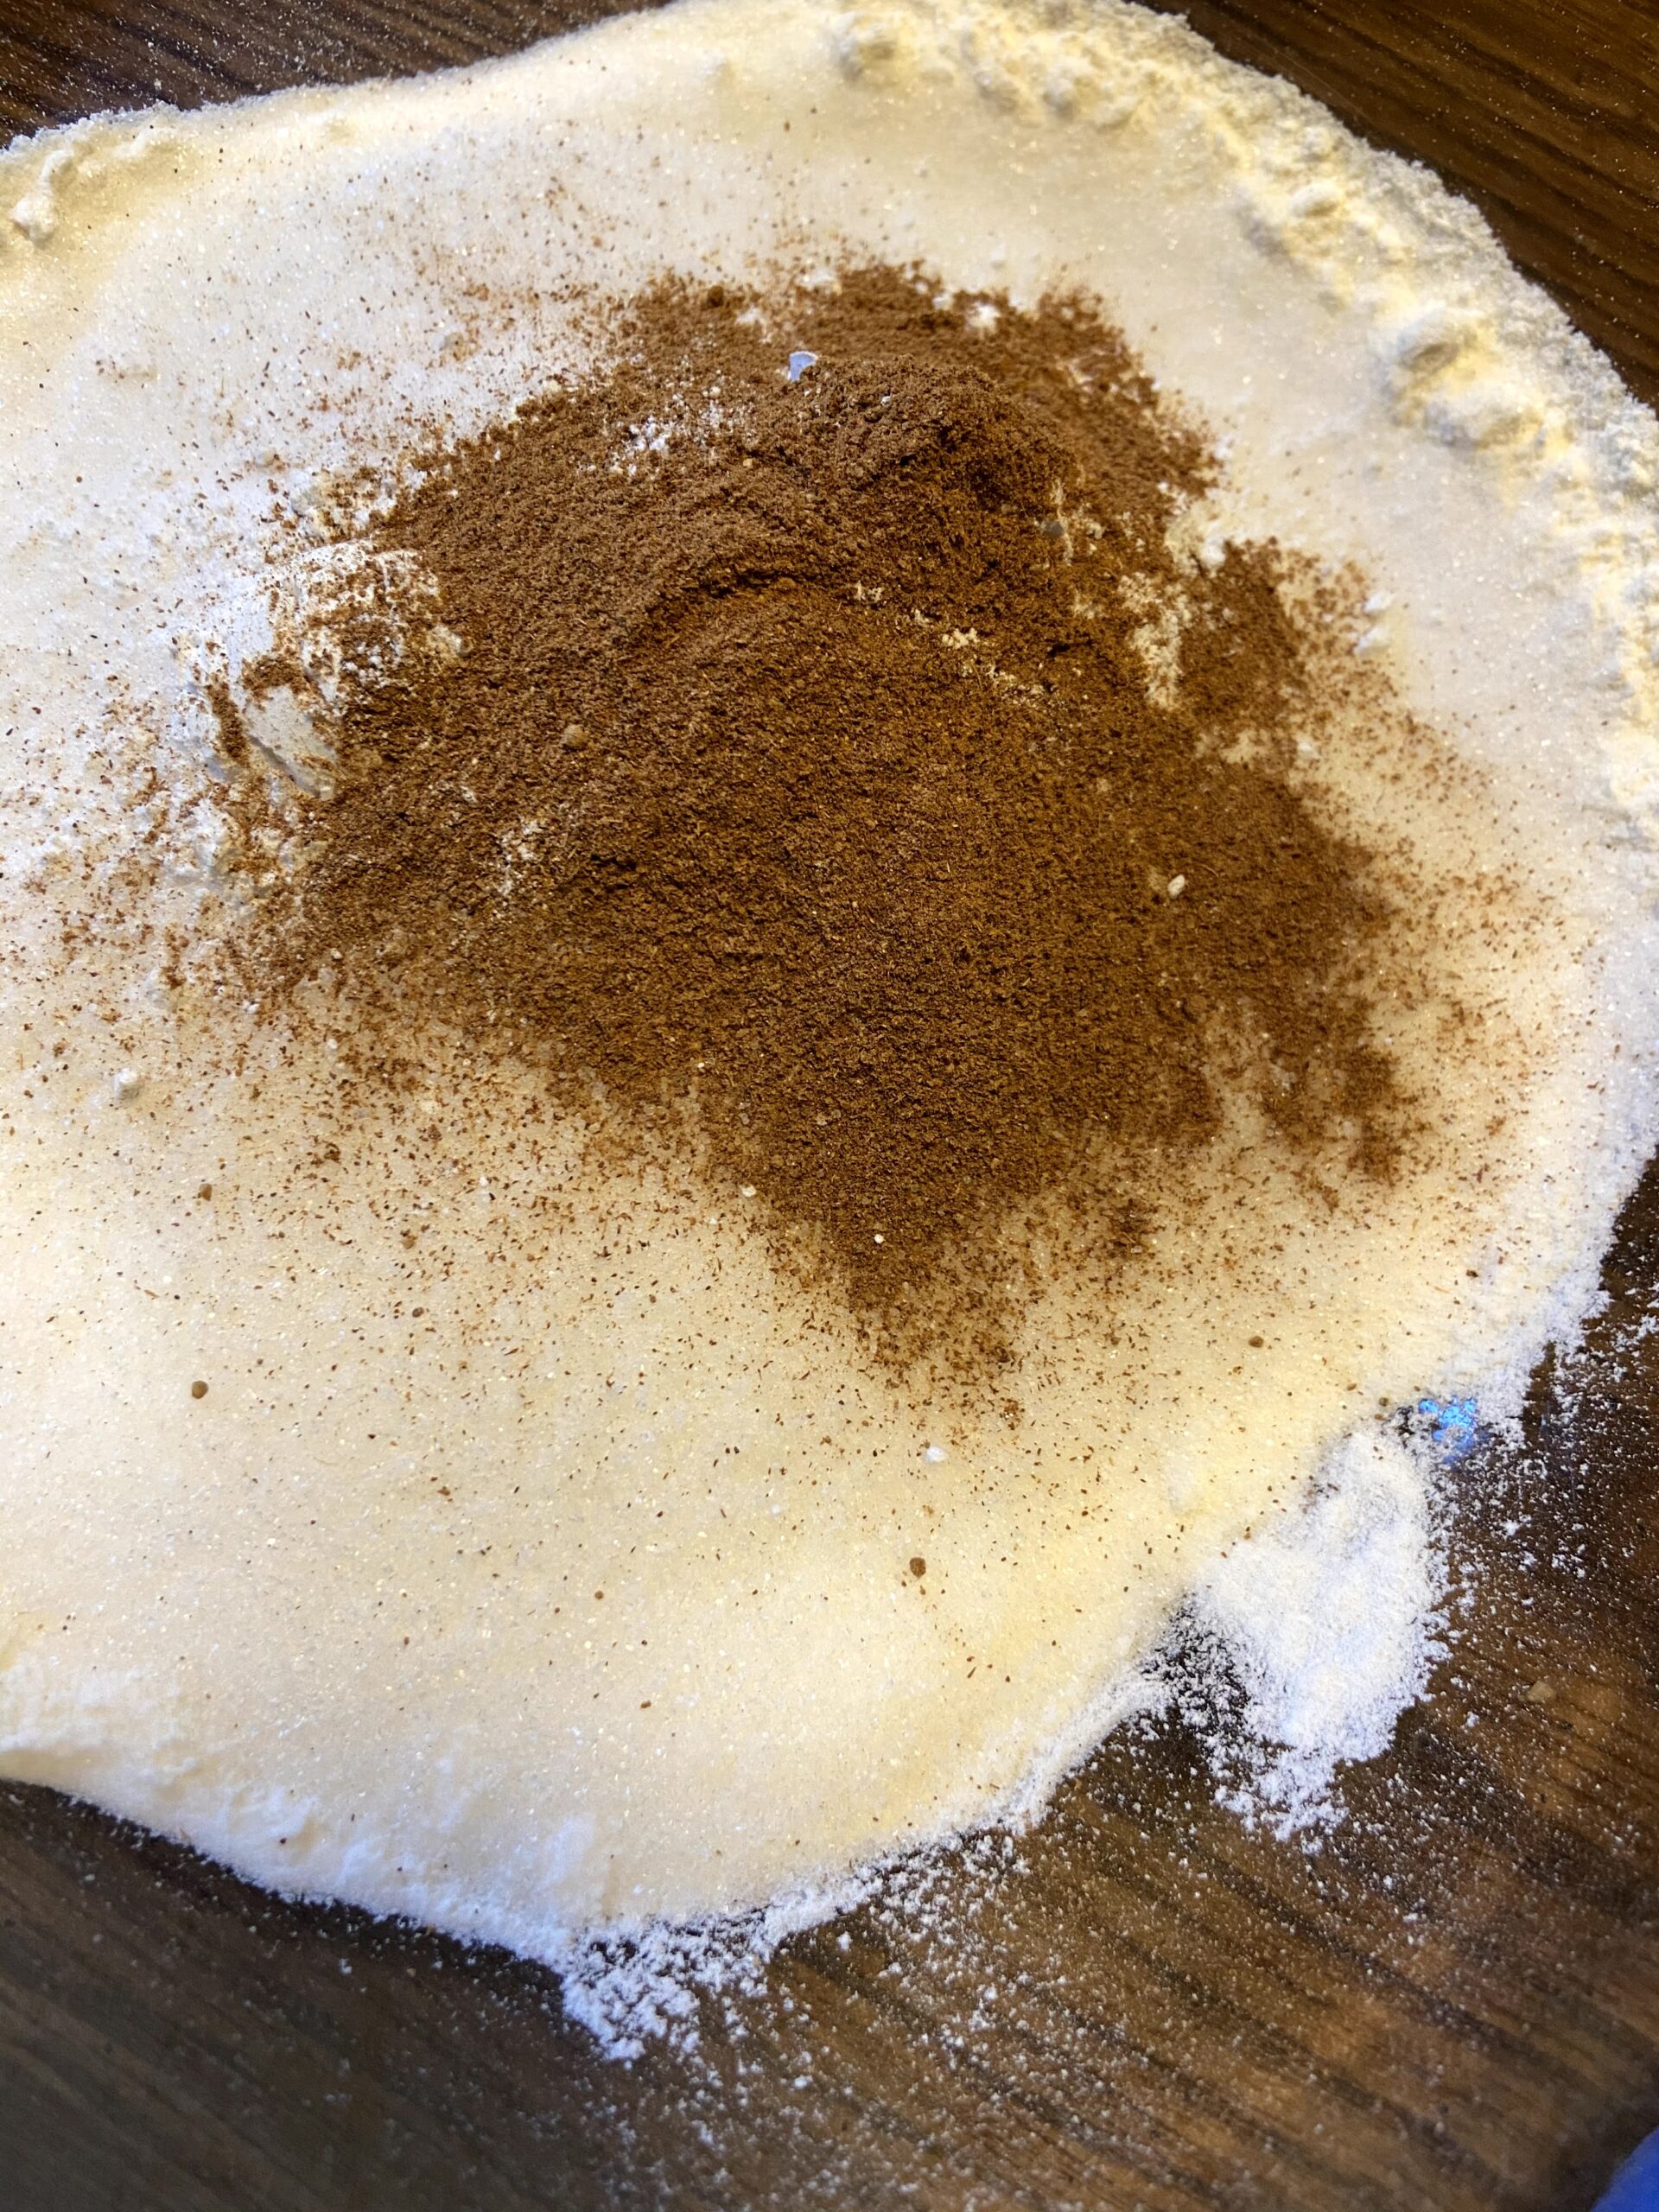
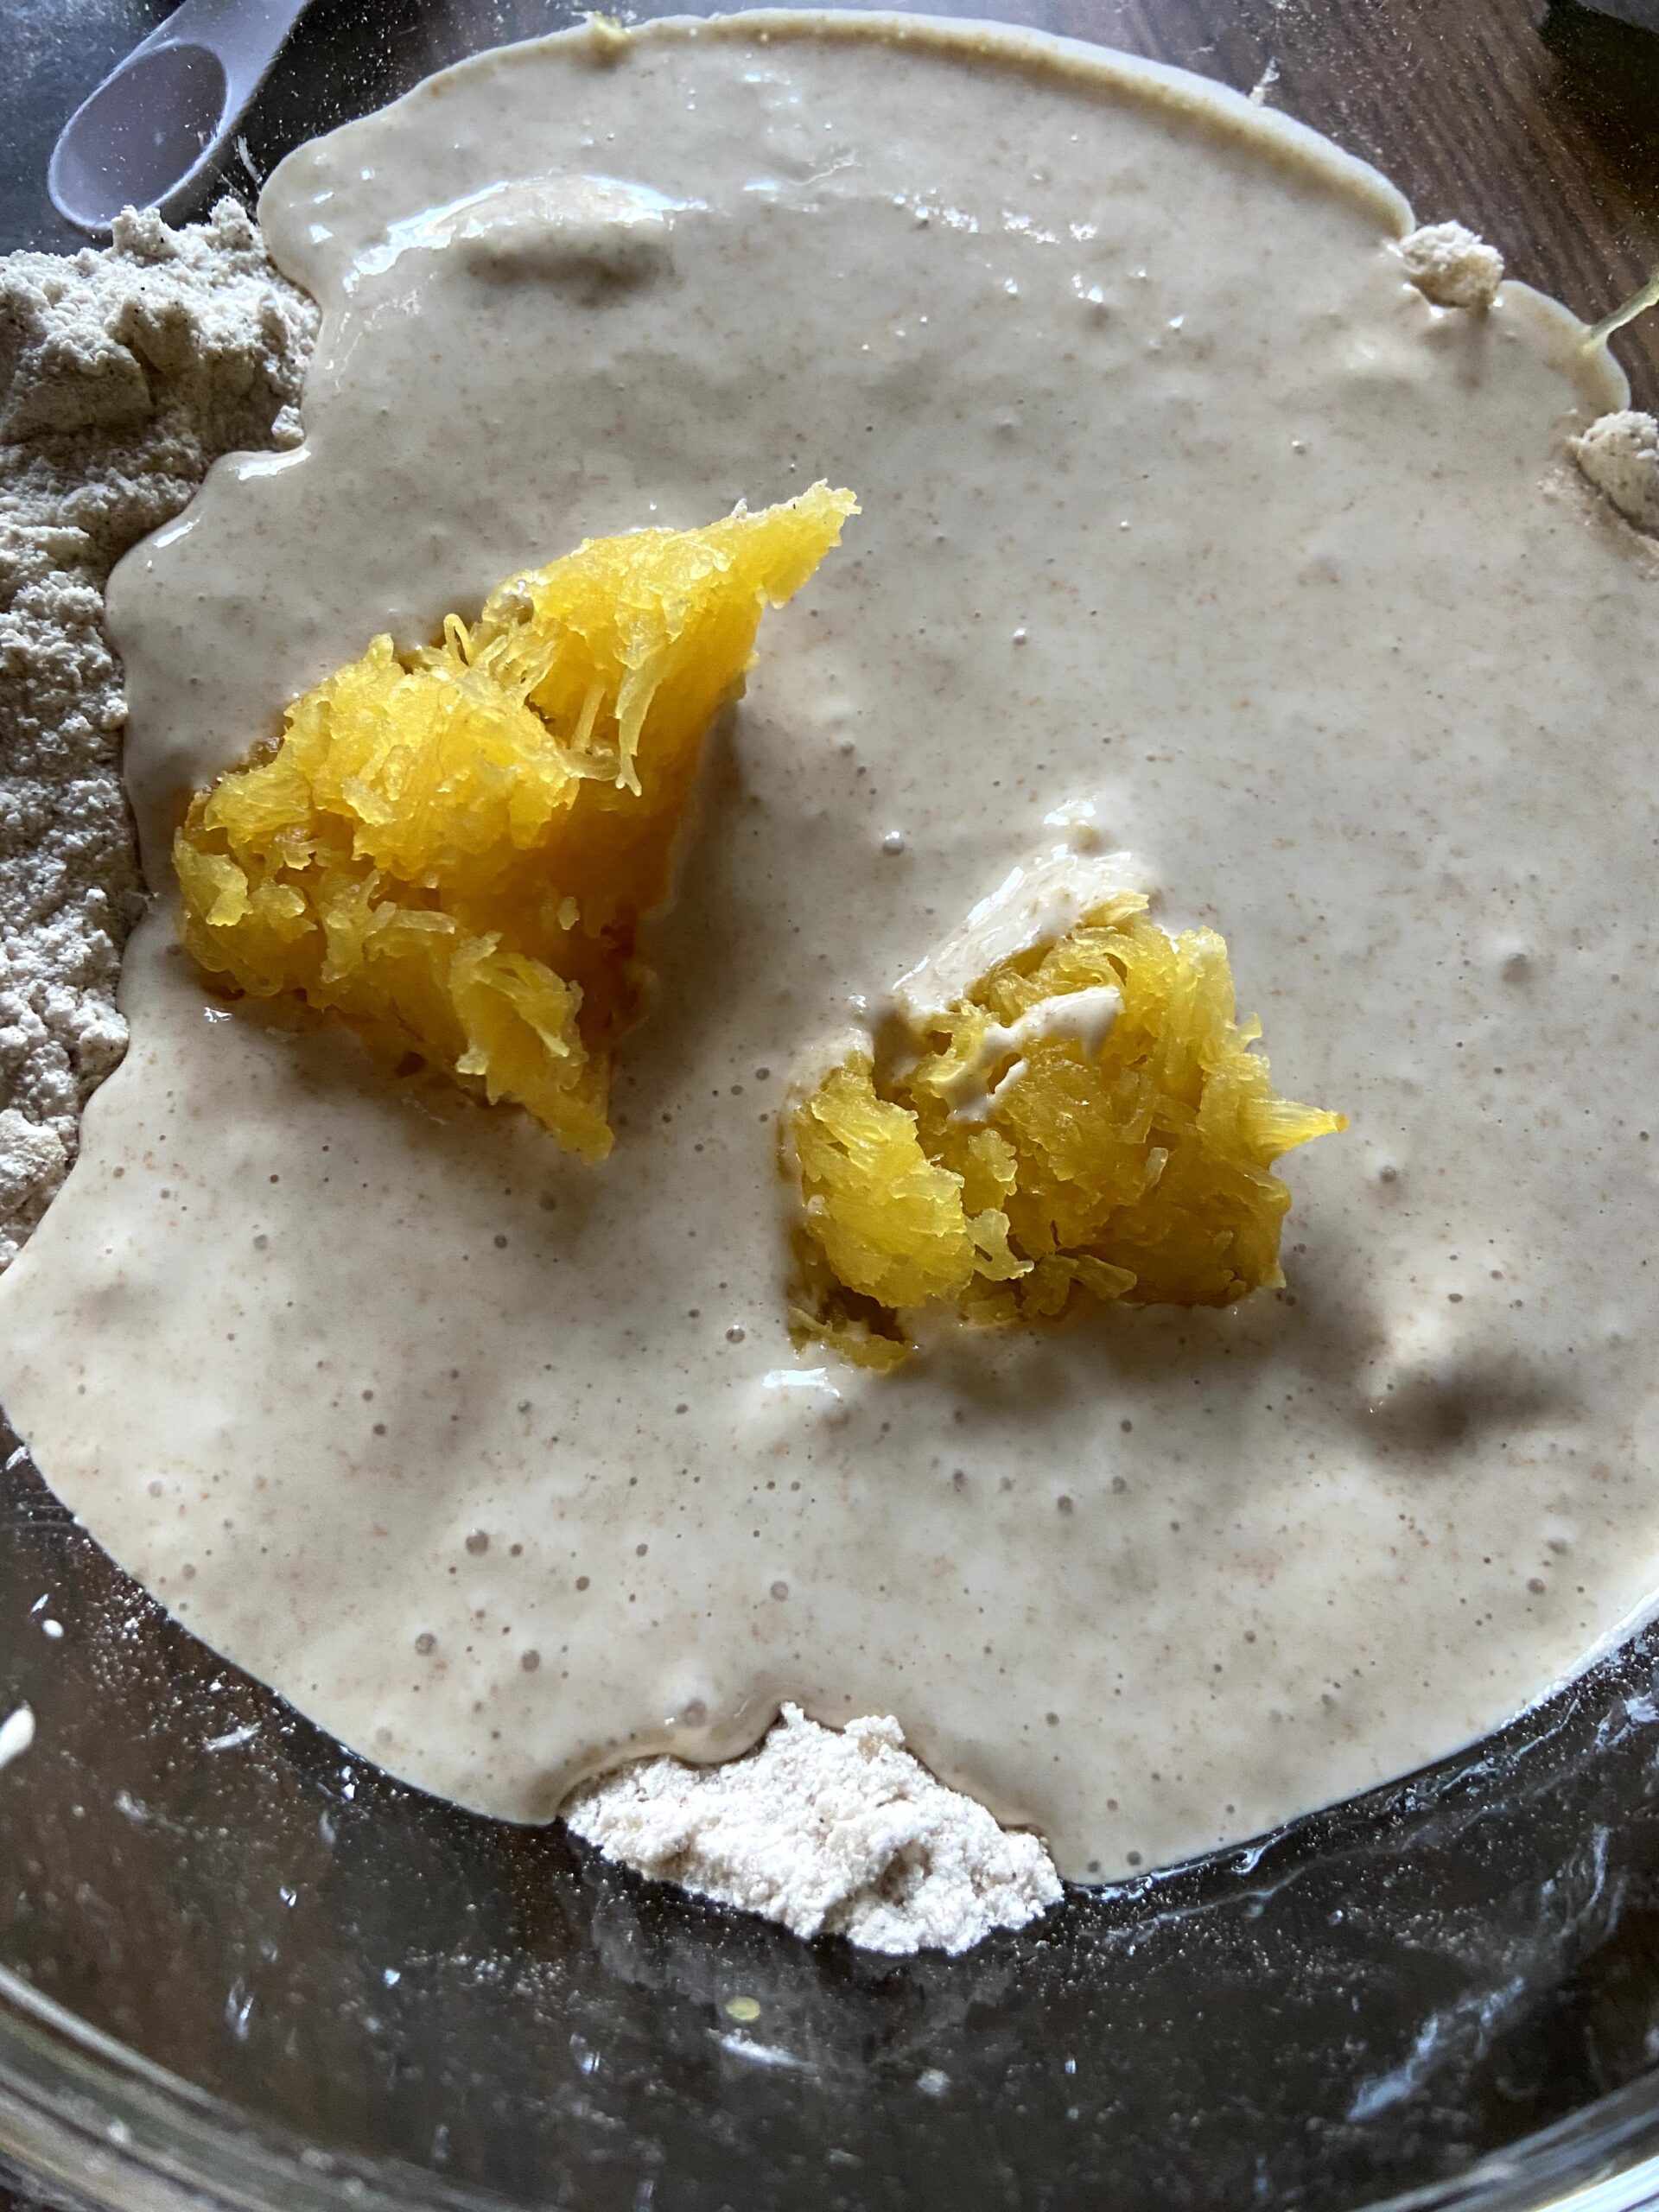
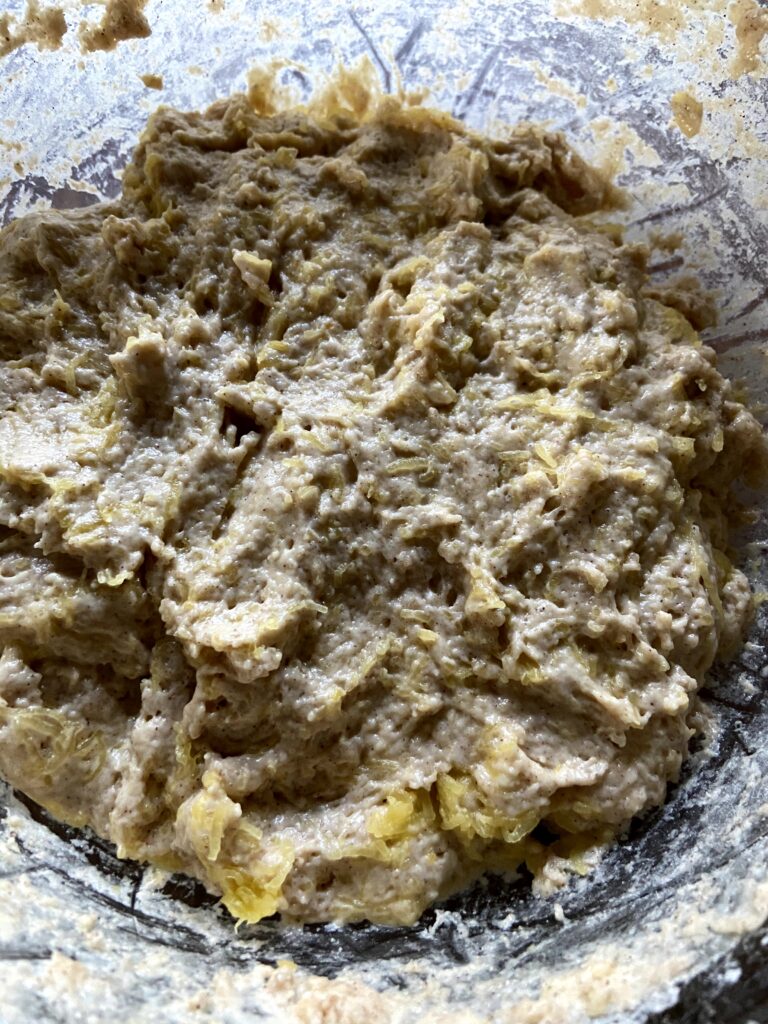
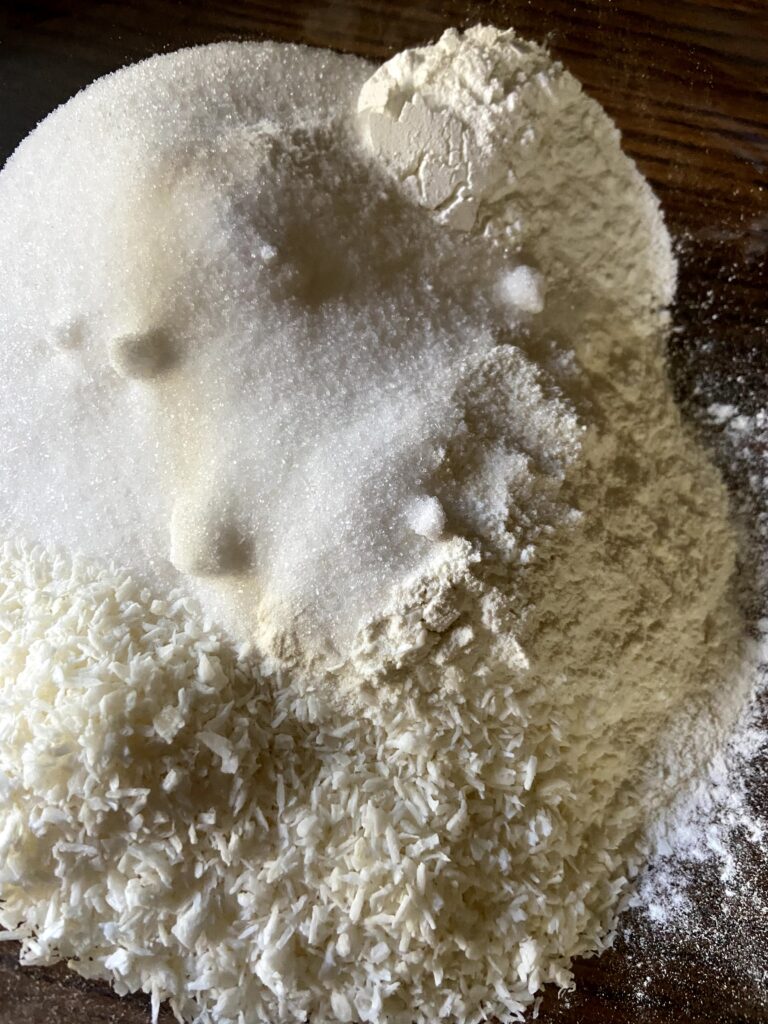
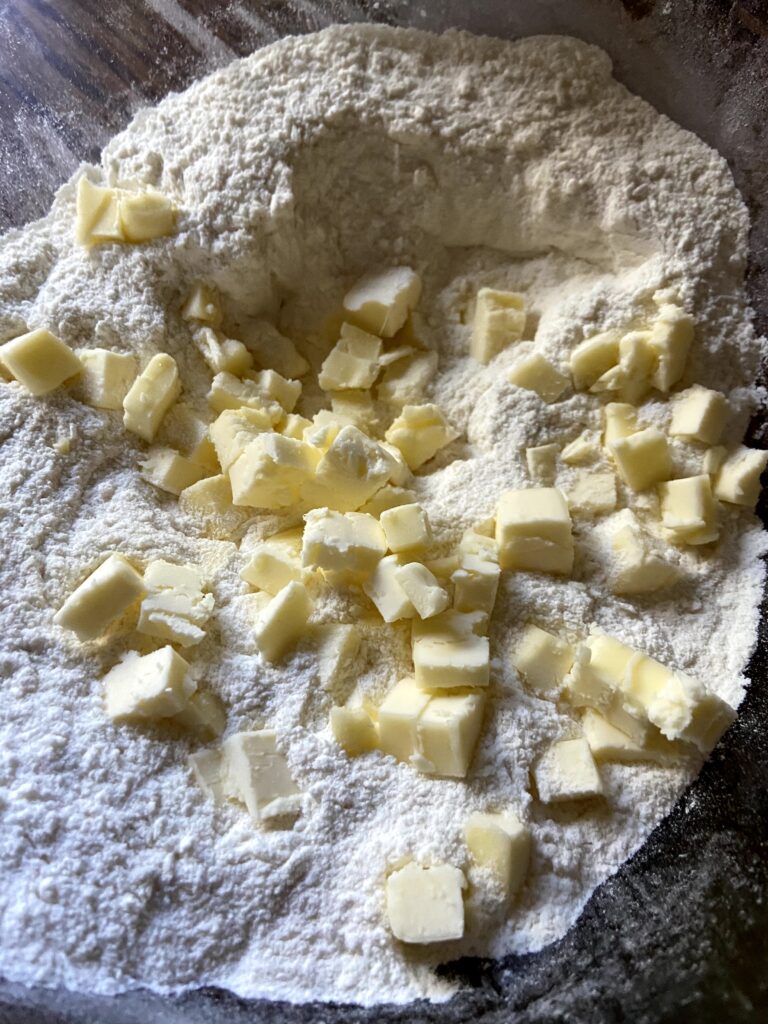
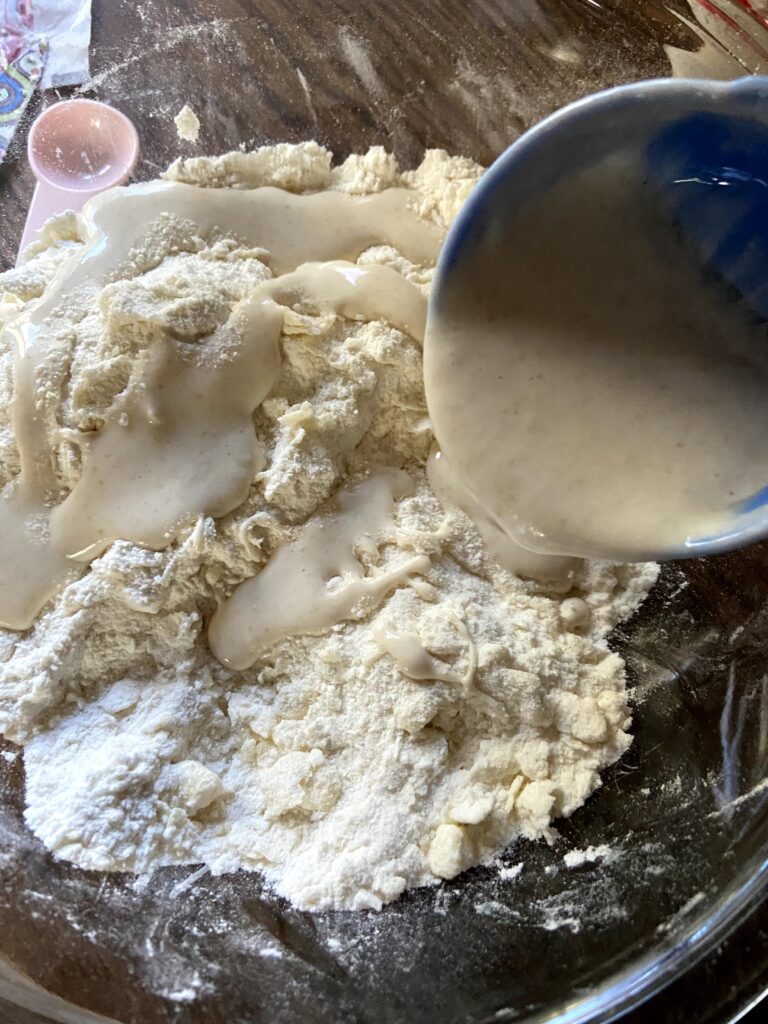
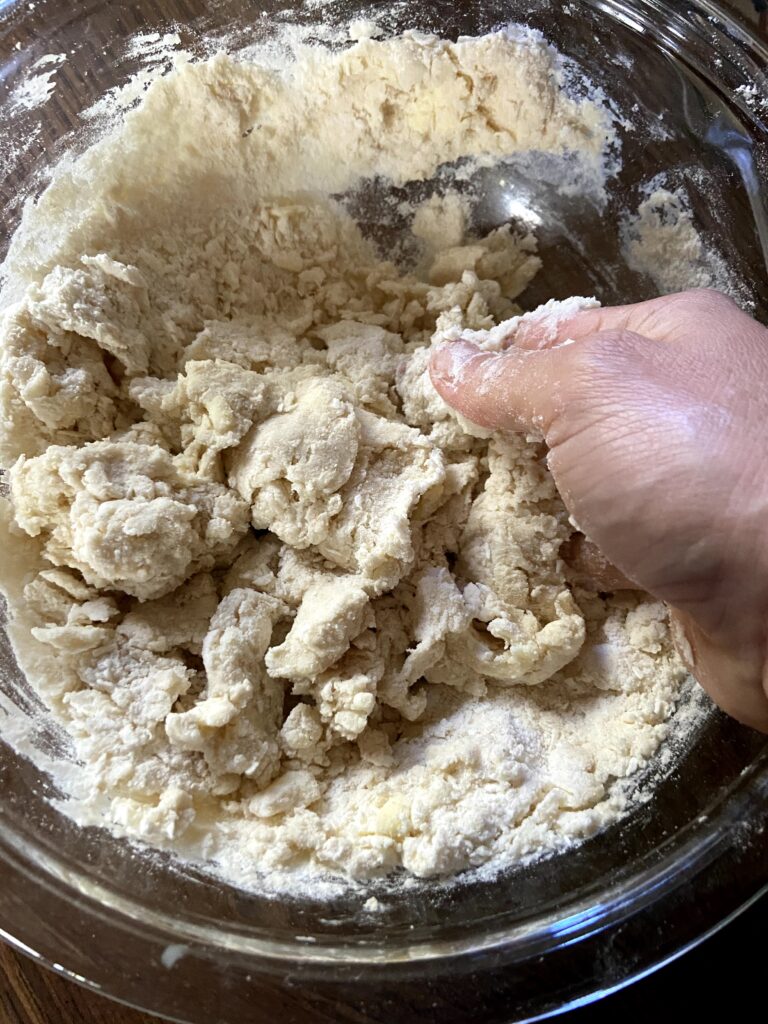
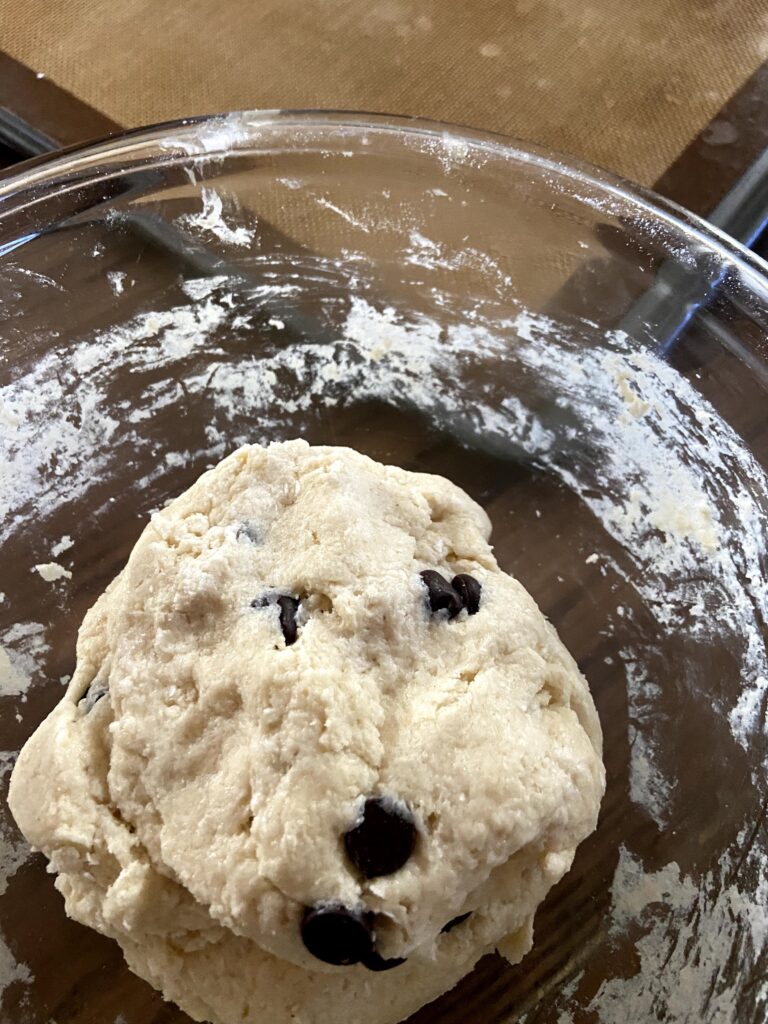
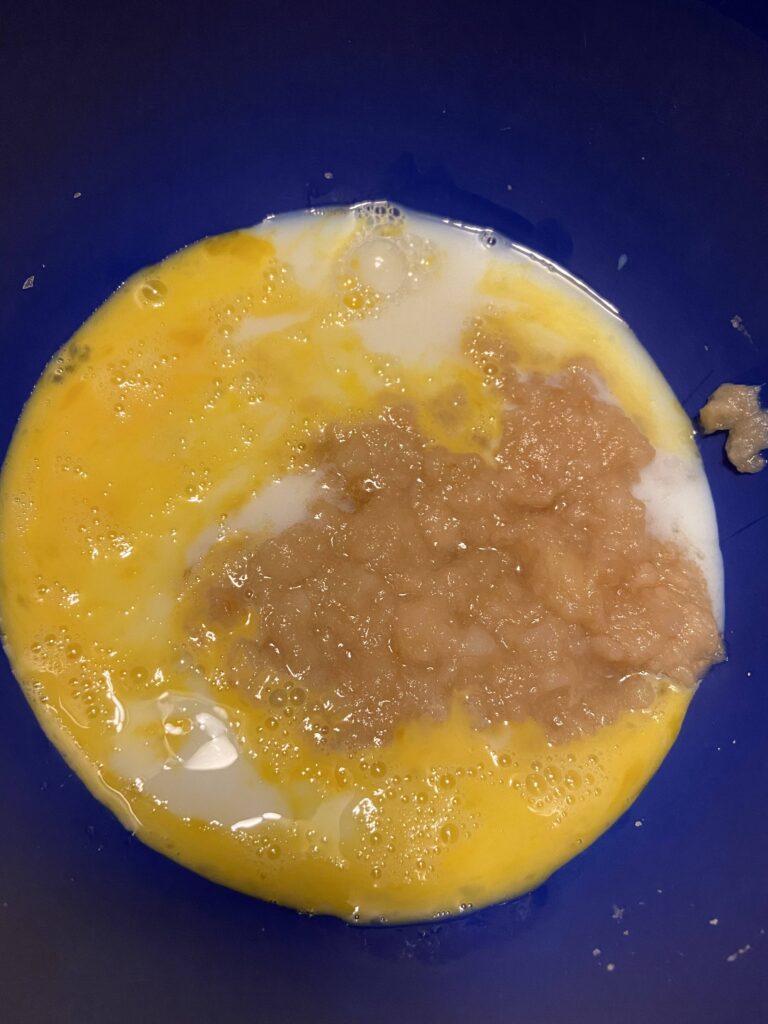
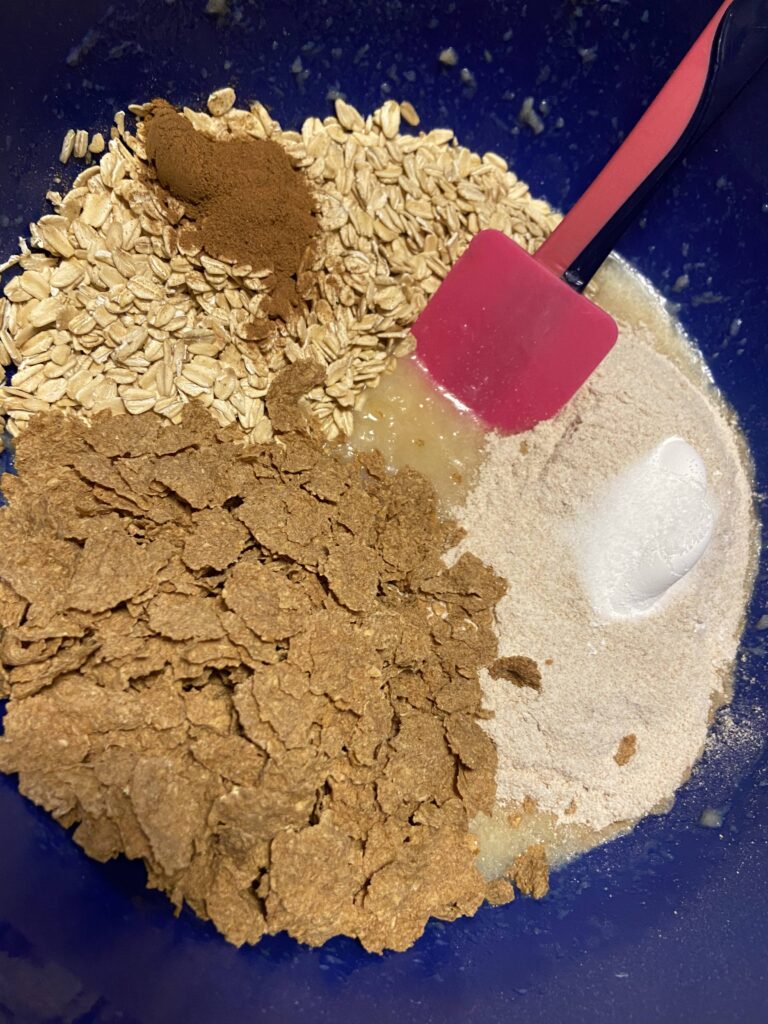
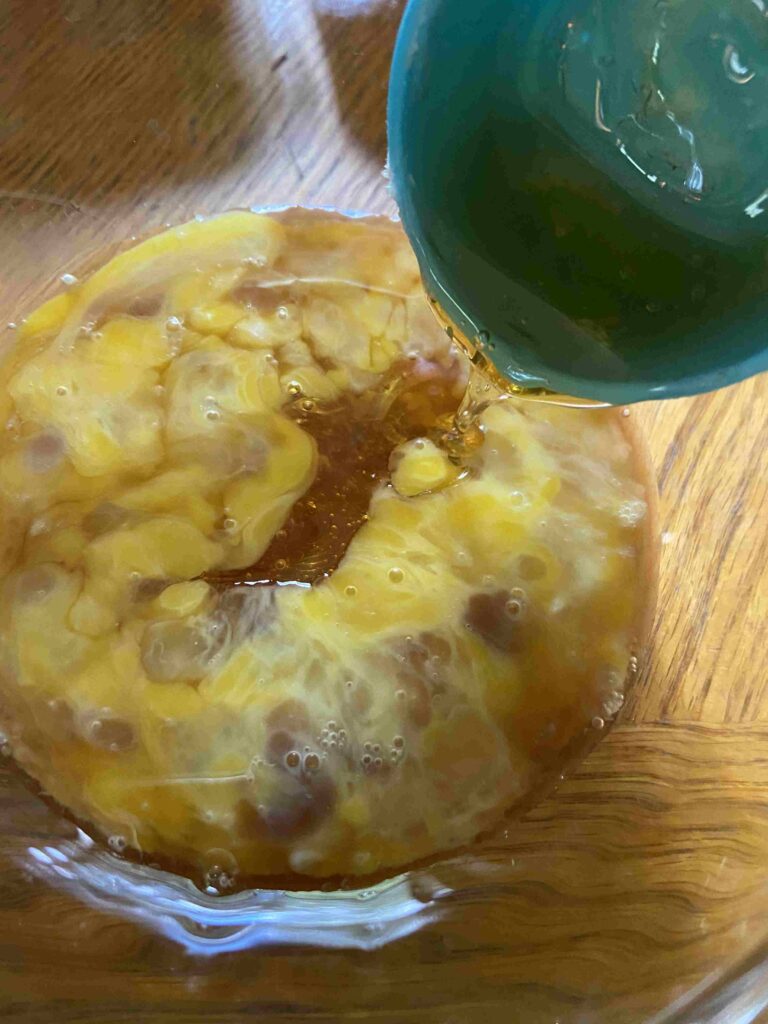
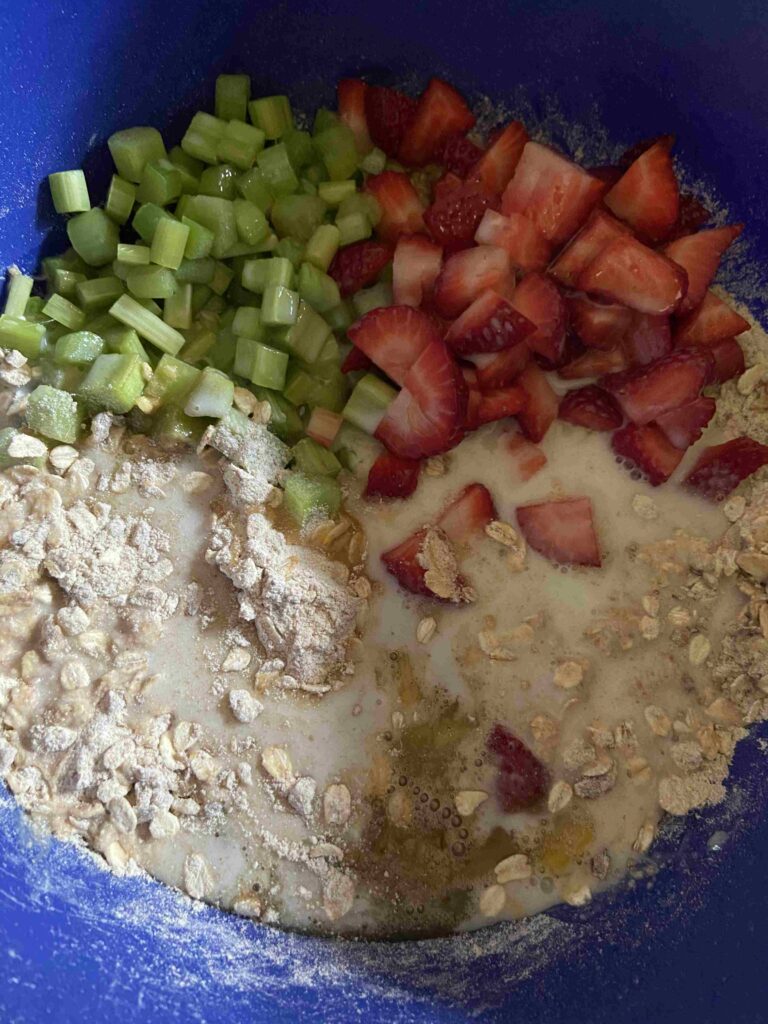
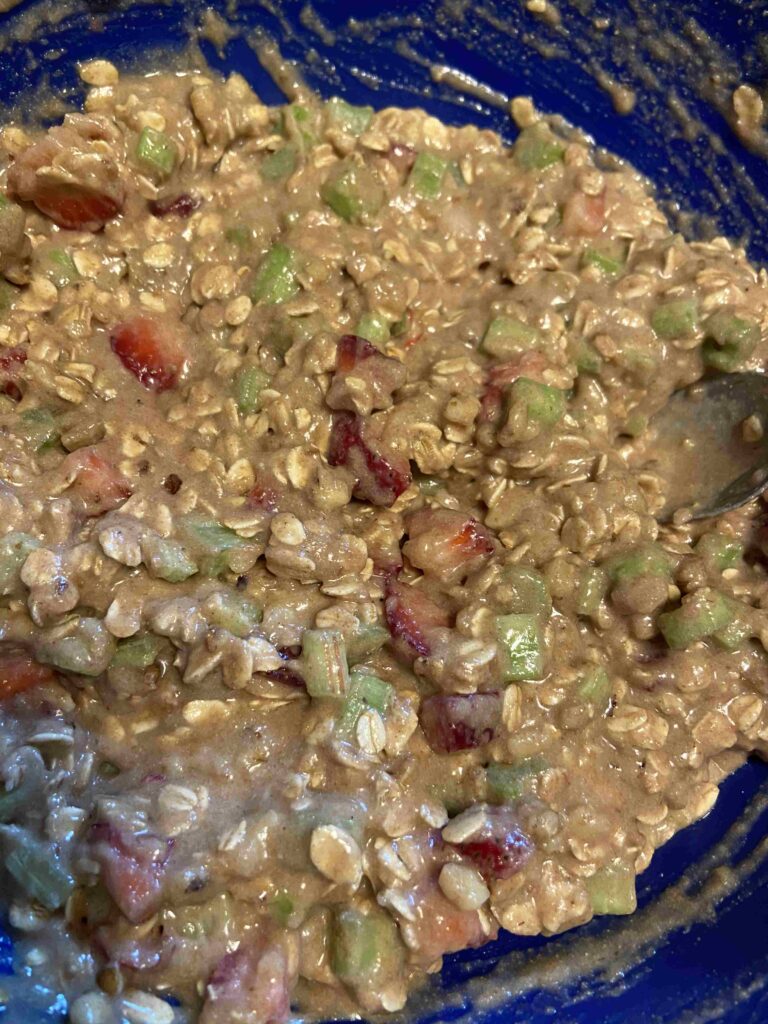
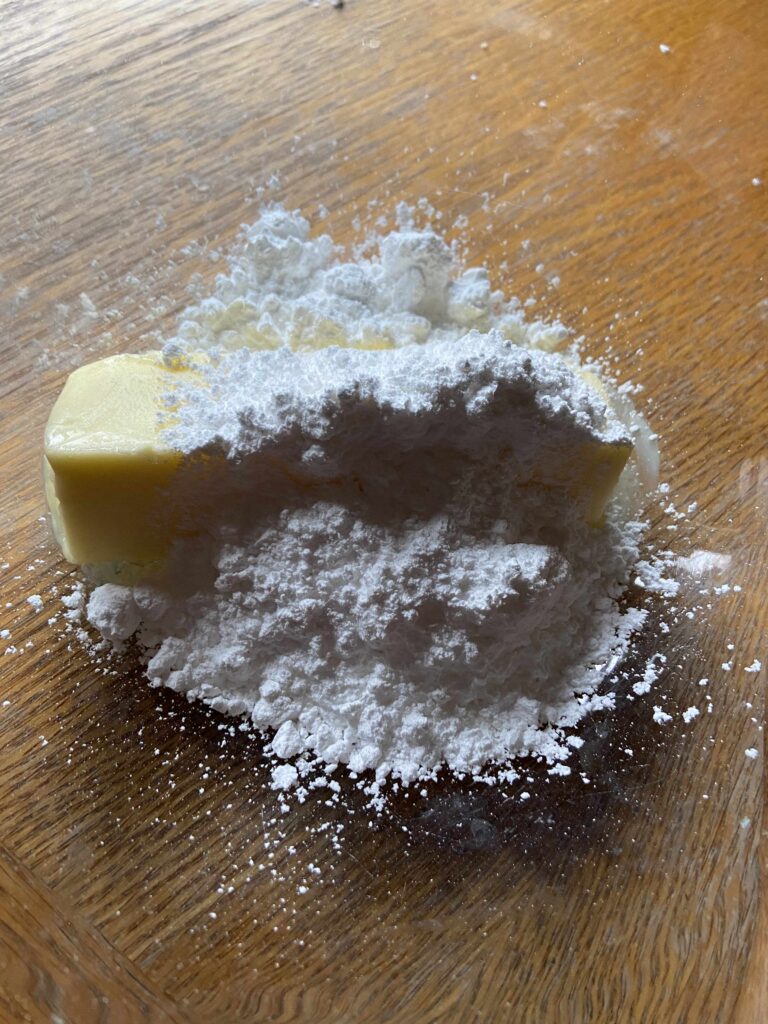
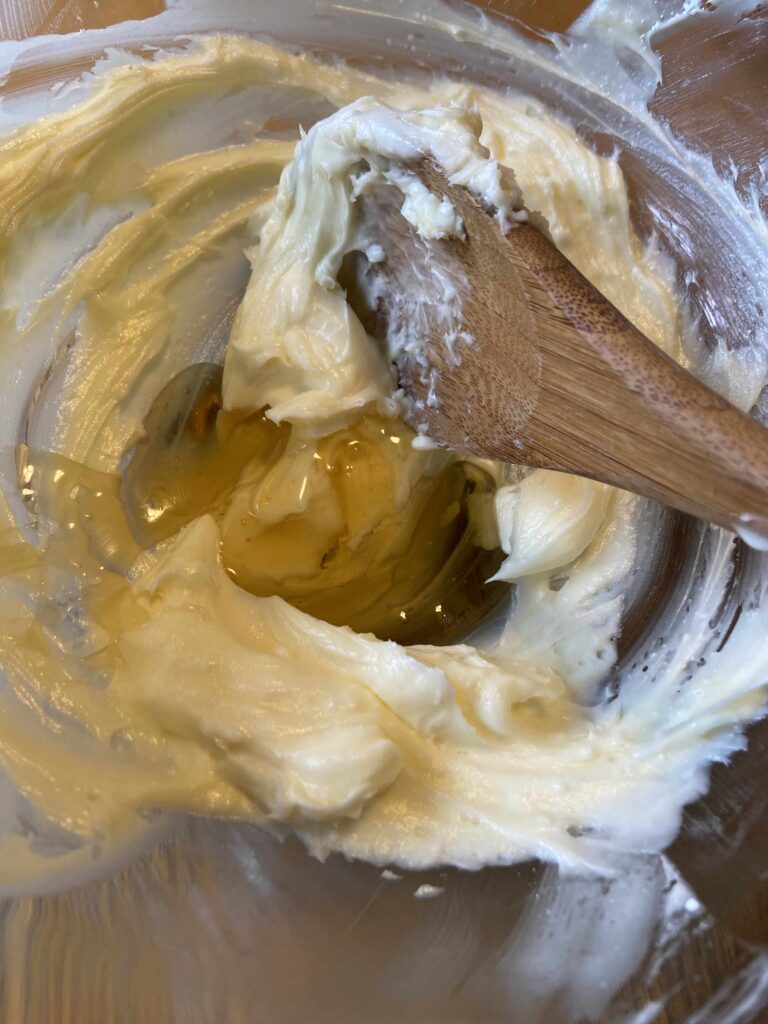
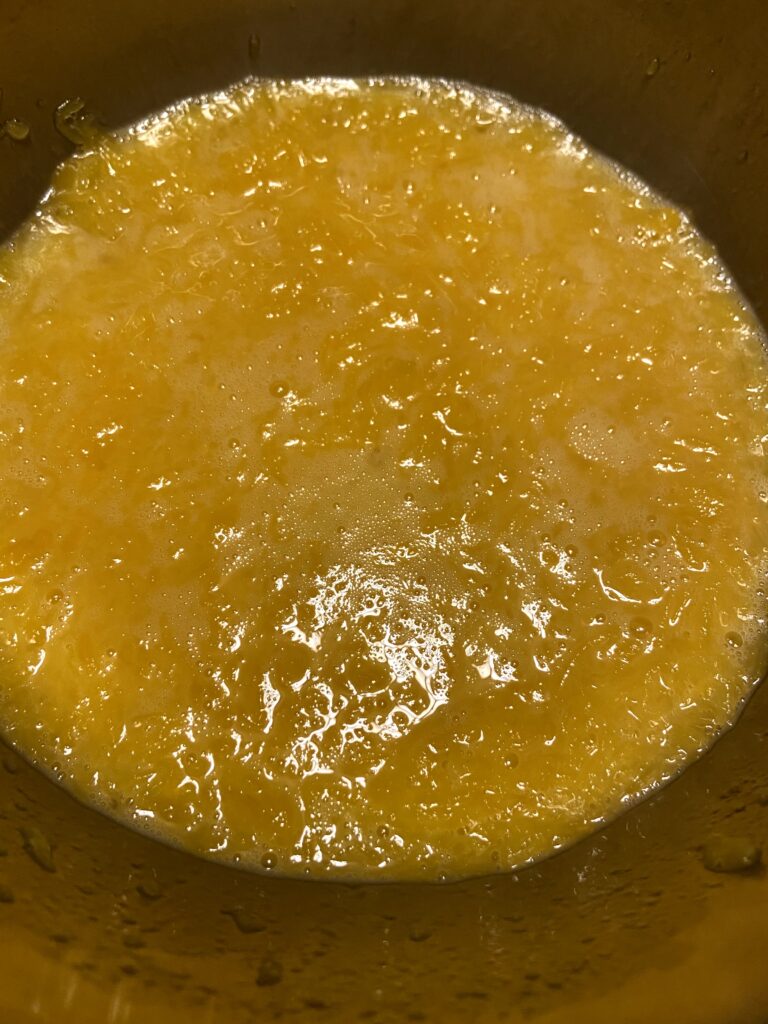
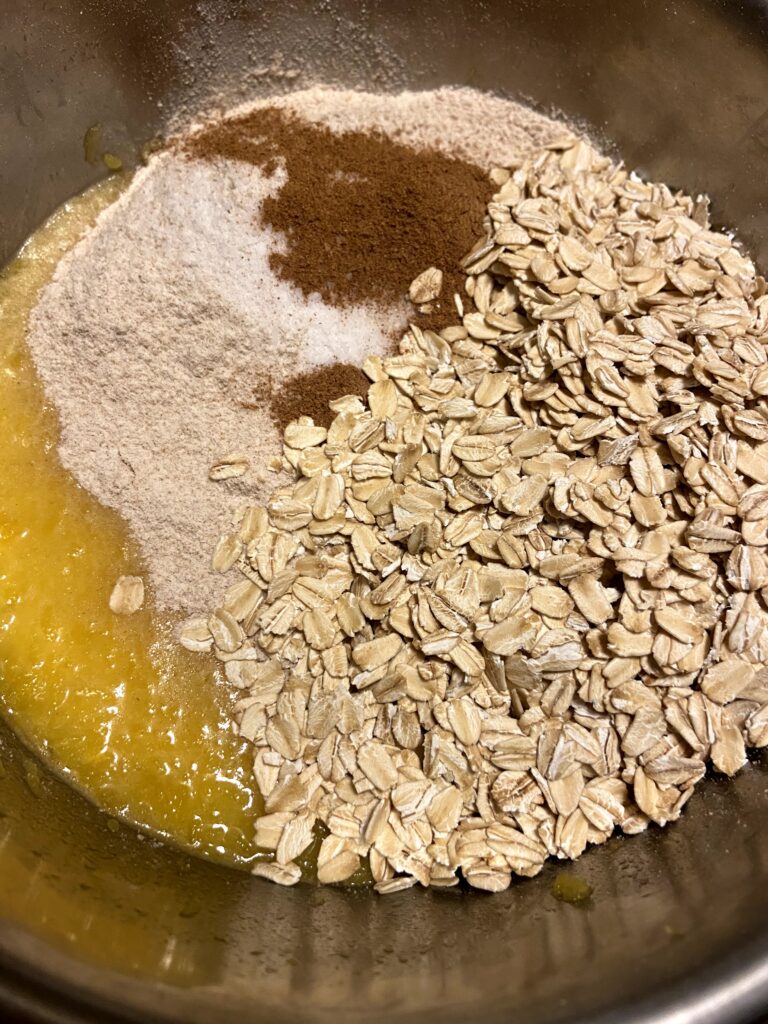
In a large bowl, combine puree, eggs, and maple syrup. Combine flour, oats, pumpkin spice, baking soda, and salt. Add to wet ingredients and stir until just combined. Fold in the walnuts, and chocolate chips. Add coconut oil and stir once more.
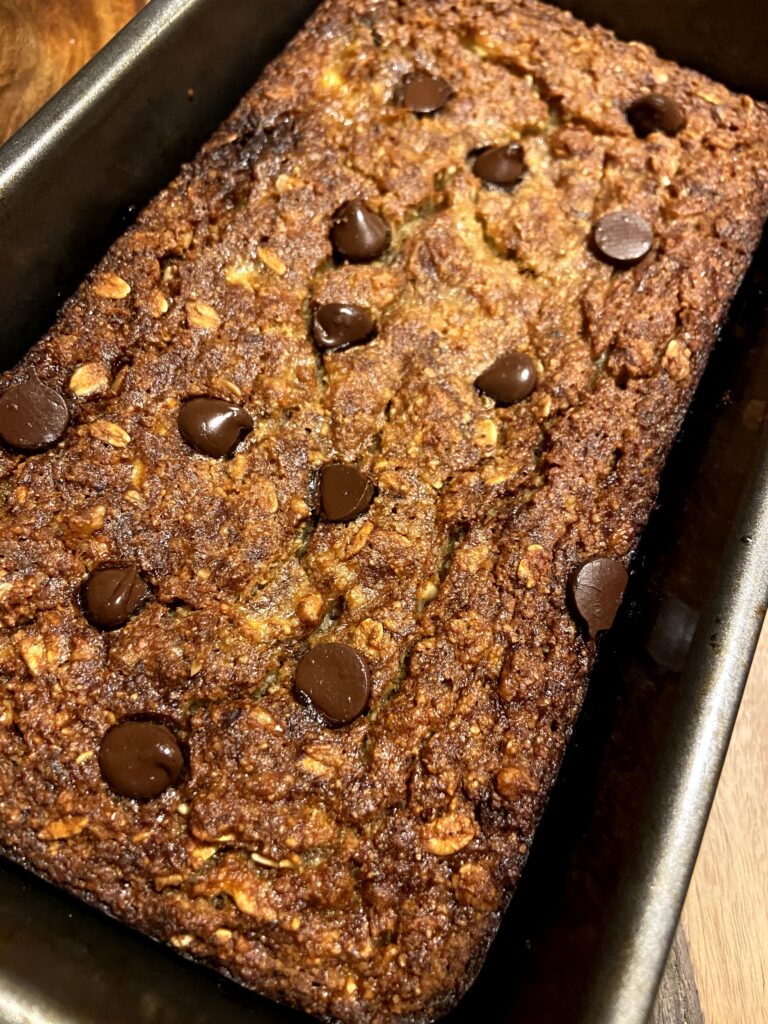
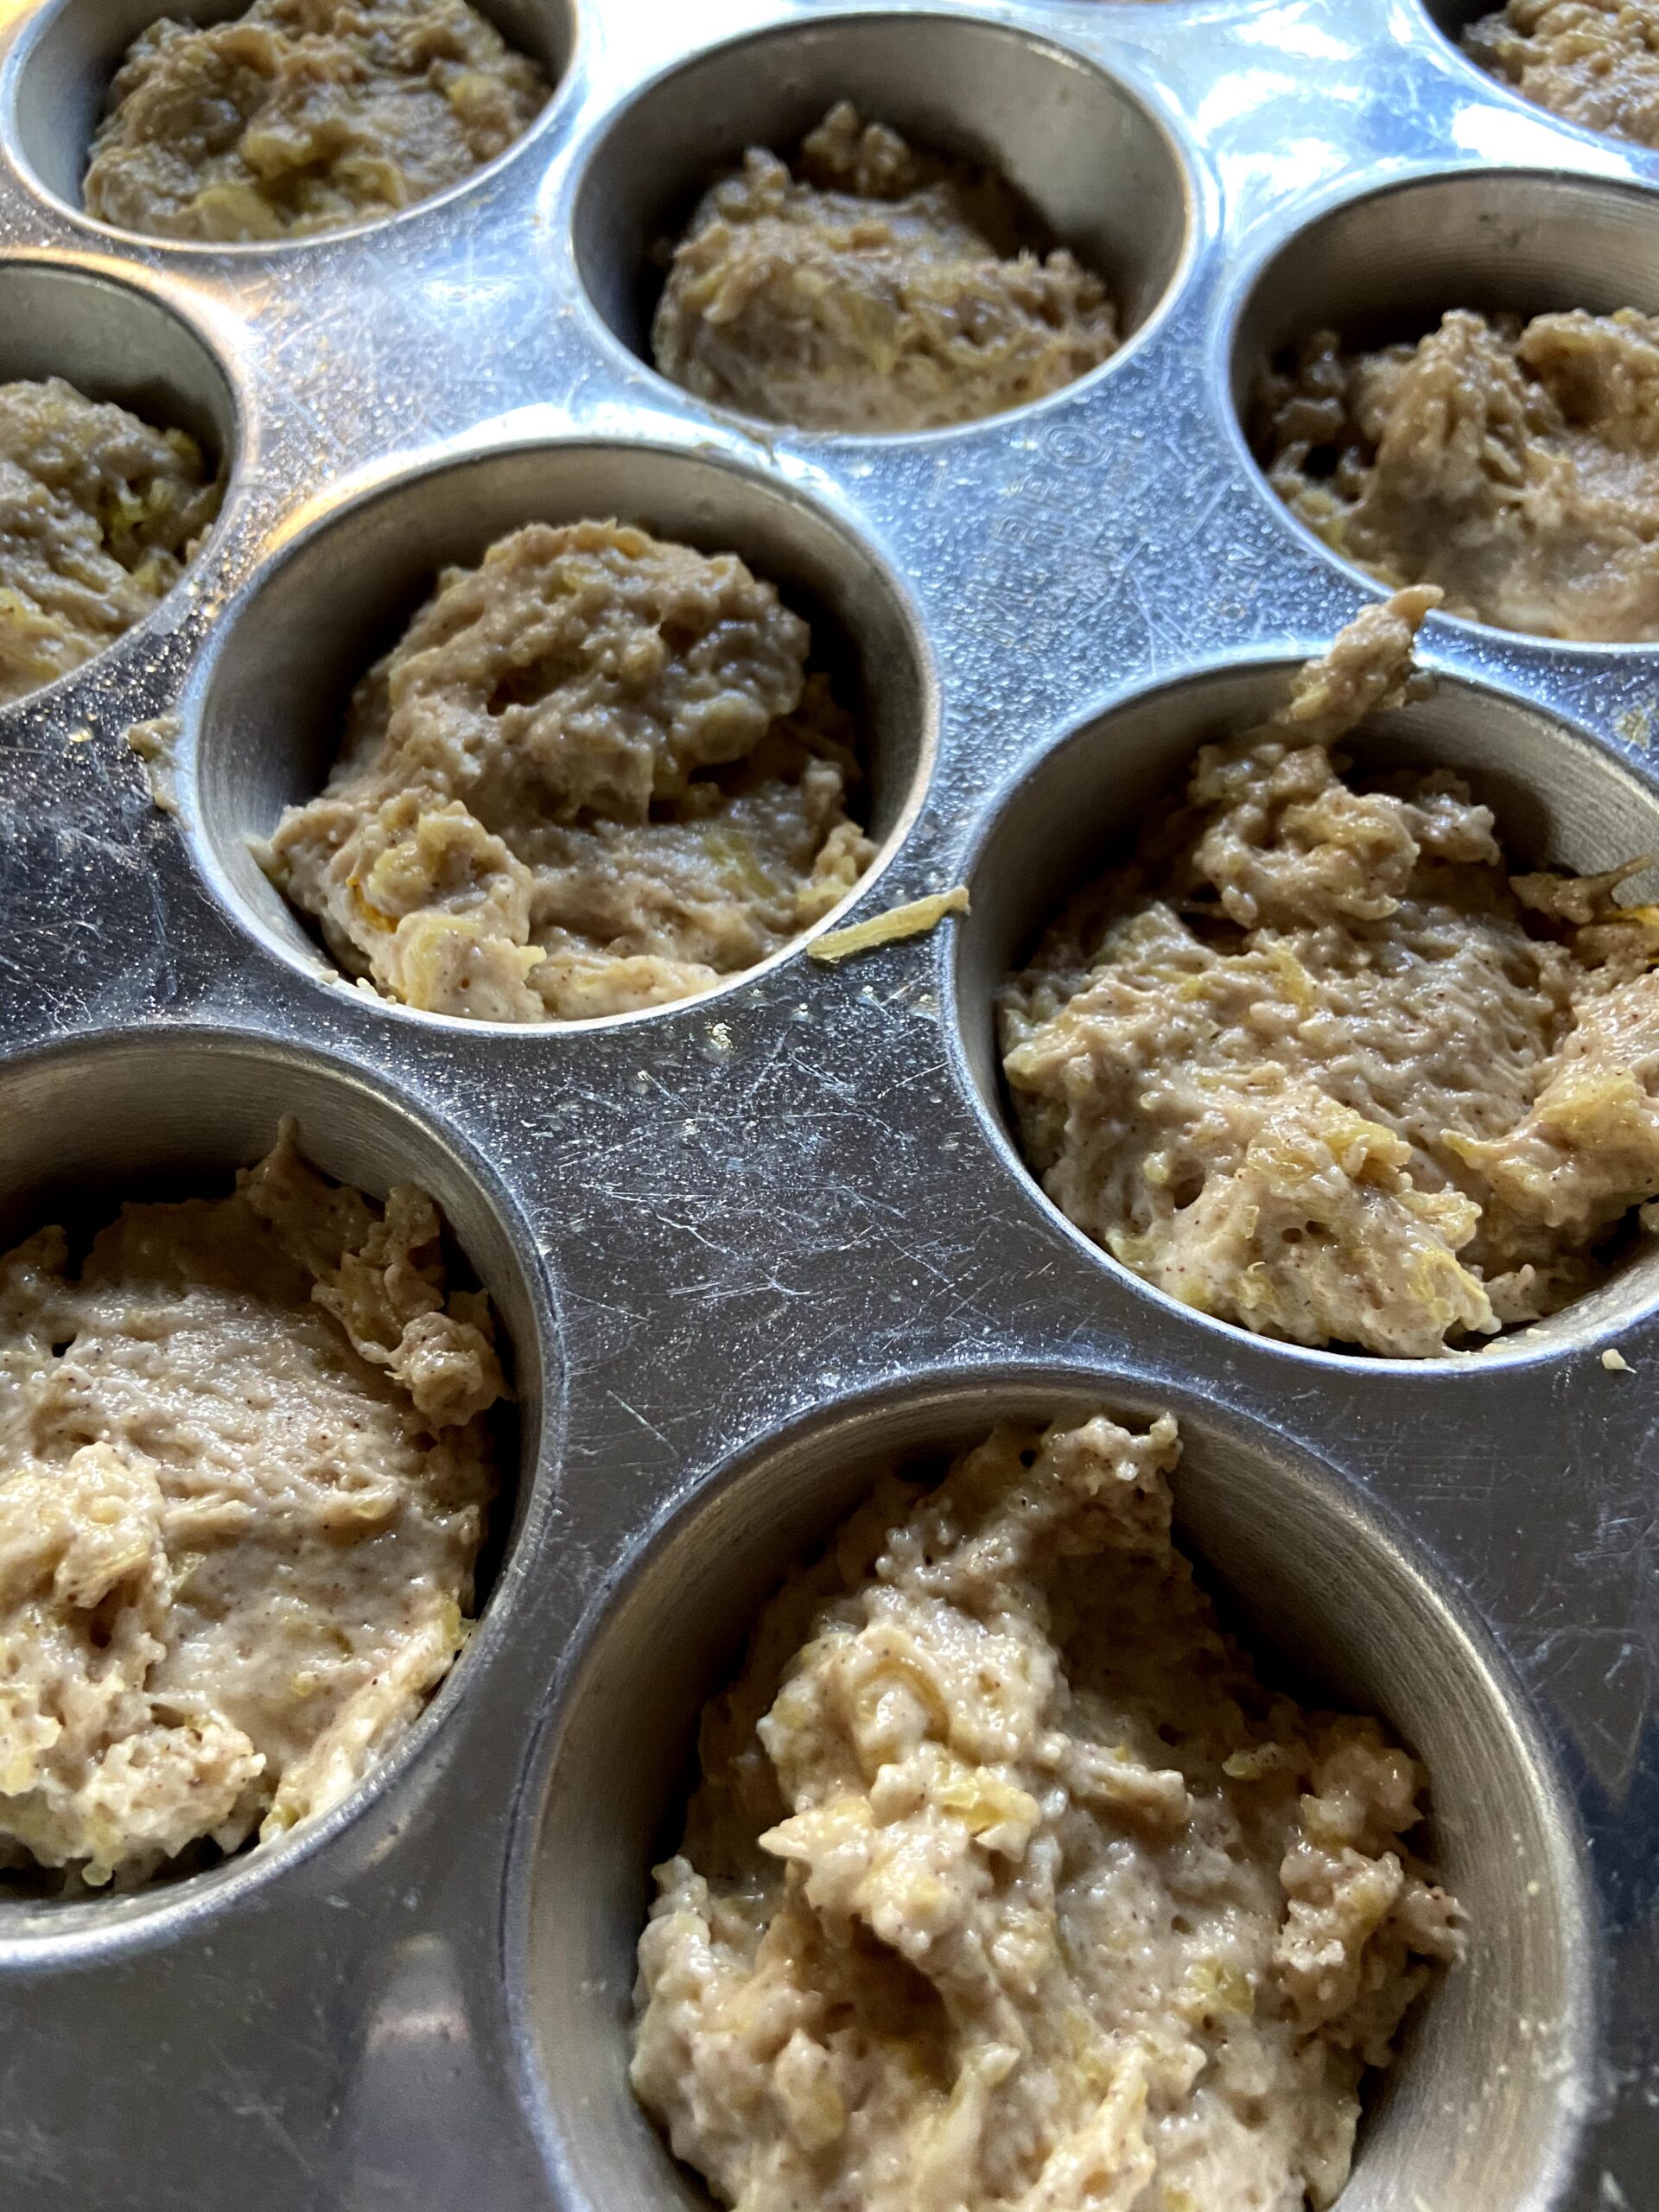
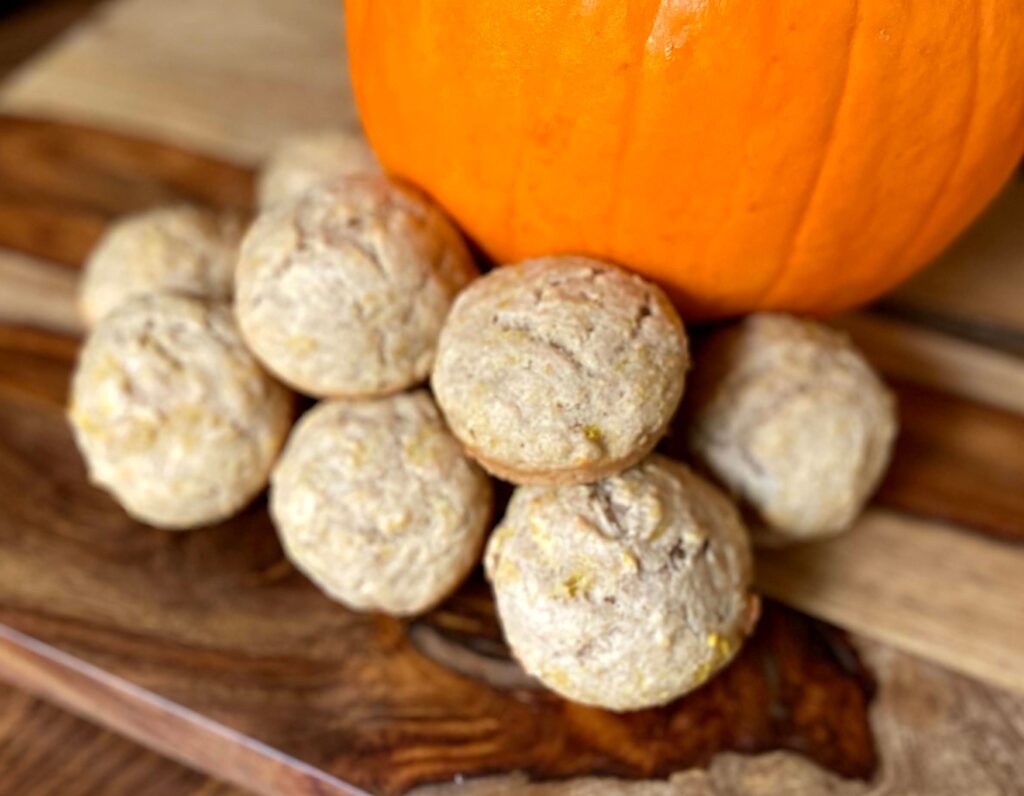
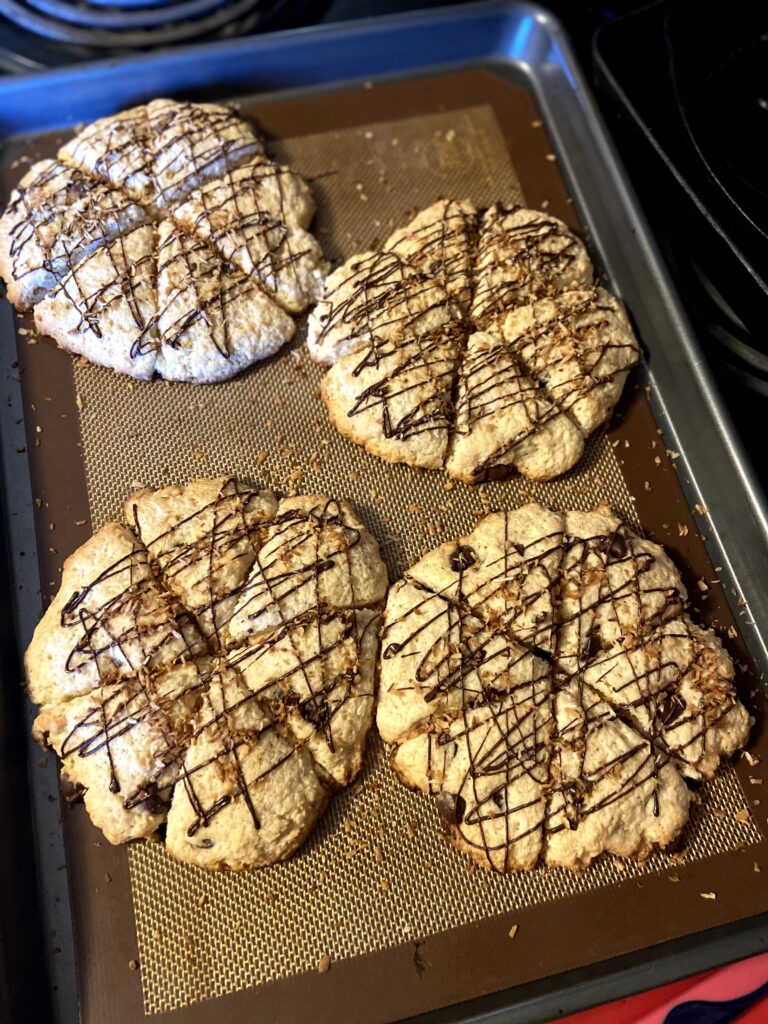
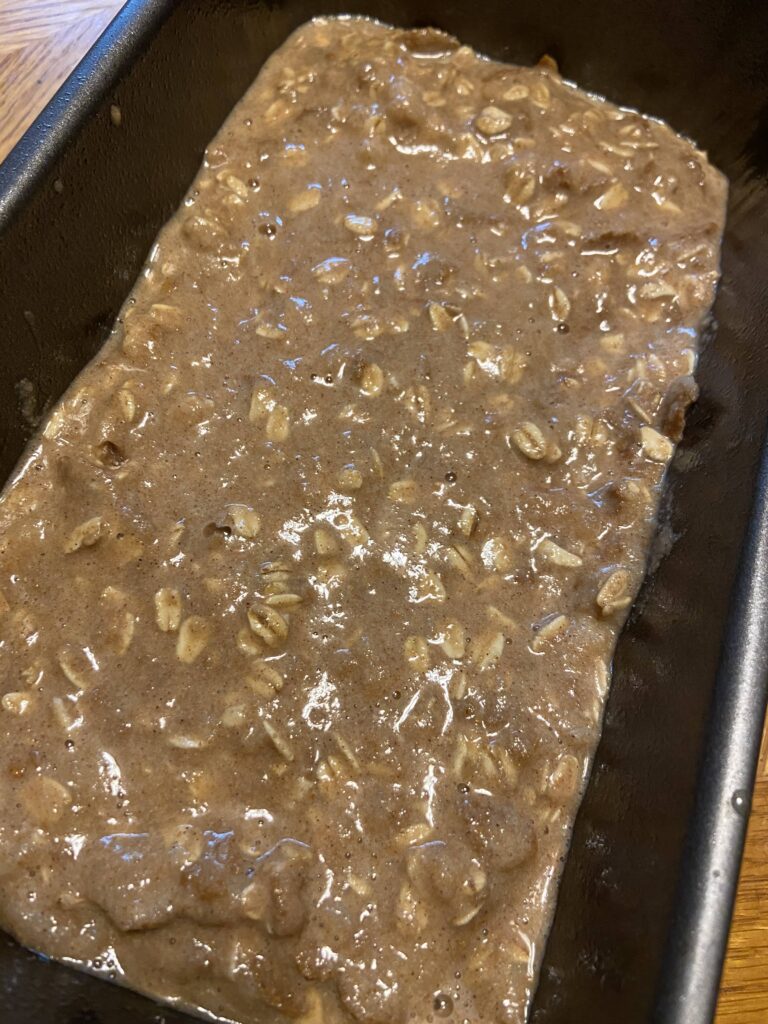
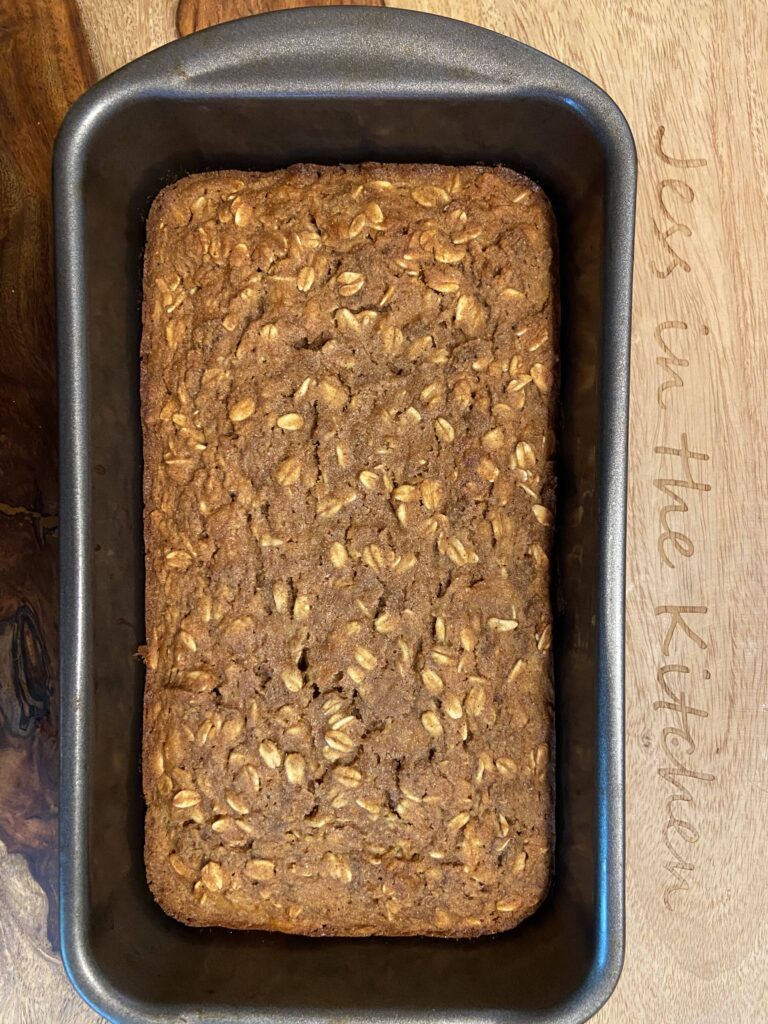
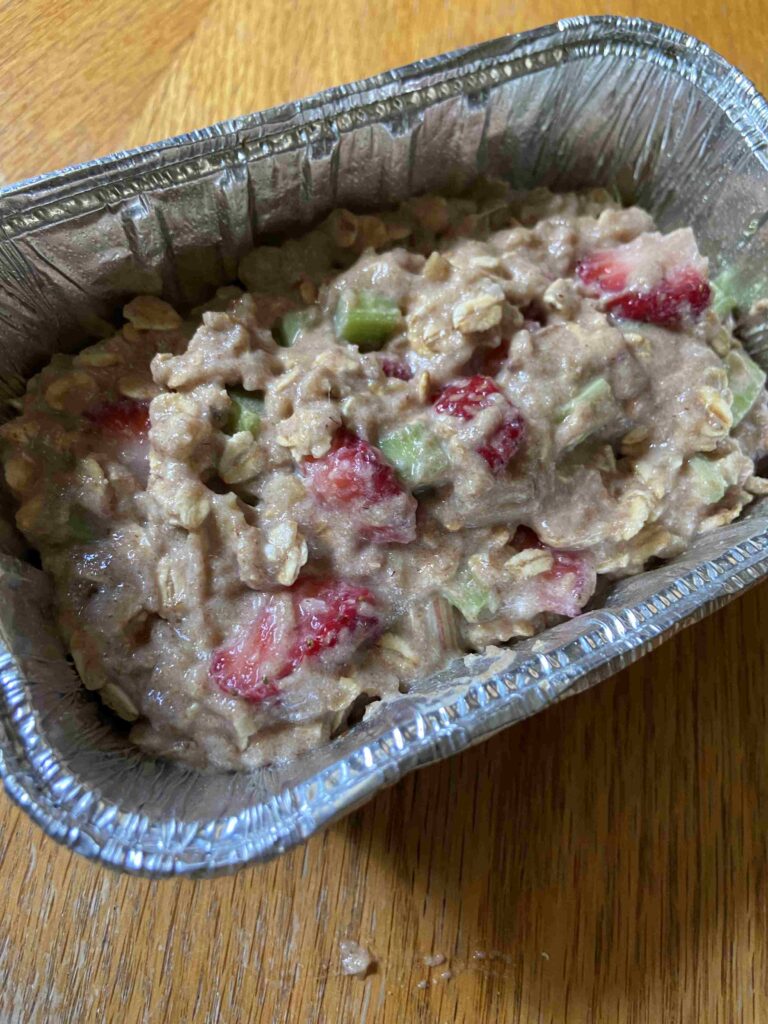
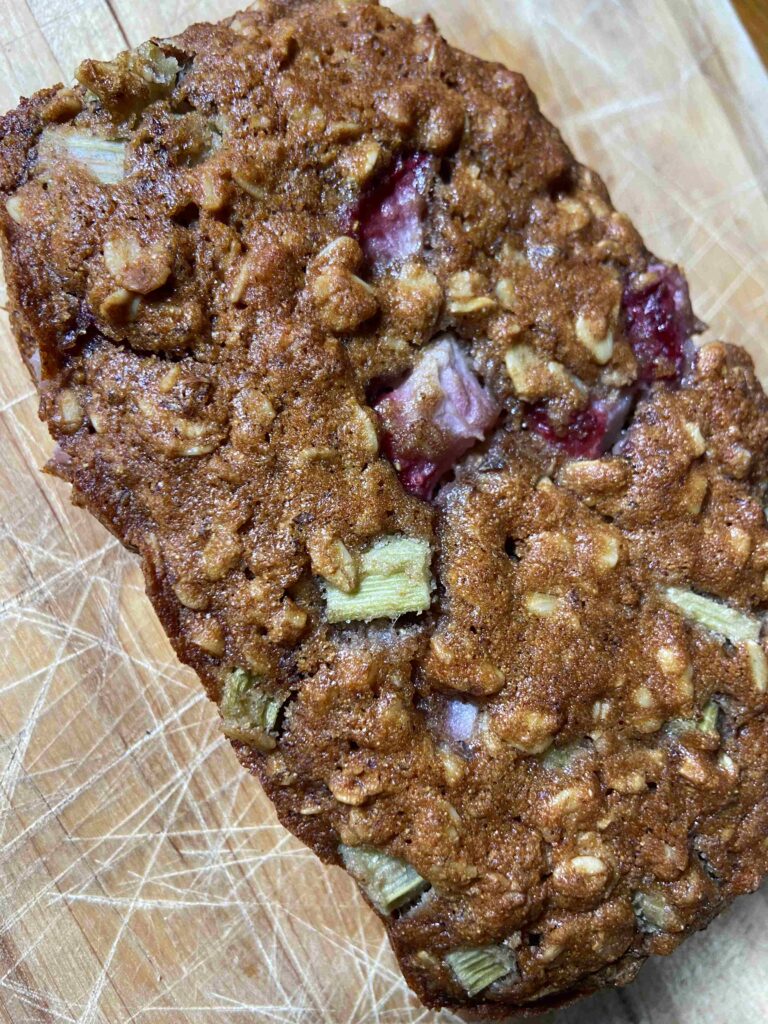
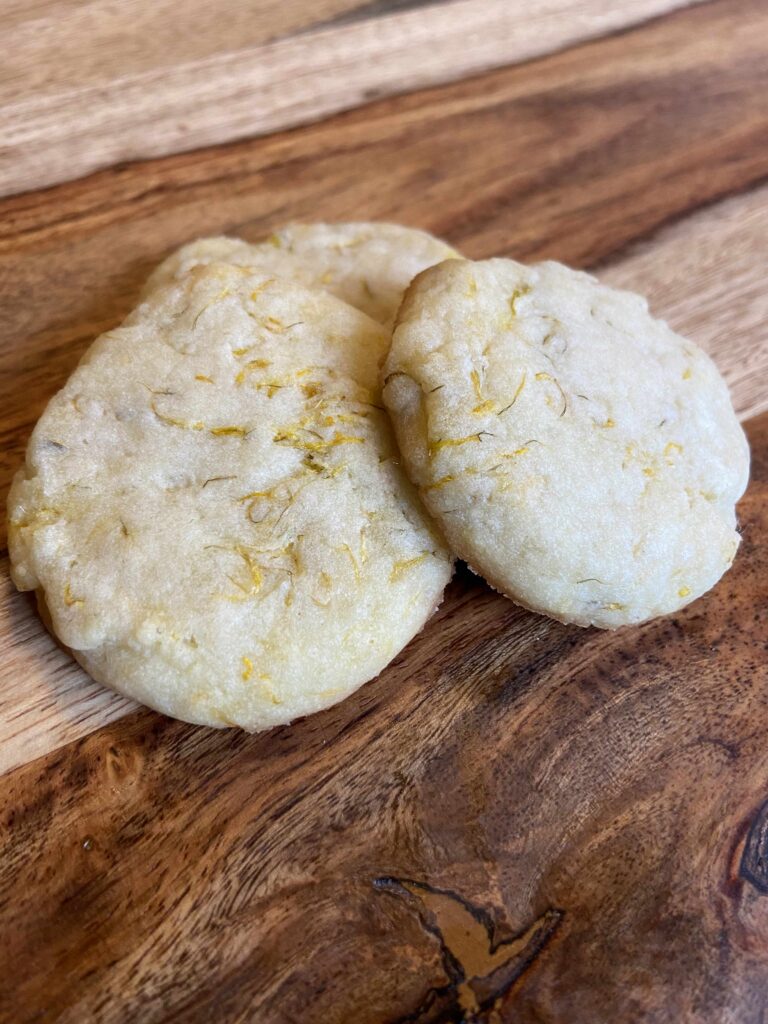
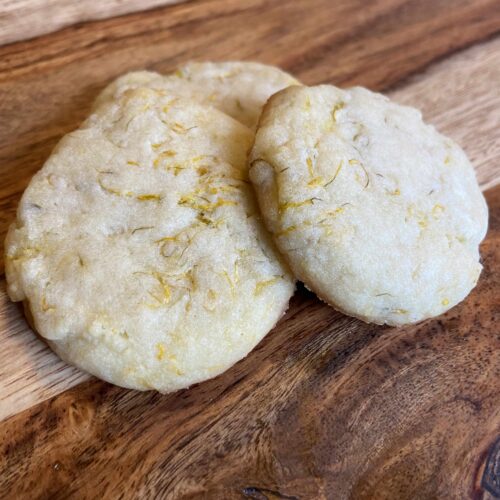
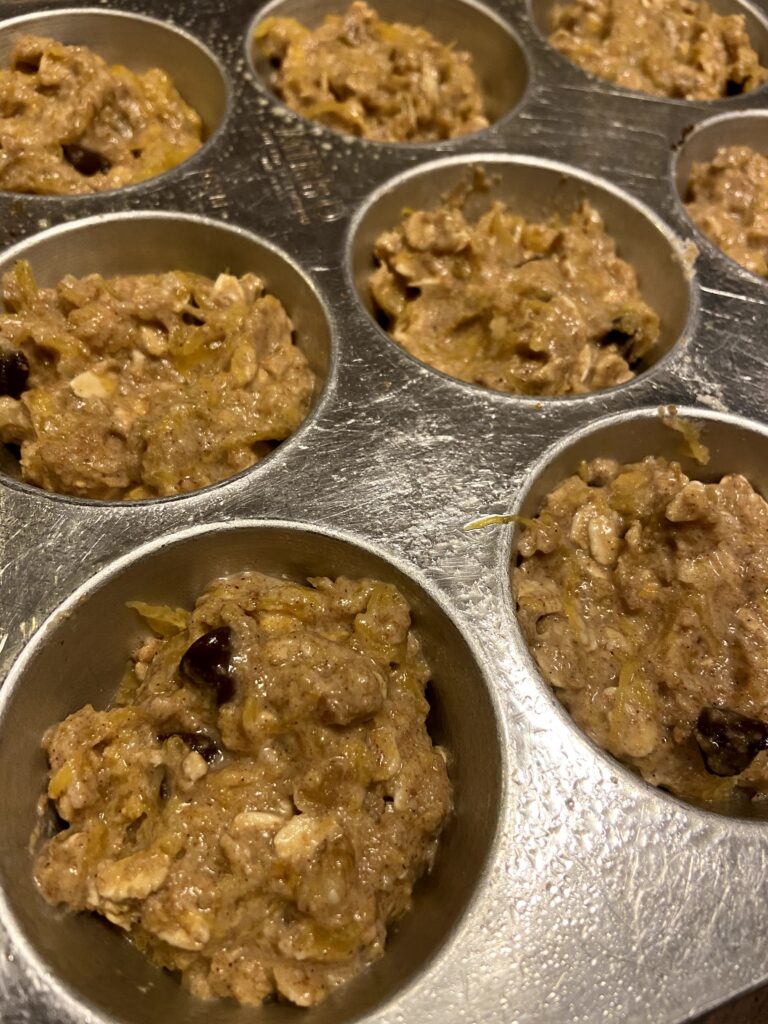
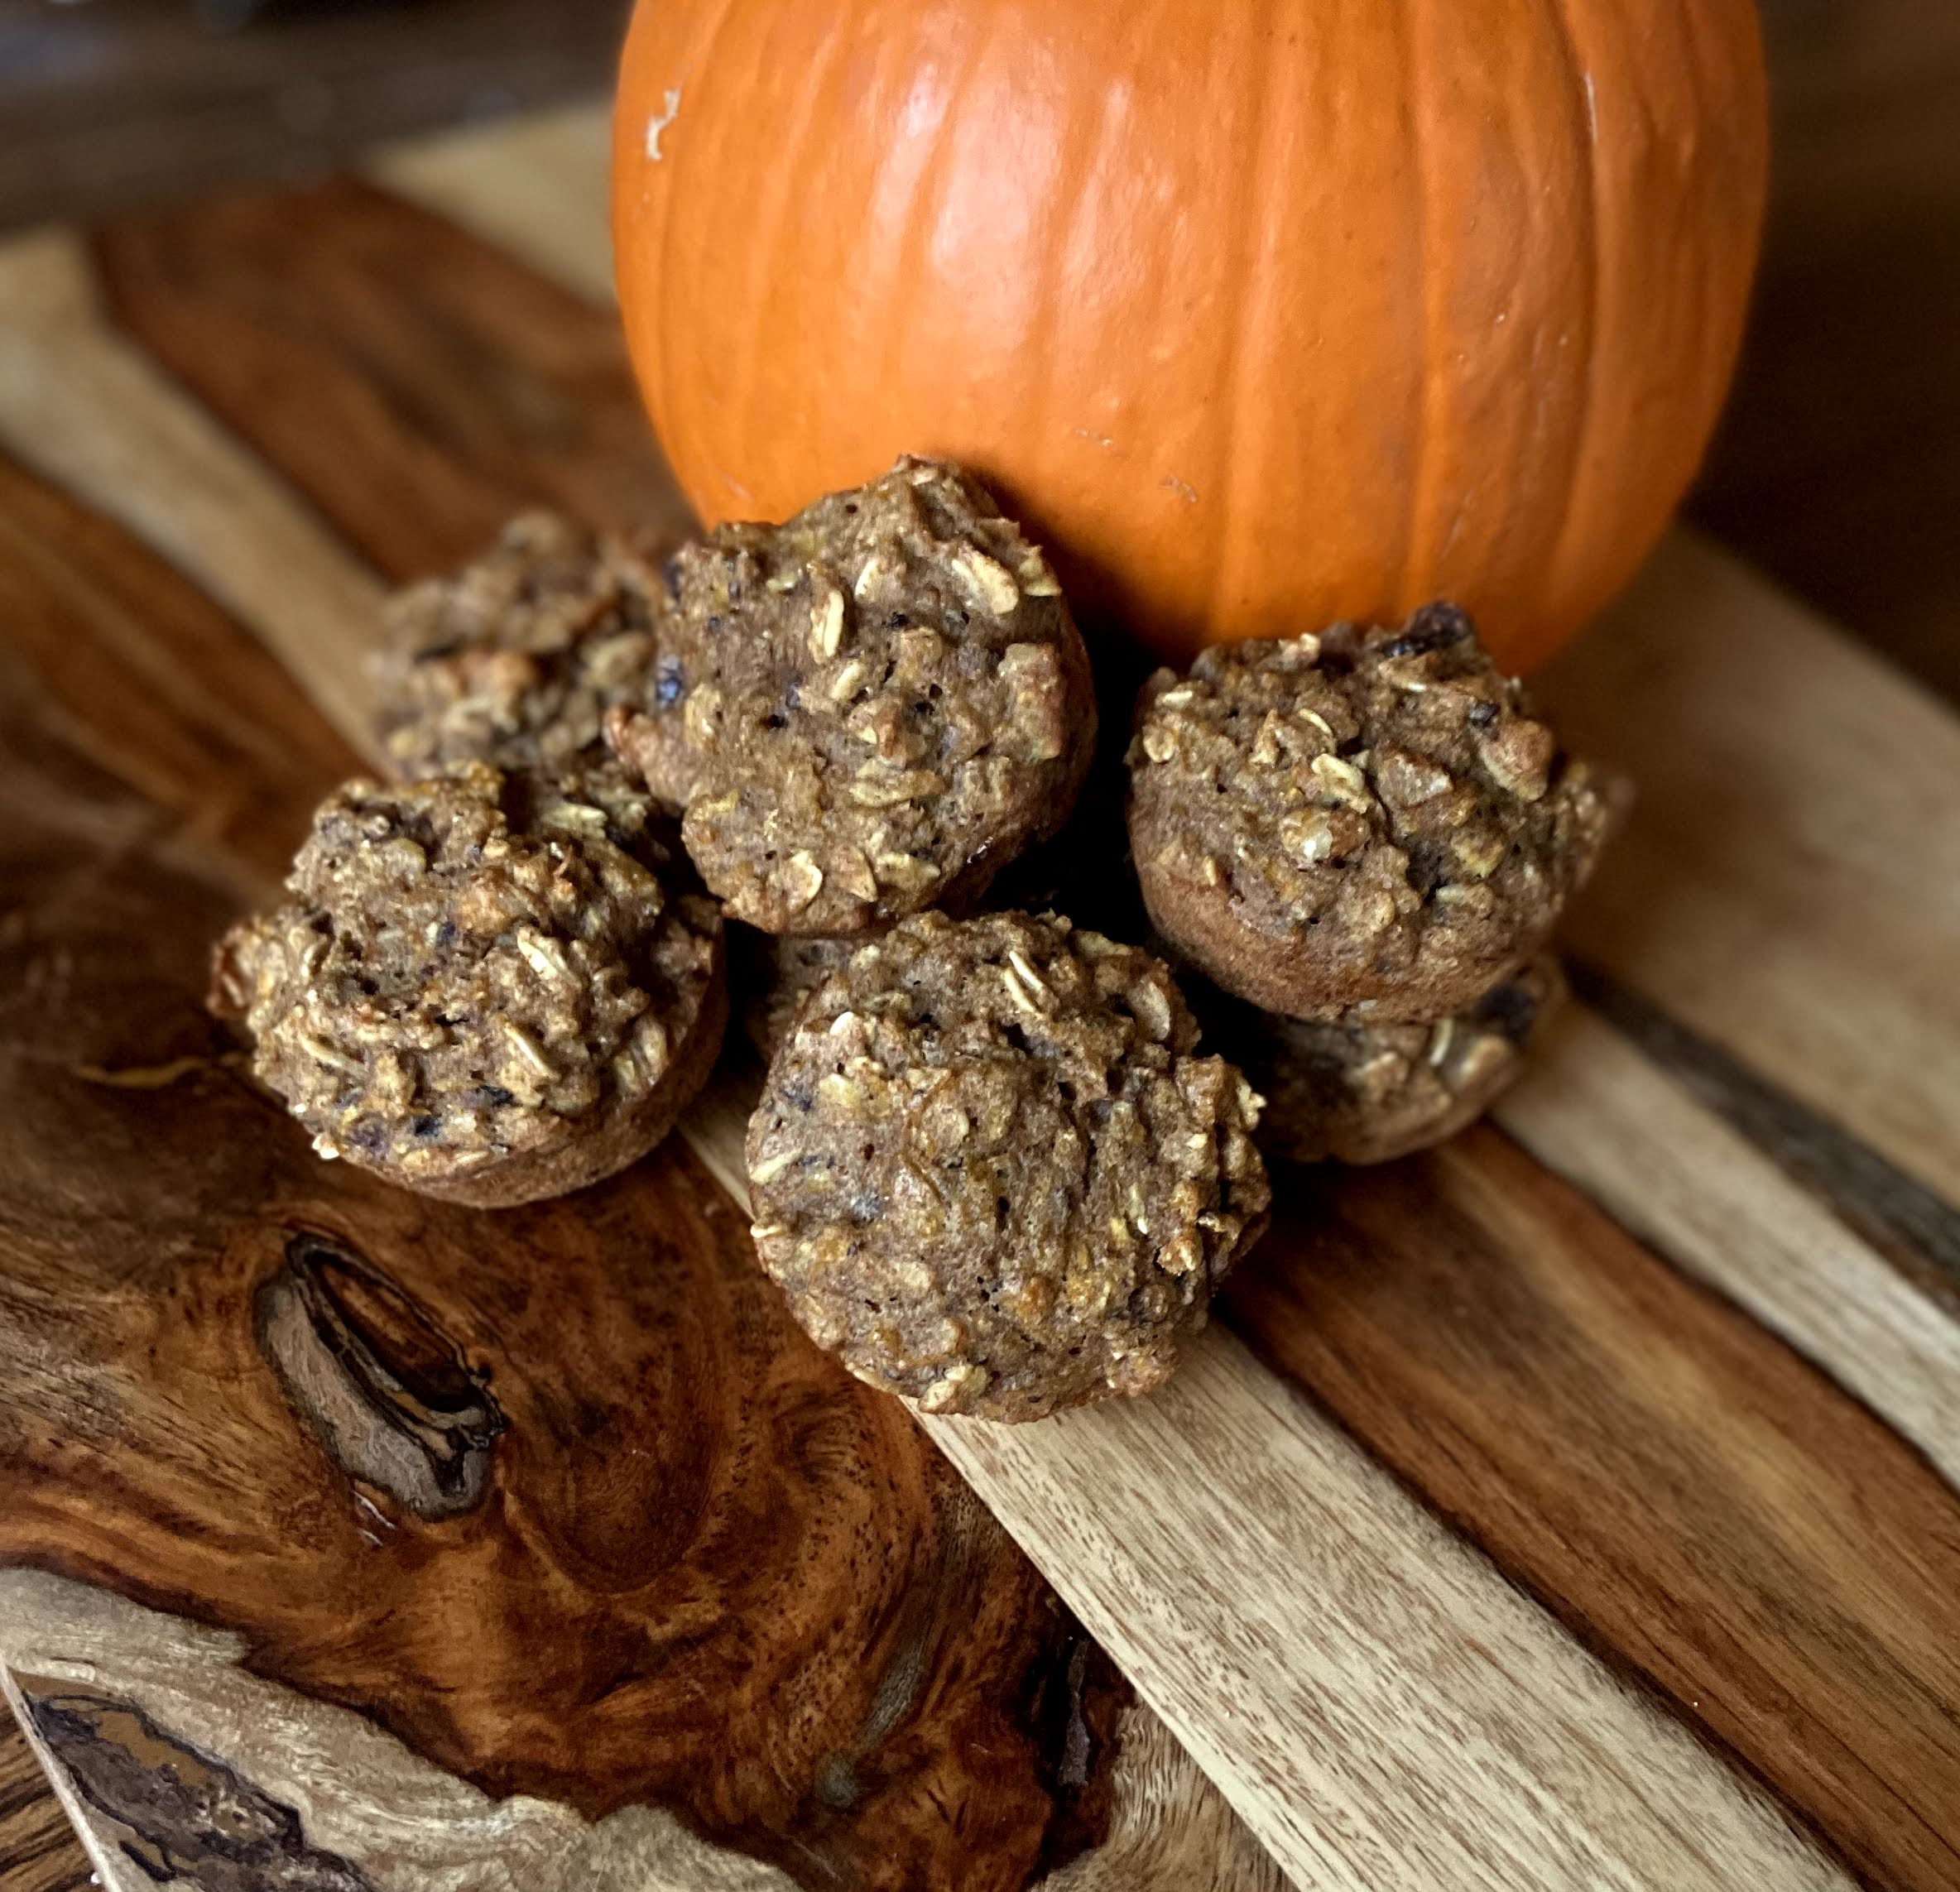
Spoon into prepared muffin tins, filling approximately ¾ of the way. Bake for 15-20 minutes, until cooked all the way through. Marvel at the beautiful texture and promptly pop one in your mouth. Aren’t the melty chocolate chips just the best?!

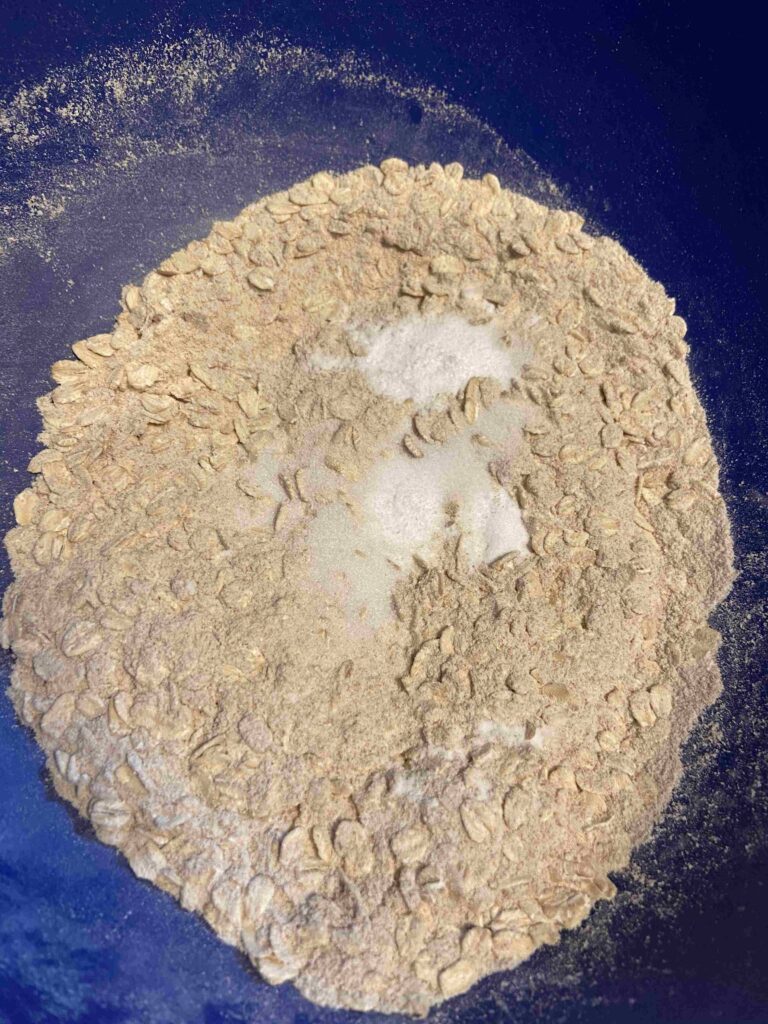
It’s as simple as wet ingredients… …dry ingredients… …spoon into the tin.. …and marvel at their beauty!

Tools of the trade
If you’re baking, you need a great muffin tin. If you are fortunate enough to have a pumpkin to roast, I recommend a nice thick baking sheet lined in foil. Looking to get a new one? Check out the links below!
Oatmeal Pumpkin Muffins
Ingredients
- 2 cups pumpkin puree
- 2 eggs room temperature
- ⅓ cup real maple syrup if you like things on the sweeter side, up this to ½ cup
- 2 tablespoons coconut oil melted
- 1 ½ cups whole wheat flour
- 1 cup old fashioned oats
- ¾ teaspoon pumpkin spice or a combination of cinnamon and nutmeg with a dash of clove
- 1 teaspoon baking soda
- ½ teaspoon salt
- ⅓ cup chopped walnuts
- ⅓ cup chocolate chips
Instructions
- Preheat the oven to 350 degrees. Prepare two muffin tins with muffin cups or by spraying with non-stick cooking spray.
- In a large bowl, combine puree, eggs, and maple syrup.
- Combine flour, oats, pumpkin spice, baking soda, and salt. Add to wet ingredients and stir until just combined.
- Fold in the walnuts, and chocolate chips.
- Add coconut oil and stir once more.
- Spoon into prepared muffin tins, filling approximately ¾ of the way.
- Bake for 15-20 minutes, until cooked all the way through.