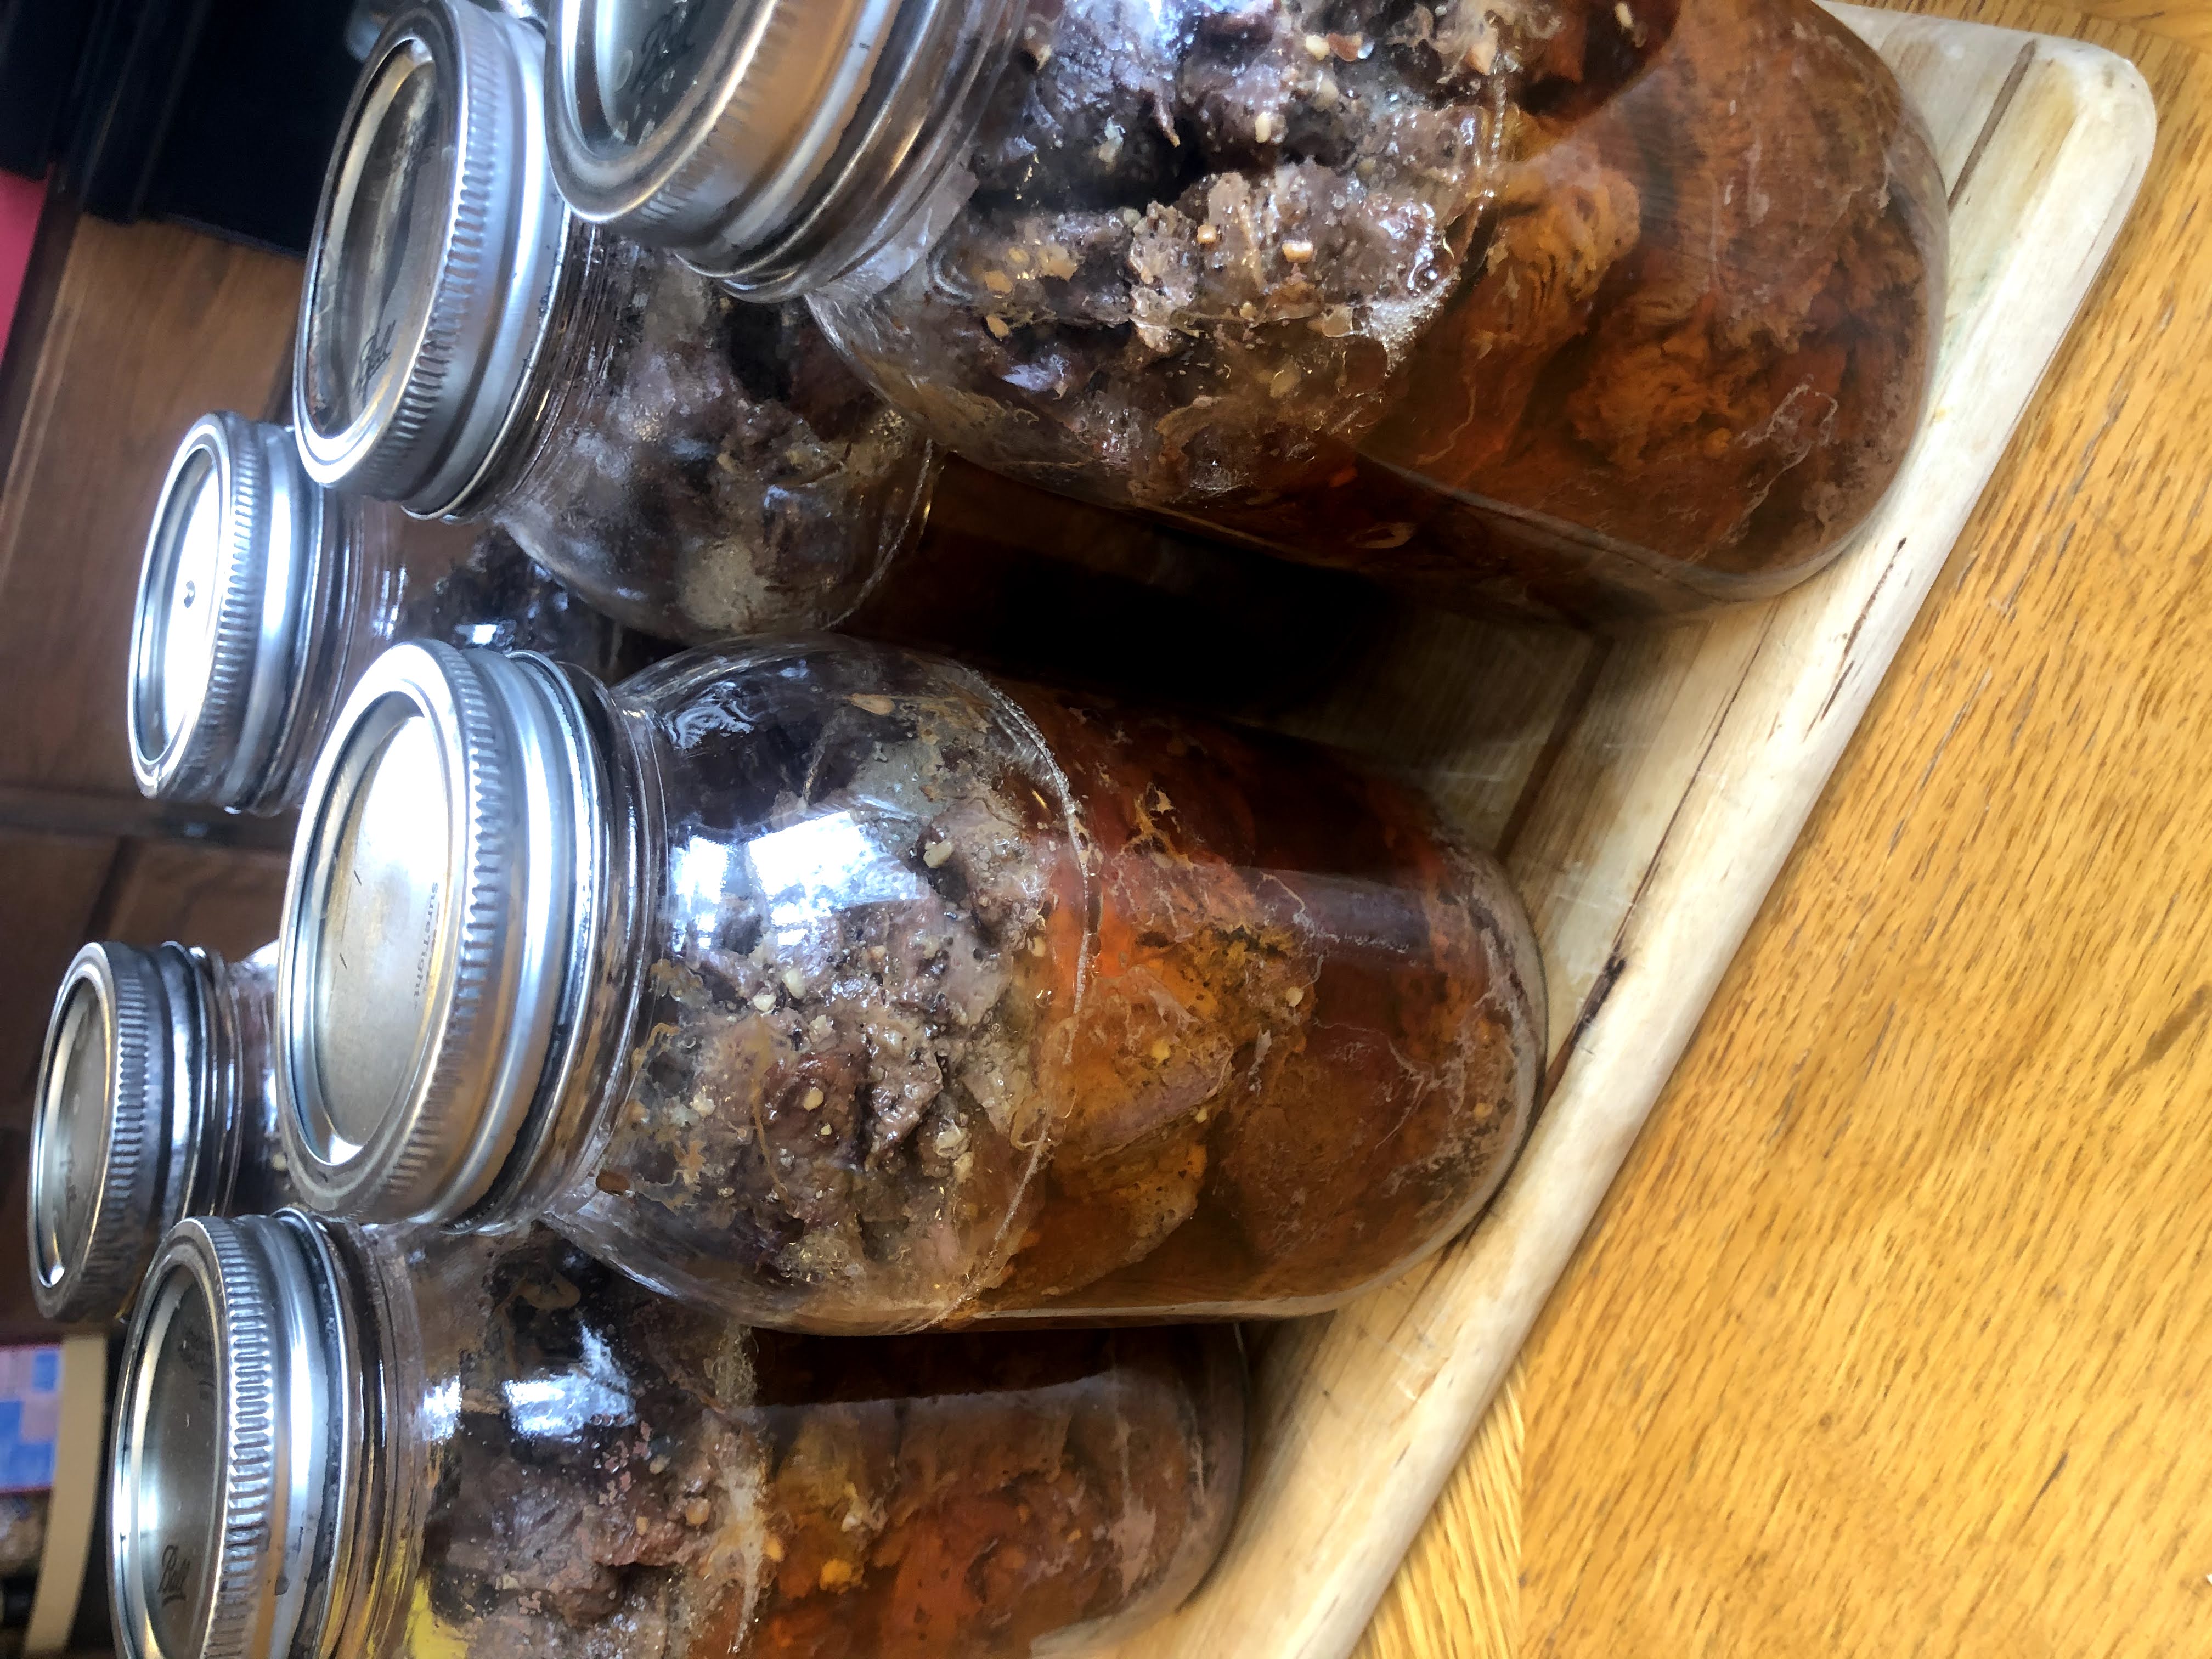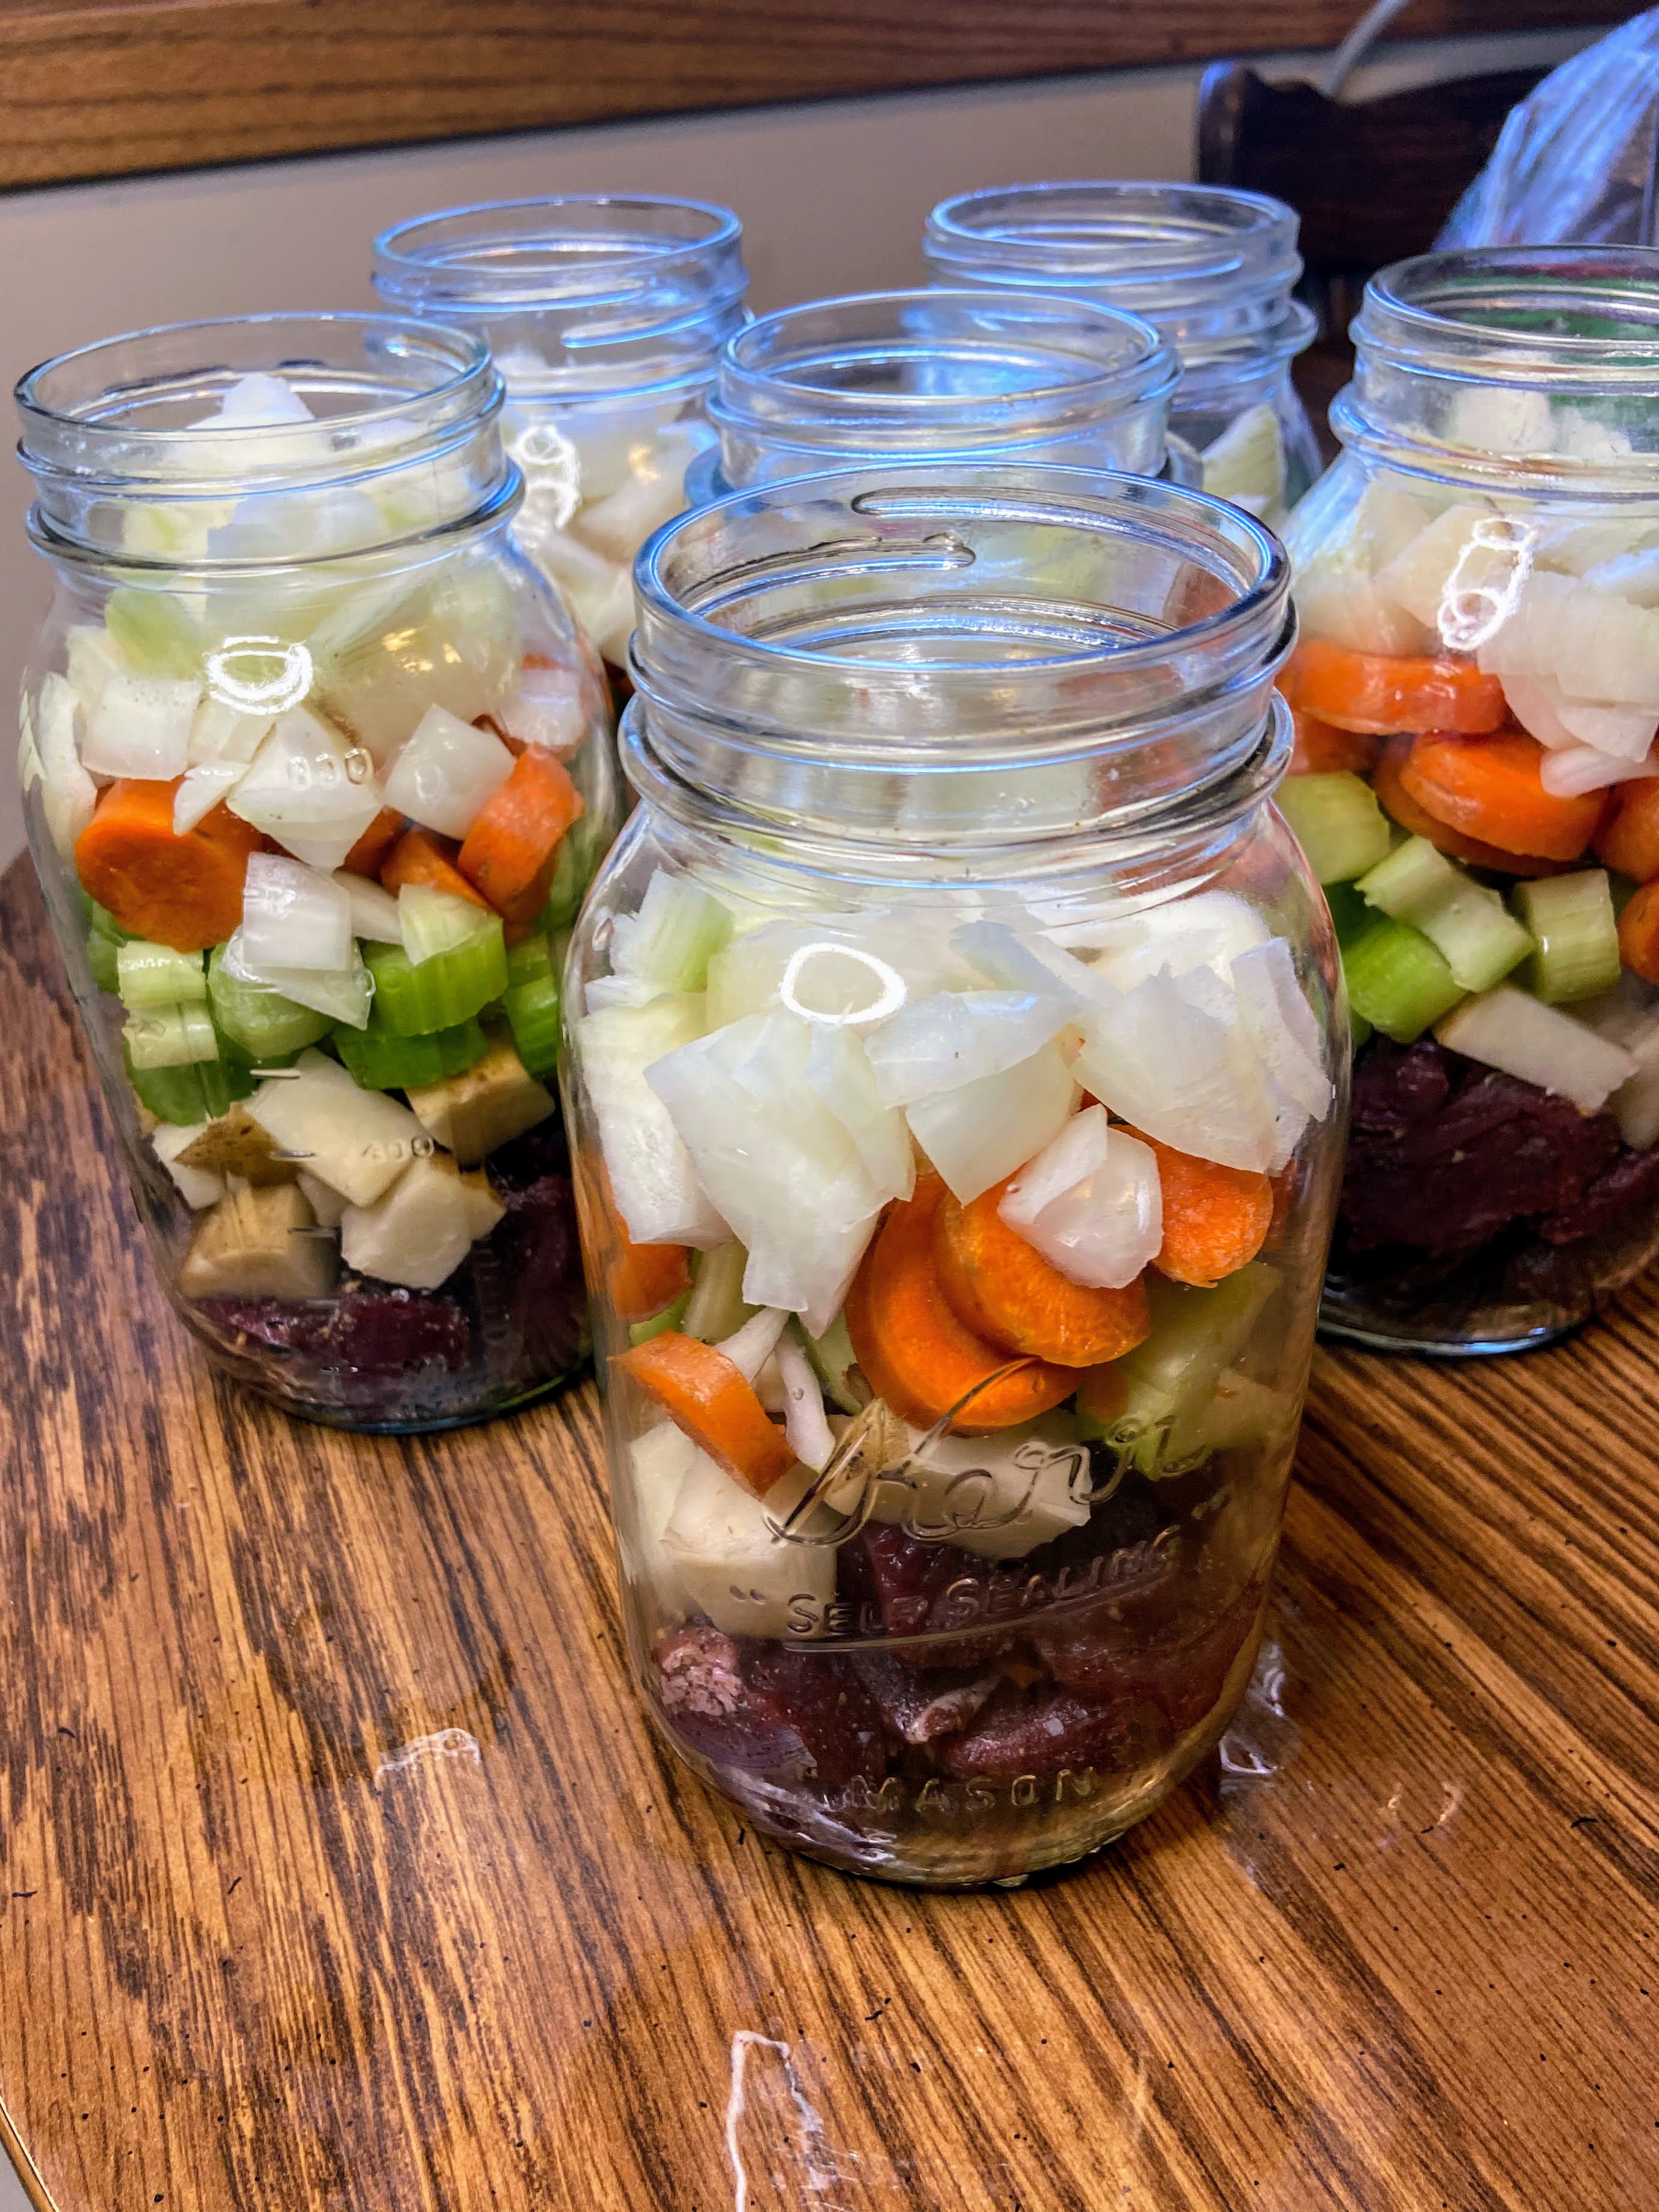
If you’ve been around since the summer, you know that I love growing, harvesting, and preserving my own food. I live for the garden in the summer and filling the freezer and shelves with homegrown produce brings me such joy. But as the garden gives way to fall, a new type of preserving takes over our kitchen: that of wild game. The Mr. loves hunting; our main protein source is deer. We process our deer ourselves and end up with chops, ground venison, various flavors of canned venison, and this delicious blend of ground Italian venison.
I haven’t thought this was much of a recipe to share, but I tell friends and family about it, and they always seem happy to learn more, so here we are. This is a great recipe if you aren’t a sausage maker (we aren’t…yet), but want to add another way to use the ground venison you have.
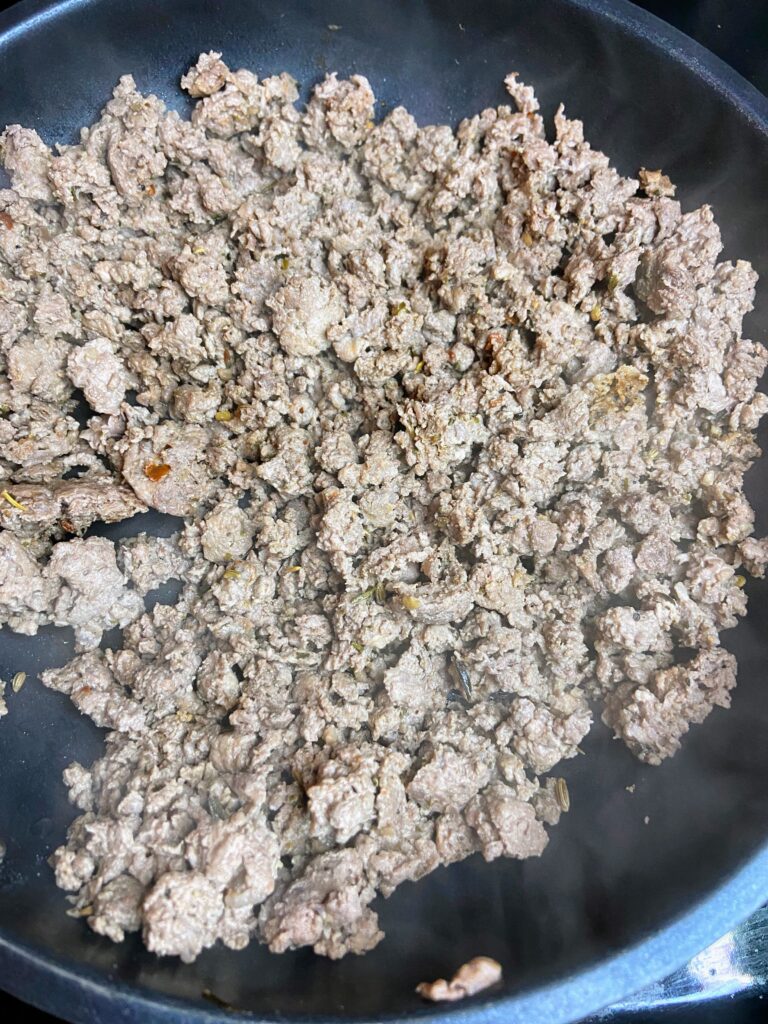
We love putting together a batch or two of this ground Italian venison to have for options when we eat pasta (strong Italian roots here!). I don’t know if you’ve tried yet, but ground Italian sausage is far superior to ground beef in your bolognese. However, we like to know where our protein comes from and the Italian sausage from the store just doesn’t cut it. This is a great alternative and gets us closer to sustainability.
Ready to get Started?
The recipe is simple enough: equal parts pork shoulder slices and venison slices. Then, based on how much meat we have, I create an Italian sausage seasoning mixture from Tastes of Lizzy T. She does a recipe for 2 pounds of meat.
Typically, we do a large batch (at least 10 pounds of each protein). The math teacher in me will share how much you need for every TEN pounds of meat. If you have different increments and don’t want to do the math, check out Tastes of Lizzy T for the 2 pound measurements. It’s great!
Your Steps to Ground Italian Venison
For every TEN pounds of meat, combine the following:
- 3 tablespoons dried parsley
- 3 tablespoons dried Italian seasoning
- 2 ½ tablespoons black pepper
- 1 tablespoon fennel seed
- 1 tablespoon paprika
- 1 1/2 -2 tablespoons red pepper flakes
- 3 tablespoons salt
- 5 tablespoons minced garlic
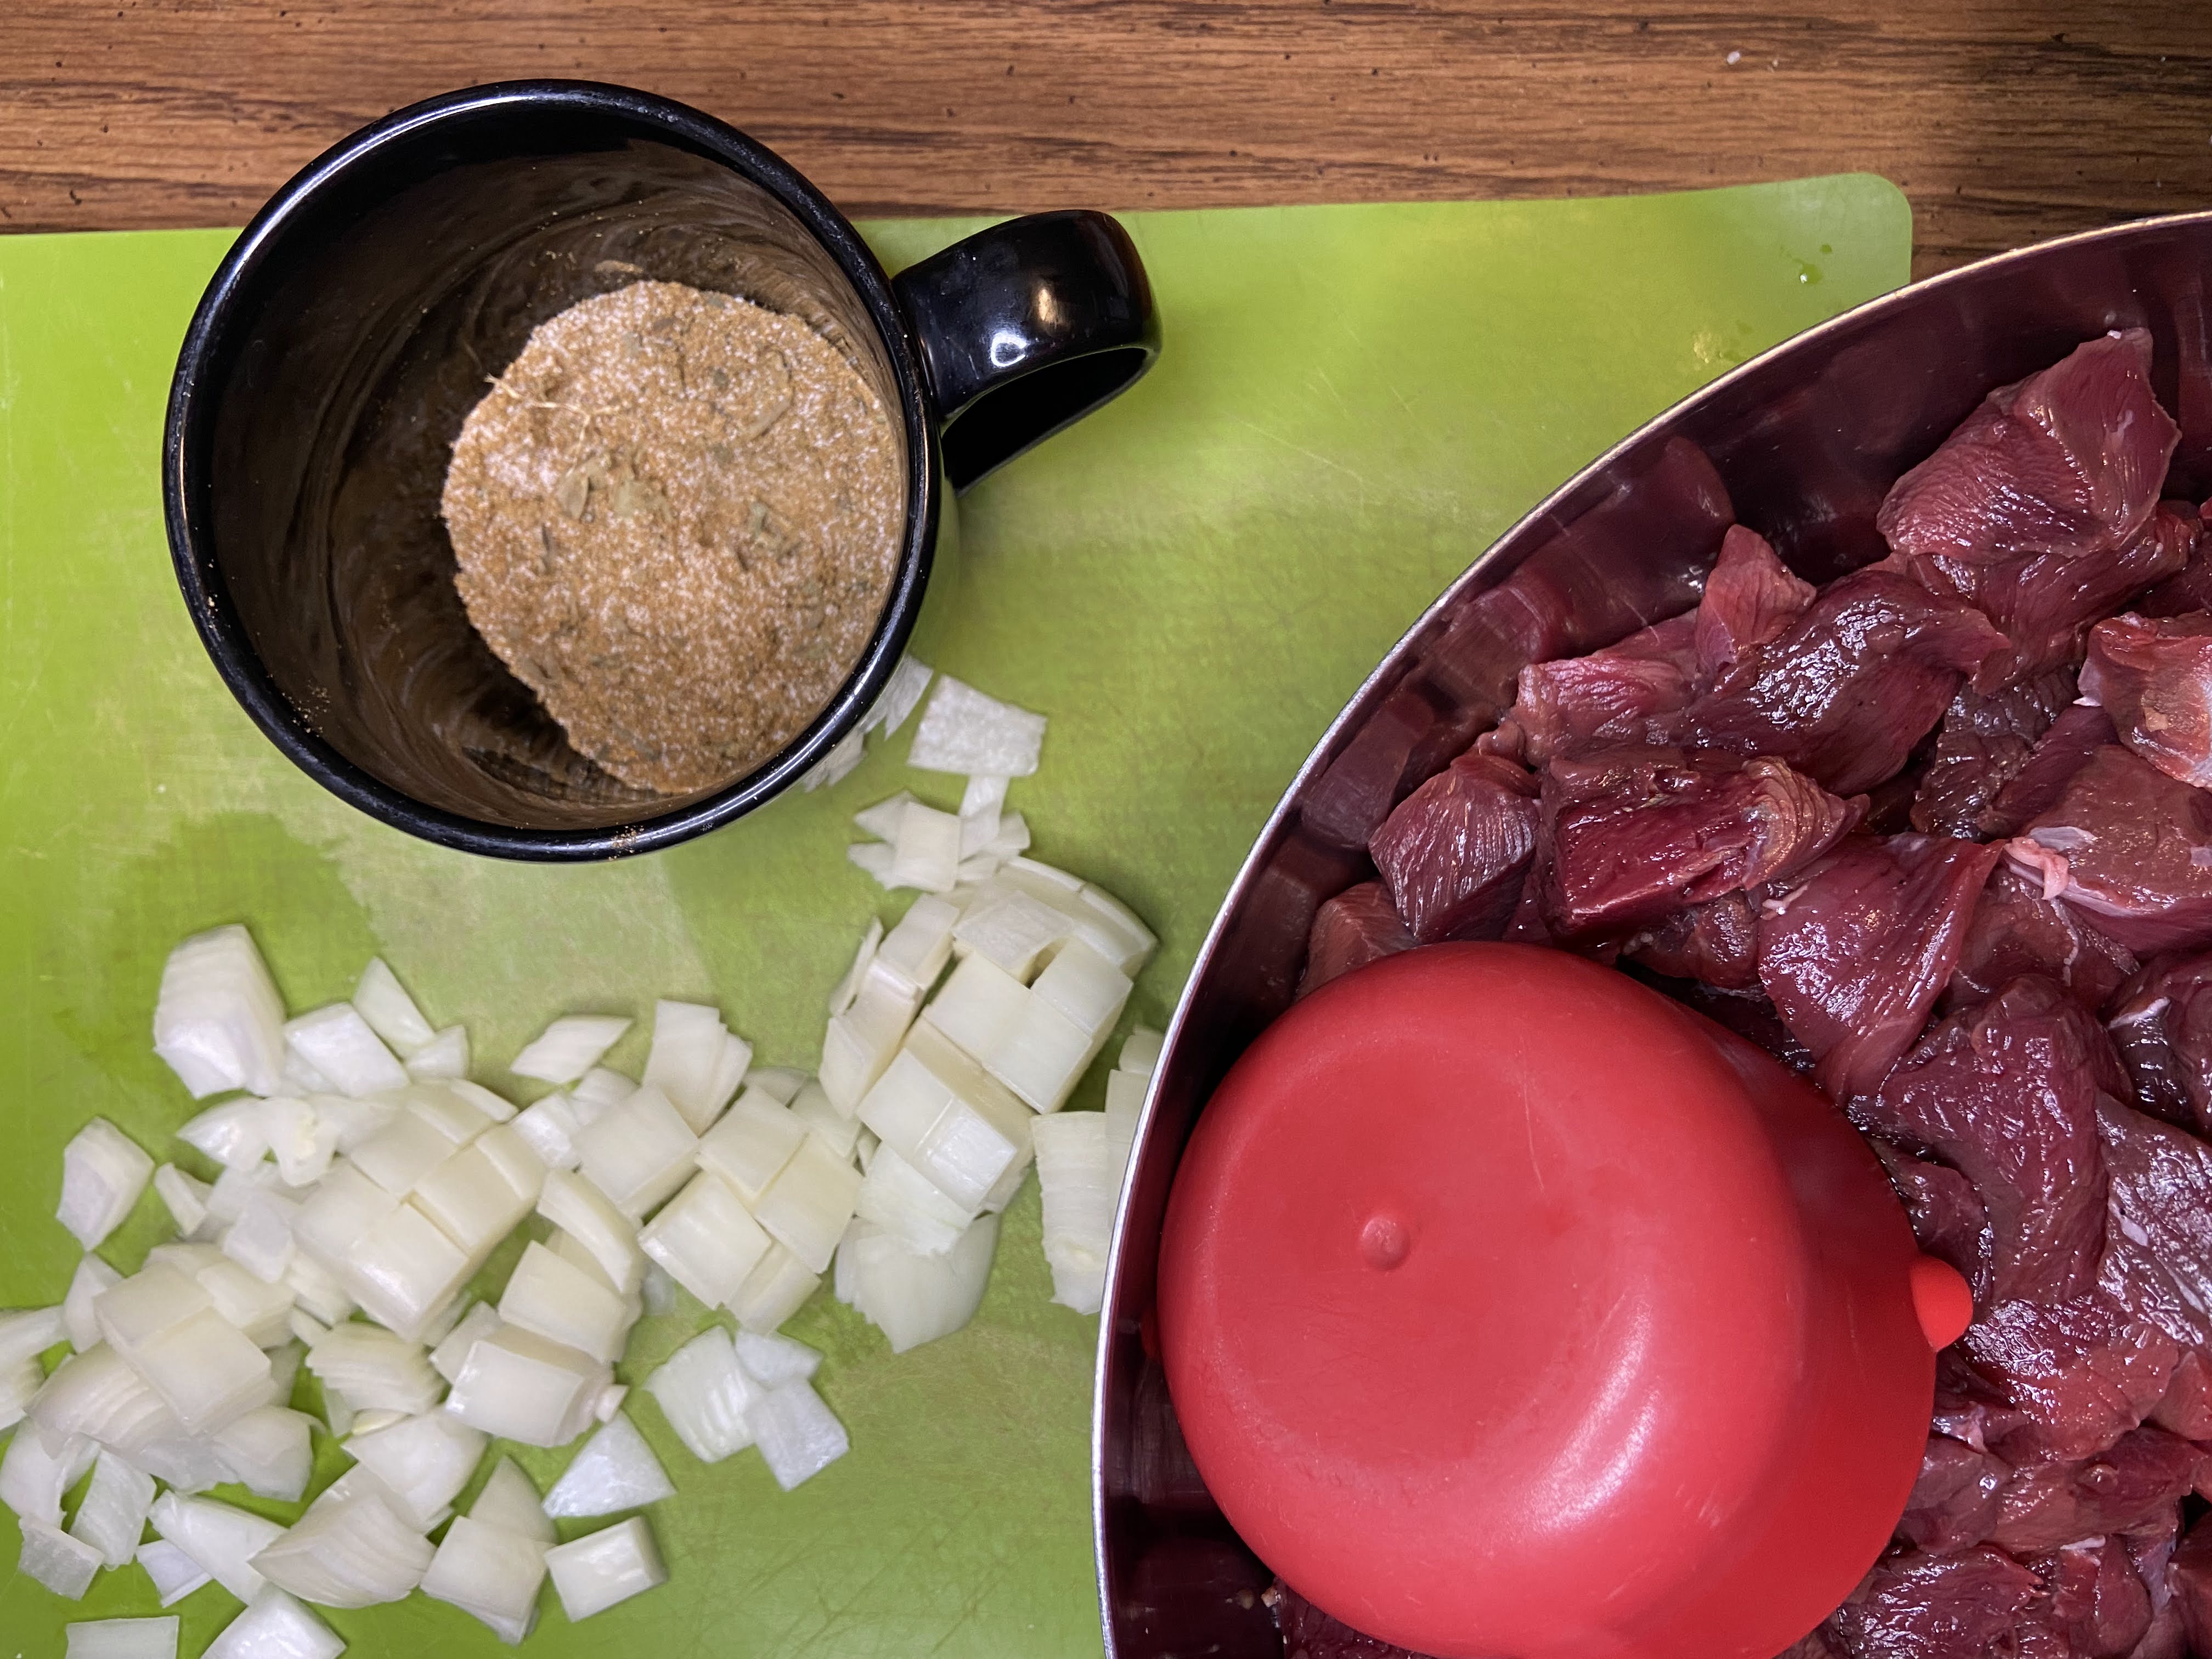
- 2 tablespoons minced onion
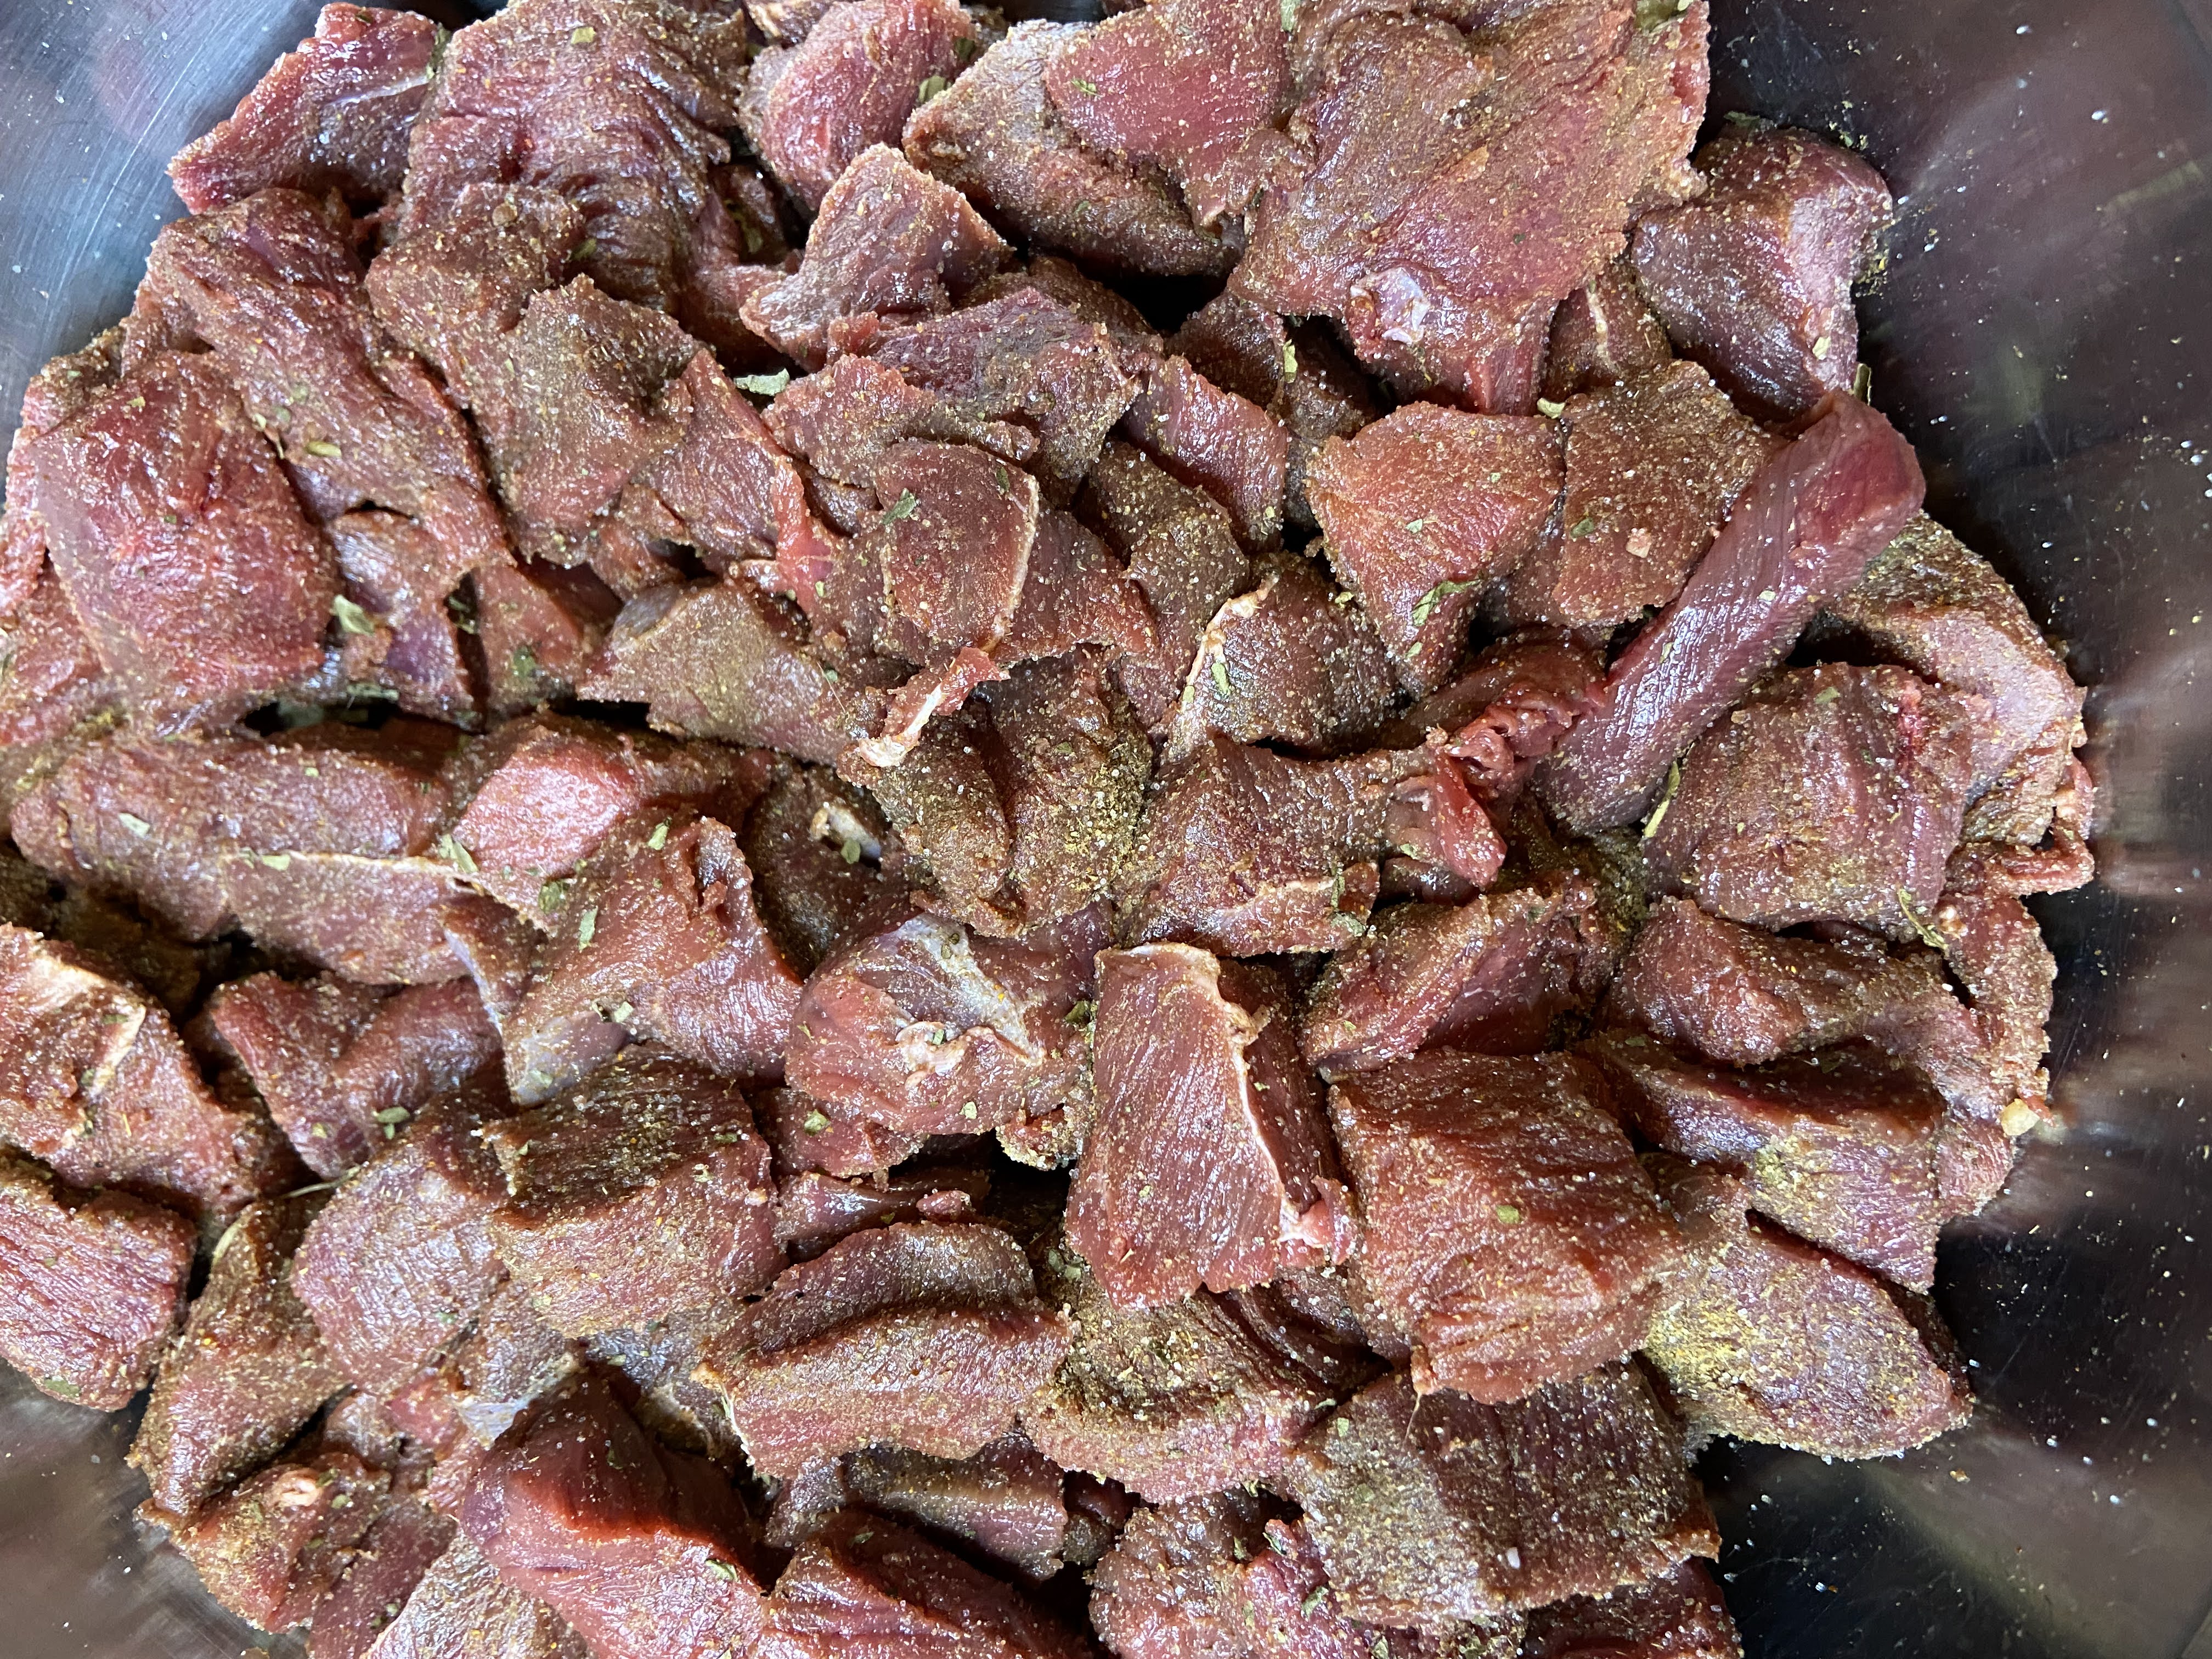
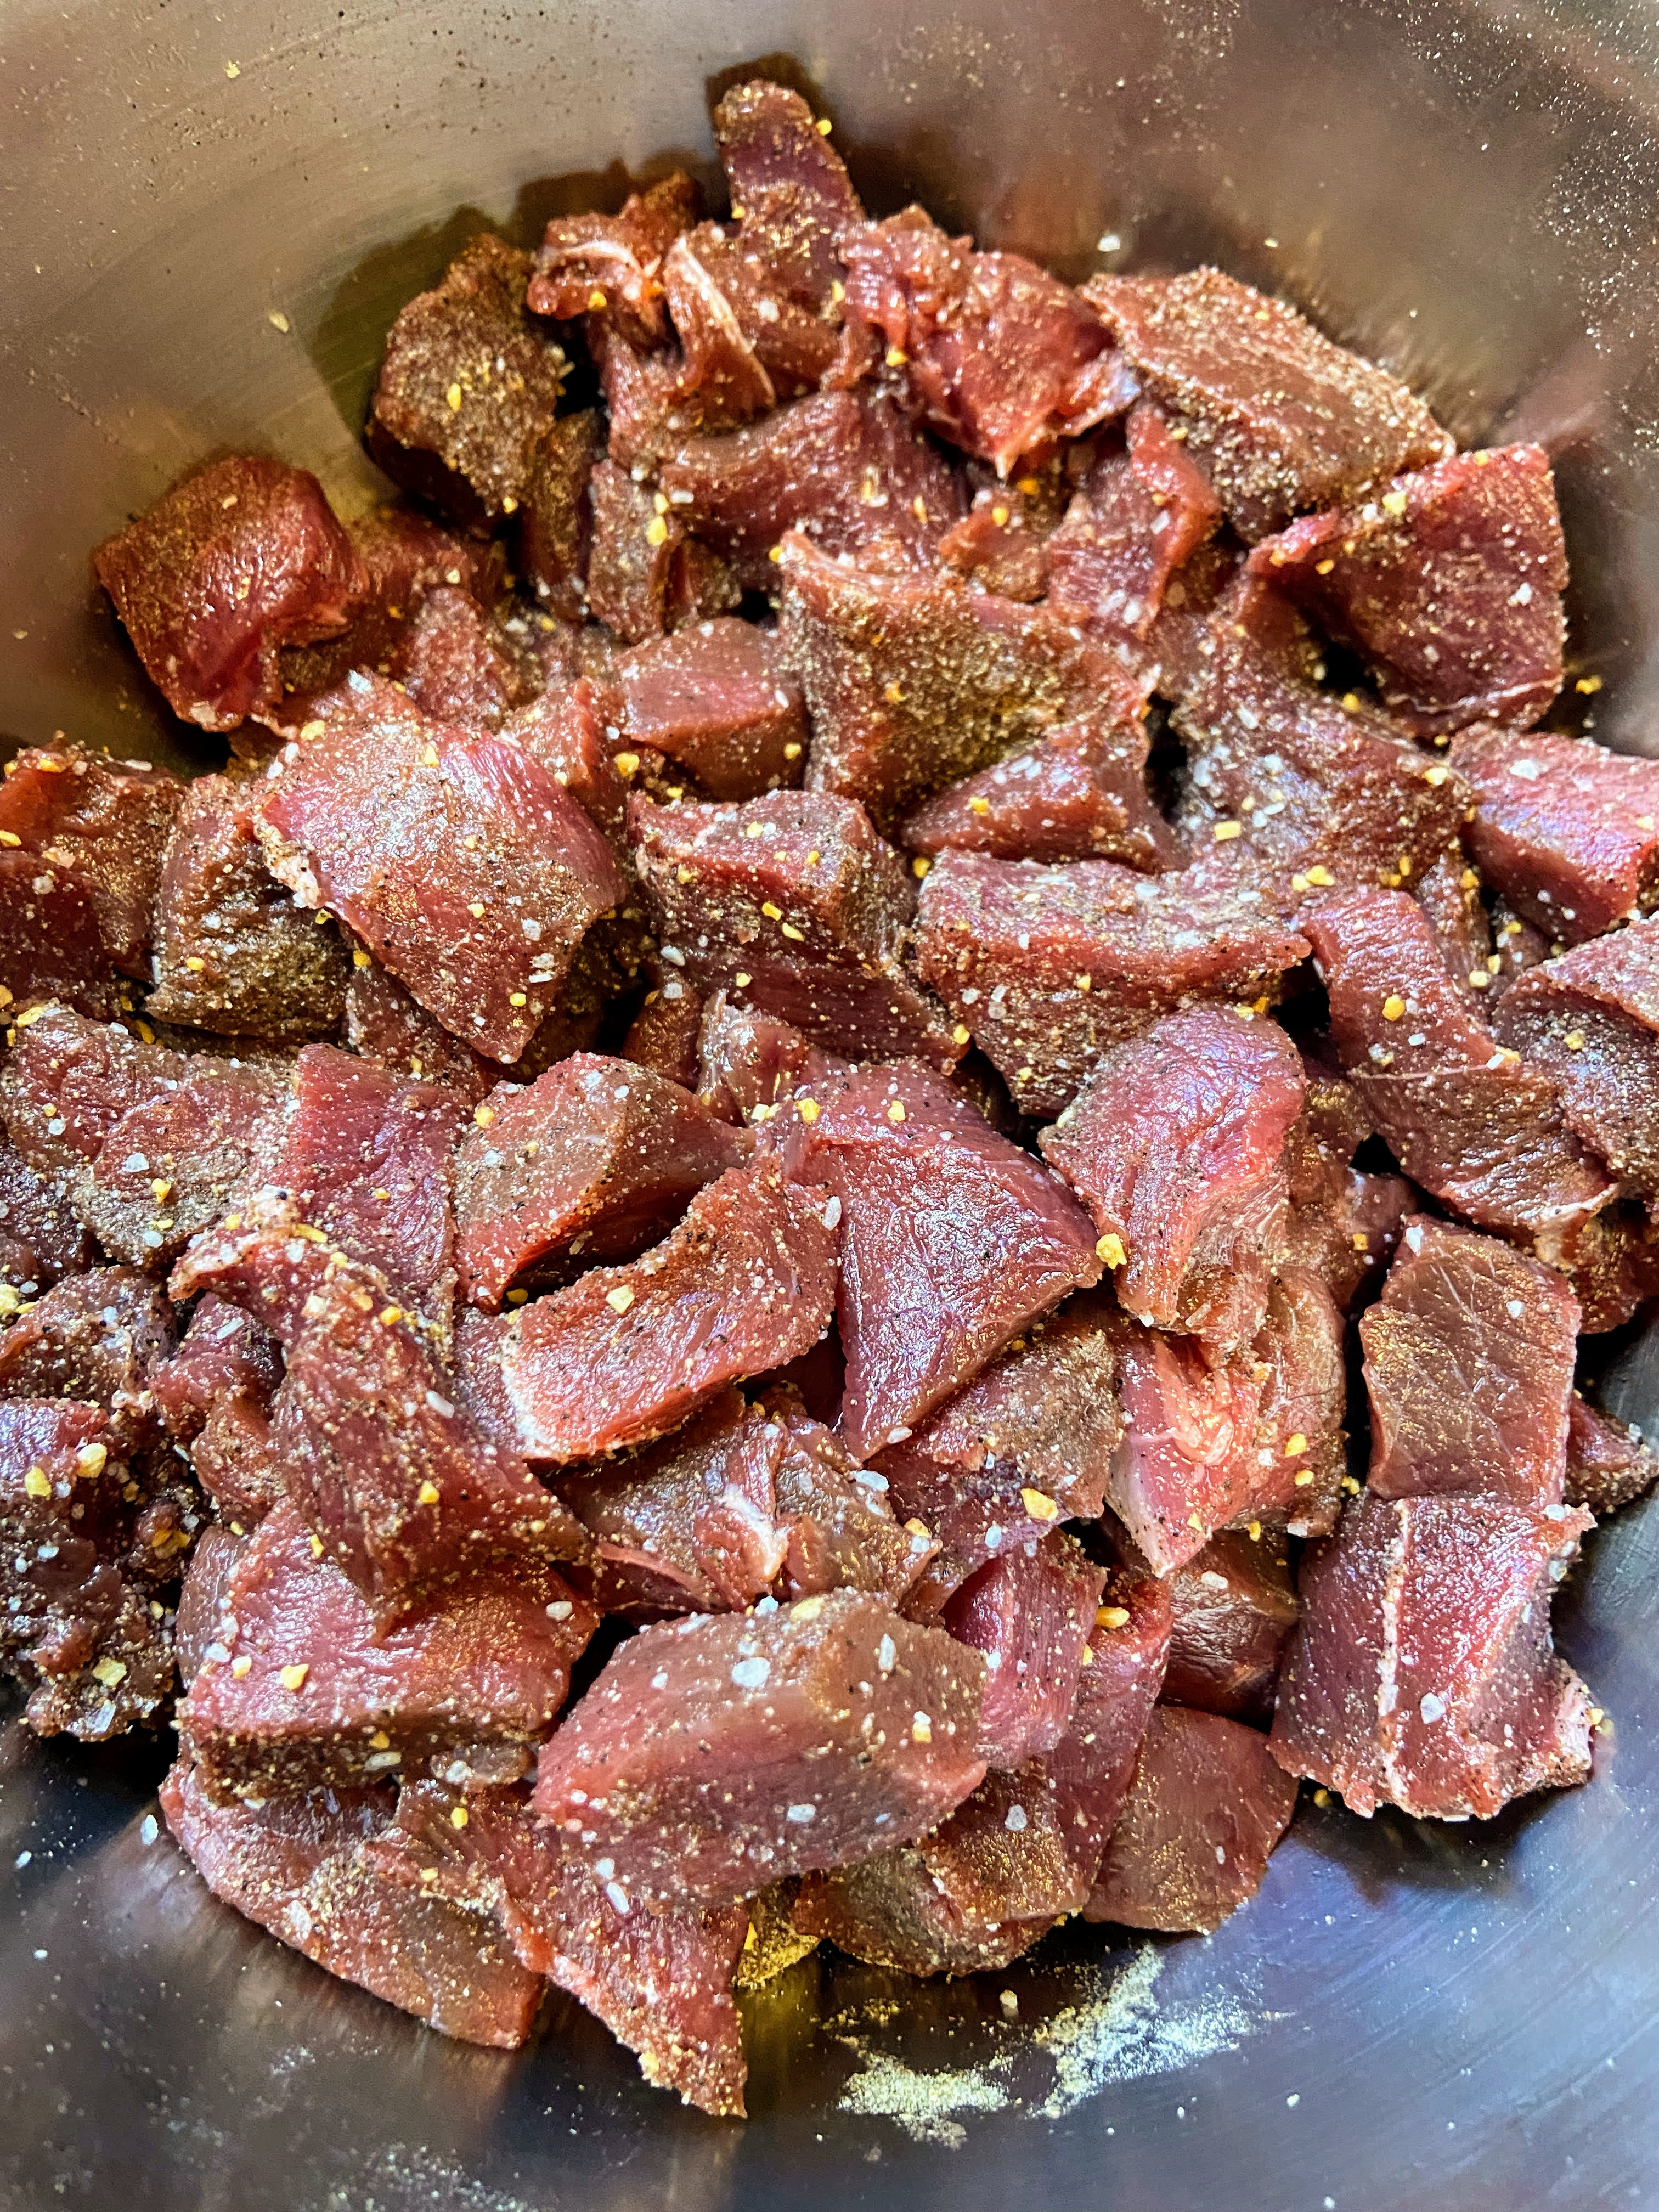
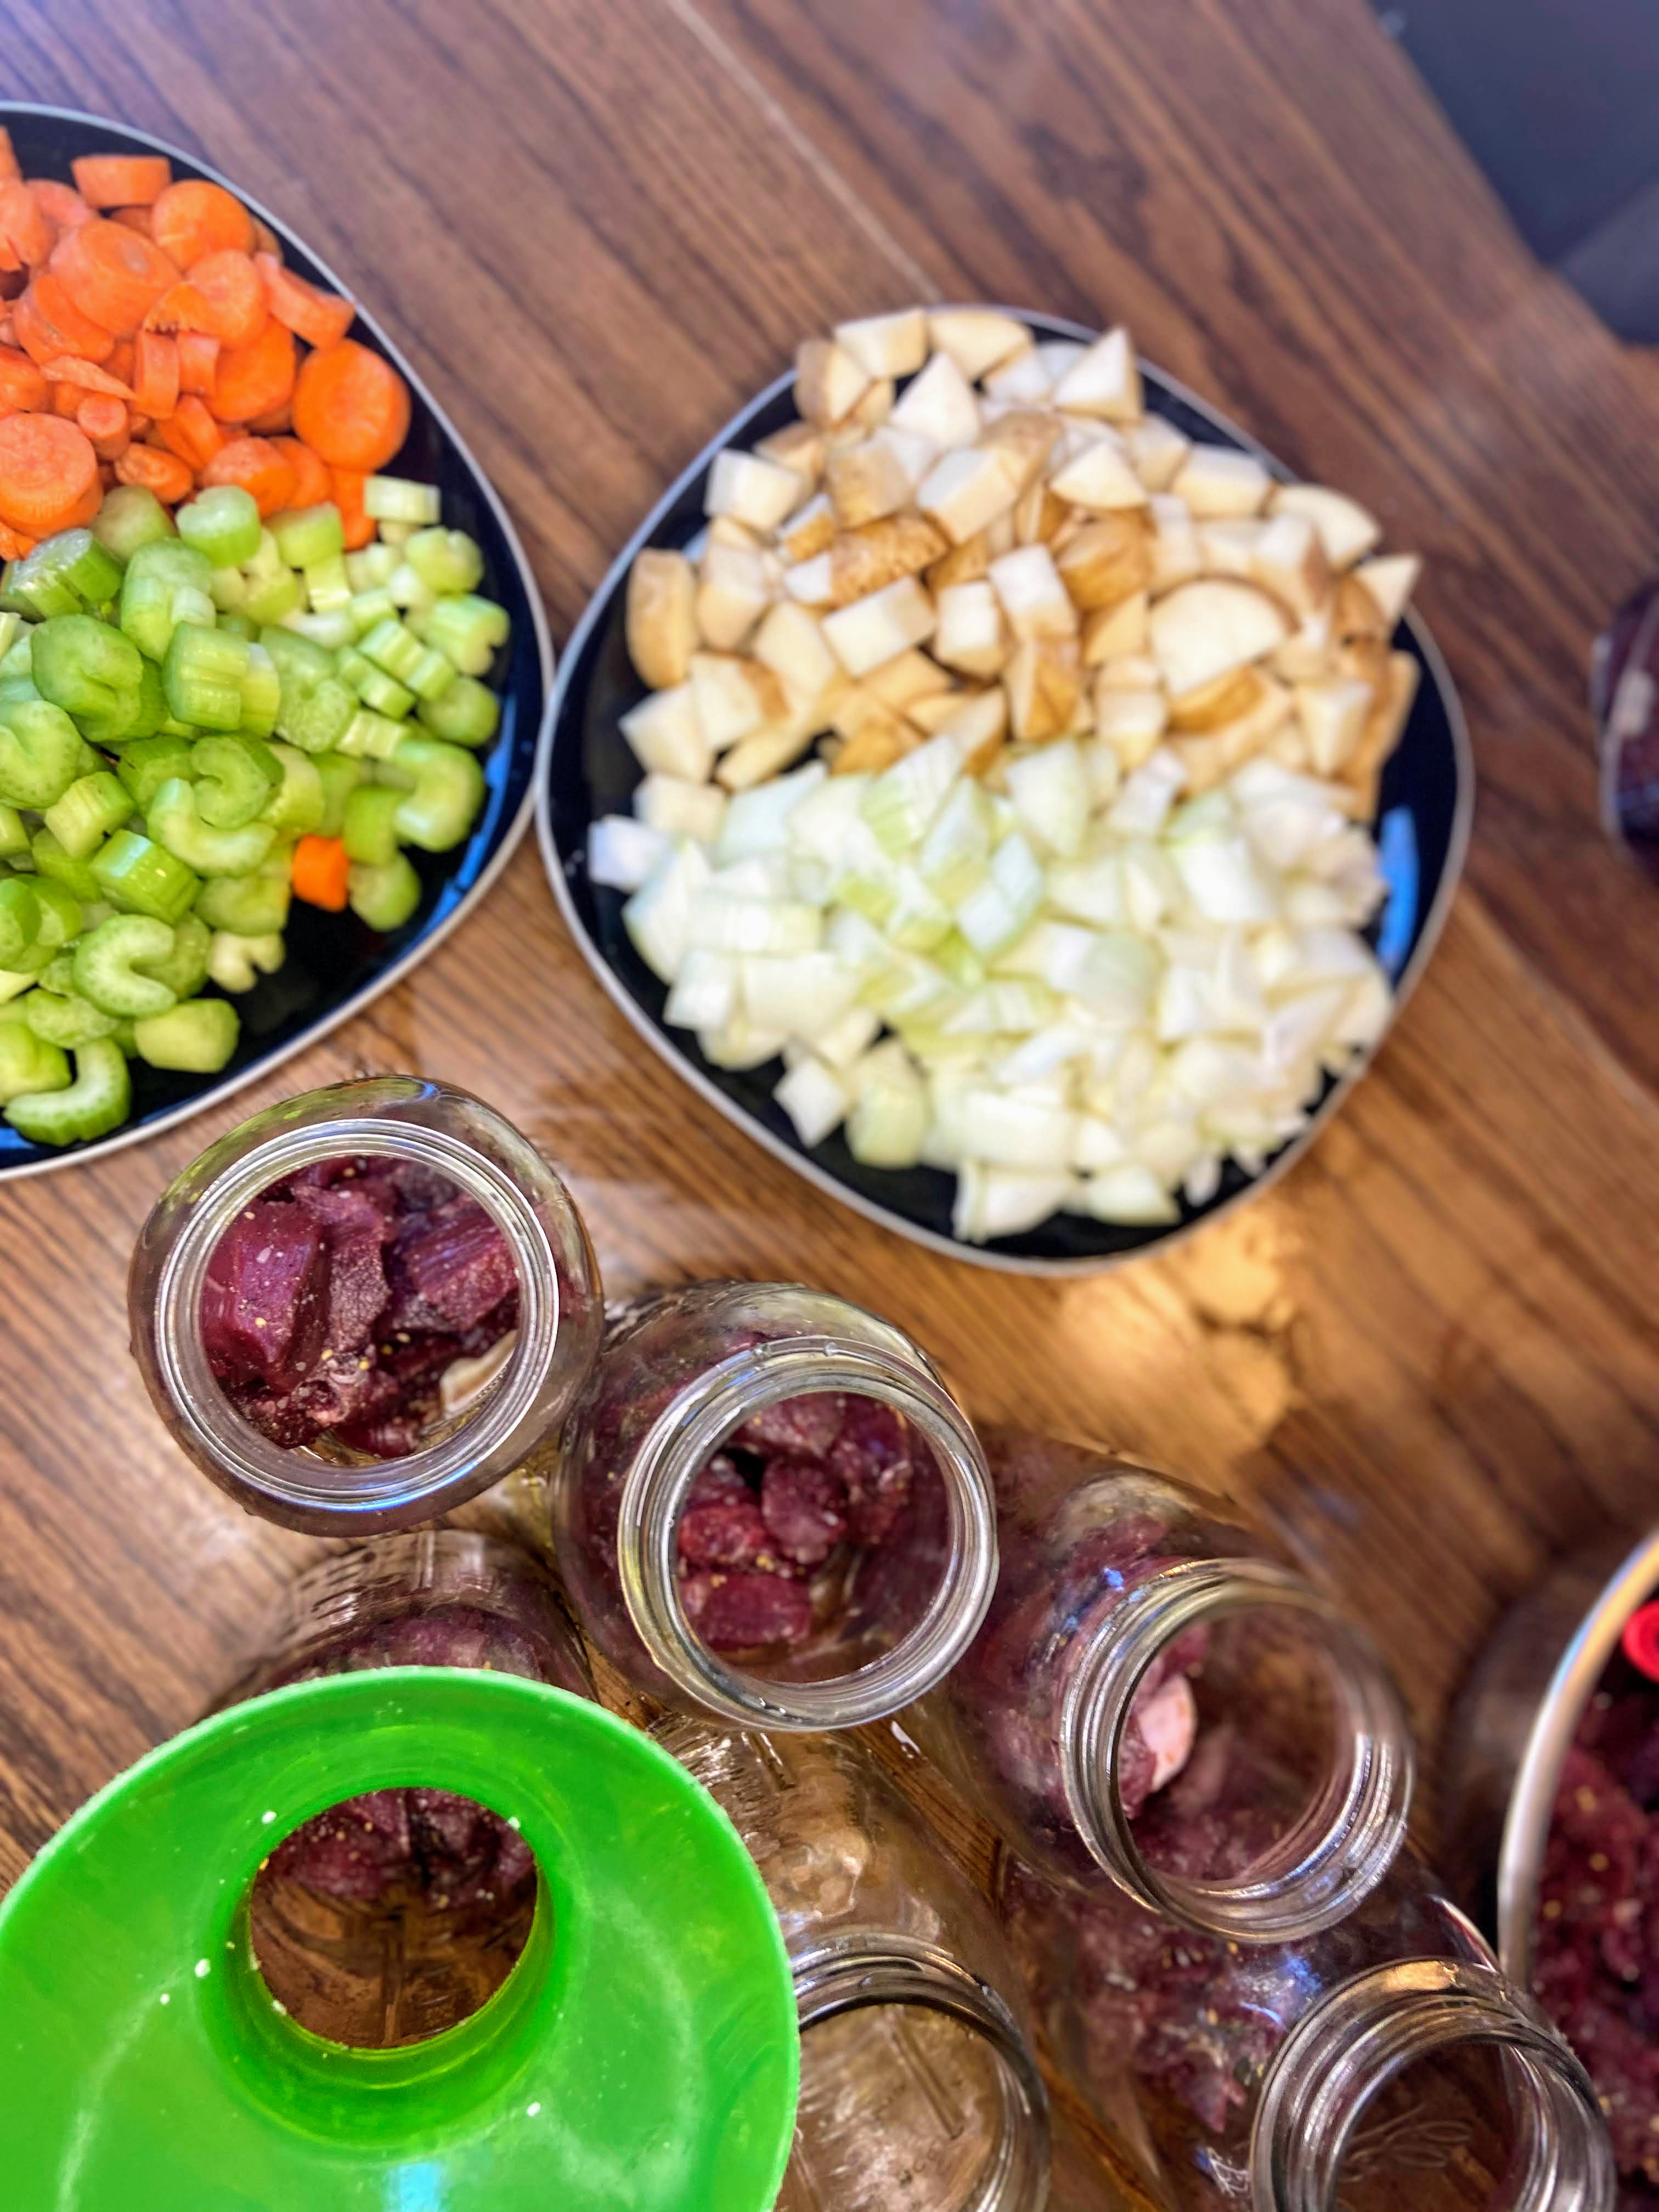
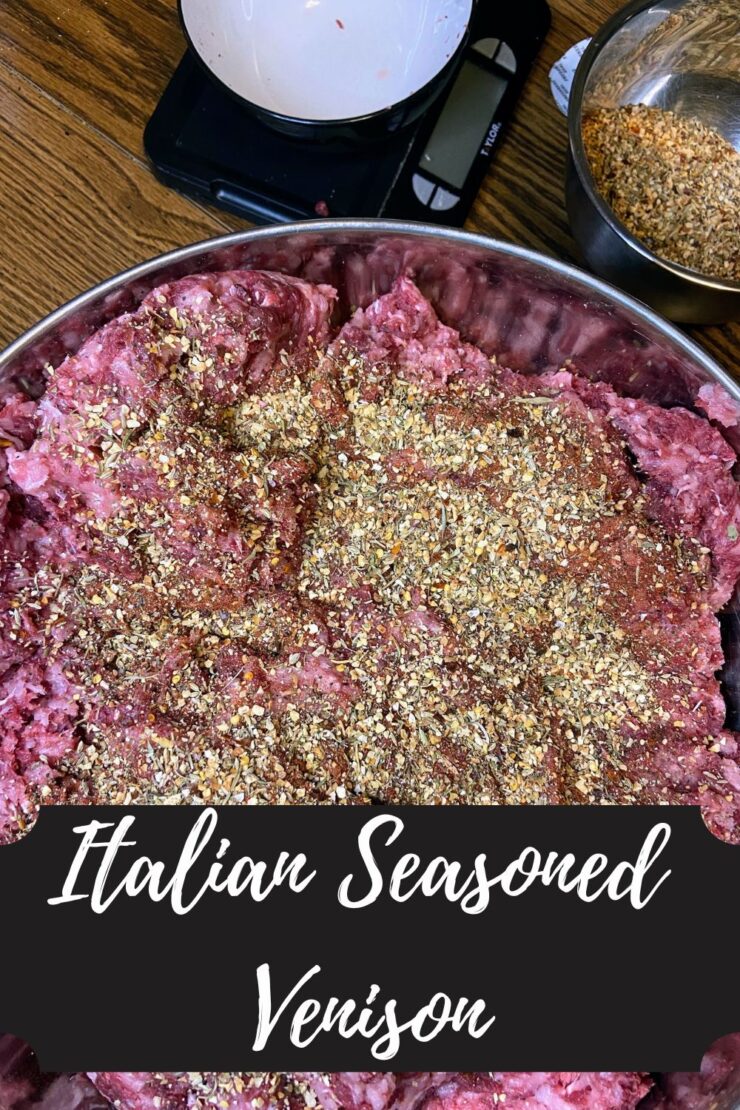
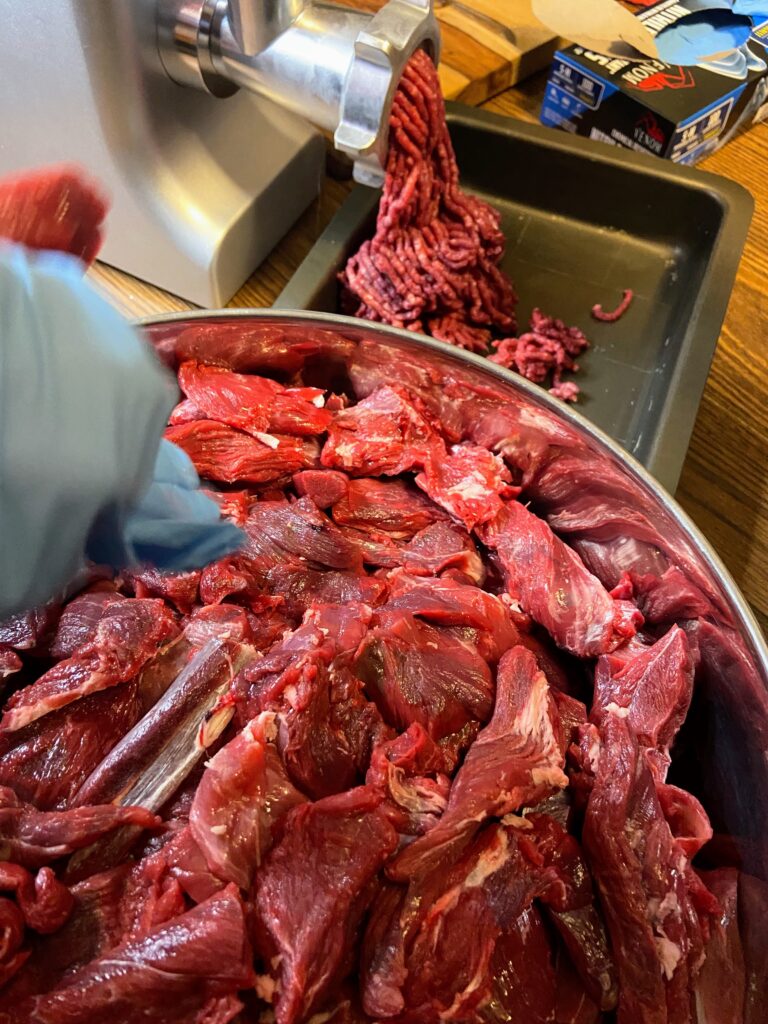
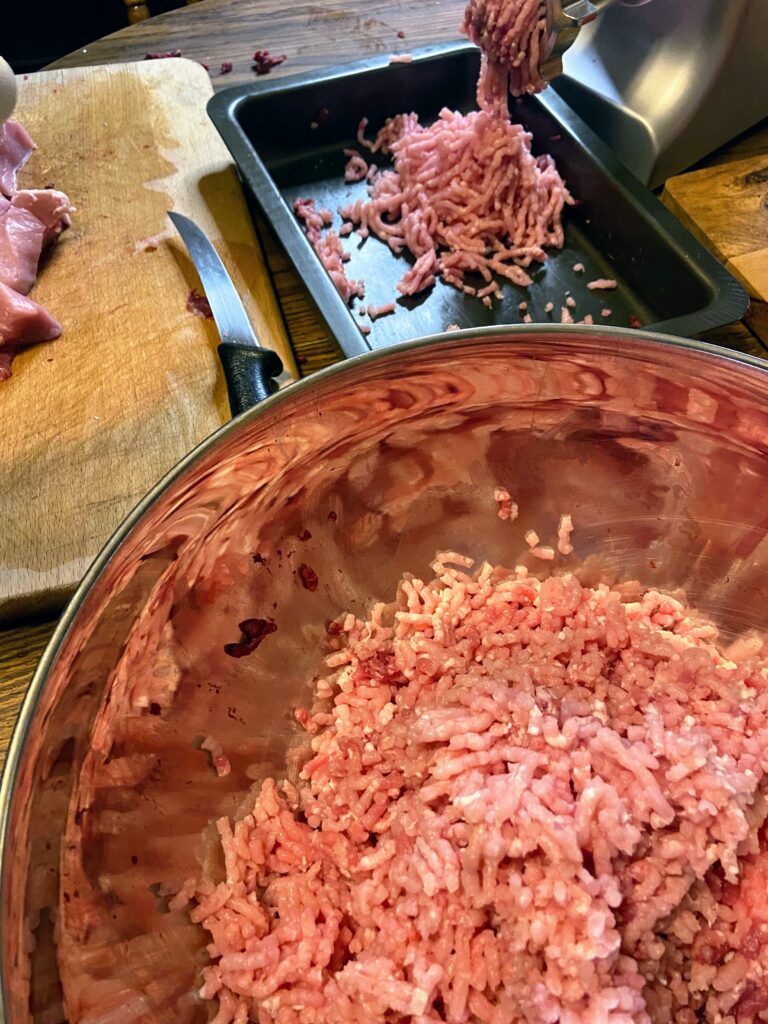
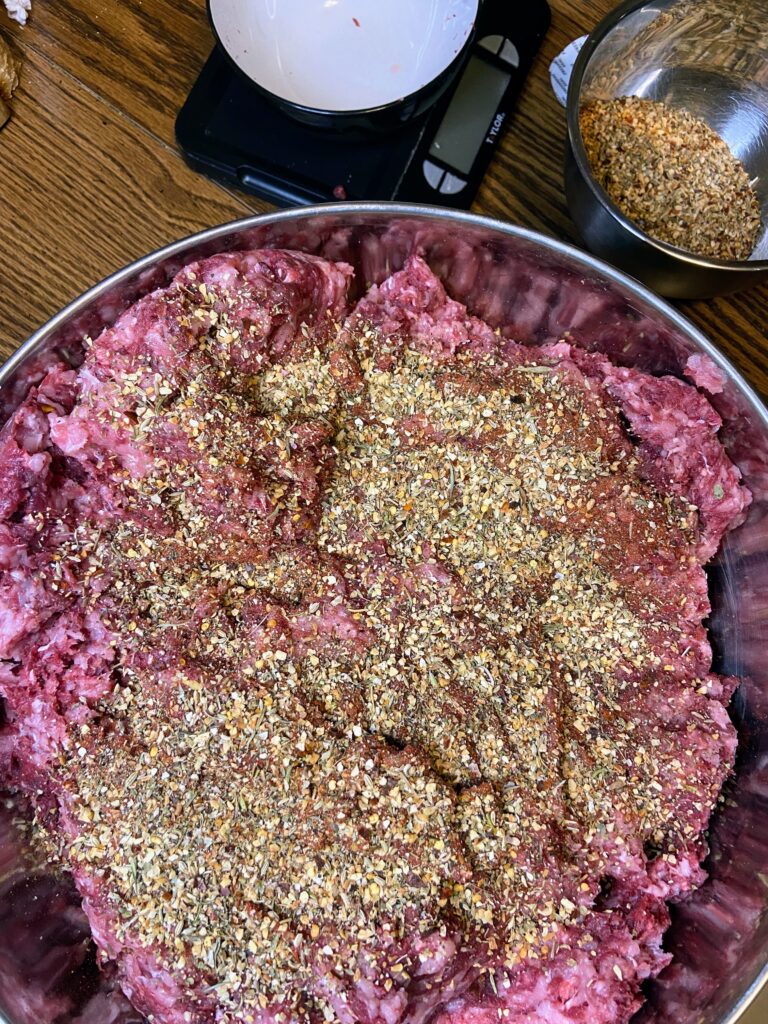
Measure and grind 10 pounds each of venison and pork shoulder. In a large bowl, combine both proteins and mix well. Add about ⅓ of the spice mixture and mix the meat, being sure to pull from the bottom. Add another ⅓, mixing again. Finally, add remaining spice mixture, being sure to grab all the meat from the bottom, mixing thoroughly.
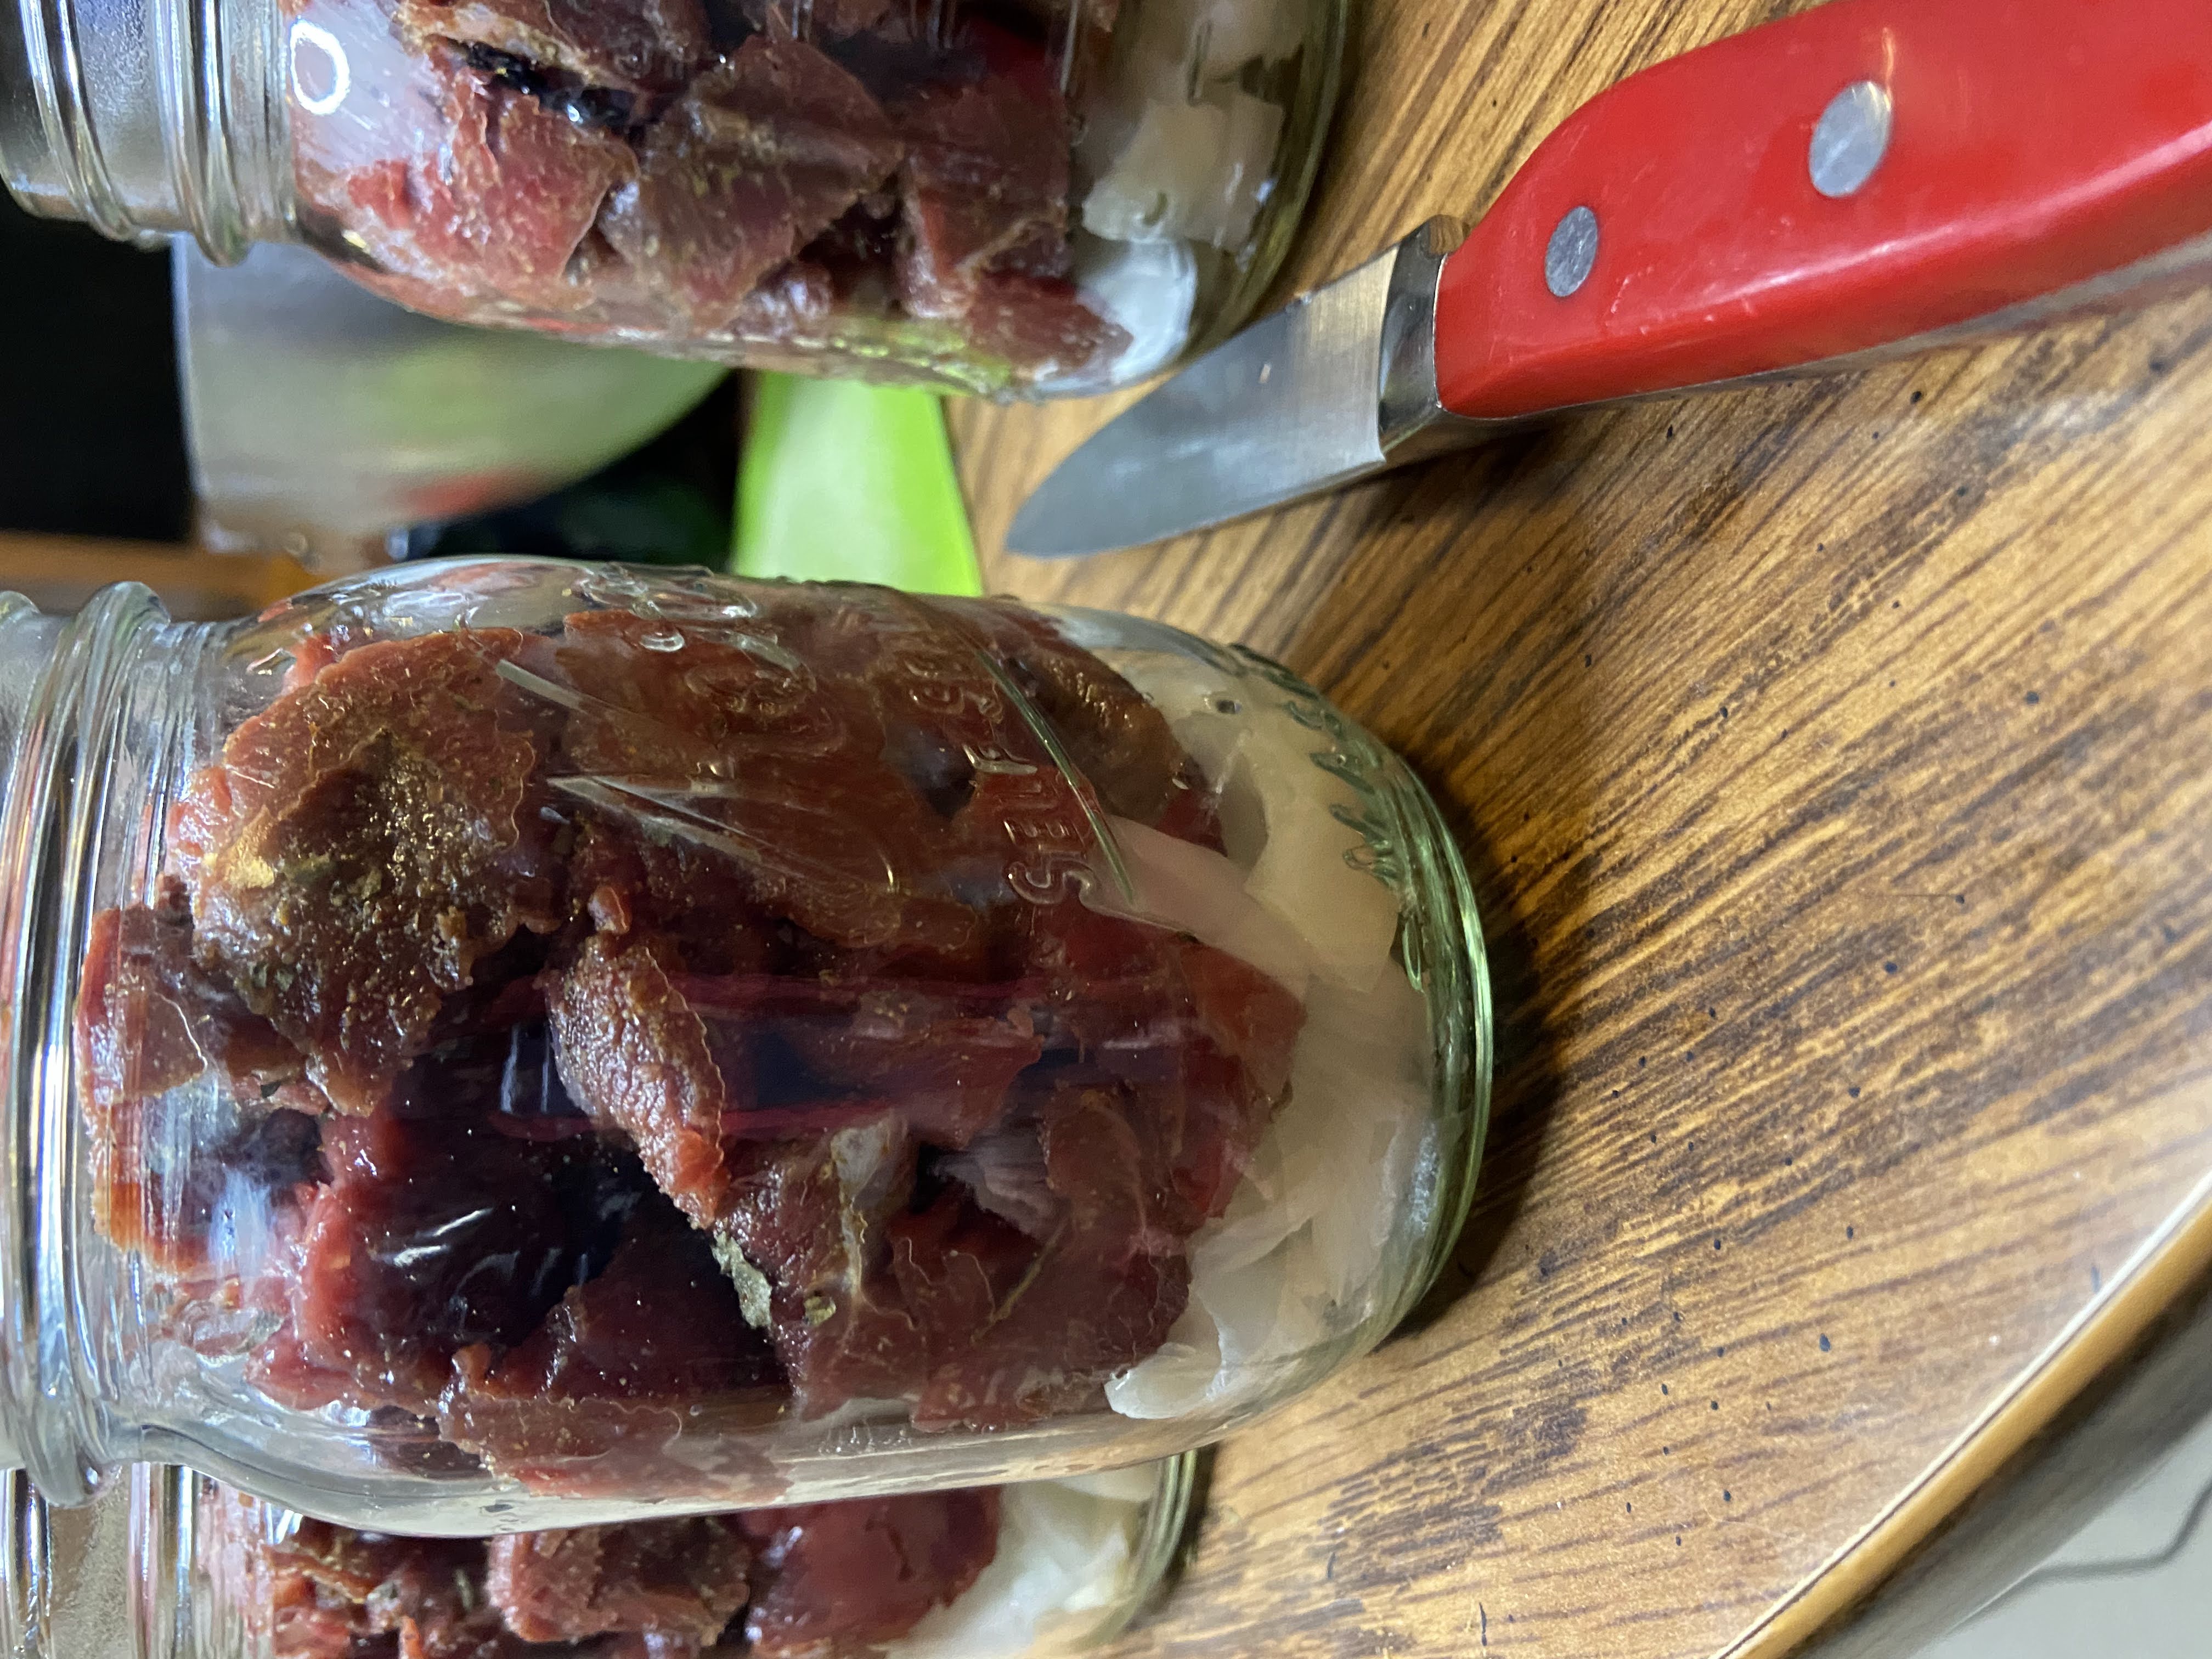
Using a food scale, measure meat in one pound increments. Place into freezer bags, flattening and removing air as you seal them. Wrap with freezer paper and label.


Ground Italian Venison
Equipment
Ingredients
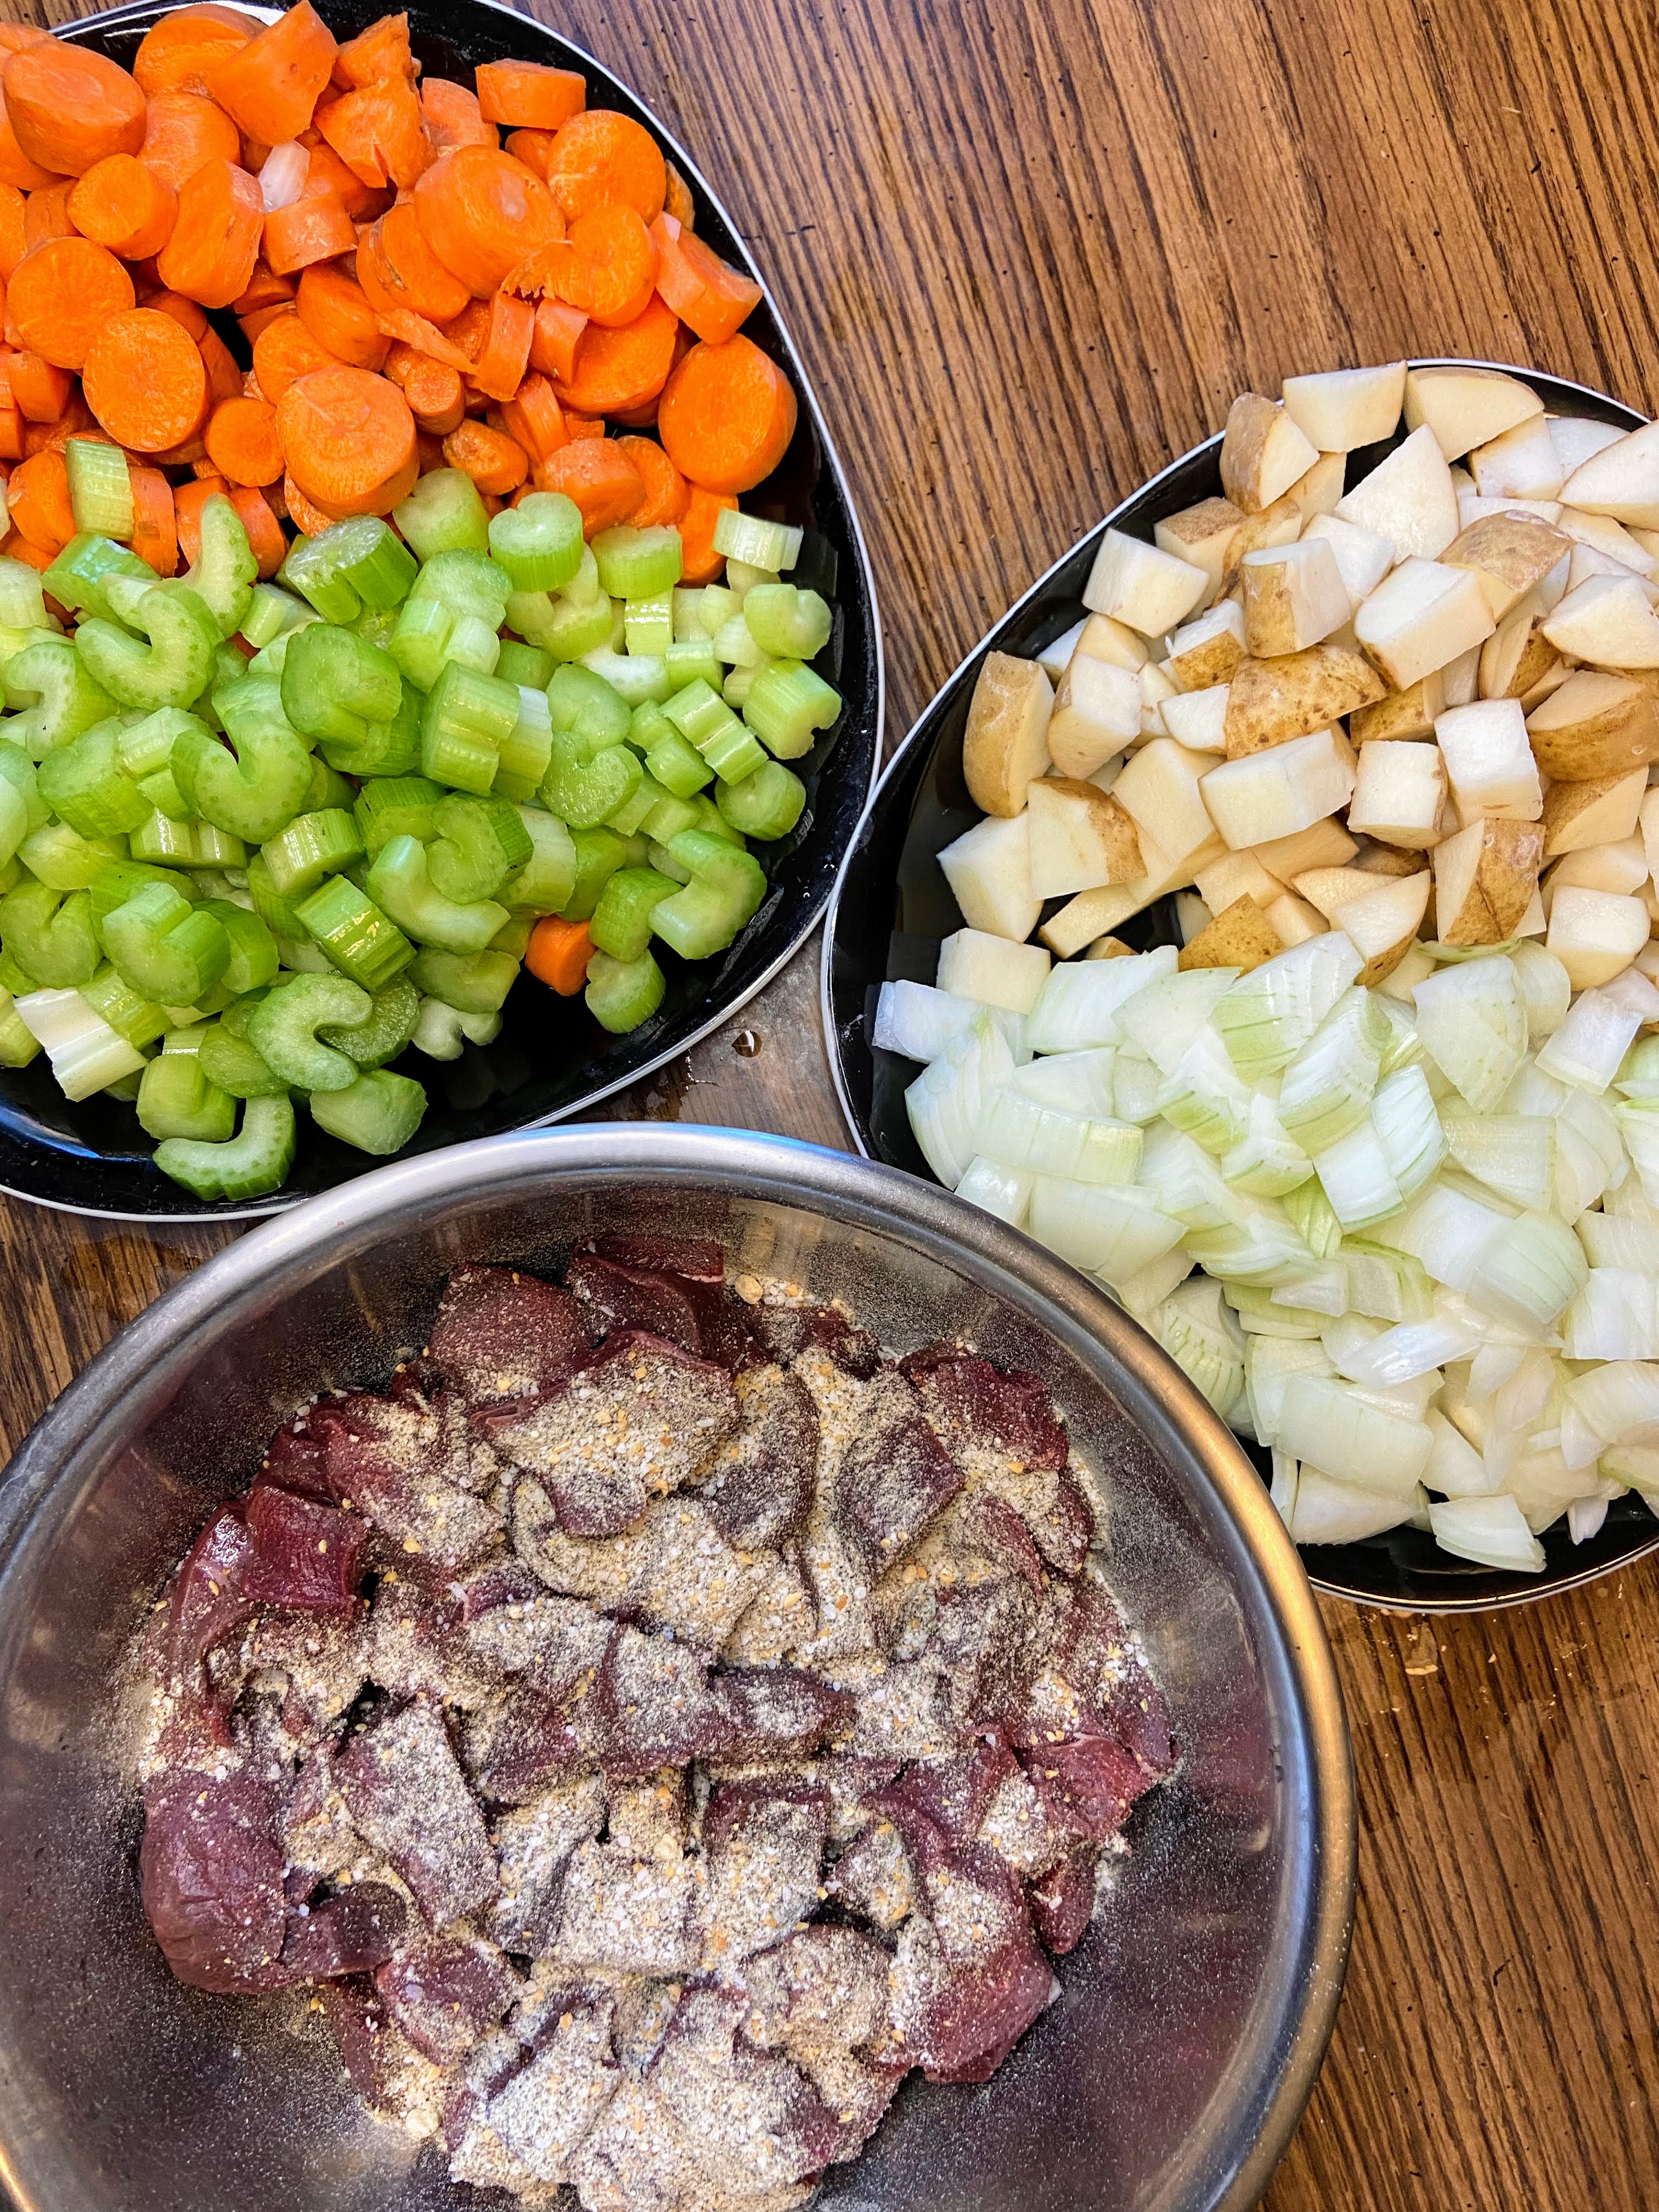
- 5 pounds venison cleaned and cubed
- 5 pounds pork shoulder cubed
- 3 tablespoons dried parsley
- 3 tablespoons dried Italian seasoning
- 2 ½ tablespoons black pepper
- 1 tablespoon fennel seed
- 1 tablespoon paprika
- 1 1/2 -2 tablespoons red pepper flakes
- 3 tablespoons salt
- 5 tablespoons dried minced garlic
- 2 tablespoons dried minced onion
Instructions
- Mix all spices in a small bowl.
- Measure and grind 5 pounds each of venison and pork shoulder.
- In a large bowl, combine both proteins and mix well.
- Add about ⅓ of the spice mixture and mix the meat, being sure to pull from the bottom. Add another ⅓, mixing again.
- Finally, add remaining spice mixture, being sure to grab all the meat from the bottom, mixing thoroughly.
- Using a food scale, measure meat in one pound increments.
- Place into freezer bags, flattening and removing air as you seal them. Wrap with freezer paper and label.
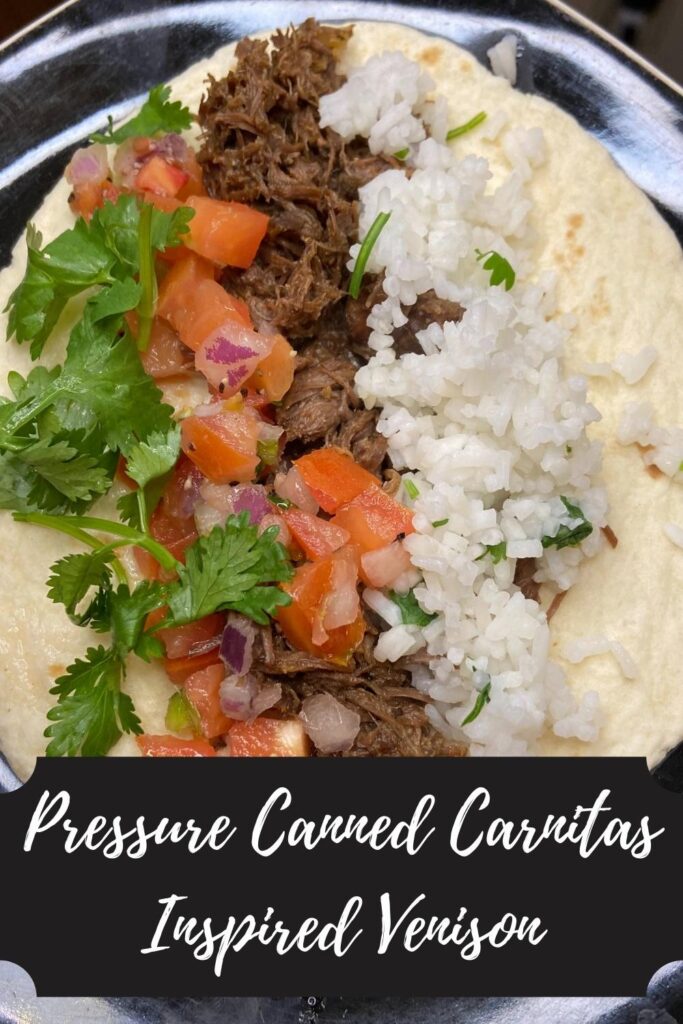
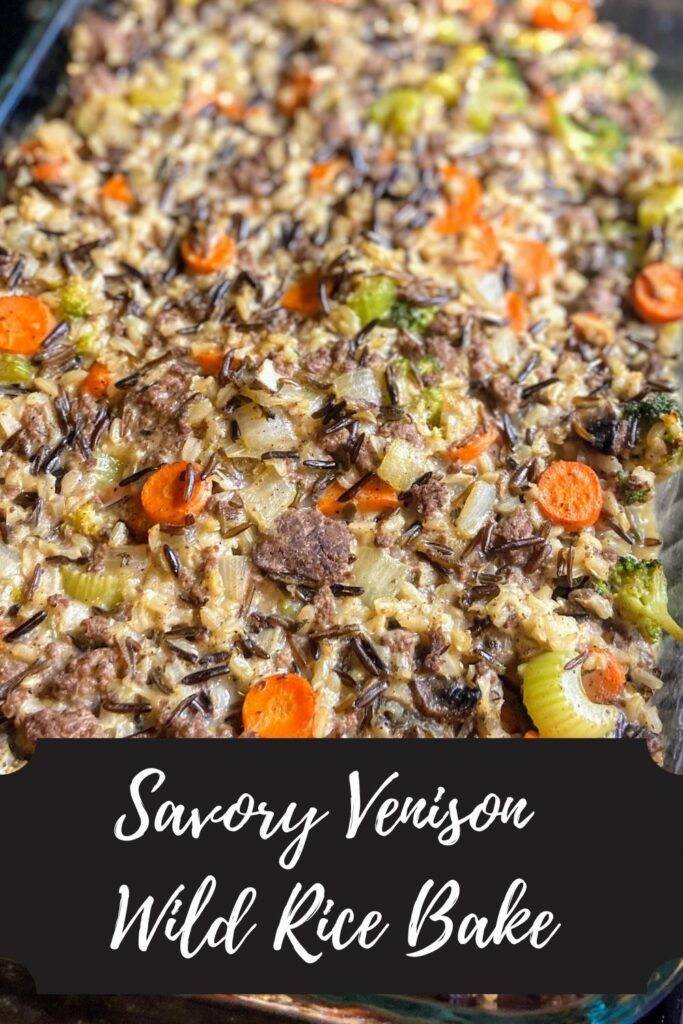
Looking for other venison Recipes?
Check out these ideas for more venison recipes.