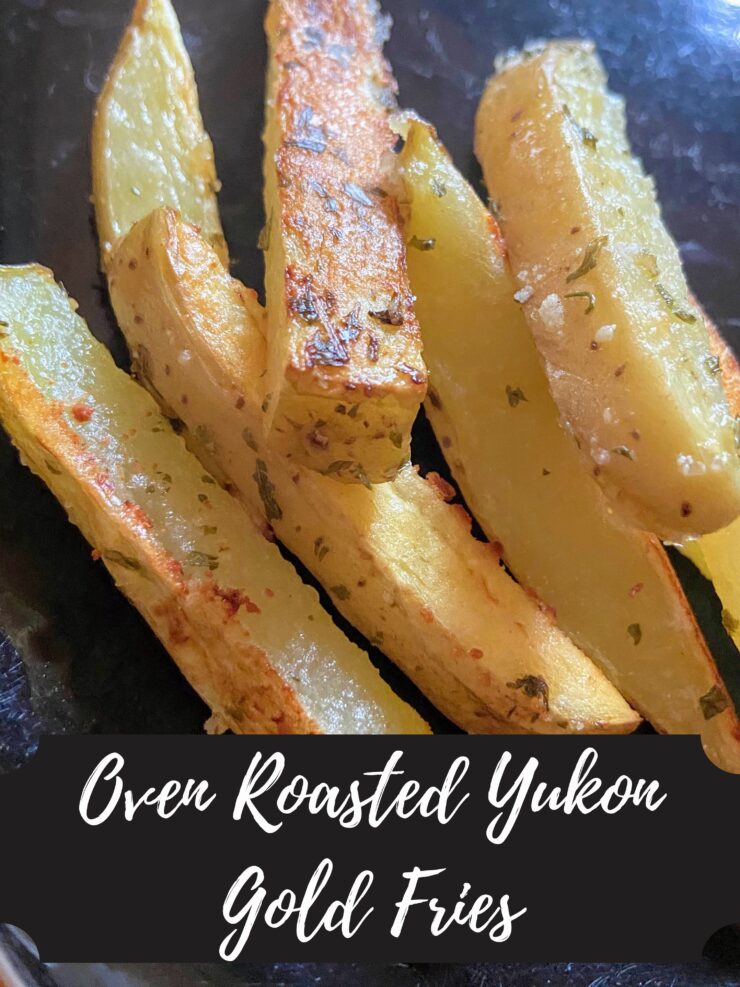
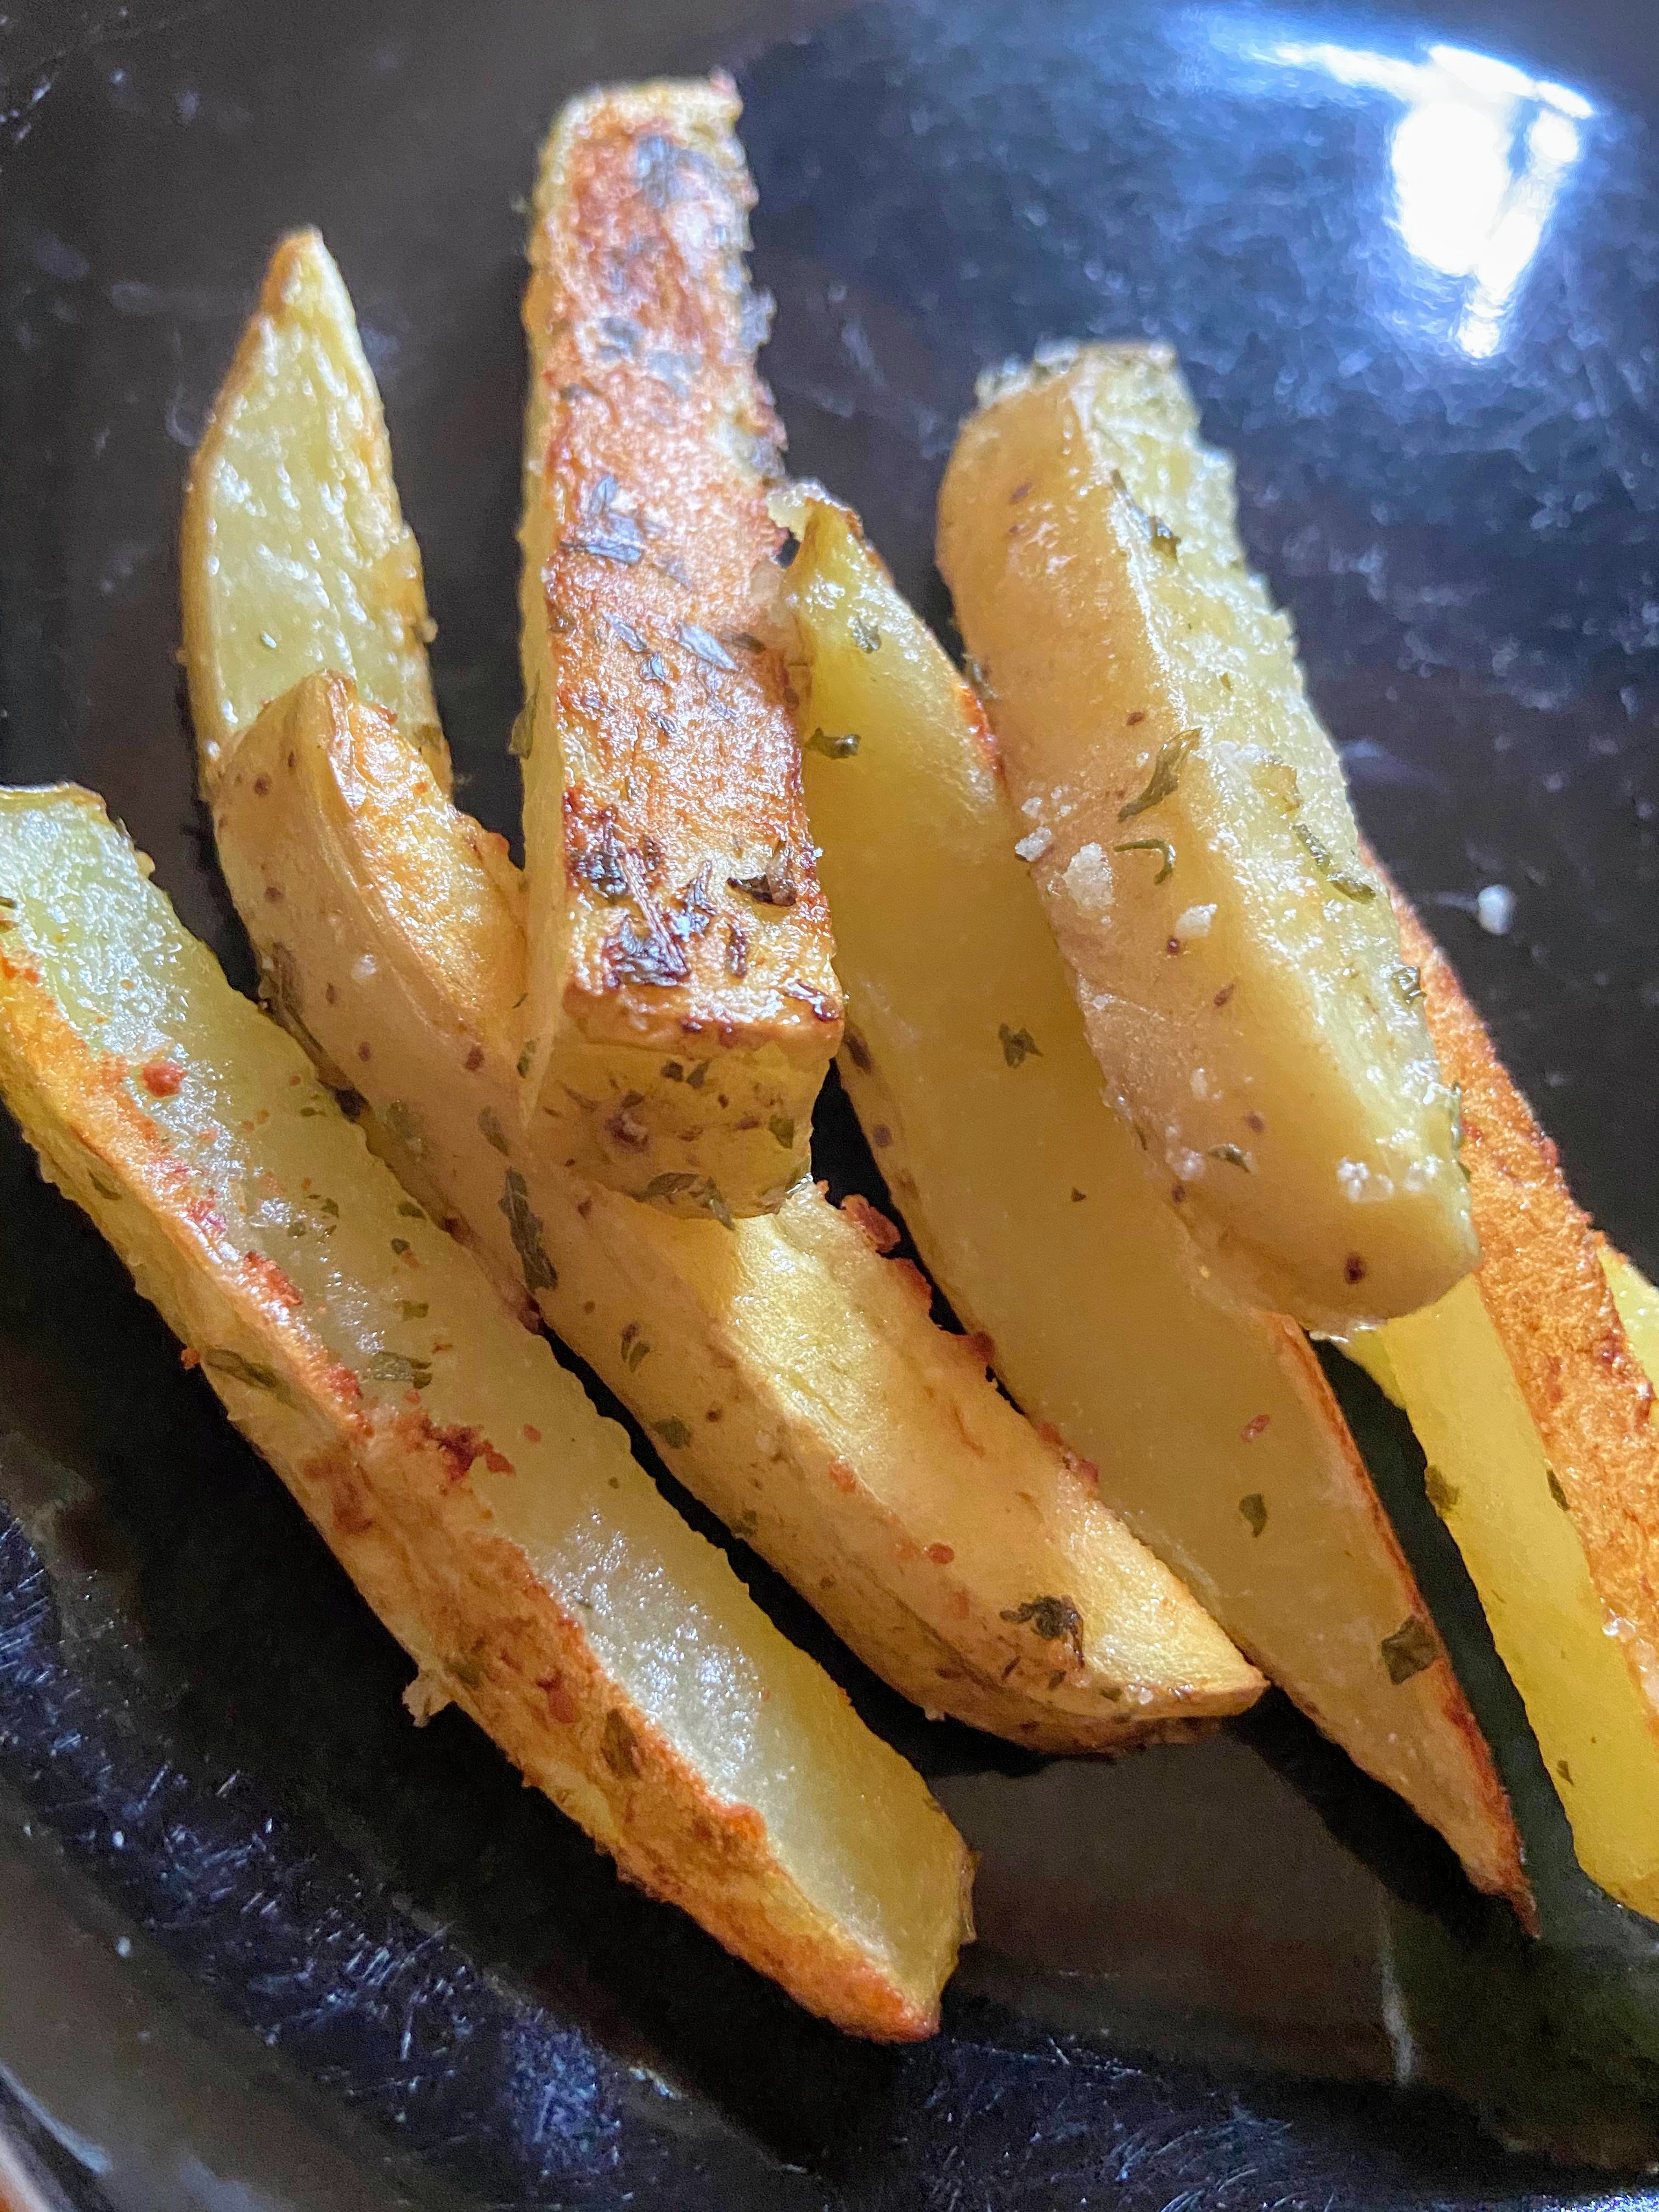
Isn’t it funny how us humans like to ruin a good for you food by adding all the extras? You know, dipping vegetables in ranch, making broccoli and cauliflower in a heavily processed cheese sauce, or frying up the potato. Now don’t get me wrong, it’s 100% great to indulge in all the extras from time to time, but I have always felt like it negates the benefits of the “good for you” food. Sometimes though, you find a way to indulge without the extras. Case in point: These delicious oven roasted Yukon Gold fries.
Potatoes get such a bad rap because we like to add all the extras. But seriously, they are packed full of nutrients, contain antioxidants, are filling, and super versatile. Check out more information on the potato here if you don’t believe me 😉
These oven roasted Yukon Gold fries come together in 5 minutes (big win!), use simple ingredients are are sure to have on hand at home, and they rival any favorite restaurant fry out there. Better yet, they are baked with olive oil rather than fried. Huge win, am I right? Now let’s get baking! You have a dinner to make!
Your ingredients:
- 3 Yukon Gold potatoes (about 1 pound)
- 1 tablespoon olive oil
- 1/2 teaspoon salt (or more, to taste)
- 1 teaspoon dried parsley
- 1/2 tablespoon grated Parmesan cheese
Your steps to the perfect oven baked Yukon Gold potato
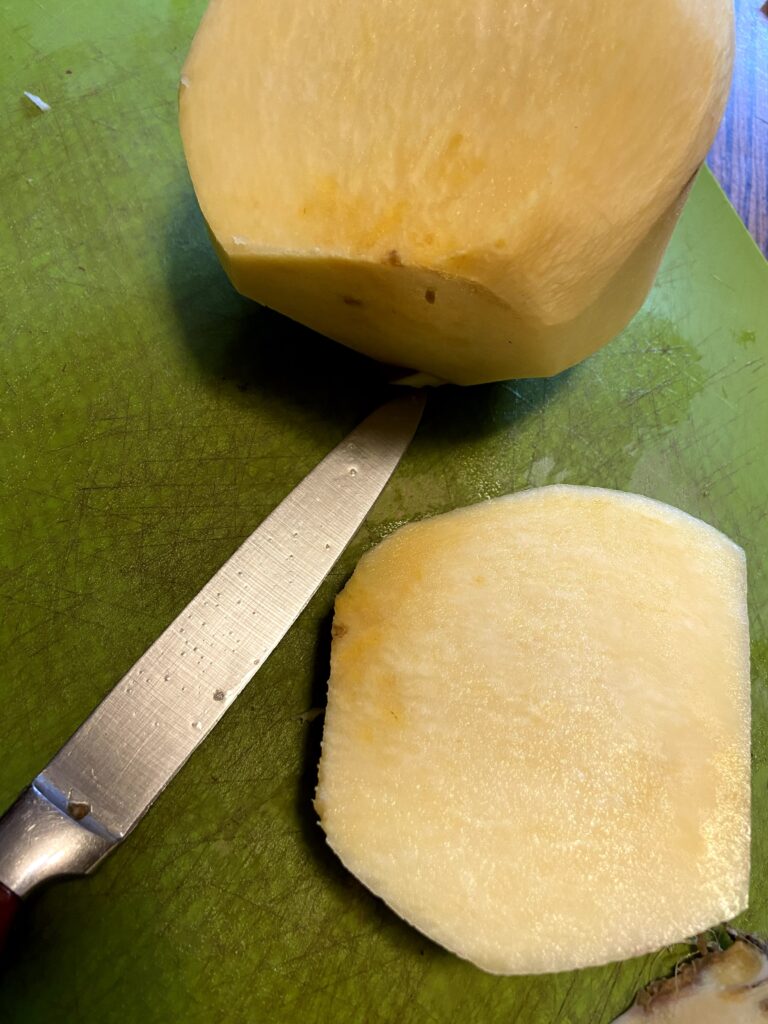
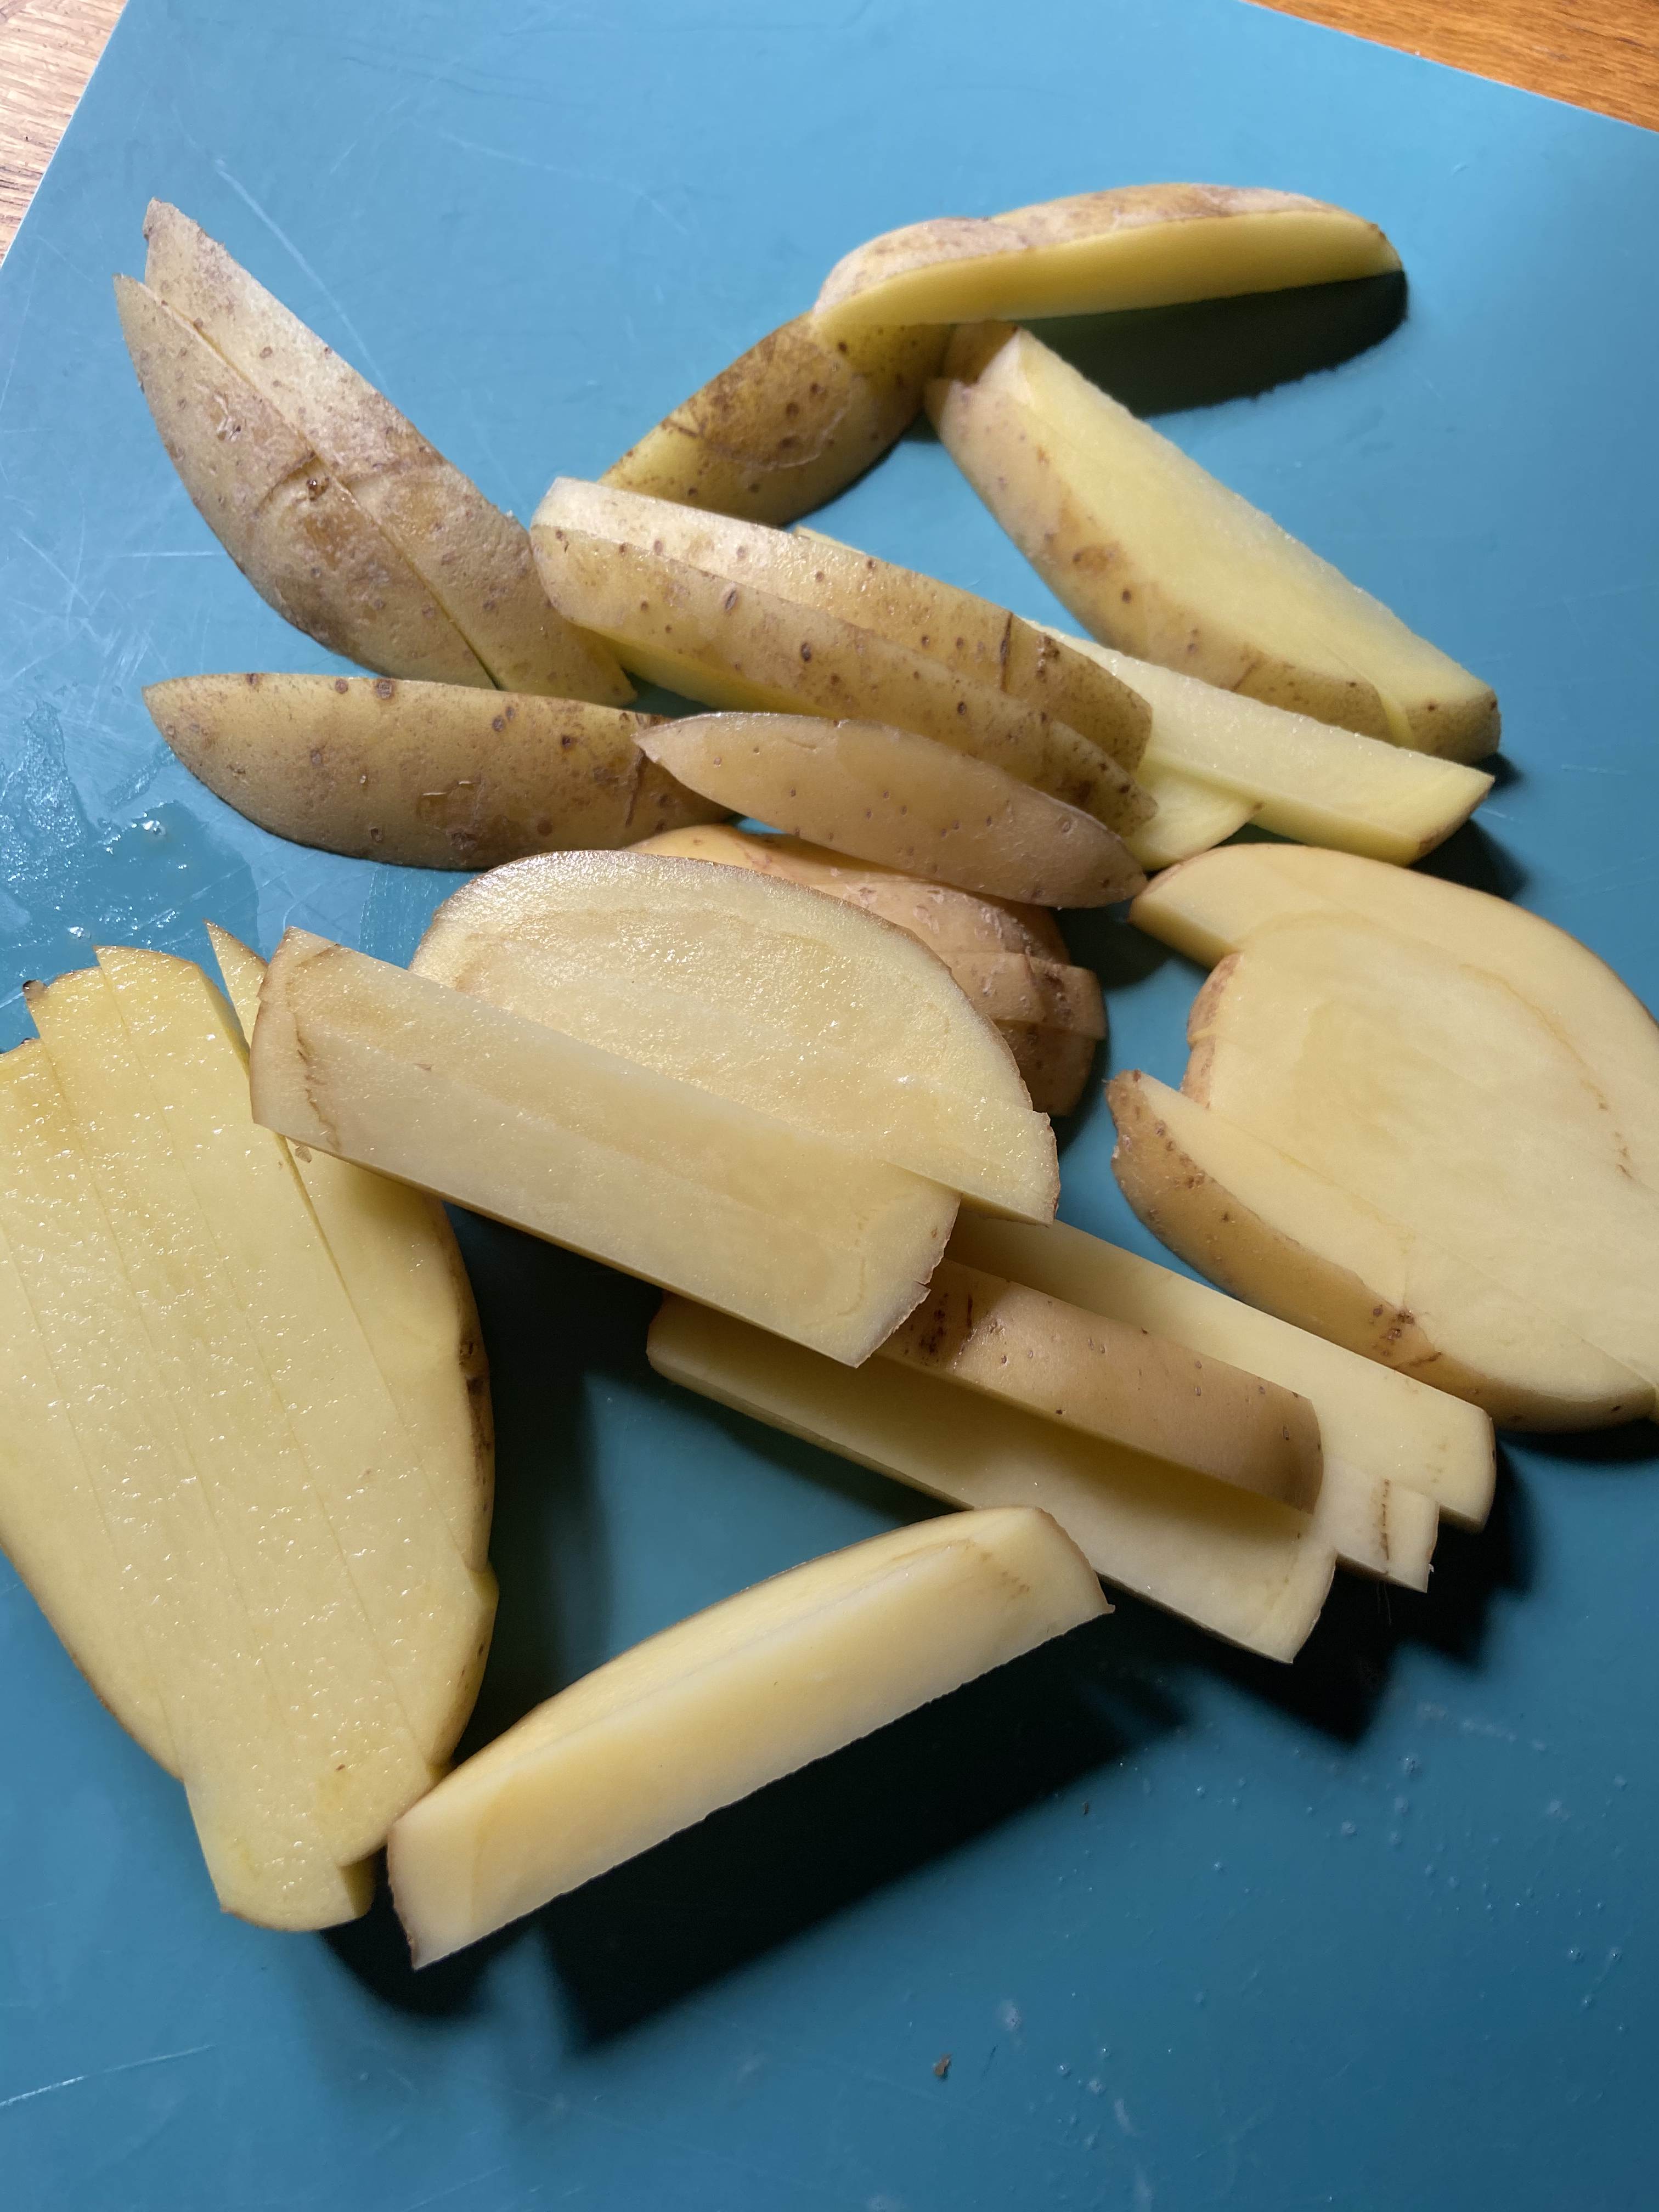
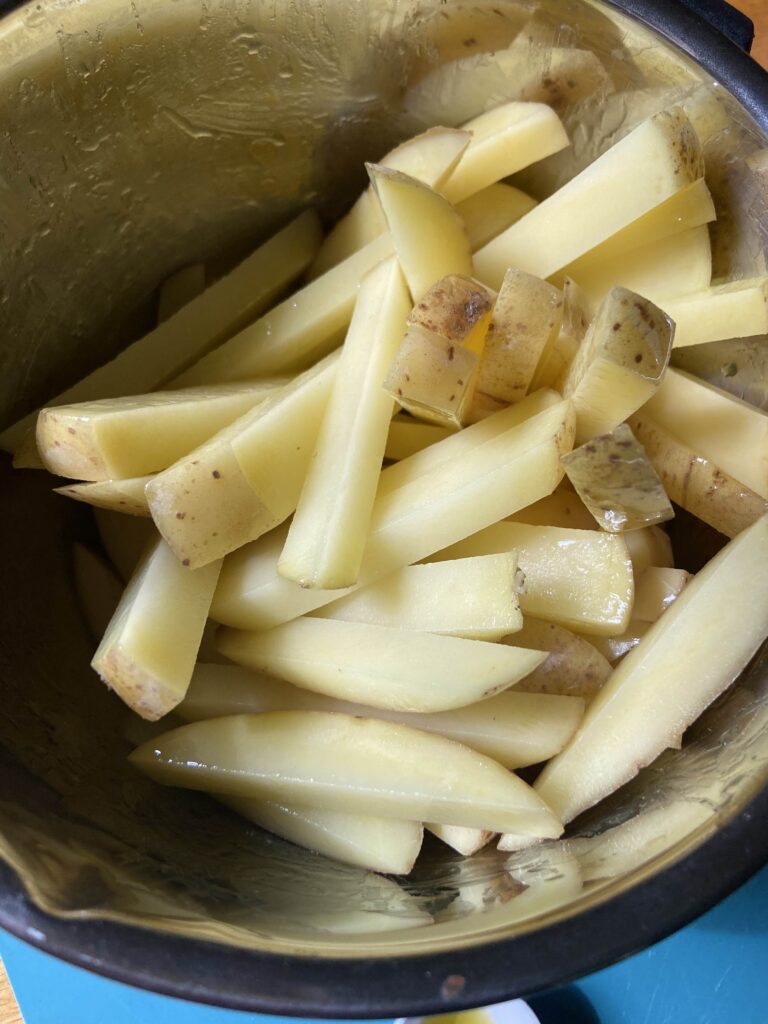
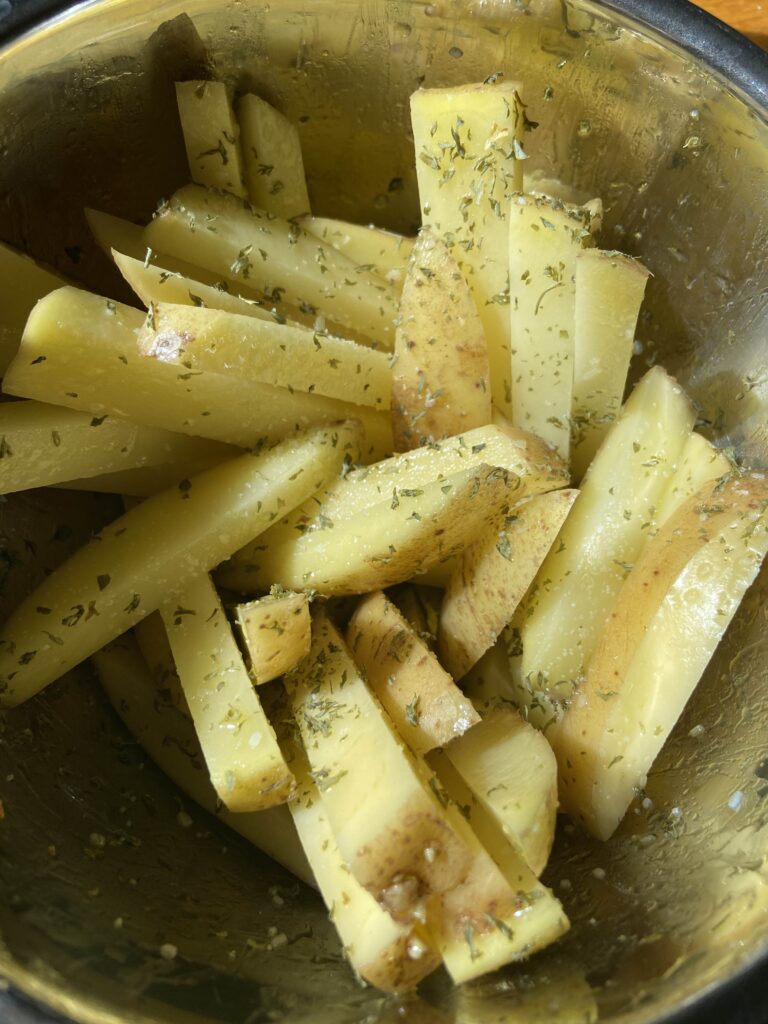
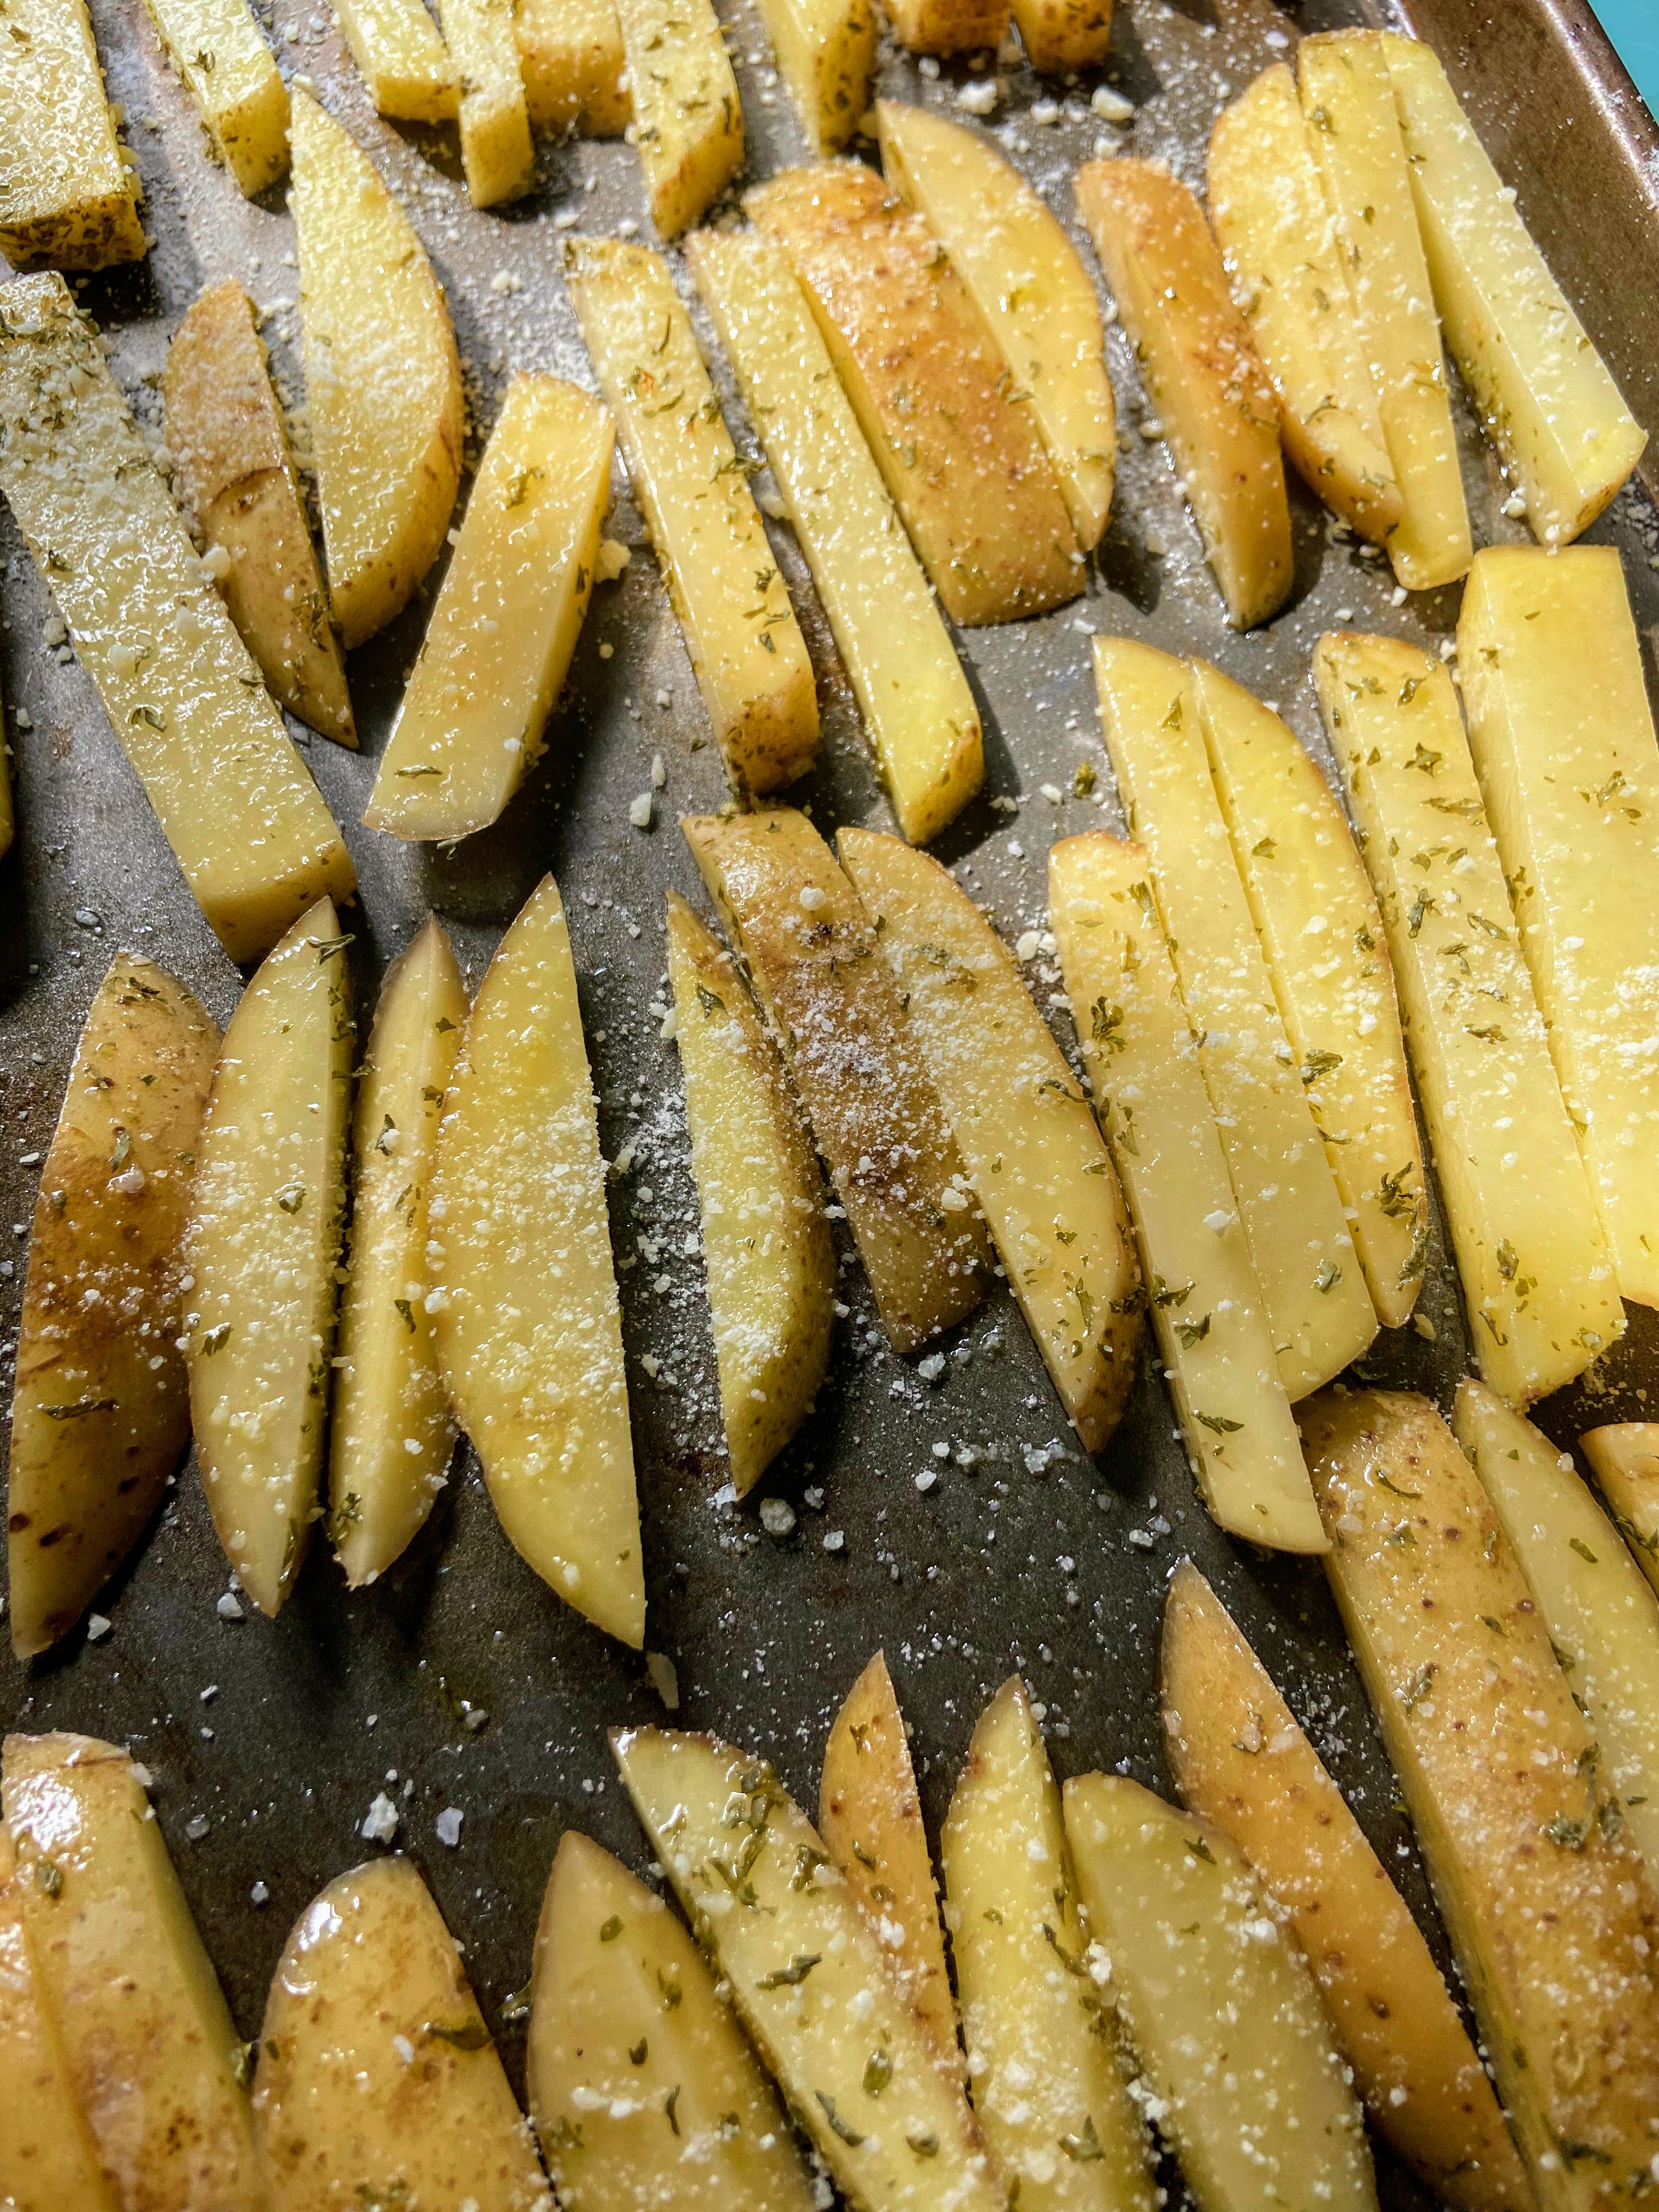
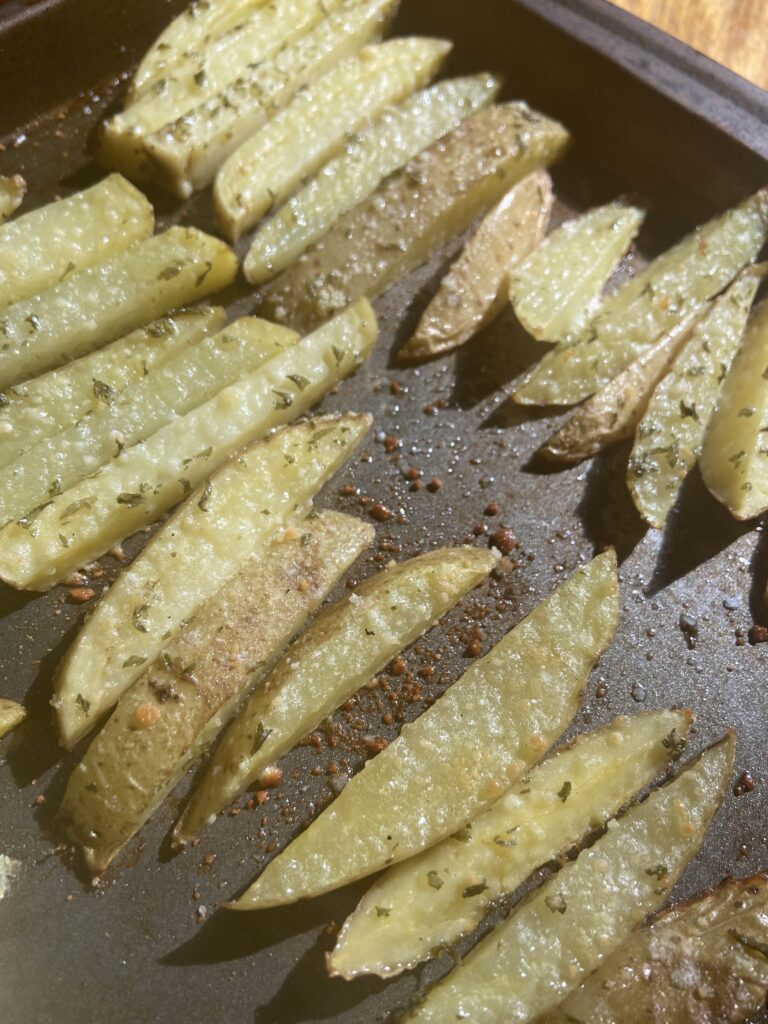
Preheat the oven to 425 degrees. Slice your potatoes such that you end up with 1/2 inch slices. Put into a medium sized bowl. Add olive oil and toss. Sprinkle in salt and parsley, tossing half way through and then adding the rest. Lay with a cut side down onto a greased baking sheet. (Don’t skip the cooking spray on the sheet. The potatoes will stick if you do). Sprinkle cheese on top. I like to check my salt and parsley amounts here as well. Sprinkle a little more if you missed a few spots when tossing. Bake in the bottom half of your oven at 425 for 20-30 minutes. They will come out creamy and delicious without frying.
That’s it! Easy peasy right? Now pair them with a great grill food (chicken breasts, burgers, you name it!) and as my father would say, “You have something going :)”
Looking for other great side dish ideas? Check out my cooking page by clicking below!
Oven Roasted Yukon Gold Potatoes
Equipment
Ingredients
- 3 Yukon Gold potatoes about 1 pound
- 1 tablespoon olive oil
- 1/2 teaspoon salt or more, to taste
- 1 teaspoon dried parsley
- 1/2 tablespoon grated Parmesan cheese
Instructions
- Preheat the oven to 425 degrees.
- Slice potatoes such that you end up with 1/2 in slices.
- Put into a medium sized bowl. Add olive oil and toss. Sprinkle in salt and parsley, tossing half way through and then adding the rest.
- Lay with a cut side down onto a greased baking sheet.
- Sprinkle cheese on top. Check salt and parsley and sprinkle a little more if you missed a few spots when tossing.
- Bake in the bottom half of your oven at 425 for 20-30 minutes.
Notes
Looking for other awesome sides?
Check out some of my favorites below!