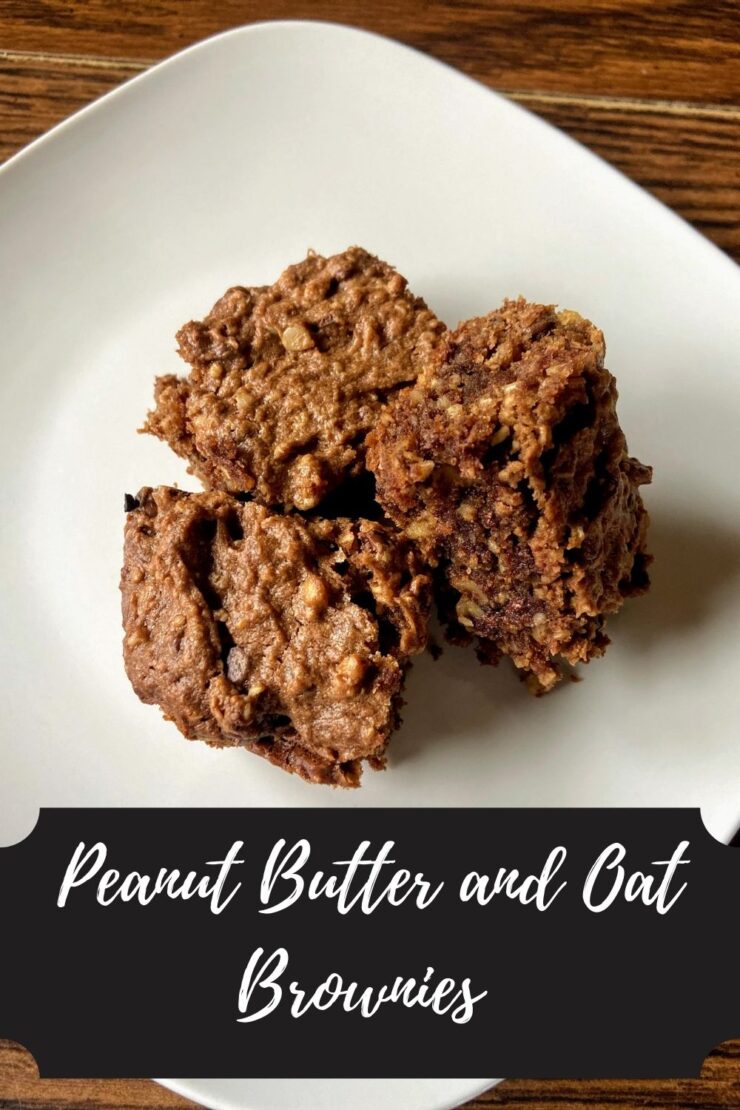
As a high school teacher, I get invited to a number of graduation parties every year. I love celebrating their accomplishments and walking through the shrine that shows them growing up through the years. I also LOVE when they have brownies for dessert. Brownies are a top treat for me, and it’s a rare day that I turn one down. I’m always looking for a new recipe. These peanut butter and oat brownies are gluten free and free of refined sugar. So good!
This recipe was inspired by a Taste of Home magazine recipe. I put my own spin on a brownie bar that I think turned out pretty darn incredible. Bonus points for them being gluten free with no refined sugar (depending on your chocolate chips!). Win, win right? Excuse me while I eat the whole pan!
Ready to get baking? Let’s go!
Your Ingredients
- 1/3 cup oat flour (I grind old fashioned oats myself in a food processor)
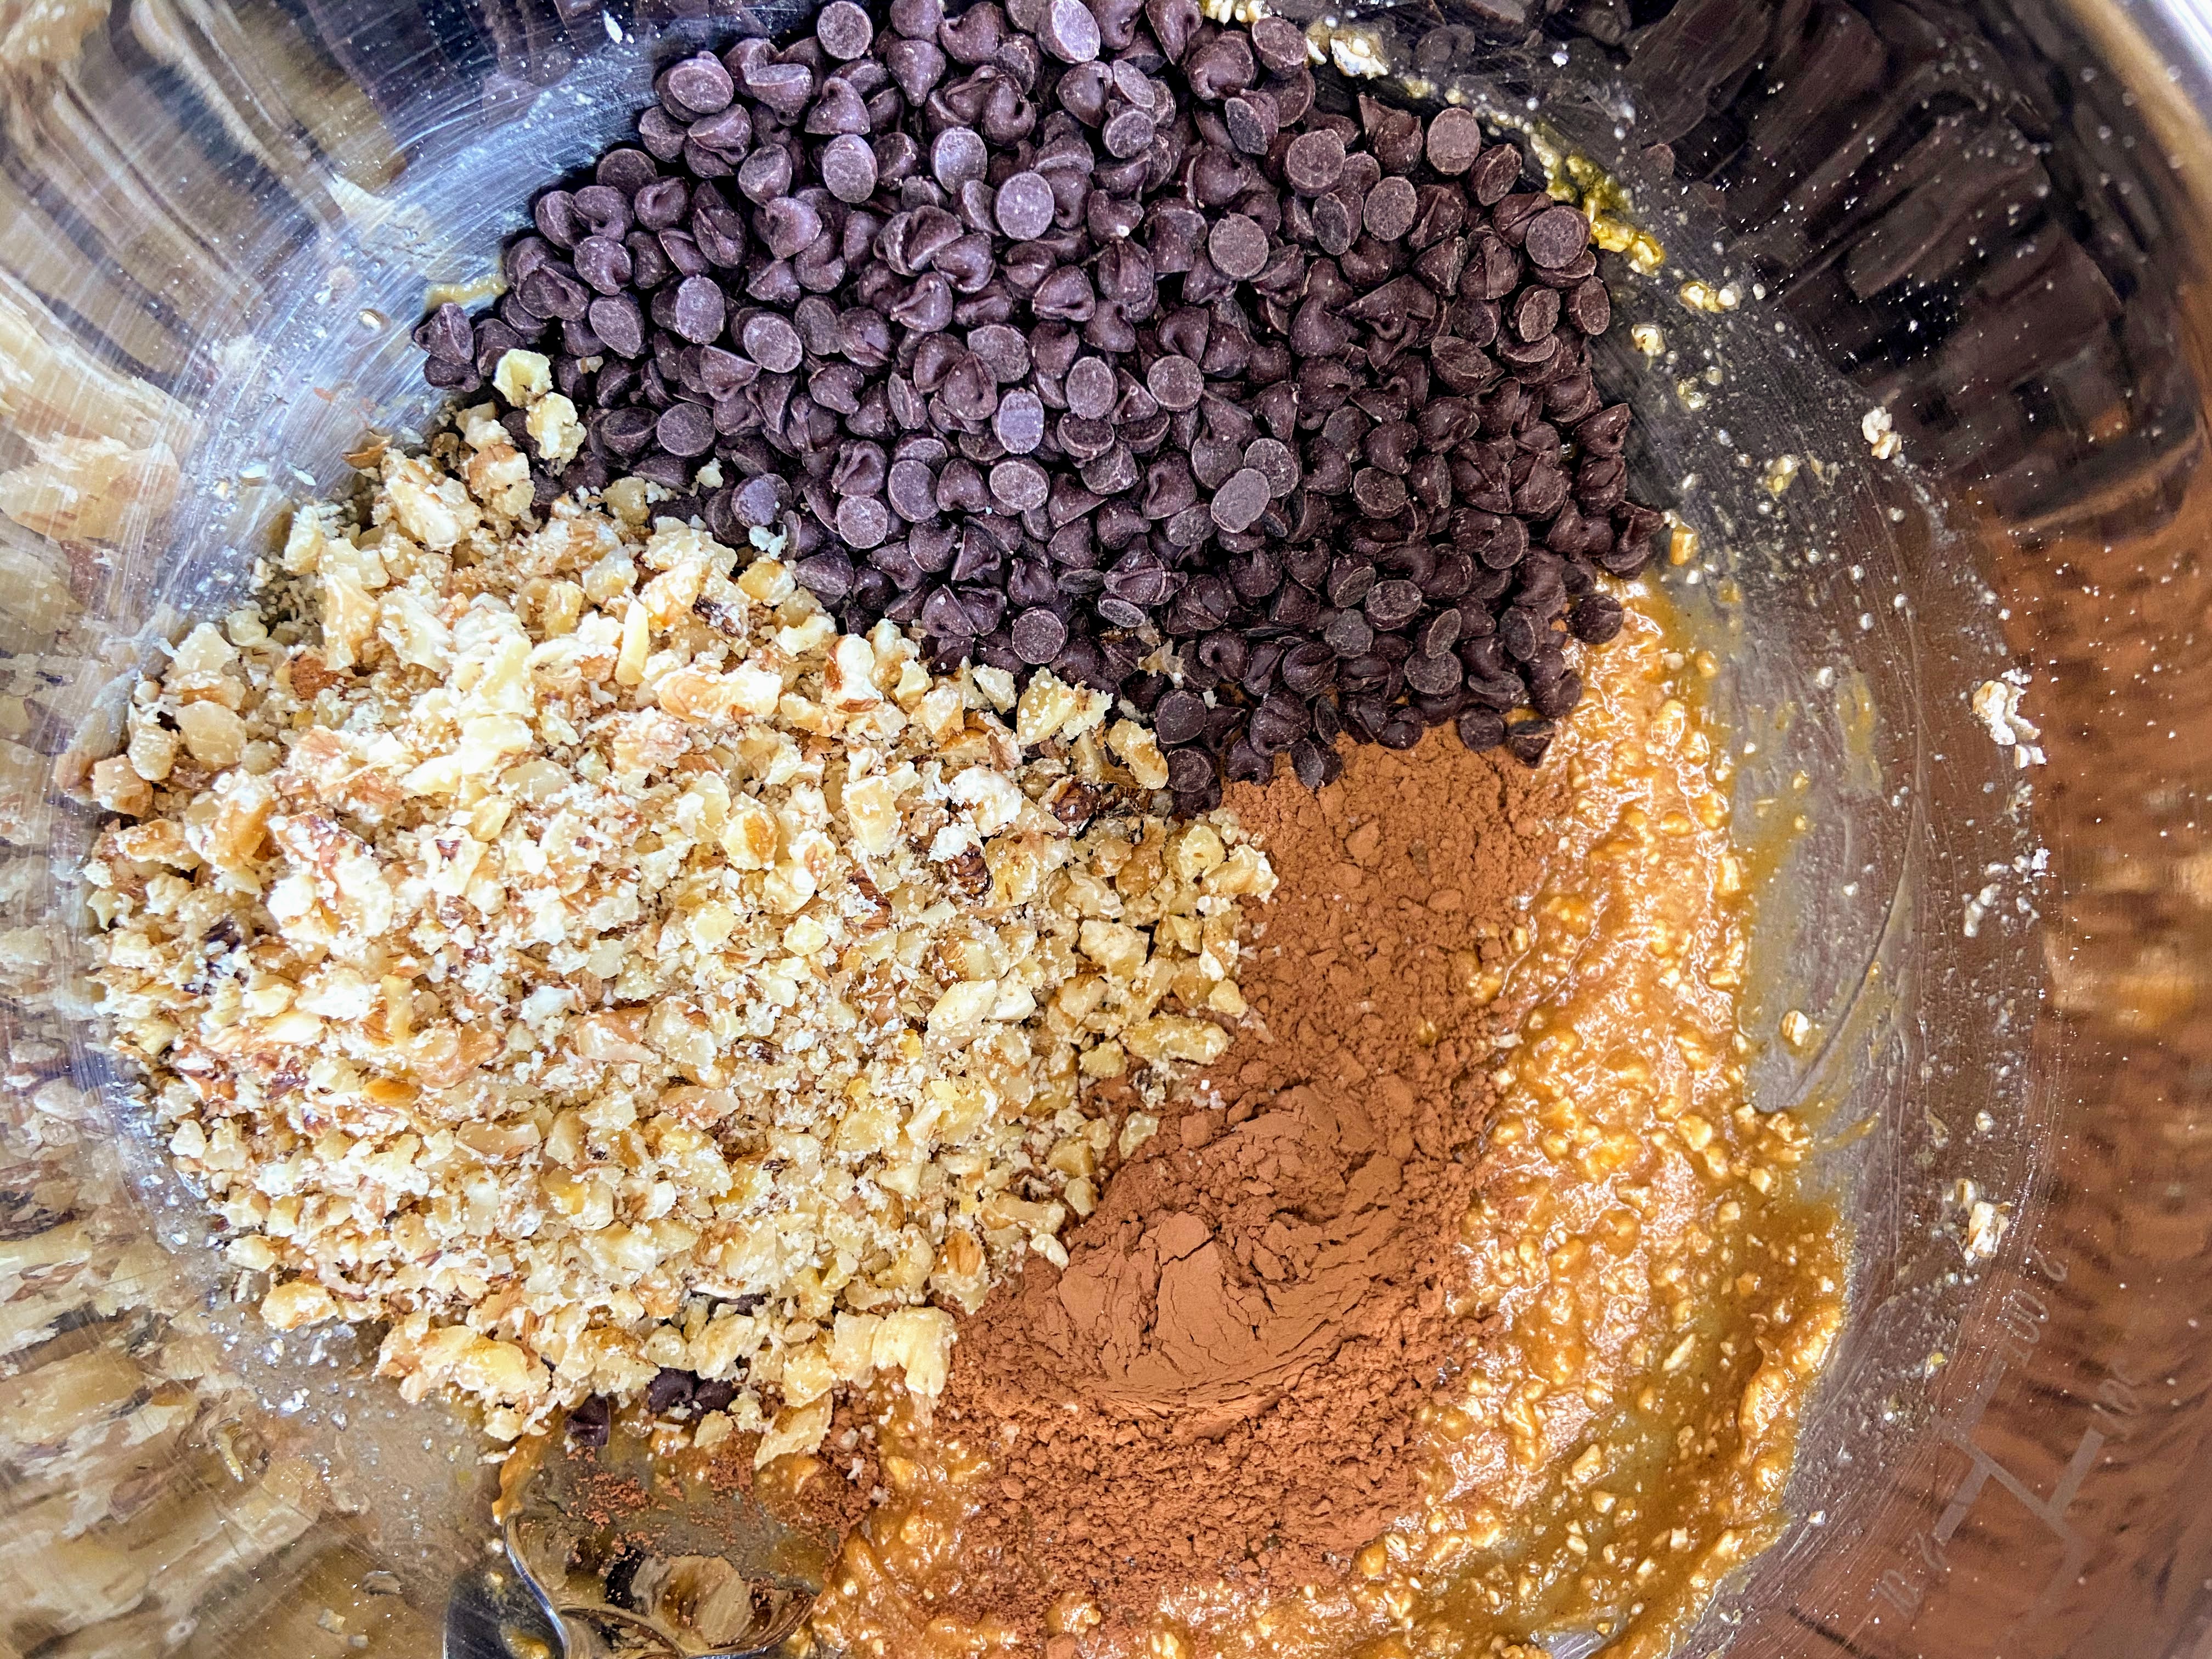
- 2 tablespoons cocoa powder
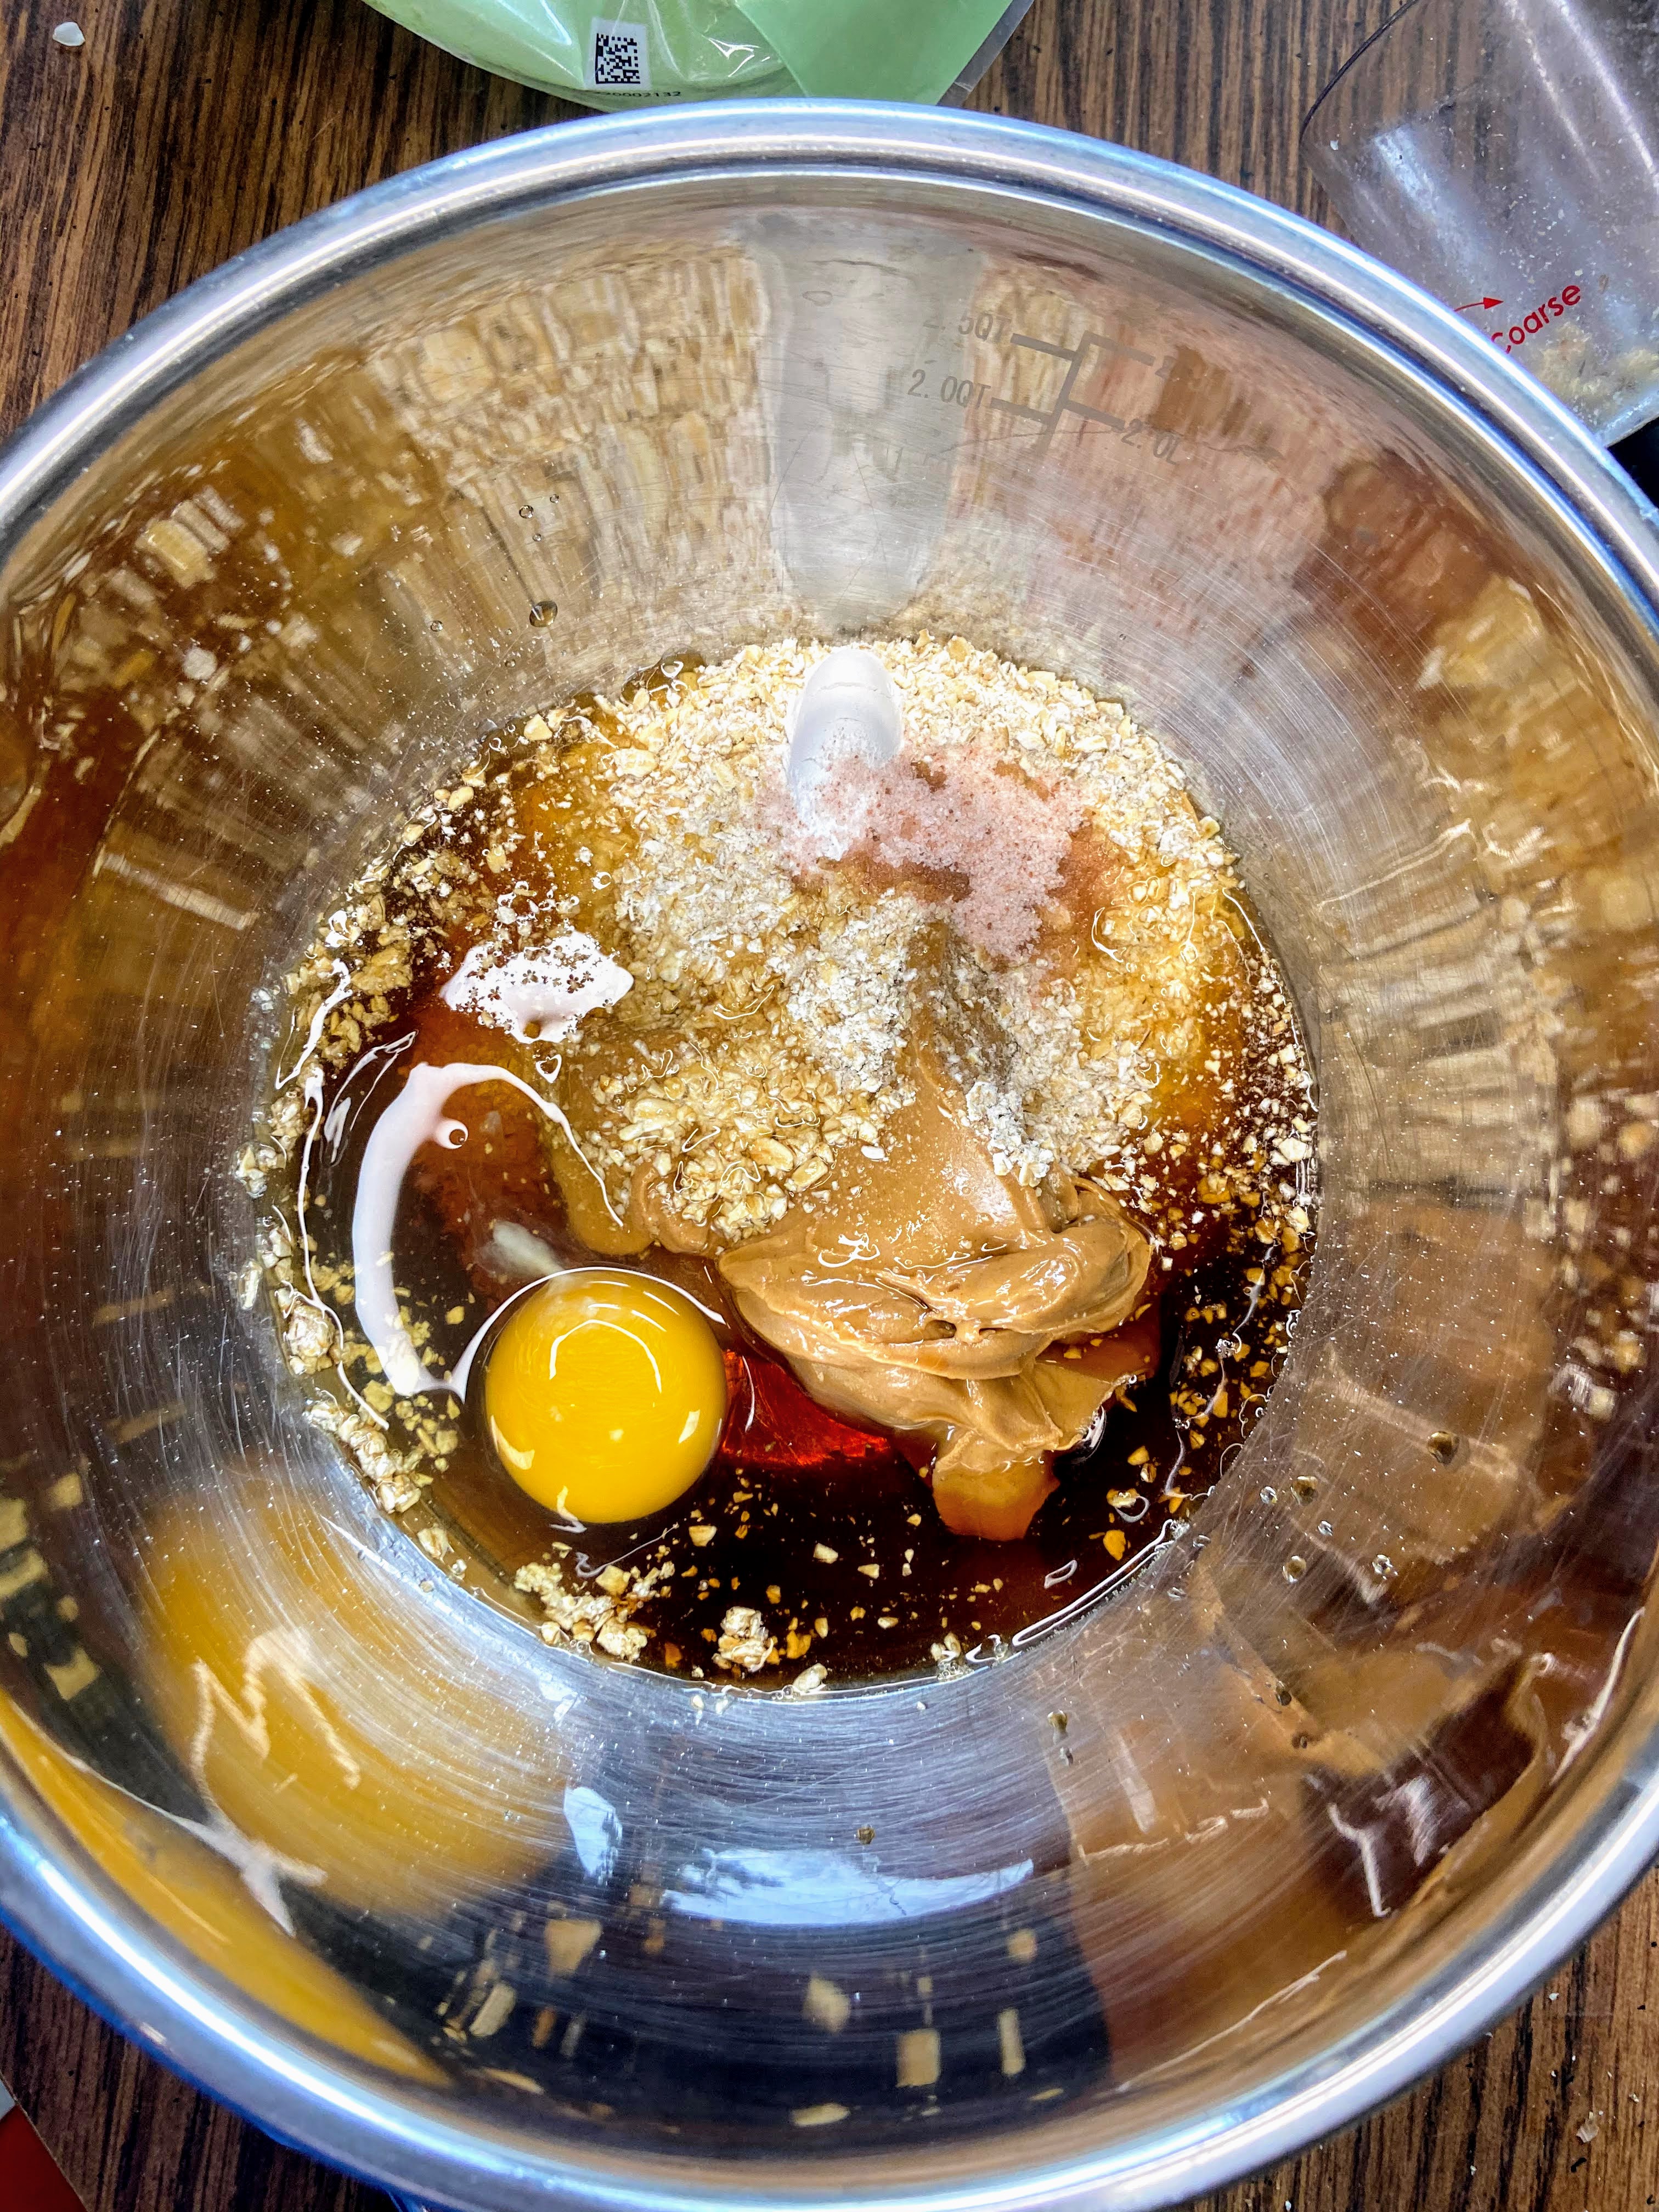
- 1/2 teaspoon salt
- 1/2 teaspoon baking powder
- 1 teaspoon vanilla
- 1 cup nut butter (I did all natural peanut butter)
- 1/2 cup maple syrup
- 1 large egg
- 2/3 cup walnuts
- 2/3 cup semisweet chocolate chips
Your Steps to peanut butter and oat brownies
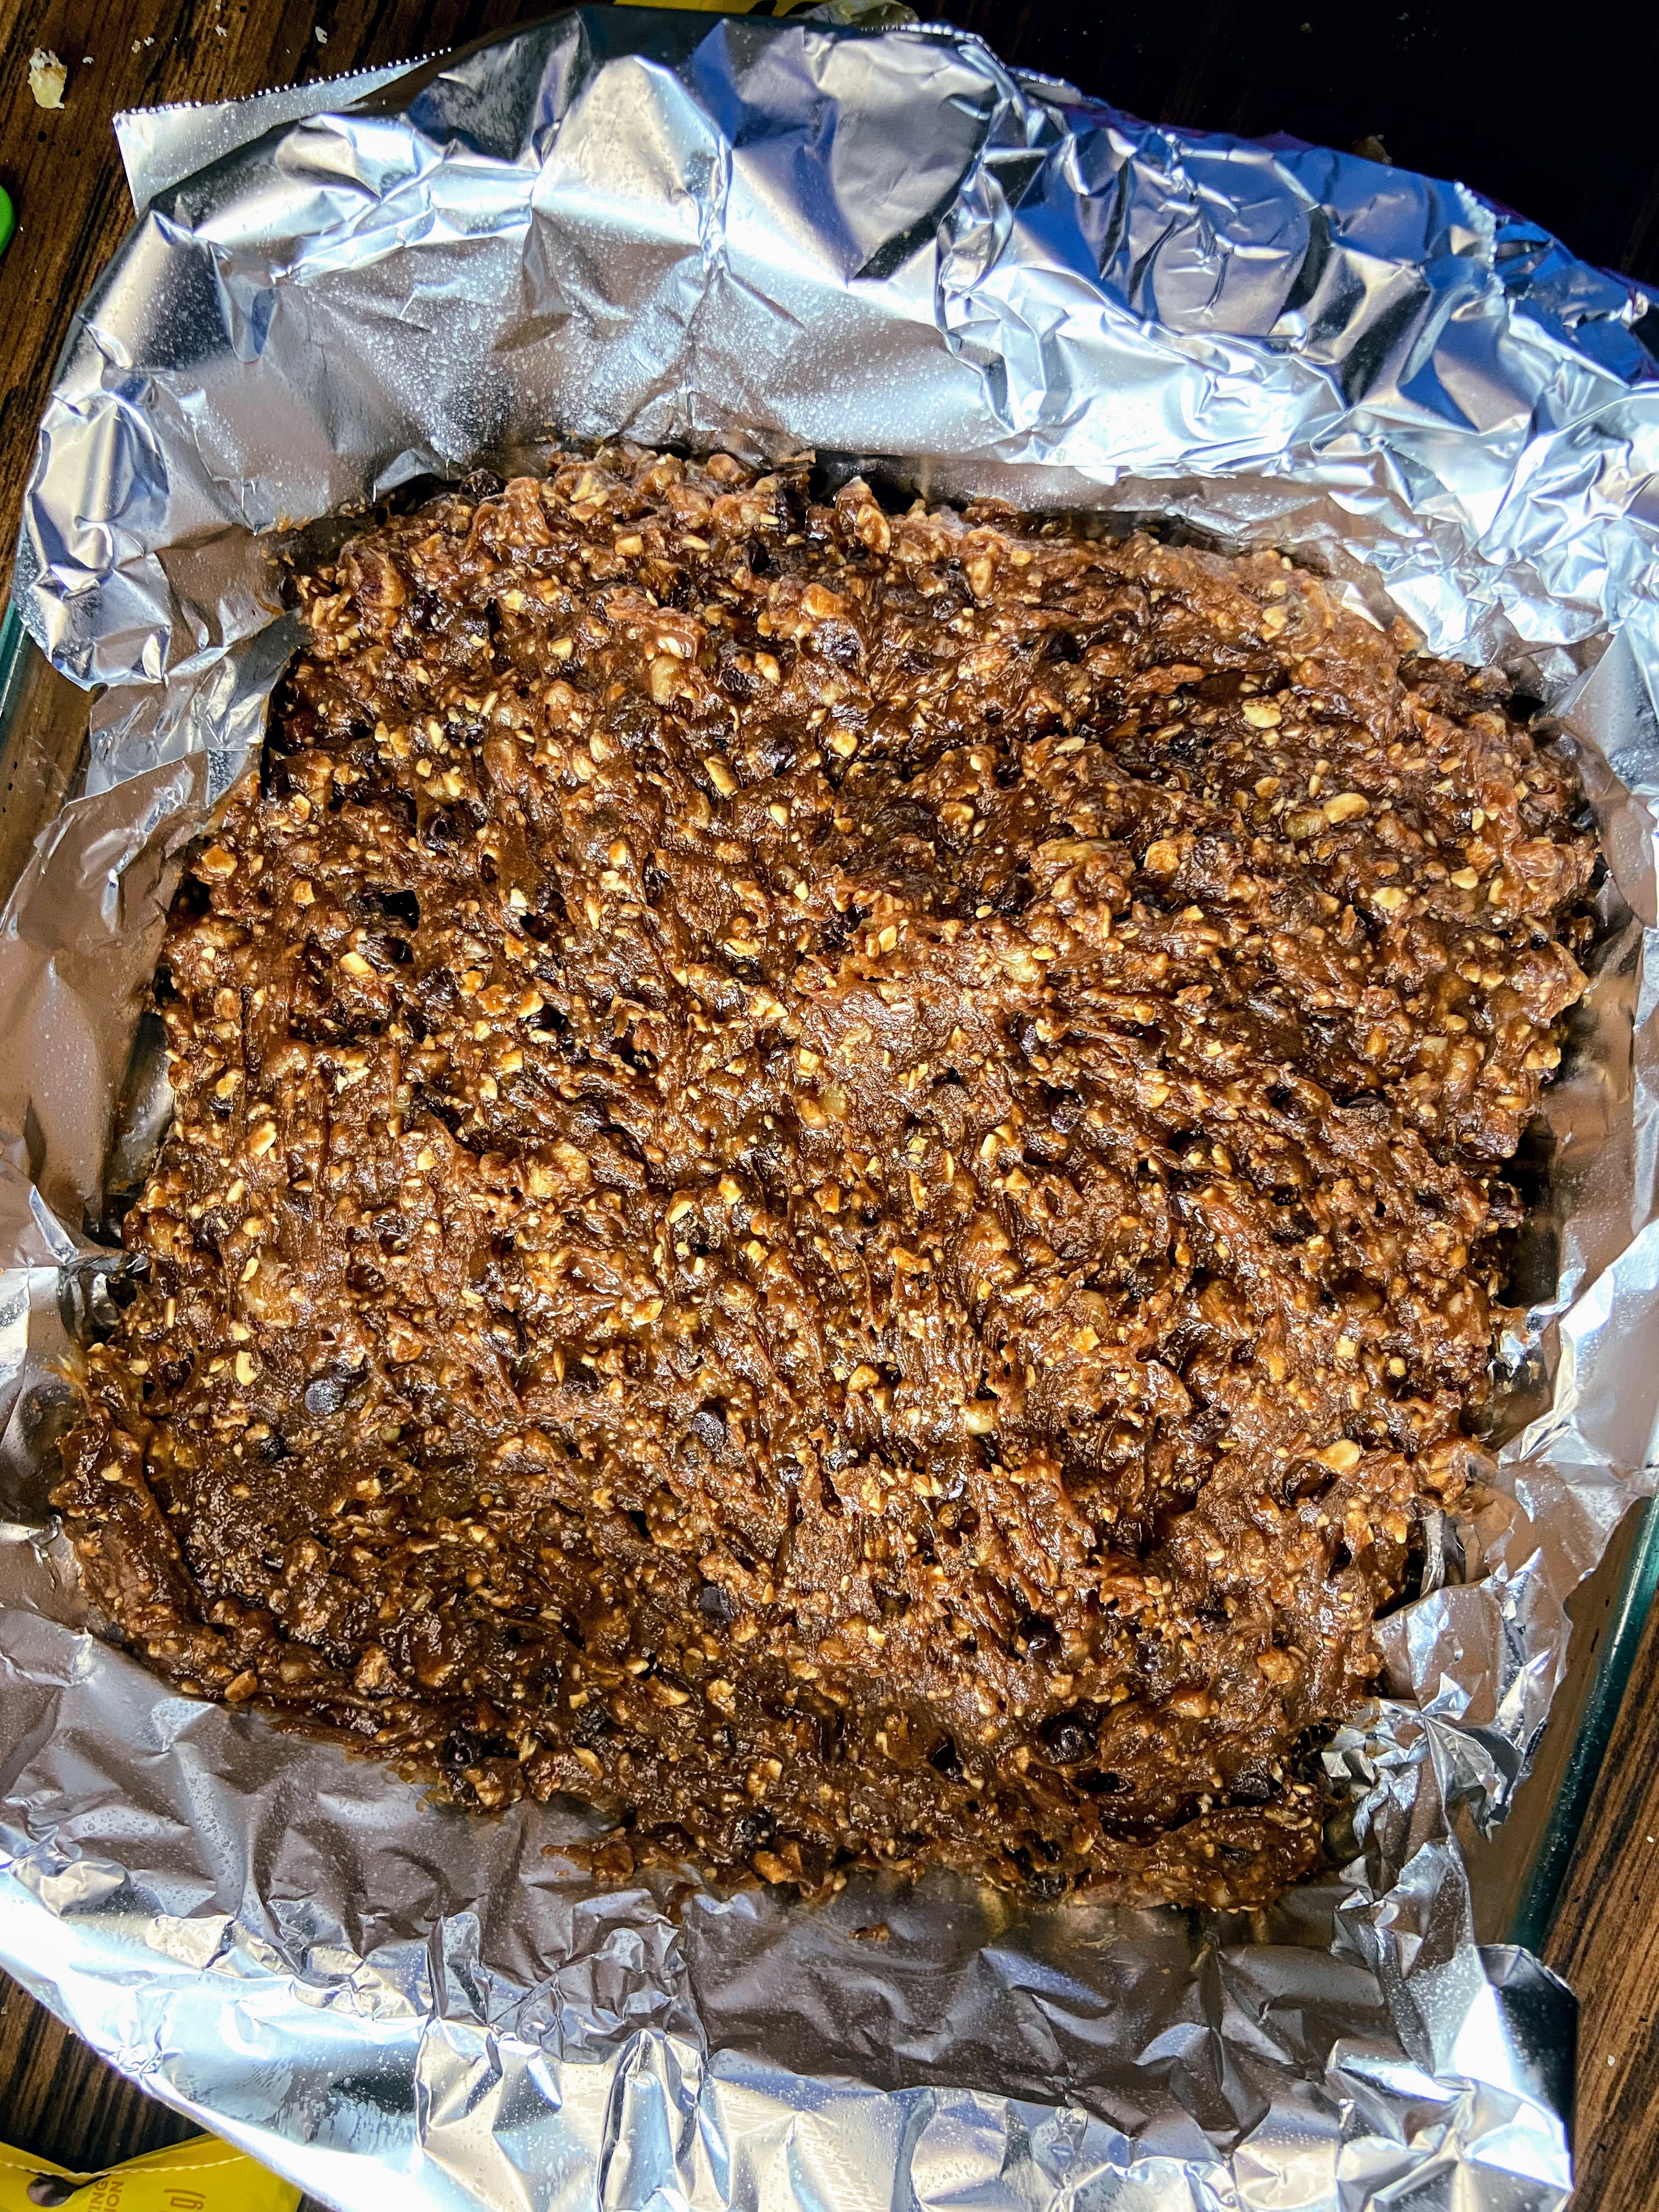
Preheat the oven to 325 degrees. Line an eight inch square baking pan with foil and then coat with cooking spray.
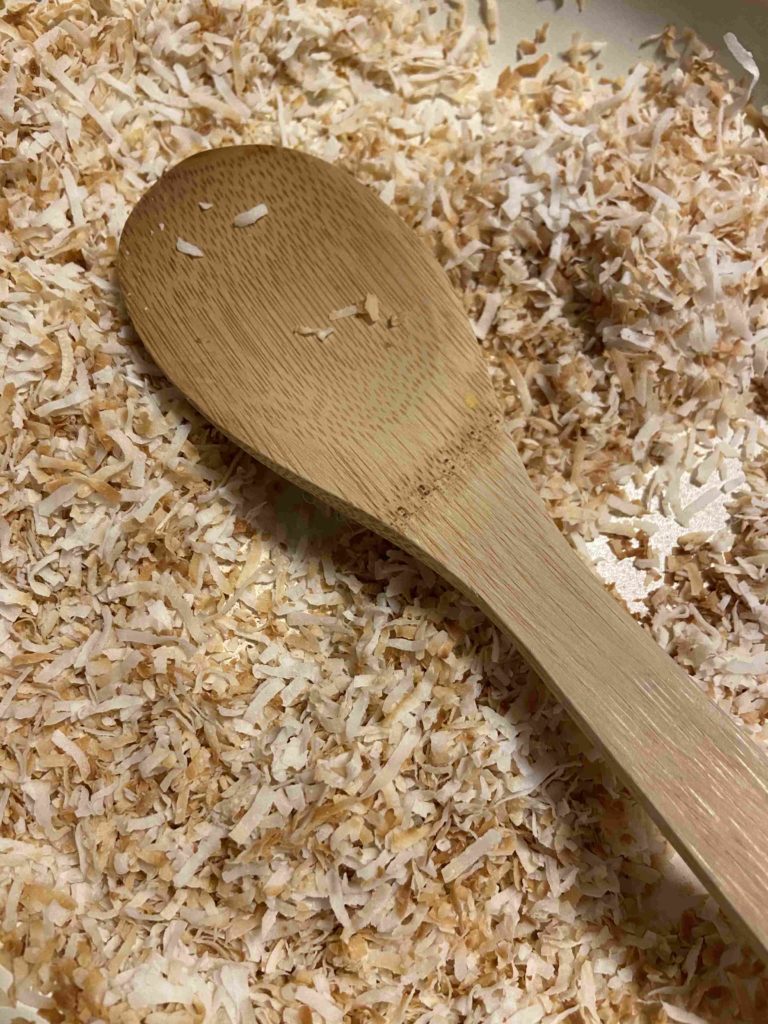
In a small bowl, combine flour, cocoa, salt, and baking powder.
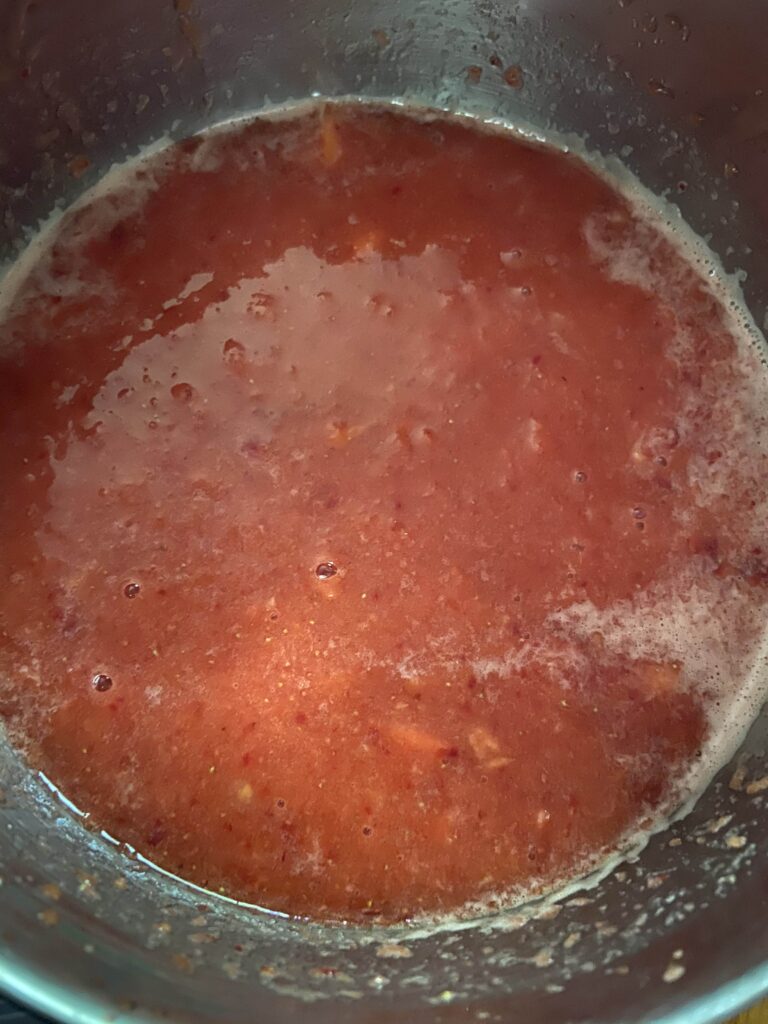
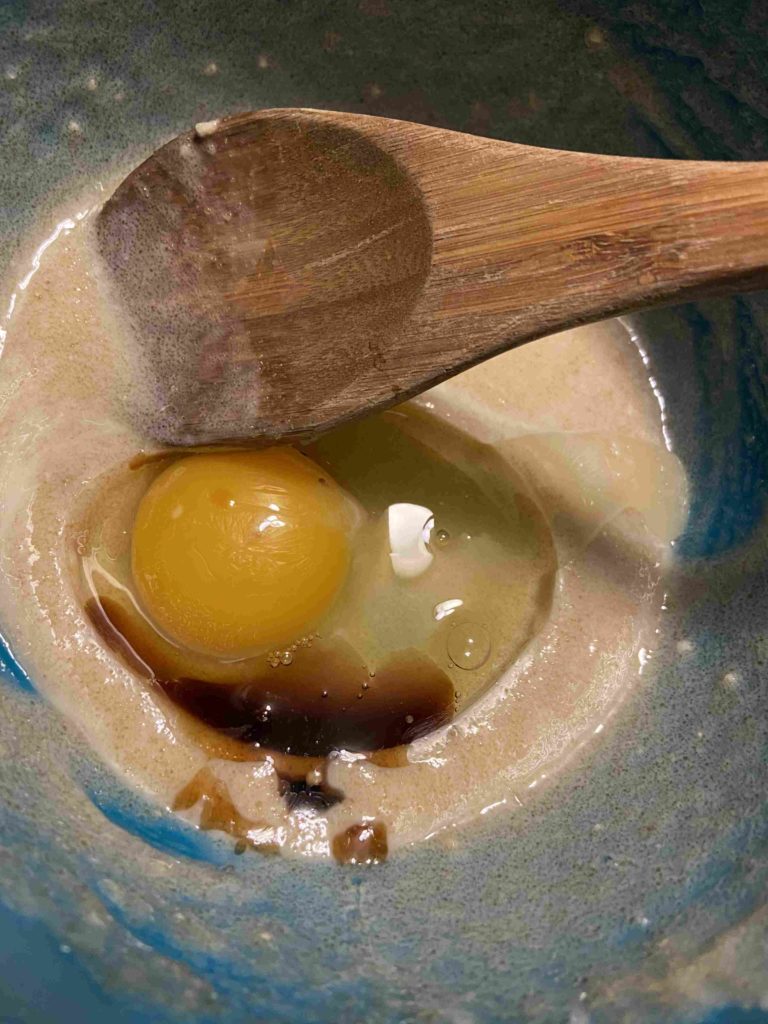
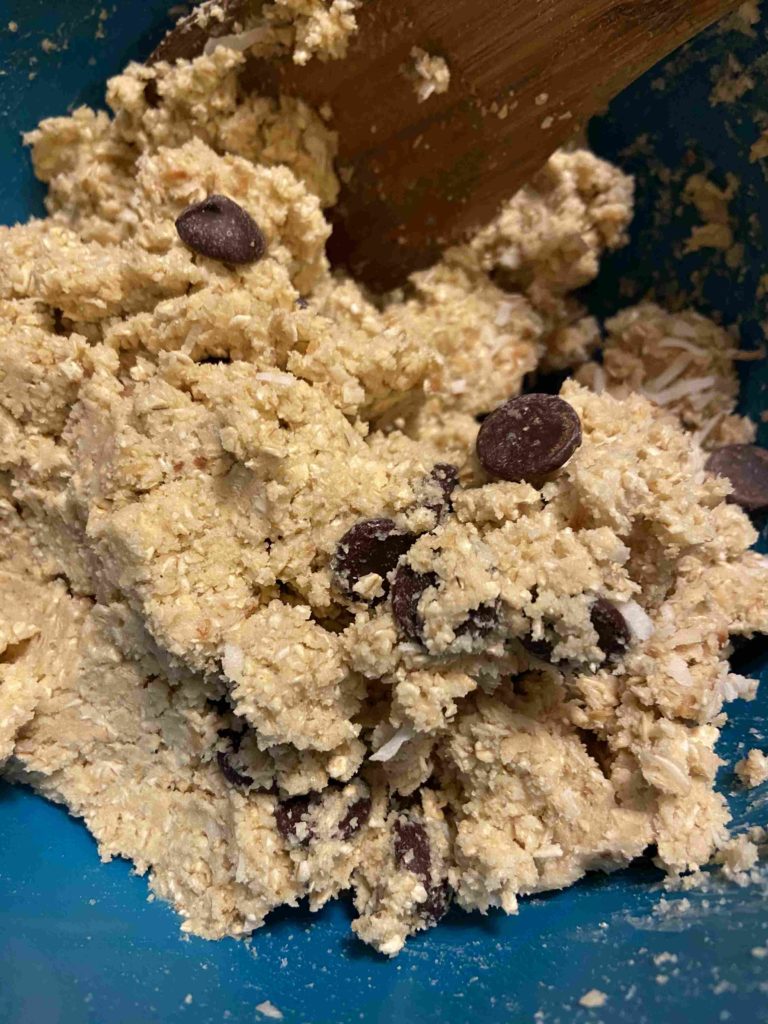
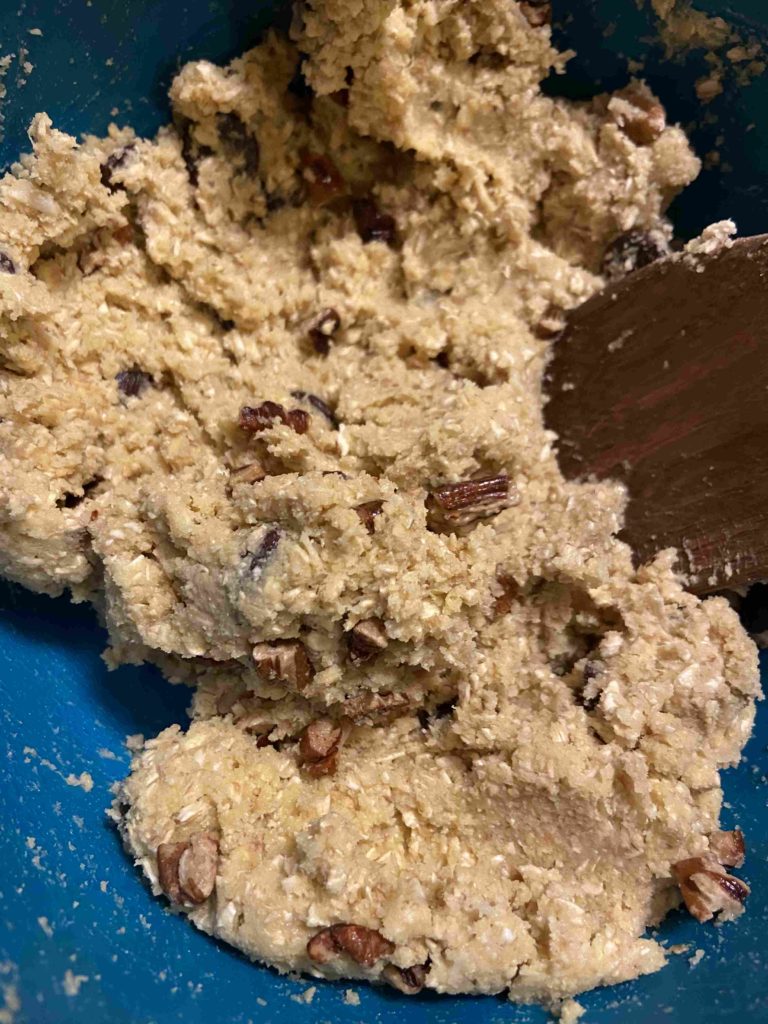
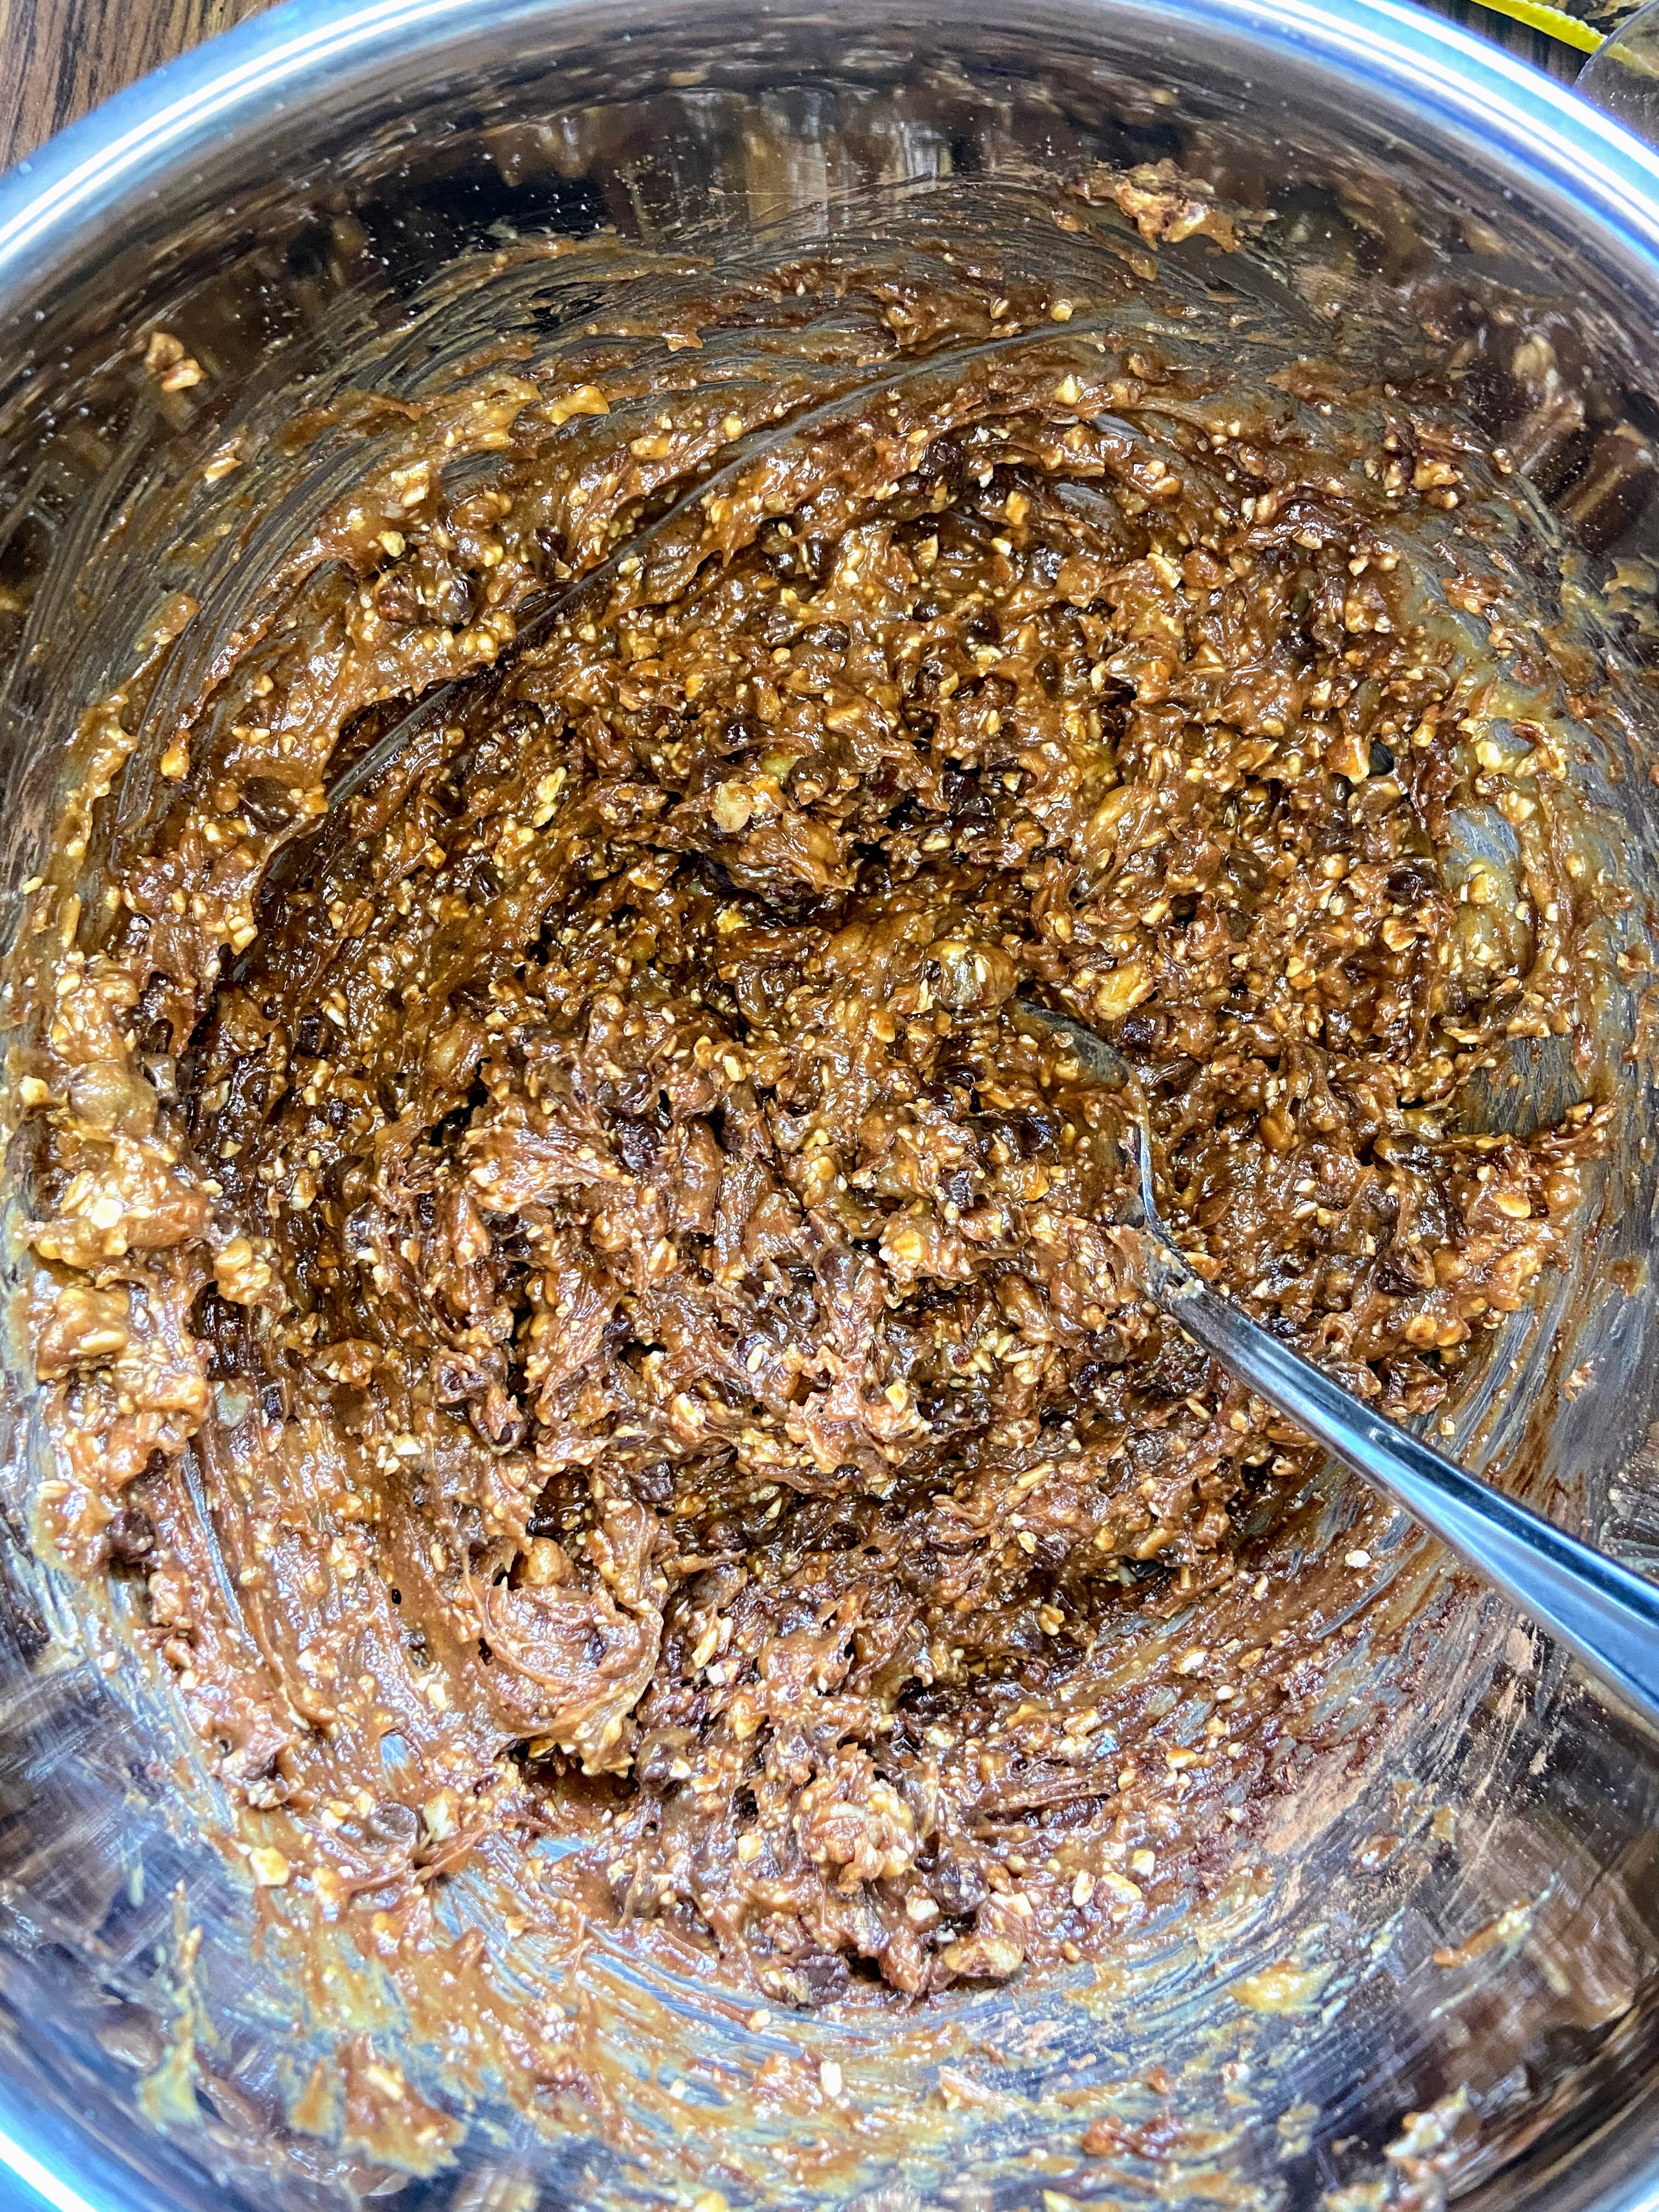
In another medium bowl, combine nut butter, maple syrup, egg, and vanilla. Stir in dry ingredients until just moistened. Fold in walnuts and chocolate chips.
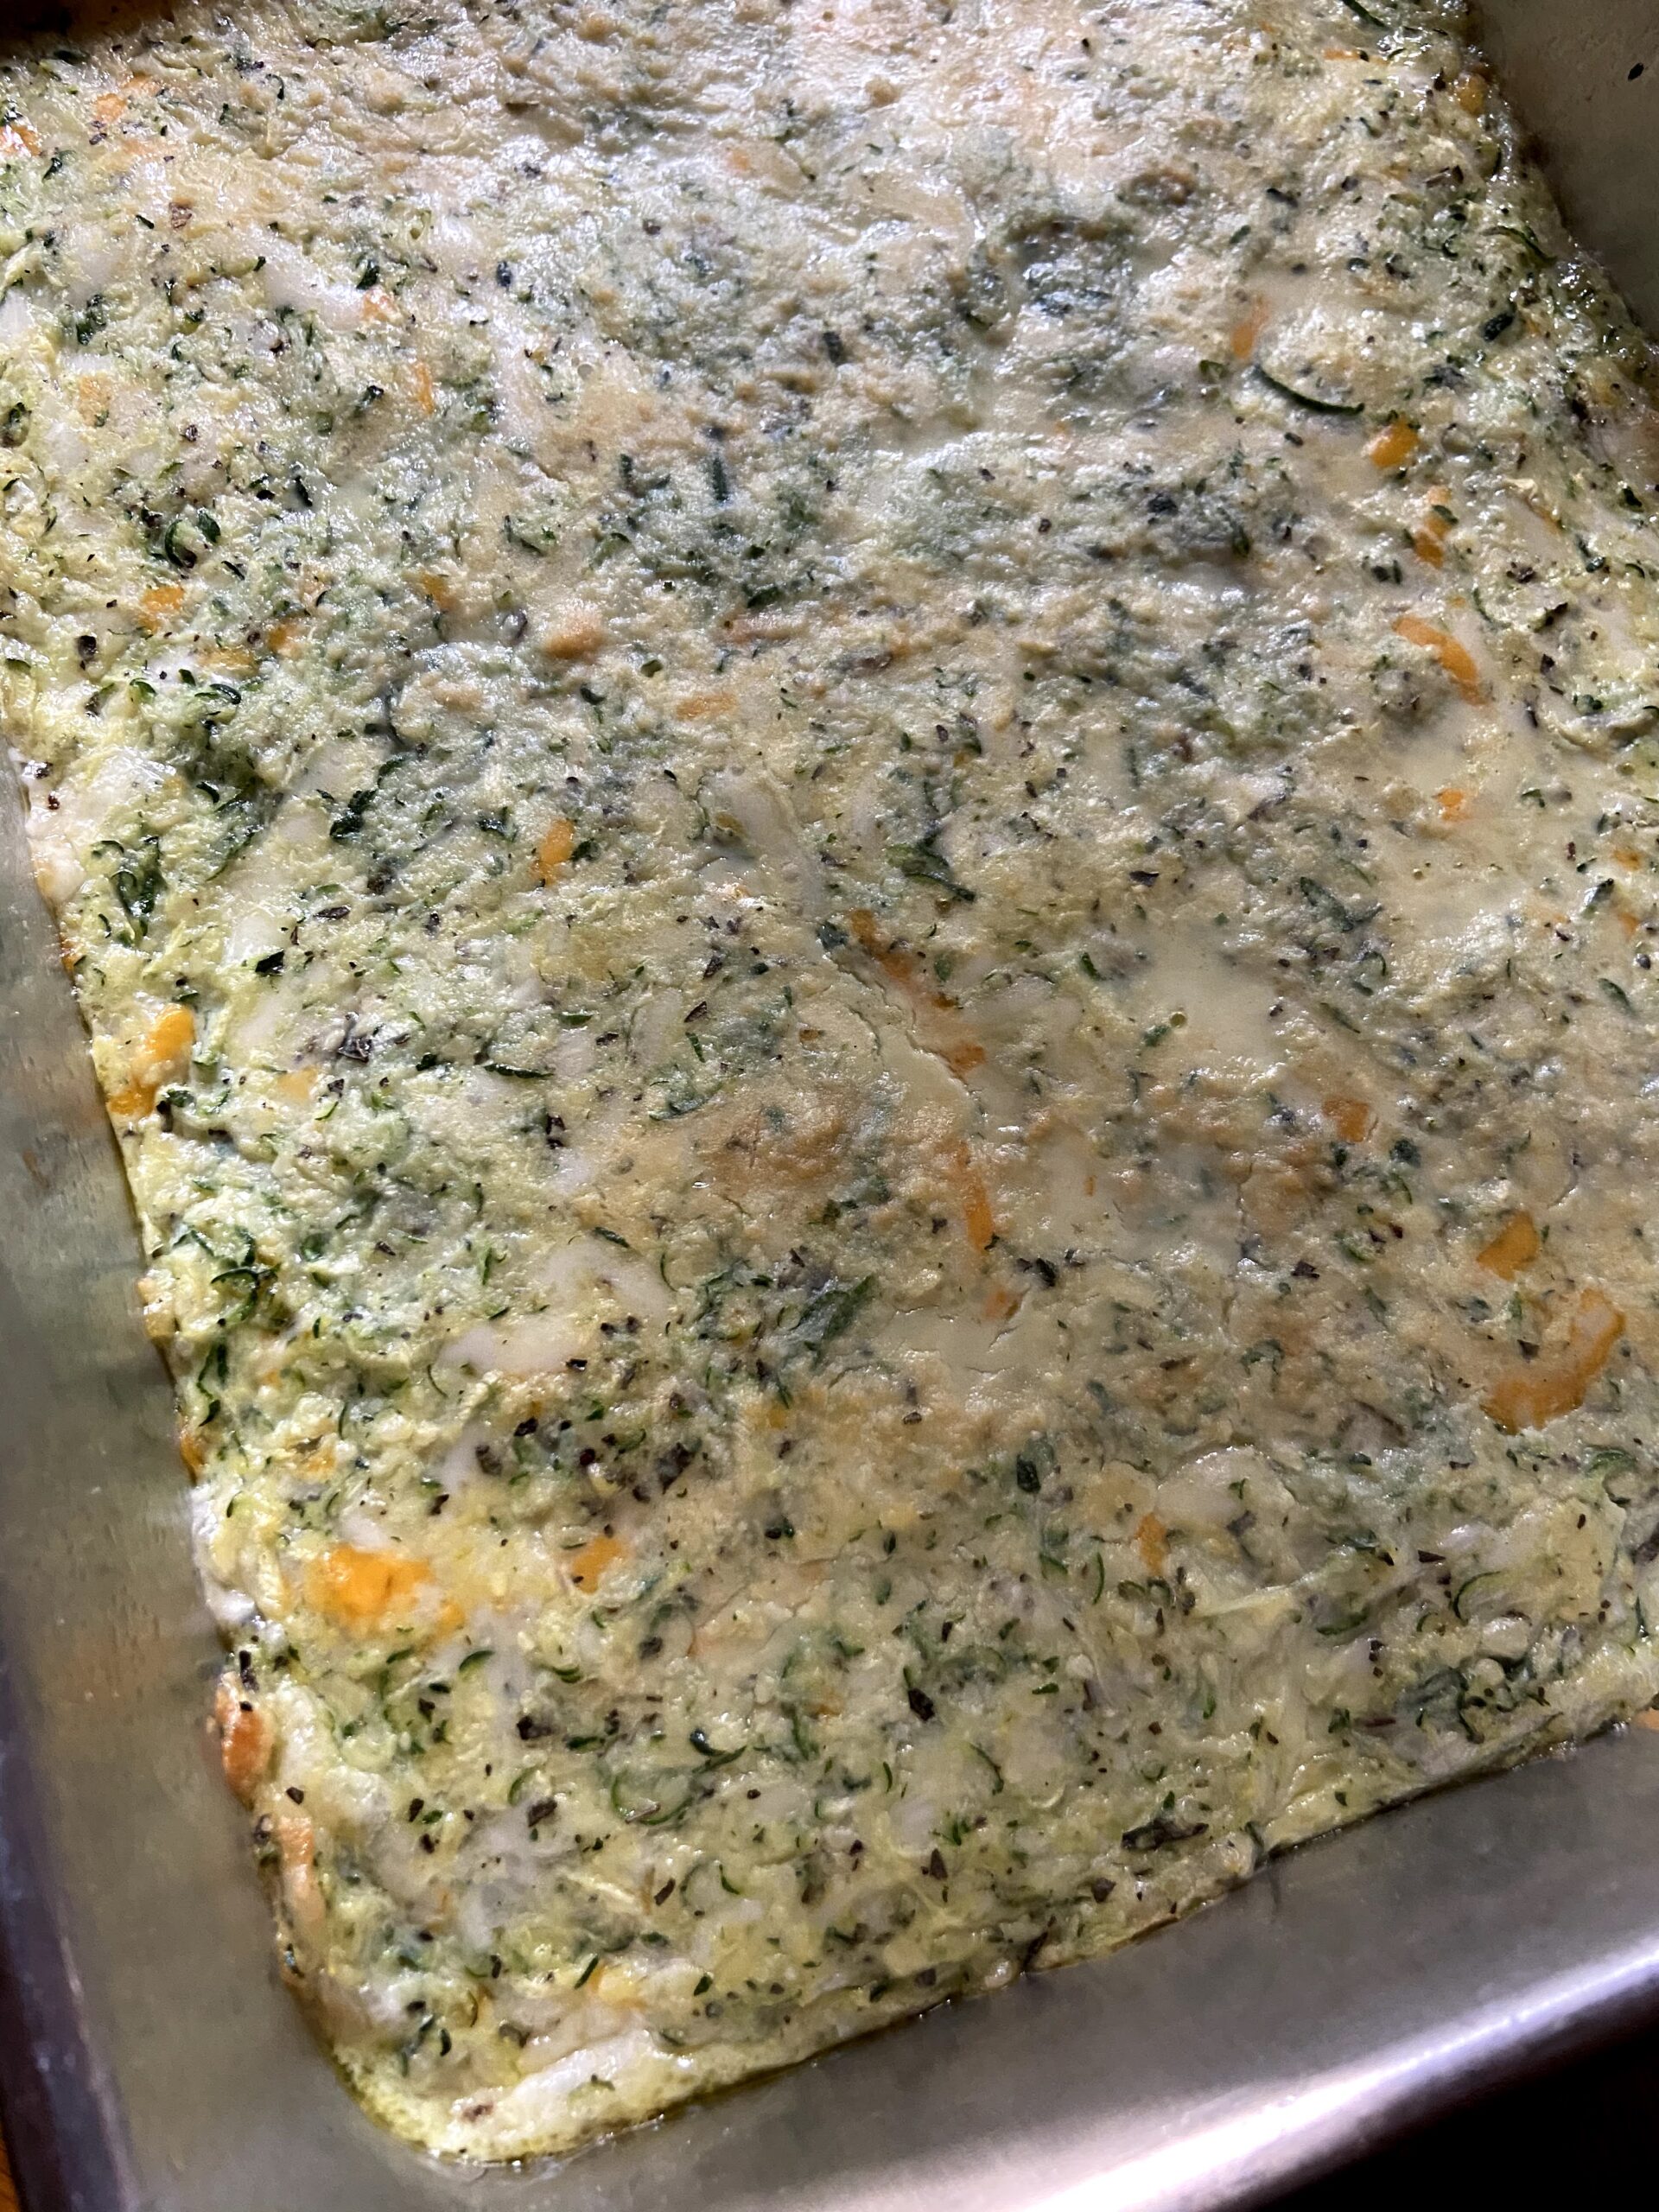
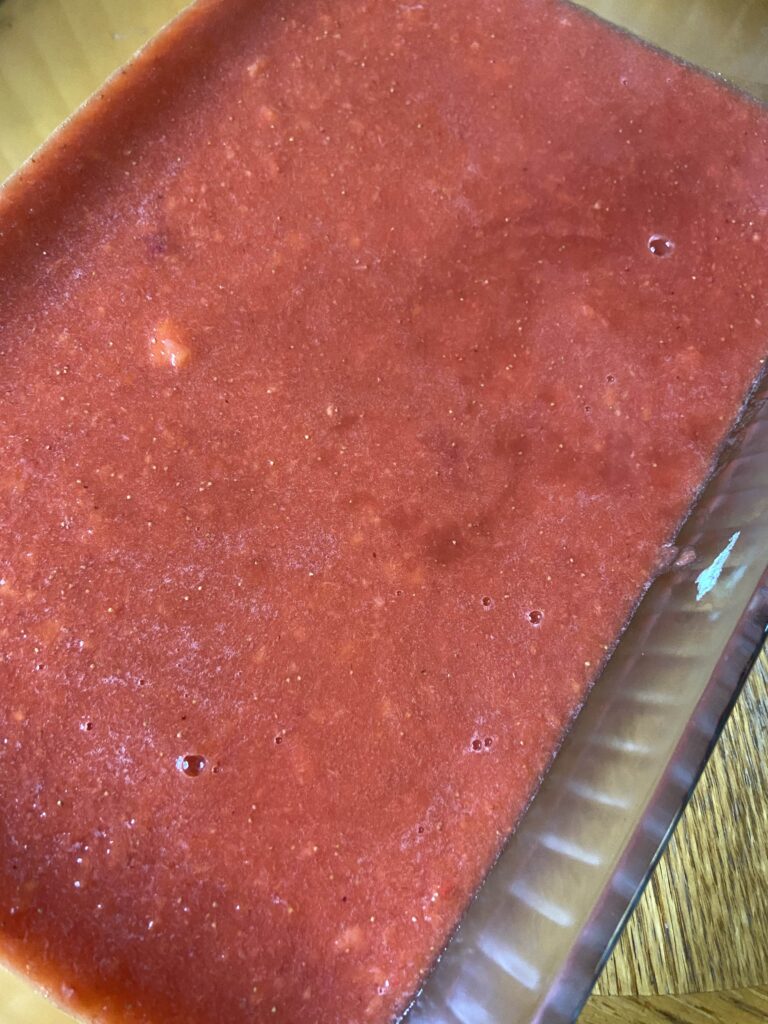
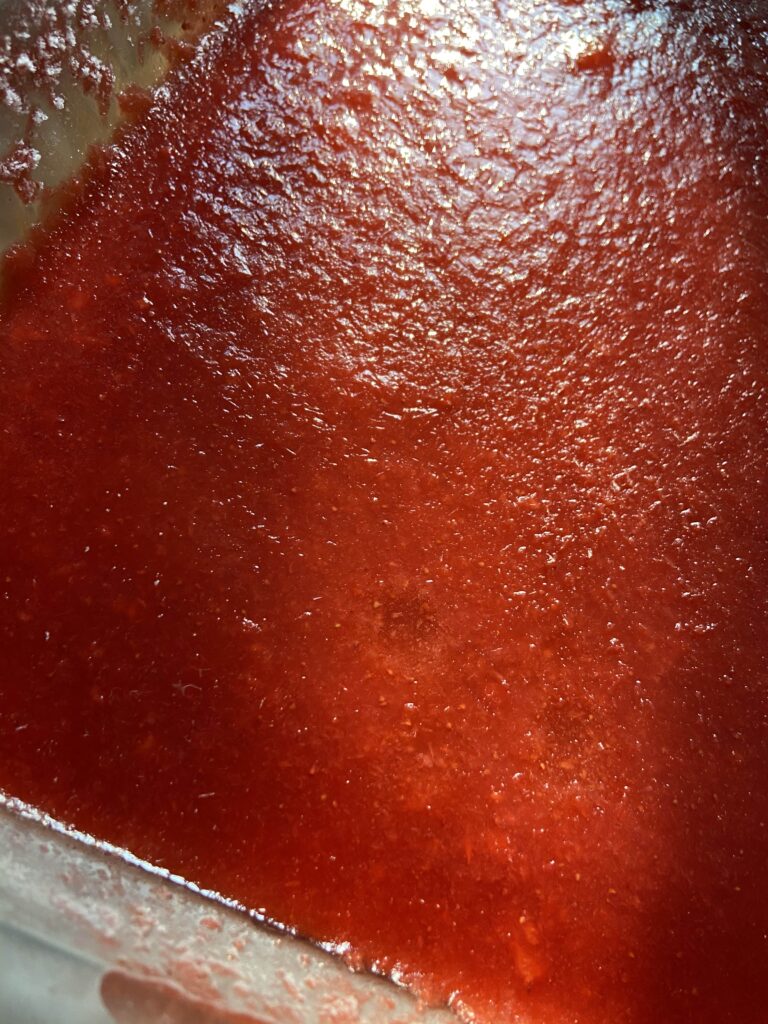
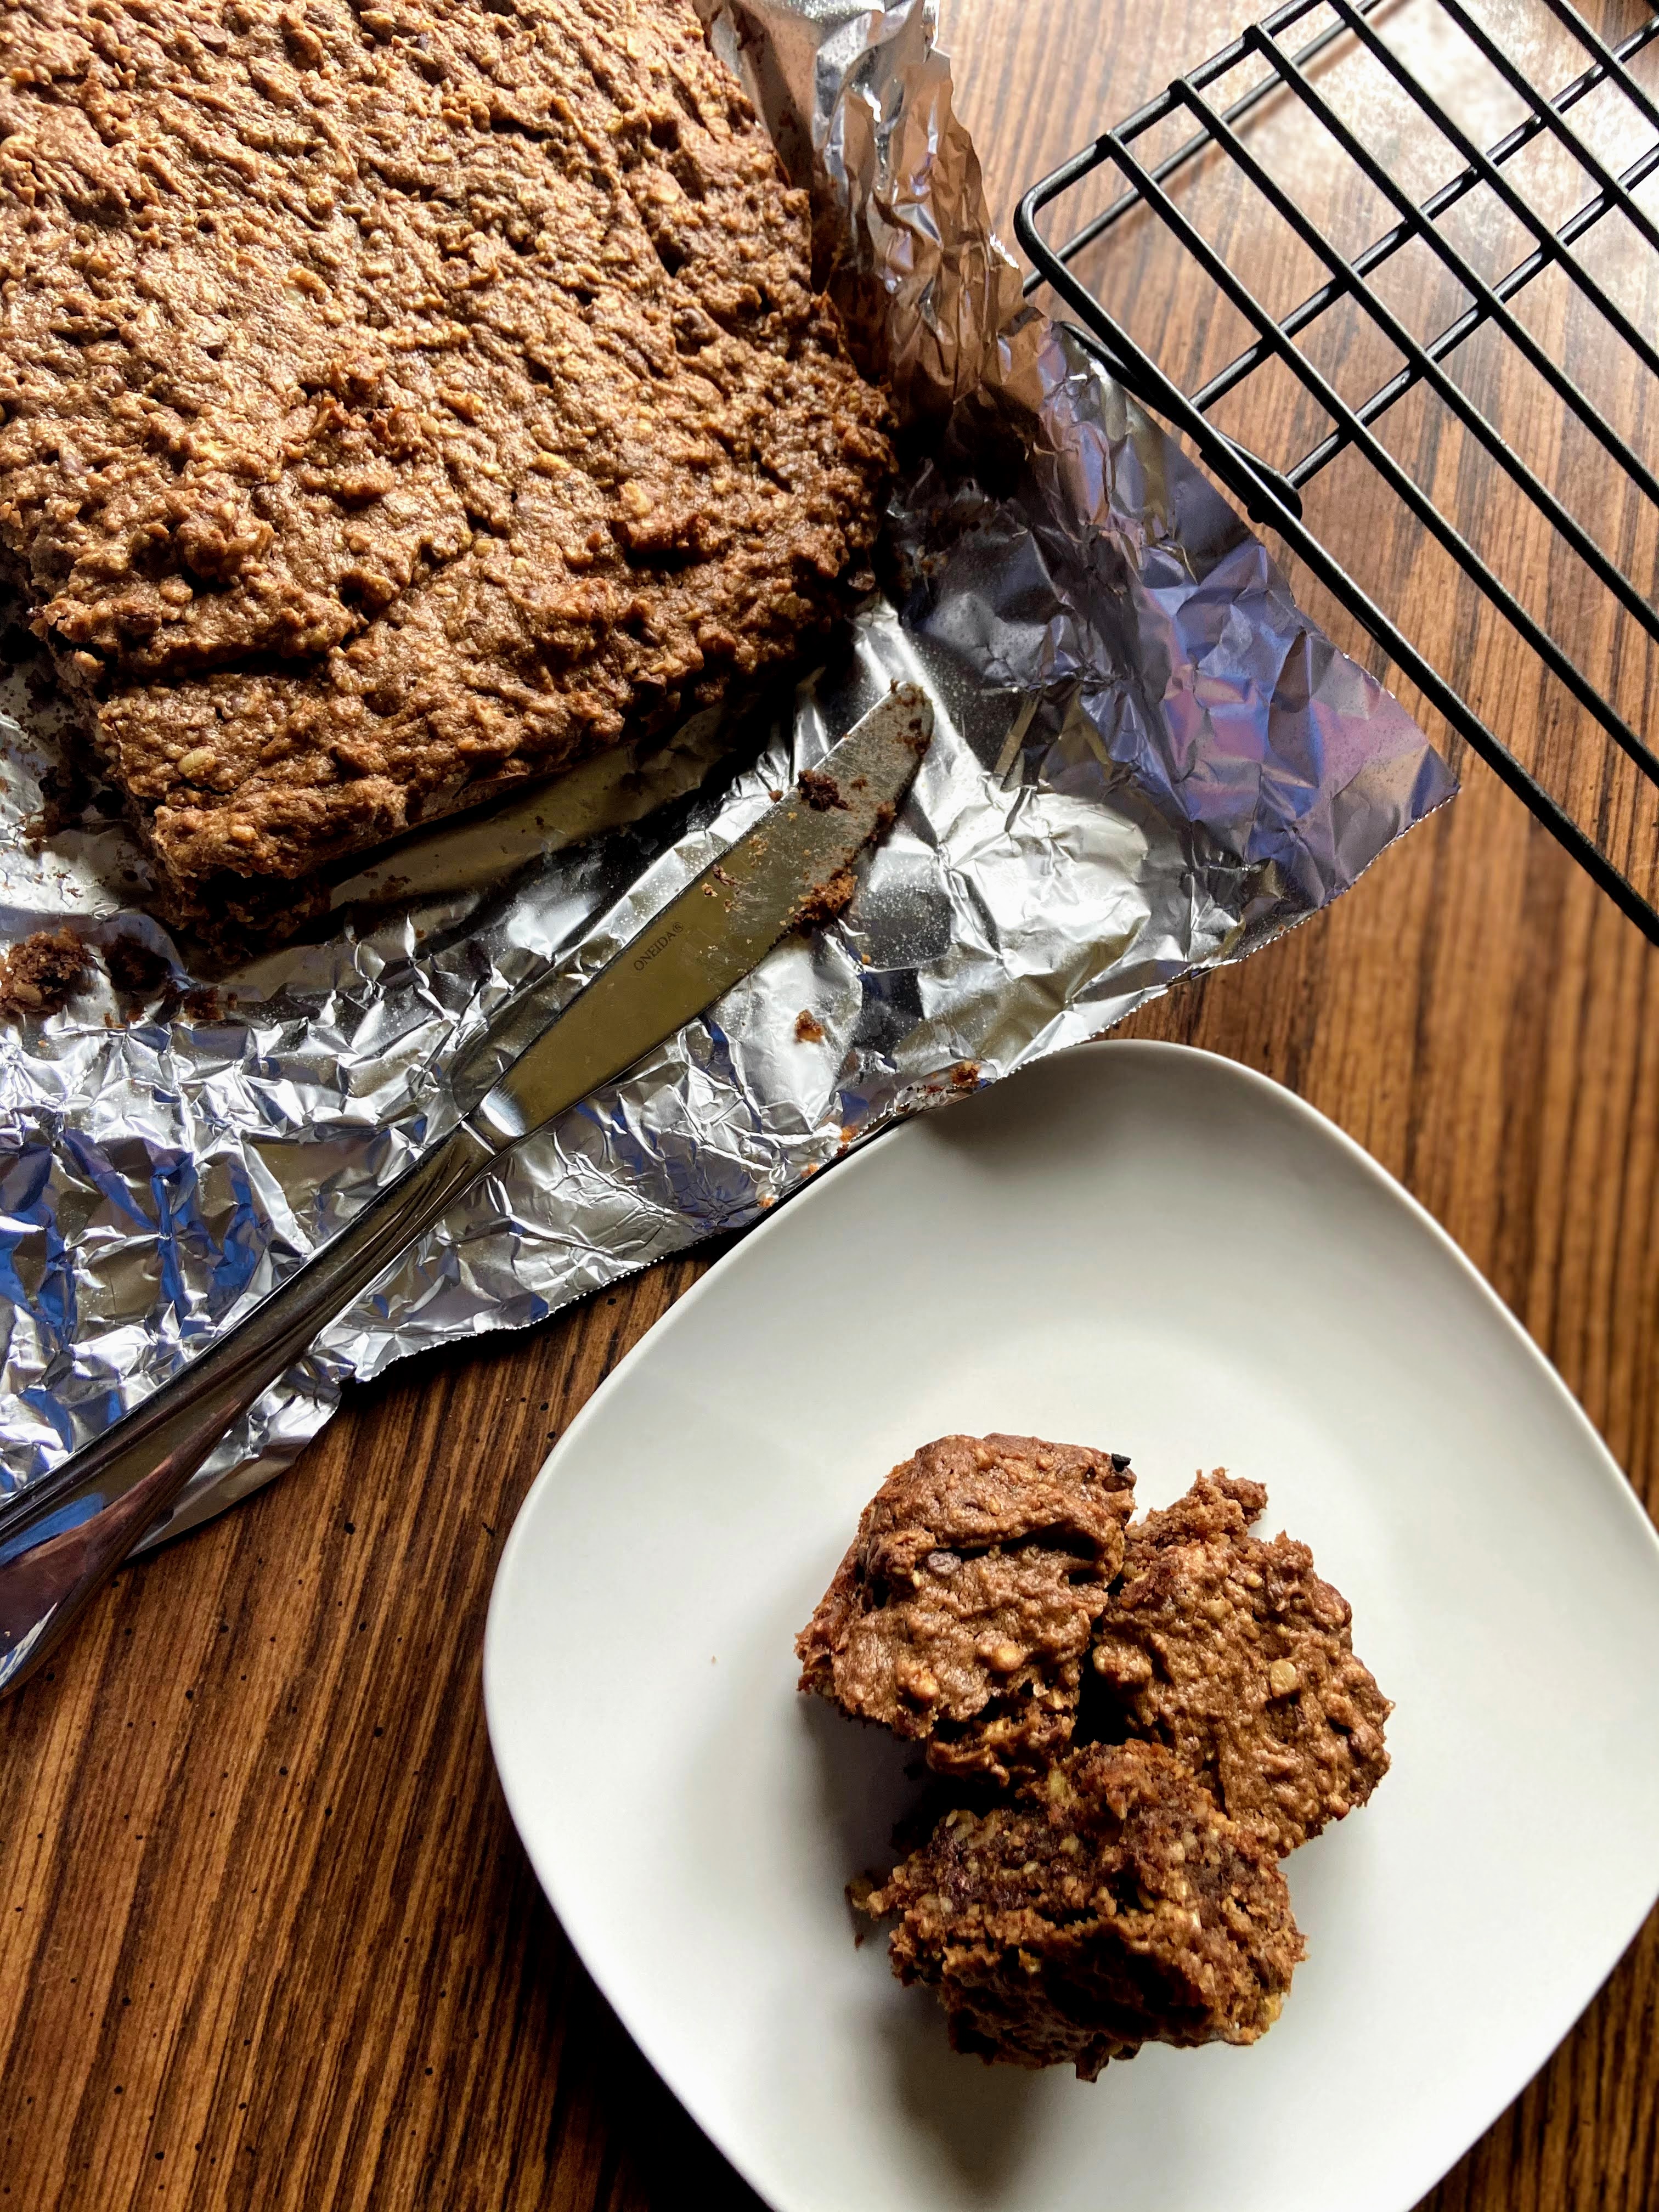
Pour into the prepared pan and bake for 30 minutes. Allow to cool in the pan before removing the foil and cutting into bars. I hope you enjoy them as much as I did! Just try not to eat the whole pan, I dare you.

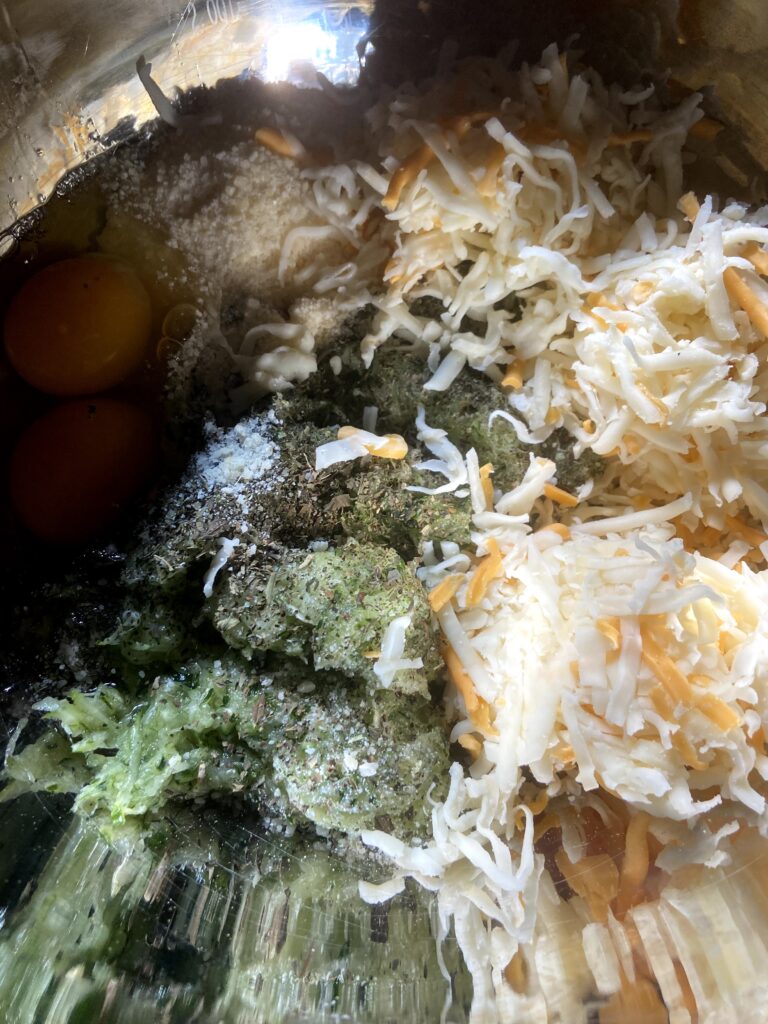
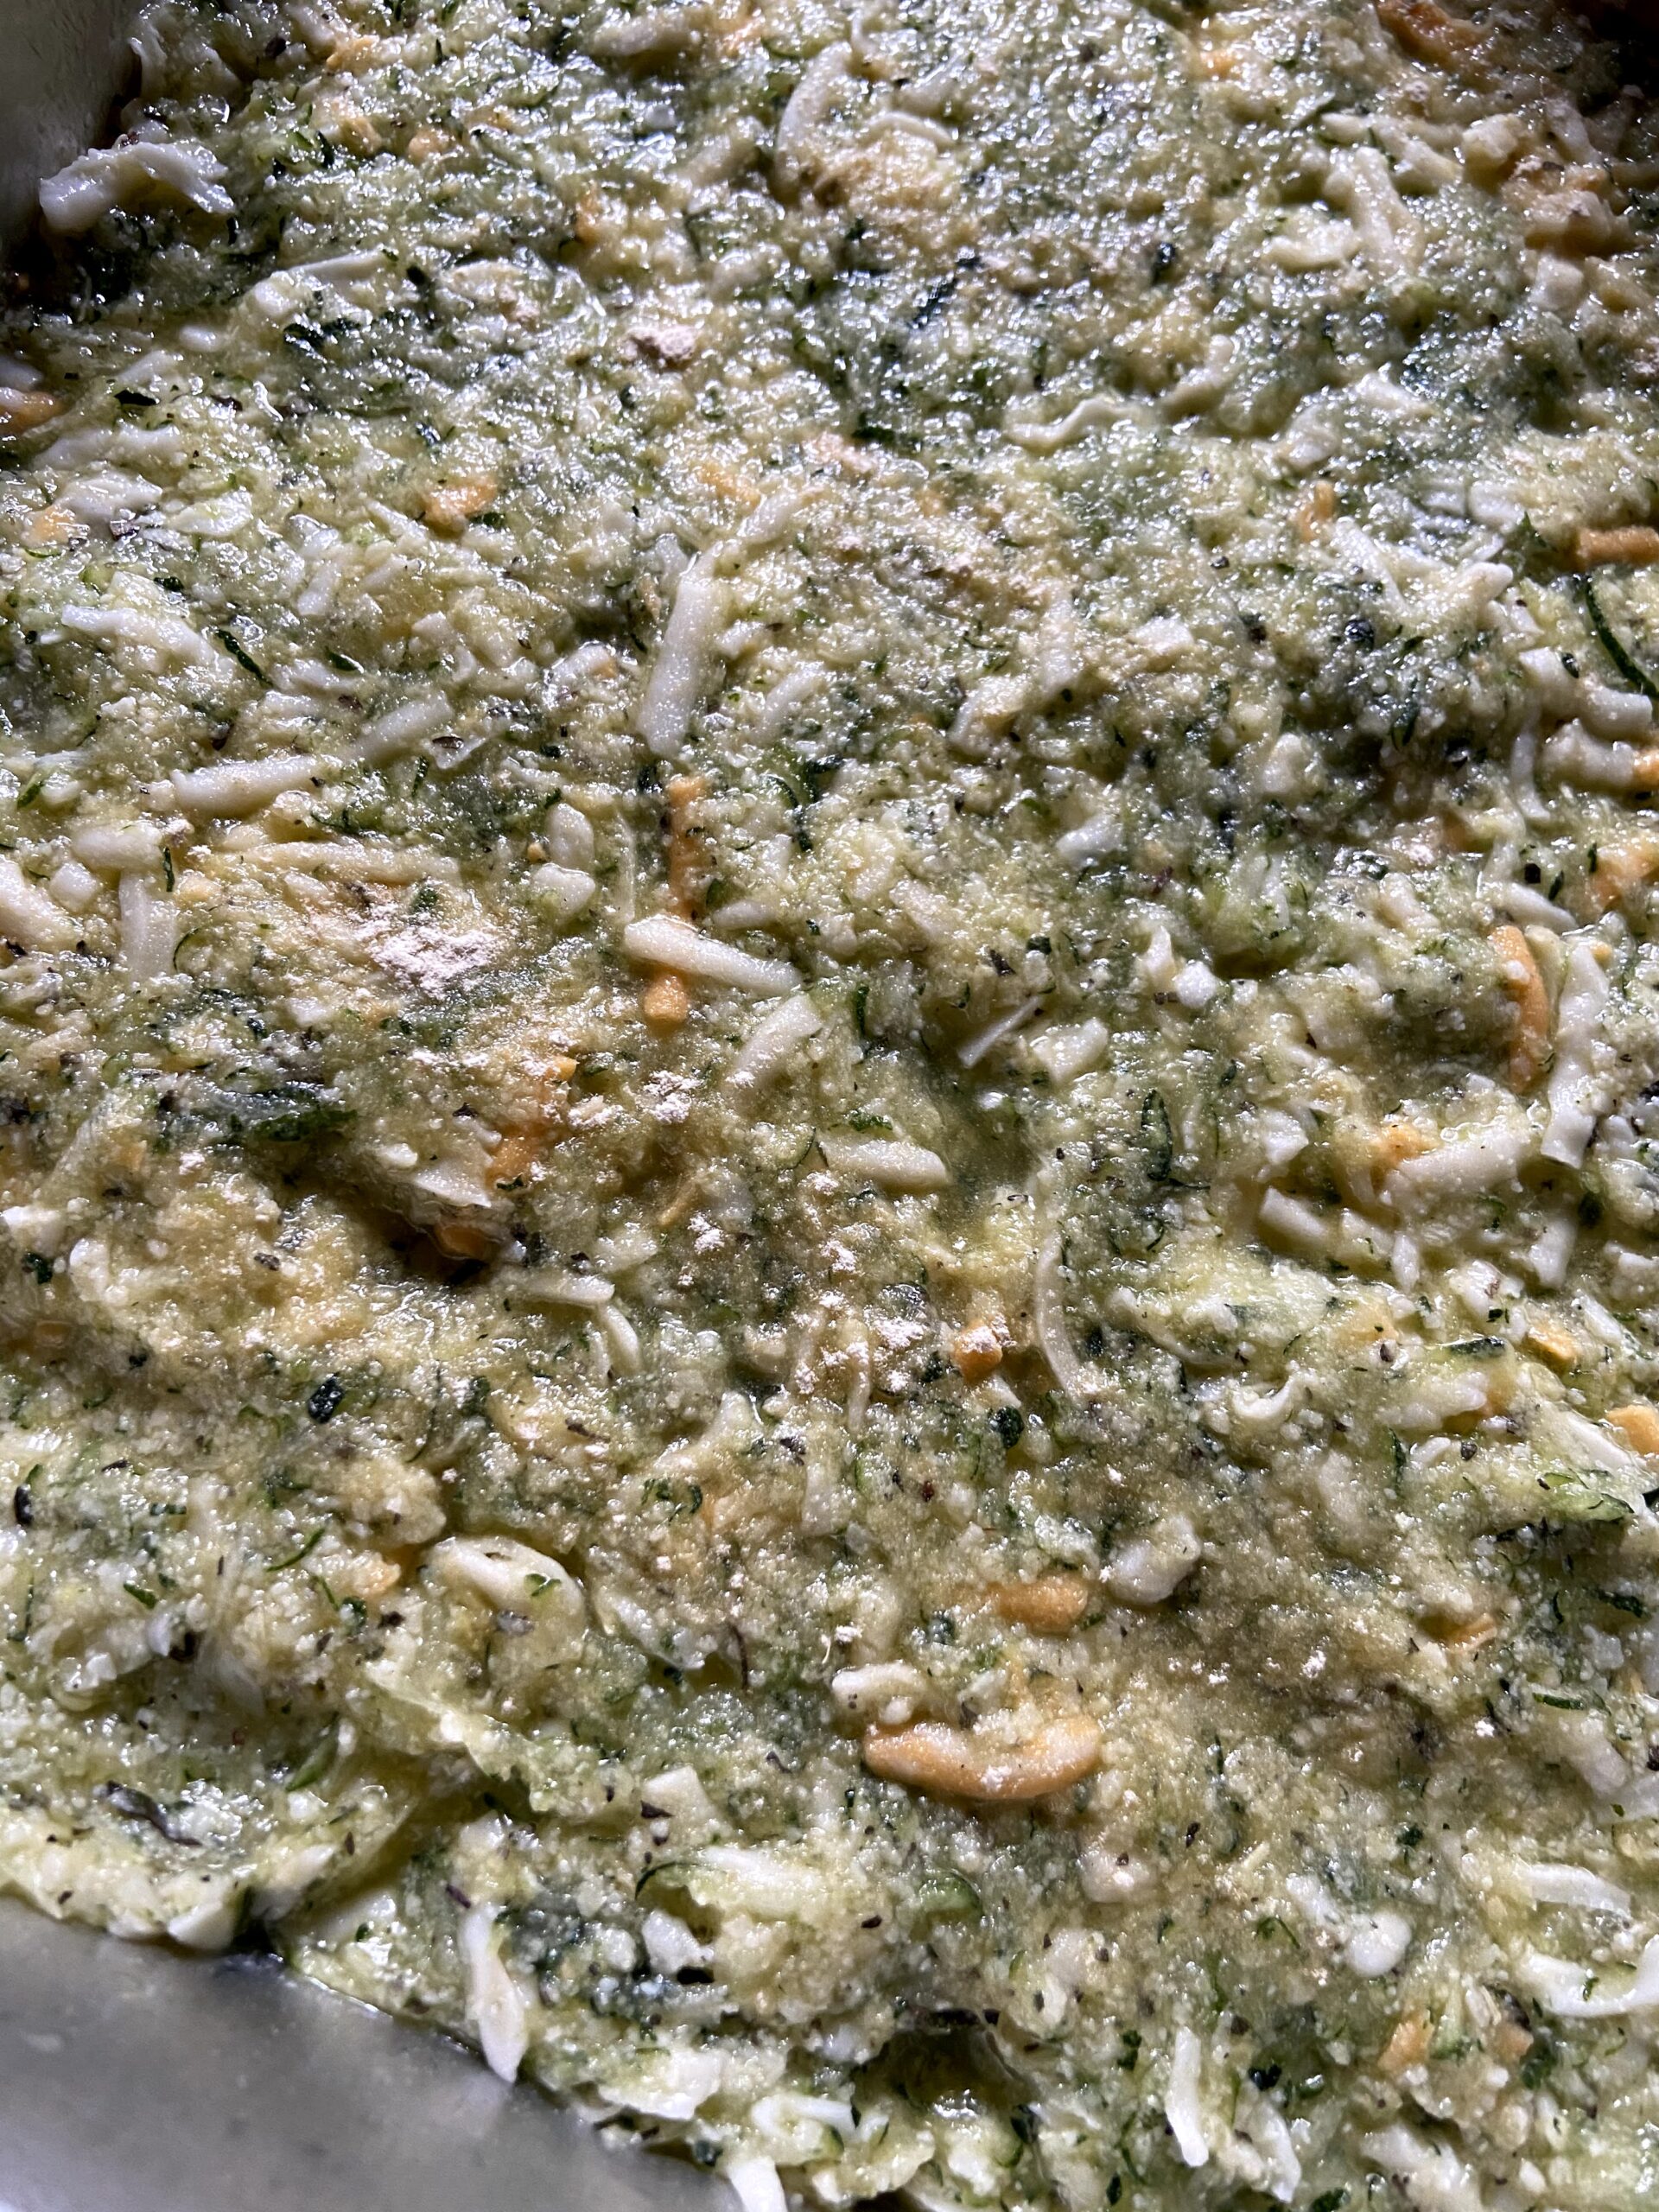
Grab your moist ingredients. Then the dry. Mix them up! Spread them out! Ummm…yum!
Tools of the Trade
I love my large food processor. I do so much with it, including making my own oat flour!
A good Pyrex baking dish is a must!
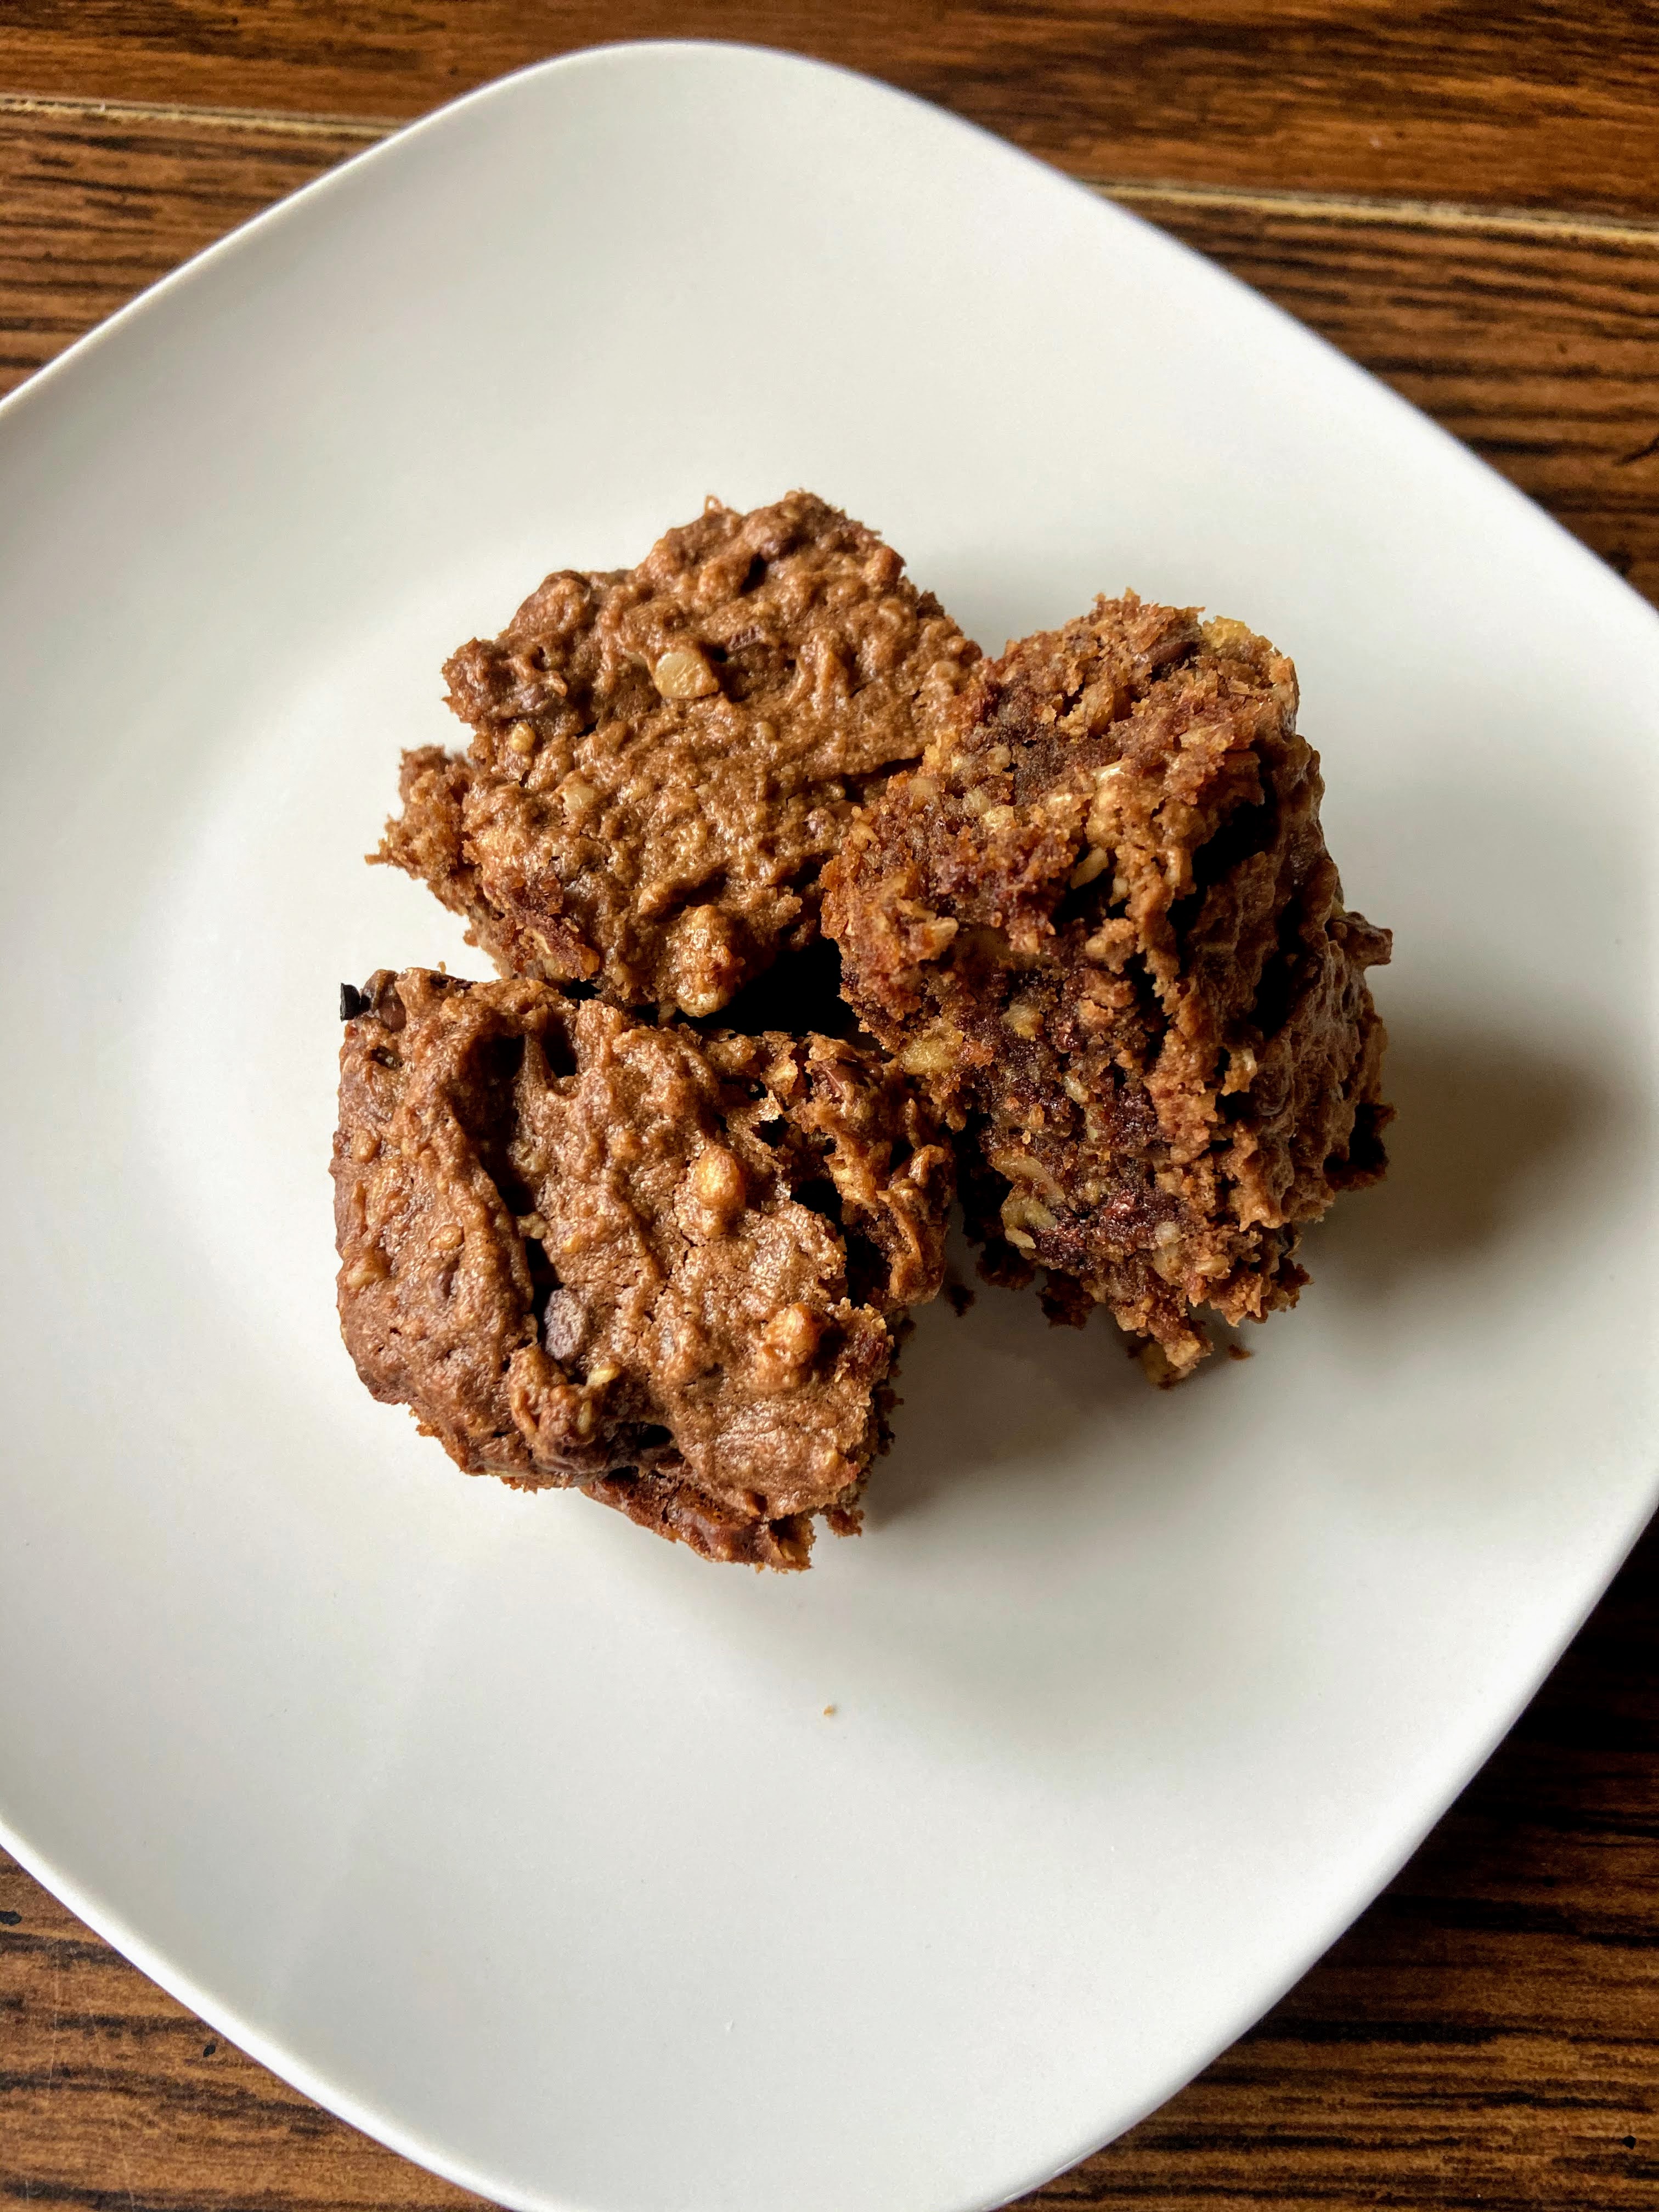
Peanut Butter and Oat Brownies
Ingredients
- 1/3 cup oat flour
- 2 tablespoons cocoa powder
- 1/2 teaspoon salt
- 1/2 teaspoon baking powder
- 1 teaspoon vanilla
- 1 cup nut butter
- 1/2 cup maple syrup
- 1 large egg
- 2/3 cup walnuts
- 2/3 cup semisweet chocolate chips
Instructions
- Preheat the oven to 325 degrees. Line a 8 in square baking pan with foil and then coat with cooking spray.
- In a small bowl, combine flour, cocoa, salt, and baking powder.
- In another medium bowl, combine nut butter, maple syrup, egg, and vanilla. Stir in dry ingredients until just moistened. Fold in walnuts and chocolate chips.
- Pour into the prepared pan and bake for 30 minutes. Allow to cool in the pan before removing the foil and cutting into bars.