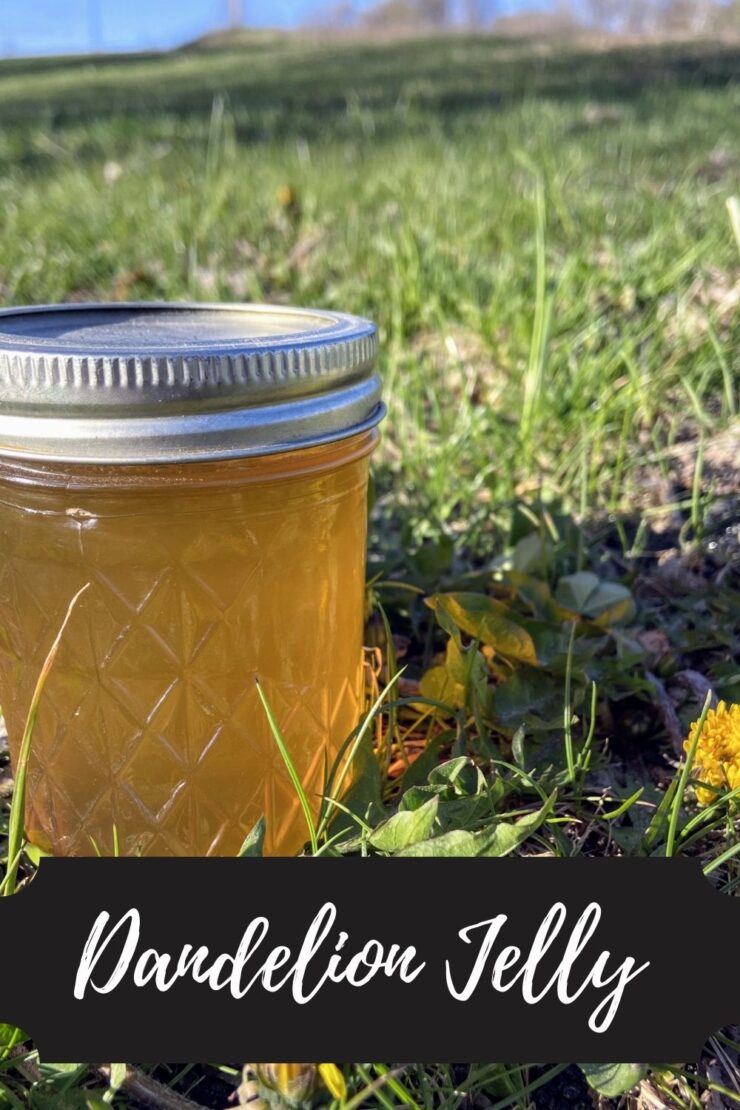
Yup. You read that right. Dandelion jelly. I know it sounds crazy, but it is so tasty! Light and sweet, like honey. And you know what, it’s the time of year where I get the itch to can and work in my garden. Yes, I know there is still loads of winter left, but a girl can start dreaming, right?
I began having a fascination with foraging nature around me to make food in my kitchen about a year ago. Last year, my sister bought me the book Midwest Foraging by Lisa M. Rose, and my interest got stronger. I flipped through that book like a coffee table book and took mental notes on things I would like to try.
Fast forward to May last year. The dandelions were all over my yard, and I decided I had to try it. I mean, what’s the worst that could happen? I would be out a few hours of work, some sugar, and pectin. My daughter, mother in law, and I walked the yard, harvested dandelions, and I set to work. As I was pouring the last of the jelly into jars to go in the water bath canner, I said, “Well, here’s goes nothing…let’s try it,” and we stuck a spoon in the remains on the kettle. My daughter immediately asked for a second try and declared, “I want that on toast in the morning!” So give it a try. You will be pleasantly surprised with how good it actually is. You may even begin to be like me, looking over fields of dandelions, seeing all sorts of potential 🙂
Your ingredients:
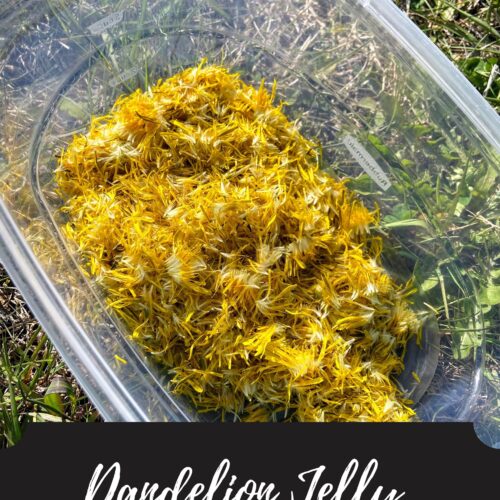
- 4 cups yellow dandelion blossoms (see my notes about harvesting these)
- 1 box of powder pectin
- 2 Tablespoons lemon juice
- 4.5 cups of sugar
- two quarts of water
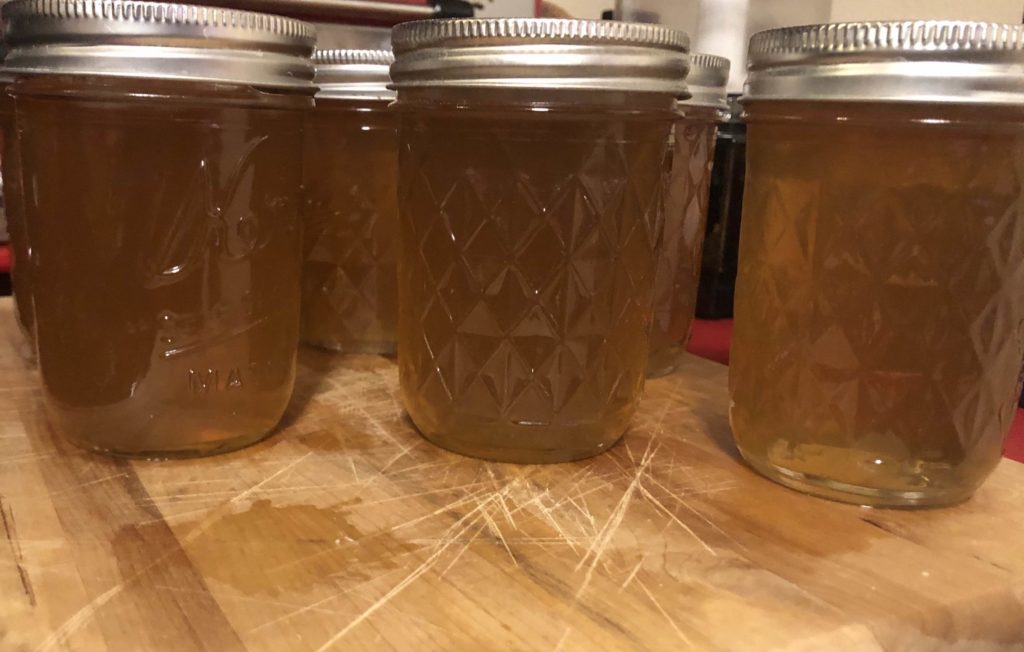
- jelly canning jars, lids, and rings, prepped for canning. I got 6 jelly (half pint) jars worth of jelly.
Your steps to dANDELION JELLY:
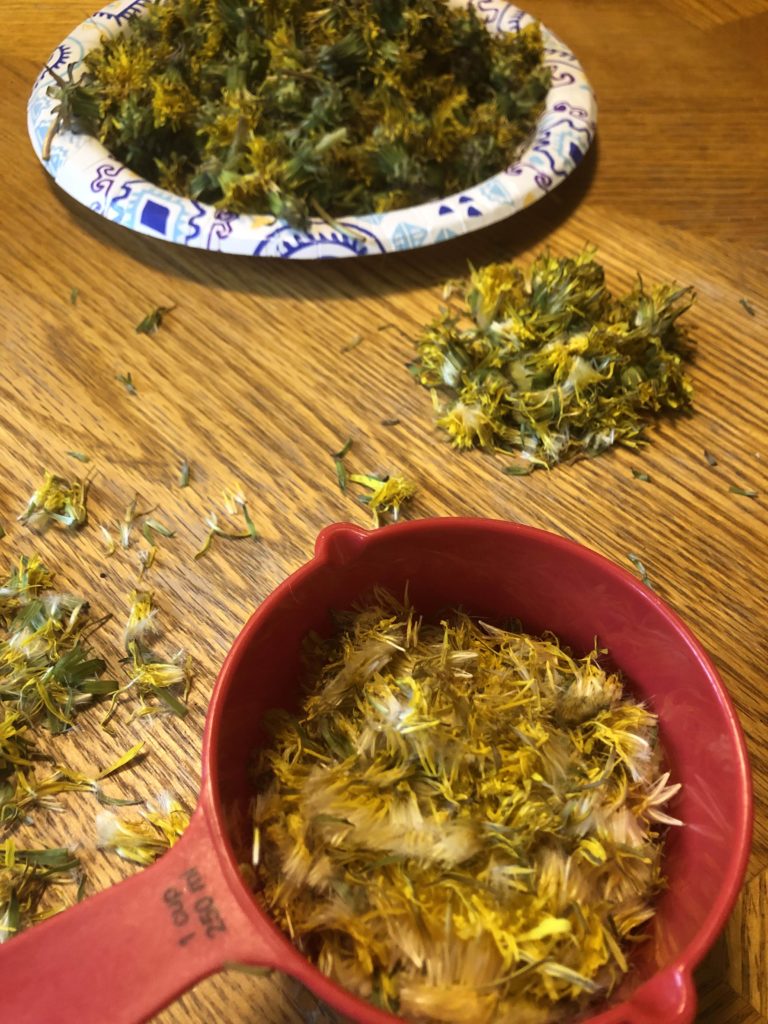
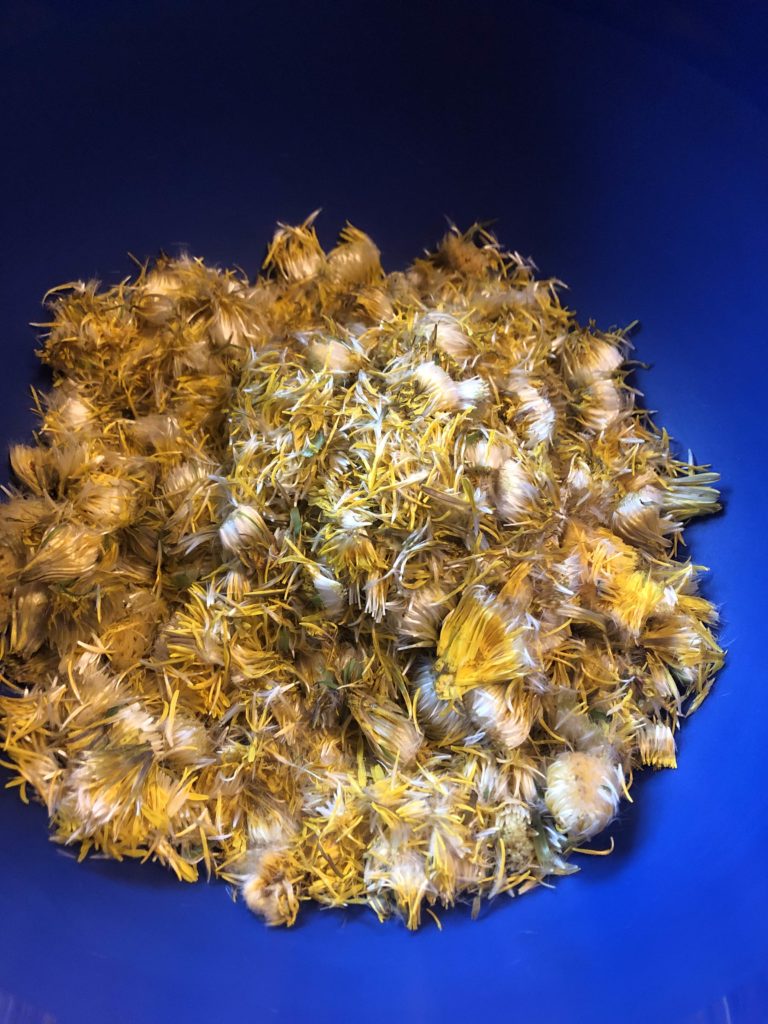
First, harvesting the dandelion greens. I did this over a few days and I learned a lot. Begin by just taking the heads of the dandelions. Plan on trimming them soon after you take the heads from the plant. I found it easiest to hold the flower end in one hand and cut the green end off. Then I would peel the remaining green off. I would put the yellow/white part into my measuring cup and compost the green portion. Find a friend or two, it takes a little time to complete this, but it makes for great time for conversation.
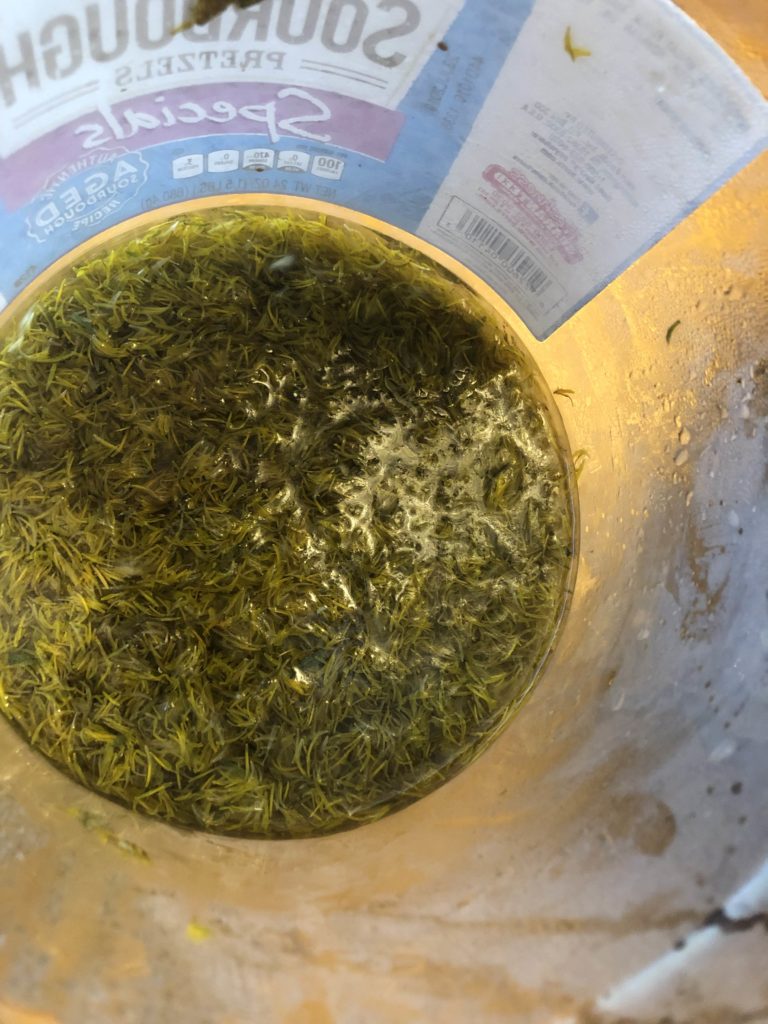
Back to the recipe! Bring a few quarts of water to boil and pour it over the blossoms in a bowl that can be covered. Allow this to come to room temperature and then stick it in the fridge overnight. You are essentially creating a dandelion tea. (Mine is always this weird dingy greenish-yellow when I when I am done. Initially, I was worried about the color the jam would have, but it turned out just perfect!)
Jelly time!
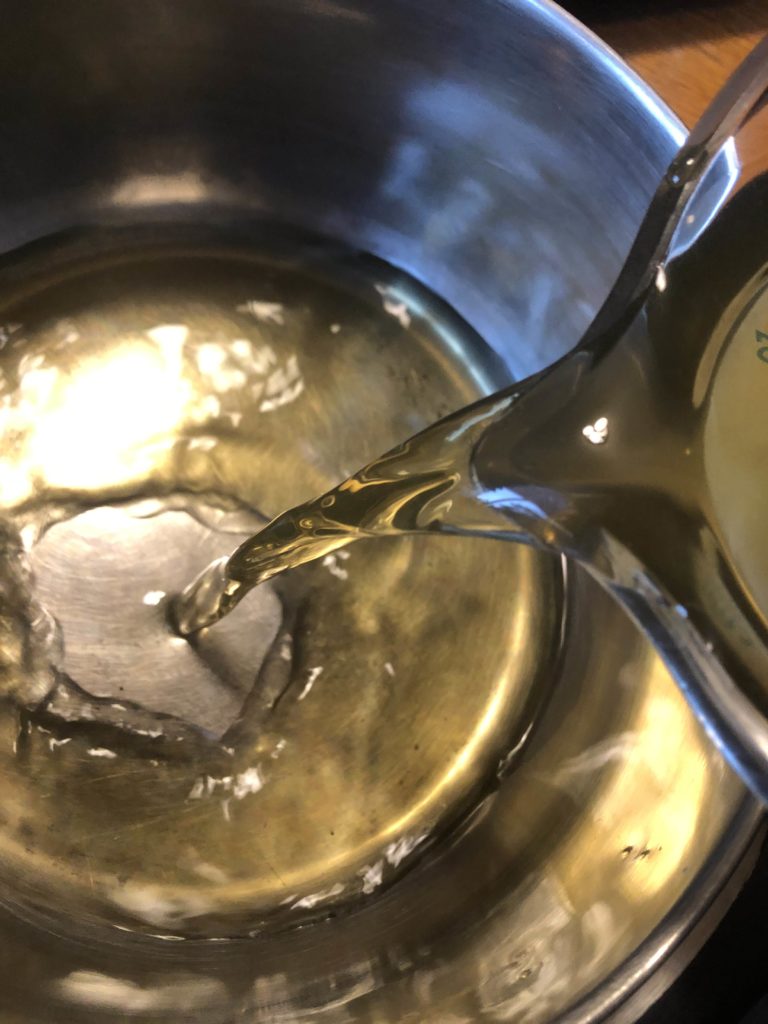
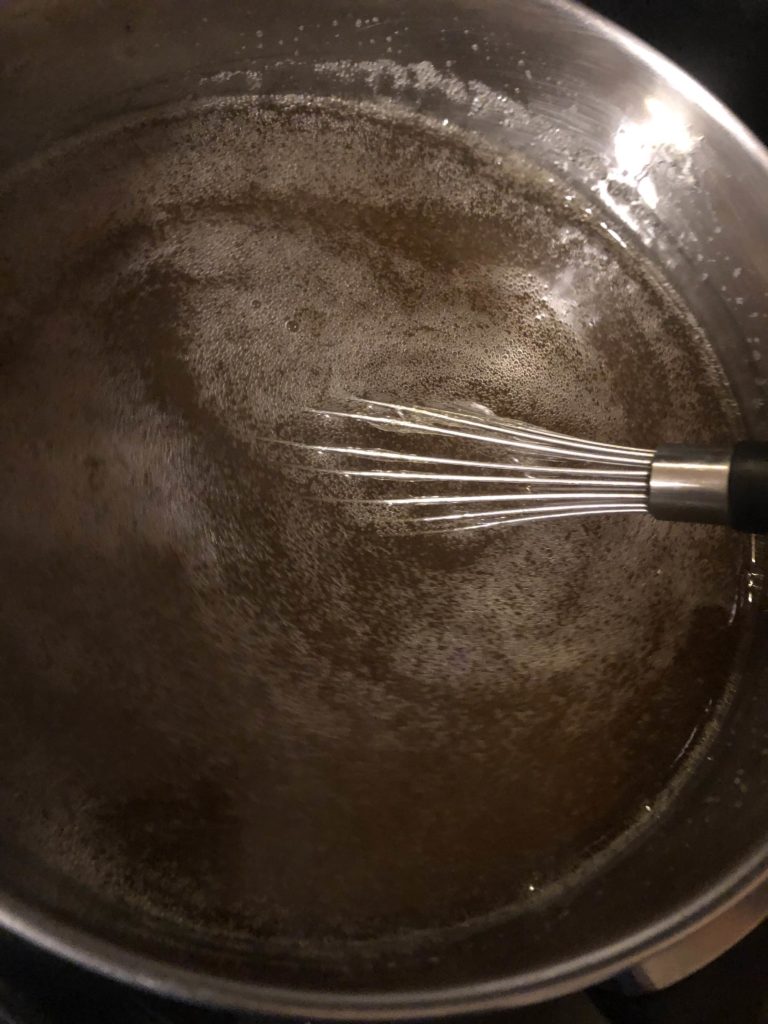
The following day, start heating your water bath canner with enough water to cover your jelly jars with at least 2 inches of water. Measure 3 cups of the dandelion tea, straining out the blossoms and keeping only the liquid. Pour this into a larger kettle. Add powdered pectin and the 2 T of lemon juice. Bring to a boil. Once you have achieved a rolling boil, add sugar. Return to a rolling boil, stirring quite often, if not always. Once you have reached a rolling boil, time for 1 minute, stirring the whole time.
Ladle jelly into prepared jelly jars, wiping the edges, adding lids, and putting rings on to finger tip tight. Put into water bath canner and process for 10-15 minutes. I did 15 minutes because my altitude is greater than 1000 feet. Remove from canner and allow to cool for 12-24 hours before moving. My kids love this dandelion jelly. We eat it on toast, on PBJ, you name it! My daughter even requests it on her waffles from time to time!

The tedious process of getting the flower separated Sunshine in a bowl. Let that tea steep. Let’s get our jelly on! And you must stir like crazy! Golden jars of sweet goodness!

Dandelion Jelly
Ingredients
- 4 cups yellow dandelion blossoms see my notes about harvesting these
- 1 box of powder pectin
- 2 Tablespoons lemon juice
- 4.5 cups of sugar
- two quarts of water
- jelly canning jars lids, and rings, prepped for canning. I got 6 jelly (half pint) jars worth of jelly.
Instructions
- First, harvesting the dandelion greens. Begin by just taking the heads of the dandelions. Plan on trimming them soon after you take the heads from the plant. I find it easiest to hold the flower end in one hand and cut the green end off. Then peel the remaining green off. Measure 4 cups worth of blossoms.
- Bring a few quarts of water to boil and pour it over the blossoms in a bowl that can be covered. Allow this to come to room temperature and then stick it in the fridge overnight.
- The following day, start heating your water bath canner with enough water to cover your jelly jars with at least 2 inches of water.
- Measure 3 cups of the dandelion tea, straining out the blossoms and keeping only the liquid. Pour this into a larger kettle. Add powdered pectin and the 2 T of lemon juice. Bring to a boil.
- Once you have achieved a rolling boil, add sugar. Return to a rolling boil, stirring quite often, if not always. Once you have reached a rolling boil, time for 1 minute, stirring the whole time.
- Ladle jelly into prepared jelly jars, wiping the edges, adding lids, and putting rings on to finger tip tight. Put into water bath canner and process for 10-15 minutes. I did 15 minutes because my altitude is greater than 1000 feet. Remove from canner and allow to cool for 12-24 hours before moving.