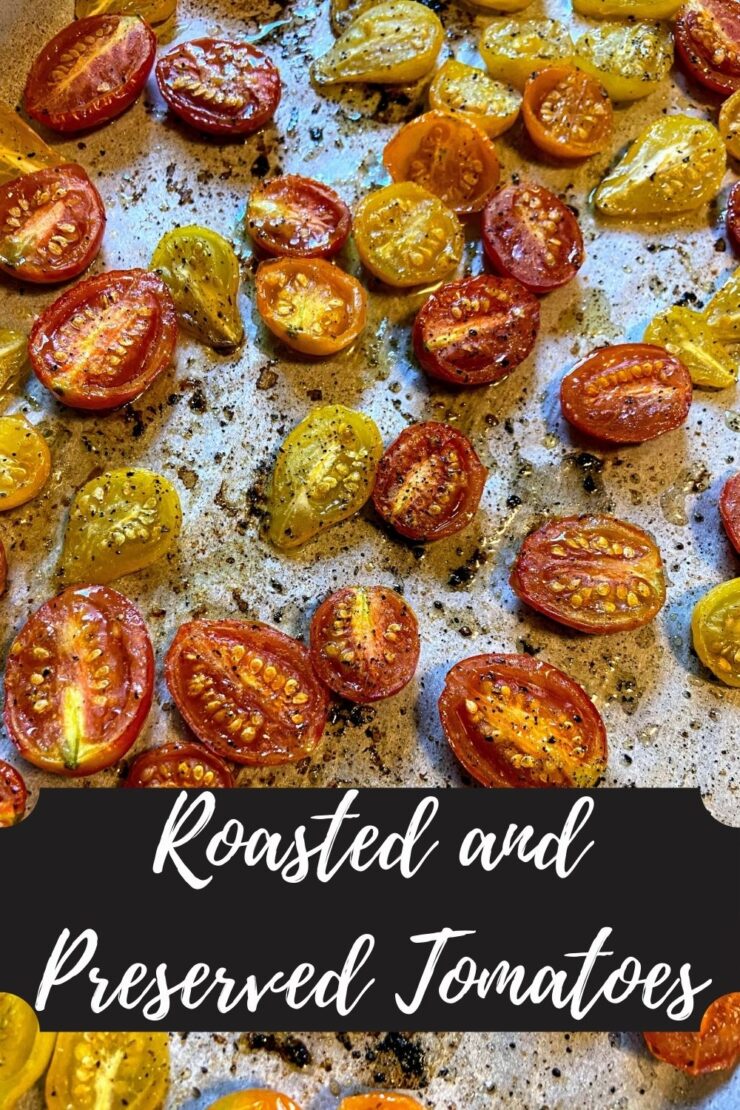
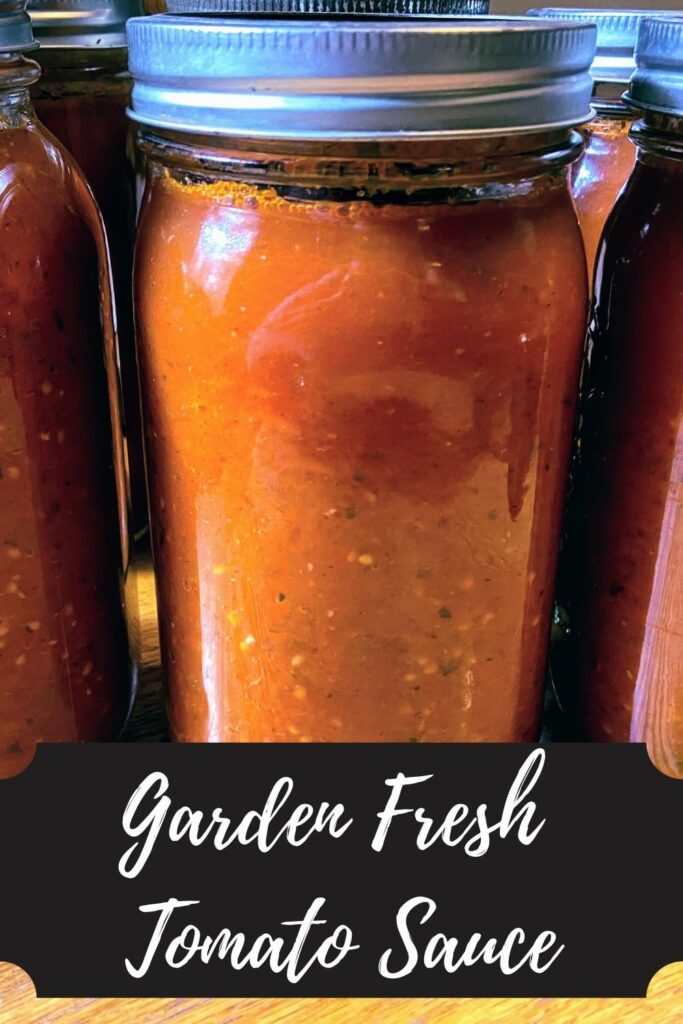
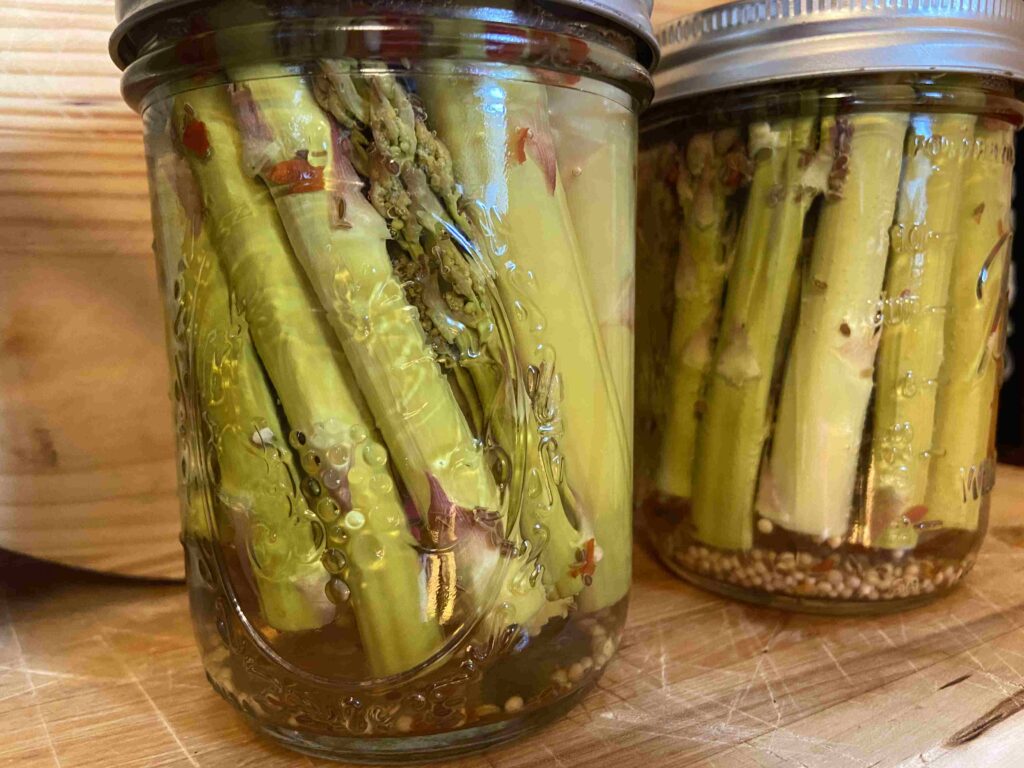
Canning and preserving from my garden is my jam all summer long. I love the color, the flavor, the dirt under my nails and ALLL the mason jars. Seriously, there isn’t much better than a line of mason jars that are full of the garden’s bounty. I remember when I first started planting our garden, my theory was, “Plant all the plants. The worst thing that happens is that some of the food goes to the chickens, our friends, or the compost pile.” But I love to fill our shelves and freezer with food we grew, so it rarely goes to waste. One of my favorite things to preserve is garden fresh tomato sauce.
After trying a few different recipes, I developed this lower yield recipe (15 pounds really is a lower yield! Check out any Ball Canning Book to see!). I hear you saying, “But Jess! I don’t have 15 pounds of tomatoes ready at any time and I don’t go to the farmer’s market!”. I’ve got your back with a great solution: The freezer.
The Hack
I rarely have enough tomatoes ripe at one time for 15 pounds. If you are like me, let me share the trick that was an immediate love for me: When you have a large amount of ripe tomatoes on the counter, stem, wash, and dry them. From here, place the tomatoes in a freezer safe container or bag. I like to label them with their weight ahead of time. When you are ready for canning, simply take the bags out a day or two ahead of time to thaw (or you can place them in the sink with warm water to speed up the process).
This method is awesome for two reasons:
- You can use your own tomatoes, even if you don’t have a ton of plants. They won’t rot on your counter waiting.
- When the tomatoes thaw, the skins come right off. I like to can my sauce with the skin (so many of the nutrients are there!), but it is nice to get rid of a few of them.
Regardless of how you come by your tomatoes (friends, farmer’s market, your own dirt), let’s get going with some great garden fresh tomato sauce! Oh, and if you plan on canning it and are new to it, check out the National Center for Home Preservation Site for more information!
Your Ingredients For Garden Fresh Tomato Sauce
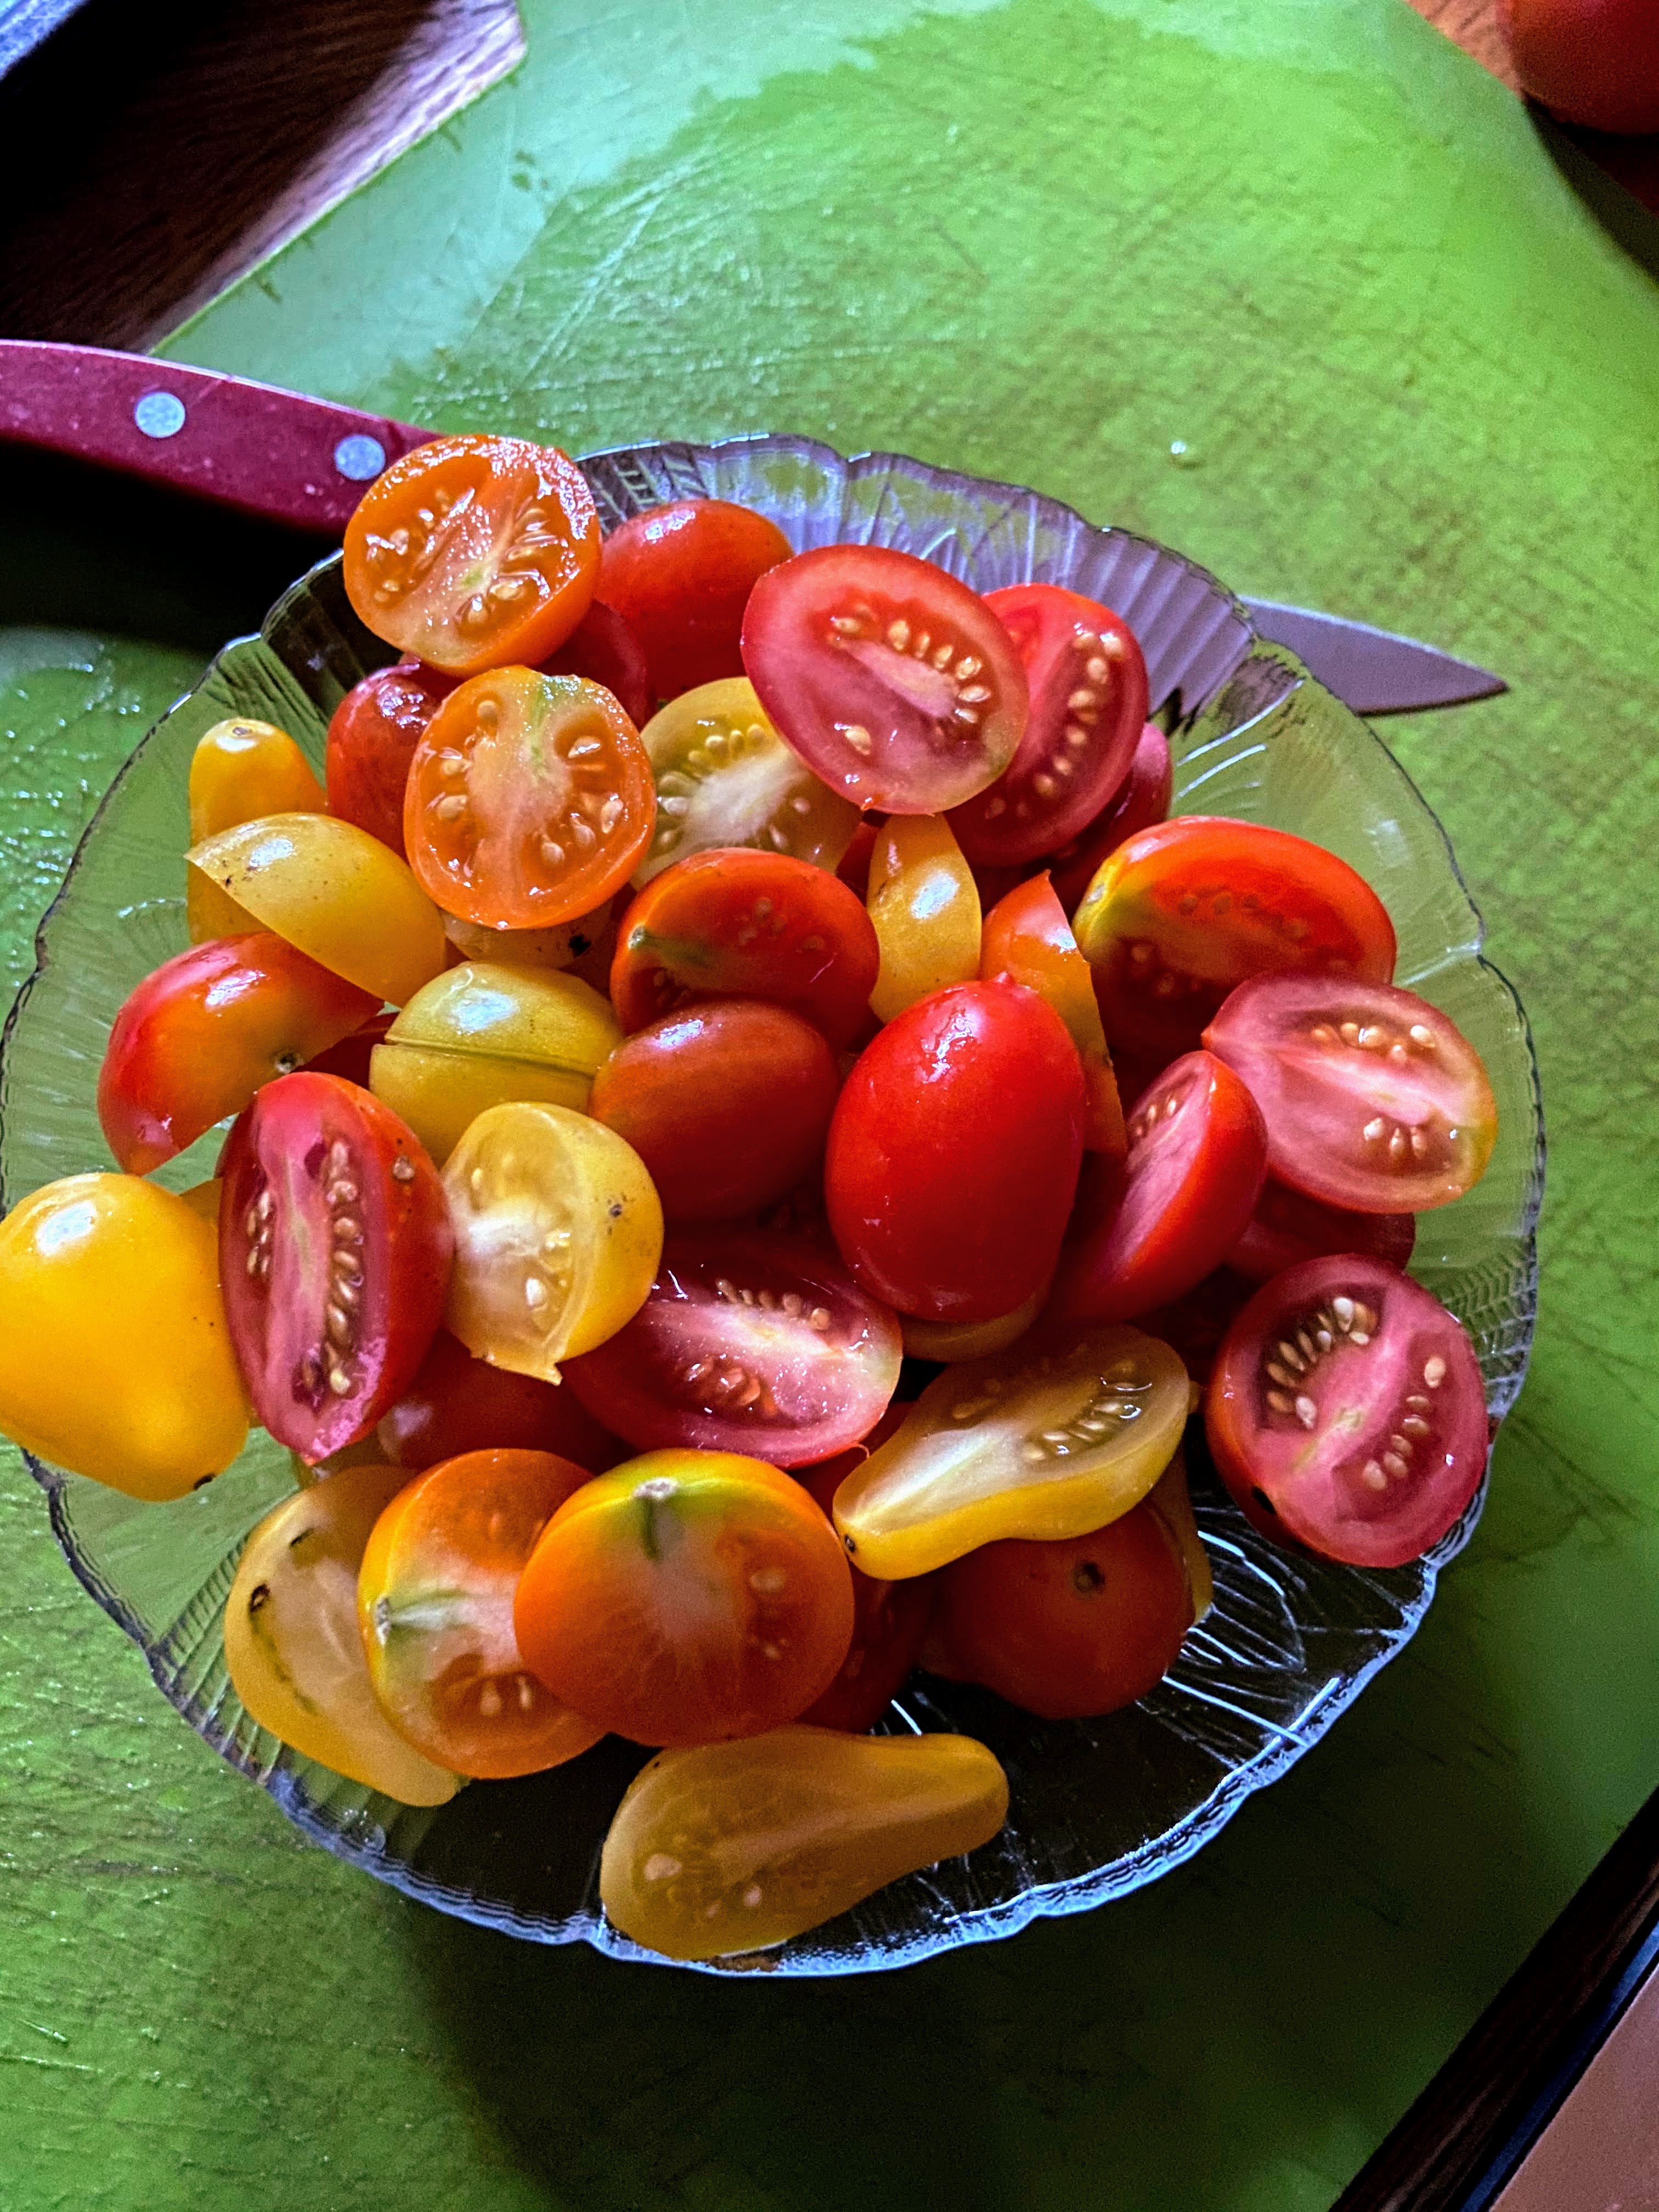
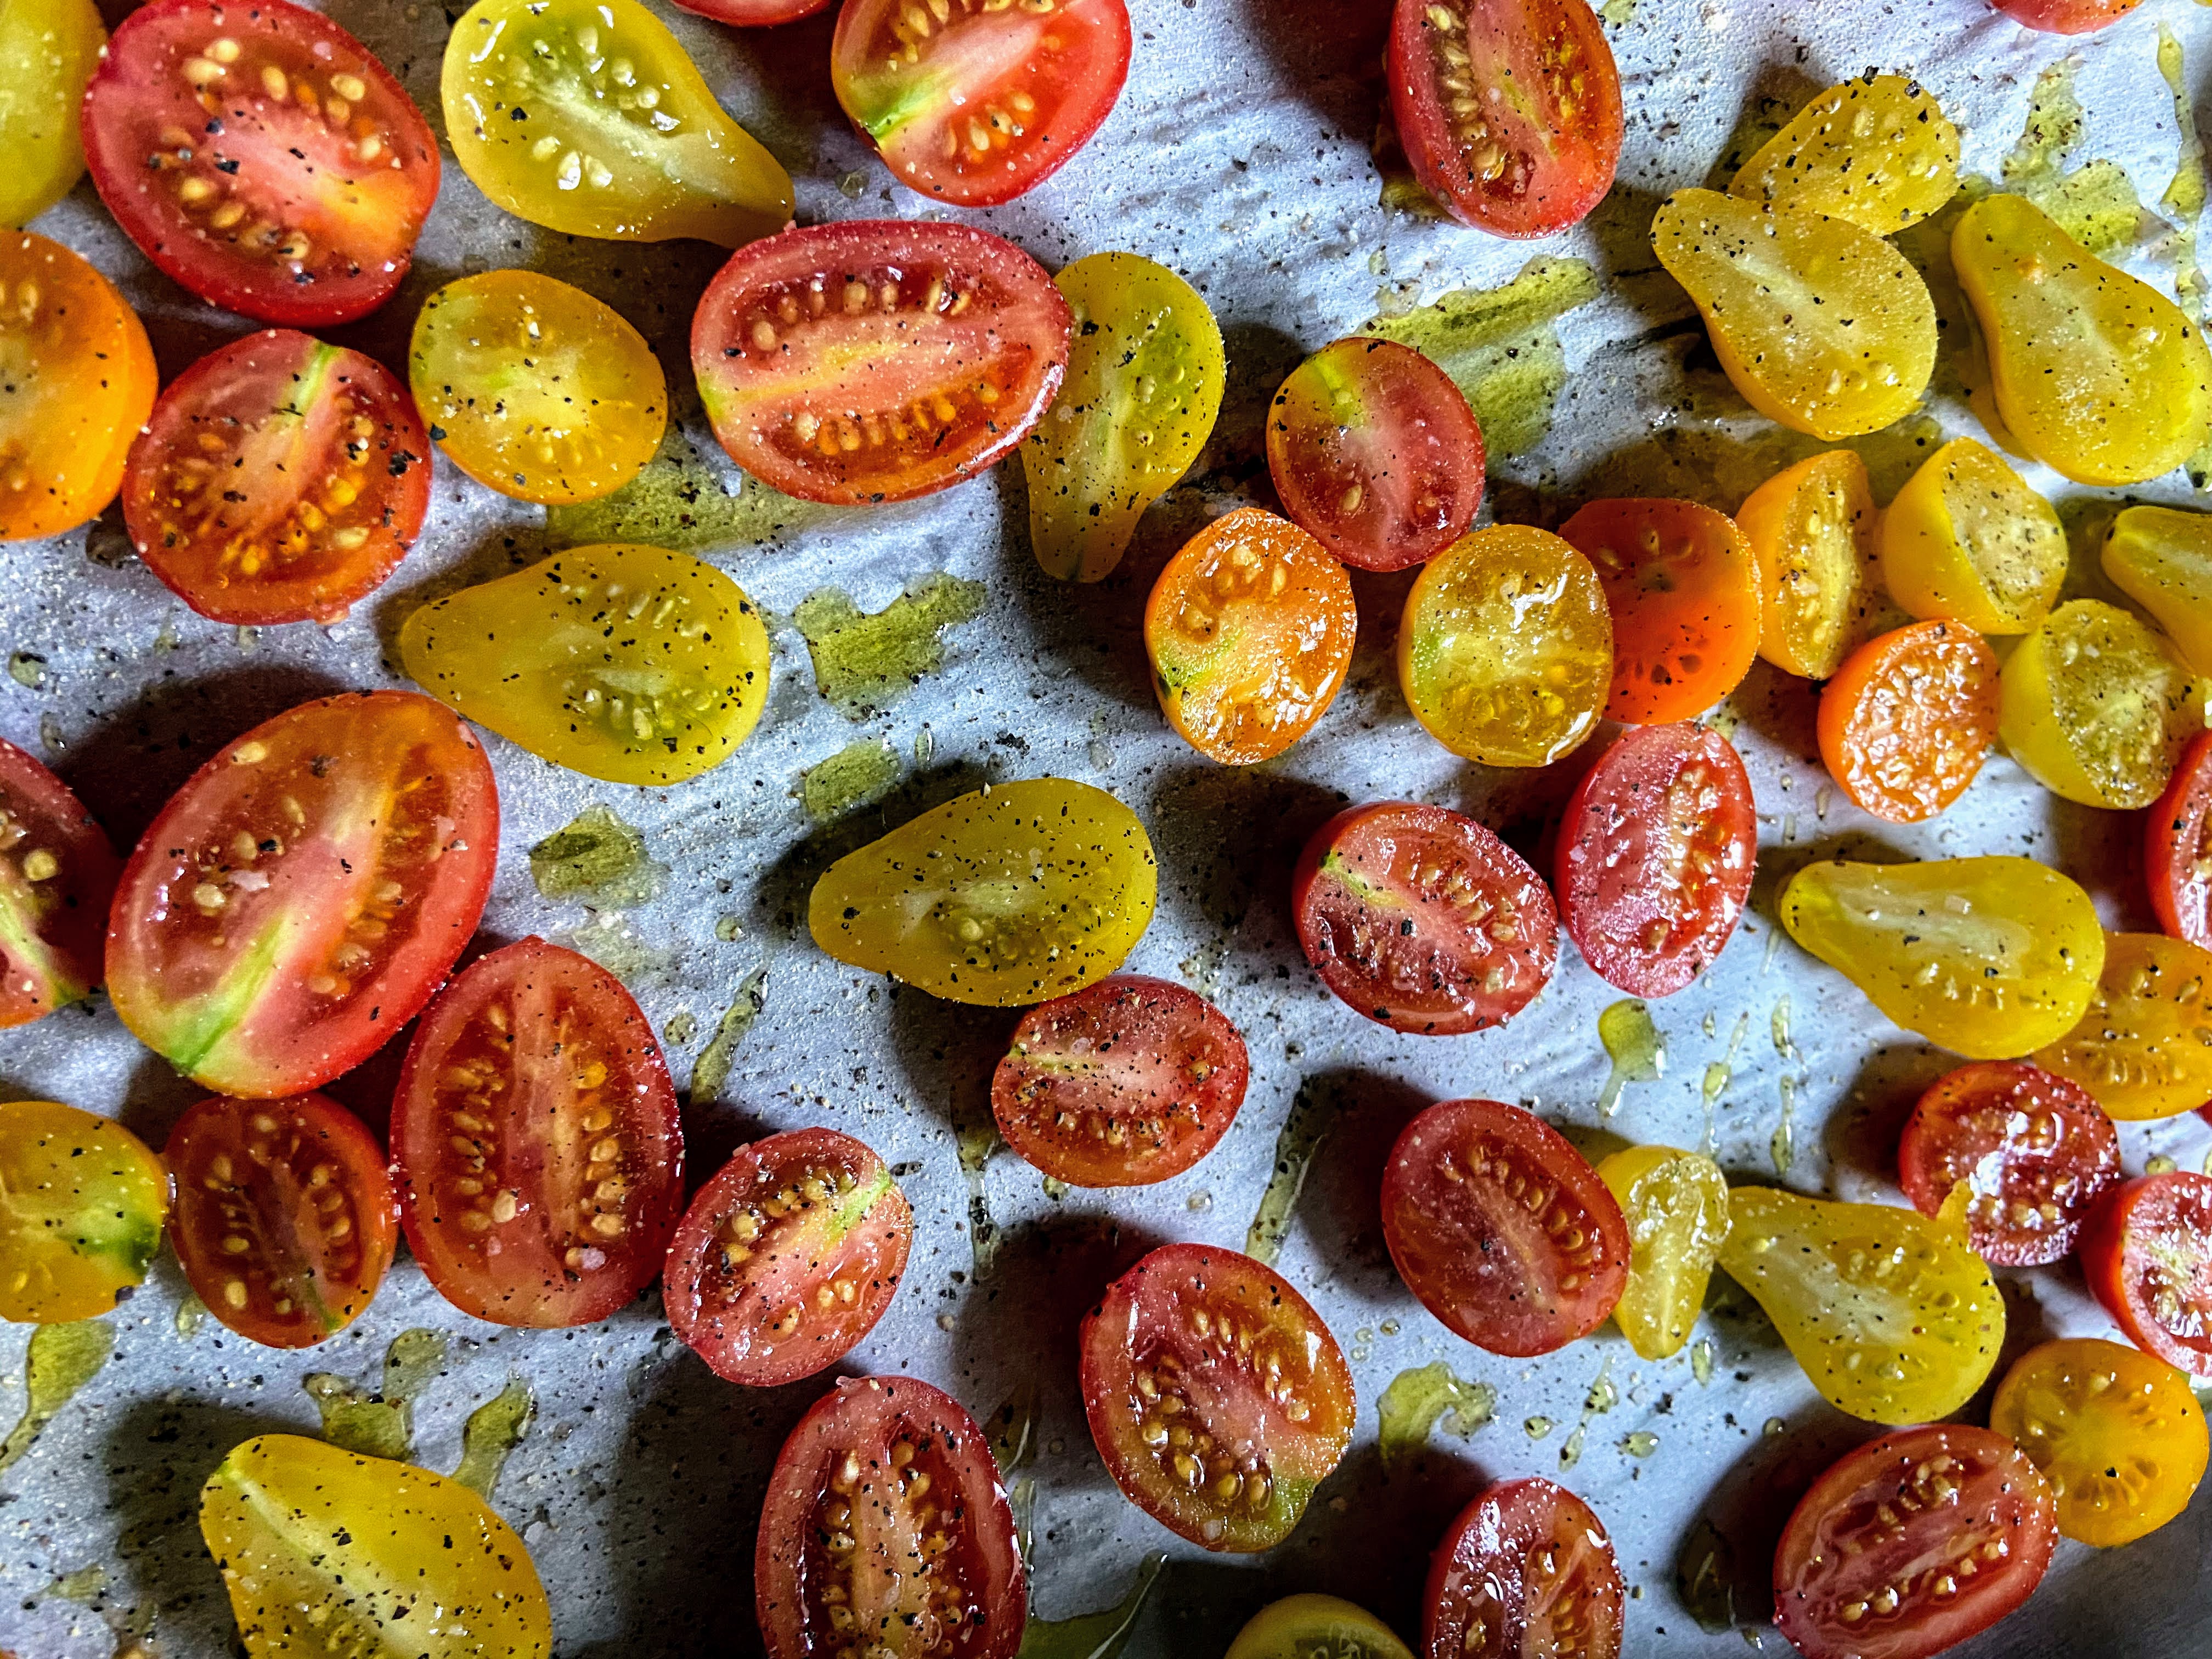
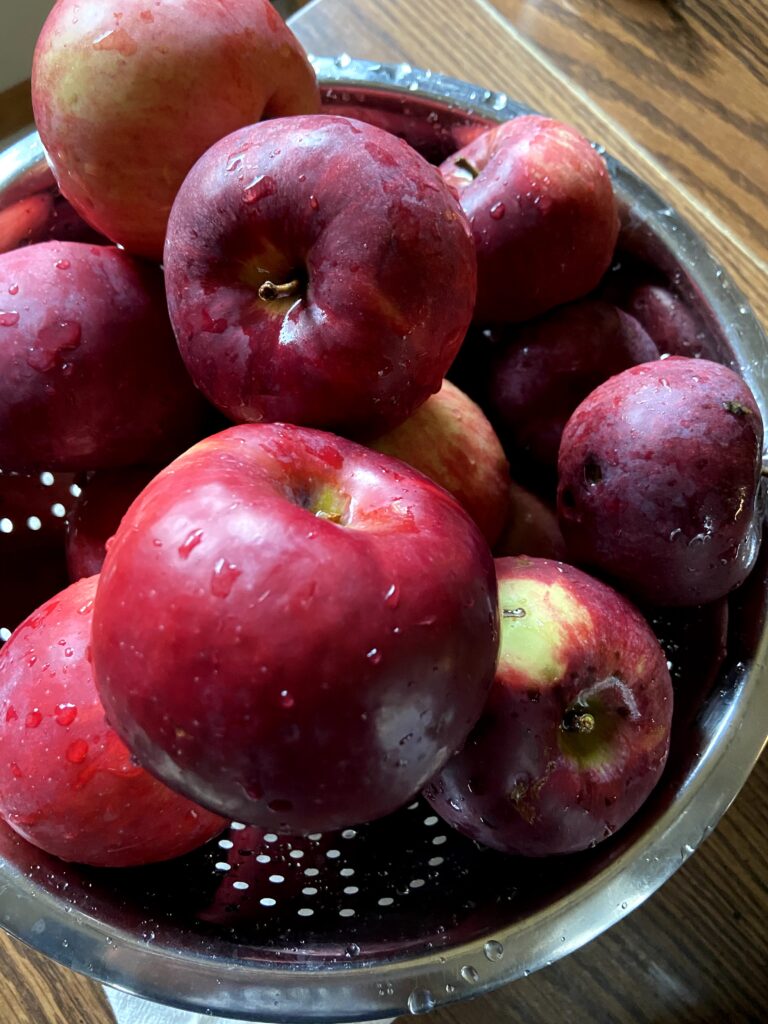
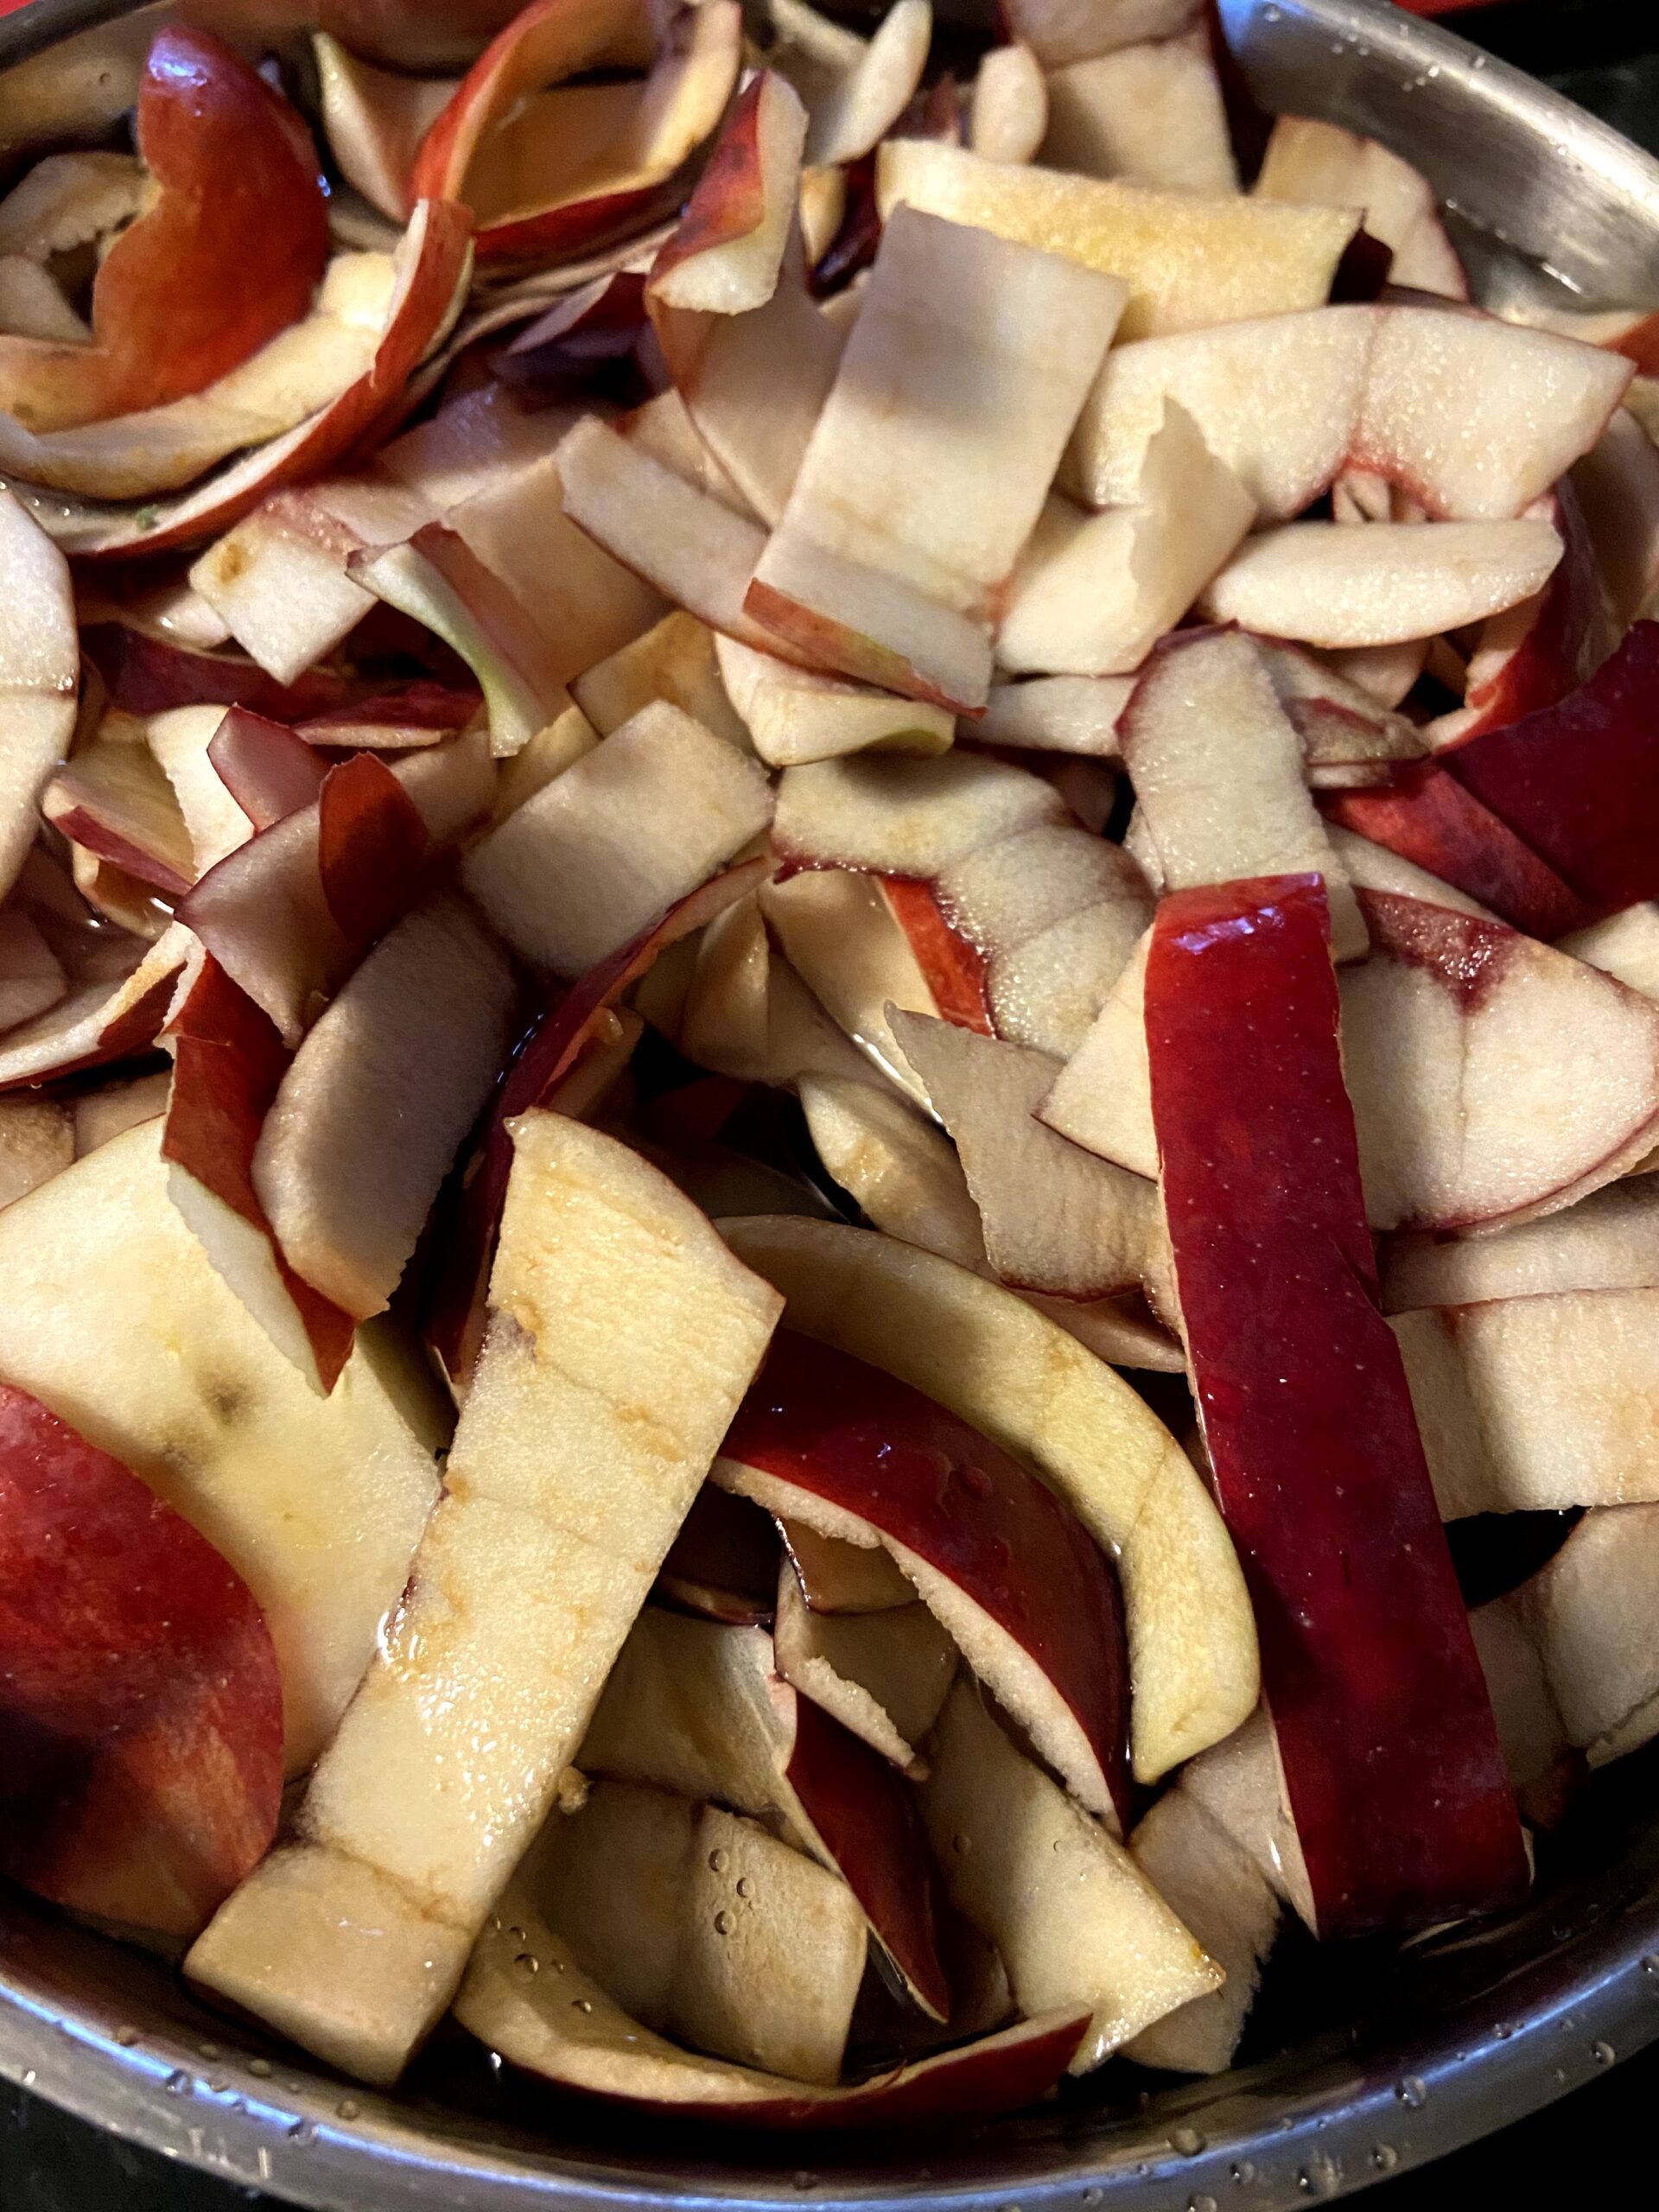
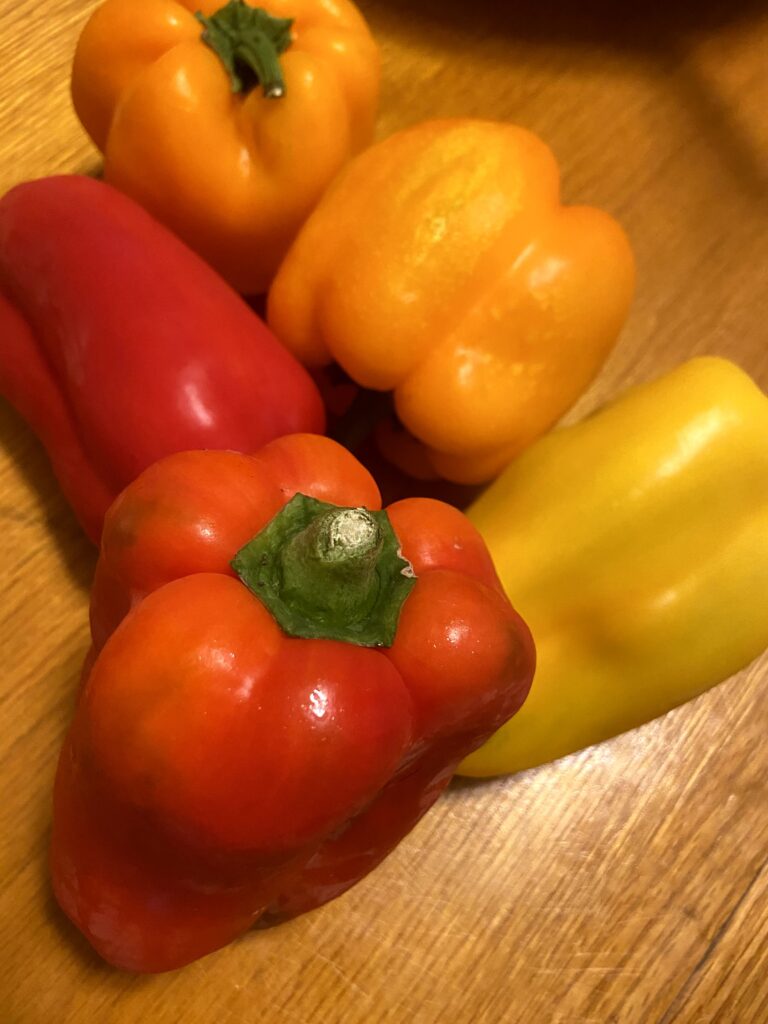
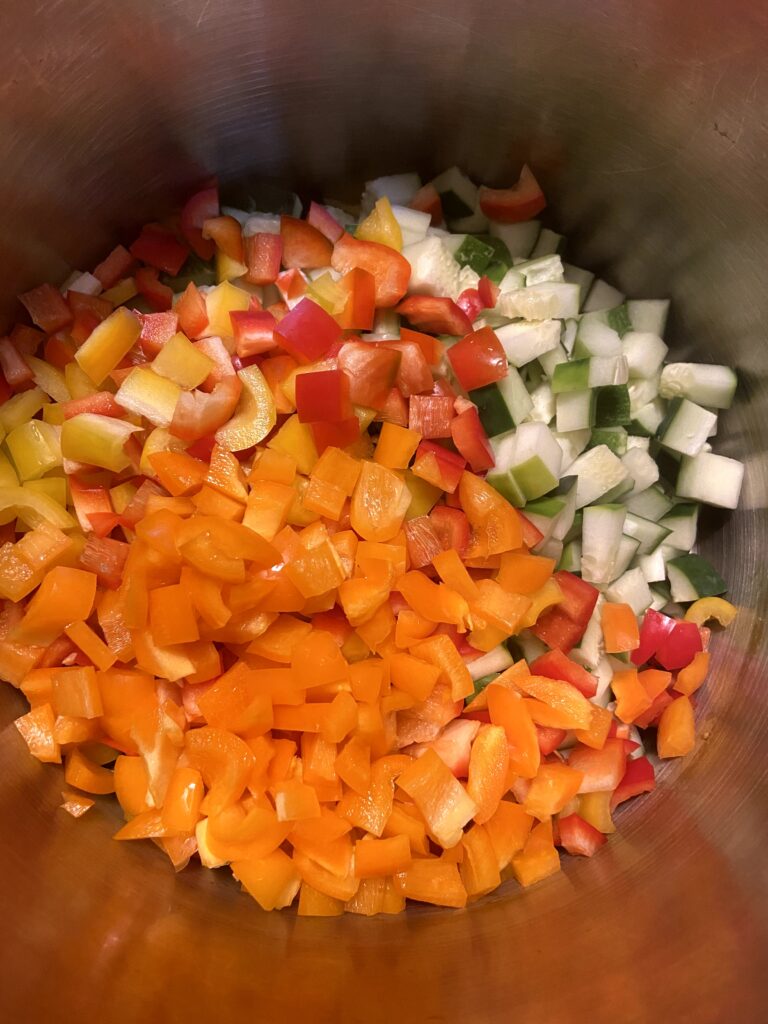
- 15 pounds of tomatoes, cleaned and roughly chopped
- 2 tablespoons olive oil
- 2 cups onions
- 3 tablespoons minced garlic
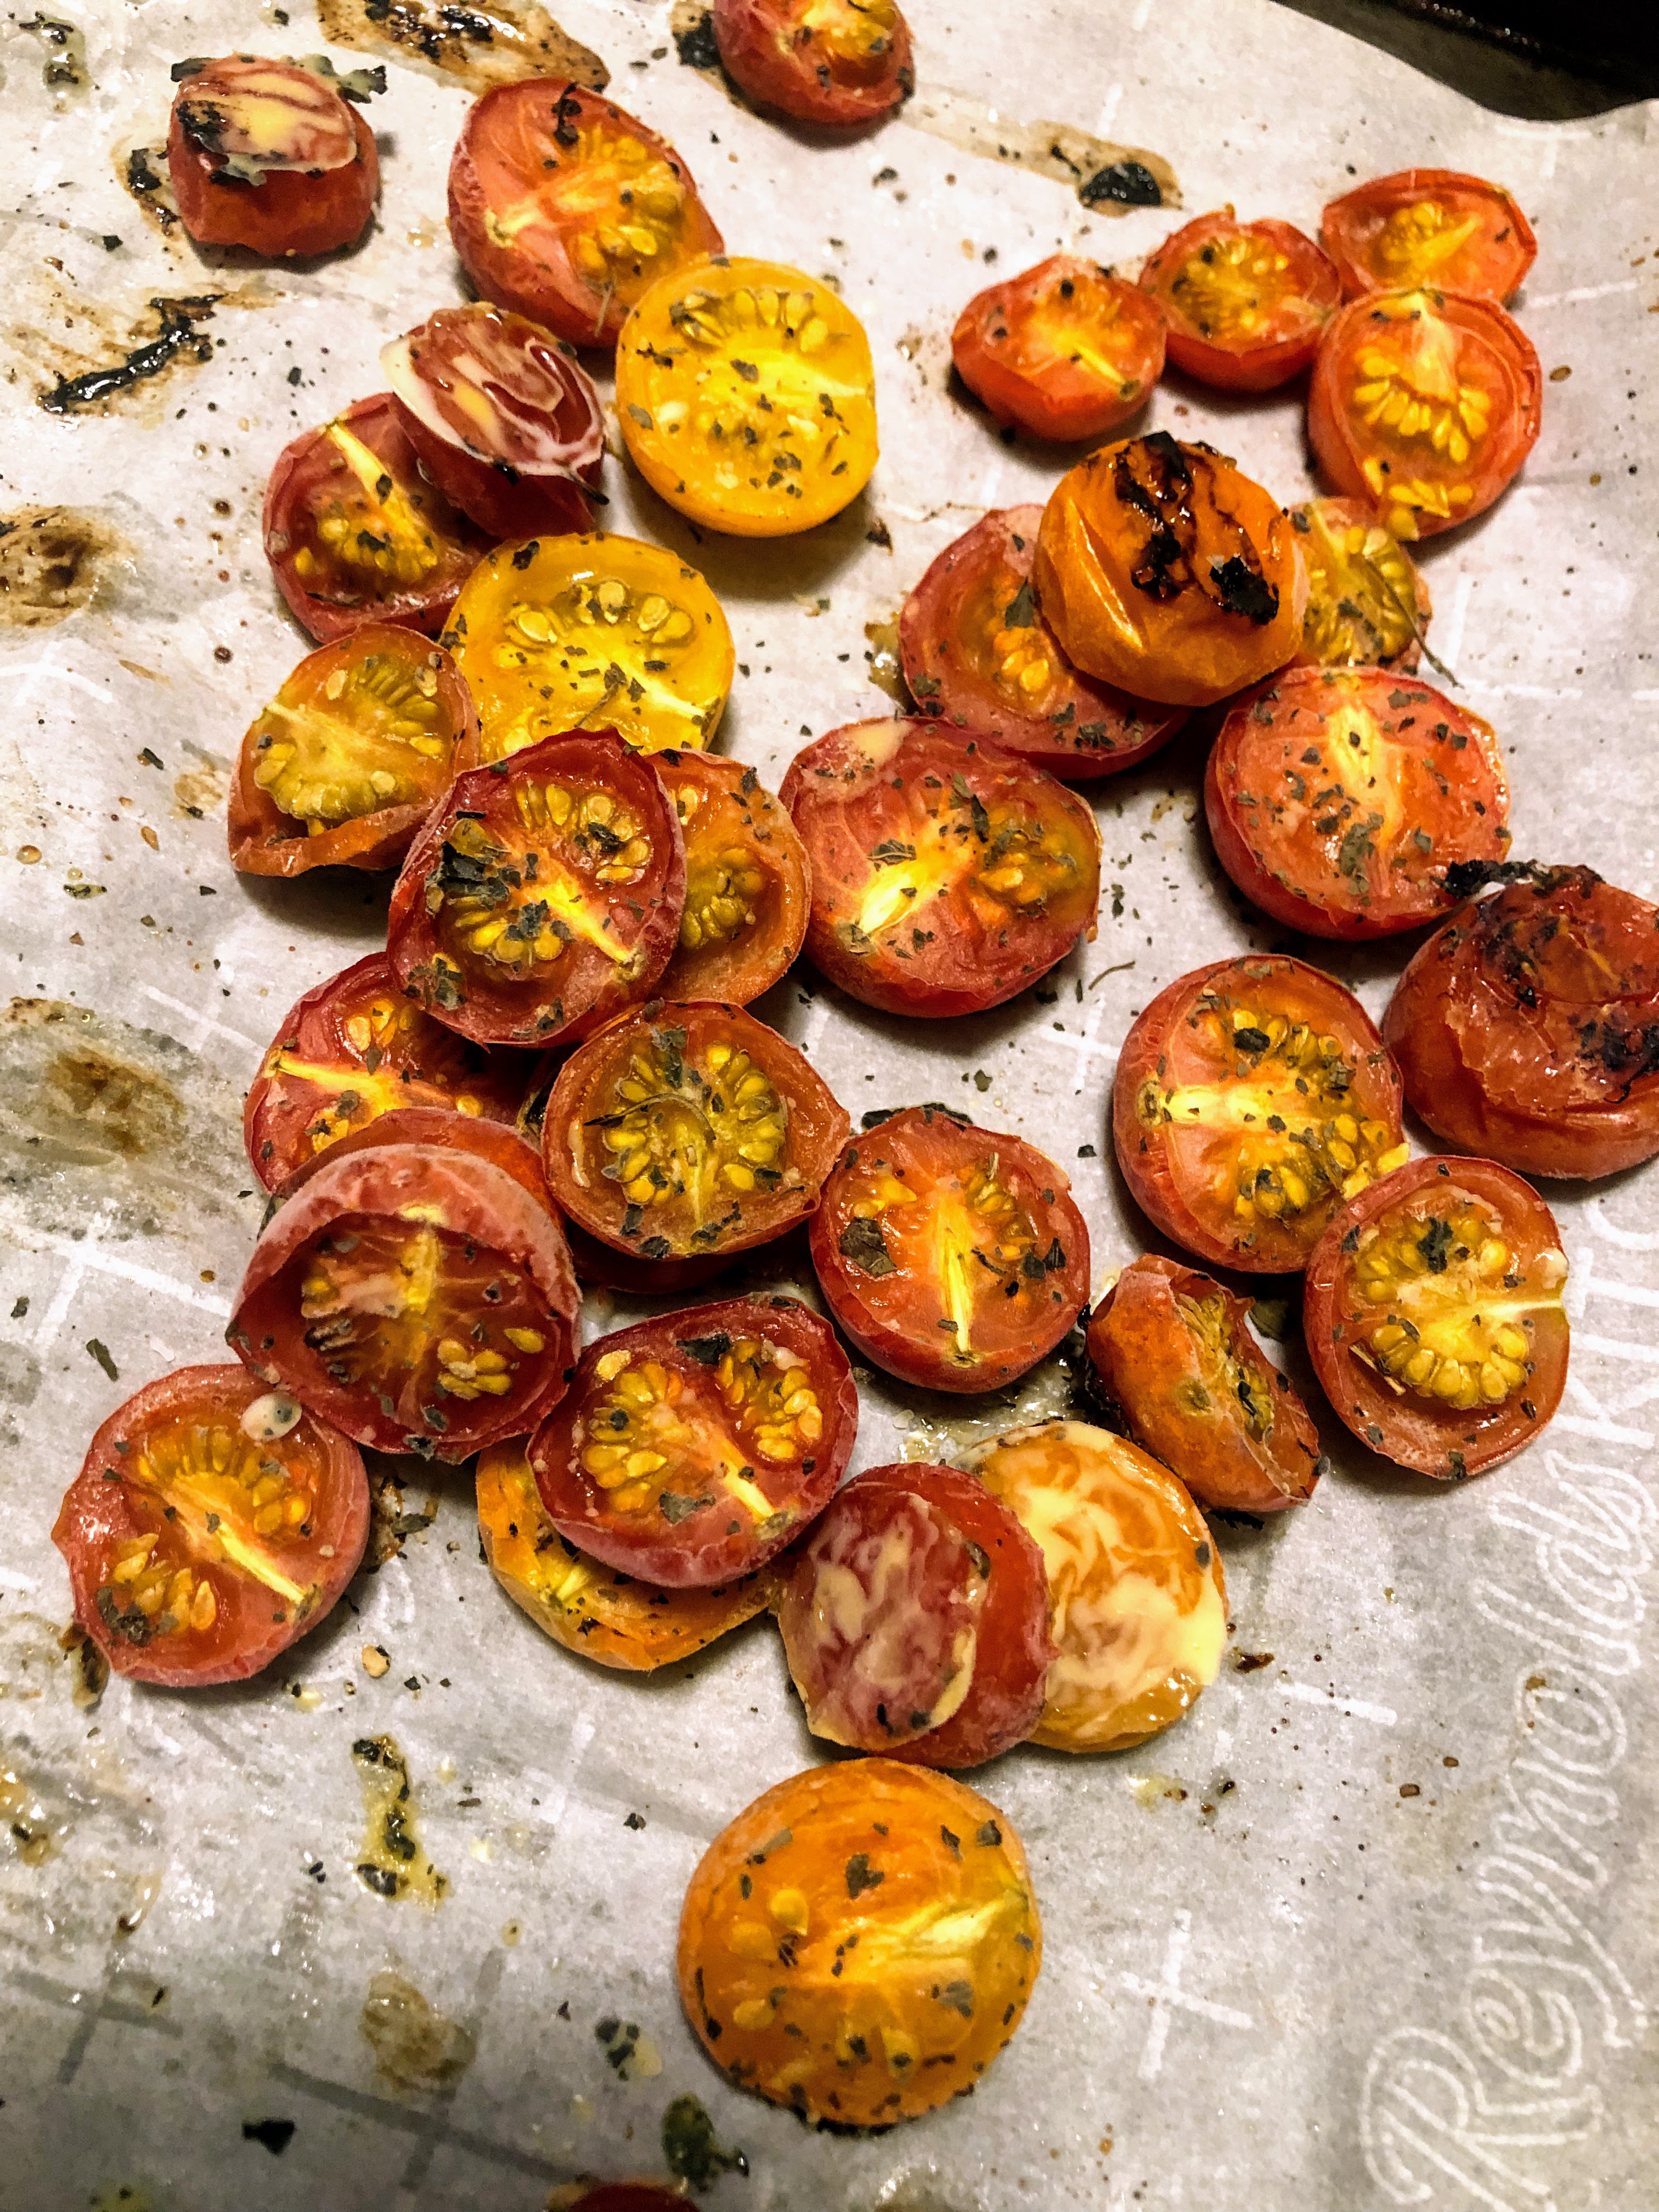
- 1 cup fresh basil, chopped
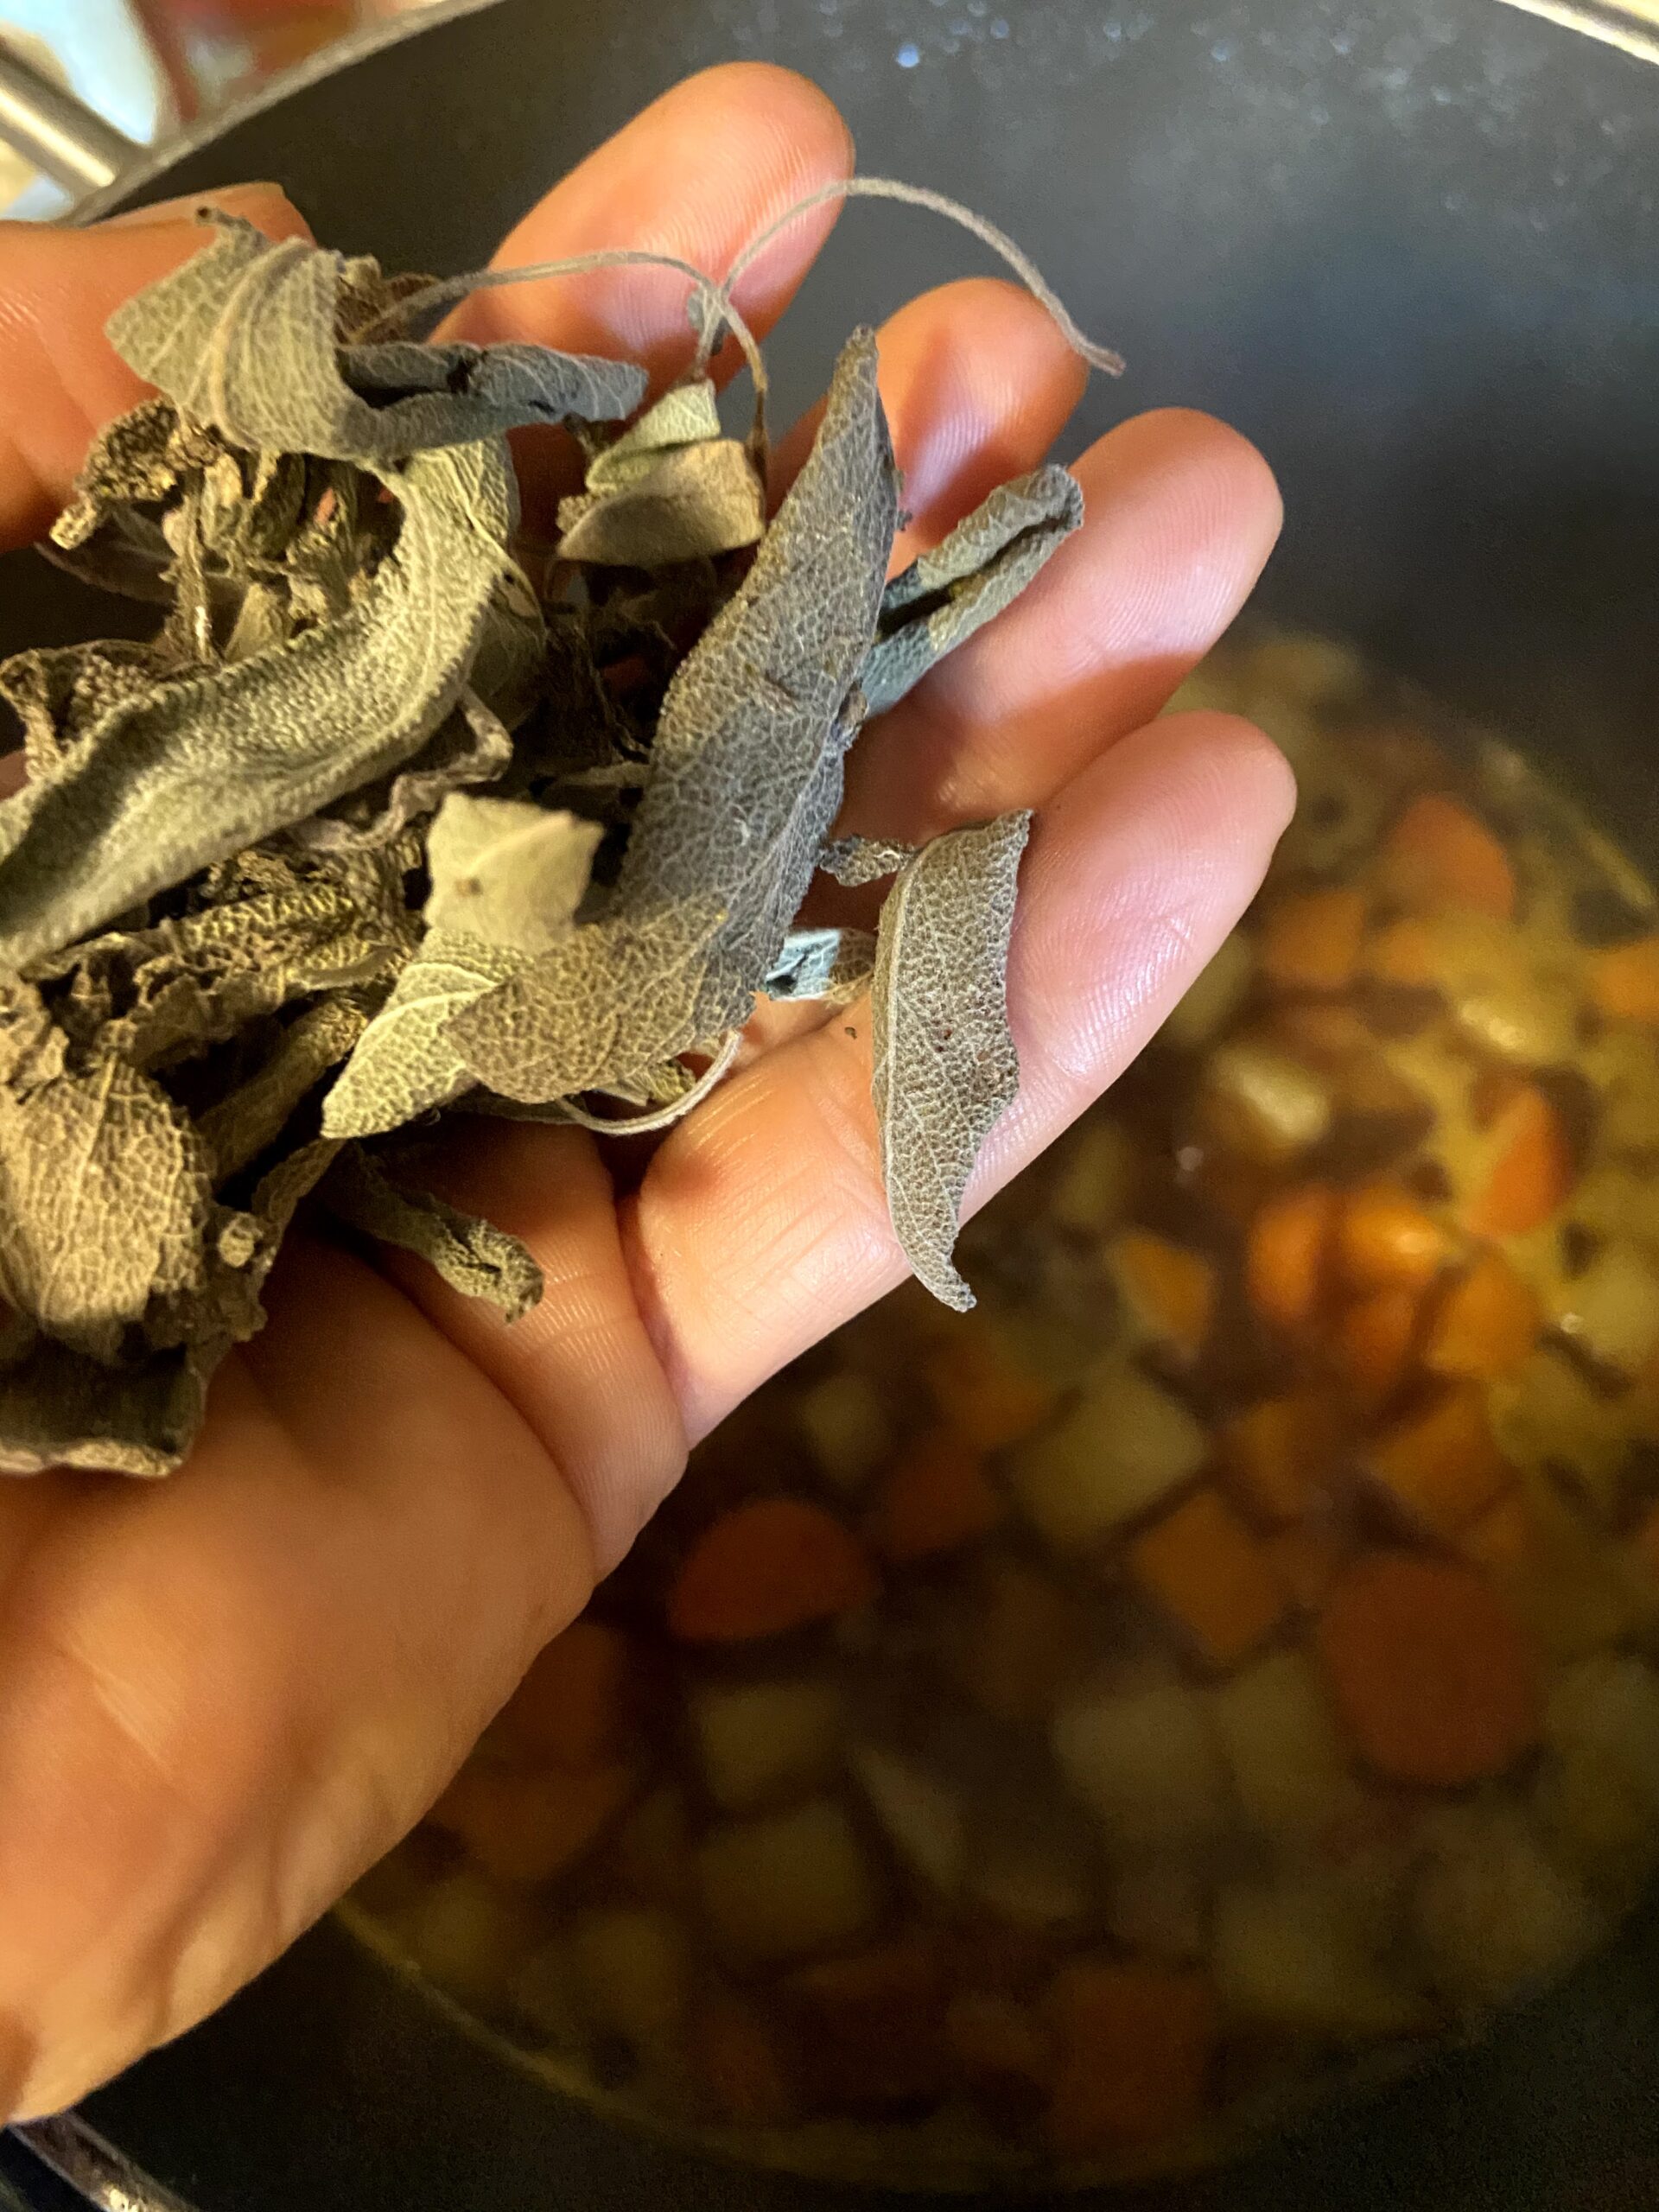
- ½ cup fresh oregano
- 1 ½ teaspoons pepper
- 1 tablespoon canning salt
Your Steps to Garden Fresh Tomato Sauce
Cooking
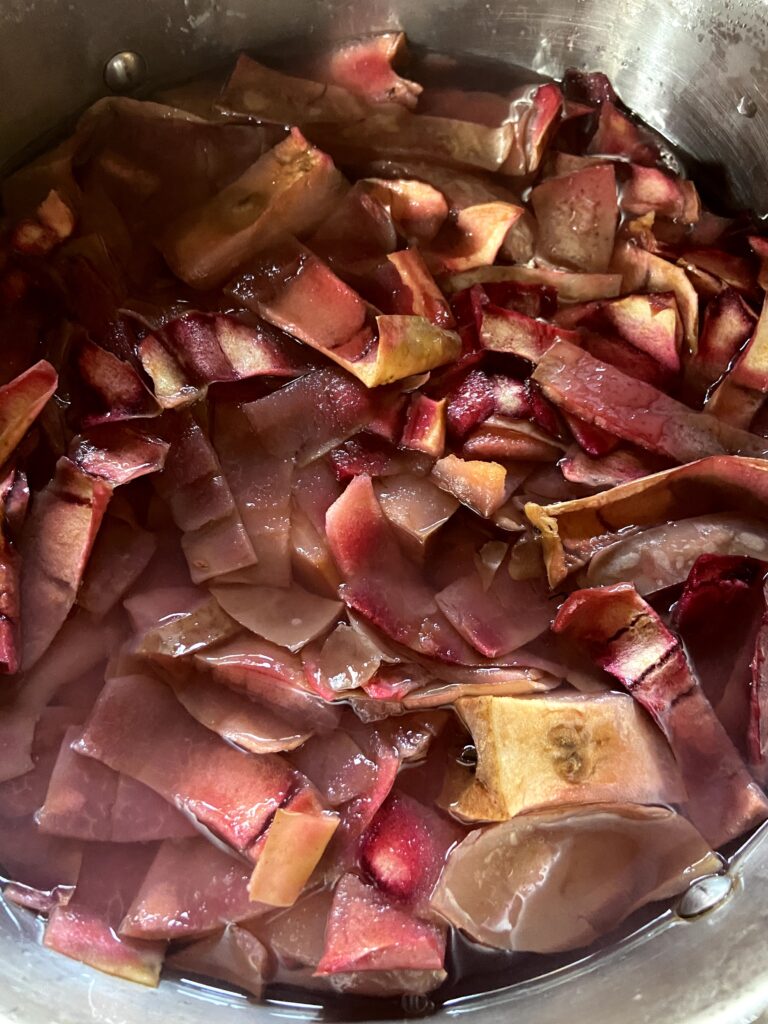
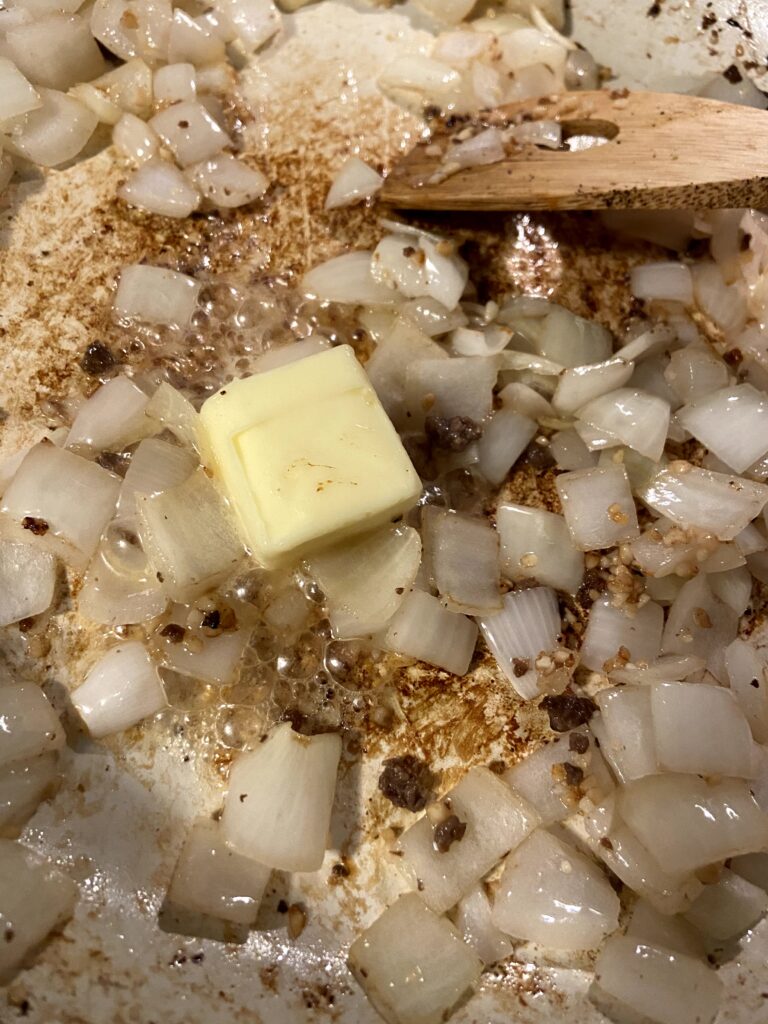
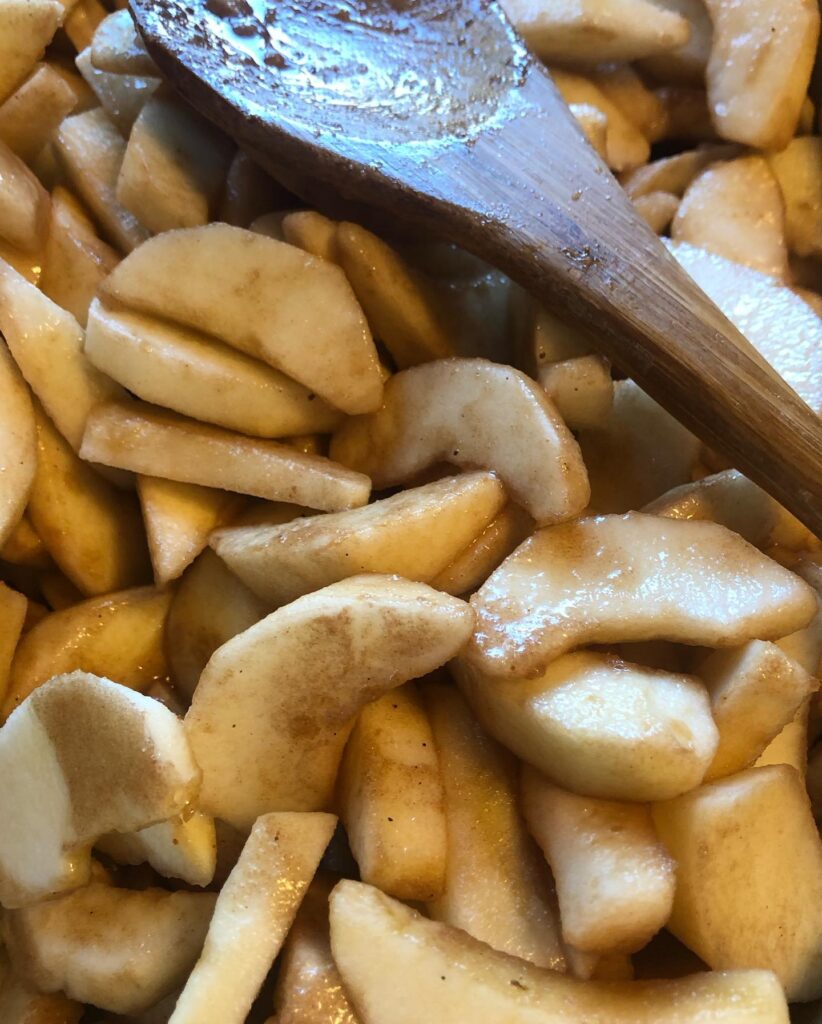
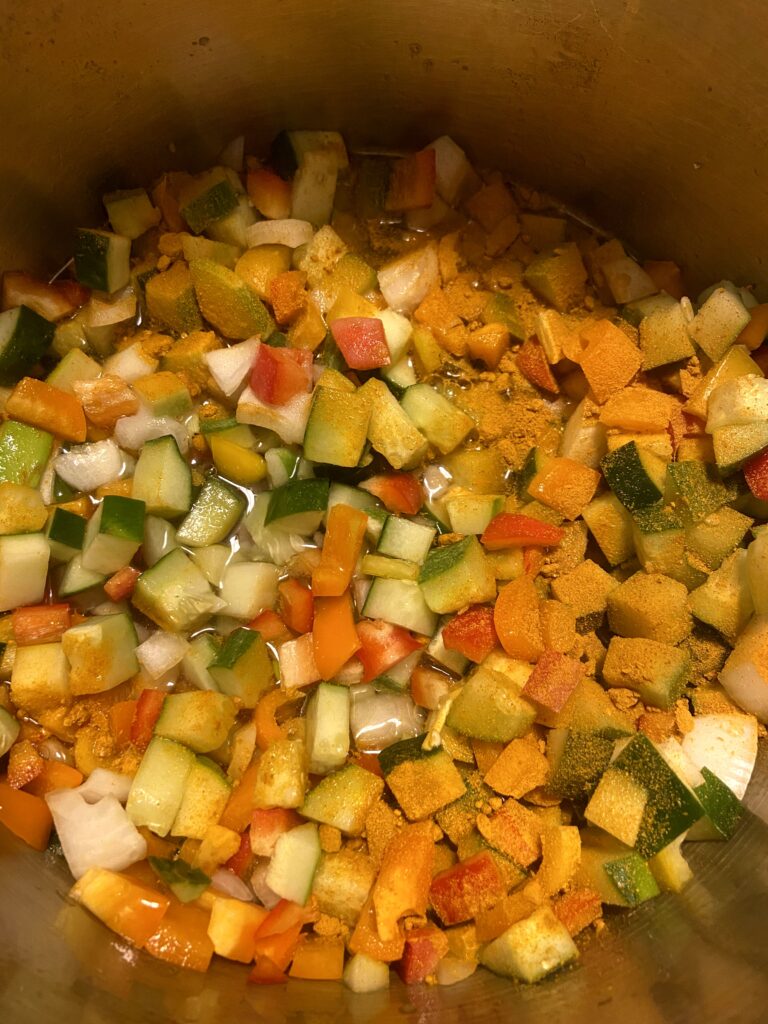
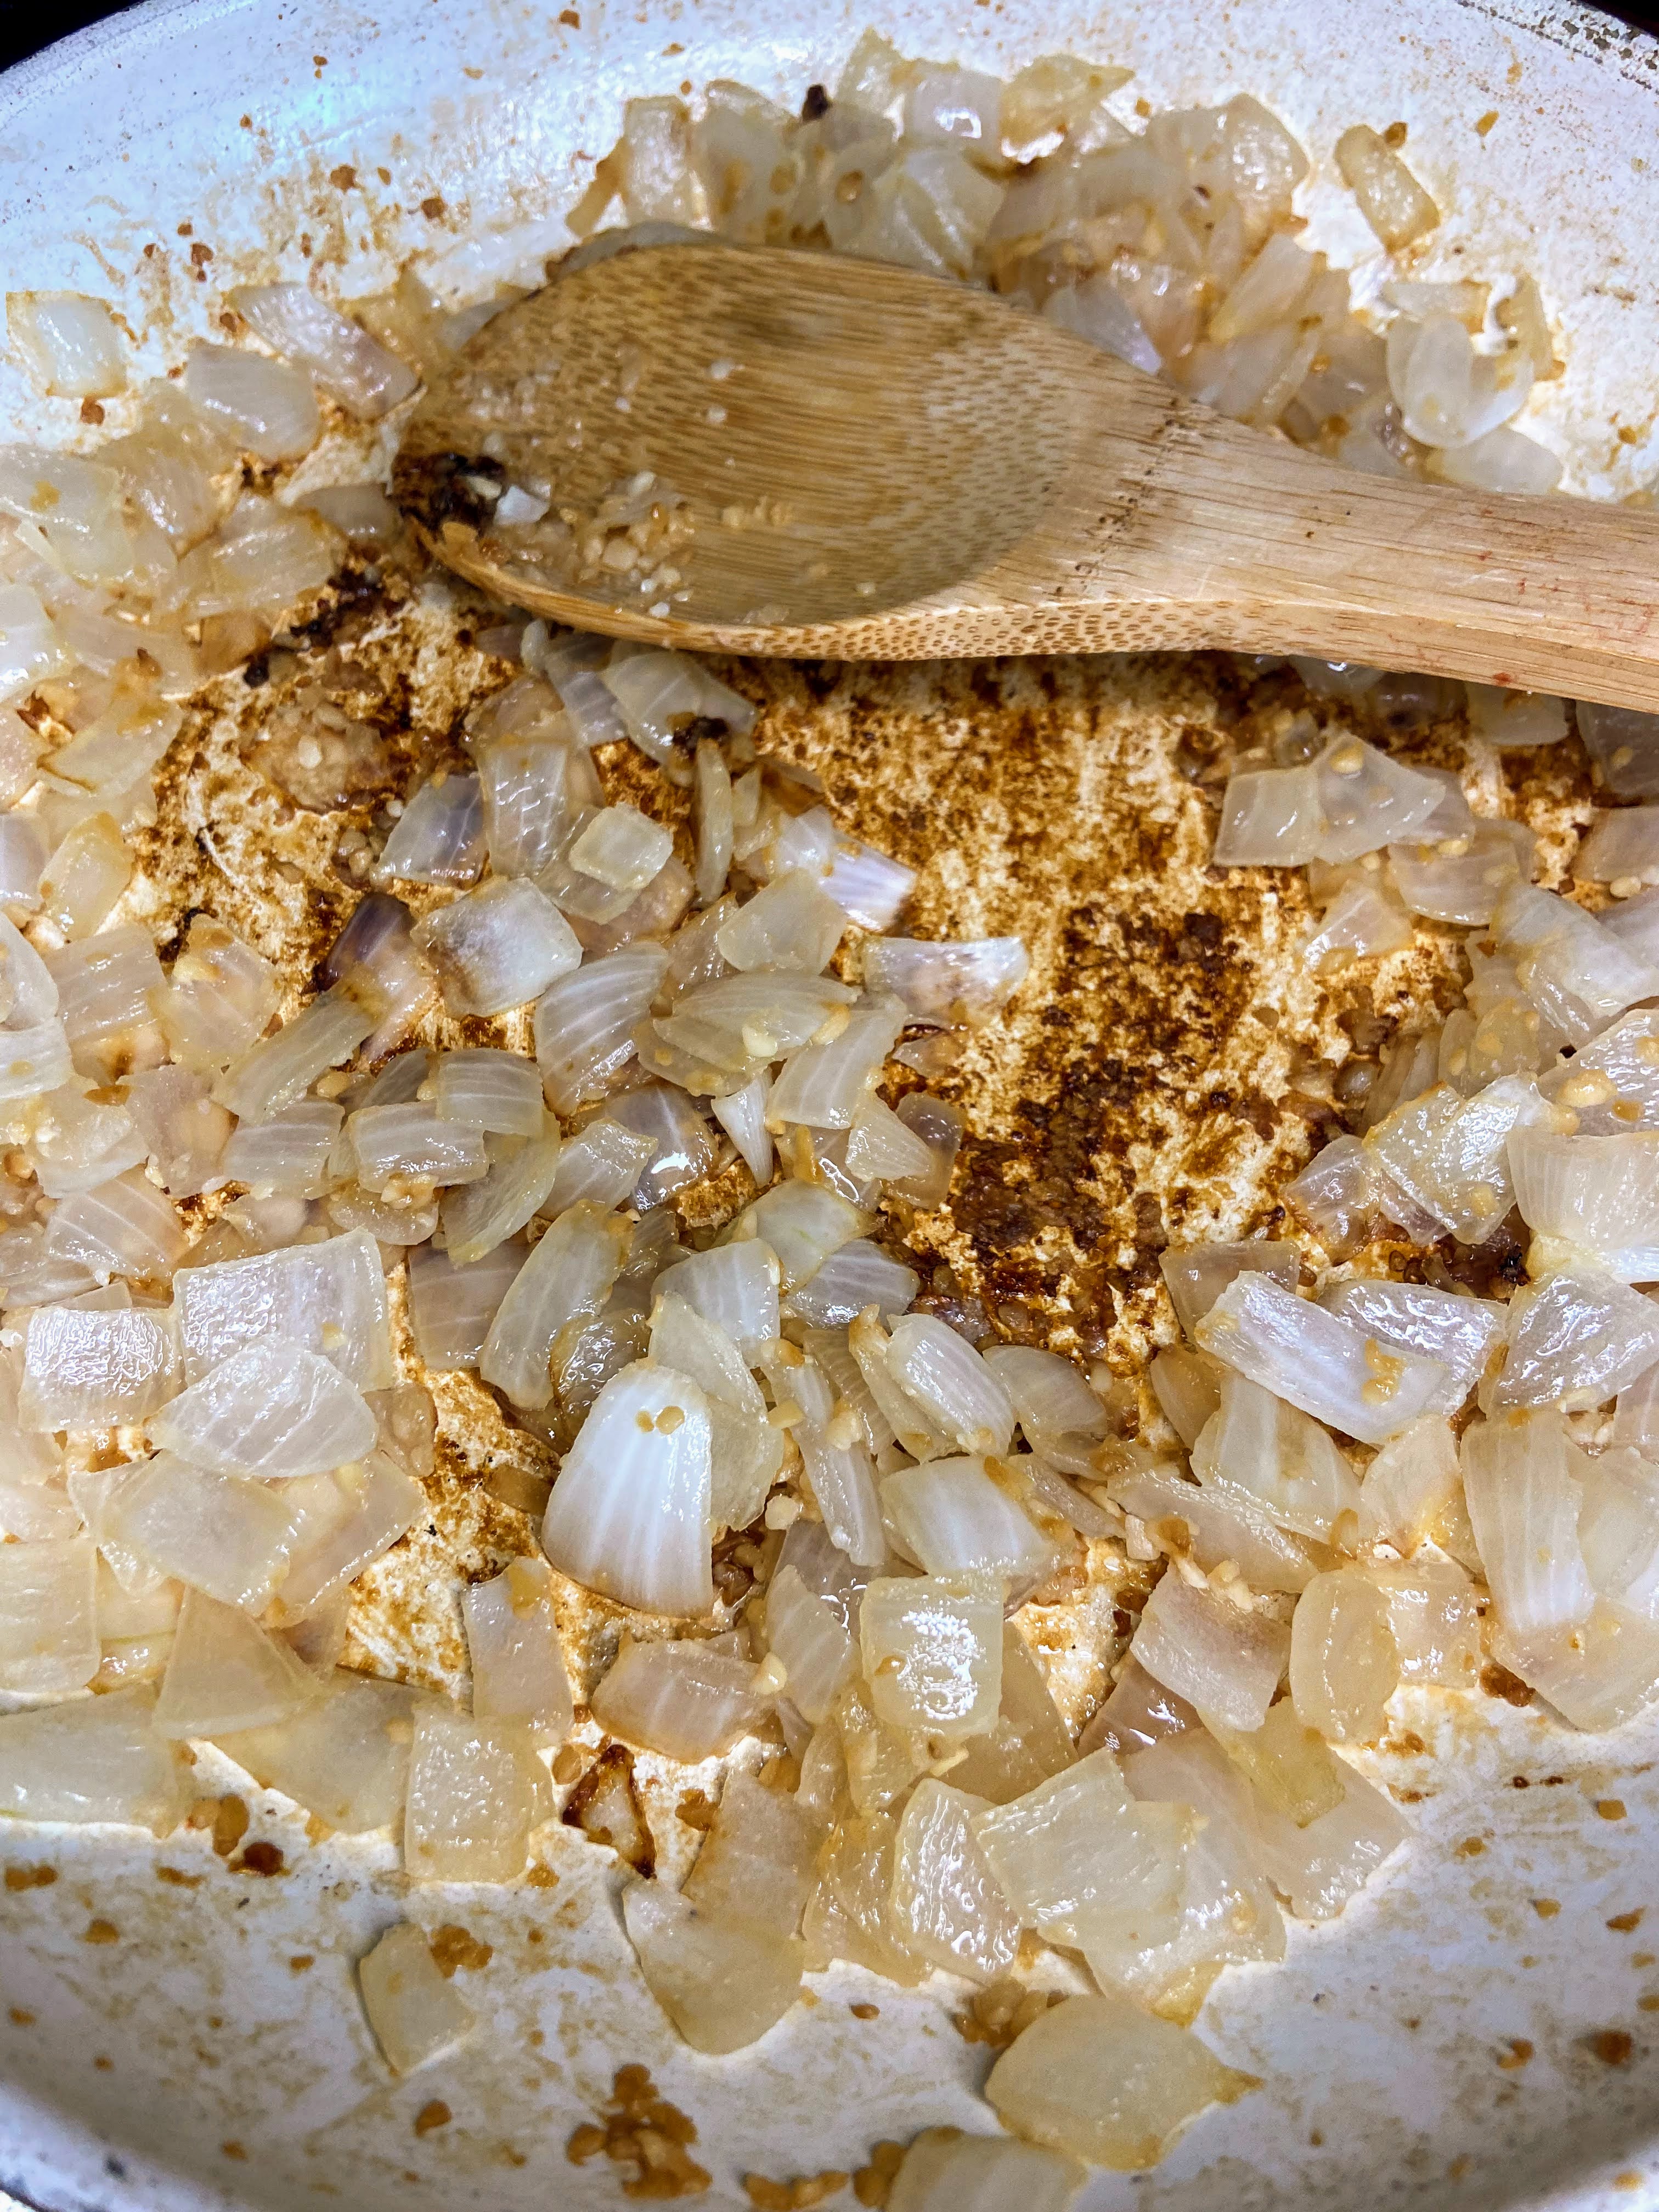
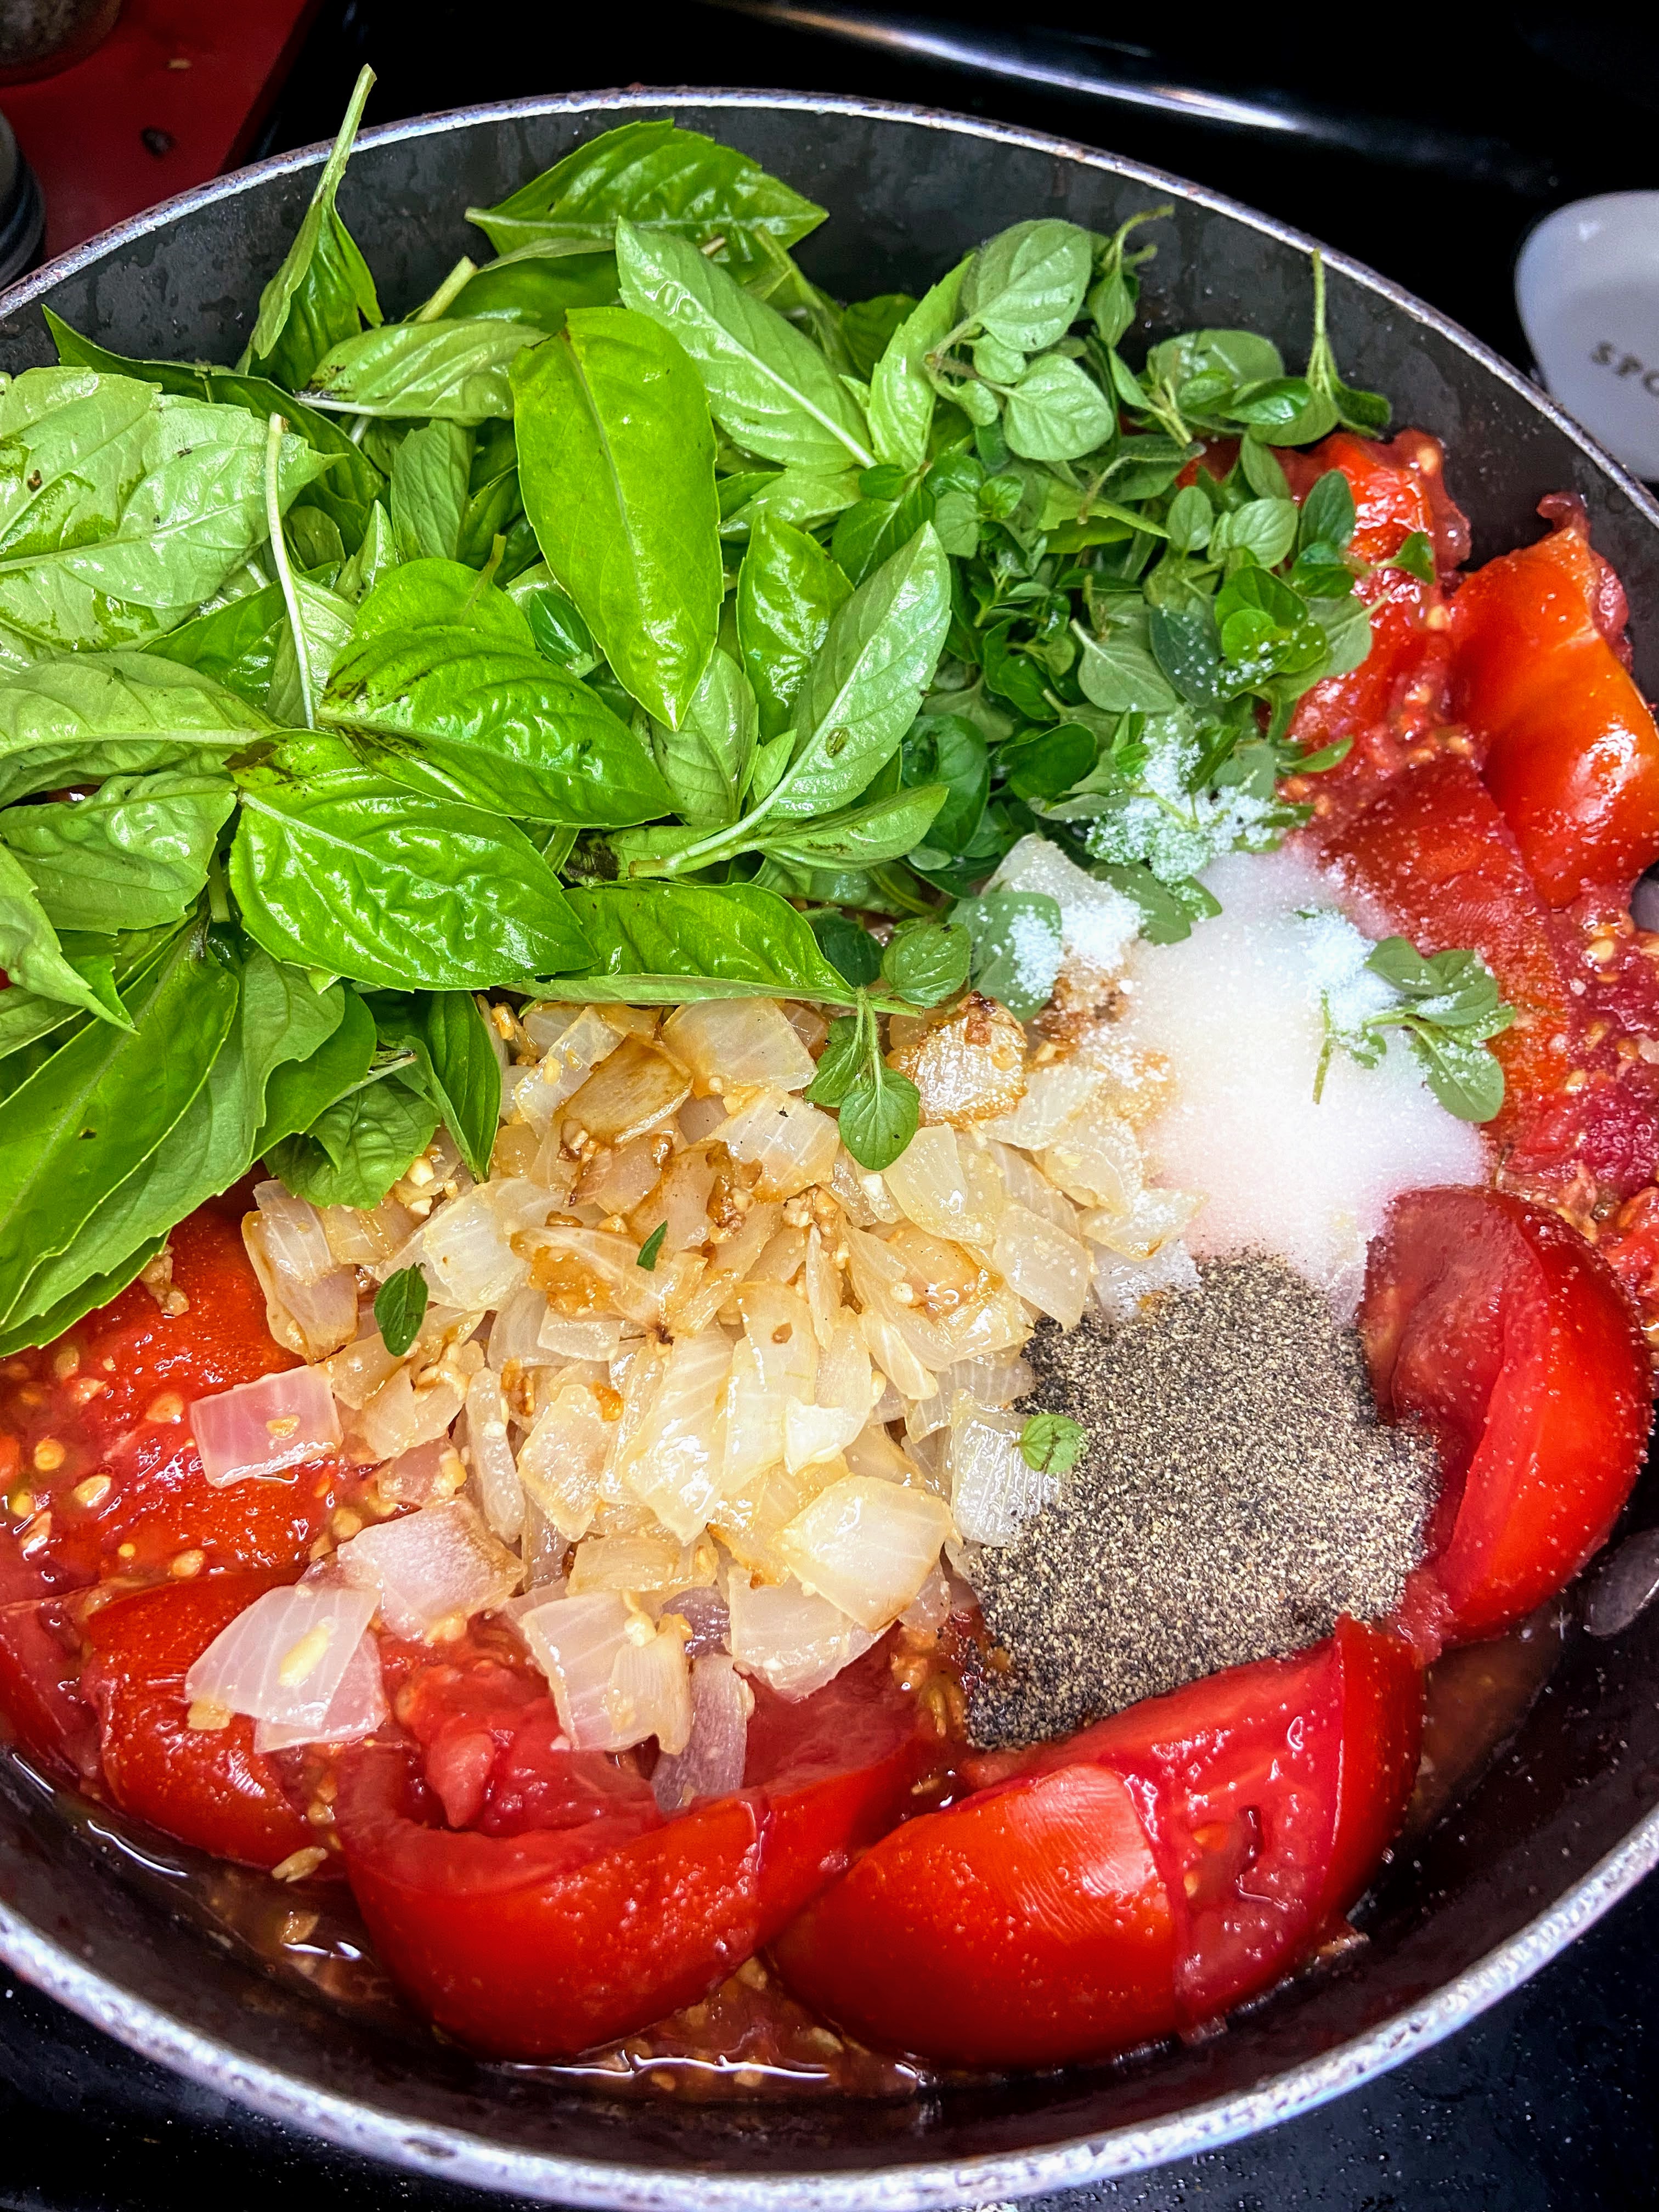
Begin by heating olive oil over medium heat in a sauté pan. Add onions and garlic. Cook until translucent and soft, about ten minutes, stirring often.
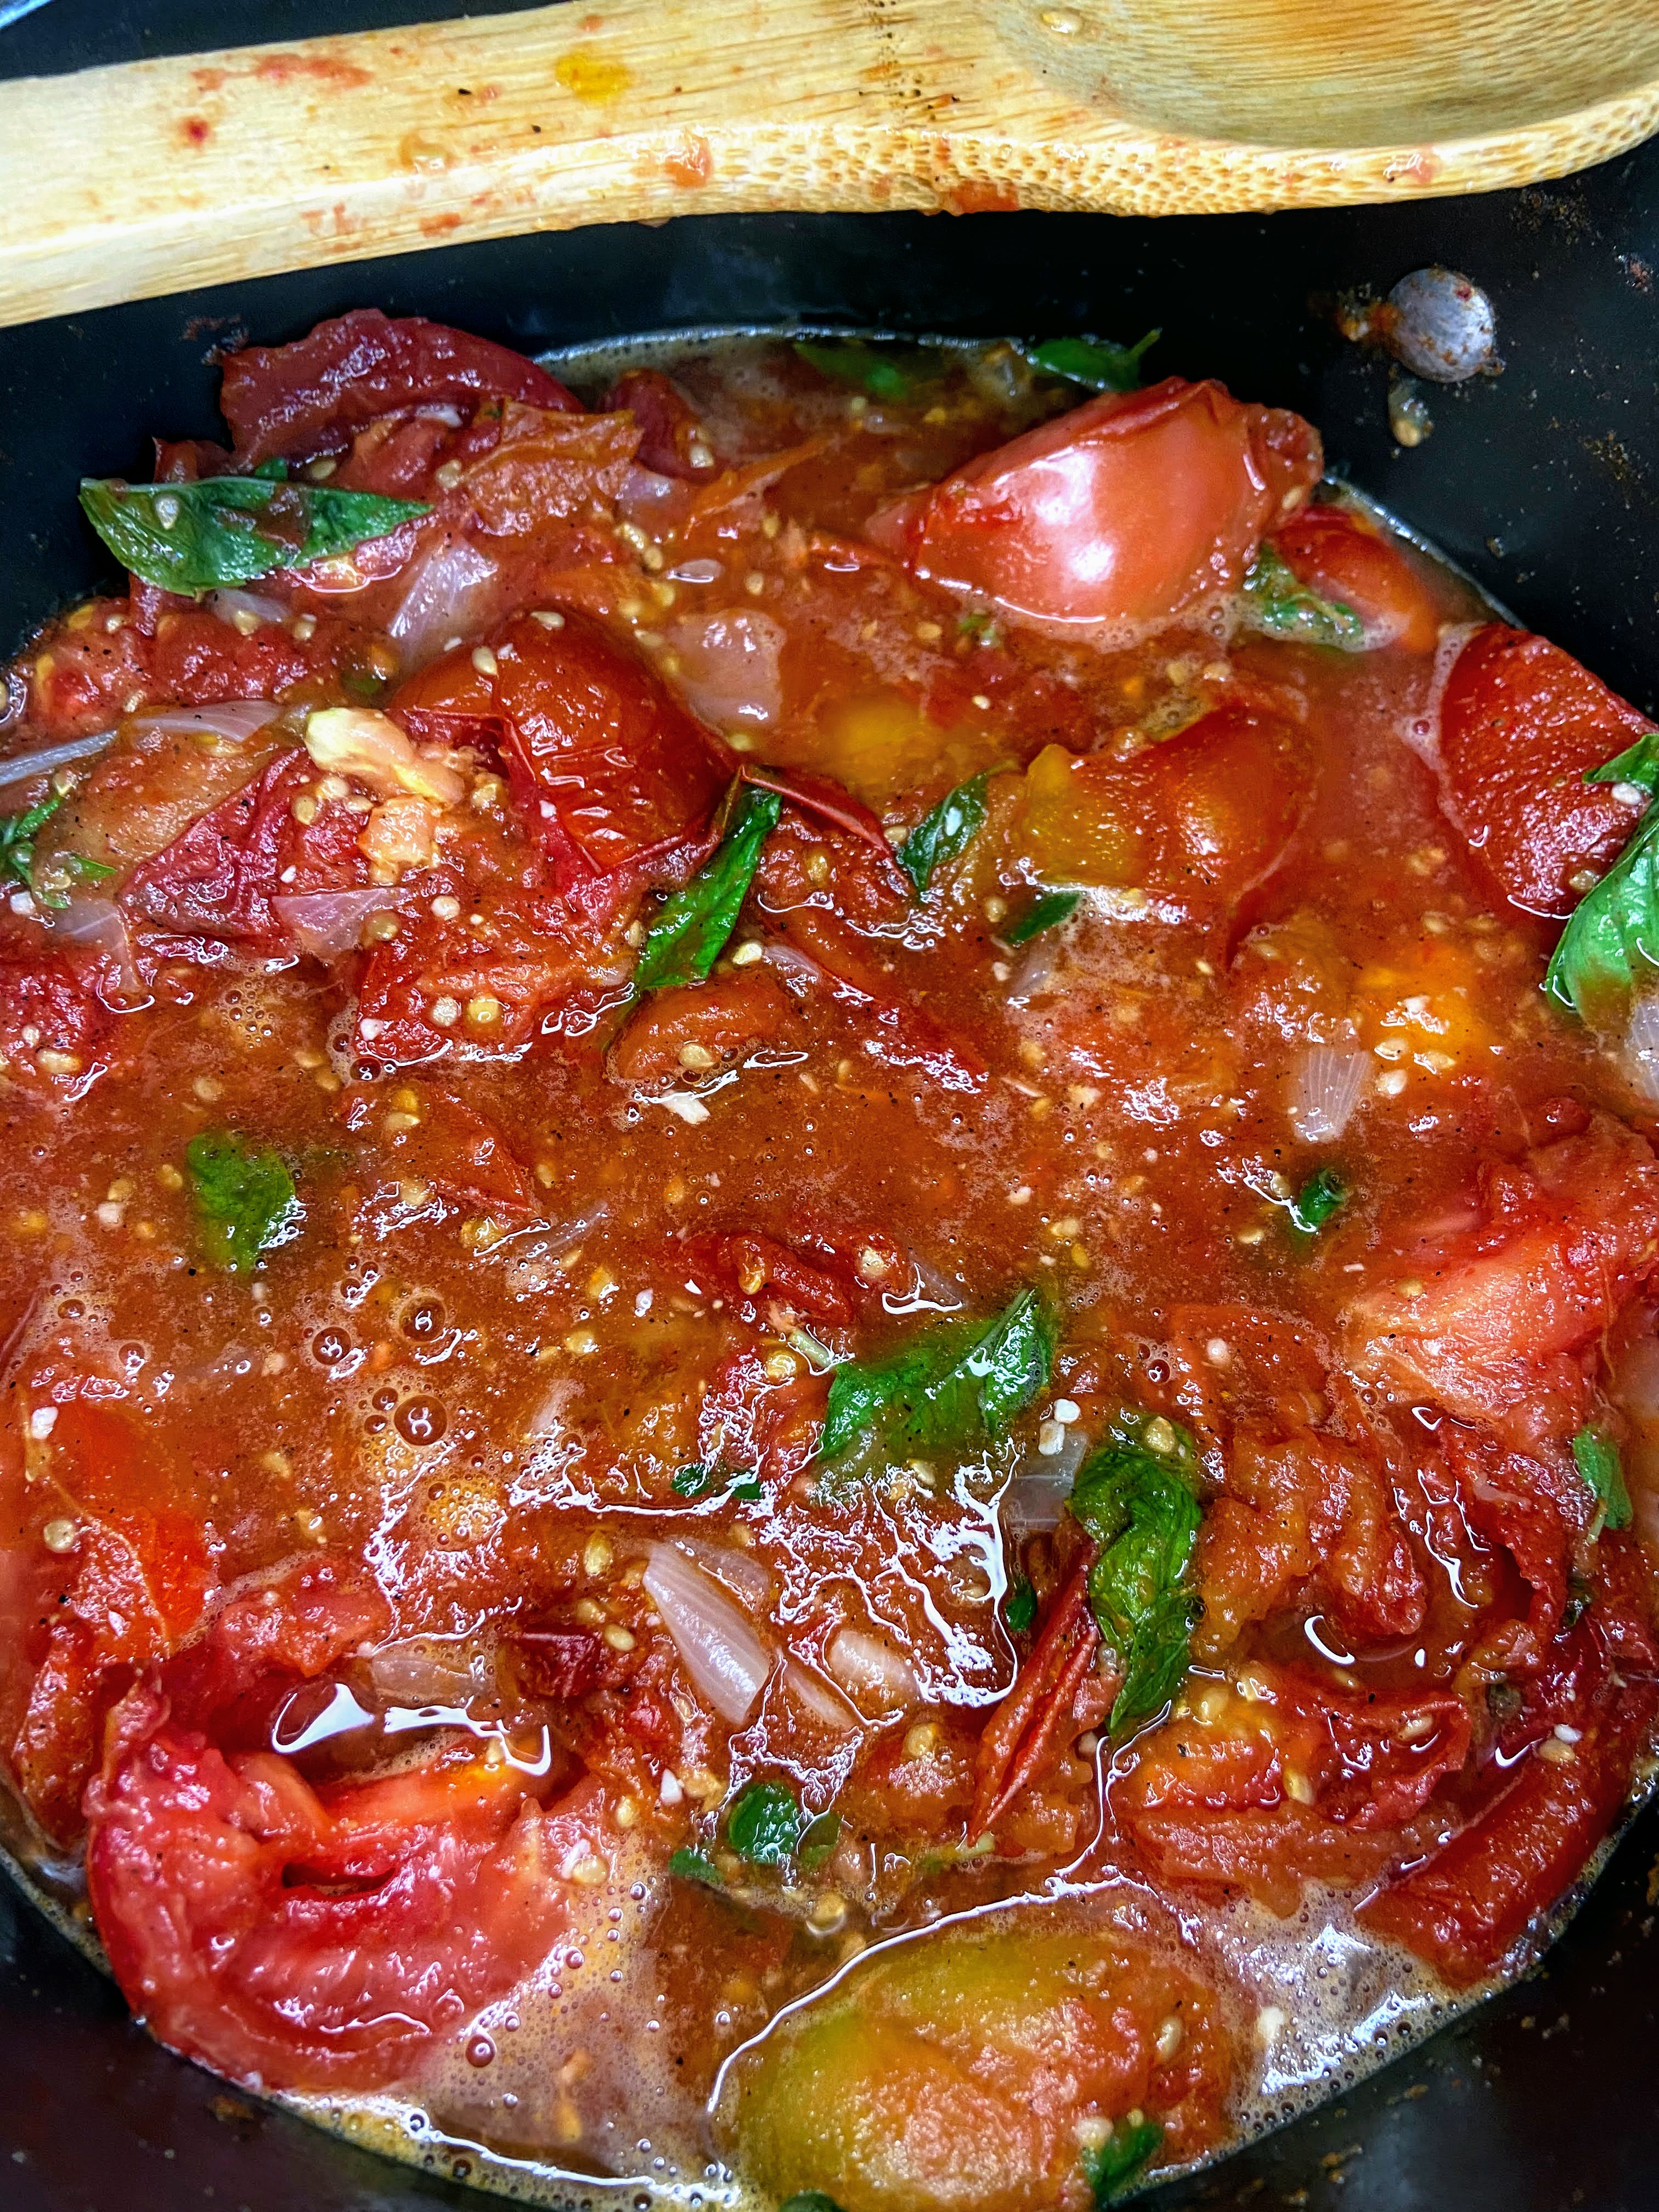
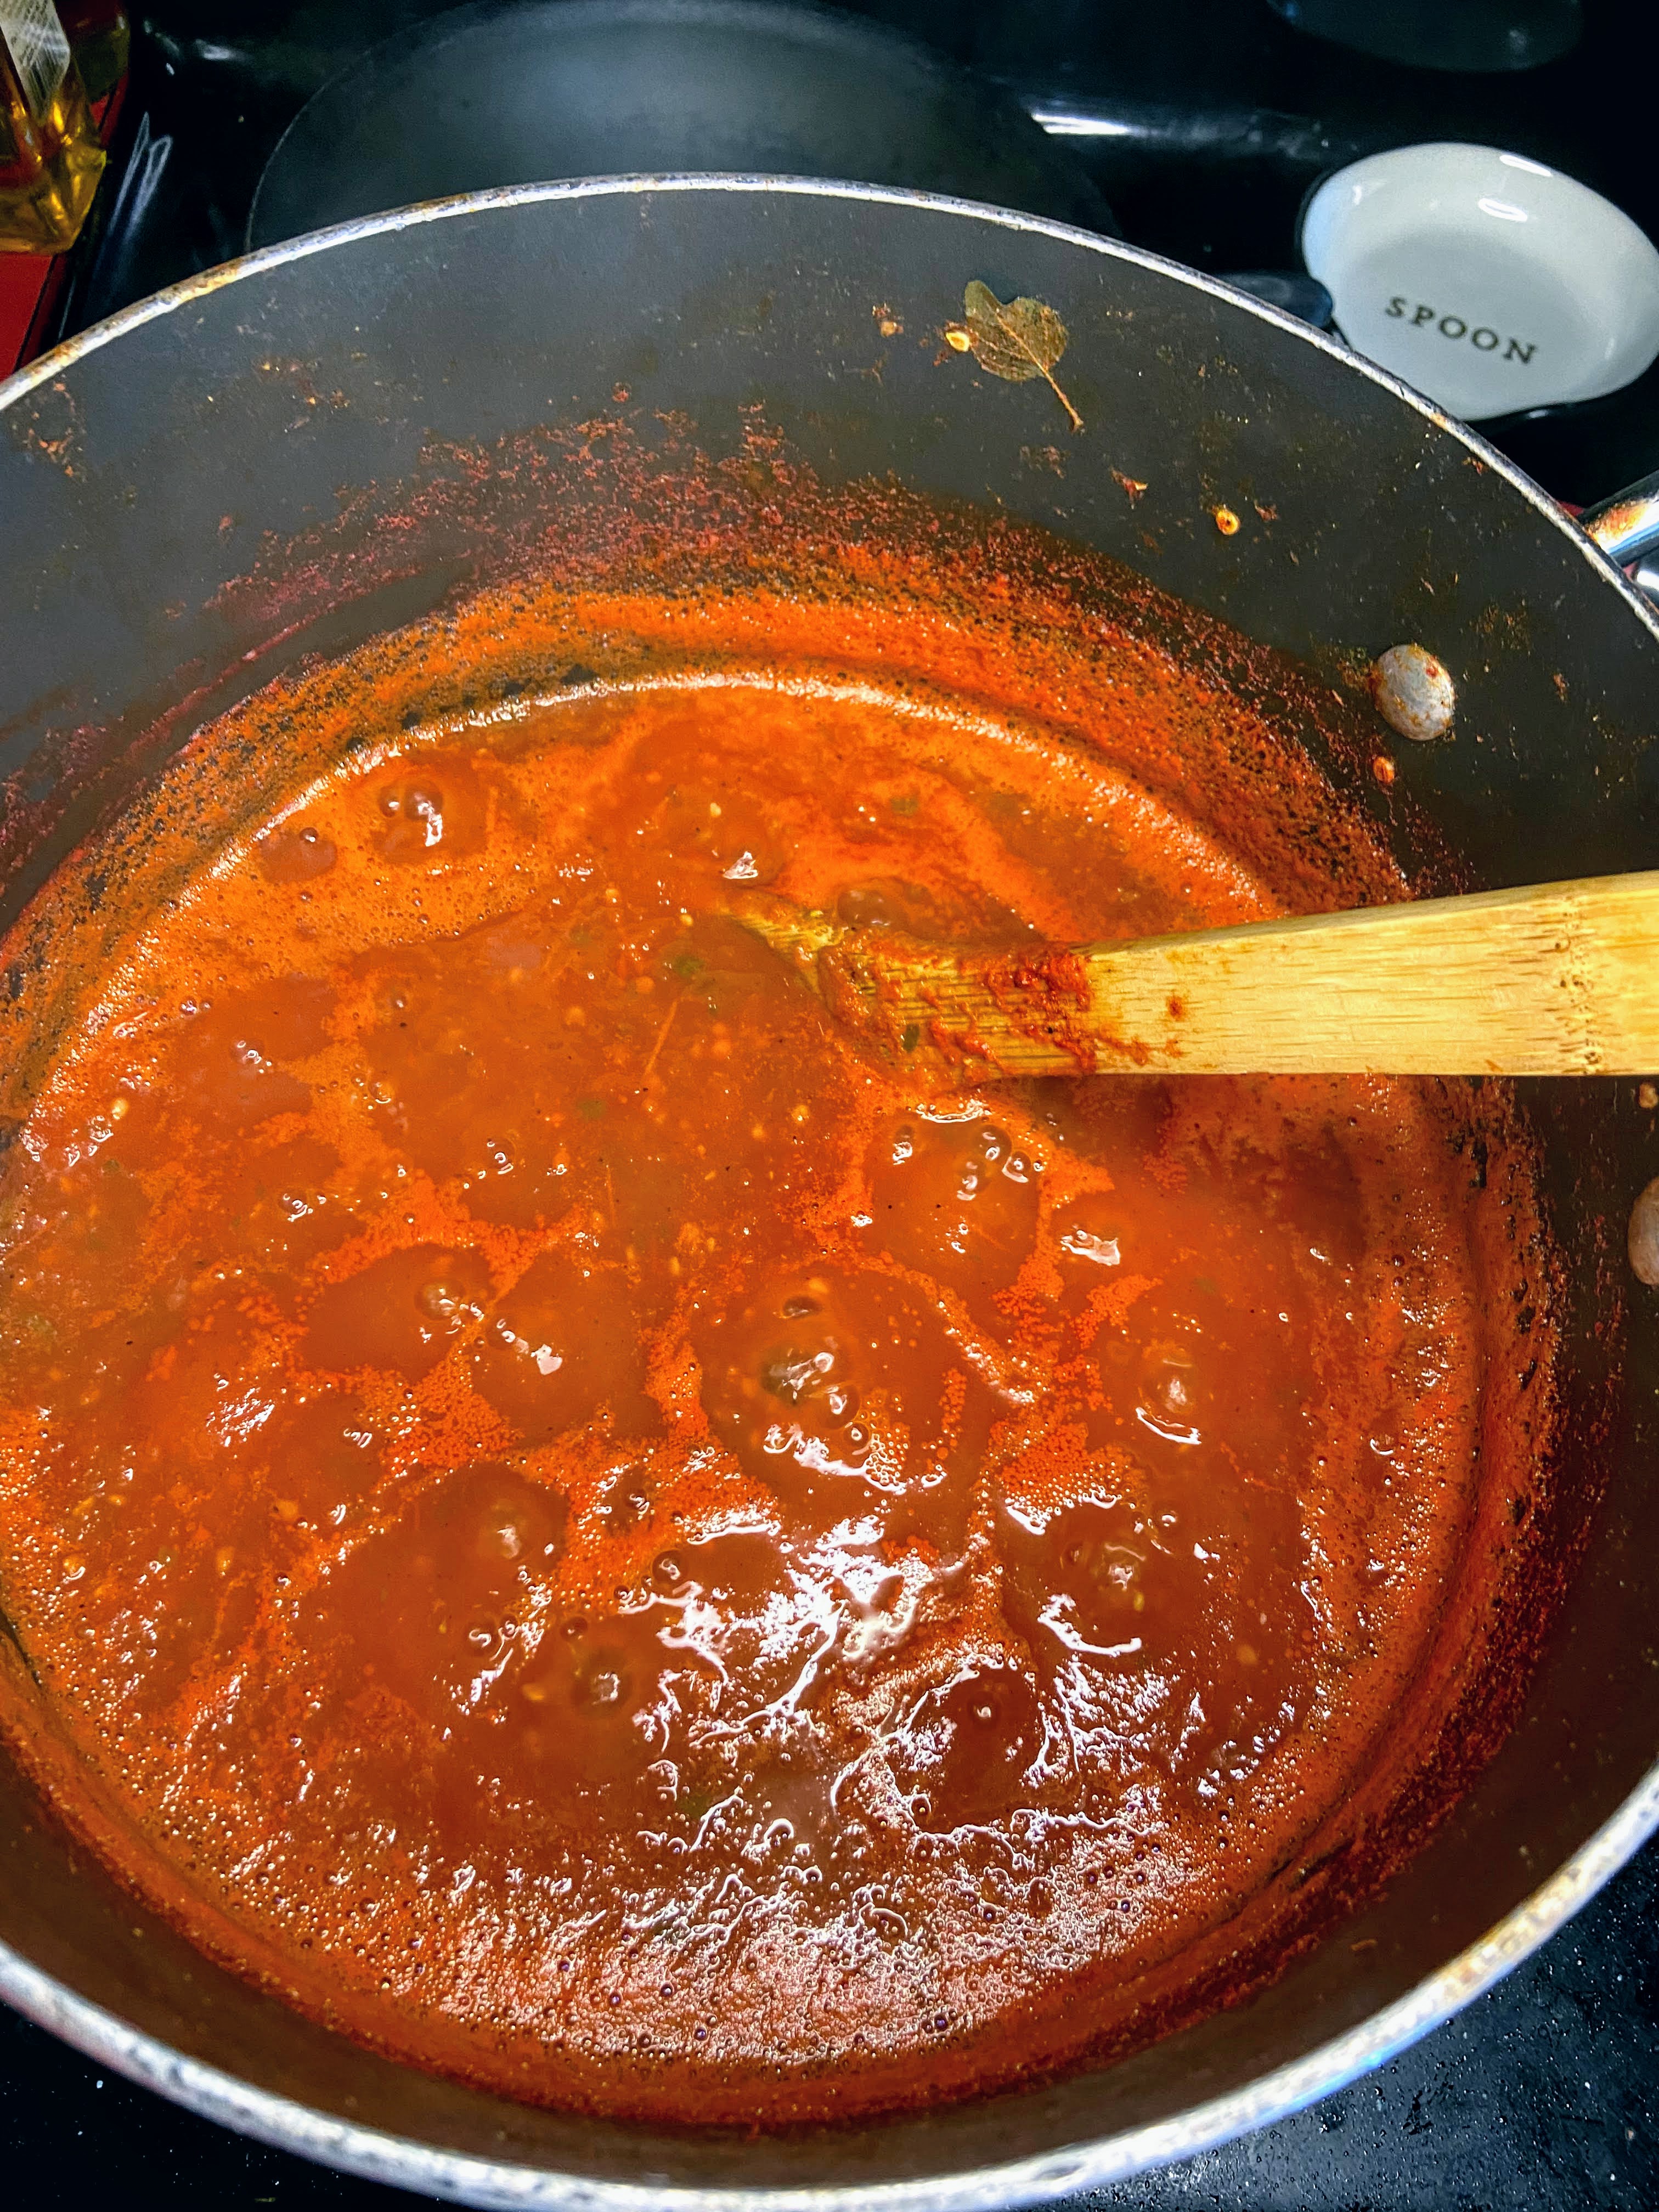
In a large kettle, combine onion mixture, chopped tomatoes, basil, oregano, salt, and pepper. Continue to simmer over medium heat, stirring often.
Pro tip
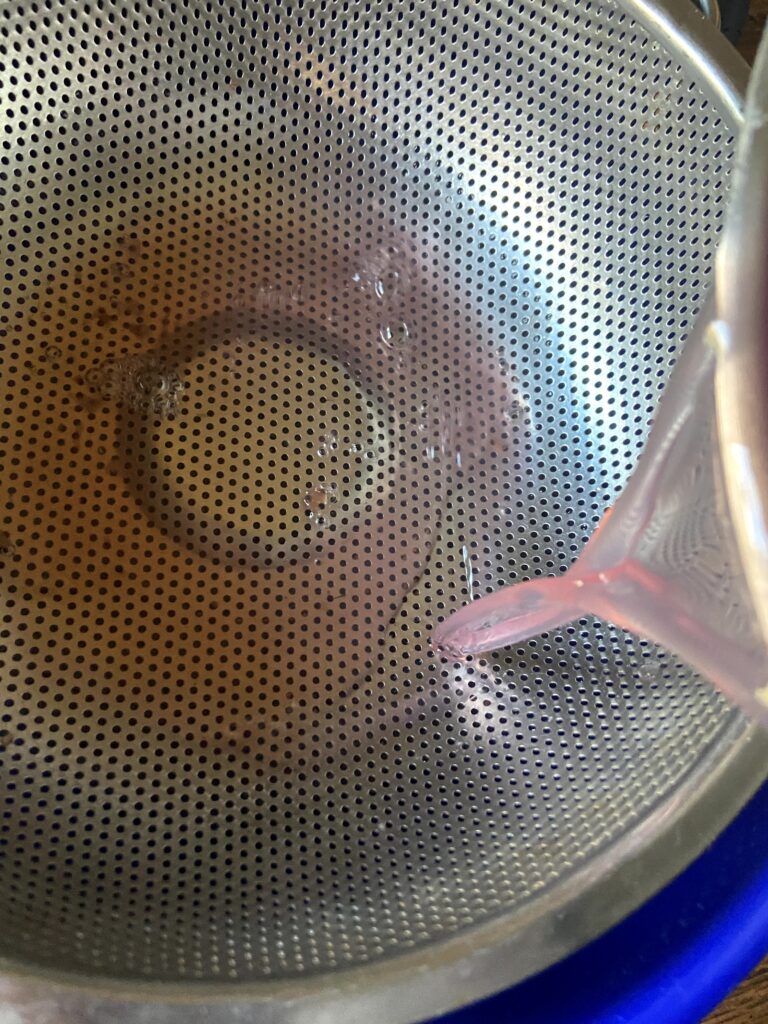
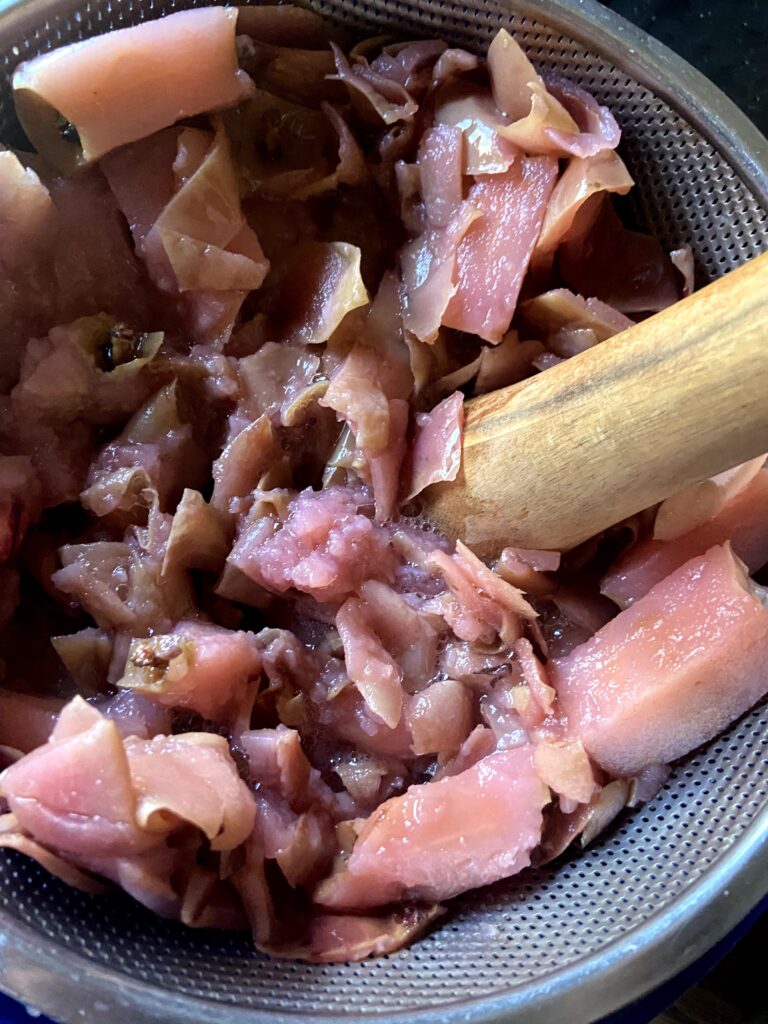
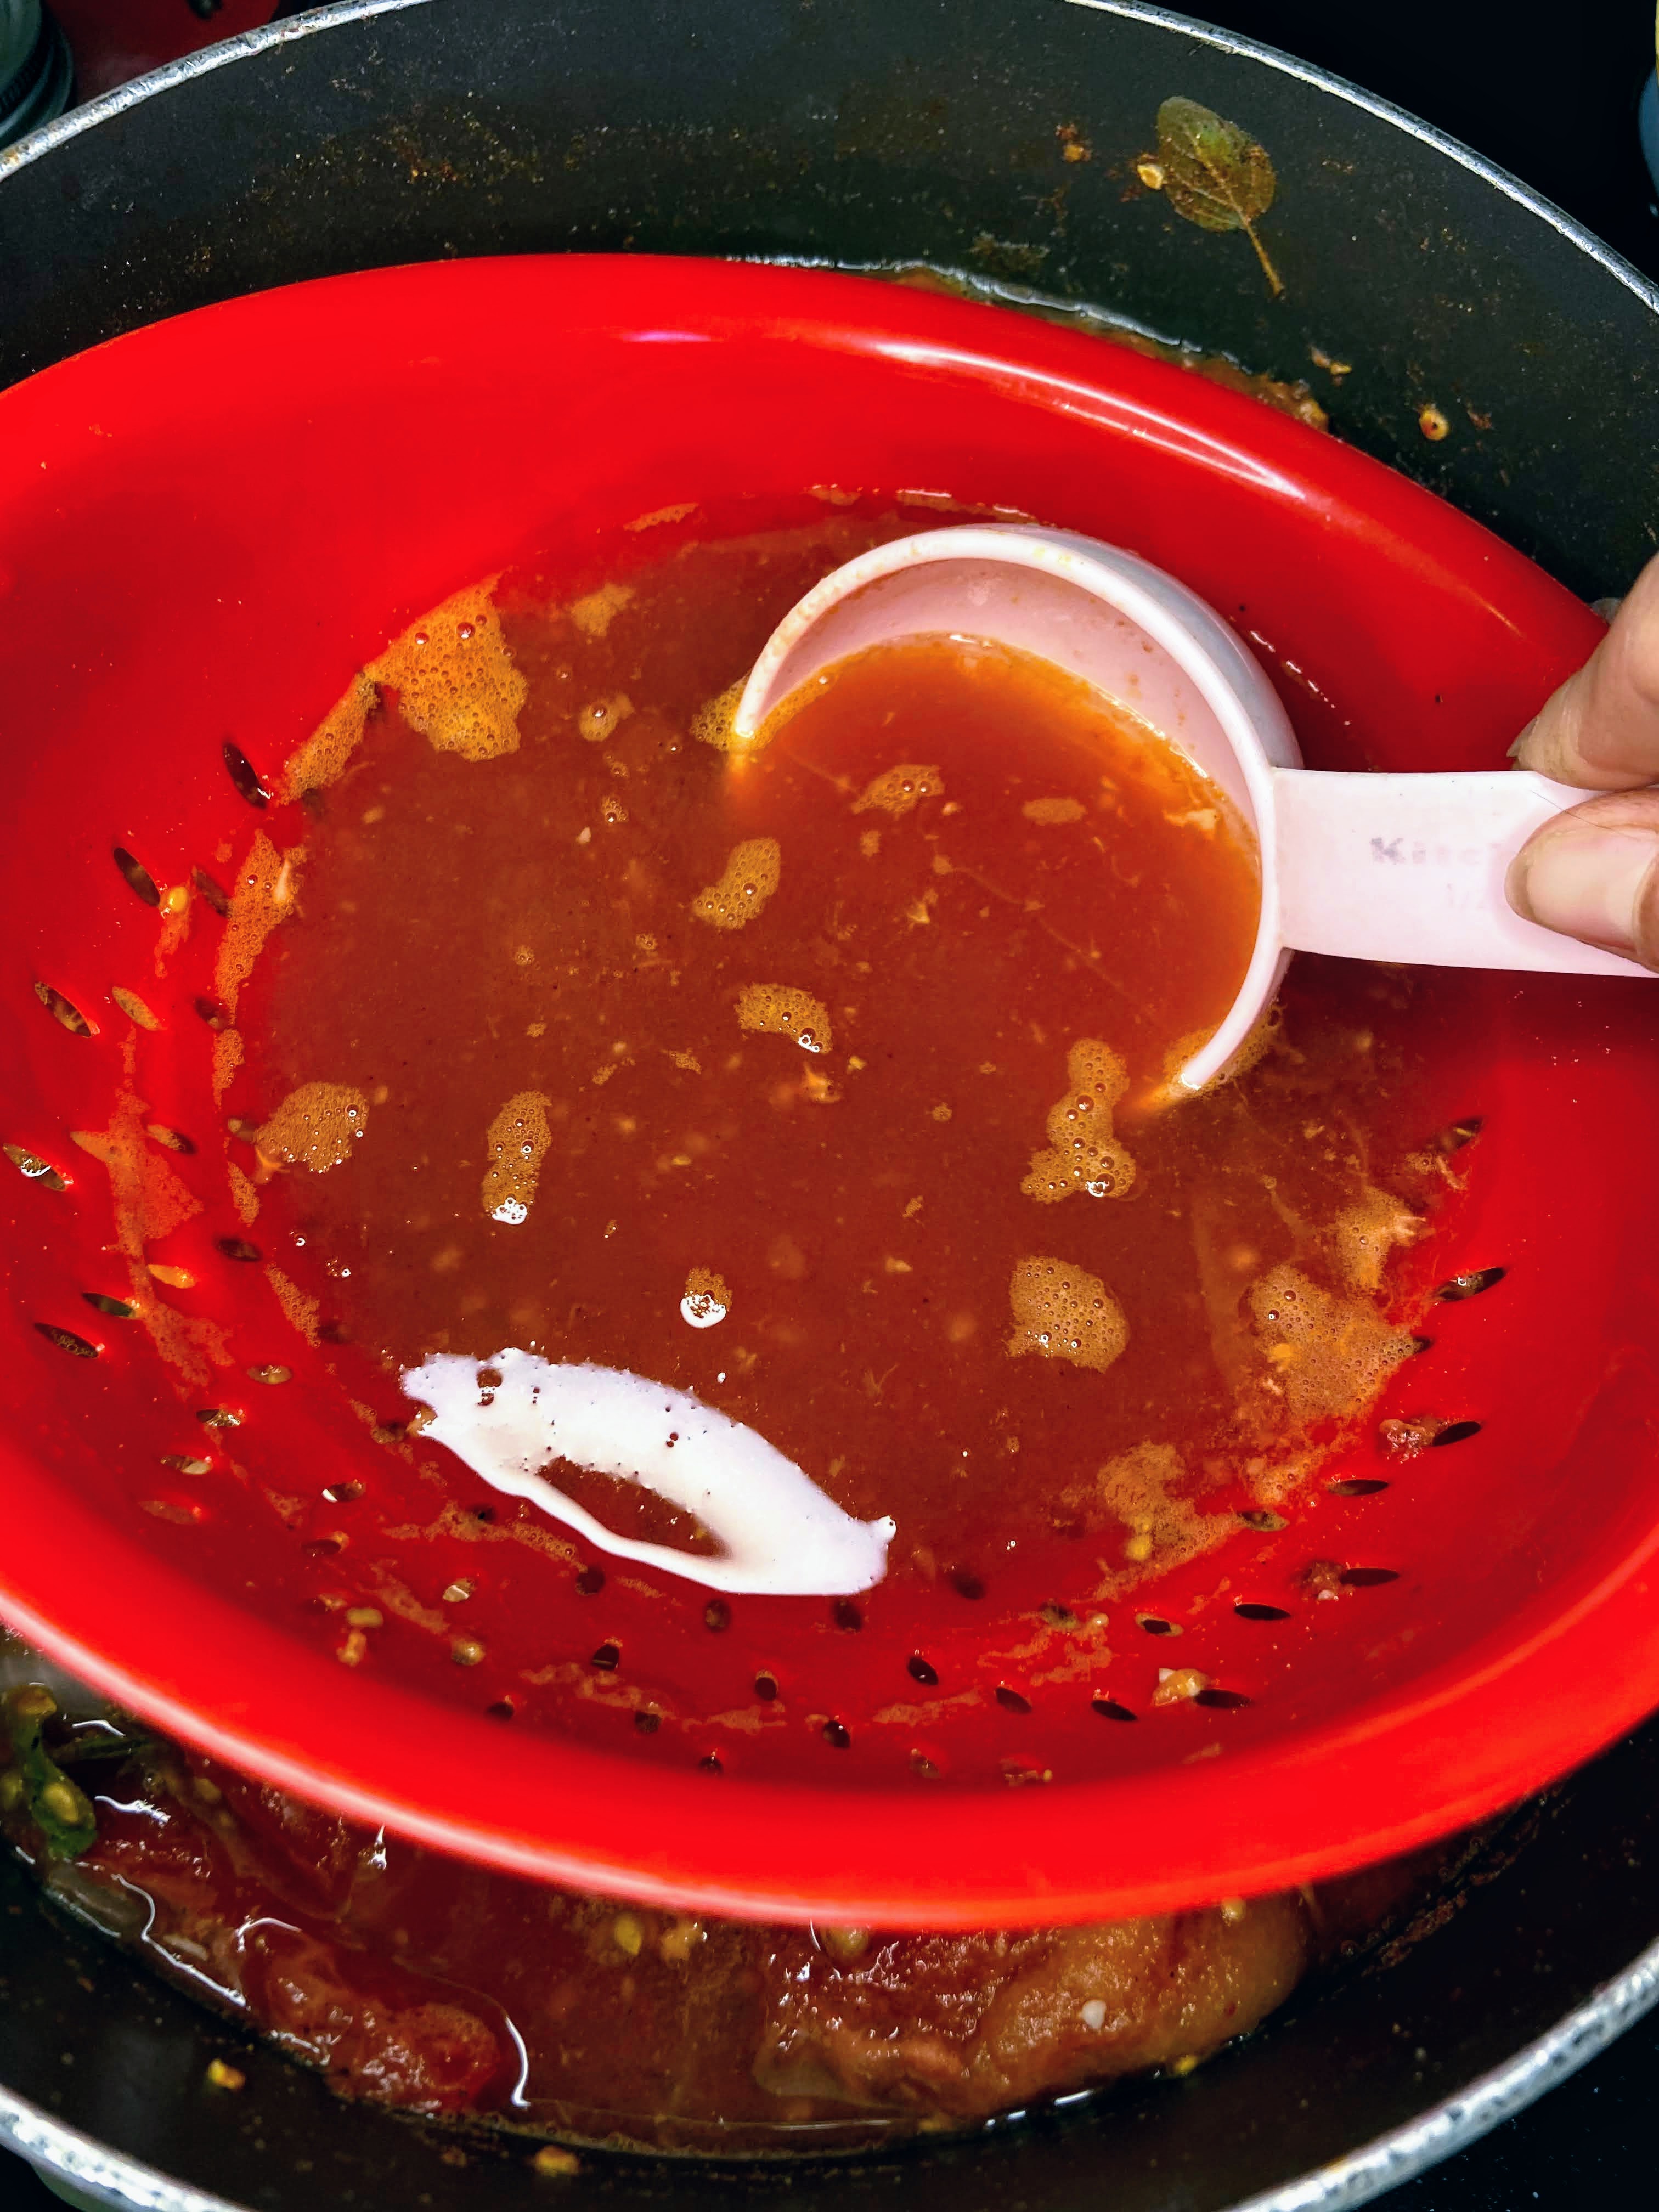
As the sauce is cooking down, you will have a lot of liquid that you are simmering off. You can cut your cook time significantly by bailing out this liquid using a colander and measuring cup. Push the colander down onto the tomatoes, forcing the liquid up. Then use the measuring cup to ladle it out. You can simply dump it or save it as a light tomato juice. I ladle it into mason jars and save it in the fridge for my husband.
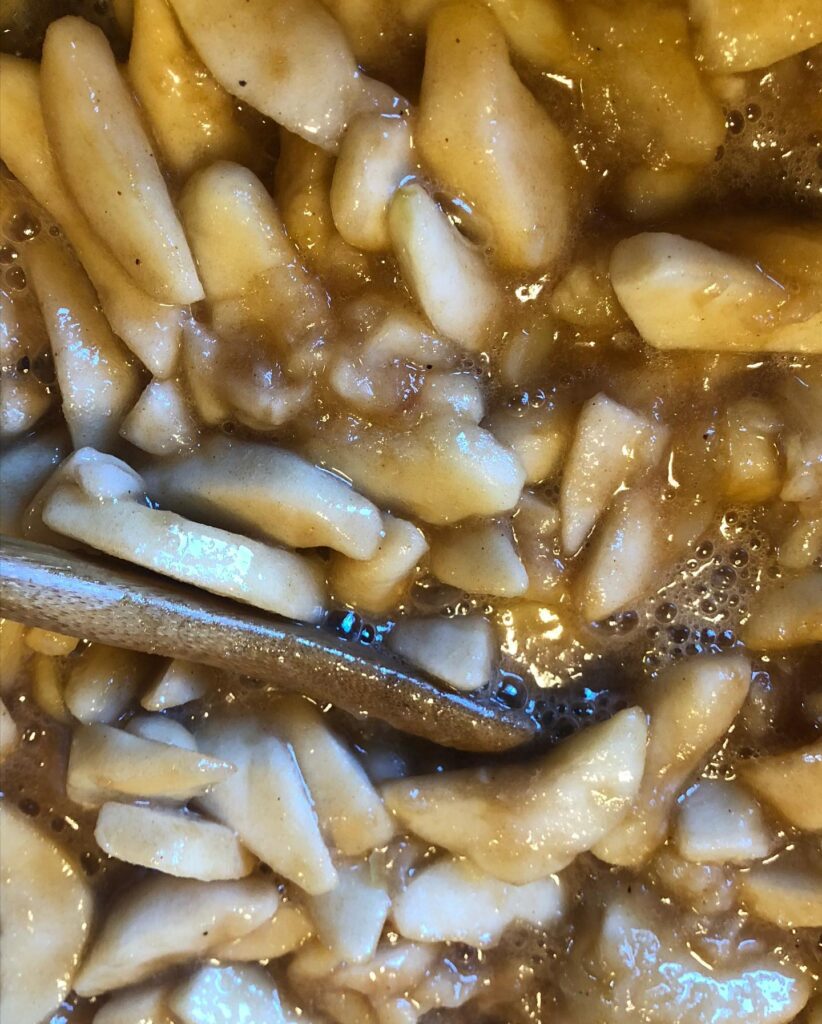
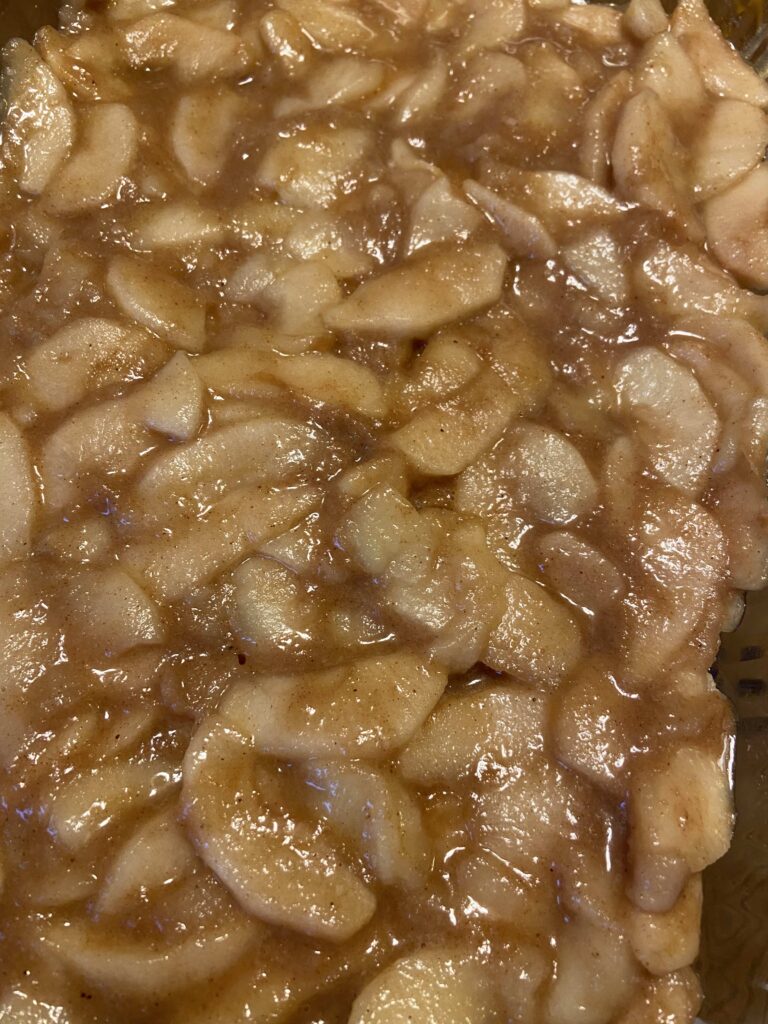
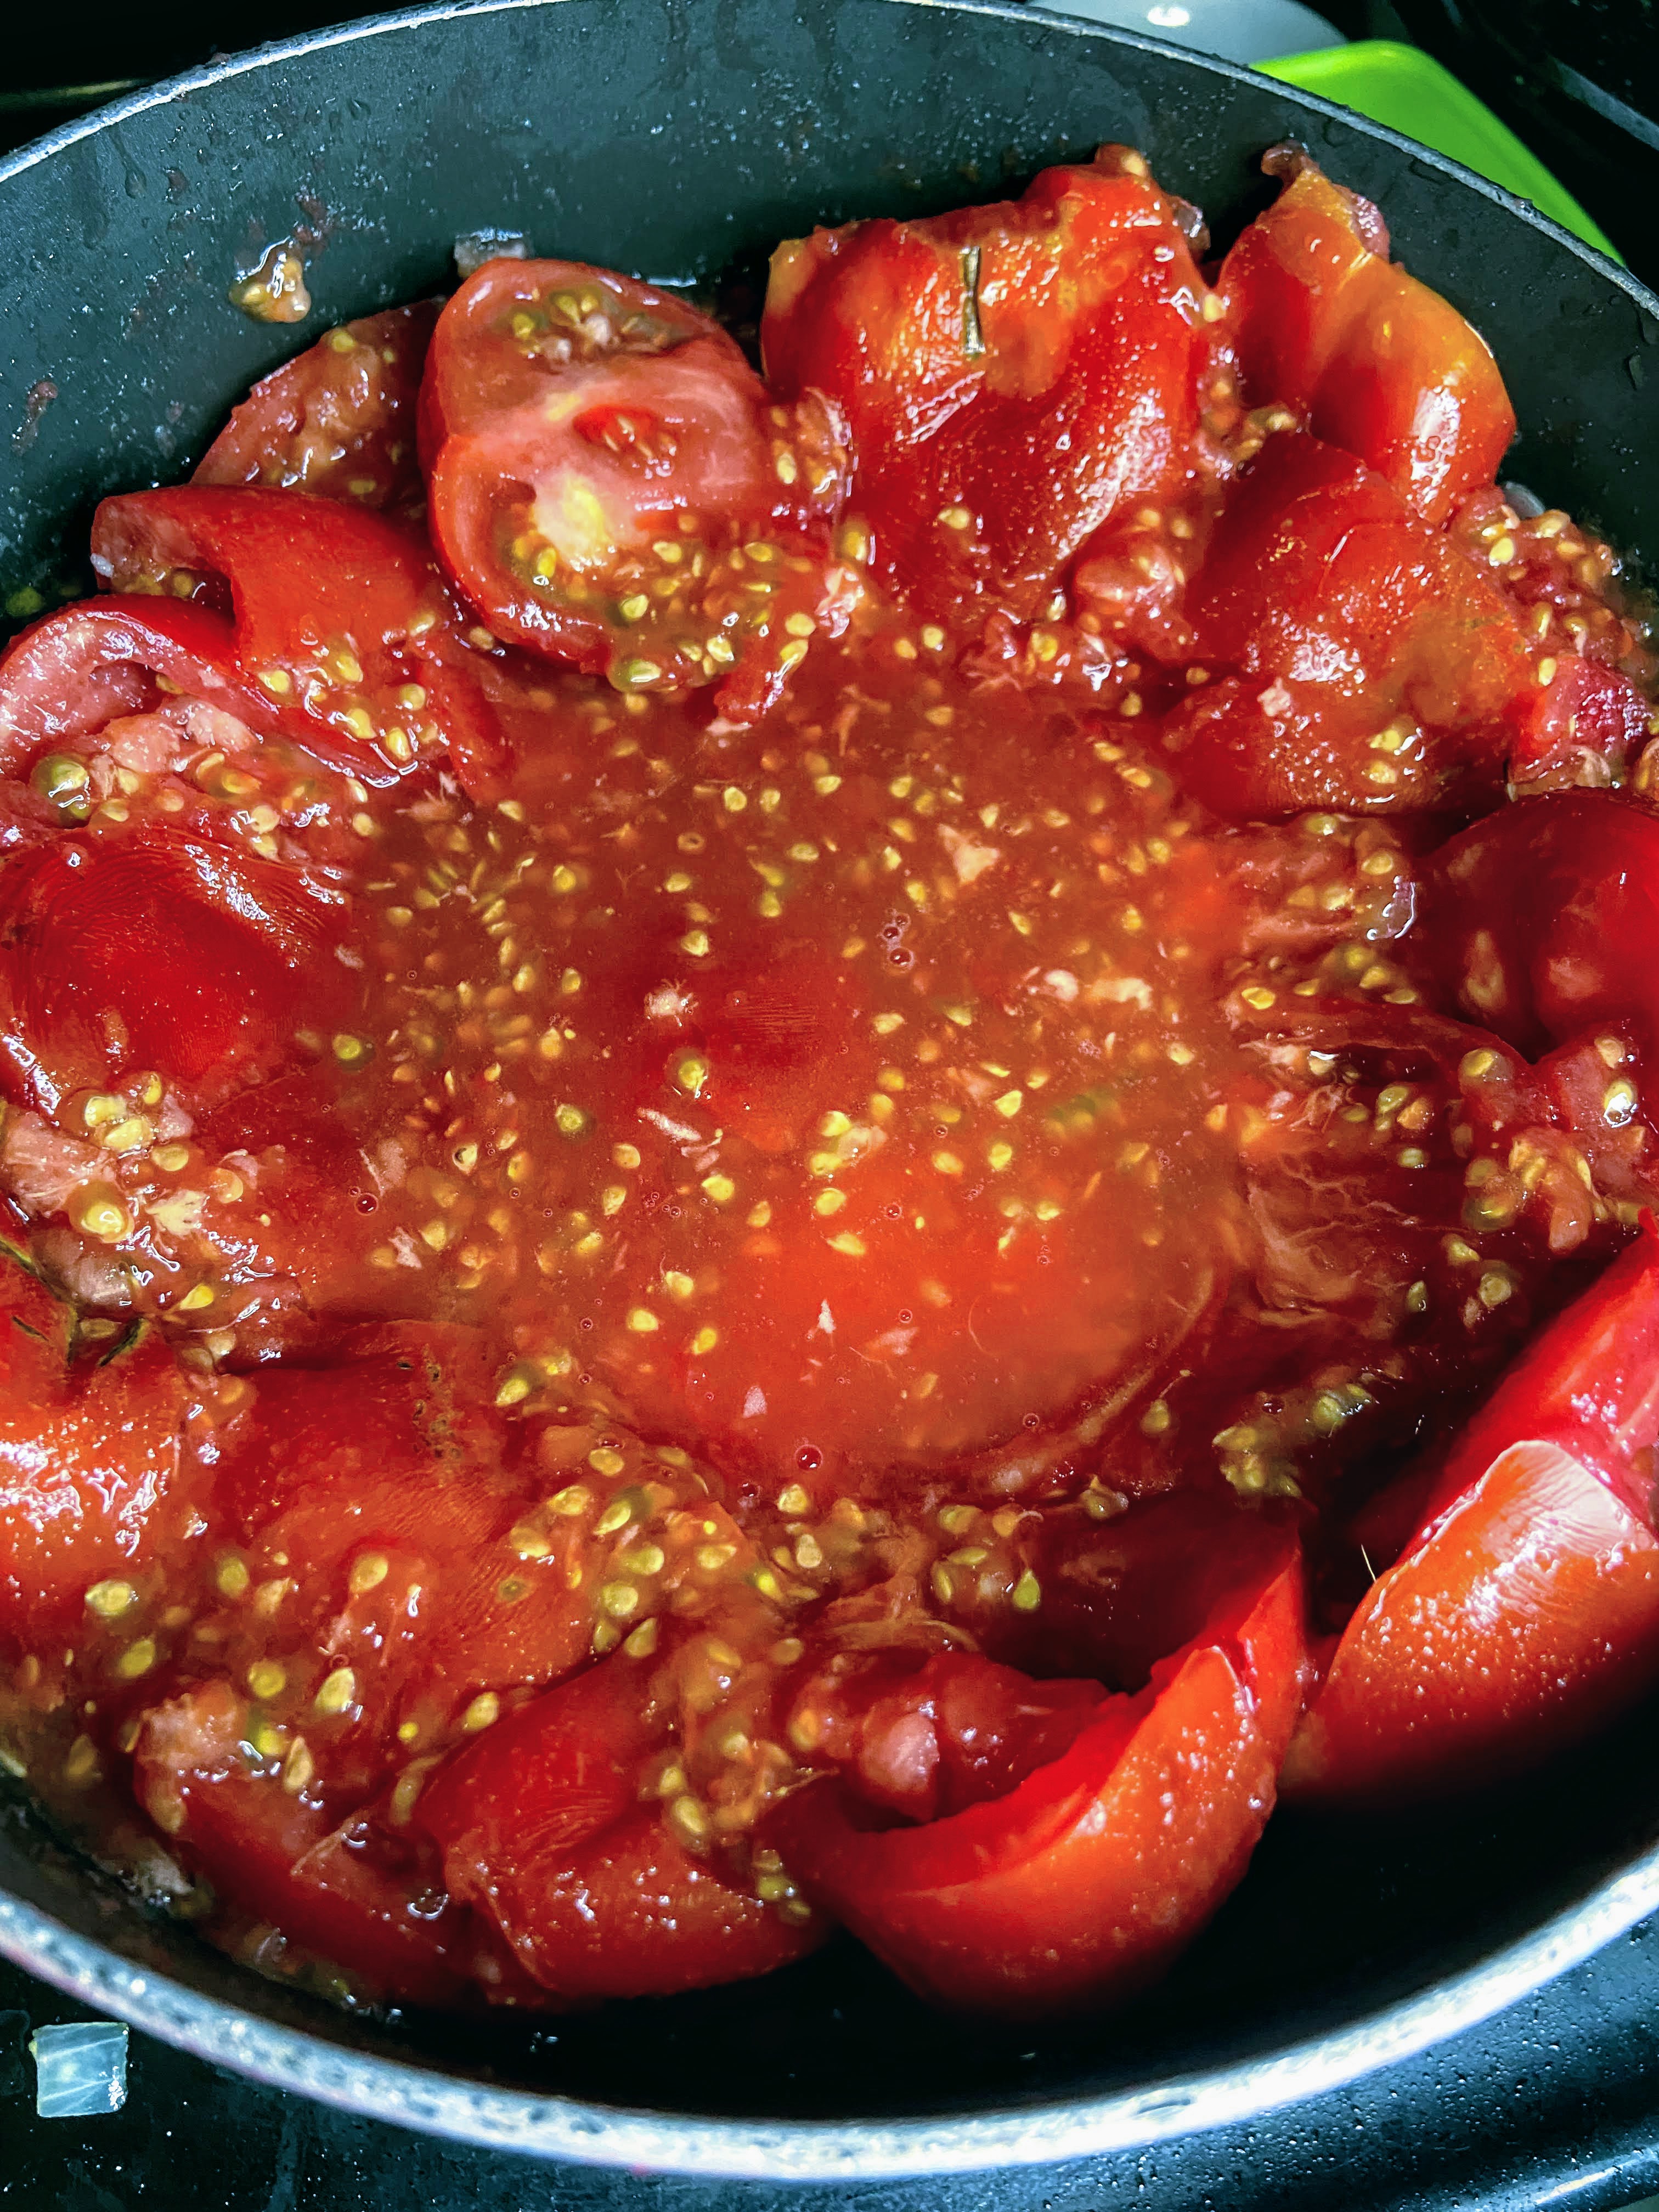
After the tomatoes have begun to break down (about 30-60 minutes later), puree them. I like to use my stick blender to do this. It means less dishes to clean! Alternatively, you can transfer it to a food mill to puree. Once totally in sauce form, continue to cook down until the volume of the sauce has reduced to about one-half the original amount.
Canning
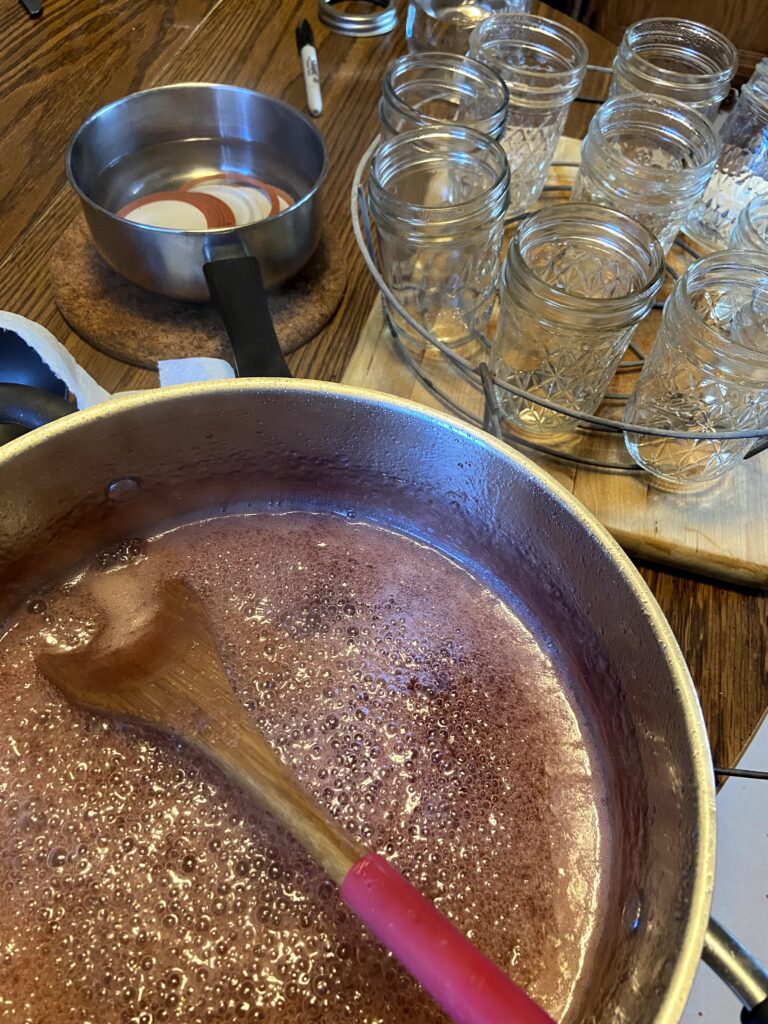
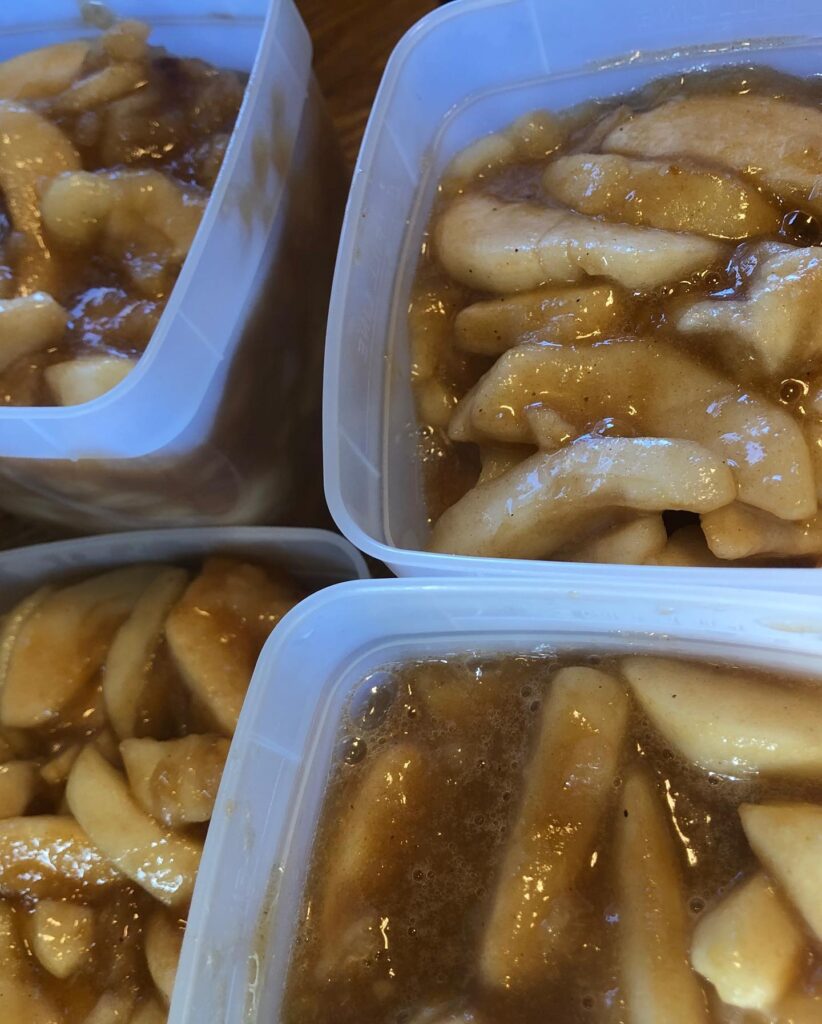
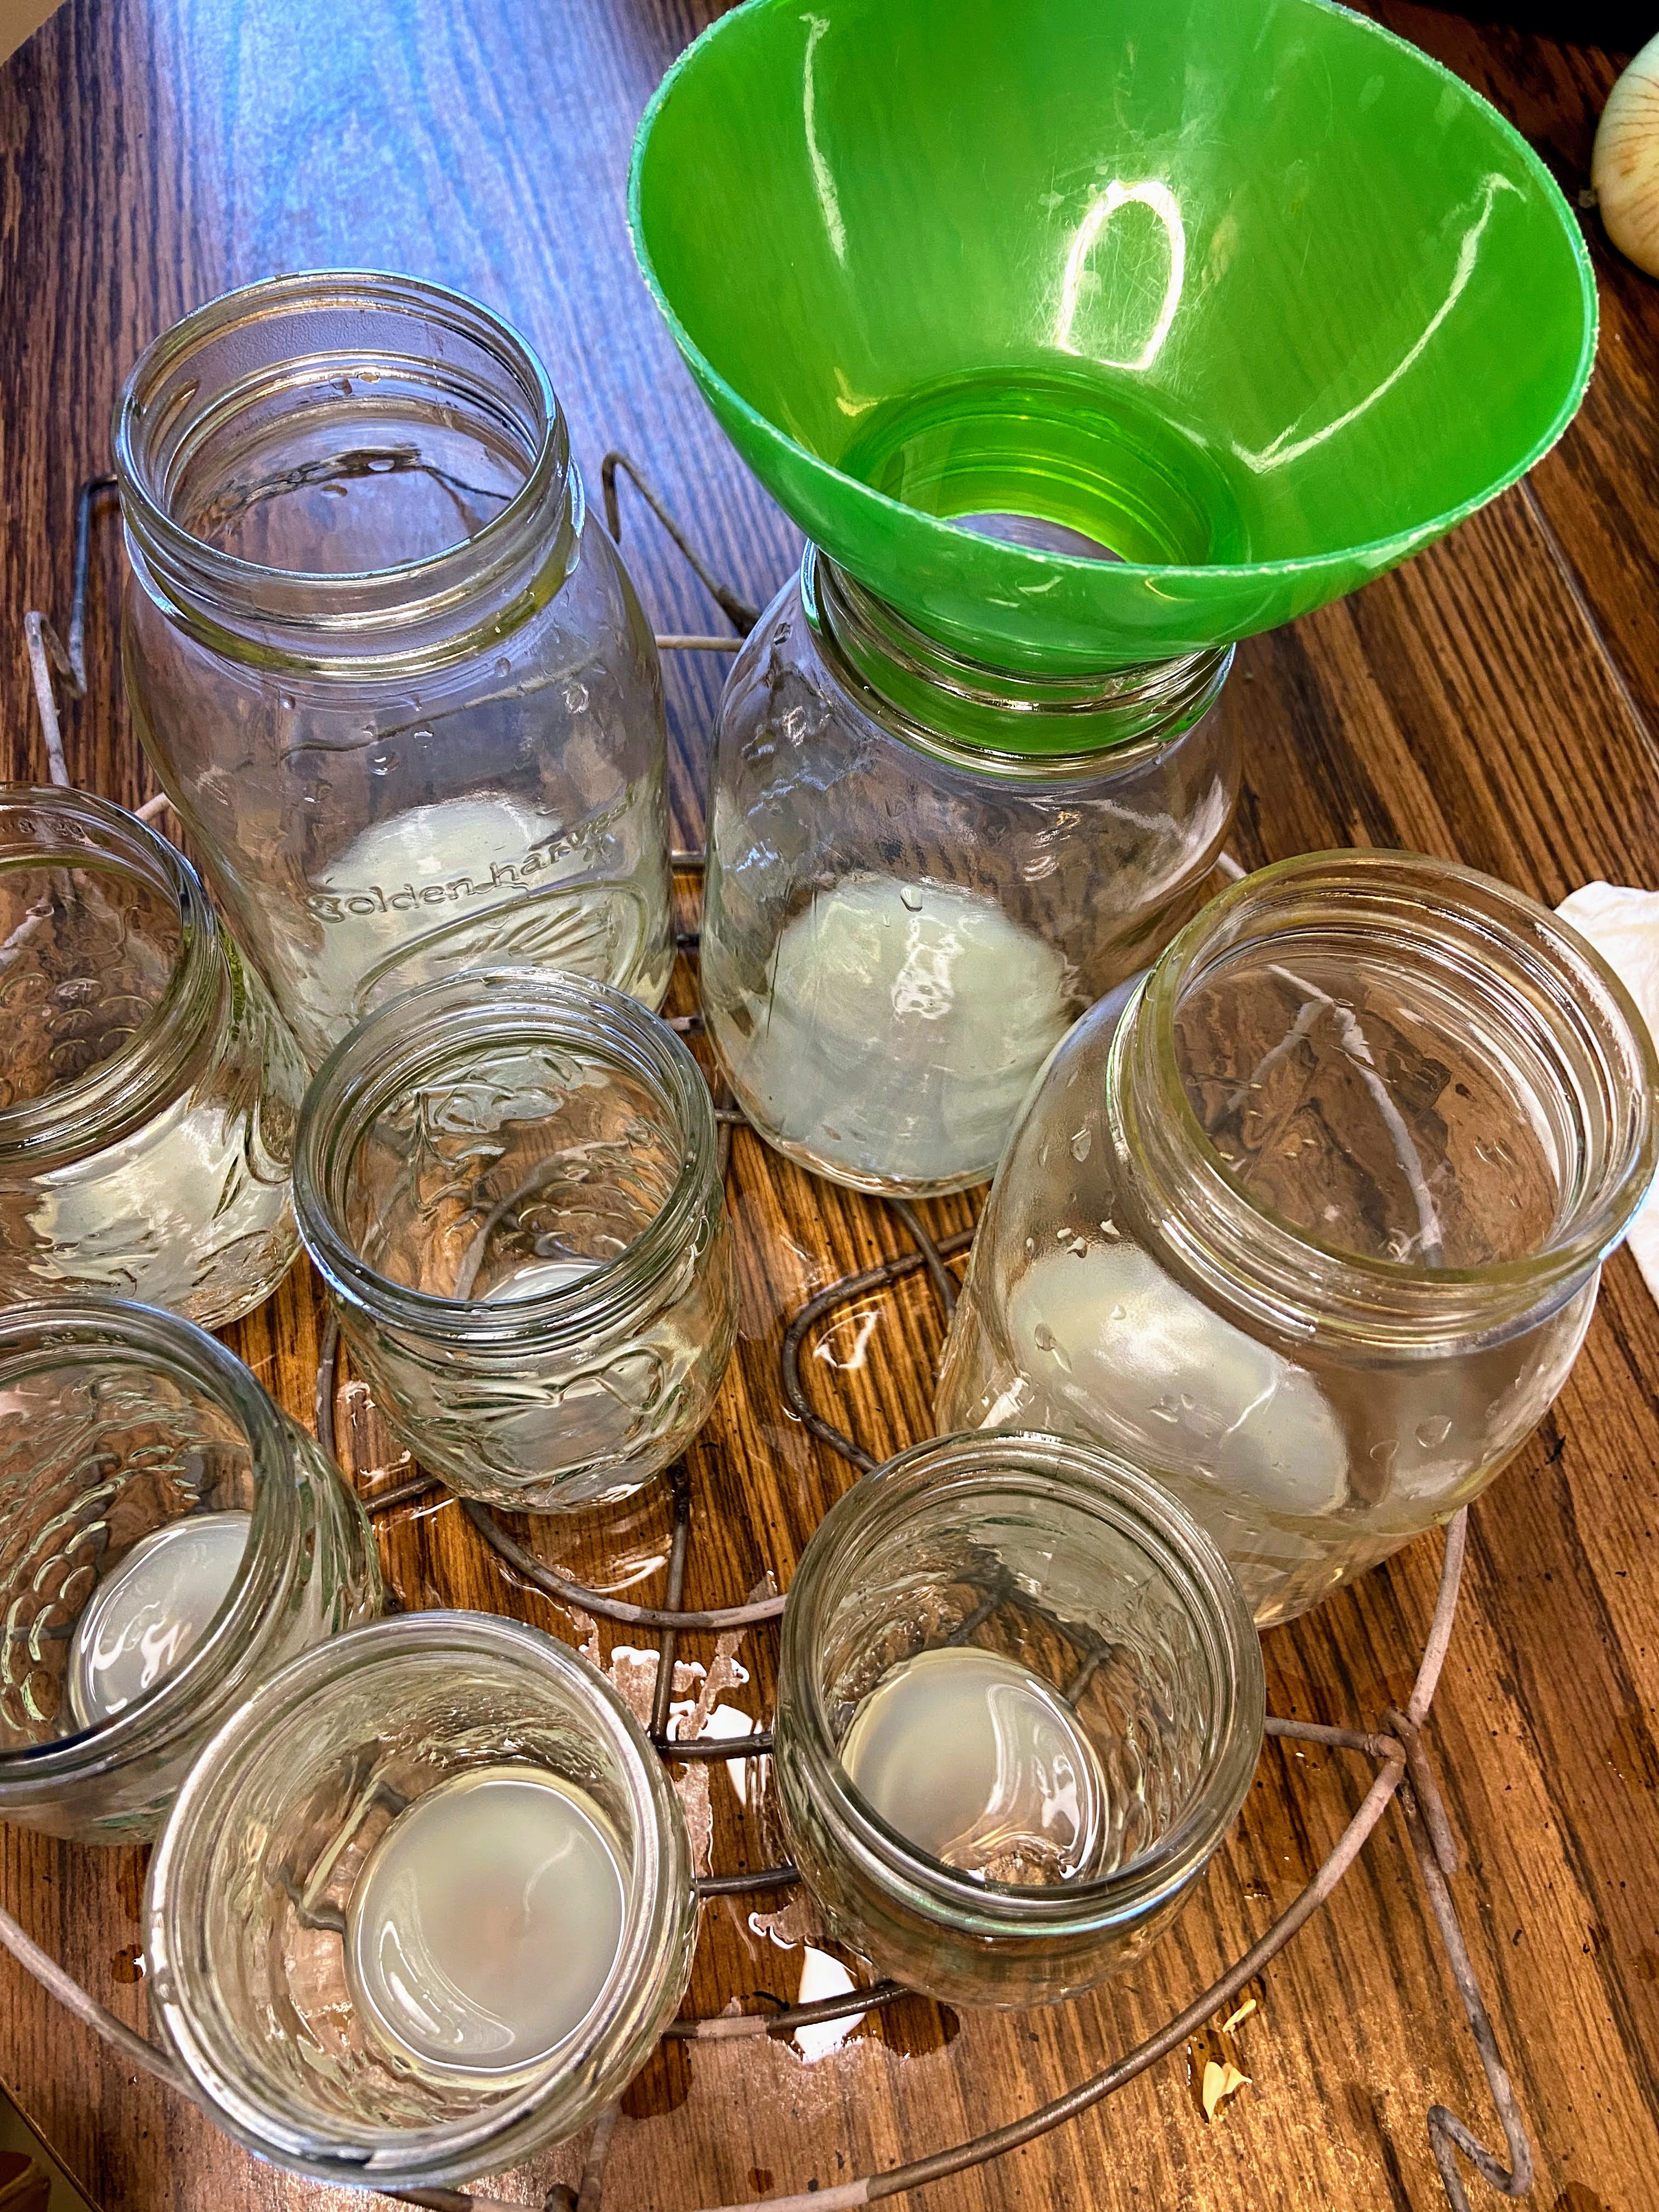
While the tomatoes are cooking down, you can begin to prepare your canner and jars if you plan on processing them. (If you want to simply place the sauce in the freezer, that’s totally okay. You can transfer it to freezer safe containers or bags and freeze once cool.)
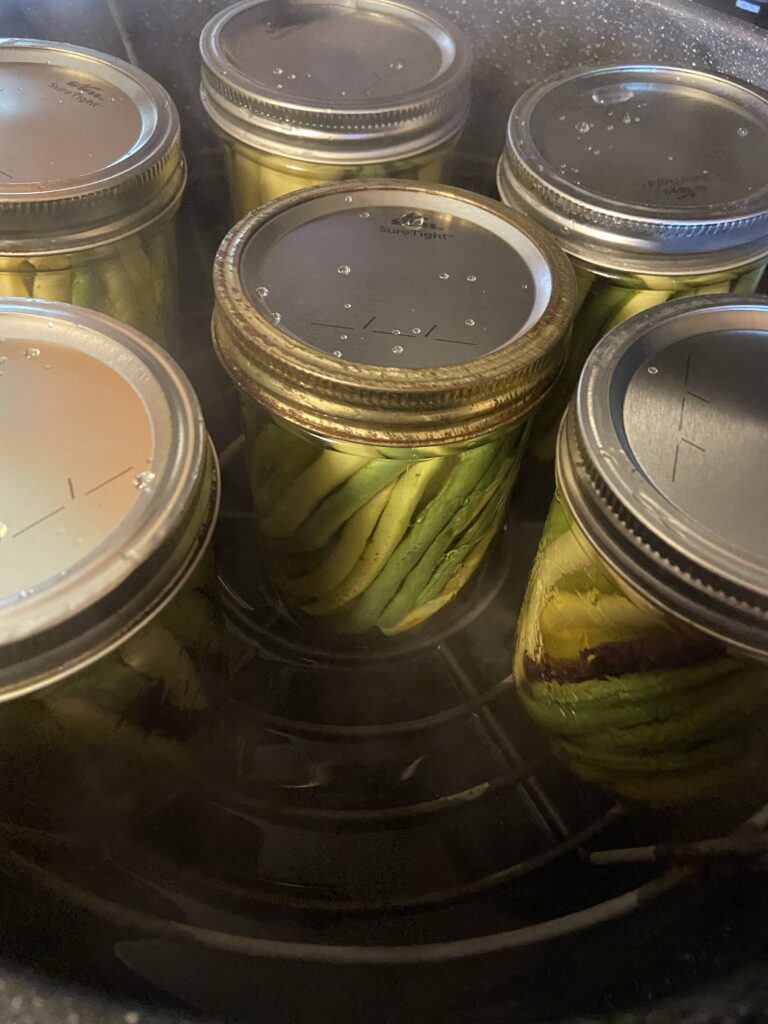
Wash and sanitize pint or quart jars, rings, and lids. Keep warm. Fill the canner with enough water to cover the jars by at least 2 inches of water. Cover and heat on high. Watch the temperature, you want a simmer but not a boil when you place the jars in the water.
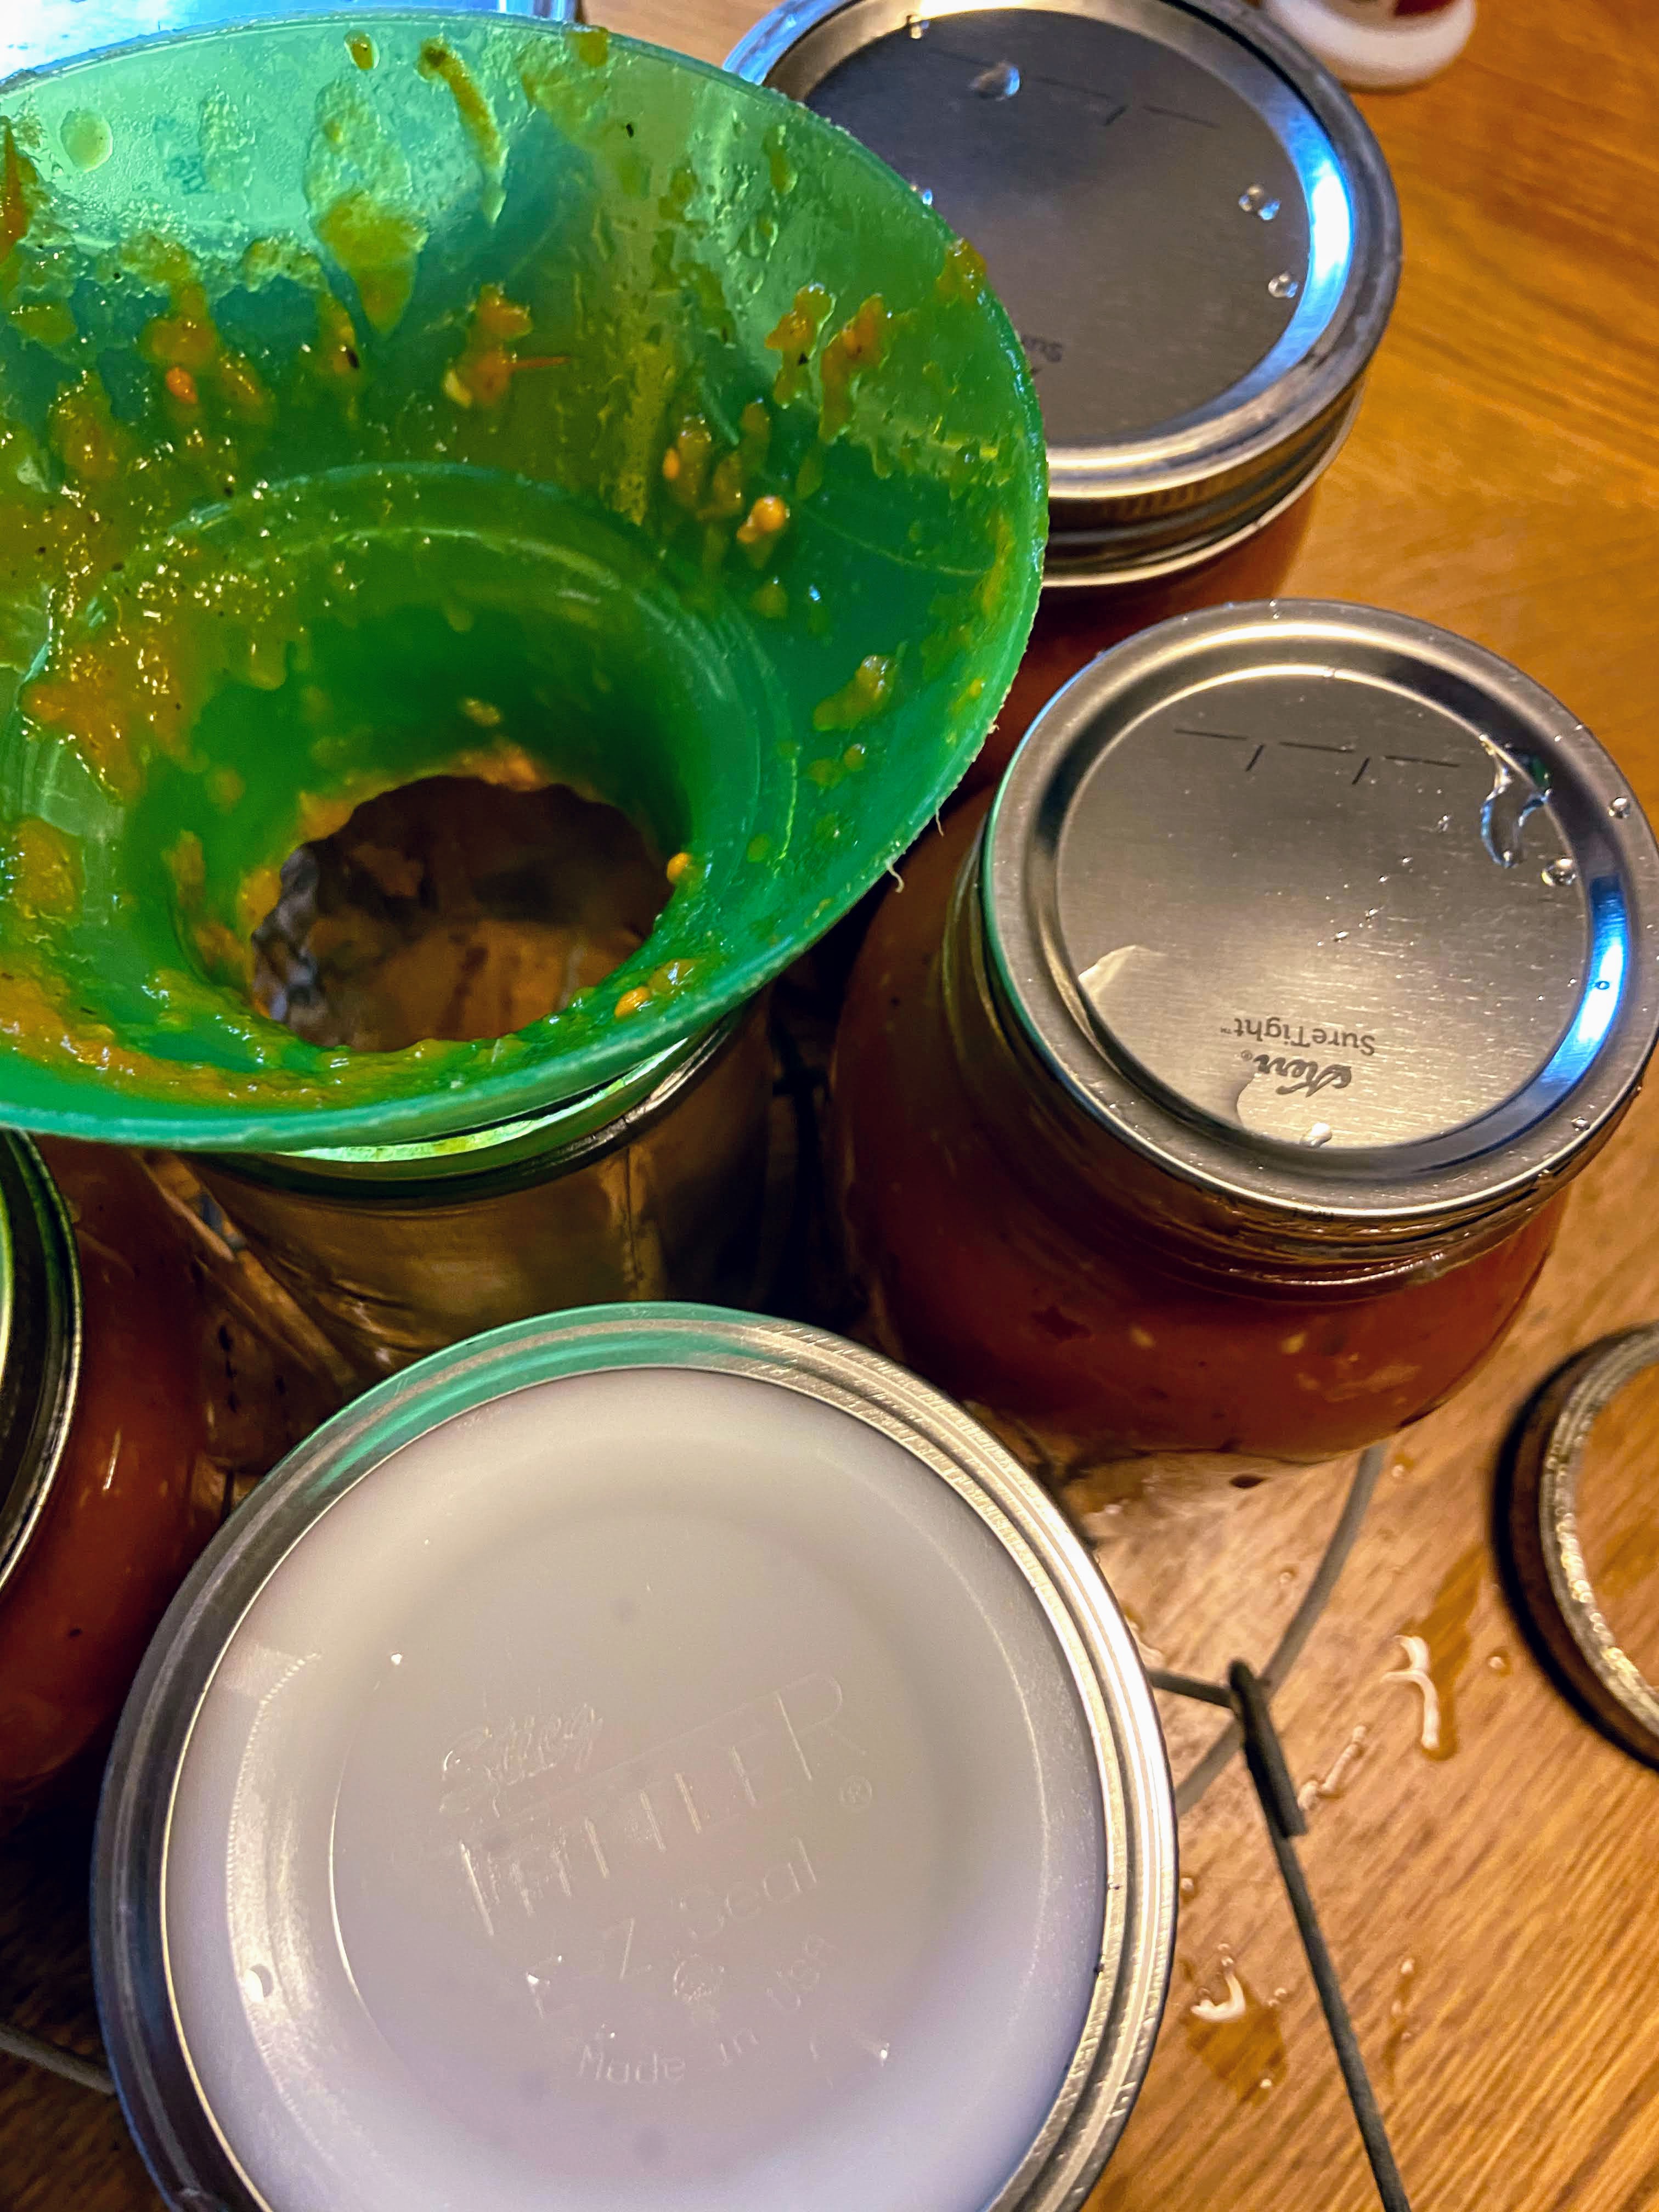
Once the sauce and canner are ready, you can begin to fill the jars. To be sure there is enough acid to have self stable jars, you must add citric acid or bottled lemon juice.
- Add ¼ teaspoon citric acid or 1 tablespoon lemon juice to pint jars.
- Add ½ teaspoon citric acid or 2 tablespoons lemon juice to quart jars.
Finish it up!
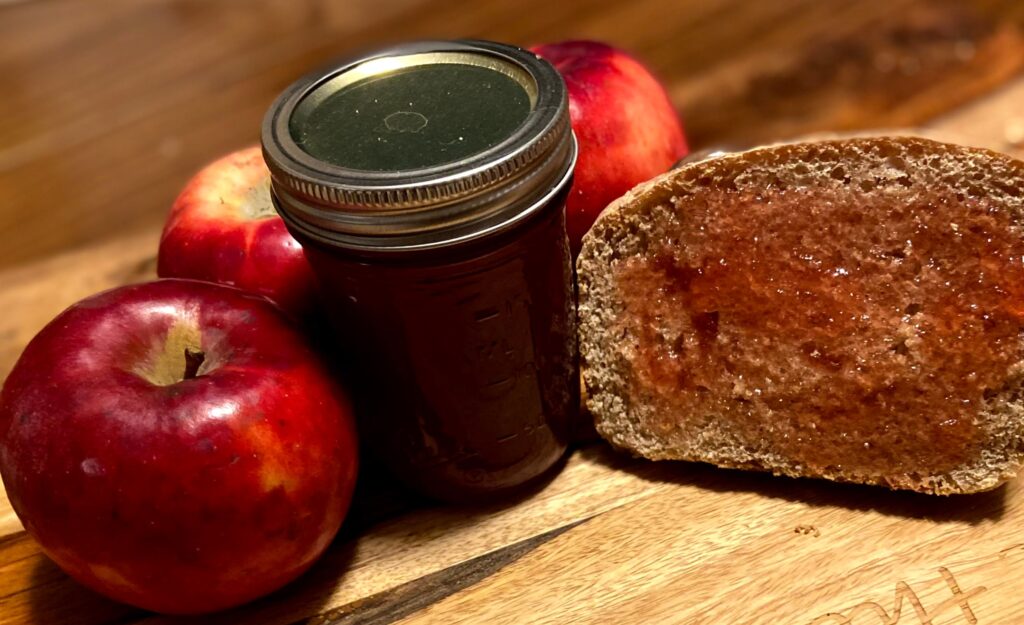
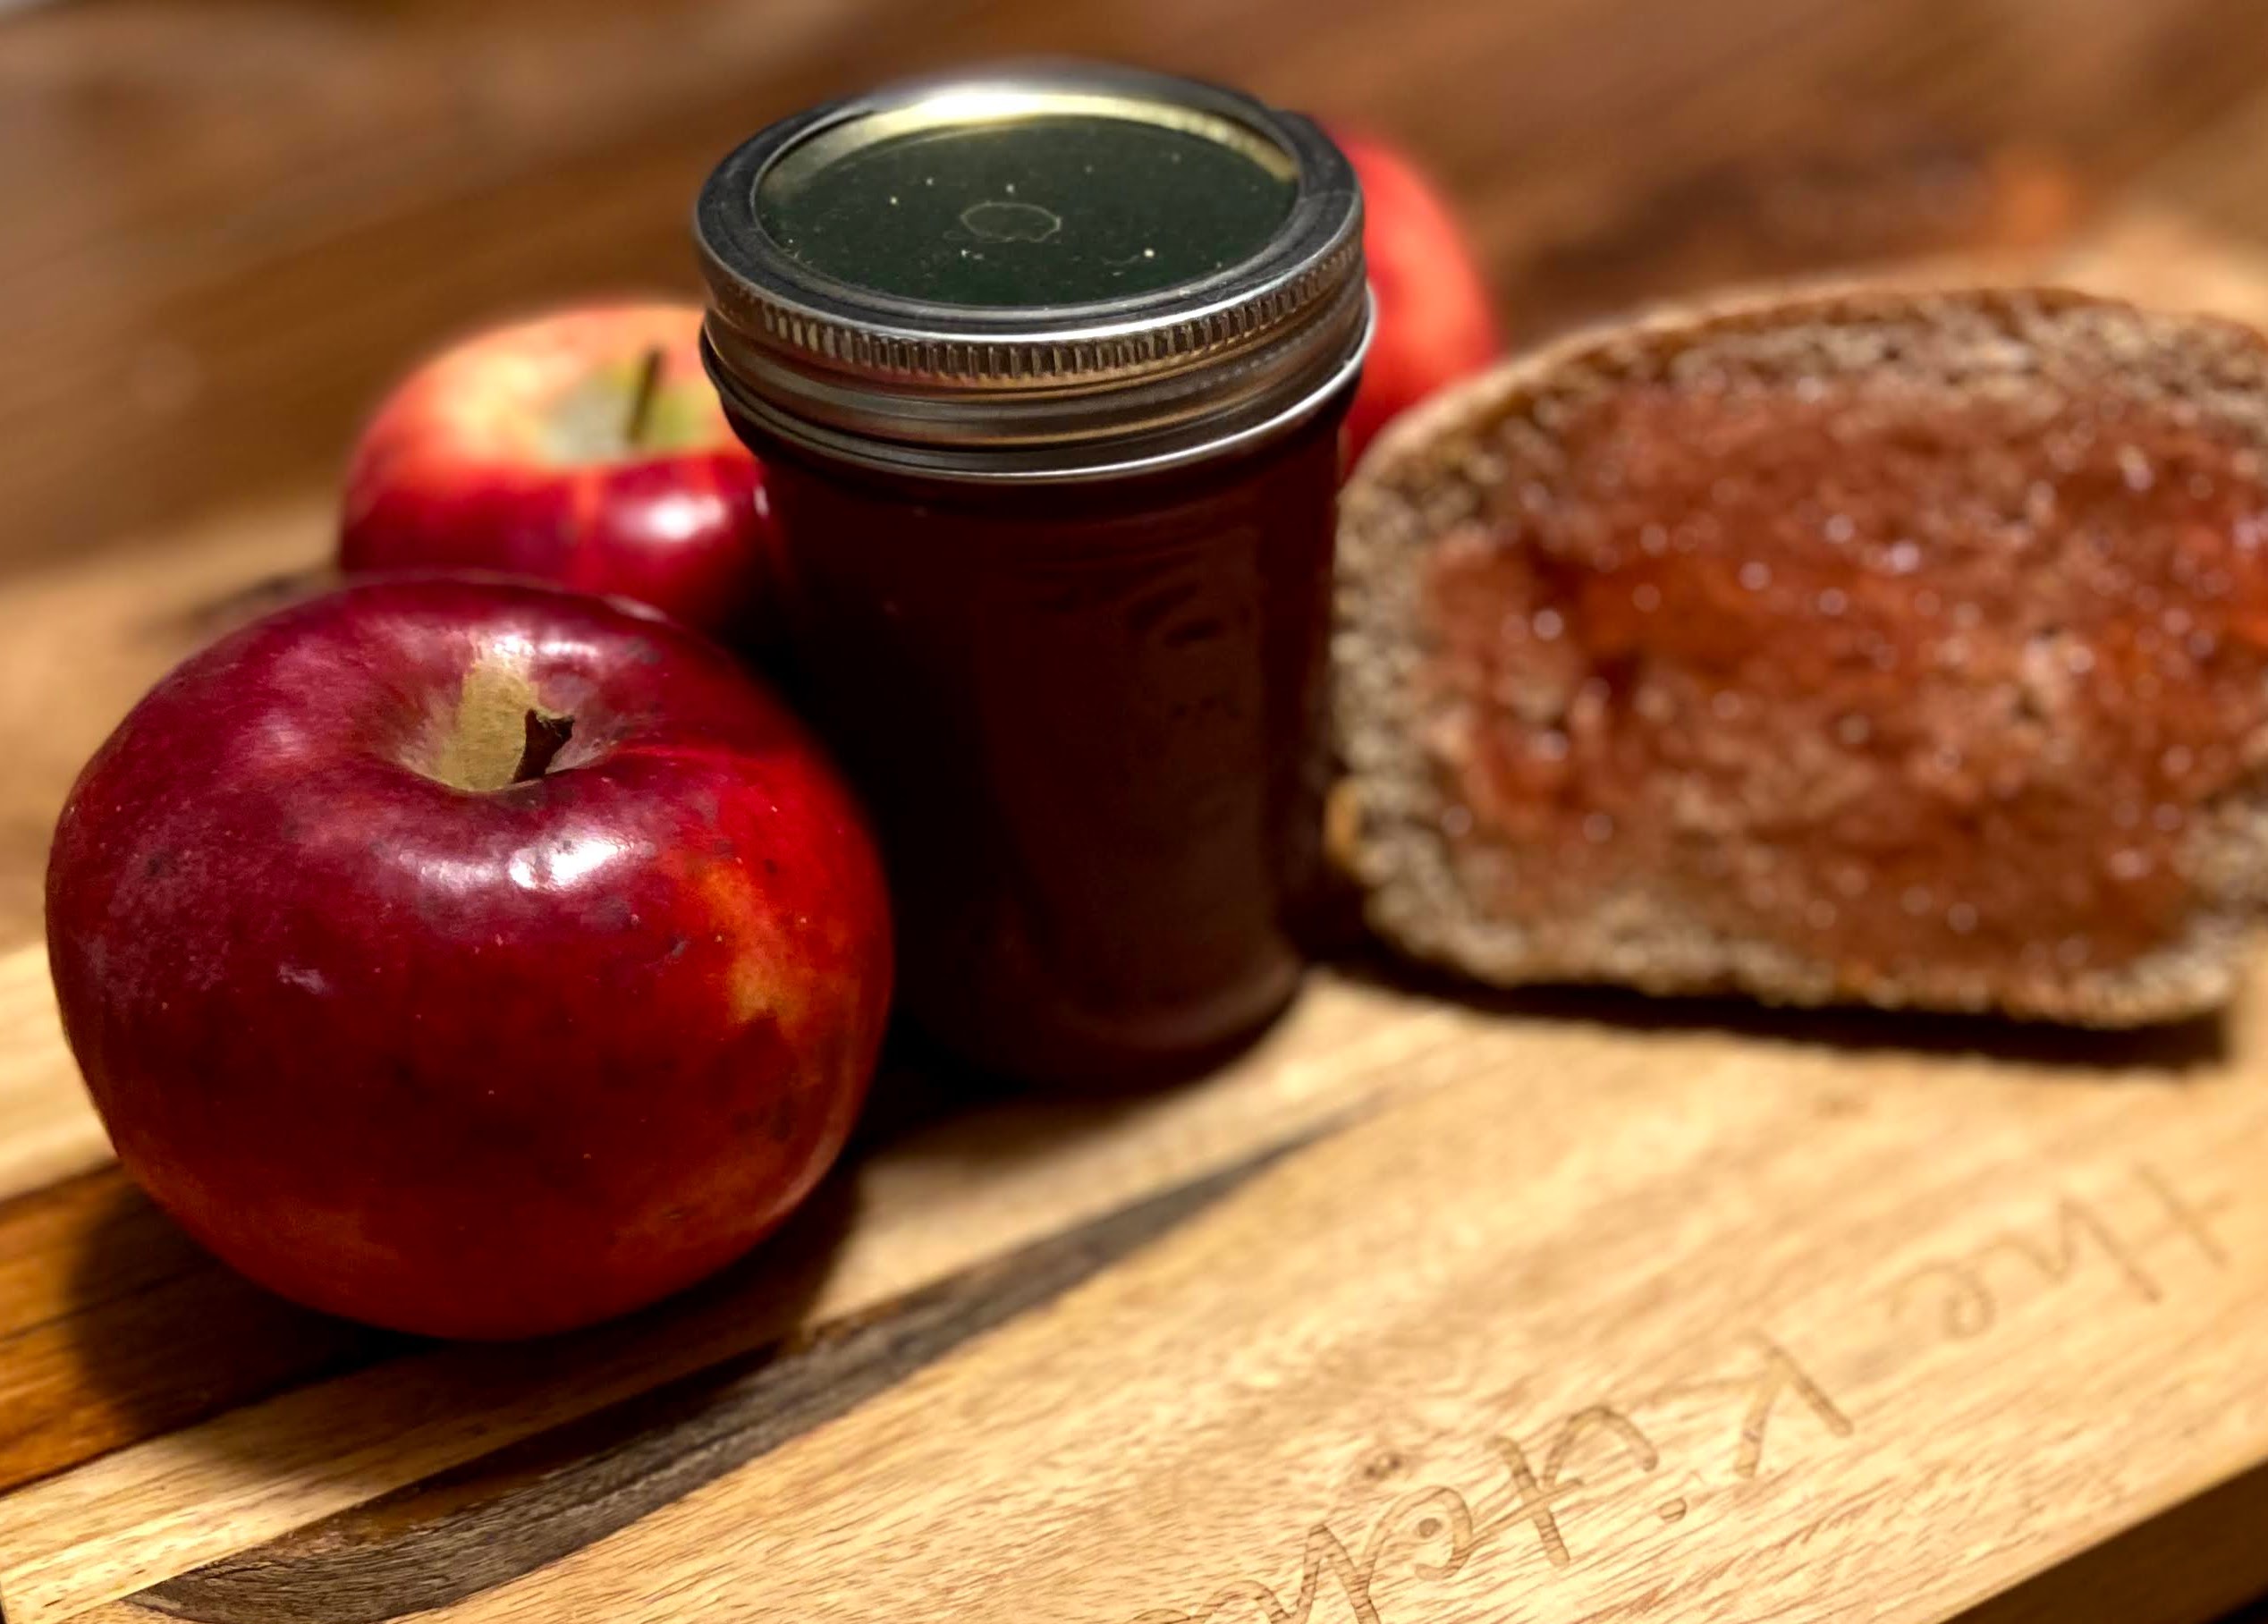
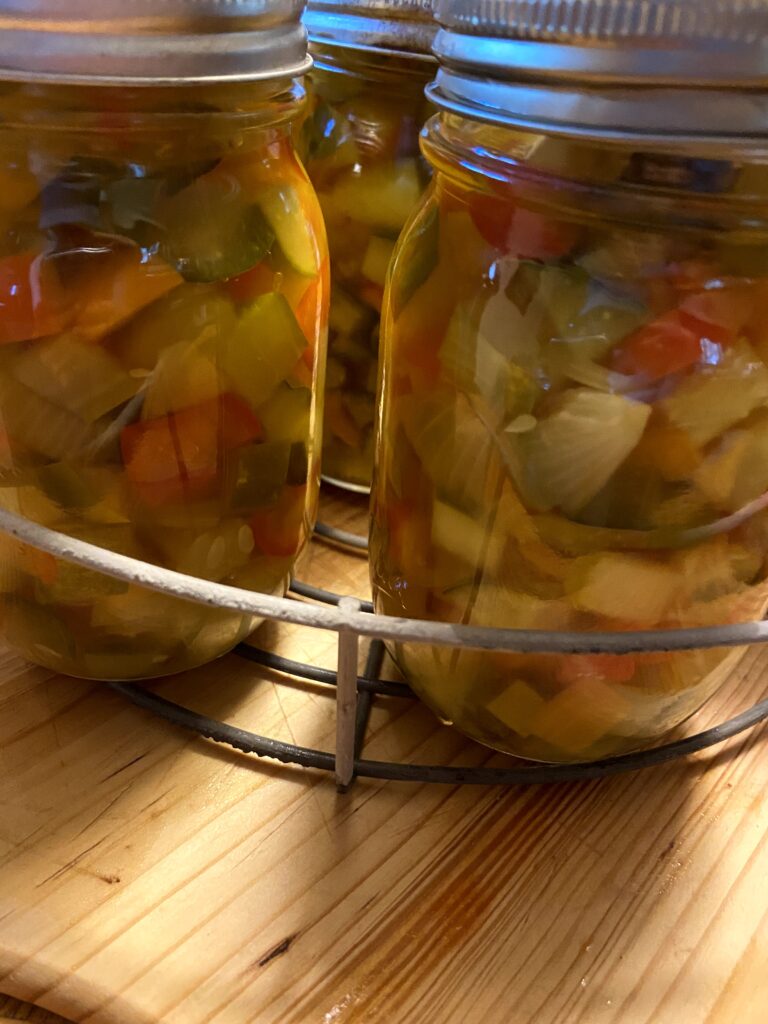
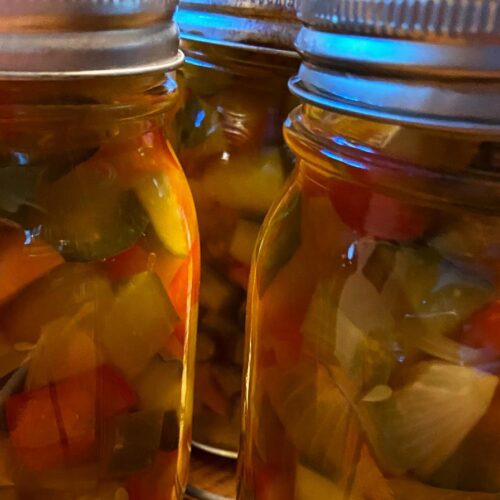
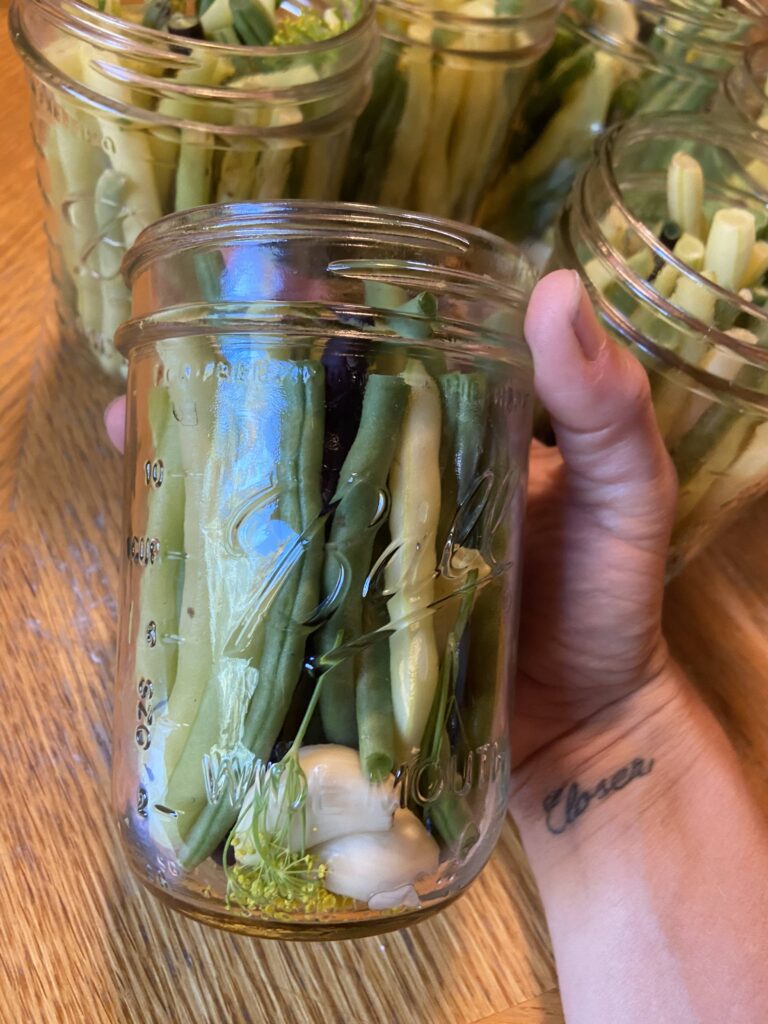
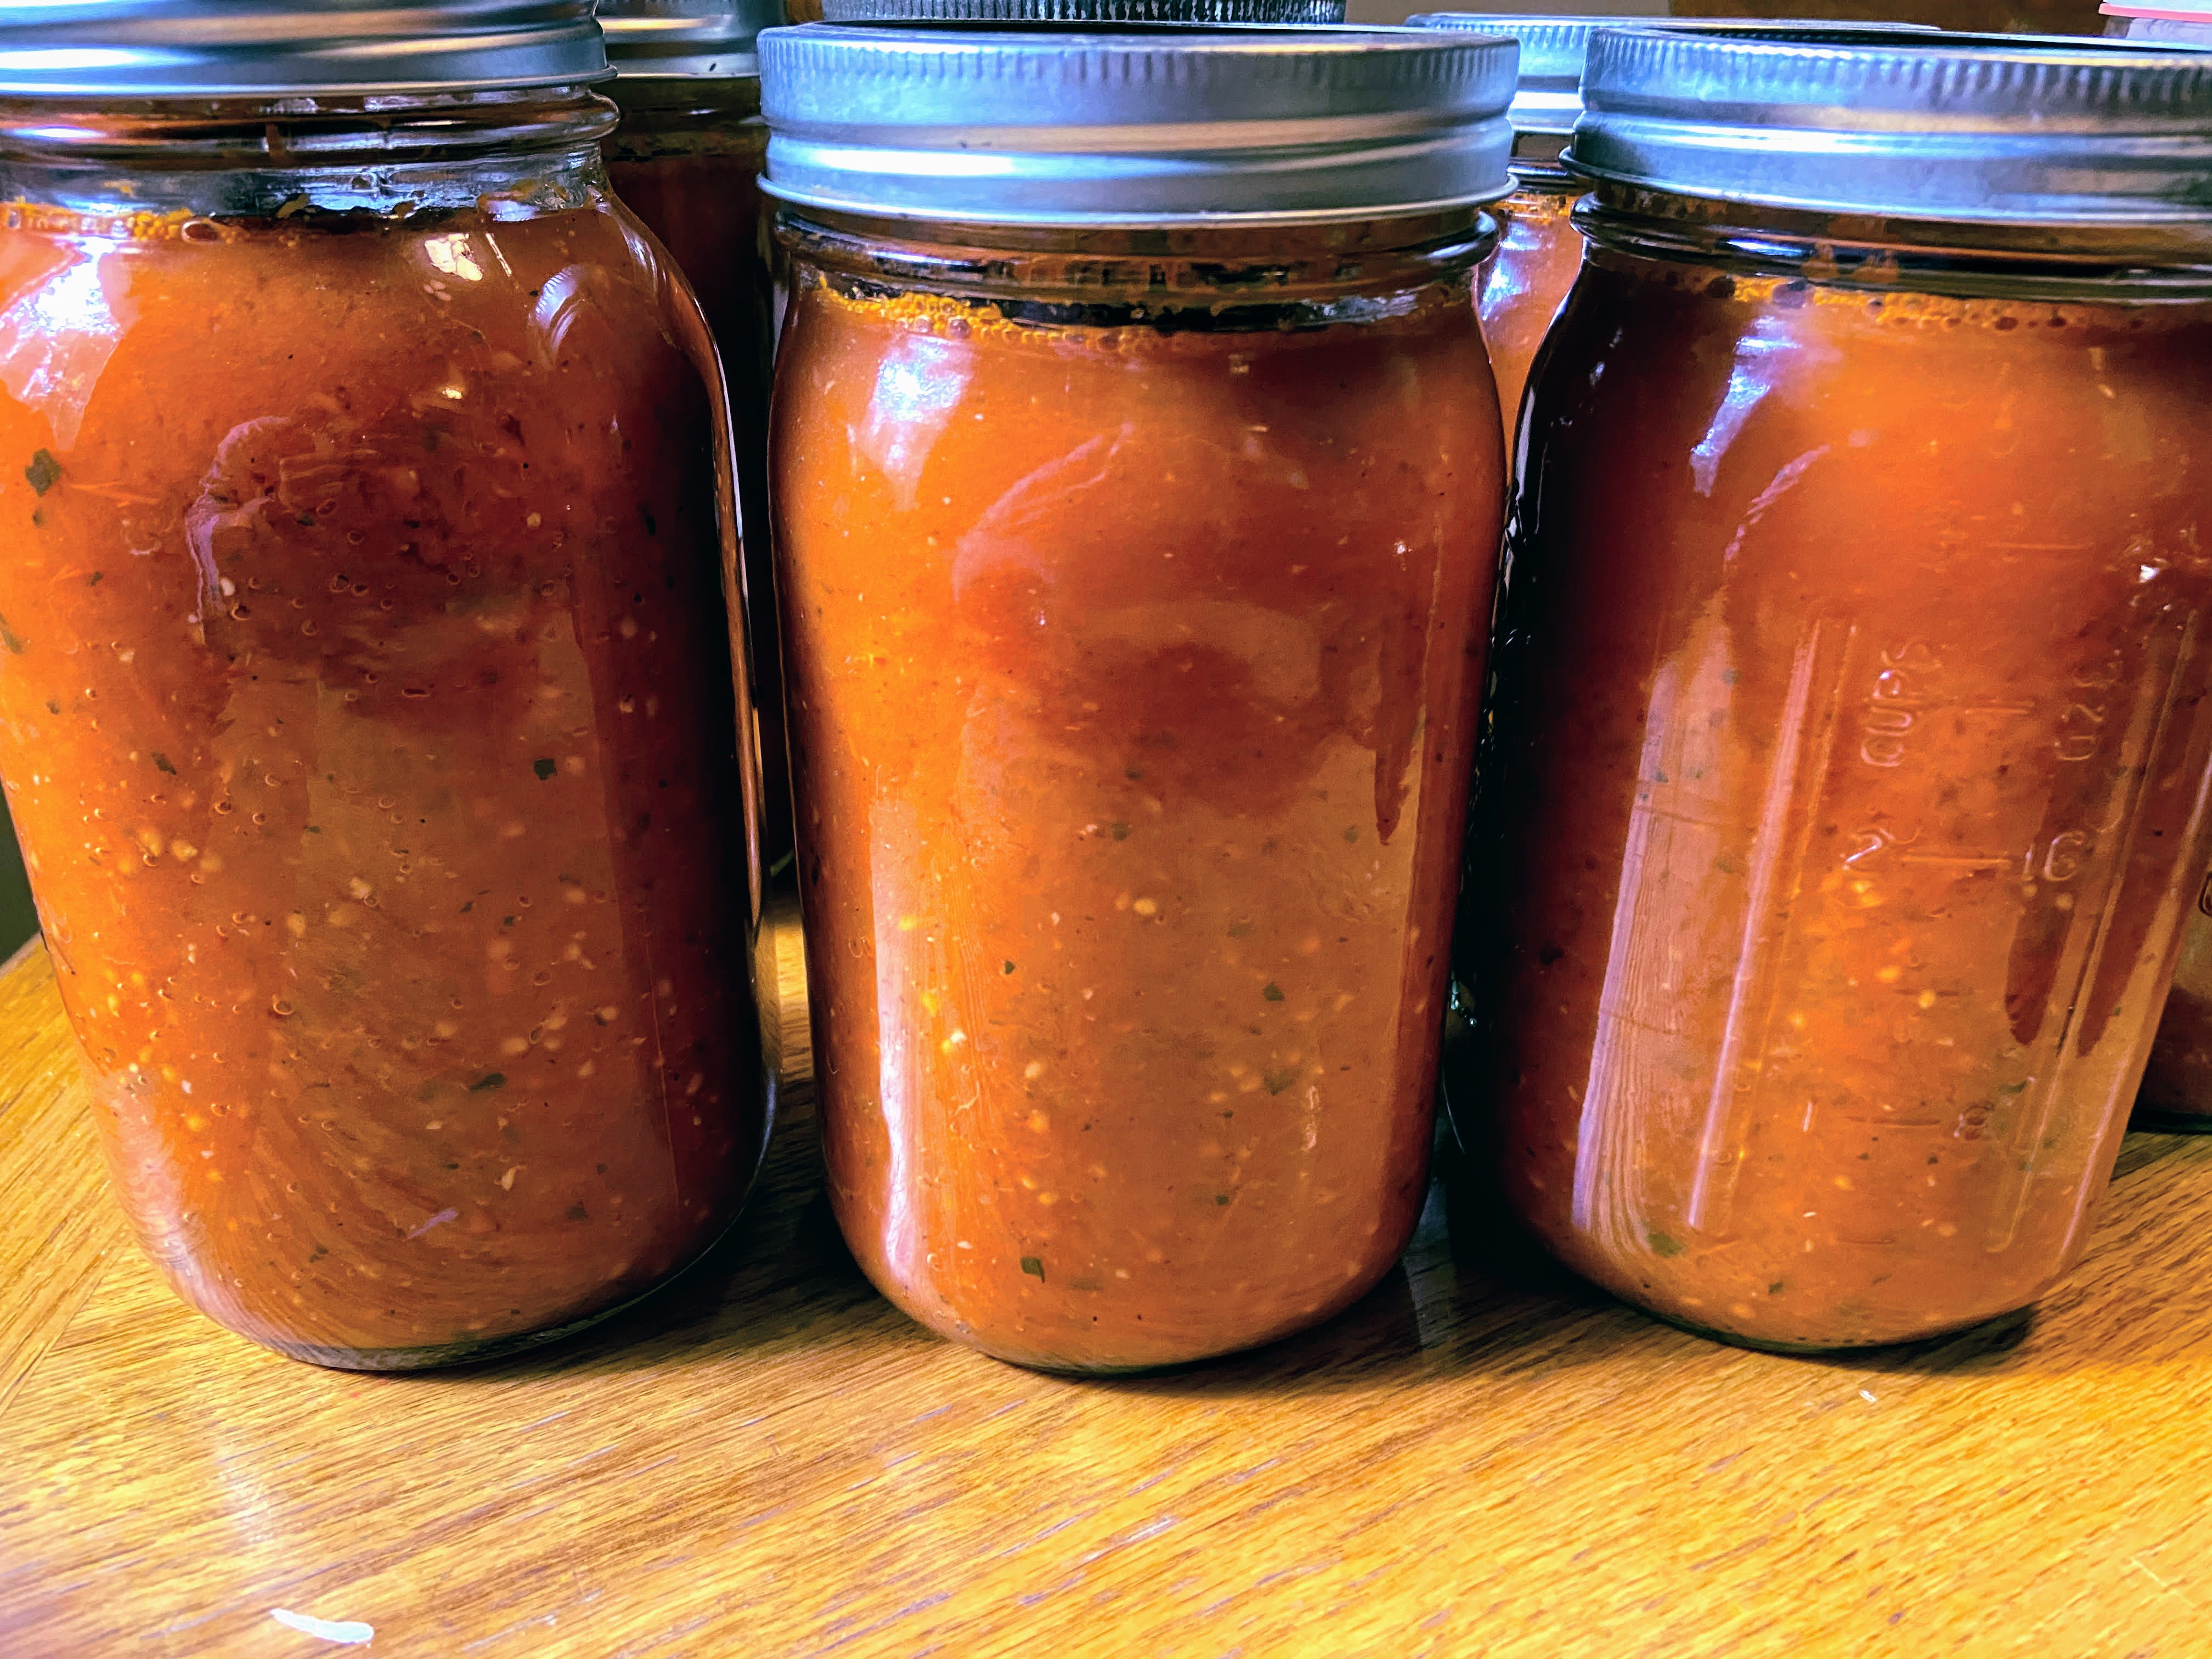
Ladle the hot tomato sauce into jars, leaving ½ inch headspace. Wipe rims of the jars with a damp cloth, add lids and rings, tightening to fingertip tight. Place in the canner, increasing the heat to high. Once the canner reaches a boil, process pint jars 35 minutes or quart jars 40 minutes. Remove from heat and allow jars to cool in the canner over 5 minutes. Then remove jars from the canner, placing them on the counter. Listen for the ping of the lids over the next 12 hours. Sealed jars are self-stable. If any jar doesn’t seal, simply place it right in the refrigerator and enjoy over the next week or so.
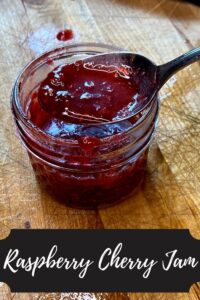
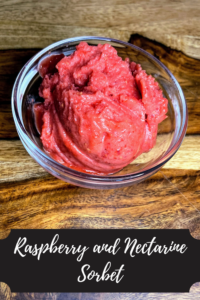
Looking to preserve more of your garden? Check out my canning and preserving page by clicking the button!
Tools of the Trade
I adore my immersion blender for all things canning when I need to blend. Canning tools are a must and what is canning if you don’t have a waterbath canner?
Garden Fresh Tomato Sauce
Equipment
- pint or quart canning jars with lids
Ingredients
- 15 pounds of tomatoes cleaned and roughly chopped
- 2 tablespoons olive oil
- 2 cups onions
- 3 tablespoons minced garlic
- 1 cup fresh basil chopped
- ½ cup fresh oregano
- 1 ½ teaspoons pepper
- 1 tablespoon canning salt
Instructions
- Begin by heating olive oil over medium heat in a sauté pan. Add onions and garlic. Cook until translucent and soft, about ten minutes, stirring often.
- In a large kettle, combine onion mixture, chopped tomatoes, basil, oregano, salt, and pepper. Continue to simmer over medium heat, stirring often.
- After the tomatoes have begun to break down (about 30-60 minutes later), puree them. A stick blender or food mill works well. Once totally in sauce form, continue to cook down until the volume of the sauce has reduced to about one-half the original amount.
- While the tomatoes are cooking down, you can begin to prepare your canner and jars if you plan on processing them. (If you want to simply place the sauce in the freezer, that’s totally okay. You can transfer it to freezer safe containers or bags and freeze once cool.)
- Wash and sanitize pint or quart jars, rings, and lids. Keep warm. Fill the canner with enough water to cover the jars by at least 2 inches of water. Cover and heat on high. Watch the temperature, you want a simmer but not a boil when you place the jars in the water.
- Once the sauce and canner are ready, you can begin to fill the jars. To be sure there is enough acid to have self stable jars, you must add citric acid or bottled lemon juice.
- Add ¼ teaspoon citric acid or 1 tablespoon lemon juice to pint jars. Add ½ teaspoon citric acid or 2 tablespoons lemon juice to quart jars.
- Ladle the hot tomato sauce into jars, leaving ½ inch headspace.
- Wipe rims of the jars with a damp cloth, add lids and rings, tightening to fingertip tight. Place in the canner, increasing the heat to high.
- Once the canner reaches a boil, process pint jars 35 minutes or quart jars 40 minutes.
- Remove from heat and allow jars to cool in the canner over 5 minutes. Then remove jars from the canner, placing them on the counter.