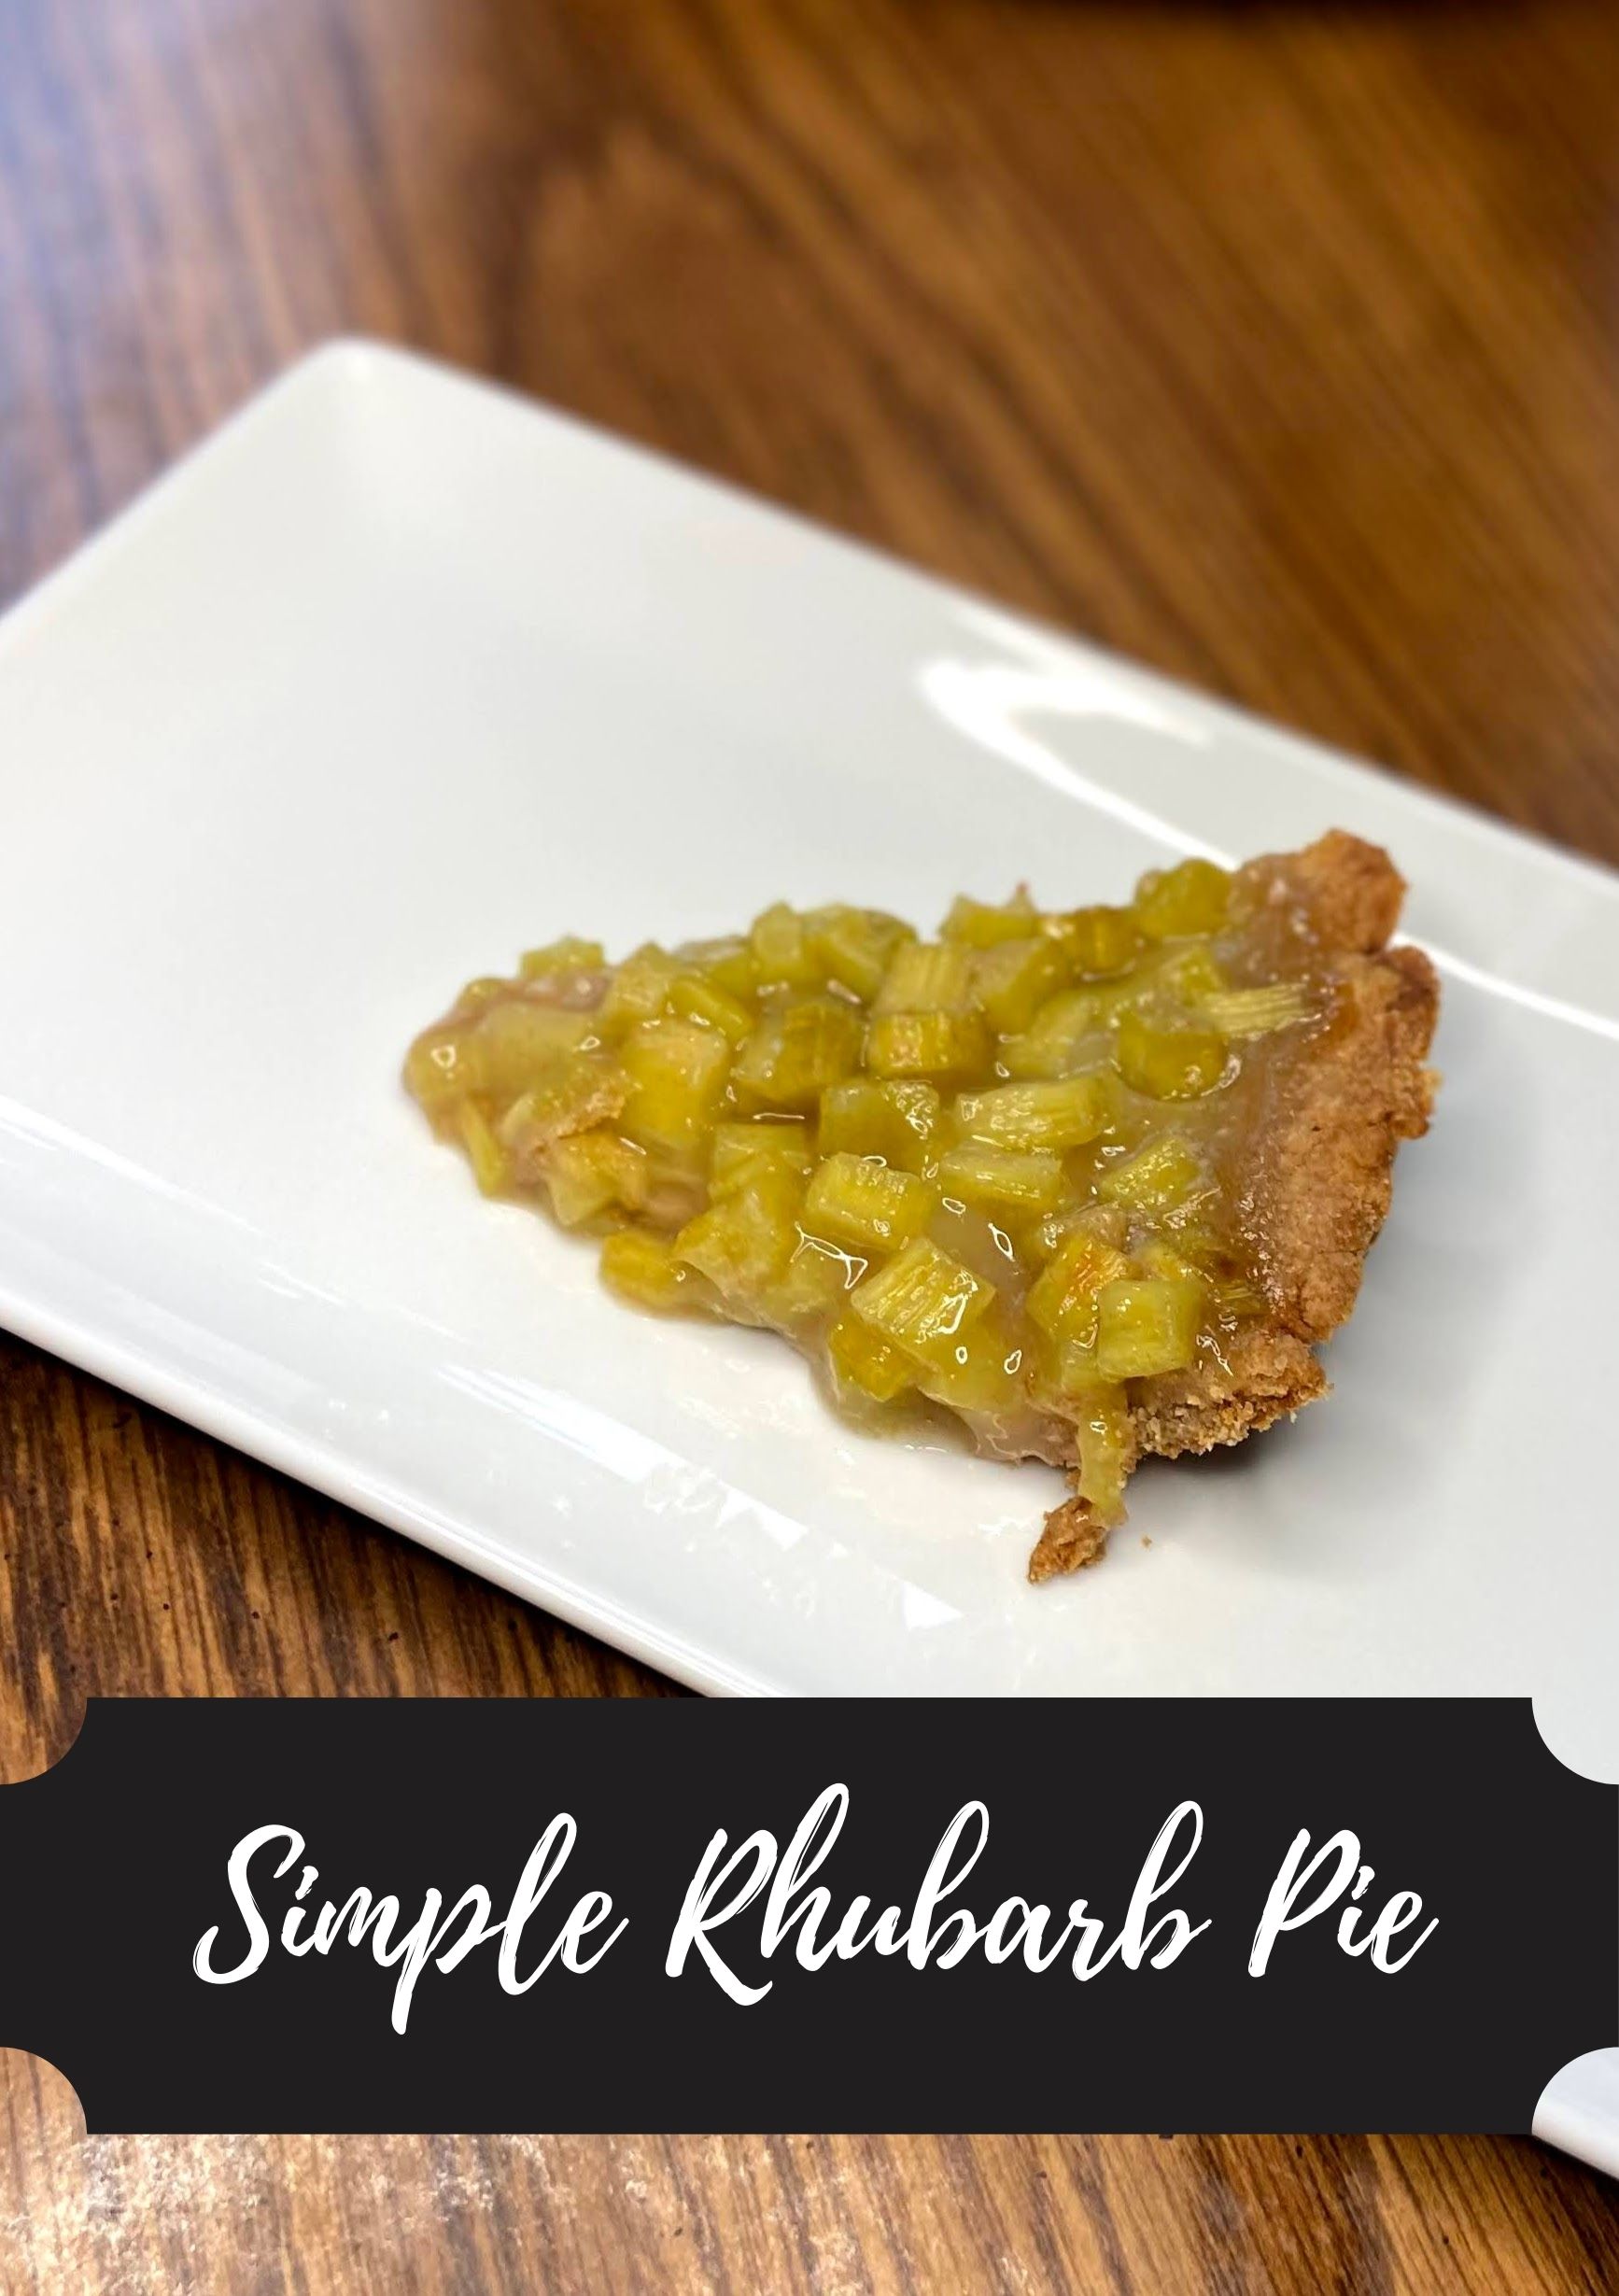
I’ve always declared myself, “not a pie person.” At Thanksgiving, it’s okay, but not something I crave. My husband, on the other hand, LOVES pie. His mom also loves to make it. It’s a rare weekend that we visit and a pie hasn’t been made. It’s also pretty typical to have her make a pie at our home out of whatever we happen to have in the freezer when she comes to visit. So, it makes sense that pie is always my husband’s request for his birthday; rhubarb pie to be precise.
One of the reasons I don’t love to make pie is the crust. I like to say I just don’t like to make it, but perhaps it’s more that it intimates me. Also, if I am going to pick a favorite pie, I’m going with banana creme and everyone knows those babies are best with a graham cracker crust. Am I right or am I right?
All that being said, after being married for 12 years, pie is growing on me. I still don’t dig the crust part of things, but I have you covered in this recipe. My mother in law has a crazy simple crust that I dig as the base for not only this rhubarb pie, but also an apple pie that use this great apple pie filling I freeze in the fall.
So it is May and the rhubarb is plentiful. Let’s put together a simple tart and delicious rhubarb pie everyone can enjoy! (And hey, if it isn’t May, you can always use frozen rhubarb too! Just thaw and drain it out first!)
Your Ingredients
For the crust:
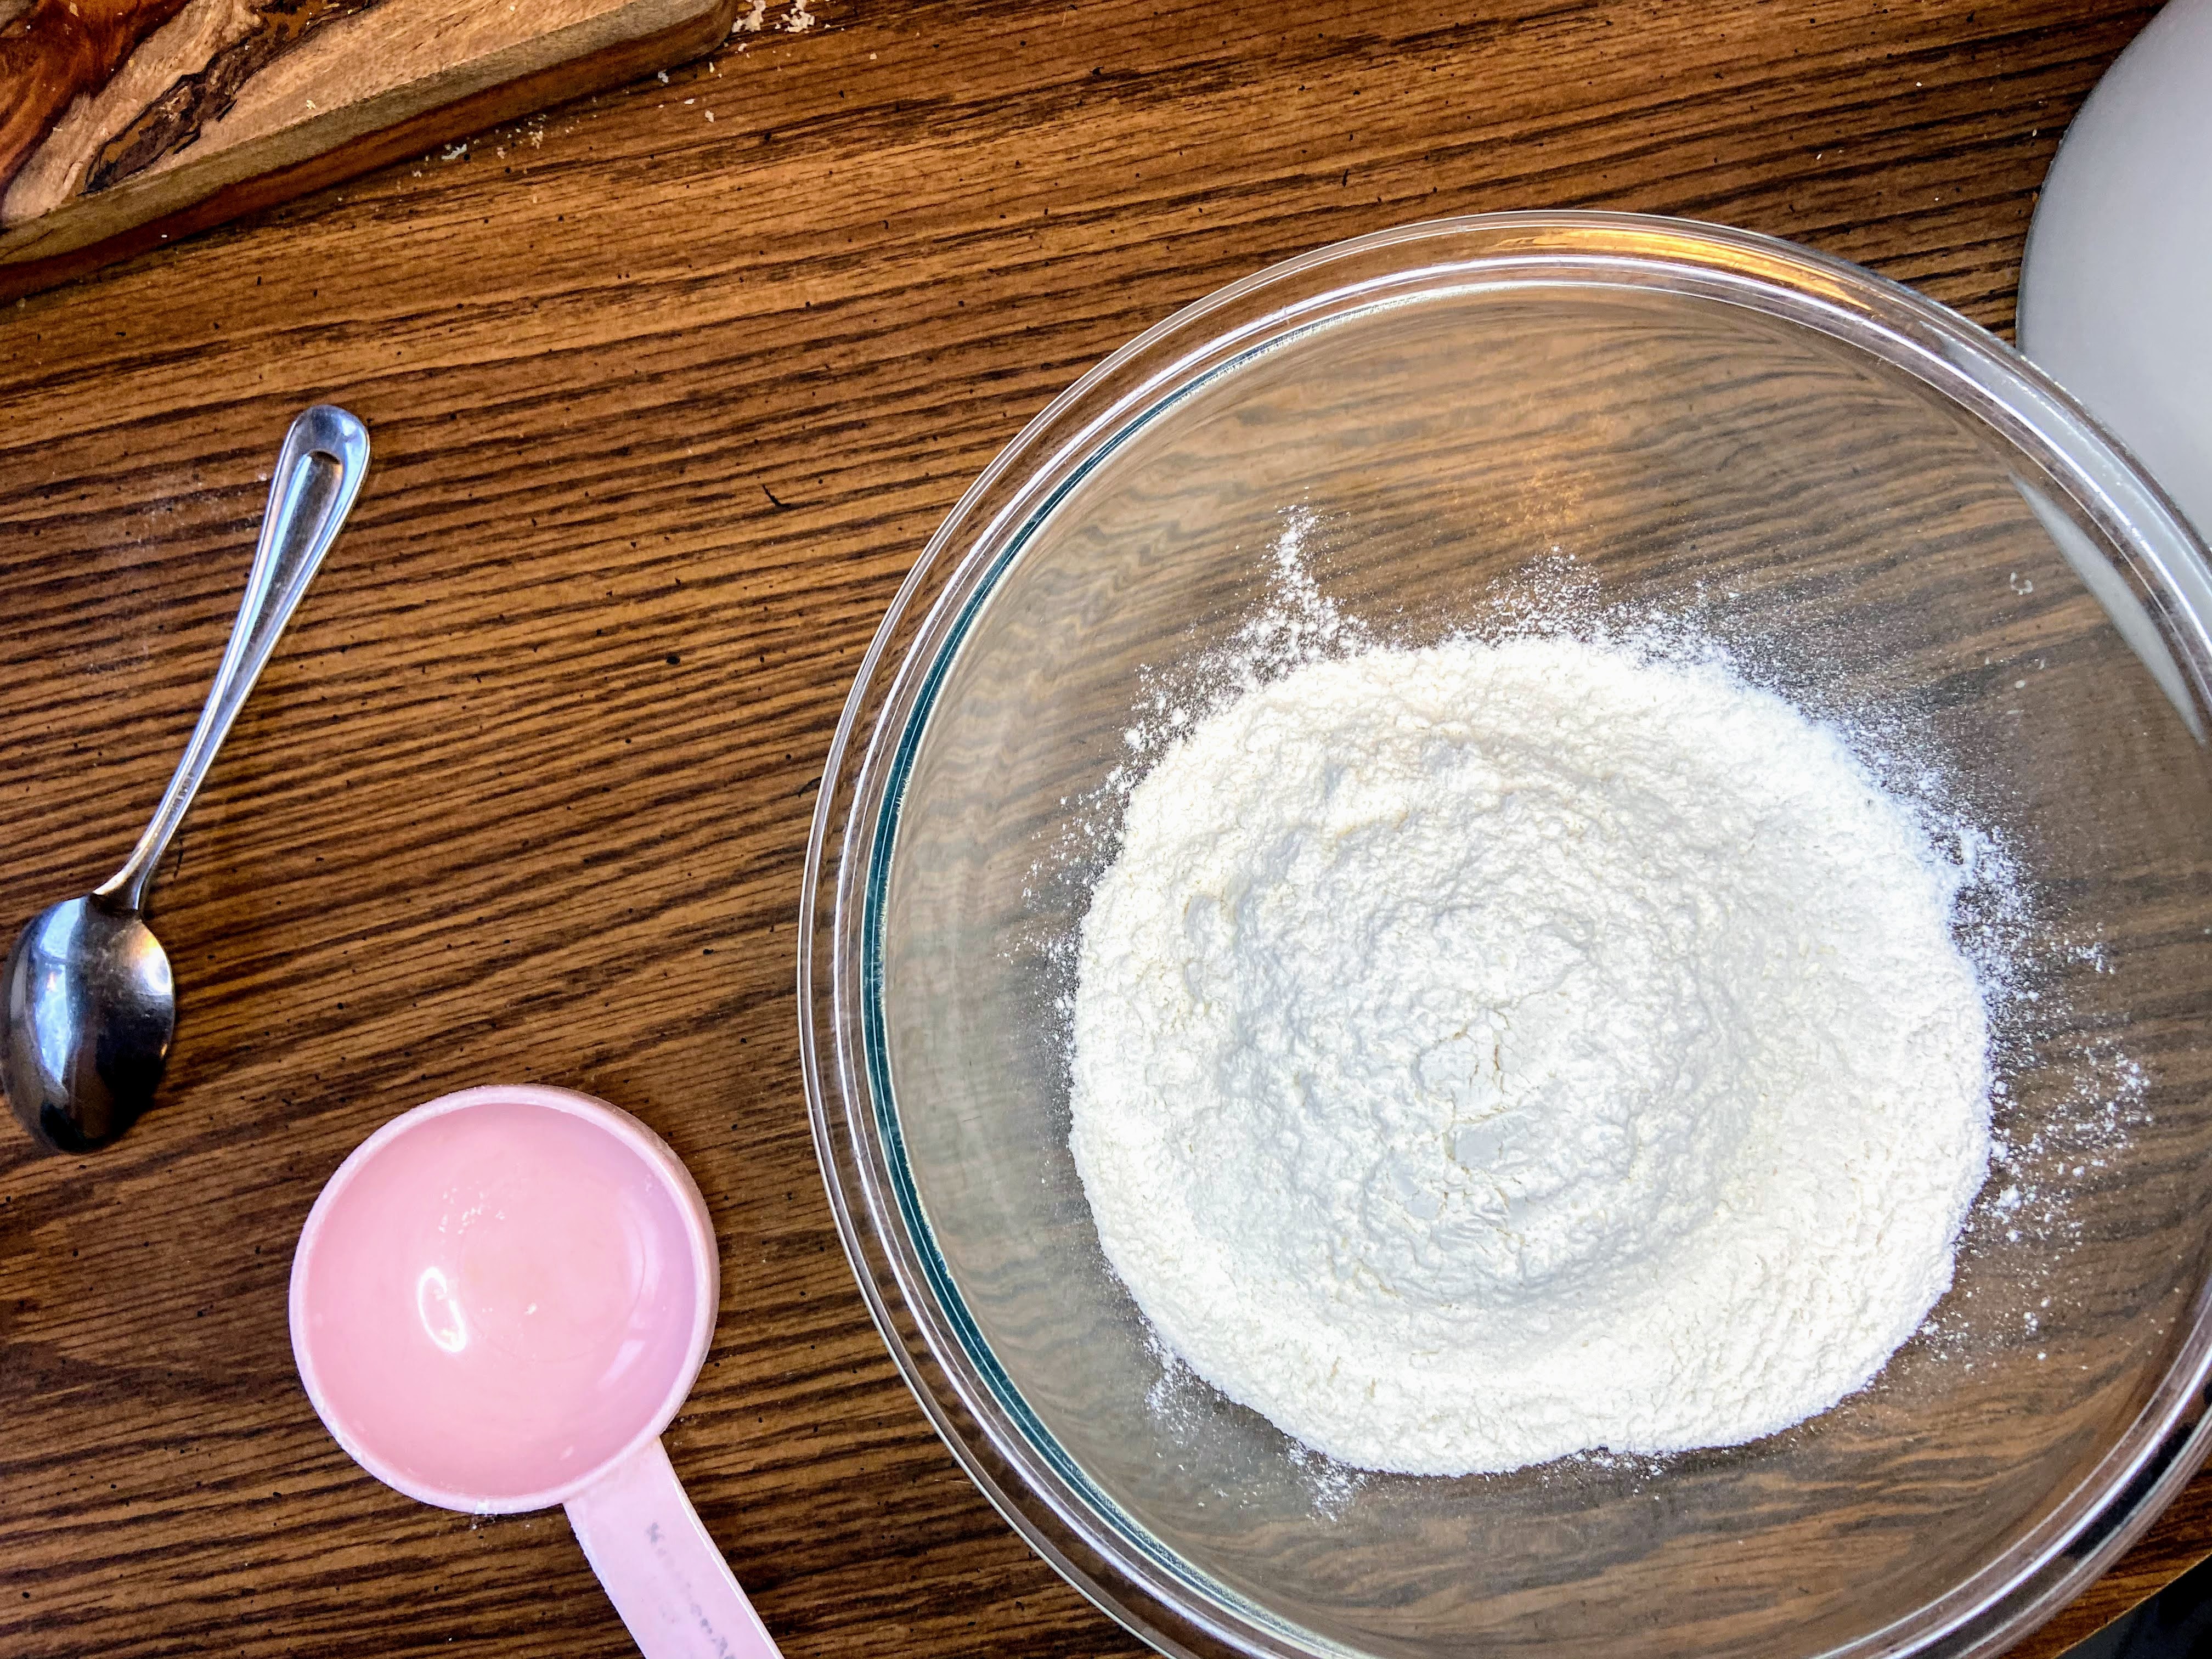
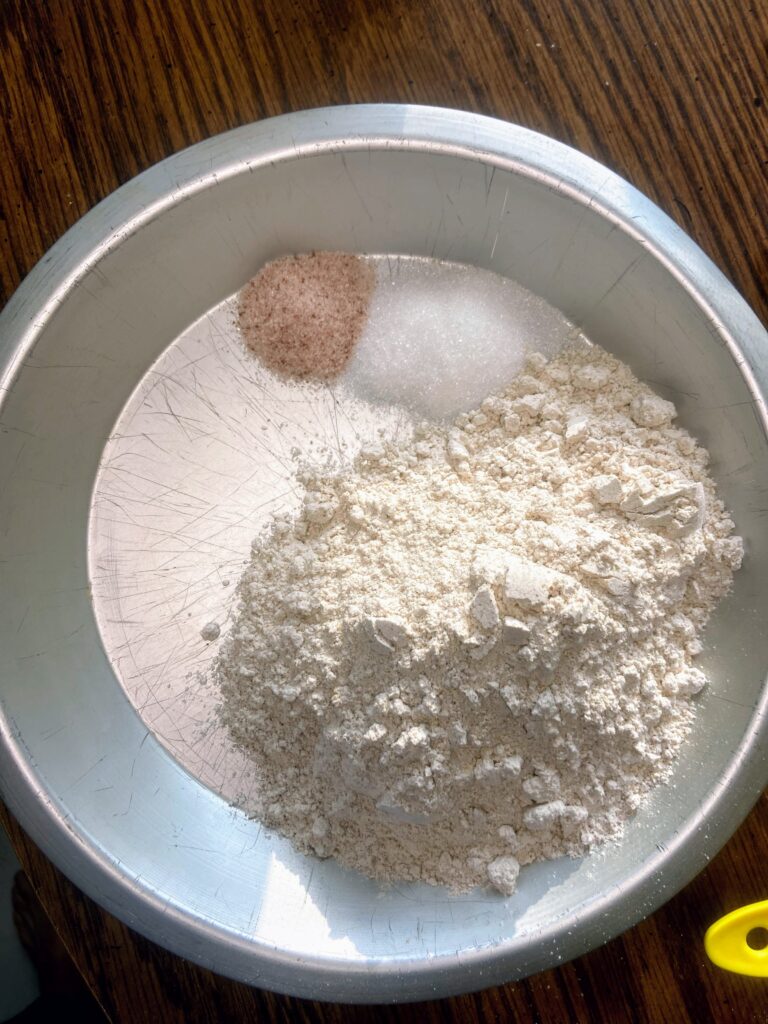
- 1 ½ cups all purpose flour
- ½ tablespoon sugar
- 1 teaspoon salt
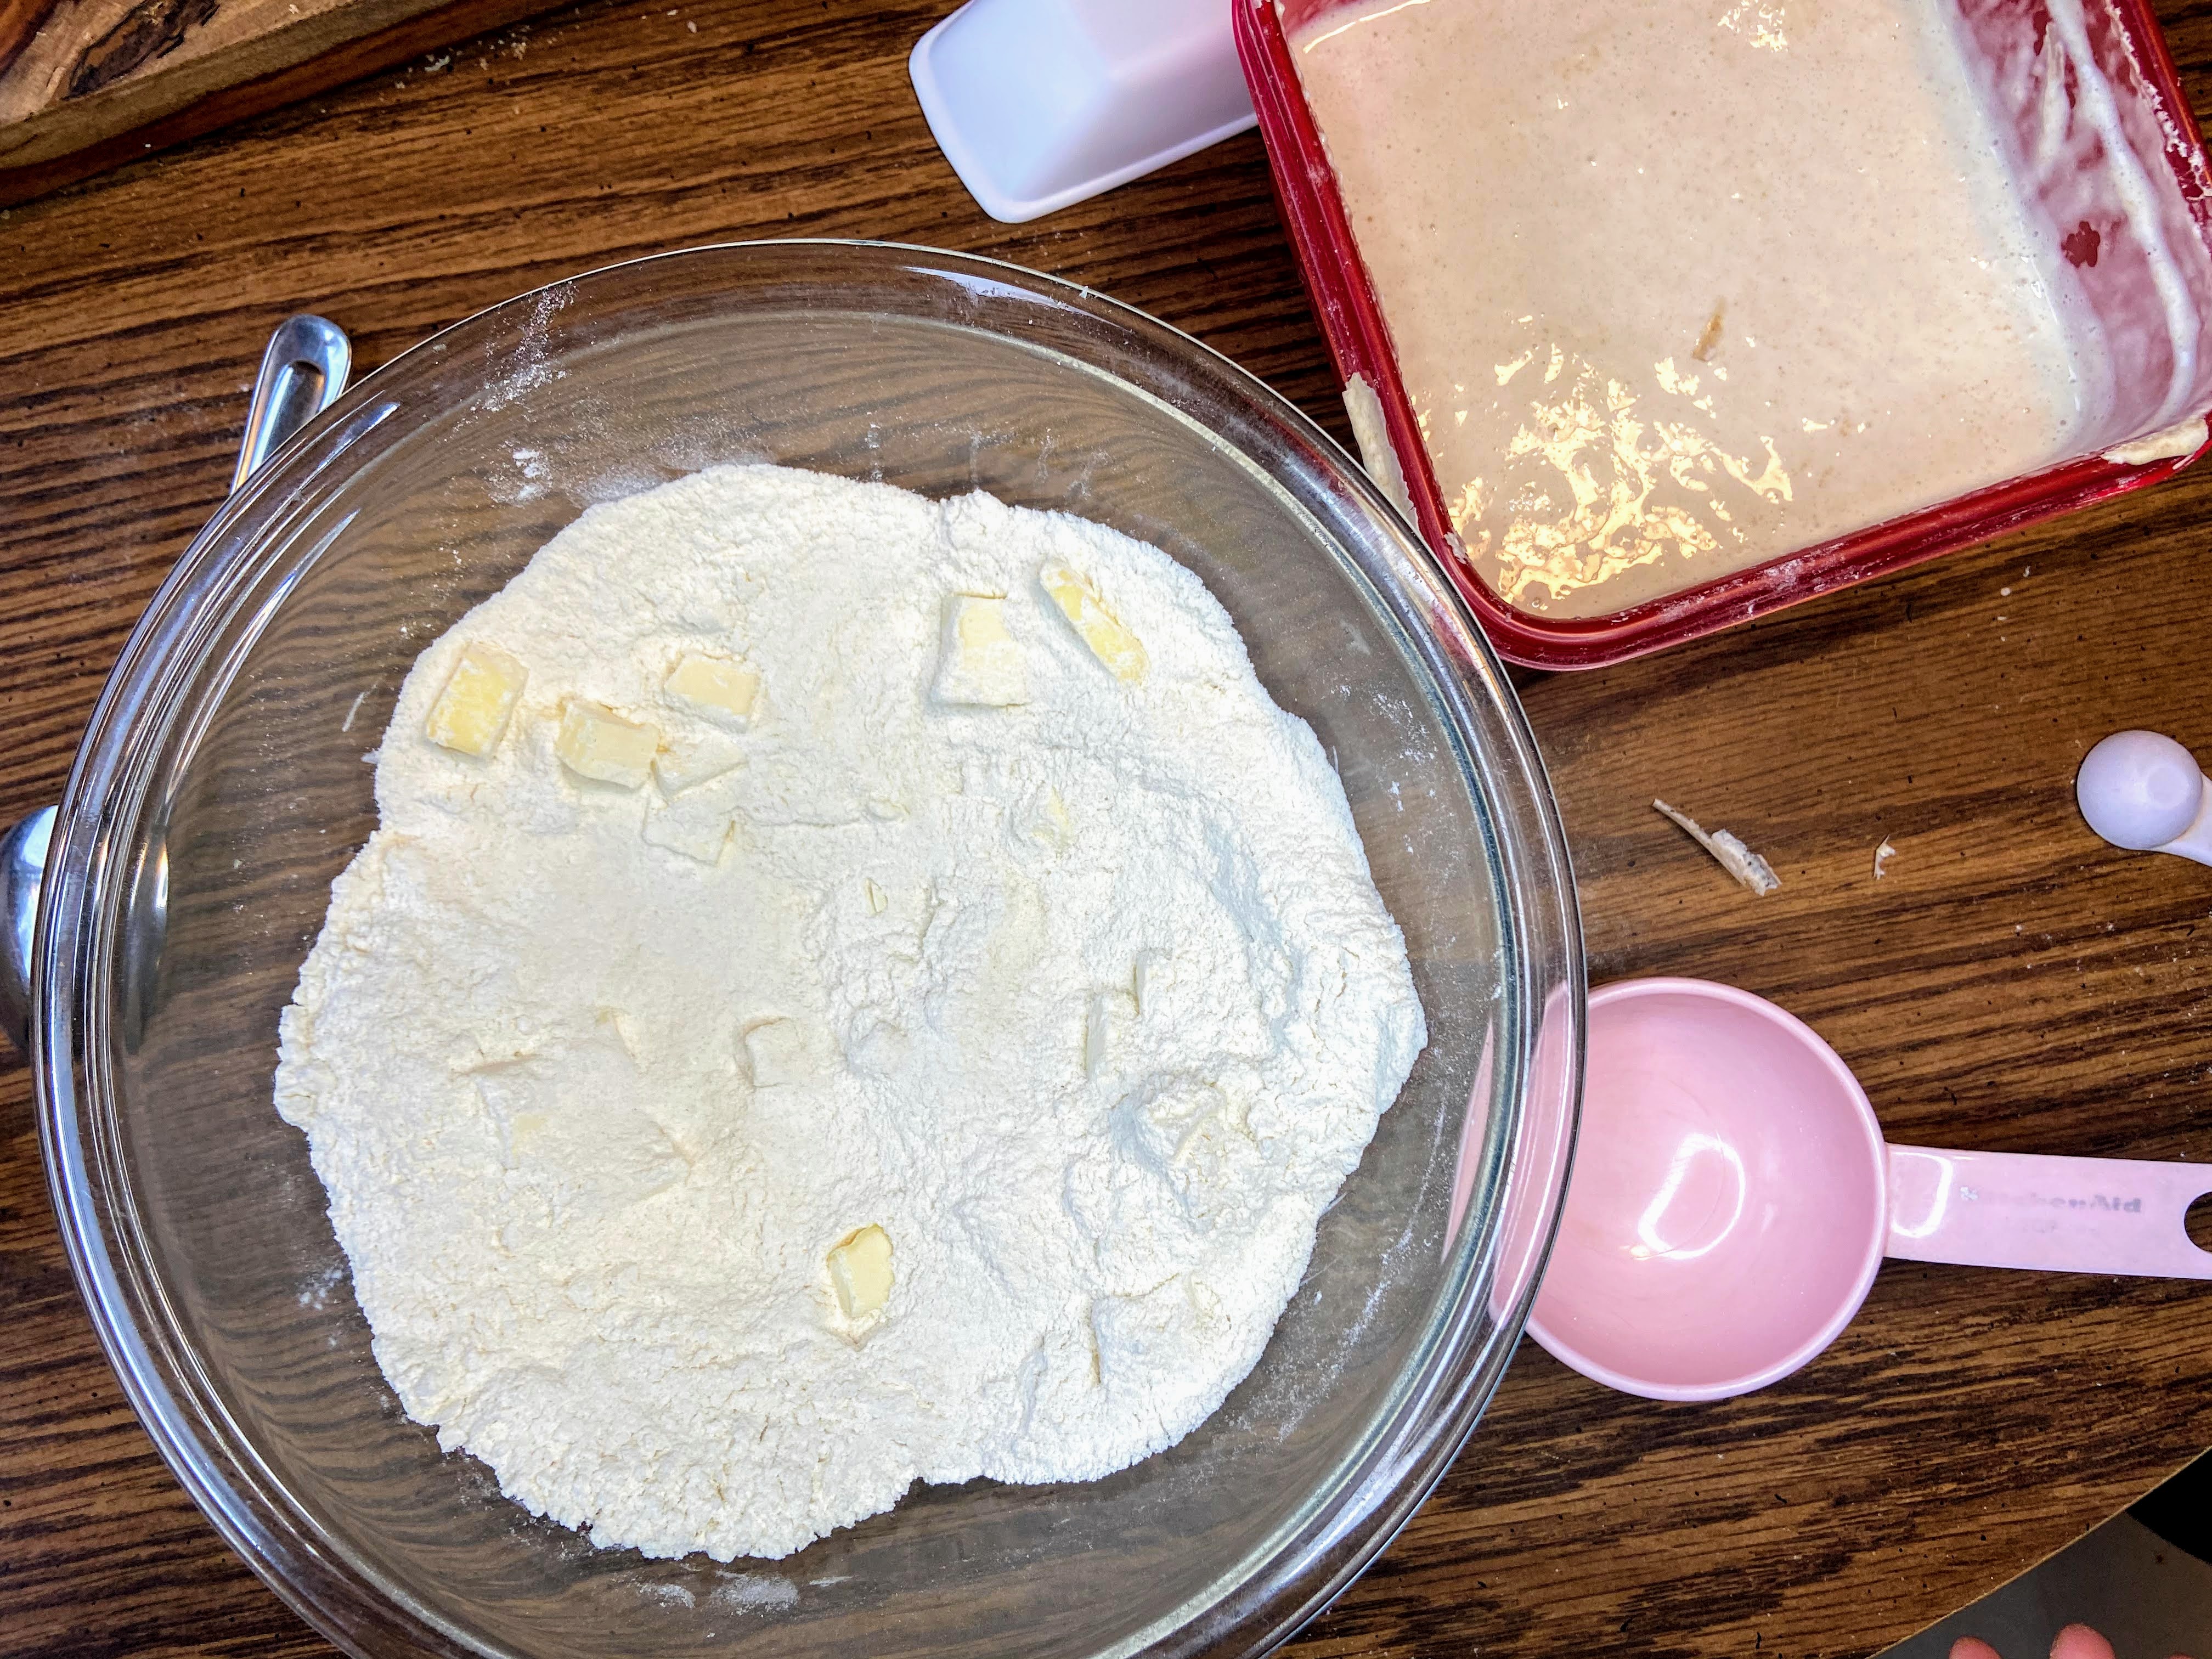
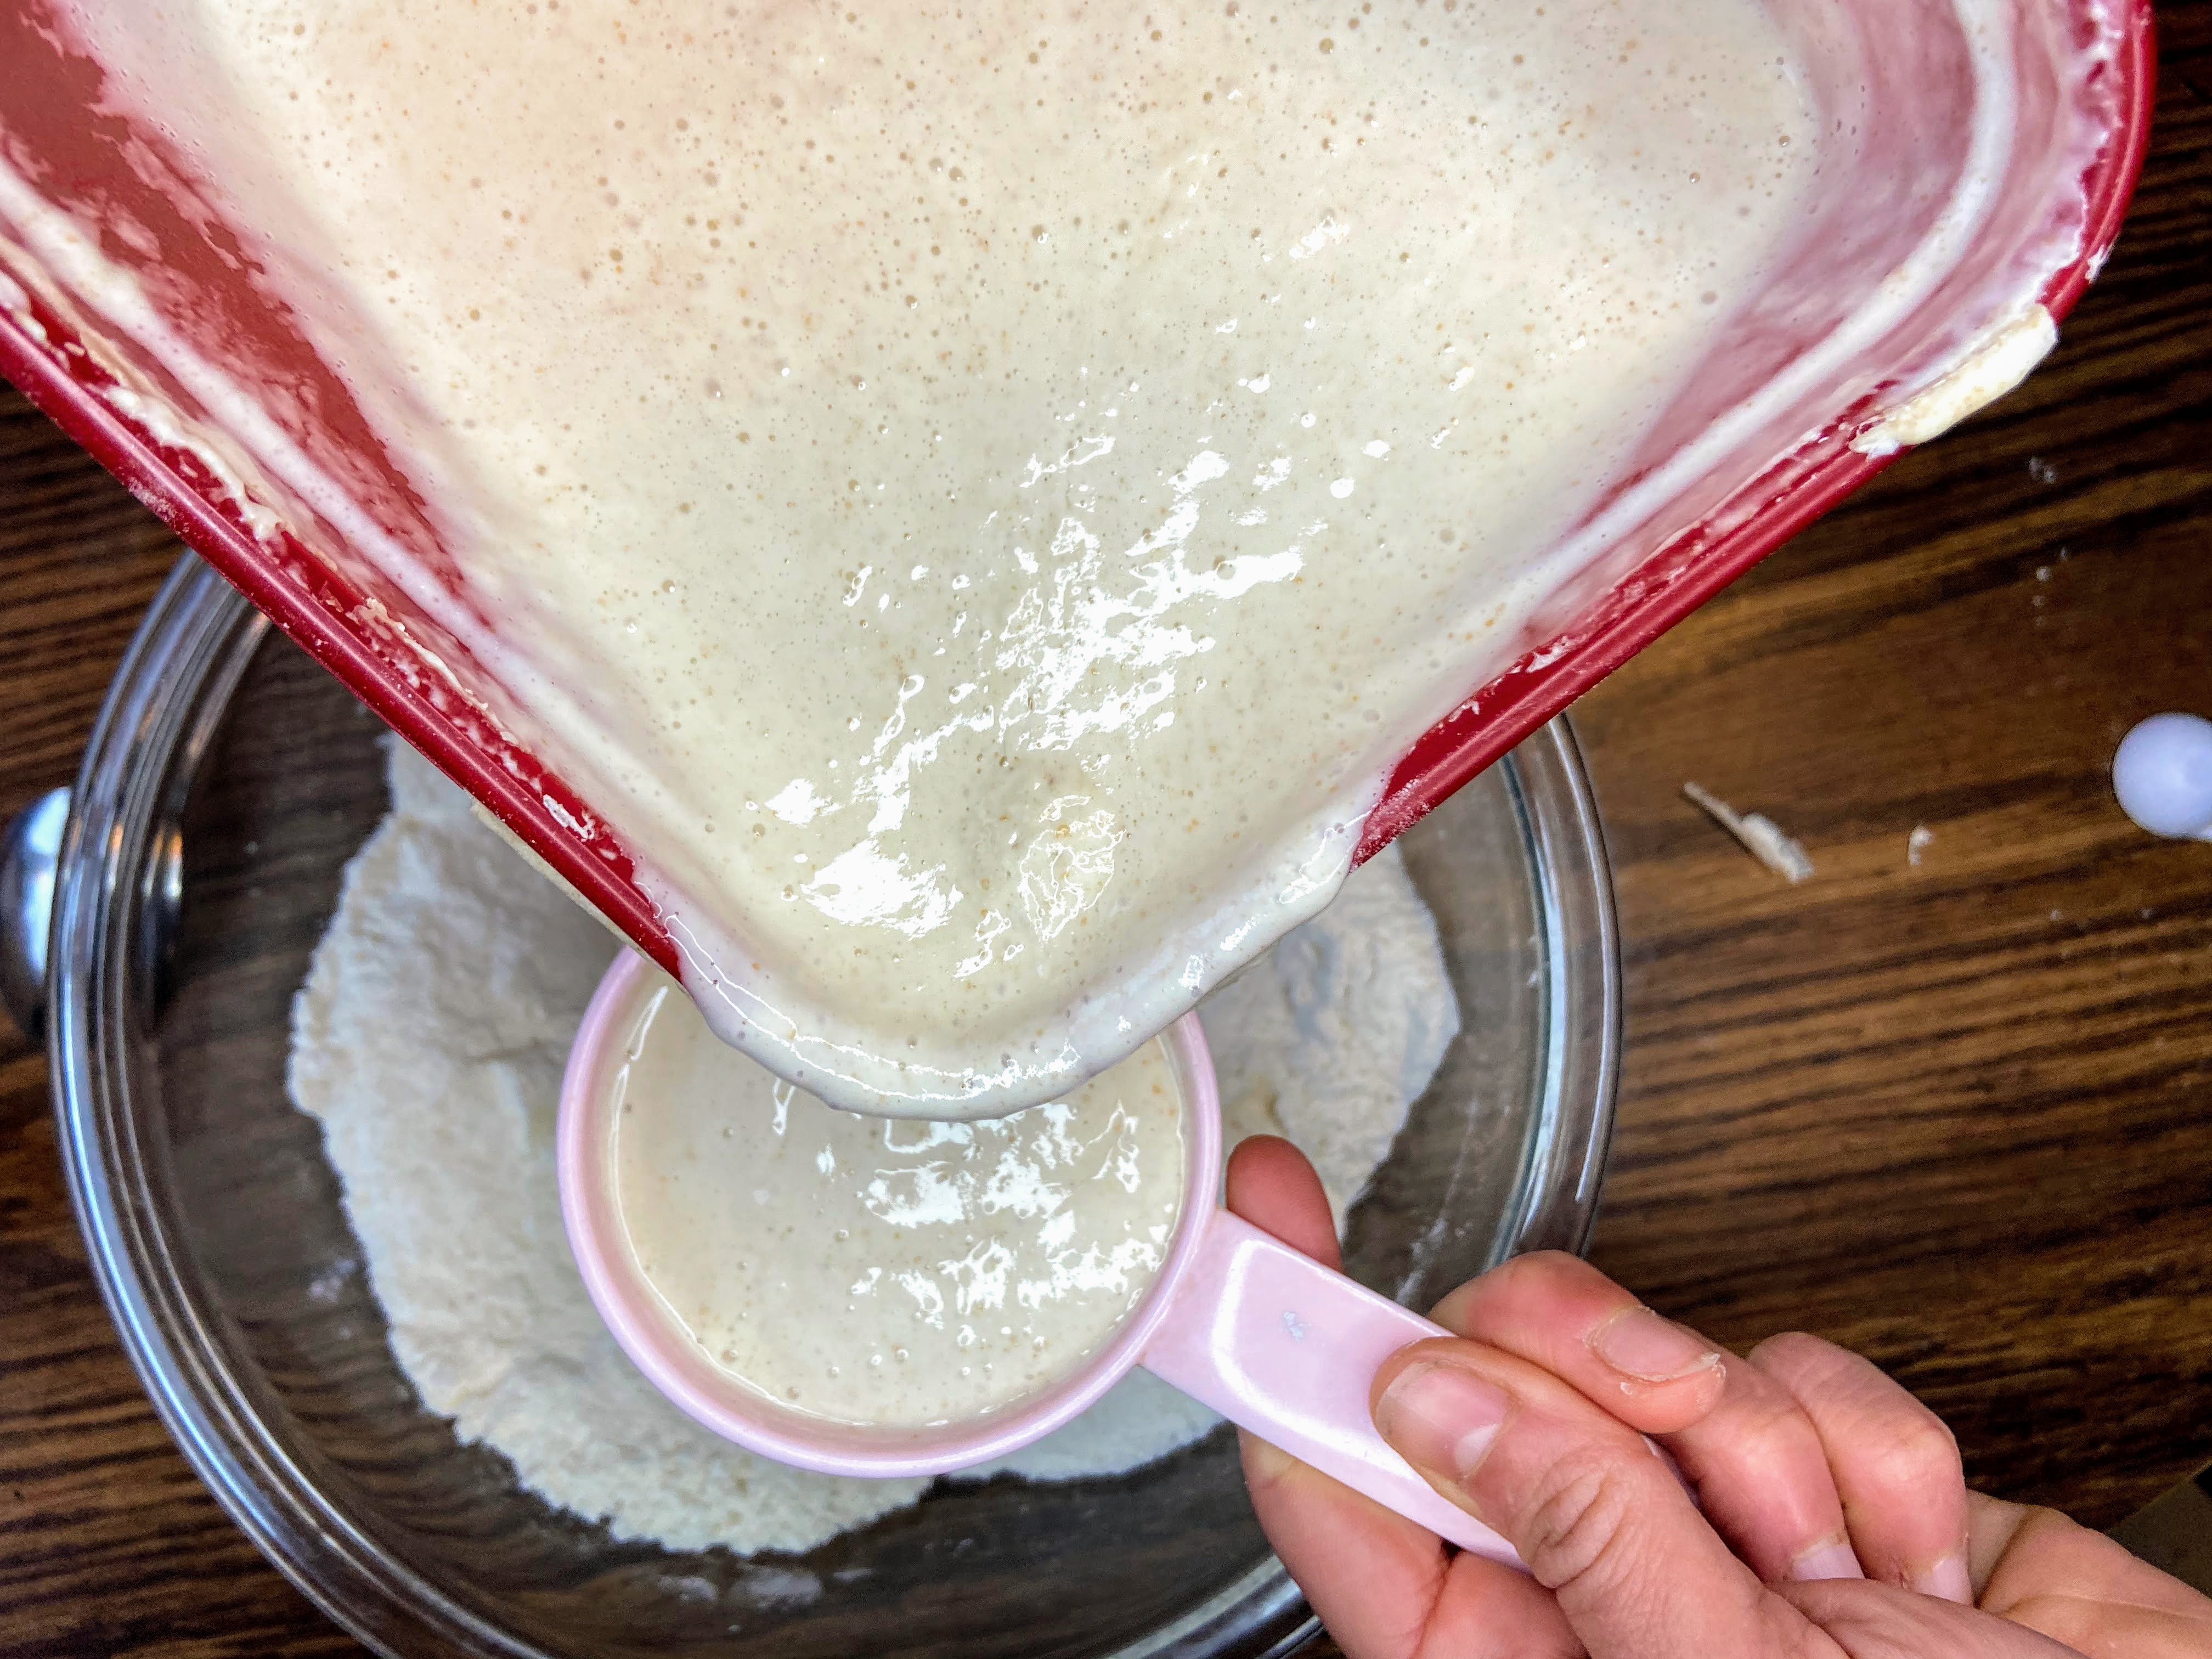
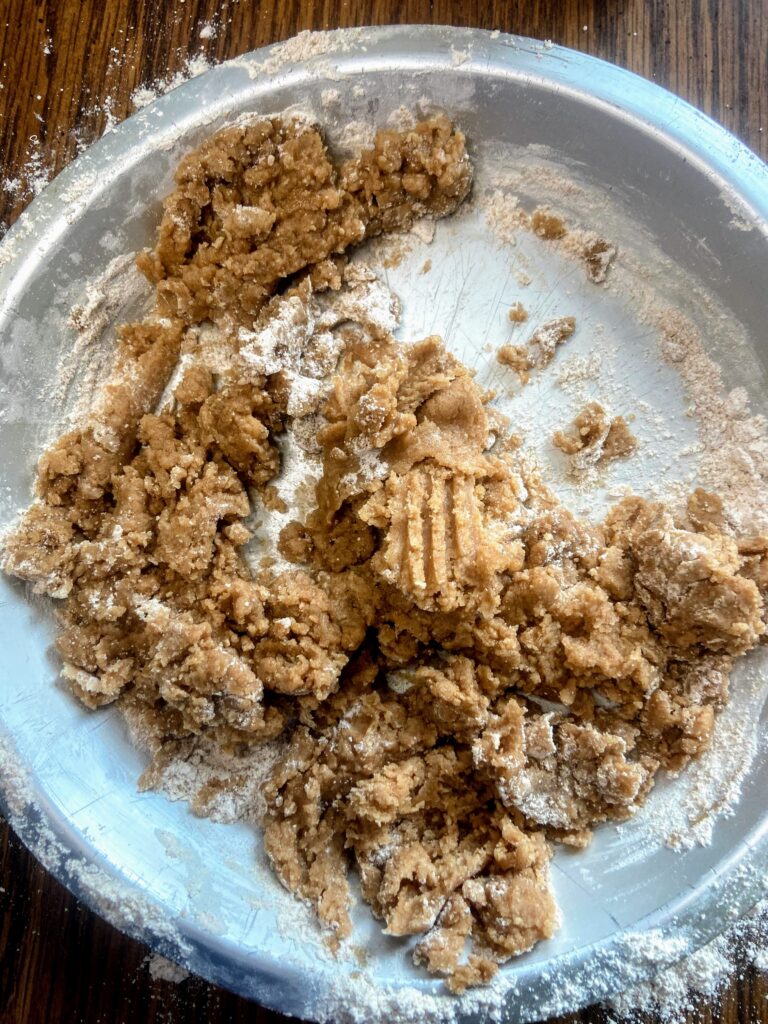
- ½ cup oil of your choice
- 2 tablespoons milk
For the filling:
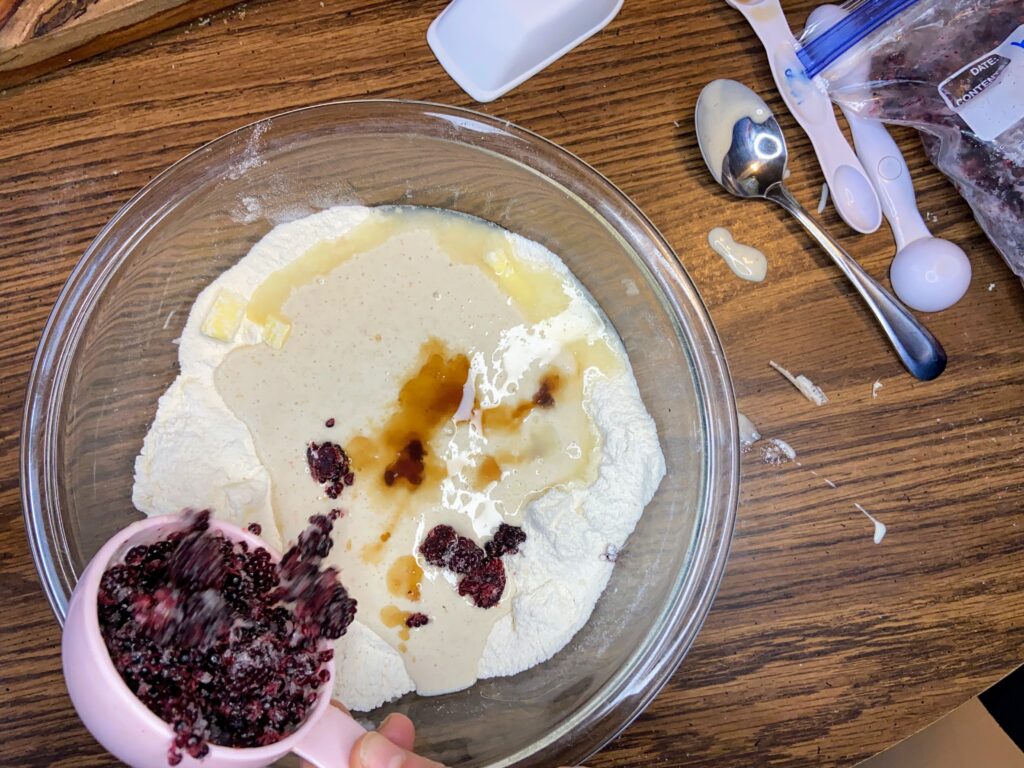
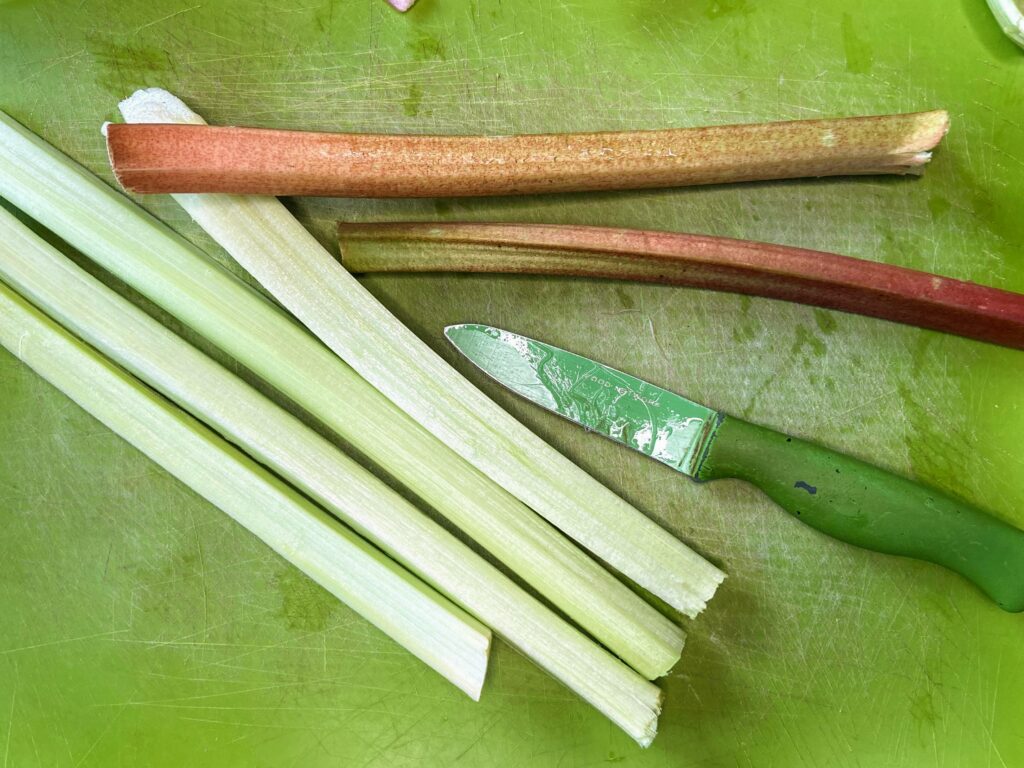
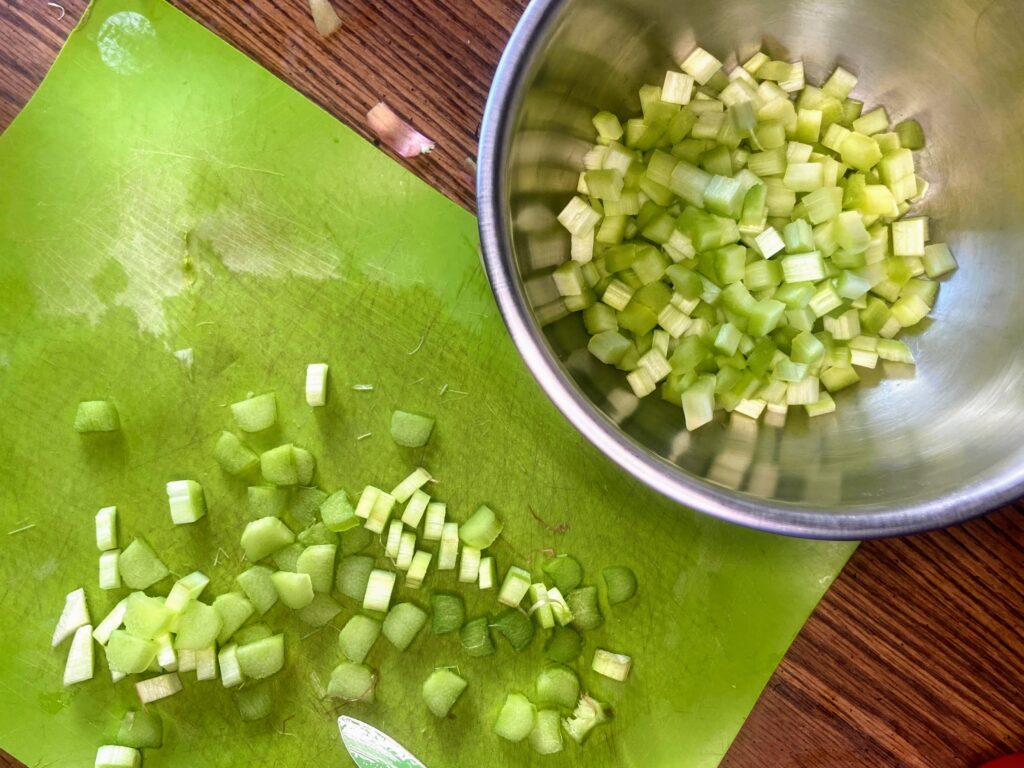
- 4 cups diced rhubarb (fresh or frozen. If frozen, thaw and drain off ¾ of the liquid or so)
- 1 ⅓ cups sugar
- 6 tablespoons all purpose flour
Your Steps to Rhubarb Pie
Preheat the oven to 450 degrees.
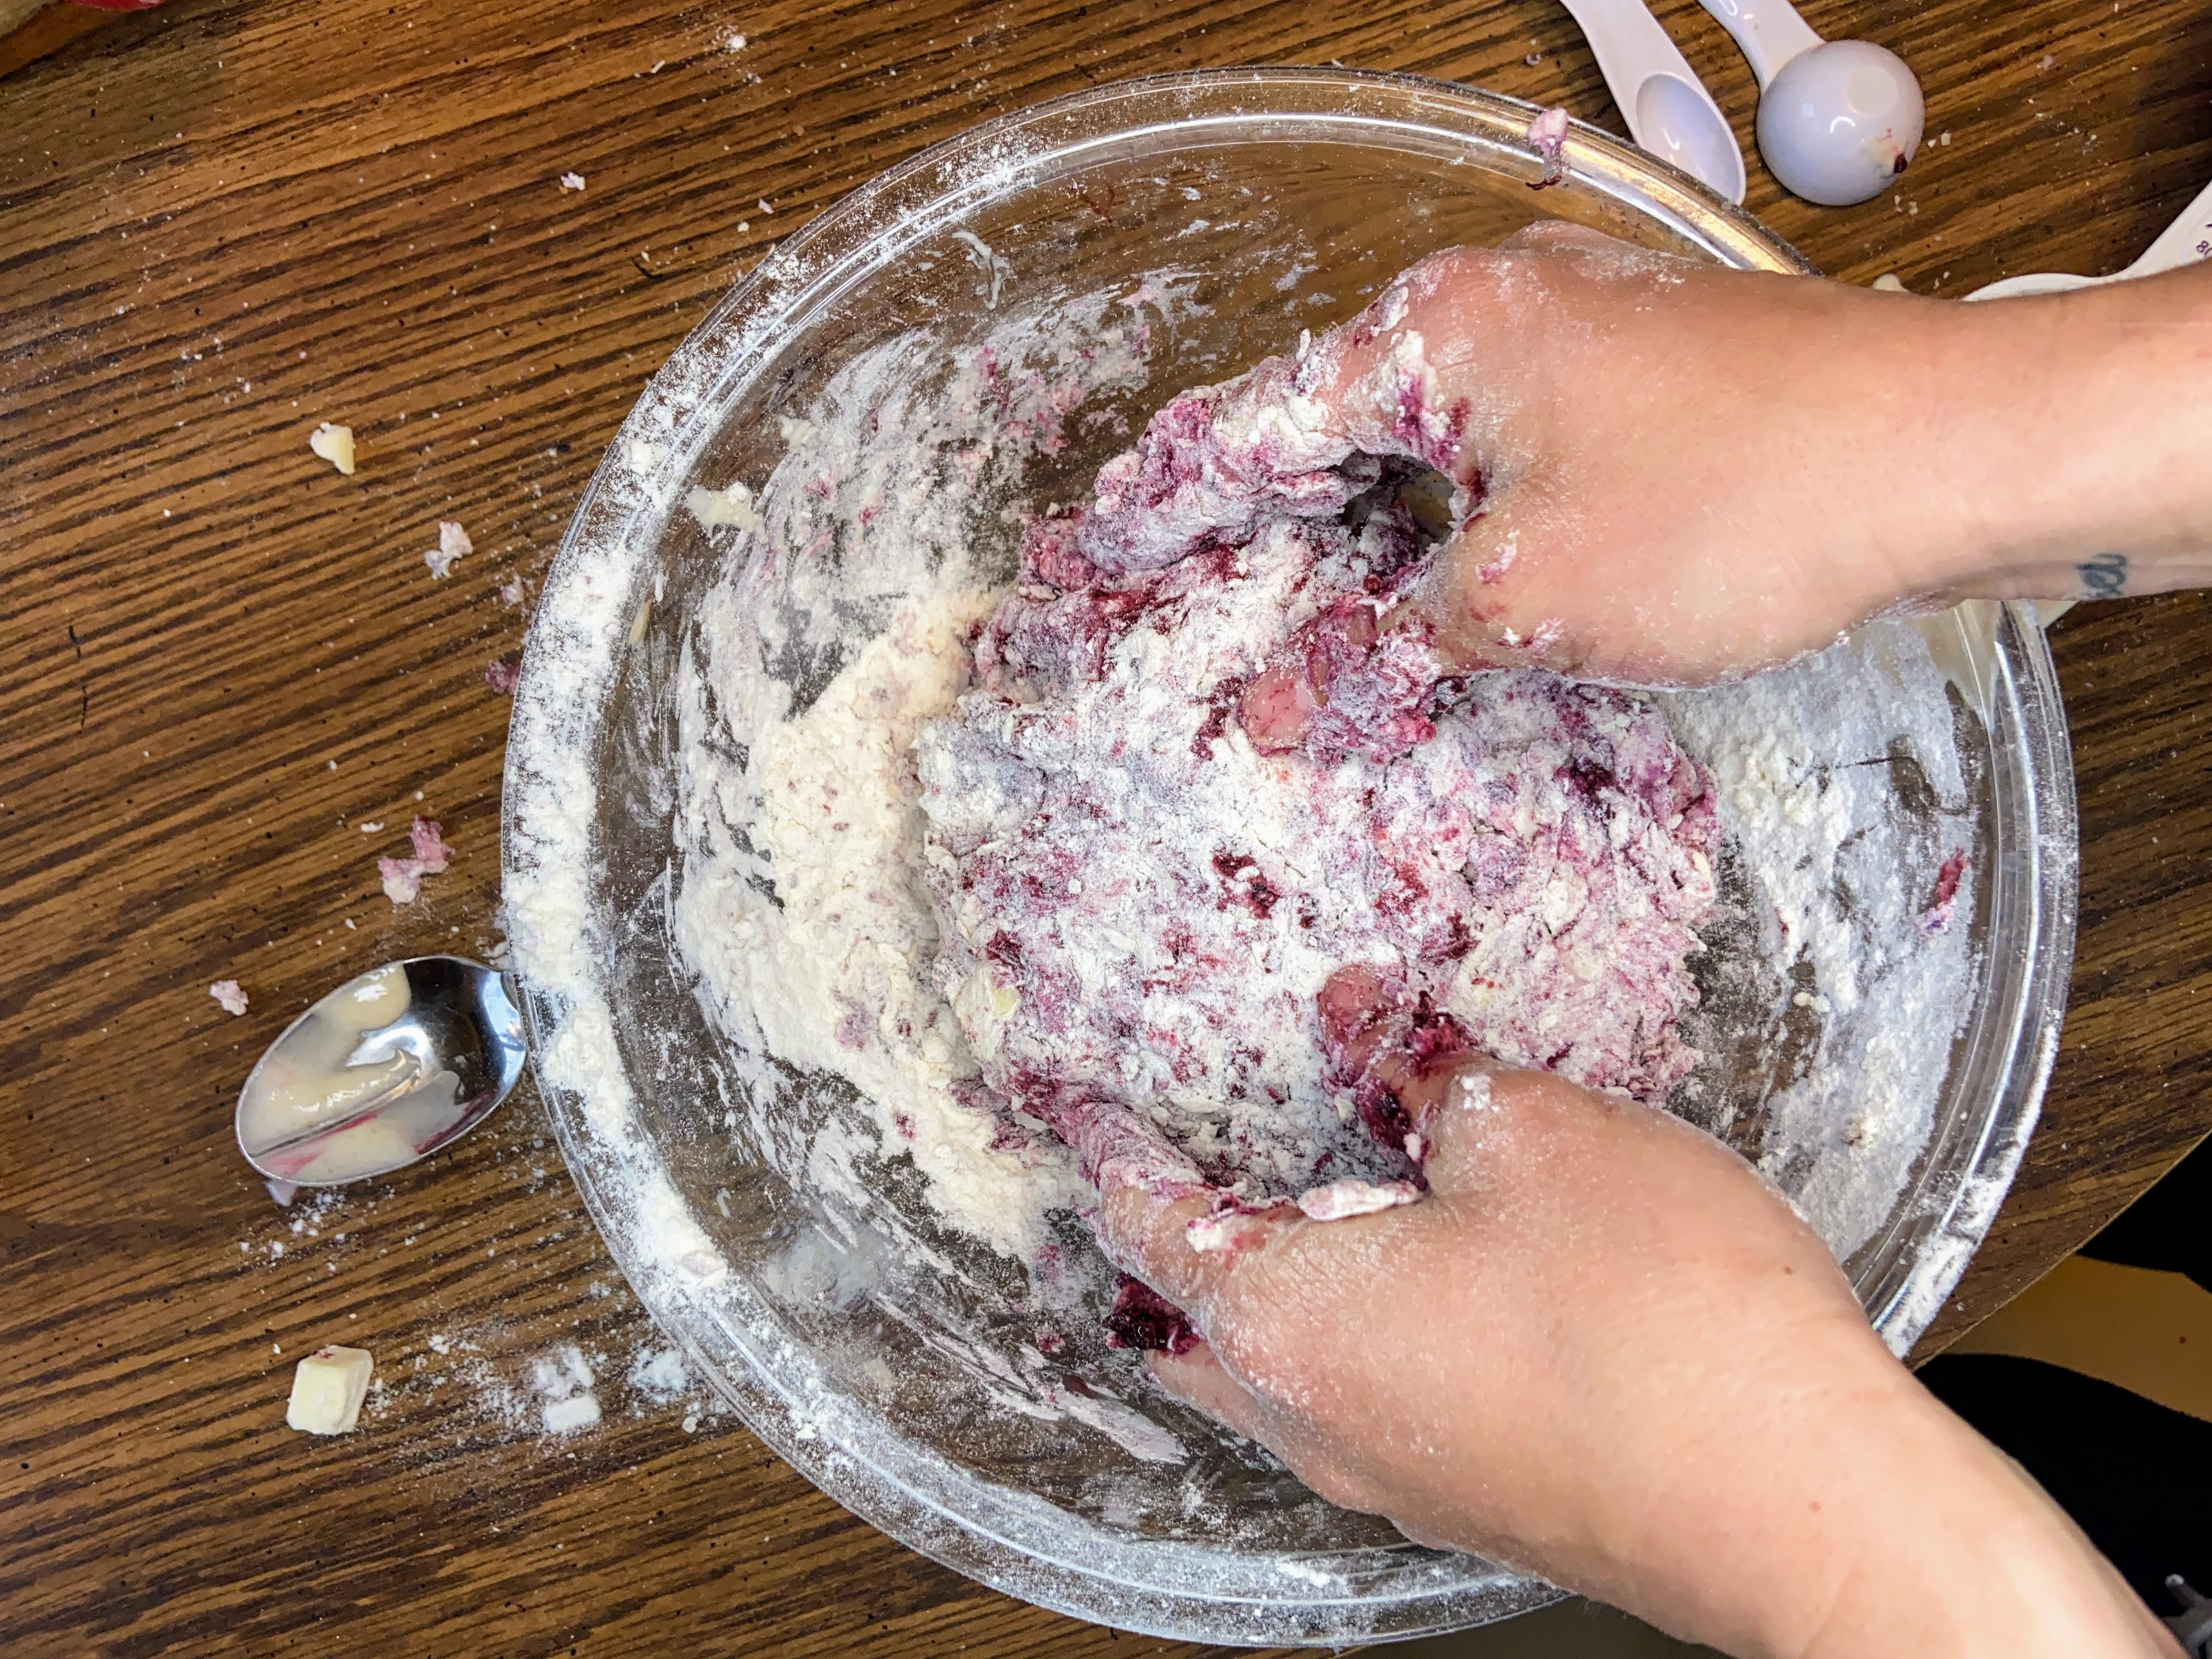
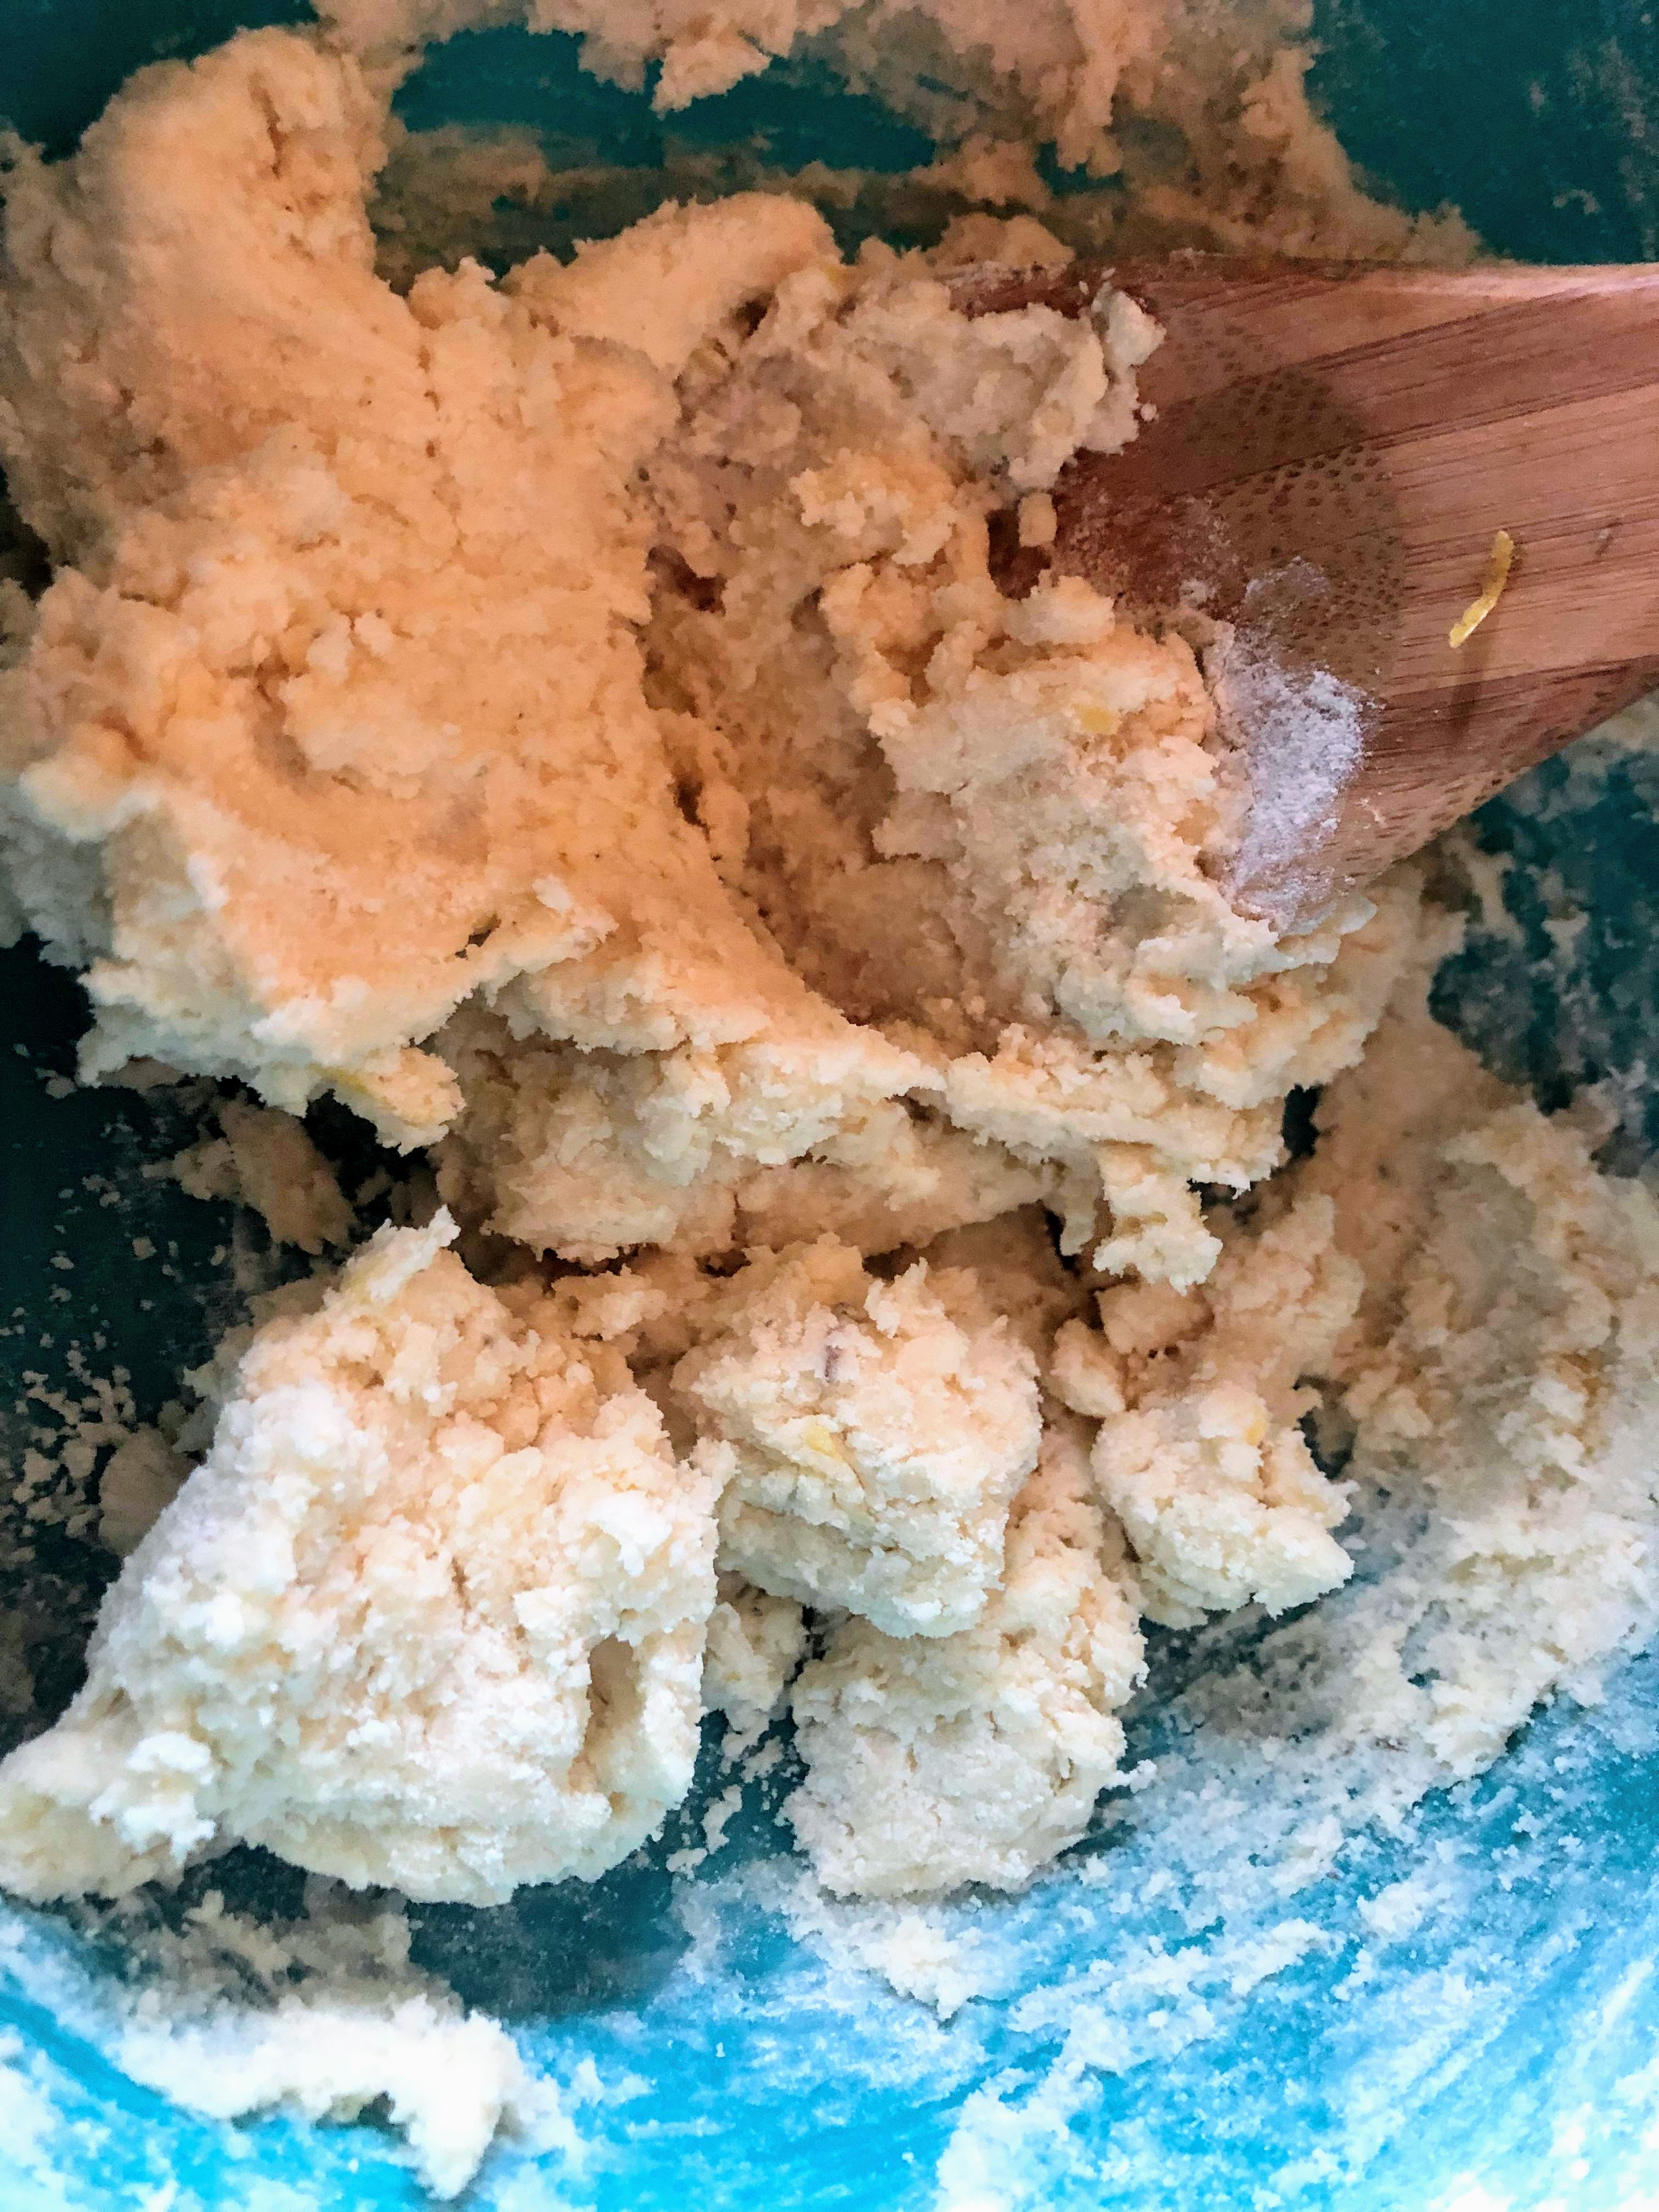
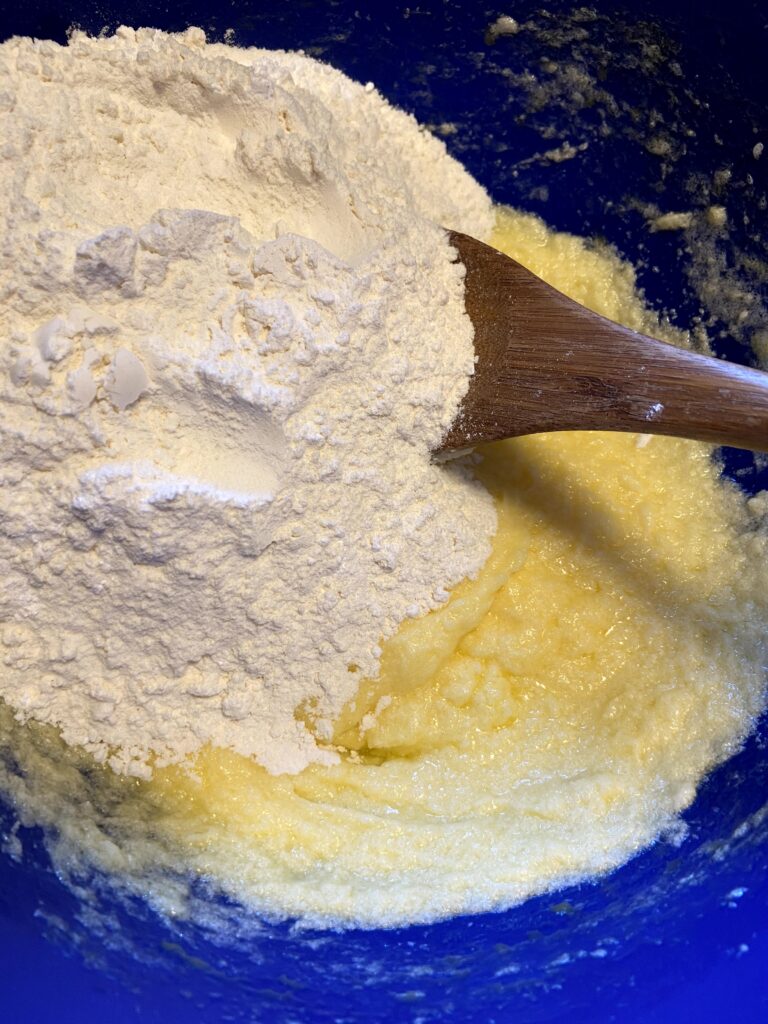
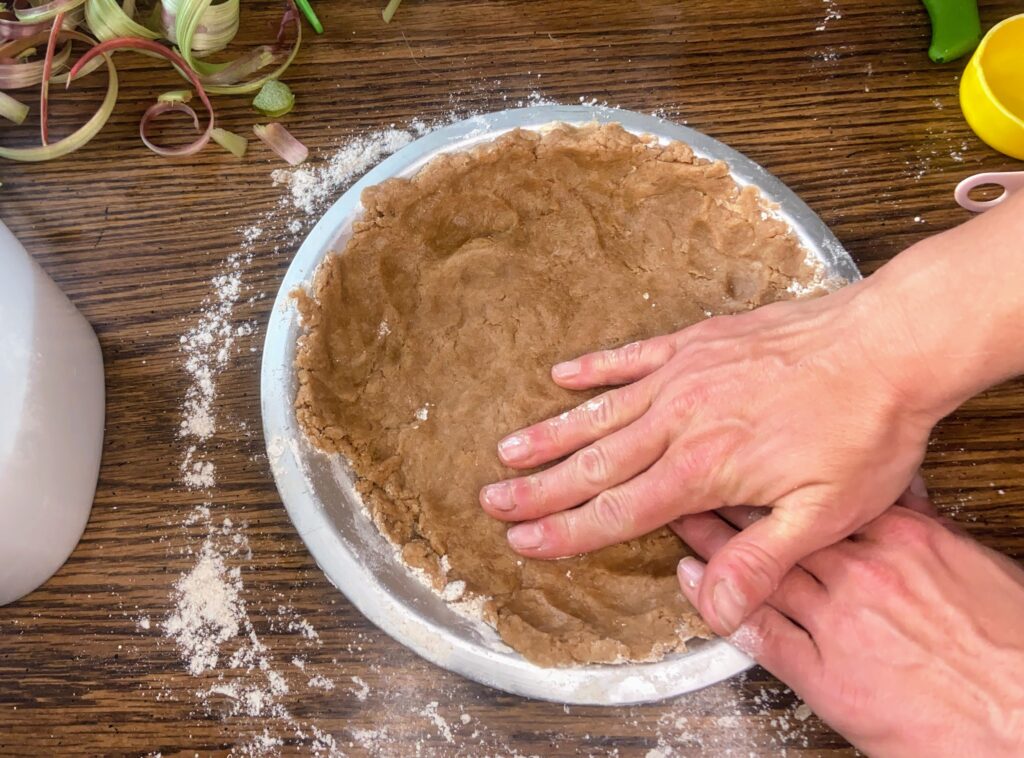
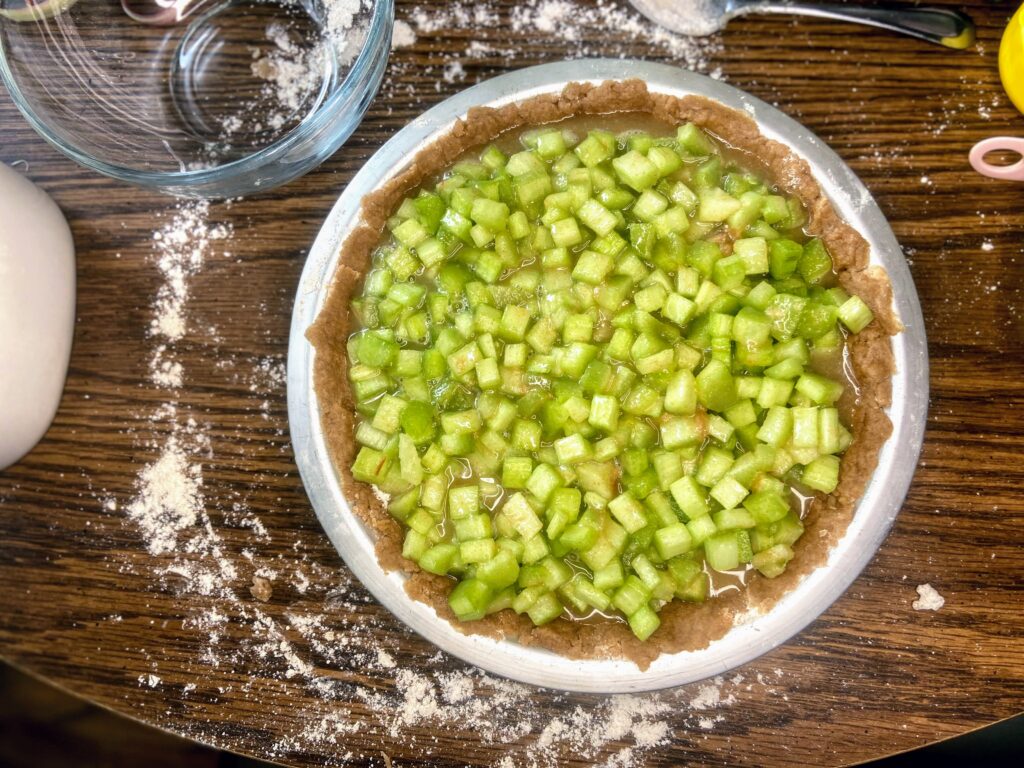
In your pie plate, combine the flour, sugar, and salt for the crust. Mix together with a fork. Add oil and milk and whisk until well combined. Press into the ungreased pie plate. (If you are worried you’ll be too messy whisking right in the pie plate, feel free to do this in a bowl first. My mother in law taught me to do mix right in the pie plate to avoid one more dish. Genius!) Note: The pie crust mix will be wet. That’s okay.
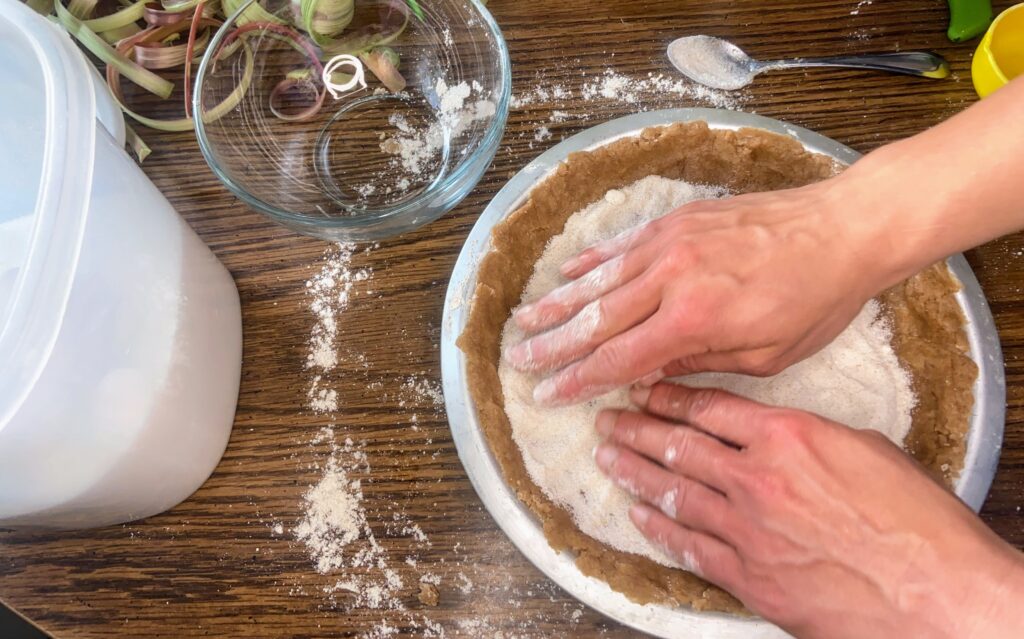
In a medium bowl, combine the flour and sugar for the filling. Sprinkle approximately ⅓ cup of the mixture onto the pie crust. Mix rhubarb into the remaining flour and sugar and pour onto the unbaked pie crust that has been topped with the flour/sugar mixture.
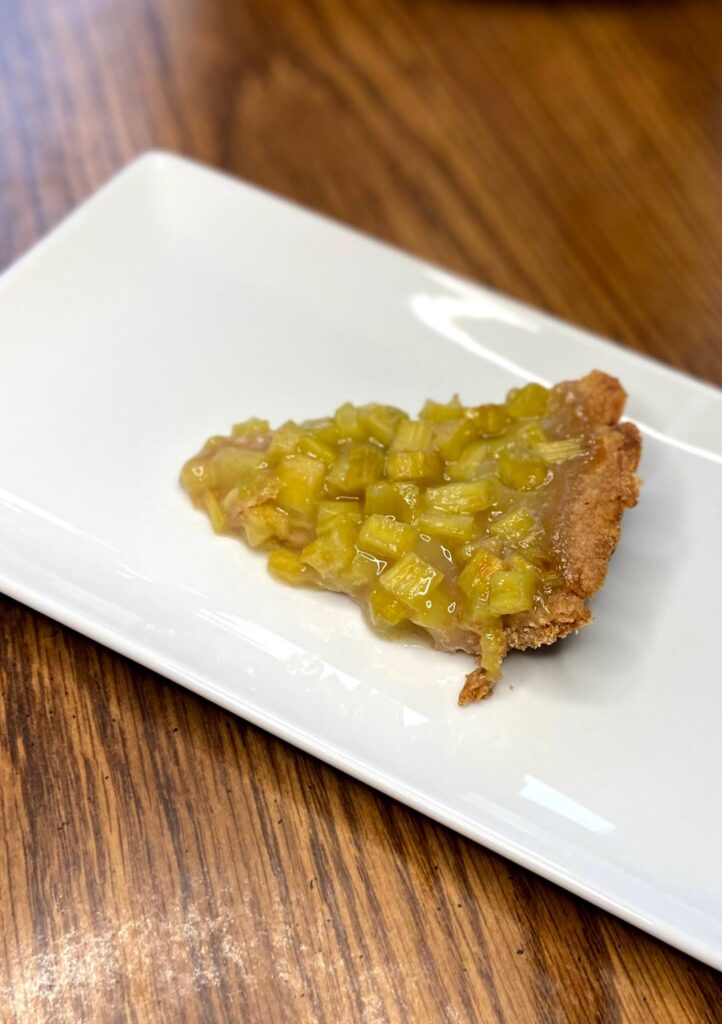
Bake for 15 minutes at 450 degrees. Then drop the temperature to 350 degrees and bake an additional 30-40 minutes, until the rhubarb has set. It will set more after you pull it from the oven as well. Enjoy straight away!

Rhubarb Pie
Ingredients
For the Crust:
- 1 ½ cups all purpose flour
- ½ tablespoon sugar
- 1 teaspoon salt
- ½ cup oil of your choice
- 2 tablespoons milk
For the filling:
- 4 cups diced rhubarb fresh or frozen. If frozen, thaw and drain off ¾ of the liquid or so
- 1 ⅓ cups sugar
- 6 tablespoons all purpose flour
Instructions
- Preheat the oven to 450 degrees.
- In your pie plate, combine the flour, sugar, and salt for the crust. Mix together with a fork.
- Add oil and milk and whisk until well combined. Press into the ungreased pie plate.
- The pie crust mix will be wet. That’s okay.
- In a medium bowl, combine the flour and sugar for the filling.
- Sprinkle approximately ⅓ cup of the mixture onto the pie crust.
- Mix rhubarb into the remaining flour and sugar and pour onto the unbaked pie crust that has been topped with the flour/sugar mixture.
- Bake for 15 minutes at 450 degrees. Then drop the temperature to 350 degrees and bake an additional 30-40 minutes, until the rhubarb has set. It will set more after you pull it from the oven as well.
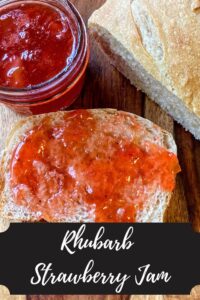
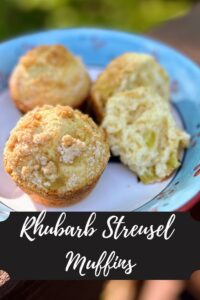
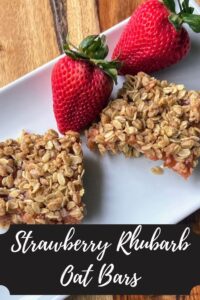
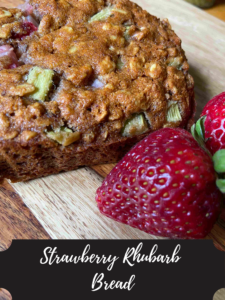
Looking for some other great rhubarb treats?
Check out some of the posts below~