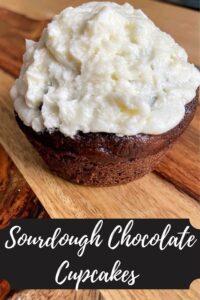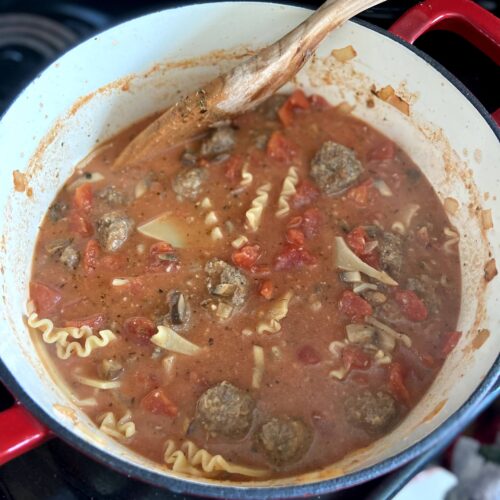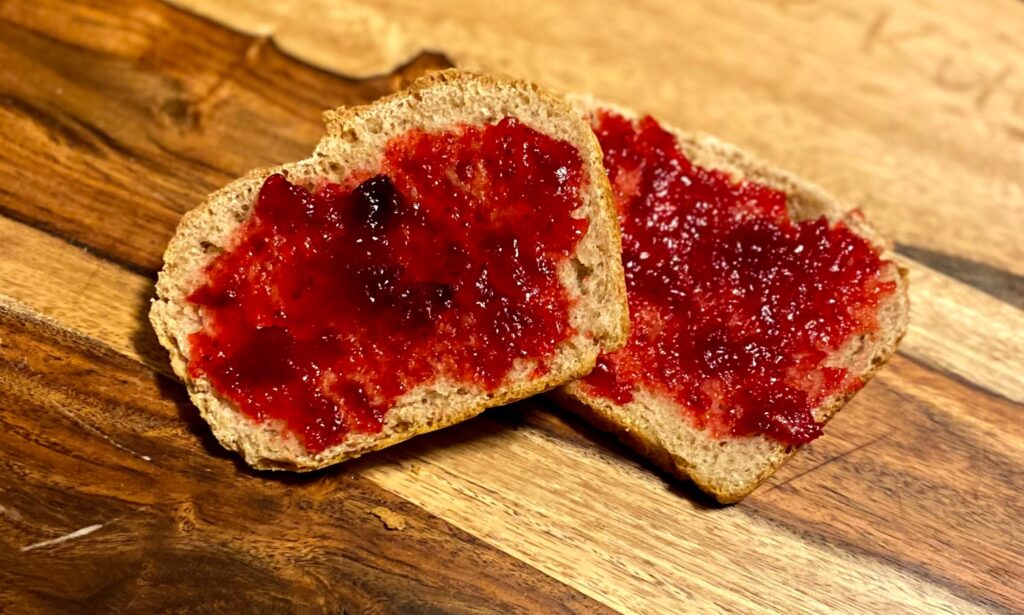
As a high school teacher, I get invited to a lot of graduation parties. That equals all the arrays of food from walking tacos to pulled pork to catered pasta. It also means cake, or if I am lucky brownies or Rice Krispy treats. Gosh, I am a sucker for either of those and I get excited when the parties have them. This is my take on a quick made from scratch fudge brownies.
You see, my daughter doesn’t fall far from the tree and when it was her birthday, she asked for mama to bake homemade brownies. I love a good black bean brownie, but she didn’t want the “healthy” ones. Well, her brother didn’t want the healthy ones, and if you have kids, you know. If you don’t, perhaps you were once a sibling who always did what you could to convince your brother or sister to cave to your wims. Either way, black bean brownies weren’t happening.
And so, these little beauties were born. Simple and delicious. And even a tweak or two to maybe, maybe make them a wee bit healthier. But really, who goes into a brownie trying to be healthy? I don’t know about you, but I am all about a warm fudge brownie with a little vanilla ice cream. Maybe it’s the result of working at a beloved drive in for years. Maybe it’s just because it’s darn good. We will never know.
So if you are a sucker for brownies like I am, let’s get baking friends. You’ll have warm, wonderful fudge brownies in under 40 minutes.
Your Ingredients
- ½ cup coconut oil
- 3 ounces semisweet chocolate
- 1 cup brown sugar, packed
- 2 teaspoons vanilla
- 3 eggs
- ½ cup + 2 tablespoons whole wheat flour (all purpose would work too!) (Check the whole wheat flour from Sunrise Flour Mill. It’s amazing!)
- ¼ cup cocoa powder
- 1 teaspoon salt
Your Steps
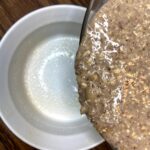
Preheat the oven to 350 degrees. Prepare a 9×9 baking dish by spraying with non stick cooking spray.
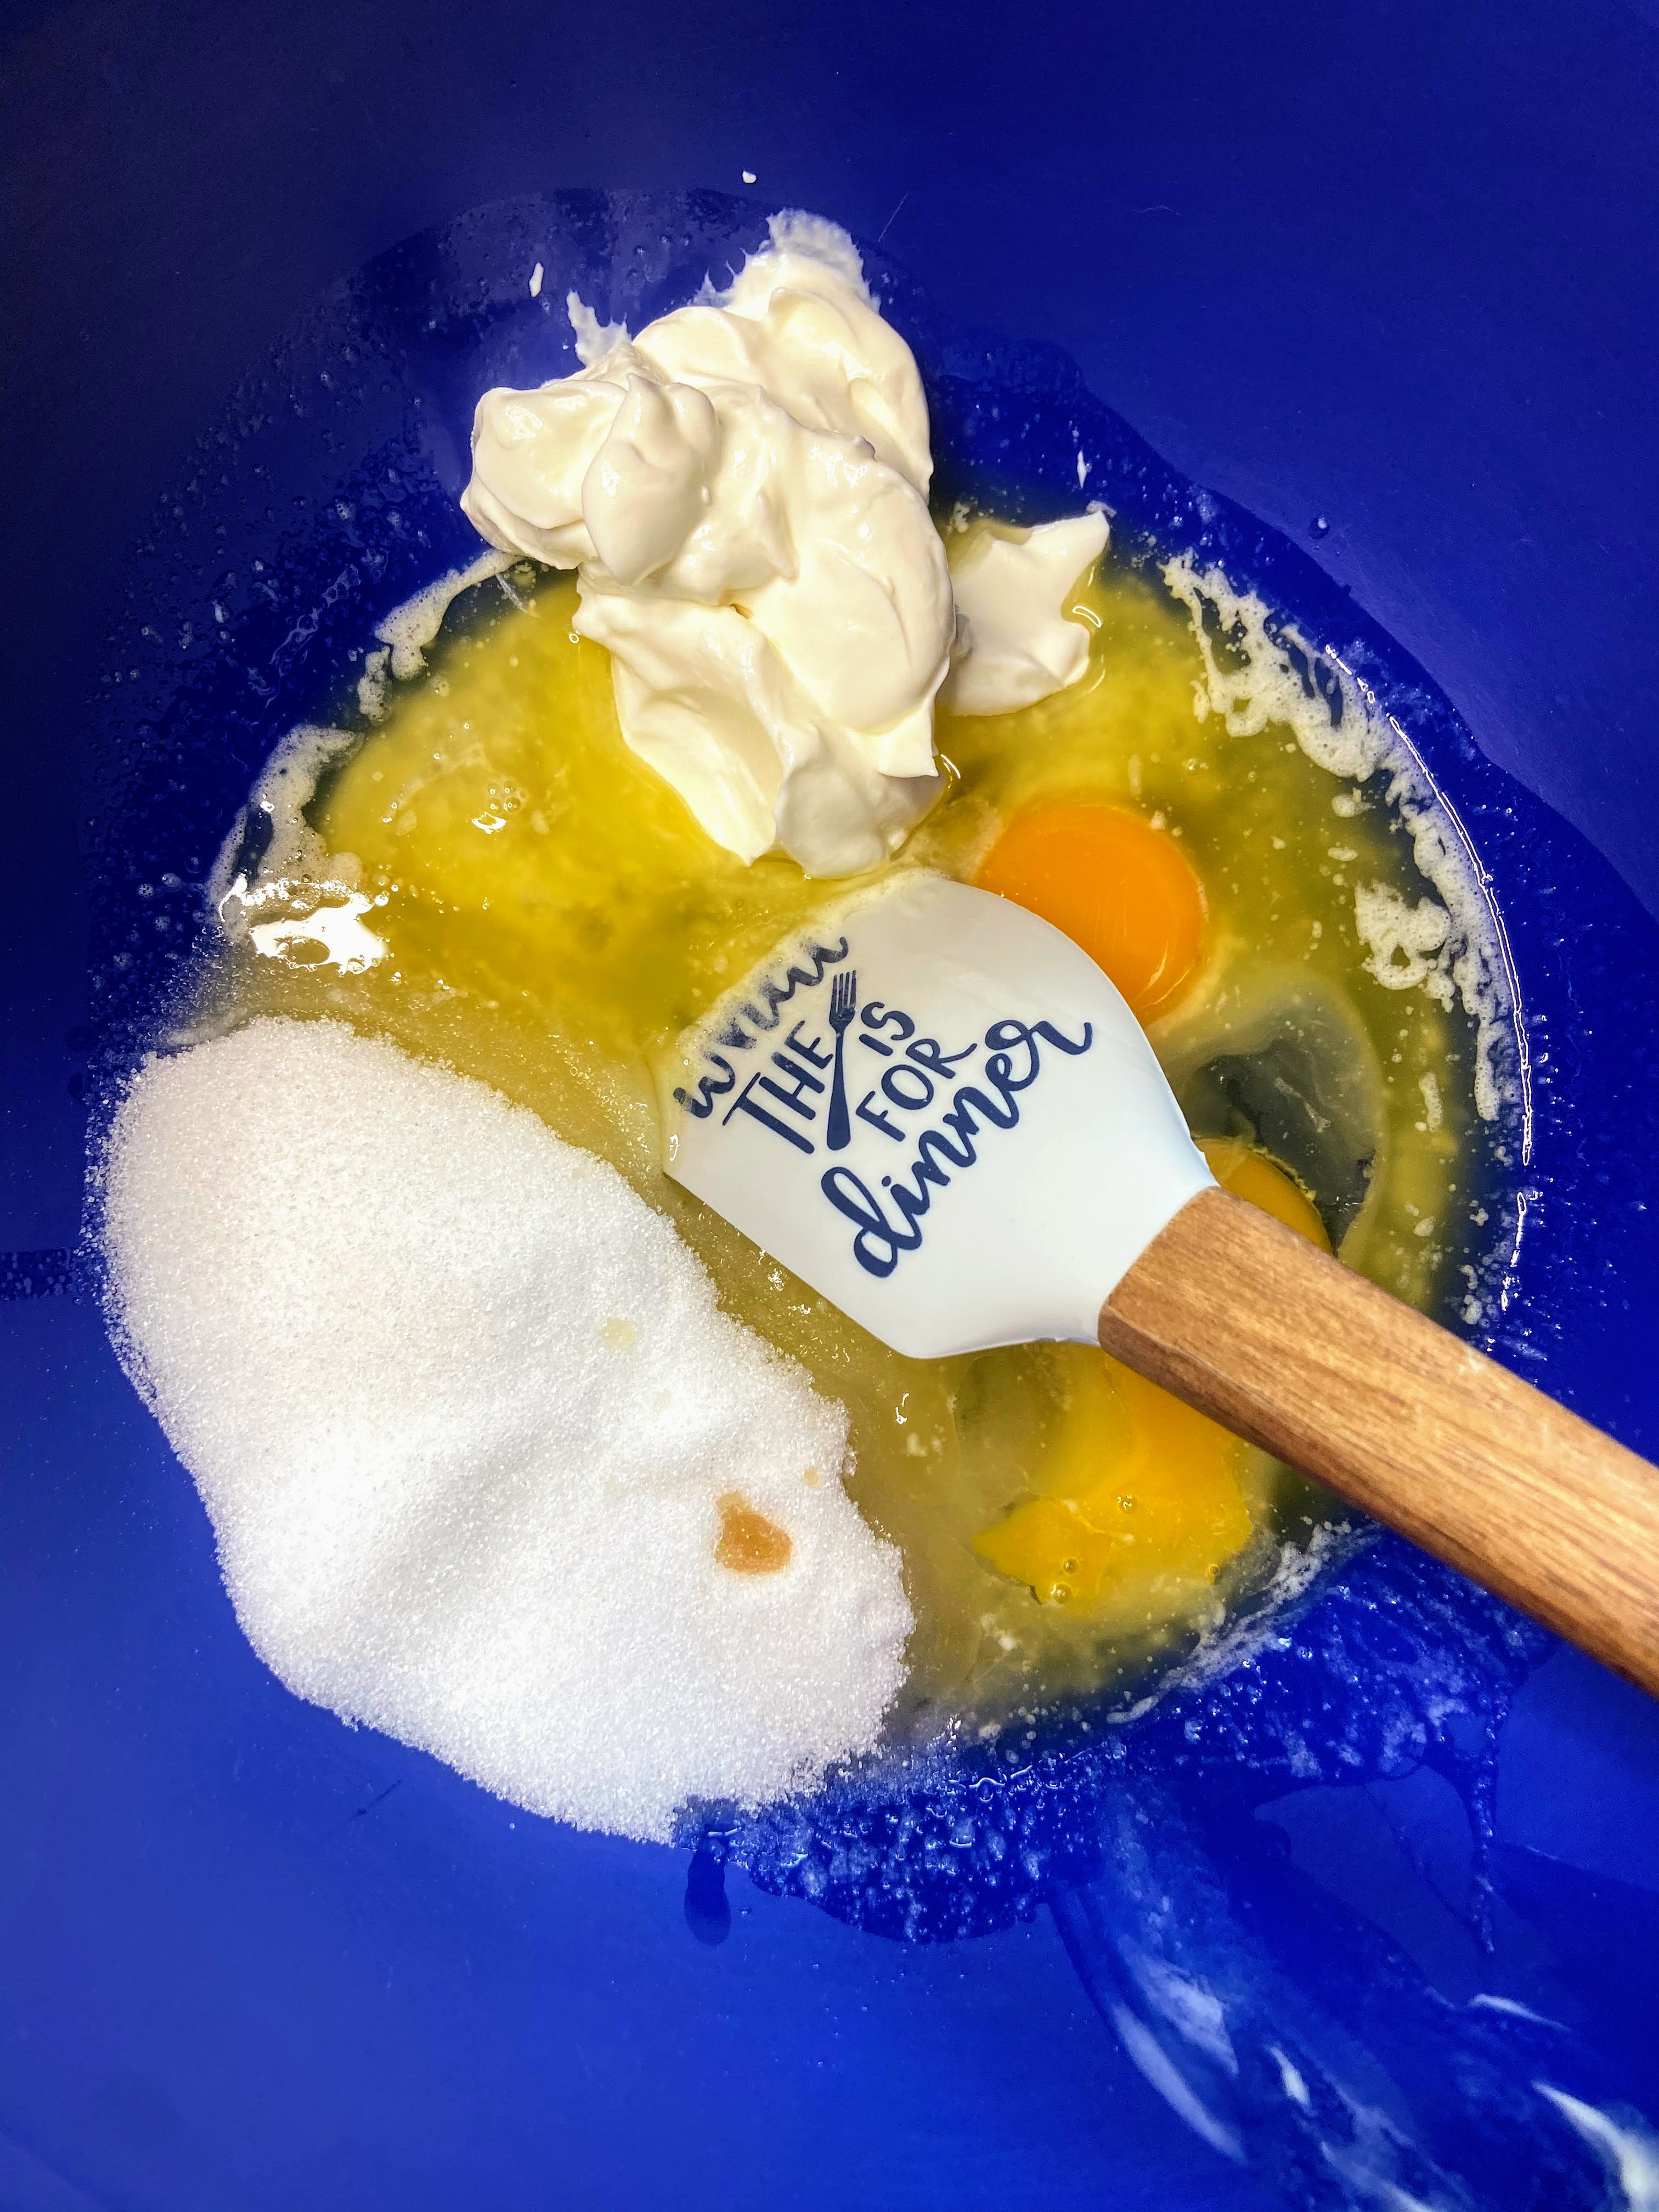
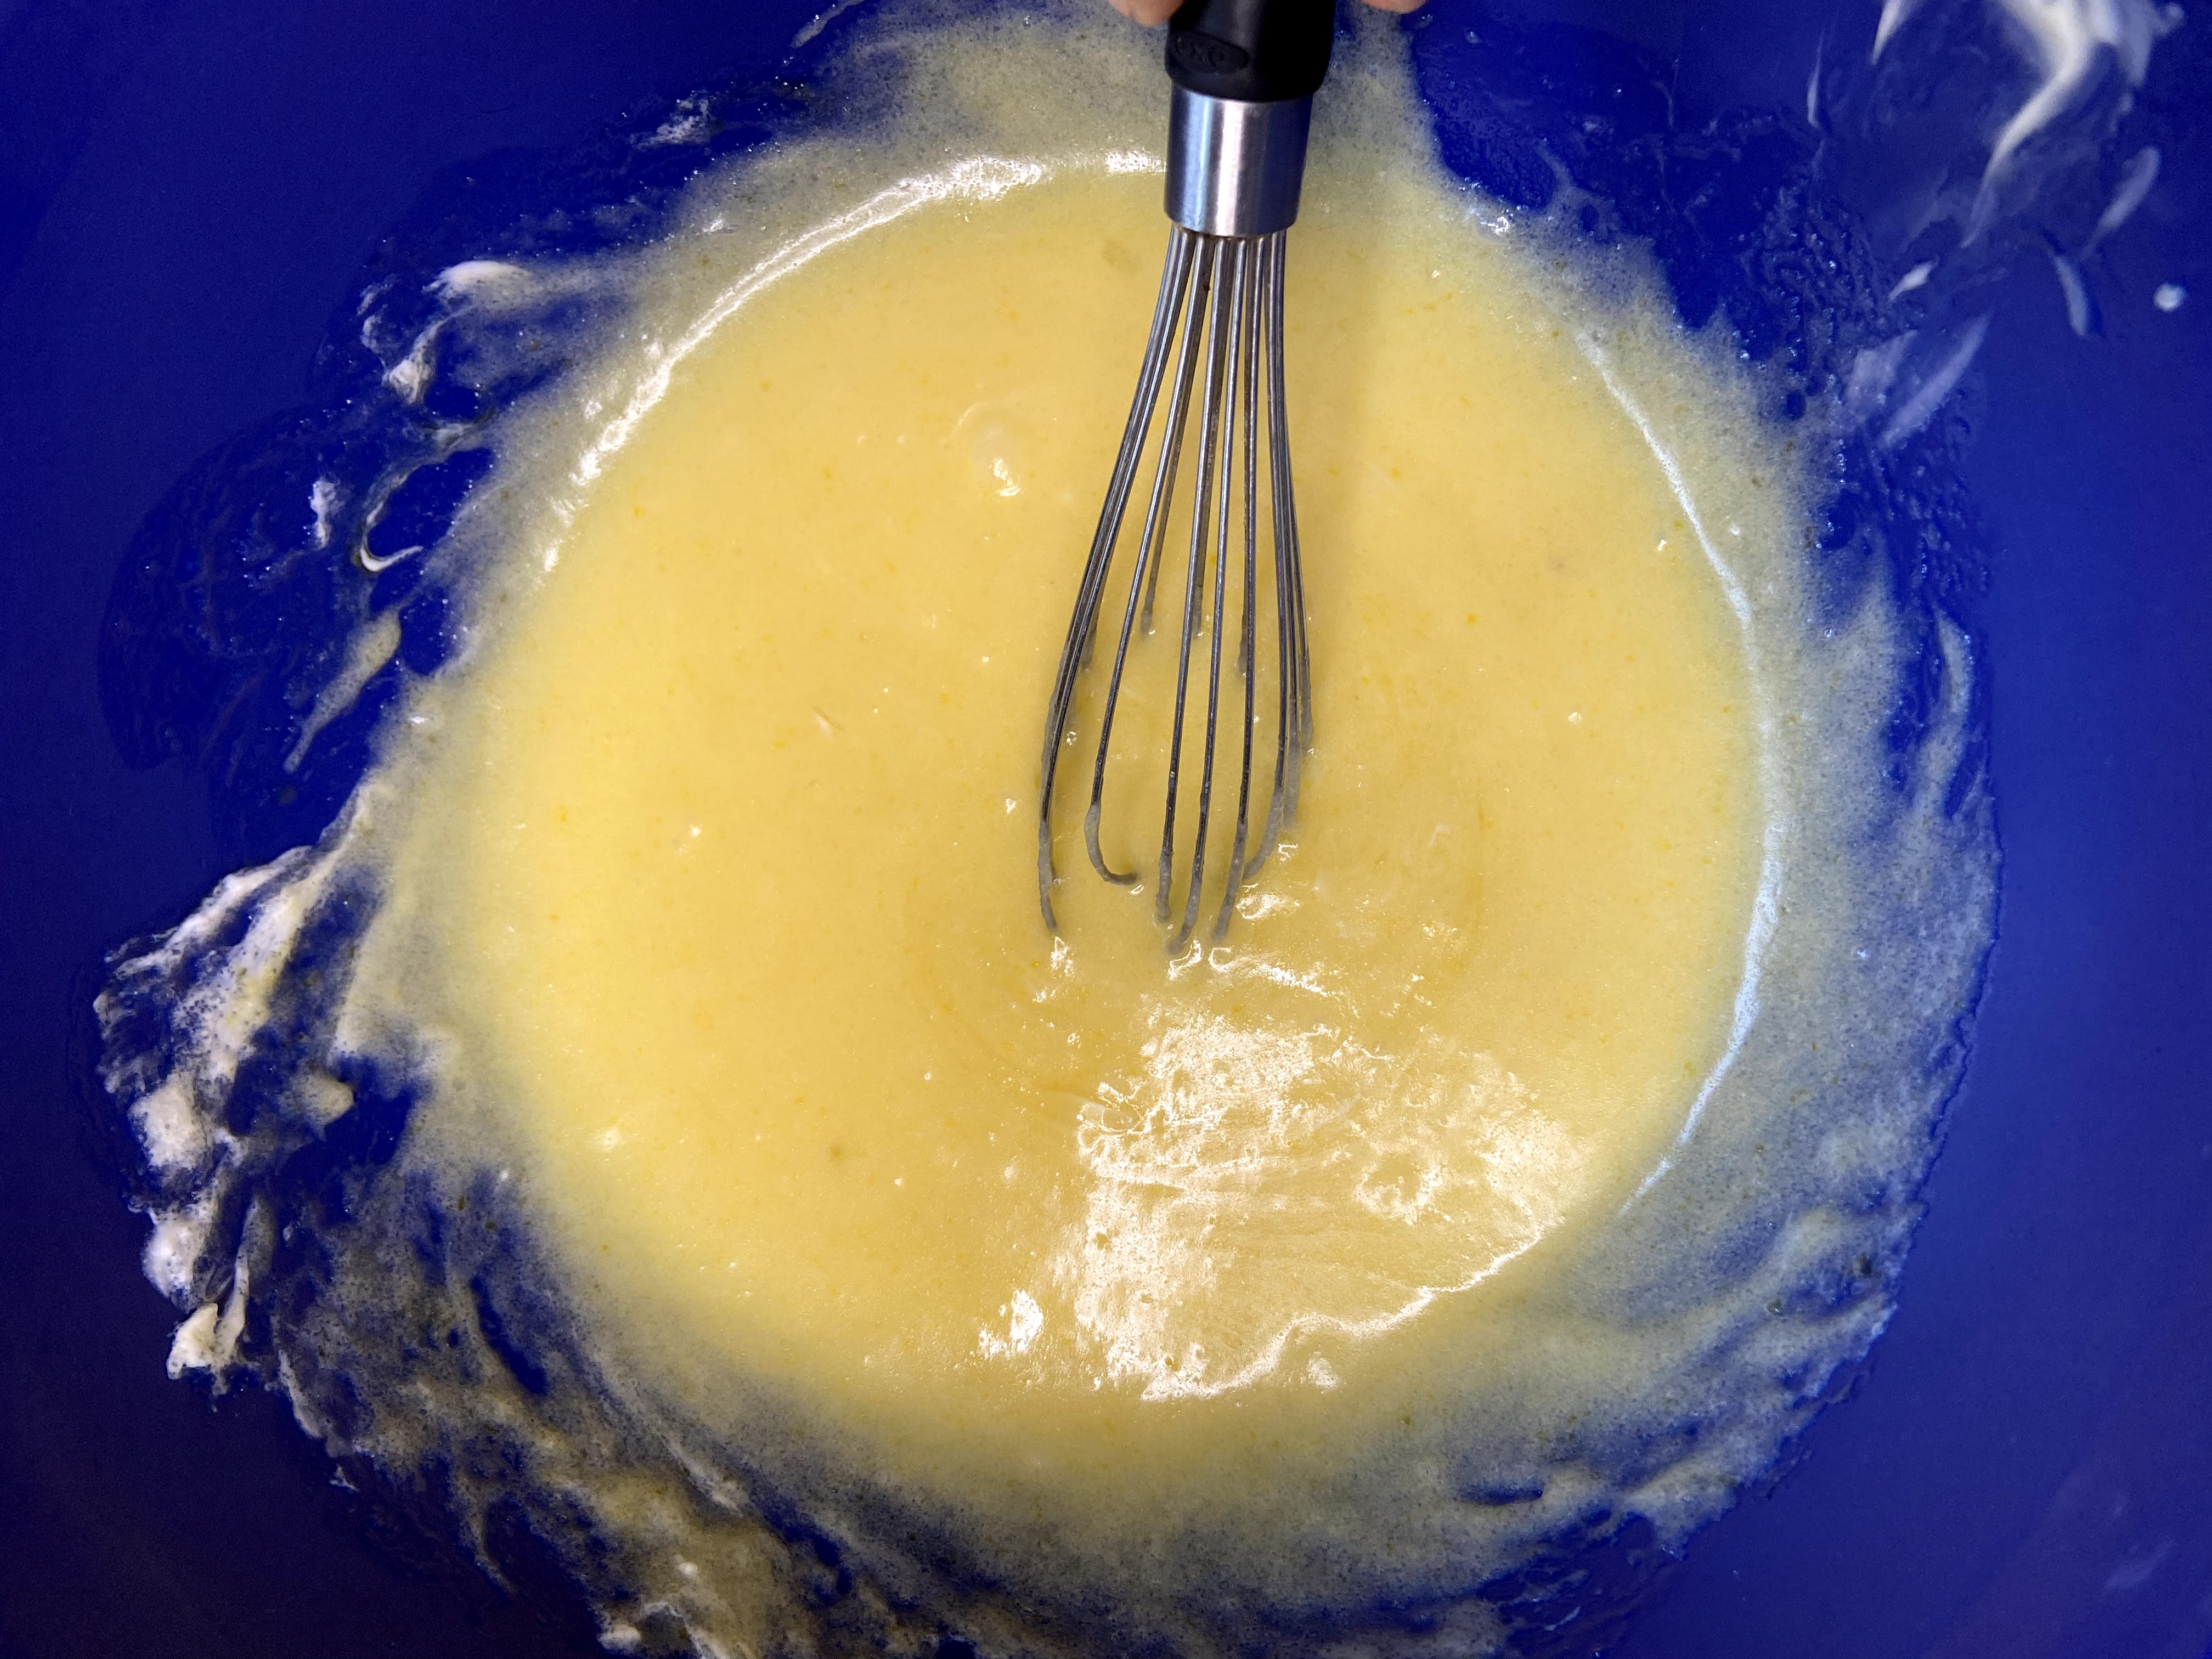
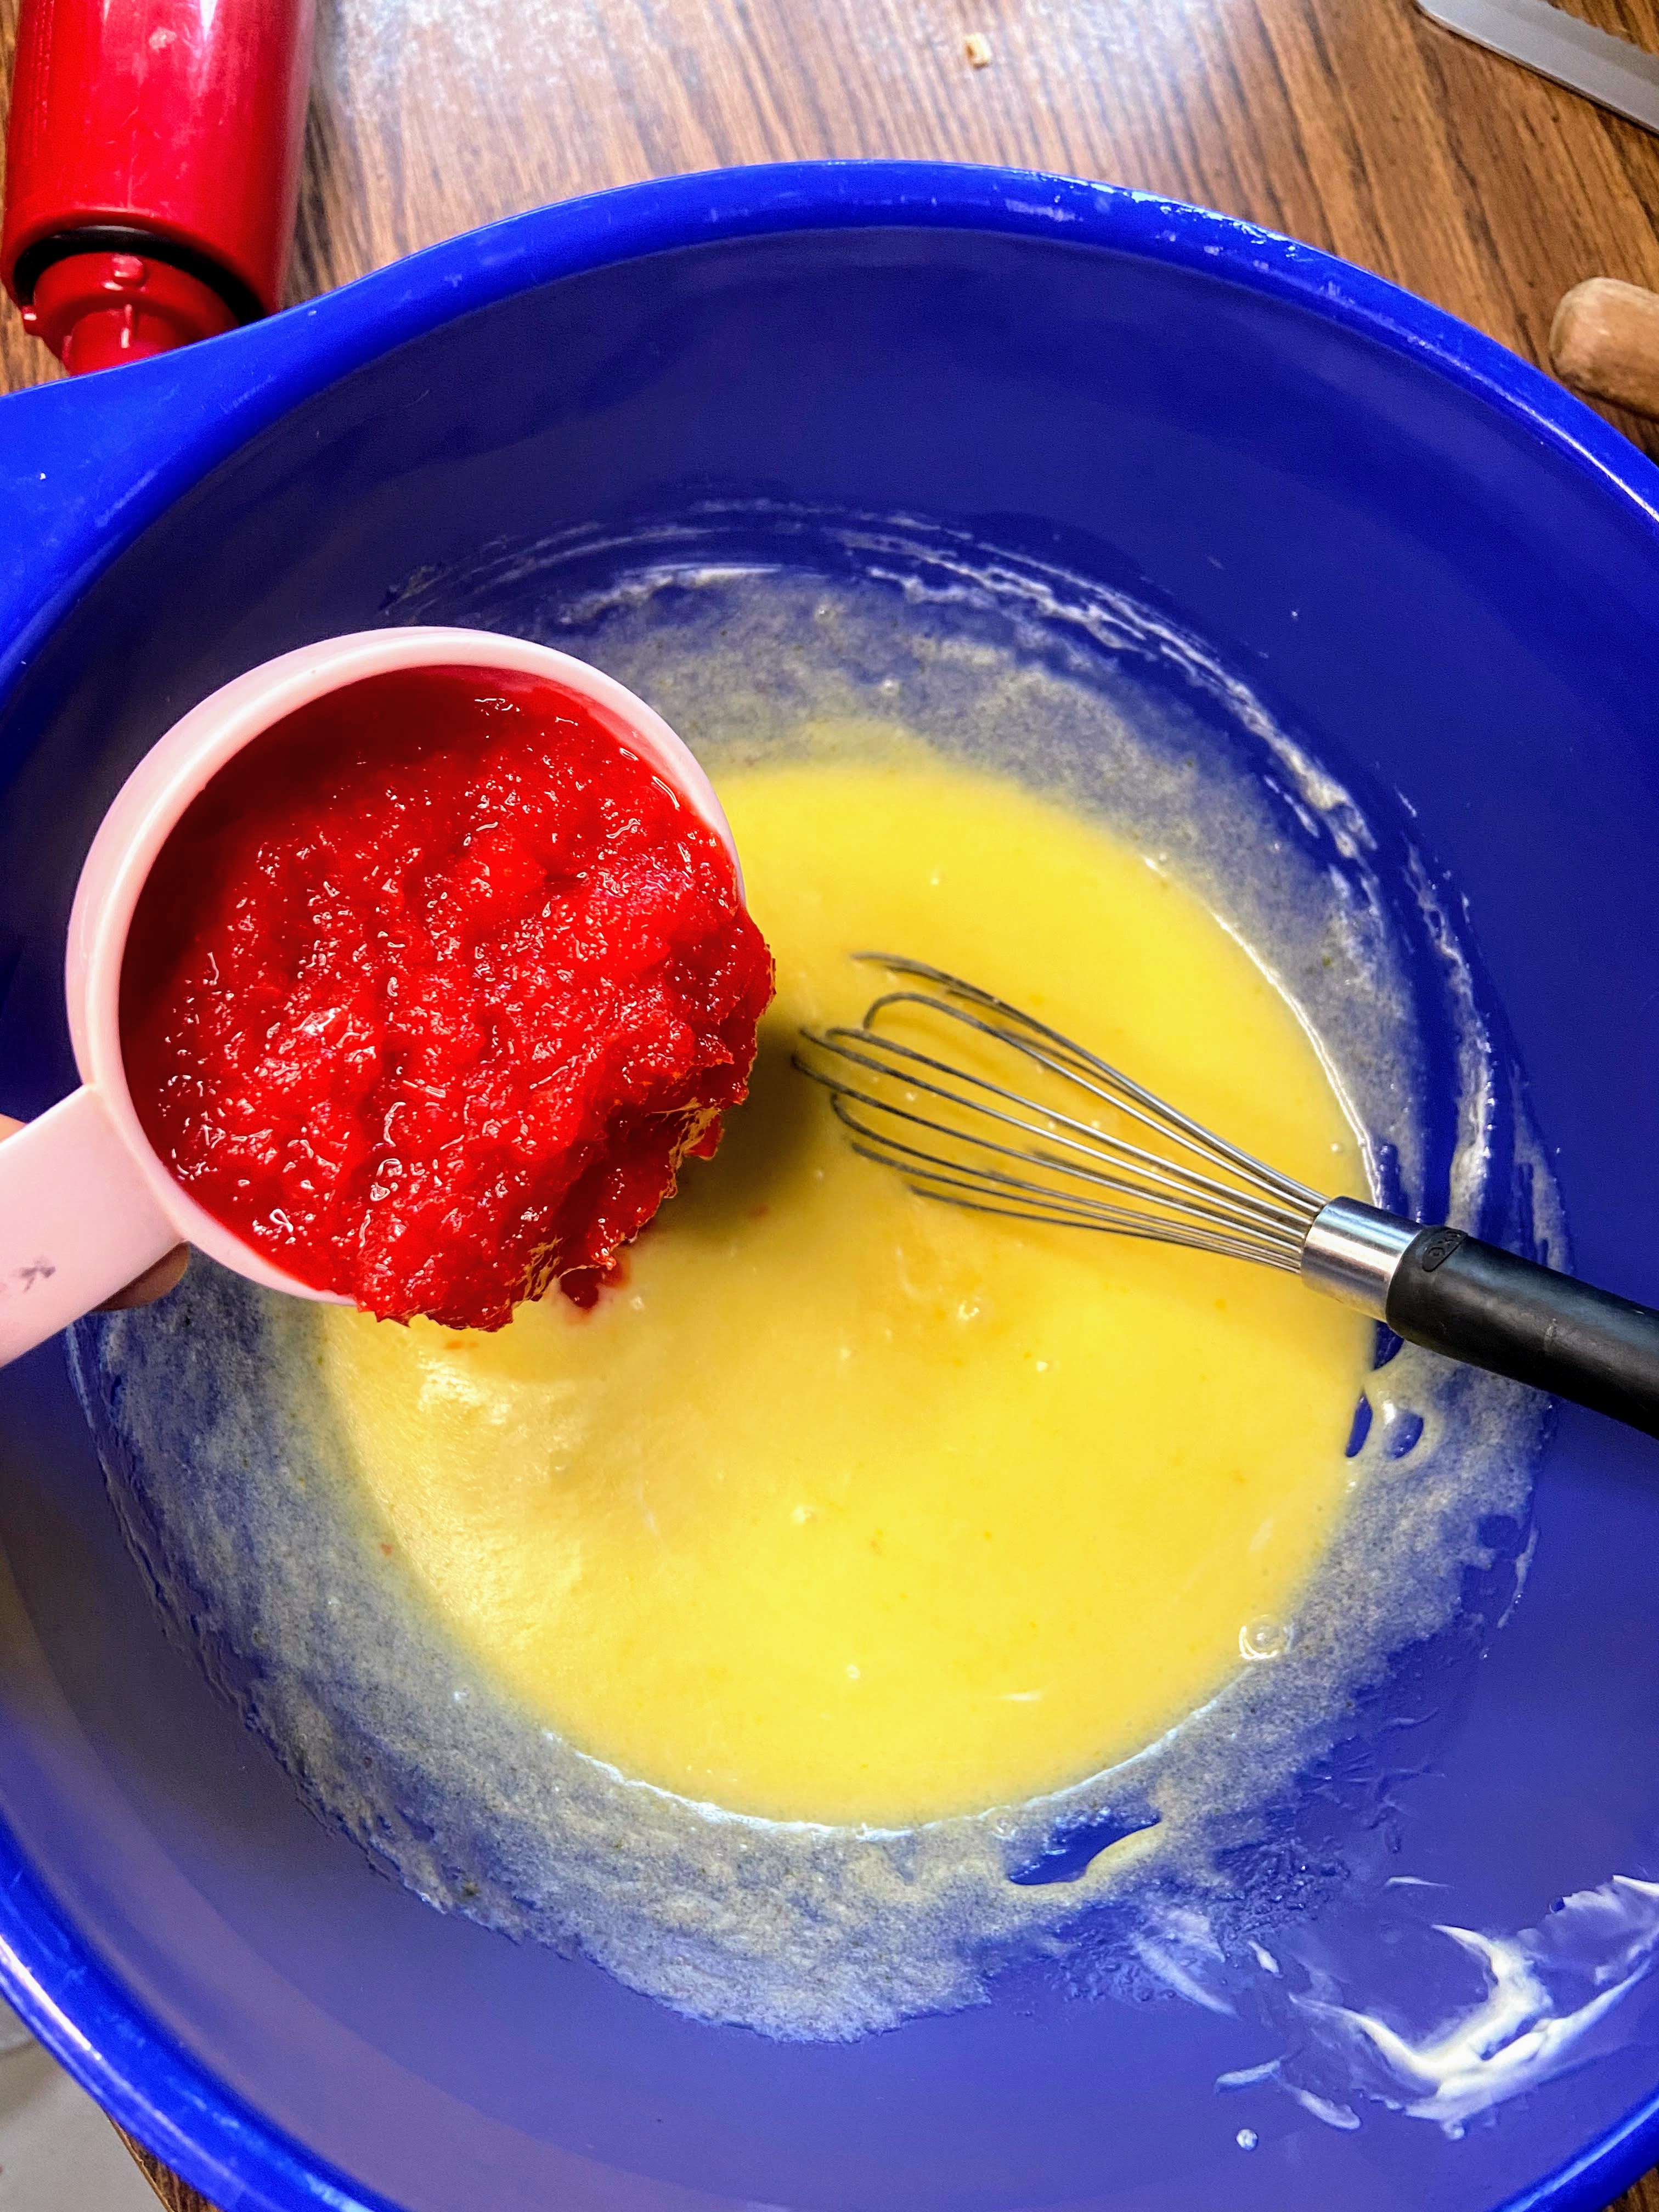
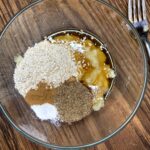
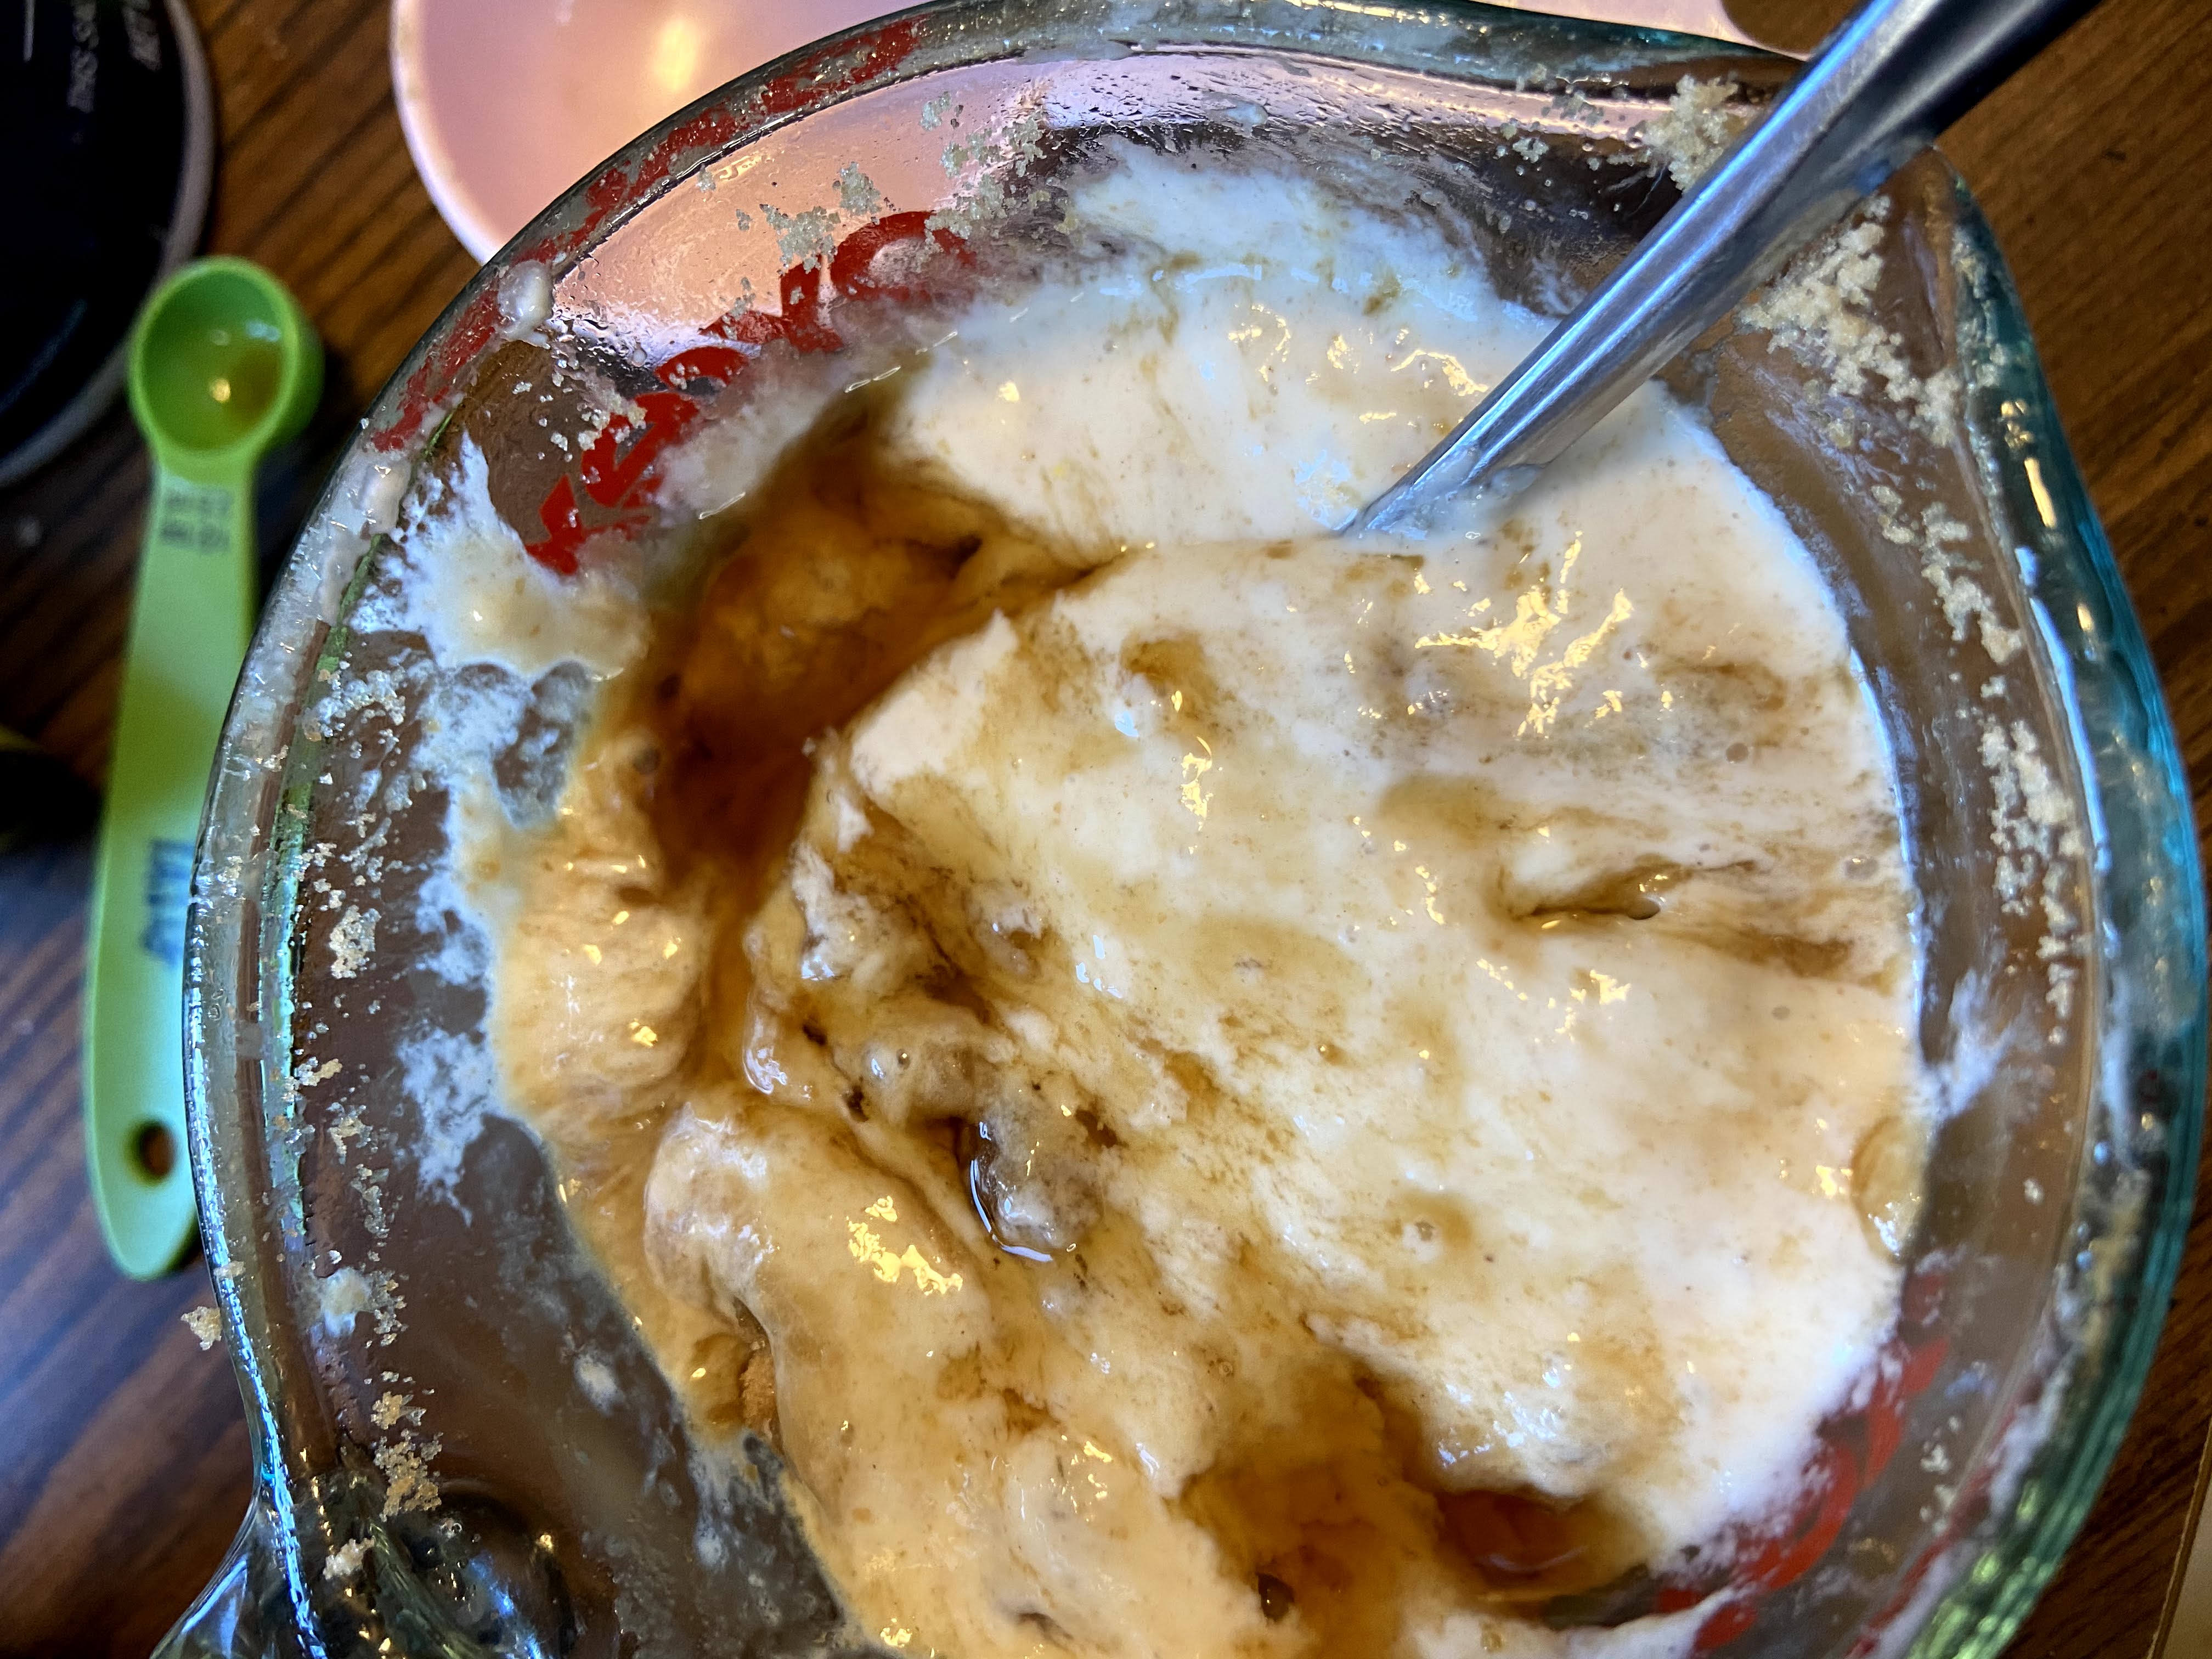
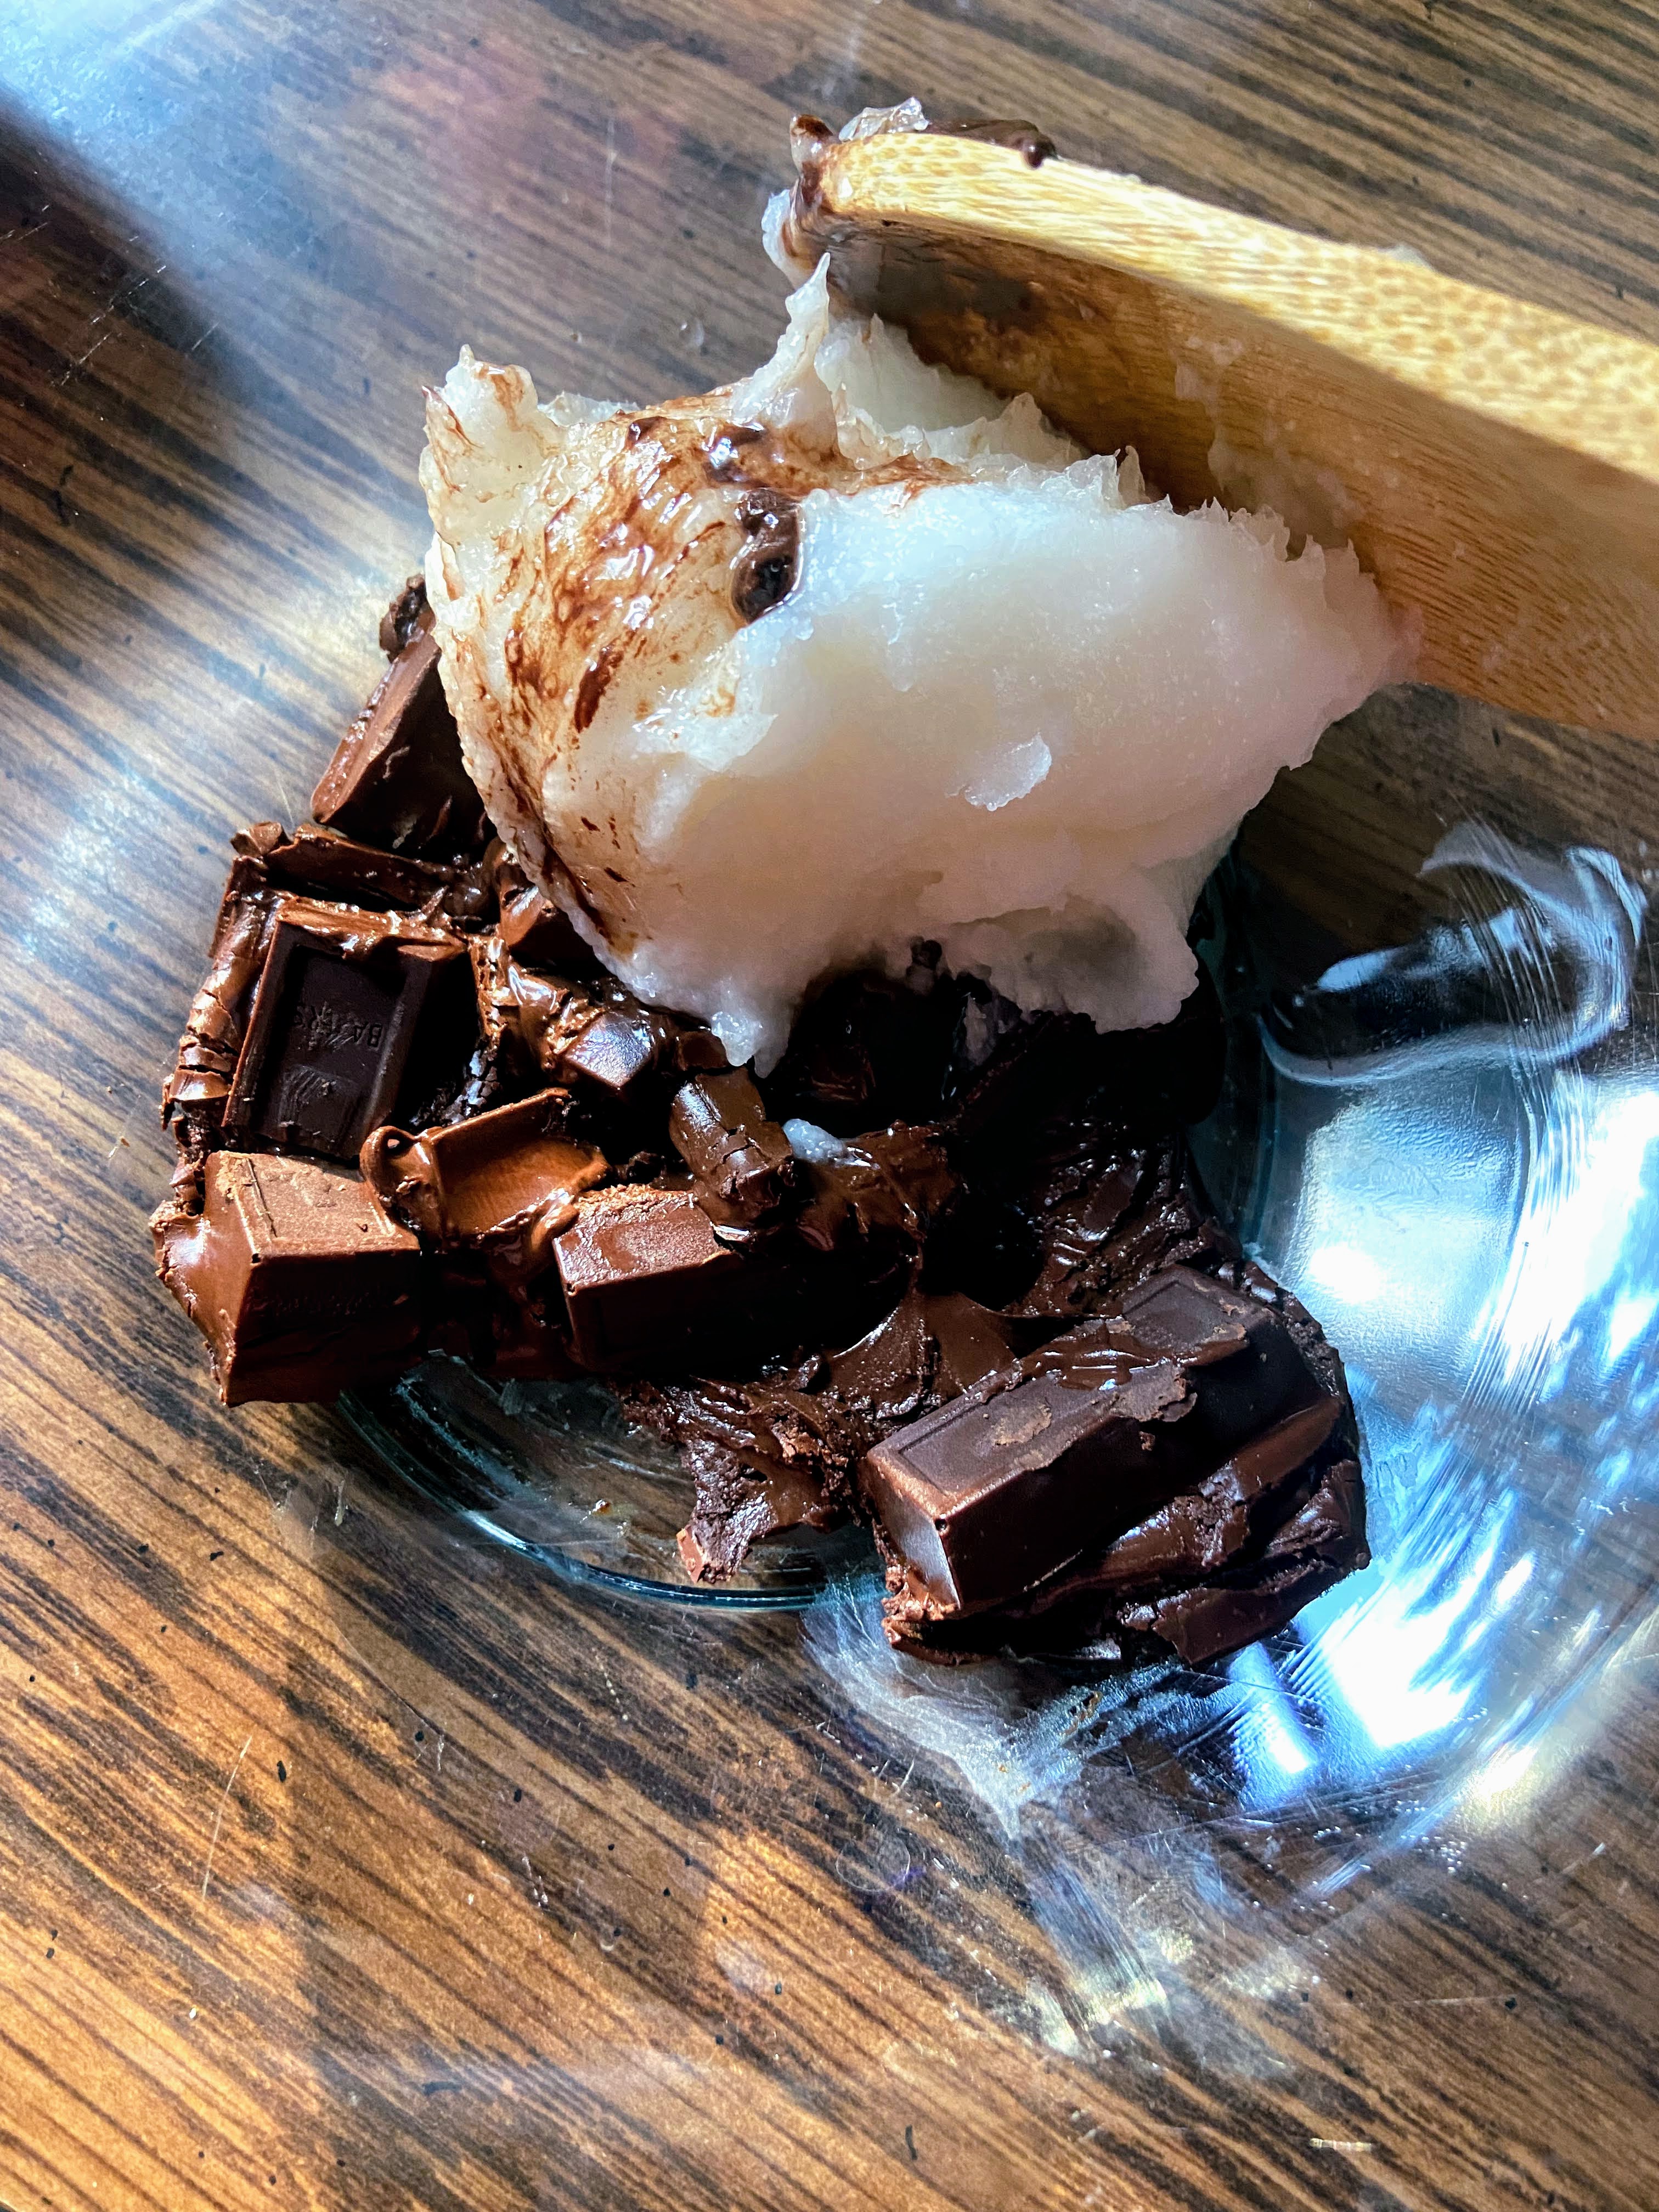
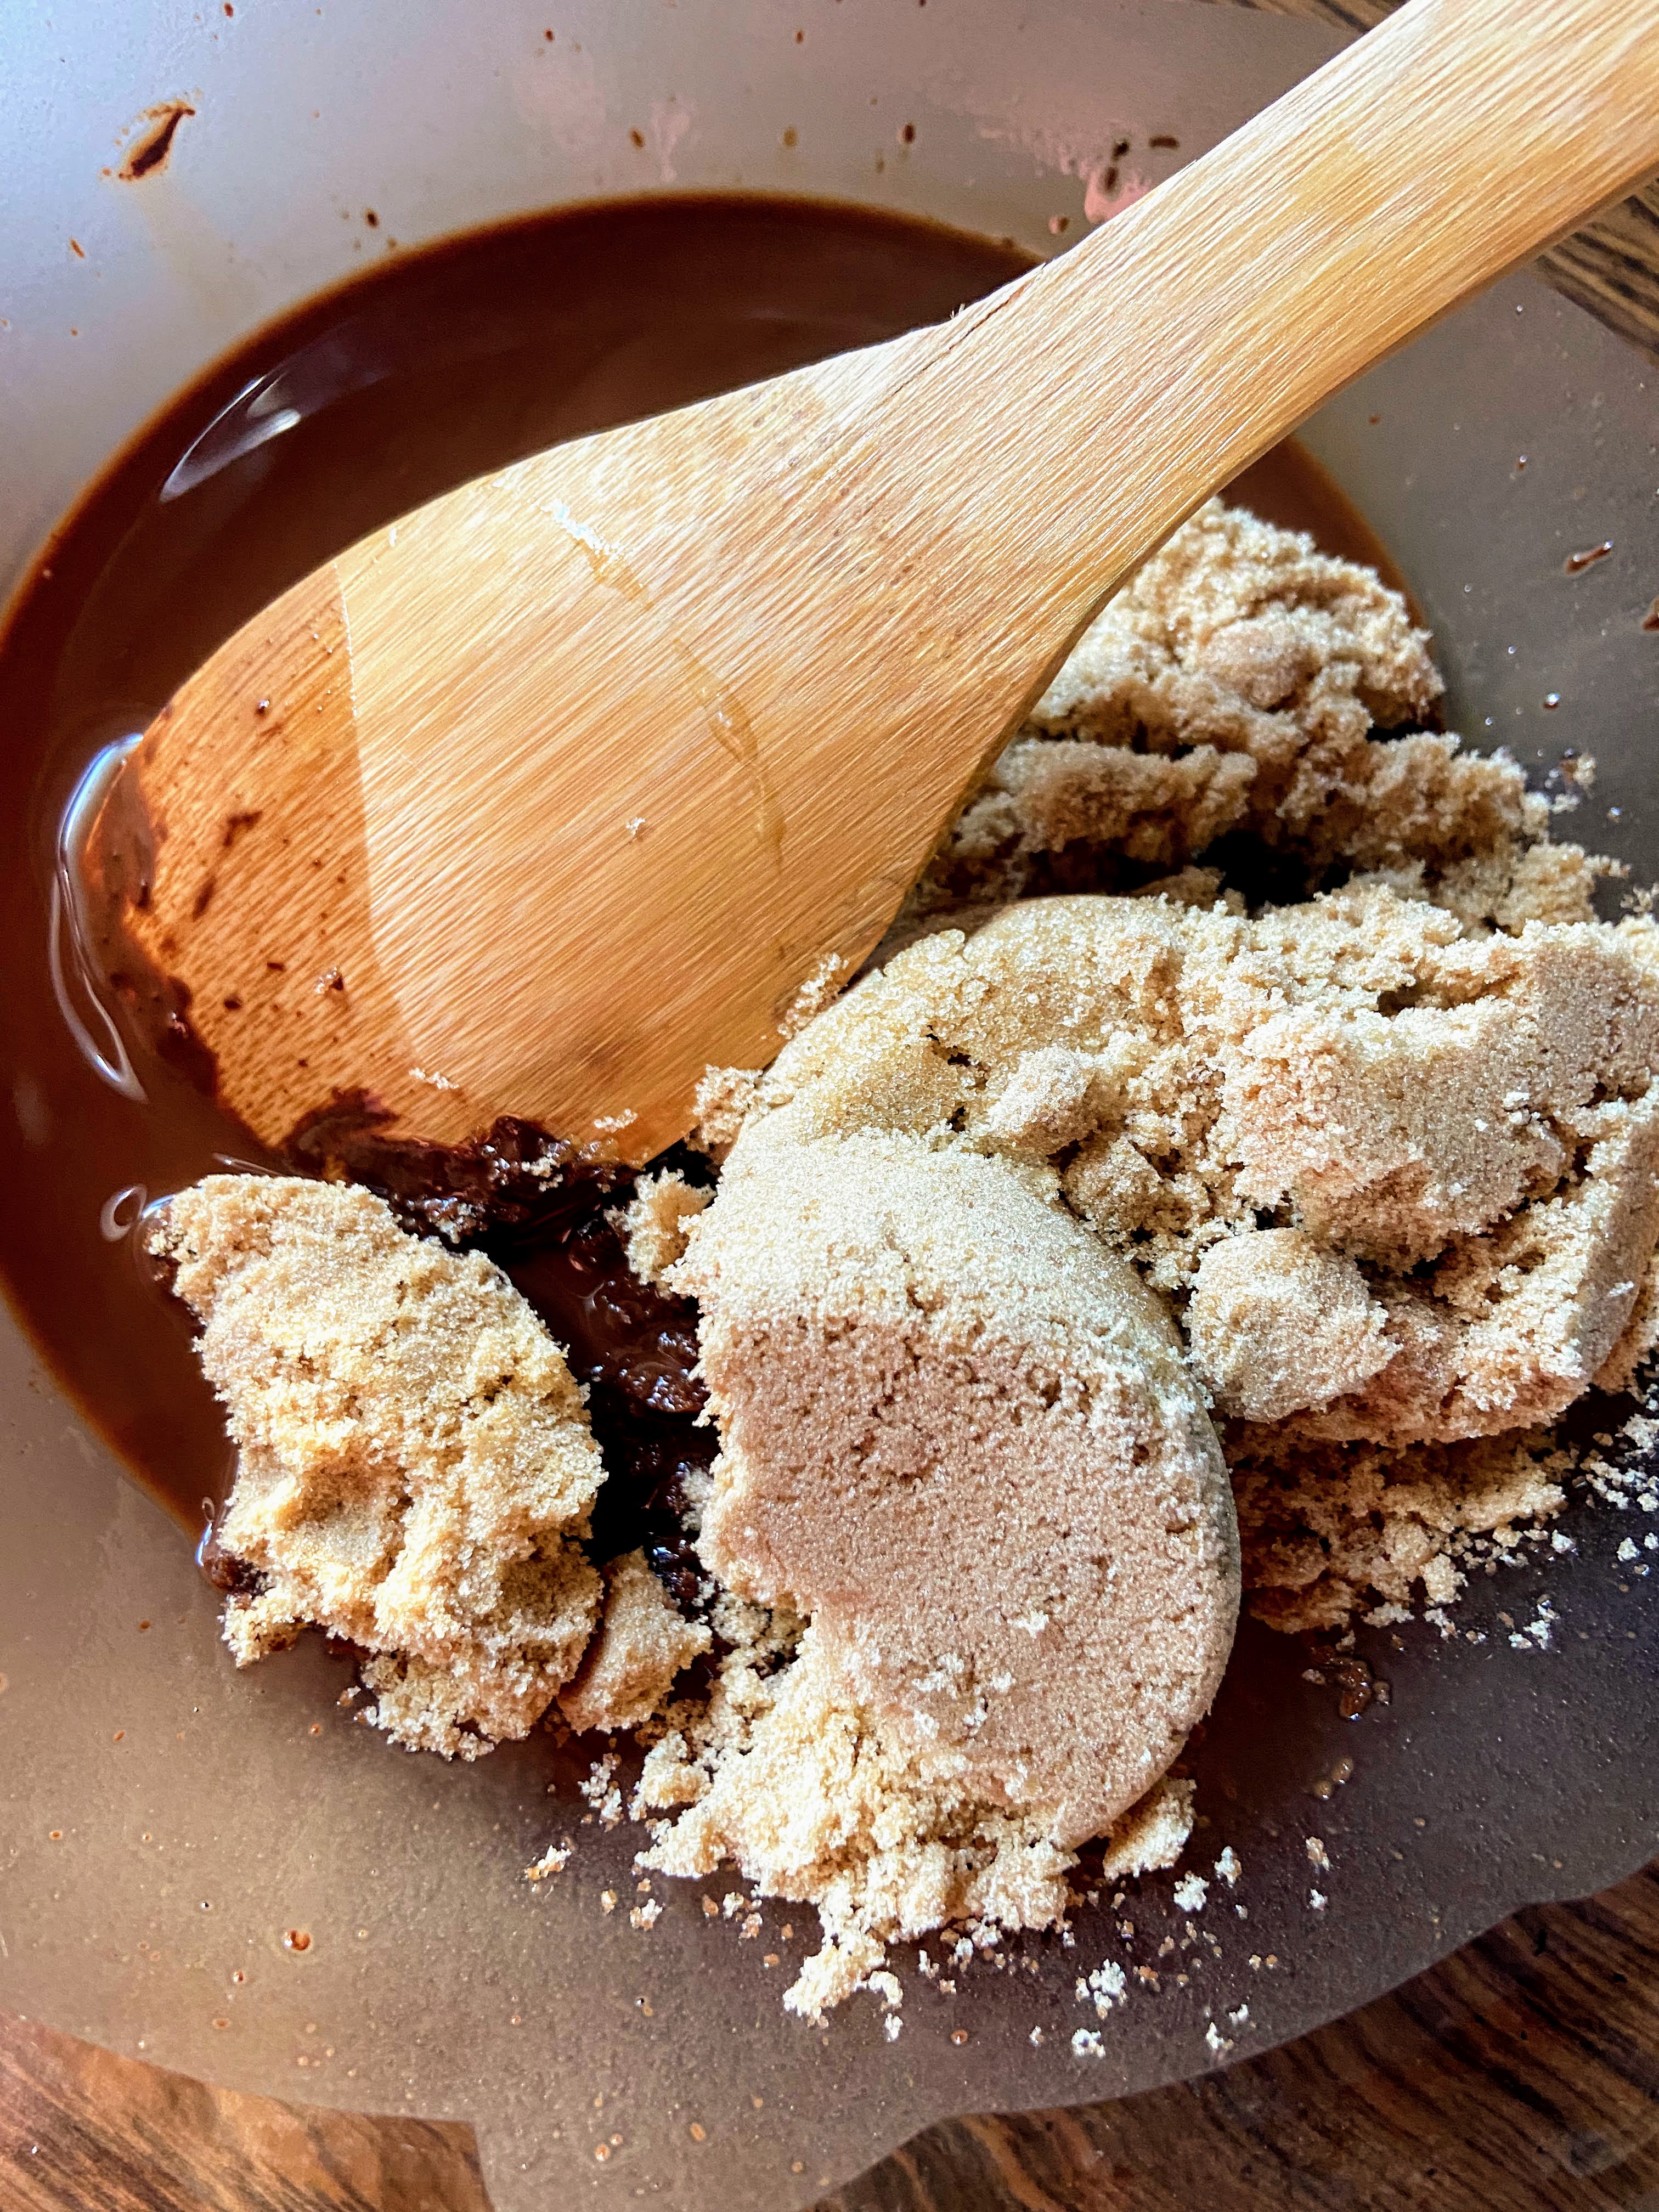
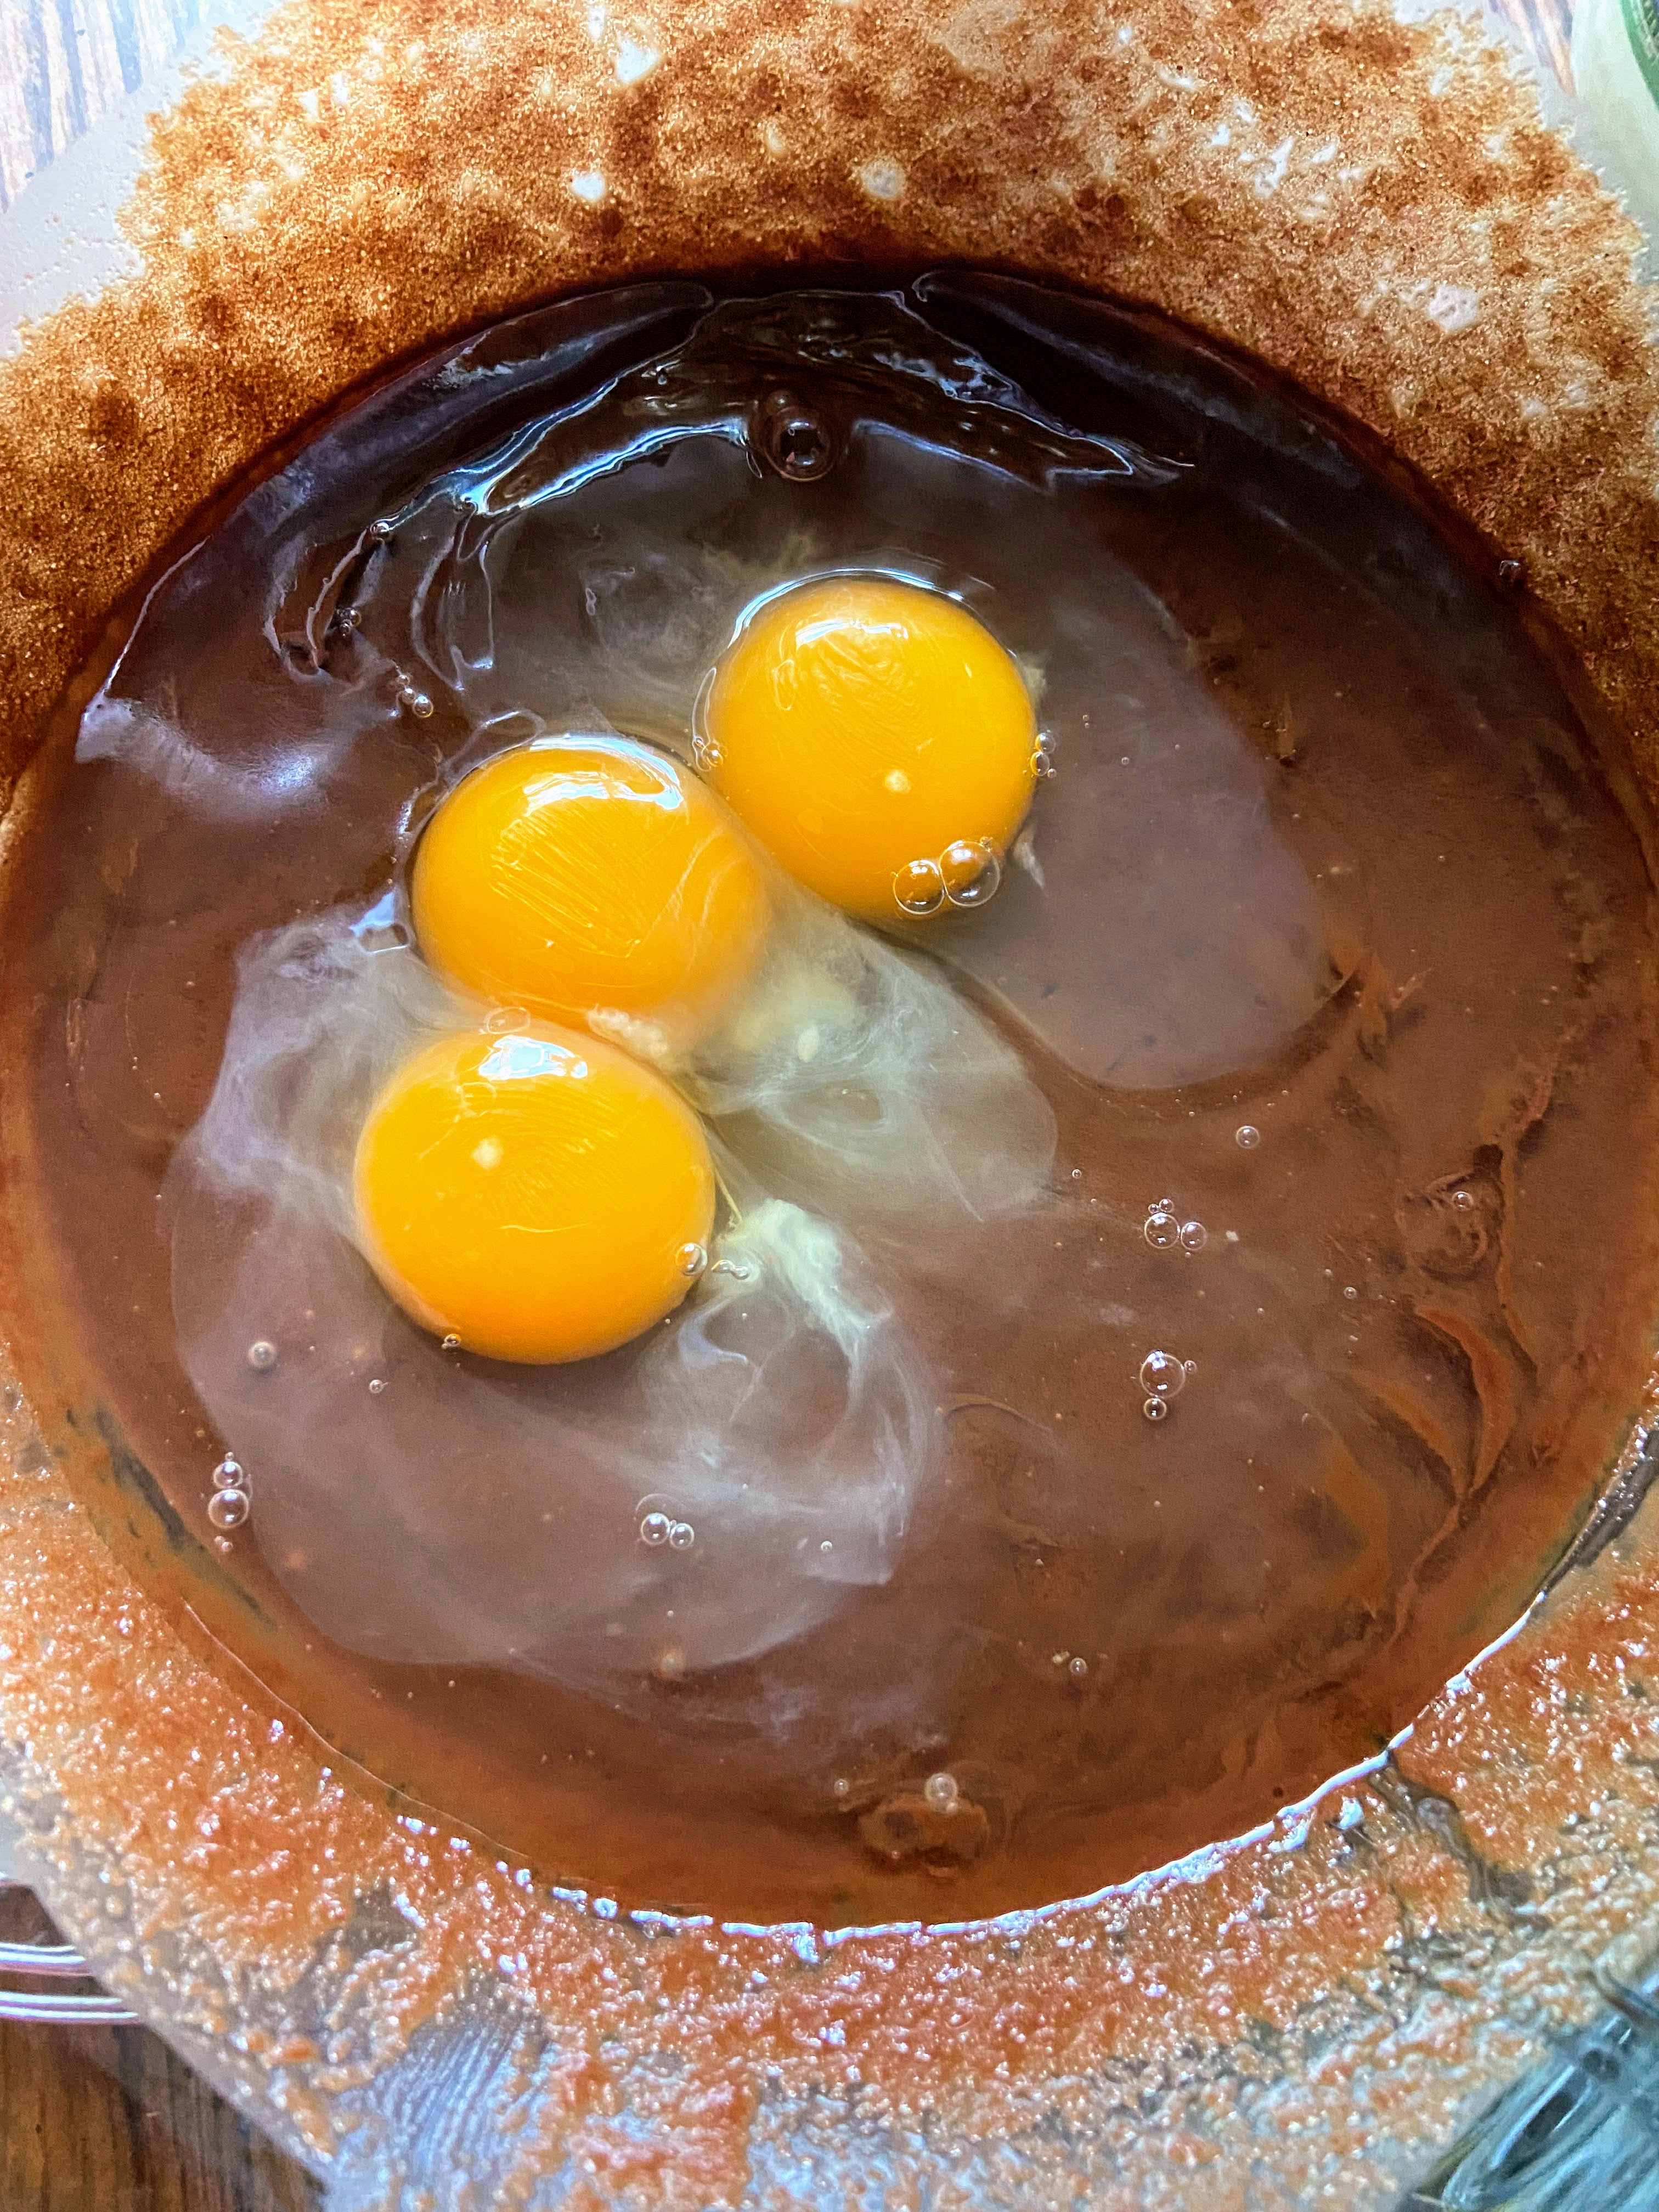
Add chocolate to a microwave safe bowl. Microwave in 30 second increments, stirring in between. Add the coconut oil after 1 minute and melt as well. Stir until well combined. Mix in brown sugar and vanilla. Allow to cool slightly before whisking in eggs.
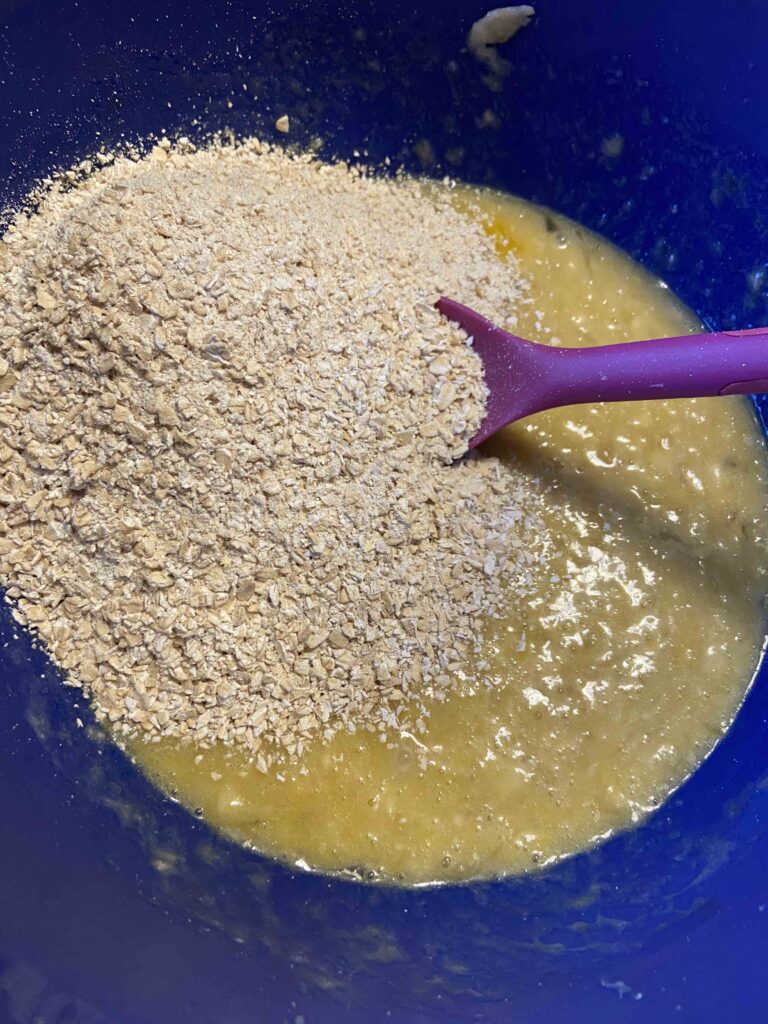
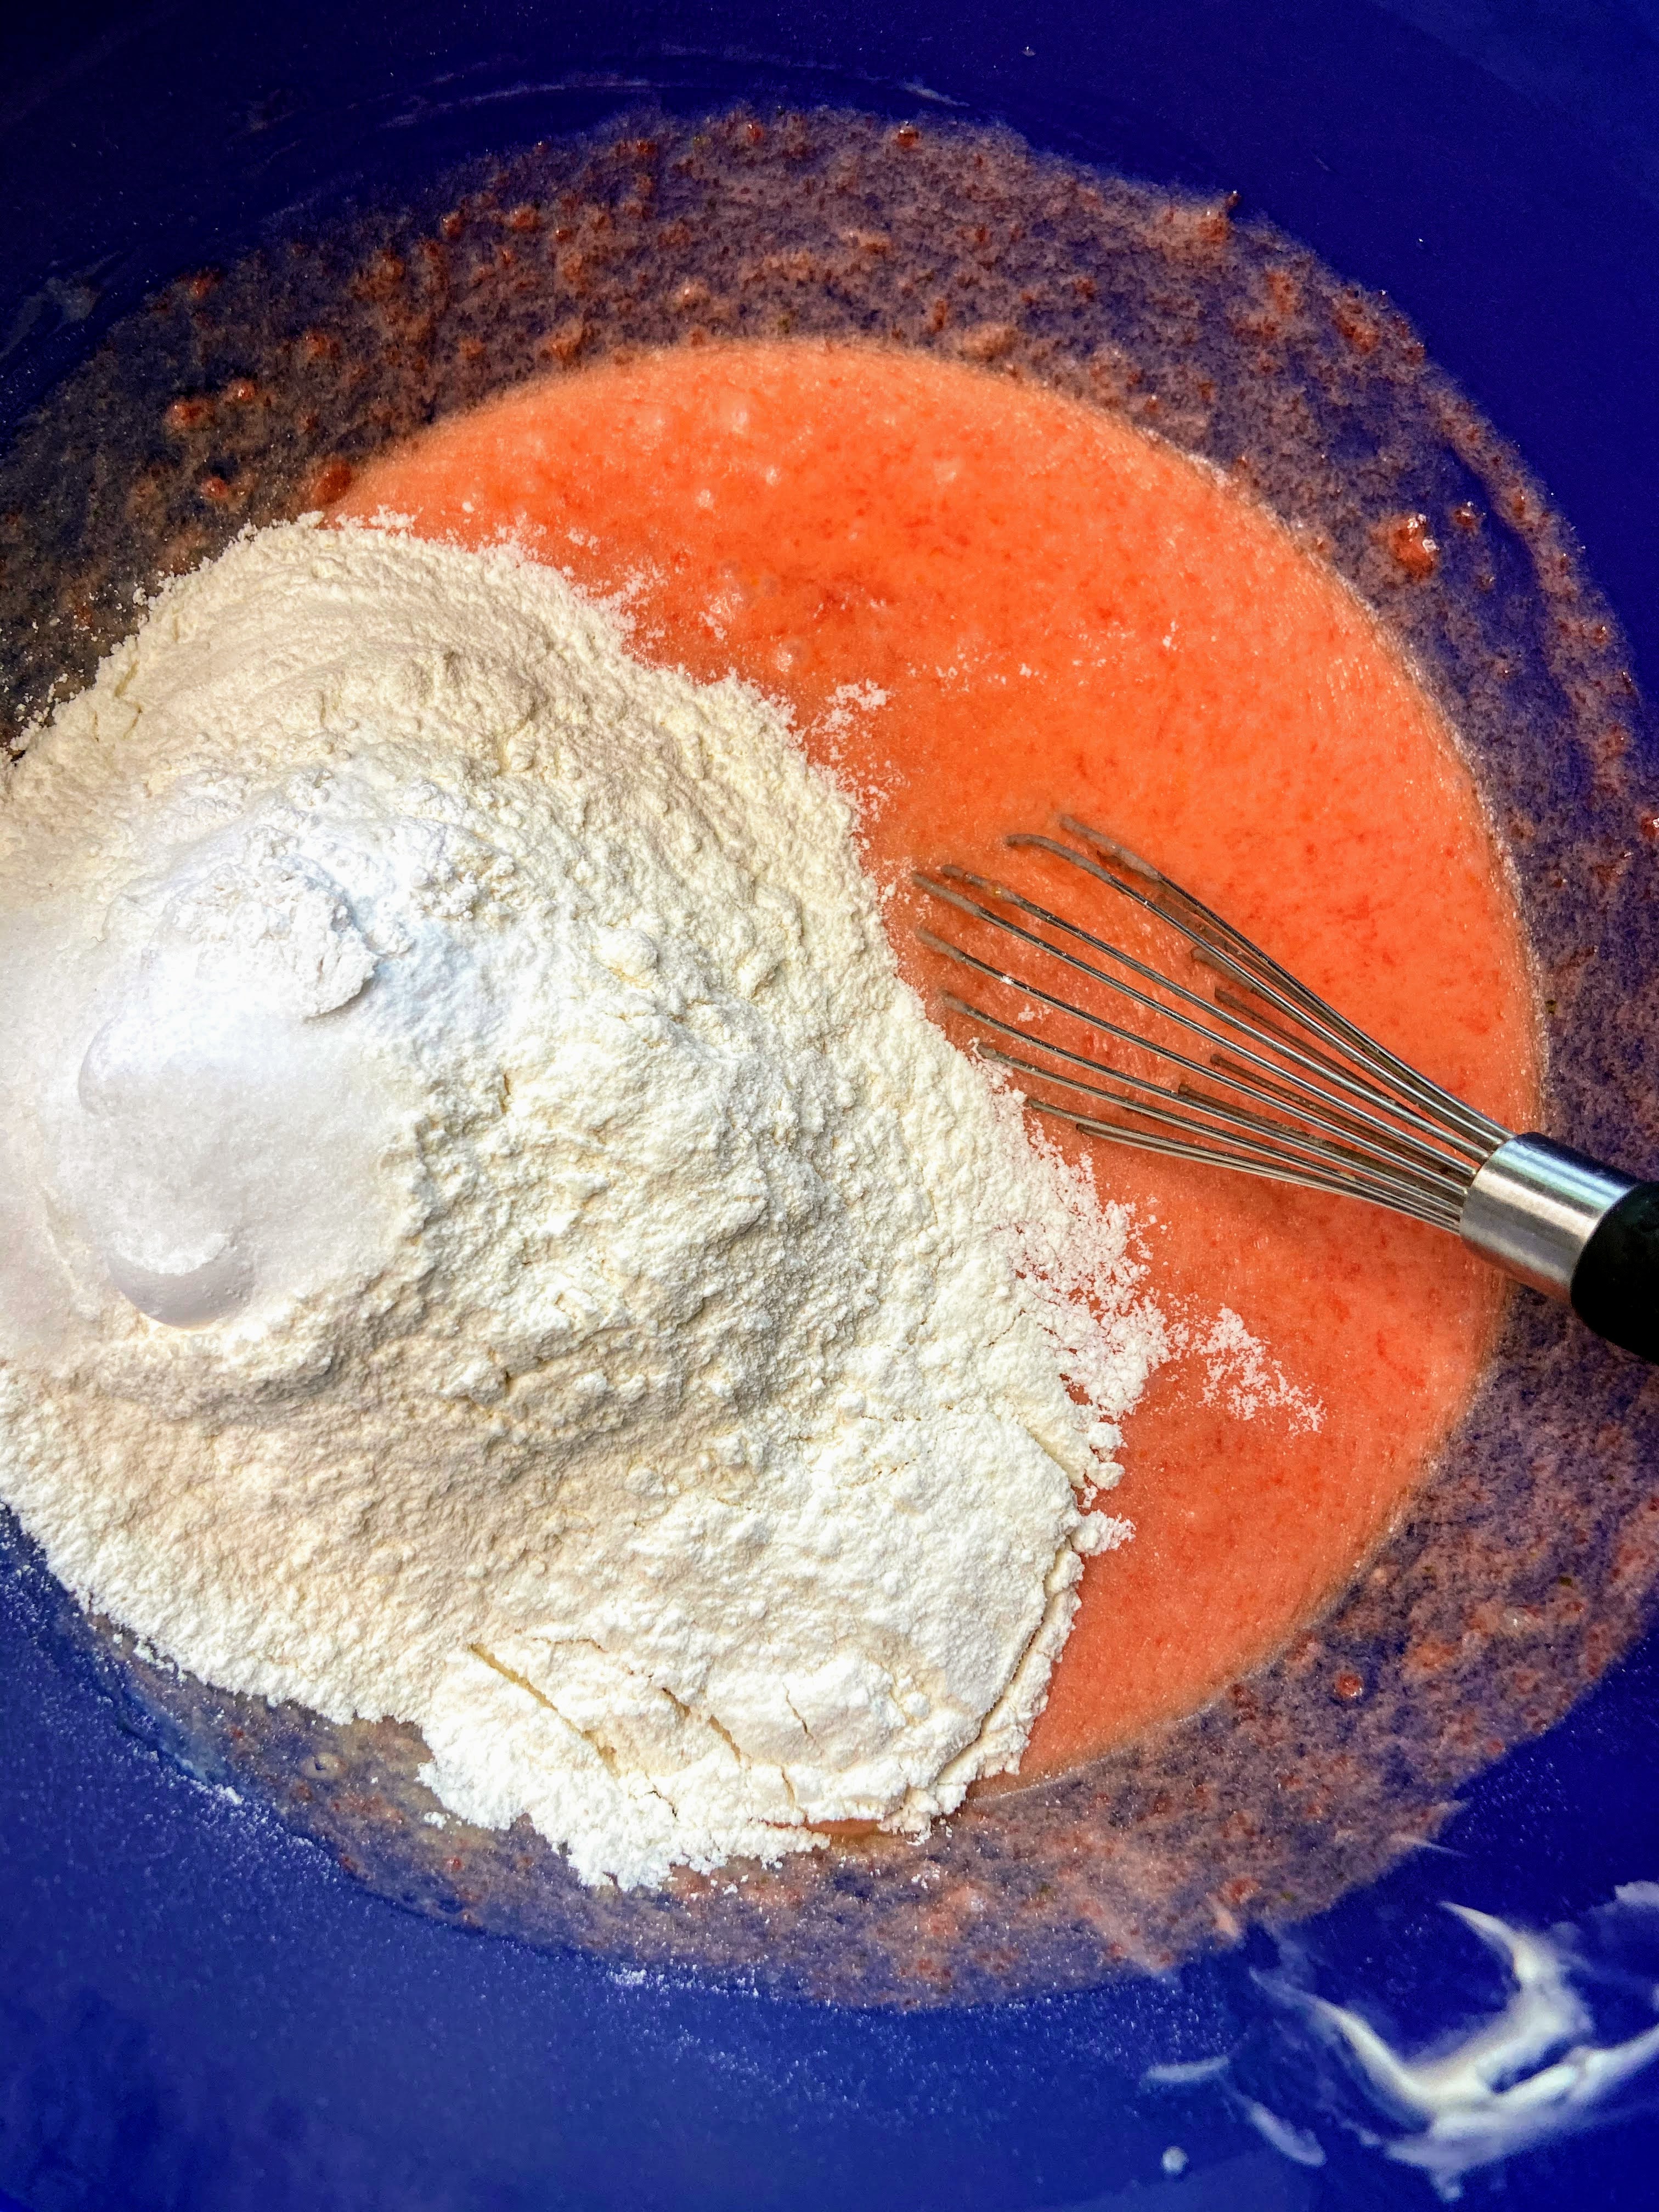
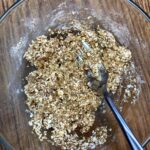
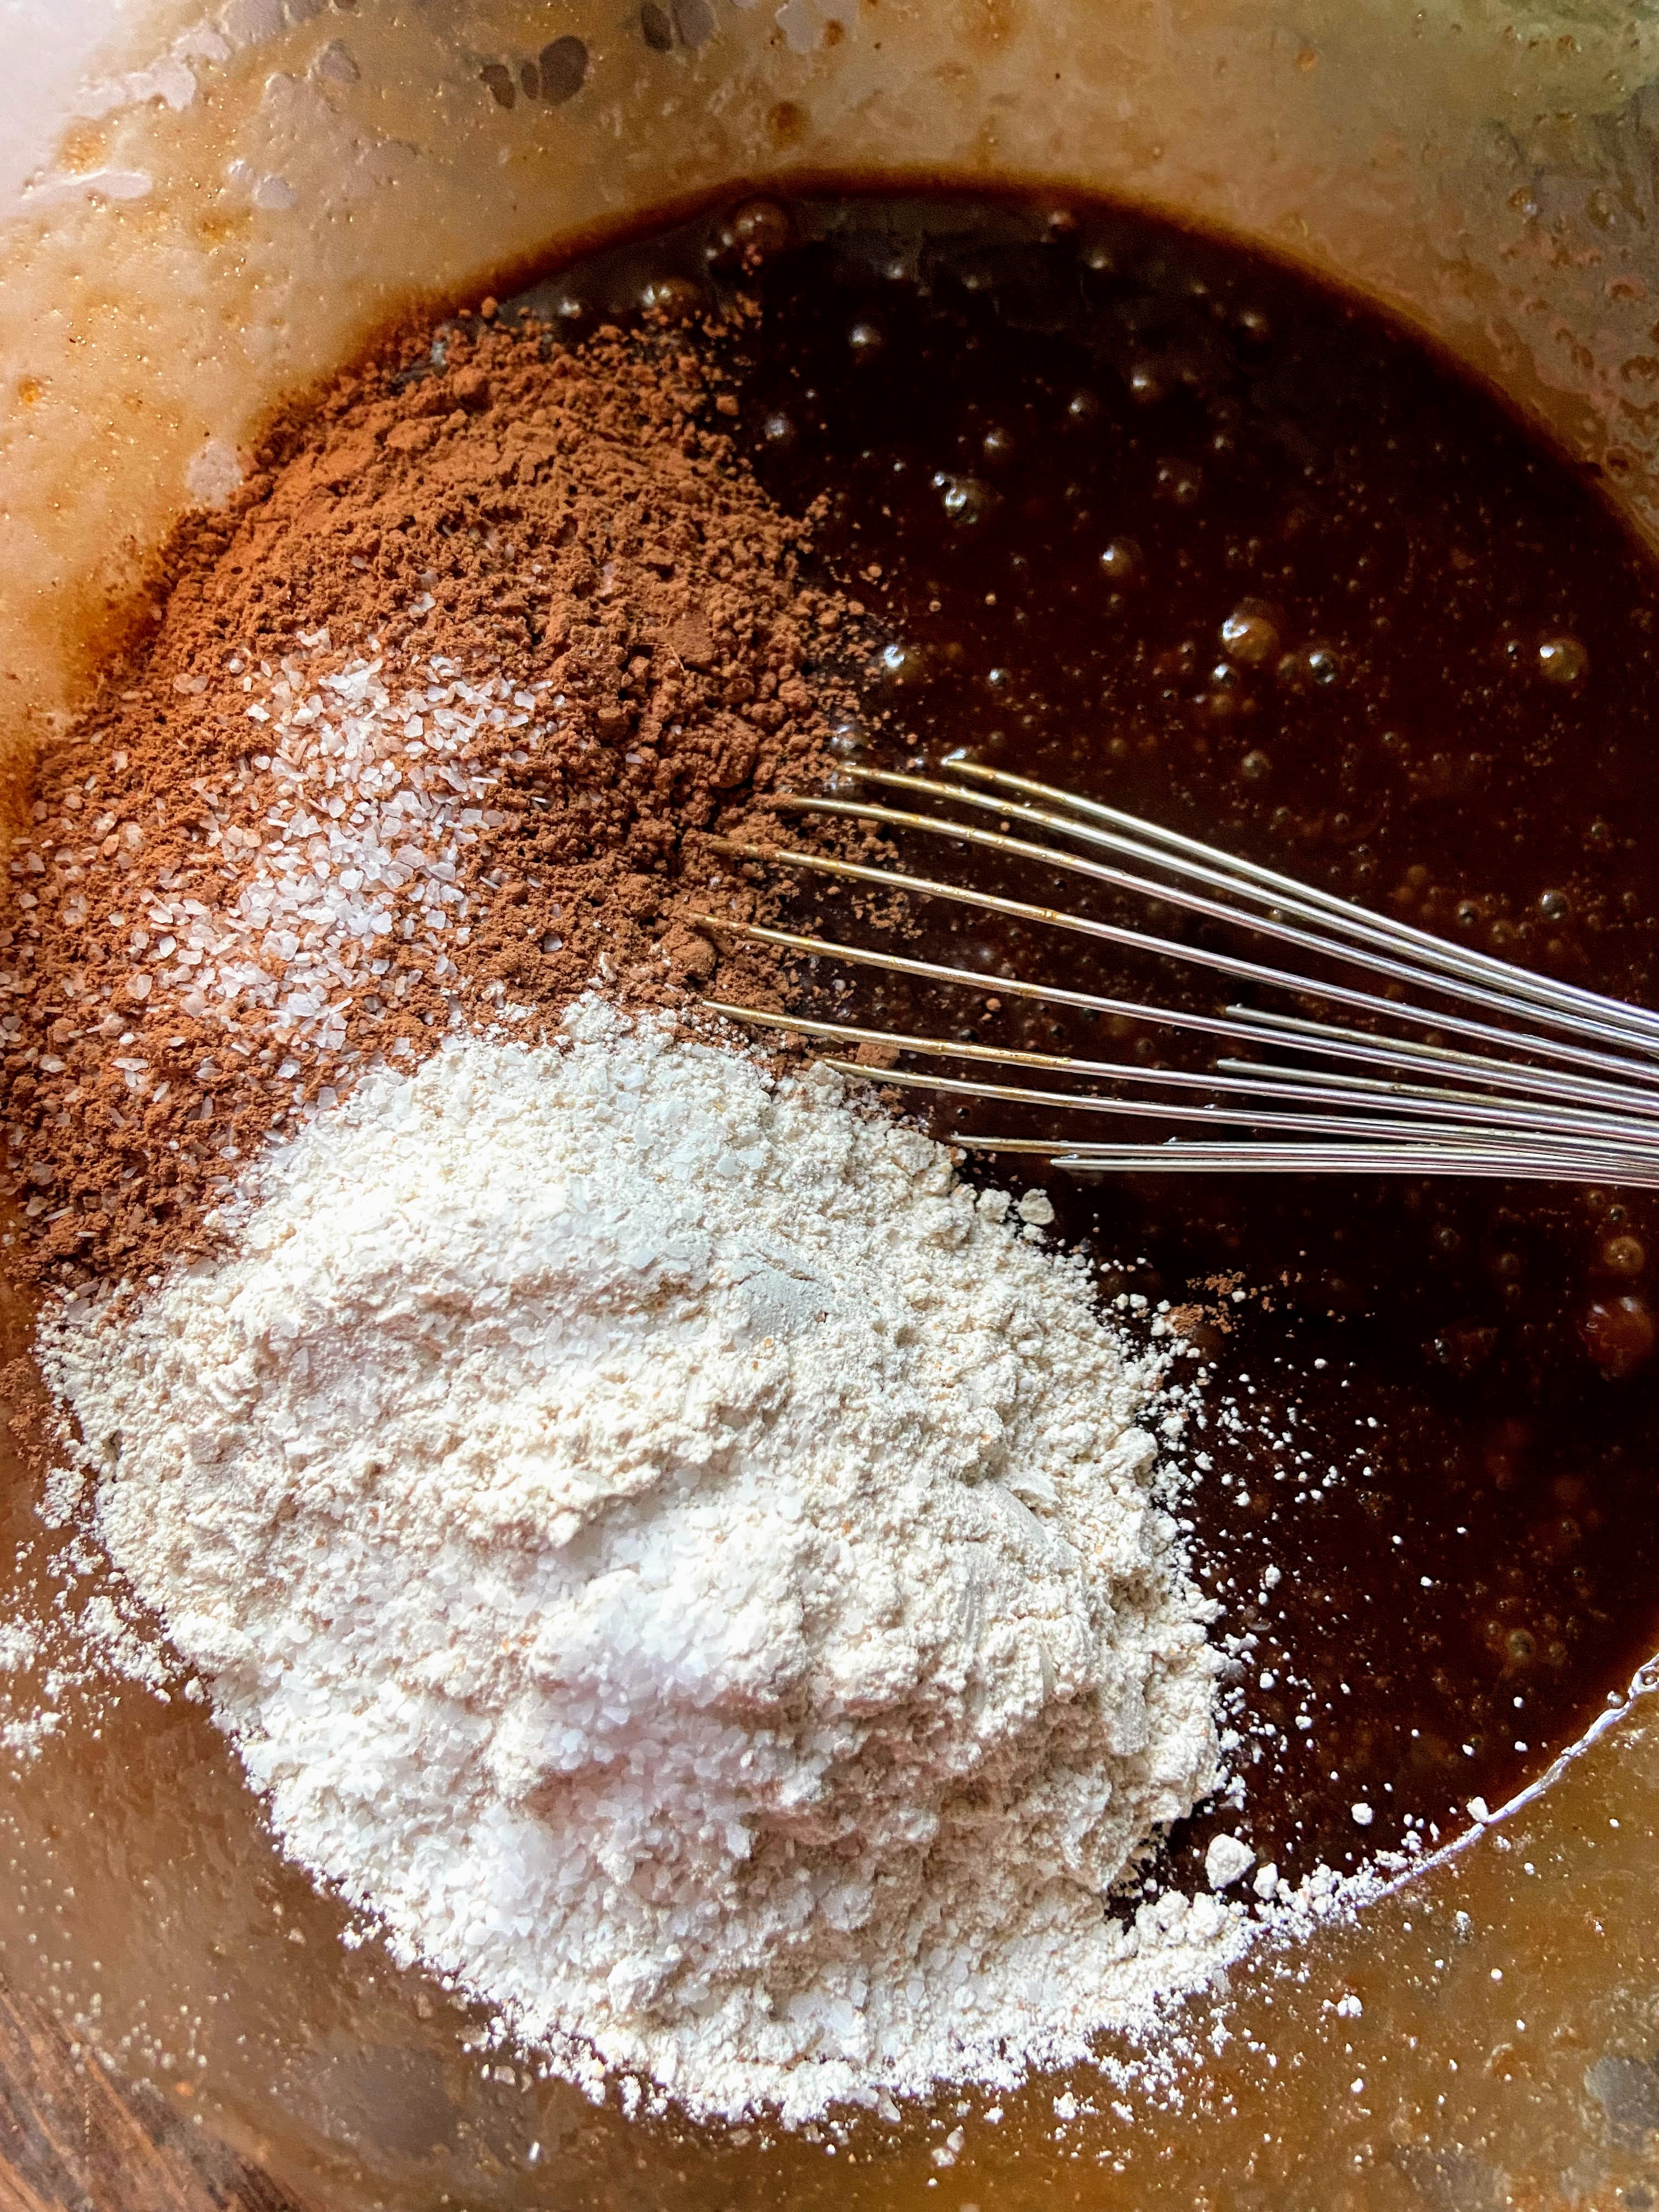
Add flour, cocoa powder, and salt. Mix until just combined. If you are an extra chocolate lover, you could totally add ¼ cup of chocolate chips here as well.
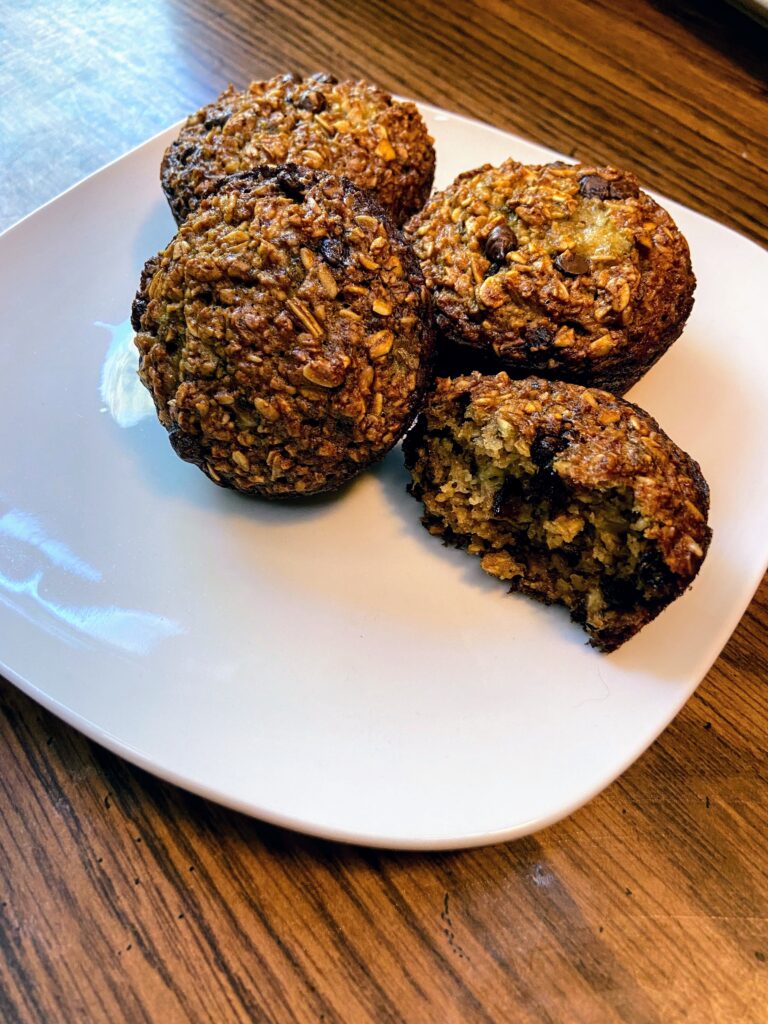
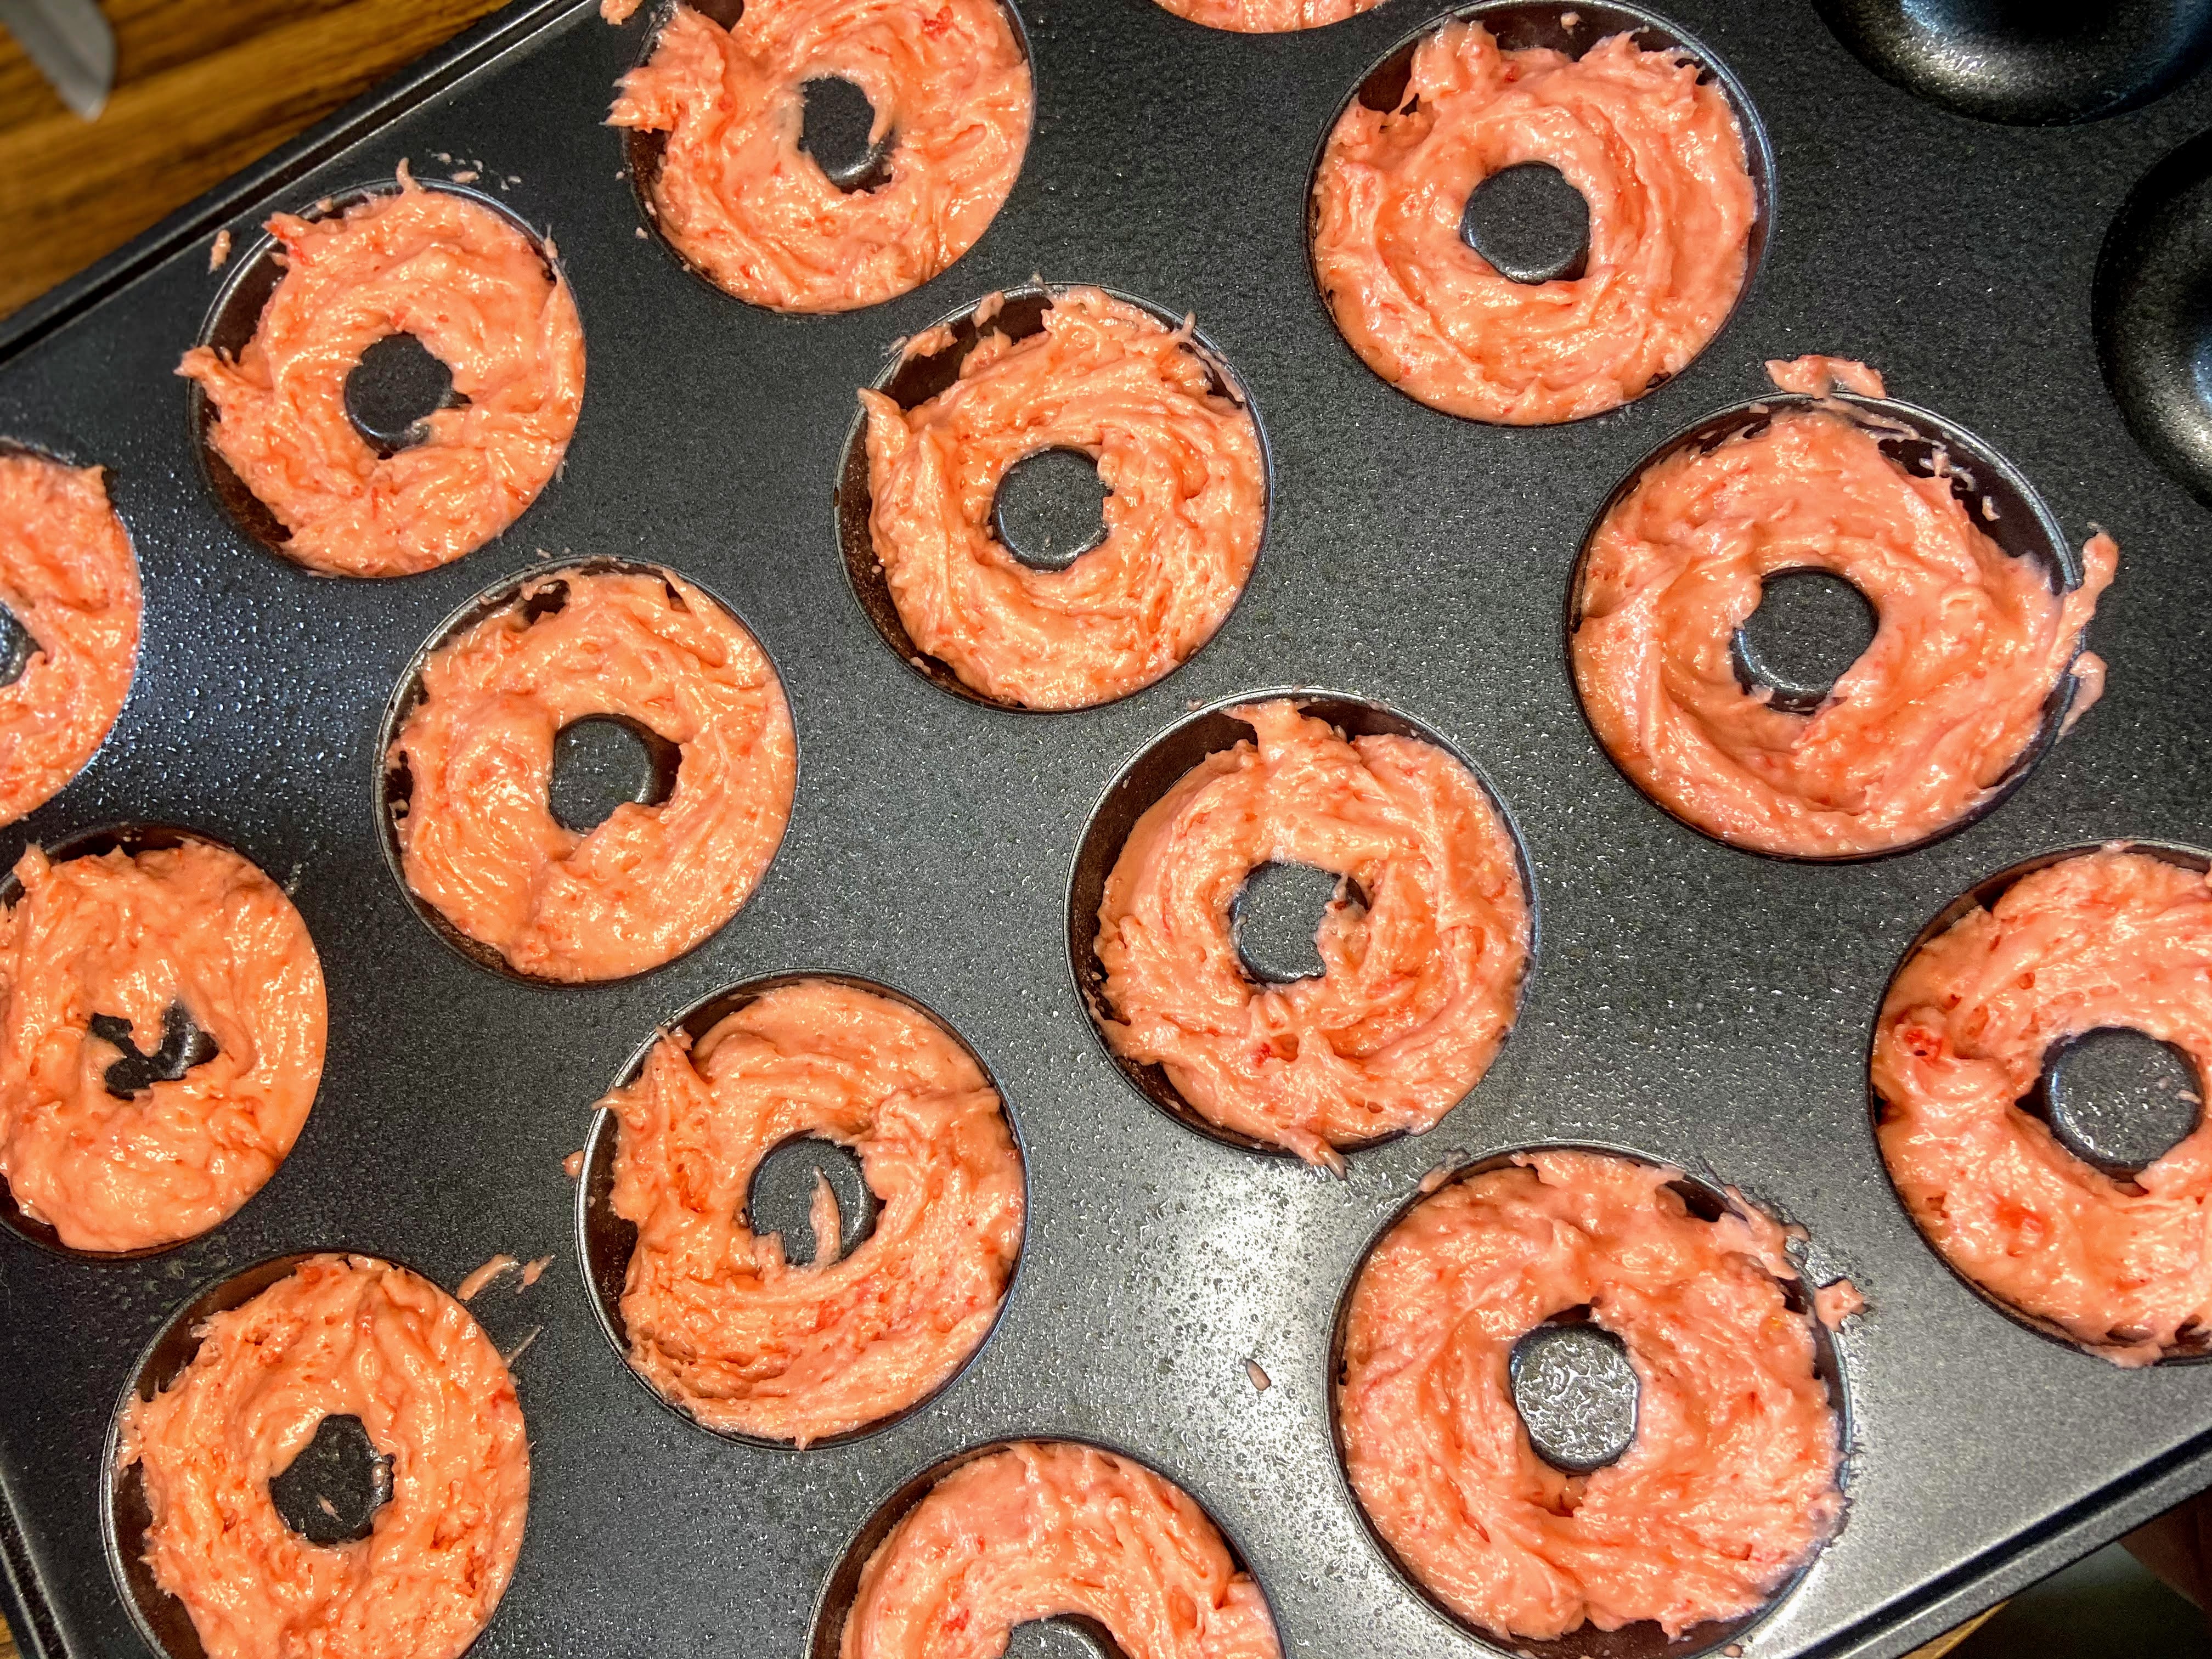
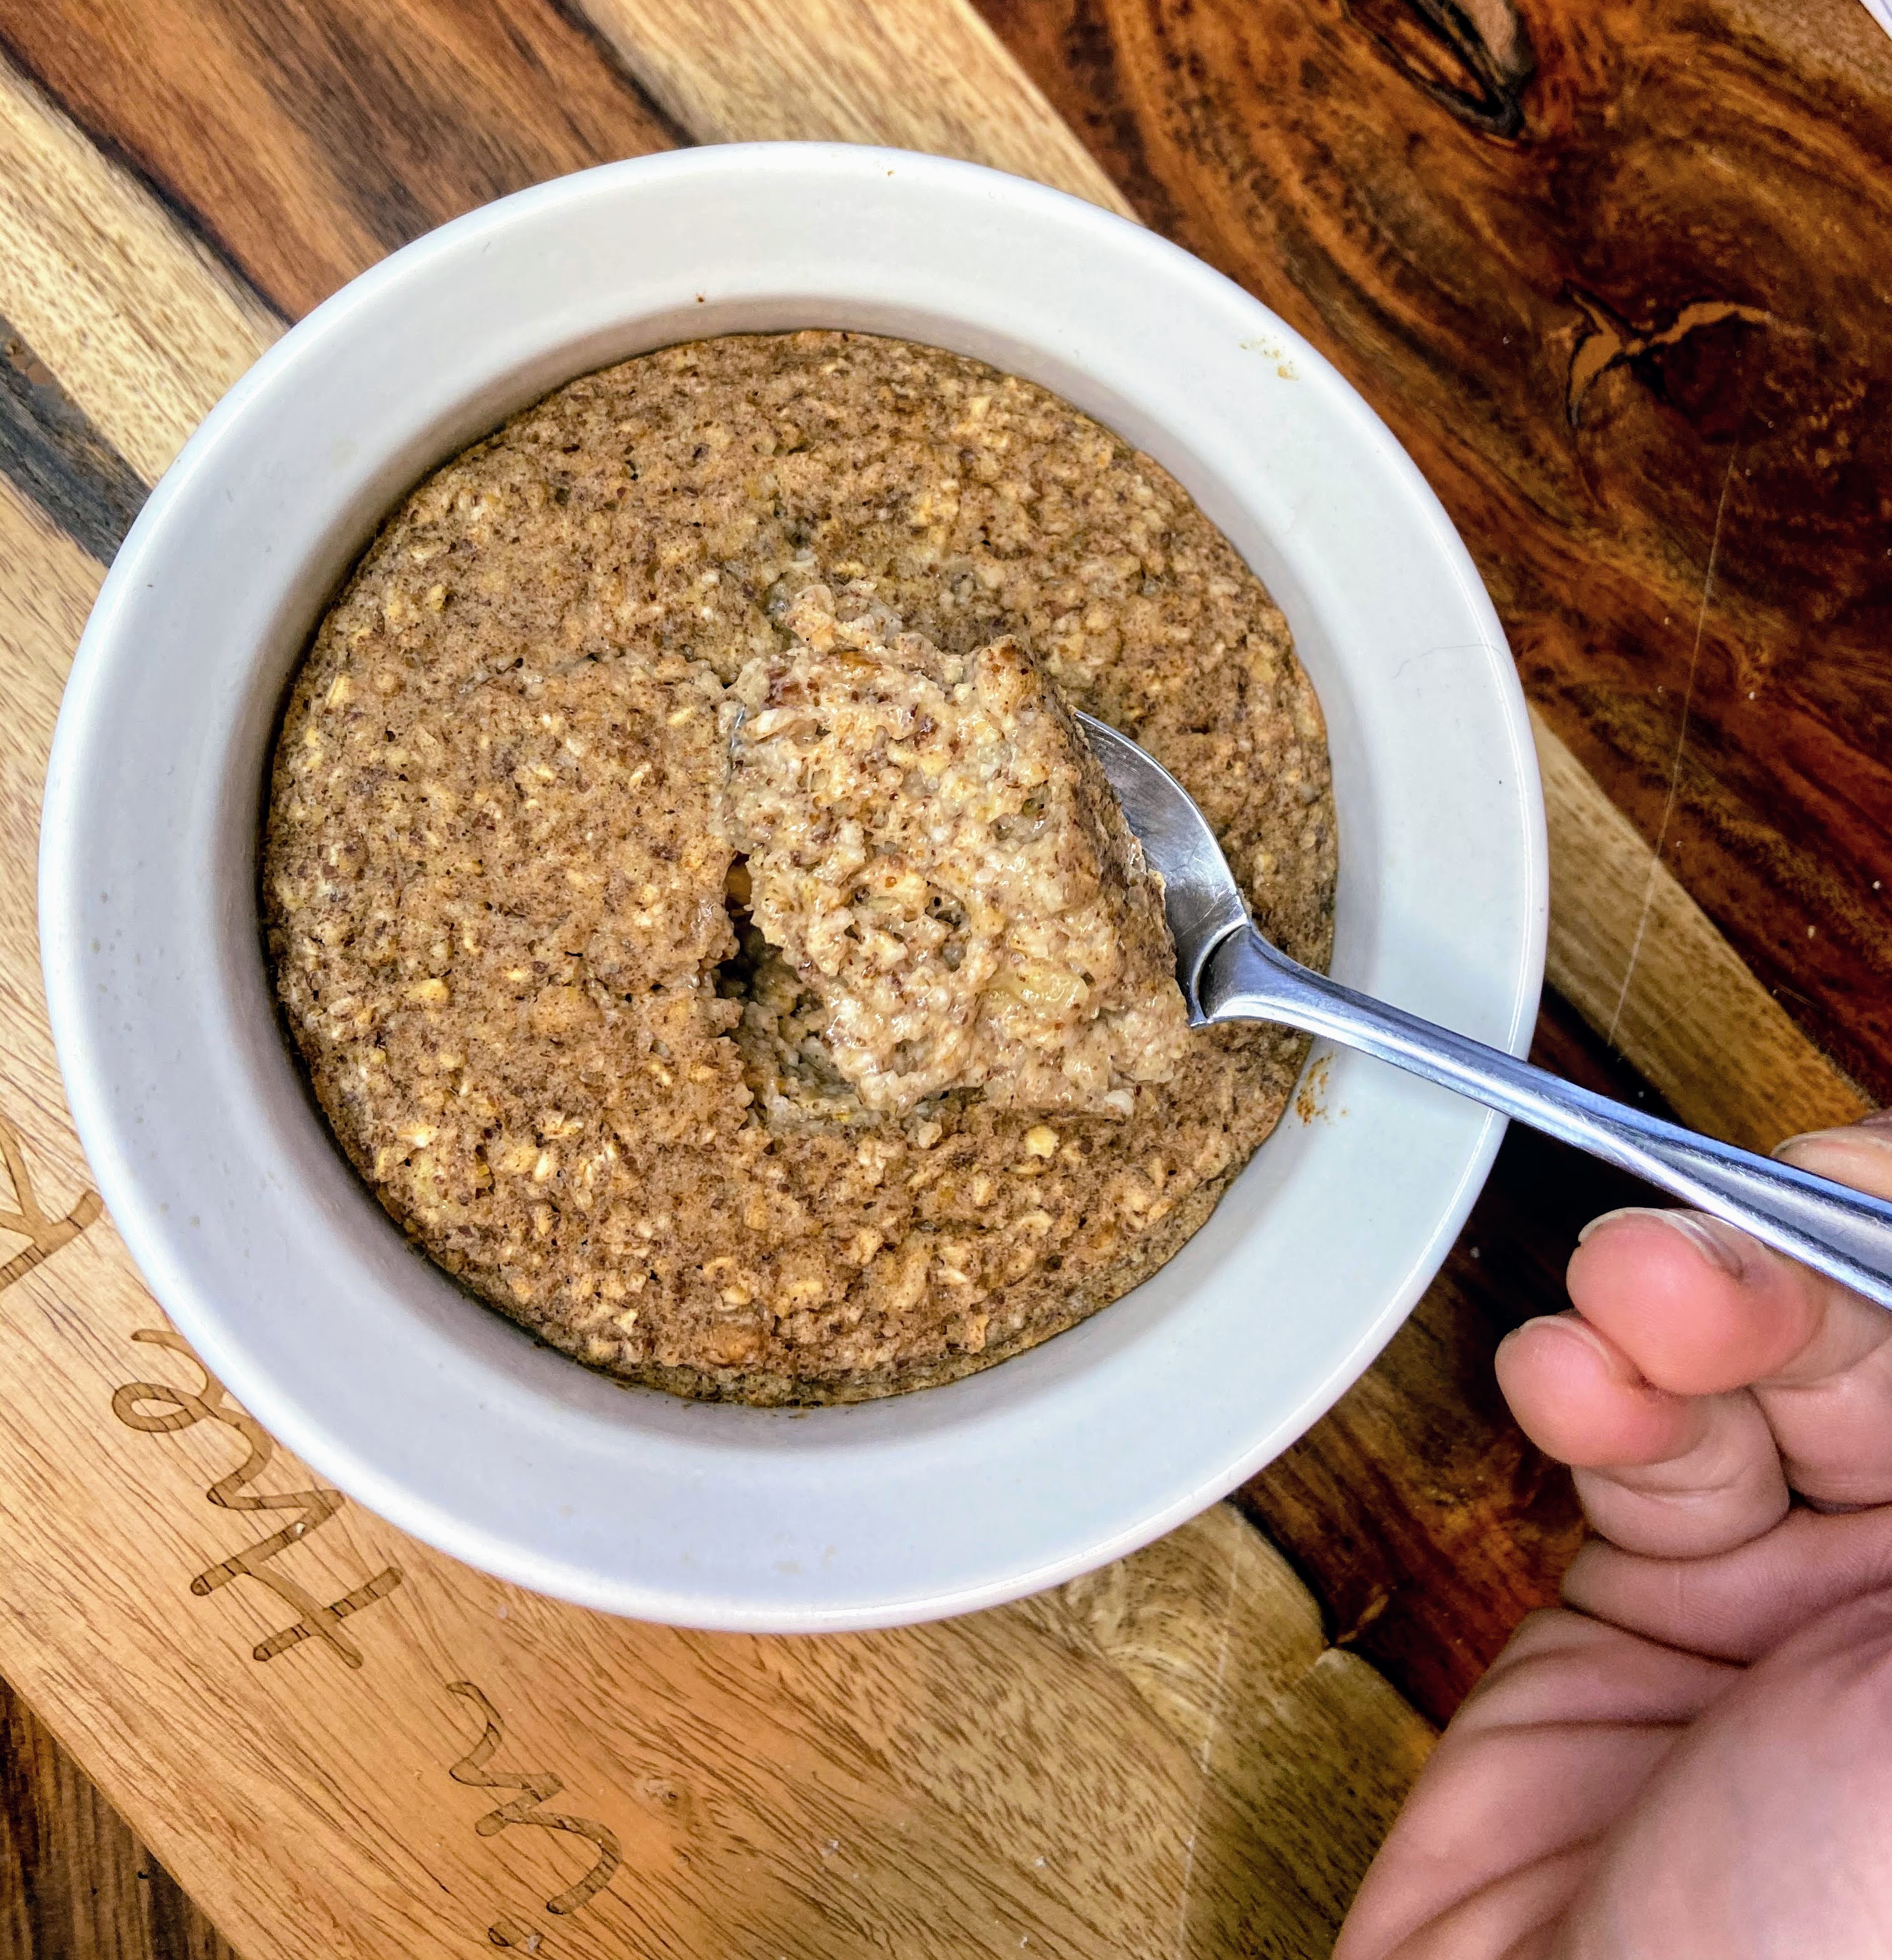
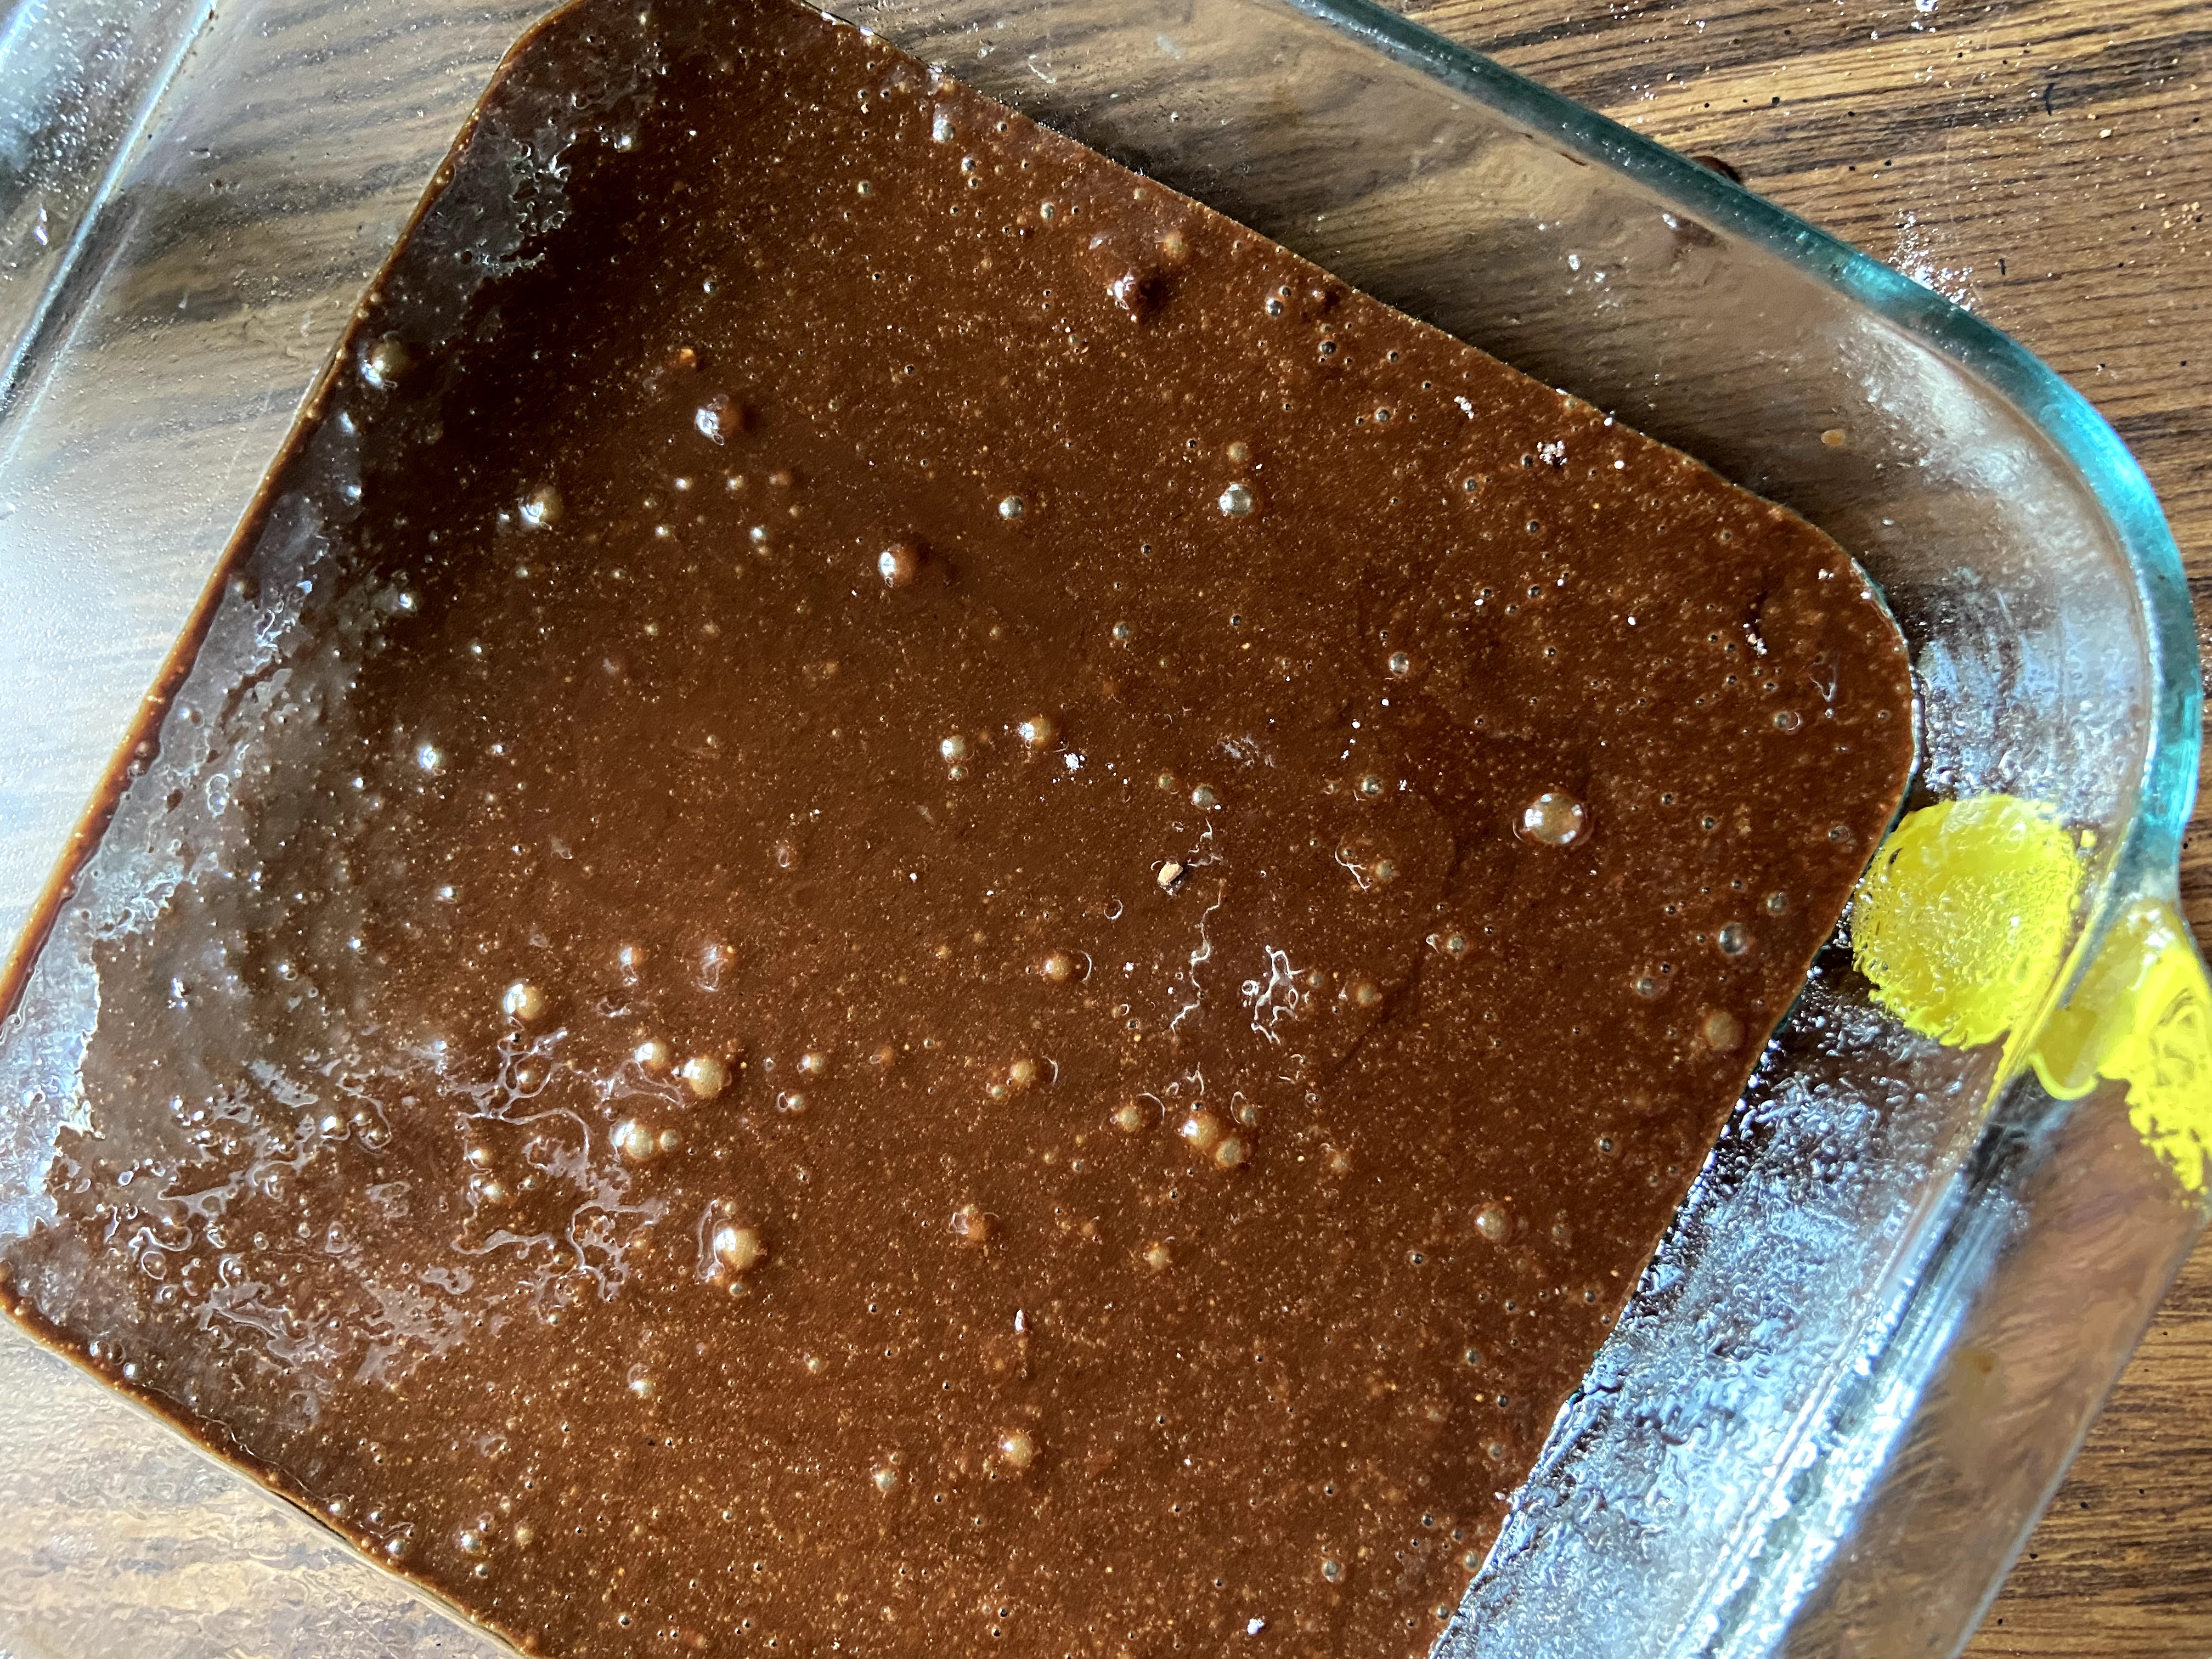
Pour brownie batter into prepared pan. Bake in the middle of your oven for 23-27 minutes, until a toothpick inserted in the center comes out clean.
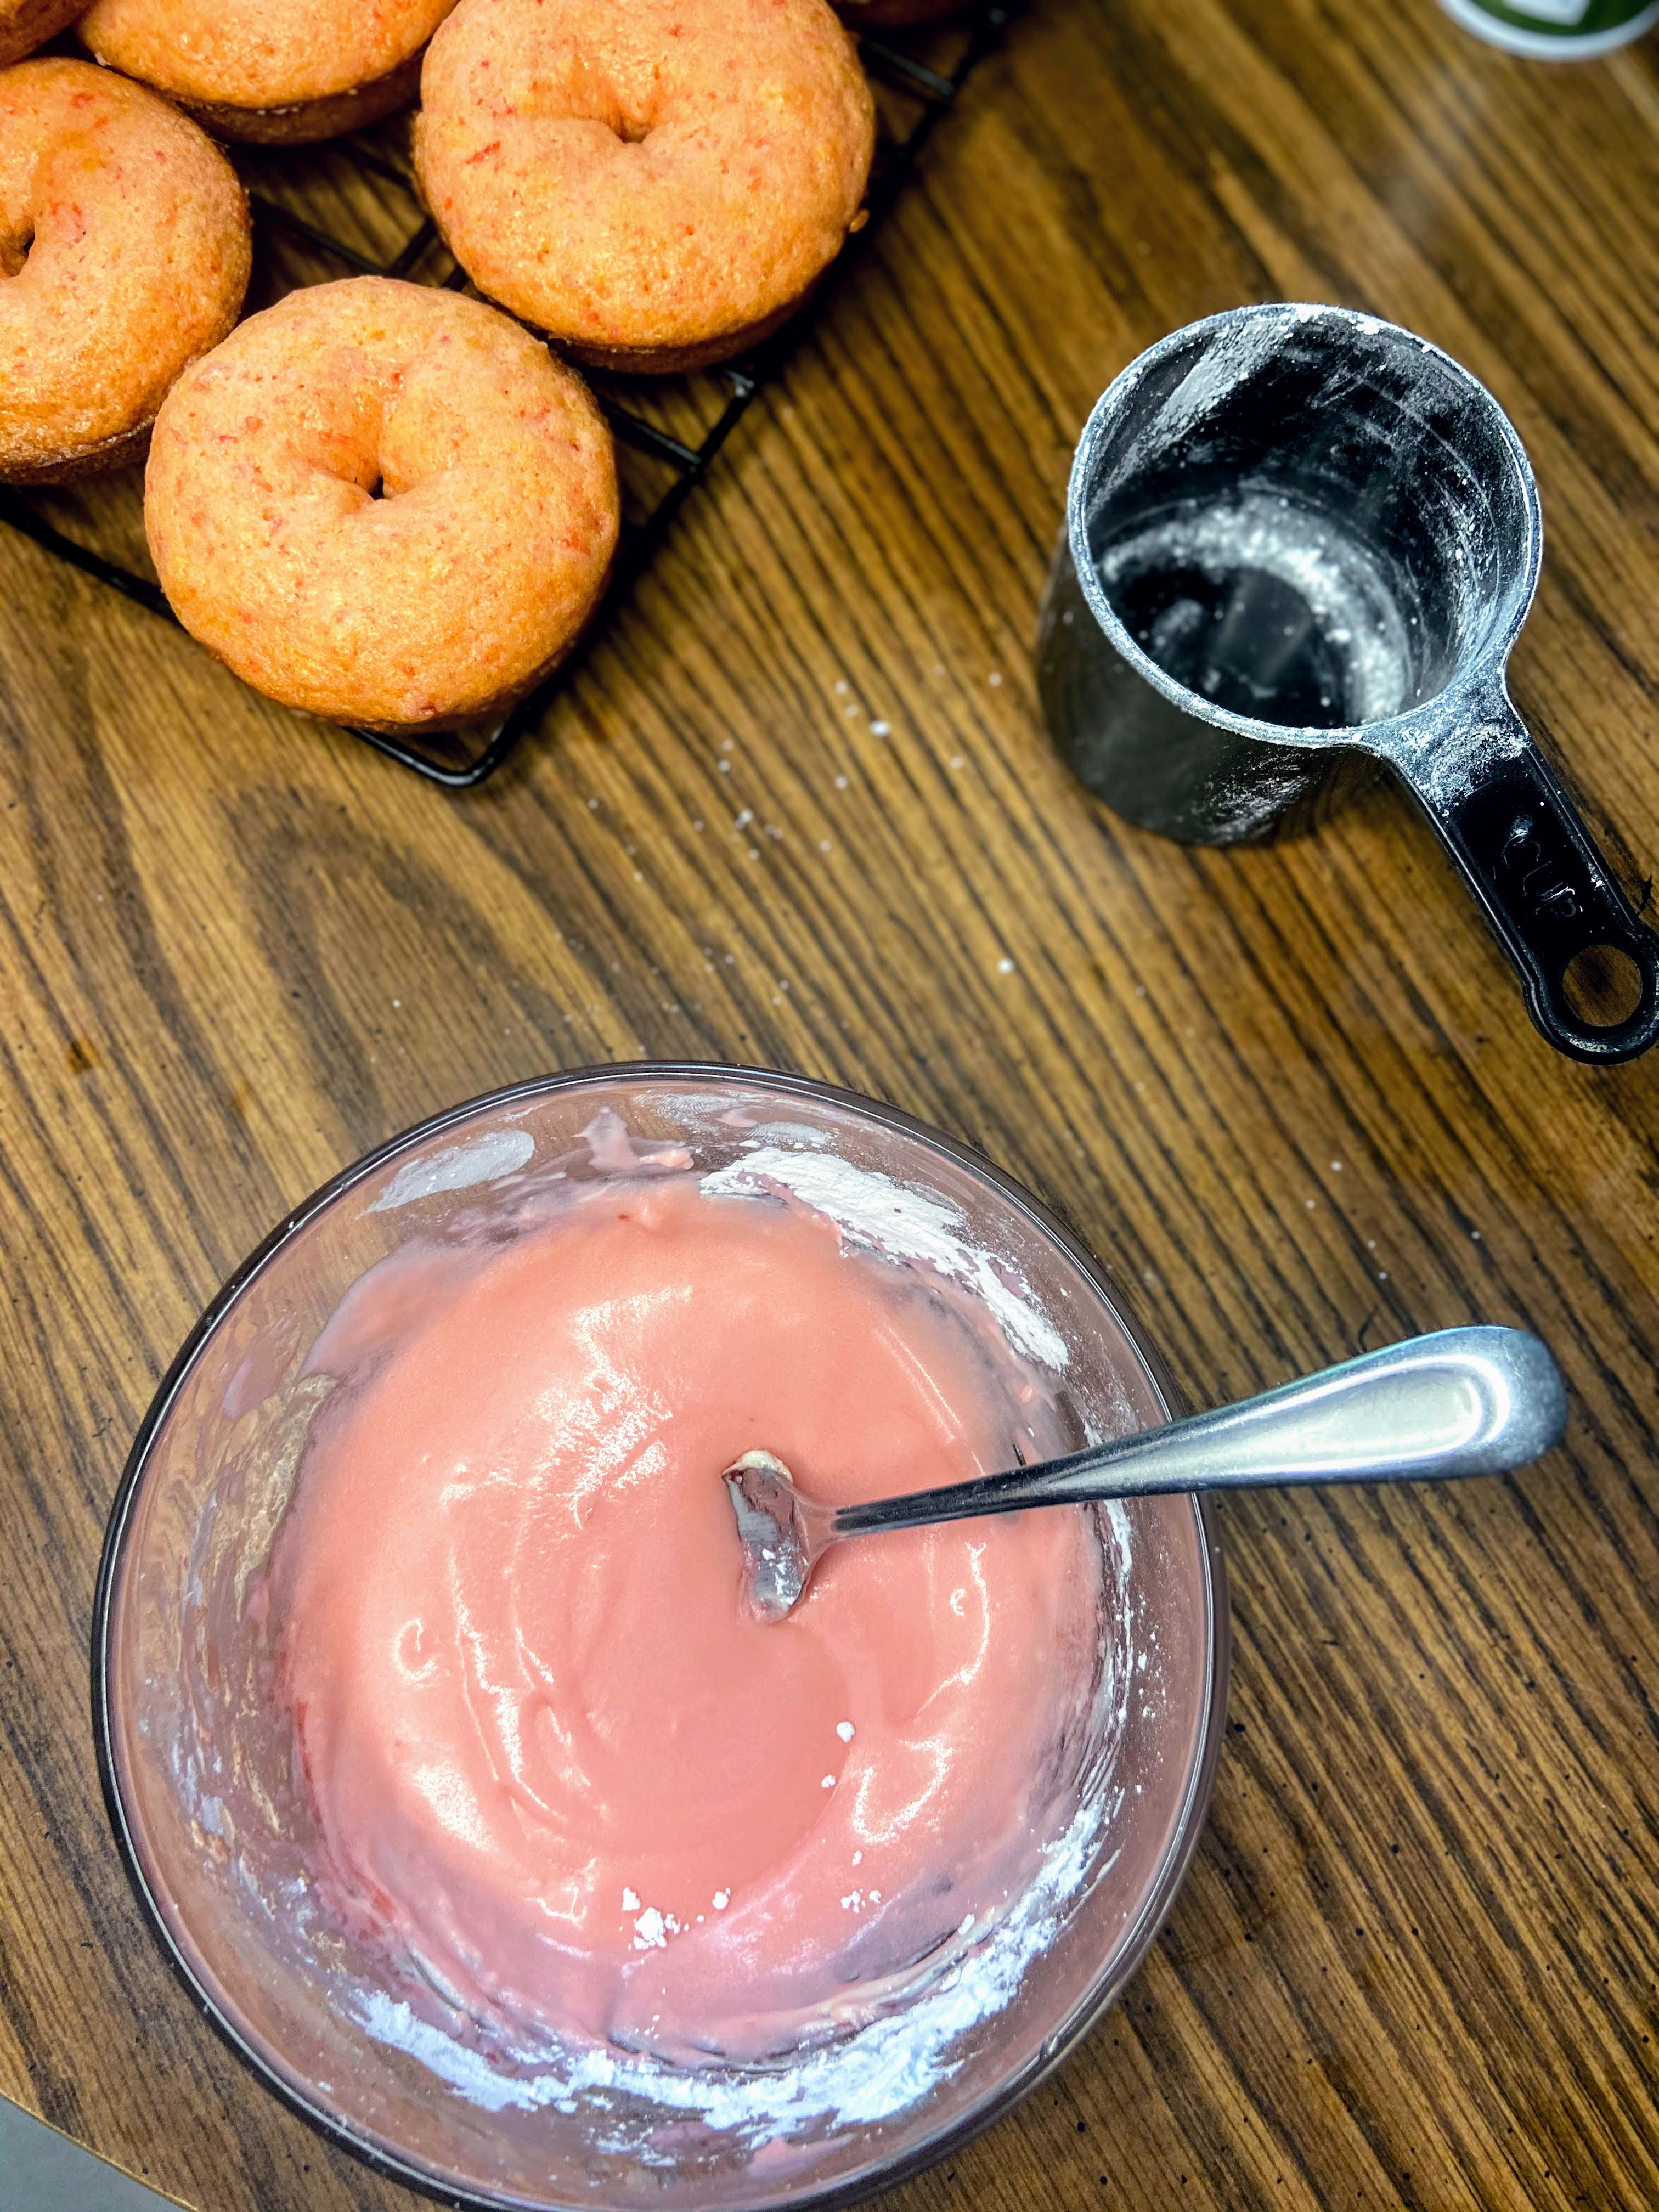
And if I may recommend, slice a warm brownie (okay, wait just a little bit) and add just a small scoop of plain vanilla ice cream. And maybe some chopped peanuts? I mean, how can that be bad?!
Enjoy!

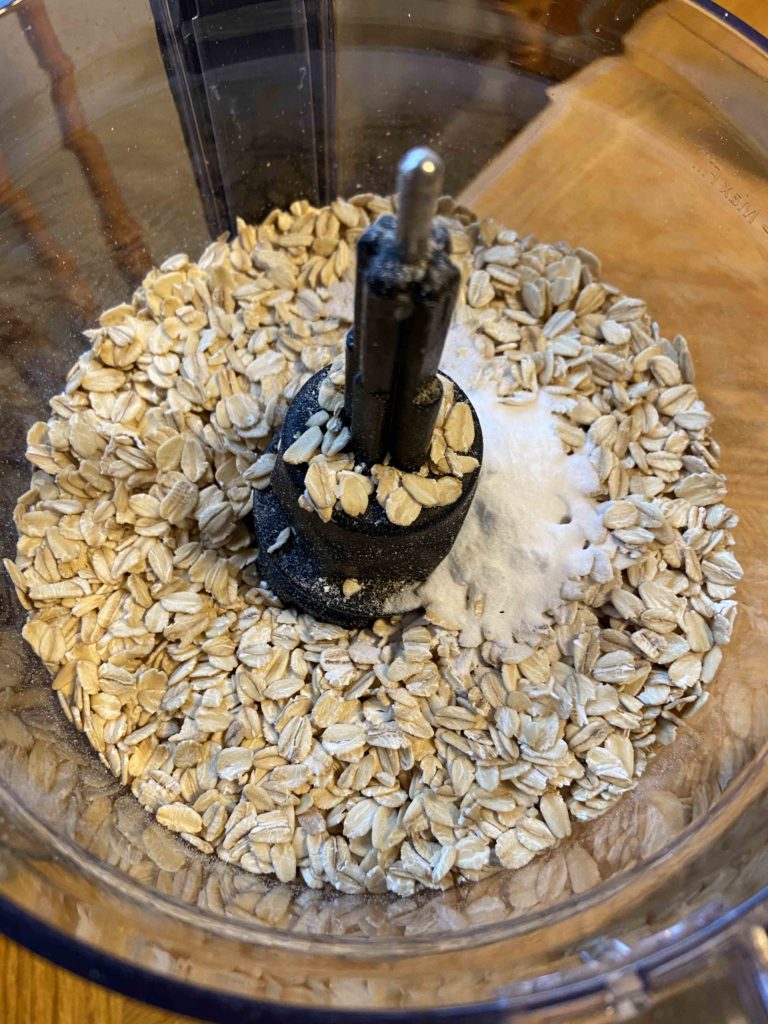
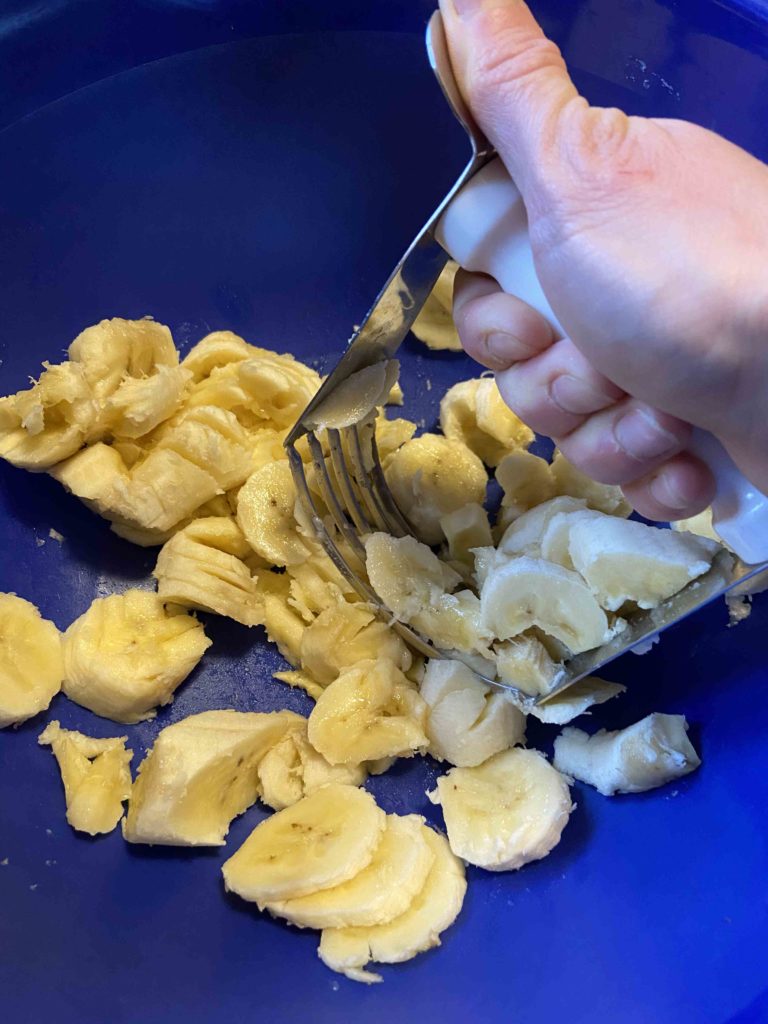
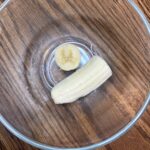
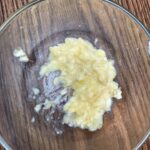
Little chocolate. Little coconut oil. See how smooth? Add the sugar and vanilla. Then some eggs! I refuse to dirty another bowl for dry ingredients. Let’s get our bake on! My guilty pleasure!

Looking for other baked goodies to try? Check out my baking page by clicking below!

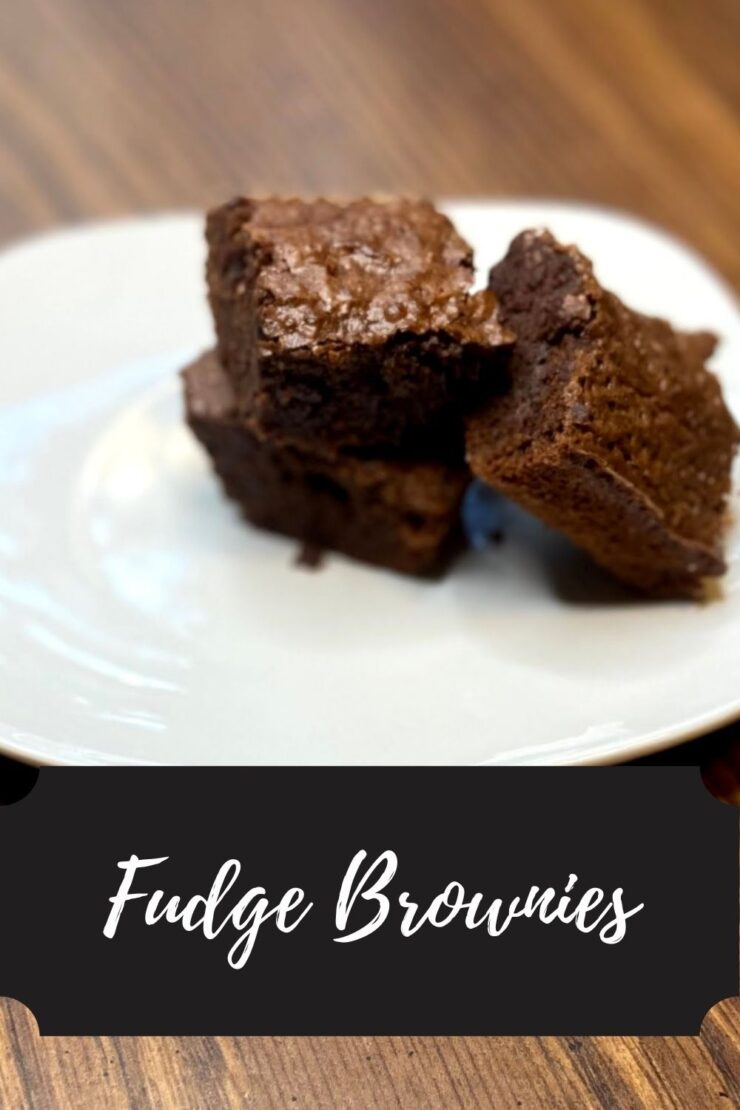
Fudge Brownies
Ingredients
- ½ cup coconut oil
- 3 ounces semisweet chocolate
- 1 cup brown sugar packed
- 2 teaspoons vanilla
- 3 eggs
- ½ cup + 2 tablespoons whole wheat flour all purpose would work too!
- ¼ cup cocoa powder
- 1 teaspoon salt
Instructions
- Preheat the oven to 350 degrees. Prepare a 9×9 baking dish by spraying with non stick cooking spray.
- Add chocolate to a microwave safe bowl. Microwave in 30 second increments, stirring in between. Add the coconut oil after 1 minute and melt as well. Stir until well combined. Mix in brown sugar and vanilla. Allow to cool slightly before whisking in eggs.
- Add flour, cocoa powder, and salt. Mix until just combined.
- Pour brownie batter into prepared pan. Bake in the middle of your oven for 23-27 minutes, until a toothpick inserted in the center comes out clean.