I have this great banana bread recipe. In fact, I had declared it THE best banana bread. It was clean and gluten free, which, let’s be honest, when combined can mean it doesn’t taste that great. But my friends and family will agree, it is darn good banana bread. You can get the recipe by clicking here.
However, THE best banana bread requires the baker to create oat flour by putting all the dry ingredients in a food processor. I love my food processor, but the other evening, I was not interested in heading to the basement to grab it to make banana bread. Yes, I know this is slightly lazy. Okay, a lot lazy. But out of my refusal to grab an appliance, another great recipe was born.
This recipe is STILL gluten free. While I am not gluten free myself, I dig being able to create for my friends who are. It still doesn’t have refined sugar. While I still love me some sugar, I enjoy finding good substitutes for my friends who try hard to cut extra sugar from their life. So if you are gluten free, watching your sugar, or you’re like me who really just loves a great banana bread recipe, I hope you give this a try. My husband (who doesn’t love banana bread) definitely went for seconds. And thirds.
Ready? Let’s get baking!
Your Ingredients
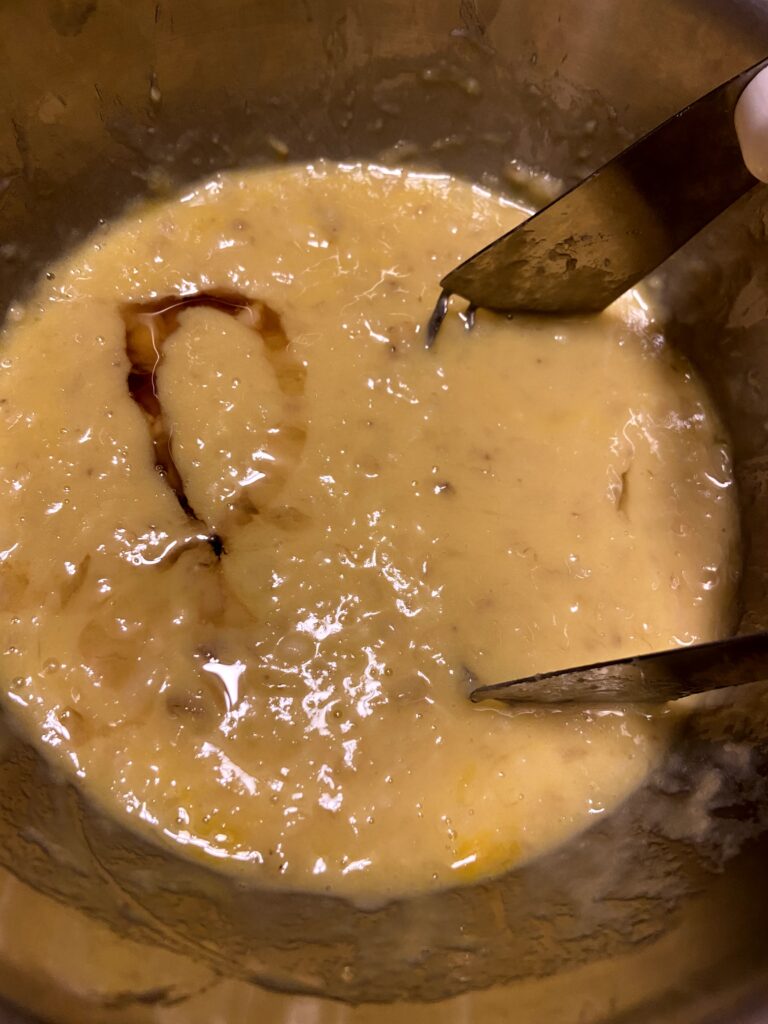
- 3 very ripe bananas, mashed
- 2 eggs, room temperature
- 2 tablespoons coconut oil, melted (olive oil would do fine too!)
- ¼ cup real maple syrup
- ½ teaspoon vanilla extract
- 1 ½ cups almond flour
- ¾ cup old fashioned oats
- 1 teaspoon baking soda
- ½ teaspoon salt
- ¼ cup chopped walnuts
- ¼ cup dark chocolate chips
Your Steps for Great Banana Bread
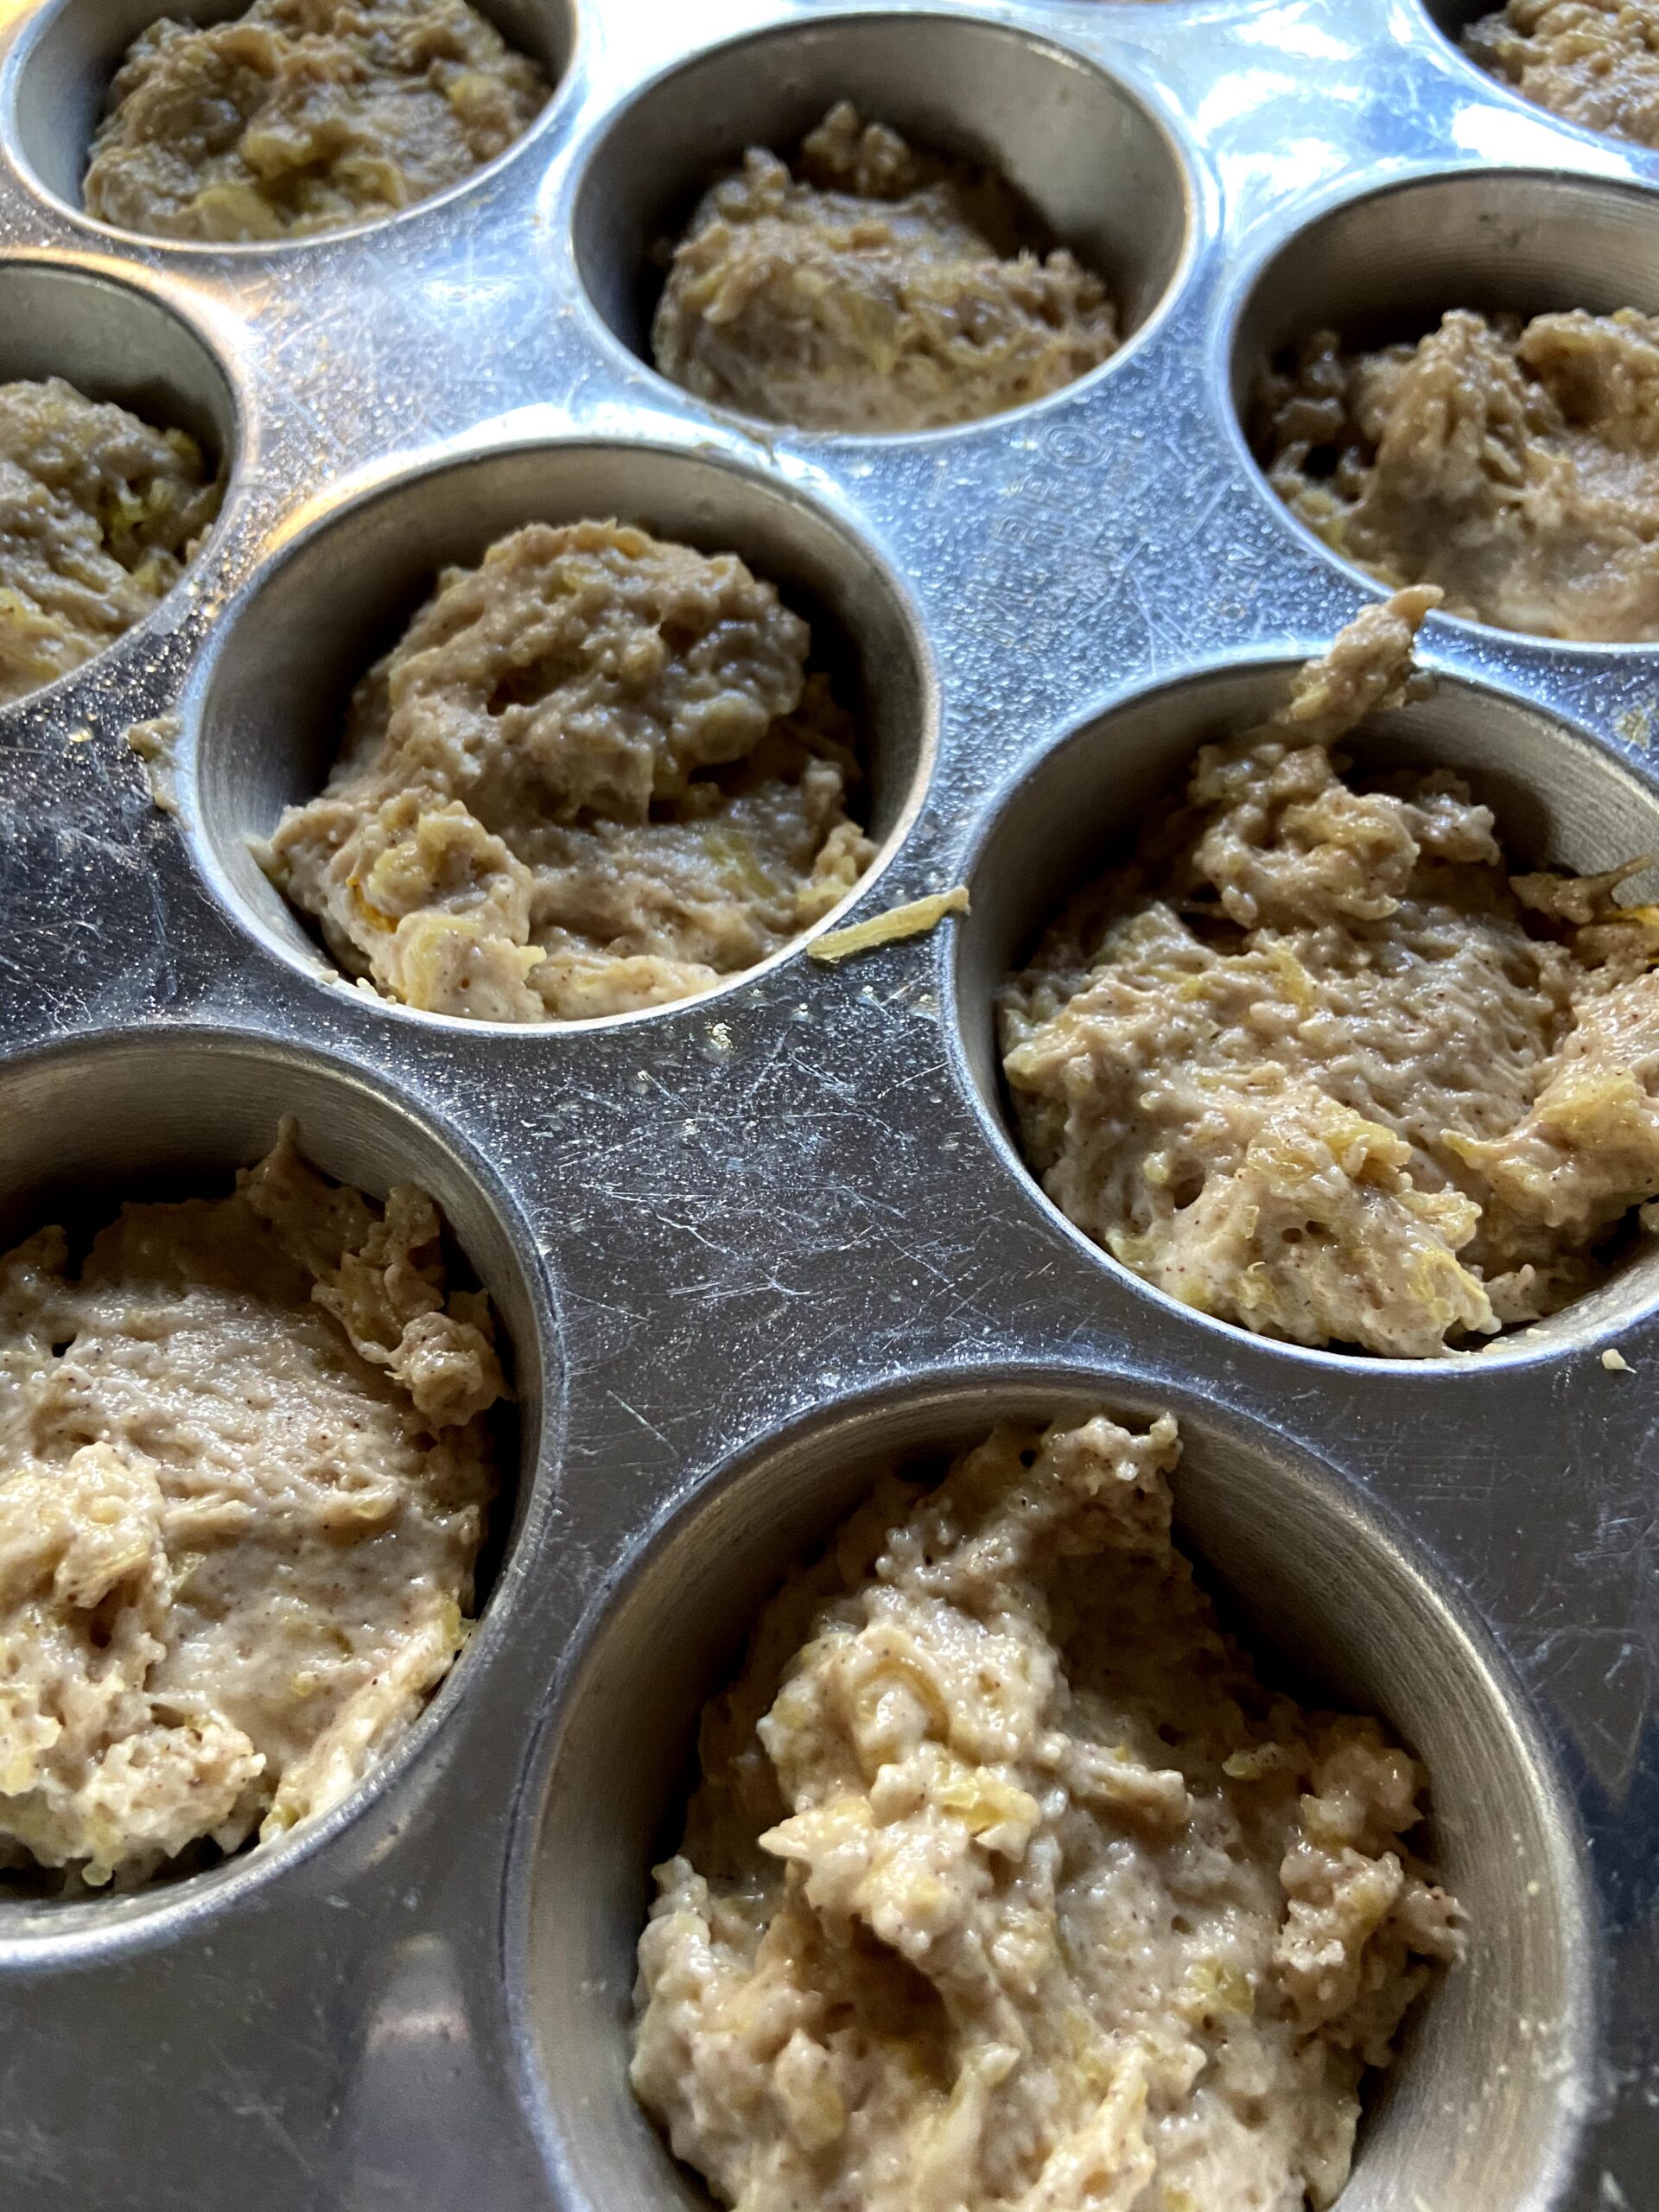
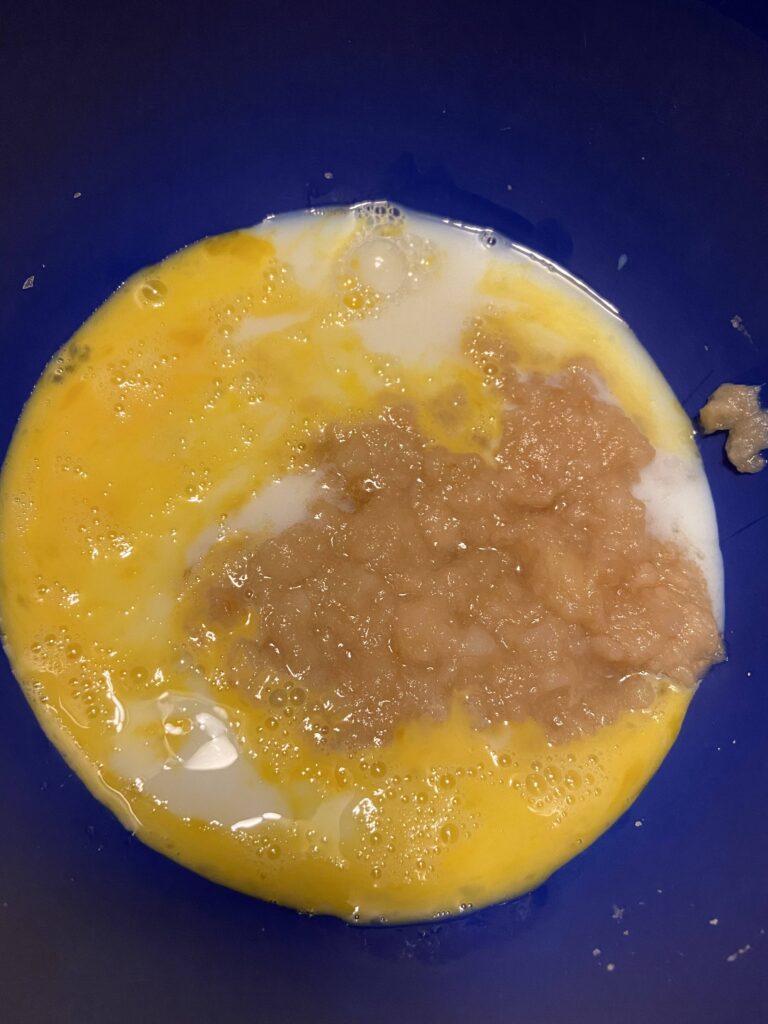
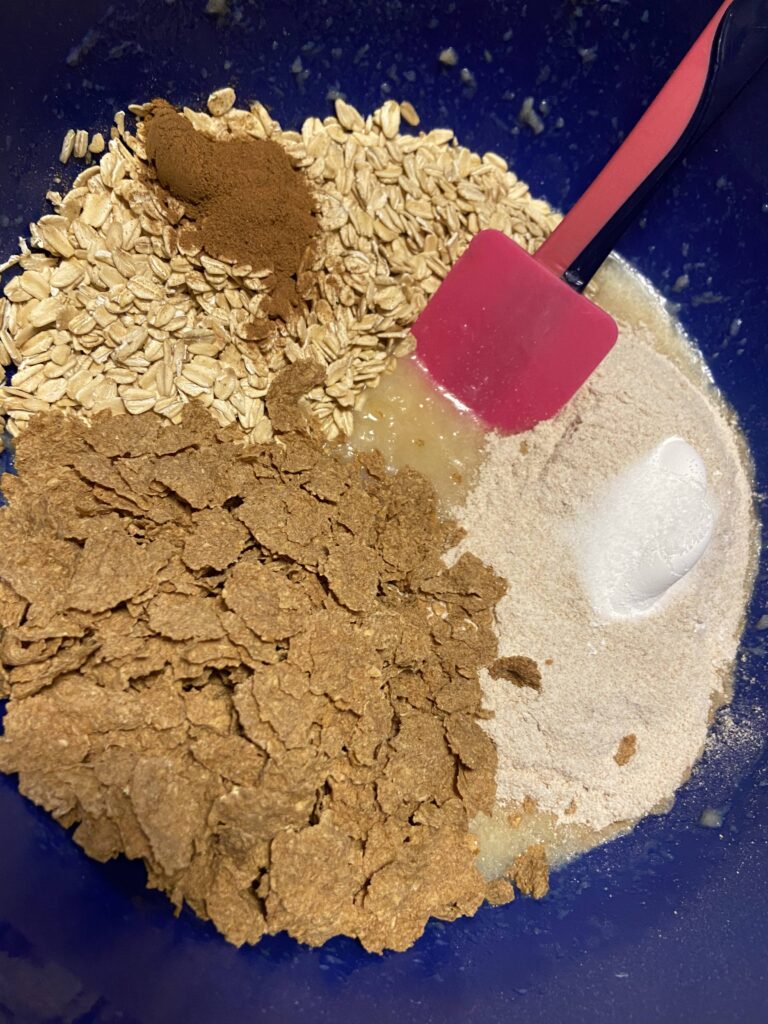
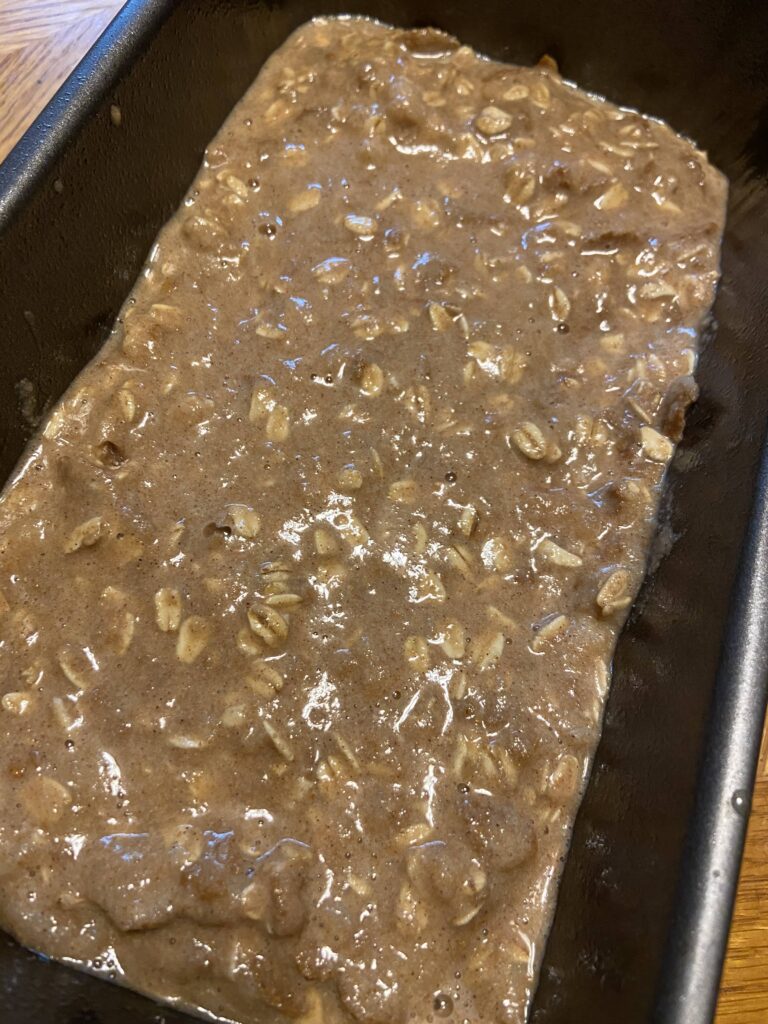
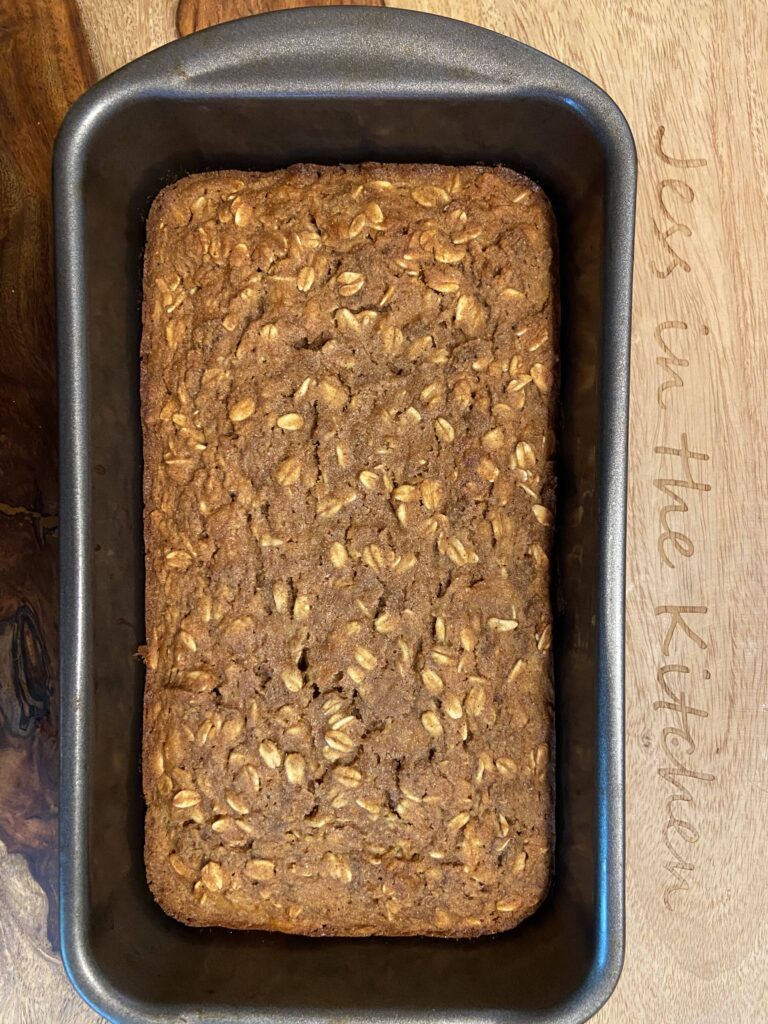
Preheat oven to 350 degrees. Lightly grease a 9×5 quick bread pan. In a large bowl, combine mashed bananas, eggs, maple syrup, and vanilla. Stir in oil. Combine flour, oats, baking soda, and salt. Stir into the wet mixture. Fold in walnuts and chocolate chips. If you want it to look extra beautiful, sprinkle a few extra chocolate chips on top. Pour into prepared pan. Bake for 45-60 minutes, until cooked through.

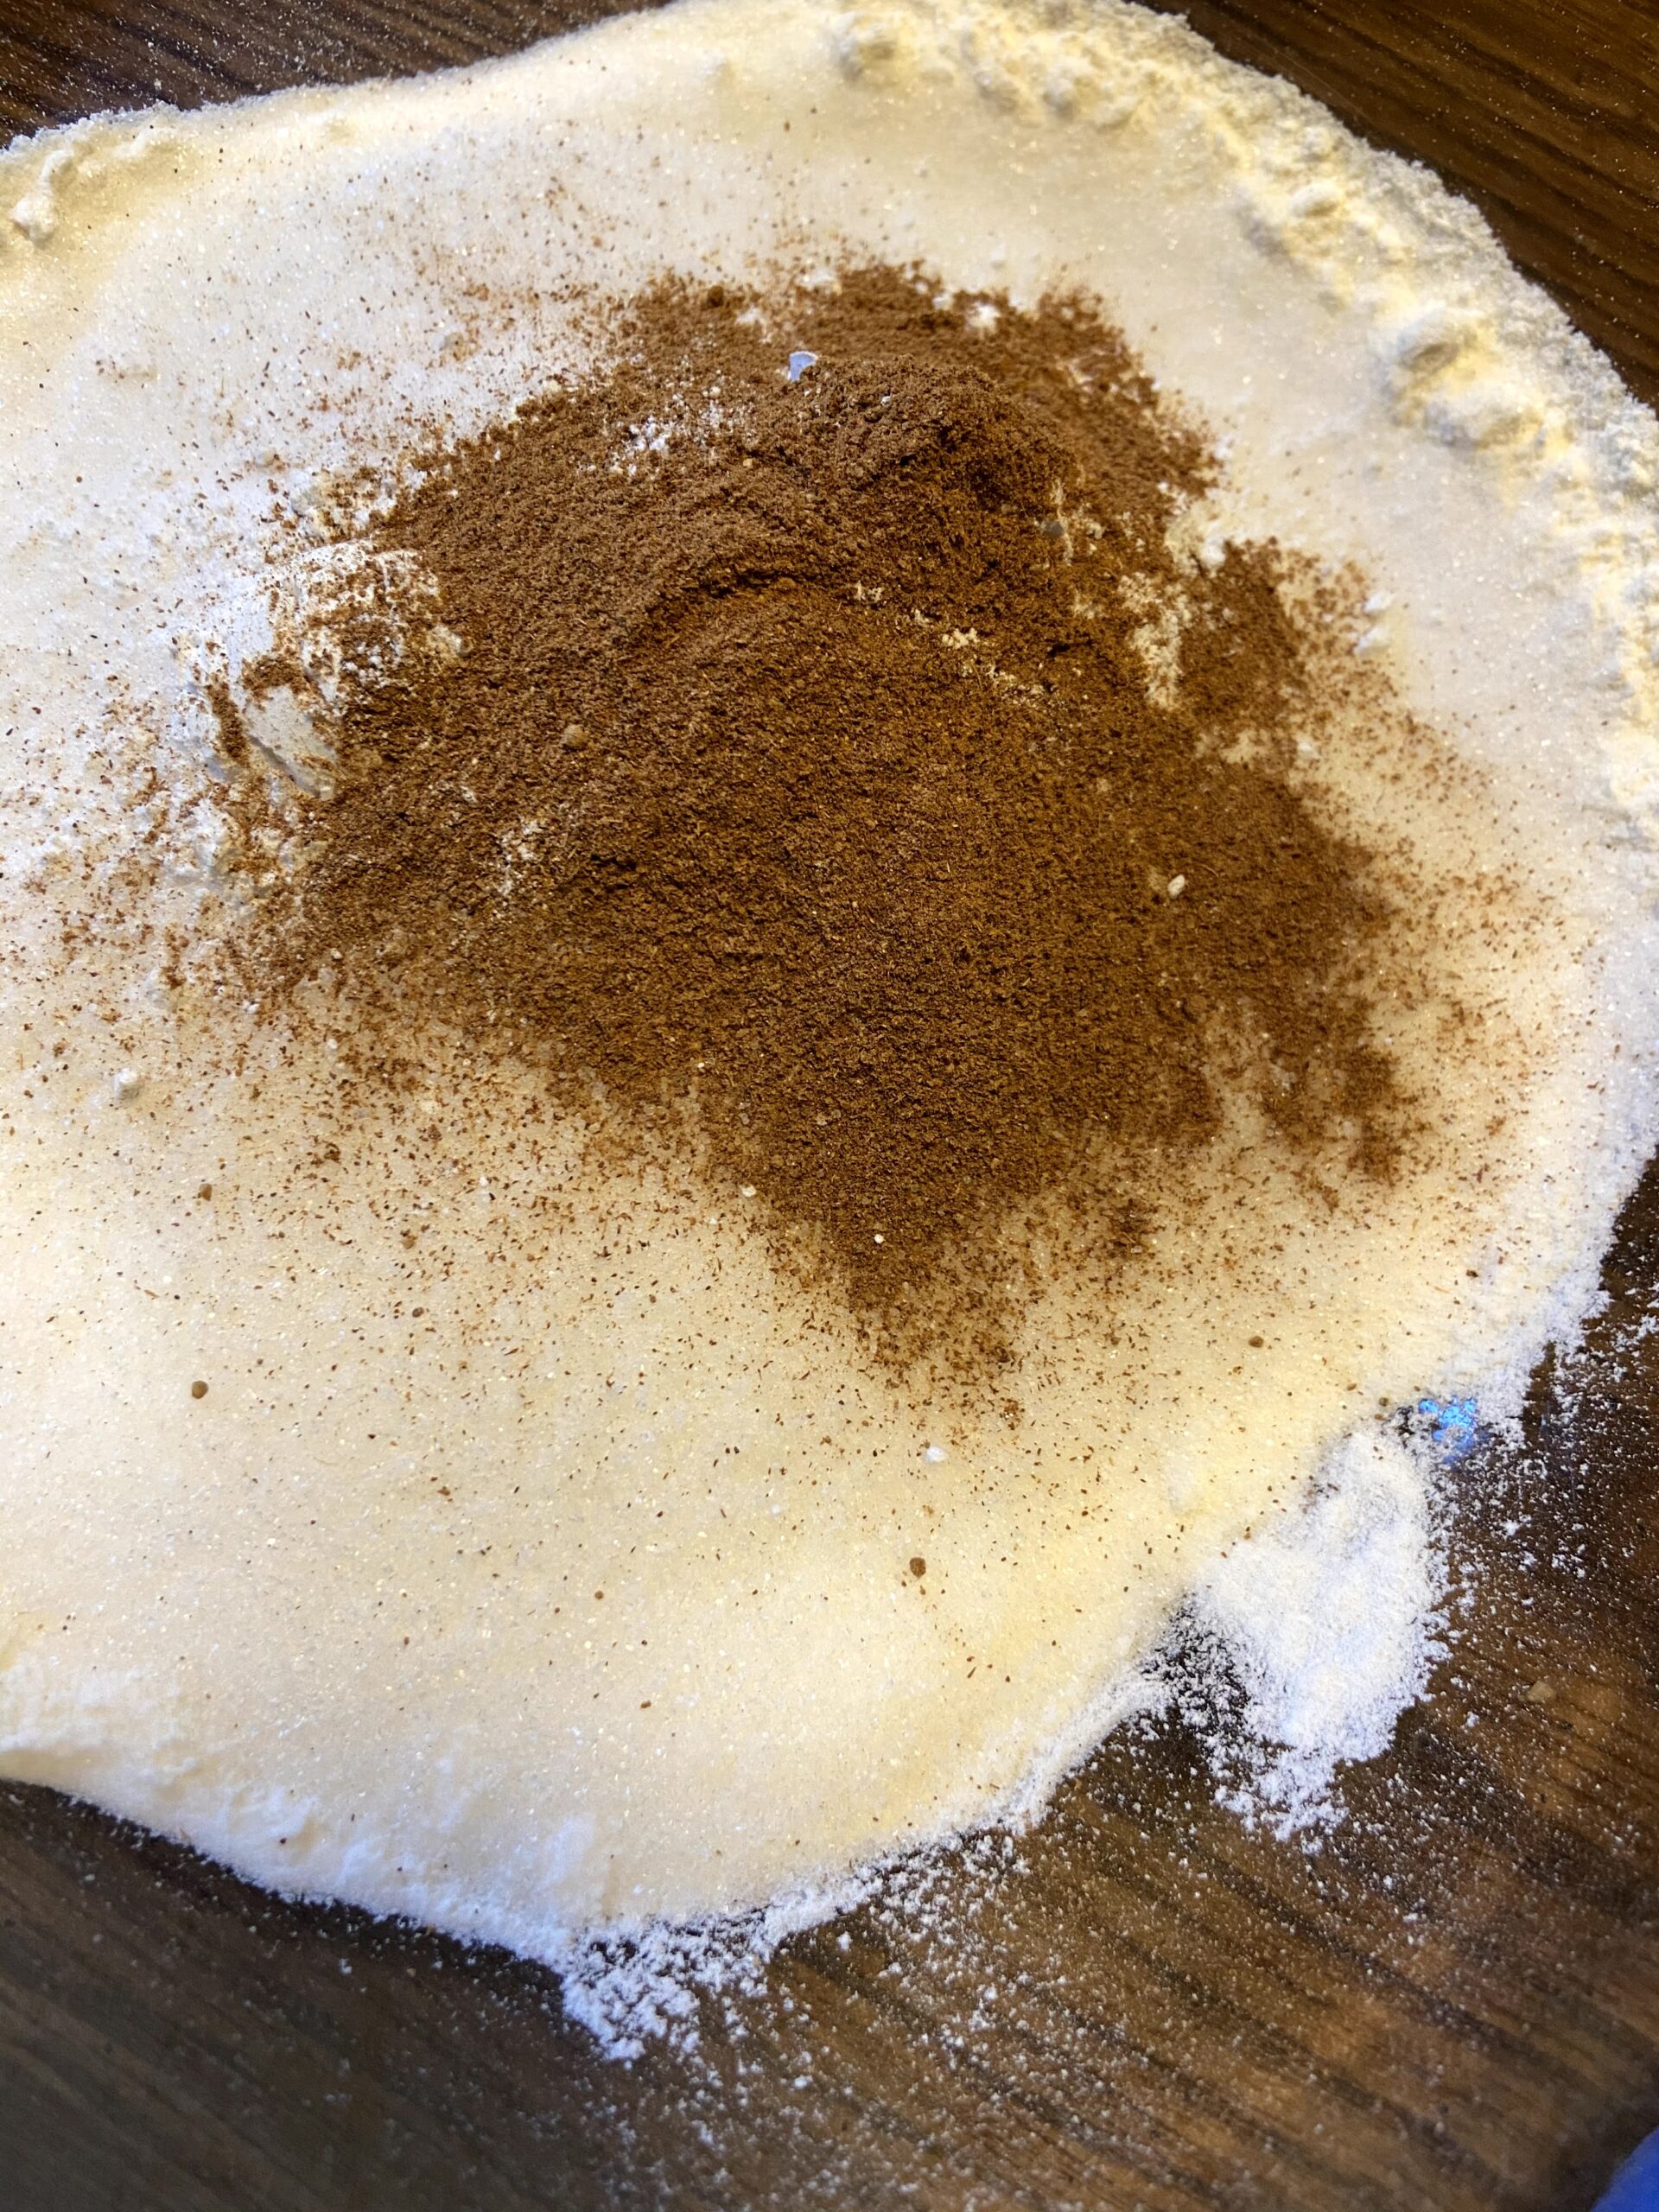
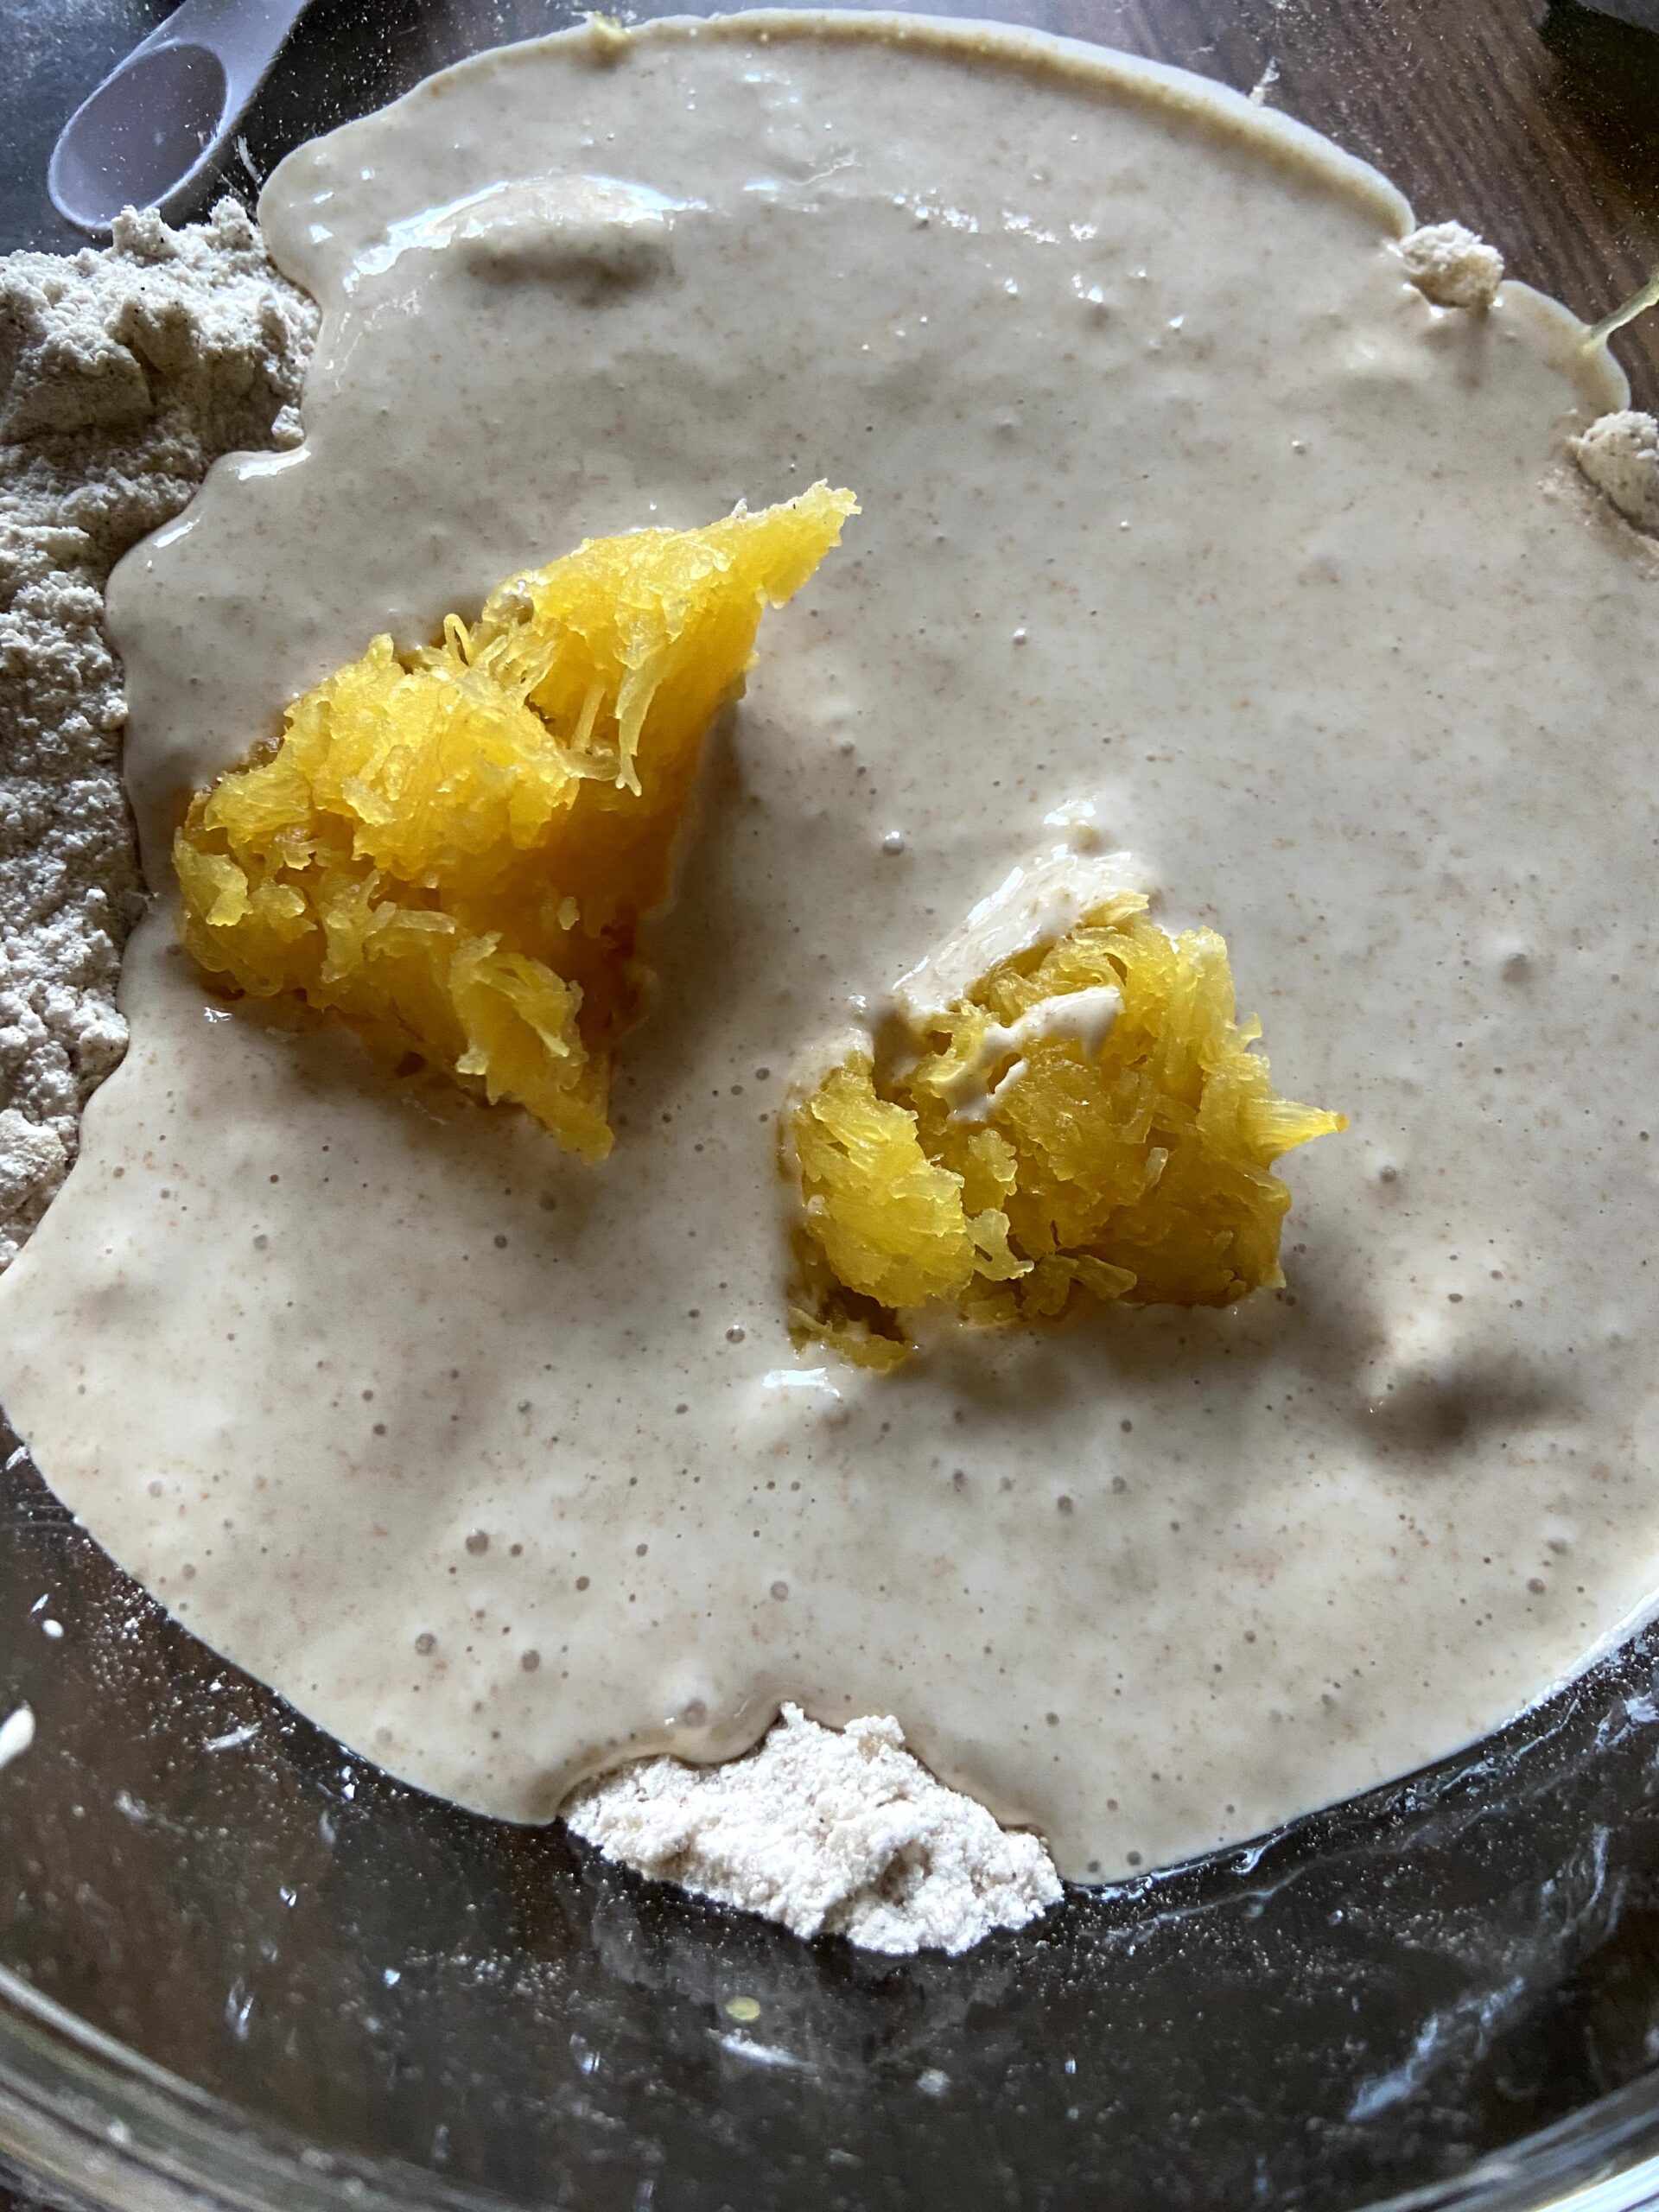
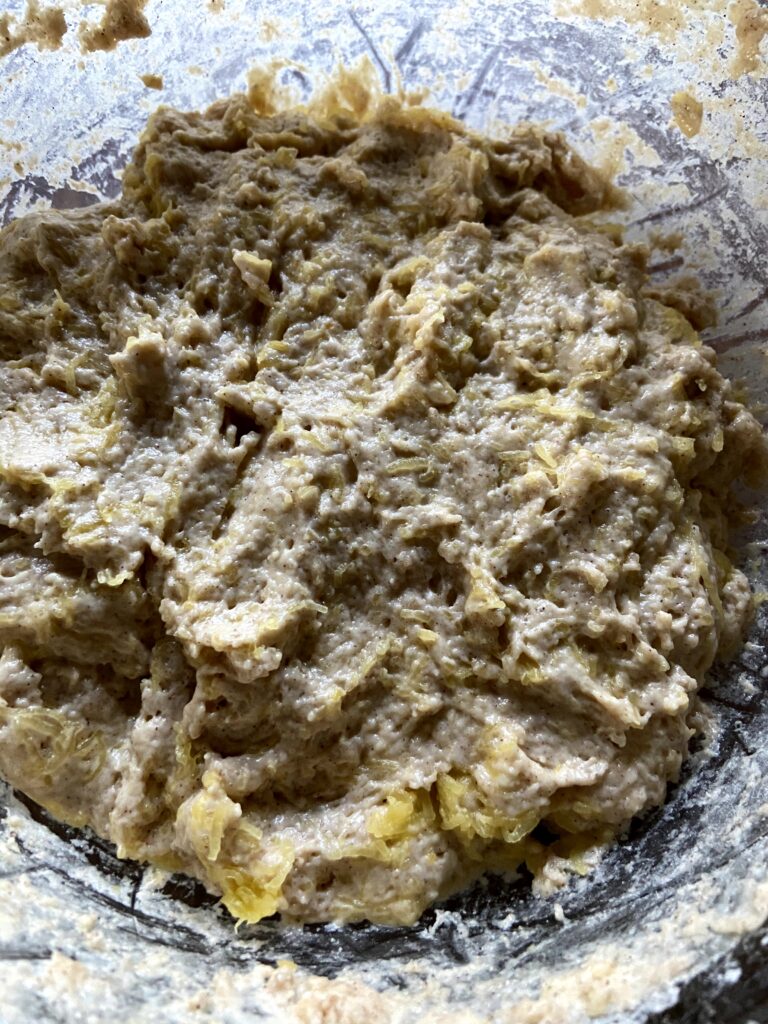
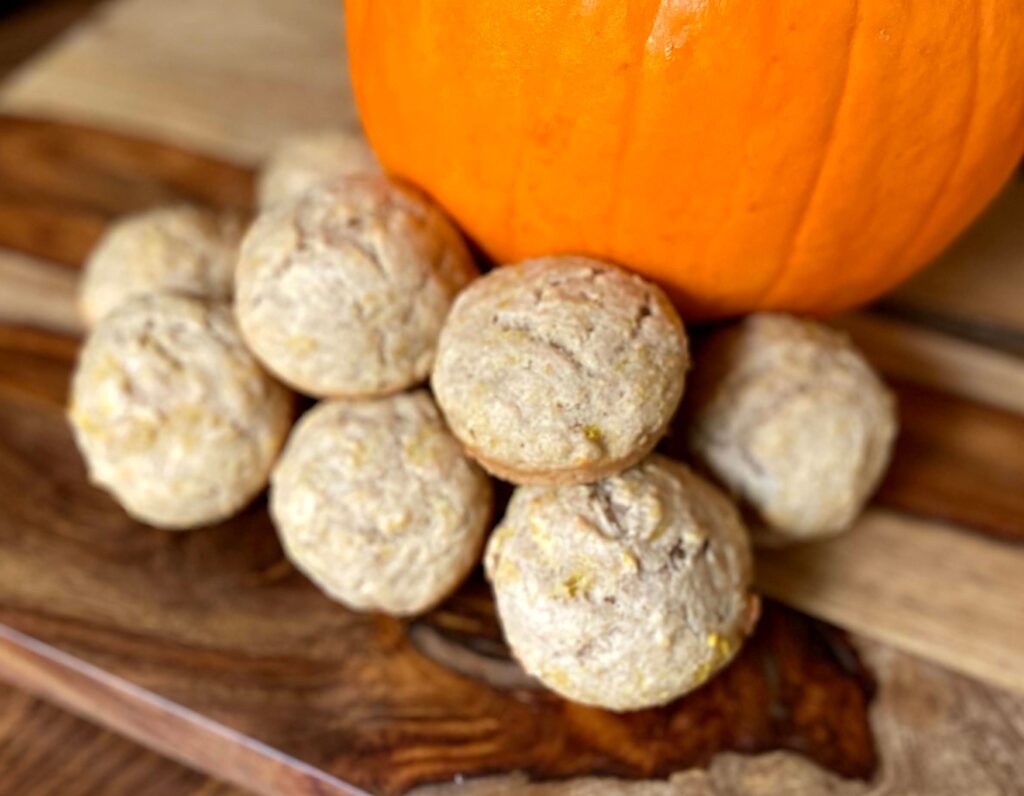
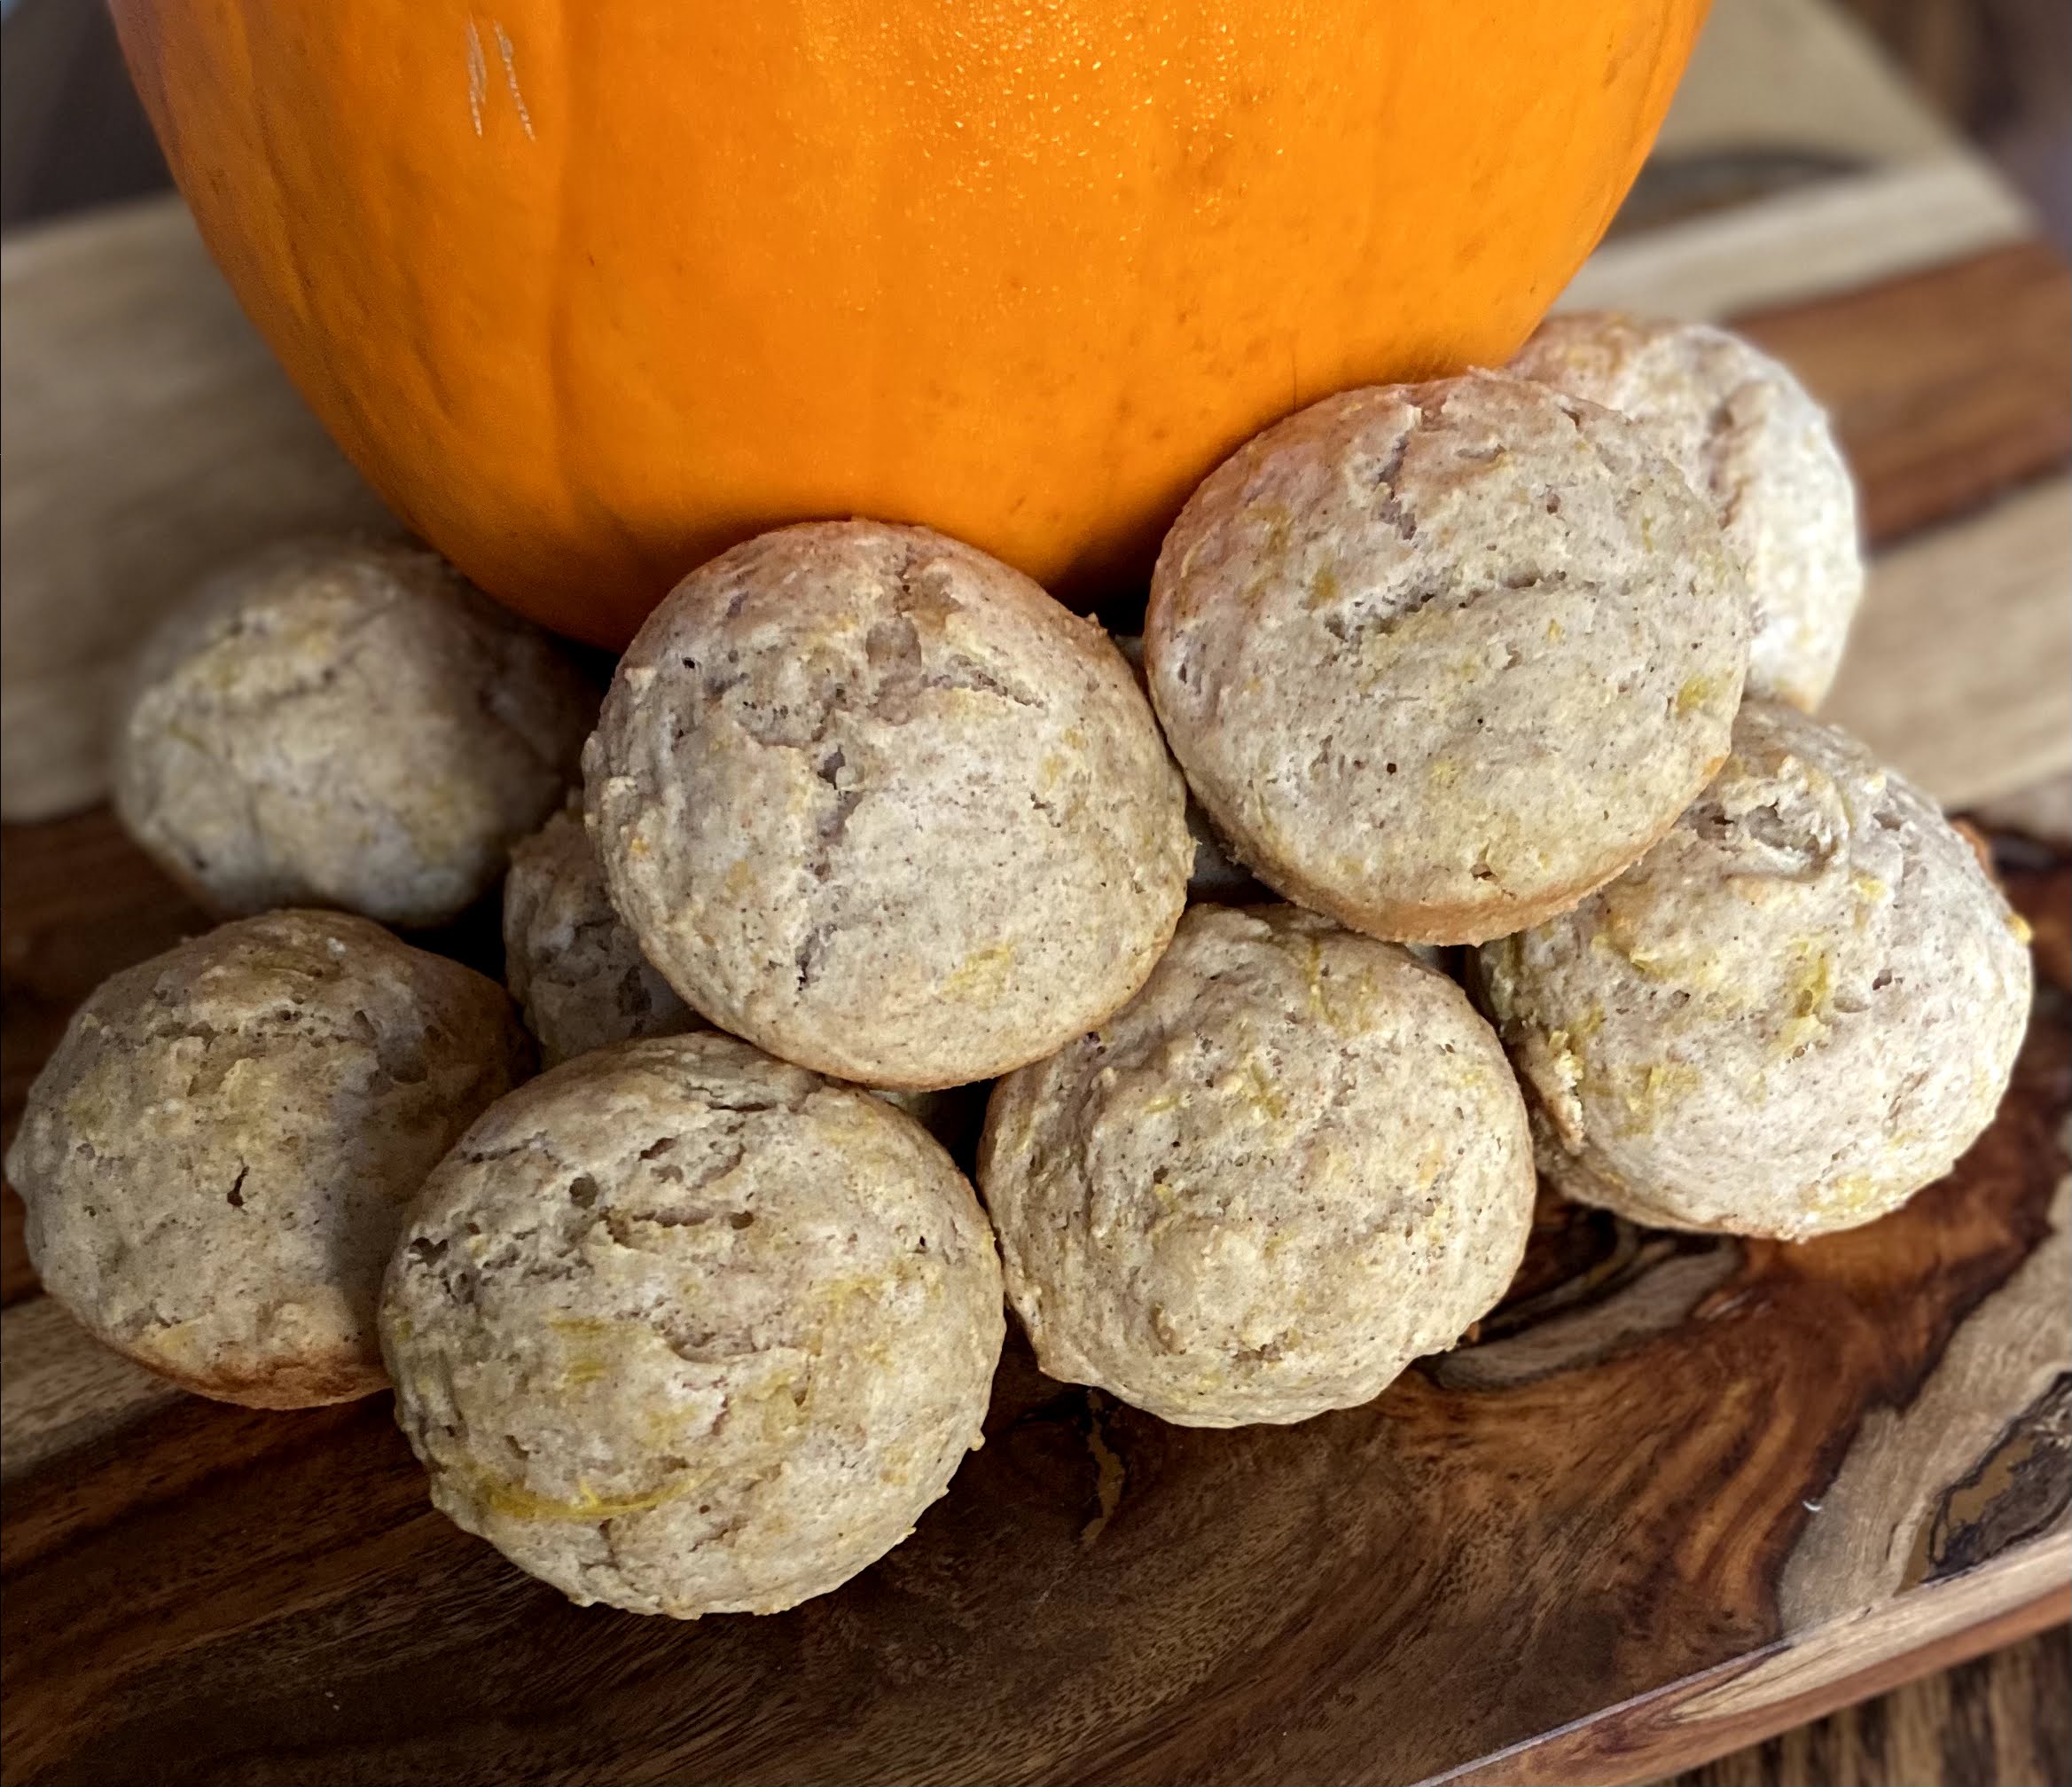
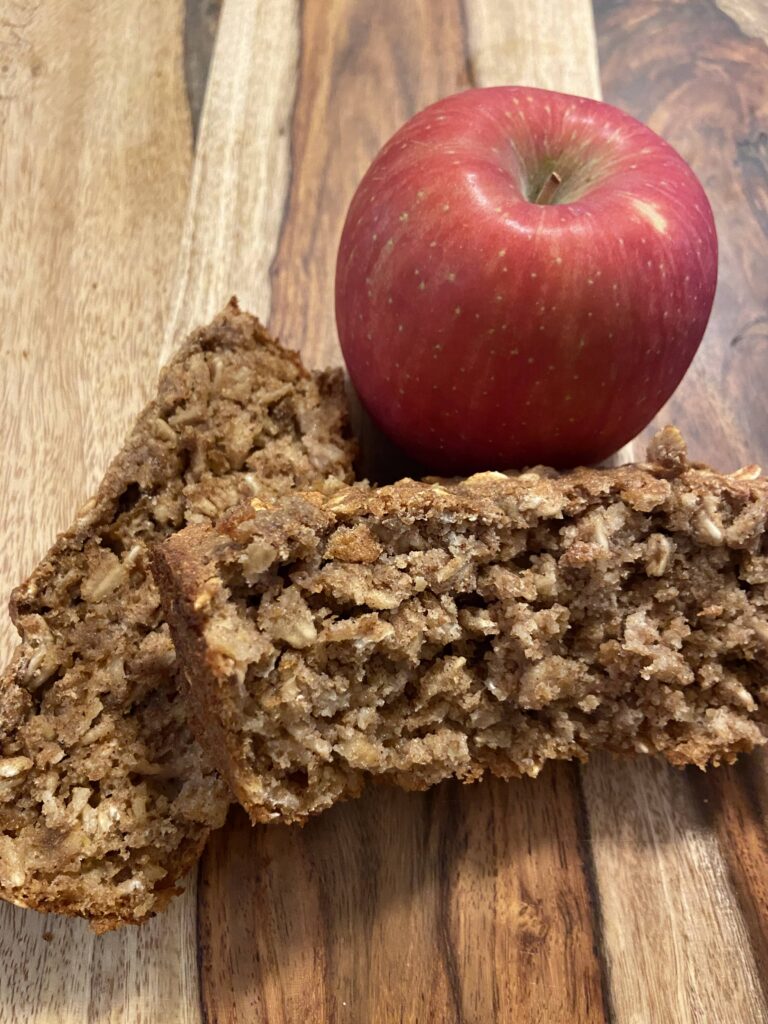
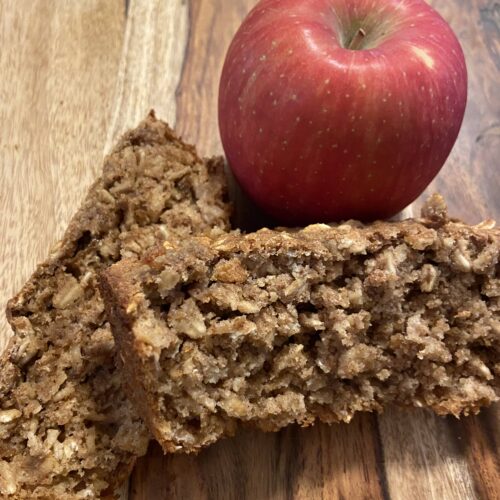
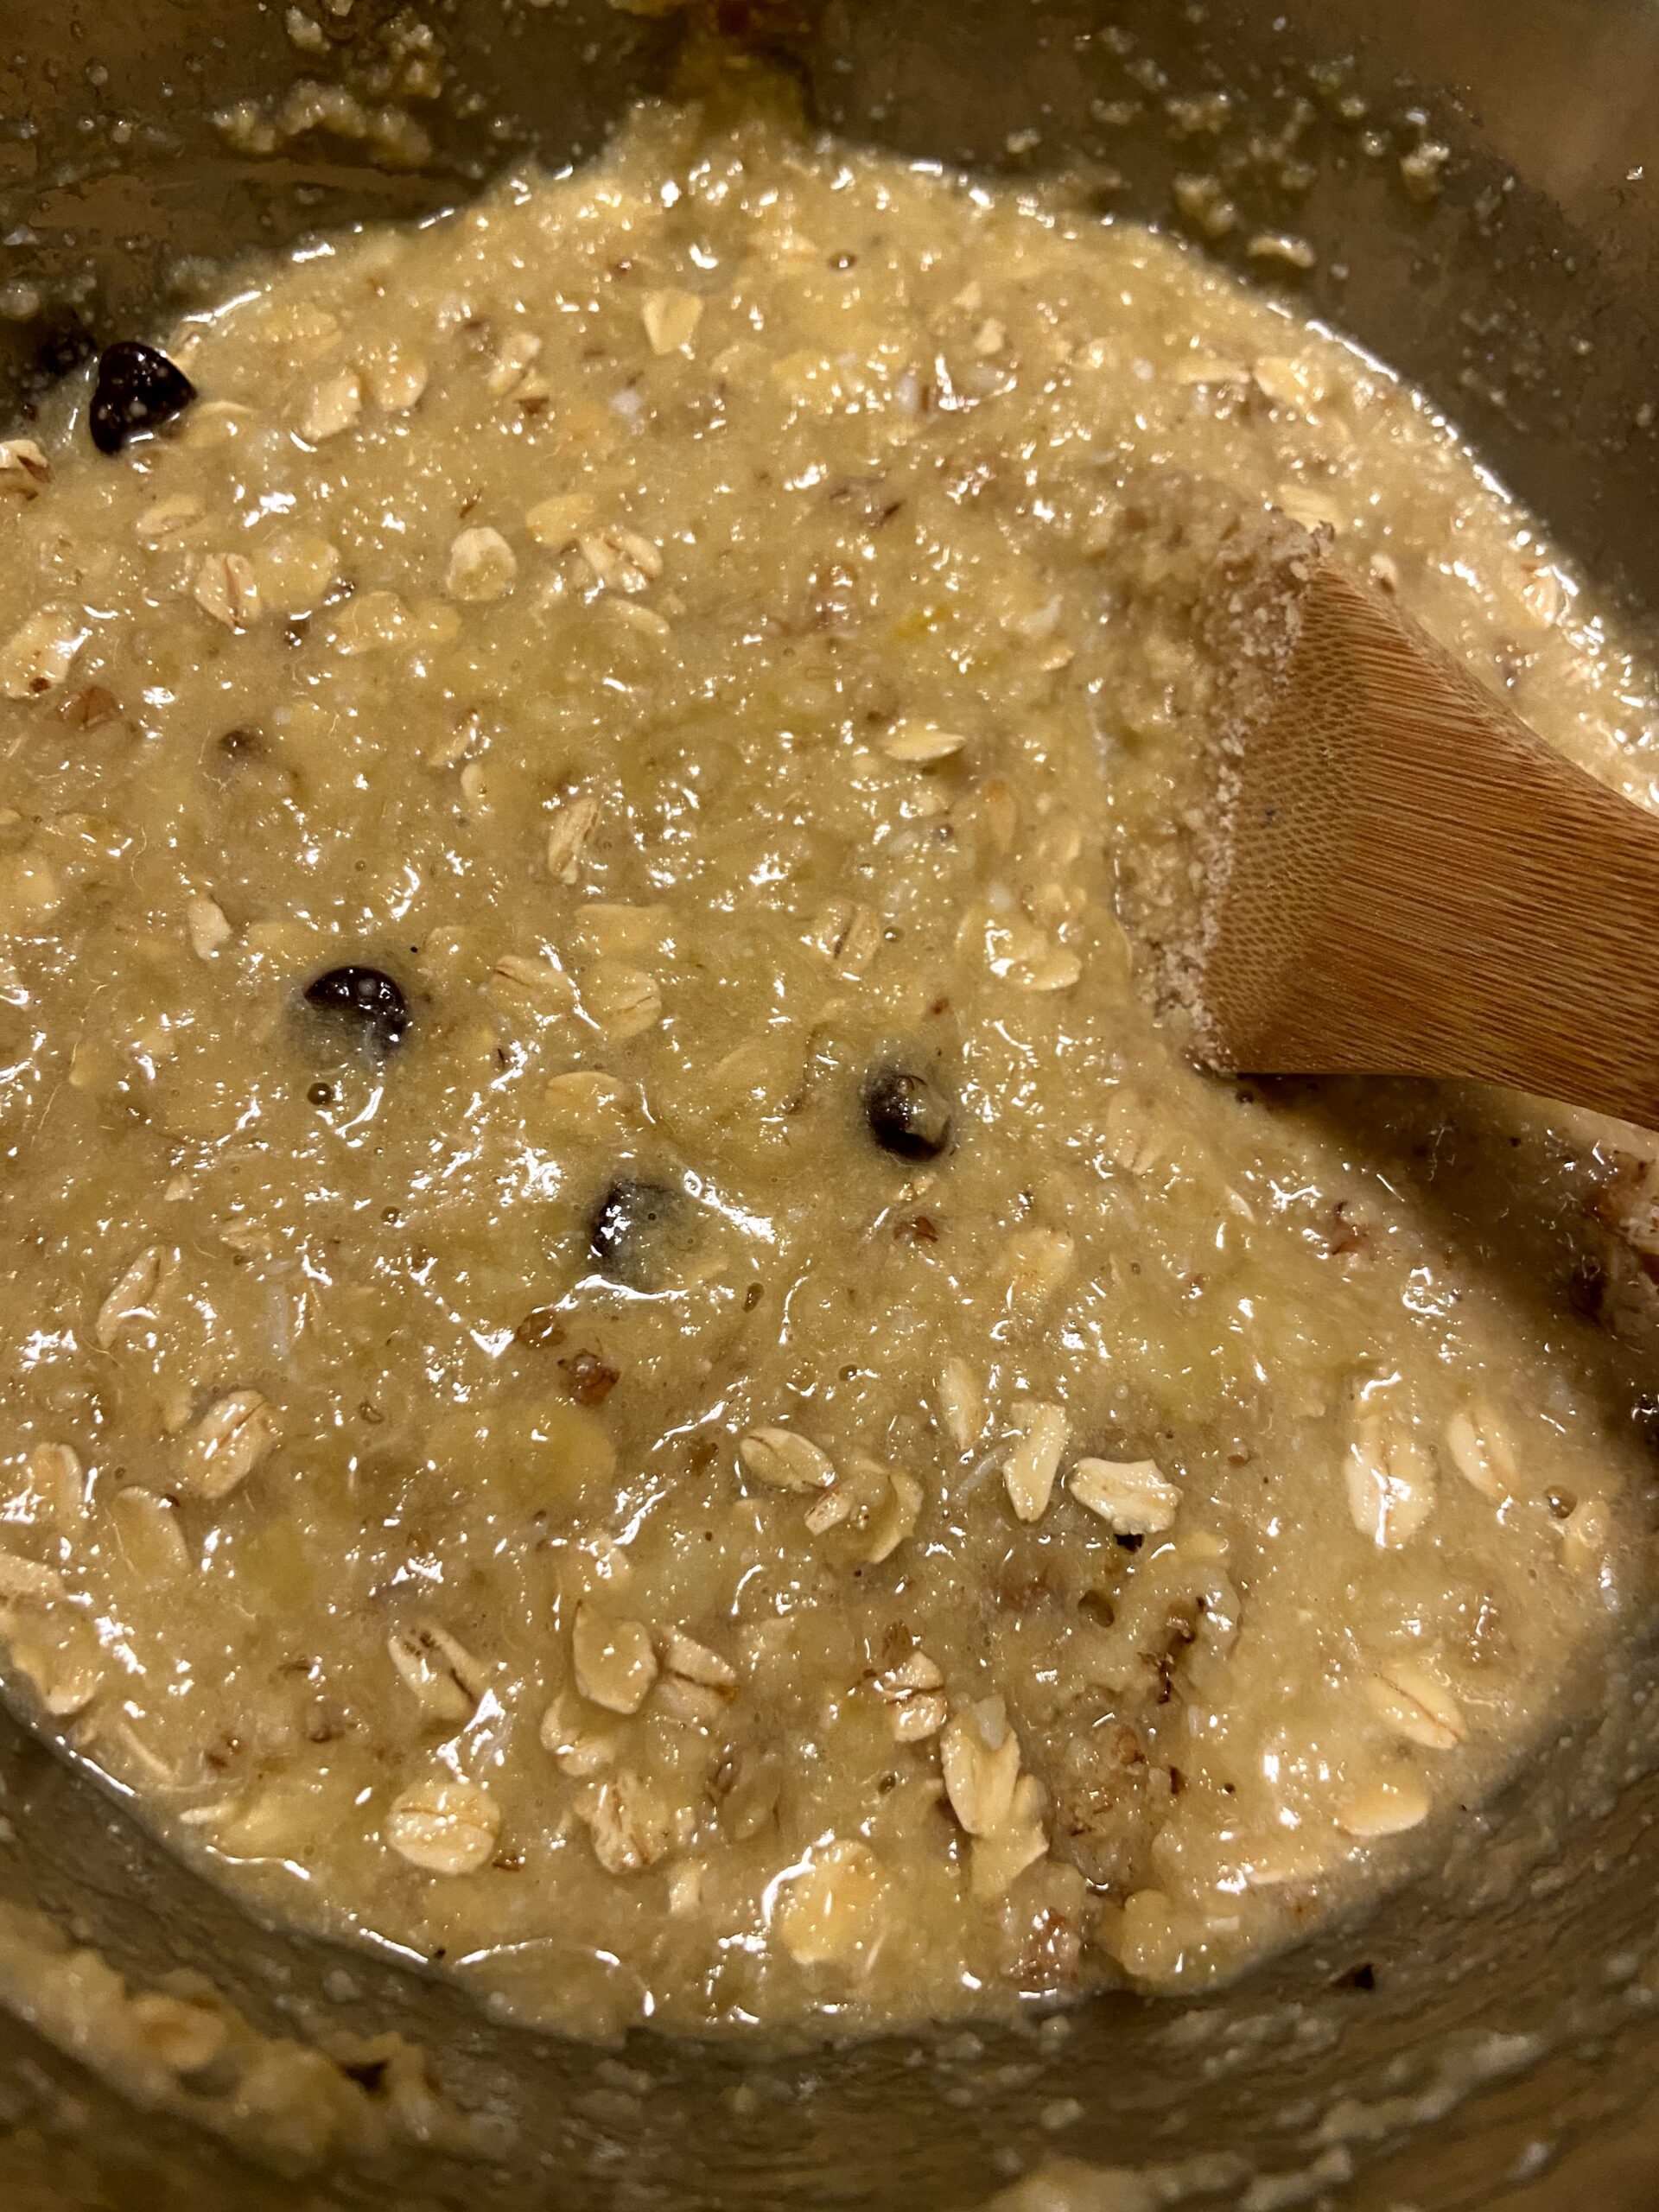
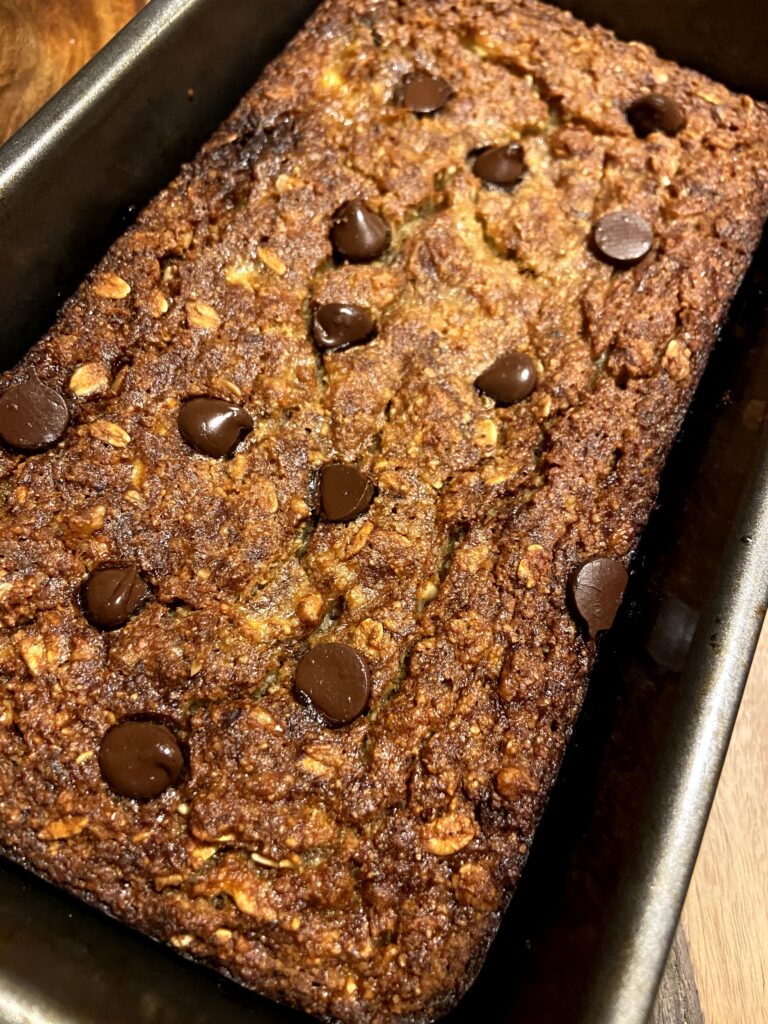
Start with the best–a few overly ripe bananas Mix up some wet ingredients Add the dry. Stir it up. It will be moist. That’s okay! Baked to perfection. Freaking yum.


Looking to bake other delicious treats? Head on over to my baking page for more inspiration!
Tools of the Trade
There isn’t much you need for a quick bread, but I want to share out the tools I love when I am baking!

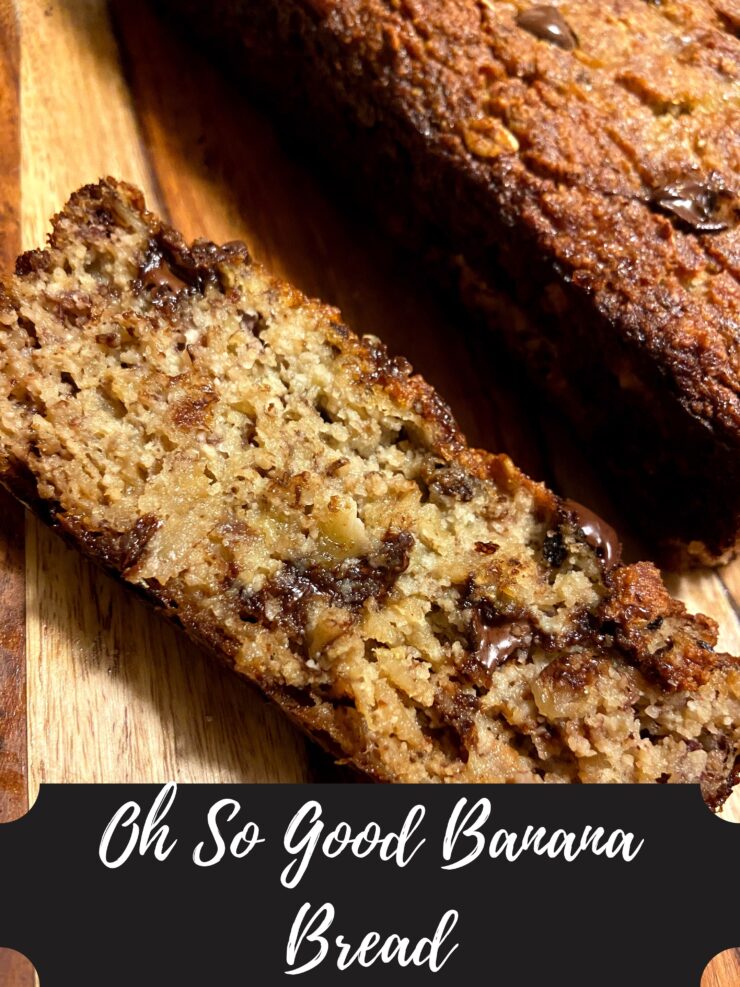
Oh So Good Banana Bread
Ingredients
- 3 very ripe bananas mashed
- 2 eggs room temperature
- 2 tablespoons coconut oil melted (olive oil would do fine too!)
- ¼ cup real maple syrup
- ½ teaspoon vanilla extract
- 1 ½ cups almond flour
- ¾ cup old fashioned oats
- 1 teaspoon baking soda
- ½ teaspoon salt
- ¼ cup chopped walnuts
- ¼ cup dark chocolate chips
Instructions
- Preheat oven to 350 degrees. Lightly grease a 9×5 quick bread pan.
- In a large bowl, combine mashed bananas, eggs, maple syrup, and vanilla.
- Stir in oil. Combine flour, oats, baking soda, and salt. Stir into the wet mixture.
- Fold in walnuts and chocolate chips. Sprinkle a few extra chocolate chips on top.
- Pour into prepared pan. Bake for 45-60 minutes, until cooked through.