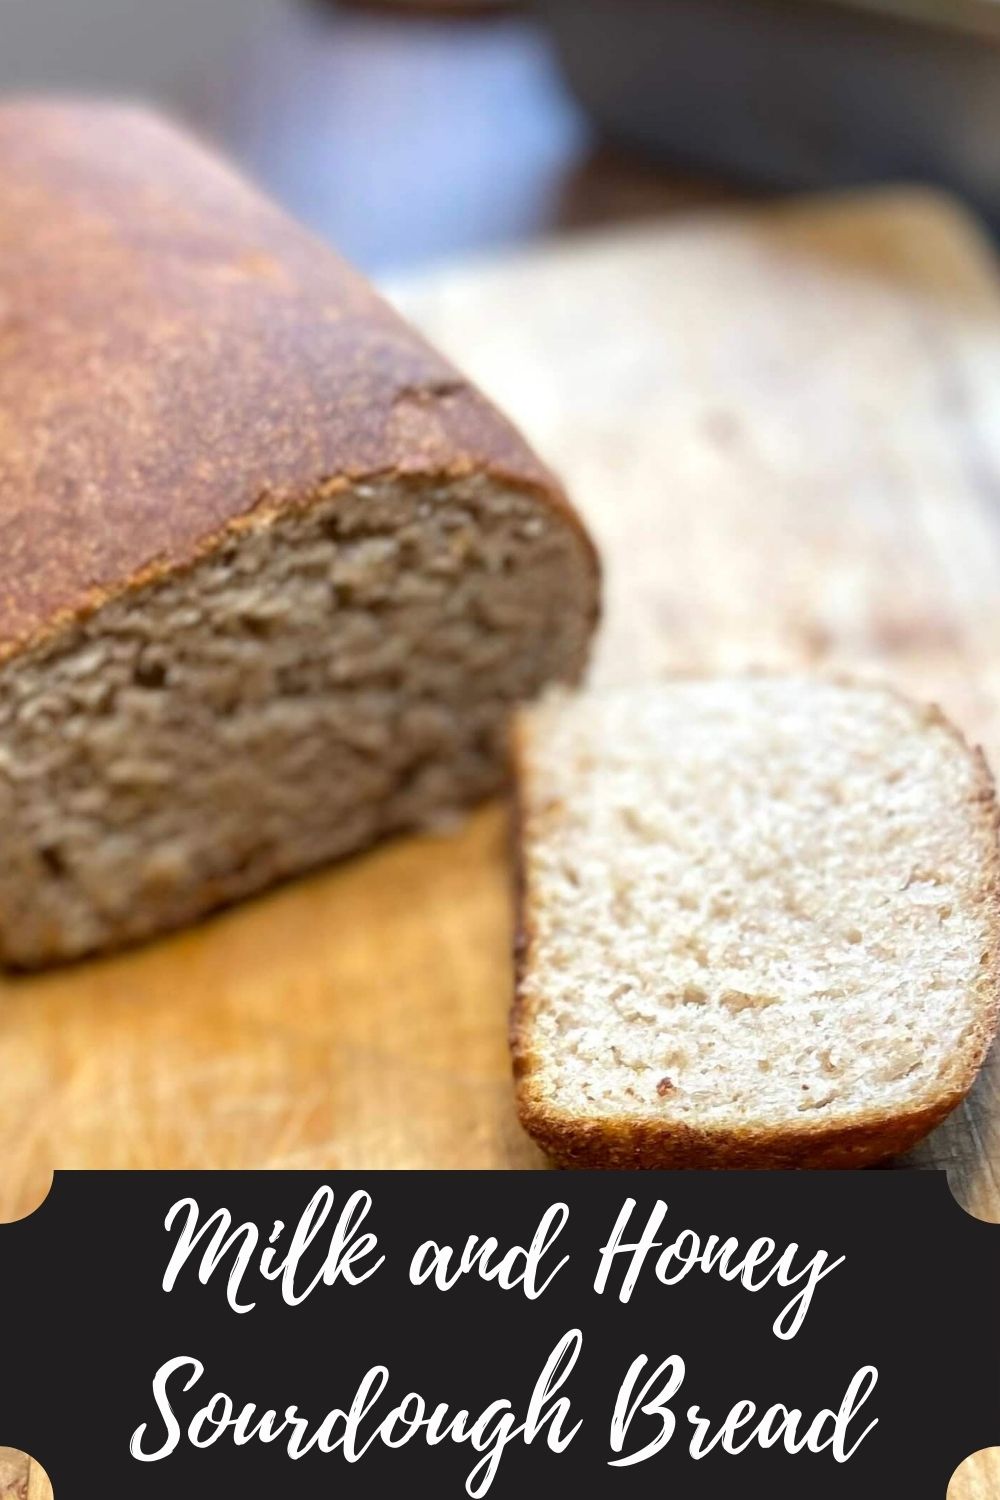
If you haven’t learned it yet, I am a sourdough baker. You can read my story here! Now, I wouldn’t call myself a fancy sourdough baker by any imagination of the word. I stick with the recipe I have memorized for a basic milk and honey loaf and bake it week in and week out. Our family generally goes through two loaves a week, and it works out perfect when I bake every weekend. But sometimes we get to the end of the week and we still have a loaf (or part) sitting around. Goodness knows, once a fresh loaf is baked, that old loaf won’t get eaten. The solution? These homemade sourdough croutons!
But Jess, I don’t bake sourdough! I hear you, and first off, why don’t you? *Smiles* It’s easier than you think. Check out King Arthur Flour recipe for creating your own starter and getting started! Maybe you still aren’t convinced. That’s okay. You can do this recipe with ANY stale bread, but I would recommend something that has some density to it. (Think: day old artisan bread from the bakery or grocery store)
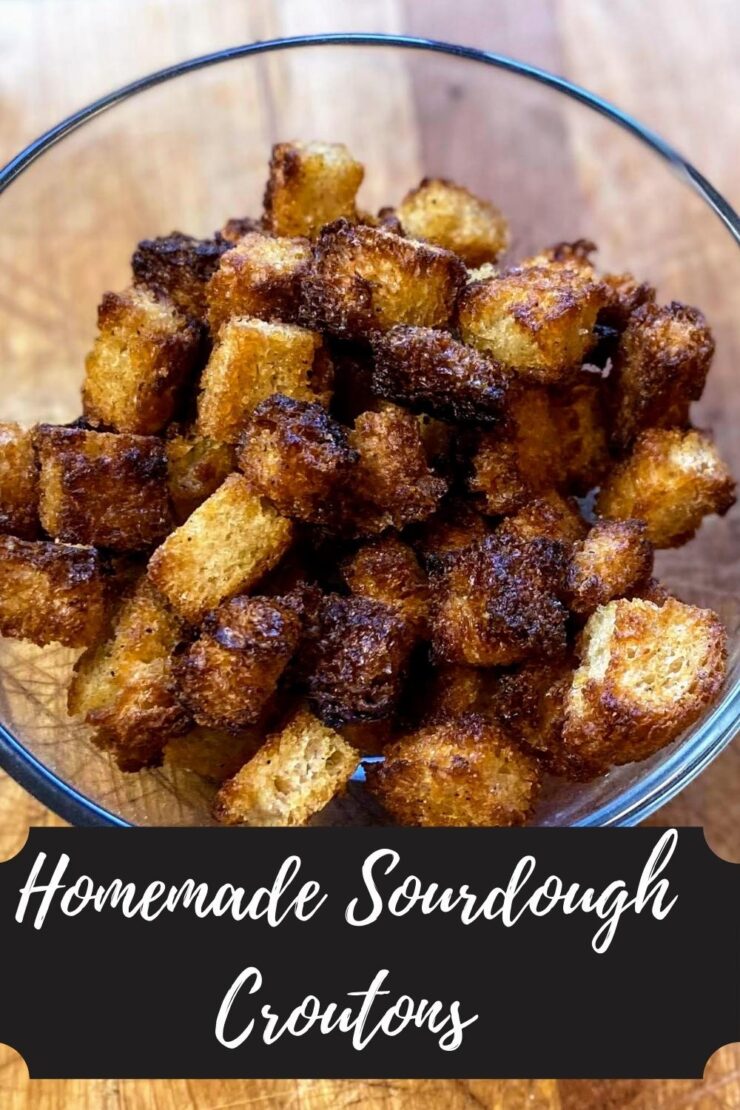
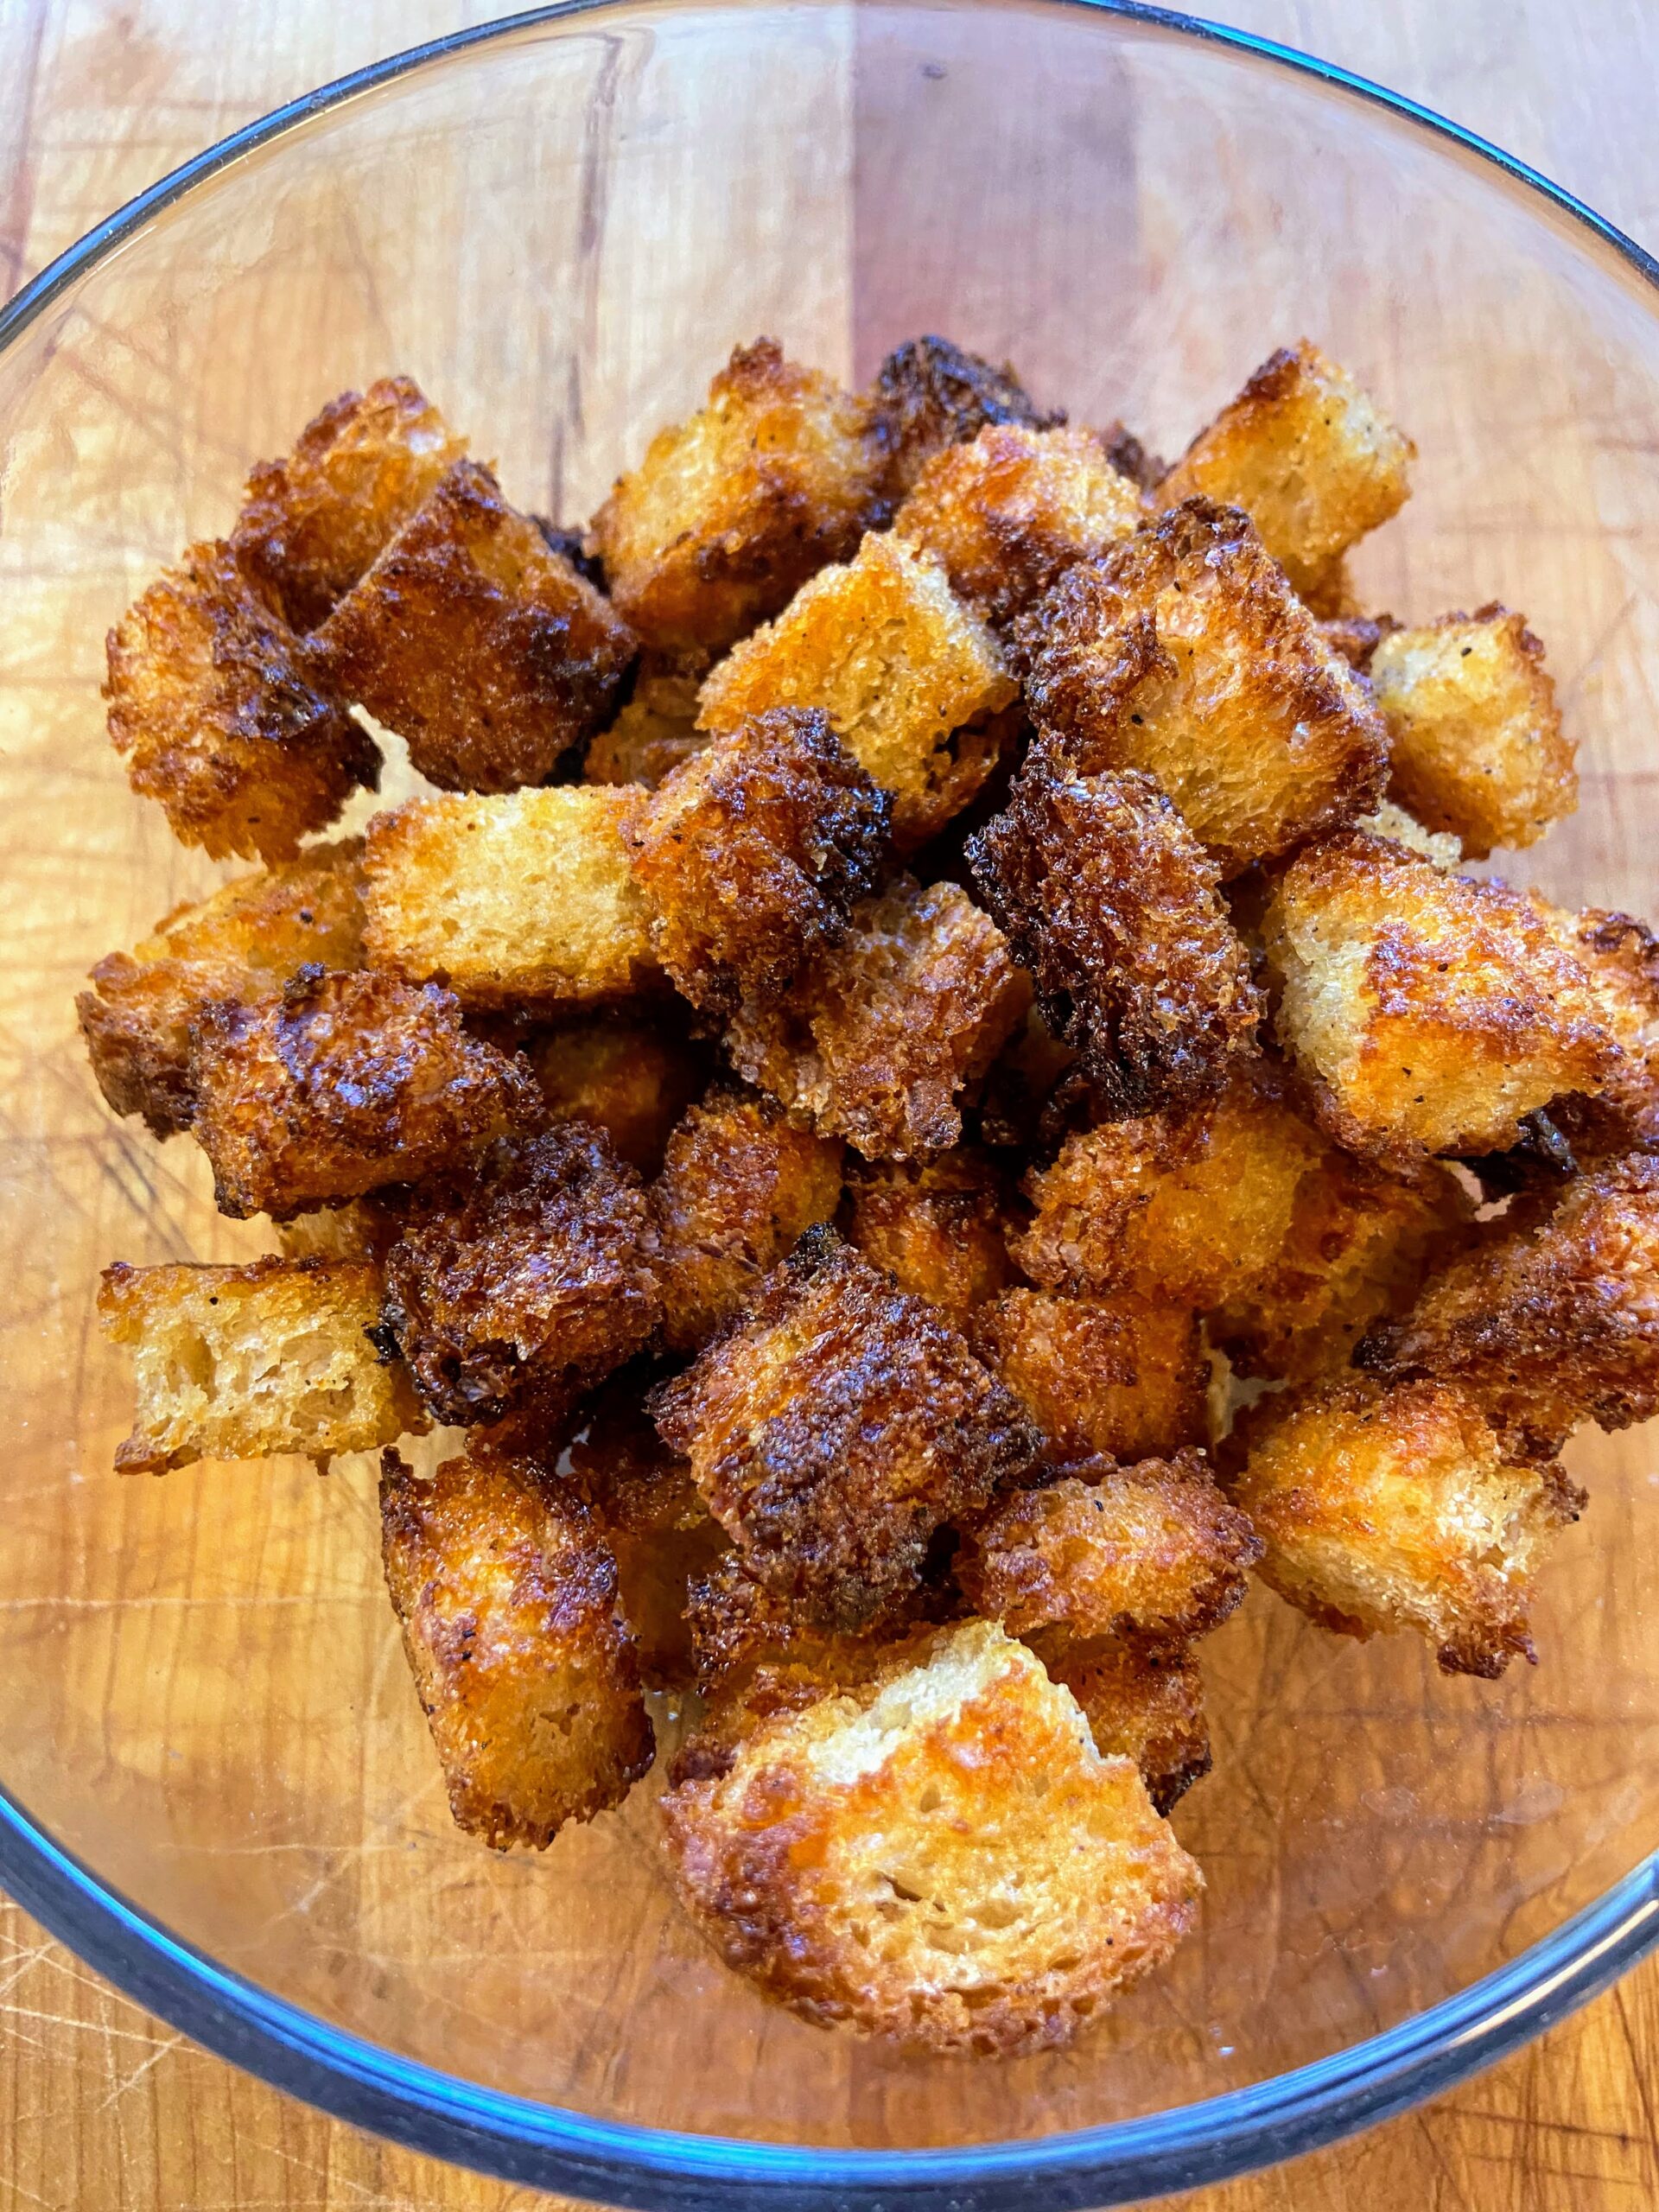
These homemade sourdough croutons are simple (the name of my game) and delicious. You’ll feel better about what you’re eating on your salad or French onion soup because you know the ingredients that are in them.
Ready to get baking? Let’s go!
Your Ingredients
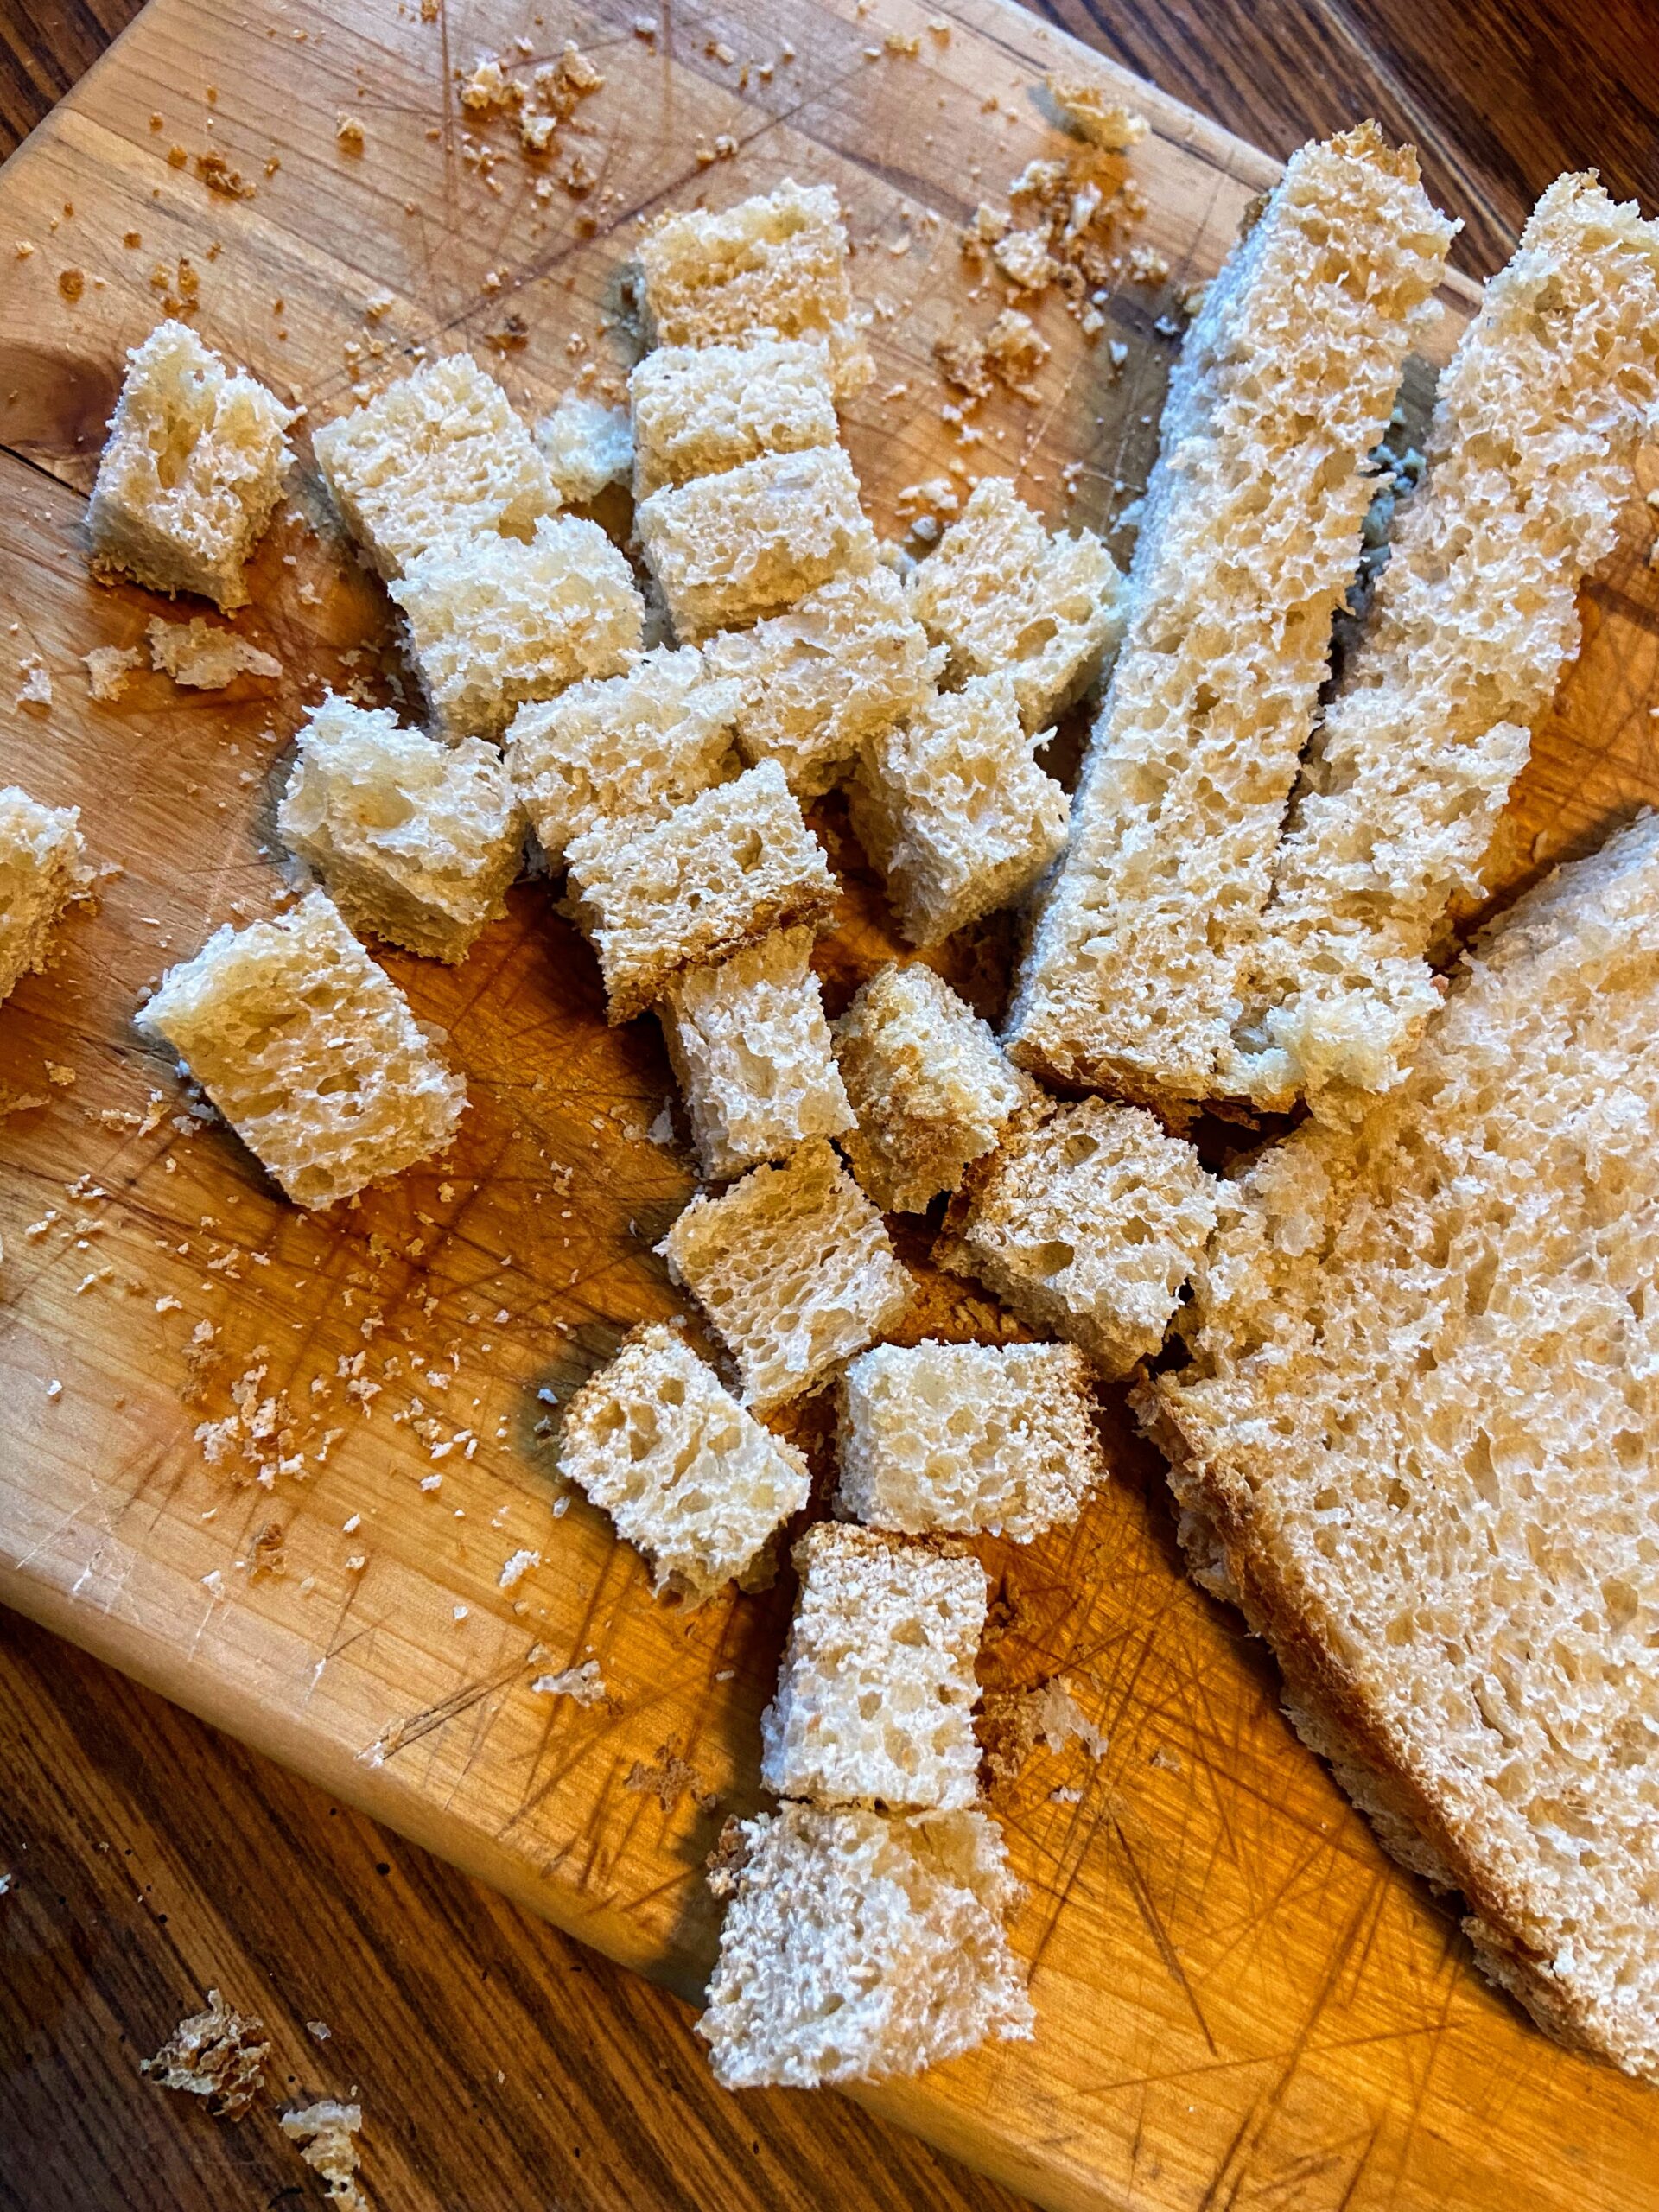
- 3 ½ – 4 cups cubed stale bread
- 2 tablespoons olive oil (flavored or plain)
- ¼ teaspoon salt
- ¼ teaspoon pepper
- ½ teaspoon garlic powder
- ½ teaspoon nutritional yeast (optional, but adds a delightful cheese flavor!)
Your Steps to Homemade Sourdough Croutons
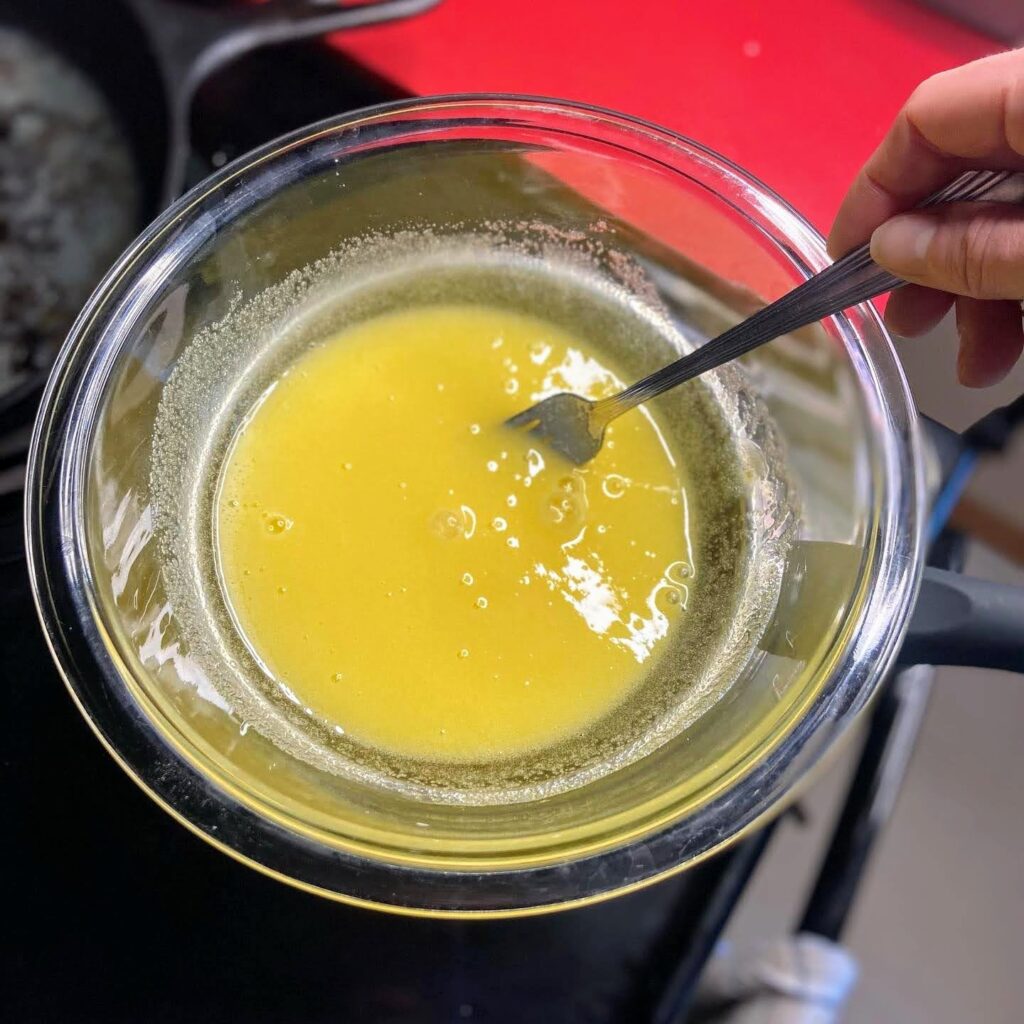
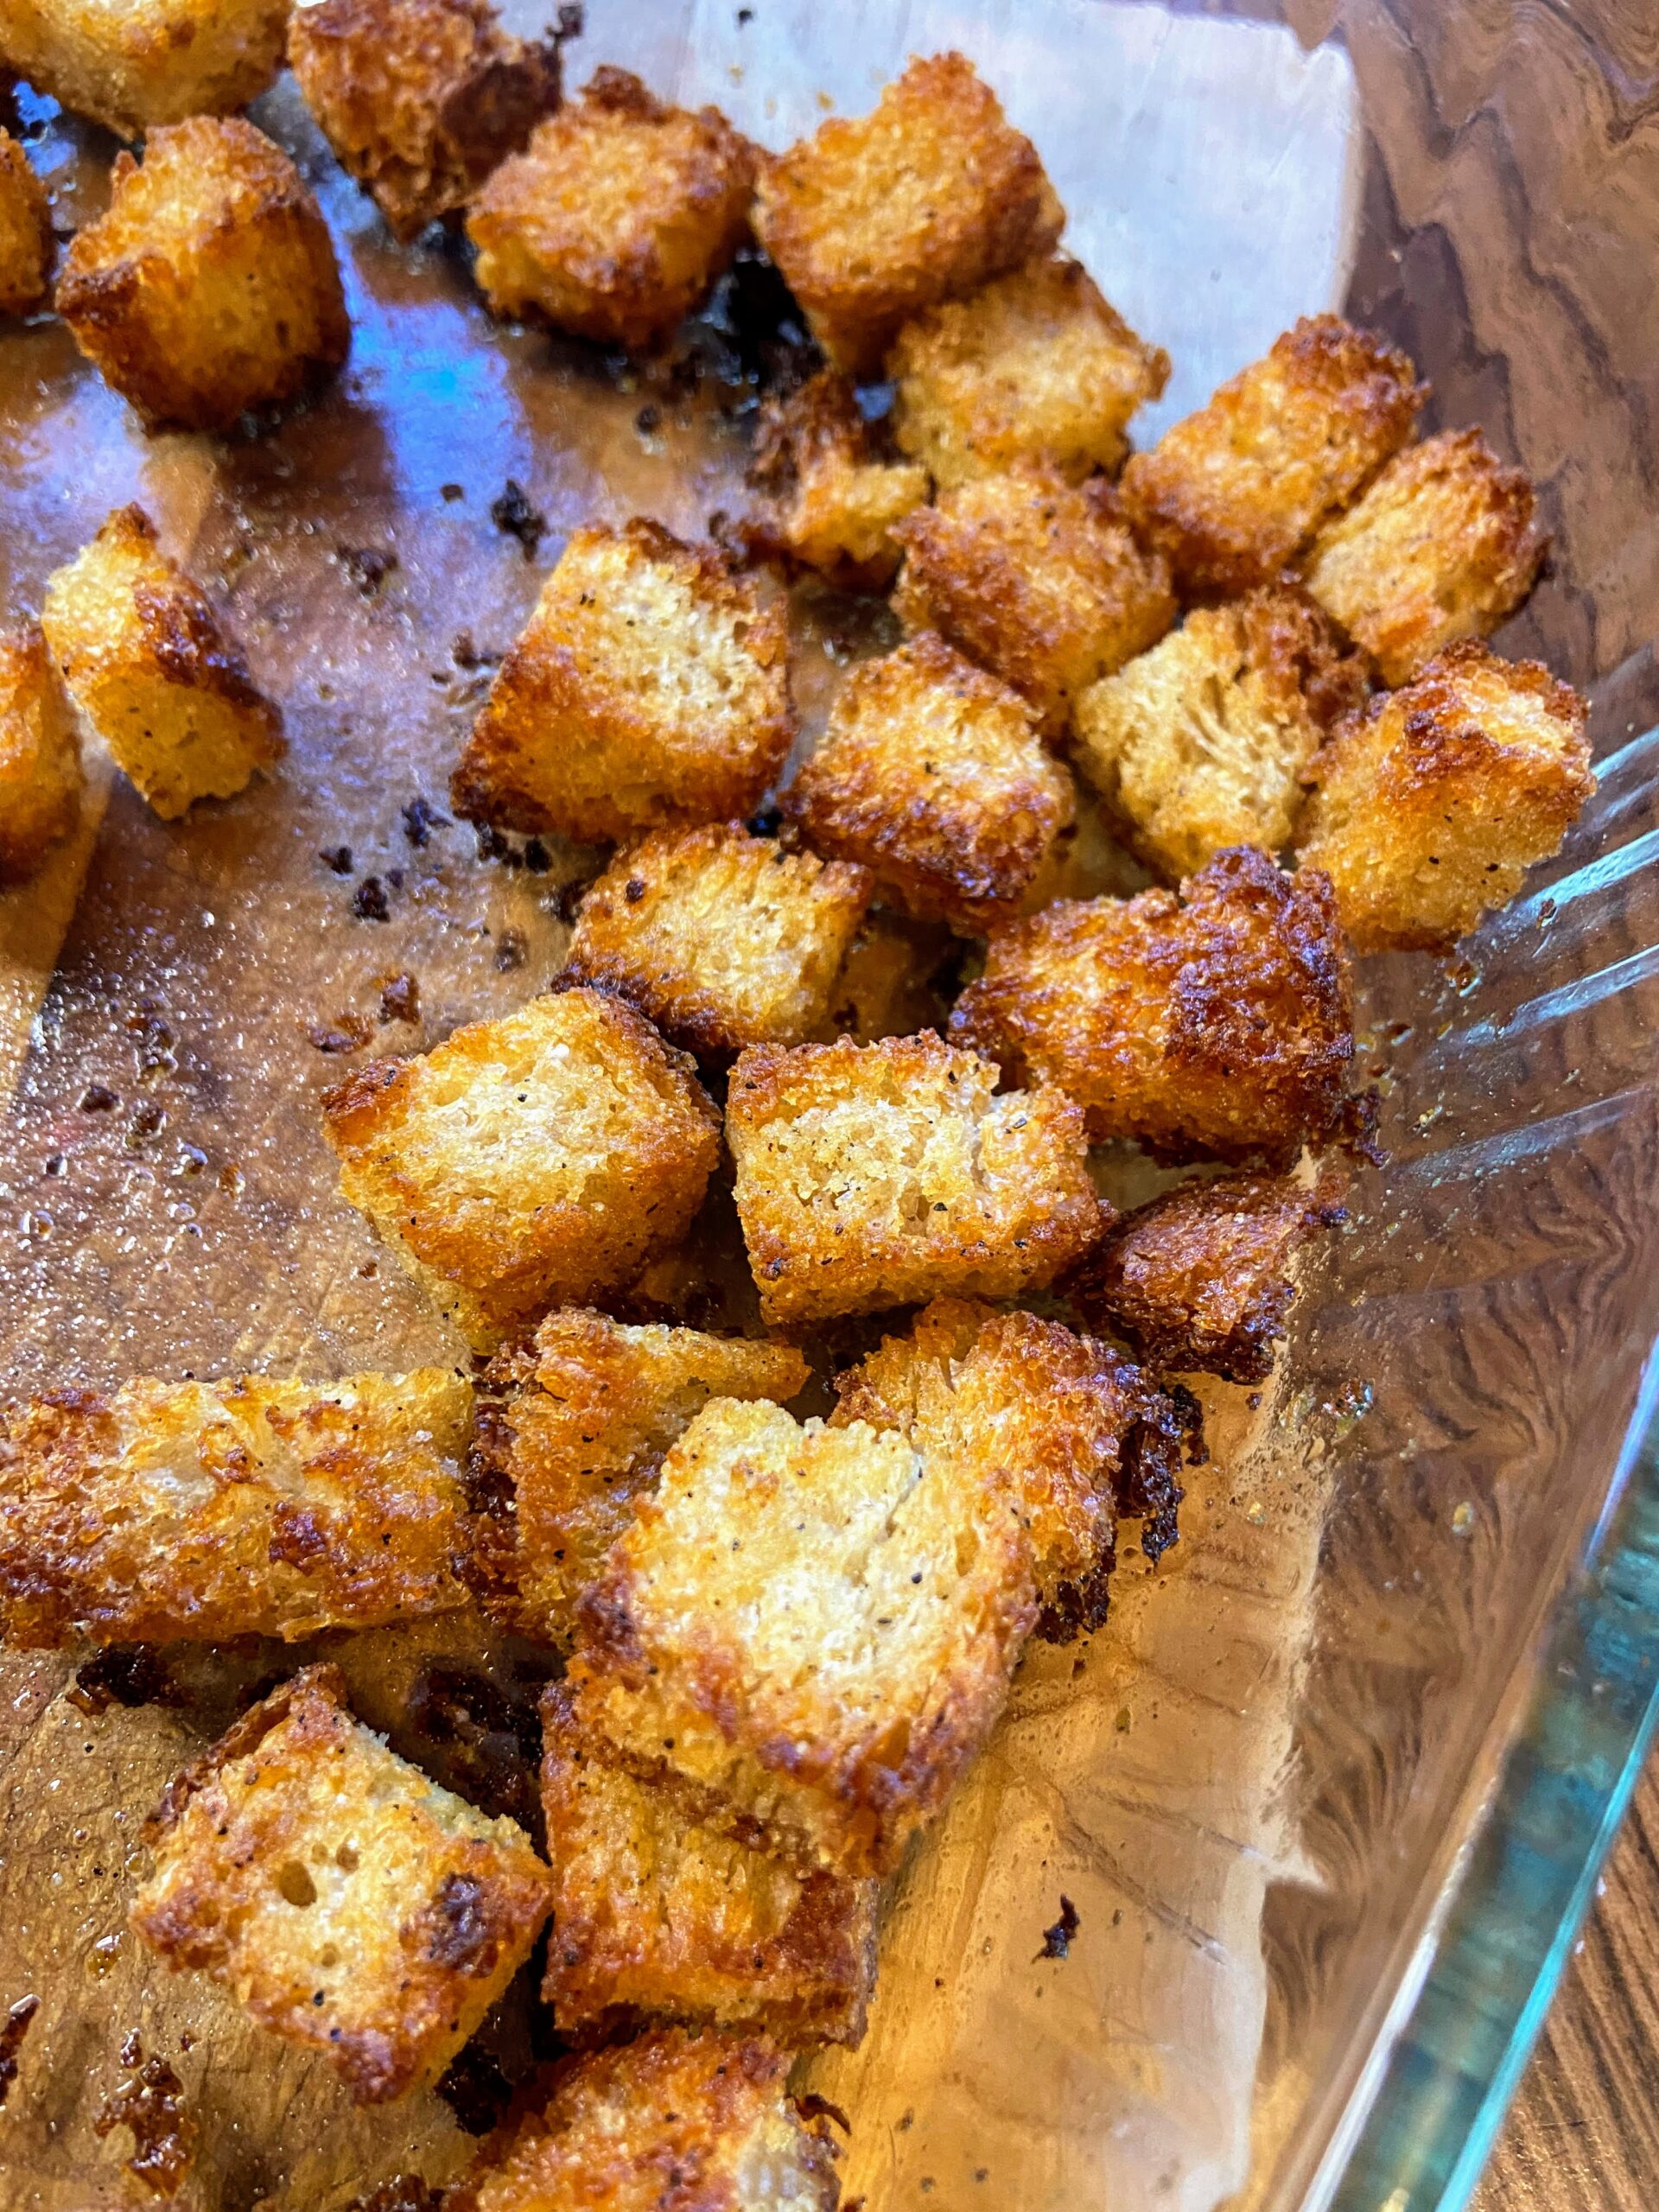
Preheat the oven to 400 degrees. Place cubed bread in a glass baking dish. Drizzle with olive oil and toss.
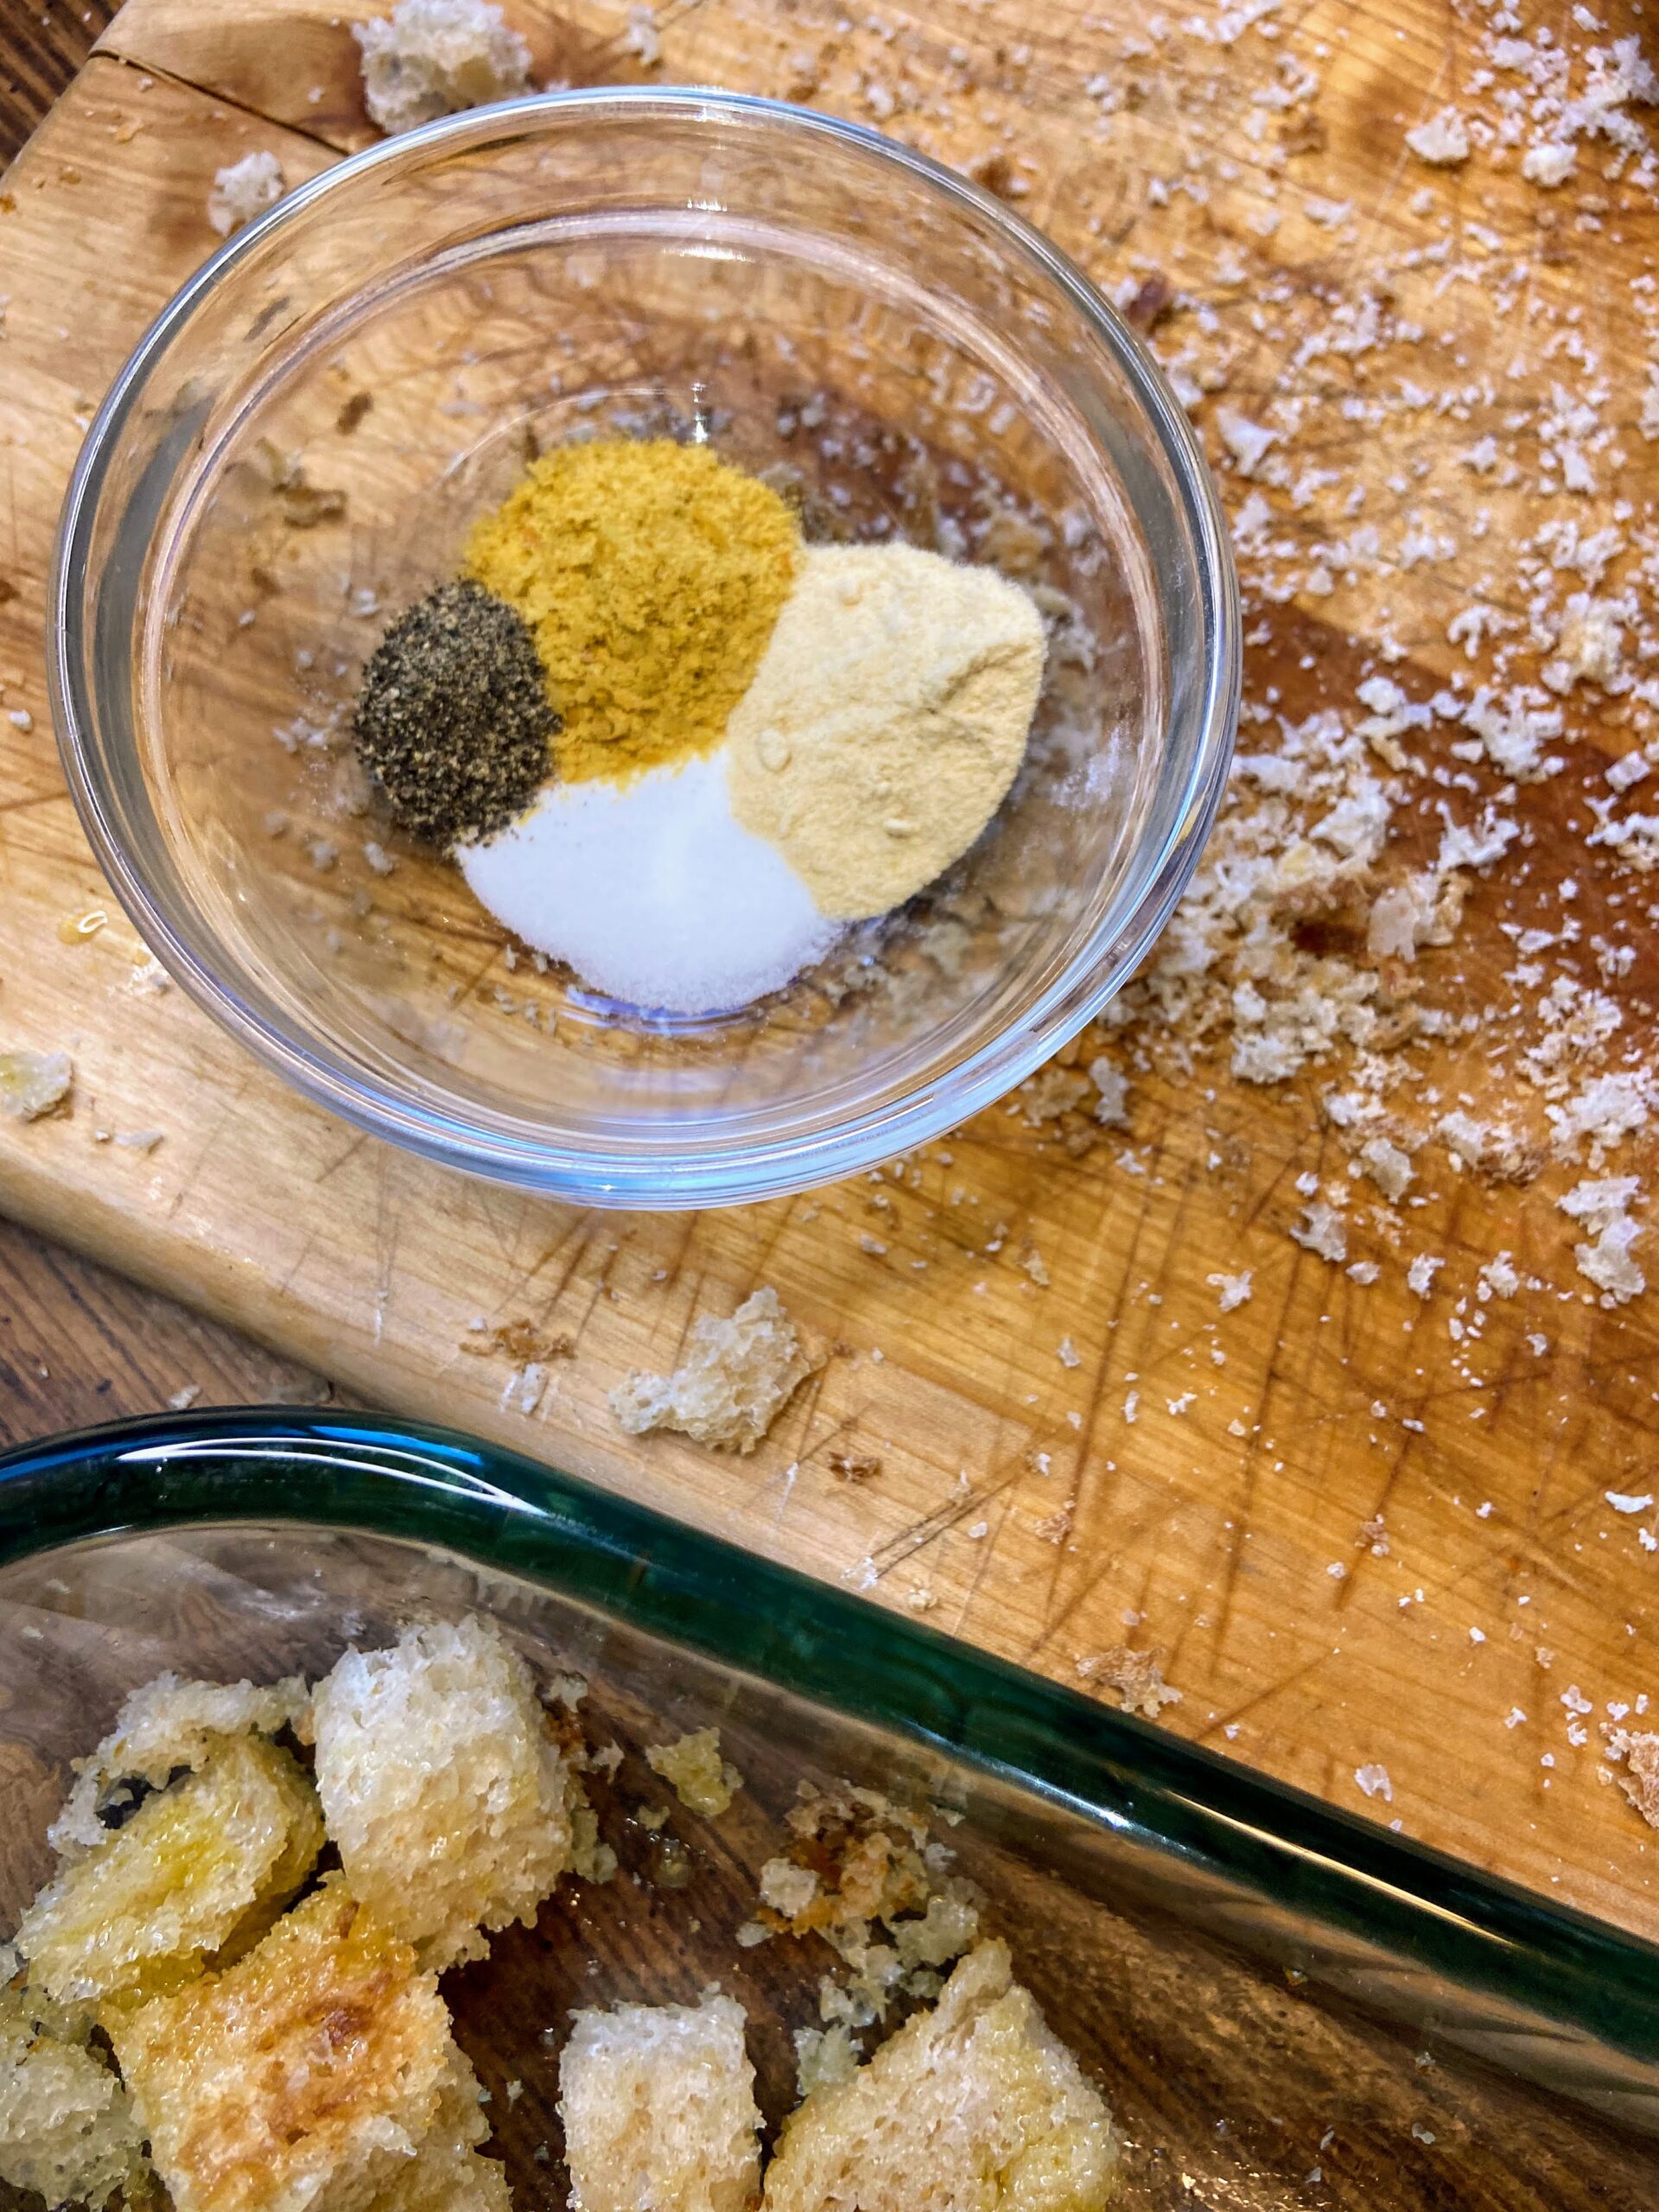
In a small, separate bowl, combine salt, pepper, garlic powder, and nutritional yeast. Sprinkle the seasoning on the cubed bread, tossing again to get evenly coated.
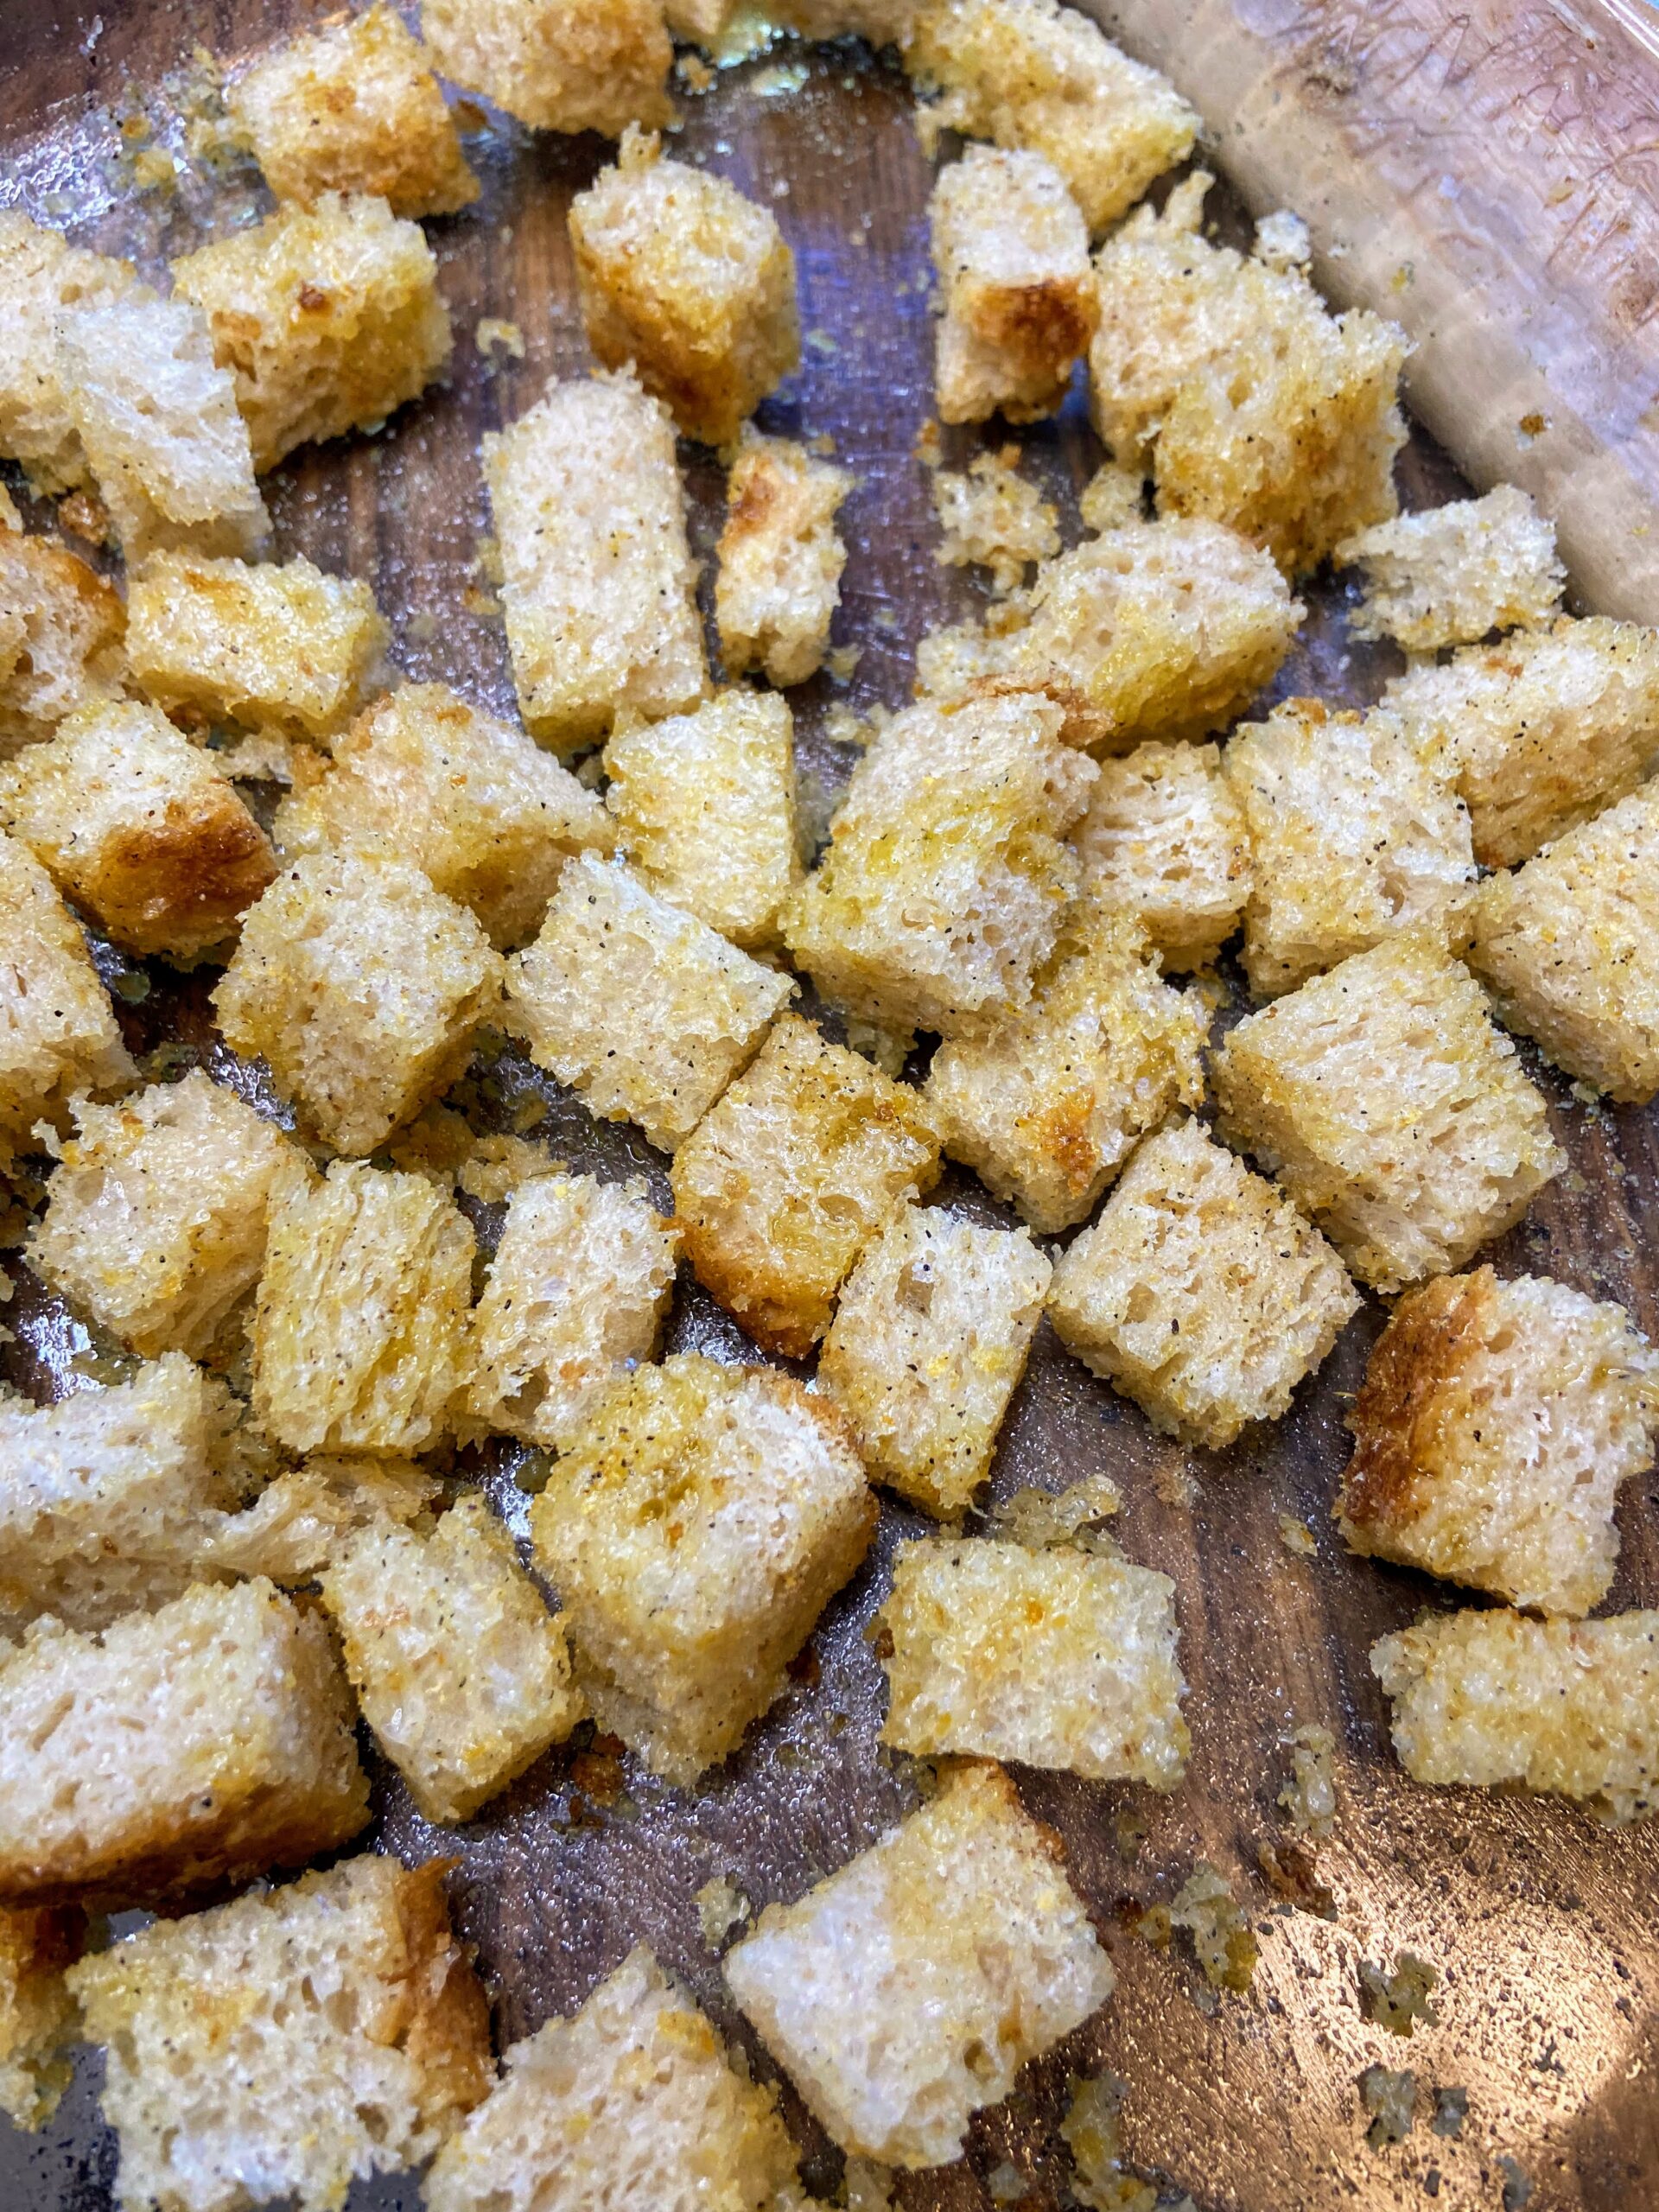
Bake for 18-25 minutes, checking after 15 minutes. 25 minutes was perfectly crunchy, but if you like softer croutons, go with 20 minutes.
Homemade Sourdough Croutons
Ingredients
- 3 ½ – 4 cups cubed stale bread
- 2 tablespoons olive oil flavored or plain
- ¼ teaspoon salt
- ¼ teaspoon pepper
- ½ teaspoon garlic powder
- ½ teaspoon nutritional yeast optional
Instructions
- Preheat the oven to 400 degrees. Place cubed bread in a glass baking dish. Drizzle with olive oil and toss.
- In a small, separate bowl, combine salt, pepper, garlic powder, and nutritional yeast. Sprinkle on cubed bread, tossing again to get evenly coated.
- Bake for 18-25 minutes, checking after 15 minutes. 25 minutes was perfectly crunchy, but if you like softer croutons, go with 20 minutes.
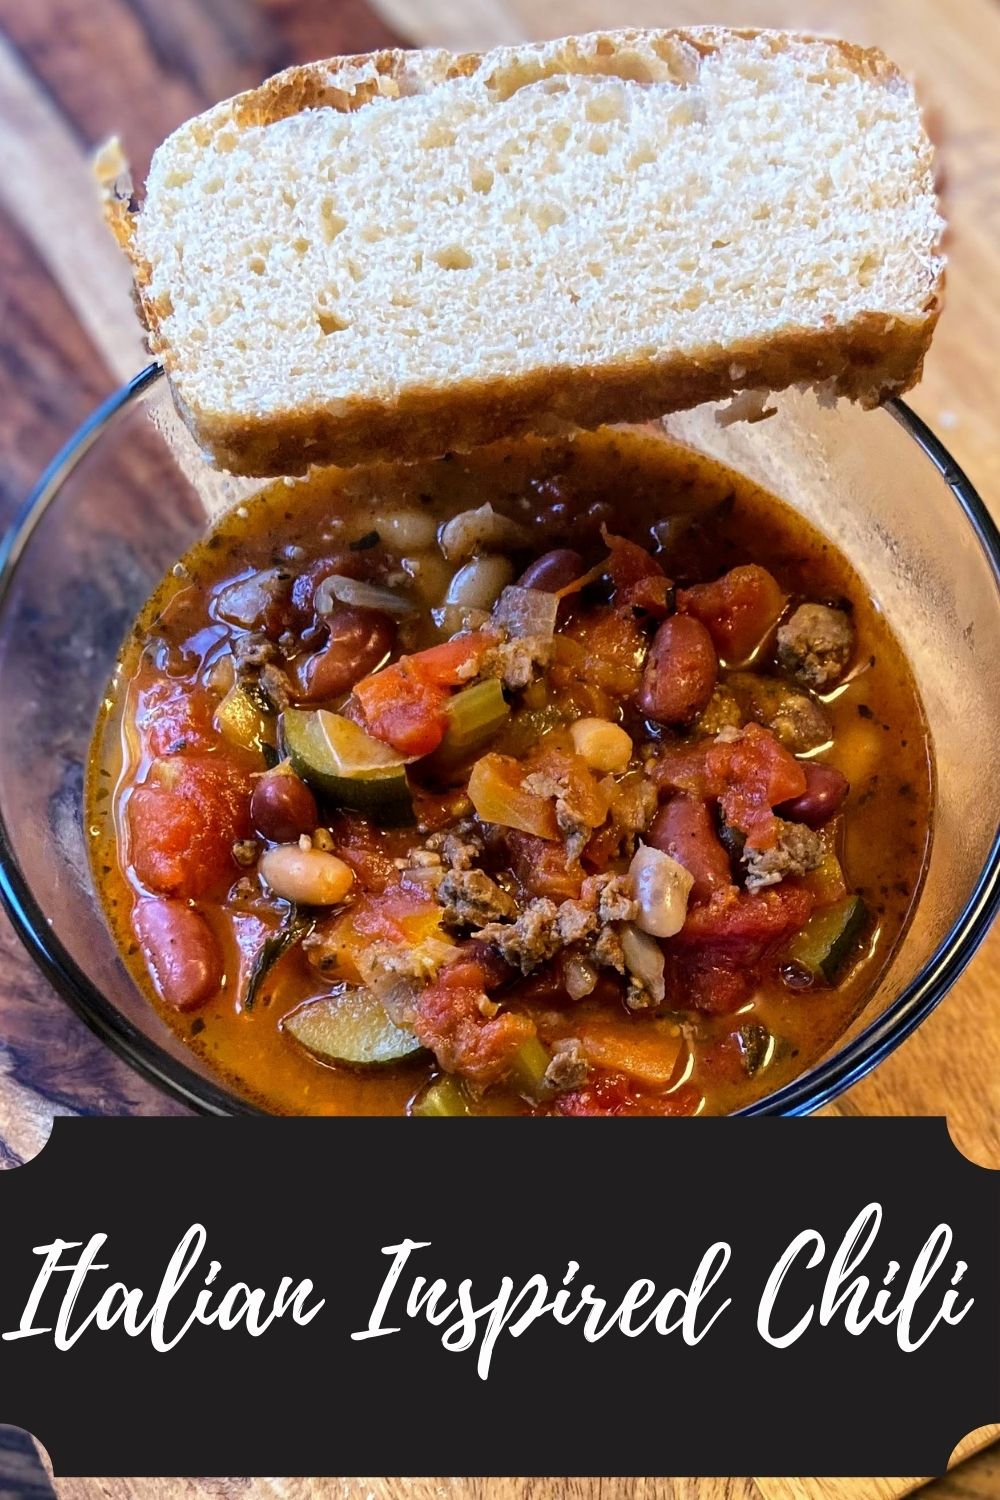
What can you pair with these croutons?
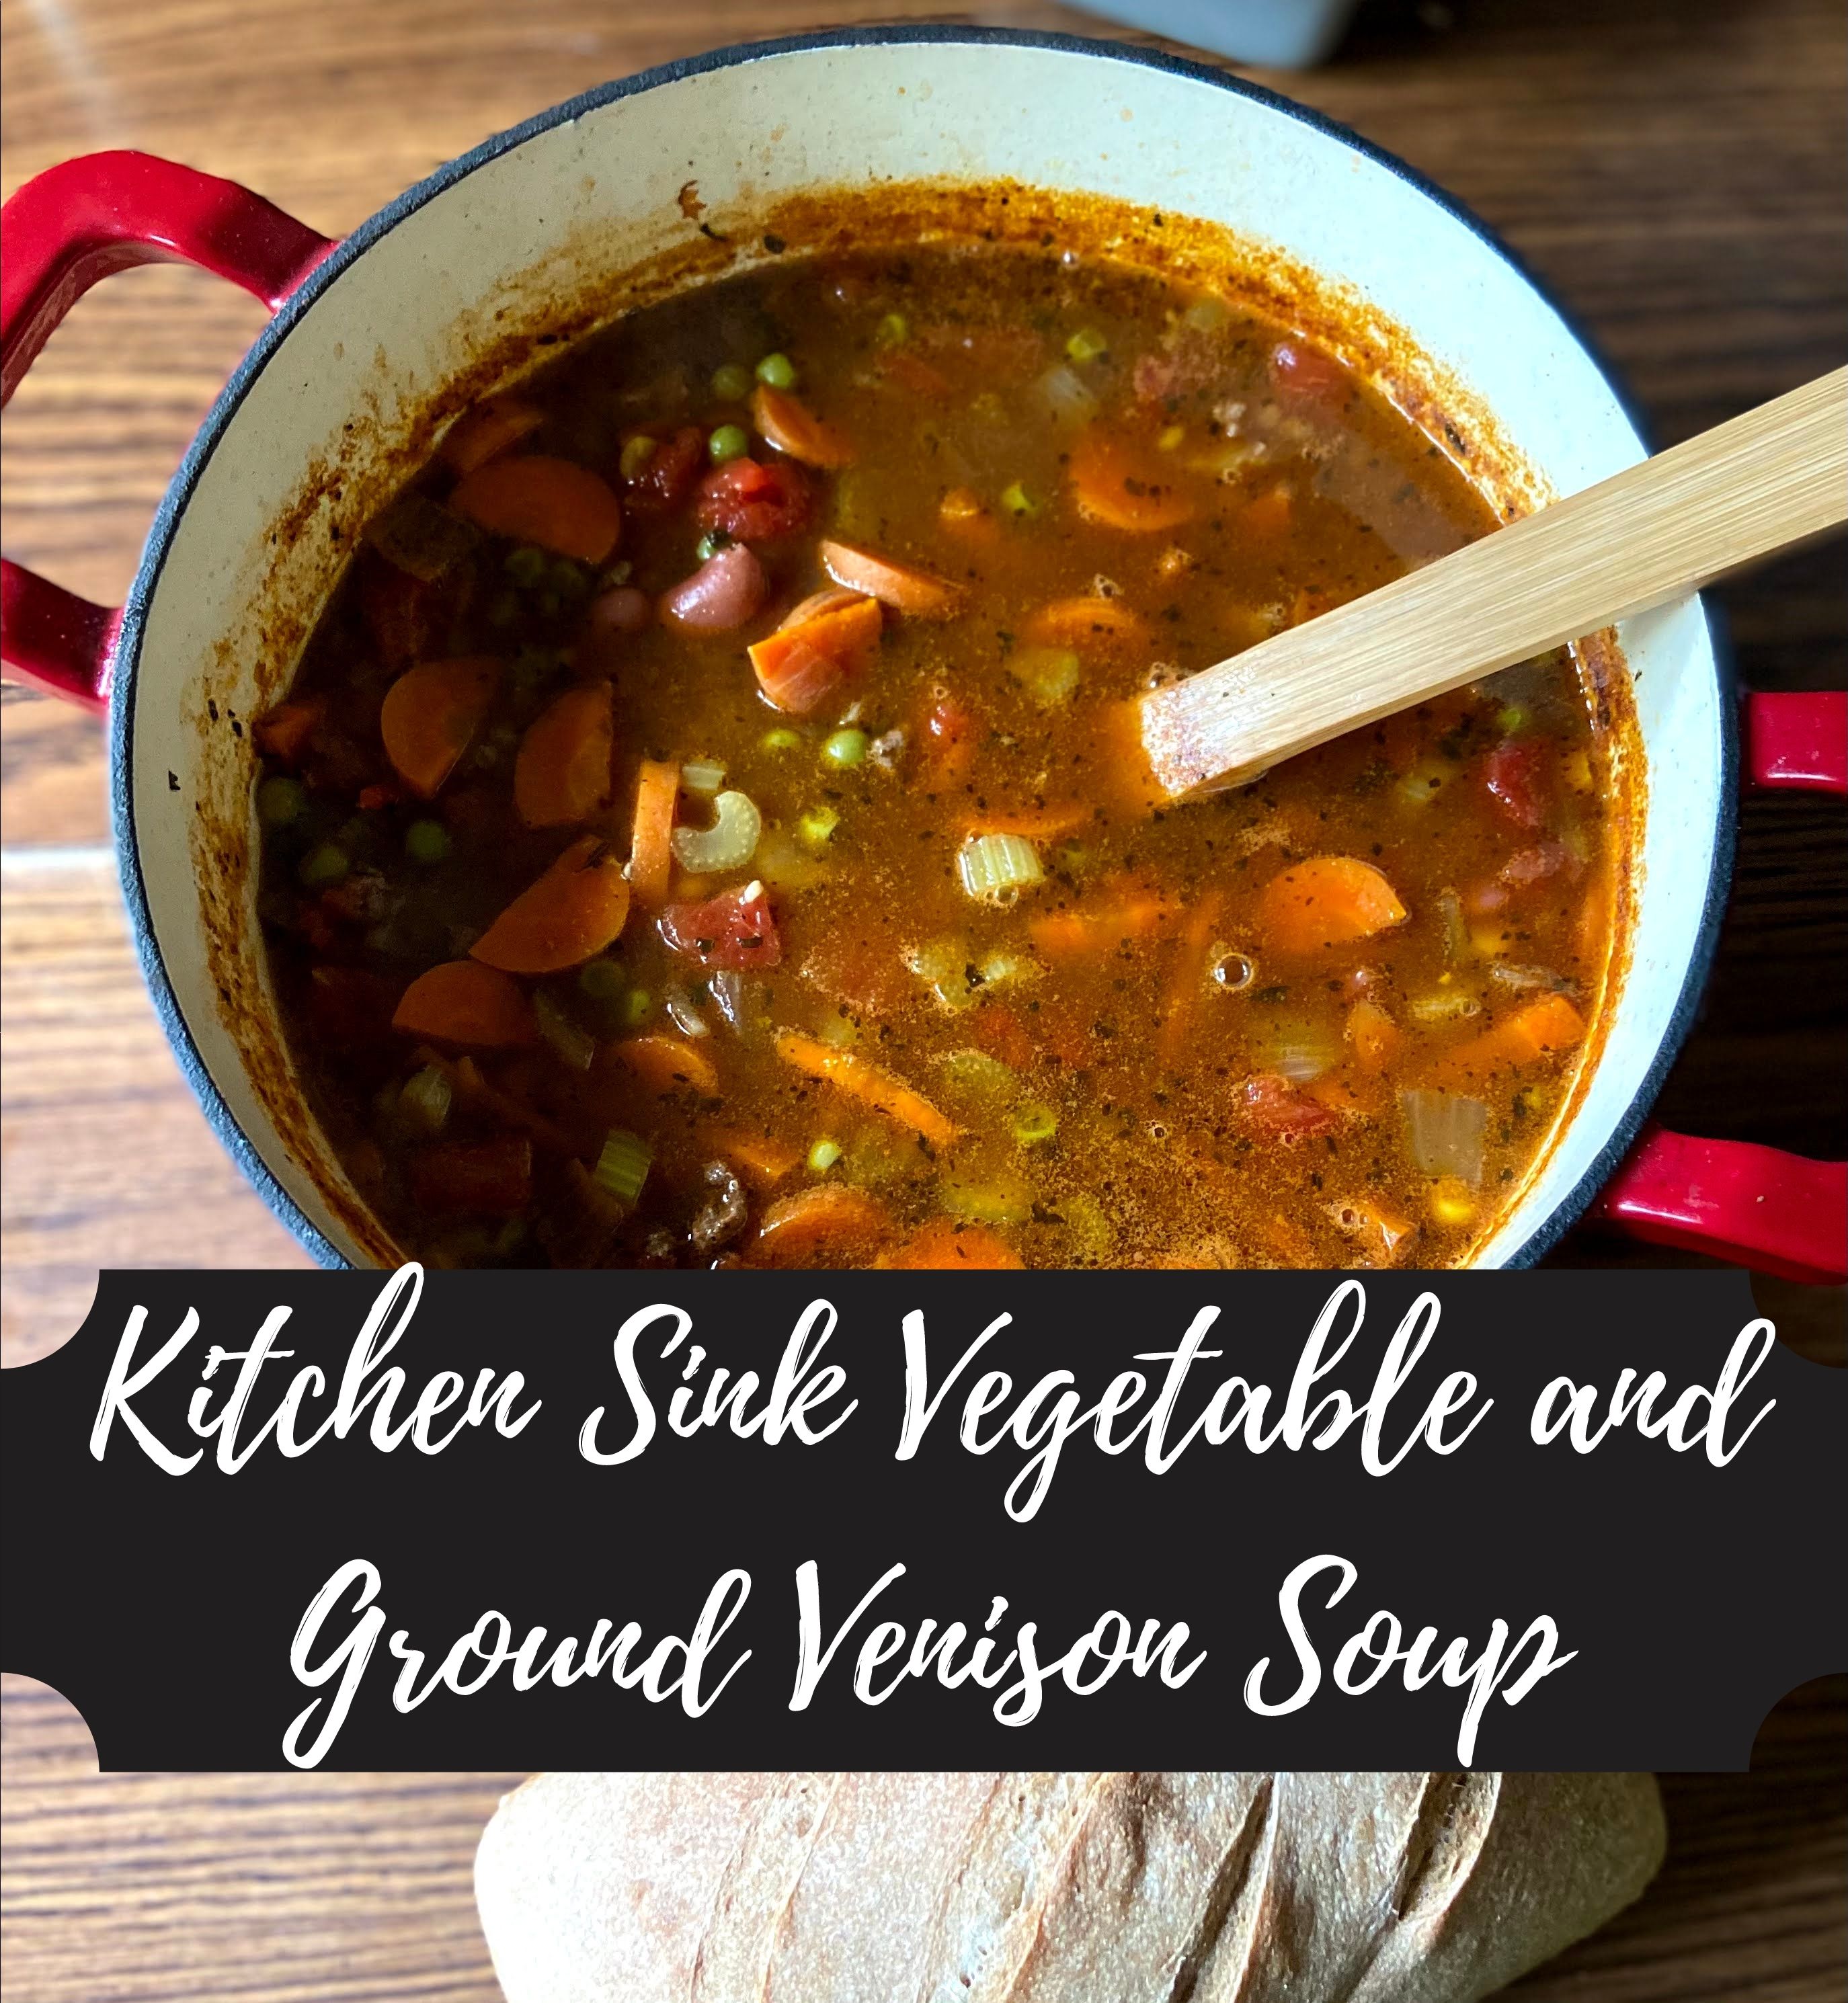
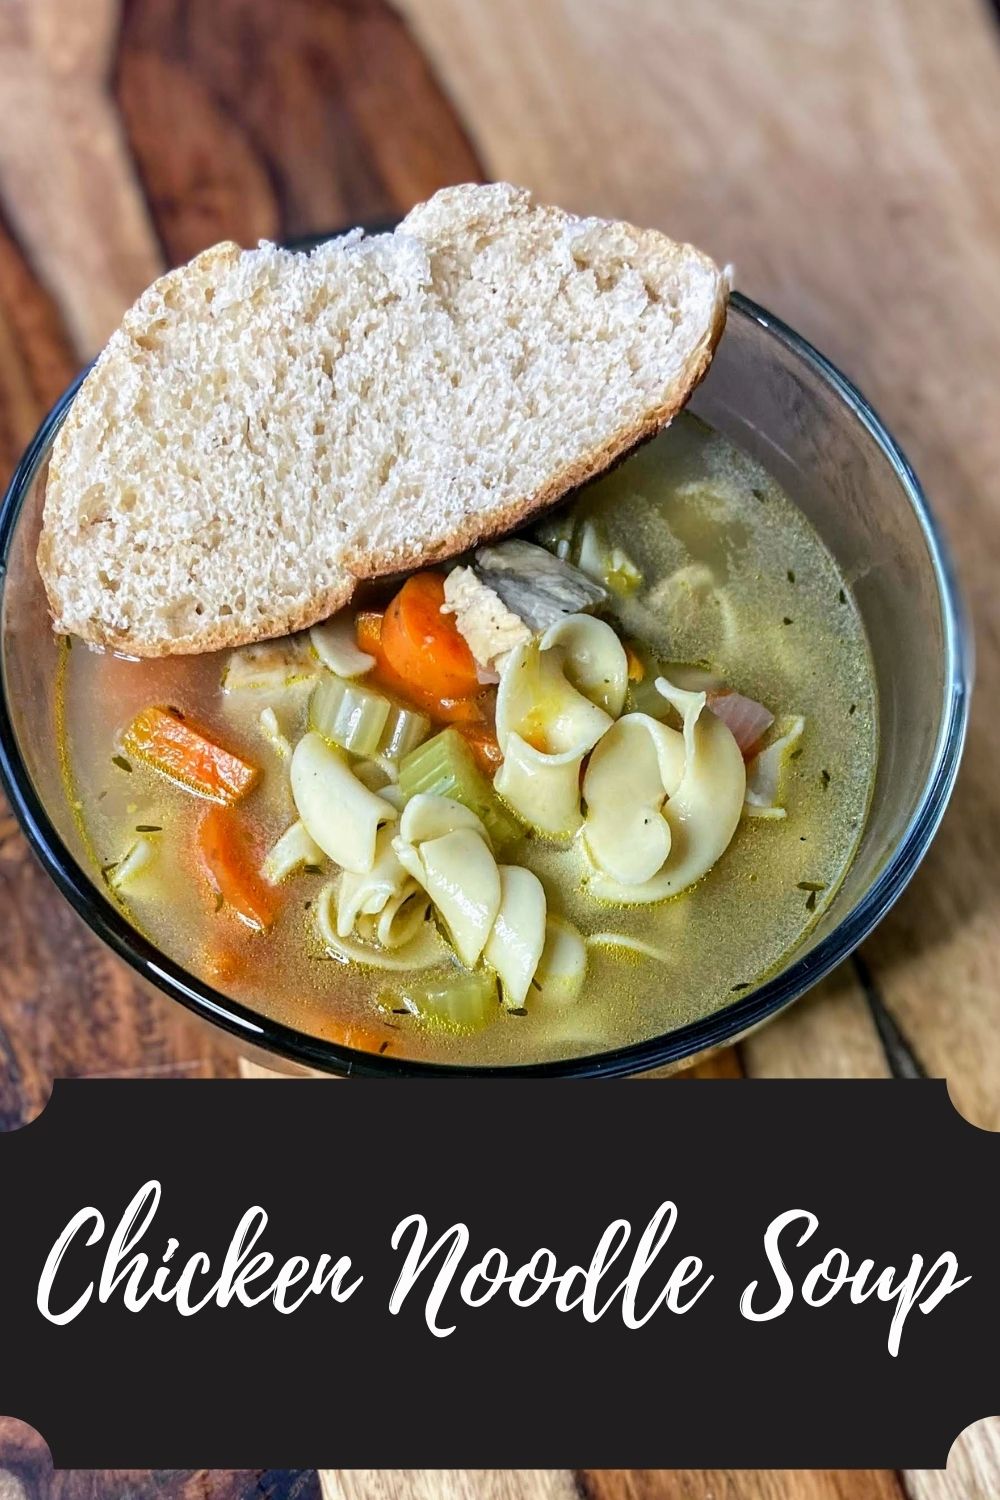
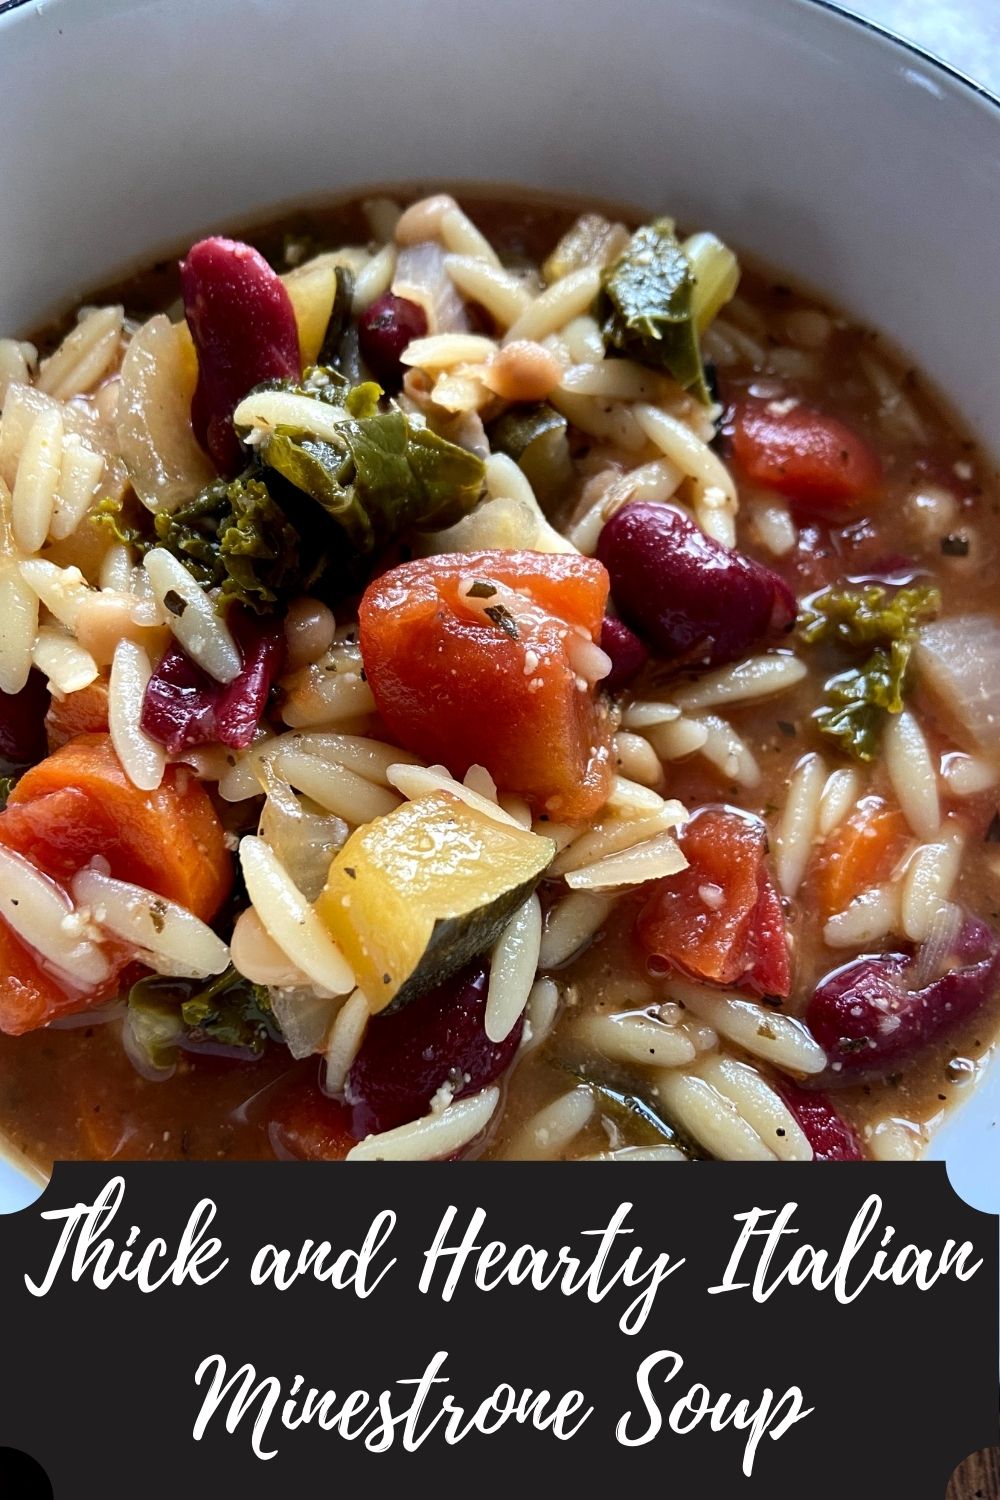
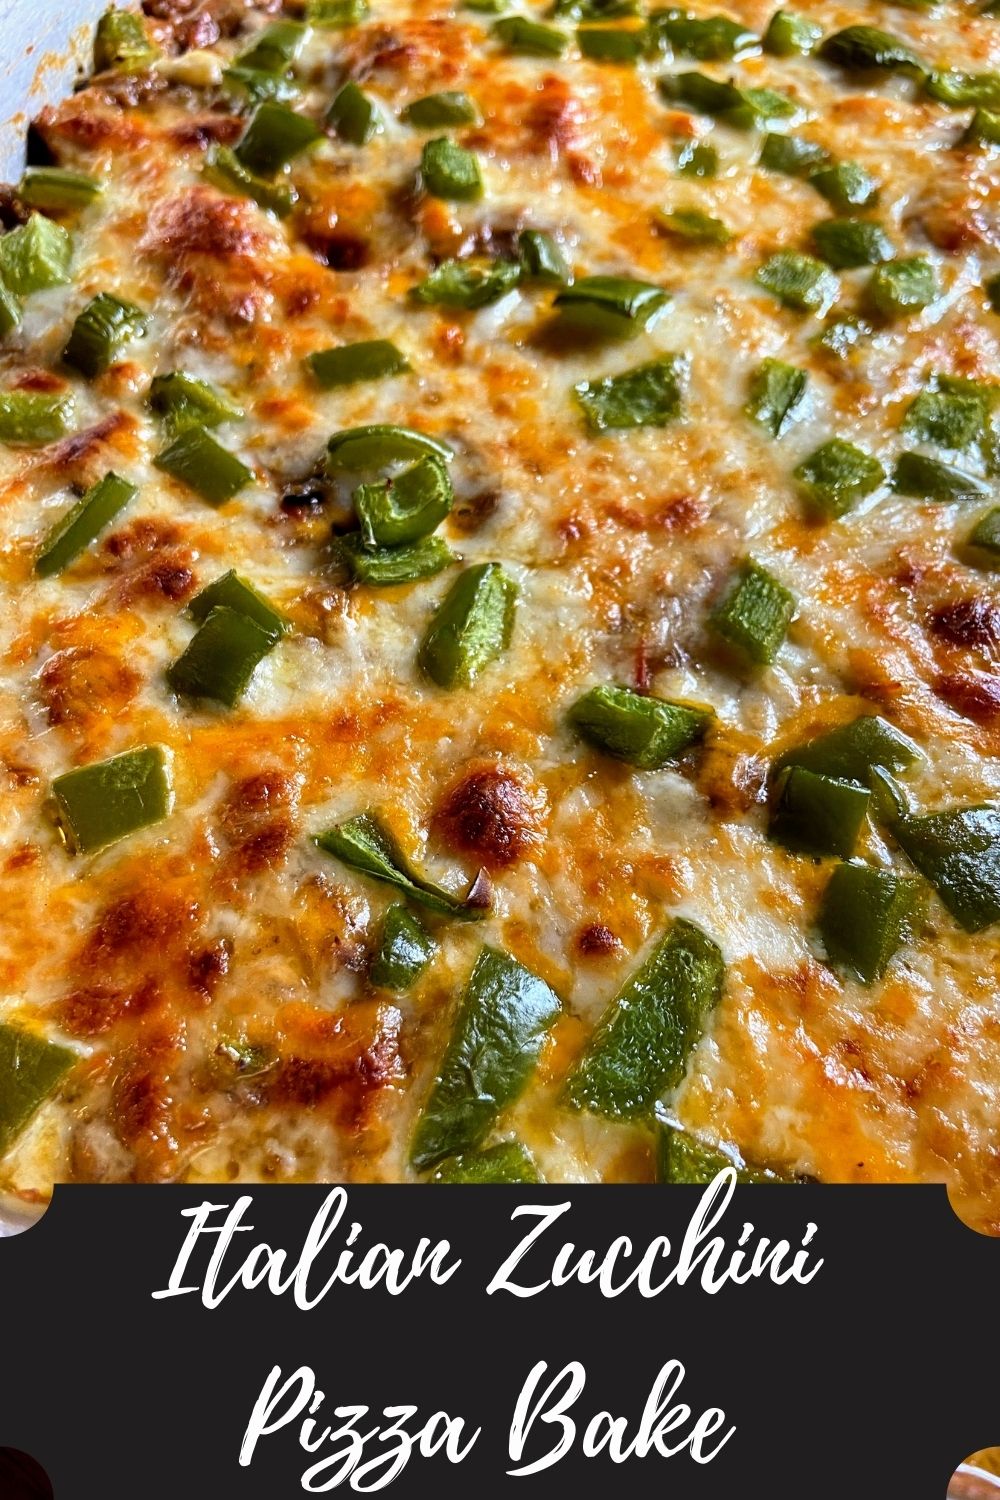
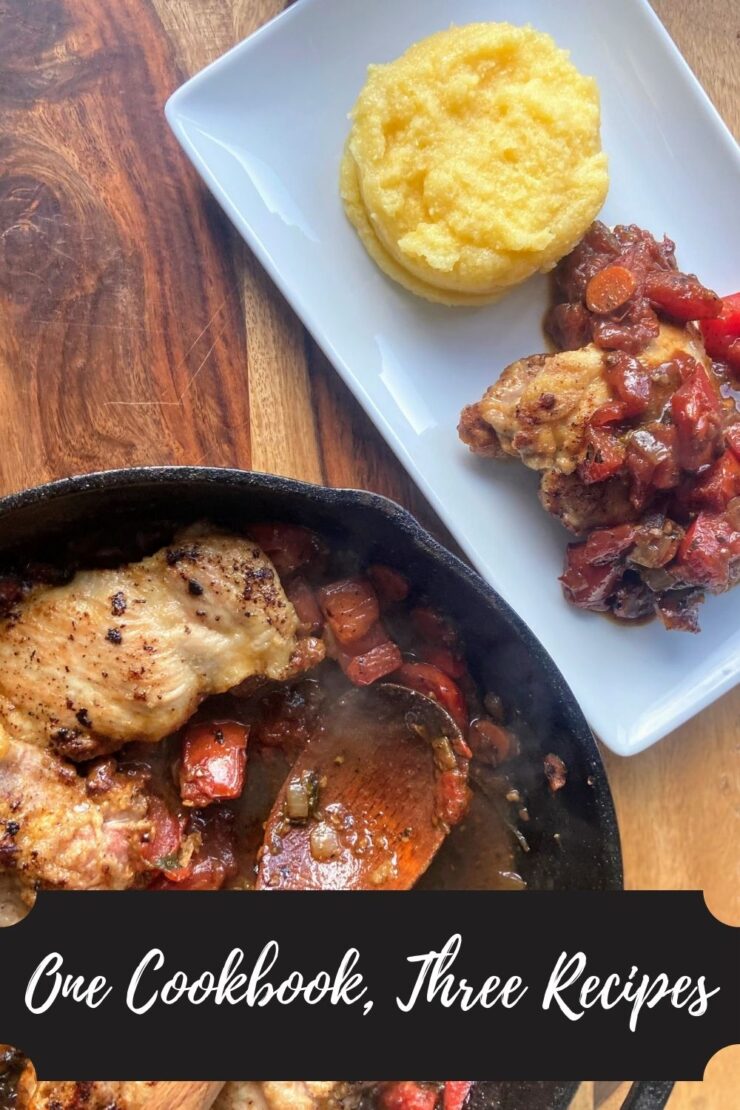
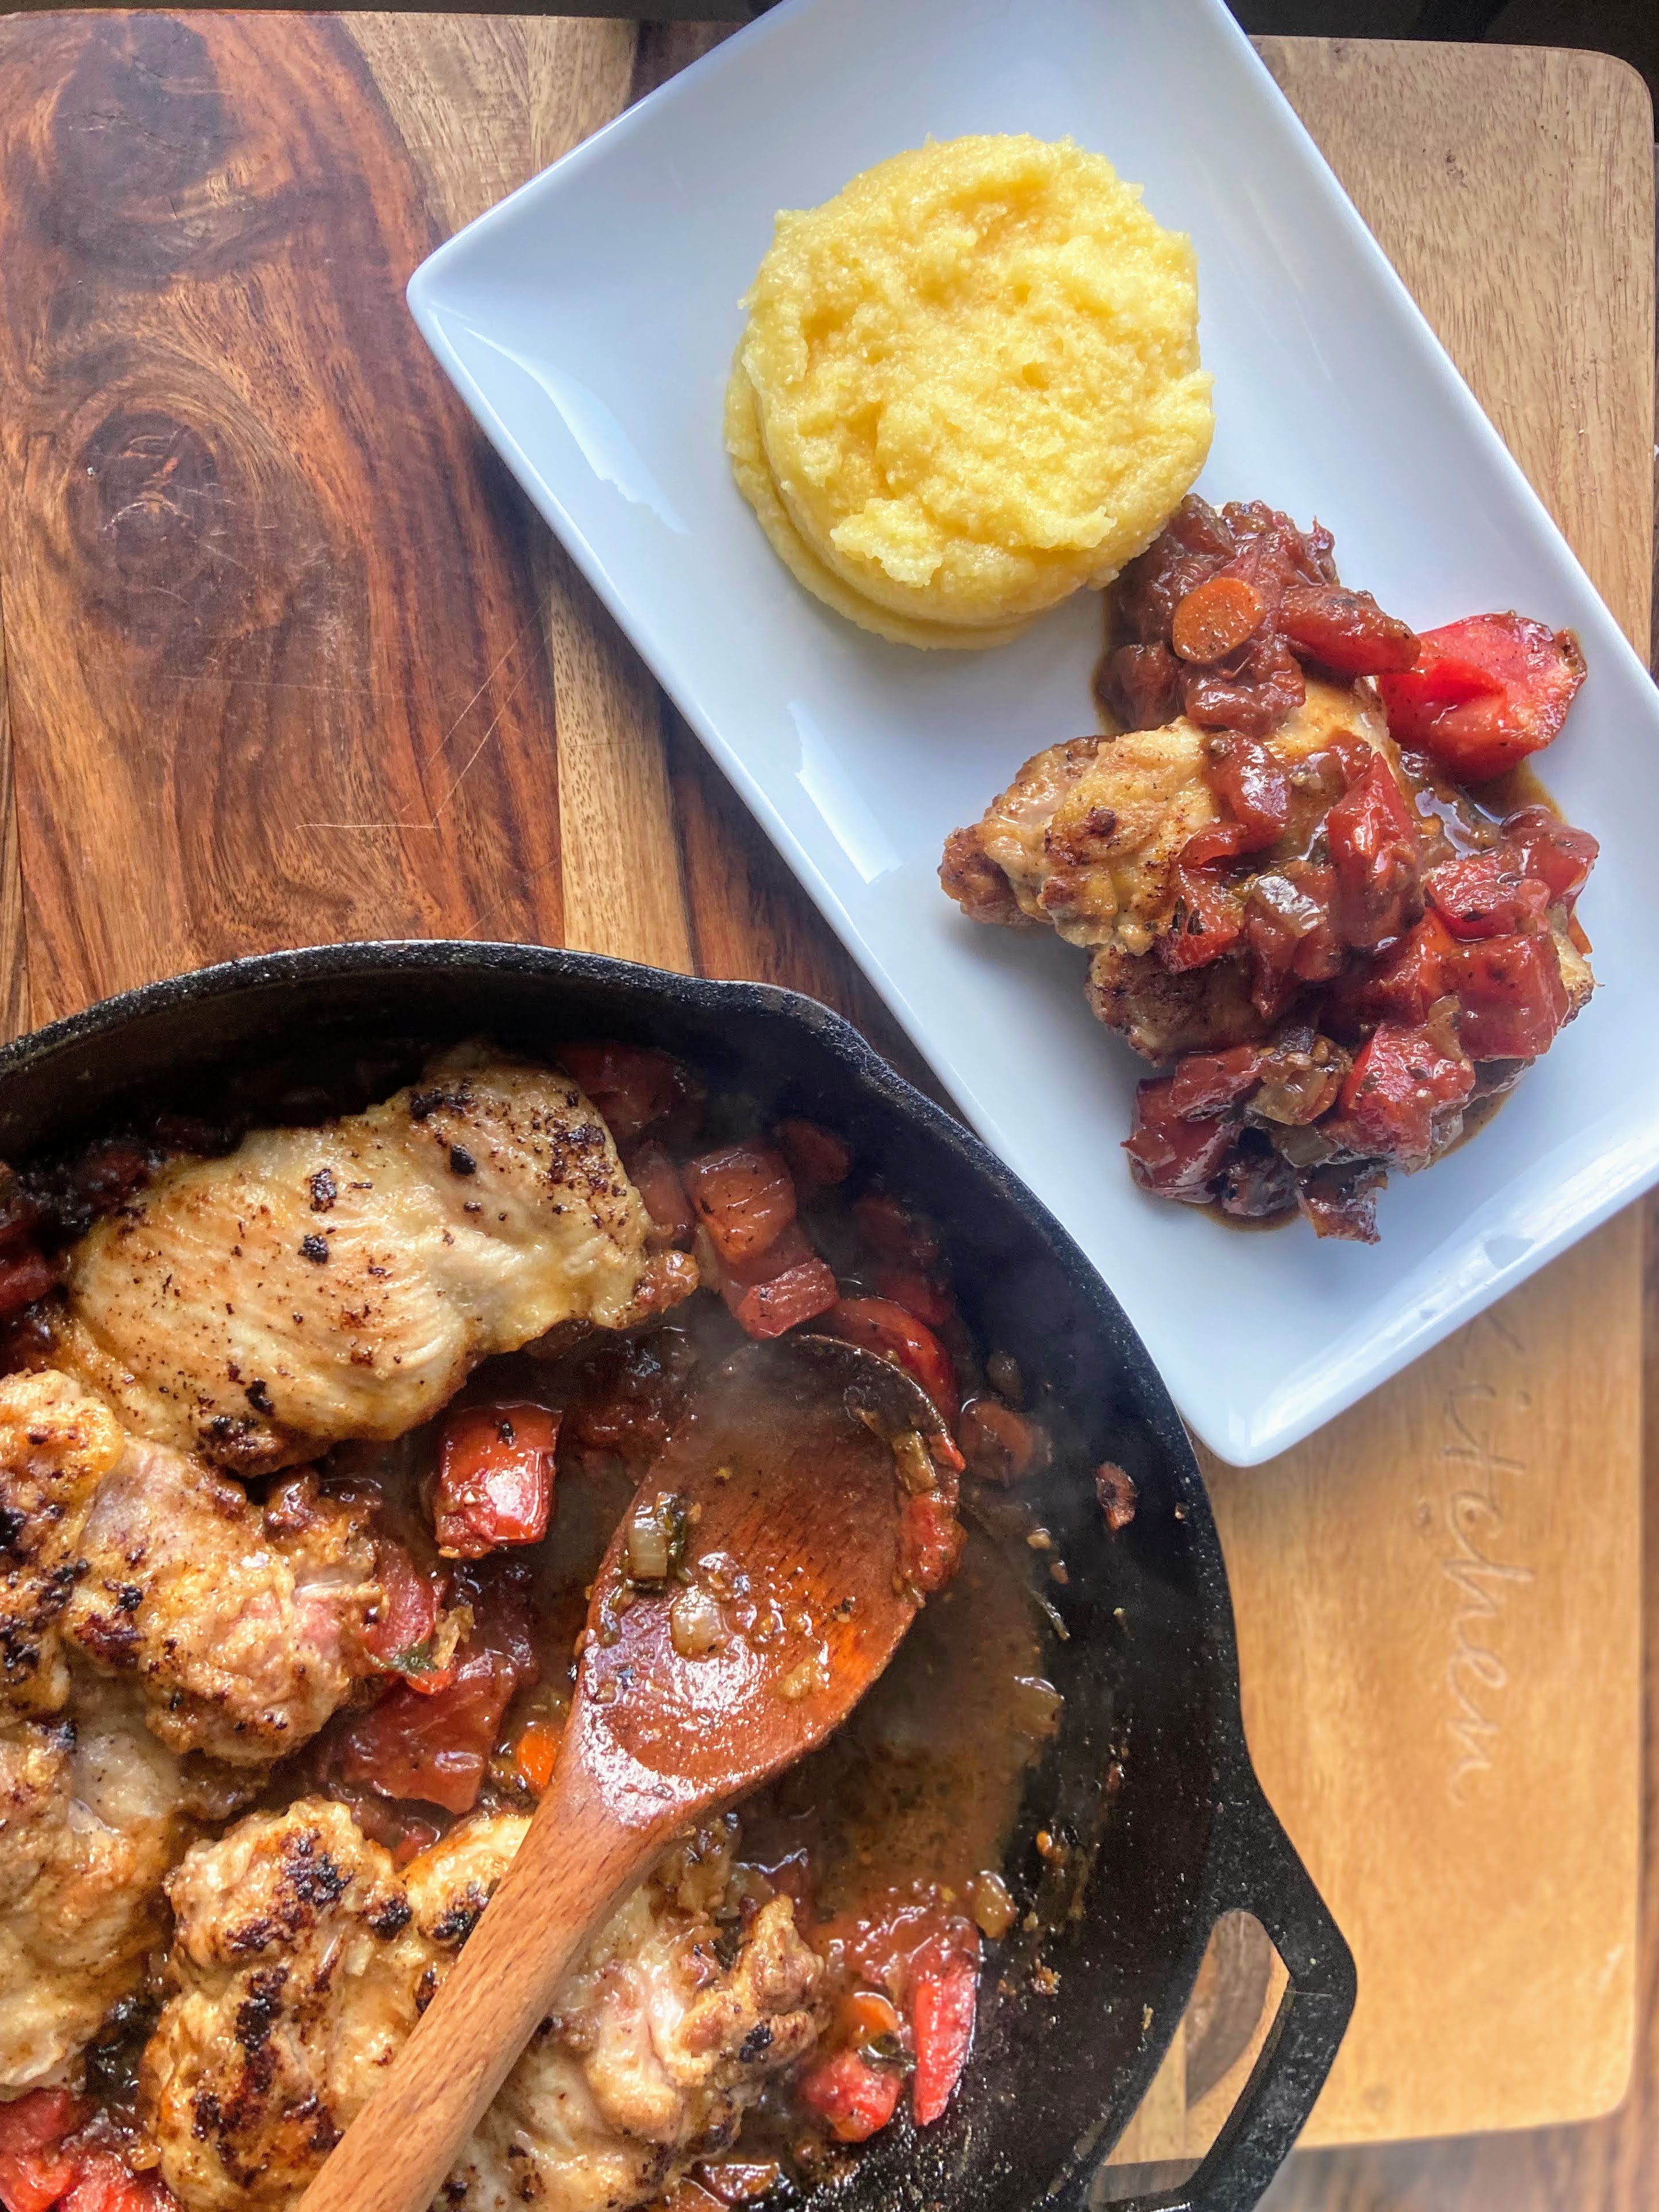
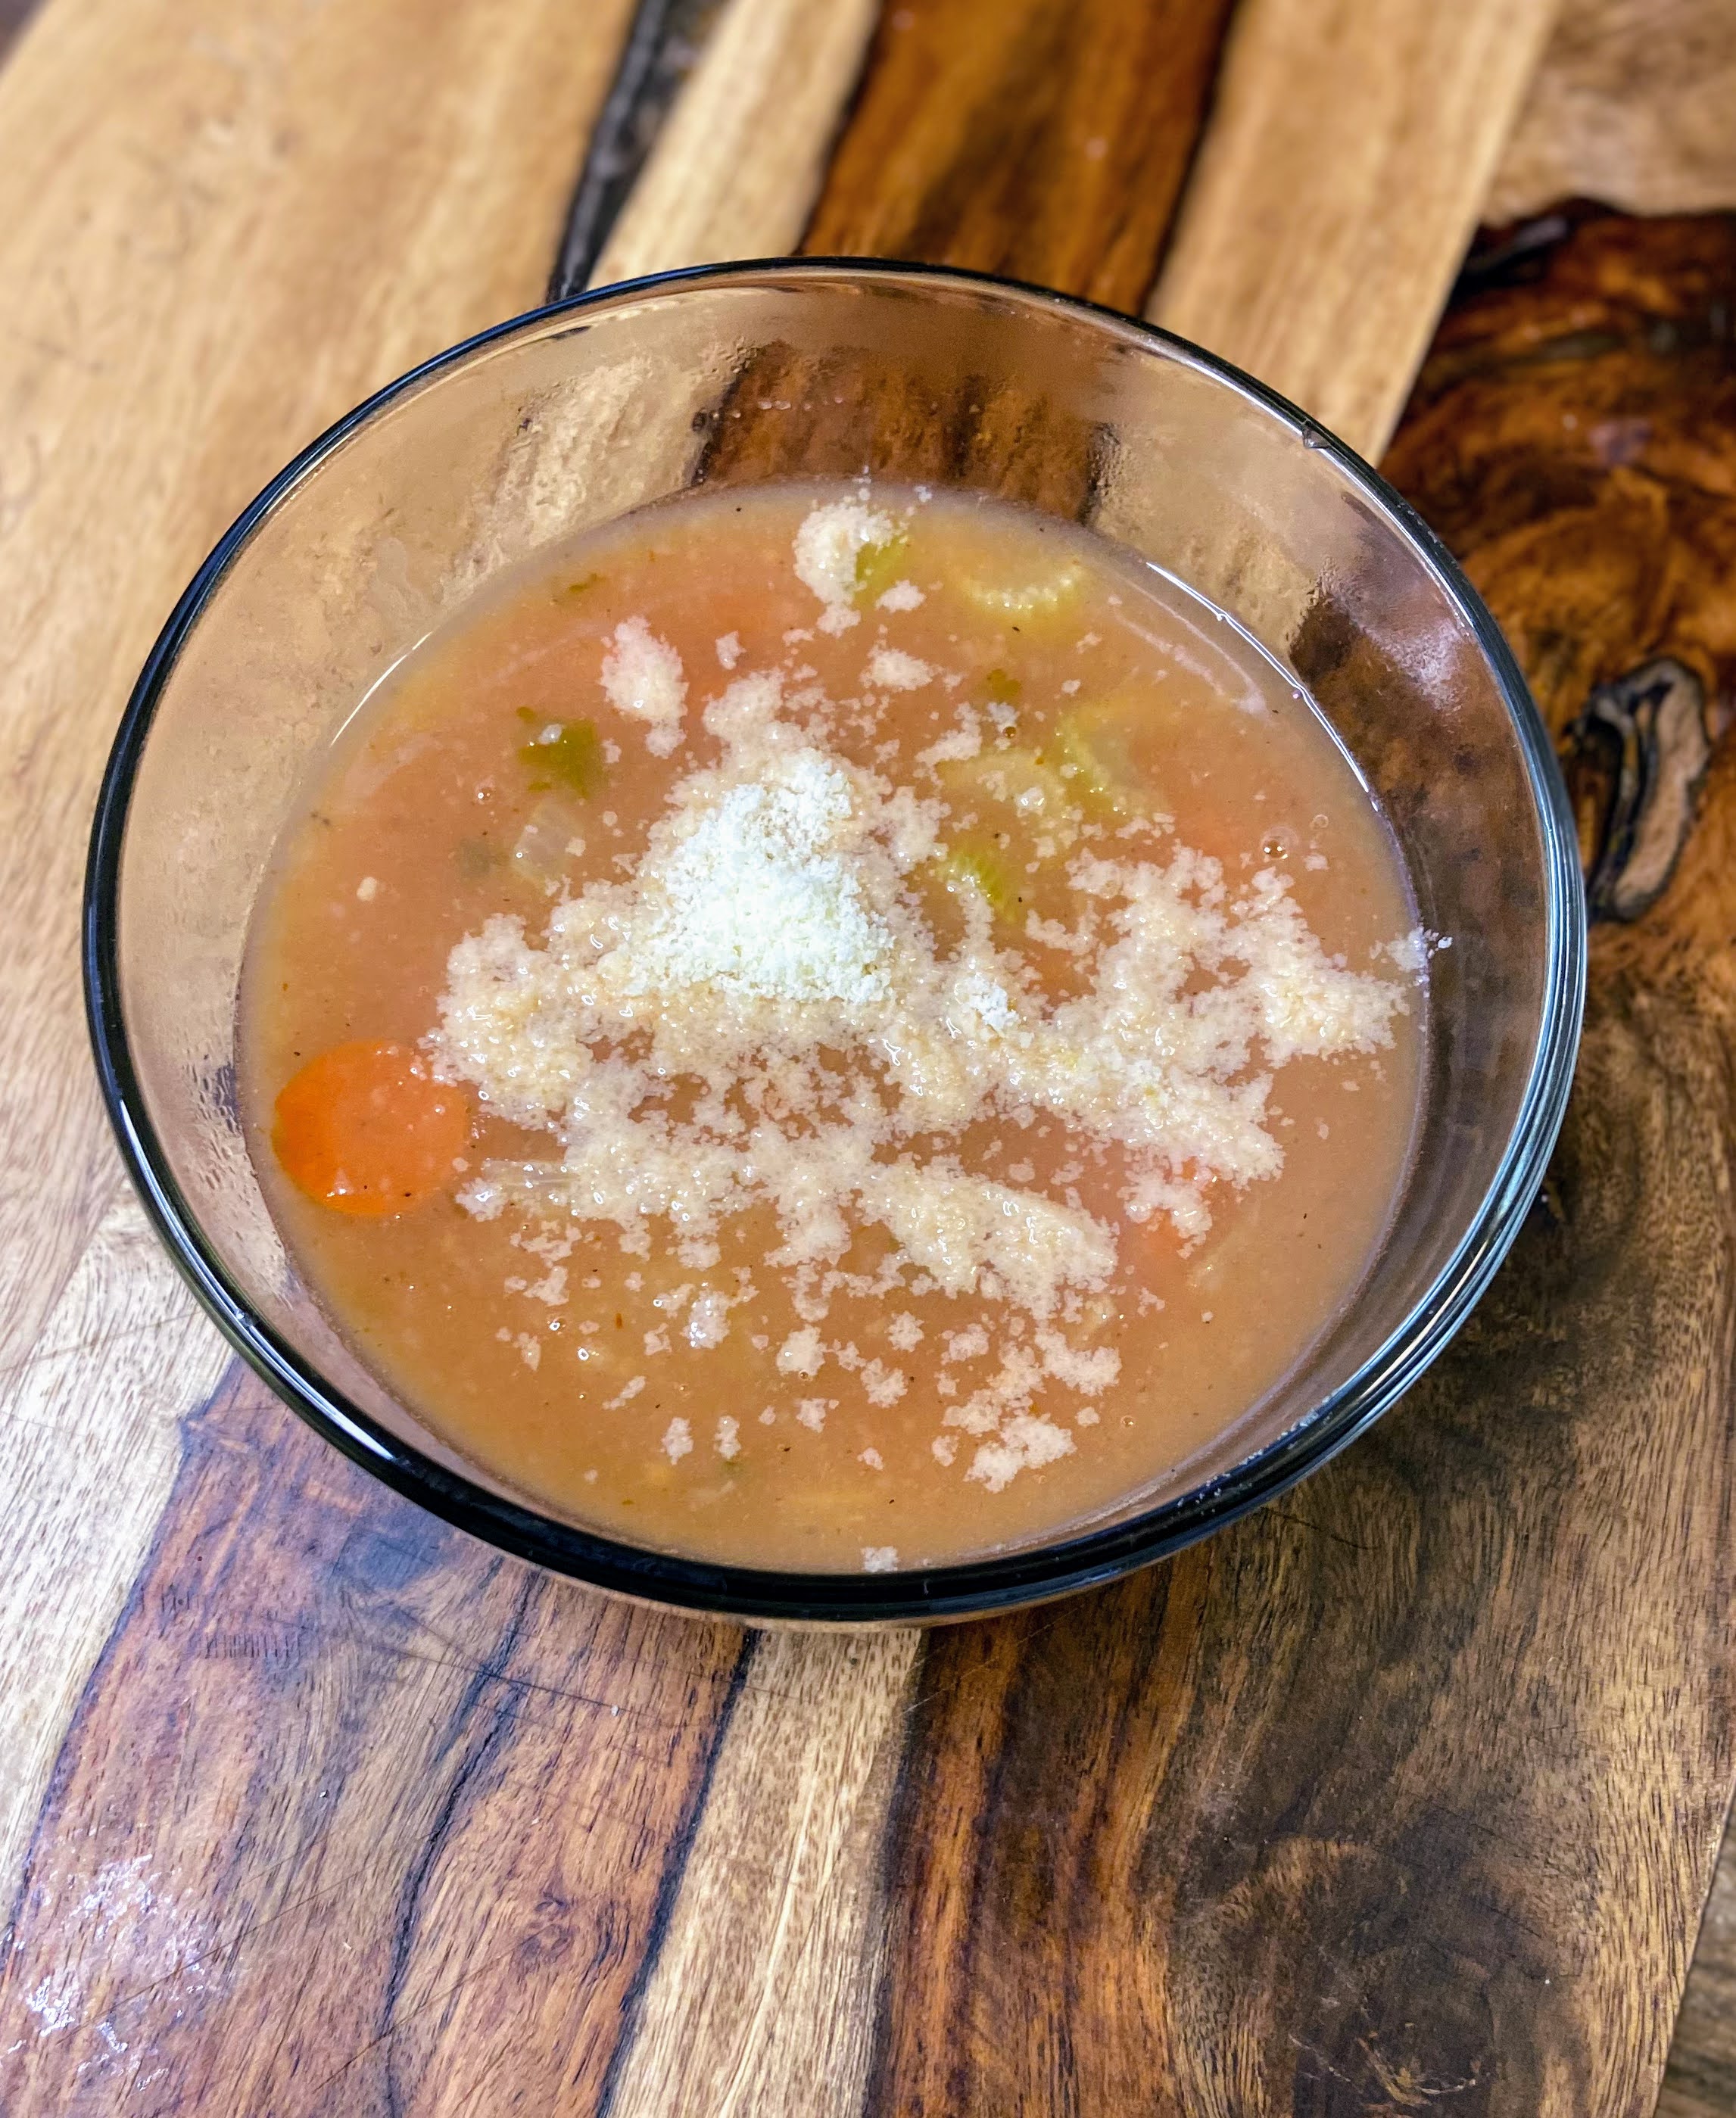
Well, I don’t know about you but a classic salad paired with ANY soup or Italian inspired dish is my jam. I will eat soup and salad any day of the week! Check out some inspiration below!