If you know me, you know I dig ground Italian sausage. We almost always have some on hand (frozen or in the fridge). We also make our own Italian sausage/venison blend that’s great! A while back, I had some in the fridge that needed to get used up and it was CHILLY outside. It got me wondering, “Is there such thing as Italian chili?” A quick google search got me to all the ingredients and some inspiration to throw a little something together. I remembered it as delicious and the pictures were beautiful. But…
It may be a big surprise to you, but I didn’t write it down and had only jotted what I remembered after the fact. That doesn’t make for good food blogging, so it went on the back burner. For months, I have been thinking that I needed to revisit the recipe and check the measurements, the flavors, and the like.
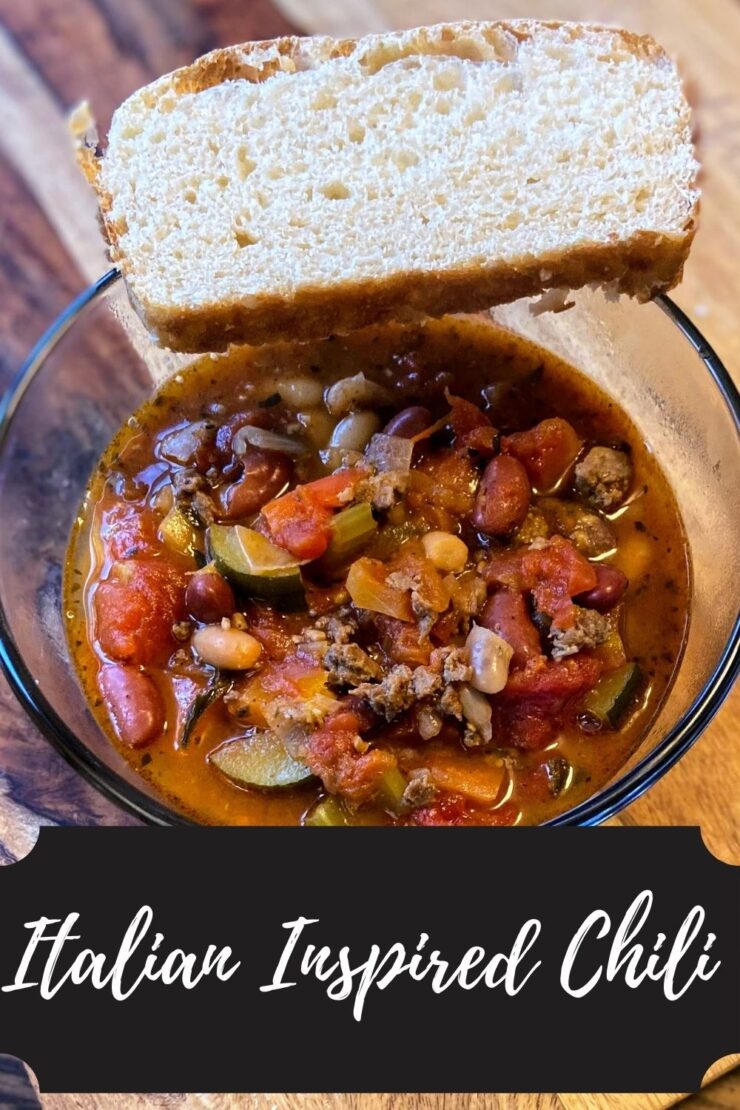
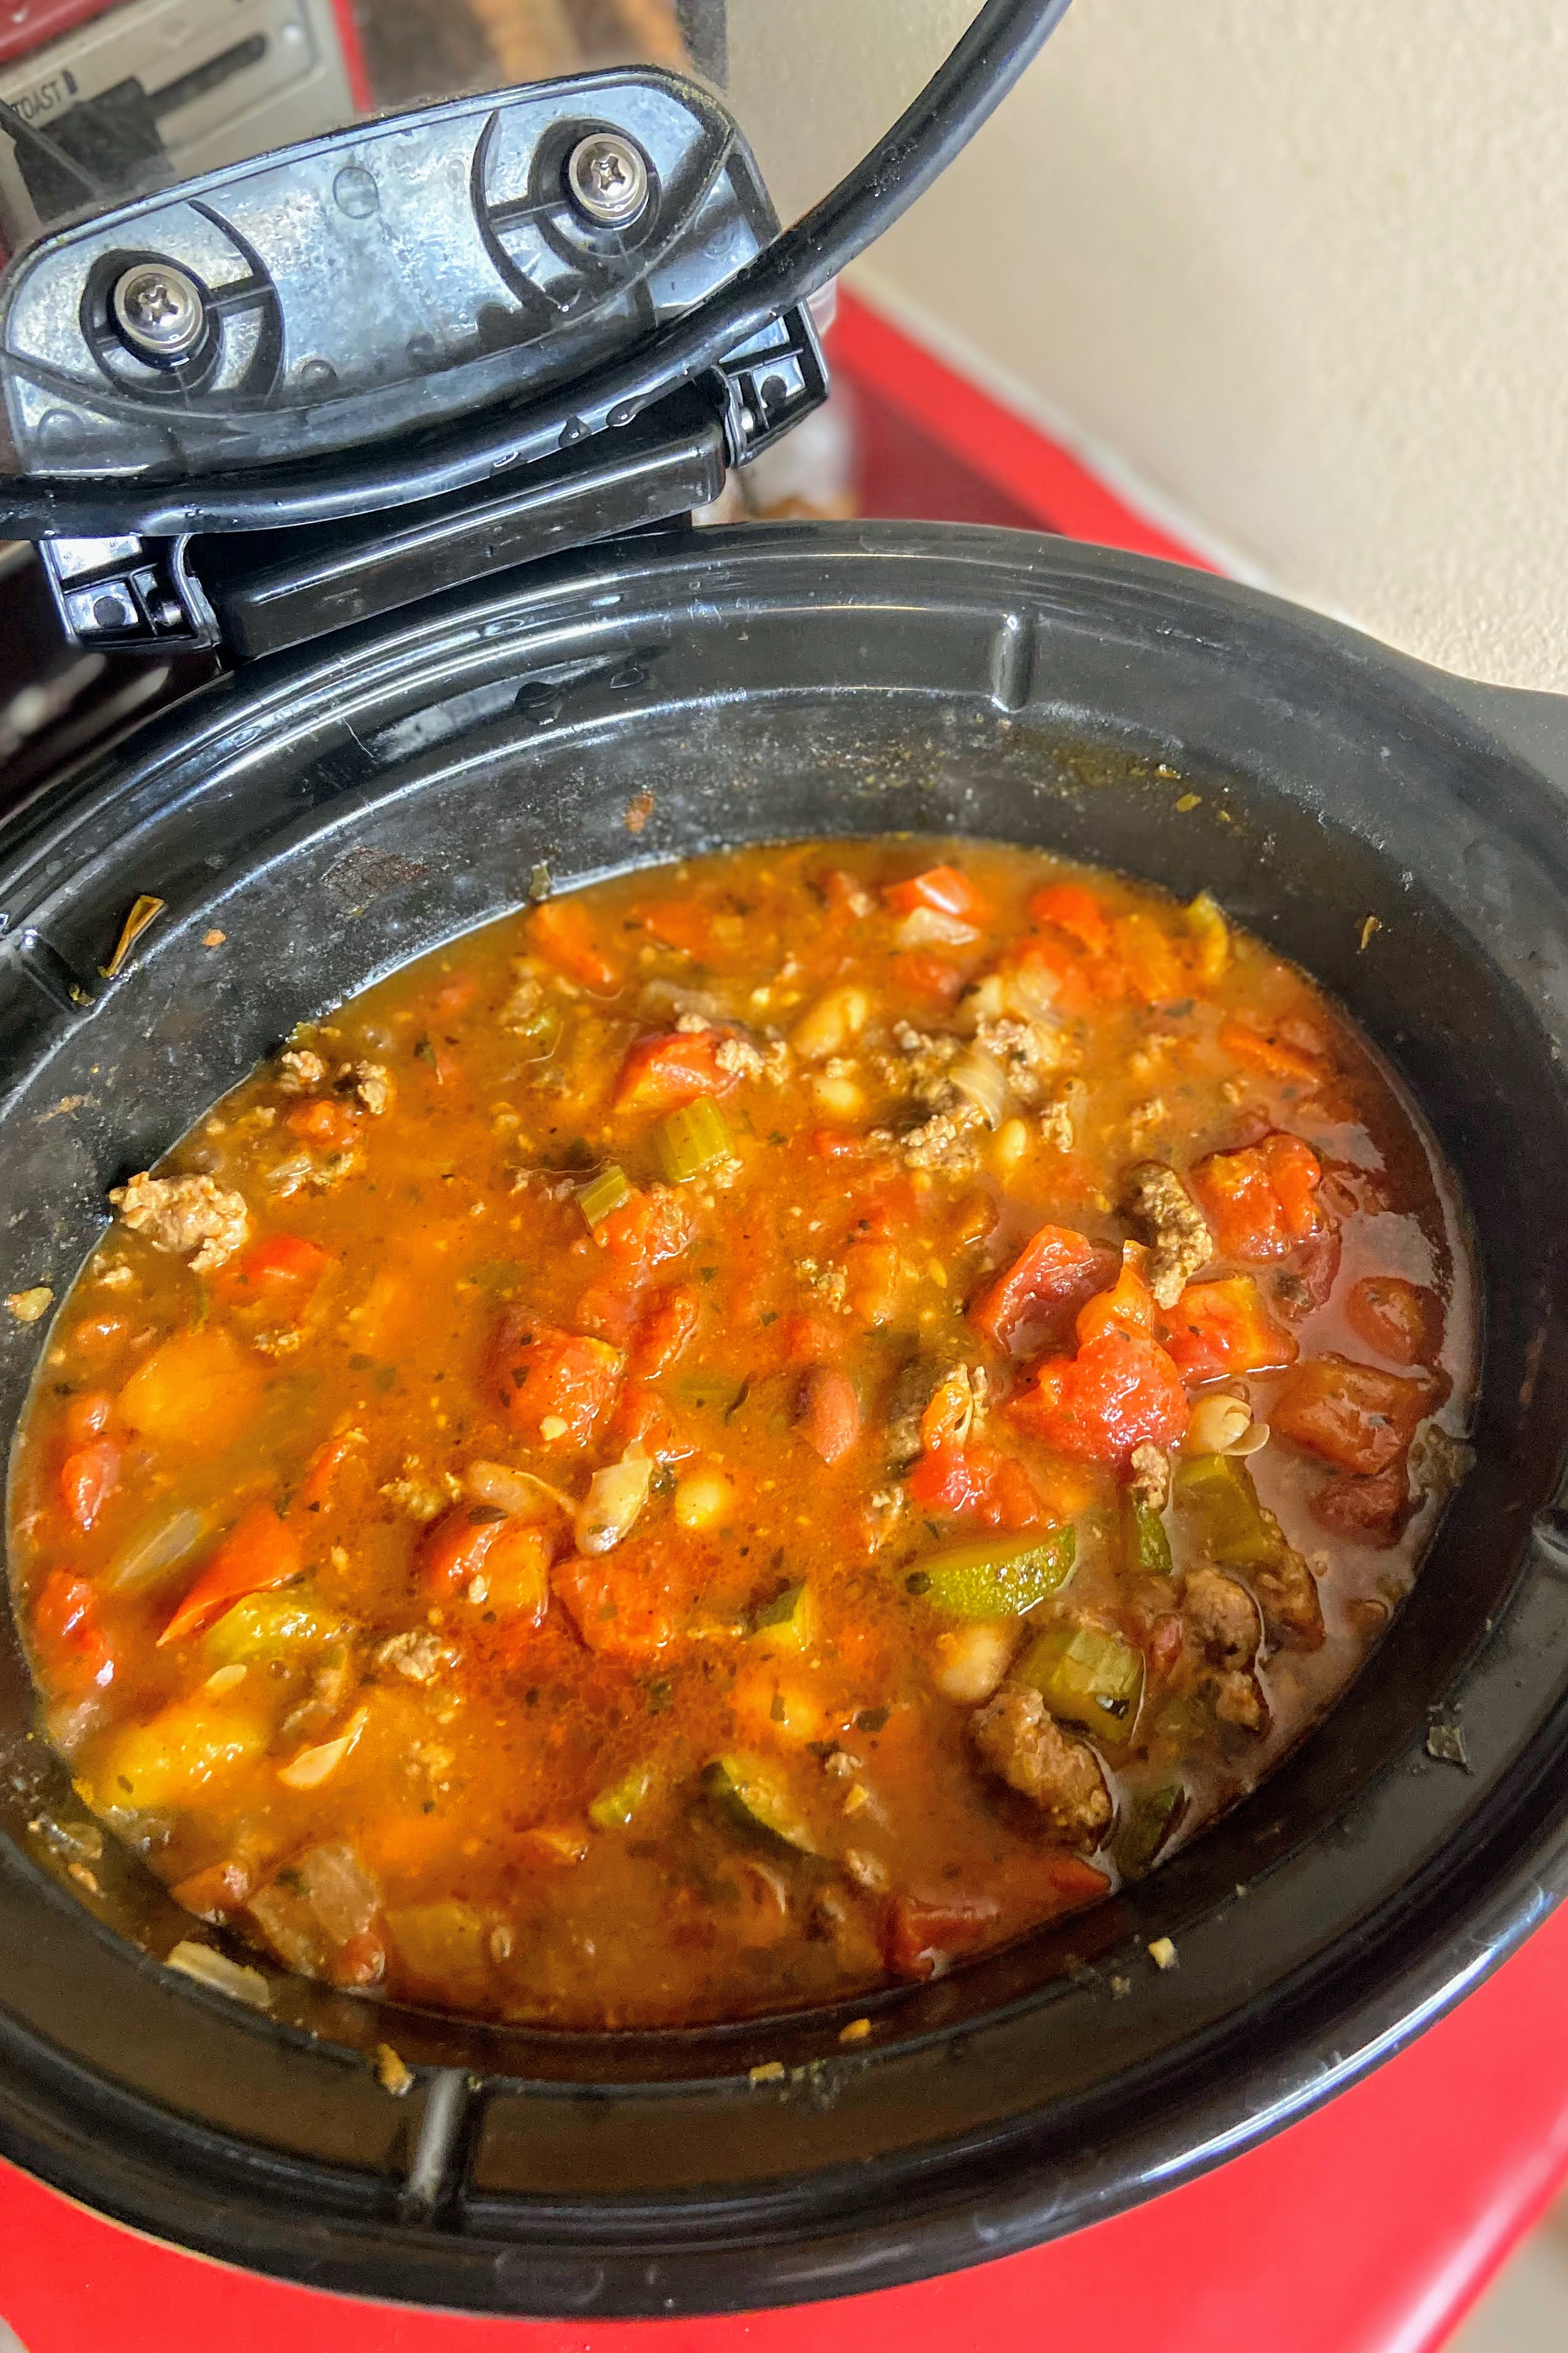
That time finally came, and friends, it’s a great recipe. It needs just a bit of prep ahead of time (might I recommend browning the meat the night before if your mornings are rushed?), and 6-8 hours later, you will have a DELICIOUS Italian-inspired chili that will keep you warm any chilly day. (Or really any day, because every day is a good day for soup!)
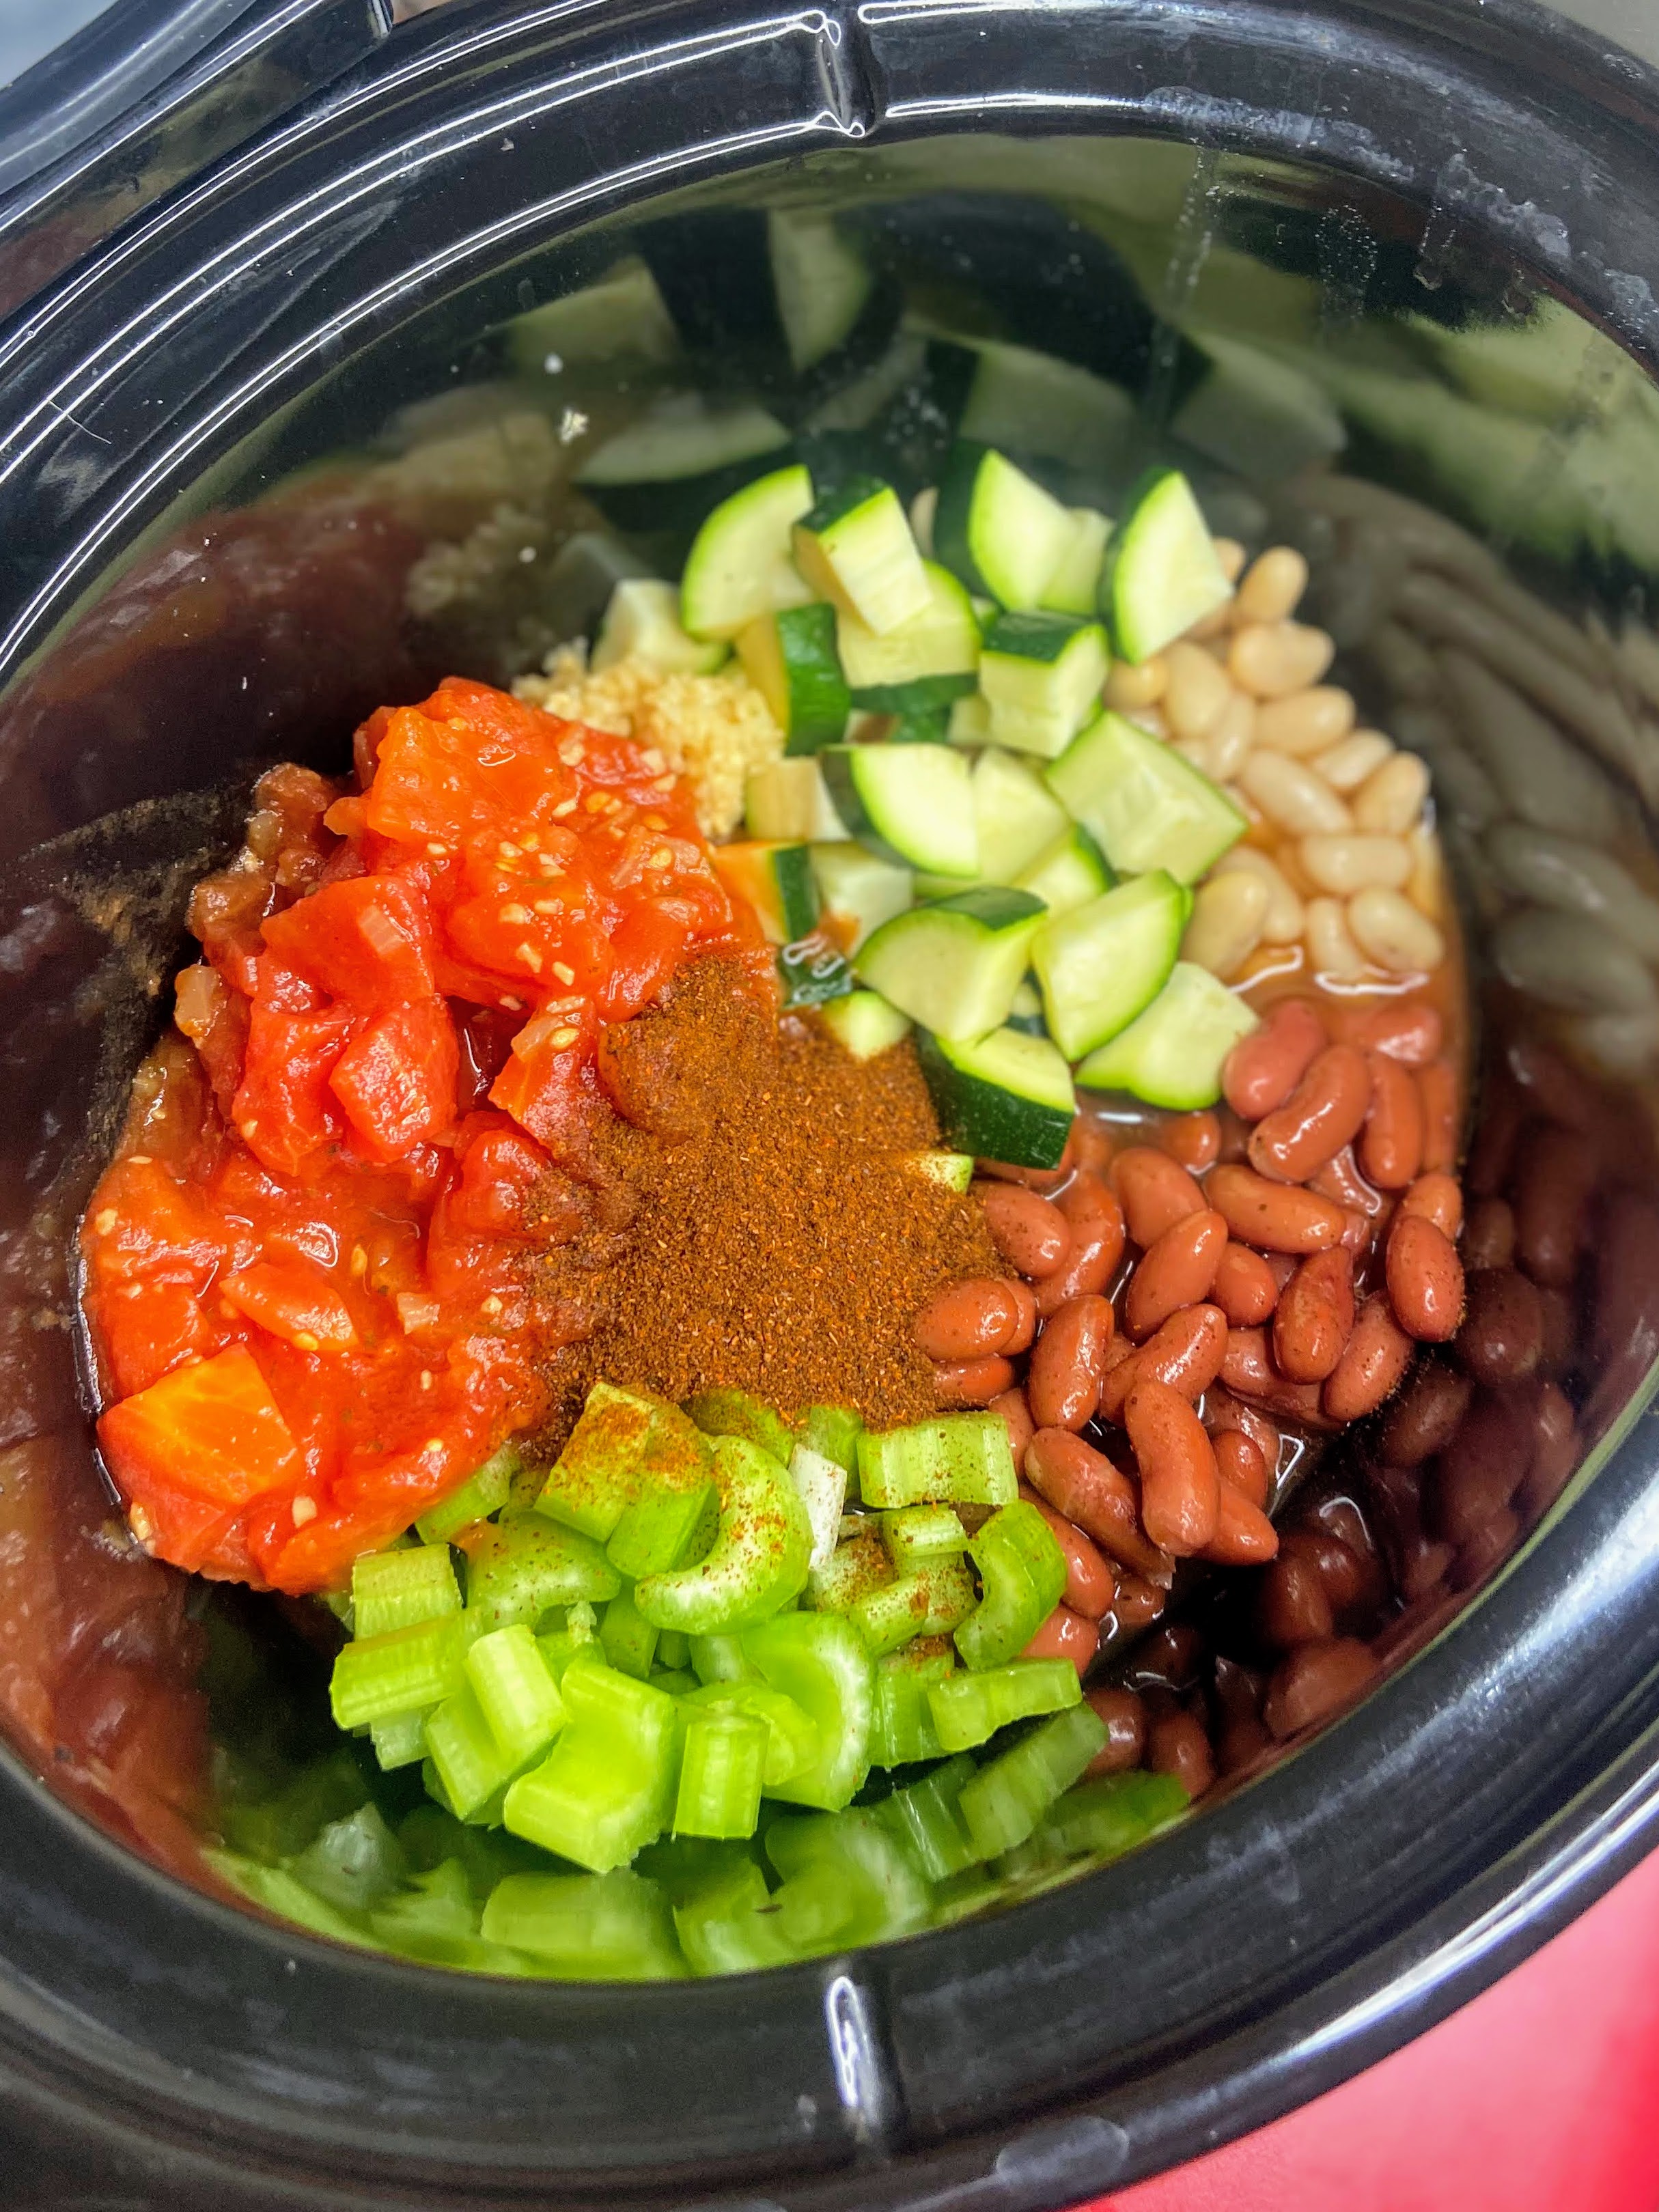
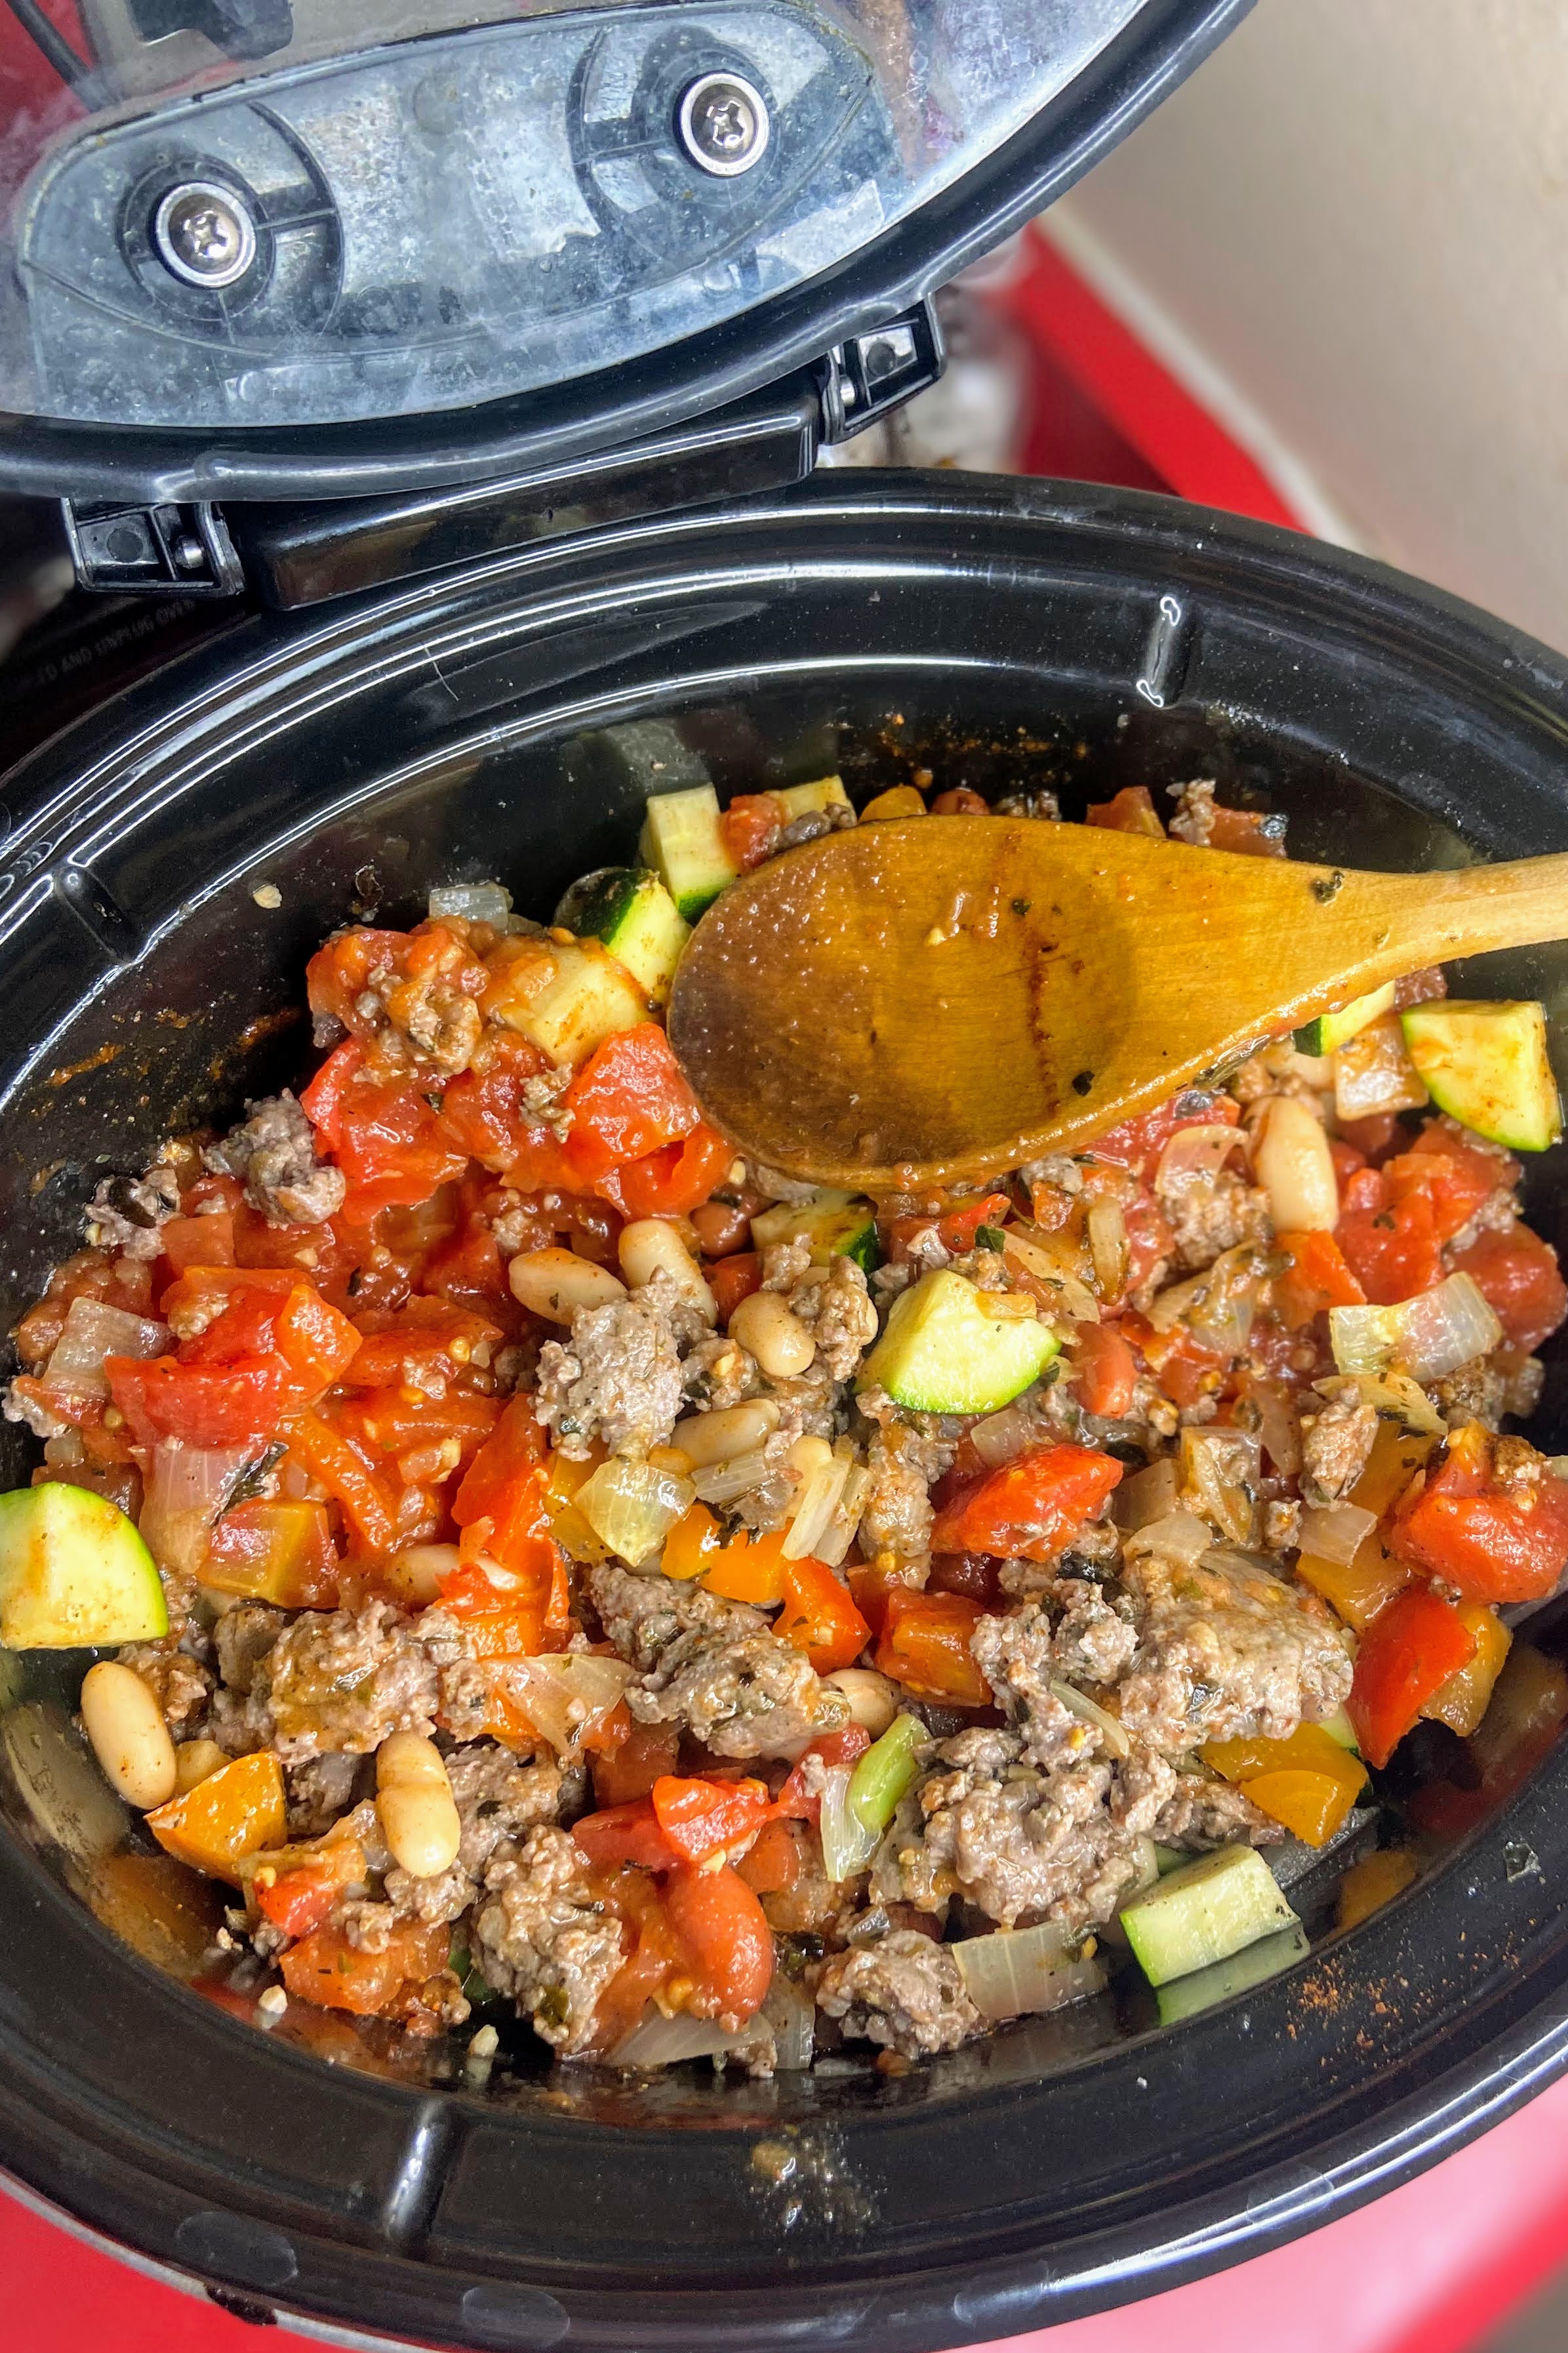
Before you get started, let me preface this recipe by saying that it will seem like you don’t have enough liquid initially. After cooking in the slow cooker all day, the liquid will be drawn out of the vegetables and it will be perfect.
Let’s get cooking!
Your Ingredients for Italian Chili
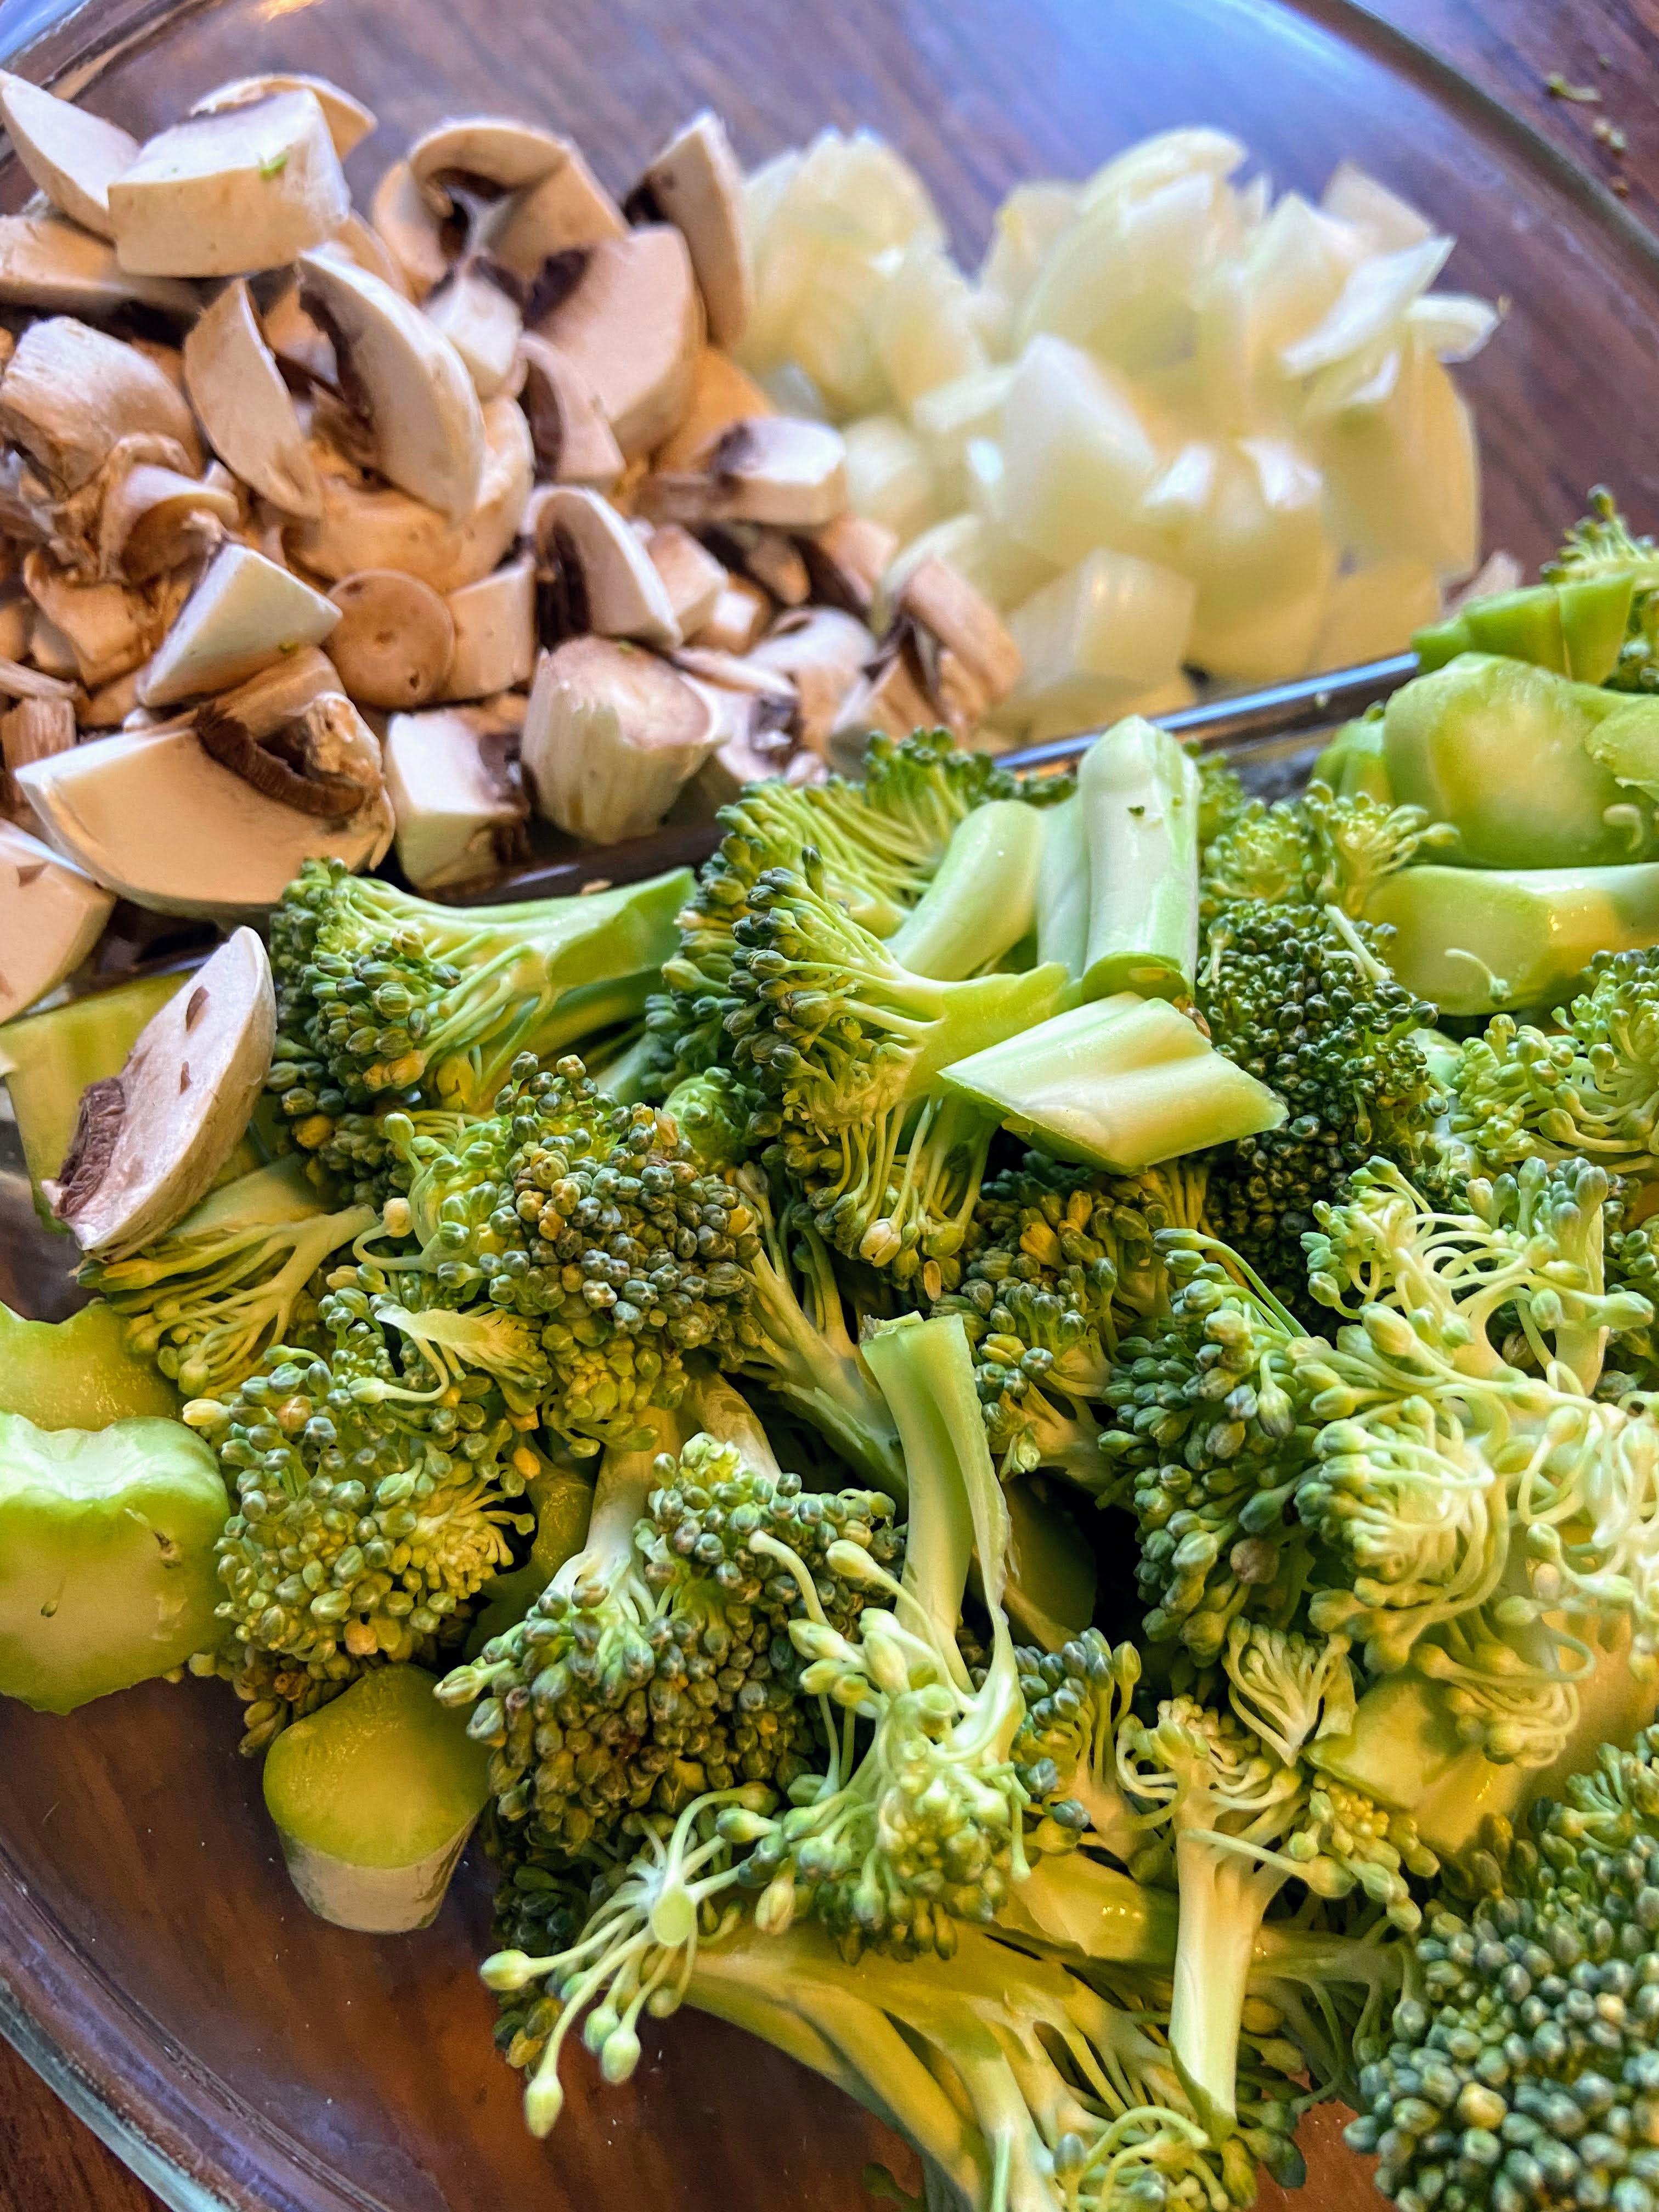
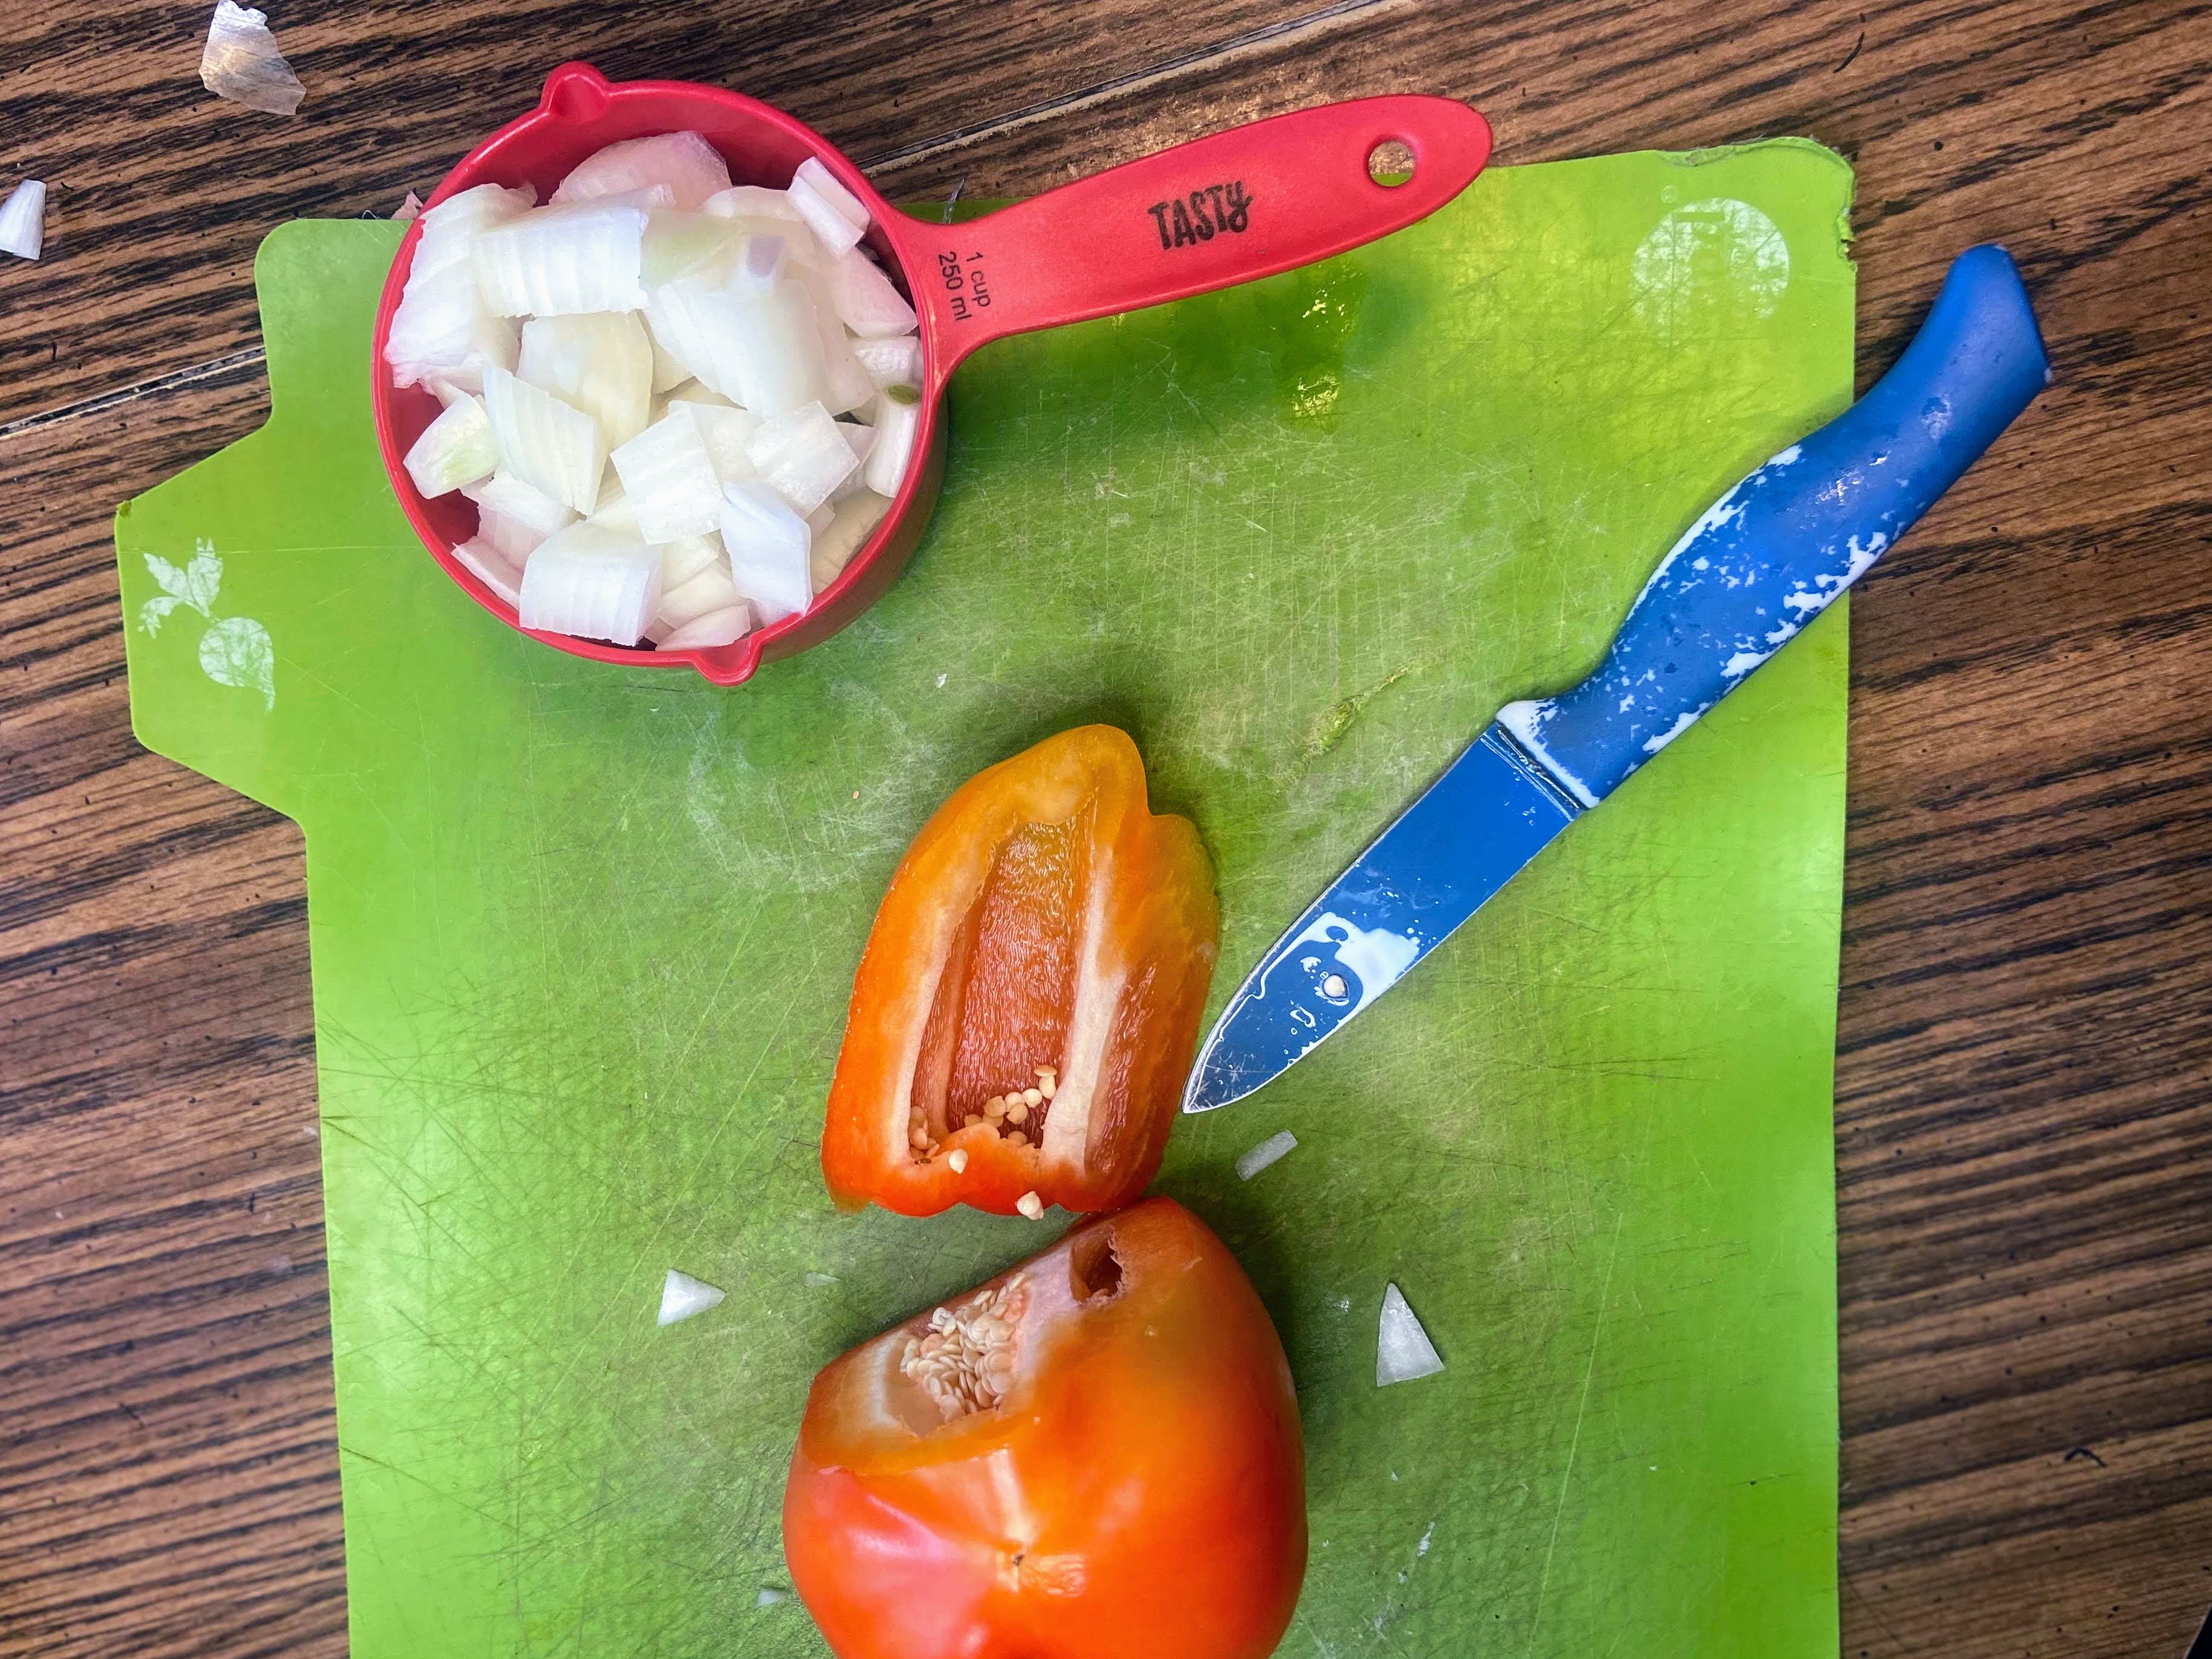
- 1 ⅓ cup diced sweet bell pepper, any color (1 large)
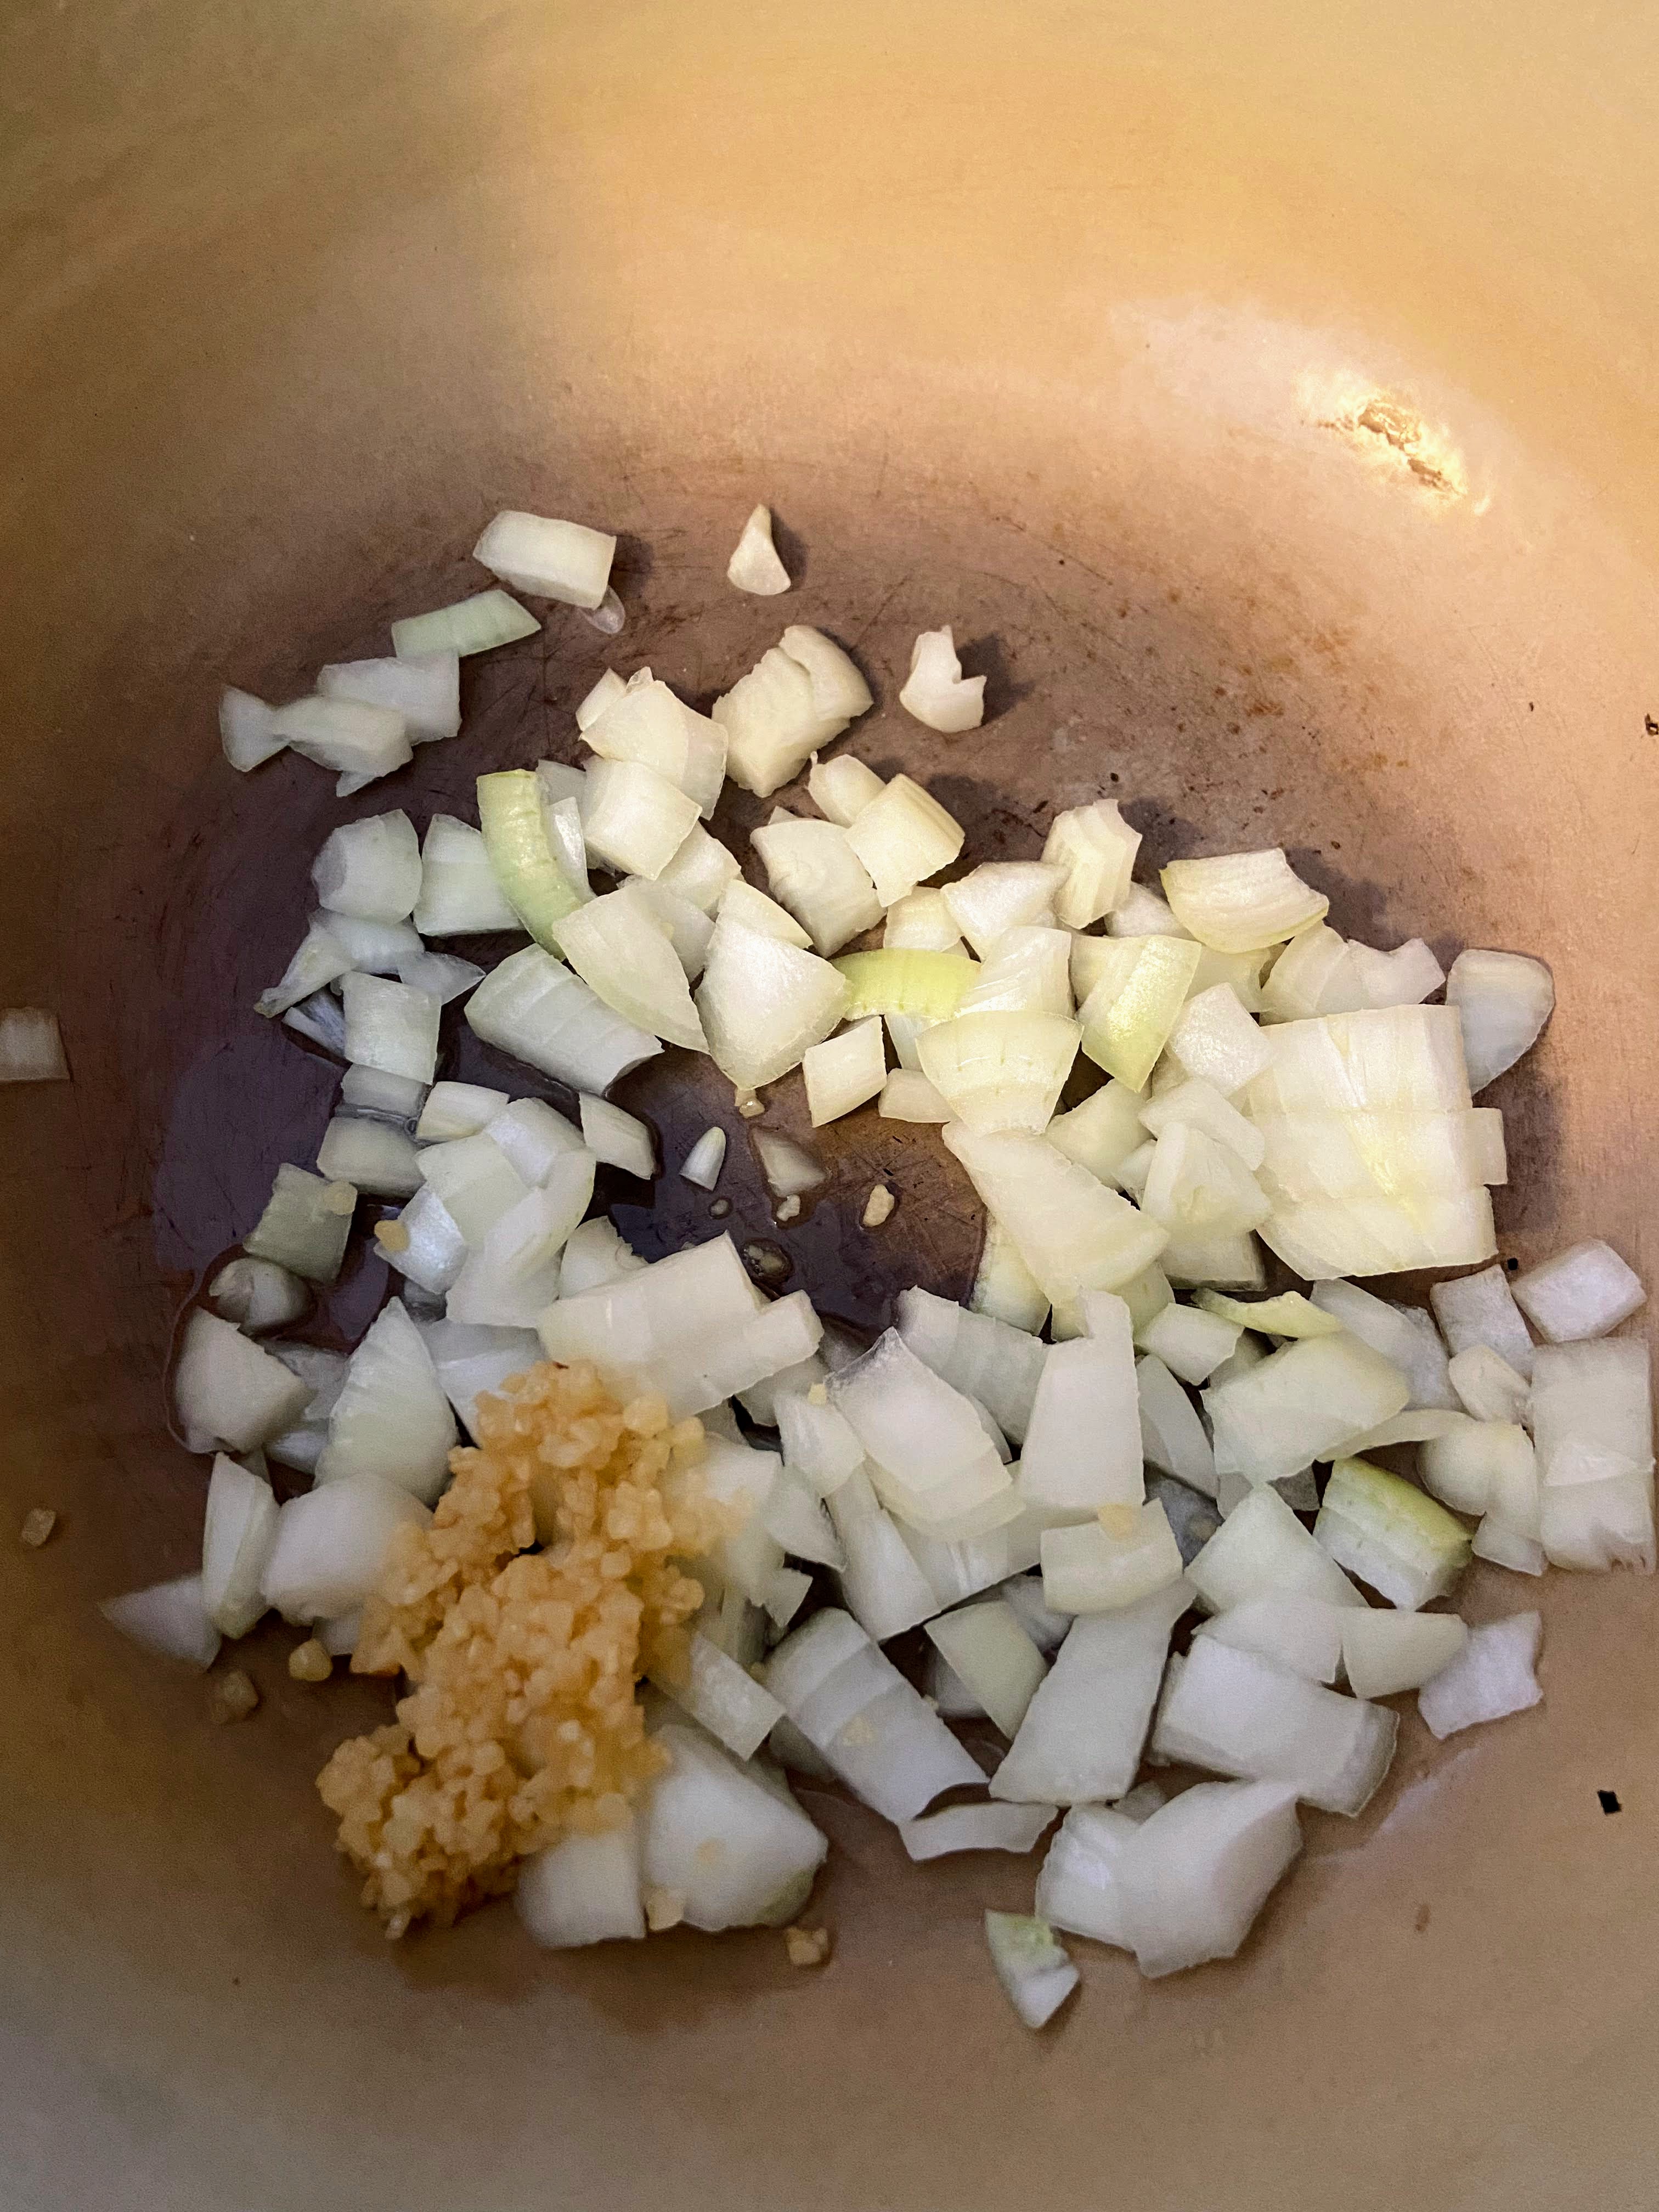
- 1 ⅓ cup diced onion (1 medium)
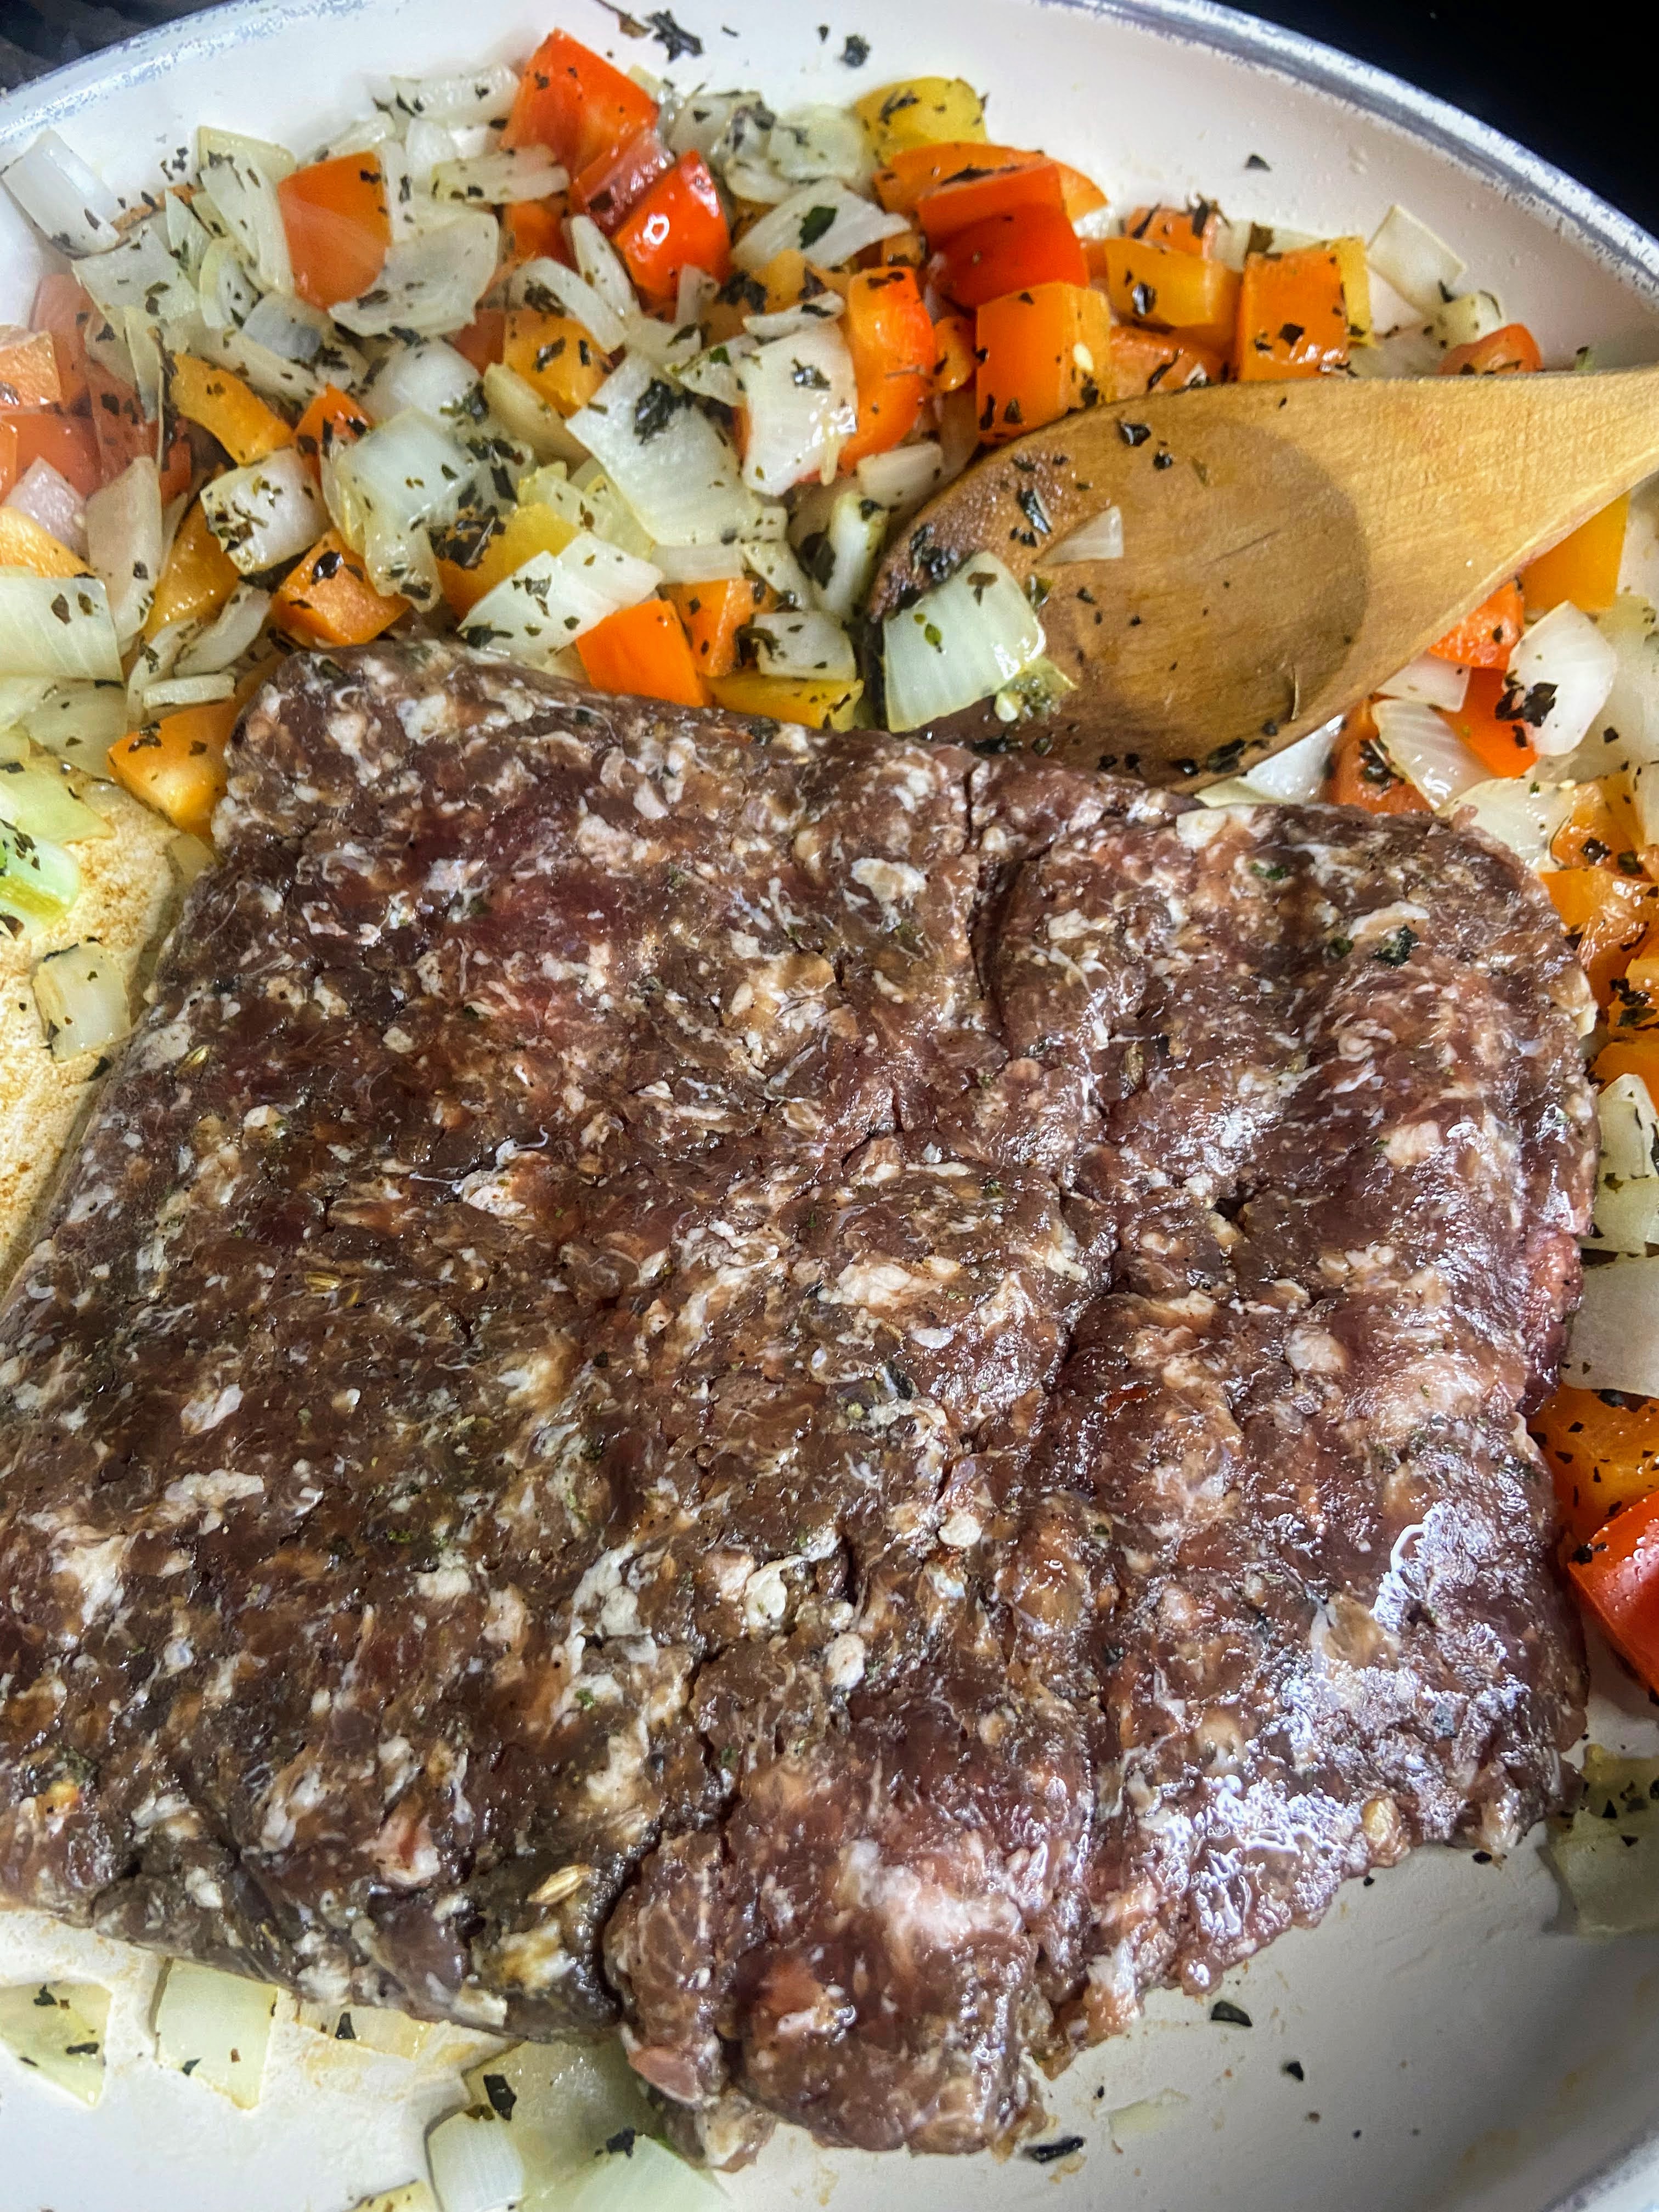
- 16 ounces ground Italian sausage
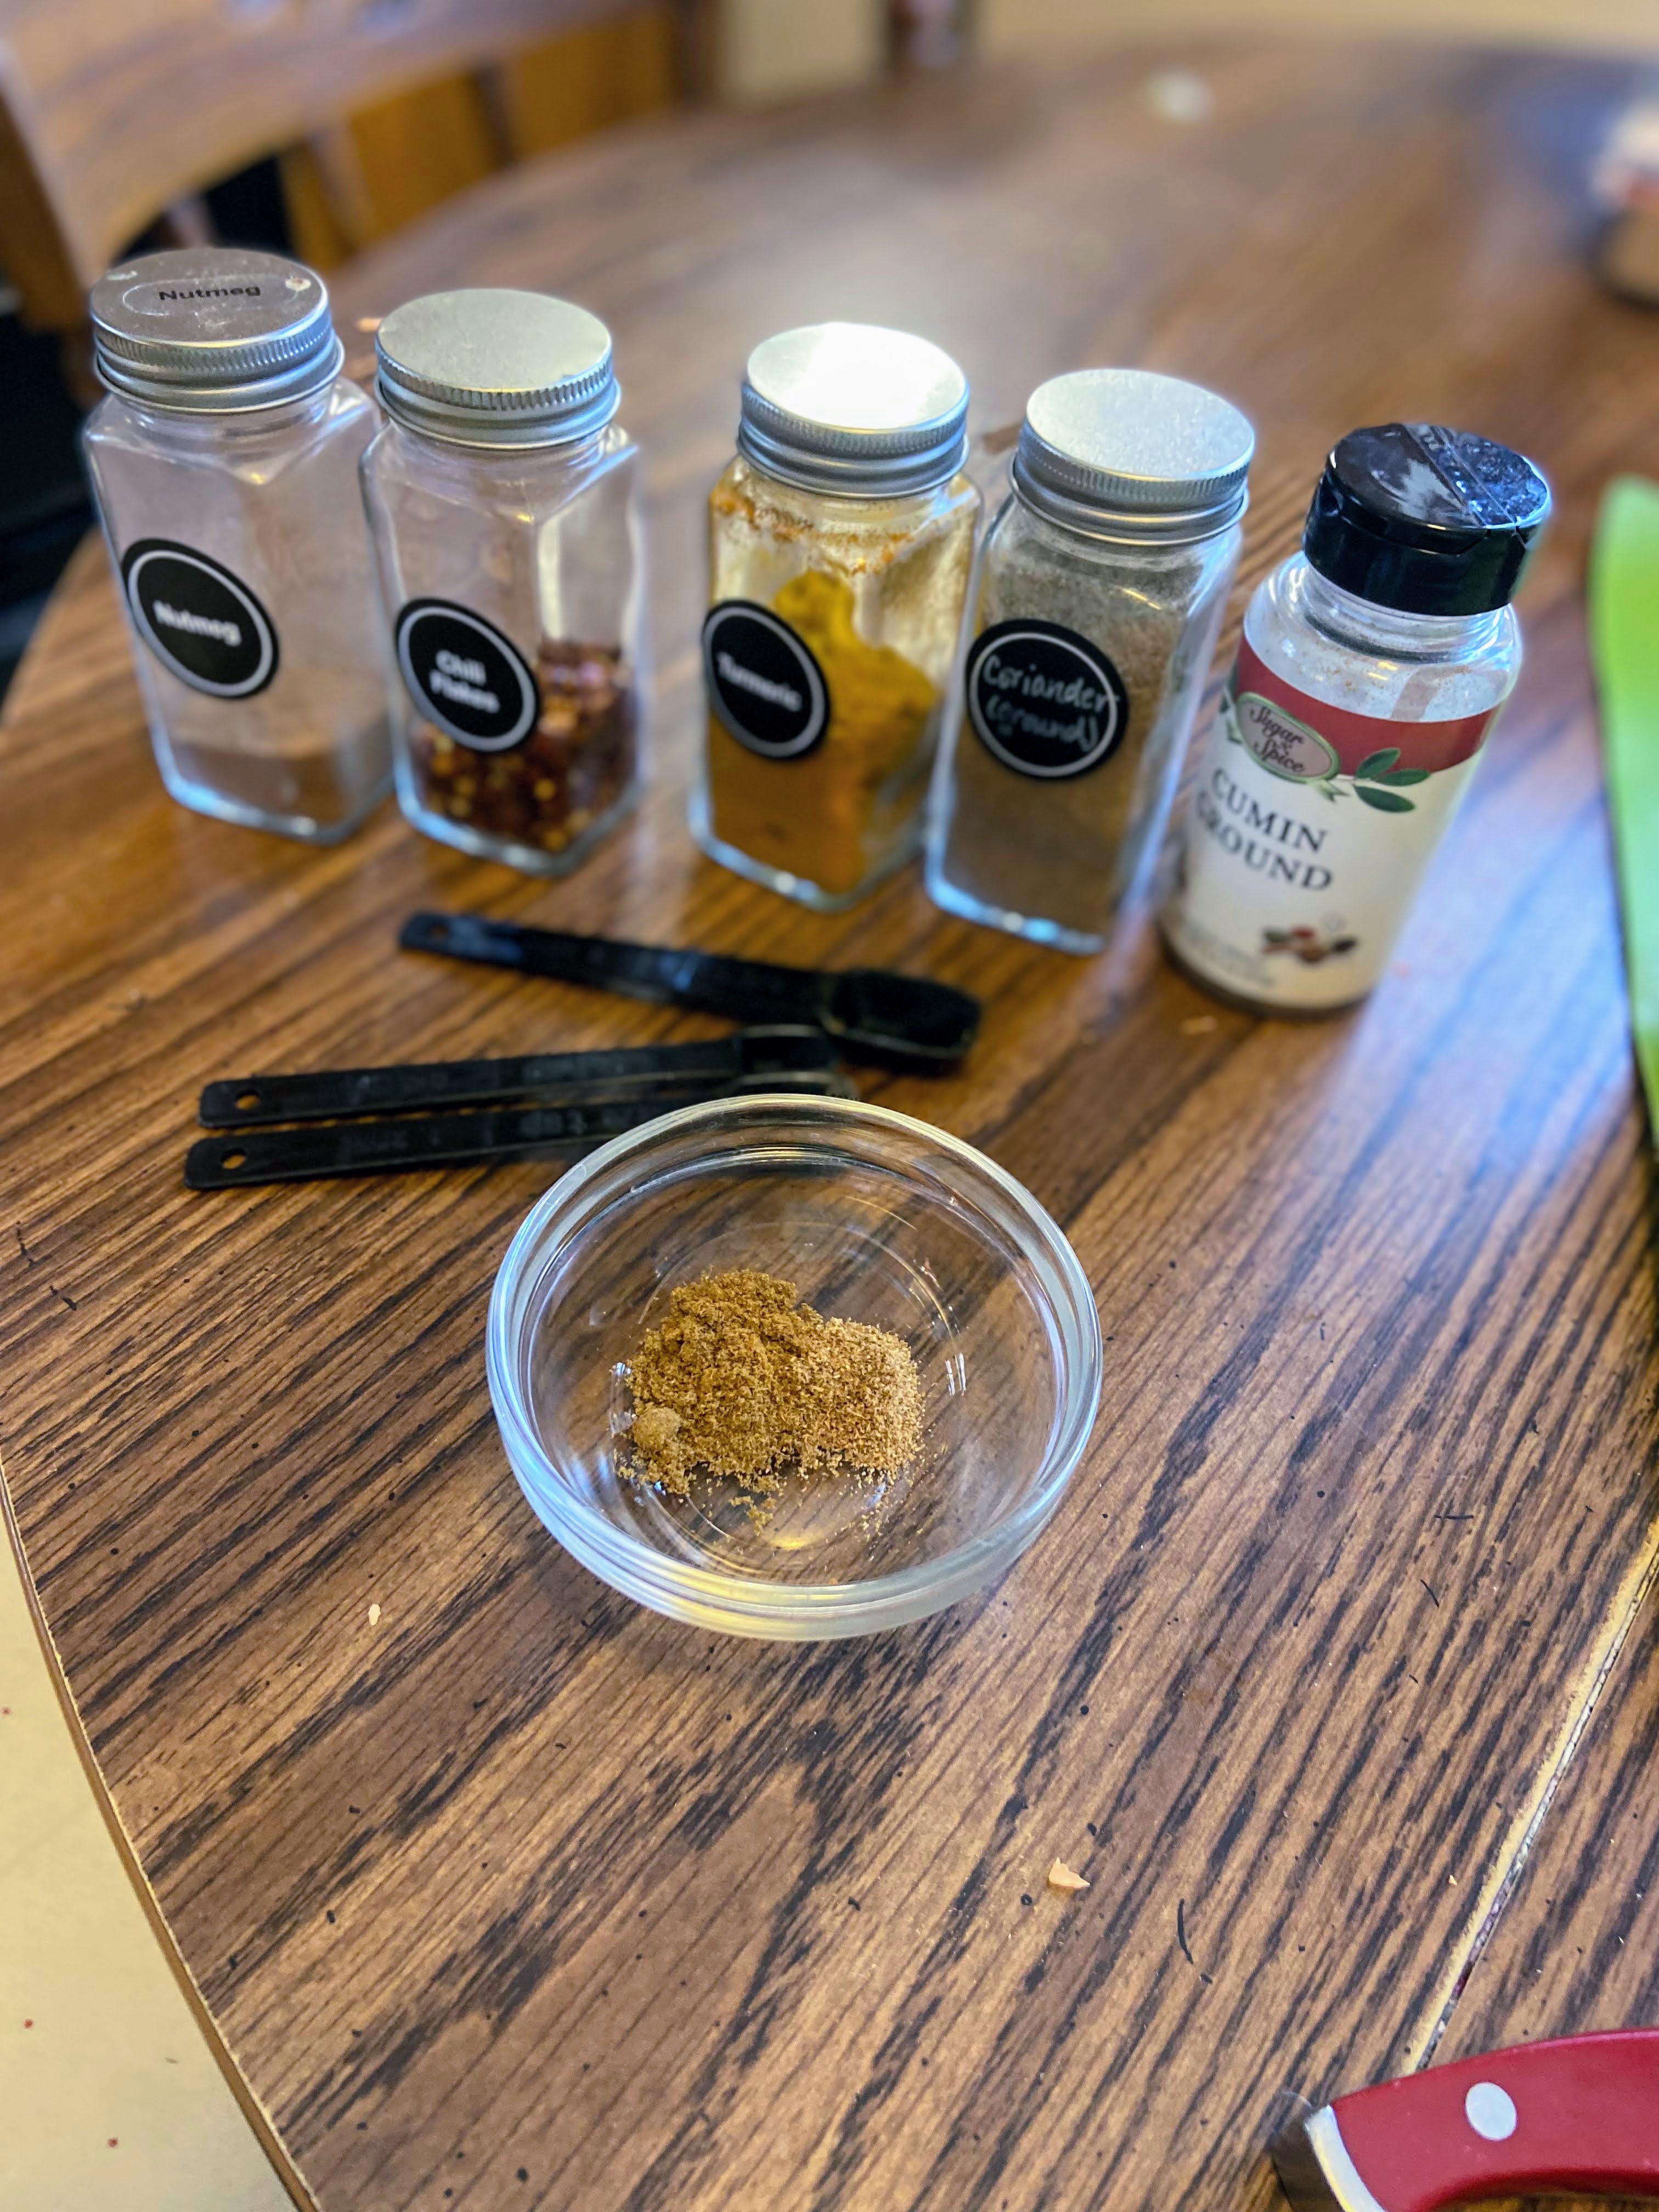
- 1 teaspoon dried oregano
- 1/2 teaspoon dried basil
- 1 tablespoon olive oil
- 28 ounce Italian diced tomatoes
- 1 1/2 cup tomato juice
- 1 cup diced celery
- 15 ounces kidney beans, rinsed
- 15 ounces Cannellini beans, rinsed
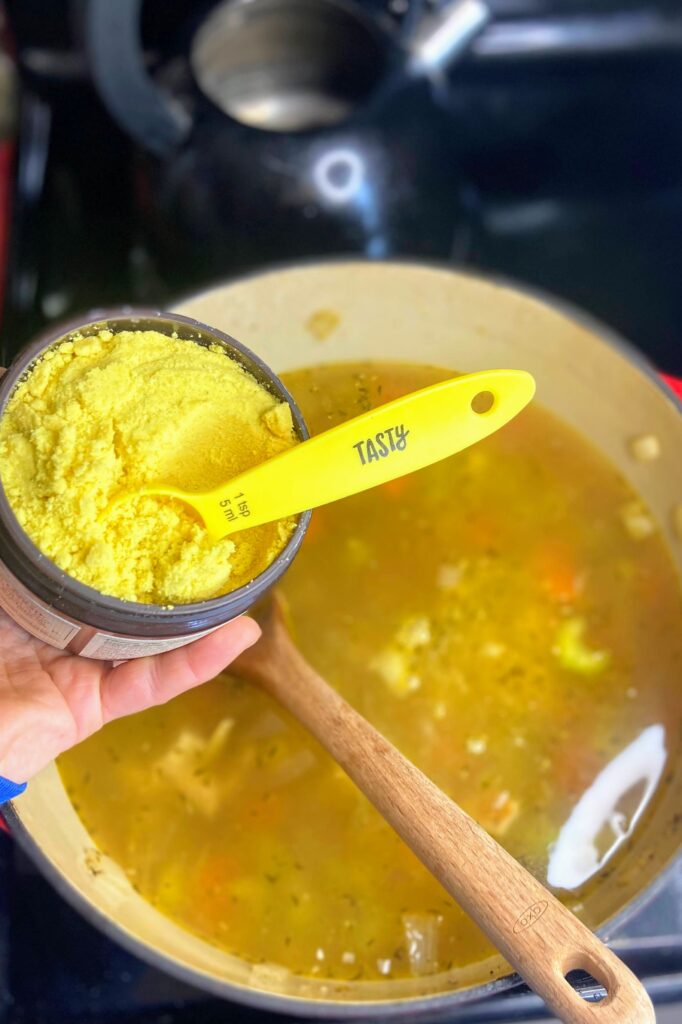
- 1/2-1 tablespoon chili powder
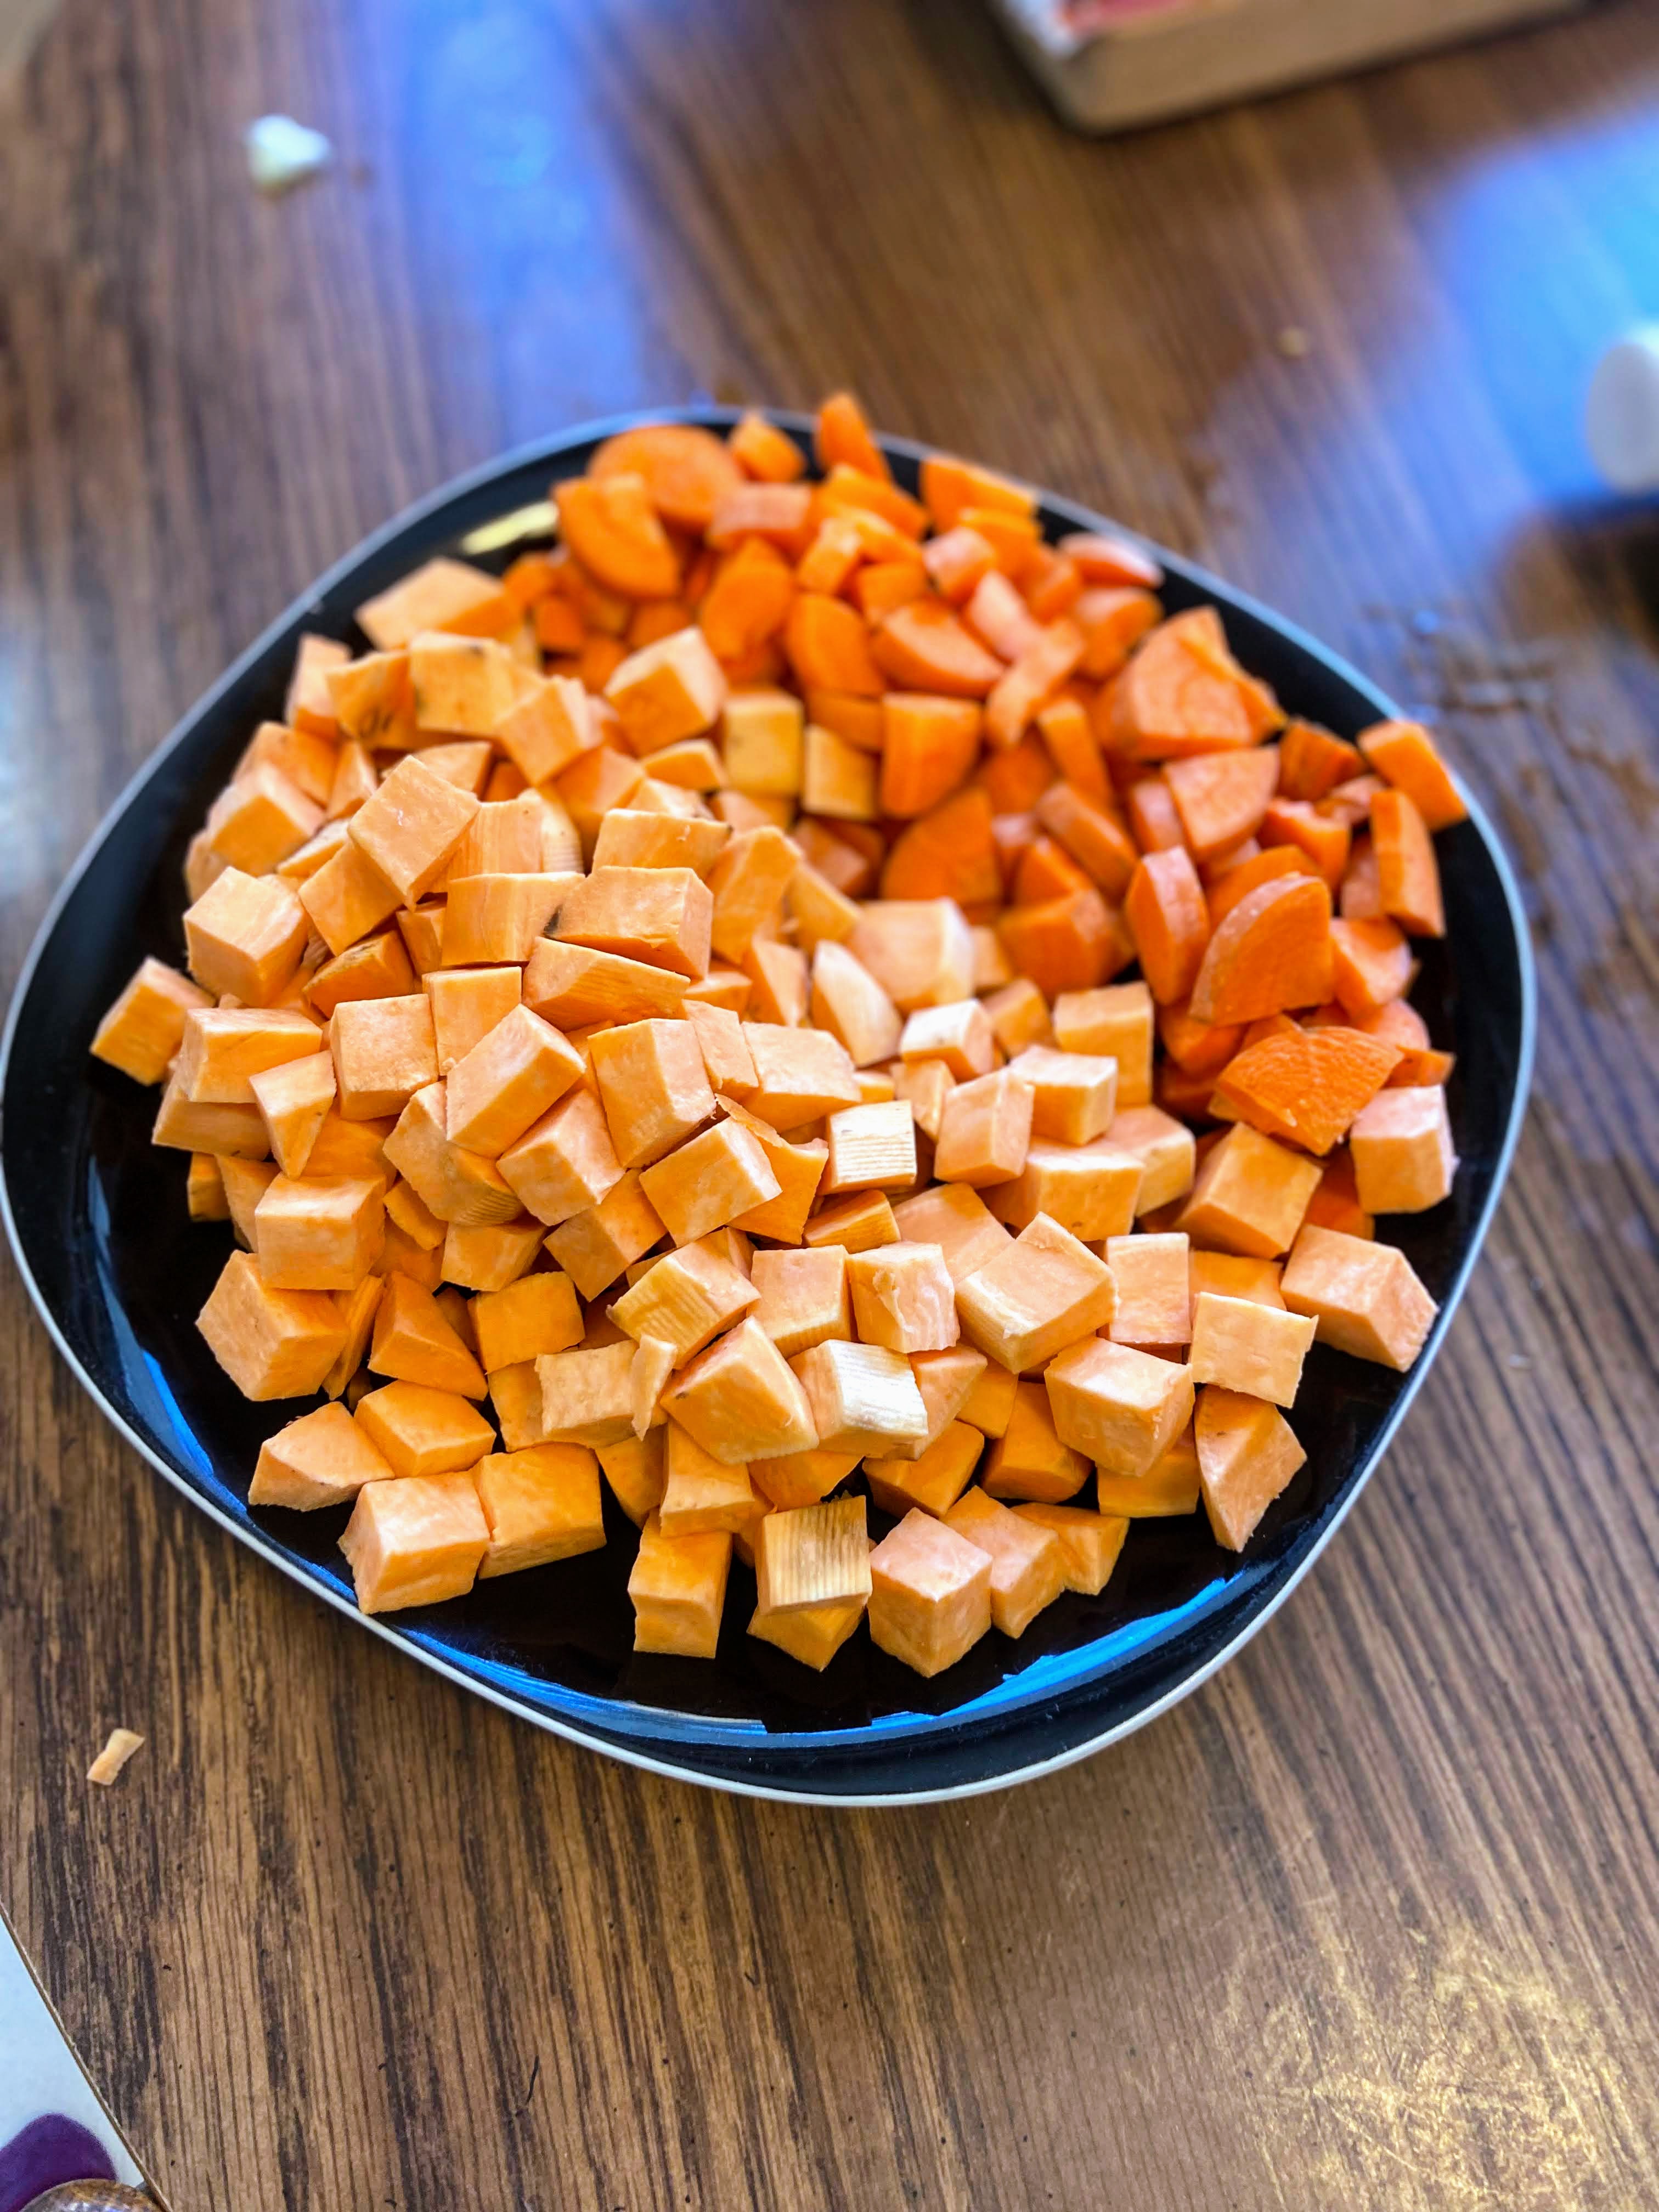
- 1 cup diced zucchini (1 small)
- 1 teaspoon minced garlic
- 1/2 teaspoon pepper
- salt, to taste
Your Steps (So easy!)
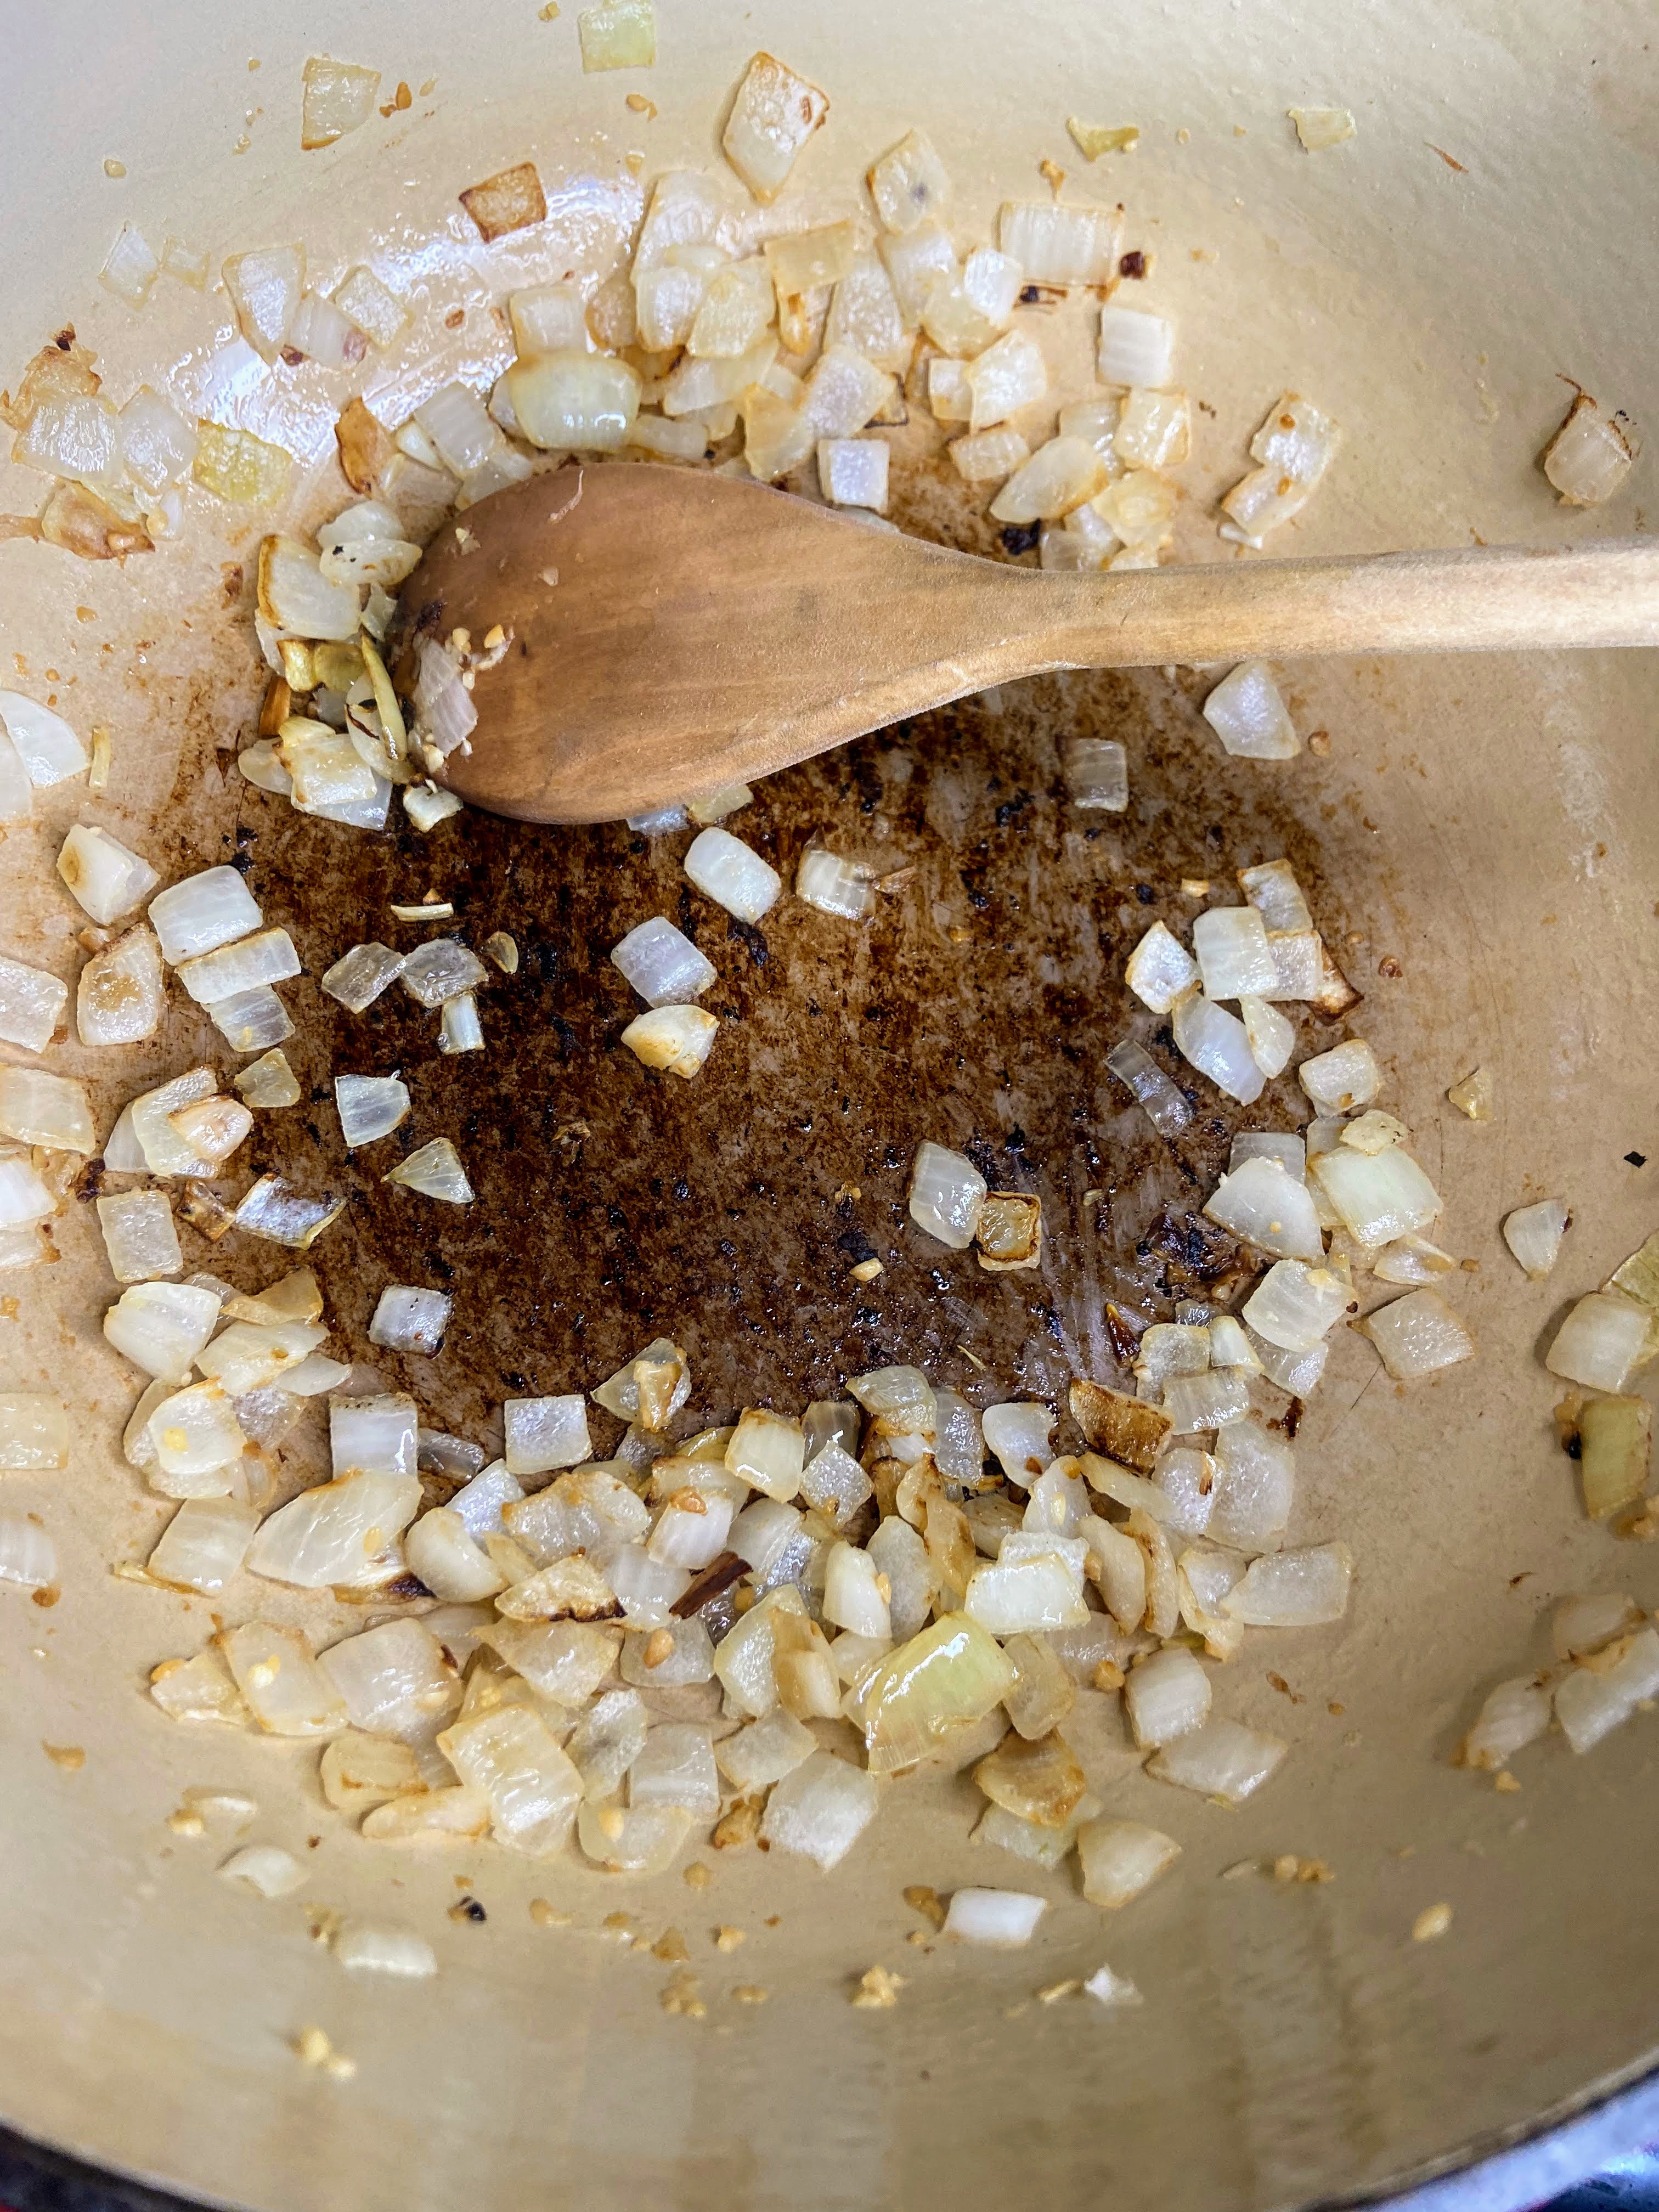
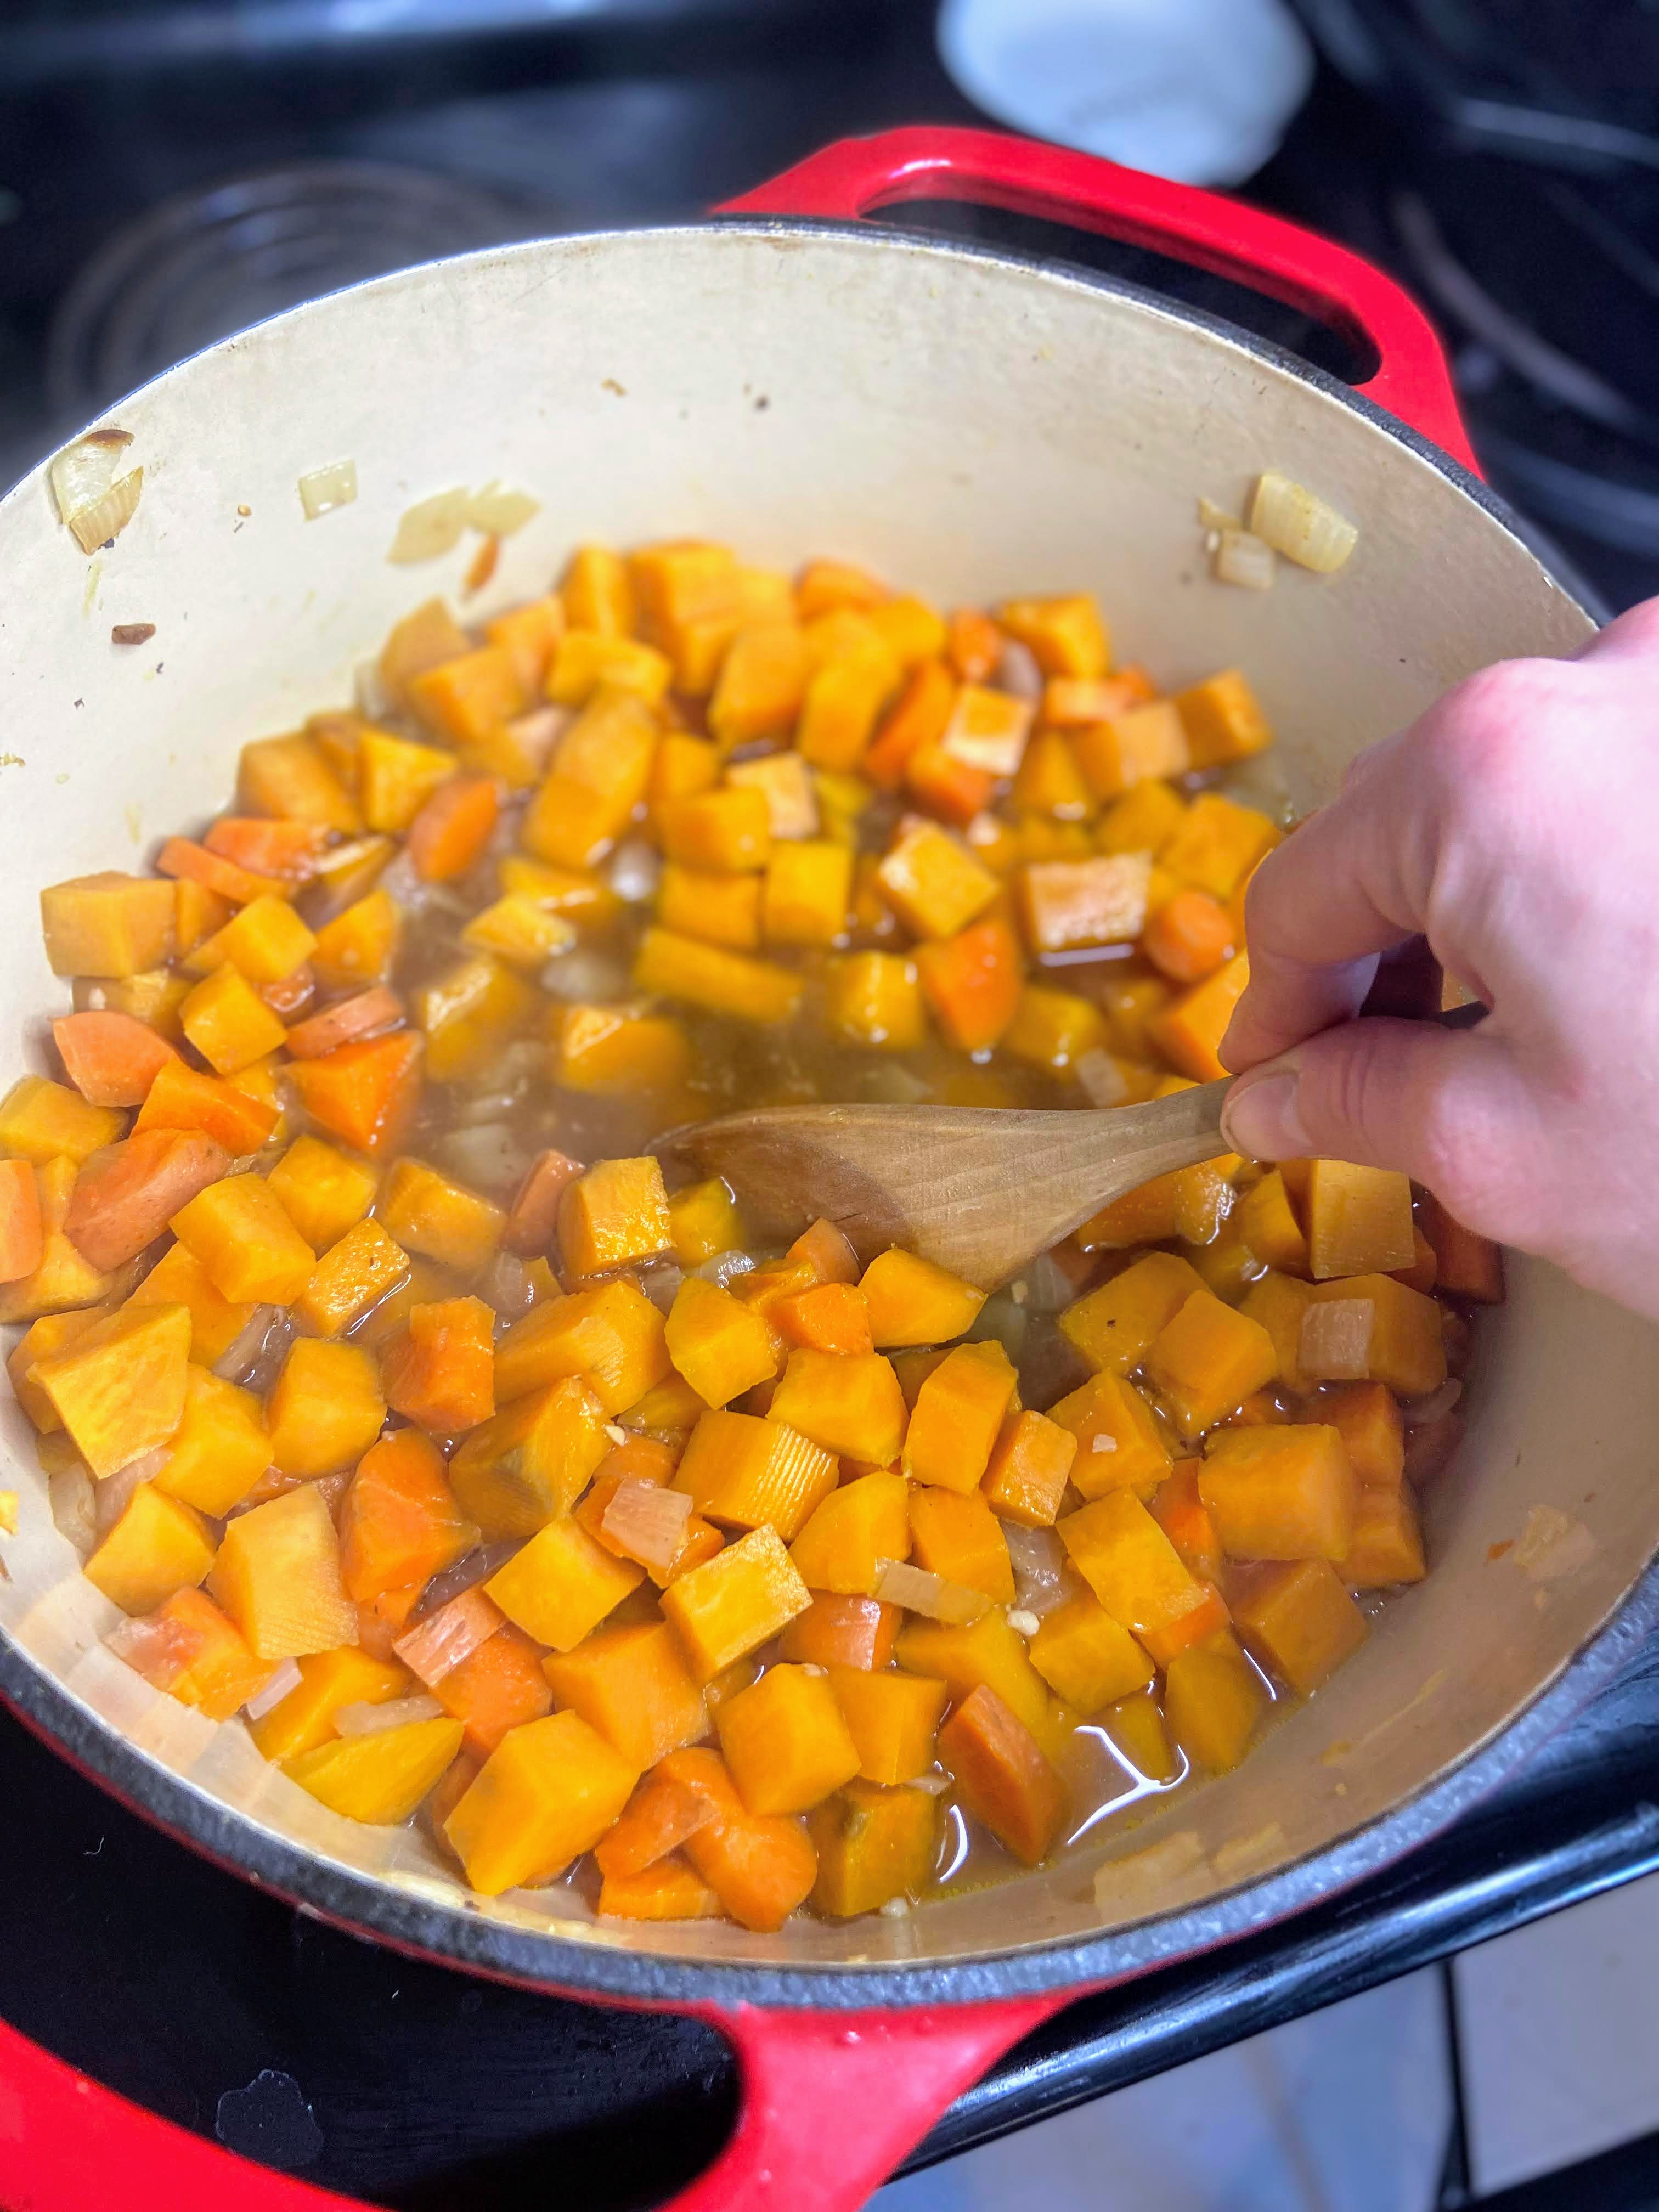
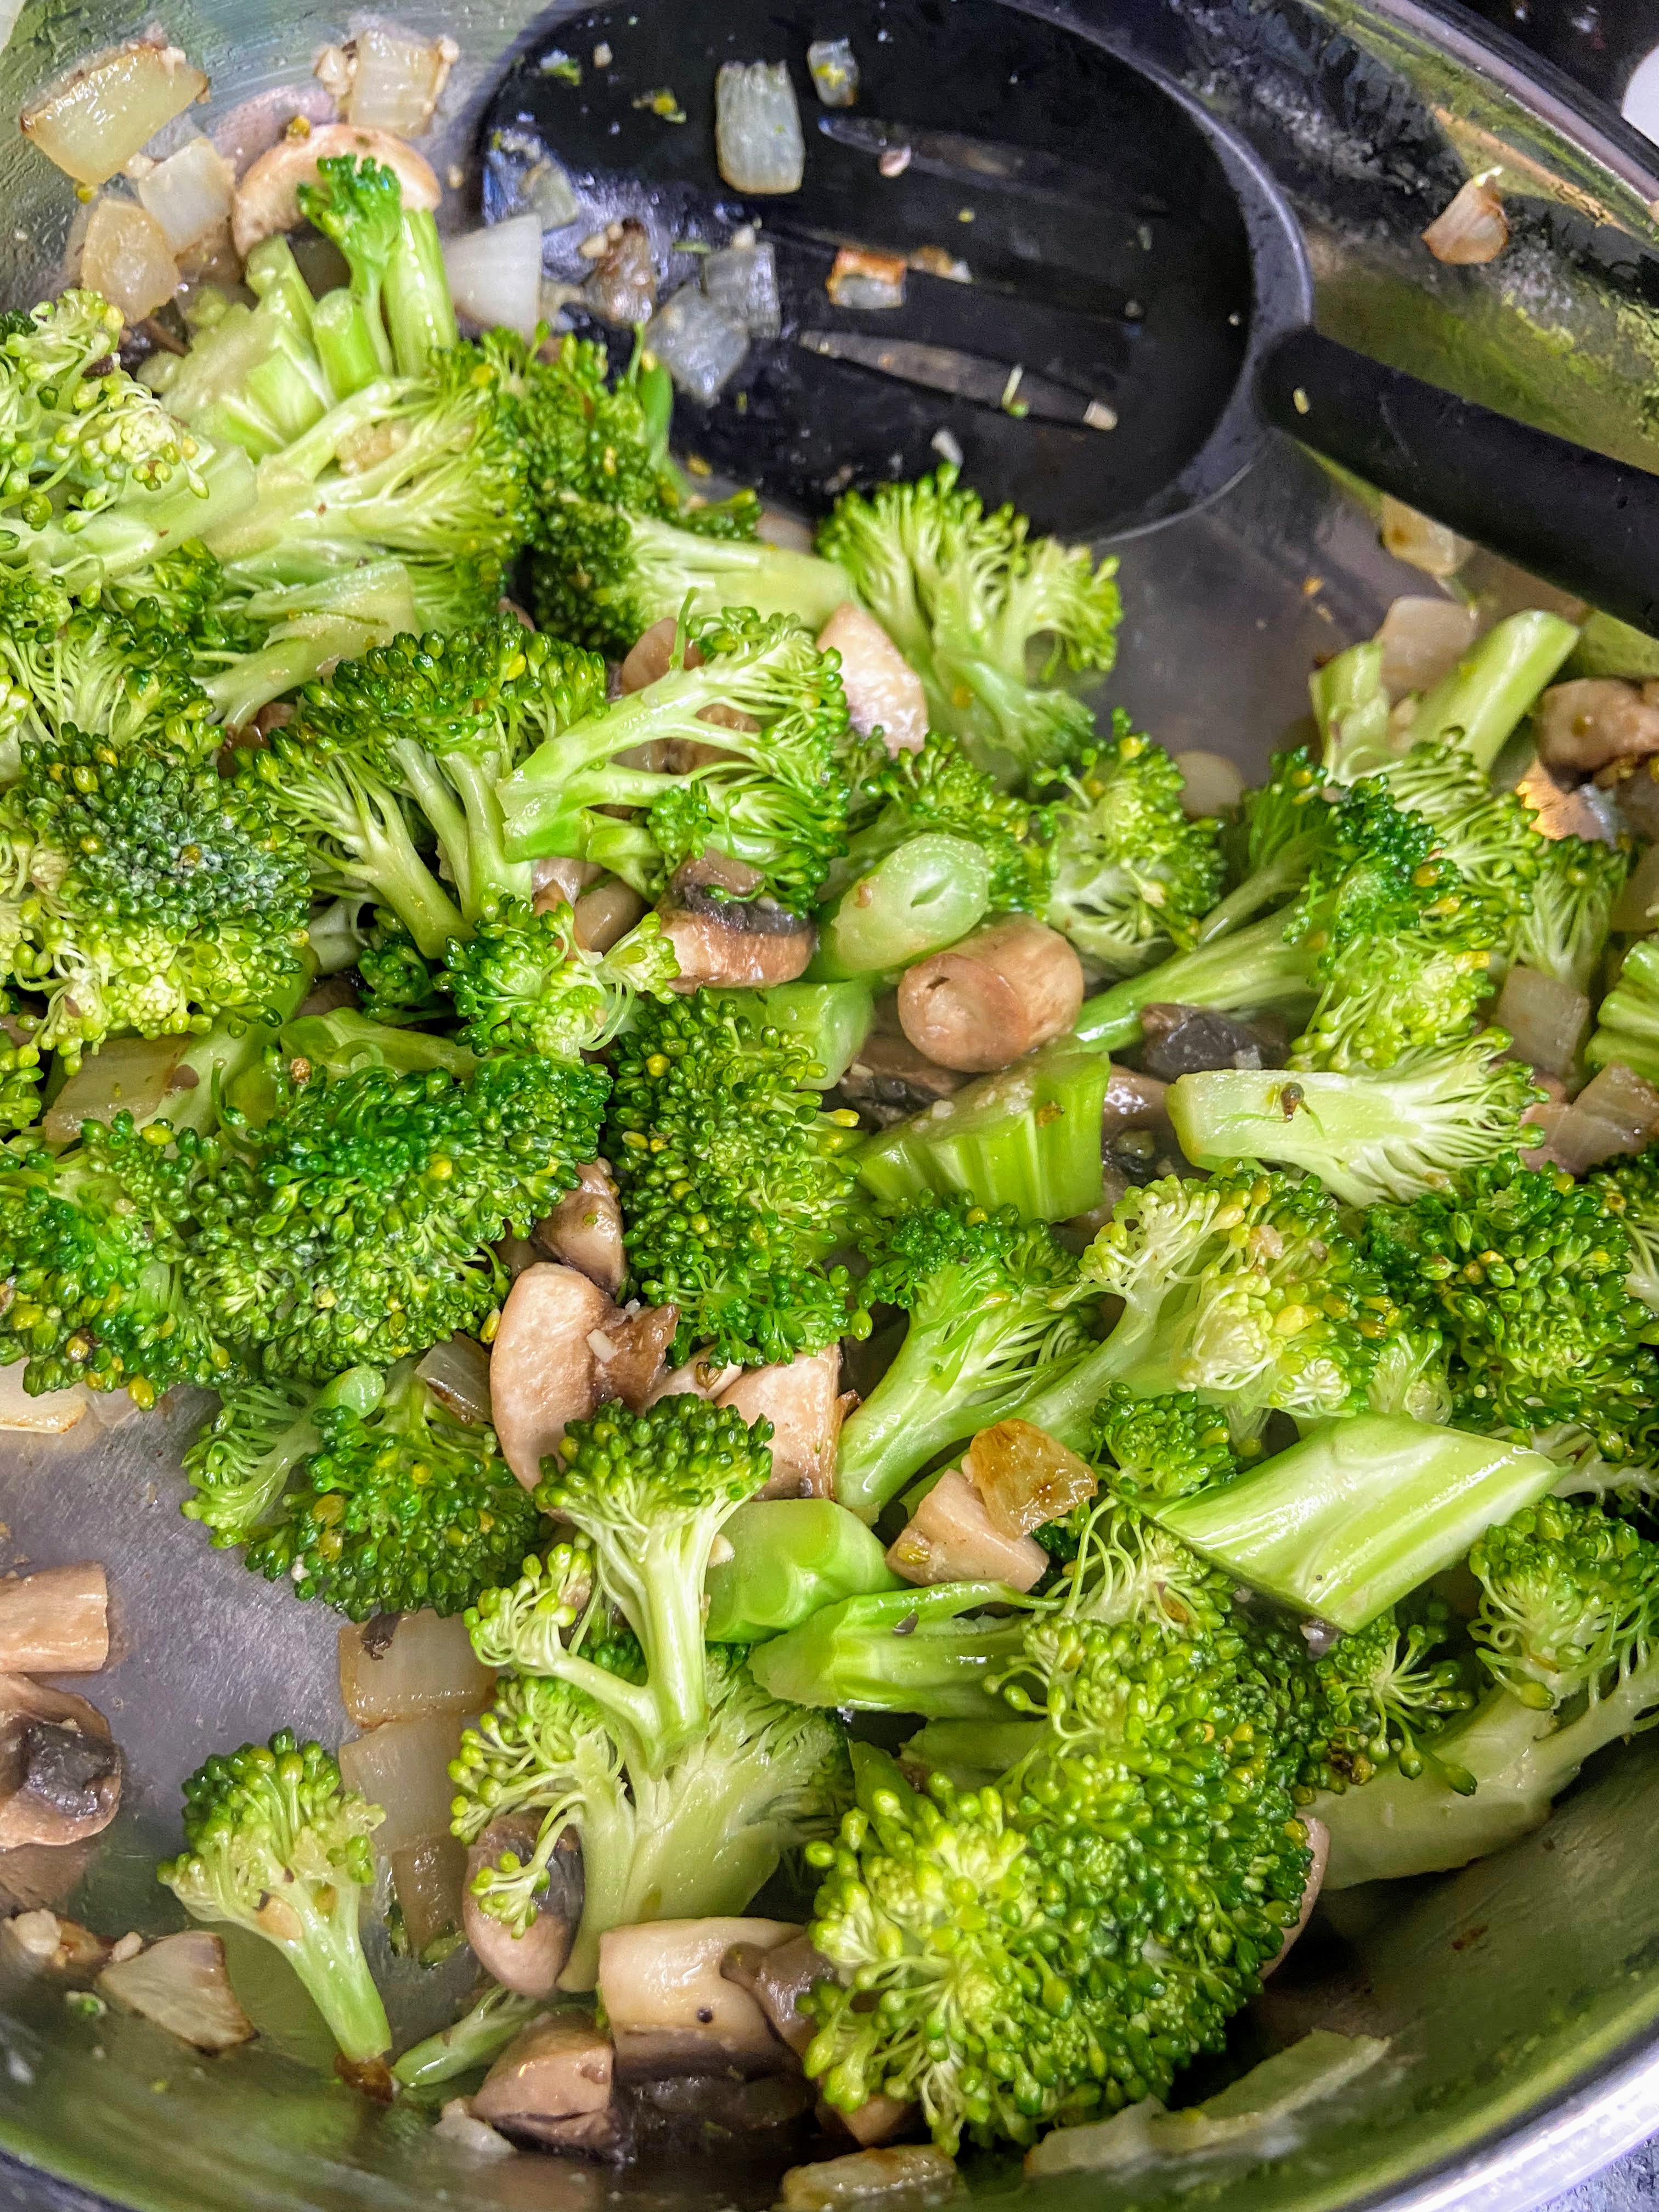
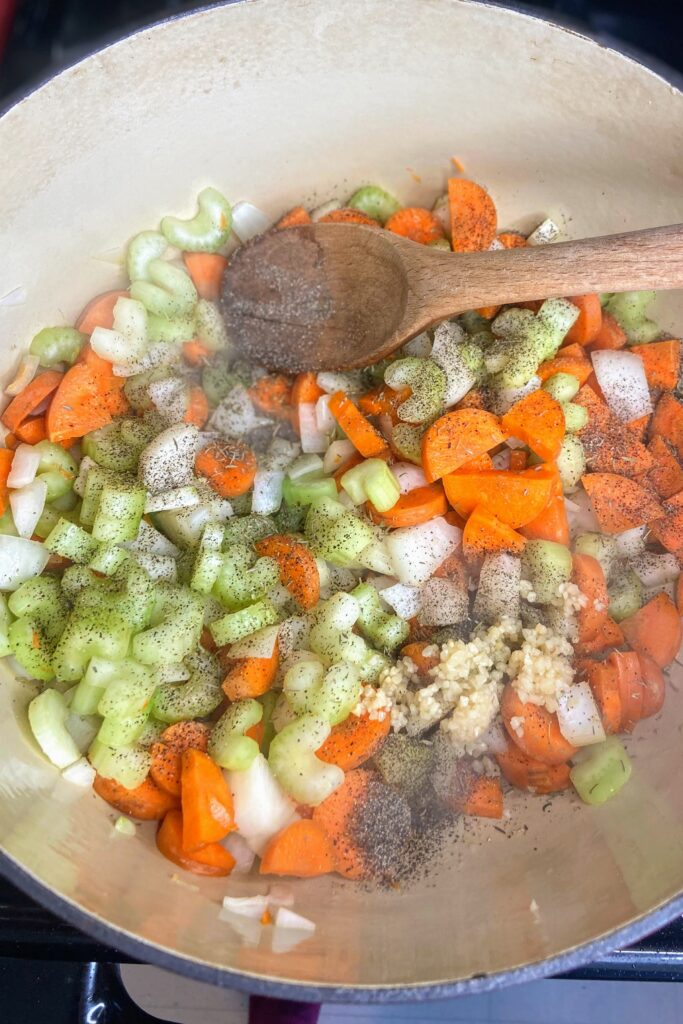
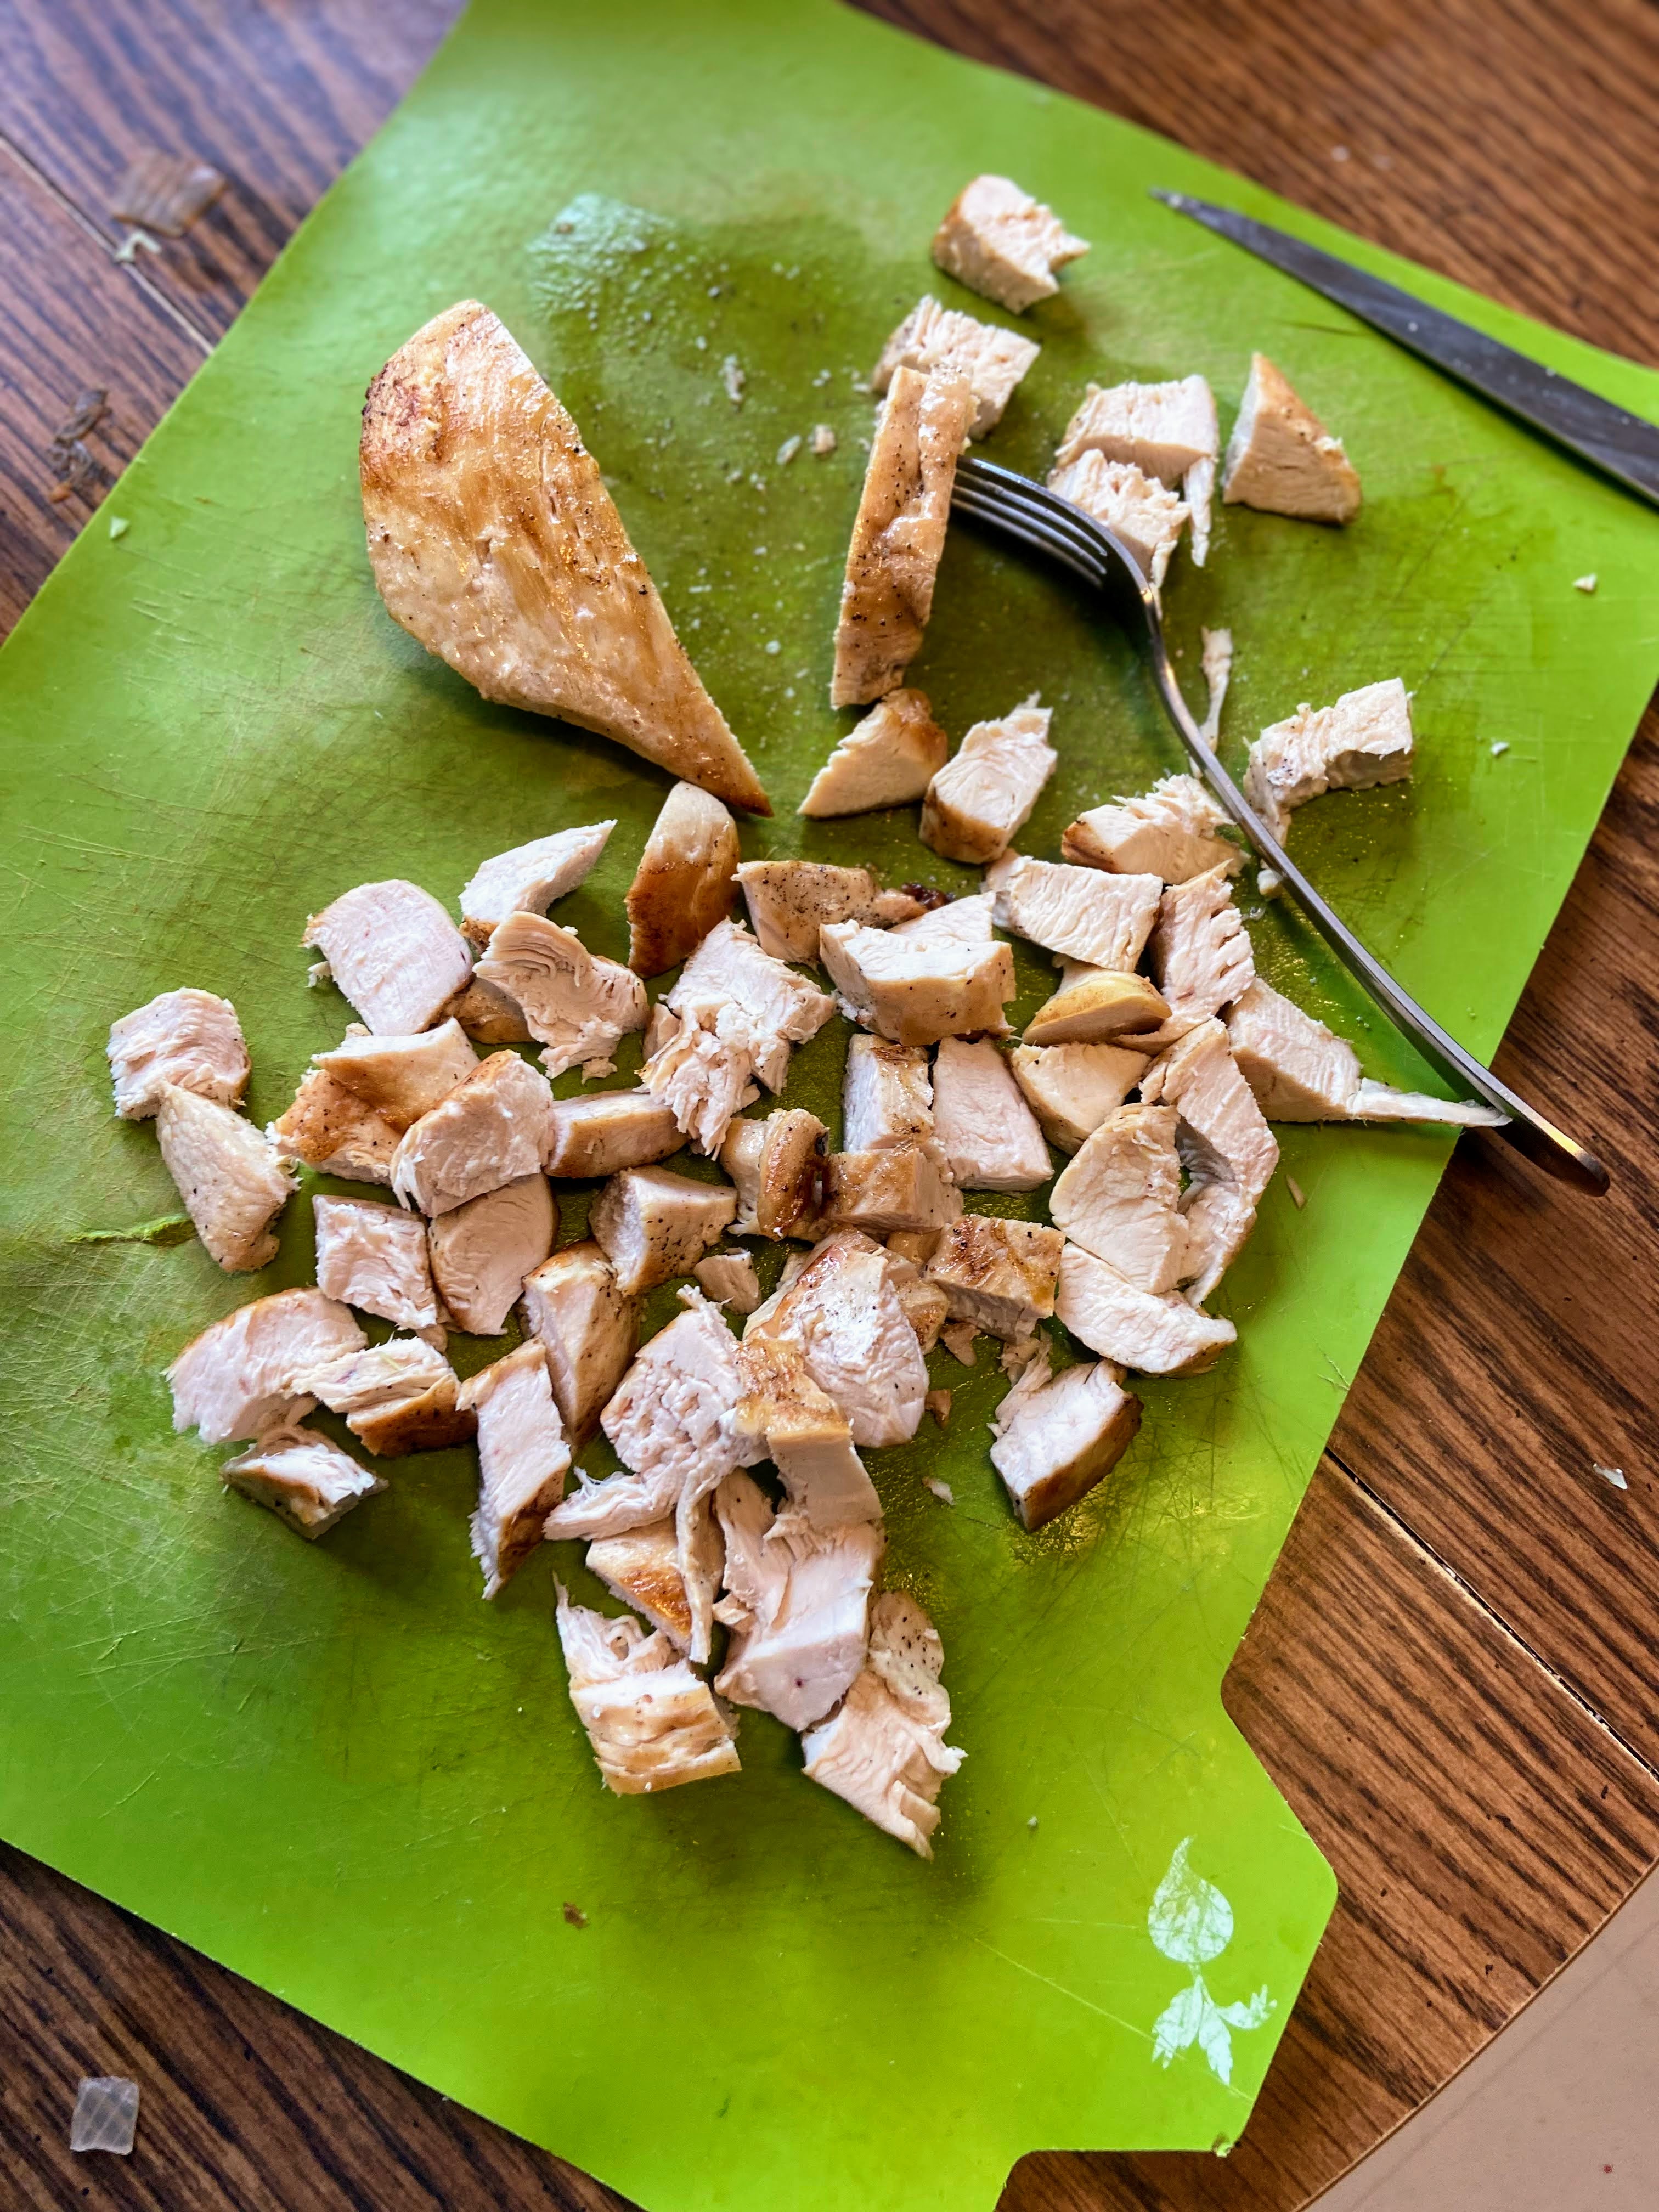
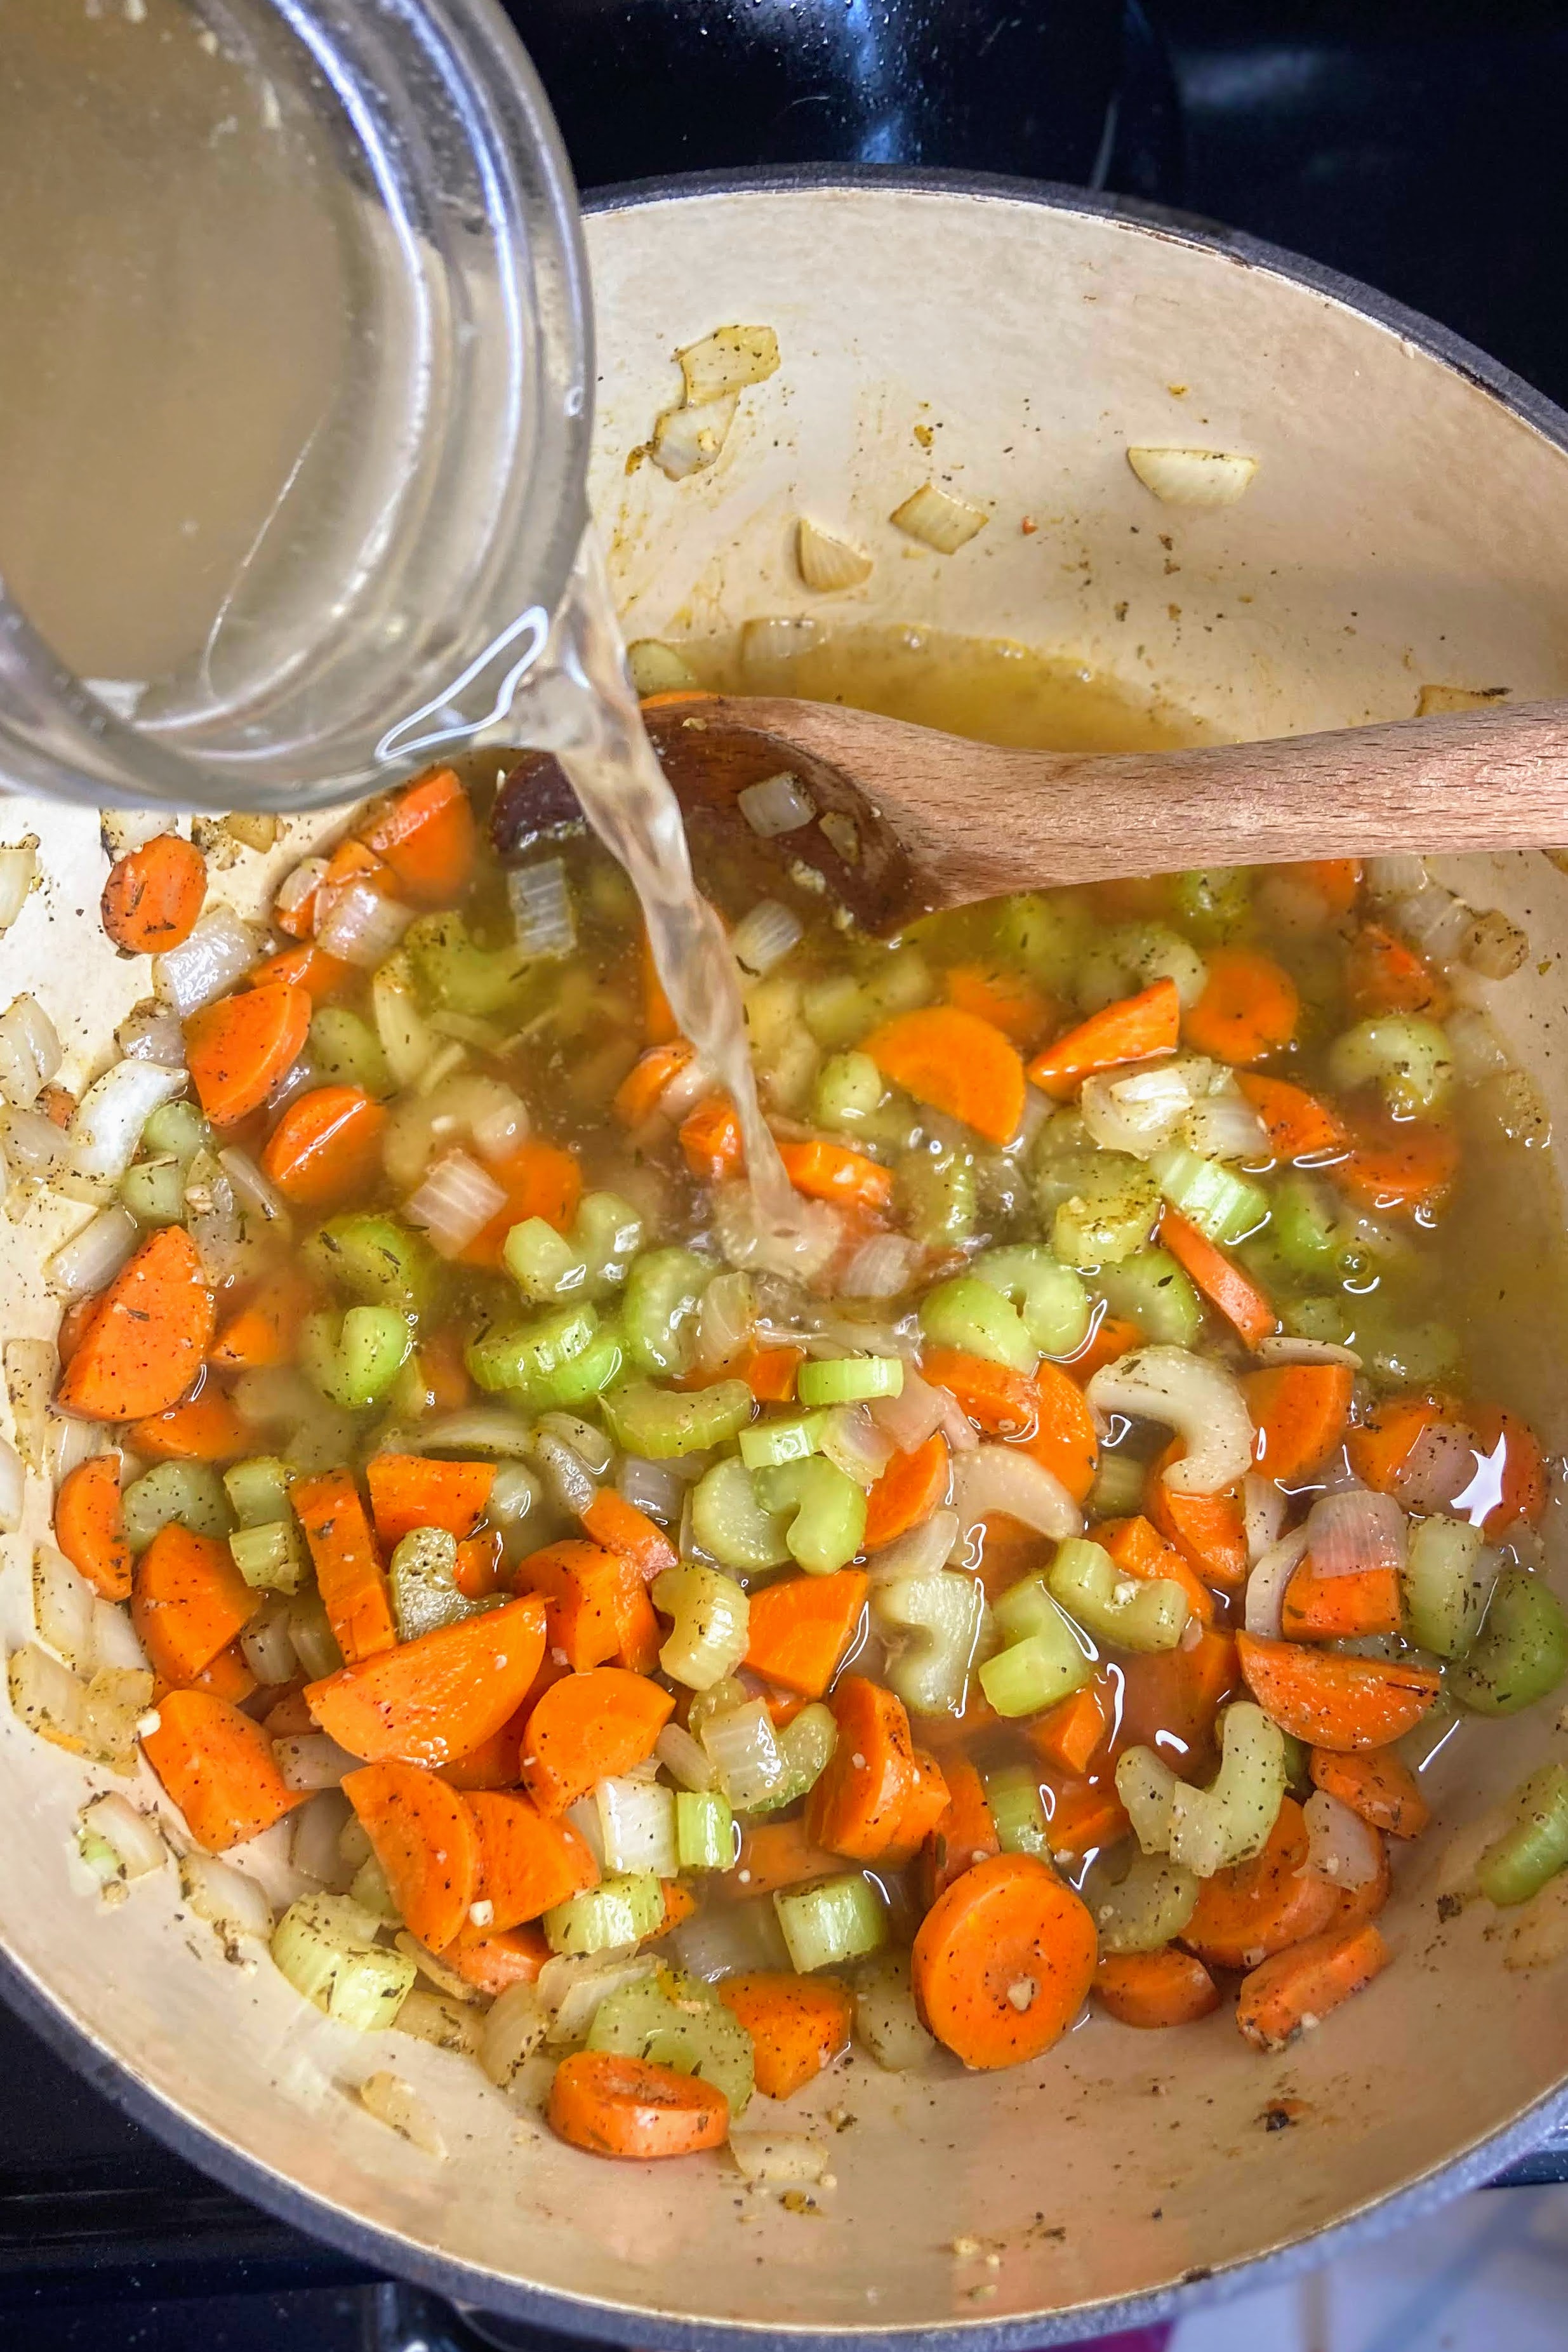
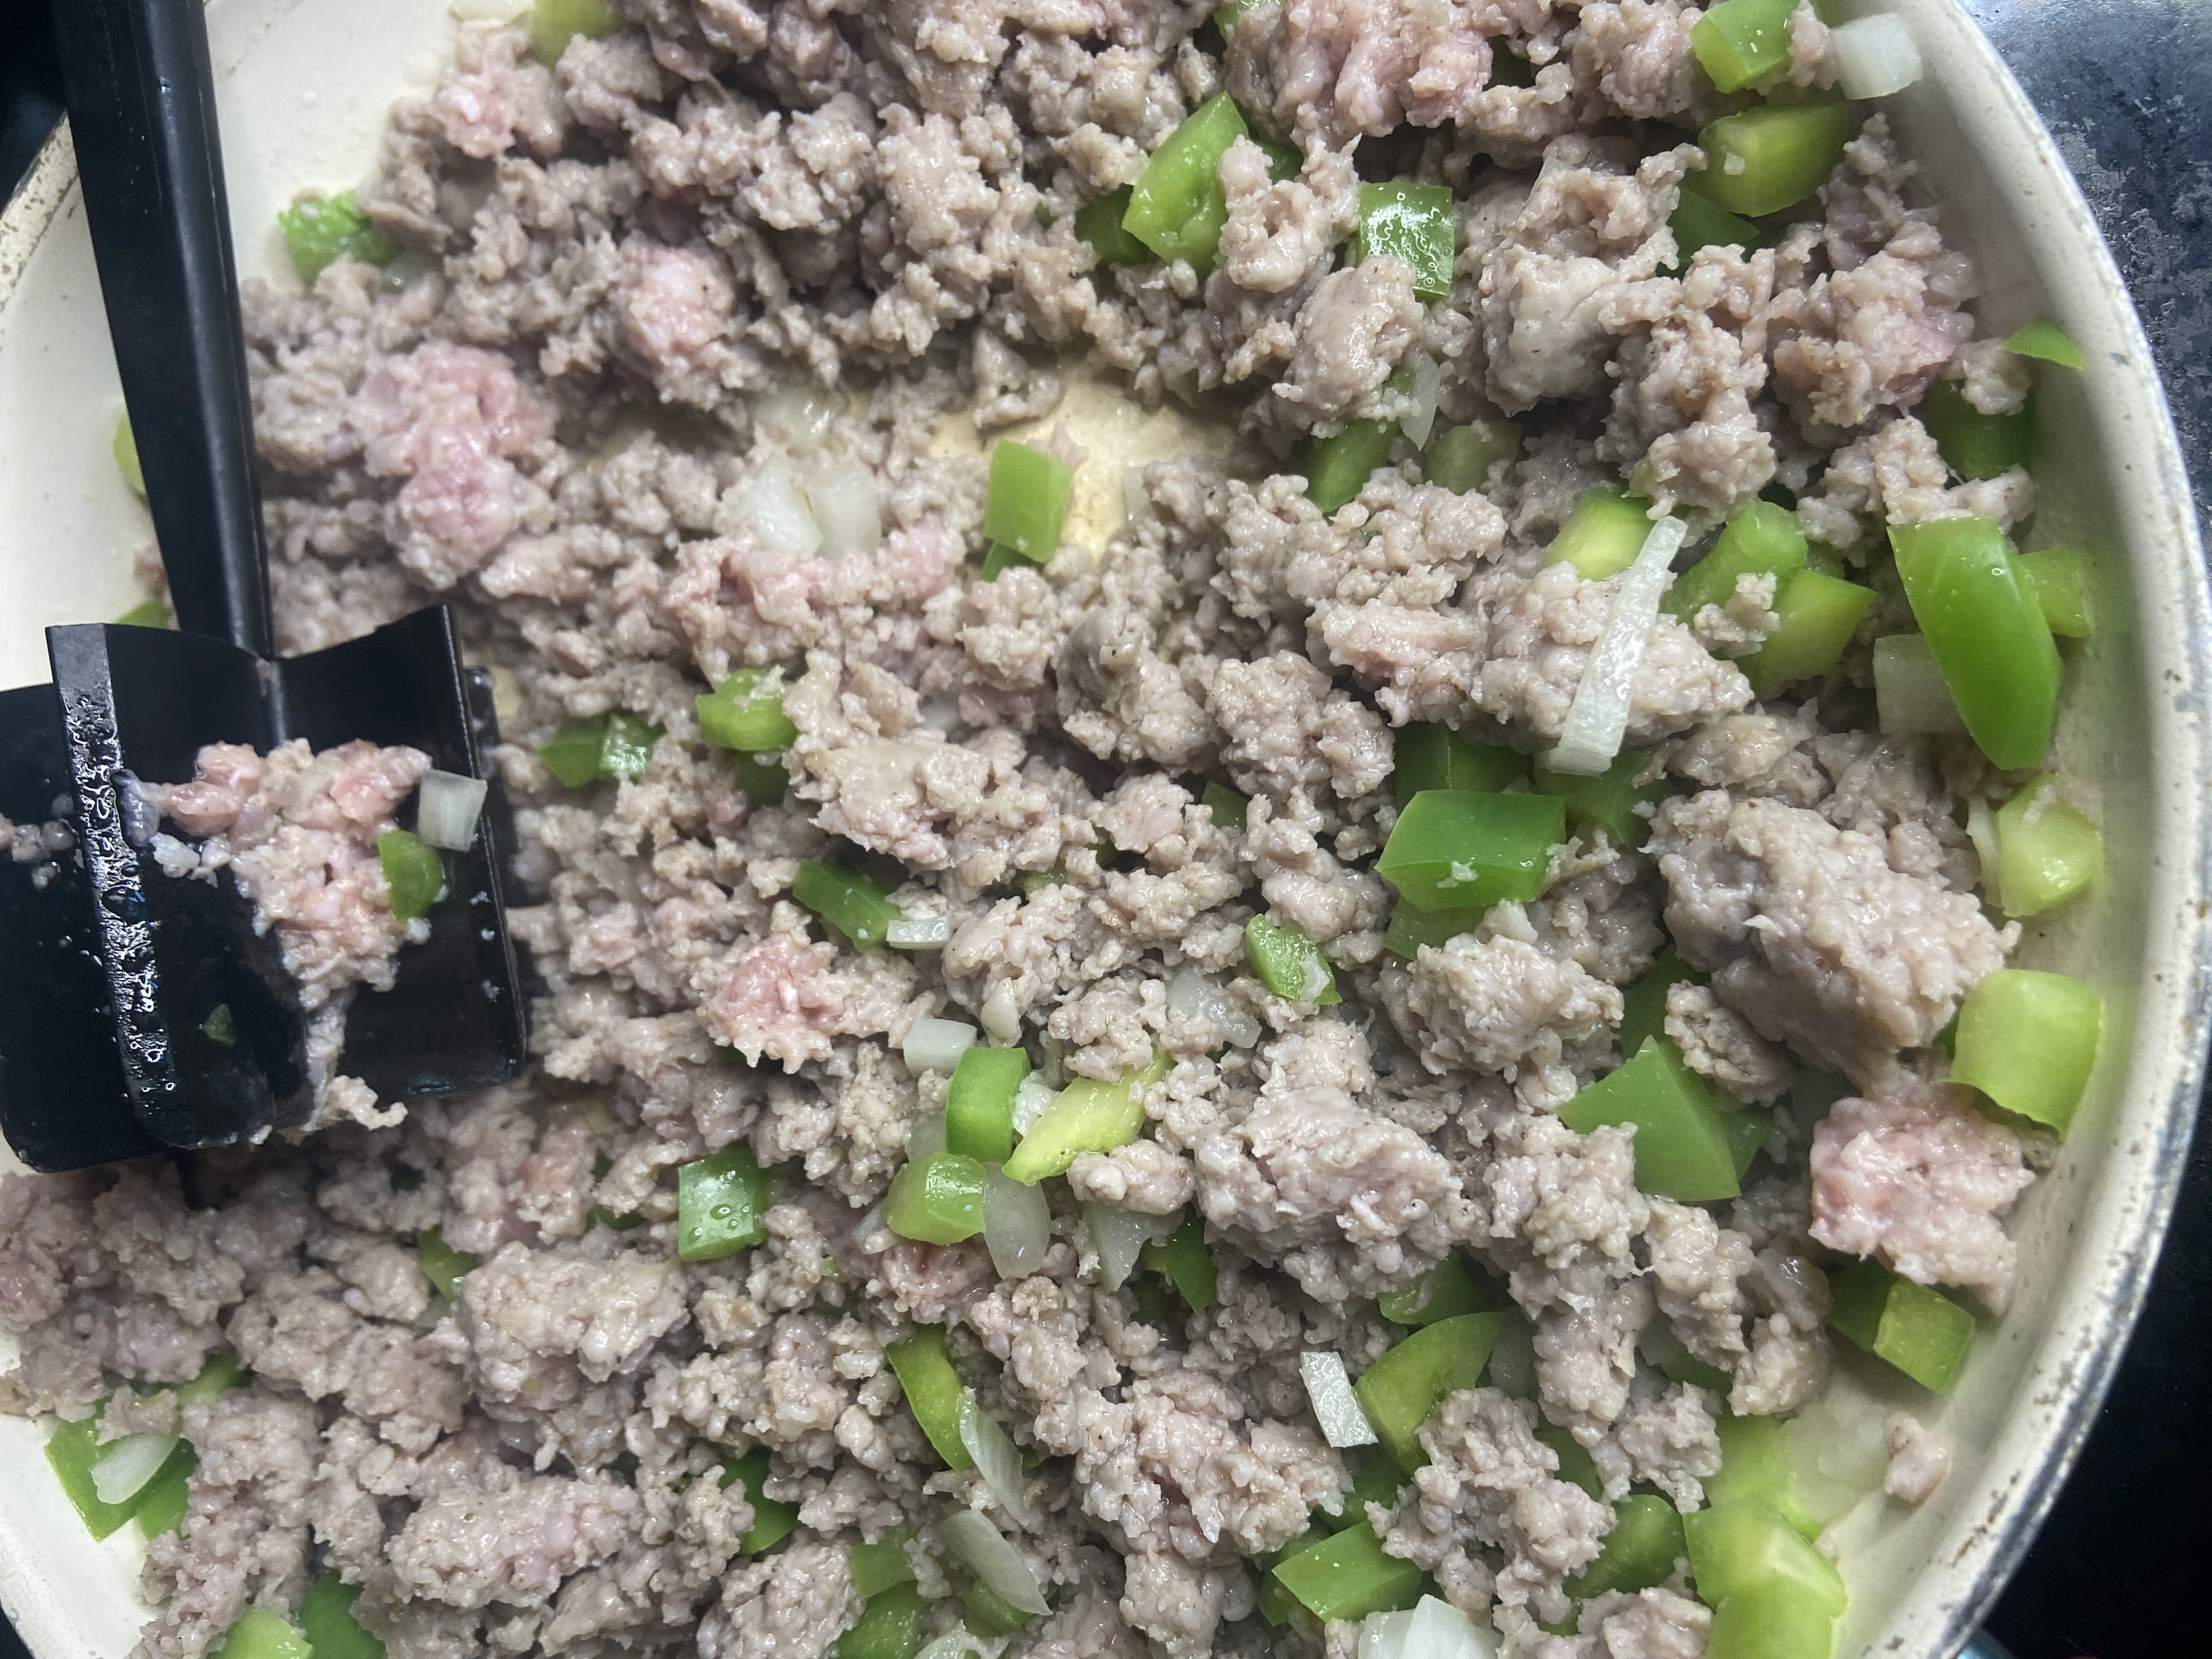
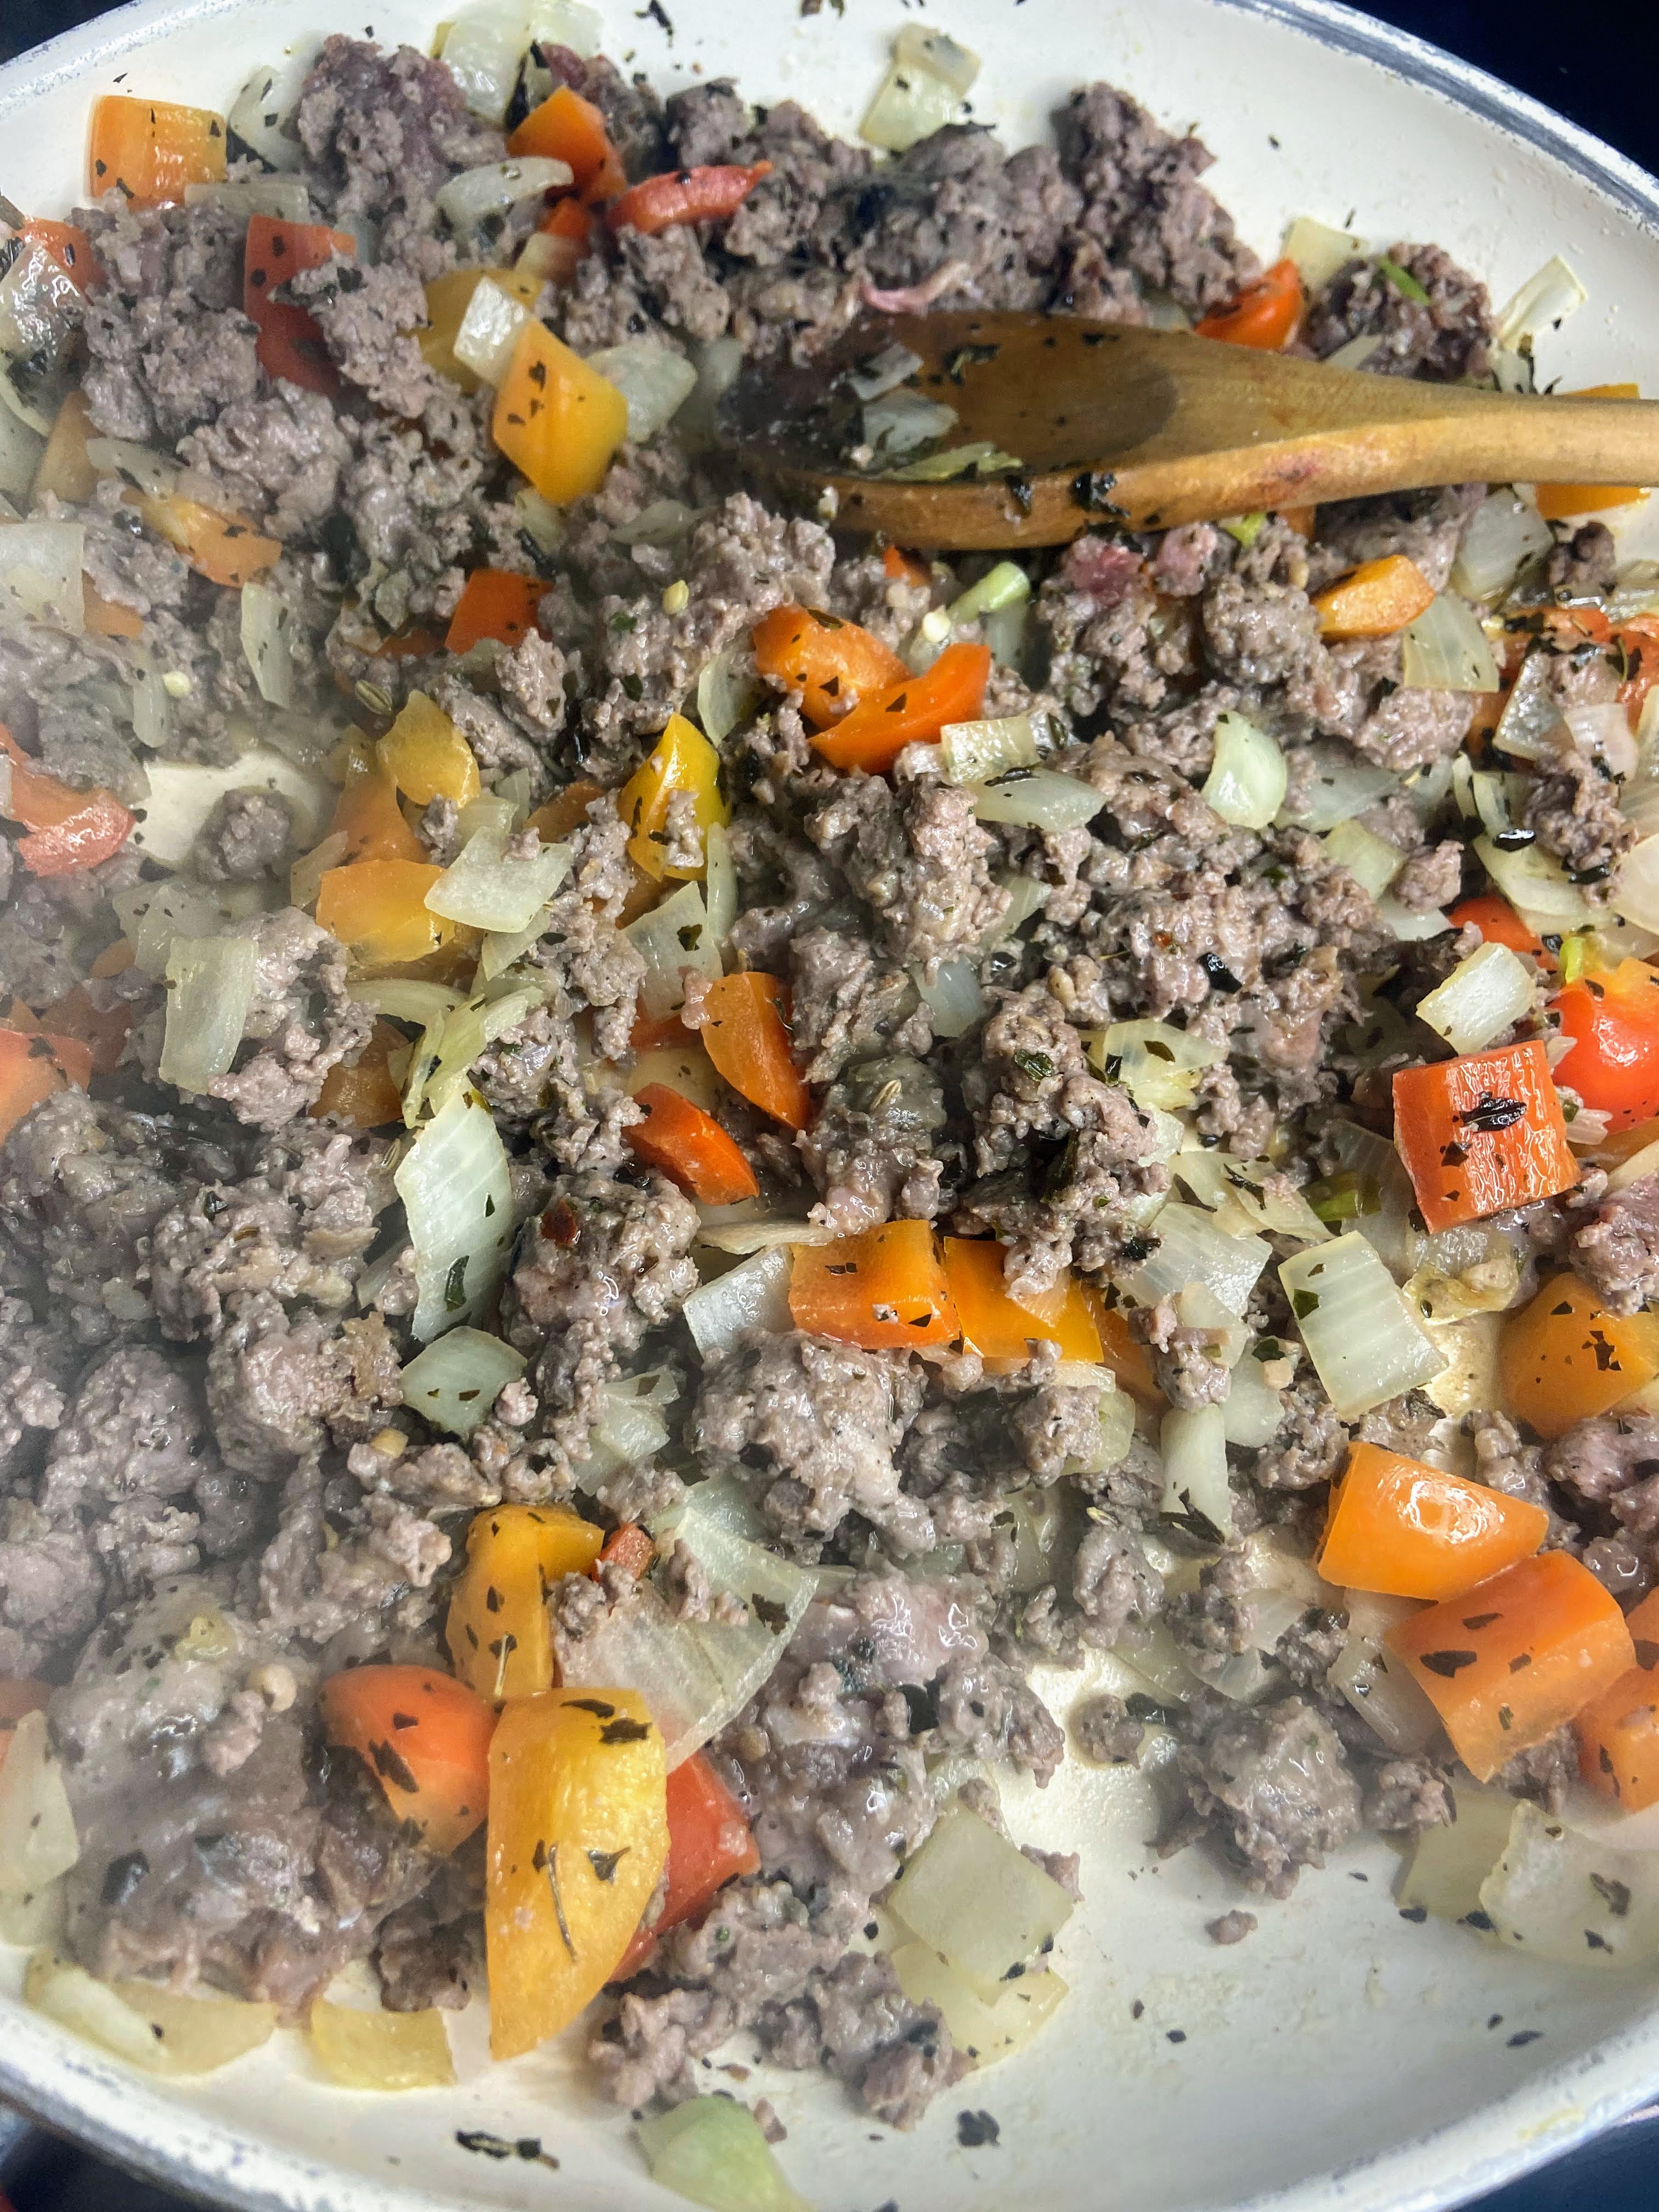
Add a tablespoon of olive oil to a pan and heat over medium-high heat. Add onions, peppers, oregano, and basil. Cook until just softened, about 7 minutes. Add Italian sausage. Cook until browned. Drain as necessary.
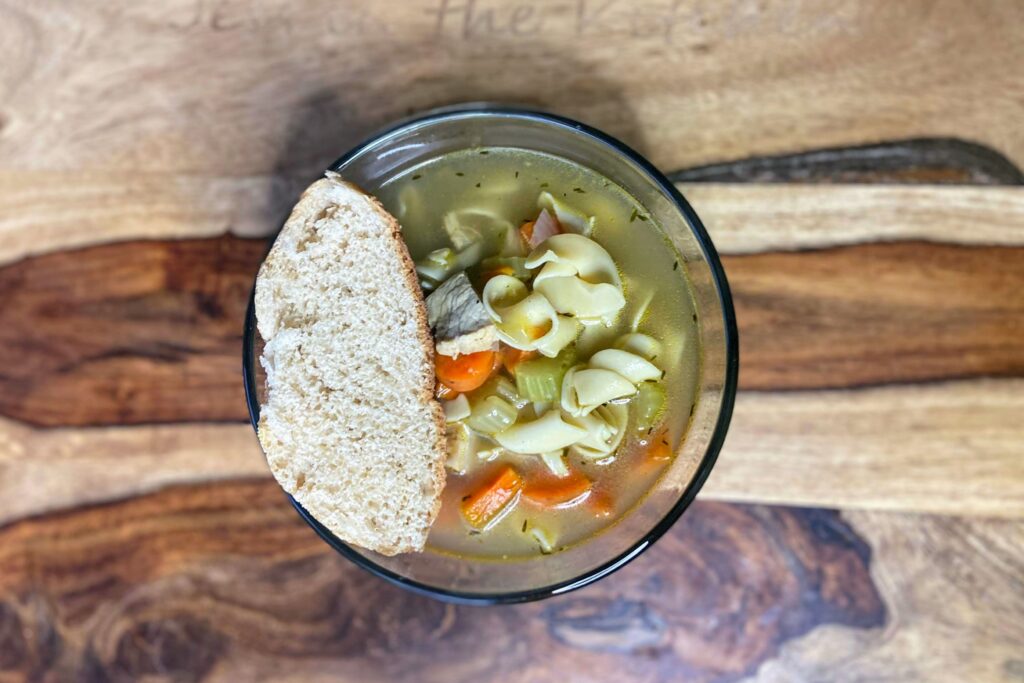
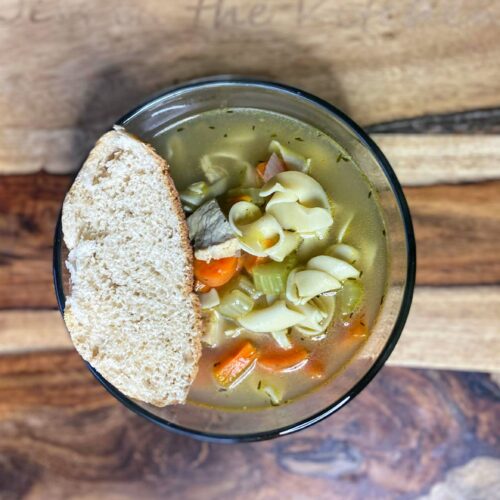
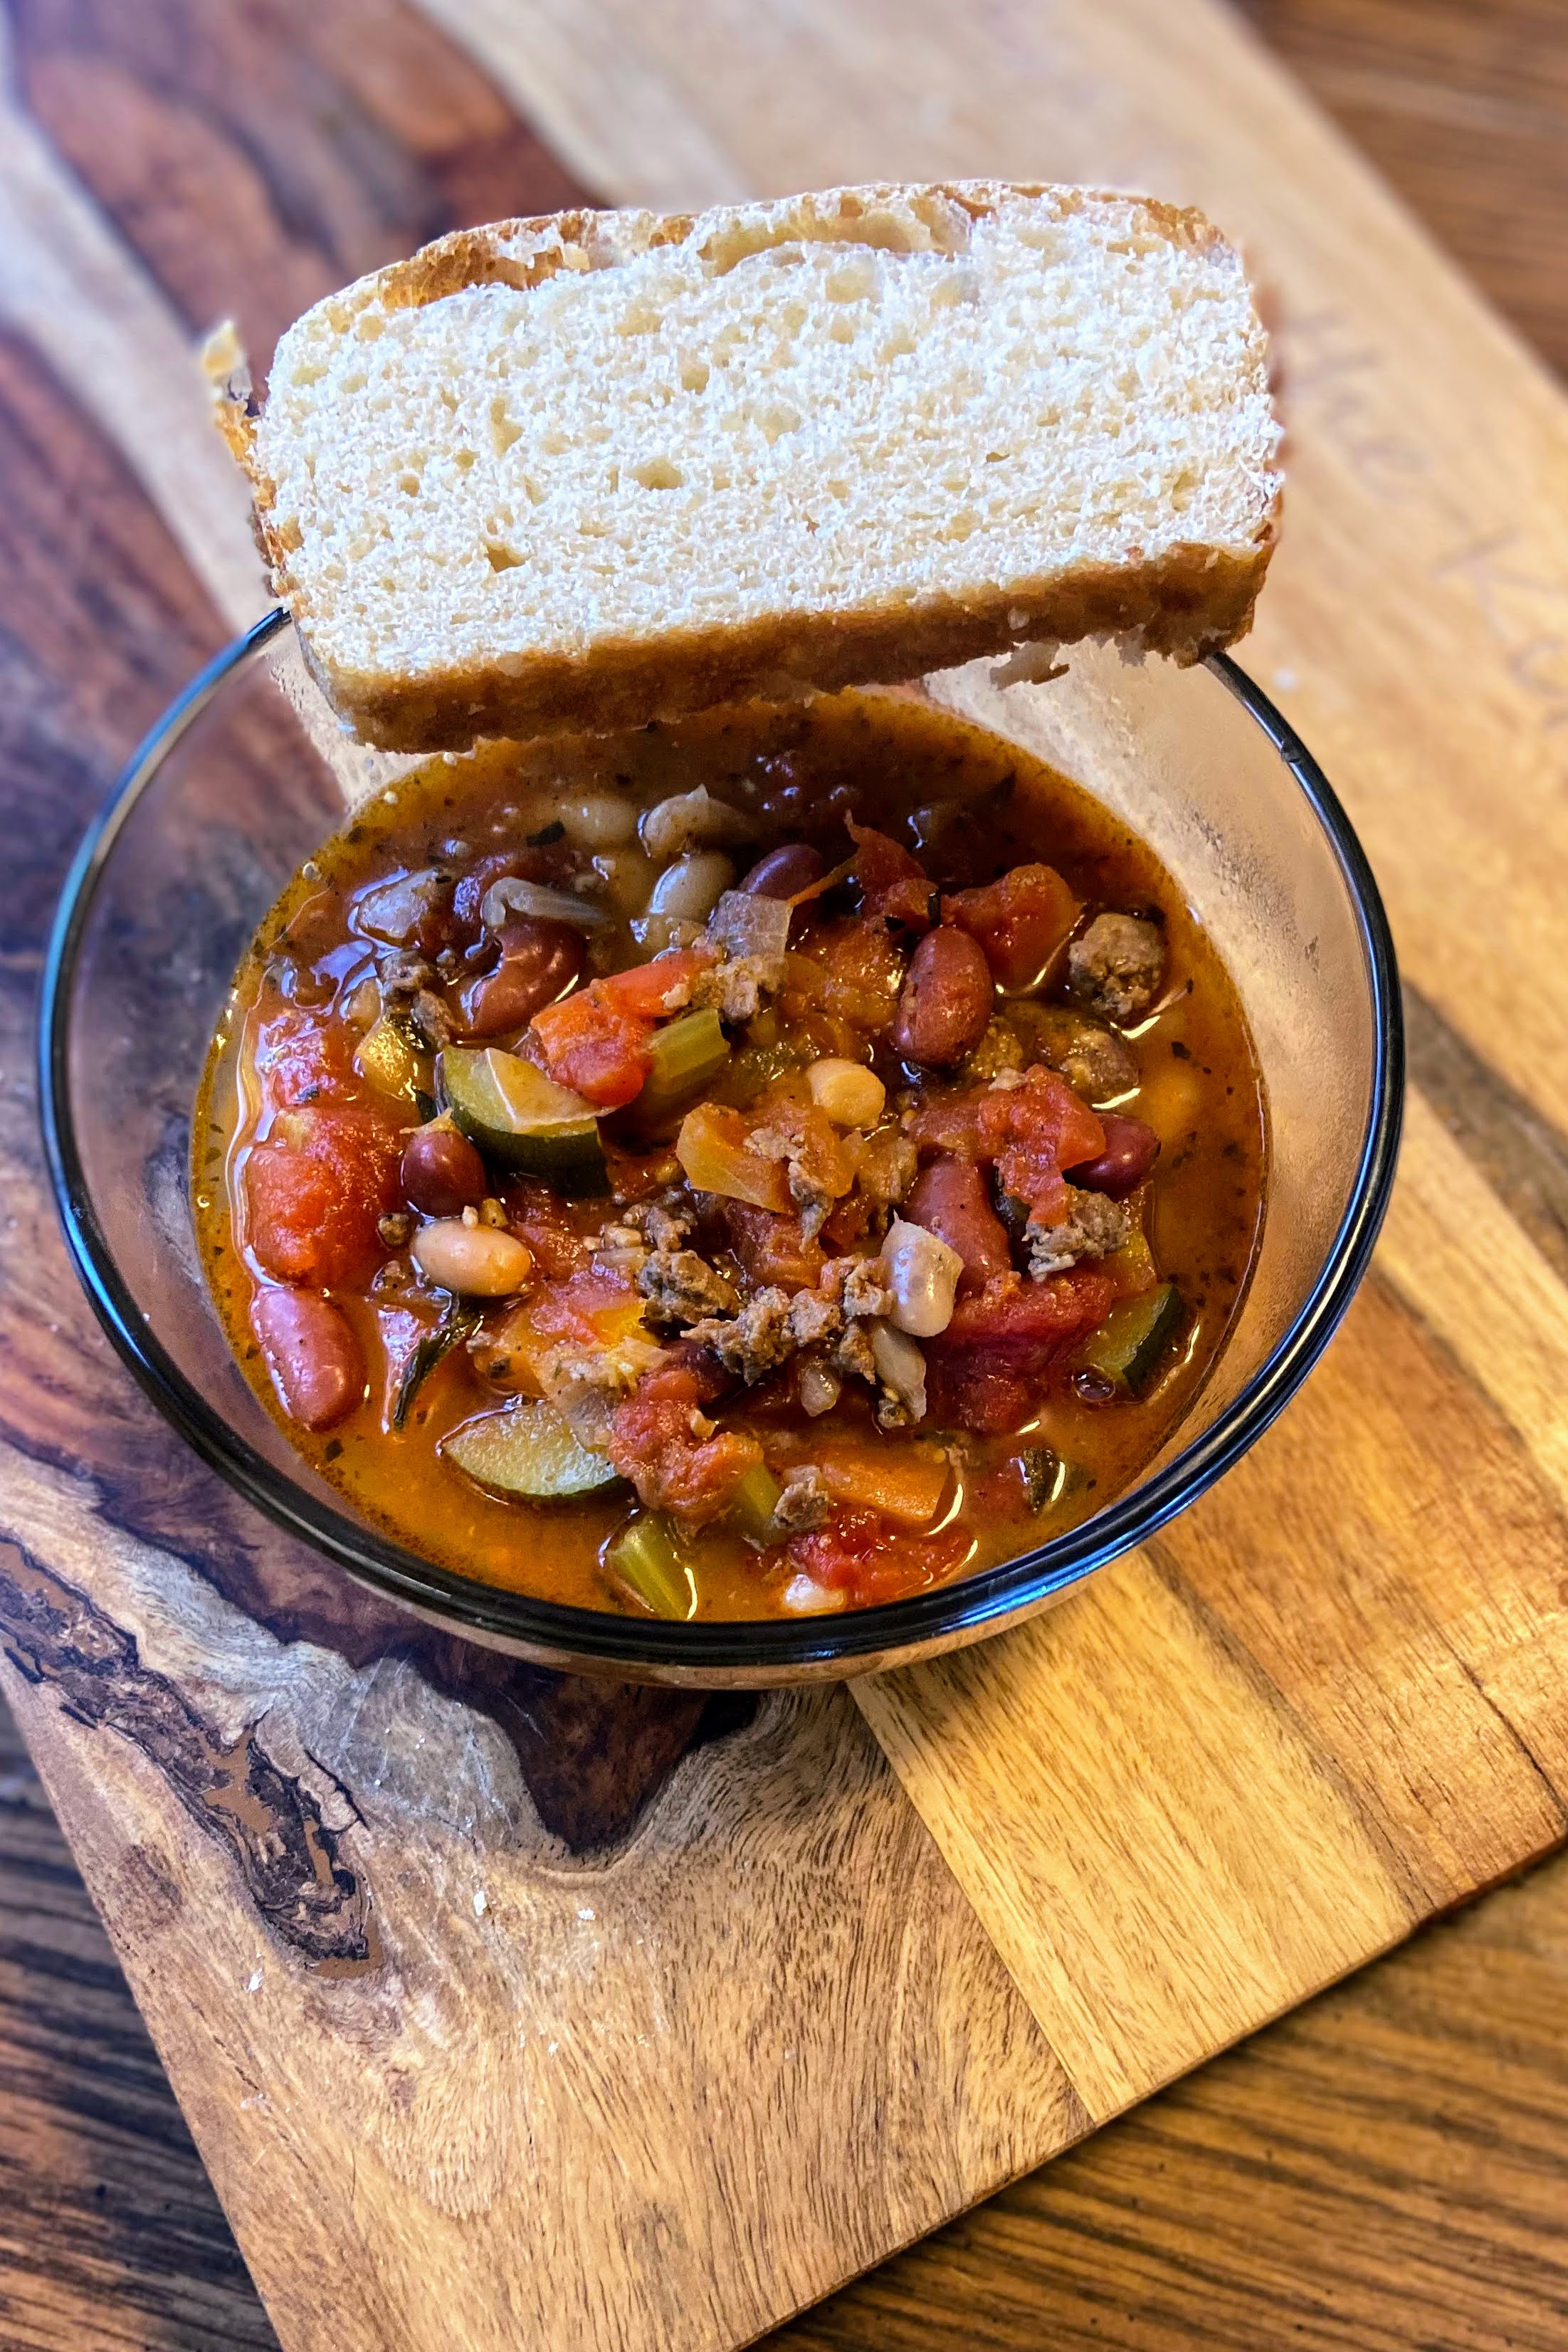
Combine the sausage mixture with the remaining ingredients in a slow cooker. Cook on low for 8 hours. Serve up with some crusty bread and top with some shaved Parmesan. Simple and great. A combination of all the things I love. Happy cooking! ~Jess
Looking to pair this with some dessert and bread? Give these recipes a try!


Tools of the Trade
I know I share about them a lot, but gosh, I love my flexible cutting boards. I don’t even mess with anything else! And You’ve got to have a great slow cooker, bonus points if it has the timer on it.
Italian Chili
Equipment
Ingredients
- 1 ⅓ cup diced sweet bell pepper any color (1 large)
- 1 ⅓ cup diced onion 1 medium
- 1 teaspoon dried oregano
- 1 teaspoon dried basil
- 1 tablespoon olive oil
- 1 pound ground Italian sausage
- 28 ounce Italian diced tomatoes
- 1 1/2 cup tomato juice
- 1 cup diced celery
- 15 ounces kidney beans rinsed
- 15 ounces Cannellini beans rinsed
- 1/2-1 tablespoon chili powder
- 1 cup diced zucchini 1 small
- 1 teaspoon minced garlic
- 1/2 teaspoon pepper
- salt to taste
Instructions
- Add a tablespoon of olive oil to a pan and heat over medium-high heat. Add onions, peppers, oregano, and basil.
- Cook until just softened, about 7 minutes.
- Add Italian sausage. Cook until browned. Drain as necessary.
- Combine the sausage mixture with the remaining ingredients in a slow cooker.
- Cook on low for 6-8 hours.
- Serve up with some crusty bread and top with some shaved Parmesan.