Air Fryer Homemade Fries

“I bought some fries for the burgers tonight…” The Mr, the other night. My response, “Why in the world did you buy fries? I will make air fryer homemade fries!” The Mr, “Well, you never know…it’s easier to just use the premade ones.” Me: “Nope, it takes all of 3 minutes to make homemade ones and they are SO MUCH BETTER.” 

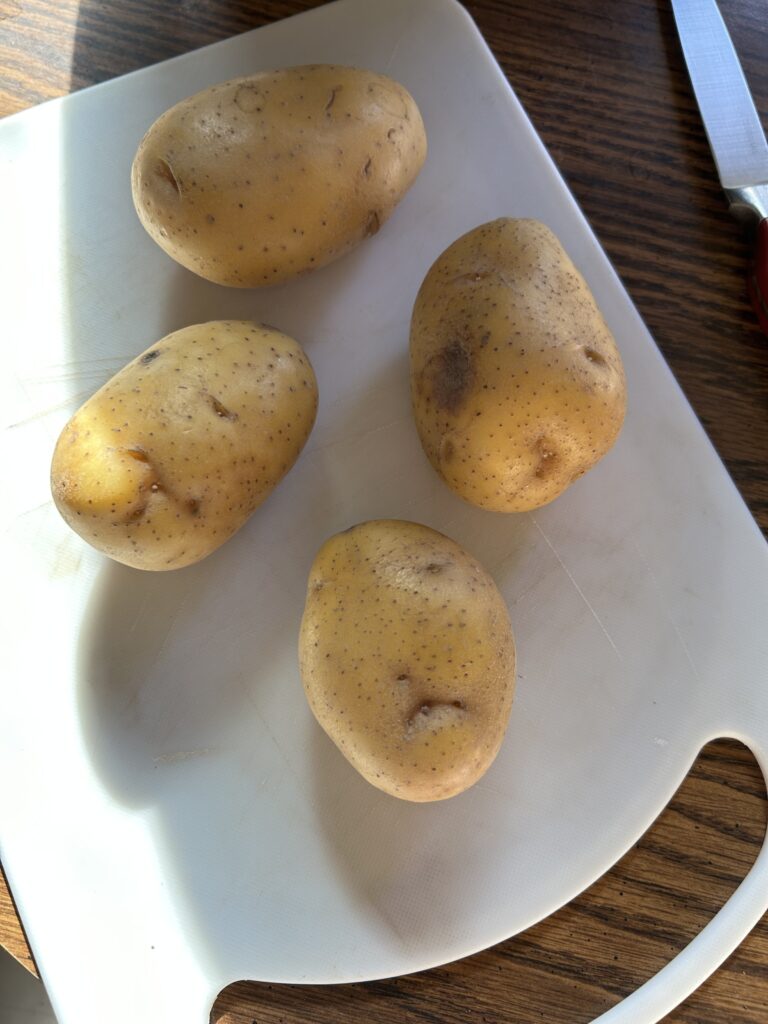
That’s an actual conversation from earlier this week. I don’t know what kind of fries are made when I am not home, but if I am around, I am grabbing some Yukon Gold potatoes (or others, if you don’t have Yukon Gold) and I am making homemade fries.

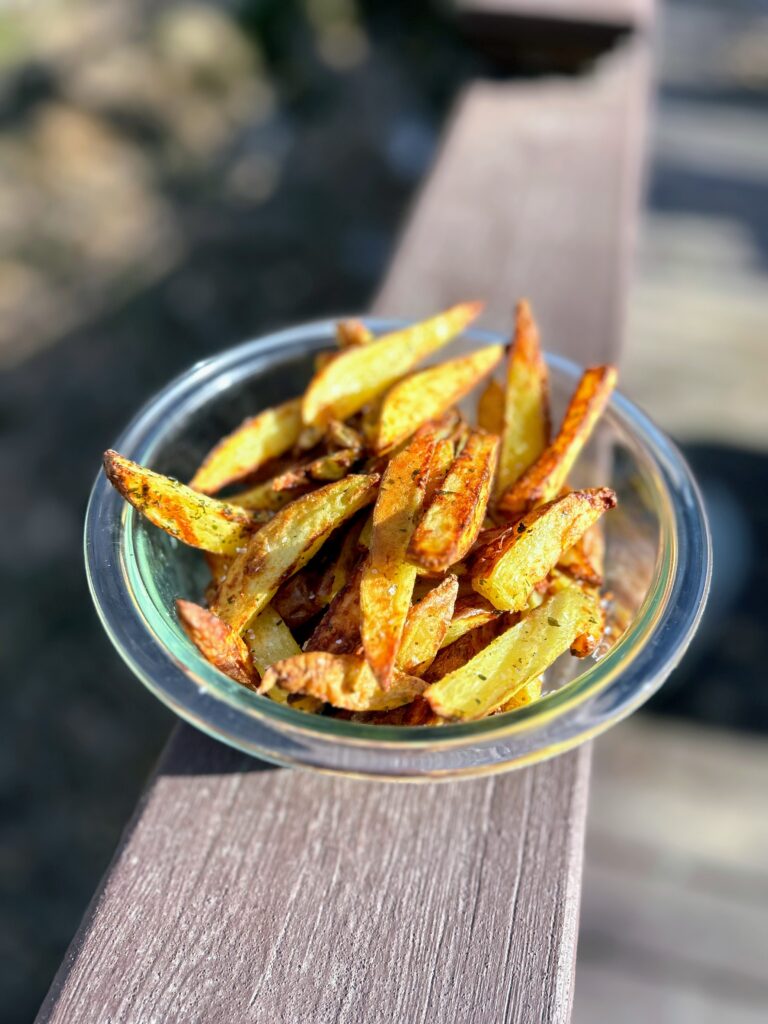
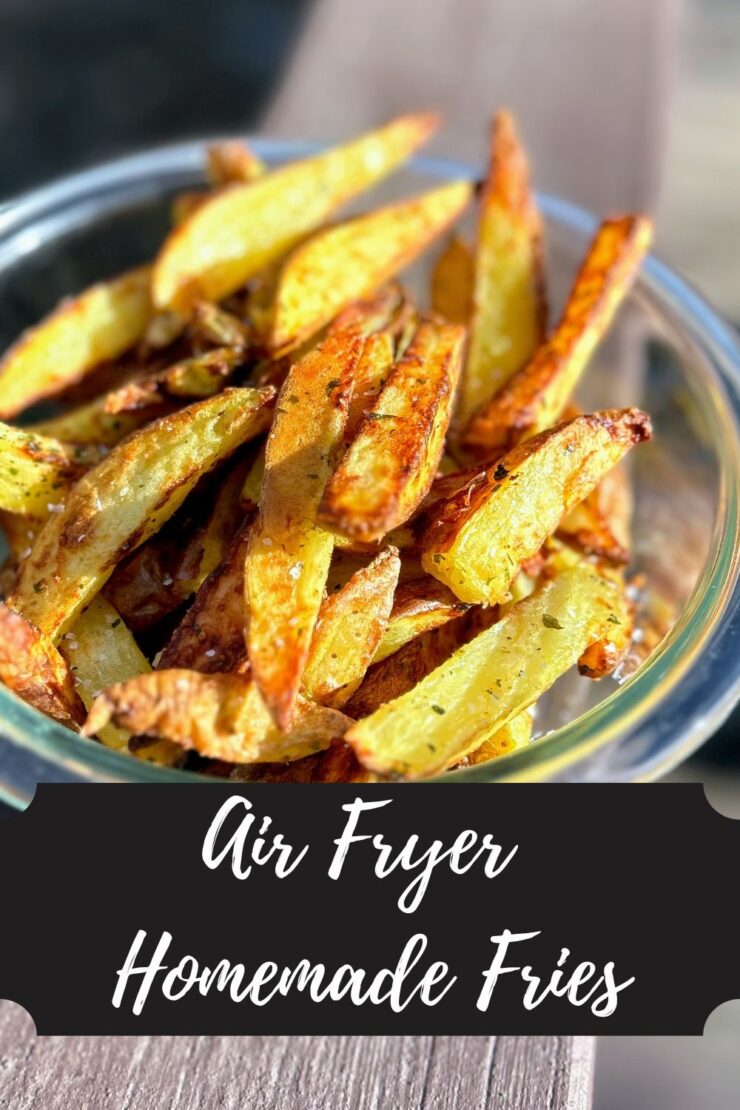
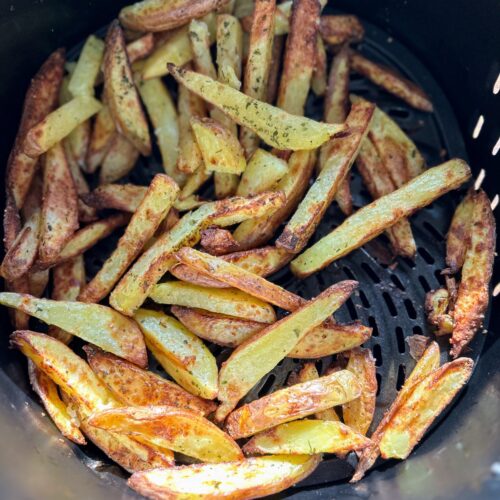
When I say that it takes all of 3 minutes to prep them, I promise, I am not lying. The longest piece of these delicious fries is cutting them. A little toss in olive oil, some salt, Parmesan, and parsley and you are set. And I swear, they come out like a great pub fry every single time. 

Some “from scratch” recipes take longer than you care for them to but, at least for me, you try to do them more often than not because it’s better for your family. This is not the case here. You’ll be making your own, beautiful air fryer homemade fries every time a burger, brat, or hotdog is served! 

Let’s get cooking! 

Your Ingredients (4-6 servings)

  • 1 ½ pounds Yukon Gold potatoes (or your other favorite potato)
  • 1 tablespoon olive oil 
  • ¼ cup grated Parmesan cheese 
  • 1 tablespoon parsley 
  • 1 teaspoon-½ tablespoon kosher salt 

Your Steps to Air Fryer Homemade Fries

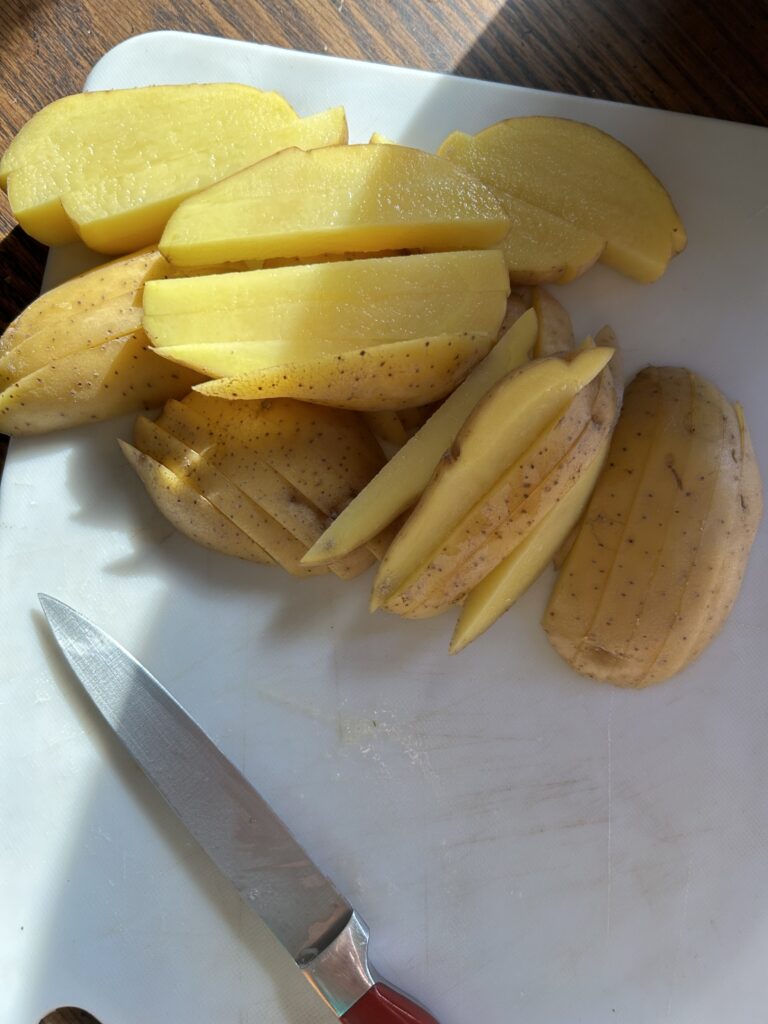
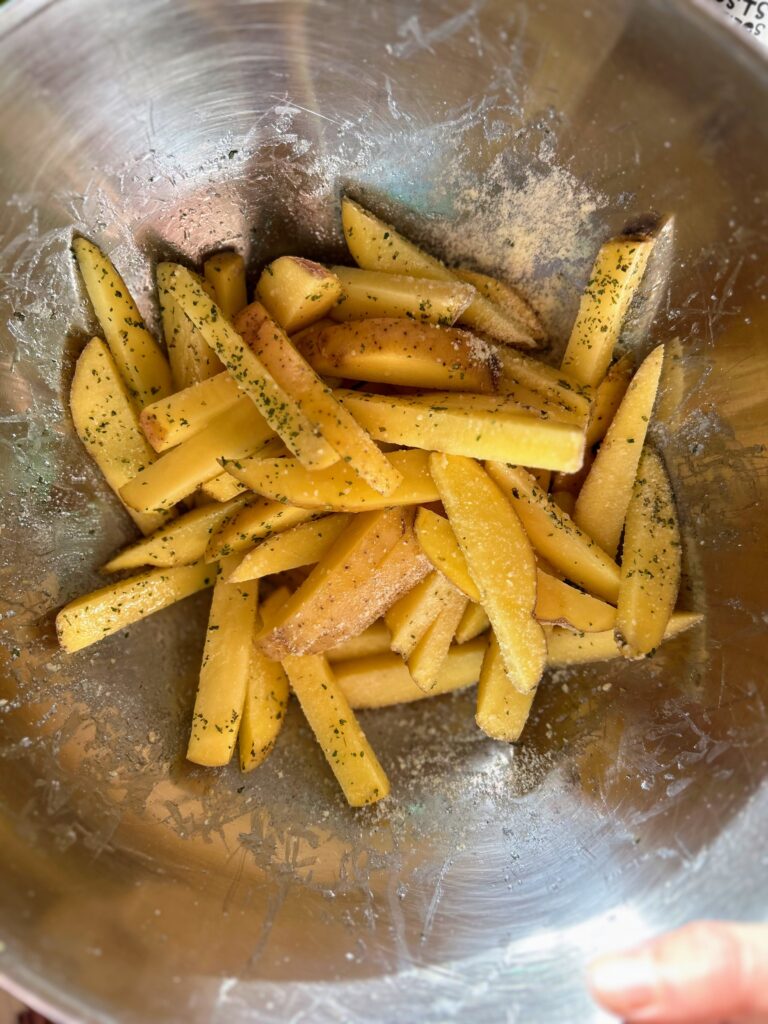
Preheat the air fryer to 400 degrees. Meanwhile, cut the potatoes into ¼-⅓ inch slices. Then cut into sticks. Toss the fries with olive oil. Then add Parmesan, parsley, and kosher salt. Honestly, I don’t measure the parsley and salt. I just pour it into my palm to get a feel for how much I have and sprinkle in. 

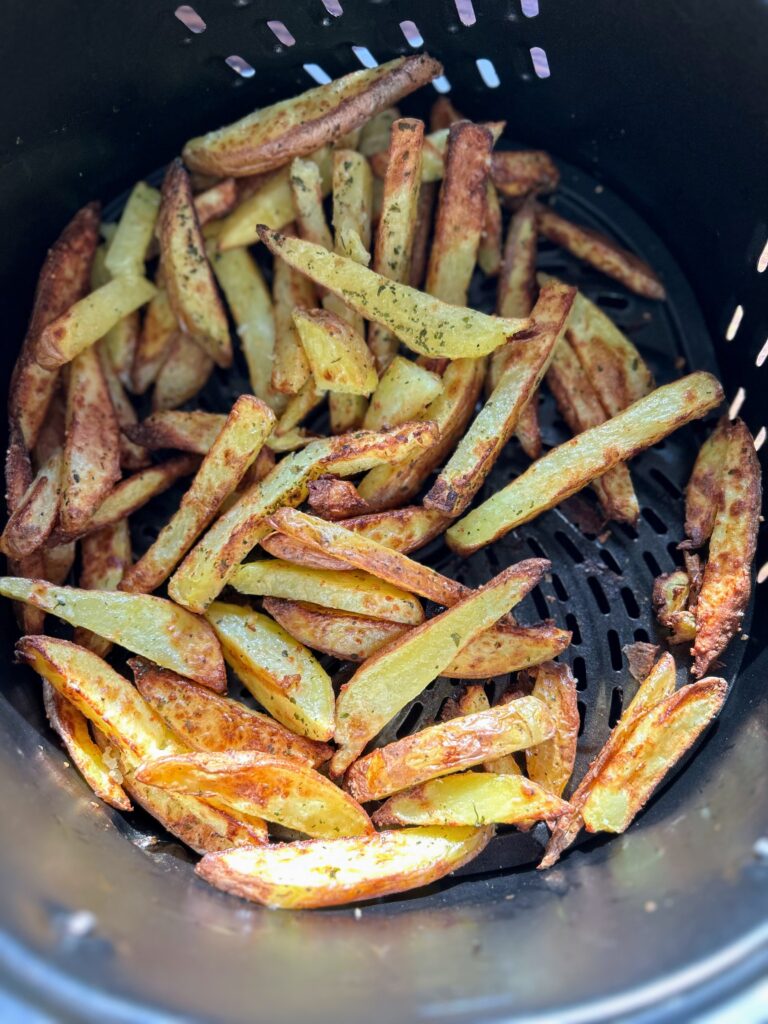
Put the fries into the basket and toss. Cook for 15-20 minutes, shaking/stirring the fries every 5 minutes or so. Cook until they have reached a desired color. Enjoy with your latest grilled protein! 
If you’re looking to fancy up your potato game, give these smashed baby potatoes a try! They are not hard, but they sure turn out amazing!
Air Fryer Homemade Fries

You won't be buying frozen bag fries again after you give these homemade air fryer fries a try! So simple and beyond good, this will become a go to recipe for those grill nights and more!
Prep Time 5 minutes
Cook Time 20 minutes
Course Appetizer, Side Dish
Cuisine American
Servings 4

Equipment

Ingredients
  

  • 1 ½ pounds Yukon Gold potatoes or your other favorite potato
  • 1 tablespoon olive oil
  • ¼ cup grated Parmesan cheese
  • 1 tablespoon parsley
  • 1 teaspoon-½ tablespoon kosher salt

Instructions
 

  • Preheat the air fryer to 400 degrees. Meanwhile, cut the potatoes into ¼-⅓ inch slices. Then cut into sticks.
  • Toss the fries with olive oil.
  • Then add Parmesan, parsley, and kosher salt. Toss again.
  • Put the fries into the basket and toss.
  • Cook for 15-20 minutes, shaking/stirring the fries every 5 minutes or so. Cook until they have reached a desired color.
Keyword air fryer, french fries, homemade fries, Potatoes, Yukon Gold
Tried this recipe?Let us know how it was!

Need some dishes to pass?

Check out my Cooking page for more inspiration. Or maybe I can share a few of my favs below!

Homemade Coleslaw

I don’t know when I changed my mind, but it sure happened. Changed my mind about what, you ask? Homemade coleslaw on pulled pork! I have always enjoyed both pulled pork and coleslaw separately. I have fond memories of working at a drive in and snacking on the coleslaw we served with our dinner boxes. As for the pulled pork, I mean, who doesn’t like pulled pork? 

But eating the two together? No way. It just seemed odd for this midwest gal who never let her food mix or touch. I wouldn’t want the slaw liquid to touch my bun, let alone be on it. Then I became an adult and started eating out a little more than when I was a kid. Of course, pulled pork with coleslaw is a classic sandwich. At one point I thought, “I mean, it can’t be that bad, can it?” I gave it a try. 

And are you kidding me?!

I was missing out on this my whole dang life and I didn’t know how good it was?! Now, I can hardly eat pulled pork without that delicious tangy salad on top. It simply doesn’t seem complete. 

Although I have to be honest, 99% of the time, I am not eating true pulled pork. In our house, we do pulled venison. You can check that out here: pressure canned seasoned venison. What I love about this stuff is that it is already cooked and so dang tender. If you have busy after work nights like we do, it”s best with a little BBQ sauce, rolls, and you guessed it, this coleslaw. 

First, let me say that I think the key to a good coleslaw is the celery seed. I never knew this. It adds just the right amount of kick and spice you need. Also, you’ll need the cabbage and carrots. I am about to give you two options: the quick way and the cheaper way. You do you friends and there will be no judgment.  

Option, the first: Buy one to two of the bags of pre shredded cabbage and carrots. This is the easy route, but can be a little more spendy. 

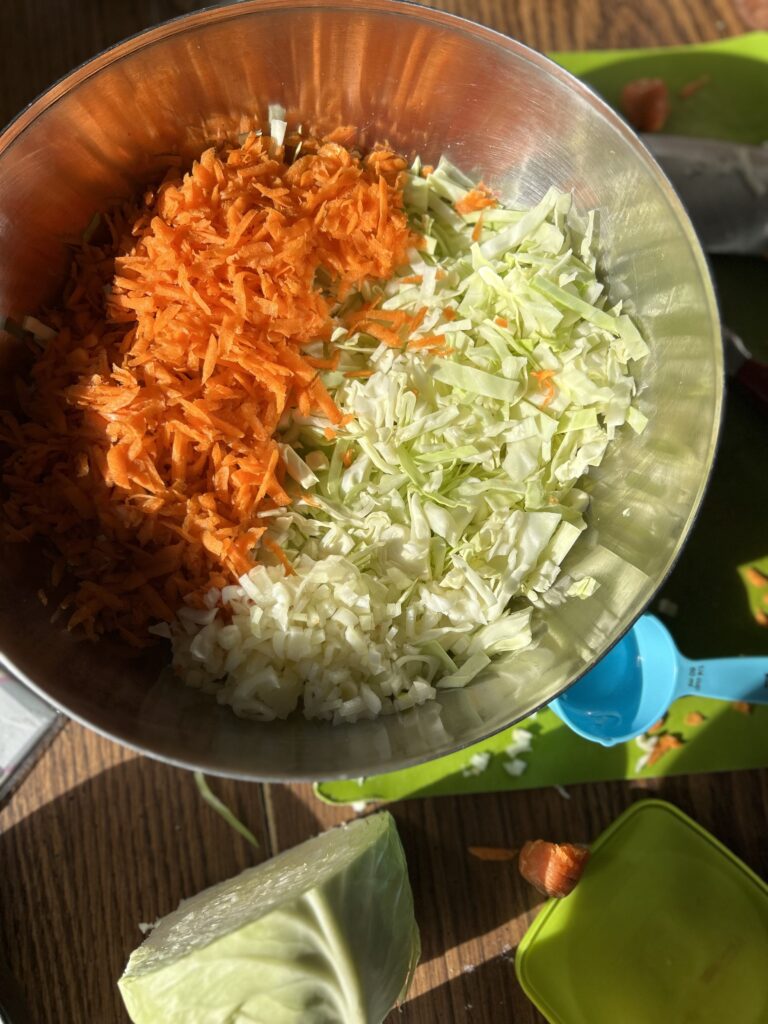
Option, the second: Buy a small to medium head of cabbage. If you’re like my house, you always have big carrots on hand. Maybe not though. If you don’t, pick a few of those up too! I finely chop the cabbage with a sharp knife and shred the carrots with a box grater. Cheaper, to be sure, but also a little more time consuming. 

Regardless of the veg you choose, let’s start making your homemade coleslaw! 

Your Ingredients

  • 1 small to medium head of cabbage
  • 3 large carrots
  • ¾ cup mayonnaise 
  • 2 tablespoons Greek yogurt 
  • ¼ cup finely diced onion 
  • 2 tablespoons sugar 
  • 2 tablespoons white vinegar 
  • 2 teaspoons celery seed 
  • Dash of dry mustard 
  • Salt and pepper 

Your Steps to Homemade Coleslaw 

Using a very sharp knife, finely chop the cabbage. Shred the carrots with a large grater. Combine in a large bowl and set aside. 

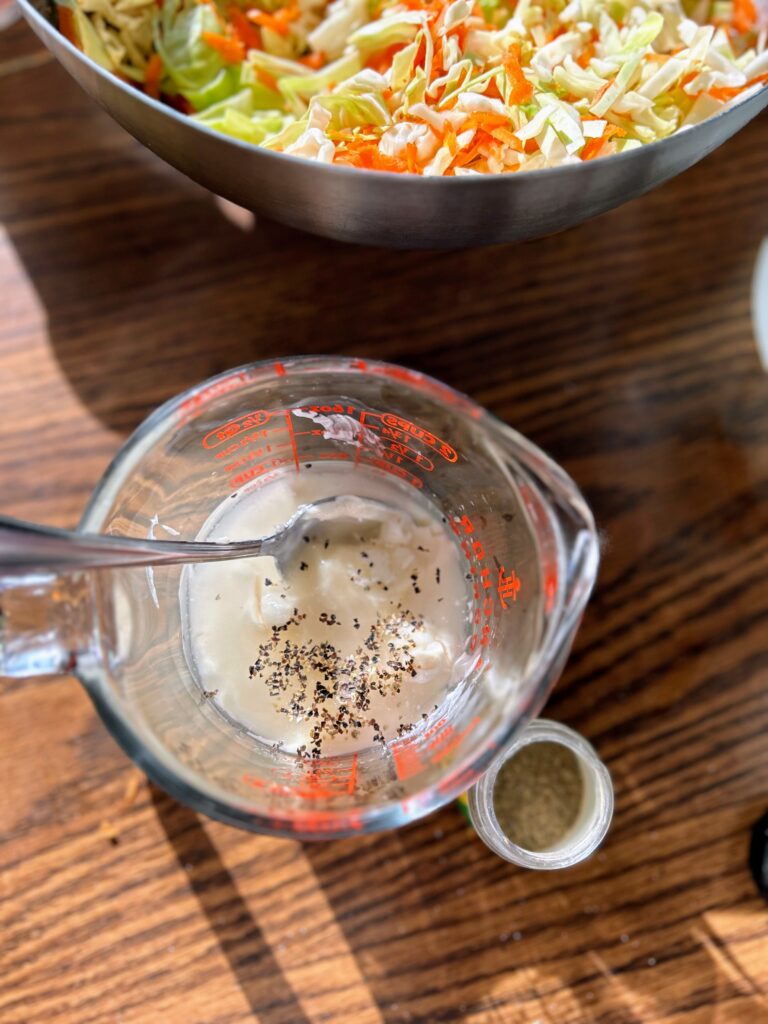
In a 2 cup liquid measuring cup, combine mayonnaise, yogurt, onion, sugar, vinegar, celery seed, dry mustard, salt and papper. Whisk well to combine thoroughly. Taste, adding salt, pepper, mustard, and perhaps vinegar to taste. 

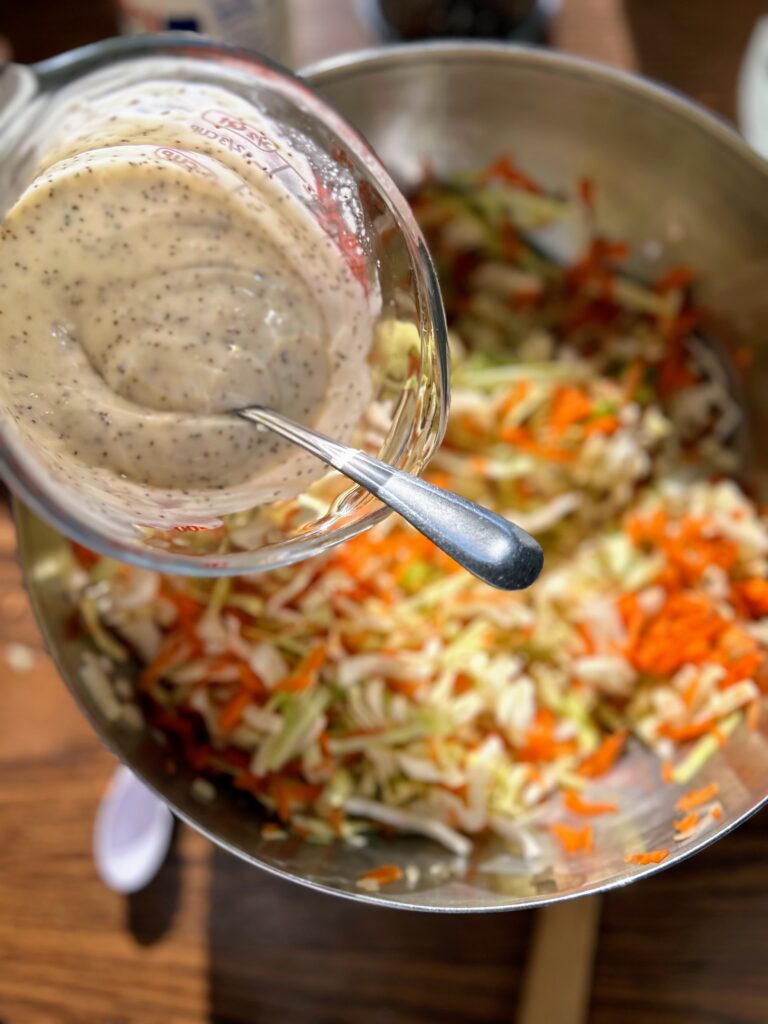
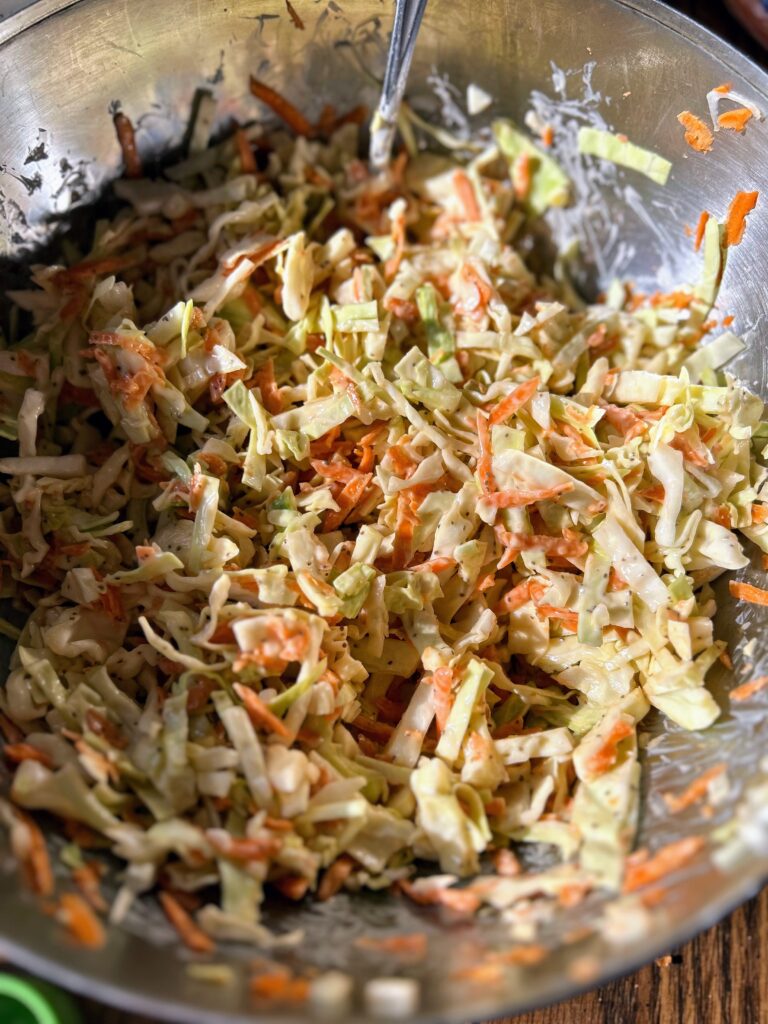
Pour the dressing over the carrots and cabbage and mix. Flavors will develop more if you allow it to rest overnight, but that requires planning ahead, which I almost never do 🙂 Kudos to you if you’ve got it in you! 

Homemade Coleslaw

Getting ready for a BBQ? You’ll never go back to store bought coleslaw when you give this homemade coleslaw a try!
Prep Time 15 minutes
Course Side Dish
Cuisine American
Servings 6

Equipment

Instructions
 

  • Using a very sharp knife, finely chop the cabbage. Shred the carrots with a large grater. Combine in a large bowl and set aside. Alternatively, pour 2 bags of pre shredded cabbage and carrots in a large bowl. Set aside.
  • In a 2 cup liquid measuring cup, combine mayonnaise, yogurt, onion, sugar, vinegar, celery seed, dry mustard, salt and pepper. Whisk well to combine thoroughly. Taste, adding salt, pepper, mustard, and perhaps vinegar to taste.
  • Pour the dressing over the carrots and cabbage and mix. Flavors will develop more if you allow it to rest overnight
Keyword cabbage, cabbage coleslaw, cabbage slaw, cold sides, coleslaw, pulled pork sides, side dishes, summer salad, summer side dish
Tried this recipe?Let us know how it was!

Looking for other great sides?

Check out my cooking page for some inspiration! Or maybe one of the recipes below may tickle your fancy?!

Smashed Baby Potatoes

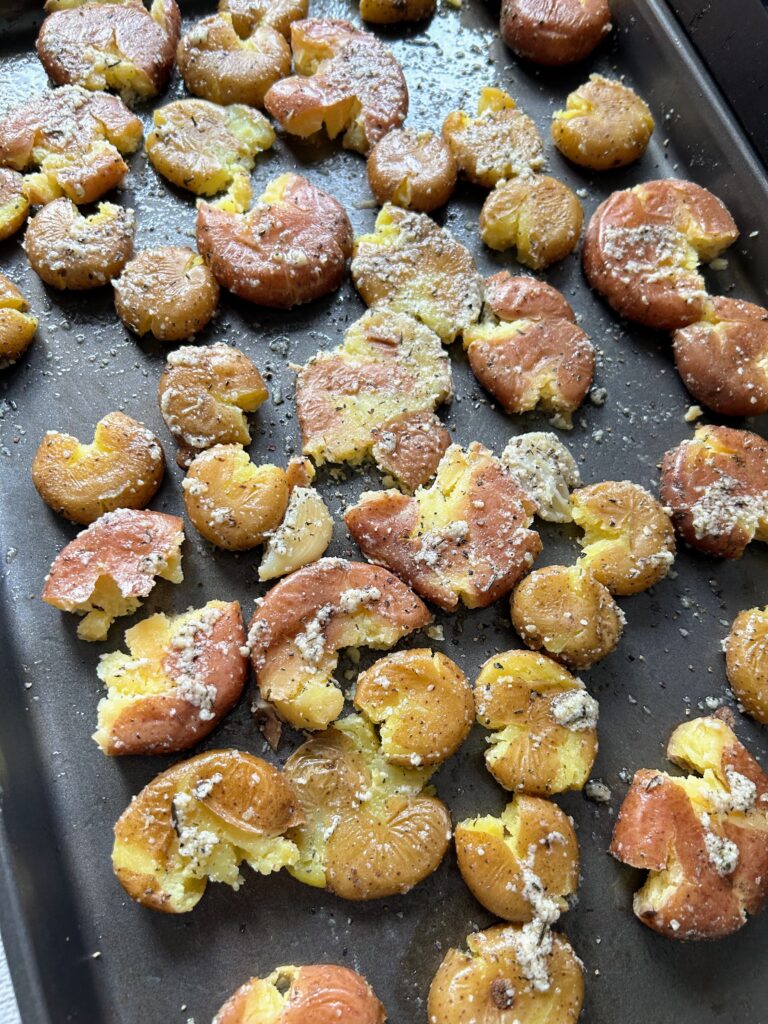
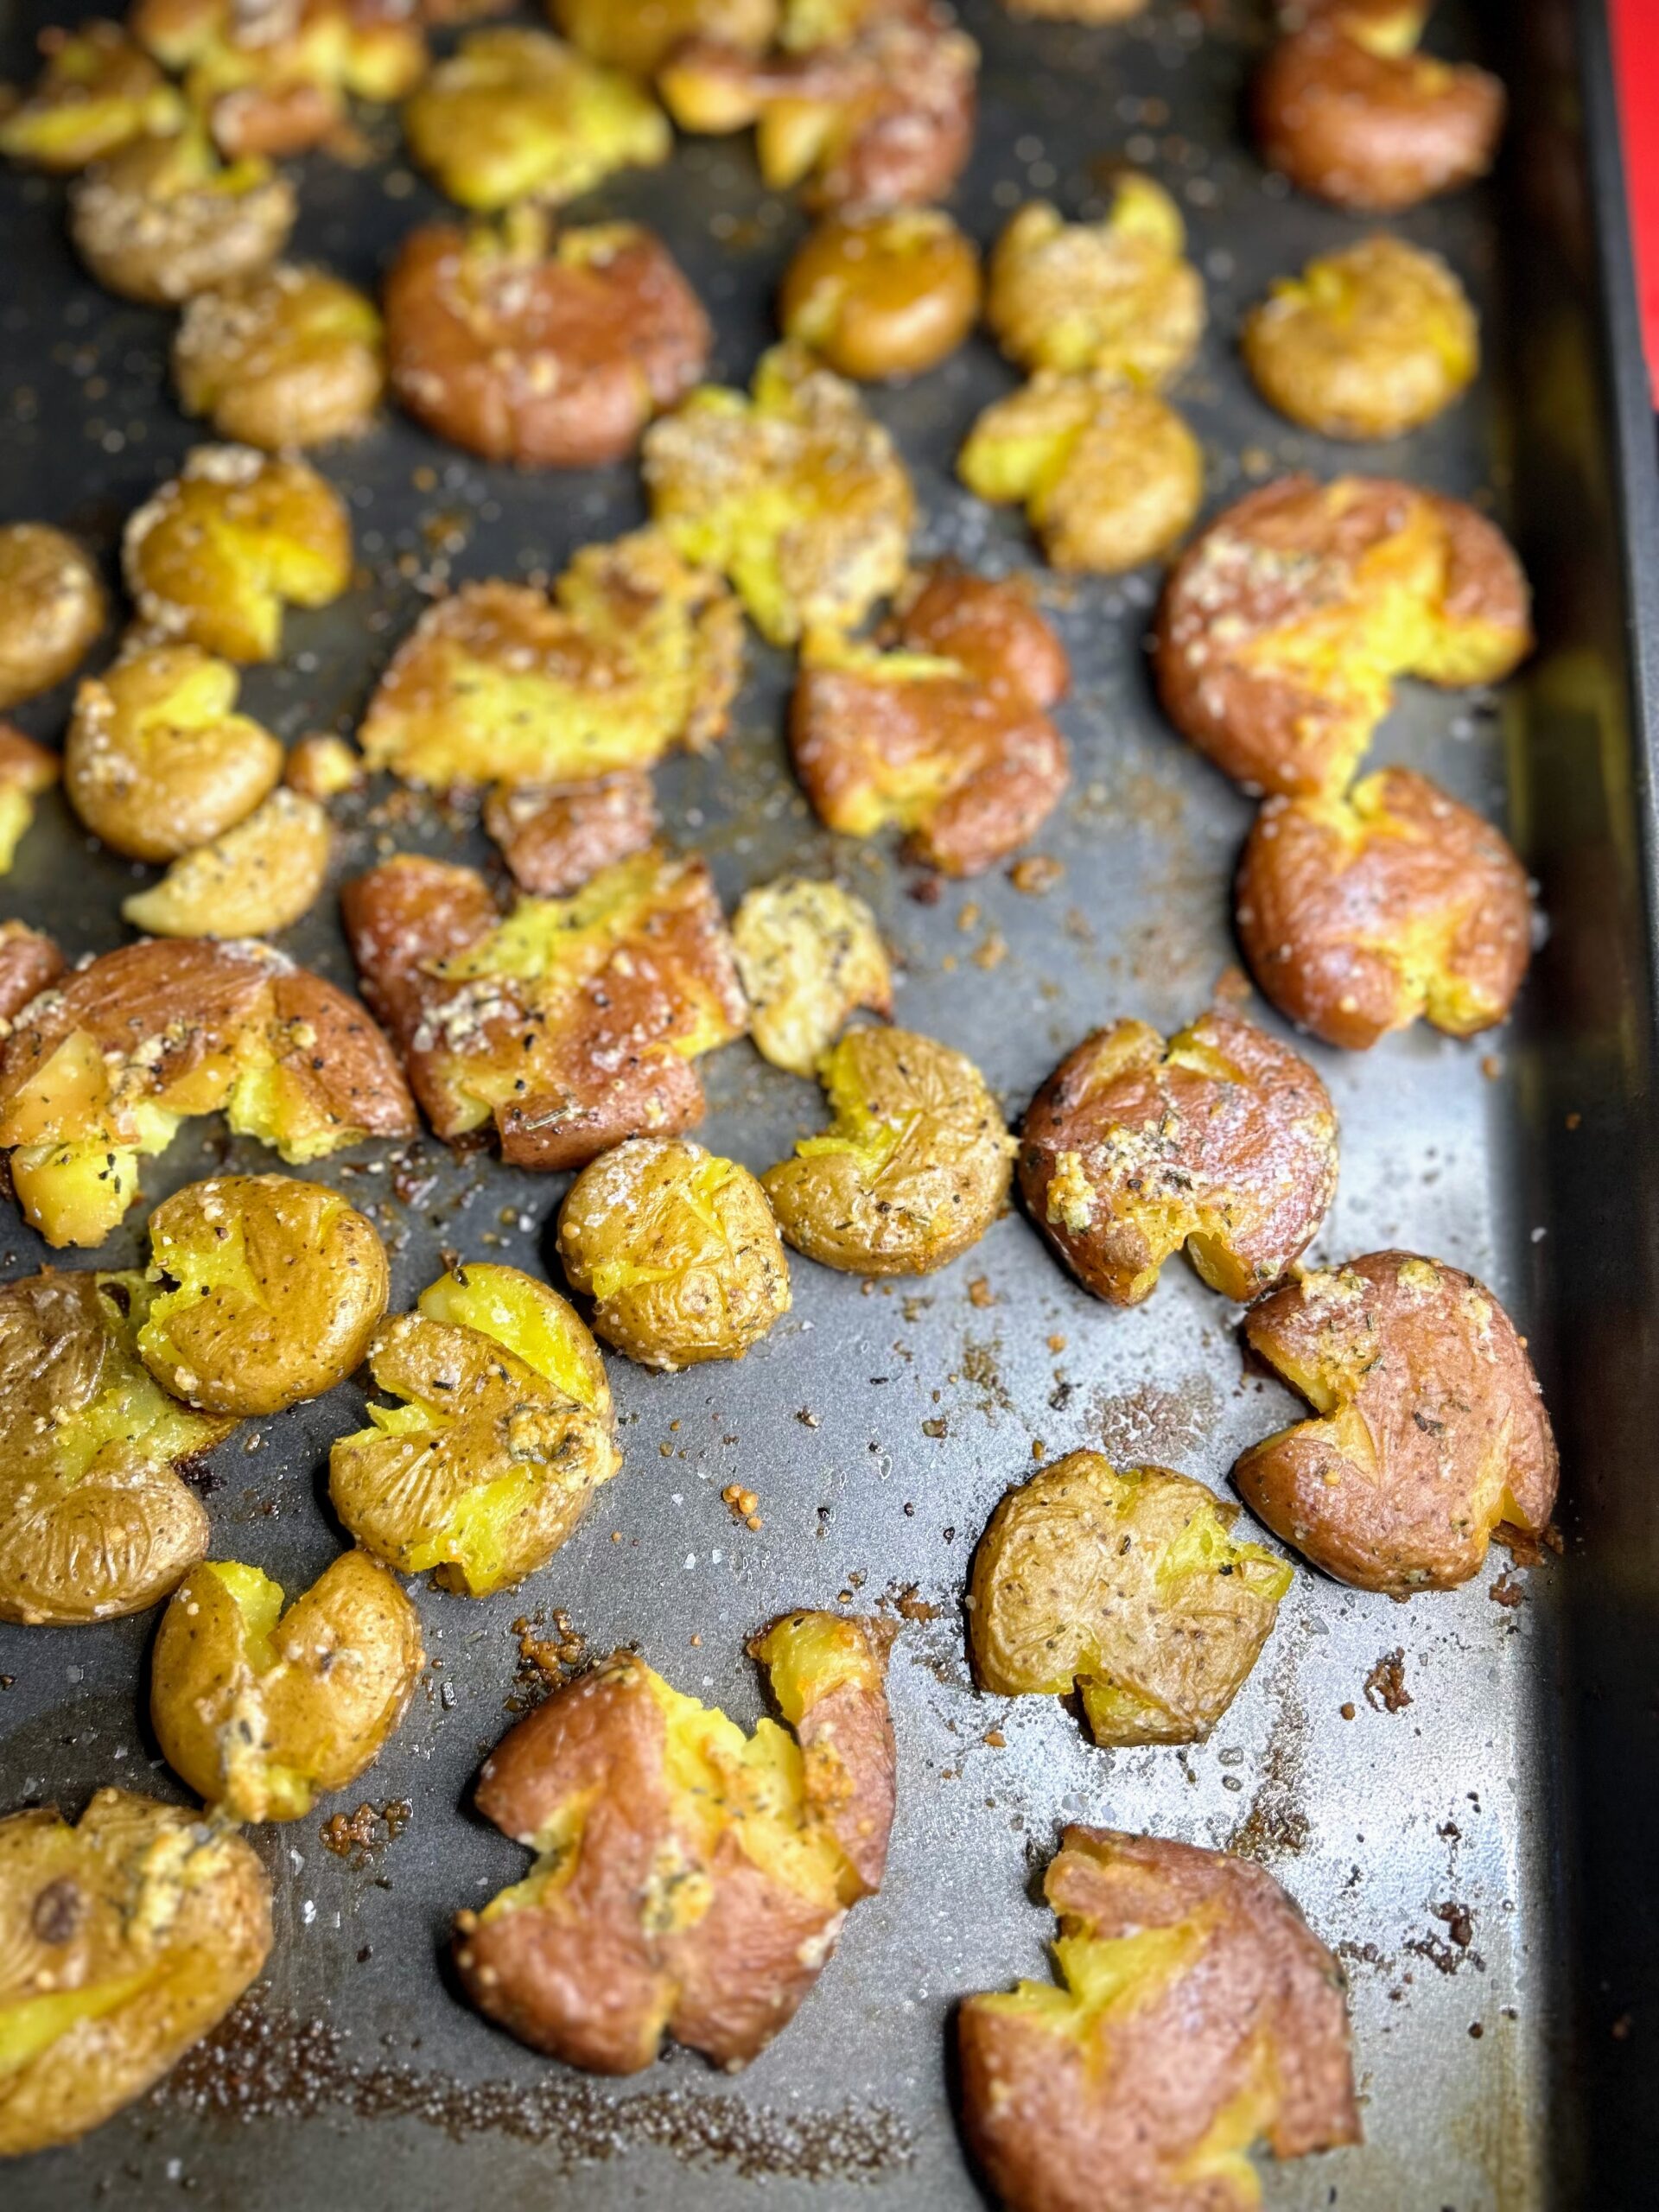
It makes me sad that potatoes get a bad rap. Just because we love to fry and make indulgent mashed potatoes out of them, doesn’t make them inherently bad. It’s all about how potatoes are prepared and let me tell you, I haven’t met a roasted potato that I didn’t like or felt bad about eating. The crispy skin. The spices we top them with; it’s all just so good. Case in point: these delicious smashed baby potatoes that my friends on Instagram couldn’t get enough of!

Before we jump to the recipe, let’s talk about why potatoes are a great food. What is it that they provide?

  • They are rich in vitamin C (No scurvy for us!)
  • Potatoes are high in potassium, aiding our heart, muscles, and nervous system
  • The fiber in potatoes is great for our digestive system

Learn more here! 

If you’ve been here a while, you know I love whole foods. I look to make meals nutrient dense, and it seems potatoes fit the bill: they are full of energy and great nutrients. Let’s cook some up!

Now, I will be honest, there is some very hands off prep work required for these potatoes. Don’t rush it. You’ll thank me when you do all the steps. When I tell you to let them cool in the once boiling water, I mean it. Walk away from the stove. Don’t even think about them. It will take longer than you think, but it will be worth it! 

Your Ingredients

  • 1 ½ pounds baby potatoes
  • 2 tablespoons kosher salt
  • 1 garlic clove
  • 1 ½ tablespoons olive oil 
  • ¼ cup grated parmesan cheese
  • Kosher salt, pepper, ground rosemary, to taste

Your Steps to Smashed Baby Potatoes 

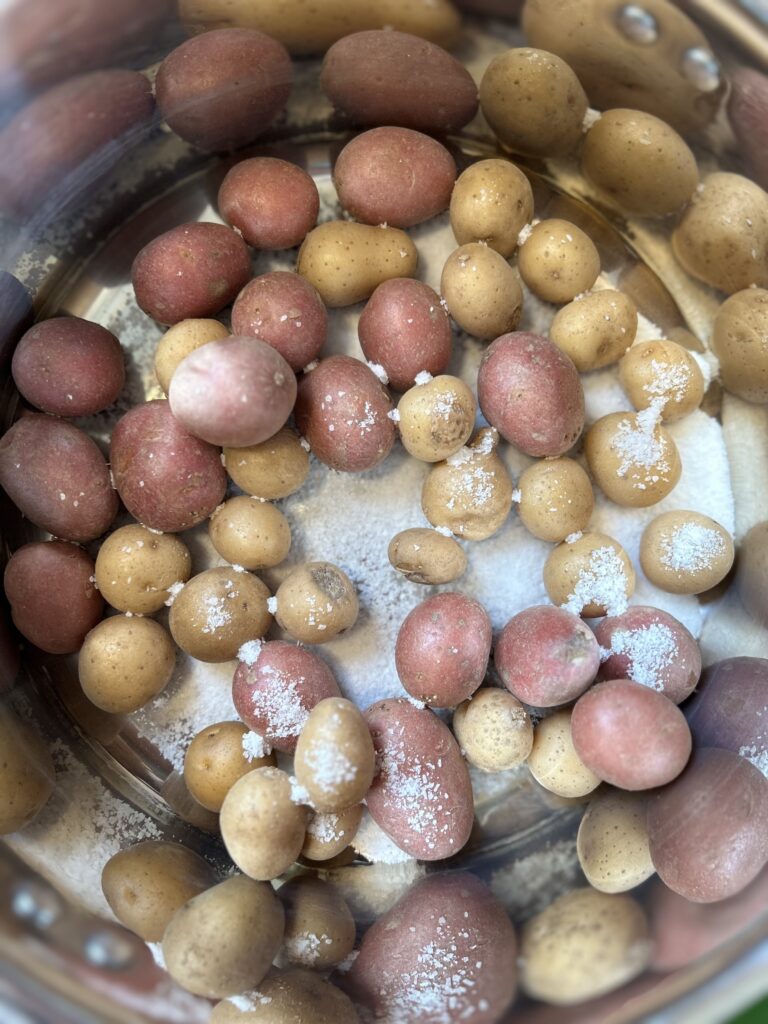
Place the potatoes in a medium-large saucepan. Add 2 tablespoons of kosher salt and crushed garlic clove. Cover with water. Bring to a rolling boil over medium high heat. Remove from heat and allow potatoes to sit in the water until room temperature (at least 90 minutes). (I am telling you, just walk away. Find something else to do 🙂 ) 

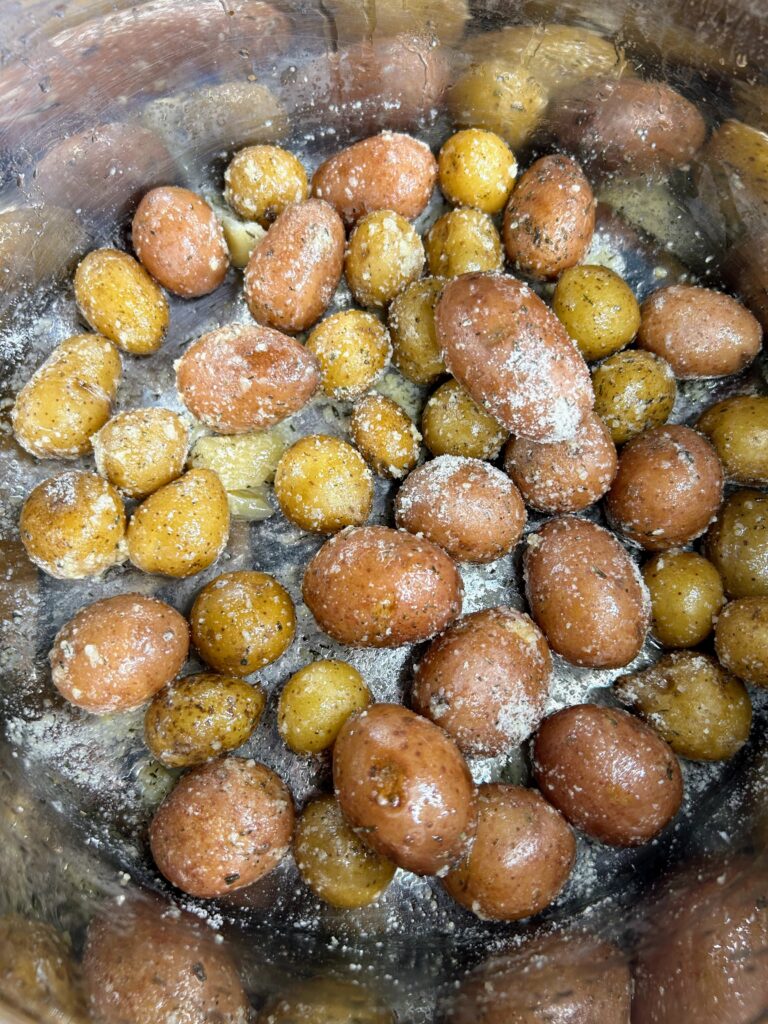
Once cooled, drain the potatoes. Toss with olive oil, parmesan cheese, kosher salt, pepper, and ground rosemary. I wish I could give you a measurement, but it’s just too painful for me to measure. If you need it, I would say about ½ teaspoon a piece. I simply pour a little in my palm and toss it in. 

Preheat the oven to 425 degrees. Place the potatoes on a baking sheet that’s been sprayed with non-stick cooking spray. Using a flat bottomed cup (I use a fermentation tamper), smash each potato with some force. 

Bake the potatoes for 15-20 minutes, until crispy. Optional: For a little more indulgence, toss the potatoes in some melted butter before baking them as well. It will take them to the next level, but I am all about taking the healthier twist! Serve with your favorite grilled protein. You’ll thank me! 

Smashed Baby Potatoes

Looking for a great side dish for that favorite protein? Give these delicious and simple smashed baby potatoes!
Prep Time 10 minutes
Cook Time 20 minutes
Rest Time 1 hour 30 minutes
Course Side Dish
Cuisine American
Servings 4 people

Ingredients
  

  • 1 ½ pounds baby potatoes
  • 2 tablespoons kosher salt
  • 1 garlic clove
  • 1 ½ tablespoons olive oil
  • ¼ cup grated parmesan cheese
  • Kosher salt pepper, ground rosemary, to taste

Instructions
 

  • Place the potatoes in a medium-large saucepan. Add 2 tablespoons of kosher salt and crushed garlic clove. Cover with water. Bring to a rolling boil over medium high heat. Remove from heat and allow potatoes to sit in the water until room temperature (at least 90 minutes).
  • Once cooled, drain the potatoes. Toss with olive oil, parmesan cheese, kosher salt, pepper, and ground rosemary. If you need a measurement, I would say about ½ teaspoon a piece. I simply pour a little in my palm and toss it in.
  • Preheat the oven to 425 degrees. Place the potatoes on a baking sheet that’s been sprayed with non-stick cooking spray. Using a flat bottomed cup (I use a fermentation tamper), smash each potato with some force.
  • Bake the potatoes for 15-20 minutes, until crispy.

Notes

Optional: For a little more indulgence, toss the potatoes in some melted butter before baking them as well.
Keyword chicken parmesan, garlic, Potatoes, roasted potatoes, rosemary, sides, smashed potatoes
Tried this recipe?Let us know how it was!

Rice and Pancetta Stuffed Squash

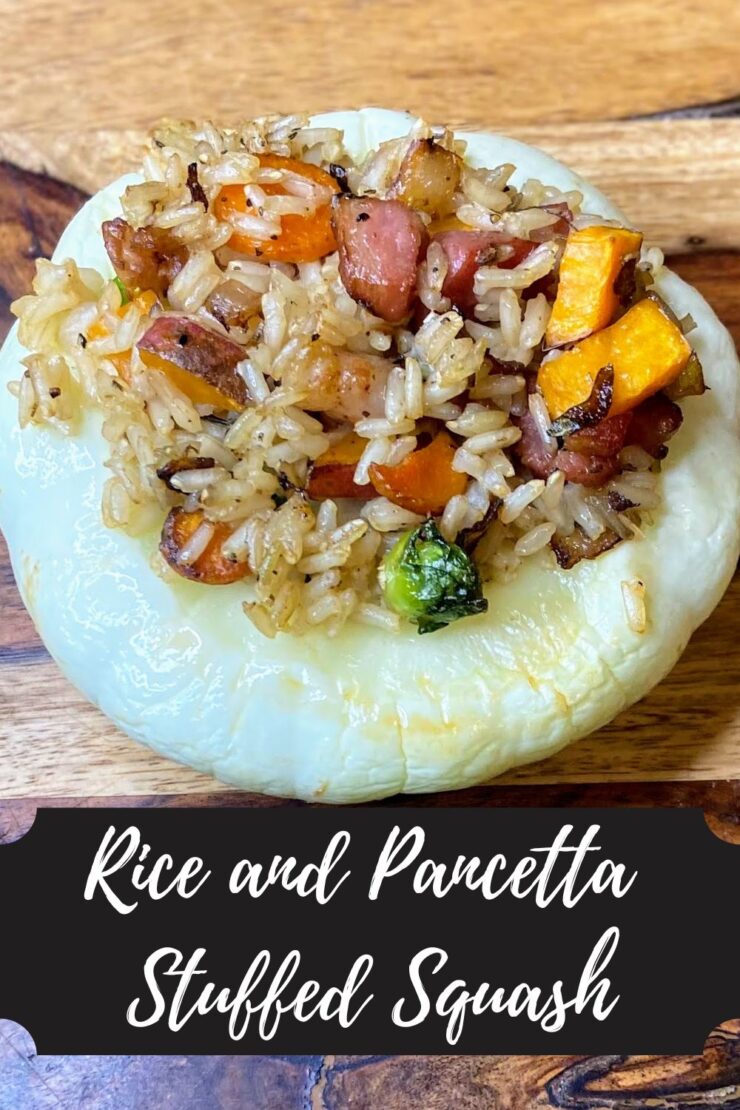
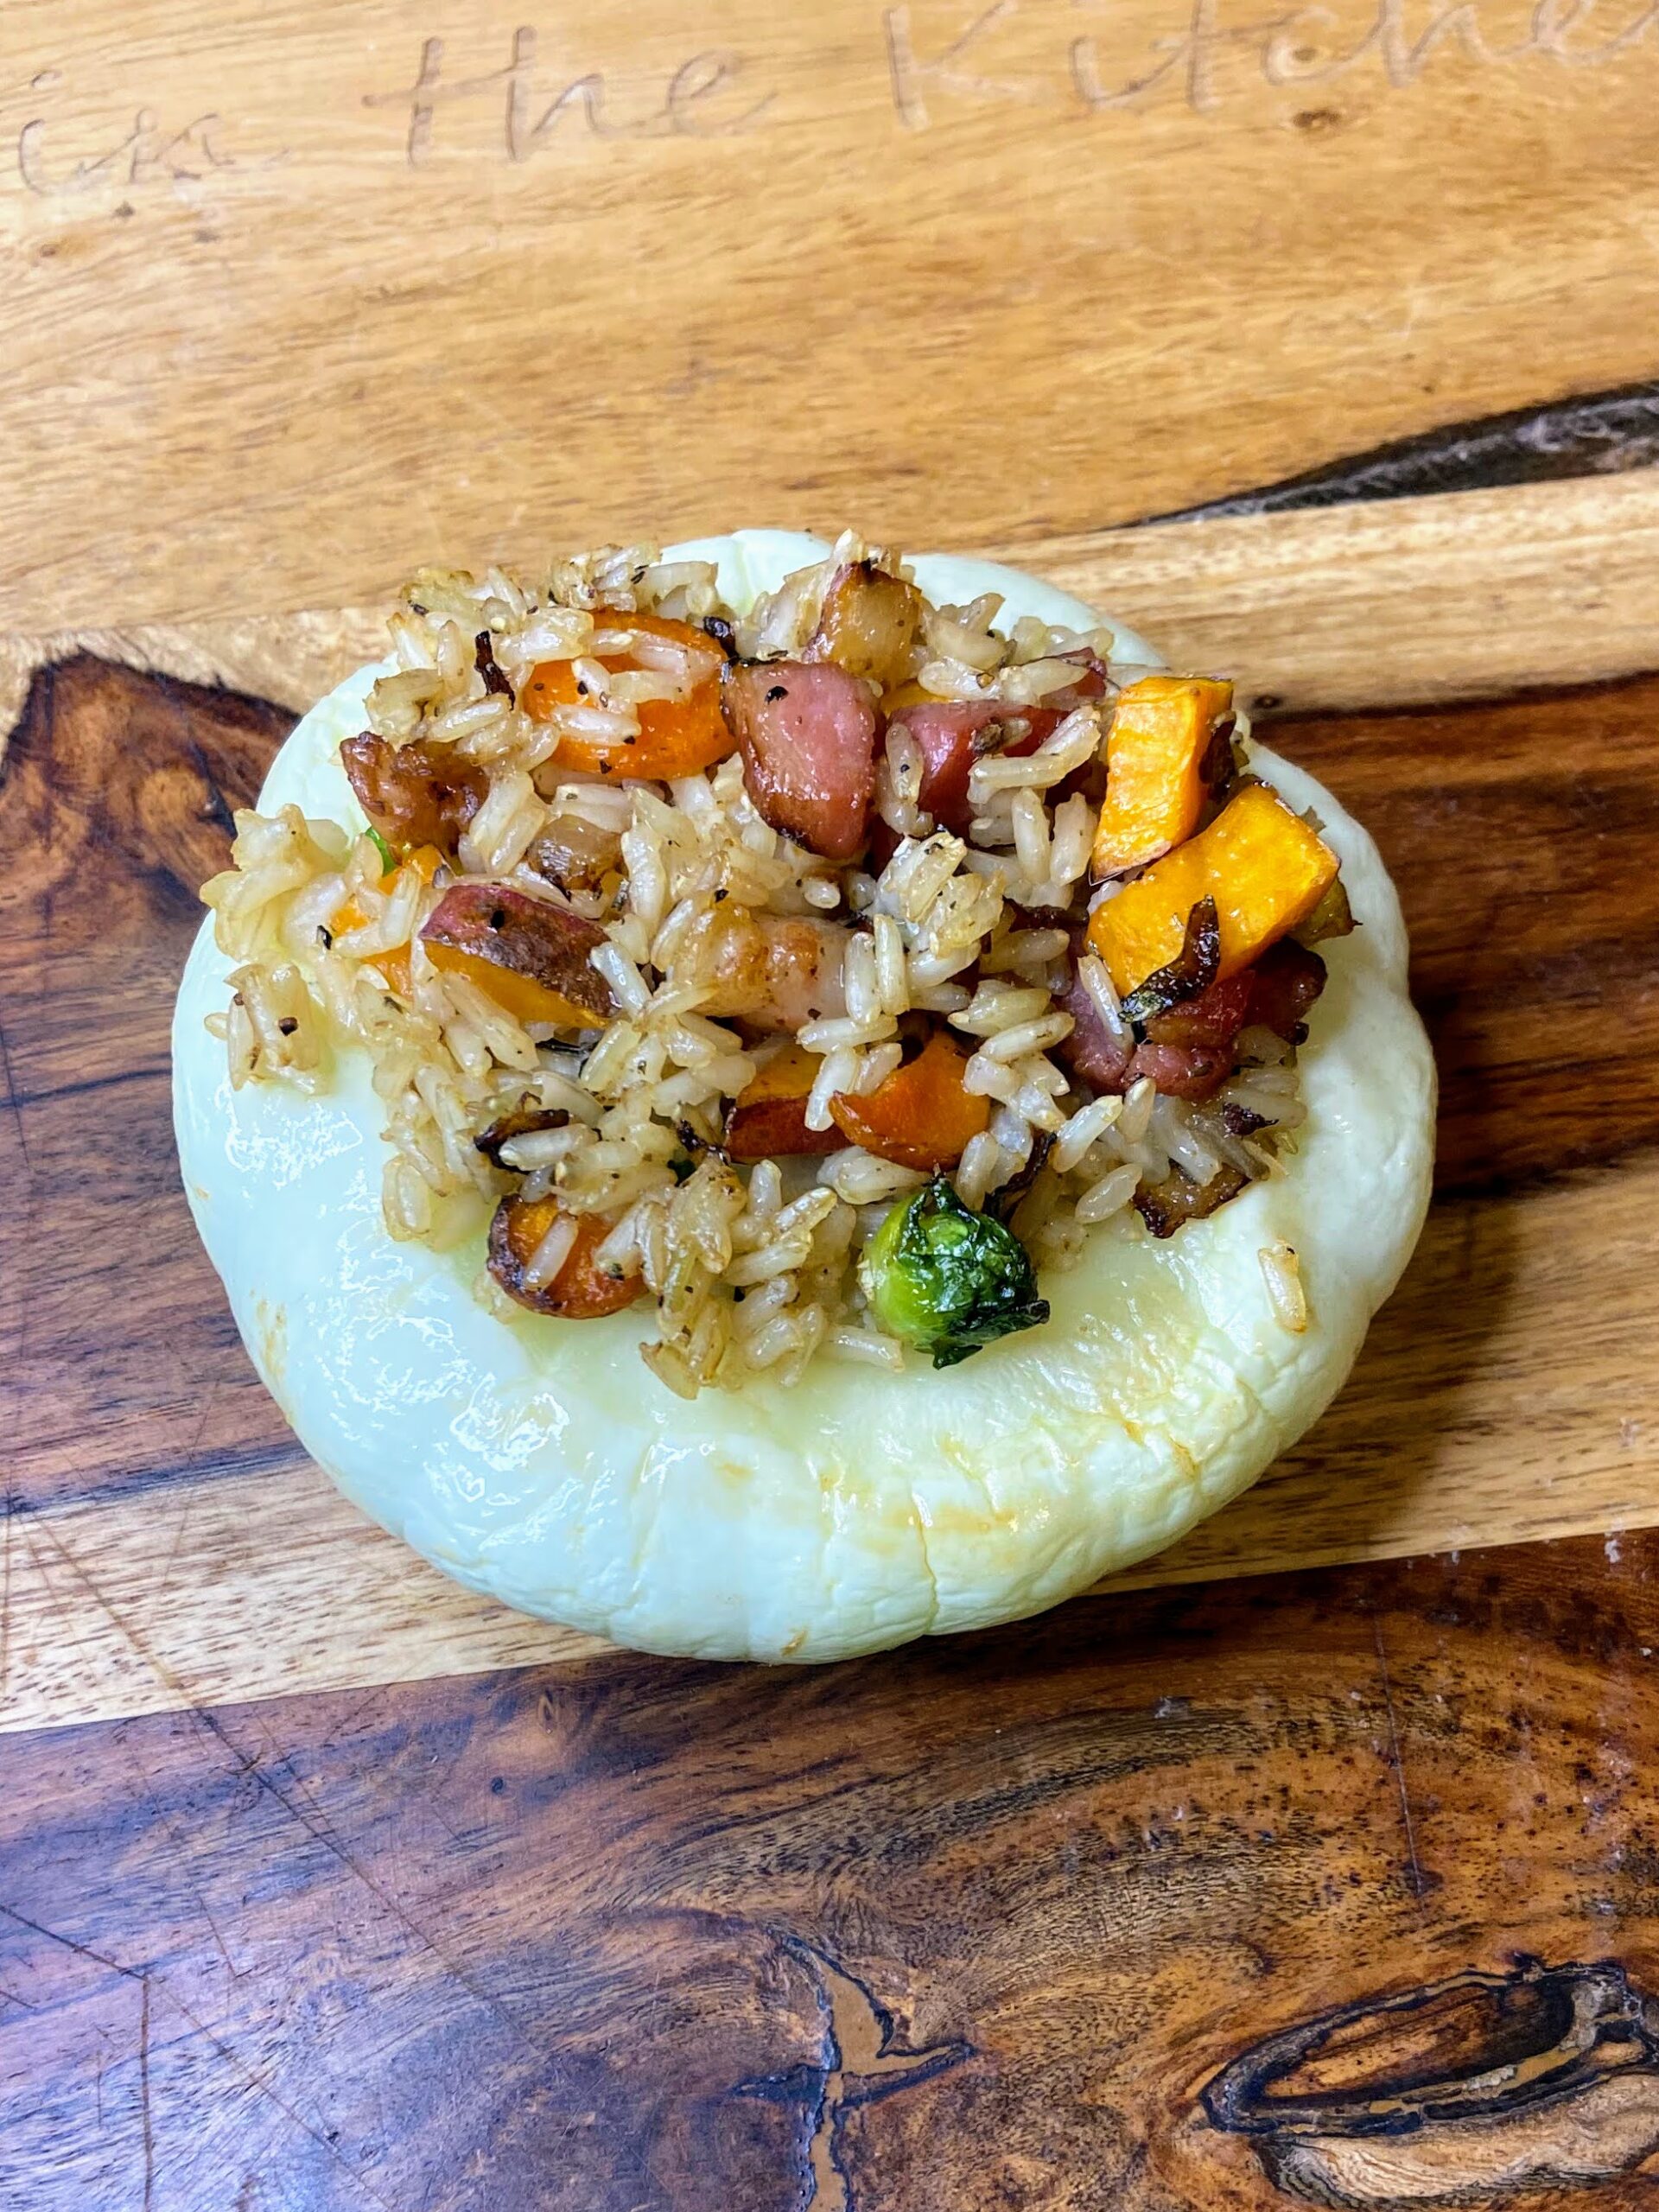
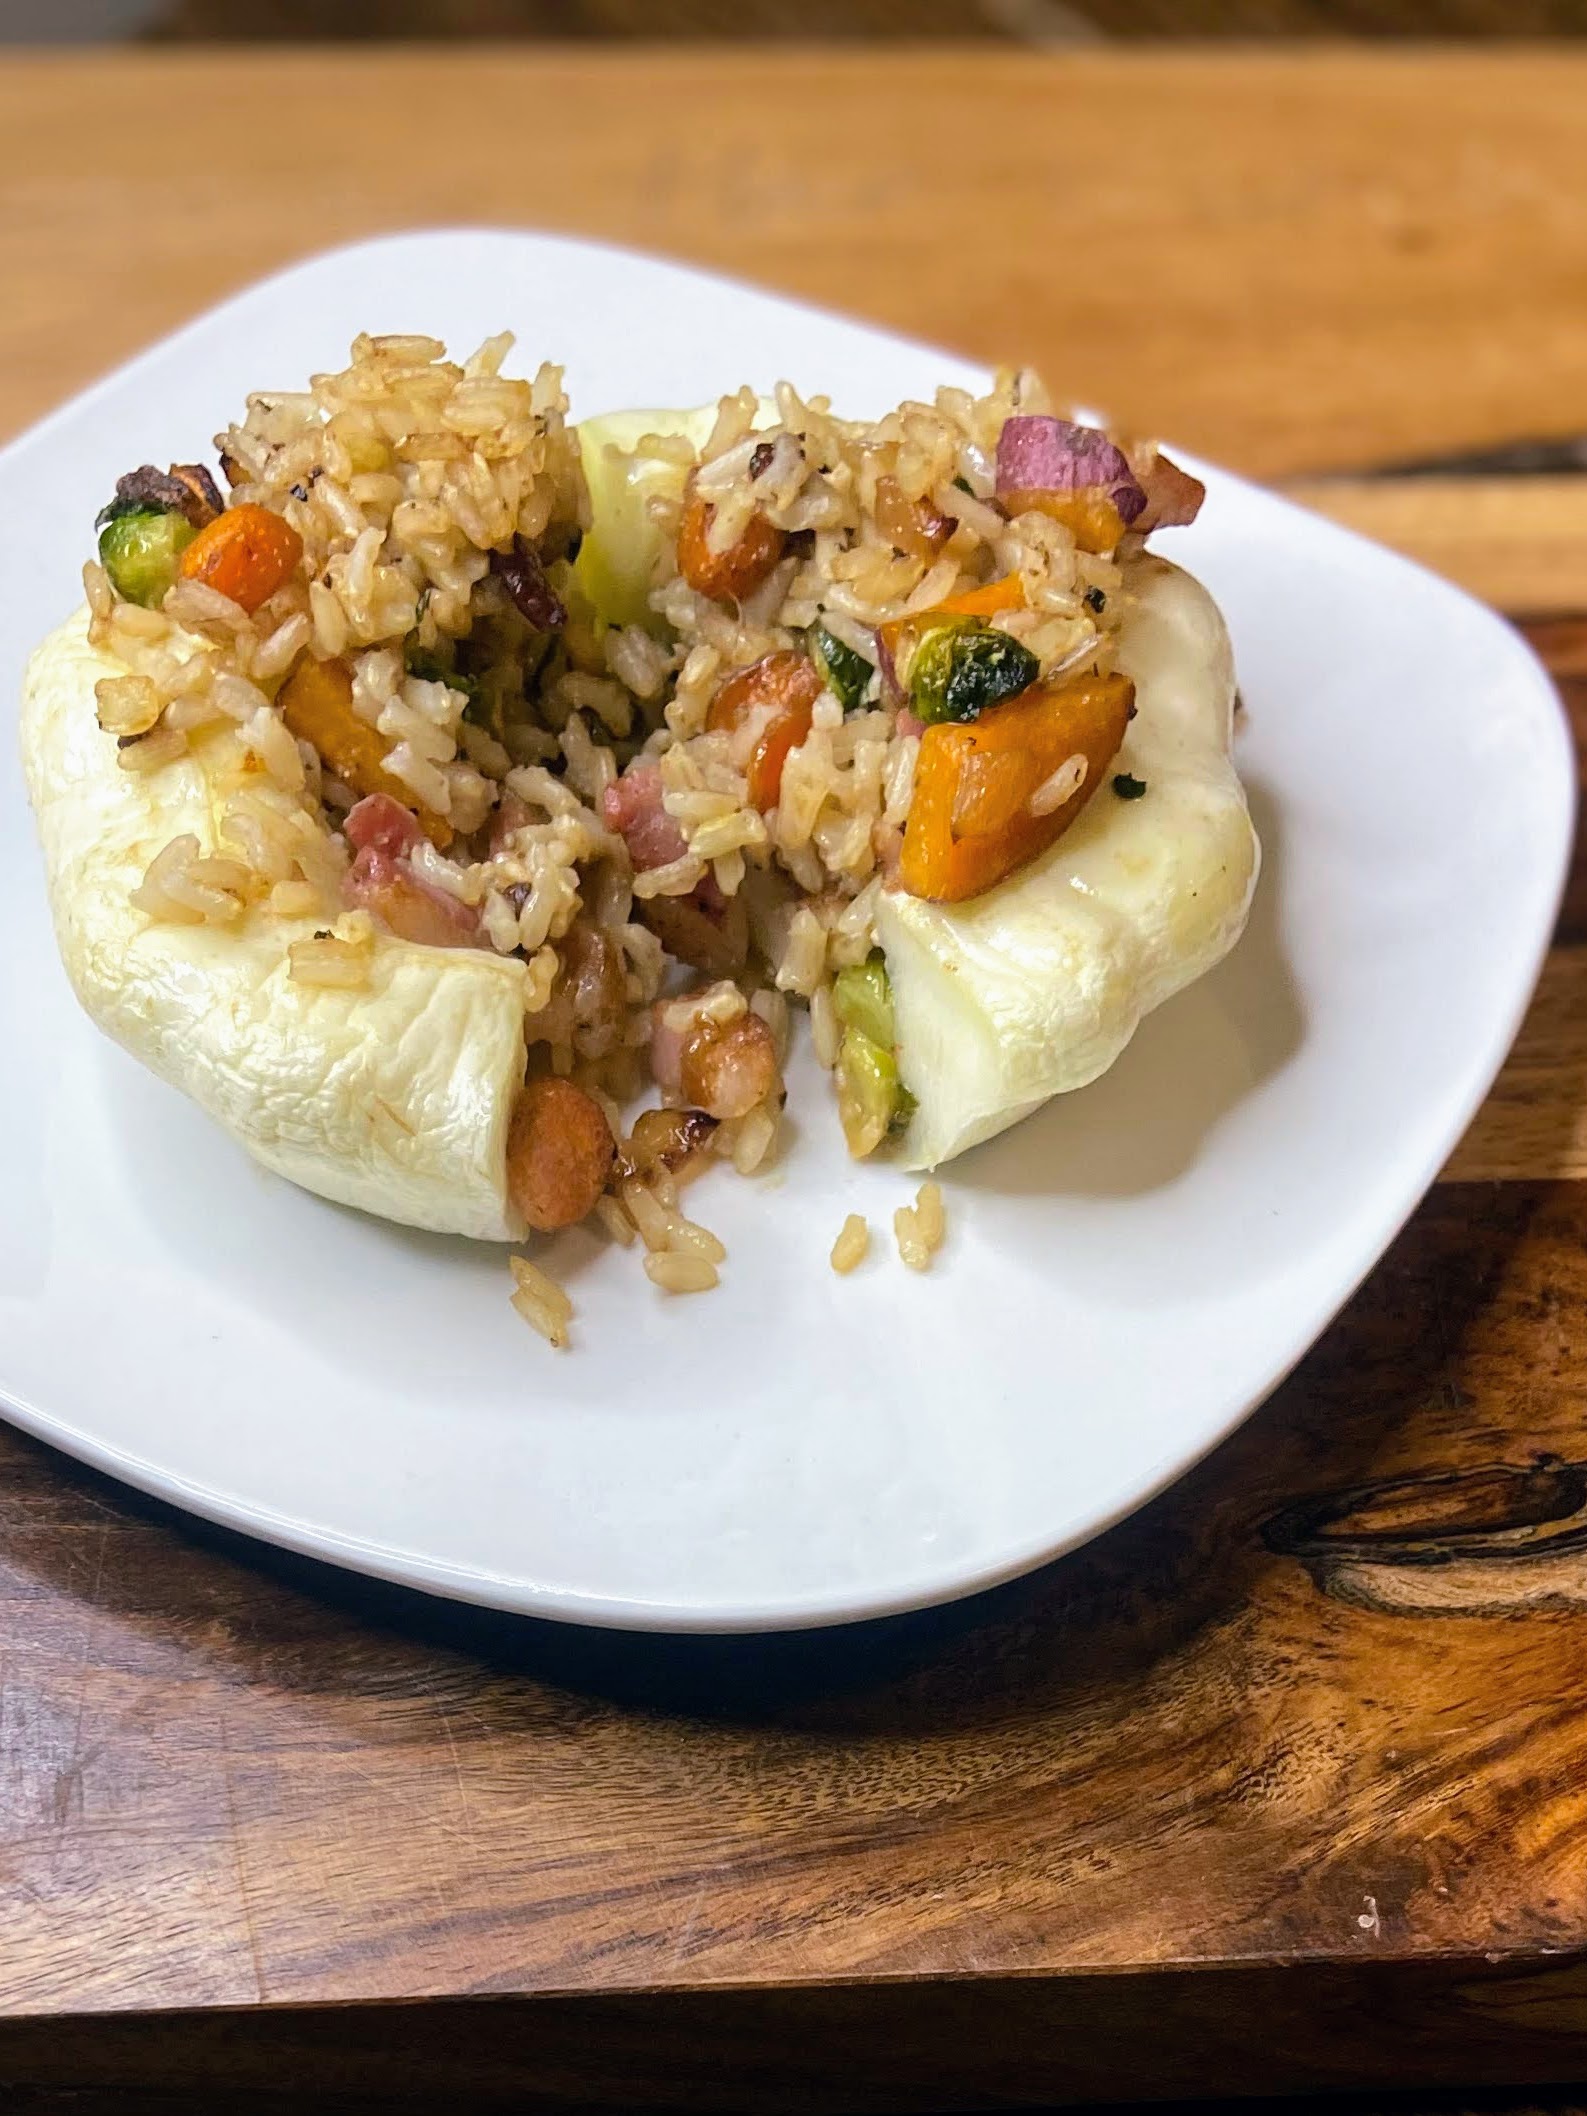
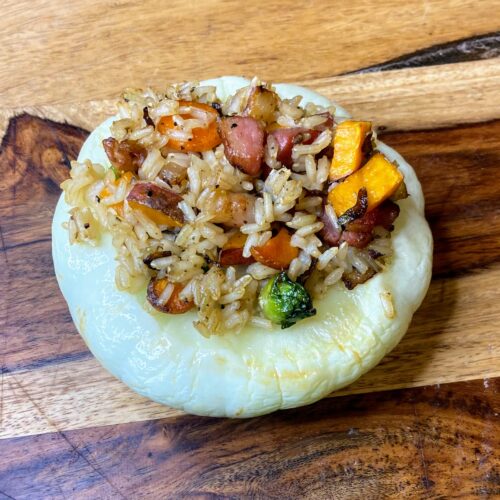
I have an odd relationship with growing squash. Maybe I am not alone. I grow it, but the act of actually dicing it, roasting it, and all the things doesn’t always happen. It isn’t that I don’t like the way it tastes. I generally love it. It just takes a little more work than I want. However, this rice and pancetta stuffed squash is worth all the work, and I am super pumped to share it with you. 

One of my first friends adores patty pan squash. She has talked about them for years and this year, I decided to plant a row of them, having ZERO idea if I would like them. Well, I had a bumper crop of these beautiful “starfish” squash, as the Mr. so fondly called them. (Turns out I grew early bush scallop, if you are wondering).

I enjoyed dicing them and roasting with a little salt and pepper and olive oil. And while the Mr. and my mini me enjoyed the squash this way, my big HATED it. So I looked to give the squash a face lift for my kiddo, and boy does this rice and pancetta stuffed squash recipe do it. 

The flavors of the Brussels sprouts are complemented by the sweet potato and pancetta. Fall feels so present in the in the colors and spice blend. And turns out that both my kids fought over how much each of them could get. I thought six squash would leave us leftovers, but my goodness, they were gobbled up by parents and kids alike. 

If you’re looking for a meal that feels fancy but really just take a little prep, give this one a try! 

Ready to get cooking? I know I am! 

Your Ingredients 

  • Six Early Bush Scallop squash (other squash would work too, but you may need to increase the bake time as bush scallop are pretty light on bake time) 
  • 1 ½ cup chicken stock 
  • ¾ cup long grain brown rice
  • ⅛ teaspoon garlic powder
  • ⅛ teaspoon pepper 
  • 1 tablespoon butter 
  • ¾ cup pancetta 
  • ½ cup each: chopped onion, carrot, Brussels sprouts, and sweet potato
  • ¼ teaspoon dried, ground rosemary
  • ¼ teaspoon pepper
  • Salt to taste

Your Steps to Rice and Pancetta Stuffed Squash

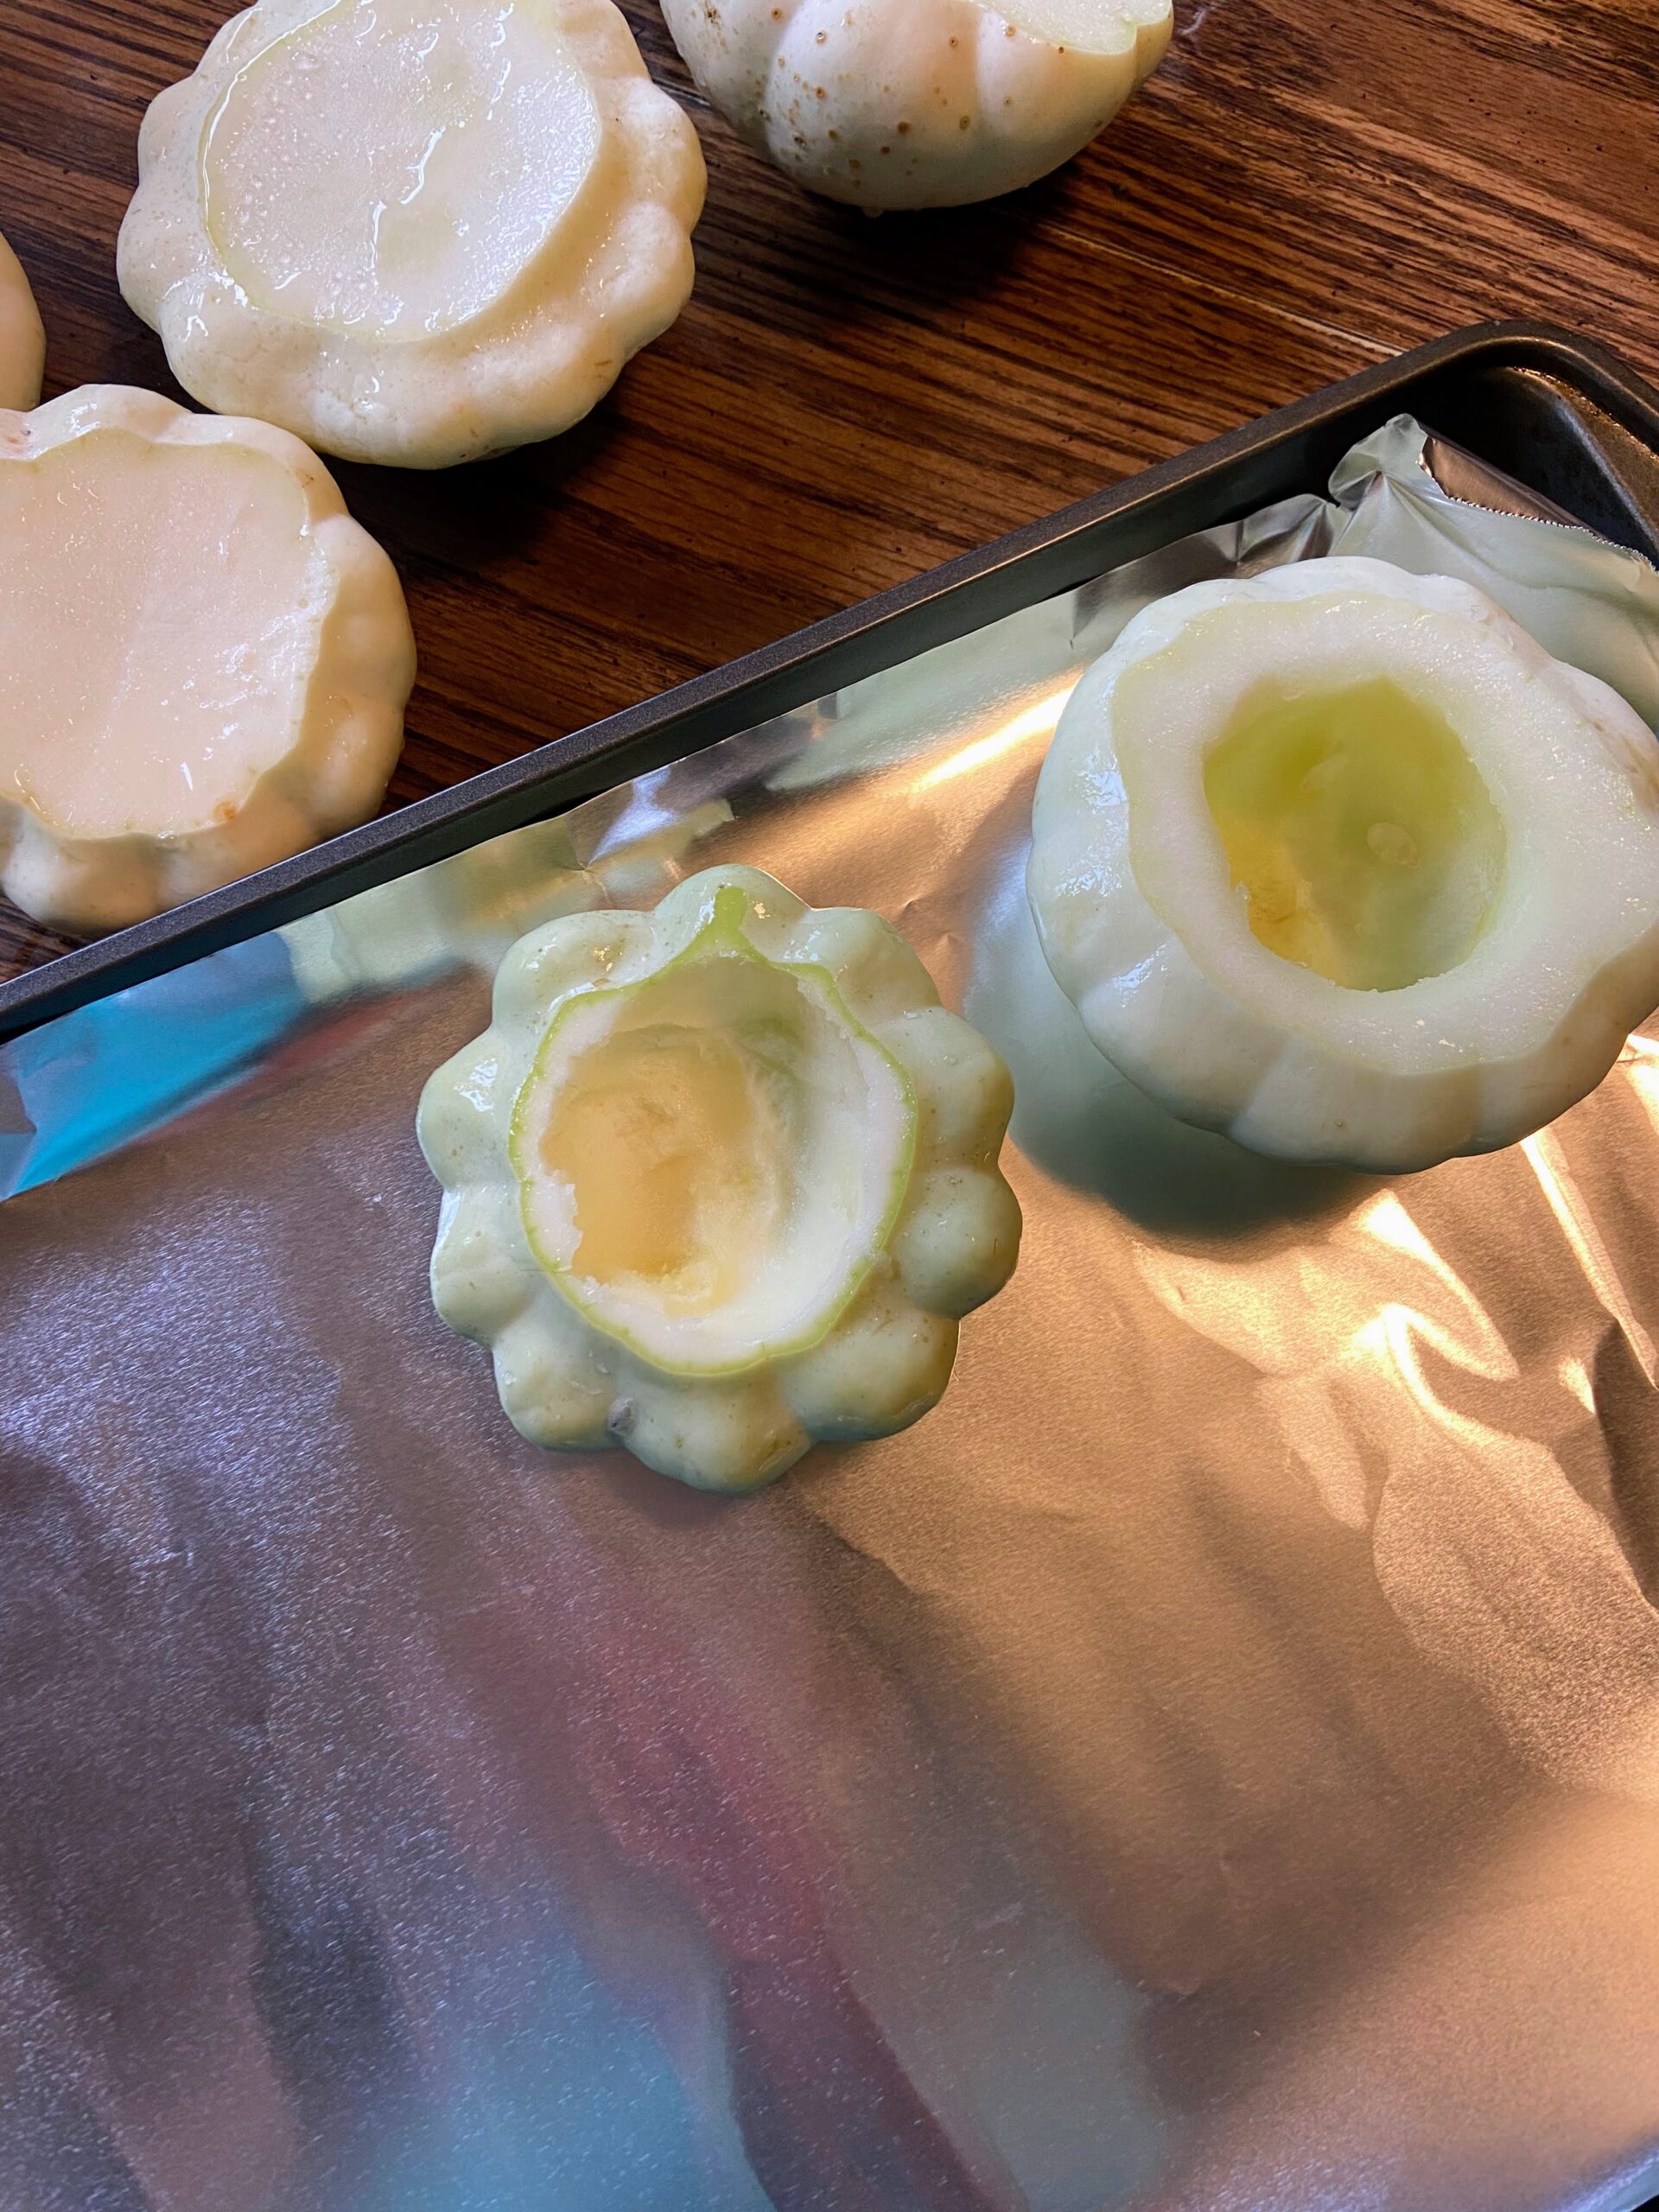
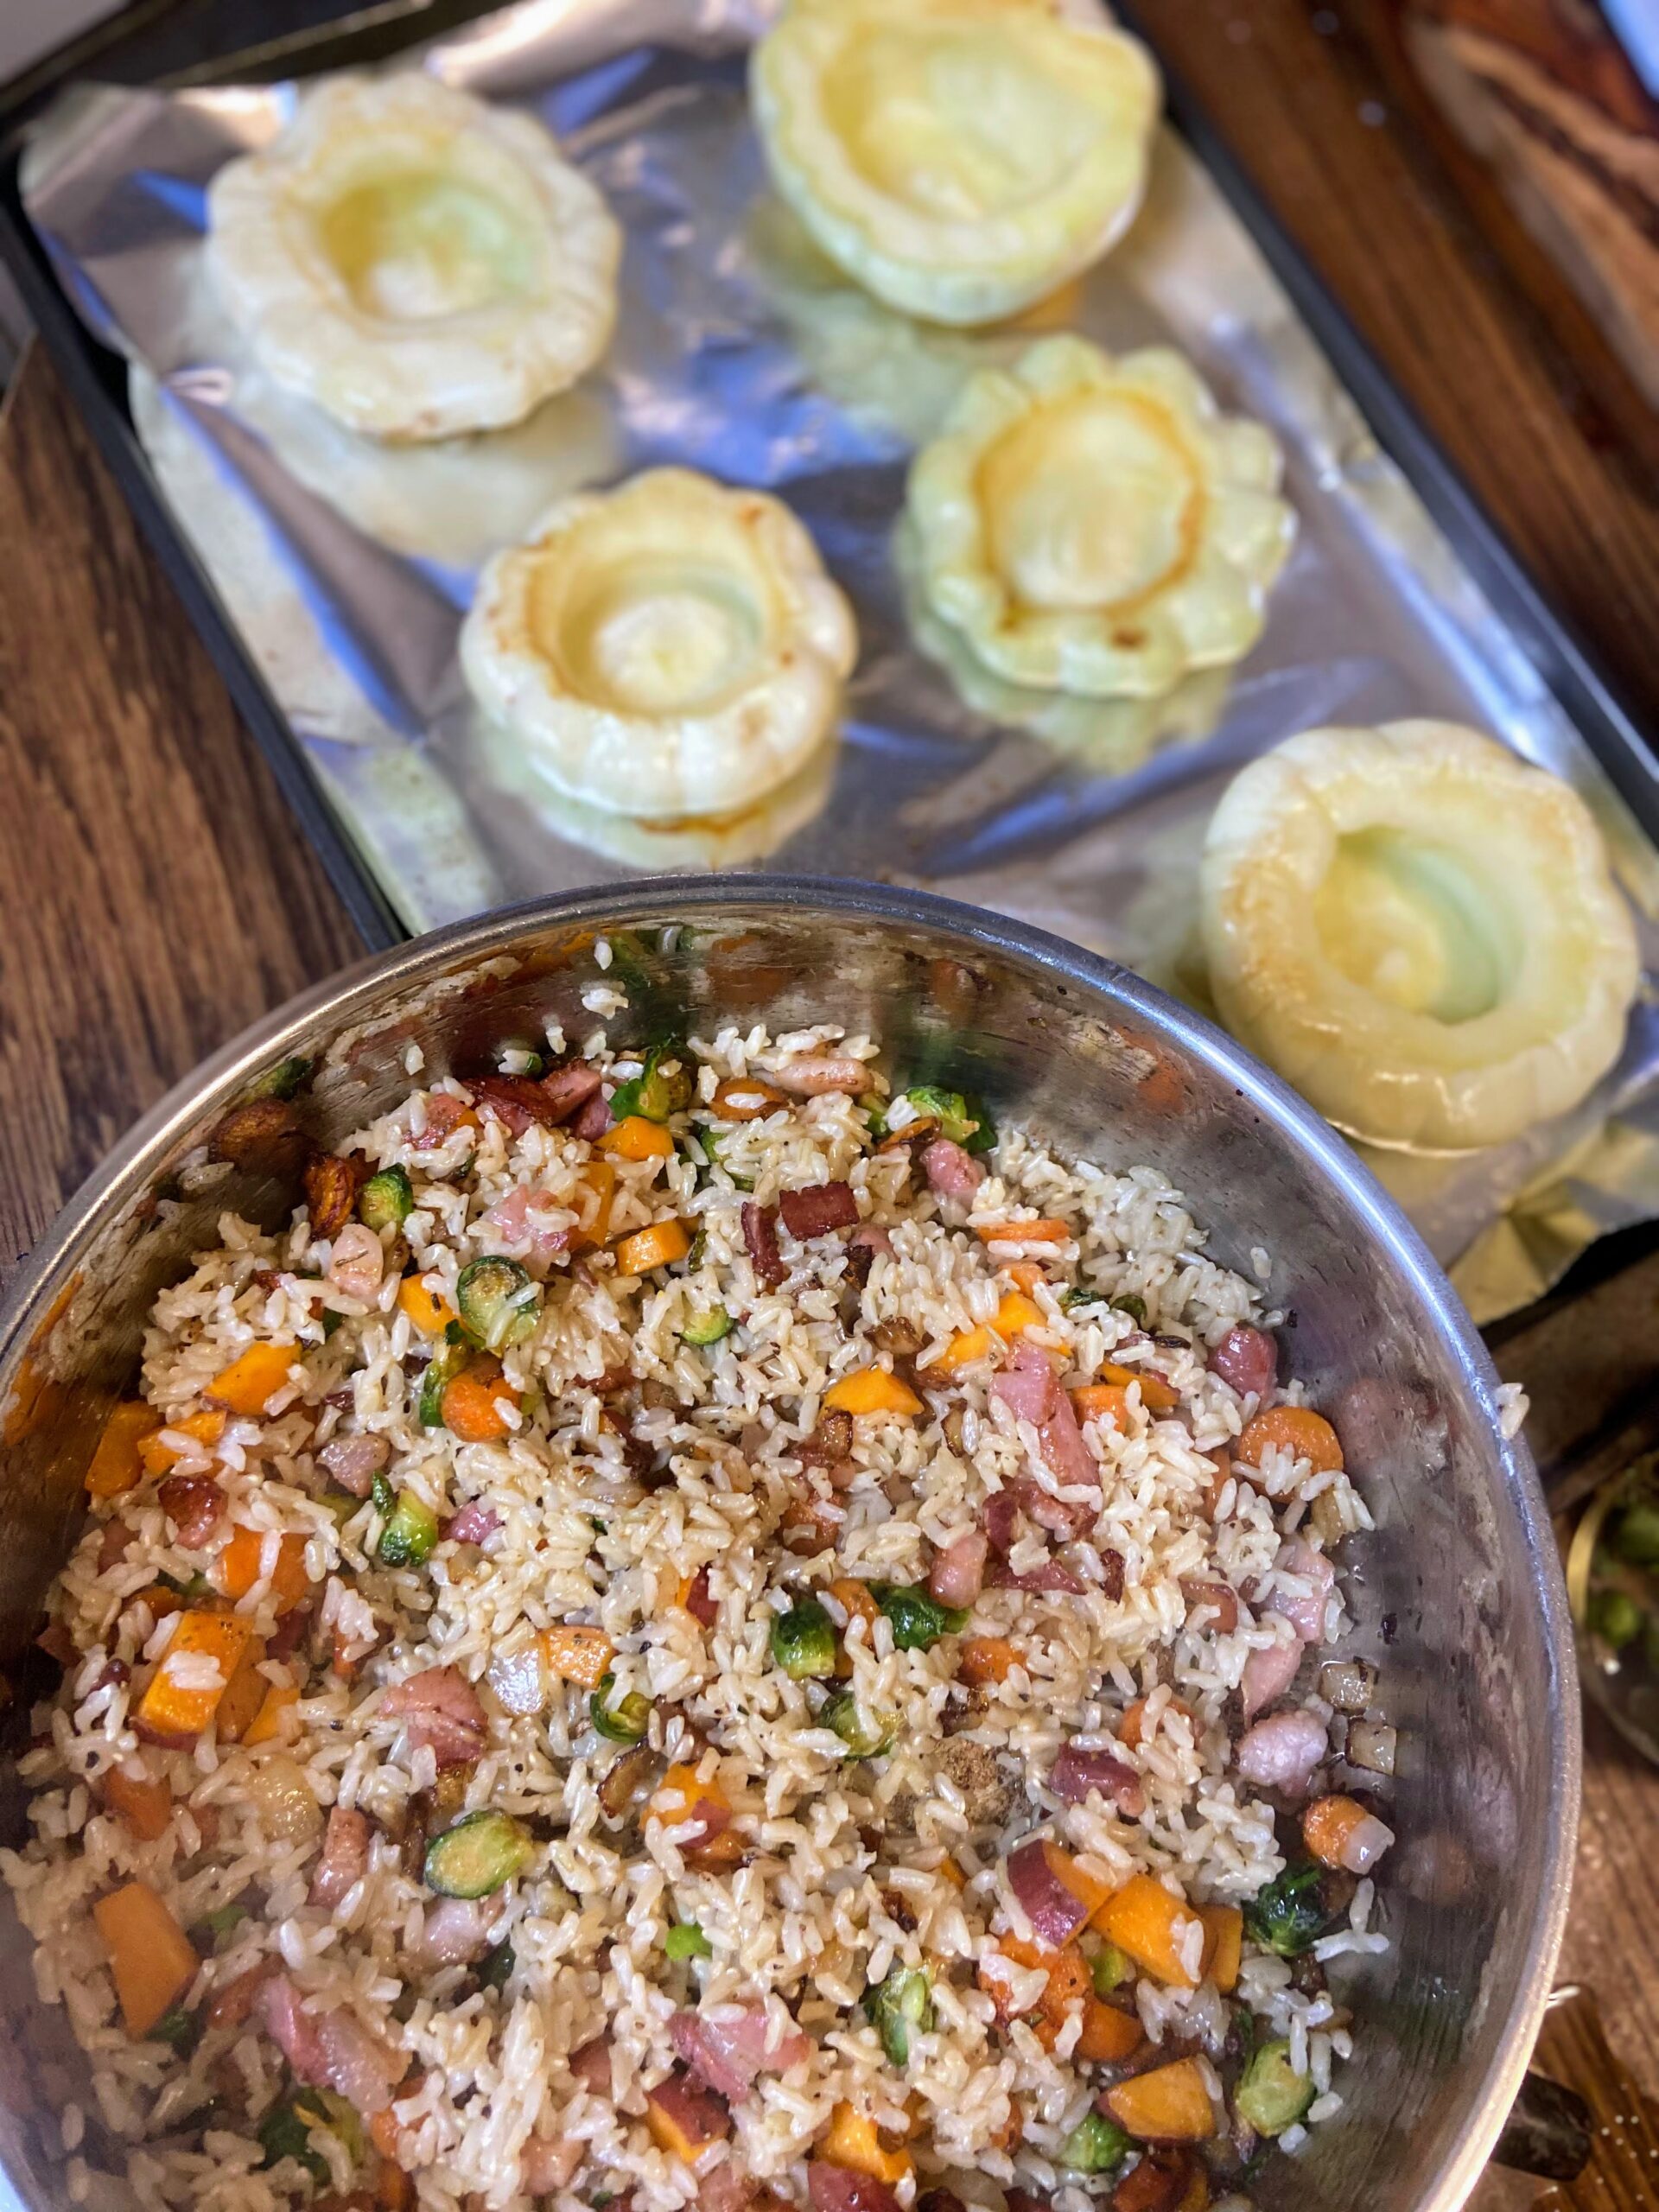
Preheat your oven to 375 degrees. Line a baking sheet with parchment or foil that has been sprayed with non-stick cooking spray. Wash each squash and slice off the top quarter. Hollow out the inside, removing seeds and making room for the filling. 

Bake squash upside down for 15 minutes. When they are done, remove from the oven and flip over so they don’t collapse on themselves.

Meanwhile, combine chicken stock, ⅛ teaspoon pepper and garlic and long grain rice. Bring to a boil, cover and lower to a simmer, cooking for 35 minutes (or according to package directions). 

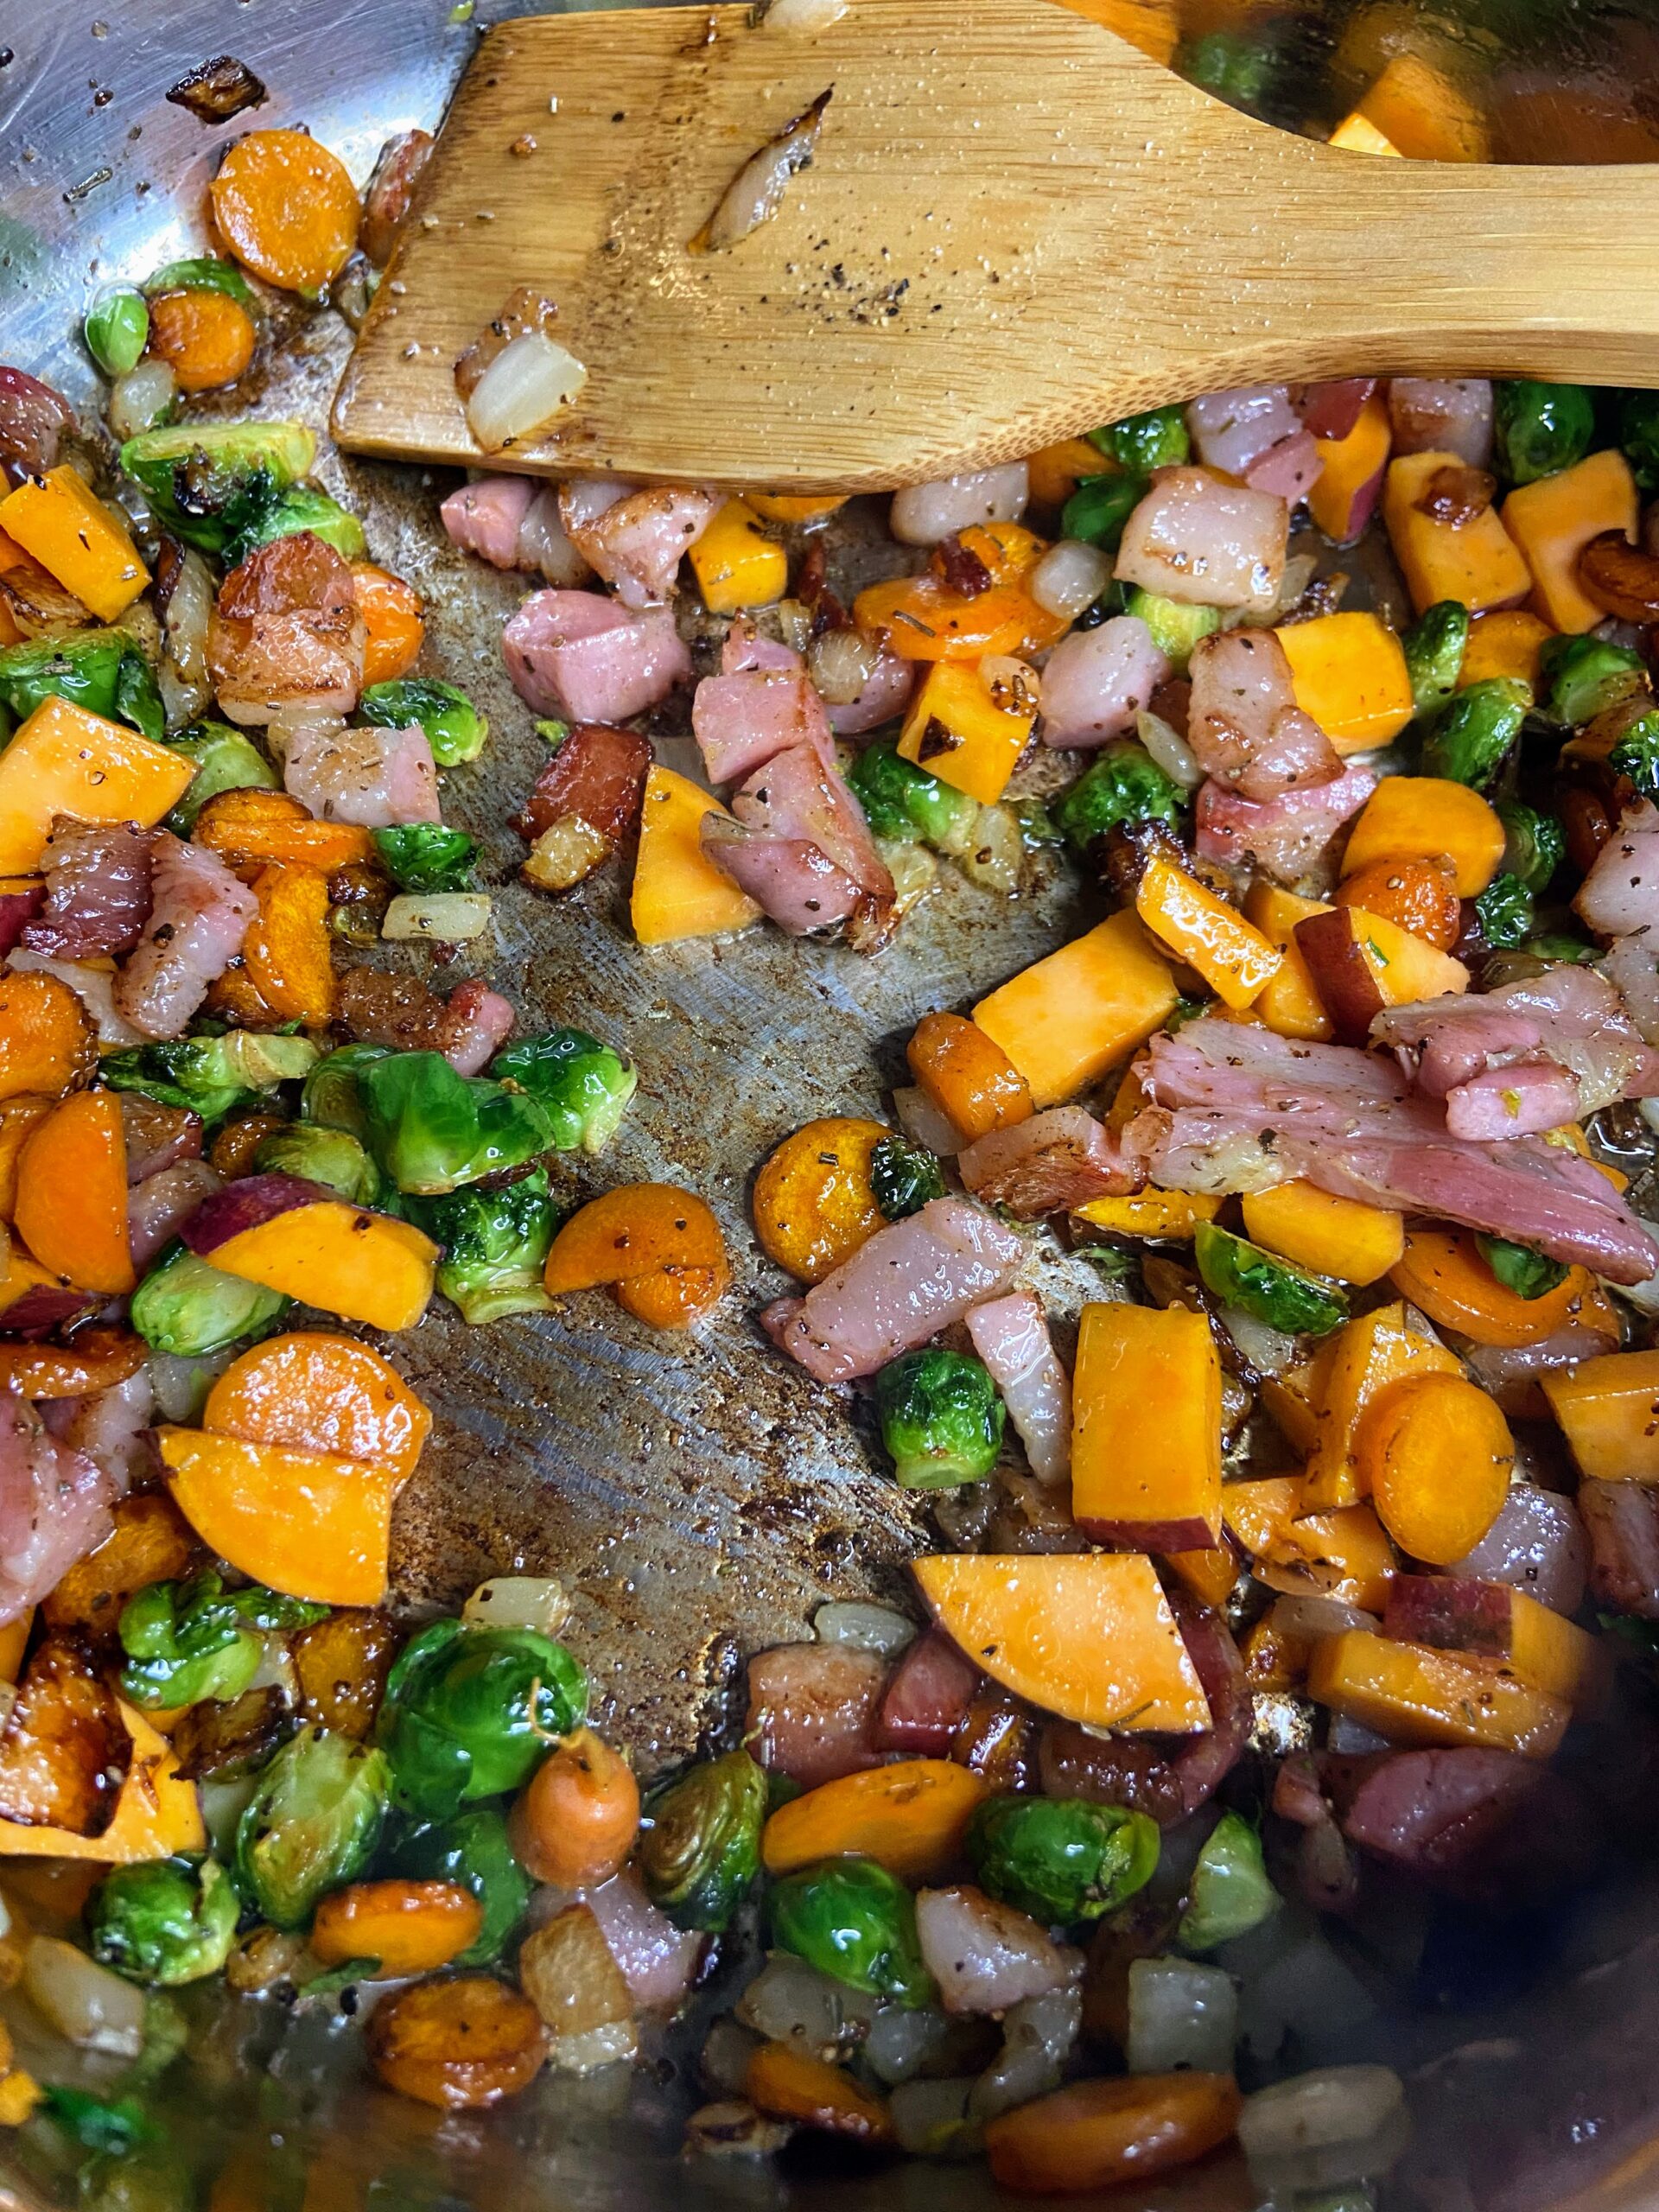
While the rice and squash are cooking, begin to cook down the vegetables. In a large saucepan (you’ll mix the rice into this so have room for that), begin to melt the butter over medium heat. Add onion and carrot. Cook for 2-3 minutes. Add Brussels sprouts and pancetta. Cook until the pancetta is becoming crispy, about 10-12 minutes. Add sweet potato, pepper, and rosemary and cook an additional 3-5 minutes. Salt to taste. 

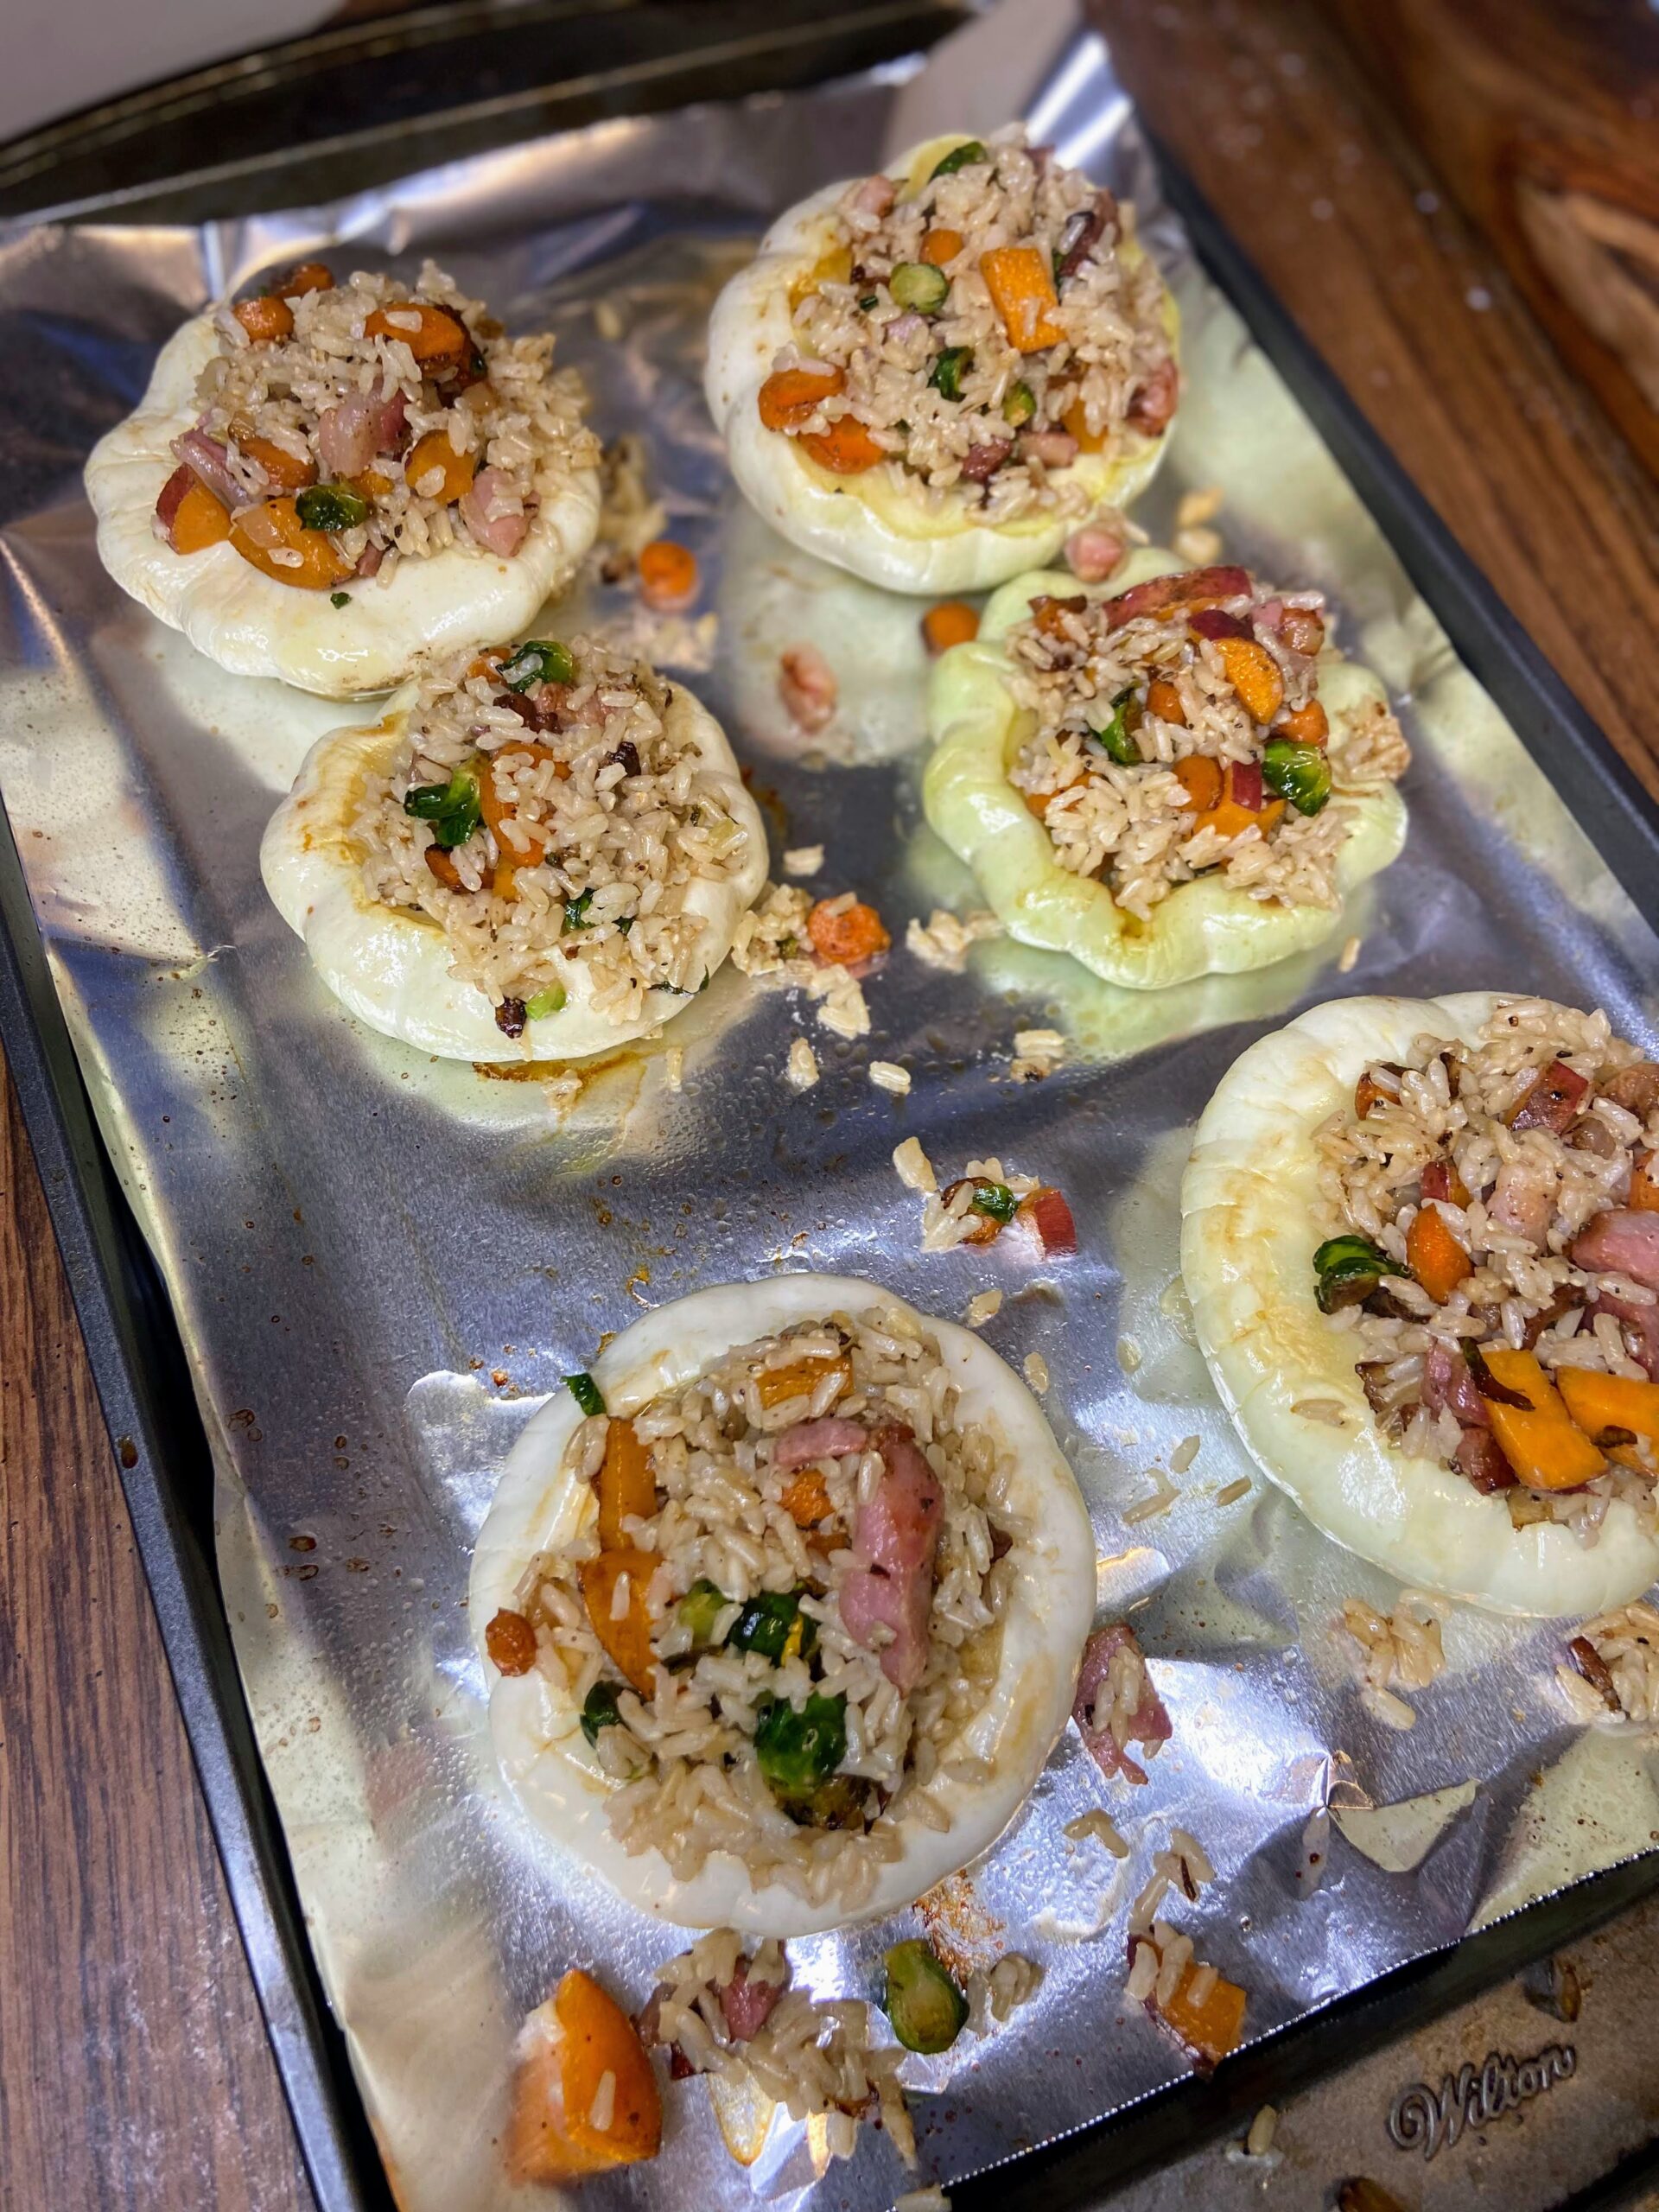
Remove from heat and stir in cooked in rice. Stuff parbaked squash and bake for an additional 15 minutes at 375 degrees. Serve your family a delicious and beautiful meal everyone will fight over!

I hope your family loves them as much as mine did. My big (who doesn’t like the squash plain) said I could just make a big pan of the filling and he would eat it all. It’s that good! So maybe double the filling? Ha. Just a thought *wink, wink*

Stuffed Squash

Rice and Pancetta Stuffed Squash

A little prep in the kitchen turns some simple ingredients into beautiful rosemary rice and pancetta stuffed squash!
Prep Time 35 minutes
Cook Time 30 minutes
Course dinner, Main Course
Cuisine American
Servings 6

Equipment

  • Baking Sheet
  • Large Skillet or Saucepan

Ingredients
  

  • 6 Early Bush Scallop squash or other patty pan squash
  • 1 ½ cup chicken stock
  • ¾ cup long grain brown rice
  • teaspoon garlic powder
  • teaspoon pepper
  • 1 tablespoon butter
  • ¾ cup pancetta
  • ½ cup chopped onion
  • ½ cup carrot diced
  • ½ cup Brussels sprouts quartered
  • ½ cup sweet potato diced
  • ¼ teaspoon dried ground rosemary
  • ¼ teaspoon pepper
  • Salt to taste

Instructions
 

  • Preheat your oven to 375 degrees. Line a baking sheet with parchment or foil that has been sprayed with non-stick cooking spray.
  • Wash each squash and slice off the top quarter. Hollow out the inside, removing seeds and making room for the filling.
  • Bake squash upside down for 15 minutes. When they are done, remove from the oven and flip over so they don’t collapse on themselves.
  • Meanwhile, combine chicken stock, ⅛ teaspoon pepper and garlic and long grain rice. Bring to a boil, cover and lower to a simmer, cooking for 35 minutes (or according to package directions).
  • While the rice and squash are cooking, begin to cook down the vegetables.
  • In a large saucepan (you’ll mix the rice into this so have room for that), begin to melt the butter over medium heat.
  • Add onion and carrot. Cook for 2-3 minutes.
  • Add Brussels sprouts and pancetta. Cook until the pancetta is becoming crispy, about 10-12 minutes.
  • Add sweet potato, pepper, and rosemary and cook an additional 3-5 minutes. Salt to taste.
  • Remove from heat and stir in cooked in rice. Stuff par-baked squash and bake for an additional 15 minutes at 375 degrees.

Notes

Any small squash would work for this recipe, although initial bake time may change based on the texture and hardness of the squash used. You want the squash to be almost done baking when the stuffing is put in.
Keyword Brown Rice, brussels sprouts, early bush scallop squash, pancetta, squash, stuffed squash, sweet potato
Tried this recipe?Let us know how it was!

Looking for more meal inspiration?

Check out any of the links below or head right to my cooking page to learn more!

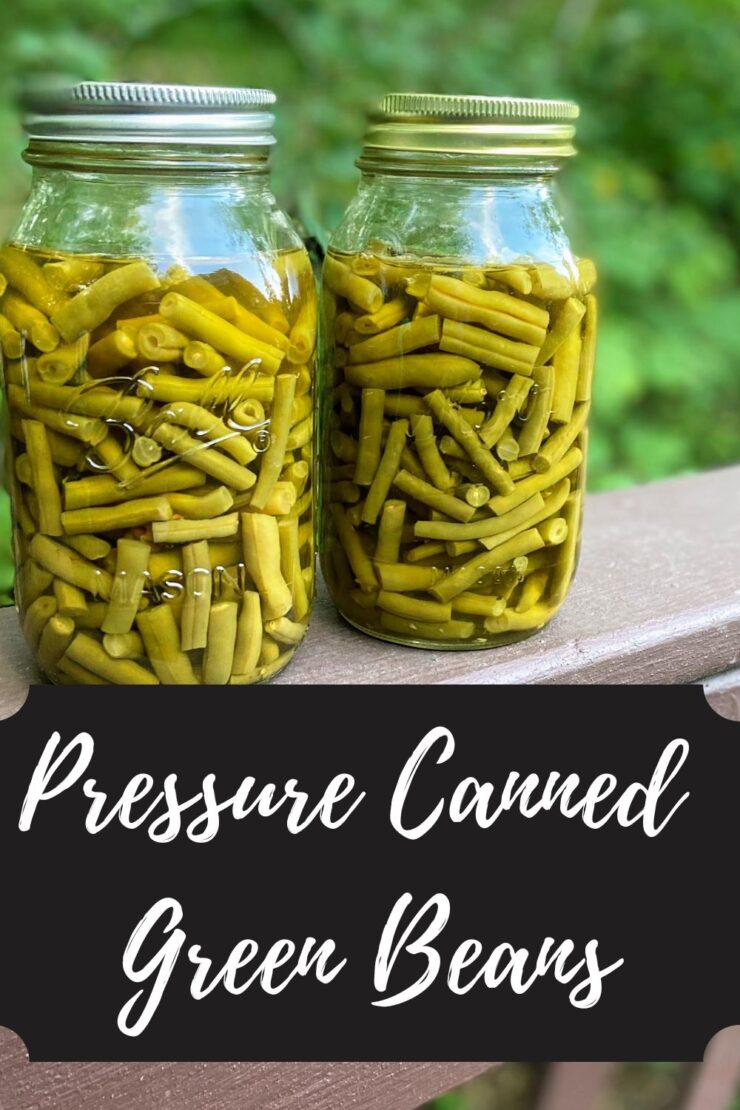
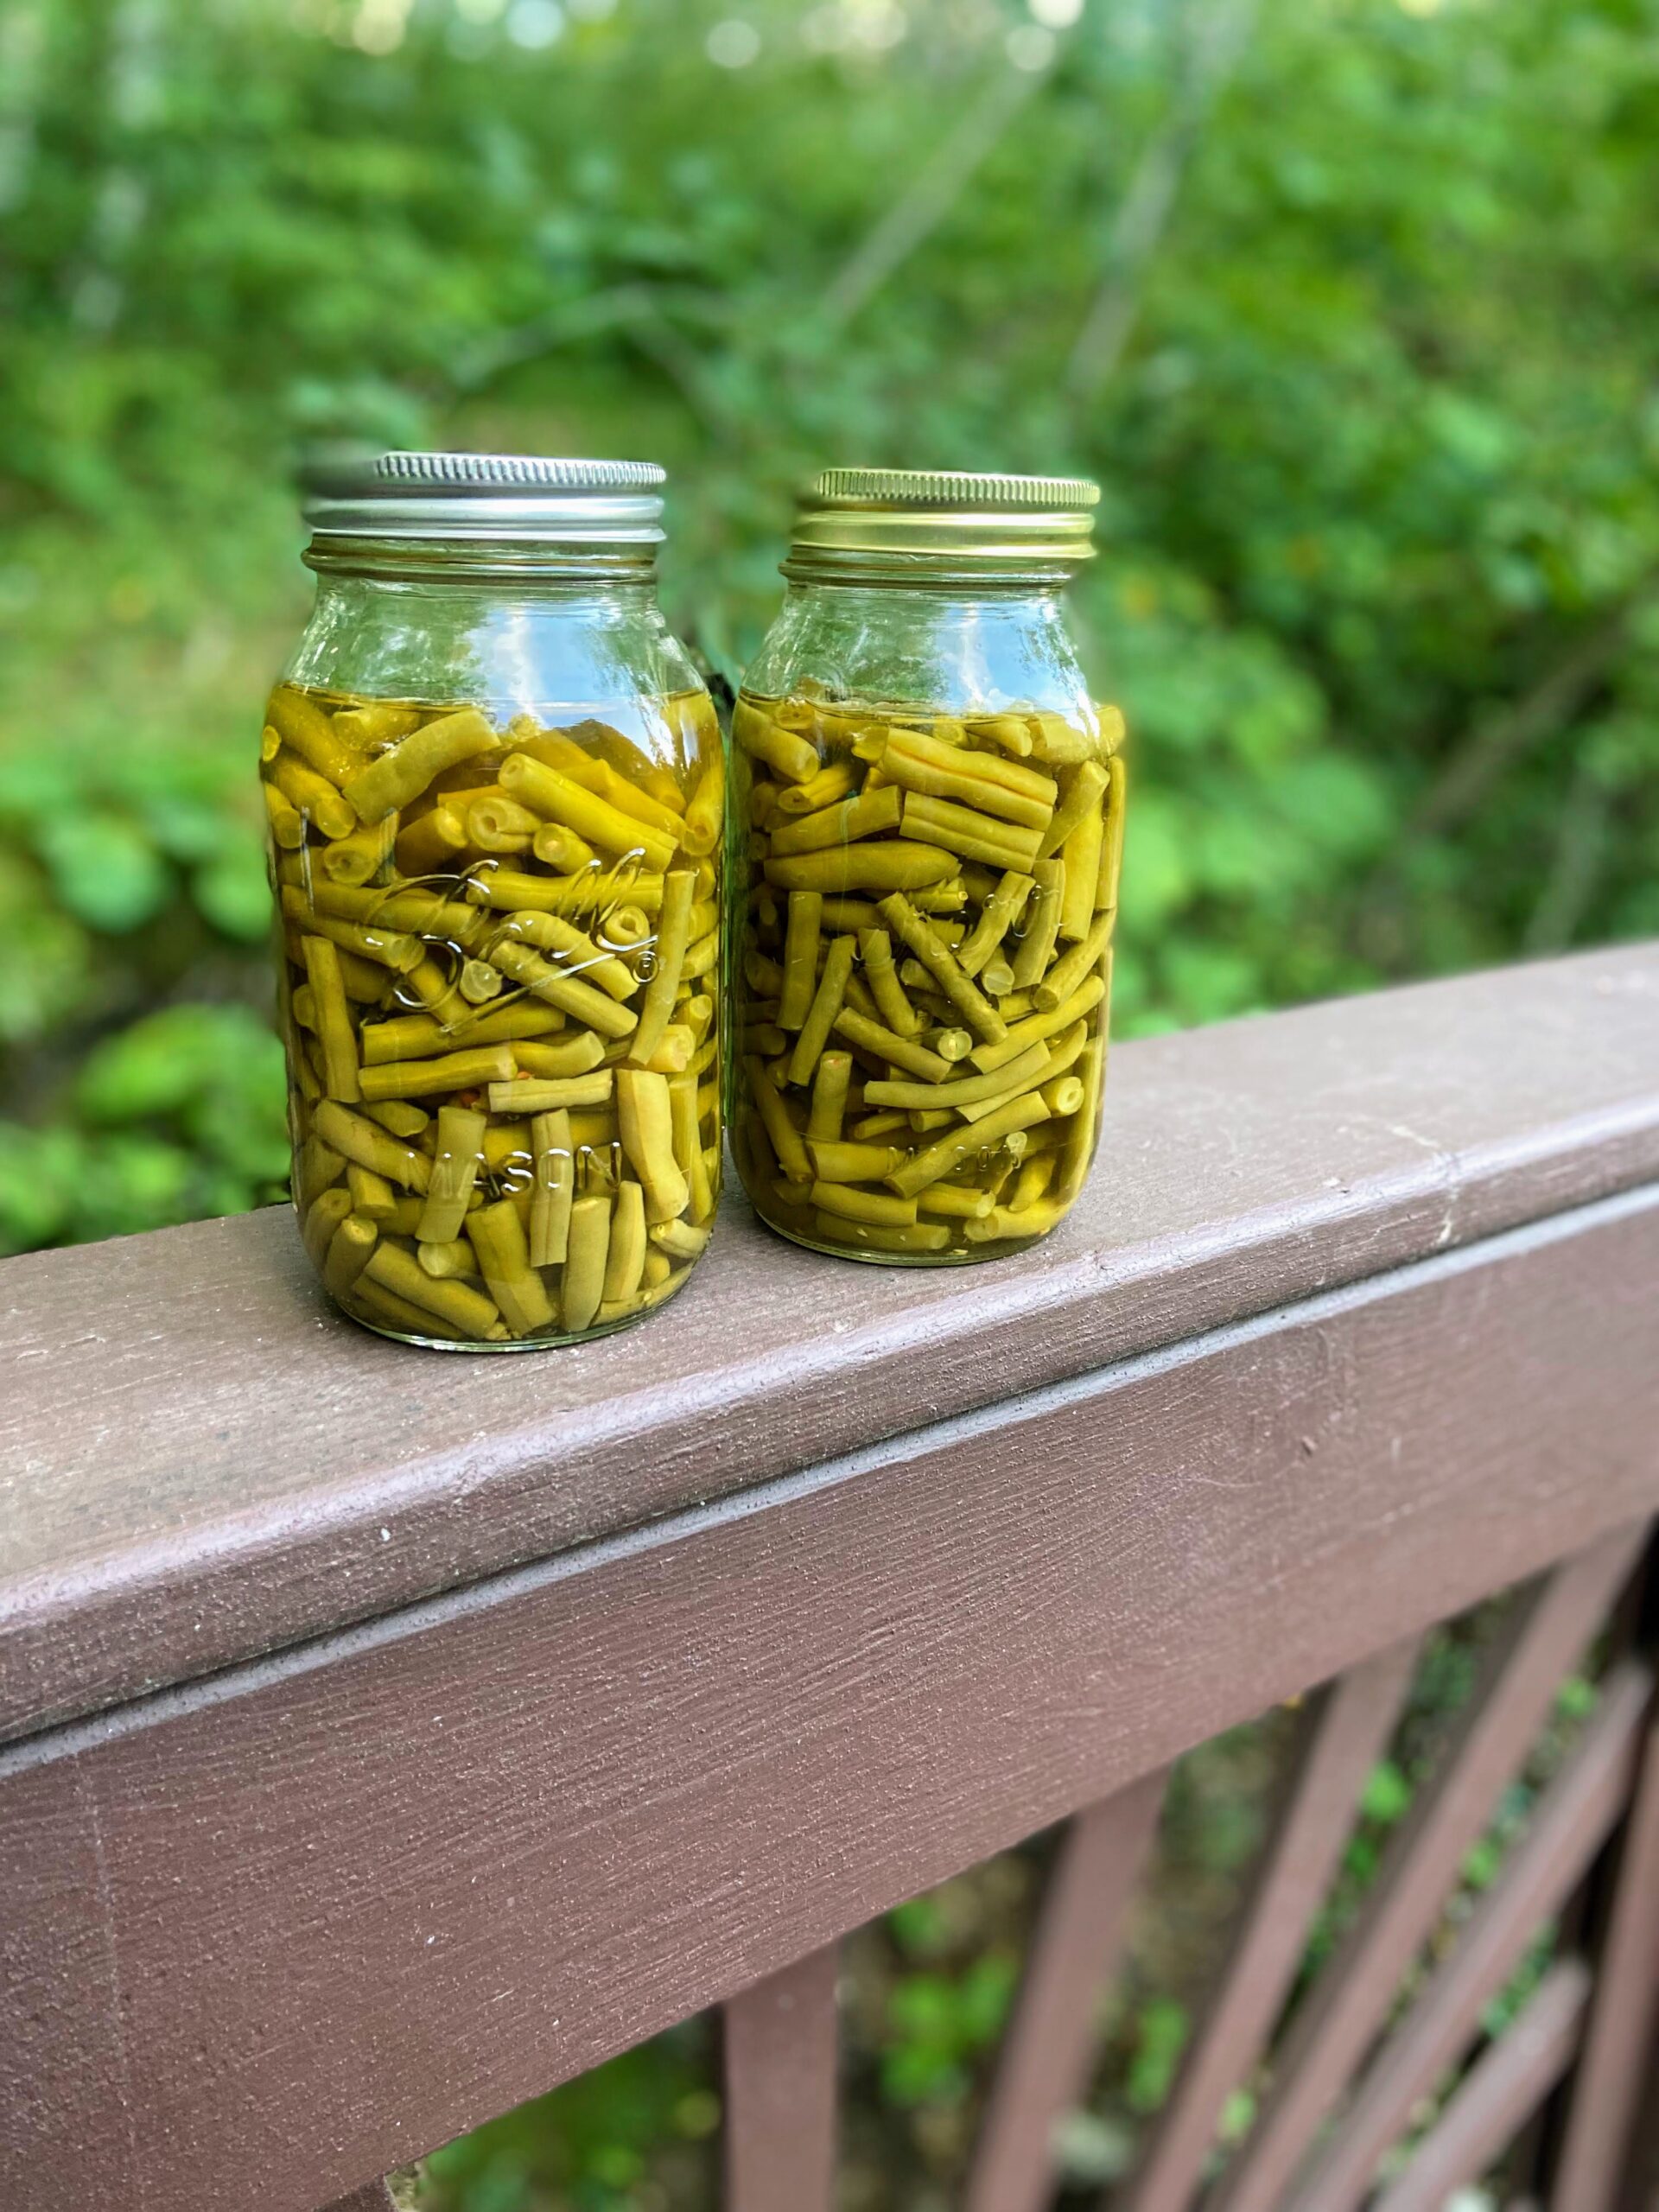
Pressure Canned Green Beans

It’s nearing the end of the garden season, which means I am spending a lot of time taking the last fruits and vegetables and processing them, whether it be frozen, pressure canned, water bath canned, or just enjoyed fresh. I have planted pole beans for the last few years, which I have grown to love. They are active late in the season but just grow so beautifully. My favorite way to preserve them is to create pressure canned green beans when I am able. 

Pressure canning the green beans requires me to be patient and collect them over a few days. Pressure canning also asks you to be around the house for a few hours; but to eat homegrown vegetables well into the winter? Totally worth the work. 

When reading recipes about pressure canned green beans, you’ll see recommendations to possibly add salt. I caution you to hold out until you are cooking them for dinner. We made that mistake a few years ago, and when we opened them, they were just too salty. There’s no fixing that. I have added dried minced garlic from time to time, but my favorite is to go raw pack without any seasoning. 

Tools of the Trade for Pressure Canned Green Beans

Normally, I put this at the end of a post, but with a pressure canner, I feel as though I should put it at the beginning. I love using my weighted pressure canner. It doesn’t stress me out and I can create so many great things with it. I also think a canning funnel is a must here, along with the other great canning tools like a jar lifter!

Also, I recommend…

Before you start this process, make sure you read the general directions to your own pressure canner. They may differ from what I am sharing, and you should always follow those directions first. Also, if you are a beginner canner or even advanced, I highly recommend checking out the National Center for Home Preservation. It has great information that’s easy to follow. 

Your Steps to Pressure Canned Green Beans

The Prep

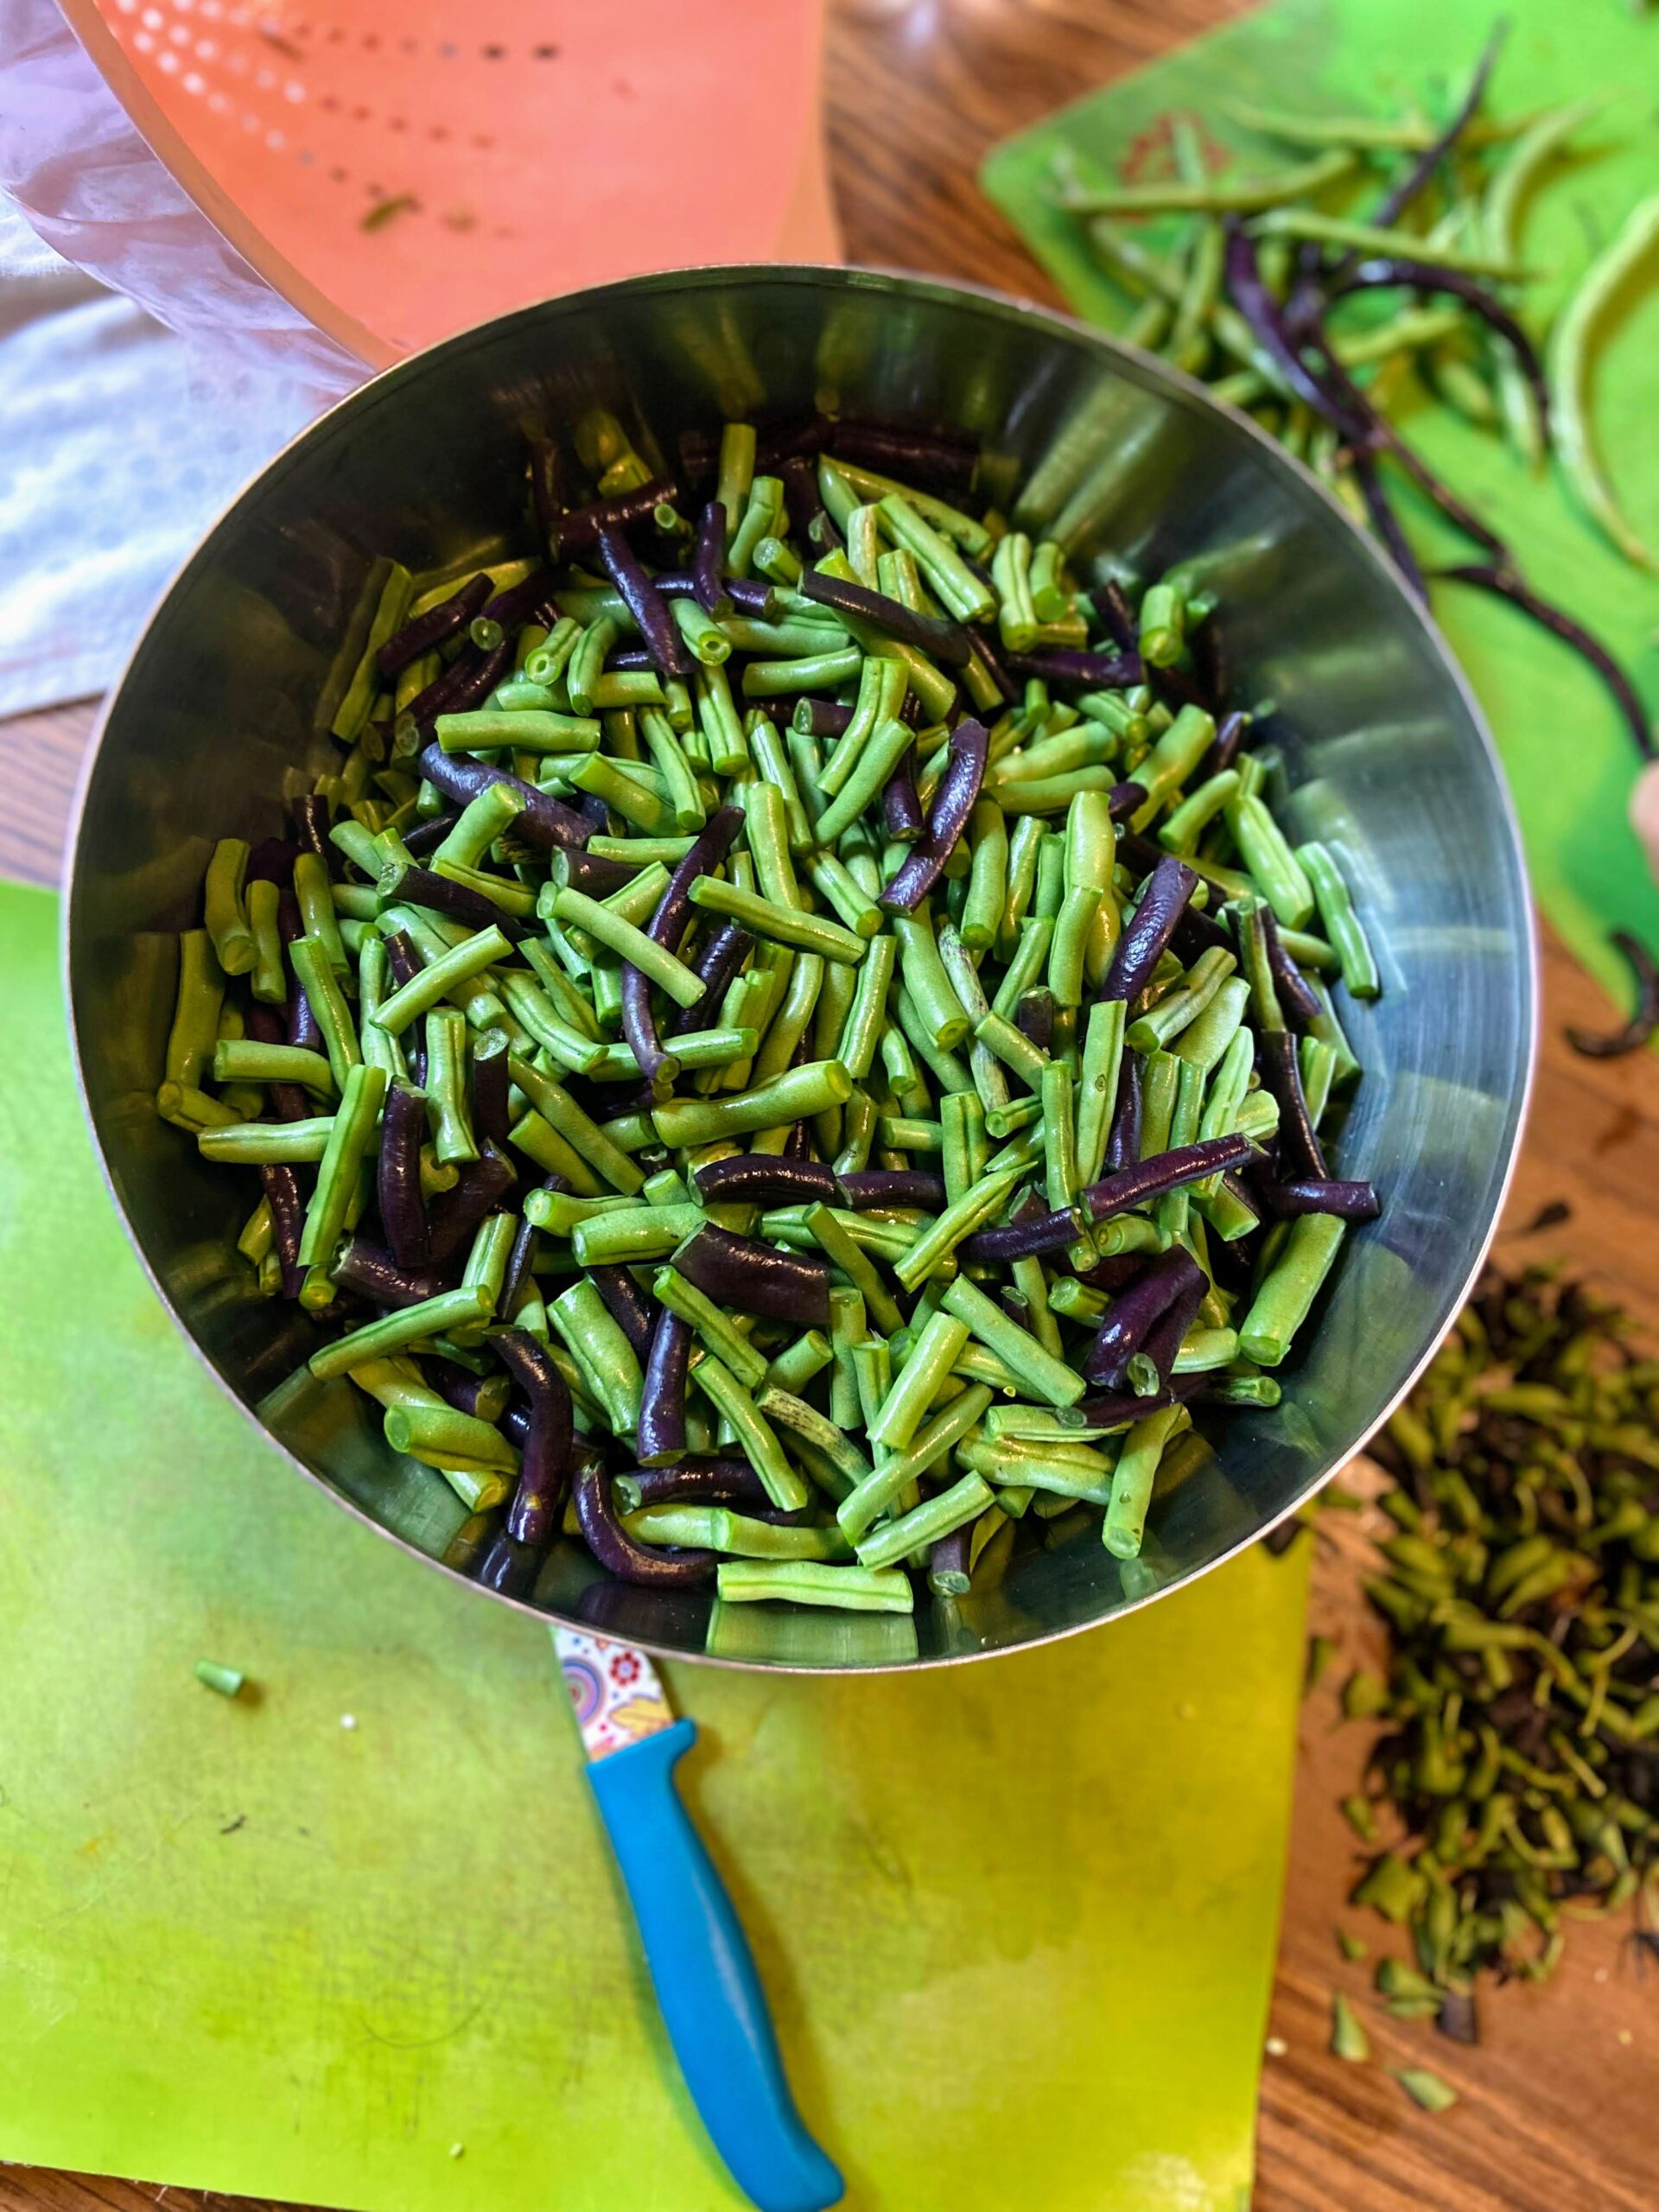
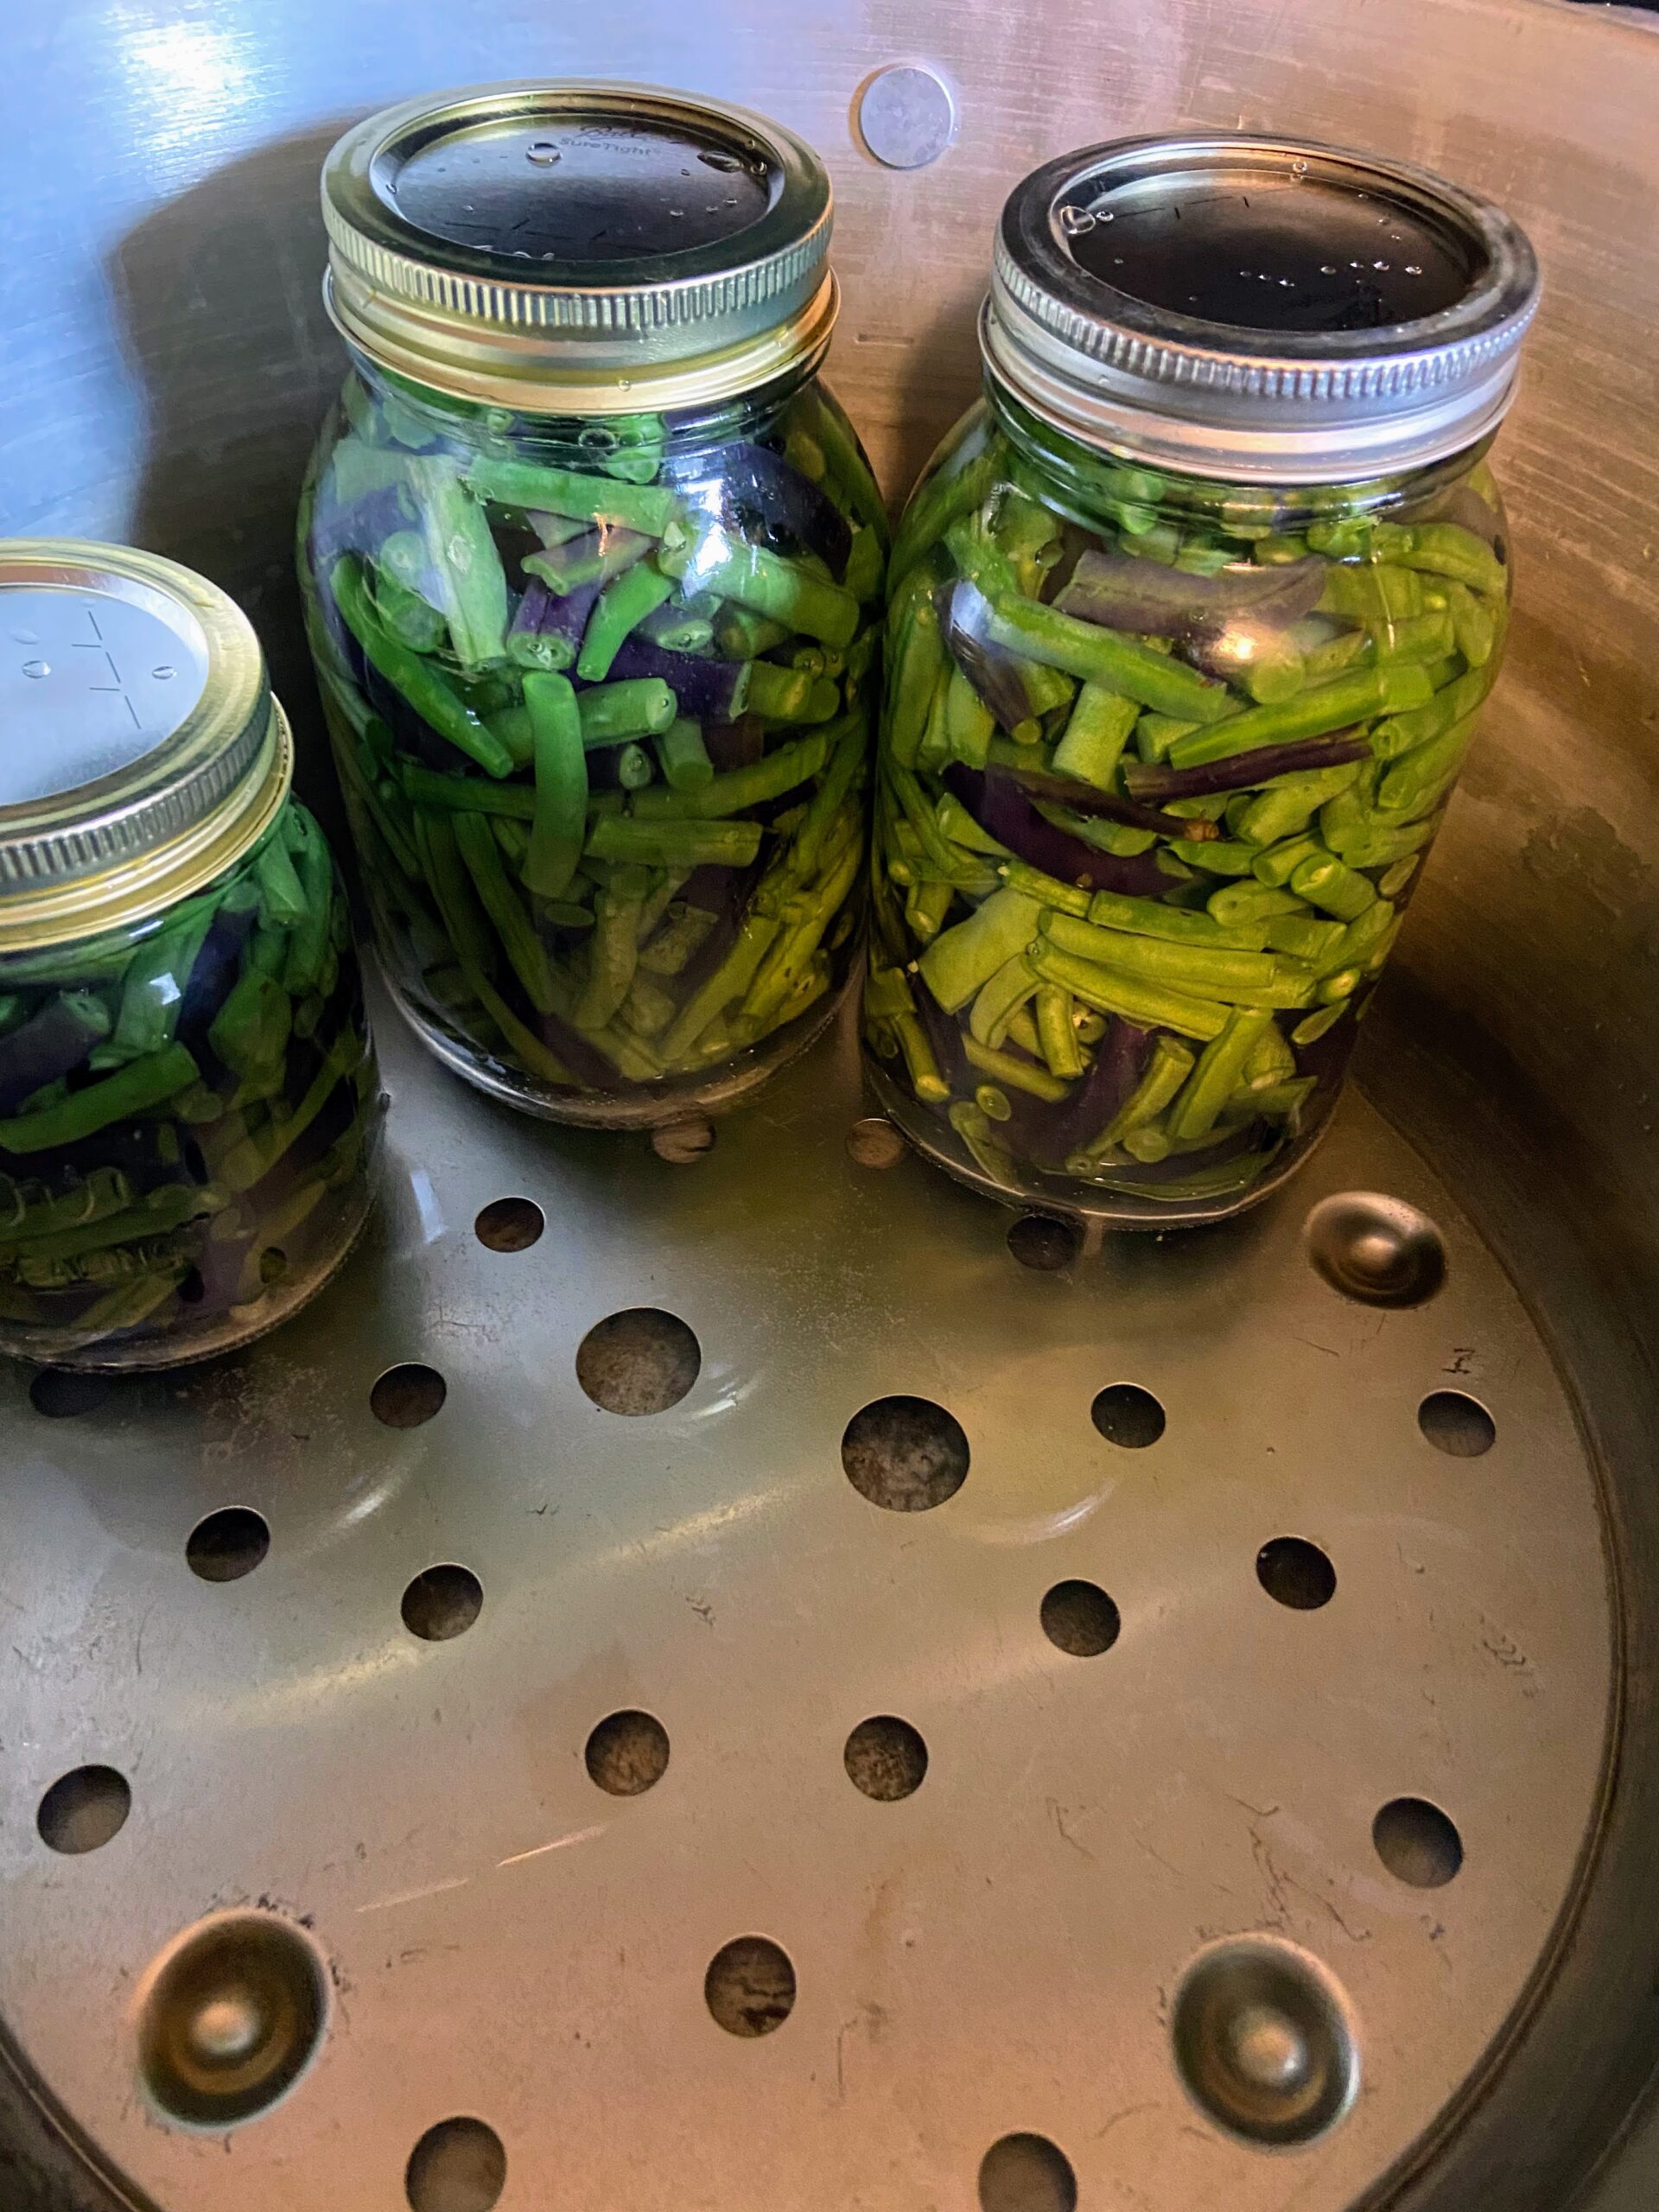
Begin by cleaning and preparing your beans.  Wash, nip the ends, and then trim to 1-2 inch pieces. You’ll need about 1 pound of beans per pint jar or 2 pounds of beans per quart jar. For reference, my family of four eats about 80% of a quart jar at a meal, sometimes all of it (I love having veggie eaters at my house!). 

Begin by preparing your canner and jars. Wash and sterilize quart jars, rings, and lids. Keep warm. I like to heat my lids in water on a very low heat on the stove. Check the seal and center vent of your lid of the canner. Set aside. 

Bring a pot of water to a boil. You will want enough to cover the beans in the jars, so too much is better than not enough. Reduce to a simmer, but keep hot. 

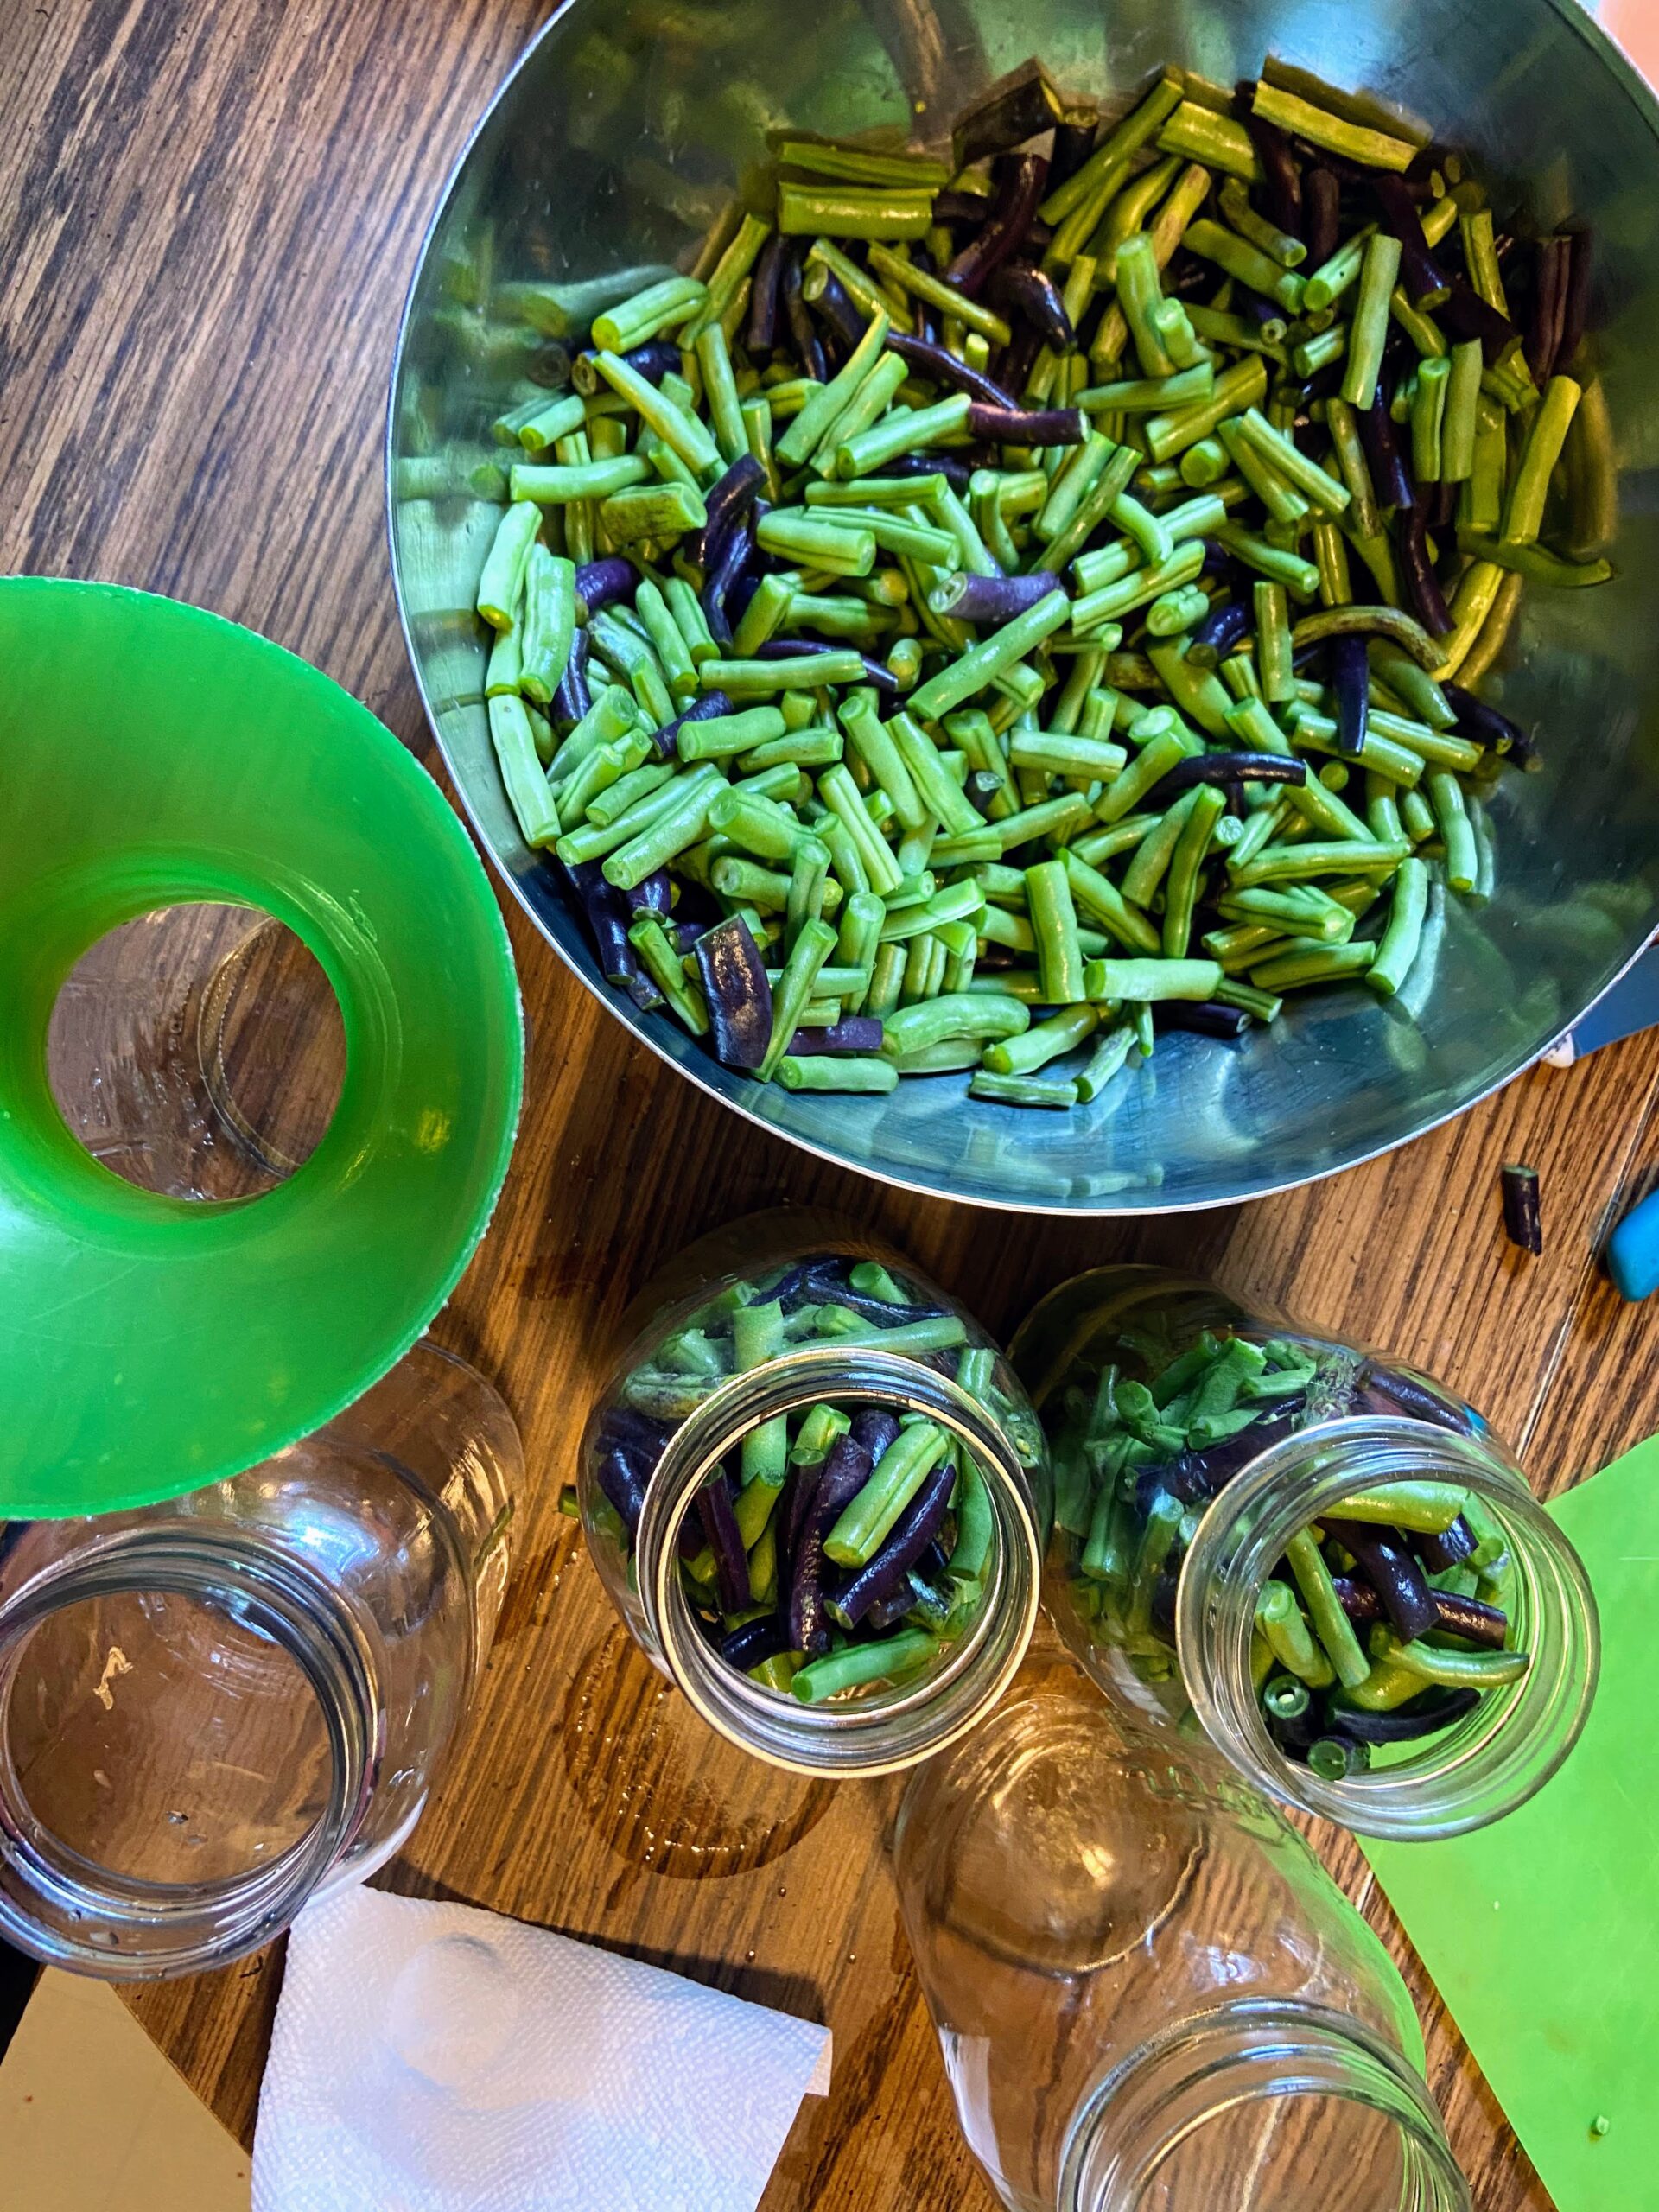
Meanwhile, pack the raw beans as tightly as possible. I like to fill, then hold my hand over the top and shake them to get them compressed. Leave 1 inch head space. If you would like to add salt, do ½ teaspoon per quart jar. Ladle the hot water over the means, leaving 1 inch head space. 

The Pressure Canning 

Remove the air bubbles and clean the jar rim with a damp, clean cloth. Center the lid and then the ring, adjusting to fingertip-tight. Place jars on the rack of a prepared pressure canner (mine needs 3 quarts of hot water plus a splash of vinegar, but check the directions of yours). 

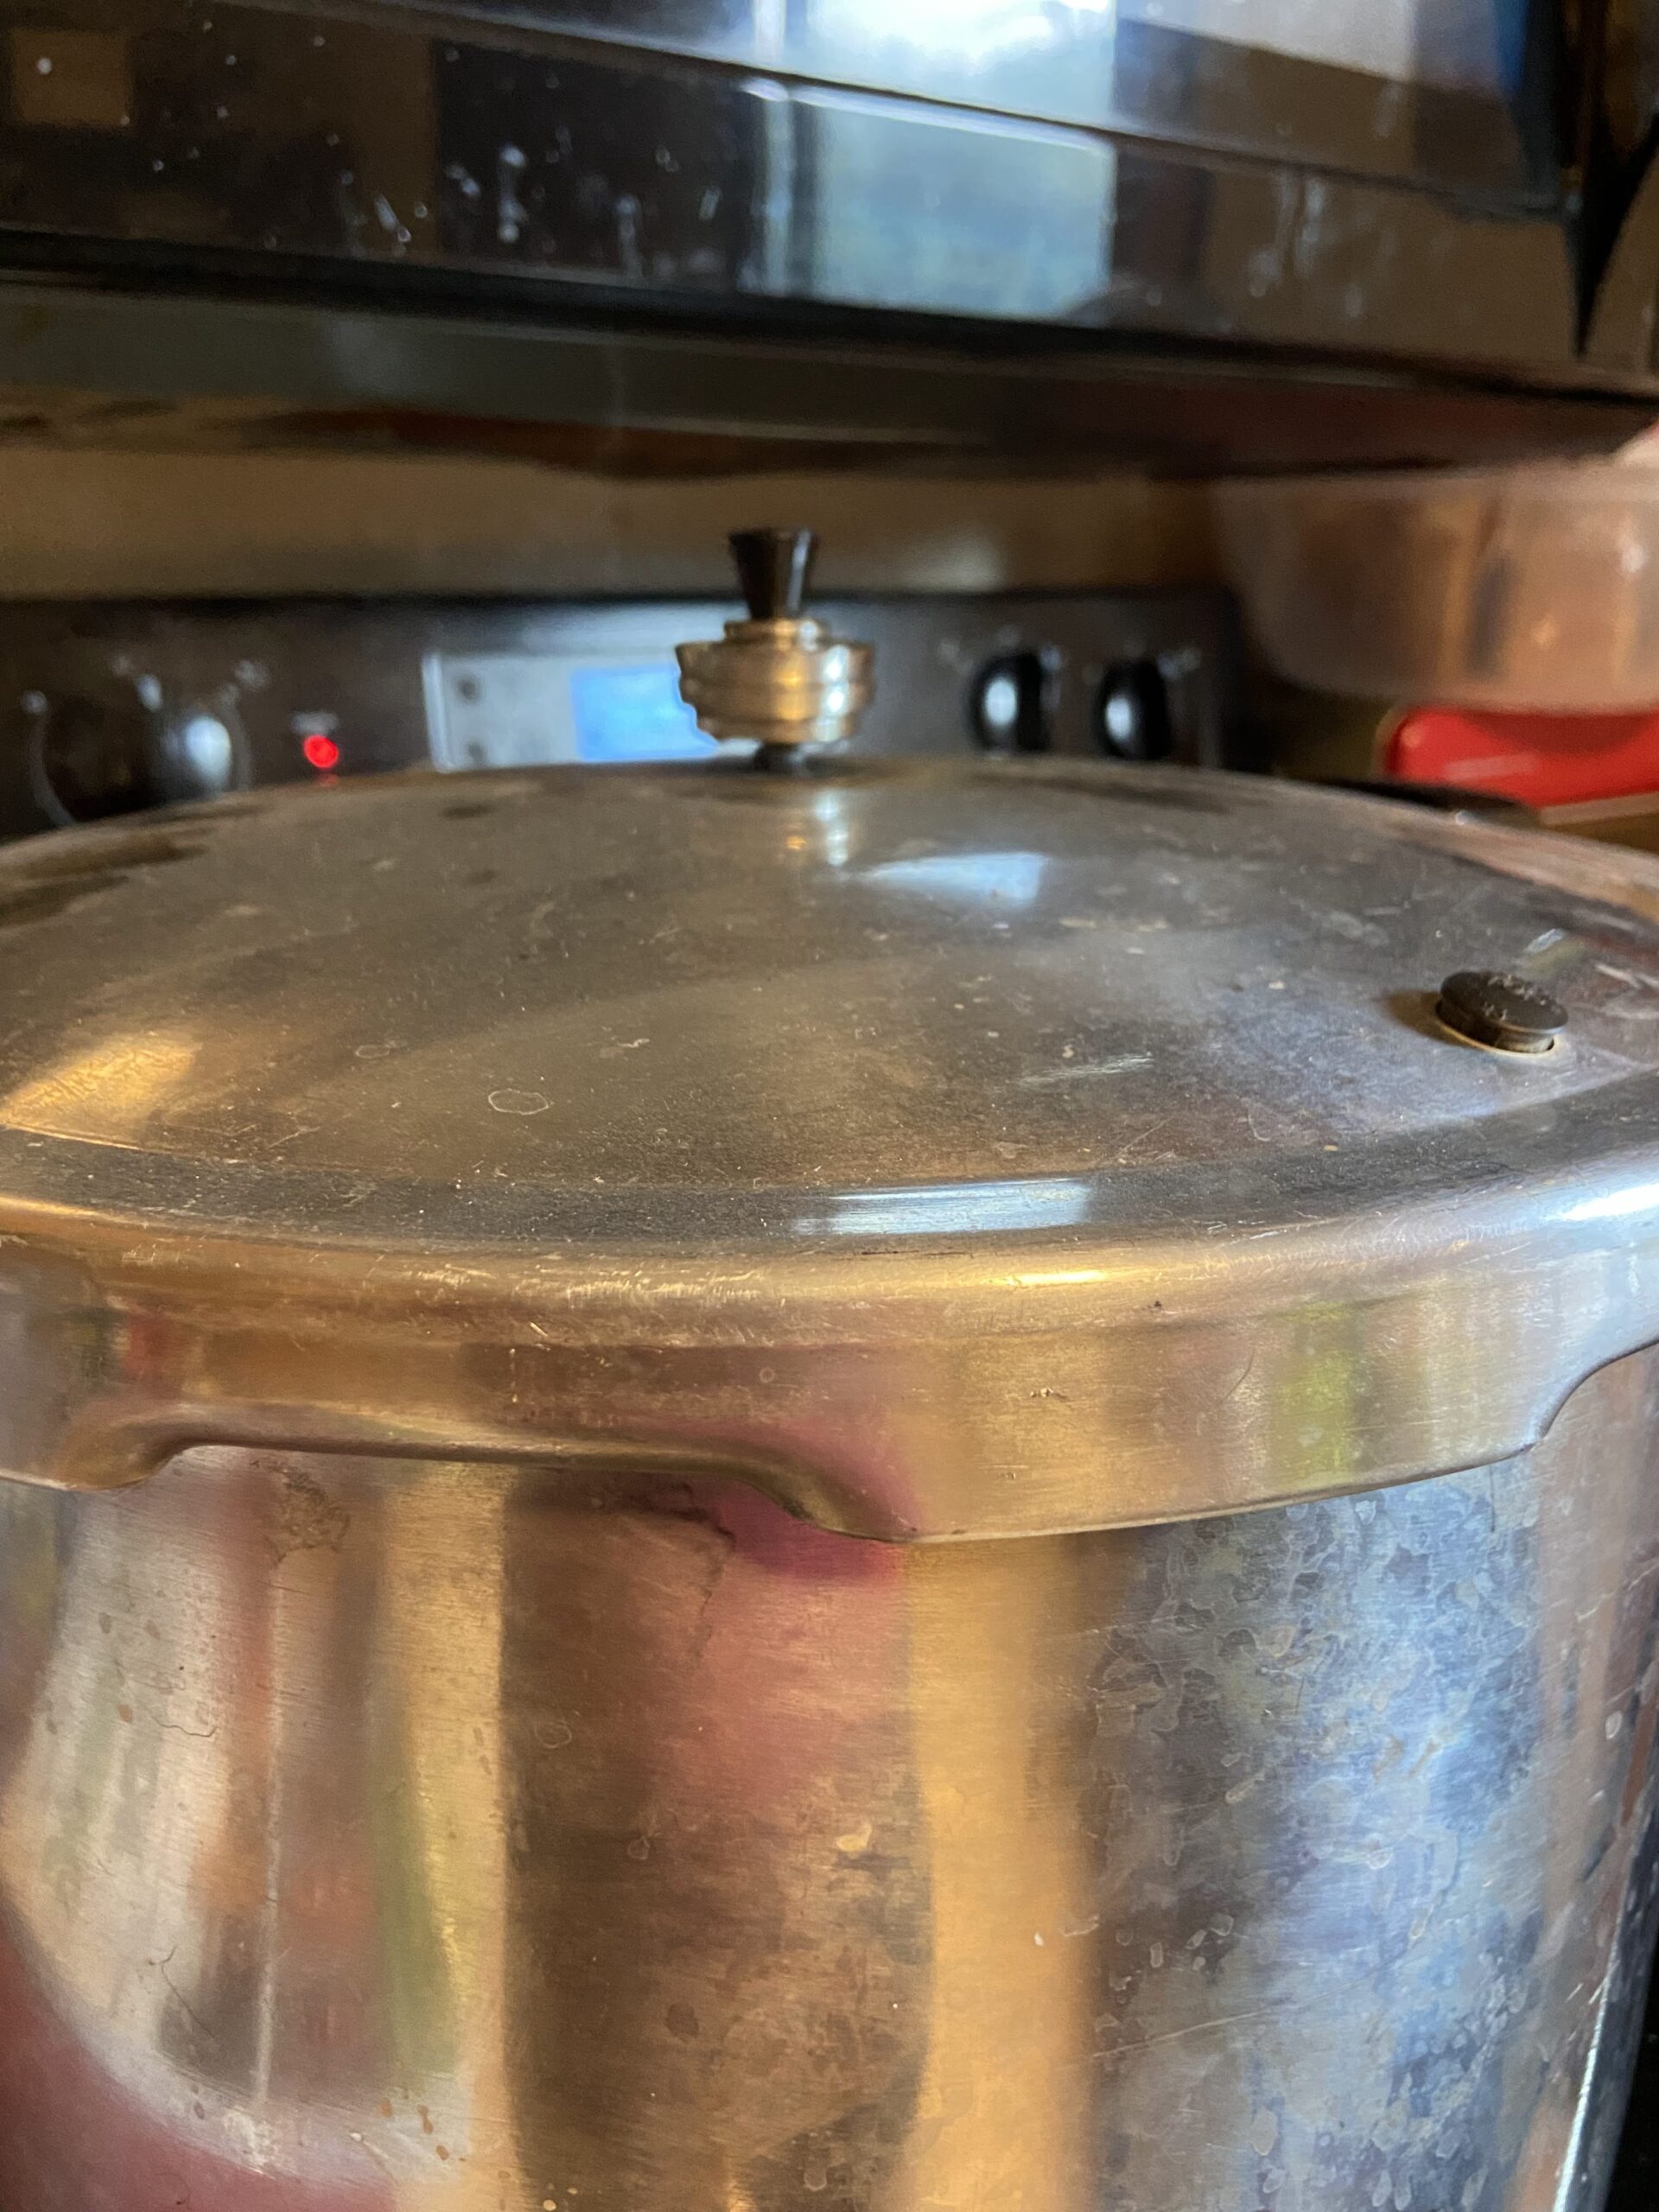
Place the lid on the canner, turn to the locked position, and heat to high heat. Once a steady stream of steam can be seen/felt, vent for 10 minutes, adjusting the heat if needed to have a steady but not crazy stream of steam. After 10 minutes, put the weighted gauge on the vent. You will want 10 pounds if your altitude is under 1000 ft; 15 pounds if you are over 1000 ft. 

Once the weight starts to jiggle (indicating it has reached the appropriate pressure), begin timing. You will need to process pint jars for 20 minutes and quart jars for 25 minutes. If you have a mixture of pint and quart jars, you need to go for the longer time. 

Once the timer has gone off, turn off and remove the canner from heat. Allow the pressure to drop on the canner all the way (read specific canner instructions for the indicator-this takes about 45 minutes). Remove weight and allow to cool an additional 10 minutes. Remove jars from canner; do not retighten bands. Cool 12 hours, then check their seals, label, and store jars. 

Pressure Canned Green Beans

Filling your shelves with canned and preserved produce you grew is special. These pressure canned green beans is a great place to start!
Prep Time 30 minutes
Cook Time 2 hours
Course Side Dish
Cuisine Canning, Perserving
Servings 5 quarts

Ingredients
  

  • 10 pounds green beans washed and trimmed (2 pounds per quart)
  • 2 ½ teaspoon salt optional

Instructions
 

  • Begin by preparing your canner and jars. Wash and sterilize quart jars, rings, and lids. Keep warm. Check the seal and center vent of your lid the canner. Set aside.
  • If you have not done so already, cut cleaned beans into 2 inch pieces.
  • Fill jars with prepared beans, leaving 1 inch of head space.
  • Wipe rims with a damp cloth, center the lid on the jar and adjust the band to fingertip tight.
  • Place jars on the rack of a prepared pressure canner (mine needs 3 quarts of hot water plus a splash of vinegar).
  • Process quart jars for 25 minutes at 10 pounds. If your altitude is greater than 1000 feet, use 15 pounds. Follow the directions of your pressure canner or see the more detailed directions in the notes.

Notes

Pint jars can also be used. You will need 2 cups of beans per jar. Pints are processed for 20 minutes. 
Detailed Directions
Place the lid on the canner and heat to high heat. Once a steady stream of steam can be seen/felt, vent for 10 minutes, adjusting the heat if needed to have a steady but not crazy stream of steam. After 10 minutes, put the weighted gauge on the vent. You will want 10 pounds if your altitude is under 1000 ft; 15 pounds if you are over 1000 ft.
Once the weight starts to jiggle (indicating it has reached the appropriate pressure), begin timing. You will need to process pint jars for 20 minutes and quart jars for 25 minutes. Once the timer has gone off, turn off and remove the canner from heat. Allow the pressure to drop on the canner all the way (read specific canner instructions for the indicator). Remove weight and allow to cool an additional 10 minutes. Remove jars from canner; do not retighten bands. Cool 12 hours, then check their seals, label, and store jars.
Keyword beans, green beans, low acid foods, pressure canning
Tried this recipe?Let us know how it was!

Looking for more inspiration?

A great place to look is my canning and preserving page. But if you want some specific recipes, you can check them out below!

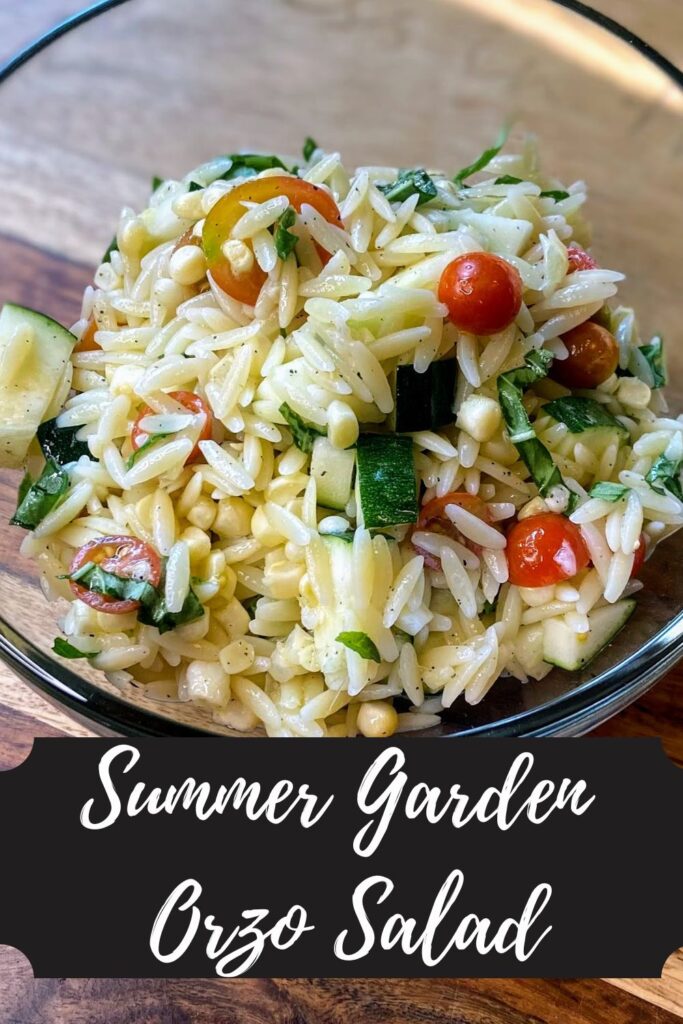
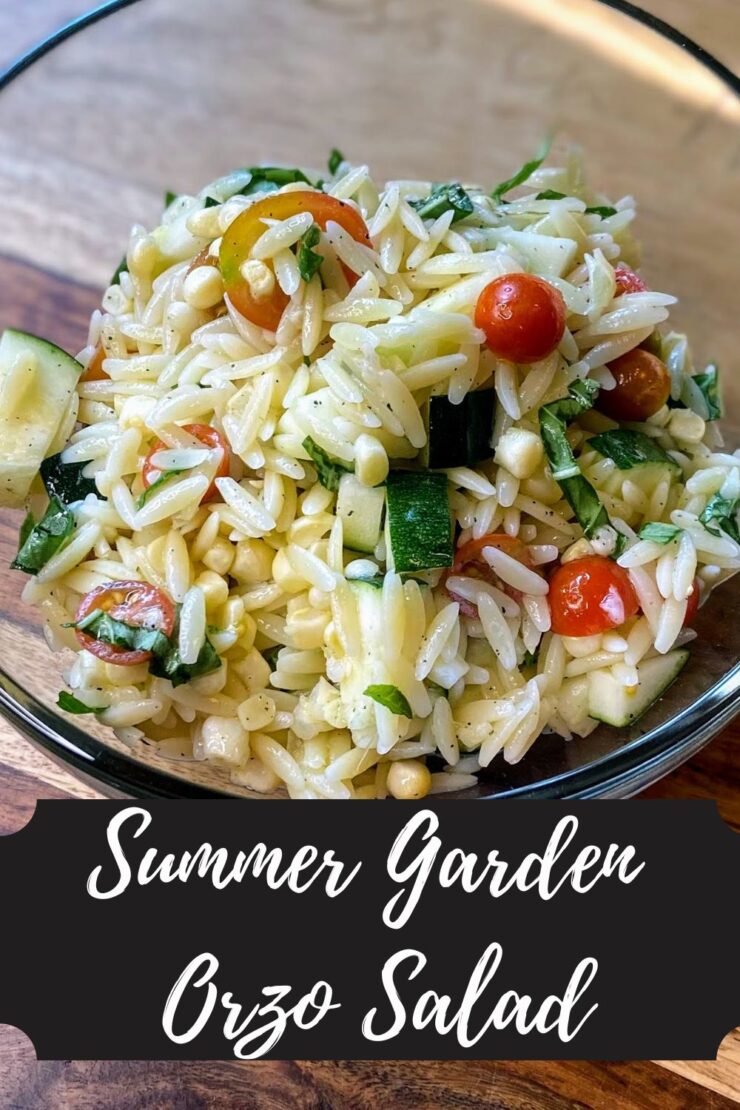
Summer Garden Orzo Salad

Summer Garden Orzo Salad

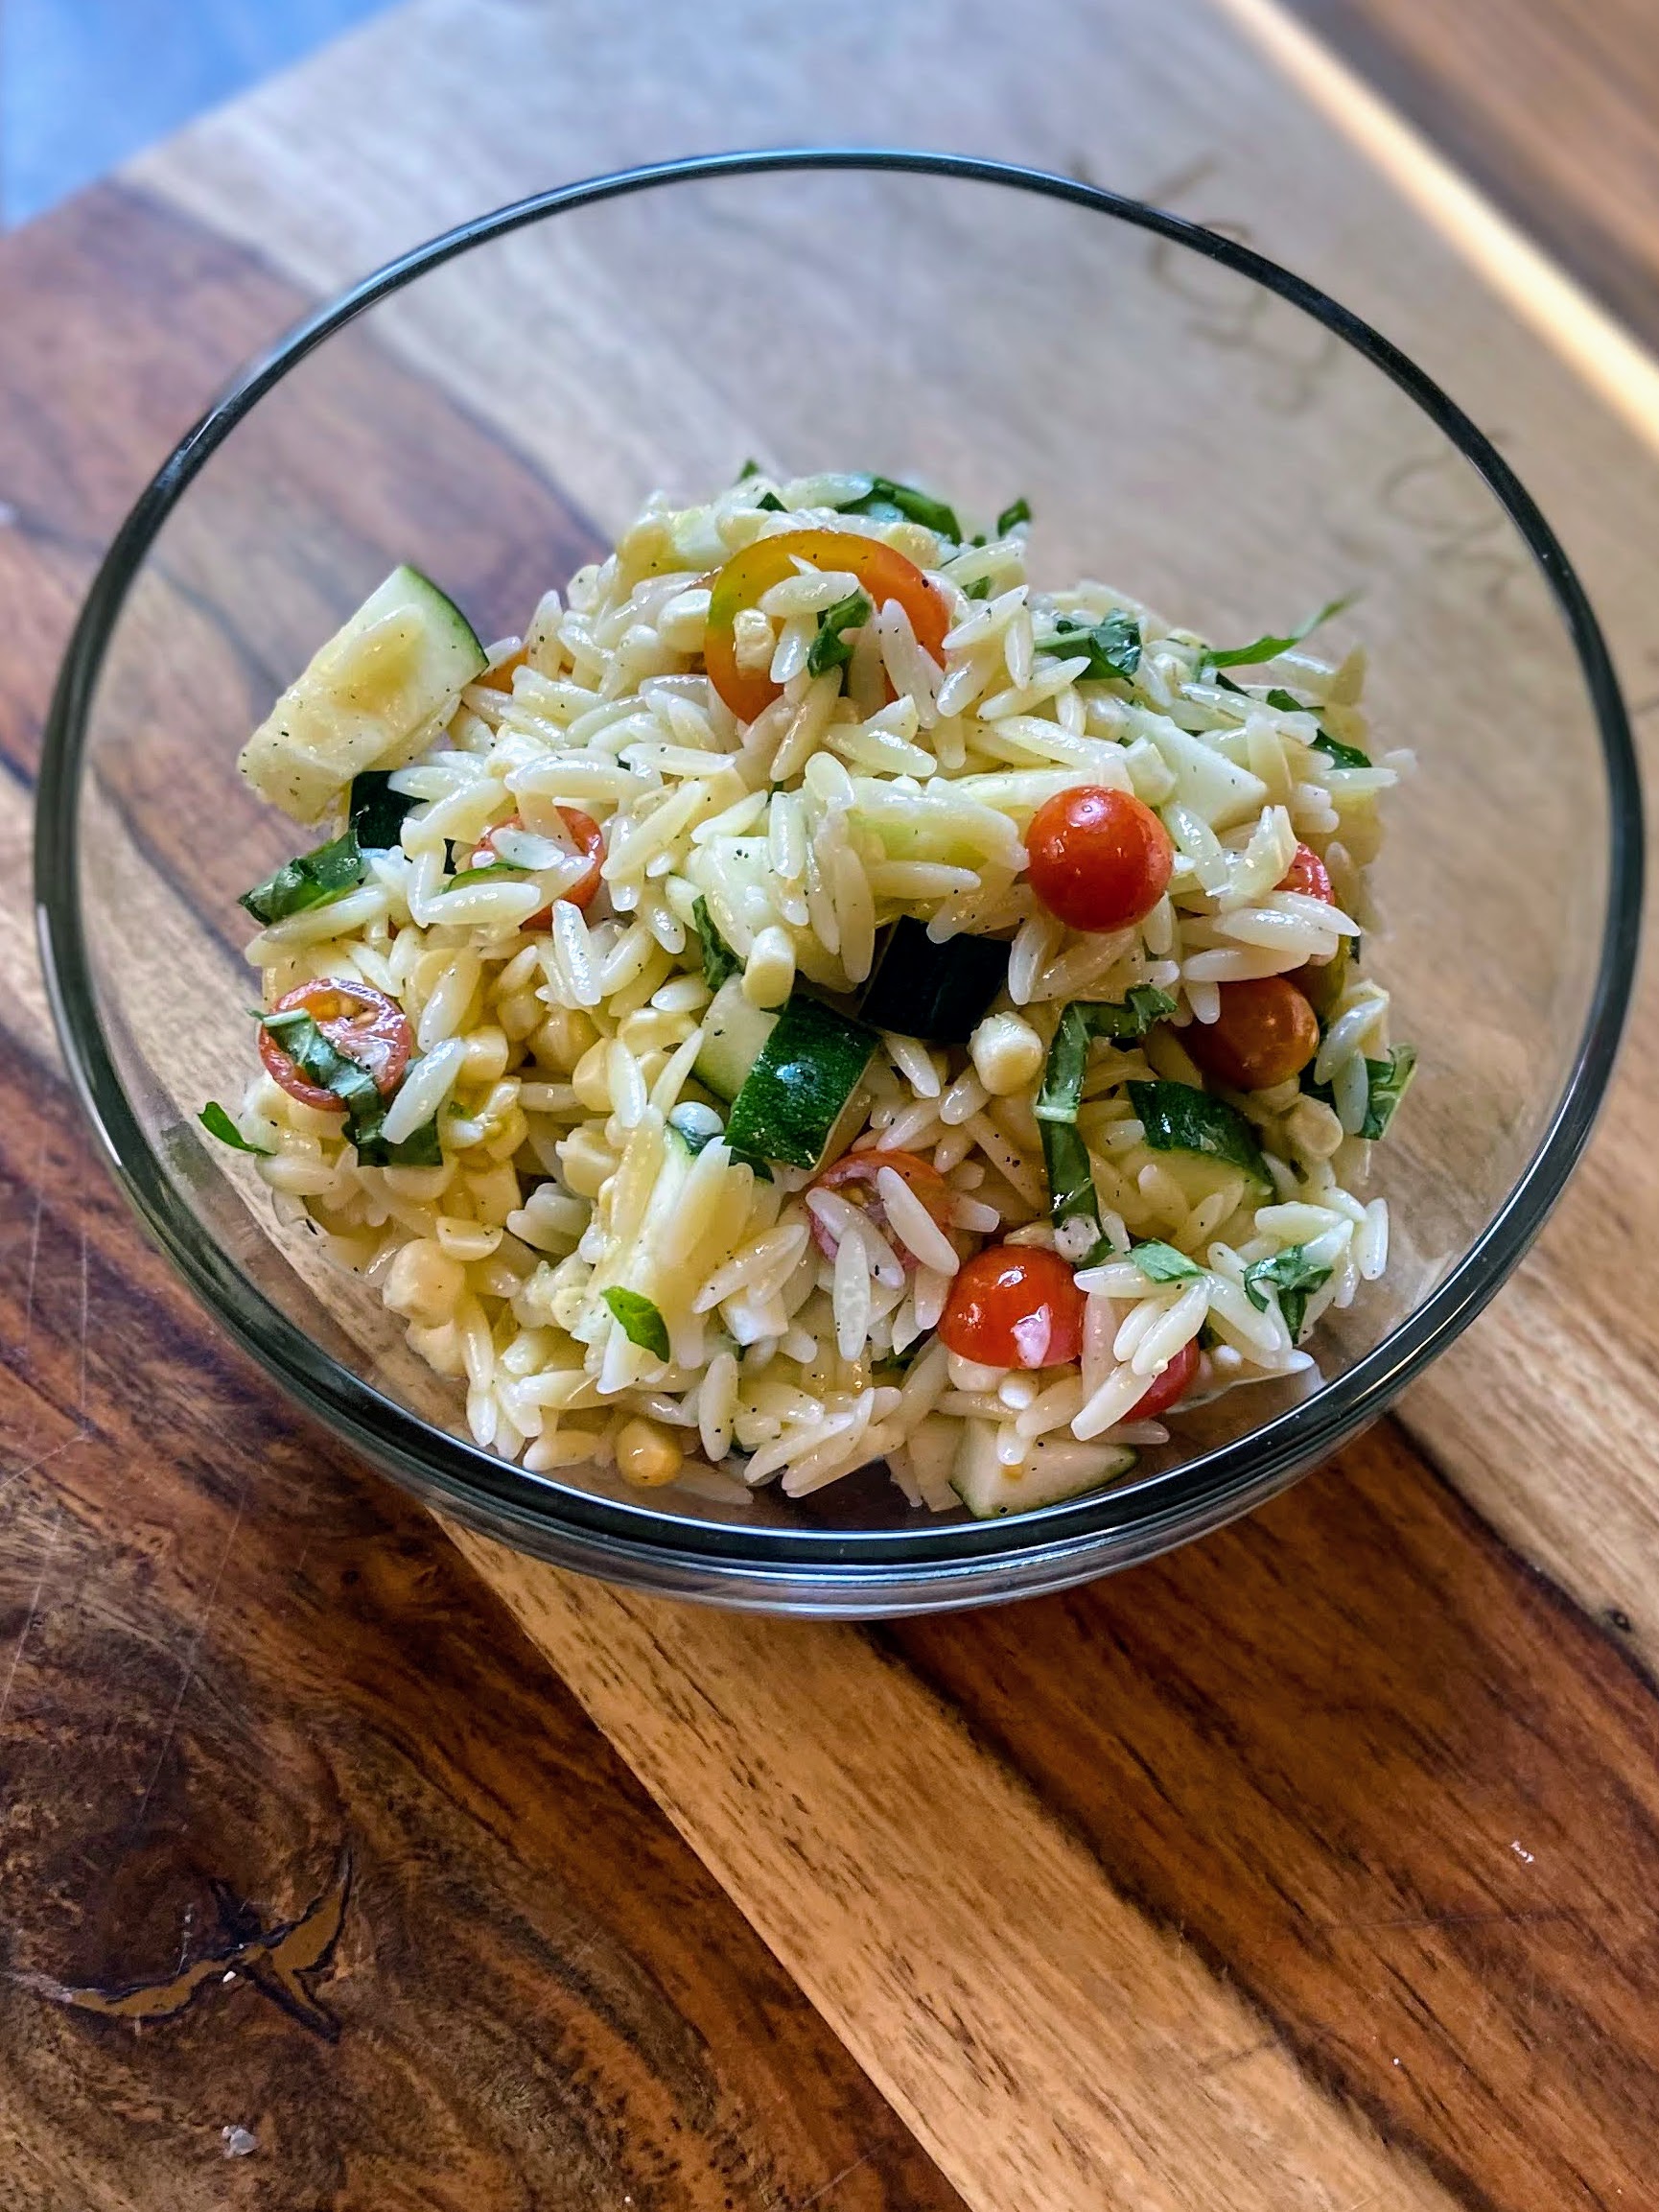
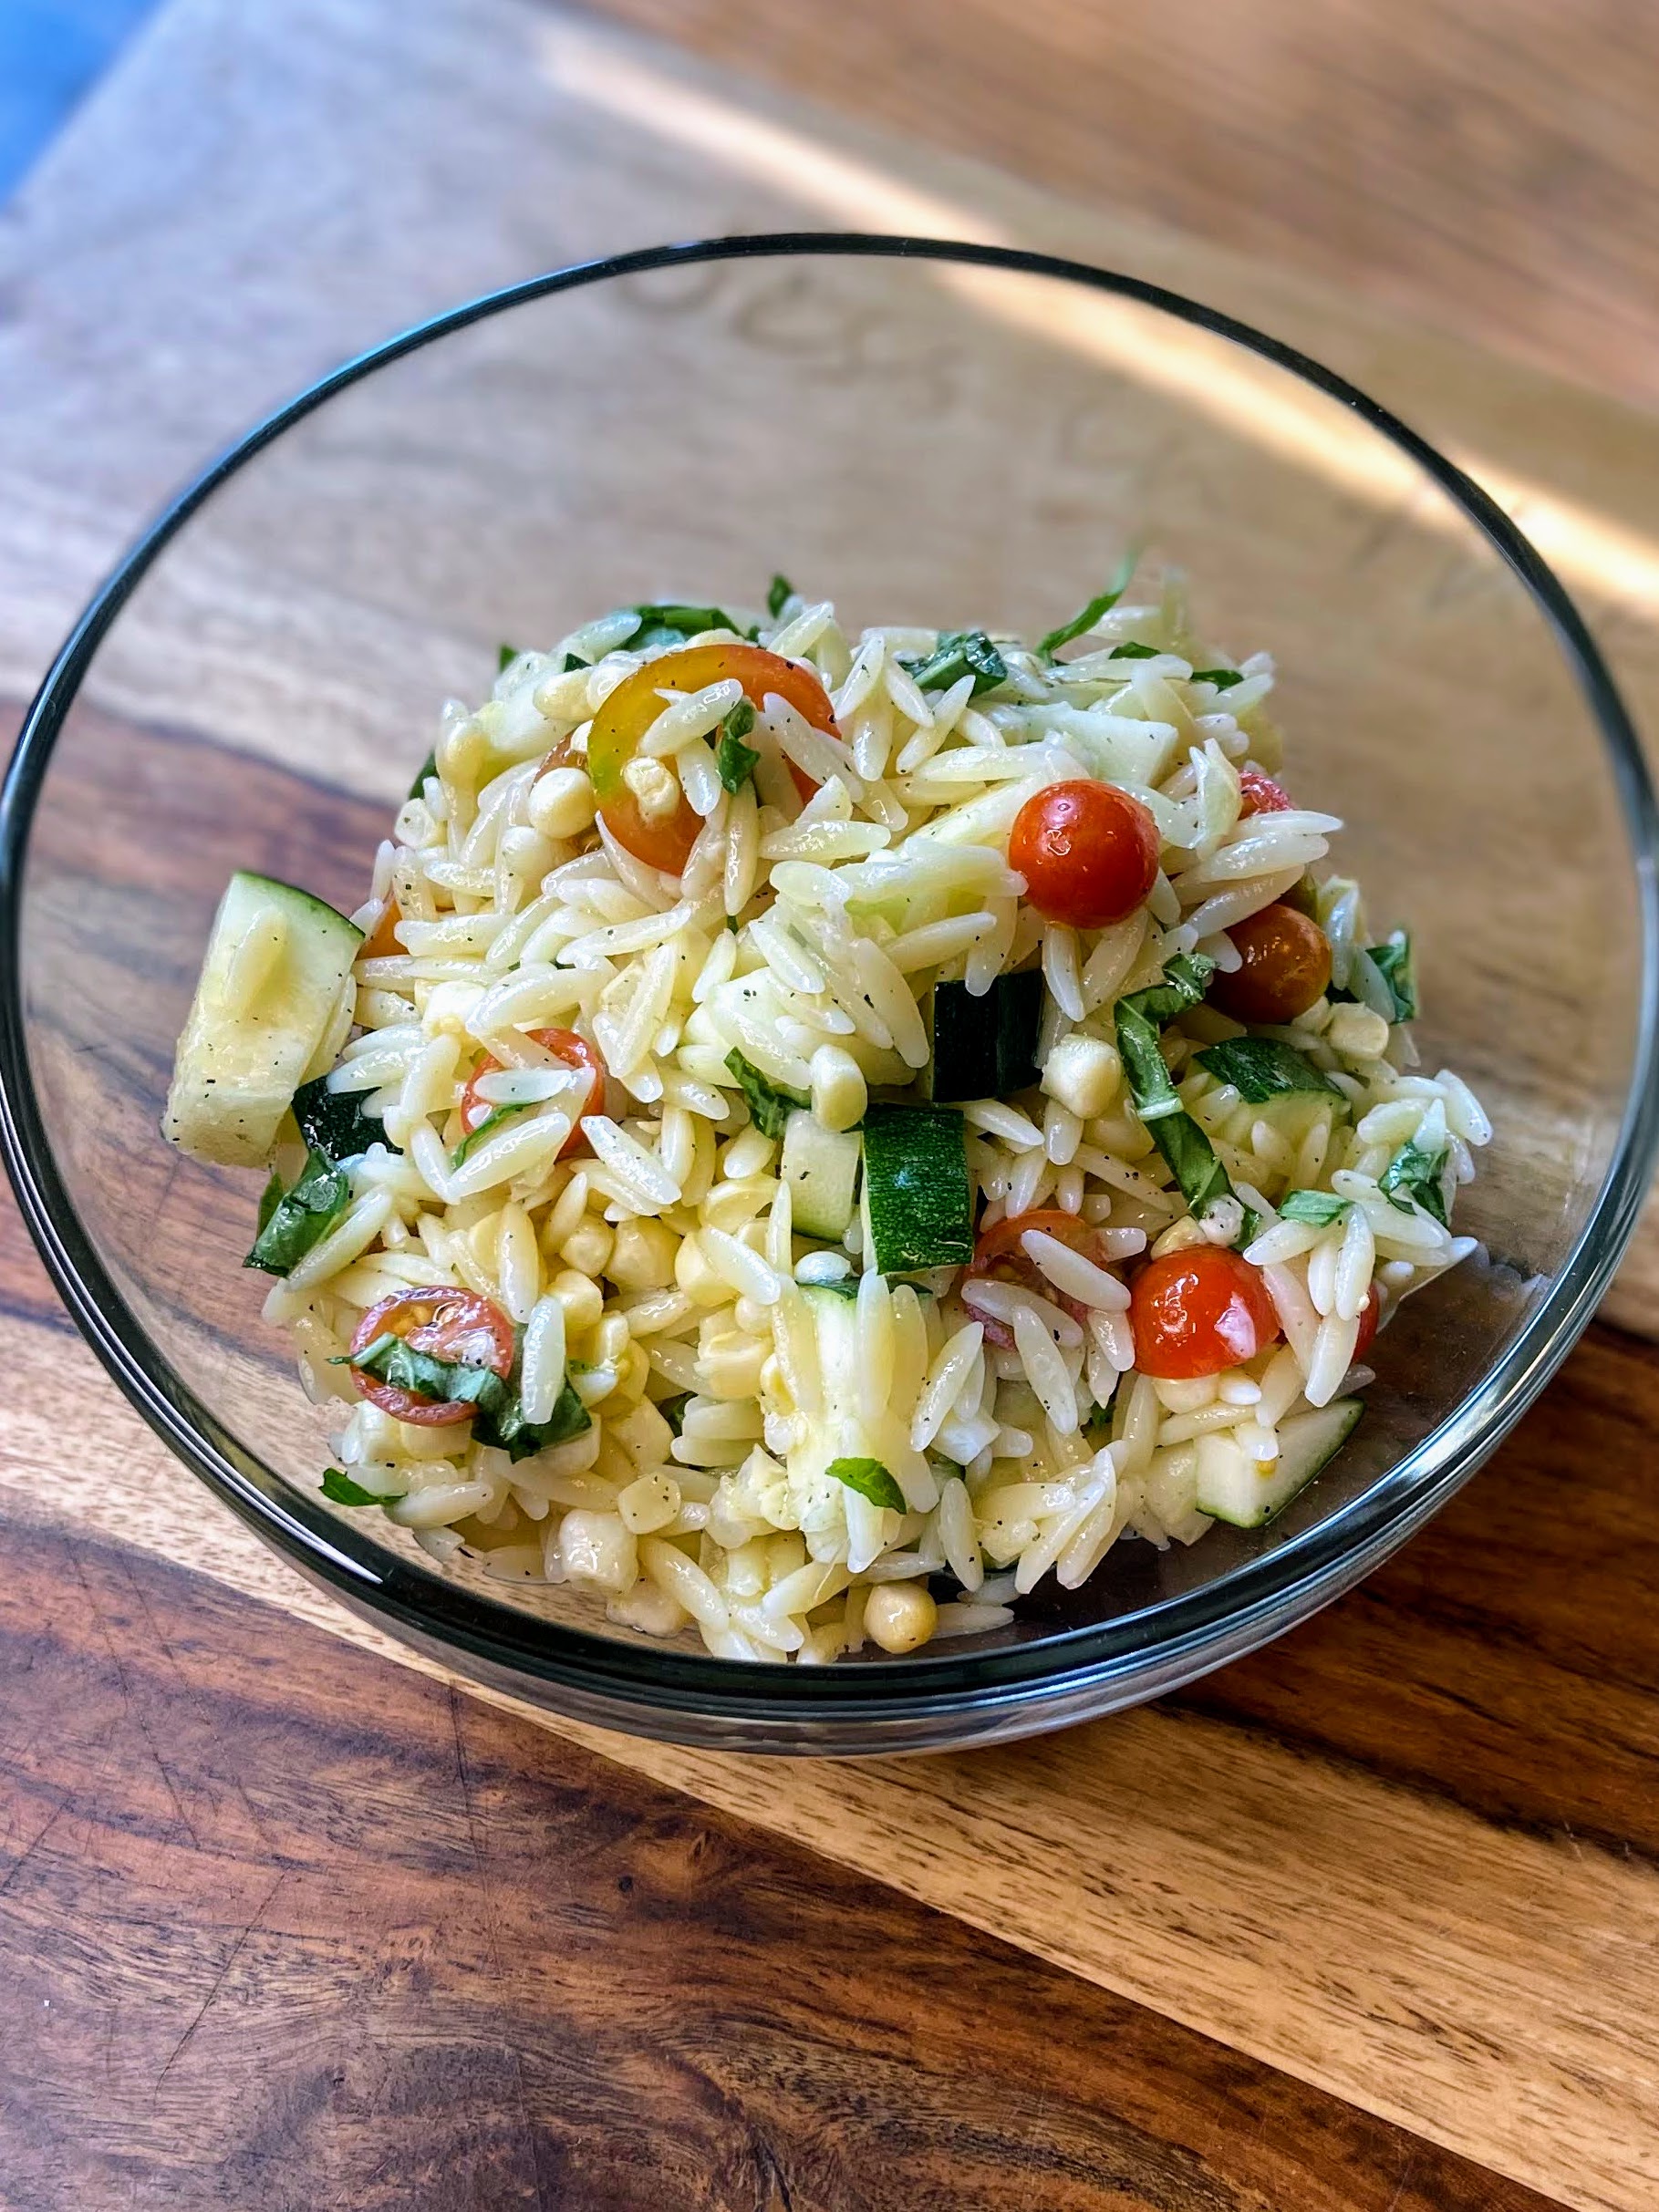
This time of year, my kitchen table is littered with fresh vegetables. Often, I am set on preserving them for eating in the cold winter months. It helps me remember the summer flavors. However, I also try to cook with the fresh vegetables so we can enjoy the fruits of our labor right away. This summer garden orzo salad takes just a few simple ingredients to create a beautiful and light dish for all the summer cooking. 

I especially love it because all of the vegetables present are ripening at the same time. As you harvest the zucchini, you are checking the tomatoes. The fragrance of the basil is heavy. And corn can JUST come off the stalk if you’re lucky. No garden? No problem! These are all easily found at the farmer’s market for the freshest taste! 

And as for the orzo? I have always loved it. It’s pasta, but has the feel of rice. In this recipe, a little goes a long way, so while we are only making about three servings of orzo, this side will create about 5-6 servings. 

Ready to get cooking? Let’s go! 

Your Ingredients for Summer Garden Orzo Salad 

  • 1 small zucchini, diced (about 2 cups) 
  • 1 cup halved cherry tomatoes 
  • 1 cup fresh corn, cut off the cob
  • 1 cup dried orzo 
  • ¼ cup fresh basil, very lightly packed 
  • 3 tablespoons olive oil 
  • 3 tablespoons white wine vinegar
  • Juice from half of a lemon 
  • ½ teaspoon pepper
  • ½ teaspoon salt 

Your Steps 

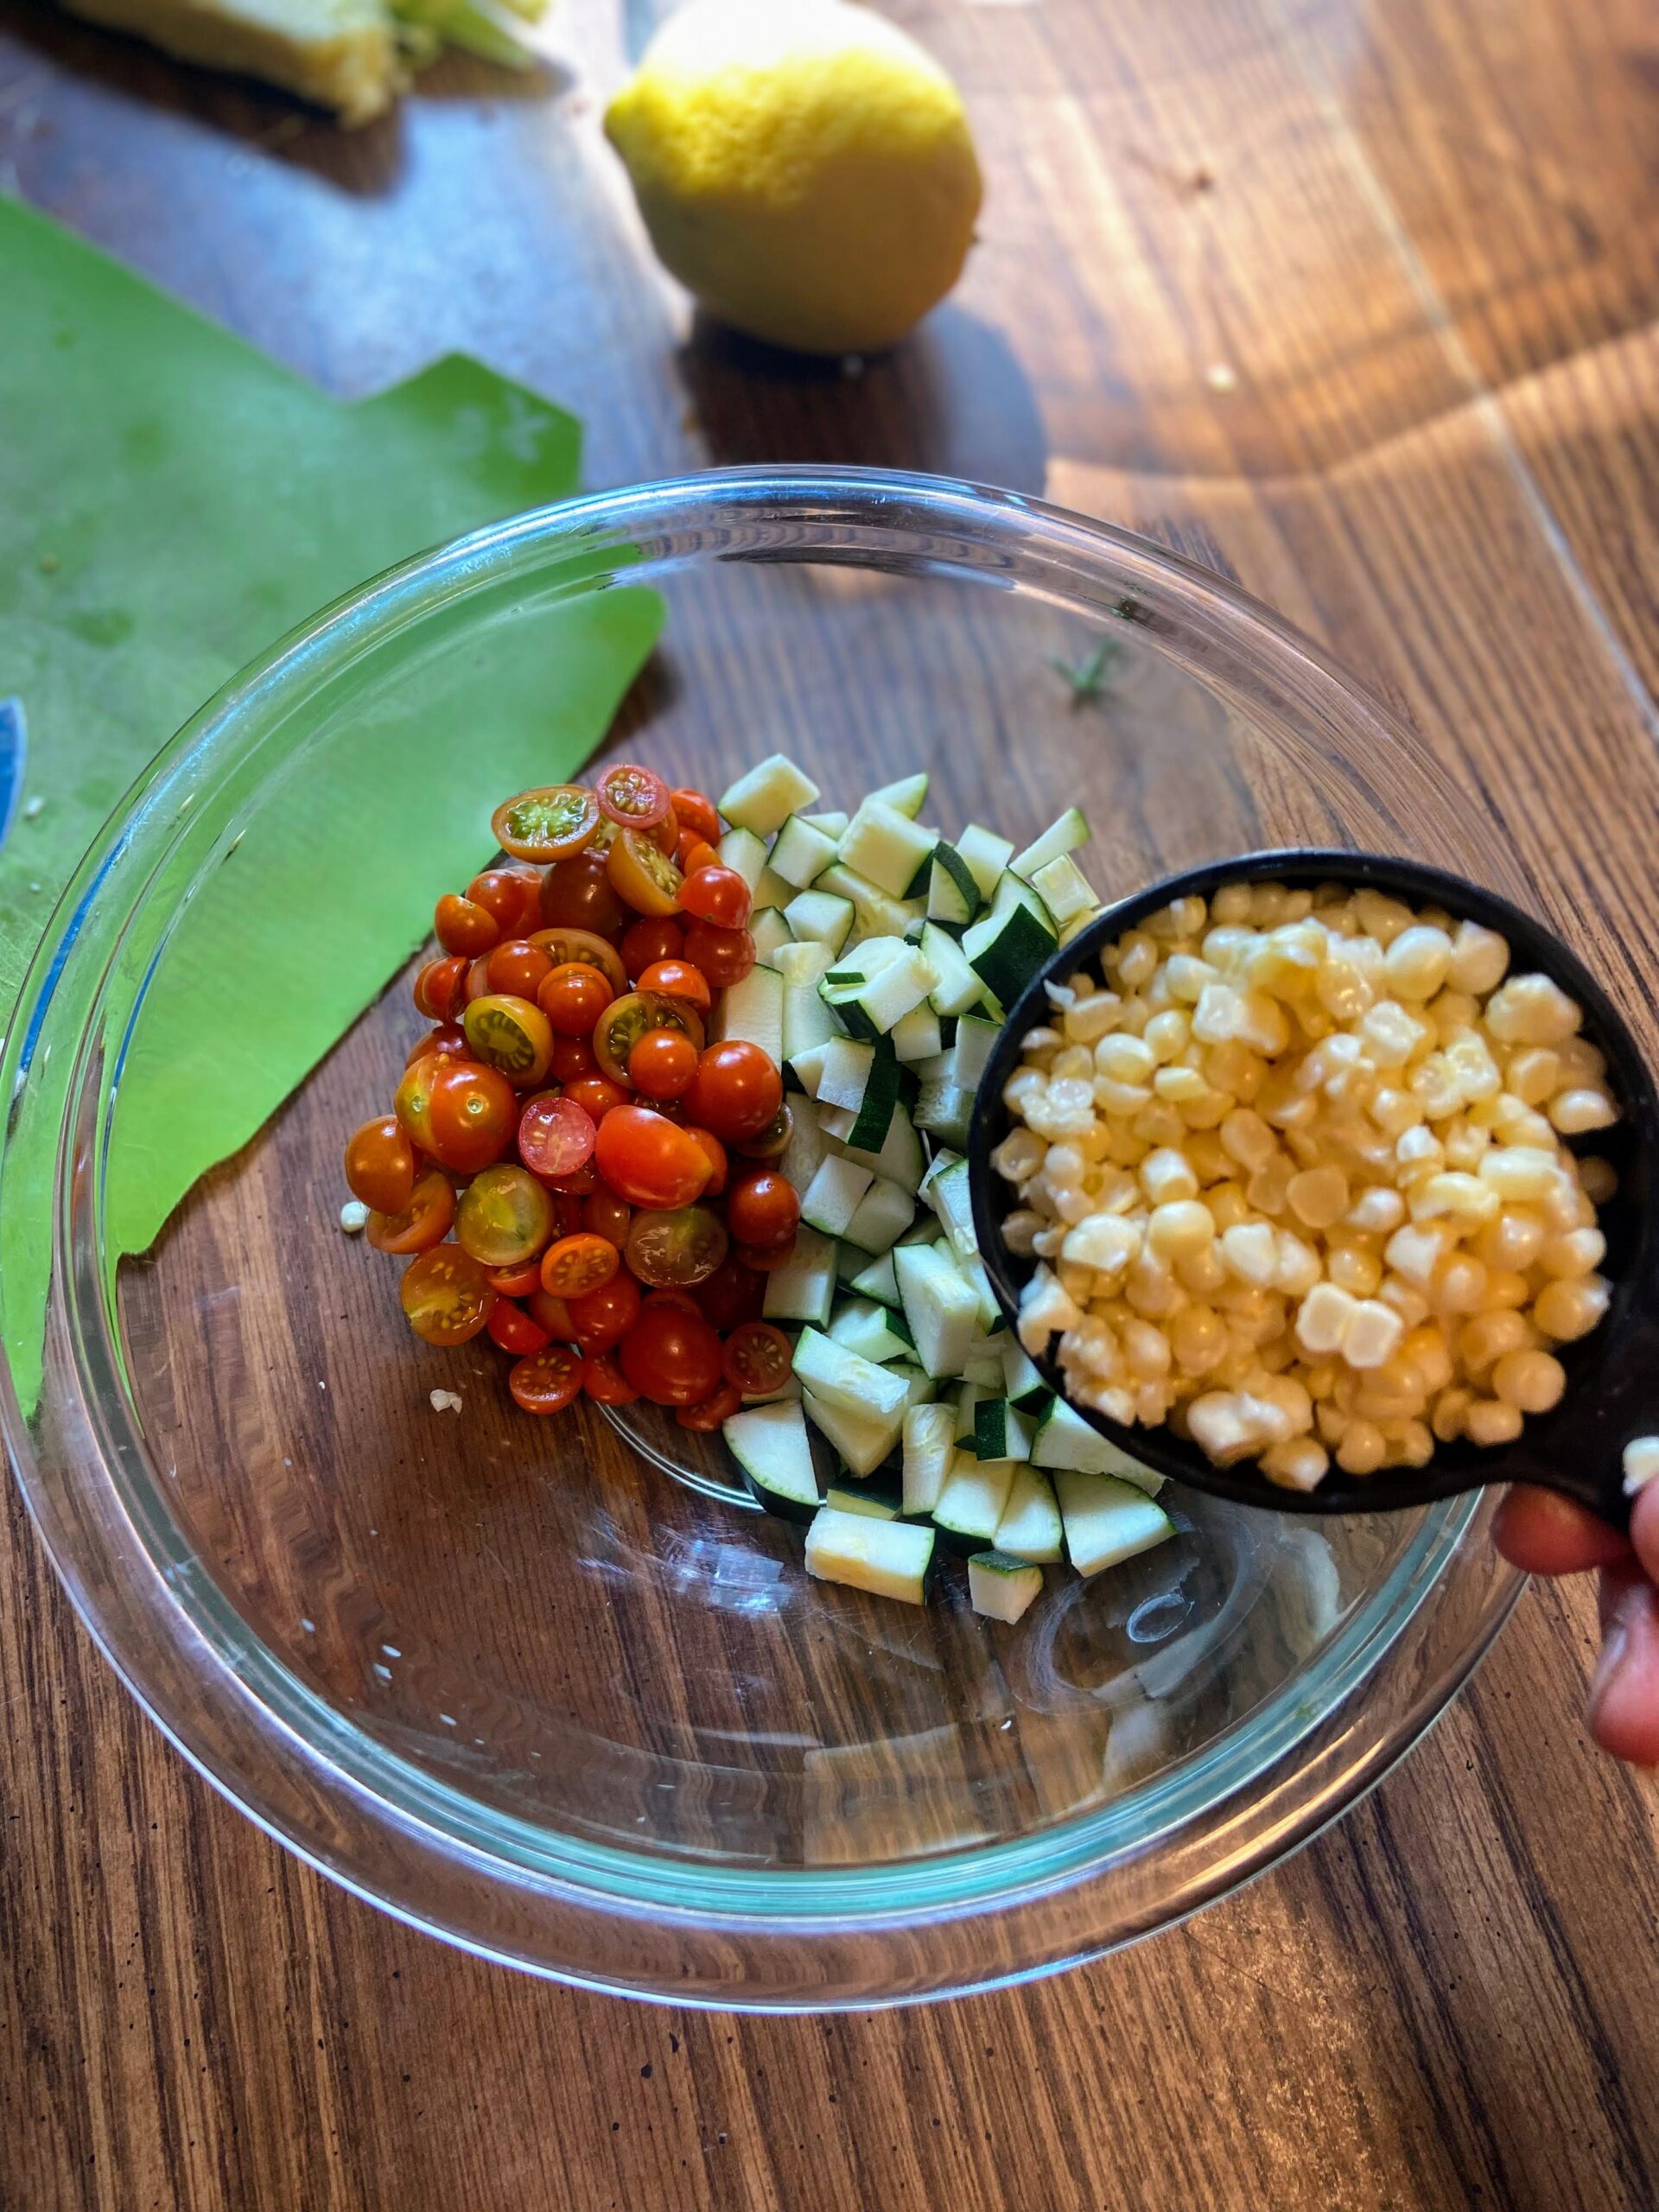
Begin by cooking the orzo to al dente according to the package directions. While the orzo is cooking, dice zucchini and cherry tomatoes. Cut the corn from the cob. Set aside. 

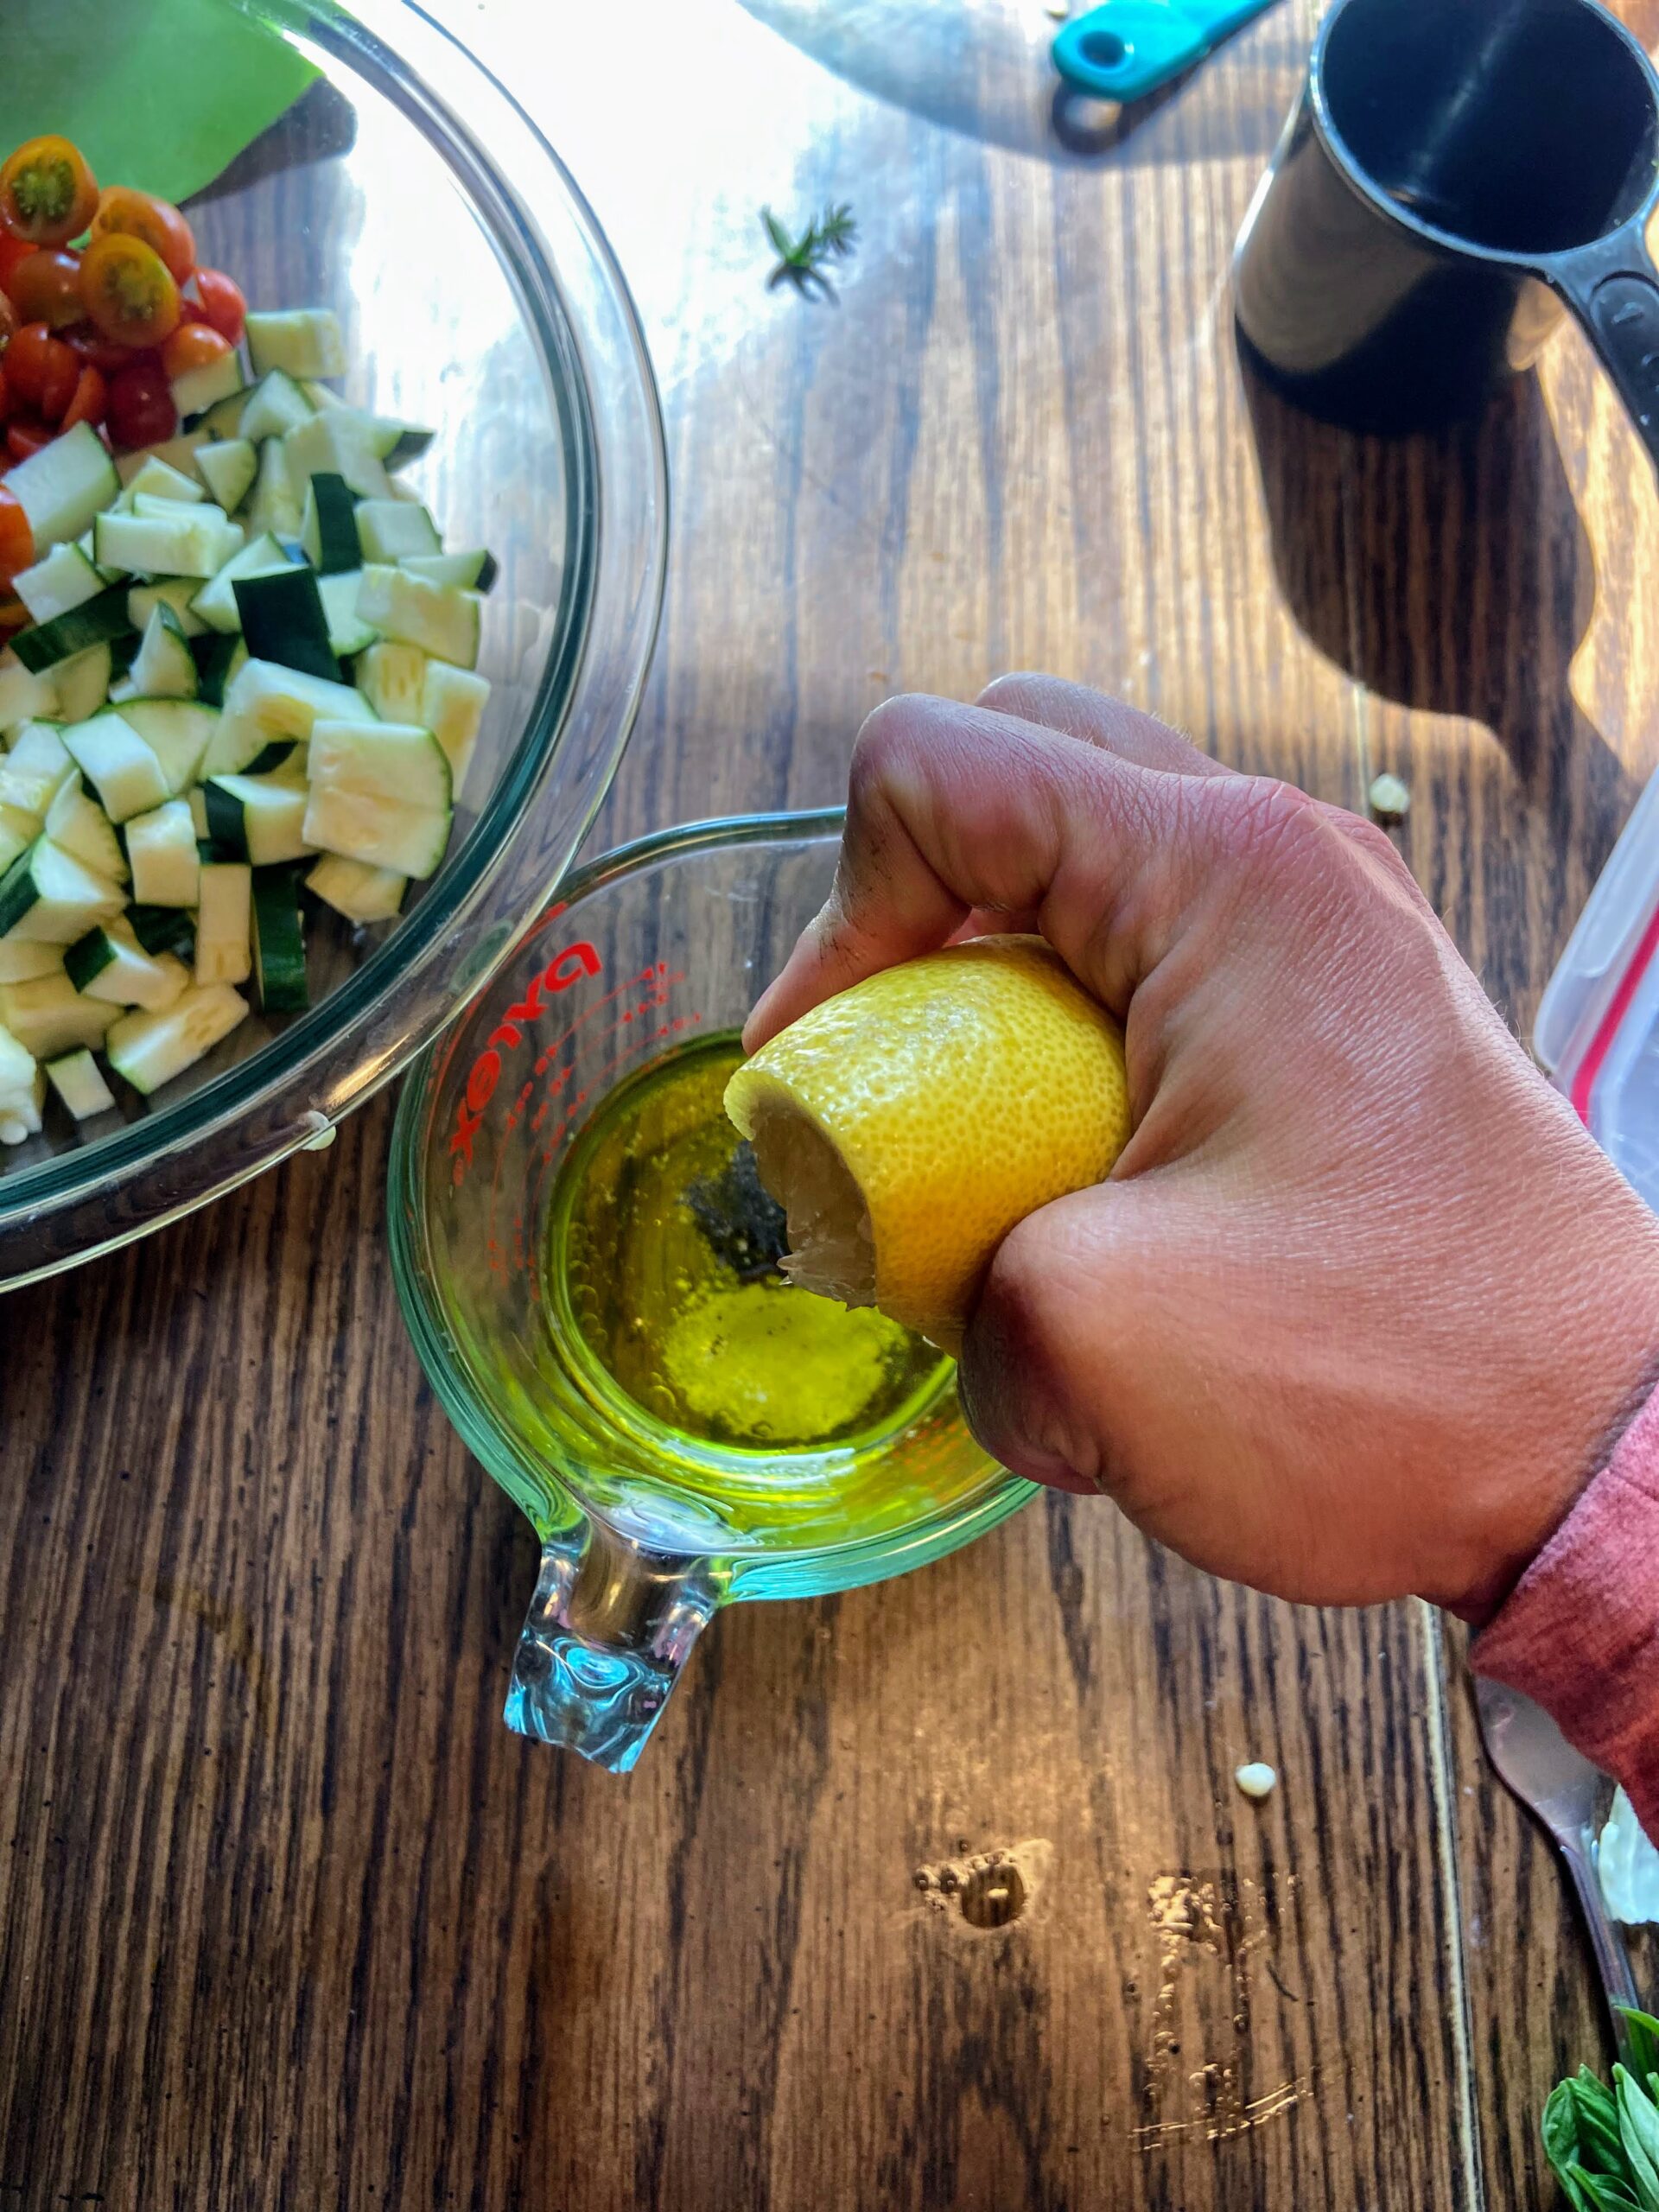
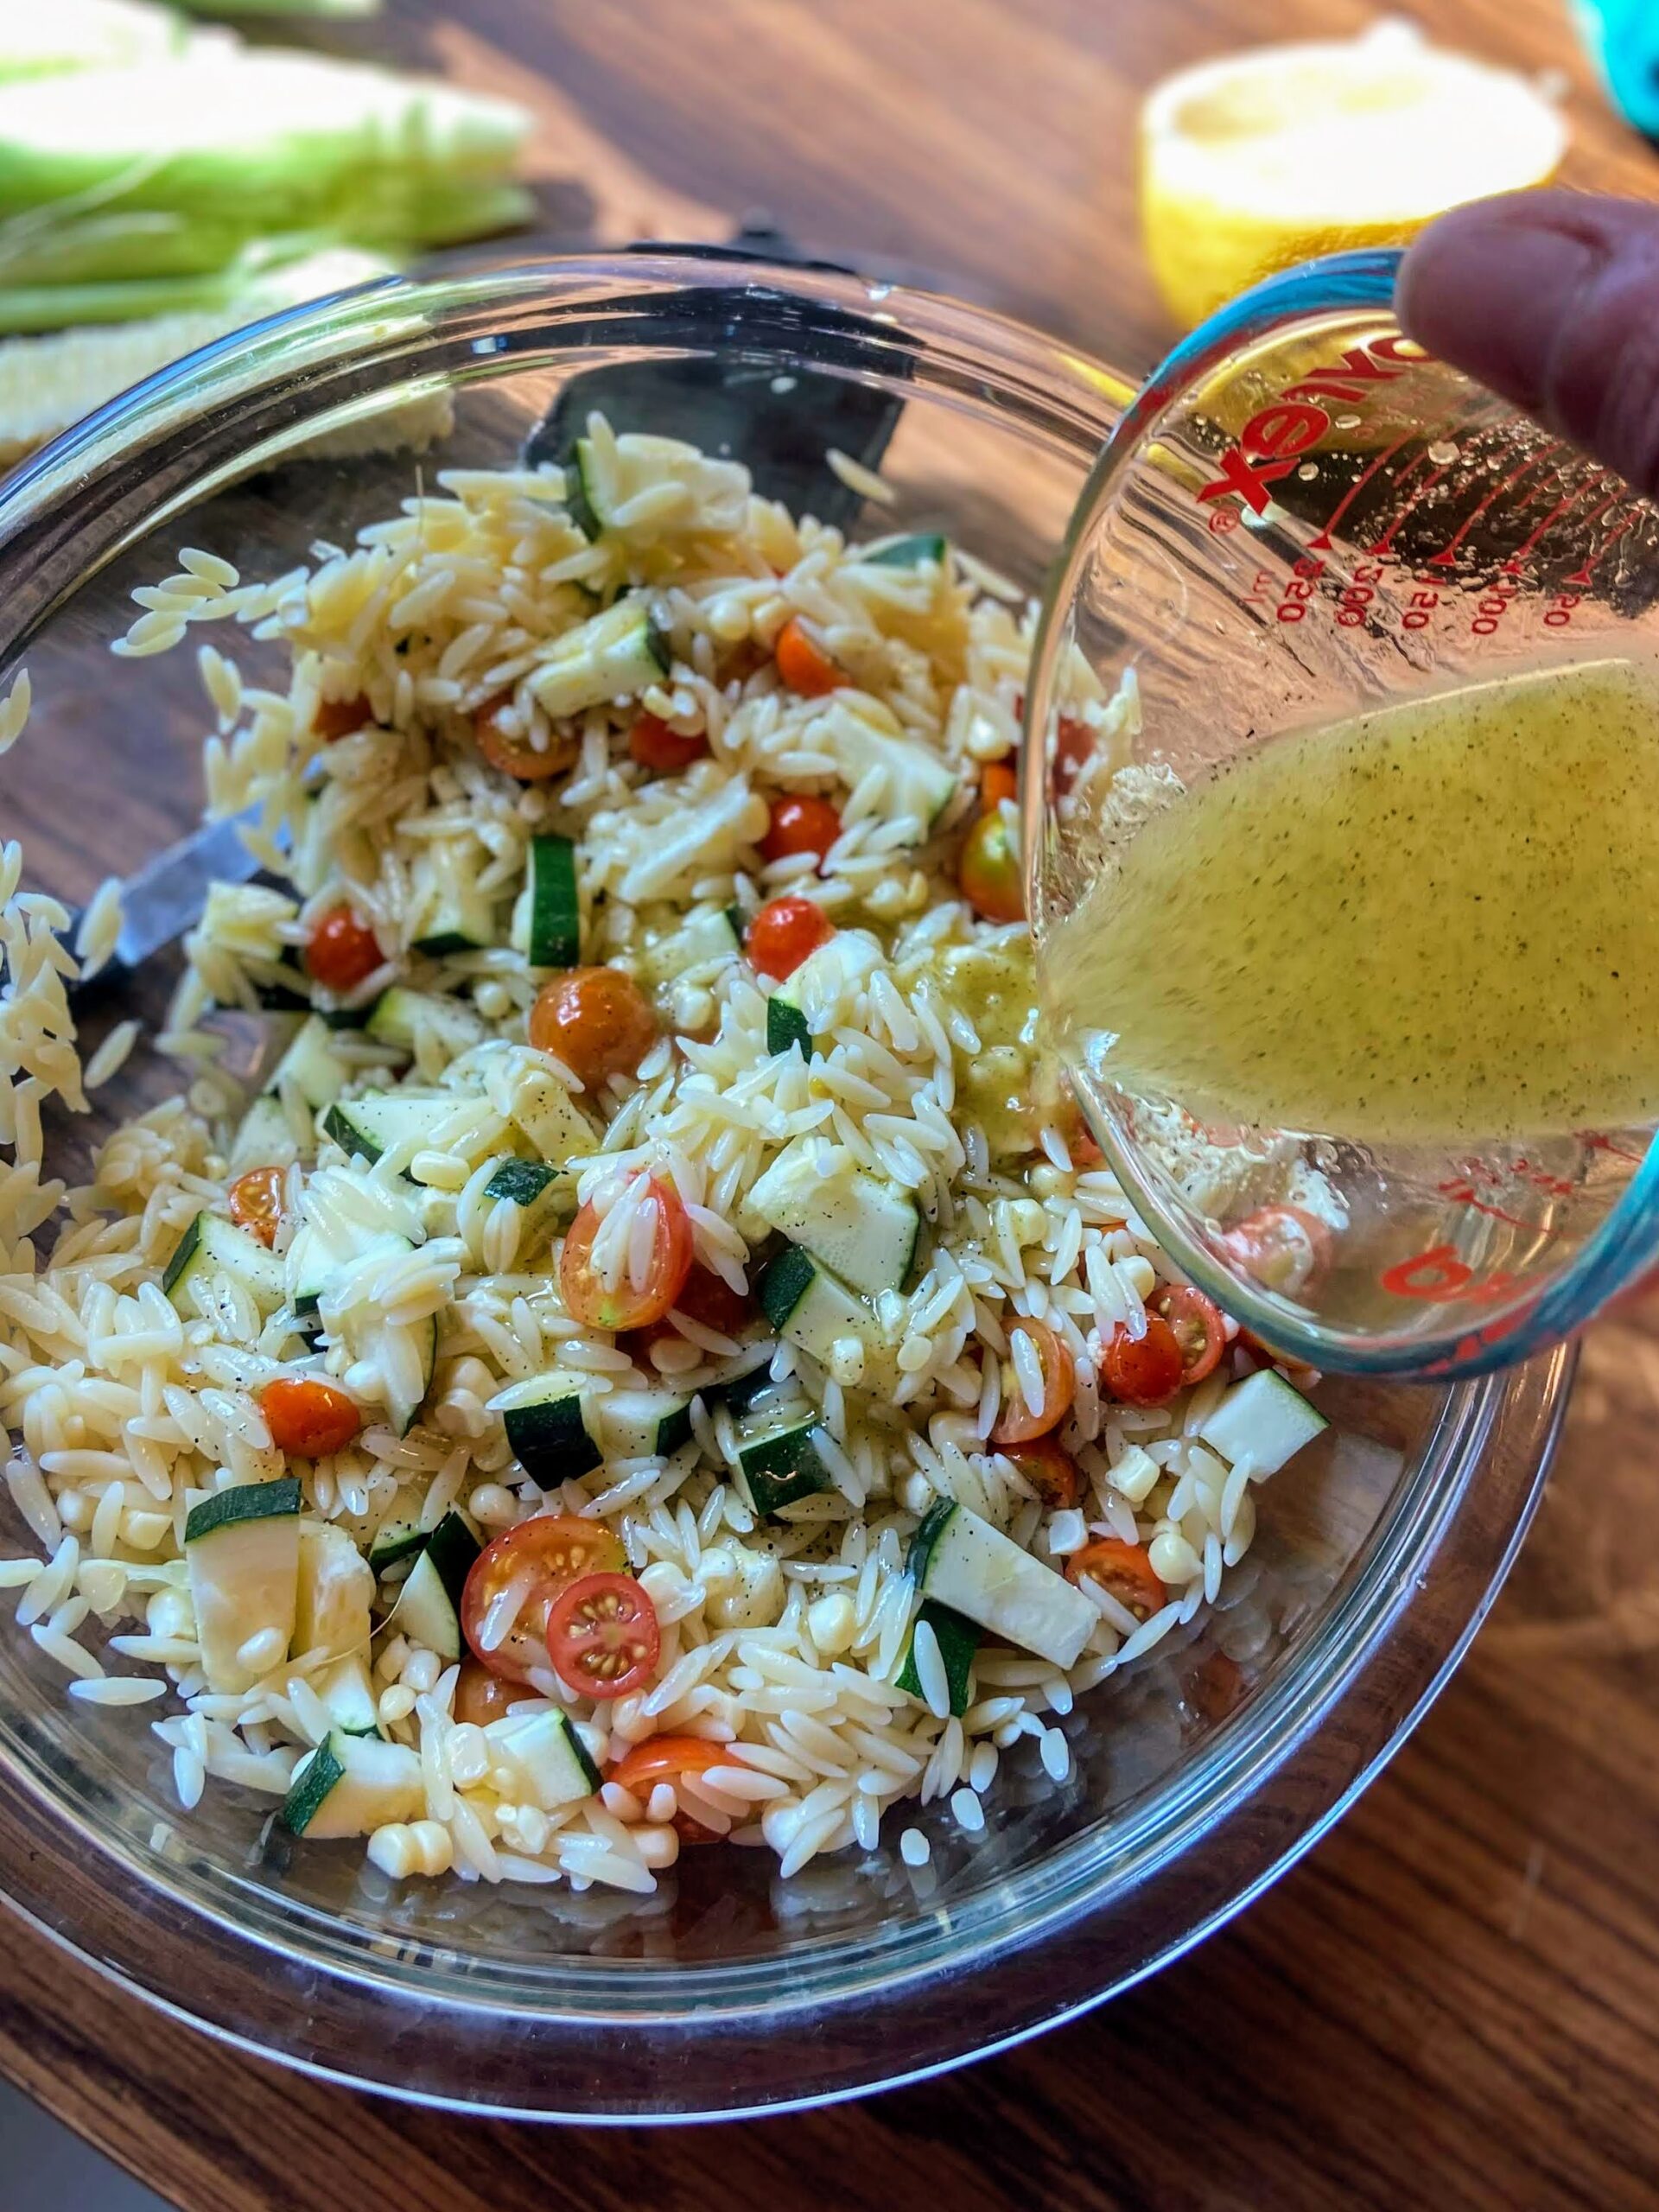
Meanwhile, combine olive oil, vinegar, lemon juice, pepper, and salt in a liquid measuring cup. Whisk together. 

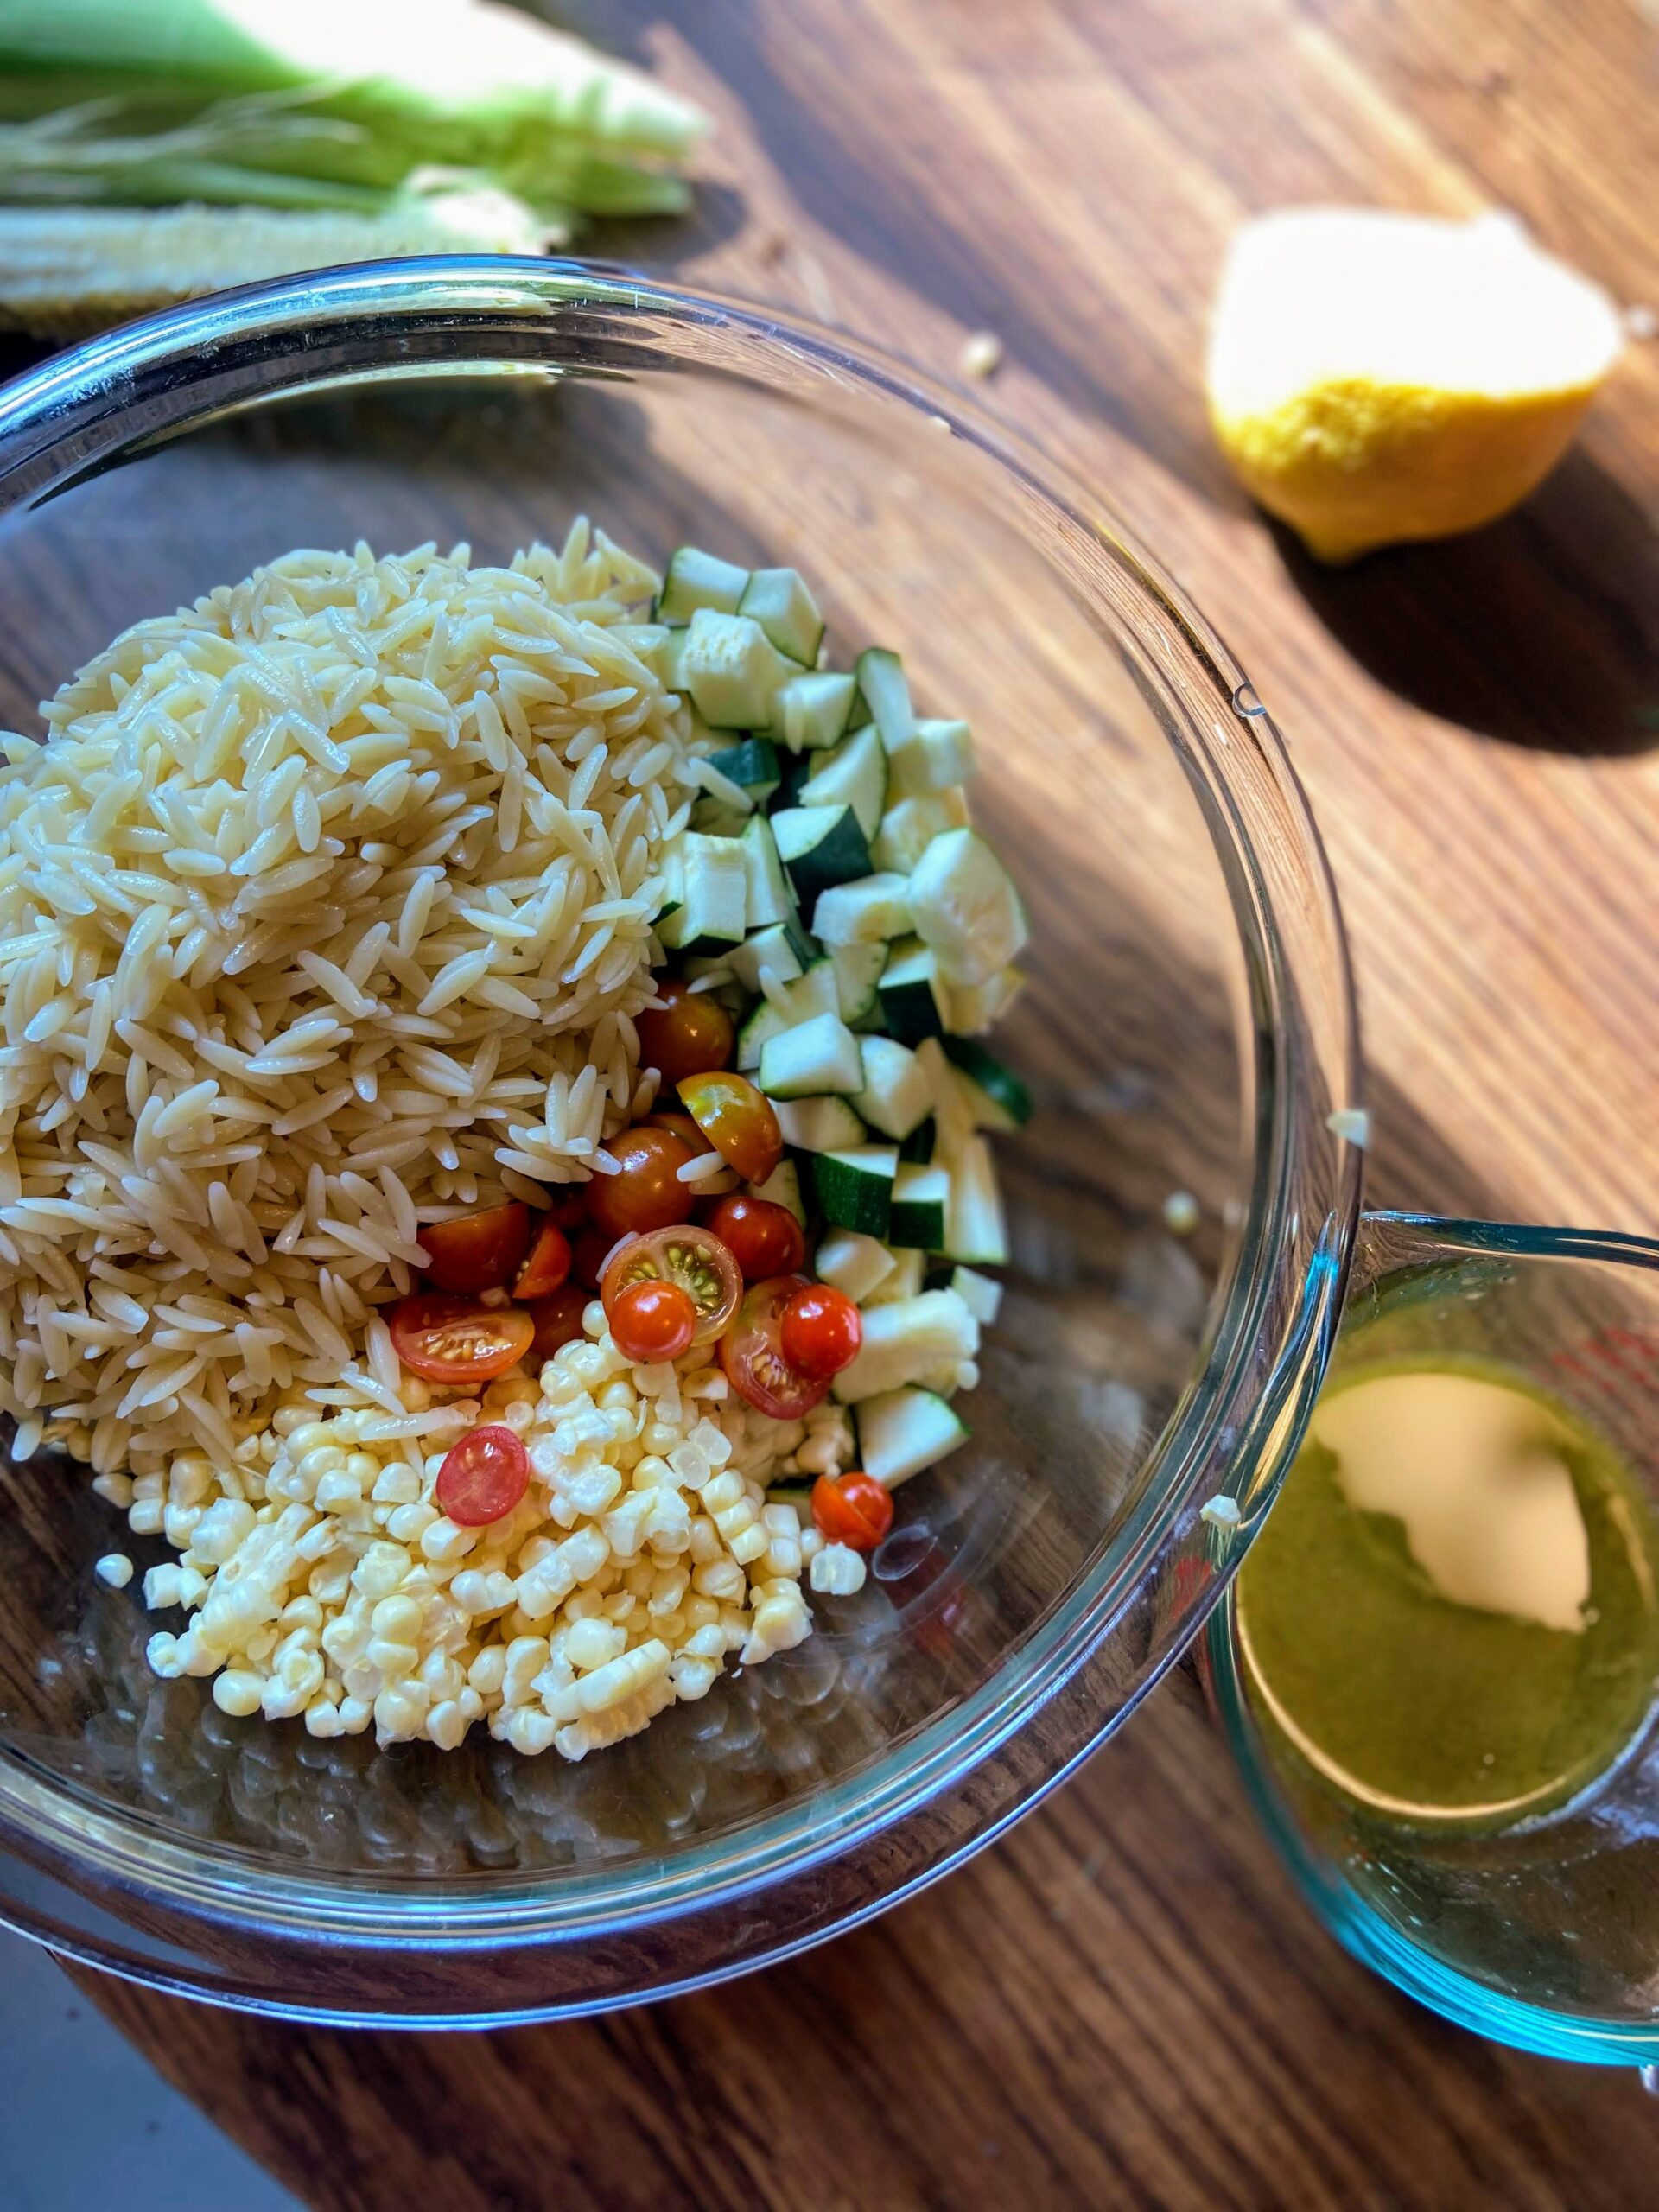
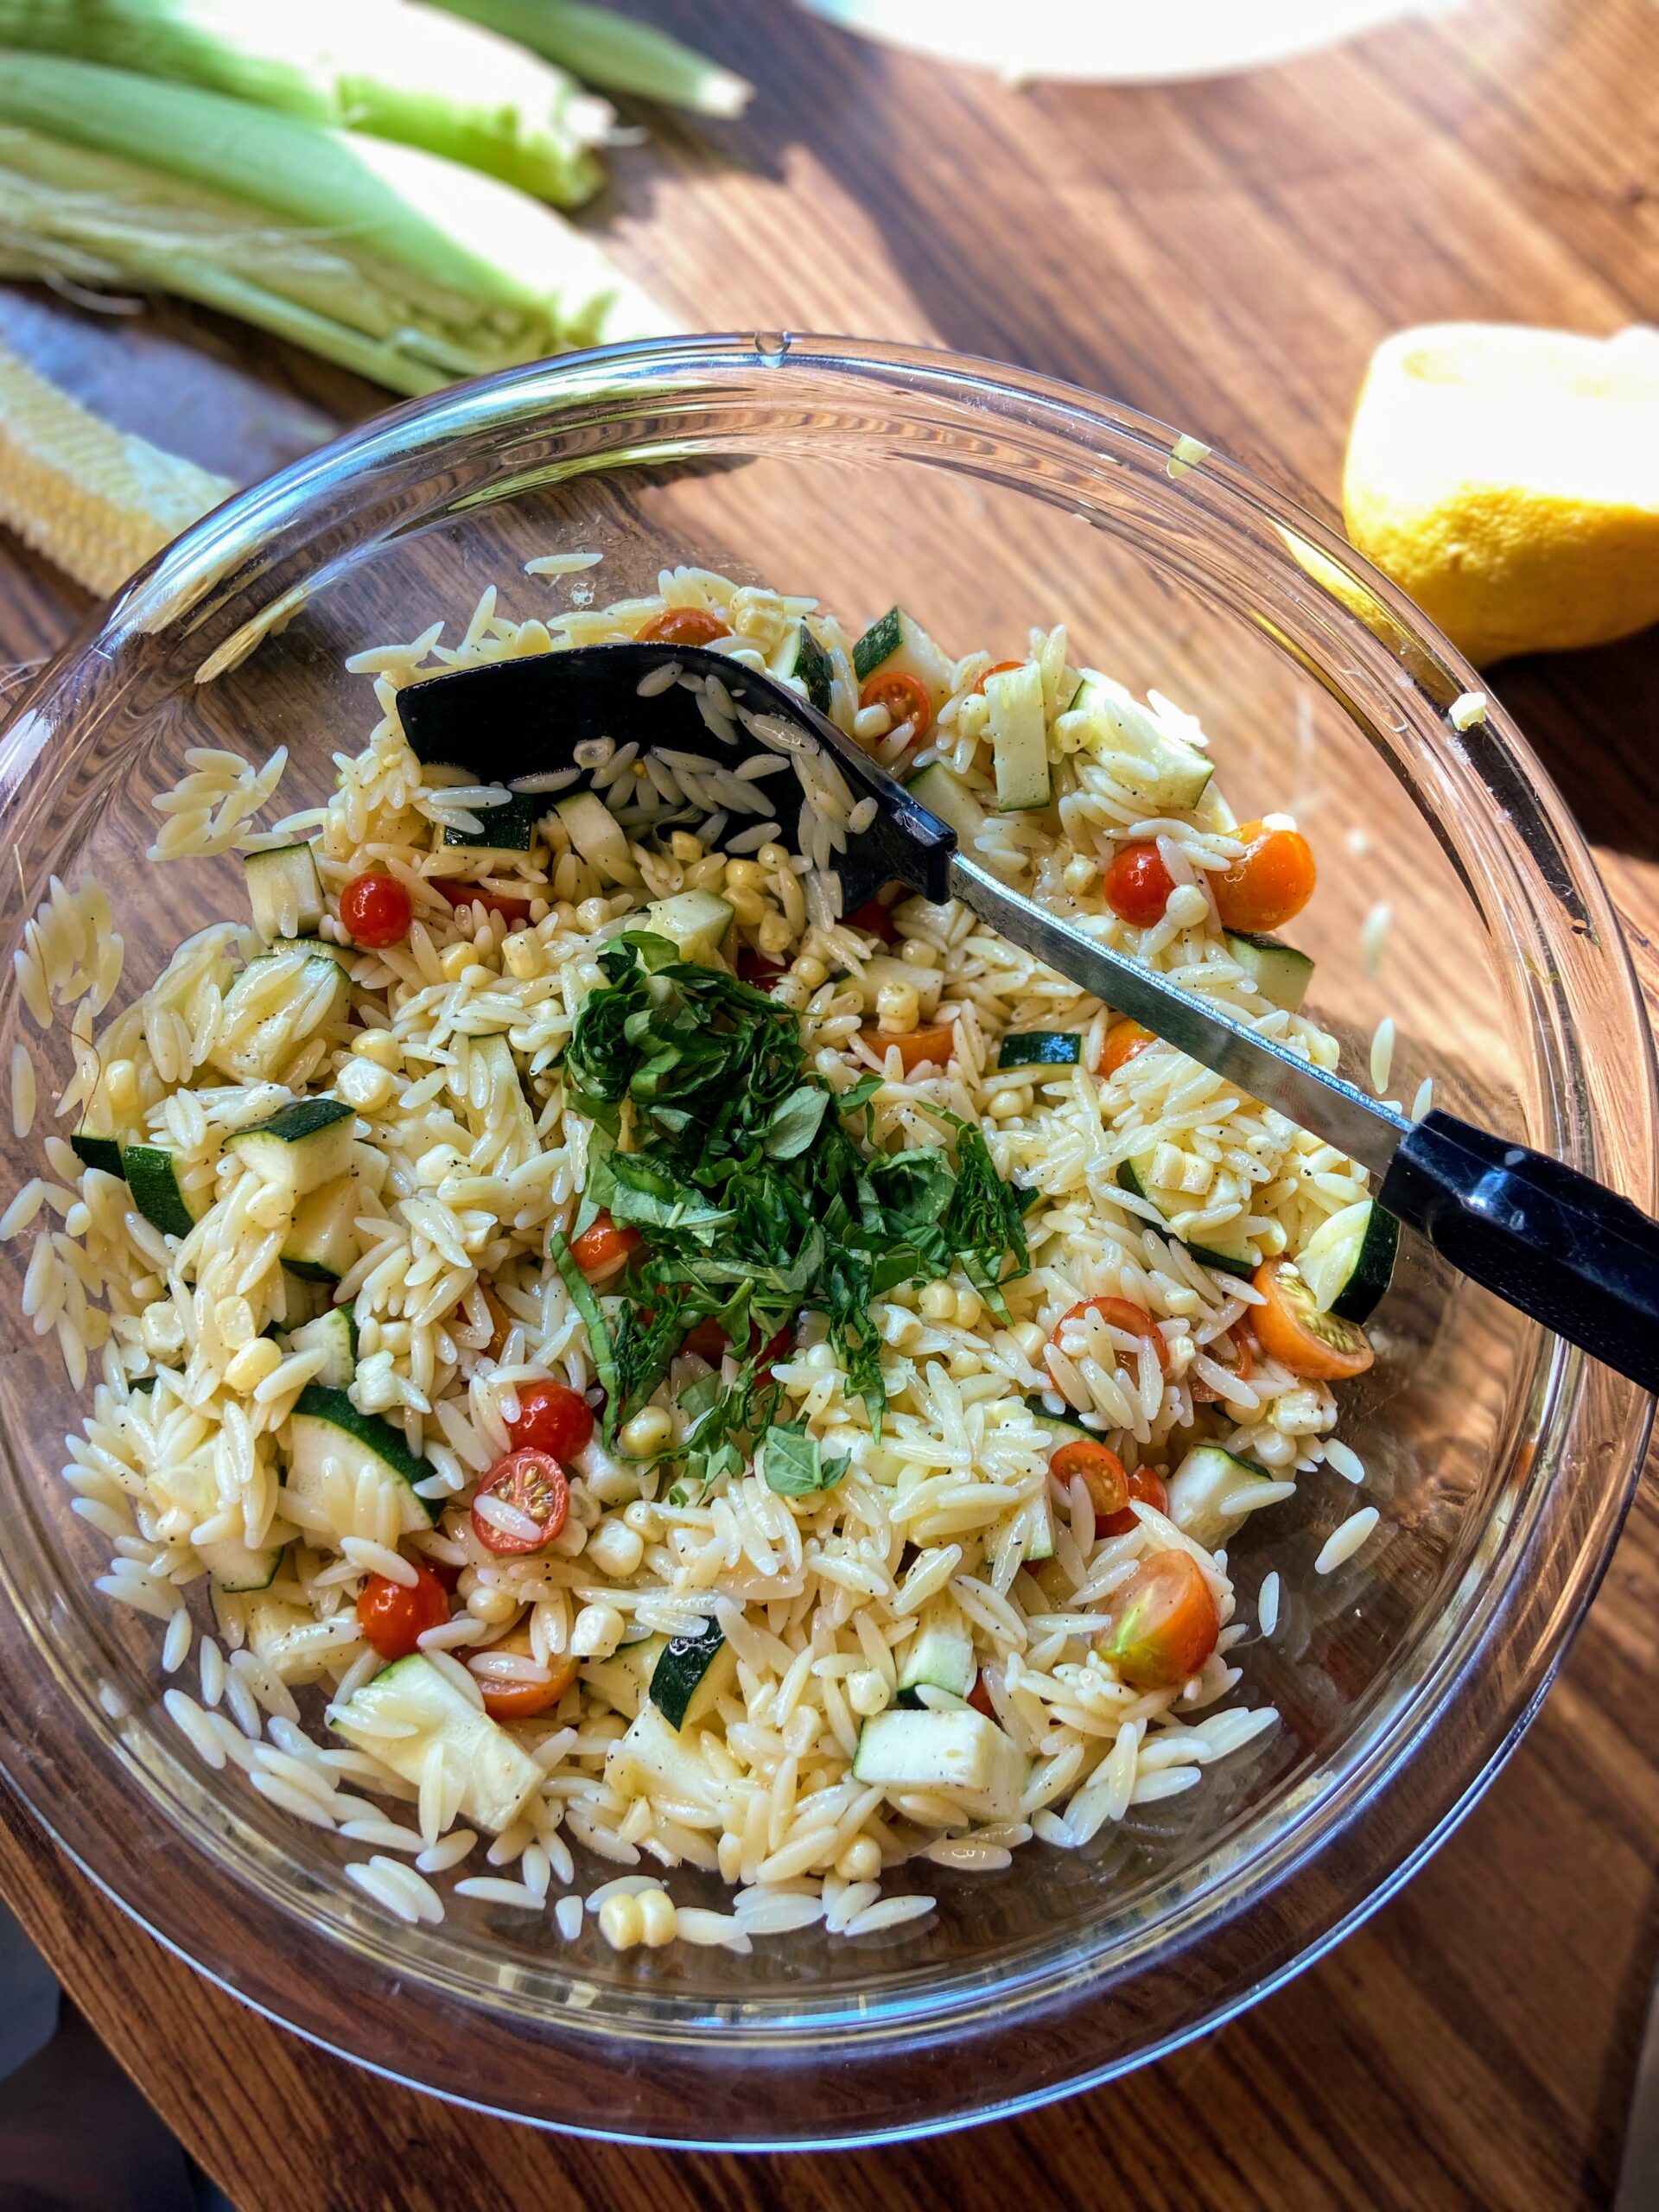
Drain the orzo and rinse with cool water. Combine the orzo and vegetables in a large boil. Whisk the dressing once more and then pour over the salad mixture. Stir to combine. Chiffon the basil into the bowl and stir once more. For the best flavor, allow the salad to chill for 2-3 hours, but I am awful at that. I always just have to dive in! 

Tools of the trade!

I have a few tools I use daily in my kitchen, without fail. I adore my flexible cutting boards (Seriously, if you don’t have them yet, invest. You’ll thank me!) I also really dig my Pyrex bowls that come with covers. They go from mixing to table to the fridge without another messy dish. Finally, whenever I am making salads that require dressing, I love my 1 cup liquid measuring cup. Everything gets measured right into there for pouring ease!

Summer Garden Orzo Salad

The flavors of a summer garden mix with orzo pasta and lemon for a light and simple summer salad!
Prep Time 5 minutes
Cook Time 15 minutes
Course Side Dish
Cuisine American
Servings 6 people

Ingredients
  

  • 1 small zucchini diced (about 2 cups)
  • 1 cup halved cherry tomatoes
  • 1 cup fresh corn cut off the cob
  • 1 cup dried orzo
  • ¼ cup fresh basil very lightly packed
  • 3 tablespoons olive oil
  • 3 tablespoons white wine vinegar
  • Juice from half of a lemon
  • ½ teaspoon pepper
  • ½ teaspoon salt

Instructions
 

  • Begin by coooking the orzo to al dente according to the package directions. While the orzo is cooking, dice zucchini and cherry tomatoes. Cut the corn from the cob. Set aside.
  • Meanwhile, combine olive oil, vinegar, lemon juice, pepper, and salt in a liquid measuring cup. Whisk together.
  • Drain the orzo and rinse with cool water. Combine the orzo and vegetables in a large boil.
  • Whisk the dressing once more and then pour over the salad mixture. Stir to combine.
  • Chiffon the basil into the bowl and stir once more.
  • For the best flavor, allow the salad to chill for 2-3 hours.
Keyword basil, cherry tomatoes, orzo, orzo salad, pasta salad, tomatoes, zucchini
Tried this recipe?Let us know how it was!

Looking for other great recipes to pair with the Summer Garden Orzo Salad?

Give any of these a try! Or head to my baking or cooking page!

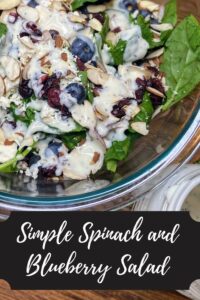
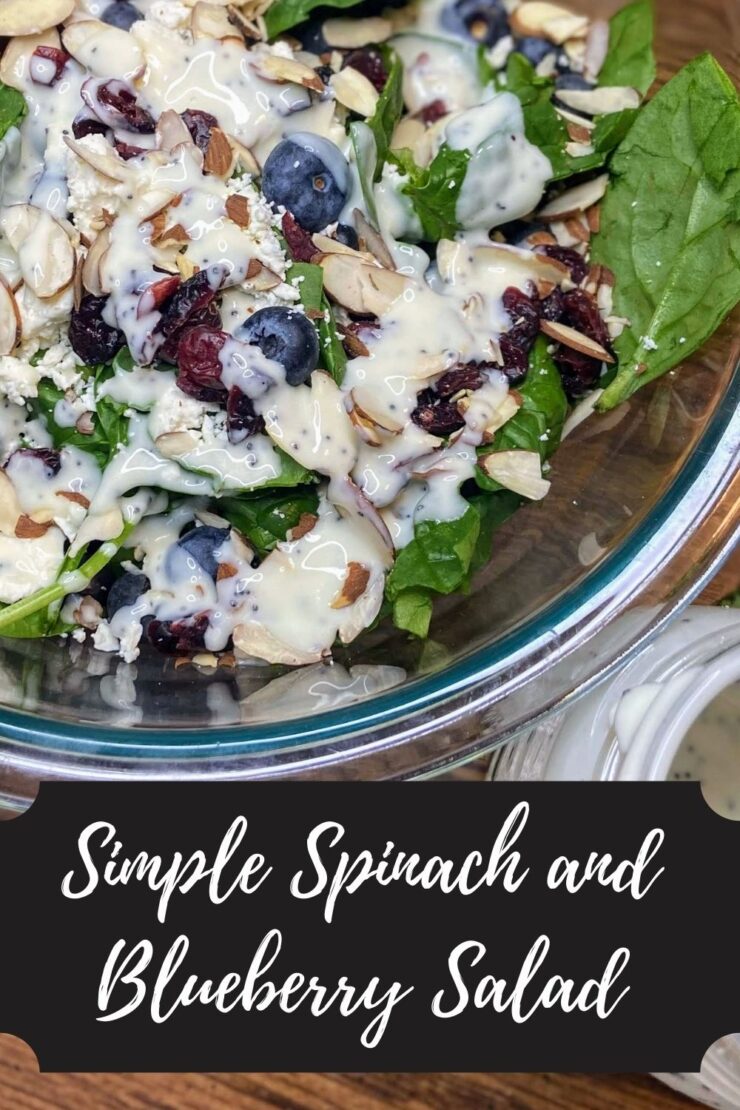
Simple Spinach and Blueberry Salad

Salads are life. I live for a good salad and have been known on more than one occasion to choose a restaurant based on how good of a side salad they have (better yet if they have a salad bar). I use to feel guilty spending the extra money to upgrade to a salad over fries, but now I realize I am worth it darn it! And if that’s what I want, I can spend the extra $3 to upgrade, right? Funny thing, I realized I don’t share too many salads here. But this Simple Spinach and Blueberry Salad is so full of color and flavor, it has to be shared. 

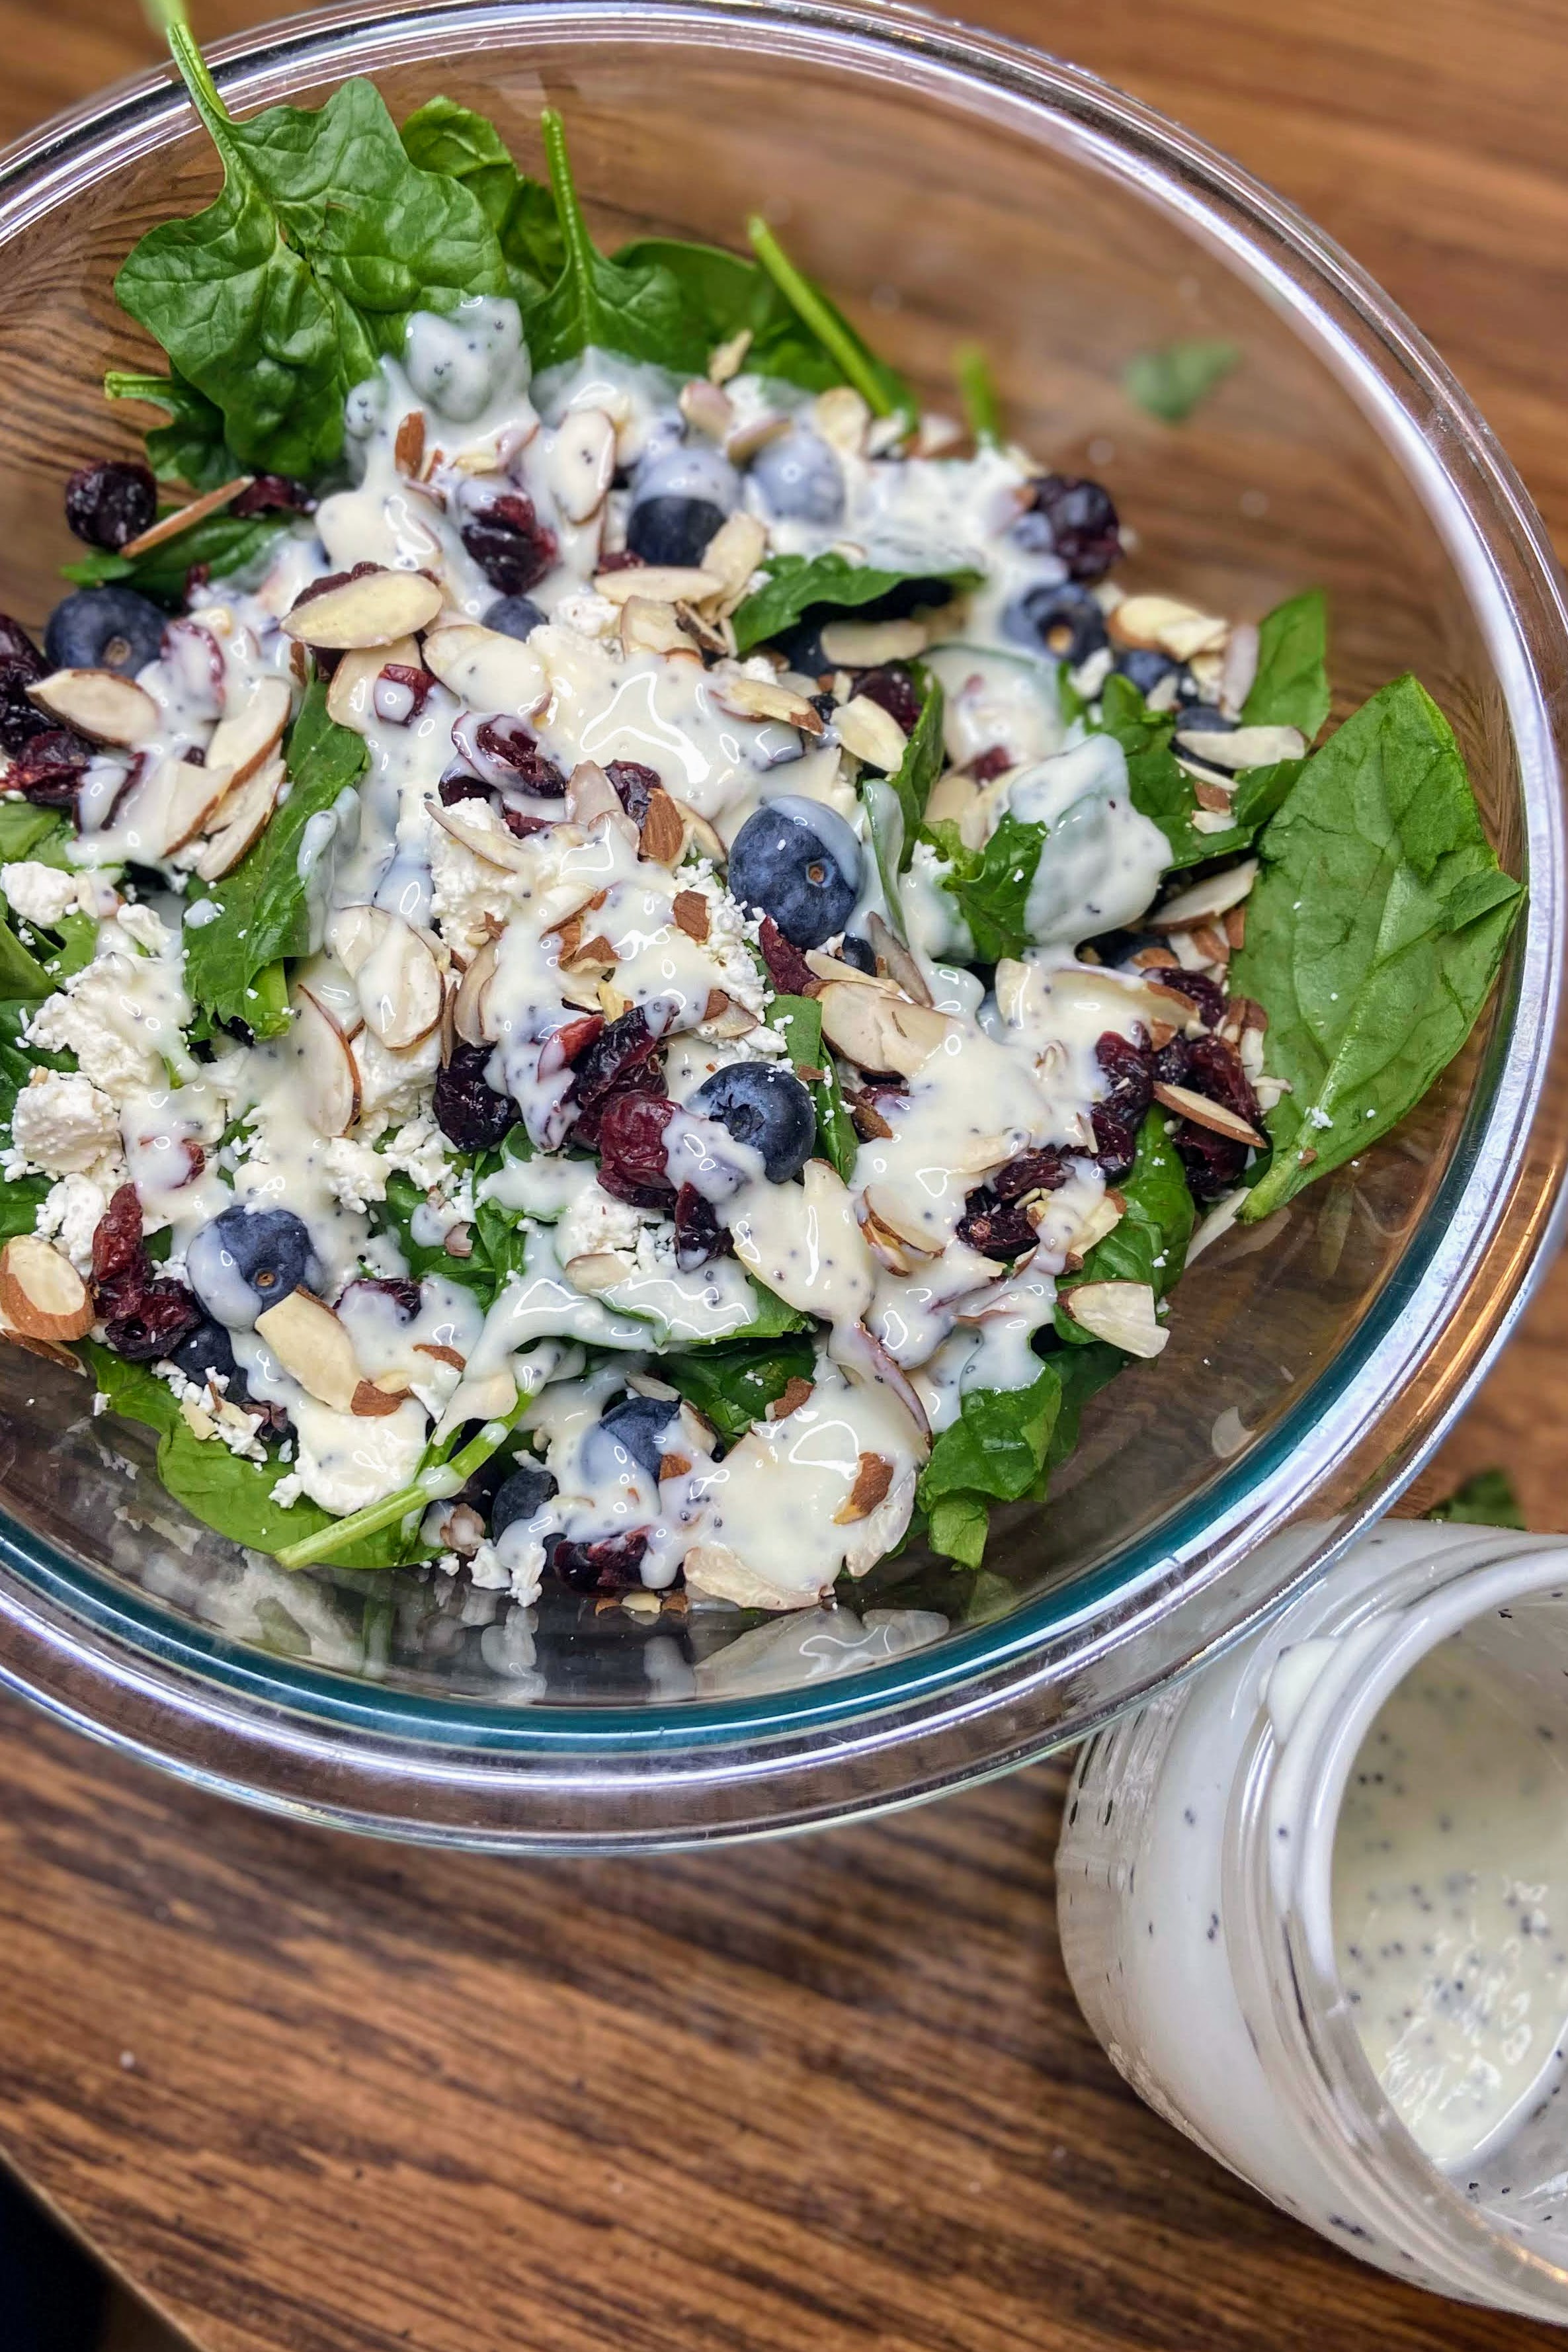
I am known for “eating the rainbow” and strive to get alllllll the colors in my meals. My colleagues may make fun of me from time to time for my lunches that represent every food group: grapes, carrots, string cheese, a protein, and a starch that has an additional veggie or two added in. This salad is no different. We have the deep green of the spinach, the blue from the berries, crimson in the cranberries, some whites and browns in the feta and almonds, and finally a drizzle of poppyseed dressing. It’s perfection. 

Ready to mix up this beautiful salad? Let’s go!

Your Ingredients 

  • 1 package pre-washed spinach
  • ½ pint bluebarries 
  • ½ cup dried cranberries 
  • ¼ cup sliced almonds 
  • ½ cup feta, broken apart as needed 
  • Poppyseed dressing, to taste (I have a clean eating version of poppyseed dressing that can be found here)

Your directions to Simple Spinach and Blueberry Salad

In a large bowl, layer spinach, blueberries, cranberries, almonds, and feta. Drizzle with poppyseed dressing, go light initially (You can always add more, but an overdressed salad? You can’t do anything about that!) Feel free to toss after drizzling dressing to distribute the dressing or leave it perfectly layered. 

Also, note, the measurements are approximations. The great thing about this (and most) salads is that it’s totally customizable to your own liking. You can add more blueberries. Leave off the feta. Do what calls to you, but use this as some inspiration for your next salad!

Simple Spinach and Blueberry Salad

This simple spinach and blueberry salad is full of color and flavor and mixes up in minutes flat!
Prep Time 5 minutes
Cook Time 0 minutes
Course Salad
Cuisine American
Servings 8

Ingredients
  

  • 1 package pre-washed spinach
  • ½ pint bluebarries
  • ½ cup dried cranberries
  • ¼ cup sliced almonds
  • ½ cup feta broken apart as needed
  • Poppyseed dressing to taste

Instructions
 

  • In a large bowl, layer spinach, blueberries, cranberries, almonds, and feta.
  • Drizzle with poppyseed dressing, go light initially.
  • Feel free to toss after drizzling dressing to distribute the dressing or leave it perfectly layered.

Notes

The measurements are approximations. The great thing about this (and most) salads is that it’s totally customizable to your own liking. You can add more blueberries. Leave off the feta. Do what calls to you, but use this as some inspriation for your next salad!
Keyword blueberries, feta salad, poppyseed dressing, Salad, side dishes, spinach salad
Tried this recipe?Let us know how it was!

Looking for some other recipes to pair this delightful salad with? Check out the links below!
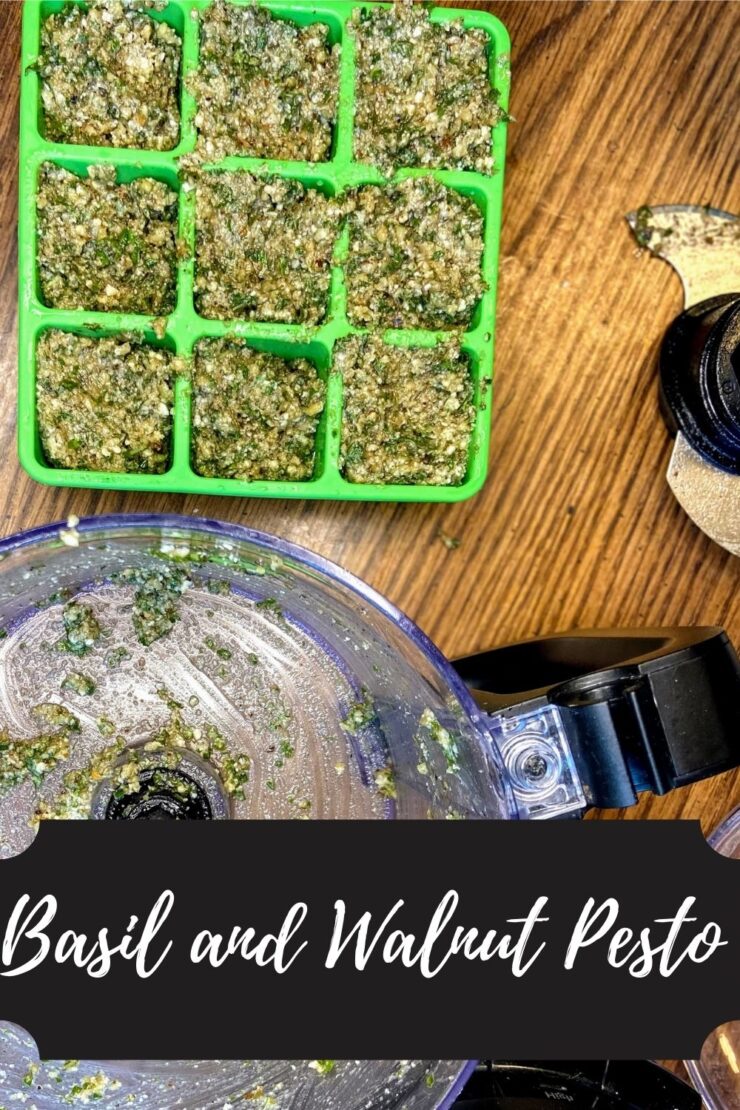
Basil and Walnut Pesto

Can I be honest? I have been meaning to share my basil and walnut pesto recipe for a while. I even took videos months ago to make a quick tutorial. Then life got away from me and suddenly fresh basil wasn’t in season. I had decided it should go on the back burner until summer arrived once more so the basil would be fresh and delicious once again. 

But then I pulled a few cubes of pesto out of the freezer for dinner a few nights ago and everyone was excited. And at that moment, I decided that it was just time to share the recipe. I mean, it may not be quite as good, but you can still pick up fresh basil at the store and pesto is ALWAYS delicious.

We have two favorite ways of enjoying this basil and walnut pesto. I love a good cast iron cooked (or grilled) chicken breast. After the chicken has been flipped, I will spoon some pesto on the cooked side, allowing it to brown as the rest of the chicken cooks.

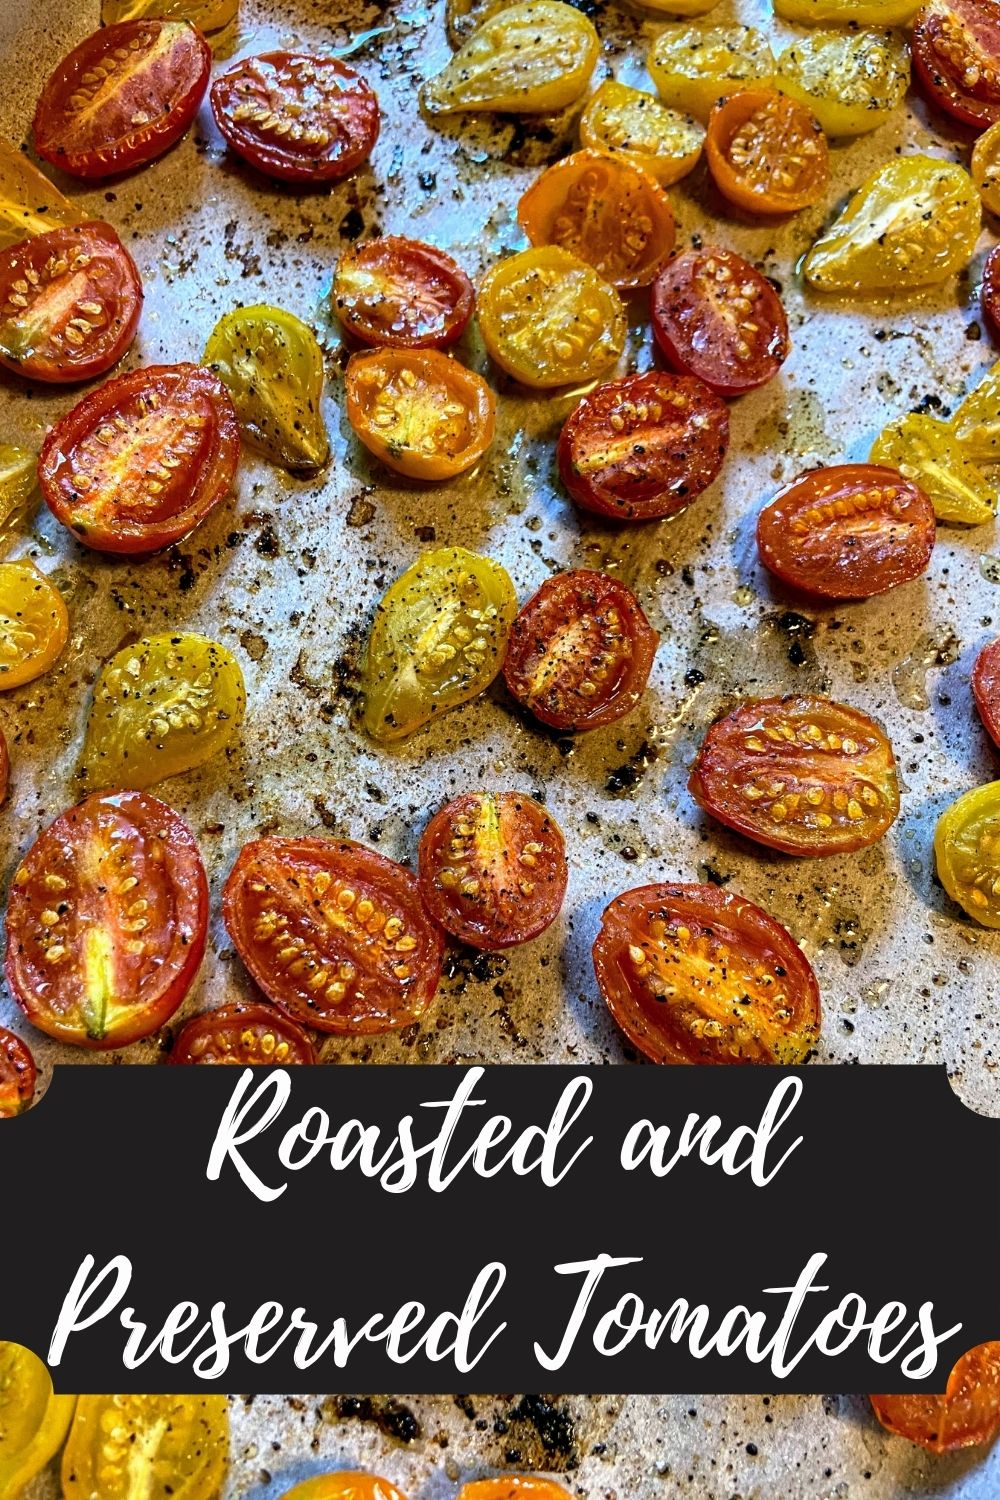
However, our favorite way is to cook up some pasta (any shape will do), drain it (reserving some of the pasta water), and add 2 frozen portions of pesto with my preserved roasted tomatoes. I use the pasta water to get the consistency of the pesto as a “sauce” just right. So good and simple. 

Ready to prepare your own pesto? Let’s go! 
Your Ingredients 

  • 2 cups fresh basil (washed and dried) 
  • 4 cloves of garlic, minced 
  • 1 cup chopped walnuts 
  •  ⅔ cup olive oil 
  • 1 cup grated Parmesan cheese
  • Salt and pepper, to taste 

Your Steps to Basil and Walnut Pesto 

Combine garlic and walnuts in a food processor. Process for 15-30 seconds. Add the basil. Process 15 seconds more. Then SLOWLY add in the olive oil, processing the entire time until the pesto is pureed. Add the Parmesan cheese and salt and pepper and puree for 60 seconds. 

Use right away or freeze to use all year long! I love to use a silicone herb freezer tray to keep the air off the herbs. Once frozen, I transfer it to a freezer bag and label. When you’re ready to use them, remove them from the freezer and thaw for 30-45 seconds in the microwave. Be mindful that you don’t go too long in the microwave or the Parmesan cheese will start to melt. 

Looking for other recipes to pair this with? Check out the fun ideas below or head right to my cooking page.

Tools of the Trade

You can’t put together a good pesto without a few tools. I usually use my food processor, but an immersion blender will work in a pinch too! I also really love these silicon trays for freezing and saving for later! Check them out!

Basil and Walnut Pesto

A simple and delicious walnut and basil pesto recipe that can be used right away or frozen for future Italian-inspired meals.
Prep Time 10 minutes
Cook Time 0 minutes
Course Side Dish
Cuisine Italian
Servings 10

Ingredients
  

  • 2 cups fresh basil washed and dried
  • 4 cloves of garlic minced
  • 1 cup chopped walnuts
  • cup olive oil
  • 1 cup grated Parmesan cheese
  • Salt and pepper to taste

Instructions
 

  • Combine garlic and walnuts in a food processor. Process for 15-30 seconds. Add the basil.
  • Process 15 seconds more. Then SLOWLY add in the olive oil, processing the entire time until the pesto is pureed.
  • Add the Parmesan cheese and salt and pepper and puree for 60 seconds.
  • Use right away or freeze to use all year long.
  • Portion into a silicone herb freezer tray to keep the air off the herbs.
  • Once frozen, transfer it to a freezer bag and label. When you’re ready to use them, remove them from the freezer and thaw for 30-45 seconds in the microwave.
Keyword basil, Italian, pesto, walnuts
Tried this recipe?Let us know how it was!

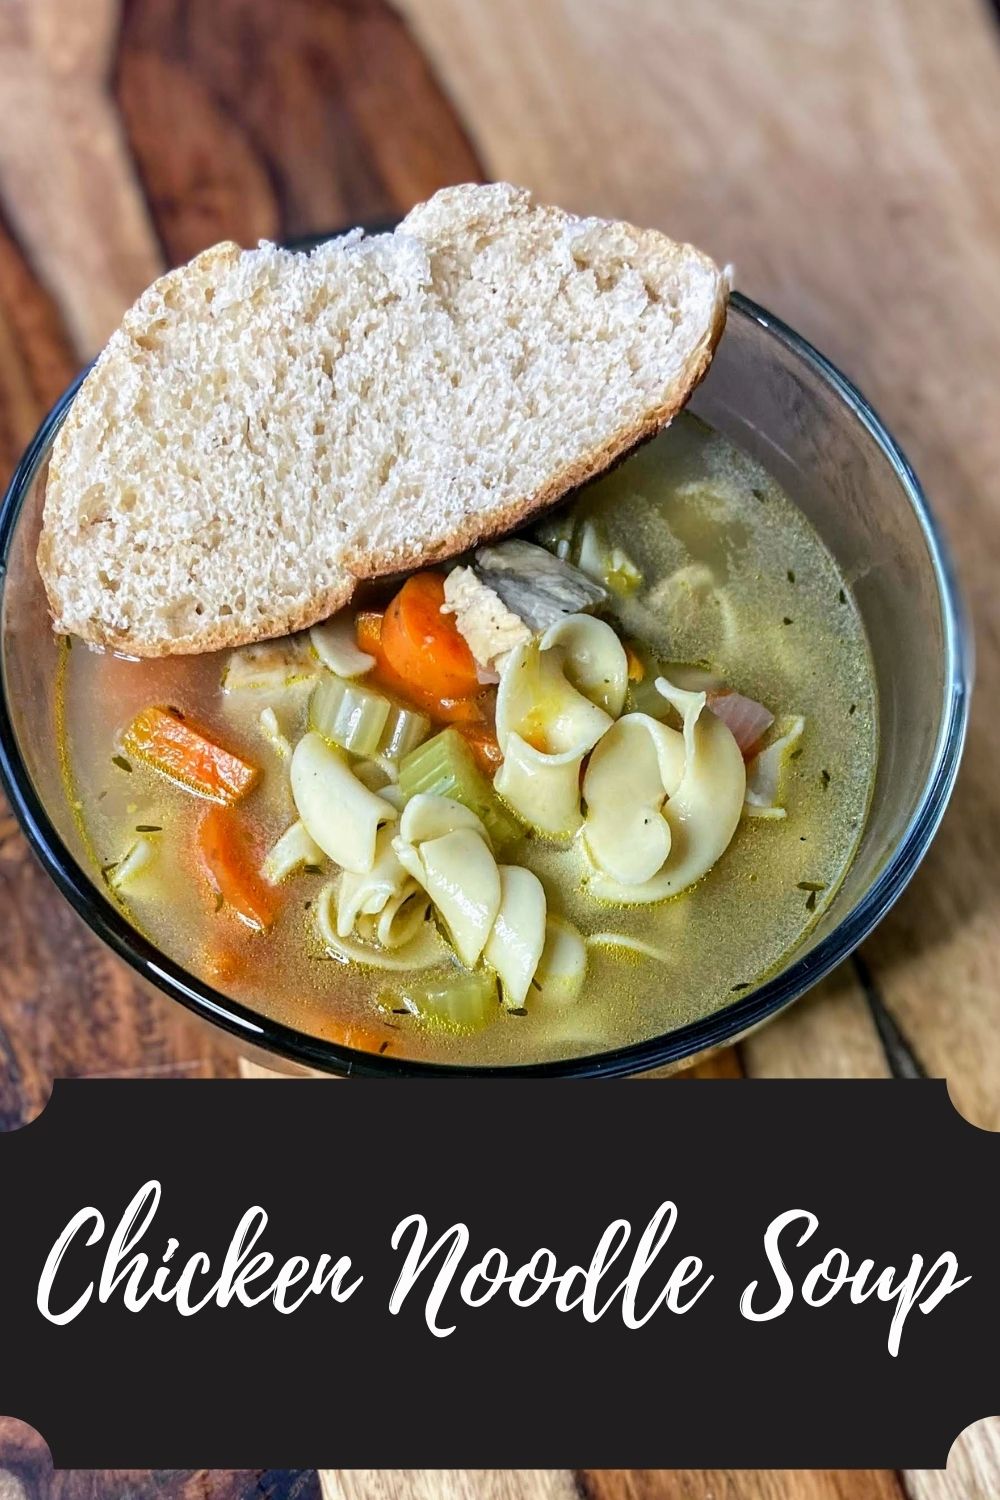
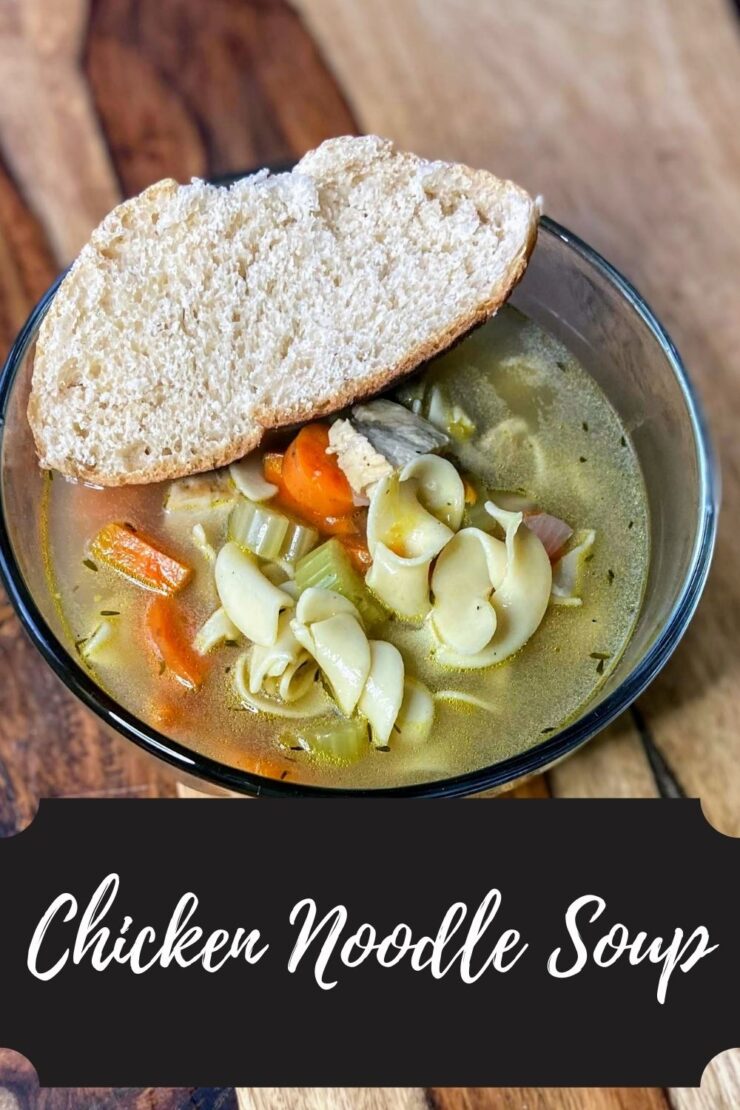
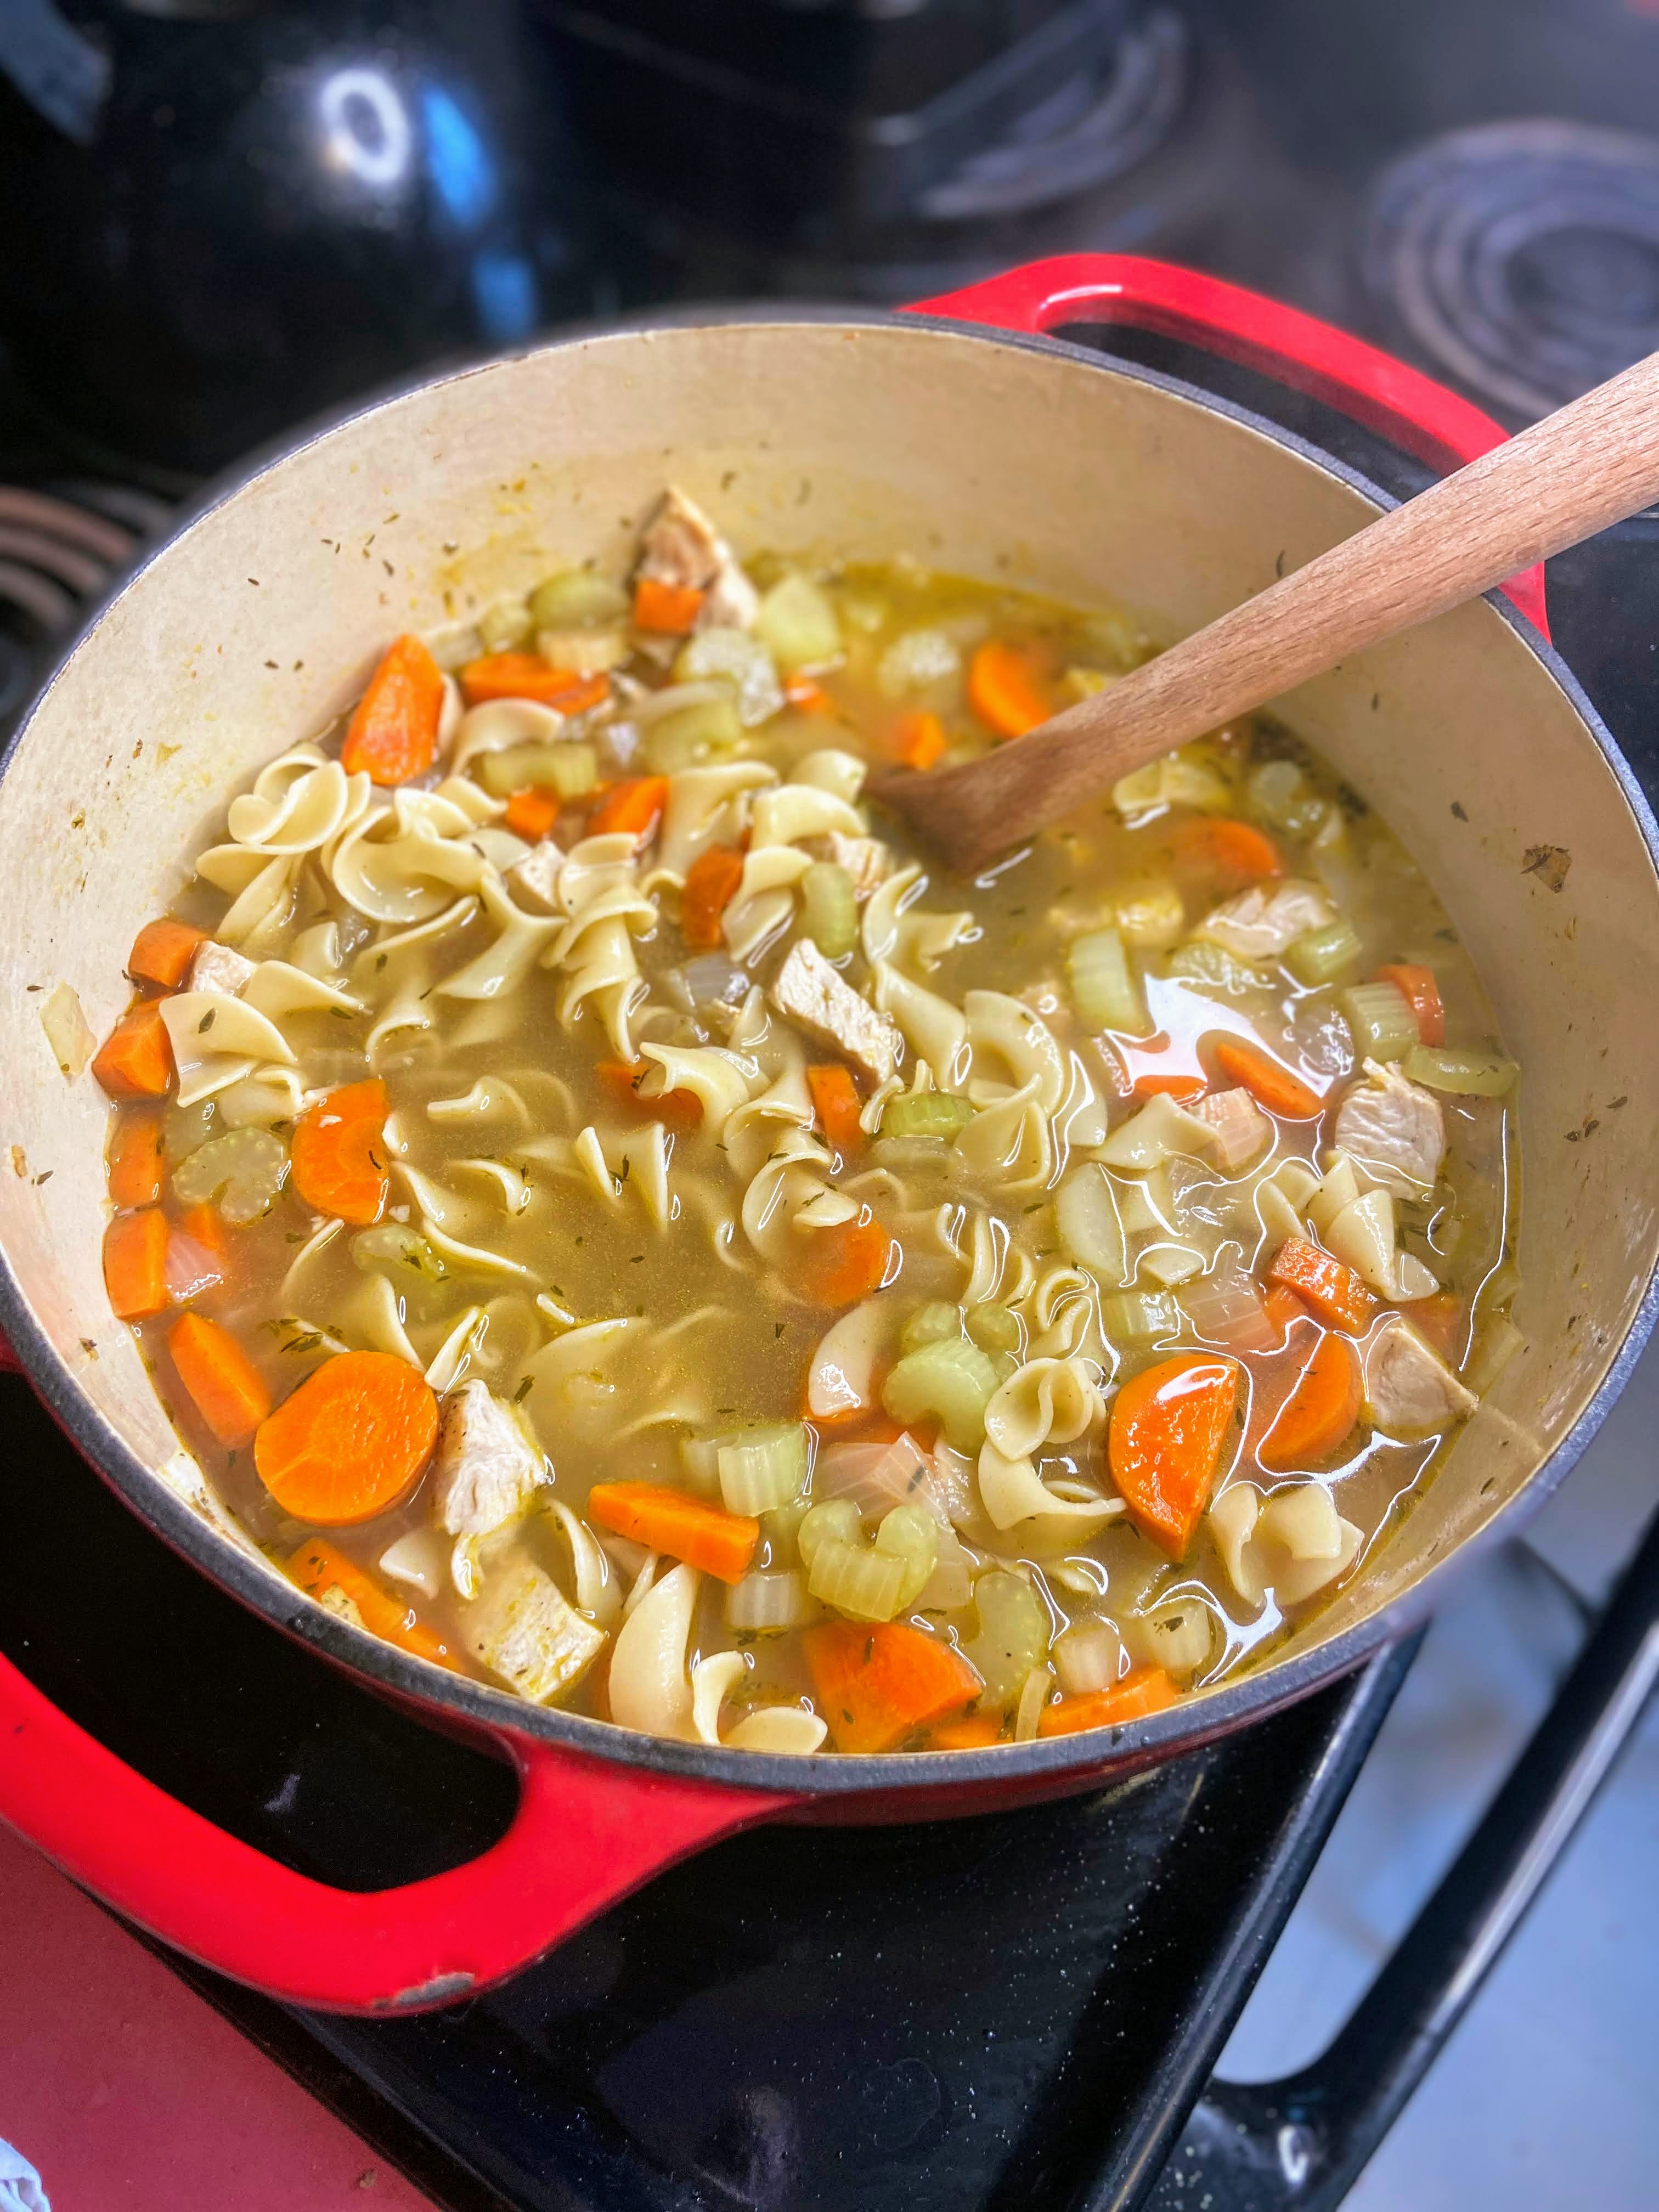
Chicken Noodle Soup

I have tried to write down my chicken noodle soup recipe countless times. I would start chopping the vegetables, cooking the chicken. The next step is grabbing the measuring cups and spoons so I could get exact measurements. The thing is, I couldn’t get to that step. I don’t measure when I make chicken noodle soup; it’s a “go by feel” kind of thing. Everytime I tried to measure, it was painful. Couldn’t do it. 

Then a friend of mine said she usually doesn’t measure, but she finally wrote it down, in her own handwriting, so that her kids would have it and would be able to duplicate it if/when she was gone. 

That hit me hard. Chicken noodle soup is my son’s favorite meal. He has had it for his birthday meal countless times (I mean, he’s only eleven, but I can’t tell you how many times he asked for it, so I am calling it countless. HA!) What if he wanted to make my soup and could never get it right? I had to write it down. 

Also, what kind of comfort food food blogger would I be if I didn’t have chicken noodle soup on my blog? Especially one that declares soup one of her favorite meals? And so, here it is! I ACTUALLY measured everything. I taste tested. My son double checked it all and gave it two thumbs up. I hope you love it as much as we do! 

Let’s get cooking! 

Your Ingredients for Chicken Noodle Soup

  • 1 pound cooked chicken (about 2 ½ cups), cubed or shredded 
  • 1 tablespoon olive oil 
  • 2 ½ cups chopped carrots (about 2-3 large) 
  • 2 ½ cups chopped celery (about 3-4 stalks)
  • 1 ½ cups chopped onion (about 1 large) 
  • ¾ teaspoon pepper 
  • ½ – 1 teaspoon salt, to taste
  • ¾ teaspoon thyme
  • 2 teaspoons minced garlic 
  • 6 cups chicken stock, see note
  • 4-6 cups water, see note
  • 1-2 teaspoons broth base and seasoning (I ADORE Orrington Farms), optional, see note
  • 3 cups egg noodles 

A couple notes before you get started

A couple notes before you get started

  • The chicken I use depends on my time. Sometimes I cook a couple breasts in a cast iron pan, starting on the stove and then putting it in the oven at 400 degrees until cooked to 165 degrees. If I have more time and bone in chicken, I will make stock while cooking the chicken.  
  • To make a stock, cover the chicken with water in a stockpot. Add a stalk of celery, a carrot, and an onion, all quartered. Add some pepper, salt, and a clove or two of garlic. Bring it to a boil and then lower to a simmer, cooking until the chicken is cooked through. Strain out vegetables and chicken. Skim off the foam. Broth can be used right away or frozen for later! That’s what I used in this recipe. Allow the chicken to cool, peel off the skin and shred chicken.
  • I love Orrington Farms Broth Base and Seasoning because I can control the flavor and sodium in my stock. Depending on the stock you use (homemade or from a box), you will have a different depth of flavor. This allows you to add a little more if needed. You can totally use a cube of bouillon or whatever you favorite broth base is. The bottom line is this for you to find YOUR taste. 
  • About the water: The egg noodles will absorb liquid as the soup sits. If you are serving the chicken noodle soup right after you finish cooking it, stick with the 4 cups of water. If you are meal prepping and serving it a day or two later, you will likely have to add an additional cup or two, depending on how you like your soup. You do you friend.

Your Steps To Homemade Chicken Noodle Soup 

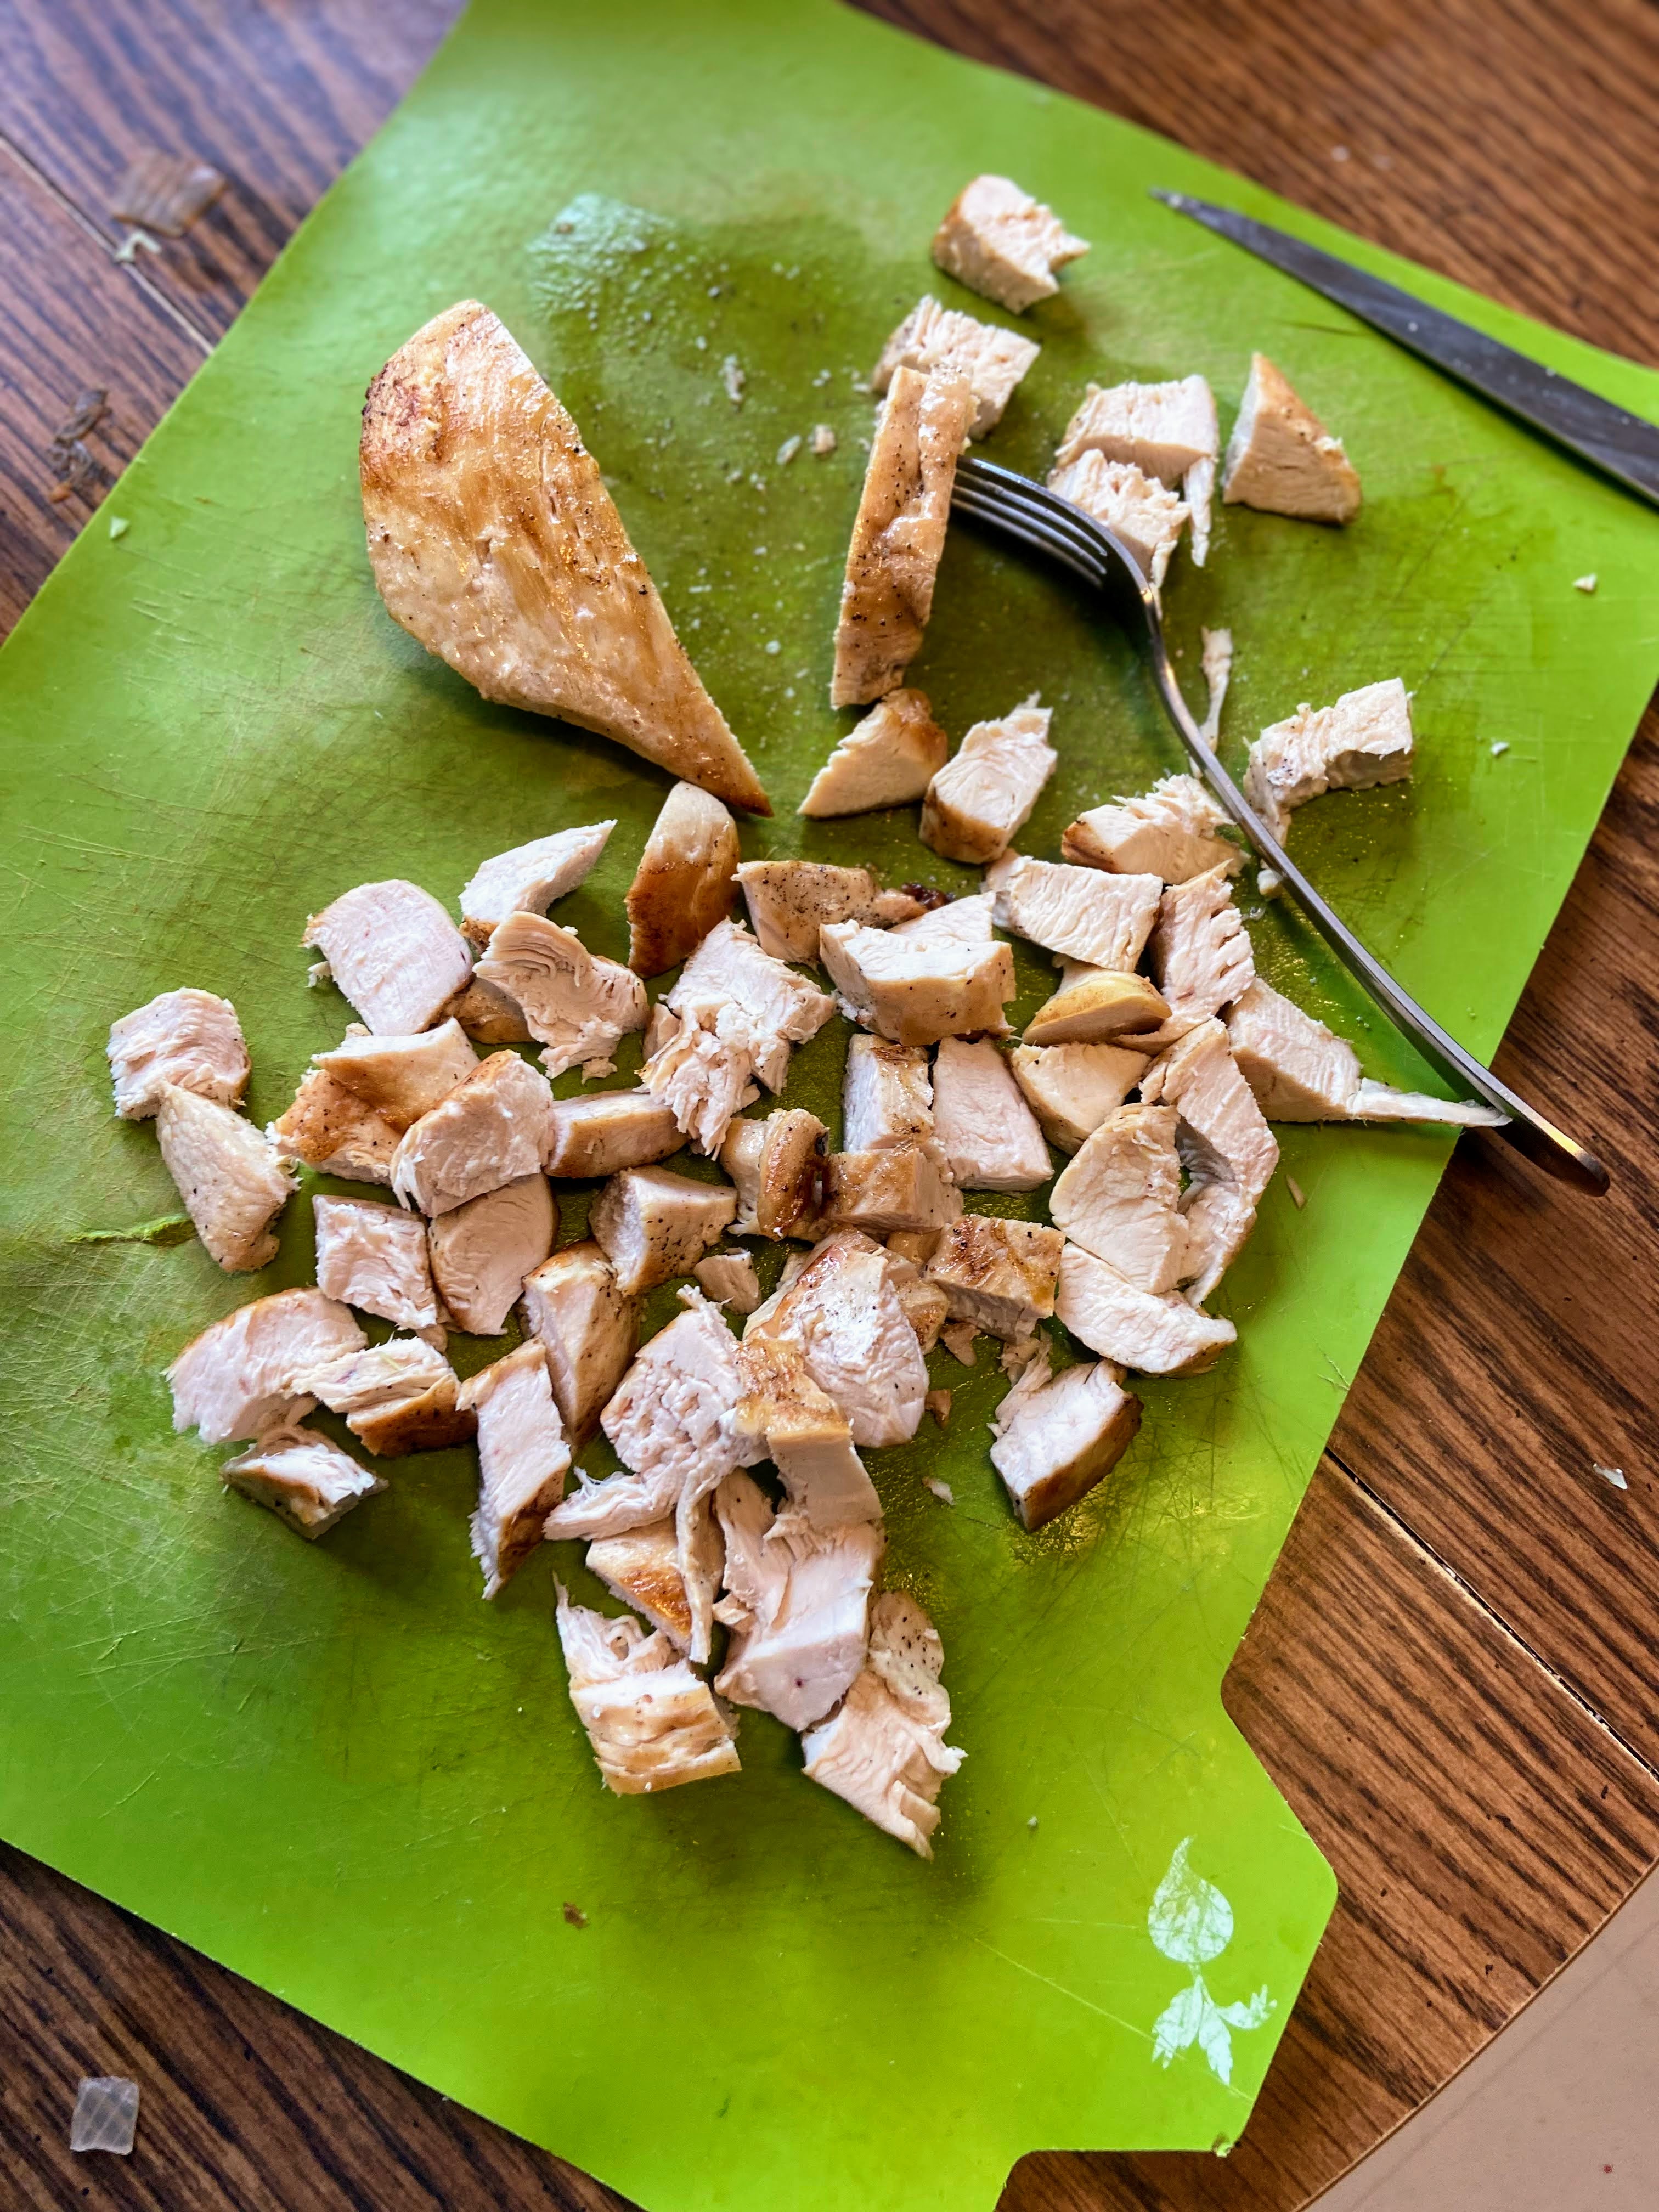
If you have not already, begin with cooking the chicken you plan on using. Short on time? Season a couple chicken breasts with salt and pepper. Heat an oven safe pan over medium heat with ½ tablespoon olive oil. Once hot, add chicken. Flip after 5 minutes, searing both sides. Once done, stick in a 400 degree oven, cooking until 165 degrees, about 14 minutes. Once cooked, cube it up and set aside. Alternatively, you could pick up a rotisserie chicken and measure 2 ½ cups of meat. (If you do this, DO NOT throw the bones away. Make a stock for later!

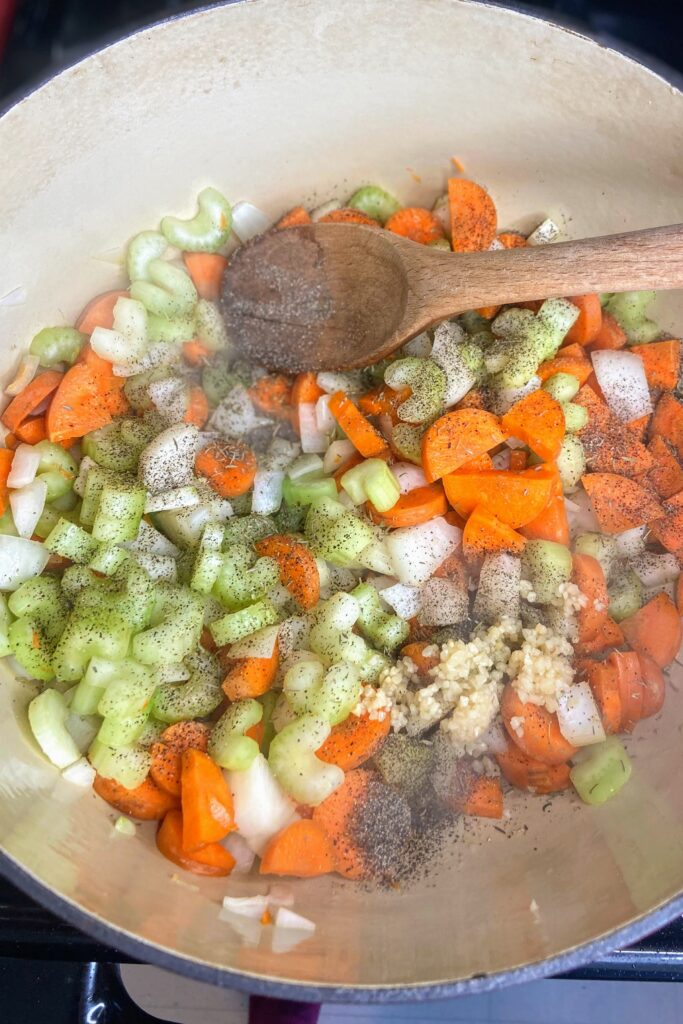
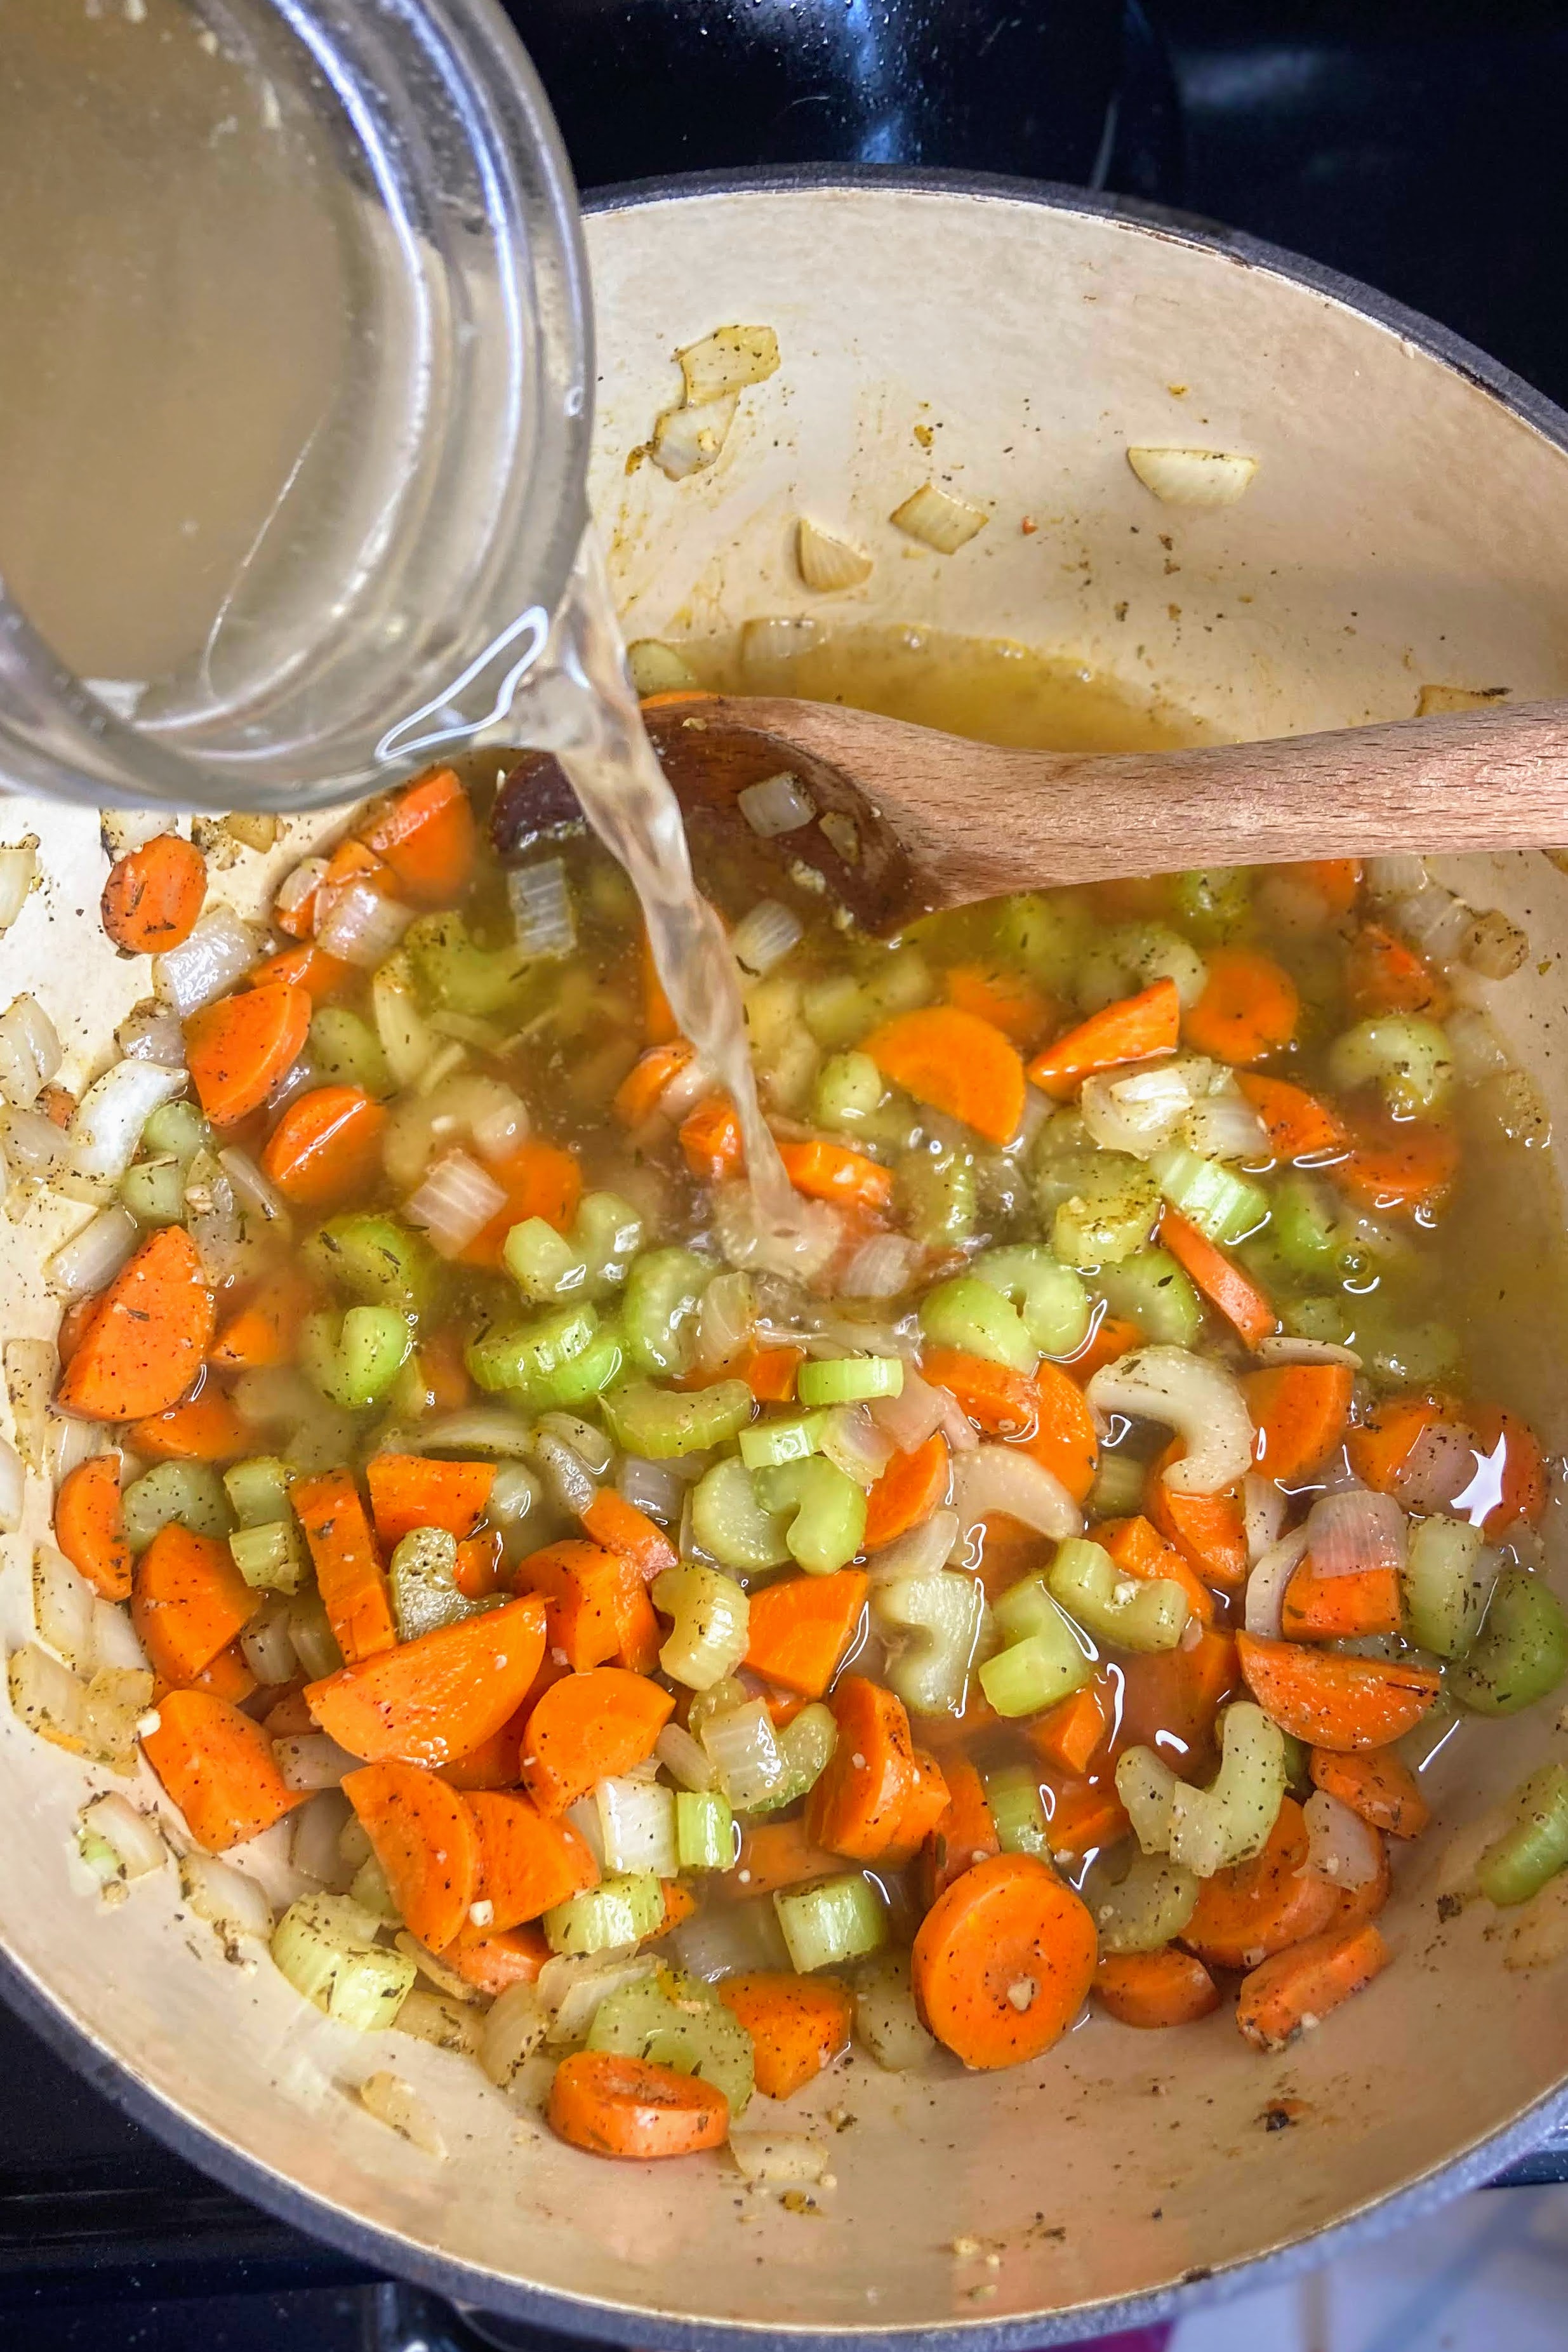
Meanwhile, heat olive oil in a soup kettle (I dig The Lodge Cast Iron Dutch Oven) over medium heat. Once hot, add carrots, celery, and onion. Season with pepper, thyme, and garlic. Cook over medium heat until softened, about 10 minutes, stirring often. Season with ½ teaspoon salt. Stir in chicken stock, 4 cups of water, and chicken. Increase the heat, bringing to a boil. Add egg noodles, lower the heat to medium and cook for seven minutes, cooking noodles to al dente. 

Almost there!

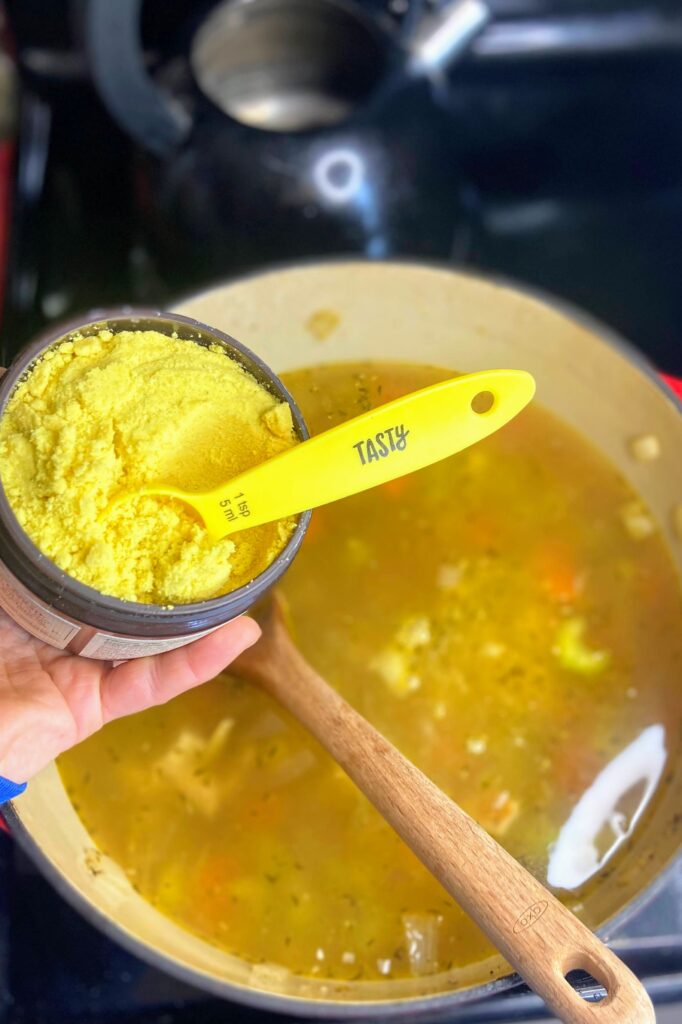
At this point, give the soup a taste. If you want more salt and chicken flavor, add the broth base, 1 teaspoon at a time. I also like to check the pepper level here but know that pepper sinks in the soup. If you add too much, the end of the soup kettle will be on the peppery side. 

Again, the noodles will absorb liquid over time. If you are serving this soup right away, 4 cups of water should be perfect. If you are serving it hours later or the next day, be prepared for a thicker soup. You may want to add that additional water. 

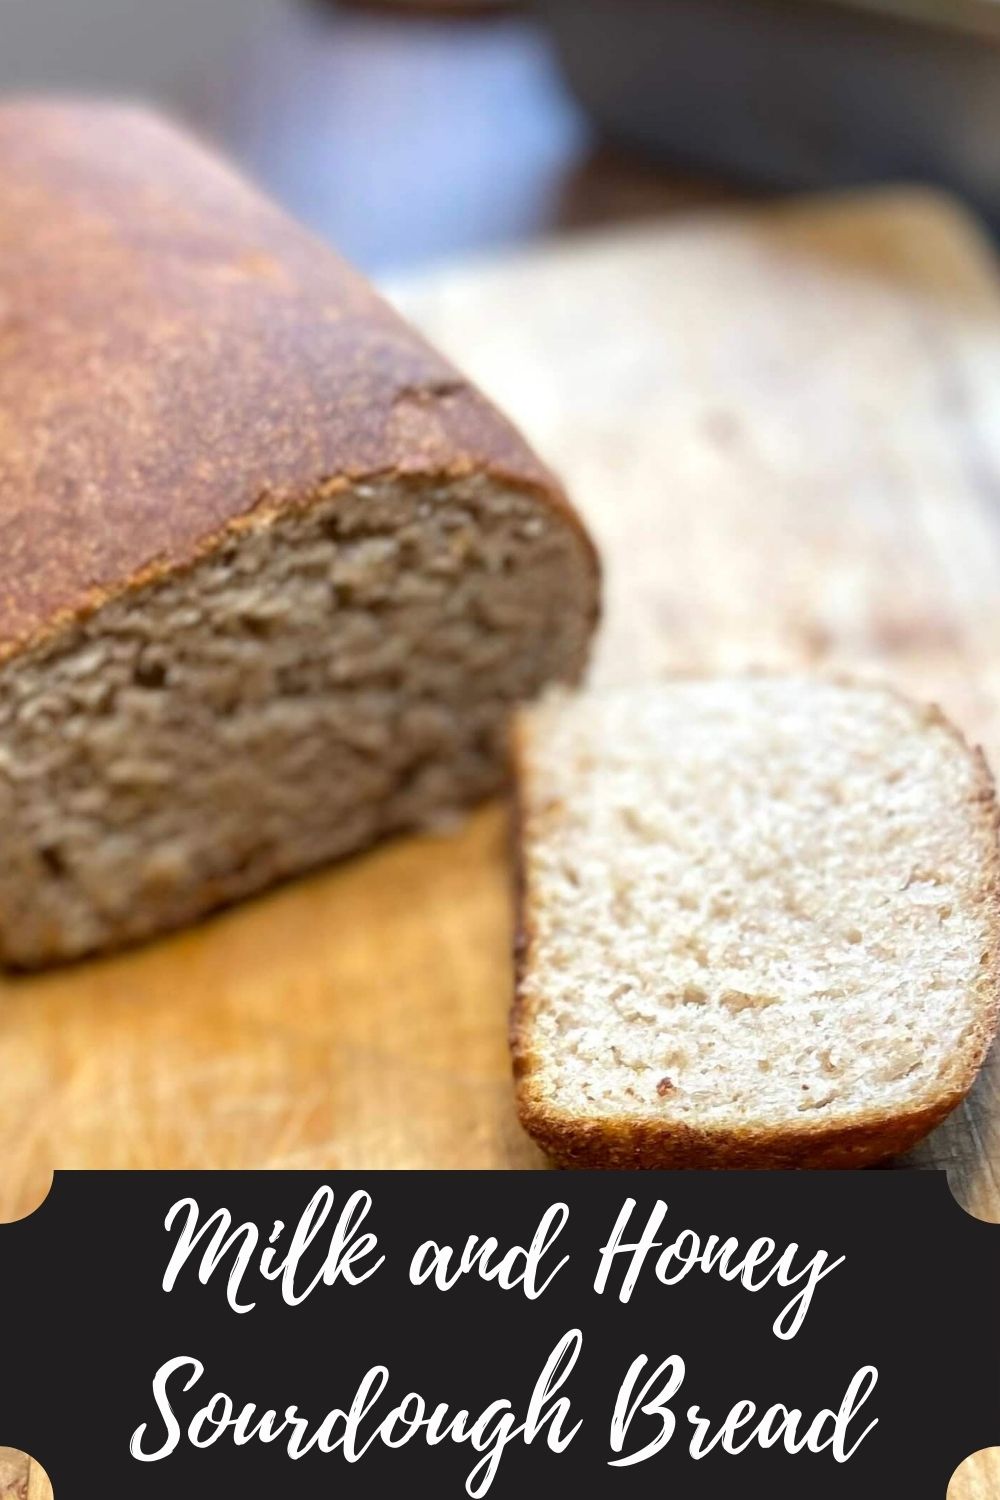
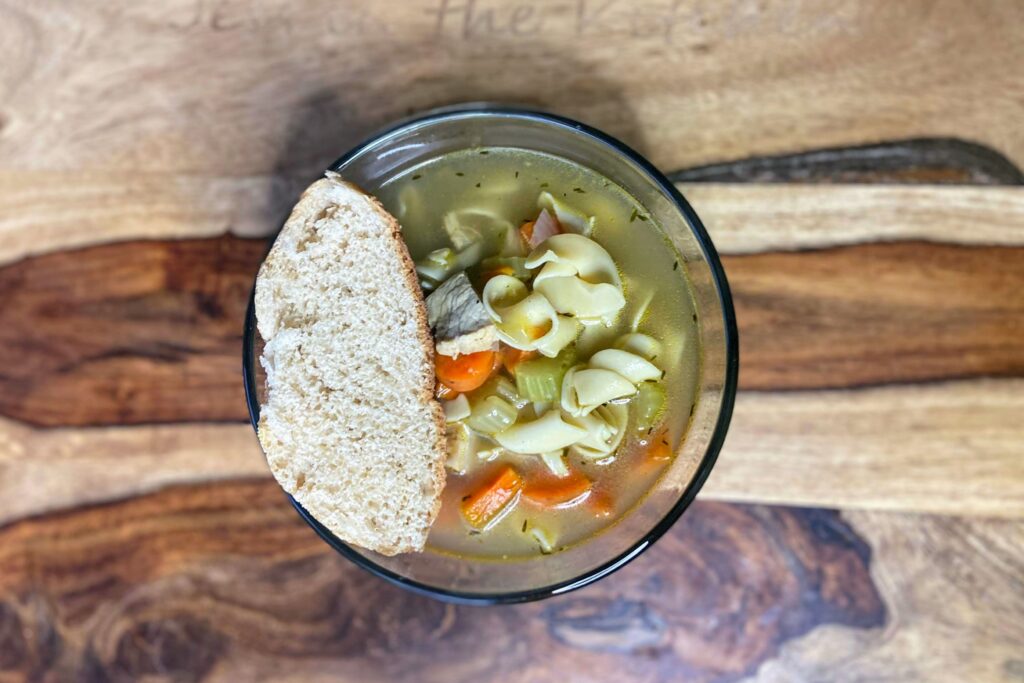
I am a firm believer that a good kettle of soup should be served with a salad (I love my homemade french dressing!) and sourdough bread (get the details here!). It hard to get something better 💕

Tools of the Trade

I keep all the flavors of Orrington Farms broth base on hand. It keeps well and allows me to season my soups and stews with just the right amount of flavor.

parts is that they go from stove top to oven so easy and you can even bake bread in them! And

And my flexible cutting boards are a go to item in the kitchen. If I am shopping for a wedding registry, I will buy them even the couple doesn’t have it on the list because I figure they just must not know how wonderful they are!

Chicken Noodle Soup

A classic soup recipe that will keep everyone coming back for seconds (and thirds!)
Prep Time 10 minutes
Cook Time 20 minutes
Course Soup
Cuisine American
Servings 8

Ingredients
  

  • 1 pound cooked chicken about 2 ½ cups, cubed or shredded
  • 1 tablespoon olive oil
  • 2 ½ cups chopped carrots about 2-3 large
  • 2 ½ cups chopped celery about 3-4 stalks
  • 1 ½ cups chopped onion about 1 large
  • ¾ teaspoon pepper
  • ½ – 1 teaspoon salt to taste
  • ¾ teaspoon thyme
  • 2 teaspoons minced garlic
  • 6 cups chicken stock see note
  • 4-6 cups water see note
  • 1-2 teaspoons broth base and seasoning optional, see note
  • 3 cups egg noodles

Instructions
 

  • Heat olive oil in a soup kettle over medium heat.
  • Once hot, add carrots, celery, and onion. Season with pepper, thyme, and garlic.
  • Cook over medium heat until softened, about 10 minutes, stirring often.
  • Season with ½ teaspoon salt. Stir in chicken stock, 4 cups of water, and chicken.
  • Increase the heat, bringing to a boil.
  • Add egg noodles, lower the heat to medium and cook for seven minutes, cooking noodles to al dente.
  • Check the flavor profile of your soup. If needed, add broth base or bouillon, 1 teaspoon or cube at a time. Add additional pepper to taste.

Notes

  • The chicken I use depends on my time. Sometimes I cook a couple breasts in a cast iron pan, starting on the stove and then putting it in the oven at 400 degrees until cooked to 165 degrees. If I have more time and bone in chicken, I will make stock while cooking the chicken.  You could also shorten time by using a rotisserie chicken and shredding the meat, discarding the skin.  
  • To make a stock, cover the chicken with water in a stockpot. Add a stalk of celery, a carrot, and an onion, all quartered. Add some pepper, salt, and a clove or two of garlic. Bring it to a boil and then lower to a simmer, cooking until the chicken is cooked through. Strain out vegetables and chicken. Skim off the foam. Broth can be used right away or frozen for later! That’s what I used in this recipe. Allow the chicken to cool, peel off the skin and shred chicken.
  • I love Orrington Farms Broth Base and Seasoning because I can control the flavor and sodium in my stock. Depending on the stock you use (homemade or from a box), you will have a different depth of flavor. This allows you to add a little more if needed. You can totally use a cube of bouillon or whatever you favorite broth base is. The bottom line is this for you to find YOUR taste. 
  • About the water: The egg noodles will absorb liquid as the soup sits. If you are serving the chicken noodle soup right after you finish cooking it, stick with the 4 cups of water. If you are meal prepping and serving it a day or two later, you will likely have to add an additional cup or two, depending on how you like your soup. 
Keyword chicken, chicken noodle, soup, soups and stews
Tried this recipe?Let us know how it was!

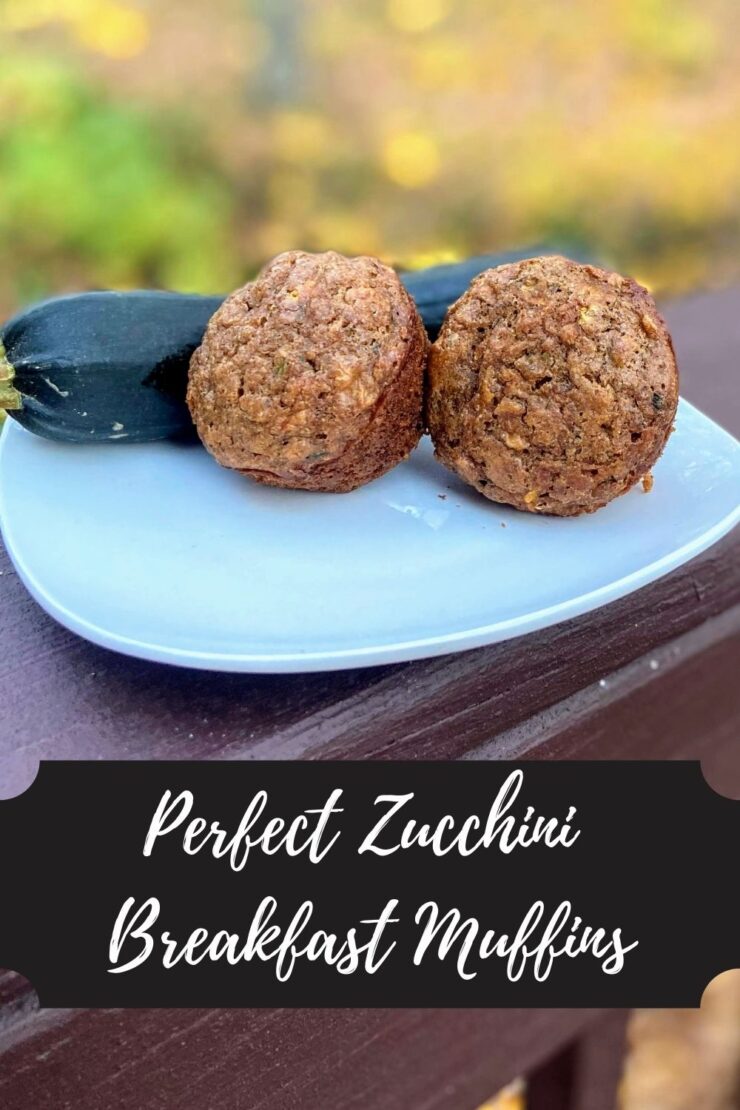
Perfect Zucchini Breakfast Muffins

Yes, I recognize that zucchini season is over this year, but maybe you’re like me and you have a summer squash or two still sitting on your counter and can’t allow them to go to waste. Our zucchini plants didn’t amount to much this year, but we had a friend who had an excessive amount of volunteer plants come up. He brought us a number of zucchini a few weeks ago, and I set about to create perfect zucchini breakfast muffins, looking for a balance between flavor and healthier ingredients. 

I think I may have hit the jackpot. The Mr. has been eating four of them for breakfast. My daughter loves them for a treat after dinner, and I have been bringing one or two for a mid morning snack. In a 24 hour period, I believe I made three batches. If that doesn’t tell you they are good, I don’t know what does. I threw about a dozen in the freezer for future snacks and we have been devouring the rest (don’t mind me while I eat two as I type). 

I knew I could likely wait until next year to share this when the timing was right. But these perfect zucchini breakfast muffins are simply too good to share. I know the growing season is finished in Wisconsin, but I am hoping my friends out of the midwest will love to put these together. 

One more thing: The Mr. has always complained when I use banana as a sweetener in baked goods that aren’t supposed to taste like banana. He doesn’t love banana bread to start with. He didn’t even notice the banana in these. Cool, right? 

Okay, enough chatter! Ready to bake? I hope so!

Your Ingredients

  • ¼ cup coconut oil, melted
  • ⅓-½ cup real maple syrup, depending on your sweetness level
  • 1 ripe banana 
  • ¼ cup plain Greek yogurt (or Triple Zero Vanilla-no added sugar), room temperature
  • 1 teaspoon vanilla 
  • 2 eggs, room temperature
  • ½ tablespoon cinnamon 
  • 1 teaspoon baking soda
  • ¾ teaspoon salt
  • ½ teaspoon baking powder
  • 1 ¾ cup whole wheat flour
  • ½ cup walnuts
  • ½ cup chocolate chips (optional)
  • 2 cups shredded zucchini, with the water rung out

Your Steps to Perfect Zucchini Breakfast Muffins

Preheat the oven to 350 degrees. Prepare 15 muffin tin vessels with liners or by greasing. 

In a large bowl, mash the ripe banana. Add maple syrup, Greek yogurt, vanilla and eggs. Combine well. Stir in the melted coconut oil. 

Place flour in the bowl. On top of that, add cinnamon, baking soda, baking powder, and salt. Stir into the wet ingredients until just combined. Add walnuts, chocolate chips, and zucchini. Mix just enough to combine, but make sure you get to the bottom of the bowl (I always miss that!). 

Fill muffin vessels ¾ of the way full. Bake for 16-20 minutes, until a toothpick can be inserted and when removed, comes out clean. 

Why did I go muffin instead of bread? I wanted to put serving size treats in the freezer. Then they could go into lunch boxes in the morning and thaw by lunch time. Not a bad idea, right? 

Looking for other sweet treats? Check out my baking page by clicking the button below:

Perfect Zucchini Breakfast Muffins

The perfect balance between good for you ingredients and flavor and texture, these perfect zucchini breakfast muffins are sure to be a hit!
Prep Time 15 minutes
Cook Time 16 minutes
Course Breakfast
Cuisine American
Servings 15 muffins

Ingredients
  

  • ¼ cup coconut oil melted
  • ⅓-½ cup real maple syrup depending on your sweetness level
  • 1 ripe banana
  • ¼ cup plain Greek yogurt room temperature
  • 1 teaspoon vanilla
  • 2 eggs room temperature
  • ½ tablespoon cinnamon
  • 1 teaspoon baking soda
  • ¾ teaspoon salt
  • ½ teaspoon baking powder
  • 1 ¾ cup whole wheat flour
  • ½ cup walnuts
  • ½ cup chocolate chips optional
  • 2 cups shredded zucchini with the water rung out

Instructions
 

  • Preheat the oven to 350 degrees. Prepare 15 muffin tin vessels with liners or by greasing.
  • In a large bowl, mash the ripe banana. Add maple syrup, Greek yogurt, vanilla and eggs. Combine well. Stir in the melted coconut oil.
  • Place flour in the bowl. On top of that, add cinnamon, baking soda, baking powder, and salt. Stir into the wet ingredients until just combined.
  • Add walnuts, chocolate chips, and zucchini. Mix just enough to combine, but make sure you get to the bottom of the bowl.
  • Fill muffin vessels ¾ of the way full. Bake for 16-20 minutes, until a toothpick can be inserted and when removed, comes out clean.
Keyword apple dessert, Breakfast, clean eating, muffins, Quick Bread, sweets, zucchini
Tried this recipe?Let us know how it was!