Savory Venison and Wild Rice Bake

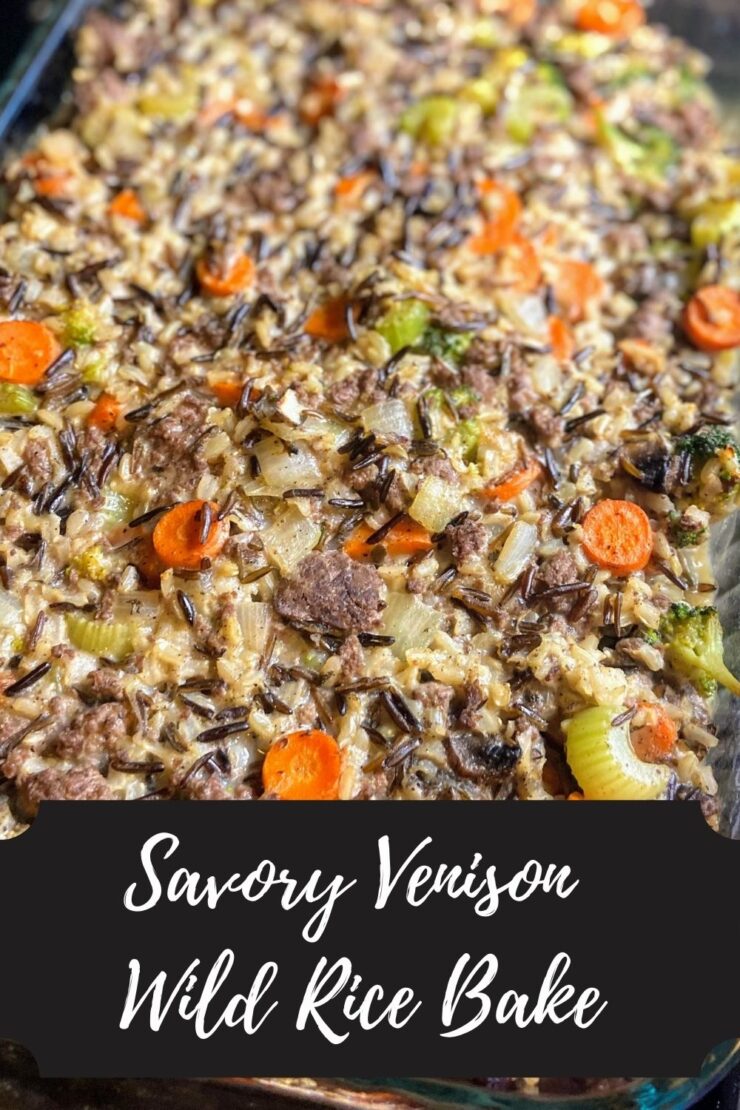
Ready for some savory venison and wild rice bake? I am so excited to share! Being a northern Wisconsin family, it may come as no surprise that a primary protein source at our house is venison. We harvest 2-4 deer a year between the gun and bow season and butcher them ourselves. Using our Kitchen Aid mixer, we grind upwards of 60 pounds of venison a year, which we use instead of ground beef or turkey 90% of the time. 

I’m always looking for new ways to use it, and this was a fun recipe to develop from scratch a few years ago. This venison and wild rice bake has a feel of tater tot hotdish (I’m close to the Minnesota border, don’t ya know?) with a true from scratch taste. You won’t find any “cream of whatever” soups in the ingredients; only true delicious wholesome foods here. I hope it becomes a go to comfort food for you like it has for us. 

Oh! And no ground venison? No problem! Substitute your favorite ground protein: beef, turkey, you name it. 

The ingredients For Venison and Wild Rice bake

  • 1 pound ground venison, seasoned with salt and pepper 
  • 6 cups low sodium chicken stock, divided
  • 1 cup long grain rice
  • 1 cup wild rice
  • 2 cups carrots, diced
  • 1 ¼ cup onion (1 large), diced
  • 1 ¼ cup celery (6 stalks), diced
  • 2 cups broccoli, diced
  • 1 cup mushrooms, sliced
  • Olive oil
  • 4 cloves garlic, minced
  • 1 teaspoon pepper
  • 1 teaspoon salt
  • 2 teaspoons sage
  • 2 teaspoons thyme
  • 1 cup milk
  • 3 tablespoons butter
  • 3 tablespoons flour

Your Steps

In a medium saucepan, bring 5 cups chicken stock to a boil. Add sage, 1/2 teaspoon pepper, 1/2 teaspoon garlic and wild rice. Cover, lower to a simmer, and cook for 10 minutes. Add long grain rice and cook for an additional 25-30 minutes, stirring periodically to check that you still have water. You want your rice to just be tender. Test it at 40 minutes. If it gets over cooked, it will be mush once you bake it.

Meanwhile, dice and chop the onion, celery, carrots, broccoli, and mushrooms. Heat a large kettle (I love my cast iron Dutch oven) with ½ to 1 tablespoon of olive oil. Add the vegetables (except the mushrooms) remaining garlic, salt, pepper, sage, and thyme, cooking on a medium heat for ten minutes. Add mushrooms and cook for an additional five minutes. Remove the vegetables from the kettle and place them in a large bowl. In the same pan (The less dishes, the better, right?), cook the ground venison (or hamburger or turkey) until no longer pink. Stir into the bowl of vegetables along with cooked rice. 

Now for the Creamy part

In the same kettle, melt the butter under medium heat. Stir in flour and continue to stir until you have a beautiful golden brown color. To this, add milk, 1/4 of a cup at a time, whisking until well combined and thickened. Repeat with the remaining chicken stock. Pepper to taste. Stir in to the vegetables, rice, and browned venison. Taste once more, adding salt and pepper as needed.

Spread the mixture into a greased casserole dish and bake uncovered for 20 minutes at 425 degrees, until just crispy on the top and hot all the way through. Often, I will prep mine in the morning or the day before and refrigerate until we are ready to eat. If baked after being refrigerated, bake covered for 15 minutes and then gave it an additional 15-20 minutes without a cover. It will be perfectly crispy on the top and creamy in the middle. A wonderful comfort food. 

Tools of the Trade

What are some tools I can’t live without? First, my Pyrex baking dishes are a go to for all things baked. And I love a lot of baked dishes. I also really dig my flexible cutting boards and my goodness, as silly as this sounds, this is my favorite whisk. I have had it for years and it’s truly the only one I use.

Savory Venison Wild Rice Bake

Savory herbs, two types of rice, and ground venison come together for a delicious venison and wild rice bake.
5 from 13 votes
Prep Time 45 minutes
Cook Time 20 minutes
Course dinner
Cuisine American
Servings 8 people

Ingredients
  

  • 1 pound ground venison seasoned with salt and pepper
  • 6 cups low sodium chicken stock divided
  • 1 cup long grain rice
  • 1 cup wild rice
  • 2 cups carrots diced
  • 1 ¼ cup onion 1 large, diced
  • 1 ¼ cup celery 6 stalks, diced
  • 2 cups broccoli diced
  • 1 cup mushrooms sliced
  • Olive oil
  • 4 cloves garlic minced
  • 1 teaspoon pepper
  • 1 teaspoon salt
  • 2 teaspoons sage
  • 2 teaspoons thyme
  • 1 cup milk
  • 3 tablespoons butter
  • 3 tablespoons flour

Instructions
 

  • In a medium saucepan, bring 5 cups chicken stock to a boil. Add sage, 1/2 teaspoon pepper, 1/2 teaspoon garlic and wild rice. Cover, lower to a simmer, and cook for 10 minutes.
  • Add long grain rice and cook for an additional 30-35 minutes, stirring periodically to check that you still have water. You want your rice to just be tender. Test it at 40 minutes.
  • Meanwhile, dice and chop the onion, celery, carrots, broccoli, and mushrooms. Heat a large kettle with ½ to 1 tablespoon of olive oil. Add the vegetables (except the mushrooms) remaining garlic, salt, pepper, sage, and thyme, cooking on a medium heat for ten minutes.
  • Add mushrooms and cook for an additional five minutes. Remove the vegetables from the kettle and place them in a large bowl.
  • In the same pan, add an additional 1/2 tablespoon olive oil and cook the ground venison (or hamburger or turkey) until no longer pink. Stir into the bowl of vegetables along with cooked rice.
  • In the same kettle, melt the butter under medium-low heat. Stir in flour and continue to stir until you have a beautiful golden brown color. To this, add milk, 1/4 of a cup at a time, whisking until well combined and thickened. Repeat with the remaining chicken stock. Pepper to taste.
  • Stir in to the vegetables, rice, and browned venison. Taste once more, adding salt and pepper as needed.
  • Spread the mixture into a greased casserole dish and bake uncovered for 20 minutes at 425 degrees, until just crispy on the top and hot all the way through.

Notes

This can be prepped early, say the night before or in the morning. If baked after being refrigerated, bake covered for 15 minutes and then gave it an additional 15-20 minutes without a cover. It will be perfectly crispy on the top and creamy in the middle.
Keyword from scratch, rice pilaf, vegetables, venison, venison recipe, whole foods, wild rice
Tried this recipe?Let us know how it was!

Can I share some other favorites of mine?

Check out the recipes below for other meal inspiration!

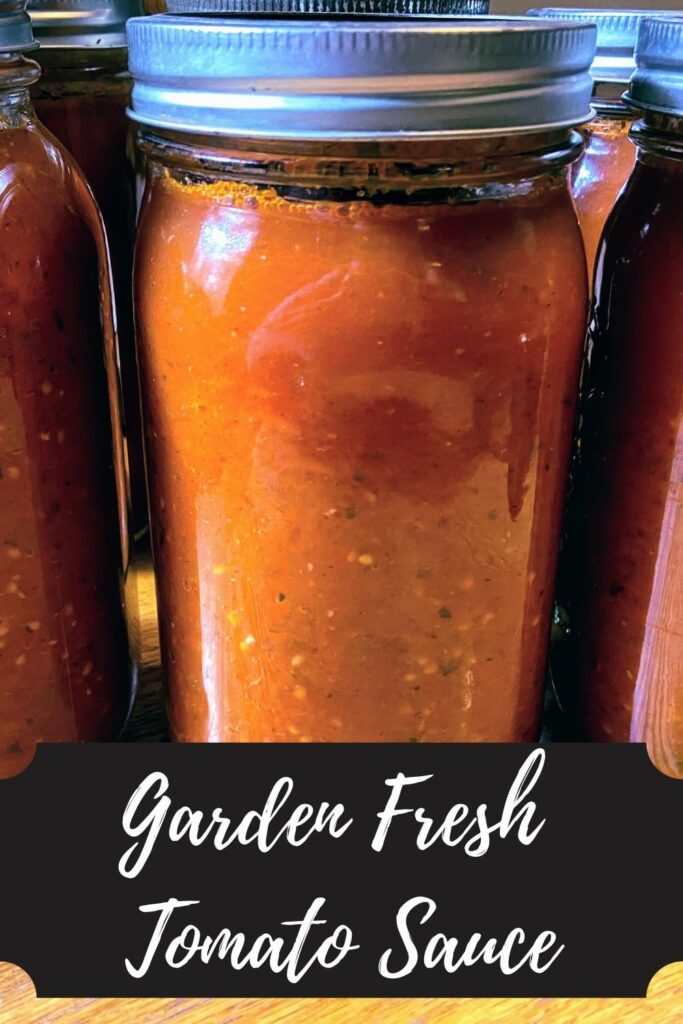
Garden Fresh Tomato Sauce

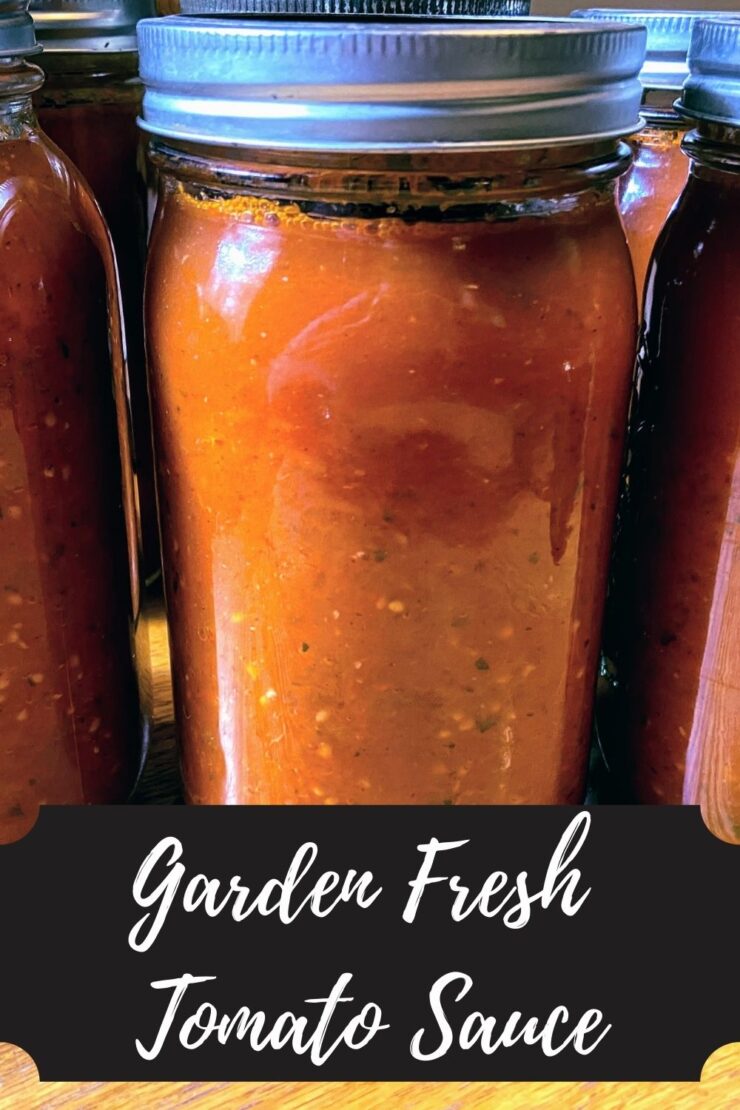
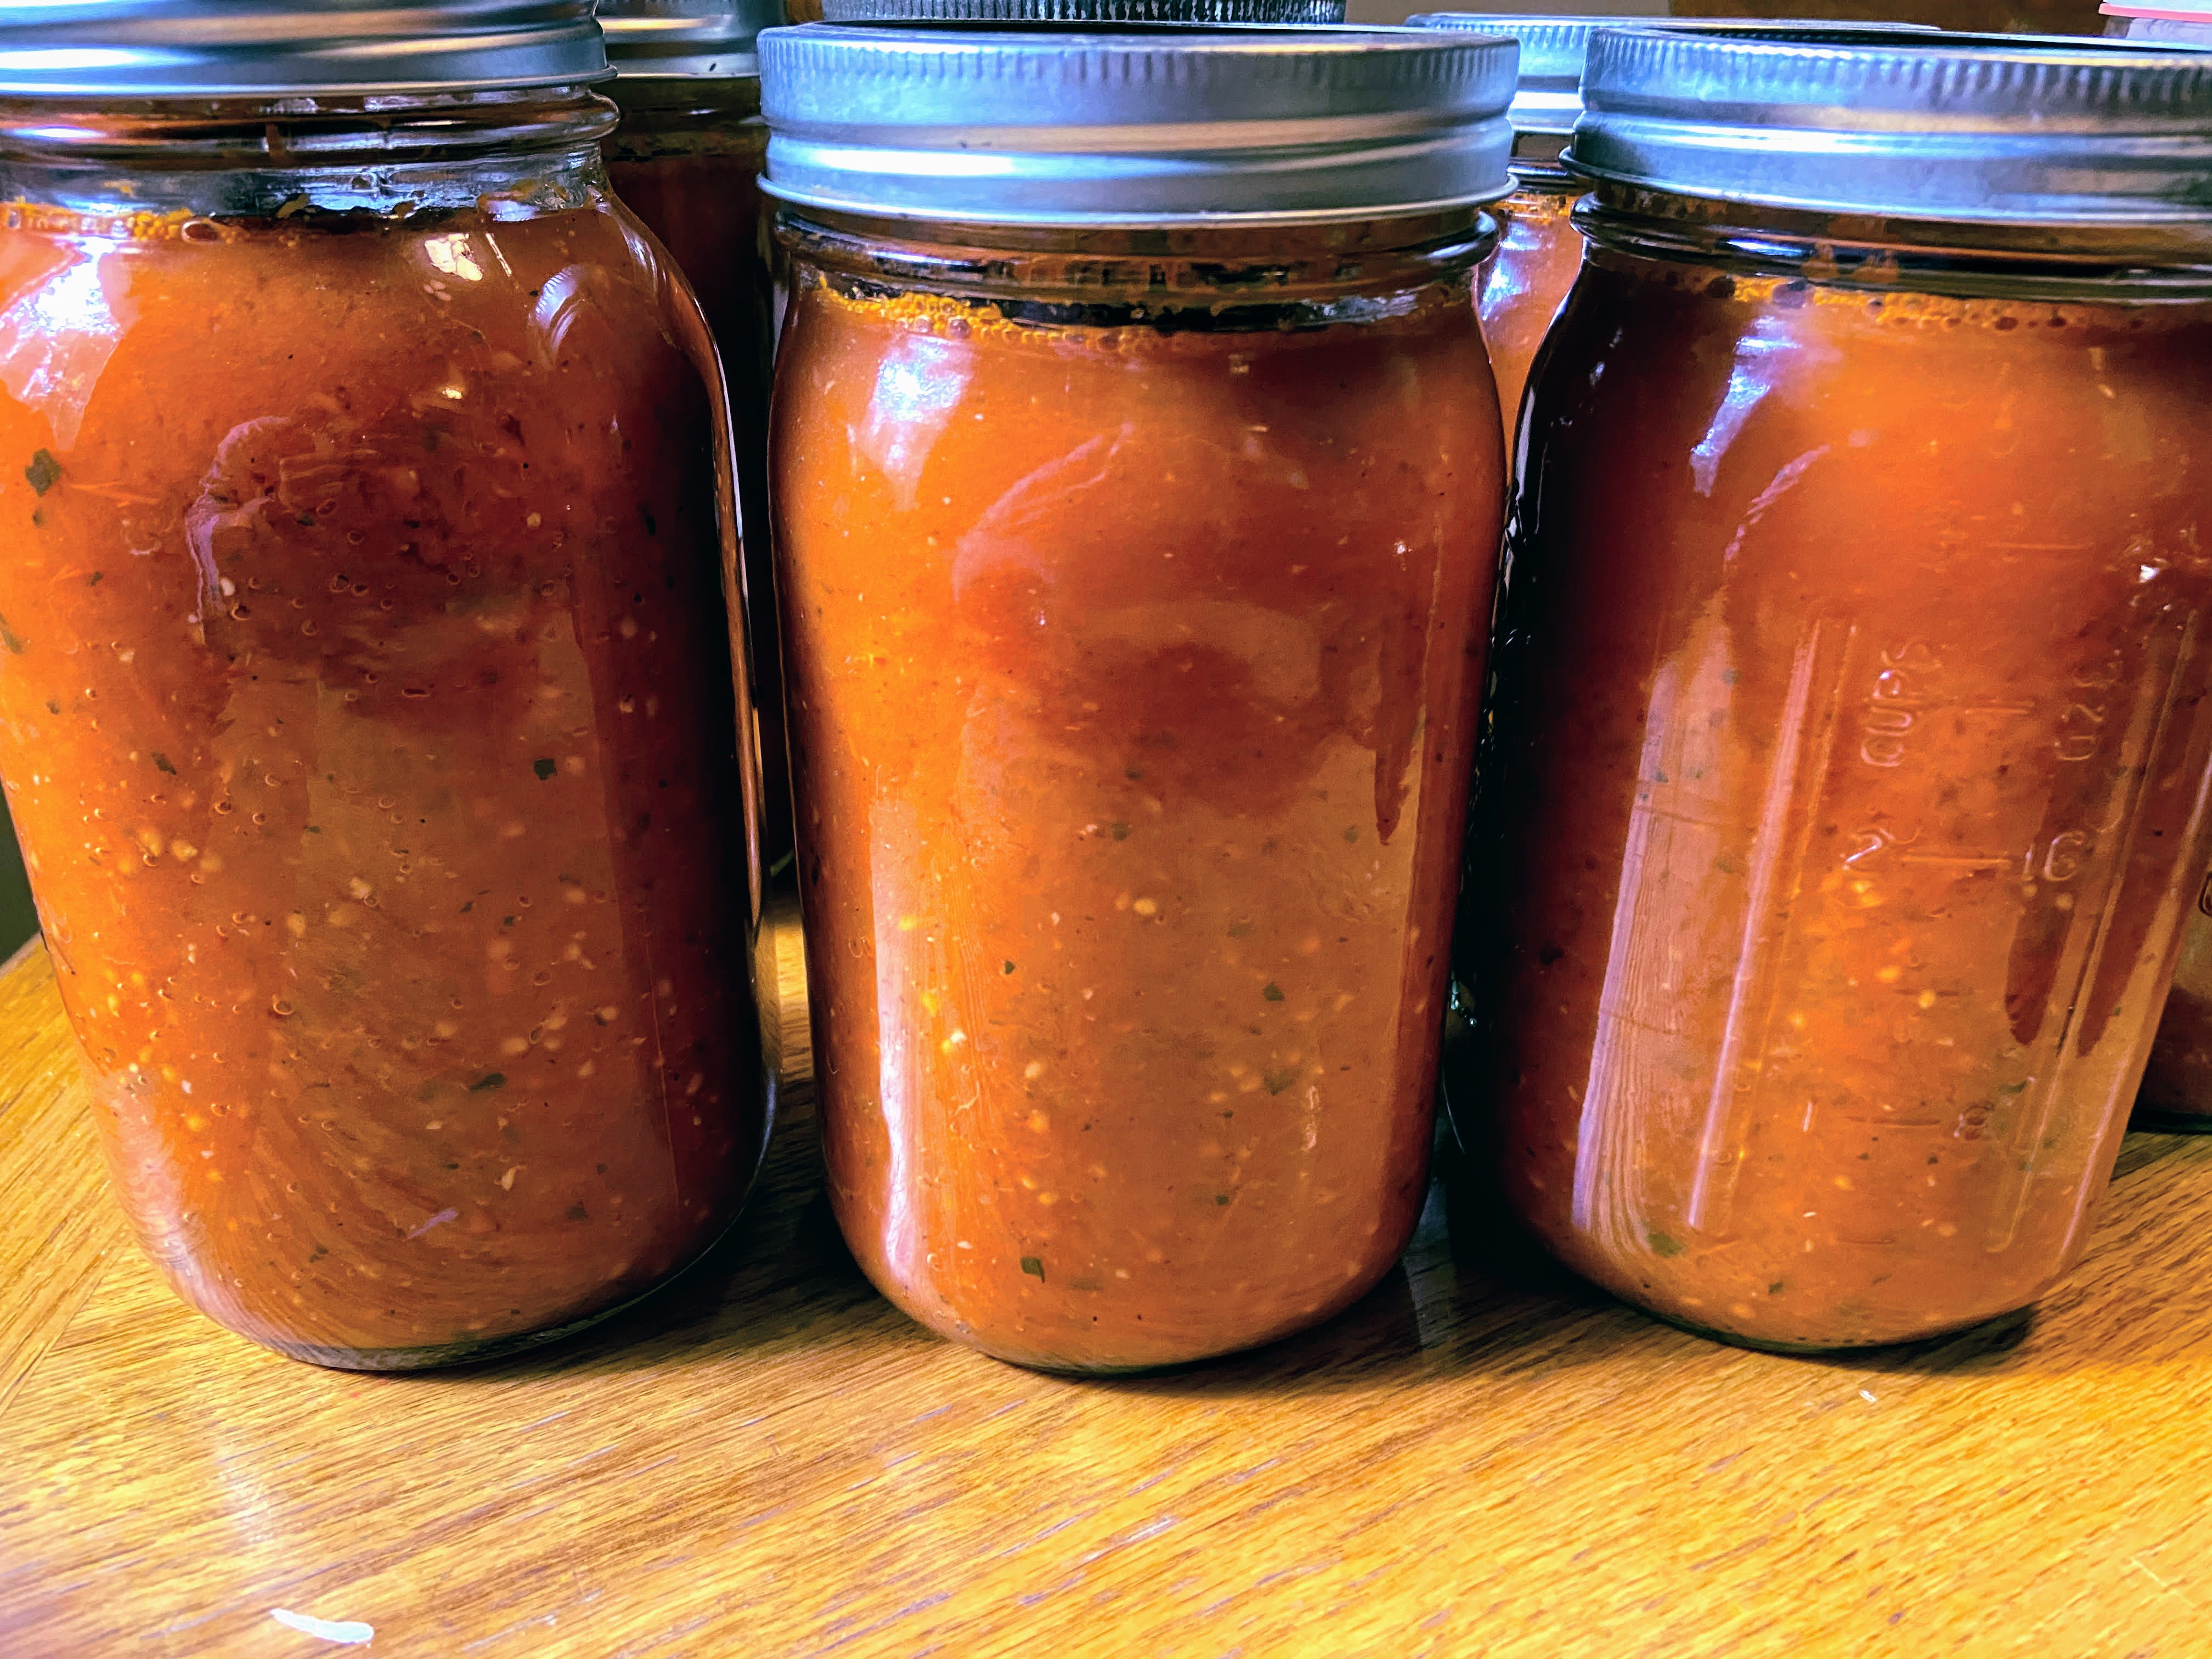
Canning and preserving from my garden is my jam all summer long. I love the color, the flavor, the dirt under my nails and ALLL the mason jars. Seriously, there isn’t much better than a line of mason jars that are full of the garden’s bounty. I remember when I first started planting our garden, my theory was, “Plant all the plants. The worst thing that happens is that some of the food goes to the chickens, our friends, or the compost pile.” But I love to fill our shelves and freezer with food we grew, so it rarely goes to waste. One of my favorite things to preserve is garden fresh tomato sauce. 

After trying a few different recipes, I developed this lower yield recipe (15 pounds really is a lower yield! Check out any Ball Canning Book to see!). I hear you saying, “But Jess! I don’t have 15 pounds of tomatoes ready at any time and I don’t go to the farmer’s market!”. I’ve got your back with a great solution: The freezer.

The Hack

I rarely have enough tomatoes ripe at one time for 15 pounds. If you are like me, let me share the trick that was an immediate love for me: When you have a large amount of ripe tomatoes on the counter, stem, wash, and dry them. From here, place the tomatoes in a freezer safe container or bag. I like to label them with their weight ahead of time. When you are ready for canning, simply take the bags out a day or two ahead of time to thaw (or you can place them in the sink with warm water to speed up the process). 

This method is awesome for two reasons: 

  1. You can use your own tomatoes, even if you don’t have a ton of plants. They won’t rot on your counter waiting. 
  2. When the tomatoes thaw, the skins come right off. I like to can my sauce with the skin (so many of the nutrients are there!), but it is nice to get rid of a few of them. 

Regardless of how you come by your tomatoes (friends, farmer’s market, your own dirt), let’s get going with some great garden fresh tomato sauce! Oh, and if you plan on canning it and are new to it, check out the National Center for Home Preservation Site for more information! 
Your Ingredients For Garden Fresh Tomato Sauce

  • 15 pounds of tomatoes, cleaned and roughly chopped
  • 2 tablespoons olive oil 
  • 2 cups onions
  • 3 tablespoons minced garlic
  • 1 cup fresh basil, chopped
  • ½ cup fresh oregano
  • 1 ½ teaspoons pepper 
  • 1 tablespoon canning salt 

Your Steps to Garden Fresh Tomato Sauce

Cooking

Begin by heating olive oil over medium heat in a sauté pan. Add onions and garlic. Cook until translucent and soft, about ten minutes, stirring often. 

In a large kettle, combine onion mixture, chopped tomatoes, basil, oregano, salt, and pepper. Continue to simmer over medium heat, stirring often. 

Pro tip

As the sauce is cooking down, you will have a lot of liquid that you are simmering off. You can cut your cook time significantly by bailing out this liquid using a colander and measuring cup. Push the colander down onto the tomatoes, forcing the liquid up. Then use the measuring cup to ladle it out. You can simply dump it or save it as a light tomato juice. I ladle it into mason jars and save it in the fridge for my husband. 

After the tomatoes have begun to break down (about 30-60 minutes later), puree them. I like to use my stick blender to do this. It means less dishes to clean! Alternatively, you can transfer it to a food mill to puree. Once totally in sauce form, continue to cook down until the volume of the sauce has reduced to about one-half the original amount. 

Canning

While the tomatoes are cooking down, you can begin to prepare your canner and jars if you plan on processing them. (If you want to simply place the sauce in the freezer, that’s totally okay. You can transfer it to freezer safe containers or bags and freeze once cool.)

Wash and sanitize pint or quart jars, rings, and lids. Keep warm. Fill the canner with enough water to cover the jars by at least 2 inches of water. Cover and heat on high. Watch the temperature, you want a simmer but not a boil when you place the jars in the water. 

Once the sauce and canner are ready, you can begin to fill the jars. To be sure there is enough acid to have self stable jars, you must add citric acid or bottled lemon juice. 

  • Add ¼ teaspoon citric acid or 1 tablespoon lemon juice to pint jars. 
  • Add ½ teaspoon citric acid or 2 tablespoons lemon juice to quart jars. 

Finish it up!

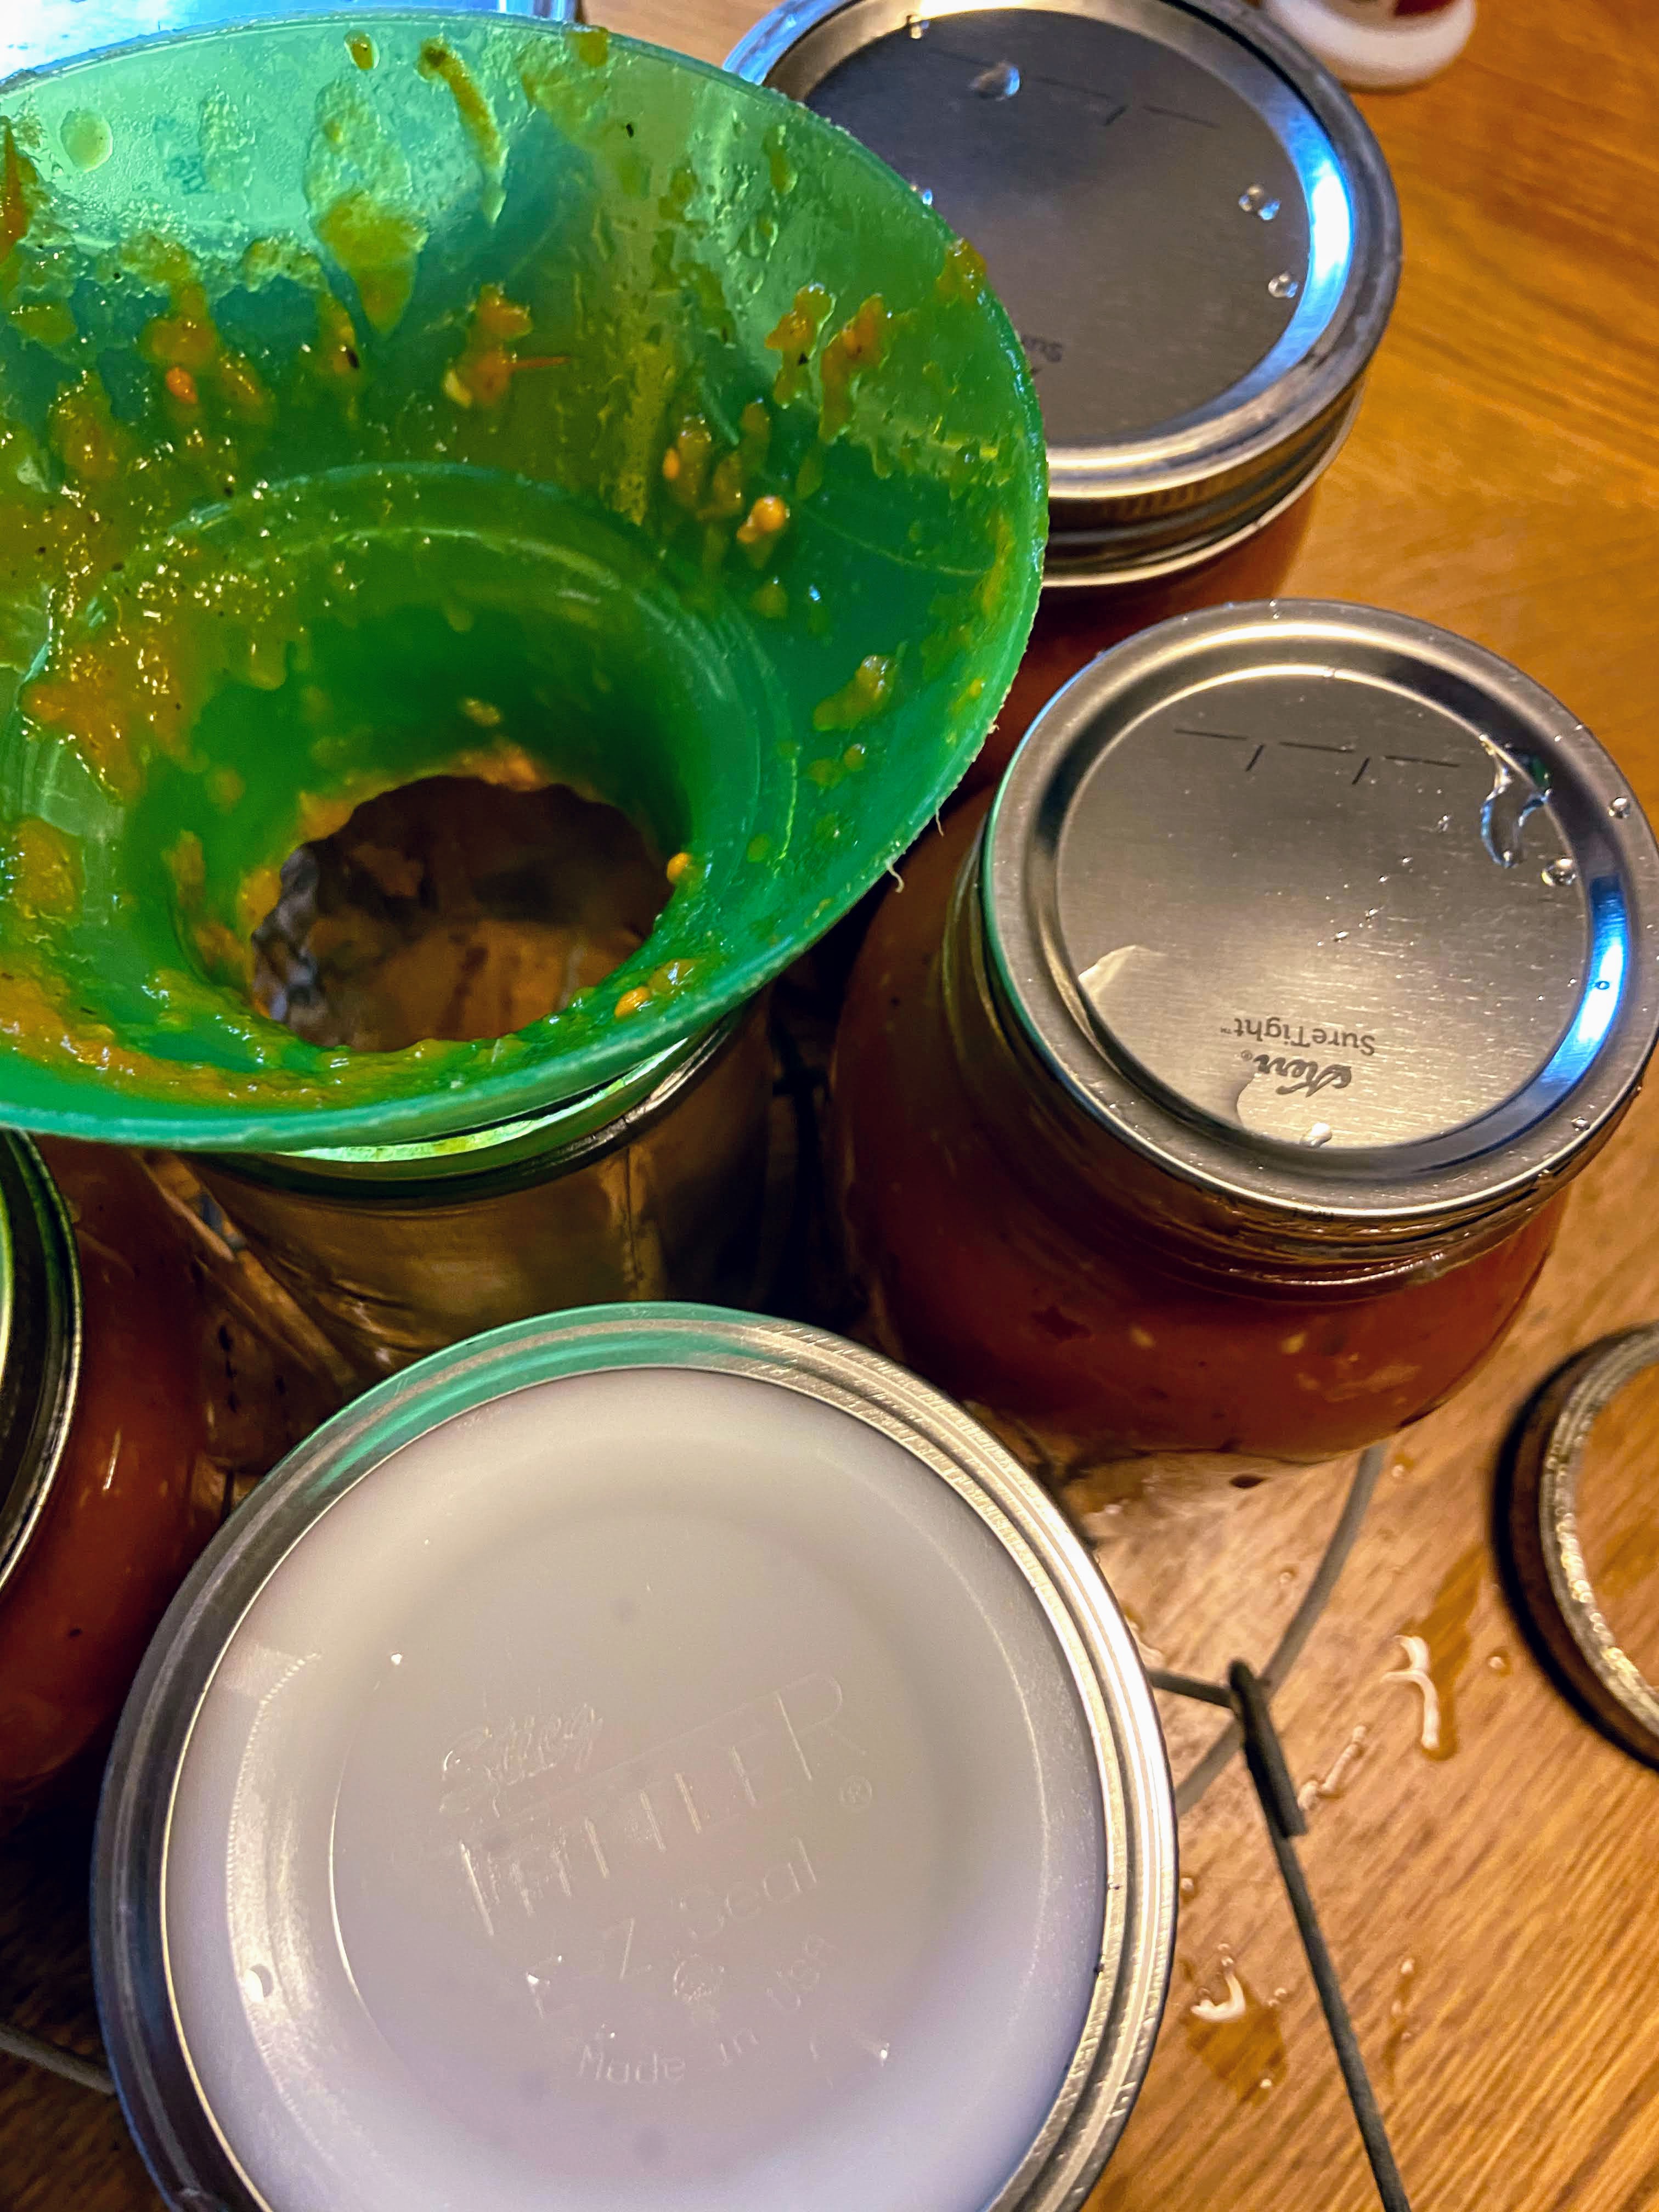
Ladle the hot tomato sauce into jars, leaving ½ inch headspace. Wipe rims of the jars with a damp cloth, add lids and rings, tightening to fingertip tight. Place in the canner, increasing the heat to high. Once the canner reaches a boil, process pint jars 35 minutes or quart jars 40 minutes. Remove from heat and allow jars to cool in the canner over 5 minutes. Then remove jars from the canner, placing them on the counter. Listen for the ping of the lids over the next 12 hours. Sealed jars are self-stable. If any jar doesn’t seal, simply place it right in the refrigerator and enjoy over the next week or so. 

Looking to preserve more of your garden? Check out my canning and preserving page by clicking the button!
Tools of the Trade

I adore my immersion blender for all things canning when I need to blend. Canning tools are a must and what is canning if you don’t have a waterbath canner?

Garden Fresh Tomato Sauce

Basil, oregano, and garlic flavor this great tomato sauce
Prep Time 30 minutes
Cook Time 2 hours
Processing Time 40 minutes
Course dinner
Cuisine Canning
Servings 3 quarts

Equipment

Ingredients
  

  • 15 pounds of tomatoes cleaned and roughly chopped
  • 2 tablespoons olive oil
  • 2 cups onions
  • 3 tablespoons minced garlic
  • 1 cup fresh basil chopped
  • ½ cup fresh oregano
  • 1 ½ teaspoons pepper
  • 1 tablespoon canning salt

Instructions
 

  • Begin by heating olive oil over medium heat in a sauté pan. Add onions and garlic. Cook until translucent and soft, about ten minutes, stirring often.
  • In a large kettle, combine onion mixture, chopped tomatoes, basil, oregano, salt, and pepper. Continue to simmer over medium heat, stirring often.
  • After the tomatoes have begun to break down (about 30-60 minutes later), puree them. A stick blender or food mill works well. Once totally in sauce form, continue to cook down until the volume of the sauce has reduced to about one-half the original amount.
  • While the tomatoes are cooking down, you can begin to prepare your canner and jars if you plan on processing them. (If you want to simply place the sauce in the freezer, that’s totally okay. You can transfer it to freezer safe containers or bags and freeze once cool.)
  • Wash and sanitize pint or quart jars, rings, and lids. Keep warm. Fill the canner with enough water to cover the jars by at least 2 inches of water. Cover and heat on high. Watch the temperature, you want a simmer but not a boil when you place the jars in the water.
  • Once the sauce and canner are ready, you can begin to fill the jars. To be sure there is enough acid to have self stable jars, you must add citric acid or bottled lemon juice.
  • Add ¼ teaspoon citric acid or 1 tablespoon lemon juice to pint jars. Add ½ teaspoon citric acid or 2 tablespoons lemon juice to quart jars.
  • Ladle the hot tomato sauce into jars, leaving ½ inch headspace.
  • Wipe rims of the jars with a damp cloth, add lids and rings, tightening to fingertip tight. Place in the canner, increasing the heat to high.
  • Once the canner reaches a boil, process pint jars 35 minutes or quart jars 40 minutes.
  • Remove from heat and allow jars to cool in the canner over 5 minutes. Then remove jars from the canner, placing them on the counter.

Notes

As the sauce is cooking down, you will have a lot of liquid that you are simmering off. You can cut your cook time significantly by bailing out this liquid using a colander and measuring cup. Push the colander down onto the tomatoes, forcing the liquid up. Then use the measuring cup to ladle it out. You can simply dump it or save it as a light tomato juice.
Keyword Canning, from the garden, preserving, tomato sauce, tomatoes
Tried this recipe?Let us know how it was!

Roasted and Preserved Tomatoes

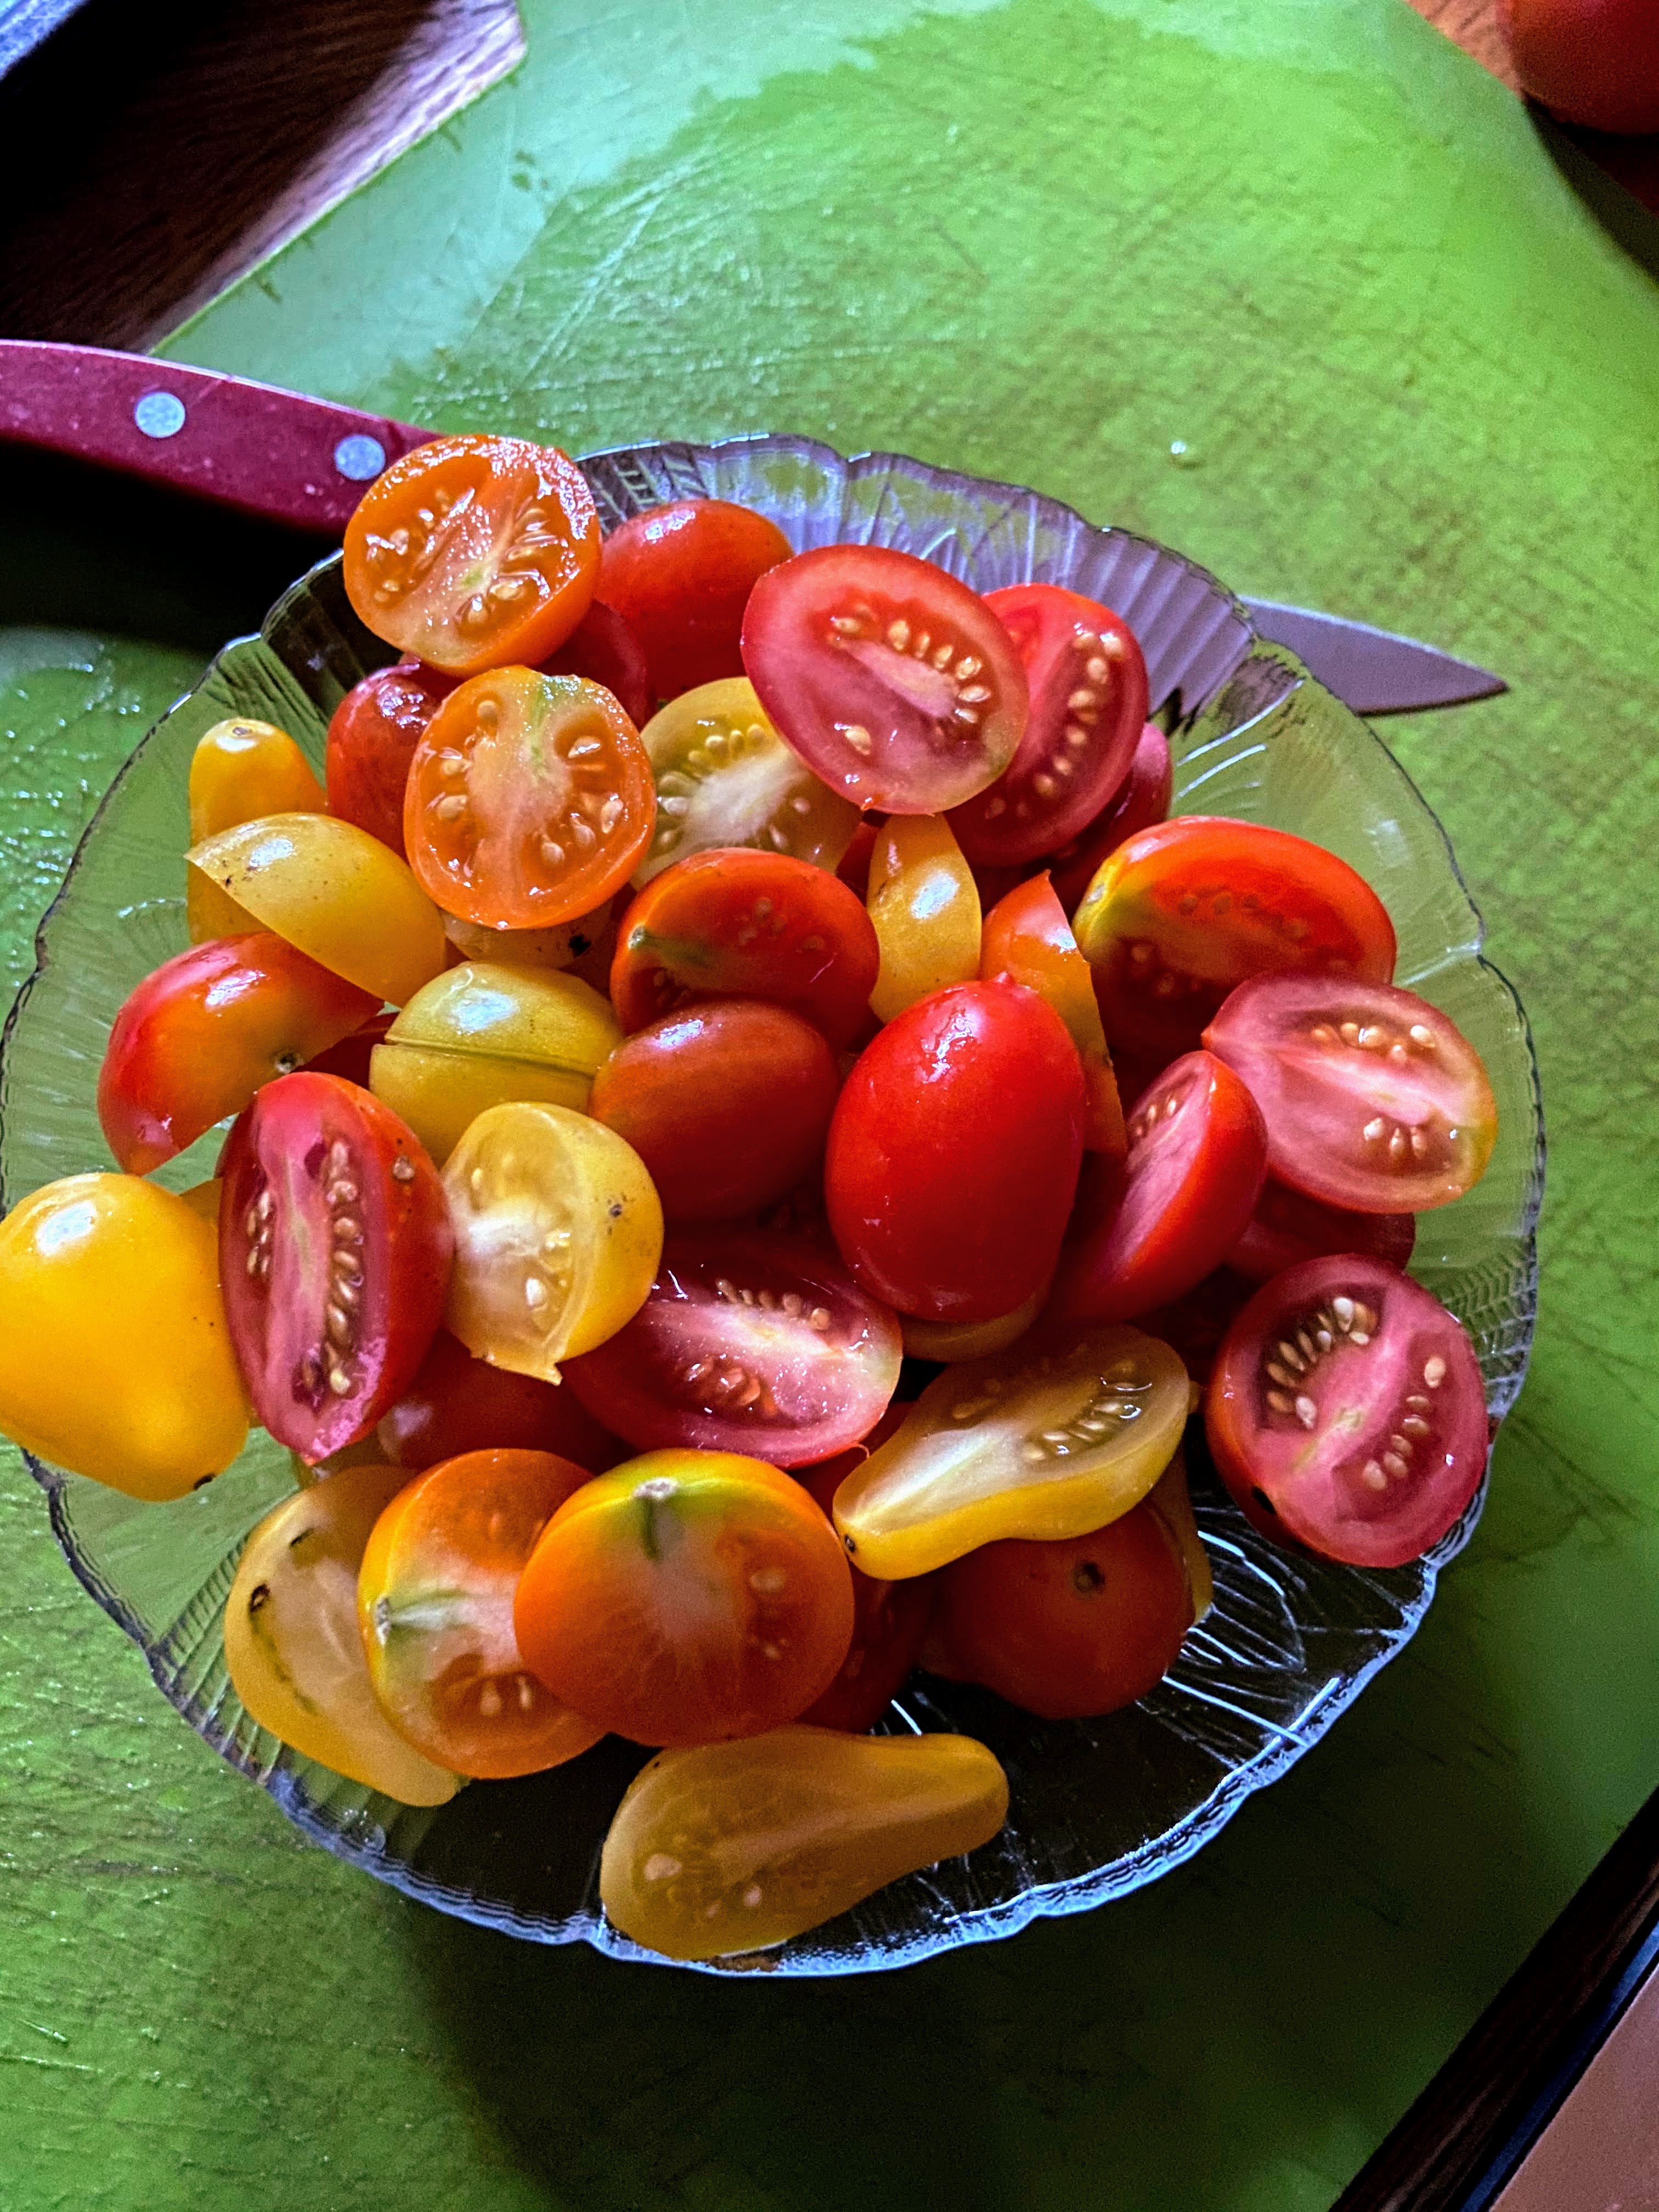
Every year, I get so excited to plant tomato plants. Even in our first years with a garden, we couldn’t keep up with our tomato love. I vividly remember my darling son as a toddler eating every single cherry or grape tomato we grew. They didn’t even make it out of the garden! Now, I get all those beautiful drops of red, orange, and yellow and turn them into roasted and preserved tomatoes. 
Now, it’s a joke between my husband and I that I will always plant too many cherry and grape tomato plants. Why buy one if you can buy four? And you have to have a few varieties, right? And so, we have an abundance of bit size tomatoes. One year, an acquaintance suggested roasting them, and I have never looked back! 
This is such a simple and flavorful way to preserve tomatoes. All you need is an oven, a baking sheet, some parchment paper, and your favorite tomato spices. Let’s get to creating some roasted and preserved tomatoes. 

Per pound of tomatoes, you will need: 

½ tablespoon olive oil 

¼ teaspoon each of: salt, pepper, oregano, garlic, or any other spice you love with tomatoes

Your Steps to Roasted and Preserved Tomatoes

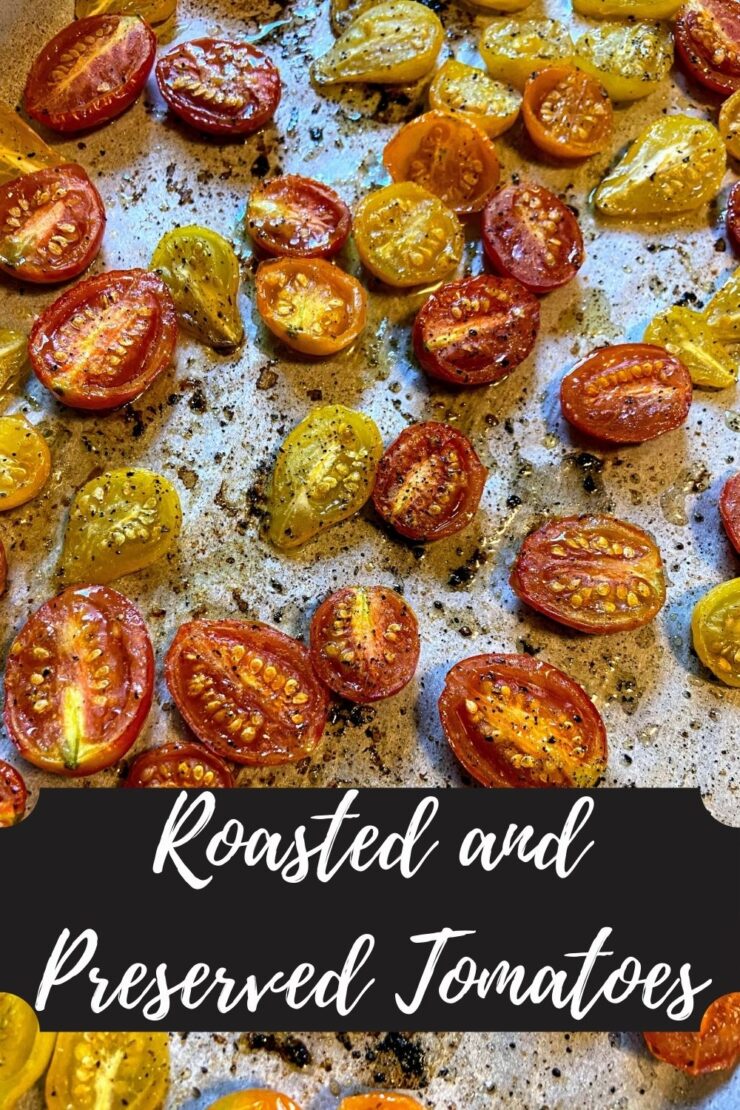
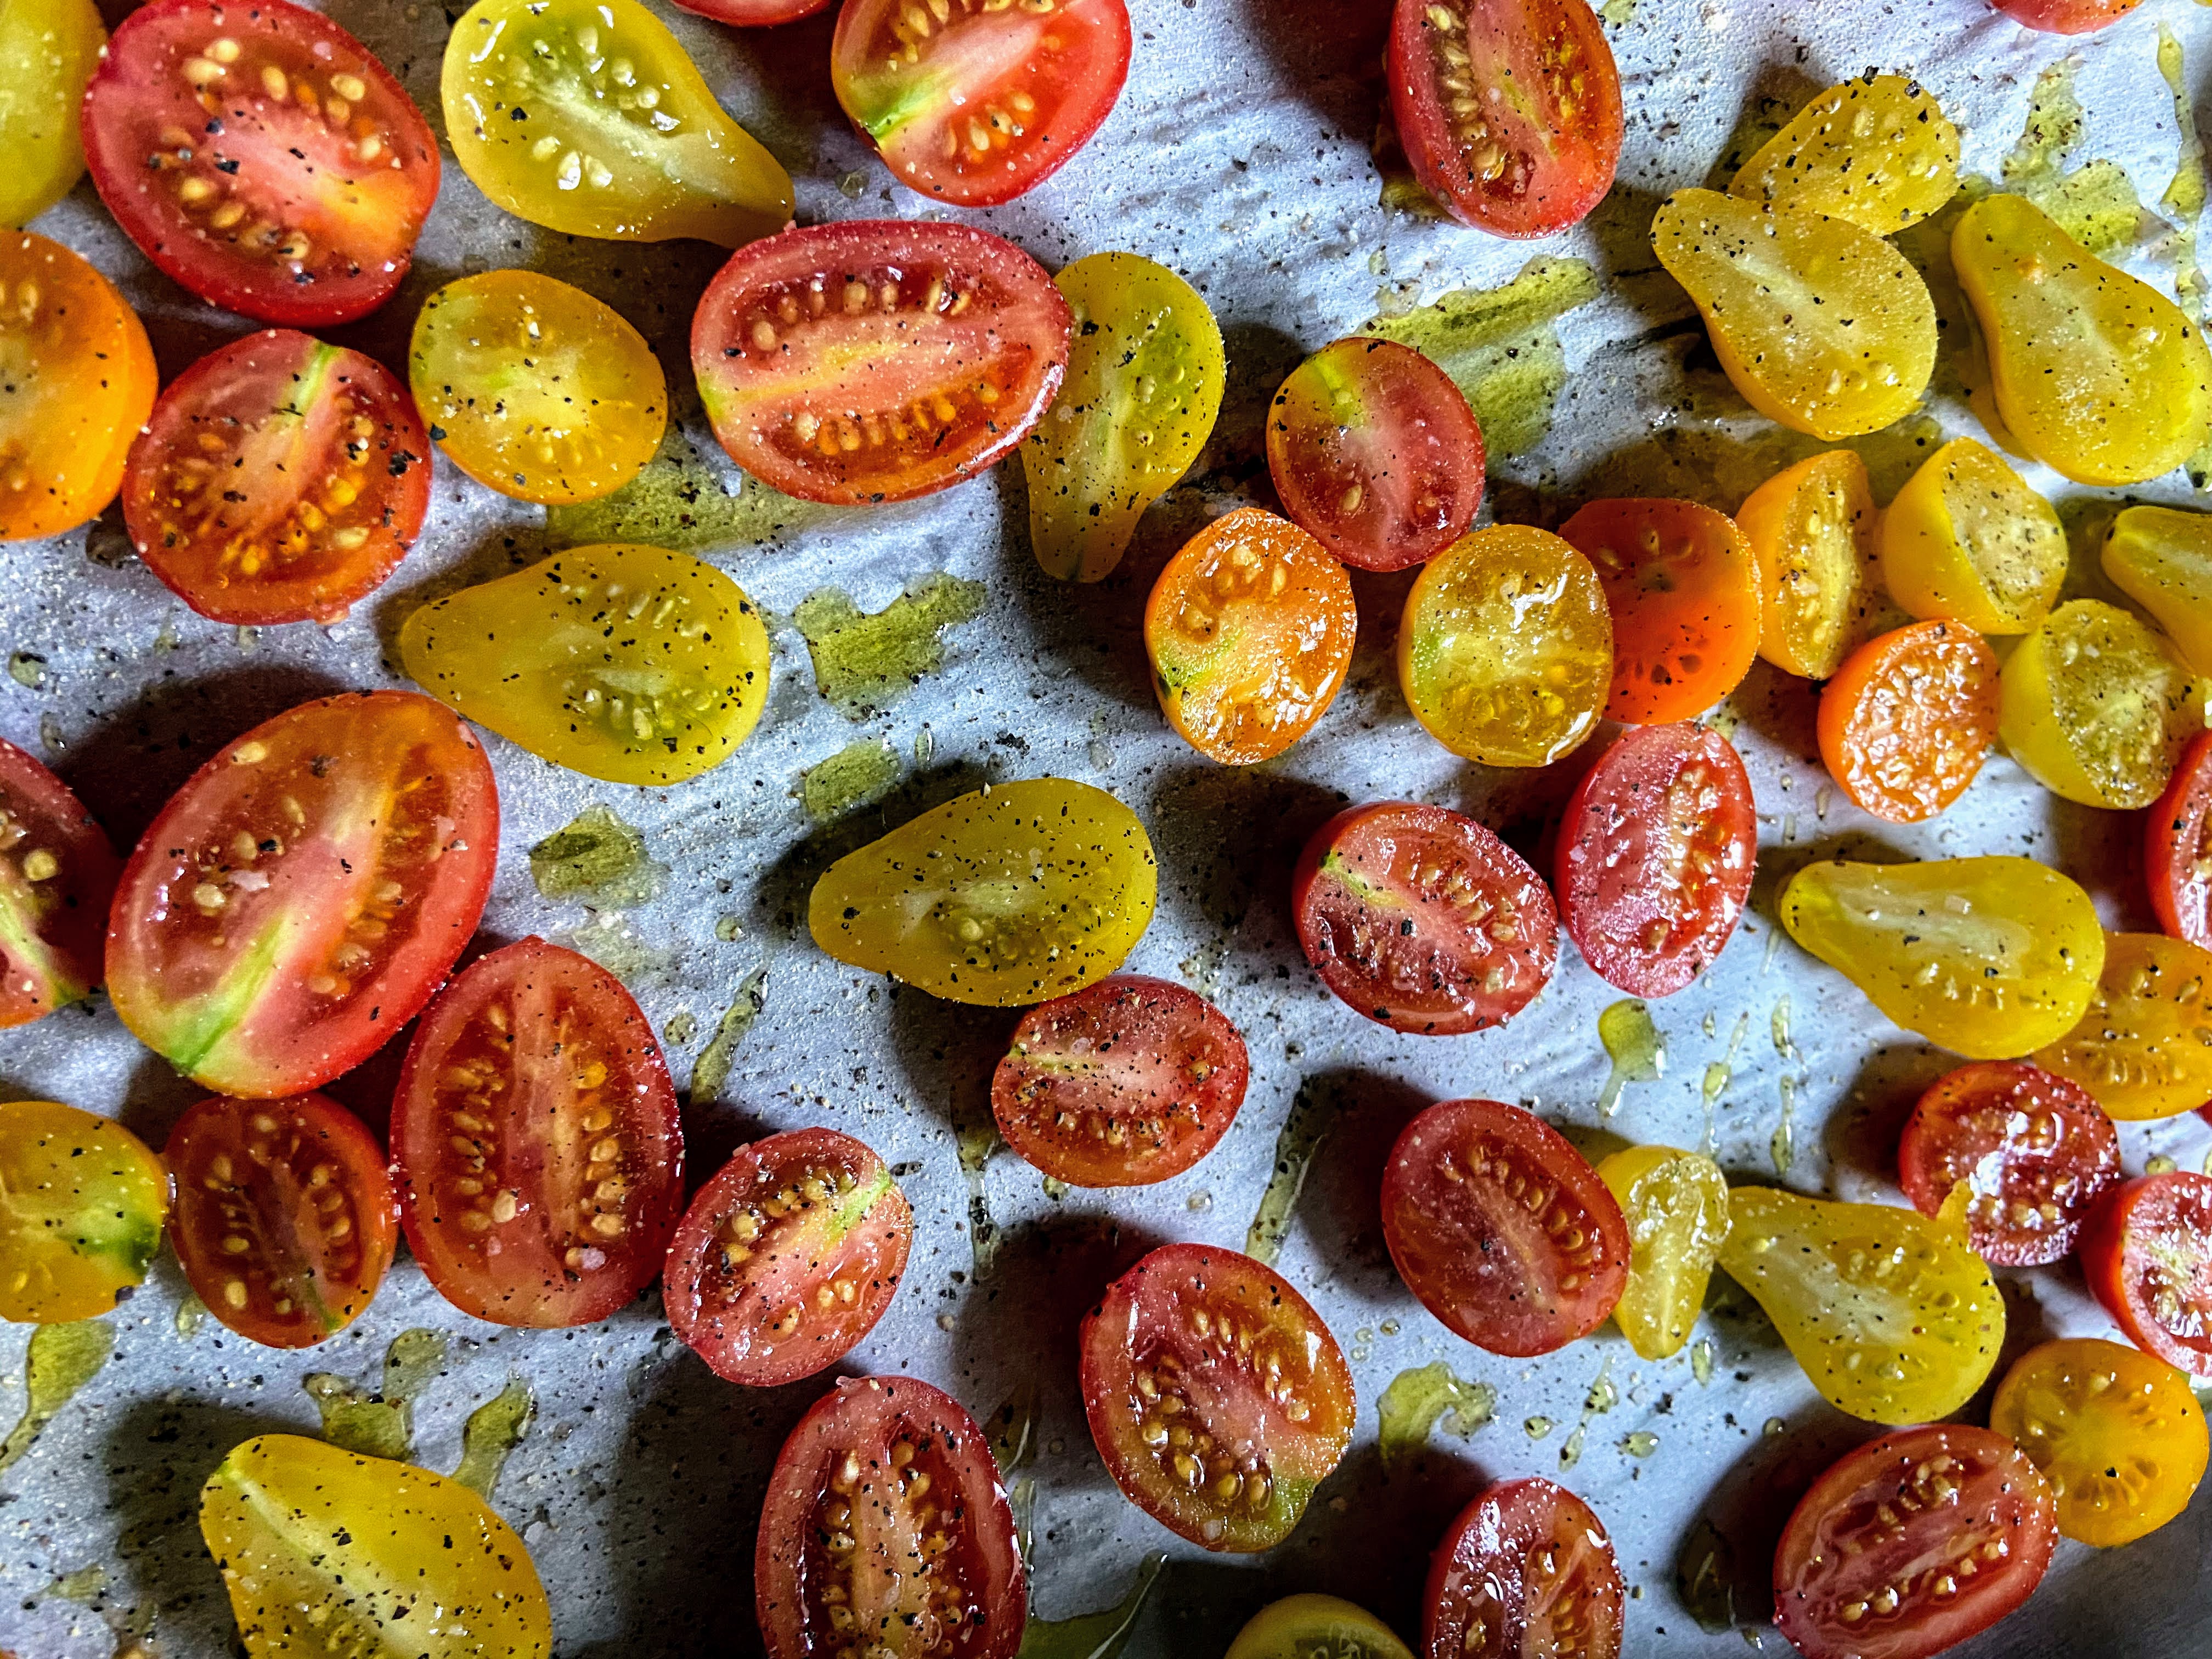
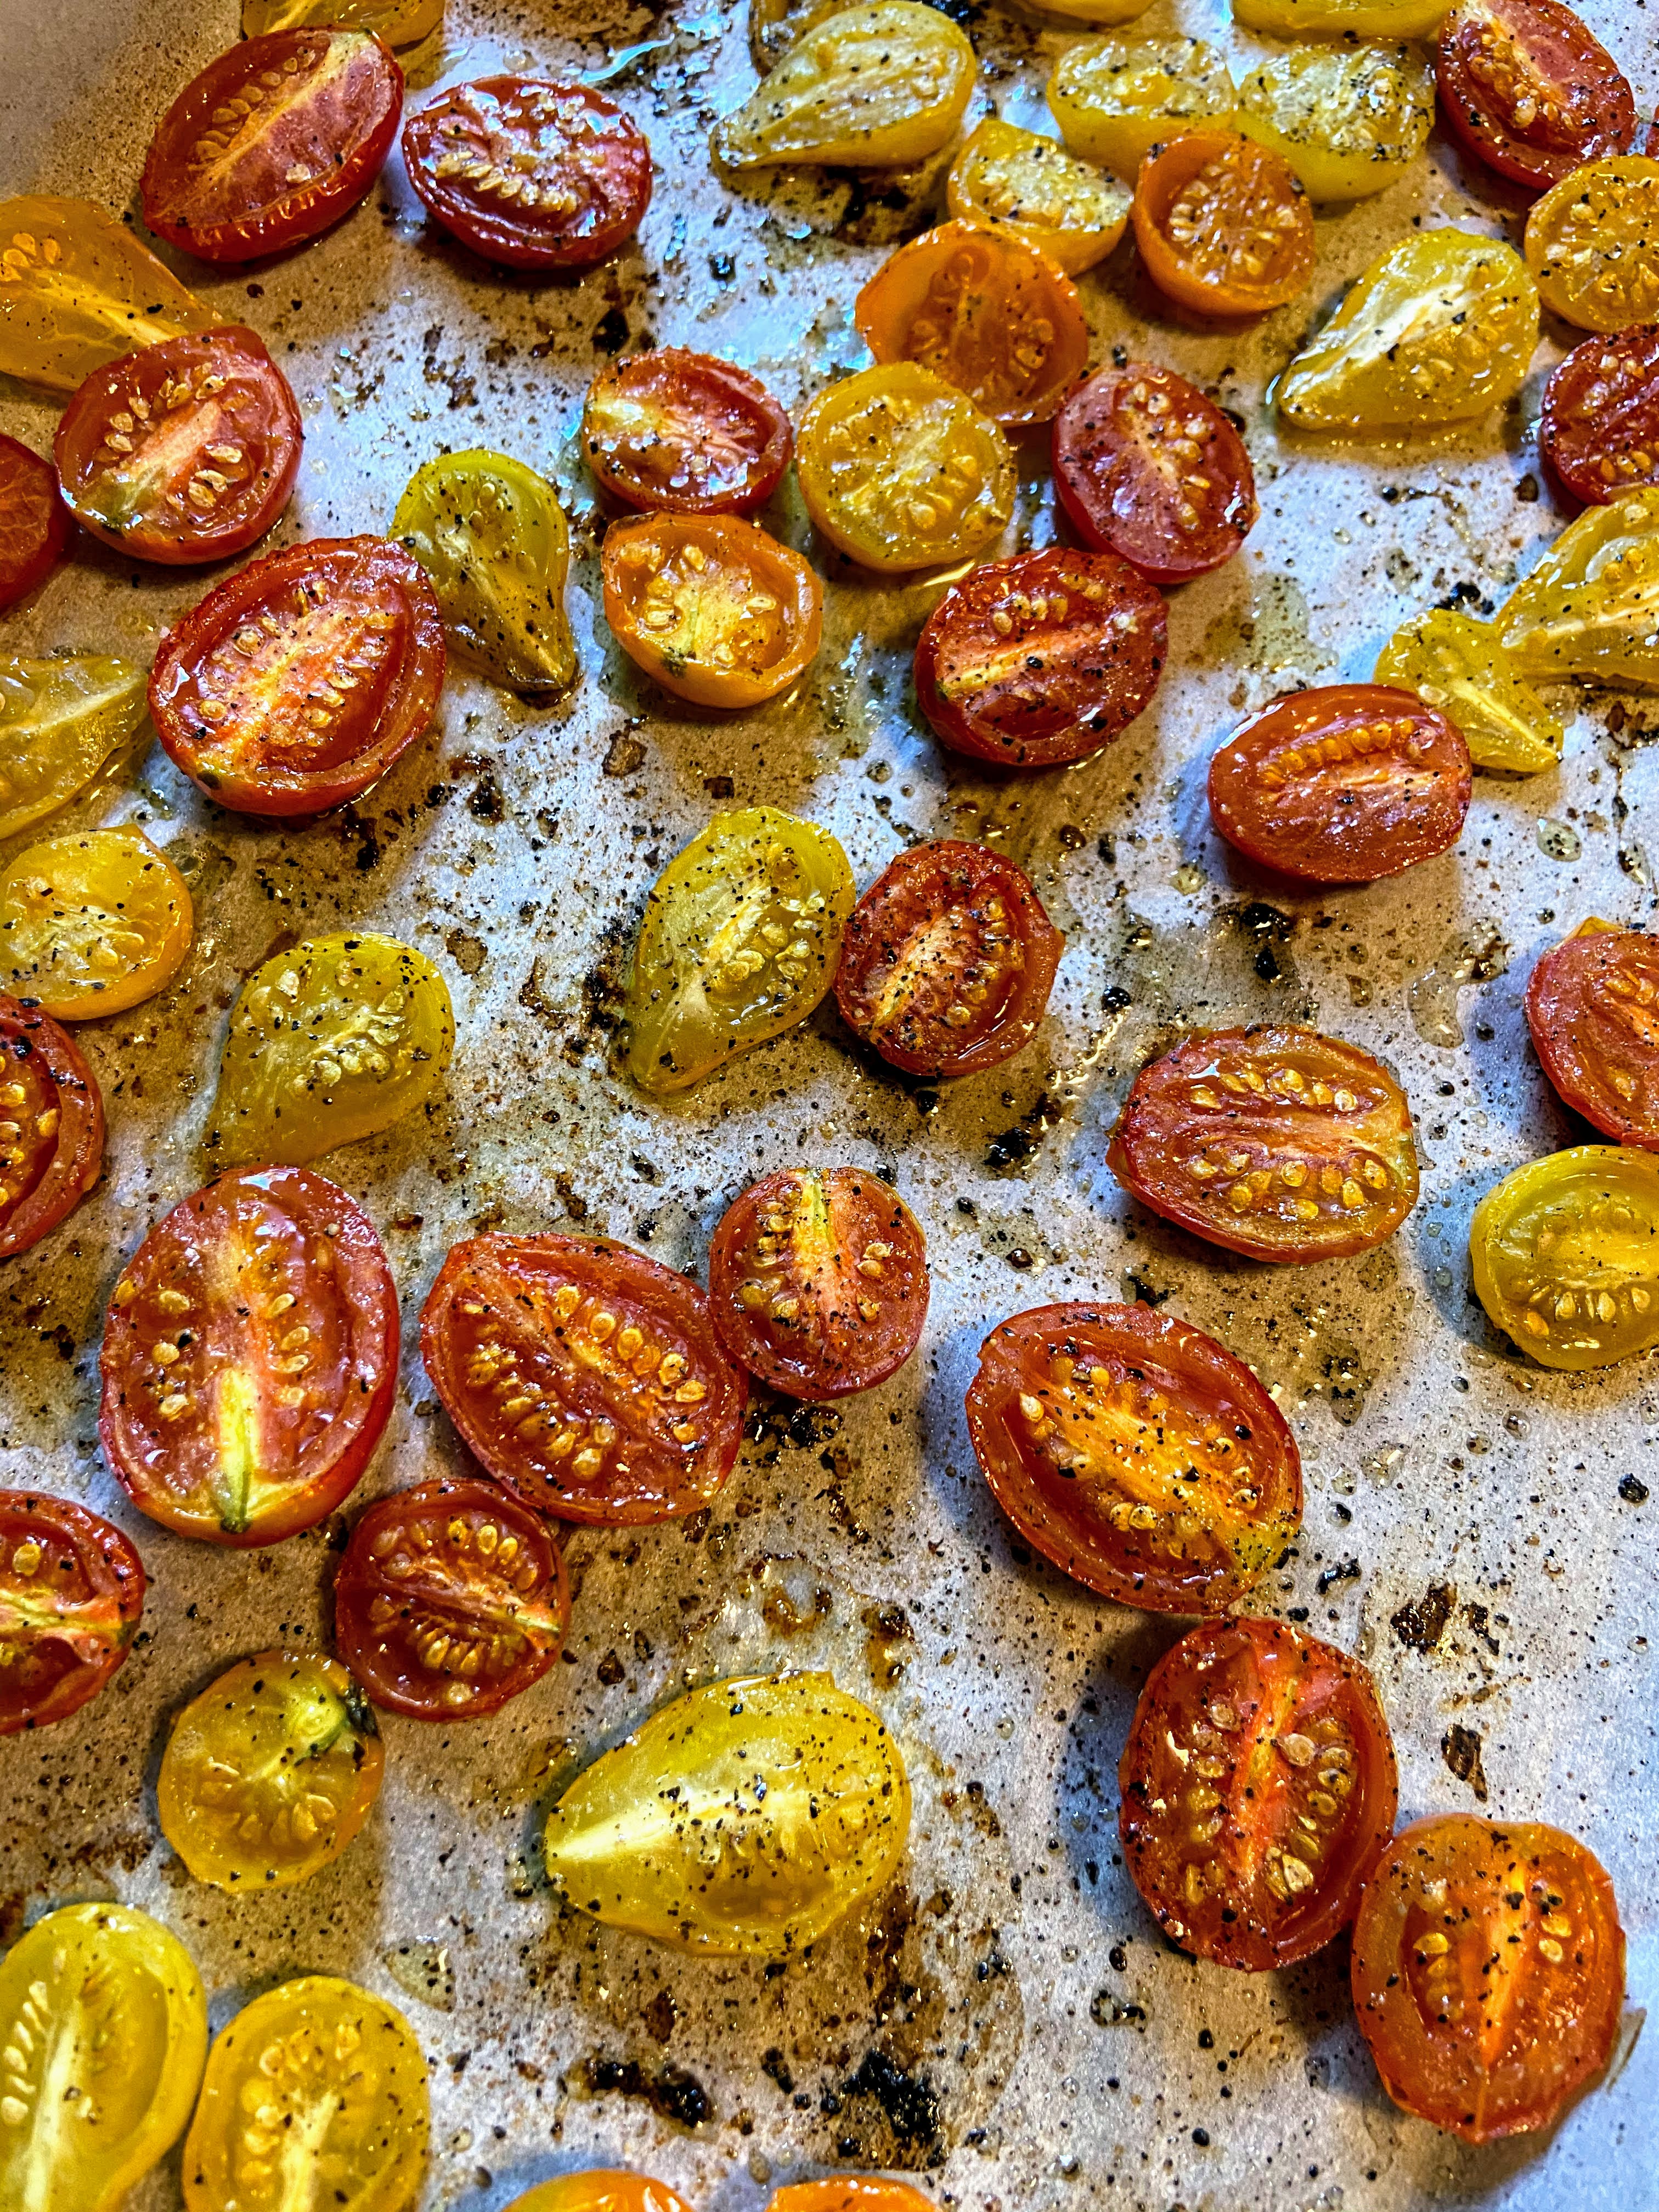
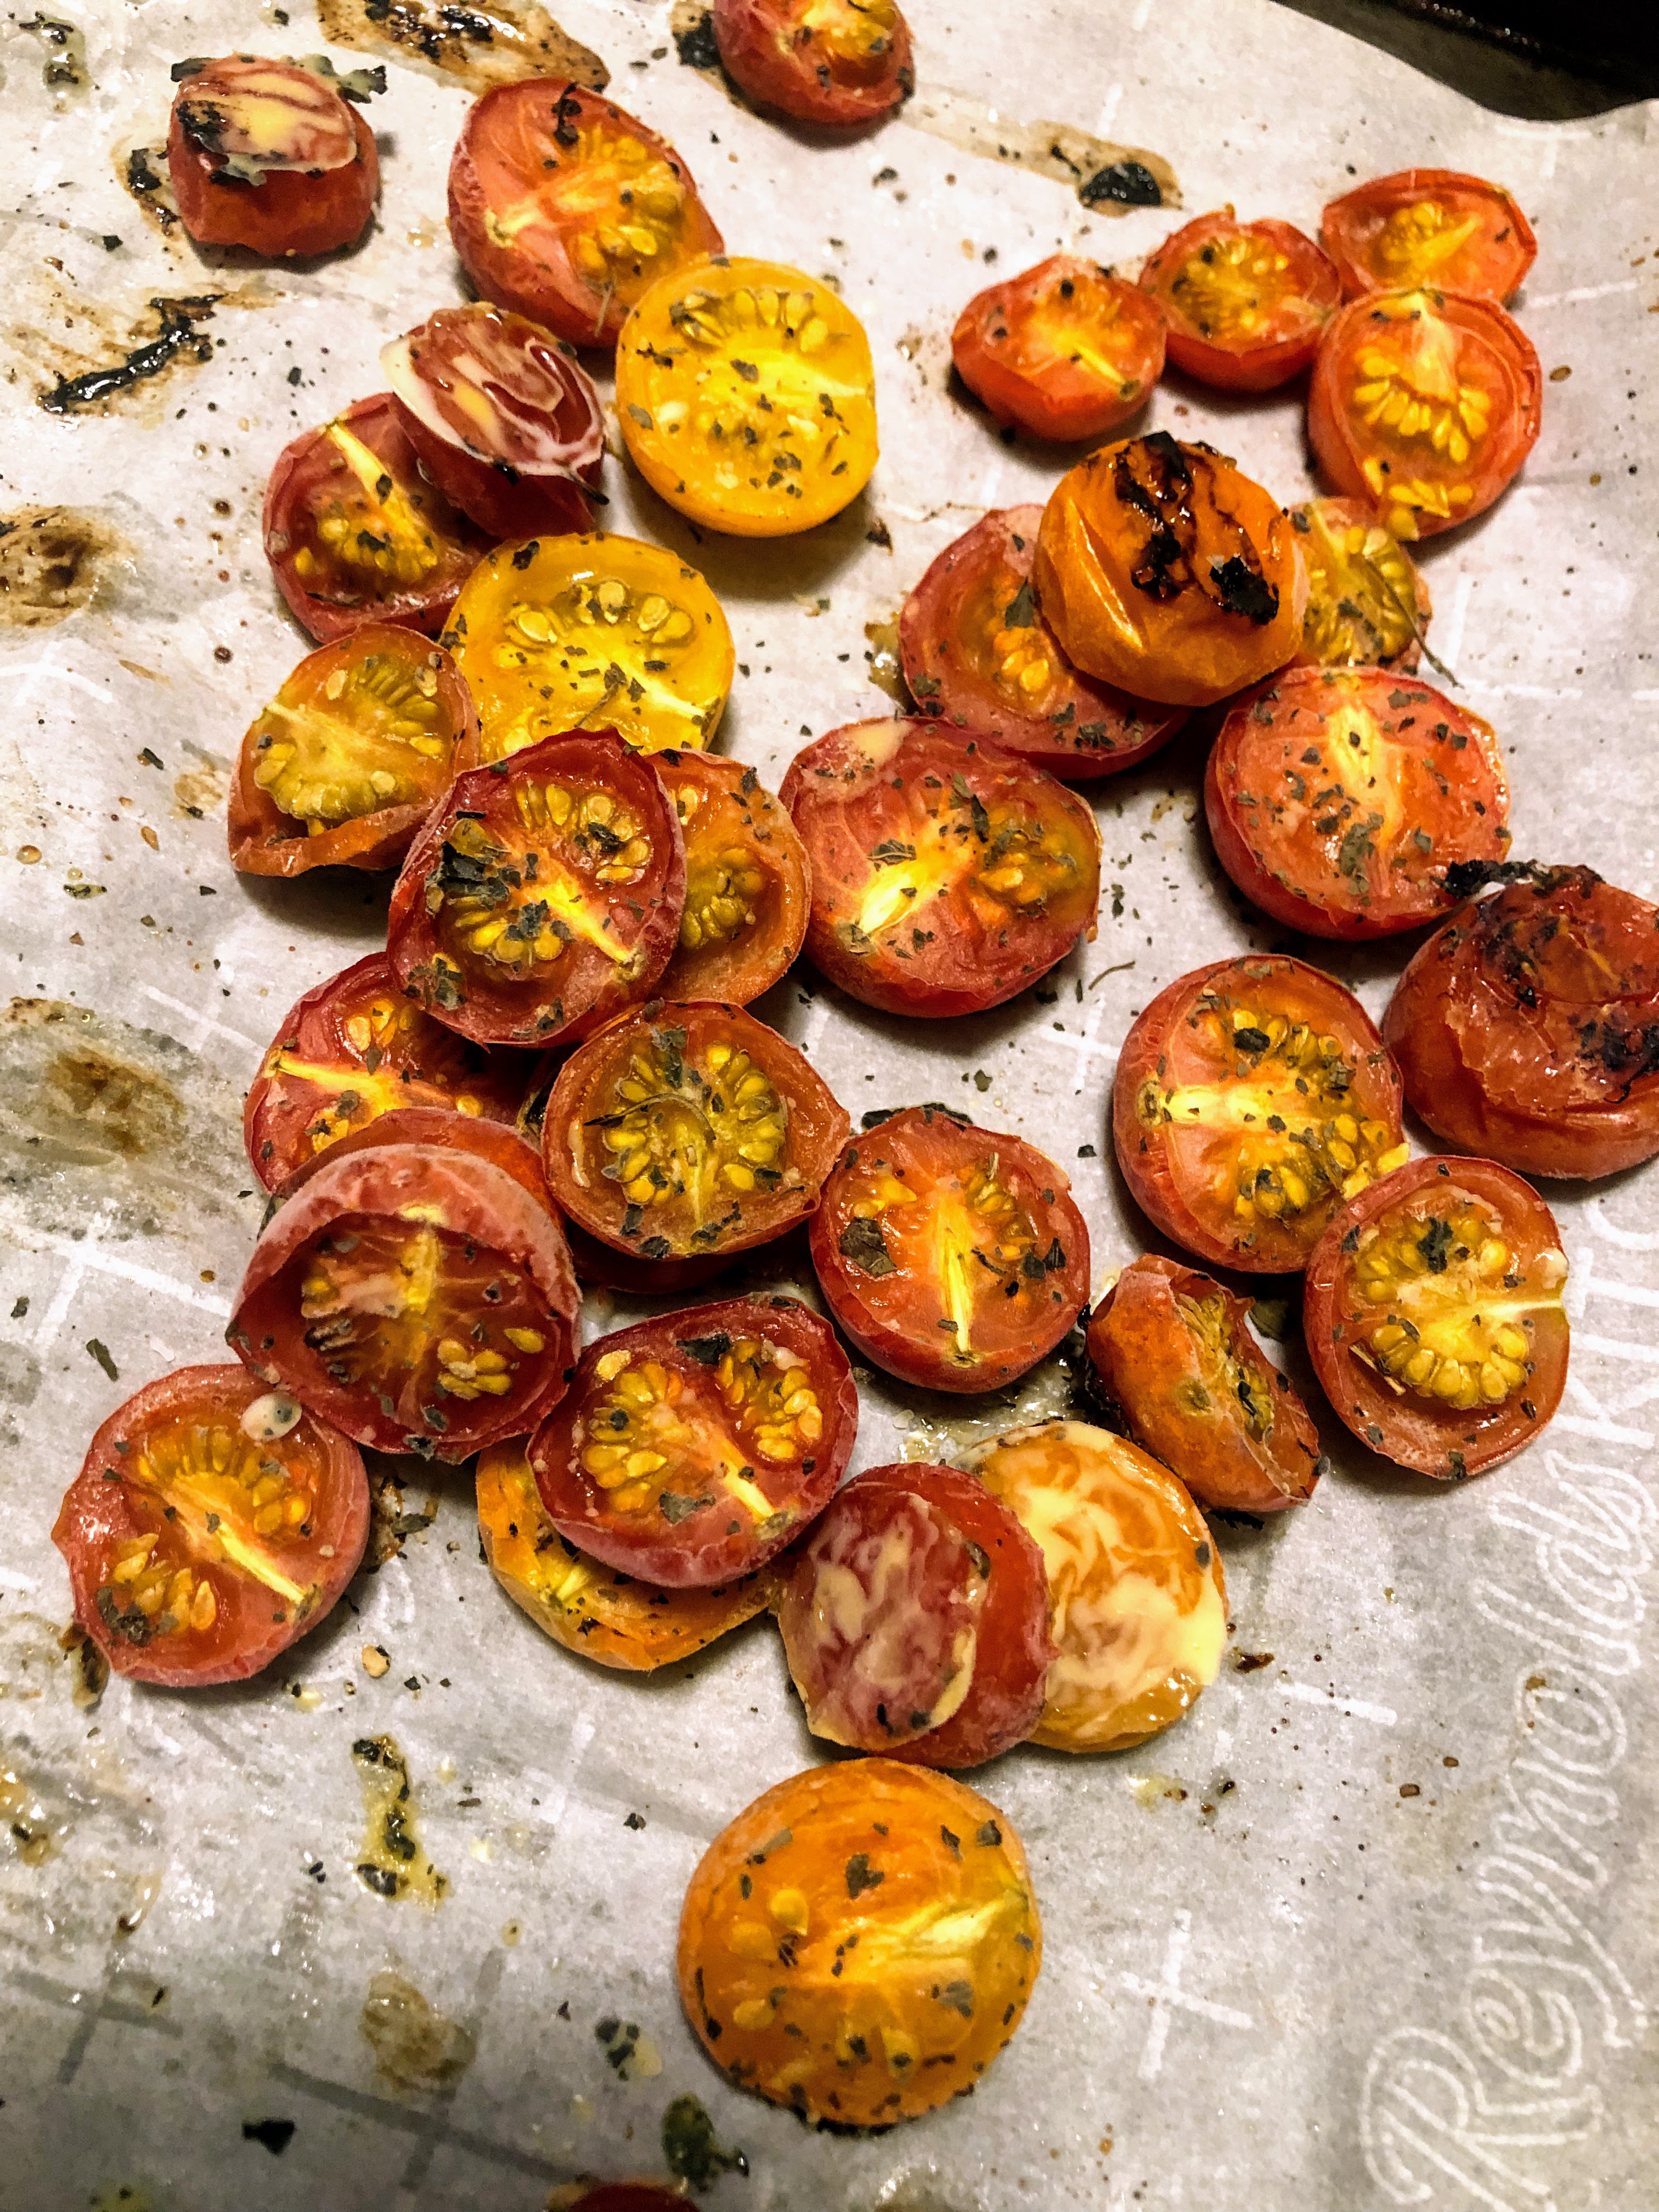
Preheat the oven to 425 degrees. Wash and dry the tomatoes. Slice each tomato in half. Lay cut side UP on a parchment lined baking sheet. Drizzle with olive oil and sprinkle salt, pepper, garlic, etc on top. Bake for 20-30 minutes, until just beginning to caramelize. Allow to cool. 

From here, you can totally just snack on them. If you want to preserve for later, stick the tray in the freezer for 2-3 hours. Transfer to a freezer safe container and use within a year. So quick, easy, and a great way to preserve your harvest!

Roasted and Preserved Tomatoes

Too many grape and cherry tomatoes? Like to preserve the flavor of summer for the winter months? Create these roasted and preserved tomatoes!
Prep Time 10 minutes
Cook Time 30 minutes
Course Side Dish
Cuisine Italian
Servings 5 servings

Ingredients
  

  • 1 pound cherry or grape tomatoes any variety
  • ½ tablespoon olive oil
  • ¼ teaspoon salt
  • ¼ teaspoon pepper
  • ¼ teaspoon oregano
  • ¼ teaspoon garlic

Instructions
 

  • Preheat the oven to 425 degrees.
  • Wash and dry the tomatoes.
  • Slice each tomato in half. Lay cut side up on a parchment lined baking sheet.
  • Drizzle with olive oil and sprinkle salt, pepper, garlic, etc on top.
  • Bake for 20-30 minutes, until just beginning to caramelize. Allow to cool.
  • To preserve, place the tray in the freezer for 2-3 hours.
  • Transfer to a freezer safe container and use within a year.
Keyword cherry tomatoes, freezing, preserving, side dish, tomatoes, Vegan, vegetables
Tried this recipe?Let us know how it was!

Looking for other preserving recipes?

Check out my canning and preserving page! Or maybe one of the recipes below will speak to you!

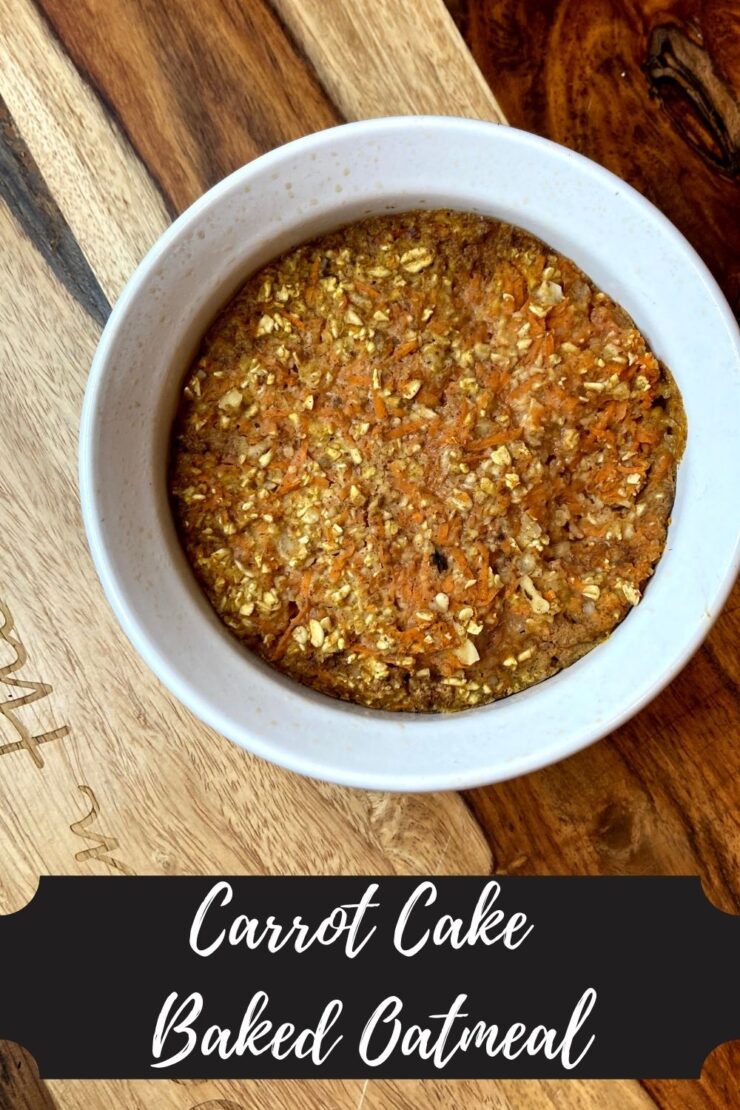
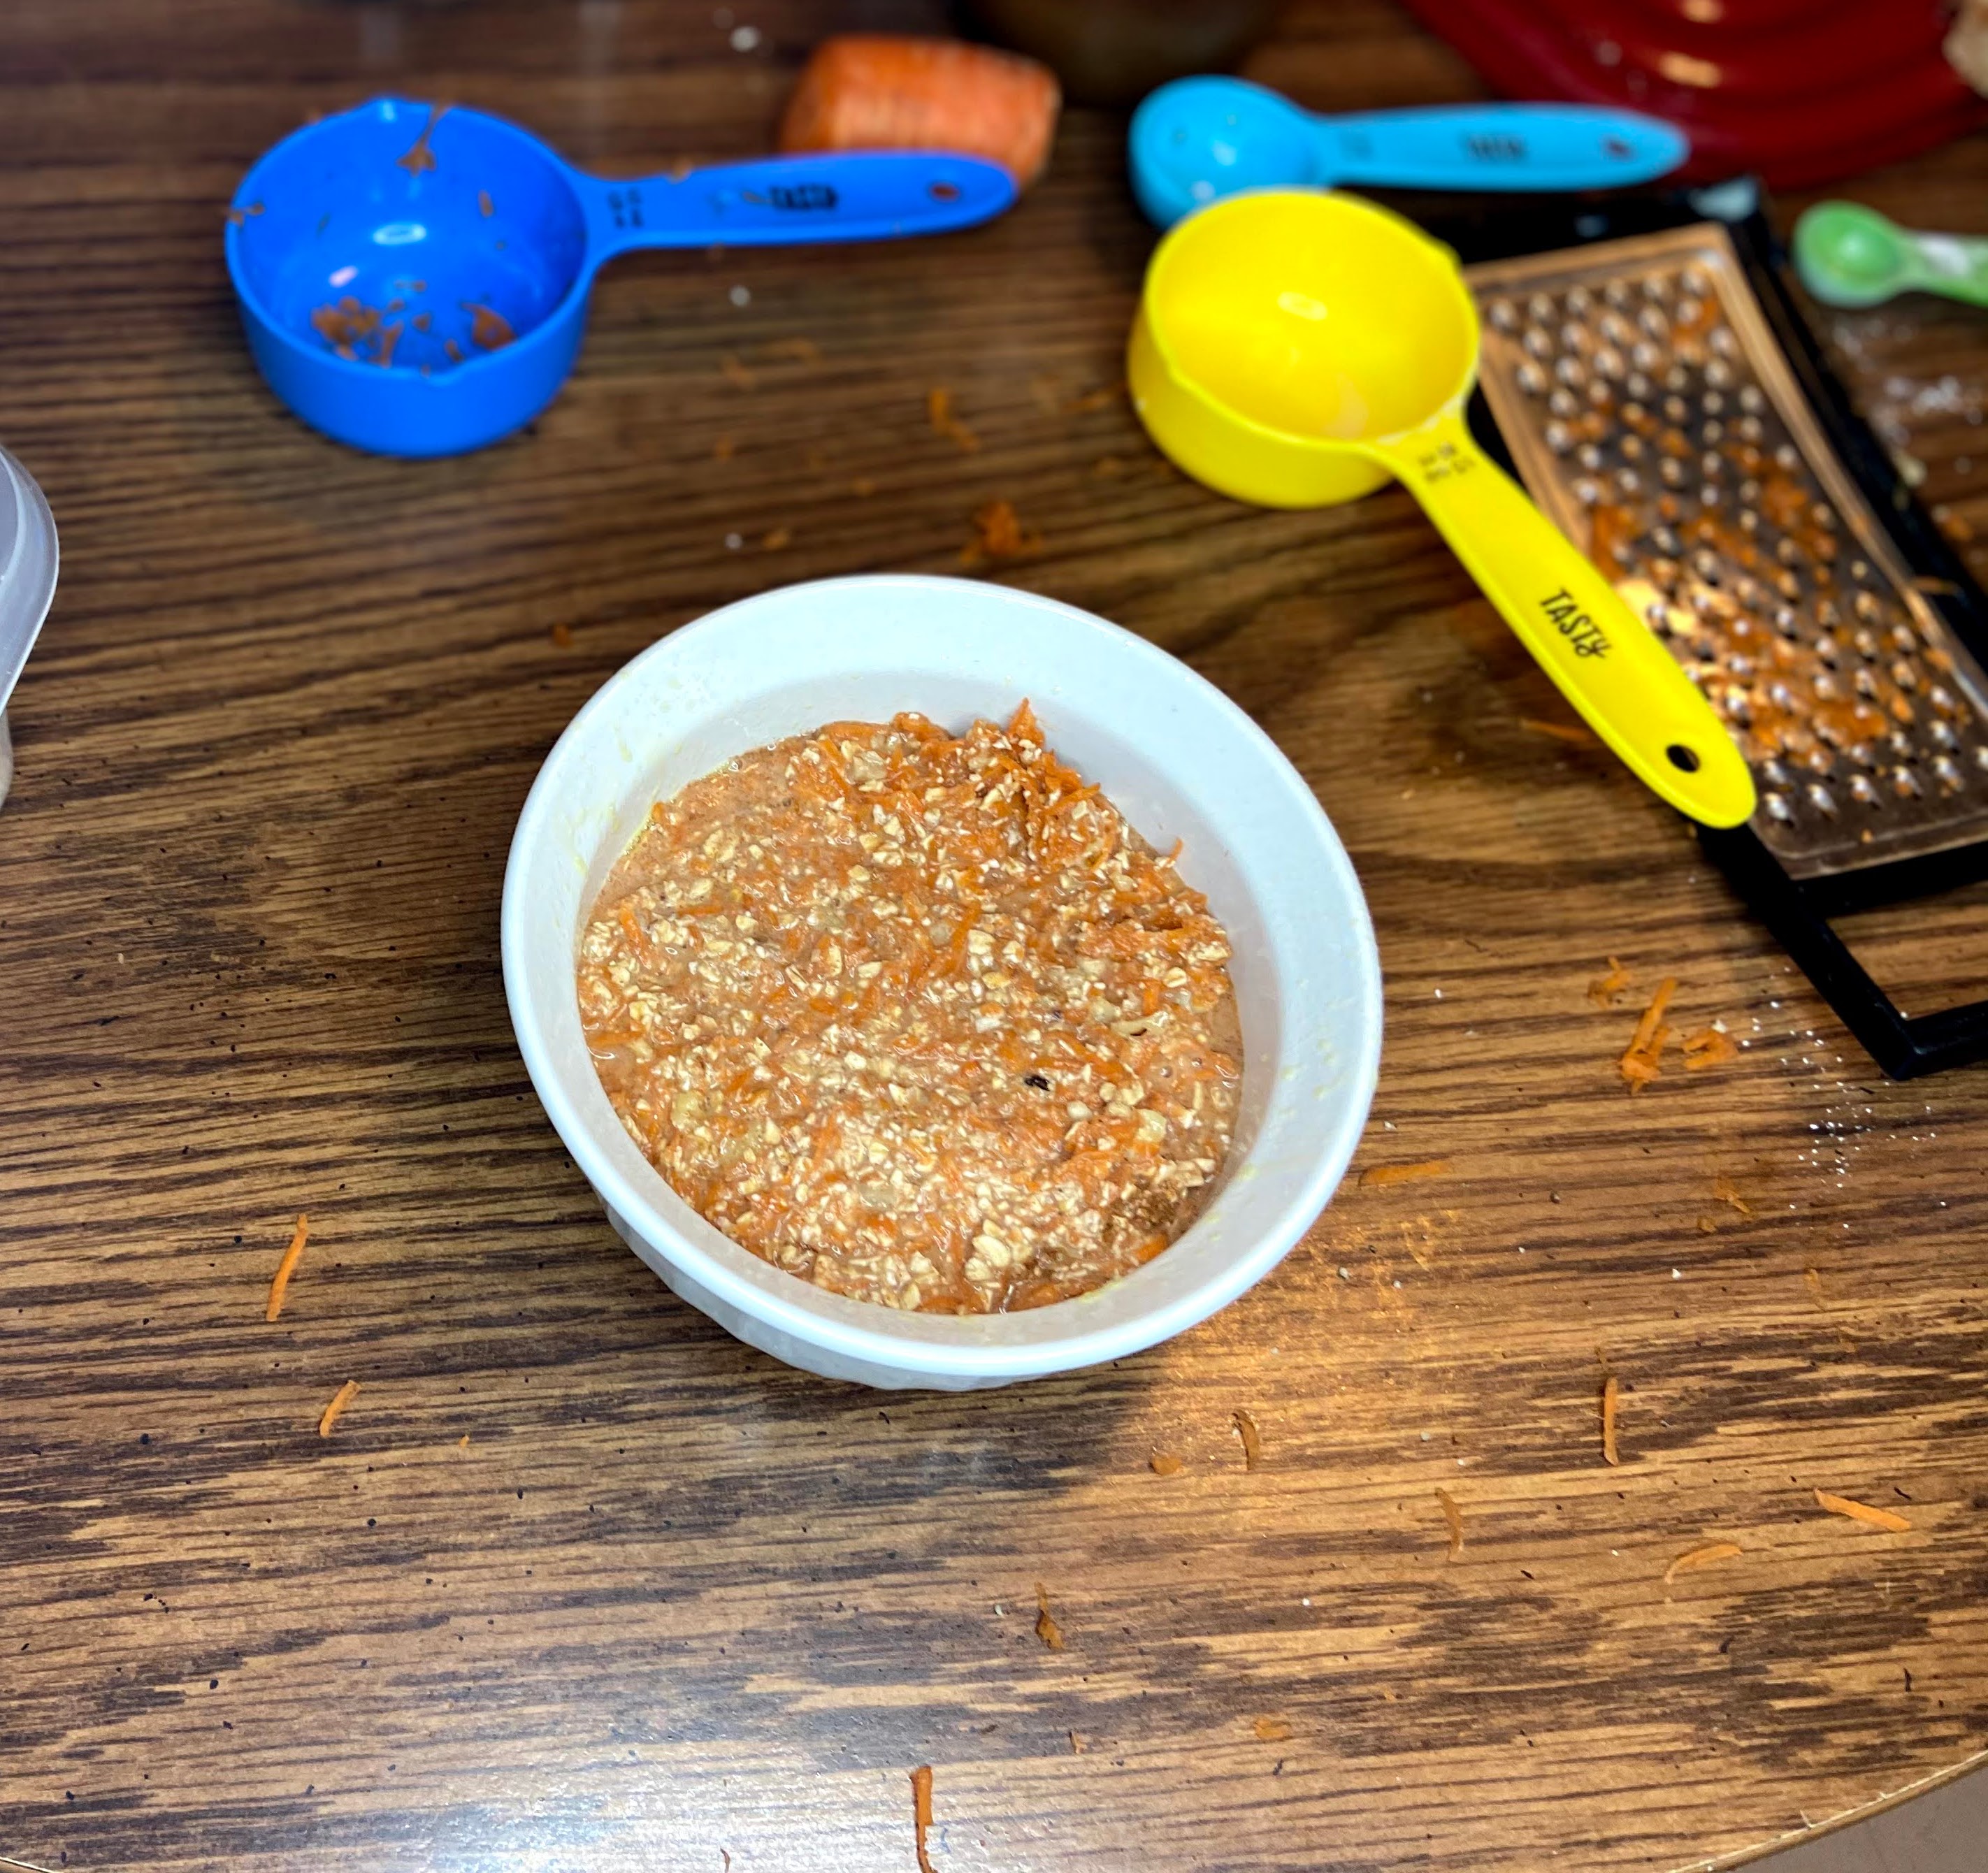
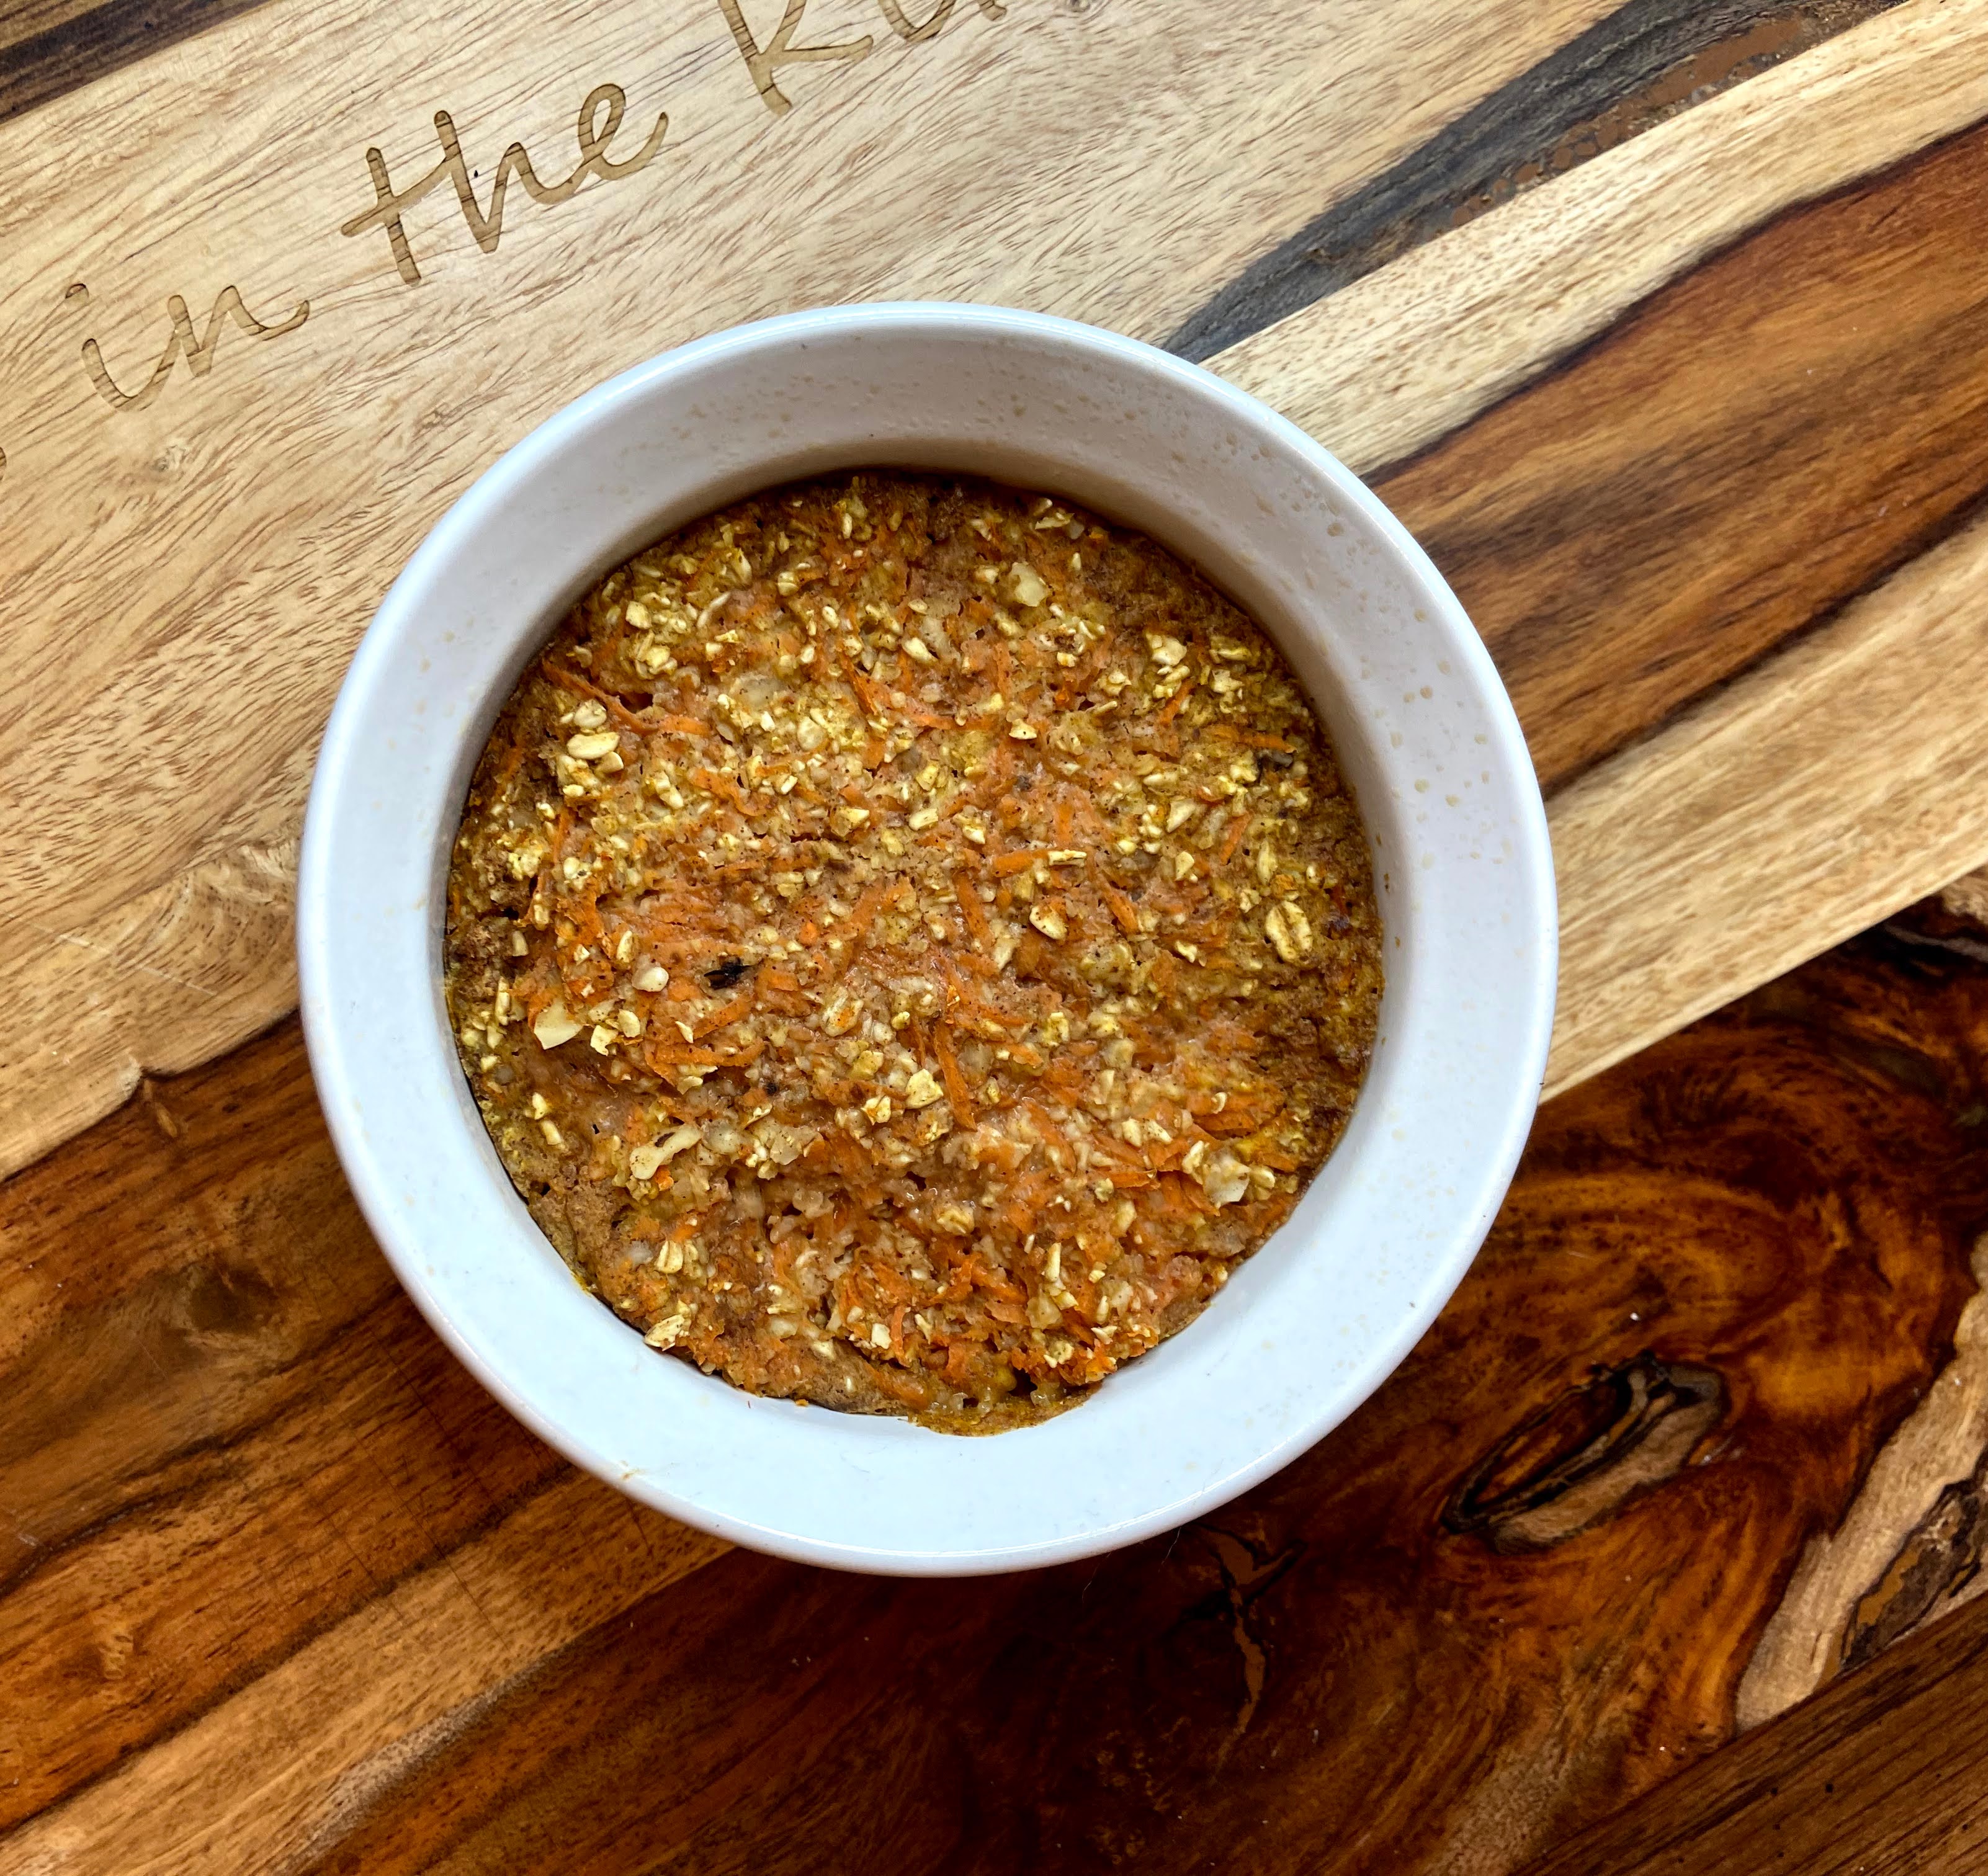
Carrot Cake Baked Oatmeal

I am back with another baked oatmeal recipe: carrot cake baked oatmeal! After I tried my first baked oatmeal recipe, I was itching to try another. I generally say that I don’t love breakfast. I have a few stand by things I eat and that’s it. When I ate at McDonald’s, I used to be so annoyed when I got there 20 minutes before their breakfast menu switched to lunch and I had to get breakfast. Now, I still don’t dig breakfast, but I am starting to branch out and discover new, healthy meals!

In a recent post, I talked about my favorite things: cooking from scratch, using what is on hand, and finally, inserting vegetables whenever I can. Which I did here, but we will call it a cake to trick our brains, right? 🙂 

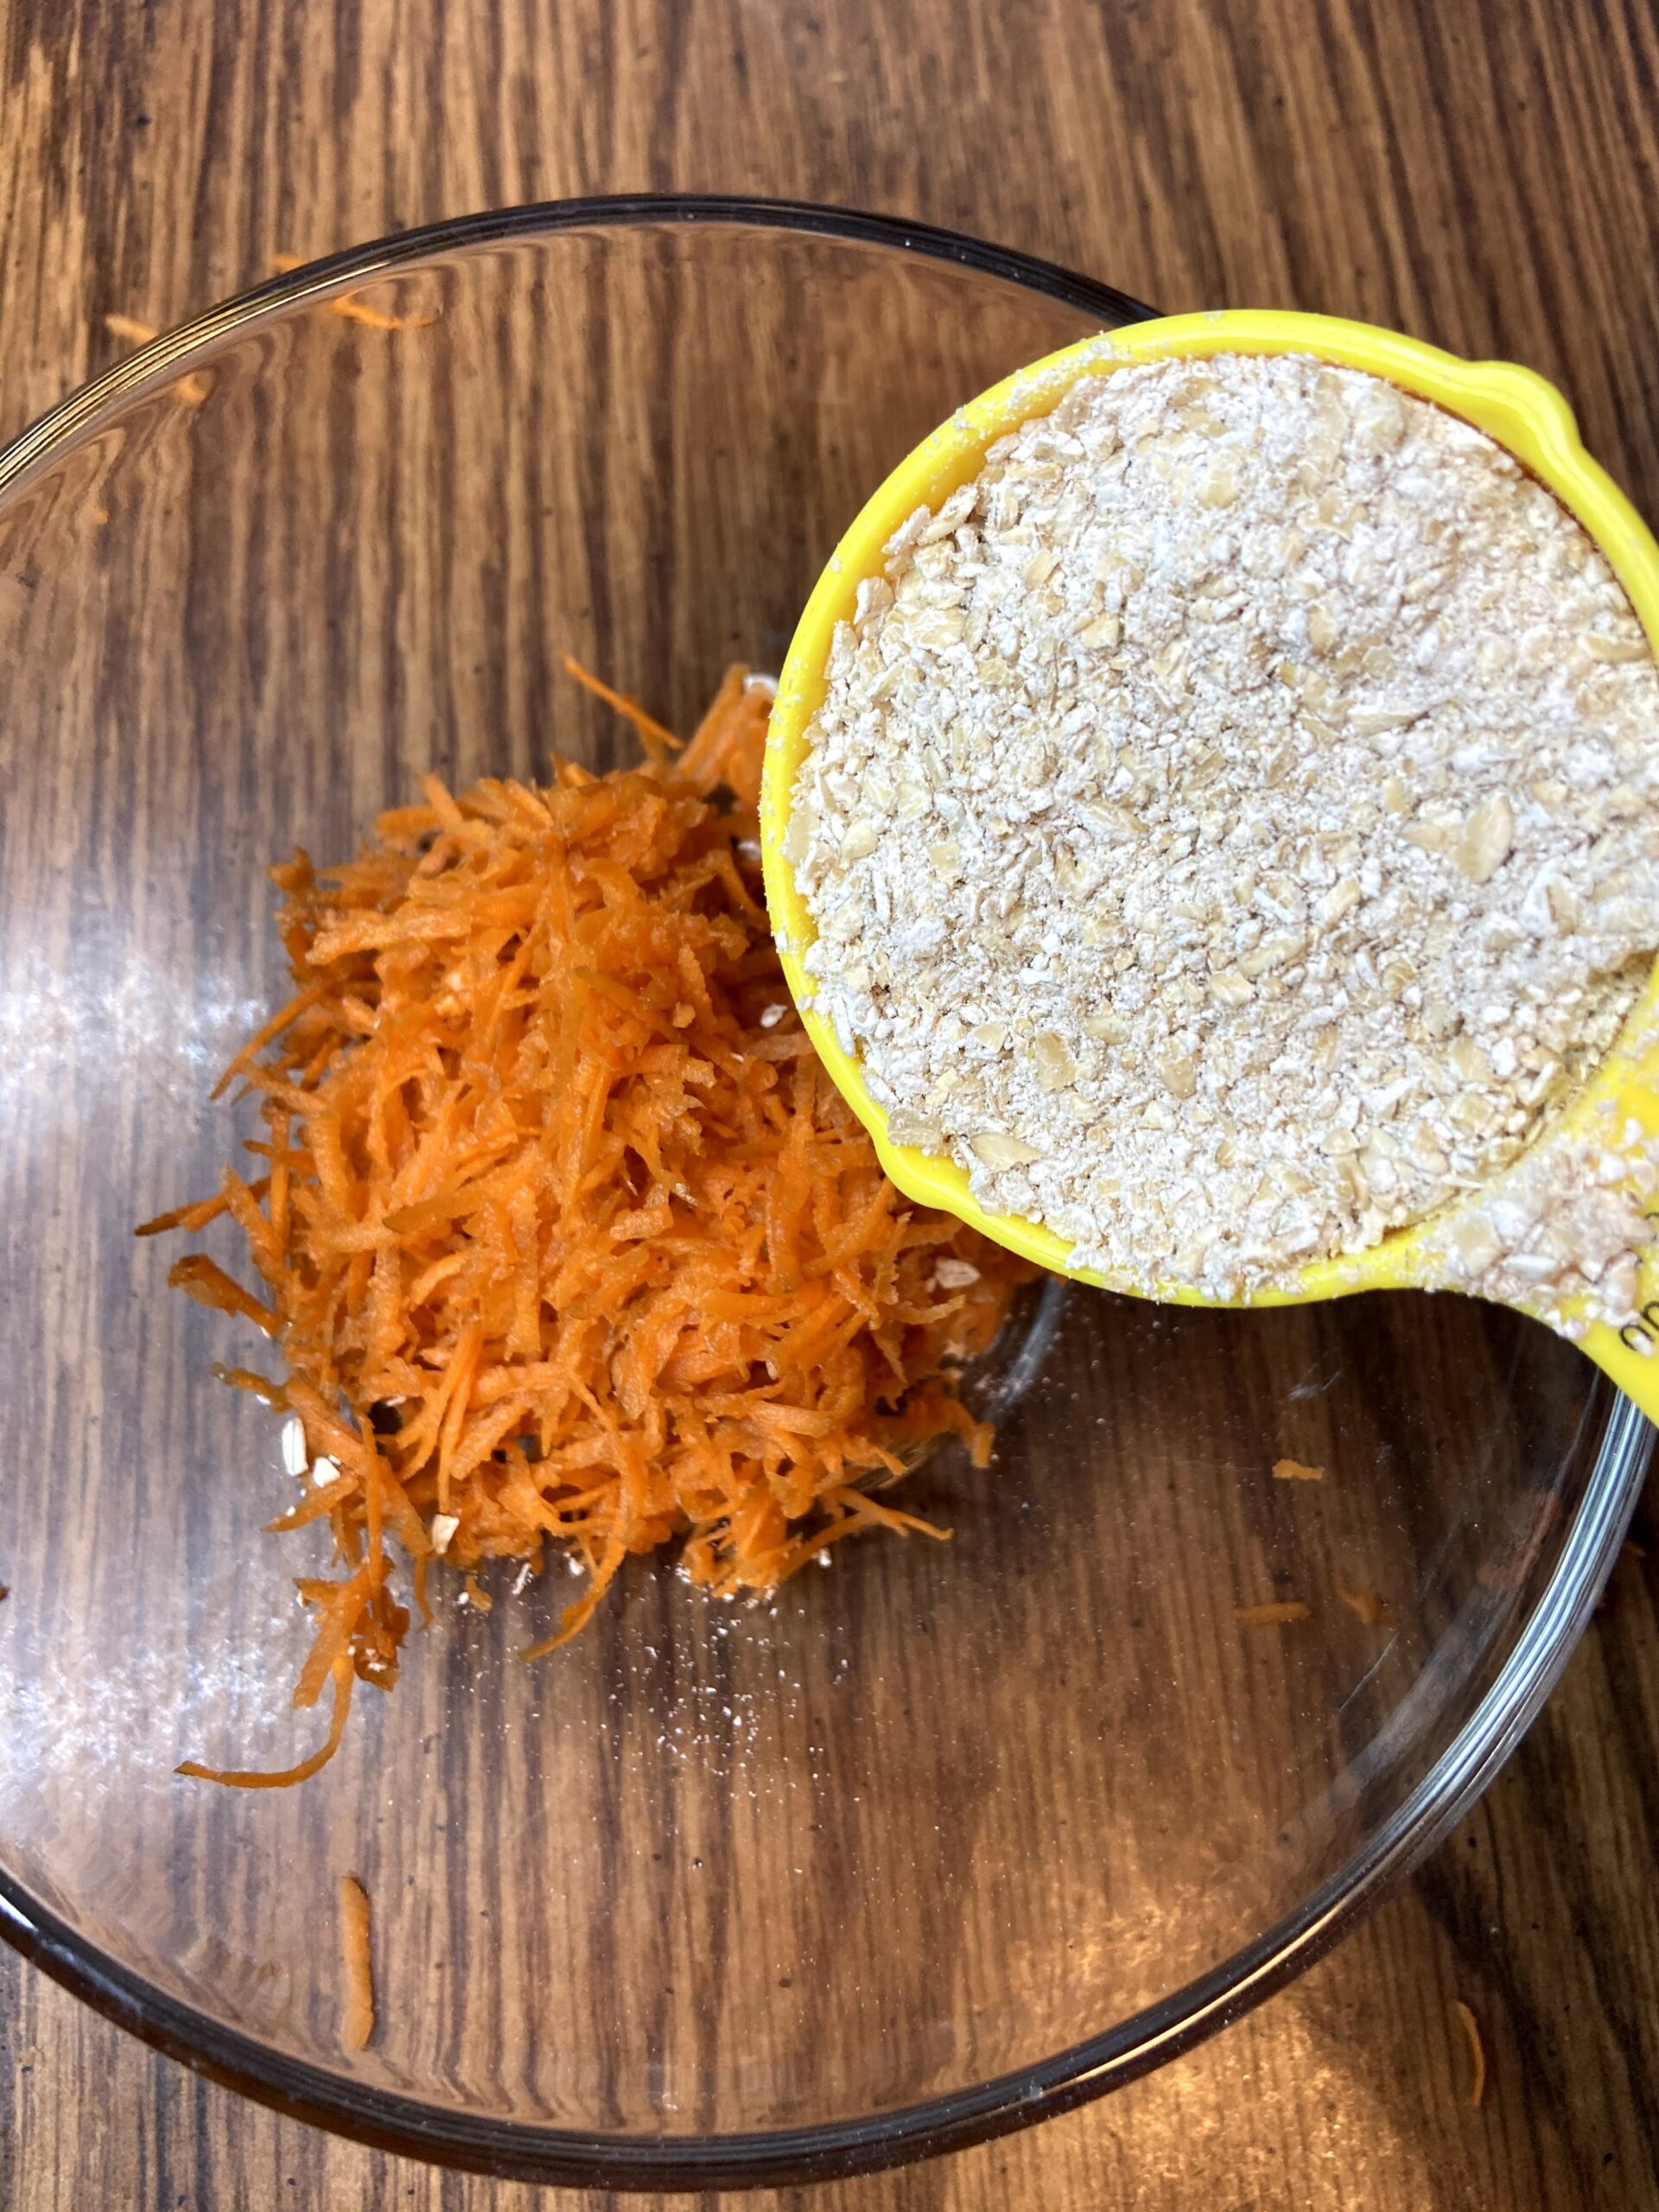
Rather than buy oat flour, I made my own using my food processor. It’s so simple my friends. Just put some old fashioned oats into your processor and hit blend until your texture is very coarse flour (I use my Kitchen Aid 7 Cup and it’s grand!). I poured a few cups of oats into my mixture, ground them up, and stored them in an air tight container. 

I have a few other recipes that call for ground oats like these simple energy balls, banana nut baked oatmeal, and this great banana bread, so having some on hand isn’t a bad idea. 

Ready to get mixing and baking? I hope so! Let’s make some carrot cake baked oatmeal!

Your Ingredients for Carrot Cake Baked Oatmeal 

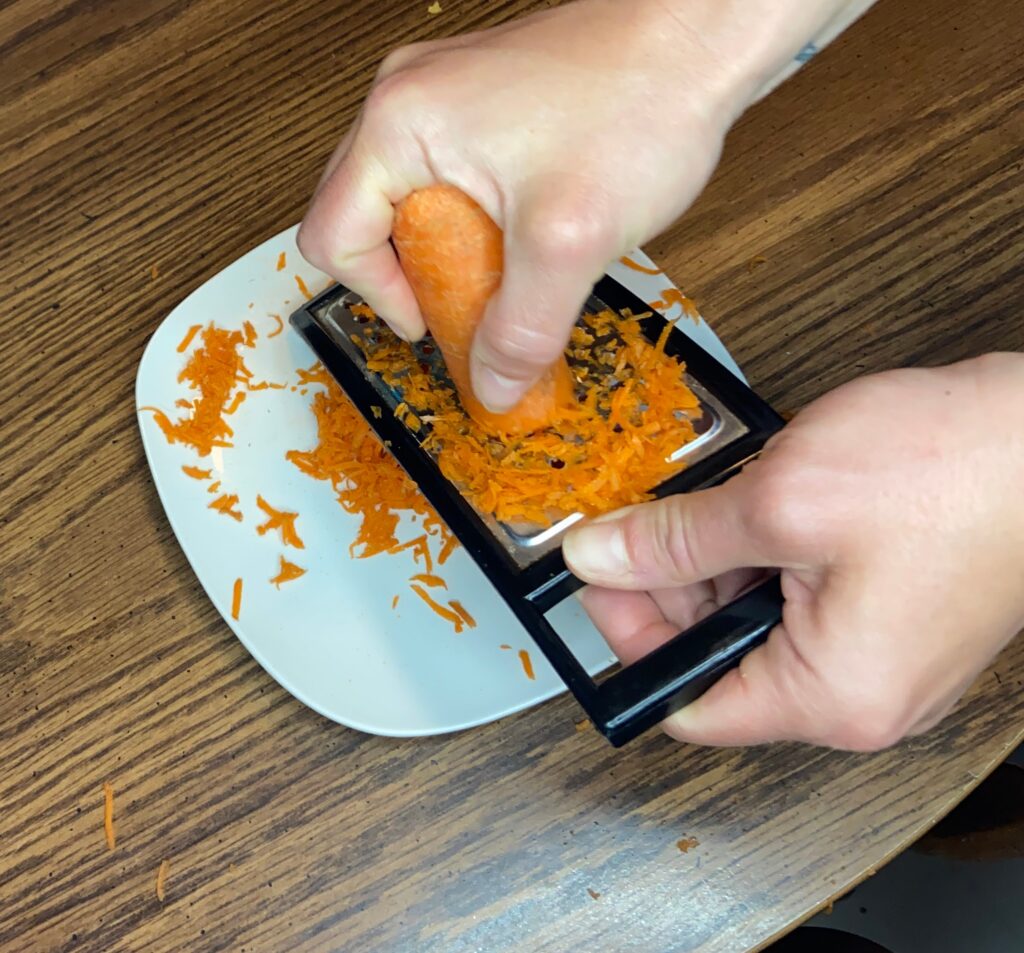
  • ⅓ to ½ cup grated carrot 
  • ⅓ cup oat flour
  • 1 tablespoon maple syrup 
  • ½ teaspoon cinnamon
  • ½ teaspoon baking powder
  • 2 tablespoons chopped walnuts
  • ⅓ cup unsweetened almond milk 
  • ⅛-¼ teaspoon vanilla extract, optional 

Your Steps to Banana Nut Baked Oatmeal 

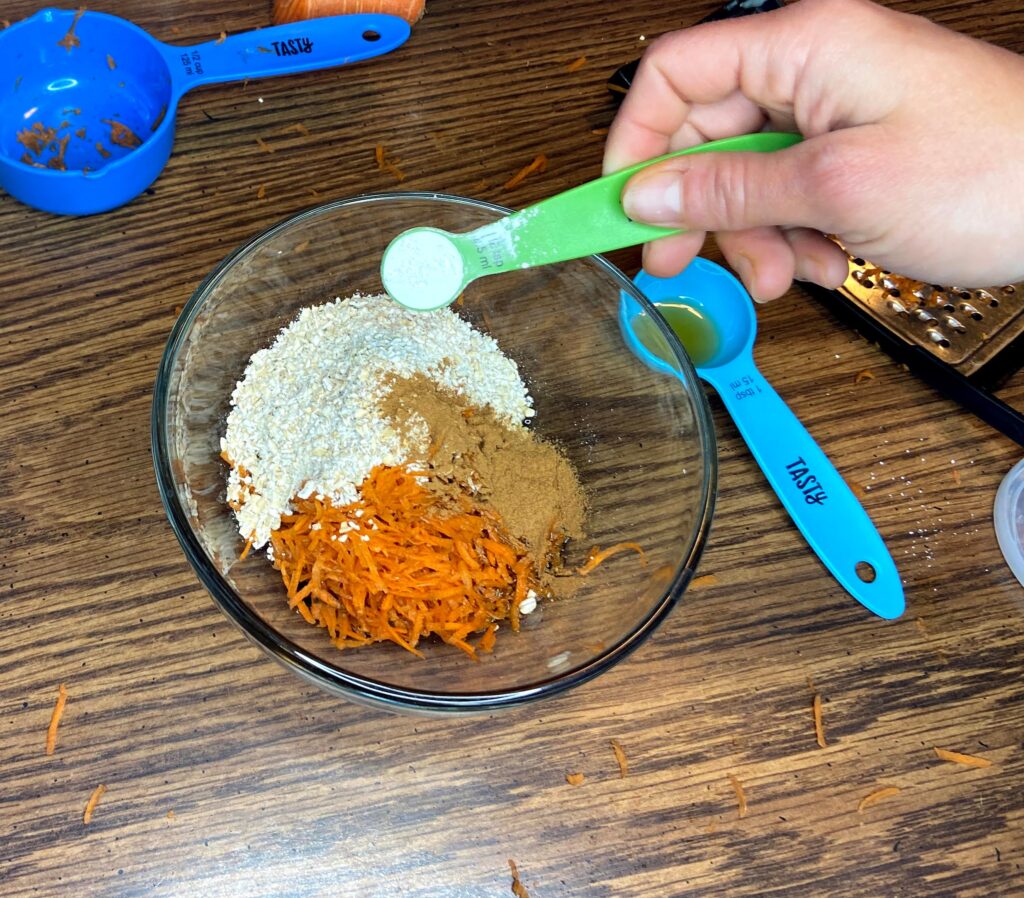
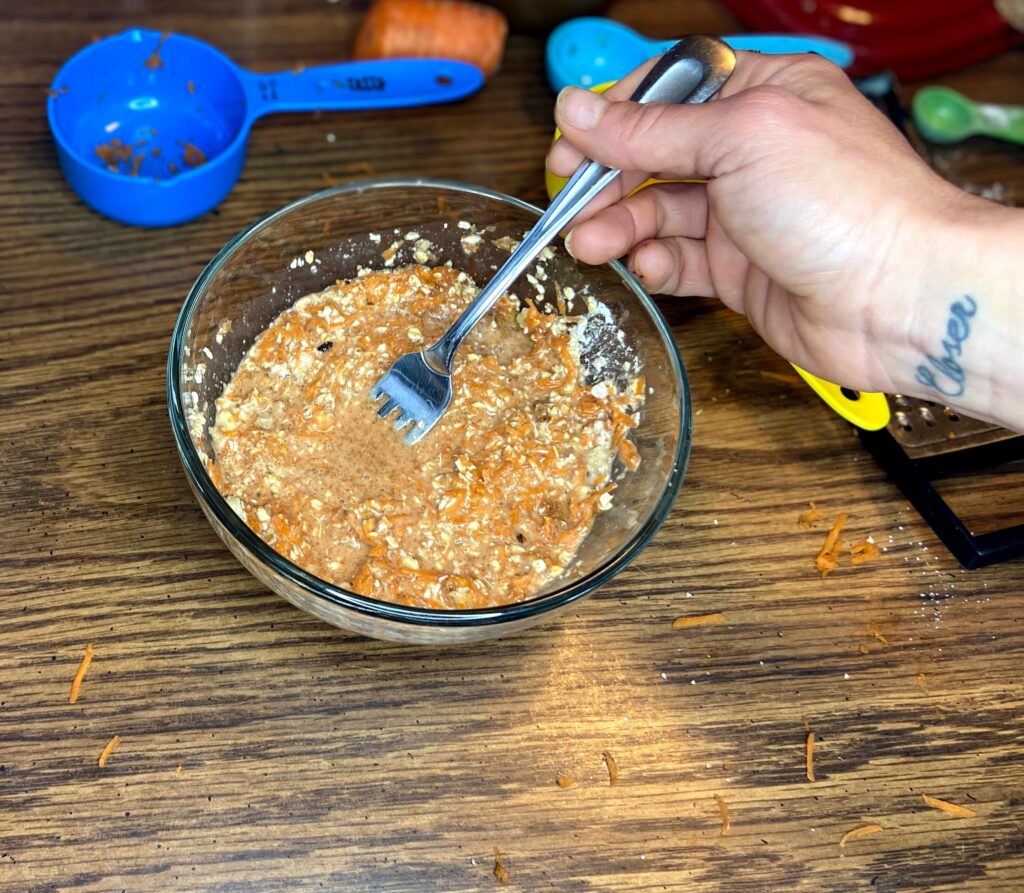
Preheat the oven to 375 degrees. Grease a ramekin with non-stick cooking spray. Combine all ingredients in a small bowl, mixing until well combined. Pour into greased ramekin. Bake on the middle shelf for 15-20 minutes, depending on the texture you want your oatmeal to be. I like it to feel more like a bread than goo-ey, so I shoot for the 20 minute mark. 

Carrot Cake Baked Oatmeal

Cake and vegetables for breakfast?! Why not?
Course Breakfast
Cuisine American
Servings 1

Ingredients
  

  • ⅓ to ½ cup grated carrot
  • cup oat flour
  • 1 tablespoon maple syrup
  • ½ teaspoon cinnamon
  • ½ teaspoon baking powder
  • 2 tablespoons chopped walnuts
  • cup unsweetened almond milk
  • ⅛-¼ teaspoon vanilla extract optional

Instructions
 

  • Preheat the oven to 375 degrees. Grease a ramekin with non-stick cooking spray.
  • Combine all ingredients in a small bowl, mixing until well combined.
  • Pour into greased ramekin. Bake on the middle shelf for 15-20 minutes, depending on your texture preference.
Keyword baked oatmeal, Breakfast, carrot, carrot cake
Tried this recipe?Let us know how it was!

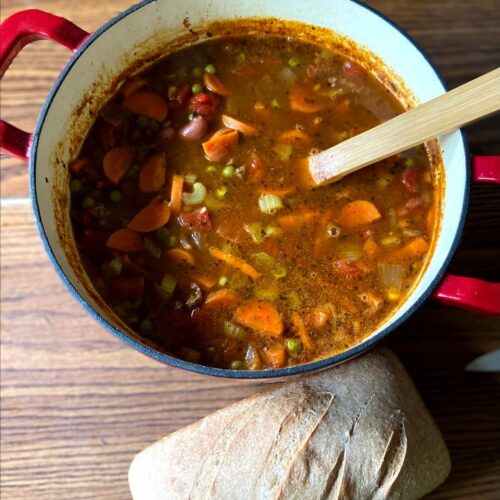
Kitchen Sink Vegetable and Venison Soup

If I was told I could only eat one type of food for the rest of my life, I would ask for soup in a heart beat. It’s my favorite. Maybe it’s because I always perpetually cold. Or maybe it’s because I get to chop all the vegetables, and for reasons I don’t understand, it’s cathartic for me. All I know is soup makes my soul and tastebuds sing and this vegetable and venison soup is so good, it surprises me every time I throw it together!

We had guests this weekend and the whole New Year’s Eve timing made it hard for us to think about planning for meals. It was Friday, but it sure felt like a Tuesday and our house wasn’t even clean! Enter this recipe–I love this vegetable and venison soup because I almost always have everything on hand, there are so many beautiful colors, and the flavor is delightful! The next time you need a quick meal that will leave you with some leftovers, give this one a try! –Jess

Your ingredients:

  • 1 pound ground protein (we do our own ground venison but pick your own favorite-turkey, beef, combination of both), seasoned with salt and pepper and browned
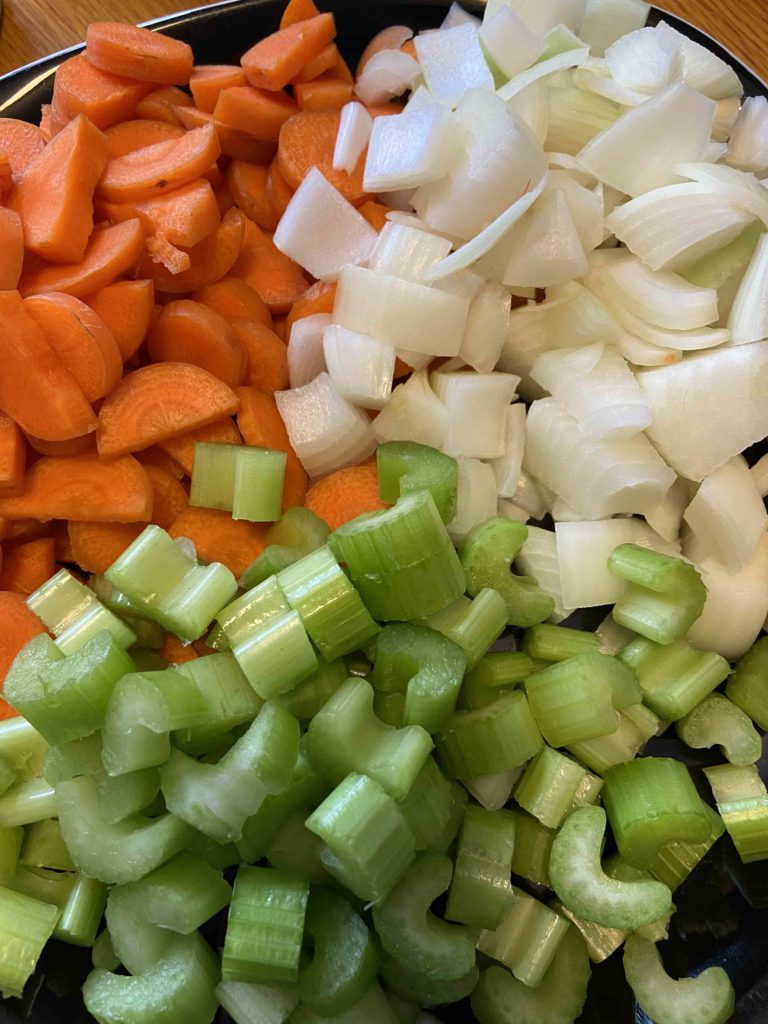
  • 2 1/4 cups diced carrots (3 large)
  • 2 cups diced onion (2 medium)
  • 1 1/2 cups diced celery (4 stalks)
  • 3 teaspoons minced garlic
  • 1 teaspoon each pepper, salt, and basil
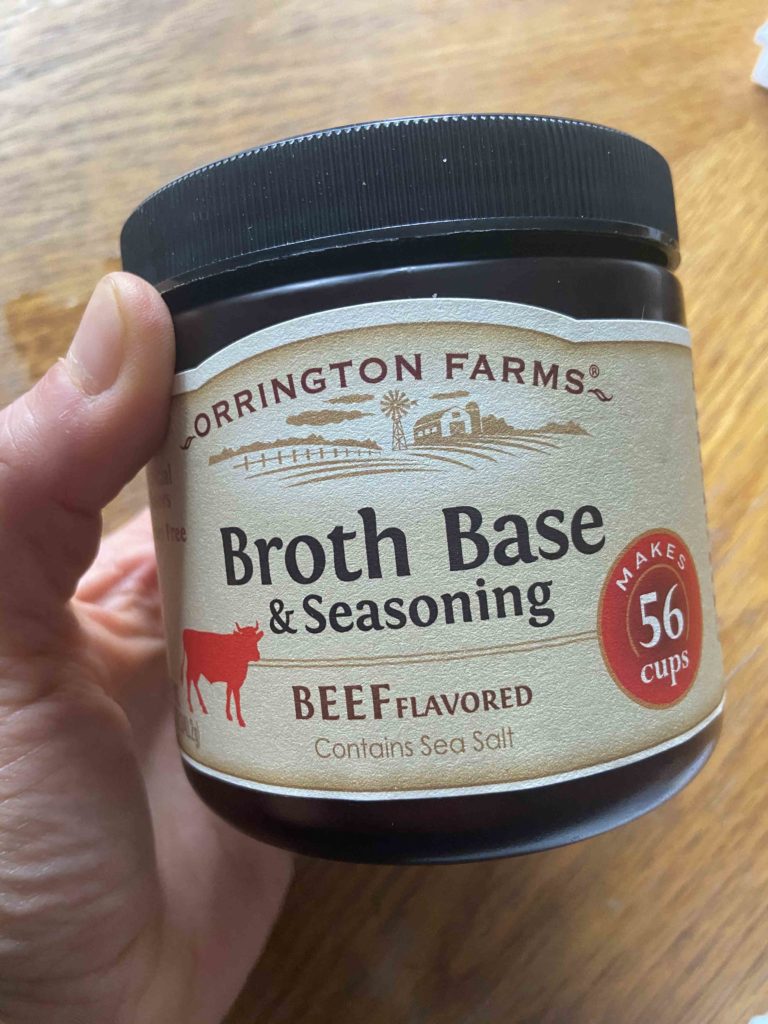
  • 8 cups beef stock (I love the Orrington Farms beef base to make my own! Only thing I use 😉)
  • 1 14.5 ounce can diced tomatoes (I used oregano and basil seasoned)
  • 1 15 ounce can of kidney beans, drained and rinsed
  • 2 cups frozen corn
  • 2 cups frozen peas
  • 1/2 cup dry barley, cooked according to directions or tossed in with everything else (but you will need to simmer the soup longer if that’s the case)–optional
  • Olive oil

Your Steps to Vegetable and Venison Soup

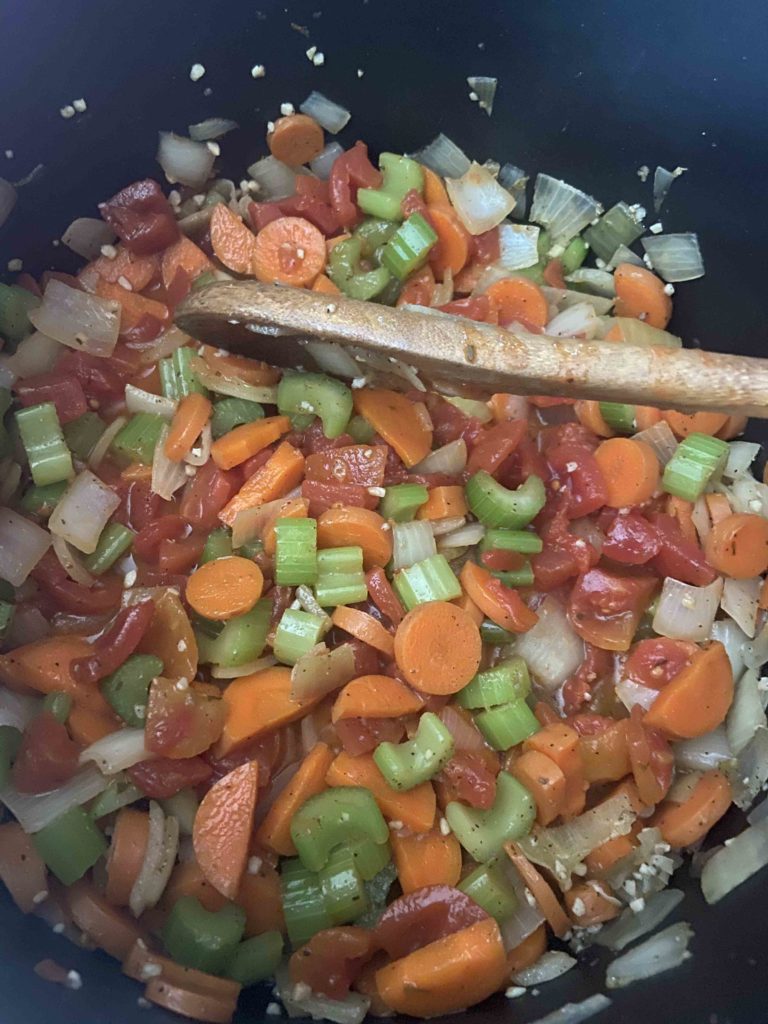
Heat 1 tablespoon of olive oil in large saucepan. Add garlic, carrots, onion, and celery. Season with basil, salt, and pepper. Sauté for 8-10 minutes, until soft.
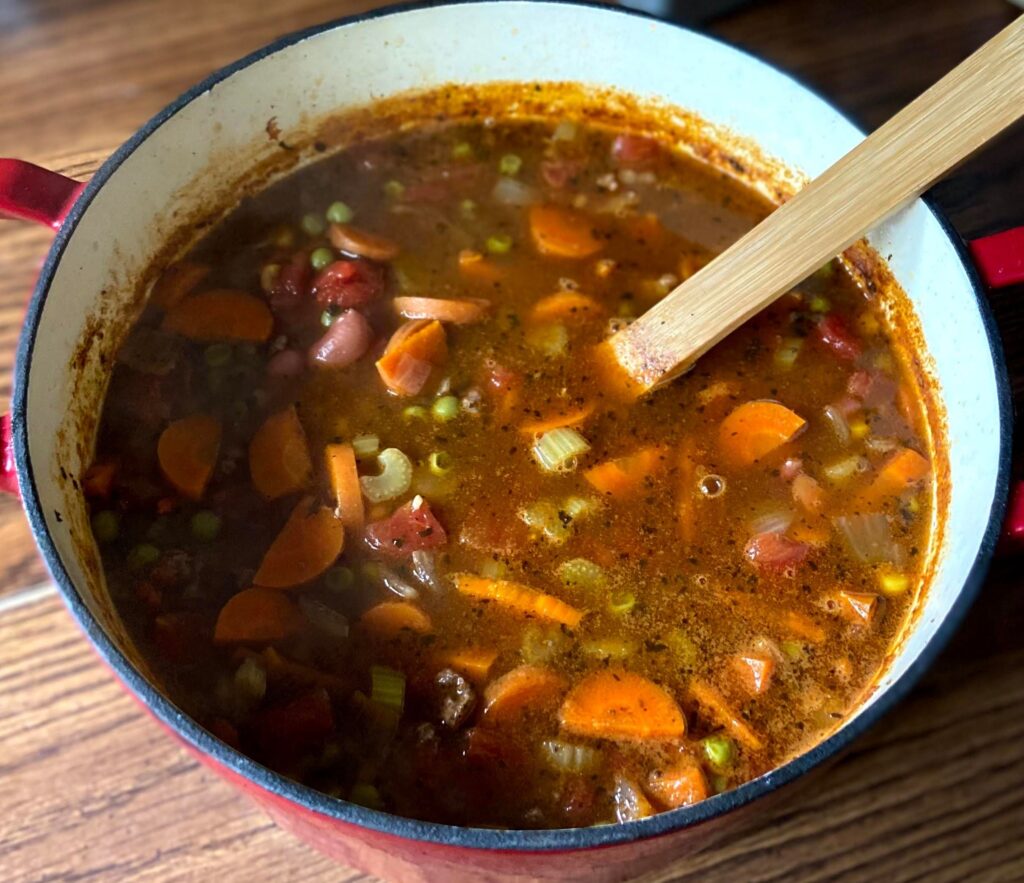
Put into large soup kettle with remaining ingredients (if you are using broth base, add 10 cups of water first, heat to boiling, and stir in broth base. The add in remaining ingredients). Allow to simmer on low for at least 30 minutes to allow all those flavors to mingle ❤️😍 Sometimes I like to mix in 1/4-1/2 cup dry barley too, cooking per directions on package. But truly, this is a great recipe to throw together even without it. Serve with some crusty bread and you’ll feel like you’re winning at life! Let me know what you think!

Tools of the trade

This beef base is to die for. And a cast iron Dutch oven? A must in the kitchen.

Looking for another wonderful, but totally different venison soup? Check out my root vegetable and venison soup!

Kitchen Sink Vegetable and Venison Soup

A family favorite: Full of good for you vegetables, ground protein, and a special flavor surprise in the basil. You'll be sure to come back for more!
Servings 12

Ingredients
  

  • 1 pound ground protein browned
  • 2 1/4 cups diced carrots 3 large
  • 2 cups diced onion 2 medium
  • 1 1/2 cups diced celery 4 stalks
  • 3 teaspoons minced garlic
  • 1 teaspoon pepper
  • 1/2 teaspoon salt
  • 1 teaspoon basil
  • 8 cups beef stock
  • 1 14.5 ounce can diced tomatoes undrained
  • 1 15 ounce can of kidney beans drained and rinsed
  • 2 cups frozen corn
  • 2 cups frozen peas
  • Olive oil

Instructions
 

  • Heat 1 tablespoon of olive oil in large saucepan.
  • Add garlic, carrots, onion, and celery. Season with basil, salt, and pepper.
  • Sauté for 8-10 minutes, until soft.
  • Put into large soup kettle with remaining ingredients.
  • Allow to simmer on low for at least 30 minutes to allow all those flavors to mingle.
Tried this recipe?Let us know how it was!

Looking for other comforting recipes?

Check out some of the suggestions below!