The Scenario…
Over picking at the strawberry patch because you don’t realize just how many berries fit in your bucket until you weigh it.
Looking at the fruits at the farmer’s market and buying it all because the color is beyond appealing.
Planting countless raspberry plants and then not being able to keep up with the bounty they produce in July.
The delicious solution!
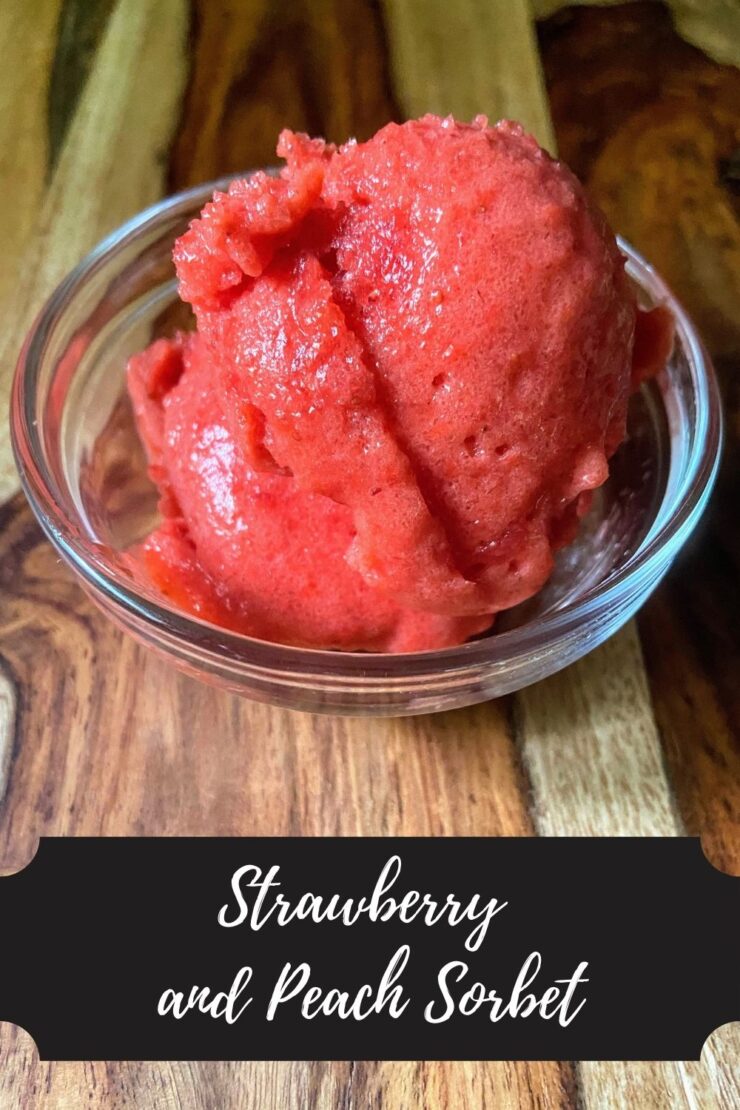
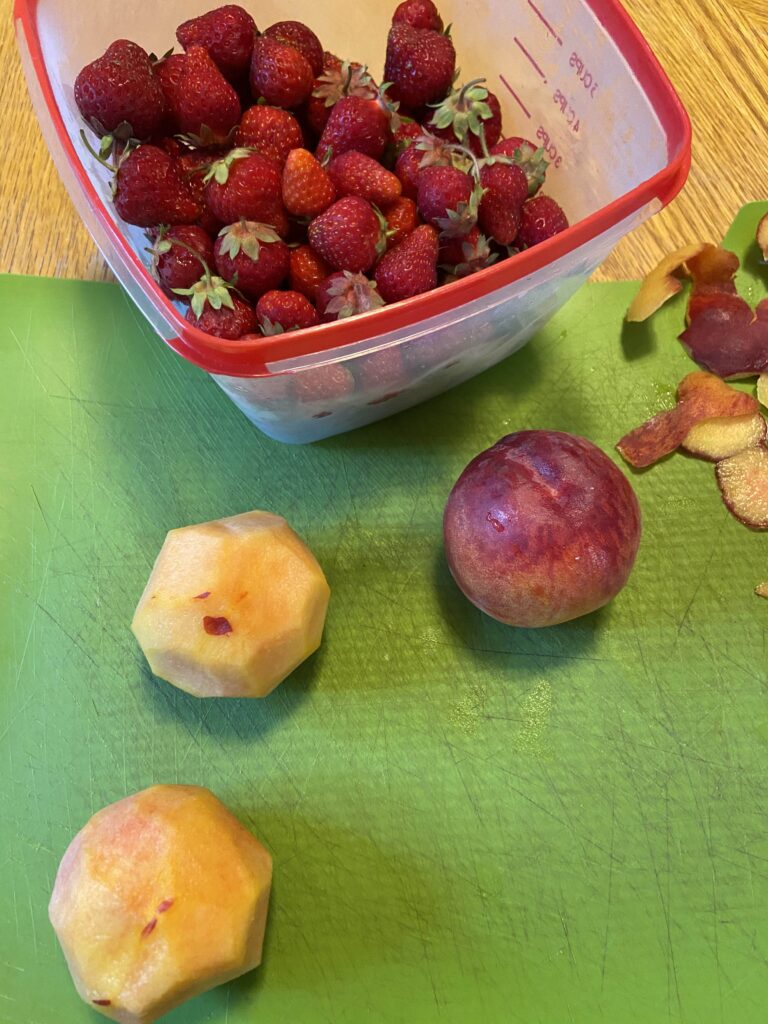
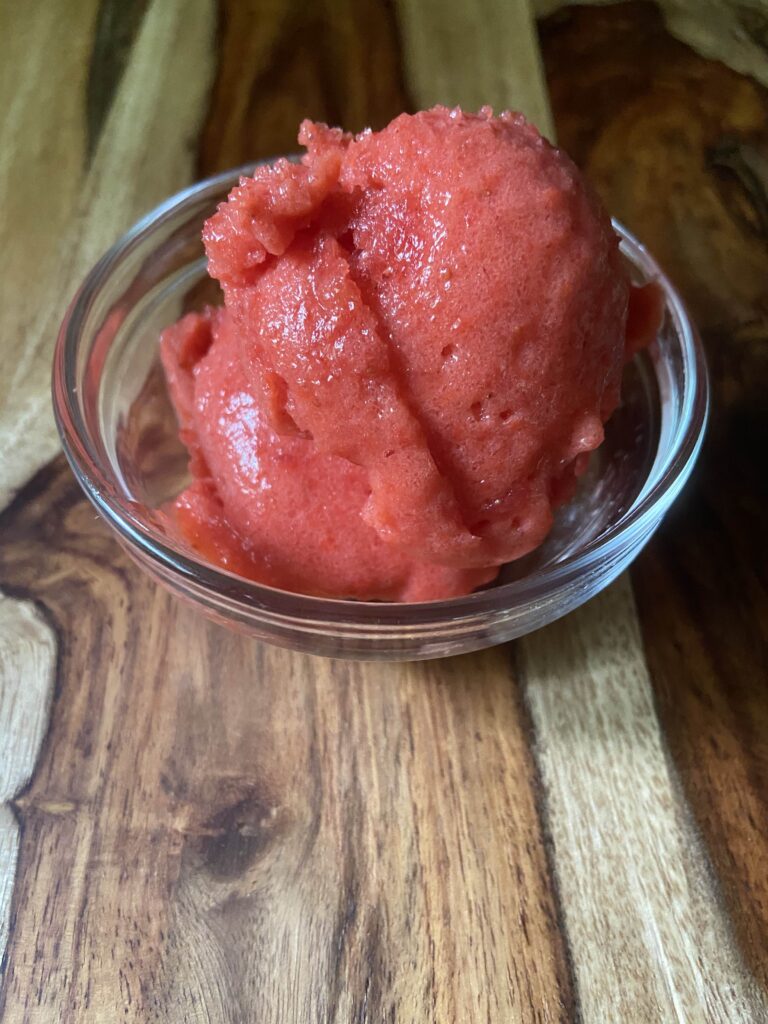
Do any of these scenarios sound familiar? Let me tell you, I have experienced them all. One would think that I would learn from my mistakes, but I still continue to get sucked into ALLLLL the fruits and then need to find something to do with them. This week, it was strawberries and peaches. And thus, a homemade strawberry and peach sorbet was born.
Last year, I had a crazy red raspberry crop. Crazy, as in it took me over an hour to harvest during its peak time. This meant I needed to find new and fun ways to preserve them. I made all the jam. I froze bags of them. Then I stumbled across a fruit sorbet recipe while flipping through my Ball’s Guide to Preserving Book. It sounded amazing, but had SO much added sugar. I modified it some last year, and now have improved it again to not use raspberries but the strawberries from our garden and peaches from the store.
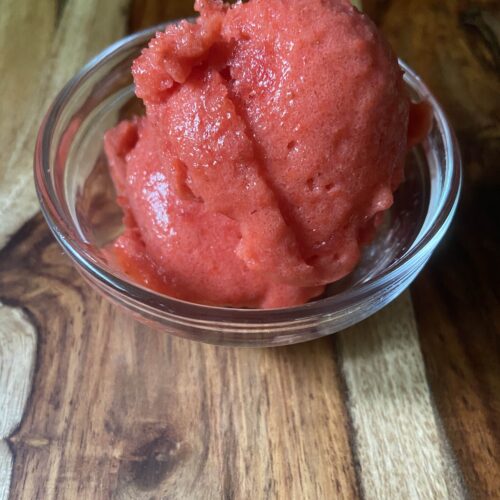
If you’ve been following me for a little time, you know that I like to use my son as my ultimate taste tester. He isn’t afraid to tell me something is too healthy tasting, too salty, lacking vegetables, etc. He’s a good egg, that kid. Anywho…I took a scoop of what couldn’t fit in the jars and had him try it. He closed his eyes, smiled, and kind of whispered, “What IS that?!” I don’t know about you, but that screams approval if you ask me 😉
Don’t have strawberries and/or peaches? I have such good news! This recipe is totally moldable to your favorite flavor combination. Ultimately, you will need 4 cups of chopped soft fruit. Think berries, peaches, nectarines, etc. (Ball says you can use melon, but I haven’t tested it).
Your Ingredients:
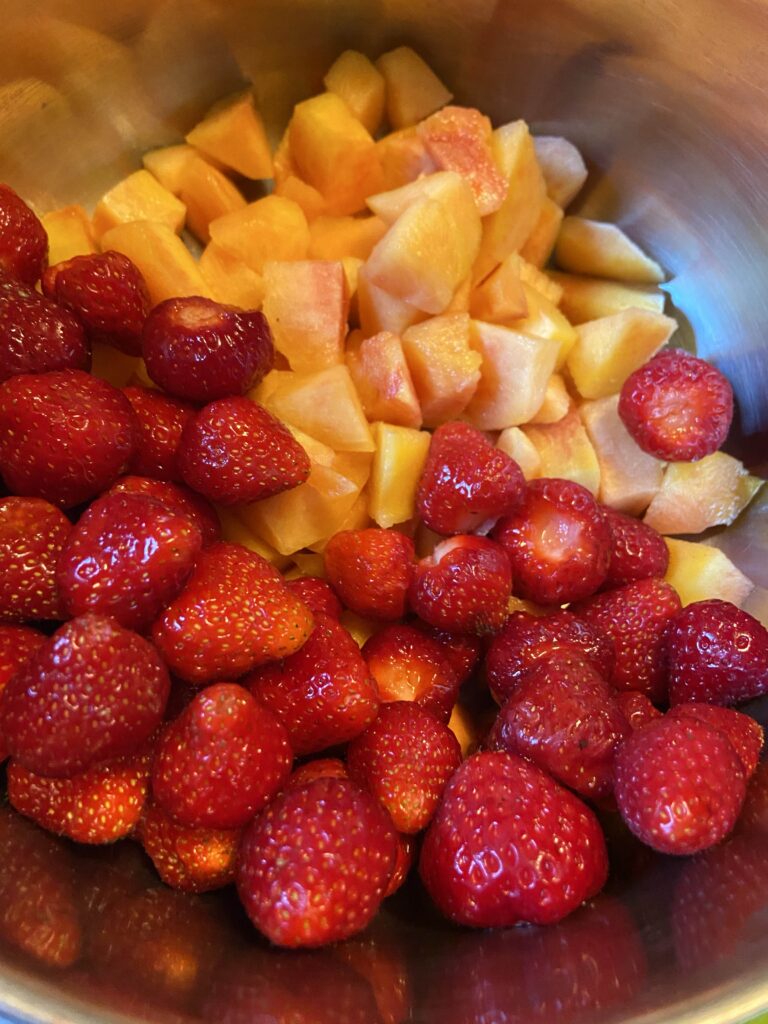
- 2 cups chopped strawberries
- 2 cups diced peaches, peeled first then cut up
- ½ cup orange juice
- 2 tablespoons lemon juice
- 2 tablespoons honey
Your steps
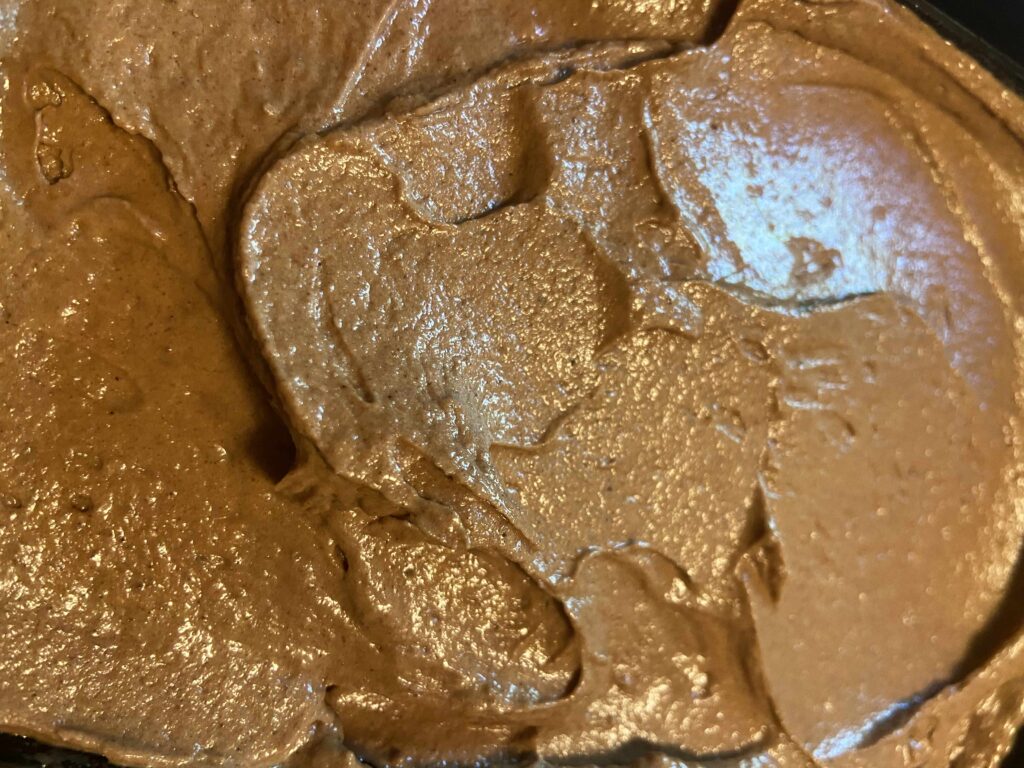
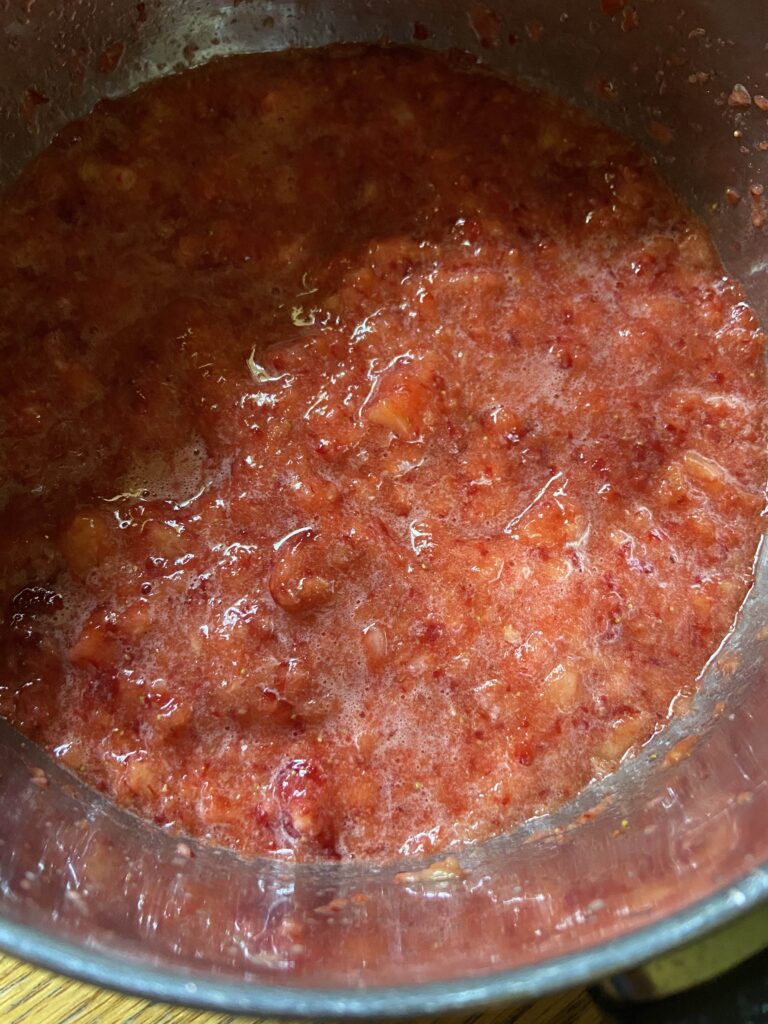
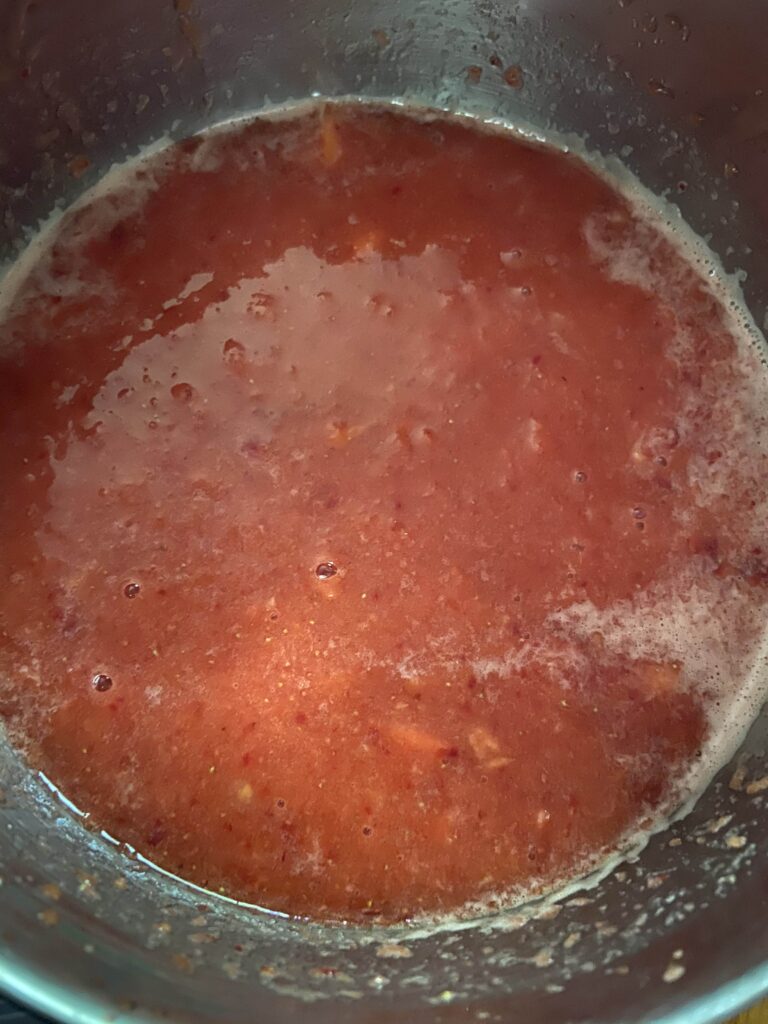
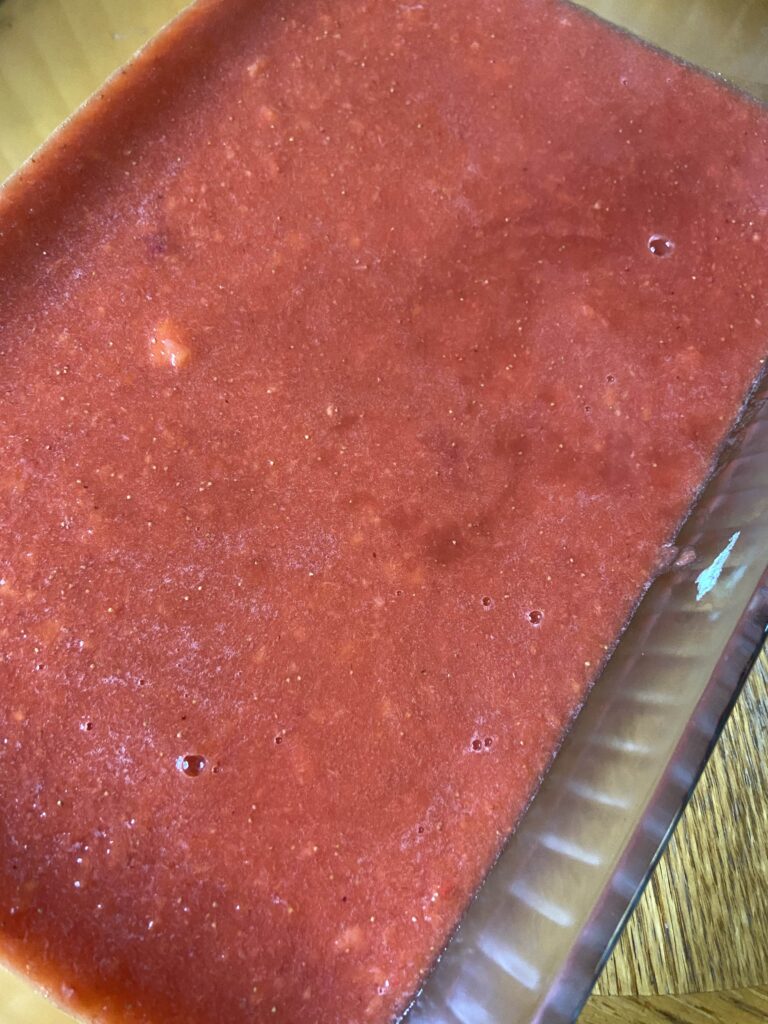
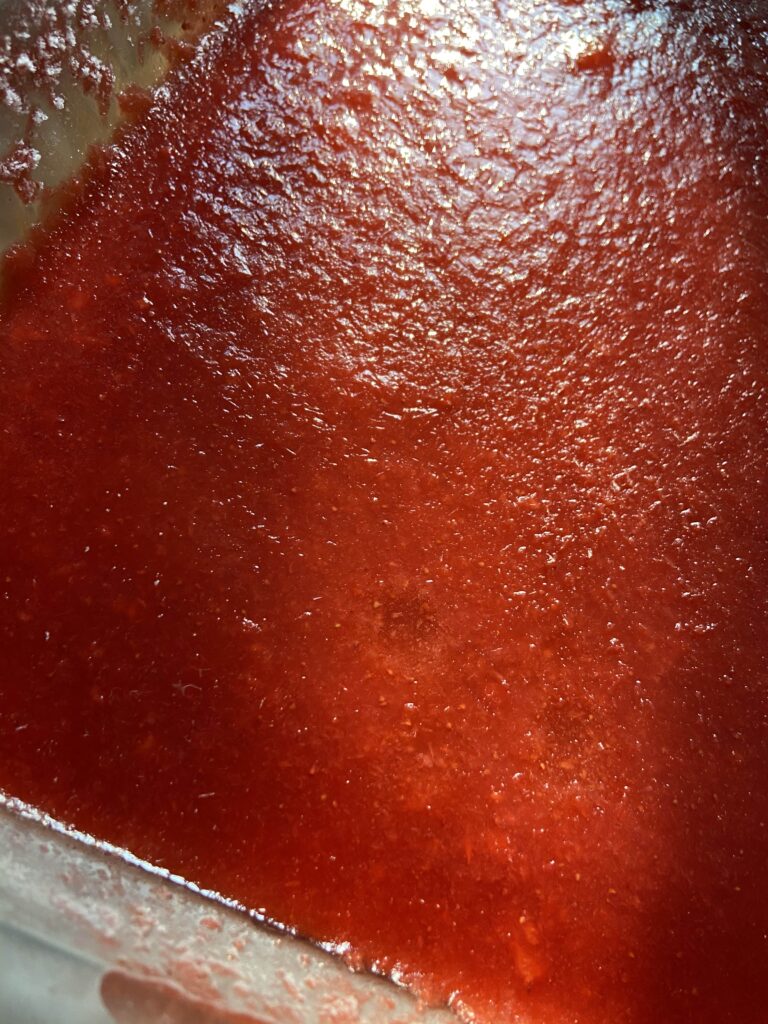
Combine fruit. Use a blender or immersion blender to break fruit down. I use an immersion blender and blend right in the kettle I will be heating them in. Add remaining ingredients. From here, use the immersion blender to mix everything together once more. Once combined, heat over medium heat until the mixture is beginning to simmer, stirring often. Pour into a 9×13 pan, cover, and place in the freezer and allow to freeze solid.
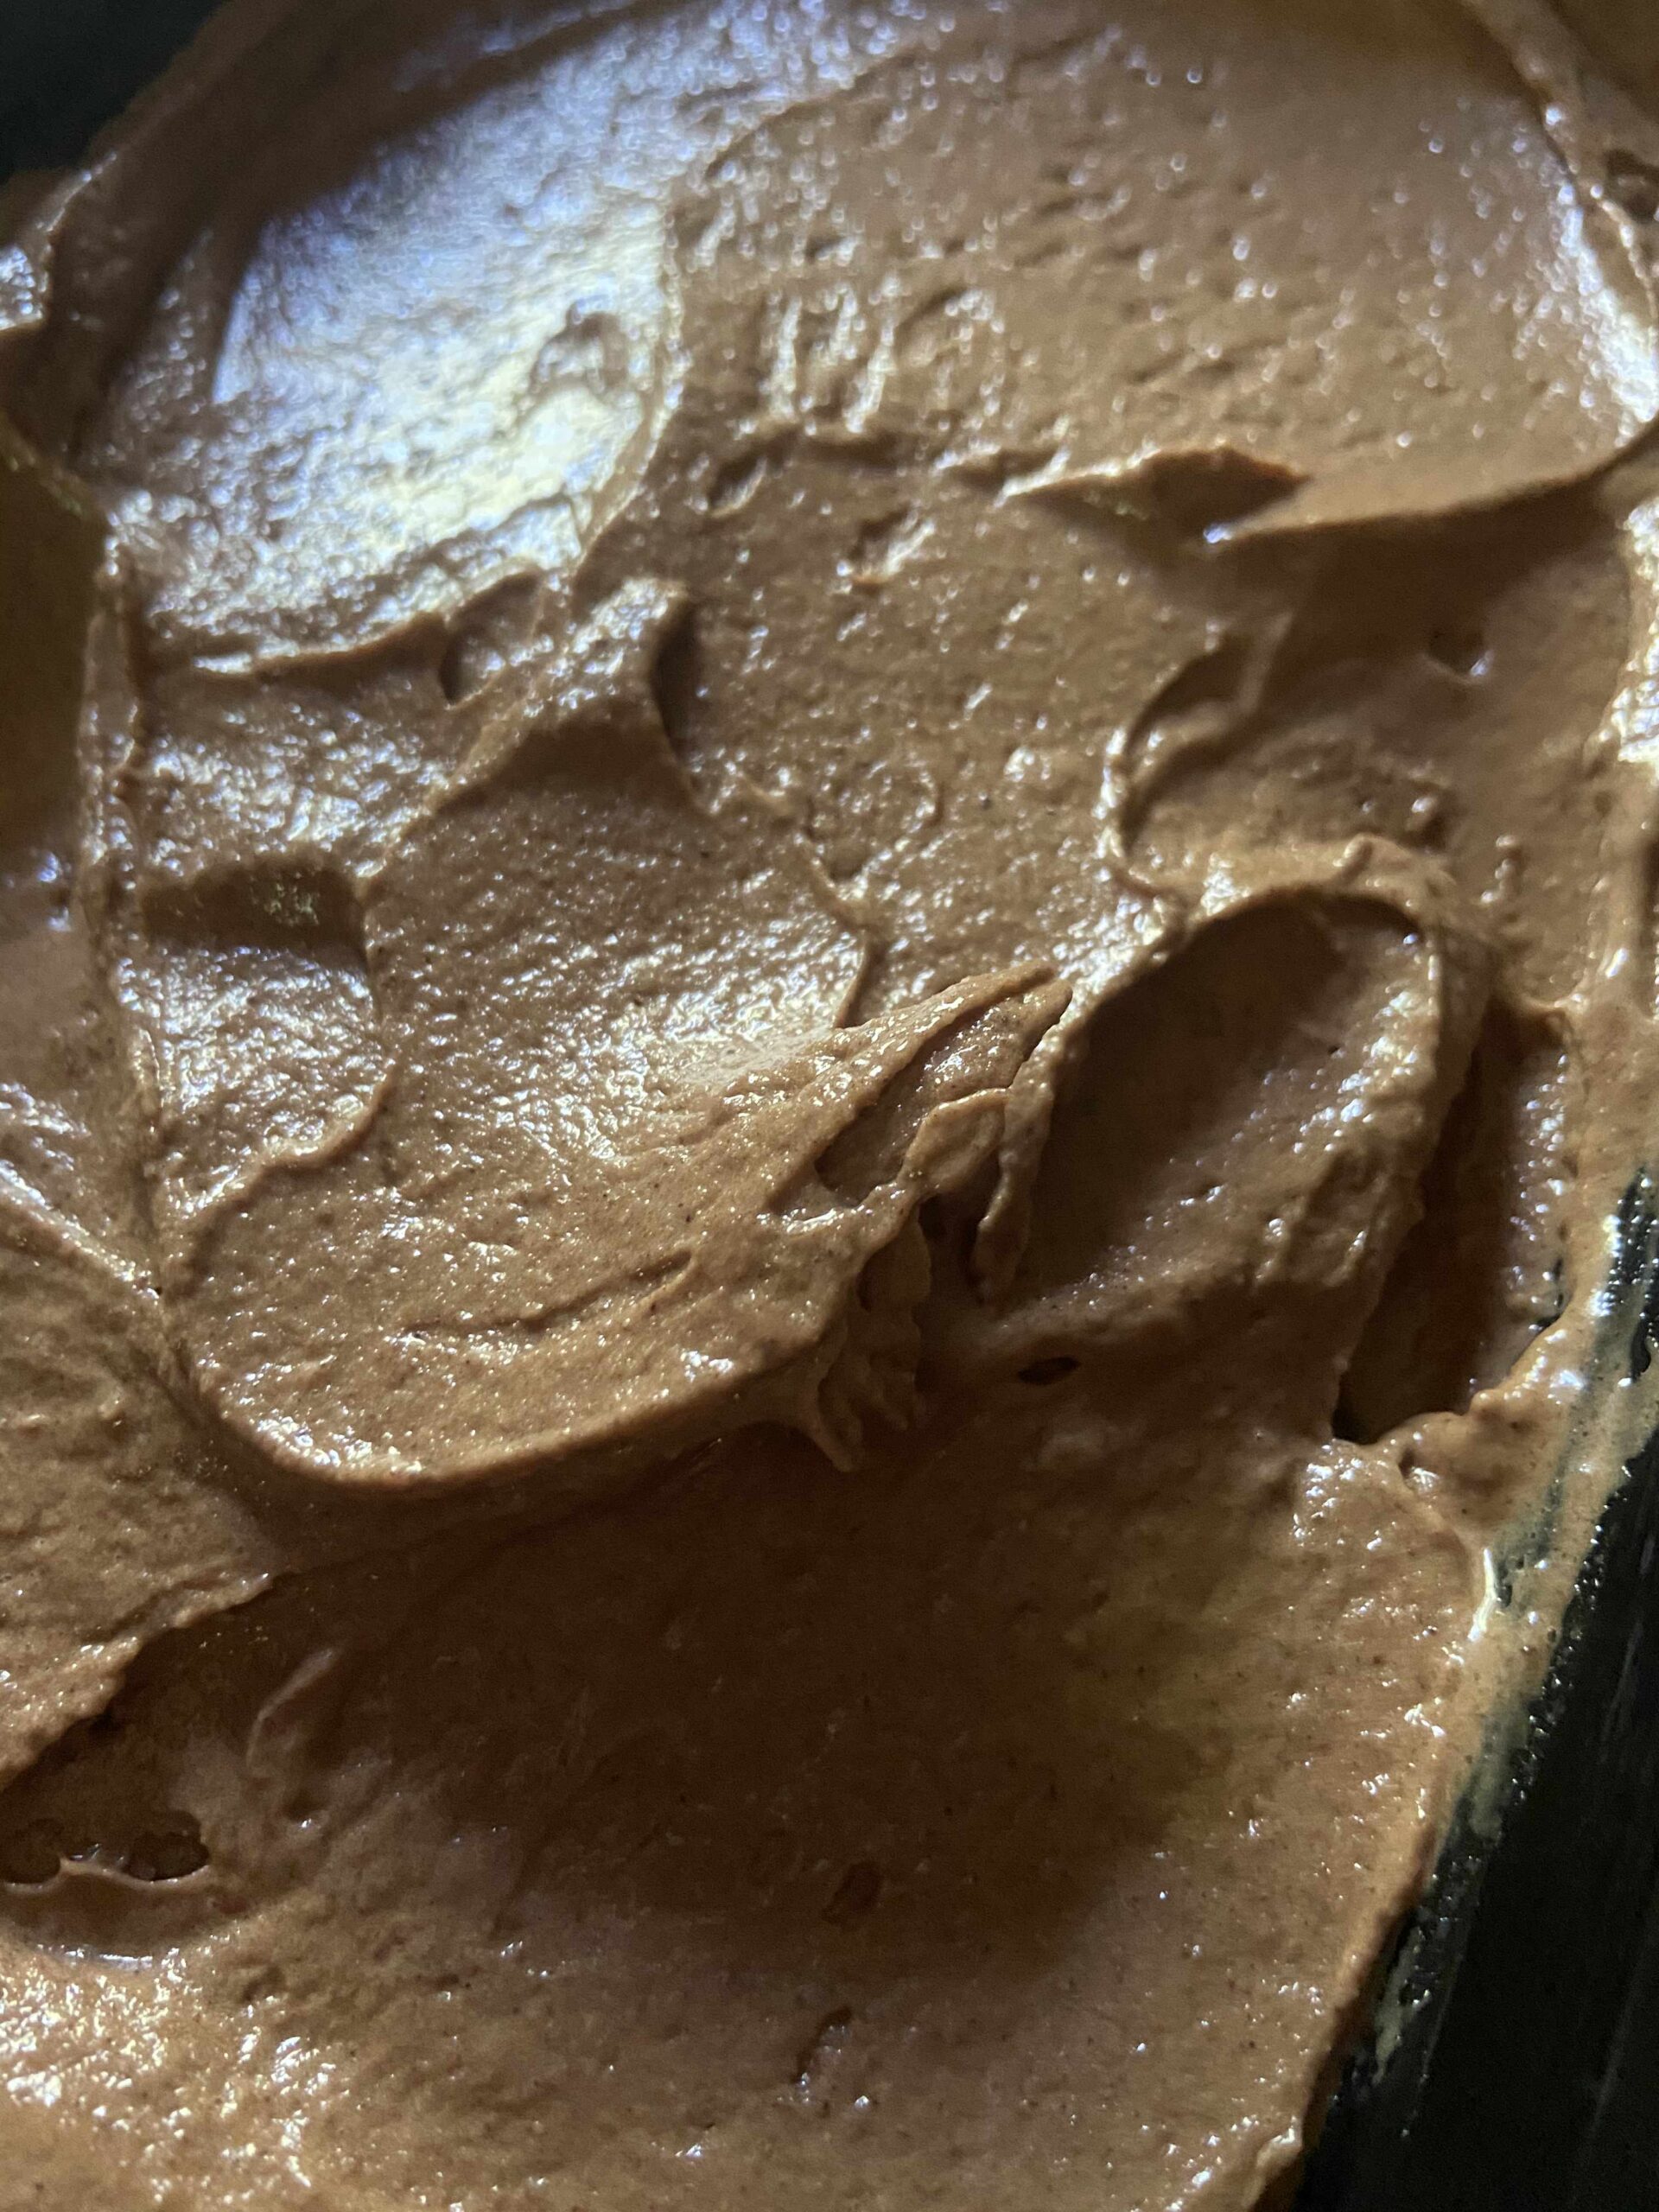
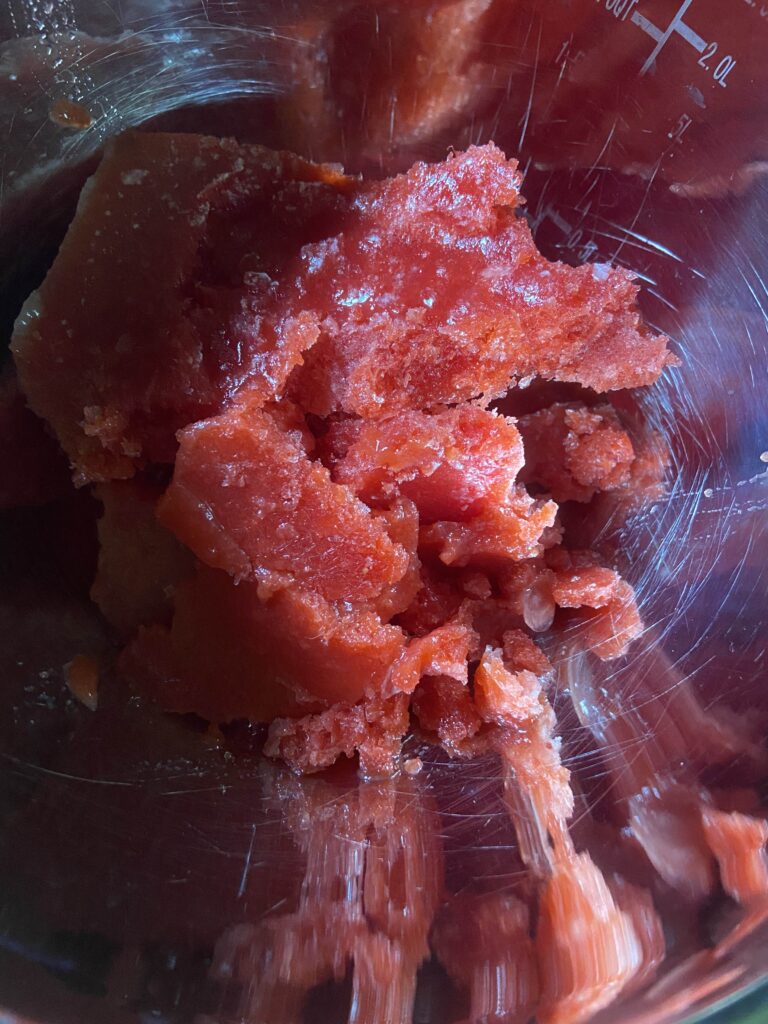
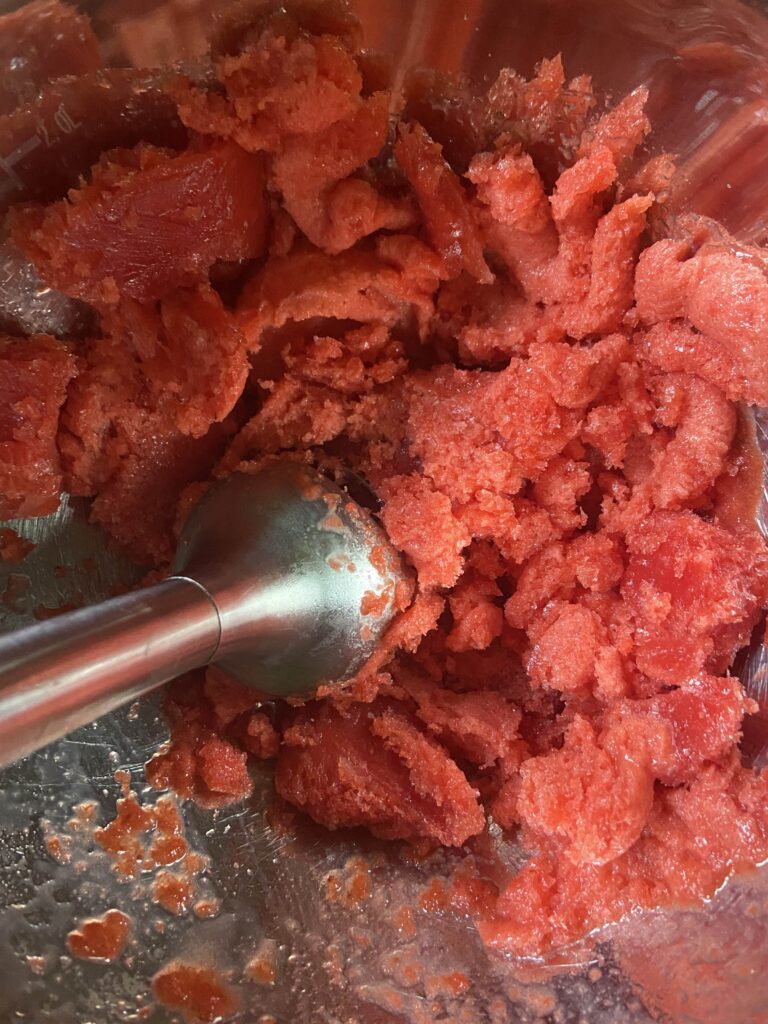
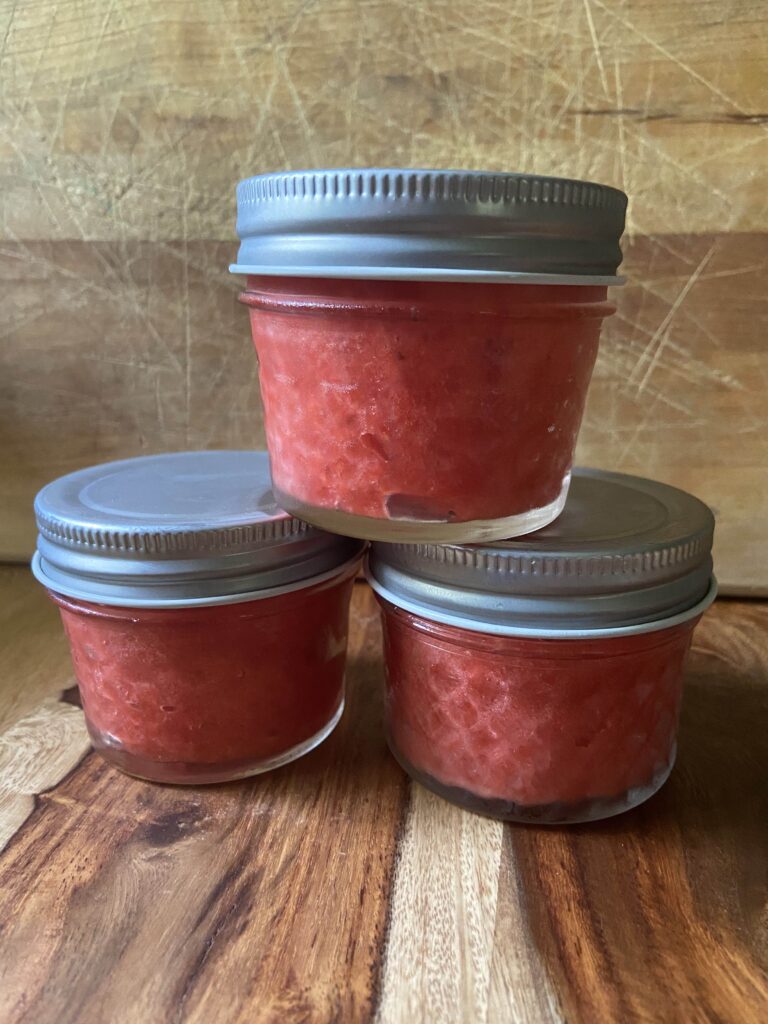
Once fully frozen, remove and allow to sit at room temperature for 5-10 minutes. This will make it easier to remove the sorbet. Working in small batches, puree frozen sorbet. There are lots of options for this. You can use a blender, a food processor, or an immersion blender. For me, I dig the immersion blender because clean up is so easy. Scoop the puree into freezer safe containers, leaving ½ inch headspace at the top. I like to use 4 ounce jelly jars for ½ cup servings ready to go! Finally, be sure to label and return to the freezer until you’re ready to enjoy them!

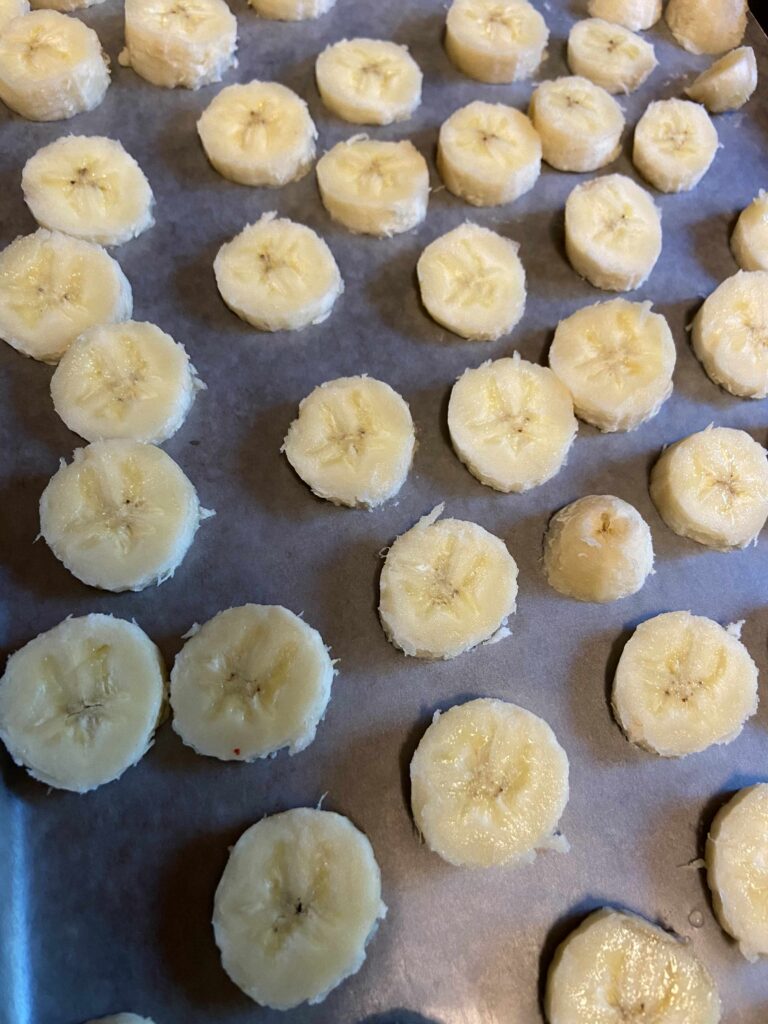
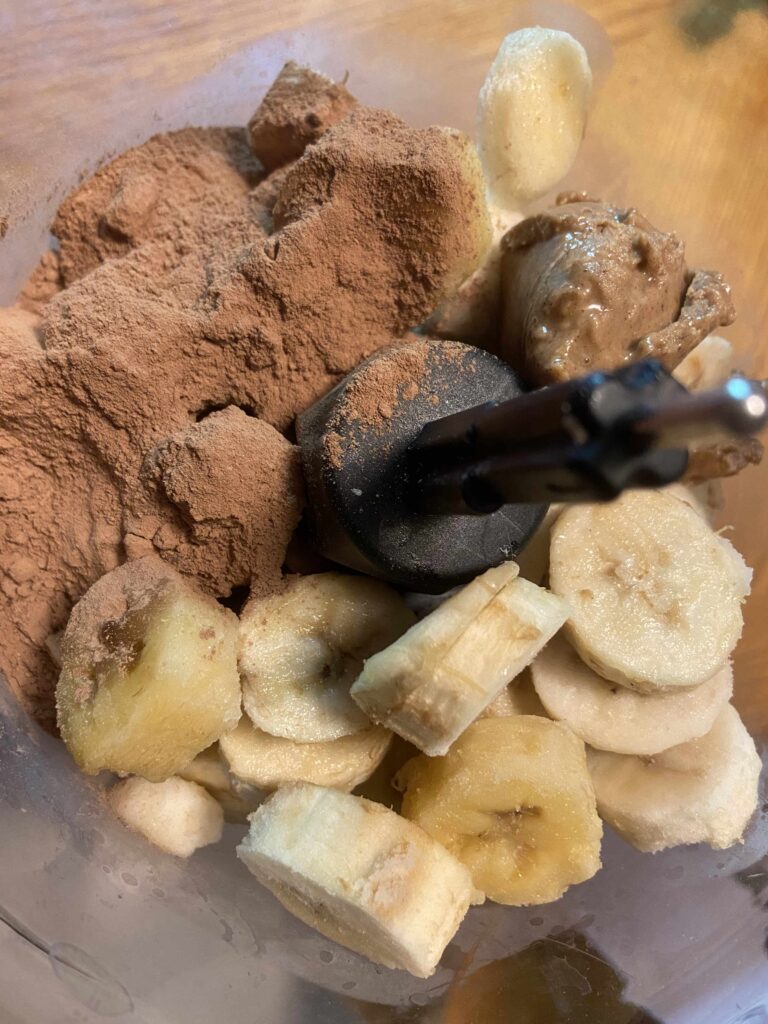
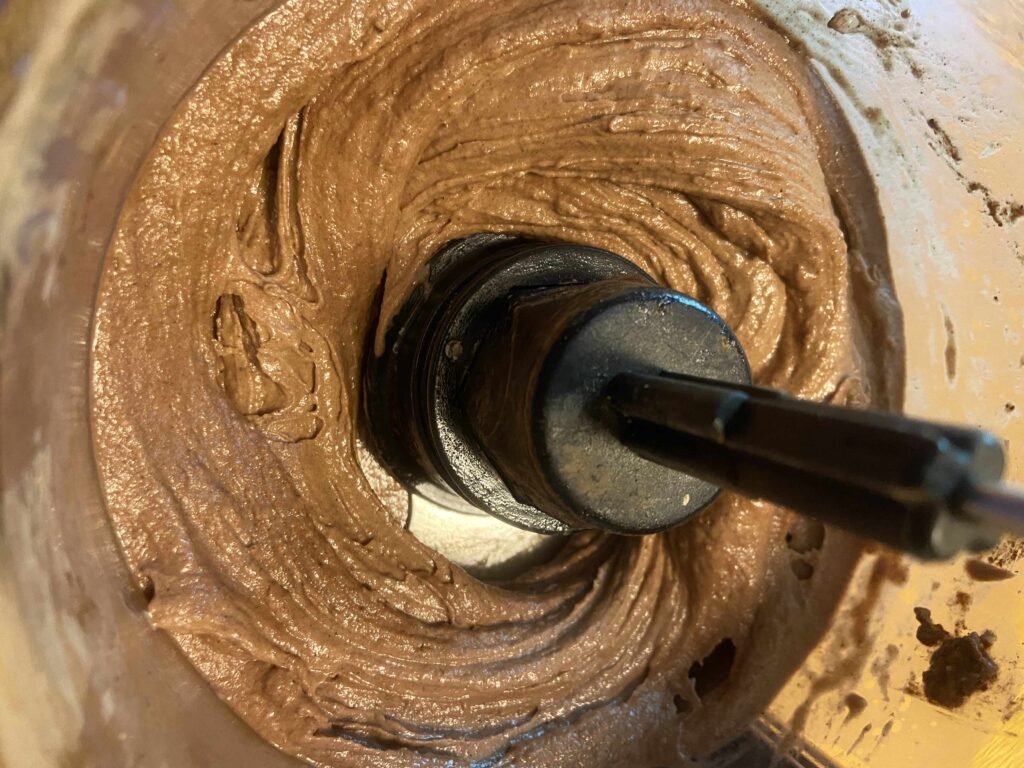
Chopping makes me happy. Colors. All the colors! Blend the fruit. And blend again with the other ingredients. Pre freezing. Post freezing. Scoop. If it’s too frozen, wait a little longer. Seriously, I adore my immersion blender. Oh my goodness, the fluffiness! Freezer bound!
A few notes
When I initially found this recipe, I wanted to cut the second blending of the sorbet. It is critical to complete if you want fluffy sorbet that you remember from childhood. It’s worth the extra step. Don’t skip it!
Initially, I tried this recipe freshly picked raspberries so feel free to mix it up in terms of fruit. Ultimately, you need 4 cups of chopped/crushed fruit so let your taste buds to the work here.
Looking for an adult version? I found that adding ½ cup of lime twisted gin was a delight to the raspberry sorbet! Be mindful of how much alcohol you add as it will effect the ability of the sorbet to freeze.
Have a sweeter tooth? The recipe originally calls for 2 cups of sugar. If you’d like, add more to suit your own tastes.
Tools I use
Hoping to use some of the tools I love for creating these? Here’s the link for the 4 ounce jelly jars I used as well an immersion blender. Seriously, the immersion blender is an underrated tool in the kitchen and it hardly takes up any storage space! If you don’t have one yet, I highly recommend investing. You’ll thank me!
As for the jelly jars, I am usually a Ball or Kerr jar lover, but a friend gifted me these Verone jars and I loved that they came with two piece lids for canning as well as one piece lids for storage. Double duty in one pack of jars. Super cool 🙂
Looking for other ways to preserve your summer bounty? Check out my canning and preserving page!
Strawberry and Peach Sorbet
Equipment
Ingredients
- 2 cups chopped strawberries
- 2 cups diced peaches peeled first then cut up
- ½ cup orange juice
- 2 tablespoons lemon juice
- 2 tablespoons honey more to taste
Instructions
- Combine fruit.
- Use a blender or immersion blender to break fruit down into a puree.
- Add remaining ingredients. Blend once more to fully break down the fruit and incorporate added ingredients.
- Once combined, heat over medium heat until the mixture is beginning to simmer, stirring often.
- Pour into a 9×13 pan, cover, and place in the freezer and allow to freeze solid.
- Once fully frozen, remove and allow to sit at room temperature for 5-10 minutes to make it easier to remove from pan. Working in small batches, puree frozen sorbet using food processor, blender or immersion blender.
- Scoop the puree into freezer safe containers, leaving ½ inch headspace at the top. Label and return to freezer if not enjoying immediately.