Homemade Cranberry Sauce

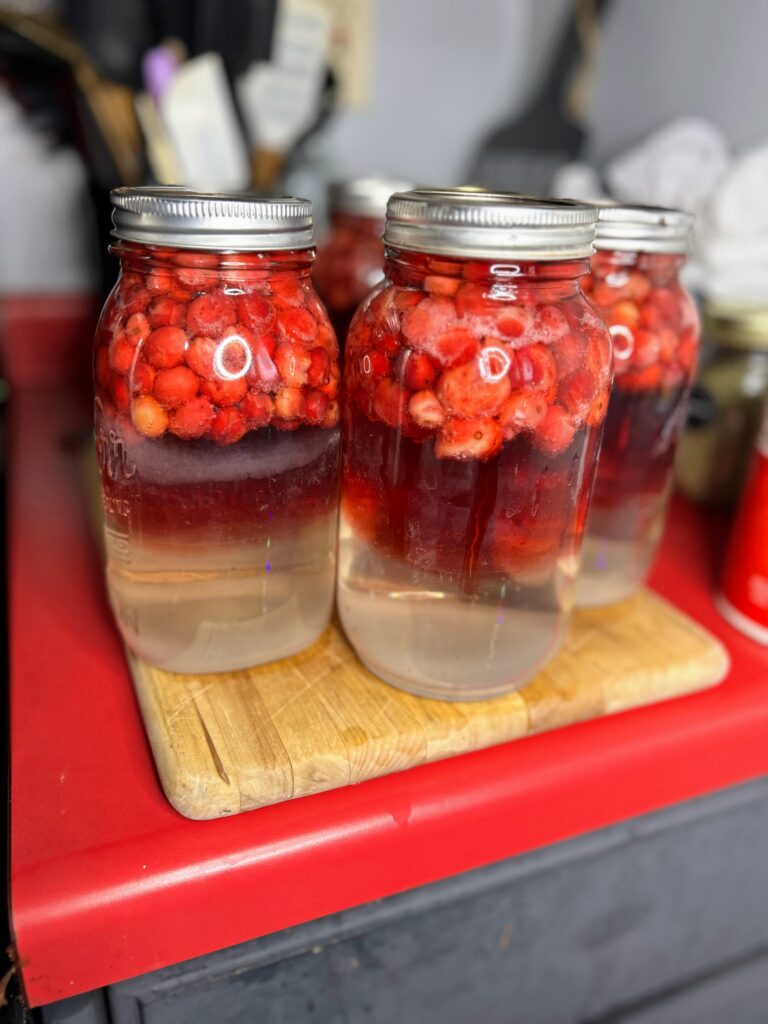
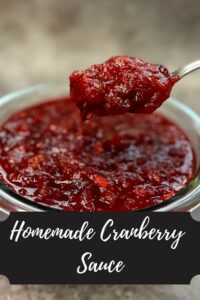
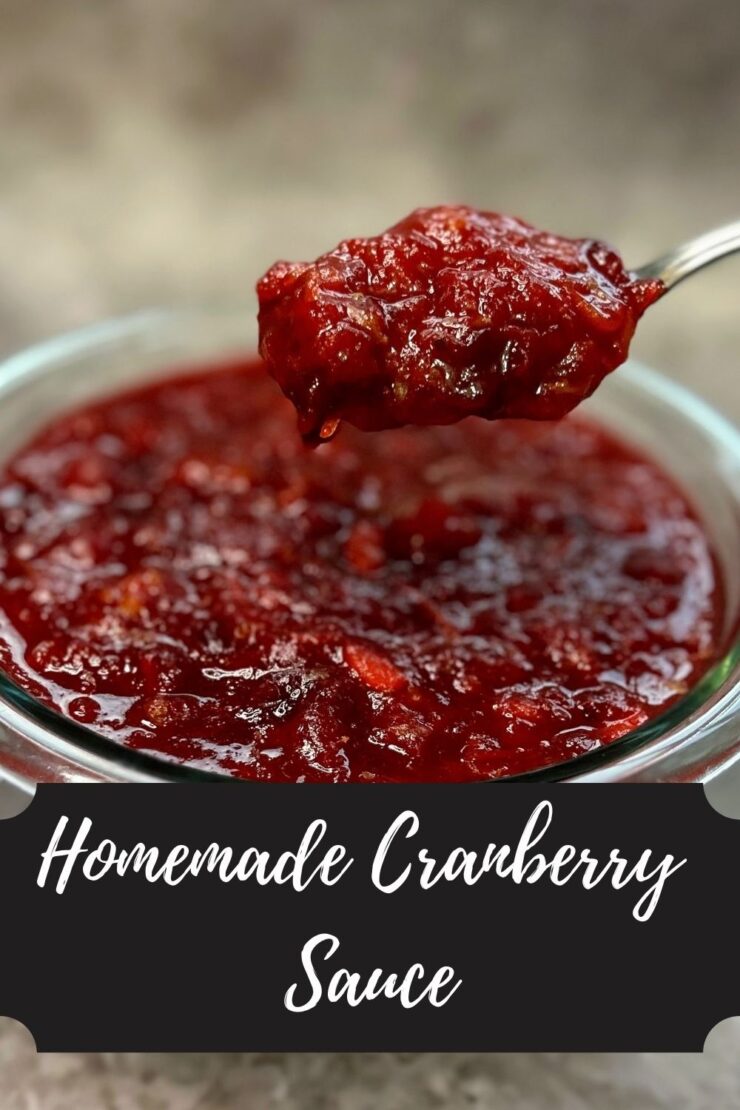
I believe cranberry to be one of those polarizing flavors. Okay, maybe not quick polarizing like, say, coconut, but it is still a flavor that elicits strong responses. If you like cranberries, you LOVE cranberries and can’t get enough. Or is that just my family? Ha! Well, I can tell you that the cranberries at Thanksgiving are important at our household, and this homemade cranberry sauce is just the ticket. 

Speaking of polarizing flavors: cinnamon. My sister and I double down on cinnamon almost always. Turns out, my mom hates it. It’s why she doesn’t like apple desserts in the fall. I do think she is in the minority, but still, cinnamon is an optional addition to this cranberry sauce. Do I love it? Absolutely. But maybe it isn’t for you and your family. 

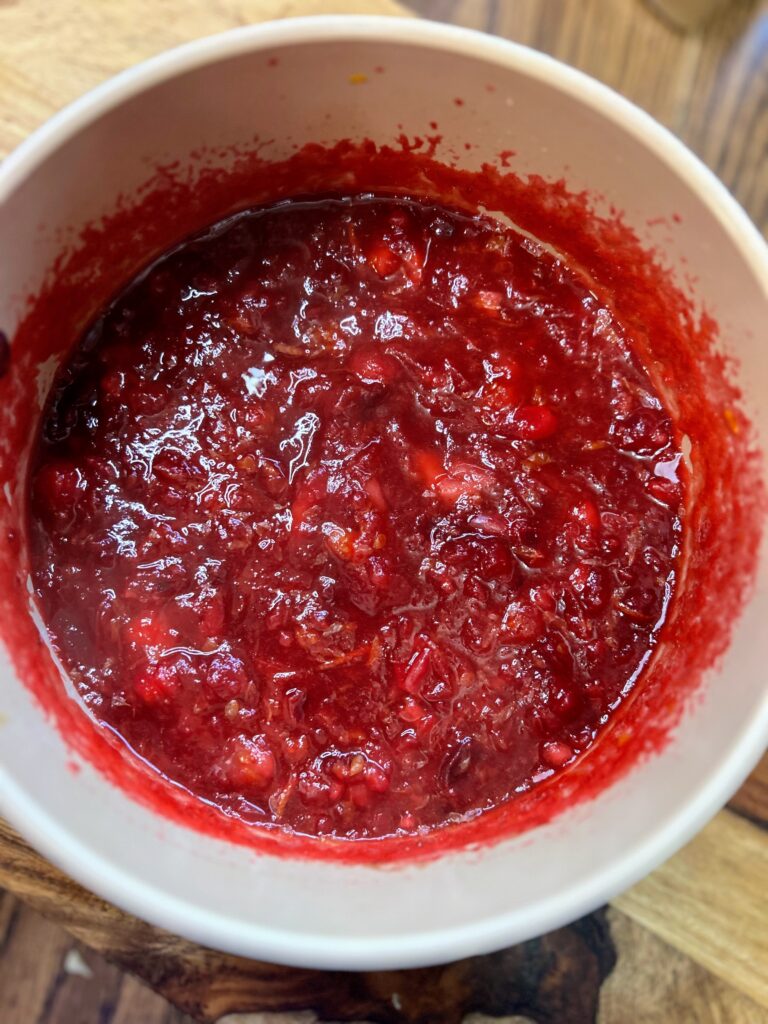
Whether you add the cinnamon or not, this homemade cranberry sauce will likely have you licking out the kettle as you transfer it to a serving dish. It’s the perfect blend of tart and sweet (although, if you like it extra tart, consider removing a few tablespoons of sugar), and is beyond simple to make. The best part: It’s easy to prep ahead of time during that busy Thanksgiving week! 

And if you want to try it ahead of time, let me recommend mixing it into some plain or vanilla Greek yogurt. Holy yum! It’s definitely a favorite flavor combination this fall for me! 

Ready to give it a go? Let’s start cooking! 

Your Ingredients for Homemade Cranberry Sauce

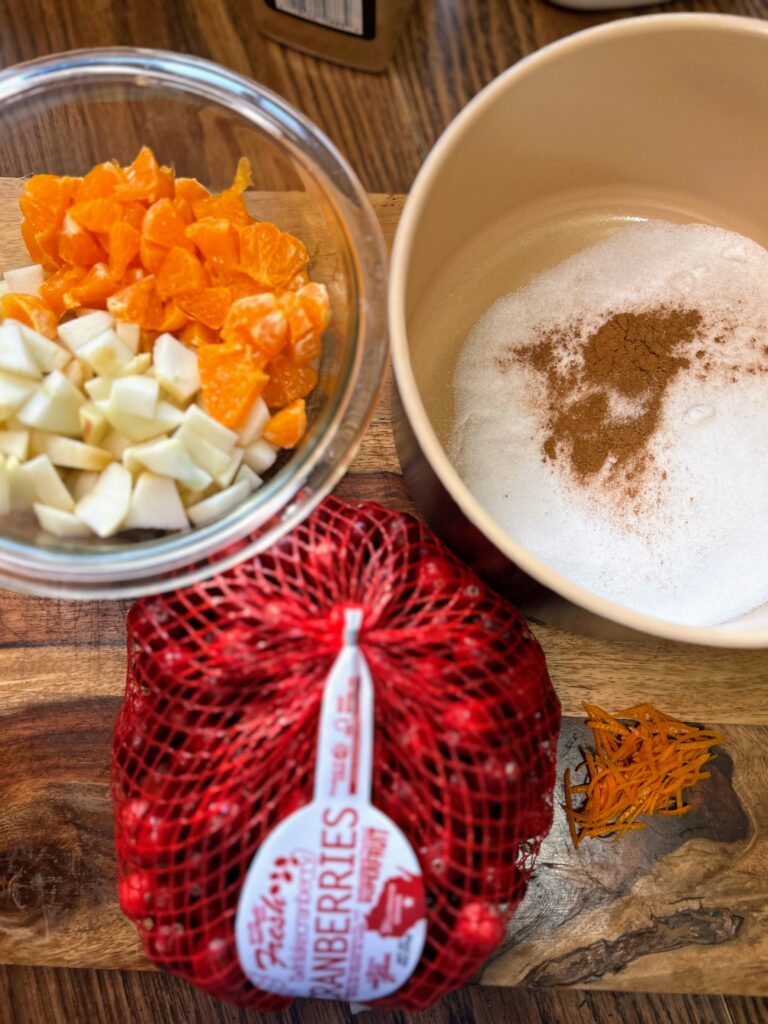
  • ⅔ cup water
  • ⅔ cup sugar (up to a cup if you want it sweet) 
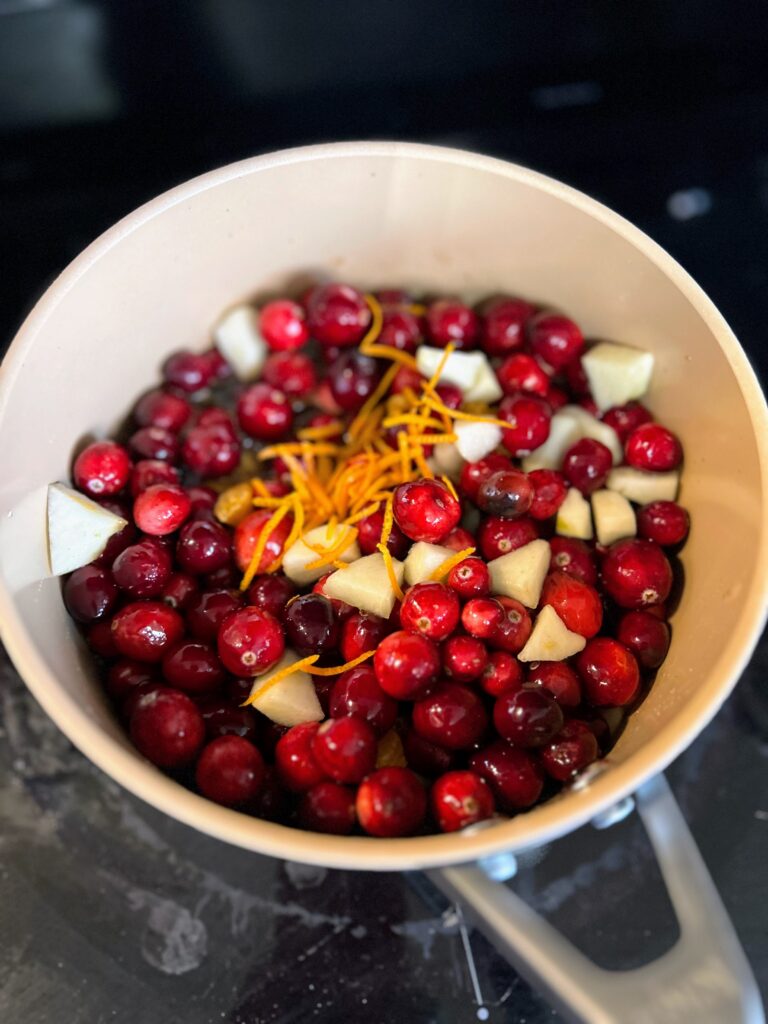
  • 3 cups fresh cranberries 
  • 2 apples, peeled and diced (about 2 cups)
  • 3 mandarin oranges, peeled and diced (or 1 large orange)
  • ½ tablespoon orange zest
  • ½ teaspoon cinnamon (optional) 
  • ¼ teaspoon salt 

Your Steps 

Bring water, sugar, cinnamon, and salt to a boil, stirring to dissolve the sugar and aslt. Once boiling, add the remaining ingredients. Heat over high heat to a boil once again. 

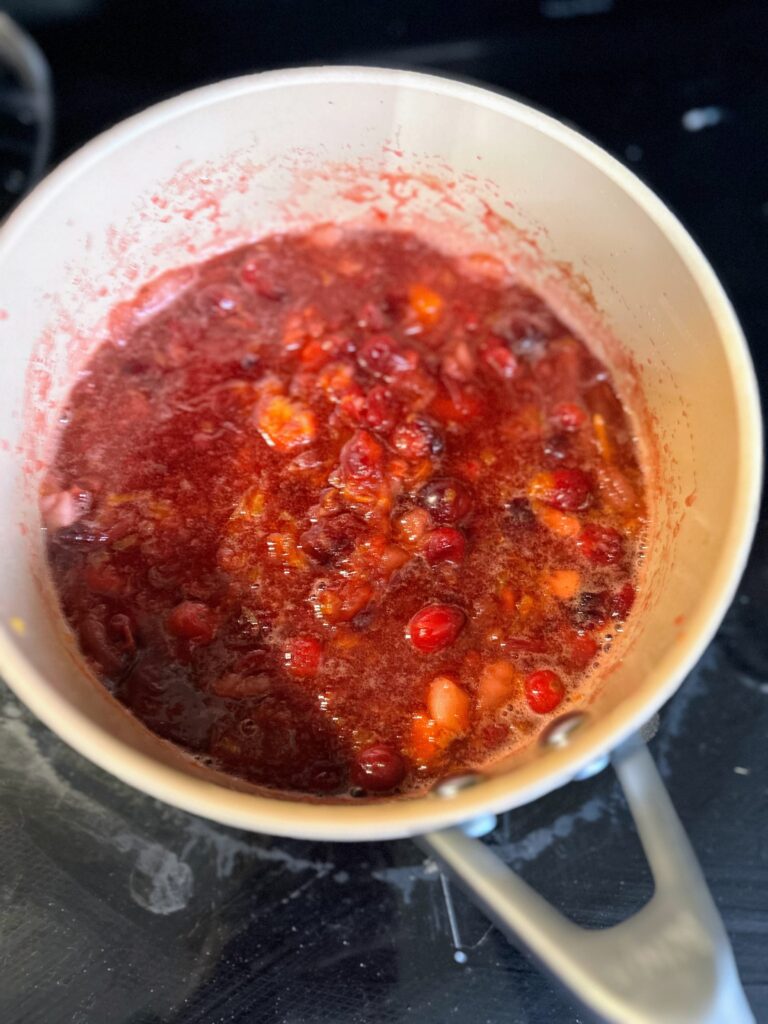
Lower to a simmer, cover, and cook for 15 minutes. 

Remove the cover and simmer for an additional 10 minutes, stirring frequently as it thickens. Remove from heat and transfer to a serving dish. Allow to cool before refrigerating. 

This cranberry sauce can be prepared a week in advance.

Homemade Cranberry Sauce

This homemade cranberry sauce strikes a perfect balance of sweet and tart, making it a delightful addition to any table.
Prep Time 9 minutes
Cook Time 25 minutes
Course Side Dish
Cuisine American
Servings 10 servings

Equipment

Ingredients
  

  • cup water
  • cup sugar up to a cup if you want it sweet
  • 3 cups fresh cranberries
  • 2 apples peeled and diced (about 2 cups)
  • 3 mandarin oranges peeled and diced (or 1 large orange)
  • ½ tablespoon orange zest
  • ½ teaspoon cinnamon optional
  • ¼ teaspoon salt

Instructions
 

  • Bring water, sugar, cinnamon, and salt to a boil, stirring to dissolve the sugar and aslt. Once boiling, add the remaining ingredients. Heat over high heat to a boil once again.
  • Lower to a simmer, cover, and cook for 15 minutes.
  • Remove the cover and simmer for an additional 10 minutes, stirring frequently as it thickens. Remove from heat and transfer to a serving dish. Allow to cool before refrigerating.
  • This cranberry sauce can be prepared a week in advance.
Keyword apples, cranberries, cranberry sauce, from scratch cranberry sauce, fruits, homemade cranberry sauce, oranges, side dishes, Thanksgiving
Tried this recipe?Let us know how it was!

Other favorite sides

Okay, so you have cranberry sauce, but do you have the rest of your sides? These are some favorites for me!

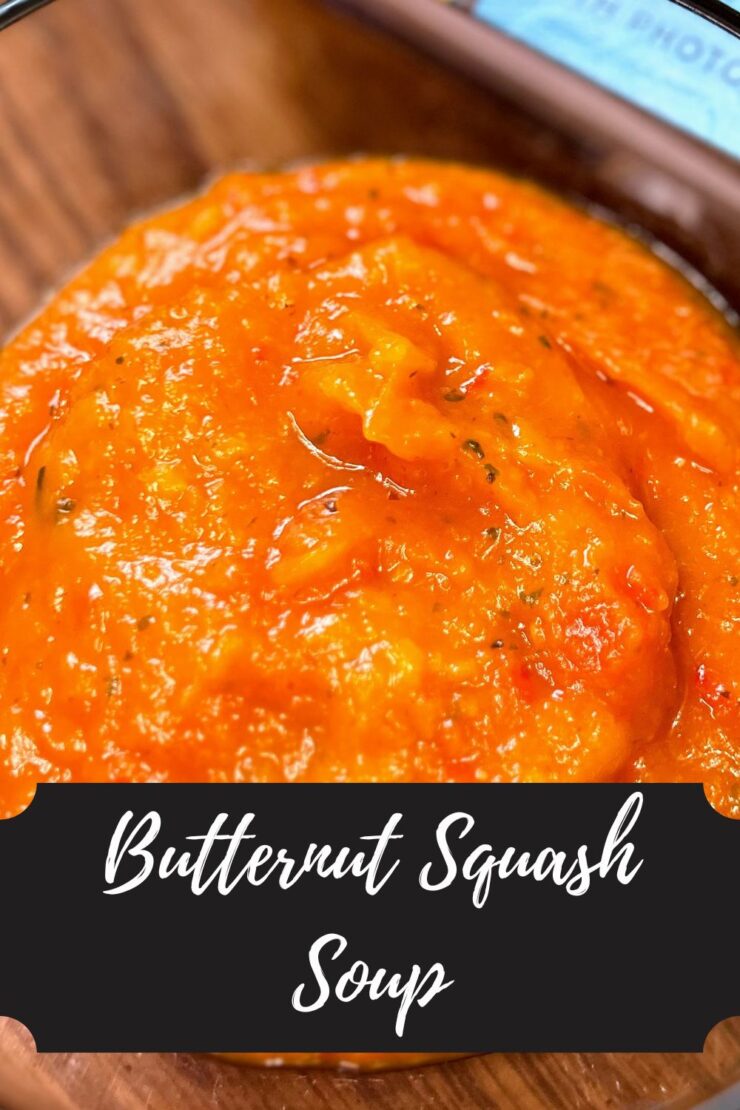
Butternut Squash Soup

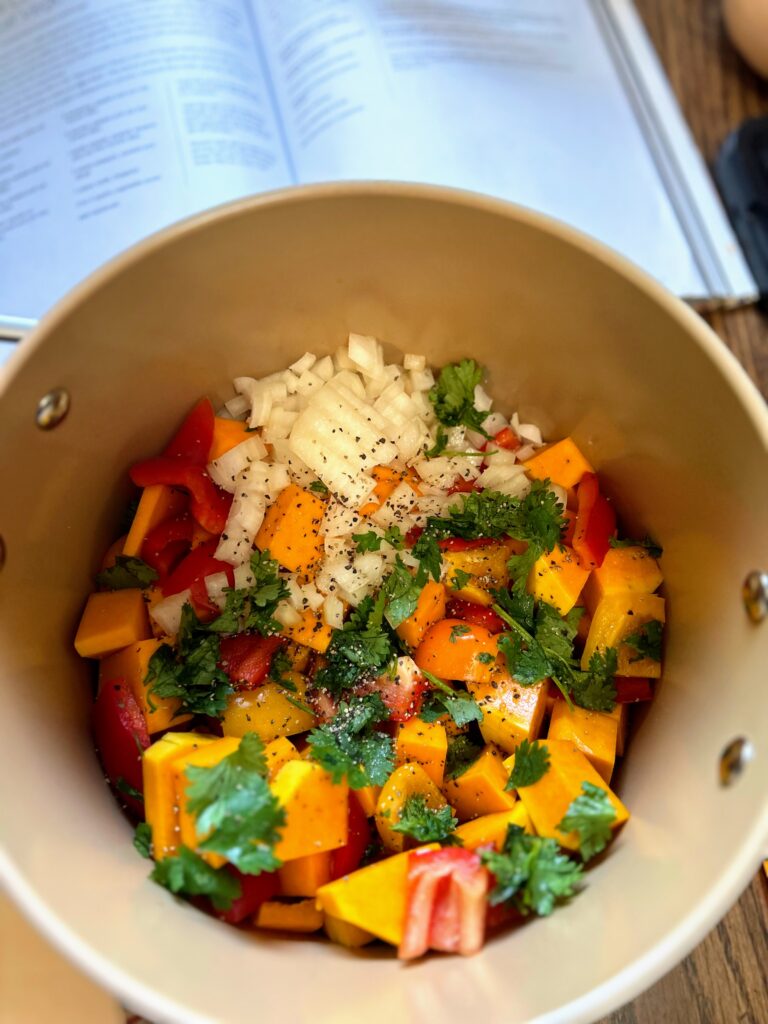
A few blogs ago, I shared that I have this WONDERFUL collaboration on Instagram where we randomly choose a country to explore its cuisine each month. There are no restrictions on what we cook, as long as it is from the country at hand. Additionally, I have a collaboration that we choose a cookbook and try three different recipes of our choosing each month. This month, I hit both collabs in one cook: This delightful butternut squash soup!

This month, I am cooking from The Blue Zone Kitchen by Dan Buettner. If you are unaware, the Blue Zones are regions on Earth where people live the longest based on healthy lifestyles. Dan has done extraordinary research in the area and then compiled a cookbook using recipes from each of the five zones:  Ikaria, Greece; Okinawa, Japan; Nicoya, Costa Rica; Sardinia, Italy; Loma Linda, United States. 

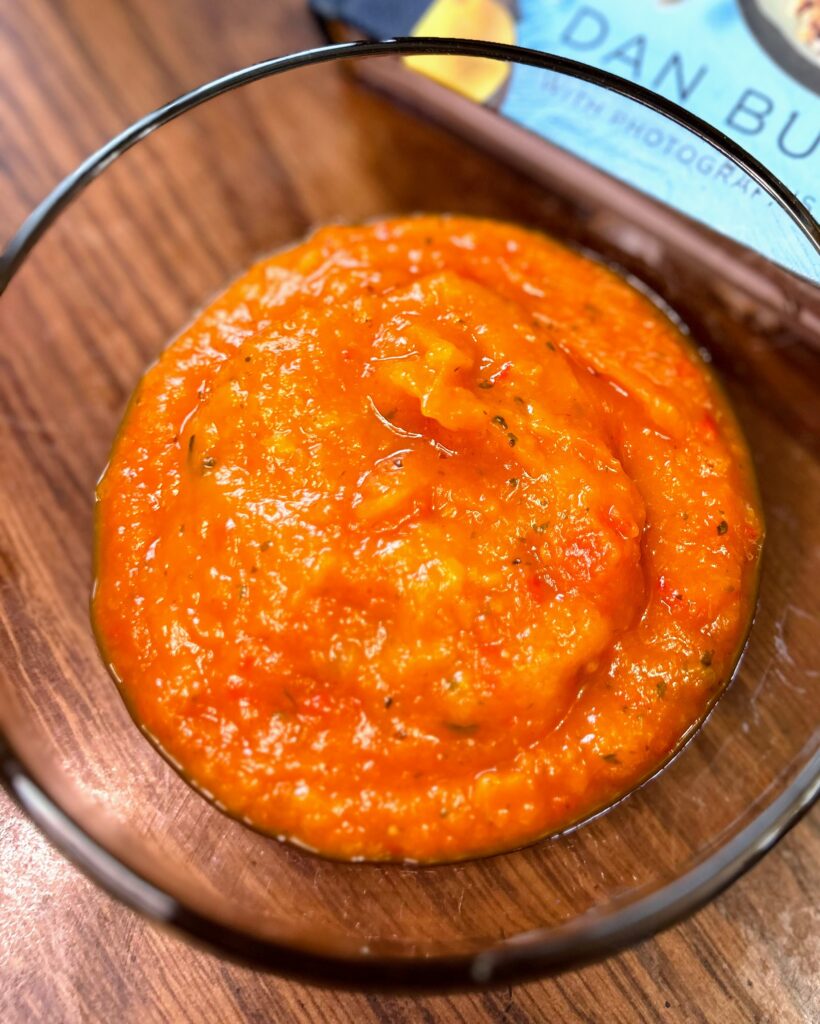
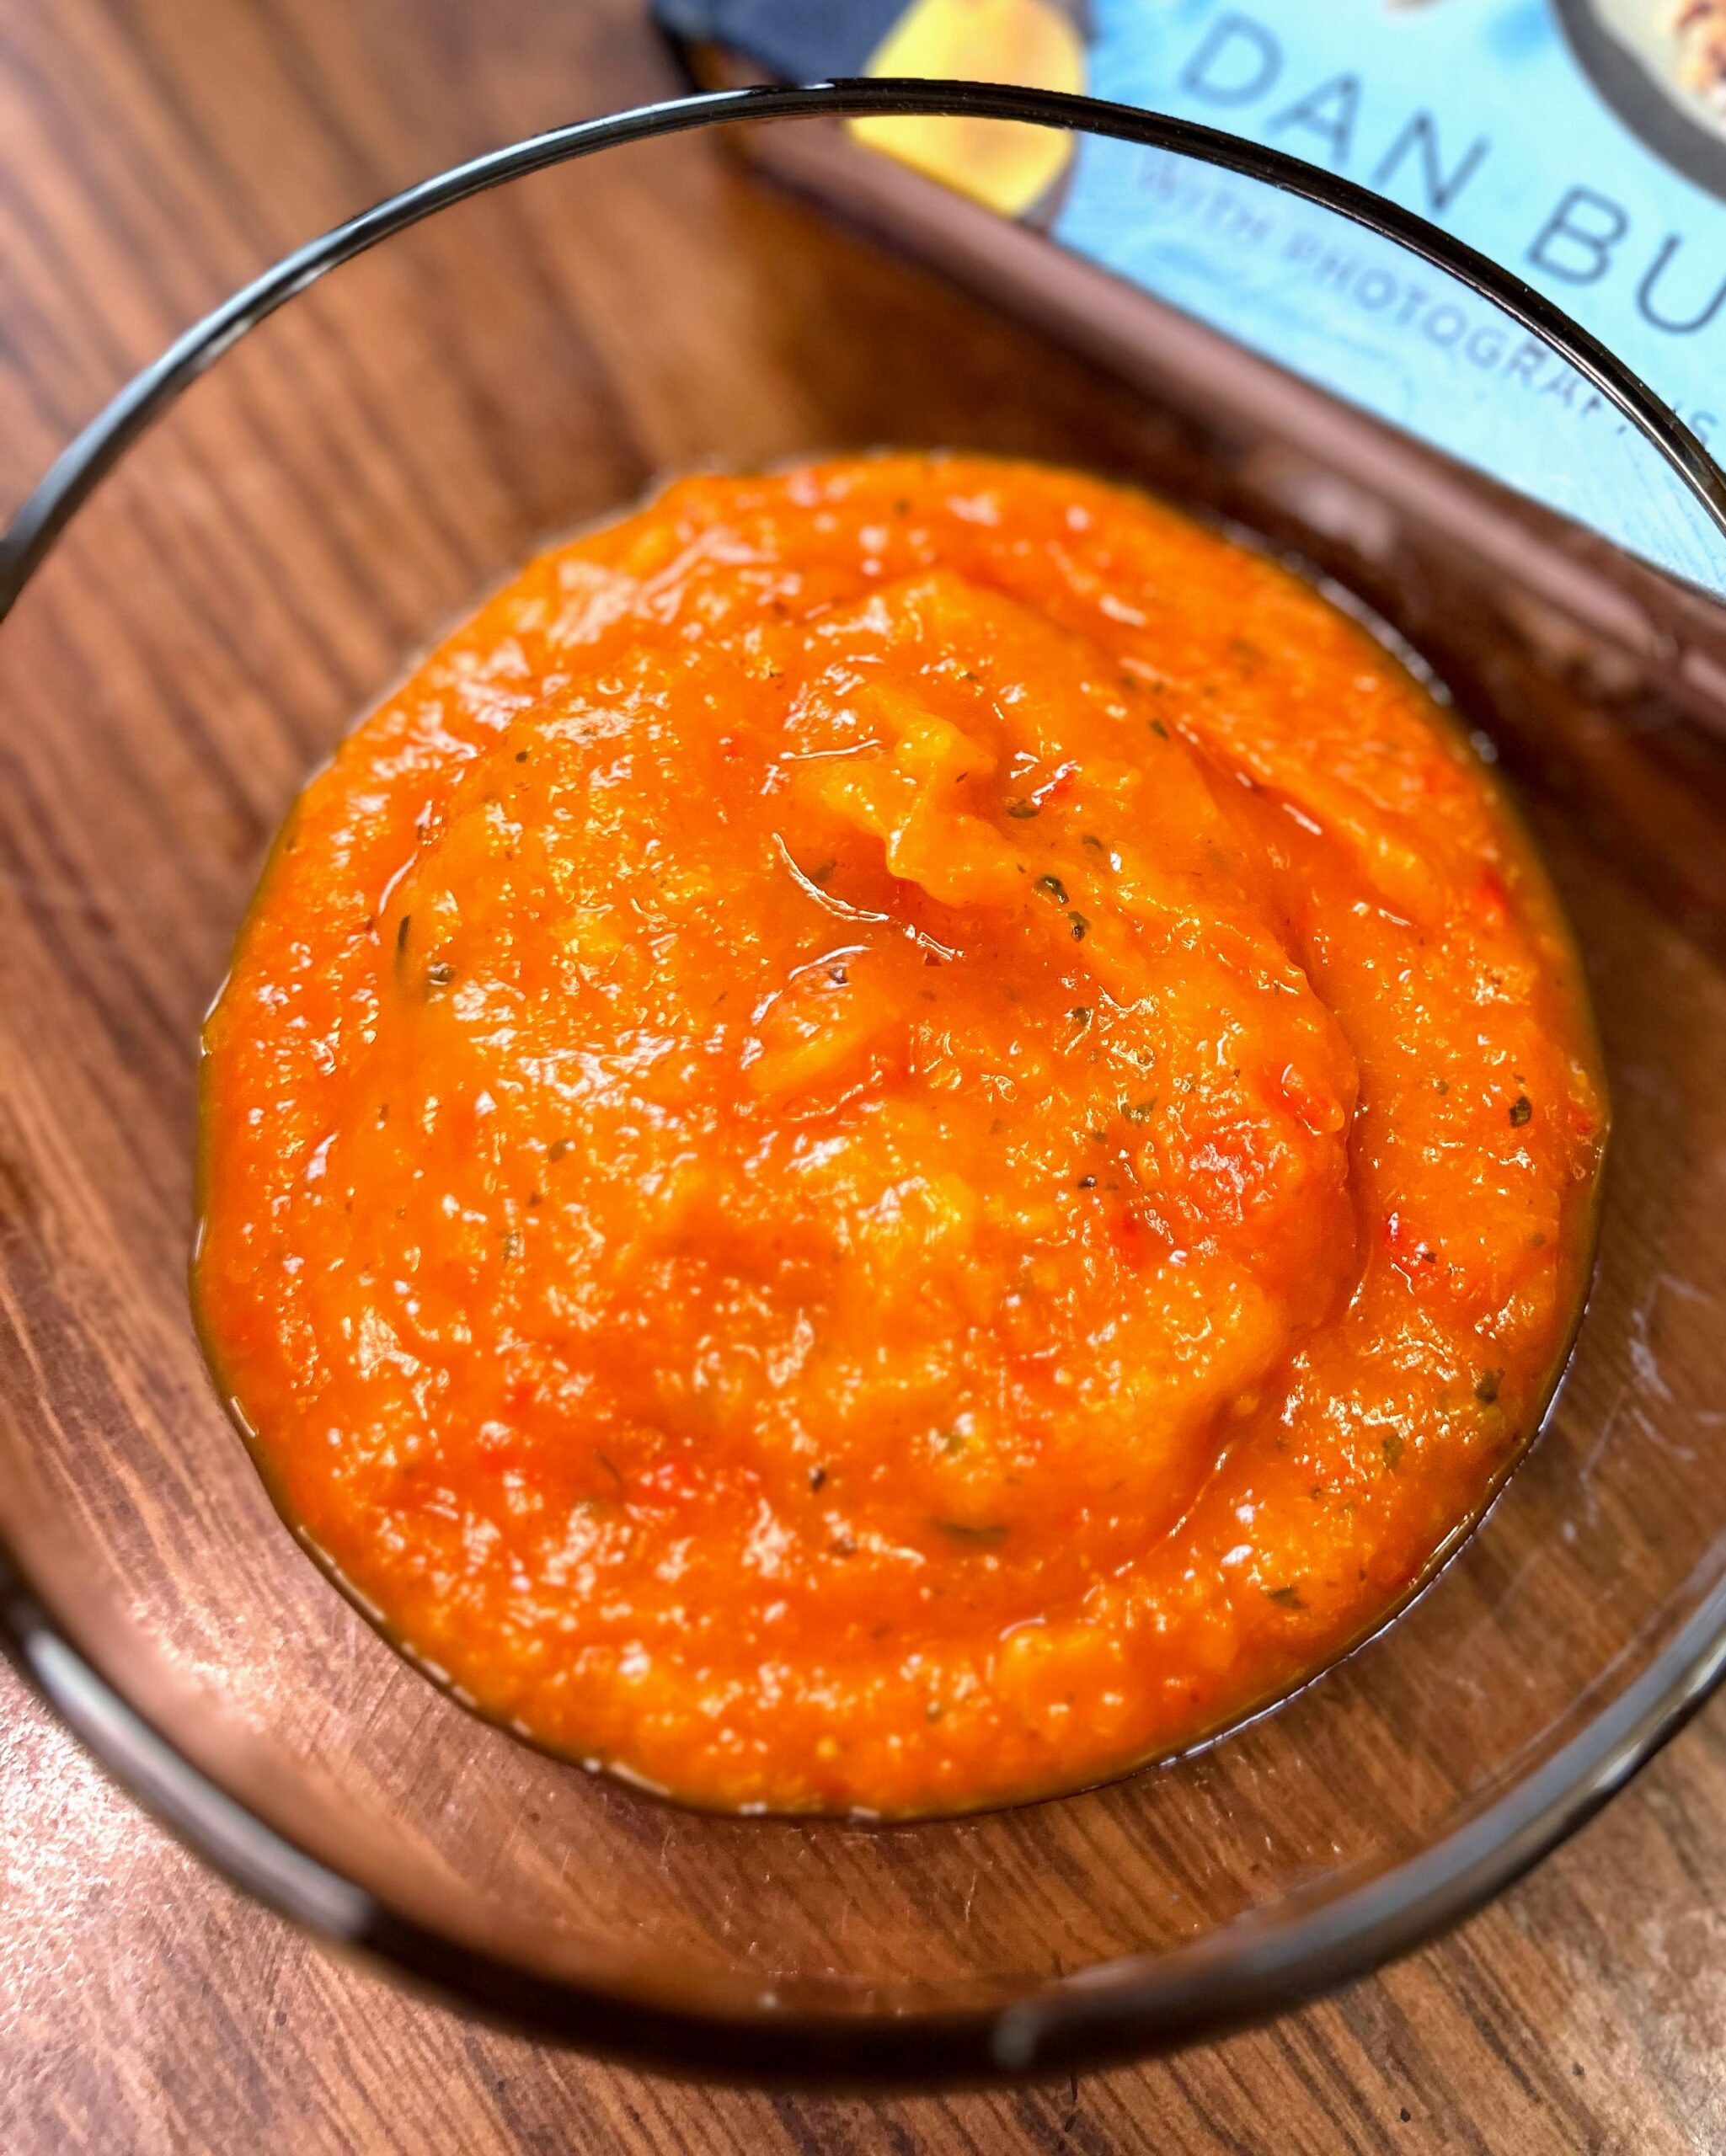
My first cook was Creamy Butternut Squash Soup from Nicoya, Costa Rica. It is fall in Wisconsin and a vegetable based soup sounded divine. Boy, was I right. Normally, I work hard to follow the recipe to the T, but in this case, I had a squash that was much bigger than what the recipe called for, so I modified it a bit to suit the ingredients I had on hand. Regardless, it turned out to be a delicious soup that I can not wait to make again! 

Your Ingredients to Butternut Squash Soup

  • 2 pound butternut squash, peeled and seeded, coarsely chopped 
  • 4 sweet peppers, seeded and coarsely chopped
  • 2 tablespoons chopped cilantro
  • ¾ cup diced onion
  • 2 cups chicken stock
  • salt and pepper

Your Steps (It’s so easy!)

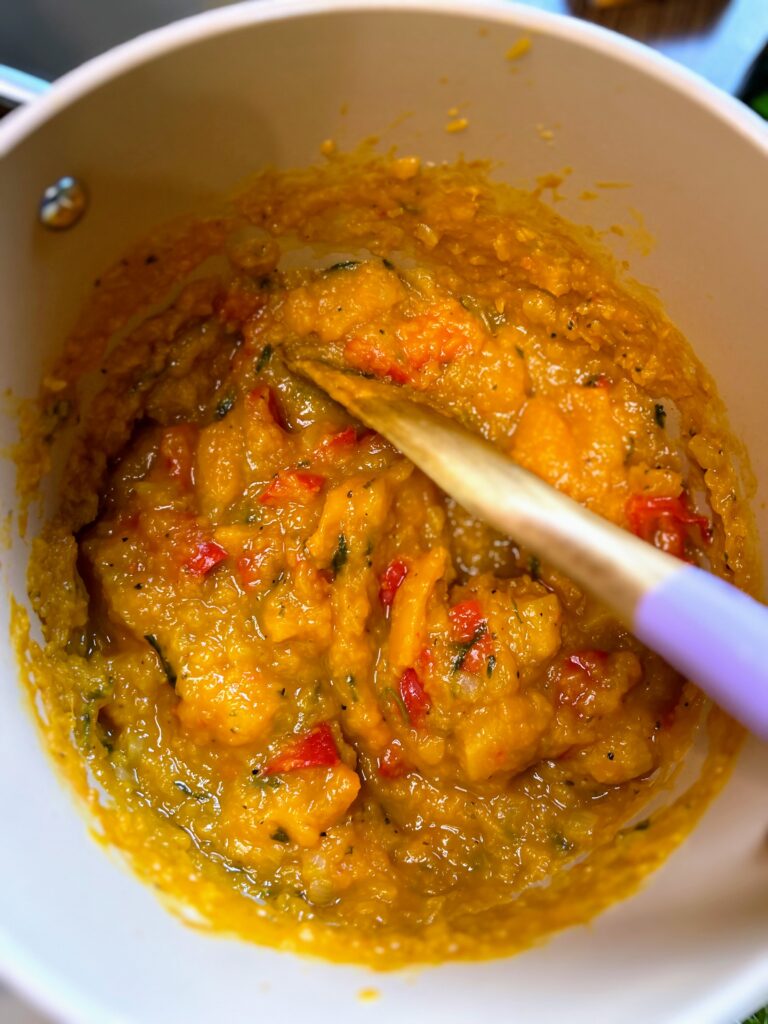
Combine all the ingredients in a large, heavy Dutch oven. Bring to a boil and then lower to a simmer and allow to cook for 30 minutes. Use an immersion blender to blend the ingredients for a creamy soup.

If you prefer a chunky soup, cut the peppers and onions a bit finer. Then use a potato masher to break down the butternut squash after simmering.

Butternut Squash Soup

Indulge in the ultimate comfort food with this Butternut Squash Soup, a creamy and flavorful delight.

Ingredients
  

  • 2 pounds butternut squash peeled and seeded, coarsely chopped
  • 4 sweet peppers seeded and coarsely chopped
  • 2 tablespoons chopped cilantro
  • ¾ cup diced onion
  • 2 cups chicken stock
  • salt and pepper

Instructions
 

  • Combine all the ingredients in a large, heavy Dutch oven.
  • Bring to a boil and then lower to a simmer and allow to cook for 30 minutes.
  • Use an immersion blender to blend the ingredients for a creamy soup.
  • If you prefer a chunky soup, cut the peppers and onions a bit finer. Then use a potato masher to break down the butternut squash after simmering.
Tried this recipe?Let us know how it was!

Looking for other great soups?

Check out my cooking page or maybe find some of my favorites below!

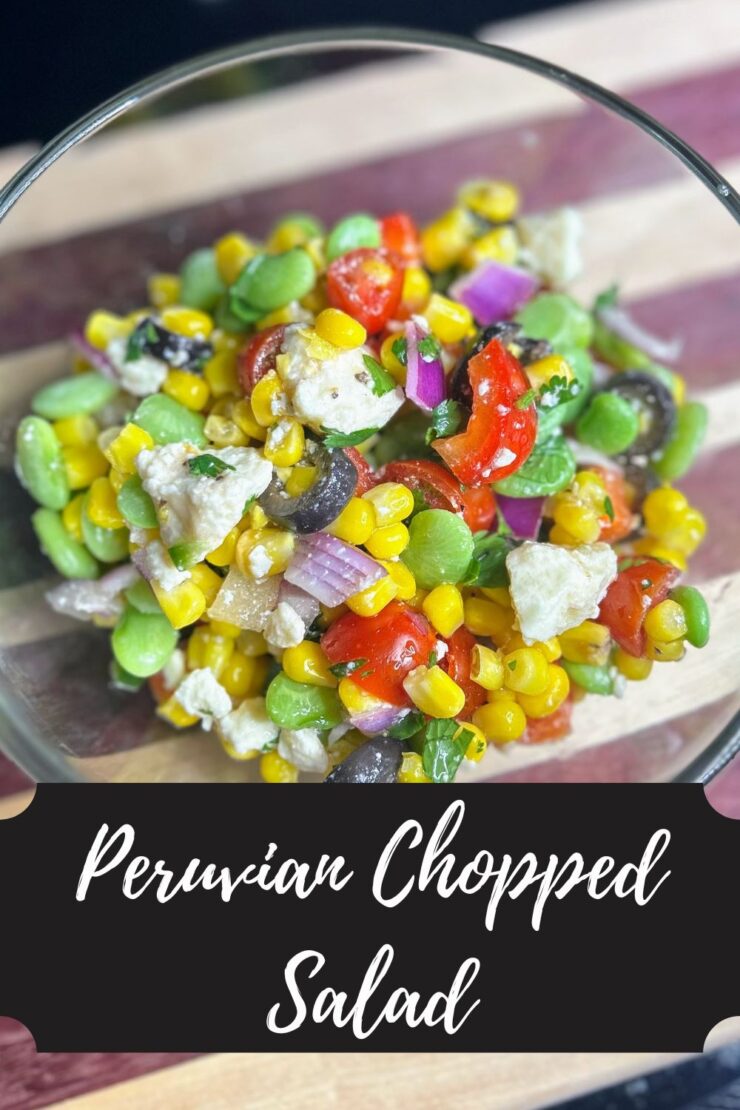
Peruvian Chopped Salad

How often do you eat international cuisine? Do you actively seek it out? I’ll be honest, being a midwestern girl in northern Wisconsin, for years and years, I never looked for international food beyond a Chinese Mexican restaurant (and I am not sure that counts). I stuck to what was comfortable and that’s it. Now I experiment and learn. And this Peruvian Chopped Salad is one I just have to share! 

I don’t talk about it much on the blog, but for the last two years, I have been in an Instagram collab #aroundtheworldin80dishes started by my friend Claire from the UK. Each month, we randomly choose a country (from France to Peru to Tunisia), research, and share our cooks and bakes on a particular day. 

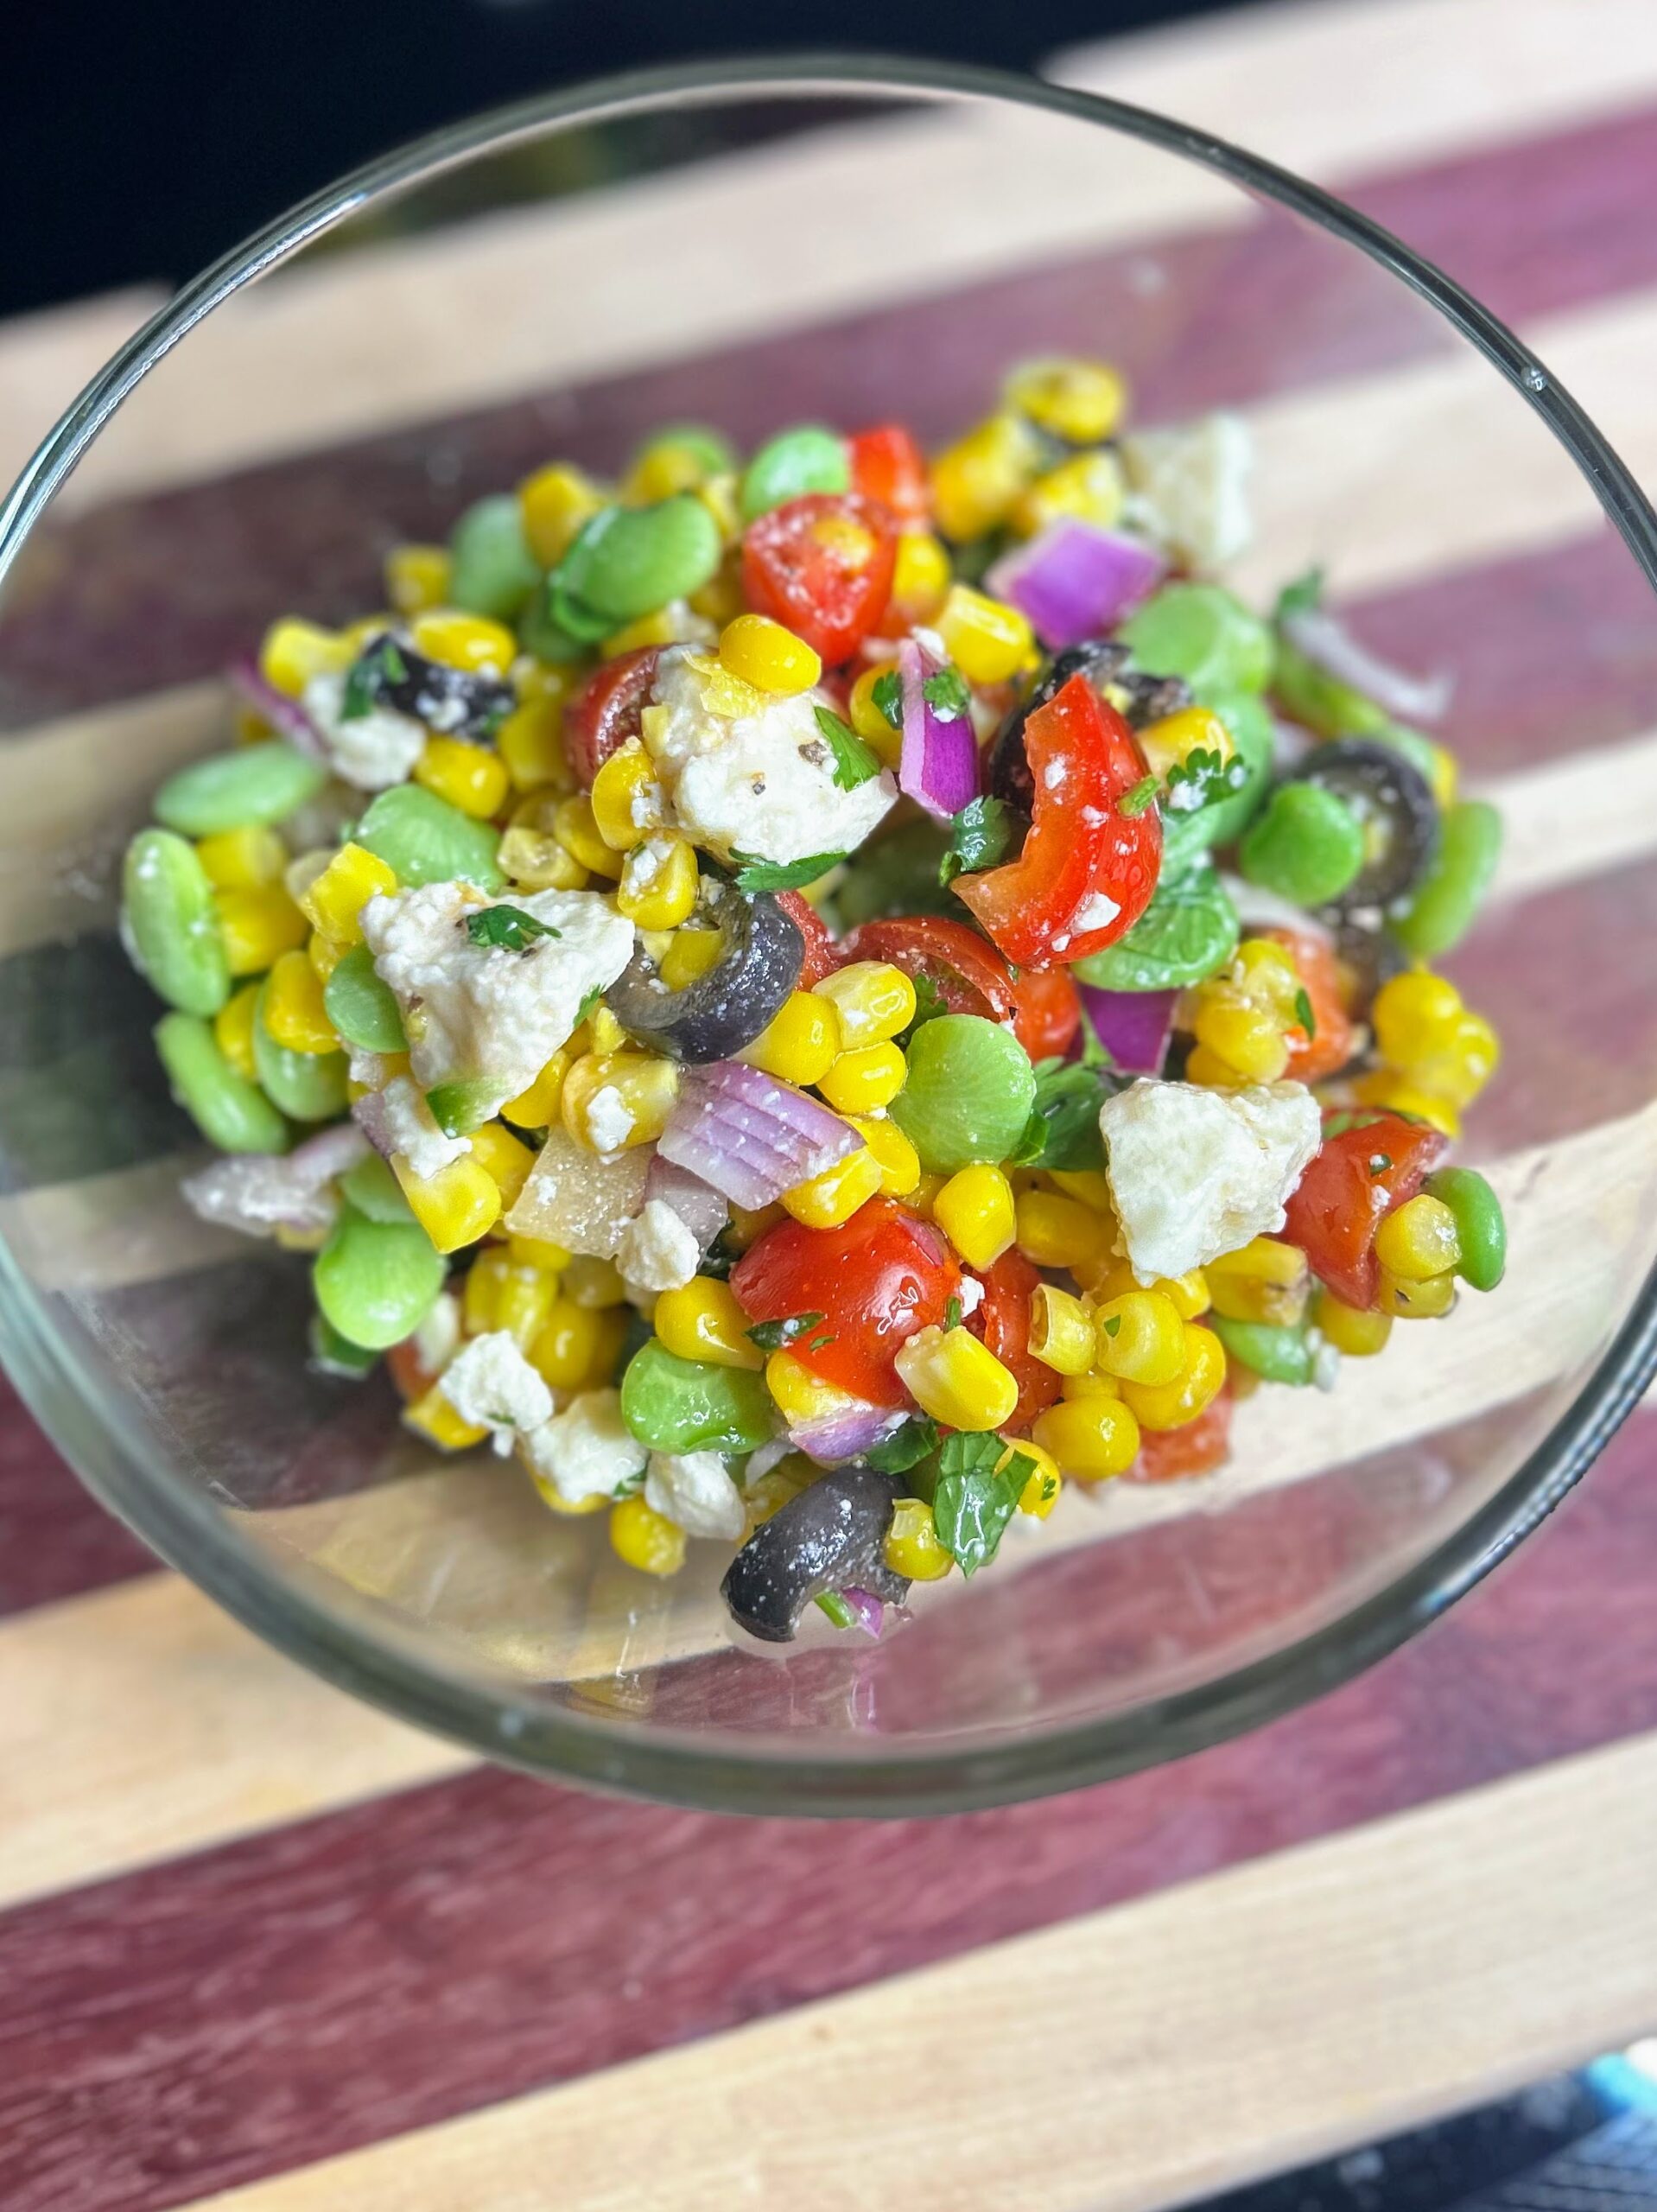
This month, we are traveling to Peru. I also subsequently needed to bring a dish to share for work. I stumbled upon Solterito, a Peruvian Chopped Salad that was RIGHT up my alley. Fresh vegetables, an olive oil and red wine vinegar dressing, and best yet, cilantro. I read multiple recipes online (including this one from Pamela Salzman) and then created my variation. 

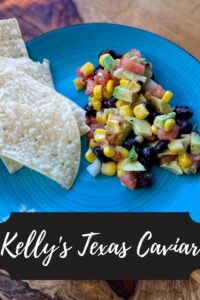
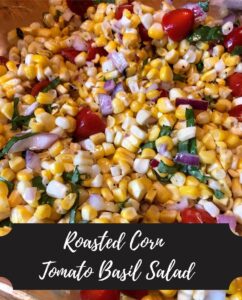
The results: A delicious salad that some ate with chips; others ate on its own. Either way, a great chopped salad for a dish to pass or to eat over a few days over the summer. It is very reminiscent of a few other favorite salads: Corn and Tomato Basil Salad or Texas Caviar and will forever be on my list of dishes to make when I want to eat the rainbow!

Ready to start creating? Let’s go!

Your Ingredients 

  • 3-4 large ears of corn, shucked (12 ounces of frozen corn, steamed and then cooled works great too!) 
  • 10 ounces frozen lima beans, steamed and cooled 
  • 1 red onion, diced
  • 1 jalapeno, diced small 
  • 1 sweet bell pepper, diced 
  • 1 pint cherry tomatoes, halved 
  • 6 tablespoons olive oil 
  • 4 tablespoons red wine vinegar 
  • Salt and pepper to taste 
  • ⅓ cup black olives, sliced 
  • 1 cup crumbled queso fresco
  • Finely chopped cilantro, to taste 

Your Steps to Peruvian Chopped Salad 

If you have not already, steam the frozen corn and lima beans. We LOVE these Zip ‘n Steam bags from Ziploc and use them multiple times a week.

In a large bowl, combine corn, lima beans, red onions, jalapeno, bell pepper, and cherry tomatoes. Stir to combine well. In a liquid measuring cup, combine olive oil, red wine vinegar, salt, and pepper. Whisk to combine well. Pour over the vegetables and stir once again. Add the olives, cilantro, and queso fresco. Stir once more. 

The flavor will improve overnight, but I challenge you not to want to eat it all as soon as you’ve finished!

Peruvian Chopped Salad

With its vibrant flavors and combination of fresh vegetables, this delightful Peruvian Chopped Salad is an ideal addition to any summer dining experience.
Prep Time 10 minutes
Cook Time 0 minutes
Rest Time 2 hours
Course Appetizer
Cuisine Peruvian
Servings 8 servings

Ingredients
  

  • 3-4 large ears of corn shucked (12 ounces of frozen corn, steamed and then cooled works great too!)
  • 10 ounces frozen lima beans steamed and cooled
  • 1 red onion diced
  • 1 jalapeno diced small
  • 1 sweet bell pepper diced
  • 1 pint cherry tomatoes halved
  • 6 tablespoons olive oil
  • 4 tablespoons red wine vinegar
  • Salt and pepper to taste
  • cup black olives sliced
  • 1 cup crumbled queso fresco
  • Finely chopped cilantro to taste

Instructions
 

  • In a large bowl, combine corn, lima beans, red onions, jalapeno, bell pepper, and cherry tomatoes. Stir to combine well.
  • In a liquid measuring cup, combine olive oil, red wine vinegar, salt, and pepper. Whisk to combine well.
  • Pour over the vegetables and stir once again.
  • Add the olives, cilantro, and queso fresco. Stir once more. For best results, allow to rest 2 hours or over night. However, it can be served right away as well.
Keyword bbq dishes, beans, cherry tomatoes, cilantro, cold vegetable salad, corn, dump salads, peruvian, queso fresco, salads, solterito, vegetables
Tried this recipe?Let us know how it was!

Looking for other fun summer eats?

Check out my cooking page, or maybe let your eyes pick from one of my favorites below!

Baked Berry Oatmeal

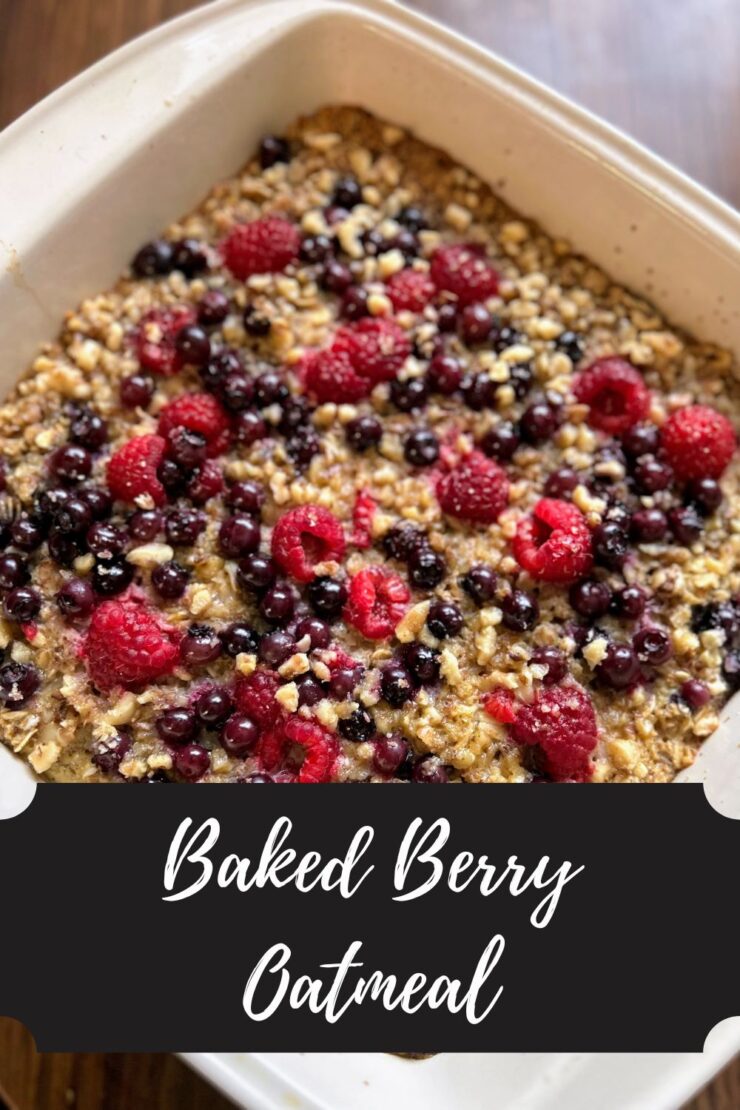
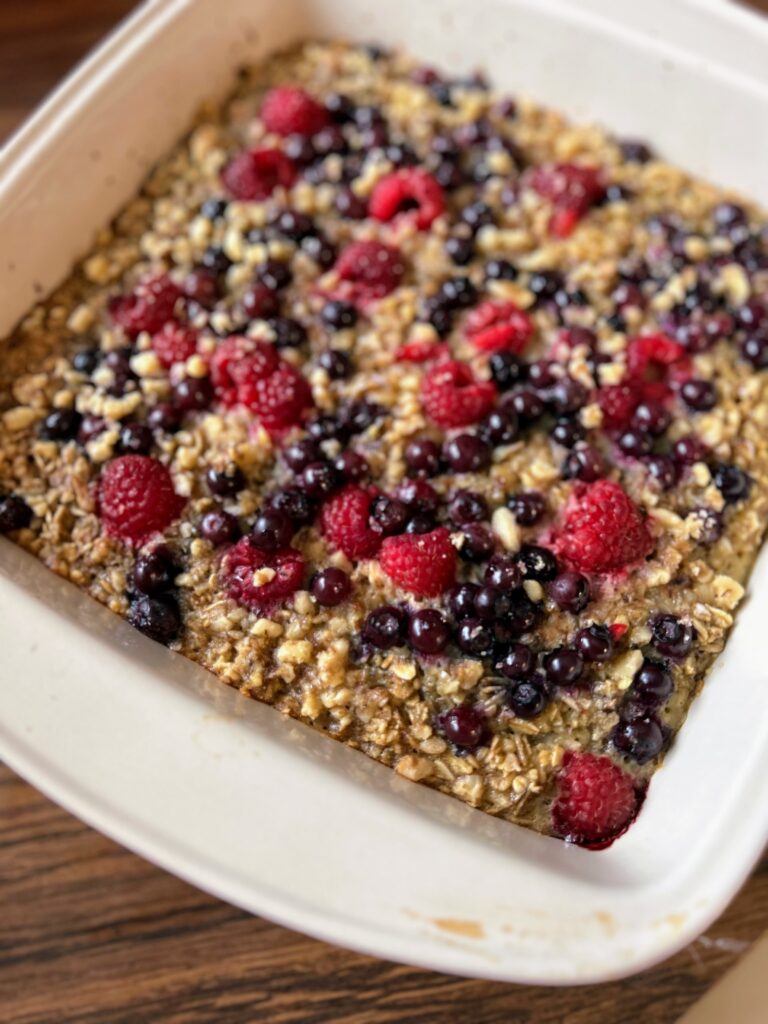
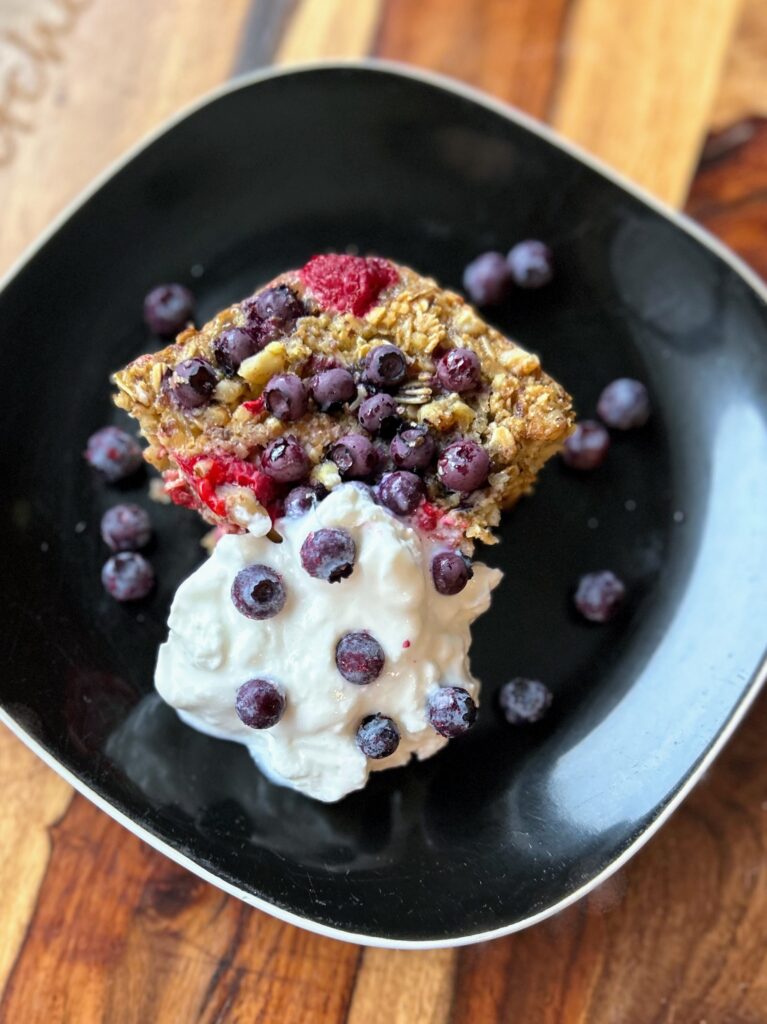
I’ve entered the stage in parenting where I get to get my big kiddo to the weight room by 6:30 am multiple times a week. I am proud of him for working hard to become a stronger athlete, but man, it messes with my morning routine. I need a breakfast with minimal prep, but is still nutrient dense. At first, I was doing protein oatmeal. However, I prefer a breakfast that isn’t pre-packaged. Enter Baked Berry Oatmeal with Greek yogurt. 

Initially, I had been cooking from my collab “one book, three recipes” with my Instagram friends and gave a baked oatmeal a try. Yum! However, I didn’t love the extra refined sugar and thought “I can do better.” This is my own take: a maple syrup sweetened baked oatmeal that can be prepped on a Sunday and you’ll have at least six servings for the rest of the week. 

I love how nicely this Baked Berry Oatmeal reheats. I pop my portion into the microwave with a few frozen berries sprinkled on top and let it go for about 40 seconds. Then I’ll top it with some Oikos Triple Zero Vanilla Greek Yogurt and add a side of breakfast sausage or ham with some fruit. It’s a full meal to be sure, but one I can feel really good about eating. 

Not a fan of eating the same thing every day like I am? This makes a great brunch or weekend breakfast. It mixes up quick and can leave you time to enjoy a cup of coffee or tea and chat the morning away. Ready to start creating? Let’s go! 

Your Ingredients

  • 3 cups old fashioned oats
  • ⅓ cup real maple syrup 
  • 2 tablespoons coconut oil, melted
  • ¾ cup ground walnuts, divided 
  • 1 ½ teaspoons baking powder
  • 1 teaspoon cinnamon 
  • ½ teaspoon salt
  • 1 ½ cups + 2 tablespoons milk 
  • 2 large eggs 
  • 1 teaspoon vanilla
  • ½ tablespoon brown sugar
  • ½ cup fresh or frozen raspberries
  • ½ cup fresh or frozen blueberries

Your Steps to Bake Berry Oatmeal 

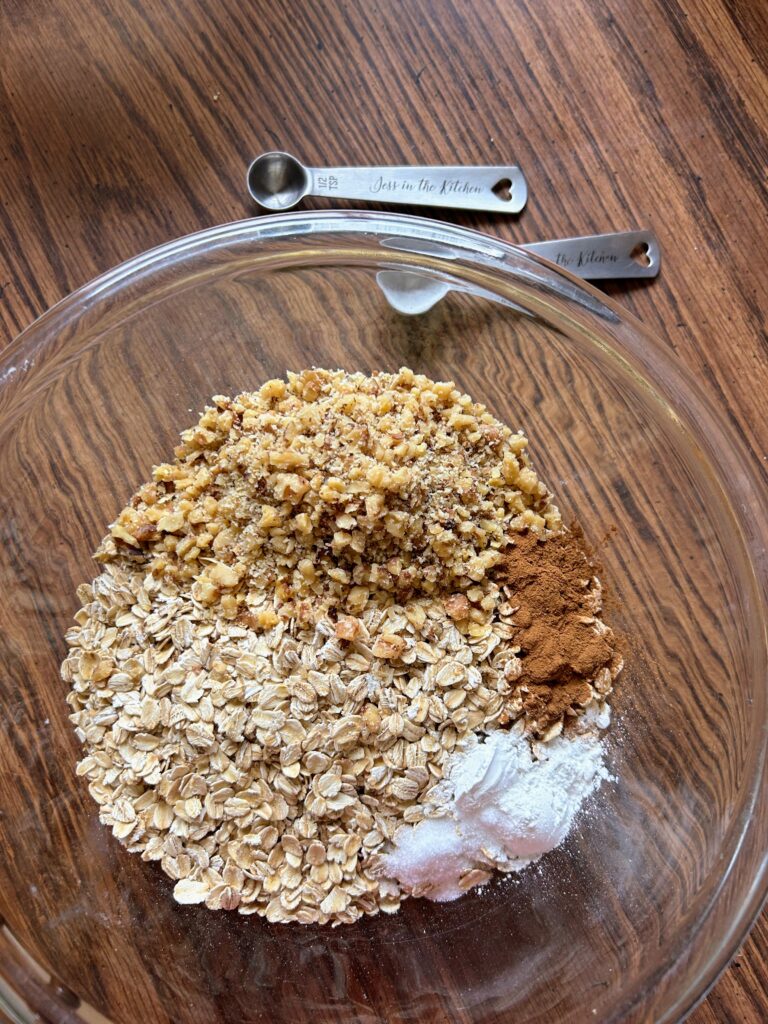
Preheat the oven to 350 degrees F. Grease an 8 by 8 inch baking dish. In a large bowl, combine oats, baking powder, cinnamon, salt, and ½ cup walnuts. 

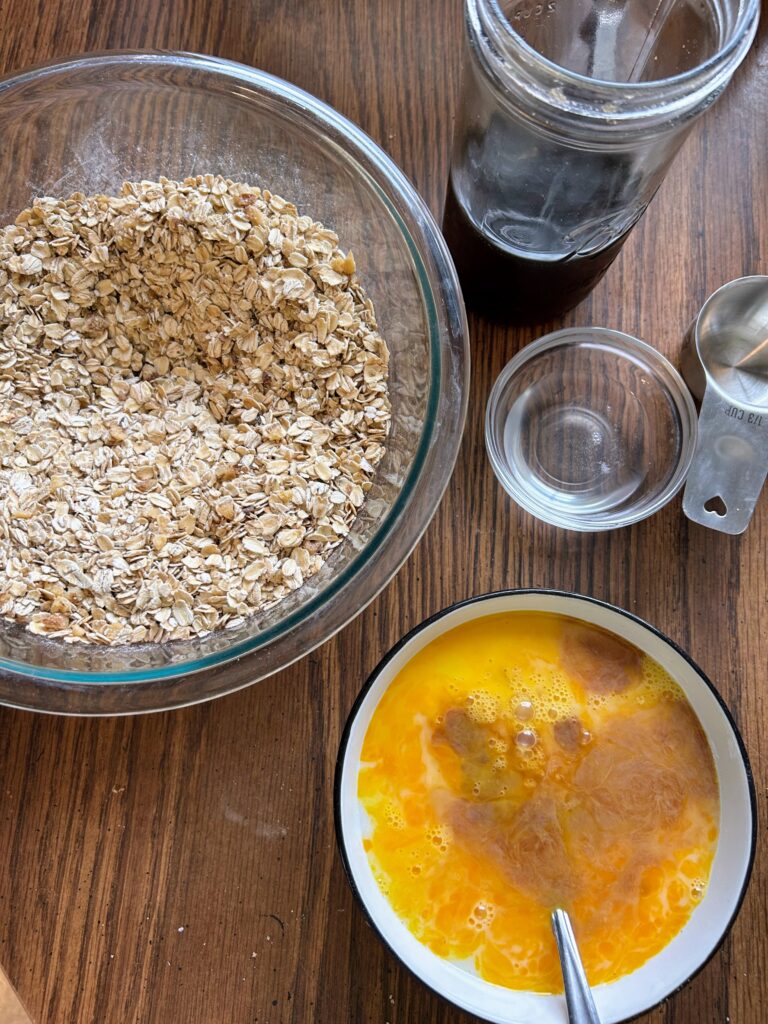
Stir in maple syrup and melted coconut oil. In another bowl, combine milk, eggs, and vanilla. Stir the milk mixture into the oat mixture until well combined. Pour into the prepared pan. 

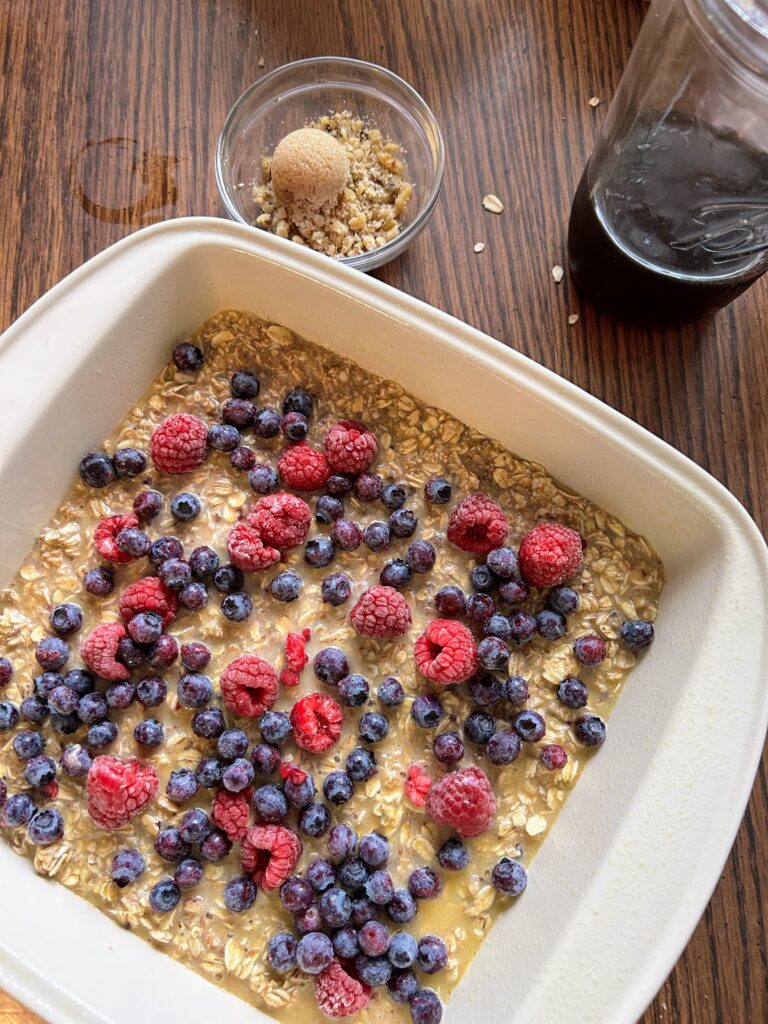
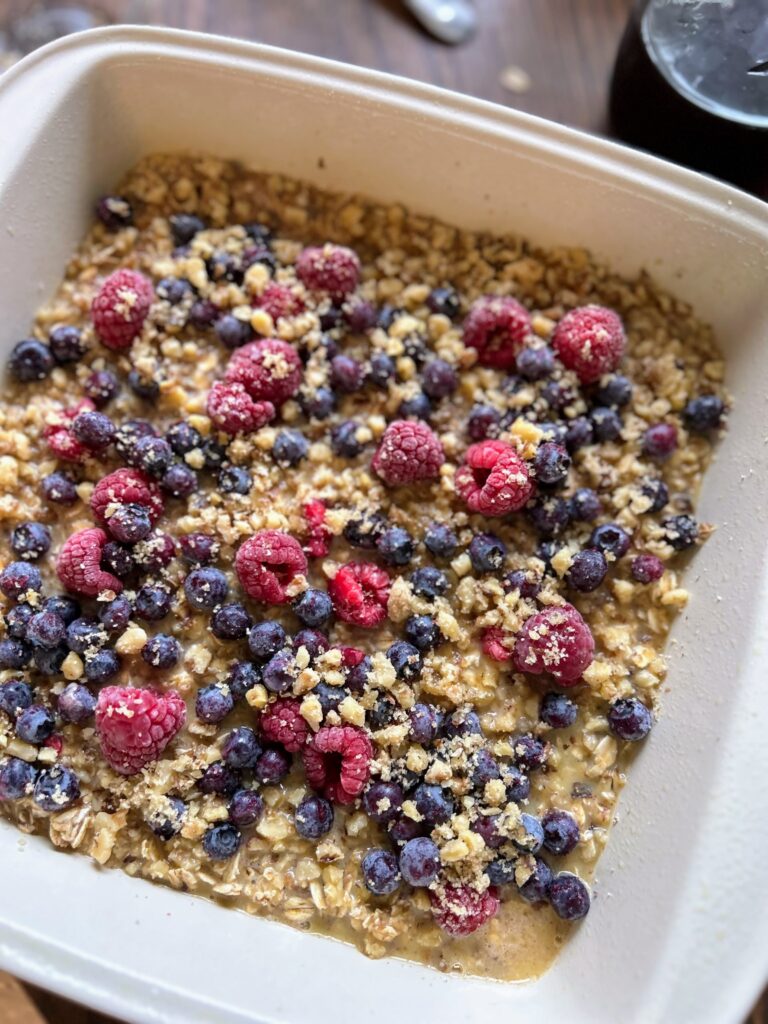
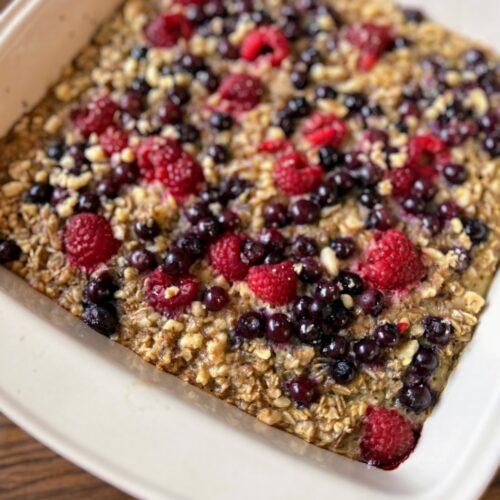
Top with raspberries and blueberries. In a small bowl, combine the remaining ¼ cup of walnuts with the brown sugar and sprinkle on top of the berries. Bake for 40 minutes. Serve with Greek yogurt and additional berries, if desired. 

Baked Berry Oatmeal

This baked berry oatmeal is a delightful and tasty dish, perfect for meal prep or a special weekend breakfast!
Prep Time 10 minutes
Cook Time 40 minutes
Course Breakfast
Cuisine American
Servings 6 servings

Ingredients
  

  • 3 cups old fashioned oats
  • cup real maple syrup
  • 2 tablespoons coconut oil melted
  • ¾ cup ground walnuts divided
  • 1 ½ teaspoons baking powder
  • 1 teaspoon cinnamon
  • ½ teaspoon salt
  • 1 ½ cups + 2 tablespoons milk
  • 2 large eggs
  • 1 teaspoon vanilla
  • ½ tablespoon brown sugar
  • ½ cup fresh or frozen raspberries
  • ½ cup fresh or frozen blueberries

Instructions
 

  • Preheat the oven to 350 degrees F. Grease an 8 by 8 inch baking dish. In a large bowl, combine oats, baking powder, cinnamon, salt, and ½ cup walnuts.
  • Stir in maple syrup and melted coconut oil. In another bowl, combine milk, eggs, and vanilla. Stir the milk mixture into the oat mixture until well combined. Pour into the prepared pan.
  • Top with raspberries and blueberries. In a small bowl, combine the remaining ¼ cup of walnuts with the brown sugar and sprinkle on top of the berries. Bake for 40 minutes. Serve with Greek yogurt and additional berries, if desired.
Keyword baked oatmeal, blueberries, Breakfast, breakfast prep, meal prep, oatmeal, raspberries
Tried this recipe?Let us know how it was!

Looking for other delicious breakfast ideas?

I’d love it if you checked out my breakfast page for more inspiration, but if you want to see some of my favorites, check out the recipes below!

Zucchini Brownies

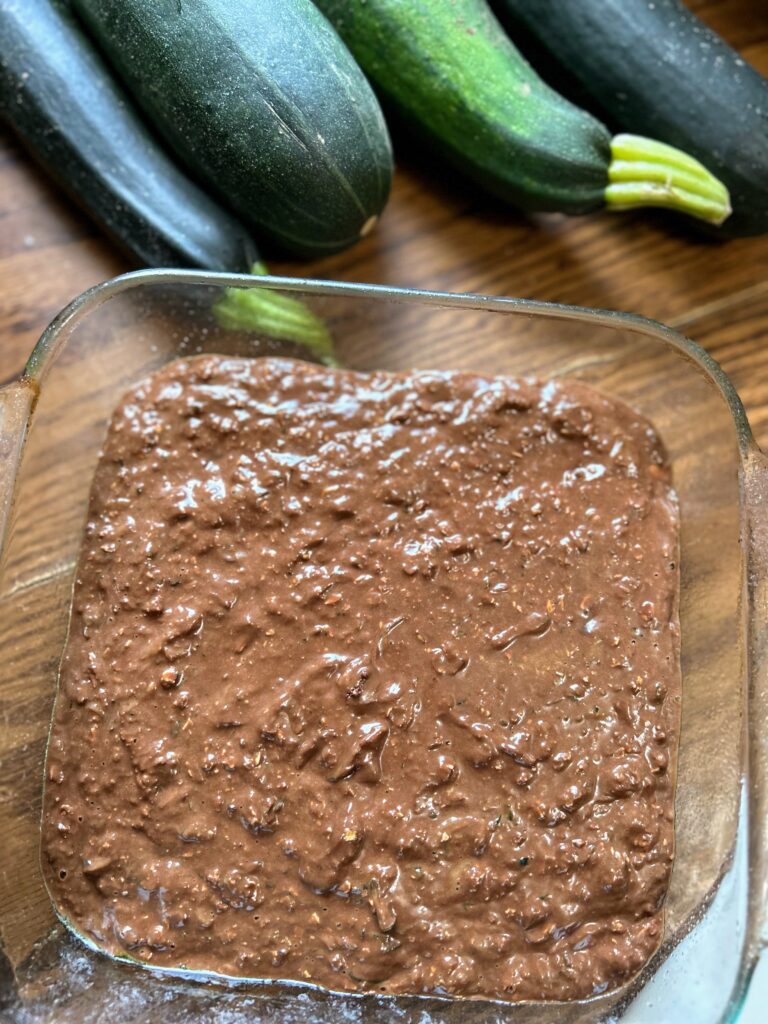
It’s that time of year where gardens everywhere are producing extra amounts of zucchini. Where people are sneaking them onto their neighbors porches, into their cars, you name it. I was deep into Instagram and a woman commented that she planted 11 plants her first time. I think I guffawed at that! If you can relate and have a stack of zucchinis on your counter, maybe give this recipe a go: Zucchini Brownies. 

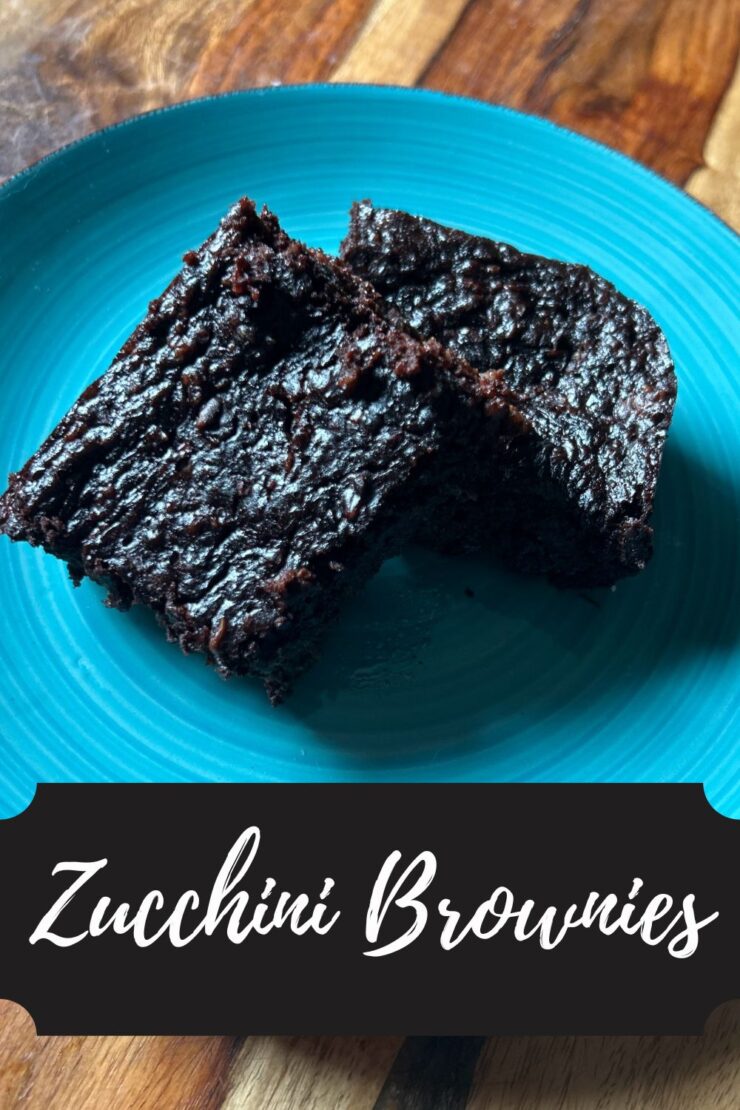
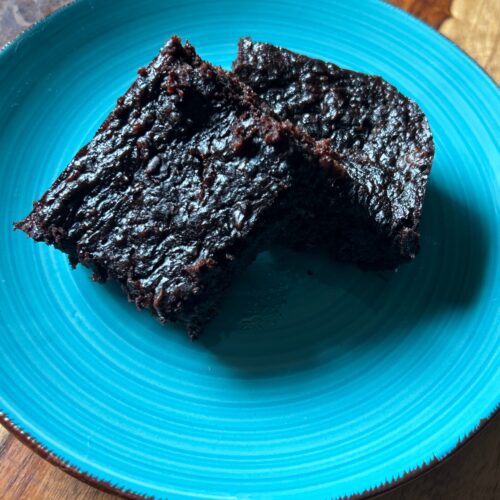
Now listen, I know brownies are necessarily synonymous with healthy sweet treats, but these are pretty darn close. I swapped maple syrup for sugar (seriously, it’s so good!), opted for oatmeal flour rather than regular flour, and used olive oil. All great things, right? 

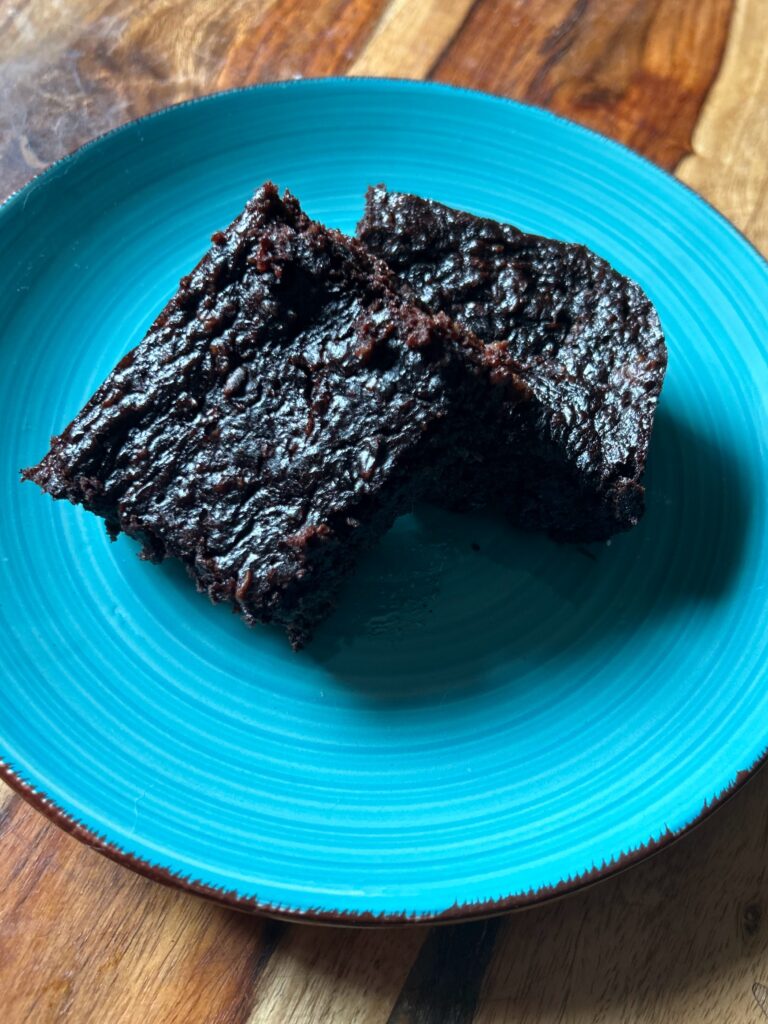
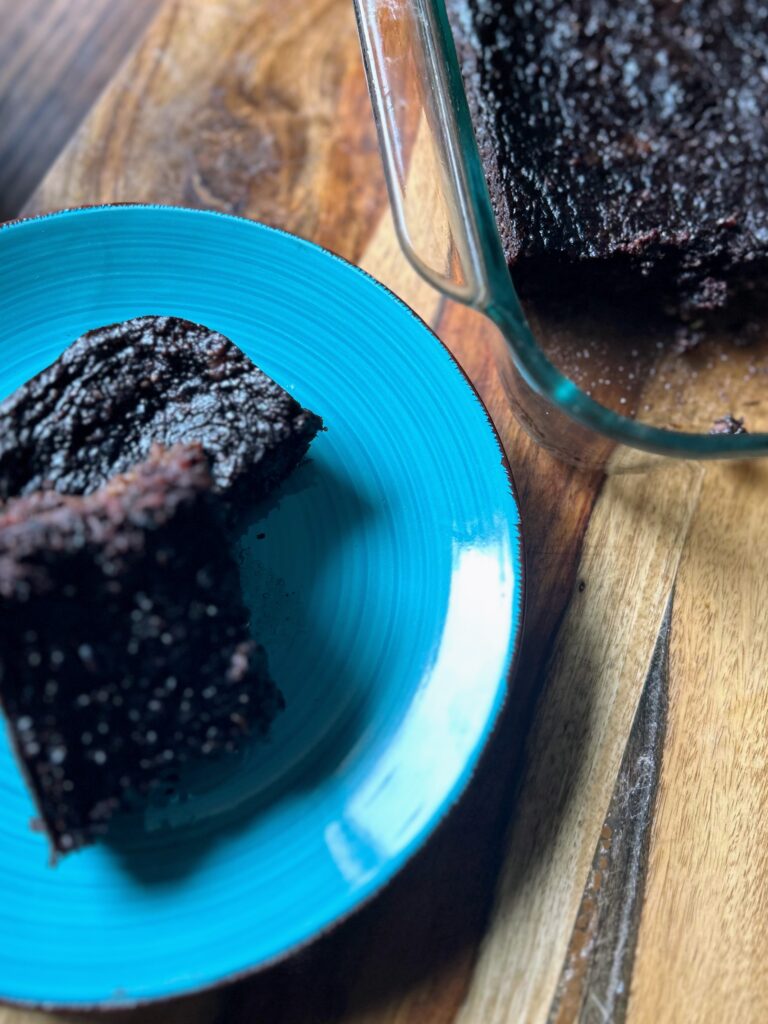
And they are so rich and delicious. The amount of cocoa powder leaves them a dark beautiful brown color and the zucchini adds extra moisture. They get better as the days go by, if you can keep them in your house long enough! 

Ready to start baking? Let’s go! 

Your Ingredients

  • ⅓ cup nut butter (I did peanut butter but have used almond as well) 
  • ⅓ cup maple syrup
  • 1 egg 
  • ⅓ cup olive oil 
  • 2 teaspoon vanilla extract
  • ½ cup cocoa powder
  • ½ cup old fashioned oats, made into flour in a food processor after measuring
  • 1 teaspoon baking soda
  • ¼ teaspoon salt 
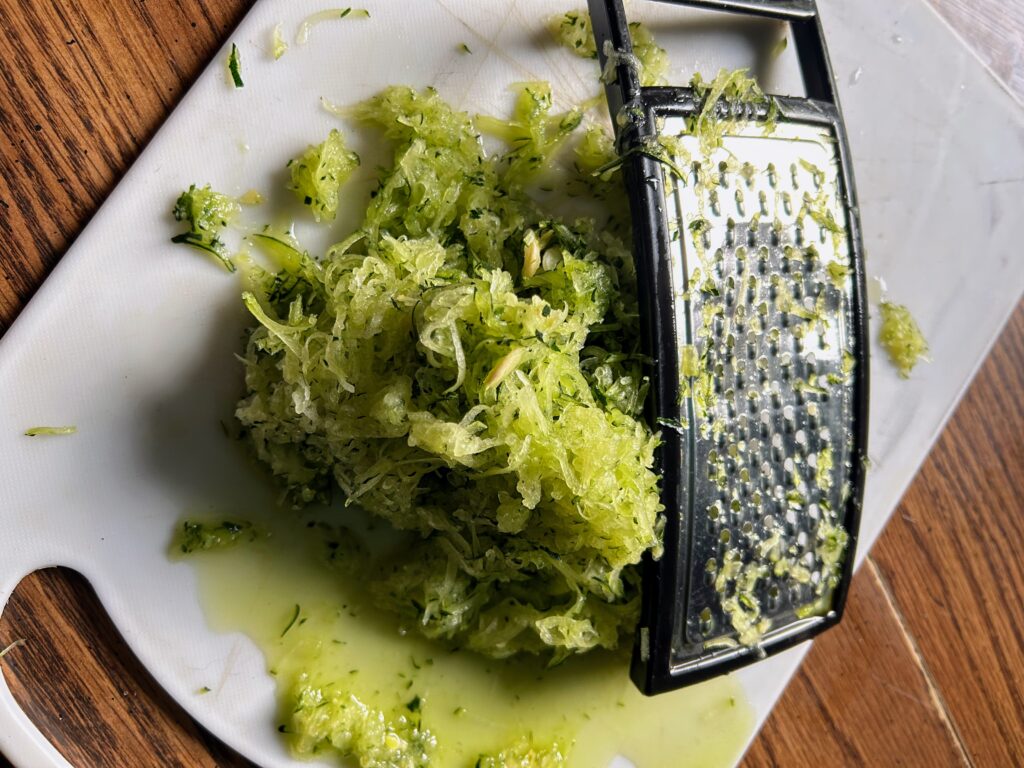
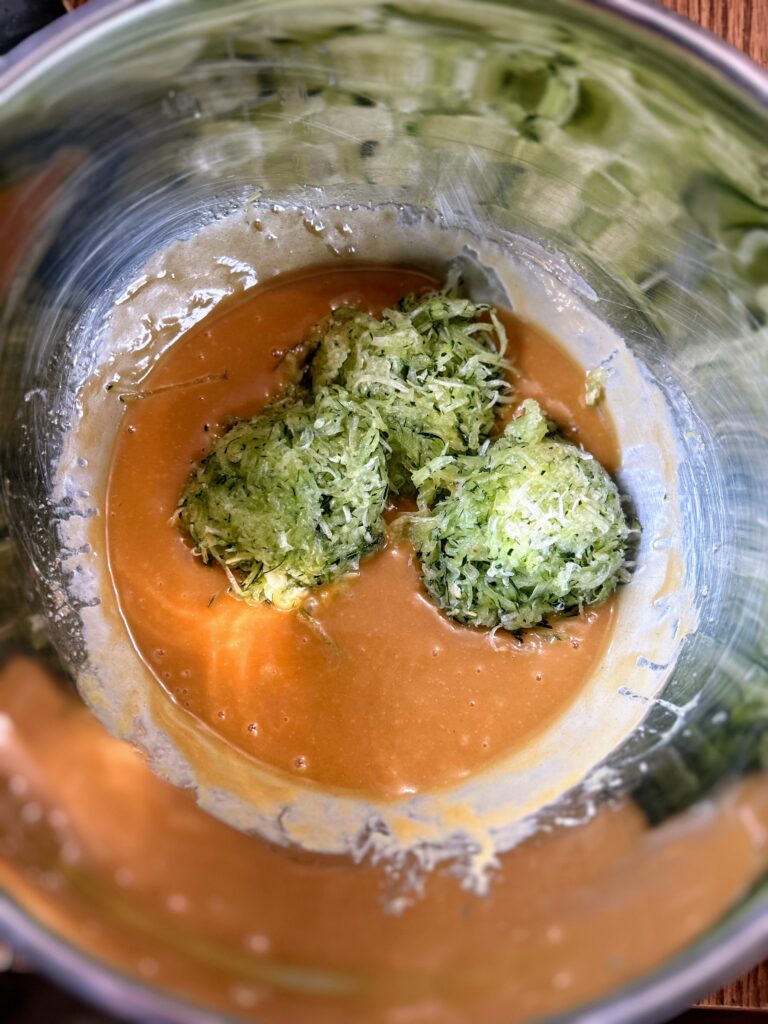
  • 1 ½ cups finely shredded zucchini 
  • ¼-½ cups chocolate chips 

Your Steps to Zucchini Brownies

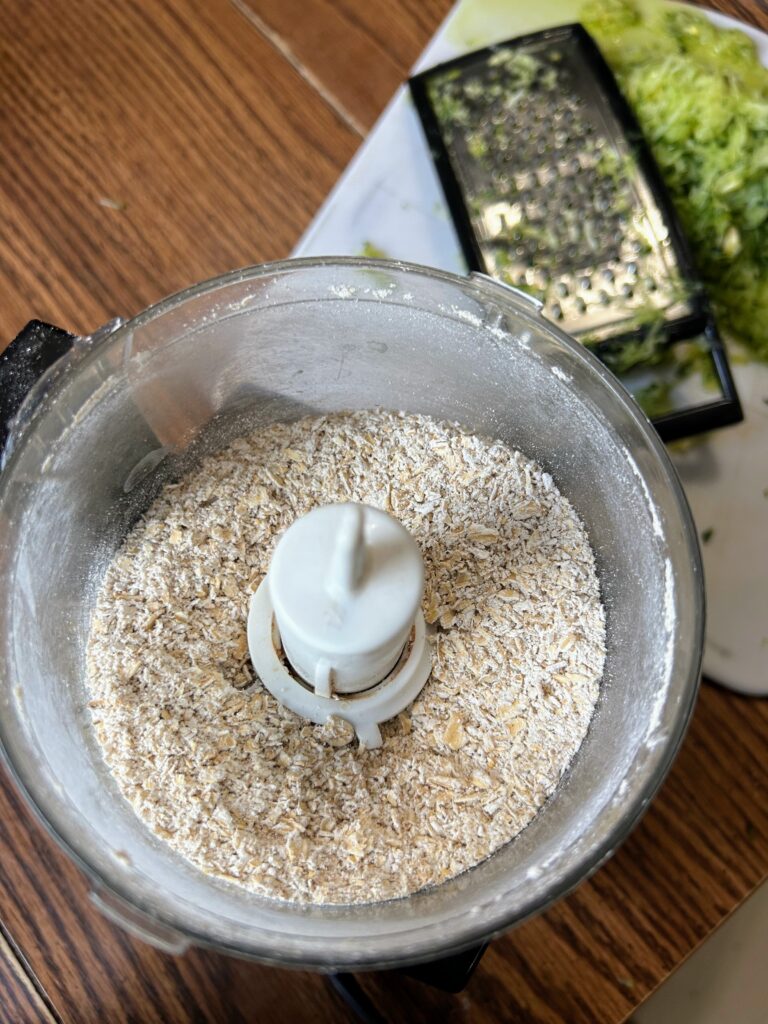
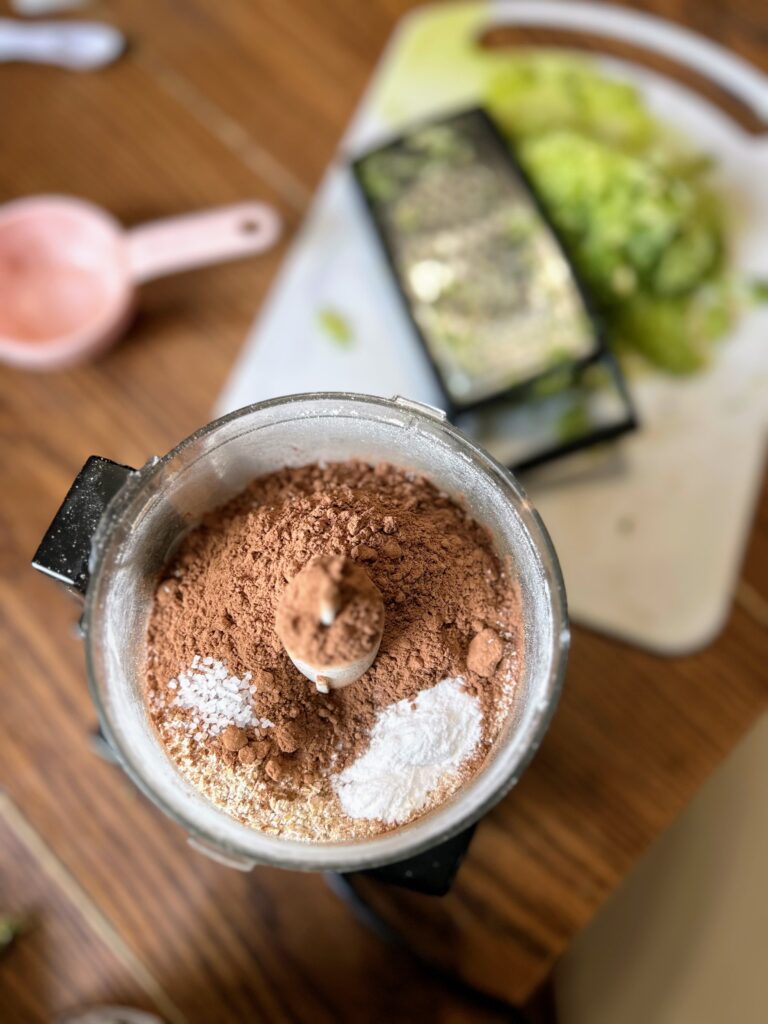
Preheat the oven to 350 degrees. In a food processor, grind oats until a coarse flour is formed. Add cocoa powder, salt, and baking soda. Pulse a few times to mix. 

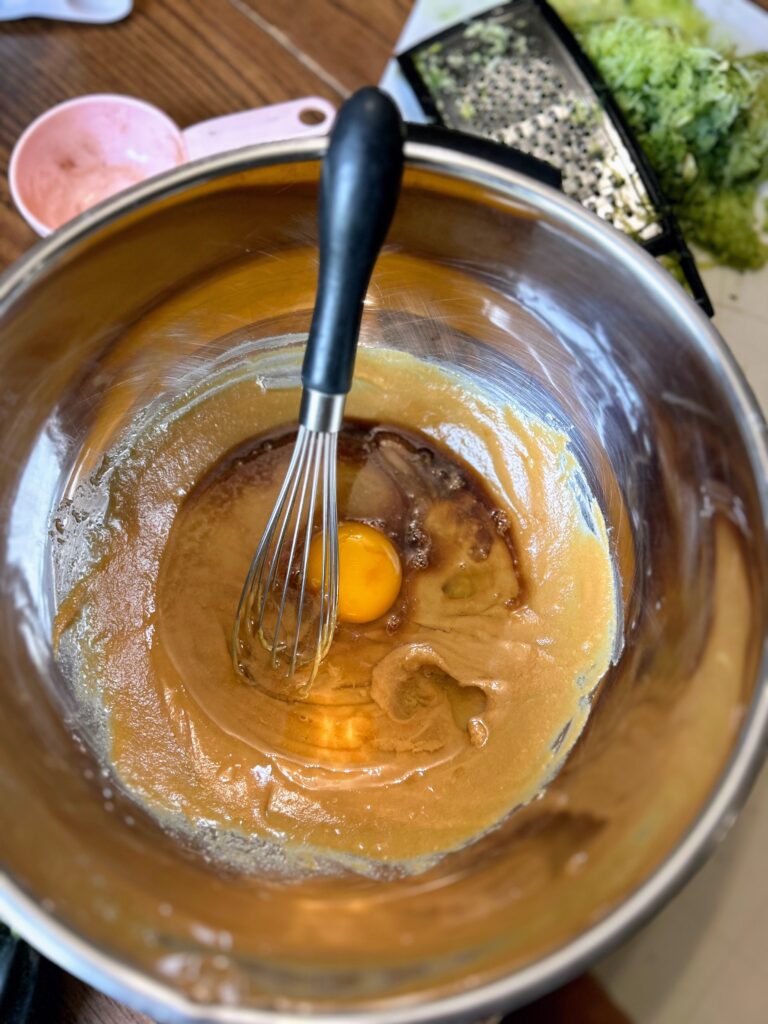
In a large bowl, whisk syrup, nut butter and olive oil together. Add the egg and extract and whisk again. Sir in the zucchini and add the dry ingredients until JUST mixed. 

Fold in the chocolate chips (reserving a few to sprinkle on top, if you care to). Pour into a greased 8×8 brownie pan and sprinkle remaining chocolate chips. Bake for 25 minutes, or until set. 

Serve them up with a bit of ice cream or a tall glass of milk and watch the zucchini brownies disappear!

Zucchini Brownies

Veggies and dessert? Serve these delicious zucchini brownies up with a tall glass of milk or ice cream and wait for smiles!
5 from 1 vote
Prep Time 15 minutes
Cook Time 25 minutes
Course Dessert
Cuisine American
Servings 9 brownies

Ingredients
  

  • cup nut butter I did peanut butter but have used almond as well
  • cup maple syrup
  • 1 egg
  • cup olive oil
  • 2 teaspoon vanilla extract
  • ½ cup cocoa powder
  • ½ cup old fashioned oats made into flour in a food processor after measuring
  • 1 teaspoon baking soda
  • ¼ teaspoon salt
  • 1 ½ cups finely shredded zucchini
  • ¼-½ cups chocolate chips

Instructions
 

  • Preheat the oven to 350 degrees. In a food processor, grind oats until a coarse flour is formed. Add cocoa powder, salt, and baking soda. Pulse a few times to mix.
  • In a large bowl, whisk syrup, nut butter and olive oil together. Add the egg and extract and whisk again. Sir in the zucchini and add the dry ingredients until JUST mixed.
  • Fold in the chocolate chips (reserving a few to sprinkle on top, if you care to). Pour into a greased 8×8 brownie pan and sprinkle remaining chocolate chips. Bake for 25 minutes, or until set.
Keyword brownies, chocolate, chocolate zucchini bread, Gluten Free, zucchini, zucchini brownies, zucchini desserts, zucchini treats
Tried this recipe?Let us know how it was!

Looking for other zucchini recipes?

You can check out my baking and canning and preserving pages for more inspiration! Our perhaps pick one of my favorites below!

Air Fryer Homemade Fries

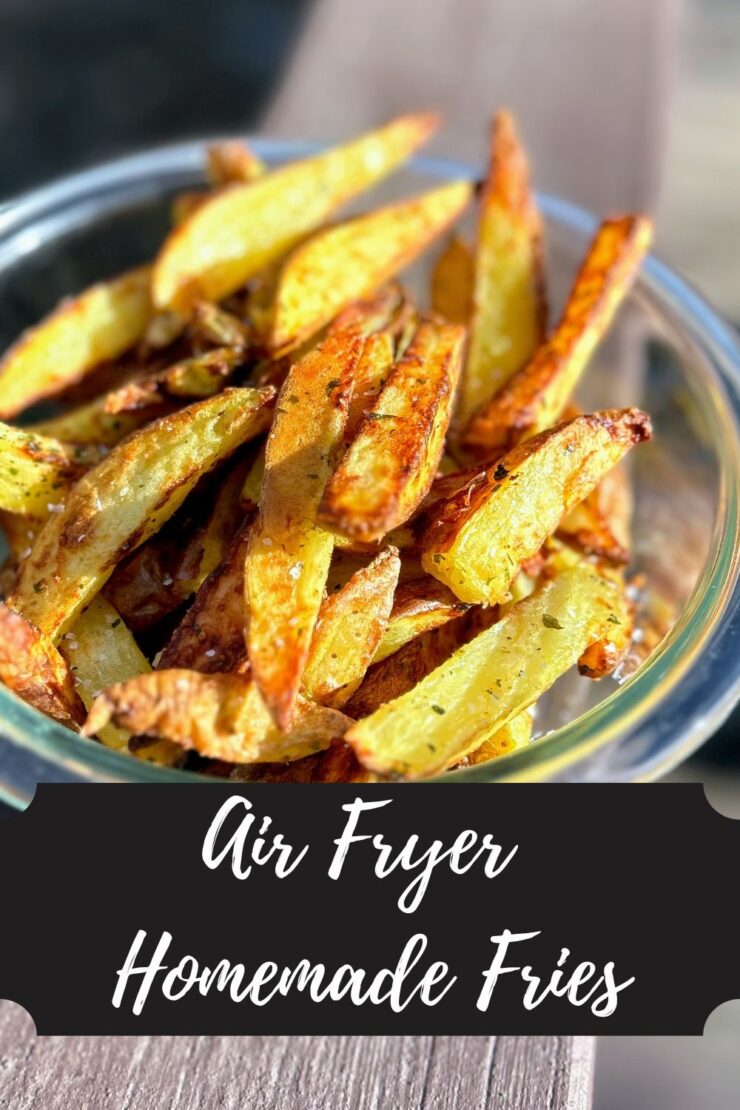
“I bought some fries for the burgers tonight…” The Mr, the other night. My response, “Why in the world did you buy fries? I will make air fryer homemade fries!” The Mr, “Well, you never know…it’s easier to just use the premade ones.” Me: “Nope, it takes all of 3 minutes to make homemade ones and they are SO MUCH BETTER.” 

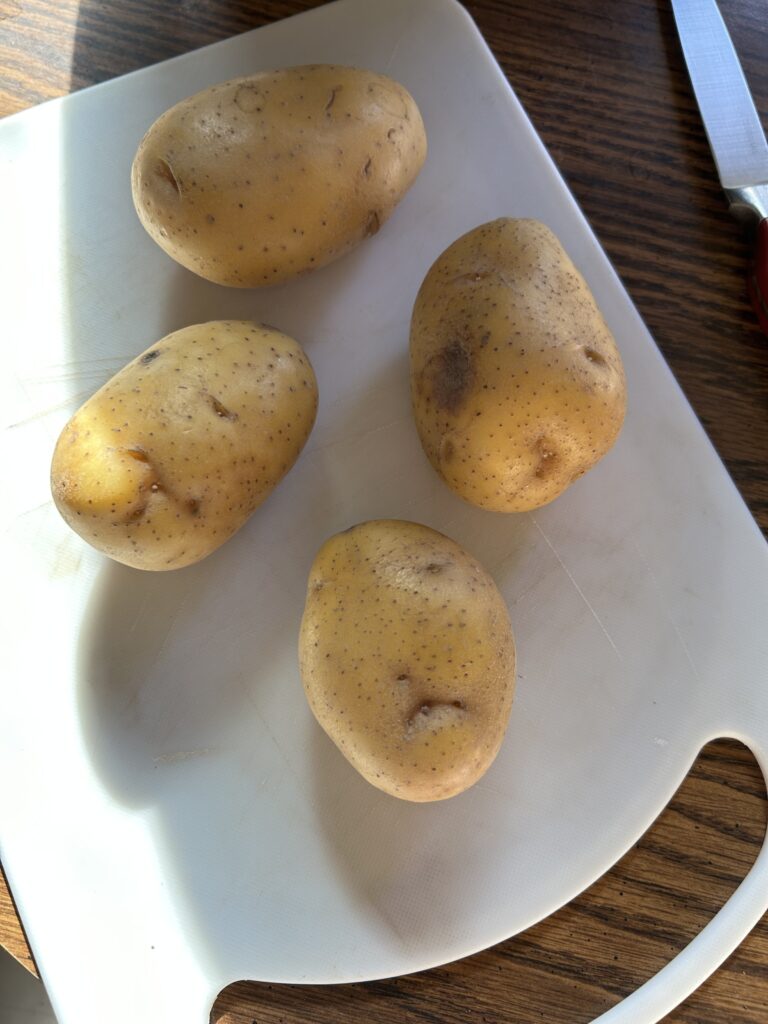
That’s an actual conversation from earlier this week. I don’t know what kind of fries are made when I am not home, but if I am around, I am grabbing some Yukon Gold potatoes (or others, if you don’t have Yukon Gold) and I am making homemade fries.

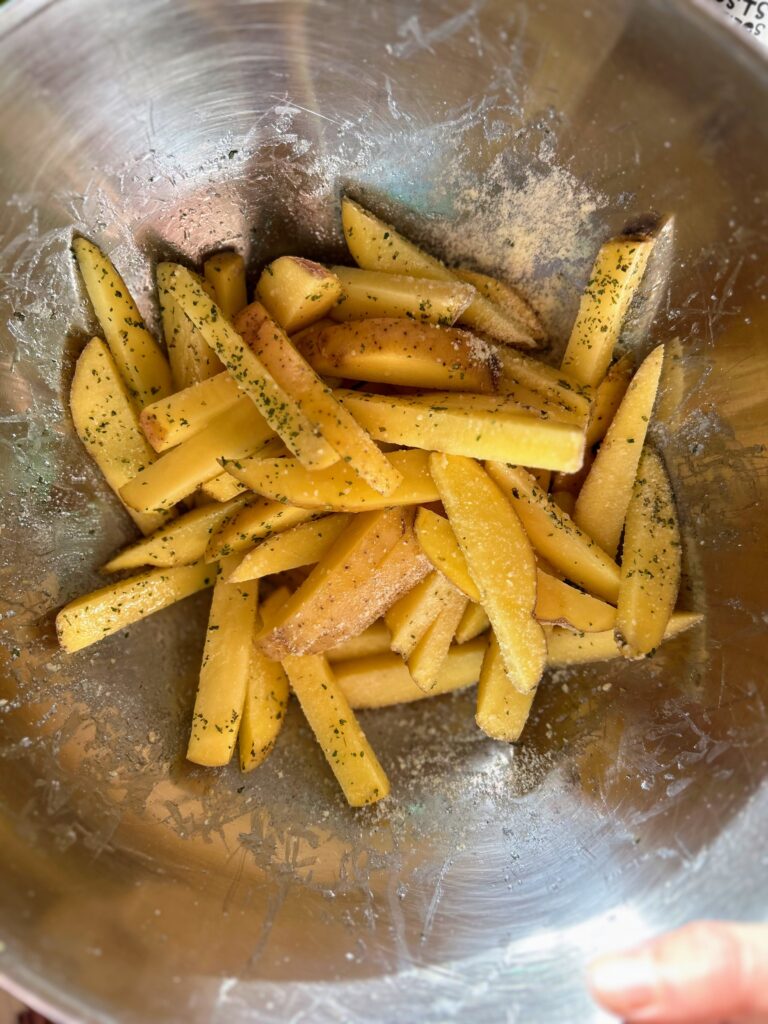
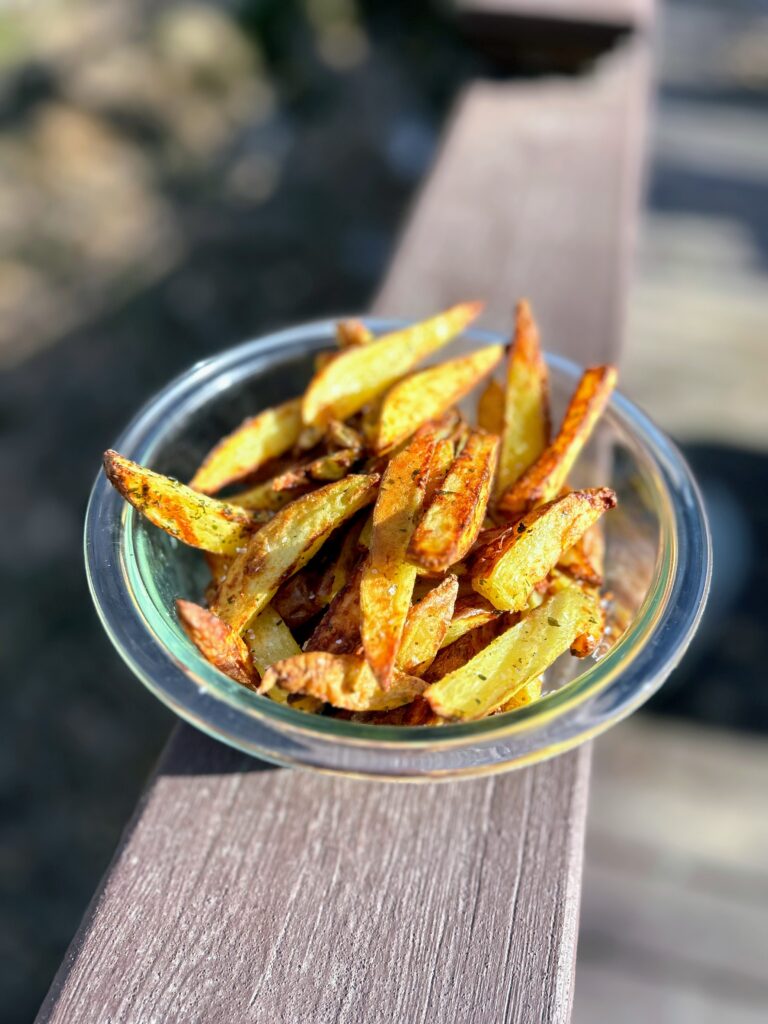
When I say that it takes all of 3 minutes to prep them, I promise, I am not lying. The longest piece of these delicious fries is cutting them. A little toss in olive oil, some salt, Parmesan, and parsley and you are set. And I swear, they come out like a great pub fry every single time. 

Some “from scratch” recipes take longer than you care for them to but, at least for me, you try to do them more often than not because it’s better for your family. This is not the case here. You’ll be making your own, beautiful air fryer homemade fries every time a burger, brat, or hotdog is served! 

Let’s get cooking! 

Your Ingredients (4-6 servings)

  • 1 ½ pounds Yukon Gold potatoes (or your other favorite potato)
  • 1 tablespoon olive oil 
  • ¼ cup grated Parmesan cheese 
  • 1 tablespoon parsley 
  • 1 teaspoon-½ tablespoon kosher salt 

Your Steps to Air Fryer Homemade Fries

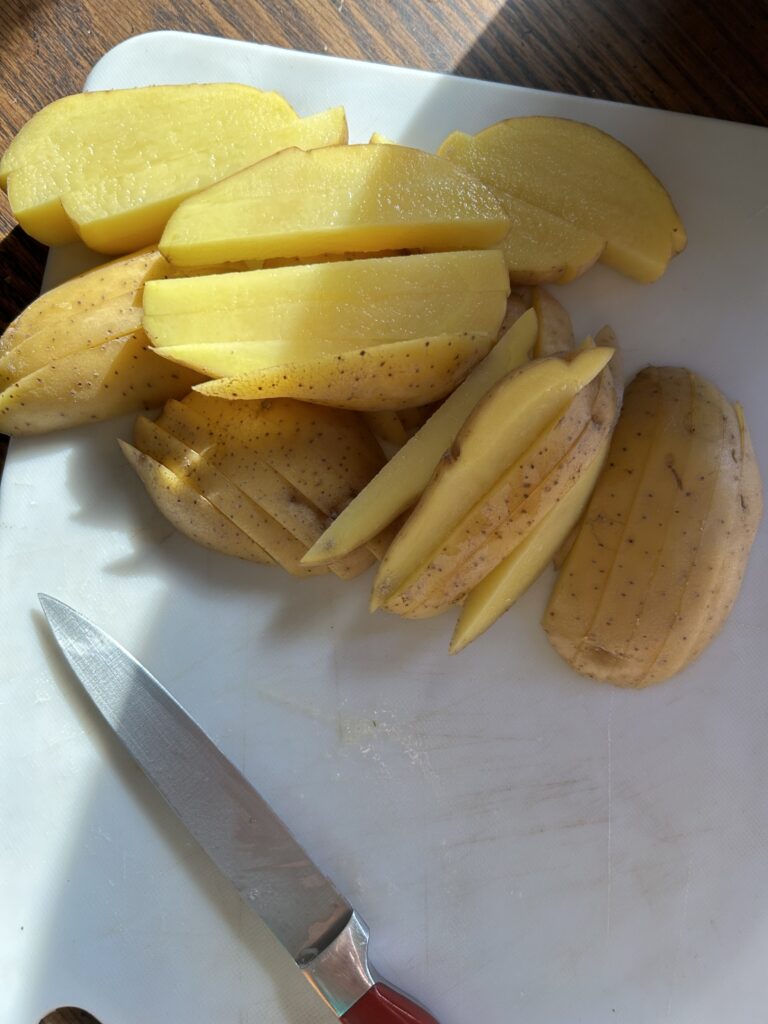
Preheat the air fryer to 400 degrees. Meanwhile, cut the potatoes into ¼-⅓ inch slices. Then cut into sticks. Toss the fries with olive oil. Then add Parmesan, parsley, and kosher salt. Honestly, I don’t measure the parsley and salt. I just pour it into my palm to get a feel for how much I have and sprinkle in. 

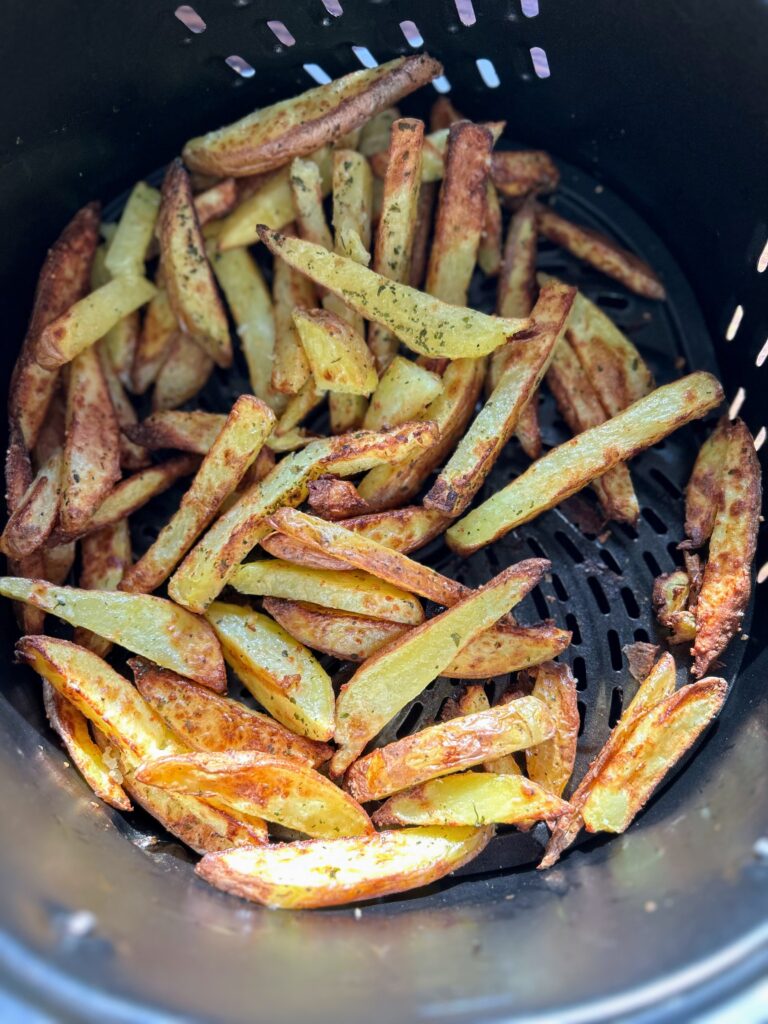
Put the fries into the basket and toss. Cook for 15-20 minutes, shaking/stirring the fries every 5 minutes or so. Cook until they have reached a desired color. Enjoy with your latest grilled protein! 

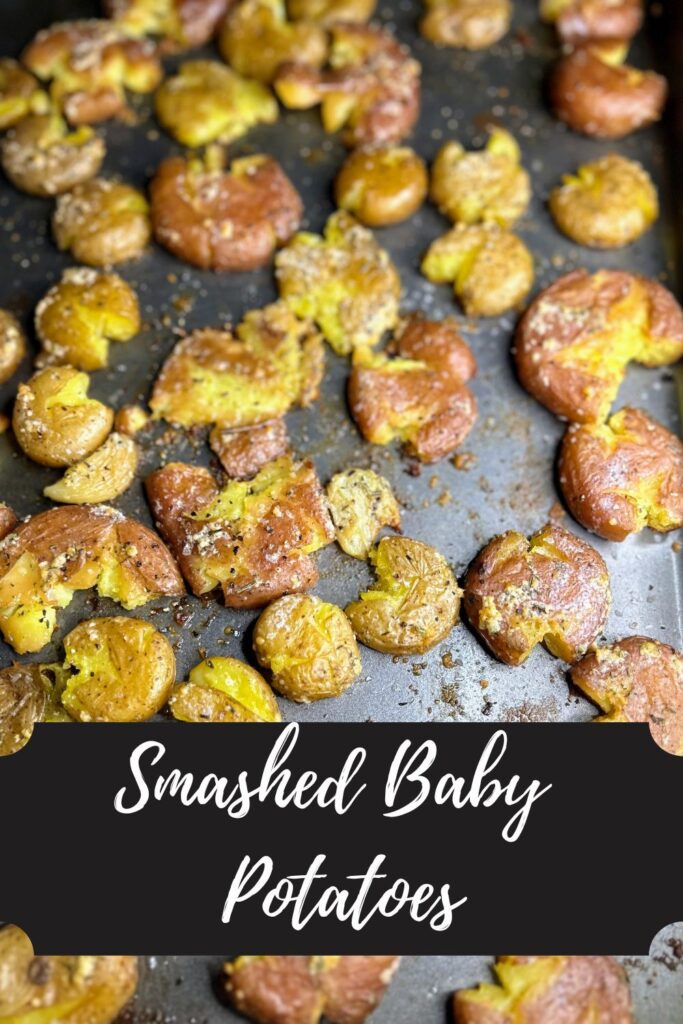
If you’re looking to fancy up your potato game, give these smashed baby potatoes a try! They are not hard, but they sure turn out amazing!

Air Fryer Homemade Fries

You won't be buying frozen bag fries again after you give these homemade air fryer fries a try! So simple and beyond good, this will become a go to recipe for those grill nights and more!
Prep Time 5 minutes
Cook Time 20 minutes
Course Appetizer, Side Dish
Cuisine American
Servings 4

Equipment

Ingredients
  

  • 1 ½ pounds Yukon Gold potatoes or your other favorite potato
  • 1 tablespoon olive oil
  • ¼ cup grated Parmesan cheese
  • 1 tablespoon parsley
  • 1 teaspoon-½ tablespoon kosher salt

Instructions
 

  • Preheat the air fryer to 400 degrees. Meanwhile, cut the potatoes into ¼-⅓ inch slices. Then cut into sticks.
  • Toss the fries with olive oil.
  • Then add Parmesan, parsley, and kosher salt. Toss again.
  • Put the fries into the basket and toss.
  • Cook for 15-20 minutes, shaking/stirring the fries every 5 minutes or so. Cook until they have reached a desired color.
Keyword air fryer, french fries, homemade fries, Potatoes, Yukon Gold
Tried this recipe?Let us know how it was!

Need some dishes to pass?

Check out my Cooking page for more inspiration. Or maybe I can share a few of my favs below!

Sweet Potato Muffins

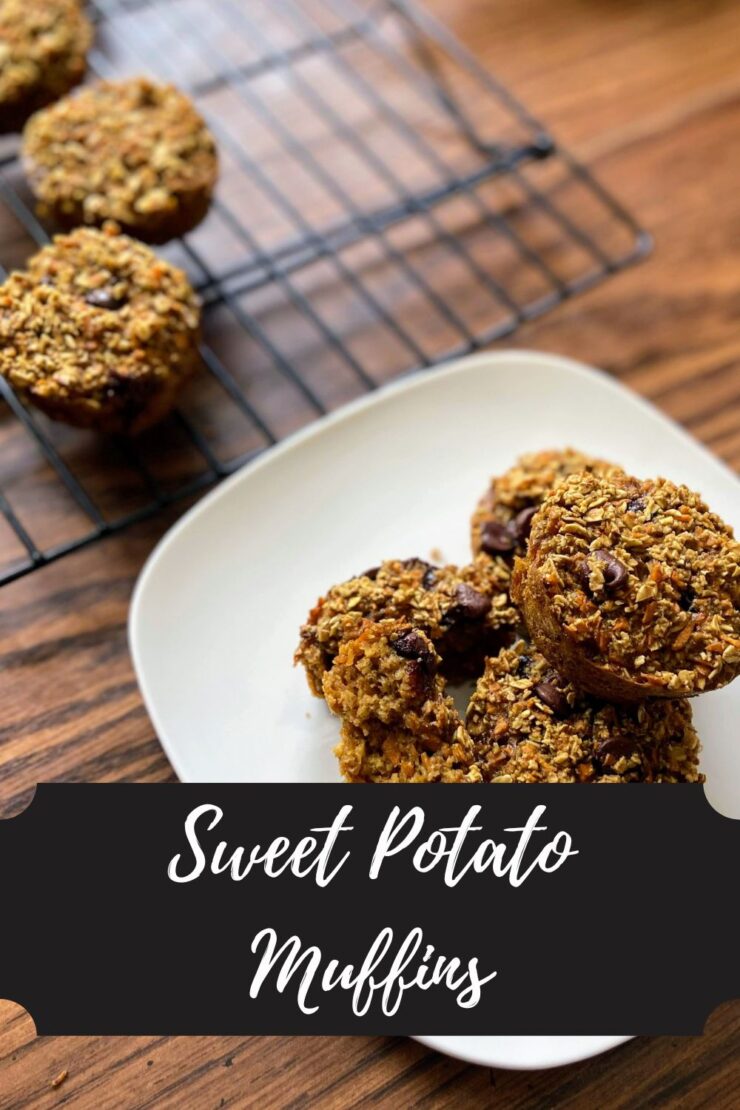
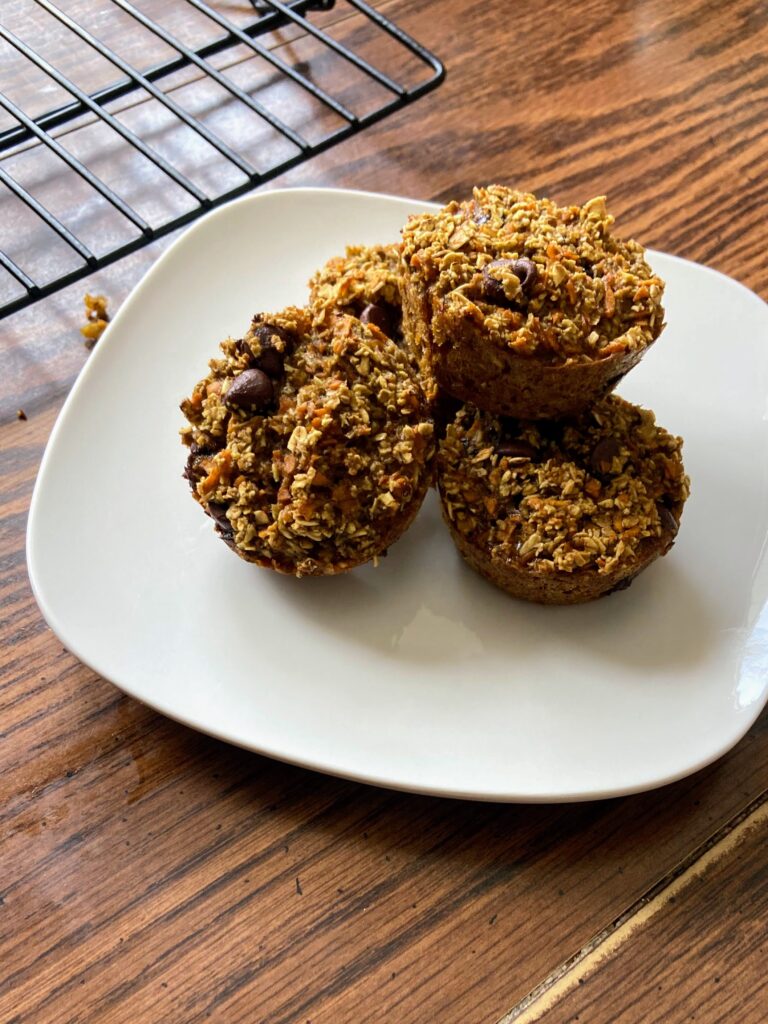
I don’t know about you, but I dig a good muffin. The Mr and I are early risers, which generally means I am a “double breakfast” kind of gal. What can I say, I don’t like being hungry and am a grazer throughout the day. Muffins make a great small first breakfast while I drink my warm lemon water (check out the benefits here!). They are a snack I can feel good about feeding my kiddos too! That is especially true for these delicious sweet potato muffins!
That’s right. Sweet potato muffins. Not something you’ve heard of, right? But I bet you’re intrigued and thinking, “Why haven’t I thought of that before?!” I mean, sweet potatoes are just that, sweet. They are also a nutrient dense vegetable with more potassium than a banana, full of fiber, vitamin A and C, and antioxidants, among so many other things. 

You may also be wondering, “But that’s a hard potato. How are we going to add that to a muffin?!” A few kitchen gadgets are going to get us to riced sweet potato and let me tell you, once you have it riced, the possibilities are endless! 

The gadgets

Yes, you will need a couple to create these muffins, but I am telling you, once you get started, you’ll use them all the time. 

The Spiralizer 

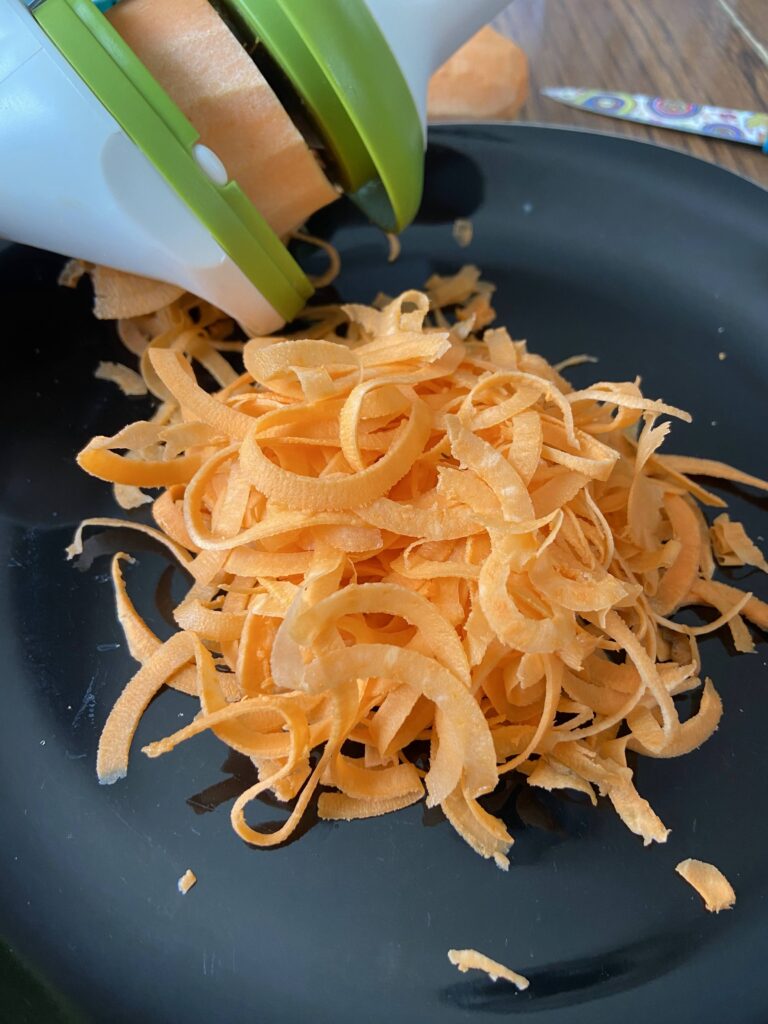
My sister gifted me a spiralizer a number of years ago along with the cookbook Inspiralized by Ali Maffucci. The spiralizer is small and handheld so it doesn’t take up much space in my kitchen. Sometimes it’s a bit of hard work, but I don’t mind that when I am working in the kitchen. And seriously, the sweet potato is my favorite to spiral so far! 

The Food Processor

I spent the early parts of my adult life thinking I could get by with a small, 2 cup food processor. It’s what my mom had growing up and I figured it was enough. Then one year, my mom (of all people) gifted me this beautiful 7 cup KitchenAid Food Processor and I don’t know how I lived without it for so long. 

I use it for making oat flour, pesto, you name it. She is so lovely and I love her so much! 

The Sweet Potato Muffin Recipe

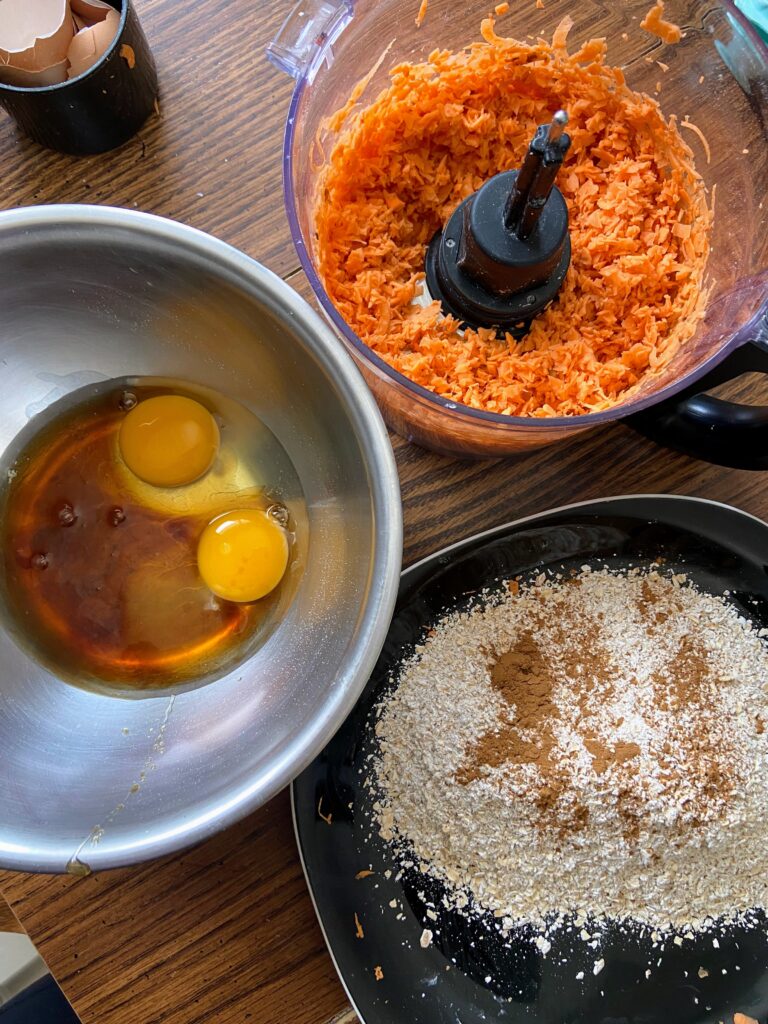
But enough about the gadgets I love, it’s time to start cooking! You’ll want to get started by spiralizing 1 medium/large sweet potato. You are looking for about 2 firmly packed cups of spiralized potato. I like to do this over a plate (you’ll see why in a moment!). Then you’re ready to get started!

Your Ingredients 

  • 1 large sweet potato, spiralized (2 cups firmly packed)
  • 2 cups old fashioned oats 
  • 1 teaspoon baking soda
  • ½ teaspoon salt 
  • ½ teaspoon cinnamon
  • 2 eggs 
  • 1 teaspoon vanilla 
  • 2 tablespoons melted butter (coconut oil would be great too!) 
  • ¼ cup real maple syrup (or honey)
  • ¼ cup chocolate chips

Your Steps to Sweet Potato Muffins

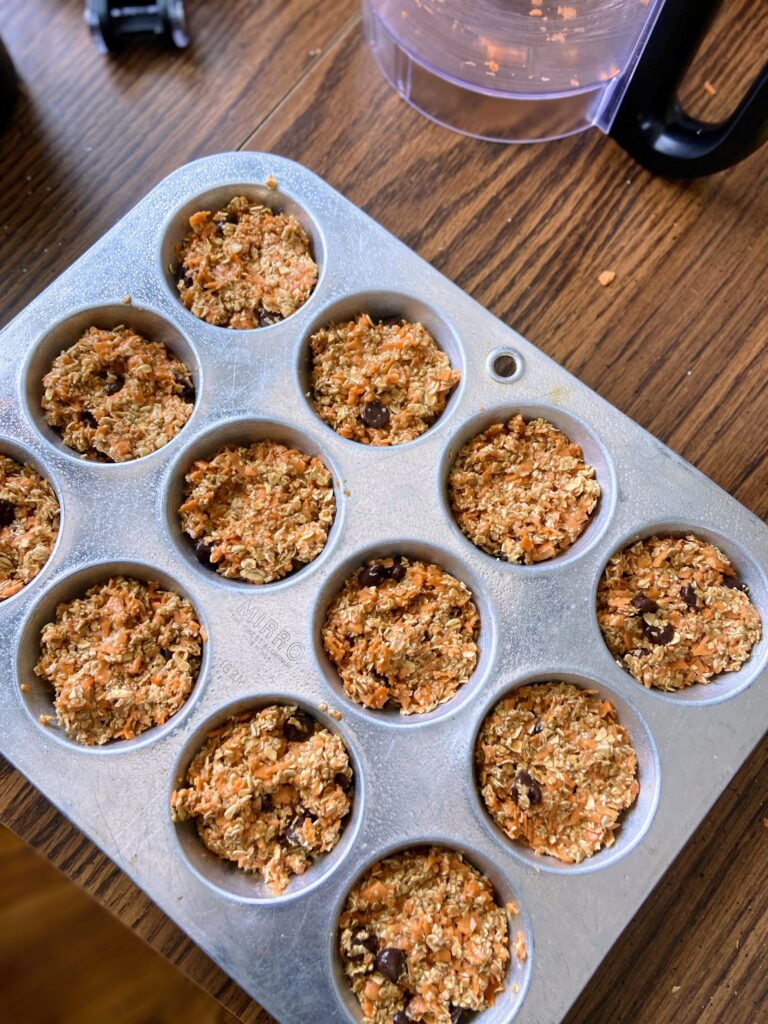
Preheat the oven to 350 degrees and prepare a 12 portion muffin pan with non-stick cooking spray. 

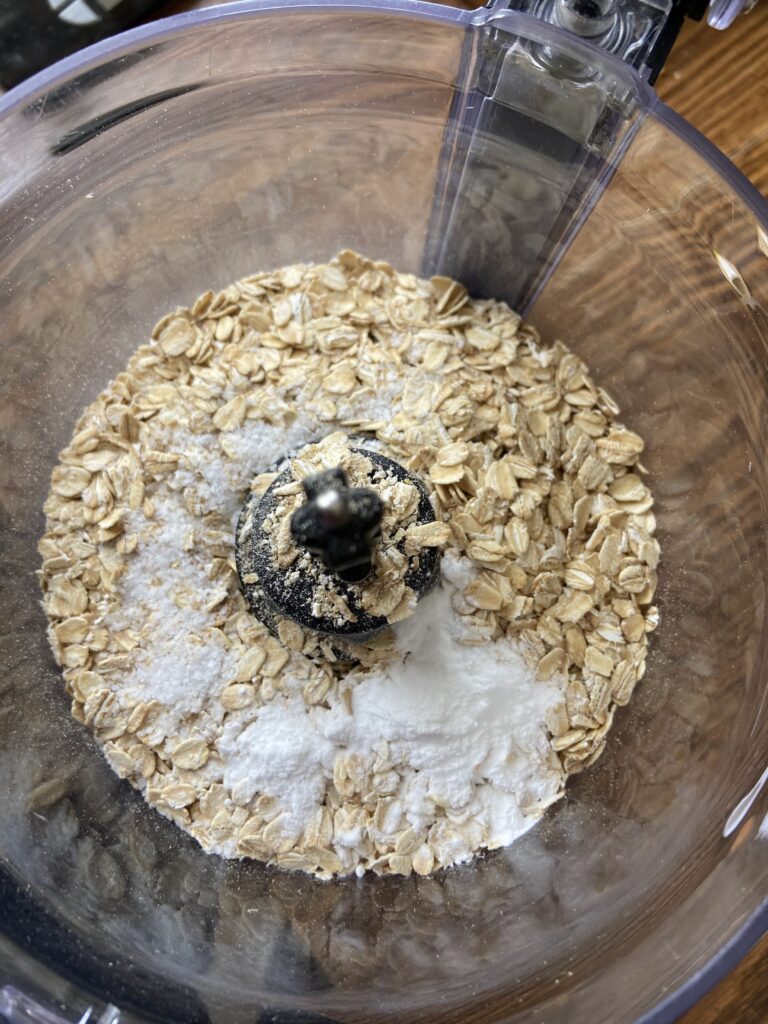
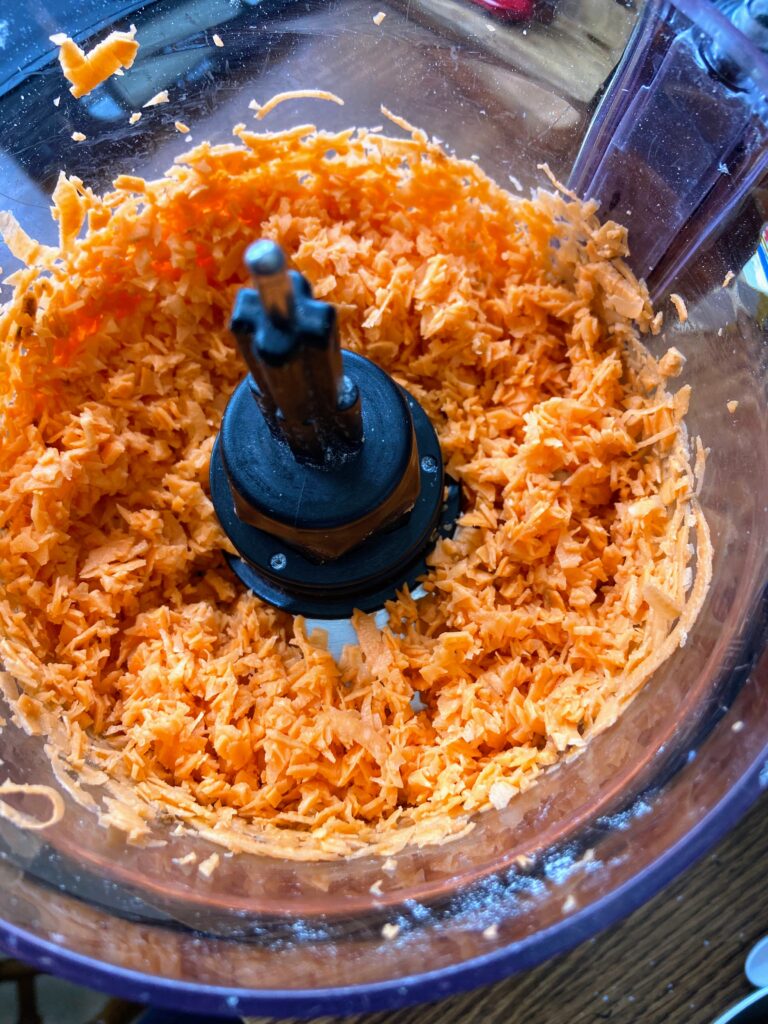
In a food processor, combine oats, baking soda, and salt. Pulse until a coarse oat flour is created. Pour into a bowl and set aside. Place spiralized sweet potato into the food processor and pulse until it is riced (the size of long grain rice). 

Now I avoid all the extra dishes I can, so the oat flour goes onto the plate the sweet potato was on and cinnamon gets added. You do you! 

From here, add the eggs, vanilla, and maple syrup to the mixing bowl. Combine well. Sir in sweet potato and melted butter (being mindful that the temperature of the butter is cool enough to avoid scrambling the eggs). Fold in the oats and cinnamon along with the chocolate chips. 

Scoop into muffin tin by the quarter cup, filling 12 vessels. Bake at 350 degrees for 20-25 minutes, until cooked through. Serve right away or within the week. We like to pop them in the microwave for 15 seconds to warm up the chocolate and make them just perfect with a cup of tea or coffee! 

Sweet Potato Muffins

There is something sweet and delicious about these simple sweet potato muffins. Full of nutrient dense ingredients, but still give the vibes of a tasty treat!
Prep Time 20 minutes
Cook Time 25 minutes
Course Breakfast, Dessert
Cuisine American
Servings 12 muffins

Ingredients
  

  • 1 large sweet potato spiralized (2 cups firmly packed)
  • 2 cups old fashioned oats
  • 1 teaspoon baking soda
  • ½ teaspoon salt
  • ½ teaspoon cinnamon
  • 2 eggs
  • 1 teaspoon vanilla
  • 2 tablespoons melted butter coconut oil would be great too!
  • ¼ cup real maple syrup or honey
  • ¼ cup chocolate chips

Instructions
 

  • Preheat the oven to 350 degrees and prepare a 12 portion muffin pan with non-stick cooking spray.
  • In a food processor, combine oats, baking soda, and salt. Pulse until a coarse oat flour is created.
  • Pour into a bowl and set aside. Place spiralized sweet potato into the food processor and pulse until it is riced (the size of long grain rice).
  • From here, add the eggs, vanilla, and maple syrup to a large mixing bowl. Combine well. Sir in sweet potato and melted butter (being mindful that the temperature of the butter is cool enough to avoid scrambling the eggs).
  • Fold in the oats and cinnamon along with the chocolate chips.
  • Scoop into muffin tin by the quarter cup, filling 12 vessels. Bake at 350 degrees for 20-25 minutes, until cooked through. Serve right away or within the week.
Keyword Breakfast, breakfast muffins, clean eating, maple syrup, muffins, nutrient dense, oatmeal, oatmeal flour, sweet potato
Tried this recipe?Let us know how it was!

Other Great recipes for Breakfast

Click here to head to my breakfast breakfast page or check out some favorites below!

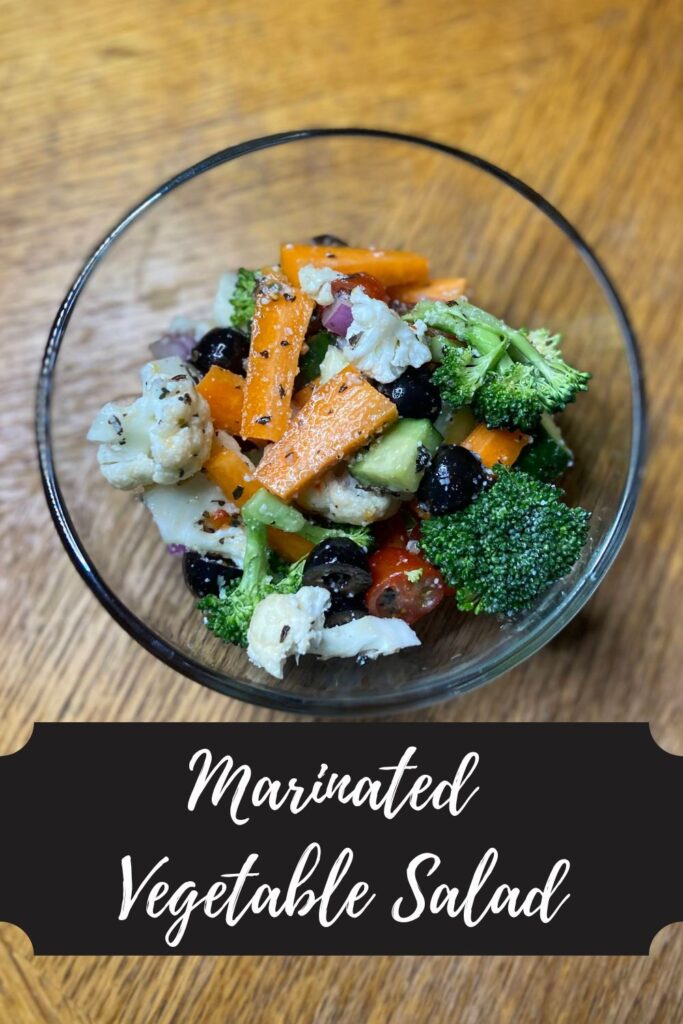
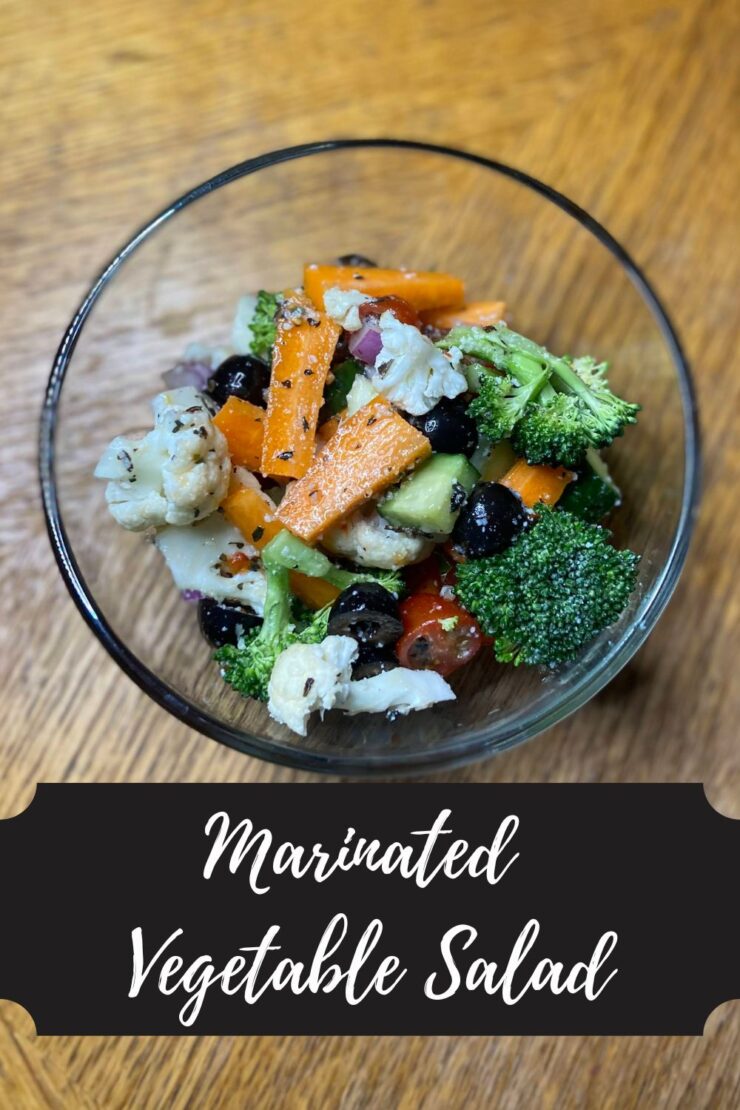
Marinated Vegetable Salad

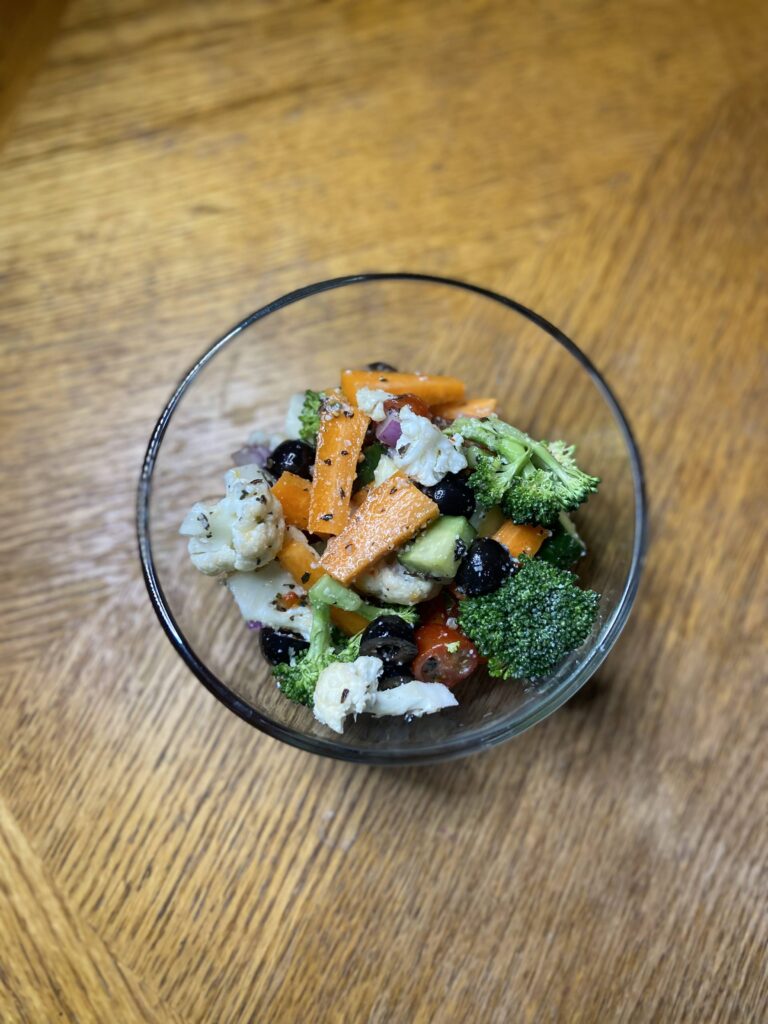
You know when you get invited to a get together and you need to bring a dish to pass but definitely don’t want to think hard? This marinated vegetable salad is the dish you bring, my friends.

Years ago, I remember saying to the Mr, “I mean, you have a fruit salad…I wonder if there is such a thing as a vegetable salad?” As soon as it left my mouth, I felt so silly asking the question. Aren’t all salads vegetable salads? I mean, no, not if you live in the midwest. If you head to a potluck, you’ll see all sorts of non-vegetable salads. We have pasta salad. We have this Snicker apple salad. And the classic tuna salad. But this marinated vegetable salad is exactly what I envisioned when I asked that silly question. (I just brought it up again to him, and he gave me the most loving, but judgemental look). 

Back to my question…

I was picturing a salad full of chopped vegetables, like chopped fruit. But unlike the fruit salad I normally make, a vegetable salad needs a little sauce to give it a pizzazz. If you’ve been here a while, you know I love to make everything from scratch, and I probably could do that here. But I have found that Zesty Italian dressing from the store just works so well and makes for a quick and delicious side. 

This recipe has become my absolute go to when I have to bring a dish to pass. The healthier me loves that I can depend on vegetables being available when I am surrounded by a lot of other delicious things. It takes minimal prep and doesn’t really need to be kept cold or hot. It can just hang out at room temperature for the duration of the fest!

The best part though? It’s totally customizable. Don’t love peppers? Skip them. Want all the broccoli? Give it an extra cup! 

Ready to start creating? Let’s go!
Your Ingredients for Marinated Vegetable Salad

  • 1 head cauliflower
  • 1-2 heads of broccoli
  • 3 carrots
  • 2-3 cucumbers
  • 1 can black olives 
  • 1 red onion 
  • 2 cups halved grape tomatoes 
  • 1-2 sweet peppers
  • 1 cup zesty Italian dressing 
  • ¼ cup grated Parmesan cheese 
  • 1 teaspoon dried oregano
  • 1 teaspoon dried basil 

Your Steps

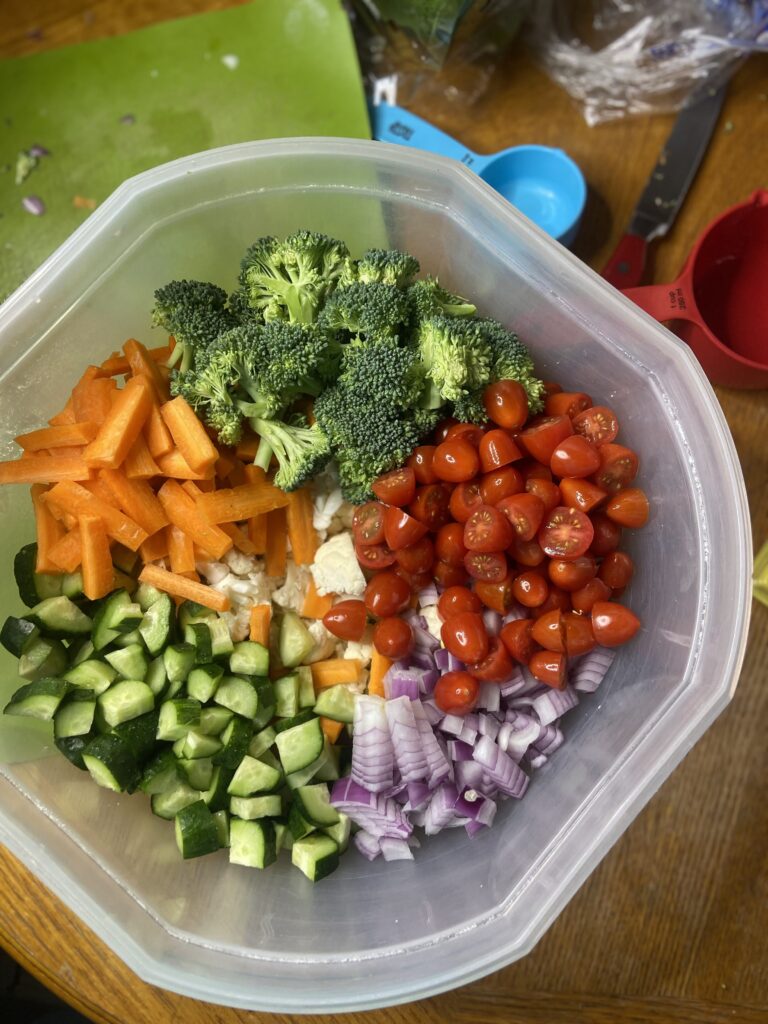
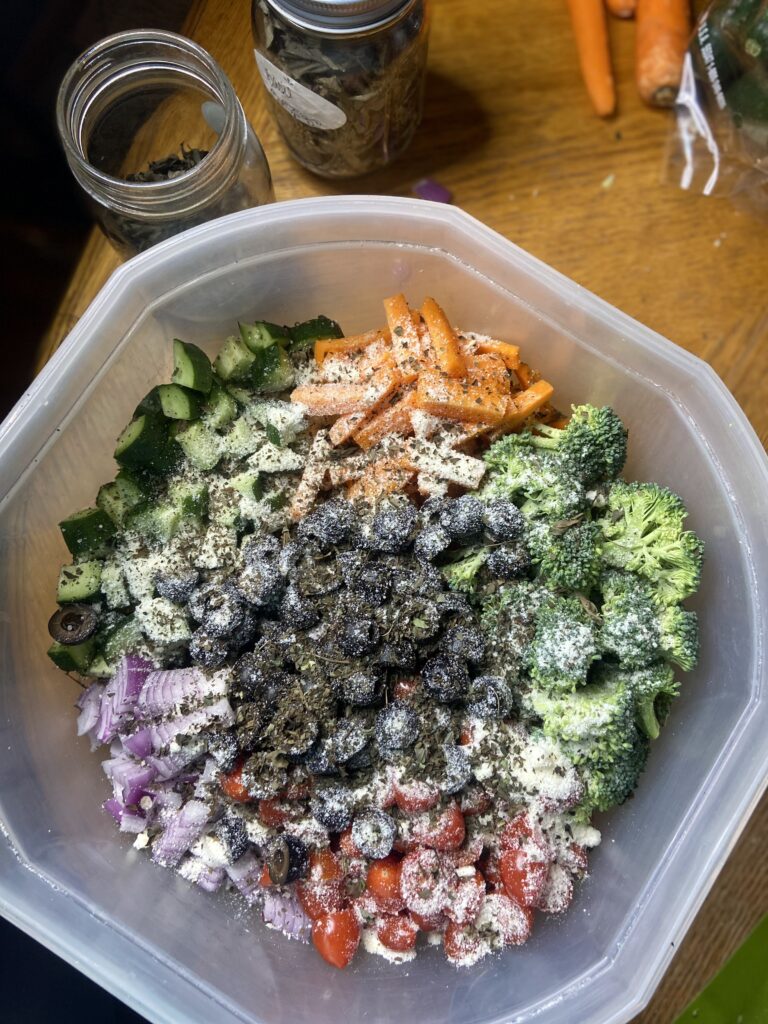
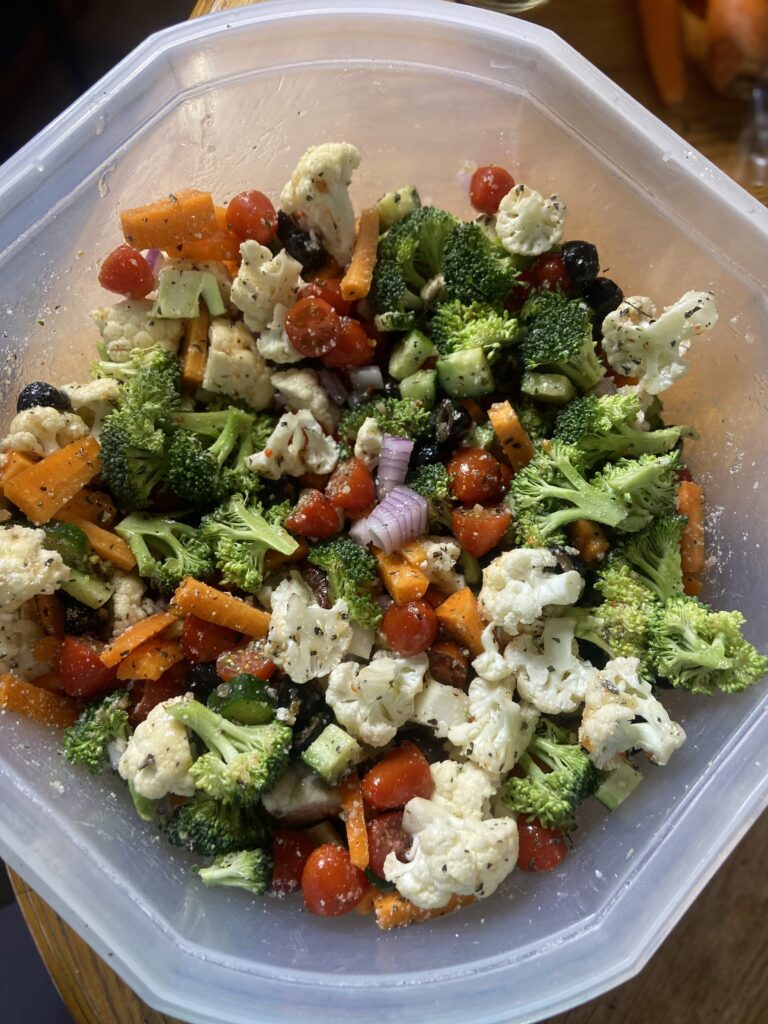
Dice the red onion and cut all the remaining veggies into bite size pieces. Slice the black olives in half. Combine all the ingredients in a bowl with a cover and mix. Pour on the dressing, cheese, oregano, and basil. Stir well. Chill a few hours before serving. But this salad is best made the night before so the vegetables can marinate and is honestly best about two days later. It’s definitely not something I complain about when I have leftovers! 
Marinated Vegetable Salad

You know when you get invited to a get together and you need to bring a dish to pass but definitely don’t want to think hard? This marinated vegetable salad is the dish you bring, my friends.
Prep Time 15 minutes
Cook Time 0 minutes
Course Appetizer, Salad, Side Dish
Cuisine American
Servings 12

Ingredients
  

  • 1 head cauliflower
  • 1-2 heads of broccoli
  • 3 carrots
  • 2-3 cucumbers
  • 1 can black olives
  • 1 red onion
  • 2 cups halved grape tomatoes
  • 1-2 sweet peppers
  • 1 cup zesty Italian dressing
  • ¼ cup grated Parmesan cheese
  • 1 teaspoon dried oregano
  • 1 teaspoon dried basil

Instructions
 

  • Dice the red onion and cut all the remaining veggies into bite size pieces. Slice the black olives in half.
  • Combine all the vegetables in a bowl with a cover and mix.
  • Pour on the dressing, cheese, oregano, and basil. Stir well.
  • Chill a few hours before serving.
Keyword broccoli, cauliflower, cold sides, dishes to pass, Italian dressing, onions, peppers, side dish, side dishes, vegetables
Tried this recipe?Let us know how it was!

Looking for other great Sides?

Check out my Cooking page for other inspiration. Or maybe you want to eat with your eyes! Then you can find a treat or two below!

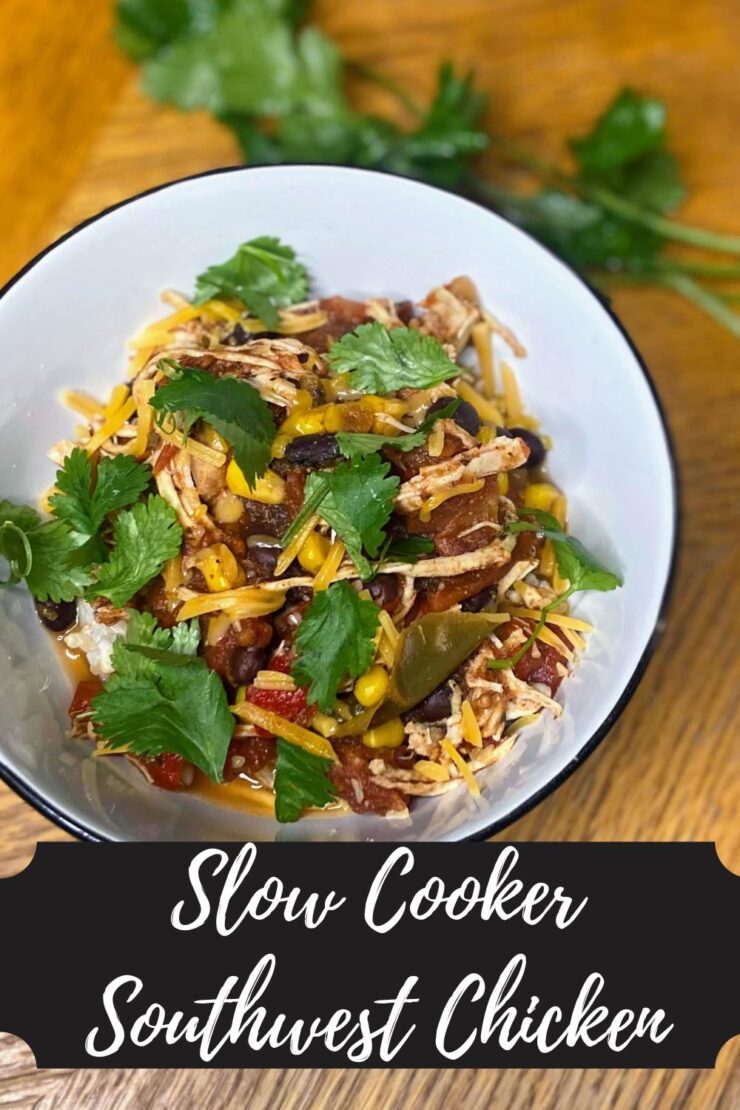
Slow Cooker Southwest Chicken

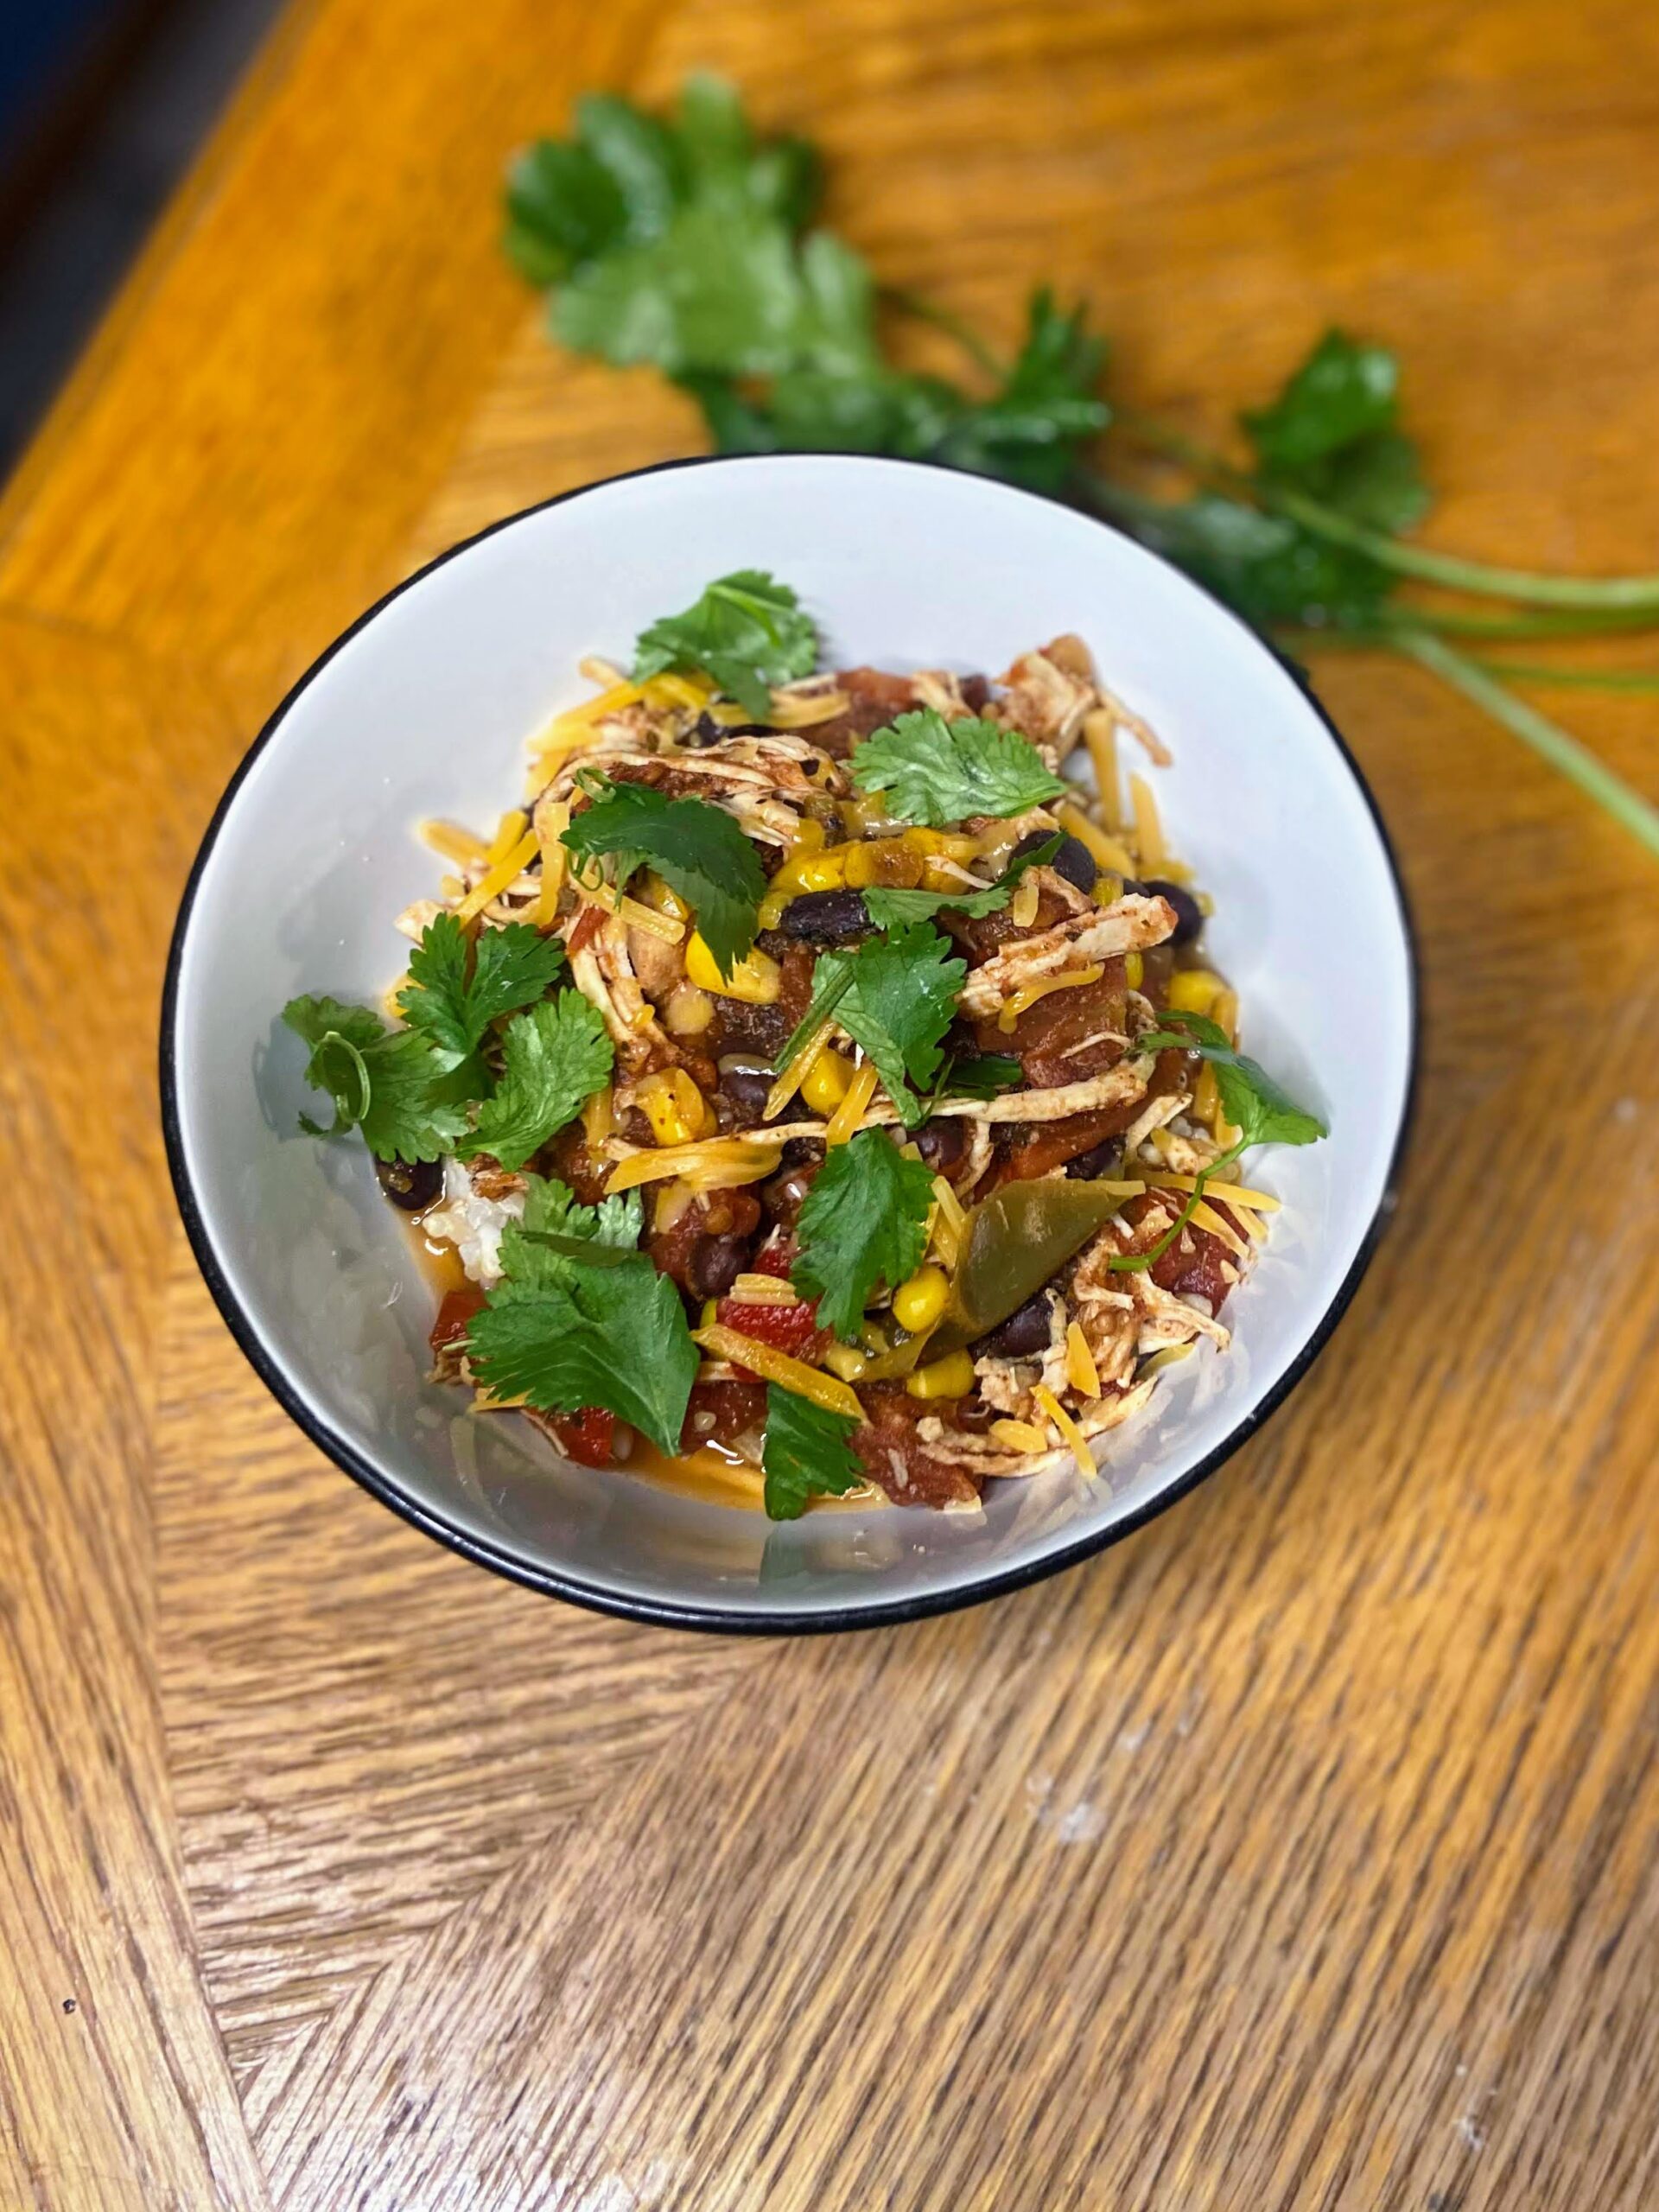
Sometimes life just calls for simple, slow cooker recipes. Whether it be a busy weeknight full of work meetings and volunteering; kiddos with sports activities at wild hours; or, if you’re like me, you’re laid up with a knee injury and can’t put weight on your leg for at least a month. When cooking is one of your happy places, you visit that happy place a few days out of surgery to create a delicious and very simple Slow Cooker Southwest Chicken. 

I had craved chicken going into surgery and had the Mr. pick some chicken breasts up. Then, much to my surprise, a number of friends had asked if they could drop off meals for us, asking “would that be helpful?” 

My response was always, “It sure would be helpful for my husband!” One such meal was a tortilla soup that was DELICIOUS. It made me crave more Tex Mex flavors and chicken, but I was only a few days out from the surgery and moving about the kitchen was not a thing I was ready to do. 

So I did what any good food blogger would do…

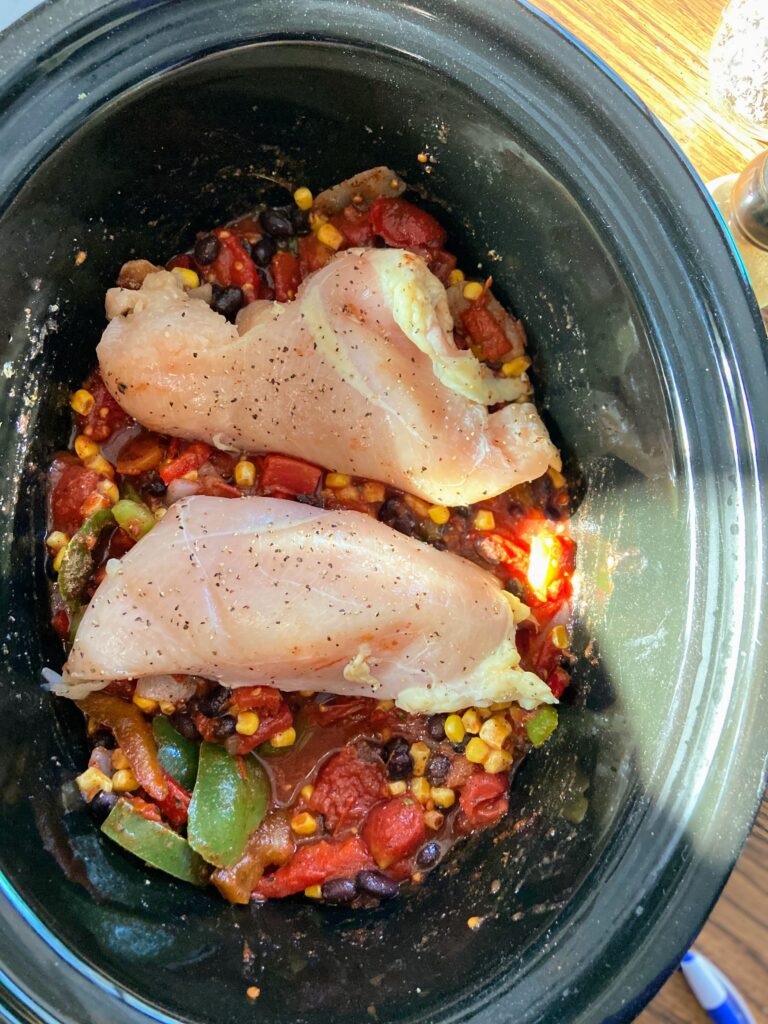
I texted the Mr. a set of ingredients I thought I would need and directions to grab the slow cooker. A rearrange of chairs so I could elevate my knee and we were set! I had a great helper to drain and rinse black beans and grab the remaining spices I forgot to grab and this beauty of a recipe was set to go! 
I was even able to lean on my mini me to help make some brown rice to serve it over. When we got done eating, she gave it a quick two thumbs up and I cleaned her bowl. My big kiddo was away, but also devoured a couple bowls when he got home. I think we have a win! 

Let’s get cooking!

Your Ingredients to Slow Cooker Southwest Chicken 

  • 2 chicken breasts, seasoned with salt and pepper 
  • 1 15 ounce can of diced tomatoes, undrained and unsalted
  • 1 15 ounce can of tomato sauce
  • 1 15 ounce can black beans, rinsed and drained
  • 1  cup frozen corn
  • 2 cups frozen peppers and onions 
  • 1 tablespoon chili powder 
  • 1 teaspoon each of garlic powder, onion powder, cumin, oregano
  • ½ teaspoon pepper 
  • ½ teaspoon salt 
  • Pinch of cayenne pepper for some heat, optional
  • Cooked white or brown rice, to serve over
  • Toppings: green onions, shredded cheese, cilantro, jalapeno slices 

Your Steps to Slow Cooker Southwest Chicken

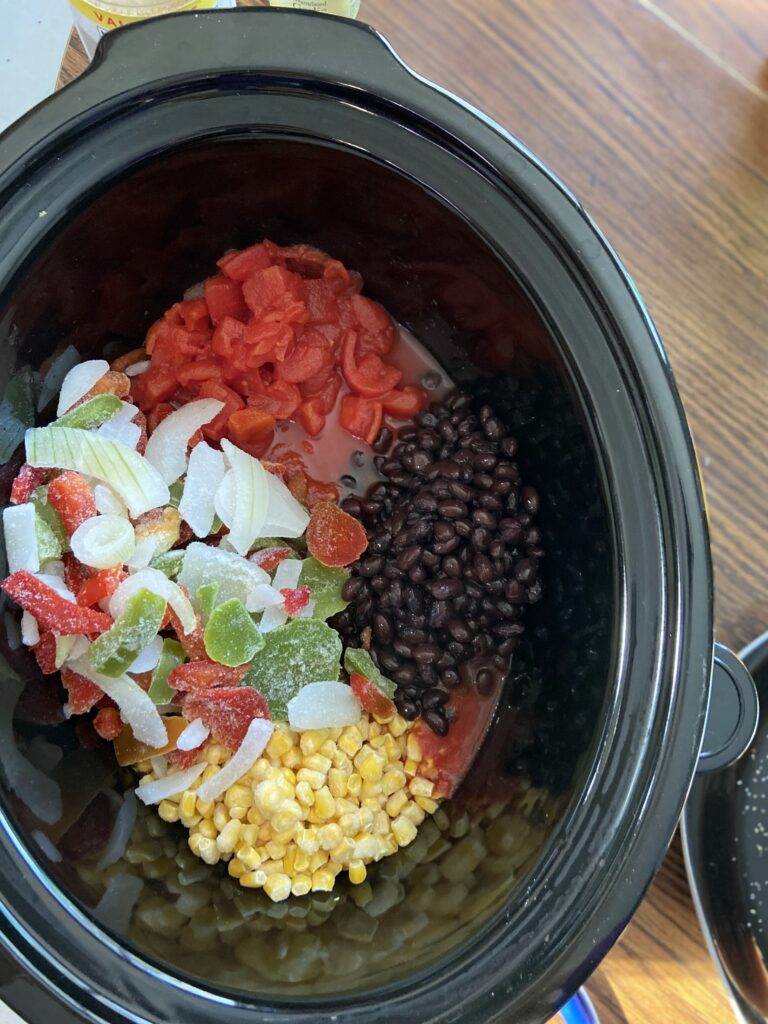
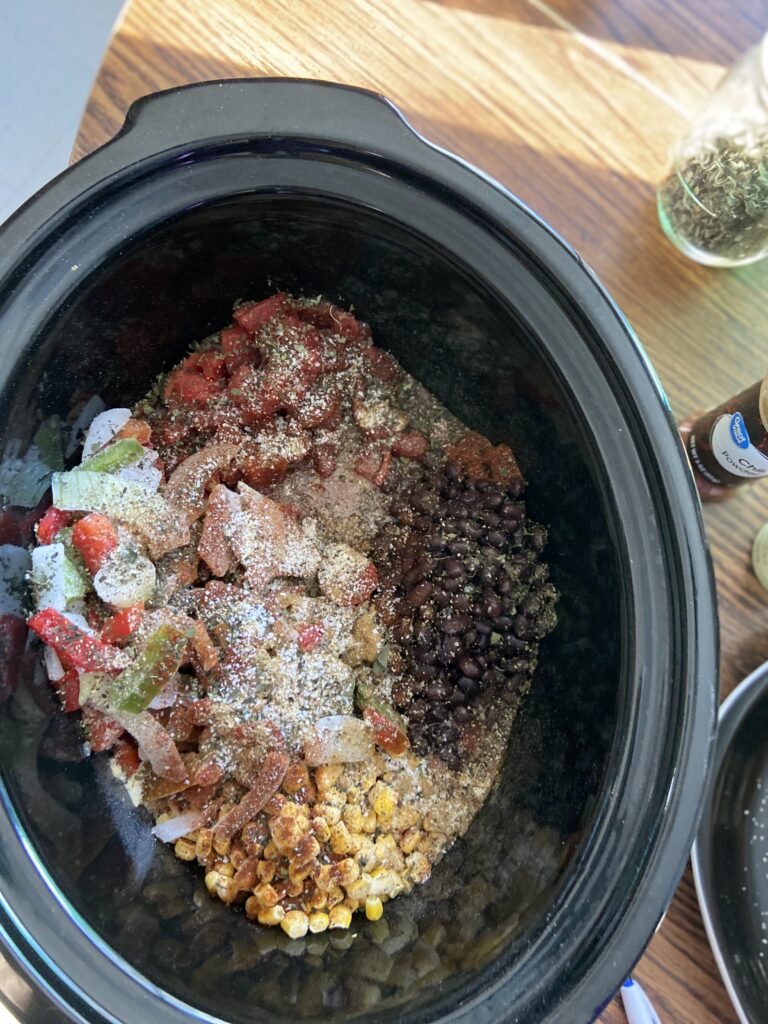
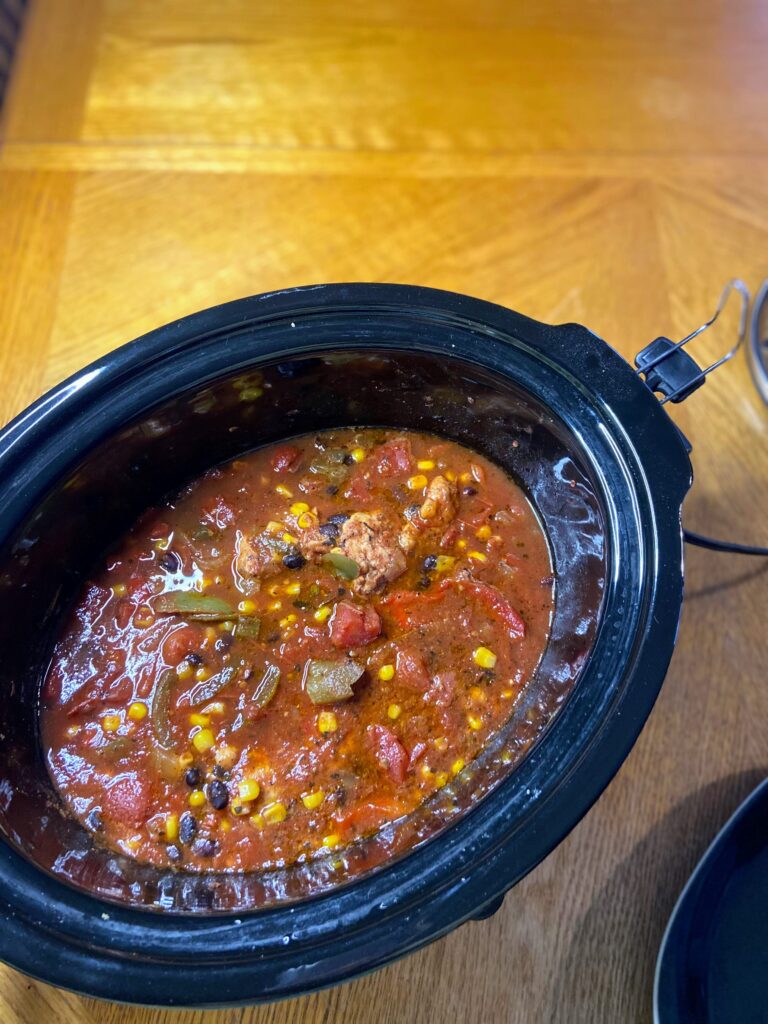
Add the diced tomatoes, tomato sauce, black beans, corn, and peppers and onions to a slow cooker. Stir. Add all spices and herbs and stir again. Top with the chicken and spoon some of the vegetable mixture on top. Cook on low for 6-8 hours. 

If you have not done so, cook rice. We keep instant brown rice on hand for nights we need to be quick and long grain brown rice for days we don’t need to be so quick. 

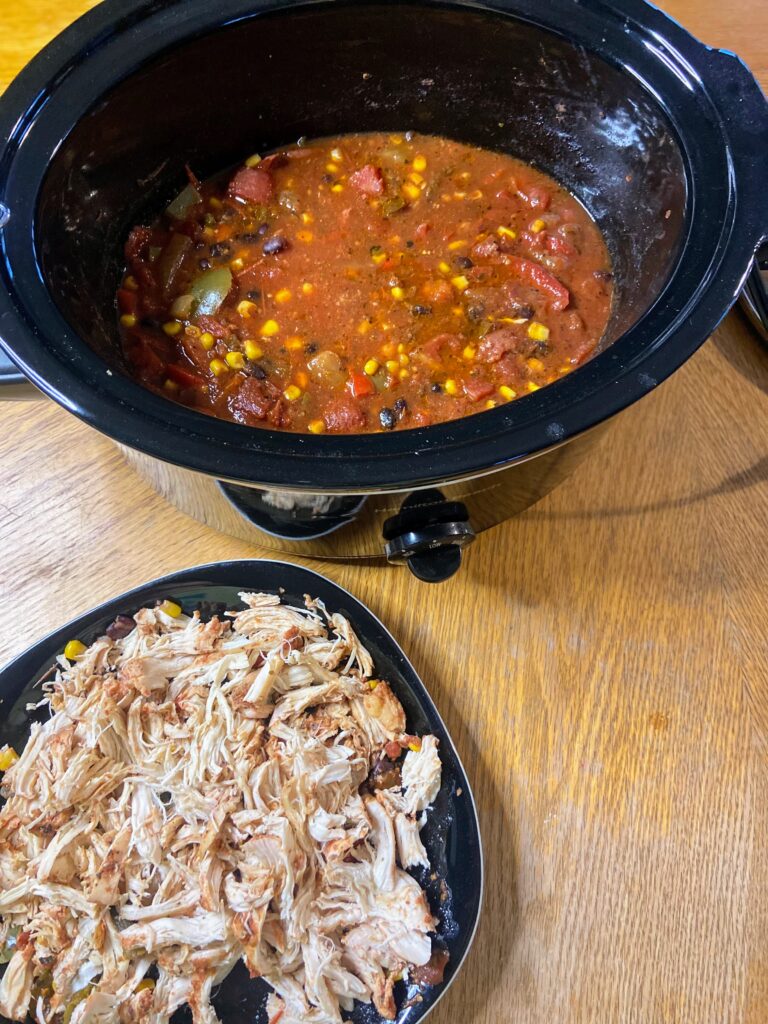
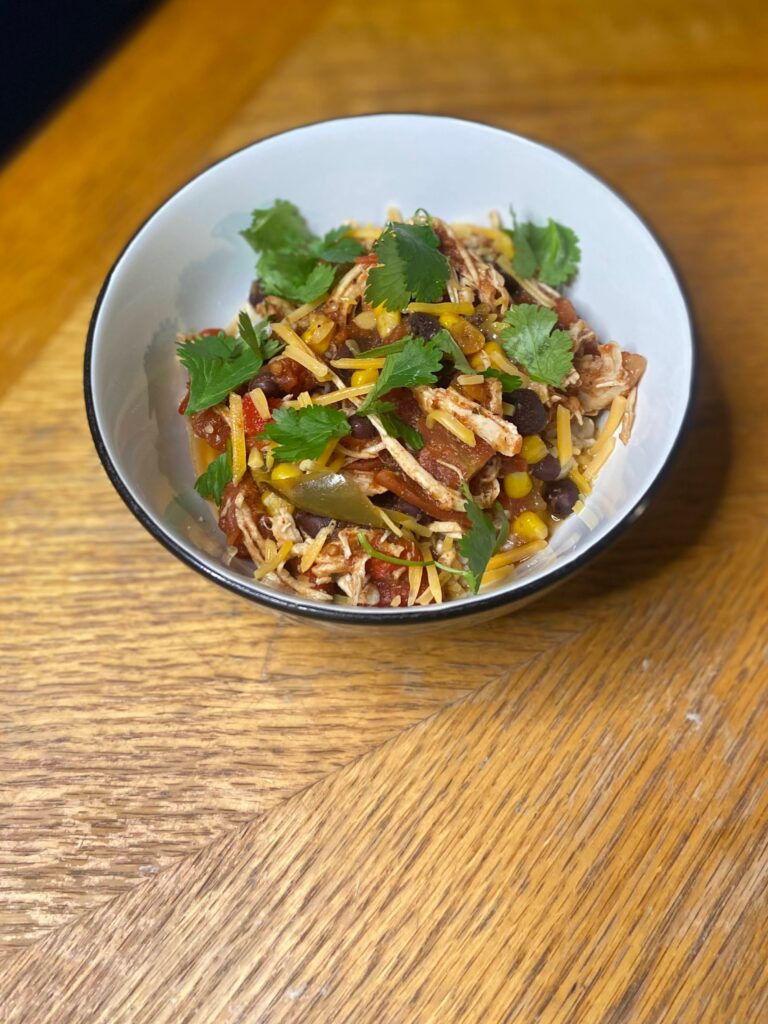
When cooking is done, remove the chicken from the slow cooker. Shred using two forks and mix back into the vegetables. Serve over cooked rice and top with all the fixings you love! Me? I am hear for allll the cilantro and some cheese! 

Slow Cooker Southwest Chicken

Looking for an easy dinner on those busy nights that you can still feel good about eating? Give this slow cooker southwest chicken a try!
Prep Time 5 minutes
Cook Time 6 hours
Course dinner, Main Course
Cuisine American
Servings 8 people

Equipment

Ingredients
  

  • 2 chicken breasts seasoned with salt and pepper
  • 1 15 ounce can of diced tomatoes undrained and unsalted
  • 1 15 ounce can of tomato sauce
  • 1 15 ounce can black beans rinsed and drained
  • 1 cup frozen corn
  • 2 cups frozen peppers and onions
  • 1 tablespoon chili powder
  • 1 teaspoon garlic powder
  • 1 teaspoon onion powder
  • 1 teaspoon cumin oregano
  • ½ teaspoon pepper
  • ½ teaspoon salt
  • Pinch of cayenne pepper for some heat optional
  • Cooked white or brown rice to serve over
  • Toppings: green onions shredded cheese, cilantro, jalapeno slices

Instructions
 

  • Add the diced tomatoes, tomato sauce, black beans, corn, and peppers and onions to a slow cooker. Stir.
  • Add all spices and herbs and stir again.
  • Top with the chicken and spoon some of the vegetable mixture on top. Cook on low for 6-8 hours.
  • If you have not done so, cook brown rice according to directions.
  • When cooking is done, remove the chicken from the slow cooker.
  • Shred using two forks and mix back into the vegetables. Serve over cooked rice and top with all the fixings you love.
Keyword chicken, chicken recipes, crock pot, crockpot, slow cooker, Southwest, Tex Mex
Tried this recipe?Let us know how it was!

Looking for things to pair with dinner tonight?

Check out some of these recipes for inspiration or head to my Cooking or Baking pages!

Buckeye Balls

I’ll be honest, I hadn’t heard of Buckeye Balls until about ten years ago. I was pursuing a foodie magazine a number of years ago around the holidays, and they had a section on holiday candy making. And I don’t know about you, but the pairing of chocolate and peanut butter ranks right up there in the top of flavor pairings in my world. So I quickly mixed up a batch, and instantly fell in love. 

Now, they have become a staple in my holiday baking and candy baking. It’s the number one request from my sissy when I am baking for our Winter Solstice celebration (I grew up celebrating the solstice more than Christmas). What I love about Buckeye Balls is that they mix up SUPER quick. They are no bake. And the chill time isn’t even terribly long. Forgot you were supposed to bring a treat for a party in the evening? These are a perfect idea!

This recipe will result in about 50 teaspoon sized treats. (I know many recipes call for larger Buckeye Balls, but I dig bite size treats.) 

Your Ingredients

  • ¾ cup creamy peanut butter
  • ¼ cup butter, softened
  • ½ teaspoon vanilla
  • 2 cups powdered sugar
  • ½ cup semisweet chocolate chips
  • ½ tablespoon coconut oil 

Your Steps to Buckeye Balls

Combine sugar, peanut butter, vanilla and butter. Cream well, being sure to get all “corners” of the bowl. Use a teaspoon to measure and your hands to form balls with the mixture. Place on a lined baking sheet and chill for 1-2 hours. 

Once chilled, melt coconut oil and chocolate chips in the microwave, 30 seconds at a time, until smooth. Dip balls into chocolate using a toothpick (or fingers, but this is crazy messy). You can cover the hole formed from the toothpick, leave it, or drizzle the leftover chocolate like (this is what I like to do!) If you are going to drizzle, you truly don’t need anything fancy. Simply spoon the leftover chocolate into a small zipper baggy, snip the corner (smaller rather than larger), and squeeze and drizzle!

Buckeye Balls

Peanut butter and chocolate pair so nicely in these quick and delicious Buckeye Balls. Great for any holiday treat tray!
5 from 1 vote
Prep Time 40 minutes
Cook Time 0 minutes
Chill Time 1 hour
Course Dessert
Cuisine American
Servings 50 candies

Ingredients
  

  • ¾ cup creamy peanut butter
  • ¼ cup butter softened
  • ½ teaspoon vanilla
  • 2 cups powdered sugar
  • ½ cup semisweet chocolate chips
  • ½ tablespoon coconut oil

Instructions
 

  • Combine sugar, peanut butter, vanilla and butter. Cream well, being sure to get all “corners” of the bowl.
  • Use a teaspoon to measure and your hands to form balls with the mixture. Place on a lined baking sheet and chill for 1-2 hours.
  • Once chilled, melt coconut oil and chocolate chips in the microwave, 30 seconds at a time, until smooth.
  • Dip balls into chocolate using a toothpick.
  • You can cover the hole formed from the toothpick, leave it, or drizzle with the leftover chocolate.
Keyword buckeye balls, candies, candy making, chocolate, chocolate and peanut butter, peanut butter
Tried this recipe?Let us know how it was!

Looking for other sweets and treats?

Check out a few of the recipes below or head to my baking page!