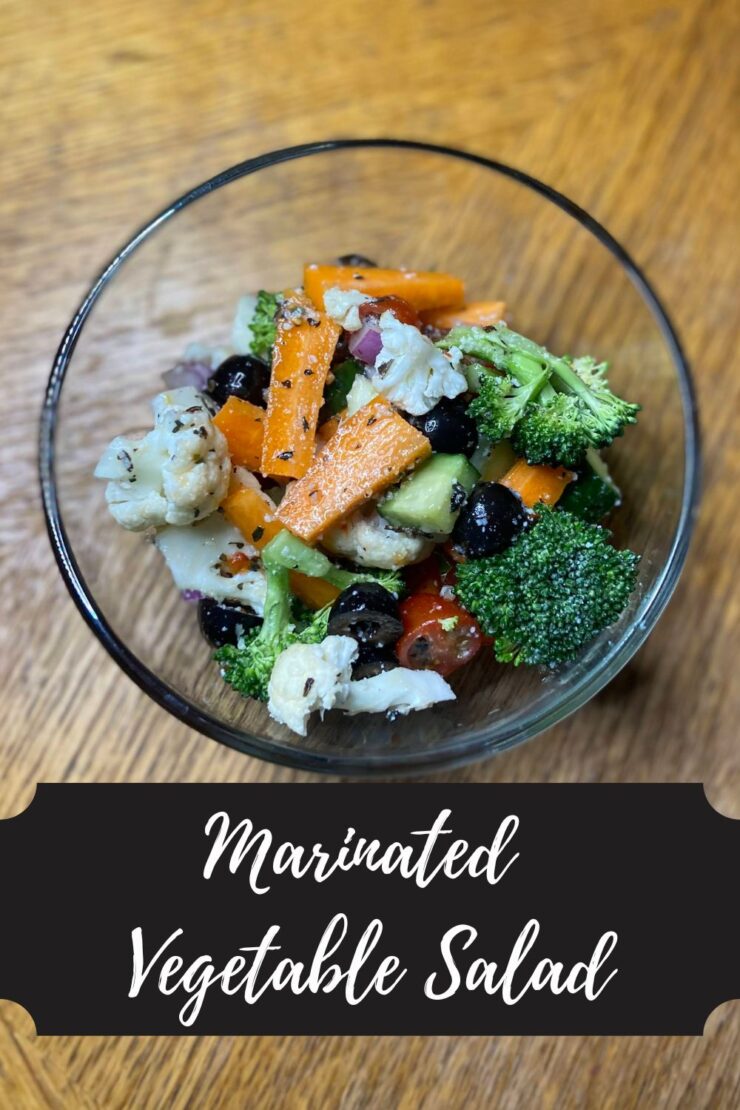
You know when you get invited to a get together and you need to bring a dish to pass but definitely don’t want to think hard? This marinated vegetable salad is the dish you bring, my friends.
Years ago, I remember saying to the Mr, “I mean, you have a fruit salad…I wonder if there is such a thing as a vegetable salad?” As soon as it left my mouth, I felt so silly asking the question. Aren’t all salads vegetable salads? I mean, no, not if you live in the midwest. If you head to a potluck, you’ll see all sorts of non-vegetable salads. We have pasta salad. We have this Snicker apple salad. And the classic tuna salad. But this marinated vegetable salad is exactly what I envisioned when I asked that silly question. (I just brought it up again to him, and he gave me the most loving, but judgemental look).
Back to my question…
I was picturing a salad full of chopped vegetables, like chopped fruit. But unlike the fruit salad I normally make, a vegetable salad needs a little sauce to give it a pizzazz. If you’ve been here a while, you know I love to make everything from scratch, and I probably could do that here. But I have found that Zesty Italian dressing from the store just works so well and makes for a quick and delicious side.
This recipe has become my absolute go to when I have to bring a dish to pass. The healthier me loves that I can depend on vegetables being available when I am surrounded by a lot of other delicious things. It takes minimal prep and doesn’t really need to be kept cold or hot. It can just hang out at room temperature for the duration of the fest!
The best part though? It’s totally customizable. Don’t love peppers? Skip them. Want all the broccoli? Give it an extra cup!
Ready to start creating? Let’s go!
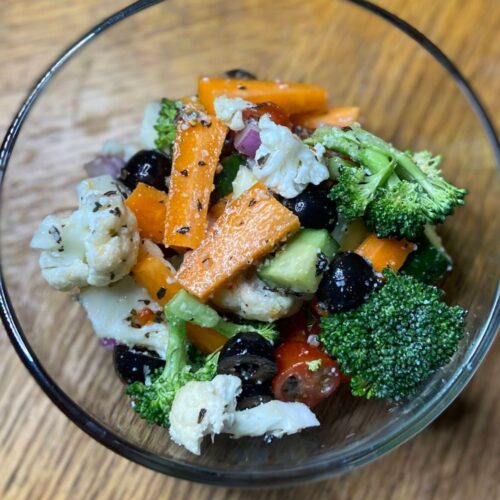
Your Ingredients for Marinated Vegetable Salad
- 1 head cauliflower
- 1-2 heads of broccoli
- 3 carrots
- 2-3 cucumbers
- 1 can black olives
- 1 red onion
- 2 cups halved grape tomatoes
- 1-2 sweet peppers
- 1 cup zesty Italian dressing
- ¼ cup grated Parmesan cheese
- 1 teaspoon dried oregano
- 1 teaspoon dried basil
Your Steps
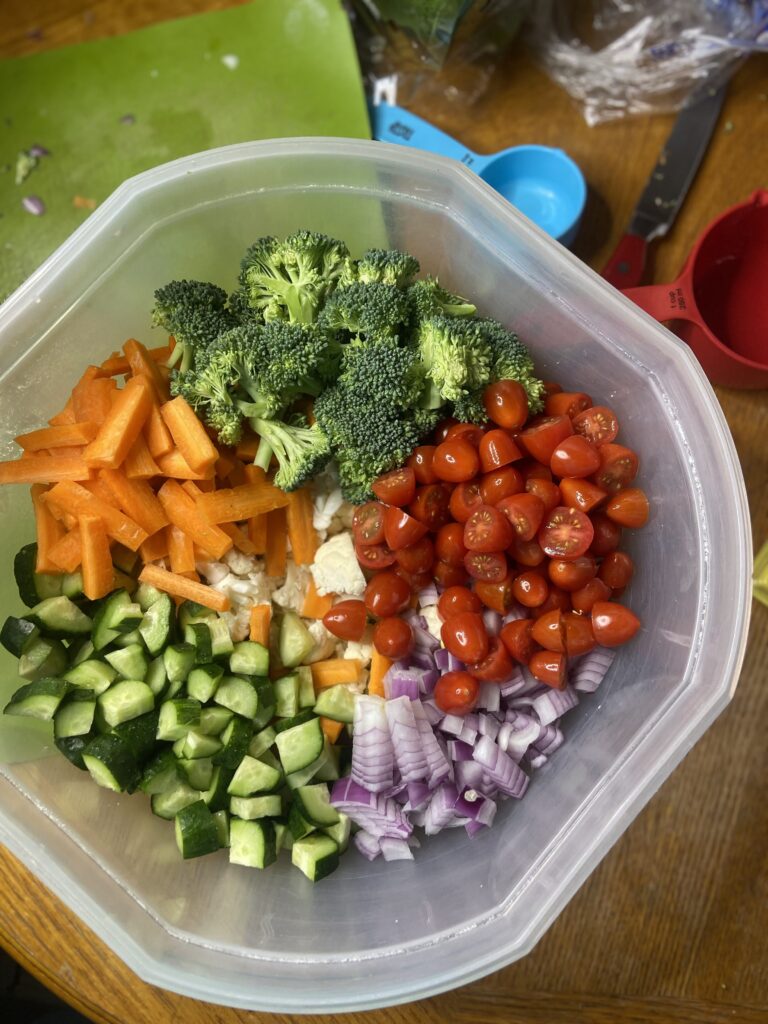
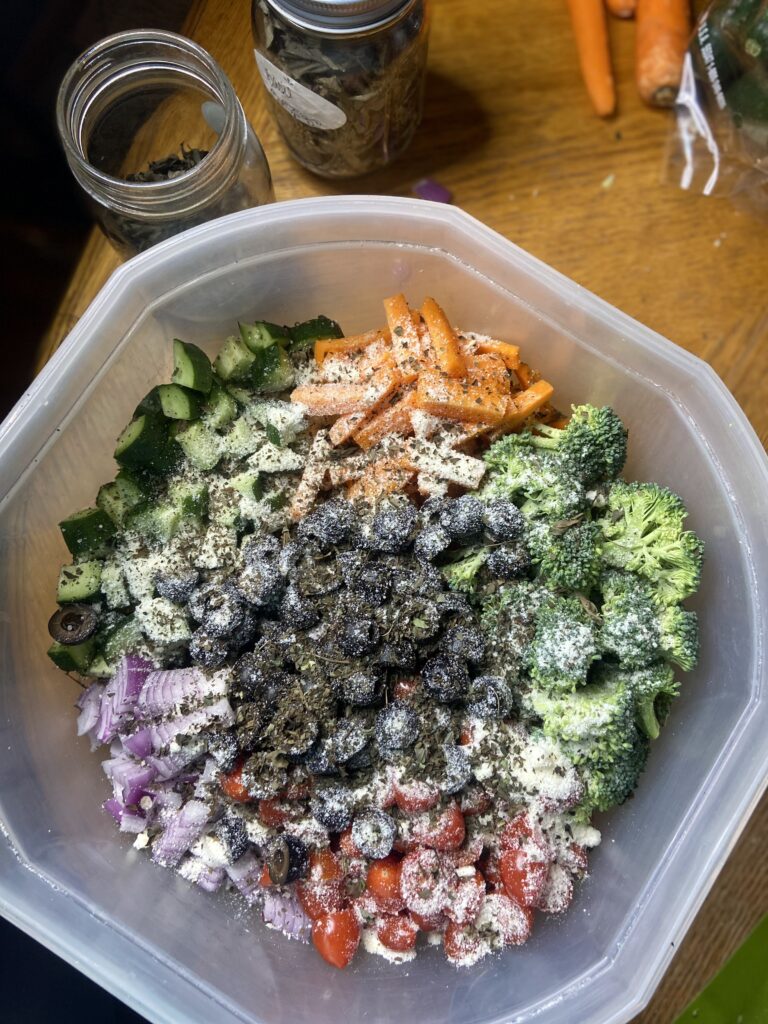
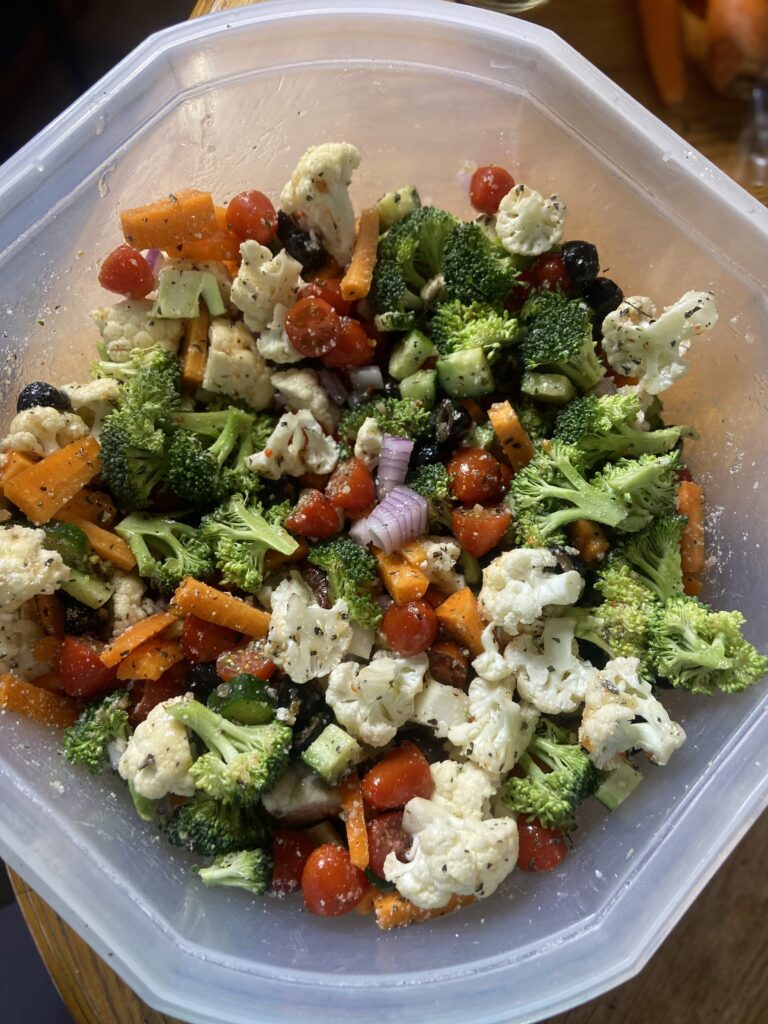
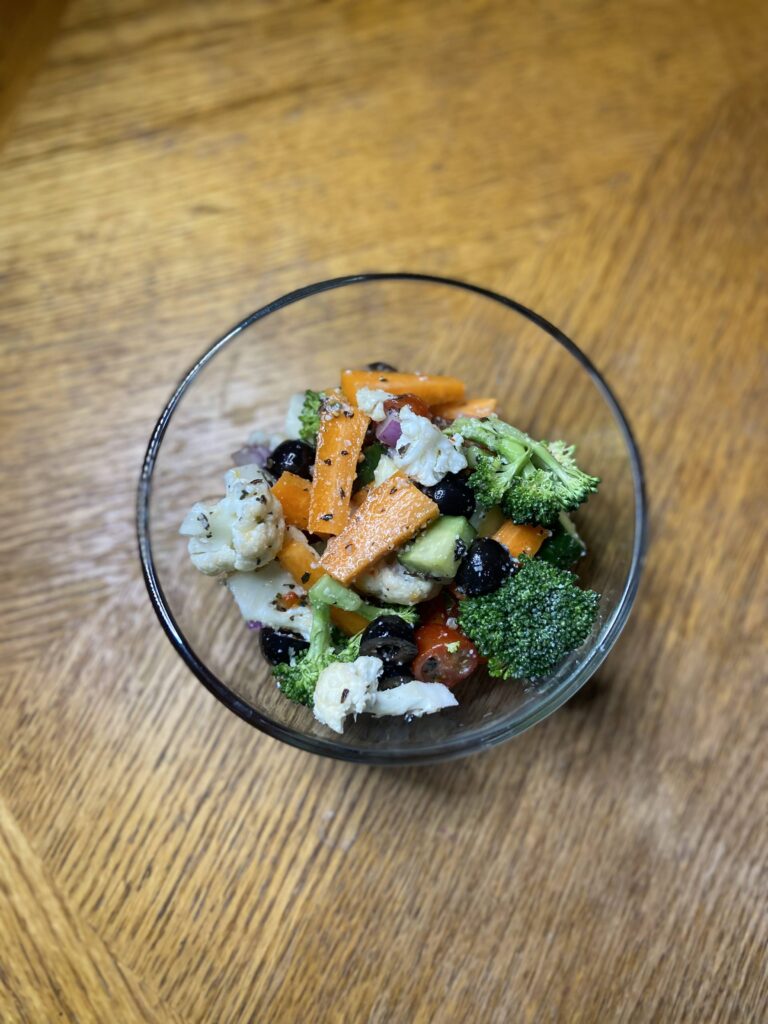
Dice the red onion and cut all the remaining veggies into bite size pieces. Slice the black olives in half. Combine all the ingredients in a bowl with a cover and mix. Pour on the dressing, cheese, oregano, and basil. Stir well. Chill a few hours before serving. But this salad is best made the night before so the vegetables can marinate and is honestly best about two days later. It’s definitely not something I complain about when I have leftovers!
Marinated Vegetable Salad
Ingredients
- 1 head cauliflower
- 1-2 heads of broccoli
- 3 carrots
- 2-3 cucumbers
- 1 can black olives
- 1 red onion
- 2 cups halved grape tomatoes
- 1-2 sweet peppers
- 1 cup zesty Italian dressing
- ¼ cup grated Parmesan cheese
- 1 teaspoon dried oregano
- 1 teaspoon dried basil
Instructions
- Dice the red onion and cut all the remaining veggies into bite size pieces. Slice the black olives in half.
- Combine all the vegetables in a bowl with a cover and mix.
- Pour on the dressing, cheese, oregano, and basil. Stir well.
- Chill a few hours before serving.
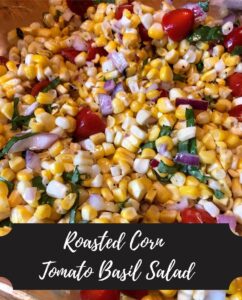
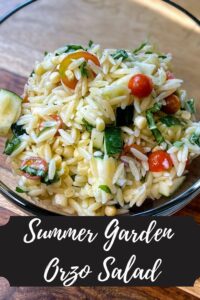
Looking for other great Sides?
Check out my Cooking page for other inspiration. Or maybe you want to eat with your eyes! Then you can find a treat or two below!