A few weekends ago, I was at my sissy’s house when her husband was making some venison breakfast sausage. Our family has been making Italian sausage inspired venison for a number of years, but I had never thought to season venison with breakfast sausage seasoning. I gave it a try, and WOW! It was so dang tasty and better than I expected, to be sure. He had purchased a seasoning mixture at a local smoke shop, but I was determined to do it myself.
Luckily, the Mr shot a deer shortly thereafter, and we had fresh venison to grind (we do the processing all ourselves). I started looking at what seasonings go into breakfast sausage, settling on
- Fennel
- Kosher Salt
- Thyme
- Sage
- Pepper
- Red Pepper Flakes
To give it a test, I took ¼ pound of ground meat and mixed it with ¼ teaspoon of the seasoning mix and ½ tablespoon of lard from a half of a pig we purchased last year. While the seasoning mix wasn’t perfect, I was impressed with how it turned out. As were my babies.
A little more tweaking went into the seasoning and we found a perfect mixture that everyone in our house loved. Before we knew it, the Mr and I put up 20 pounds worth of venison breakfast sausage in 1 pound packages, and I couldn’t be more excited to eat it throughout the year as well as share it with all of you!
If you are ready to make your own sausage, keep reading!
Your Ingredients for 10 pounds of Venison Breakfast Sausage
- 10 pounds ground venison
- 5 tablespoons fennel seed
- 8 teaspoons salt
- 5 teaspoons black pepper
- 5 teaspoons dried thyme
- 2 ½ teaspoons dried sage
- 1 ¼ teaspoon red pepper flakes (or to taste)
- 1 cup lard, room temperature (preferably purchased from a meat market)
Your Steps to Venison Breakfast Sausage
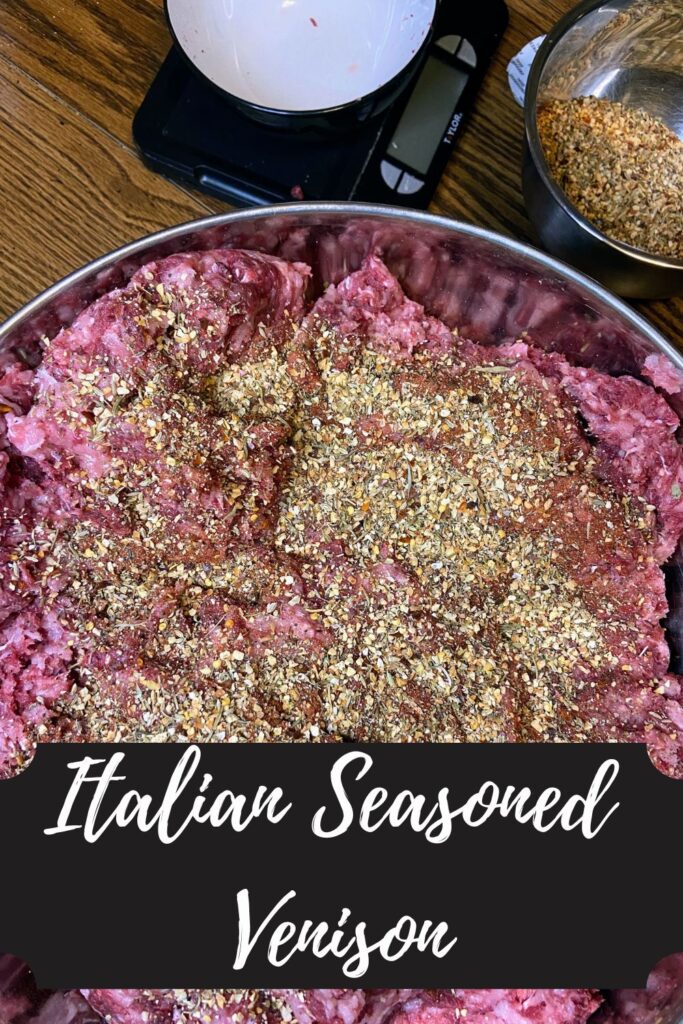
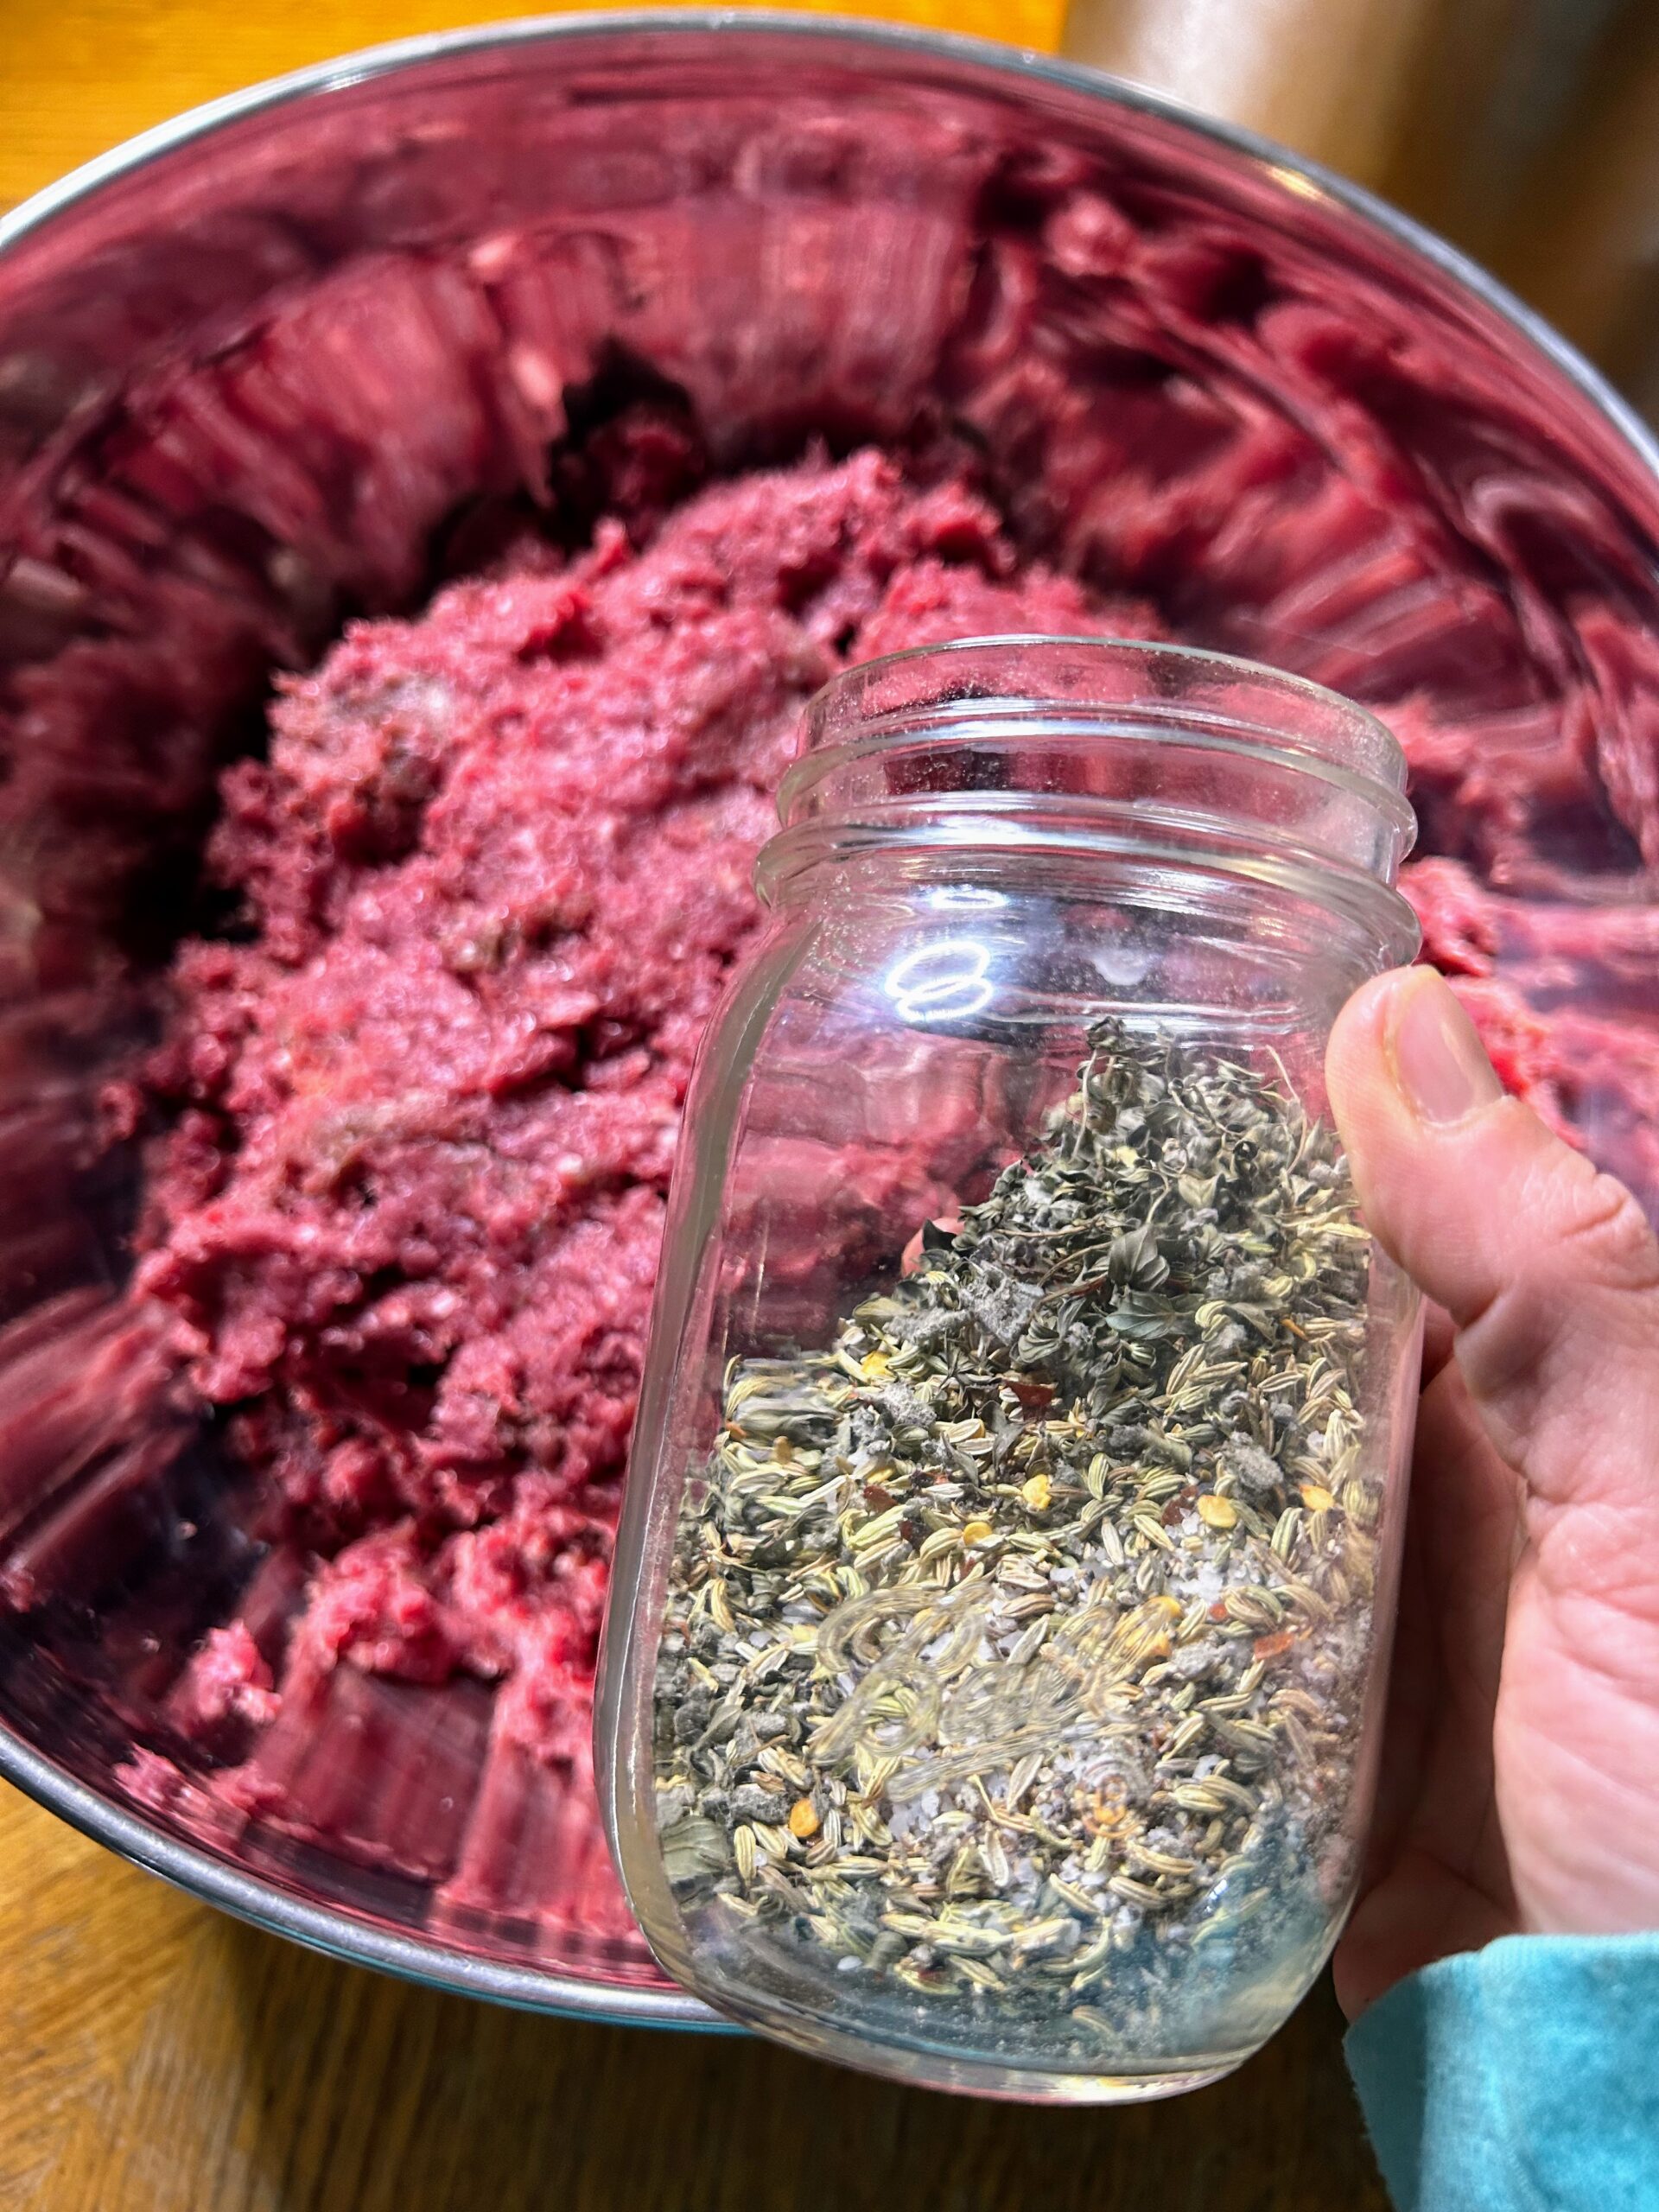
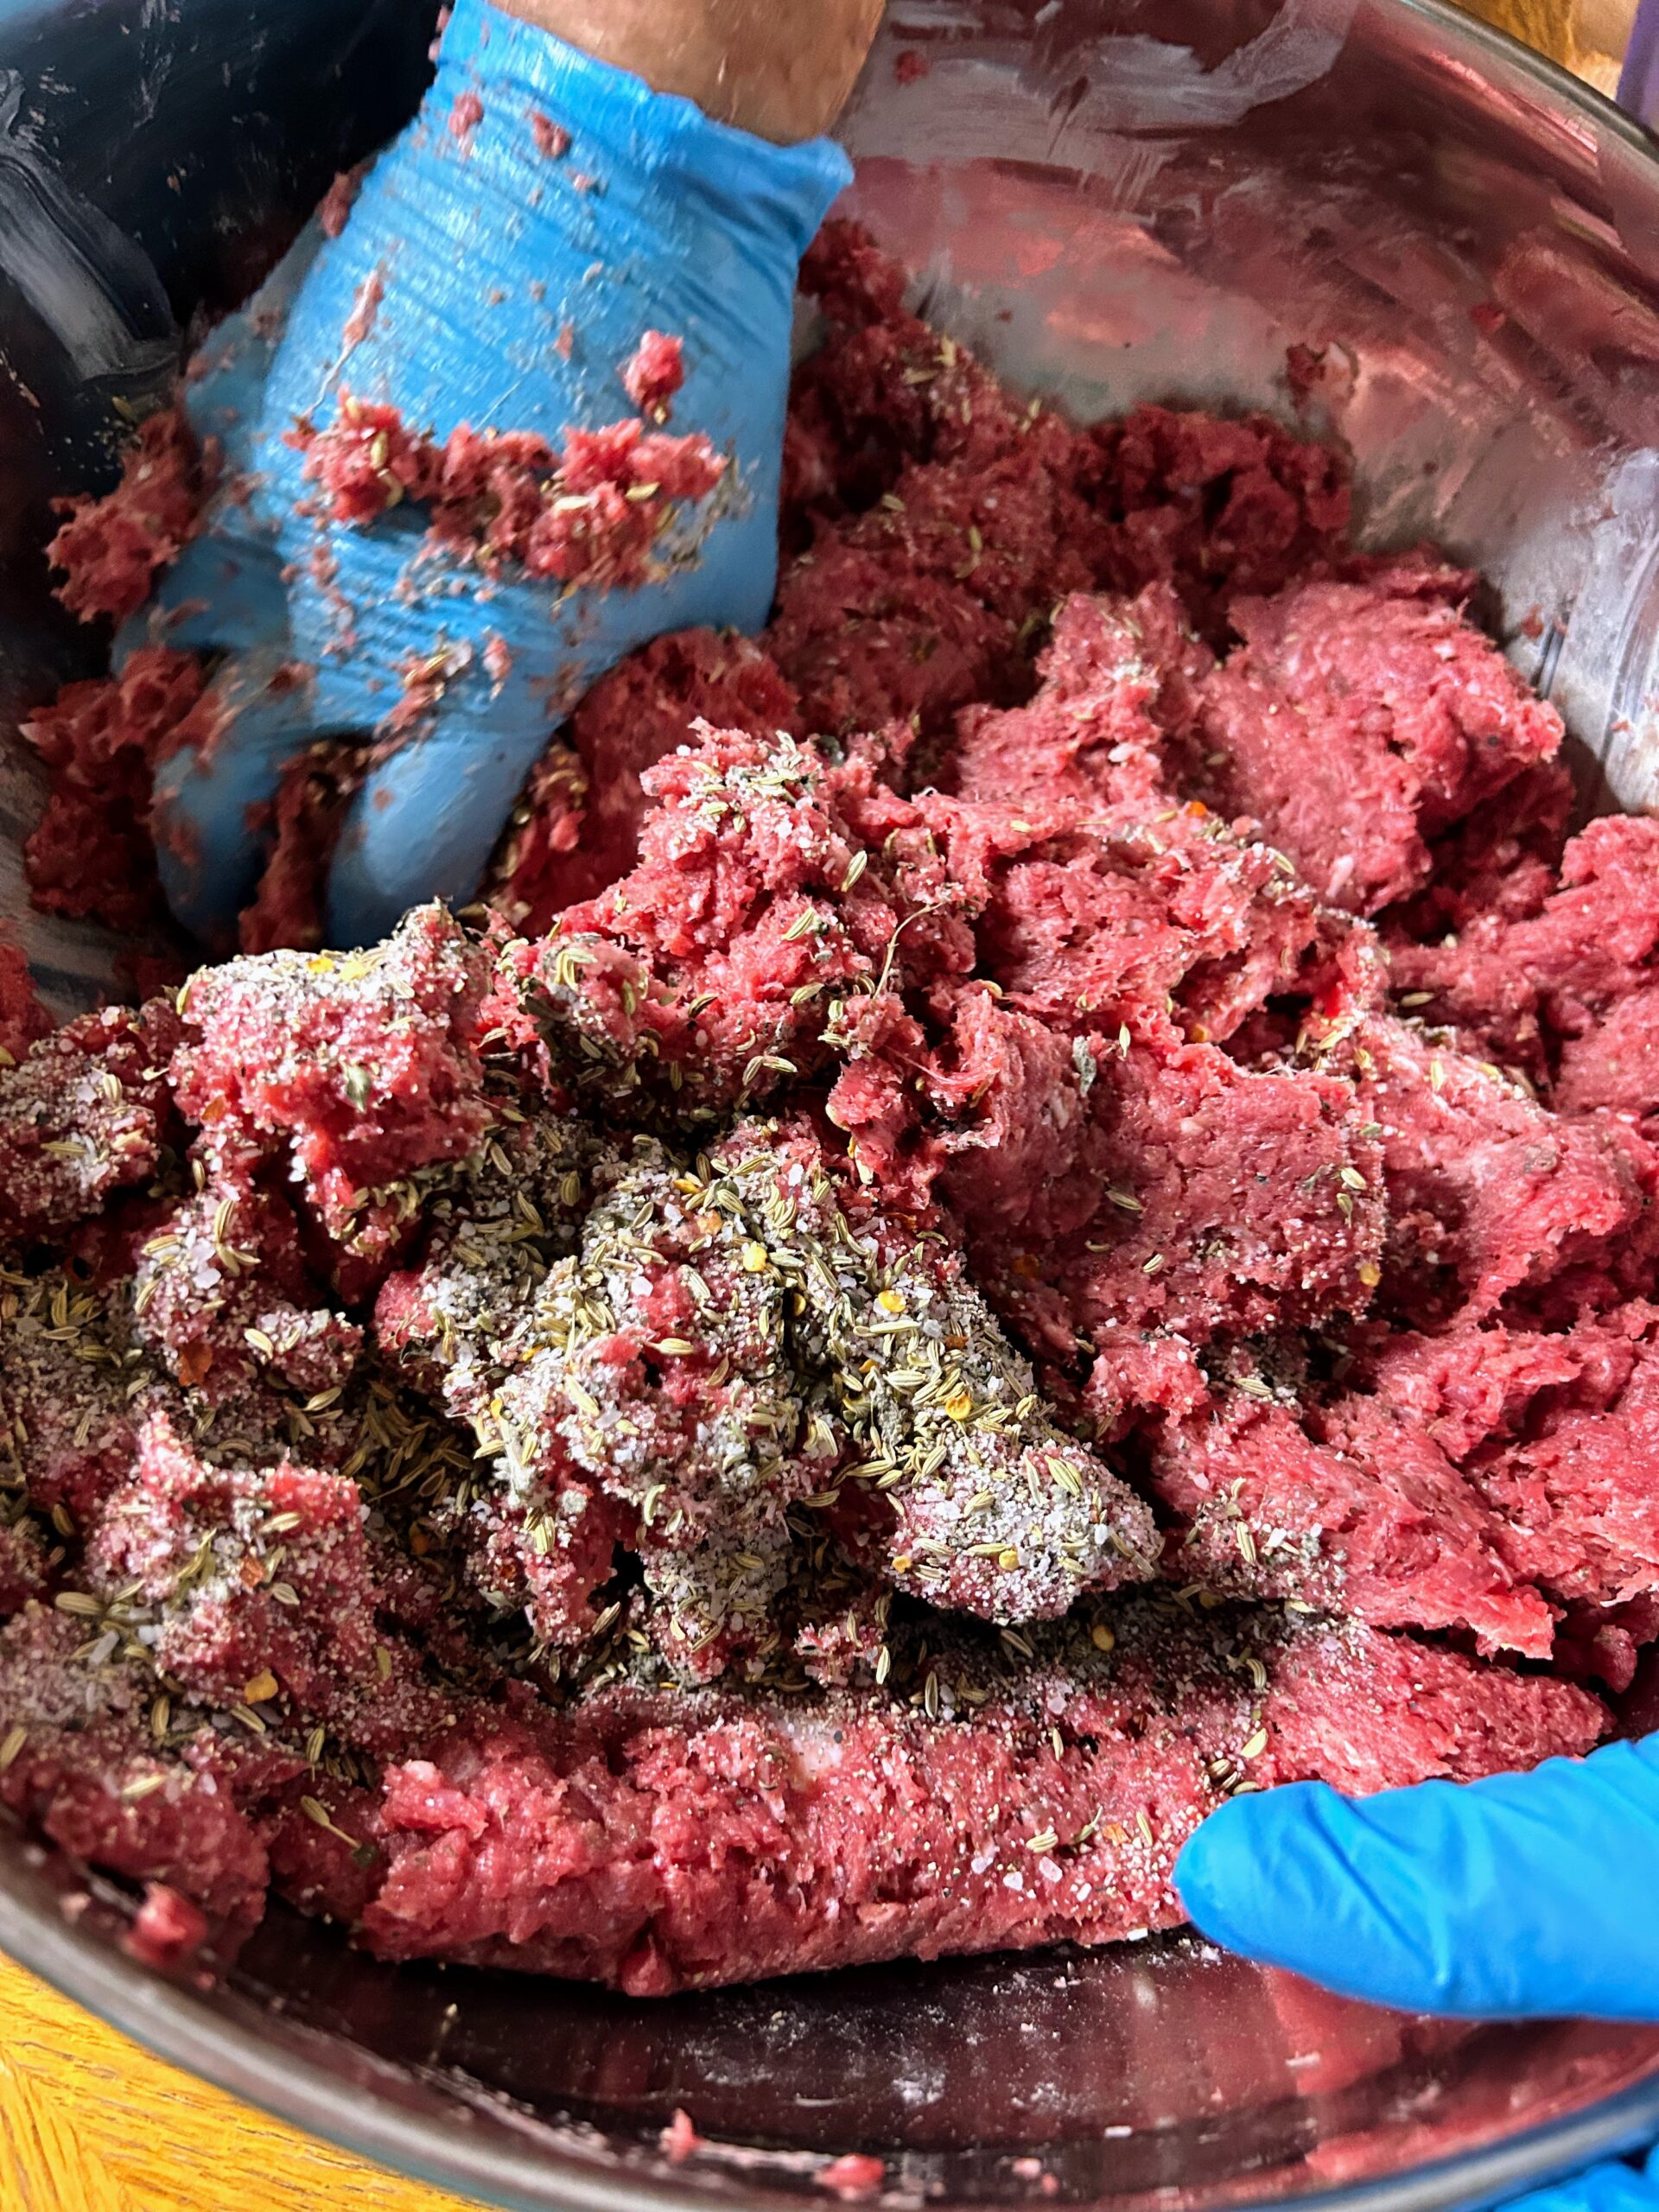
Combine the dried spices in a mason jar, cover with a lid, and shake until well mixed. Place the ground venison in a large, large metal bowl. Add approximately half the seasoning mix, sprinkling it evenly. Add half of the lard, adding it by about a half of a tablespoon at a time to help disperse it. Mix by hand until well combined. Add remaining seasoning mix and lard in a similar fashion and mix again.
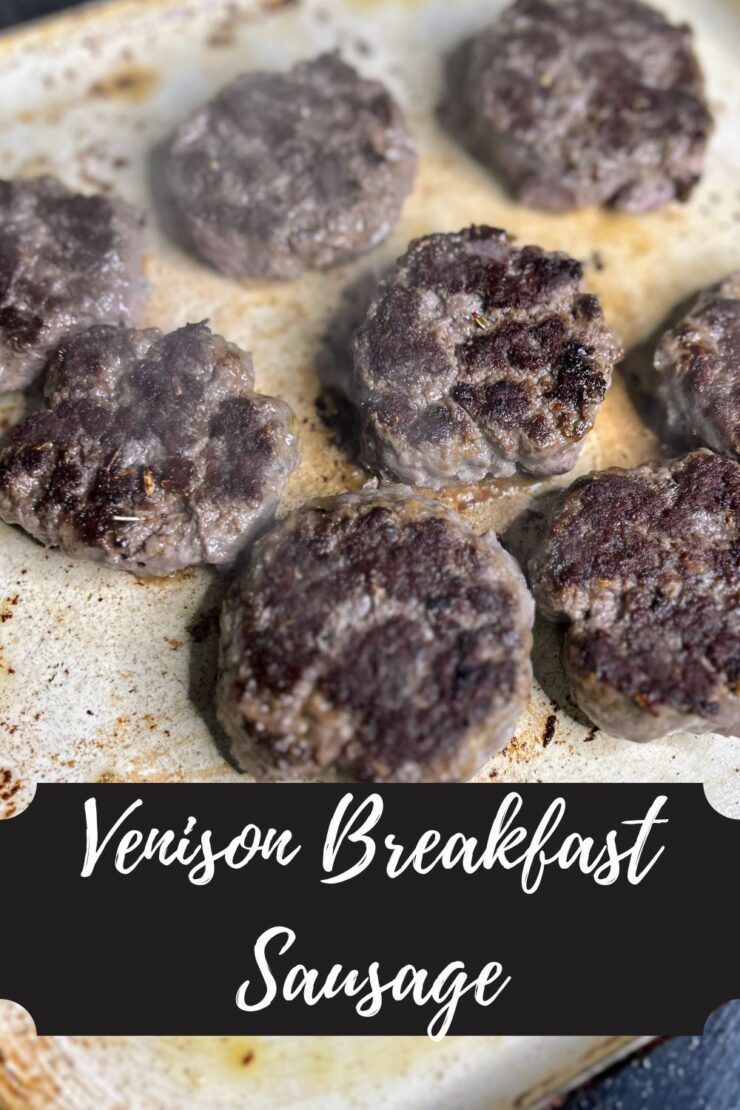
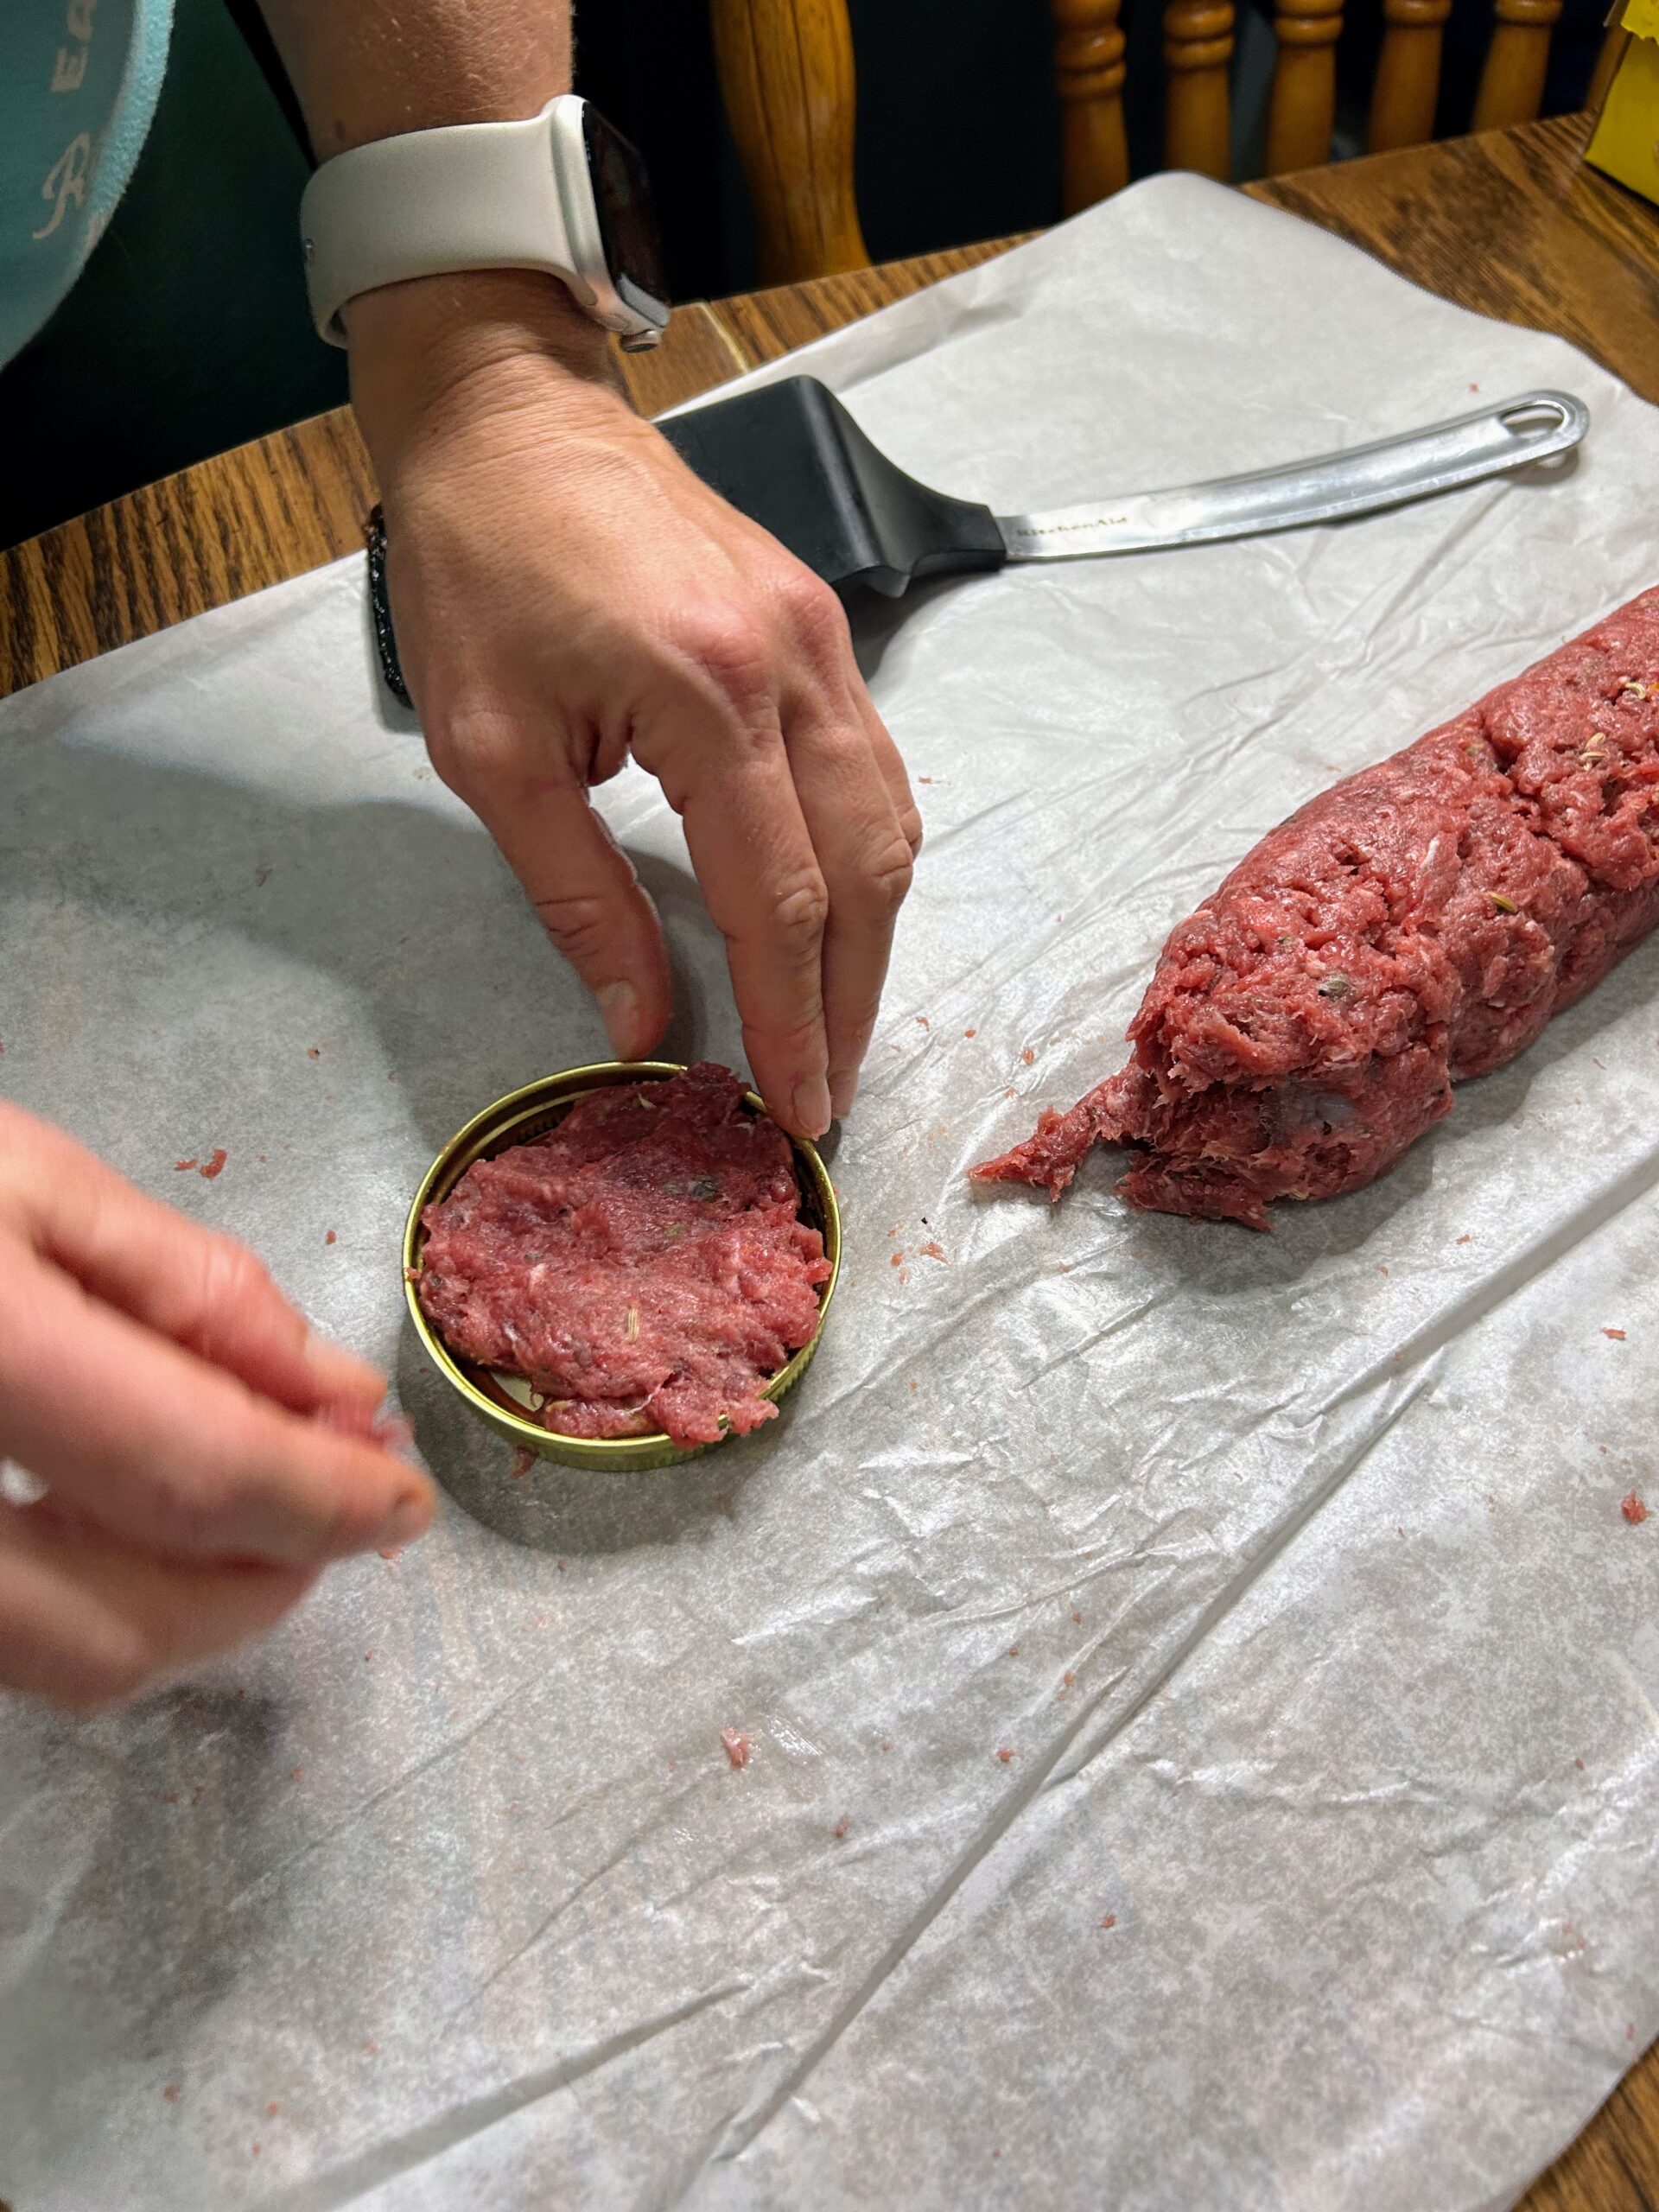
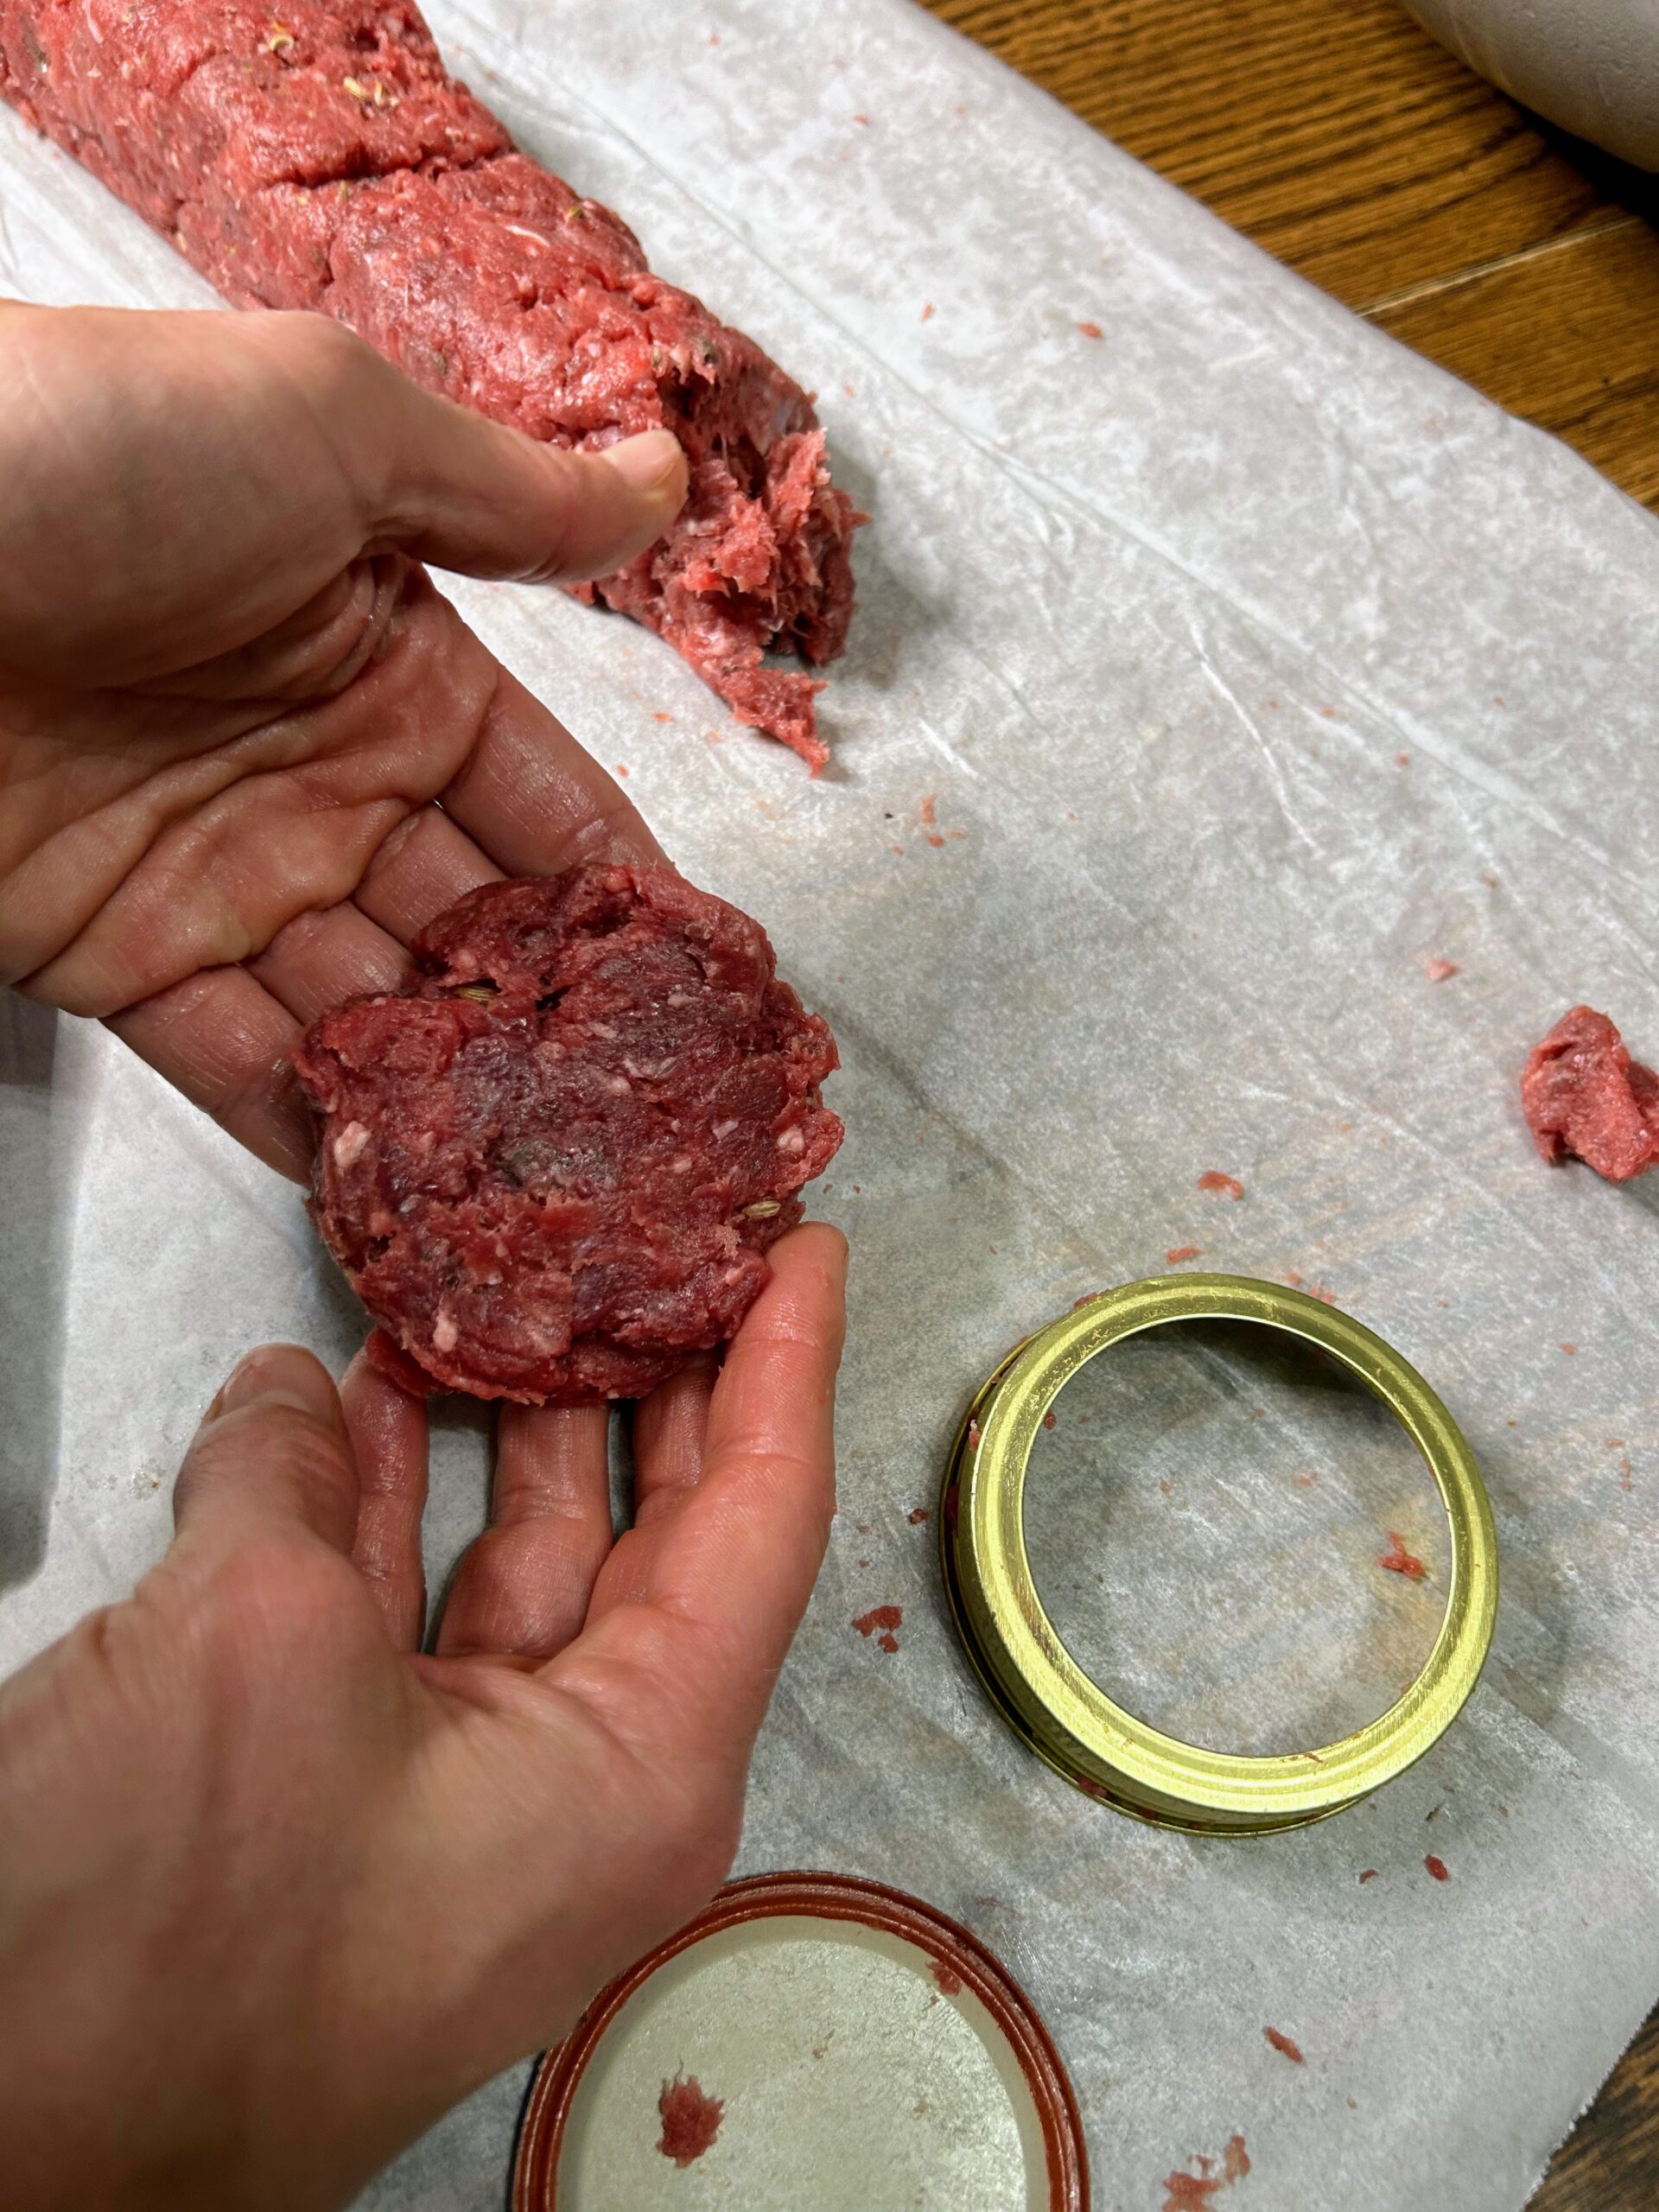
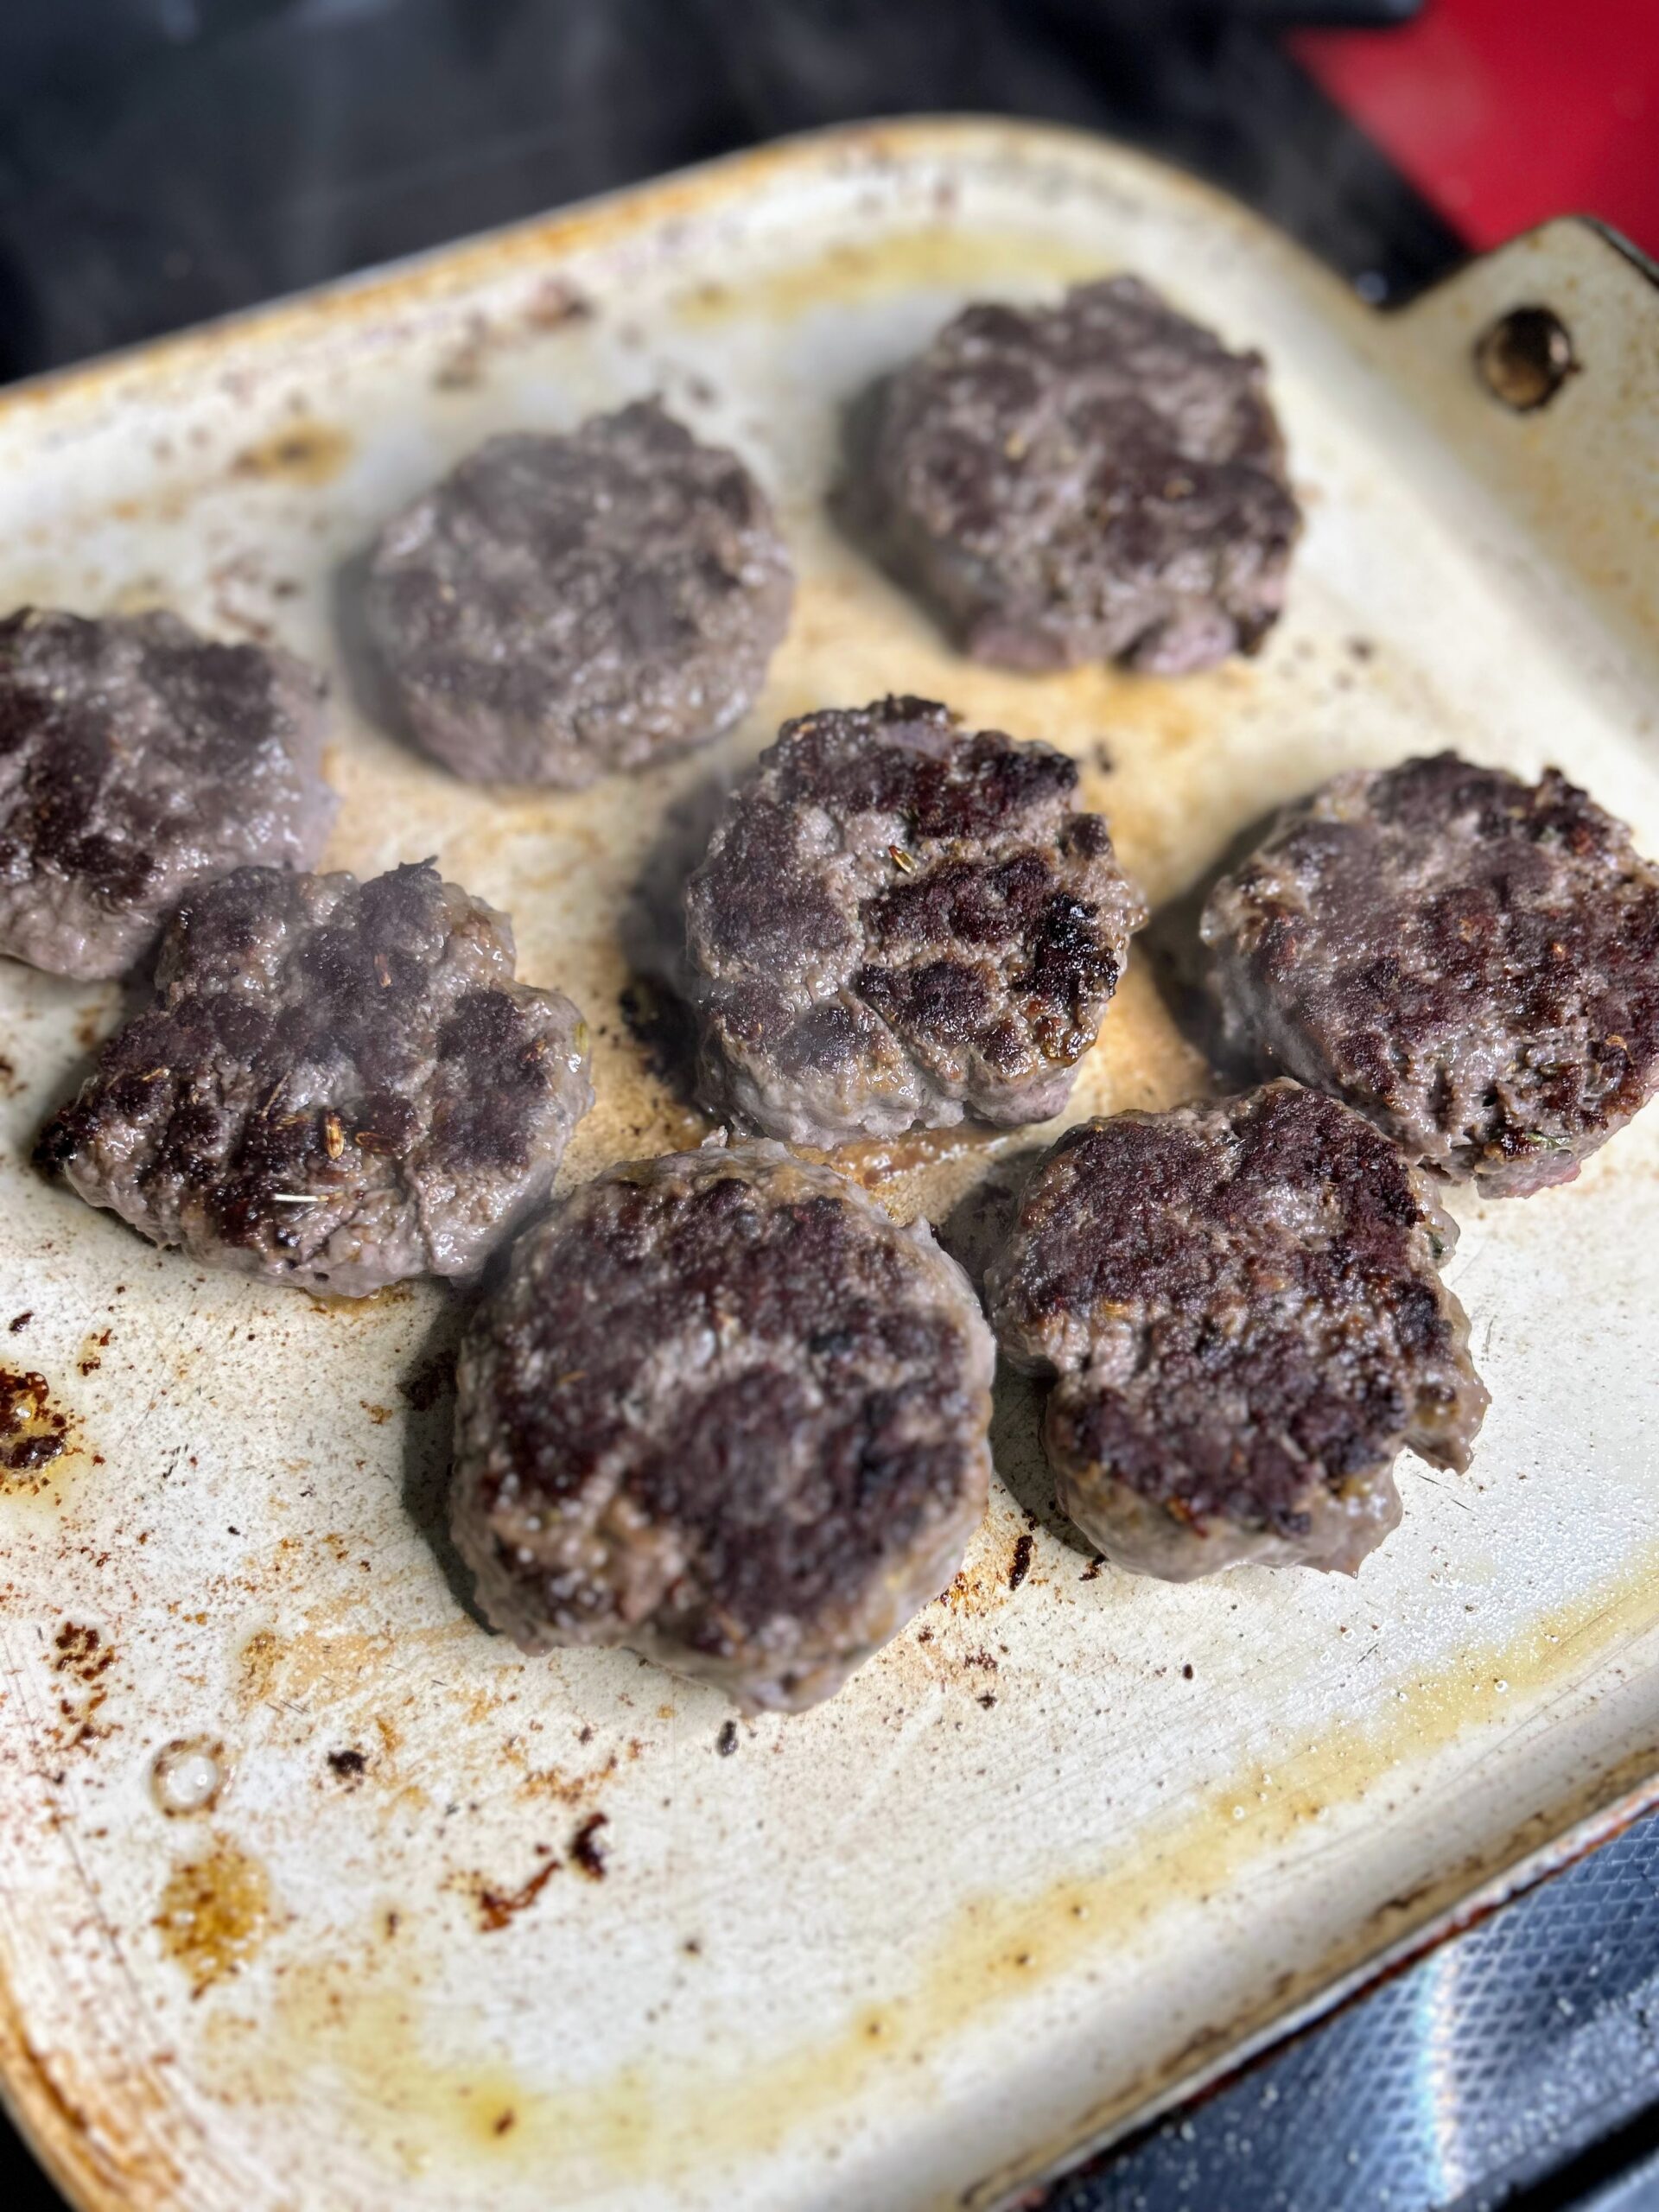
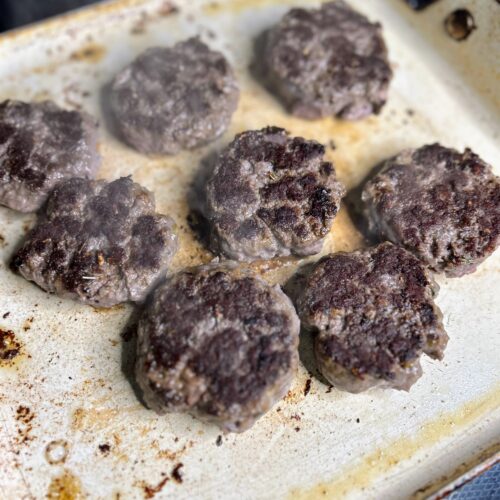
From here, you can package it in one pound packages in quart freezer bags to be frozen as bulk sausage. The Mr and I formed them into patties using a canning ring and an old lid and it worked perfectly. A regular mouth lid made a two ounce patty, so 8 patties (a typical package) comes out to be about a pound. How sweet is that?
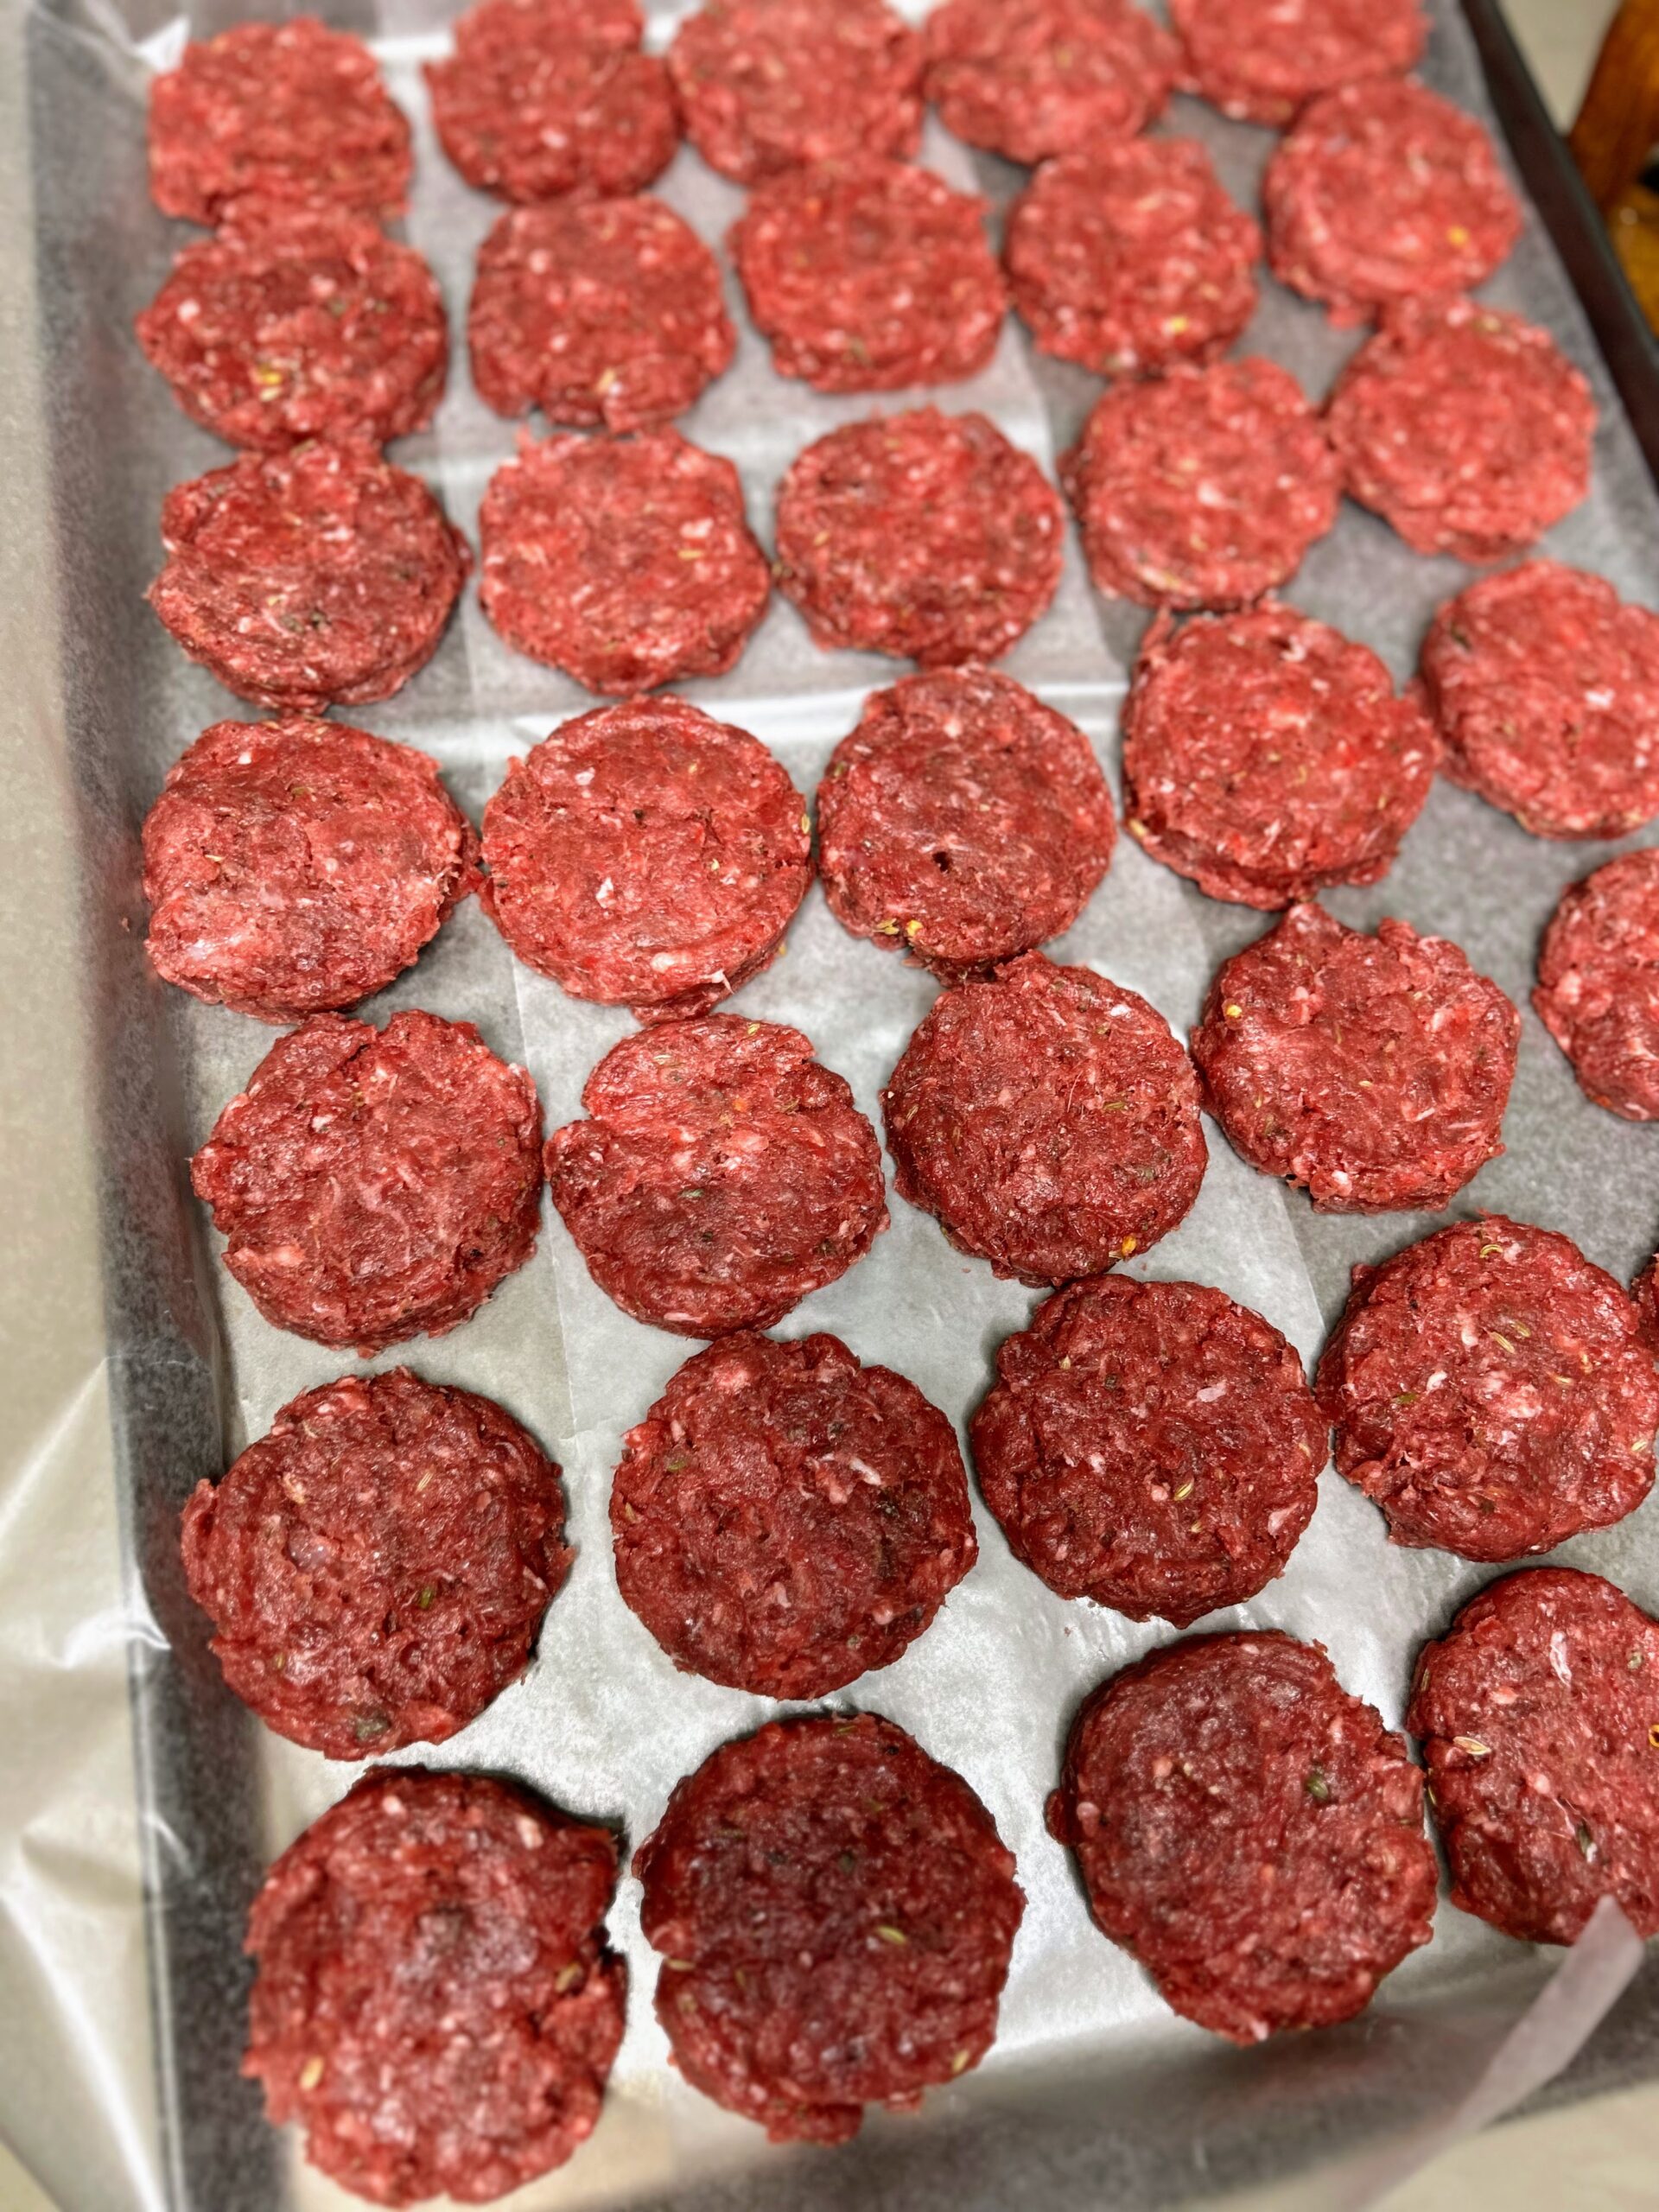
If you choose to go the patty route, I recommend lining a rimmed baking sheet with parchment or wax paper. Place the patties on the paper, possibly layering them as needed. Par-freeze the patties and once frozen, remove and place in freezer safe containers or bags in the amount you care to have them.
Venison Breakfast Sausage
Equipment
Ingredients
- 10 pounds ground venison
- 5 tablespoons fennel seed
- 8 teaspoons salt
- 5 teaspoons black pepper
- 5 teaspoons dried thyme
- 2 ½ teaspoons dried sage
- 1 ¼ teaspoon red pepper flakes or to taste
- 1 cup lard room temperature (preferably purchased from a meat market)
Instructions
- Combine the dried spices in a mason jar, cover with a lid, and shake until well mixed. Place the ground venison in a large, large metal bowl.
- Add approximately half the seasoning mix, sprinkling it evenly. Add half of the lard, adding it by about a half of a tablespoon at a time to help disperse it. Mix by hand until well combined. Add remaining seasoning mix and lard in a similar fashion and mix again.
- From here, you can package it in one pound packages in quart freezer bags to be frozen as bulk sausage.
- Alternatively, a regular mouth canning lid and ring make a perfect mold for forming 2 ounce patties.
- If you choose to go the patty route, I recommend lining a rimmed baking sheet with parchment or wax paper. Place the patties on the paper, possibly layering them as needed. Par-freeze the patties and once frozen, remove and place in freezer safe containers or bags in the amount you care to have them.
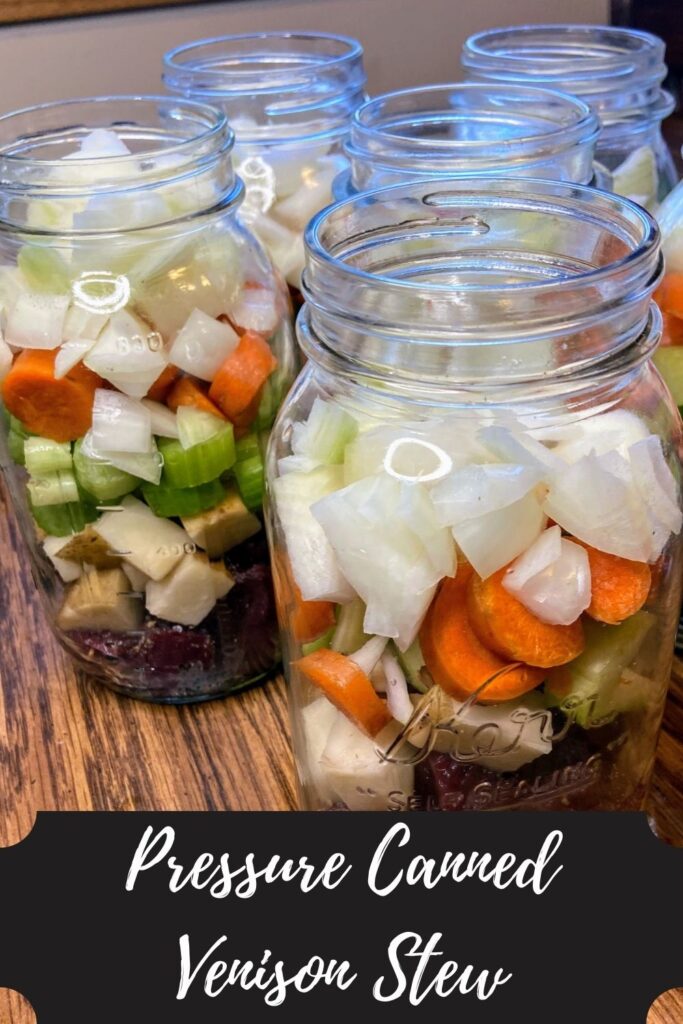
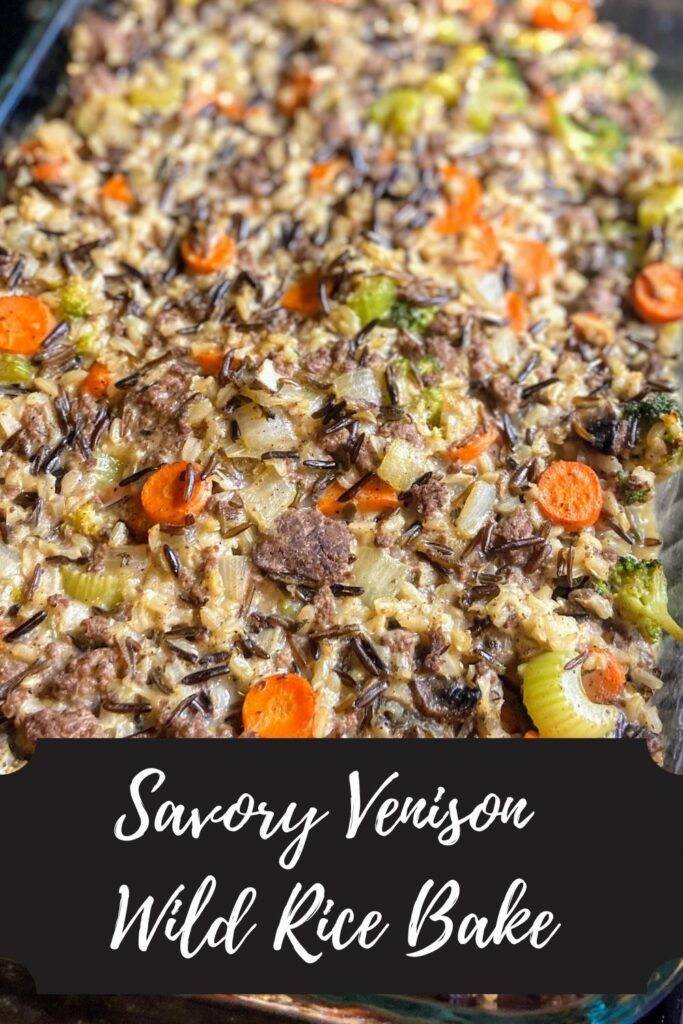
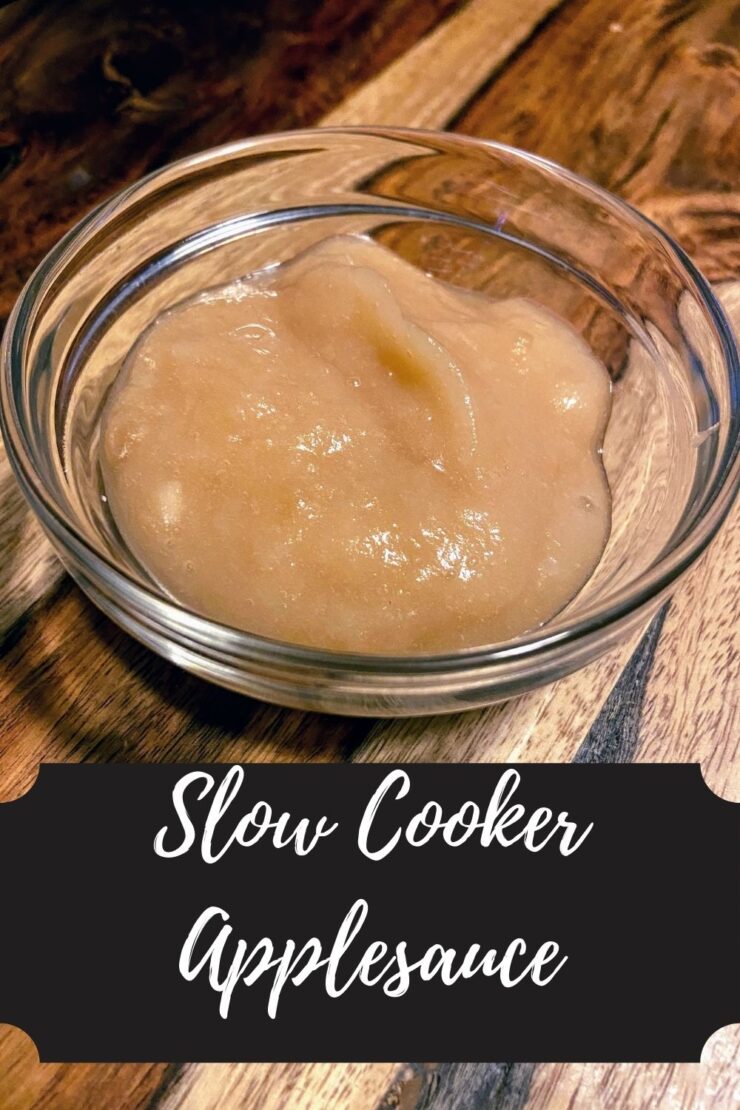
Looking for other great venison recipes?
These are a few of our favorites around our household! You can also check out my canning and preserving page for other ways to preserve your venison!