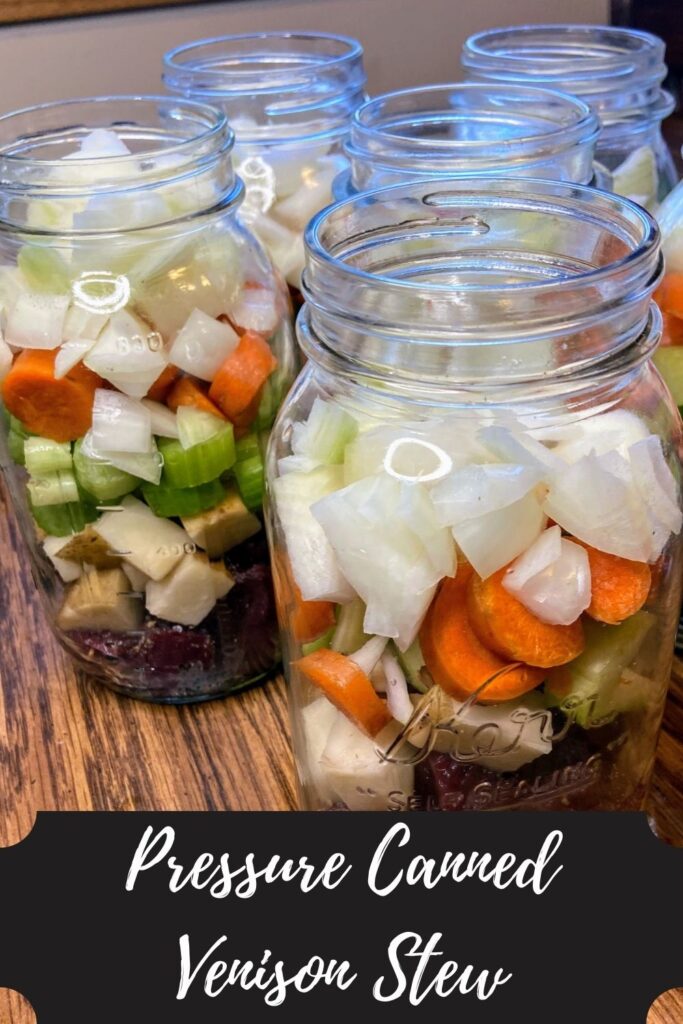
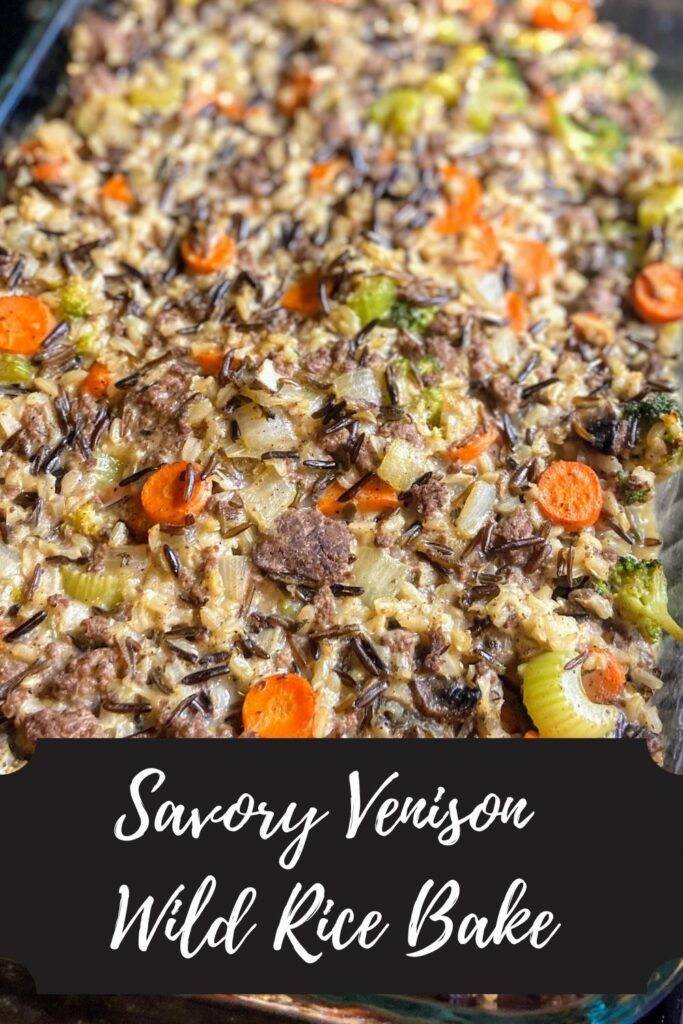
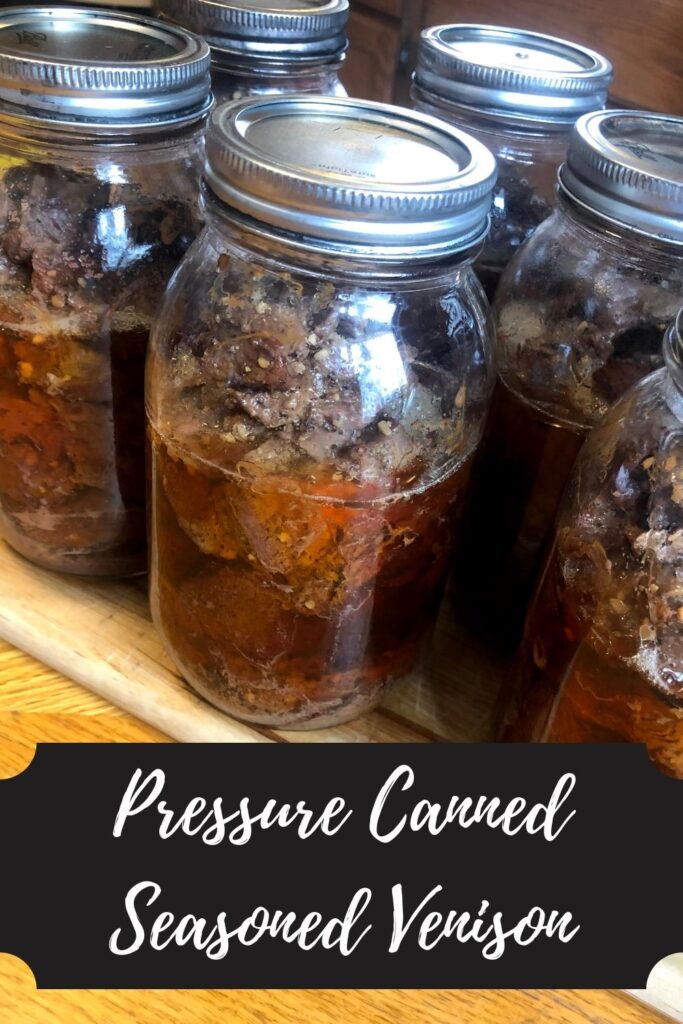
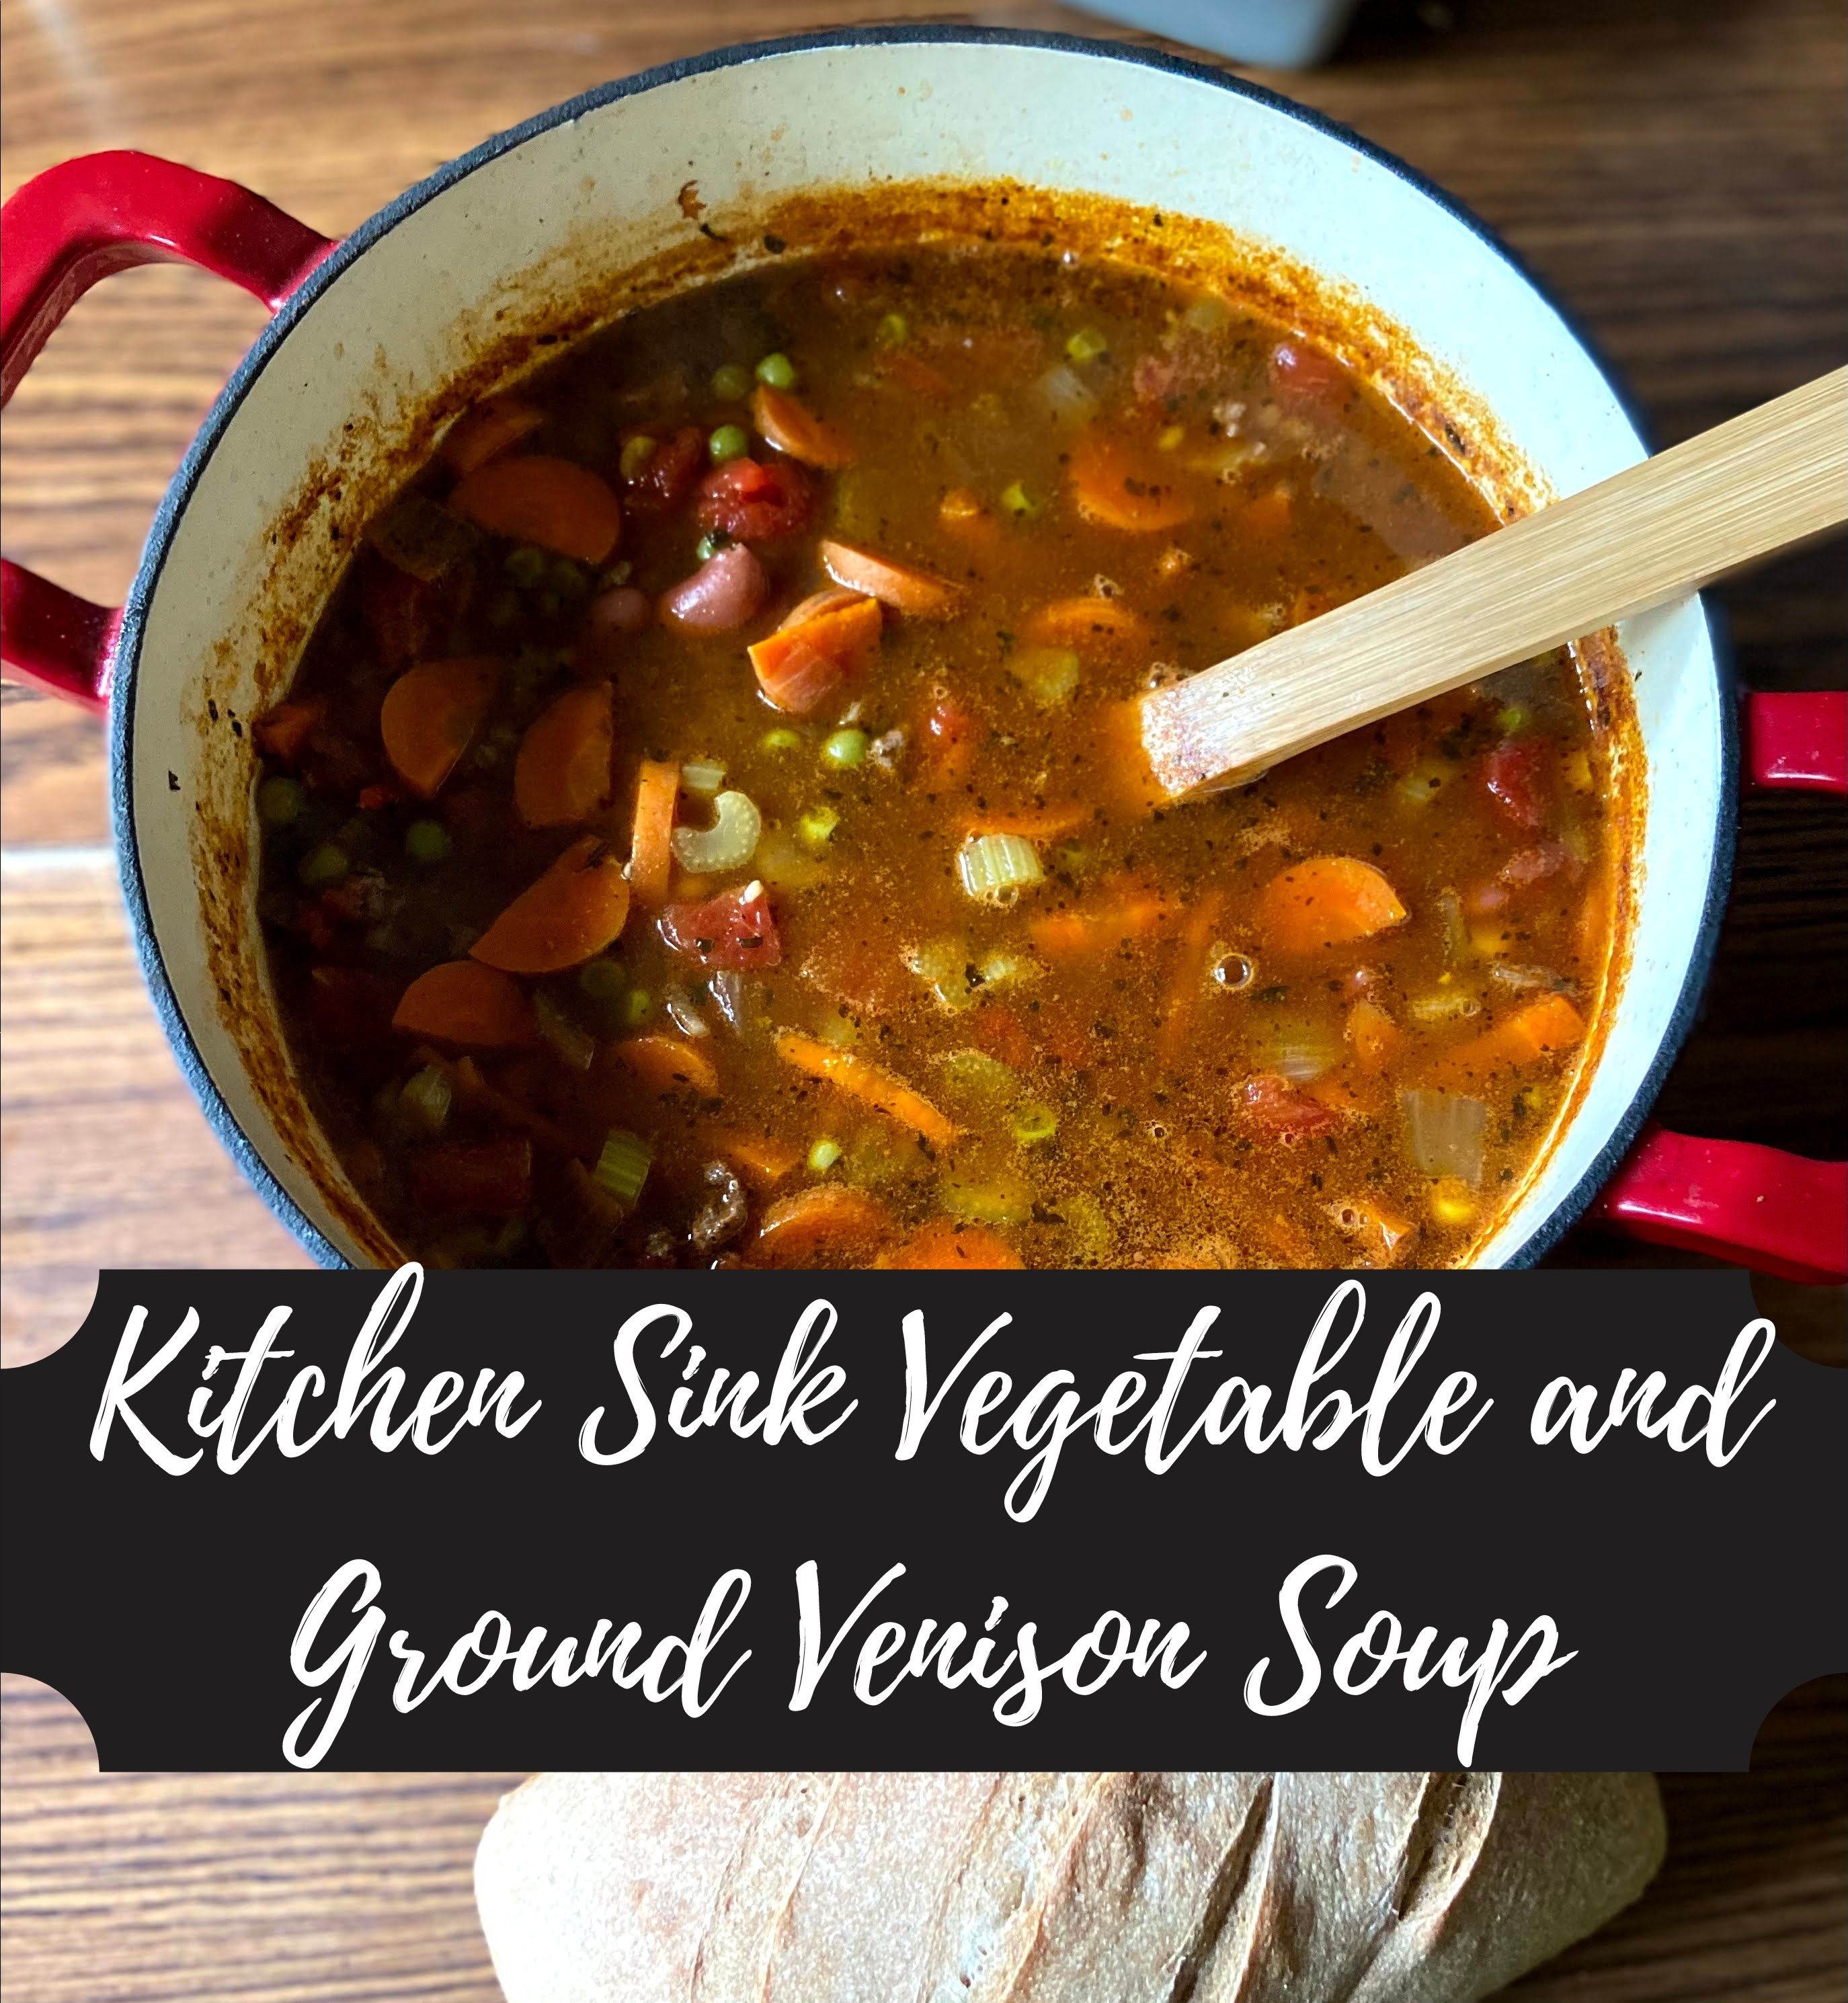
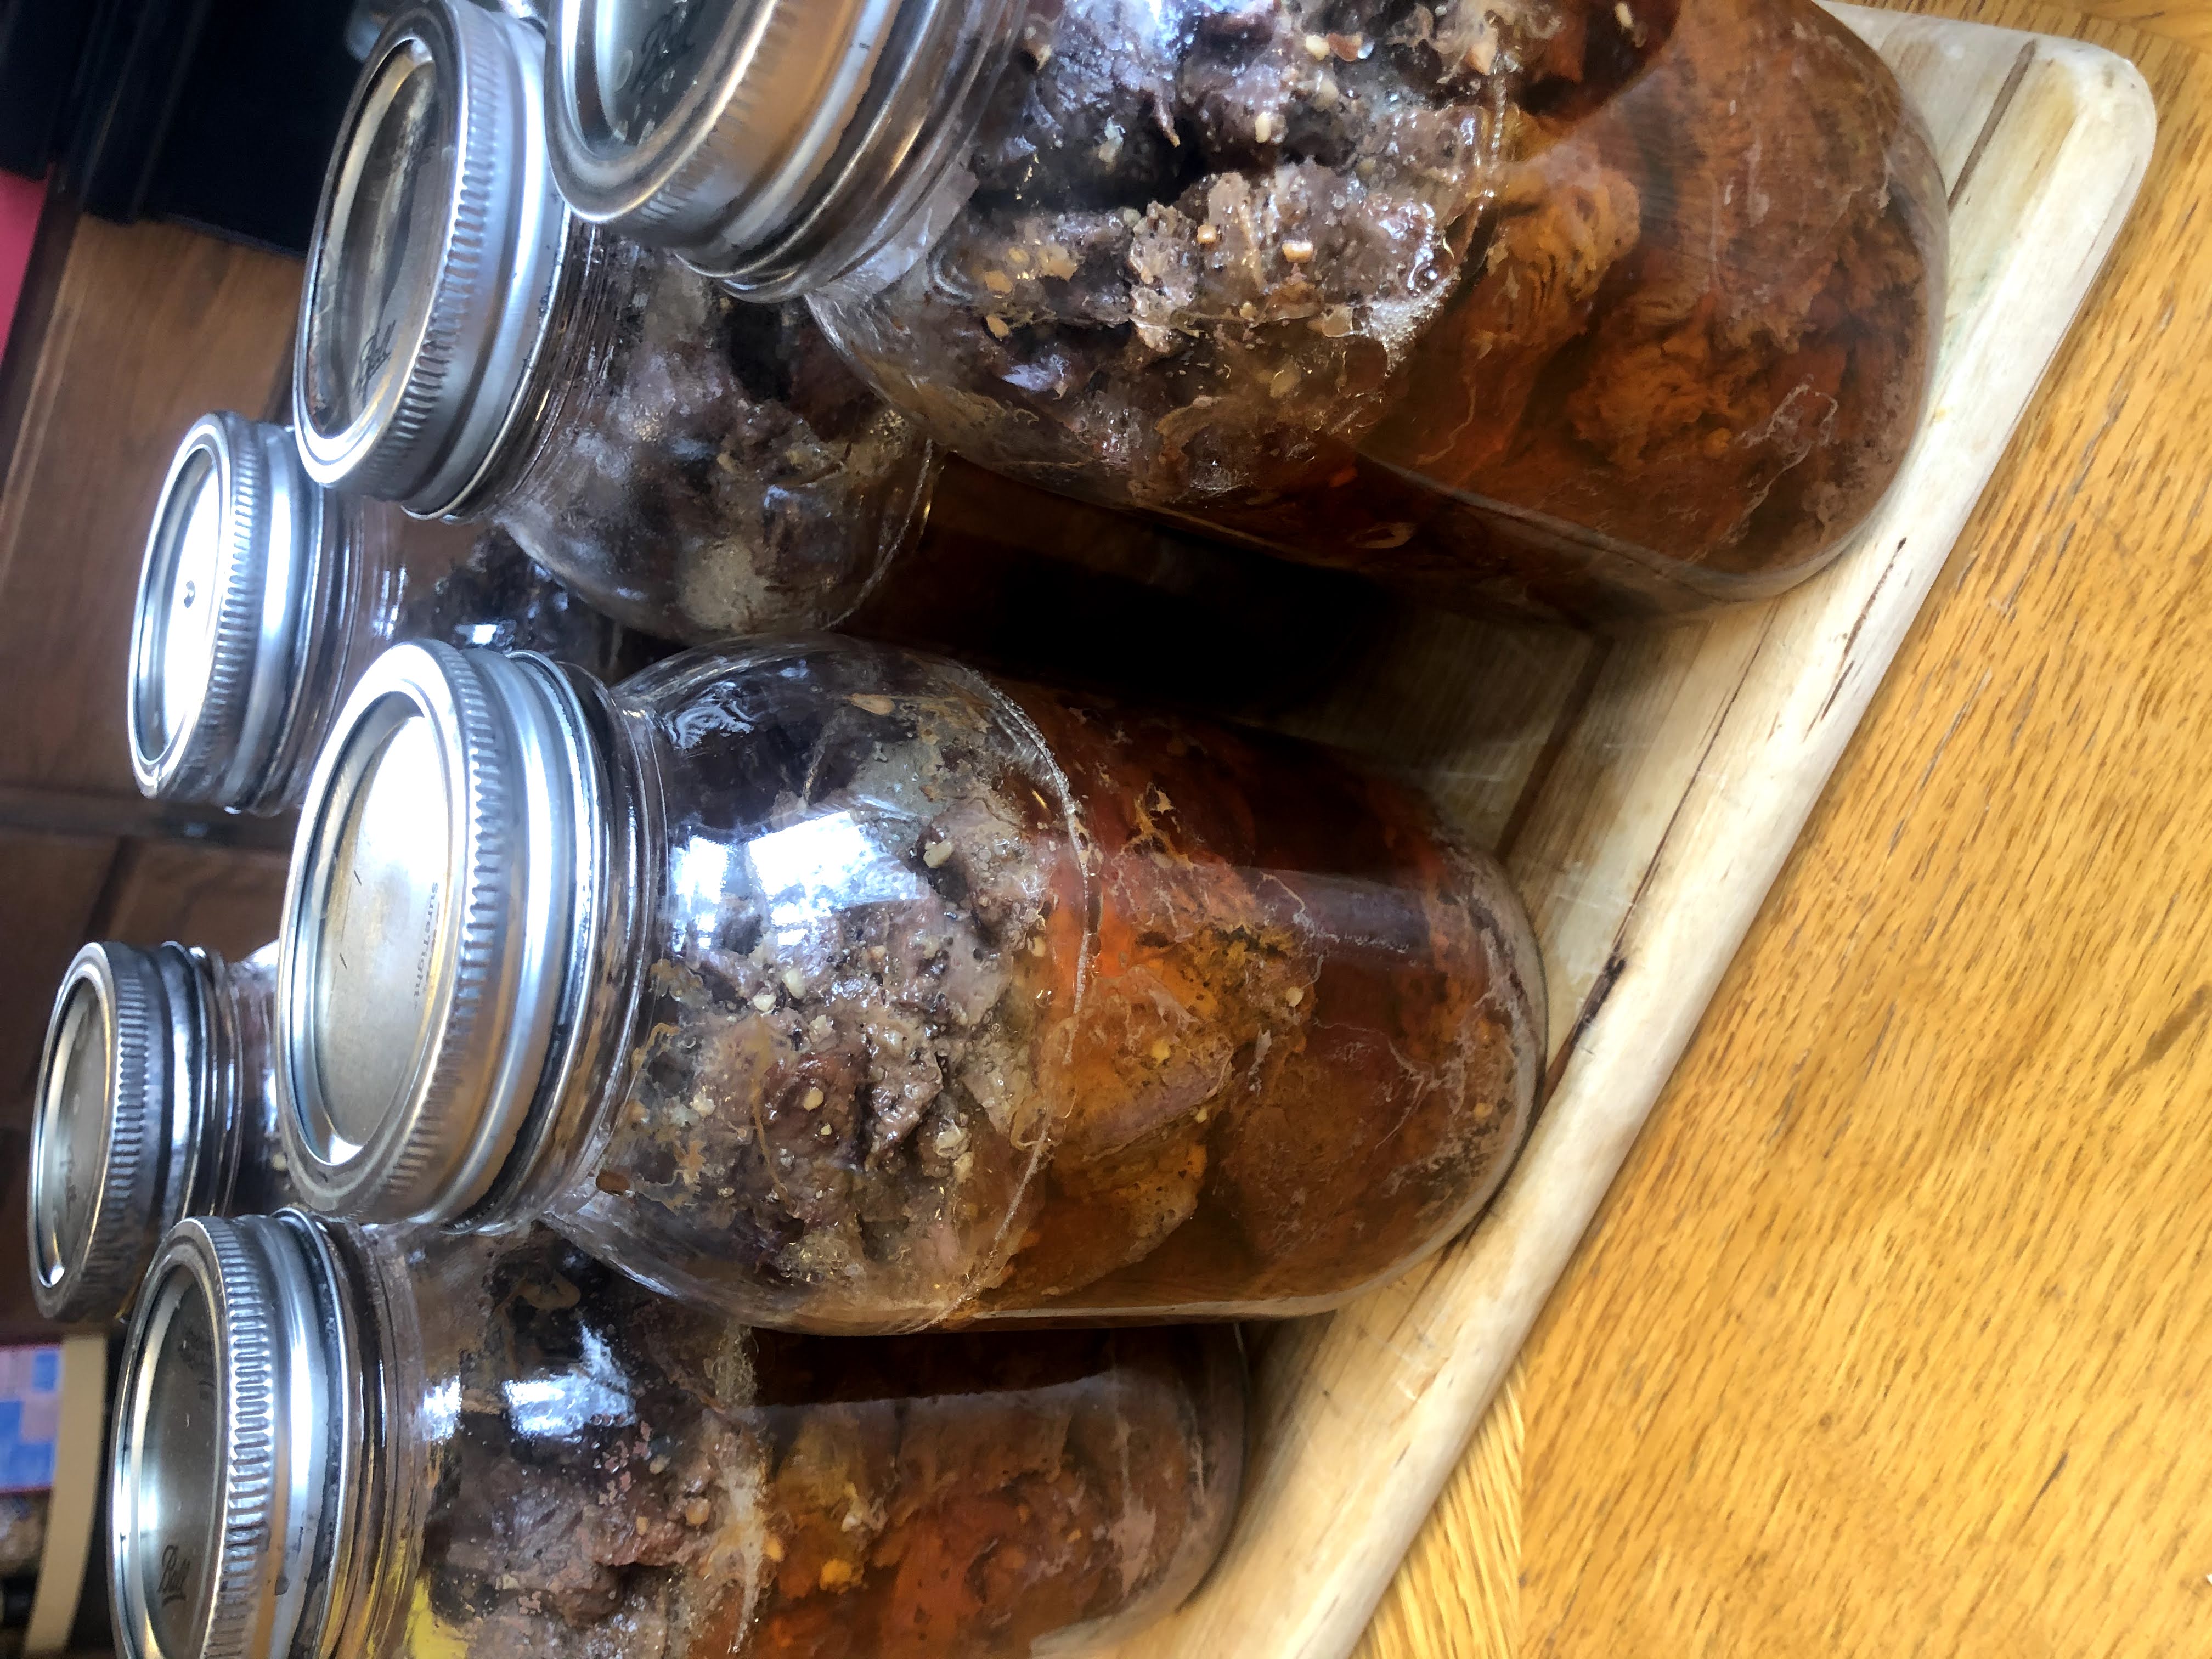
Pressure Canned Seasoned Venison

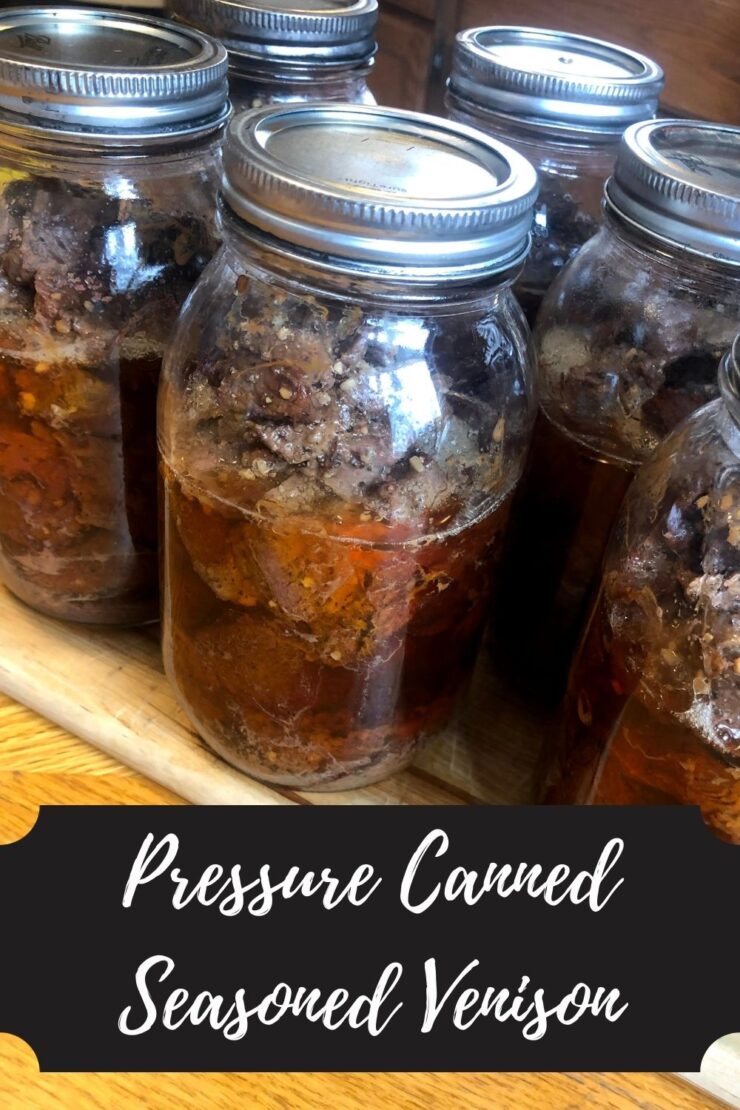
I love fall as it turns to winter. The warmth of sweatshirt and jeans weather. Fires. And hunting. Now, I am not a hunter (hunter’s safety was offered during girl’s basketball and I had to choose), but I do love filling my freezer with protein harvested from the woods. I also fill my shelves with pressure canned venison: Both in the form of venison stew and pressure canned seasoned venison. 

Pressure canning is my job in our home, and I wouldn’t have it any other way. I know there are horror stories of pressure canning out there and a number of people are afraid of it. And if they aren’t afraid of the act of canning the meat, they are hesitant to eat pressure canned seasoned venison. “How can meat be self stable and room temperature and still be okay to eat?” I promise, its easier than you think and the meat is great to eat. I follow all the recommendations from the National Center for Home Preservation. Let me tell you, this stuff is GOOD. 

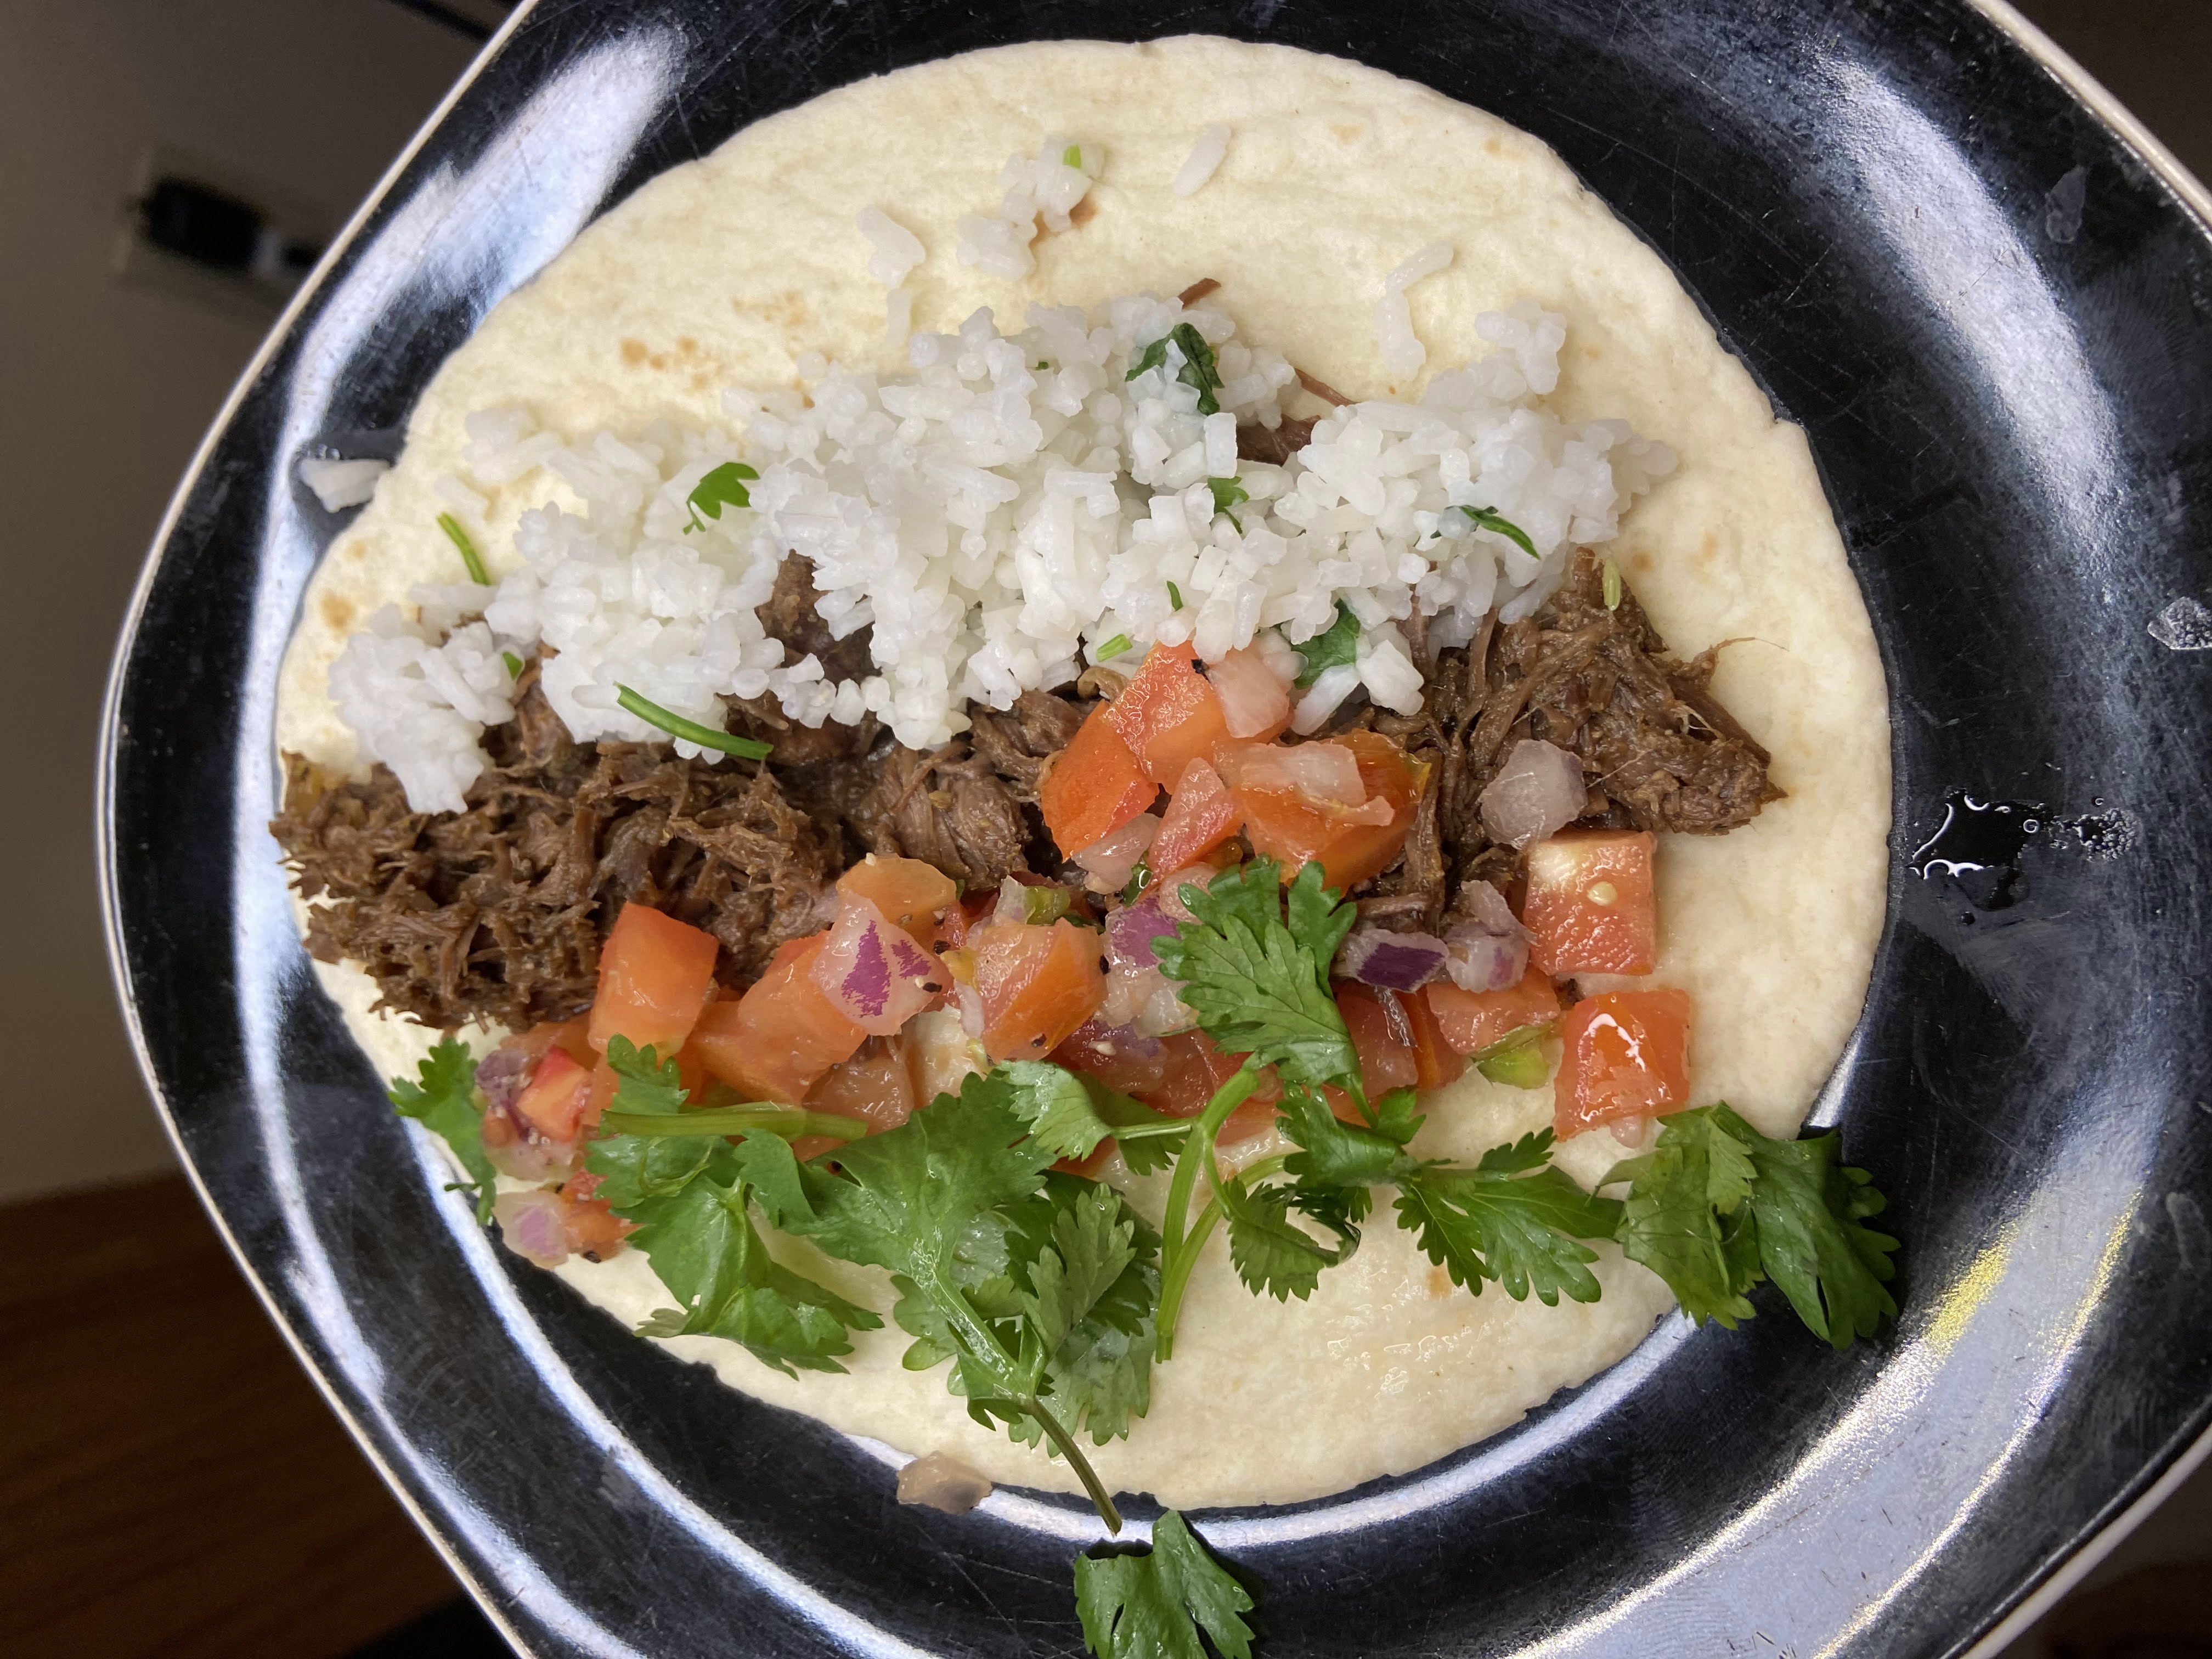
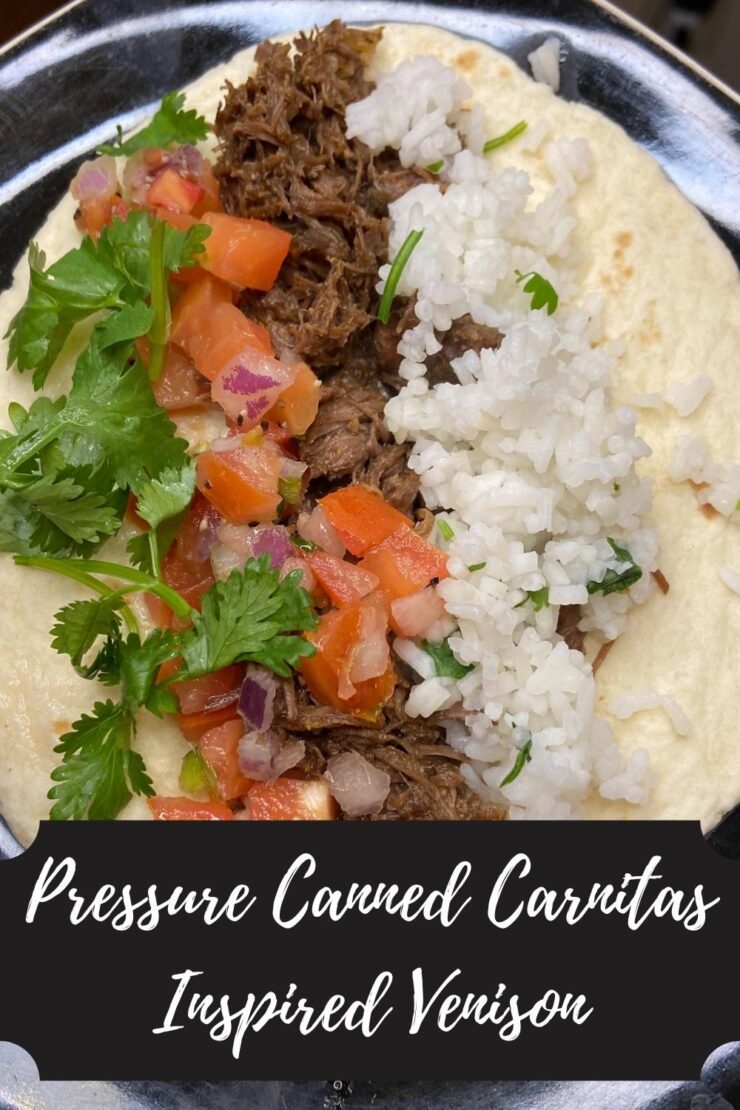
The meat is SO tender. It heats up in minutes, and you can have a meal on the table in under ten. The convenience is out of this world and you are still able to serve your family good for you food without being processed. Our favorite way to use our seasoned venison is to drain off a little of the liquid and heat it in a kettle with BBQ sauce. As the meat is stirred, it will break down (so tender!) and create a shredded venison that can be served with rolls (may I recommend my silver dollar rolls?) and some coleslaw. YUM. 

Bottom line?

I am beyond excited to share how I prepare my seasoned venison with all of you. There is no reason to be afraid of a pressure canner. I was 100% a novice who simply did some reading at the beginning. The only caution I want to give is that it does take time (primarily hands off) for it to cook. I would say make sure you have three hours to be around the house, but truly you can be doing other things while it cooks. Just be present. If you do want more information, read your canner’s directions or check out the NCHP

Ready to create some pressure canned venison stew? Let’s go! 

Your Ingredients (per quart jar) 

4 cups cubed venison stew meat, raw

Seasoning (see below)

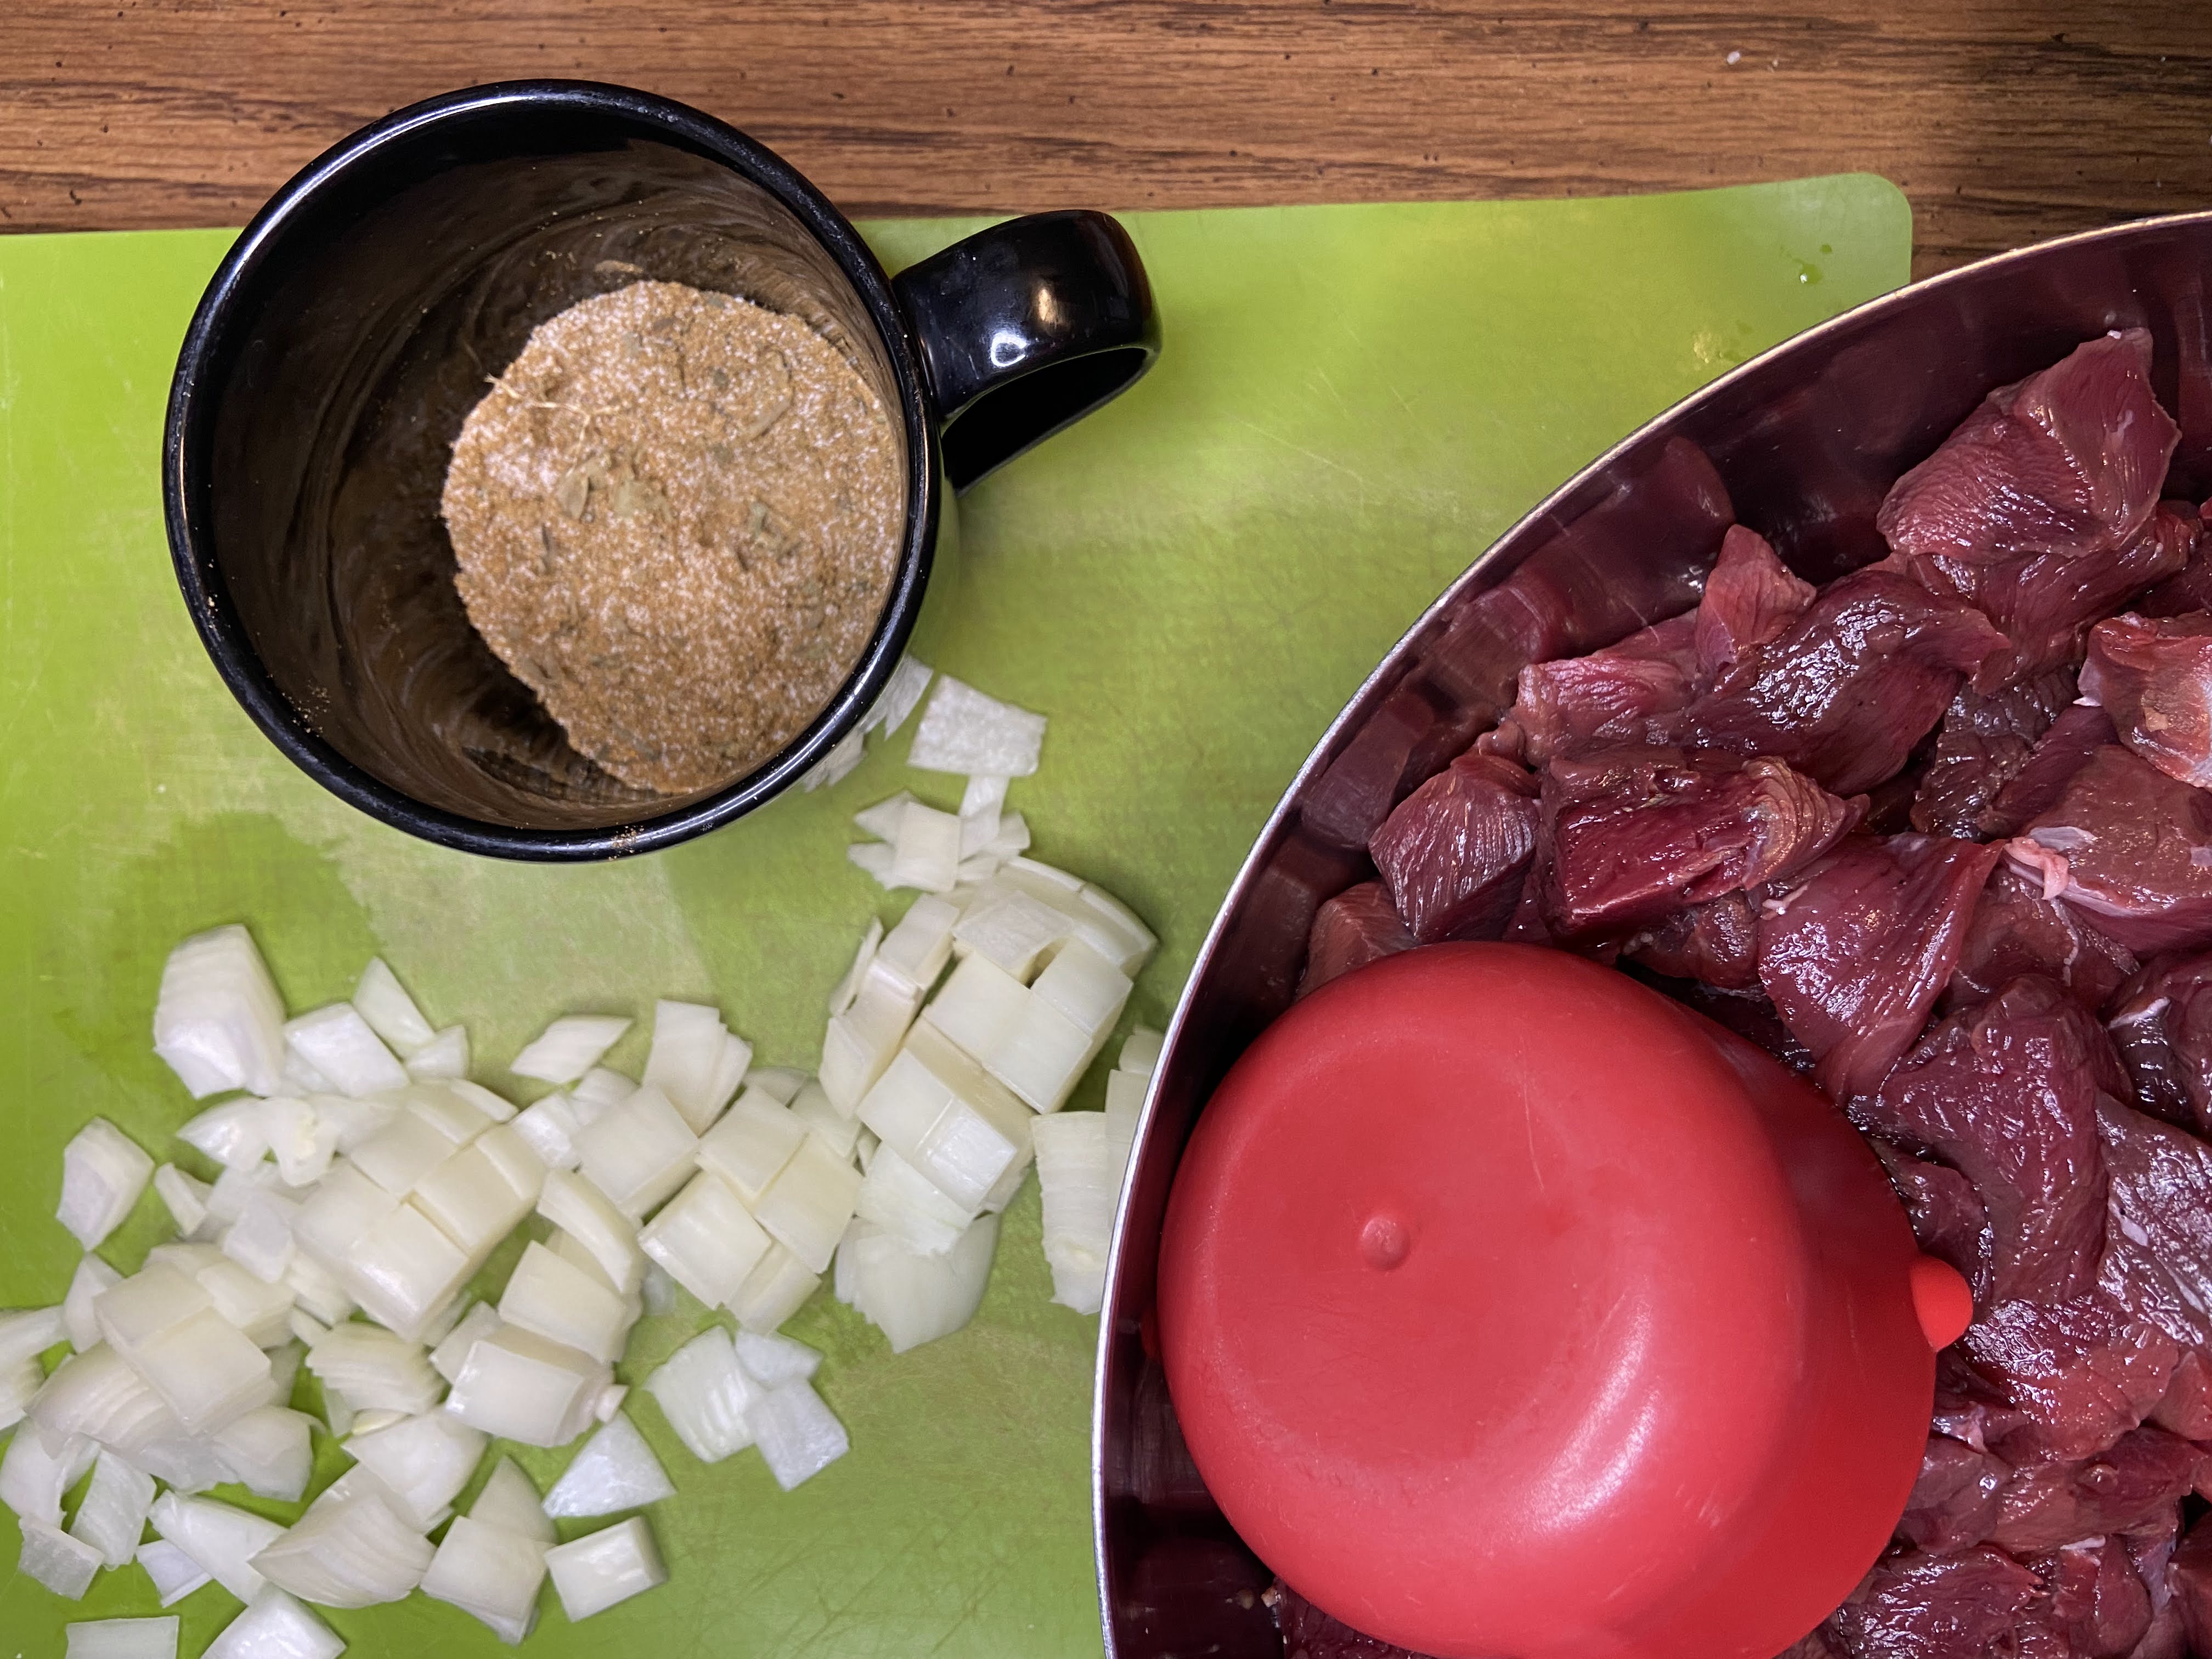
We keep a seasoning mixture on hand of 1 part pepper, 1 part dried minced garlic, 1 part dried minced onion, and 1-2 parts kosher salt. I use this on everything from chicken to venison to roasted vegetables. It’s fantastic and versatile. When I am canning meat, I season every 2 ½ pounds of meat with about 1-2 tablespoons seasoning mix. This is to our taste. 

Tools of the Trade

Normally, I put this at the end of a post, but with a pressure canner, I feel as though I should put it at the beginning. I love using my weighted pressure canner. It doesn’t stress me out and I can create so many great things with it. I also think a canning funnel is a must here. 

Before you start this process, make sure you read the general directions to your own pressure canner. They may differ from what I am sharing, and you should always follow those directions first. Also, if you are a beginner canner or even advanced, it is always a great idea to check out the National Center for Home Preservation Site for more information! 

Your Steps to Pressure Canned Venison Stew

Begin by preparing your canner and jars. Wash and sterilize quart jars, rings, and lids. Keep warm. Check the seal and center vent of your lid of the canner. Set aside. 

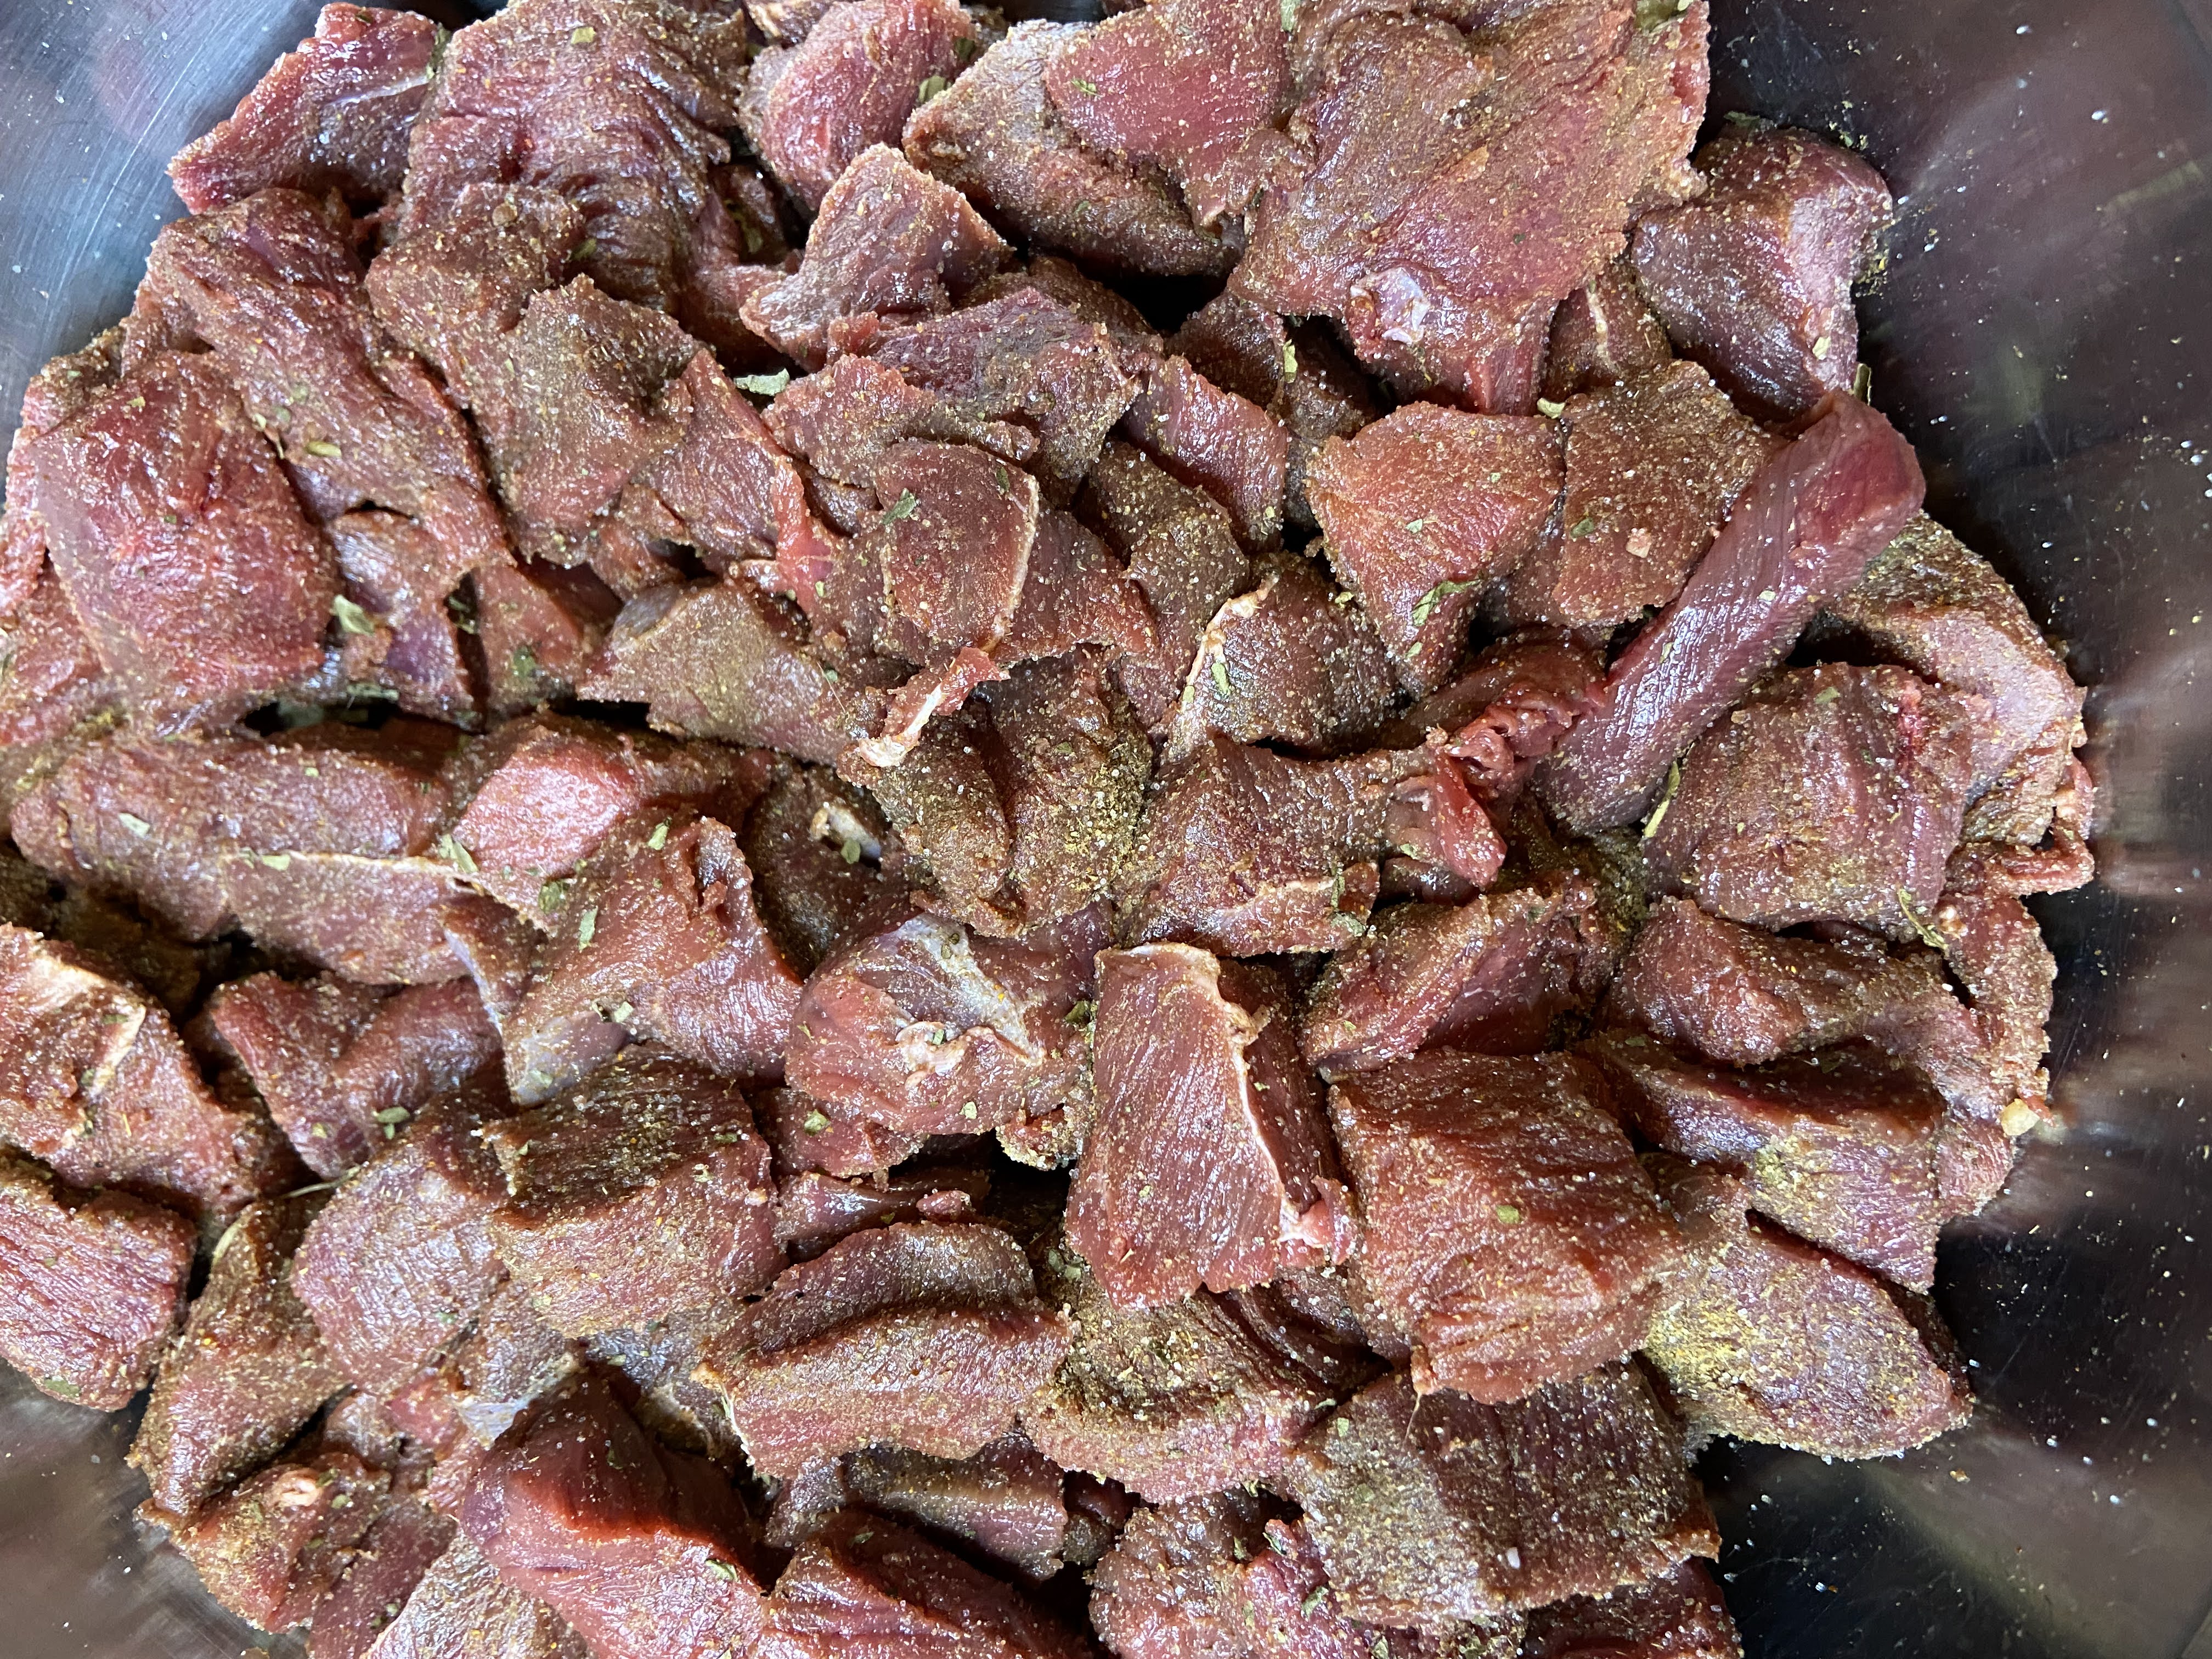
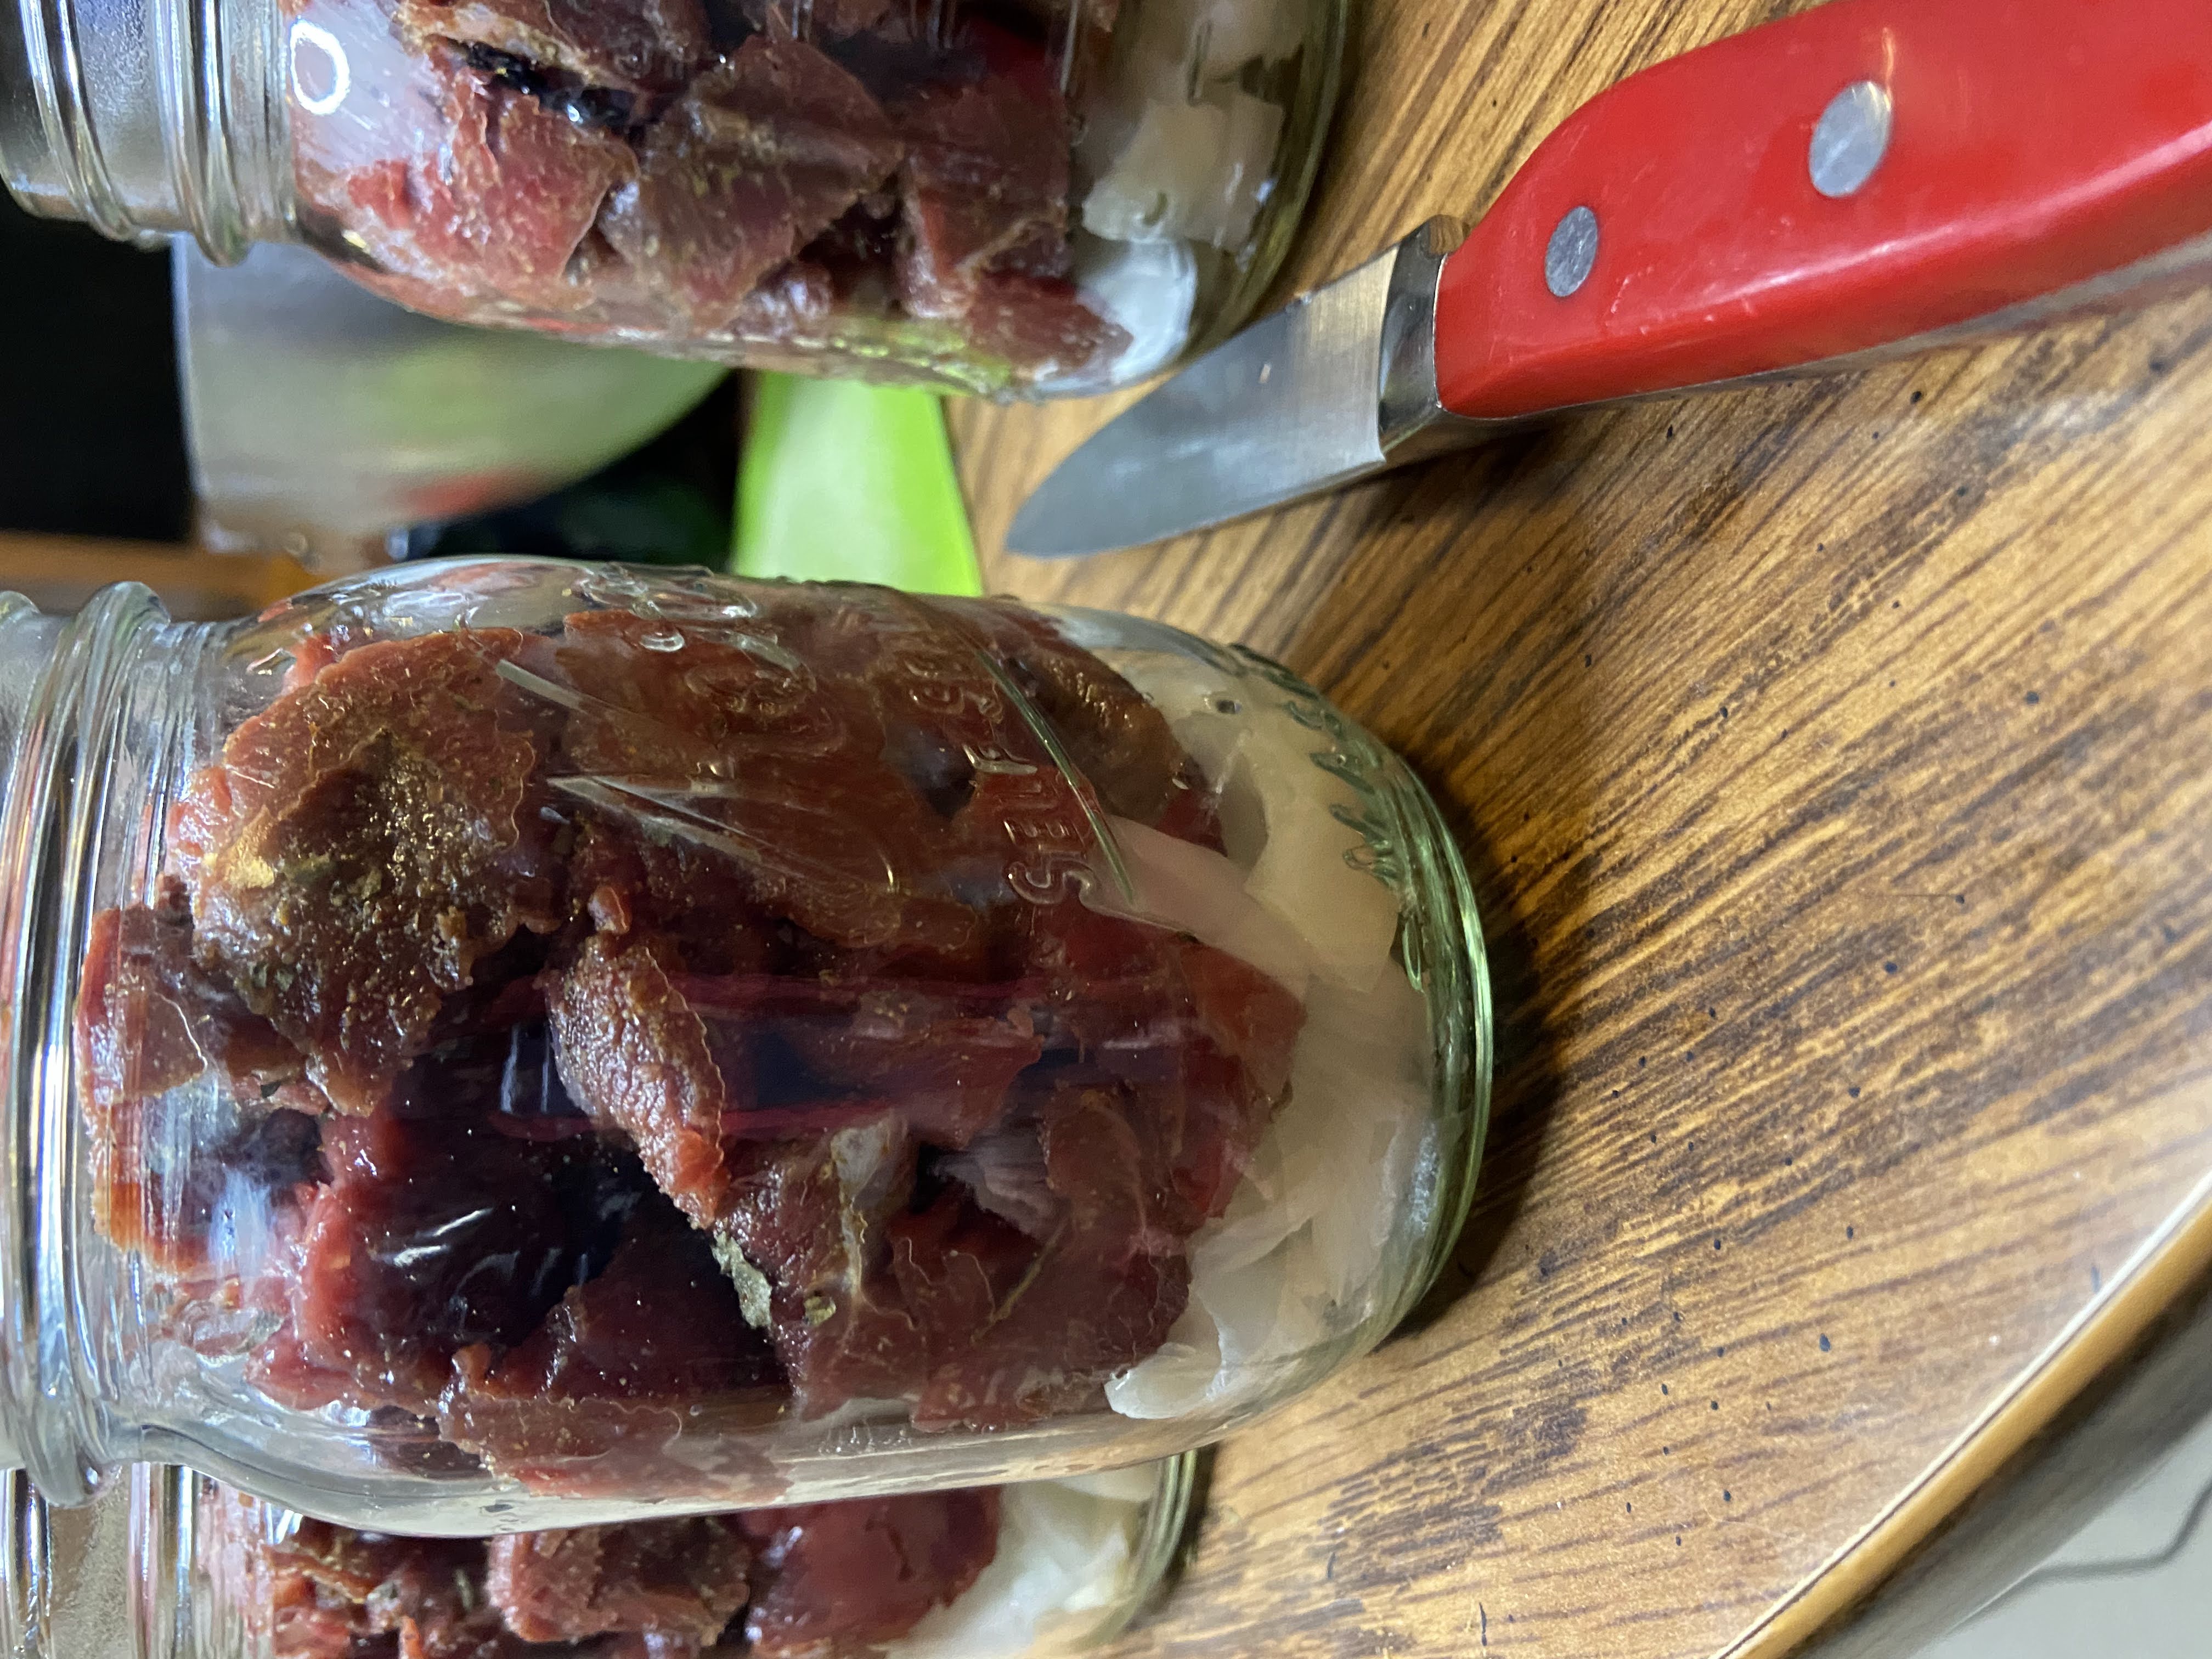
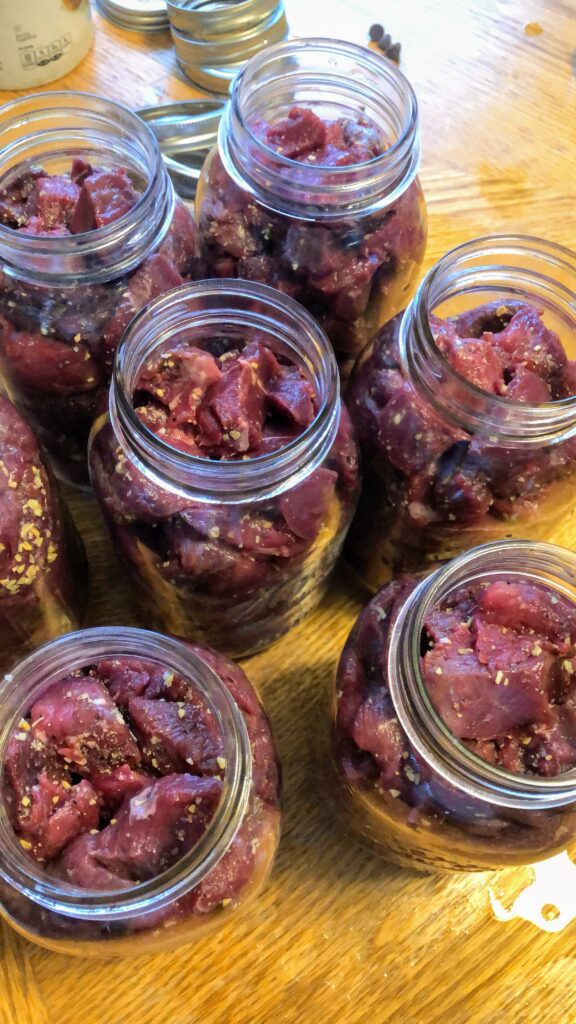
Season prepared meat with seasoning mixture mentioned above (2 tablespoons per 2 ½ pounds of meat). Using a canning funnel, stuff jars with 4 cups of raw meat each, leaving 1 inch of headspace. 

Wipe rims with a damp cloth, center the lid on the jar and adjust the band to fingertip tight. 

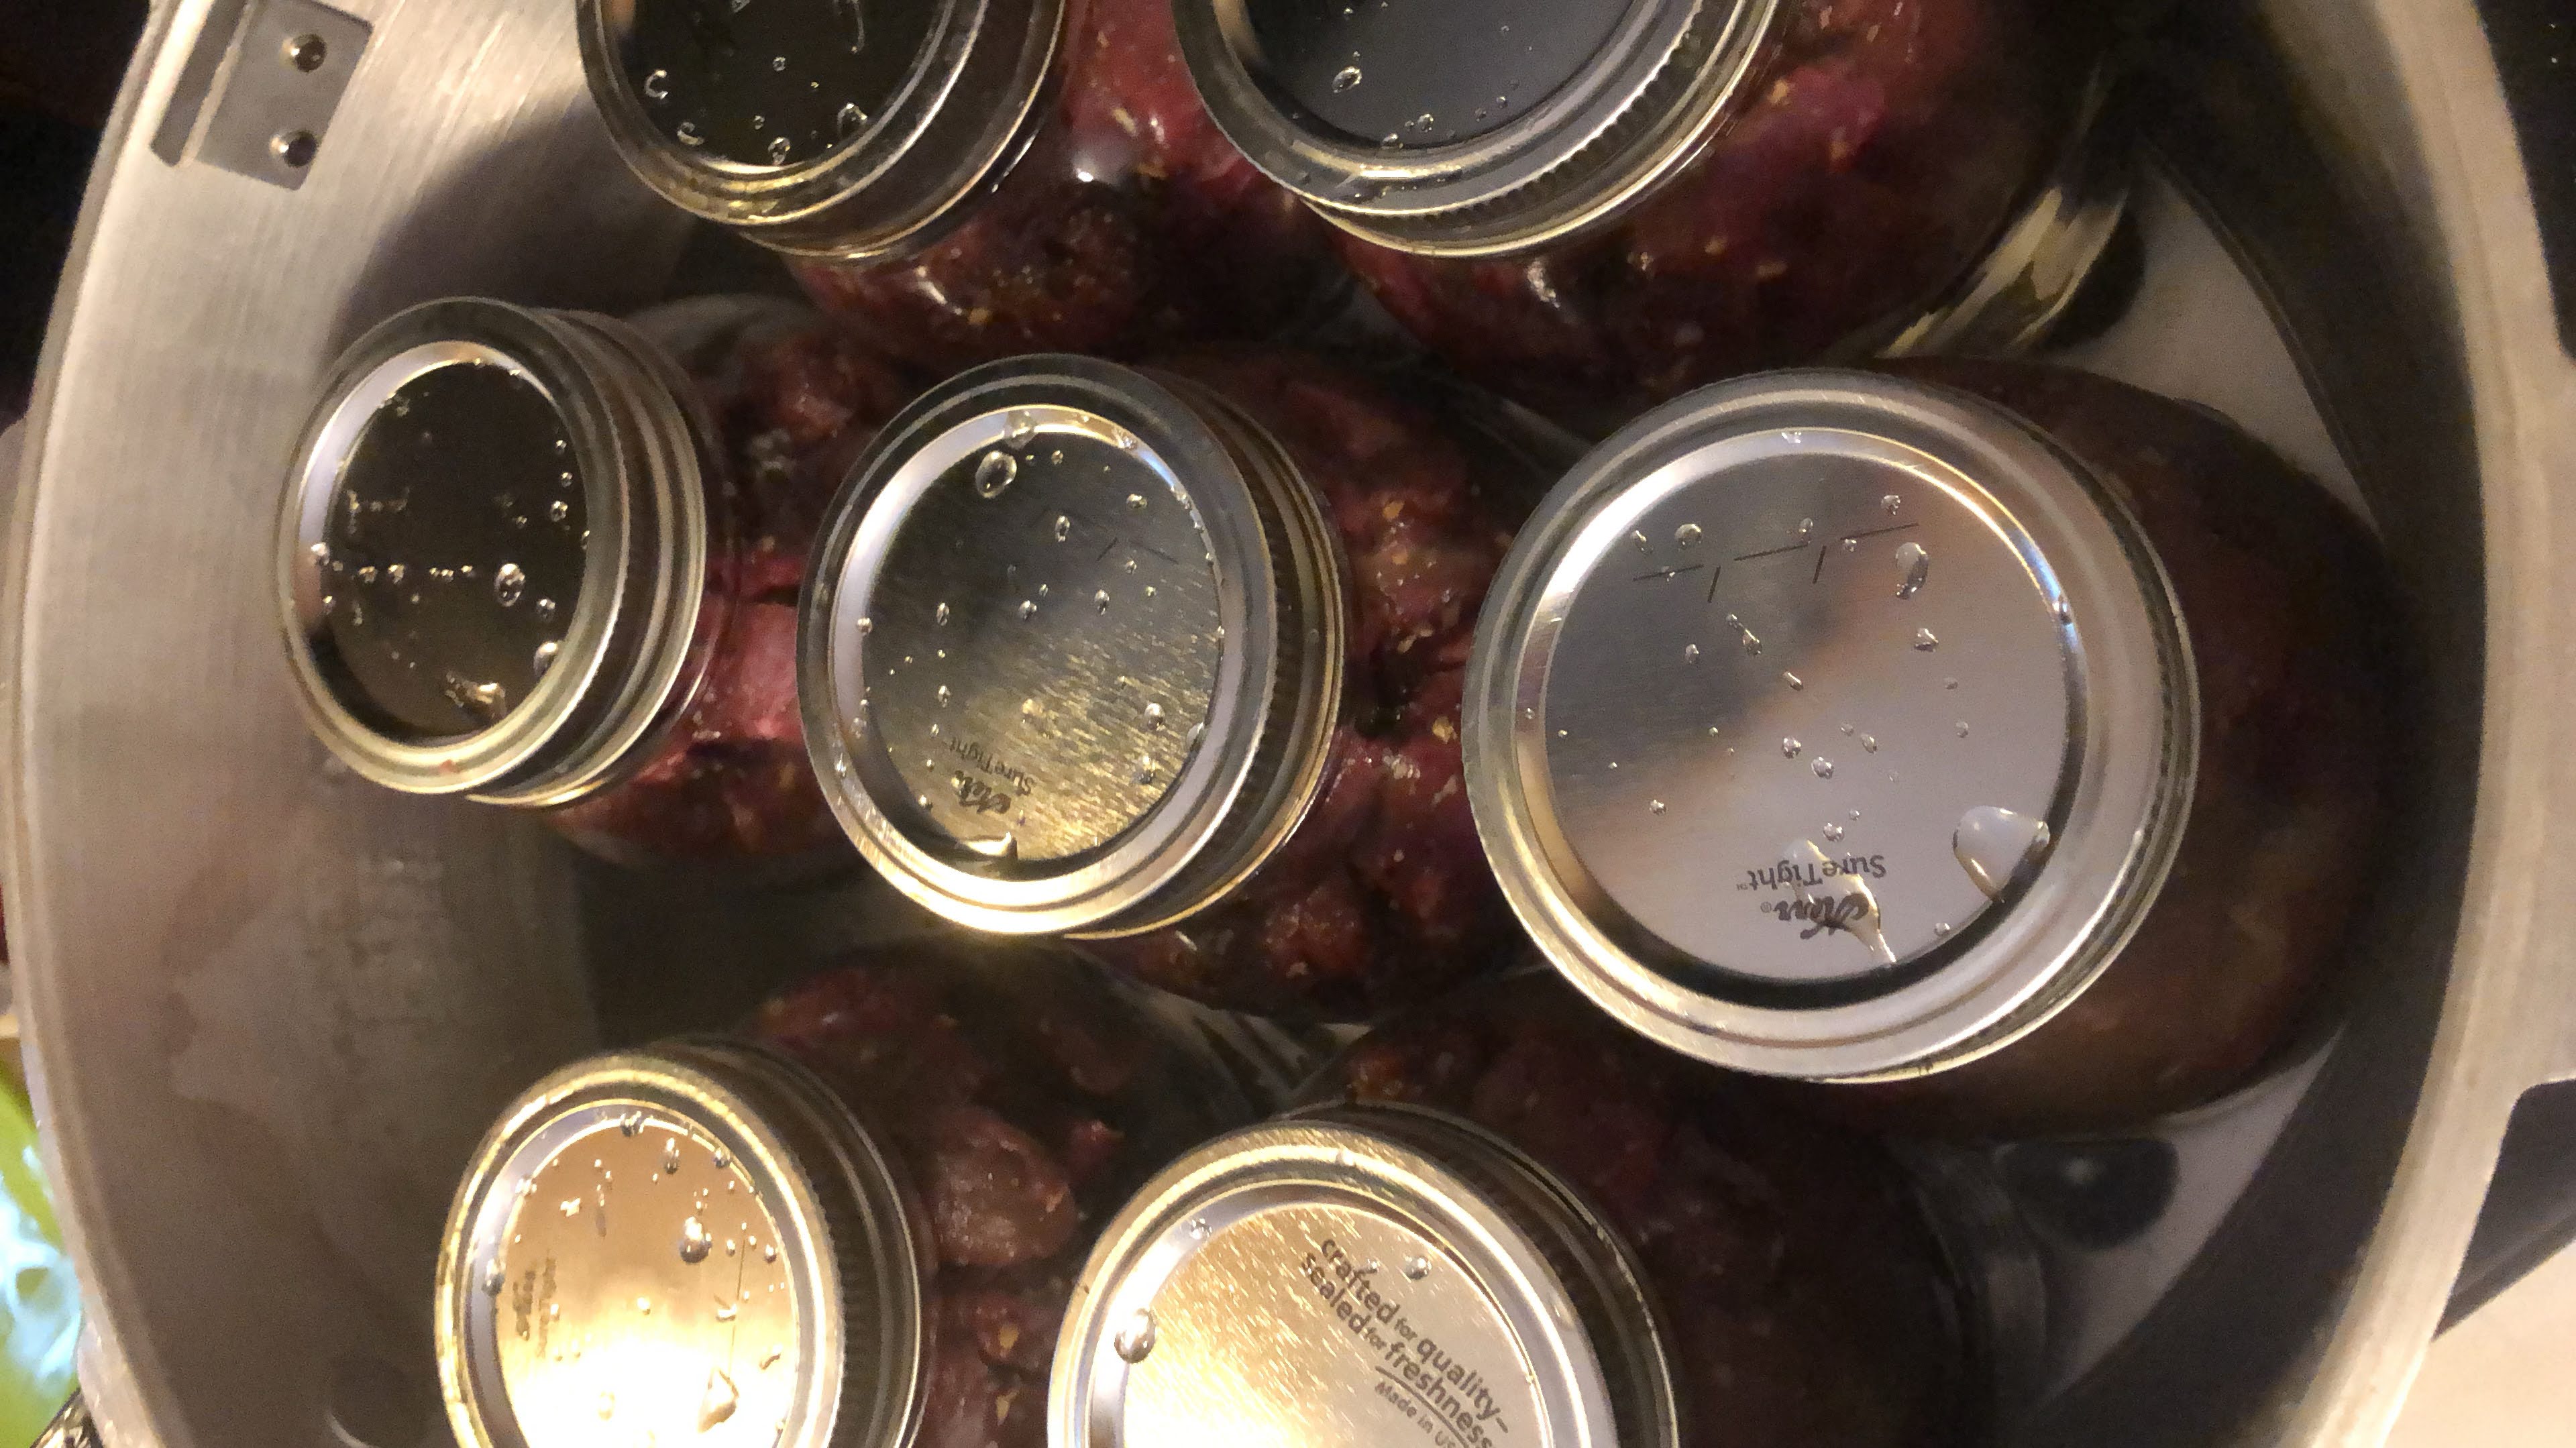
Place jars on the rack of a prepared pressure canner (mine needs 3 quarts of hot water plus a splash of vinegar). 

Time to Can that Pressure Canned Seasoned Venison!

Place the lid on the canner and heat to high heat. Once a steady stream of steam can be seen/felt, vent for 10 minutes, adjusting the heat if needed to have a steady but not crazy stream of steam. After 10 minutes, put the weighted gauge on the vent. You will want 10 pounds if your altitude is under 1000 ft; 15 pounds if you are over 1000 ft. 

Once the weight starts to jiggle (indicating it has reached the appropriate pressure), begin timing. You will need to process pint jars for 75 minutes and quart jars for 90 minutes. Once the timer has gone off, turn off and remove the canner from heat. Allow the pressure to drop on the canner all the way (read specific canner instructions for the indicator-this takes about 45 minutes). Remove weight and allow to cool an additional 10 minutes. Remove jars from canner; do not retighten bands. Cool 12 hours, then check their seals, label, and store jars. 

Again, we like to create pulled venison with ours by heating it with some BBQ sauce. It will shred as you stir, getting the perfect texture. Add some coleslaw and rolls and you are set! 

Pressure Canned Seasoned Venison

Fill your shelves with a pressure canned seasoned venison for quick meals throughout the year. Full of flavor and easy to create!
Prep Time 30 minutes
Cook Time 2 hours
Course Main Course
Cuisine Canning
Servings 5 quarts

Ingredients
  

  • 20 cups cubed venison stew meat (about 10 pounds)
  • ¼-½ cup seasoning mixture of minced garlic, minced onion, salt, and pepper see directions for additional information

Instructions
 

  • Begin by preparing your canner and jars. Wash and sterilize quart jars, rings, and lids. Keep warm. Check the seal and center vent of your lid the canner. Set aside.
  • Create the seasoning mixture: 1 part pepper, 1 part dried minced garlic, 1 part dried minced onion, and 1-2 parts kosher salt (or canning salt).
  • Season prepared meat with seasoning mixture.
  • Stuff jars with raw seasoned meat, leaving 1 inch of head space.
  • Wipe rims with a damp cloth, center the lid on the jar and adjust the band to fingertip tight.
  • Place jars on the rack of a prepared pressure canner (mine needs 3 quarts of hot water plus a splash of vinegar).
  • Process quart jars for 90 minutes at 10 pounds. If your altitude is greater than 1000 feet, use 15 pounds. Follow the directions of your pressure canner or see the more detailed directions in the notes.

Notes

Pint jars can also be used. You will need two cups of meat per pint jar (four cups per quart jar). Pint jars process for 75 minutes. 
We keep the seasoning mixture on hand for all sorts of cooking: proteins, vegetables, potatoes, you name it. That’s what the directions give you “parts.” so you can mix up as much as you want! 
Detailed Directions
Place the lid on the canner and heat to high heat. Once a steady stream of steam can be seen/felt, vent for 10 minutes, adjusting the heat if needed to have a steady but not crazy stream of steam. After 10 minutes, put the weighted gauge on the vent. You will want 10 pounds if your altitude is under 1000 ft; 15 pounds if you are over 1000 ft.
Once the weight starts to jiggle (indicating it has reached the appropriate pressure), begin timing. You will need to process pint jars for 75 minutes and quart jars for 90 minutes. Once the timer has gone off, turn off and remove the canner from heat. Allow the pressure to drop on the canner all the way (read specific canner instructions for the indicator). Remove weight and allow to cool an additional 10 minutes. Remove jars from canner; do not retighten bands. Cool 12 hours, then check their seals, label, and store jars.
Keyword pressure canning, soup and stews, stew, venison, venison stew
Tried this recipe?Let us know how it was!

Looking for other venison recipes?

Check some of these out!

Homemade Applesauce: Slow Cooker Style

Growing up, I don’t remember either of my parents making homemade applesauce. That isn’t to say they didn’t do it, but I certainly have no memory of it. It wasn’t until I was almost entirely through college that I even realized canning and preserving food was something commonplace. I didn’t start my own journey with homegrown and preserved food until late into my twenties, after my son was born. 

After we purchased our home in 2009, we immediately set to work to plant a garden and get trees started for our own mini orchard. At that point, I still had no idea where my future in home preservation was headed. My in-laws are avid canners and freezers of food they produce in their garden. I don’t know if it was a push by my husband or a curiosity of mine, but I became interested. Slowly, I started by canning pickles and jams. Then tomato sauce. Then my in-laws brought me bushels of apples from their own orchard (ours are JUST starting to produce enough to preserve them. For now, we eat ours and preserve gifted apples). I became interested in making homemade applesauce. Then apple jelly and apple pie filling

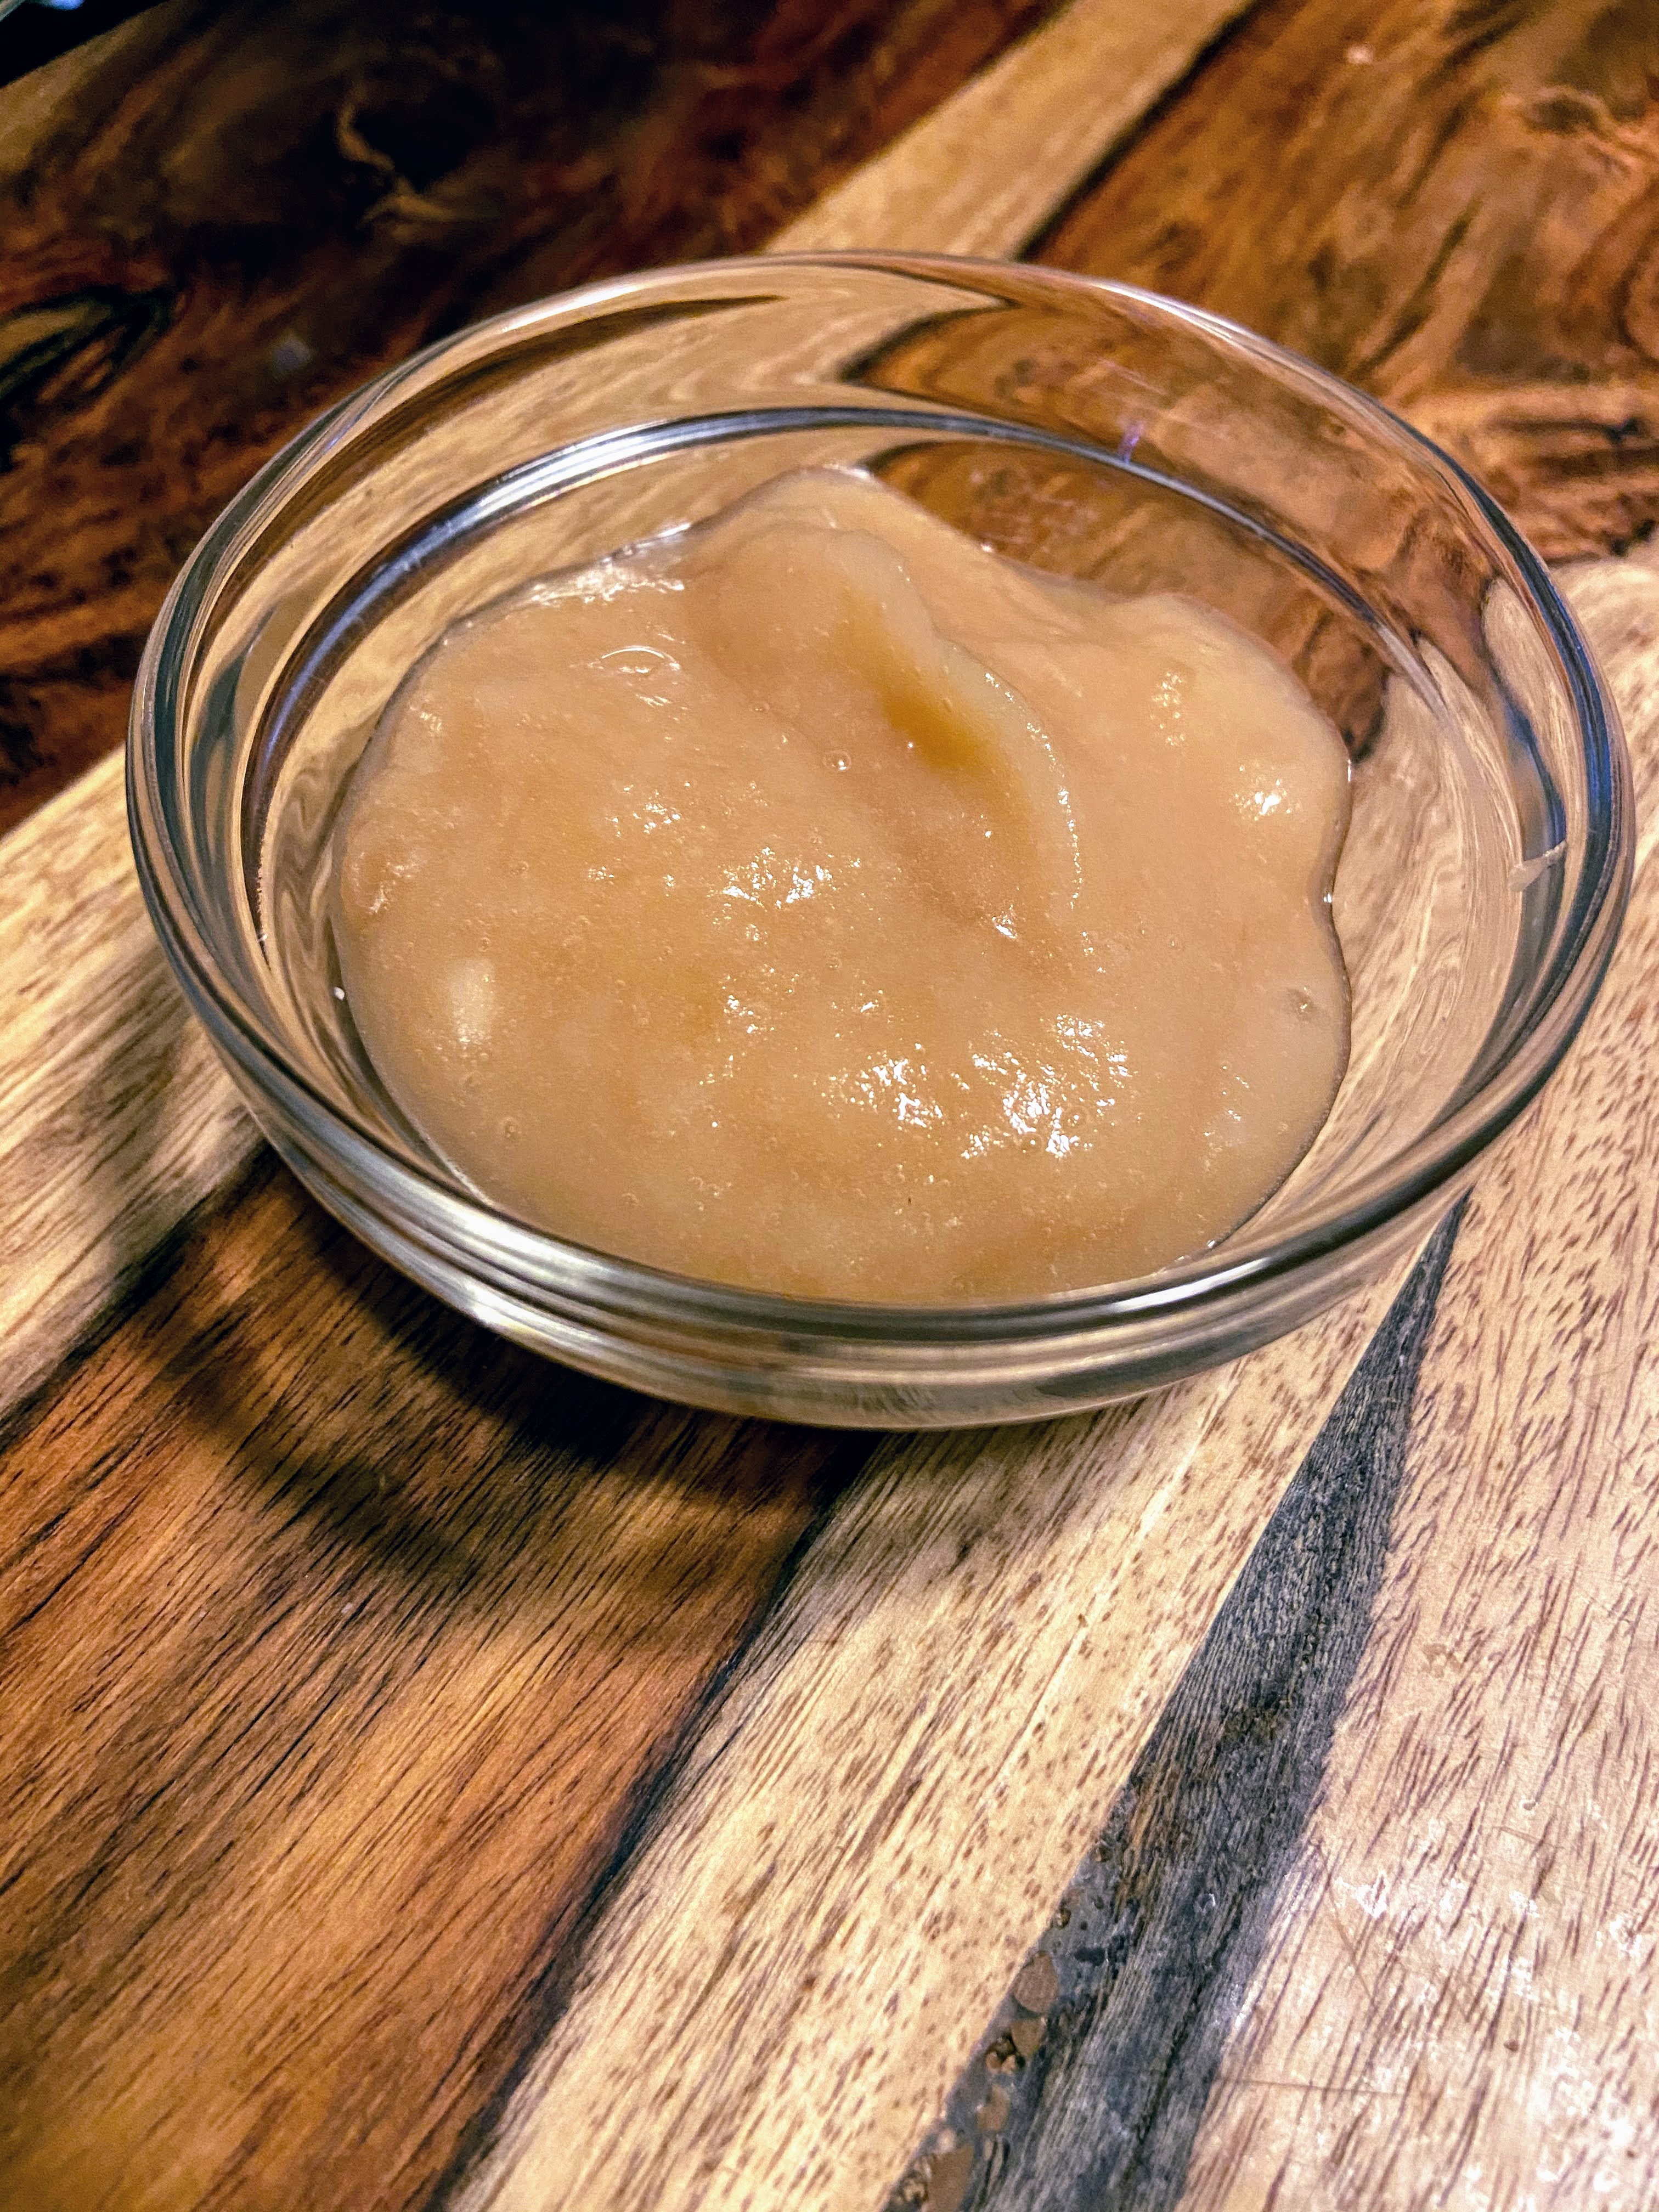
Now, I’ve learned that preserving homemade applesauce doesn’t have to look like canning it (although I like to do a little of both). It can look like freezing it, which is a little less daunting for many. And while I love a low simmer on the stove, a slow cooker does the trick and takes the pressure off of worrying if it’s going to burn. Big win, right? 

So if you’re ready, I am excited to share my homemade applesauce recipe for freezing. 

Your Ingredients for HOmemade AppleSauce

  • 8-9 pounds of apples (between 27-36 apples)
  • 2-3 cinnamon sticks (optional) 
  • 1 cup of water 

Note: I never add sugar. Apples are sweet enough on their own that I don’t think you need it. If you want to add sugar, I recommend starting low, say, ½ cup. You can add it later, but you can’t unsweeten applesauce after you add it. 

Directions for Slow cooker Applesauce

Gather a bowl and a 7-8 quart slow cooker. Peel, core, and slice your apples. Place the scraps in the bowl for Apple Scrap Jelly (yes, you didn’t know you were also making jelly, but here you are, getting ready to!). Set aside (or compost them if you must.) 

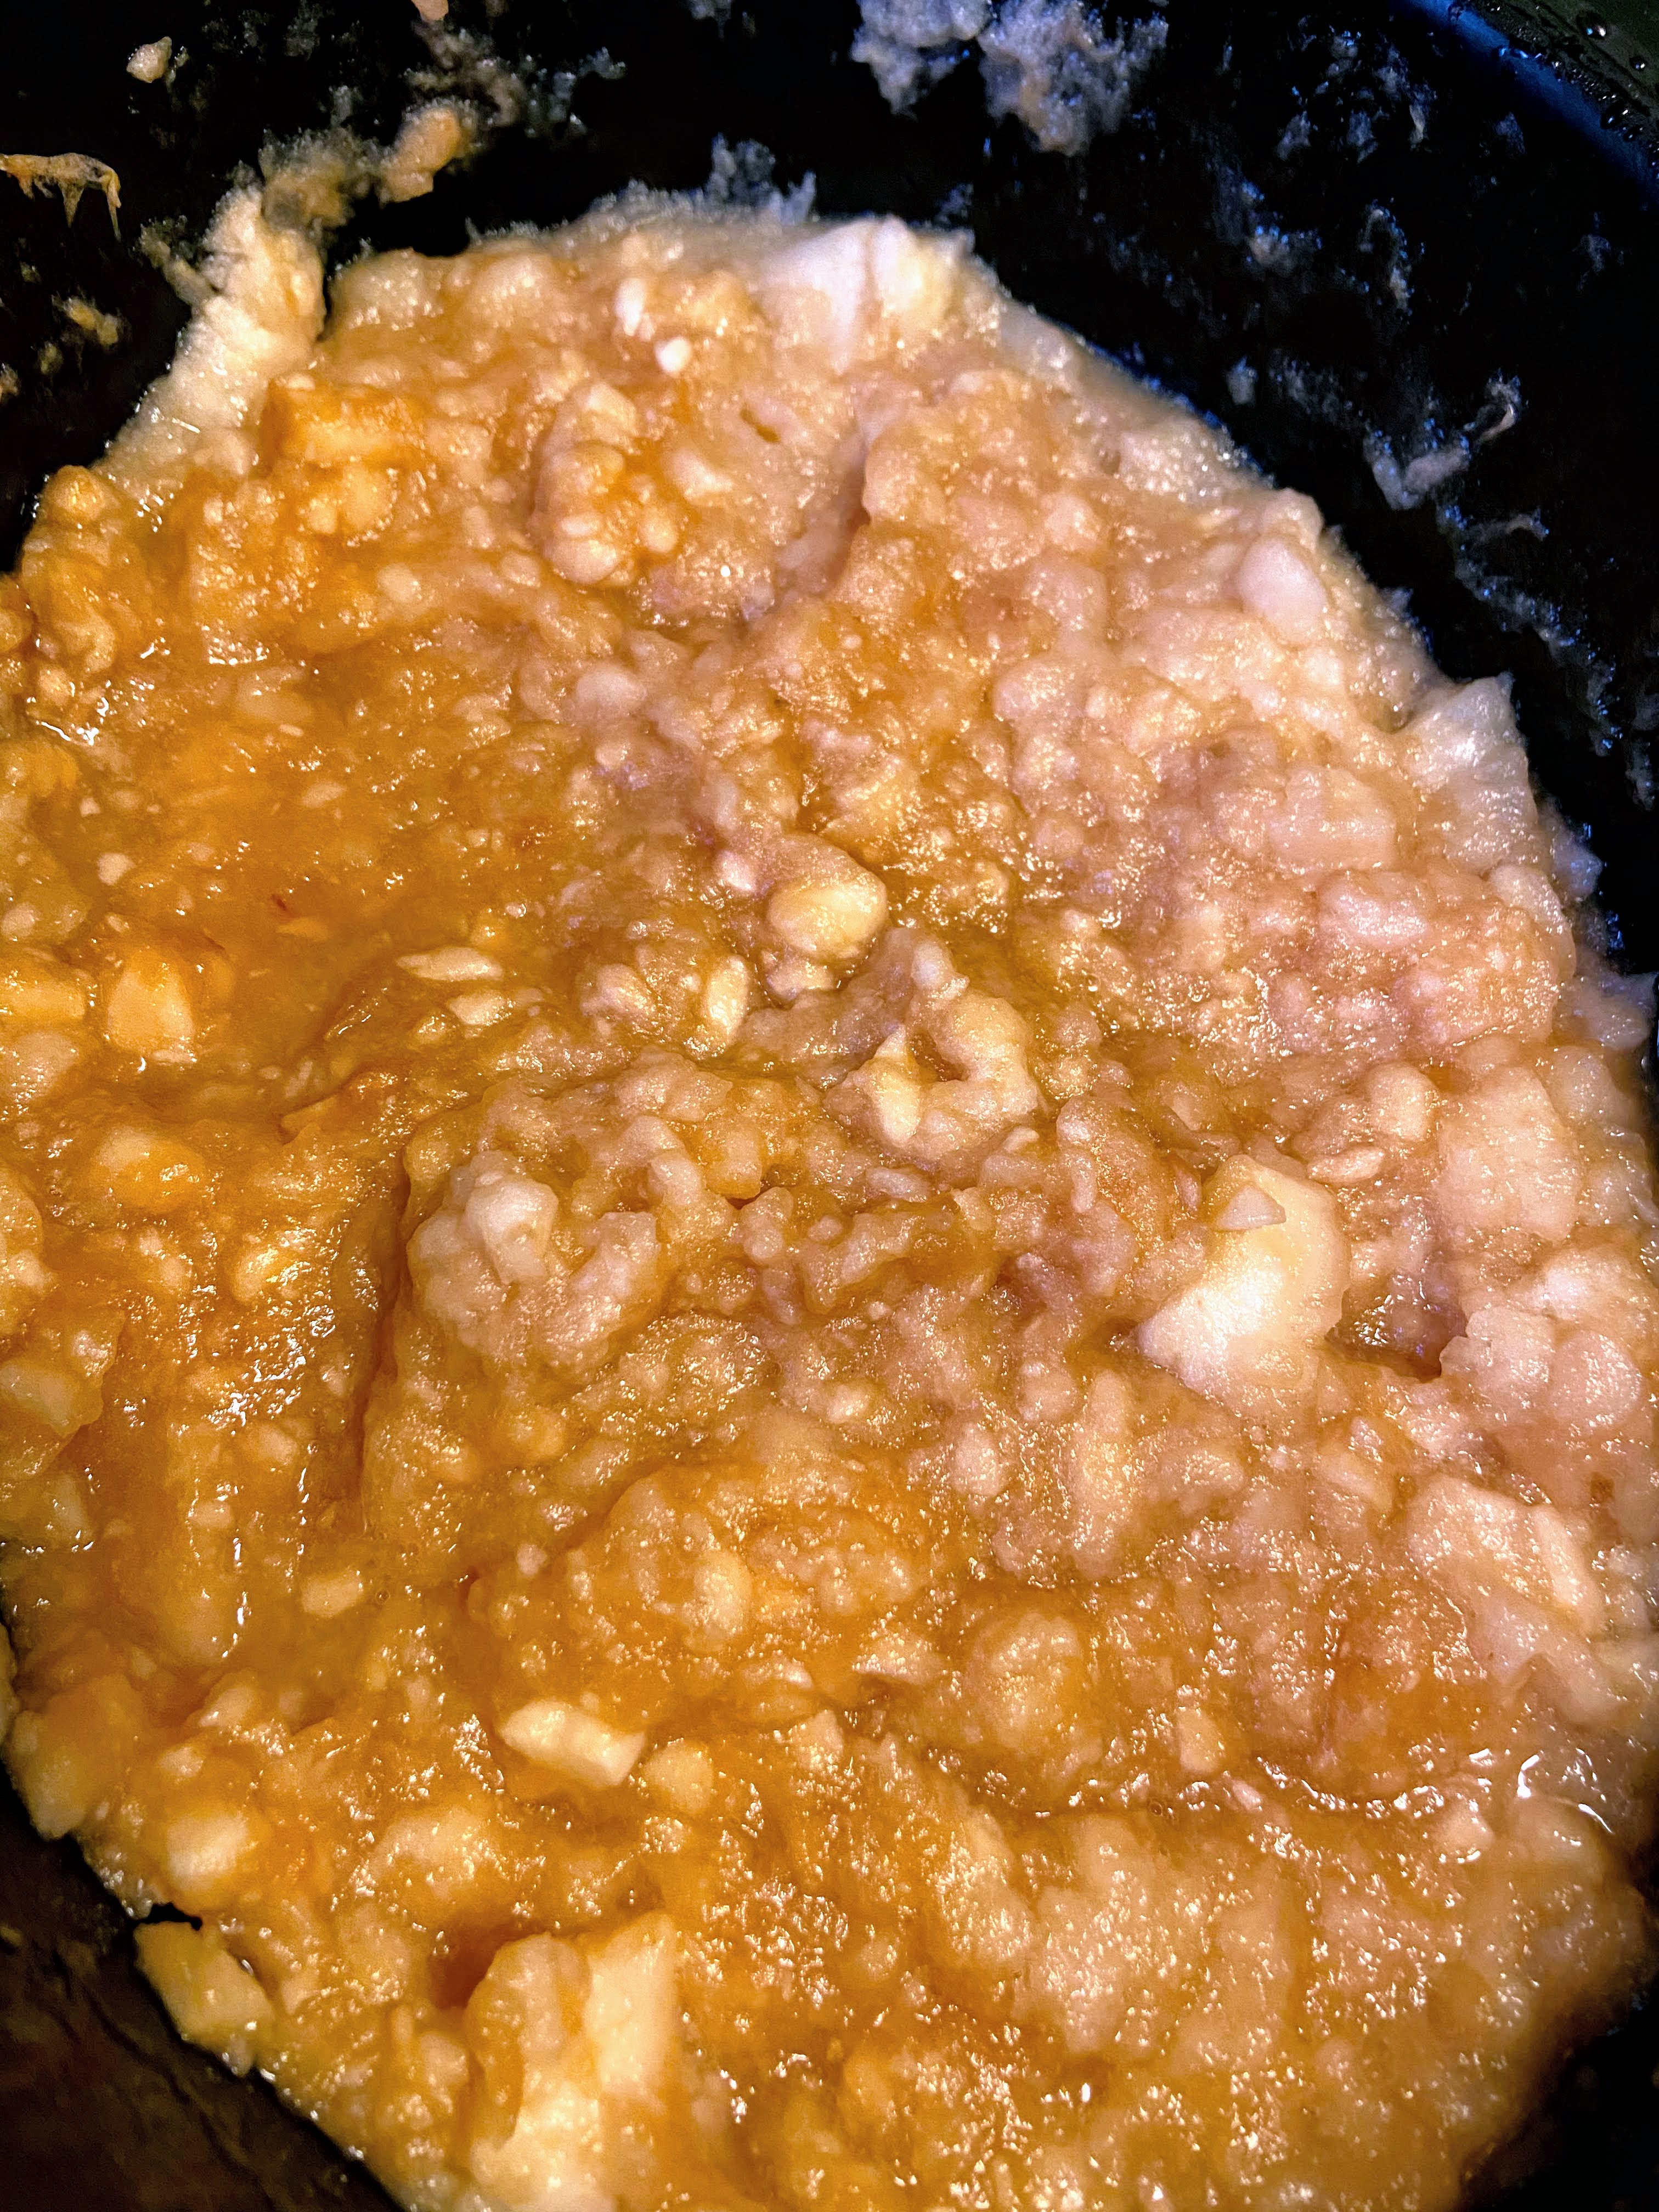
Place the sliced apples in the slow cooker. Add cinnamon sticks and water. Set on high for 3-4 hours. Every 30 minutes or so, stir and mash a bit with a potato masher or pastry cutter to break down the apples. Cook until apples are soft. 

Remove the cinnamon sticks. Now, you have a decision to make: chunky or smooth? 

Chunky Applesauce? Continue to mash with the potato masher until you like the texture. 

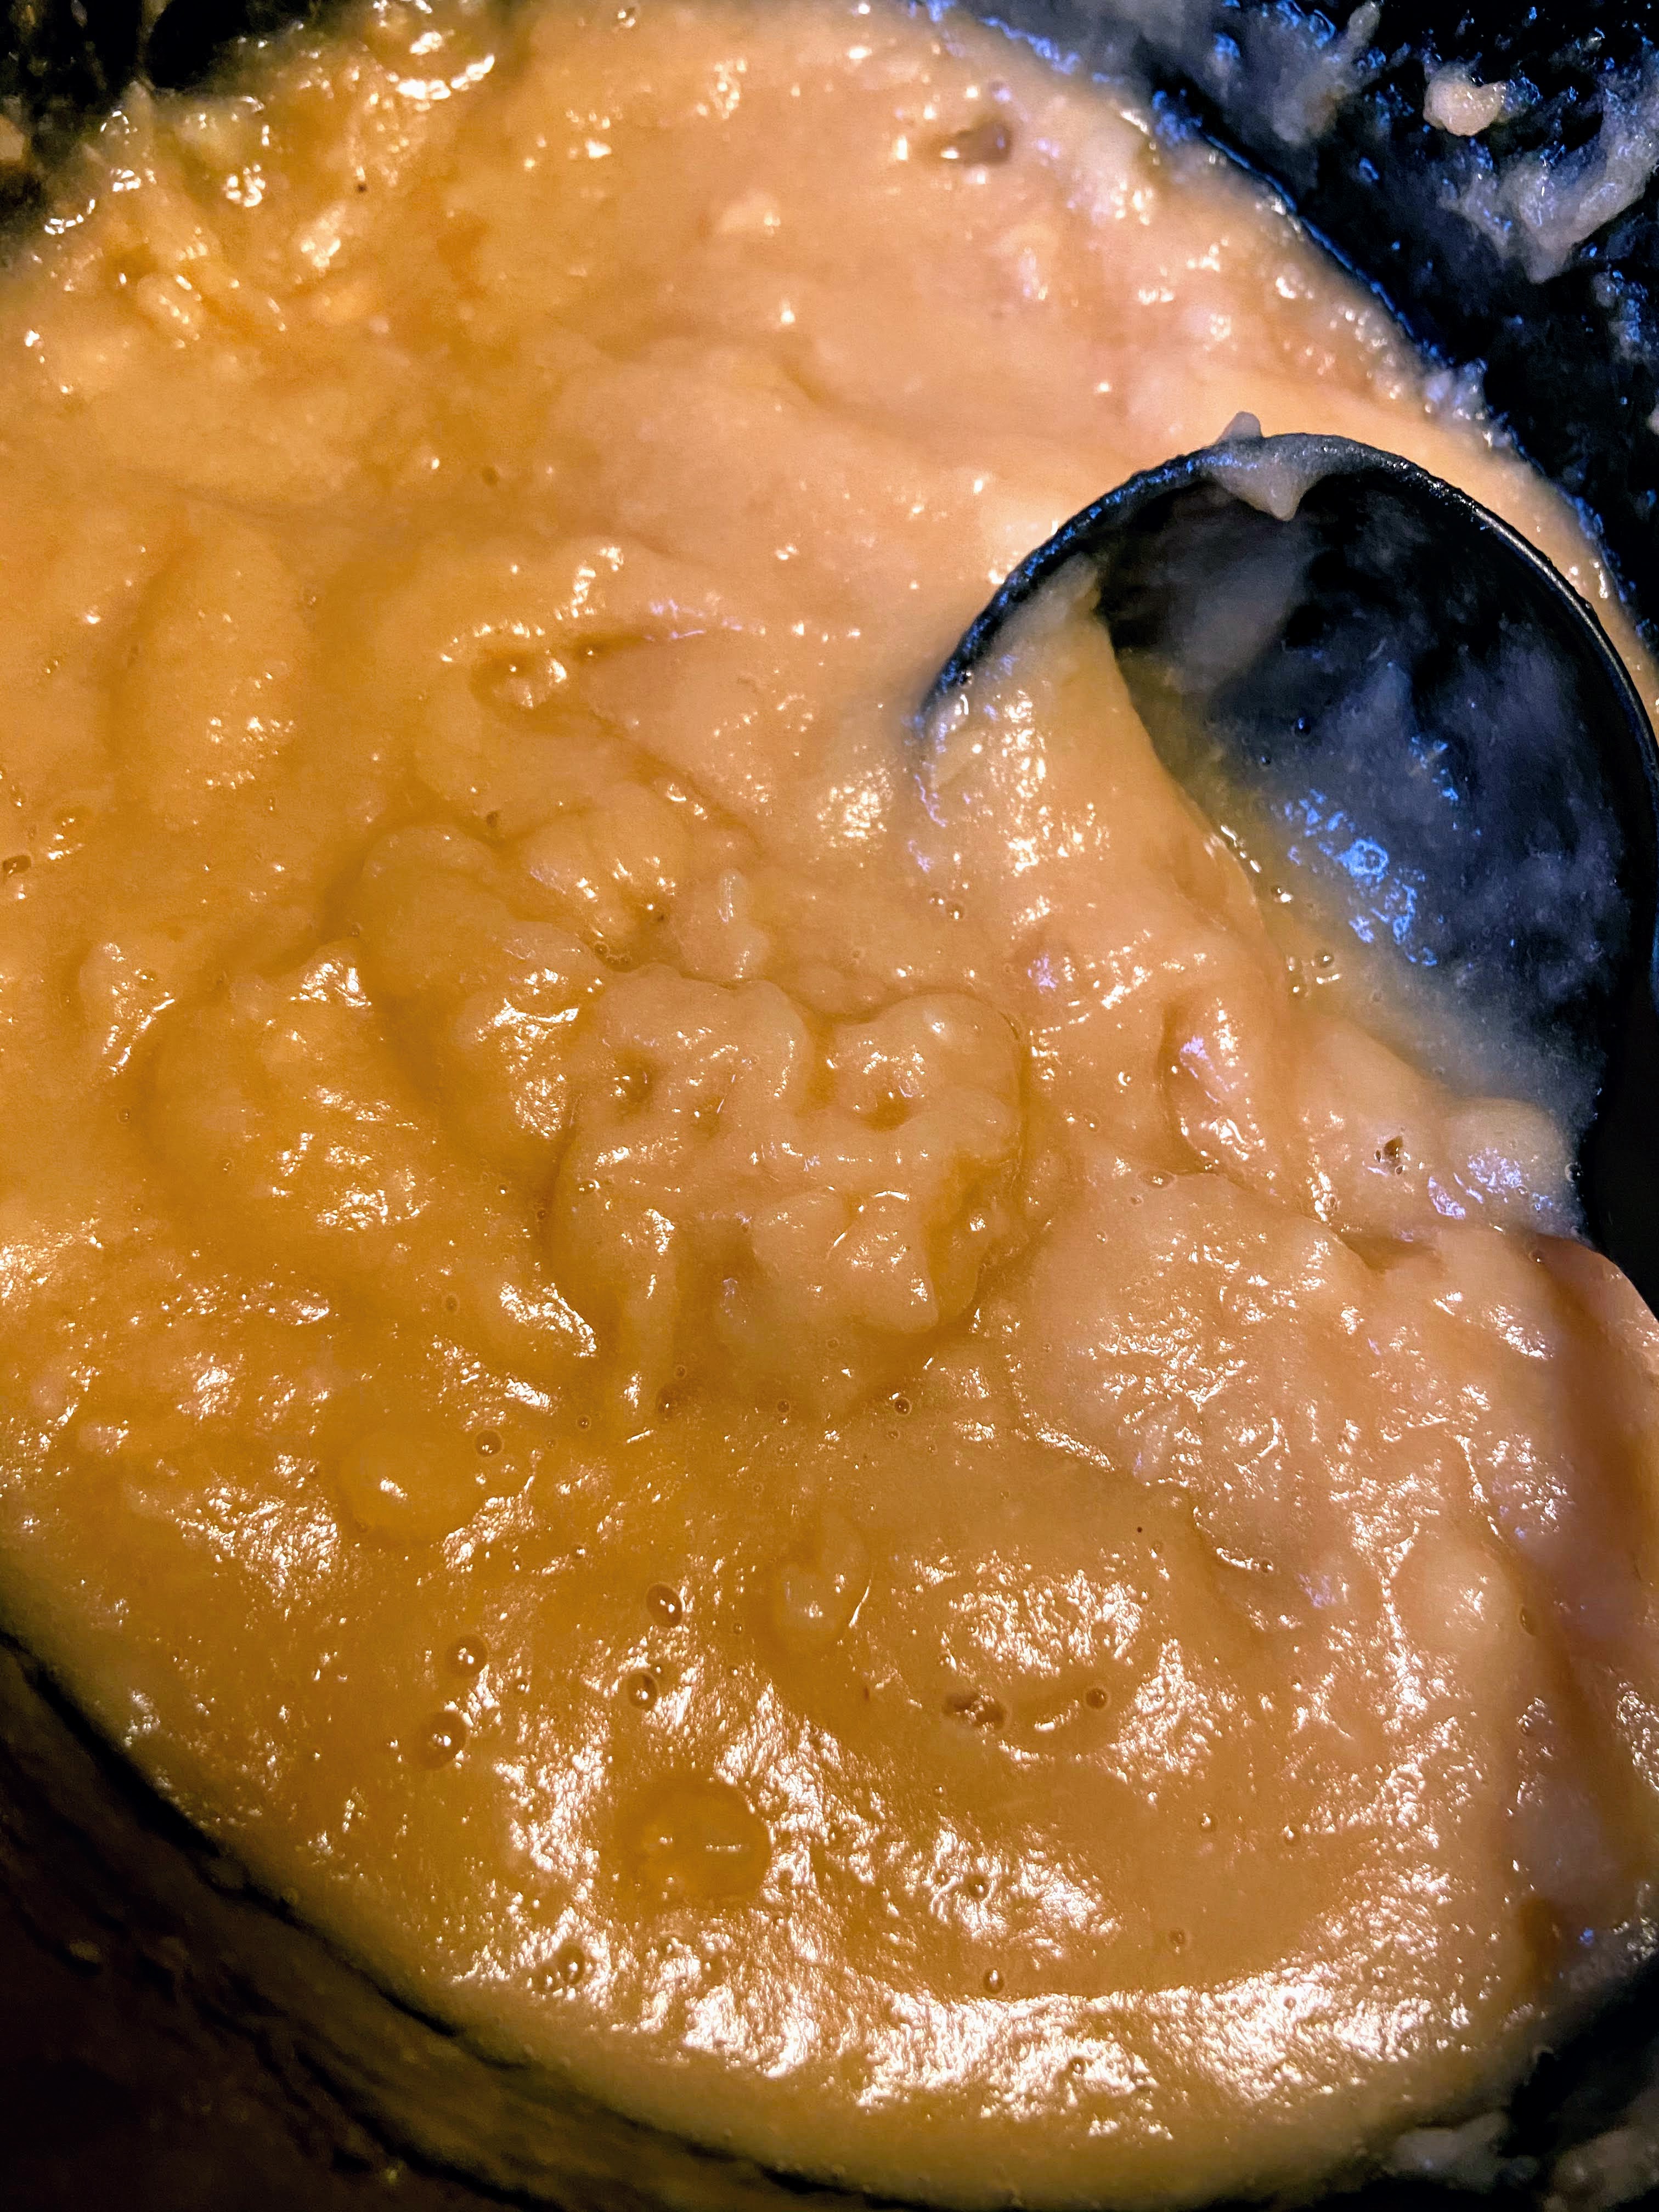
Smooth Applesauce? Hit it with an immersion blender until you get the texture you love. 

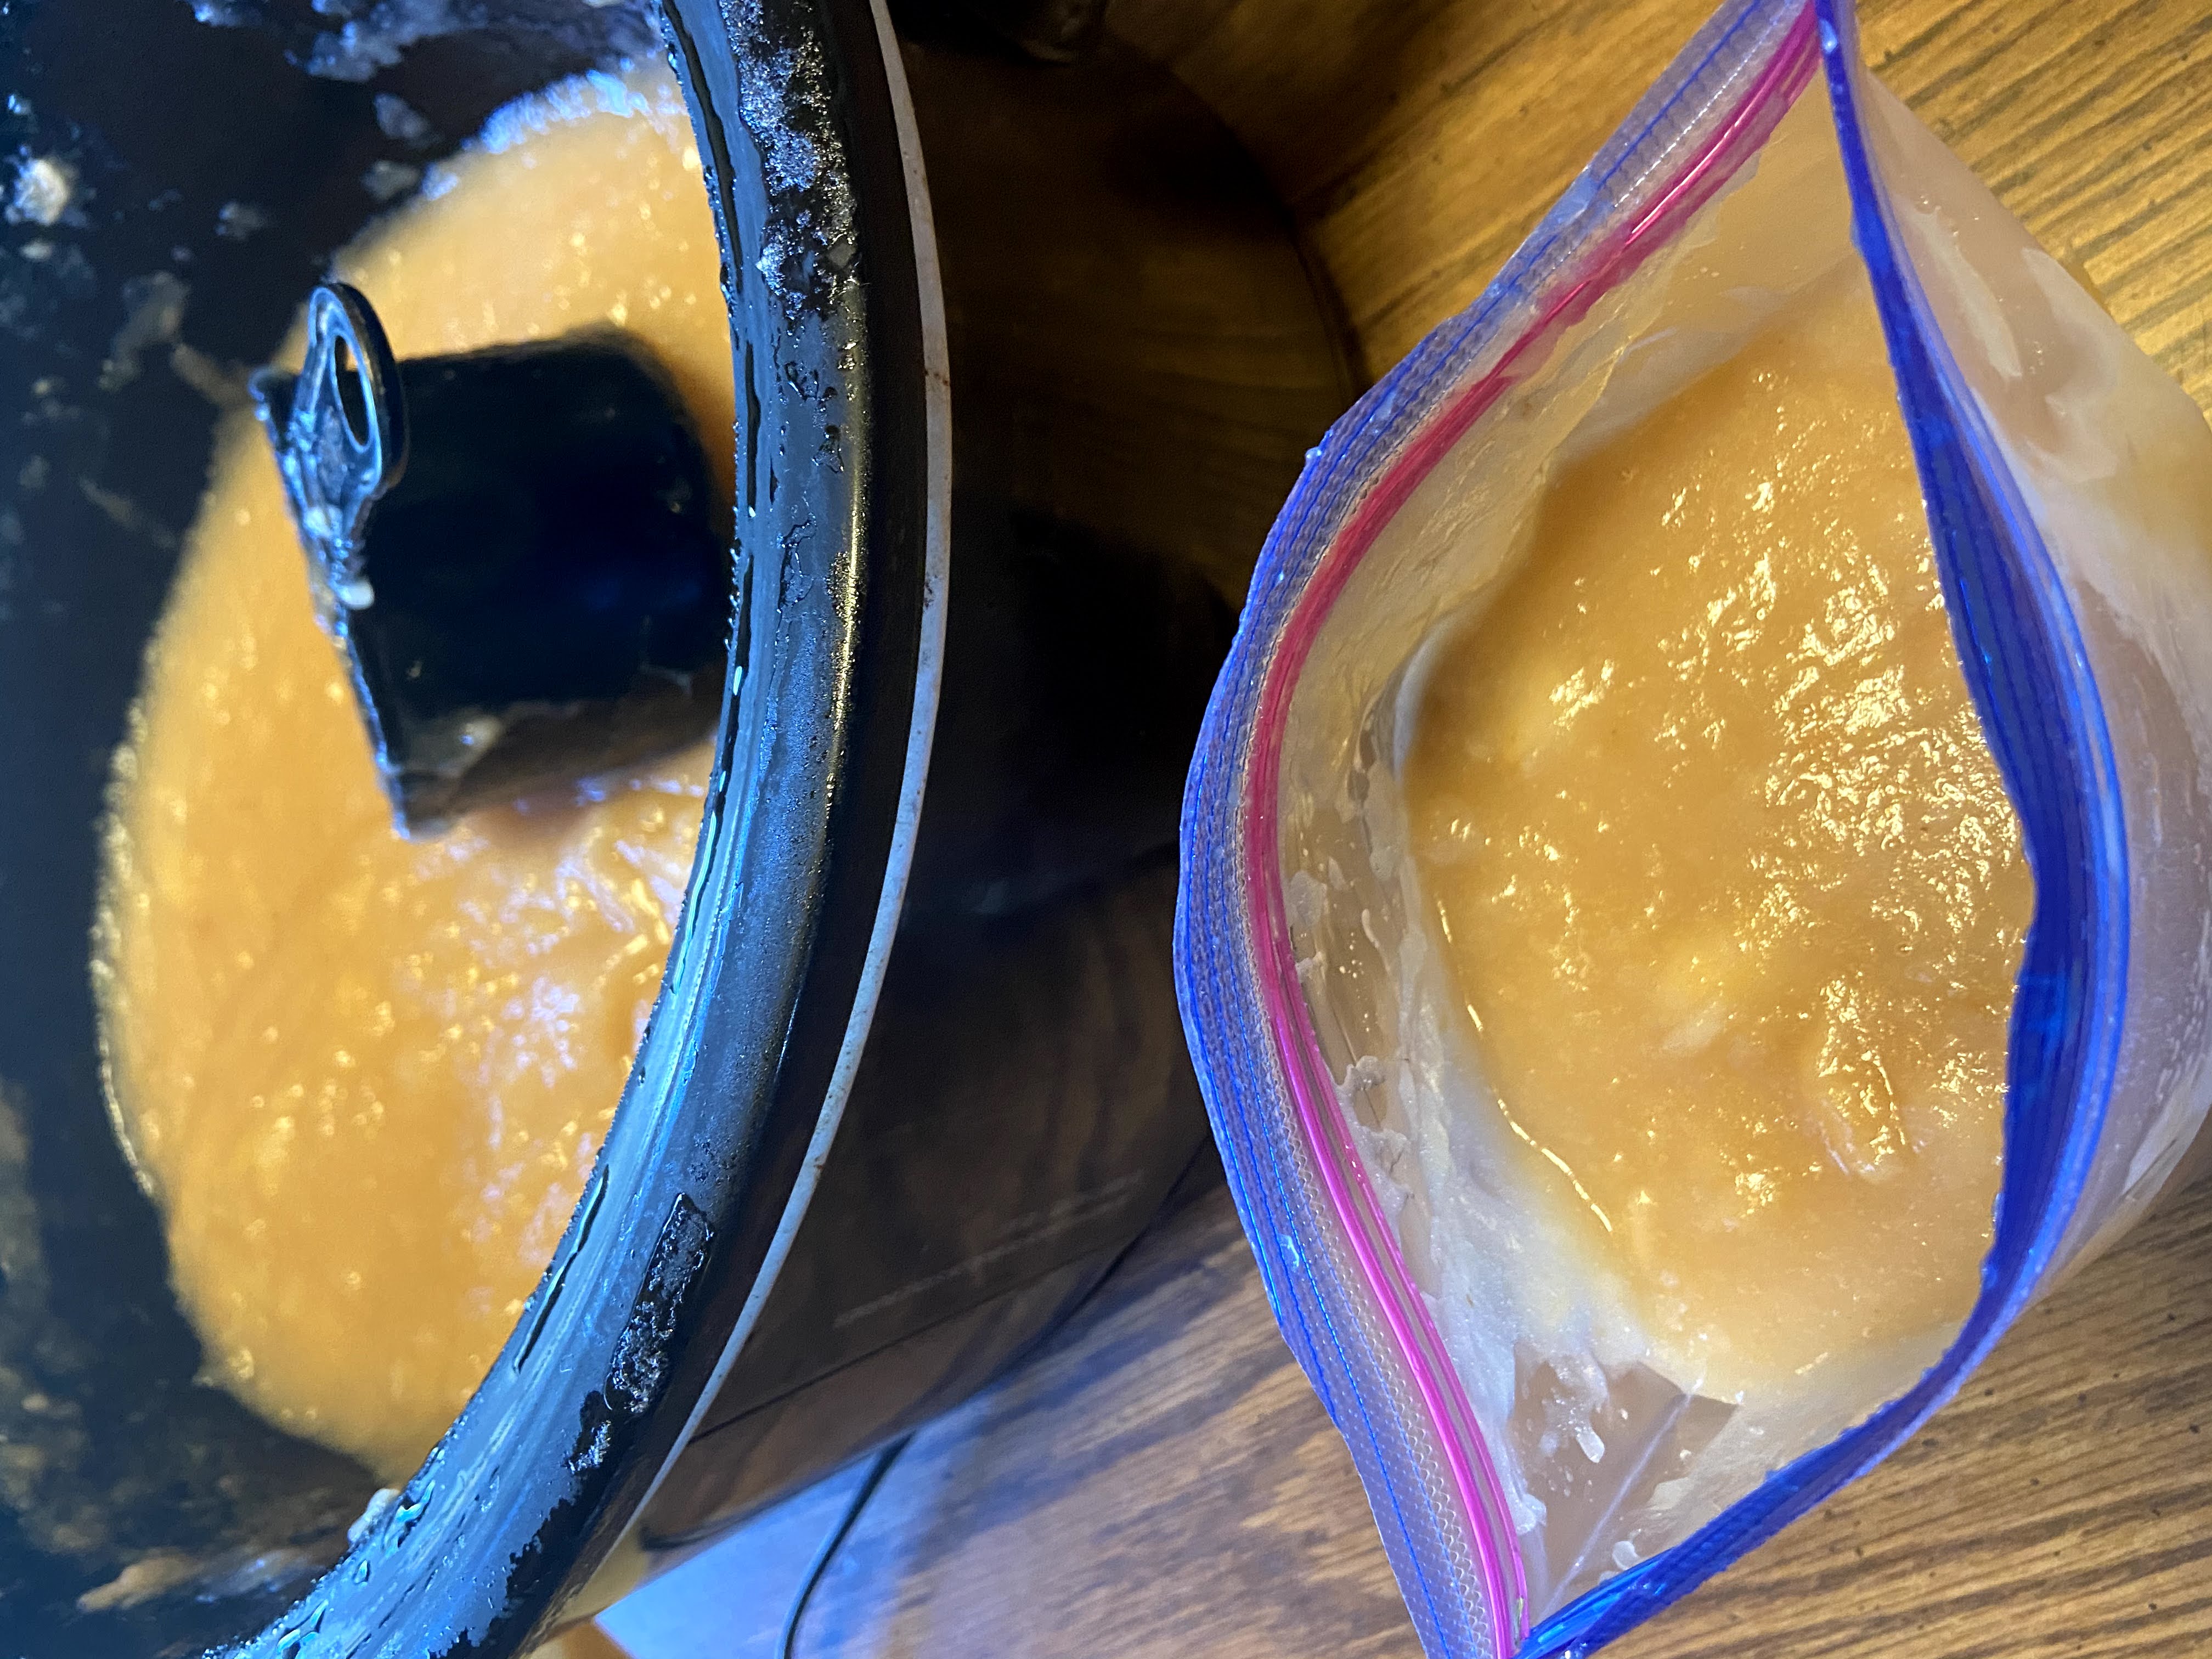
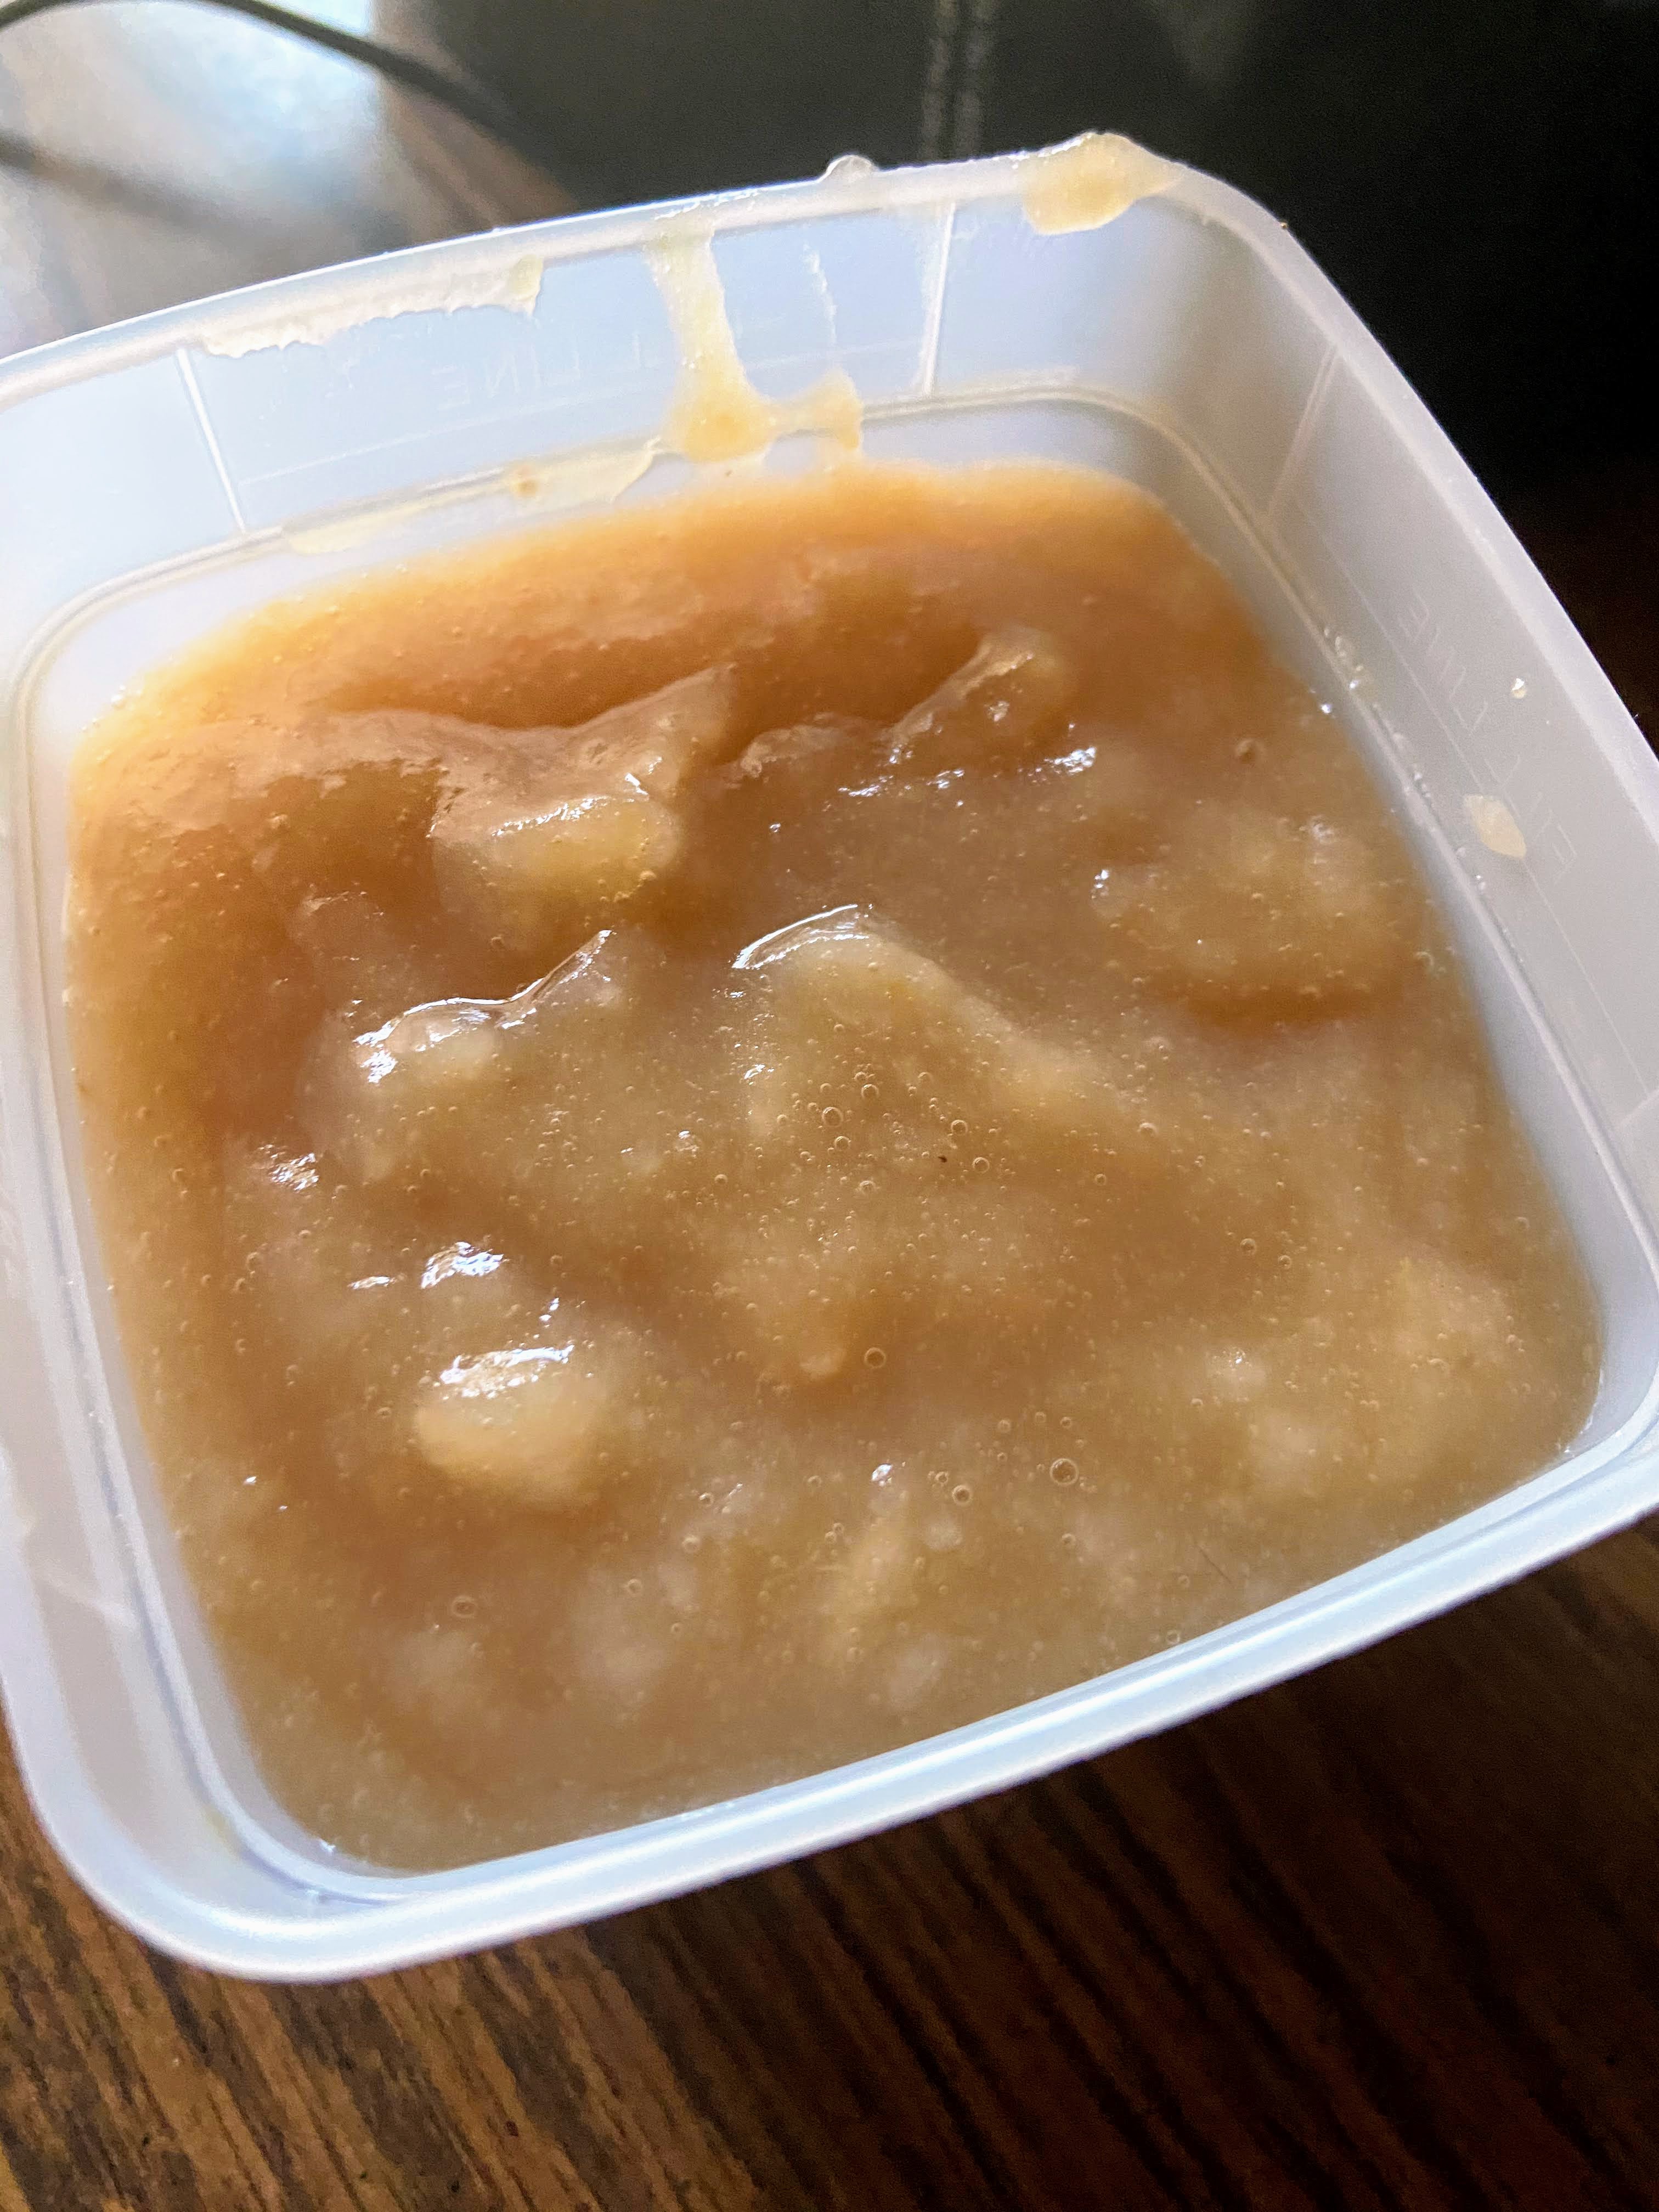
Allow to cool for approximately an hour. Ladle cooled applesauce into freezer safe containers (I love these container from Arrow). Label and store in the freezer. My mom likes to ladle her applesauce into freezer bags. She likes that they lay flat in the freezer. You do you. (Yes, I know I started by saying my mom didn’t preserve food. She does now. Maybe I inspired her?) 

This recipe should result in about 6 pints of applesauce. 

Tools of the Trade

In my post, I talk about my immersion blender (a favorite tool of mine!), my Arrow freezer containers (a go to for apples, portioned leftovers, apple pie filling, and so much more!), and I love my Crock pot. I mean, you can’t go wrong!

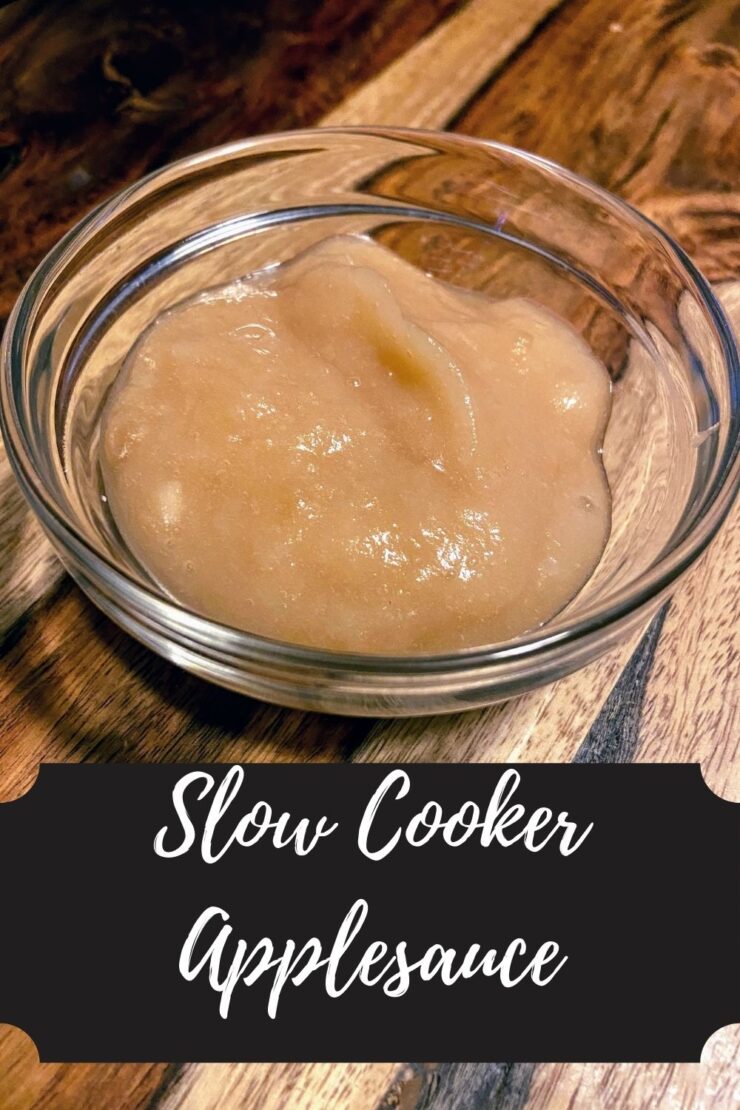
Slow Cooker Applesauce

Apple season equals time for homemade applesauce! Get out the slow cooker and some freezer safe containers and get set to create!
Prep Time 30 minutes
Cook Time 4 hours
Course Side Dish
Cuisine Preserving
Servings 6 pints

Ingredients
  

  • 8-9 pounds of apples between 27-36 apples
  • 2-3 cinnamon sticks optional
  • 1 cup of water

Instructions
 

  • Peel, core, and slice your apples. Place in the slow cooker.
  • Add cinnamon sticks and water. Set on high for 3-4 hours.
  • Every 30 minutes or so, stir and mash a bit with a potato masher or pastry cutter to break down the apples. Cook until apples are soft.
  • Remove the cinnamon sticks.
  • If you prefer chunky applesauce, continue to mash with the potato masher until preferred texture. If you prefer smooth applesauce, blend with an immersion blender.
  • Allow to cool for approximately an hour. Ladle cooled applesauce into freezer safe containers. Label and freeze.

Notes

I never add sugar. Apples are sweet enough on their own that I don’t think you need it. If you want to add sugar, I recommend starting low, say, ½ cup. You can add it later, but you can’t unsweeten applesauce after you add it.
Keyword apple and cinnamon, apples, applesauce, freezer meals, preserving
Tried this recipe?Let us know how it was!

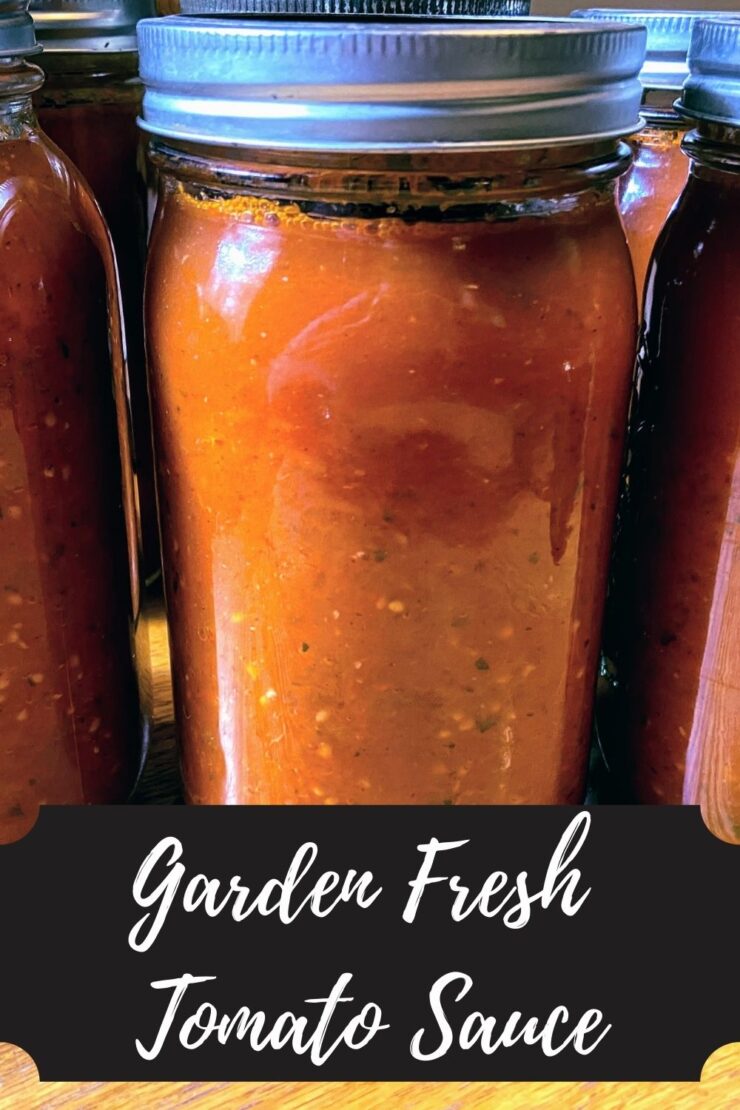
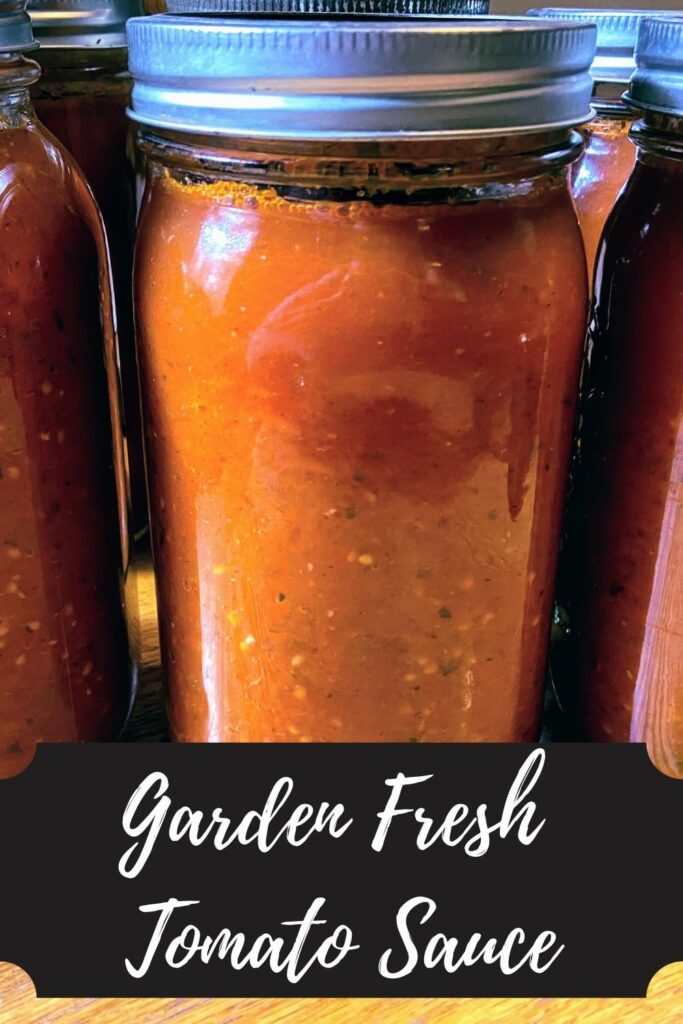
Garden Fresh Tomato Sauce

Canning and preserving from my garden is my jam all summer long. I love the color, the flavor, the dirt under my nails and ALLL the mason jars. Seriously, there isn’t much better than a line of mason jars that are full of the garden’s bounty. I remember when I first started planting our garden, my theory was, “Plant all the plants. The worst thing that happens is that some of the food goes to the chickens, our friends, or the compost pile.” But I love to fill our shelves and freezer with food we grew, so it rarely goes to waste. One of my favorite things to preserve is garden fresh tomato sauce. 

After trying a few different recipes, I developed this lower yield recipe (15 pounds really is a lower yield! Check out any Ball Canning Book to see!). I hear you saying, “But Jess! I don’t have 15 pounds of tomatoes ready at any time and I don’t go to the farmer’s market!”. I’ve got your back with a great solution: The freezer.

The Hack

I rarely have enough tomatoes ripe at one time for 15 pounds. If you are like me, let me share the trick that was an immediate love for me: When you have a large amount of ripe tomatoes on the counter, stem, wash, and dry them. From here, place the tomatoes in a freezer safe container or bag. I like to label them with their weight ahead of time. When you are ready for canning, simply take the bags out a day or two ahead of time to thaw (or you can place them in the sink with warm water to speed up the process). 

This method is awesome for two reasons: 

  1. You can use your own tomatoes, even if you don’t have a ton of plants. They won’t rot on your counter waiting. 
  2. When the tomatoes thaw, the skins come right off. I like to can my sauce with the skin (so many of the nutrients are there!), but it is nice to get rid of a few of them. 

Regardless of how you come by your tomatoes (friends, farmer’s market, your own dirt), let’s get going with some great garden fresh tomato sauce! Oh, and if you plan on canning it and are new to it, check out the National Center for Home Preservation Site for more information! 

Your Ingredients For Garden Fresh Tomato Sauce

  • 15 pounds of tomatoes, cleaned and roughly chopped
  • 2 tablespoons olive oil 
  • 2 cups onions
  • 3 tablespoons minced garlic
  • 1 cup fresh basil, chopped
  • ½ cup fresh oregano
  • 1 ½ teaspoons pepper 
  • 1 tablespoon canning salt 

Your Steps to Garden Fresh Tomato Sauce

Cooking

Begin by heating olive oil over medium heat in a sauté pan. Add onions and garlic. Cook until translucent and soft, about ten minutes, stirring often. 

In a large kettle, combine onion mixture, chopped tomatoes, basil, oregano, salt, and pepper. Continue to simmer over medium heat, stirring often. 

Pro tip

As the sauce is cooking down, you will have a lot of liquid that you are simmering off. You can cut your cook time significantly by bailing out this liquid using a colander and measuring cup. Push the colander down onto the tomatoes, forcing the liquid up. Then use the measuring cup to ladle it out. You can simply dump it or save it as a light tomato juice. I ladle it into mason jars and save it in the fridge for my husband. 

After the tomatoes have begun to break down (about 30-60 minutes later), puree them. I like to use my stick blender to do this. It means less dishes to clean! Alternatively, you can transfer it to a food mill to puree. Once totally in sauce form, continue to cook down until the volume of the sauce has reduced to about one-half the original amount. 

Canning

While the tomatoes are cooking down, you can begin to prepare your canner and jars if you plan on processing them. (If you want to simply place the sauce in the freezer, that’s totally okay. You can transfer it to freezer safe containers or bags and freeze once cool.)

Wash and sanitize pint or quart jars, rings, and lids. Keep warm. Fill the canner with enough water to cover the jars by at least 2 inches of water. Cover and heat on high. Watch the temperature, you want a simmer but not a boil when you place the jars in the water. 

Once the sauce and canner are ready, you can begin to fill the jars. To be sure there is enough acid to have self stable jars, you must add citric acid or bottled lemon juice. 

  • Add ¼ teaspoon citric acid or 1 tablespoon lemon juice to pint jars. 
  • Add ½ teaspoon citric acid or 2 tablespoons lemon juice to quart jars. 

Finish it up!

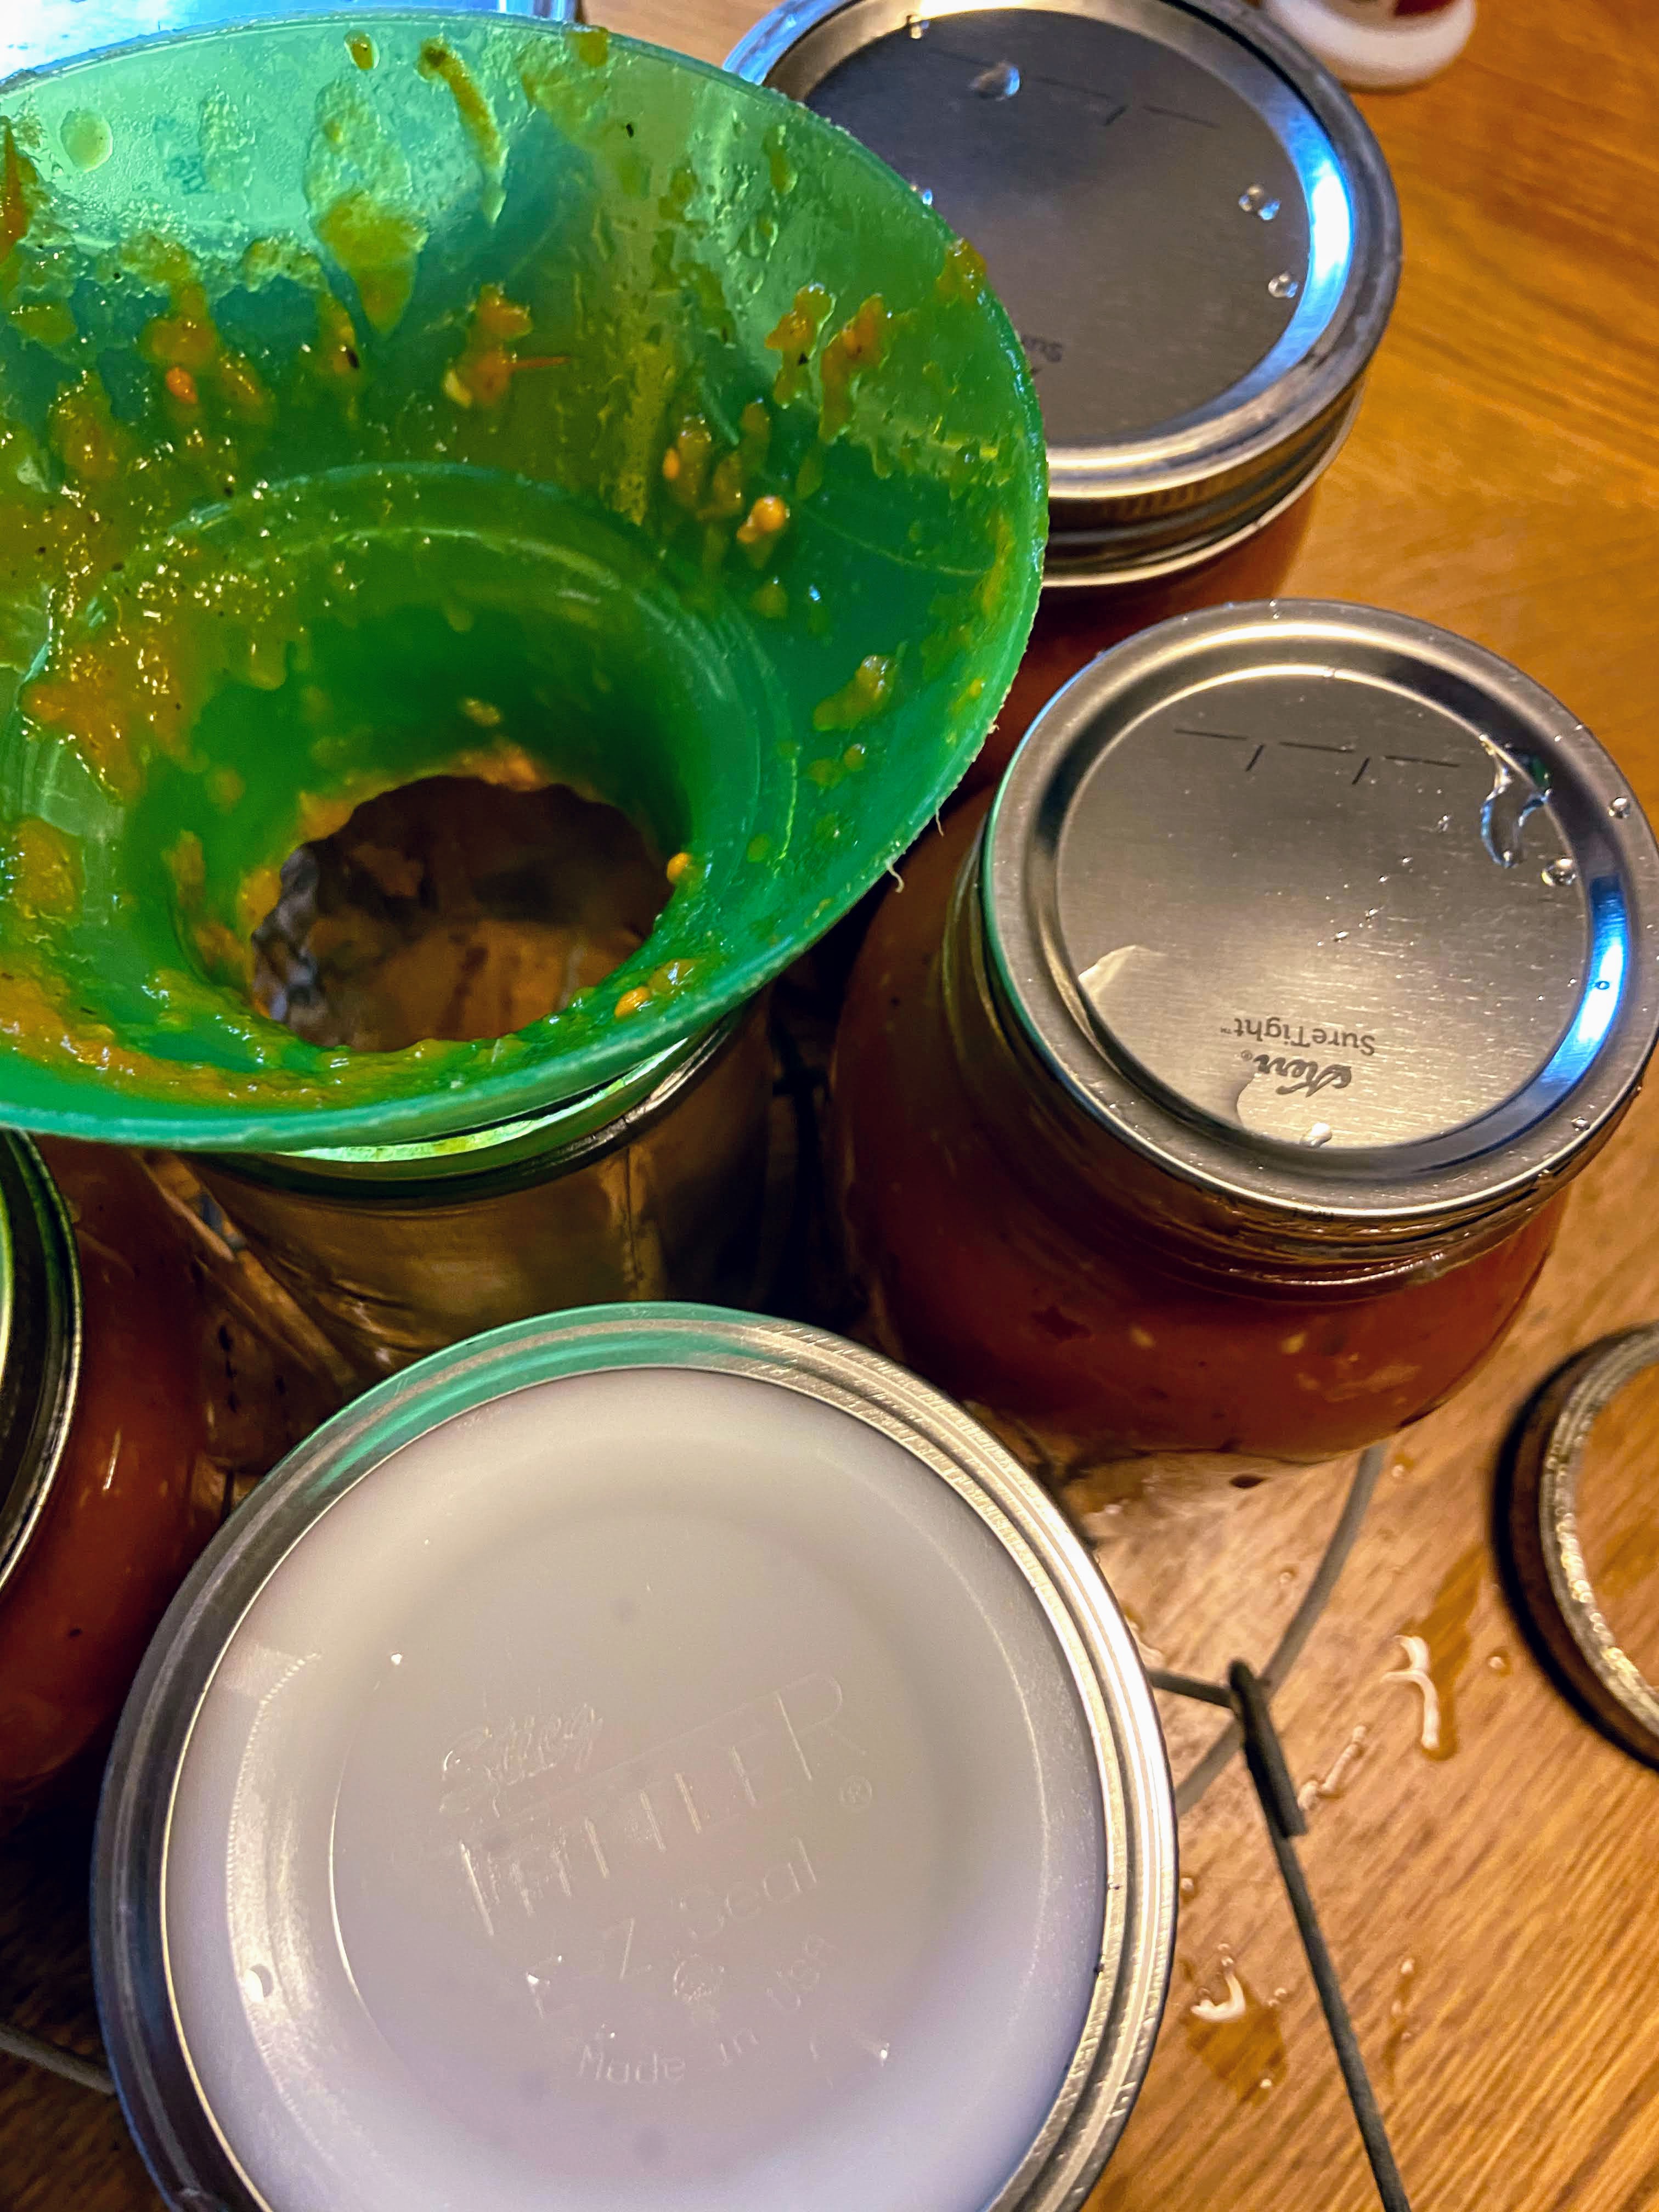
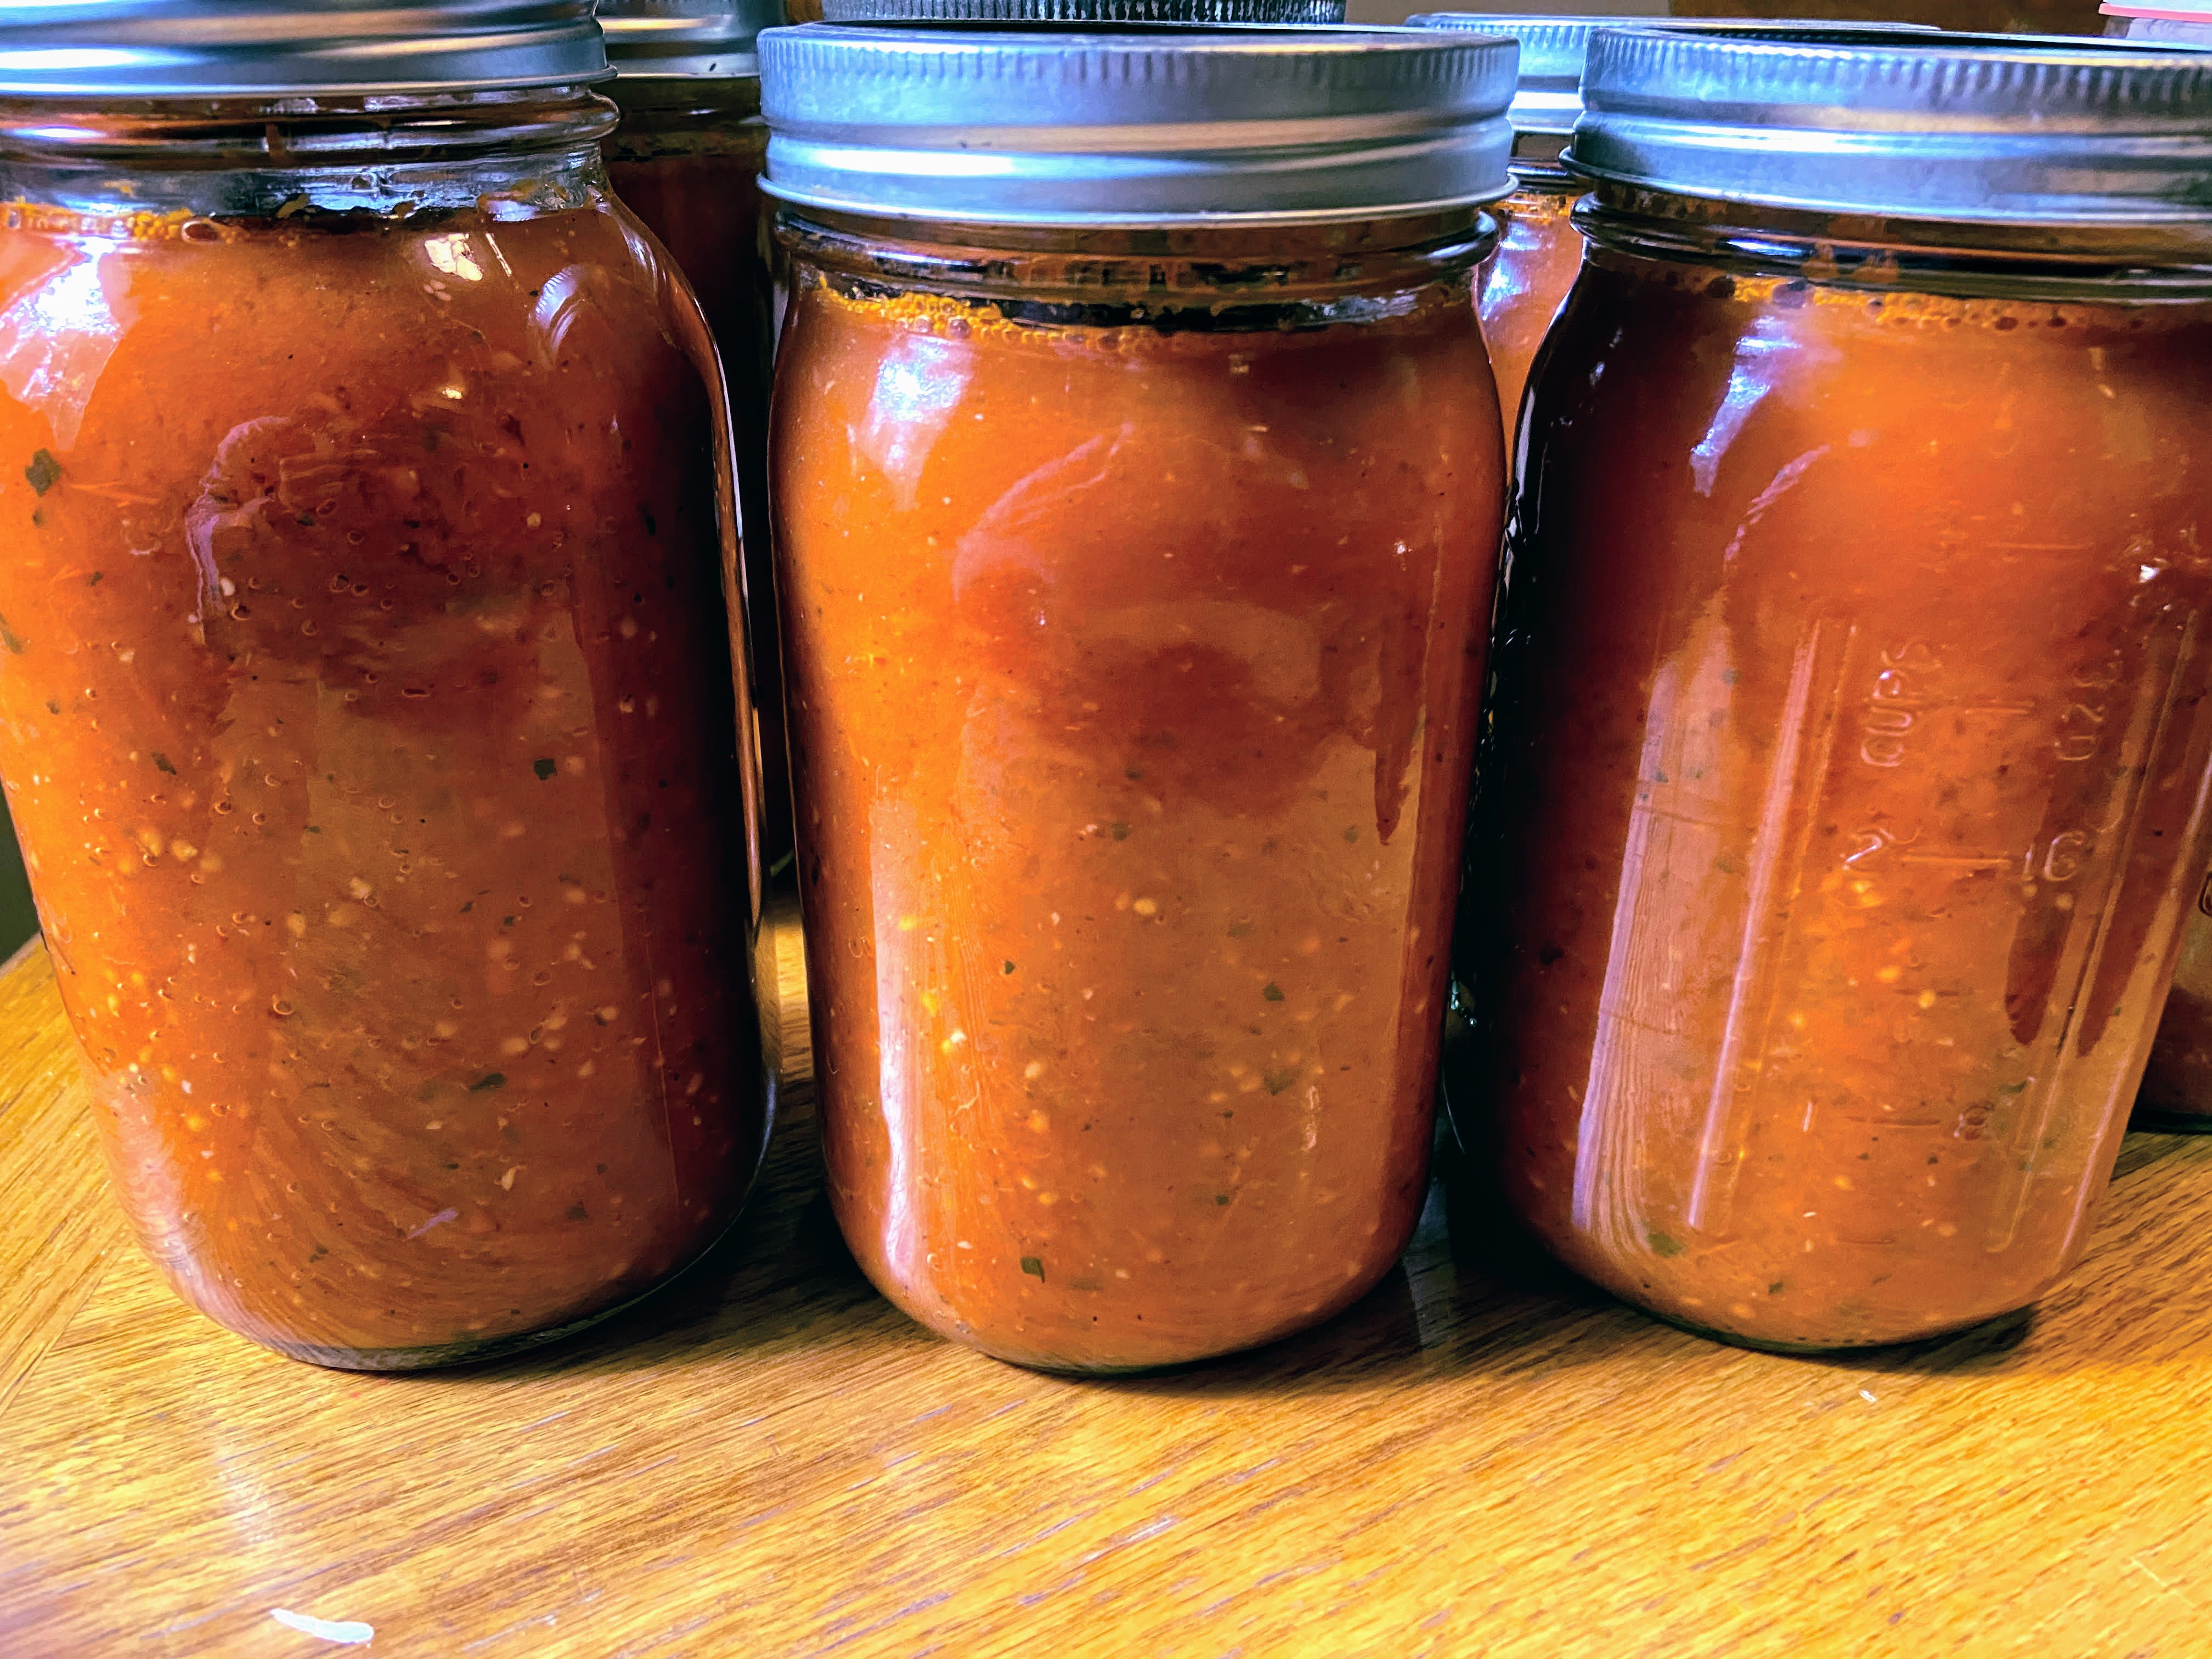
Ladle the hot tomato sauce into jars, leaving ½ inch headspace. Wipe rims of the jars with a damp cloth, add lids and rings, tightening to fingertip tight. Place in the canner, increasing the heat to high. Once the canner reaches a boil, process pint jars 35 minutes or quart jars 40 minutes. Remove from heat and allow jars to cool in the canner over 5 minutes. Then remove jars from the canner, placing them on the counter. Listen for the ping of the lids over the next 12 hours. Sealed jars are self-stable. If any jar doesn’t seal, simply place it right in the refrigerator and enjoy over the next week or so. 

Looking to preserve more of your garden? Check out my canning and preserving page by clicking the button!

Tools of the Trade

I adore my immersion blender for all things canning when I need to blend. Canning tools are a must and what is canning if you don’t have a waterbath canner?

Garden Fresh Tomato Sauce

Basil, oregano, and garlic flavor this great tomato sauce
Prep Time 30 minutes
Cook Time 2 hours
Processing Time 40 minutes
Course dinner
Cuisine Canning
Servings 3 quarts

Equipment

Ingredients
  

  • 15 pounds of tomatoes cleaned and roughly chopped
  • 2 tablespoons olive oil
  • 2 cups onions
  • 3 tablespoons minced garlic
  • 1 cup fresh basil chopped
  • ½ cup fresh oregano
  • 1 ½ teaspoons pepper
  • 1 tablespoon canning salt

Instructions
 

  • Begin by heating olive oil over medium heat in a sauté pan. Add onions and garlic. Cook until translucent and soft, about ten minutes, stirring often.
  • In a large kettle, combine onion mixture, chopped tomatoes, basil, oregano, salt, and pepper. Continue to simmer over medium heat, stirring often.
  • After the tomatoes have begun to break down (about 30-60 minutes later), puree them. A stick blender or food mill works well. Once totally in sauce form, continue to cook down until the volume of the sauce has reduced to about one-half the original amount.
  • While the tomatoes are cooking down, you can begin to prepare your canner and jars if you plan on processing them. (If you want to simply place the sauce in the freezer, that’s totally okay. You can transfer it to freezer safe containers or bags and freeze once cool.)
  • Wash and sanitize pint or quart jars, rings, and lids. Keep warm. Fill the canner with enough water to cover the jars by at least 2 inches of water. Cover and heat on high. Watch the temperature, you want a simmer but not a boil when you place the jars in the water.
  • Once the sauce and canner are ready, you can begin to fill the jars. To be sure there is enough acid to have self stable jars, you must add citric acid or bottled lemon juice.
  • Add ¼ teaspoon citric acid or 1 tablespoon lemon juice to pint jars. Add ½ teaspoon citric acid or 2 tablespoons lemon juice to quart jars.
  • Ladle the hot tomato sauce into jars, leaving ½ inch headspace.
  • Wipe rims of the jars with a damp cloth, add lids and rings, tightening to fingertip tight. Place in the canner, increasing the heat to high.
  • Once the canner reaches a boil, process pint jars 35 minutes or quart jars 40 minutes.
  • Remove from heat and allow jars to cool in the canner over 5 minutes. Then remove jars from the canner, placing them on the counter.

Notes

As the sauce is cooking down, you will have a lot of liquid that you are simmering off. You can cut your cook time significantly by bailing out this liquid using a colander and measuring cup. Push the colander down onto the tomatoes, forcing the liquid up. Then use the measuring cup to ladle it out. You can simply dump it or save it as a light tomato juice.
Keyword Canning, from the garden, preserving, tomato sauce, tomatoes
Tried this recipe?Let us know how it was!

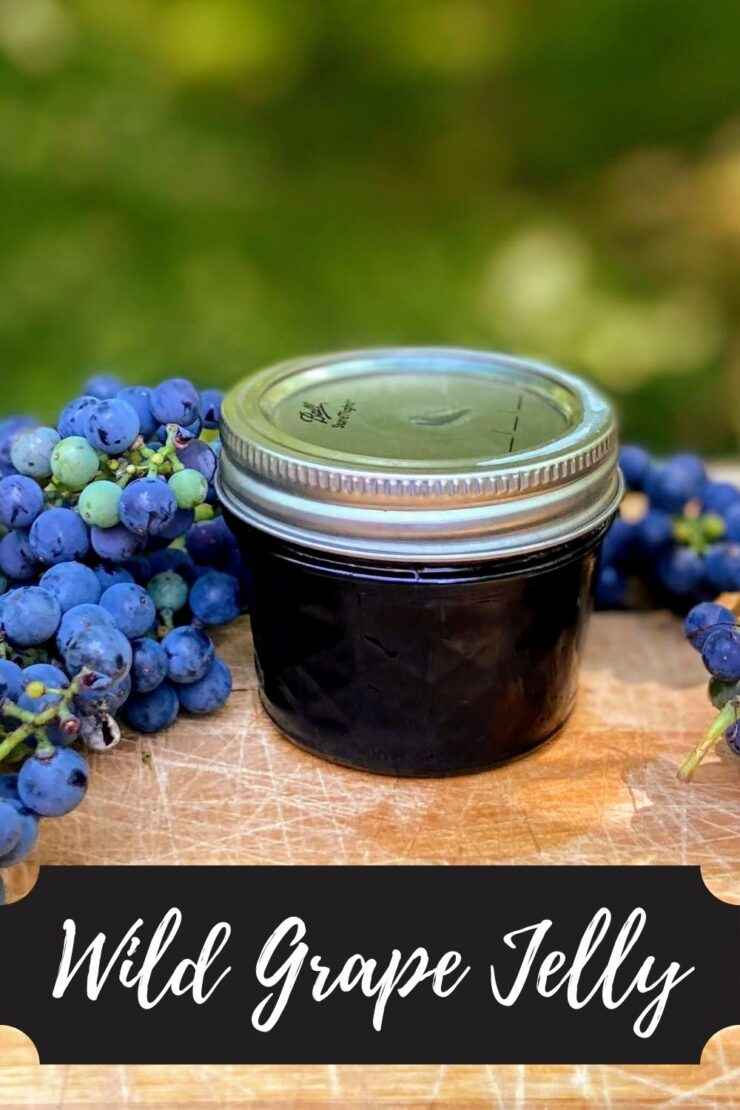
Wild Grape Jelly

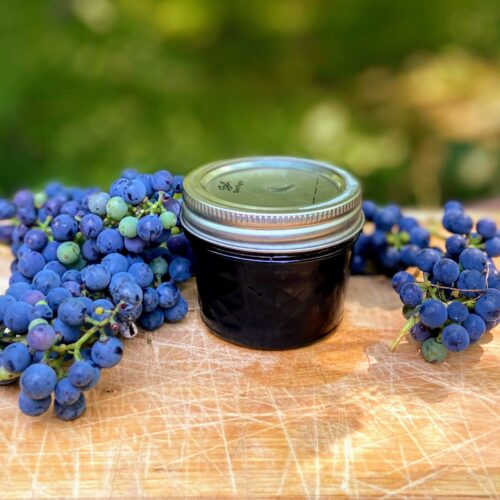
I am so excited to share my wild grape jelly with all of you! It’s just three simple ingredients that you likely have and didn’t even know! But before I get there, I want to share a habit I have that led to this fun recipe! 

About five years ago, the Mr. and I started a routine of grabbing a cup of coffee and walking around our orchard on top of the hill on our land. We did it right before I left for work, saying good morning to our trees and plants. That little walkabout gradually turned into a ½ mile walk, which grew to 2 miles, and is now generally a 2.5-4 mile walk every morning. It’s so special and a pivotal part of our marriage; we make big plans, fight, discuss our children, our dreams, everything. 

Our walks have added a lot of value to our lives beyond helping our marriage be the best it can be. I have learned a crazy amount about the plants and animals we see along the way. I can identify at least ten different plants that can be foraged from the side of the road, including the wild grape. (You should hear our conversations…here’s just a bit of it: 

Me: What’s that plant? 

Mr: It’s ‘fill in the blank.’ 

Me: I think you can eat that! 

Mr: Just because you can eat it doesn’t mean you need to. Or sometimes, “I love you honey.” 

Anywho, the Mr. doesn’t discourage the wild grapes. He just reminds me that if I want to make wild grape jelly, I need to get to them before the birds do. Many of the wild grape vines don’t seem to produce fruit, but you know I am always on the lookout. The moment I find some, I go in for the harvest. The grapes that grow here are perfectly tart; think blueberries that have been harvested just a hair too early. And that makes them delicious and the perfect candidate for wild grape jelly. 

And great news! This recipe is VERY flexible in terms of quantity. Whatever you harvest is what you can work with. (Be sure you are finding wild grapes and not a poisonous look alike. Wild grapes will have heart shaped leaves with serrated edges. While I am not from Missouri, there Department of Conservation has a great website on identifying animals and plants in the field.)

Your Ingredients For Wild Grape Jelly

  • wild grapes, rinsed and removed from the stem 
  • sugar (½ cup for every cup of juice after straining)
  • lemon juice (½ tablespoon for every cup of juice after straining)

Begin Boiling 

Place the rinsed and stemmed grapes in a kettle. You can add a few tablespoons of water here to help prevent sticking. Heat over medium-high heat, using a potato masher or wooden fermentation tapper to break them down. A large spoon would also work, but I love my tapper and I don’t even ferment food yet. 

Once the grapes have come to a boil and sufficiently broken down, remove from heat. From here, you have a few options: 

  • Strain through a few layers of cheese cloth, collecting the liquid in a liquid measuring cup. 
  • Rest a small holed strainer over a bowl and use the tapper once more to force as much liquid and pulp through the strainer, being mindful to have holes smaller than the seeds of the grape. (This is the option I go with)

If you haven’t already, pour the grape juice into a liquid measuring cup to determine the amount of sugar and lemon juice you should add. 

Place the juice in a large kettle. For every cup of liquid, stir in ½ cup sugar and a ½ tablespoon lemon juice. Begin to heat over medium-high heat, stirring often. Your end goal is to reach the gelling point. There are lots of tests for this, but I prefer the temperature test. If you are at sea level, the gelling point is at 220 degrees. For every 1000 feet of elevation, you subtract 2 degrees. For me, the gelling point is 218 degrees. Don’t have a decent food thermometer? Check out the National Center for Home Preservation website for other ways of testing for the gelling point. 

It takes longer to reach the gelling point than I think it should. It also goes from needing 3 degrees to reaching the gelling point fast. You can get complacent while you are waiting and suddenly hit the temperature, so I am trying to warn you 🙂 

While the jelly is boiling, begin to prepare your water bath canner and jars if you plan on processing them. (If you want to simply place the jelly in the fridge after it hits the gelling point, that’s 100% okay. You don’t need to process it. However, if you want it self-stable, you should process in a waterbath canner.)

Canning Time!

Wash and sanitize jars, rings, and lids. Keep warm. Fill the canner with enough water to cover the jars by at least 2 inches of water. Cover and heat on high. Watch the temperature, you want a simmer but not a boil when you place the jars in the water. 

Once the wild grape jelly has reached the gelling point, remove from heat. Ladle into prepared jars, leaving ¼  inch head space. Wipe rims of the jars with a damp cloth, add lids and rings, tightening to fingertip tight. Place in the canner, increasing the heat to high. Once the canner reaches a boil, process for 5 minutes. Remove from heat and allow jars to cool in the canner over 5 minutes. Remove from canner, placing on the counter. Listen for the ping of the lids over the next 12 hours. Sealed jars are self stable. If any jar doesn’t seal, simply place it right in the refrigerator. 

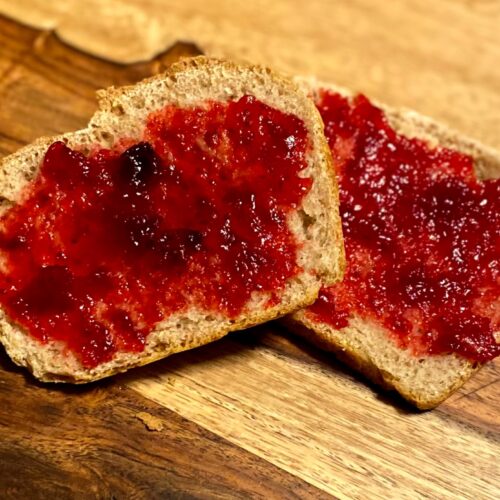
PS…To be especially awesome, have some fresh baked bread on hand to spread the left over wild grape jelly in the kettle on a slice. Enjoy while the rest of the jelly is in the water bath. I promise, you’ll thank me.

Tools of the Trade

If you haven’t gotten one yet, you’ll want a nice kettle for water bath canning! While not necessary, a set of canning tools makes the process so much easier. And finally, a fermentation tamper actually works GREAT for all sorts of canning processes!

Wild Grape Jelly

Foraged wild grapes from the woods come together with some sugar and lemon juice to create a tart and delicious wild grape jelly!
5 from 3 votes
Prep Time 40 minutes
Cook Time 1 hour
Course Breakfast
Cuisine Canning
Servings 12 per jar

Ingredients
  

  • 1 cup grape juice per 1/2 pint jar
  • 1/2 cup sugar per 1/2 pint jar
  • 1/2 tbsp lemon juice per 1/2 pint jar

Instructions
 

  • Place the rinsed and stemmed grapes in a kettle. You can add a few tablespoons of water here to help prevent sticking. Heat over medium-high heat, using a potato masher or wooden fermentation tapper to break them down.
  • Once the grapes have come to a boil and have sufficiently broken down, either strain through a cheese cloth into a liquid measuring cup or run through a mesh strainer using the tapper or a spoon to force as much liquid and pulp through.
  • Pour grape juice into a liquid measuring cup to determine the amount of sugar and lemon juice you should add.
  • Wash and sanitize jars, rings, and lids. Keep warm. Fill the canner with enough water to cover the jars by at least 2 inches of water. Cover and heat on high. Watch the temperature, you want a simmer but not a boil when you place the jars in the water.
  • Place the juice in a large kettle. For every cup of liquid, stir in ½ cup sugar and a ½ tablespoon lemon juice. Begin to heat over medium-high heat, stirring often. Begin to heat over medium-high heat, stirring often.
  • Heat to 8 degrees above the boiling point of water. If you are at sea level, the gelling point is at 220 degrees. For every 1000 feet of elevation, you subtract 2 degrees.
  • Once the jelly has reached the gelling point, remove from heat. Ladle into prepared jars, leaving ¼ inch head space. Wipe rims of the jars with a damp cloth, add lids and rings, tightening to fingertip tight. Place in the canner, increasing the heat to high. Once the canner reaches a boil, process for 10 minutes. Remove from heat and allow jars to cool in the canner over 5 minutes. Remove from canner and allow to rest for 12 hours before storing.

Notes

You can skip the processing step all together if you feel more comfortable. If you do so, the jam will need to be stored in the refrigerator. The process of water bath canning creates a self-stable jam. That is, a jam that can be stored on the shelf.
Keyword Foraging, Grape Jelly, Jellies and Jams, Waterbath Canning, Wild Grapes
Tried this recipe?Let us know how it was!

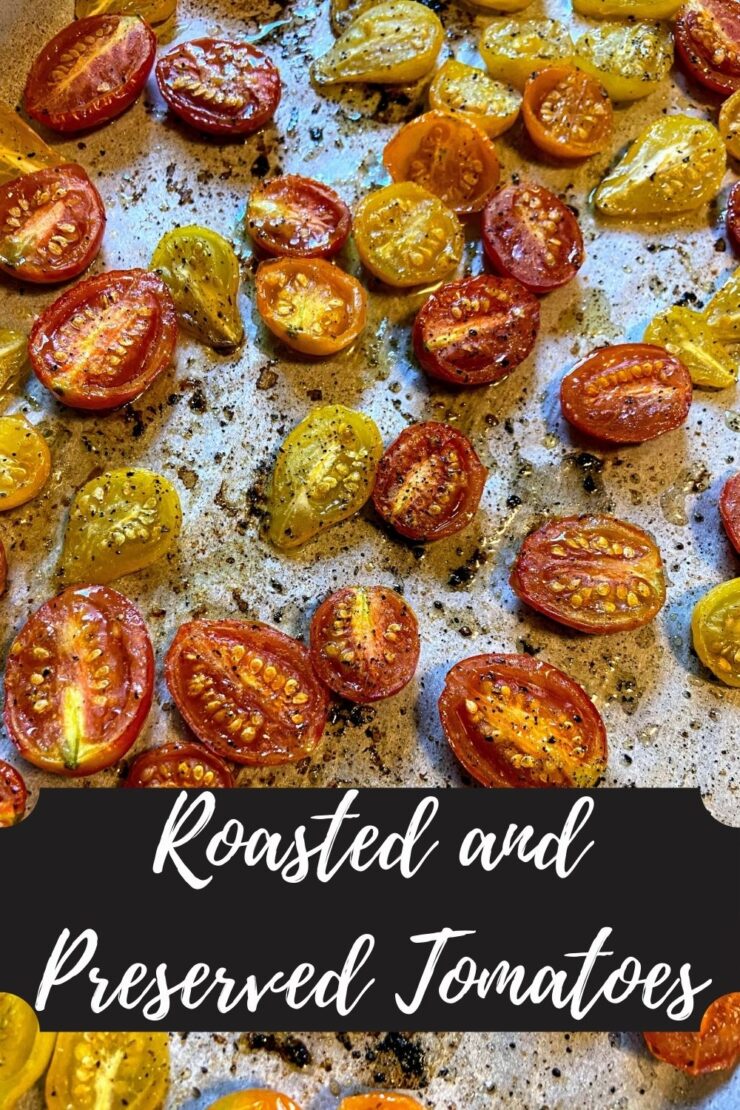
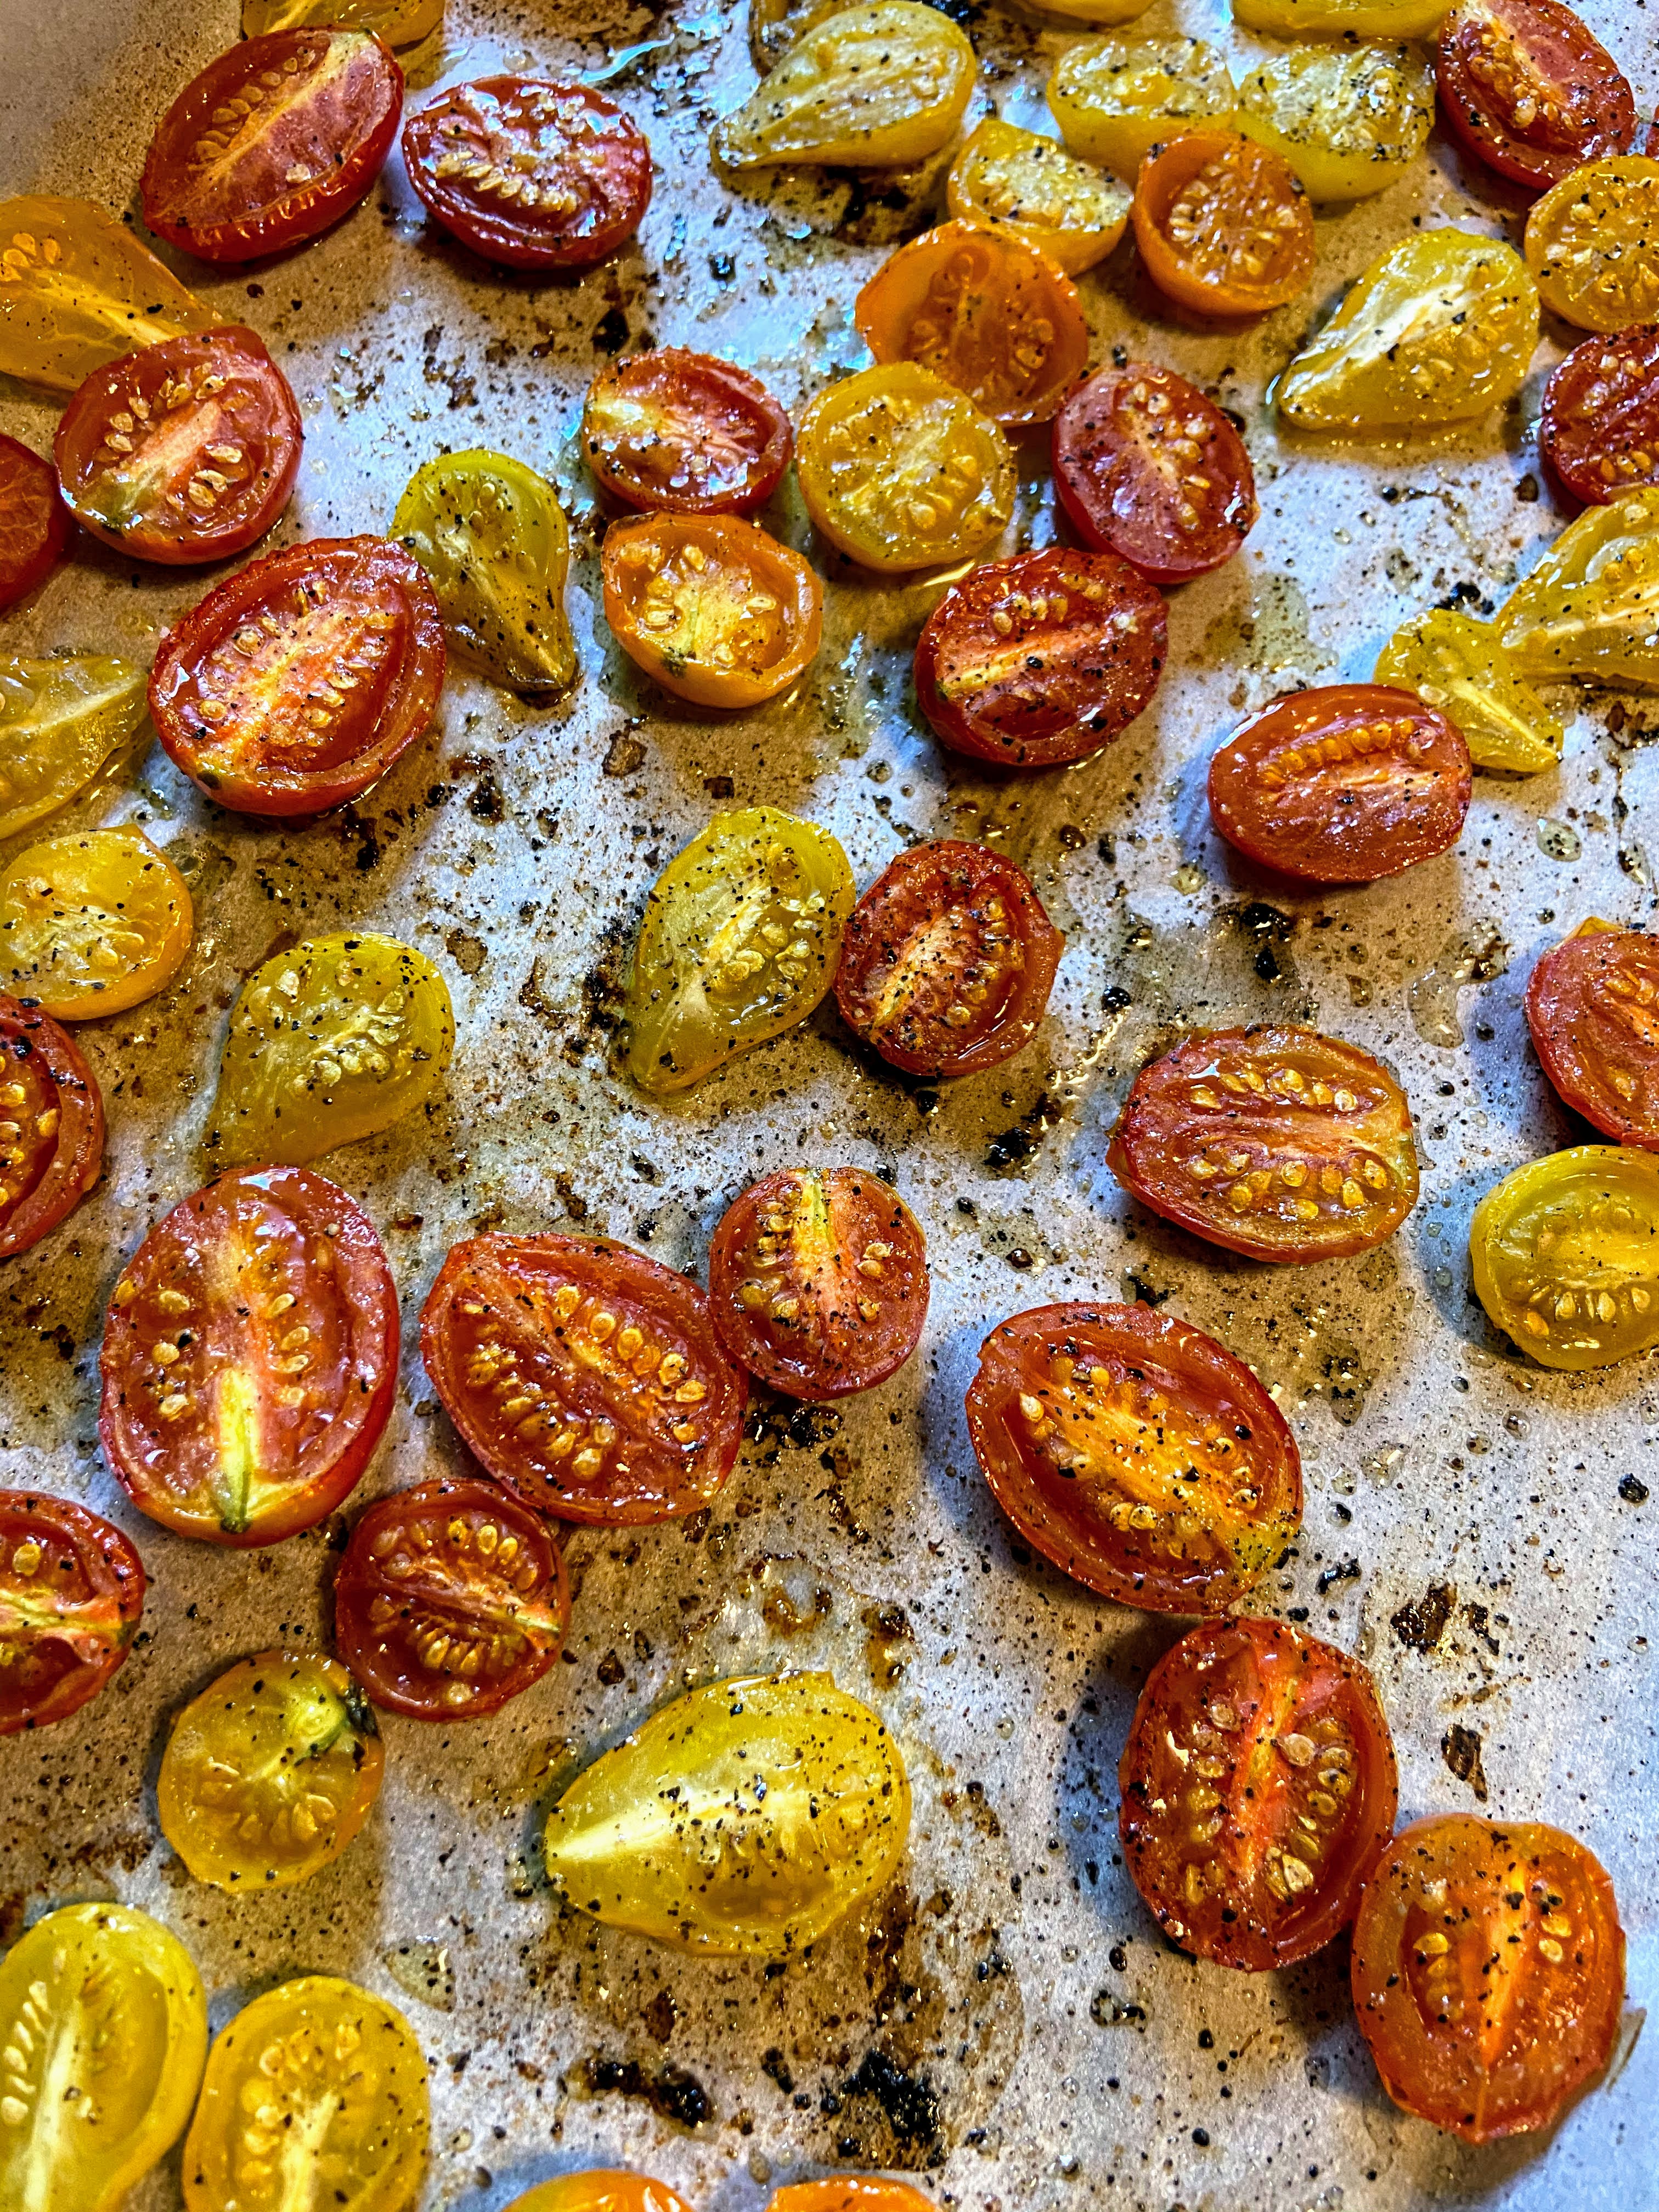
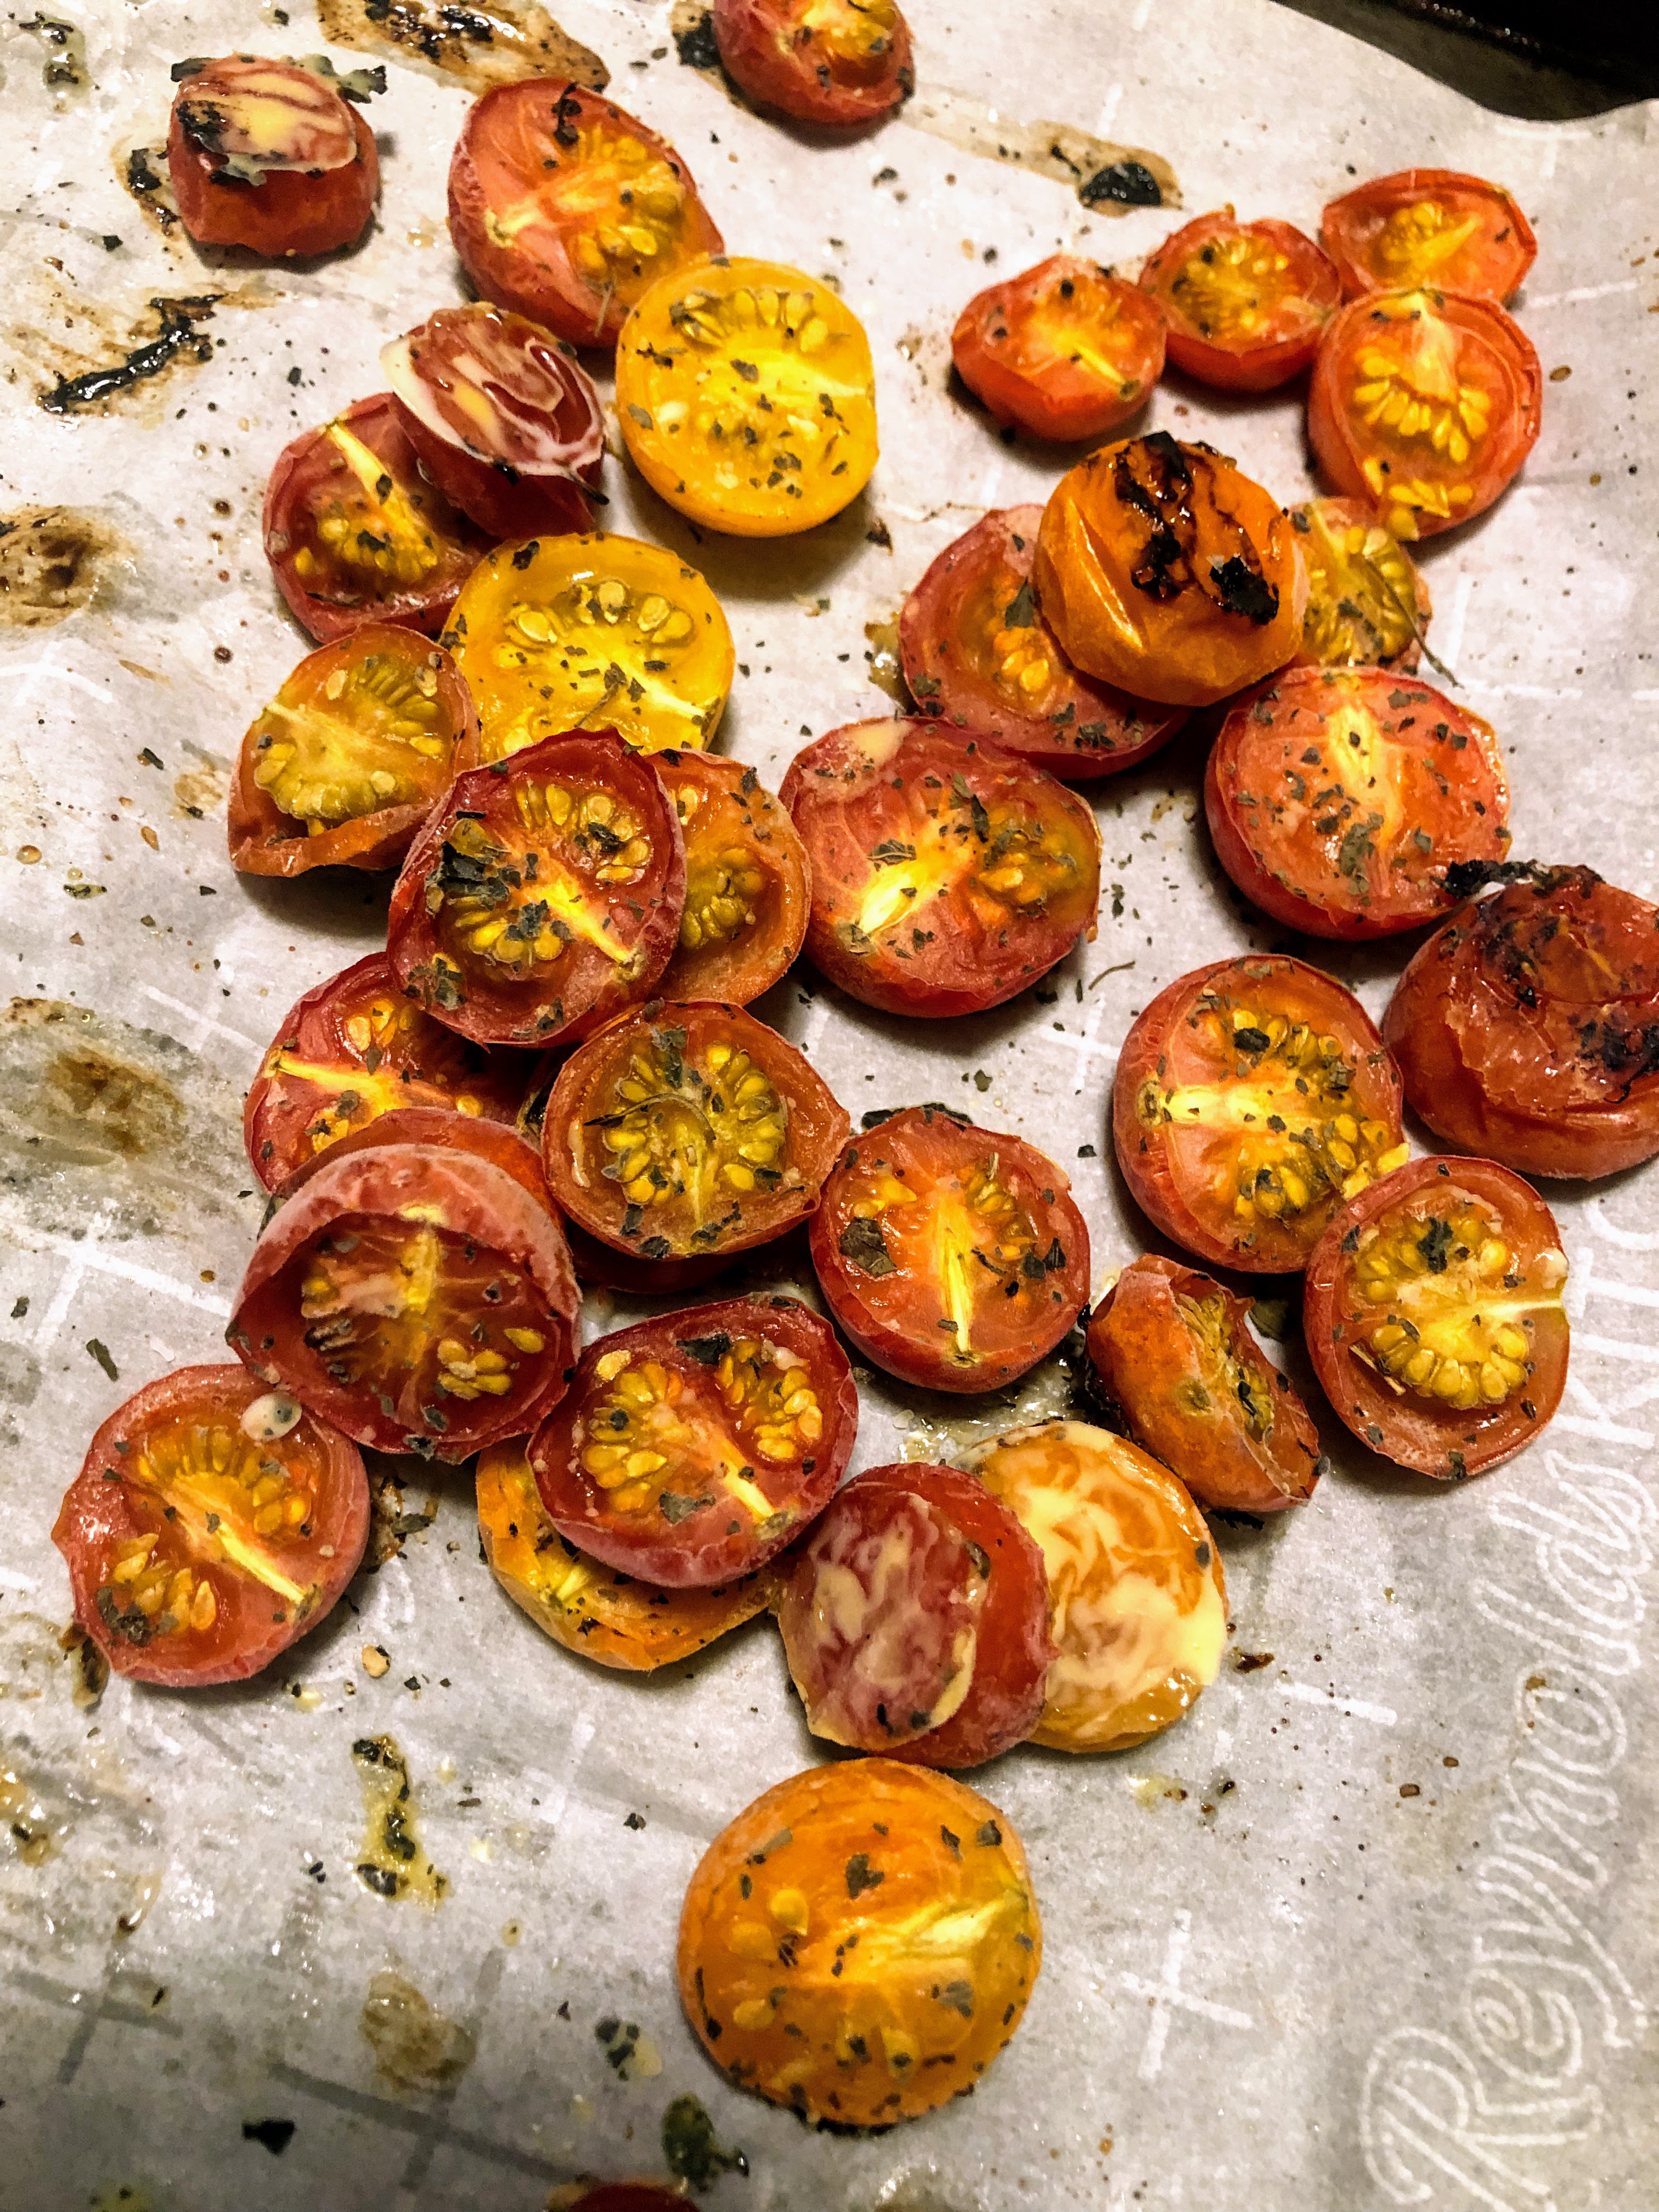
Roasted and Preserved Tomatoes

Every year, I get so excited to plant tomato plants. Even in our first years with a garden, we couldn’t keep up with our tomato love. I vividly remember my darling son as a toddler eating every single cherry or grape tomato we grew. They didn’t even make it out of the garden! Now, I get all those beautiful drops of red, orange, and yellow and turn them into roasted and preserved tomatoes. 

Now, it’s a joke between my husband and I that I will always plant too many cherry and grape tomato plants. Why buy one if you can buy four? And you have to have a few varieties, right? And so, we have an abundance of bit size tomatoes. One year, an acquaintance suggested roasting them, and I have never looked back! 

This is such a simple and flavorful way to preserve tomatoes. All you need is an oven, a baking sheet, some parchment paper, and your favorite tomato spices. Let’s get to creating some roasted and preserved tomatoes. 

Per pound of tomatoes, you will need: 

½ tablespoon olive oil 

¼ teaspoon each of: salt, pepper, oregano, garlic, or any other spice you love with tomatoes

Your Steps to Roasted and Preserved Tomatoes

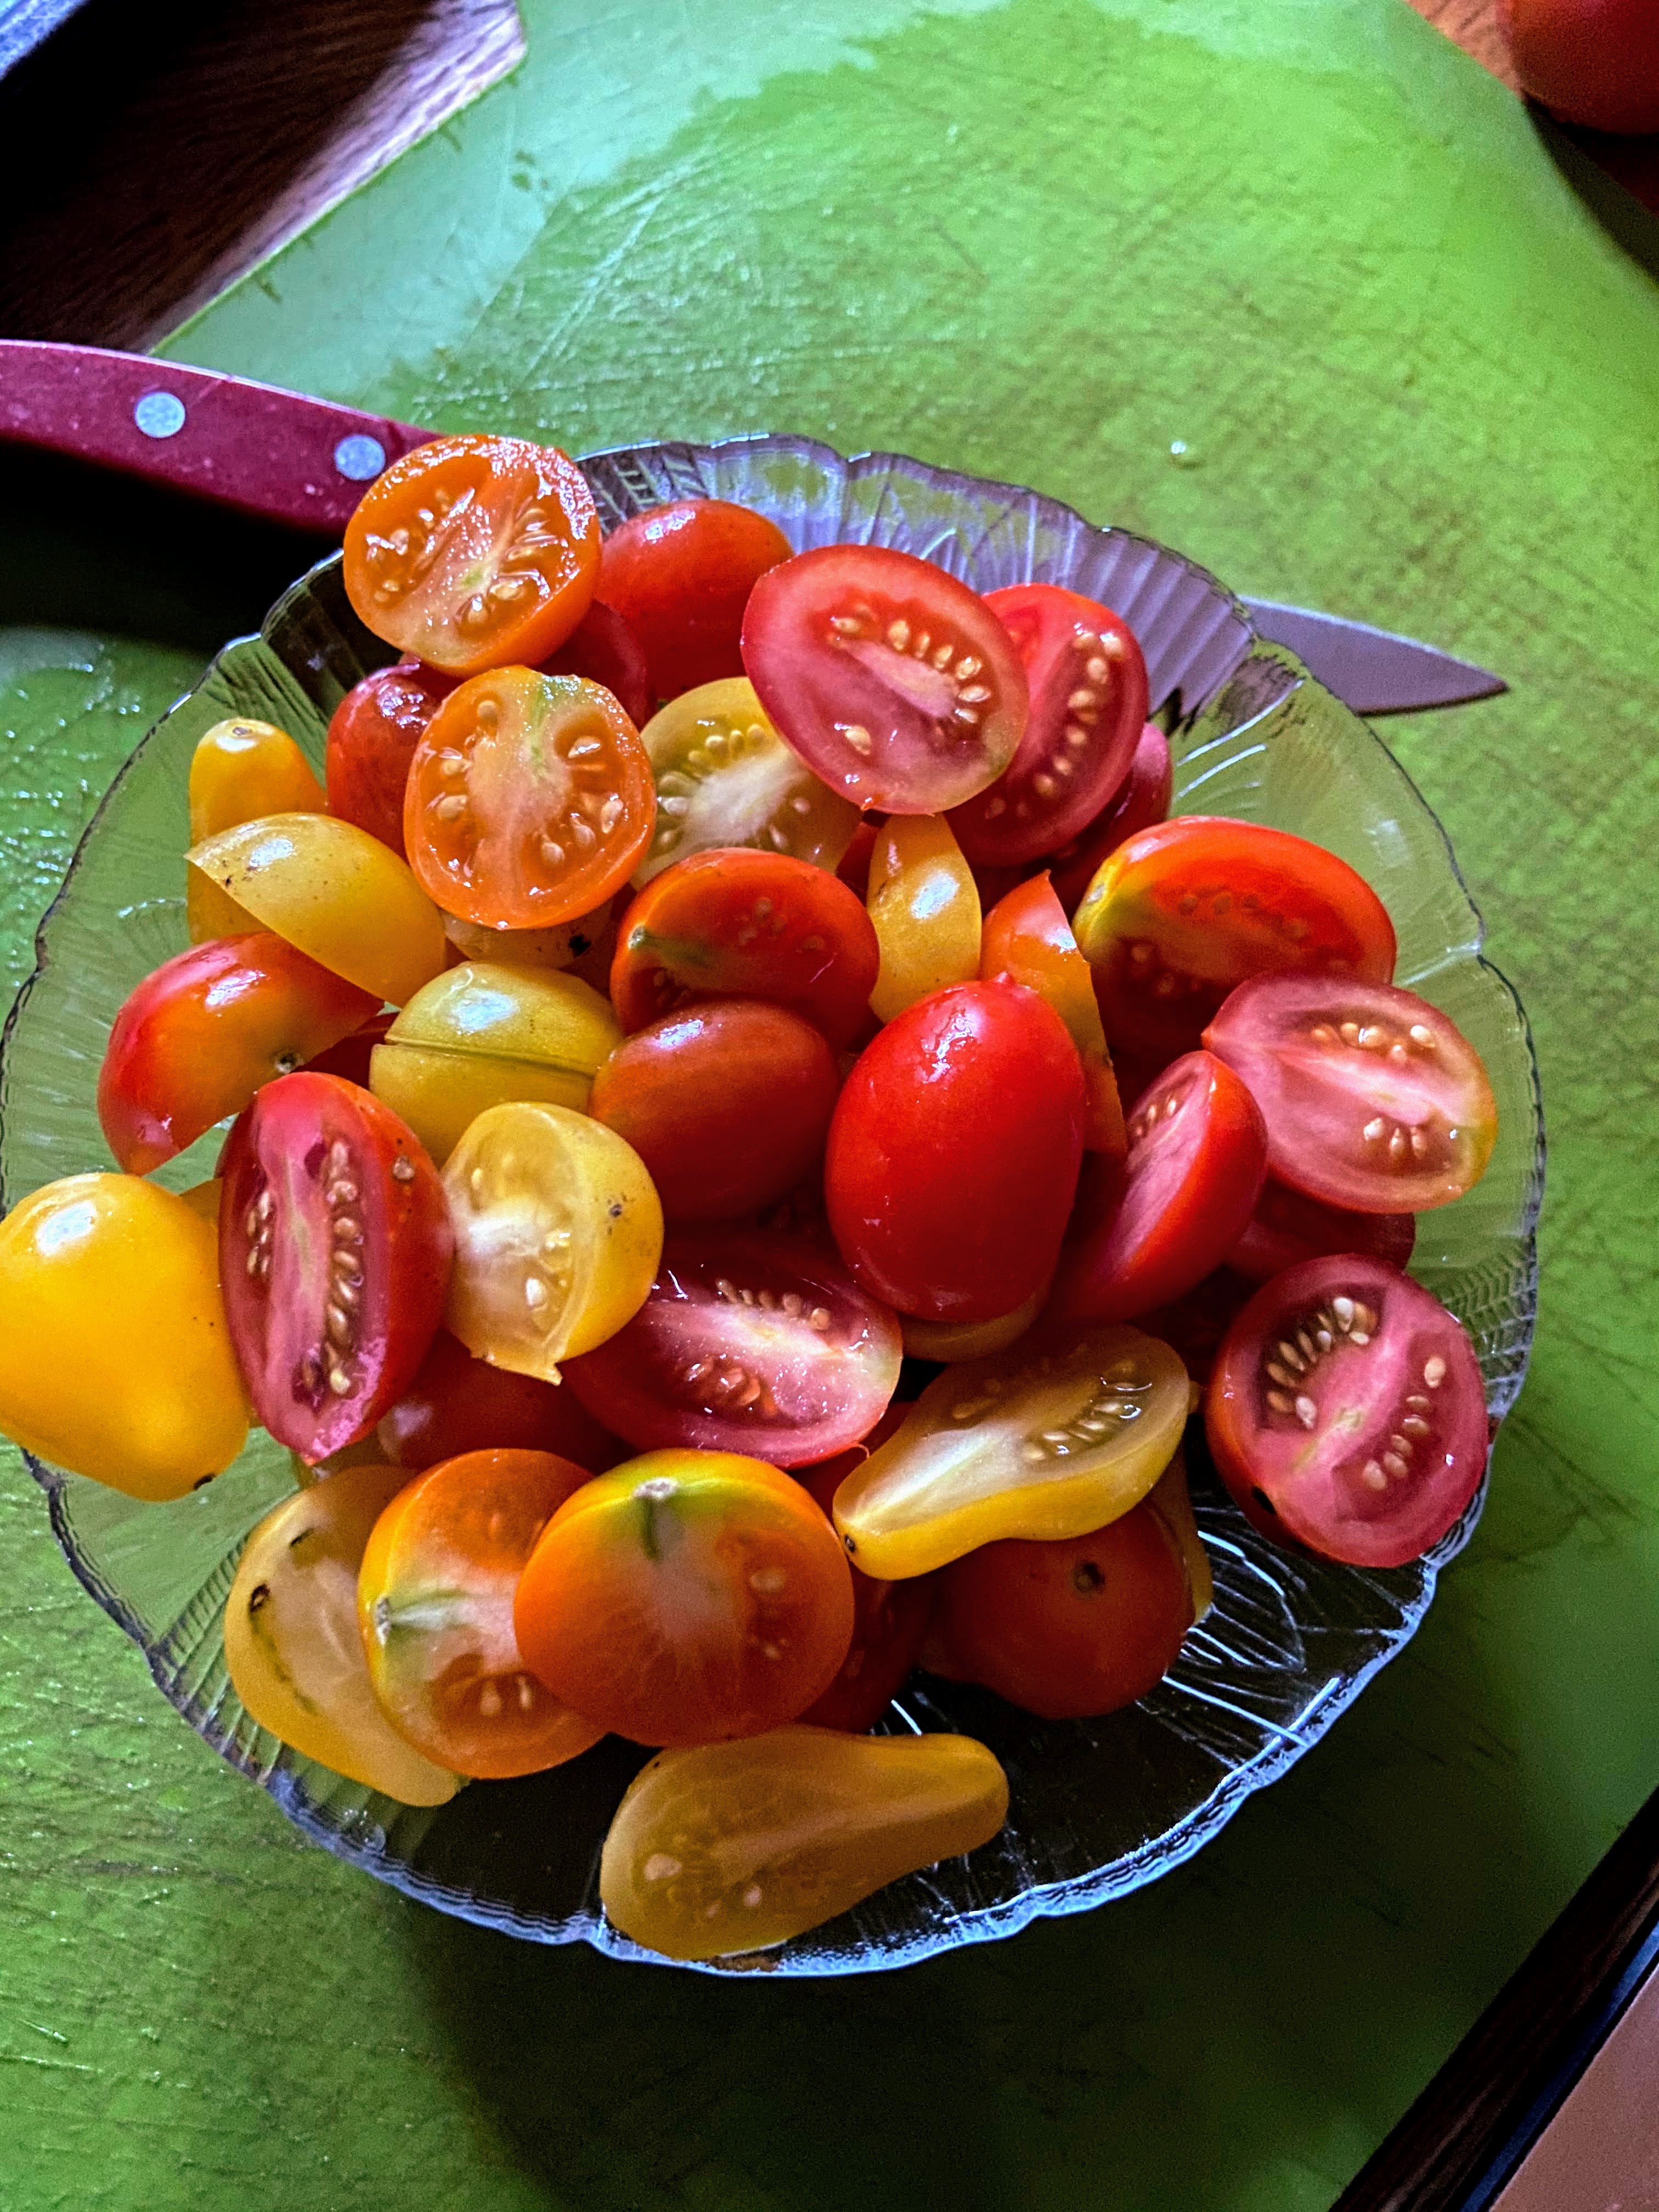
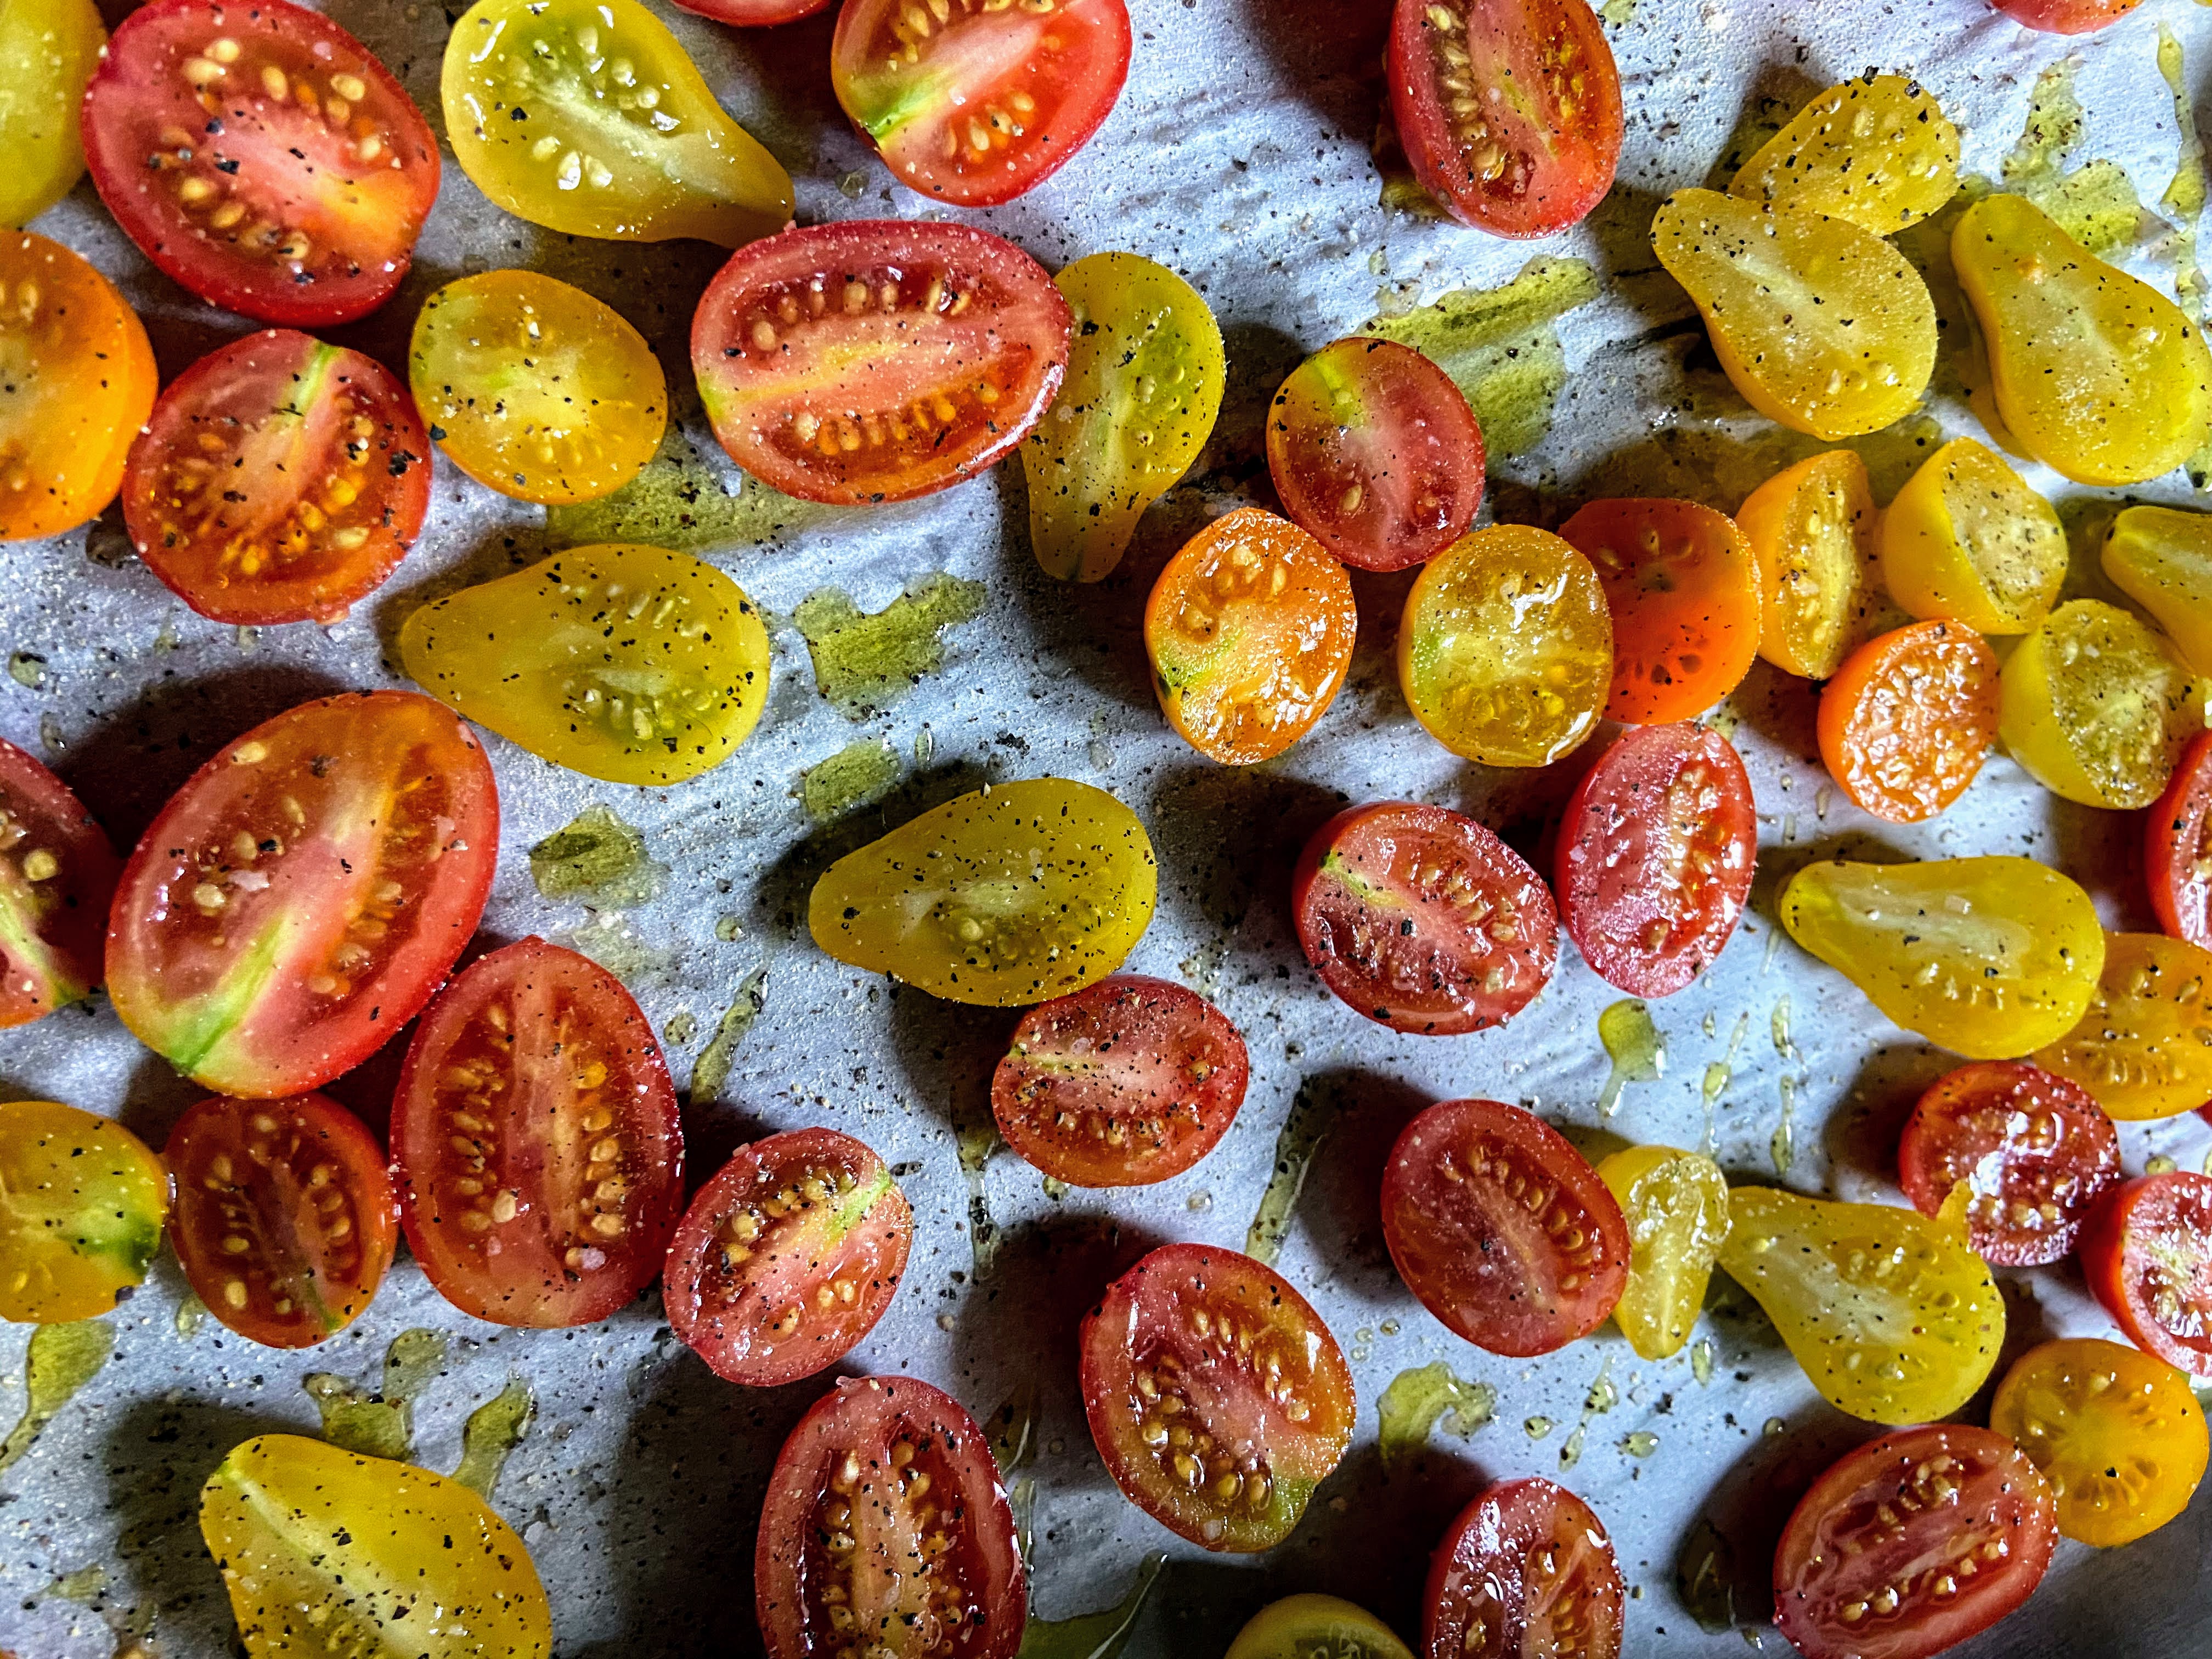
Preheat the oven to 425 degrees. Wash and dry the tomatoes. Slice each tomato in half. Lay cut side UP on a parchment lined baking sheet. Drizzle with olive oil and sprinkle salt, pepper, garlic, etc on top. Bake for 20-30 minutes, until just beginning to caramelize. Allow to cool. 

From here, you can totally just snack on them. If you want to preserve for later, stick the tray in the freezer for 2-3 hours. Transfer to a freezer safe container and use within a year. So quick, easy, and a great way to preserve your harvest!

Roasted and Preserved Tomatoes

Too many grape and cherry tomatoes? Like to preserve the flavor of summer for the winter months? Create these roasted and preserved tomatoes!
Prep Time 10 minutes
Cook Time 30 minutes
Course Side Dish
Cuisine Italian
Servings 5 servings

Ingredients
  

  • 1 pound cherry or grape tomatoes any variety
  • ½ tablespoon olive oil
  • ¼ teaspoon salt
  • ¼ teaspoon pepper
  • ¼ teaspoon oregano
  • ¼ teaspoon garlic

Instructions
 

  • Preheat the oven to 425 degrees.
  • Wash and dry the tomatoes.
  • Slice each tomato in half. Lay cut side up on a parchment lined baking sheet.
  • Drizzle with olive oil and sprinkle salt, pepper, garlic, etc on top.
  • Bake for 20-30 minutes, until just beginning to caramelize. Allow to cool.
  • To preserve, place the tray in the freezer for 2-3 hours.
  • Transfer to a freezer safe container and use within a year.
Keyword cherry tomatoes, freezing, preserving, side dish, tomatoes, Vegan, vegetables
Tried this recipe?Let us know how it was!

Looking for other preserving recipes?

Check out my canning and preserving page! Or maybe one of the recipes below will speak to you!

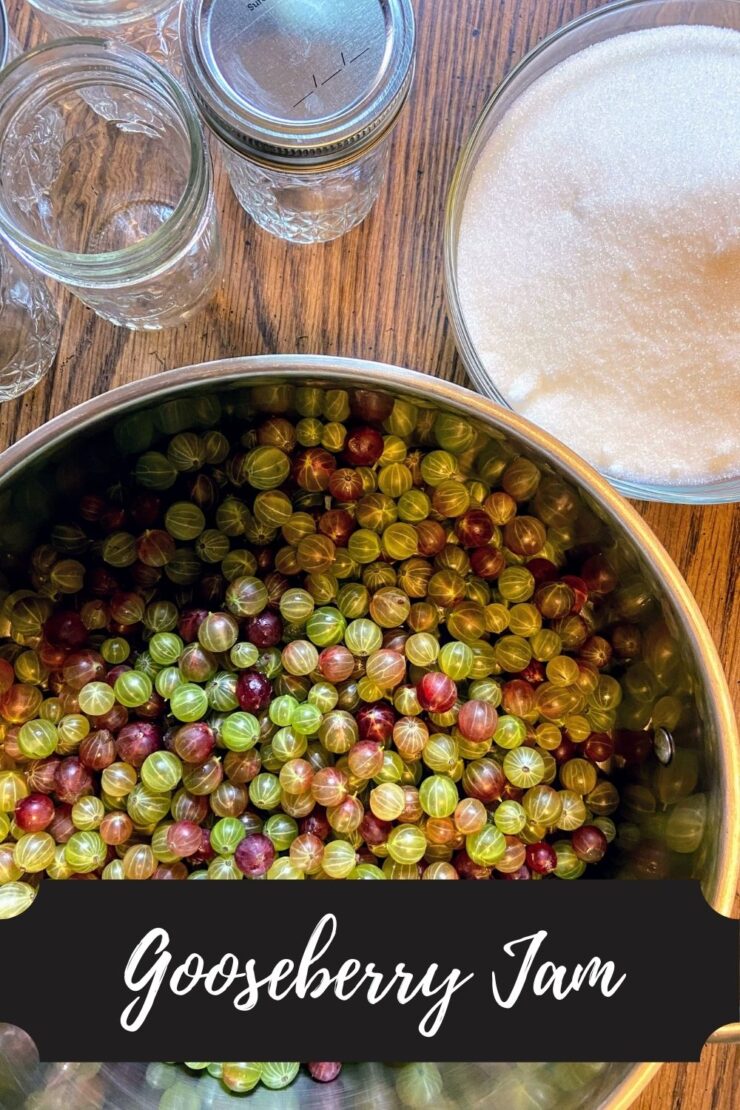
Gooseberry Jam

My journey to gooseberry jam has been an interesting one with more than one road traveled. The beginning of the story starts at the farmer’s market. Initially, I had tried a berry and loved it. I left, forgetting what it was that I had tried, and decided it was gooseberries and had to plant some. 

Well, they grew fruit and they were not the fruit I remembered from the farmer’s market trip. But I still enjoyed them. Around the same time, I became fascinated by foraging and the idea of finding the edibles of the woods. And would you know it, wild gooseberries became on my radar. Friends, they are everywhere! I find them in our woods, on the side of the road, and in so many state parks. If you are a midwesterner like myself, check your woods. I bet you have some too! Here’s a great link to get an idea of what you’re looking for. I became enamored with the berries in my yard and all around me. I wanted to share them with everyone!

Currently, I have four bushes (some red, some green) that I tend to. And boy, do they produce. We snack on them, but I have also taken to canning these sweet-tart berries into three ingredient jam. It can’t get much better than that, can it? (See what I did there? I am punny!) Ready? Let’s get gooseberry jam creating!

Your Ingredients for Gooseberry Jam

Per ½ pint jar (jelly jar), you will need: 

  • 1 cup of gooseberries, cleaned
  • ½ cup sugar
  • ½ tablespoon lemon juice 

The Prep Work

Fill the canning kettle with enough water that the jars will be covered by at least 2 inches of water. More is better in this case so over estimate. Begin to heat over high heat. Place the canning rack so that it is hooked over the side of the canner and put clean jars on it to keep them warm. Note: You don’t have to keep the jars in the rack, although it is helpful to keep them warm. You want the jars warm to prevent breaking when they are being filled. 

Set the clean rings aside. I like to simmer my lids on low low heat in a small saucepan. Not necessary, but I like to think it helps them seal better. 

If you have not already done so, clean 1 cup of gooseberries for every ½ pint jar of jam you intend on canning. To clean, you need to remove both the stem and the flower portion of the berry. See the picture below. 

The Gooseberry Jam Making

In a large, preferably shallow, kettle, smash the gooseberries with a potato masher. Then, for every cup of berries, stir in ½ cup sugar and a ½ tablespoon lemon juice. Begin to heat over medium-high heat, stirring often. I like to smash the berries more as they are cooking down. 

Your end goal is to reach the gelling point. There are lots of tests for this, but I prefer the temperature test. If you are at sea level, the gelling point is at 220 degrees. For every 1000 feet of elevation, you subtract 2 degrees. For me, the gelling point is 218 degrees. Don’t have a decent food thermometer? Check out the National Center for Home Preservation website for other ways of testing for the gelling point. 

It takes longer to reach the gelling point than I think it should. It also goes from needing 3 degrees to reaching the gelling point fast. You can get complacent while you are waiting and suddenly hit the temperature, so I am trying to warn you 🙂 

The Canning

Once the jam has reached the gelling point, remove from heat. Ladle into prepared jars, leaving ½ inch head space. Wipe rims of the jars with a damp cloth, add lids and rings, tightening to fingertip tight. Place in the canner, increasing the heat to high. Once the canner reaches a boil, process for 5 minutes. Remove from heat and allow jars to cool in the canner over 5 minutes. Remove from canner, placing on the counter. Listen for the ping of the lids over the next 12 hours. Sealed jars are self stable. If any jar doesn’t seal, simply place it right in the refrigerator. 

Note: You can skip the processing step all together if you feel more comfortable. If you do so, the jam will need to be stored in the refrigerator. The process of water bath canning creates a self-stable jam. That is, a jam that can be stored on the shelf. 

Gooseberry Jam

Three little ingredients (lemon juice, sugar, and gooseberries) combine to make this wonderful sweet-tart jam.
Prep Time 40 minutes
Cook Time 2 hours
Course Breakfast
Cuisine Canning
Servings 12 per jar

Ingredients
  

  • 1 cup gooseberries cleaned, per 1/2 pint jar
  • 1/2 cup sugar per 1/2 pint jar
  • 1/2 tbsp lemon juice per 1/2 pint jar

Instructions
 

  • If you have not done so, clean and measure gooseberries by cutting off the stem and tail on each berry. You will need 1 cup of berries per 1/2 pint of jam you want to create.
  • Wash and sanitize jars, rings, and lids. Keep warm. Fill the canner with enough water to cover the jars by at least 2 inches of water. Cover and heat on high. Watch the temperature, you want a simmer but not a boil when you place the jars in the water.
  • In a large, shallow kettle, smash gooseberries with a potato masher. For every cup of berries, stir in 1/2 cup sugar and 1/2 tablespoon lemon juice. Begin to heat over medium-high heat, stirring often. Smash more as they are cooking down.
  • Heat to 8 degrees above the boiling point of water. If you are at sea level, the gelling point is at 220 degrees. For every 1000 feet of elevation, you subtract 2 degrees.
  • Once the jam has reached the gelling point, remove from heat. Ladle into prepared jars, leaving ½ inch head space. Wipe rims of the jars with a damp cloth, add lids and rings, tightening to fingertip tight. Place in the canner, increasing the heat to high. Once the canner reaches a boil, process for 10 minutes. Remove from heat and allow jars to cool in the canner over 5 minutes. Remove from canner and allow to rest for 12 hours before storing.

Notes

You can skip the processing step all together if you feel more comfortable. If you do so, the jam will need to be stored in the refrigerator. The process of water bath canning creates a self-stable jam. That is, a jam that can be stored on the shelf.
Keyword gooseberries, gooseberry, gooseberry jam, Jam, Waterbath Canning
Tried this recipe?Let us know how it was!

Looking for other berry inspiration?

Check out any of the recipes below!
Raspberry Cherry Jam

We are knee deep into berry season around our garden. The red and black raspberries are in full force. The blueberries are starting, and I just stripped the gooseberries and the naking cherries (which are super versatile! Learn more by clicking here!) Normally, the cherries grow in abundance, but with the near drought we have experienced this year, they just didn’t produce as much. That meant we had some to eat, and just a little to process. Enter a beautiful raspberry cherry jam.

Don’t worry if you don’t have access to naking cherries (but seriously, a great plant that is low maintenance with fun tart cherries that grow through zone 3!). Any tart cherry will do. I recommend using fresh red raspberries so the two fruits blend together nicely. I made the mistake of mixing red and black raspberries in a jam once, and let me just say, it looked as though there were some insects I didn’t quite clean out of the berries. Yuck! 

While we are here, I will give you all the information you need to successfully can a batch of jam. However, if you are new to canning, you may likely want to gather additional information. My favorite places to learn more are The Ball’s Book of Canning or the National Center for Home Food Preservation

Your Supplies

This recipe will result in approximately nine 8 ounce jelly jars. Be sure you have rings and lids for them.

You will need a water bath canner or large stock pot with a lid. The jars need to be off the bottom of the pot. A water bath canner will have a rack to use if you go that route. If you use a stock pot, I would invest in canning racks. You can also put a towel down in a pinch, but it is MESSY in terms of getting water everywhere.  

It is also helpful to have the tools in a canning kit like this, but it isn’t necessary. Canning would be crazy challenging without the jar funnel and jar tongs. The lid lifter is also very handy. 

Your Ingredients

  • 4 cups raspberries (If frozen, measure first. Then thaw)
  • 1 ½ cups pitted tart cherries
  • 4 cups sugar 
  • 6 tablespoons powdered pectin 
  • ¼ teaspoon butter, optional

Your Steps to Raspberry Cherry Jam

Begin by measuring out your sugar in a large bowl and set aside. It’s important to have all your ingredients prepared before beginning the canning process so don’t skip this step. I also highly recommend reading through the steps more than once before beginning (I know that we are all guilty of flying by the seat of our pants when cooking). 

Fill the canning kettle with enough water that the jars will be covered by at least ½” water. More is better in this case so over estimate. Begin to heat over high heat. Place the canning rack so that it is hooked over the side of the canner and put clean jars on it to keep them warm. Note: You don’t have to keep the jars in the rack, although it is helpful to keep them warm. You want the jars warm to prevent breaking when they are being filled. 

Set the clean rings aside. I like to simmer my lids on low low heat in a small saucepan. Not necessary, but I like to think it helps them seal better. 

Now to Create the Raspberry Cherry Jam 

In a large, preferably shallow kettle, smash the raspberries and cherries with a potato masher. Stir in powder pectin. Add butter if desired. It will decrease foaming while the jam is cooking, but is not necessary. The foam isn’t bad. It just makes the jam a little less pretty. 

Heat raspberries and pectin over medium high heat, stirring consistently. Once it is close to a boil, stir constantly until you cannot stir down a rolling boil. On more than one occasion, I have thought I reached this point only to go a little longer and see what a “real rolling boil” looked like. 

Once a rolling boil has been reached, quickly stir in the sugar. I find a strong whisk is helpful to make sure there are no clumps of sugar in the jam. Continue to heat over medium-high heat until a rolling boil is reached again, stirring constantly. Once the roiling boil is reached, time for EXACTLY one minute. Remove from heat. 

Ladle hot jam into jars using the canning funnel, leaving ¼” head space. Wipe rims of the jars as you go, top with a lid, and put on a ring so that it is finger tip tight. Finger tip tight means you know its tight but you aren’t sealing it so much so that it wouln’t leak on it’s side, if that makes sense. (Any leftover jam can go in a small container and get placed in the fridge to be enjoyed immediately)

Place jars in JUST about boiling water bath canner. Place the cover on the kettle and raise heat until a rolling boil is reached. Cook jam for 10 minutes (adjusting for your altitude…under 1000 feet, you’re good. Over? Add 5 minutes for every 1000 feet). Once the time is complete, remove canner from heat and remove the cover. Allow the jam to sit in the canner an additional 5 minutes. Then remove and place on a towel on the counter. 

Afterward

Listen for the ping as the jars seal and just let them be for 24 hours. I know it will be hard to let them be because you’ll be so proud, but it’s recommended to make sure you get a good seal. Any jars that do not seal can be refrigerated and enjoyed right away. Note: It is recommended to store canned goods with their rings removed so that you can know if a false seal occurs. I generally just loosen them as loose as they can go. 

Looking for other canning and preserving recipes? Check out my page below!

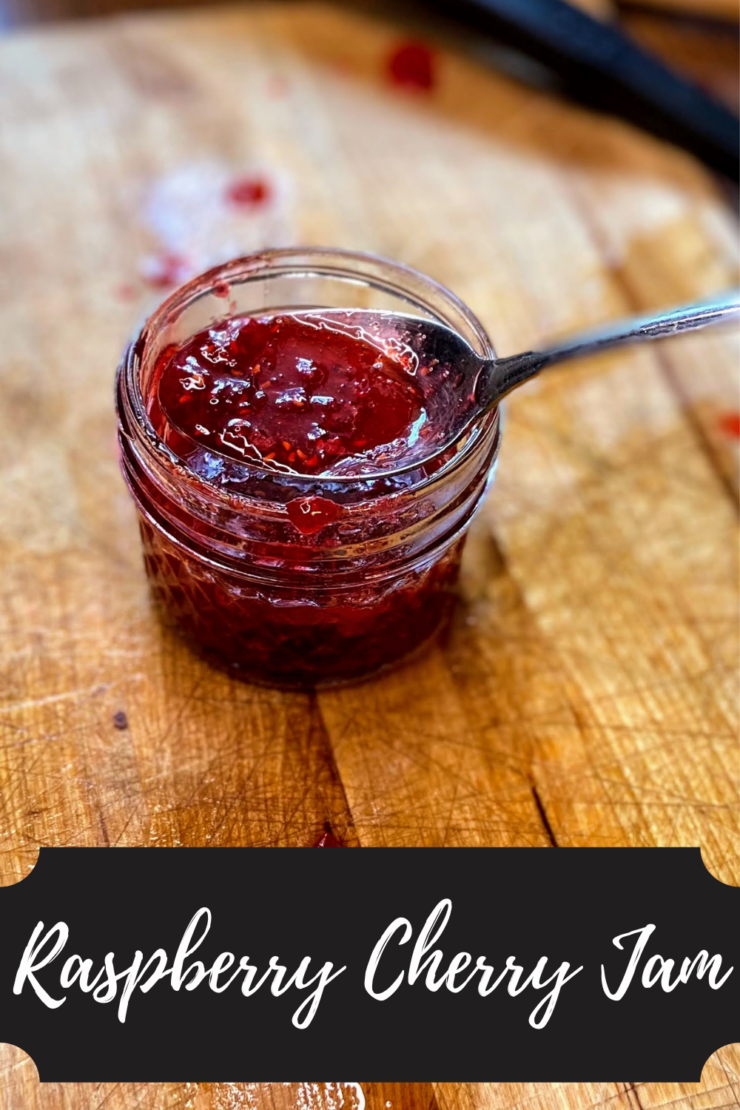
Raspberry Cherry Jam

The flavor of summer in a jar: raspberries and cherries, oh my!
Prep Time 10 minutes
Cook Time 40 minutes
Course Appetizer
Cuisine Canning

Ingredients
  

  • 4 cups raspberries
  • 1 ½ cups pitted cherries
  • 4 cups sugar
  • ¼ teaspoon butter optional
  • 4 ½ tablespoons powder pectin

Instructions
 

  • Prepare your water bath canner. Fill the canner with enough water so that once the jars are in the canner, they will be covered by at least one inch of water. Cover and begin to heat over a medium-high heat.
  • Measure out sugar. Set aside.
  • Place the raspberries and cherries in a large, non reactive kettle. Crush them with potato masher. Add ¼ teaspoon of butter, if desired, to reduce foaming.
  • Sprinkle and stir in the pectin. Cook over high heat until a rolling boil is reached, stirring consistently.
  • Once a rolling boil is reached, slowly stir in sugar.
  • Continue to stir until you reach another rolling boil that can not be stirred down. Once a rolling boil is reached, cook for 1 minute, stirring constantly.
  • Ladle jam into prepared jelly jars, wipe the rims with a damp cloth, add lids, and tighten rings to fingertip tight. Put into the water bath canner. When the canner has a steady boil going, time and process for 10 minutes.
  • Once the jam is done processing, remove the canner from heat and let jars rest in the water for an additional 5 minutes. Finally, remove jars from the canner and allow to cool for 12-24 hours before moving.

Notes

  • Make sure you are using powdered pectin rather than liquid pectin. They do not set the same. 
  • If you have never canned, you can reference the instructions within the pectin box for additional, more detailed directions. 
  • Sealed jars are shelf-stable, meaning they can be stored on a shelf unrefrigerated. If your jars don’t ping (a sign that they have sealed), they are still good. You will just need to store them in the refrigerator. 
  • Most sources recommend removing the rings from jars for storage so that you will know if they unseal for any reason. I generally just loosen them as much as I can without removing them.
Keyword Canning, Jalapeño, Jam, Jam Recipes, Raspberry
Tried this recipe?Let us know how it was!

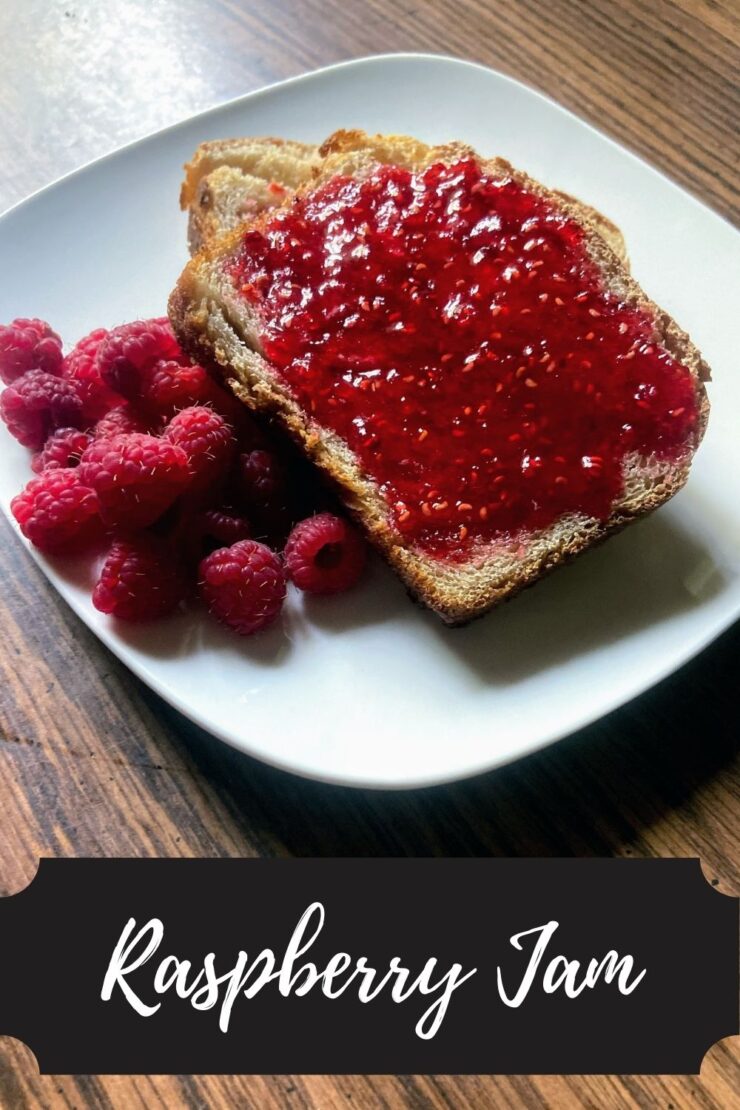
Razzle Dazzle Raspberry Jam

That’s our pet name for “my” raspberries. The red raspberries. I love red raspberries with my entire soul and there isn’t much better than fresh from the kettle razzle dazzle raspberry jam. Put that on freshly baked sourdough bread and guys, my taste buds sing. 

I have a long history with raspberries. Some of my earliest memories are going to scout for deer hunting areas with my dad, containers in tow, harvesting wild raspberries along the hidden dirt road. I always had a rule that I couldn’t try one until I finished harvesting. If I broke that rule, I was sure I would eat ALLL the berries. I still try to follow that silly rule to this day. 

Raspberries are also a favorite fruit of my grandma’s, who is quite possibly my biggest cheerleader and closest relative. For so many holidays, She would bake schaum torte (apparently a specialty in Wisconsin! I never knew! Check it out here!), and we topped it with raspberries. Needless to say, it was the dessert I always chose growing up. 

Now, I have a larger than life patch of raspberries that are my babies. I find it almost meditative to harvest them alone and silently. Weaving and ducking through the leaves to make sure I don’t miss a ripe berry. And that patch? It produces like none other. That means I eat a ton. Freeze a ton. And oh my gosh, the jam! I do both this razzle dazzle raspberry jam. I also do a raspberry jalapeño jam for a little fun. You can find it by clicking here if you need a little kick! 

For now, let’s get canning some beautiful raspberry jam! Oh quick…

New to canning? Check out the Ball’s Book of Canning or The National Center for Home Food Preservation for more detailed information. I will give you the low down, but it will be short and sweet. You will want to read up more, I promise 🙂 

Your Ingredients:

  • 8 cups fresh or frozen raspberries (If frozen, measure first. Then thaw)
  • 7 cups sugar
  • 1 box powder pectin 
  • ¼ teaspoon butter (optional)

Your Supplies

This recipe will result in approximately nine 8 ounce jelly jars. Be sure you have rings and lids for them.

You will need a water bath canner or large stock pot with a lid. The jars need to be off the bottom of the pot. A water bath canner will have a rack to use if you go that route. If you use a stock pot, I would invest in canning racks. You can also put a towel down in a pinch, but it is MESSY in terms of getting water everywhere.  

It is also helpful to have the tools in a canning kit like this, but it isn’t necessary. Canning would be crazy challenging without the jar funnel and jar tongs. The lid lifter is also very handy. 

Your Steps to Razzle Dazzle Raspberry Jam

Begin by measuring out your sugar in a large bowl and set aside. It’s important to have all your ingredients prepared before beginning the canning process so don’t skip this step. 

Fill the canning kettle with enough water that the jars will be covered by at least ½” water. More is better in this case so over estimate. Begin to heat over high heat. Place the canning rack so that it is hooked on the side of the canner and put clean jars on it to keep them warm. Note: You don’t have to keep the jars in the rack, although it is helpful to keep them warm. You want the jars warm so that when you fill them to prevent breaking. 

Set the clean rings aside. I like to simmer my lids on low low heat in a small saucepan. Not necessary, but I like to think it helps them seal better. 

Now to create the jam

In a large, preferably shallow kettle, smash the raspberries with a potato masher. Stir in powder pectin. Add butter if desired. It will decrease foaming while the jam is cooking, but is not necessary. The foam isn’t bad. It just makes the jam a little less pretty. 

Heat raspberries and pectin over medium high heat, stirring consistently. Once it is close to a boil, stir constantly until you cannot stir down a rolling boil. On more than one occasion, I have thought I reached this point only to go a little longer and see what a “real rolling boil” looked like. 

Once a rolling boil has been reached, quickly stir in the sugar. I find a strong whisk is helpful to make sure there are no clumps of sugar in the jam. Continue to heat over medium-high heat until a rolling boil is reached again, stirring constantly. Once the roiling boil is reached, time for EXACTLY one minute. Remove from heat. 

Ladle hot jam into jars using the canning funnel, leaving ¼” head space. Wipe rims of the jars as you go, top with a lid, and put on a ring so that it is finger tip tight. Finger tip tight means you know its tight but you aren’t sealing it so much so that it wouln’t leak on it’s side, if that makes sense. (Any leftover jam can go in a small container and get placed in the fridge to be enjoyed immediately)

Place jars in JUST about boiling water bath canner. Cover and raise heat until a rolling boil is reached. Cook jam for 10 minutes (adjusting for your altitude…under 1000 feet, you’re good. Over? Add 5 minutes for every 1000 feet). Once the time is complete, remove canner from heat and remove the cover. Allow the jam to sit in the canner an additional 5 minutes. Then remove and place on a towel on the counter. 

Afterward…

Listen for the ping as the jars seal and just let them be for 24 hours. I know it will be hard to let them be because you’ll be so proud, but it’s recommended to make sure you get a good seal. Any jars that do not seal can be refrigerated and enjoyed right away. Note: It is recommended to store canned goods with their rings removed so that you can know if a false seal occurs. I generally just loosen them as loose as they can go. 

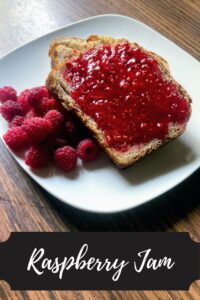
Raspberry Jam

The flavor of summer in a jar ready for your next breakfast or peanut butter and jelly.
Prep Time 10 minutes
Cook Time 40 minutes
Course Appetizer
Cuisine Canning
Servings 12

Ingredients
  

  • 8 cups raspberries
  • 6 cups sugar
  • ¼ teaspoon butter optional
  • 1 box powder pectin

Instructions
 

  • Prepare your water bath canner. Fill the canner with enough water so that once the jars are in the canner, they will be covered by at least one inch of water. Cover and begin to heat over a medium-high heat.
  • Measure out sugar. Set aside.
  • Place the raspberries in a large, non reactive kettle. Crush them with potato masher. Add ¼ teaspoon of butter, if desired, to reduce foaming.
  • Sprinkle and stir in the pectin. Cook over high heat until a rolling boil is reached, stirring consistently.
  • Once a rolling boil is reached, slowly stir in sugar.
  • Continue to stir until you reach another rolling boil that can not be stirred down. Once a rolling boil is reached, cook for 1 minute, stirring constantly.
  • Ladle jelly into prepared jelly jars, wipe the rims with a damp cloth, add lids, and tighten rings to fingertip tight. Put into the water bath canner. When the canner has a steady boil going, time and process for 10 minutes.
  • Once the jelly is done processing, remove the canner from heat and let jars rest in the water for an additional 5 minutes. Finally, remove jars from the canner and allow to cool for 12-24 hours before moving.

Notes

  • Make sure you are using powdered pectin rather than liquid pectin. They do not set the same. 
  • If you have never canned, you can reference the instructions within the pectin box for additional, more detailed directions. 
  • Sealed jars are shelf-stable, meaning they can be stored on a shelf unrefrigerated. If your jars don’t ping (a sign that they have sealed), they are still good. You will just need to store them in the refrigerator. 
  • Most sources recommend removing the rings from jars for storage so that you will know if they unseal for any reason. I generally just loosen them as much as I can without removing them.
Keyword Canning, Jam, Jam Recipes, raspberries, Raspberry, raspberry jam, raspberry recipes
Tried this recipe?Let us know how it was!

Looking for other Raspberry Recipes?

Check out some of my favorites below!

For the Holidays Cranberry Apple Preserves

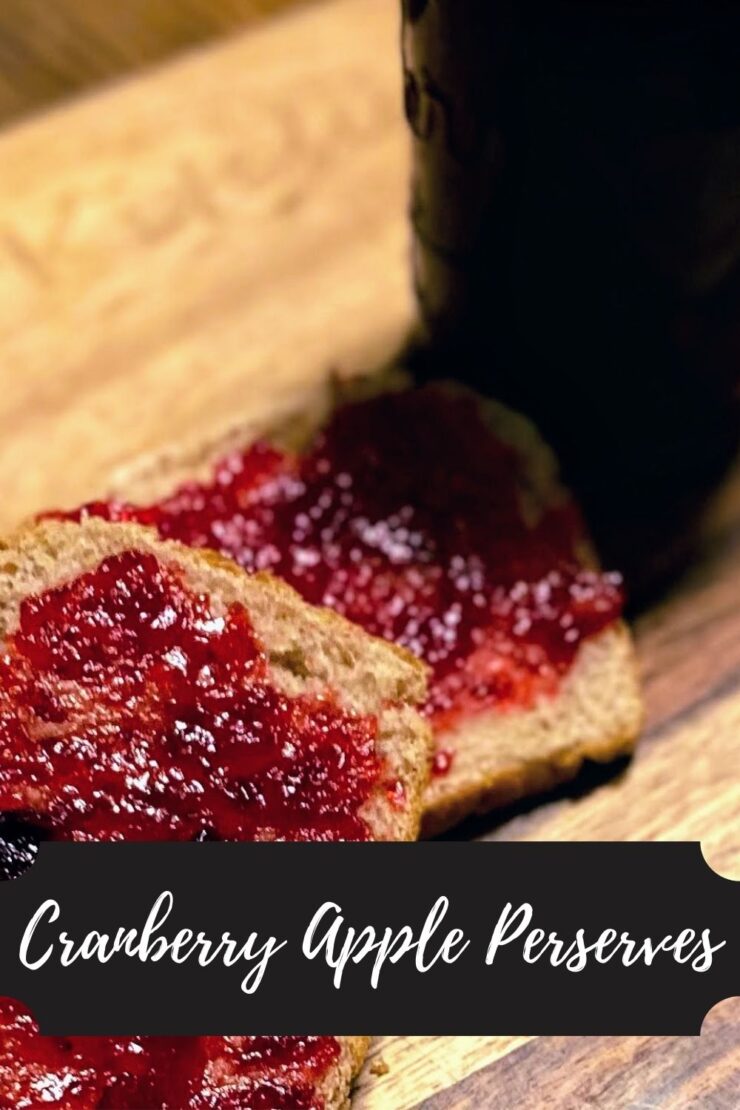
“Tis the season for cranberries, right? Now if you ask me, any season is cranberry season. But right now, fresh, whole cranberries are fully stocked at all the grocery stores, just yearning to create something delicious in your kitchen. I know Thanksgiving is over, but that doesn’t mean your time with cranberries needs to be. Give these cranberry apple preserves a try! 

One of my favorite things about living in Wisconsin is that all things cranberry are readily available. I thought that was standard in all states. I was telling a friend in Texas how much I adore cranberry wine (I am not a fancy wine girl, clearly). Her response was, “THEY MAKE CRANBERRY WINE?!” Yup, they do. And it’s delish. If you’re interested, check out Door Peninsula Winery (I love their Cranbernet) or Three Lakes Winery (I love…all their wine. All of it.) They even ship to lots of states! 

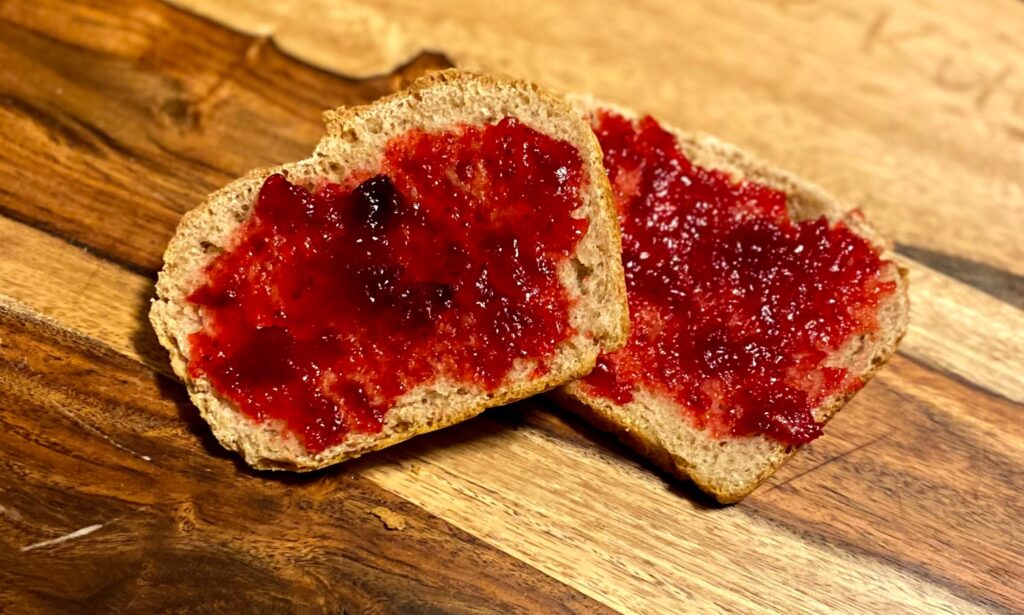
I will buy anything cranberry related. Add some citrus, and I am in heaven. So this cranberry apple preserve recipe is a great one. It has all the deliciousness of a well prepared cranberry sauce while being the consistency of jam. Can you go wrong?! Even if you aren’t a typical canner, you can do this recipe. 

Before we Start, The supplies

This cranberry apple preserves recipe will result in approximately seven 8 ounce jelly jars. You can use wide mouth or narrow mouth jars. Just be sure you have rings and lids for them and that they will all fit in your canner at once. 

You will need a water bath canner or large stock pot with a lid. The jars need to be off the bottom of the pot. A water bath canner will have a rack to use if you go that route. If you use a stock pot, I would invest in canning racks. You can also put a towel down in a pinch, but it is MESSY in terms of getting water everywhere.  

It is also helpful to have the tools in a canning kit like this, but it isn’t necessary. Canning would be crazy challenging without the jar funnel and jar tongs. The lid lifter is also very handy. 

New to canning? Check out the Ball’s Book of Canning or The National Center for Home Food Preservation for more detailed information. I will give you the low down, but it will be short and sweet. You will want to read up more, I promise  

Your Ingredients

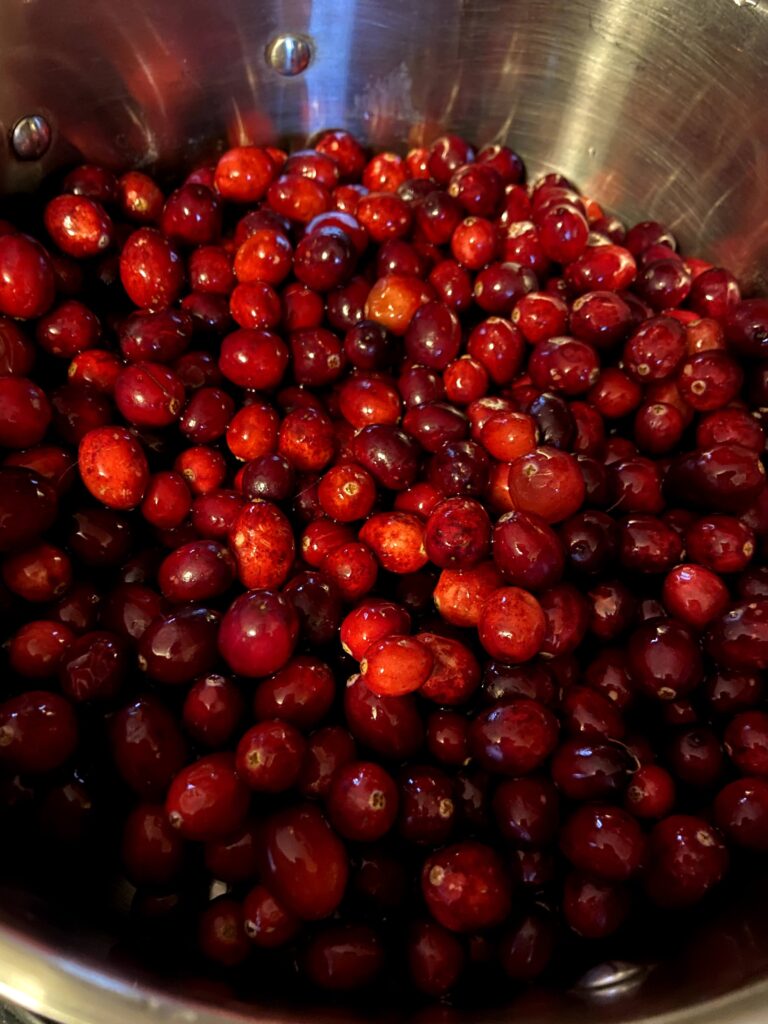
  • 24 ounces whole cranberries, rinsed and picked through 
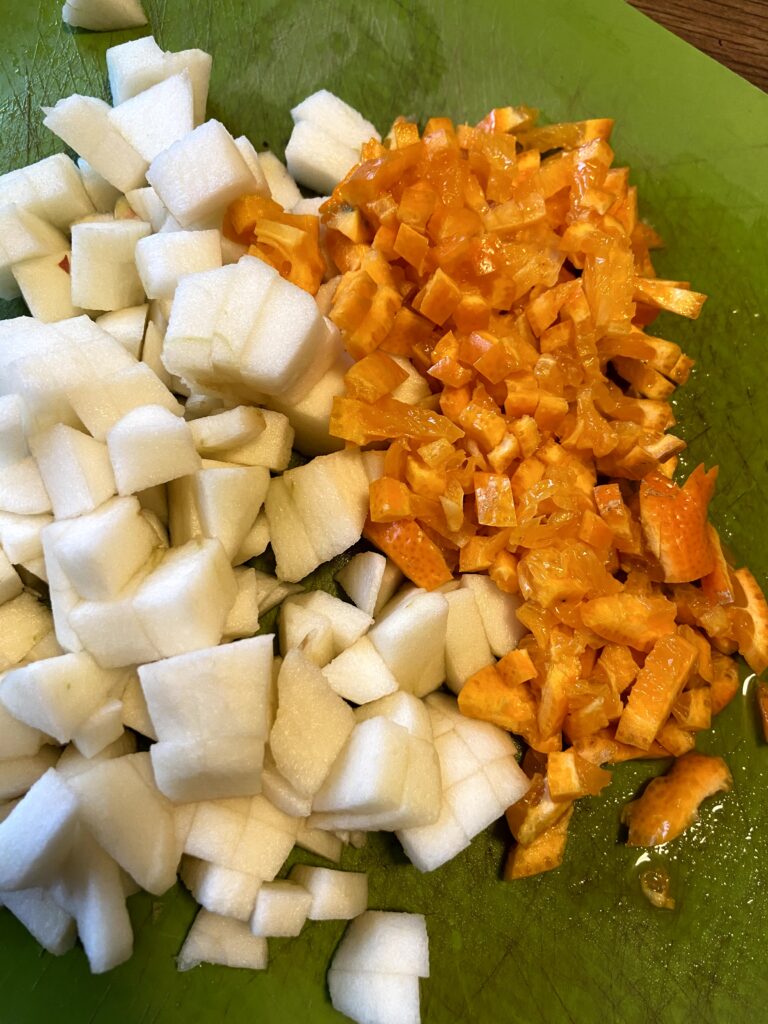
  • 3 apples, cored, peeled and diced
  • 1 clementine orange, chopped finely with peels
  • 2 ¾ cup sugar
  • 2 cups water 
  • ⅓ cup honey 

Your Steps to Cranberry Apple Preserves 

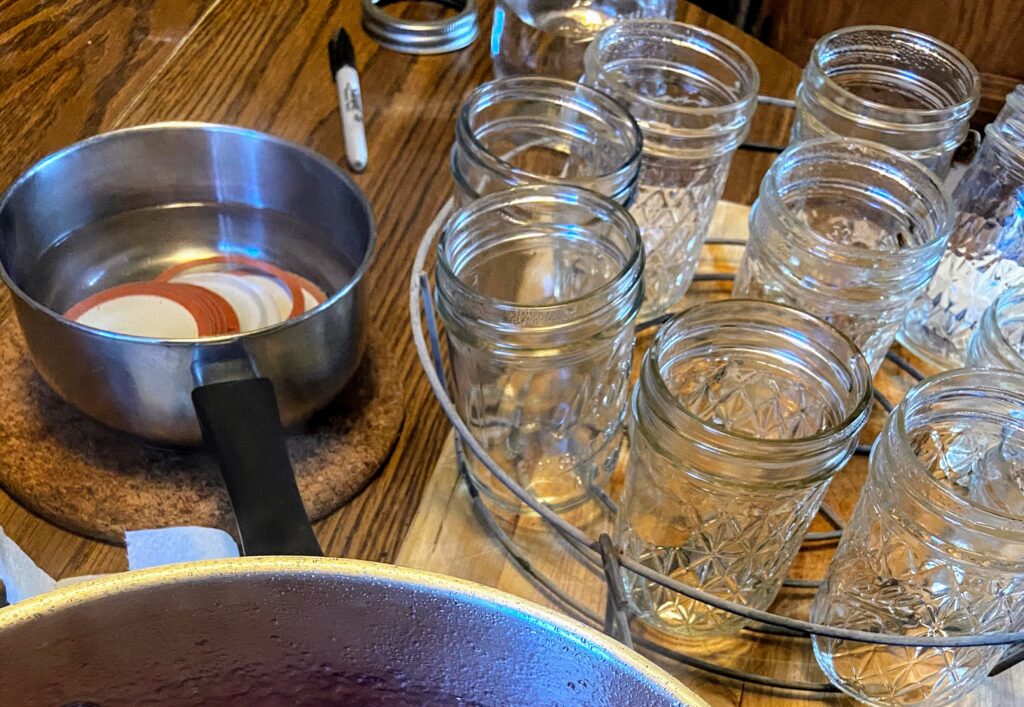
To begin, prepare your water bath canner. Fill the canner with enough water so that once the jars are in the canner, they will be covered by at least one inch of water. Too much water is better than not enough, but remember that some water will be displaced by the jars. Cover and begin to heat over a medium heat. 

You will also need to wash and prepare 8 ounce canning jars (approximately 7 jars will be produced with this recipe). I typically do this while my preserves are just starting to cook down. Wash rings, lids, and jars. Place jars in the rack in the canner, elevated above the water. This will keep them warm. Follow directions for your specific lids. I typically wash and place in simmering water on the stove. 

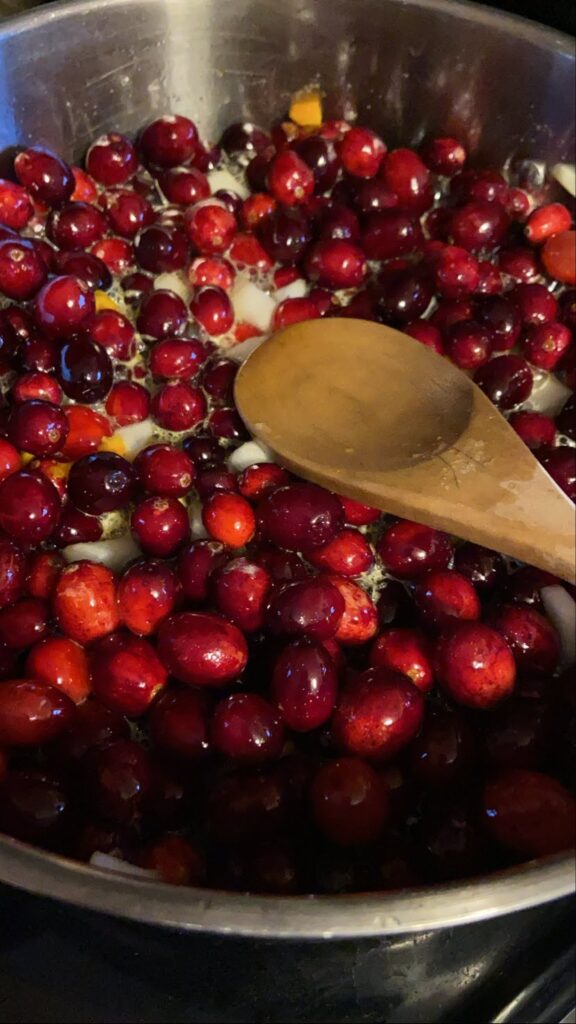
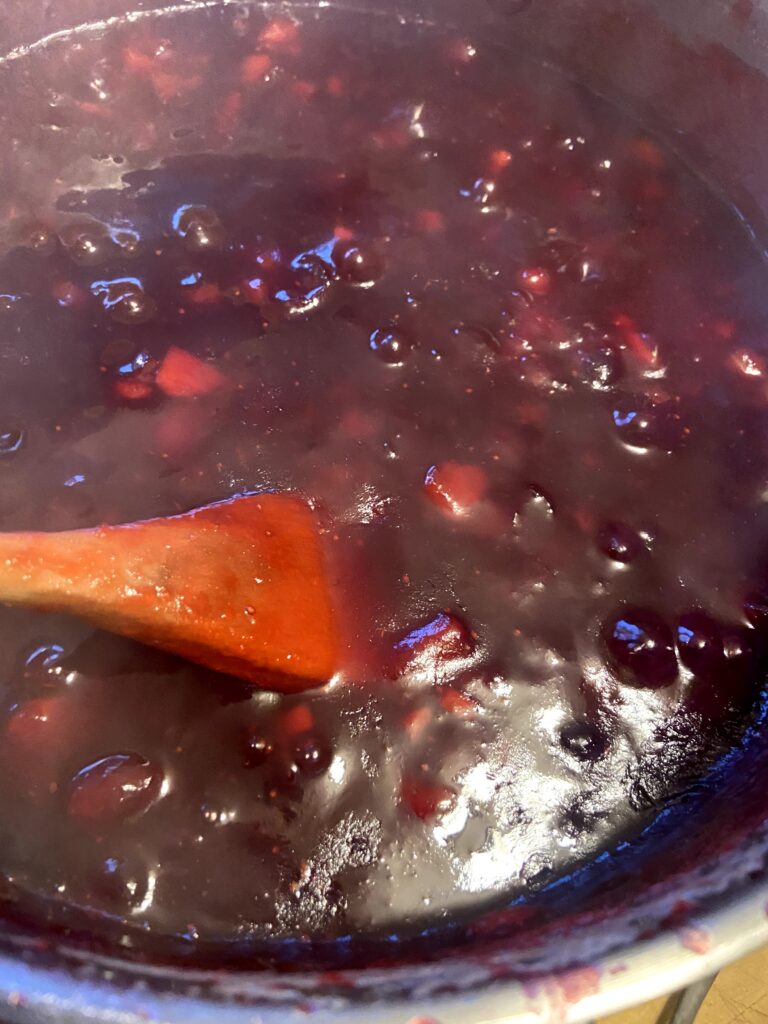
Now, begin to prepare the jam. Combine all ingredients in a large saucepan. Bring to a boil over a high heat, stirring until the sugar dissolves. Continue to cook and stir over the high heat until the mixture reaches 219 degrees (However, for every 1000 feet of altitude you have, subtract 2 degrees). Once temperature is reached, remove from heat. (Note: It takes some time to reach this temperature. But it will go from 214 degrees to done quicker than you expect. Just watch the temperature closely)

Time to Can!

Ladle hot preserves into hot jars, leaving ¼ inch headspace. Wipe rims with a damp cloth, add lids and adjust band to fingertip tight. Place jars into water bath canner and process for 15 minutes. Turn off heat and remove cover. Allow jars to cool 5 minutes in the canner, then remove and allow to cool for 12-24 hours. Do not retighten bands. Check seal after cool to be sure they are self-stable. Label and store. Any jars that did not seal can be stored in the refrigerator. 

Tools of the Trade

Not a Canner (…yet)? 

You can 100% complete this recipe and store it in the refrigerator. Fill the jars with hot jam, wipe, adjust lid and ring. Allow to cool before storing in the refrigerator. Since you will likely get about 7 jars of jam, I would recommend cutting the recipe in half. 

Ready to can and preserve more?

Check out my pages for canning and preserving for other inspiration below:

sourdough and jam

Cranberry Apple Preserves

As the weather gets cooler, cranberries become a tasty, tart treat. These preserves are sure to make your taste buds dance with the combination of cranberry, apple, and orange.
Prep Time 5 minutes
Cook Time 40 minutes
Waterbath 15 minutes
Servings 12

Equipment

Ingredients
  

  • 24 ounces whole cranberries rinsed and picked through
  • 3 apples cored, peeled and diced
  • 1 mandrin orange chopped finely with peels
  • 2 ¾ cup sugar
  • 2 cups water
  • cup honey

Instructions
 

  • Prepare your water bath canner. Fill the canner with enough water so that once the jars are in the canner, they will be covered by at least one inch of water. Cover and begin to heat over a medium heat.
  • Wash and prepare 8 ounce canning jars (approximately 7 jars will be produced with this recipe).
  • Now, begin to prepare the jam. Combine all ingredients in a large saucepan.
  • Bring to a boil over a high heat, stirring until the sugar dissolves.
  • Continue to cook and stir over the high heat until the mixture reaches 219 degrees (However, for every 1000 feet of altitude you have, subtract 2 degrees).
  • Once temperature is reached, remove from heat.
  • Ladle hot preserves into hot jars, leaving ¼ inch headspace.
  • Wipe rims with a damp cloth, add lids and adjust band to fingertip tight.
  • Place jars into water bath canner and process for 15 minutes. Turn off heat and remove cover.
  • Allow jars to cool 5 minutes in the canner, then remove and allow to cool for 12-24 hours. Do not retighten bands. Check seal after cool to be sure they are self-stable. Label and store.

Notes

Any jars that did not seal can be stored in the refrigerator.
Tried this recipe?Let us know how it was!

For the Freezer Apple Pie Filling to Quick Apple Bars

Cortland, right off the tree. Does it get much better?

Garden season is giving way to orchard season and the apples are ripe for the picking in Northern Wisconsin. At our house, we have planted a few fruits every year over the last ten years, and have reached an “orchard” of about sixteen fruit trees, nine of which are various apple trees. I have to love my husband as he researches types of apples and makes sure we have apples through the whole season. A favorite go to recipe that I do every year is freezer apple pie filling. 

It’s a simple recipe with minimal work that fills your freezer with fresh apples so that you can enjoy and create pies and crisps all year long in ten minutes flat! Who doesn’t love a dessert that looks and tastes like you were in the kitchen forever, but really, you had it put together basically during the commercial break of your favorite show? (Does anyone even have commercial breaks anymore? I guess I am getting old 😉 )

In all seriousness, if you are a person who LOVES hitting up the local orchards, you need this apple pie filling in your freezer. It will bring back all the good memories and joy the orchard brought you and your family as you hit it up in your flannels and boots 🙂

Your Ingredients 

  • 6 pounds of apples, peeled, cored and sliced after measuring out your weight
  • 1 1/2 cups sugar
  • 1/4 cup flour
  • 1 1/2 teaspoon cinnamon
  • 1/4 teaspoon nutmeg
  • 2 tablespoons lemon juice

Your Steps 

Place sliced apples in a large kettle (I love my Dutch oven here). Mix sugar, flour, cinnamon, and nutmeg in a small bowl. Stir into apples. Let the apples and spices stand for 30 min to allow the juices to flow. Stir in lemon juice. Place apples on the stove and heat over medium heat until the mixture thickens, stirring often. This should take approximately 20 minutes. Pour into freezer safe quart containers (I love the Arrow containers I have linked below for this). Allow containers to cool with the lids ajar for 1-2 hours. Cover and label. Place apple pie filling in the freezer. When you are ready to use them, pull out of the freezer and place in the refrigerator 1-2 prior to using.  Keep reading for a great recipe that uses these delightful containers of apples!

Oh, and save those peels and cores! You can make a great apple scrap jelly with those. Get the recipe here!

Prepped in 5 minutes flat Apple Bars 

Ready to bake with this great apple pie filling, but not feeling a pie? Let me share what I love to throw together when I need a dessert and am short on time to prep. 

Your Ingredients

  • 1 ½  cups all purpose flour
  • ½ cup oil (whatever oil suits you: olive, vegetable, coconut)
  • 1 teaspoon salt 
  • 2 tablespoons milk 
  • ¼ teaspoon cinnamon (optional)
  • ¼ teaspoon nutmeg (optional) 
  • 1 tablespoon sugar 
  • 1 quart thawed apple pie filling

Your Steps

Preheat the oven to 450 degrees. While the oven is preheating, combine all the ingredients besides the pie filling in a small bowl. It will be moist. Using your fingers, press the crust into an ungreased brownie pan (8×8 or 11×7). If you don’t have that size, a regular 9×13 pan works just fine too! It will just be a thin crust. 

Spread apple pie filling evenly over the crust. That’s it. Place in the oven and bake for 15 minutes at 450 degrees. Lower the temperature to 350 degrees and bake an additional 20-30 minutes, depending on the size of your pan. Twenty minutes was perfect when I used a 9×13 pan. 30 minutes if you use a brownie pan instead. 

If you are looking for a “healthy” apple bar, serve it up with vanilla Greek yogurt. But a scoop of ice cream right out of the oven would be delicious too!


Tools of the trade

This is my go to pan. I really appreciate that it’s between a brownie pan and a cake pan.

These are seriously awesome. They freeze well and double as leftover containers for us when we use whatever was frozen in them.

Cast iron may be heavy, but does it ever cook nice. I also adore that it can go from stove top to oven for all my baking and roasting needs.

Looking for other recipes? Check out the page below:

For the Freezer Apple Pie Filling

Sliced apples and five simple ingredients combine to make this perfect for the freezer apple pie filling.
4 from 3 votes
Prep Time 30 minutes
Cook Time 10 minutes
Course Dessert
Cuisine American
Servings 4 pies

Ingredients
  

  • 6 pounds of apples peeled, cored and sliced after measuring out your weight
  • 1 1/2 cups sugar
  • 1/4 cup flour
  • 1 1/2 teaspoon cinnamon
  • 1/4 teaspoon nutmeg
  • 2 tablespoons lemon juice

Instructions
 

  • Place sliced apples in a large kettle.
  • Mix sugar, flour, cinnamon, and nutmeg in a small bowl. Stir into apples.
  • Let the apples and spices stand for 30 min to allow the juices to flow.
  • Stir in lemon juice.
  • Place apples on the stove and heat over medium heat until the mixture thickens, stirring often, about 20 minutes.
  • Pour into freezer safe quart containers.
  • Allow containers to cool with the lids ajar for 1-2 hours. Cover and label. Place apple pie filling in the freezer.
  • When you are ready to use them, pull out of the freezer and place in the refrigerator 1-2 prior to using.
Keyword apple bars, apple dessert, apple pie filling, apple recipe, apples, dessert
Tried this recipe?Let us know how it was!

Apple Pie Filling Quick Apple Bars

Apple pie filling frozen in the fall provides the delicious base for these quick and easy bars.
4 from 3 votes
Prep Time 10 minutes
Cook Time 40 minutes
Course Dessert
Cuisine American
Servings 9

Ingredients
  

  • 1 ½ cups all purpose flour
  • ½ cup oil whatever oil suits you: olive, vegetable, coconut
  • 1 teaspoon salt
  • 2 tablespoons milk
  • ¼ teaspoon cinnamon optional
  • ¼ teaspoon nutmeg optional
  • 1 tablespoon sugar
  • 1 quart thawed apple pie filling

Instructions
 

  • Preheat the oven to 450 degrees.
  • While the oven is preheating, combine all the ingredients besides the pie filling in a small bowl. It will be moist.
  • Using your fingers, press the crust into an ungreased brownie pan (8×8 or 11×7).
  • Spread apple pie filling evenly over the crust.
  • Place in the oven and bake for 15 minutes at 450 degrees.
  • Lower the temperature to 350 degrees and bake an additional 20-30 minutes, depending on the size of your pan.
Keyword apple bars, apple pie filling, apples, dessert
Tried this recipe?Let us know how it was!