For the Freezer Apple Pie Filling to Quick Apple Bars

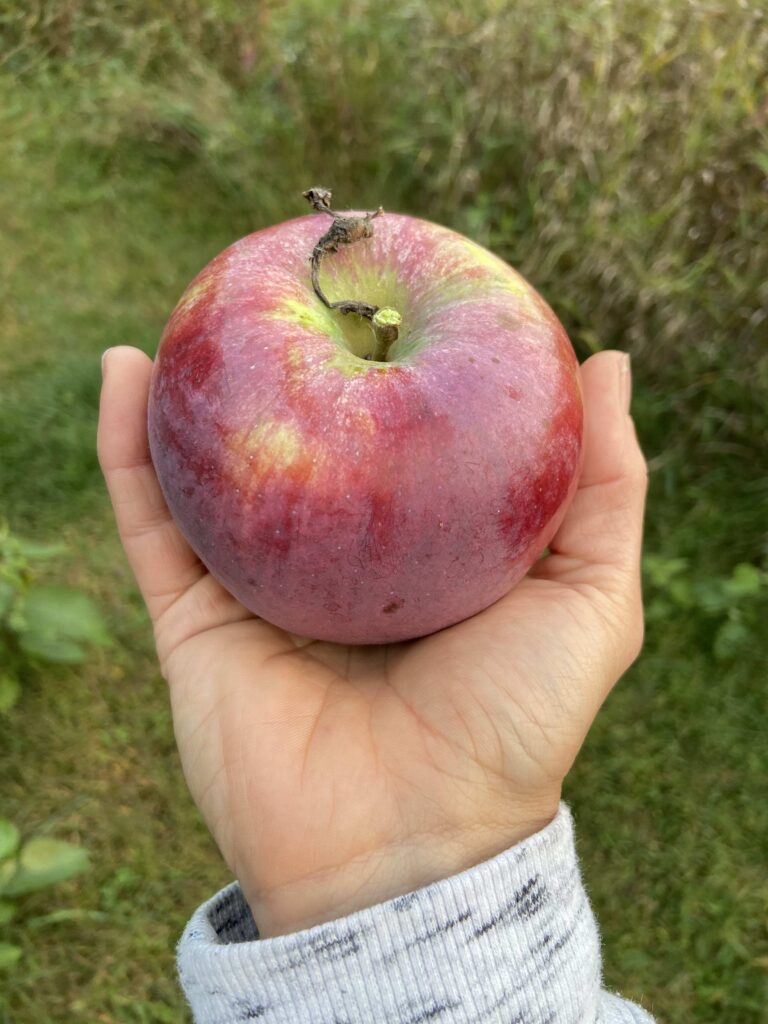
Cortland, right off the tree. Does it get much better?

Garden season is giving way to orchard season and the apples are ripe for the picking in Northern Wisconsin. At our house, we have planted a few fruits every year over the last ten years, and have reached an “orchard” of about sixteen fruit trees, nine of which are various apple trees. I have to love my husband as he researches types of apples and makes sure we have apples through the whole season. A favorite go to recipe that I do every year is freezer apple pie filling. 

It’s a simple recipe with minimal work that fills your freezer with fresh apples so that you can enjoy and create pies and crisps all year long in ten minutes flat! Who doesn’t love a dessert that looks and tastes like you were in the kitchen forever, but really, you had it put together basically during the commercial break of your favorite show? (Does anyone even have commercial breaks anymore? I guess I am getting old 😉 )

In all seriousness, if you are a person who LOVES hitting up the local orchards, you need this apple pie filling in your freezer. It will bring back all the good memories and joy the orchard brought you and your family as you hit it up in your flannels and boots 🙂

Your Ingredients 

  • 6 pounds of apples, peeled, cored and sliced after measuring out your weight
  • 1 1/2 cups sugar
  • 1/4 cup flour
  • 1 1/2 teaspoon cinnamon
  • 1/4 teaspoon nutmeg
  • 2 tablespoons lemon juice

Your Steps 

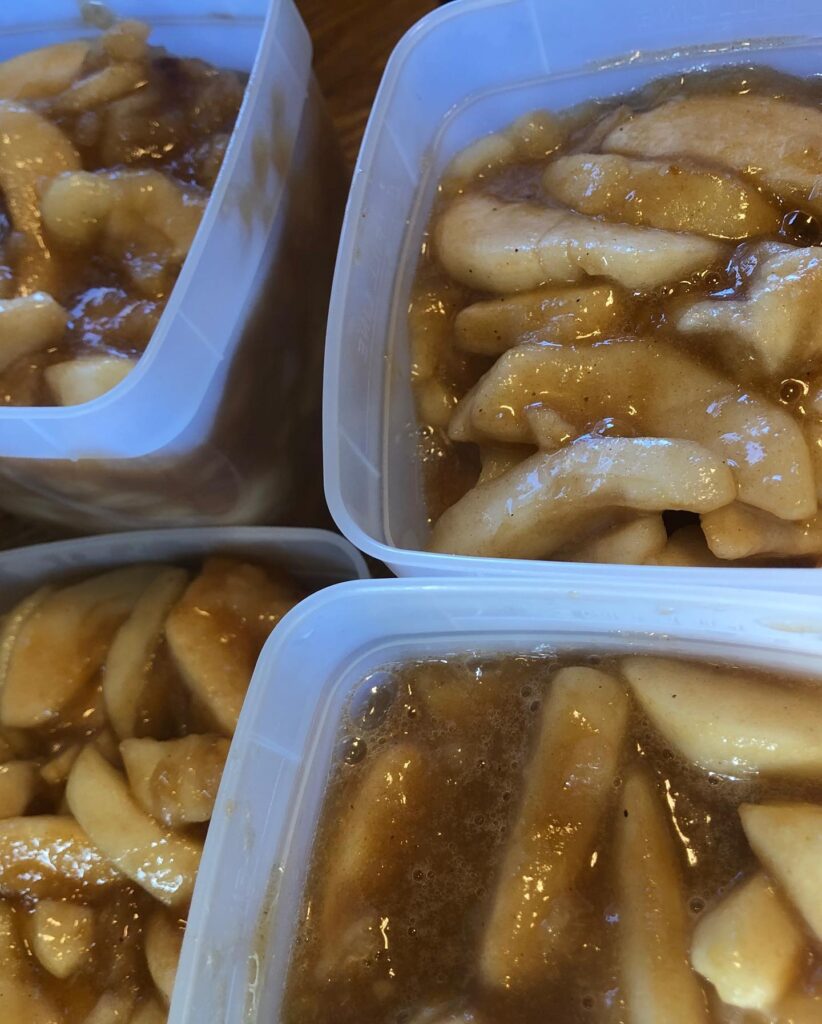
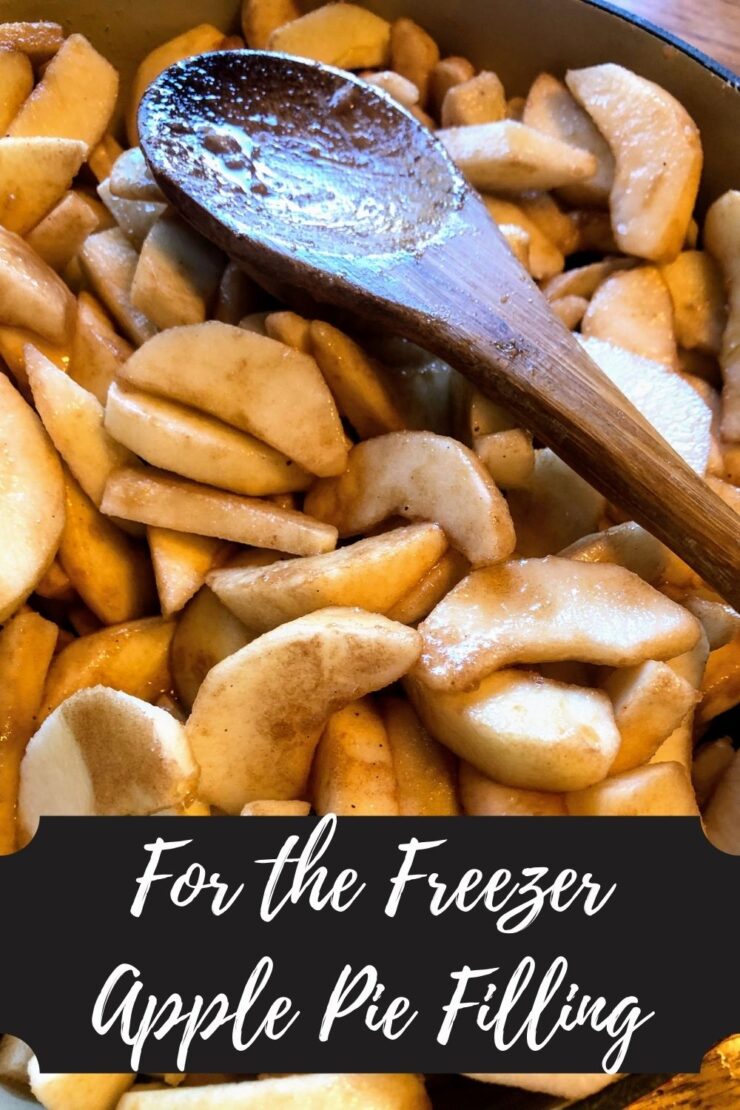
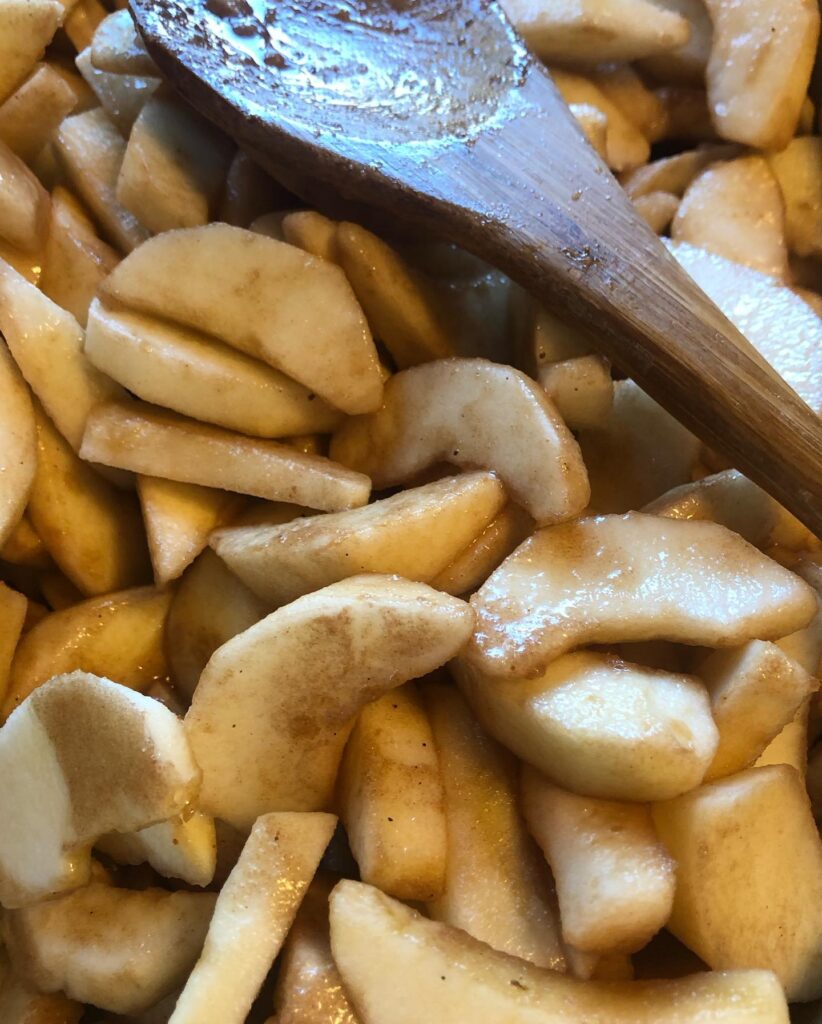
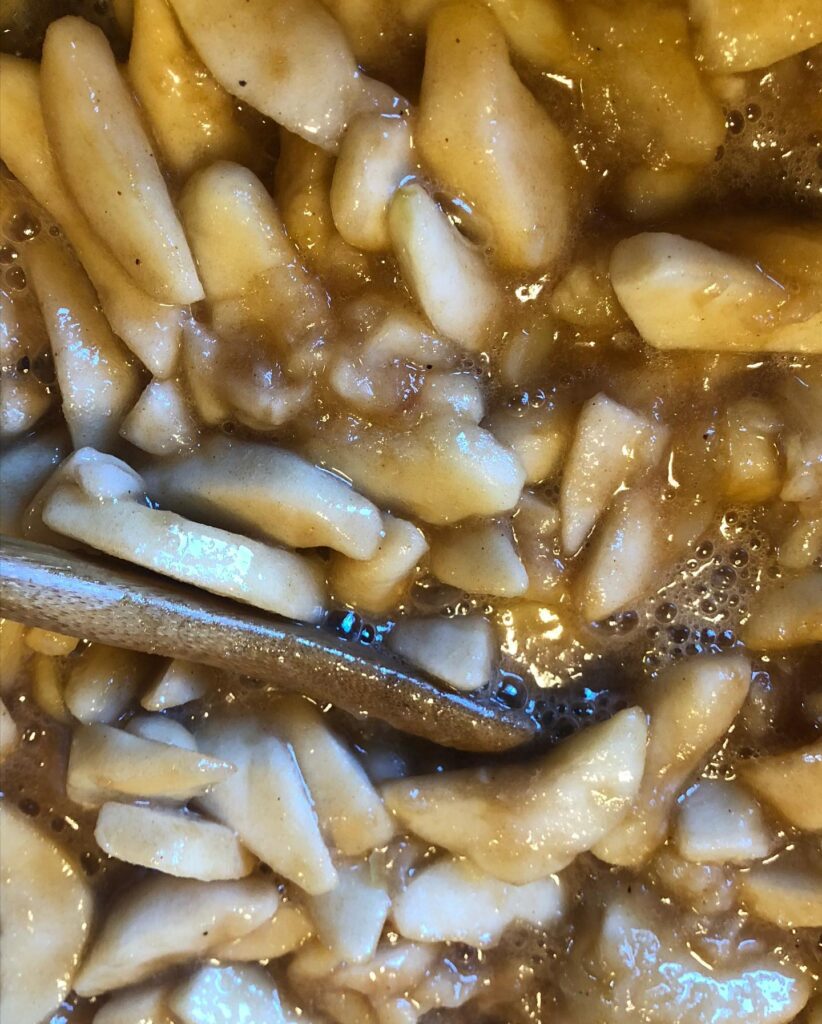
Place sliced apples in a large kettle (I love my Dutch oven here). Mix sugar, flour, cinnamon, and nutmeg in a small bowl. Stir into apples. Let the apples and spices stand for 30 min to allow the juices to flow. Stir in lemon juice. Place apples on the stove and heat over medium heat until the mixture thickens, stirring often. This should take approximately 20 minutes. Pour into freezer safe quart containers (I love the Arrow containers I have linked below for this). Allow containers to cool with the lids ajar for 1-2 hours. Cover and label. Place apple pie filling in the freezer. When you are ready to use them, pull out of the freezer and place in the refrigerator 1-2 prior to using.  Keep reading for a great recipe that uses these delightful containers of apples!

Oh, and save those peels and cores! You can make a great apple scrap jelly with those. Get the recipe here!
Prepped in 5 minutes flat Apple Bars 

Ready to bake with this great apple pie filling, but not feeling a pie? Let me share what I love to throw together when I need a dessert and am short on time to prep. 

Your Ingredients

  • 1 ½  cups all purpose flour
  • ½ cup oil (whatever oil suits you: olive, vegetable, coconut)
  • 1 teaspoon salt 
  • 2 tablespoons milk 
  • ¼ teaspoon cinnamon (optional)
  • ¼ teaspoon nutmeg (optional) 
  • 1 tablespoon sugar 
  • 1 quart thawed apple pie filling

Your Steps

Preheat the oven to 450 degrees. While the oven is preheating, combine all the ingredients besides the pie filling in a small bowl. It will be moist. Using your fingers, press the crust into an ungreased brownie pan (8×8 or 11×7). If you don’t have that size, a regular 9×13 pan works just fine too! It will just be a thin crust. 

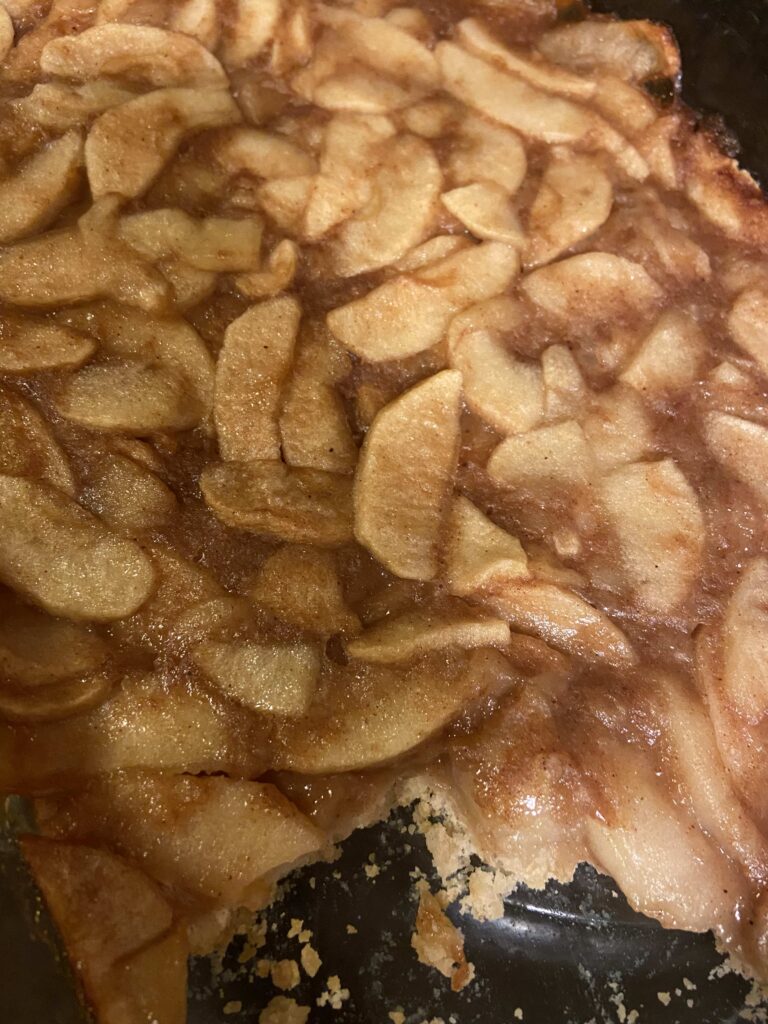
Spread apple pie filling evenly over the crust. That’s it. Place in the oven and bake for 15 minutes at 450 degrees. Lower the temperature to 350 degrees and bake an additional 20-30 minutes, depending on the size of your pan. Twenty minutes was perfect when I used a 9×13 pan. 30 minutes if you use a brownie pan instead. 

If you are looking for a “healthy” apple bar, serve it up with vanilla Greek yogurt. But a scoop of ice cream right out of the oven would be delicious too!
 

Tools of the trade

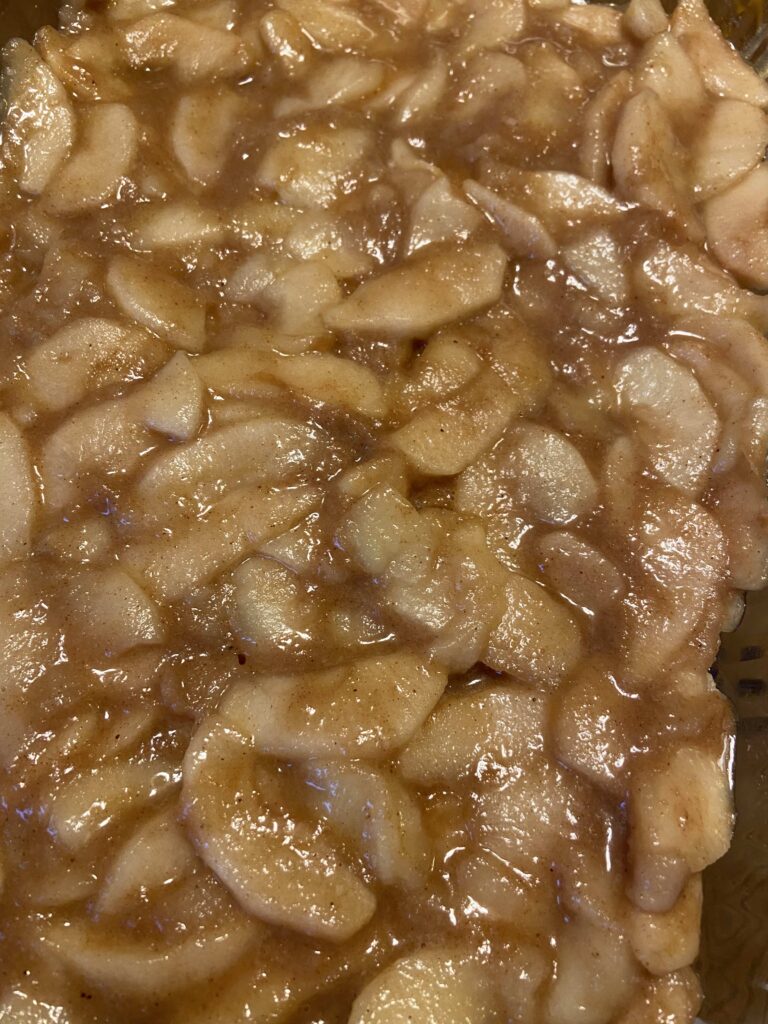
This is my go to pan. I really appreciate that it’s between a brownie pan and a cake pan.

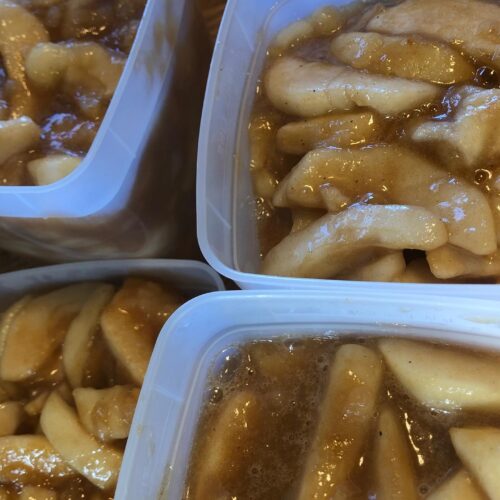
These are seriously awesome. They freeze well and double as leftover containers for us when we use whatever was frozen in them.

Cast iron may be heavy, but does it ever cook nice. I also adore that it can go from stove top to oven for all my baking and roasting needs.

Looking for other recipes? Check out the page below:
For the Freezer Apple Pie Filling

Sliced apples and five simple ingredients combine to make this perfect for the freezer apple pie filling.
4 from 3 votes
Prep Time 30 minutes
Cook Time 10 minutes
Course Dessert
Cuisine American
Servings 4 pies

Ingredients
  

  • 6 pounds of apples peeled, cored and sliced after measuring out your weight
  • 1 1/2 cups sugar
  • 1/4 cup flour
  • 1 1/2 teaspoon cinnamon
  • 1/4 teaspoon nutmeg
  • 2 tablespoons lemon juice

Instructions
 

  • Place sliced apples in a large kettle.
  • Mix sugar, flour, cinnamon, and nutmeg in a small bowl. Stir into apples.
  • Let the apples and spices stand for 30 min to allow the juices to flow.
  • Stir in lemon juice.
  • Place apples on the stove and heat over medium heat until the mixture thickens, stirring often, about 20 minutes.
  • Pour into freezer safe quart containers.
  • Allow containers to cool with the lids ajar for 1-2 hours. Cover and label. Place apple pie filling in the freezer.
  • When you are ready to use them, pull out of the freezer and place in the refrigerator 1-2 prior to using.
Keyword apple bars, apple dessert, apple pie filling, apple recipe, apples, dessert
Tried this recipe?Let us know how it was!

Apple Pie Filling Quick Apple Bars

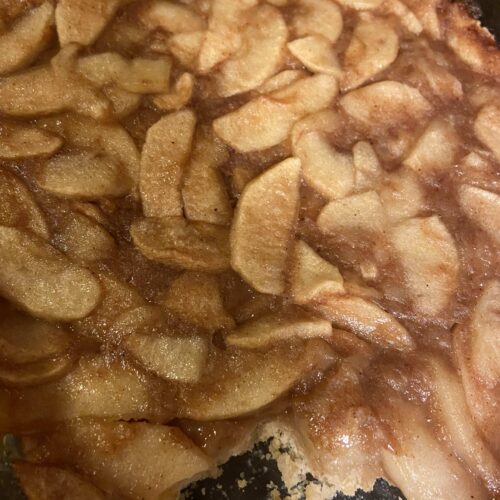
Apple pie filling frozen in the fall provides the delicious base for these quick and easy bars.
4 from 3 votes
Prep Time 10 minutes
Cook Time 40 minutes
Course Dessert
Cuisine American
Servings 9

Ingredients
  

  • 1 ½ cups all purpose flour
  • ½ cup oil whatever oil suits you: olive, vegetable, coconut
  • 1 teaspoon salt
  • 2 tablespoons milk
  • ¼ teaspoon cinnamon optional
  • ¼ teaspoon nutmeg optional
  • 1 tablespoon sugar
  • 1 quart thawed apple pie filling

Instructions
 

  • Preheat the oven to 450 degrees.
  • While the oven is preheating, combine all the ingredients besides the pie filling in a small bowl. It will be moist.
  • Using your fingers, press the crust into an ungreased brownie pan (8×8 or 11×7).
  • Spread apple pie filling evenly over the crust.
  • Place in the oven and bake for 15 minutes at 450 degrees.
  • Lower the temperature to 350 degrees and bake an additional 20-30 minutes, depending on the size of your pan.
Keyword apple bars, apple pie filling, apples, dessert
Tried this recipe?Let us know how it was!

Dilly Beans

It’s pickling season! Okay, really, it’s gardening season which means it’s canning season around our house. But if it is canning season, you can bet some pickling is going to go down. One of my favorite things to pickle are dilly beans. 

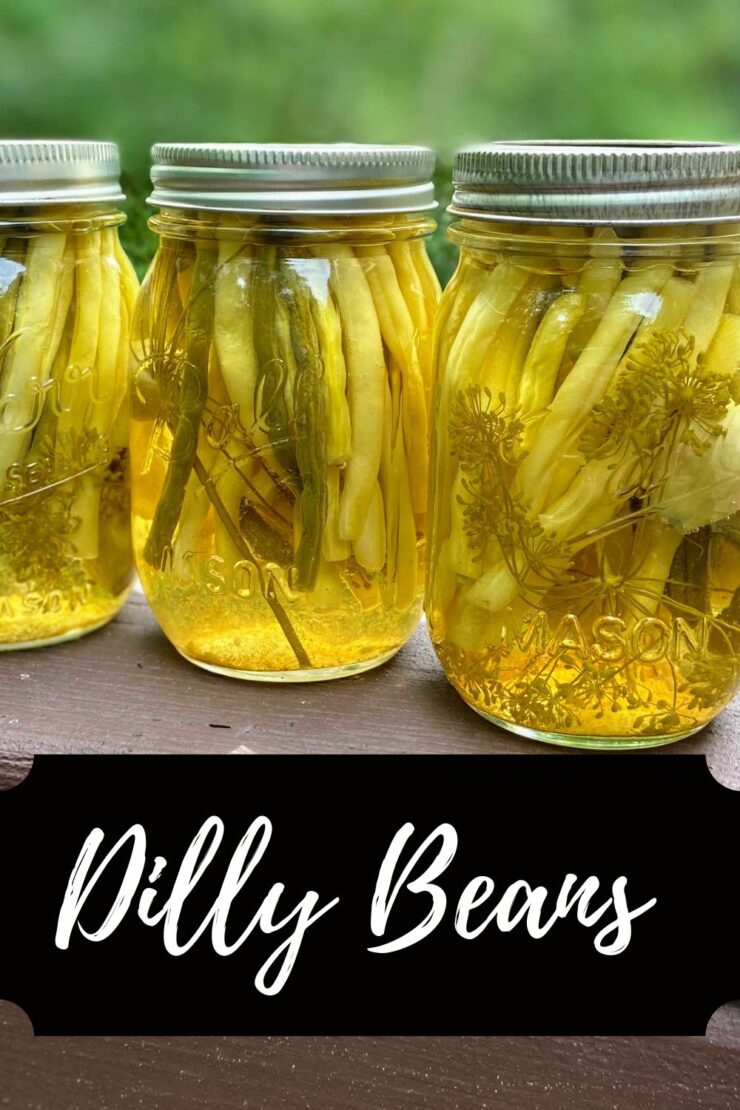
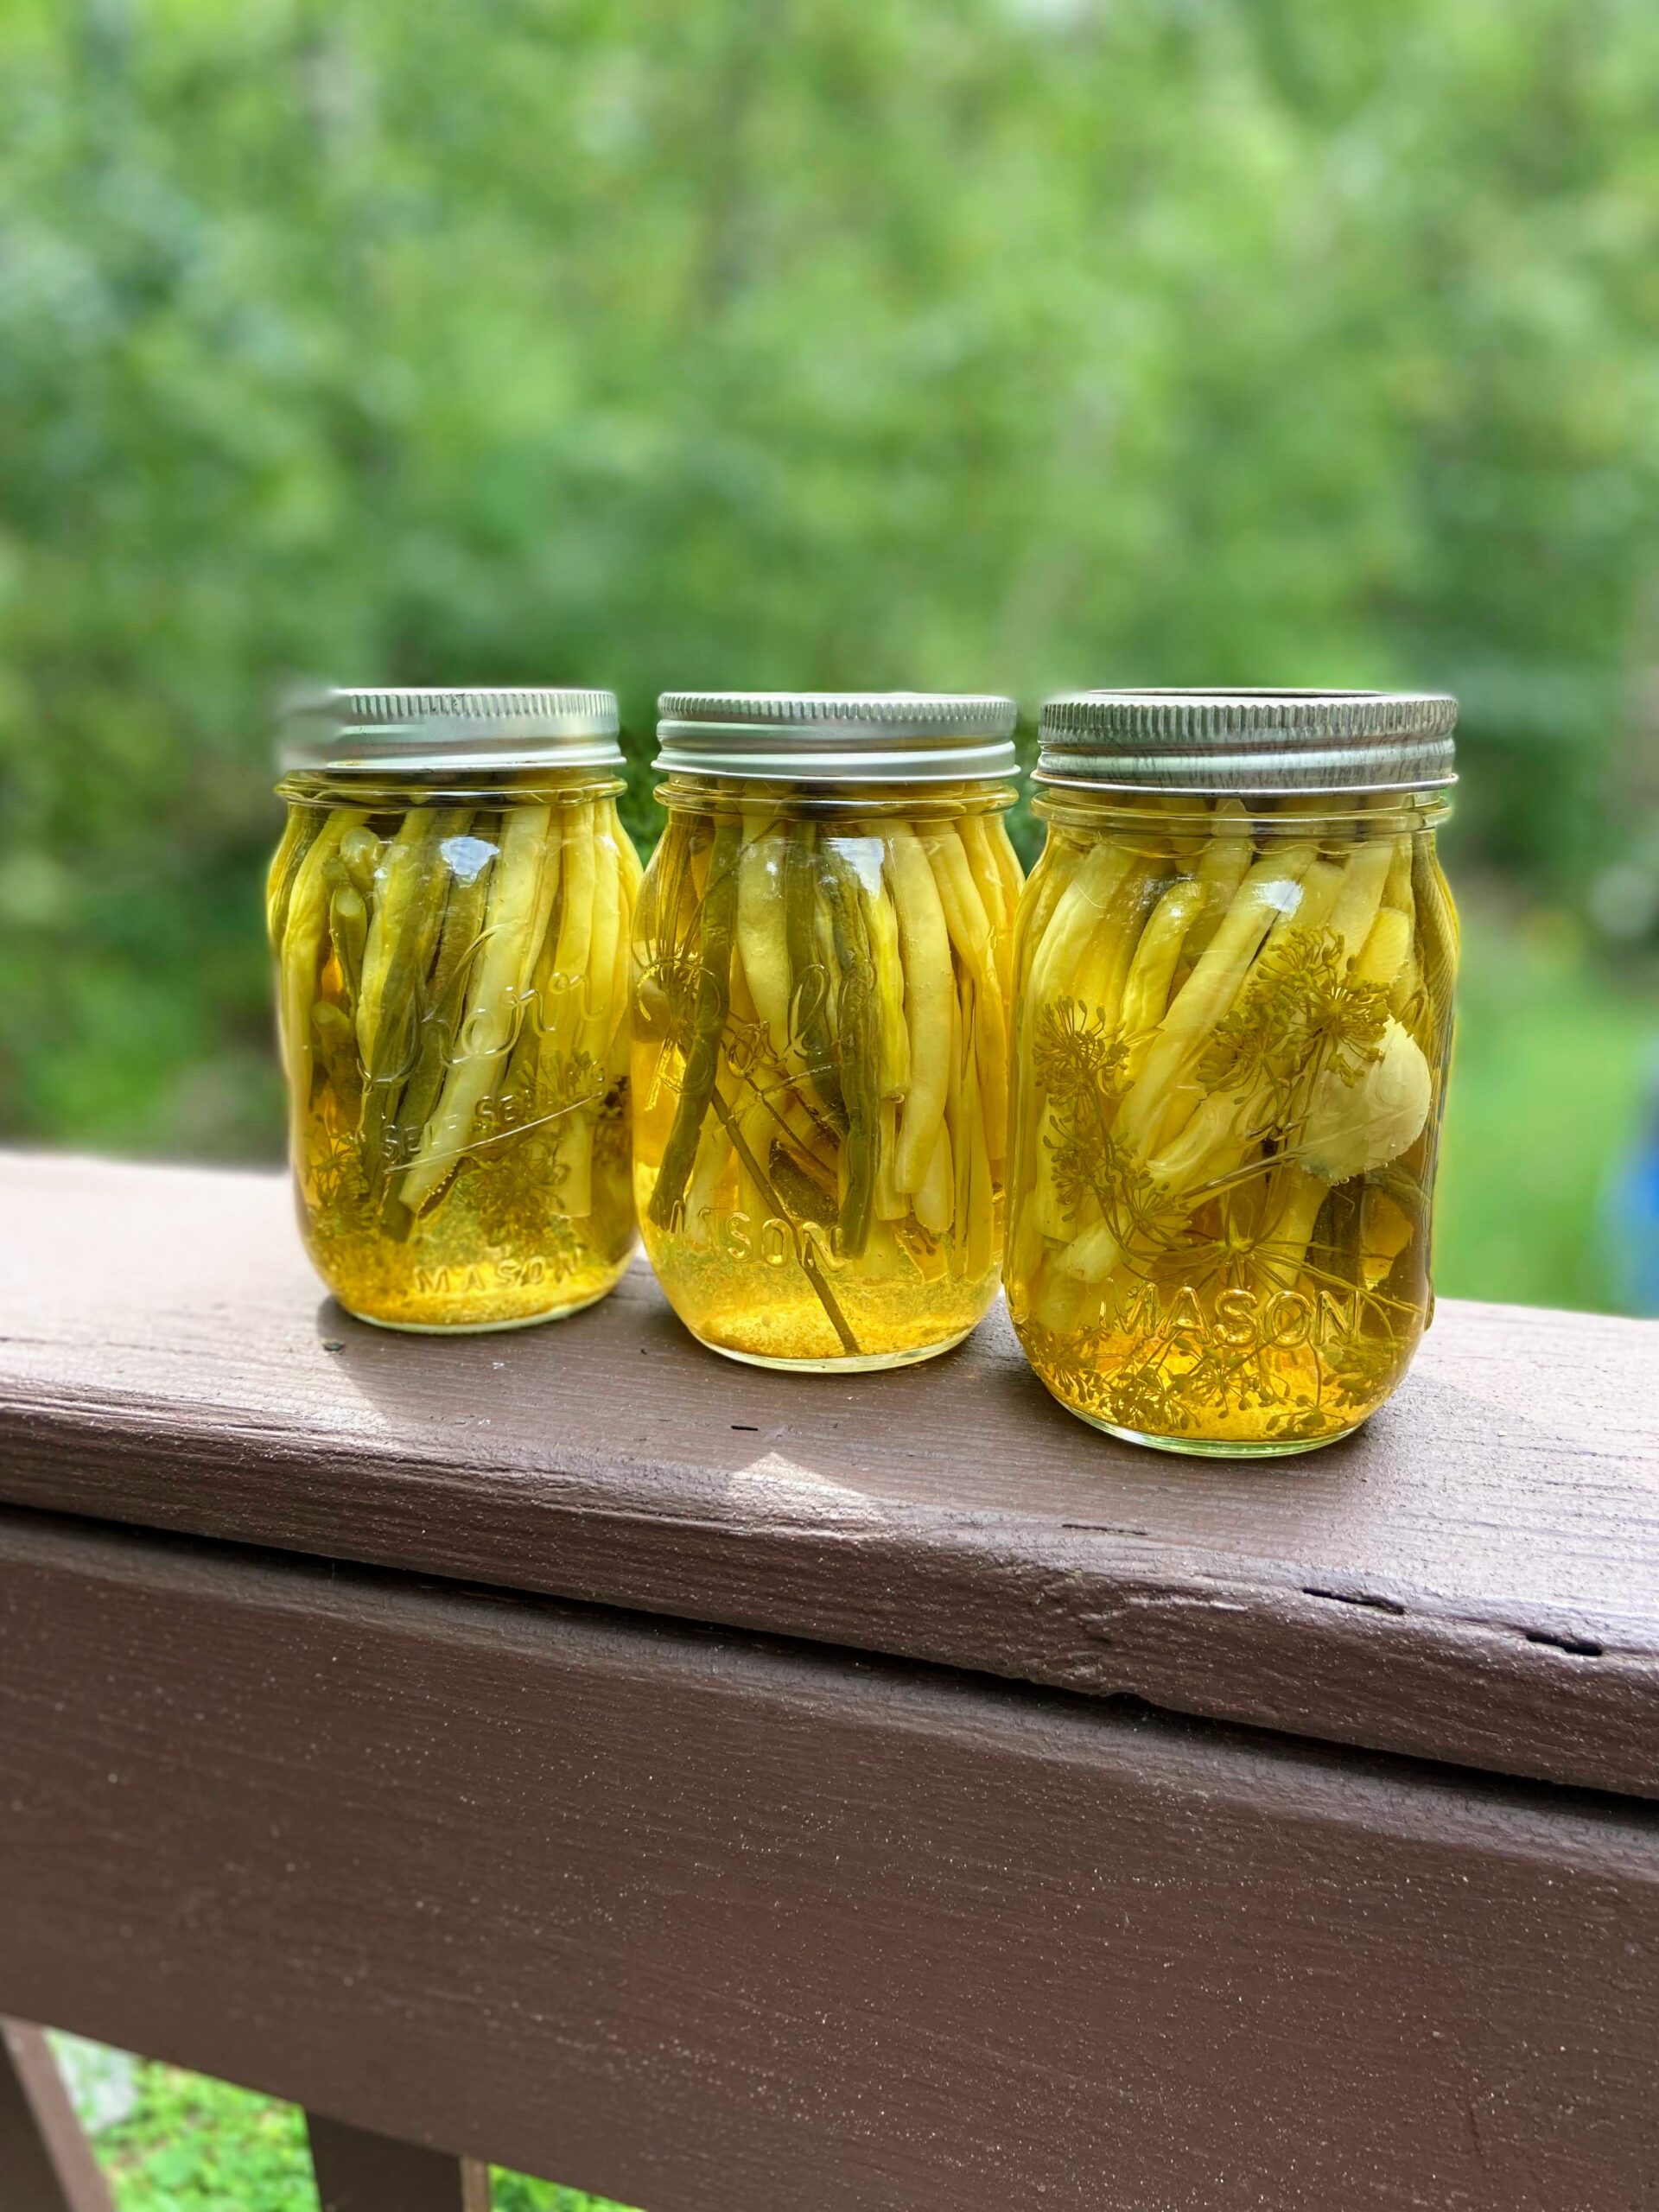
We always plant two to three rows of beans. This results in enough to eat plenty raw, put some in the freezer, pressure can some for meals, and then when I am feeling ambitious, some for dilly beans. Never had a dilly bean? They are similar to a dill pickle, but have a little more kick (if you want it), and stay crisp longer. 

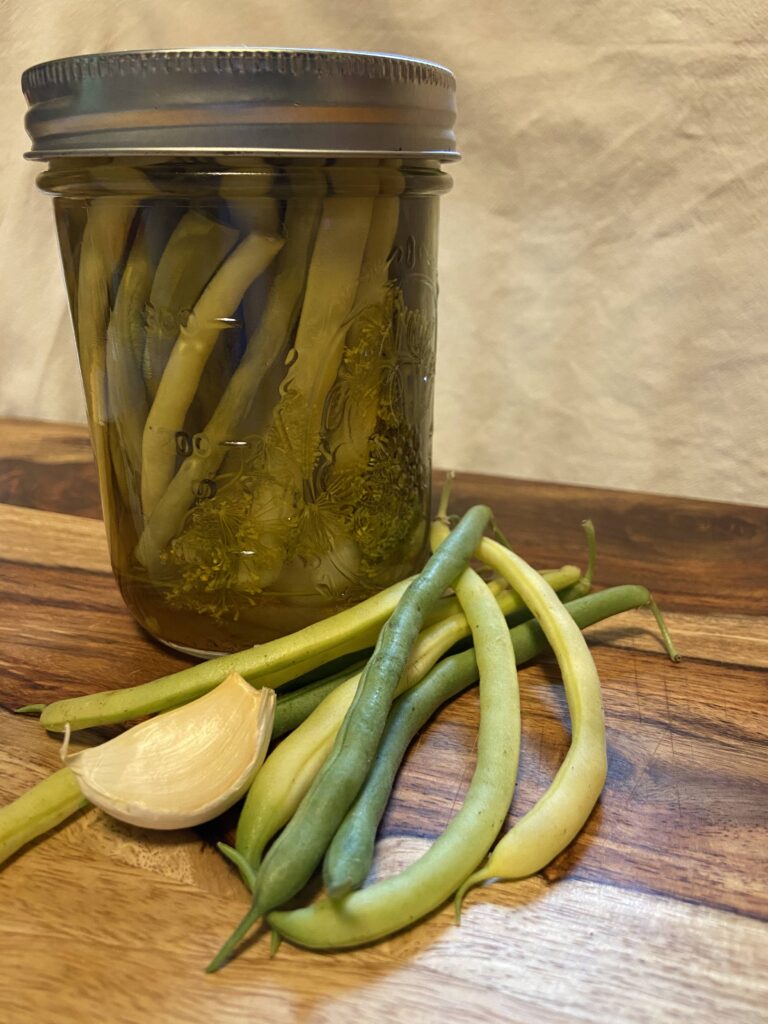
In our home, we eat them when we grill out or simply for a snack. The bonus treat is the pickled garlic clove at the bottom of the jar. My kids fight over it every time. I don’t love a Bloody Mary, but they are a great addition to a killer Bloody. 

Originally, this recipe came from the Ball Canning and Perserving Book, but like any good recipe, has been modified to suit our needs in our home. I hope you enjoy them as much as my family does!

New to canning? Check out the Ball’s Book of Canning or The National Center for Home Food Preservation for more detailed information. I will give you the low down, but it will be short and sweet. You will want to read up more, I promise 🙂 

Your Ingredients (per six pint jars) 

  • 2 ½ pounds green beans and/or yellow wax beans, washed and trimmed 
  • 4 cups vinegar
  • 4 cups water 
  • 6 tablespoons pickling salt 
  • ⅛ – ¼ teaspoon cayenne pepper, PER jar (to taste) 
  • 6 heads of dill 
  • 6-12 cloves of garlic (1-2 cloves per jar) 

The Utensils 

  • Water bath canner with rack and lid
  • Six pint jars with lids and rings (wide or narrow mouth)
  • Large, non reactive kettle for pickling liquid 

Your Preparation 

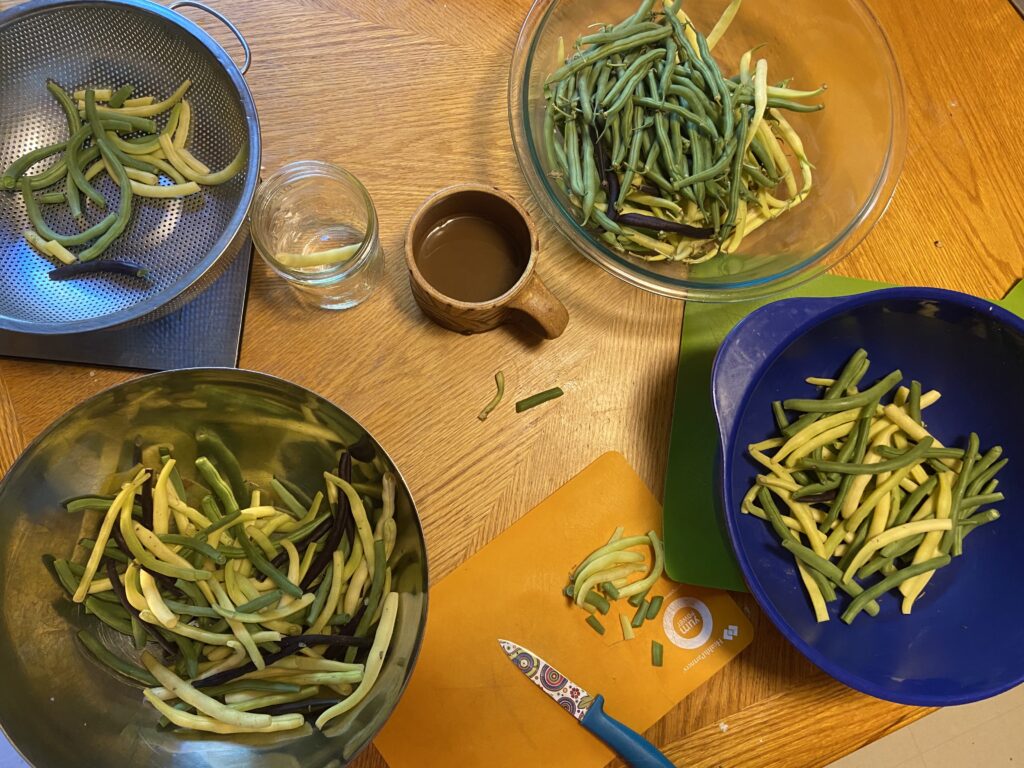
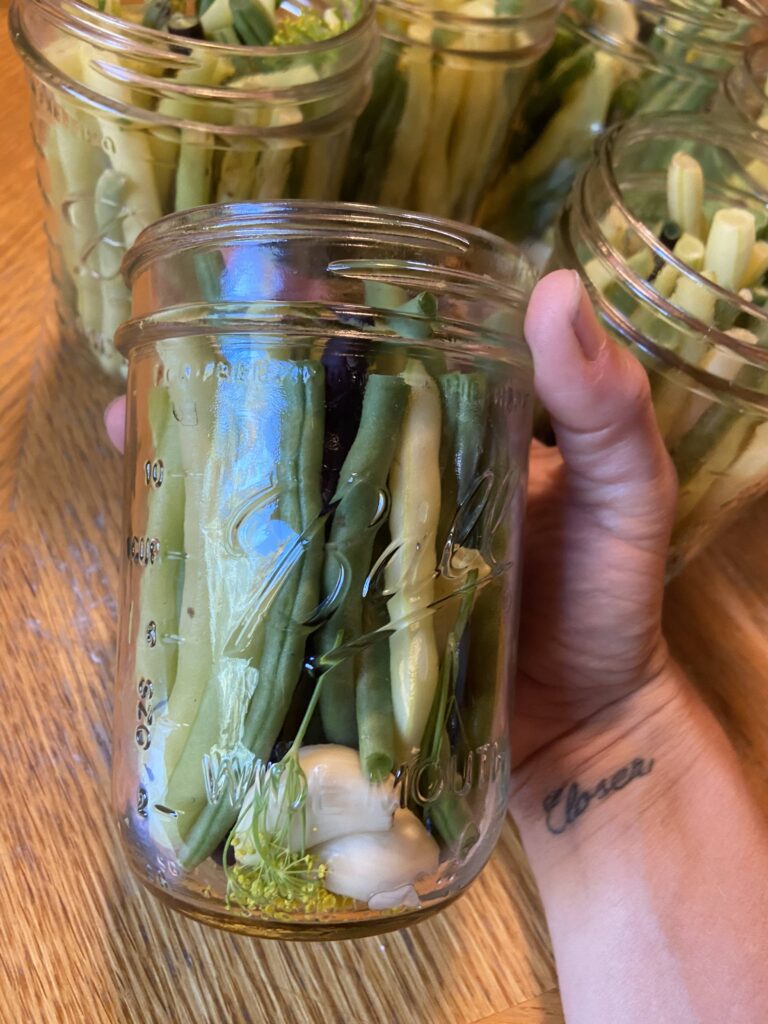
The prep: the most time consuming portion of this recipe. When you make regular pickles, you just slice and fill jars. However, dilly beans need to be cut to length. After a number of years of canning, the following method has worked the best for me. Trim one bean to length so that it will fit just under the rim of the jar, approximately 4 inches. Now you have two options: 

-Use this bean as your fondly called “measuring bean.” Measure the rest of the beans to that length, double checking from time to time because it’s easy to cut too long. 

-If you have a non-opaque cutting board (think thin, flexible boards), make a mark with a permanent marker on the bottom of the board. Use this line to cut your beans to length. This is my preferred method. 

Ultimately, you need to trim your beans so they will fit in your jar. Get there how you get there 🙂 

Additionally, peel the garlic cloves and have them prepared. 

Time to Can

Prepare jars, lids, and rings by washing and keeping warm. I generally set the jars in the rack of canner and have it rest above the water.  Begin heating the water bath canner (make sure water will be at least one inch above jars once submerged). It is better to have too much water than too little. 

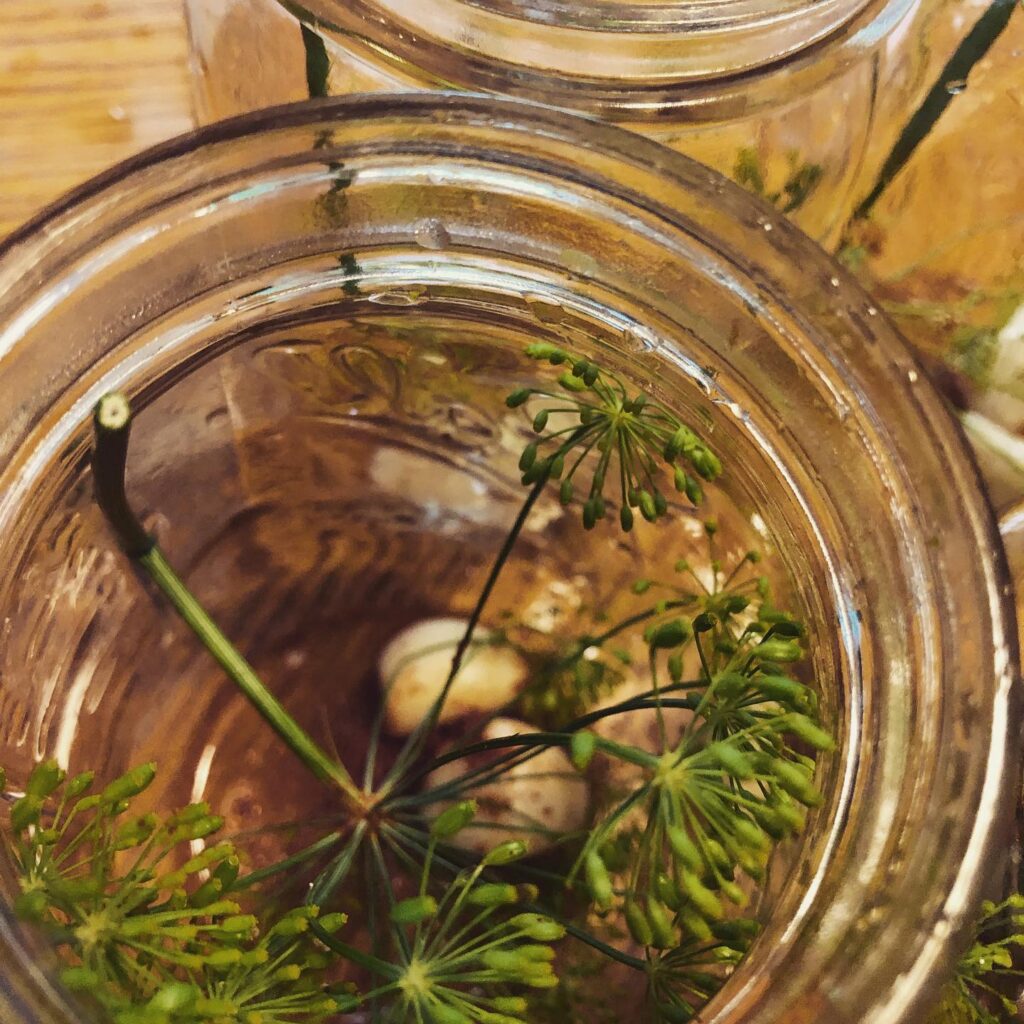
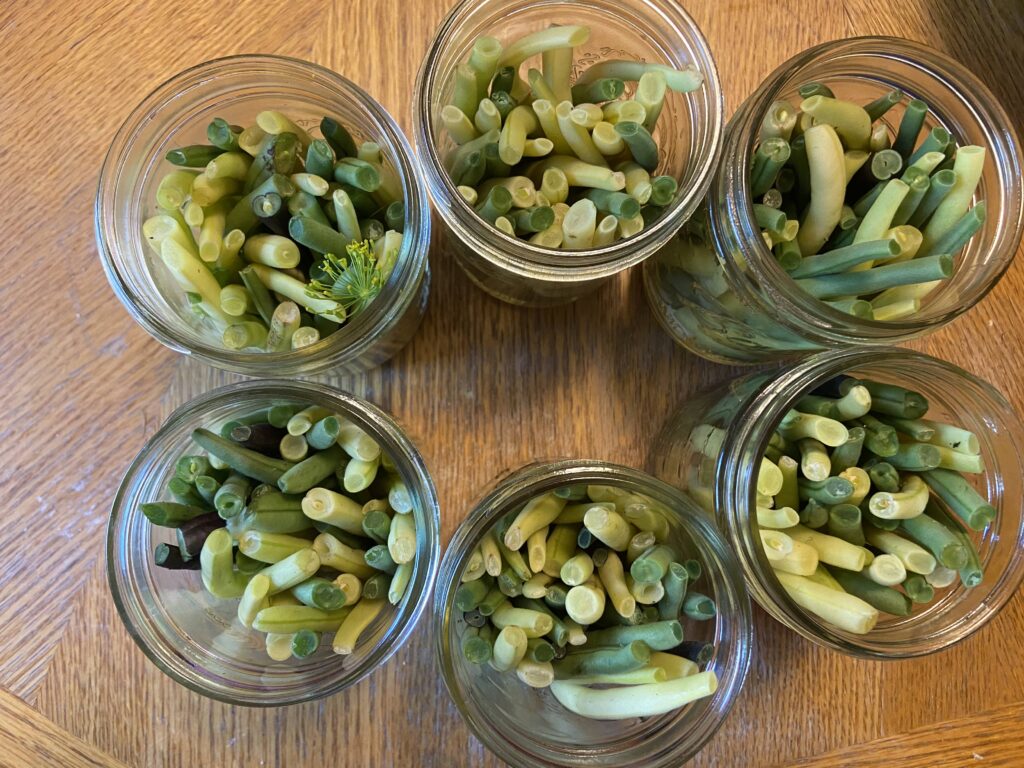
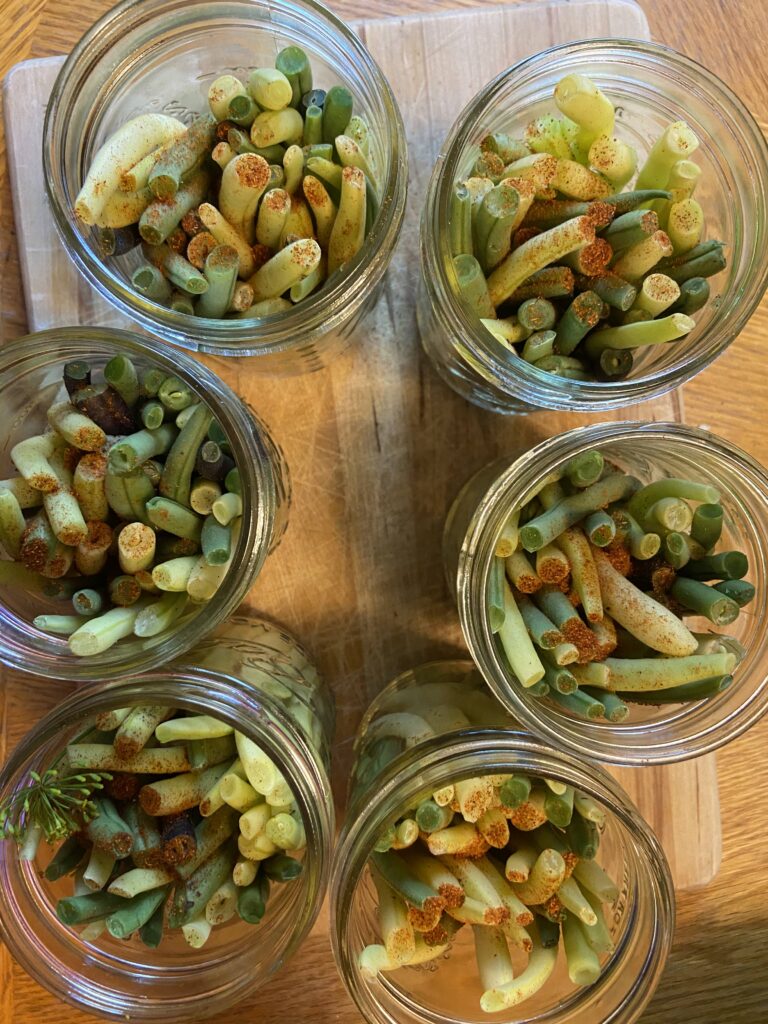
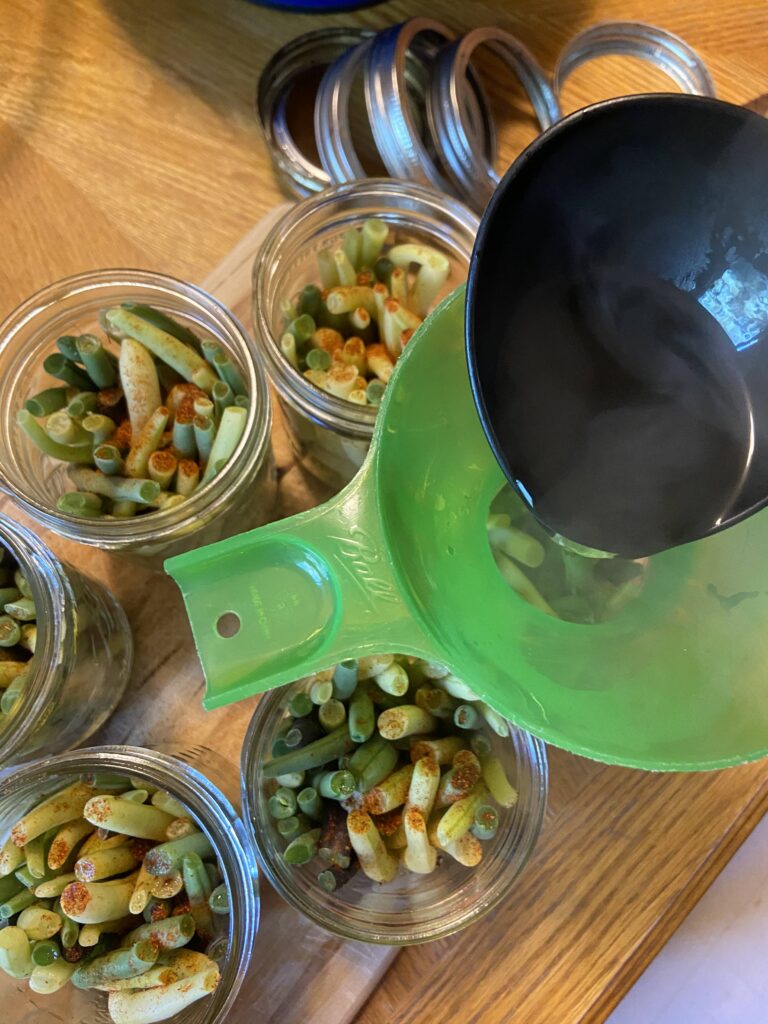
Fill each jar with one to two cloves of garlic, one head of dill, and 1/8-1/4 teaspoon cayenne pepper. Stuff jars with trimmed beans, keeping the beans below the top ring portion. This generally takes longer than I think it should, but not too terribly long. 

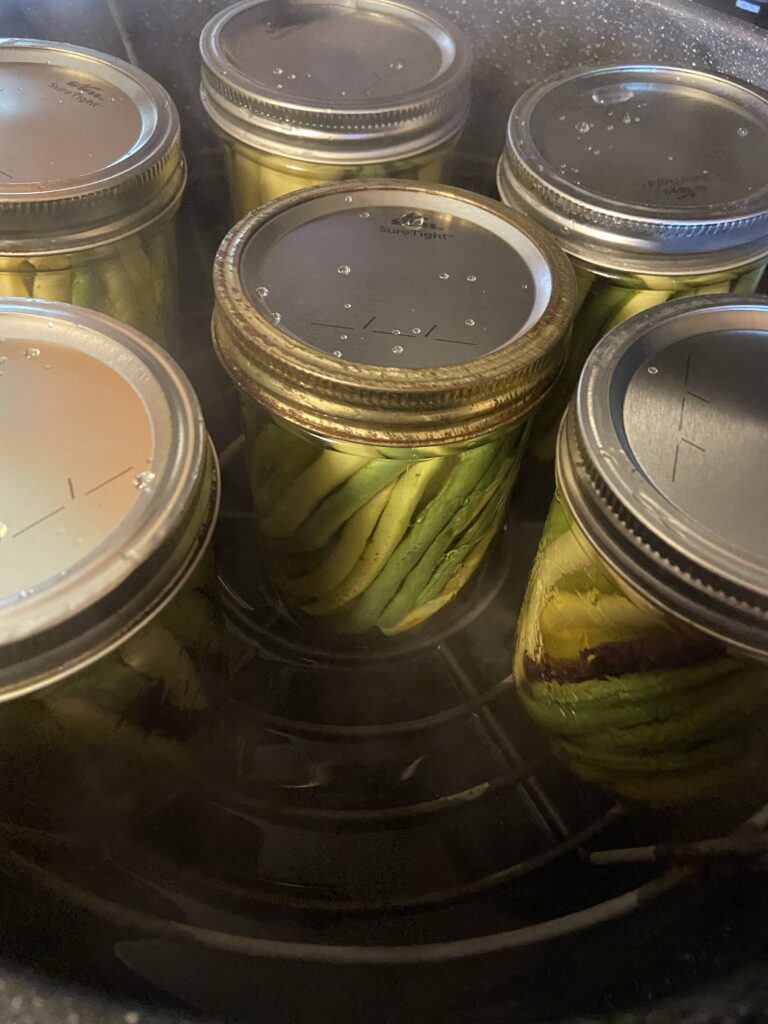
Meanwhile, bring salt, vinegar, and water to a boil reduce to a simmer until the jars are prepped.  Pour the pickling liquid over beans, wipe the top of the jar with a damp piece of paper towel. Put lids and rings on, tightening to finger tip tight. Lower into canner, raising heat and bringing to a rolling boil. Process for 10 min, adjusting for altitude (if over 1000 feet). Remove the canner from heat, and allow jars to rest 5 min. Remove from canner and allow to cool at least 12 hours before storing jars. 

There is no need to tighten rings. In fact, it is recommended they are removed entirely while storing. Enjoy! My kids say the best part is the garlic but those beans don’t last long either 😉 

Dilly Beans with Garlic

Whether you are simply a pickle lover or you really dig a good Bloody Mary, these dilly beans are for you! A little garlic and cayenne pepper add zip!
Prep Time 1 hour
Cook Time 15 minutes
Total Time 1 hour 15 minutes
Course Side Dish
Cuisine Canning
Servings 6 pint jars

Equipment

Ingredients
  

  • 2 ½ pounds green beans and/or yellow wax beans washed and trimmed
  • 4 cups vinegar
  • 4 cups water
  • 6 tablespoons pickling salt
  • ⅛ – ¼ teaspoon cayenne pepper PER jar (to taste)
  • 6 heads of dill
  • 6-12 cloves of garlic 1-2 cloves per jar

Instructions
 

  • To prepare, trim beans so that they will just fit under the rim of pint jars, approximately 4 inches long. Additionally, peel the garlic cloves and have them prepared for canning.
  • Prepare jars, lids, and rings by washing and keeping warm. Begin heating the water bath canner (make sure water will be at least one inch above jars once submerged).
  • Fill each jar with one to two cloves of garlic, one head of dill, and 1/8-1/4 teaspoon cayenne pepper. Stuff jars with trimmed beans, keeping the beans below the top ring portion.
  • Meanwhile, bring salt, vinegar, and water to a boil reduce to a simmer until the jars are prepped. Pour the pickling liquid over beans. Remove air bubbles.
  • Wipe the top of the jar with a damp piece of paper towel. Put lids and rings on, tightening to finger tip tight.
  • Lower into canner, raising heat and bringing to a rolling boil. Process for 10 min, adjusting for altitude (if over 1000 feet).
  • Remove the canner from heat, and allow jars to rest 5 min. Remove from canner and allow to cool at least 12 hours before storing jars.

Notes

  • Sealed jars are shelf-stable, meaning they can be stored on a shelf unrefrigerated. If your jars don’t ping (a sign that they have sealed), they are still good. Simply store them in the refrigerator.
  • Most sources recommend removing the rings from jars for storage so that you will know if they unseal for any reason. I generally just loosen them as much as I can without removing them.
Keyword Canning, Dilly Beans, Pickled Beans, Pickling, Waterbath Canning
Tried this recipe?Let us know how it was!

Looking for other canning and preserving recipes? Check out the page below!

Tools of the Trade

There are a handful of canning tools I can not live without. I love my water bath canner but also use my pressure canner as a water bath canner when I don’t want to use two different ones! You also need a set of canning tools to make the process so much easier!

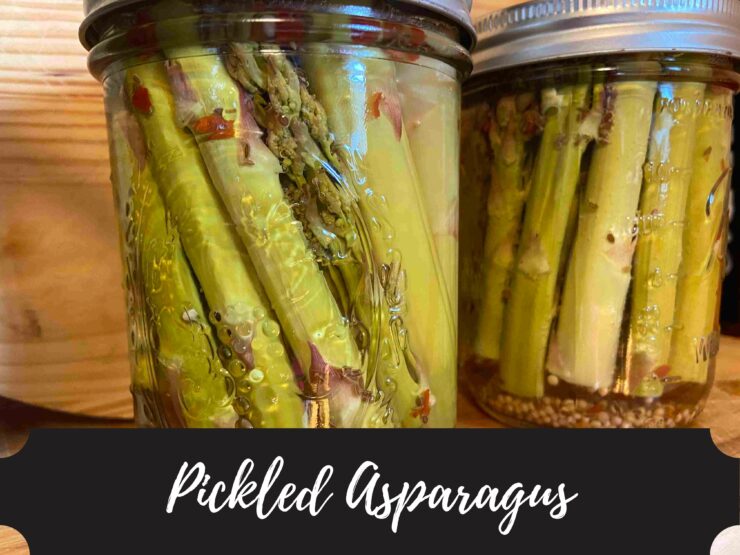
Pickled Asparagus

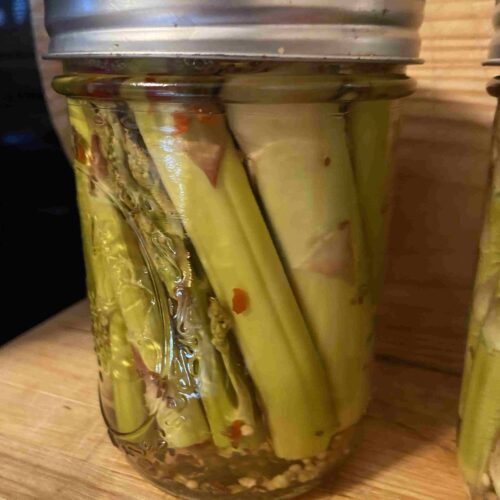
Here in Wisconsin, we are finally entering the full swing of gardening season. The seeds are sprouting, plants are in the ground, and the spring plants are ready for harvest. At our home, that means we have rhubarb, winter onions, and asparagus all around us. My husband and I love asparagus. Our kids, not so much. Generally, I am not the mom that avoids foods because her kids don’t like them (“suck it up buttercup”), but my son REALLY doesn’t like it even after we’ve made him try it countless times. Because of this, we have an abundance of it that isn’t being eaten during meals. So of course, I got my water bath canner out and put together some pickled asparagus. 

Since there isn’t a ton of other vegetables to be harvested out of the garden yet, I tend to forget to harvest the asparagus. My husband and I walk around the garden every morning with our coffee. And almost every morning I say, “OH! I must harvest the asparagus today!” If you know me, you won’t be surprised that it is out of my head by the time we get back inside and I am back to saying, “OH! I must harvest the asparagus today!” the next day. 

Why am I telling you this? Well, this factoid actually worked in my favor. I ended up with longer stalks than normal, but they made for perfect pickled asparagus. I could cut them into the exact length for a pint jar without wasting too much. So excited for that! And although I am not a Bloody Mary lover (gosh, I wish I were), I know that pickled asparagus is almost a quintessential accompaniment to the Sunday morning drink. 

Don’t have a garden to harvest asparagus from? Hop on over to your local farmer’s market, support local farmers, and make yourself something delicious you can enjoy, with or without a Bloody Mary underneath it. 

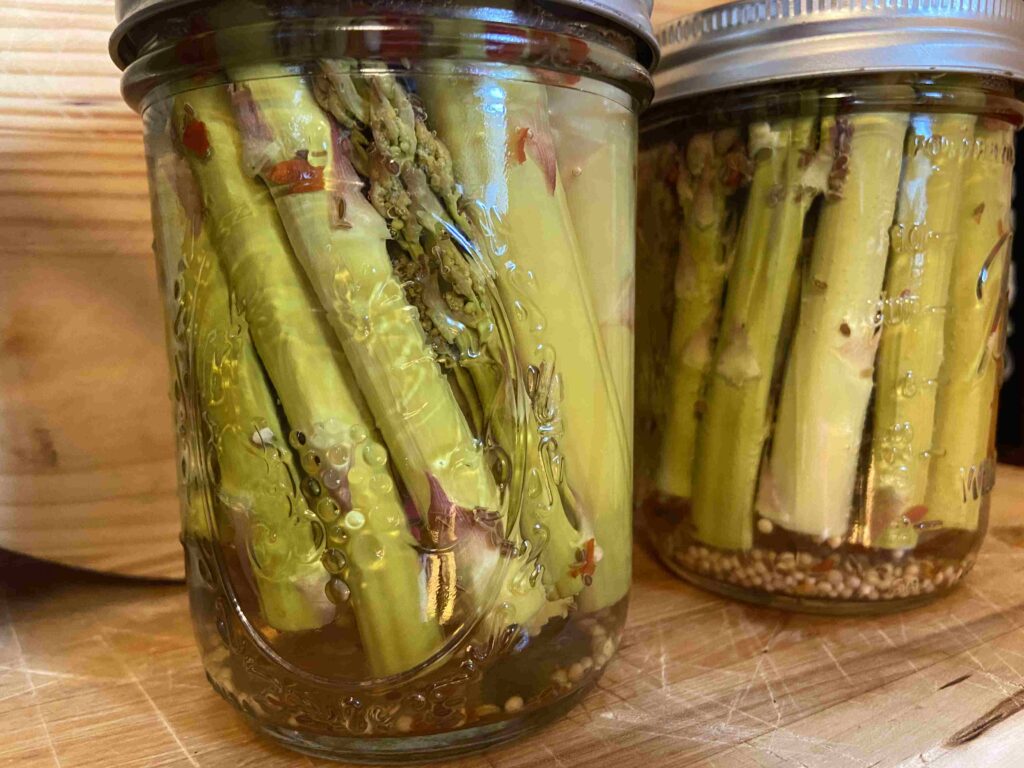
For this recipe, I had a 1 ½ pounds of asparagus, which was the ideal amount to make three pint jars. That is, you can assume you’ll get one pint jar per half pound of asparagus. The recipe will be written “per jar” so you can make as little or as much as you desire! 

New to canning?

The Ball’s Blue Book Guide to Preserving has been my go to resource for the past 4 years or so. But they also have a few other great books you can get on Amazon:

Your ingredients (per pint jar): 

  • ½ cup water
  • ½ cup vinegar
  • 1 tablespoon canning salt 
  • ½ pound asparagus, cleaned and the woody stem broken off
  • ½ teaspoon dill seed
  • 1 clove garlic, peeled
  • ⅛ teaspoon red pepper flakes
  • ½ teaspoon mustard seed 

Your Steps 

To begin, prepare your water bath canner. Fill the canner with enough water so that once the jars are in the canner, they will be covered by at least one inch of water. Too much water is better than not enough, but remember that some water will be displaced by the jars. Begin to heat over a medium-high heat. 

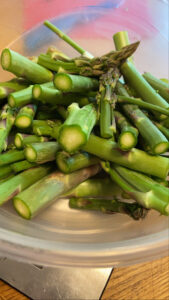
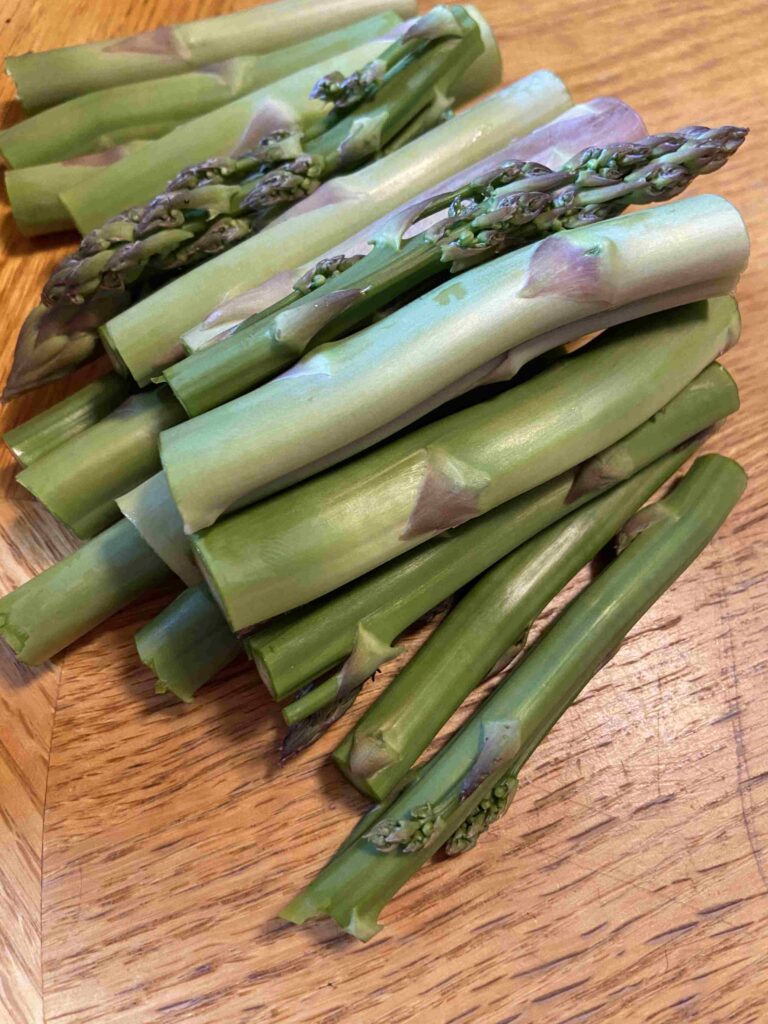
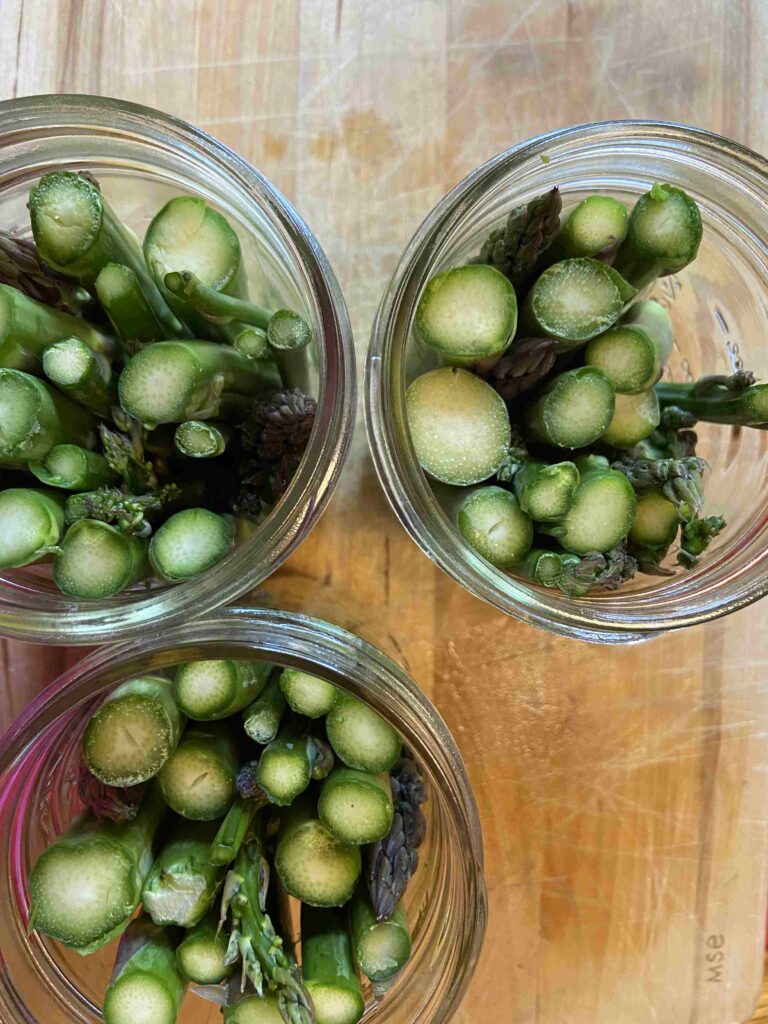
Prepare jars, rings, and lids by washing with soapy water and keeping warm. Cut asparagus to length that will fit within the pint jars, ending just before the ring. I like to cut one spear to length and then use that spear as a “measuring spear” for the rest of the asparagus. 

Combine salt, water, and vinegar in a large non-reactive saucepan. Heat to a boil and then reduce to a simmer. 

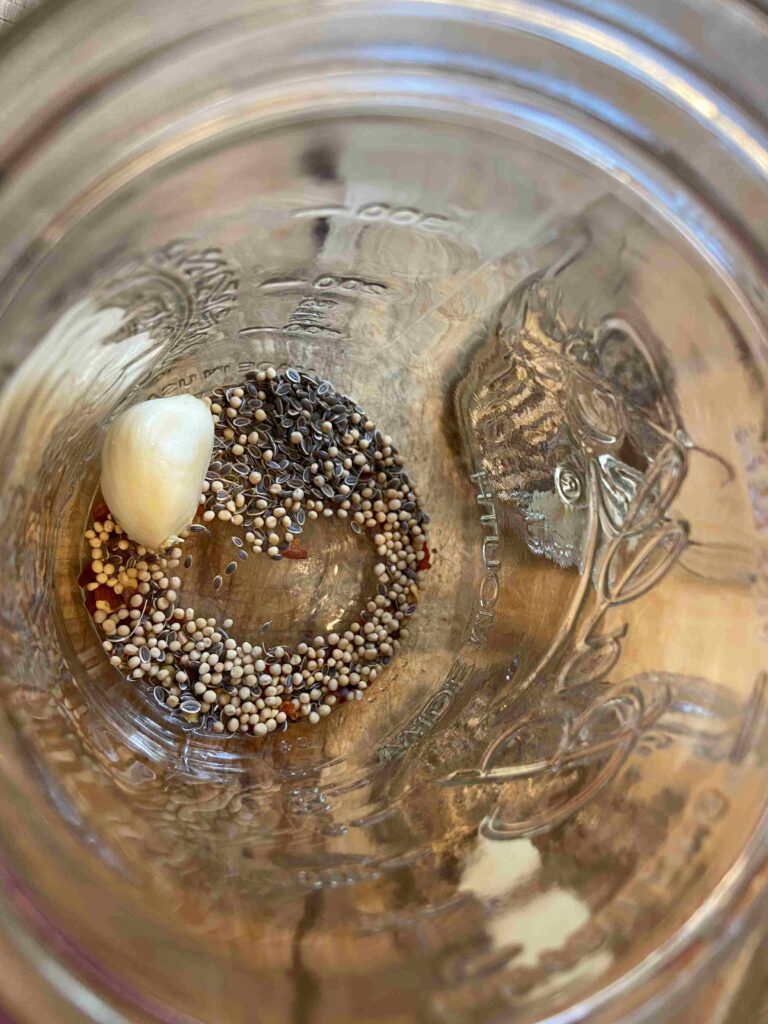
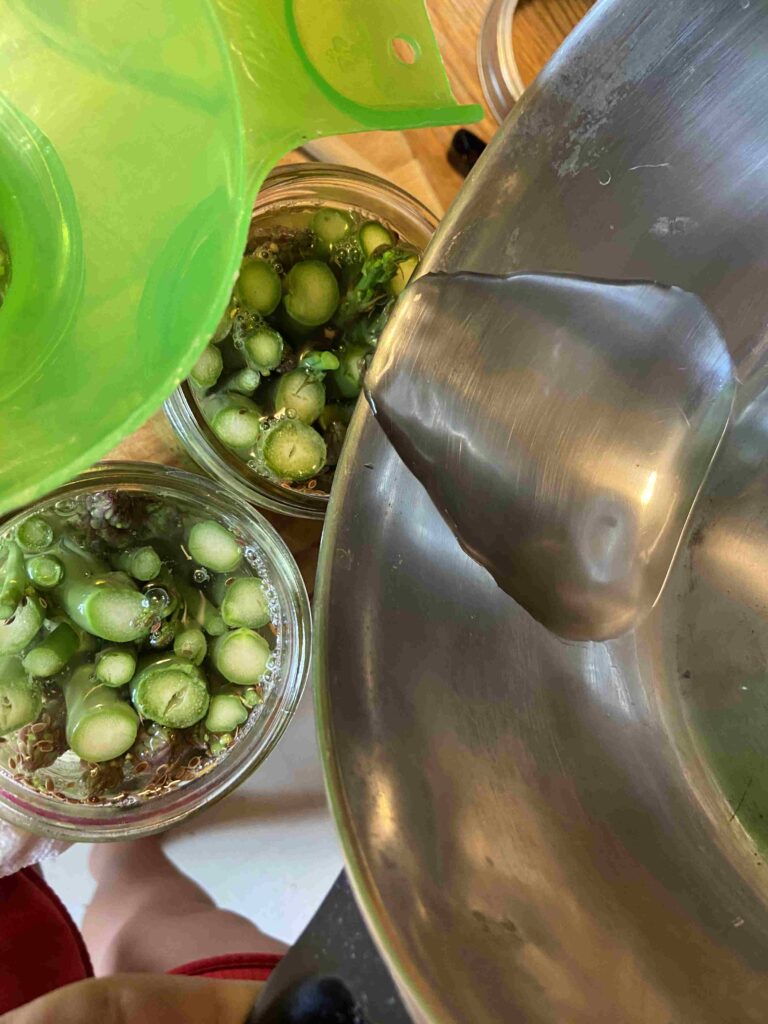
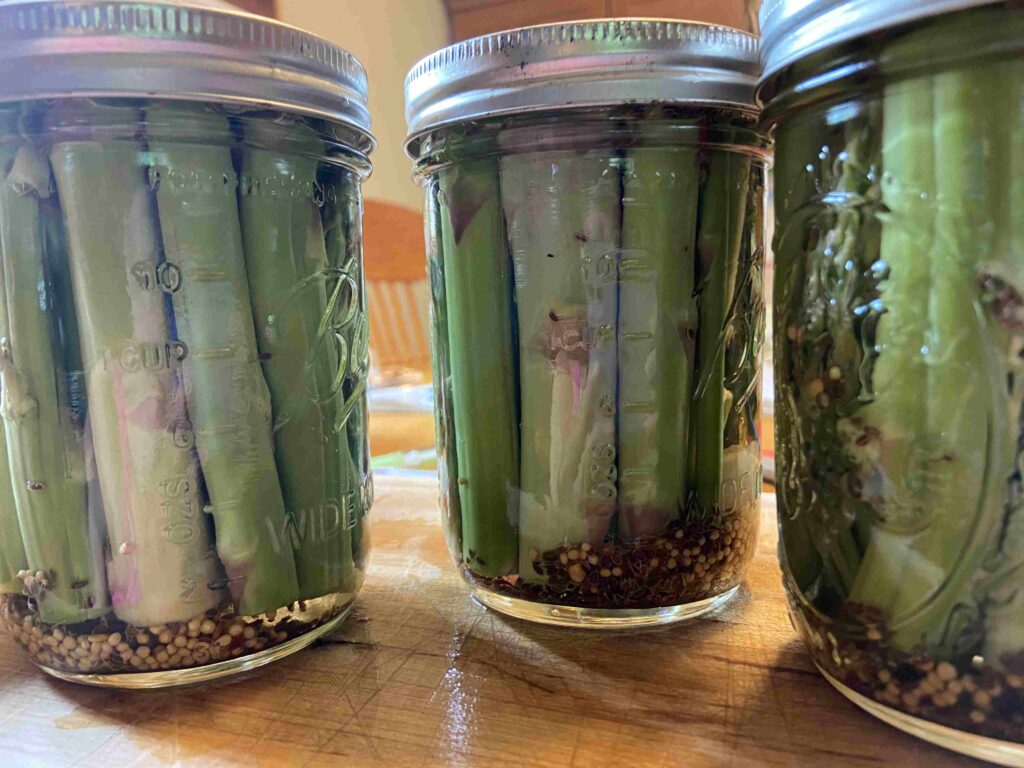
While the pickling liquid is heating, pack the jars (they should be hot when you pack them). First, add dill seed, garlic clove, red pepper flakes, and mustard seed. Then add asparagus, leaving ½ inch head space. Ladle pickling liquid over asparagus, leaving ½ inch head space. Remove air bubbles. Wipe the jar rim with a damp paper towel. Place lids and rings on jars, tightening to finger-tip tight. 

Place jars on rack in canner, lower into simmering water, cover, and bring to a rolling boil. Process jars for 15 minutes. Remove from heat and allow to cool 5 additional minutes. Remove the jars from the canner and leave to cool completely over 12-24 hours. Do not touch the lids or the rings, but definitely listen for the ping of the jars sealing. It’s the best! 

Pickled Asparagus

Whether you simply crave pickled treats or you love a good Bloody Mary, this pickled asparagus is for you!
Prep Time 20 minutes
Cook Time 20 minutes
Servings 1 pint jar

Ingredients
  

  • ½ cup water
  • ½ cup vinegar
  • 1 tablespoon canning salt
  • ½ pound asparagus cleaned and the woody stem broken off
  • ½ teaspoon dill seed
  • 1 clove garlic peeled
  • teaspoon red pepper flakes
  • ½ teaspoon mustard seed

Instructions
 

  • To begin, prepare your water bath canner. Fill the canner with enough water so that once the jars are in the canner, they will be covered by at least one inch of water. Too much water is better than not enough, but remember that some water will be displaced by the jars. Begin to heat over a medium-high heat.
  • Prepare jars, rings, and lids by washing with soapy water and keeping warm. Cut asparagus to length that will fit within the pint jars, ending just before the ring. I like to cut one spear to length and then use that spear as a “measuring spear” for the rest of the asparagus.
  • Combine salt, water, and vinegar in a large non-reactive saucepan. Heat to a boil and then reduce to a simmer.
  • While the pickling liquid is heating, pack the jars (they should be hot when you pack them). First, add dill seed, garlic clove, red pepper flakes, and mustard seed. Then add asparagus, leaving ½ inch head space. Ladle pickling liquid over asparagus, leaving ½ inch head space. Remove air bubbles. Wipe the jar rim with a damp paper towel. Place lids and rings on jars, tightening to finger-tip tight.
  • Place jars on rack in canner, lower into simmering water, cover, and bring to a rolling boil. Process jars for 15 minutes. Remove from heat and allow to cool 5 additional minutes. Remove the jars from the canner and leave to cool completely over 12-24 hours.
Tried this recipe?Let us know how it was!

Looking for more canning recipes? Check out this page here!

Notes: 

  • You can add pickle crisp to each jar (following directions on the container) to keep the asparagus more crisp. Some swear by it. Others don’t like the idea of adding more ingredients to your jars. 
  • Canning is totally doable alone, but I love to have my husband by my side during “GO TIME!” That is, the time when I am ladling the pickling liquid and putting on the lids. It’s helpful to have a second set of hands to put the lids and rings on. In case you’re wondering, I do actually yell, “IT’S GO TIME!” and my family assembles. Otherwise, canning is my jam and I don’t let him help 😉 
  • When I say break off the woody stem of the asparagus, I really mean that. The awesome thing about asparagus is that if you bend it slightly, it will naturally break at the point where it begins to be woody (NOT fun for chewing). In the past, I thought the canning process would soften this up so I wouldn’t be wasting it. Not the case. 

Dandelion Jelly

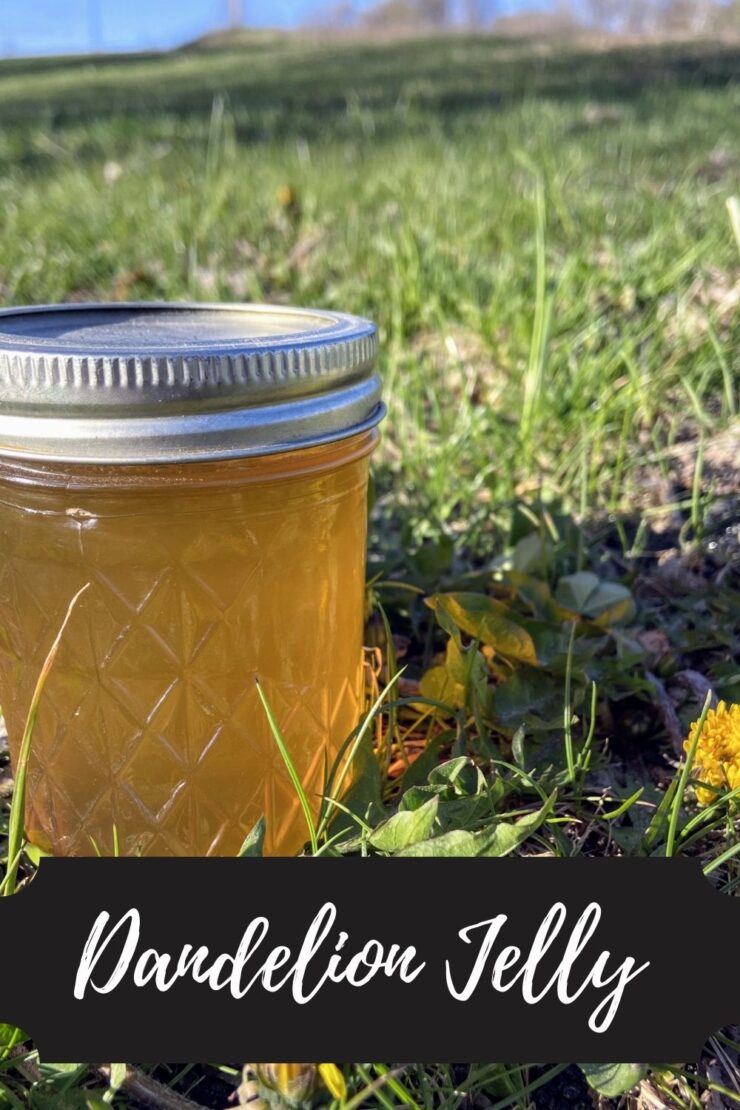
Yup. You read that right. Dandelion jelly. I know it sounds crazy, but it is so tasty! Light and sweet, like honey. And you know what, it’s the time of year where I get the itch to can and work in my garden. Yes, I know there is still loads of winter left, but a girl can start dreaming, right?

I began having a fascination with foraging nature around me to make food in my kitchen about a year ago. Last year, my sister bought me the book Midwest Foraging by Lisa M. Rose, and my interest got stronger. I flipped through that book like a coffee table book and took mental notes on things I would like to try.

Fast forward to May last year. The dandelions were all over my yard, and I decided I had to try it. I mean, what’s the worst that could happen? I would be out a few hours of work, some sugar, and pectin. My daughter, mother in law, and I walked the yard, harvested dandelions, and I set to work. As I was pouring the last of the jelly into jars to go in the water bath canner, I said, “Well, here’s goes nothing…let’s try it,” and we stuck a spoon in the remains on the kettle. My daughter immediately asked for a second try and declared, “I want that on toast in the morning!” So give it a try. You will be pleasantly surprised with how good it actually is. You may even begin to be like me, looking over fields of dandelions, seeing all sorts of potential 🙂

Your ingredients:

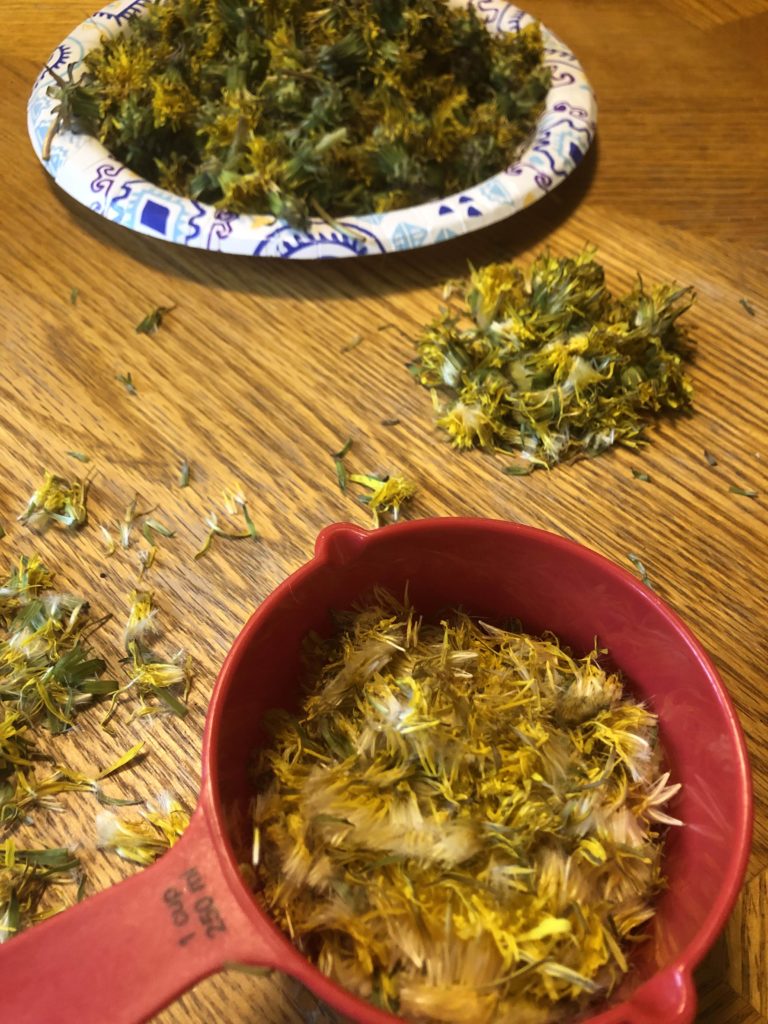
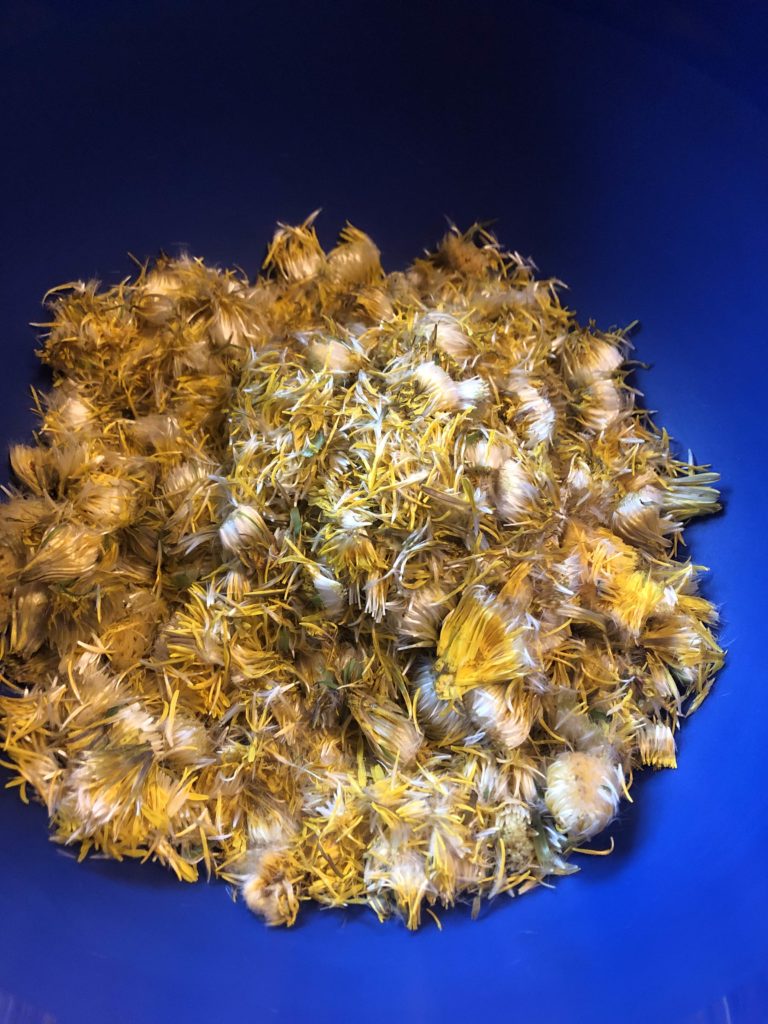
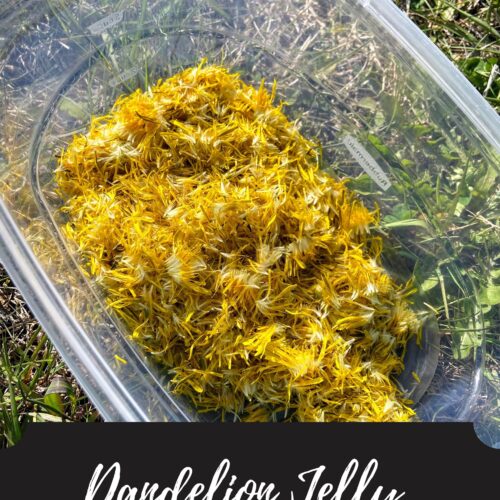
  • 4 cups yellow dandelion blossoms (see my notes about harvesting these)
  • 1 box of powder pectin
  • 2 Tablespoons lemon juice
  • 4.5 cups of sugar
  • two quarts of water
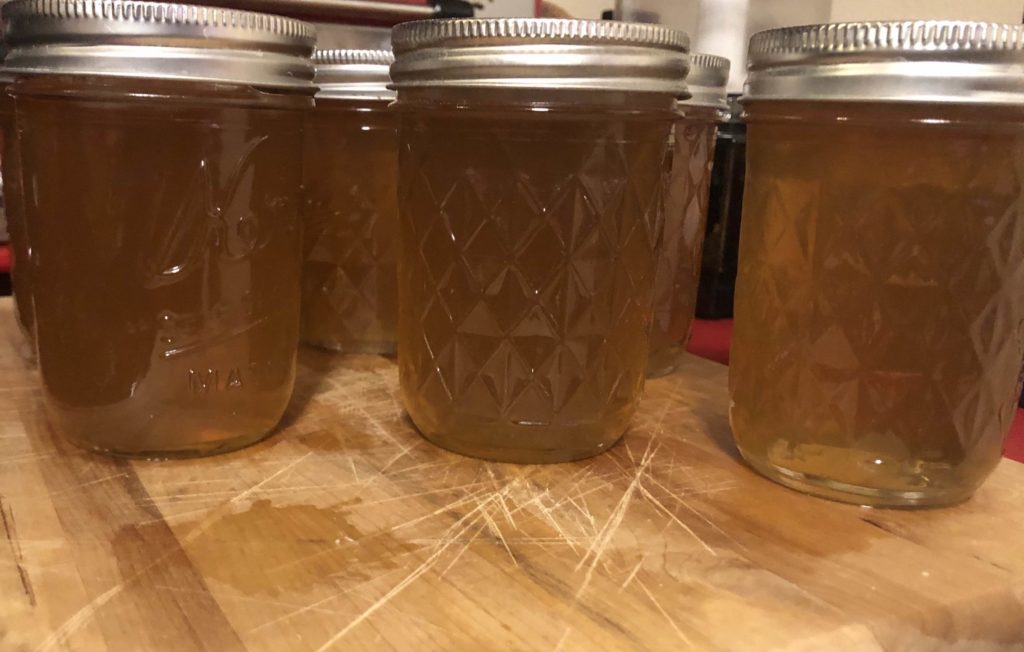
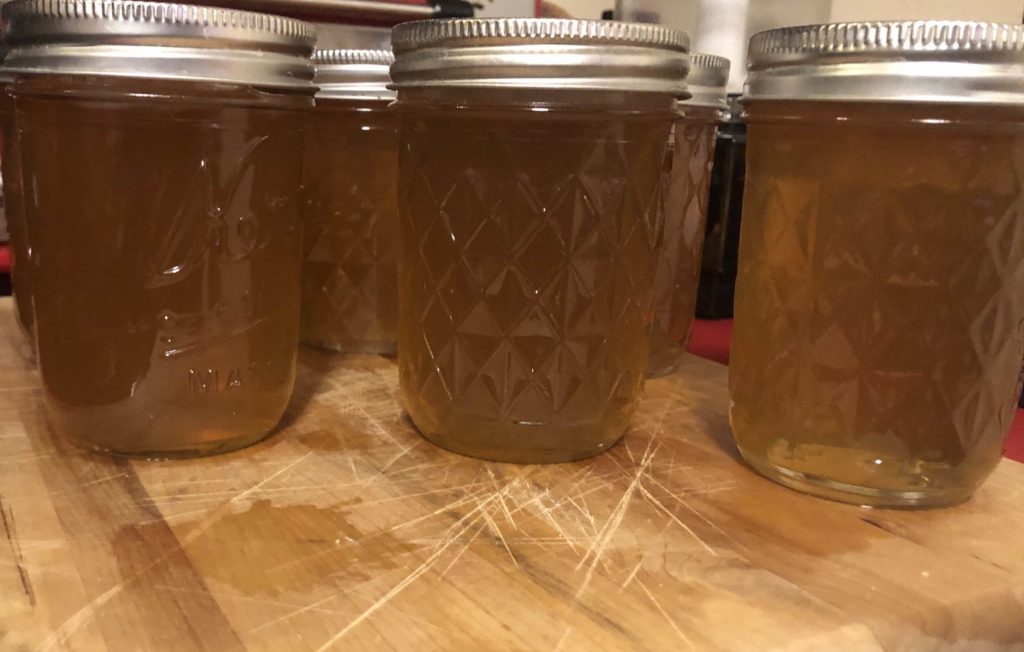
  • jelly canning jars, lids, and rings, prepped for canning. I got 6 jelly (half pint) jars worth of jelly.

Your steps to dANDELION JELLY:

First, harvesting the dandelion greens. I did this over a few days and I learned a lot. Begin by just taking the heads of the dandelions. Plan on trimming them soon after you take the heads from the plant. I found it easiest to hold the flower end in one hand and cut the green end off. Then I would peel the remaining green off. I would put the yellow/white part into my measuring cup and compost the green portion. Find a friend or two, it takes a little time to complete this, but it makes for great time for conversation.

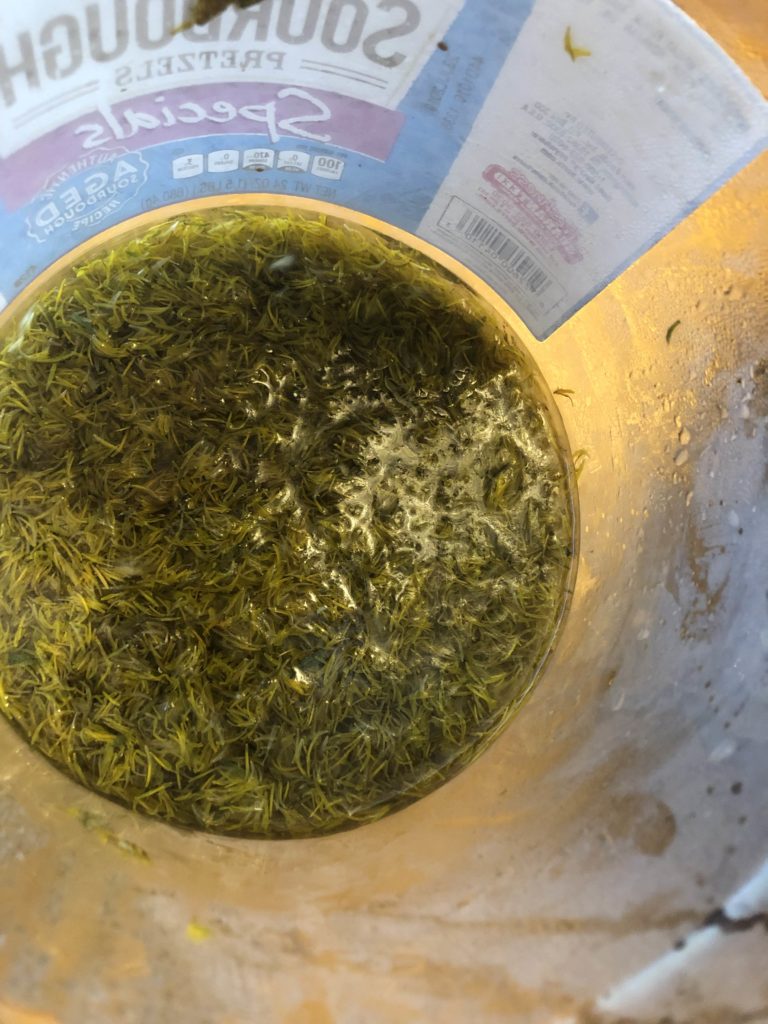
Back to the recipe! Bring a few quarts of water to boil and pour it over the blossoms in a bowl that can be covered. Allow this to come to room temperature and then stick it in the fridge overnight. You are essentially creating a dandelion tea. (Mine is always this weird dingy greenish-yellow when I when I am done. Initially, I was worried about the color the jam would have, but it turned out just perfect!)

Jelly time!

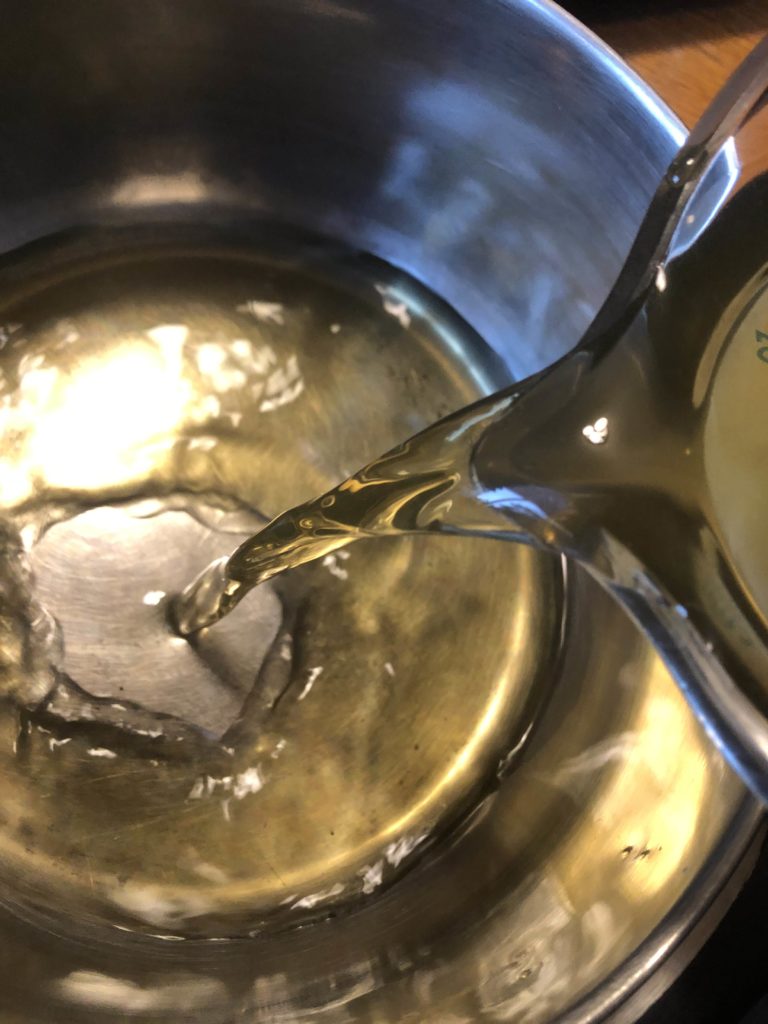
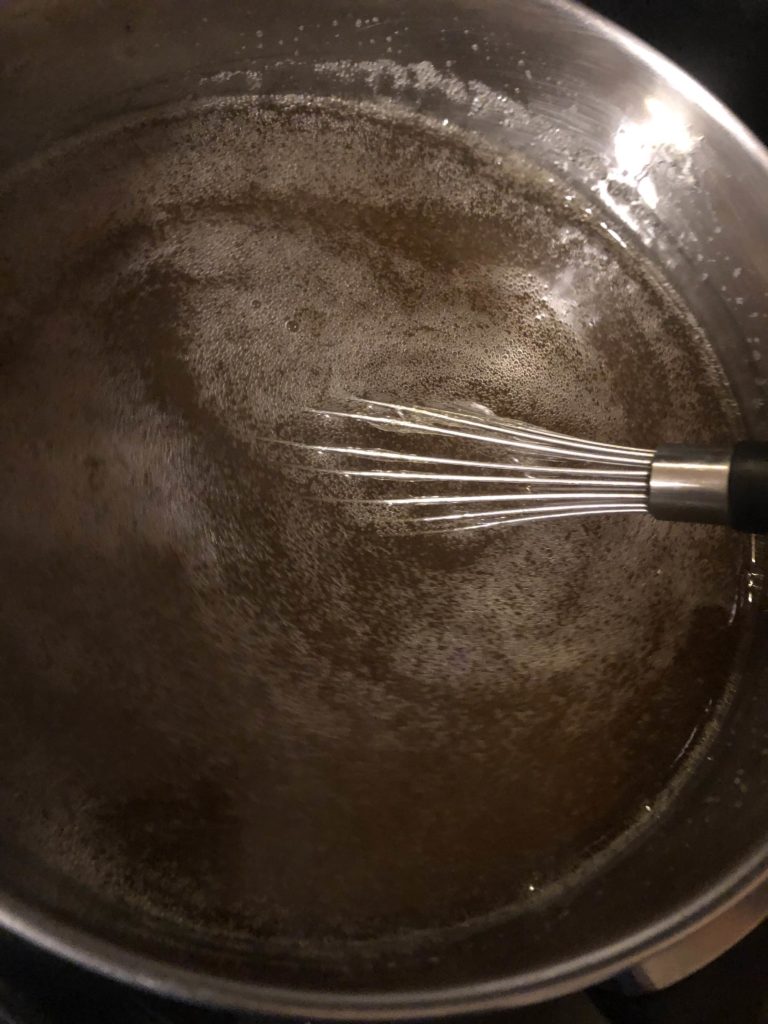
The following day, start heating your water bath canner with enough water to cover your jelly jars with at least 2 inches of water. Measure 3 cups of the dandelion tea, straining out the blossoms and keeping only the liquid. Pour this into a larger kettle. Add powdered pectin and the 2 T of lemon juice. Bring to a boil. Once you have achieved a rolling boil, add sugar. Return to a rolling boil, stirring quite often, if not always. Once you have reached a rolling boil, time for 1 minute, stirring the whole time.

Ladle jelly into prepared jelly jars, wiping the edges, adding lids, and putting rings on to finger tip tight. Put into water bath canner and process for 10-15 minutes. I did 15 minutes because my altitude is greater than 1000 feet. Remove from canner and allow to cool for 12-24 hours before moving. My kids love this dandelion jelly. We eat it on toast, on PBJ, you name it! My daughter even requests it on her waffles from time to time!

Dandelion Jelly

Sweet and simple jelly created from the balls of sunshine found in any yard in the spring!
Prep Time 1 hour
Cook Time 25 minutes
Rest Time 1 day
Course Breakfast
Cuisine Canning
Servings 16

Ingredients
  

  • 4 cups yellow dandelion blossoms see my notes about harvesting these
  • 1 box of powder pectin
  • 2 Tablespoons lemon juice
  • 4.5 cups of sugar
  • two quarts of water
  • jelly canning jars lids, and rings, prepped for canning. I got 6 jelly (half pint) jars worth of jelly.

Instructions
 

  • First, harvesting the dandelion greens. Begin by just taking the heads of the dandelions. Plan on trimming them soon after you take the heads from the plant. I find it easiest to hold the flower end in one hand and cut the green end off. Then peel the remaining green off. Measure 4 cups worth of blossoms.
  • Bring a few quarts of water to boil and pour it over the blossoms in a bowl that can be covered. Allow this to come to room temperature and then stick it in the fridge overnight.
  • The following day, start heating your water bath canner with enough water to cover your jelly jars with at least 2 inches of water.
  • Measure 3 cups of the dandelion tea, straining out the blossoms and keeping only the liquid. Pour this into a larger kettle. Add powdered pectin and the 2 T of lemon juice. Bring to a boil.
  • Once you have achieved a rolling boil, add sugar. Return to a rolling boil, stirring quite often, if not always. Once you have reached a rolling boil, time for 1 minute, stirring the whole time.
  • Ladle jelly into prepared jelly jars, wiping the edges, adding lids, and putting rings on to finger tip tight. Put into water bath canner and process for 10-15 minutes. I did 15 minutes because my altitude is greater than 1000 feet. Remove from canner and allow to cool for 12-24 hours before moving.
Tried this recipe?Let us know how it was!