A few blogs ago, I shared that I have this WONDERFUL collaboration on Instagram where we randomly choose a country to explore its cuisine each month. There are no restrictions on what we cook, as long as it is from the country at hand. Additionally, I have a collaboration that we choose a cookbook and try three different recipes of our choosing each month. This month, I hit both collabs in one cook: This delightful butternut squash soup!
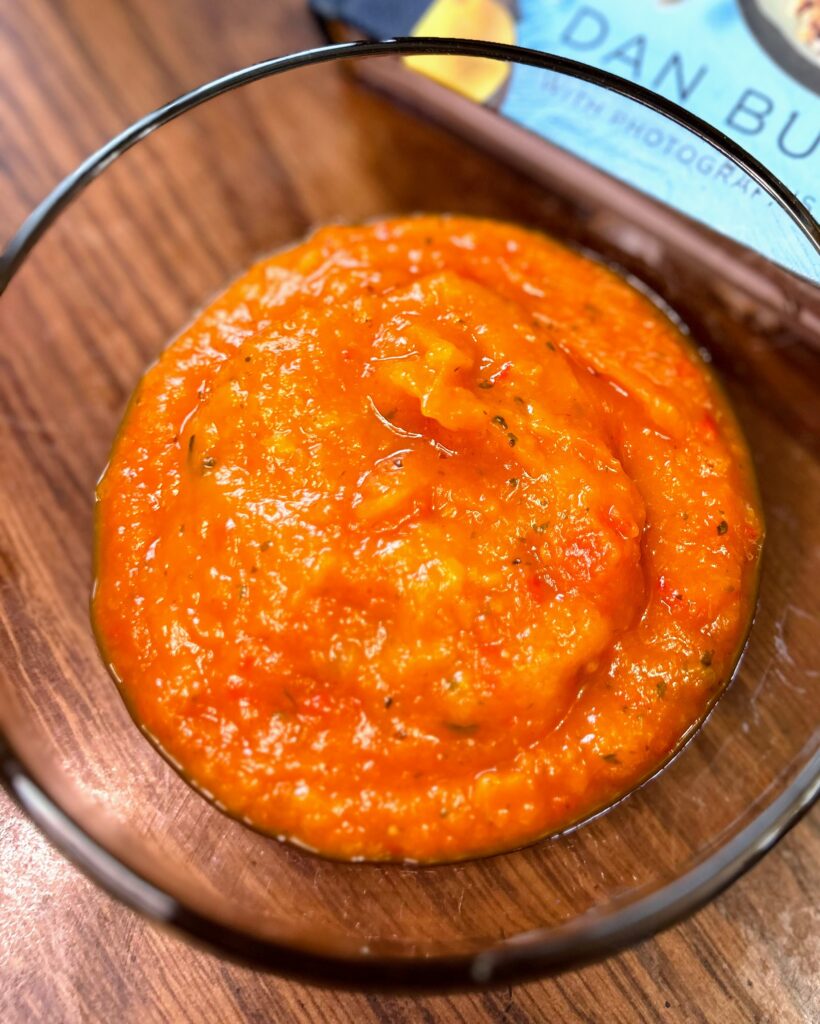
This month, I am cooking from The Blue Zone Kitchen by Dan Buettner. If you are unaware, the Blue Zones are regions on Earth where people live the longest based on healthy lifestyles. Dan has done extraordinary research in the area and then compiled a cookbook using recipes from each of the five zones: Ikaria, Greece; Okinawa, Japan; Nicoya, Costa Rica; Sardinia, Italy; Loma Linda, United States.
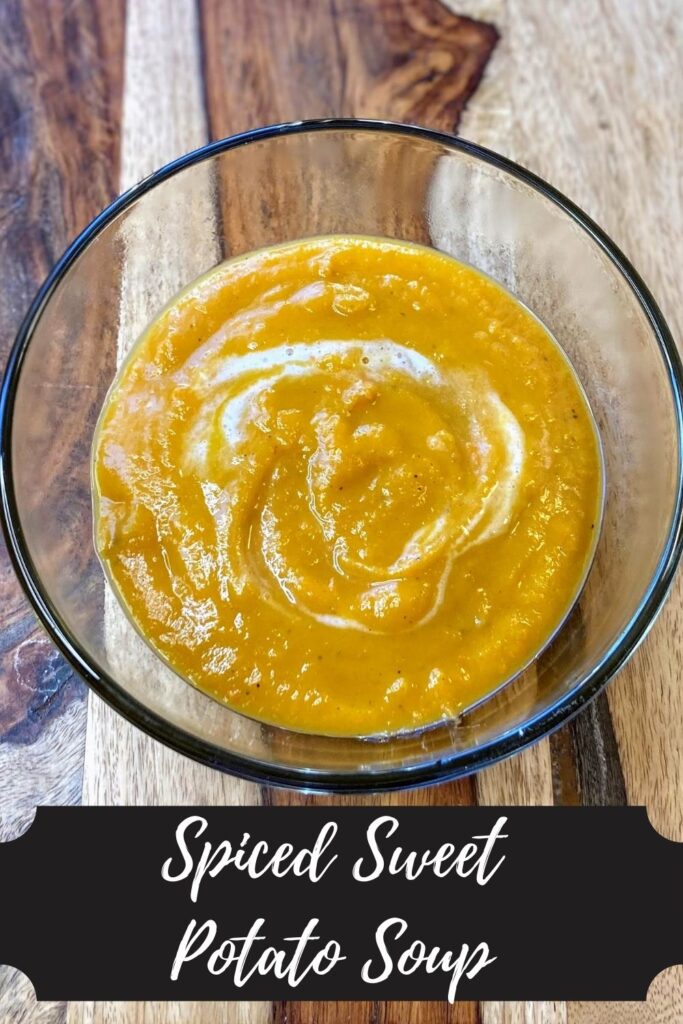
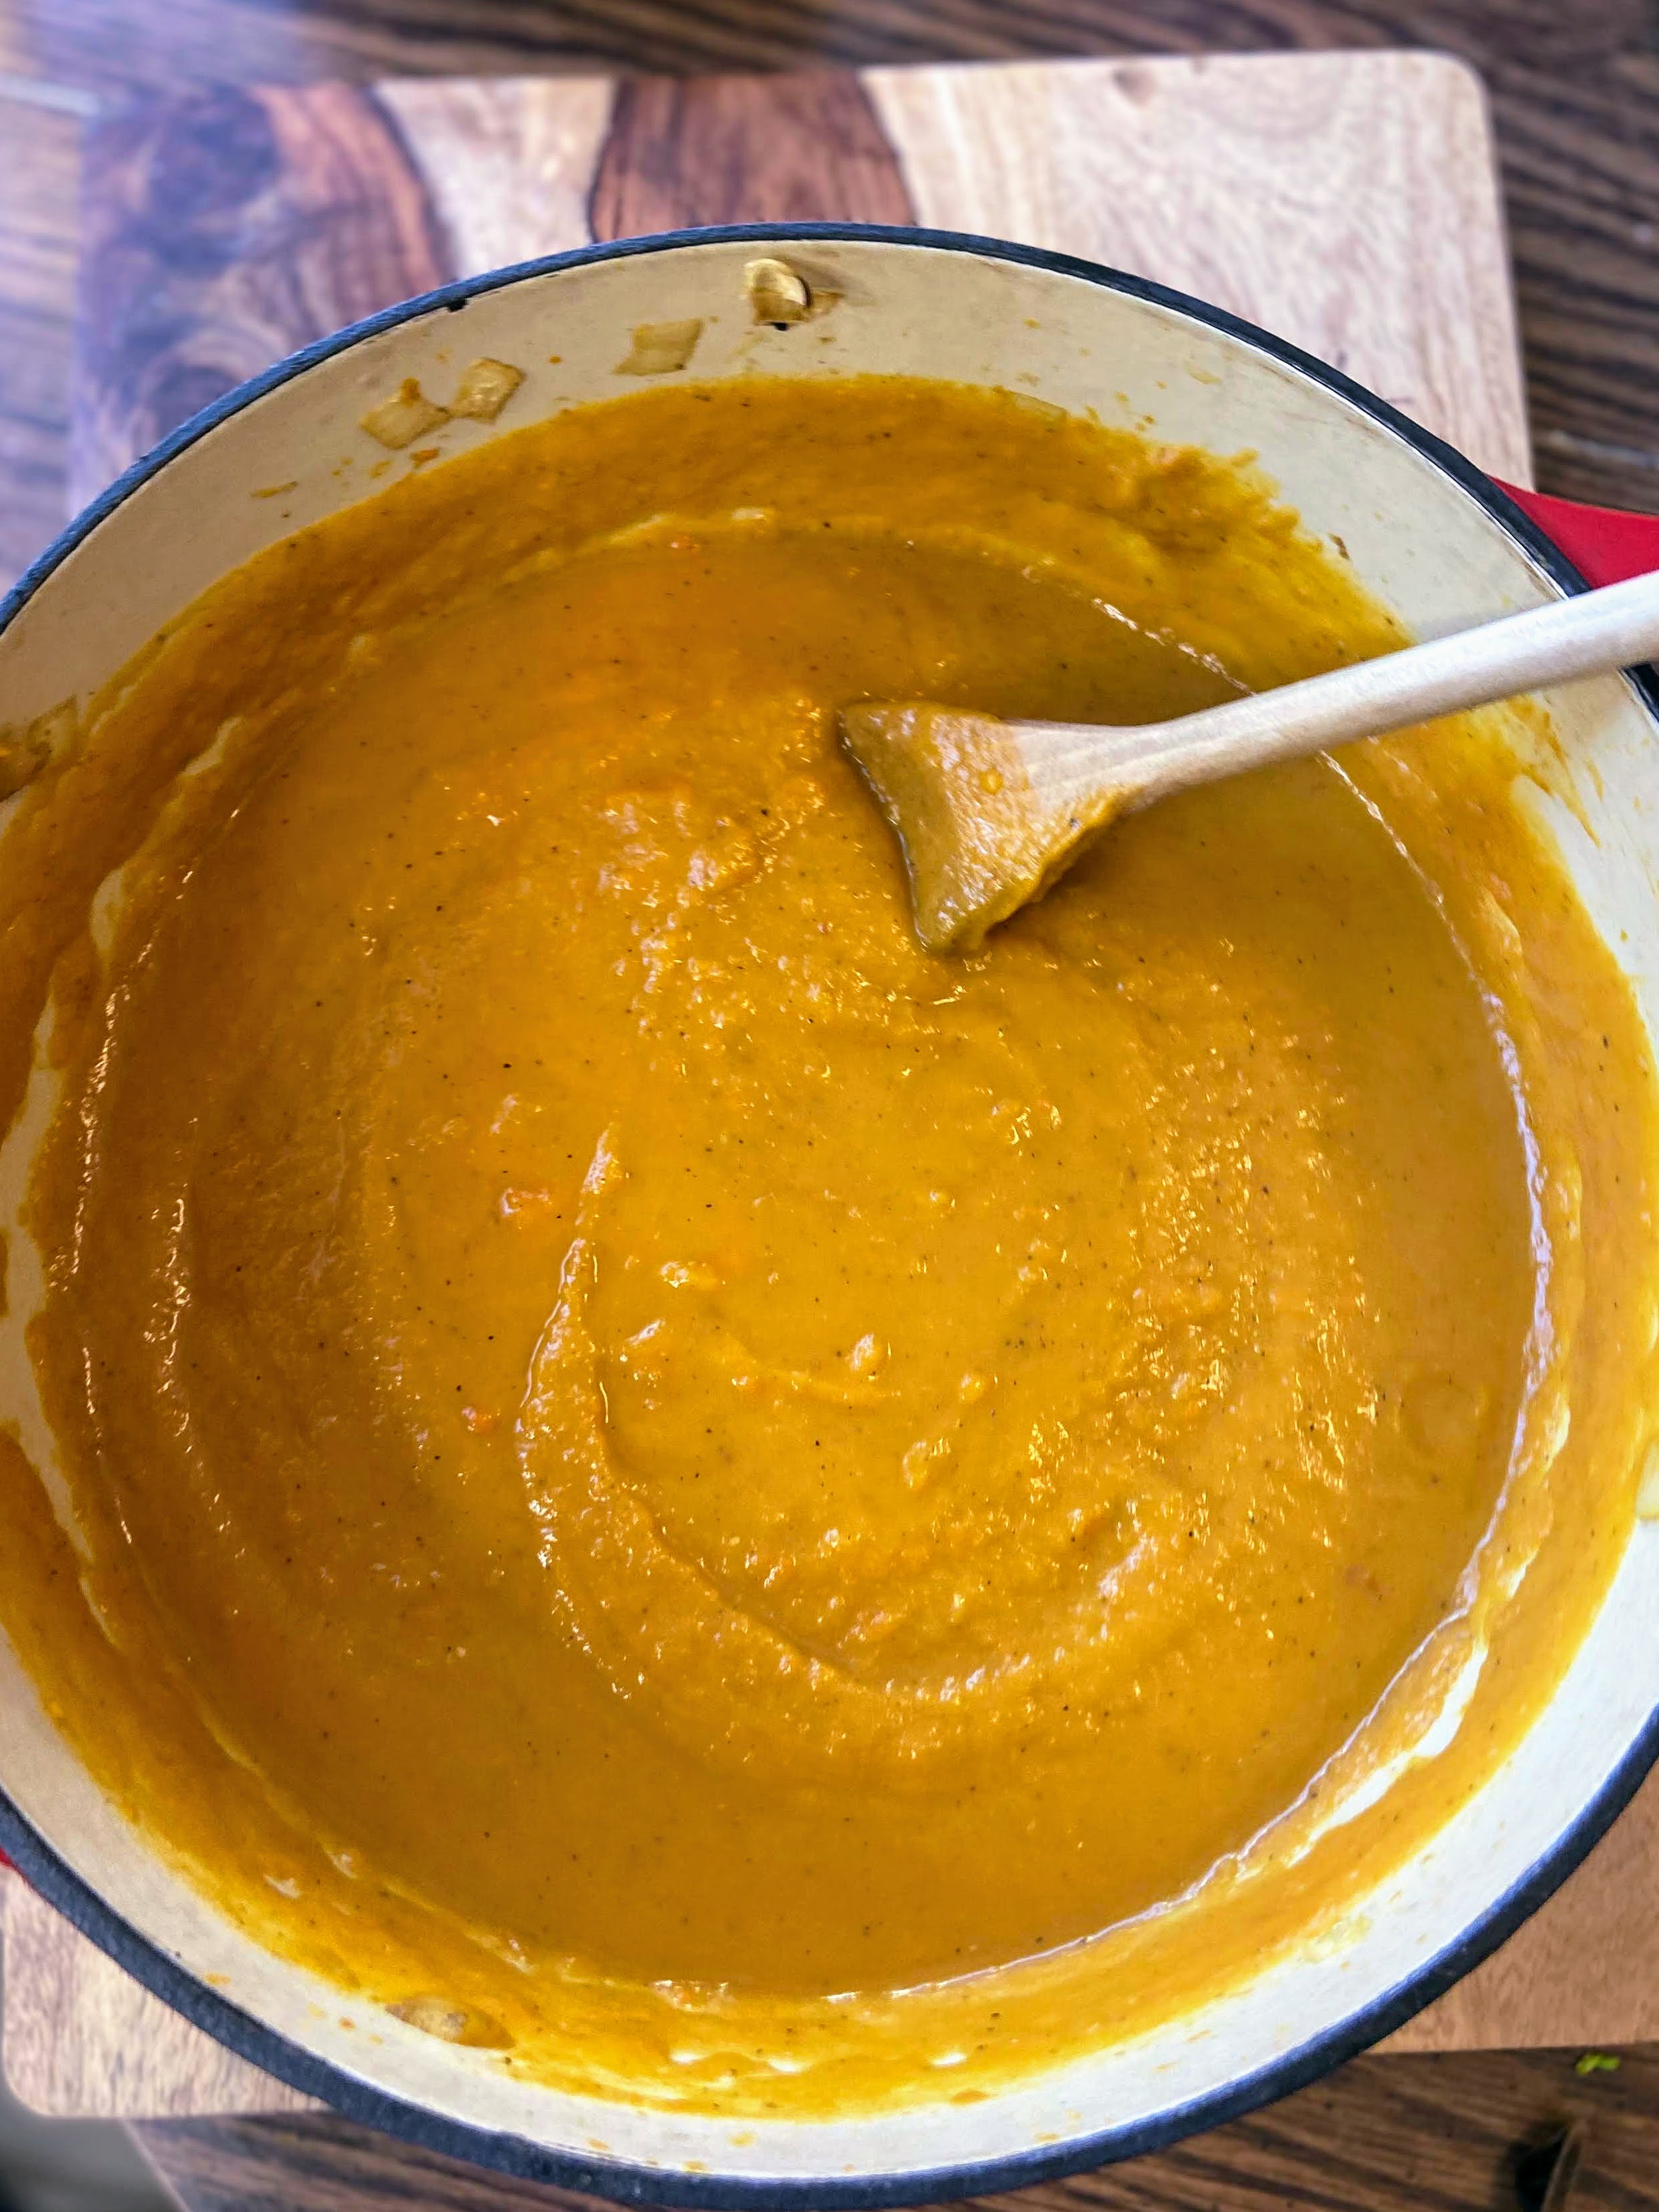
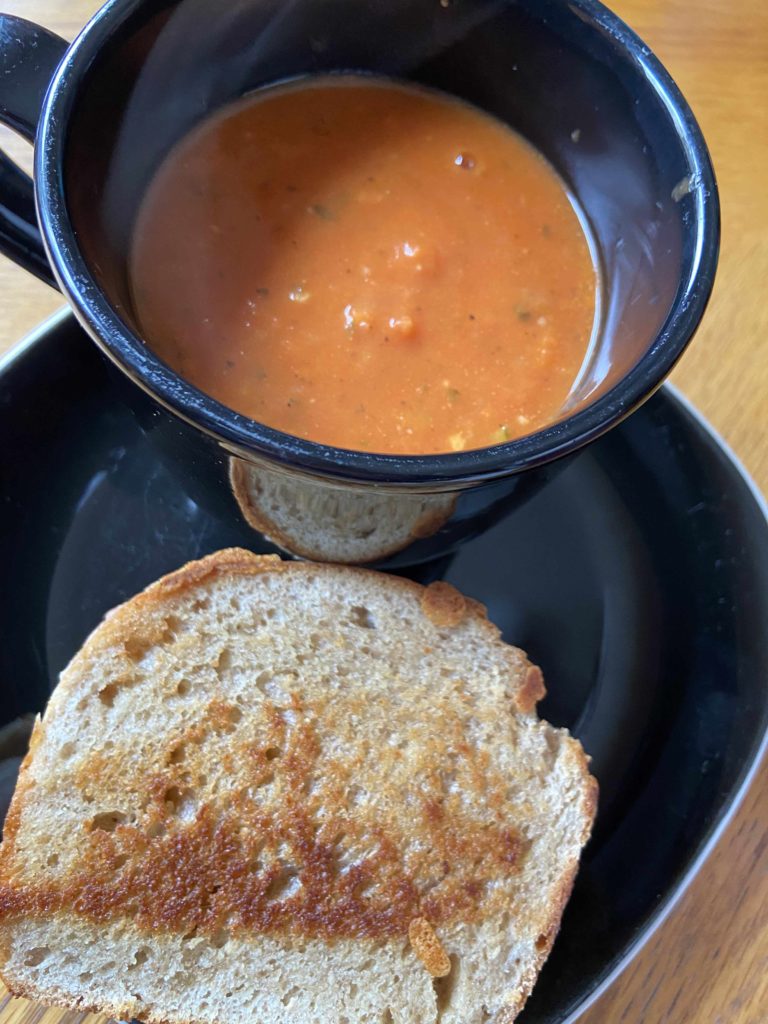
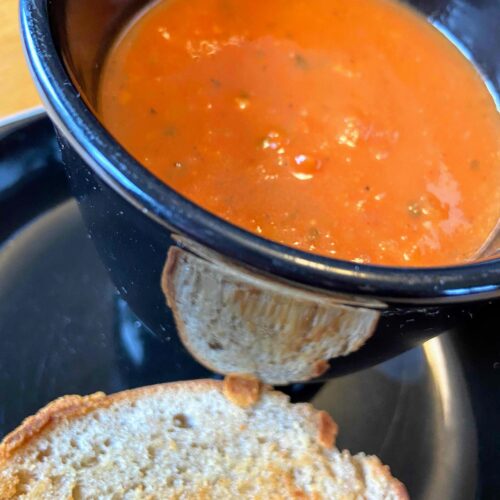
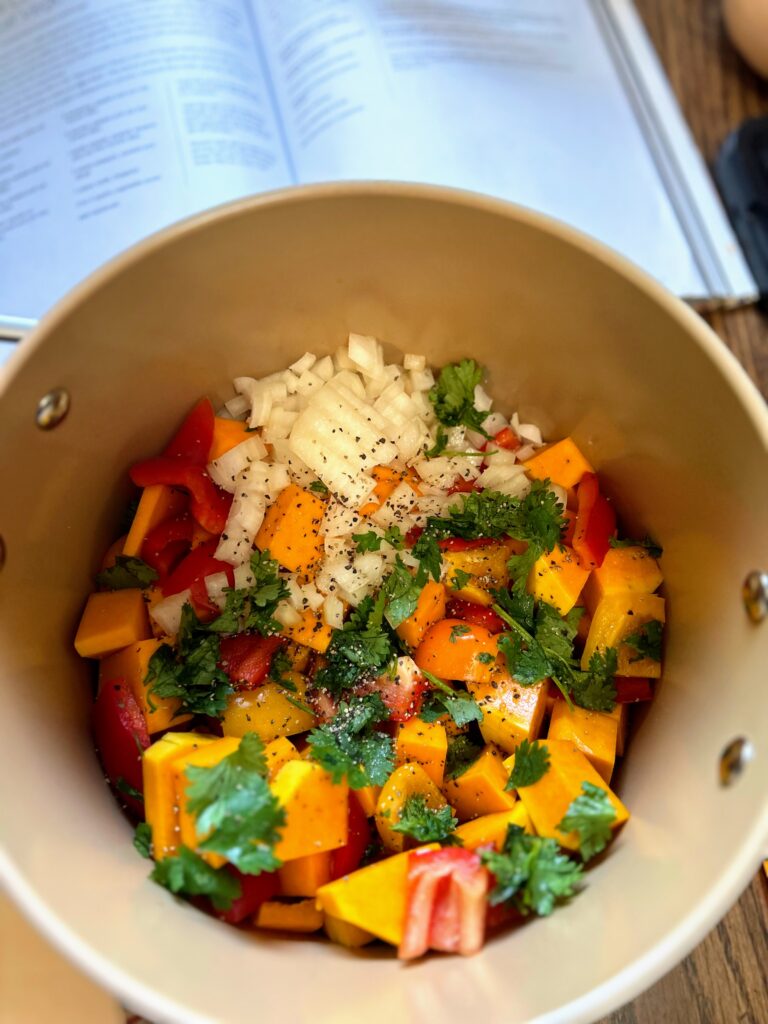
My first cook was Creamy Butternut Squash Soup from Nicoya, Costa Rica. It is fall in Wisconsin and a vegetable based soup sounded divine. Boy, was I right. Normally, I work hard to follow the recipe to the T, but in this case, I had a squash that was much bigger than what the recipe called for, so I modified it a bit to suit the ingredients I had on hand. Regardless, it turned out to be a delicious soup that I can not wait to make again!
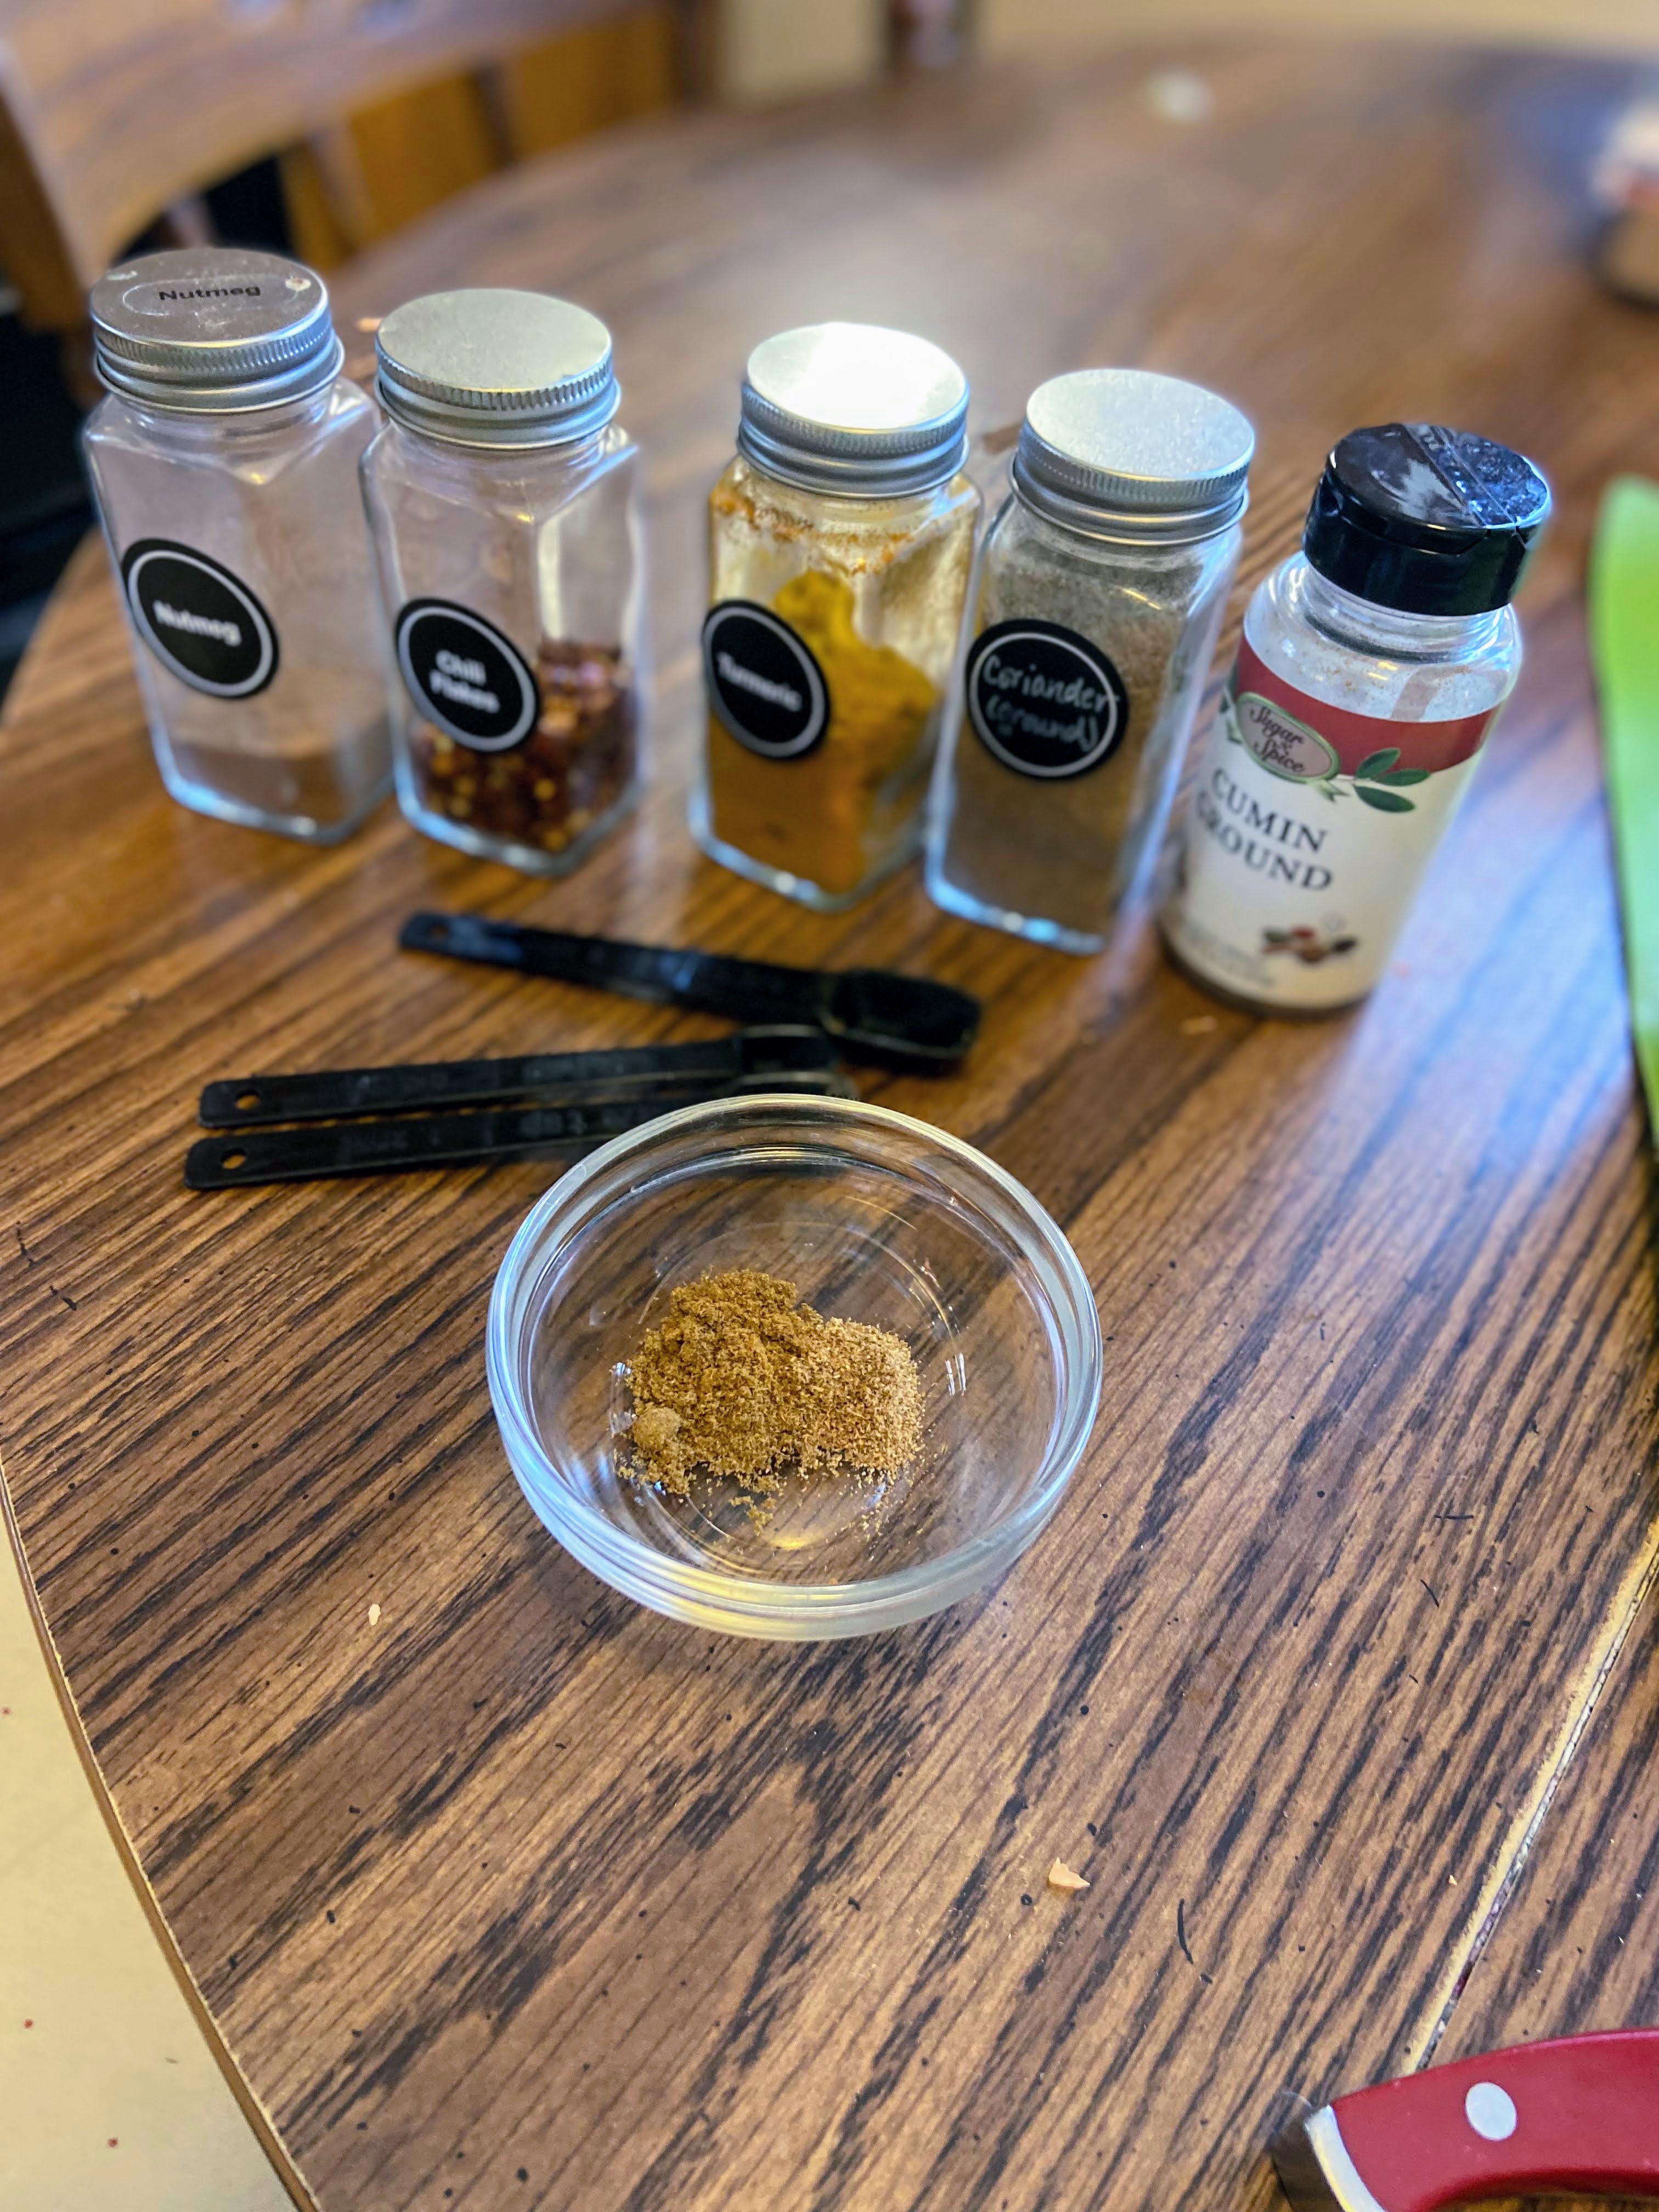
Your Ingredients to Butternut Squash Soup
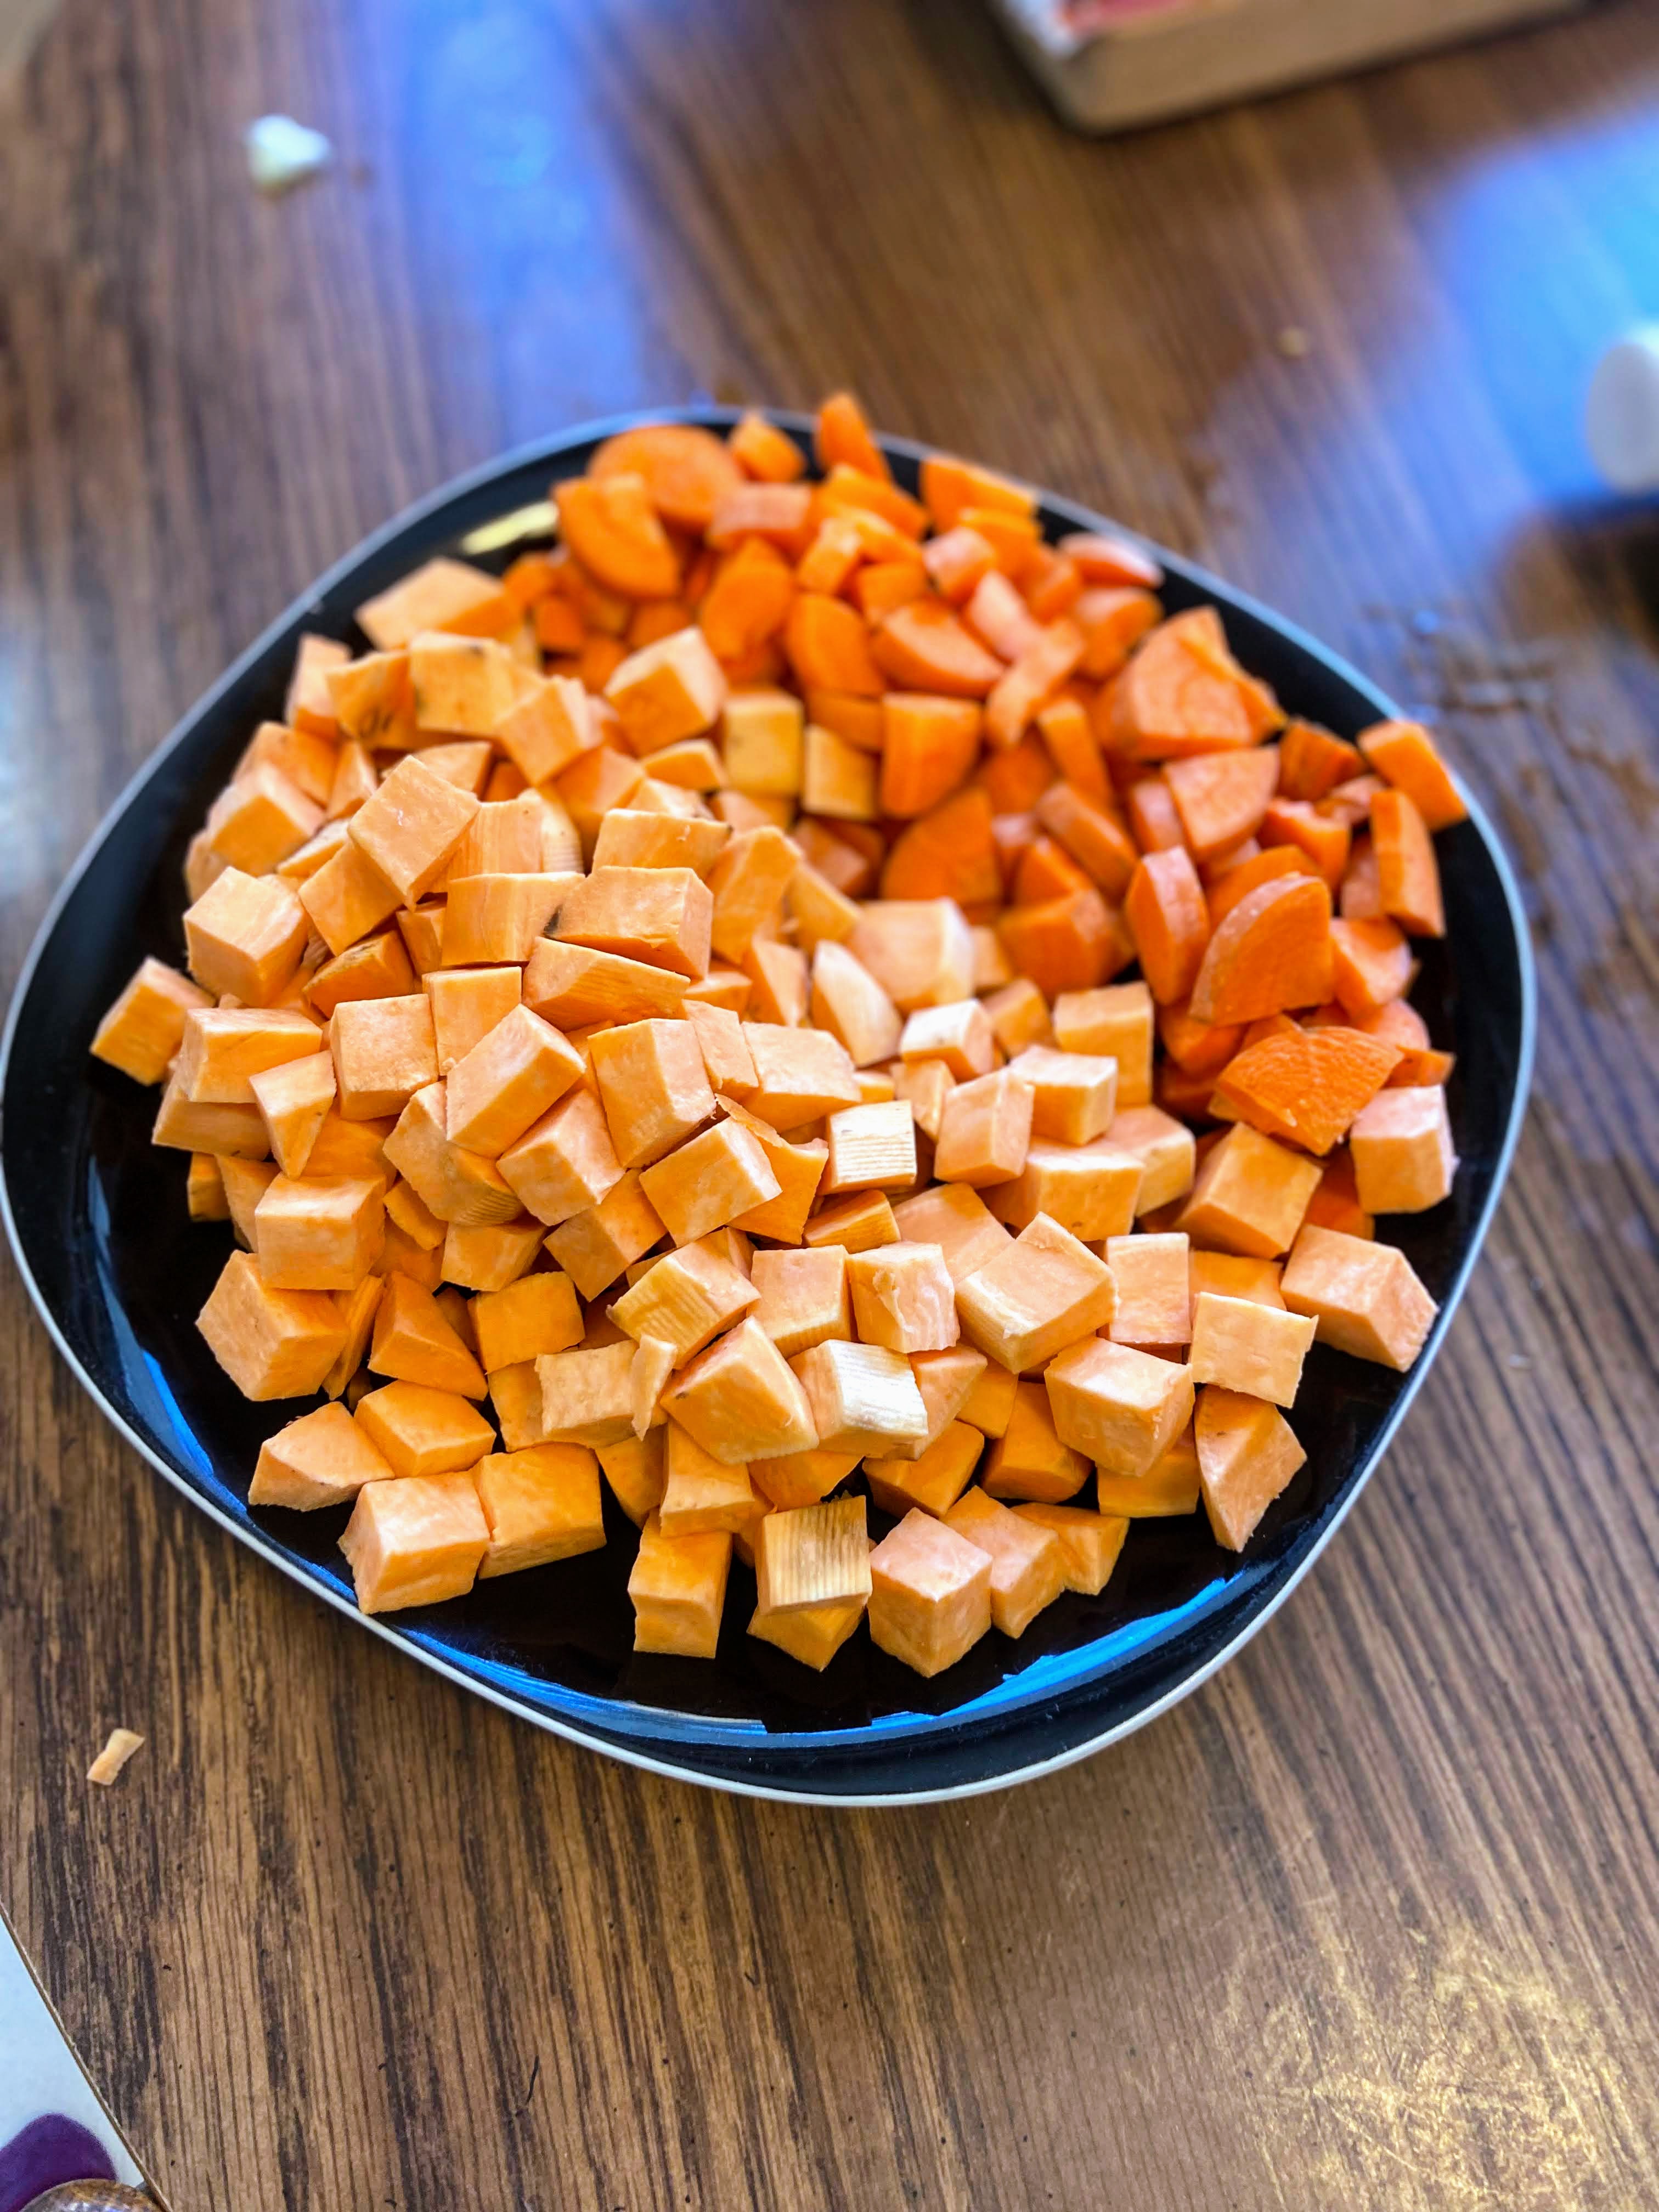
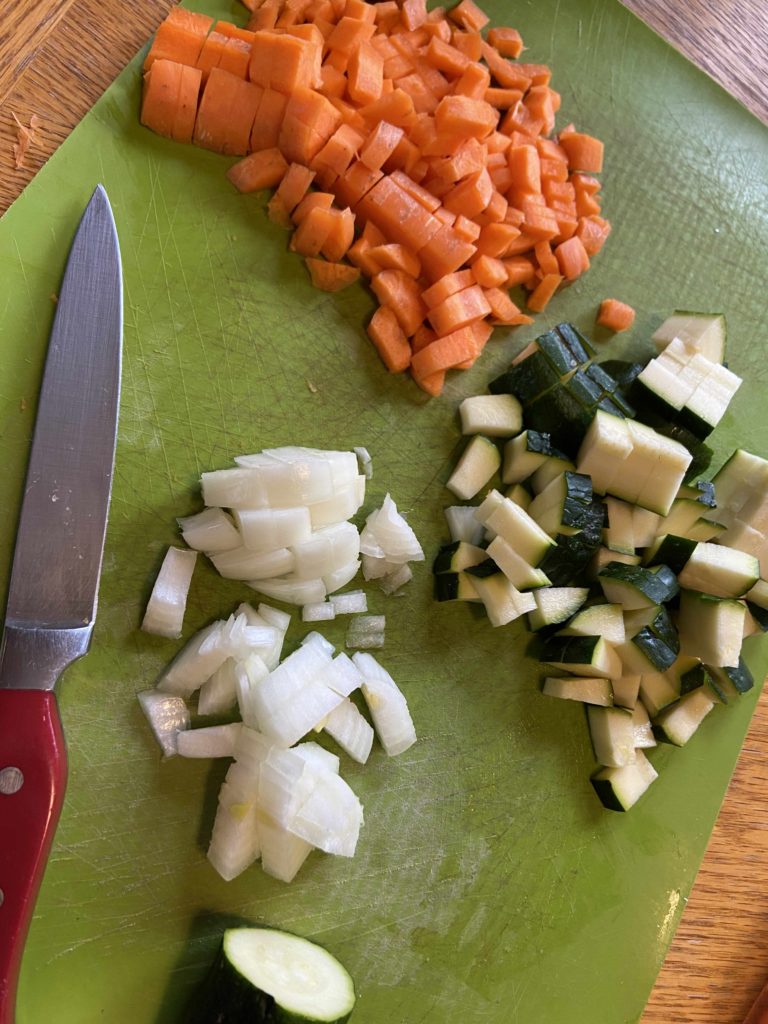
- 2 pound butternut squash, peeled and seeded, coarsely chopped
- 4 sweet peppers, seeded and coarsely chopped
- 2 tablespoons chopped cilantro
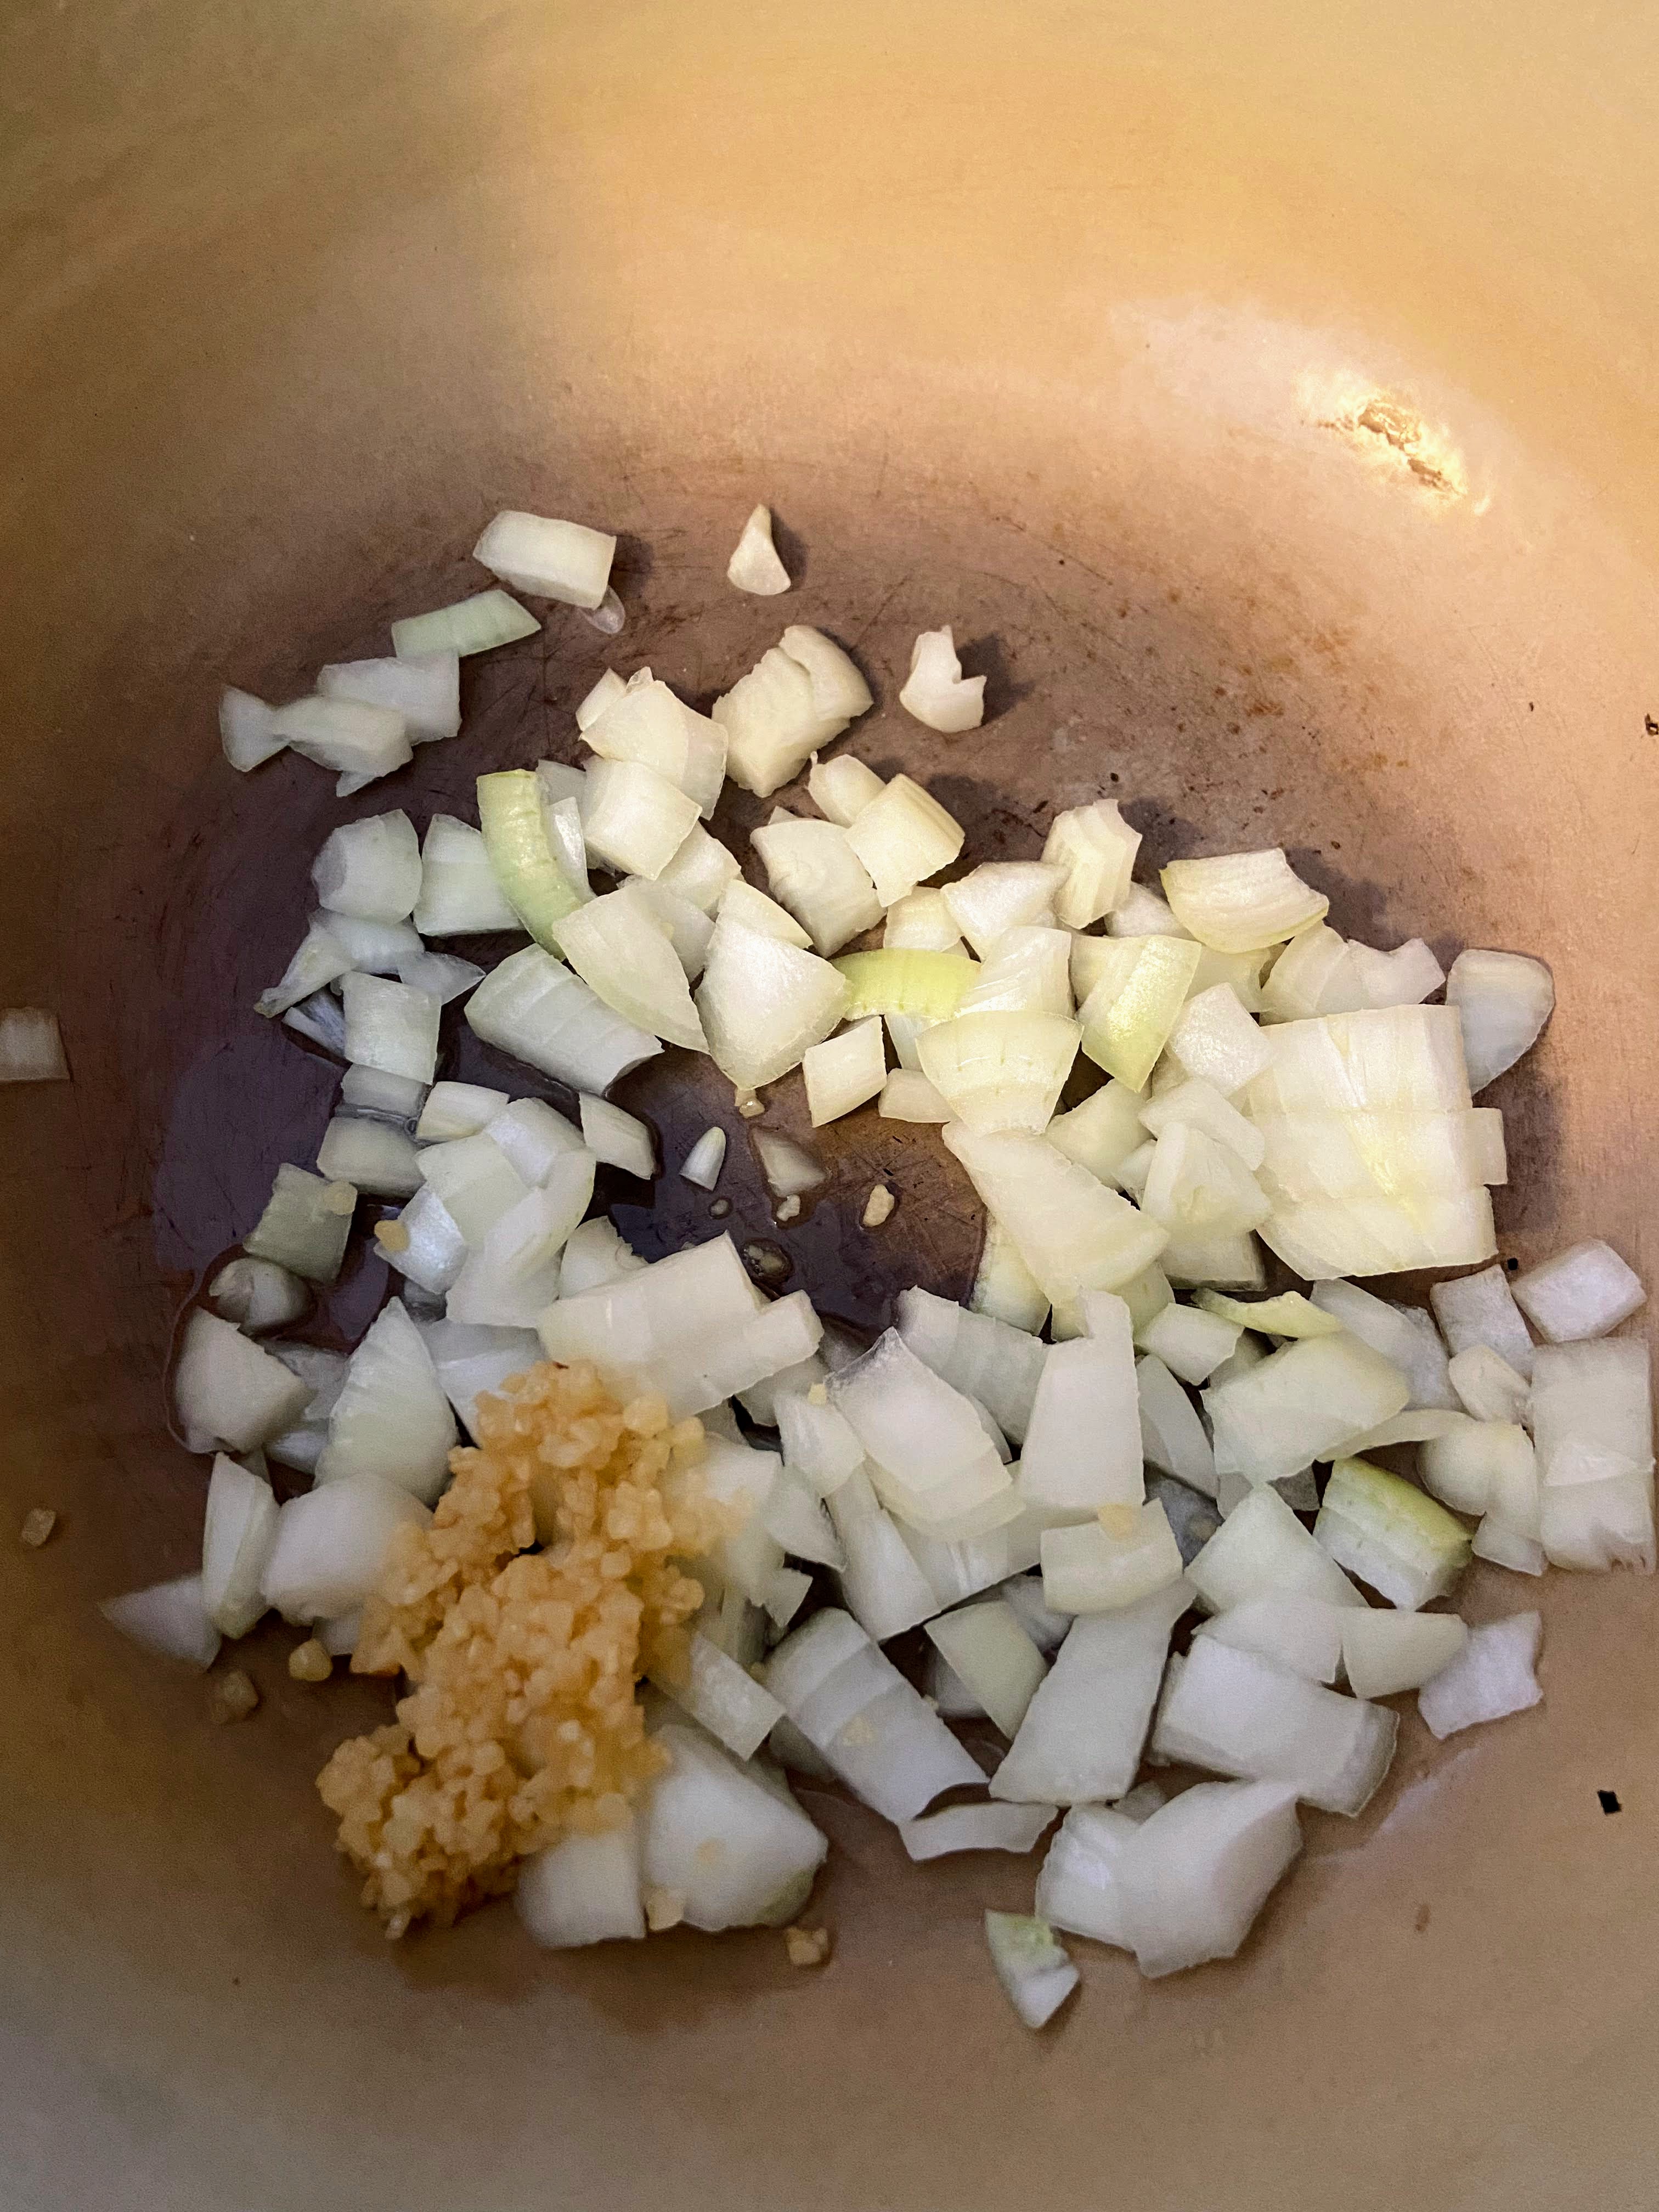
- ¾ cup diced onion
- 2 cups chicken stock
- salt and pepper
Your Steps (It’s so easy!)
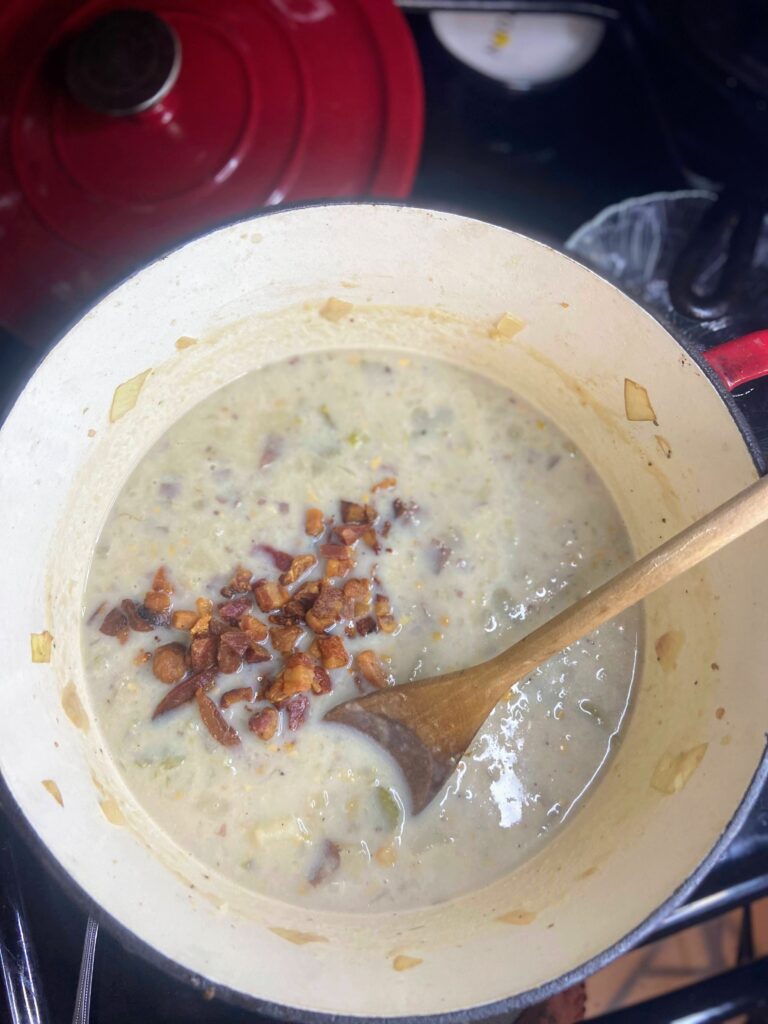
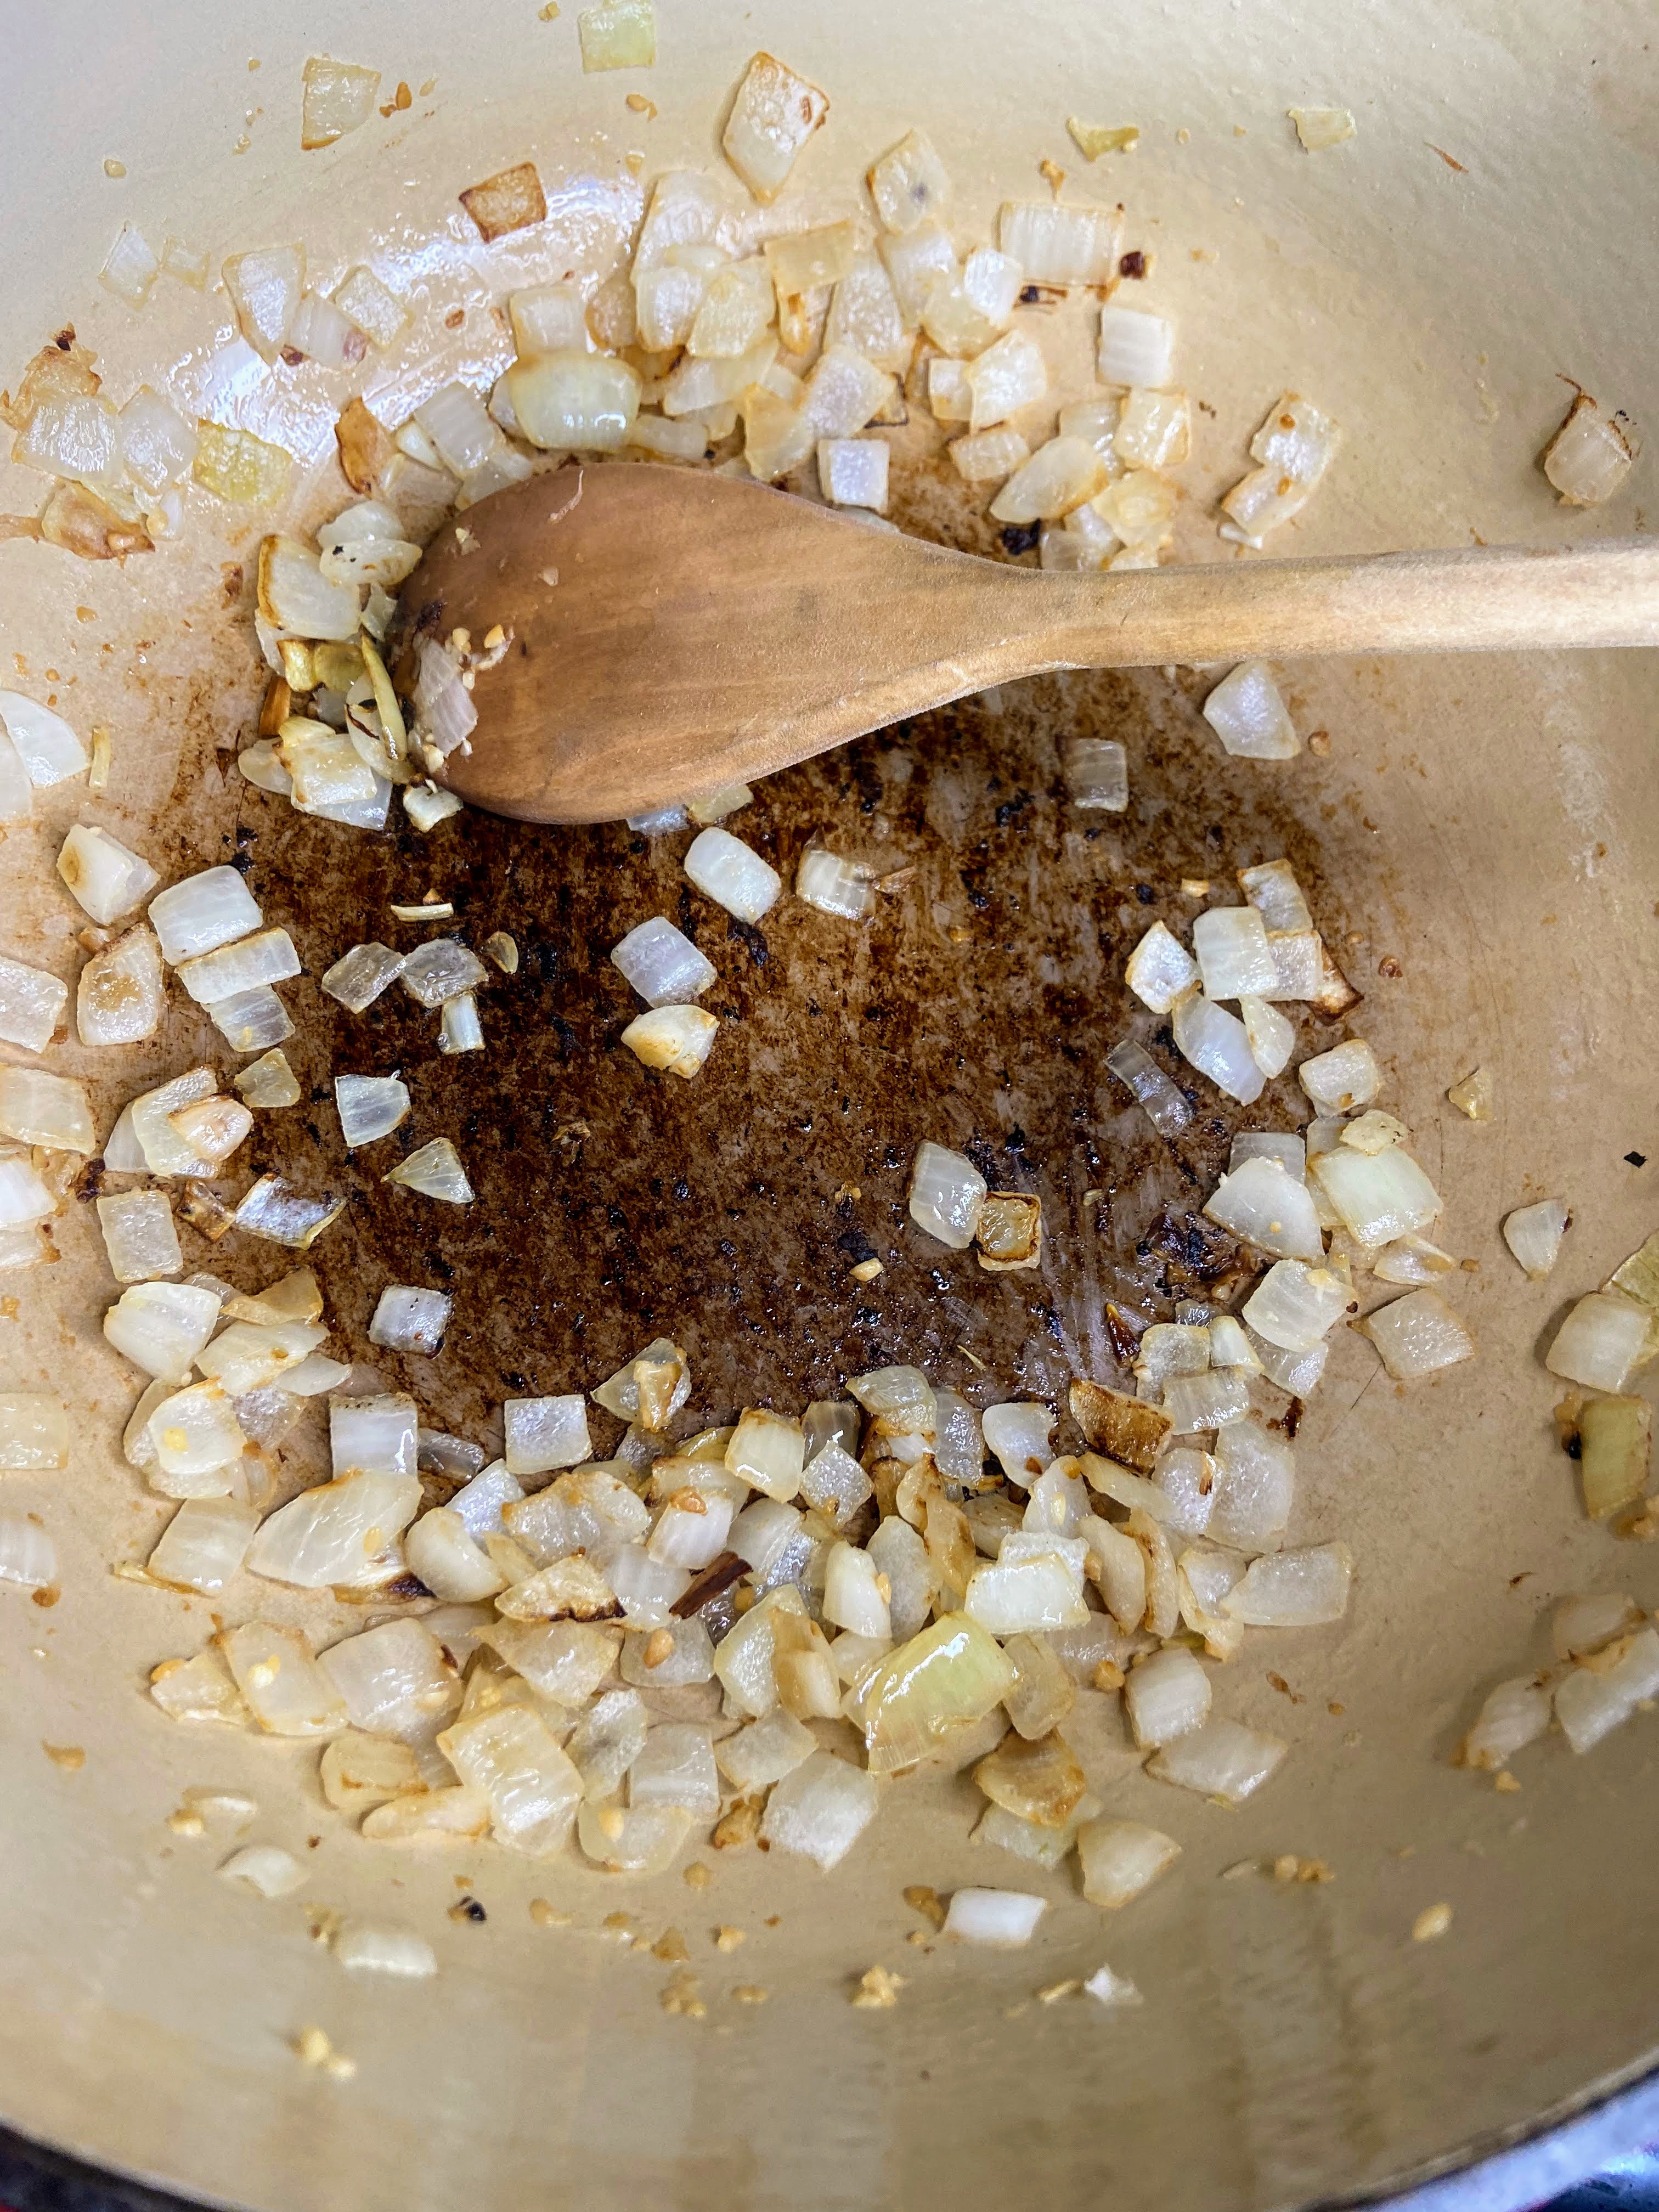
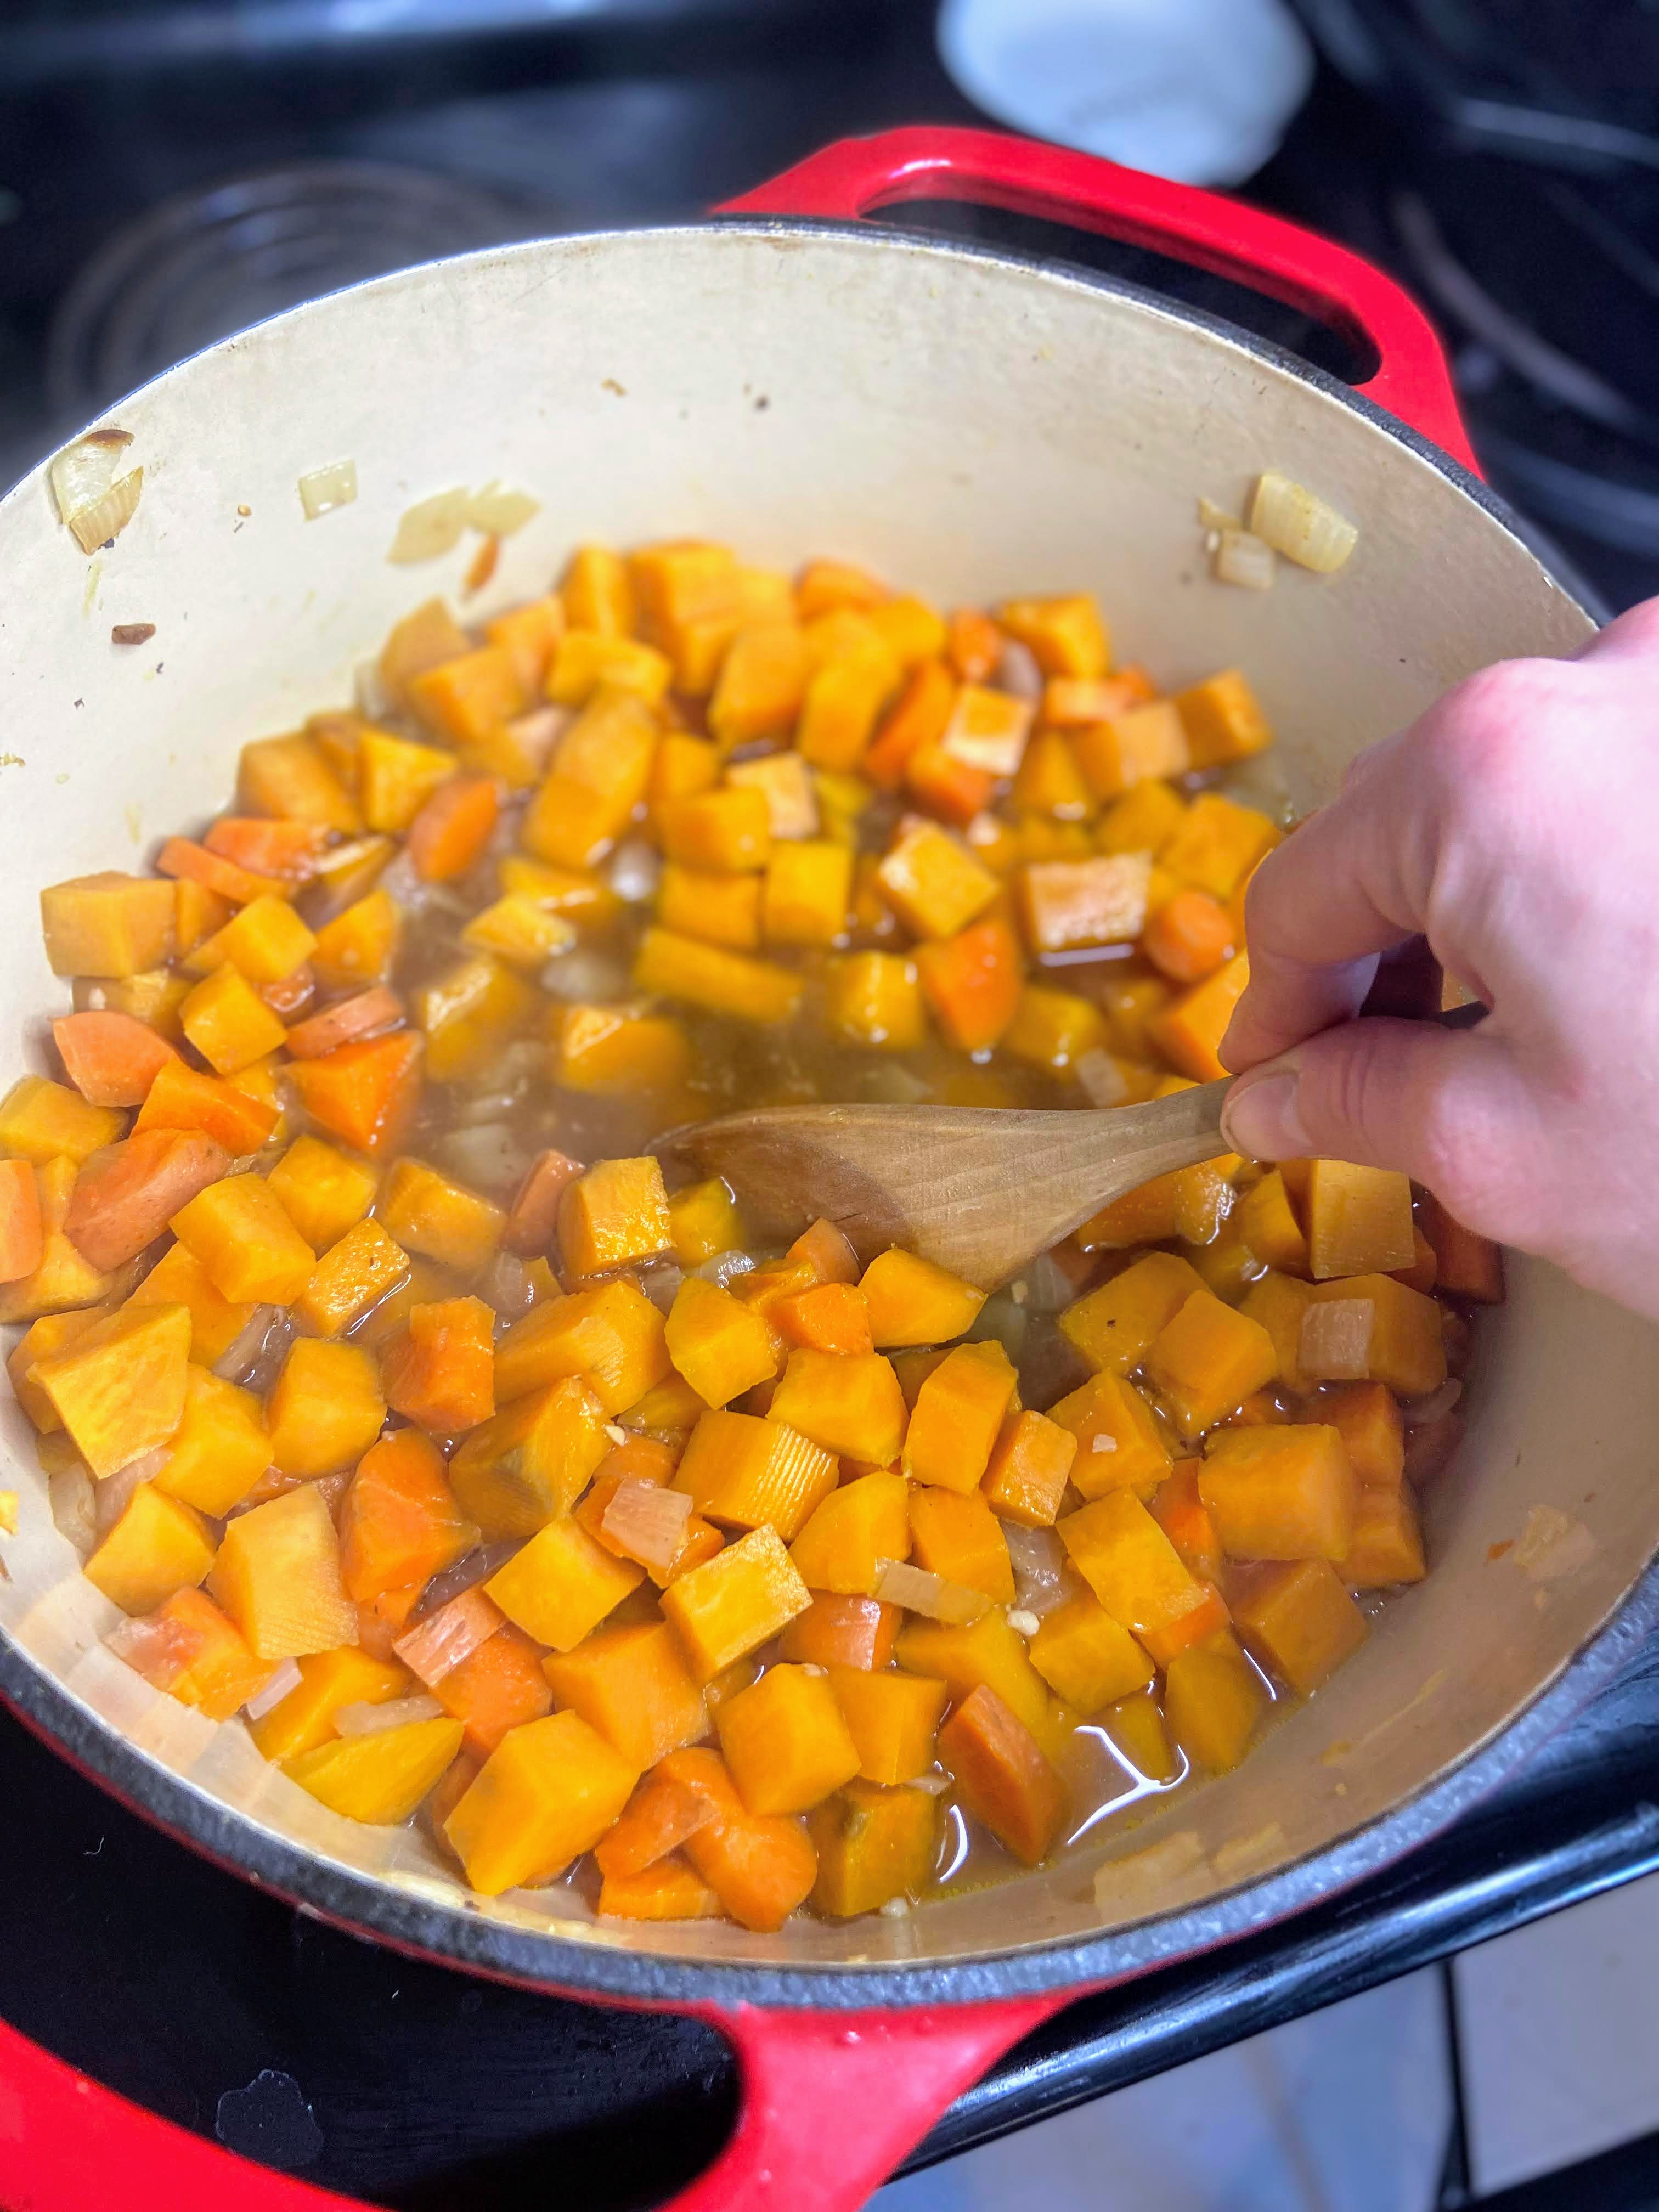
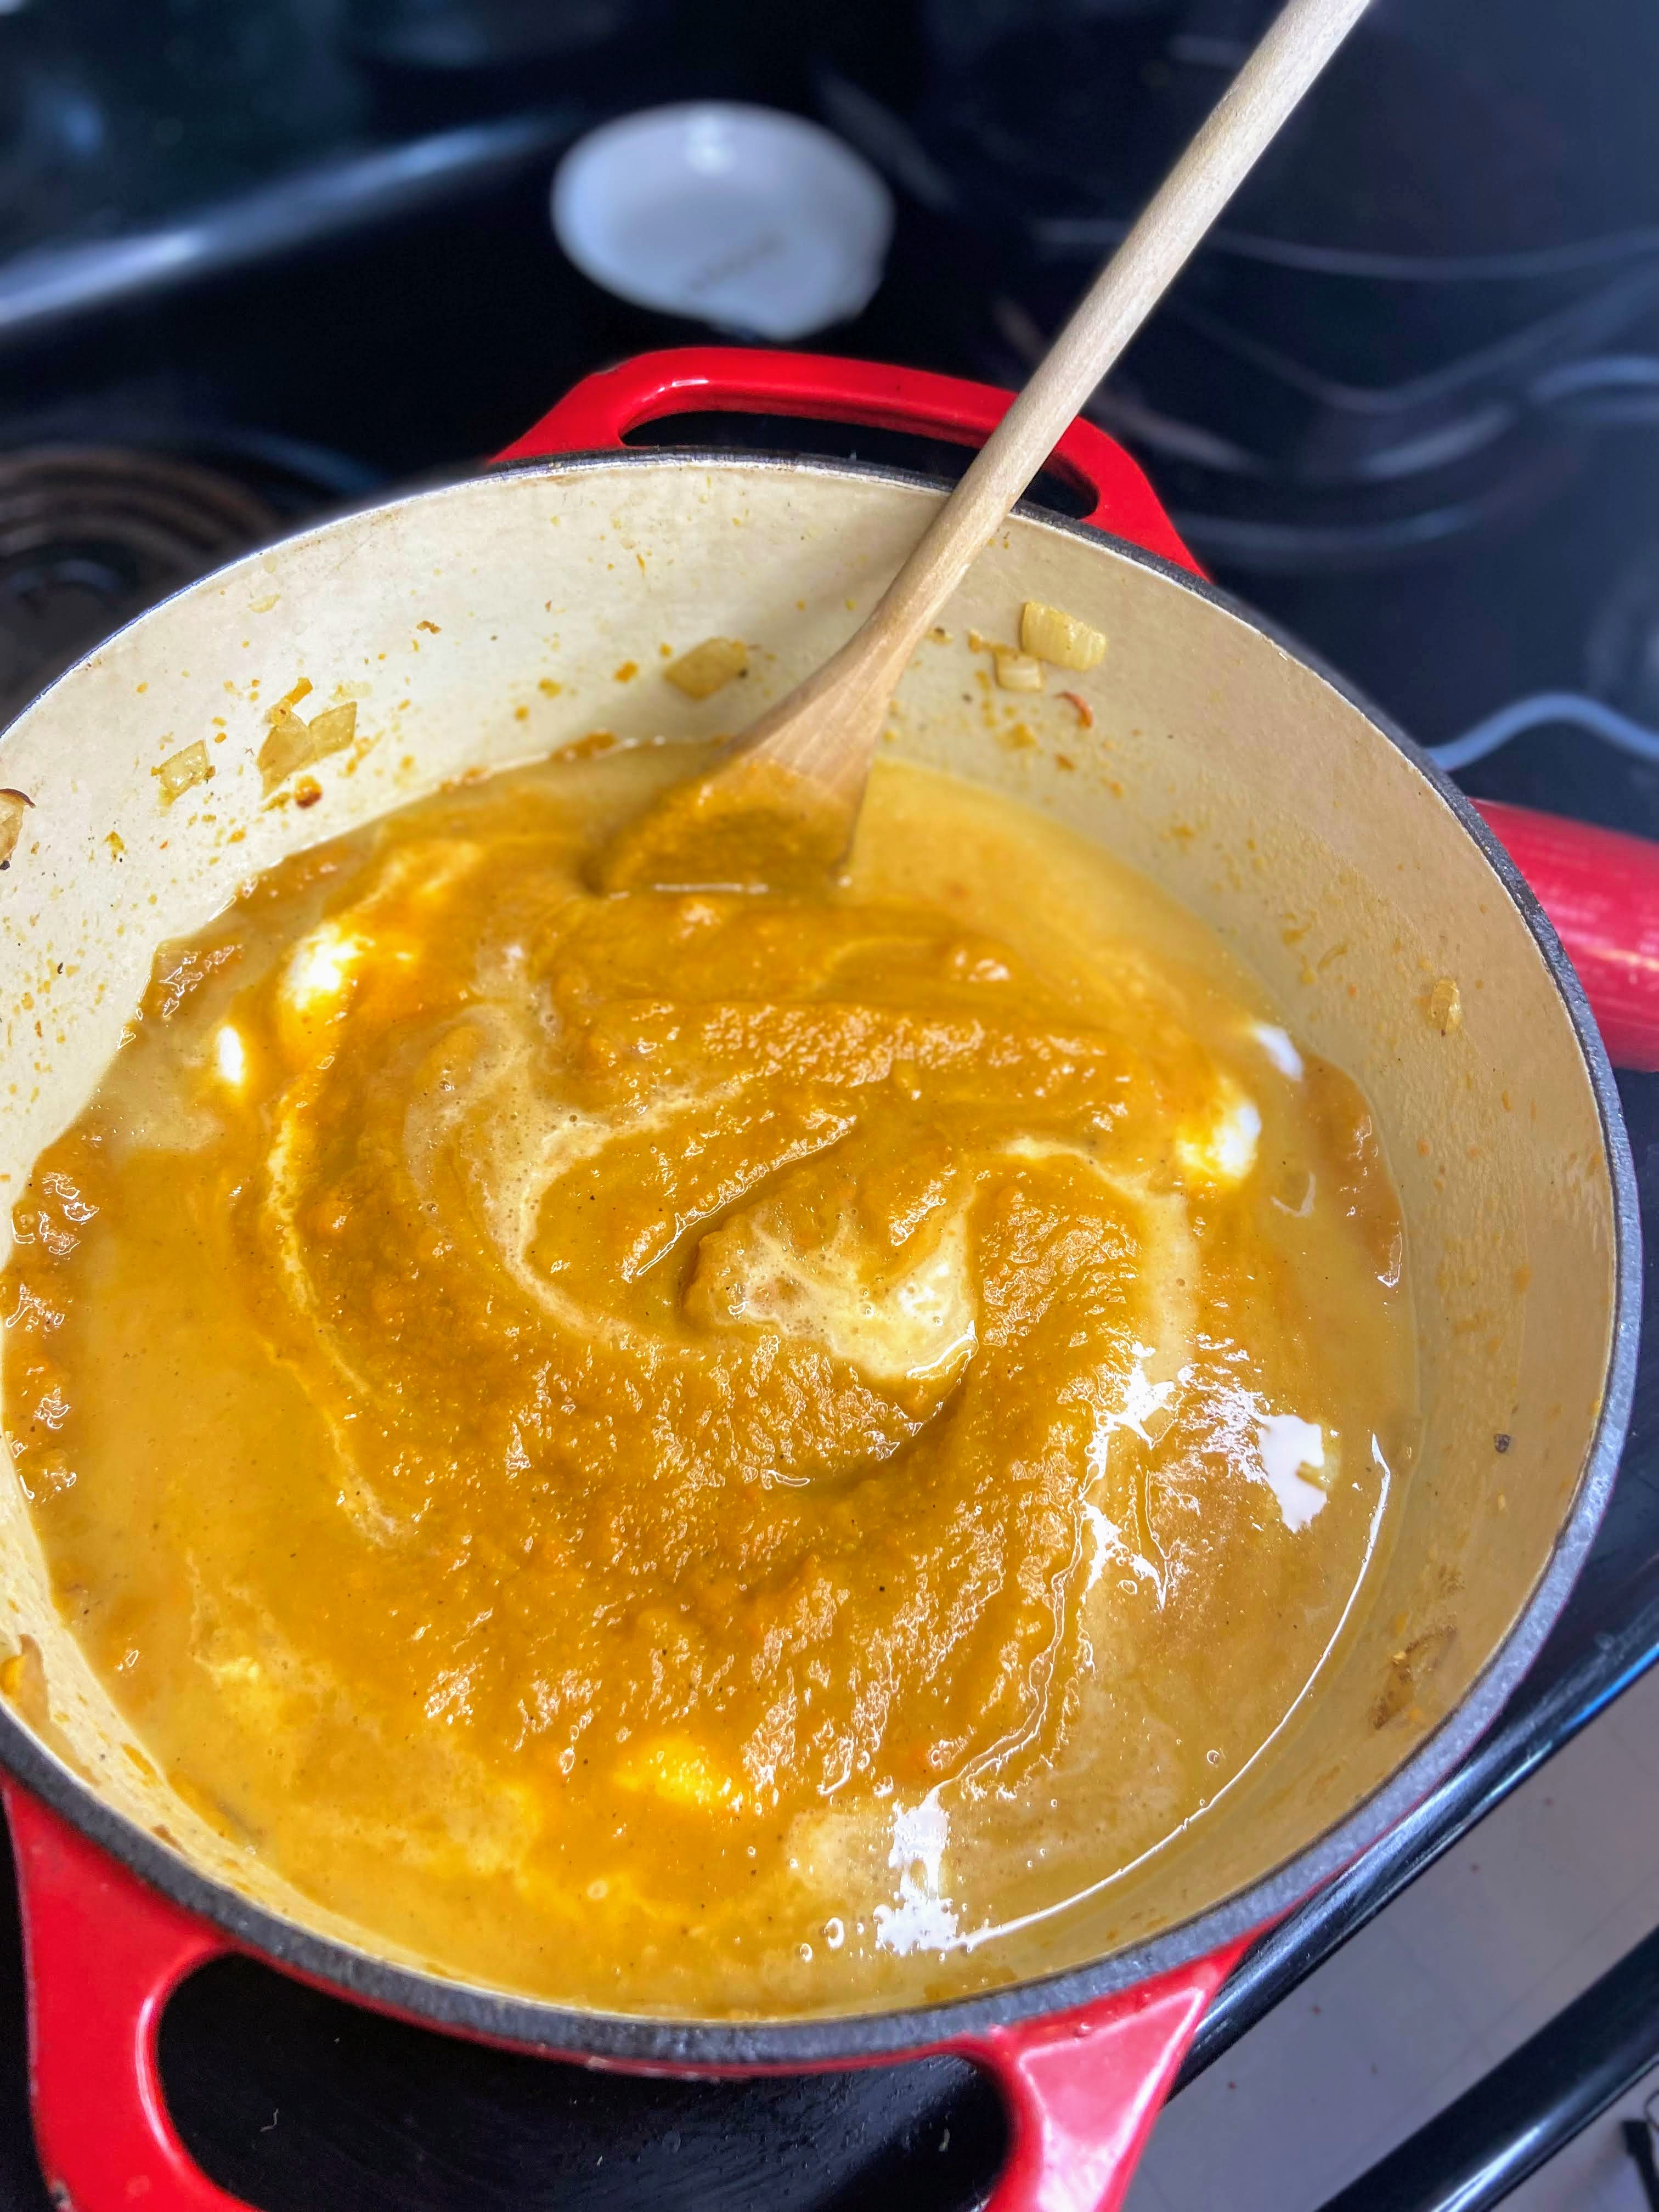
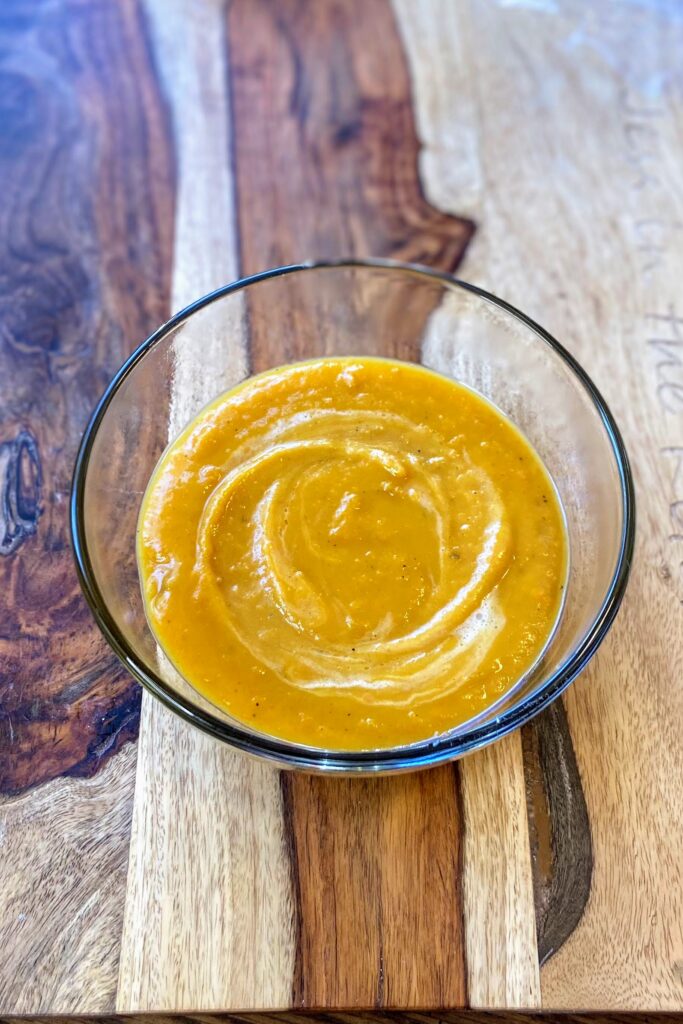
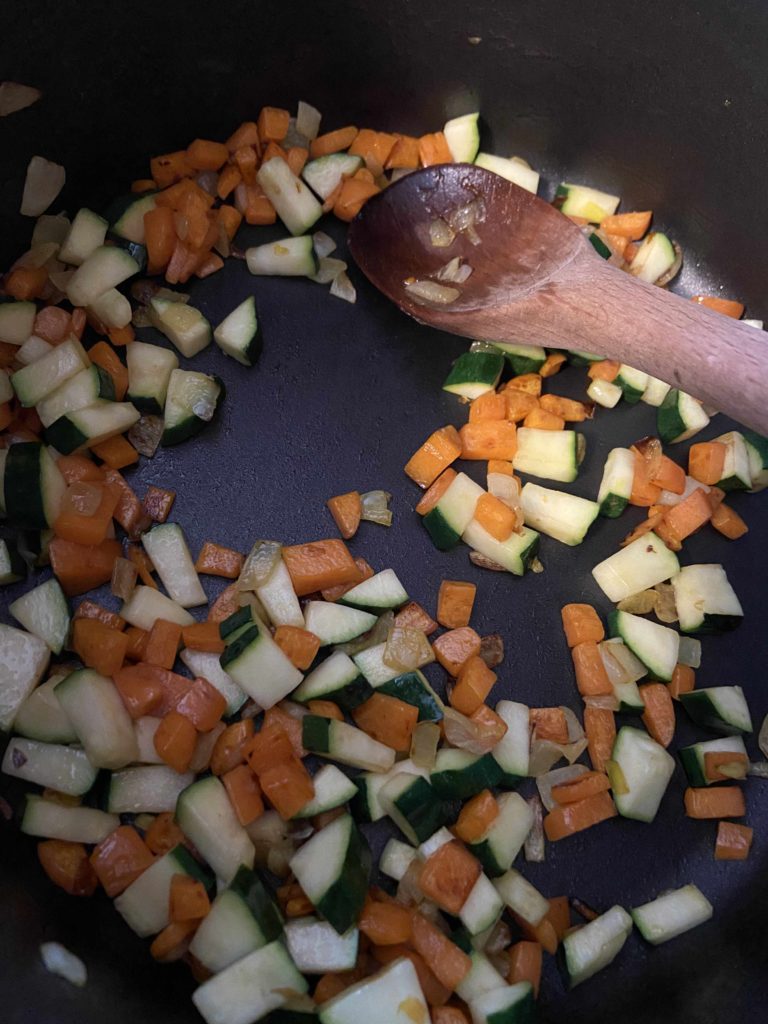
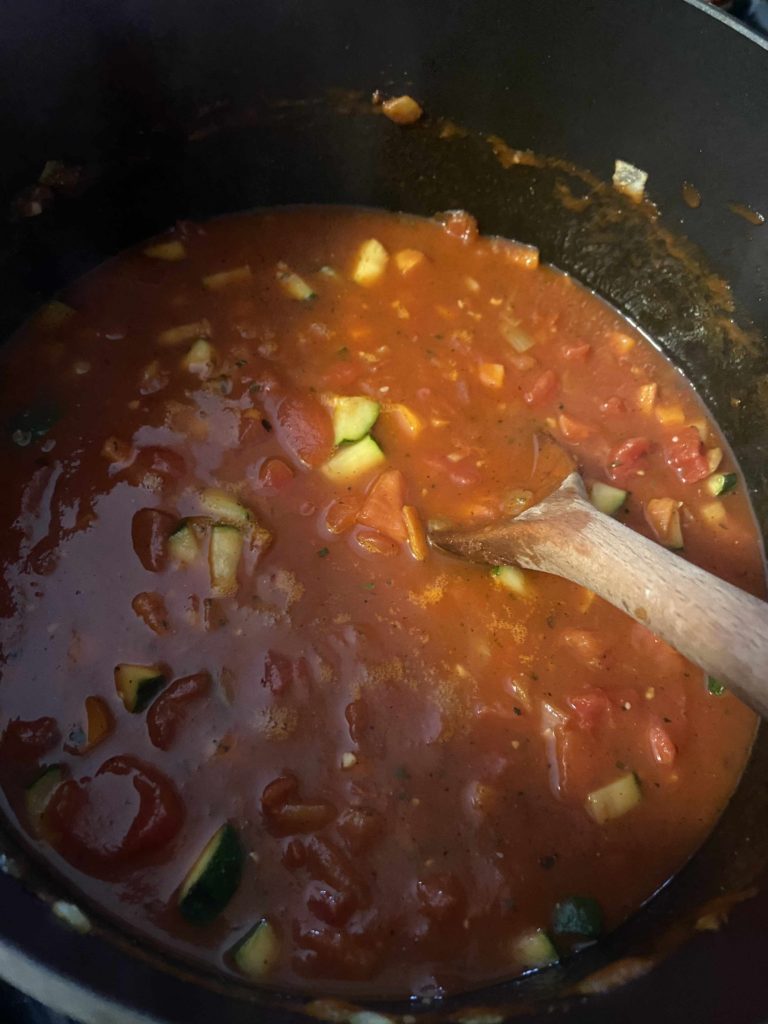
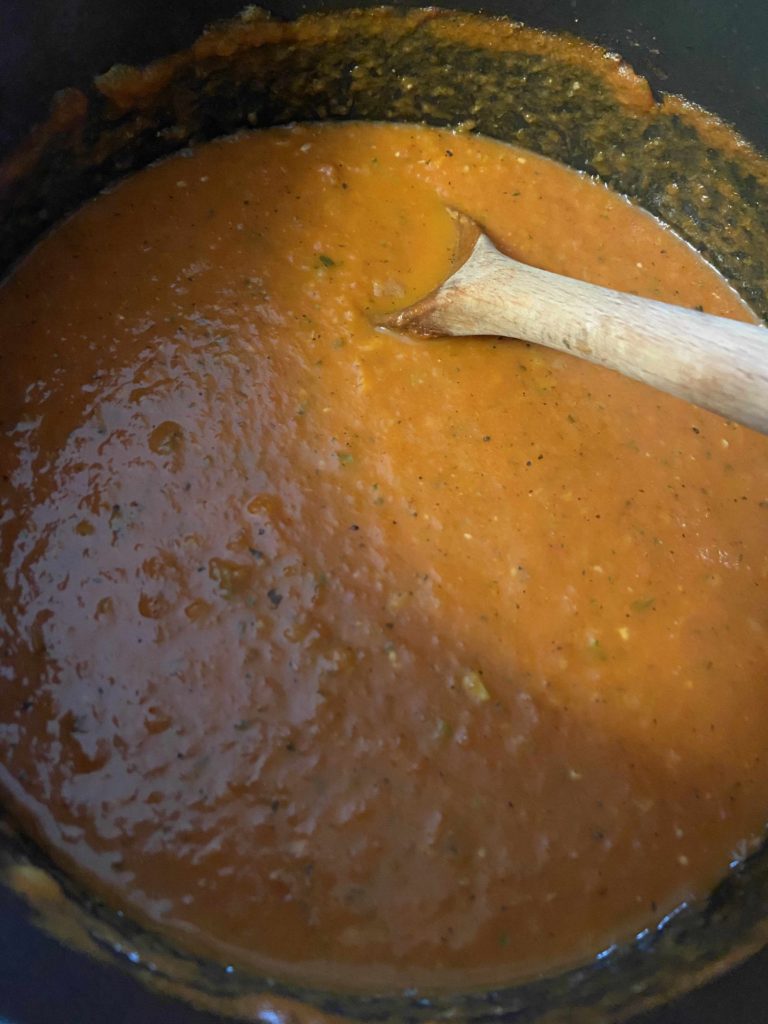
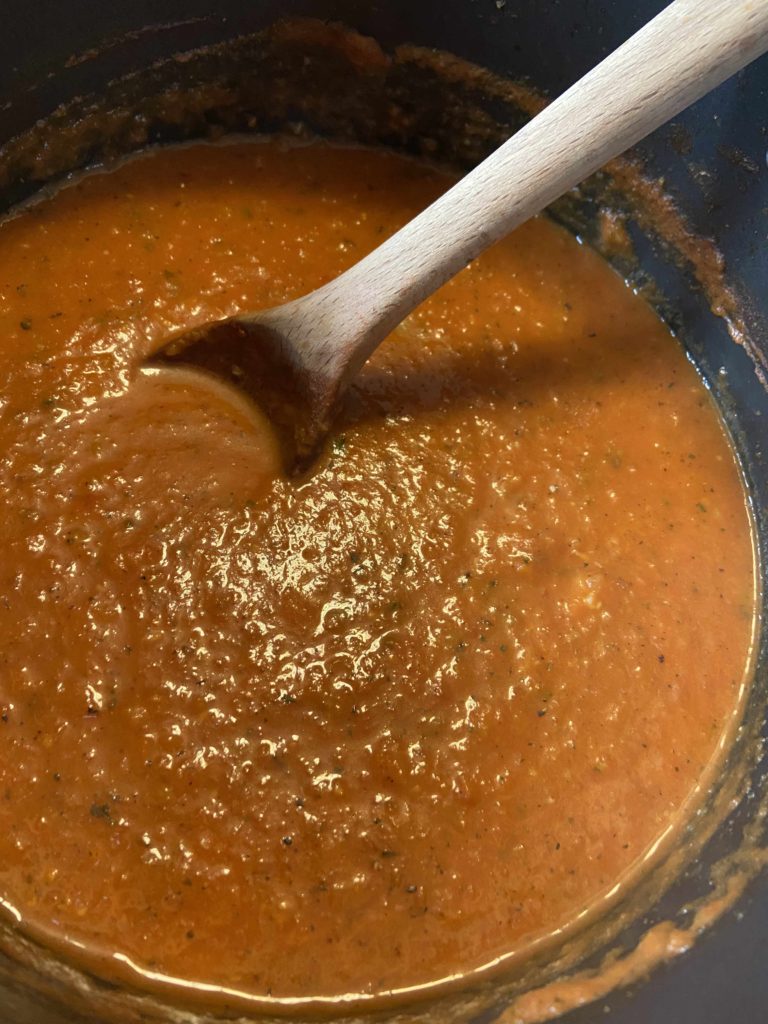
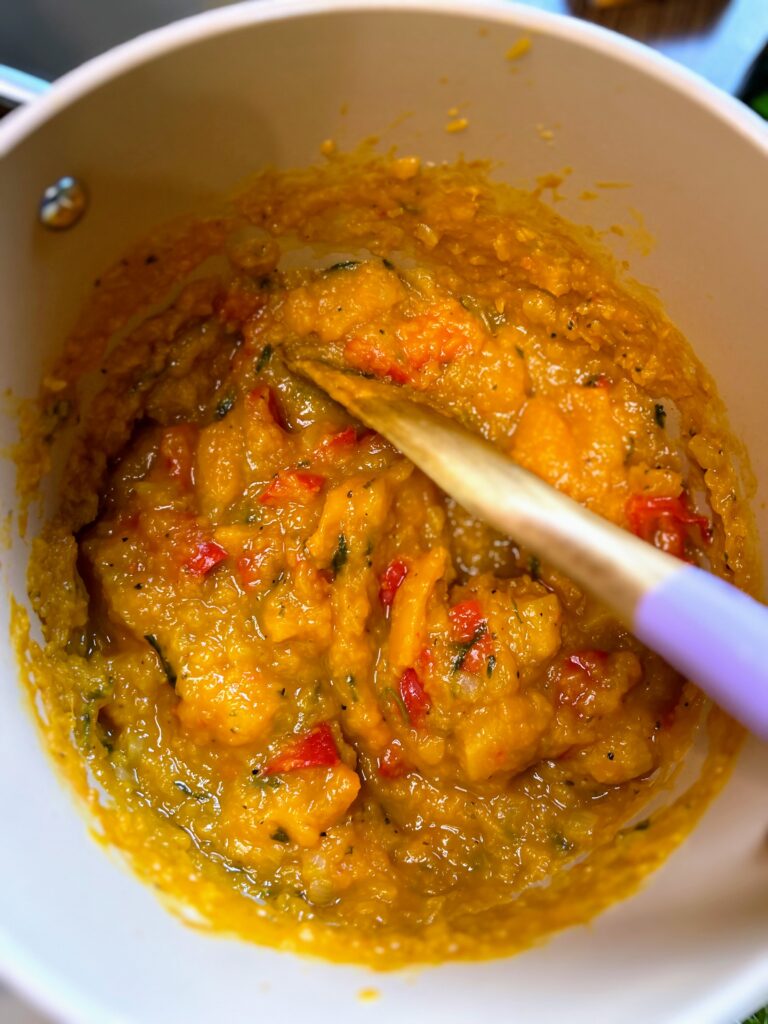
Combine all the ingredients in a large, heavy Dutch oven. Bring to a boil and then lower to a simmer and allow to cook for 30 minutes. Use an immersion blender to blend the ingredients for a creamy soup.
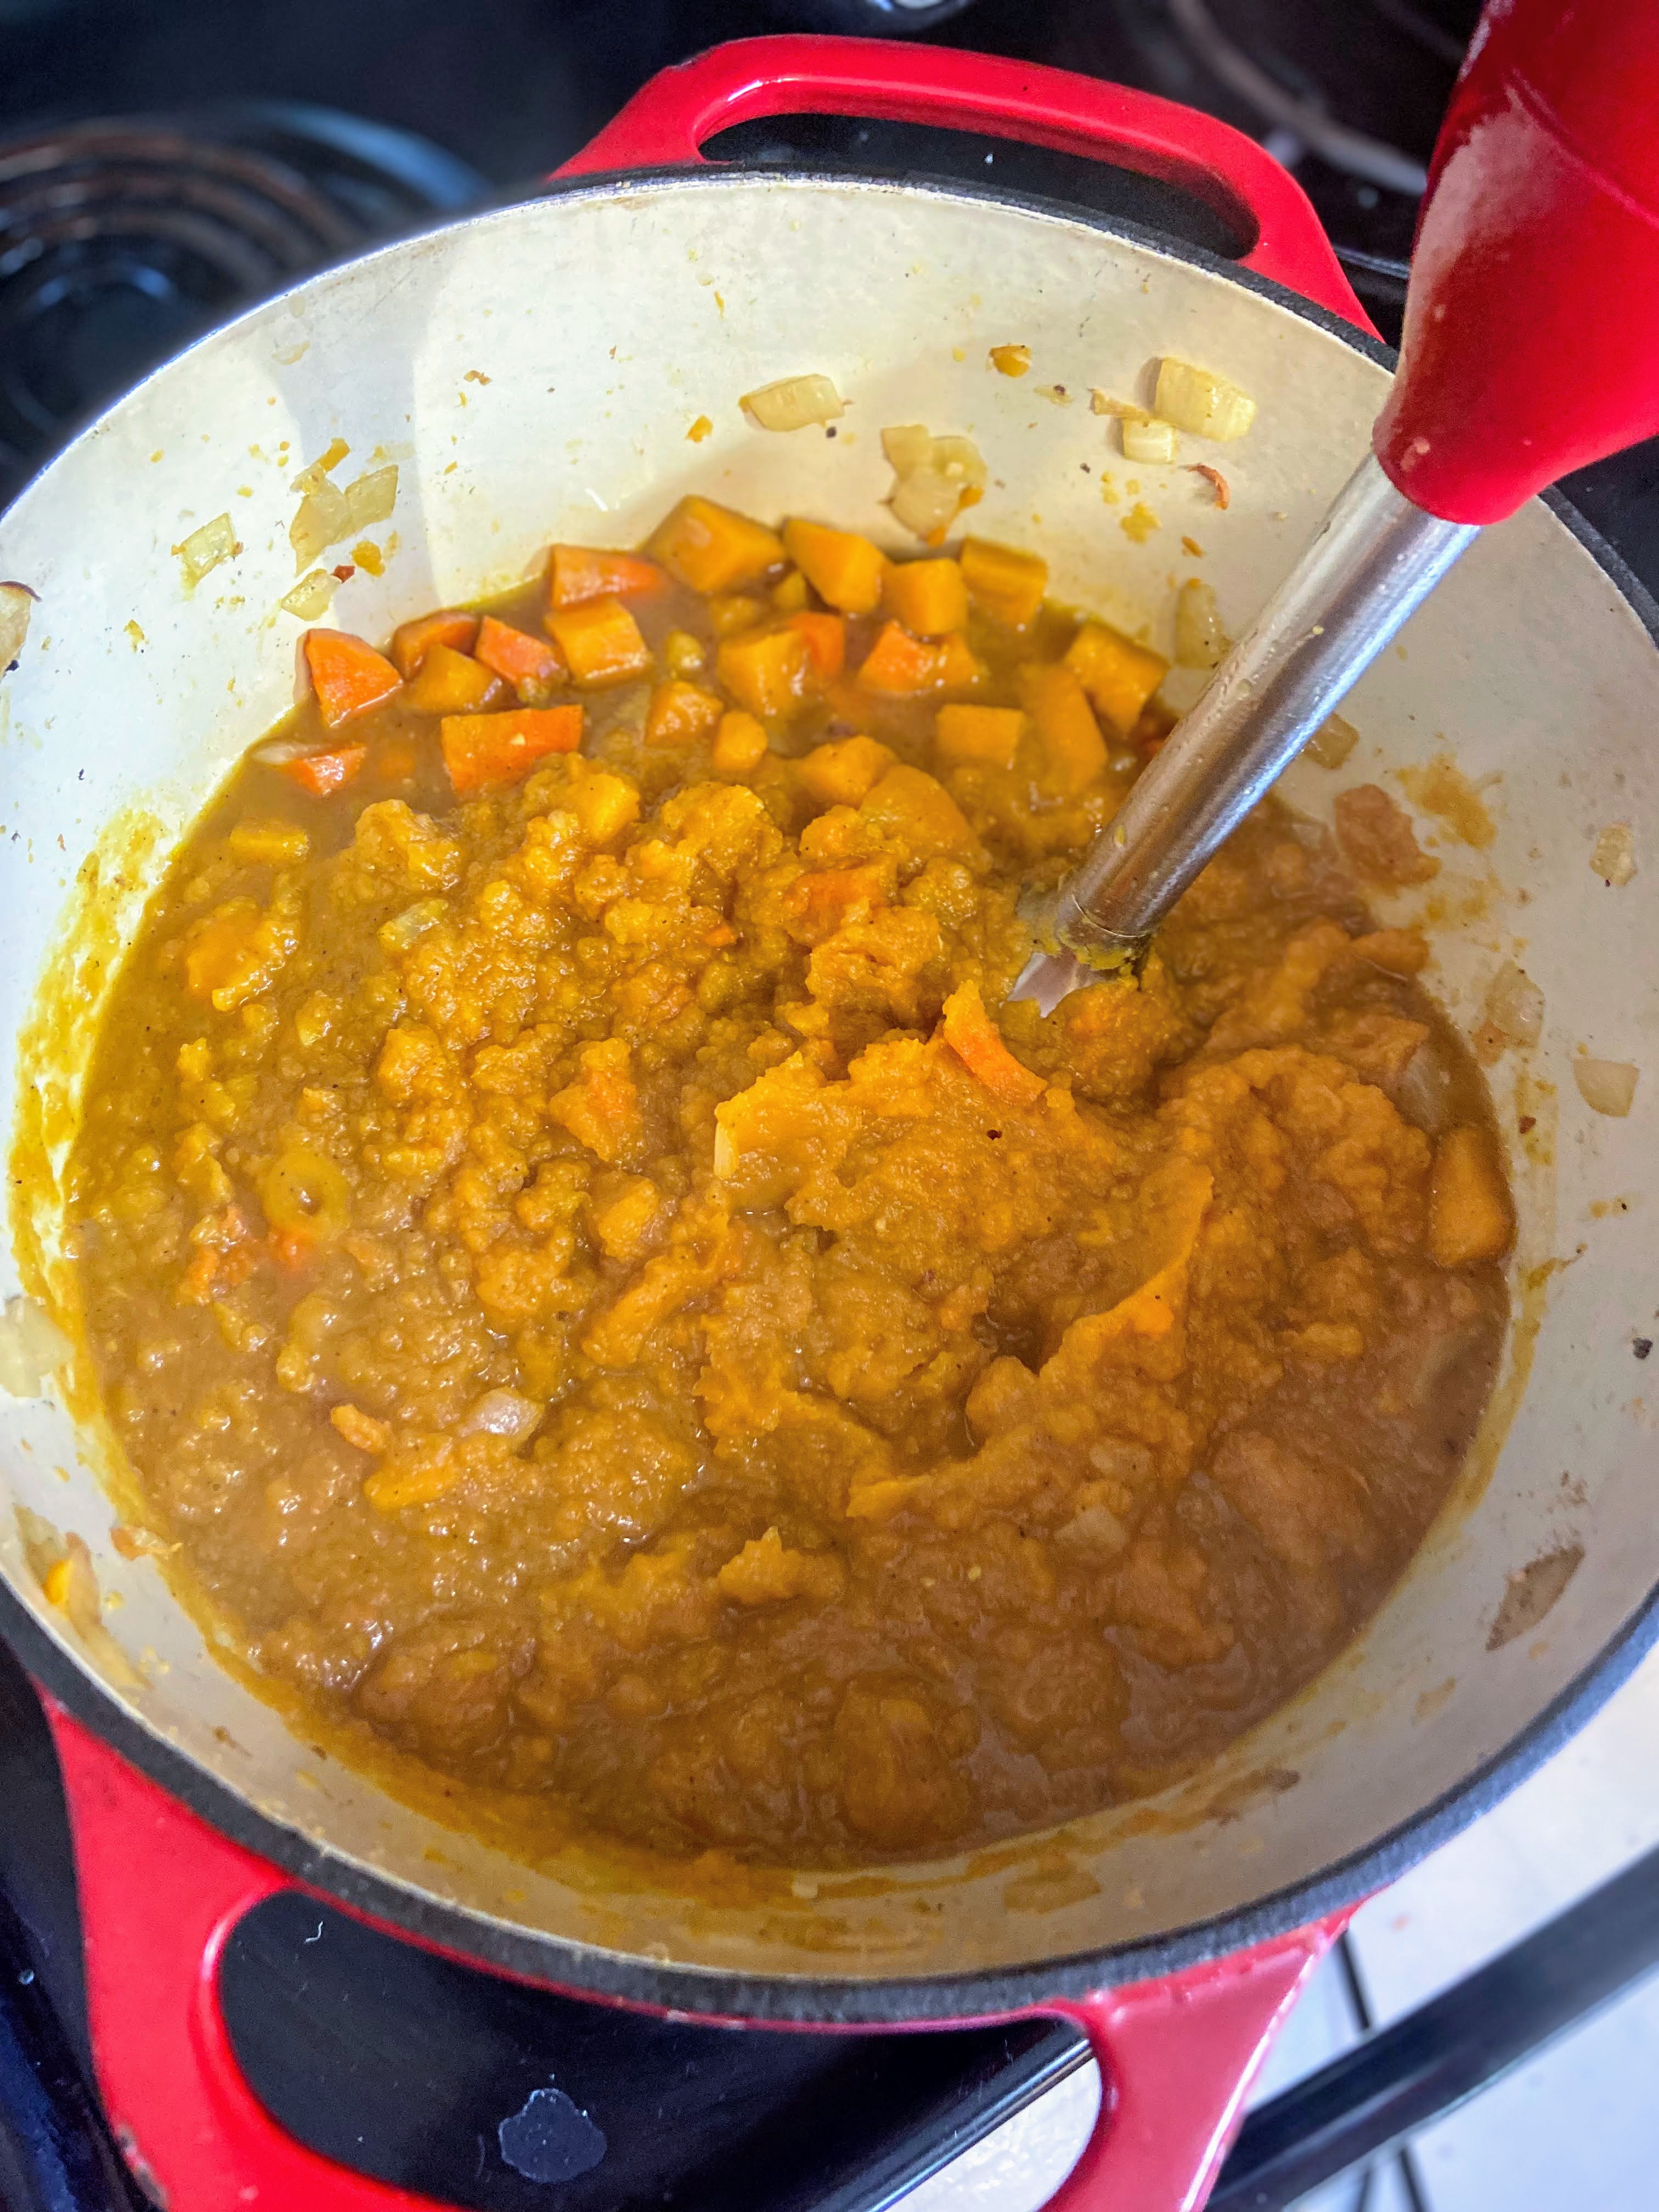
If you prefer a chunky soup, cut the peppers and onions a bit finer. Then use a potato masher to break down the butternut squash after simmering.

Butternut Squash Soup
Ingredients
- 2 pounds butternut squash peeled and seeded, coarsely chopped
- 4 sweet peppers seeded and coarsely chopped
- 2 tablespoons chopped cilantro
- ¾ cup diced onion
- 2 cups chicken stock
- salt and pepper
Instructions
- Combine all the ingredients in a large, heavy Dutch oven.
- Bring to a boil and then lower to a simmer and allow to cook for 30 minutes.
- Use an immersion blender to blend the ingredients for a creamy soup.
- If you prefer a chunky soup, cut the peppers and onions a bit finer. Then use a potato masher to break down the butternut squash after simmering.
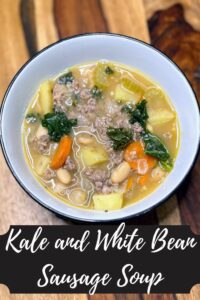
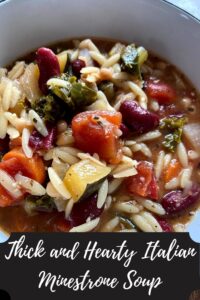
Looking for other great soups?
Check out my cooking page or maybe find some of my favorites below!