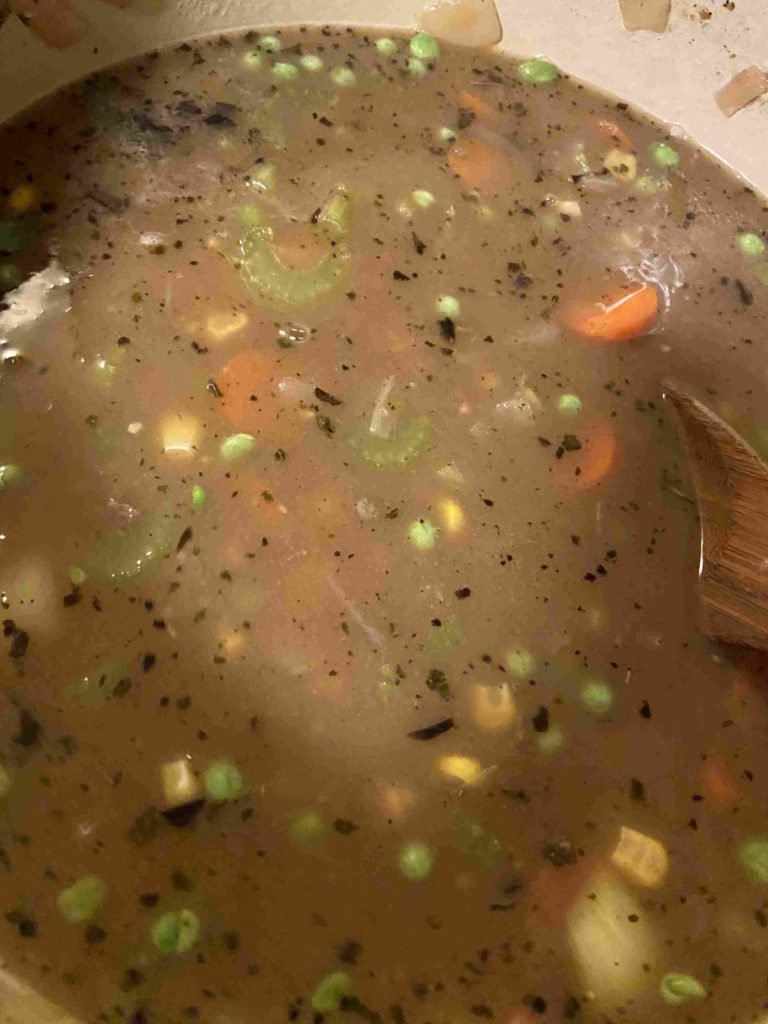
Pressure Canned Venison Stew

I can not begin to explain how excited I am to share this recipe. It’s two years in the making, and I am almost shaking in anticipation and am simply giddy. I was ready to share it last year; then the Mr. was skunked in the deer hunting category and we never put any pressure canned venison stew on our shelves. Tear. 

This year, he was determined to fill our freezer and got out early and often for the bow season. The hard work paid off and he came home with a seven pointer near the end of September. We fully process our deer at home. Even though I am not a hunter myself, I grew up grinding, weighing, and wrapping venison for the freezer. My husband has been a hunter from the moment he could be. In fact, the very first meal he cooked for me in the college dorms was a pheasant he shot the weekend before (his parents knew there must be a girl in the picture when he called to get the recipe!). 

But I digress and now I have to backtrack. About 8 years ago, we purchased a pressure canner to safely pressure can the excess of green beans I was growing. Once I had a pressure canner, it was only a matter of time before I canned meat. I was in a canning group on facebook that inspired me to give it a try. The act of canning meat didn’t scare me. Maybe it’s the fact that I never heard any of those “pressure canner horror stories.” I just dove right in, read canning manuals, and made it happen. 

Opening the Jar

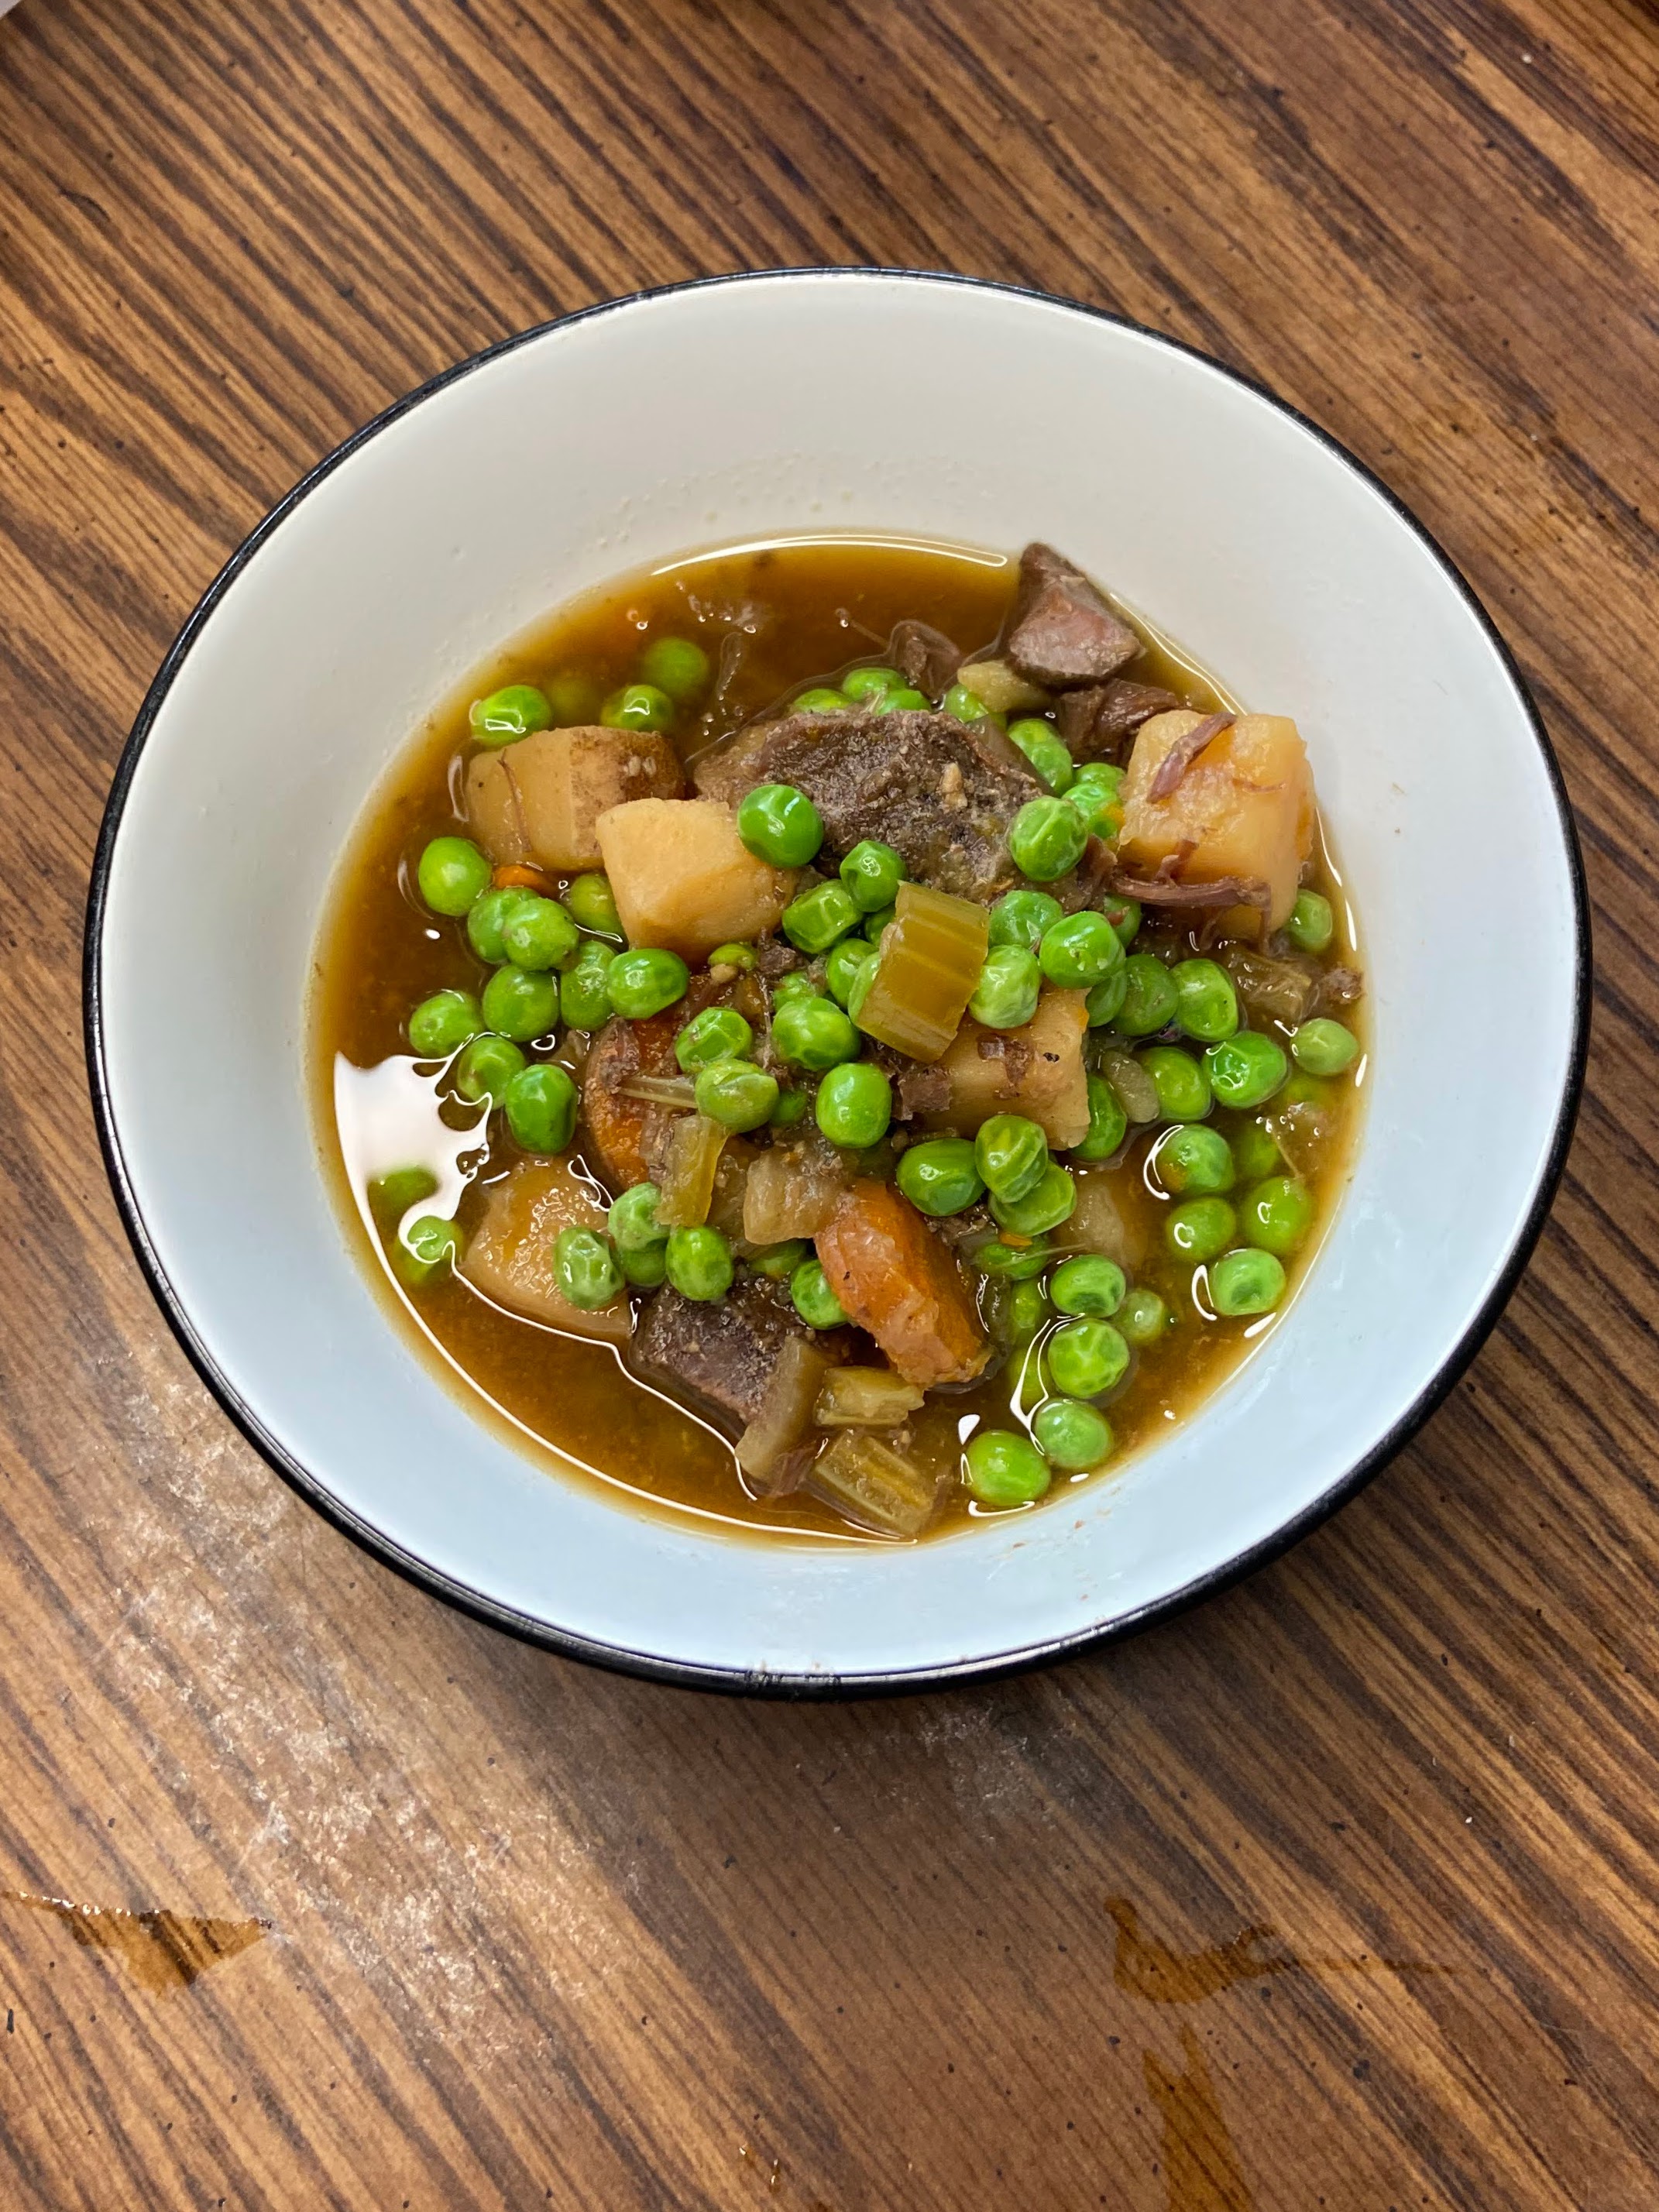
Then it came to actually opening a jar of pressure canned venison stew for dinner and to say I was nervous is an understatement. I cautiously opened it, smelled it, and very hesitantly heated it up. And oh my gosh, I was hooked at the very first bite. The meat is SO tender, the vegetables perfectly cooked. The convenience of it all is perhaps my favorite part. We are in the season of busy week nights with our kids and having homemade venison stew that can go from jar to table in under 10 minutes is incredible. If I am feeling fancy, I do a roux and slowly add the broth first. Short on time? I pour in some frozen peas for extra color and heat it up. 

Bottom line? I am beyond excited to share how I prepare this great stew with all of you. I promise there is no reason to be afraid of a pressure canner. Truly, I was 100% a novice who simply did some reading at the beginning. The only caution I want to give is that it does take time (primarily hands off) for it to cook. I would say make sure you have three hours to be around the house, but truly you can be doing other things while it cooks. Just be present.

Ready to create some pressure canned venison stew? Let’s go! 

Your Ingredients for Pressure Canned Venison Stew (per quart jar) 

  • 1 cup cubed venison stew meat, raw
  • ½ cup each: diced potatoes, celery, carrots and onions, cut large (I do just over ½ cup each)
  • 3 ladles or so of beef broth

Seasoning (see below)

We keep a seasoning mixture on hand of 1 part pepper, 1 part dried minced garlic, 1 part dried minced onion, and 1-2 parts kosher salt. I use this on everything from chicken to venison to roasted vegetables. It’s fantastic and versatile. When I am canning meat, I season every 2 ½ pounds of meat with about 1-2 tablespoons seasoning mix. This is to our taste. 

Tools of the Trade

Normally, I put this at the end of a post, but with a pressure canner, I feel as though I should put it at the beginning. I love using my weighted pressure canner. It doesn’t stress me out and I can create so many great things with it. I also think a canning funnel is a must here. 

Before you start this process, make sure you read the general directions to your own pressure canner. They may differ from what I am sharing, and you should always follow those directions first. Also, if you are a beginner canner or even advanced, it is always a great idea to check out the National Center for Home Preservation Site for more information! 

Your Steps to Pressure Canned Venison Stew

Begin by preparing your canner and jars. Wash and sterilize quart jars, rings, and lids. Keep warm. Check the seal and center vent of your lid of the canner. Set aside. 

Heat beef broth just to boiling, and then reduce to a simmer. You can be heating this while you fill the jars. It will be ladeled over the meat and vegetables. 

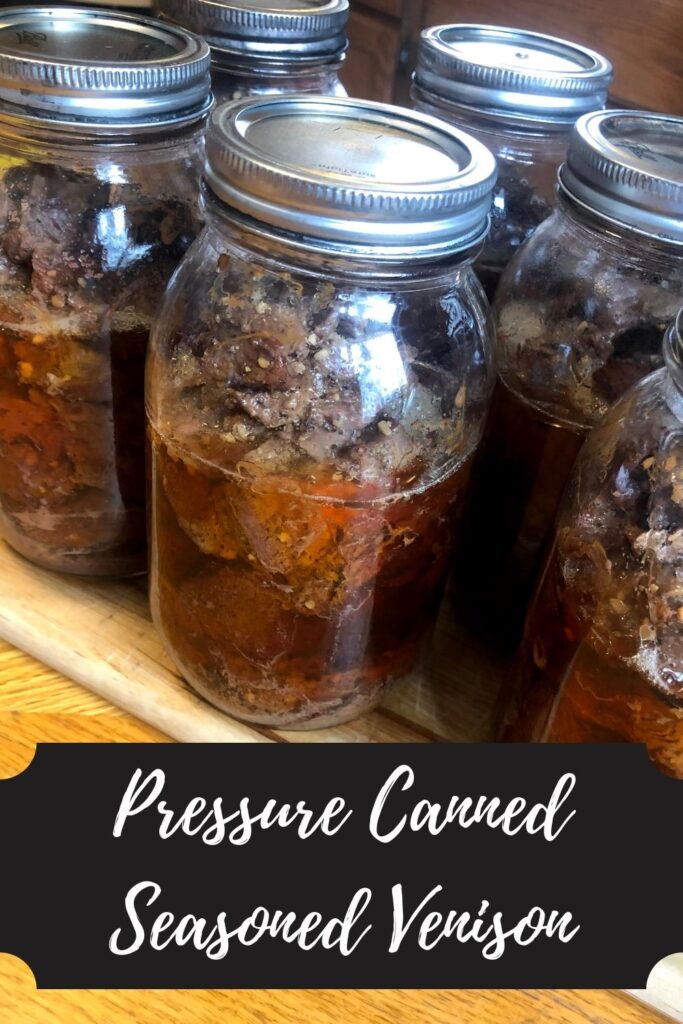
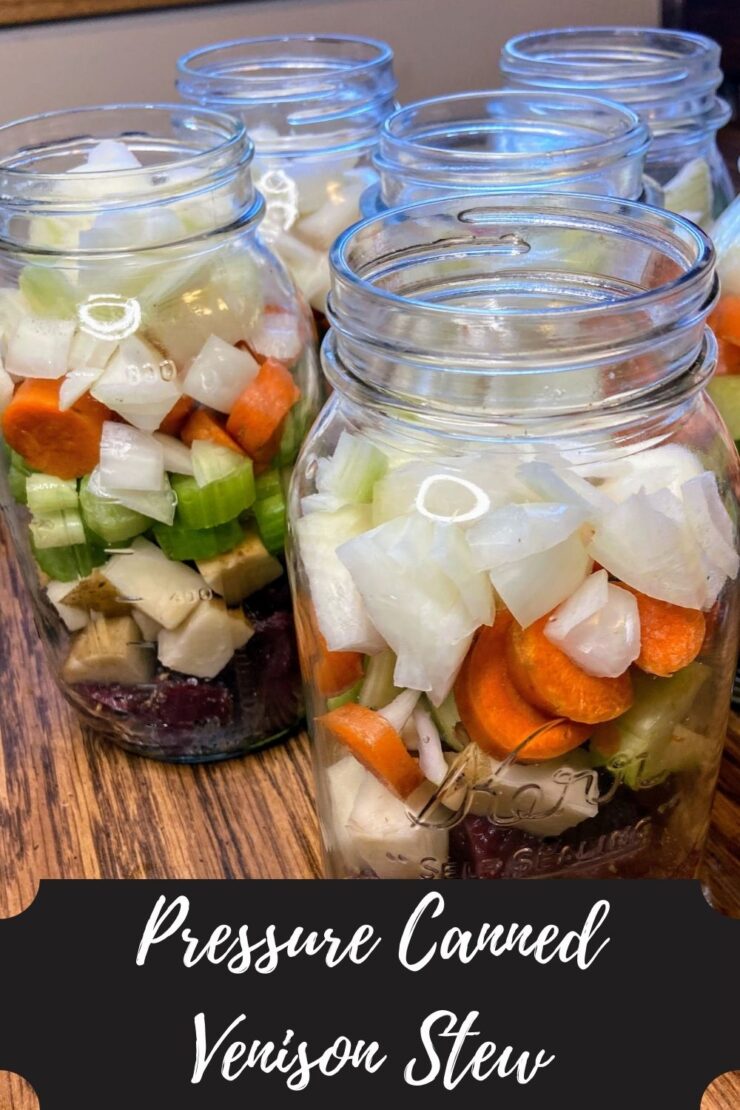
Season prepared meat with seasoning mixture mentioned above (2 tablespoons per 2 ½ pounds of meat). Using a canning funnel, stuff jars with 1 cup of raw meat each. Add potatoes, onions, carrots, and celery. You may need to shake the jars a little to get things to fit all the way. Make sure you have 1 inch of headspace. 

Ladle simmering beef broth over the meat and vegetables, filling the jars to about ¾-⅘ of the way full. The meat itself will create its own broth as it cooks. I have found that if you over fill the jars with broth, siphoning occurs. ¾-⅘  of the way seems to be a perfect amount.

Canning Time!

Wipe rims with a damp cloth, center the lid on the jar and adjust the band to fingertip tight. 

Place jars on the rack of a prepared pressure canner (mine needs 3 quarts of hot water plus a splash of vinegar). 

Place the lid on the canner and heat to high heat. Once a steady stream of steam can be seen/felt, vent for 10 minutes, adjusting the heat if needed to have a steady but not crazy stream of steam. After 10 minutes, put the weighted gauge on the vent. You will want 10 pounds if your altitude is under 1000 ft; 15 pounds if you are over 1000 ft. 

Once the weight starts to jiggle (indicating it has reached the appropriate pressure), begin timing. You will need to process pint jars for 75 minutes and quart jars for 90 minutes. Once the timer has gone off, turn off and remove the canner from heat. Allow the pressure to drop on the canner all the way (read specific canner instructions for the indicator). Remove weight and allow to cool an additional 10 minutes. Remove jars from canner; do not retighten bands. Cool 12 hours, then check their seals, label, and store jars. 

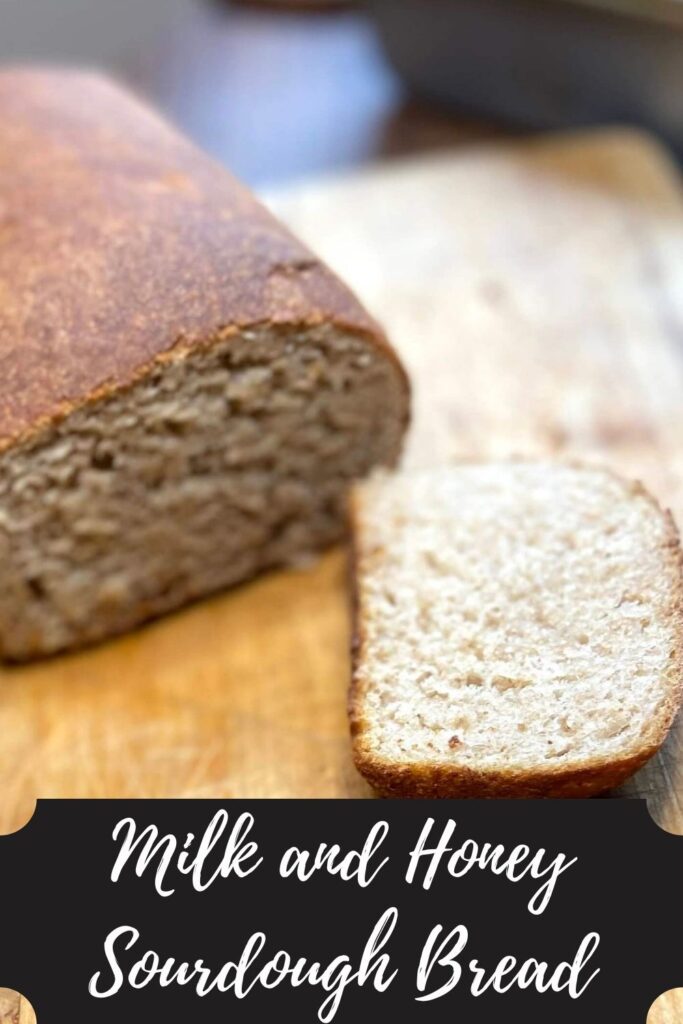
We like to enjoy our stew with some frozen peas and fresh sourdough bread. Not a sourdough baker? Click here to learn more

Let me reiterate, this is what works for my pressure canner. I HIGHLY recommend reading and then rereading your own pressure canner directions. They aren’t hard to use, but you also don’t want to dedicate this time and effort to have something not work out.

Pressure Canned Venison Stew

Fill your shelves with a pressure canned venison stew full of potatoes, onions, carrots, and celery. Delicious and simple, you'll be using this recipe for years
5 from 2 votes
Prep Time 30 minutes
Cook Time 2 hours
Course Main Course
Cuisine Canning
Servings 7 quarts

Ingredients
  

  • 7 cups cubed venison stew meat
  • 4 cups chopped onion
  • 4 cups diced carrot
  • 4 cups diced potato
  • 4 cups chopped celery
  • ¼ cup seasoning
  • 10-12 cups beef broth

Instructions
 

  • Begin by preparing your canner and jars. Wash and sterilize quart jars, rings, and lids. Keep warm. Check the seal and center vent of your lid the canner. Set aside.
  • Heat beef broth just to boiling, and then reduce to a simmer.
  • Season prepared meat with seasoning mixture. Fill jars with 1 cup of seasoned meat and 1/2 cup each of celery, carrots, onions, and potatoes.
  • Ladle simmering beef broth over the meat and vegetables, filling the jars to about ¾-⅘ of the way full.
  • Wipe rims with a damp cloth, center the lid on the jar and adjust the band to fingertip tight.
  • Place jars on the rack of a prepared pressure canner (mine needs 3 quarts of hot water plus a splash of vinegar).
  • Process quart jars for 90 minutes at 10 pounds. If your altitude is greater than 1000 feet, use 15 pounds. Follow the directions of your pressure canner or see the more detailed directions in the notes.

Notes

Place the lid on the canner and heat to high heat. Once a steady stream of steam can be seen/felt, vent for 10 minutes, adjusting the heat if needed to have a steady but not crazy stream of steam. After 10 minutes, put the weighted gauge on the vent. You will want 10 pounds if your altitude is under 1000 ft; 15 pounds if you are over 1000 ft.
Once the weight starts to jiggle (indicating it has reached the appropriate pressure), begin timing. You will need to process pint jars for 75 minutes and quart jars for 90 minutes. Once the timer has gone off, turn off and remove the canner from heat. Allow the pressure to drop on the canner all the way (read specific canner instructions for the indicator). Remove weight and allow to cool an additional 10 minutes. Remove jars from canner; do not retighten bands. Cool 12 hours, then check their seals, label, and store jars.
Keyword pressure canning, soup and stews, stew, venison, venison stew
Tried this recipe?Let us know how it was!

Looking for some sourdough to pair it with? Or perhaps other venison inspiration? Check out the links below!
Savory Venison and Wild Rice Bake

Ready for some savory venison and wild rice bake? I am so excited to share! Being a northern Wisconsin family, it may come as no surprise that a primary protein source at our house is venison. We harvest 2-4 deer a year between the gun and bow season and butcher them ourselves. Using our Kitchen Aid mixer, we grind upwards of 60 pounds of venison a year, which we use instead of ground beef or turkey 90% of the time. 

I’m always looking for new ways to use it, and this was a fun recipe to develop from scratch a few years ago. This venison and wild rice bake has a feel of tater tot hotdish (I’m close to the Minnesota border, don’t ya know?) with a true from scratch taste. You won’t find any “cream of whatever” soups in the ingredients; only true delicious wholesome foods here. I hope it becomes a go to comfort food for you like it has for us. 

Oh! And no ground venison? No problem! Substitute your favorite ground protein: beef, turkey, you name it. 

The ingredients For Venison and Wild Rice bake

  • 1 pound ground venison, seasoned with salt and pepper 
  • 6 cups low sodium chicken stock, divided
  • 1 cup long grain rice
  • 1 cup wild rice
  • 2 cups carrots, diced
  • 1 ¼ cup onion (1 large), diced
  • 1 ¼ cup celery (6 stalks), diced
  • 2 cups broccoli, diced
  • 1 cup mushrooms, sliced
  • Olive oil
  • 4 cloves garlic, minced
  • 1 teaspoon pepper
  • 1 teaspoon salt
  • 2 teaspoons sage
  • 2 teaspoons thyme
  • 1 cup milk
  • 3 tablespoons butter
  • 3 tablespoons flour

Your Steps

In a medium saucepan, bring 5 cups chicken stock to a boil. Add sage, 1/2 teaspoon pepper, 1/2 teaspoon garlic and wild rice. Cover, lower to a simmer, and cook for 10 minutes. Add long grain rice and cook for an additional 25-30 minutes, stirring periodically to check that you still have water. You want your rice to just be tender. Test it at 40 minutes. If it gets over cooked, it will be mush once you bake it.

Meanwhile, dice and chop the onion, celery, carrots, broccoli, and mushrooms. Heat a large kettle (I love my cast iron Dutch oven) with ½ to 1 tablespoon of olive oil. Add the vegetables (except the mushrooms) remaining garlic, salt, pepper, sage, and thyme, cooking on a medium heat for ten minutes. Add mushrooms and cook for an additional five minutes. Remove the vegetables from the kettle and place them in a large bowl. In the same pan (The less dishes, the better, right?), cook the ground venison (or hamburger or turkey) until no longer pink. Stir into the bowl of vegetables along with cooked rice. 

Now for the Creamy part

In the same kettle, melt the butter under medium heat. Stir in flour and continue to stir until you have a beautiful golden brown color. To this, add milk, 1/4 of a cup at a time, whisking until well combined and thickened. Repeat with the remaining chicken stock. Pepper to taste. Stir in to the vegetables, rice, and browned venison. Taste once more, adding salt and pepper as needed.

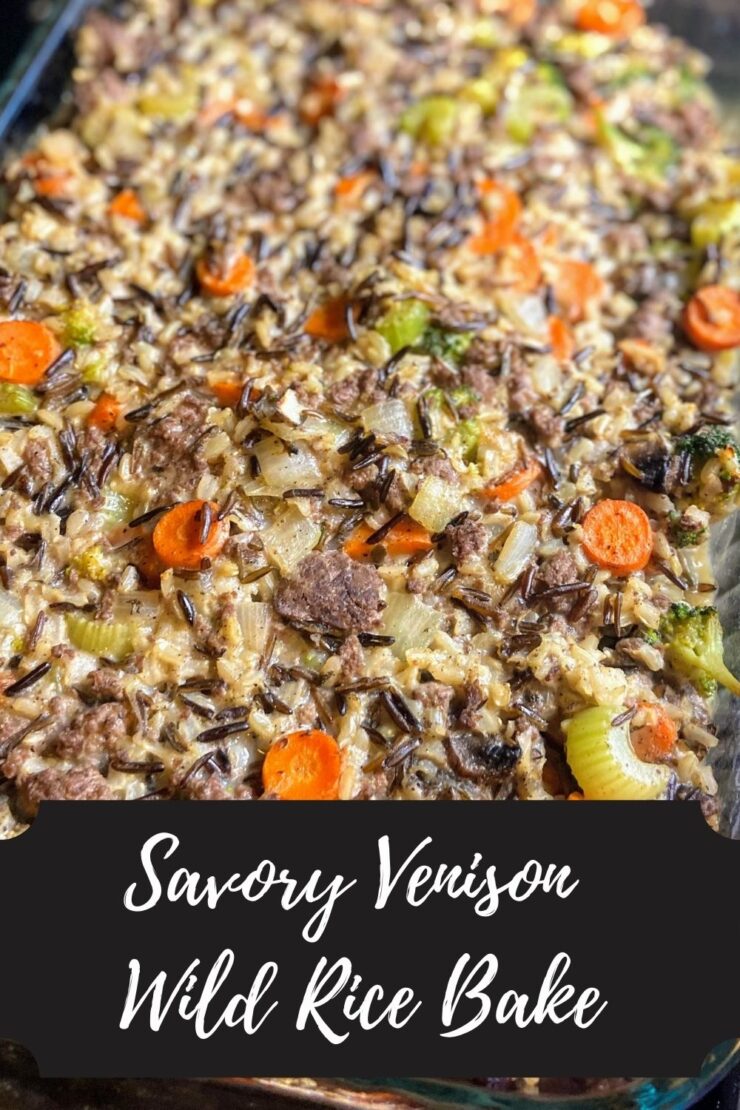
Spread the mixture into a greased casserole dish and bake uncovered for 20 minutes at 425 degrees, until just crispy on the top and hot all the way through. Often, I will prep mine in the morning or the day before and refrigerate until we are ready to eat. If baked after being refrigerated, bake covered for 15 minutes and then gave it an additional 15-20 minutes without a cover. It will be perfectly crispy on the top and creamy in the middle. A wonderful comfort food. 

Tools of the Trade

What are some tools I can’t live without? First, my Pyrex baking dishes are a go to for all things baked. And I love a lot of baked dishes. I also really dig my flexible cutting boards and my goodness, as silly as this sounds, this is my favorite whisk. I have had it for years and it’s truly the only one I use.

Savory Venison Wild Rice Bake

Savory herbs, two types of rice, and ground venison come together for a delicious venison and wild rice bake.
5 from 13 votes
Prep Time 45 minutes
Cook Time 20 minutes
Course dinner
Cuisine American
Servings 8 people

Ingredients
  

  • 1 pound ground venison seasoned with salt and pepper
  • 6 cups low sodium chicken stock divided
  • 1 cup long grain rice
  • 1 cup wild rice
  • 2 cups carrots diced
  • 1 ¼ cup onion 1 large, diced
  • 1 ¼ cup celery 6 stalks, diced
  • 2 cups broccoli diced
  • 1 cup mushrooms sliced
  • Olive oil
  • 4 cloves garlic minced
  • 1 teaspoon pepper
  • 1 teaspoon salt
  • 2 teaspoons sage
  • 2 teaspoons thyme
  • 1 cup milk
  • 3 tablespoons butter
  • 3 tablespoons flour

Instructions
 

  • In a medium saucepan, bring 5 cups chicken stock to a boil. Add sage, 1/2 teaspoon pepper, 1/2 teaspoon garlic and wild rice. Cover, lower to a simmer, and cook for 10 minutes.
  • Add long grain rice and cook for an additional 30-35 minutes, stirring periodically to check that you still have water. You want your rice to just be tender. Test it at 40 minutes.
  • Meanwhile, dice and chop the onion, celery, carrots, broccoli, and mushrooms. Heat a large kettle with ½ to 1 tablespoon of olive oil. Add the vegetables (except the mushrooms) remaining garlic, salt, pepper, sage, and thyme, cooking on a medium heat for ten minutes.
  • Add mushrooms and cook for an additional five minutes. Remove the vegetables from the kettle and place them in a large bowl.
  • In the same pan, add an additional 1/2 tablespoon olive oil and cook the ground venison (or hamburger or turkey) until no longer pink. Stir into the bowl of vegetables along with cooked rice.
  • In the same kettle, melt the butter under medium-low heat. Stir in flour and continue to stir until you have a beautiful golden brown color. To this, add milk, 1/4 of a cup at a time, whisking until well combined and thickened. Repeat with the remaining chicken stock. Pepper to taste.
  • Stir in to the vegetables, rice, and browned venison. Taste once more, adding salt and pepper as needed.
  • Spread the mixture into a greased casserole dish and bake uncovered for 20 minutes at 425 degrees, until just crispy on the top and hot all the way through.

Notes

This can be prepped early, say the night before or in the morning. If baked after being refrigerated, bake covered for 15 minutes and then gave it an additional 15-20 minutes without a cover. It will be perfectly crispy on the top and creamy in the middle.
Keyword from scratch, rice pilaf, vegetables, venison, venison recipe, whole foods, wild rice
Tried this recipe?Let us know how it was!

Can I share some other favorites of mine?

Check out the recipes below for other meal inspiration!

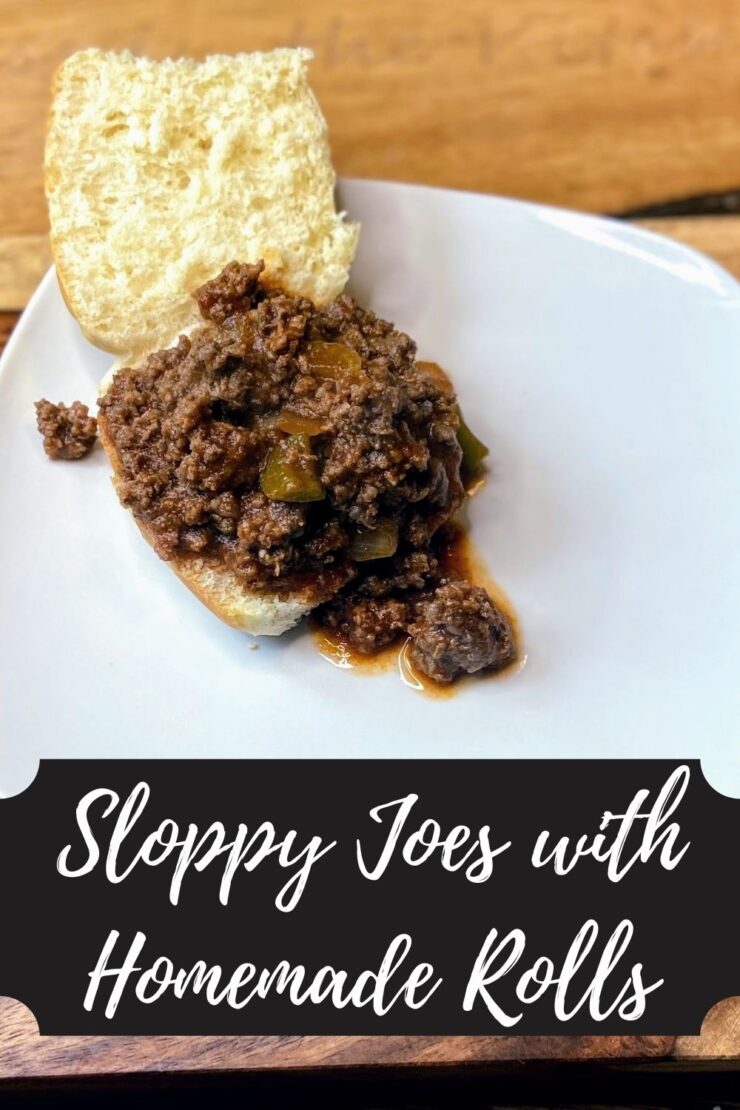
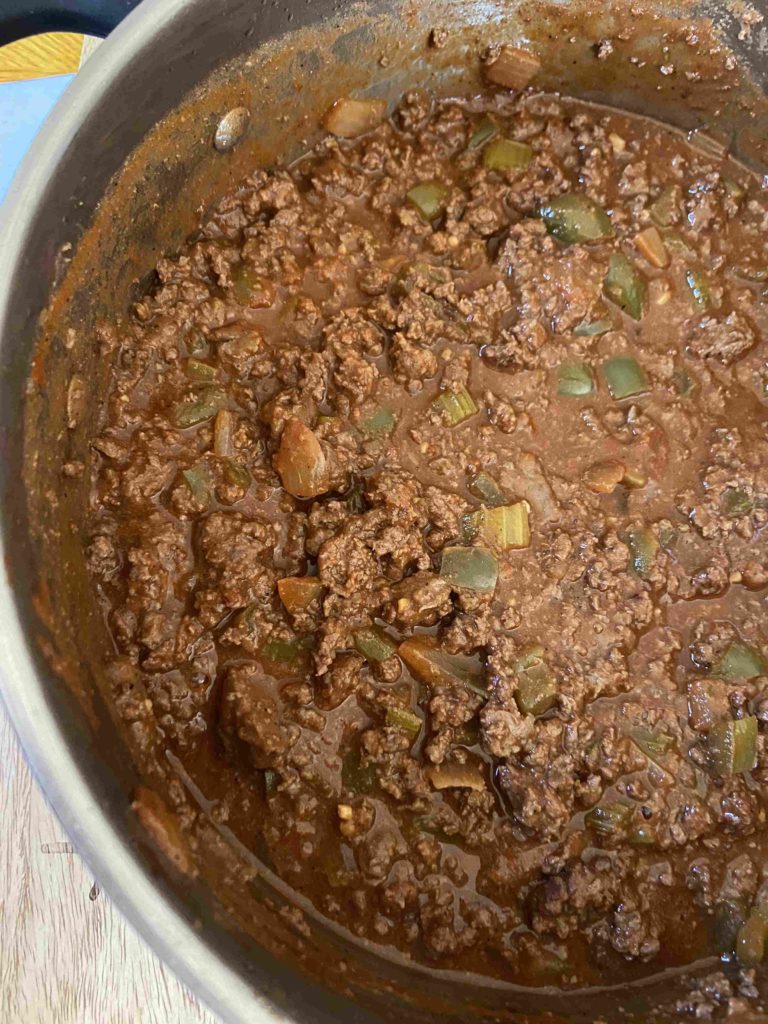
Sloppy Joes and Homemade Rolls

Inspiration comes from interesting places, doesn’t it? I have this lovely friend who is immensely creative and loves to create food masterpieces often. Since she is working from home part time right now, this happens regularly for her. She shared that she made homemade hamburger rolls and that her husband declared them better than store bought. Well, those lingered in my head and I was intrigued, hoping to find a reason to make them. (Wait for it…Sloppy Joes to come!)

Two days later, my son and I were flipping through my most recent cooking magazine as we are waiting for the time to start teaching and learning from home, and we see Sloppy Joes. Alas, we don’t have any rolls and with COVID-19, we have been strictly holding to one grocery trip a week, and my husband is the one to do it (he’s at work…bummer). But! The recipe of the rolls! So I quickly set to work to put my own spin on a from scratch Sloppy Joe mix with yeast rolls.

Oh my goodness, these rolls. Simple to put together. Leaves the house smelling amazing, and tastes delightful. If yeast wasn’t such a hot commodity right now, I am certain my family would have a batch of these baked up every week. My kids snack on them like crazy. And the Sloppy Joe mix? Once we ate through the first batch of rolls, my kiddos were more than happy to eat it out of the bowl or on top of a slice of sourdough. Needless to say, this was a big hit at our house and lasted for a couple dinners as well as a few lunches for my kiddos. I hope it’s a hit at your house too!

First, the Sloppy Joes

Your ingredients:

  • 2 pounds ground meat (We do home ground venison, but do what suits your family)
  • 1 tablespoon olive oil
  • 1 cup diced green pepper (about 1 pepper)
  • 1/2 cup diced onion
  • 1/2 cup diced celery
  • 2 teaspoons minced garlic
  • 2 1/2 cup beef broth/stock
  • 3 tablespoons pure maple syrup (Or sub in brown sugar. We just have syrup on hand and I like to use it whenever possible)
  • 2/3 cup tomato paste
  • 1/2 teaspoon pepper
  • 1/2 teaspoon Worcestershire sauce
  • 1 teaspoon mustard powder
  • 1/4 cup ketchup
  • 1 tablespoon white vinegar

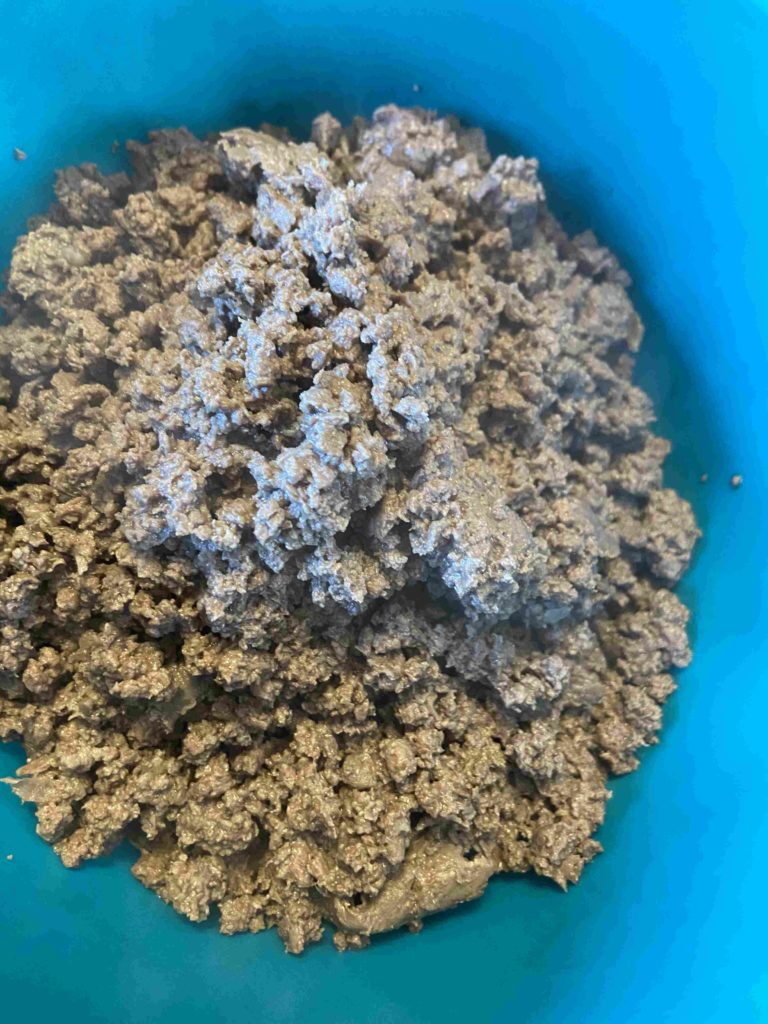
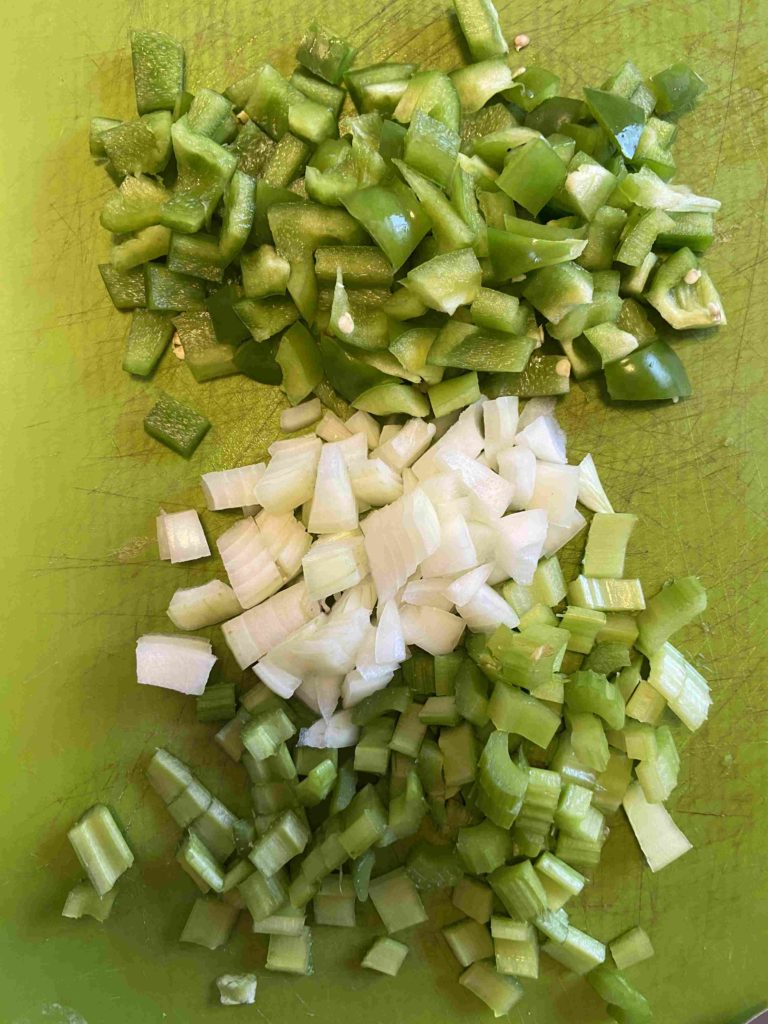
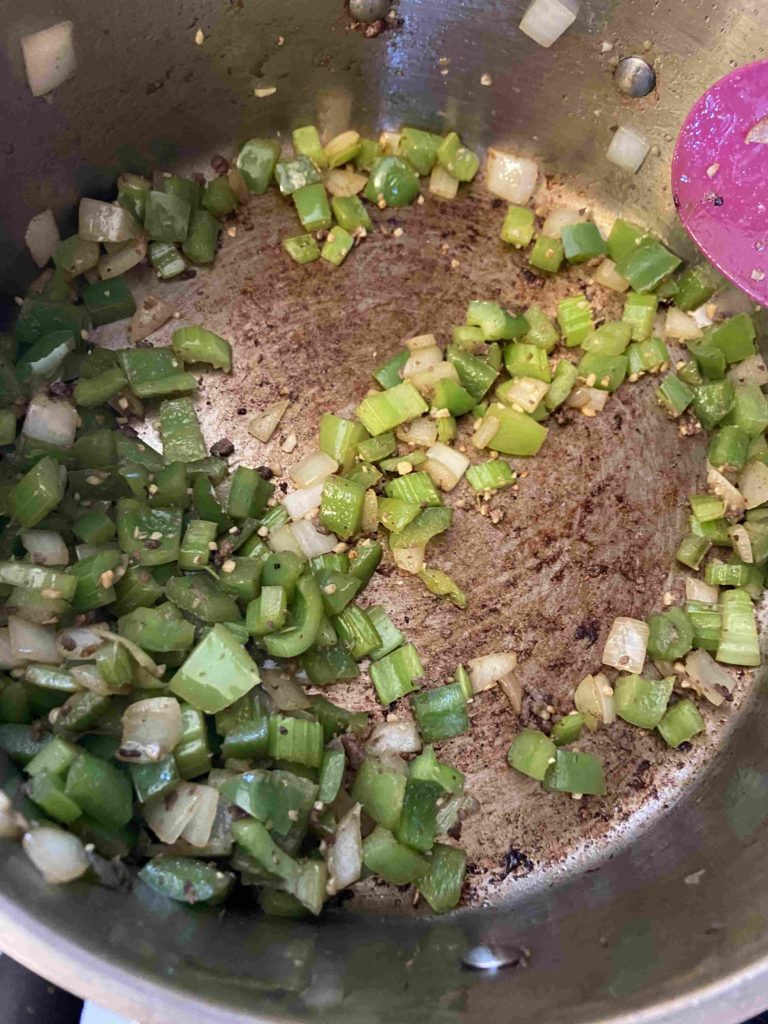
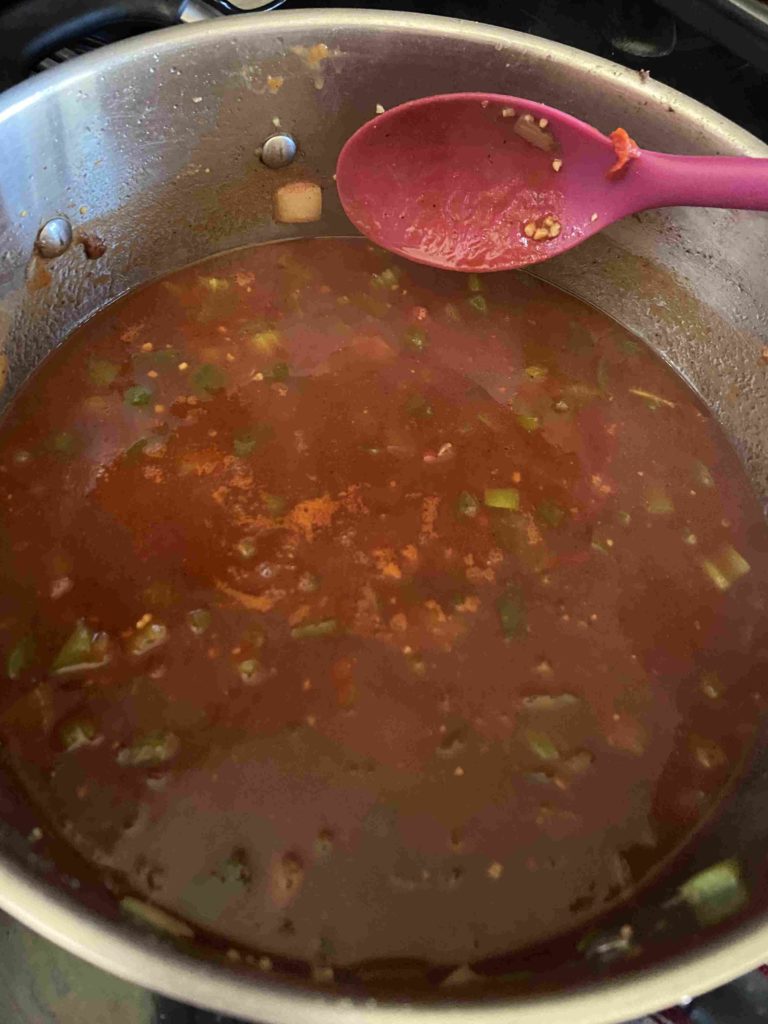
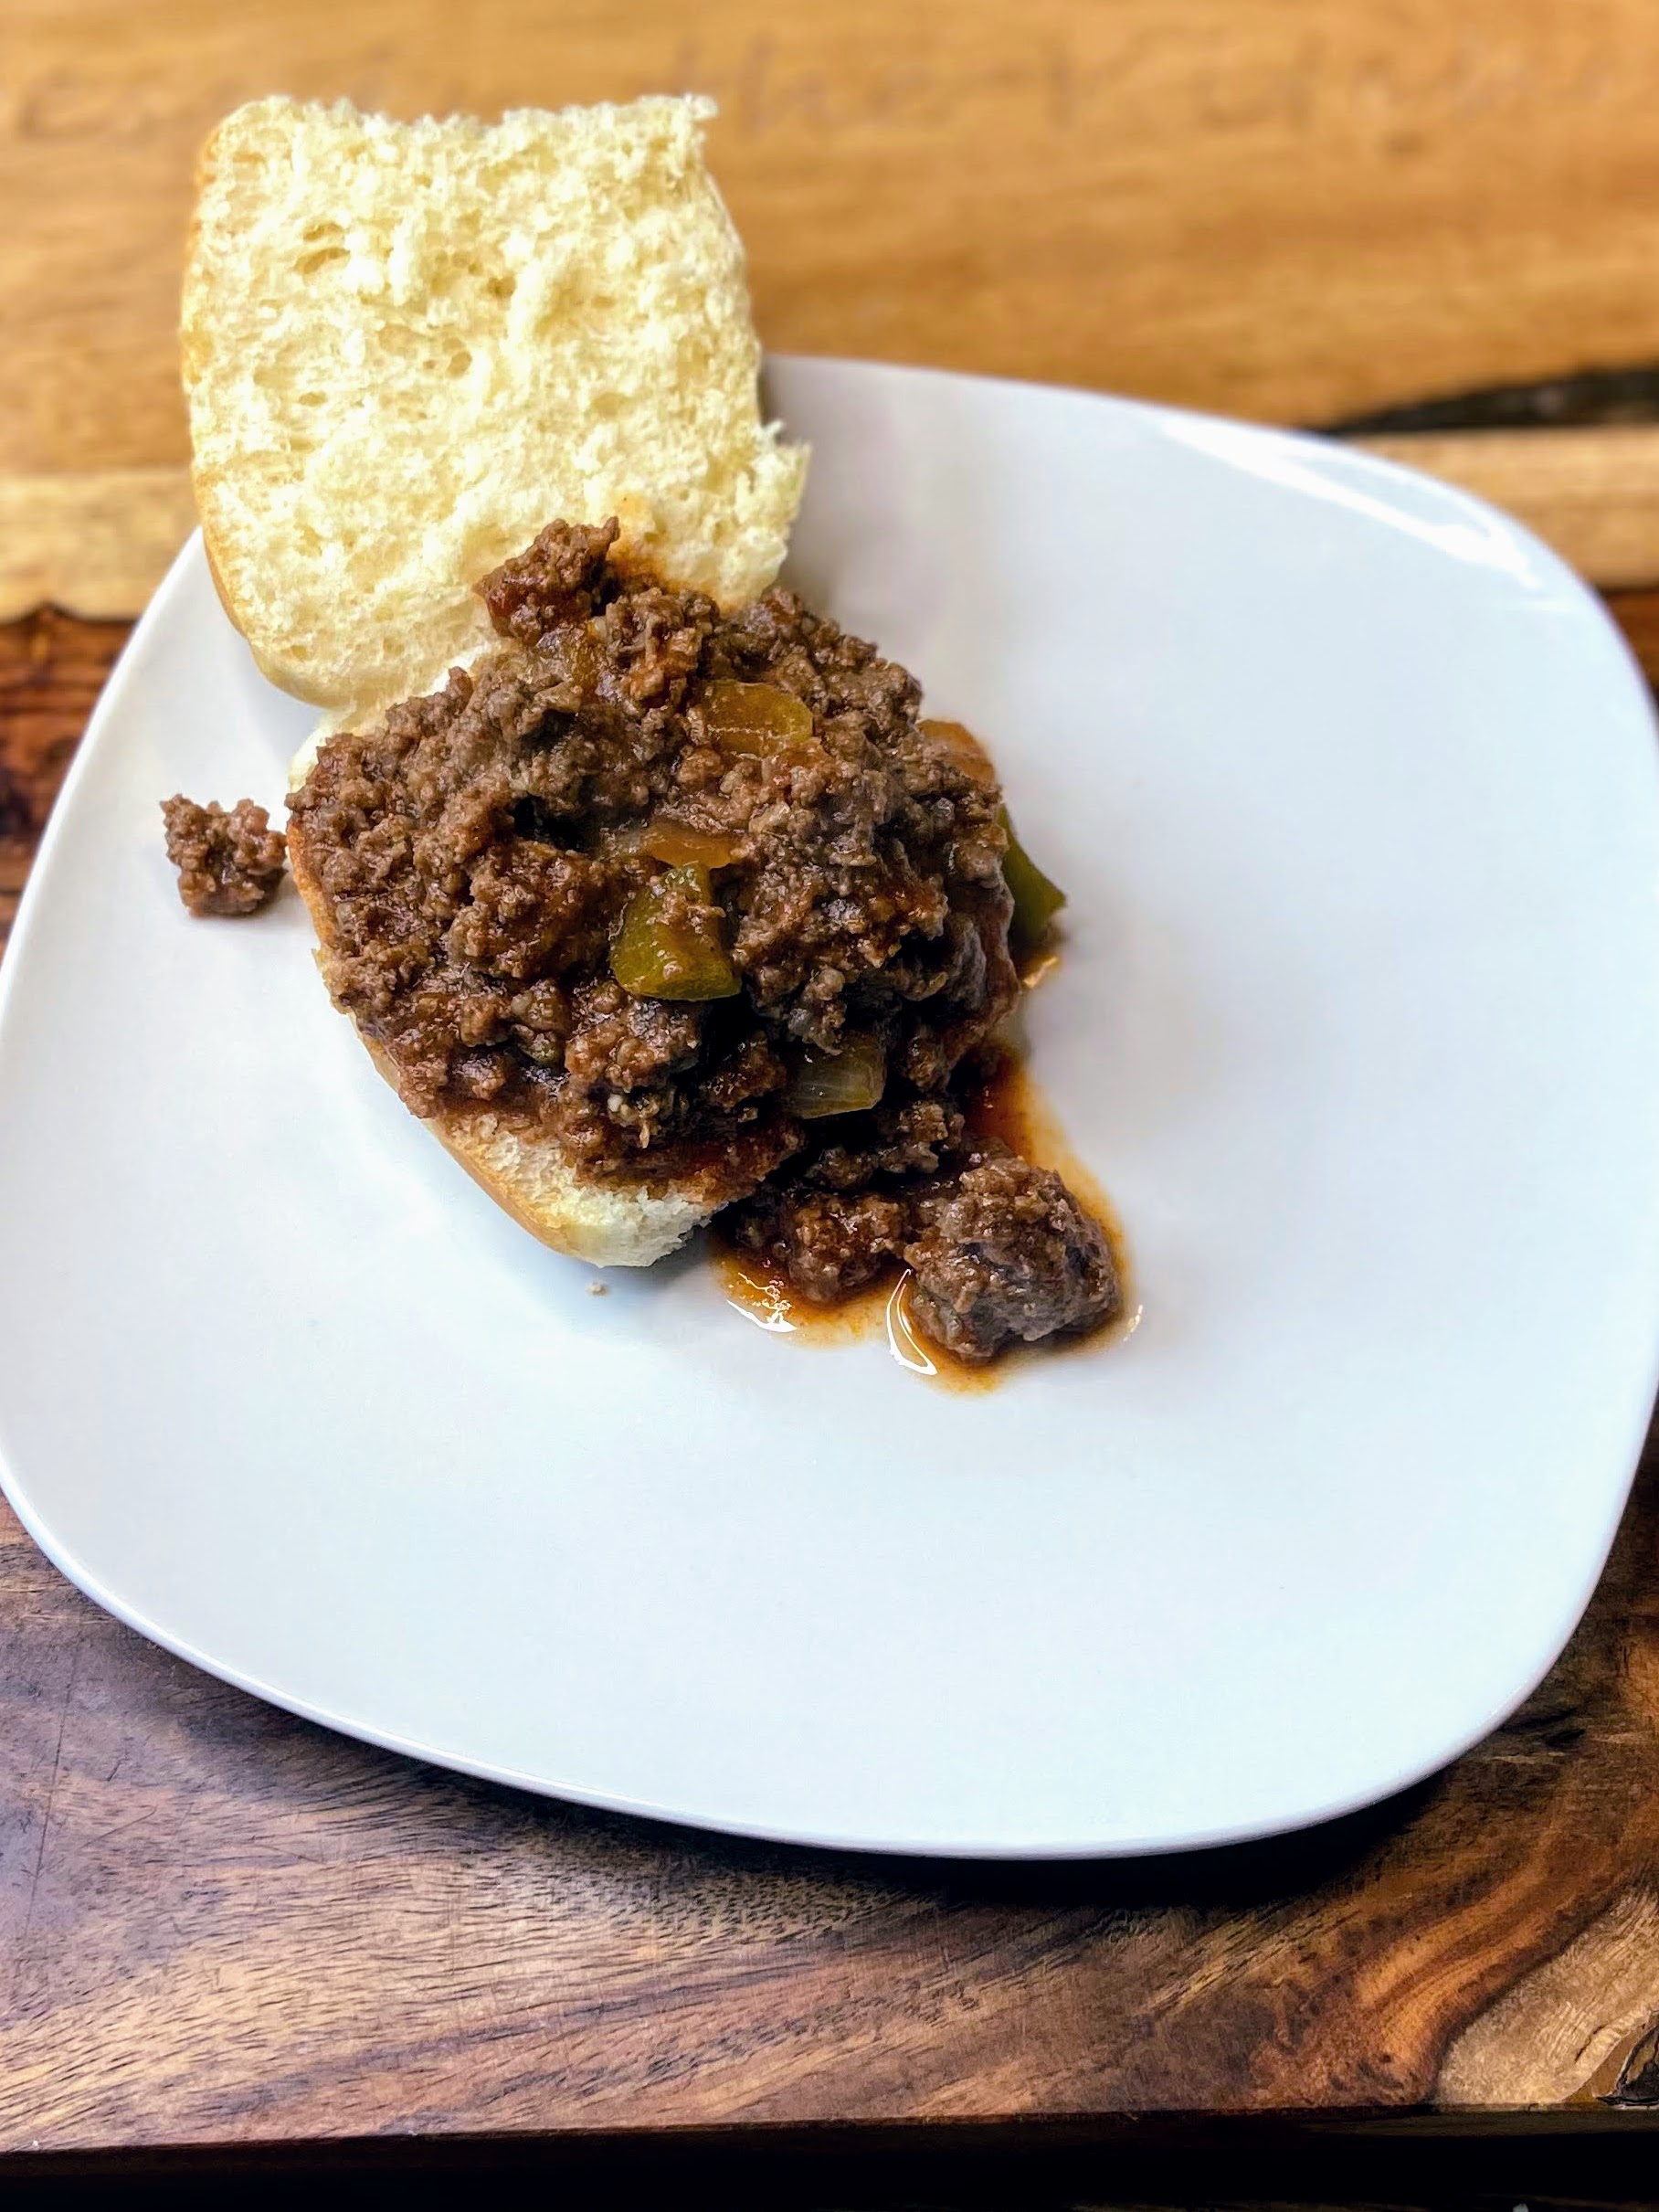
Brown ground meat in a large sauté pan. Remove and set aside in a bowl. If your protein is lean like venison is, add and heat the olive oil to the pan. Add pepper, onion, celery, and garlic. Sauté for 5-10 minutes, until soft. Stir in remaining ingredients and heat to boiling. Bring down to a simmer, stir in the browned meat, and simmer for 40 minutes over low-medium heat. And just like that, you have delicious, from scratch Sloppy Joe’s! Now for the rolls (After Sloppy Joe pictures of course 🙂 )

From Scratch Dollar rolls

My inspiration came from Cooking with Curls, but I modified her recipe just a touch to suit my own taste. You can find her original post here. Here’s how I put mine together:

Your ingredients:

  • 1 tablespoon instant yeast
  • 1 cup hot water (110-115 degrees Fahrenheit)
  • 2 tablespoons sugar (This has total flexibility though. I accidentally did 2 teaspoons the other day and they turned out fine. The original recipe calls for 4 tablespoons)
  • 1 large egg, beaten
  • 3 1/2 cups all purpose flour
  • 1 1/4 teaspoon salt
  • 2-3 tablespoons butter, divided (1 tablespoon softened and remaining melted to brush on top of the rolls prior to baking)

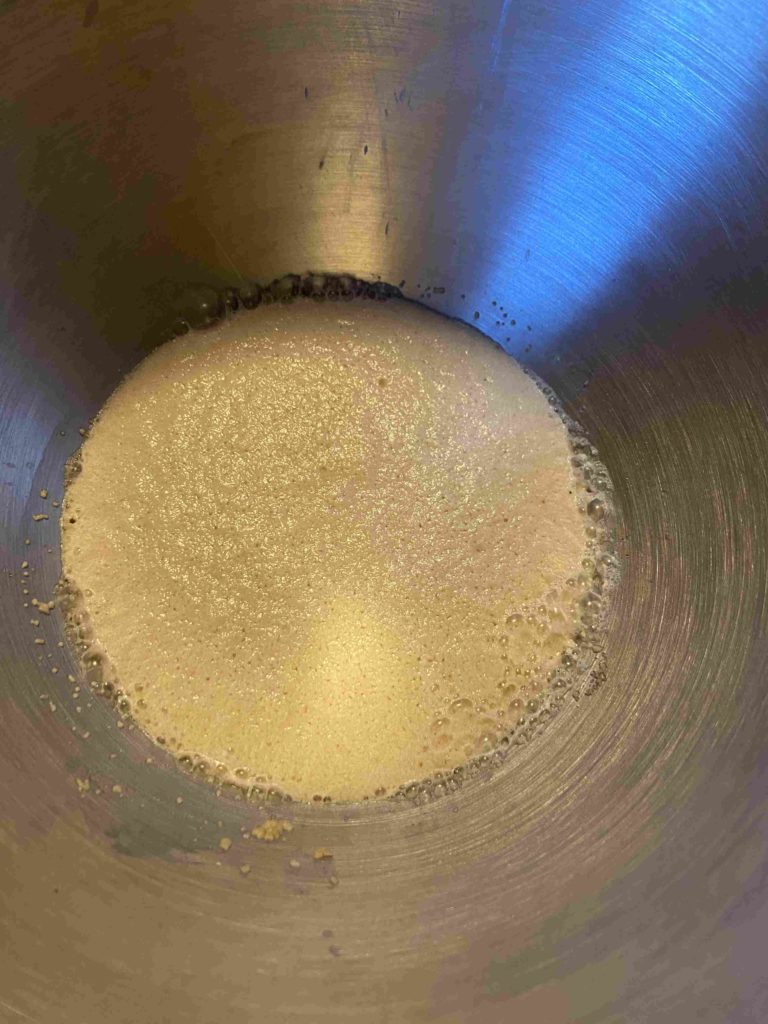
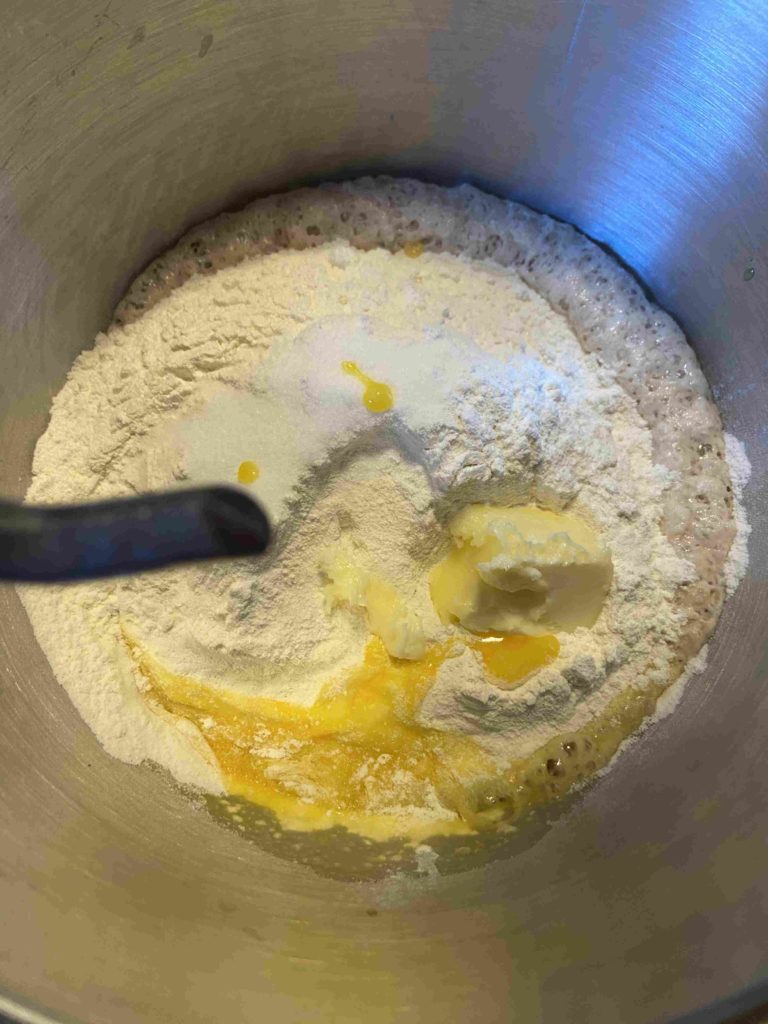
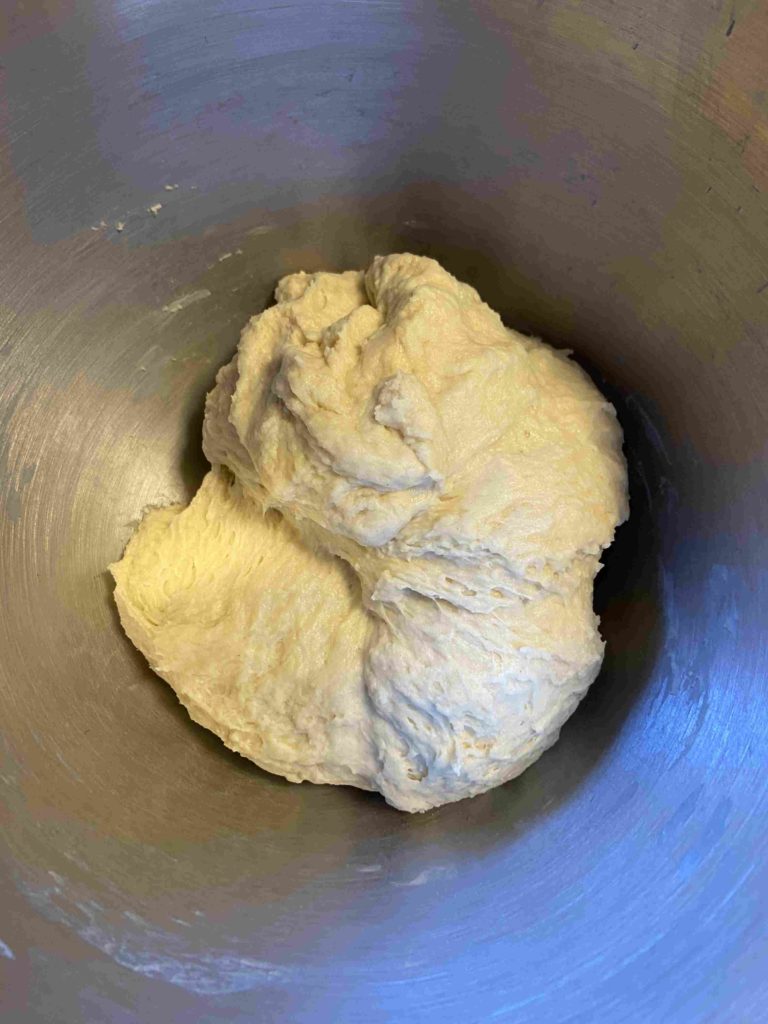
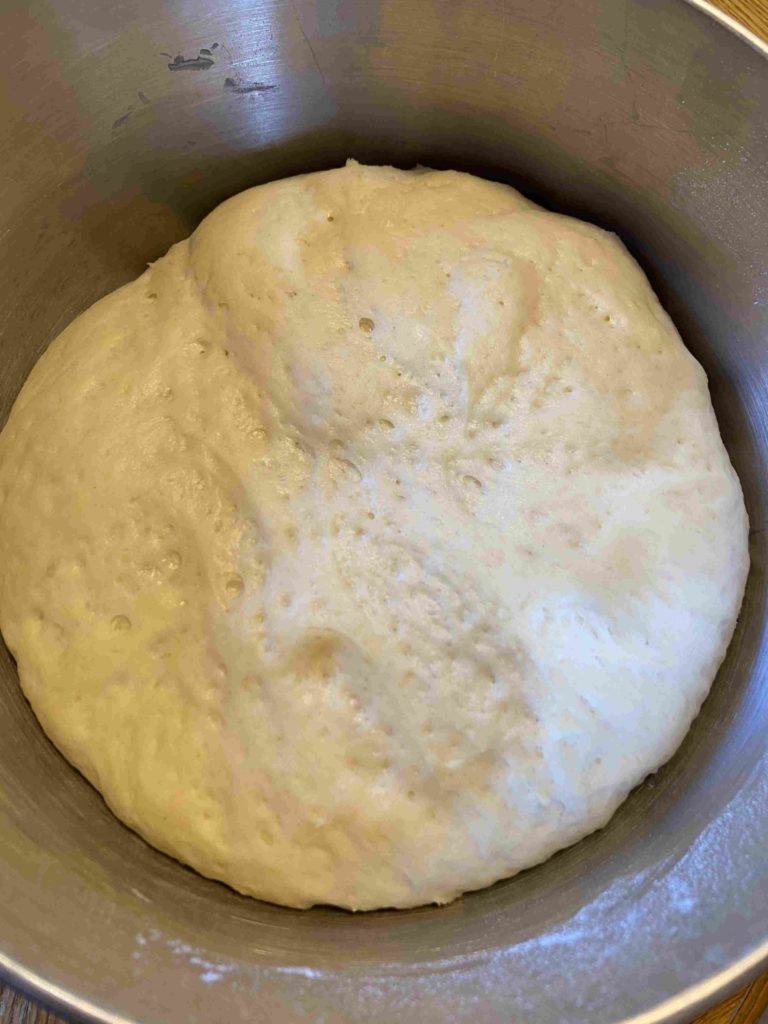
In a stand mixer bowl, add yeast, sugar, and hot water. Allow to proof for five minutes. Stir in egg, flour, salt, and one tablespoon softened butter. From here, allow stand mixer to mix the ingredients on a low speed for 4 minutes, until a soft dough is formed. Cover the bowl and allow to rest and rise for an hour and a half.

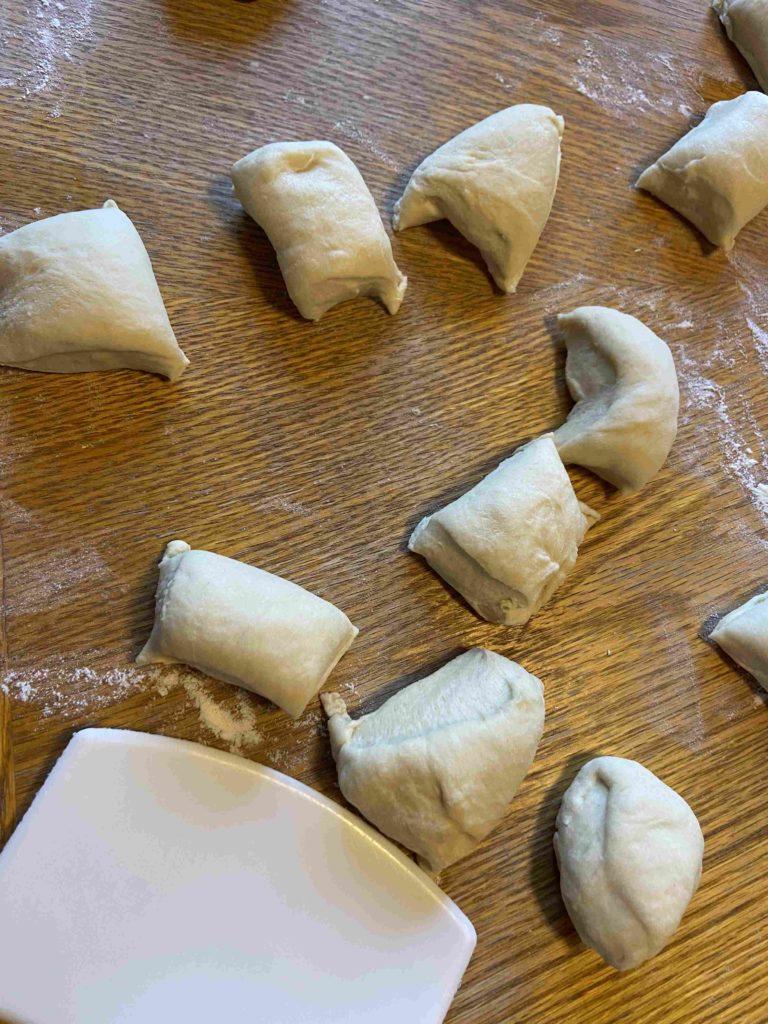
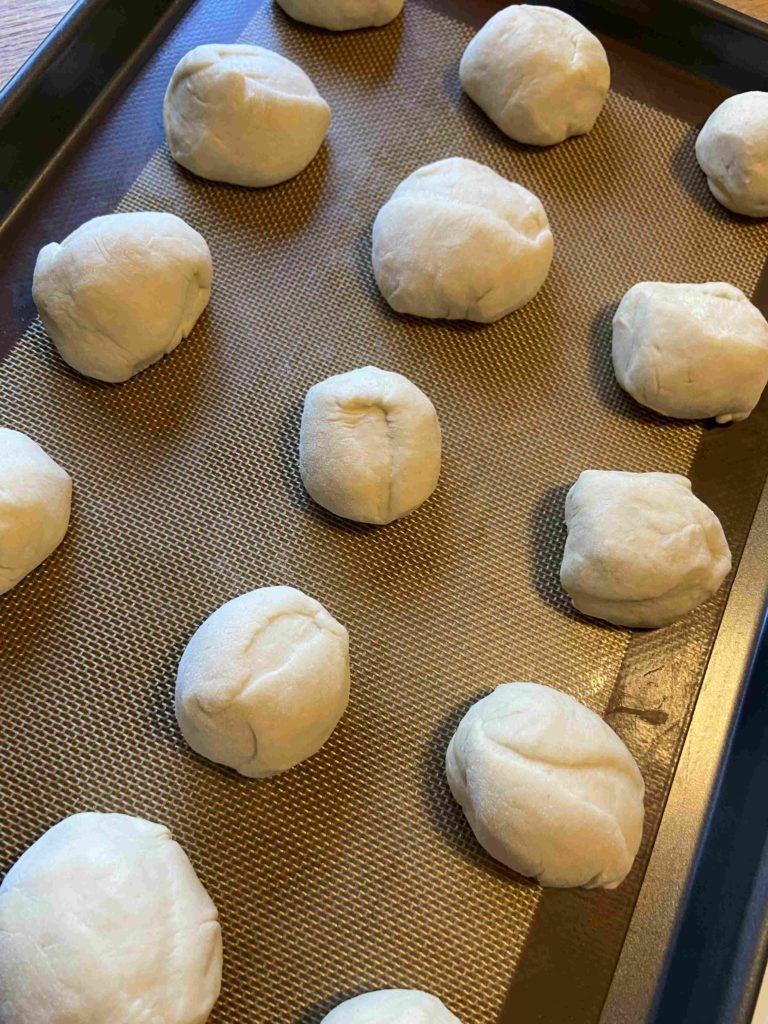
After the dough has risen, turn the dough out onto a lightly floured surface. Cut dough into 9-16 equal pieces, depending on your family likes their rolls. We dig smaller rolls, we we went for 16. Place on a jelly roll pan lined in parchment paper or silicone cookie sheet liners. Cover and allow them to rest an additional hour, until they double in size.

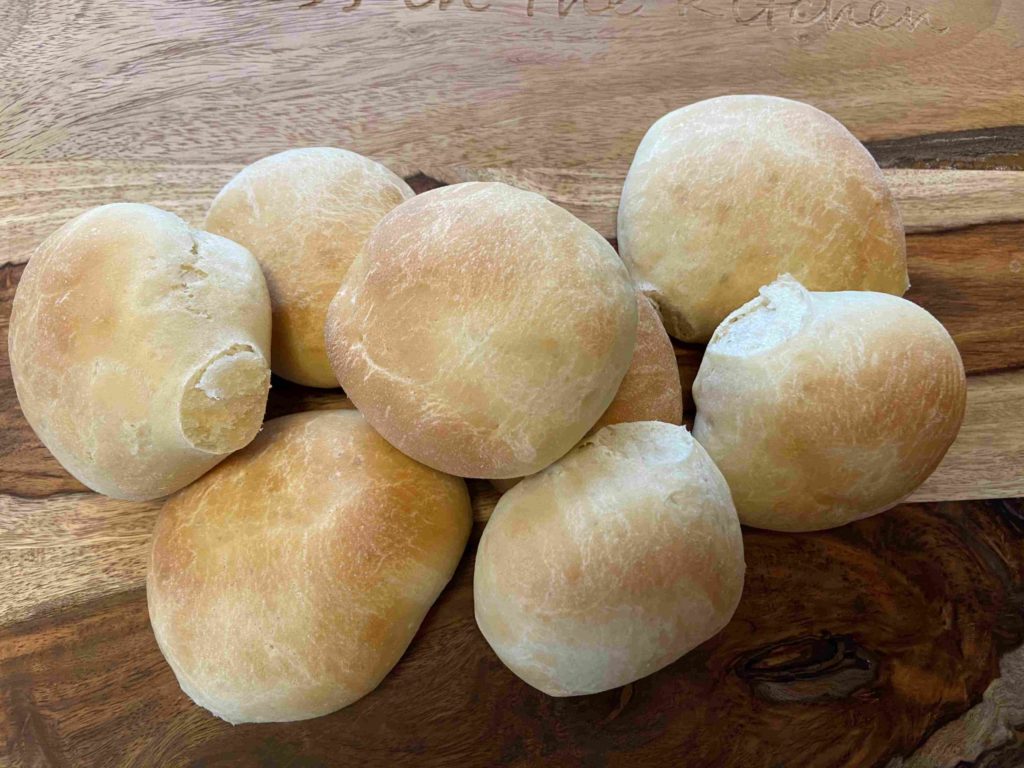
Preheat the oven to 375 degrees. Uncover rolls and brush with melted butter (sprinkle with sesame seeds? I mean, that would be fun!). Bake for 15-18 minutes. Then take in just how good your house smells and revel in the fact that you just made homemade rolls that are SO MUCH BETTER than store bought, I promise!

From Scratch Sloppy Joes

A combination of yeast rolls baked fresh and slow simmered from scratch Sloppy Joes make for a perfect meal and doubles as meal prep for later in the week
Prep Time 20 minutes
Cook Time 40 minutes
Course dinner
Cuisine American
Servings 8 people

Ingredients
  

  • 2 pounds ground meat
  • 1 tablespoon olive oil
  • 1 cup diced green pepper about 1 pepper
  • 1/2 cup diced onion
  • 1/2 cup diced celery
  • 2 teaspoons minced garlic
  • 2 1/2 cup beef broth/stock
  • 3 tablespoons pure maple syrup or brown sugar
  • 2/3 cup tomato paste
  • 1/2 teaspoon pepper
  • 1 teaspoon Worcestershire sauce
  • 1 teaspoon mustard powder
  • 1/4 cup ketchup
  • 1 tablespoon white vinegar

Instructions
 

  • Heat oil in a large kettle. Add ground protein. Brown ground meat. Remove and set aside in a bowl.
  • If your protein is lean like venison is, add and heat additional tablespoon of olive oil to the pan.
  • Add pepper, onion, celery, and garlic. Sauté for 5-10 minutes, until soft.
  • Stir in remaining ingredients and heat to boiling.
  • Bring down to a simmer, stir in the browned meat, and simmer for 40 minutes over low-medium heat, until thickened.
Keyword dinner, lunch, sandwiches, sloppy joes
Tried this recipe?Let us know how it was!

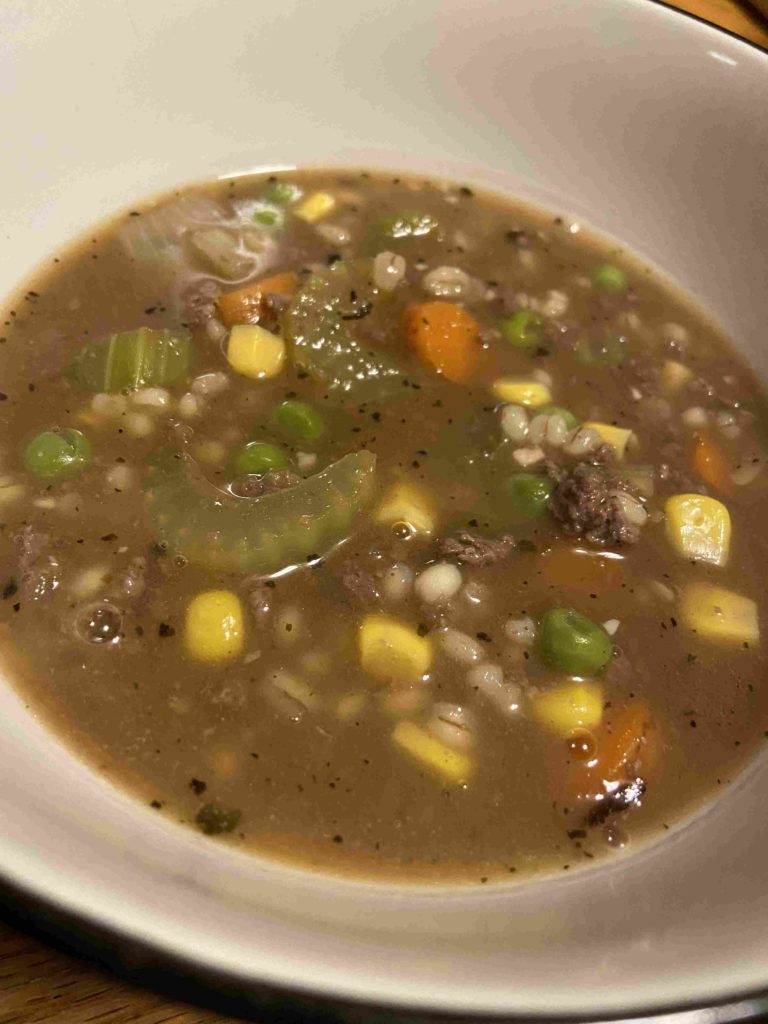
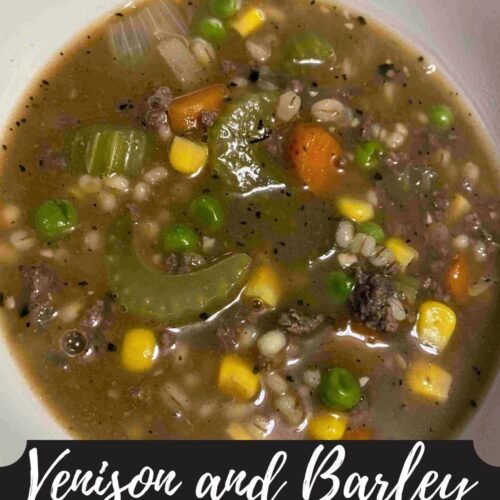
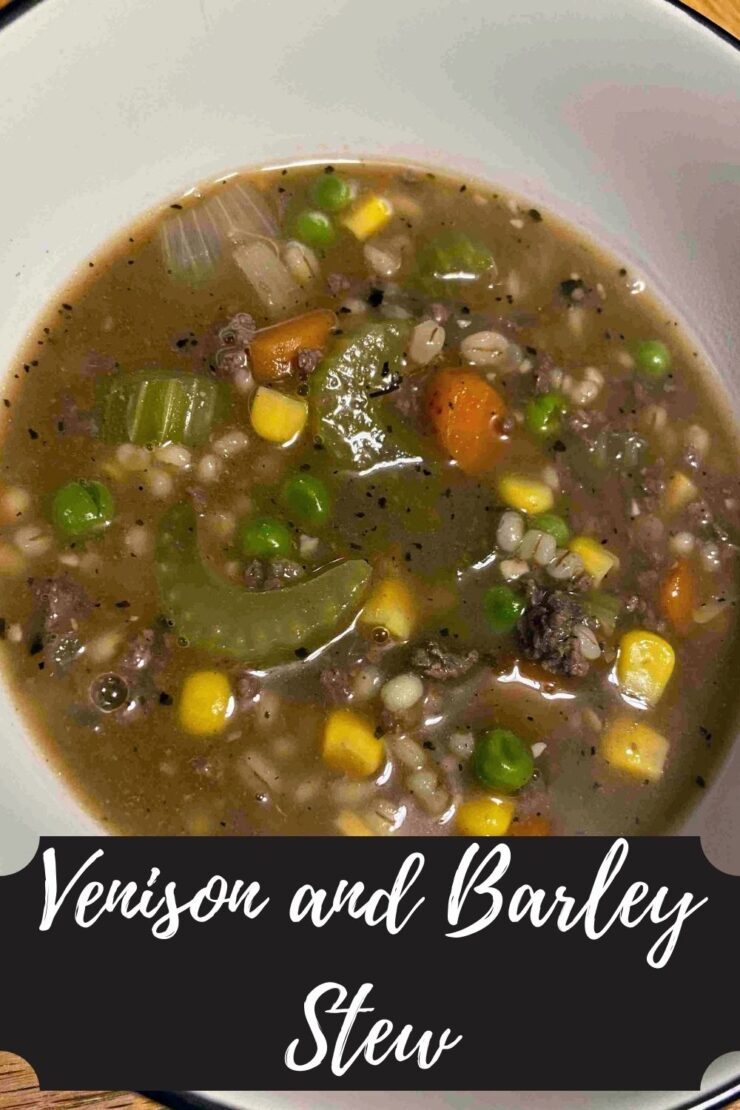
Stick to Your Ribs Venison and Barley Stew

Living in Wisconsin, it is chilly from mid-October through April. But don’t get me wrong, I love everything about Wisconsin, even the chilly season. I embrace and enjoy it all, from the -30 windchills to the humidity and mosquitoes. Perhaps I love the winter months because it gives me five solid months where it is 100% acceptable to eat soup every week. It’s my go to meal prep option and this venison and barley stew is a great one! Reasons why soup is the best (in no particular order):

  1. It’s comforting, they way it just warms your belly and soul.
  2. It makes fantastic left overs and reheats in no time.
  3. You can get all the color and vegetables you could ask for.
  4. I get to chop all those said vegetables, which is one of my favorite parts of cooking.
  5. Soup making is SO versatile. You don’t like a certain veggie? Cut it. You have extra of something else? Throw it in the pot.

We are just beginning the crazy life of kids having after school activities and sitting down together for meals is a big priority for my husband and me. I want to know about my kids and their days and I want them to know about ours too. Because of this, I try to put together a kettle of soup to feed an army every other week or so. (okay, not an army, but maybe enough for 2-3 meals for our little family) I also like to make food with what I have on hand. Yes, I keep a stocked pantry, but there aren’t any crazy “one time use” ingredients here, I promise. This is filling and wonderful and does everything a good soup should do: warm your heart and belly, leaving you feeling full and satisfied. Give it a try!

Your ingredients:

  • 1 1/2 tablespoons olive oil, divided
  • 1 1/2 tablespoons minced garlic, divided
  • 2 cups chopped carrots
  • 2 cups celery
  • 1 cup diced onion, divided
  • 1 pound ground venison (We grind our own and do not mix anything with it. Feel free to use any version of ground meat that your family loves)
  • 1 cup frozen peas
  • 1 cup frozen corn
  • 1/2-1 teaspoon each: salt, pepper, ground sage (to taste)
  • 2 tablespoons butter
  • 2 tablespoons flour (If you are gluten free or like a soup rather than a stew, you can totally leave out the butter and flour)
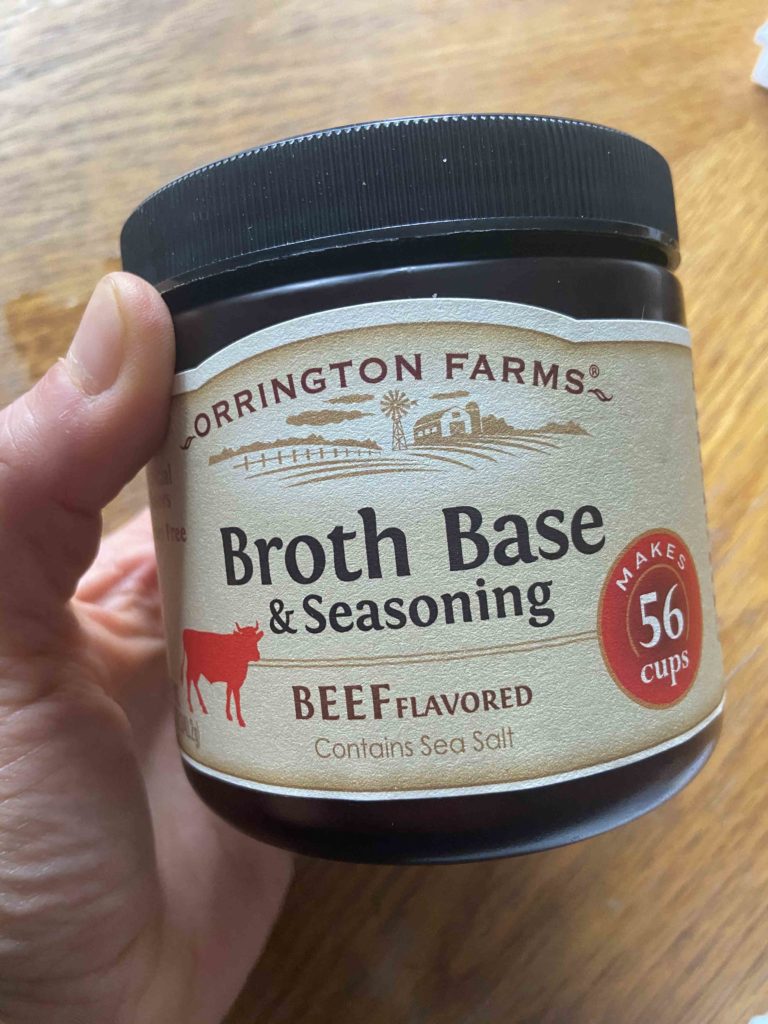
  • 9-10 cups low sodium beef stock (I always make my own base using Orrington Farms base. You can easily control how much sodium you add this way)
  • 1 cup pearled barley, uncooked

Your Steps to Venison and Barley Stew

Heat a large dutch oven on the stove. Add 1/2 tablespoon olive oil. Once hot, add 1/2 cup diced onion and 1/2 tablespoon garlic. Sauté over medium heat for 3 minutes. Add ground venison. Sprinkle with a little salt and pepper. Brown meat, breaking into larger pieces, taking about 7 minutes or so. Remove from the kettle, but keep it warm. Add remaining olive oil. Once hot, add remaining onion, carrots, and celery. Add garlic, salt, pepper, and sage. Sauté for approximately 10 minutes, until just tender, stirring often.

Remove the vegetables from pan. Put the meat and onions back into the pan with the butter. Once the butter has fully melted, stir in the flour. Cook over medium heat for 1-2 minutes. The SLOWLY stir in the beef stock, 1/2 cup-1 cup at a time, allowing to thicken as you go. (I suck at this game. I am not patient when it comes to maintaining a rue, but when you are able to, it’s magic, so try your best. You can always grow here, right?! Or maybe I just need to…maybe you rock. Go you!).

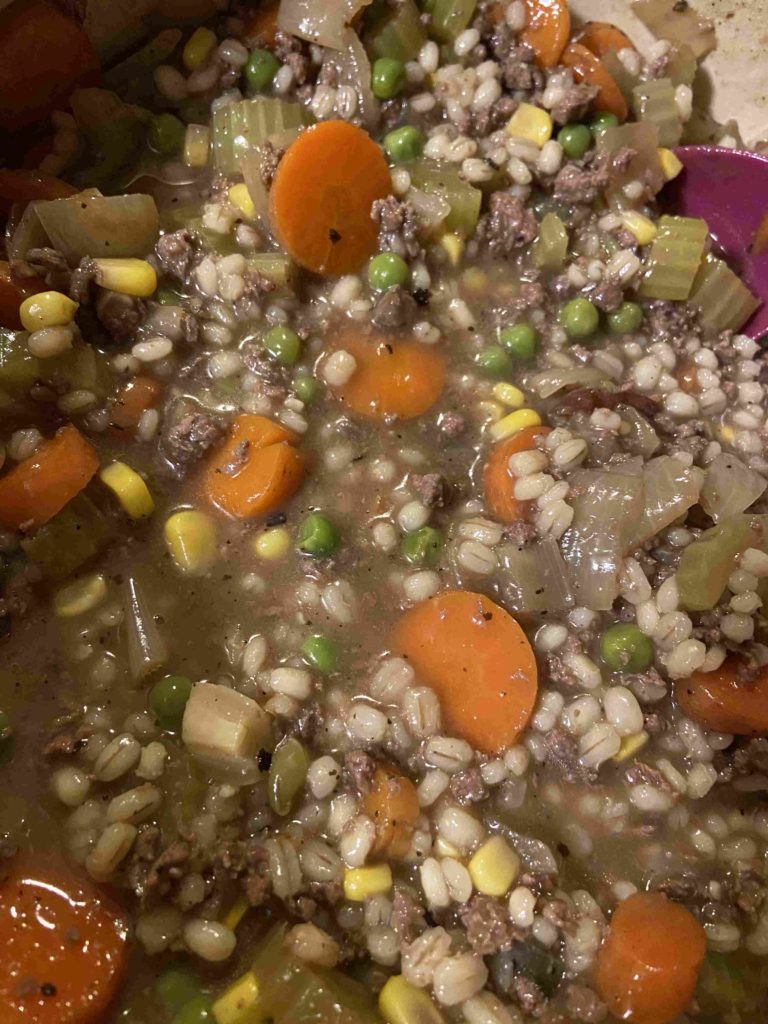
Stir the vegetables back in, along with the peas and corn. Bring up to a low boil and stir in the barley. Allow to simmer for 40-50 minutes, until the barley is cooked through. This stew becomes so creamy over the next few days as you allow the barley to settle in. Sometimes soup and stew need another side to make a meal, but believe me, this wonderful venison and barley stew is a meal in and of itself. Yum!

Note: You can watch the stock and allow the thickness to suit your needs. It will thicken over time, so you may want to hold onto a cup or two of stock and add it later if you are serving this over a few days like I like to do.

Looking for other recipe inspiration?

Check out my cooking or my baking pages or click the links below!
Stick to Your Ribs Venison and Barley Stew

Ground venison and barley combine for a comforting soup perfect for those cool winter nights.
Prep Time 15 minutes
Cook Time 1 hour
Servings 8 people

Ingredients
  

  • 1 1/2 tablespoons olive oil divided
  • 1 1/2 tablespoons minced garlic divided
  • 2 cups chopped carrots
  • 2 cups celery
  • 1 cup diced onion divided
  • 1 pound ground venison
  • 1 cup frozen peas
  • 1 cup frozen corn
  • 1/2-1 teaspoon salt
  • 1/2-1 teaspoon pepper
  • 1/2-1 teaspoon ground sage
  • 2 tablespoons butter
  • 2 tablespoons flour
  • 9-10 cups low sodium beef stock
  • 1 cup pearled barley uncooked

Instructions
 

  • Heat a large dutch oven on the stove. Add 1/2 tablespoon olive oil. Once hot, add 1/2 cup diced onion and 1/2 tablespoon garlic. Sauté over medium heat for 3 minutes.
  • Add ground venison. Sprinkle with a little salt and pepper. Brown meat, breaking into larger pieces, taking about 7 minutes or so.
  • Remove from the kettle, but keep it warm. Add remaining olive oil. Once hot, add remaining onion, carrots, and celery. Add garlic, salt, pepper, and sage. Sauté for approximately 10 minutes, until just tender, stirring often.
  • Remove the vegetables from pan. Put the meat and onions back into the pan with the butter.
  • Once the butter has fully melted, stir in the flour. Cook over medium heat for 1-2 minutes.
  • The SLOWLY stir in the beef stock, 1/2 cup-1 cup at a time, allowing to thicken as you go.
  • Stir the vegetables back in, along with the peas and corn.
  • Bring up to a low boil and stir in the barley. Allow to simmer for 40-50 minutes, until the barley is cooked through. This stew becomes so creamy over the next few days as you allow the barley to settle in.
Tried this recipe?Let us know how it was!

Kitchen Sink Vegetable and Venison Soup

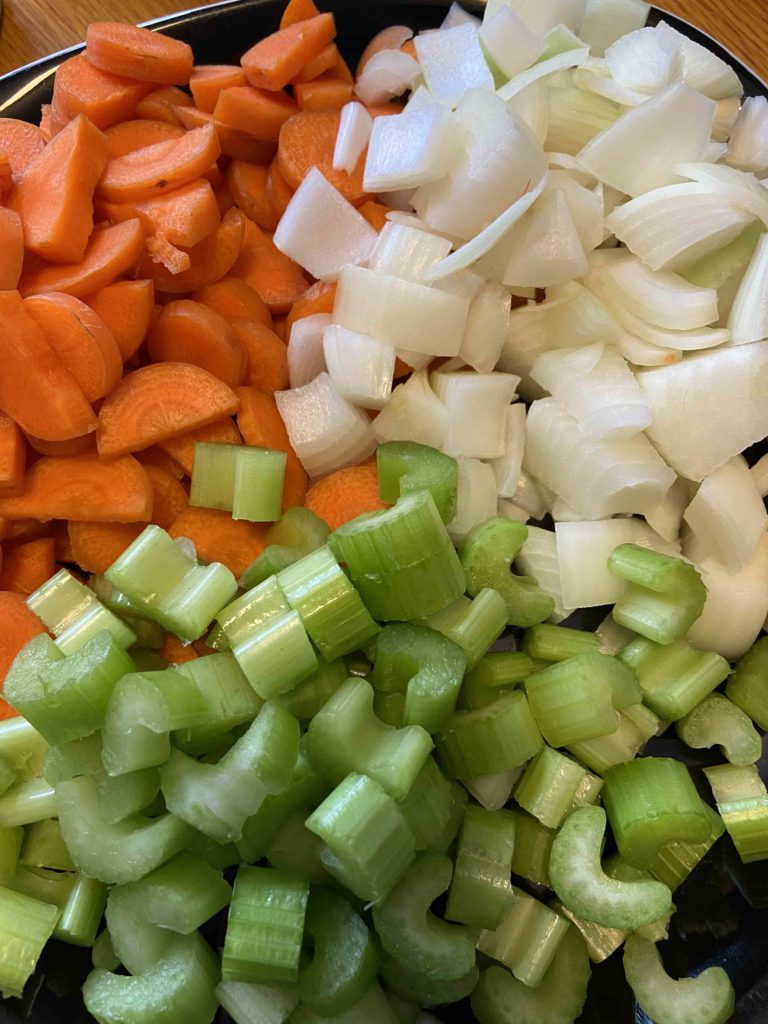
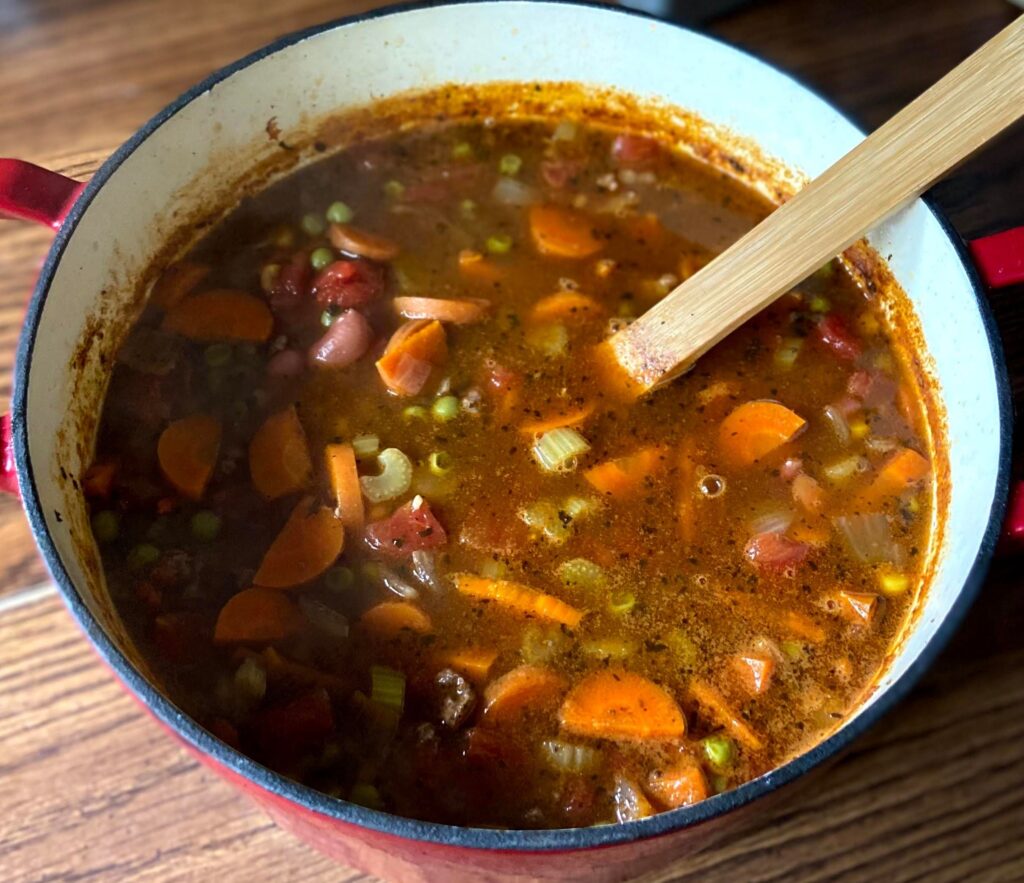
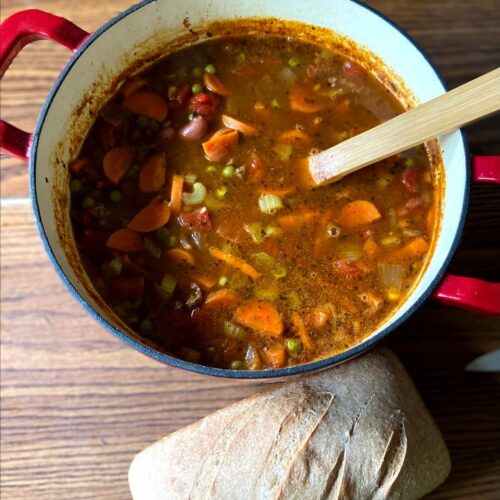
If I was told I could only eat one type of food for the rest of my life, I would ask for soup in a heart beat. It’s my favorite. Maybe it’s because I always perpetually cold. Or maybe it’s because I get to chop all the vegetables, and for reasons I don’t understand, it’s cathartic for me. All I know is soup makes my soul and tastebuds sing and this vegetable and venison soup is so good, it surprises me every time I throw it together!

We had guests this weekend and the whole New Year’s Eve timing made it hard for us to think about planning for meals. It was Friday, but it sure felt like a Tuesday and our house wasn’t even clean! Enter this recipe–I love this vegetable and venison soup because I almost always have everything on hand, there are so many beautiful colors, and the flavor is delightful! The next time you need a quick meal that will leave you with some leftovers, give this one a try! –Jess

Your ingredients:

  • 1 pound ground protein (we do our own ground venison but pick your own favorite-turkey, beef, combination of both), seasoned with salt and pepper and browned
  • 2 1/4 cups diced carrots (3 large)
  • 2 cups diced onion (2 medium)
  • 1 1/2 cups diced celery (4 stalks)
  • 3 teaspoons minced garlic
  • 1 teaspoon each pepper, salt, and basil
  • 8 cups beef stock (I love the Orrington Farms beef base to make my own! Only thing I use 😉)
  • 1 14.5 ounce can diced tomatoes (I used oregano and basil seasoned)
  • 1 15 ounce can of kidney beans, drained and rinsed
  • 2 cups frozen corn
  • 2 cups frozen peas
  • 1/2 cup dry barley, cooked according to directions or tossed in with everything else (but you will need to simmer the soup longer if that’s the case)–optional
  • Olive oil

Your Steps to Vegetable and Venison Soup

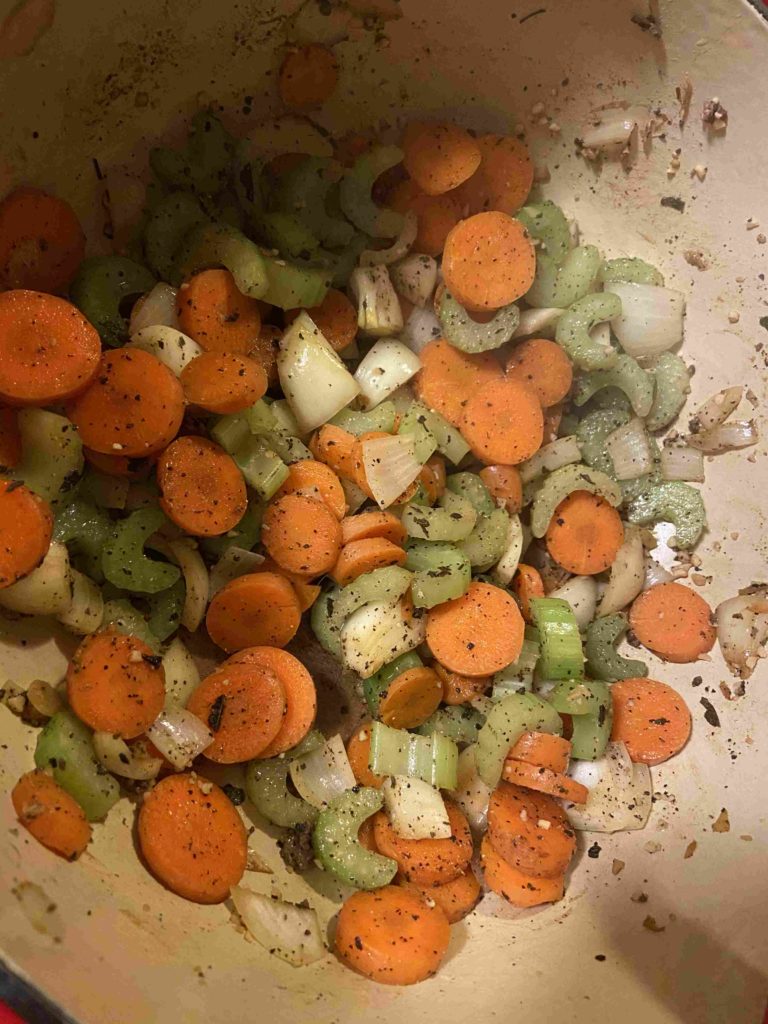
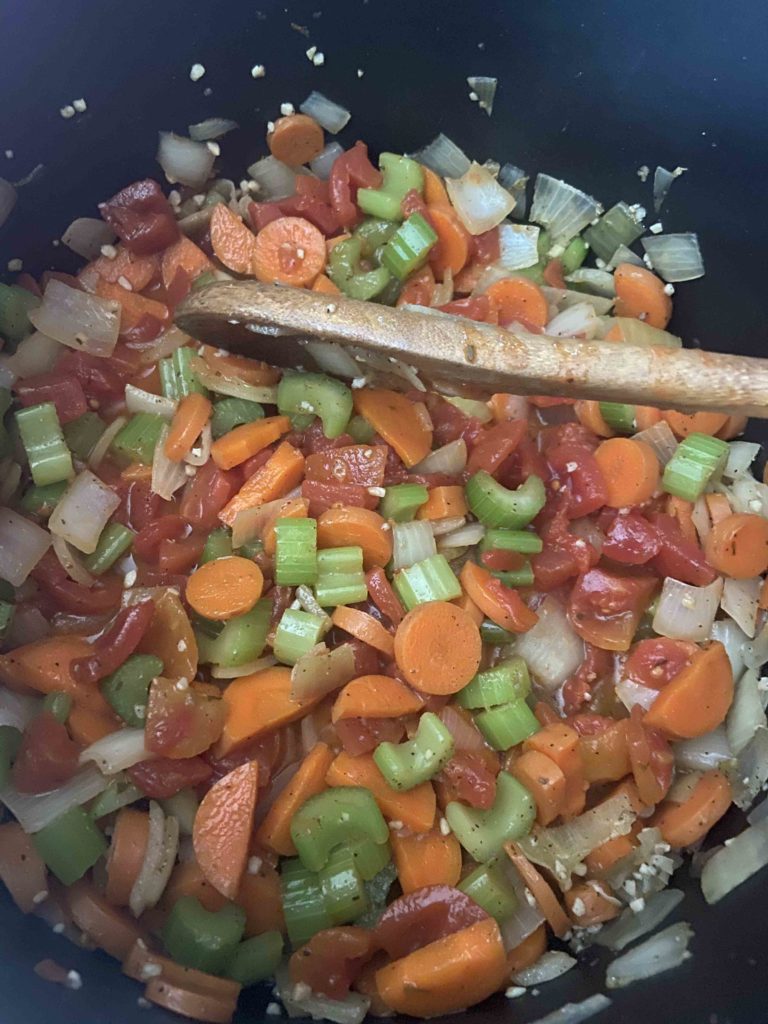
Heat 1 tablespoon of olive oil in large saucepan. Add garlic, carrots, onion, and celery. Season with basil, salt, and pepper. Sauté for 8-10 minutes, until soft.
Put into large soup kettle with remaining ingredients (if you are using broth base, add 10 cups of water first, heat to boiling, and stir in broth base. The add in remaining ingredients). Allow to simmer on low for at least 30 minutes to allow all those flavors to mingle ❤️😍 Sometimes I like to mix in 1/4-1/2 cup dry barley too, cooking per directions on package. But truly, this is a great recipe to throw together even without it. Serve with some crusty bread and you’ll feel like you’re winning at life! Let me know what you think!

Tools of the trade

This beef base is to die for. And a cast iron Dutch oven? A must in the kitchen.

Looking for another wonderful, but totally different venison soup? Check out my root vegetable and venison soup!

Kitchen Sink Vegetable and Venison Soup

A family favorite: Full of good for you vegetables, ground protein, and a special flavor surprise in the basil. You'll be sure to come back for more!
Servings 12

Ingredients
  

  • 1 pound ground protein browned
  • 2 1/4 cups diced carrots 3 large
  • 2 cups diced onion 2 medium
  • 1 1/2 cups diced celery 4 stalks
  • 3 teaspoons minced garlic
  • 1 teaspoon pepper
  • 1/2 teaspoon salt
  • 1 teaspoon basil
  • 8 cups beef stock
  • 1 14.5 ounce can diced tomatoes undrained
  • 1 15 ounce can of kidney beans drained and rinsed
  • 2 cups frozen corn
  • 2 cups frozen peas
  • Olive oil

Instructions
 

  • Heat 1 tablespoon of olive oil in large saucepan.
  • Add garlic, carrots, onion, and celery. Season with basil, salt, and pepper.
  • Sauté for 8-10 minutes, until soft.
  • Put into large soup kettle with remaining ingredients.
  • Allow to simmer on low for at least 30 minutes to allow all those flavors to mingle.
Tried this recipe?Let us know how it was!

Looking for other comforting recipes?

Check out some of the suggestions below!
Venison and Wild Rice Casserole

Being a northern Wisconsin family, it may come as no surprise that a primary protein source at our house is venison. We harvest 2-4 deer a year between the gun and bow season and butcher them ourselves. Using our Kitchen Aid mixture, we grind upwards of 60 pounds of venison a year, which we use instead of ground beef or turkey 90% of the time. I’m always looking for new ways to use it, and this was a fun recipe to develop from scratch. This venison and wild rice casserole has a feel of tater tot hot dish (I’m close to the Minnesota border, don’t ya know?) with a true from scratch taste. It’s going to become a go to for comfort food, I’ll tell you that!
The ingredients FOr Venison and Wild Rice Casserole

  • 1 pound ground venison, seasoned with salt, pepper, and garlic
  • 5 cups cooked rice, I did a mixture of wild and long grain
  • 1 ¼ cup onion (1 large), diced
  • 1 ¼ cup celery (6 stalks), diced
  • 2 cups carrots, diced
  • 1 cup mushrooms, diced
  • 2 cups broccoli, diced
  • Olive oil
  • 4 cloves garlic, minced
  • ½ teaspoon pepper
  • ½ teaspoon salt
  • 2 teaspoons sage
  • 2 teaspoons thyme
  • 2 tablespoons butter
  • 2 tablespoons flour
  • 1 cup milk
  • 1 cup chicken stock

Your Steps

If you don’t have cooked rice, start there. I wanted both wild and long grain, so I got enough water boiling for both, and started the wild rice 10 minutes prior to adding the long grain as it takes longer to cook. Follow the directions on the back of the package. I cooked 1 cup of dry wild rice and 1 cup long grain rice which resulted in lots of leftover rice for another meal later down the road. I added a little chicken broth base (I love Orrington Farms) and pepper to just season the water a little.

Meanwhile, dice all of your veggies. I love all the color they bring together. Heat a large kettle (I used my Dutch oven) with ½ to 1 tablespoon of olive oil. Add the veggies, garlic, salt, pepper, sage, and thyme, cooking on a medium heat until the carrots are just tender, about 15 minutes. Remove the veggies from the kettle, putting them in a large bowl. In your same pan (The less dishes, the better, right?), cook the ground venison (or hamburger or turkey) until no longer red. Stir into the bowl of vegetables along with your cooked rice.

In your kettle, melt the butter under medium heat. Stir in flour and continue to stir until you have a beautiful golden brown color. To this, add milk, ⅓ of a cup at a time, whisking until well combined and thickened. Repeat with the chicken stock. (I again added some pepper here to taste, but it certainly isn’t needed). Stir this cream mixture over the vegetables, venison, and rice mixture.

I try to avoid “cream of…” soups, and this was my first attempt at a healthier substitute. I’m in love.

Spread your delicious casserole mixture into a greased casserole dish and bake uncovered for 20 minutes at 425 degrees. I actually prepped mine in the morning, stuck it in the refrigerator,  and baked it in the evening. Since it was cold, I baked it covered for 15 minutes and then gave it an additional 15-20 minutes without a cover. It was perfectly crispy on the top and creamy in the middle. A wonderful comfort food.

Pre-baked casserole.