Sourdough English Muffins

I have been on an English muffin kick. I love the size of them and the flavor is definitely a step above a bagel. They pair so well with a little jam and a piece of ham. We also have our own chickens, so an egg on the side is divine. However, for months, I was buying them because baking them myself and finding a recipe didn’t seem to be the best use of my time. But in the back of my mind, I was thinking, “These aren’t hard to make. And you have sourdough starter. You should make sourdough English muffins.” 

I mentally added “make Sourdough English muffins” to my to do list every weekend. Then life happened and I never would get to it. Life of a mom and a teacher and a person who generally is a doer. 

Finally, the day came that I had time, but I couldn’t find the recipe I had used one or two other time in the past from Sunrise Flour Mill. I read a few different recipes, tried a few recipes, and then took what I loved from each to develop my own. 

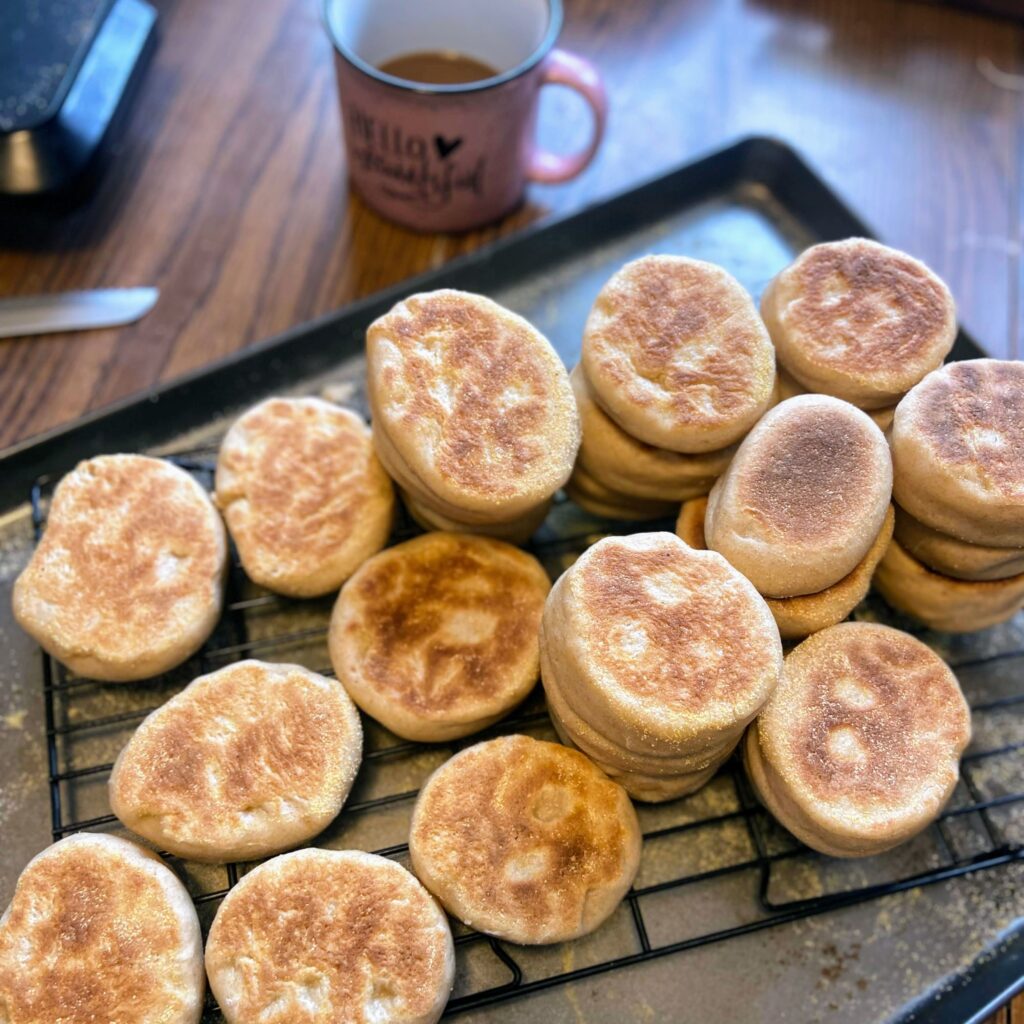
And while lots of sourdough recipes have a lot of wait time, I love that you can have English muffins before lunch time with this recipe. Yes, this recipe results in between 2 and 2 ½ dozens muffins, but let me tell you, if you are making six you might as well make thirty. English muffins freeze incredibly well and keep well in the fridge as well. 

And I promise, it may seem like this is a long recipe, but it comes together so quick and had minimal work. It’s worth every moment! Let’s start cooking! 

Your Ingredients

  • 2 ¼ teaspoon dry active yeast 
  • 2 cups milk (warmed)
  • 2 tablespoons sugar
  • 4 tablespoons butter, softened 
  • 1 cup sourdough starter 
  • 2 eggs
  • 1 tablespoon salt 
  • 2 cups whole wheat flour 
  • 3-4 cups white flour 
  • Cornmeal, for dusting

Your Steps to Sourdough English Muffins

In a stand mixer, combine milk, dry yeast, and sugar. Allow to sit for 5 minutes to activate the yeast. 

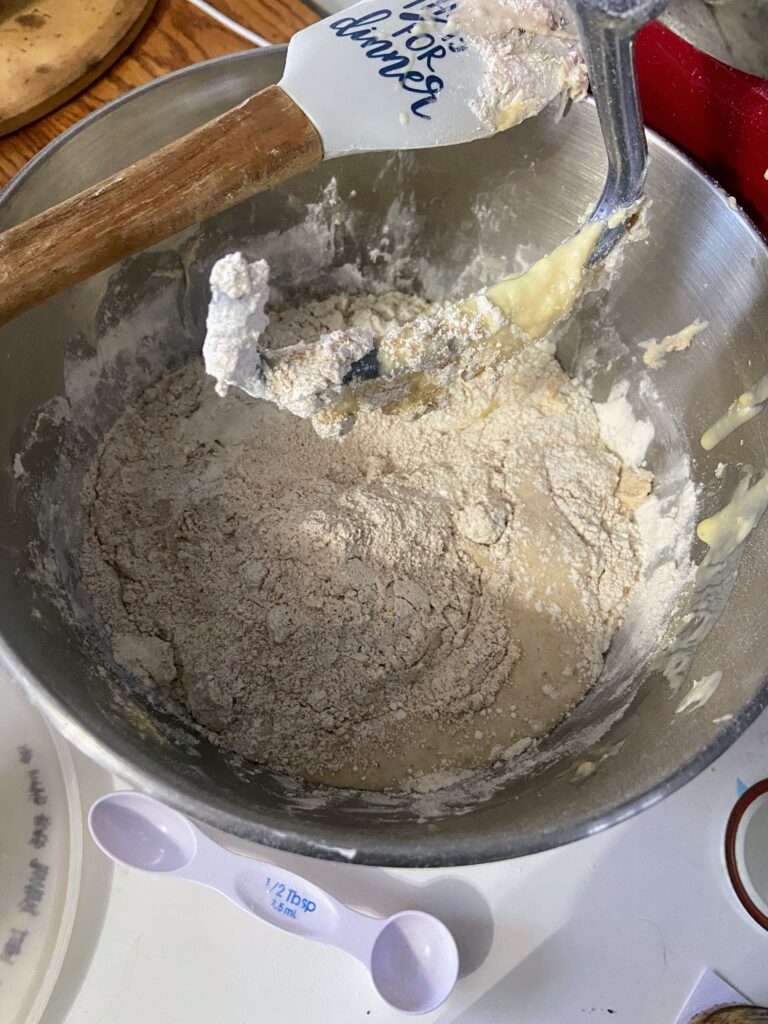
Add the sourdough starter, butter (cut into ½ tablespoon pieces), eggs, and salt. Mix until well combined. Slowly add flour, alternating wheat and white, by the ½ cup increments, until it forms a ball. The dough should not be too sticky. That is, you should be able to touch it and not have dough stuck to you. 

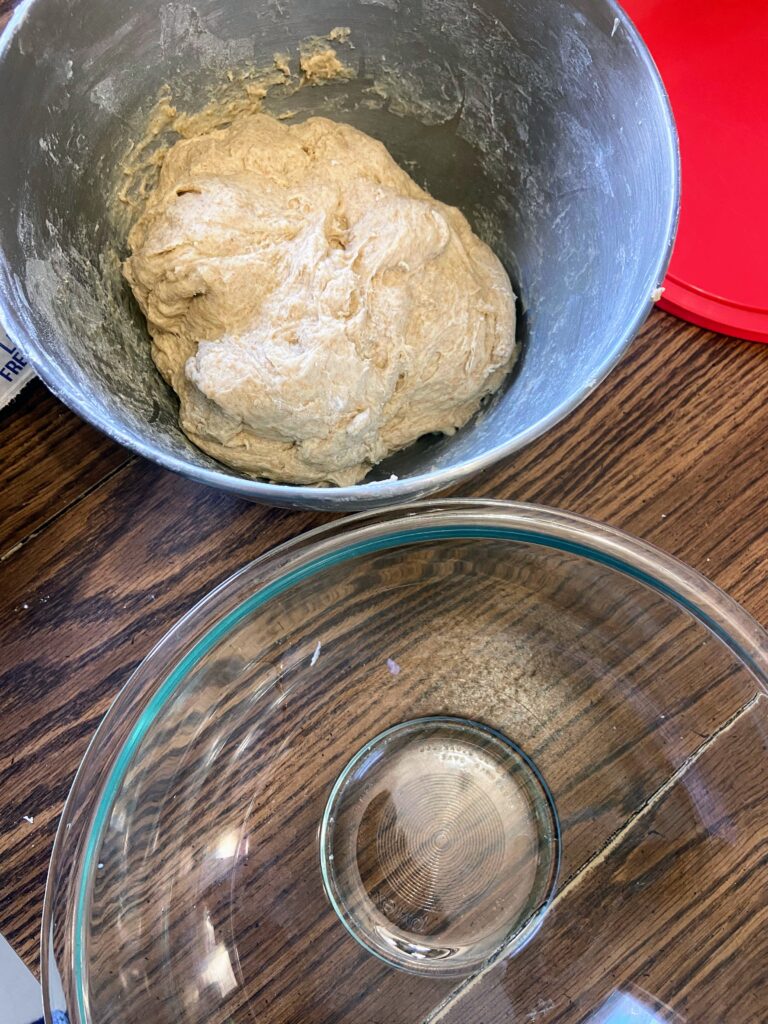
Allow the mixer to knead the dough for 5 minutes. Form the dough into a ball and put it in a greased bowl. Cover and allow to rest for 1-2 hours, until it has doubled in size. 

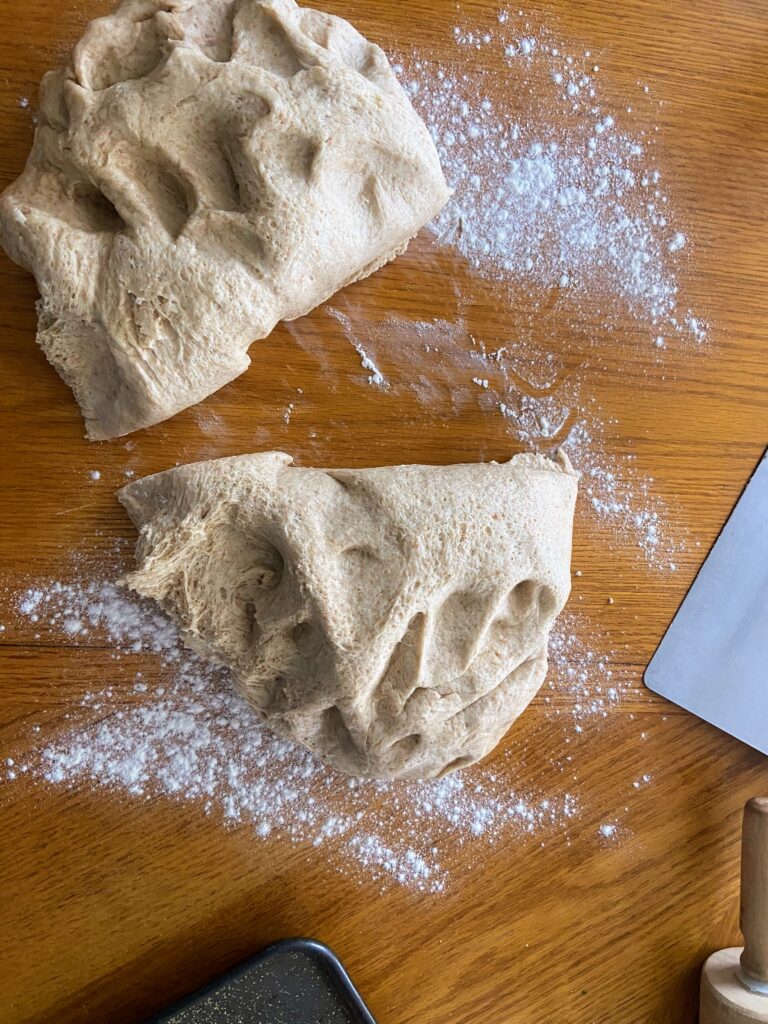
When the dough has doubled in size, gently punch it down and then form it into another bowl. Remove from the bowl and place on a lightly floured surface. Cut the dough into two portions. Set one aside. 

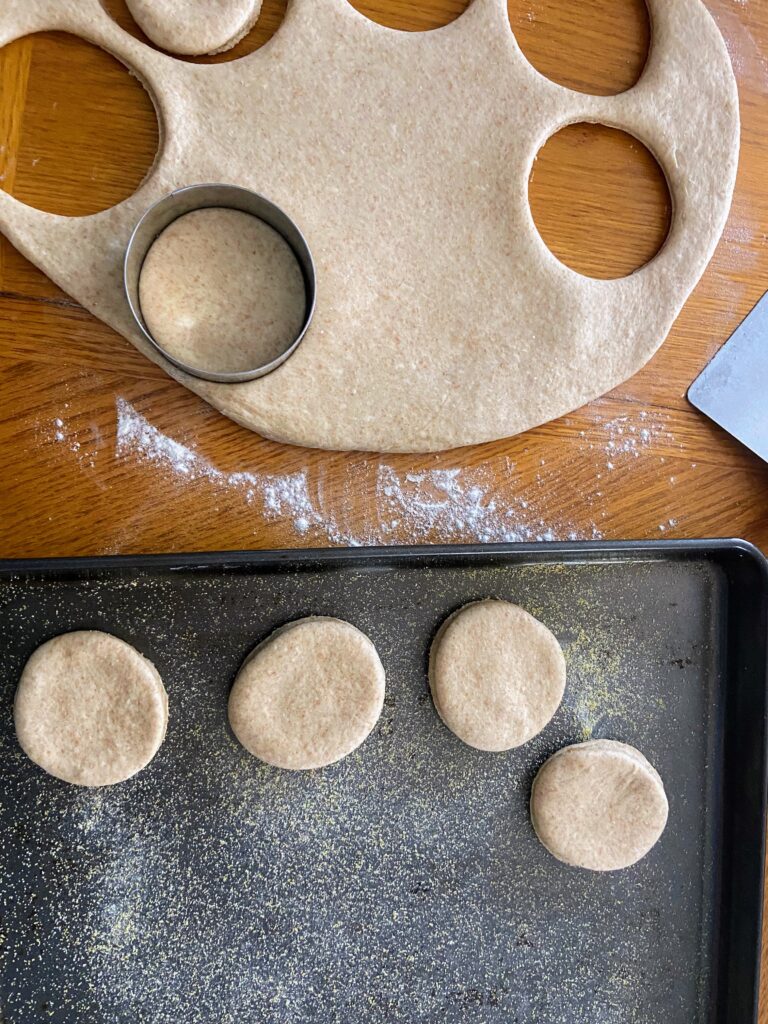
Roll one portion out until approximately ½ inch thick. Cut into discs using a 3 inch biscuit cutter (or a glass if you don’t have one!) Continue to roll out leftovers and cut discs until dough is used up. Do the same with the other portion. 

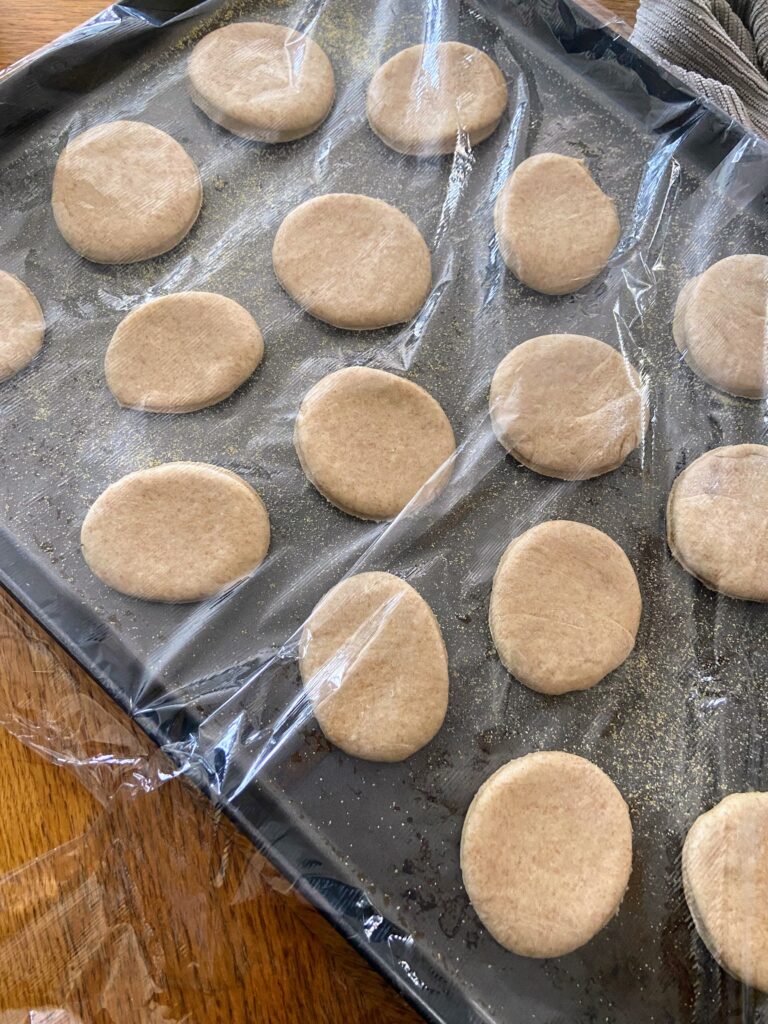
Place discs on baking sheets that have been sprinkled with cornmeal, leaving space for them to rise. Sprinkle the tops with cornmeal as well. Cover with plastic wrap and allow to rise for another hour or so. 

Let’s Cook them up!

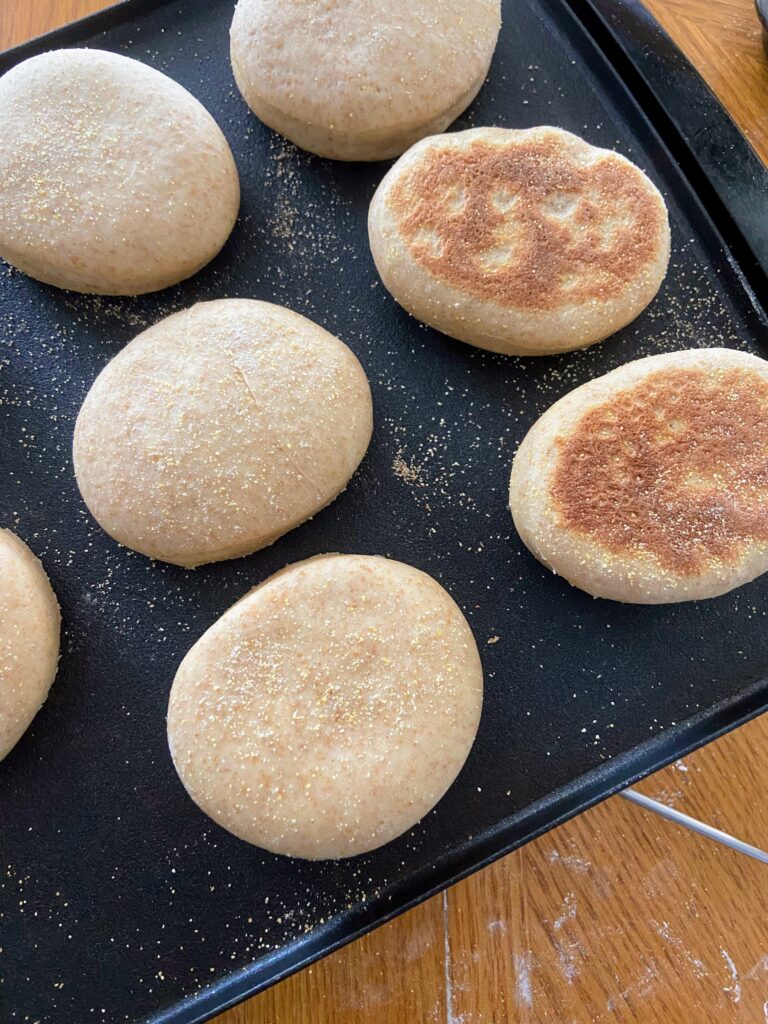
Preheat an electric griddle to 350 degrees. Leave it ungreased. Transfer discs to the griddle and cook for 5 minutes. Flip muffins. Once all muffins have been flipped, place a light baking sheet on top to keep the flat muffin shape rather than a rounded muffin. Cook an additional 5-7 minutes, until the muffins have reached an internal temperature of 190 degrees. 

Store muffins at room temperature for 4-5 days, in the fridge for a few weeks, or freeze them for longer storage. They freeze REALLY well.
Tools of the Trade

Now, I have done English muffins with an electric griddle and without and let me tell you, the griddle is the way to go. You can get them done so much quicker. And I am always surprised how often I want to pull out my biscuit cutter for various things. Definitely a couple tools that are handy to have on hand!

Sourdough English Muffins

Grab that leftover sourdough discard or fresh starter and create these delicious English muffins in no time!
Prep Time 25 minutes
Cook Time 30 minutes
Resting Time 3 hours
Course Breakfast
Cuisine American
Servings 2 dozen

Ingredients
  

  • 2 ¼ teaspoon instant dry yeast
  • 2 cups milk warmed
  • 2 tablespoons sugar
  • 4 tablespoons butter softened
  • 1 cup sourdough starter
  • 2 eggs
  • 1 tablespoon salt
  • 2 cups whole wheat flour
  • 3-4 cups white flour
  • Cornmeal for dusting

Instructions
 

  • In a stand mixer, combine milk, dry yeast, and sugar. Allow to sit for 5 minutes to activate the yeast.
  • Add the sourdough starter, butter (cut into ½ tablespoon pieces), eggs, and salt. Mix until well combined.
  • Slowly add flour, alternating wheat and white, by the ½ cup increments, until it forms a ball. The dough should not be too sticky. That is, you should be able to touch it and not have dough stuck to you.
  • Allow the mixer to knead the dough for 5 minutes. Form the dough into a ball and put it in a greased bowl. Cover and allow to rest for 1-2 hours, until it has doubled in size.
  • When the dough has doubled in size, gently punch it down and then form it into another bowl. Remove from the bowl and place on a lightly floured surface. Cut the dough into two portions. Set one aside.
  • Roll one portion out until approximately ½ inch thick. Cut into discs using a 3 inch biscuit cutter (or a glass if you don’t have one!) Continue to roll out leftovers and cut discs until dough is used up. Do the same with the other portion.
  • Place discs on baking sheets that have been sprinkled with cornmeal, leaving space for them to rise. Sprinkle the tops with cornmeal as well. Cover with plastic wrap and allow to rise for another hour or so.
  • Preheat an electric griddle to 350 degrees. Leave it ungreased. Transfer discs to the griddle and cook for 5 minutes. Flip muffins.
  • Once all muffins have been flipped, place a light baking sheet on top to keep the flat muffin shape rather than a rounded muffin. Cook an additional 5-7 minutes, until the muffins have reached an internal temperature of 190 degrees.
  • Store muffins at room temperature for 4-5 days, in the fridge for a few weeks, or freeze them for longer storage. They freeze REALLY well.
Notes

The recipe can easily be halved, but I wouldn’t. The work to make 2 dozen is just about the same as it is to make 1 dozen and they freeze really well. 
Keyword baking, breakast, breakfast breads, English muffins, sourdough, sourdough English muffins
Tried this recipe?Let us know how it was!

Looking for some other breakfast inspiration?

Check out a couple of the posts below or just head right to my breakfast page for more recipes!

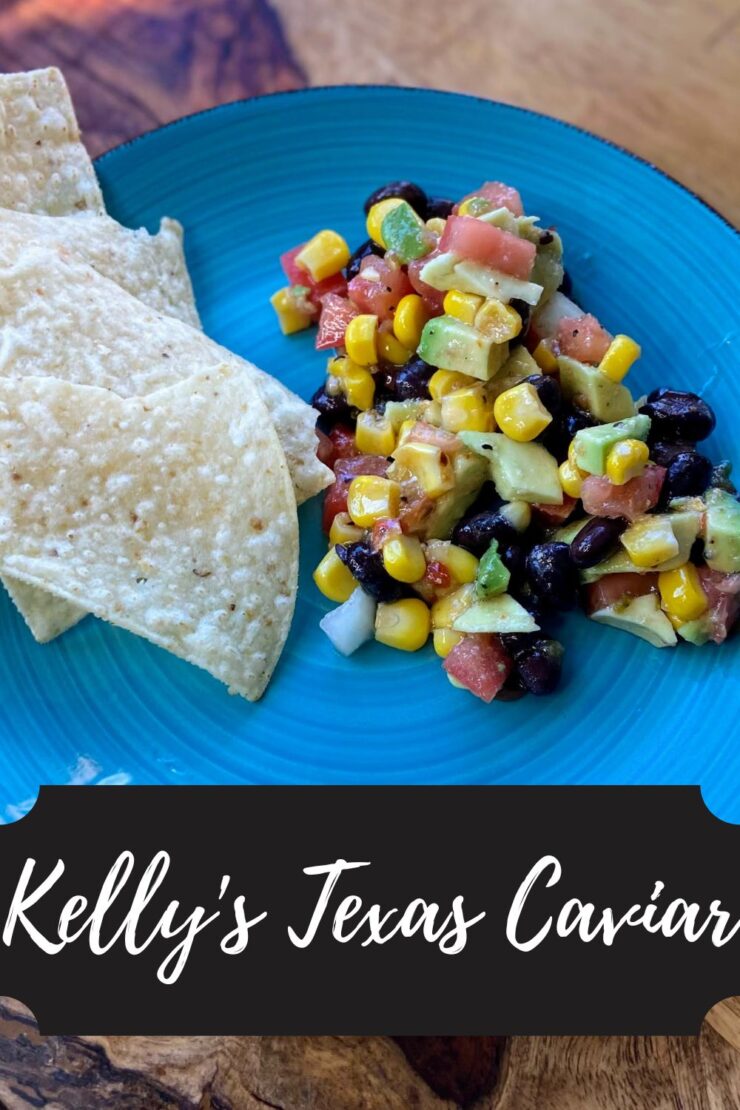
Kelly’s Texas Caviar

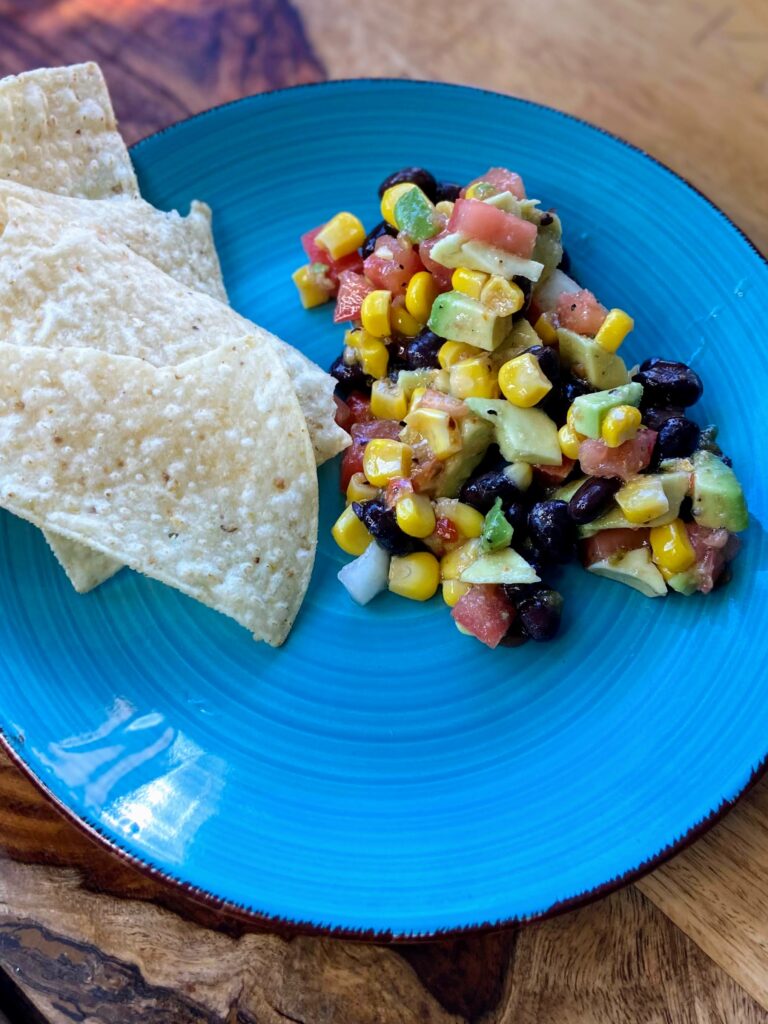
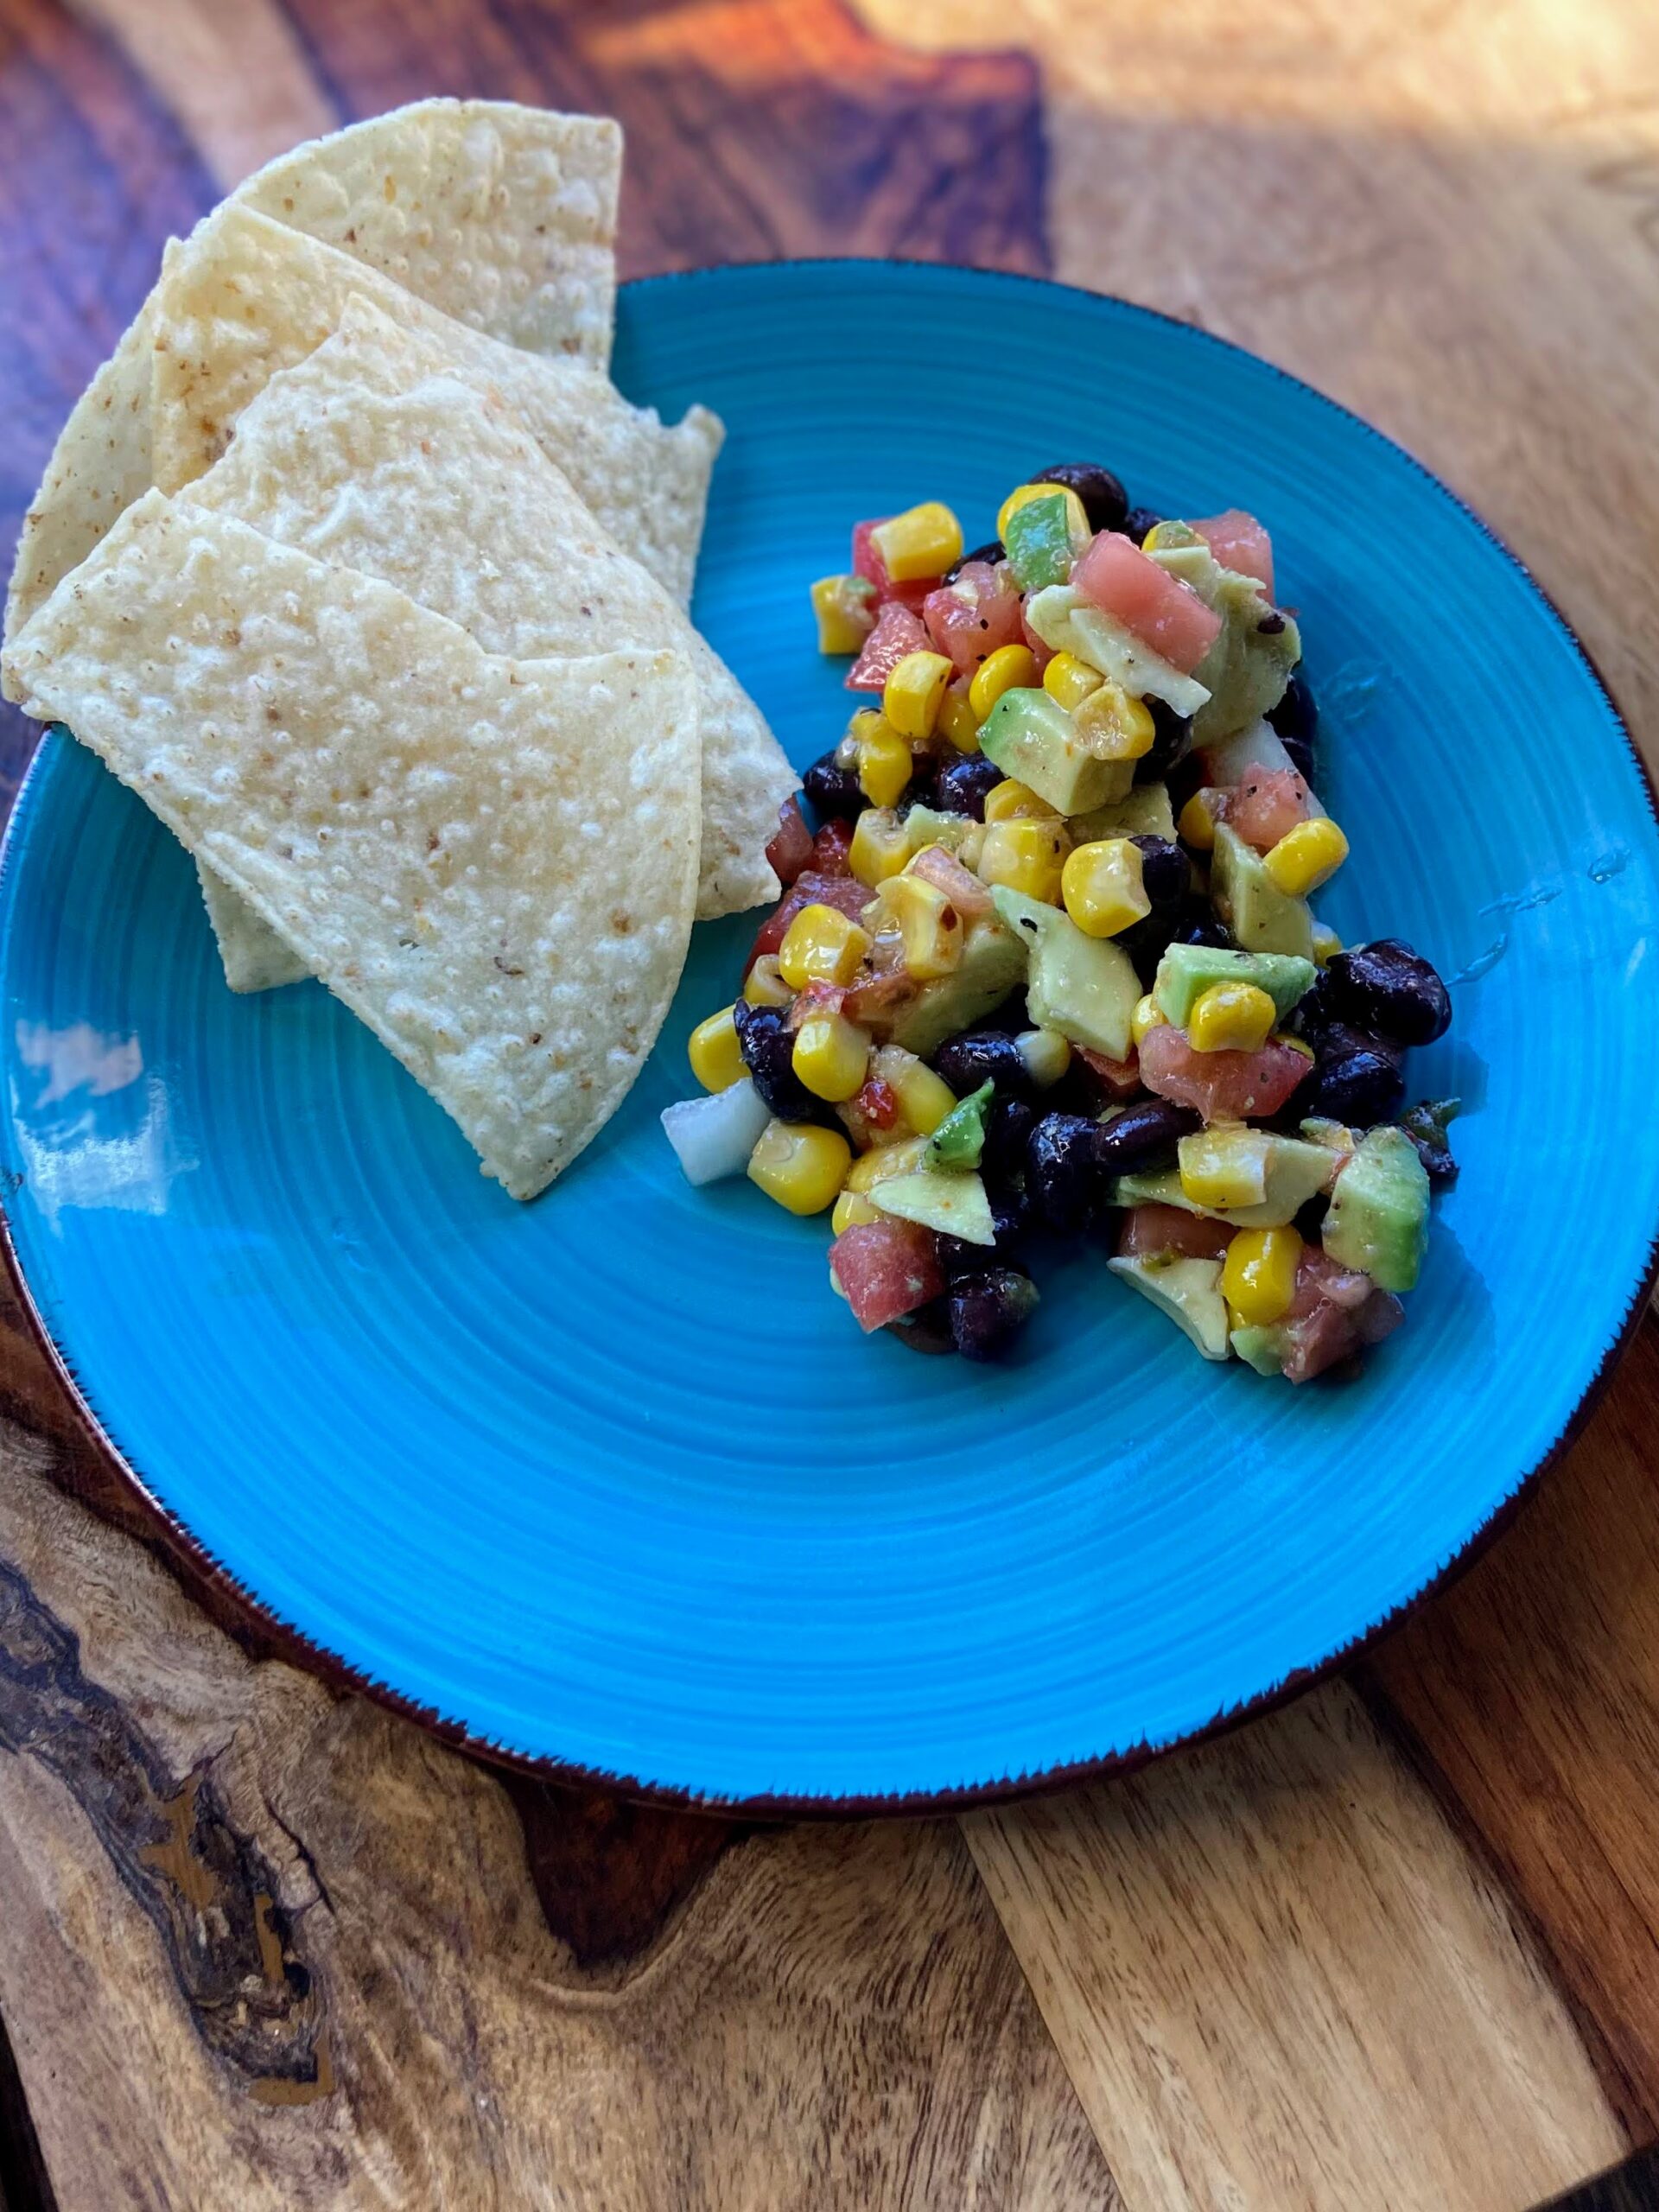
What’s your go-to “I have to bring a dish to pass” dish that you can do without opening a cookbook or look at the recipe? For as long as I can remember, my sister has been bringing Texas Caviar. She brings it so often, she had started worrying that people didn’t actually like it and she should maybe stop bringing it. At about that time, my big kiddo asked her, “Aunty, can I please have the Texas Caviar recipe? I want to be able to make it at home.” 

Needless to say, she learned that we weren’t tired of it at all. And after that weekend, I think we mixed up a batch at our home three or four weekends in a row. Now I think I have the recipe memorized too!

What I love about Texas Caviar is that it is truly a side dish I can feel really good about eating. It is chuck full of vegetables and although it is generally served with chips, it’s easy to load those chips with the dip. It also eats well as a simple side without the chips. 

So when it’s been a crazy month of prepping for the holidays and time for recipe creation has been minimal, I asked my sissy if I could share her take on Texas Caviar. This weekend seemed a perfect weekend to share it as the holidays ramp up and you either

  1. Need to add more vegetables in your diet because man, the sweets and indulgence are catching up to you and sneaking some veggies in would help. Or…
  2. You have a party you get to bring a side to but your inspiration is less than stellar.

Let me tell you, Texas Caviar is THE choice for one (or both!) of those. 

Ready to create together? Let’s Go!

Your Ingredients 

  • 14 ounces Mexicorn, drained
  • 1 can low sodium black beans, drained and rinsed
  • 2 avocados
  • 4 Roma tomatoes
  • 1 medium onion
  • 1 package dry Italian dressing mix
  • ⅓ cup olive oil
  • ⅓ cup red wine vinegar 

Your Steps to Texas Caviar 

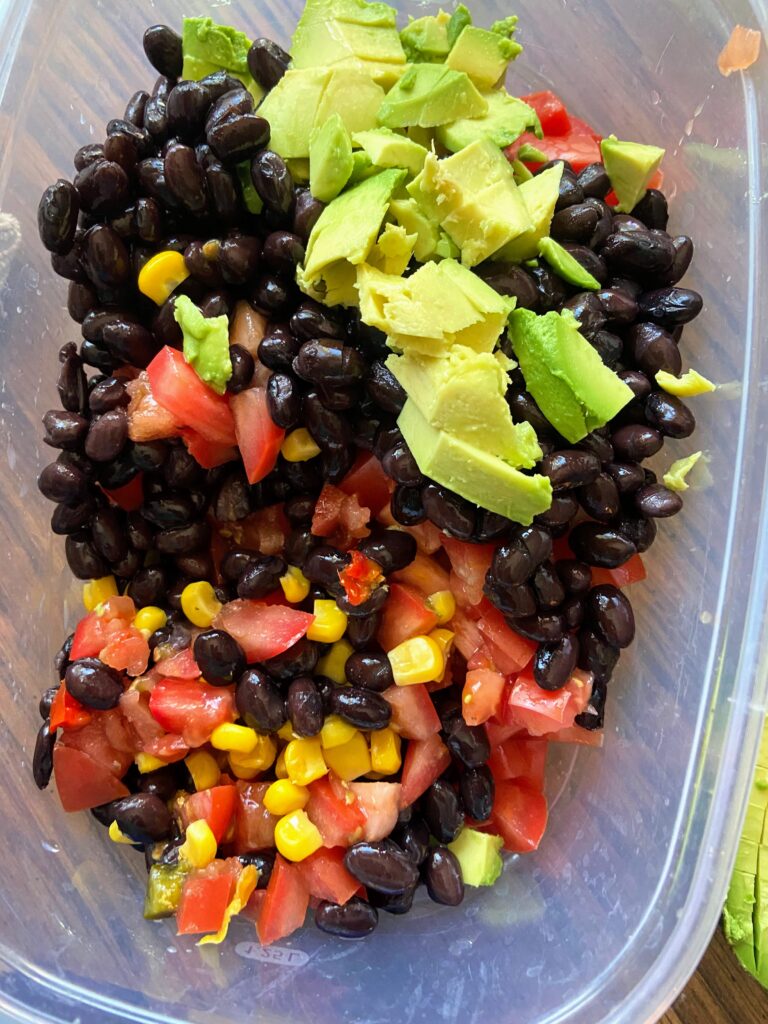
Dice the avocados, Roma tomatoes, and onion. In a large bowl, combine corn, black beans, avocado, tomato, and onion. Stir well. 

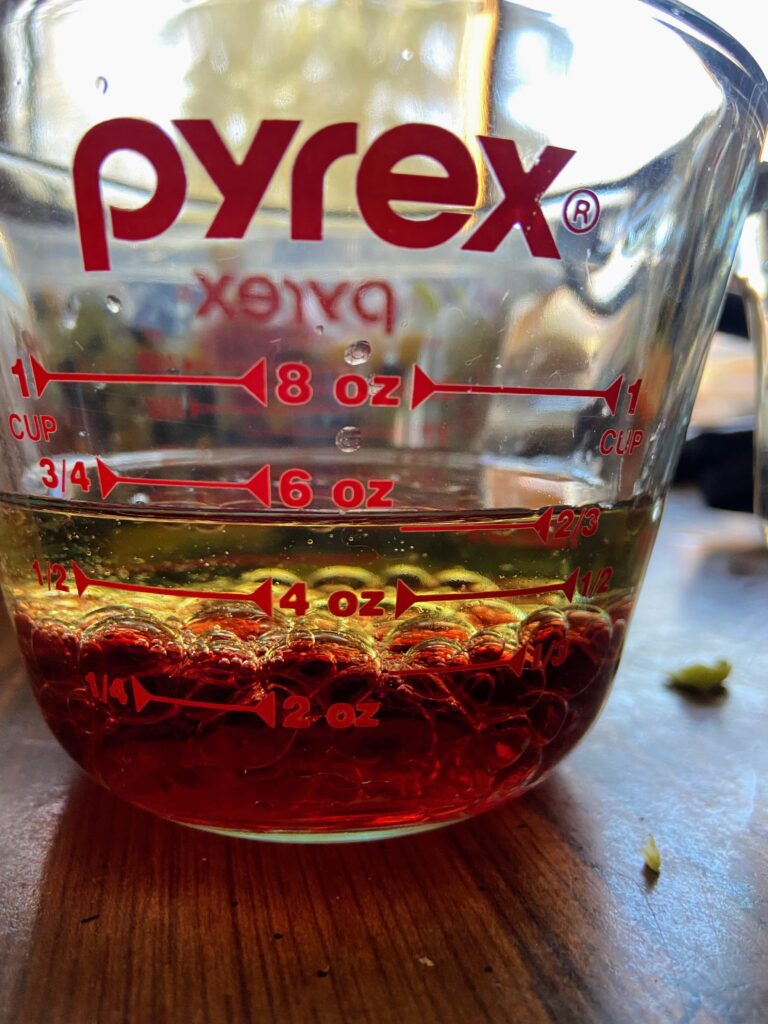
In a small bowl, combine dressing mix, olive oil, and red wine vinegar. Whisk together and promptly pour over the vegetable mixture. Stir well. The dip is best if it is allowed to chill and marinate for an hour or so, but can be eaten immediately. Good luck waiting. I never can!

Kelly’s Texas Caviar

Just eight ingredients and about ten minutes of work and you’ll have a great, fresh flavorful dip or side dish with this Texas Caviar.
5 from 1 vote
Prep Time 10 minutes
Cook Time 0 minutes
Course Appetizer
Cuisine American
Servings 8

Ingredients
  

  • 14 ounces Mexicorn drained
  • 1 can low sodium black beans drained and rinsed
  • 2 avocados
  • 4 Roma tomatoes
  • 1 medium onion
  • 1 package dry Italian dressing mix
  • cup olive oil
  • cup red wine vinegar

Instructions
 

  • Dice the avocados, Roma tomatoes, and onion. In a large bowl, combine corn, black beans, avocado, tomato, and onion. Stir well.
  • In a small bowl, combine dressing mix, olive oil, and red wine vinegar.
  • Whisk together and promptly pour over the vegetable mixture. Stir well.
  • The dip is best if it is allowed to chill and marinate for an hour or so, but can be eaten immediately.
Keyword avocado, cherry tomatoes, chips and dip, dips, dish to pass, side dish, Texas caviar
Tried this recipe?Let us know how it was!
Looking for other fun sides?

Give some of these a try!
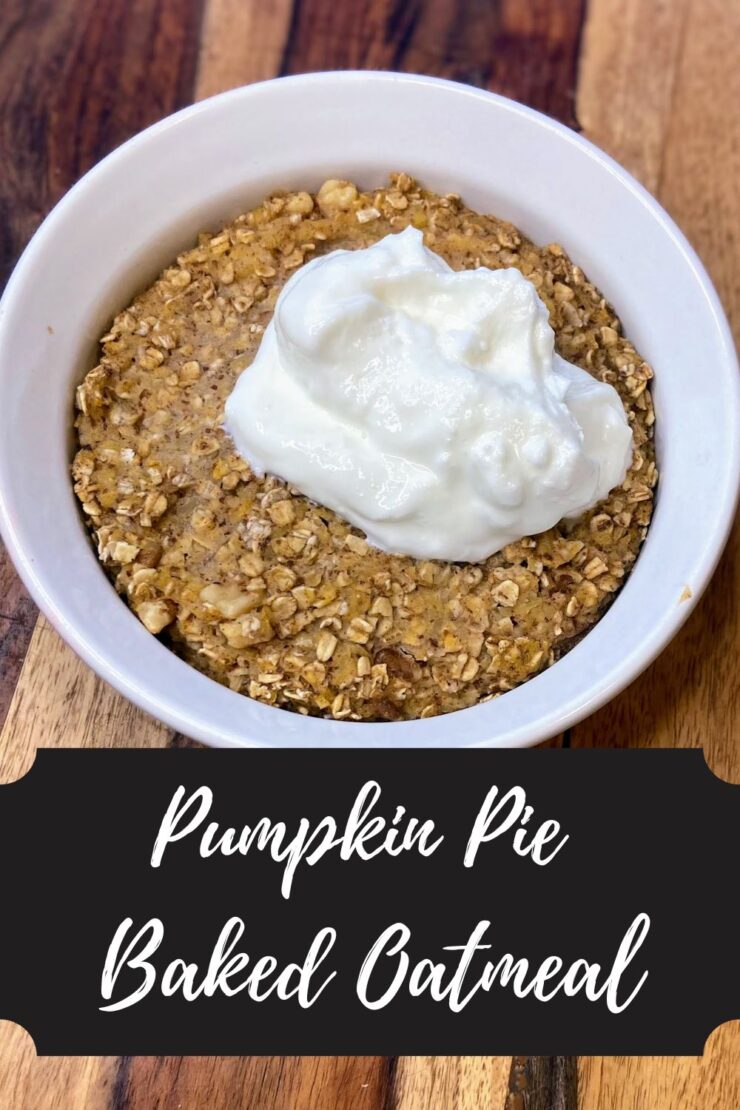
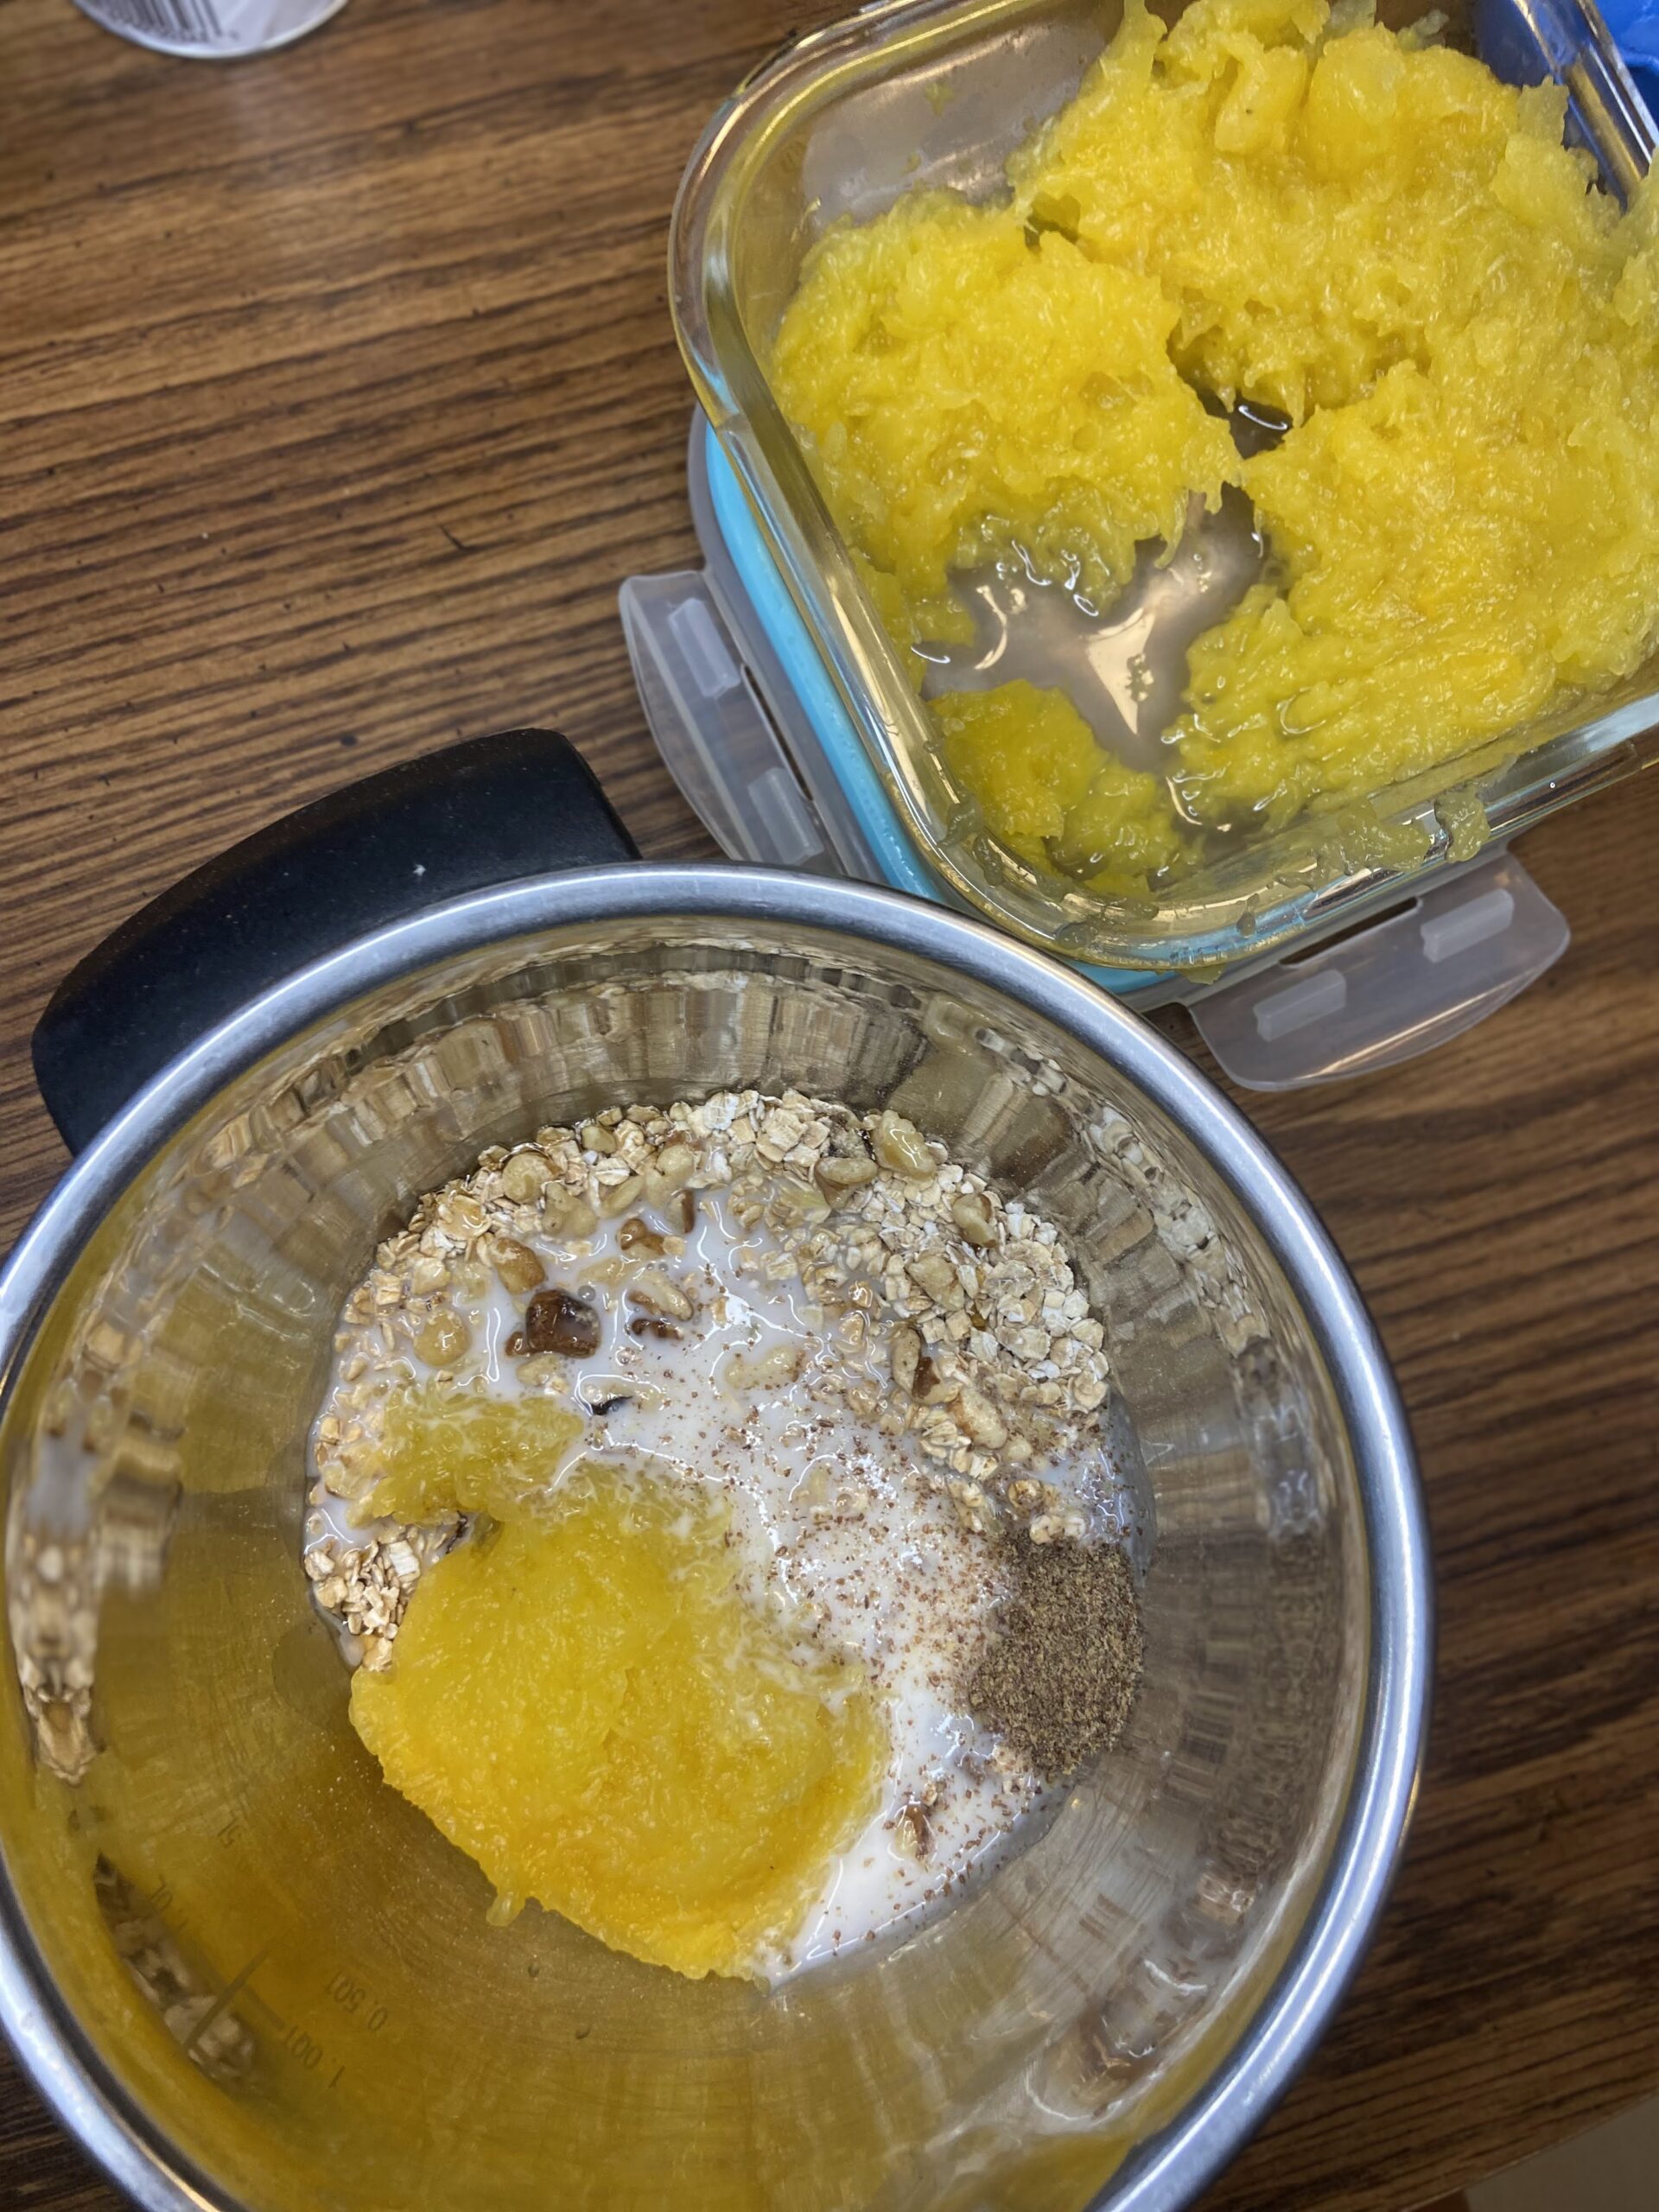
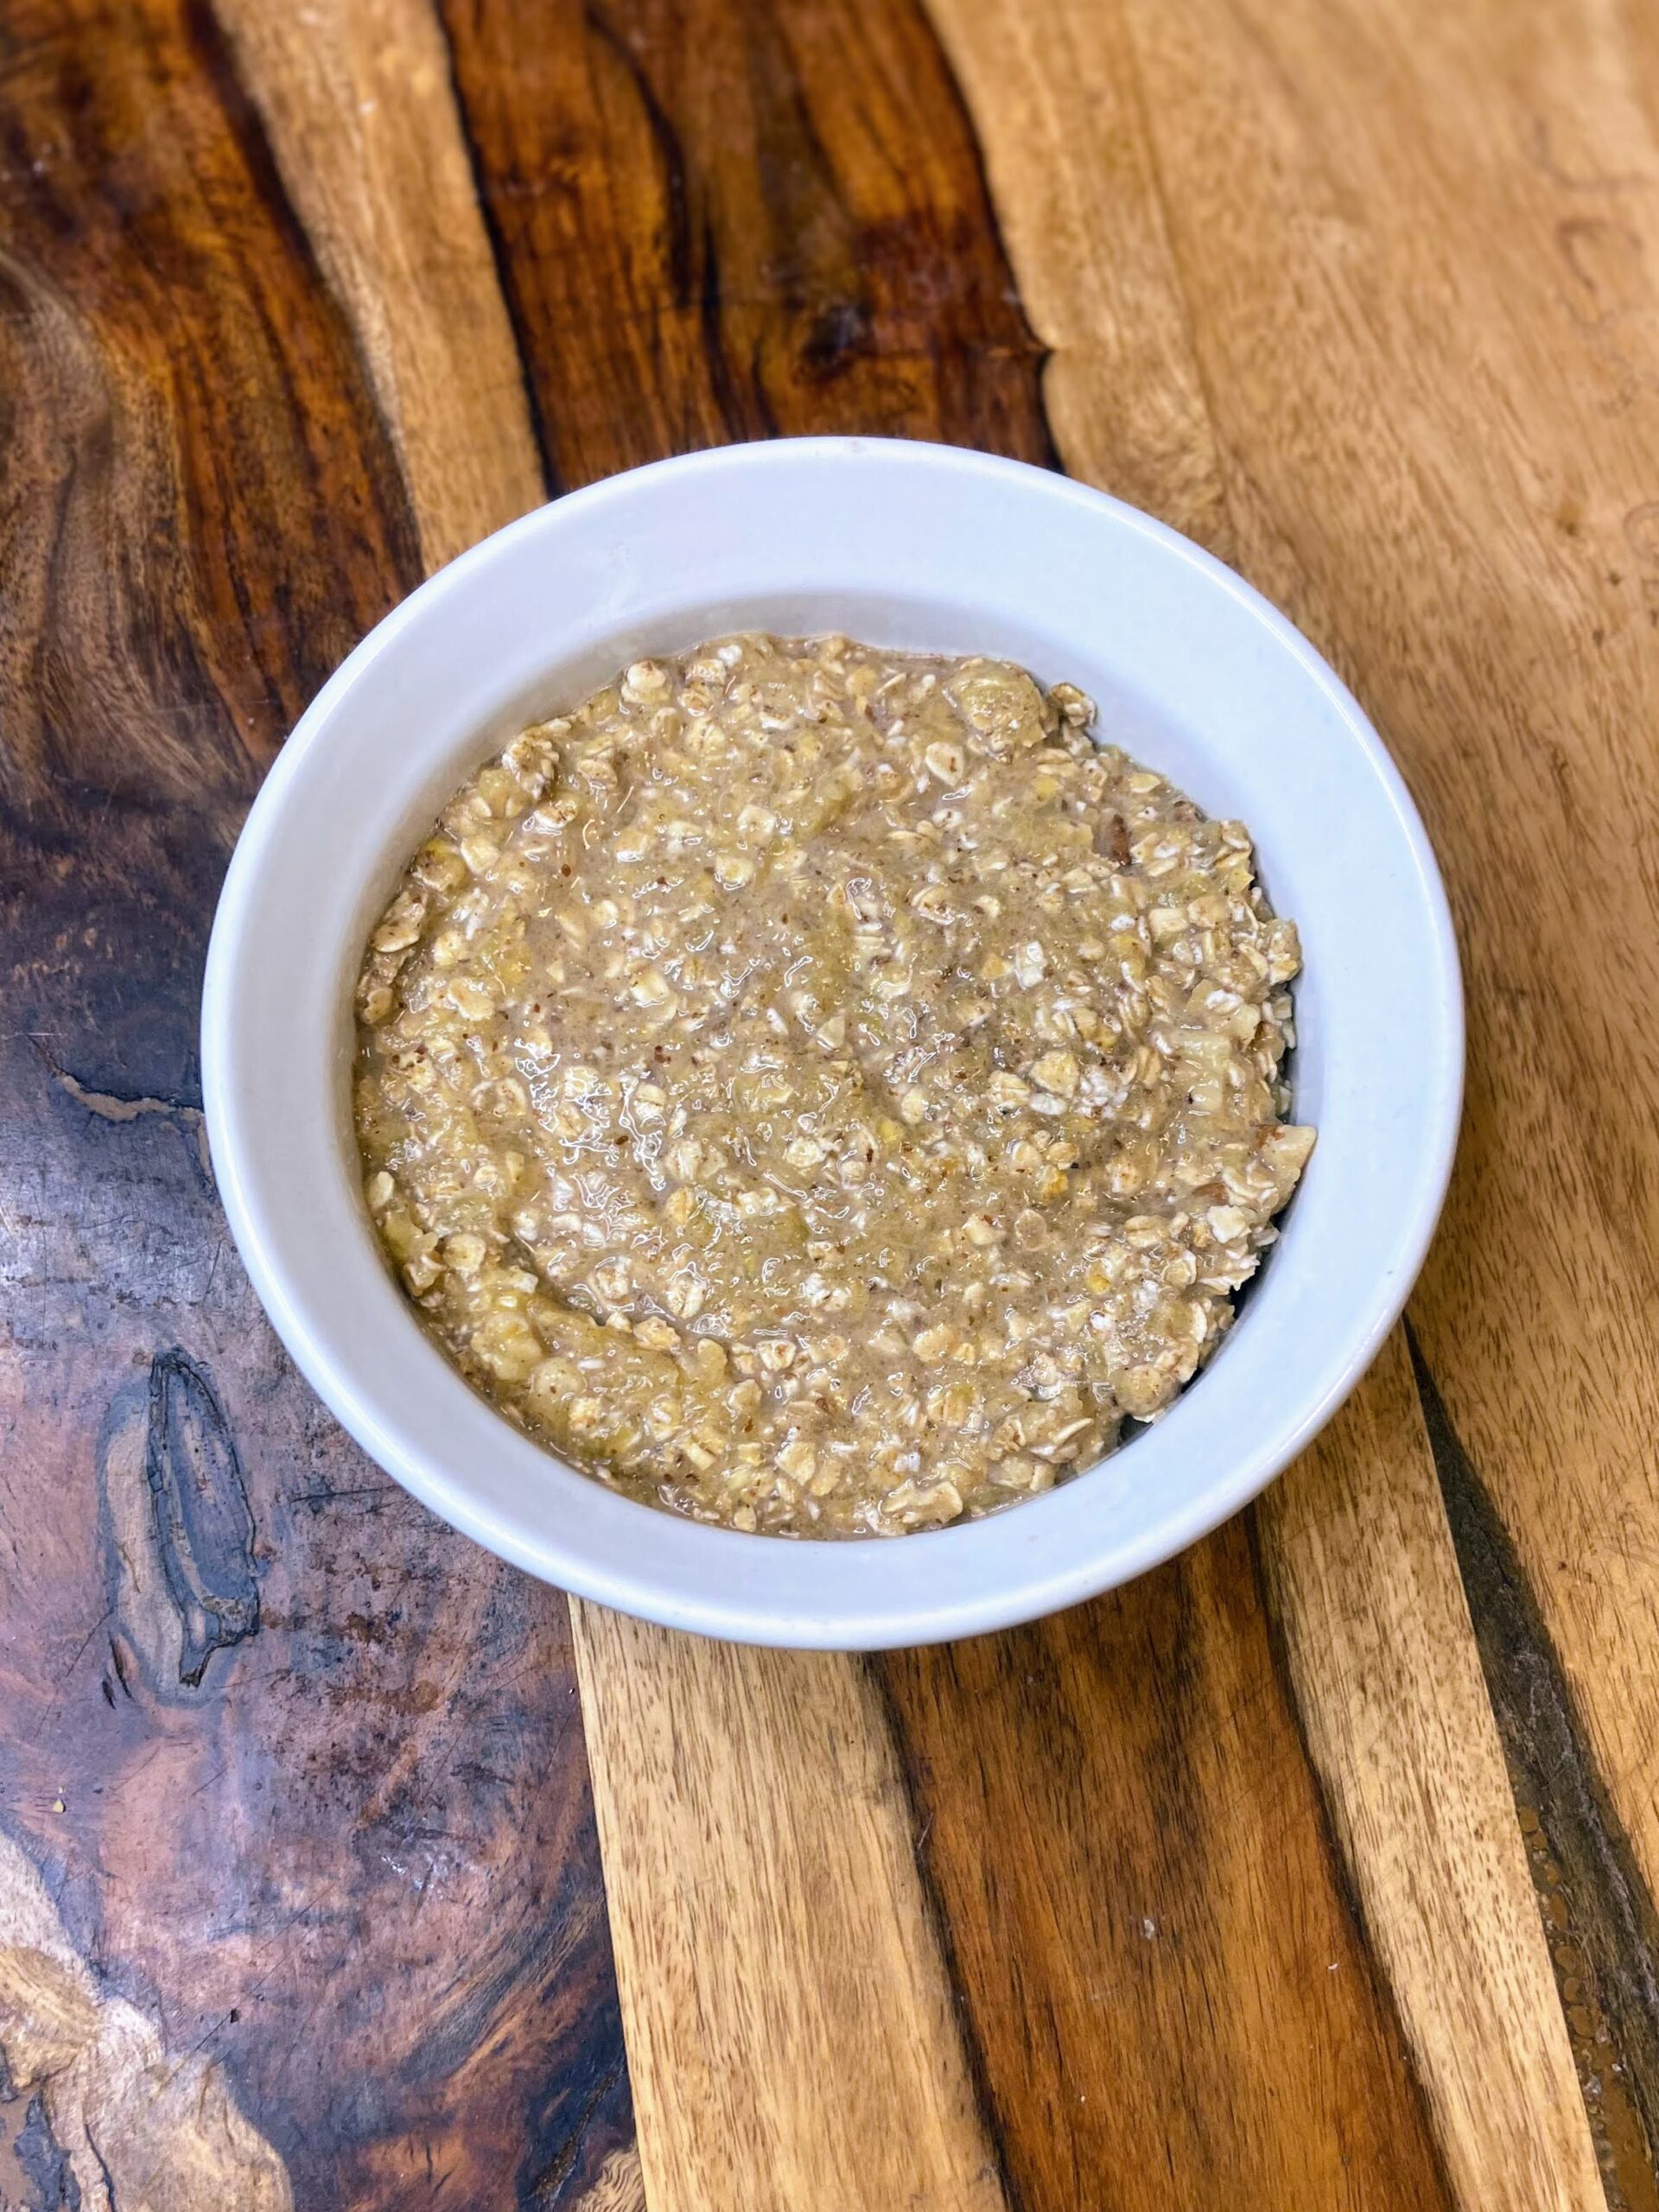
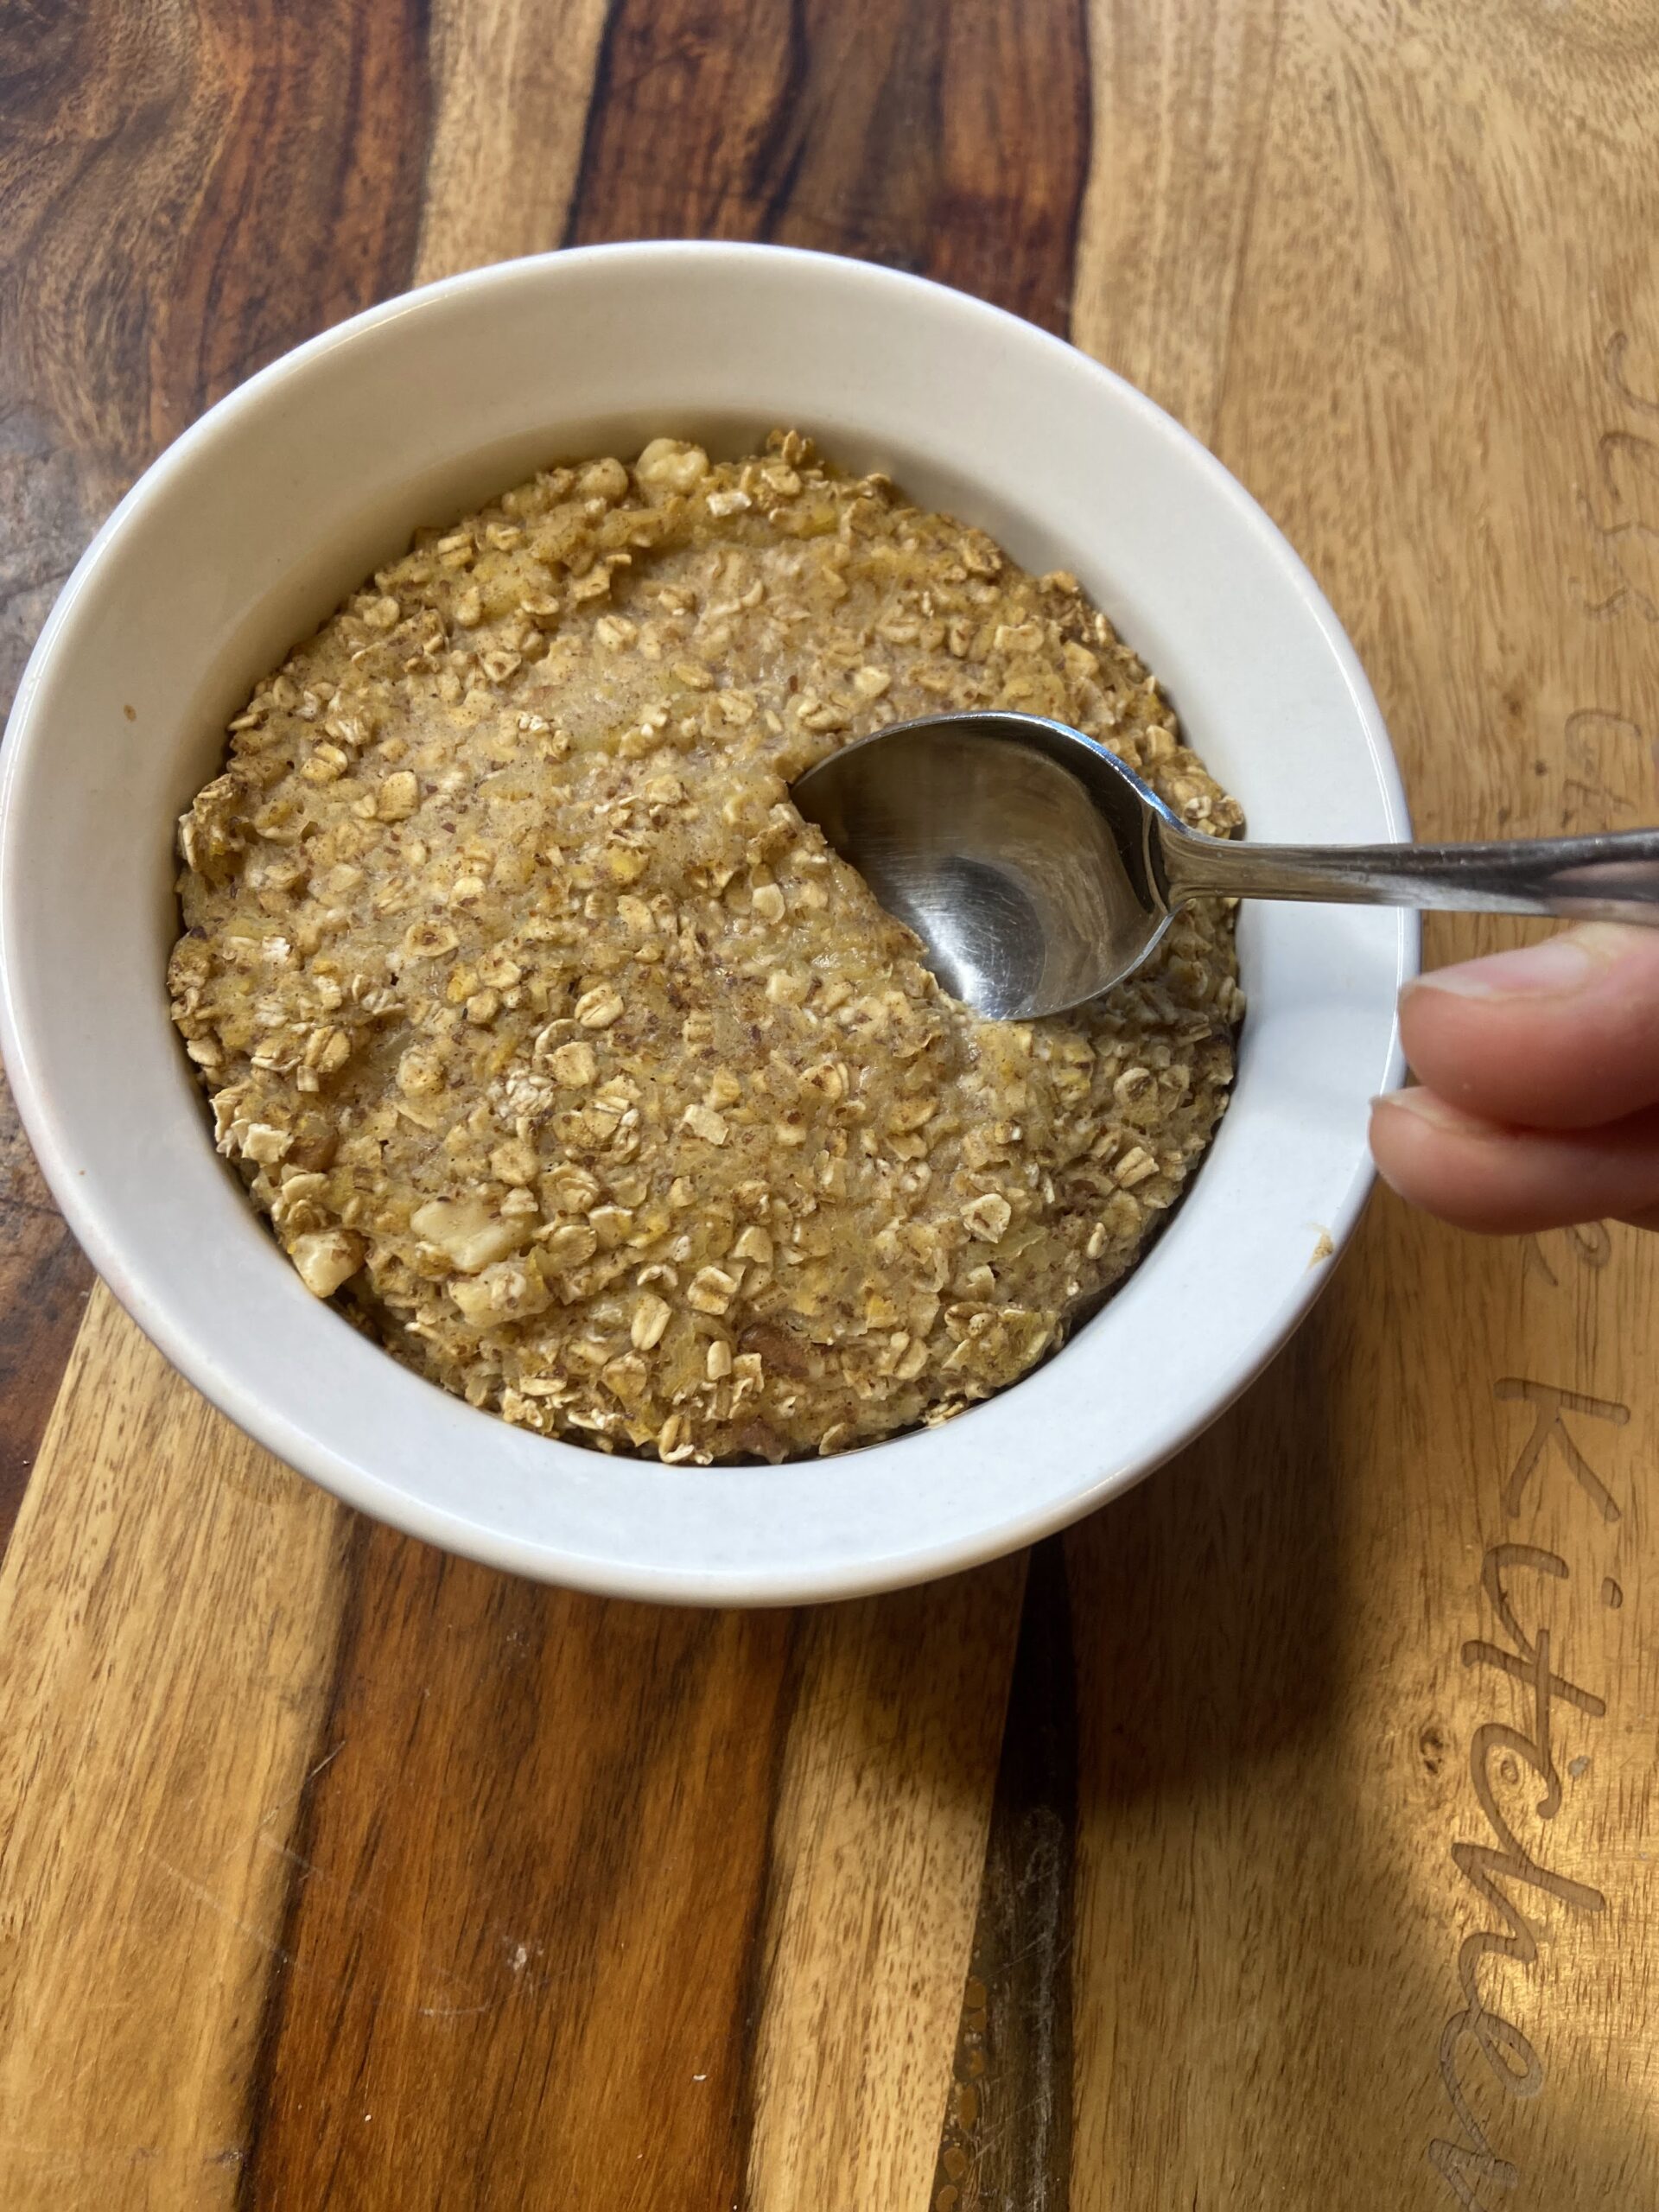
Pumpkin Pie Baked Oatmeal

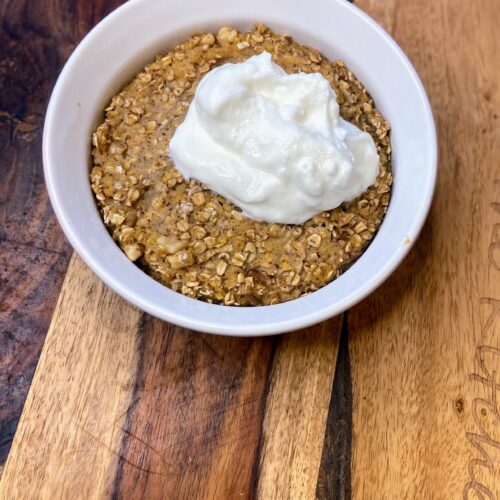
Pumpkin Pie Baked Oatmeal

Weekends in the fall are for cozy breakfasts. Warm breakfasts that you can curl your hands around with a cup of coffee and just take in the cool, beautiful weather. At least, that’s what I believe. Most days of the week, I go for overnight oats with Greek yogurt (Grab this recipe here!), but on the weekend, I like to play around with my breakfast a little more and this pumpkin pie baked oatmeal is just the ticket. 

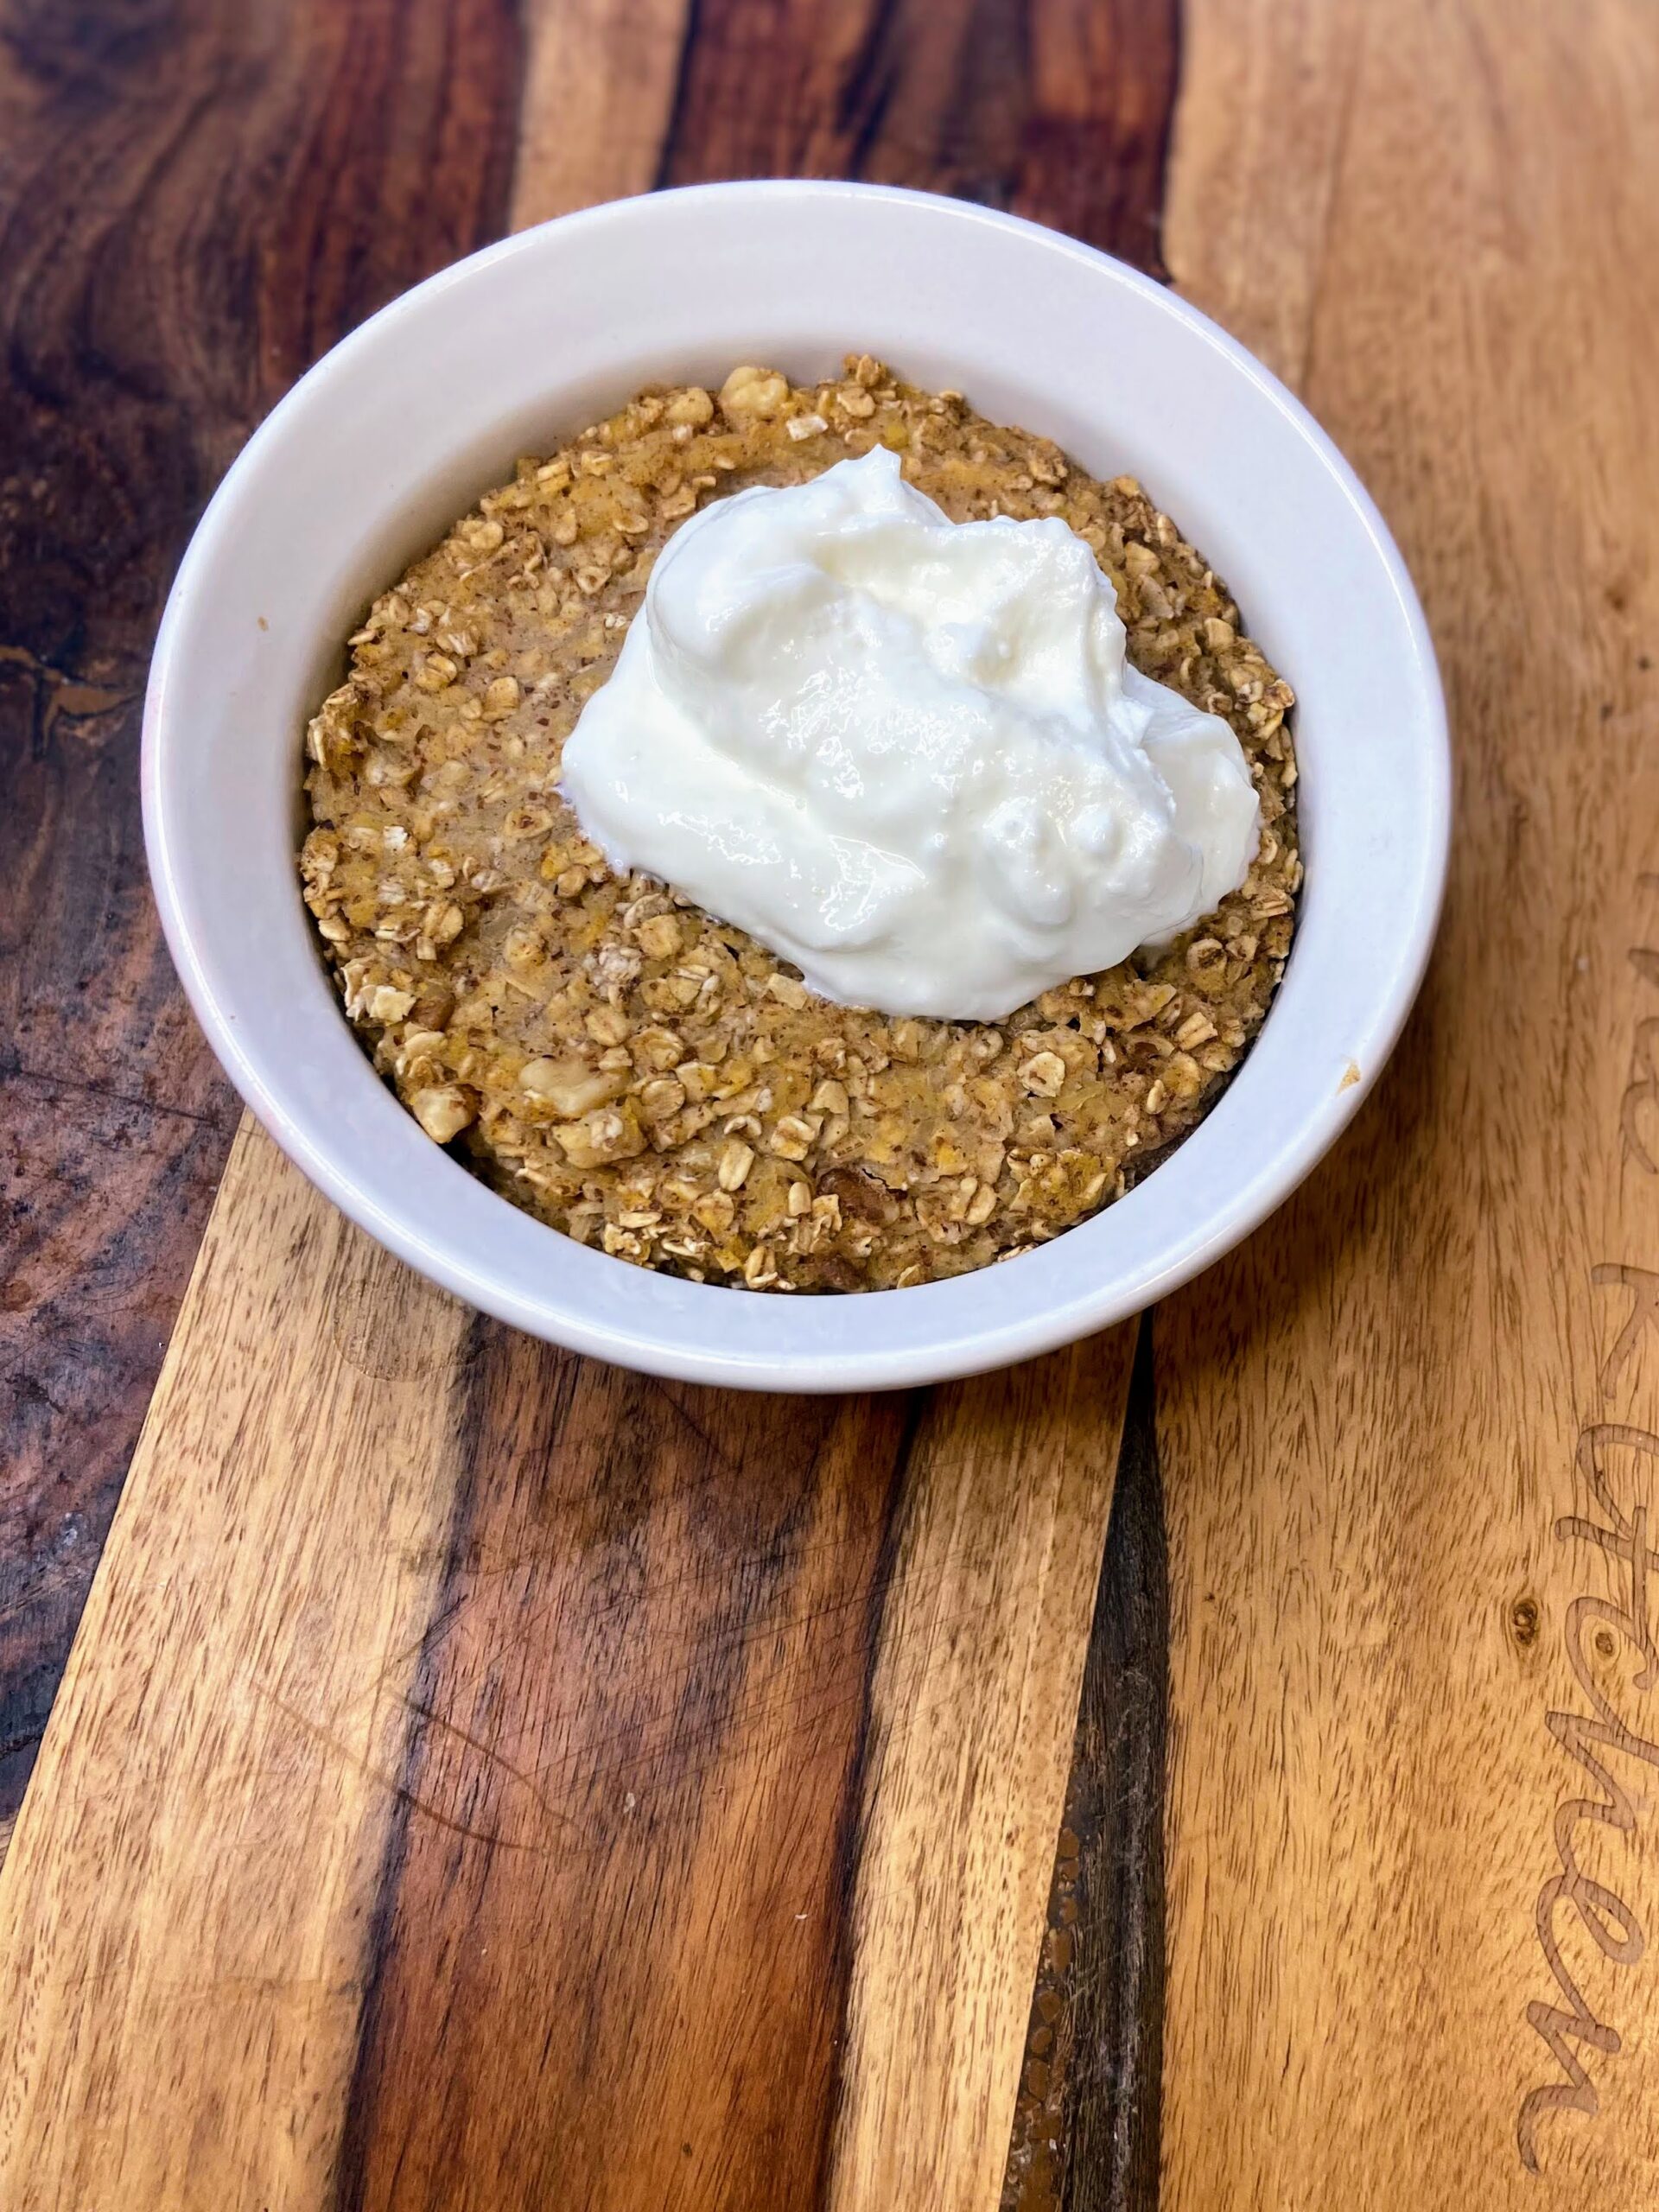
I don’t know your story, but I am a mom that lives for the quiet on the weekends. For me, I intentionally wake up before everyone else so I can enjoy my coffee and breakfast with a candle and some Christmas lights (don’t judge!). I love mixing together baked oatmeal to savor while it’s still before dawn. This pumpkin pie baked oatmeal is a single serving dish of deliciousness that mixes up in minutes and bakes in just twenty minutes. I top it with a little Triple Zero Vanilla Greek Yogurt to get those whipped cream vibes without all the sugar. So dang good!

Ready to make your own breakfast? Let’s go! 

Your Ingredients for Pumpkin Pie Baked Oatmeal 

  • ½ cup quick oats
  • ½ tablespoon ground flaxseed
  • ⅛ teaspoon nutmeg 
  • ½ teaspoon cinnamon
  • Pinch of salt
  • ½ teaspoon baking powder 
  • 1 tablespoon maple syrup
  • ⅓ cup unsweetened almond milk (or other milk of your choice)
  • ⅛ teaspoon vanilla
  • ½ cup pumpkin puree (I always roast my own! Learn how here!)
    2 tablespoons walnuts (optional) 

Your Steps

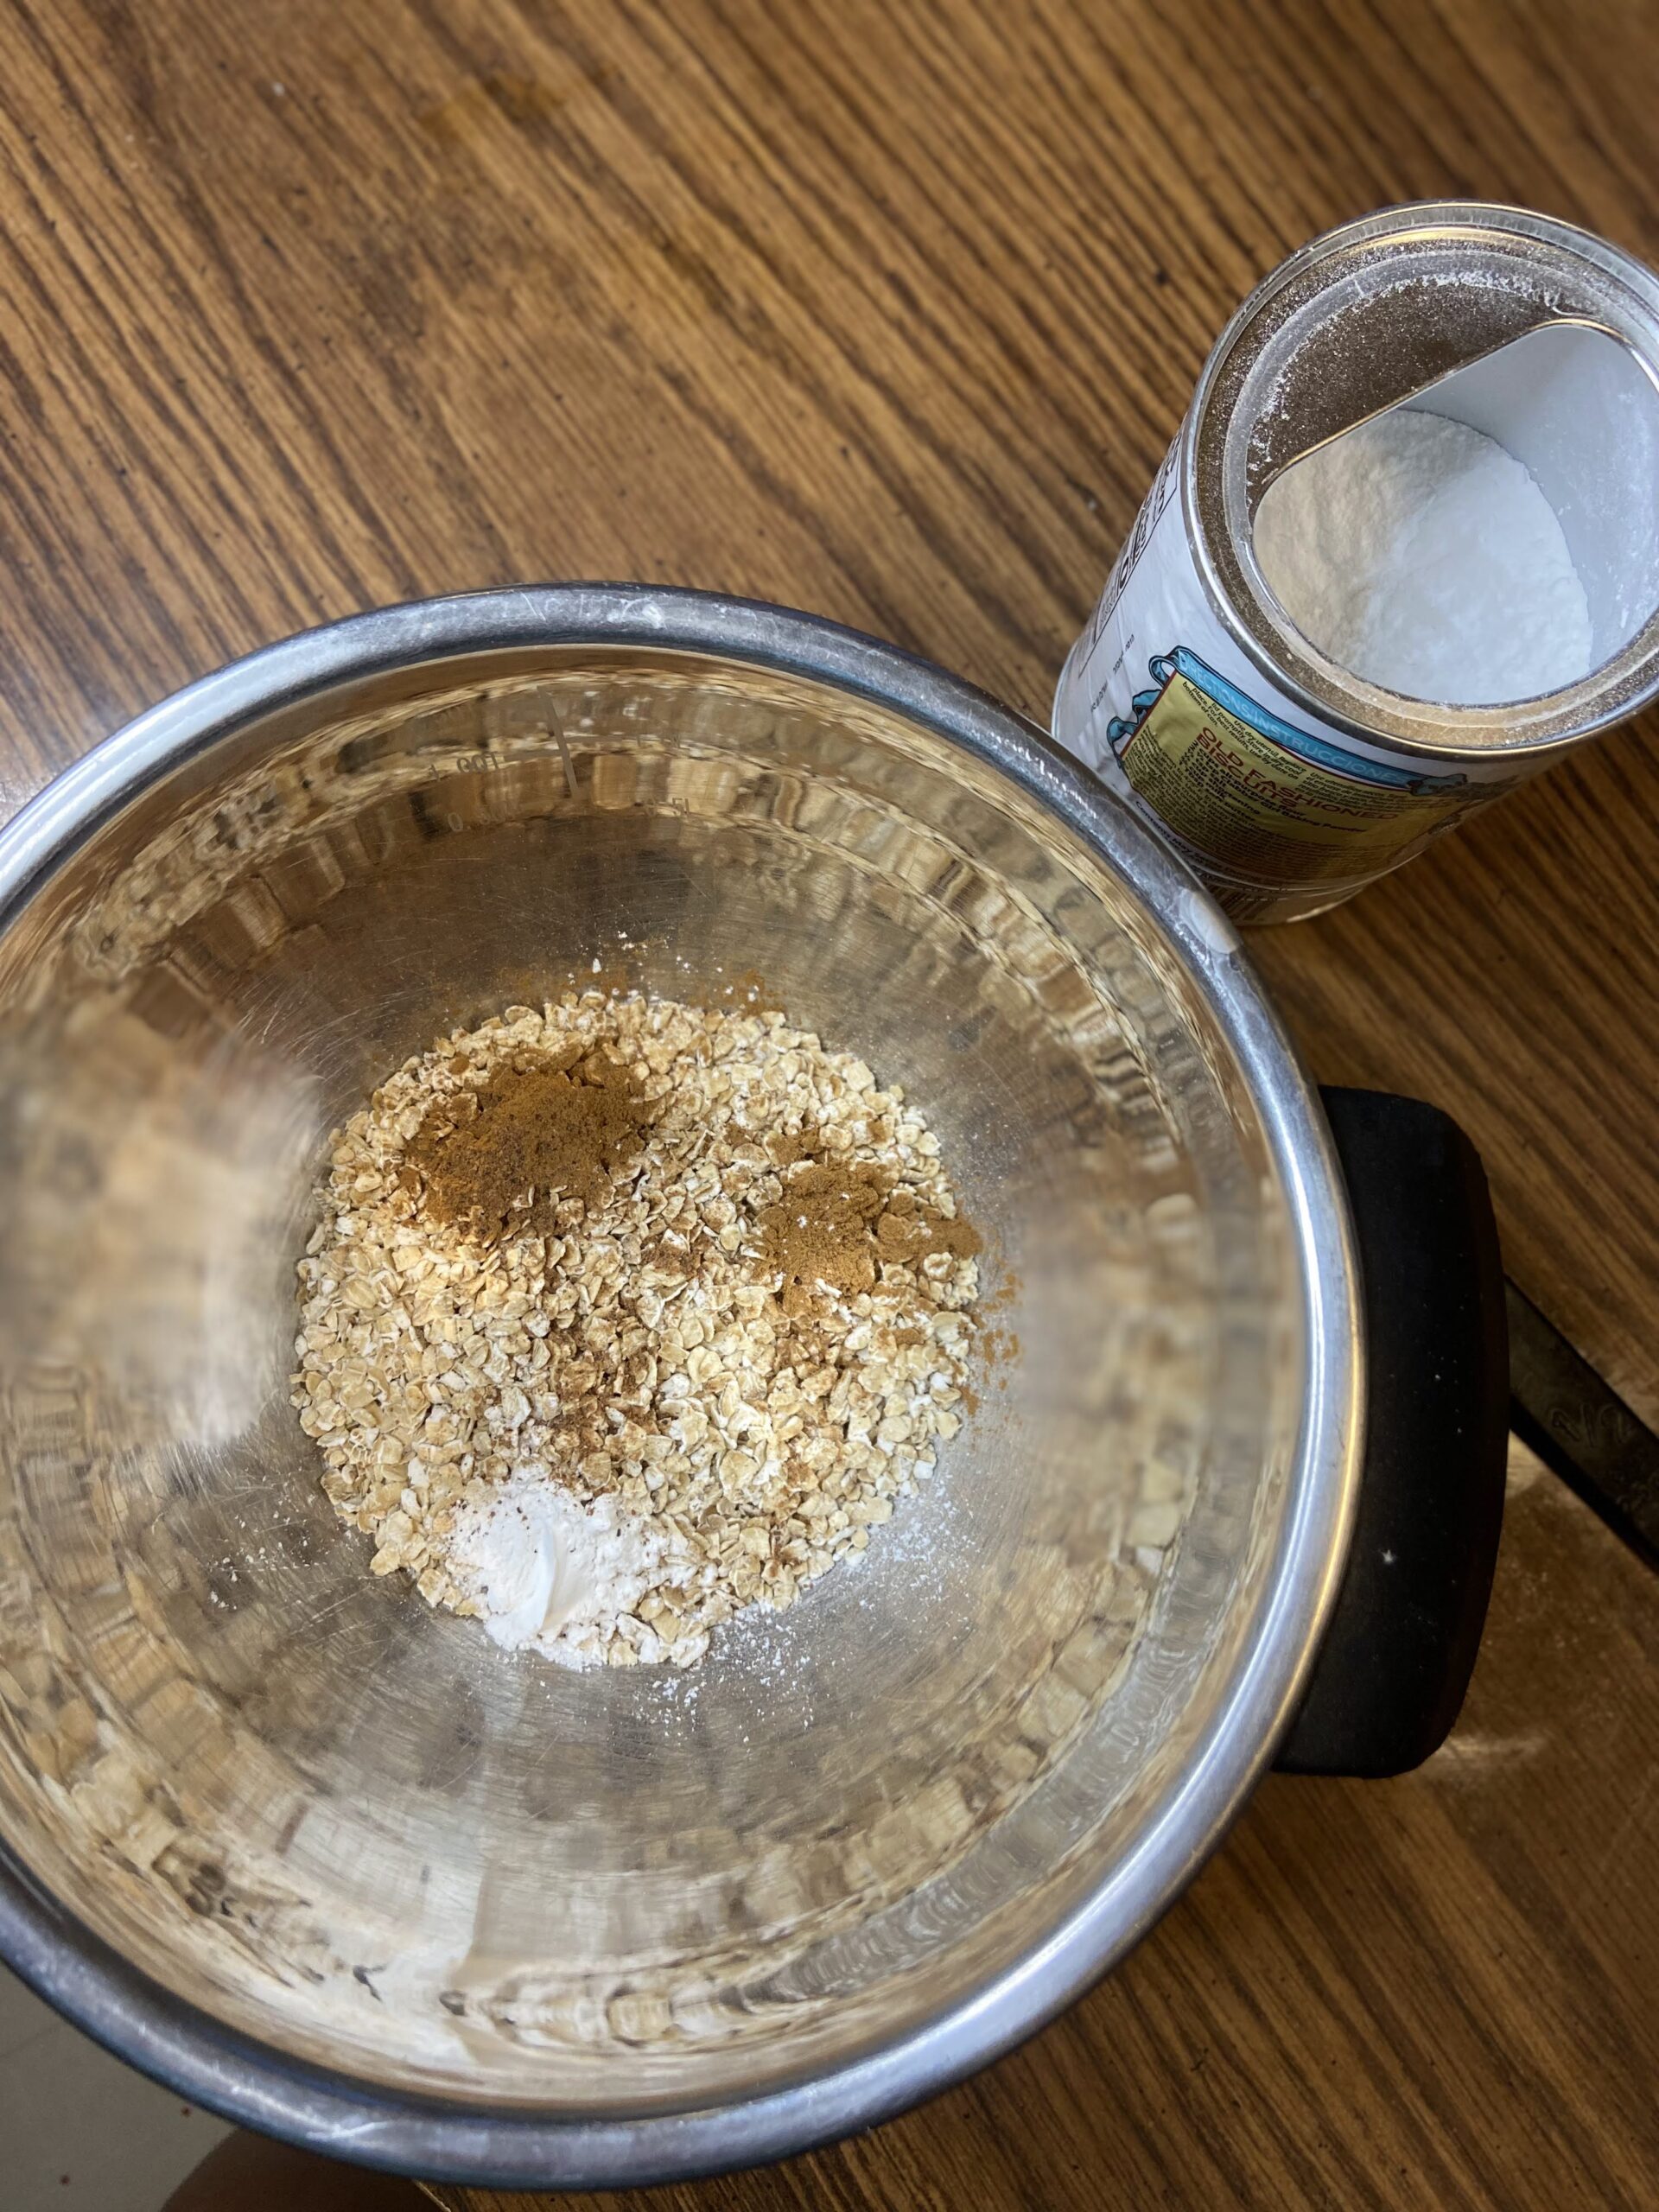
Preheat the oven to 375 degrees. In a small bowl, combine oats, flaxseed, nutmeg, cinnamon, salt, and baking powder. Add remaining ingredients and stir well. Pour the mixture into a small round baking dish. Bake for 15-20 minutes, until the top of the oatmeal is solid. Eat it plain, or top with vanilla Greek yogurt for extra protein and a little treat! 

Finished Baked Oatmeal

Pumpkin Pie Baked Oatmeal

A warm and cozy pumpkin pie baked oatmeal is the ticket for a single serving breakfast full of good for you ingredients
Prep Time 3 minutes
Cook Time 15 minutes
Course Breakfast
Cuisine American
Servings 1

Ingredients
  

  • ½ cup quick oats
  • ½ tablespoon ground flaxseed
  • teaspoon nutmeg
  • ½ teaspoon cinnamon
  • Pinch of salt
  • ½ teaspoon baking powder
  • 1 tablespoon maple syrup
  • cup unsweetened almond milk or other milk of your choice
  • teaspoon vanilla
  • ½ cup pumpkin puree
  • 2 tablespoons walnuts optional

Instructions
 

  • Preheat the oven to 375 degrees.
  • In a small bowl, combine oats, flaxseed, nutmeg, cinnamon, salt, and baking powder.
  • Add remaining ingredients and stir well. Pour the mixture into a small round baking dish.
  • Bake for 15-20 minutes, until the top of the oatmeal is solid.
  • Eat it plain, or top with vanilla Greek yogurt for extra protein and a little treat!
Keyword baked oatmeal, Breakfast, oatmeal, pumpkin, pumpkin recipes, single serving
Tried this recipe?Let us know how it was!

Spiced Pumpkin Bread

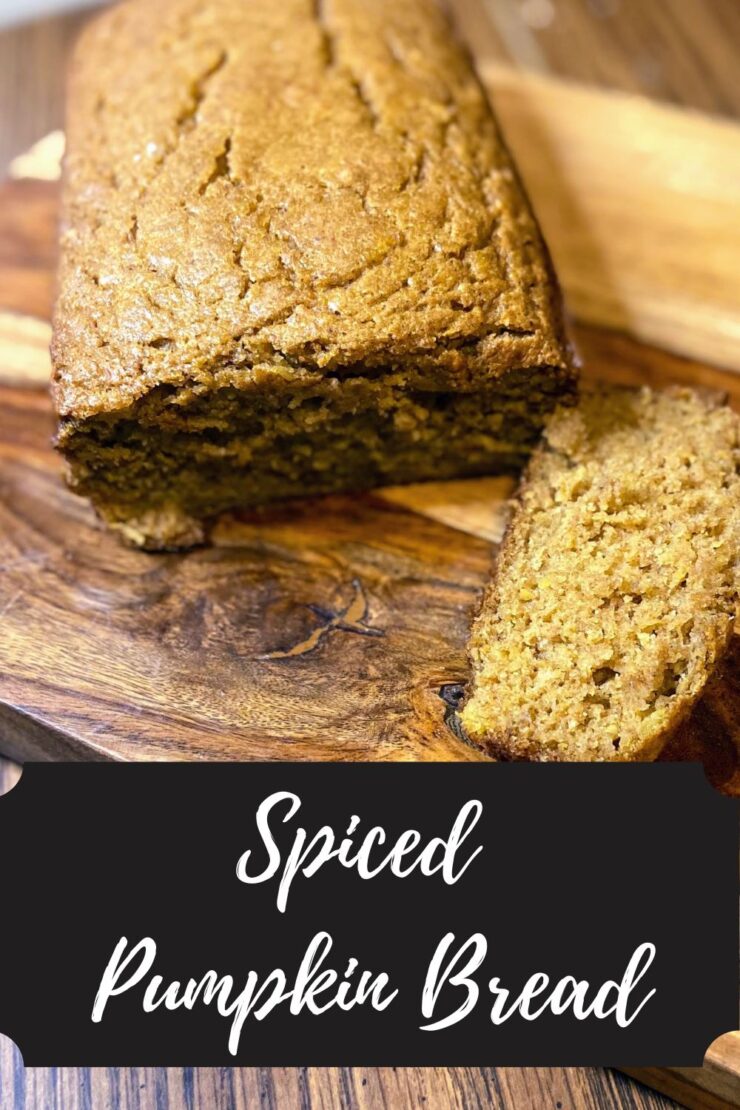
Are you team pumpkin or team apple in the fall? Hands down, I was team apple for years. Then I slowly shifted. It started when I grew my own pumpkins and subsequently roasted them. I had to bake with them, and once I did that, there was no looking back. At about that same time, I discovered a pumpkin bread I adored. But…it had THREE cups of sugar. Three. I just can’t do that anymore. So this is my take on that bread I adored: a spiced pumpkin bread. 

When I bake something I am especially proud of, I share with allll the friends and family. One friend said it had a feeling of spice cake with pumpkin on the finish. The Mr’s best friend grabbed a piece and before I could even ask what he thought, he said, “this is REALLY good.” 

I opted to go maple syrup with just a touch of brown sugar for that molasses taste. And the oil? I actually used some rendered lard from our half of a pig we purchased earlier this fall. It got melted/softened and worked like a dream. No lard? No problem, go with some coconut oil or regular oil and it will work just fine. 

Ready to start baking? Let’s go! 

Your Ingredients

  • 1 ½ cups pumpkin puree (roast your own! It’s incredible!)
  • 2 eggs
  • ¼ cup oil (lard)
  • ⅔ cup maple syrup 
  • 2 tablespoons brown sugar
  • 2 cups whole wheat flour 
  • 1 teaspoon baking soda
  • ¾ teaspoon salt 
  • ½ teaspoon ground cinnamon 
  • ½ teaspoon ground nutmeg
  • ¼ teaspoon cloves 
  • ½ cup chopped nuts, optional 

You Steps to Spiced pumpkin Bread

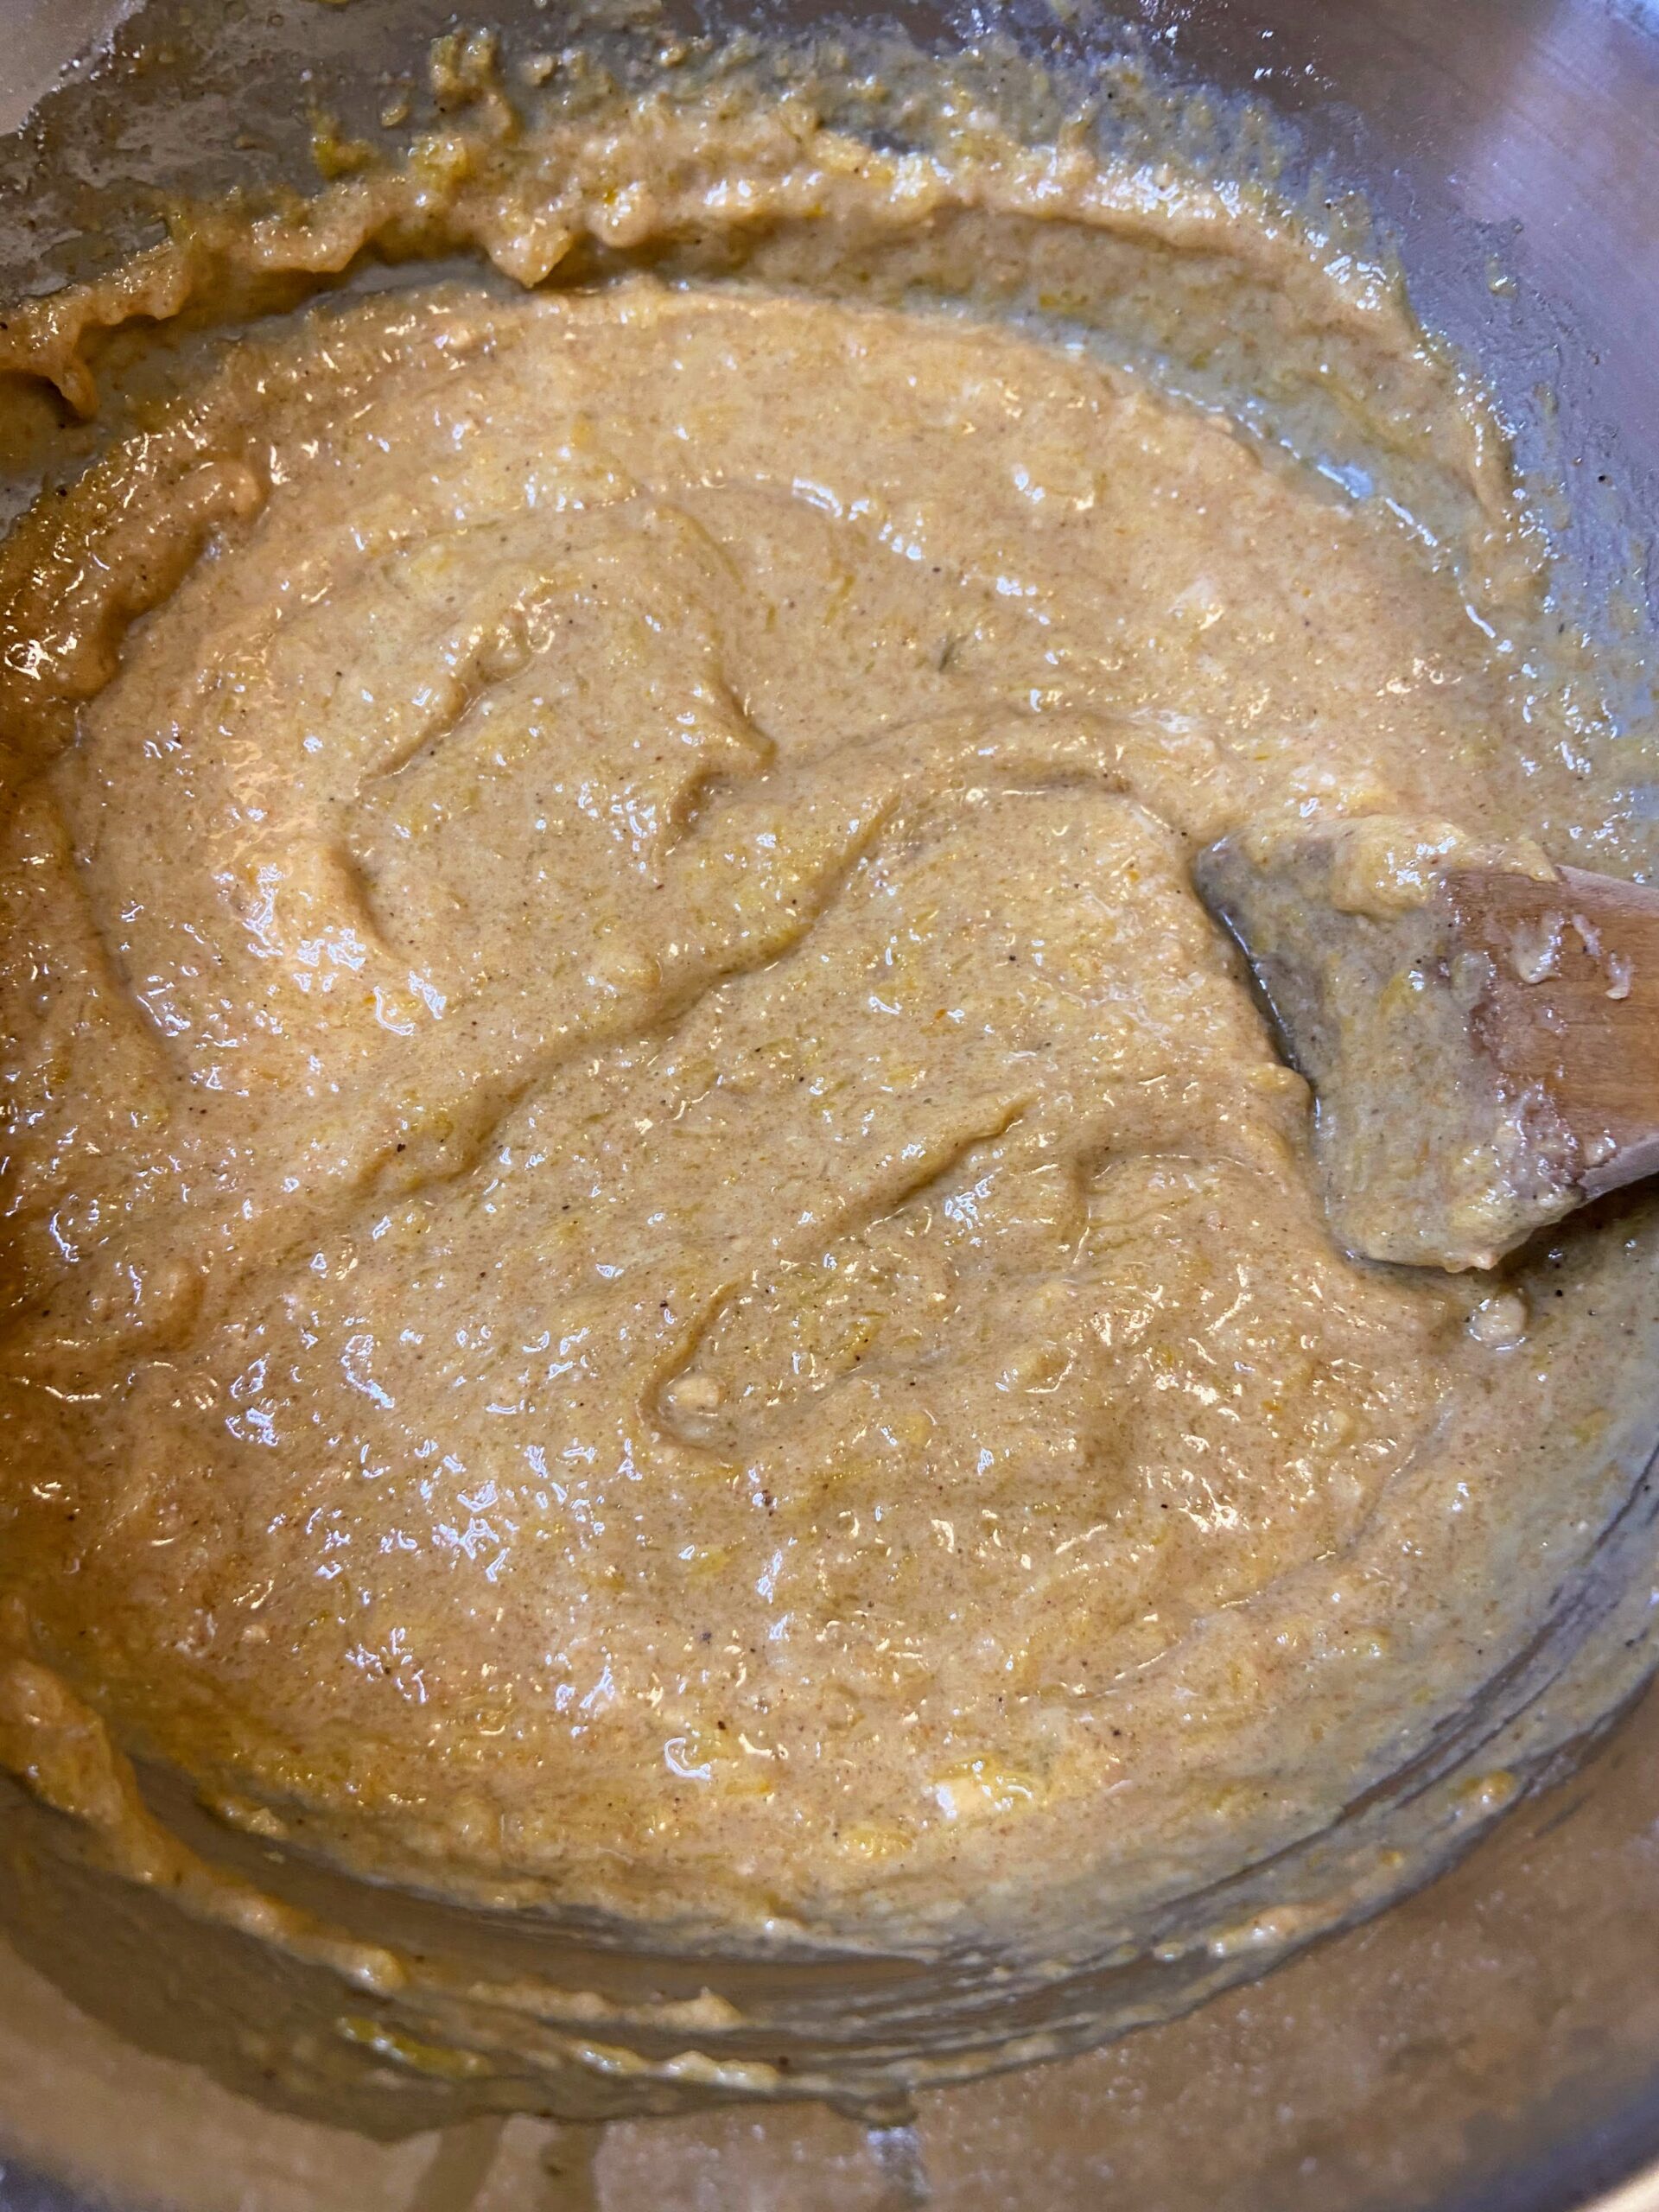
Preheat the oven to 350 degrees. In a large bowl, combine the eggs, oil, maple syrup, and brown sugar. Mix in the pumpkin puree.

Add the whole wheat flour, baking soda, salt, cinnamon, nutmeg, and cloves. Mix until just combined. Fold in chopped nuts, if desired. 

Pour into a greased loaf pan. Bake 50-60 minutes, until cooked through and passes the toothpick test.

Spiced Pumpkin Bread

Home roasted pumpkin with a collection of spices makes the best quick bread. This healthier twist on a spiced pumpkin bread is sure to be a hit!
Prep Time 10 minutes
Cook Time 50 minutes
Course Breakfast
Cuisine American, Bread
Servings 12 slices

Ingredients
  

  • 1 ½ cups pumpkin puree
  • 2 eggs
  • ¼ cup oil lard
  • cup maple syrup
  • 2 tablespoons brown sugar
  • 2 cups whole wheat flour
  • 1 teaspoon baking soda
  • ¾ teaspoon salt
  • ½ teaspoon ground cinnamon
  • ½ teaspoon ground nutmeg
  • ¼ teaspoon cloves
  • ½ cup chopped nuts optional

Instructions
 

  • Preheat the oven to 350 degrees.
  • In a large bowl, combine the eggs, oil, maple syrup, and brown sugar.
  • Mix in the pumpkin puree.
  • Add whole wheat flour, baking soda, salt, cinnamon, nutmeg, and cloves. Mix until just combined.
  • Fold in chopped nuts, if desired.
  • Pour into a greased loaf pan. Bake 50-60 minutes, until cooked through and passes the toothpick test.

Notes

We purchased a half of a hog the last few years, and I always have the lard rendered. It works AMAZINGLY well in baked goods. I melted it about halfway so that it had some soft sold parts yet. No lard? No problem. Coconut oil would work great too!
Keyword healthy breads, maple syrup, pumpkin, pumpkin bread, quick breads
Tried this recipe?Let us know how it was!

Looking for other fun recipes?

Check out any of the ones below and if they don’t tickle your fancy, find lots more on my baking page!

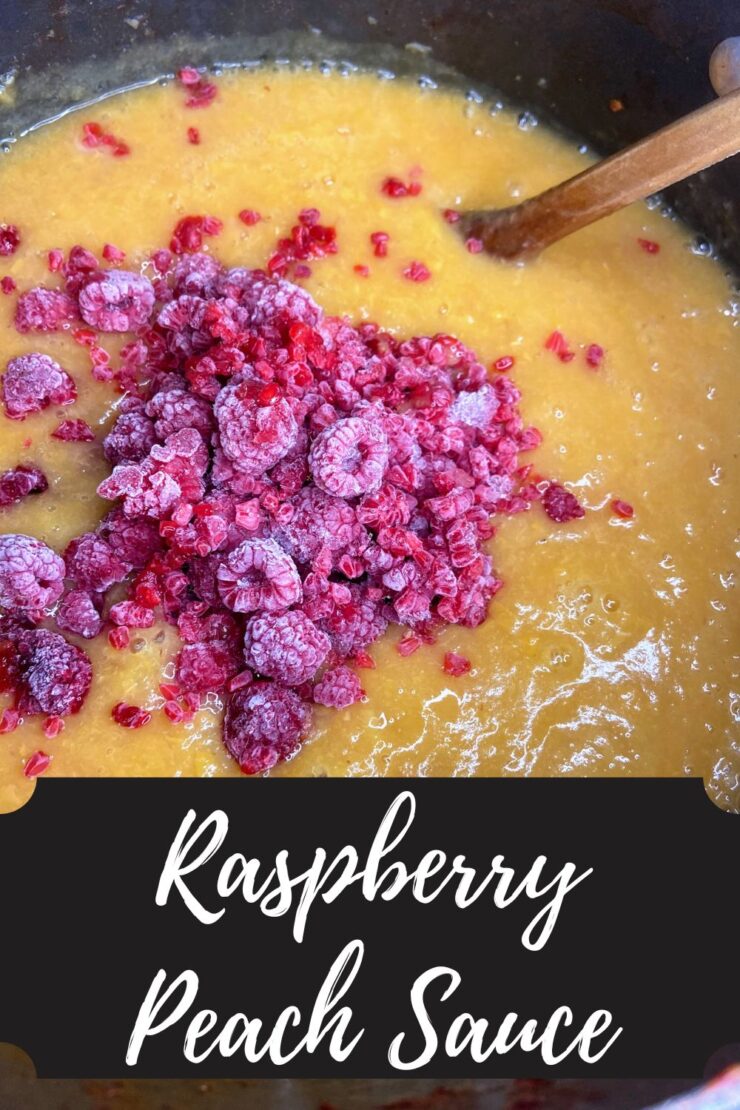
Raspberry Peach Sauce

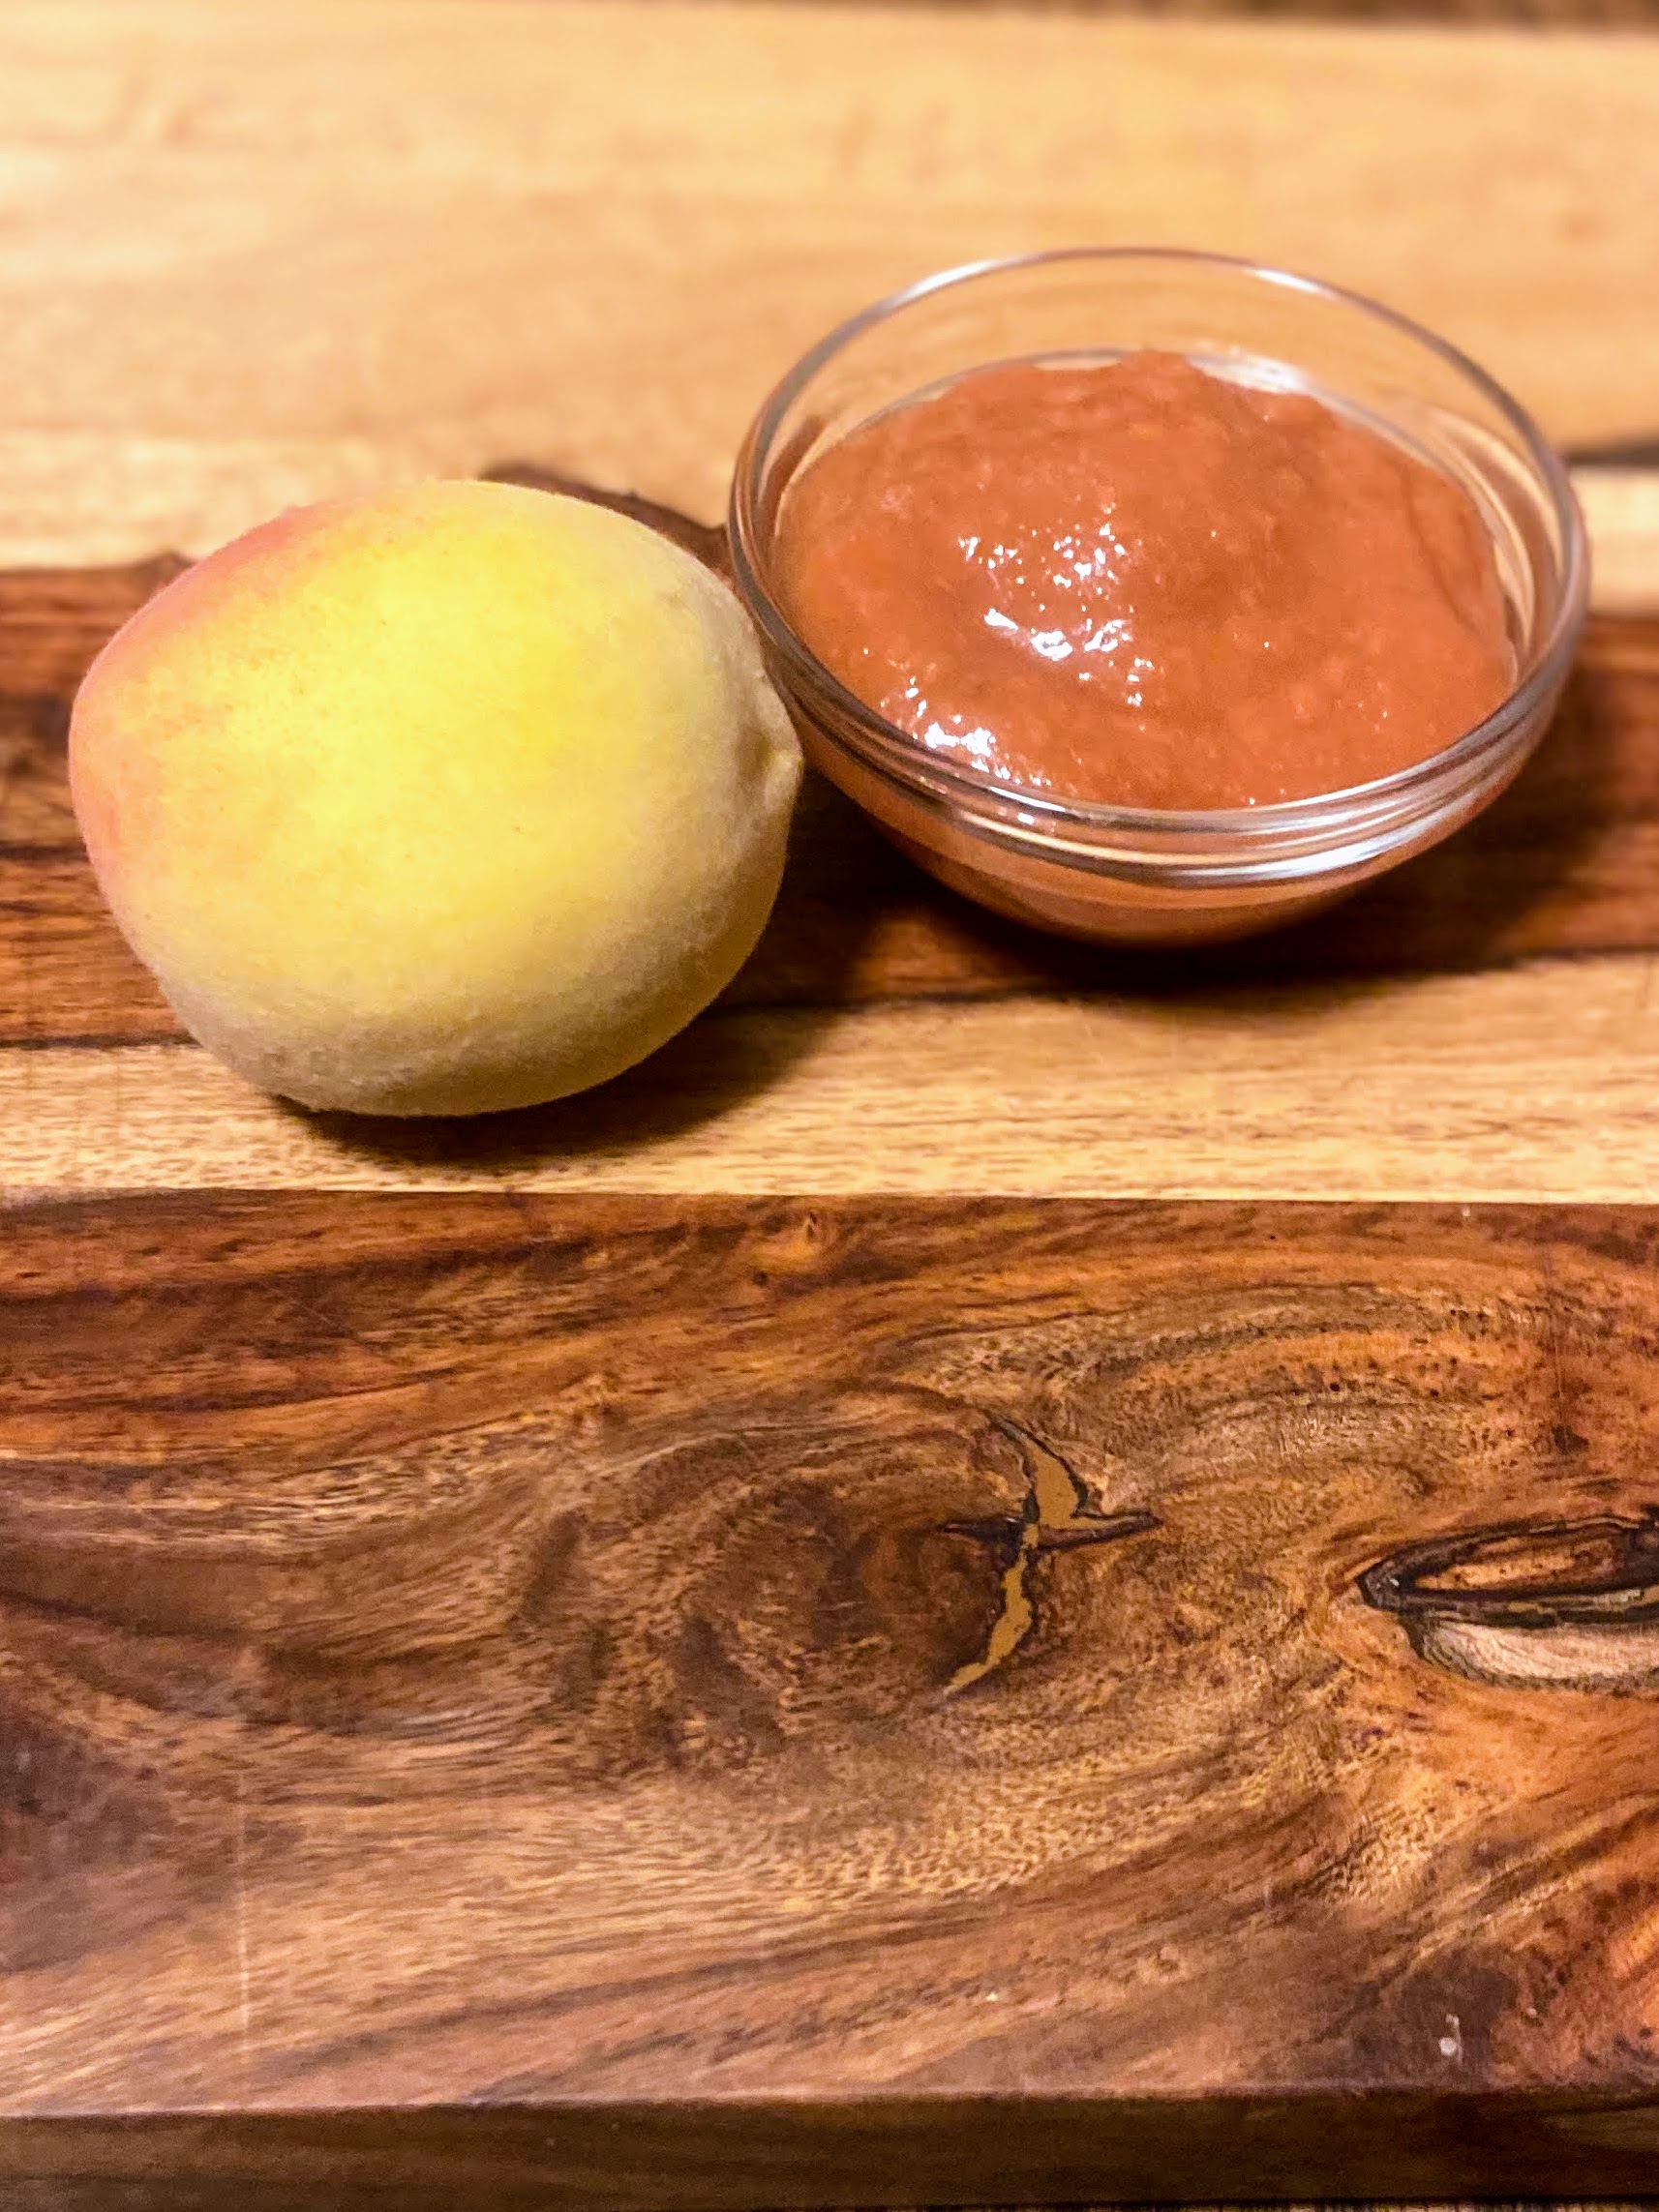
I know, I know. Making raspberry peach sauce sounds like baby food. That’s what people tell me, anyway. But I counter that with, “What do you call applesauce?” And then they shrug. But I win and I have them try it and they don’t care what you call it…it’s darn good. 

The idea of peach sauce was born out of my hatred of blanching and peeling tomatoes, peaches, and the like. Honestly, I don’t have an issue with blanching beans for freezing. But the extra step of peeling? NO THANK YOU. They stay on when I make tomato sauce and it turns out just fine. So why not give it a try with peaches? And let me tell you, it works! 

Most years, I simply wash, quarter, cook down, blend, can. This year, I added an extra layer of adding frozen raspberries from my garden to combine the flavors. Oh my. It was definitely an addition worthwhile and it was determined that I needed to share this raspberry peach sauce.

Enough talking, right? Let’s start creating peach sauce (and maybe raspberries? You get to decide!). Before you do though, you have to make a decision…are you going to can it or freeze it? (More on this later!)

Your Ingredients

  • 1 ½ cups water
  • 20-25 peaches, washed well 
  • 1-3 cups frozen raspberries (optional) 
  • ½-1 cup sugar, if desired
  • Fruit fresh, if freezing

Prepping the Raspberry Peach Sauce

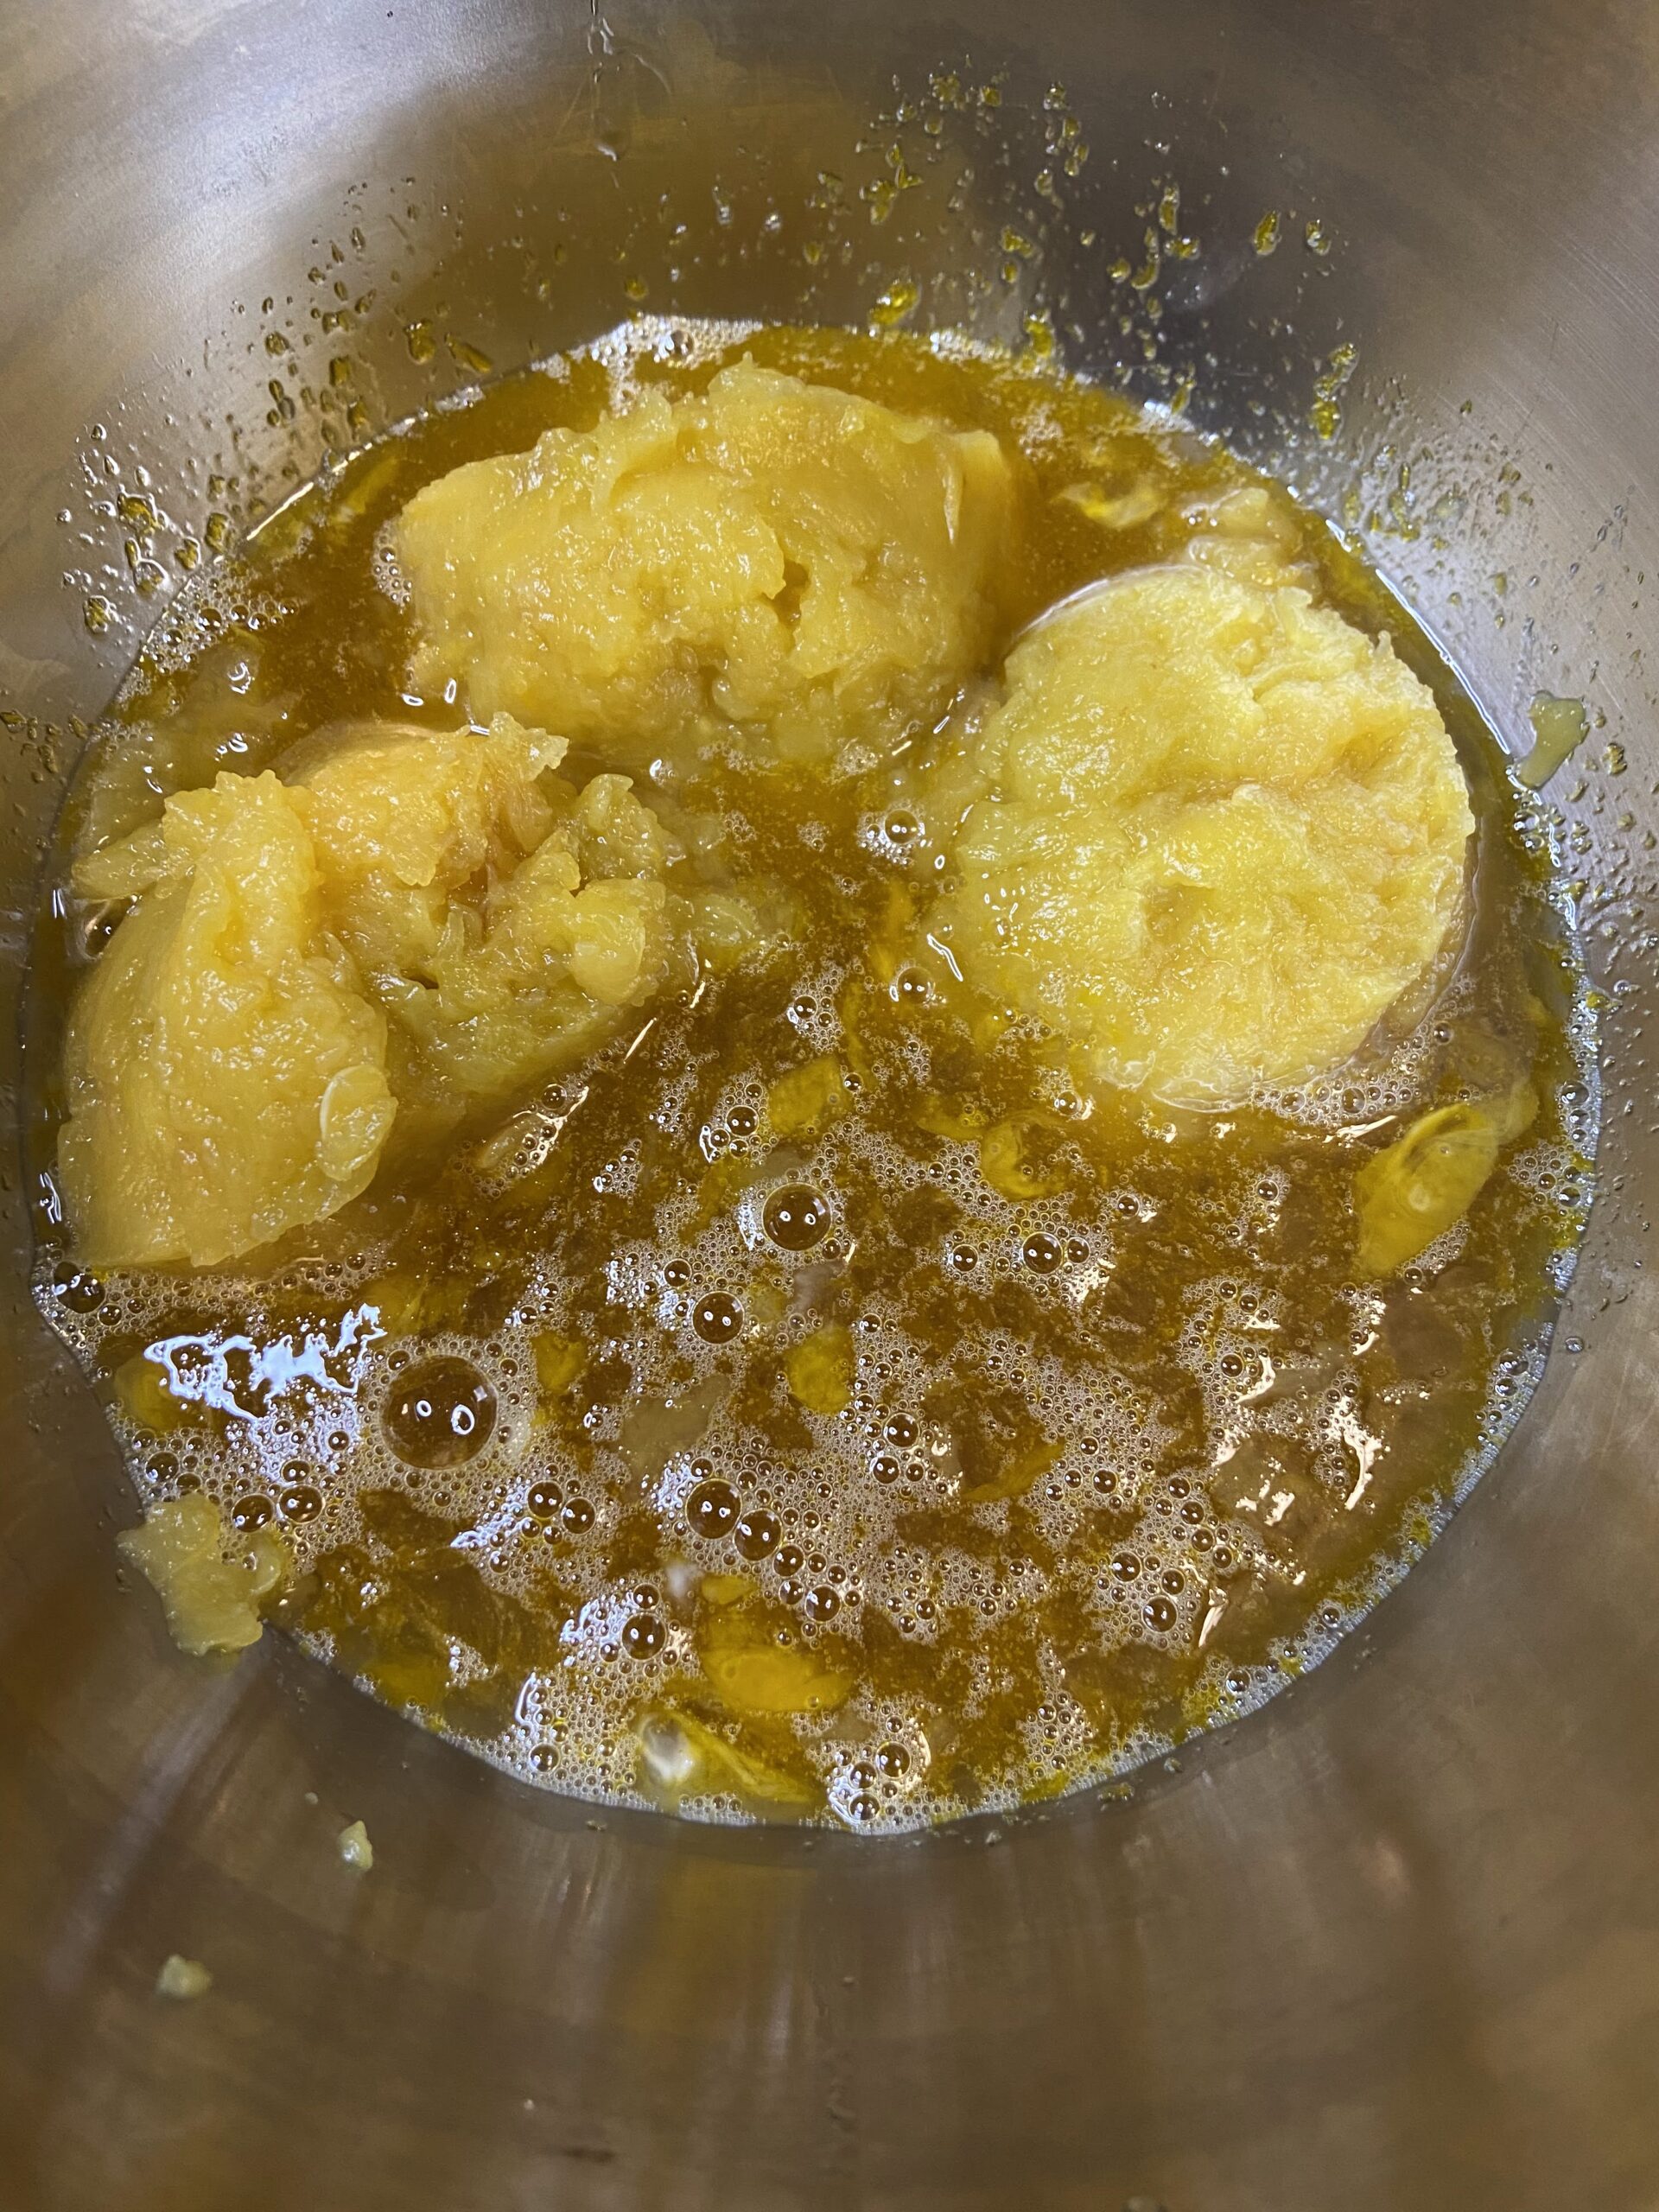
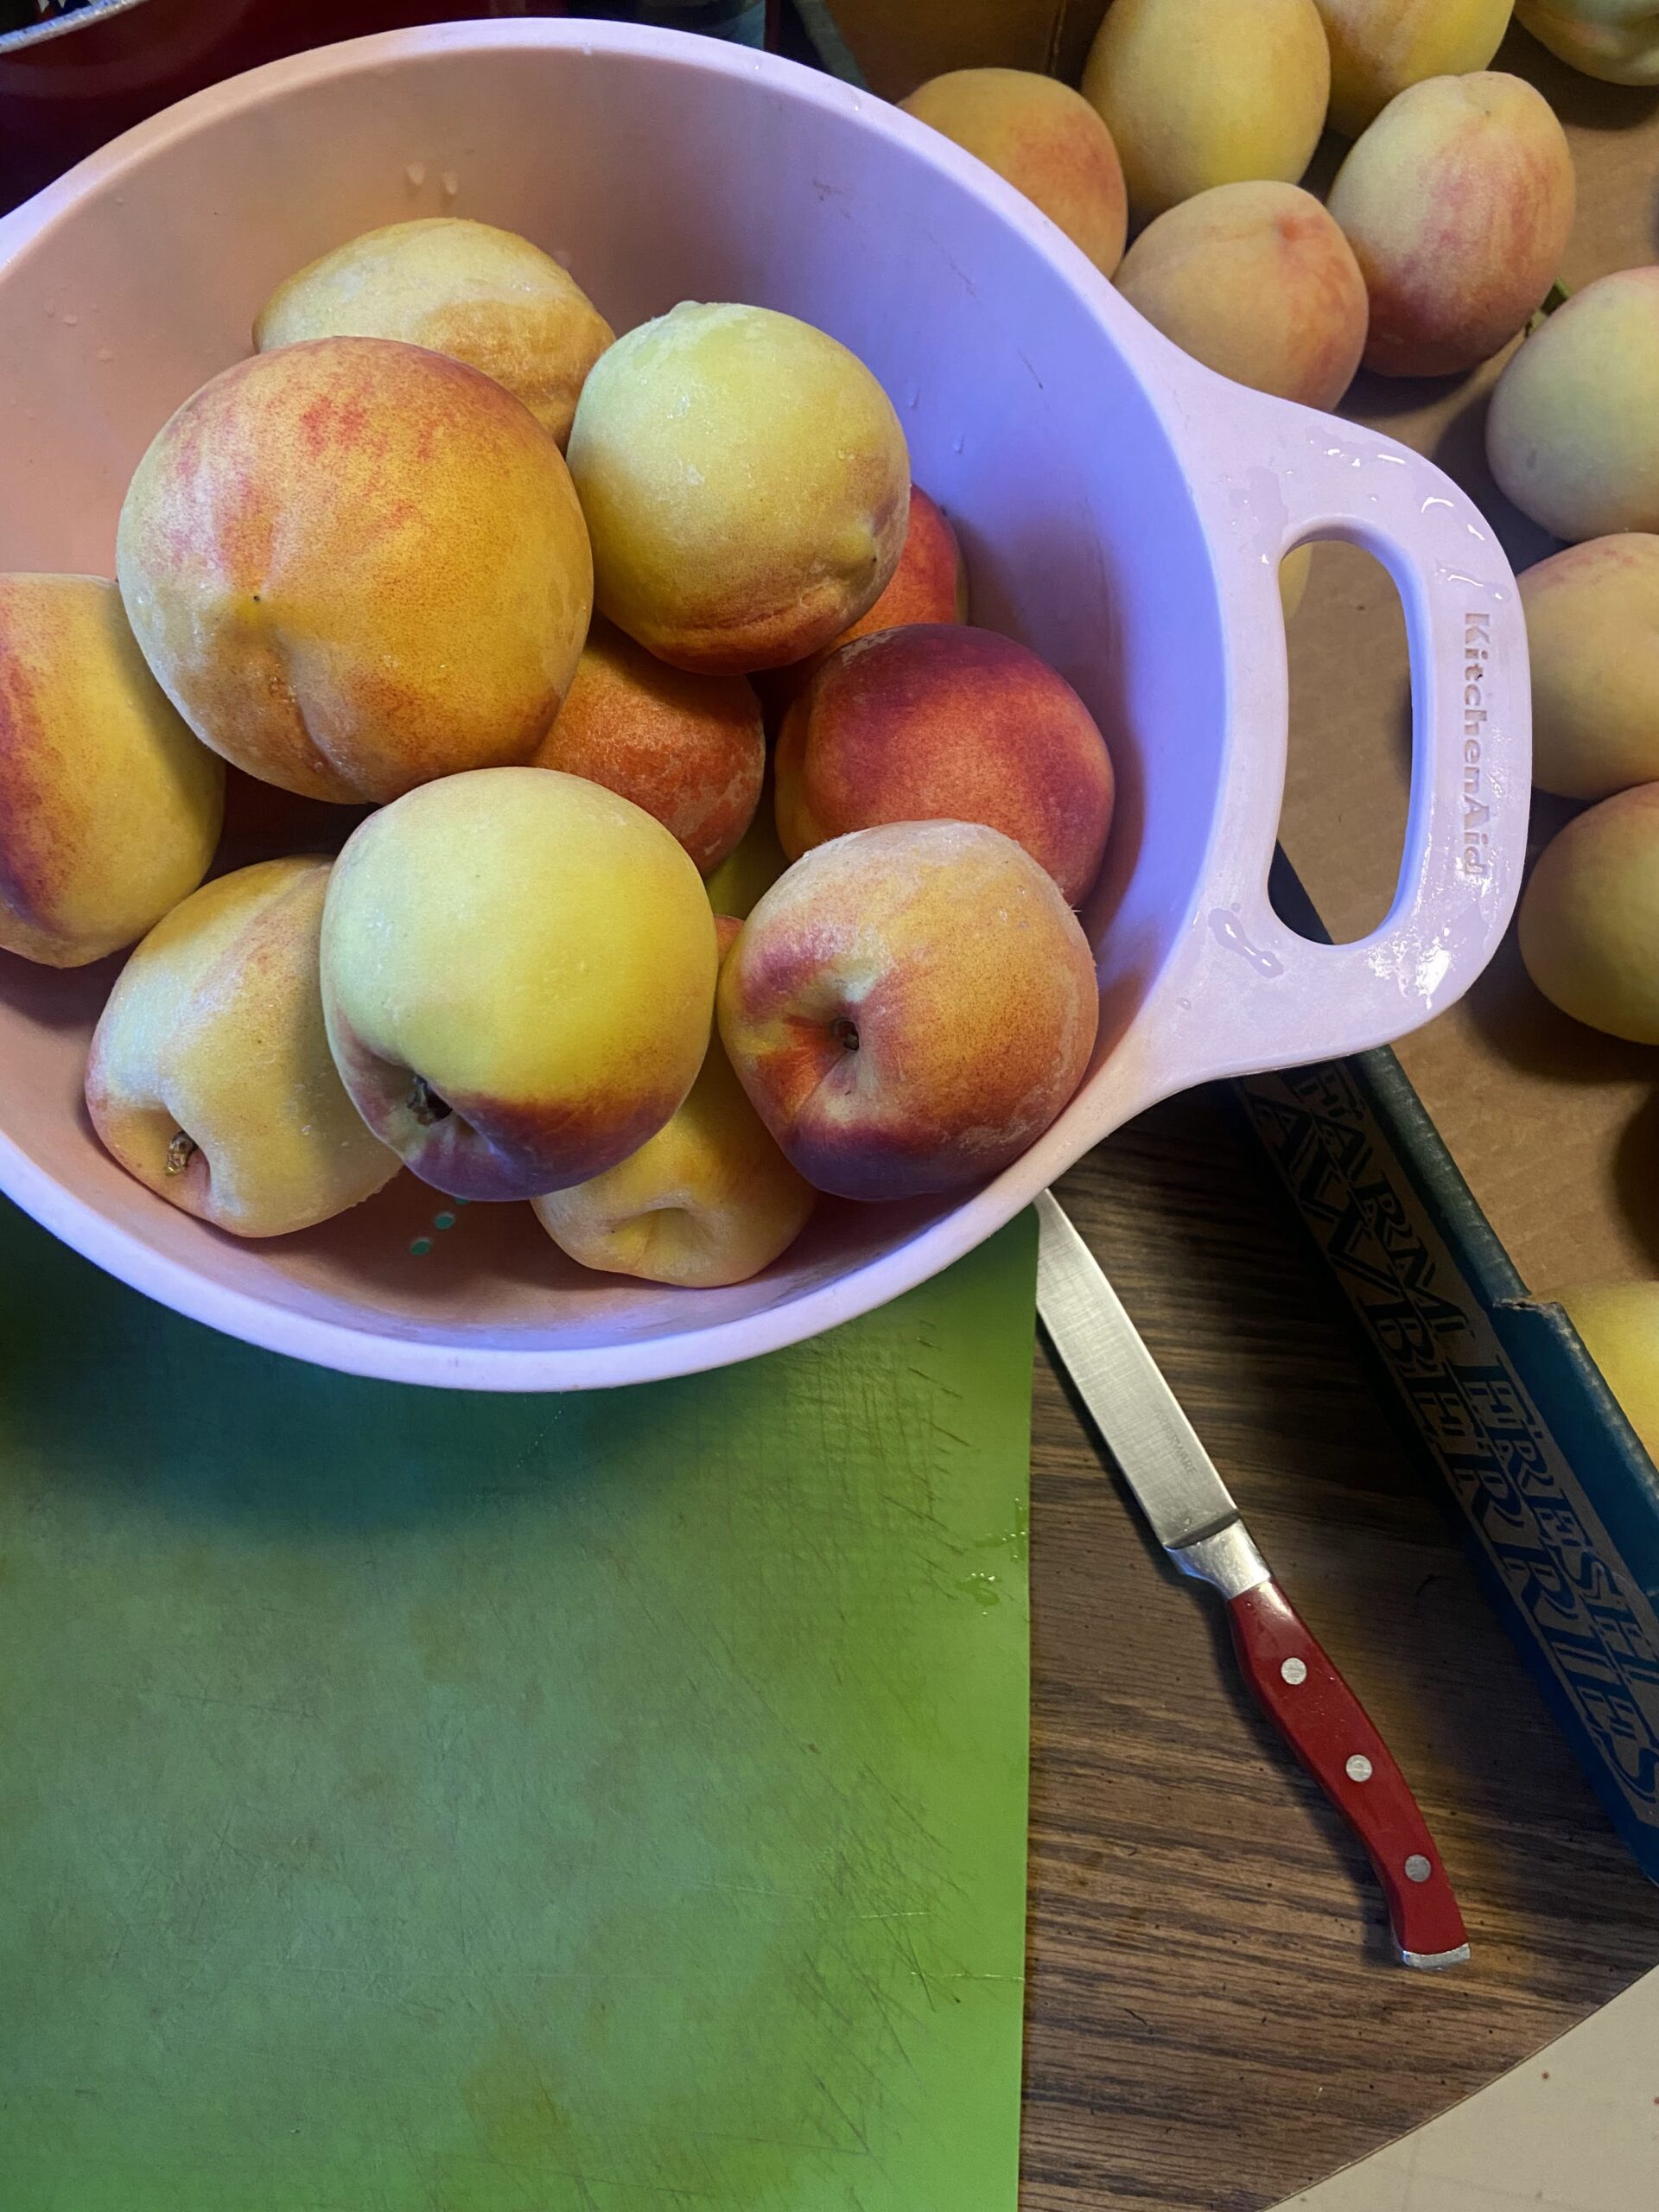
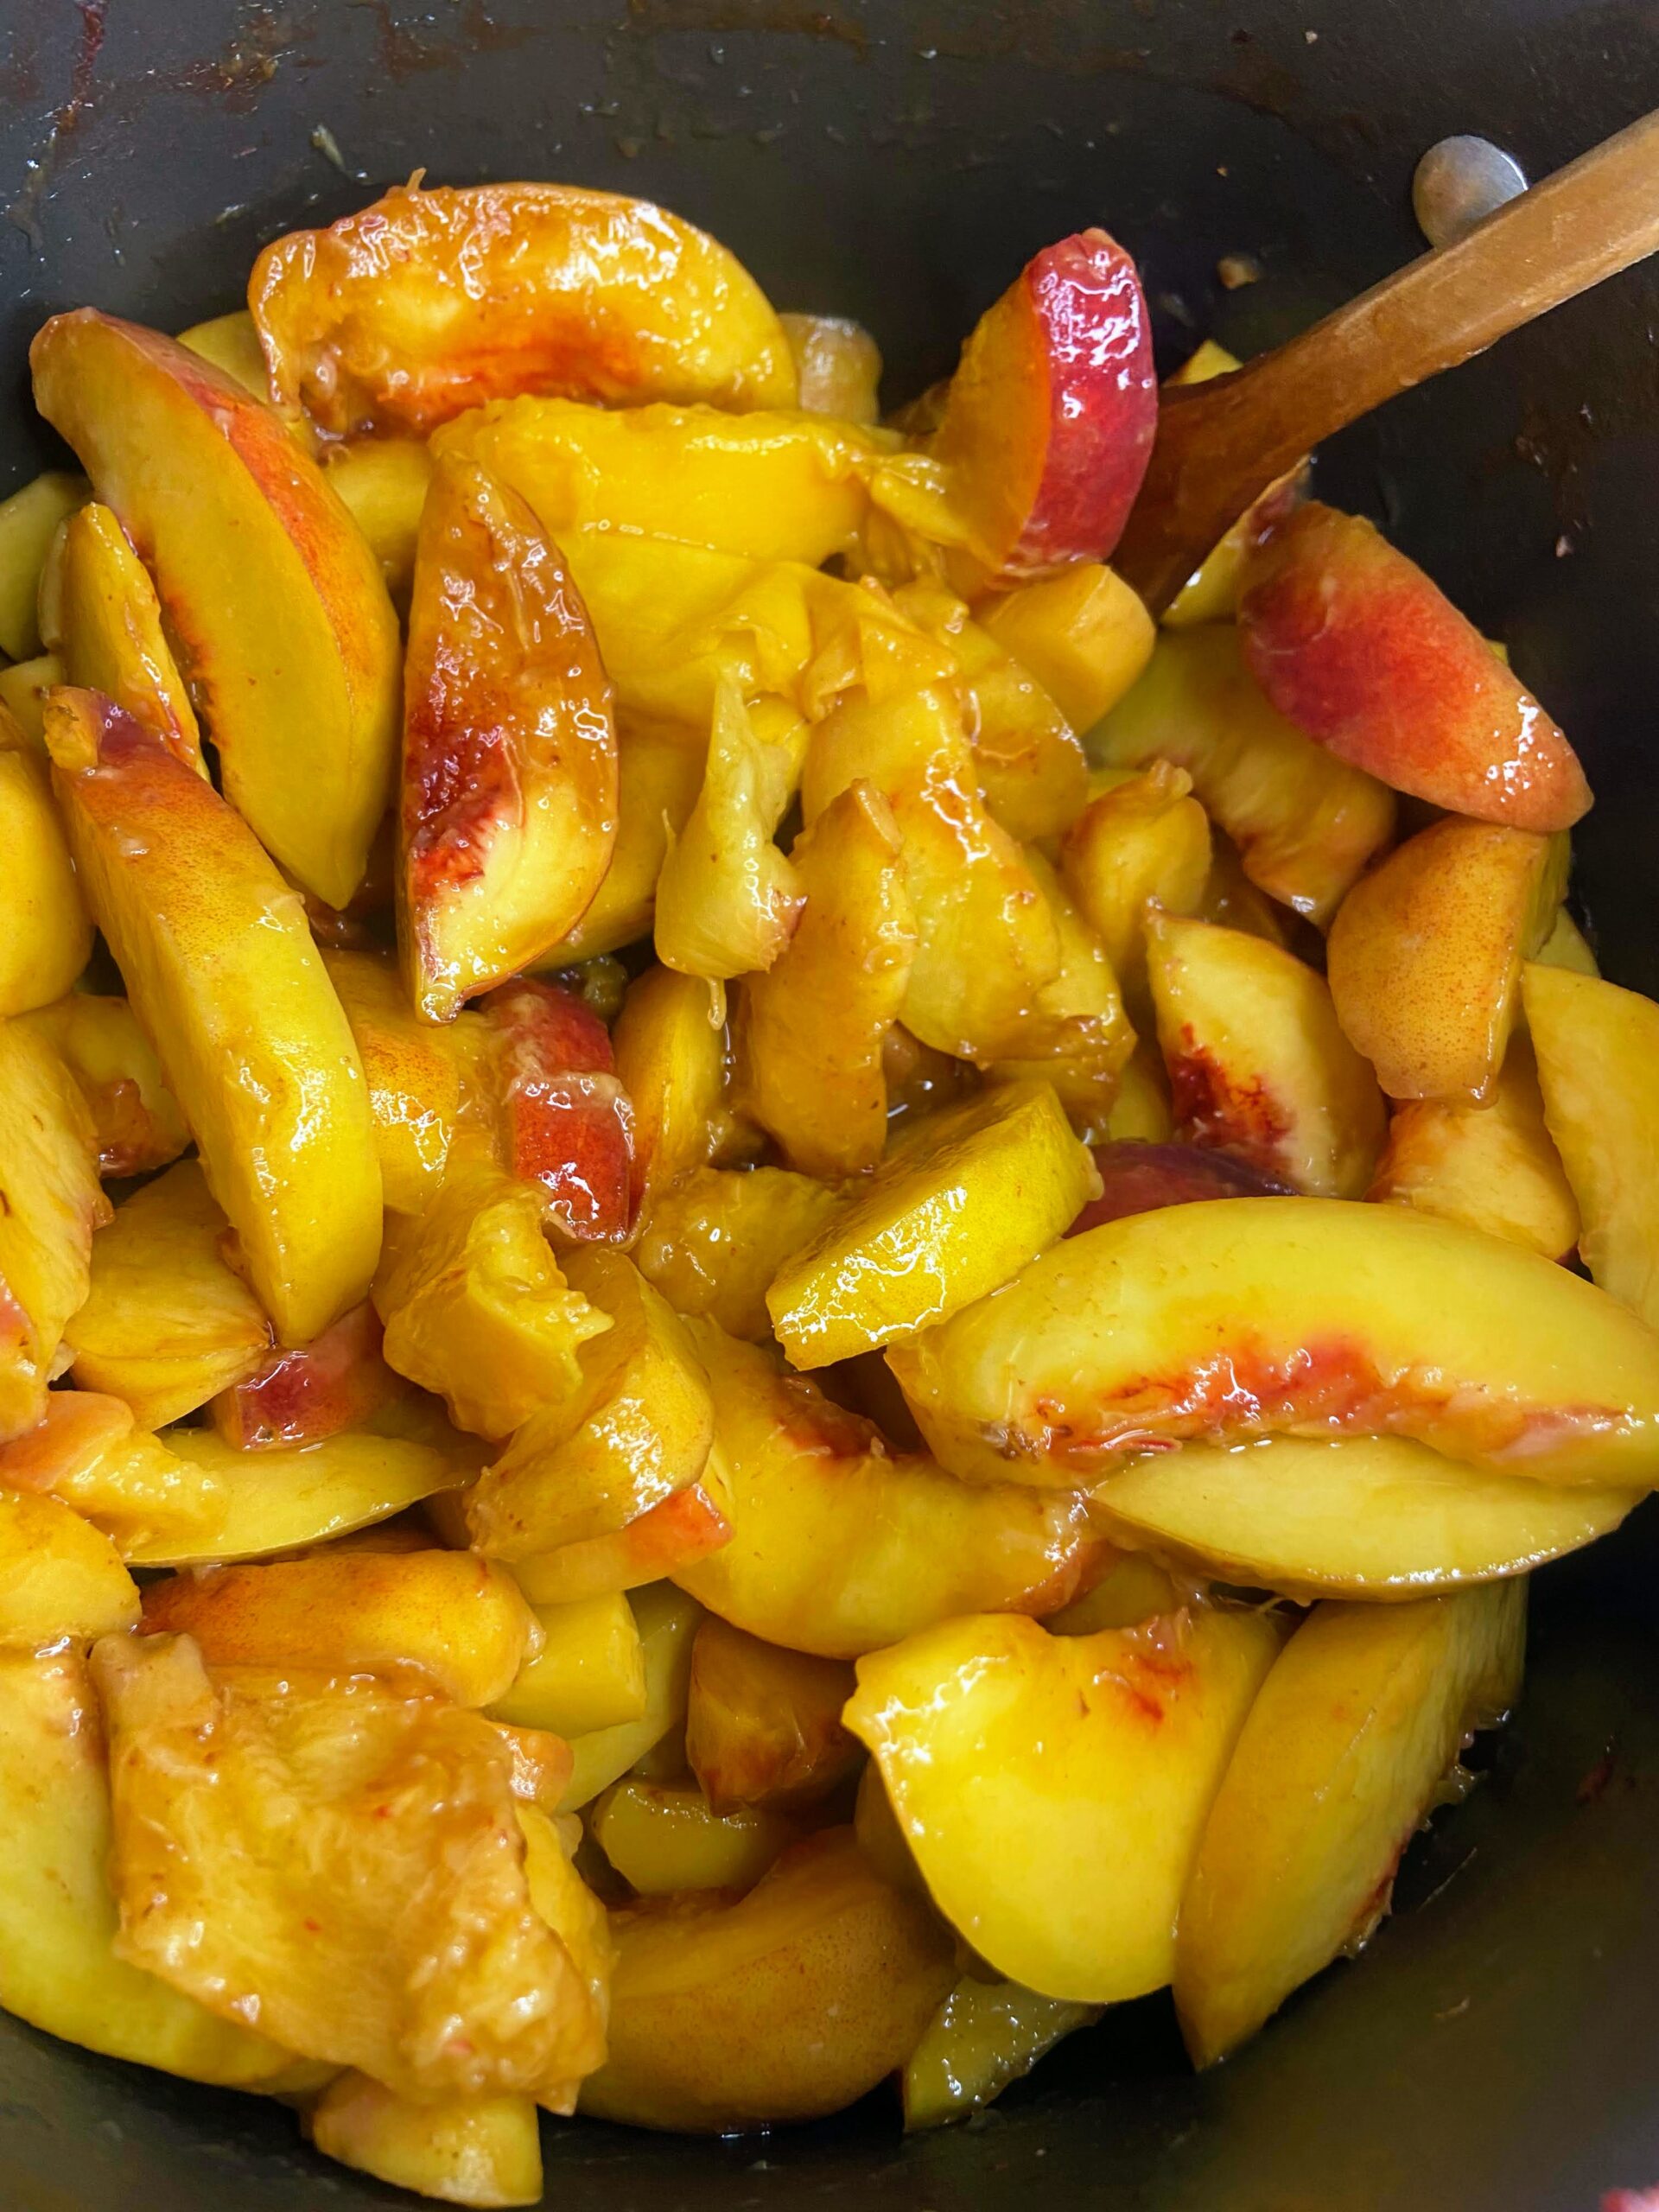
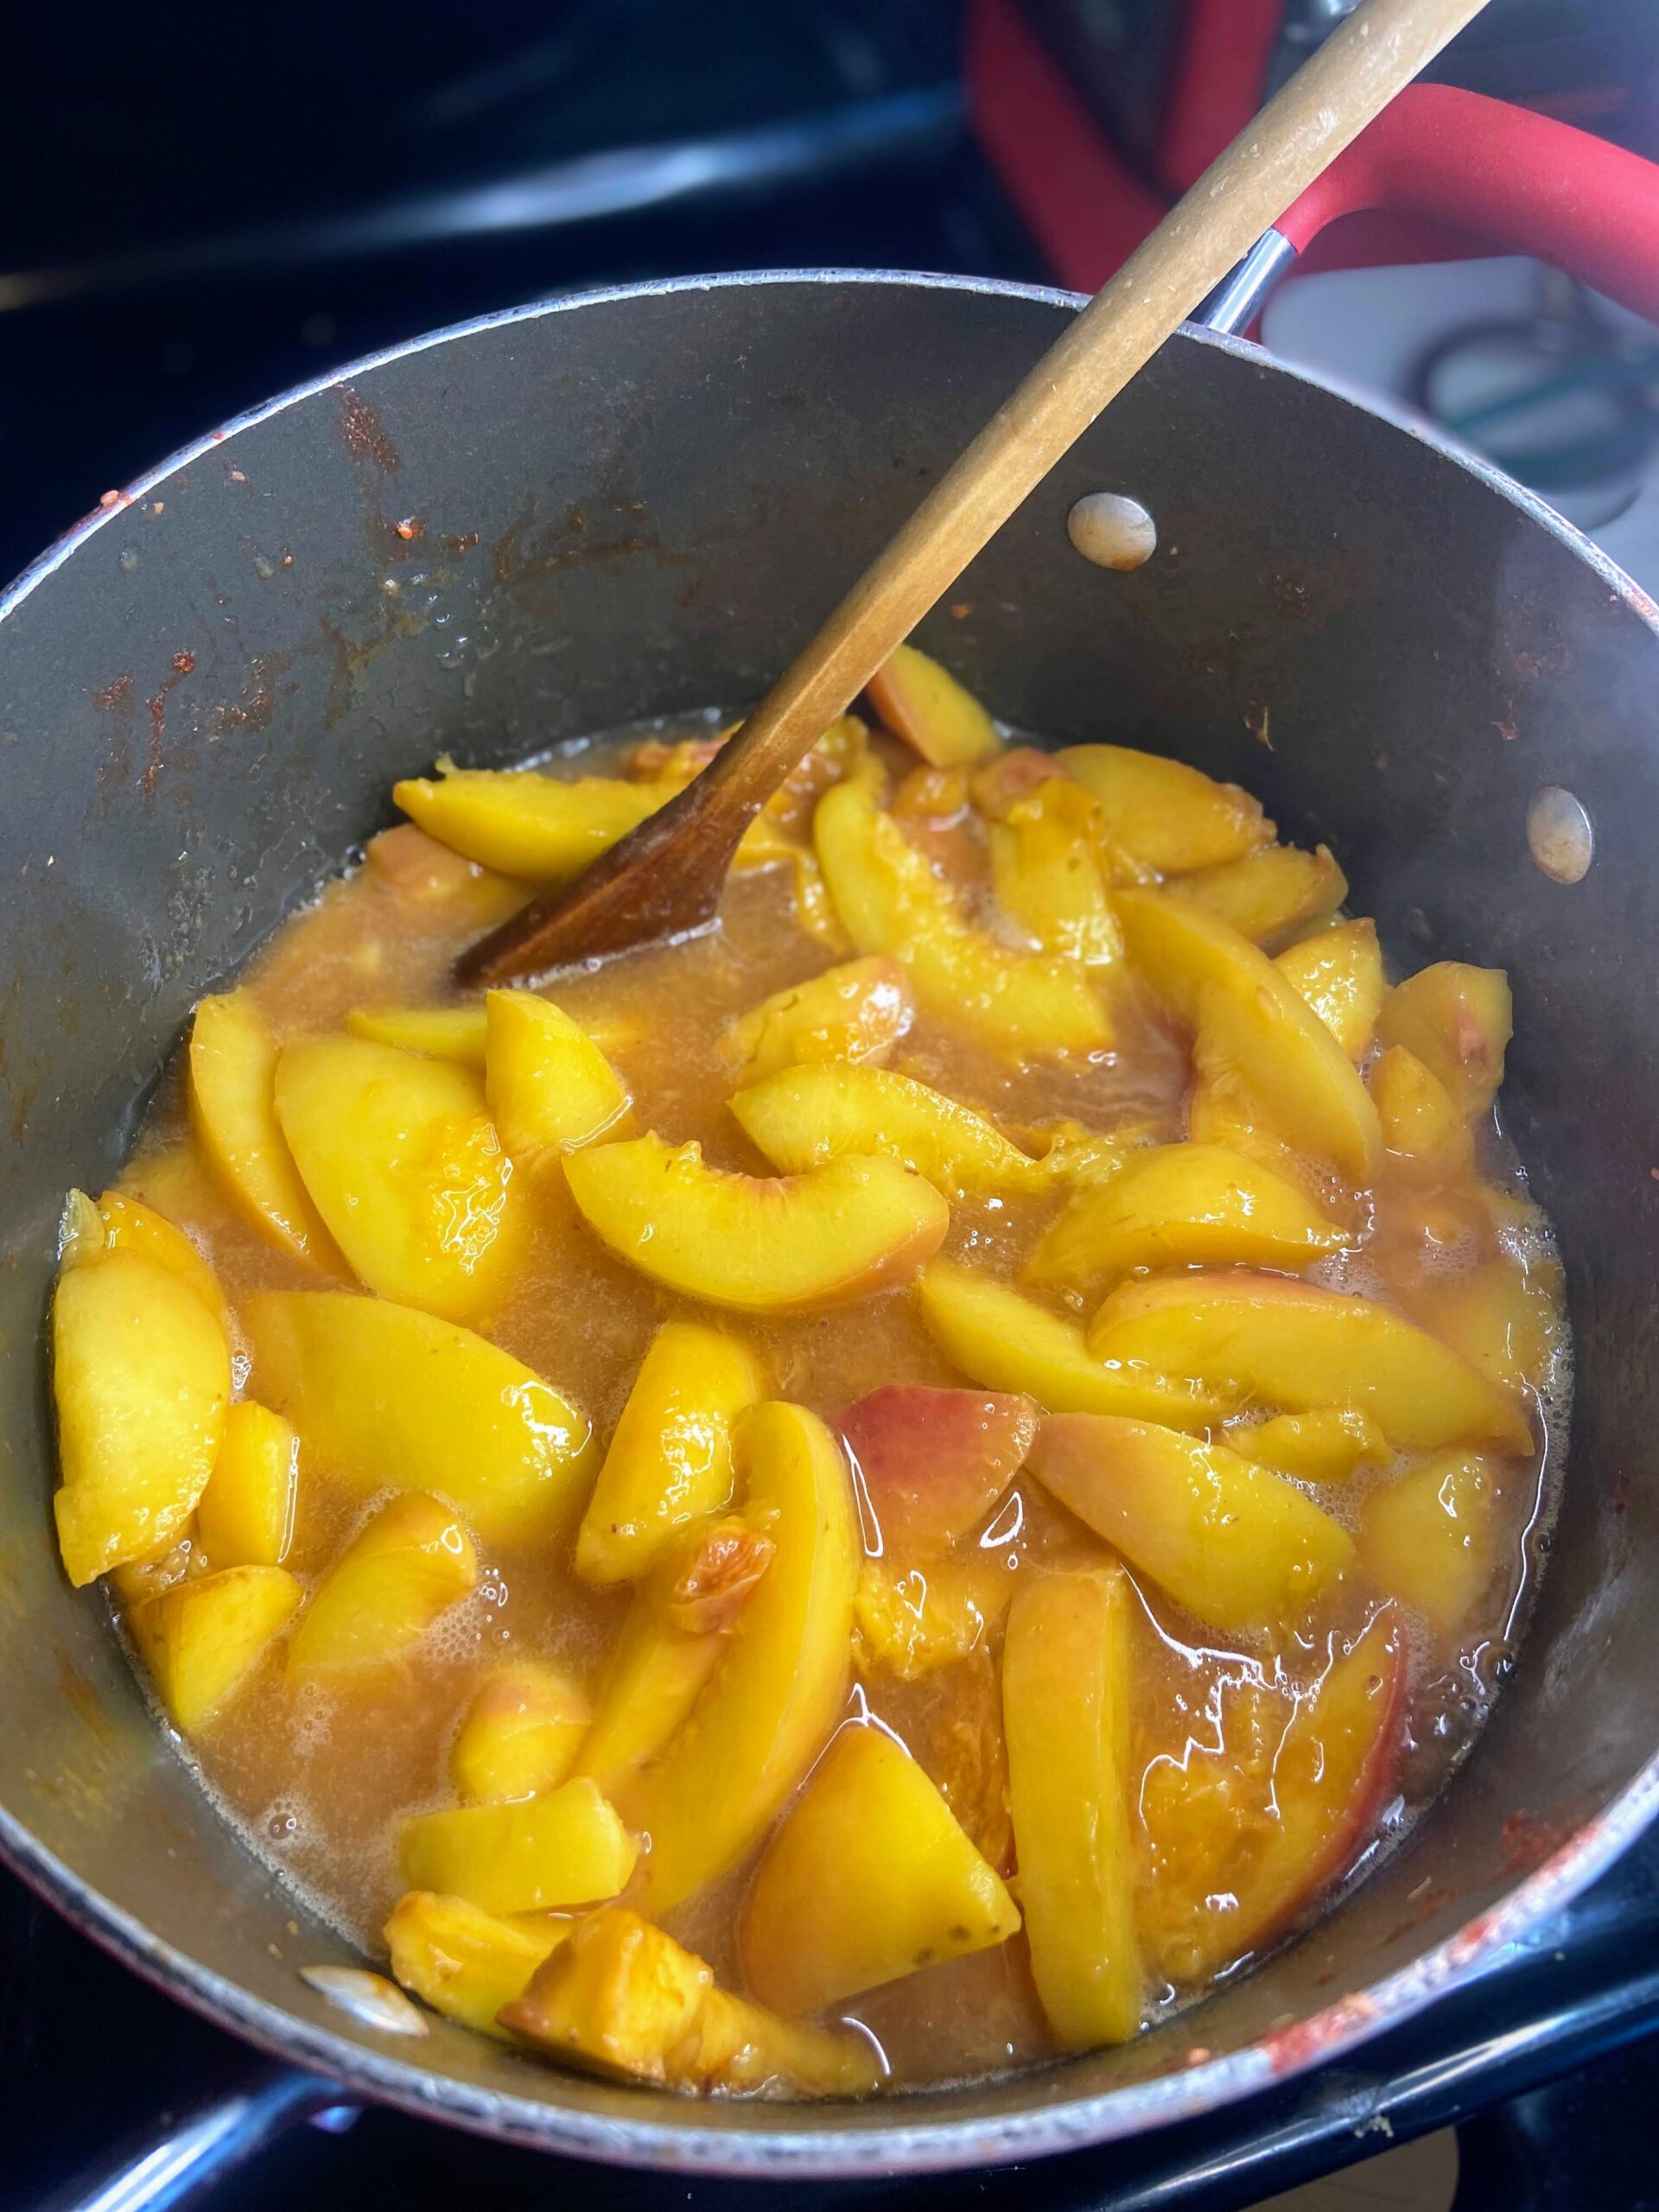
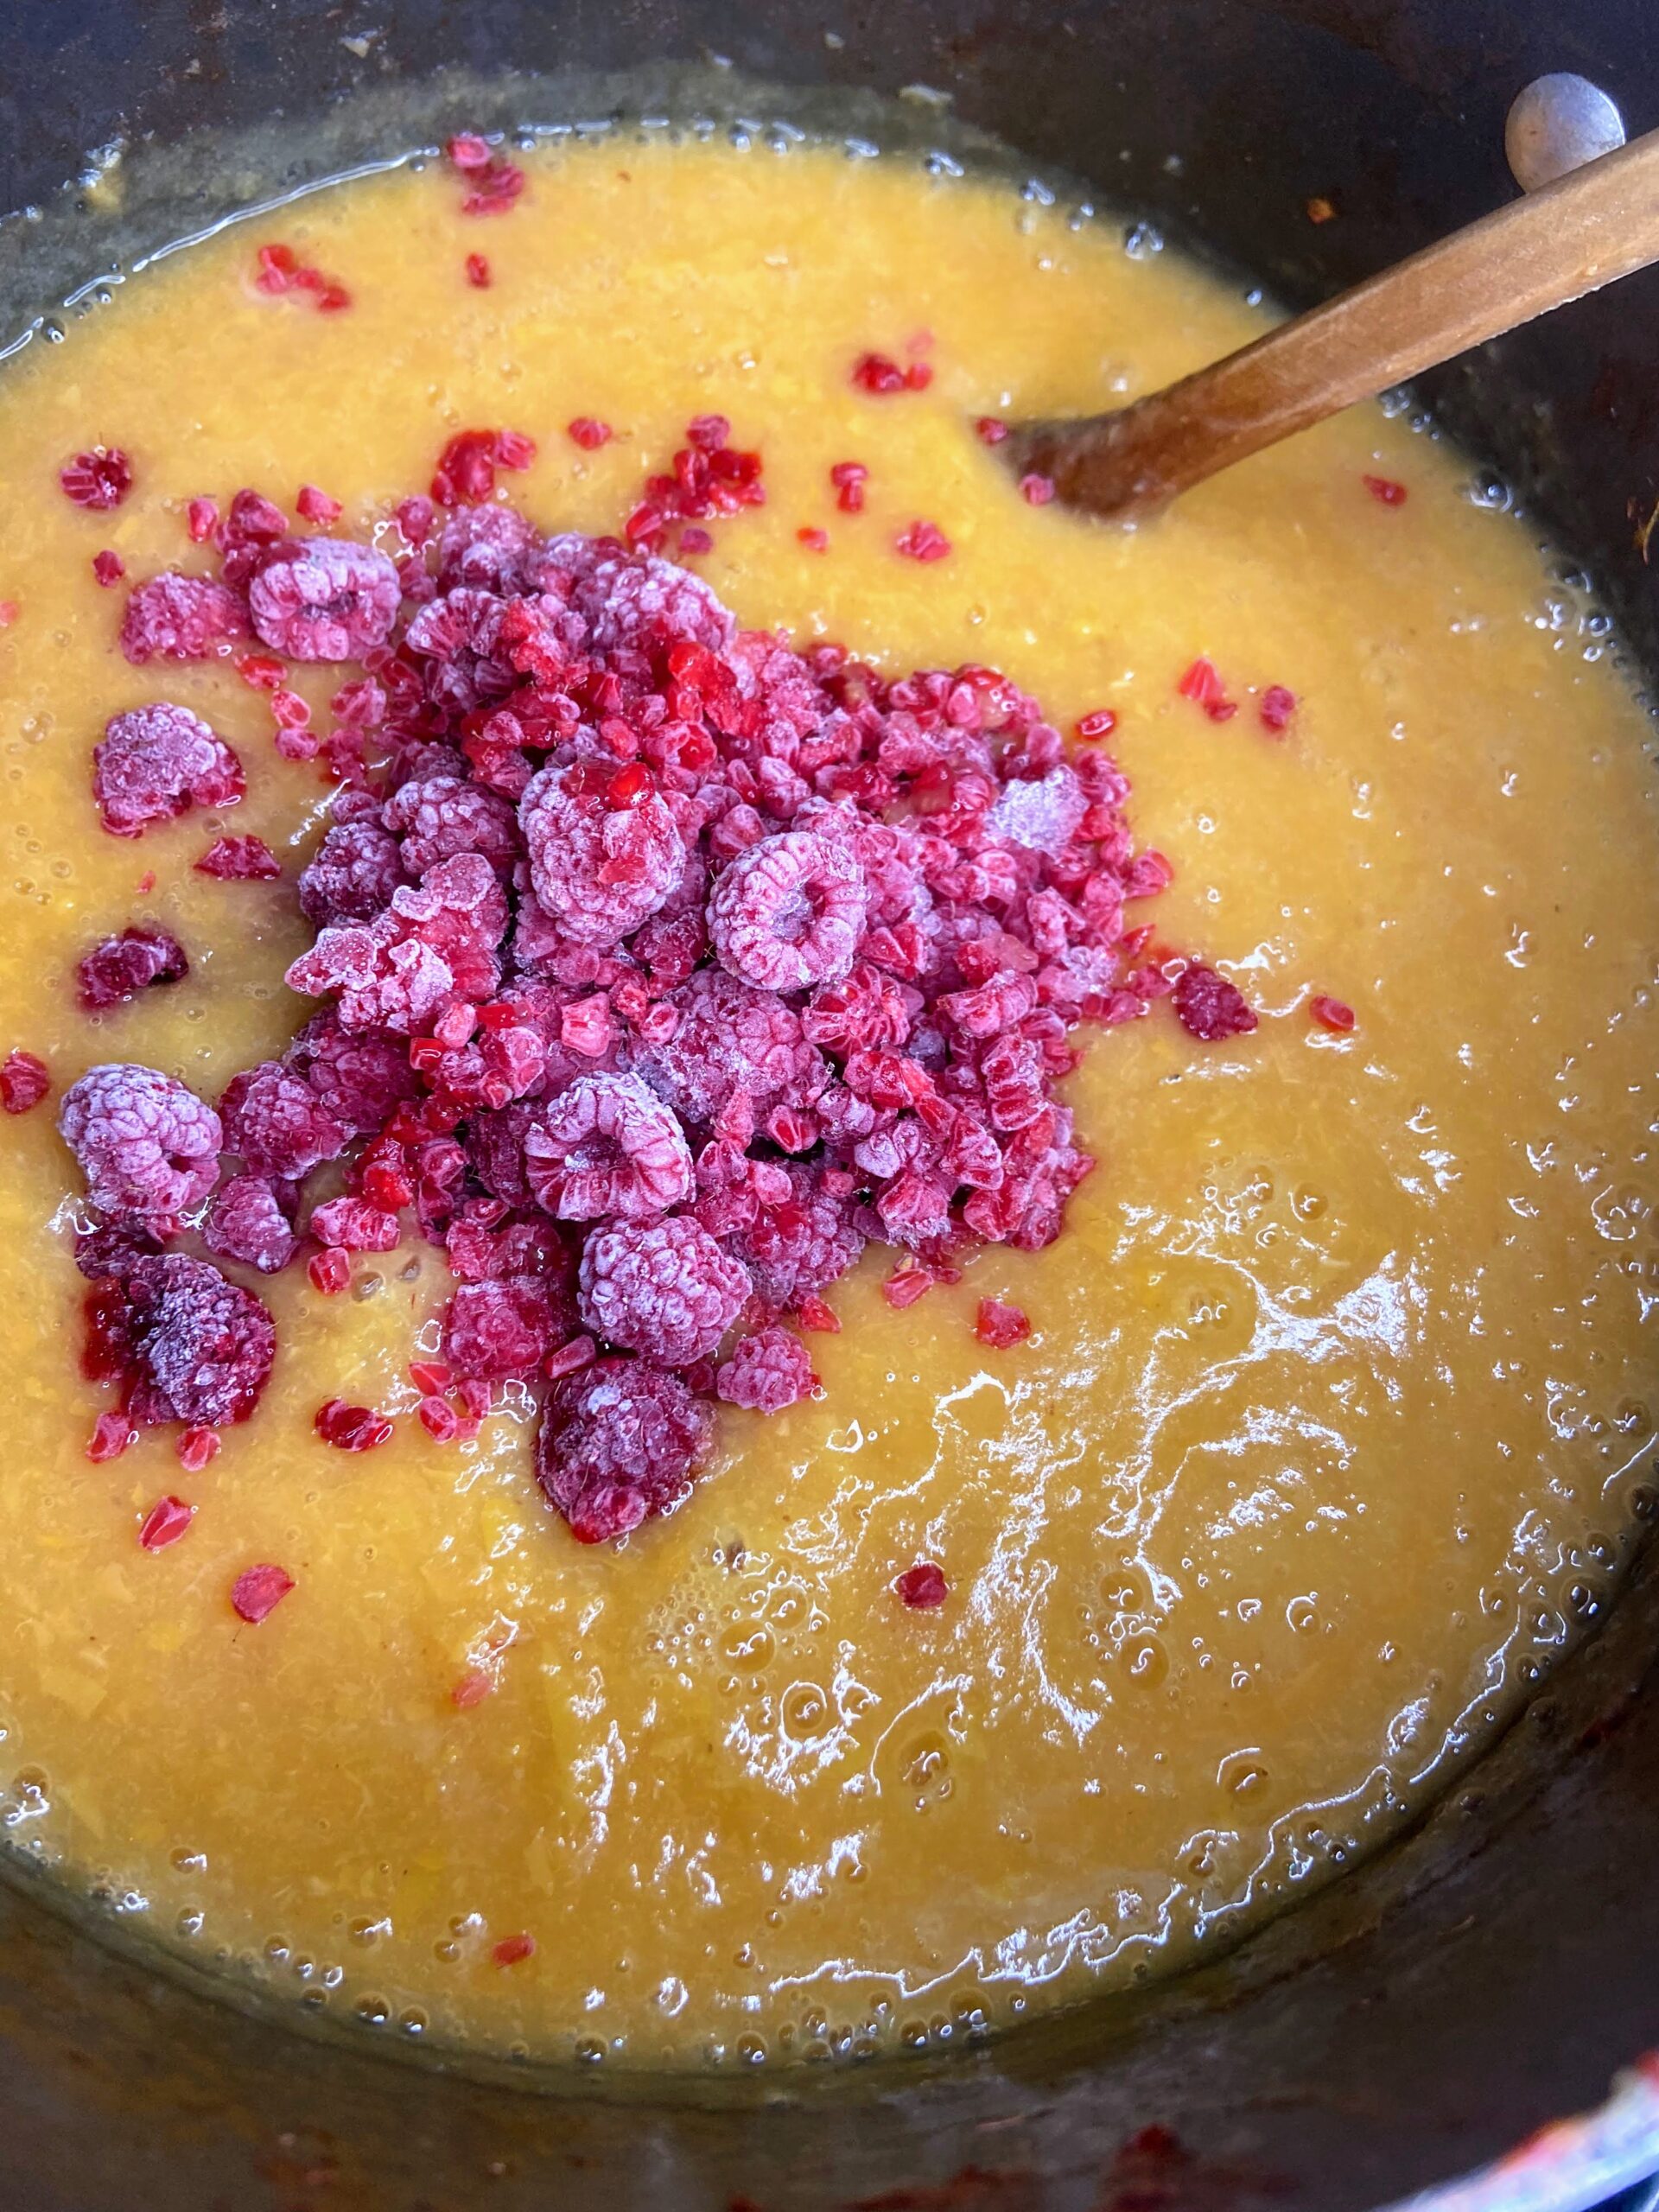
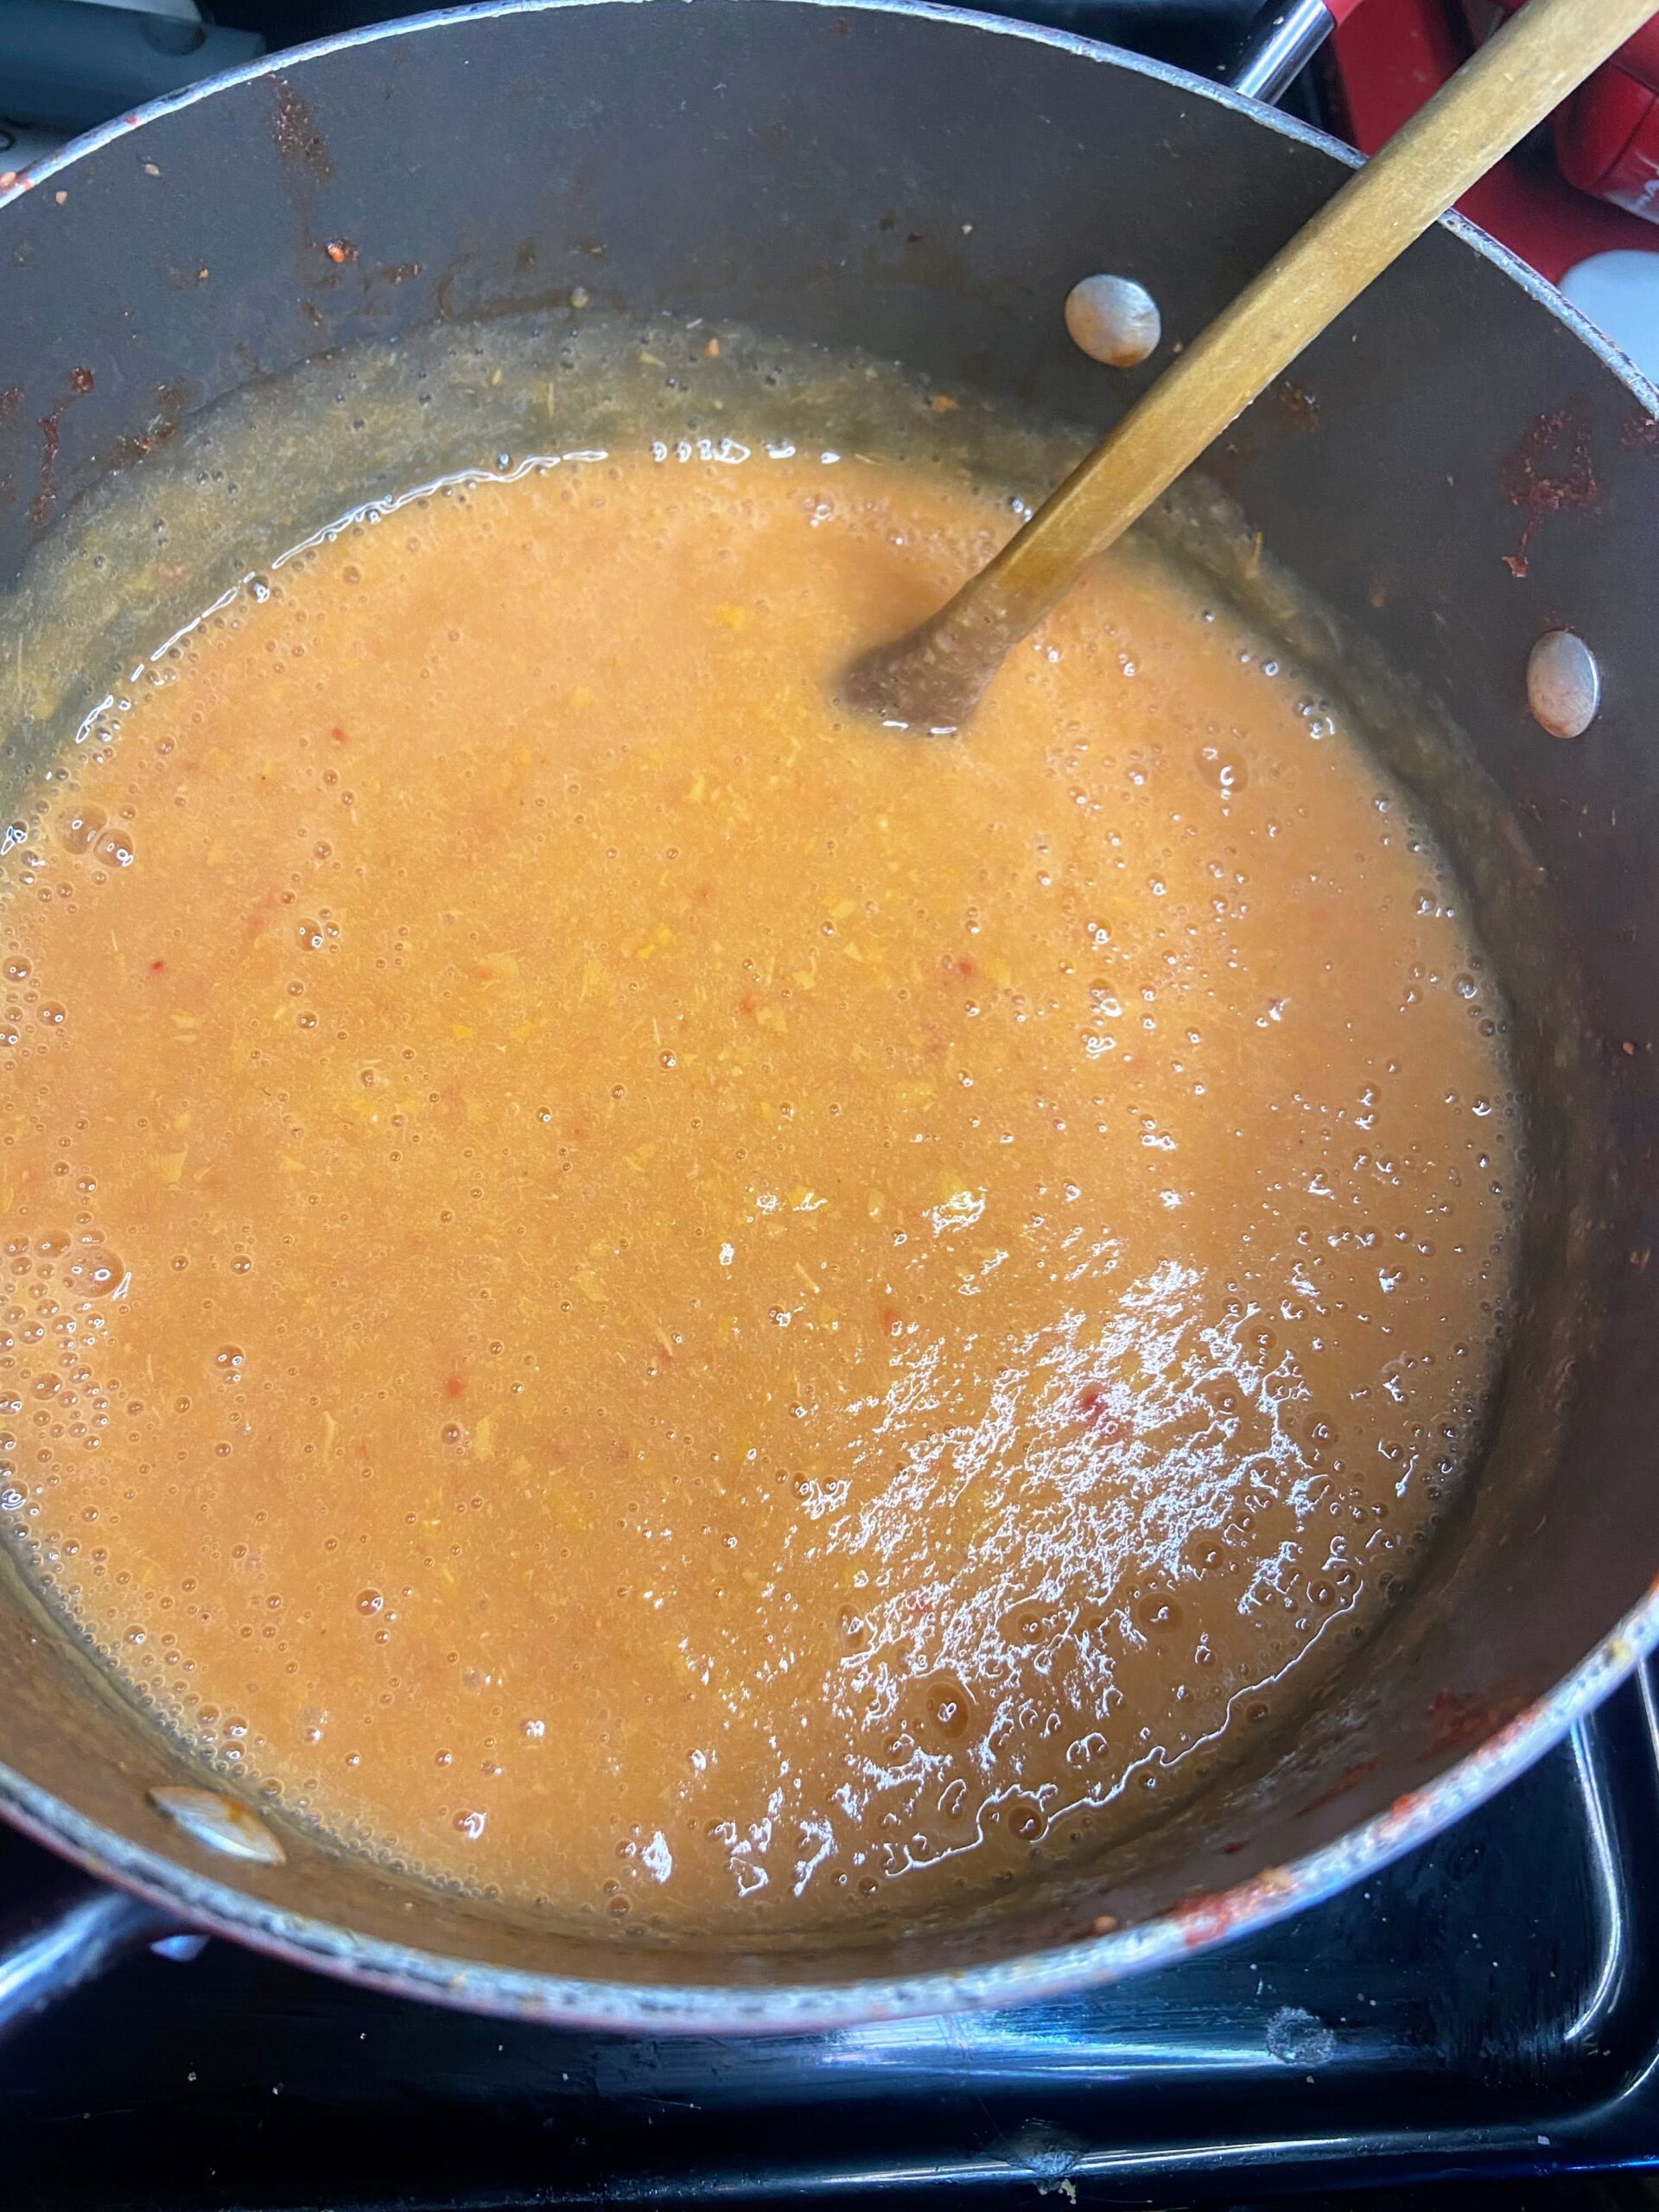
Wash your peaches well. Halve, pit, and quarter the peaches. Place in a large kettle with water. Begin to cook over medium heat, smashing periodically using a potato masher. As the peaches cook down, stir and mash. When the peaches have softened significantly, use an immersion blender or food mill to break down the peaches to a sauce. If you prefer to add raspberries, add 2-3 cups of frozen raspberries. Cook an additional 3-4 minutes and then blend again. Test the fruit at this point for sweetness. Add sugar by the ¼ cup, until desired sweetness is found. 

Canning Your Raspberry Peach Sauce?

If you want to water bath can it, you have some prep.  When your sauce is almost ready begin to prepare your water bath canner and jars if you plan on processing them. 

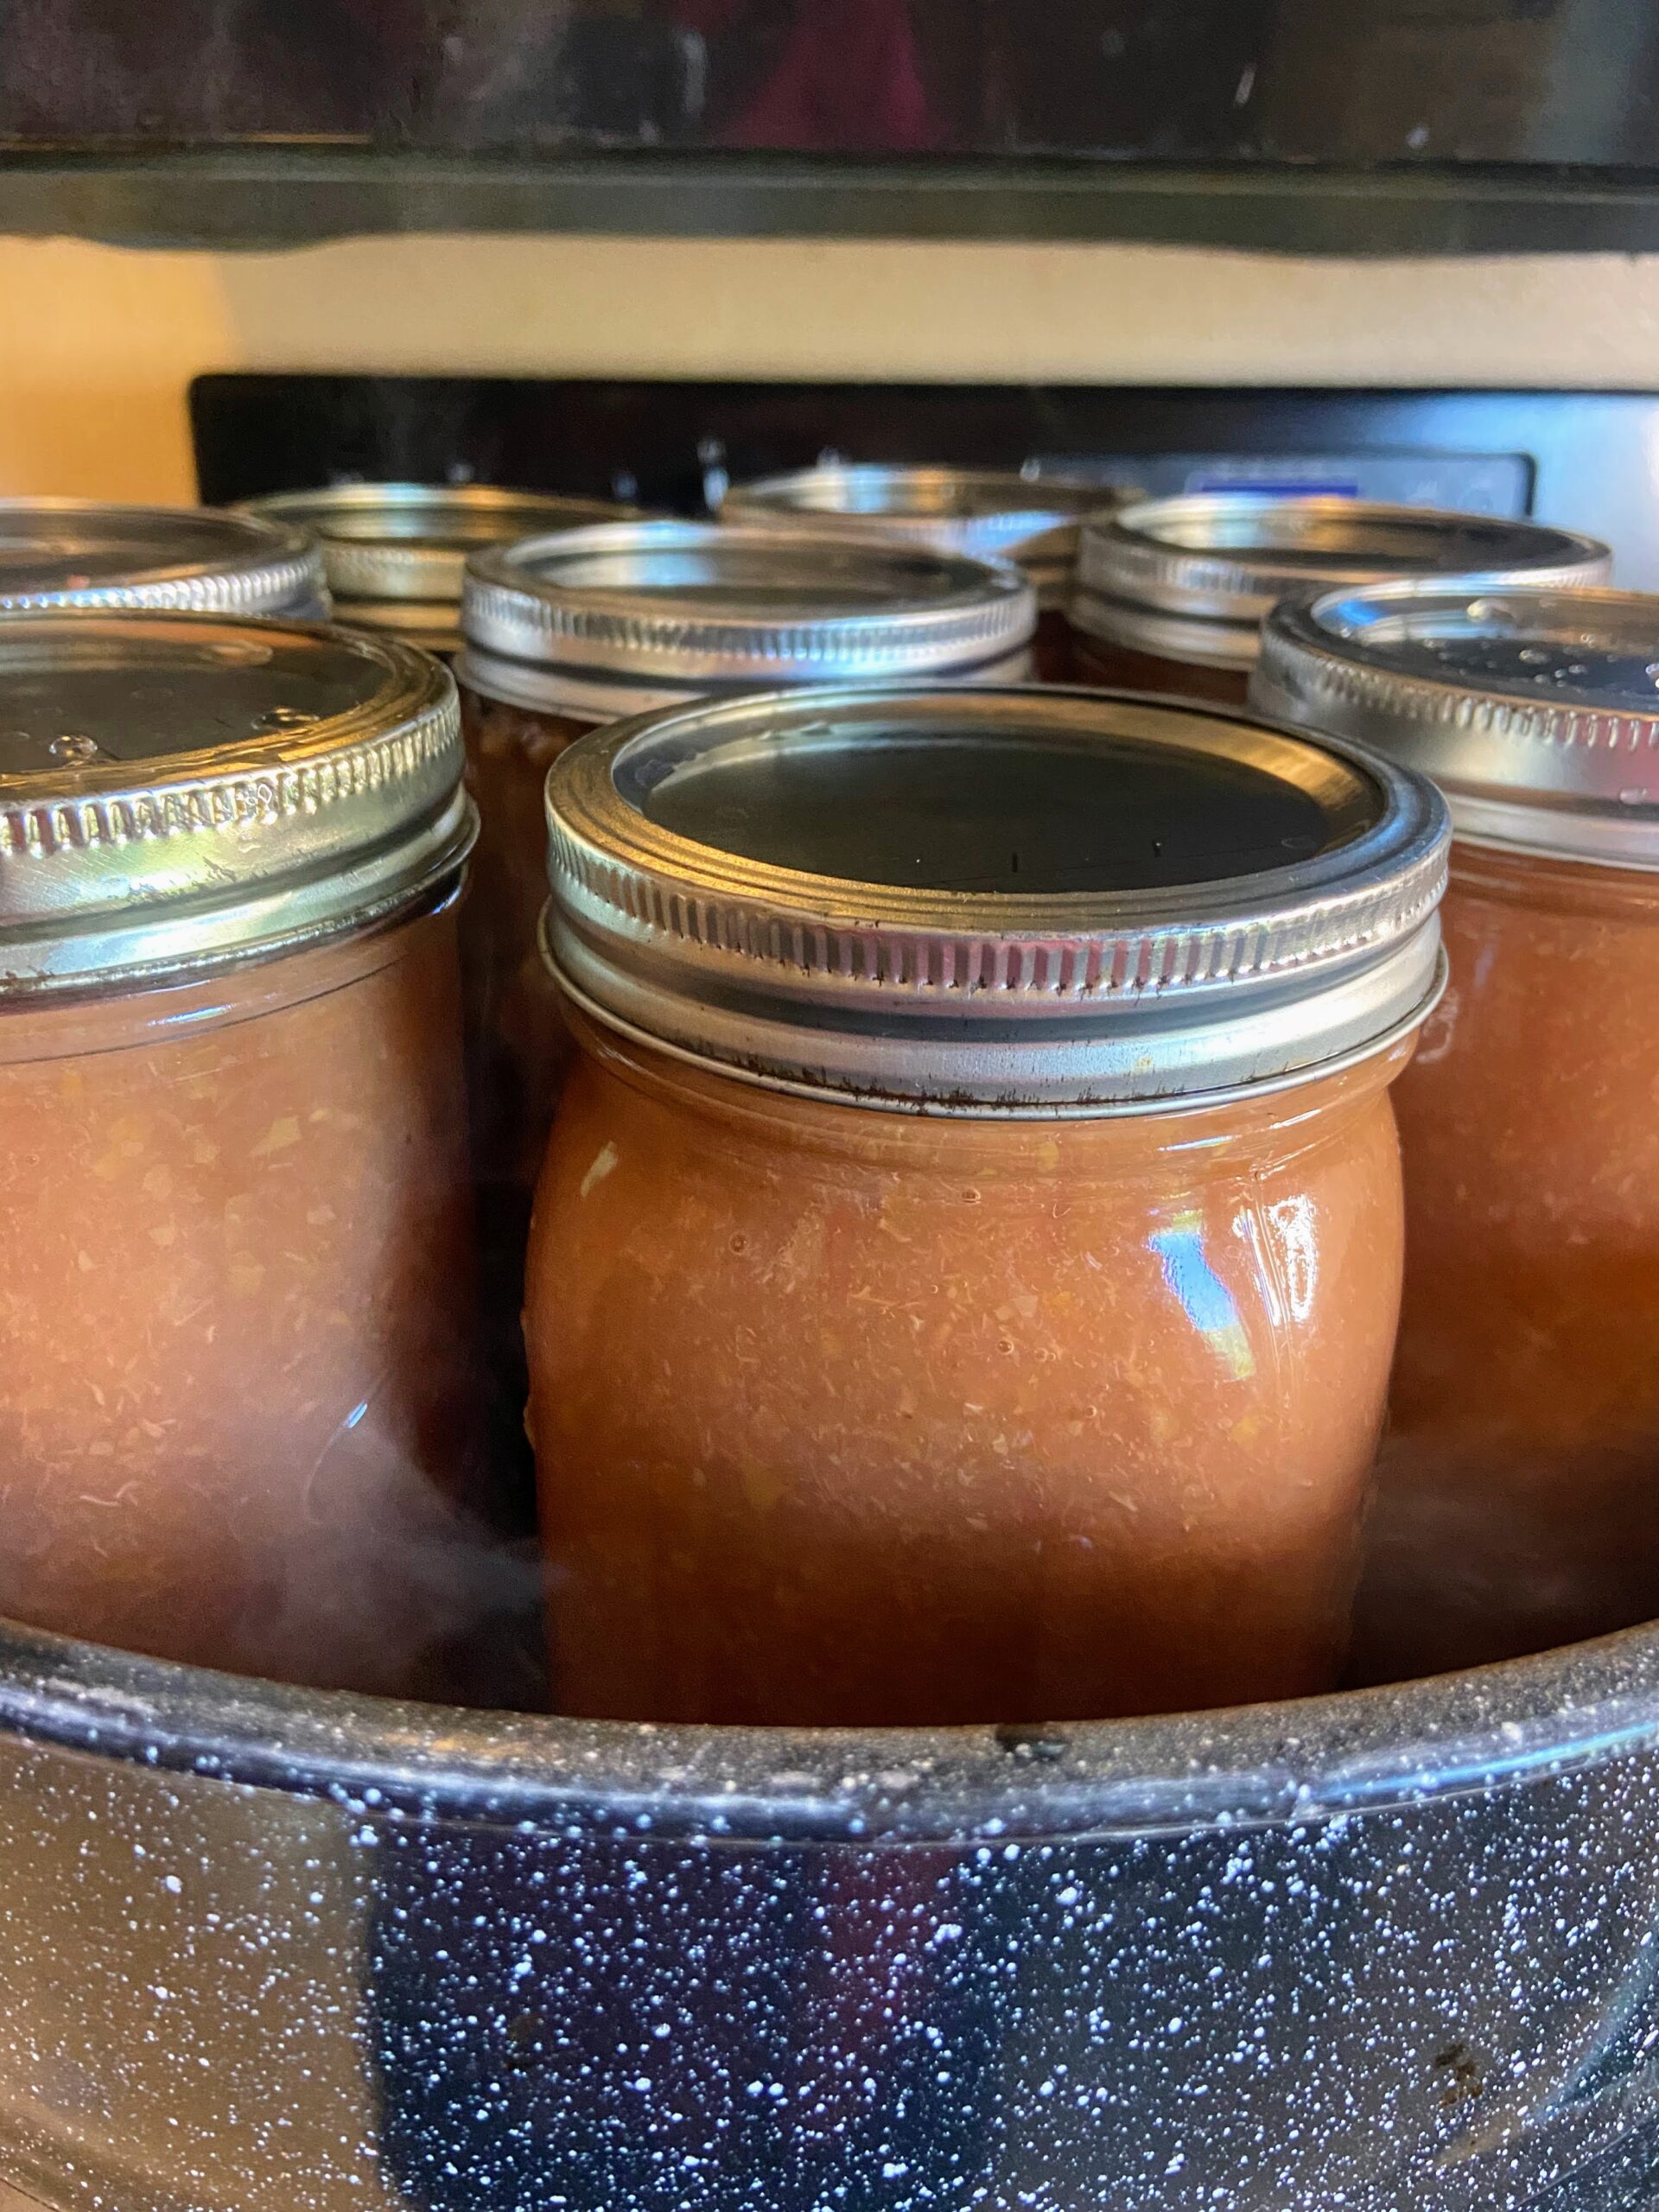
Wash and sanitize jars, rings, and lids. Keep warm. Fill the canner with enough water to cover the jars by at least 2 inches of water. Cover and heat on high. Watch the temperature, you want a simmer but not a boil when you place the jars in the water. 

Bring peach sauce to a boil. Once you have reached a boil ladle into prepared jars, leaving ½ inch head space, maintaining the boil on the kettle as you go. Wipe rims of the jars with a damp cloth, add lids and rings, tightening to fingertip tight. Place in the canner, increasing the heat to high. Once the canner reaches a boil, process pint jars 20 minutes and quart jars 25 minutes (adjusting for altitude). Remove from heat and allow jars to cool in the canner over 5 minutes. Remove from canner, placing on the counter. Listen for the ping of the lids over the next 12 hours. Sealed jars are self stable. If any jar doesn’t seal, simply place it right in the refrigerator. 

Freezing it? 

Once your sauce has reached a boil, allow to cool for an hour, stirring periodically. Ladel into freezer safe containers, leaving ½ inch head space. Cover, label, and freeze. Additionally, you can treat with fruit fresh to keep from browning. Add ¾ teaspoon per cup of fruit. 

Looking for more information about canning? I highly recommend checking out the National Center for Home Preservation for information at your fingertips!

Raspberry Peach Sauce

Fresh ripe peaches and frozen raspberries create this delicious and unique raspberry peach sauce for summer flavors all year long!
Prep Time 40 minutes
Cook Time 25 minutes
Course Side Dish
Cuisine Canning, Homesteading, Preserving
Servings 6 quarts

Ingredients
  

  • 1 ½ cups water
  • 20-25 peaches washed well
  • 1-3 cups frozen raspberries optional
  • Fruit fresh if freezing
  • ½-1 cup sugar if desired

Instructions
 

  • Wash your peaches well. Halve, pit, and quarter the peaches. Place in a large kettle with the water.
  • Begin to cook over medium heat, smashing periodically using a potato masher. As the peaches cook down, stir and mash.
  • When the peaches have softened significantly, use an immersion blender or food mill to break down the peaches to a sauce.
  • If you prefer to add raspberries, add 2-3 cups of frozen raspberries.
  • Cook an additional 3-4 minutes and then blend again.
  • Test the fruit at this point for sweetness. Add sugar by the ¼ cup, until desired sweetness is found.
  • Wash and sanitize six quart jars, rings, and lids. Keep warm. Fill the canner with enough water to cover the jars by at least 2 inches of water. Cover and heat on high. Watch the temperature, you want a simmer but not a boil when you place the jars in the water.
  • Bring peach sauce to a boil. Once you have reached a boil ladle into prepared jars, leaving ½ inch head space, maintaining the boil on the kettle as you go.
  • Wipe rims of the jars with a damp cloth, add lids and rings, tightening to fingertip tight.
  • Place in the canner, increasing the heat to high. Once the canner reaches a boil, process pint jars 20 minutes and quart jars 25 minutes (adjusting for altitude).
  • Remove from heat and allow jars to cool in the canner over 5 minutes. Remove from canner, placing on the counter. Listen for the ping of the lids over the next 12 hours.

Notes

Freezing it?
Once your sauce has reached a boil, allow to cool for an hour, stirring periodically. Ladel into freezer safe containers, leaving ½ inch head space. Cover, label, and freeze. Additionally, you can treat with fruit fresh to keep from browning. Add ¾ teaspoon per cup of fruit.
Keyword applesauce, canned peaches, peach sauce, peaches, raspberries, raspberry peach, Waterbath Canning
Tried this recipe?Let us know how it was!

Looking for more delicious fruit recipes?

Check out my canning and preserving page! Or maybe you can find something you like below!

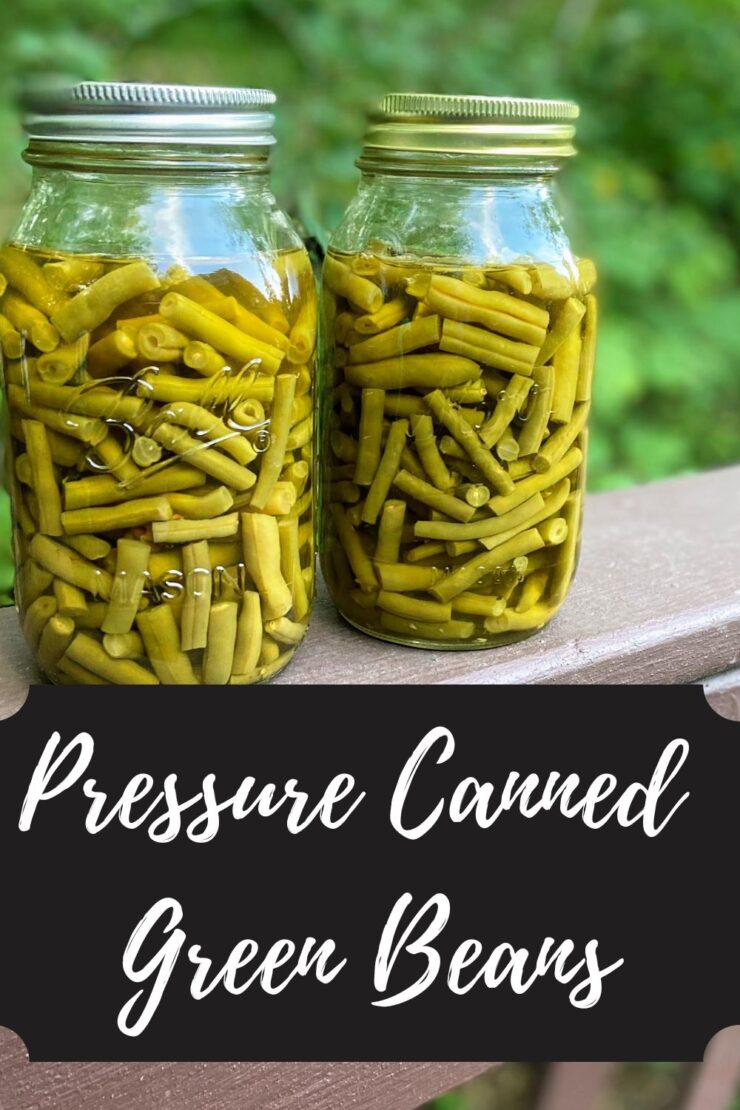
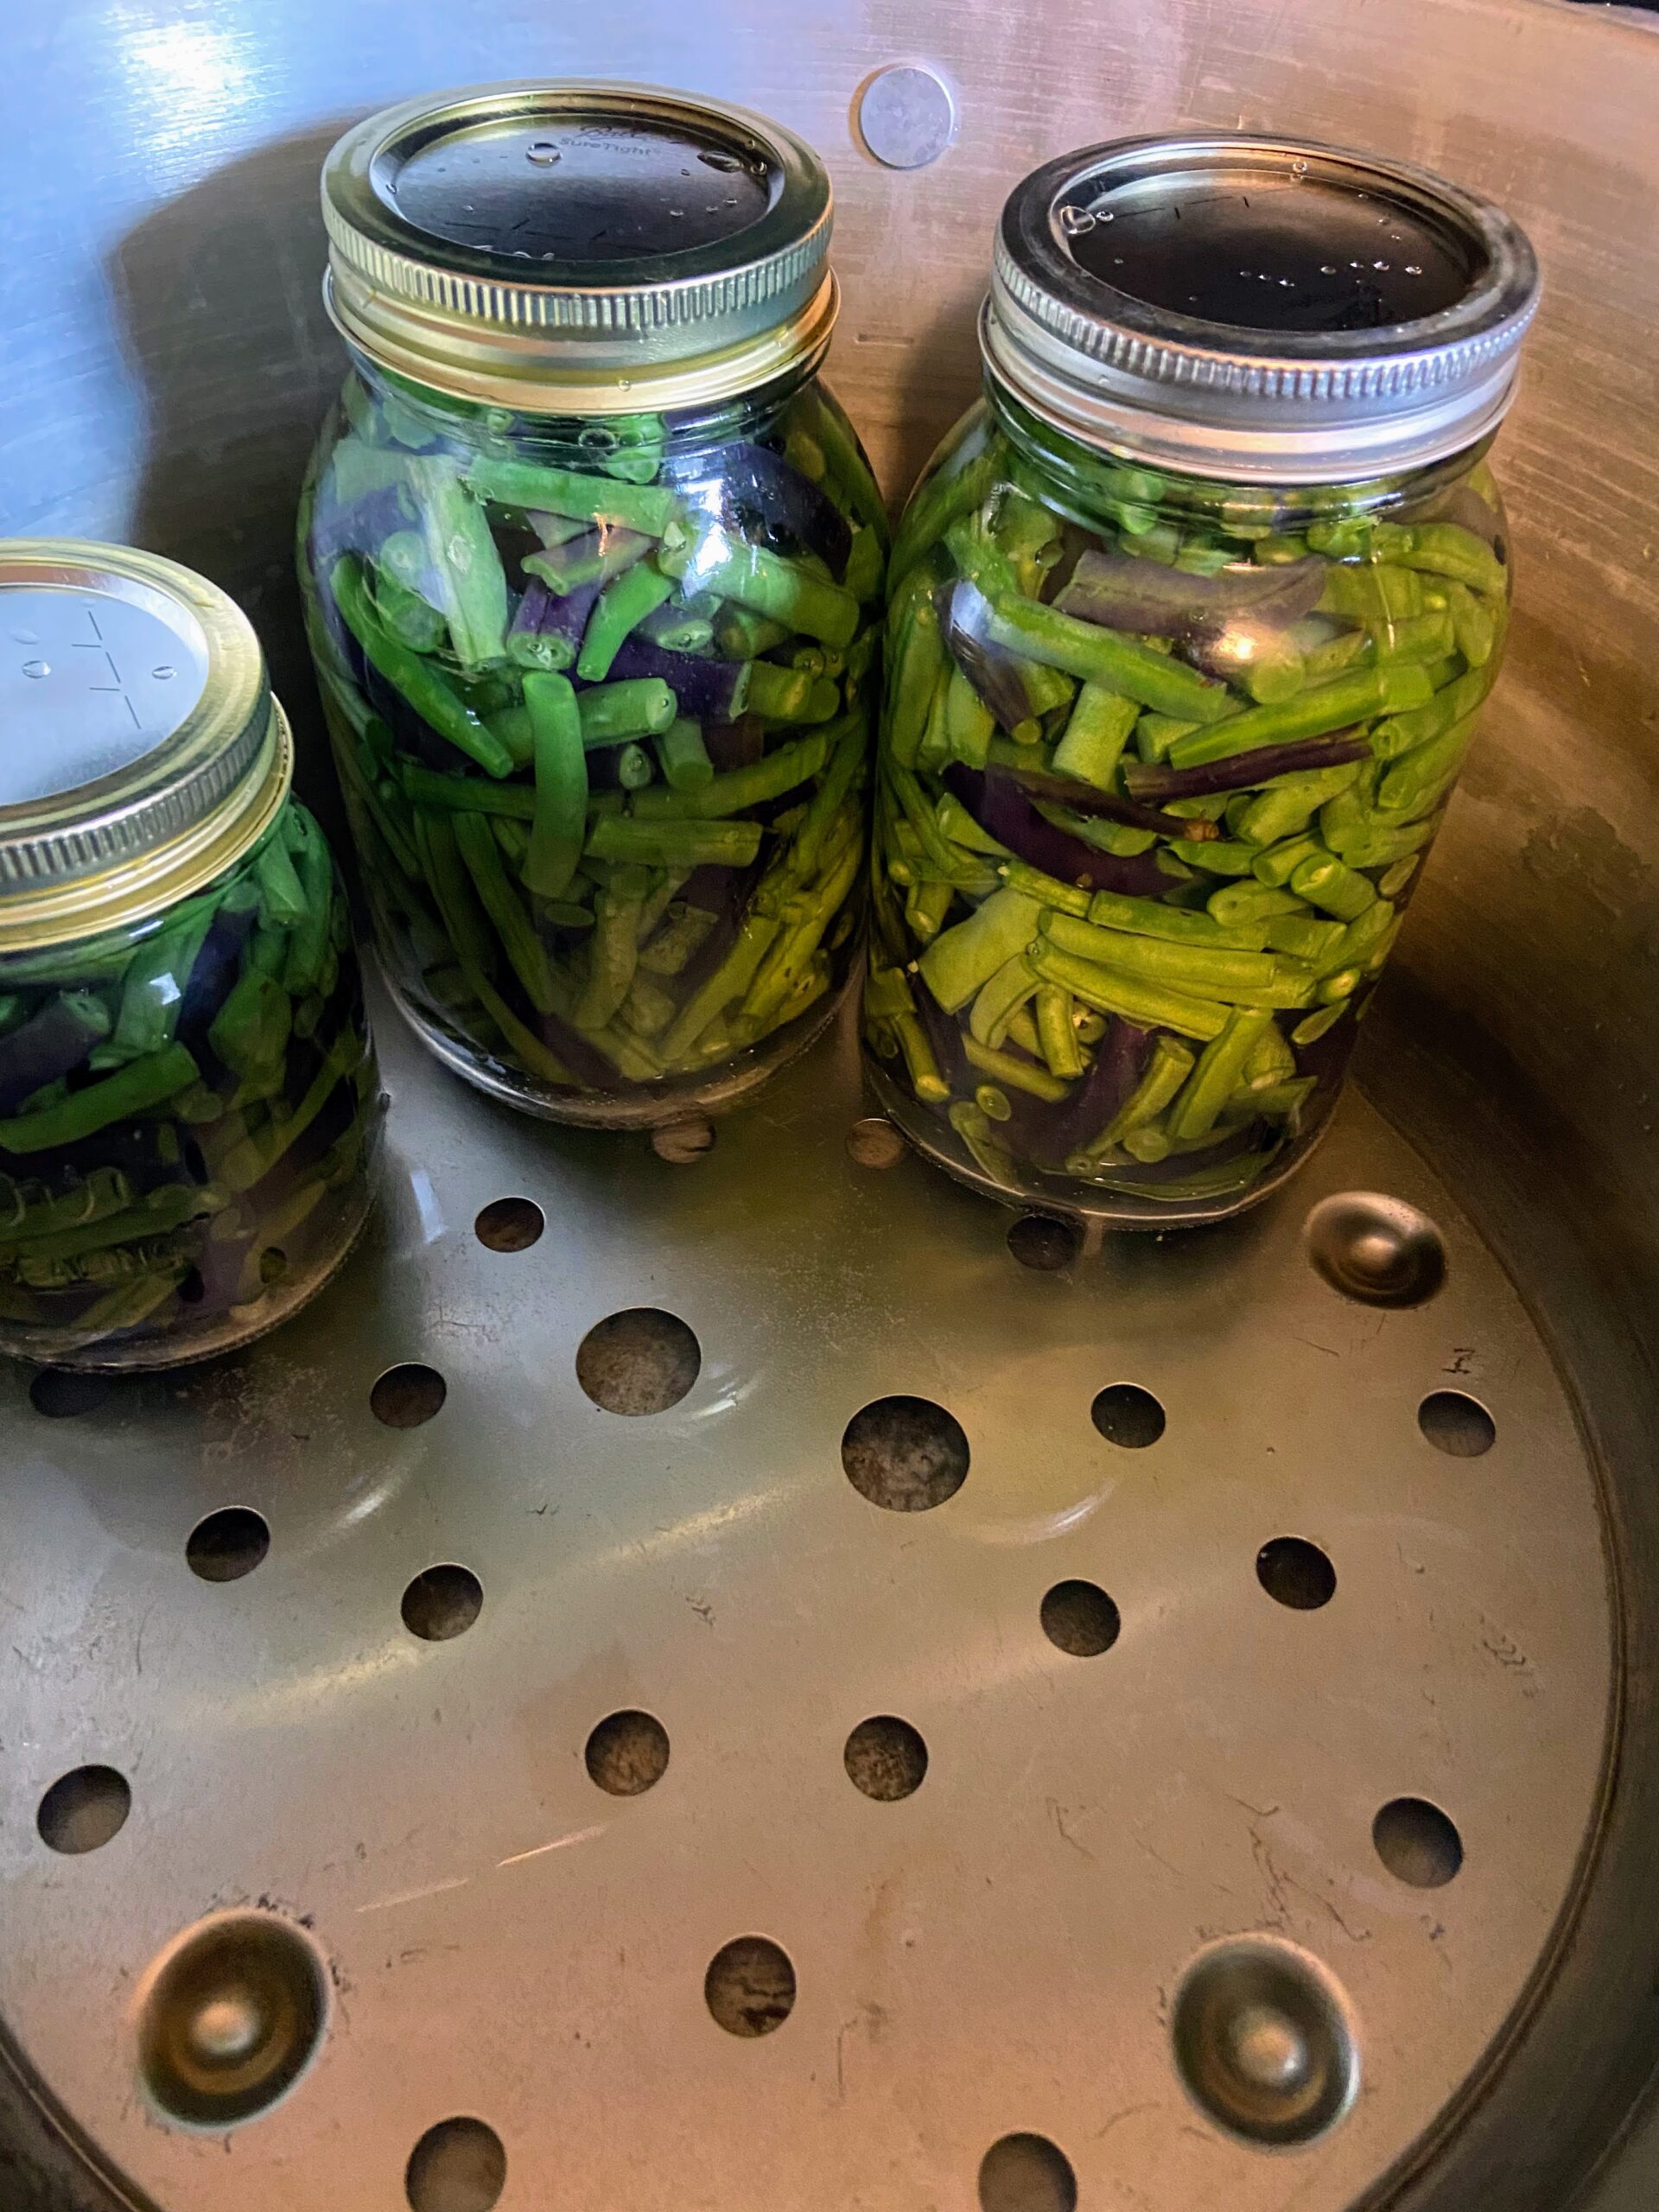
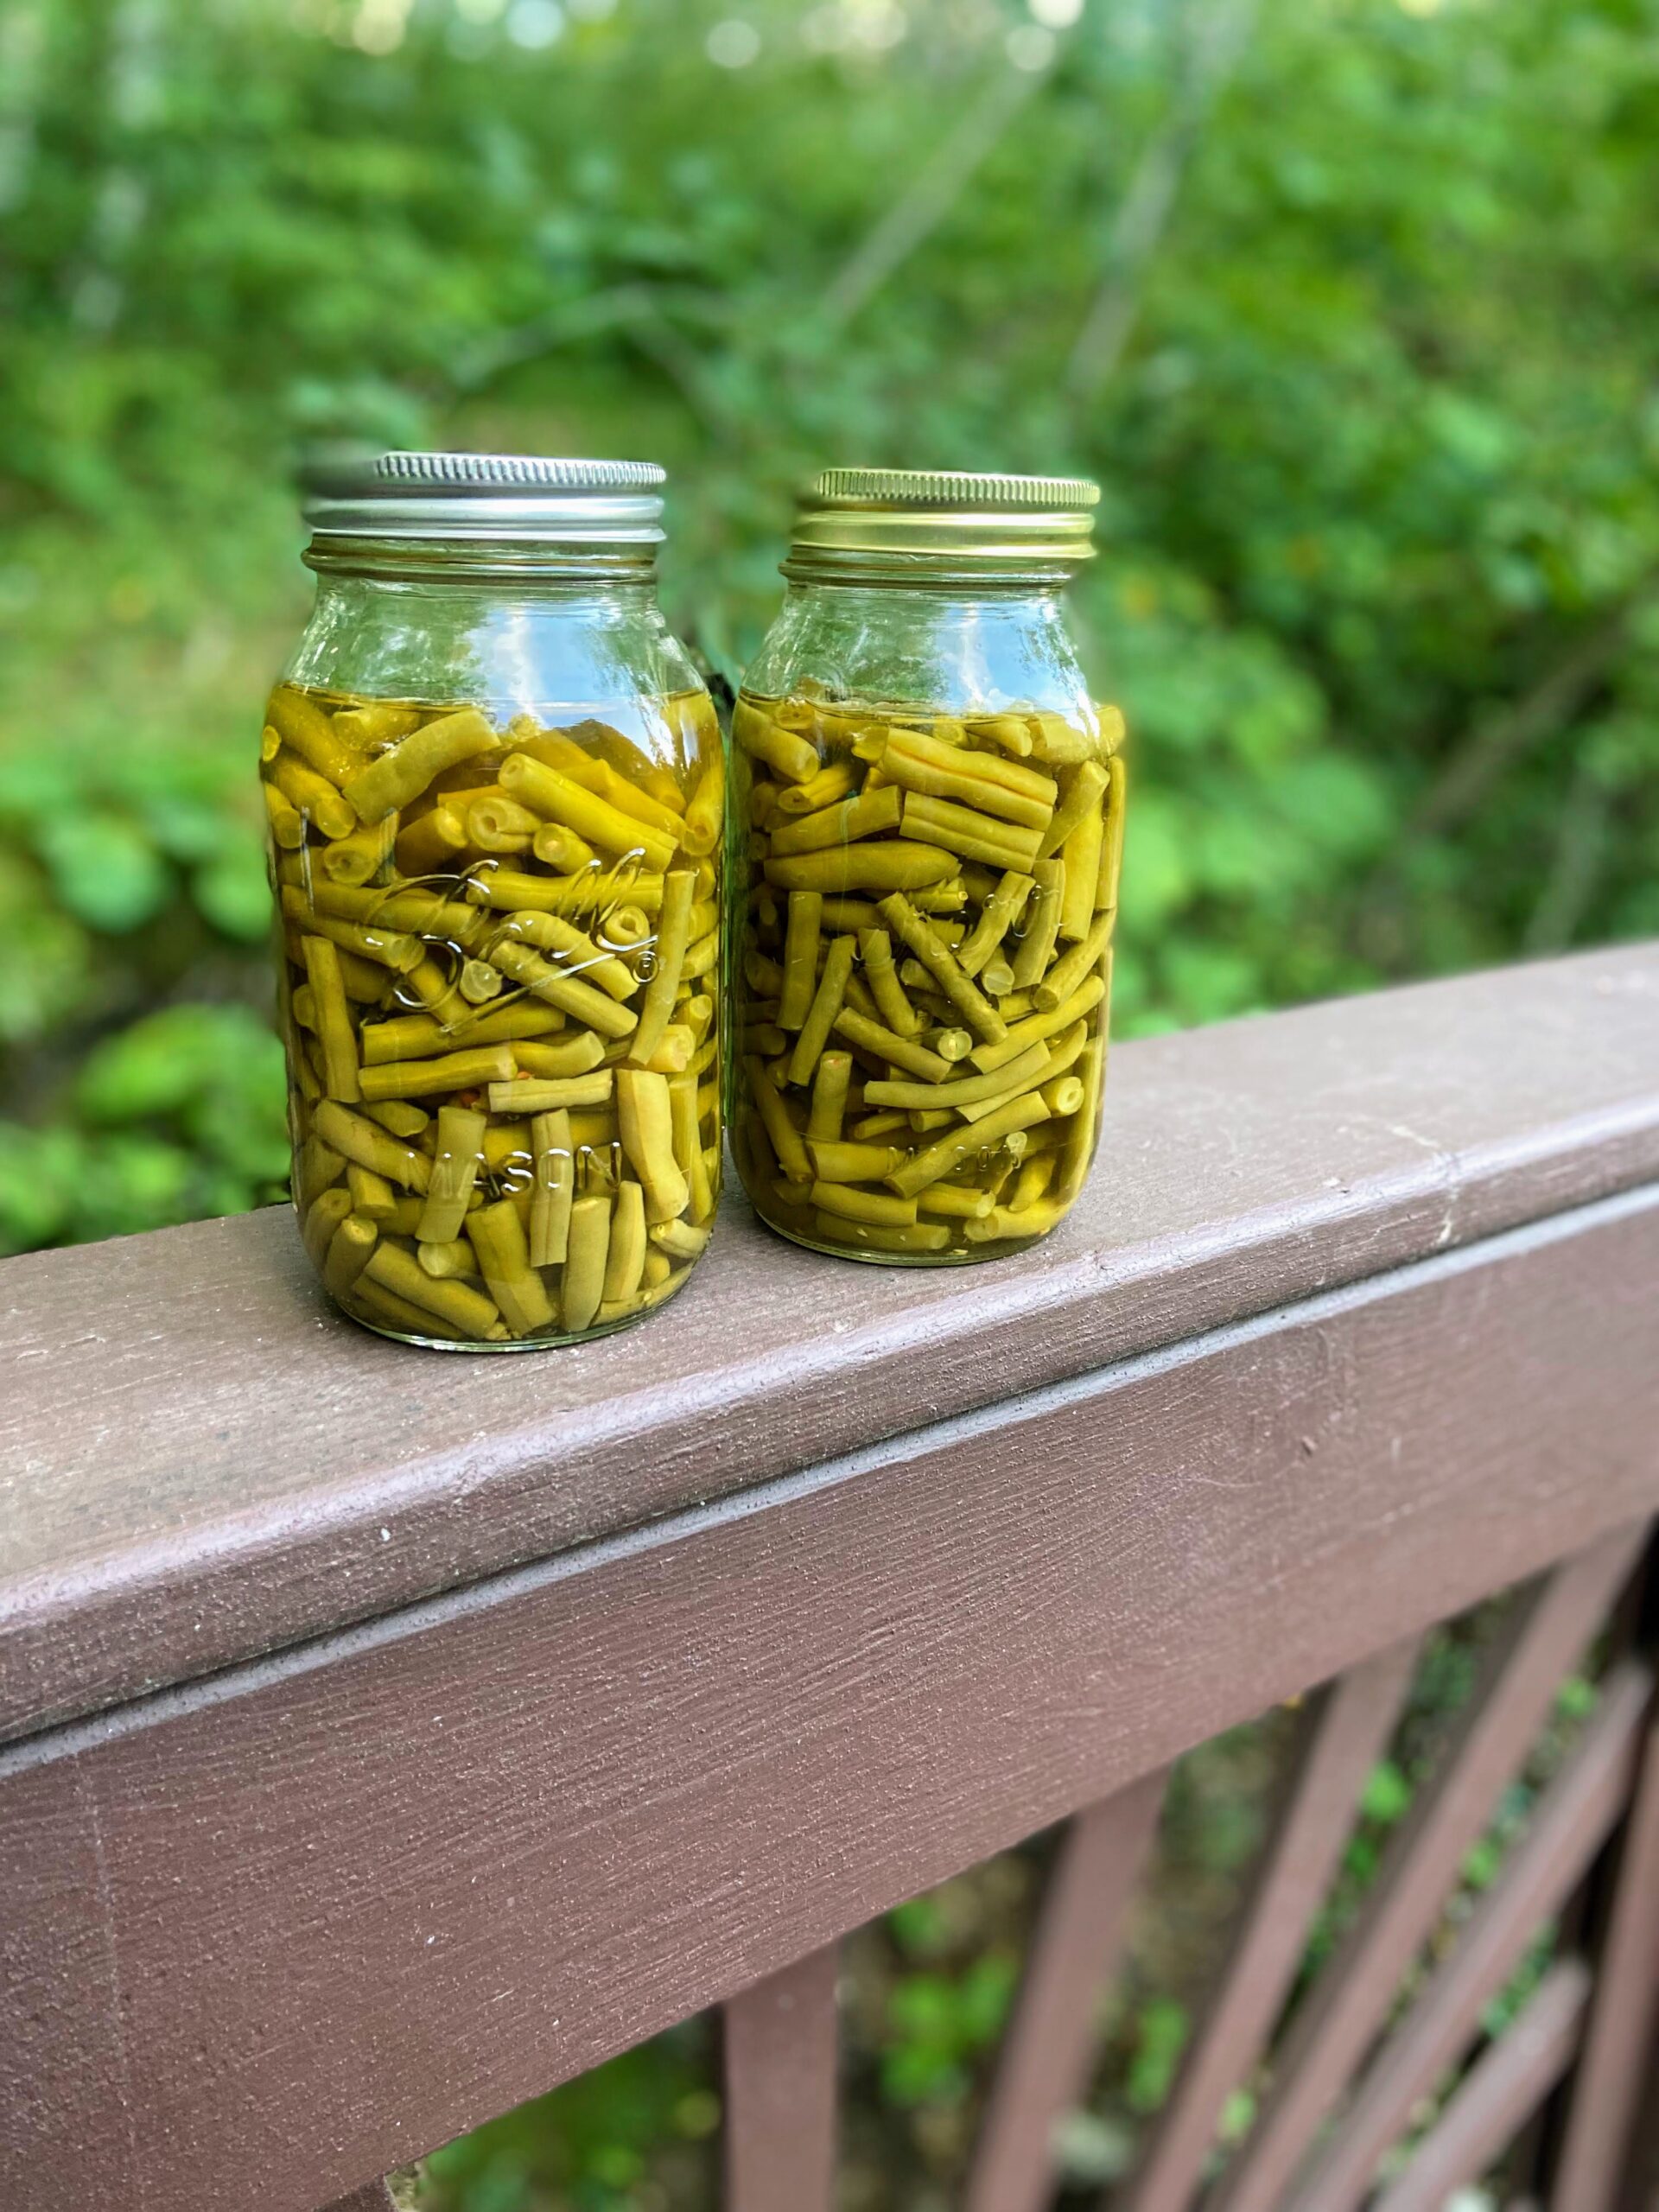
Pressure Canned Green Beans

It’s nearing the end of the garden season, which means I am spending a lot of time taking the last fruits and vegetables and processing them, whether it be frozen, pressure canned, water bath canned, or just enjoyed fresh. I have planted pole beans for the last few years, which I have grown to love. They are active late in the season but just grow so beautifully. My favorite way to preserve them is to create pressure canned green beans when I am able. 

Pressure canning the green beans requires me to be patient and collect them over a few days. Pressure canning also asks you to be around the house for a few hours; but to eat homegrown vegetables well into the winter? Totally worth the work. 

When reading recipes about pressure canned green beans, you’ll see recommendations to possibly add salt. I caution you to hold out until you are cooking them for dinner. We made that mistake a few years ago, and when we opened them, they were just too salty. There’s no fixing that. I have added dried minced garlic from time to time, but my favorite is to go raw pack without any seasoning. 

Tools of the Trade for Pressure Canned Green Beans

Normally, I put this at the end of a post, but with a pressure canner, I feel as though I should put it at the beginning. I love using my weighted pressure canner. It doesn’t stress me out and I can create so many great things with it. I also think a canning funnel is a must here. 

Before you start this process, make sure you read the general directions to your own pressure canner. They may differ from what I am sharing, and you should always follow those directions first. Also, if you are a beginner canner or even advanced, I highly recommend checking out the National Center for Home Preservation. It has great information that’s easy to follow. 

Your Steps to Pressure Canned Green Beans

The Prep

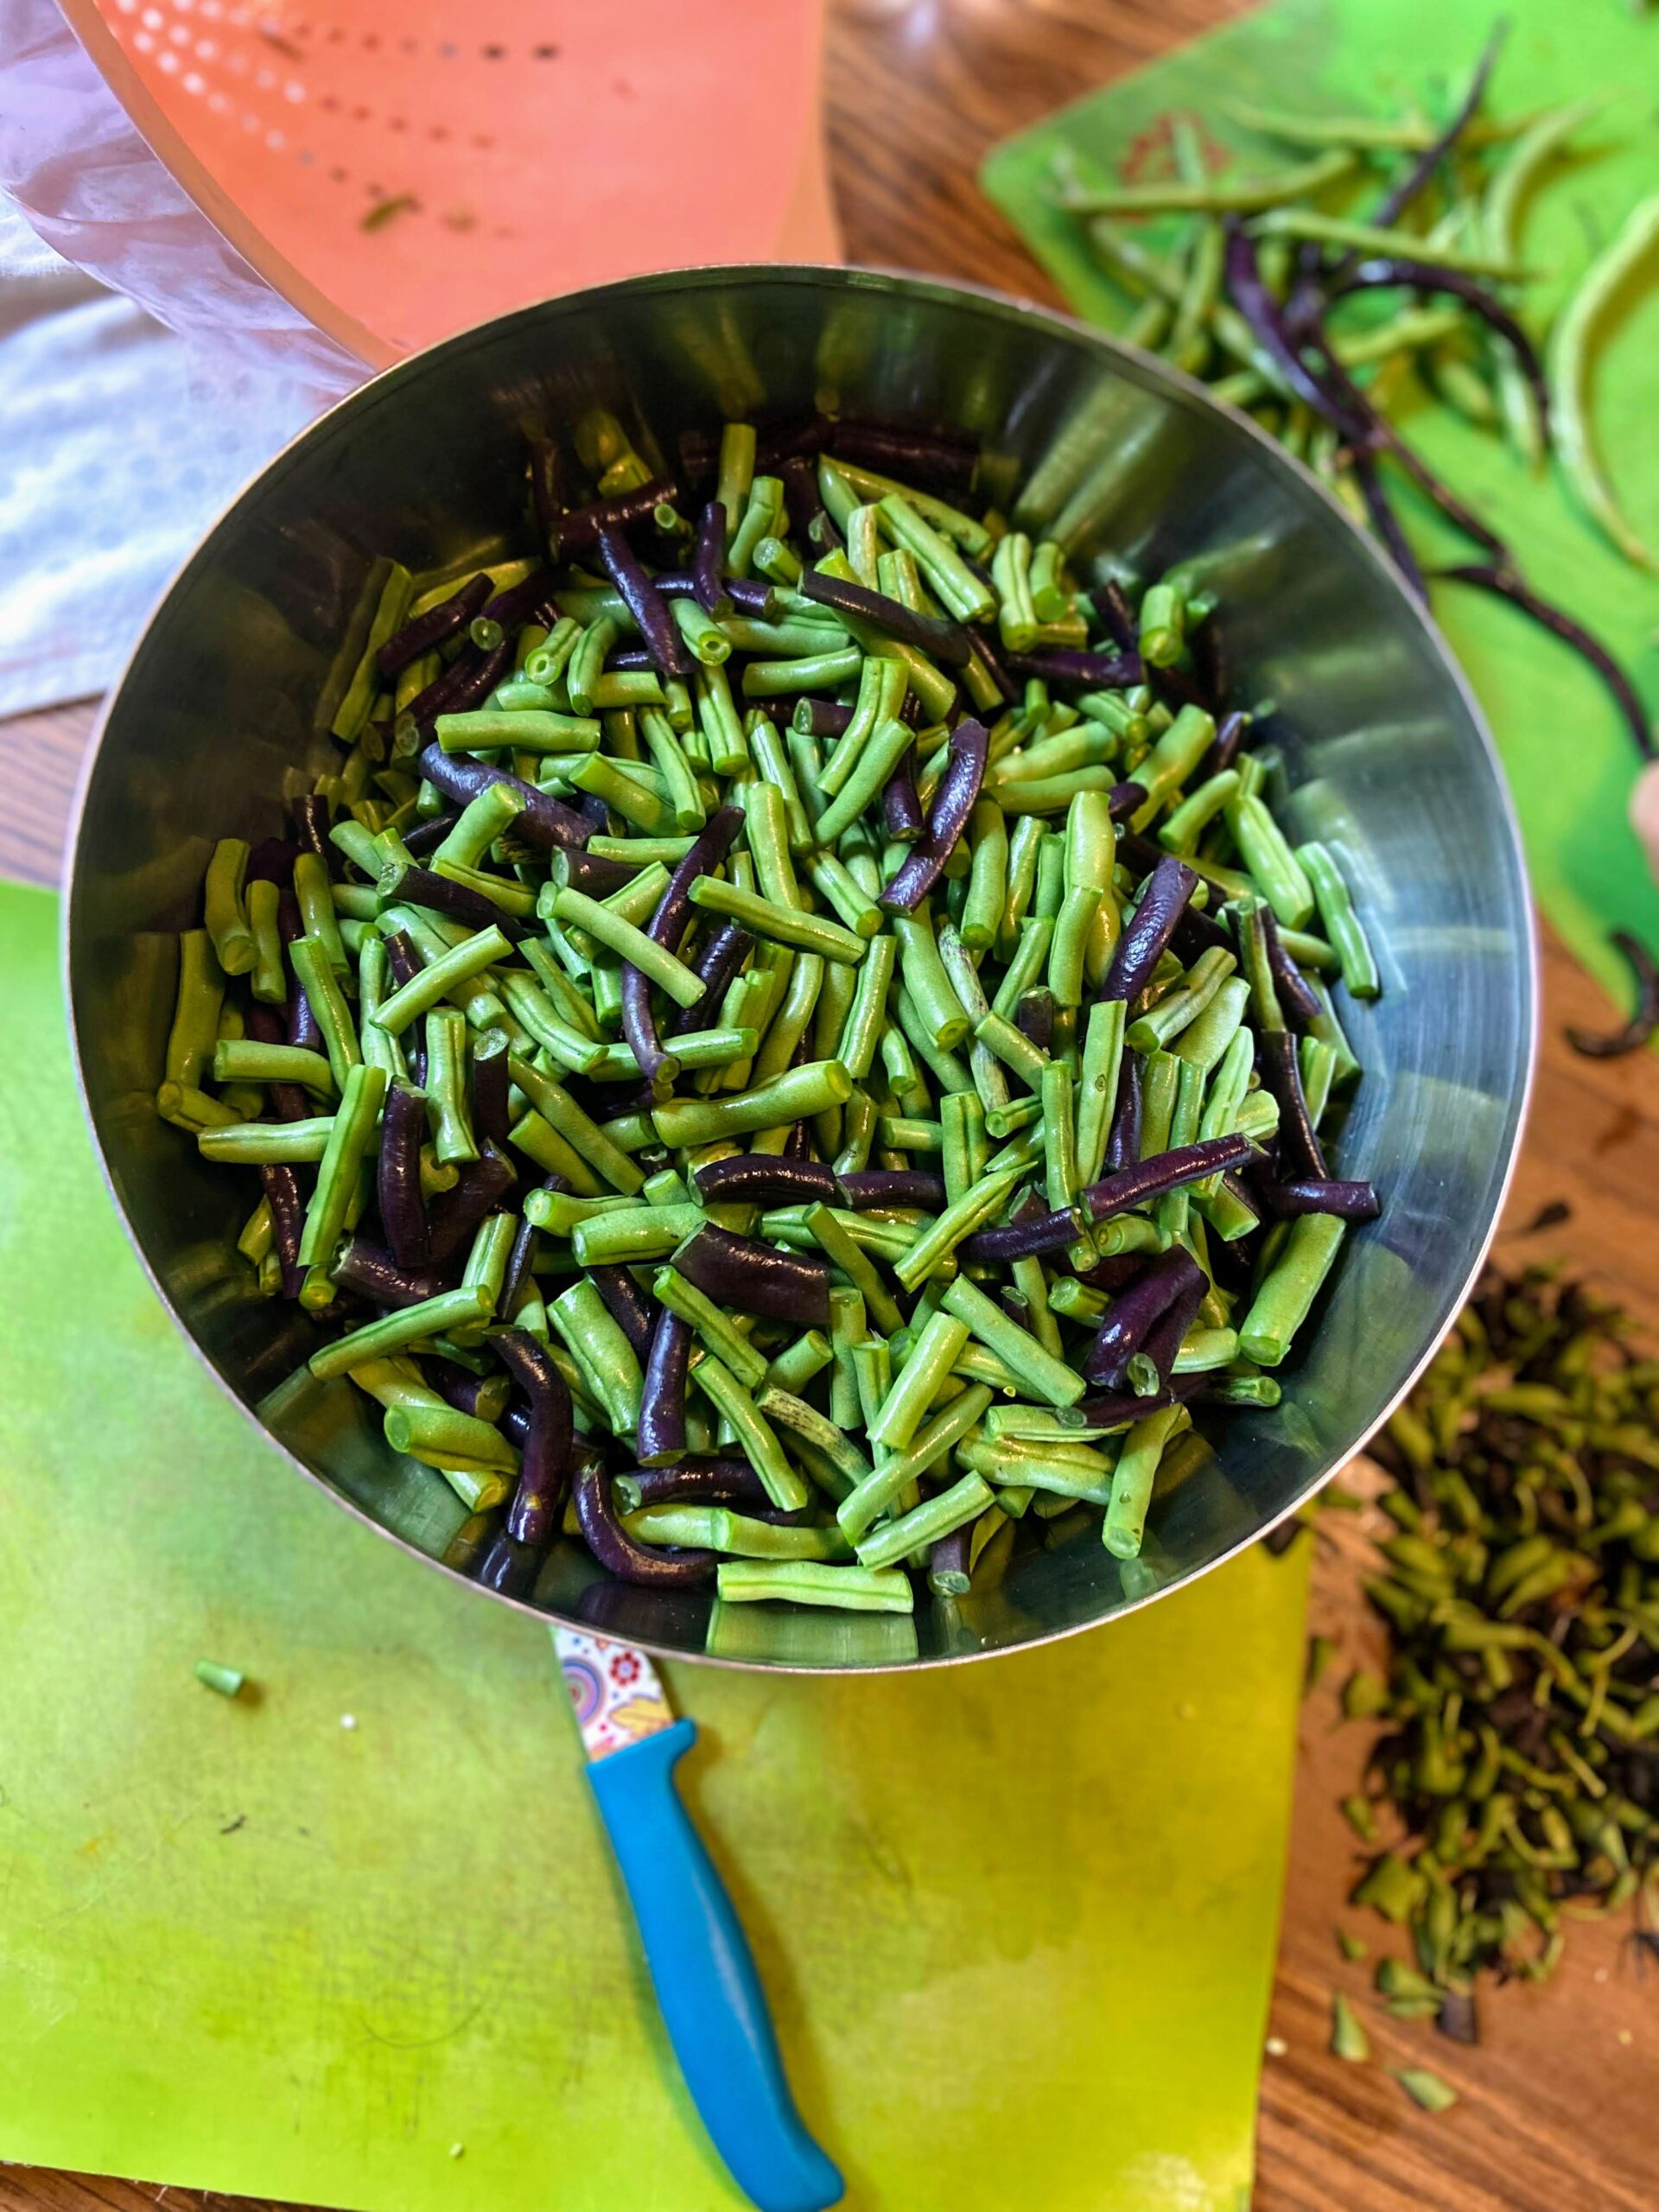
Begin by cleaning and preparing your beans.  Wash, nip the ends, and then trim to 1-2 inch pieces. You’ll need about 1 pound of beans per pint jar or 2 pounds of beans per quart jar. For reference, my family of four eats about 80% of a quart jar at a meal, sometimes all of it (I love having veggie eaters at my house!). 

Begin by preparing your canner and jars. Wash and sterilize quart jars, rings, and lids. Keep warm. I like to heat my lids in water on a very low heat on the stove. Check the seal and center vent of your lid of the canner. Set aside. 

Bring a pot of water to a boil. You will want enough to cover the beans in the jars, so too much is better than not enough. Reduce to a simmer, but keep hot. 

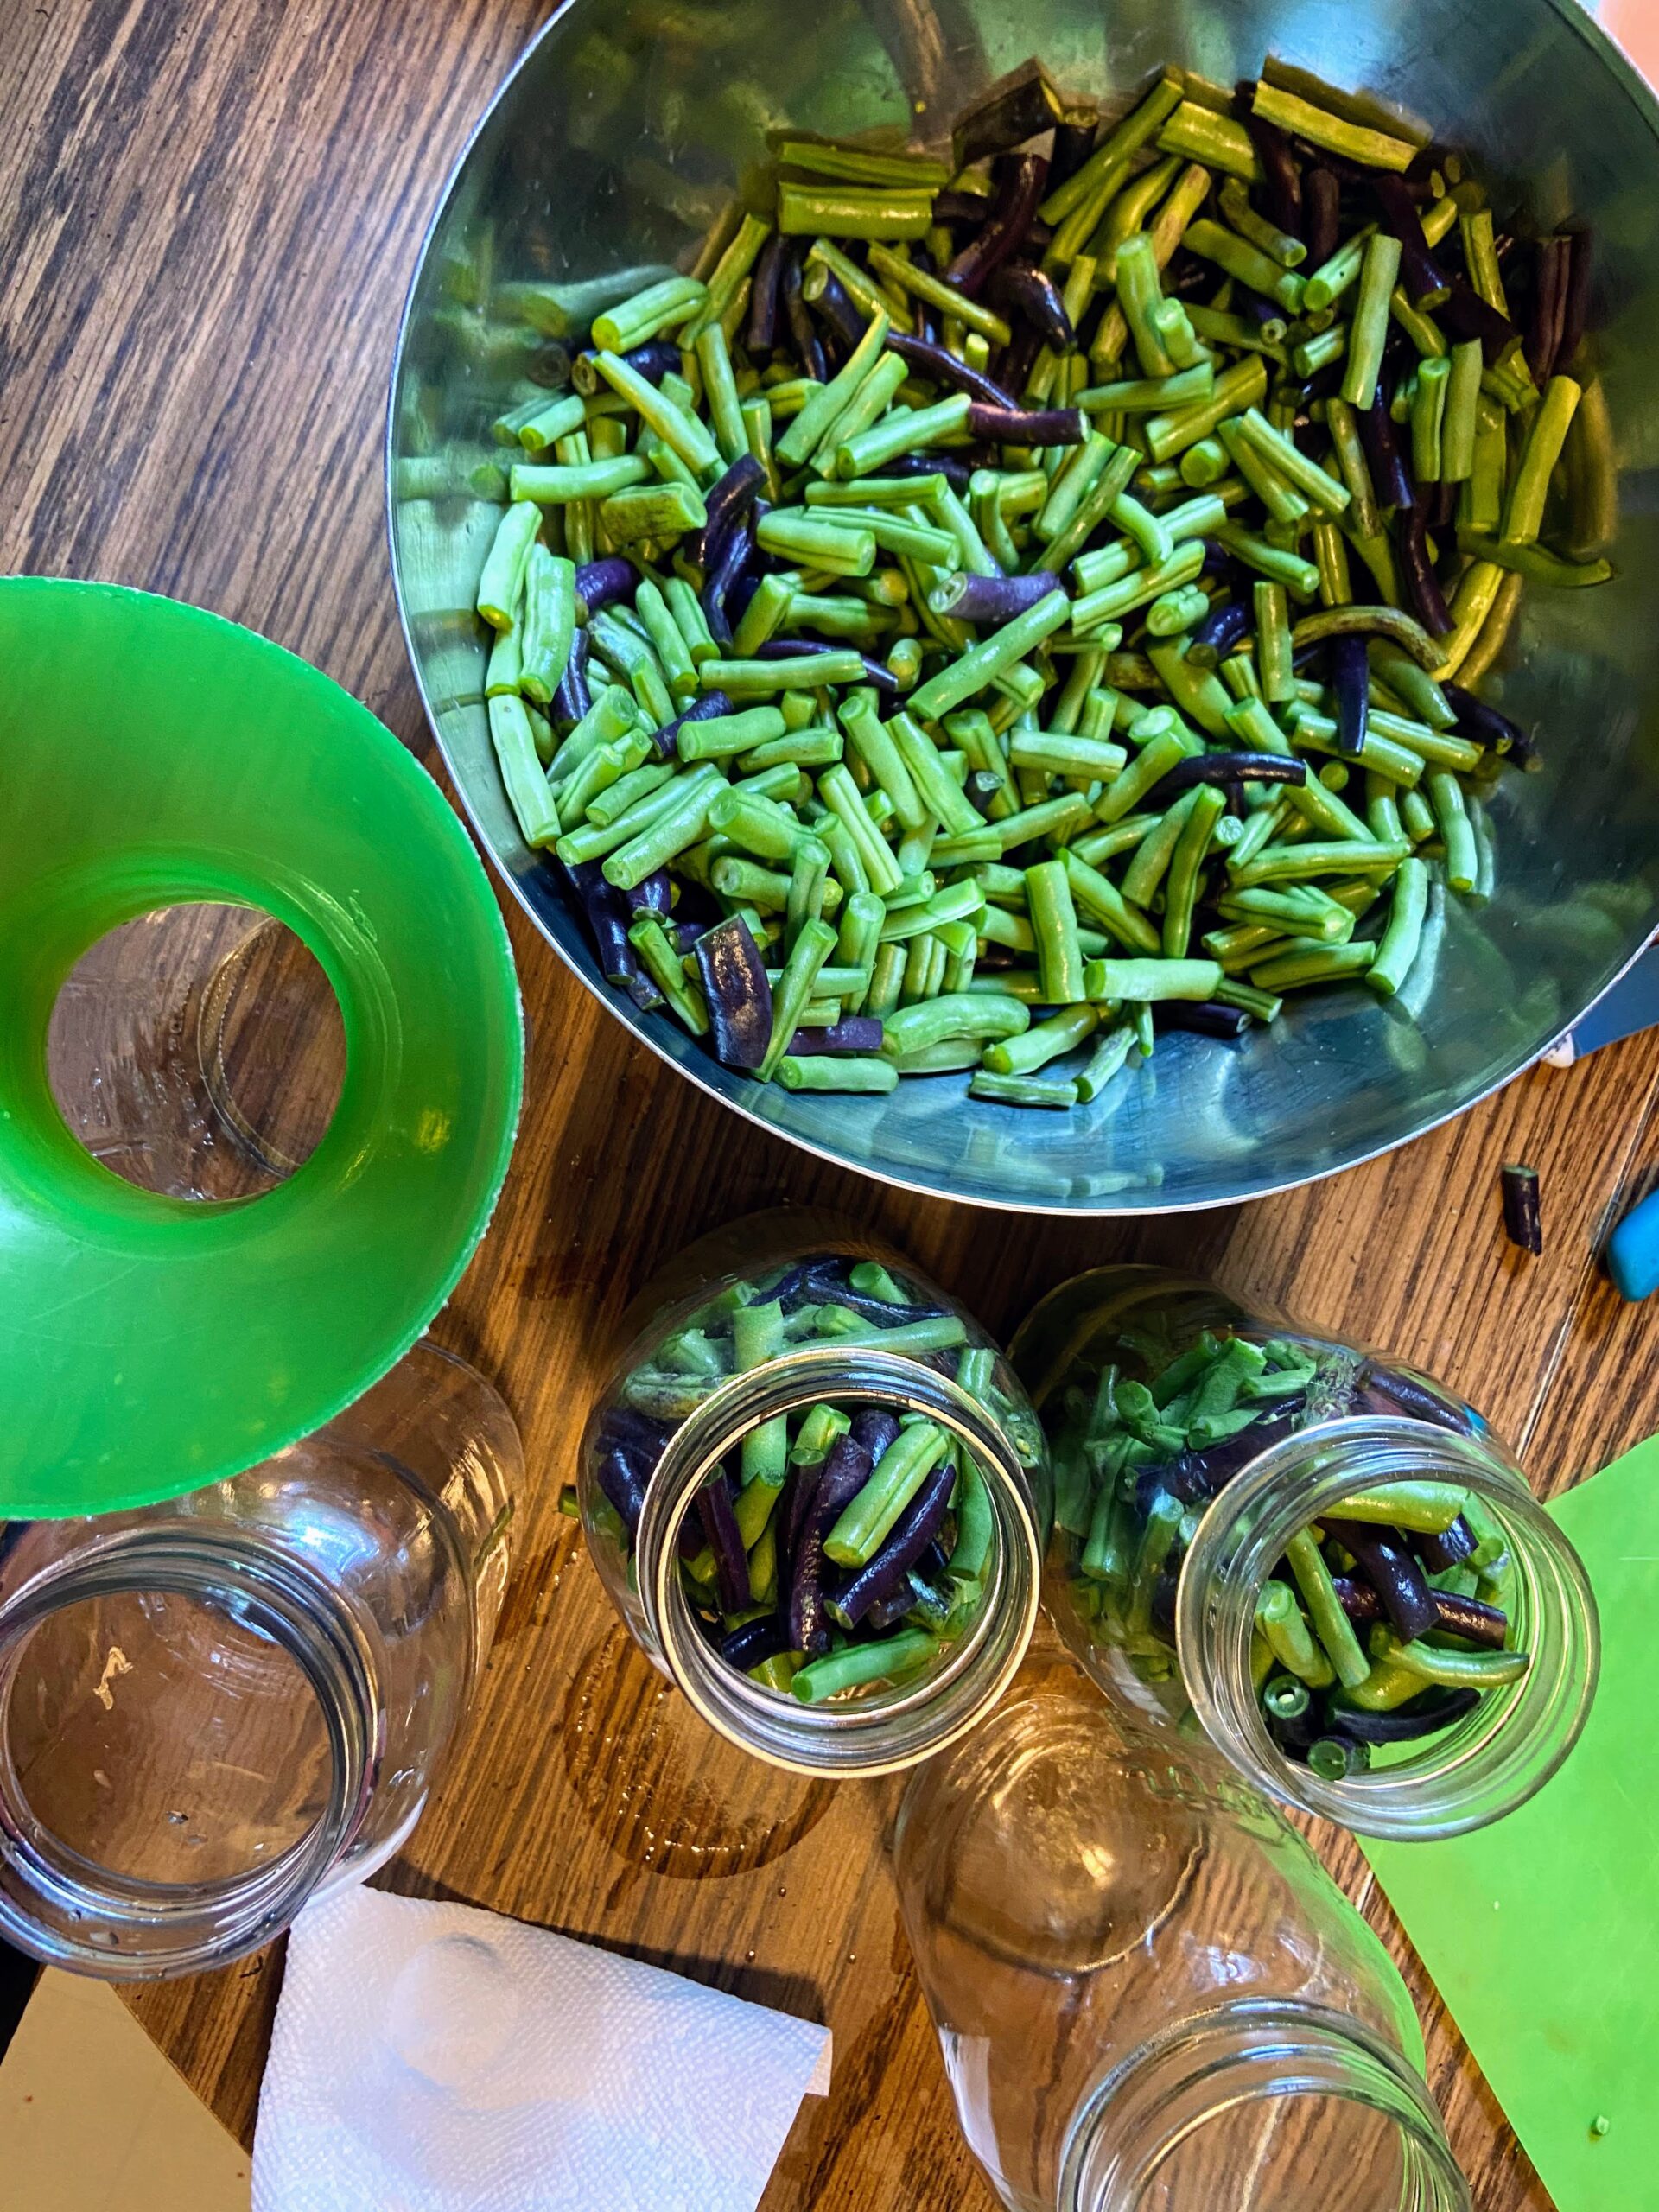
Meanwhile, pack the raw beans as tightly as possible. I like to fill, then hold my hand over the top and shake them to get them compressed. Leave 1 inch head space. If you would like to add salt, do ½ teaspoon per quart jar. Ladle the hot water over the means, leaving 1 inch head space. 

The Pressure Canning 

Remove the air bubbles and clean the jar rim with a damp, clean cloth. Center the lid and then the ring, adjusting to fingertip-tight. Place jars on the rack of a prepared pressure canner (mine needs 3 quarts of hot water plus a splash of vinegar, but check the directions of yours). 

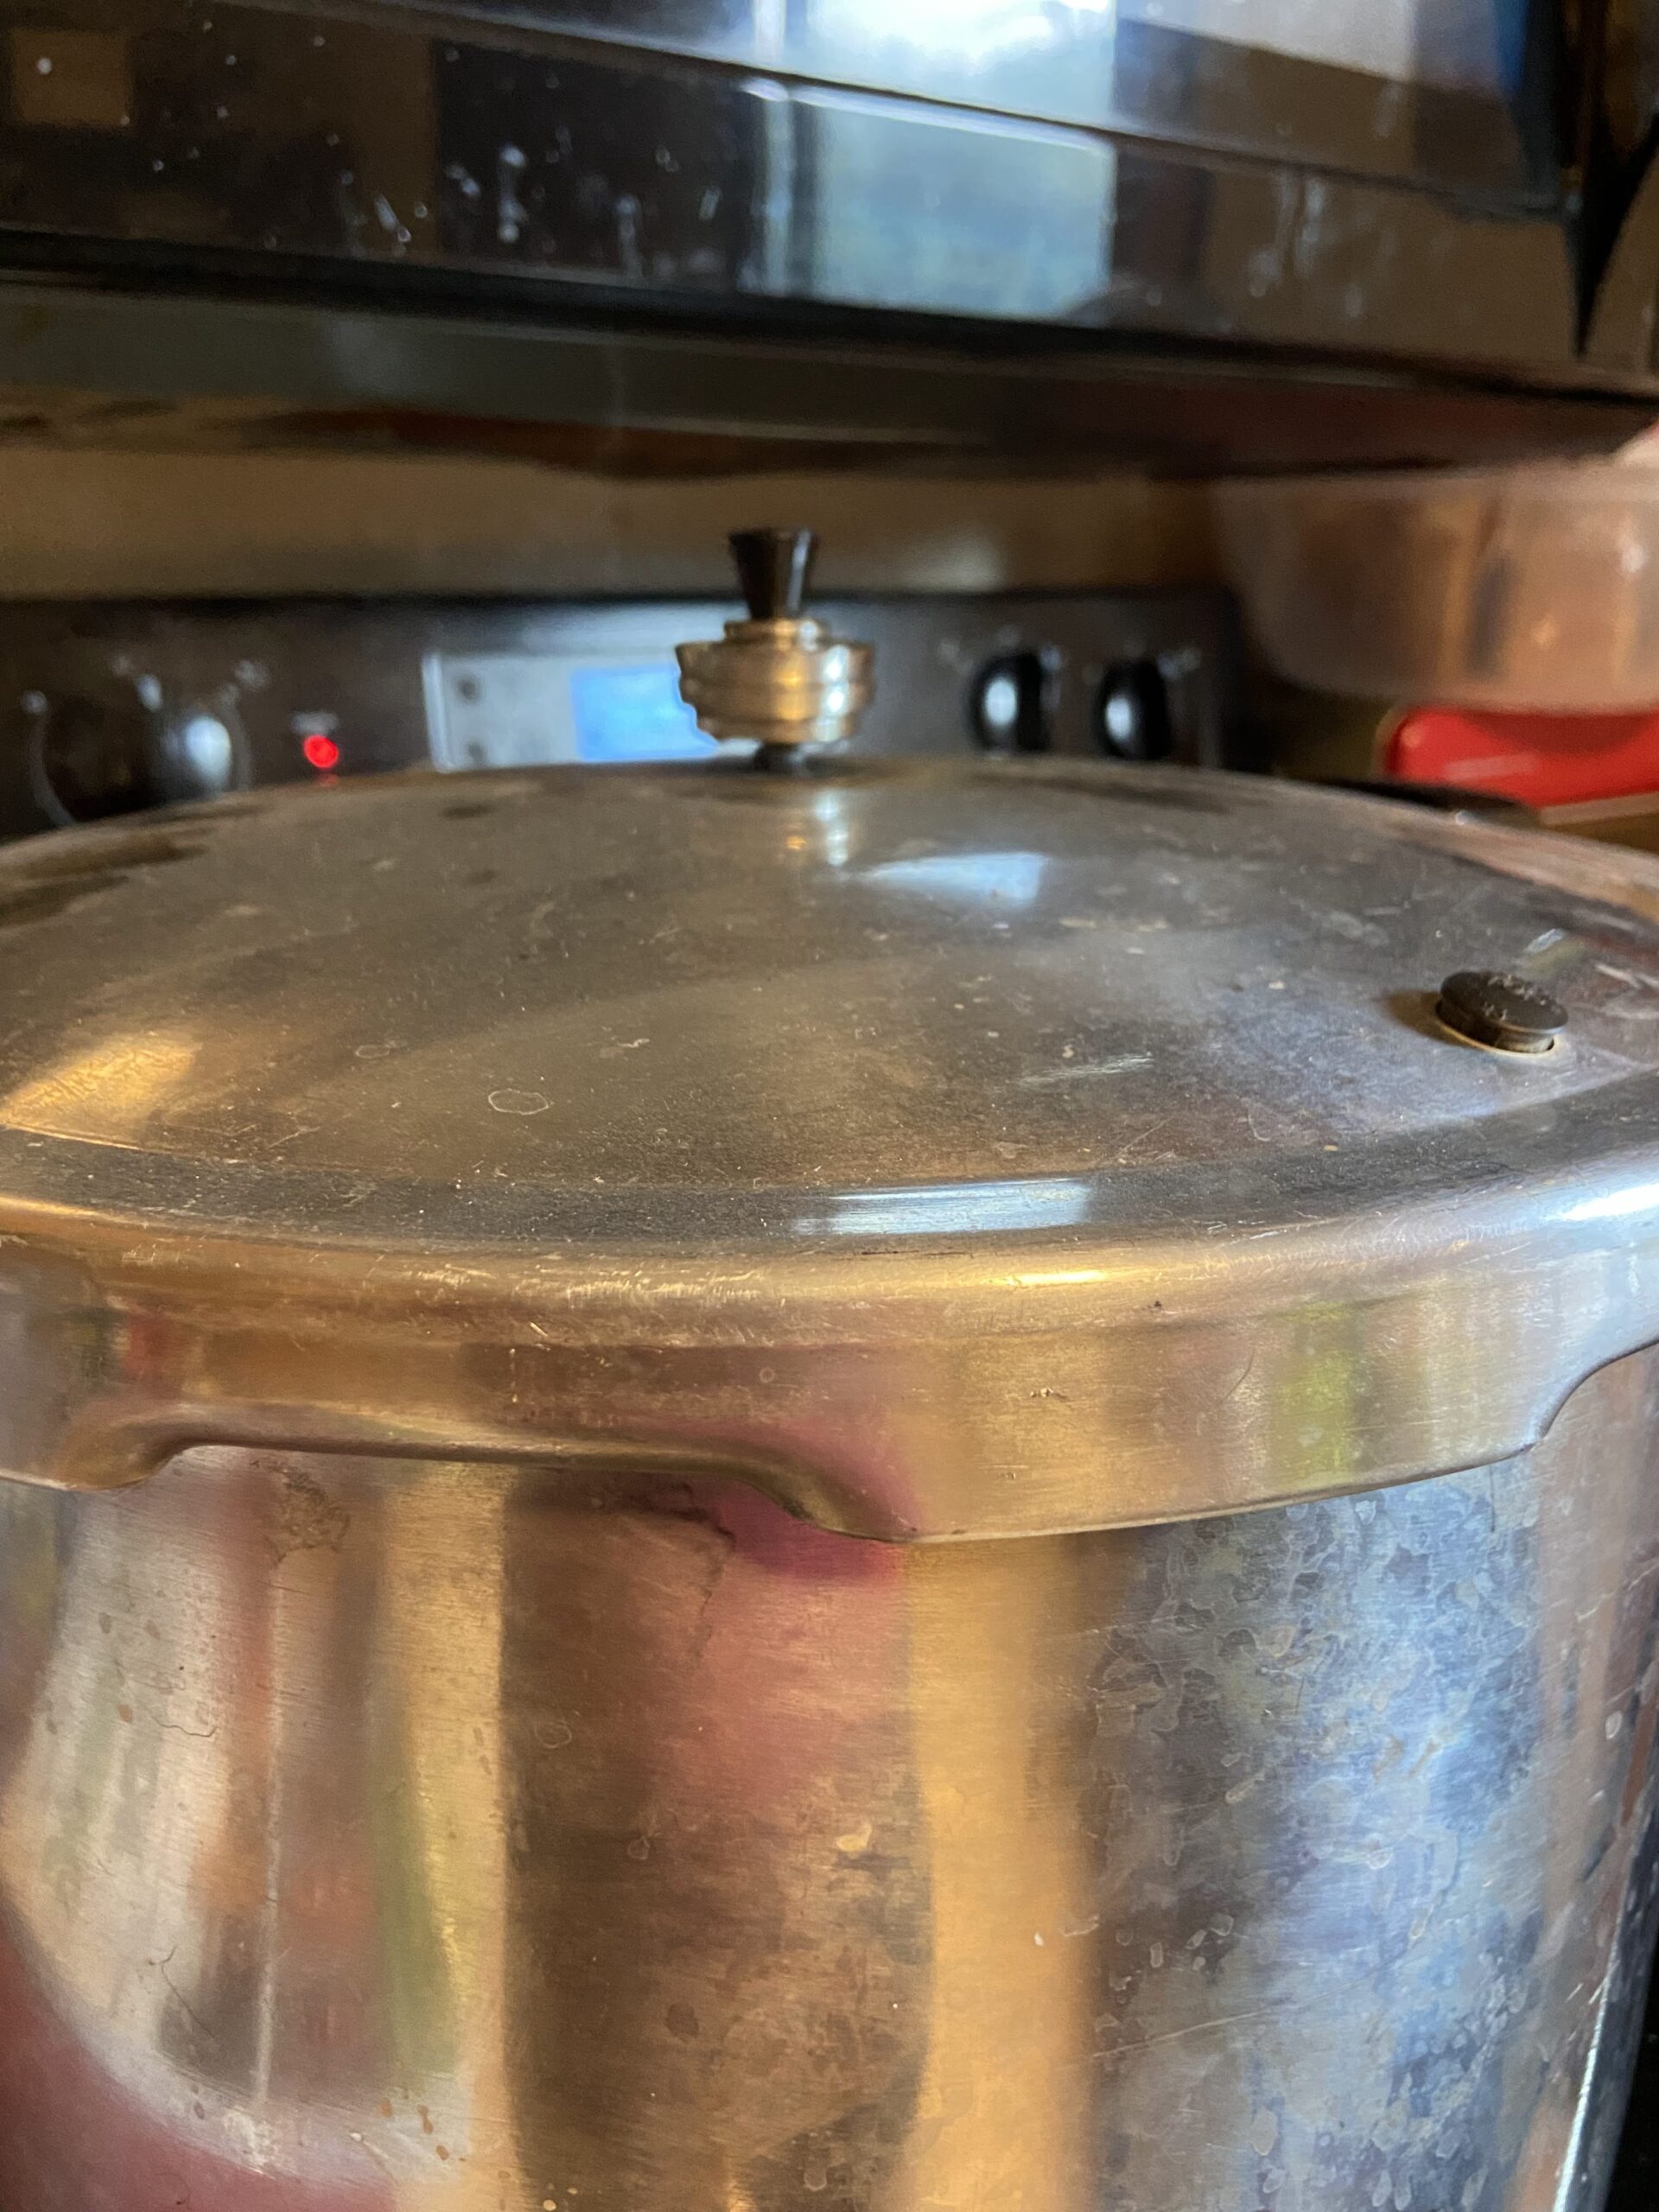
Place the lid on the canner, turn to the locked position, and heat to high heat. Once a steady stream of steam can be seen/felt, vent for 10 minutes, adjusting the heat if needed to have a steady but not crazy stream of steam. After 10 minutes, put the weighted gauge on the vent. You will want 10 pounds if your altitude is under 1000 ft; 15 pounds if you are over 1000 ft. 

Once the weight starts to jiggle (indicating it has reached the appropriate pressure), begin timing. You will need to process pint jars for 20 minutes and quart jars for 25 minutes. If you have a mixture of pint and quart jars, you need to go for the longer time. 

Once the timer has gone off, turn off and remove the canner from heat. Allow the pressure to drop on the canner all the way (read specific canner instructions for the indicator-this takes about 45 minutes). Remove weight and allow to cool an additional 10 minutes. Remove jars from canner; do not retighten bands. Cool 12 hours, then check their seals, label, and store jars. 

Pressure Canned Green Beans

Filling your shelves with canned and preserved produce you grew is special. These pressure canned green beans is a great place to start!
Prep Time 30 minutes
Cook Time 2 hours
Course Side Dish
Cuisine Canning, Perserving
Servings 5 quarts

Ingredients
  

  • 10 pounds green beans washed and trimmed (2 pounds per quart)
  • 2 ½ teaspoon salt optional

Instructions
 

  • Begin by preparing your canner and jars. Wash and sterilize quart jars, rings, and lids. Keep warm. Check the seal and center vent of your lid the canner. Set aside.
  • If you have not done so already, cut cleaned beans into 2 inch pieces.
  • Fill jars with prepared beans, leaving 1 inch of head space.
  • Wipe rims with a damp cloth, center the lid on the jar and adjust the band to fingertip tight.
  • Place jars on the rack of a prepared pressure canner (mine needs 3 quarts of hot water plus a splash of vinegar).
  • Process quart jars for 25 minutes at 10 pounds. If your altitude is greater than 1000 feet, use 15 pounds. Follow the directions of your pressure canner or see the more detailed directions in the notes.

Notes

Pint jars can also be used. You will need 2 cups of beans per jar. Pints are processed for 20 minutes. 
Detailed Directions
Place the lid on the canner and heat to high heat. Once a steady stream of steam can be seen/felt, vent for 10 minutes, adjusting the heat if needed to have a steady but not crazy stream of steam. After 10 minutes, put the weighted gauge on the vent. You will want 10 pounds if your altitude is under 1000 ft; 15 pounds if you are over 1000 ft.
Once the weight starts to jiggle (indicating it has reached the appropriate pressure), begin timing. You will need to process pint jars for 20 minutes and quart jars for 25 minutes. Once the timer has gone off, turn off and remove the canner from heat. Allow the pressure to drop on the canner all the way (read specific canner instructions for the indicator). Remove weight and allow to cool an additional 10 minutes. Remove jars from canner; do not retighten bands. Cool 12 hours, then check their seals, label, and store jars.
Keyword beans, green beans, low acid foods, pressure canning
Tried this recipe?Let us know how it was!

Looking for more inspiration?

A great place to look is my canning and preserving page. But if you want some specific recipes, you can check them out below!

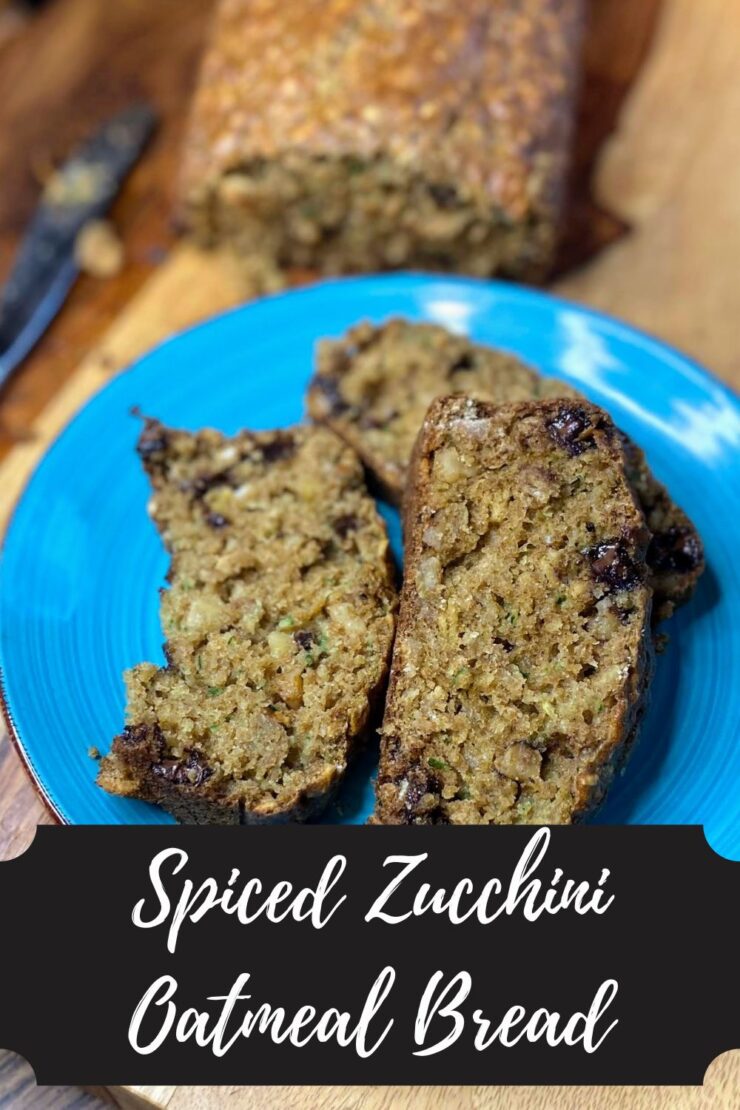
Spiced Zucchini Oatmeal Bread

Spiced Zucchini Oatmeal Bread

“Mama! Will you make more chocolate zucchini bread?” That’s what I heard a few weekends back, and while I really love my chocolate zucchini bread recipe (Find it here!) I wanted to skip the chocolate and go for a new recipe; A spiced zucchini oatmeal bread. 

The goal? Make a zucchini bread my kids would gobble up while making some healthy swaps. If you’ve been here a while, you know my MO is maple syrup (or honey!) instead of sugar, whole wheat flour rather than white, and oatmeal is so heart-healthy I have to throw it in there! 

And while lots of my recipes are gluten-free (because darn it, I care about you, gluten-free friends!), this recipe uses some Sunrise Flour Mill Heritage Wheat Flour. If you are gluten-free, I highly recommend checking out their flour. They are well known in the St. Paul/Minneapolis area for creating heritage wheat that is more digestible. Freaking dang cool, right? 

This recipe was a great breakfast for my mini me and mid morning snack for myself. I eat breakfast at 6 am and lunch at 12:20 pm. I don’t know about you, but this girl can not last that long. There is definitely a second breakfast around 9:30 with some form of granola, graham cracker, or bread and a piece of fruit. It’s how this active teacher rolls. But enough about my eating habits, let’s get baking! 

Your Ingredients for Spiced Zucchini Oatmeal Bread 

  • ¾ cup maple syrup 
  • 1 tablespoon vanilla
  • 3 eggs 
  • ⅓ cup oil 
  • 2 cups whole wheat flour 
  • 1 cup old-fashioned oats 
  • 2 teaspoons baking soda
  • ½ teaspoon baking powder 
  • 1 teaspoon salt 
  • 1 teaspoon ground cinnamon 
  • ⅛  teaspoon ground cloves 
  • ½ cup chocolate chips
  • ½ cup chopped nuts
  • 2 ½ – 3 cups shredded zucchini

Your Steps

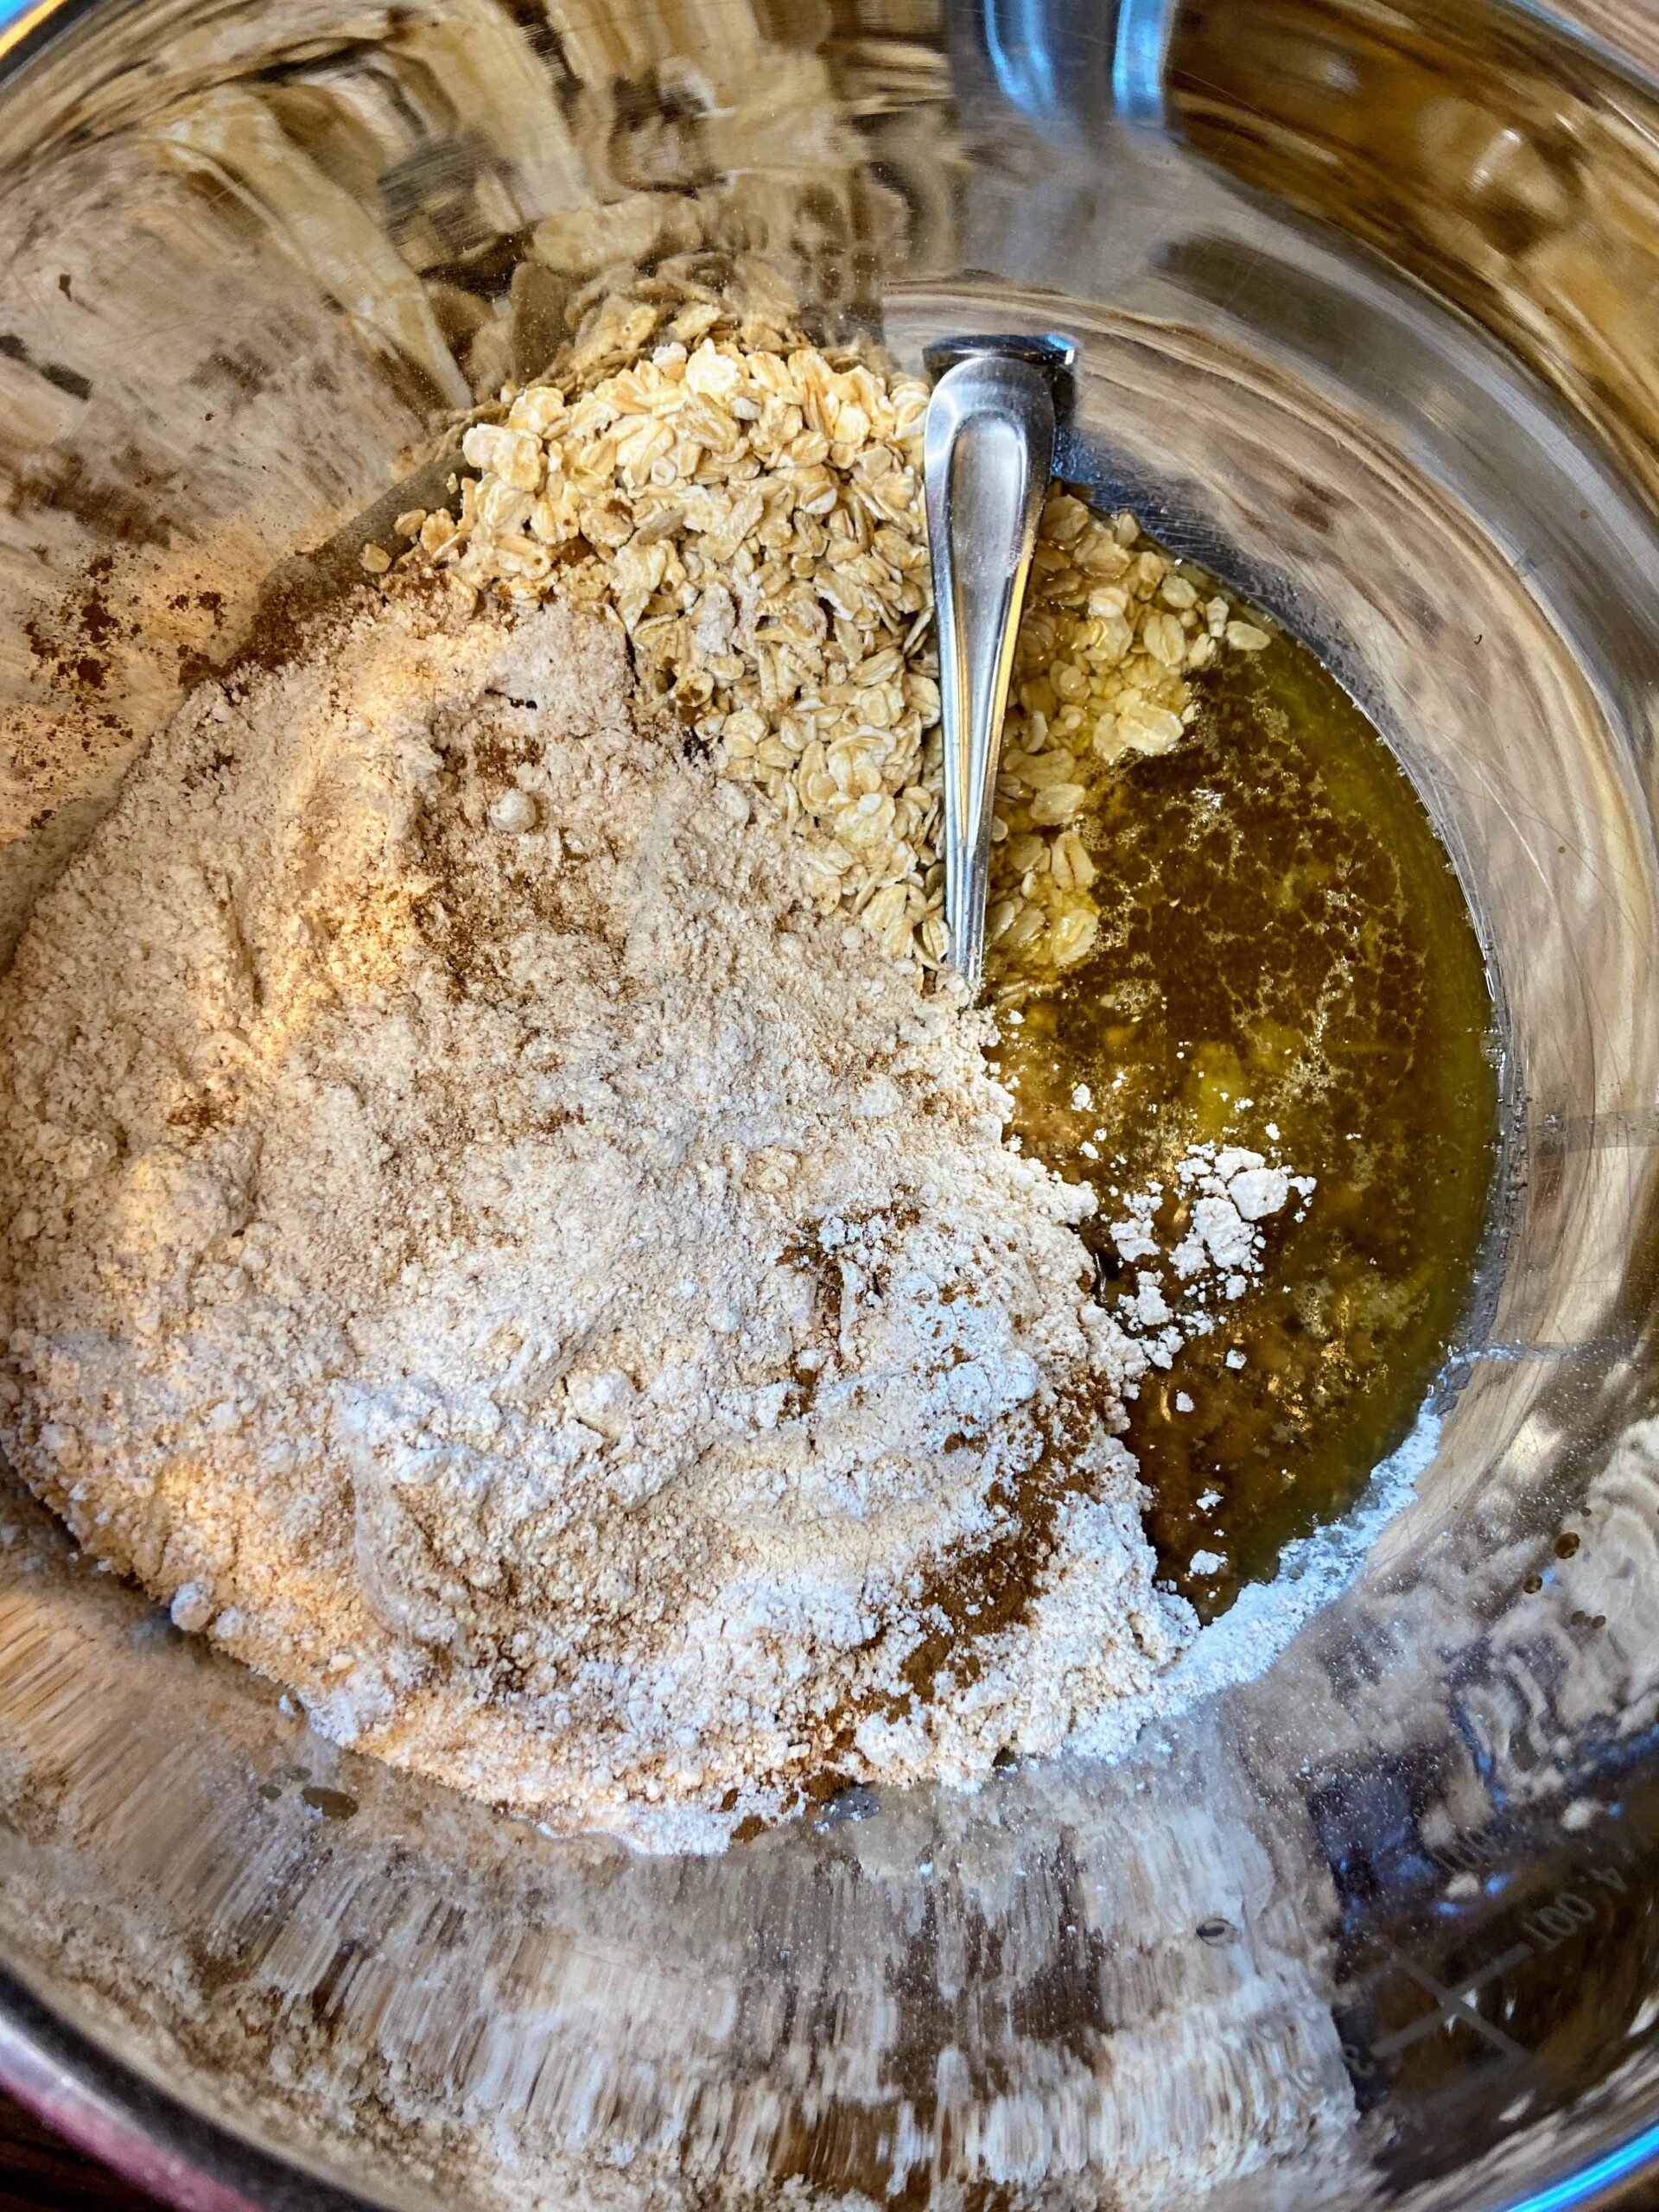
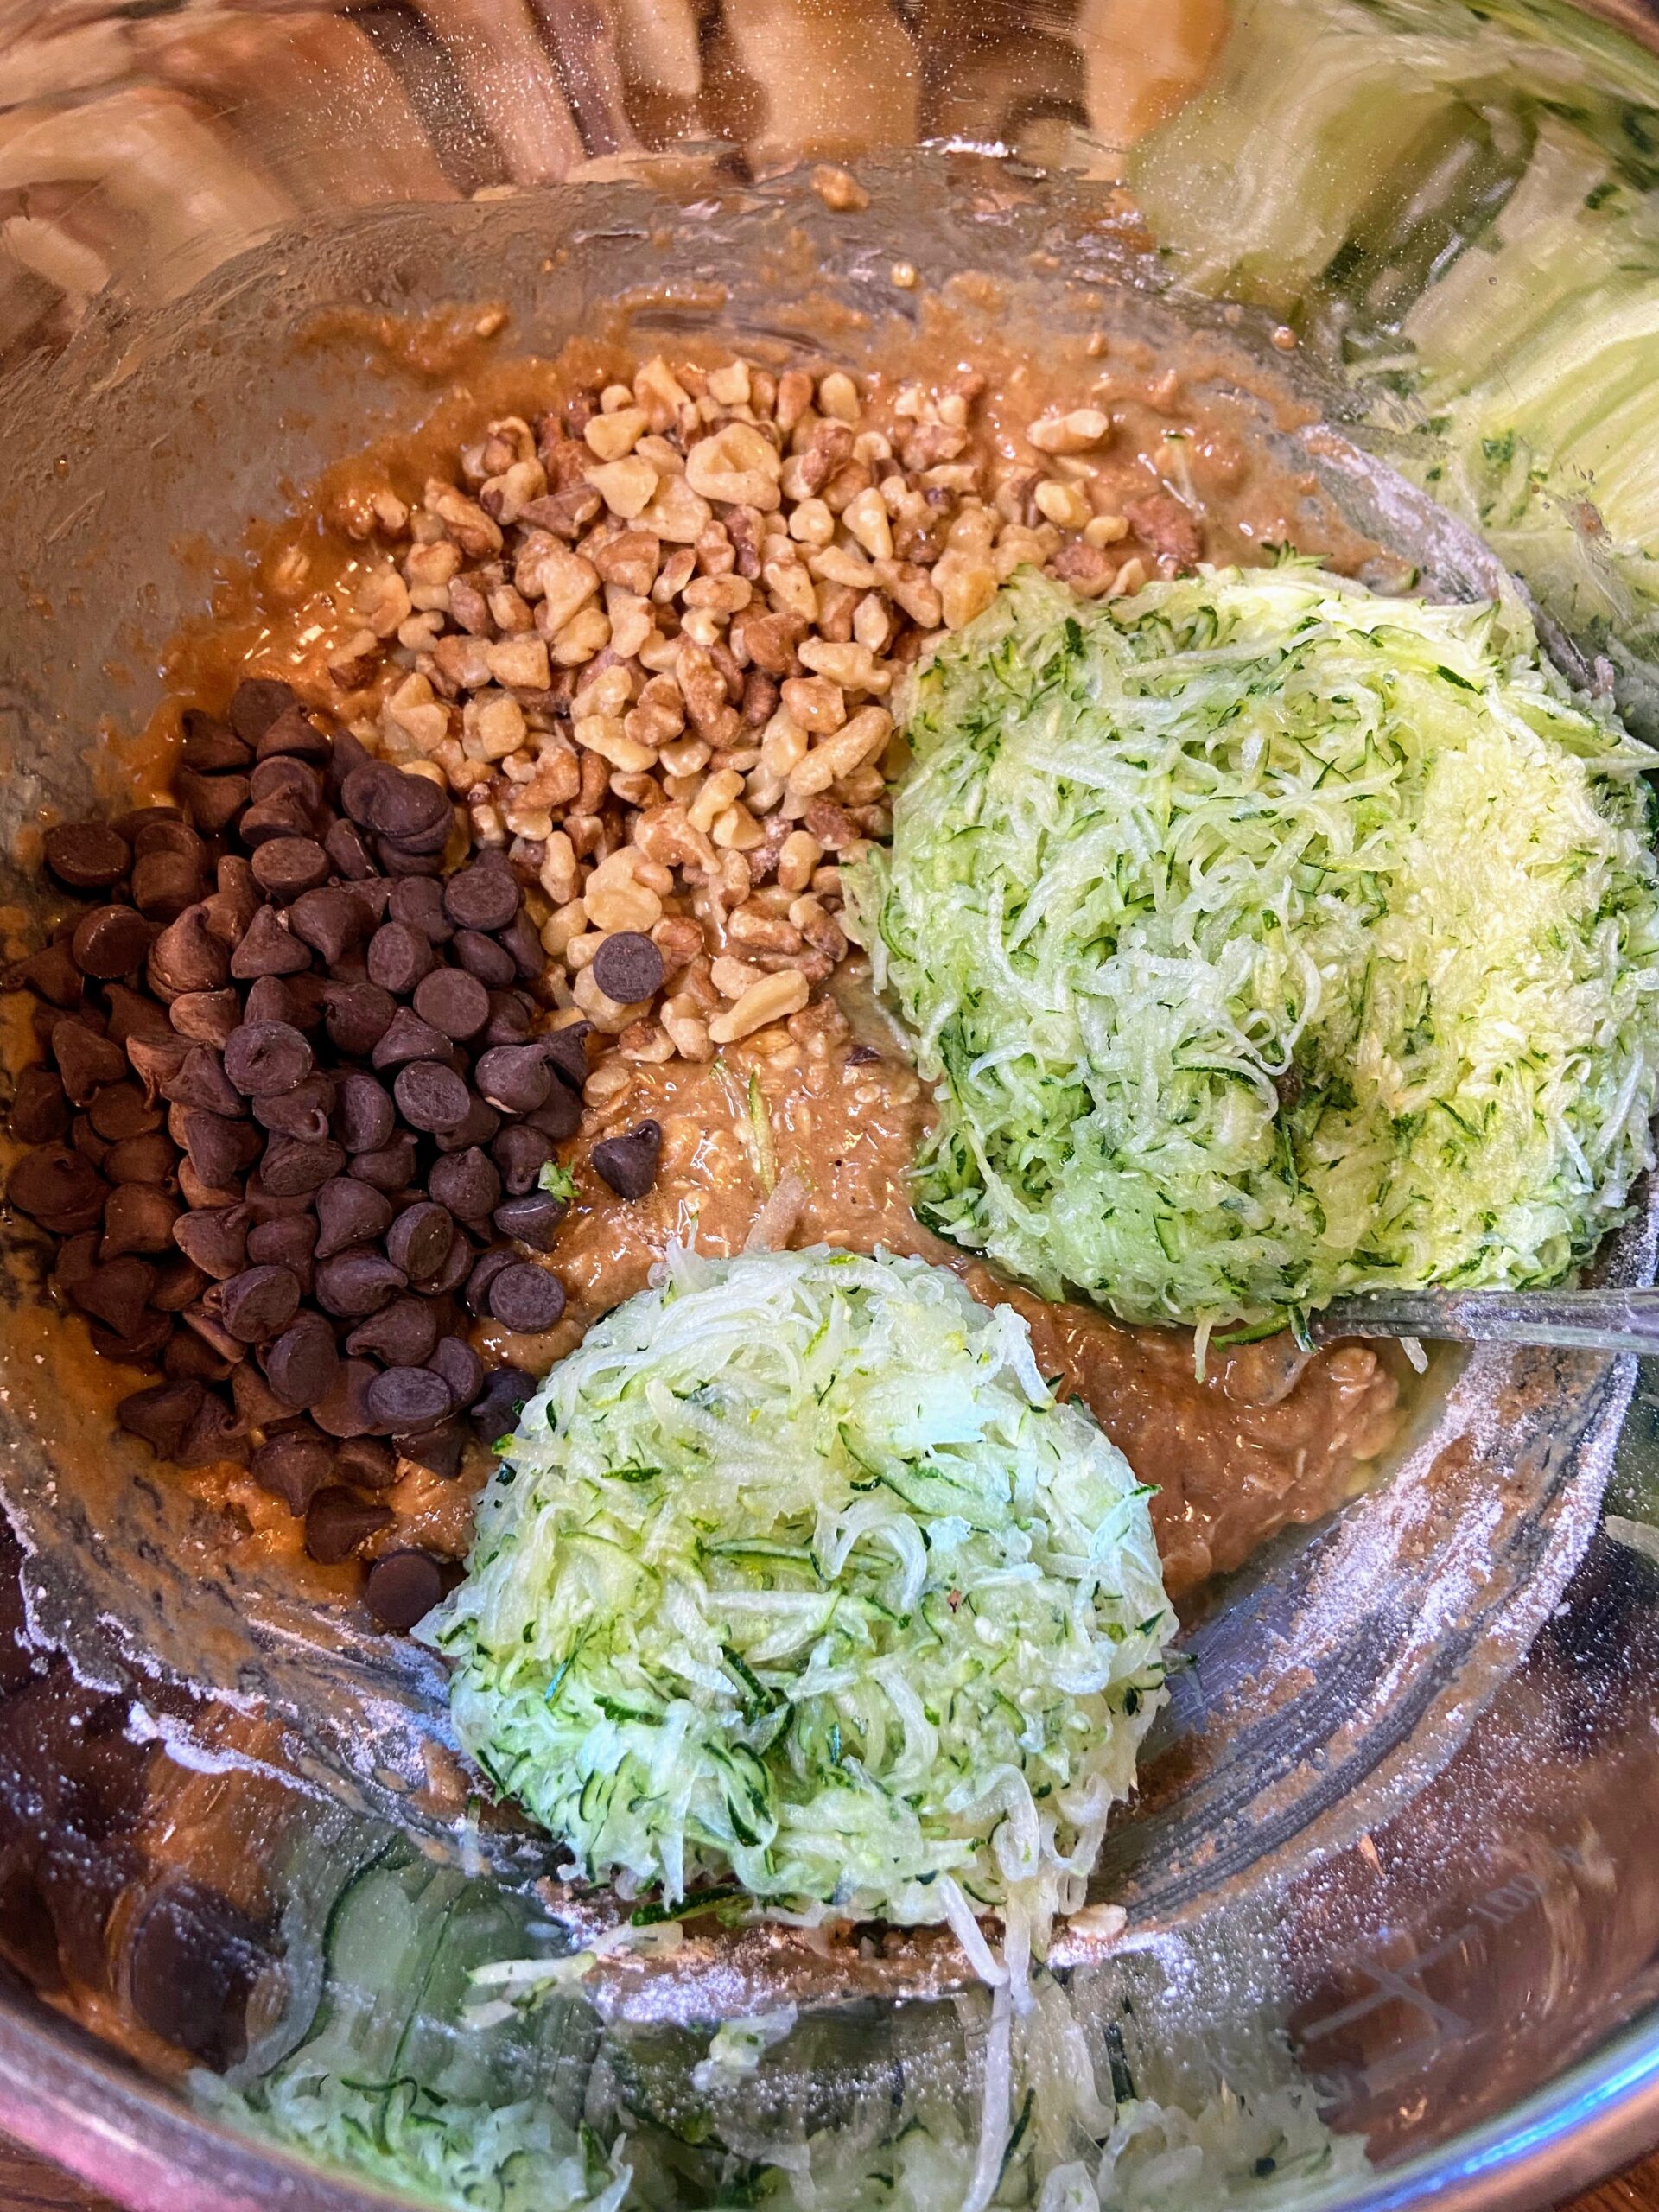
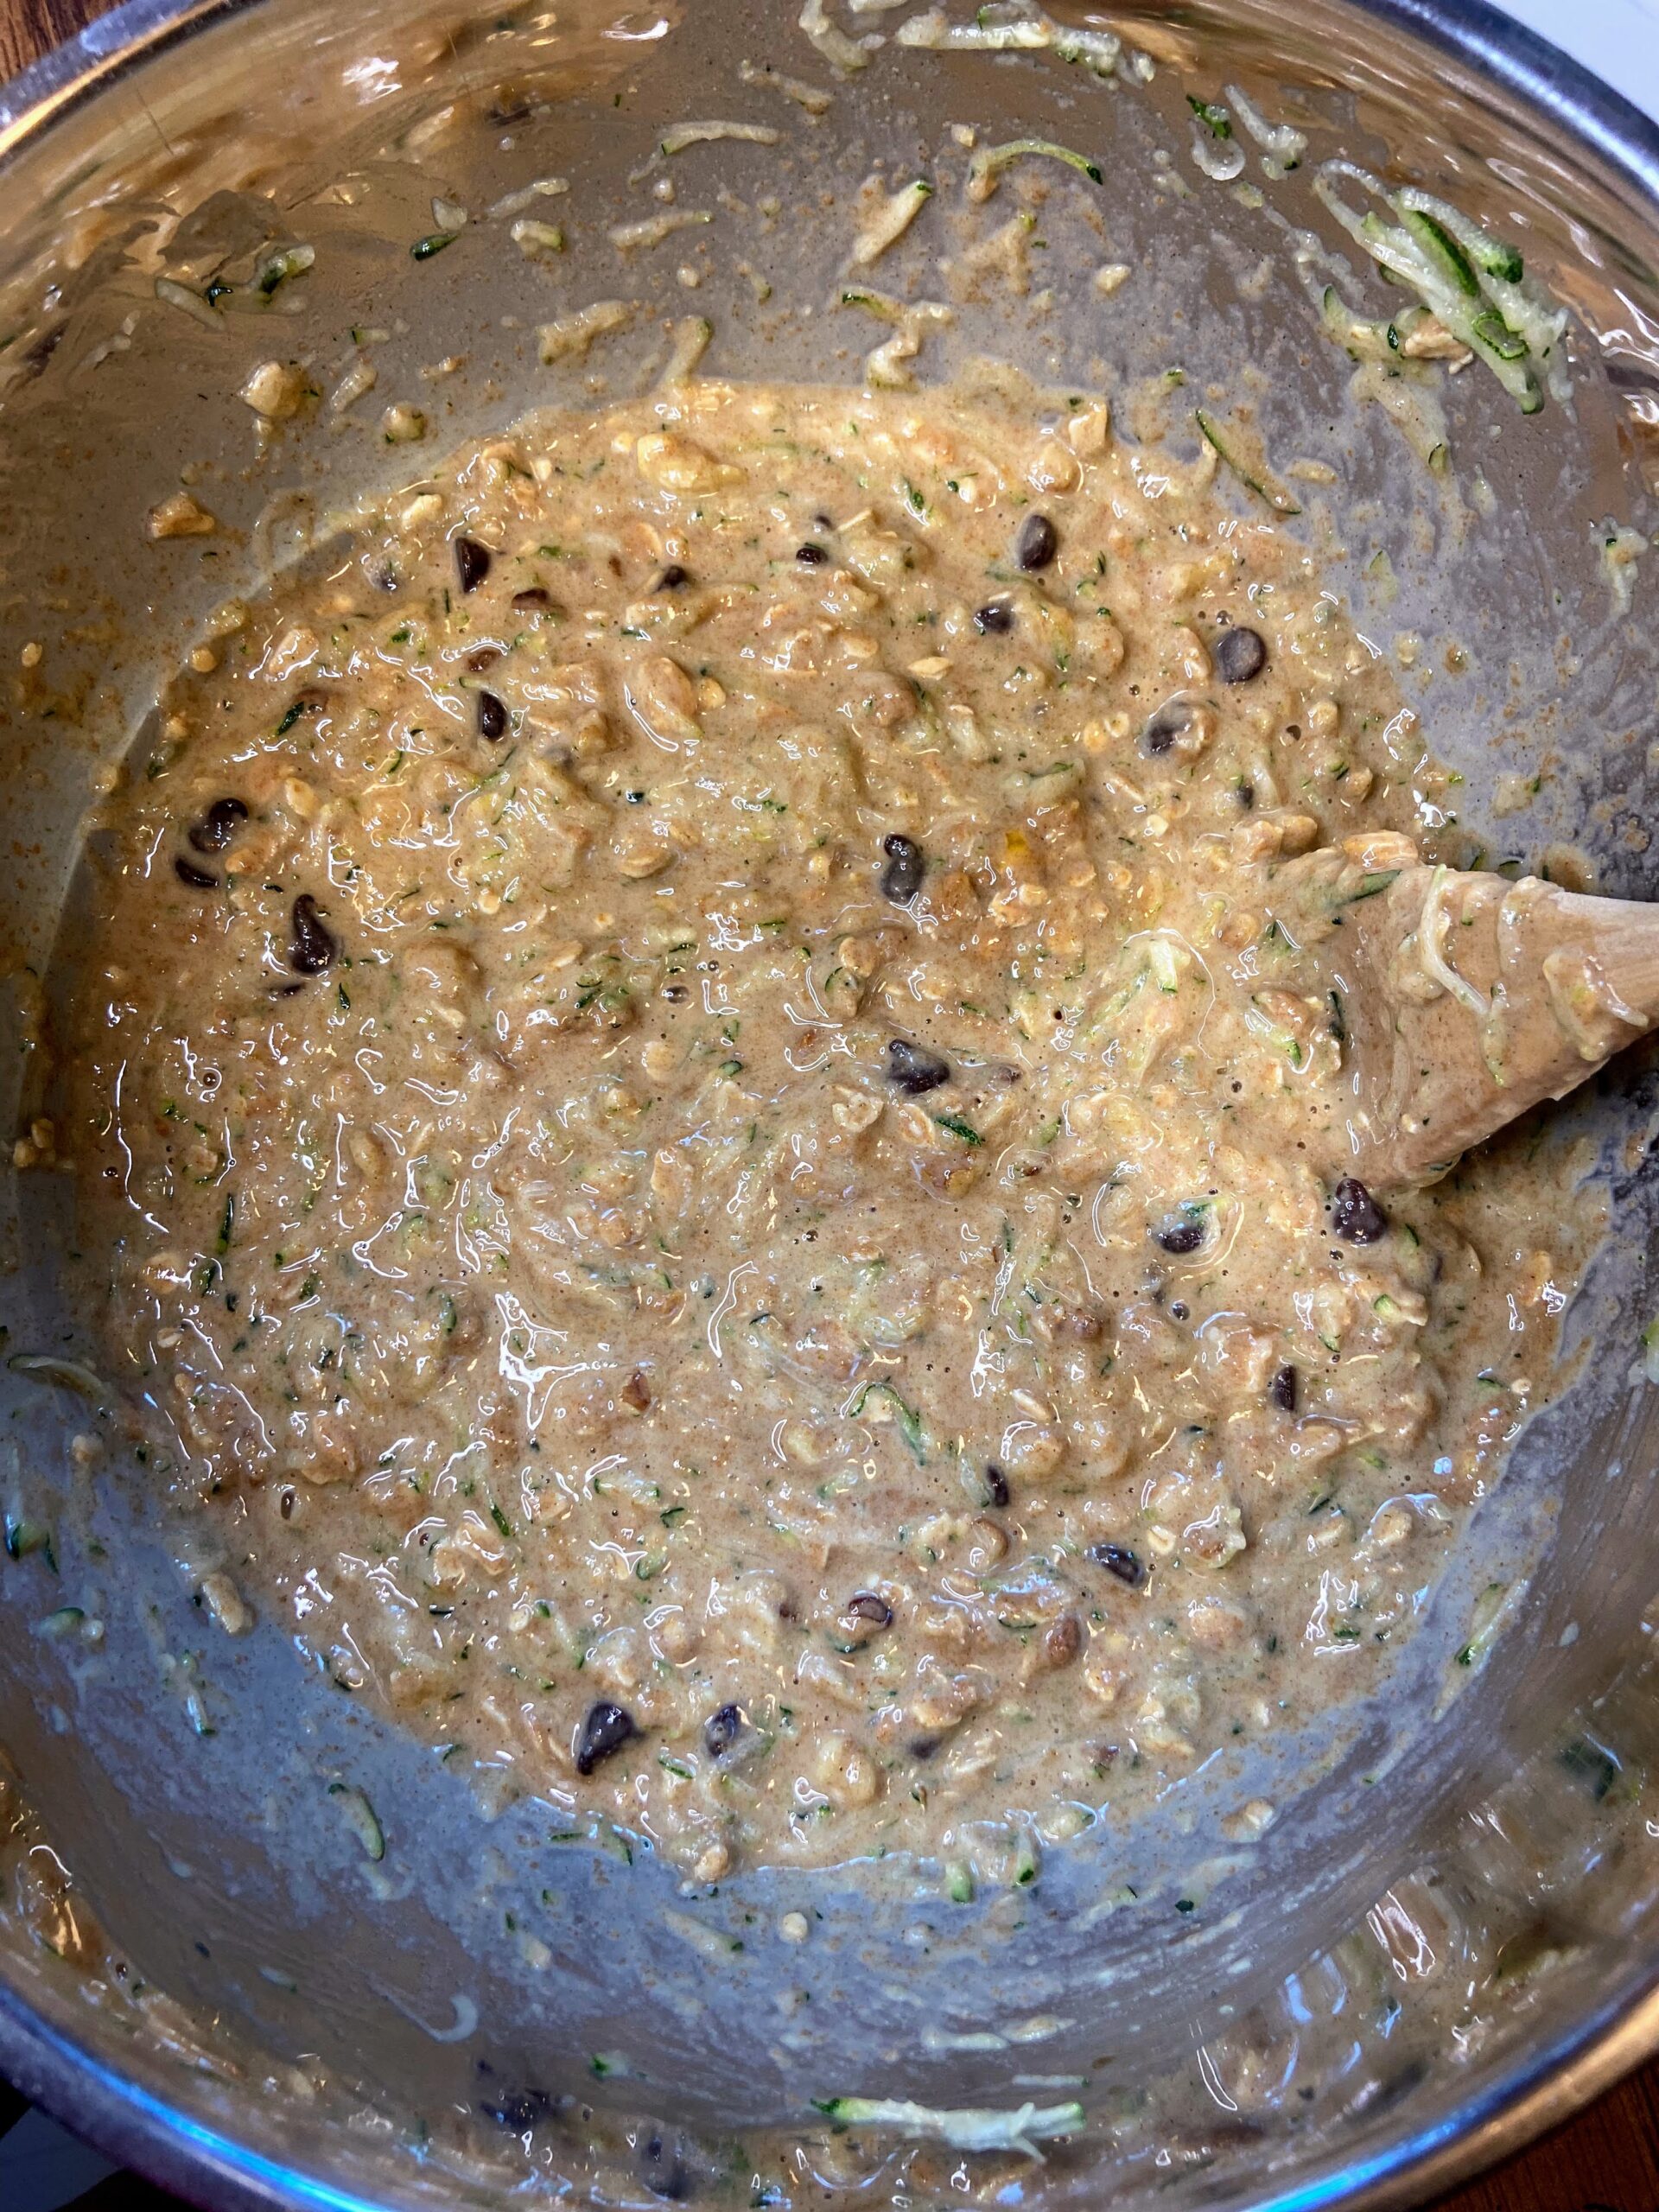
Preheat the oven to 350 degrees. Prepare two 9×5 inch loaf pans with non-stick cooking spray. Mix maple syrup, vanilla, eggs, and oil in a medium bowl. Whisk until well combined. Add whole wheat flour, oats, baking soda, baking powder, salt, cinnamon, and cloves. Mix until just combined. Fold in chocolate chips, chopped nuts, and shredded zucchini. 

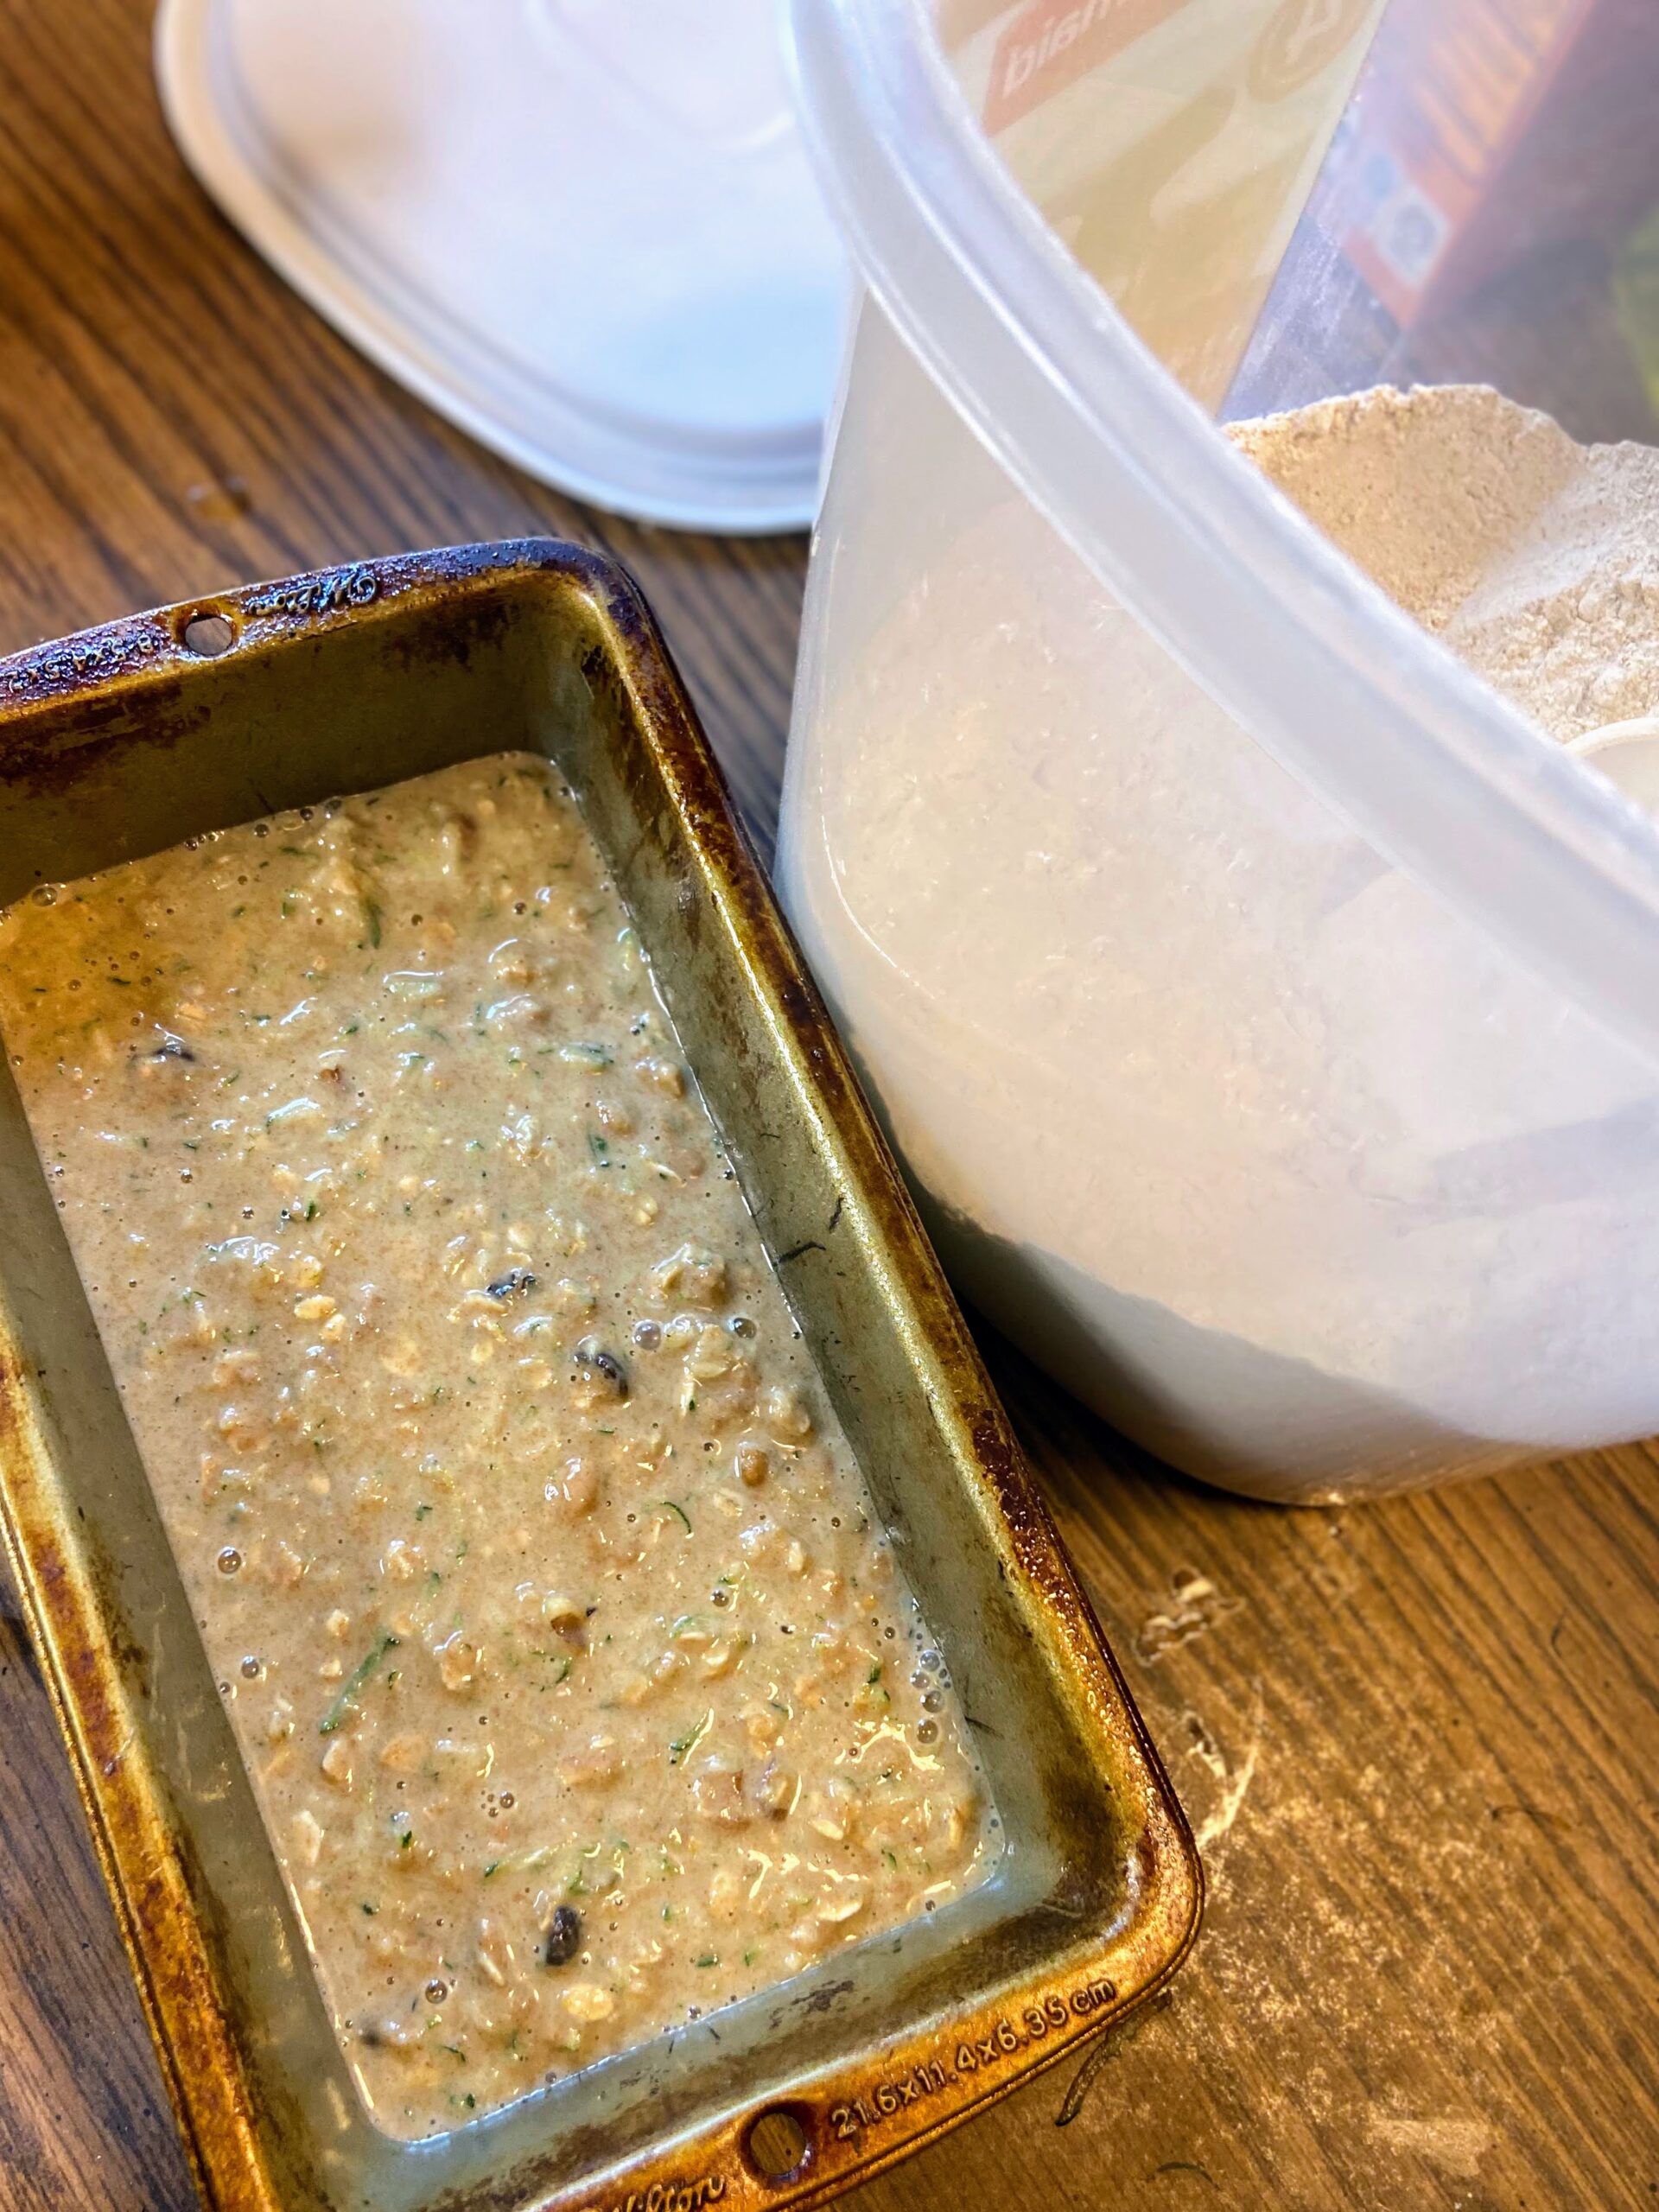
Divide the batter between the two prepared loaf pans. Place in the center of the oven and bake for 45-55 minutes, until a toothpick inserted comes out clean, without raw batter. 

Spiced Zucchini Oatmeal Bread

Cinnamon, maple syrup, and some oatmeal make this heart healthy zucchini bread a delight while still being kid friendly!
Prep Time 10 minutes
Cook Time 50 minutes
Course Breakfast
Cuisine American
Servings 12 slices

Ingredients
  

  • ¾ cup maple syrup
  • 1 tablespoon vanilla
  • 3 eggs
  • cup oil
  • 2 cups whole wheat flour
  • 1 cup old fashioned oats
  • 2 teaspoons baking soda
  • ½ teaspoon baking powder
  • 1 teaspoon salt
  • 1 teaspoon ground cinnamon
  • teaspoon ground cloves
  • ½ cup chocolate chips
  • ½ cup chopped nuts
  • 2 ½ – 3 cups shredded zucchini

Instructions
 

  • Preheat the oven to 350 degrees. Prepare two 9×5 inch loaf pans with non-stick cooking spray.
  • In a medium bowl, combine maple syrup, vanilla, eggs, and oil. Whisk until well combined.
  • Add whole wheat flour, oats, baking soda, baking powder, salt, cinnamon, and cloves. Mix until just combined.
  • Fold in chocolate chips, chopped nuts, and shredded zucchini.
  • Divide the batter between the two prepared loaf pans.
  • Place in the center of the oven and bake for 45-55 minutes, until a toothpick inserted comes out clean, without raw batter.
Keyword Breakfast Bread, chocolate zucchini bread, oatmeal, Quick Bread, whole wheat flour, zucchini, zucchini bread, zucchini recipe
Tried this recipe?Let us know how it was!

Looking for more zucchini recipes?

Check out any of the ideas below!

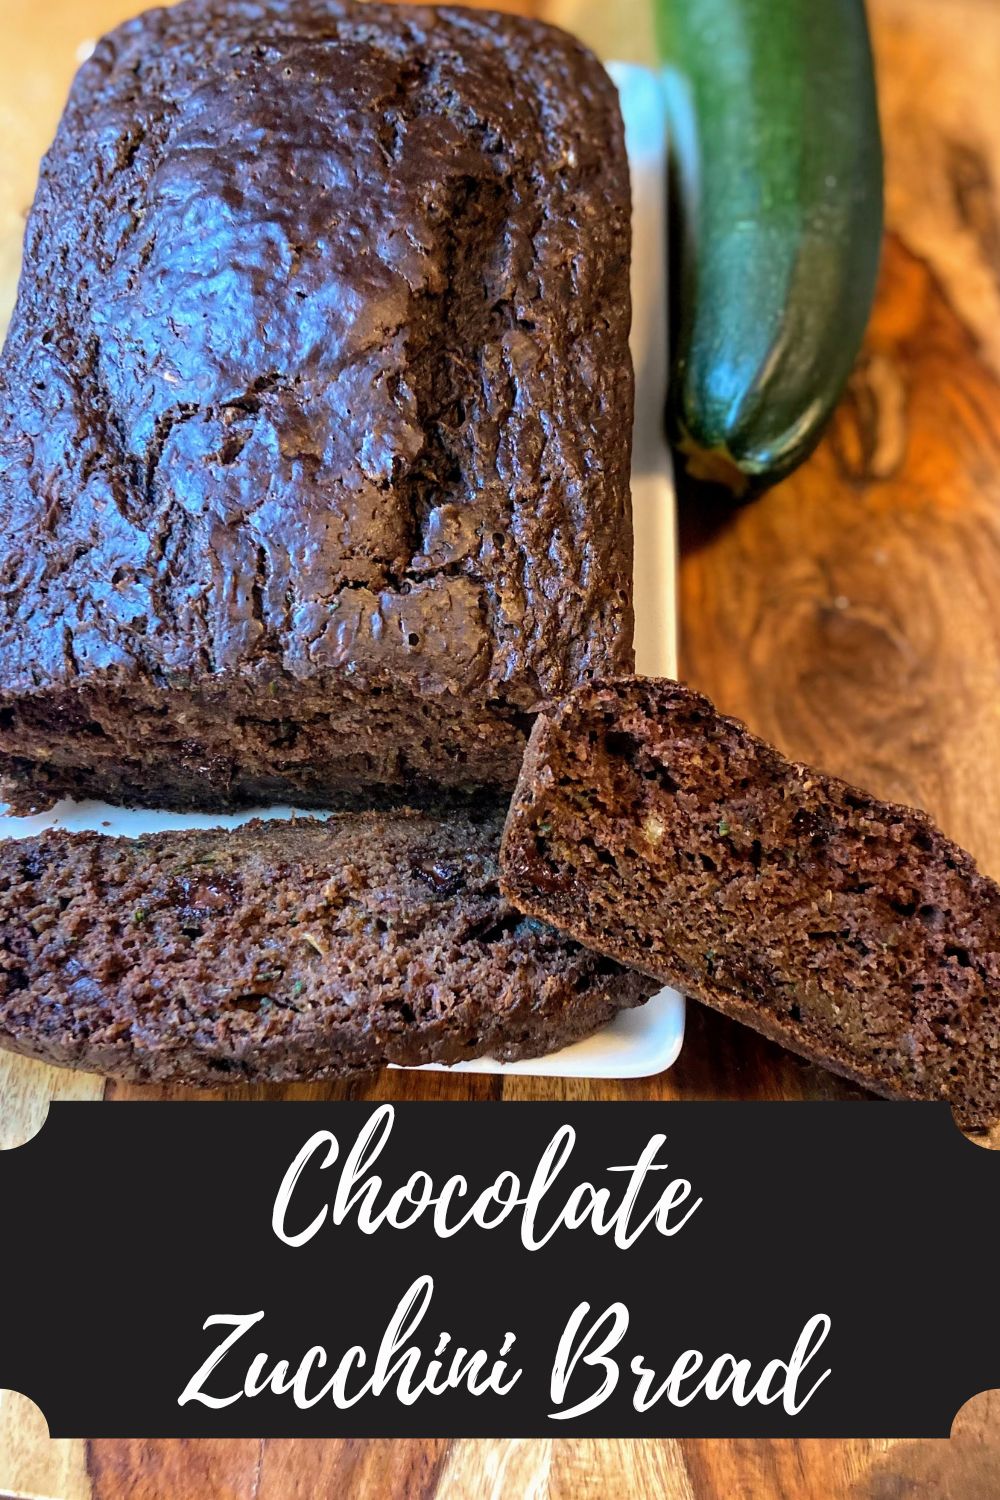
Chocolate Zucchini Bread

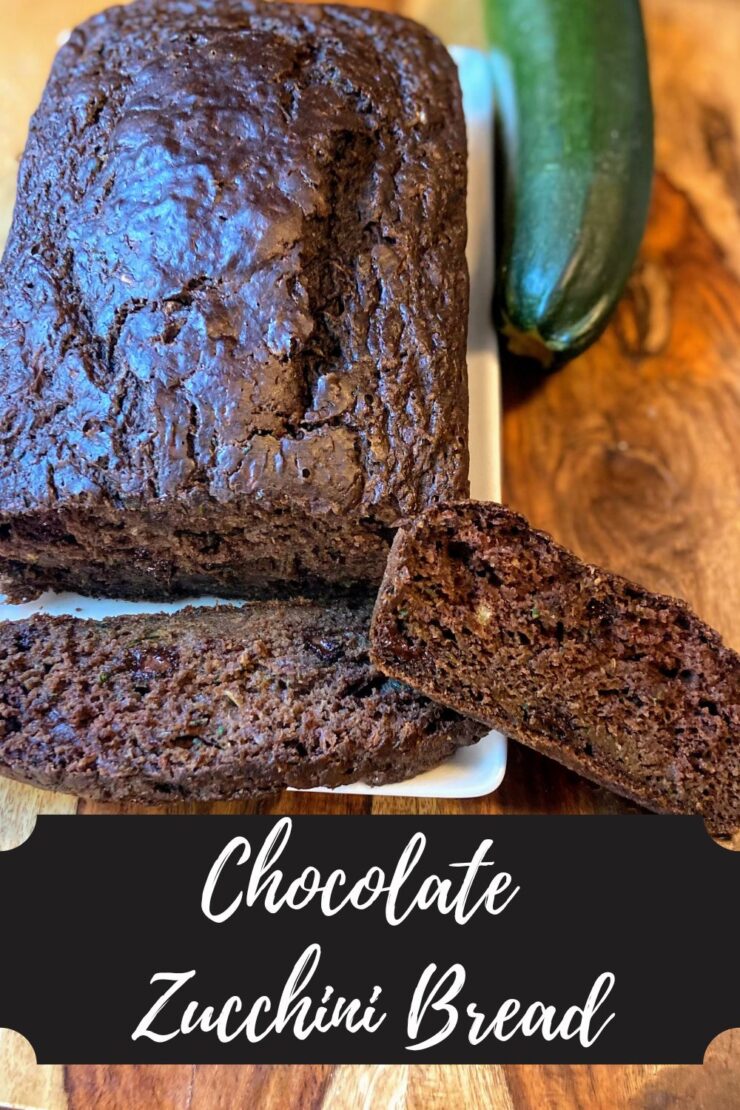
Who here has a kiddo who is much more likely to eat something that is chocolatey? *Raises hand.* Who here likes chocolate zucchini bread themselves? *Raises hand again* 

I love zucchini bread in all forms, but my big kiddo isn’t a zucchini fan and will complain if it isn’t disguised well. Knowing that we have the intent to send our kids to school with more home lunches this year, I set out to create a chocolate zucchini bread that had some healthier ingredients while still pleasing the 12 year old. 

Upon taking it from the oven, he was questioning it. “Zucchini bread, really?” Then he cut himself a warm slice. He smiled and finished it with his eyes closed (the tell-tale sign that I won his tastebuds over). Then he cut another and finally stopped after ⅓ of the loaf was gone. When he and his sister finished the loaf a few days later, he immediately asked me to make more.

I played with the recipe in a few more batches, but the first one was “the one.” The one I will be baking this summer in this fun petite pan from Epicure. From there, I will freeze the portions and then place them in a freezer-safe bag. I think they will be perfect in lunch boxes. What do you think? 

Don’t worry if you don’t have that sweet pan. The original recipe was baked in a 9 inch loaf pan, so you are set to go! Want muffins? That’s cool too! Cut the bake time to 20 minutes and you’ll be set! 

Ready to start creating? Let’s go!

Your Ingredients for Chocolate Zucchini Bread

  • ¼ cup olive oil or melted coconut oil
  • ½ cup maple syrup
  • ½ tablespoon vanilla
  • 2 eggs
  • 1 teaspoon baking soda
  • ¾ teaspoon salt 
  • ½ teaspoon baking powder
  • 1 cup whole wheat flour
  • ½ cup all-purpose flour 
  • ¼ cup cocoa powder
  • ¼-½ cup chocolate chips
  • 2 cups shredded zucchini, water squeezed out 
  • ½ cup chopped nuts, optional

Your Steps

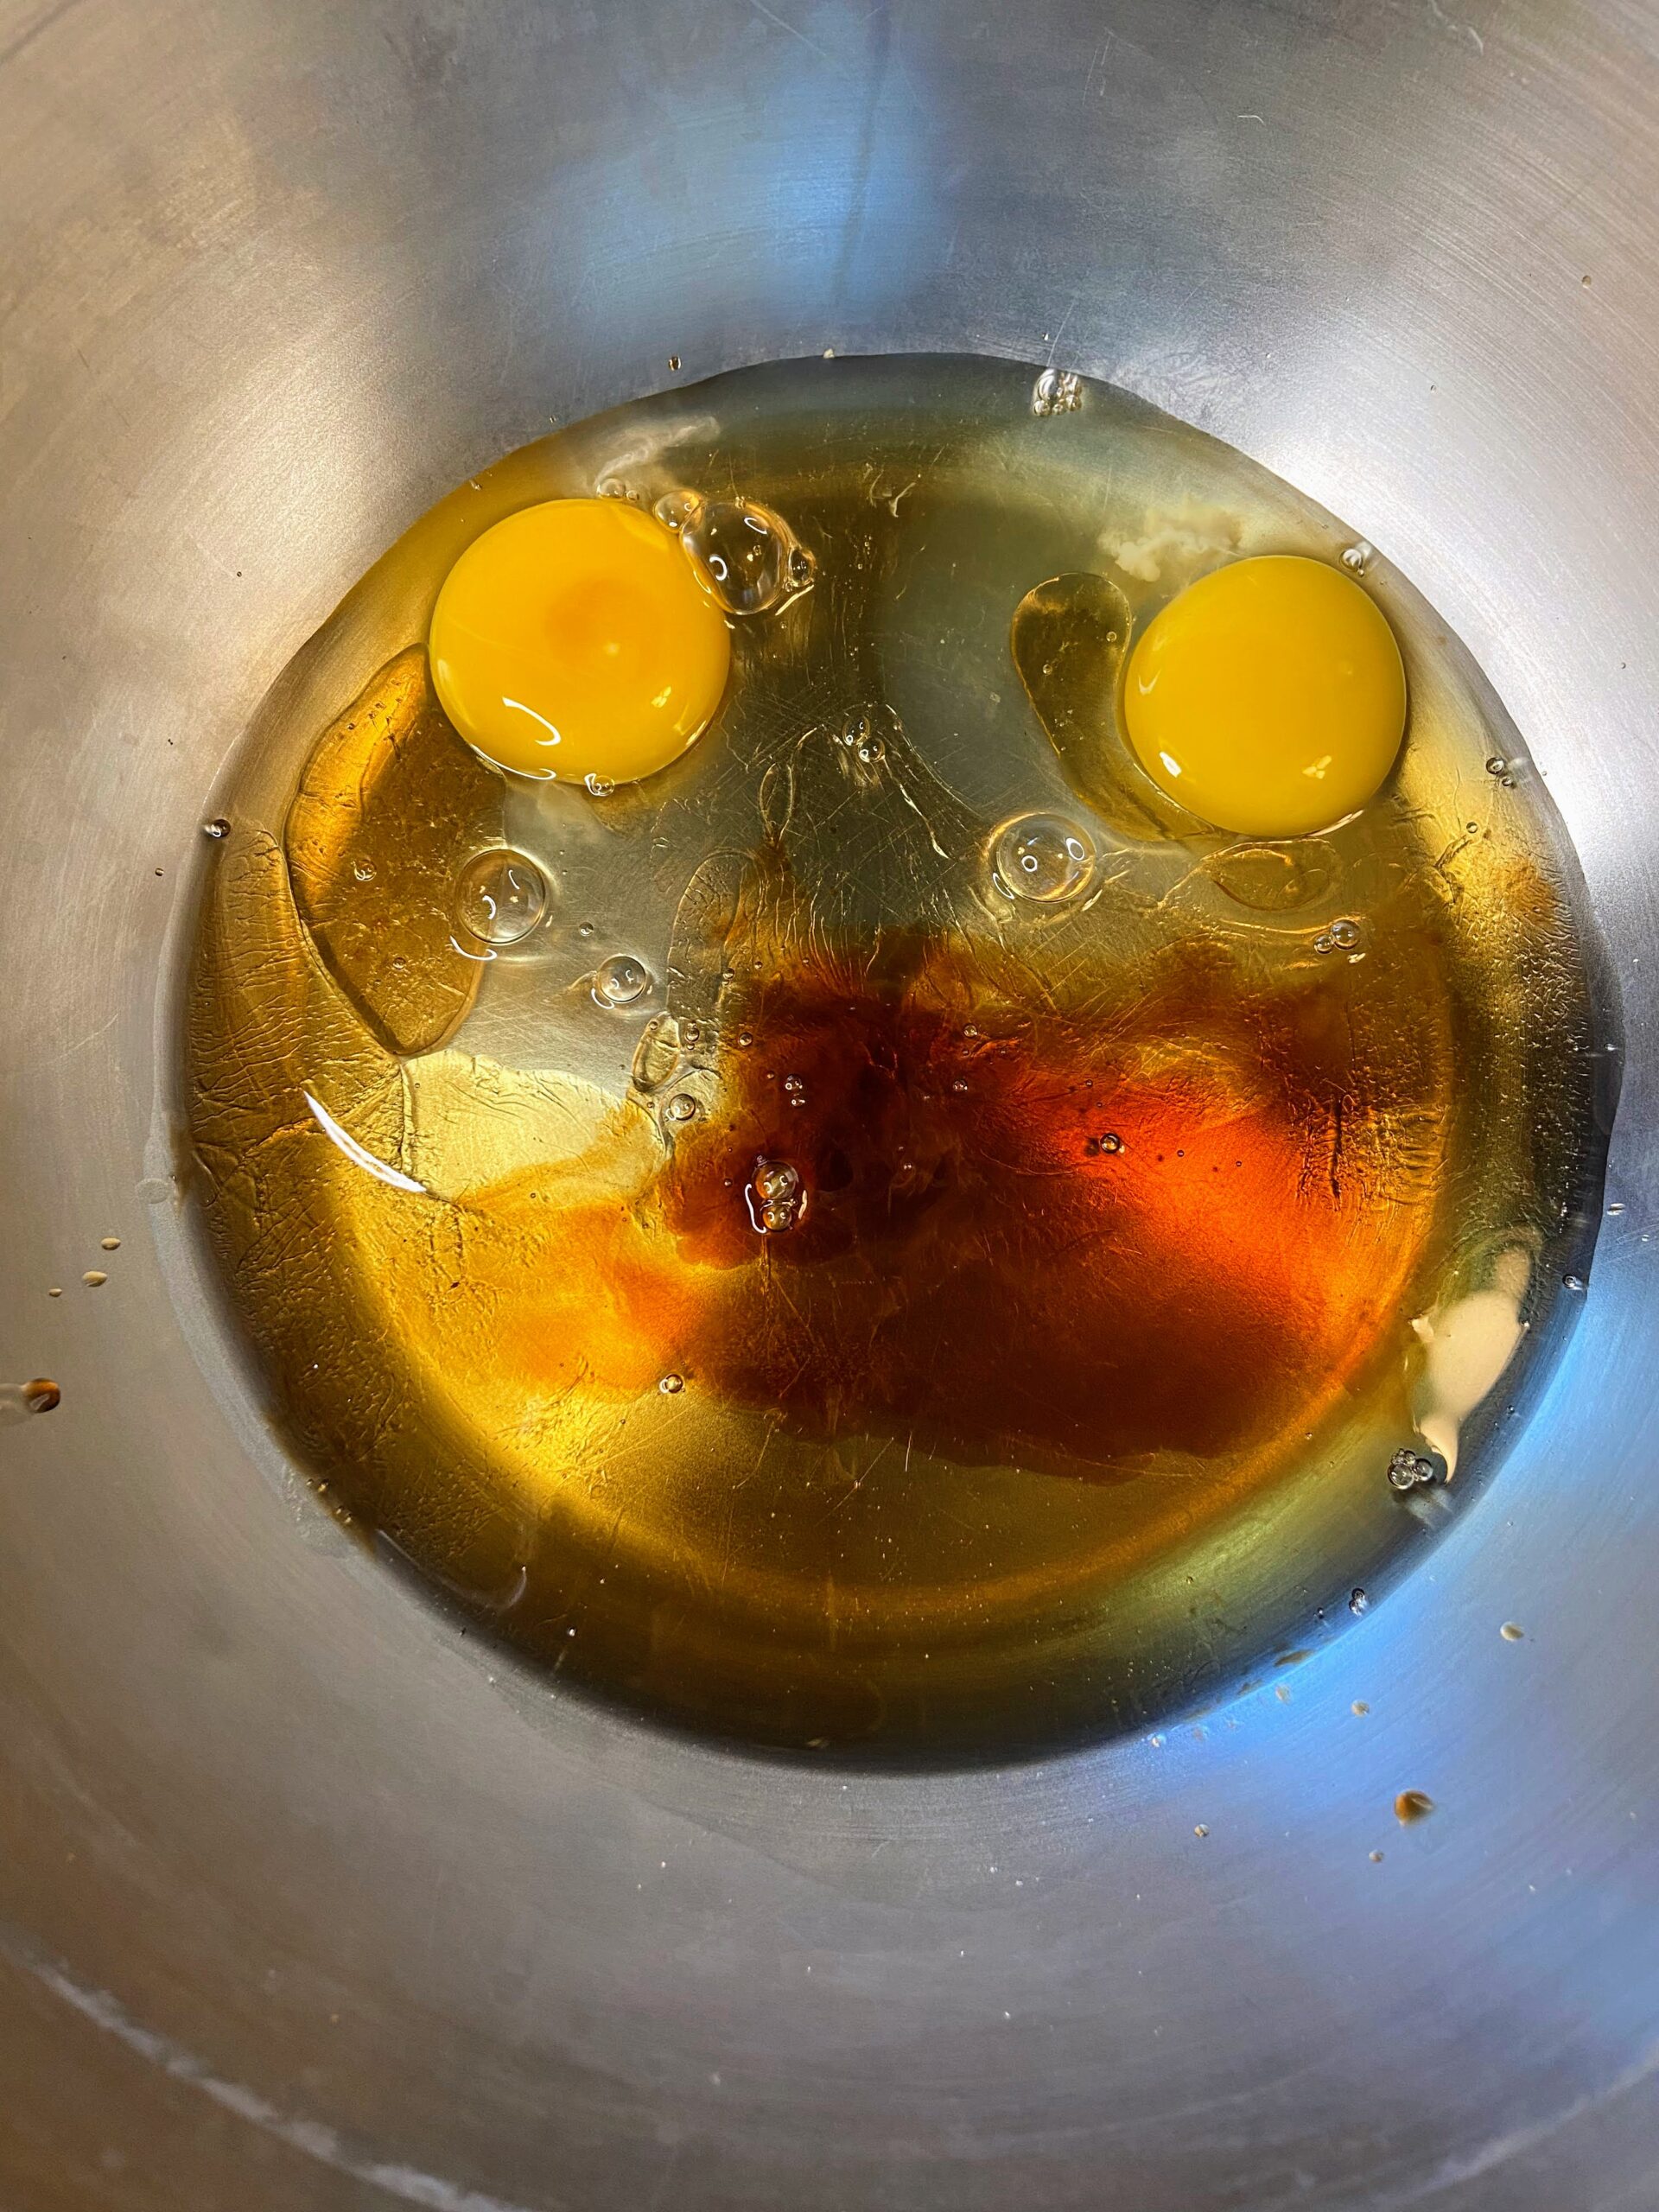
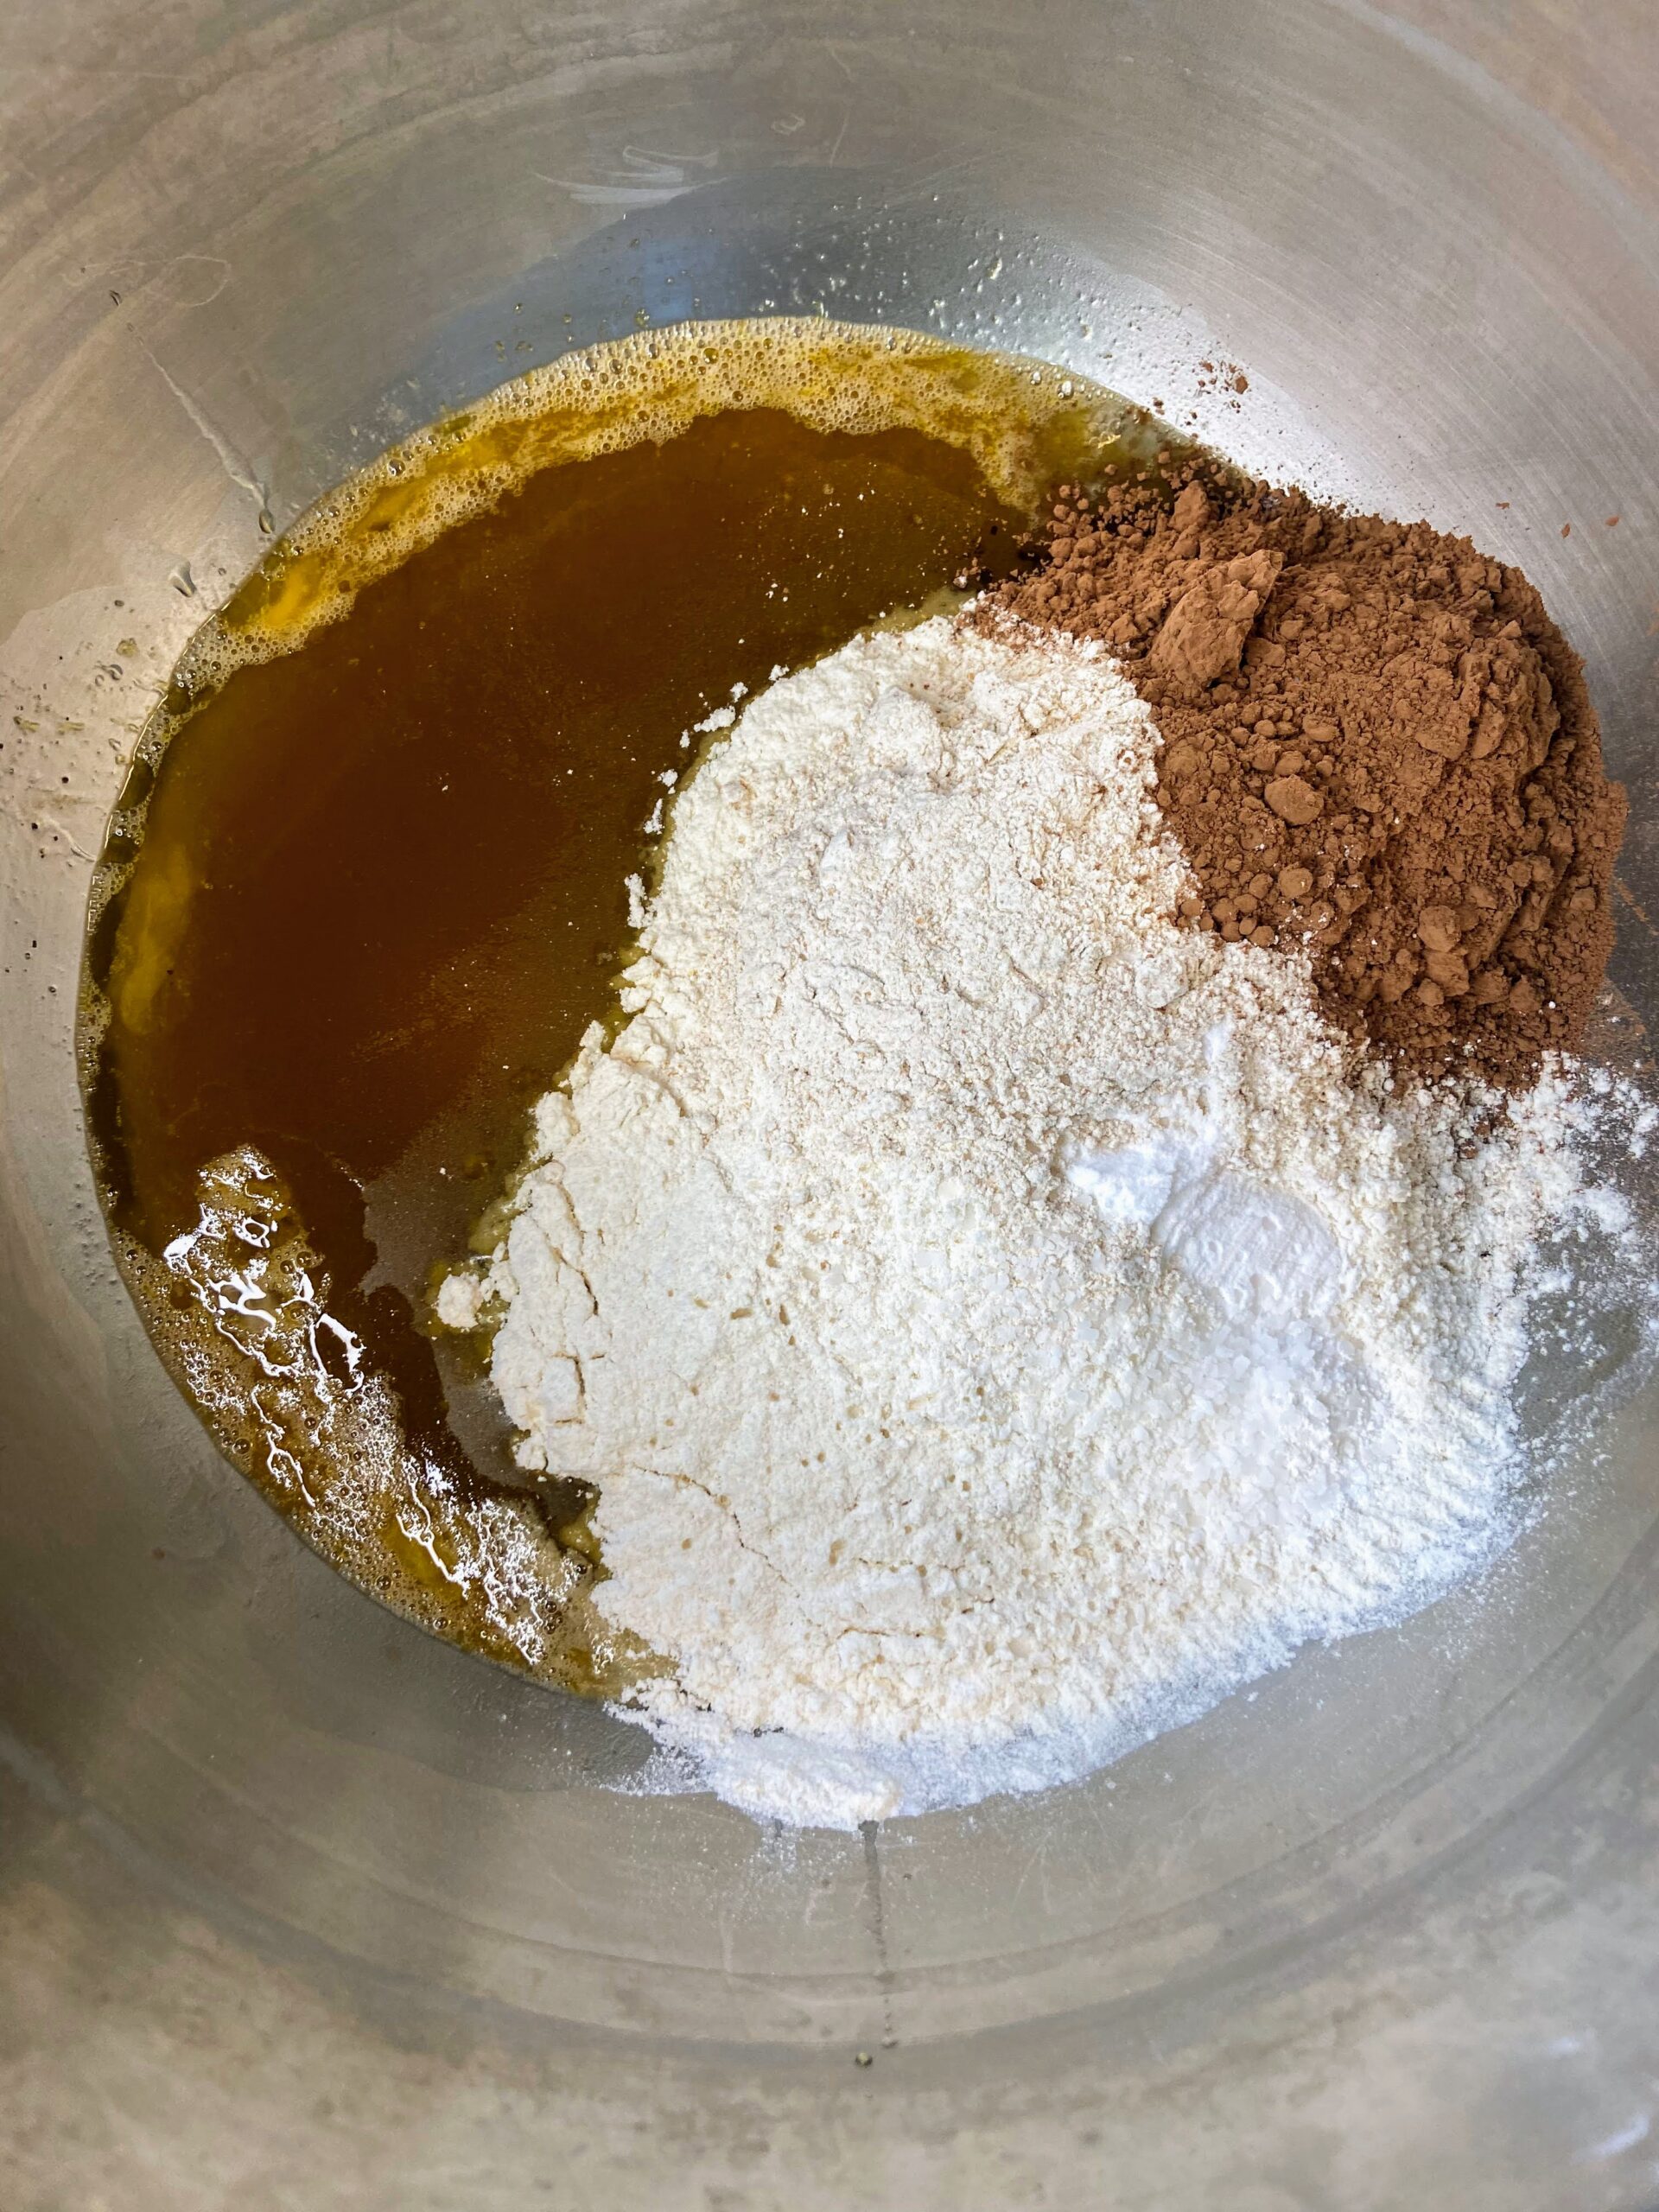
Preheat the oven to 350 degrees and prepare a 9-inch loaf pan with non-stick cooking spray. In a medium bowl, combine oil, syrup, vanilla, and eggs. In a separate bowl, combine the baking soda, salt, baking powder, flours, and cocoa powder. Stir into the wet ingredients until just combined. 

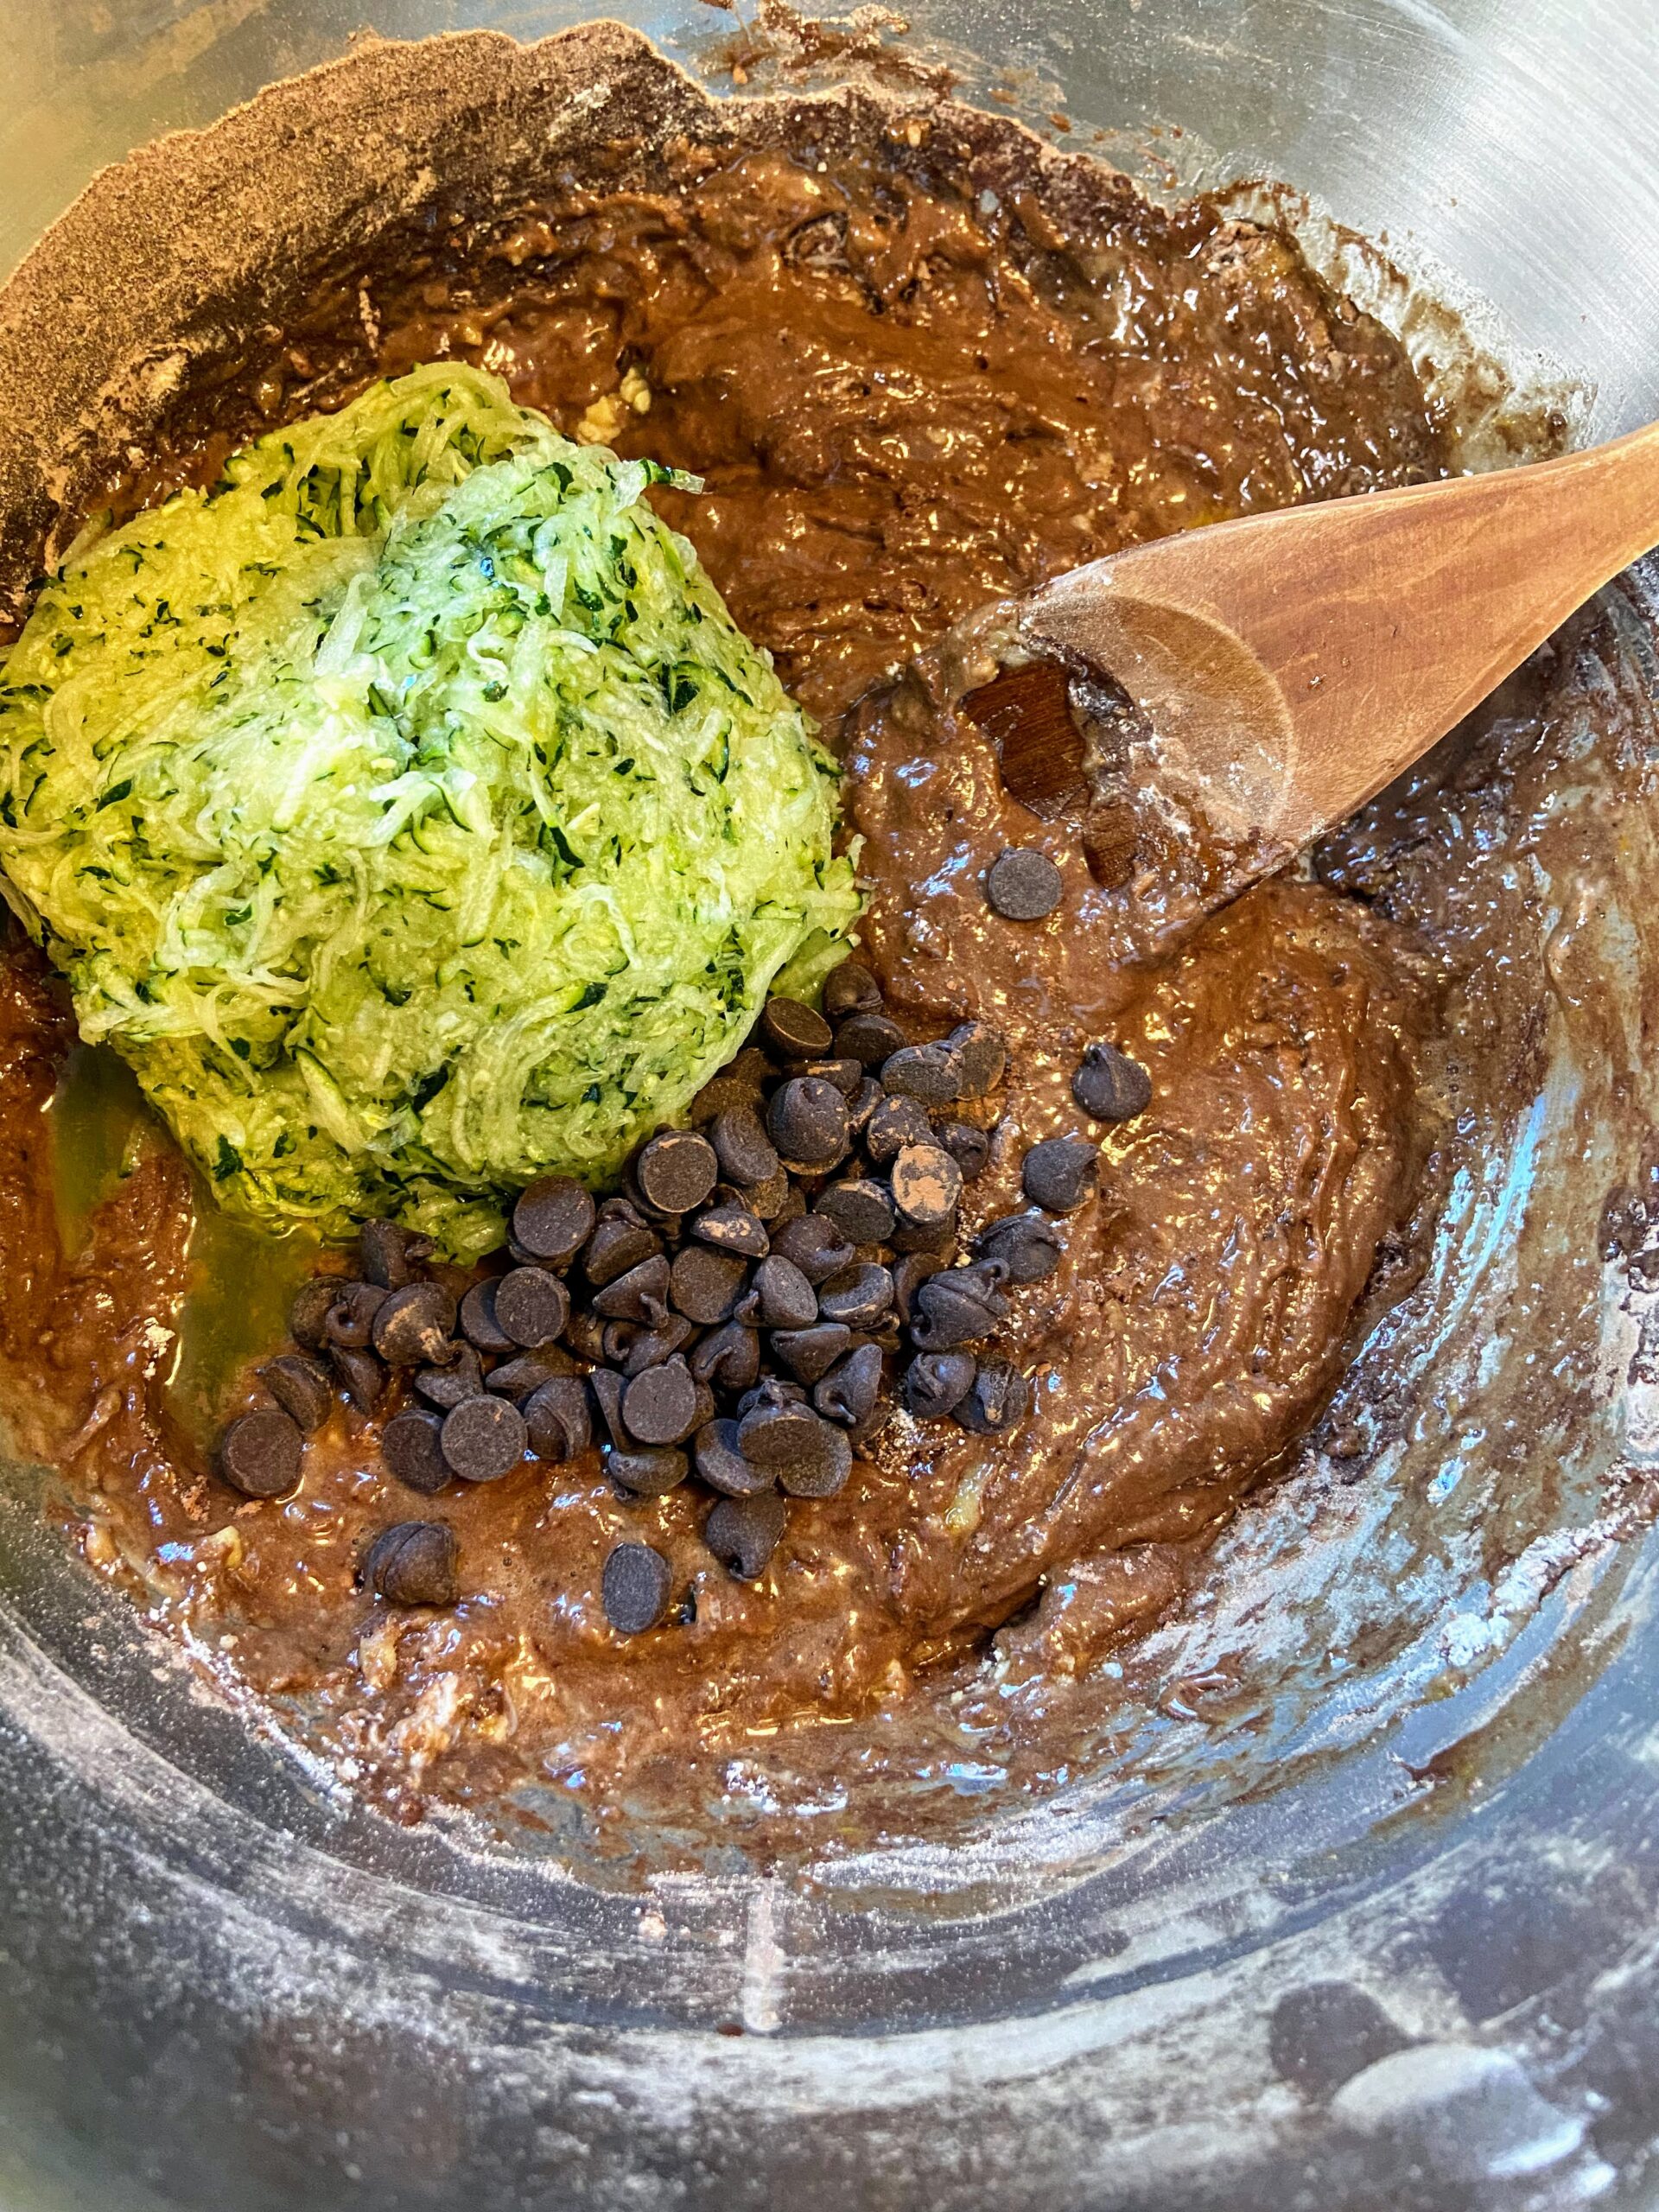
Add zucchini, chocolate chips, and nuts, if using. Fold into batter. 

Pour into prepared loaf pan and bake for 50-60 min, until a toothpick inserted in the center comes out clean with no raw batter. 

Chocolate Zucchini Bread

A classic chocolate zucchini bread with a bit of a healthy twist that is still kid approved!
Prep Time 10 minutes
Cook Time 50 minutes
Course Breakfast
Cuisine American
Servings 12 slices

Ingredients
  

  • ¼ cup olive oil or melted coconut oil
  • ½ cup maple syrup
  • ½ tablespoon vanilla
  • 2 eggs
  • 1 teaspoon baking soda
  • ¾ teaspoon salt
  • ½ teaspoon baking powder
  • 1 cup whole wheat flour
  • ½ cup all-purpose flour
  • ¼ cup cocoa powder
  • ¼-½ cup chocolate chips
  • 2 cups shredded zucchini water squeezed out
  • ½ cup chopped nuts optional

Instructions
 

  • Preheat the oven to 350 degrees and prepare a 9-inch loaf pan with non-stick cooking spray.
  • In a medium bowl, combine oil, syrup, vanilla, and eggs. In a separate bowl, combine the baking soda, salt, baking powder, flours, and cocoa powder.
  • Stir into the wet ingredients until just combined.
  • Add zucchini, chocolate chips, and nuts, if using. Fold into batter.
  • Pour into prepared loaf pan and bake for 50-60, until a toothpick inserted in the center comes out clean with no raw batter.

Notes

This recipe bakes up nicely as a muffin too! Just prepare a muffin tin by greasing or using liners and drop the bake time to 20 minutes or so. 
 
Keyword chocolate, chocolate zucchini bread, Quick Bread, zucchini, zucchini bread
Tried this recipe?Let us know how it was!

Looking for other great recipes?

Check out a few suggestions below! Or feel free to head to my baking or cooking pages for all sorts of inspiration!

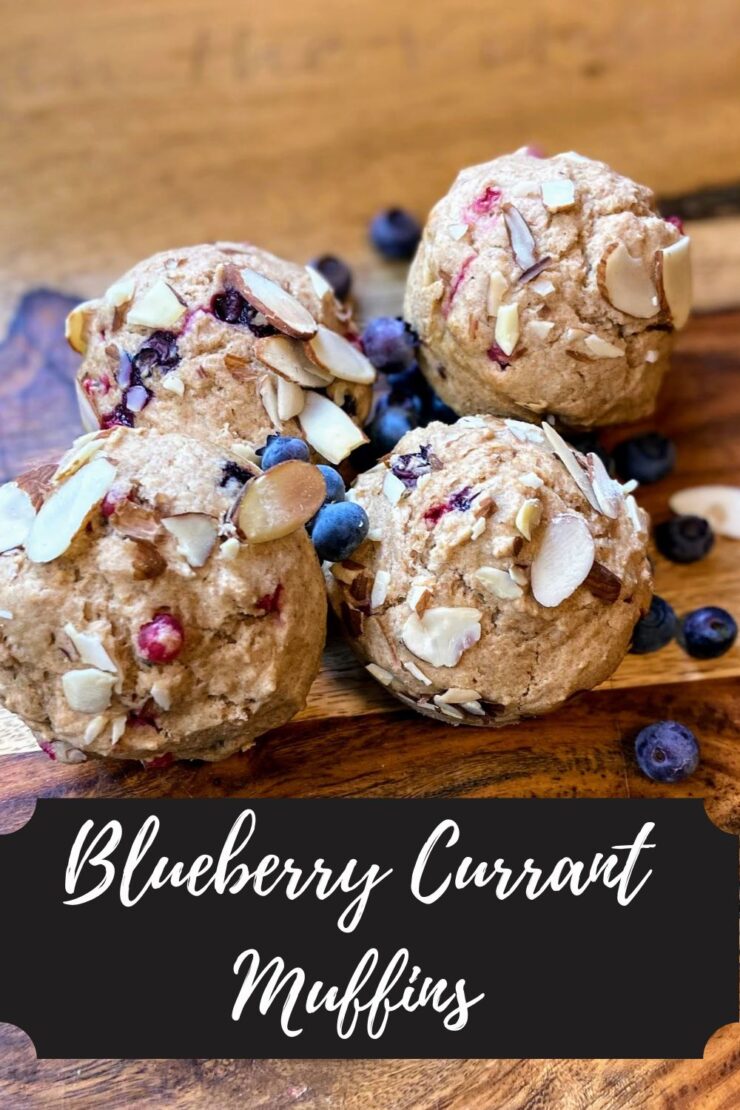
Blueberry Currant Muffins

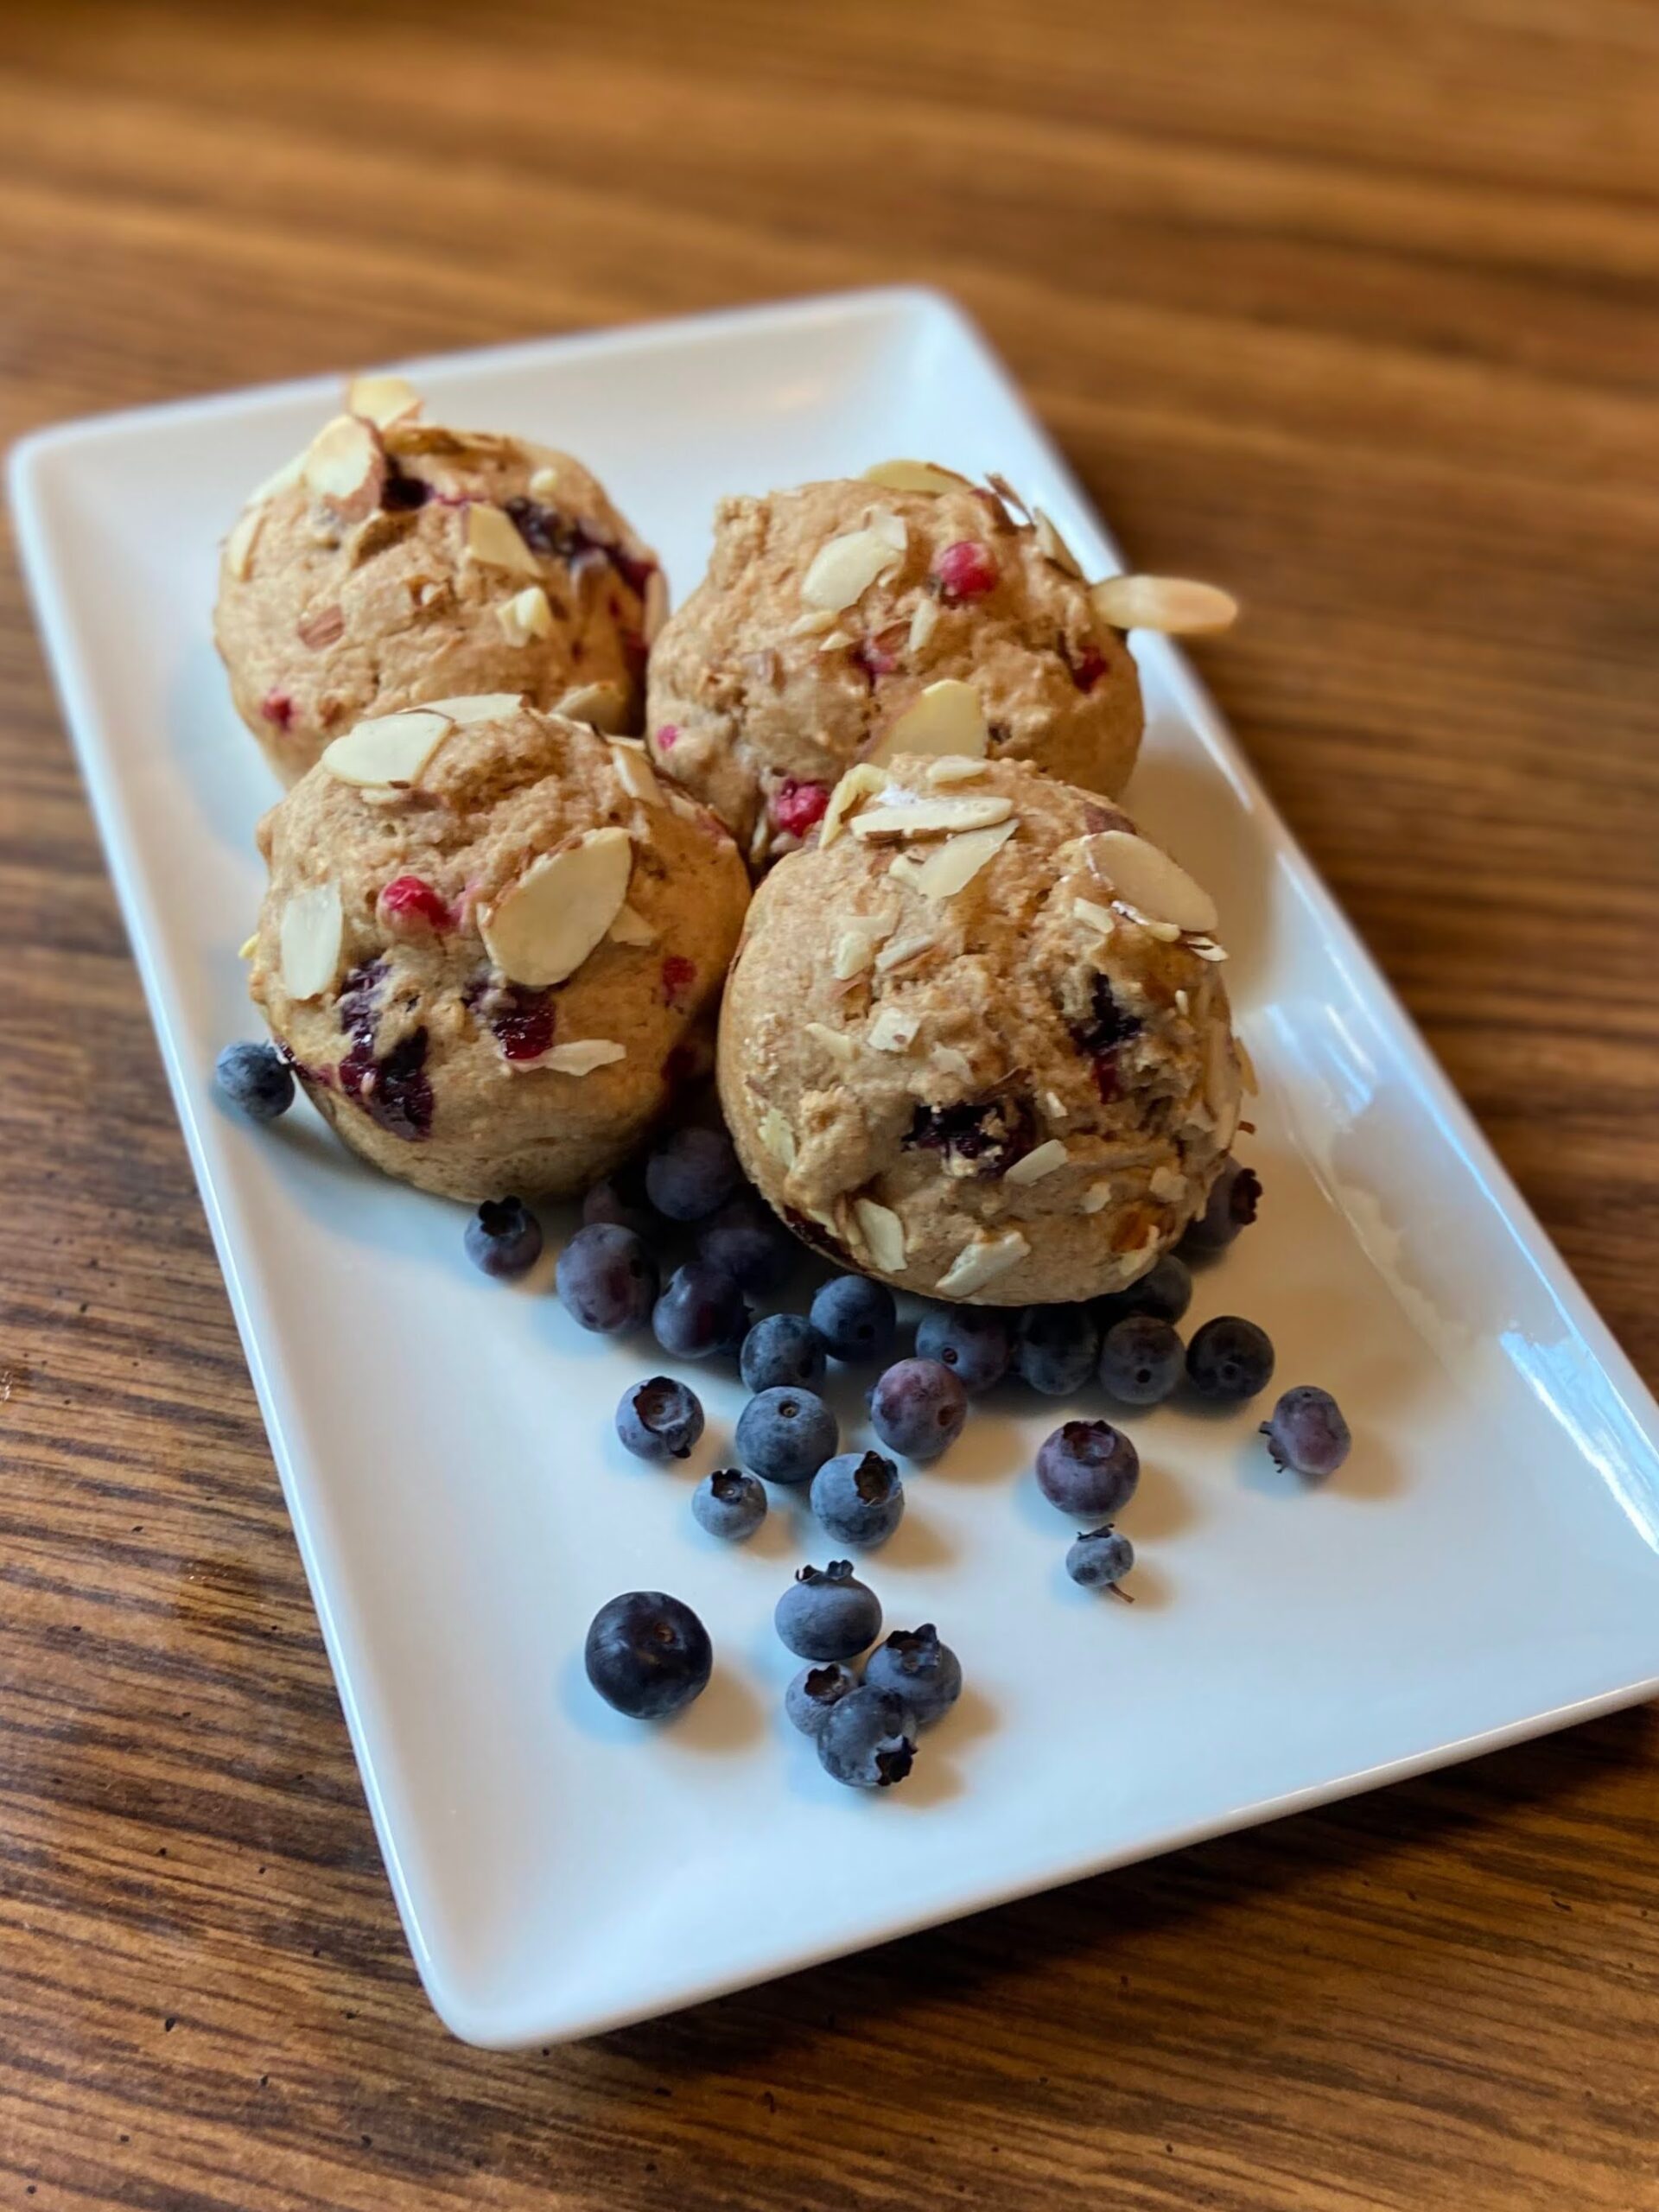
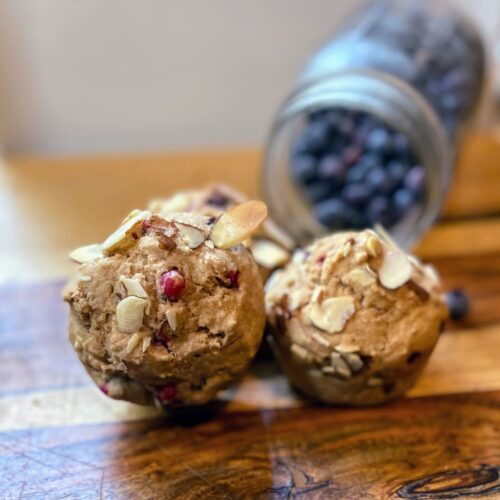
For the last ten years, I have slowly (okay, not so slowly) become an avid gardener, preserver, and aspiring homesteader. I often joke the Mr. that I can’t wait for him to ‘make all the monies’ so I can stay home and grow and create good food. One of most favorite parts of gardening is the harvesting of the berries, which we grow by the pounds. It’s mediative for me. But with all those berries, must come preservation and I dig a good muffin! As the red currants and blueberries came in, I knew I had to combine them to get that beautiful pop of color. And so, I proudly present blueberry currant muffins. 

I generally like to keep things healthy around here, but have been straying from that a bit. It’s about balance, right? So I went back to my roots and did a little healthier take on a muffin, using maple syrup (If you’ve never made your own, I can’t recommend it enough. Check out my post on our adventure here!)

I hope you enjoy the bursts of flavor in these muffins as much as we did! Let’s get baking!

Your Ingredients

  • ½ cup almond milk 
  • 1 egg
  • ⅓ cup maple syrup 
  • ¼ teaspoon almond extract
  • 2 cups flour (I do high quality whole wheat from Sunrise Flour Mill
  • 2 teaspoons baking soda
  • ½ teaspoon salt
  • 2 tablespoons coconut oil, melted 
  • ¾ cup fresh blueberries 
  • ¼ cup red currants 
  • ¼ cup sliced almonds 

Your Steps to Blueberry Currant Muffins

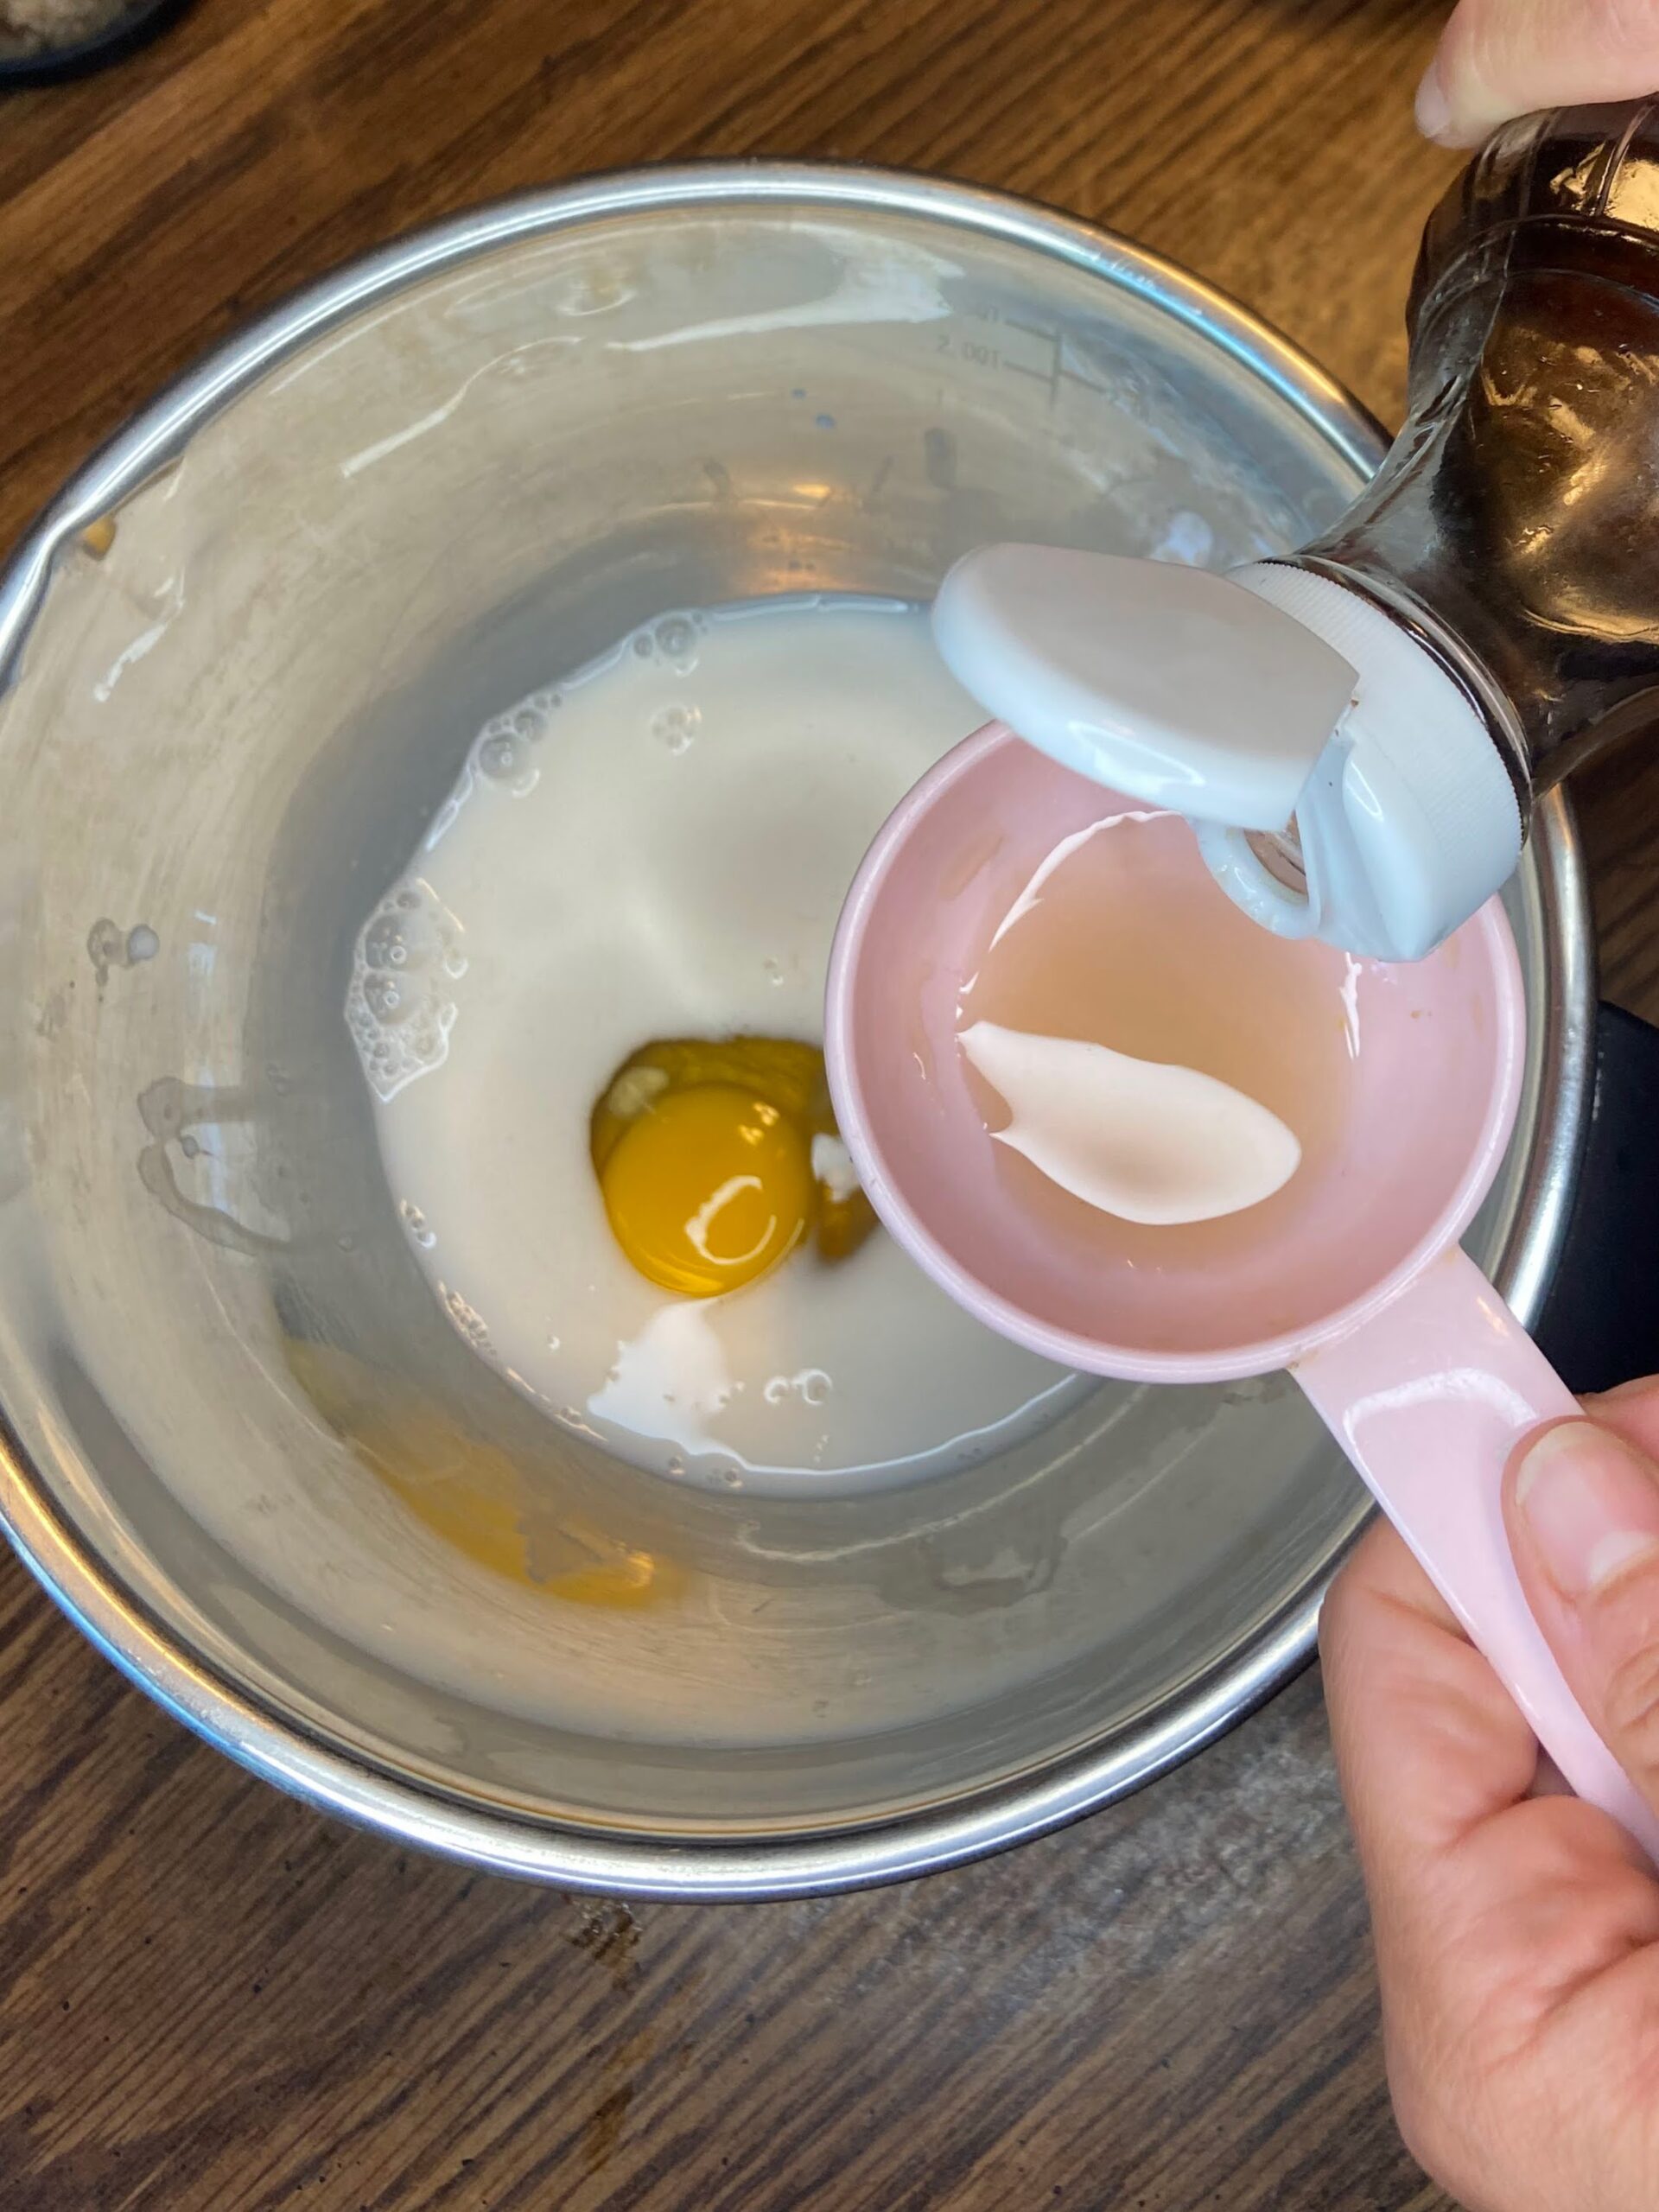
Preheat the oven to 350 degrees. In a medium bowl, combine milk, egg, syrup, and almond extract. Add flour, baking soda, and salt, mixing until just combined.

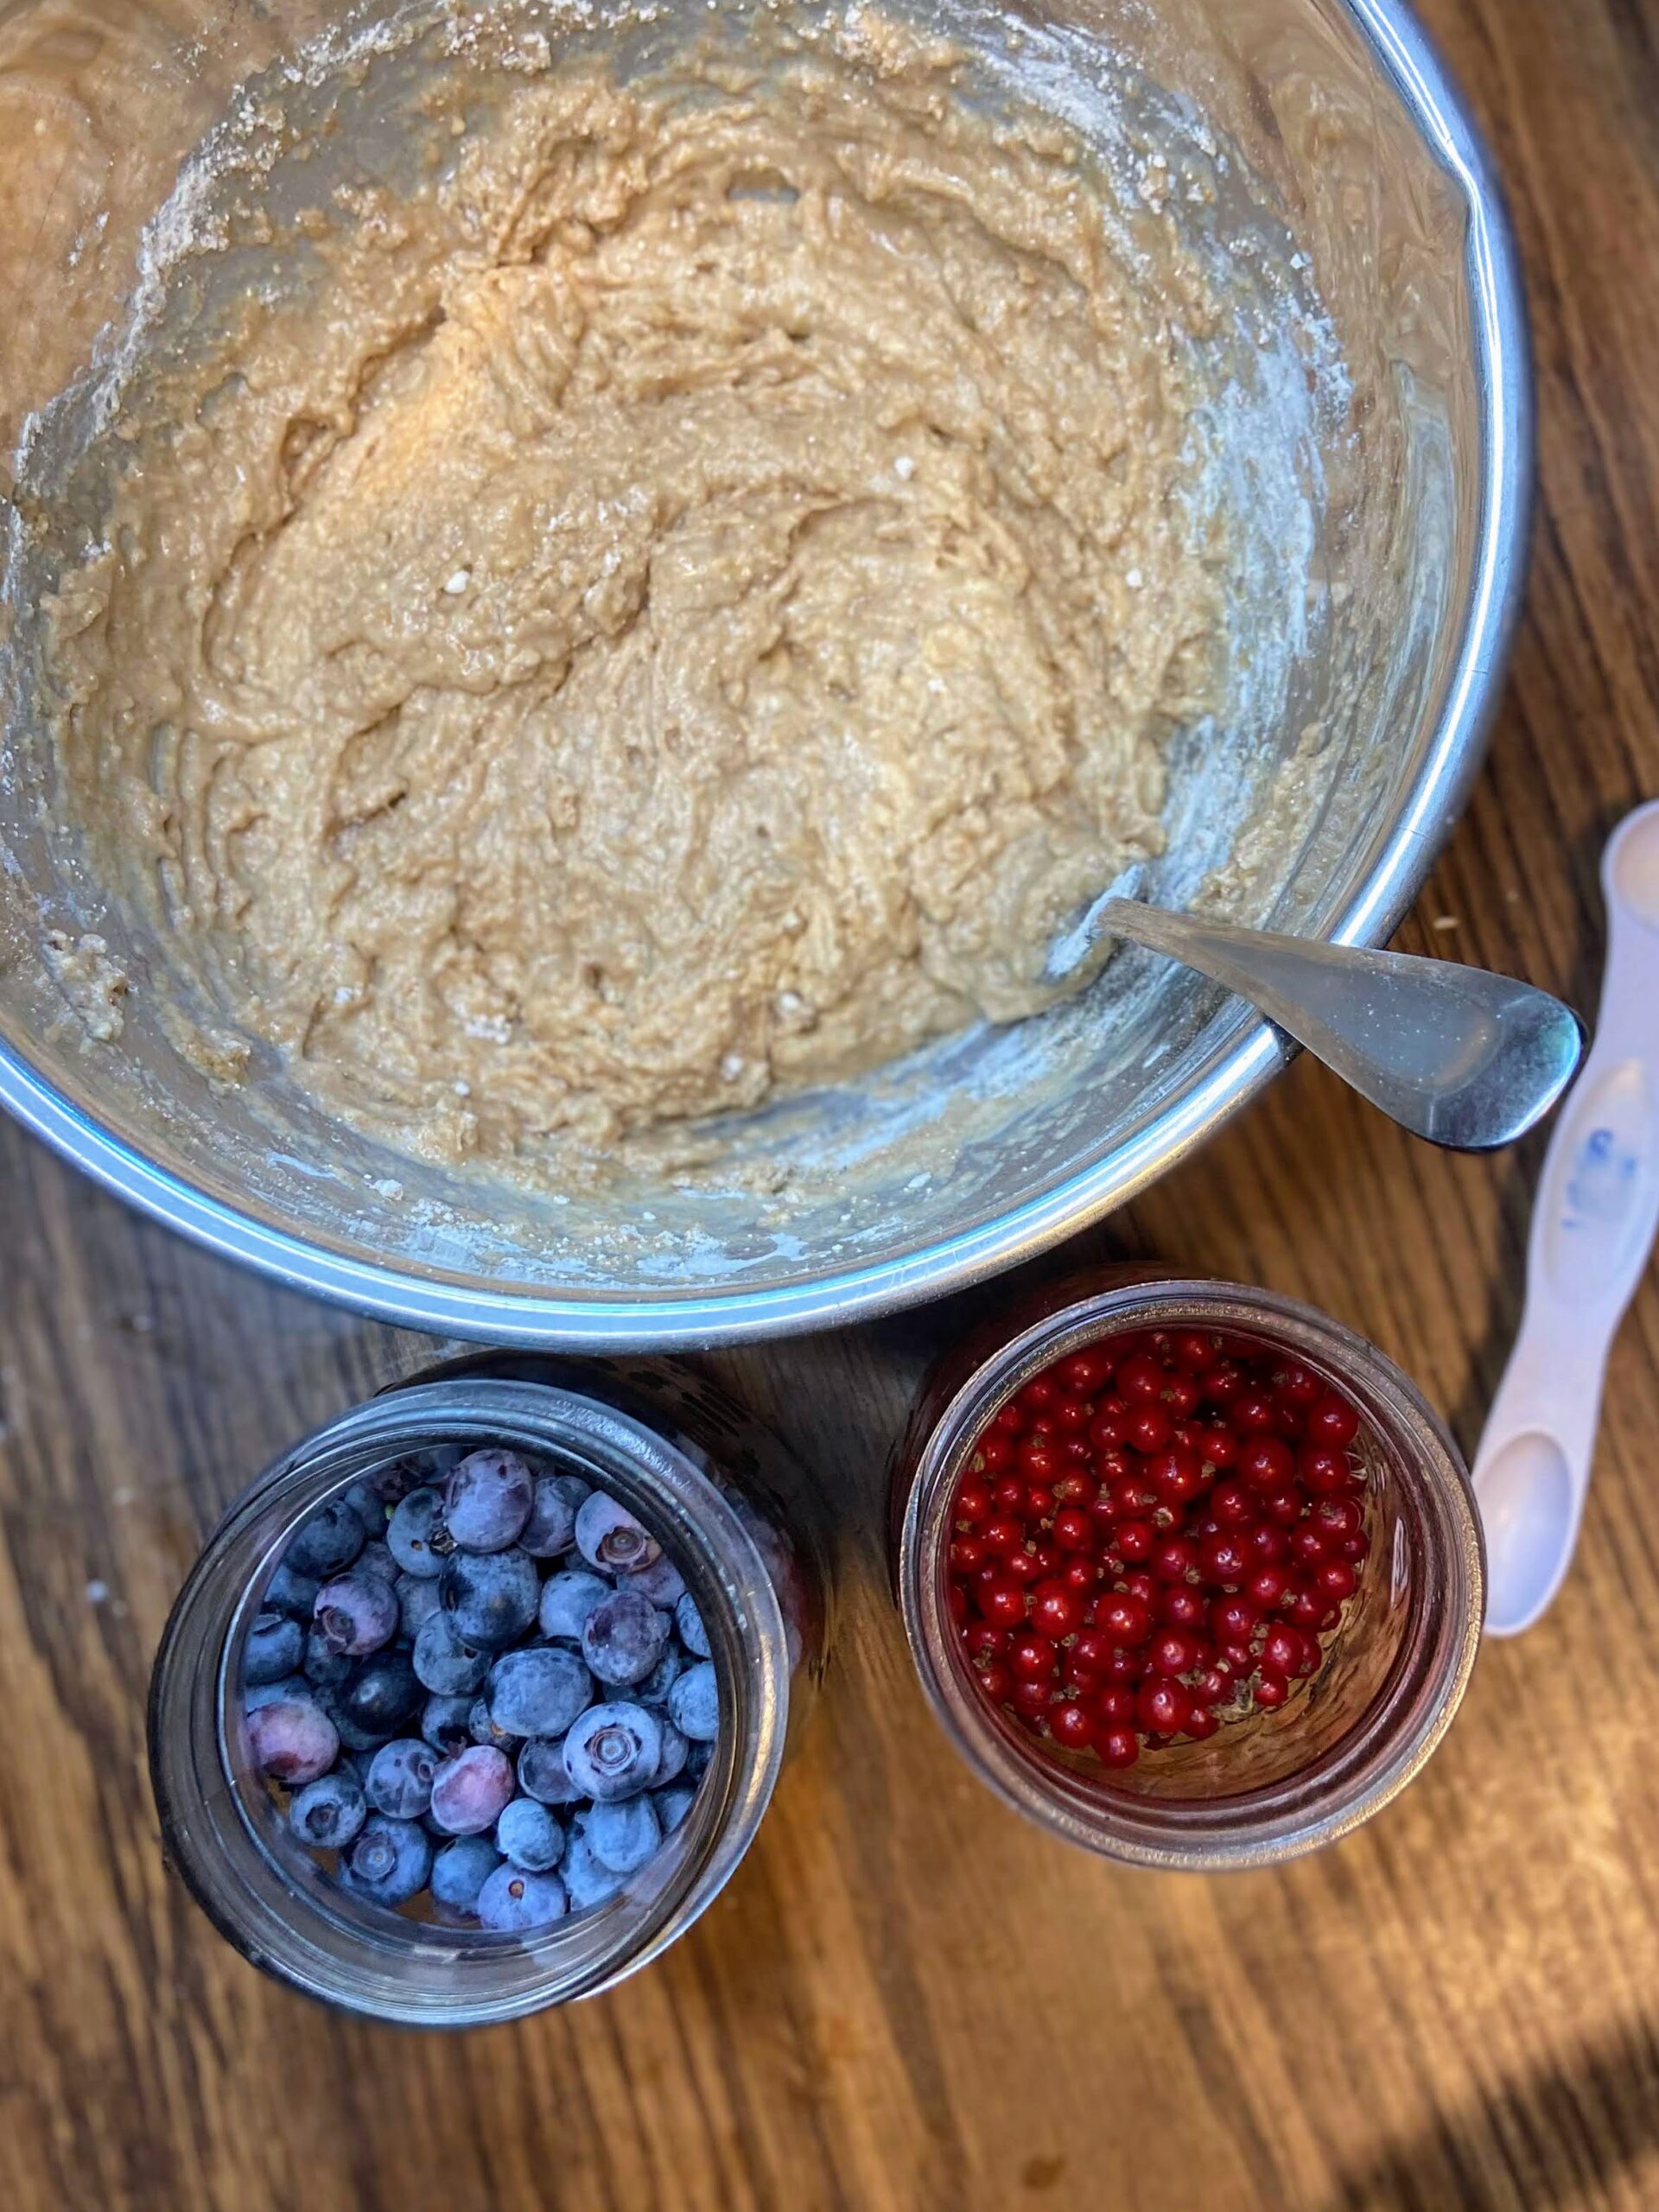
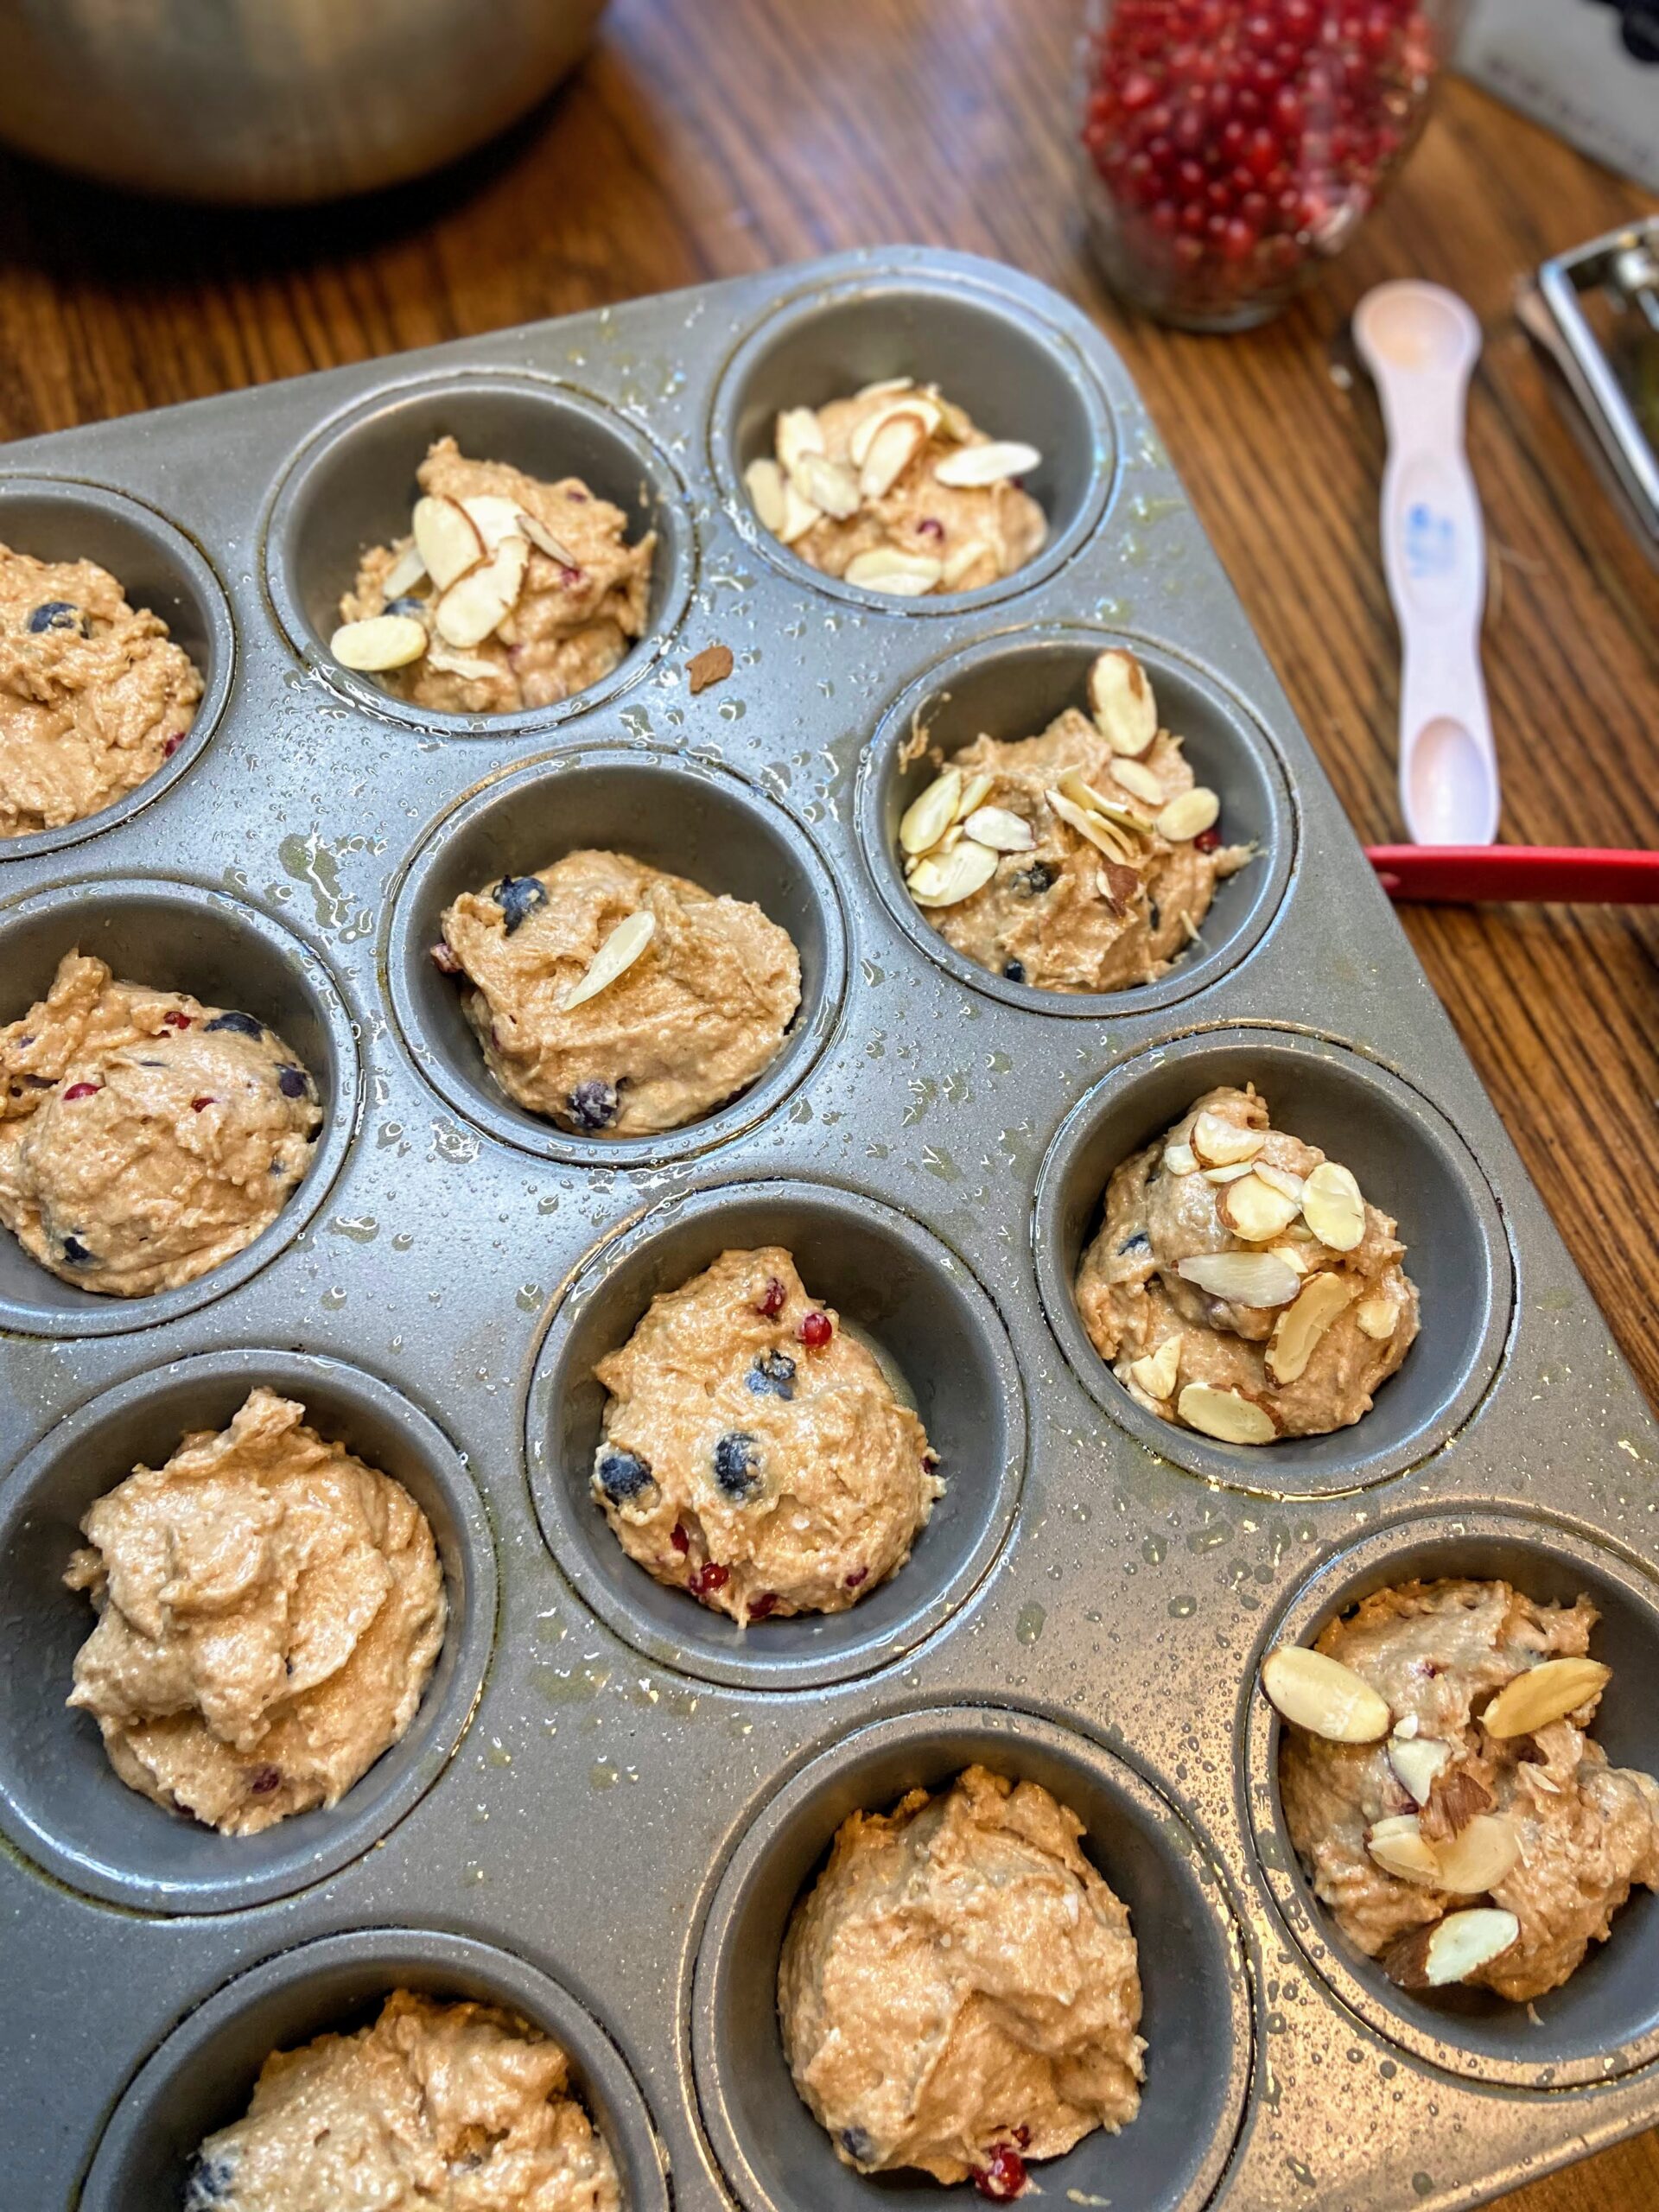
Gently fold in coconut oil, blueberries, and currants. Place in a well greased muffin tin, filling about ¾ of the way.

Top with sliced almonds. Bake for 18-22 minutes, until baked through. 

Blueberry Currant Muffins

Beautiful pops of color and flavor are abundant in these blueberry currant muffins perfect for breakfast, snacks, and anywhere in between!
Prep Time 10 minutes
Cook Time 20 minutes
Course Breakfast, Snack
Cuisine American
Servings 12 muffins

Equipment

Ingredients
  

  • ½ cup almond milk
  • 1 egg
  • cup maple syrup
  • ¼ teaspoon almond extract
  • 2 cups flour
  • 2 teaspoons baking soda
  • ½ teaspoon salt
  • 2 tablespoons coconut oil melted
  • ¾ cup fresh blueberries
  • ¼ cup red currants
  • ¼ cup sliced almonds

Instructions
 

  • Preheat the oven to 350 degrees. In a medium bowl, combine milk, egg, syrup, and almond extract.
  • Add flour, baking soda, and salt, mixing until just combined.
  • Gently fold in coconut oil, blueberries, and currants.
  • Place in a well greased muffin tin, filling about ¾ of the way. Top with sliced almonds.
  • Bake for 18-22 minutes, until baked through.
Keyword blueberries, Breakfast, currant muffins, maple syrup, muffins
Tried this recipe?Let us know how it was!

Looking for other great recipes?

Check out my baking page for all things muffins or maybe check out a recipe below!

Air Fryer Southwest Chicken Skillet

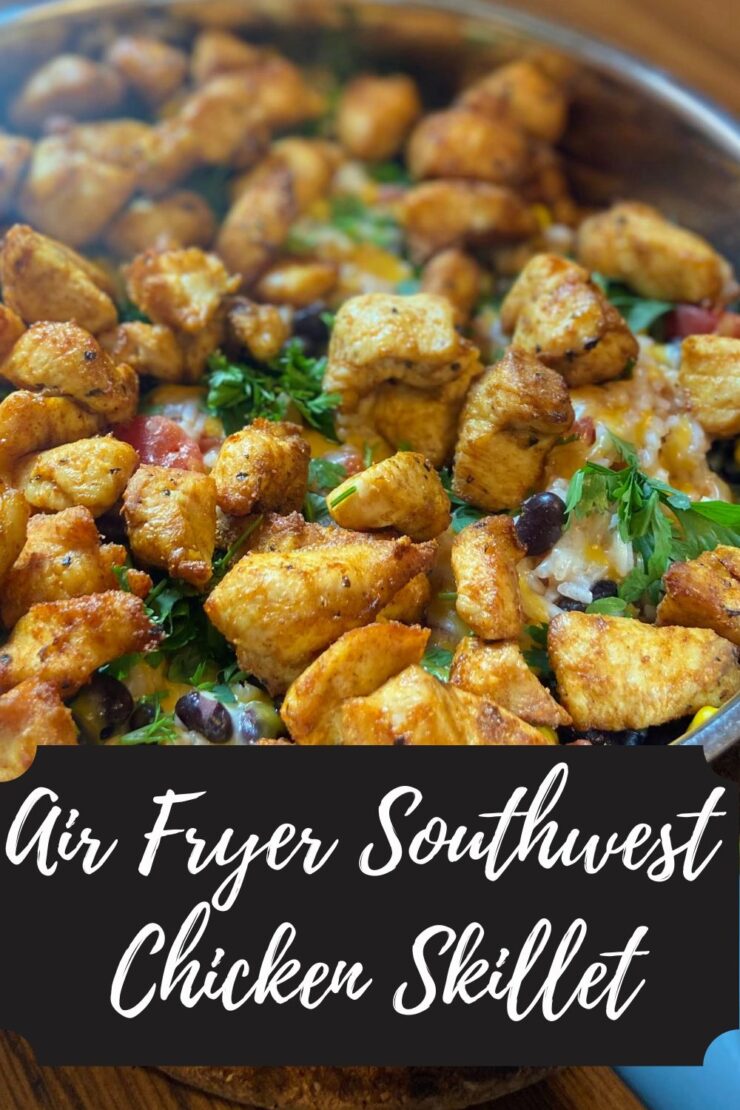
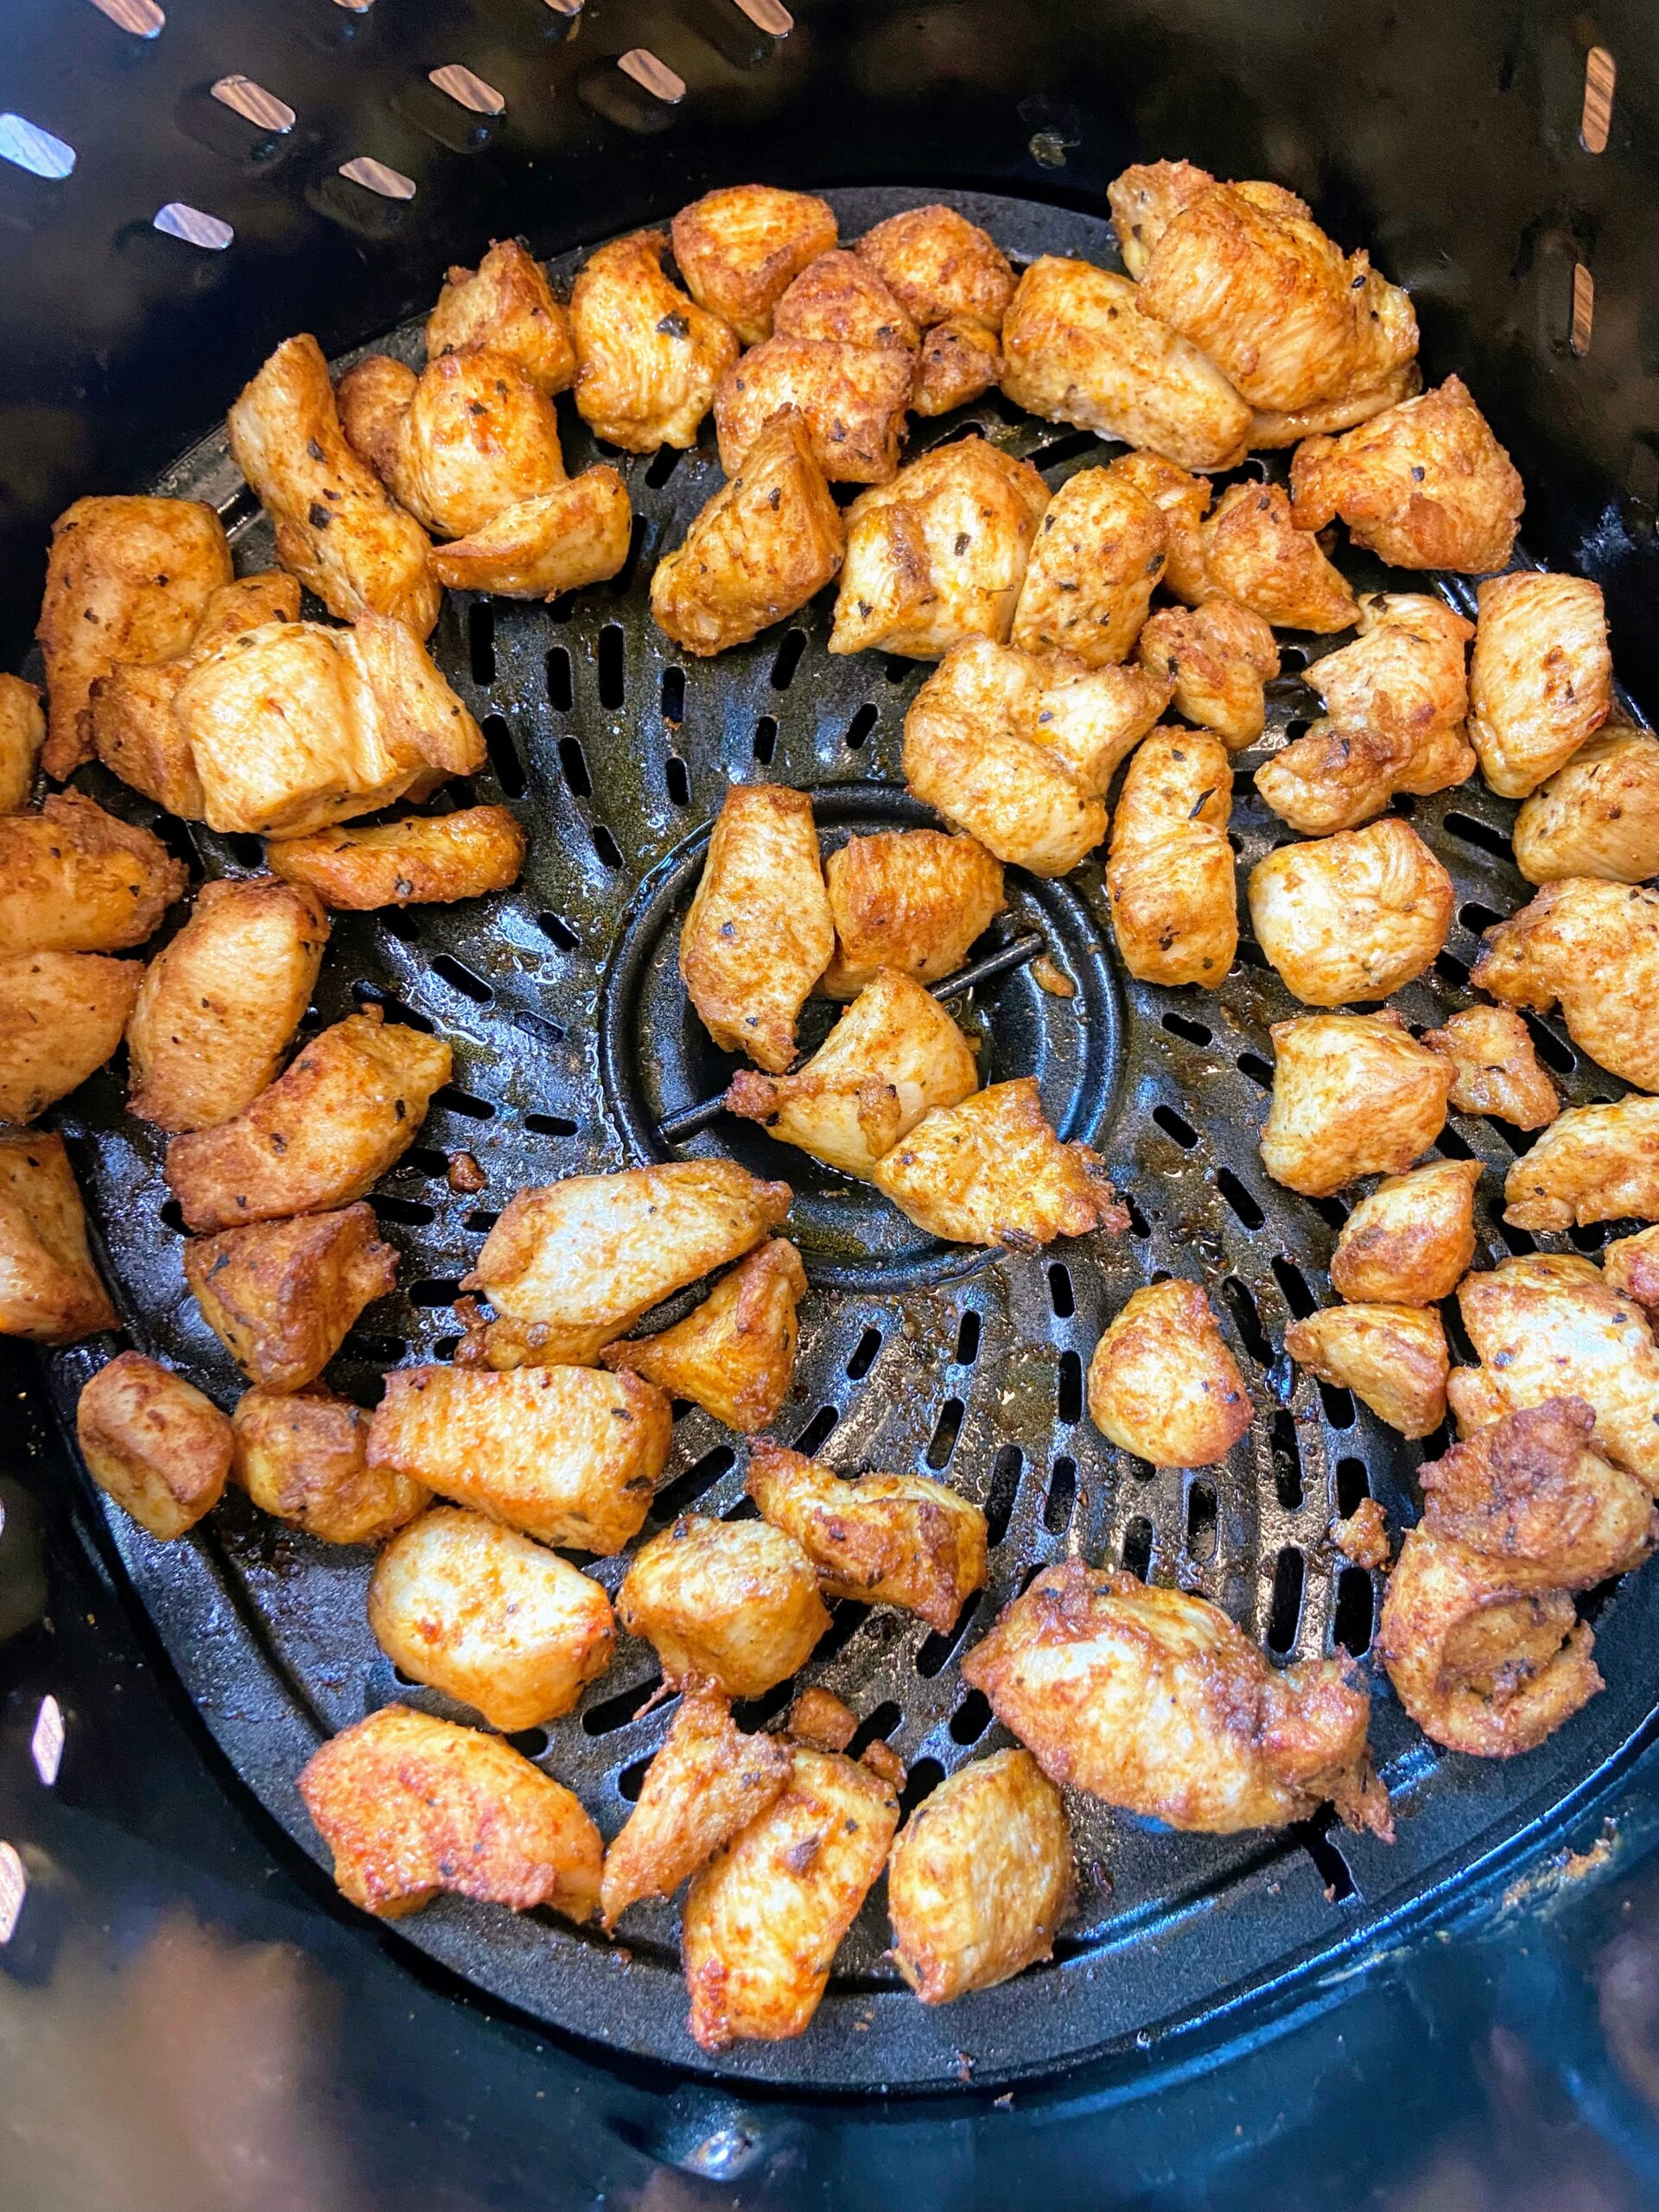
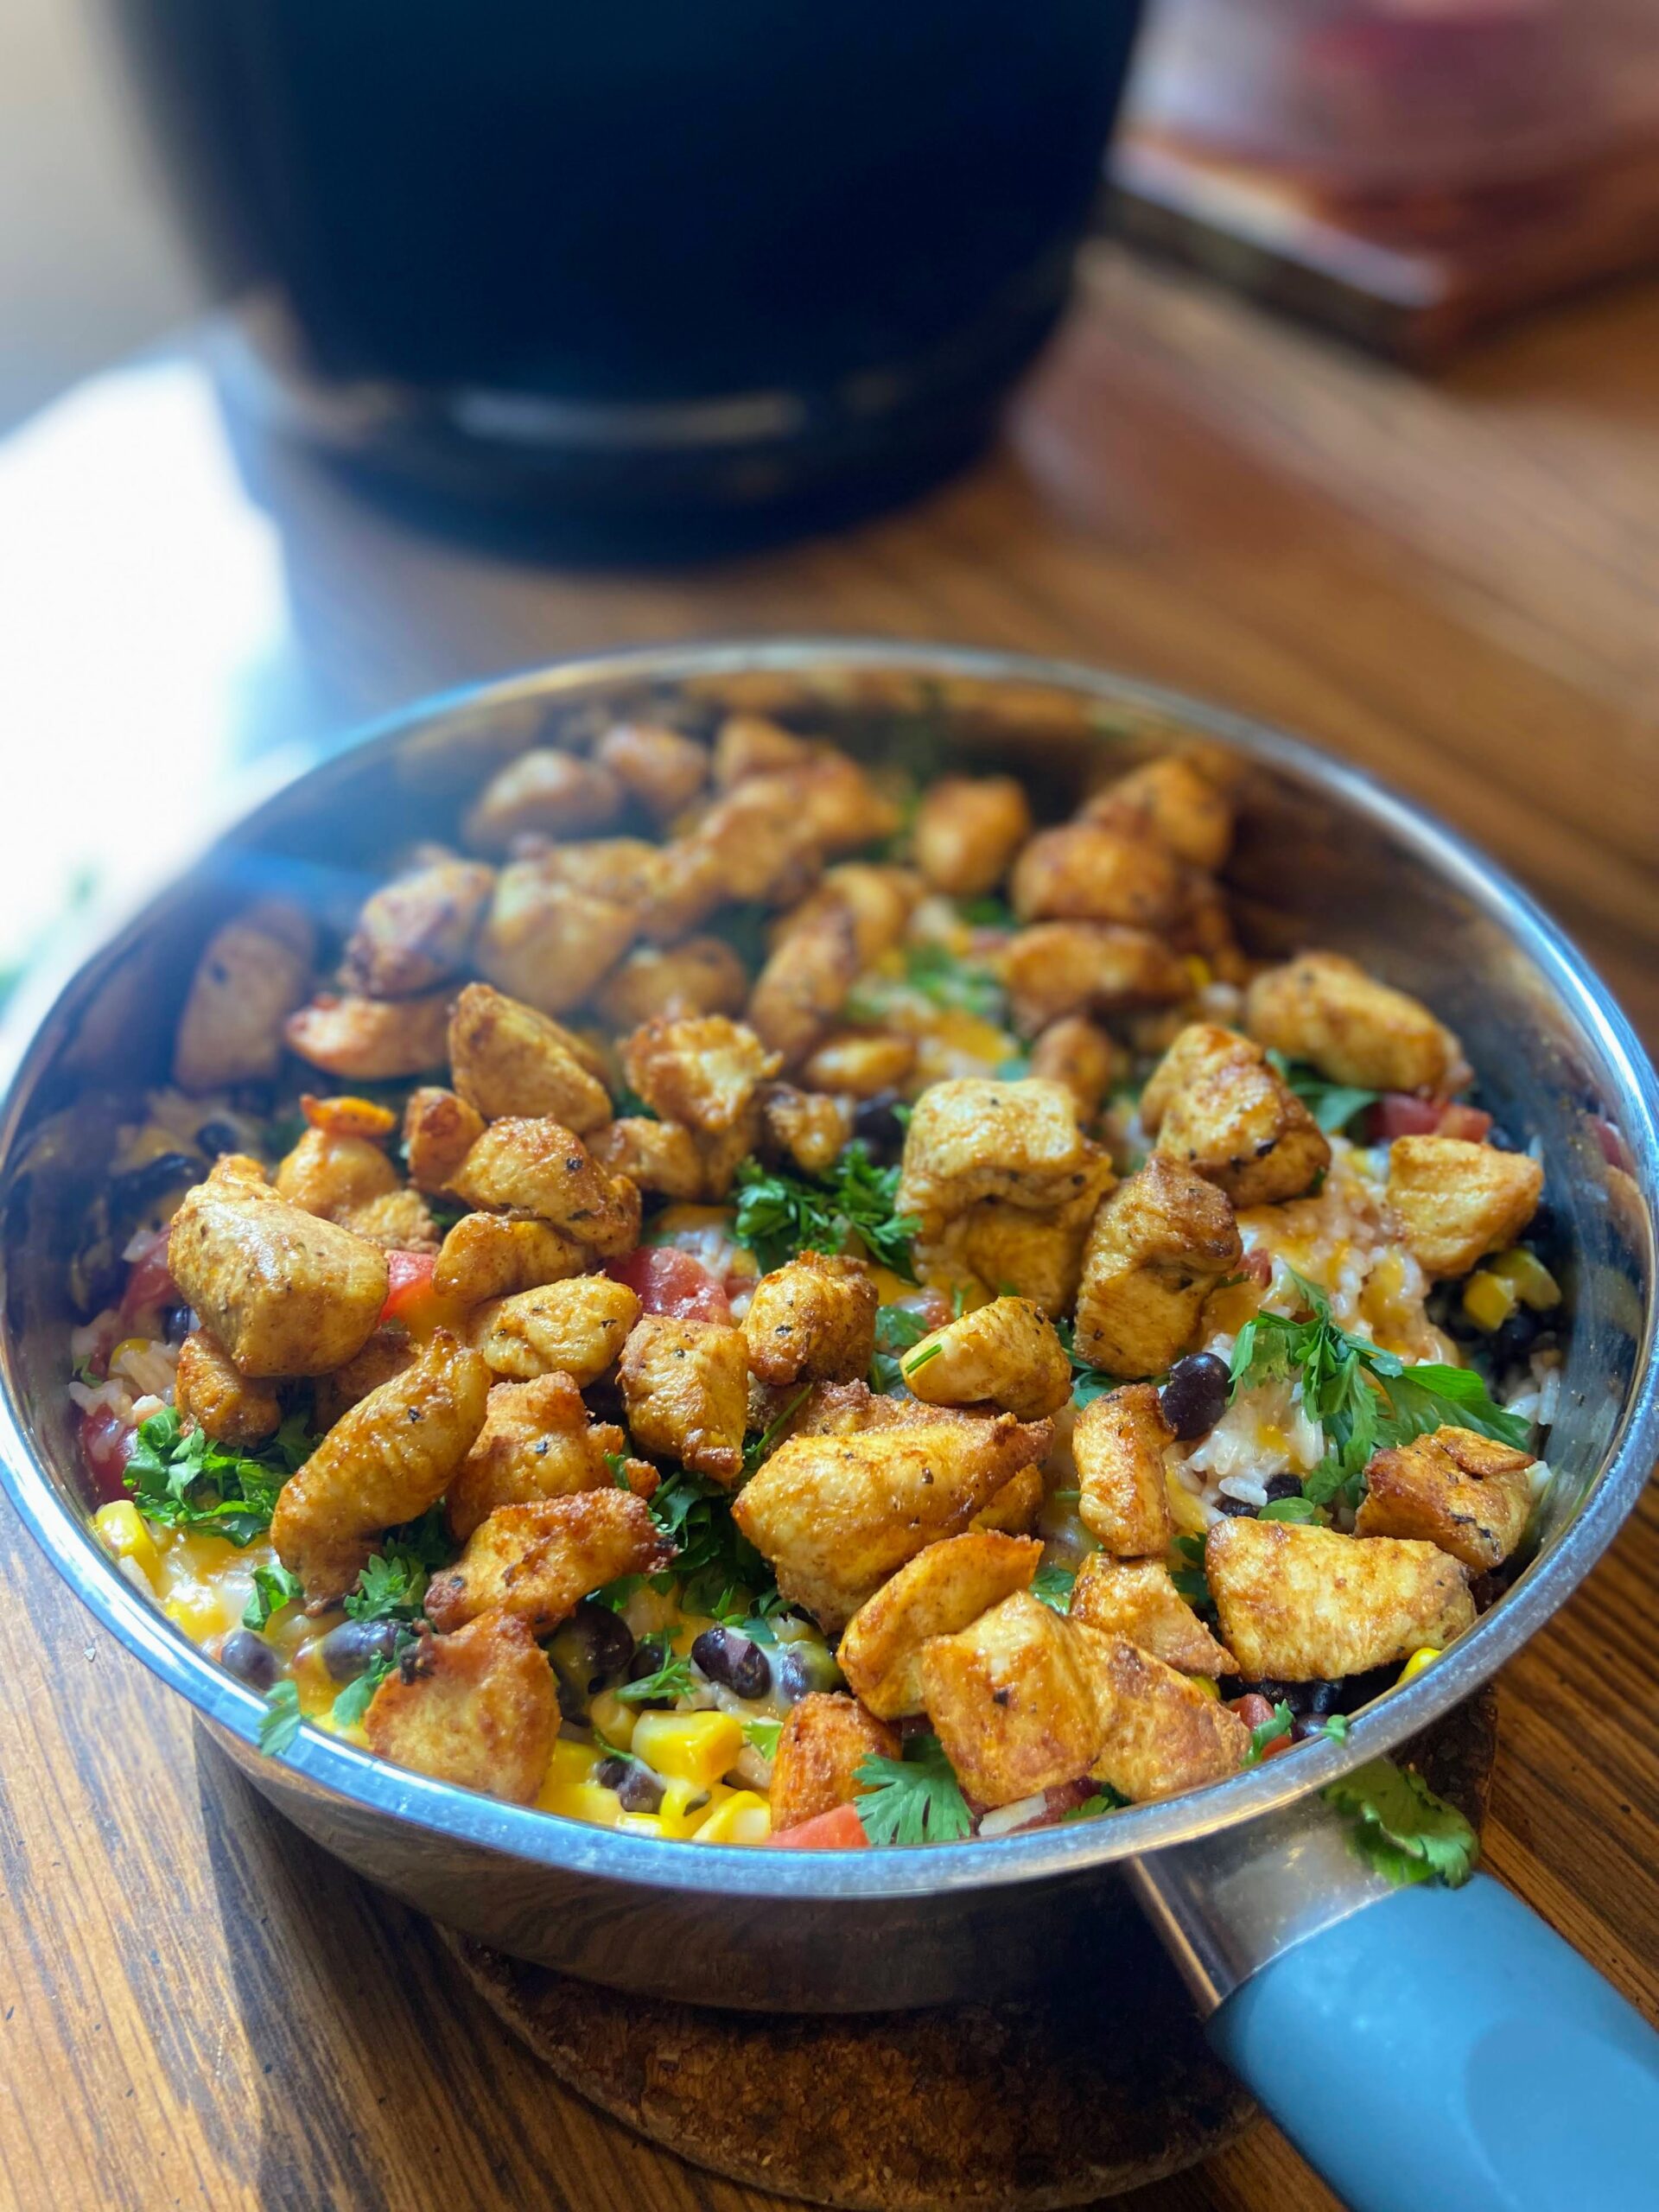
I don’t know about you, but our air fryer is perpetually on the countertop during the summer. I’ll be honest, eight times out of ten, I am making homemade fries (SO GOOD!), but sometimes I am cooking protein in it. I love cooking up chicken in all sorts of ways. I dig chicken thighs, chicken breasts, you name it. But one of my favorite ways to cook up chicken is when it’s marinated and cut into bitesize pieces. This Air Fryer Southwest Chicken Skillet is a great way to do just that! 

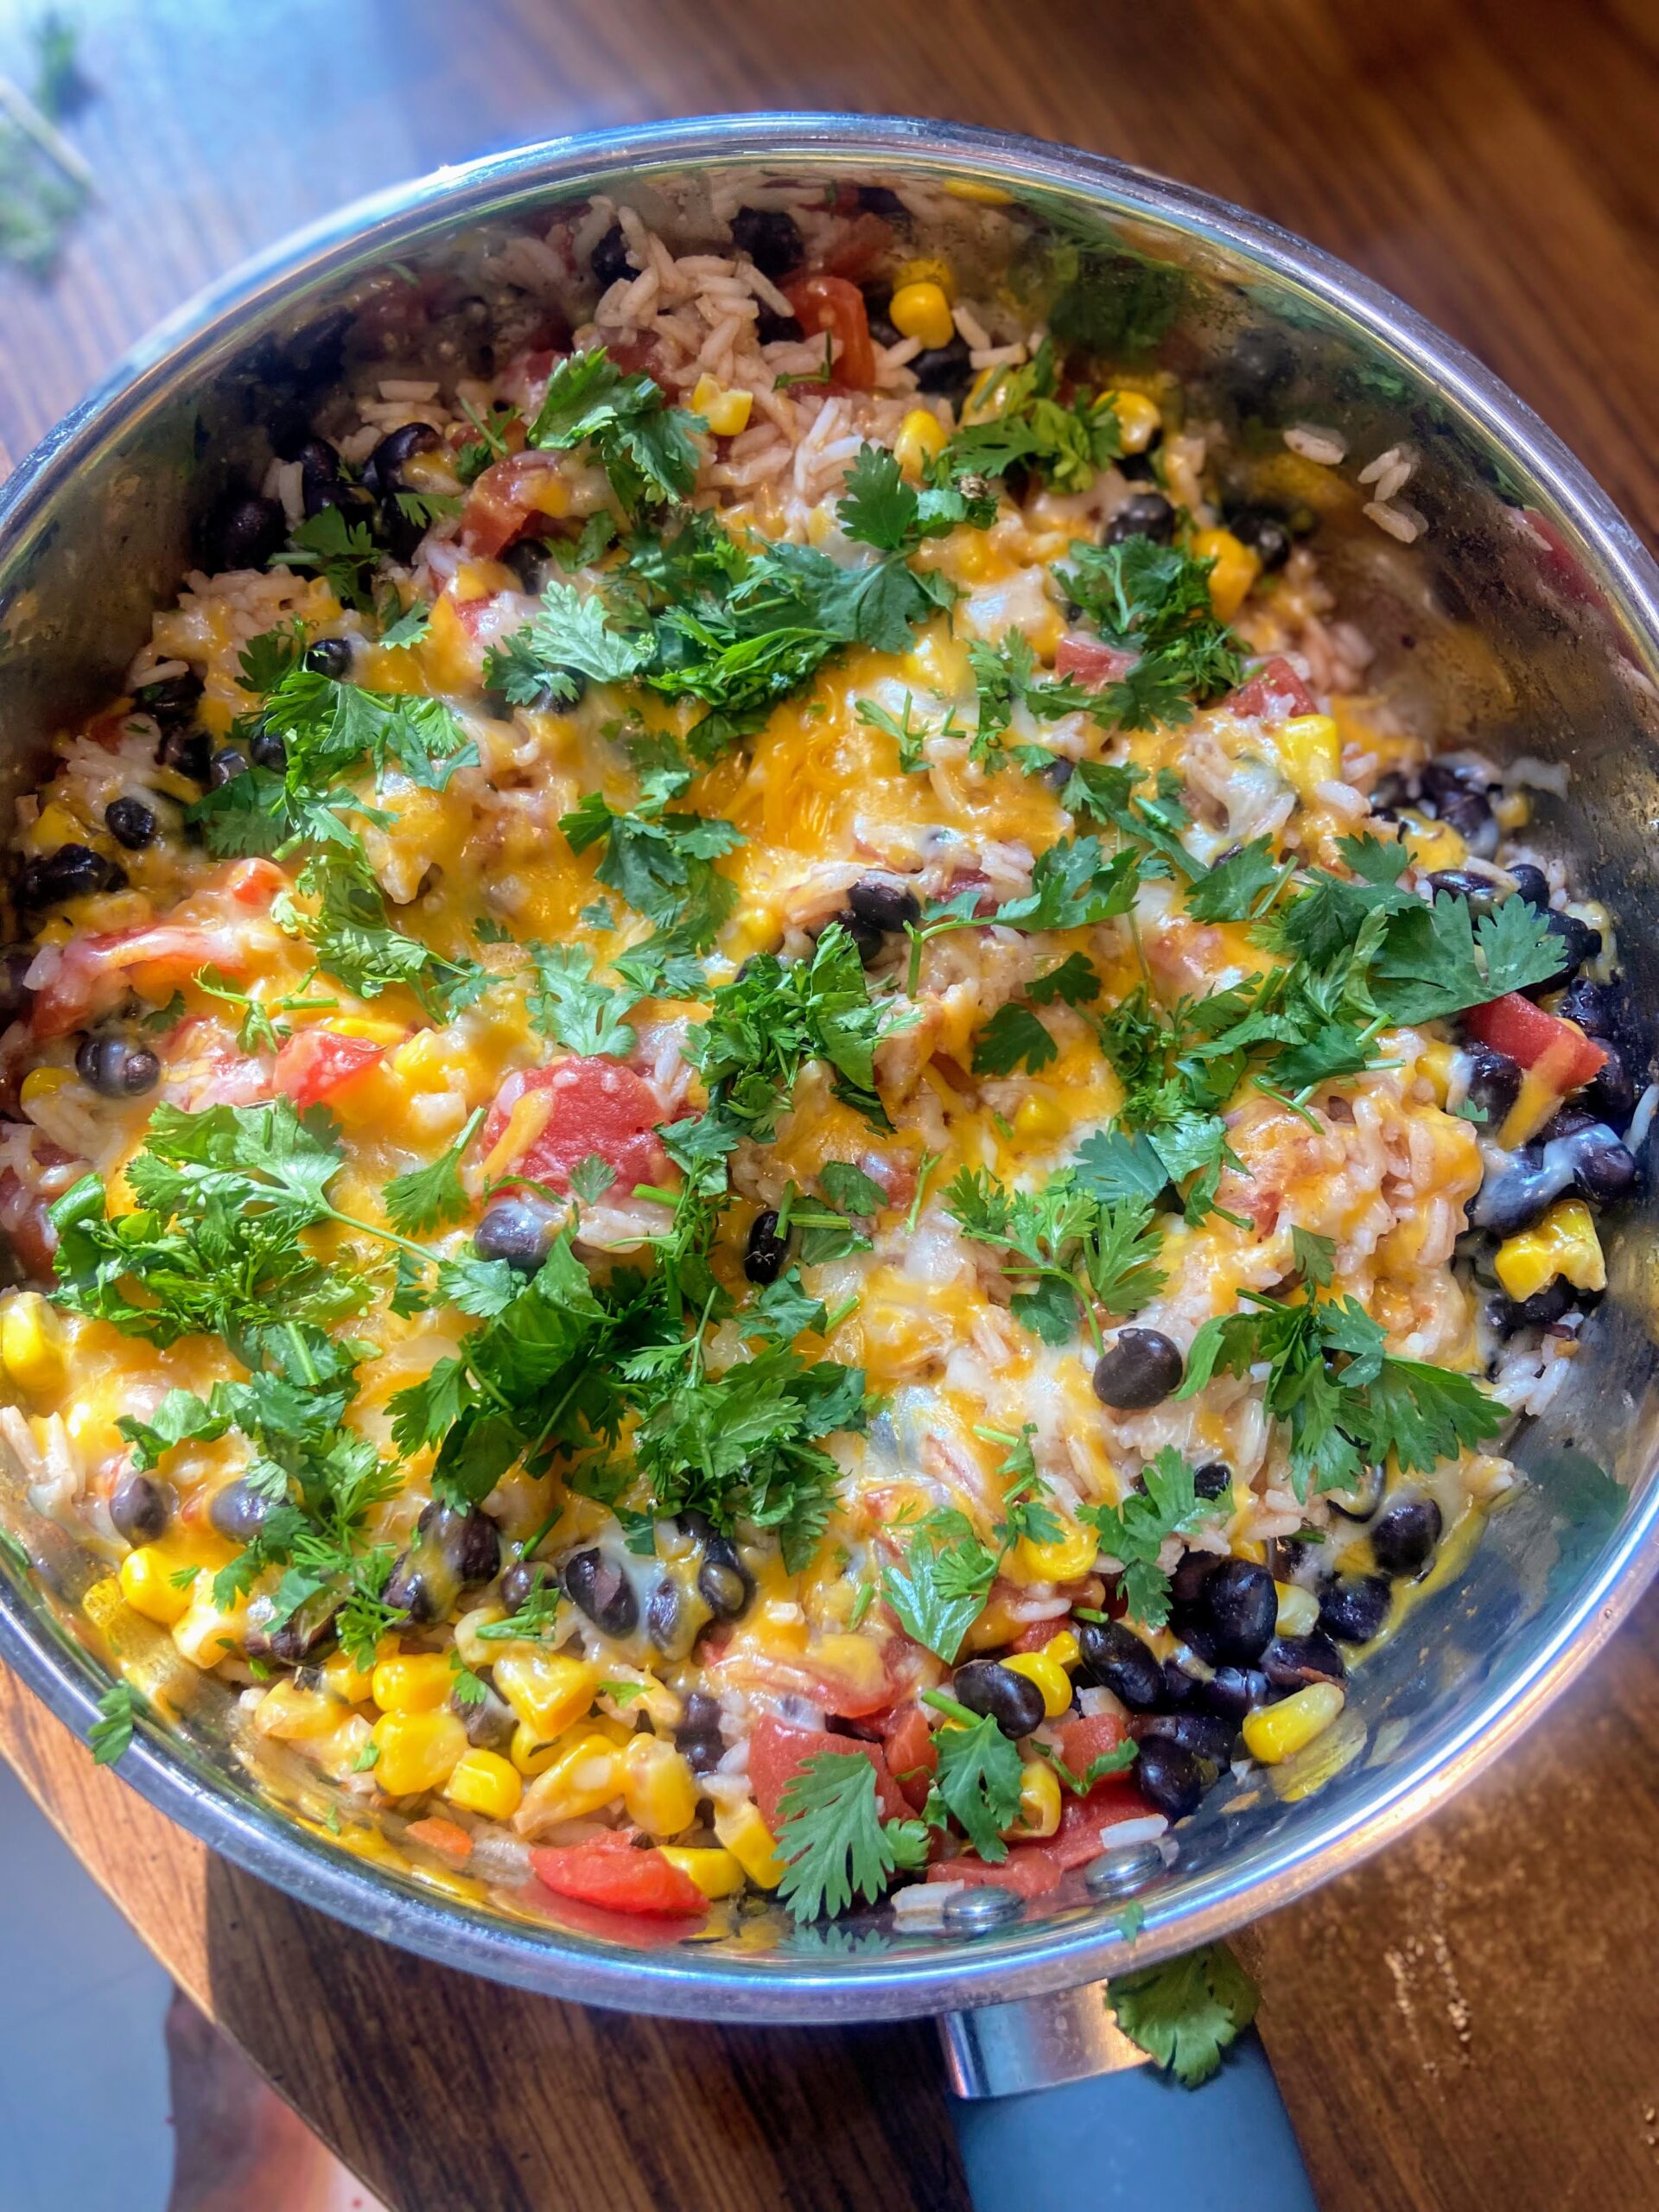
Reasons I love this recipe? It’s FULL of color and flavor. Don’t skip the cilantro or onions (as long as you aren’t an ‘it tastes like soap’ kind of guy or gal. Man, my heart hurts for you. I could eat cilantro by the bucket!) It adds so much. 

It preps up SO fast with minimal dishes. The chicken gets marinated in a baggy and goes in the air fryer. Everything else goes straight in the skillet! You don’t even need much of a cutting board if you have scissors for the onions and cilantro. It sure made my dishwasher (my 12 year old kiddo) happy to see that I didn’t create a pile of dishes for him. 

Now, I went lighter on the spicy factor here. If you want some extra kick, feel free to top with some sliced jalapeño too! Also, no air fryer? No problem! You can easily cook up the chicken with the rice or on the side. I just like the texture the air fryer brings to the party.

Your Ingredients for Air Fryer Southwest Chicken Skillet 

  • 1 ½ pounds chicken breast, cubed into bitesize pieces
  • 1 cup long grain white rice
  • 1 can unsalted diced tomatoes
  • 1 can black beans, rinsed
  • 1 cup frozen corn
  • 1 cup shredded cheese
  • Fresh cilantro and green onions, optional 
  • Salt and pepper to taste 

Seasoning: 

One teaspoon each of:

  • chili powder
  • ground coriander
  • ground cumin 
  • paprika

One half teaspoon each of:

  • salt
  • garlic powder 
  • oregano 

Dash of cayenne pepper, to taste 

Your Steps to Air Fryer Southwest Chicken Skillet

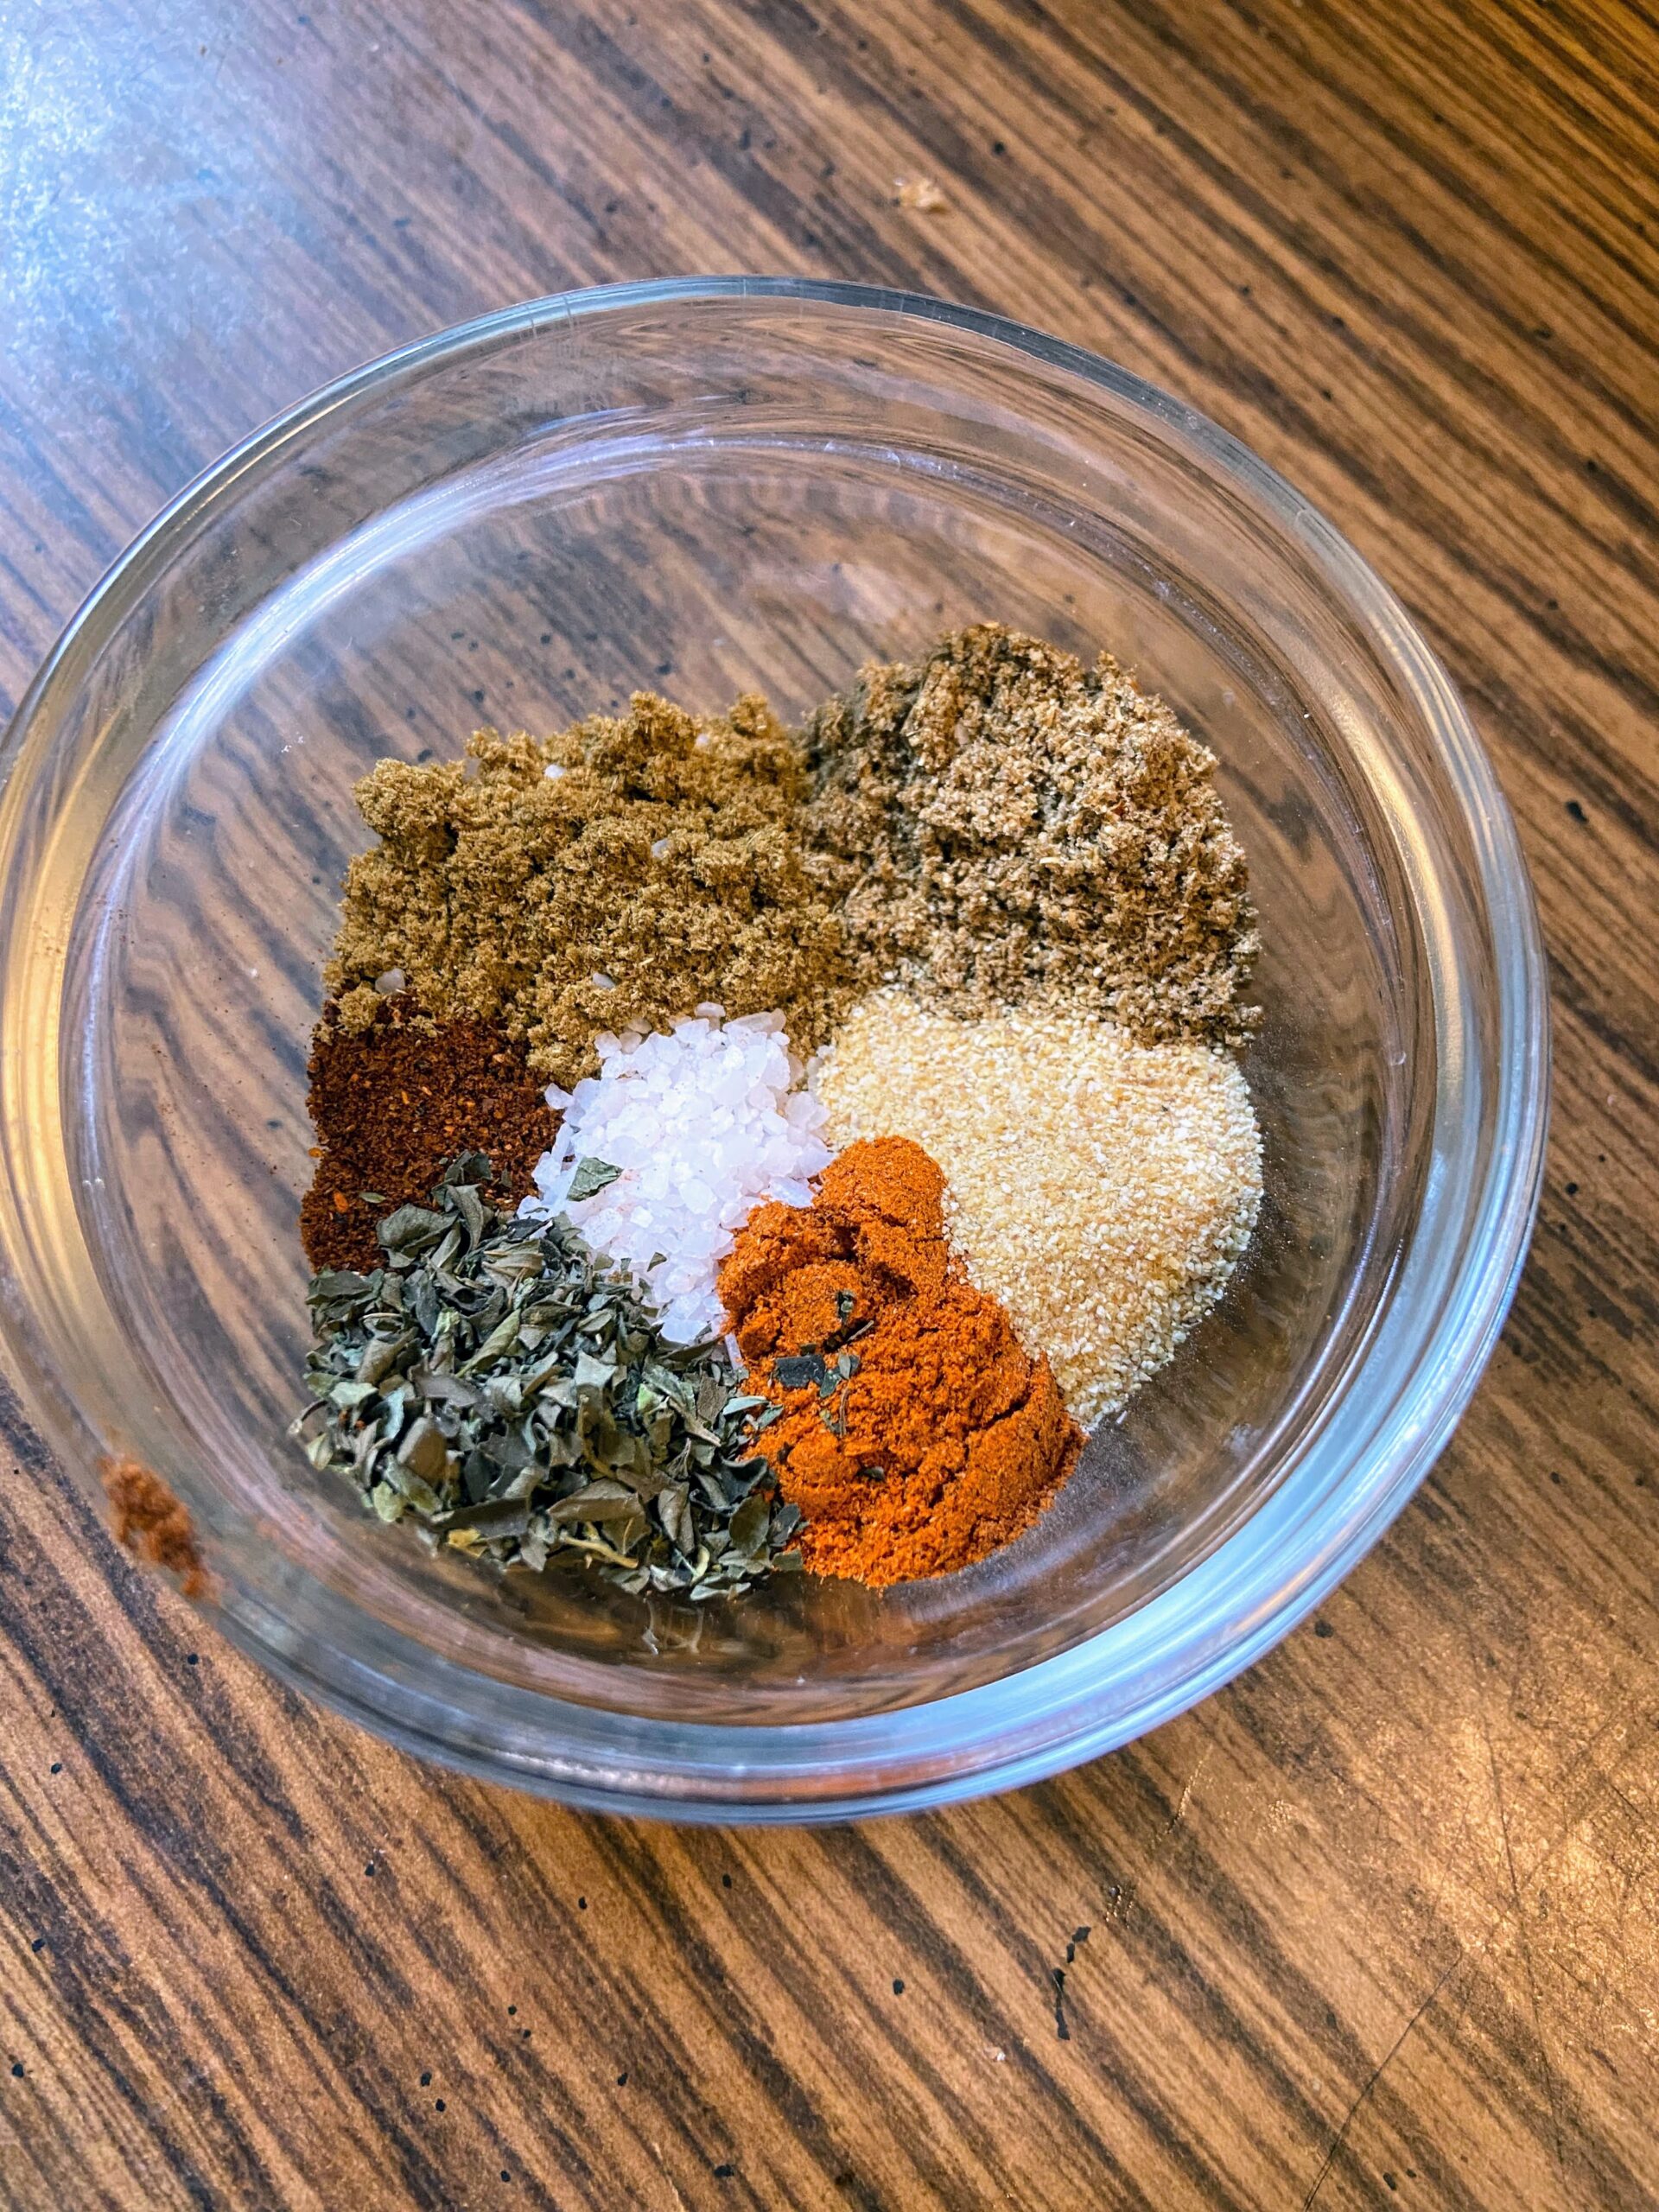
Combine the spices to create a seasoning mix for the chicken. Reserve ½ tablespoon and set aside for seasoning the rice. 

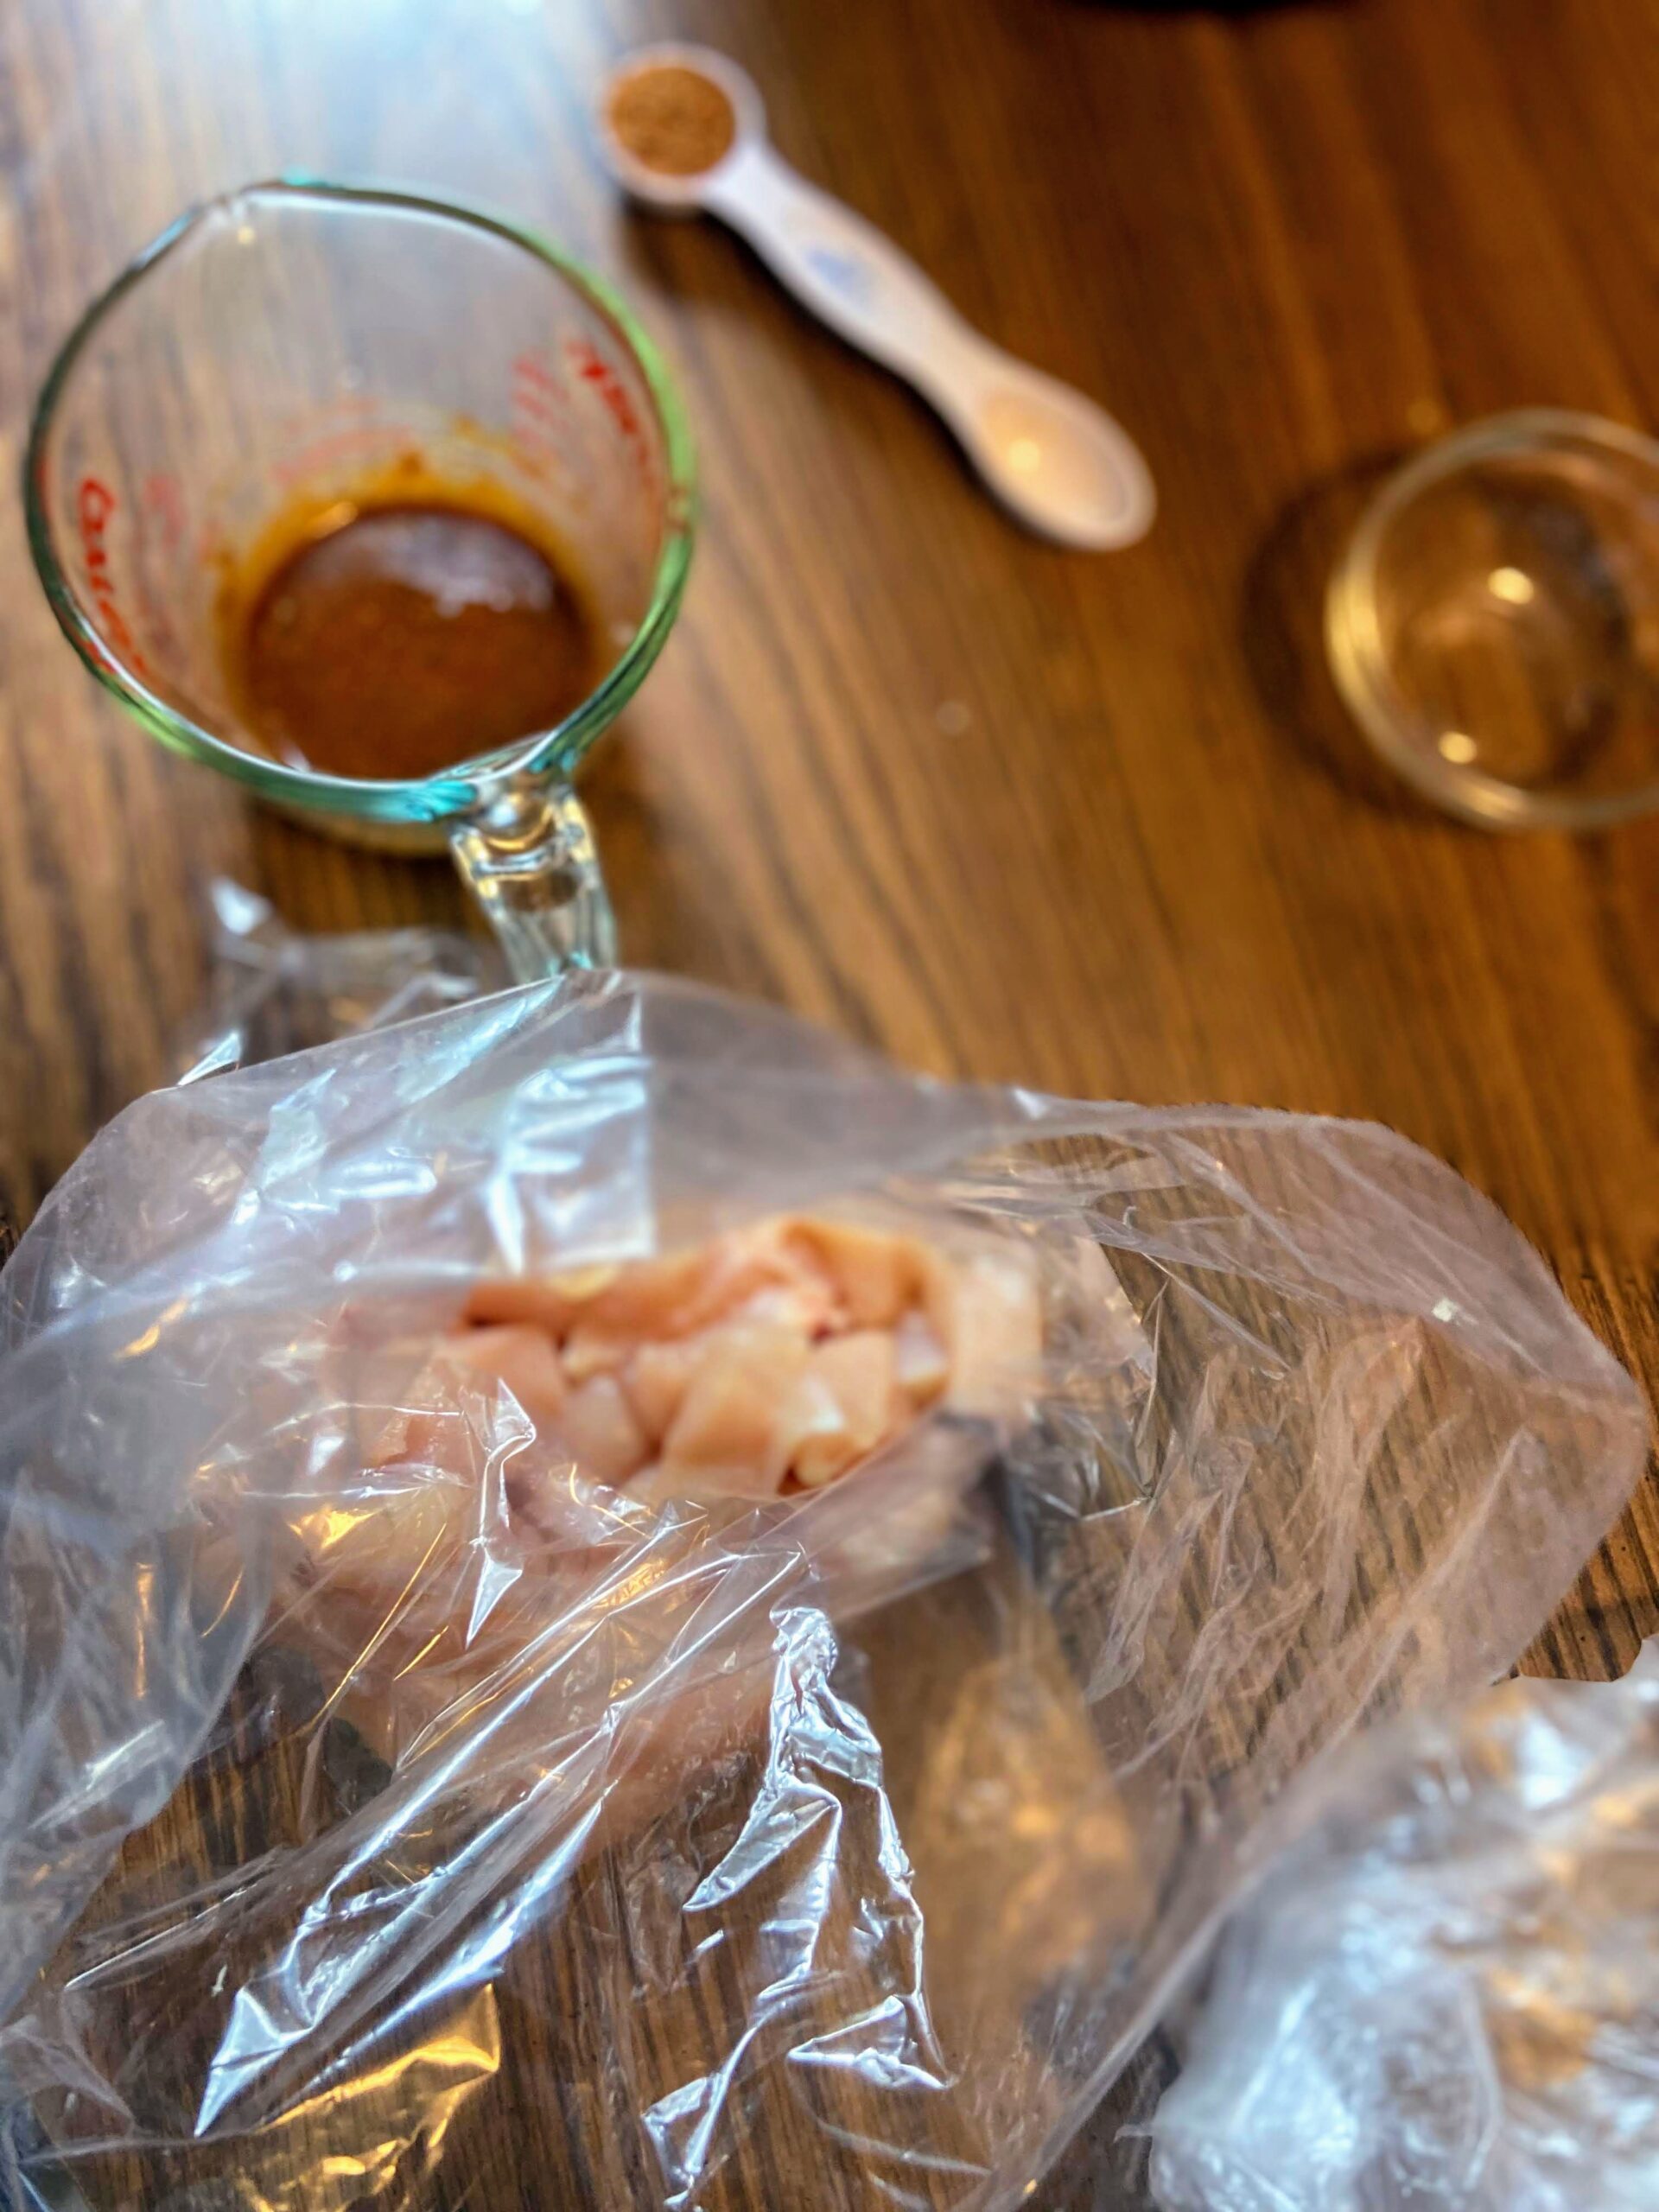
Mix the rest of the seasoning with 2 tablespoons olive oil and 1 tablespoon water. Place the cubed chicken in a plastic bag. Pour the seasoning mixture over the chicken, massaging it into pieces. Seal and allow to marinate in the refridgerator for at least 3 hours. 

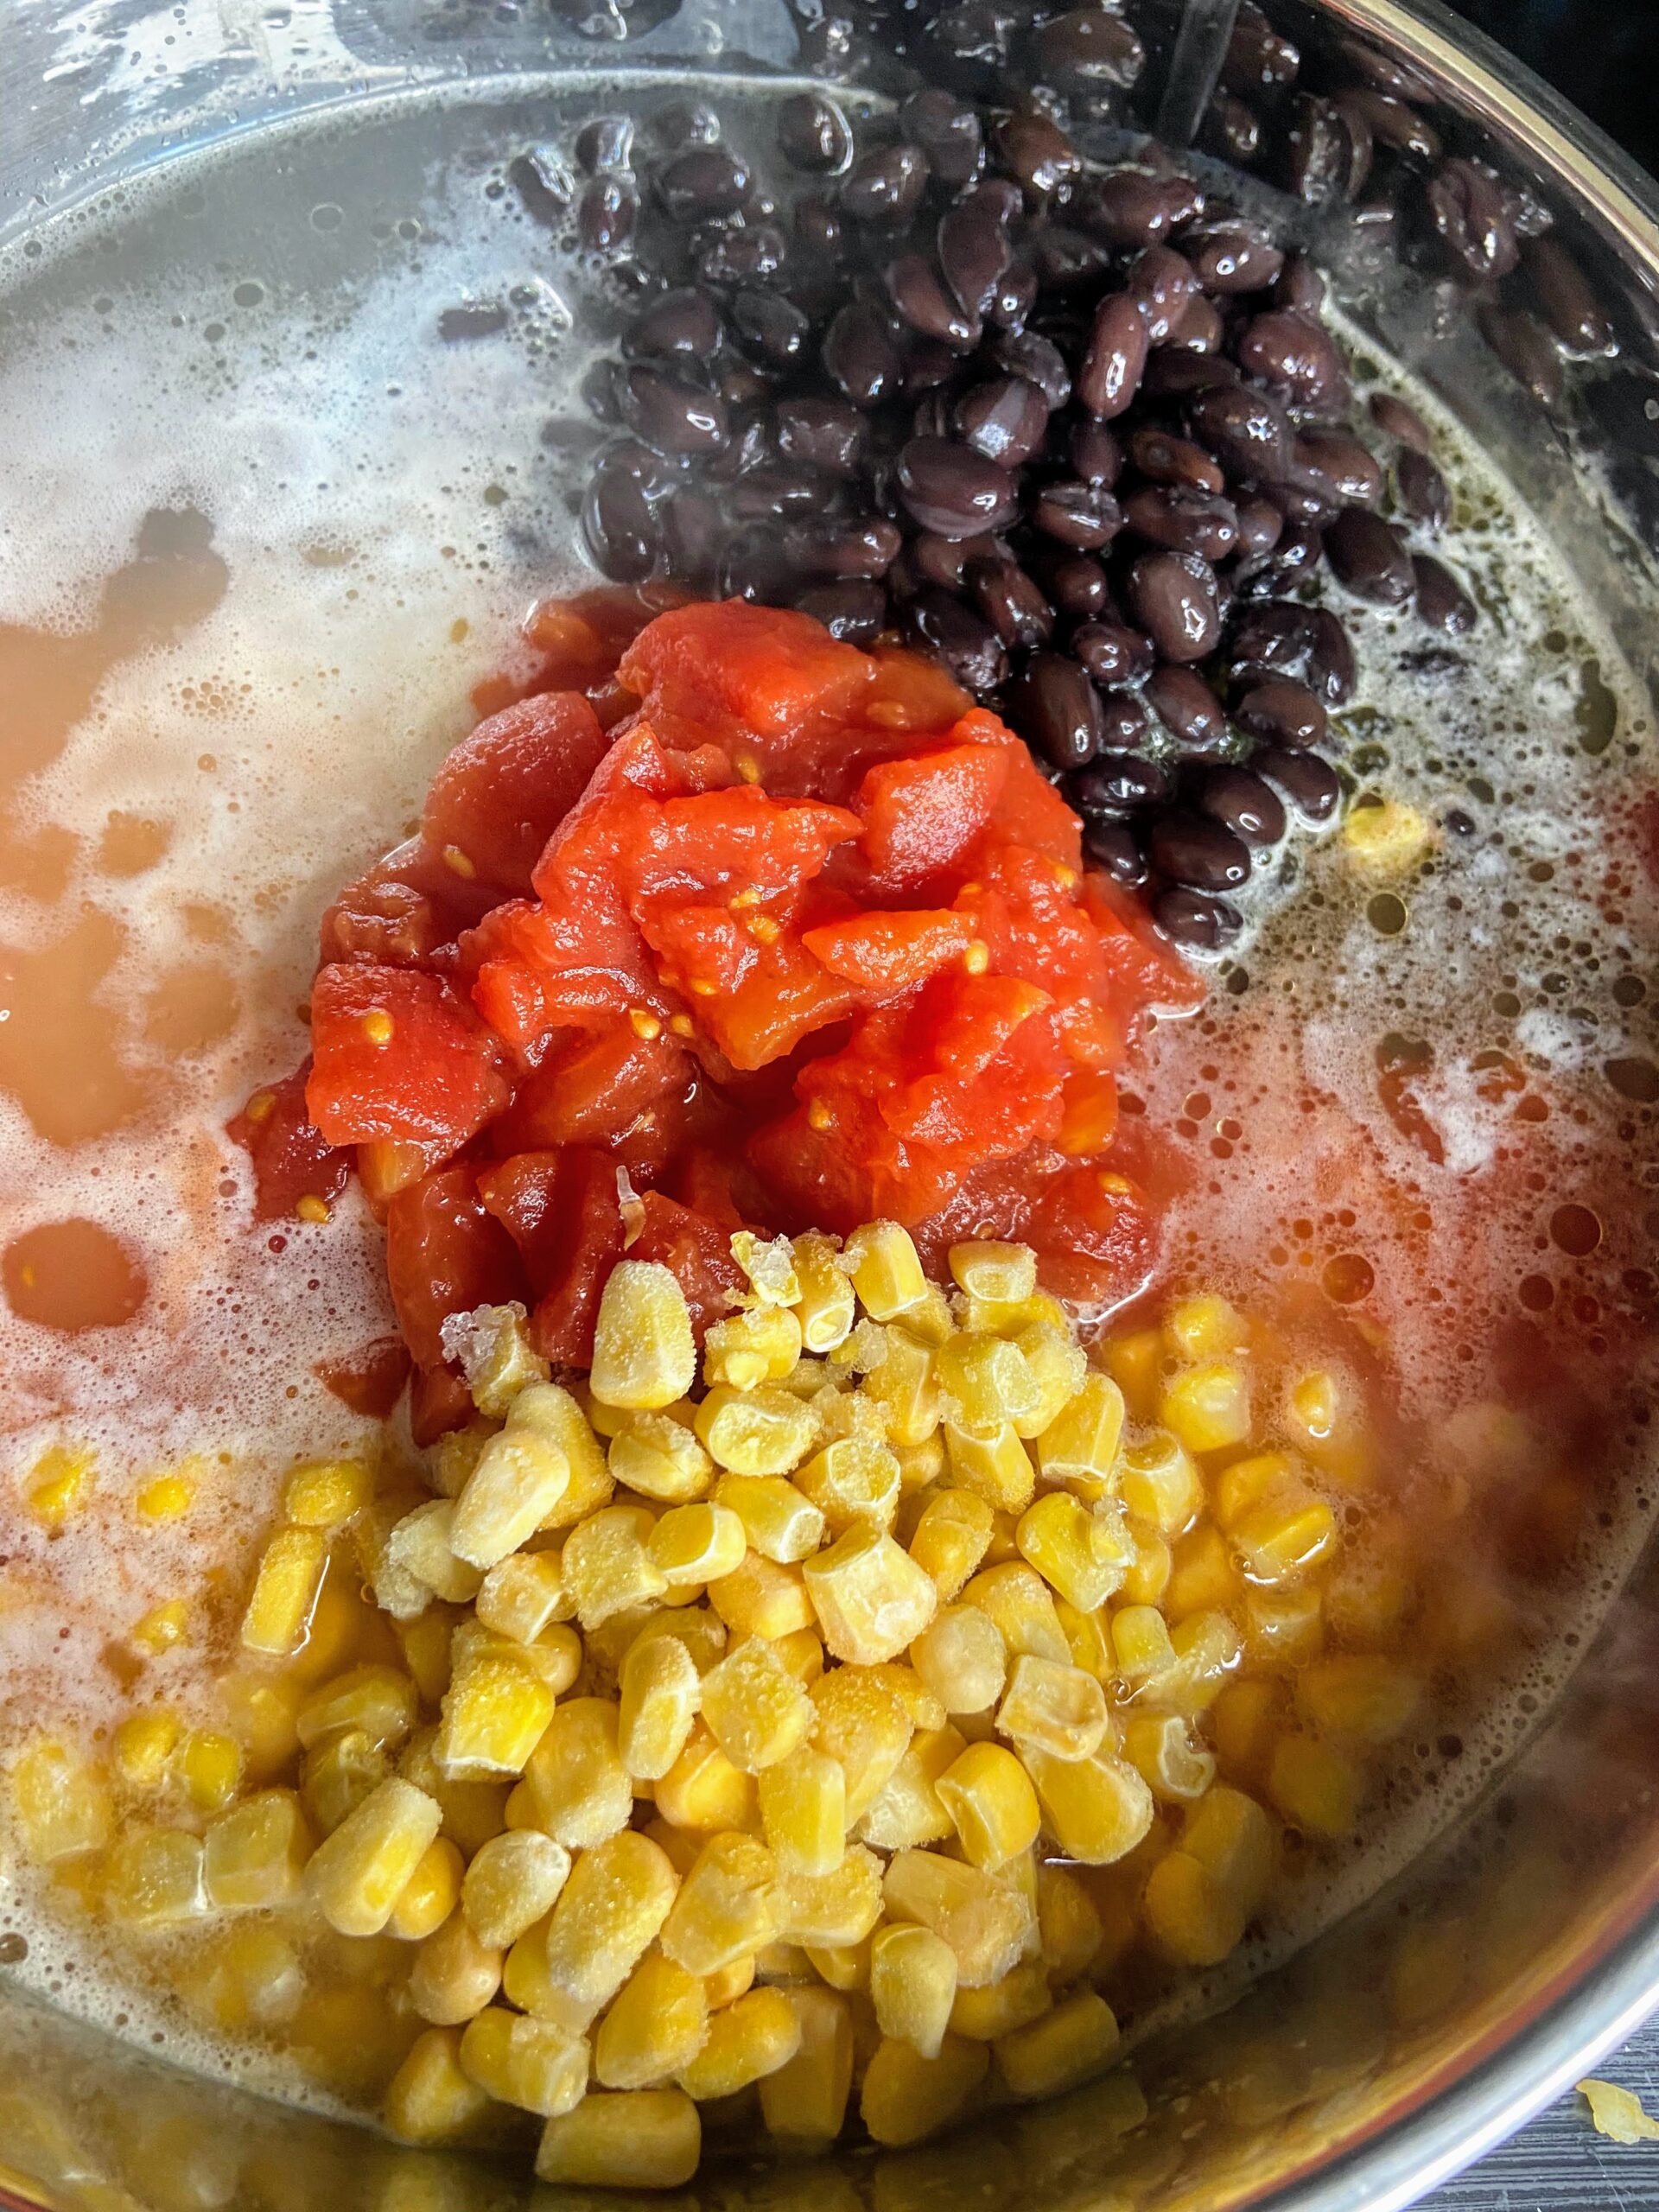
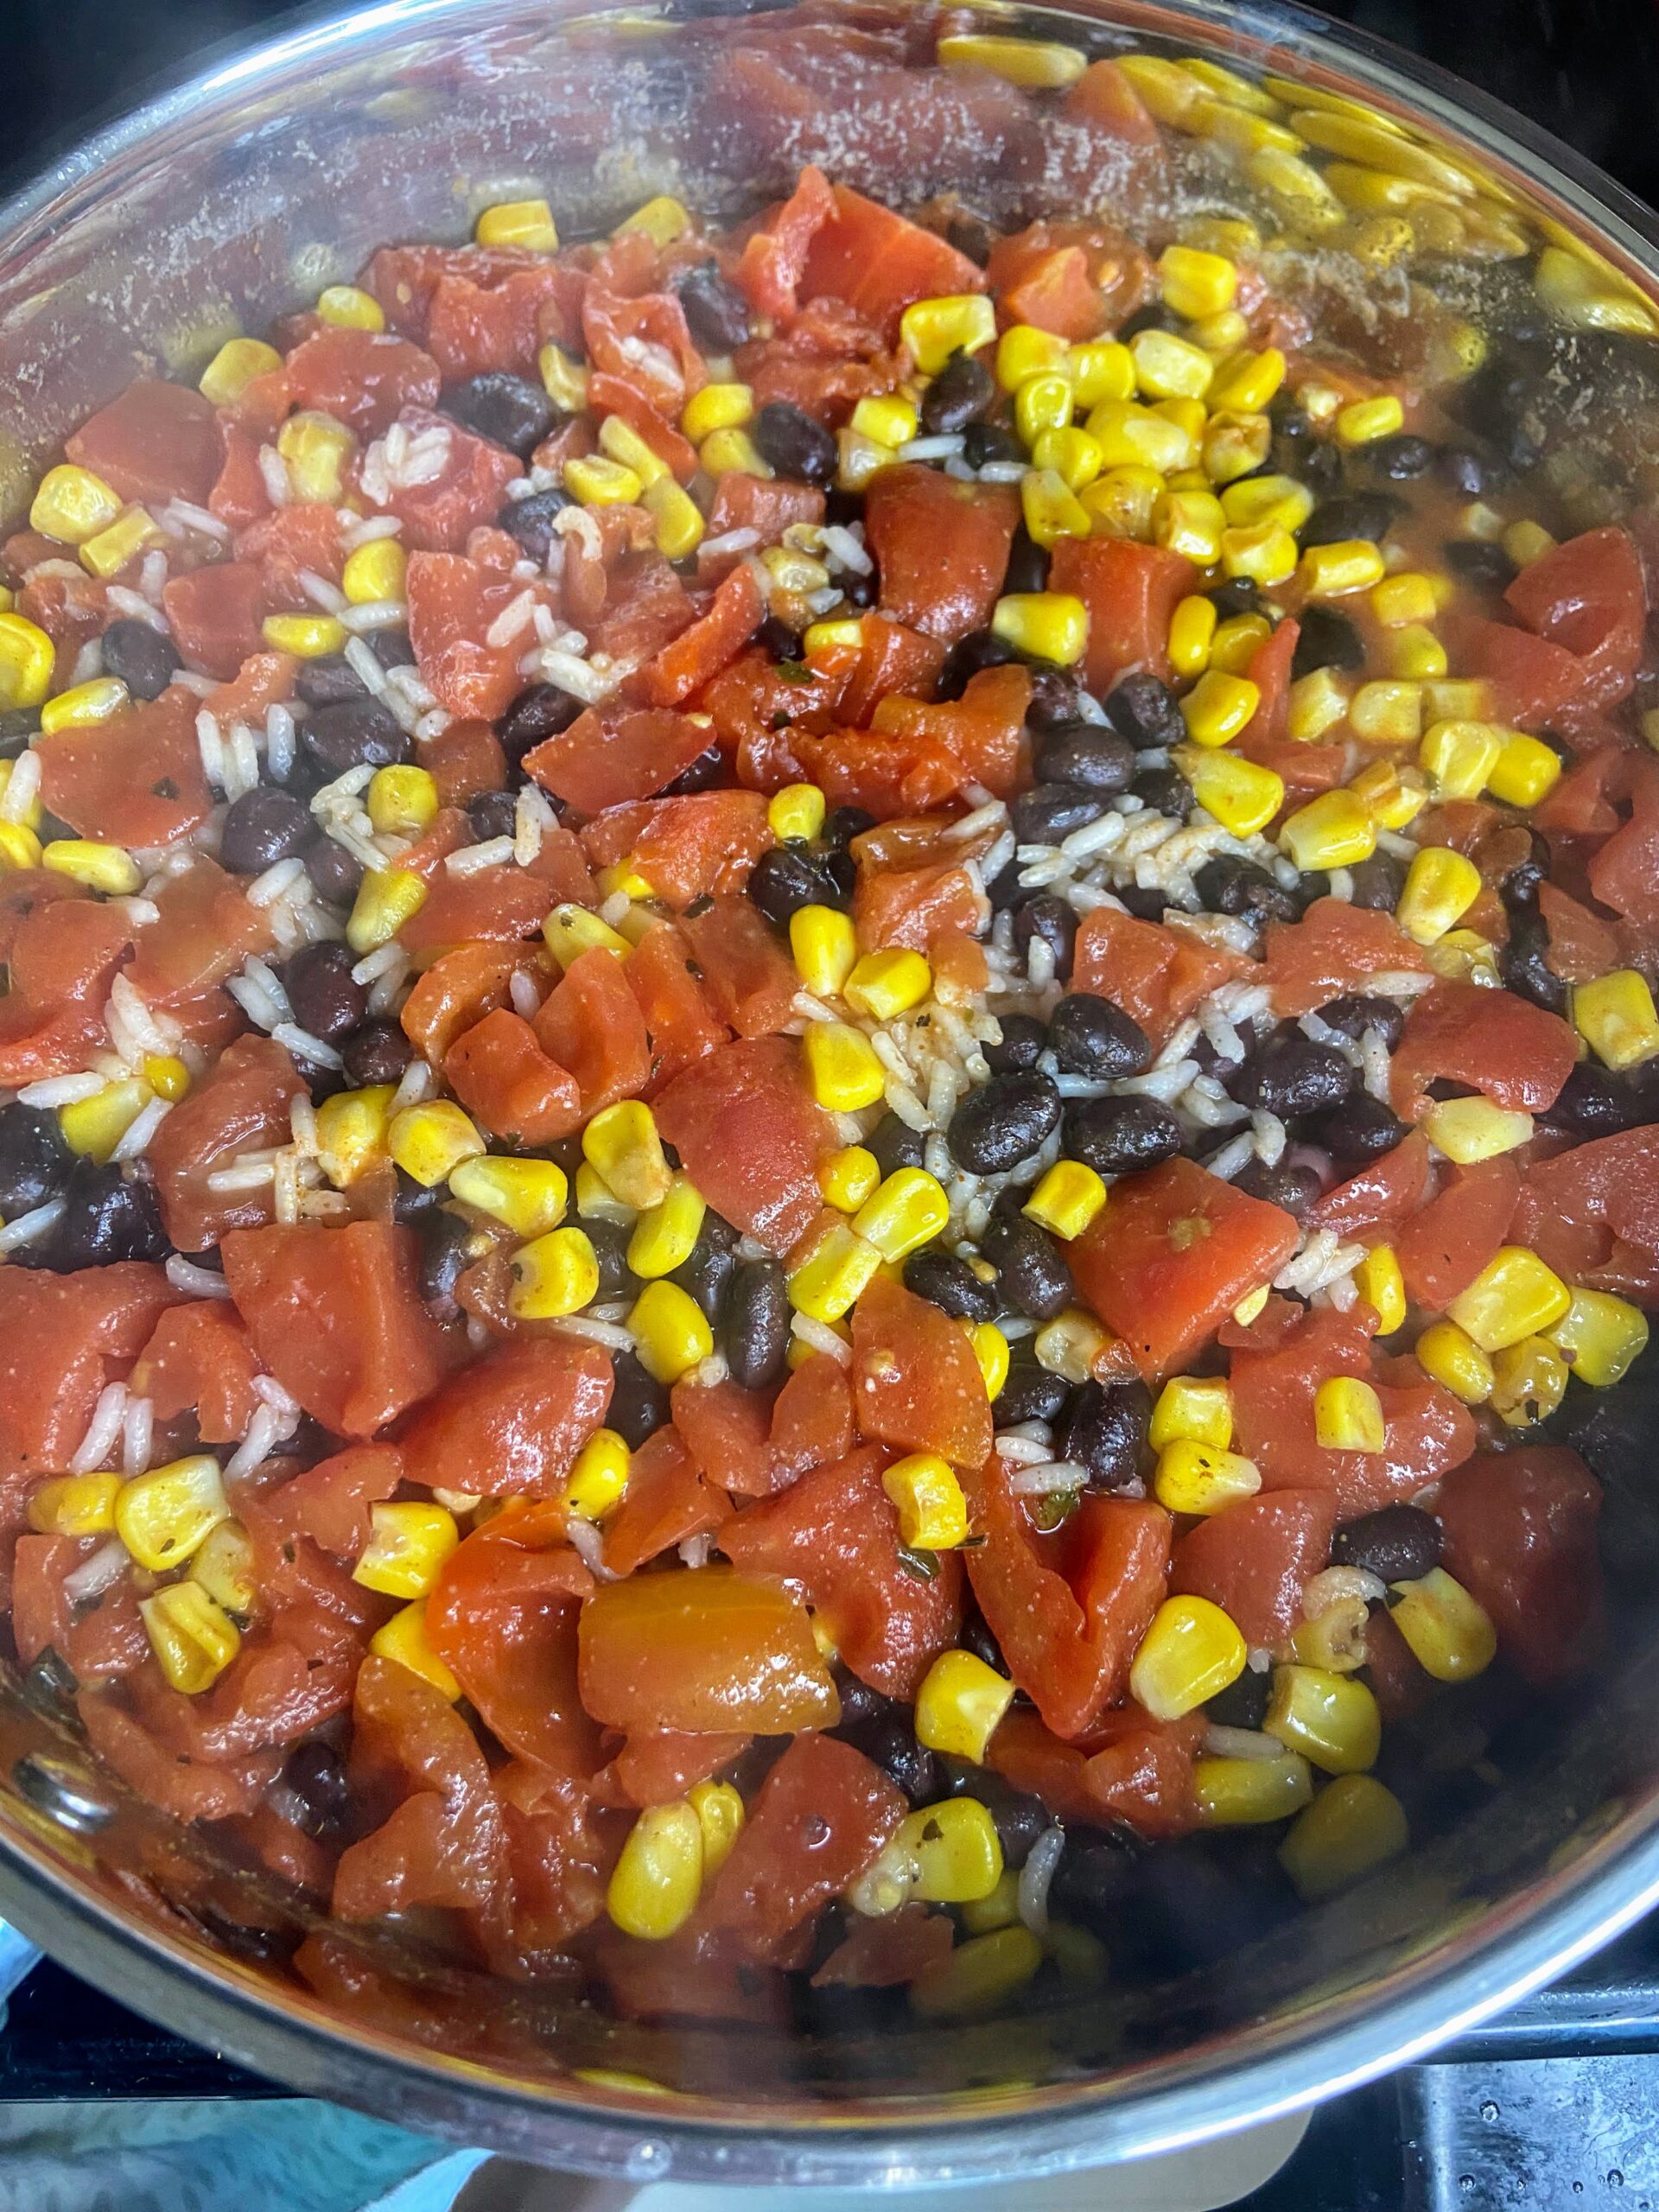
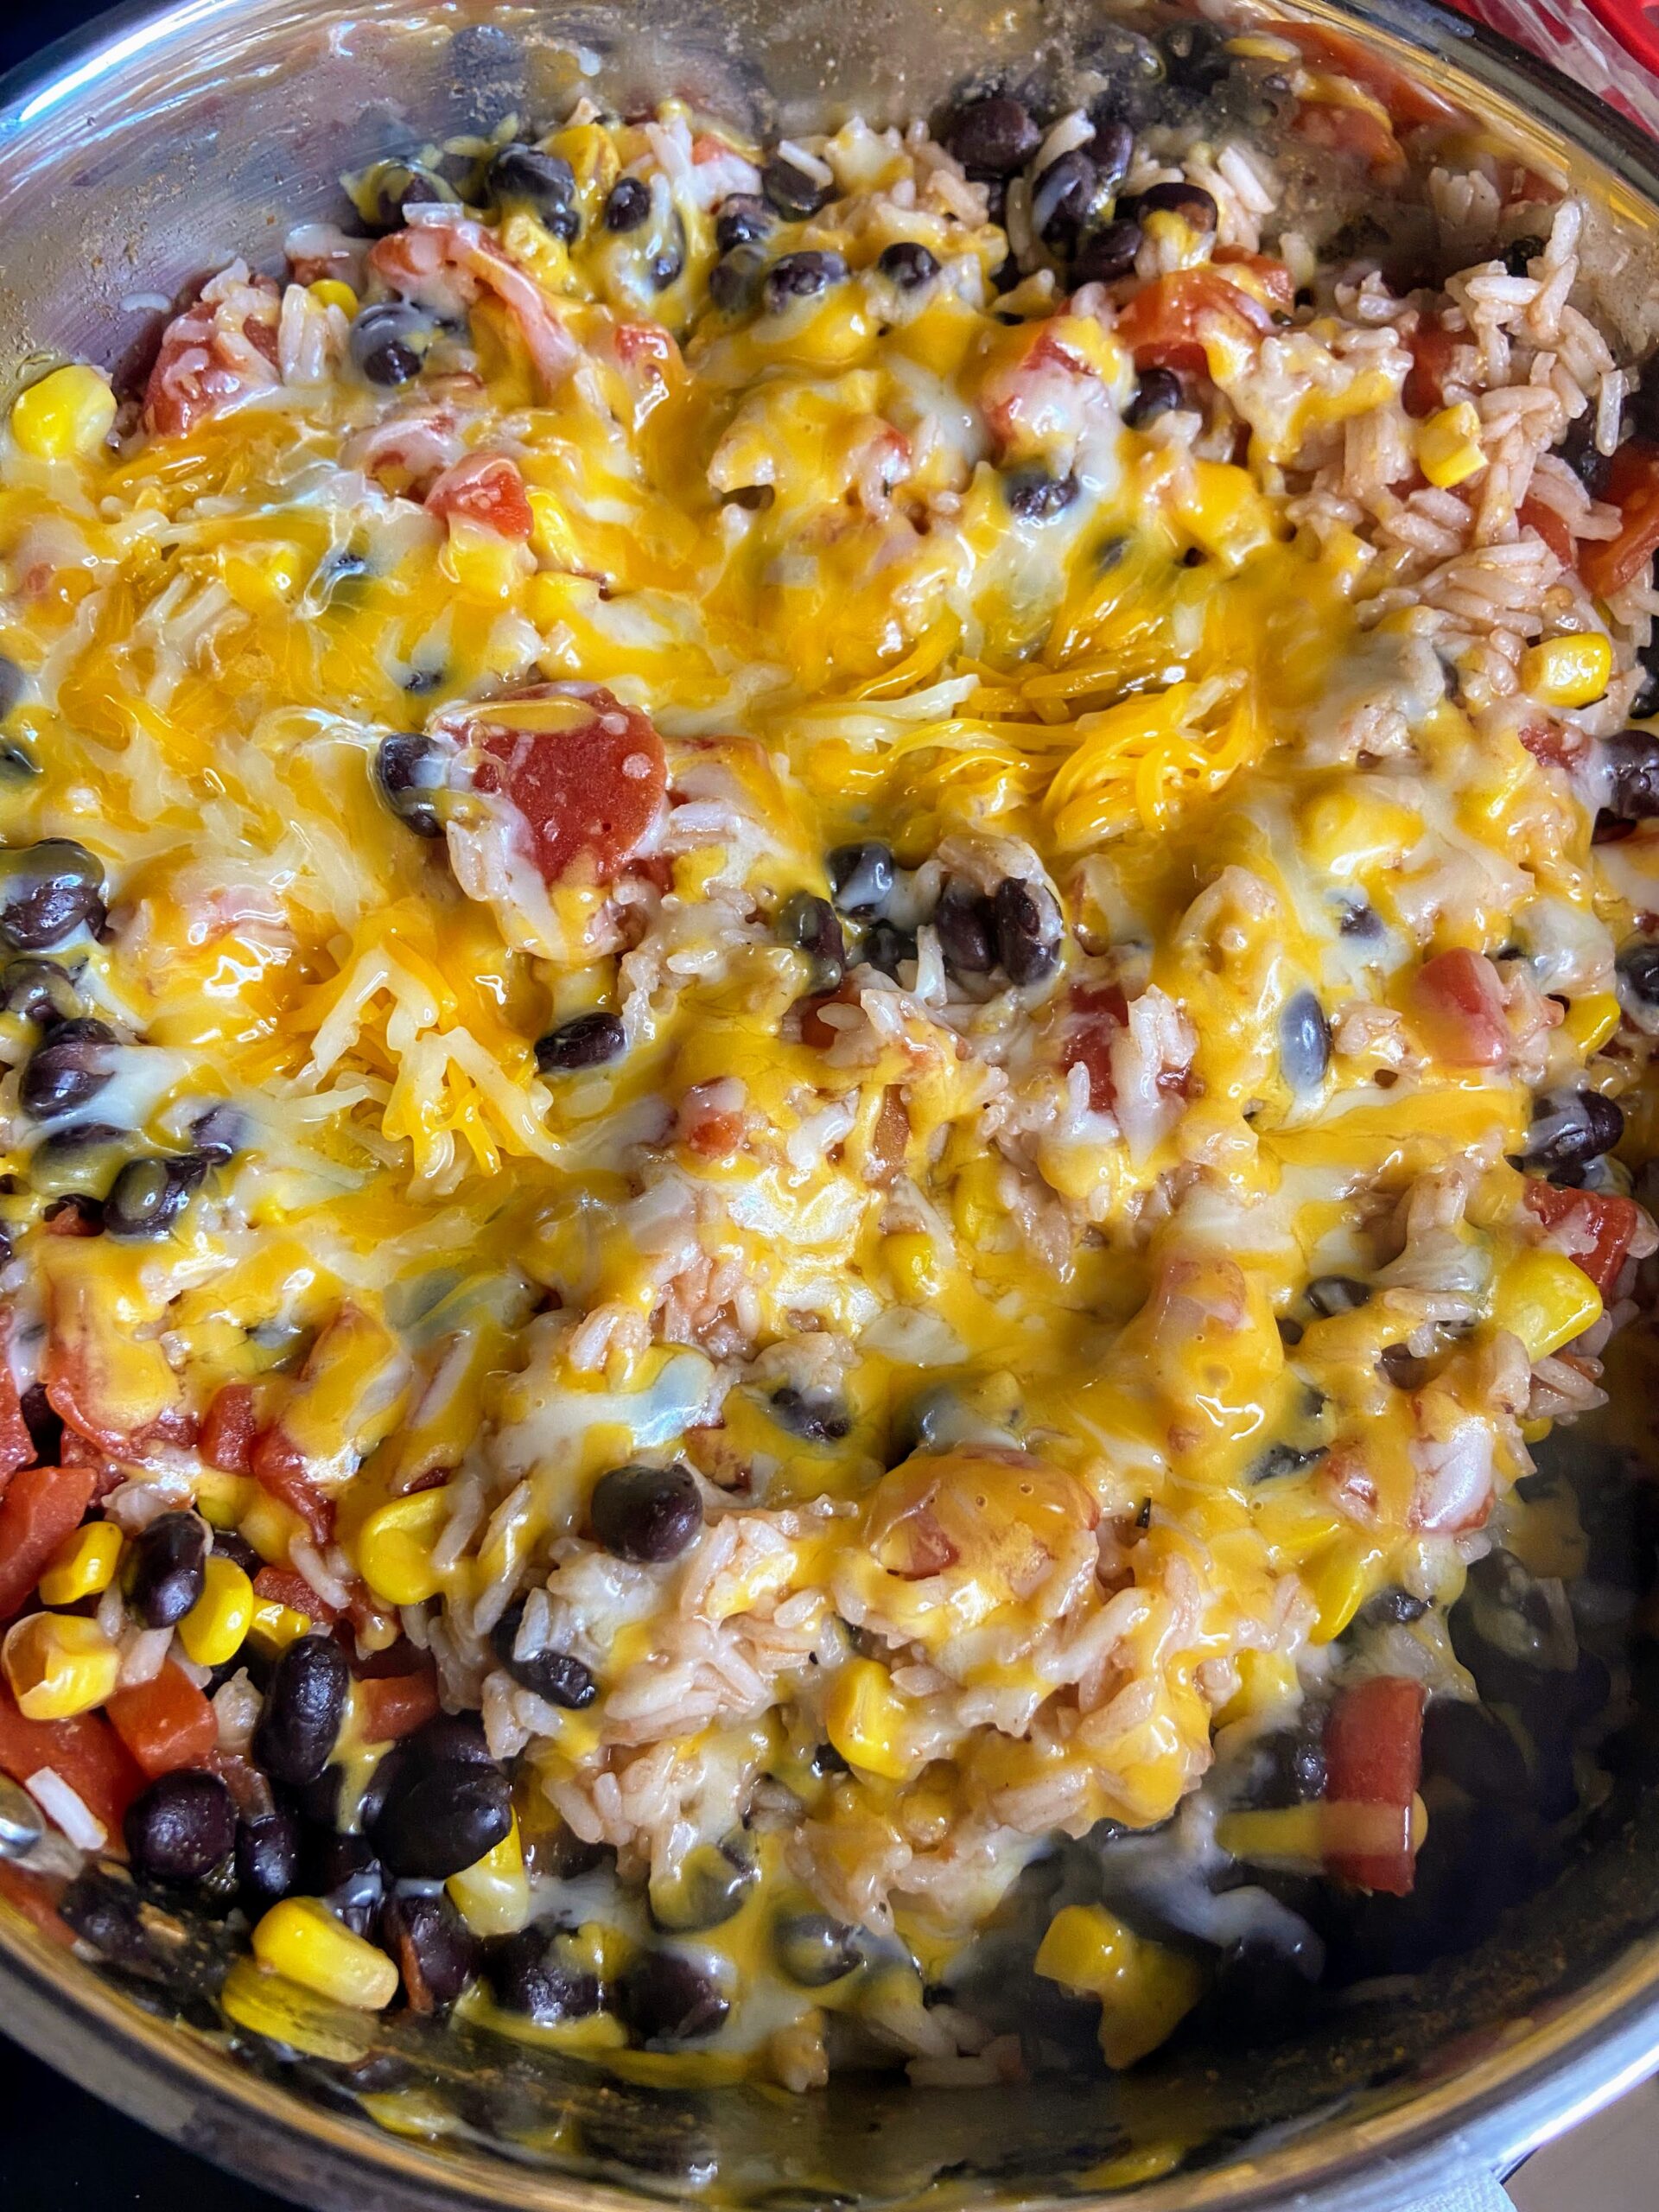
When you are ready to cook the chicken, start the rice according to the package directions. Once the water is boiling, add rice and the diced tomatoes, black beans, frozen corn, and reserved seasoning blend. Add additional salt and pepper to taste. 

Meanwhile, preheat an air fryer to 380 degrees. Spray with cooking spray. Cook chicken for 10-15 minutes, tossing once or twice. 

Immediately after the rice mixture is done cooking, top with shredded cheese and cover, removing from heat. Serve once the cheese has melted, topping with chicken, cilantro, and sliced green onions. 

Looking for other recipes?

Give my cooking page a try! Or maybe you need to add a sweet treat to your dinner? Baking is the way to go!

Southwest Chicken Skillet

Air Fryer Southwest Chicken Skillet

The use of an air fryer and a skillet make this dish a cinch to make! Minimal dishes and full of flavor, you're sure to love this air fryer Southwest Chicken Skillet
Prep Time 10 minutes
Cook Time 25 minutes
Marinate 3 hours
Course dinner, Main Course
Cuisine American, Southwest
Servings 6 servings

Equipment

Ingredients
  

  • 1 ½ pounds chicken breast cubed into bitesize pieces
  • 1 cup long grain white rice
  • 1 can unsalted diced tomatoes
  • 1 can black beans rinsed
  • 1 cup frozen corn
  • 1 cup shredded cheese
  • Fresh cilantro and green onions optional
  • Salt and pepper to taste

Seasoning

  • 1 teaspoon chili powder
  • 1 teaspoon ground coriander
  • 1 teaspoon ground cumin
  • 1 teaspoon paprika
  • ½ teaspoon salt
  • ½ teaspoon garlic powder
  • ½ teaspoon oregano
  • Dash of cayenne pepper

Instructions
 

  • Combine seasoning mix. Reserve ½ tablespoon and set aside for seasoning the rice.
  • Mix the remaining seasoning mix with 2 tablespoons olive oil and 1 tablespoon water. Place the cubed chicken in a plastic bag. Pour the seasoning mixture over the chicken, massaging it into pieces. Seal and allow to marinate for at least 3 hours.
  • When you are ready to cook the chicken, start the rice according to the package directions. Once the water is boiling, add rice and the diced tomatoes, black beans, frozen corn, and reserved seasoning blend. Add additional salt and pepper to taste.
  • Meanwhile, preheat an air fryer to 380 degrees. Spray with cooking spray. Cook chicken for 10-15 minutes, tossing once or twice.
  • Immediately after the rice mixture is done cooking, top with shredded cheese and cover, removing from heat. Serve once the cheese has melted, topping with chicken, cilantro, and sliced green onions.
Keyword 30 minute meals, air fryer, chicken, rice, skillet, Southwest, Tex Mex
Tried this recipe?Let us know how it was!