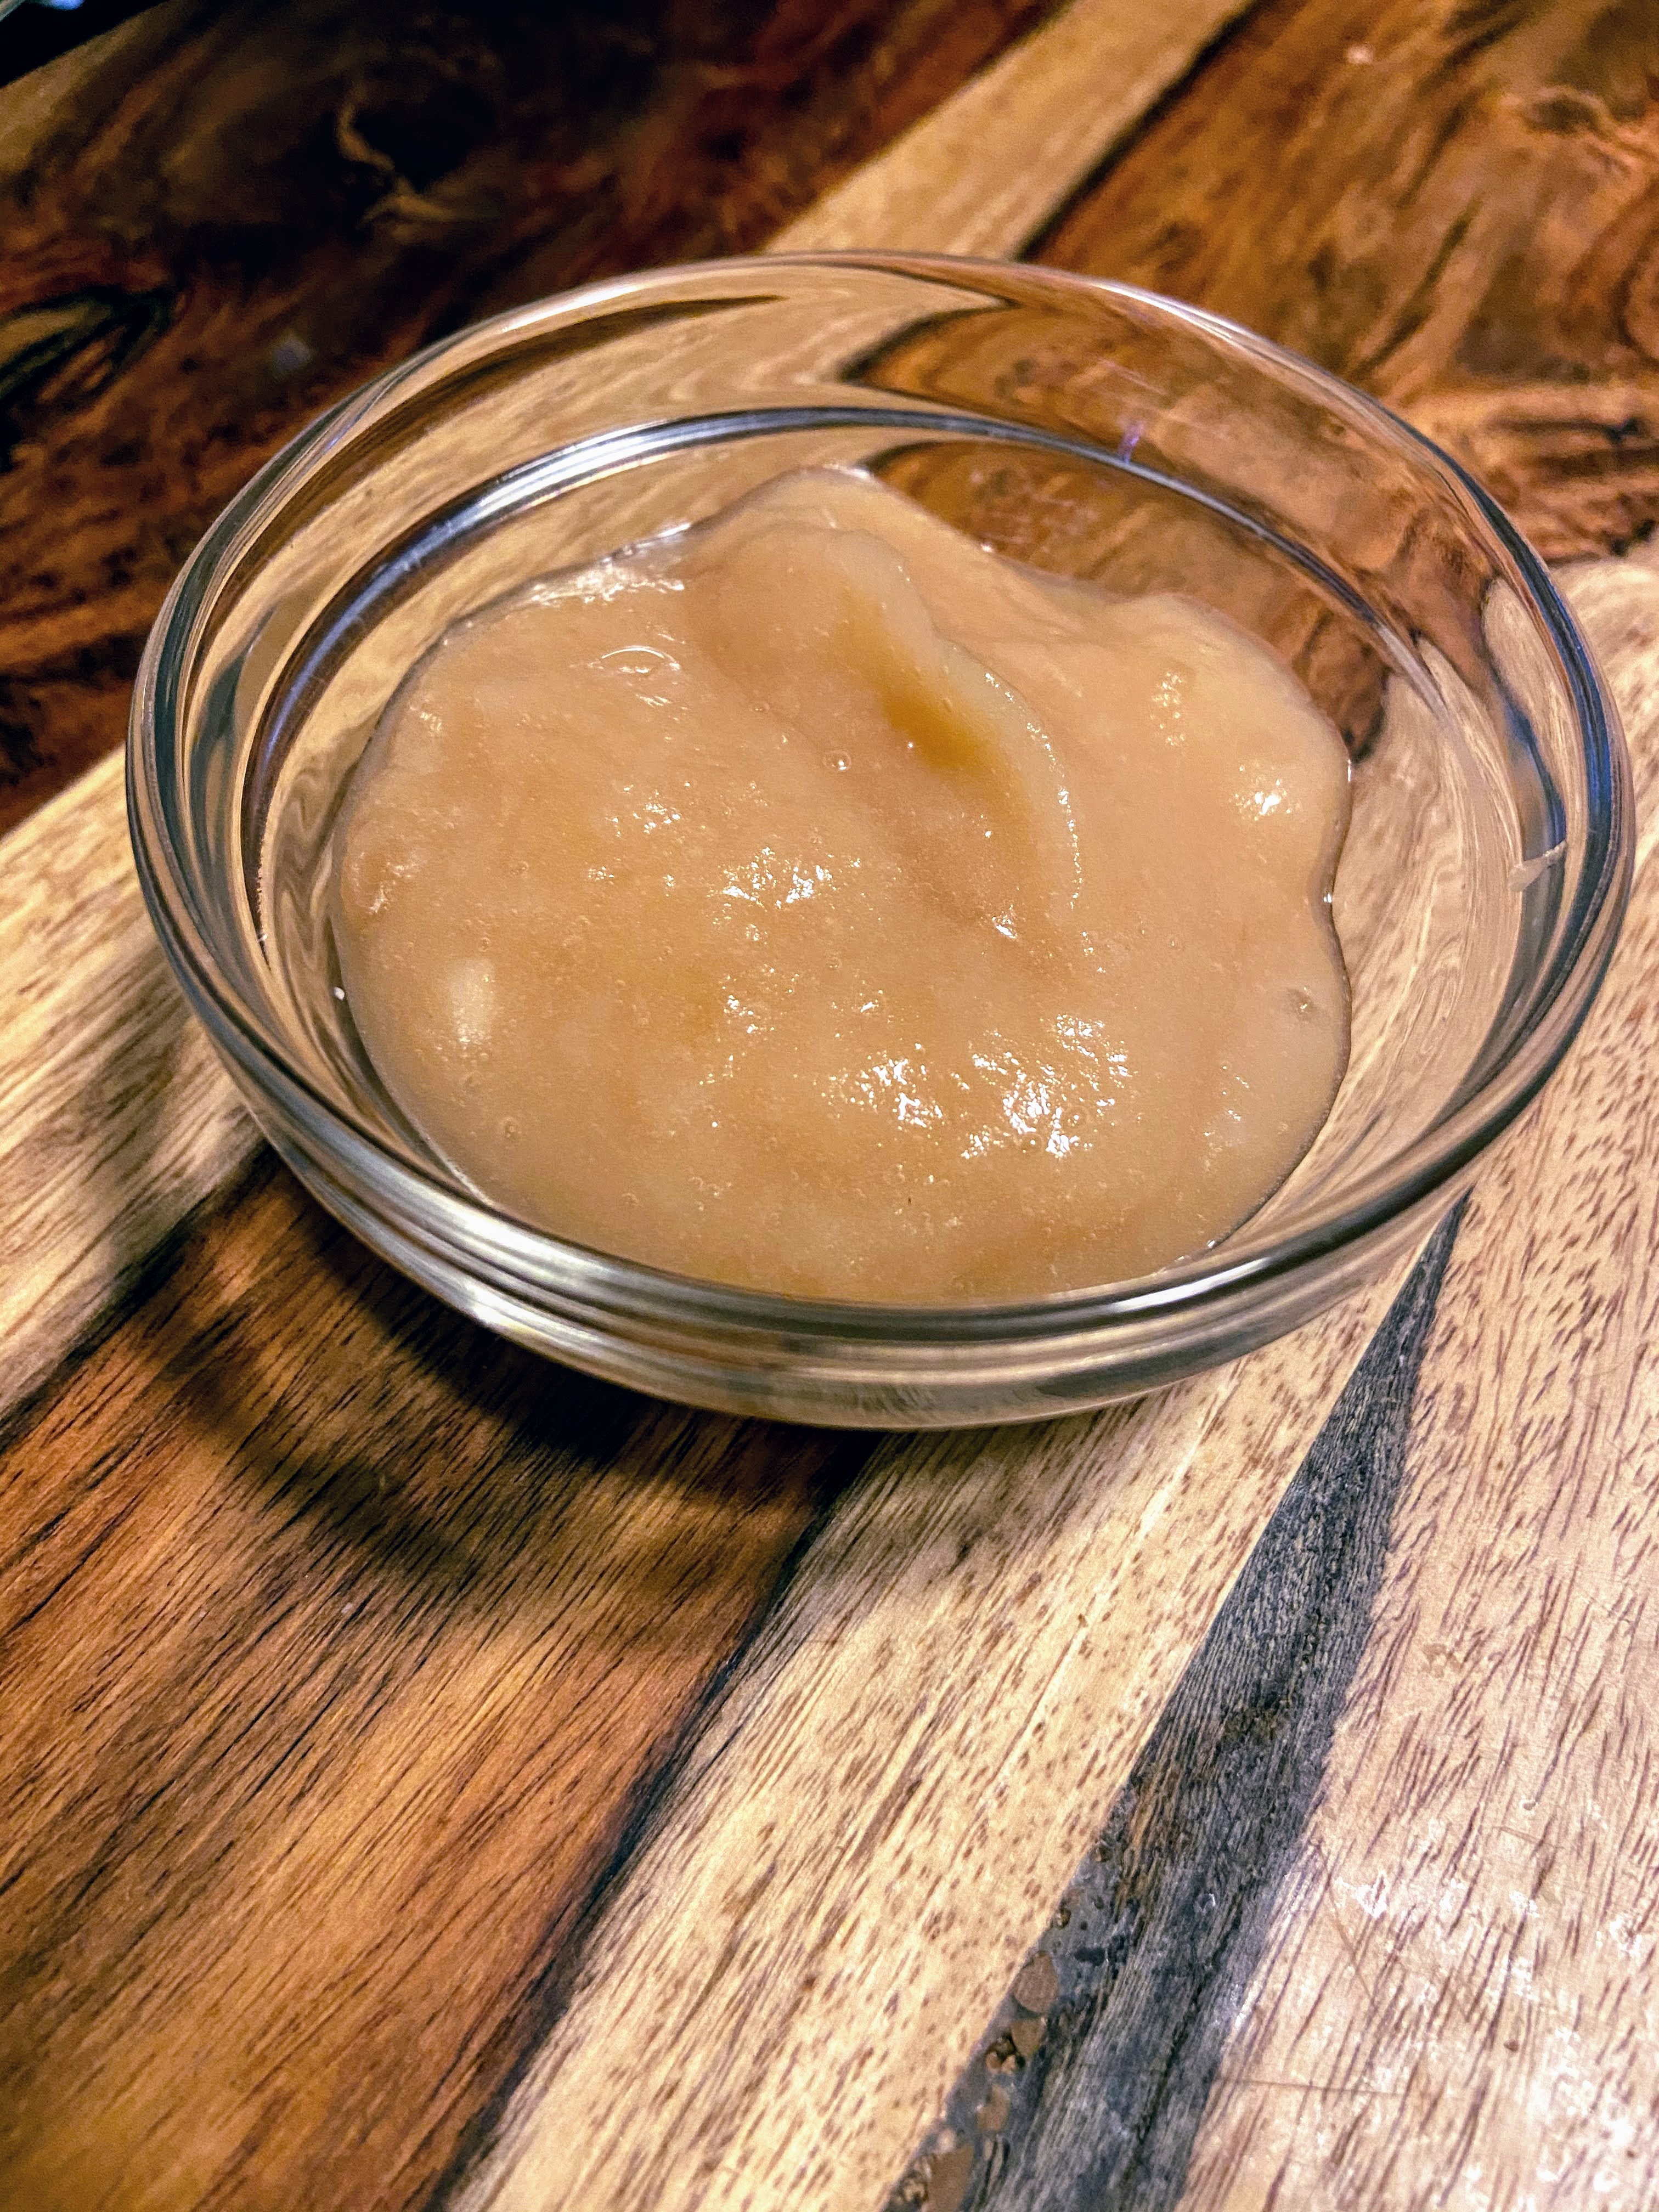
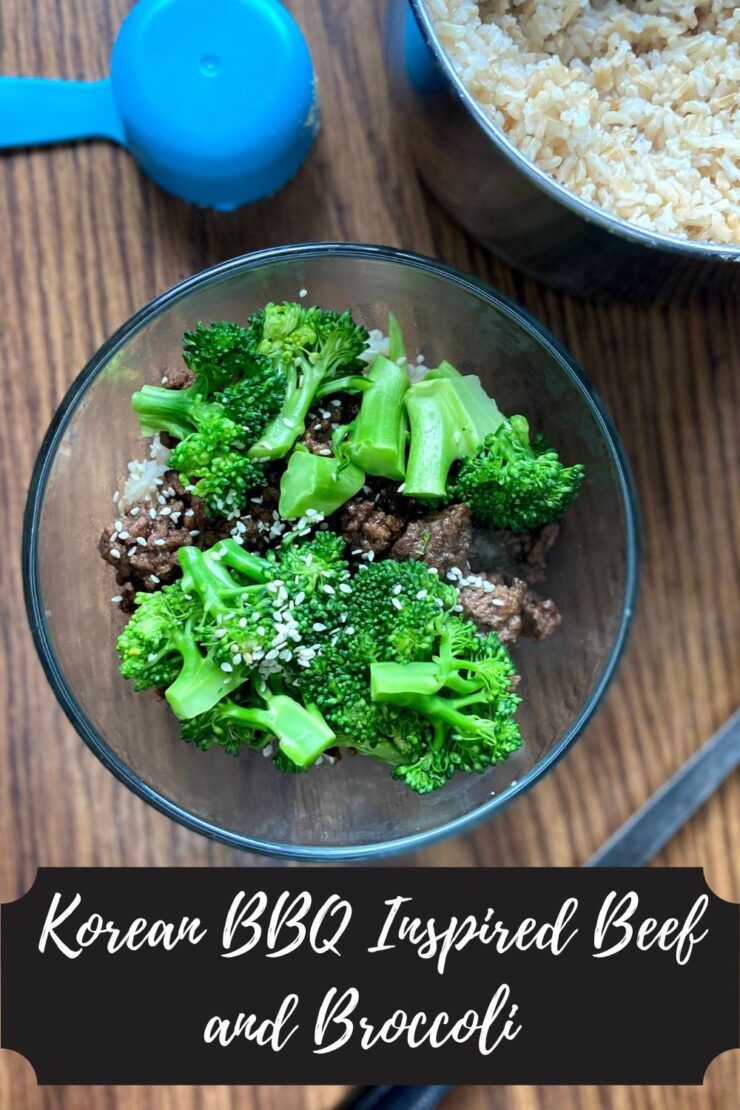
Korean BBQ Inspired Beef and Broccoli

This Korean BBQ Inspired Beef with Broccoli has been are recipe that has hung out on my Instagram page for a long time and is an ultimate go to dinner for our family when time is short. Sitting down together for meals is incredibly important to everyone in our house, but basketball, baseball, barre classes, and the like can make that challenging. This complete meal can be done in under 25 minutes (depending on your rice) and provides a healthy and nutritious meal everyone can love!

What I love best about it (besides the flavor of course!) is that it truly can be a pantry meal that gets thrown together last minute. We are a hunting family which means our freezer is full of home-ground venison, which is what we use in place of ground beef 90% of the time. We always have Minute Rice on hand (they make a great brown rice), and if we don’t have fresh broccoli, we will definitely have some frozen. As long as we don’t run out of the sauce ingredients, we are golden and can make this any day of the week. 

Also, I ADORE these steamer bags by Ziploc. It allows us to quickly cook up some broccoli (fresh or frozen) without heating up the house. We use them for cooking vegetables on a regular basis!

Ready to get cooking?! Let’s go! 

Your Ingredients For Korean BBQ Inspired Beef and Broccoli 

  • 1 pound ground protein (beef, venison, turkey)
  • ¼ cup low sodium soy sauce
  • ⅛ cup water
  • ¼ cup brown sugar
  • ¼ teaspoon ginger 
  • 2 teaspoons sesame oil 
  • Red pepper flakes, to taste 
  • 3 cloves garlic 
  • 4-6 servings brown rice, cooked 
  • Two heads of broccoli, chopped into bite size pieces (four servings frozen broccoli florets) 
  • Sesame seeds 

Your Steps 

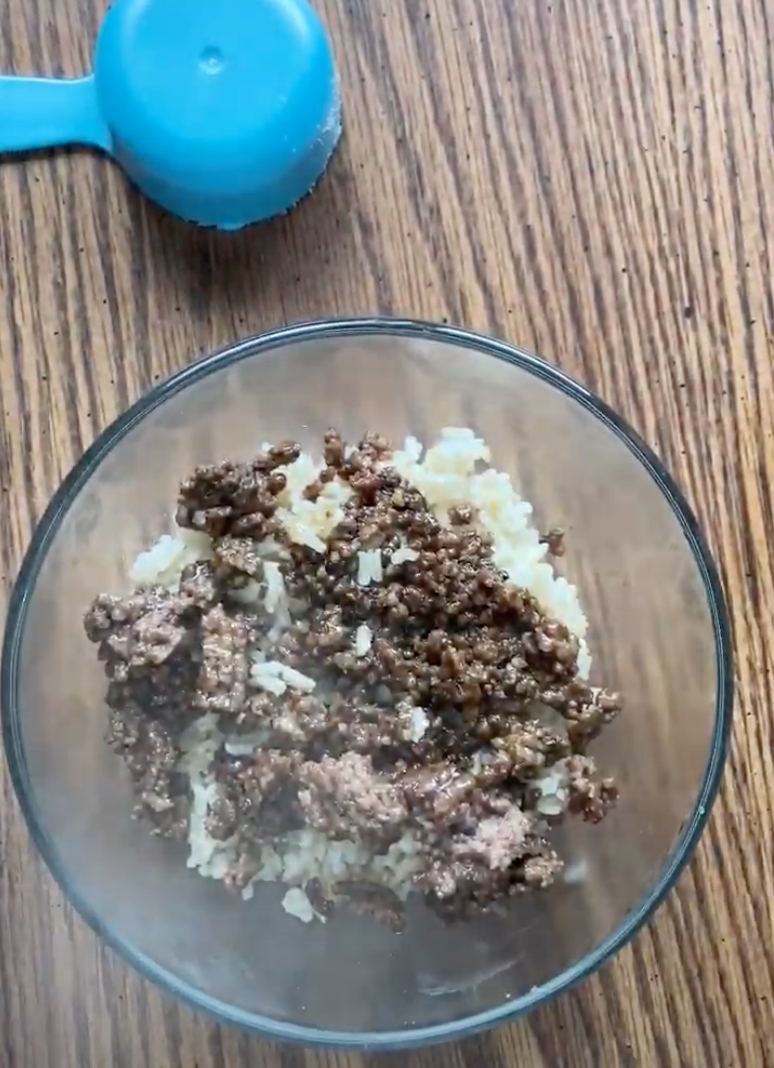
Over medium heat, brown protein, adding oil as needed. Venison benefits from a ½ tablespoon of olive oil in the pan to help keep it from sticking. Meanwhile, steam broccoli and cook instant brown rice if you haven’t already. 

I highly recommend these Ziploc steam bags for all things vegetables. I think we cook our vegetables in these bags 2-3 times a week for simplicities sake. They are amazing and come with timings for all types of food, fresh and frozen! I dig any kind of instant brown rice and have also fallen in love with frozen, par-cooked rice for those busy nights! 

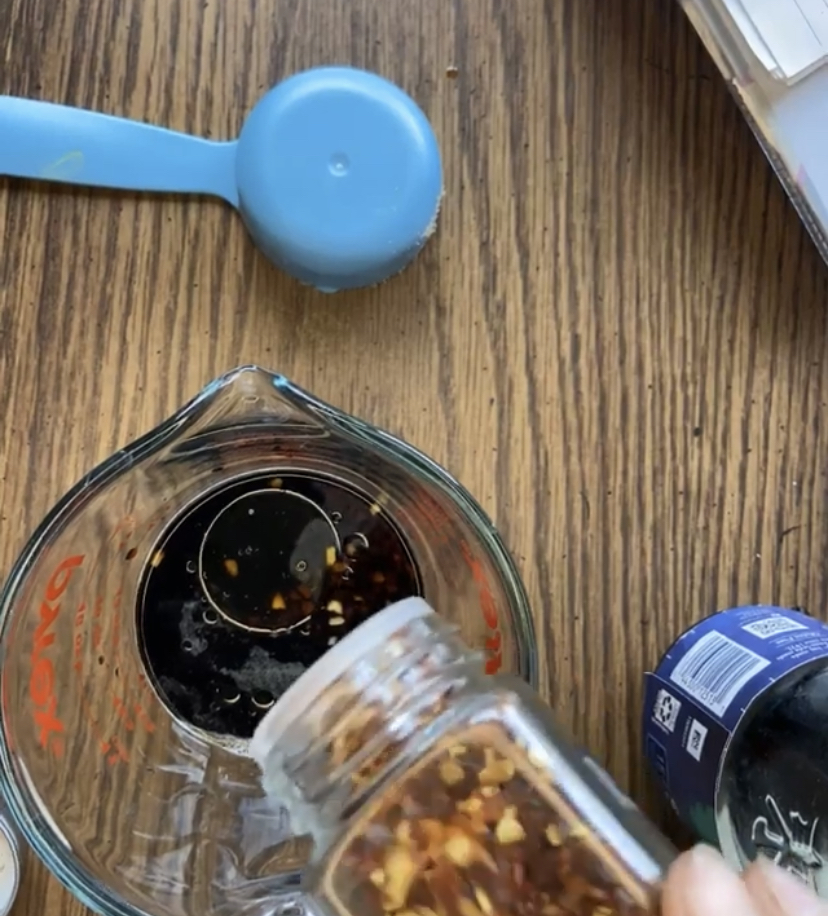
While your meat is browning and rice and broccoli are cooking, mix your sauce. I like to add the liquids in a 1 cup liquid measuring cup and then add the rest of the spices. Don’t skip the sesame oil! It makes the dish! 

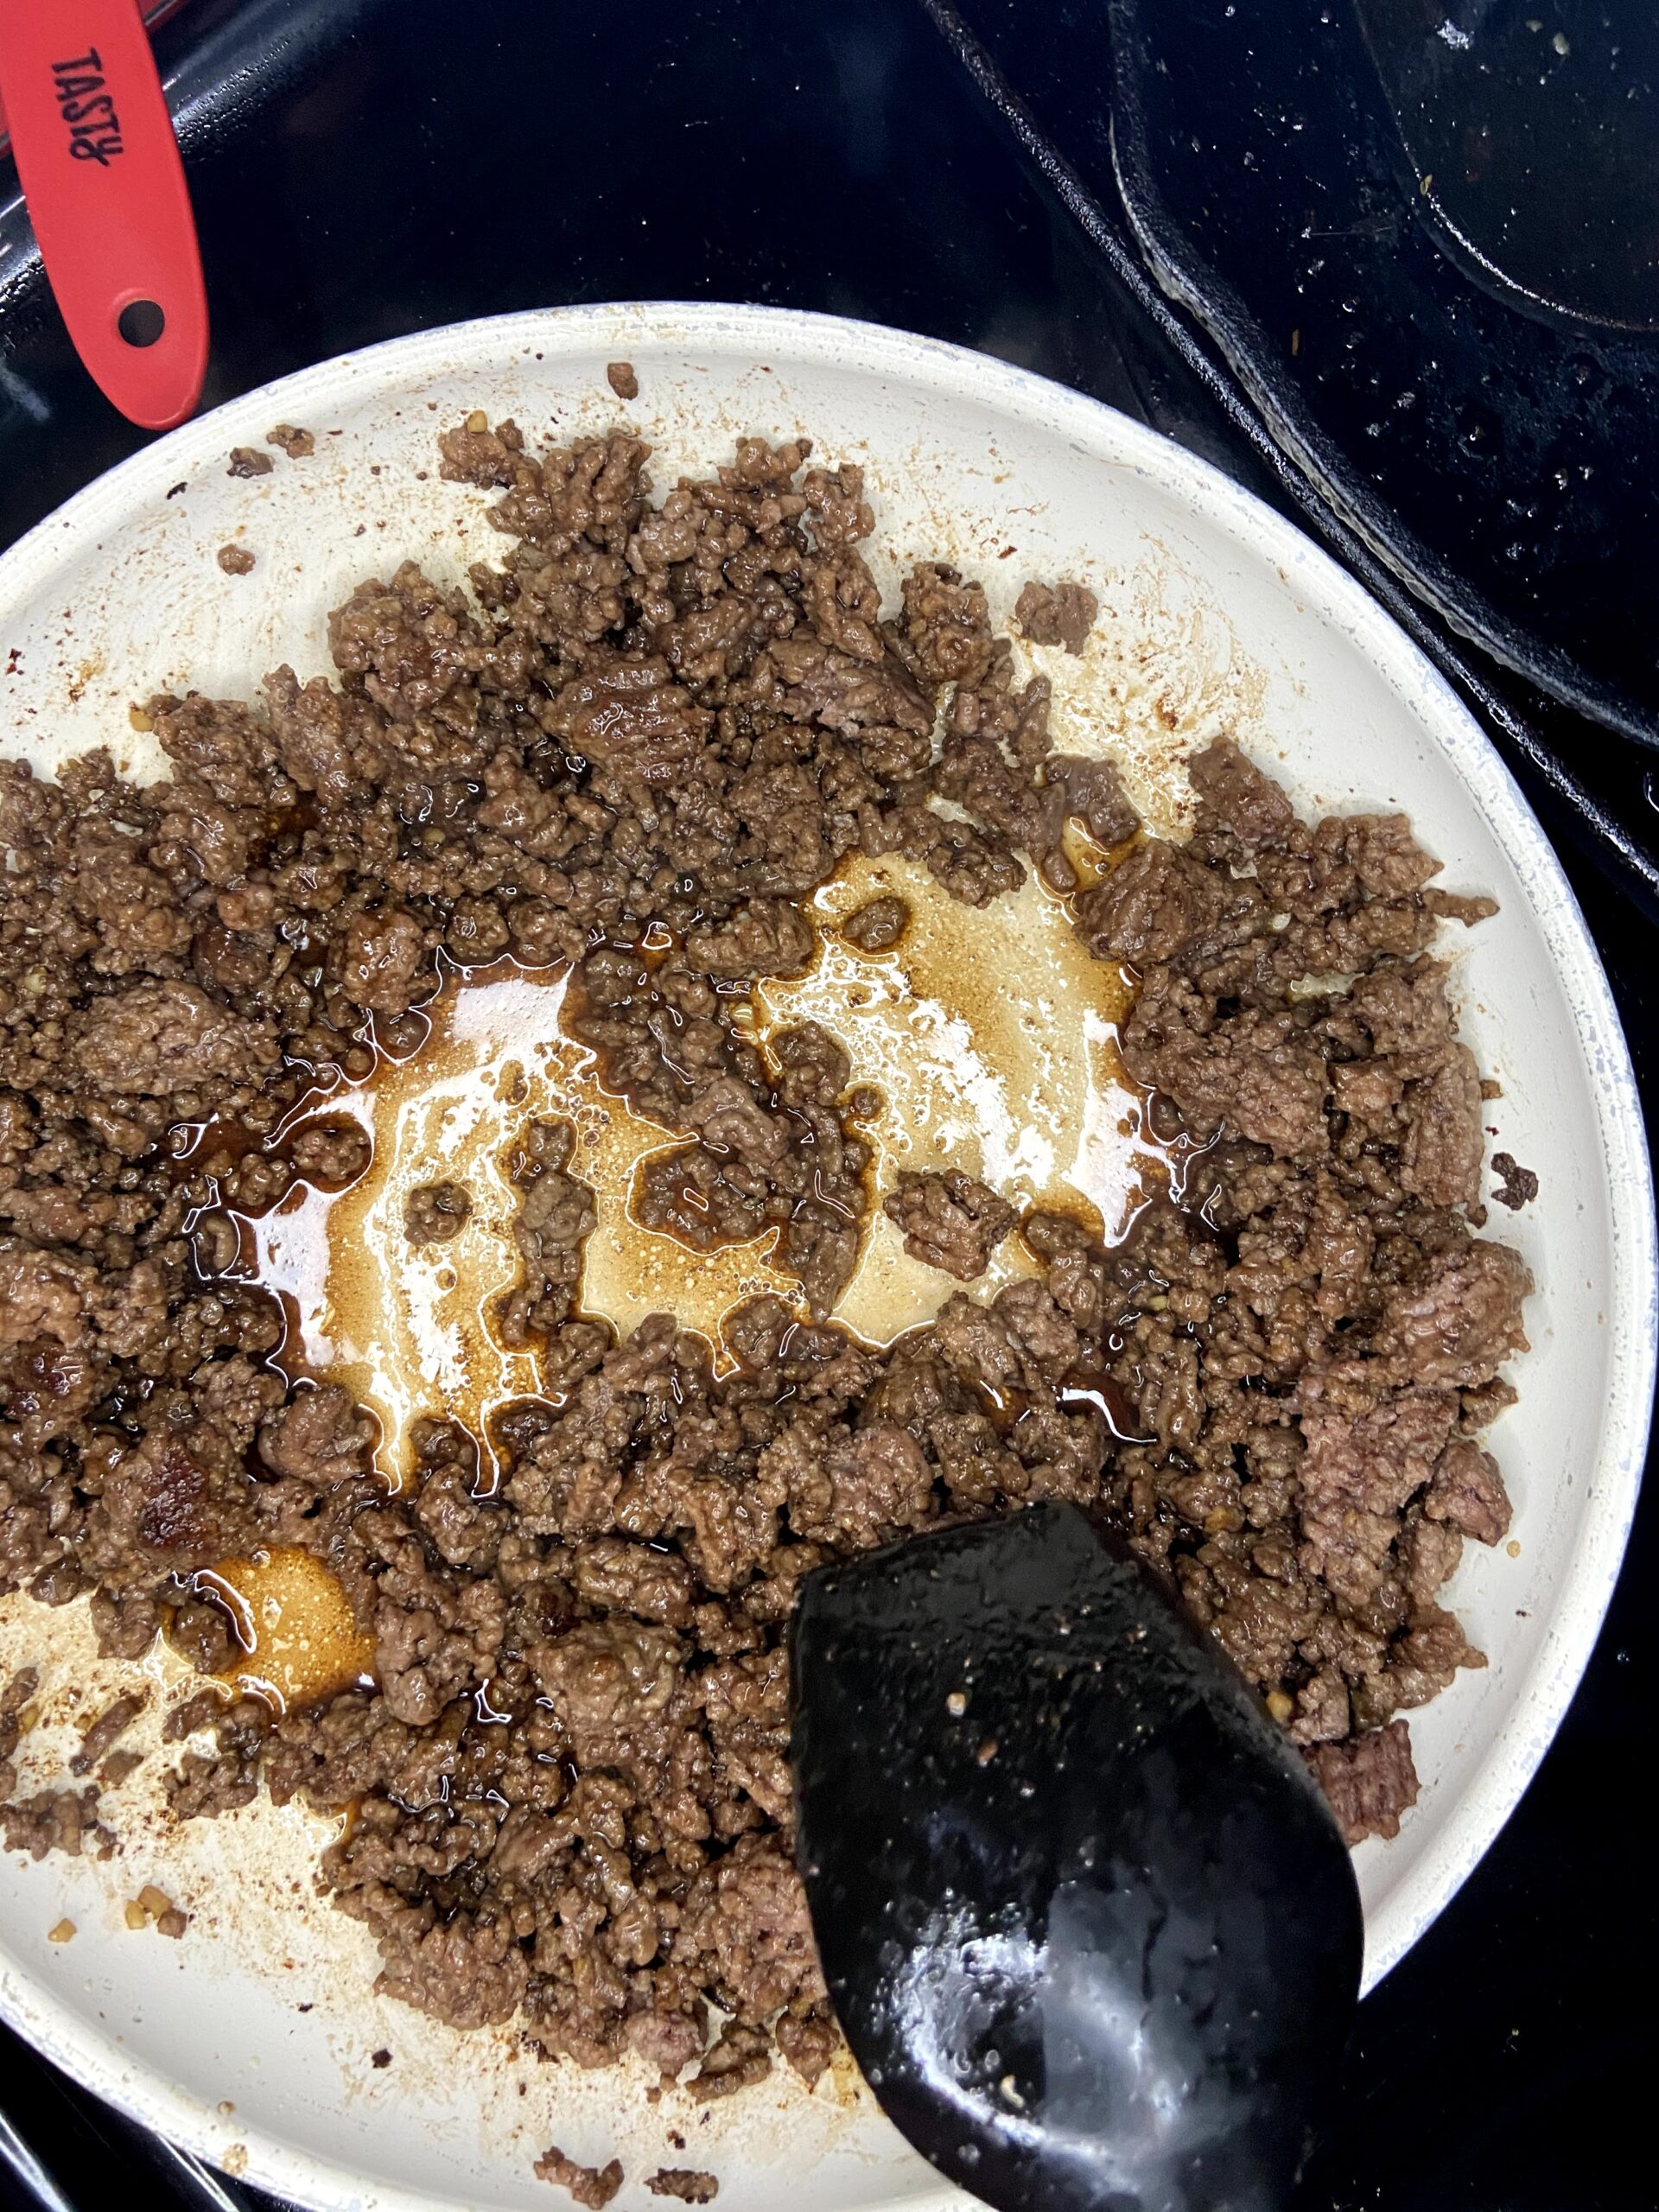
Once the meat is cooked, drain if necessary. Pour sauce over the browned protein, cooking over medium for 4-5 minutes, until slightly thickened. 

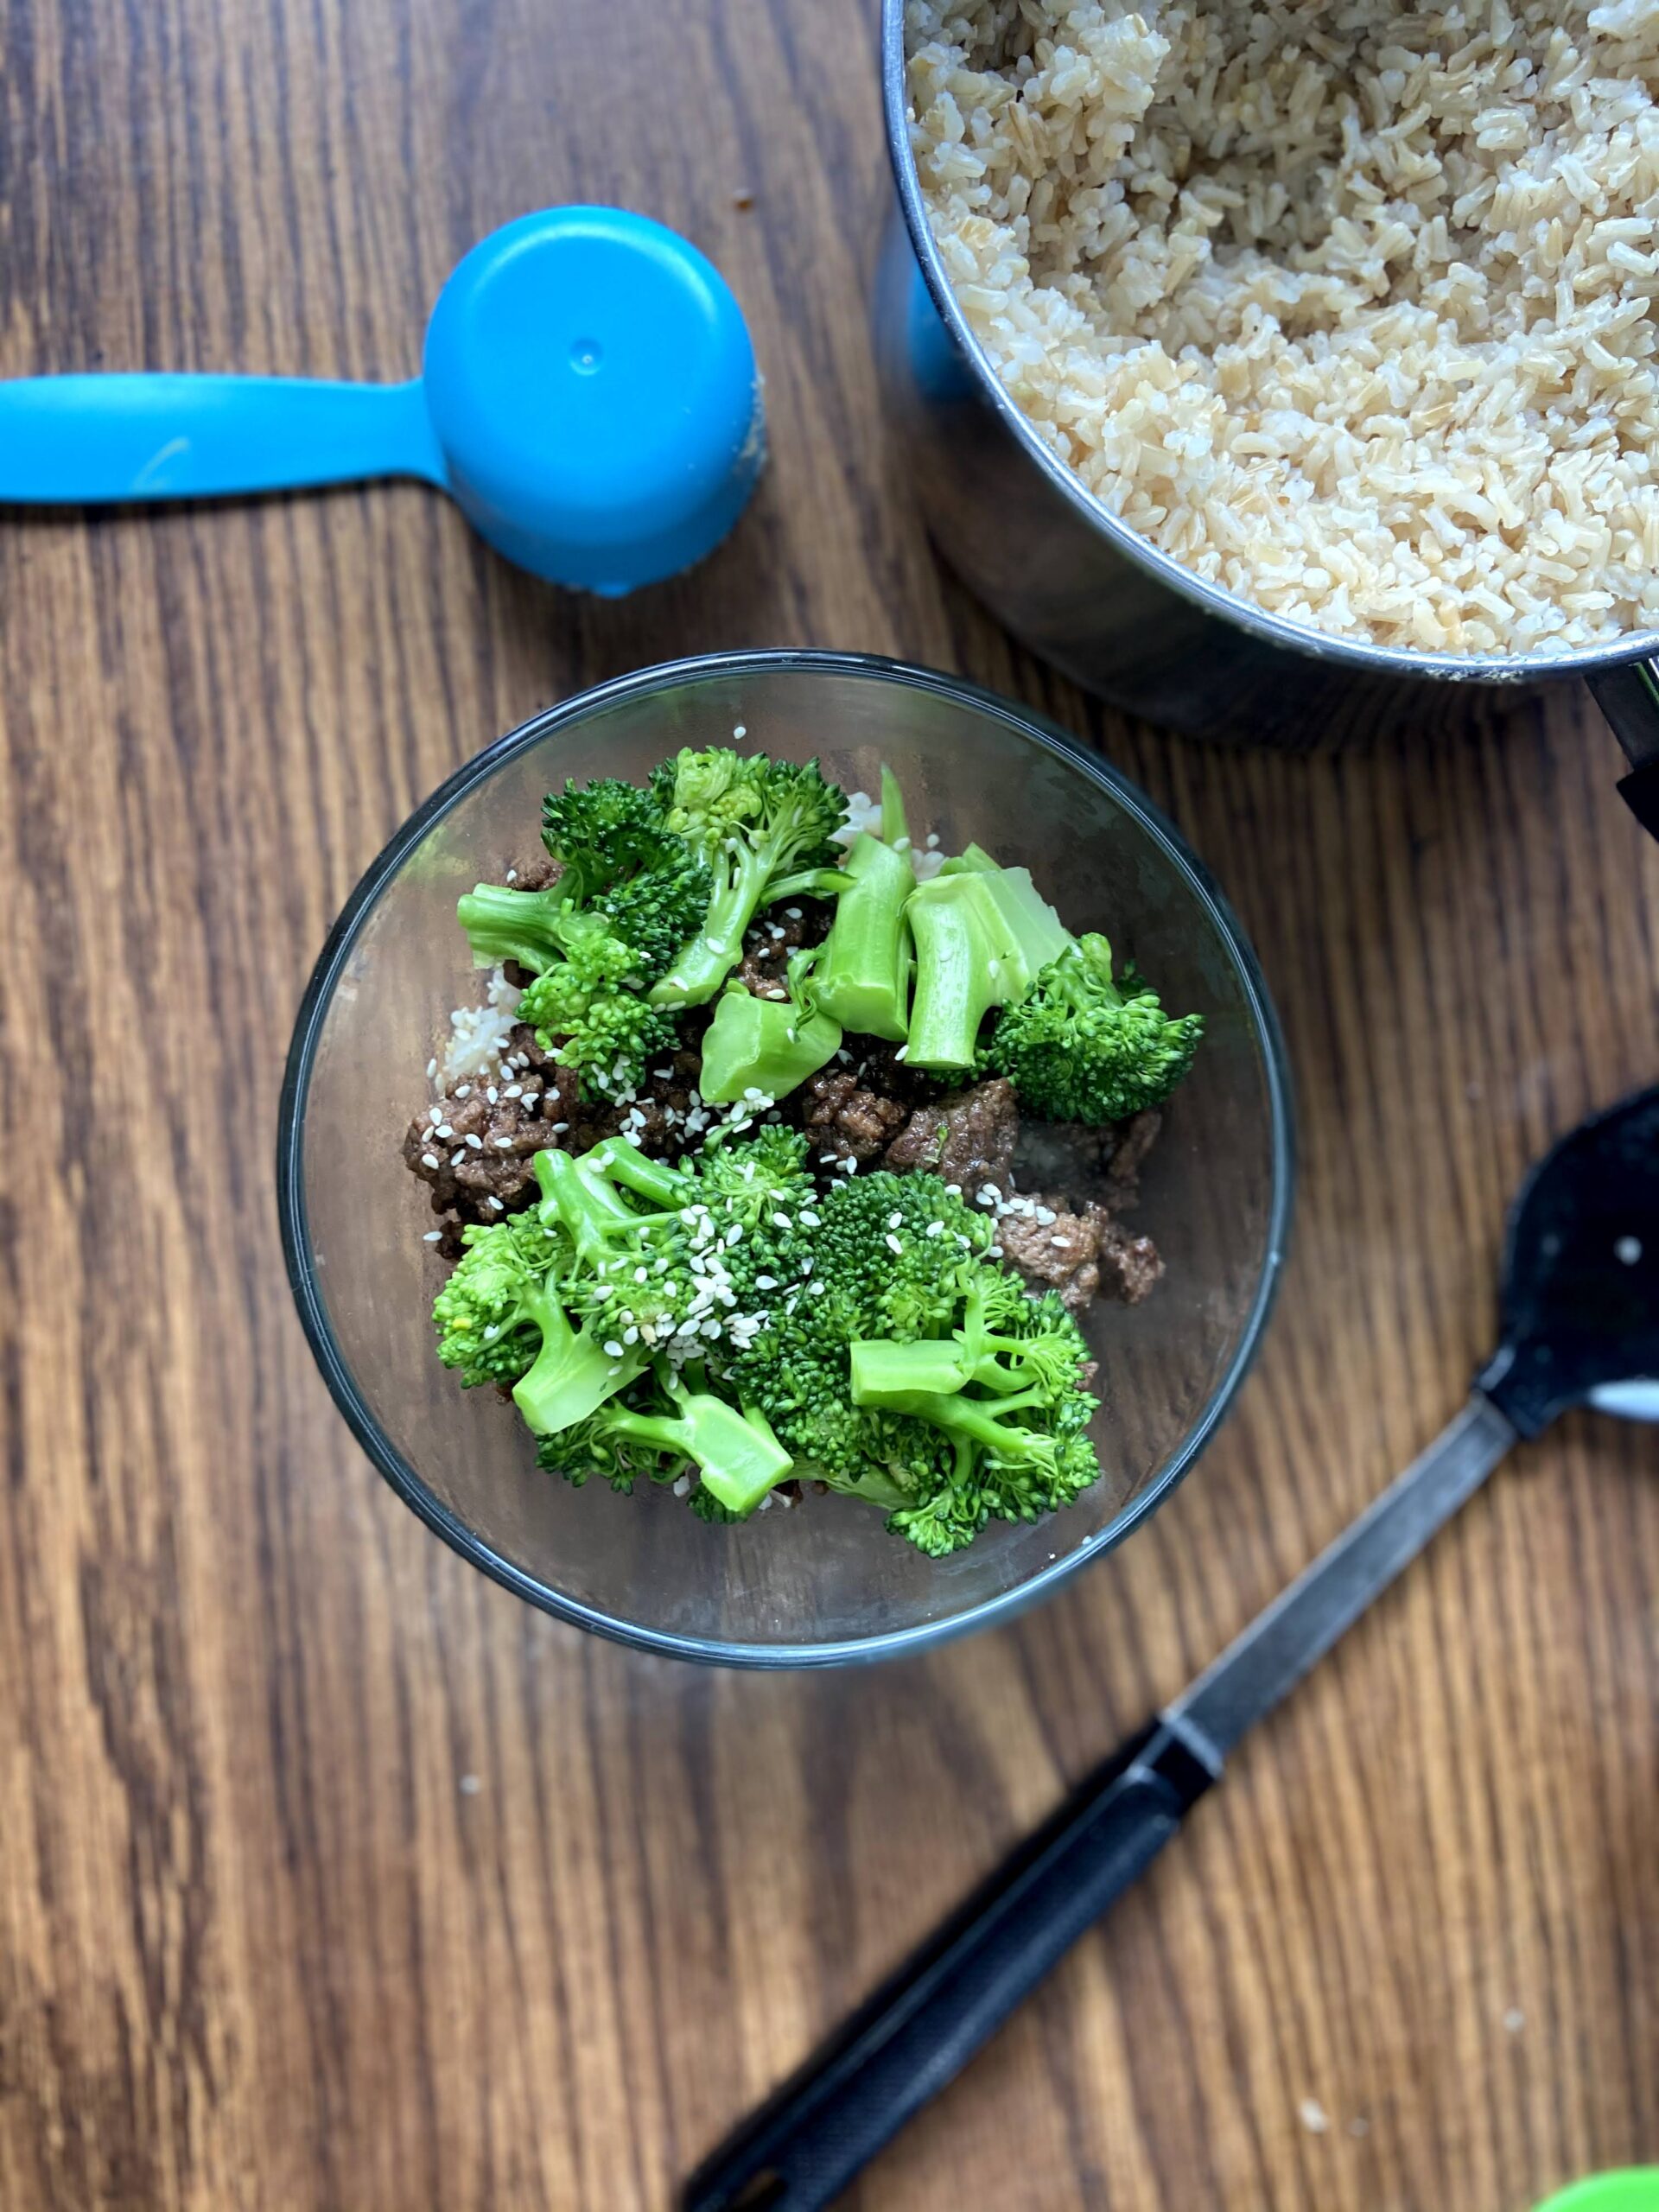
Serve protein over rice, topped with steamed broccoli and sprinkle with sesame seeds. Good luck having any left overs! 

Korean BBQ Inspired Beef and Broccoli

Dinner in under 25 minutes is possible with this complete meal of Korean Inspired BBQ Beef served with broccoli over rice.
Prep Time 10 minutes
Cook Time 10 minutes
Course Main Course
Cuisine American
Servings 4 people

Ingredients
  

  • 1 pound ground protein beef, venison, turkey
  • ¼ cup low sodium soy sauce
  • cup water
  • ¼ cup brown sugar
  • ¼ teaspoon ginger
  • 2 teaspoons sesame oil
  • Red pepper flakes to taste
  • 3 cloves garlic
  • 4-6 servings brown rice cooked
  • Two heads of broccoli chopped into bite size pieces (four servings frozen broccoli florets)
  • Sesame seeds

Instructions
 

  • Over medium heat, brown protein, adding oil as needed. Venison benefits from a ½ tablespoon of olive oil in the pan to help keep it from sticking.
  • Meanwhile, steam broccoli and cook instant brown rice if you haven’t already.
  • While the meat is browning and rice and broccoli are cooking, mix your sauce.
  • Once the meat is cooked, drain if necessary. Pour sauce over the browned protein, cooking over medium for 4-5 minutes, until slightly thickened.
  • Serve protein over rice, topped with steamed broccoli and sprinkle with sesame seeds. Good luck having any left overs!
Notes

I like to add the liquids in a 1 cup liquid measuring cup and then add the rest of the spices. Don’t skip the sesame oil! It makes the dish! 
Keyword broccoli, Brown Rice, ground beef, quick meals
Tried this recipe?Let us know how it was!

Looking for other delicious dinner inspirations?
You can also head to my cooking page or perhaps the baking page for other meal and dessert ideas!

Potato Soup with Rosemary and Thyme

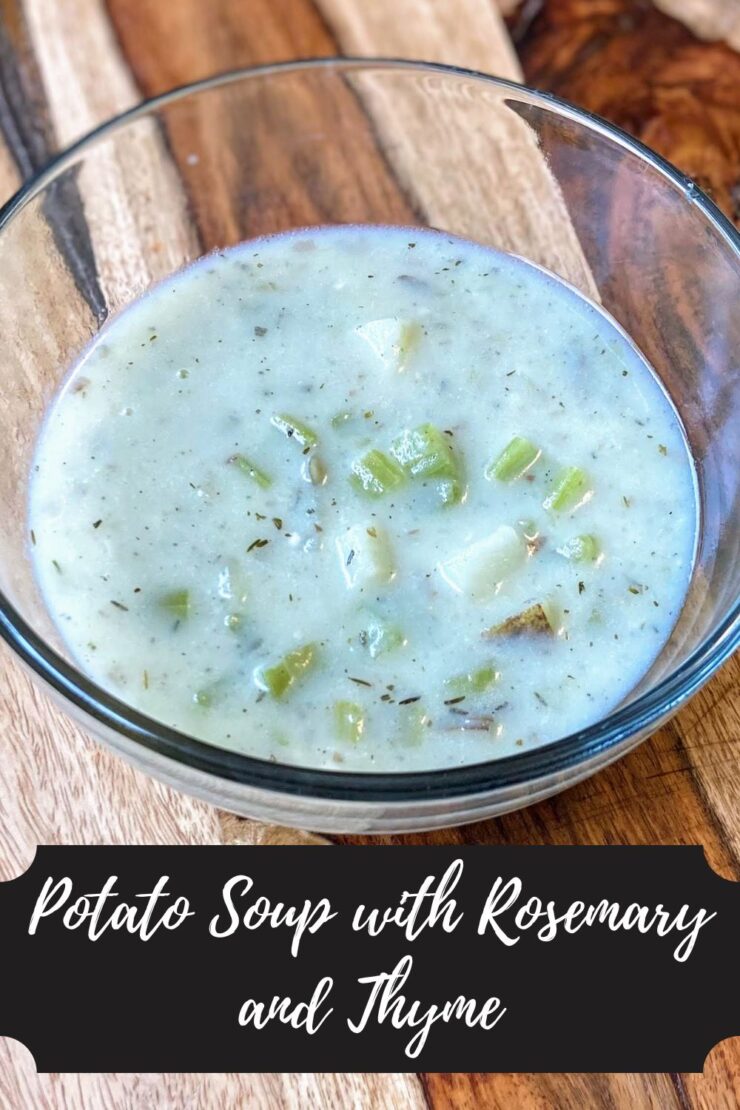
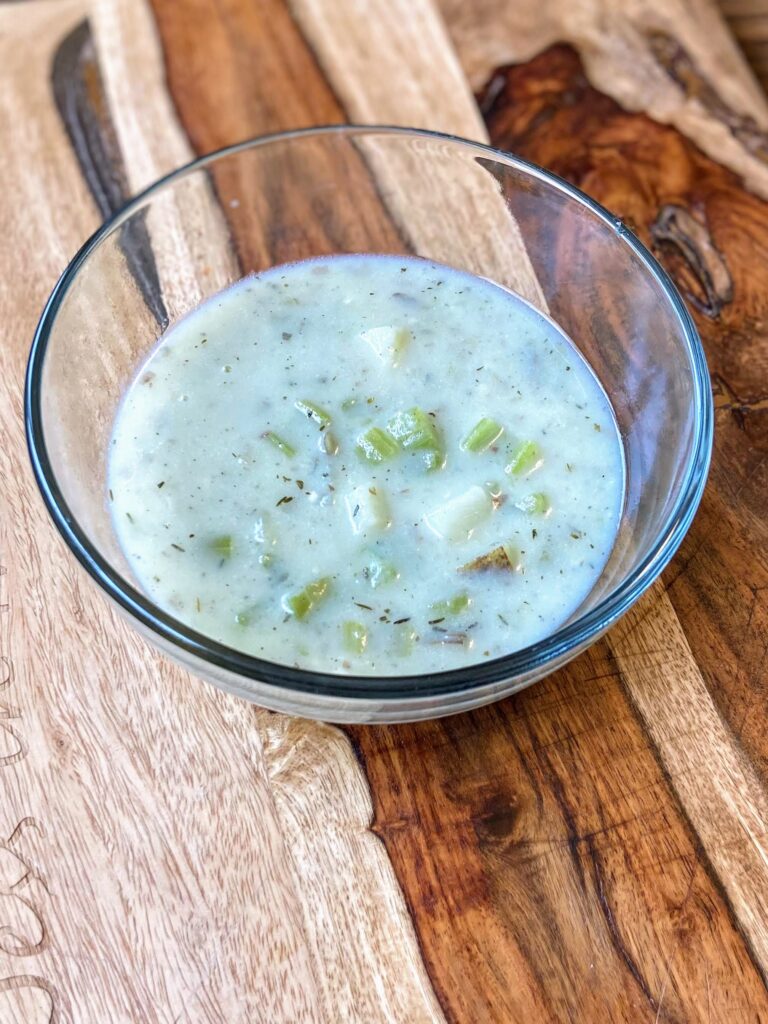
Recently my little one was home, sick. Okay, she isn’t really little. She’s almost 8, but the Mr. and I will likely always call her little one. She was home, sick, and didn’t have much of an appetite at all. Dinner rolled around and our plan had been to pick up sub sandwiches for the busy night ahead. However, her request was, “Can you make me some potato soup mama?” Who says no to that? So I set out to create a new little recipe for her and also for all of you. A simple and quick recipe (she hadn’t eaten all day!) with flavor. Out came some delicious and simple potato soup with rosemary and thyme. 

While she napped, I had worked on updating my blog and found that I had 18 (eighteen!) soups already. So when she requested potato soup, I wanted to mix it up. Most of my potato soups have cheese in them. Being sick, I figured cheese wasn’t the best choice. I also wanted to add some herbs I don’t normally add. Thyme seemed a good fit, and rosemary always pairs well with potatoes. 

So here is my mini me’s potato soup. It sat well with her tummy and she ate it all. I hope you enjoy the comfort in it as well!

Your Ingredients for Potato Soup with Rosemary and Thyme

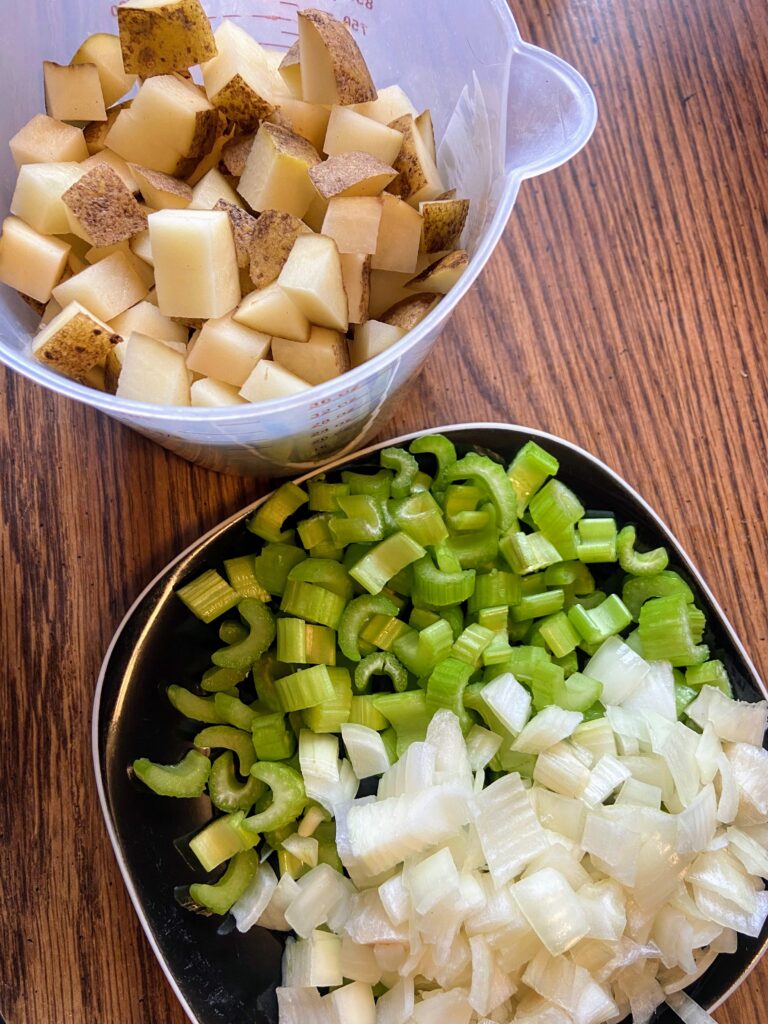
  • 3 cups diced potatoes (peeled or not, your choice)
  • 1 ½ cups diced celery
  • 1 cup diced onions 
  • ½ tablespoon minced garlic 
  • 1 ½ tablespoon olive oil 
  • 2 ½ cups chicken stock 
  • 2 cups milk 
  • ½ teaspoon pepper 
  • ½ teaspoon thyme
  • ¼-½ teaspoon rosemary
  • salt, to taste

Your Steps to Potato Soup with Rosemary and Thyme

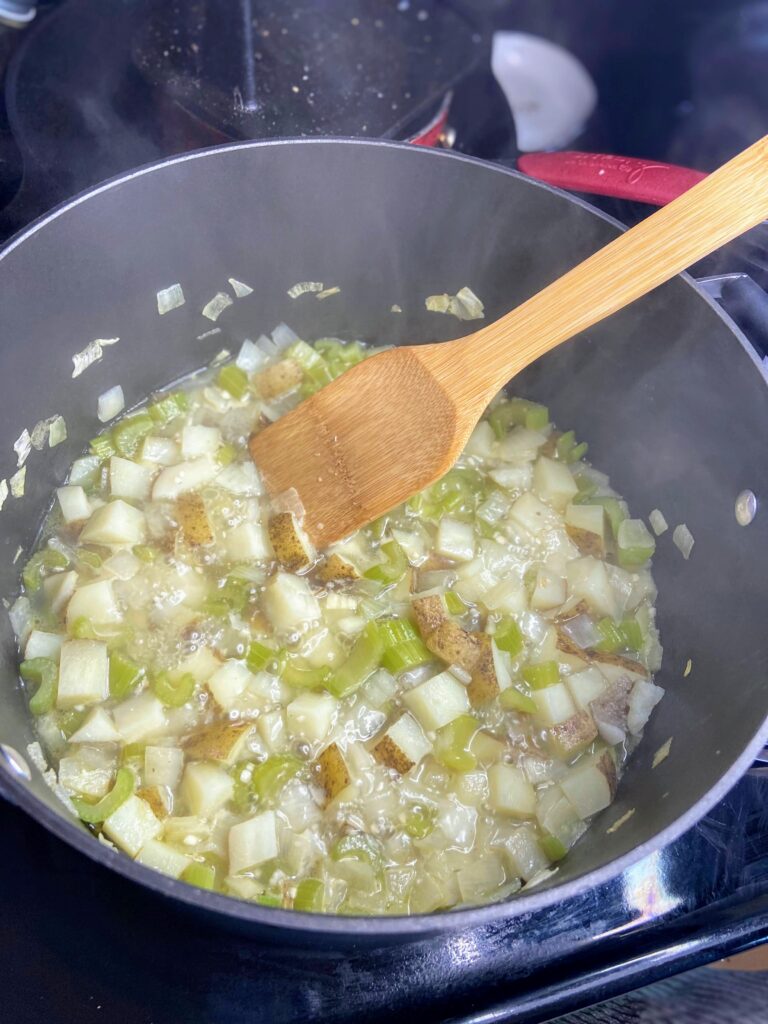
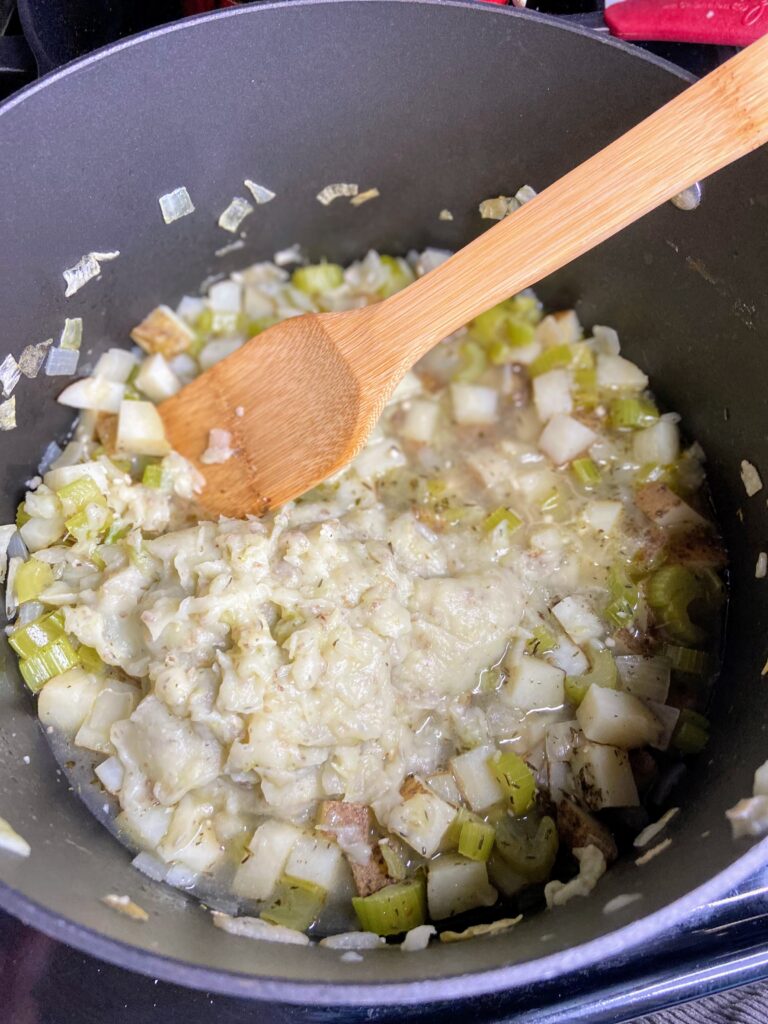
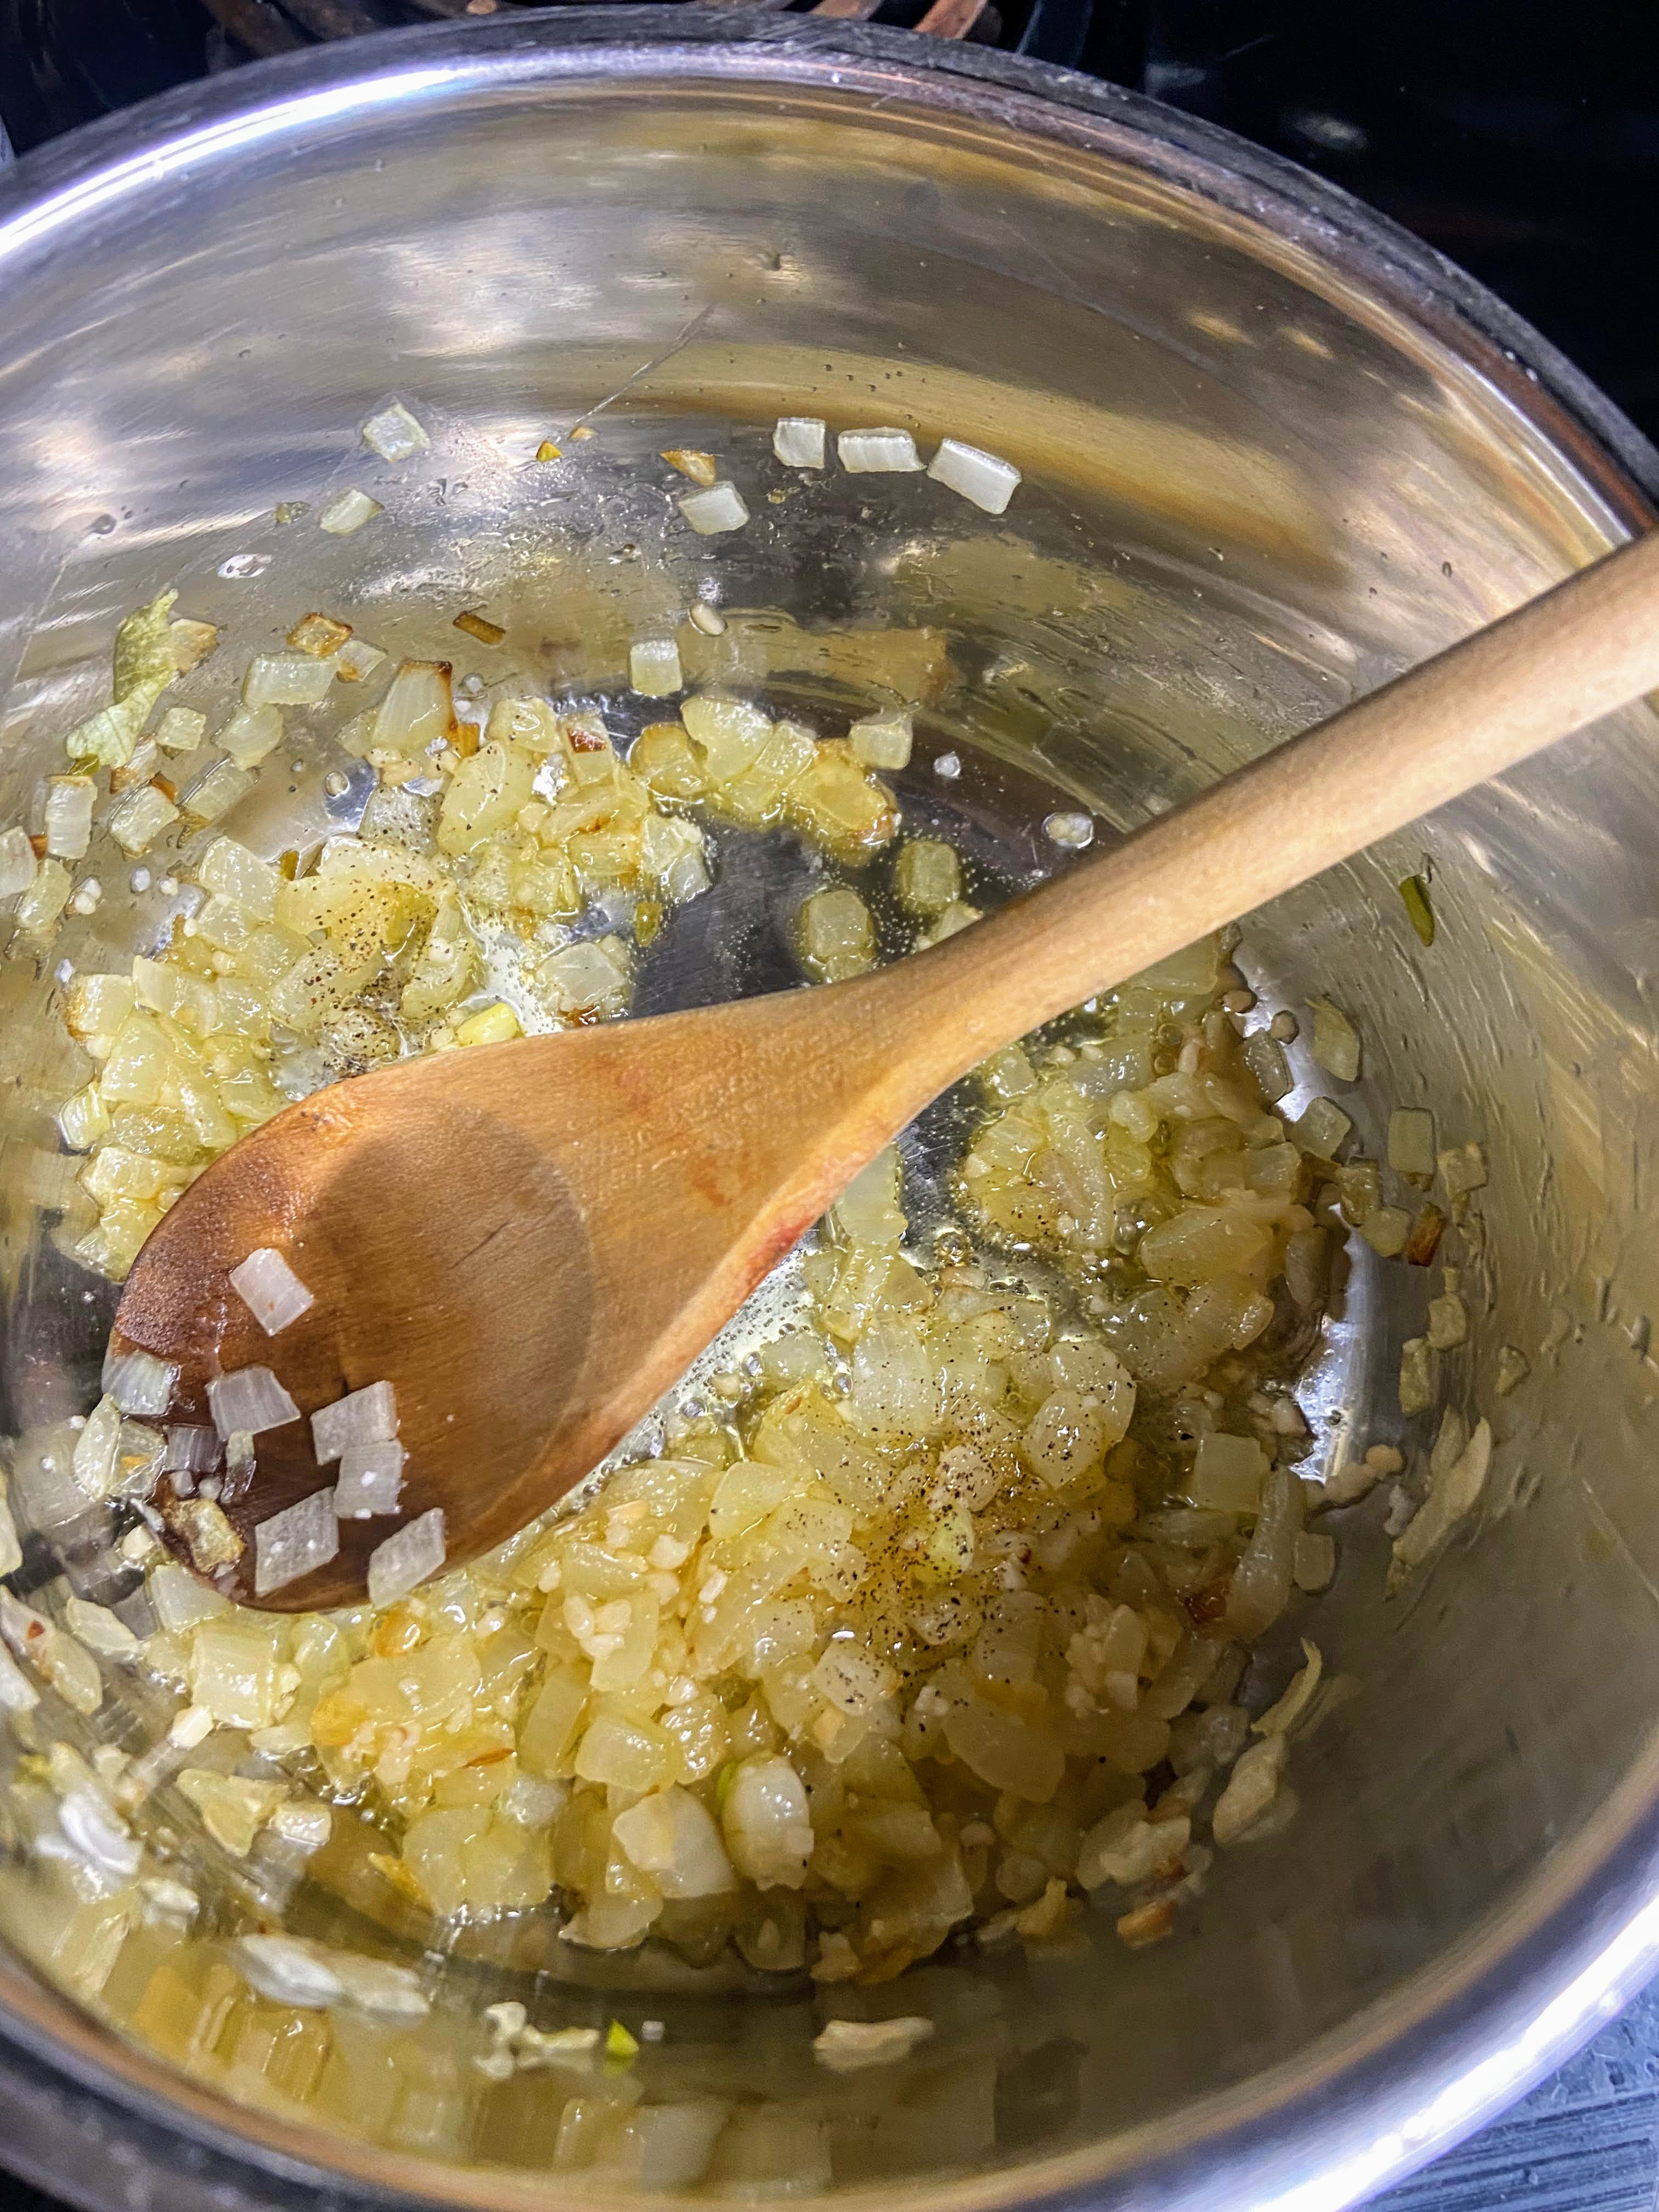
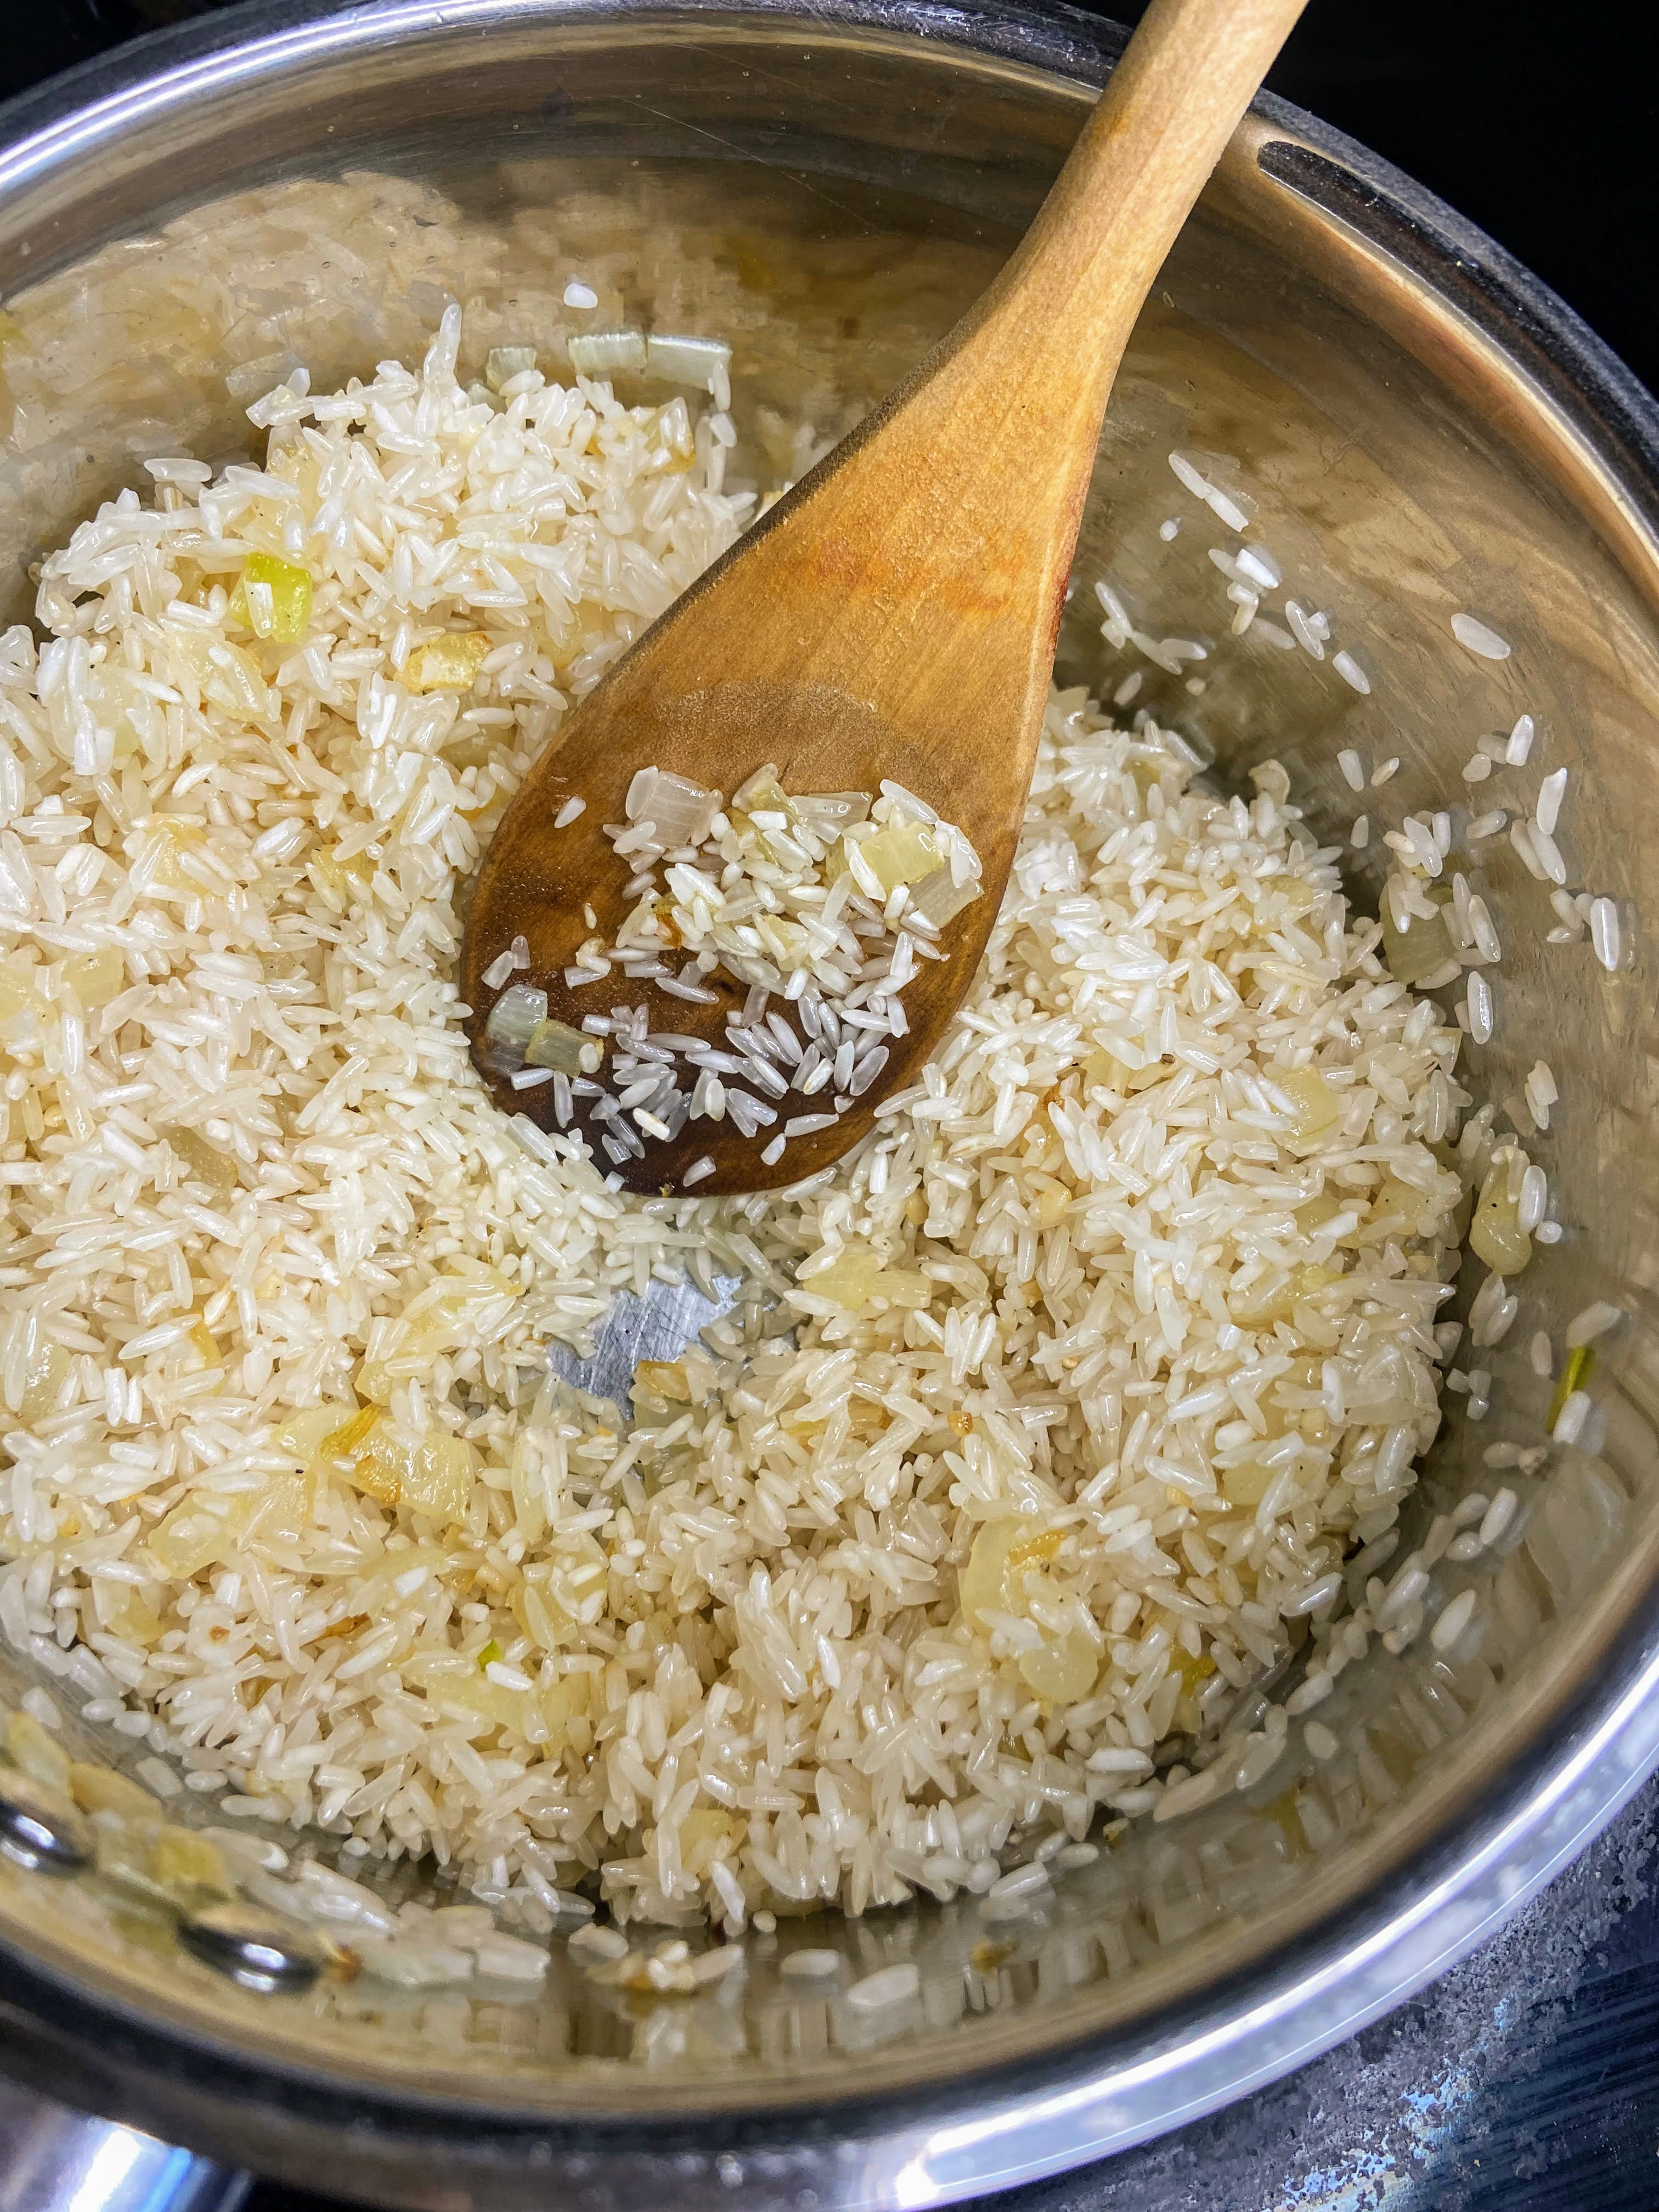
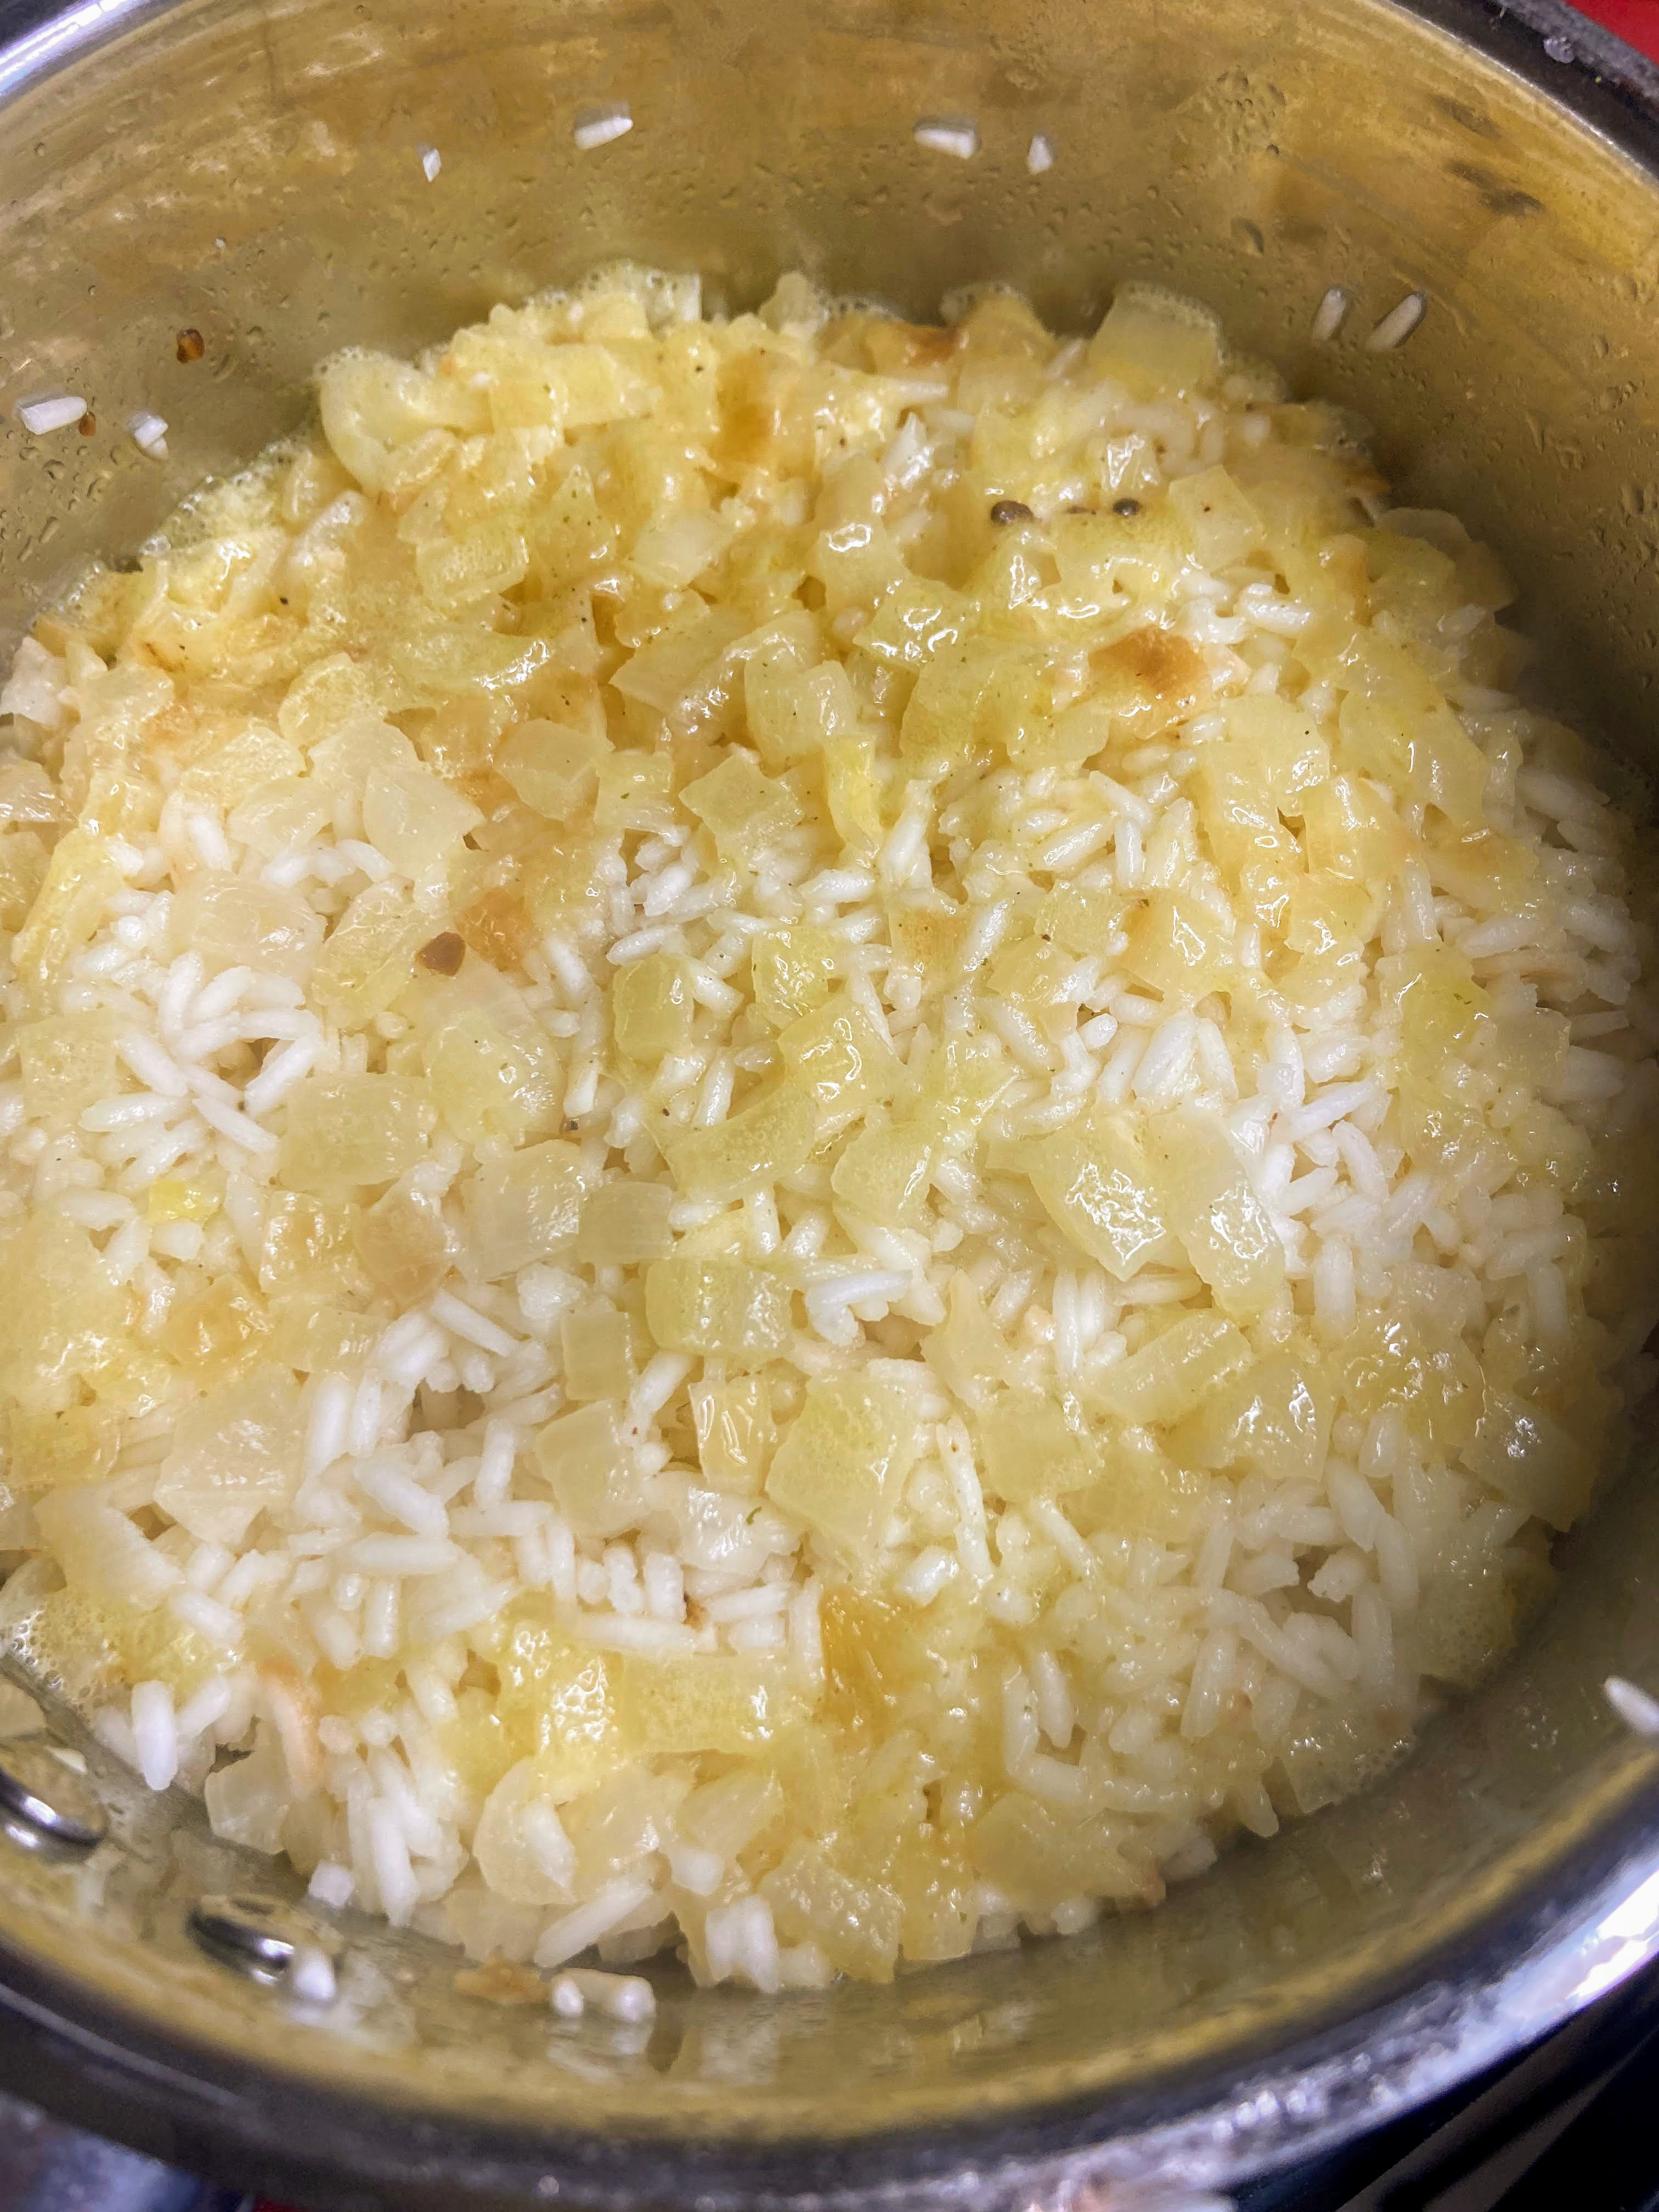
In a large soup kettle, heat olive oil. Once hot, add onions and celery. Saute over medium heat until soft, about 10 minutes. Once soft, add potatoes, garlic, and chicken stock. Raise to medium-high temperature and bring to a boil. Cook until the potatoes are soft, 10-15 minutes. 

Once soft, remove 2-3 cups of the mixture and blend with an immersion blender until smooth. The amount is dependent on how creamy or brothy you want your soup. Stir smooth vegetables back into the soup with milk, pepper, thyme, and rosemary. Allow to simmer over low heat for an additional 5-10 minutes. 

My tool of the trade?

I adore my Kitchen Aid immersion blender. I use it for ALLLL the cooking and creating. It’s worth being the extra tool in your kitchen.

Potato Soup with Rosemary and Thyme

This potato soup with rosemary and thyme is the ticket if you need a quick and simple meal that's full of flavor!
Prep Time 10 minutes
Cook Time 25 minutes
Course Side Dish, Soup
Cuisine American
Servings 4 people

Ingredients
  

  • 3 cups diced potatoes peeled or not, your choice
  • 1 ½ cups diced celery
  • 1 cup diced onions
  • 1 ½ tablespoons olive oil
  • ½ tablespoon minced garlic
  • 2 ½ cups chicken stock
  • 2 cups milk
  • ½ teaspoon pepper
  • ½ teaspoon thyme
  • ¼-½ teaspoon rosemary

Instructions
 

  • In a large soup kettle, heat olive oil. Once hot, add onions and celery. Saute over medium heat until soft, about 10 minutes.
  • Once soft, add potatoes, garlic, and chicken stock. Raise to medium-high temperature and bring to a boil.
  • Cook until the potatoes are soft, 10-15 minutes.
  • Once soft, remove 2-3 cups of the mixture and blend with a stick blender until smooth.
  • The amount is dependent on how creamy or brothy you want your soup.
  • Stir smooth vegetables back into the soup with milk, pepper, thyme, and rosemary.
  • Allow to simmer over low heat for an additional 5-10 minutes.
Keyword Potato Soup, Potatoes, rosemary, soup, thyme
Tried this recipe?Let us know how it was!
Looking for other great recipes?

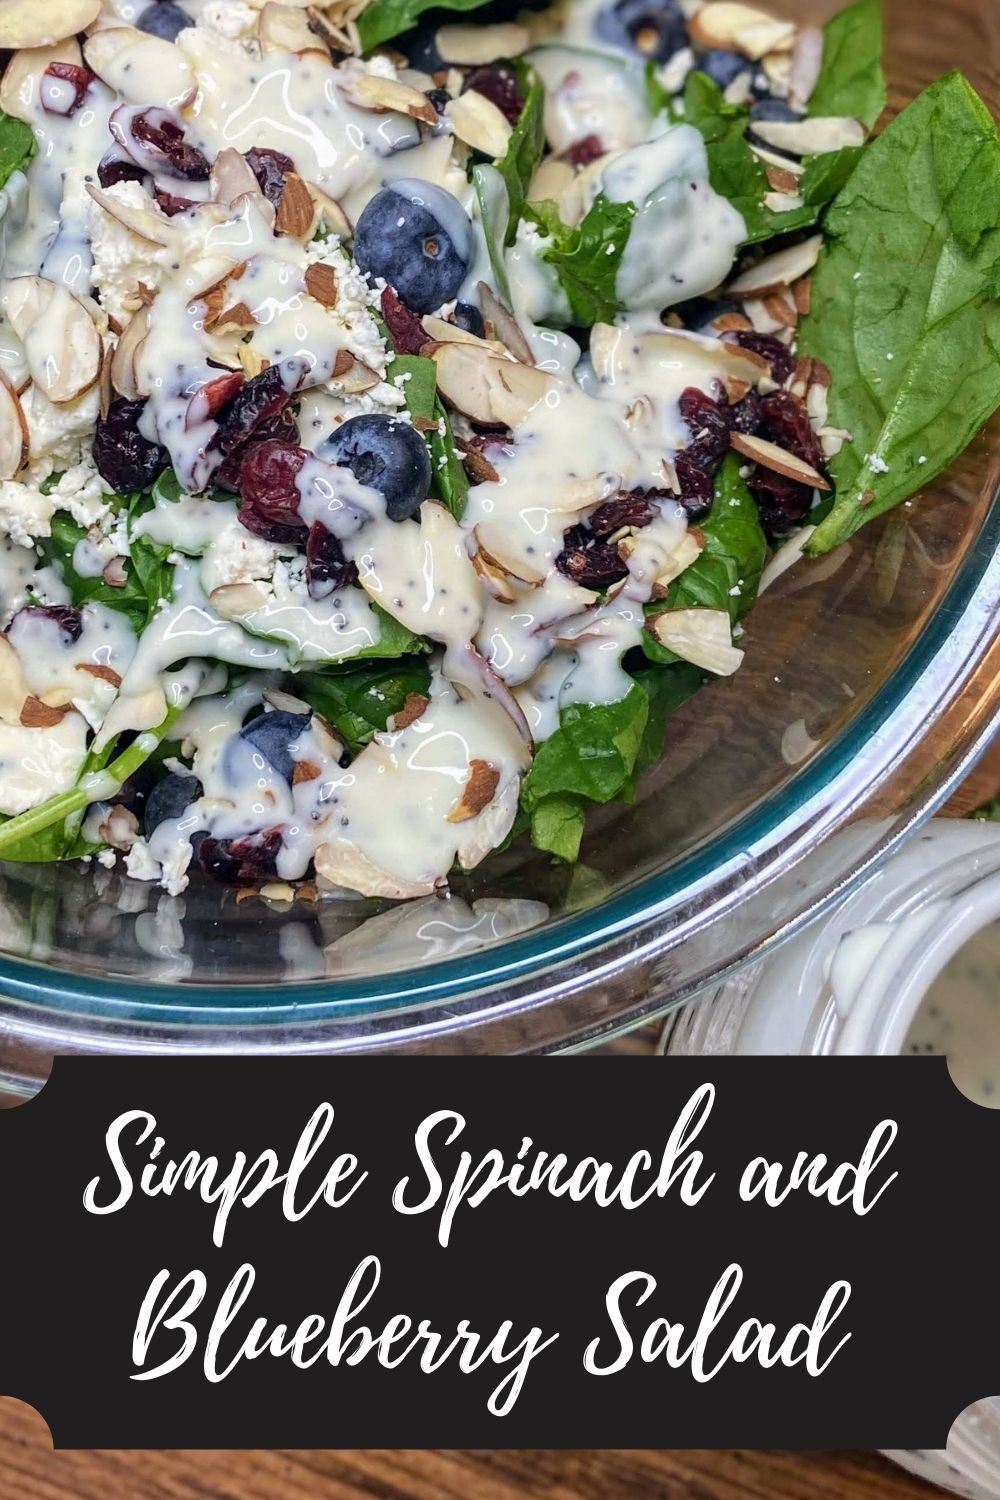
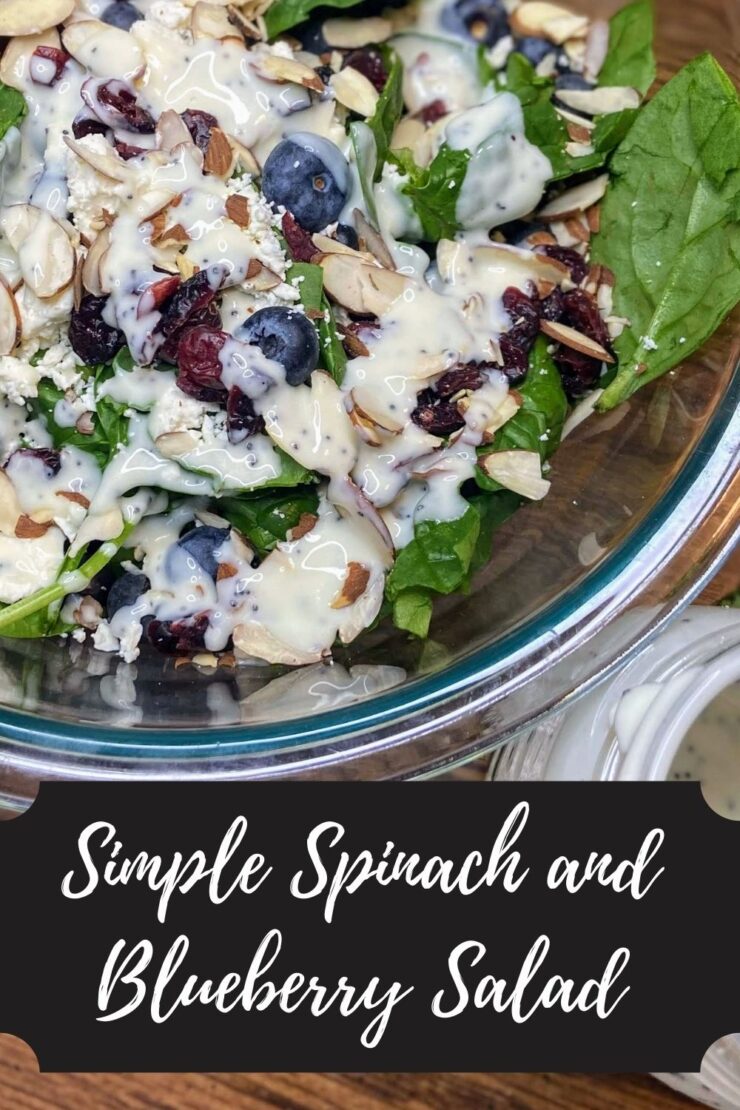
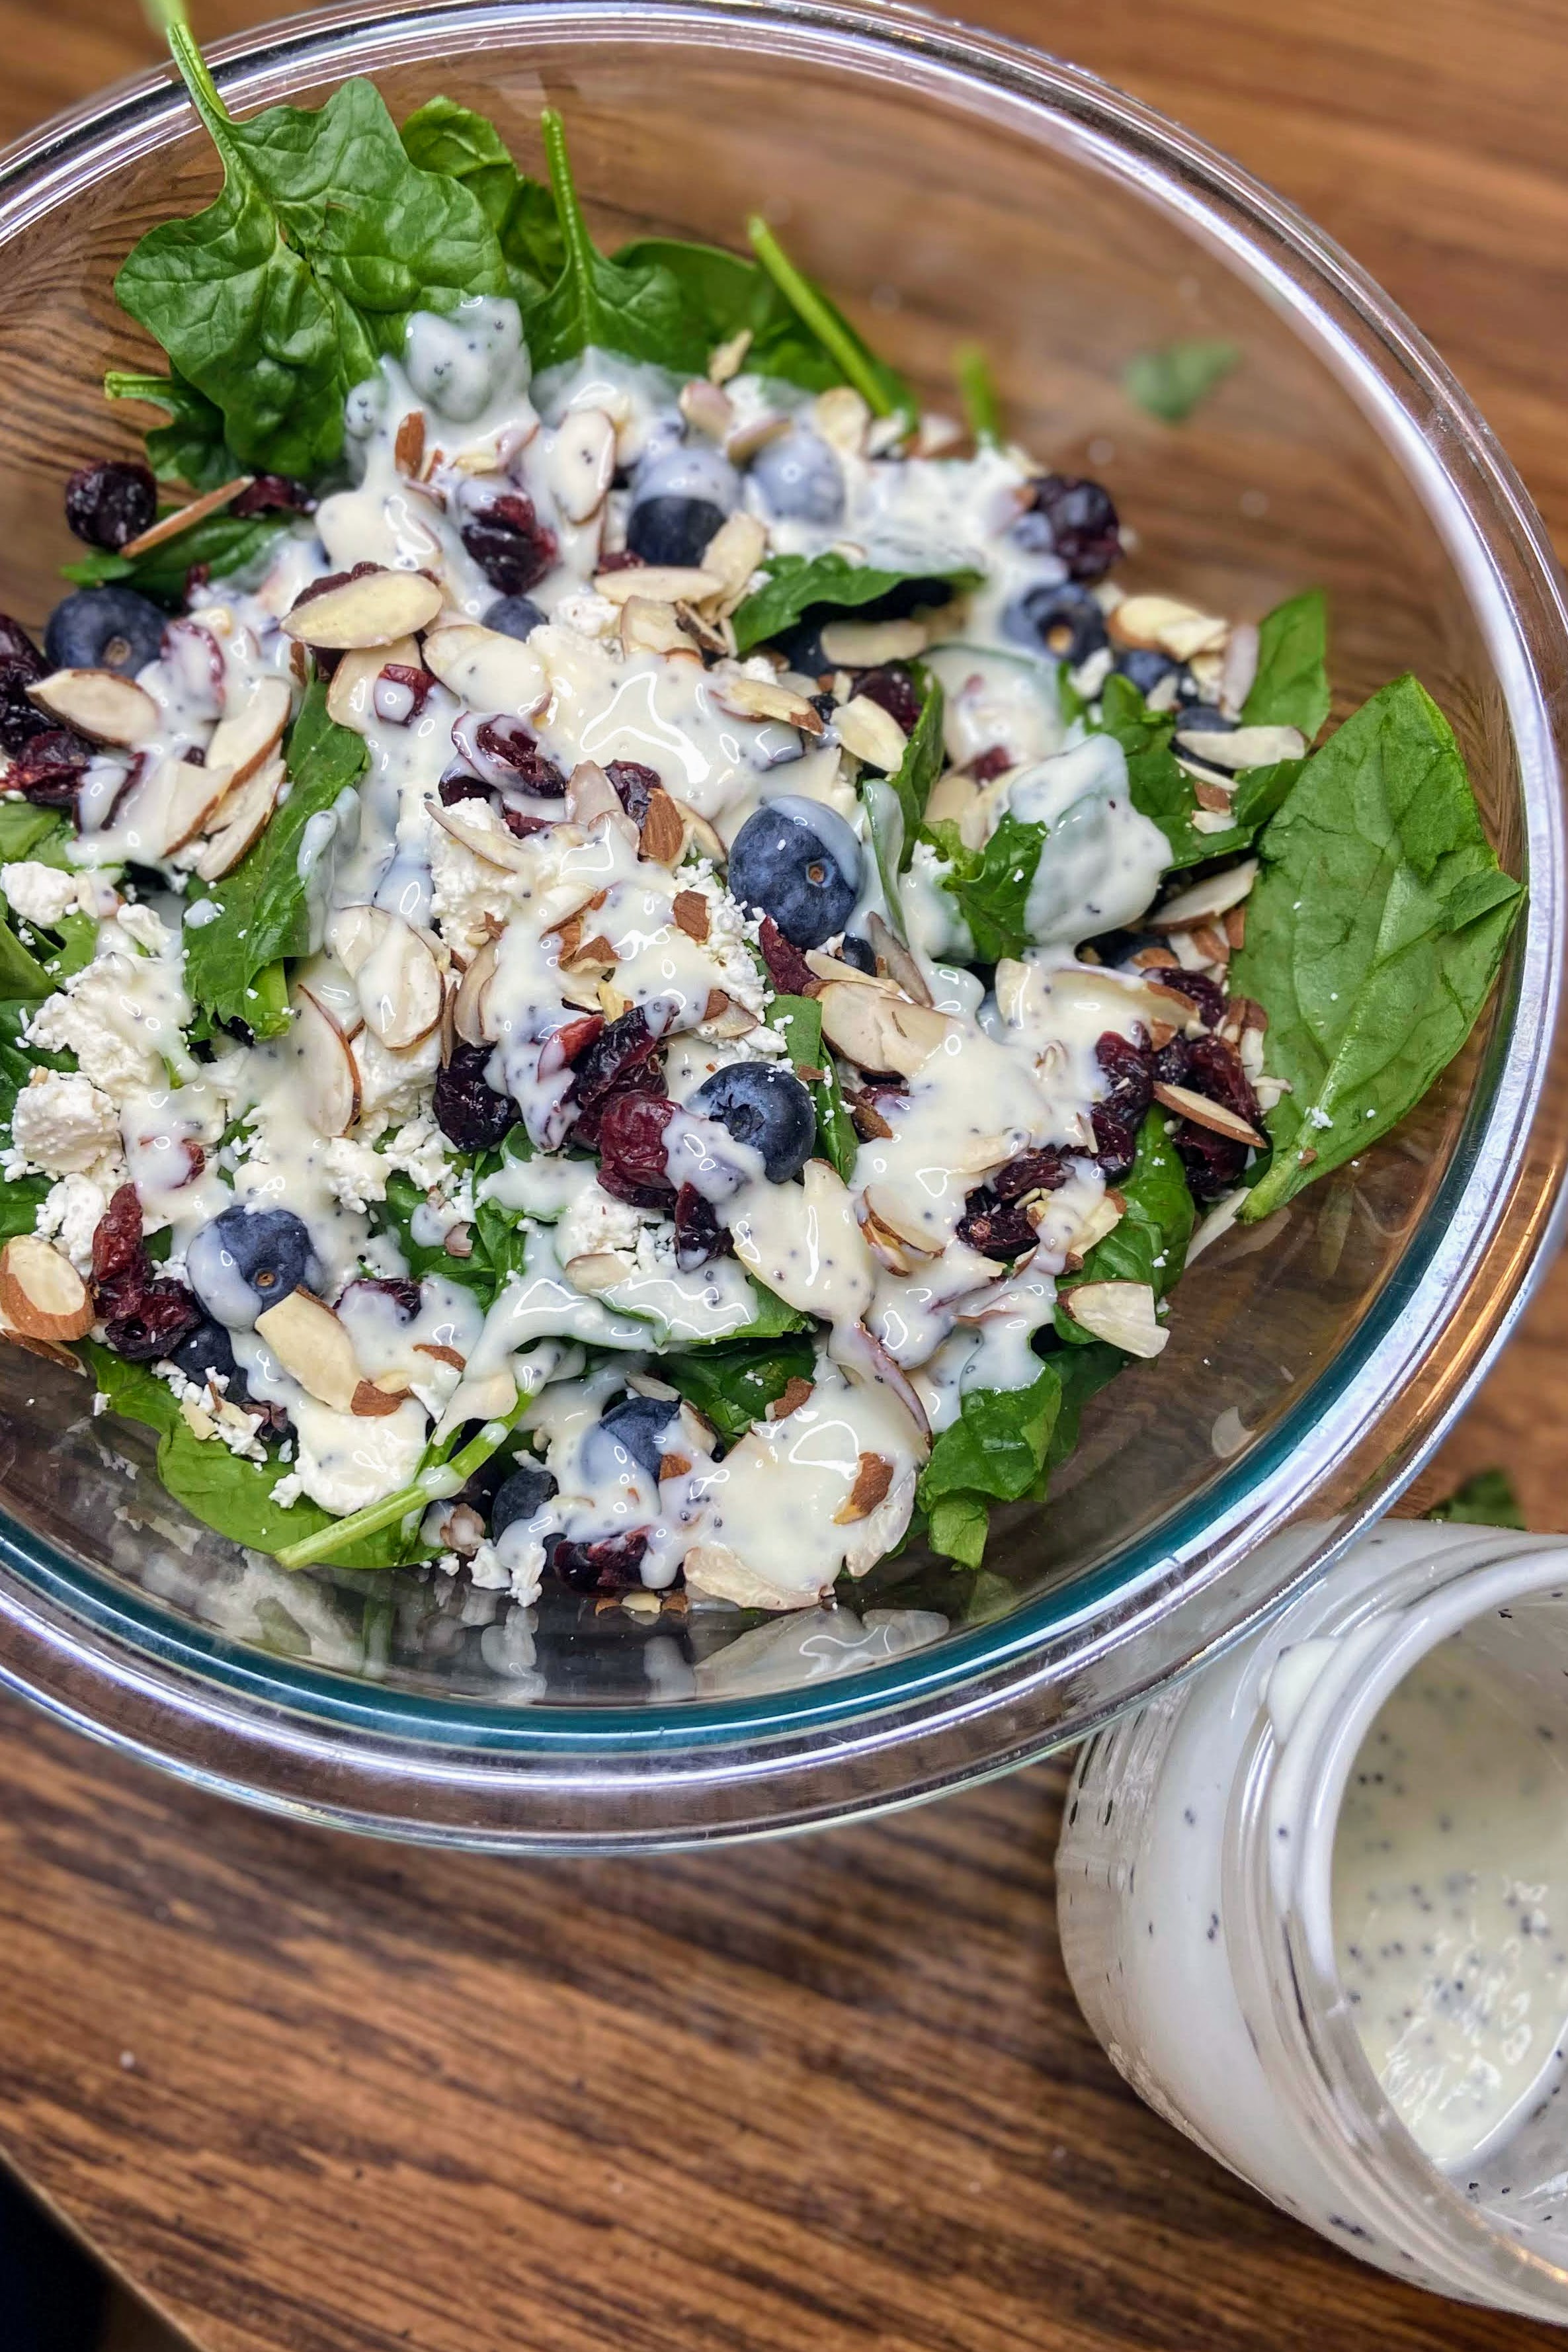
Simple Spinach and Blueberry Salad

Salads are life. I live for a good salad and have been known on more than one occasion to choose a restaurant based on how good of a side salad they have (better yet if they have a salad bar). I use to feel guilty spending the extra money to upgrade to a salad over fries, but now I realize I am worth it darn it! And if that’s what I want, I can spend the extra $3 to upgrade, right? Funny thing, I realized I don’t share too many salads here. But this Simple Spinach and Blueberry Salad is so full of color and flavor, it has to be shared. 

I am known for “eating the rainbow” and strive to get alllllll the colors in my meals. My colleagues may make fun of me from time to time for my lunches that represent every food group: grapes, carrots, string cheese, a protein, and a starch that has an additional veggie or two added in. This salad is no different. We have the deep green of the spinach, the blue from the berries, crimson in the cranberries, some whites and browns in the feta and almonds, and finally a drizzle of poppyseed dressing. It’s perfection. 

Ready to mix up this beautiful salad? Let’s go!

Your Ingredients 

  • 1 package pre-washed spinach
  • ½ pint bluebarries 
  • ½ cup dried cranberries 
  • ¼ cup sliced almonds 
  • ½ cup feta, broken apart as needed 
  • Poppyseed dressing, to taste (I have a clean eating version of poppyseed dressing that can be found here)

Your directions to Simple Spinach and Blueberry Salad

In a large bowl, layer spinach, blueberries, cranberries, almonds, and feta. Drizzle with poppyseed dressing, go light initially (You can always add more, but an overdressed salad? You can’t do anything about that!) Feel free to toss after drizzling dressing to distribute the dressing or leave it perfectly layered. 

Also, note, the measurements are approximations. The great thing about this (and most) salads is that it’s totally customizable to your own liking. You can add more blueberries. Leave off the feta. Do what calls to you, but use this as some inspiration for your next salad!

Simple Spinach and Blueberry Salad

This simple spinach and blueberry salad is full of color and flavor and mixes up in minutes flat!
Prep Time 5 minutes
Cook Time 0 minutes
Course Salad
Cuisine American
Servings 8

Ingredients
  

  • 1 package pre-washed spinach
  • ½ pint bluebarries
  • ½ cup dried cranberries
  • ¼ cup sliced almonds
  • ½ cup feta broken apart as needed
  • Poppyseed dressing to taste

Instructions
 

  • In a large bowl, layer spinach, blueberries, cranberries, almonds, and feta.
  • Drizzle with poppyseed dressing, go light initially.
  • Feel free to toss after drizzling dressing to distribute the dressing or leave it perfectly layered.

Notes

The measurements are approximations. The great thing about this (and most) salads is that it’s totally customizable to your own liking. You can add more blueberries. Leave off the feta. Do what calls to you, but use this as some inspriation for your next salad!
Keyword blueberries, feta salad, poppyseed dressing, Salad, side dishes, spinach salad
Tried this recipe?Let us know how it was!
Looking for some other recipes to pair this delightful salad with? Check out the links below!
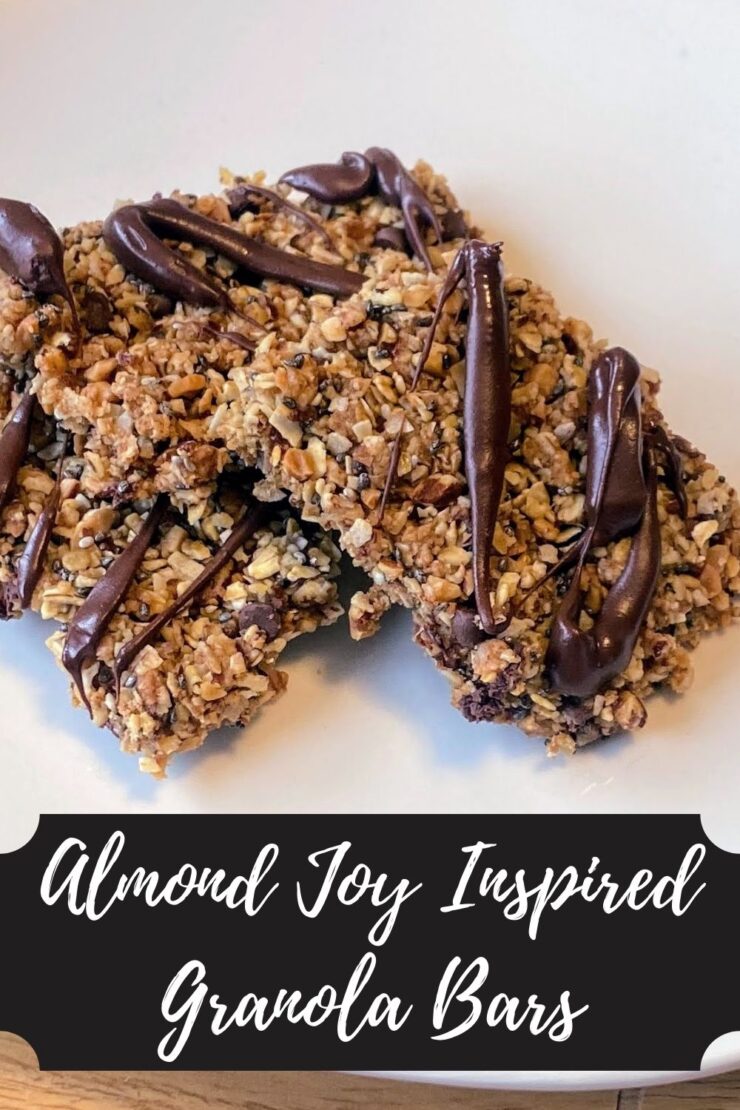
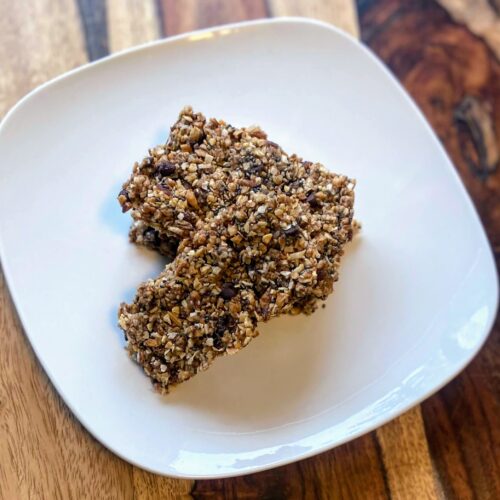
Almond Joy Granola Bars

My family is a family that consumes granola bars. (Correction: My mini-me is sitting with me and said I should write, “My family is a family that LOVES granola bars!”) I like them for a quick snack before a run or to hold me over between breakfast and lunch. My kids love them…all the time. But what I don’t love is the added sugar and extra ingredients. This leads to me working to create my own, cleaner version that I can feel good about snacking on. Recently, I looked around my cupboard and found the ingredients for Almond Joy Inspired Granola Bars and was on a mission. These are simple to make, they only dirty up about four dishes, and keep well without needing refrigeration. Yay! 

And the approval rating? Well, my mom came to visit, gave them a try, and said, “I think you need to bake these for our family vacation.” Double yay! I think they make a great snack that is the perfect amount of sweet without overdoing it. AND the crumbles that may form at the end of the batch would be great as a topping on any yogurt. I can’t wait for you to give them a try!

Your Ingredients

  • 1 cup old fashioned oats
  • ¾ cup unsweetened coconut
  • ¾ cup lightly salted almonds
  • ¼ cup almond butter
  • ¼ cup dates
  • ½ cup honey
  • ¼ teaspoon salt
  • 2 tablespoons chia seeds
  • ½-¾ cup mini chocolate chips, divided
  • 1 teaspoon coconut oil

Your Steps to Almond Joy Inspired Granola Bars

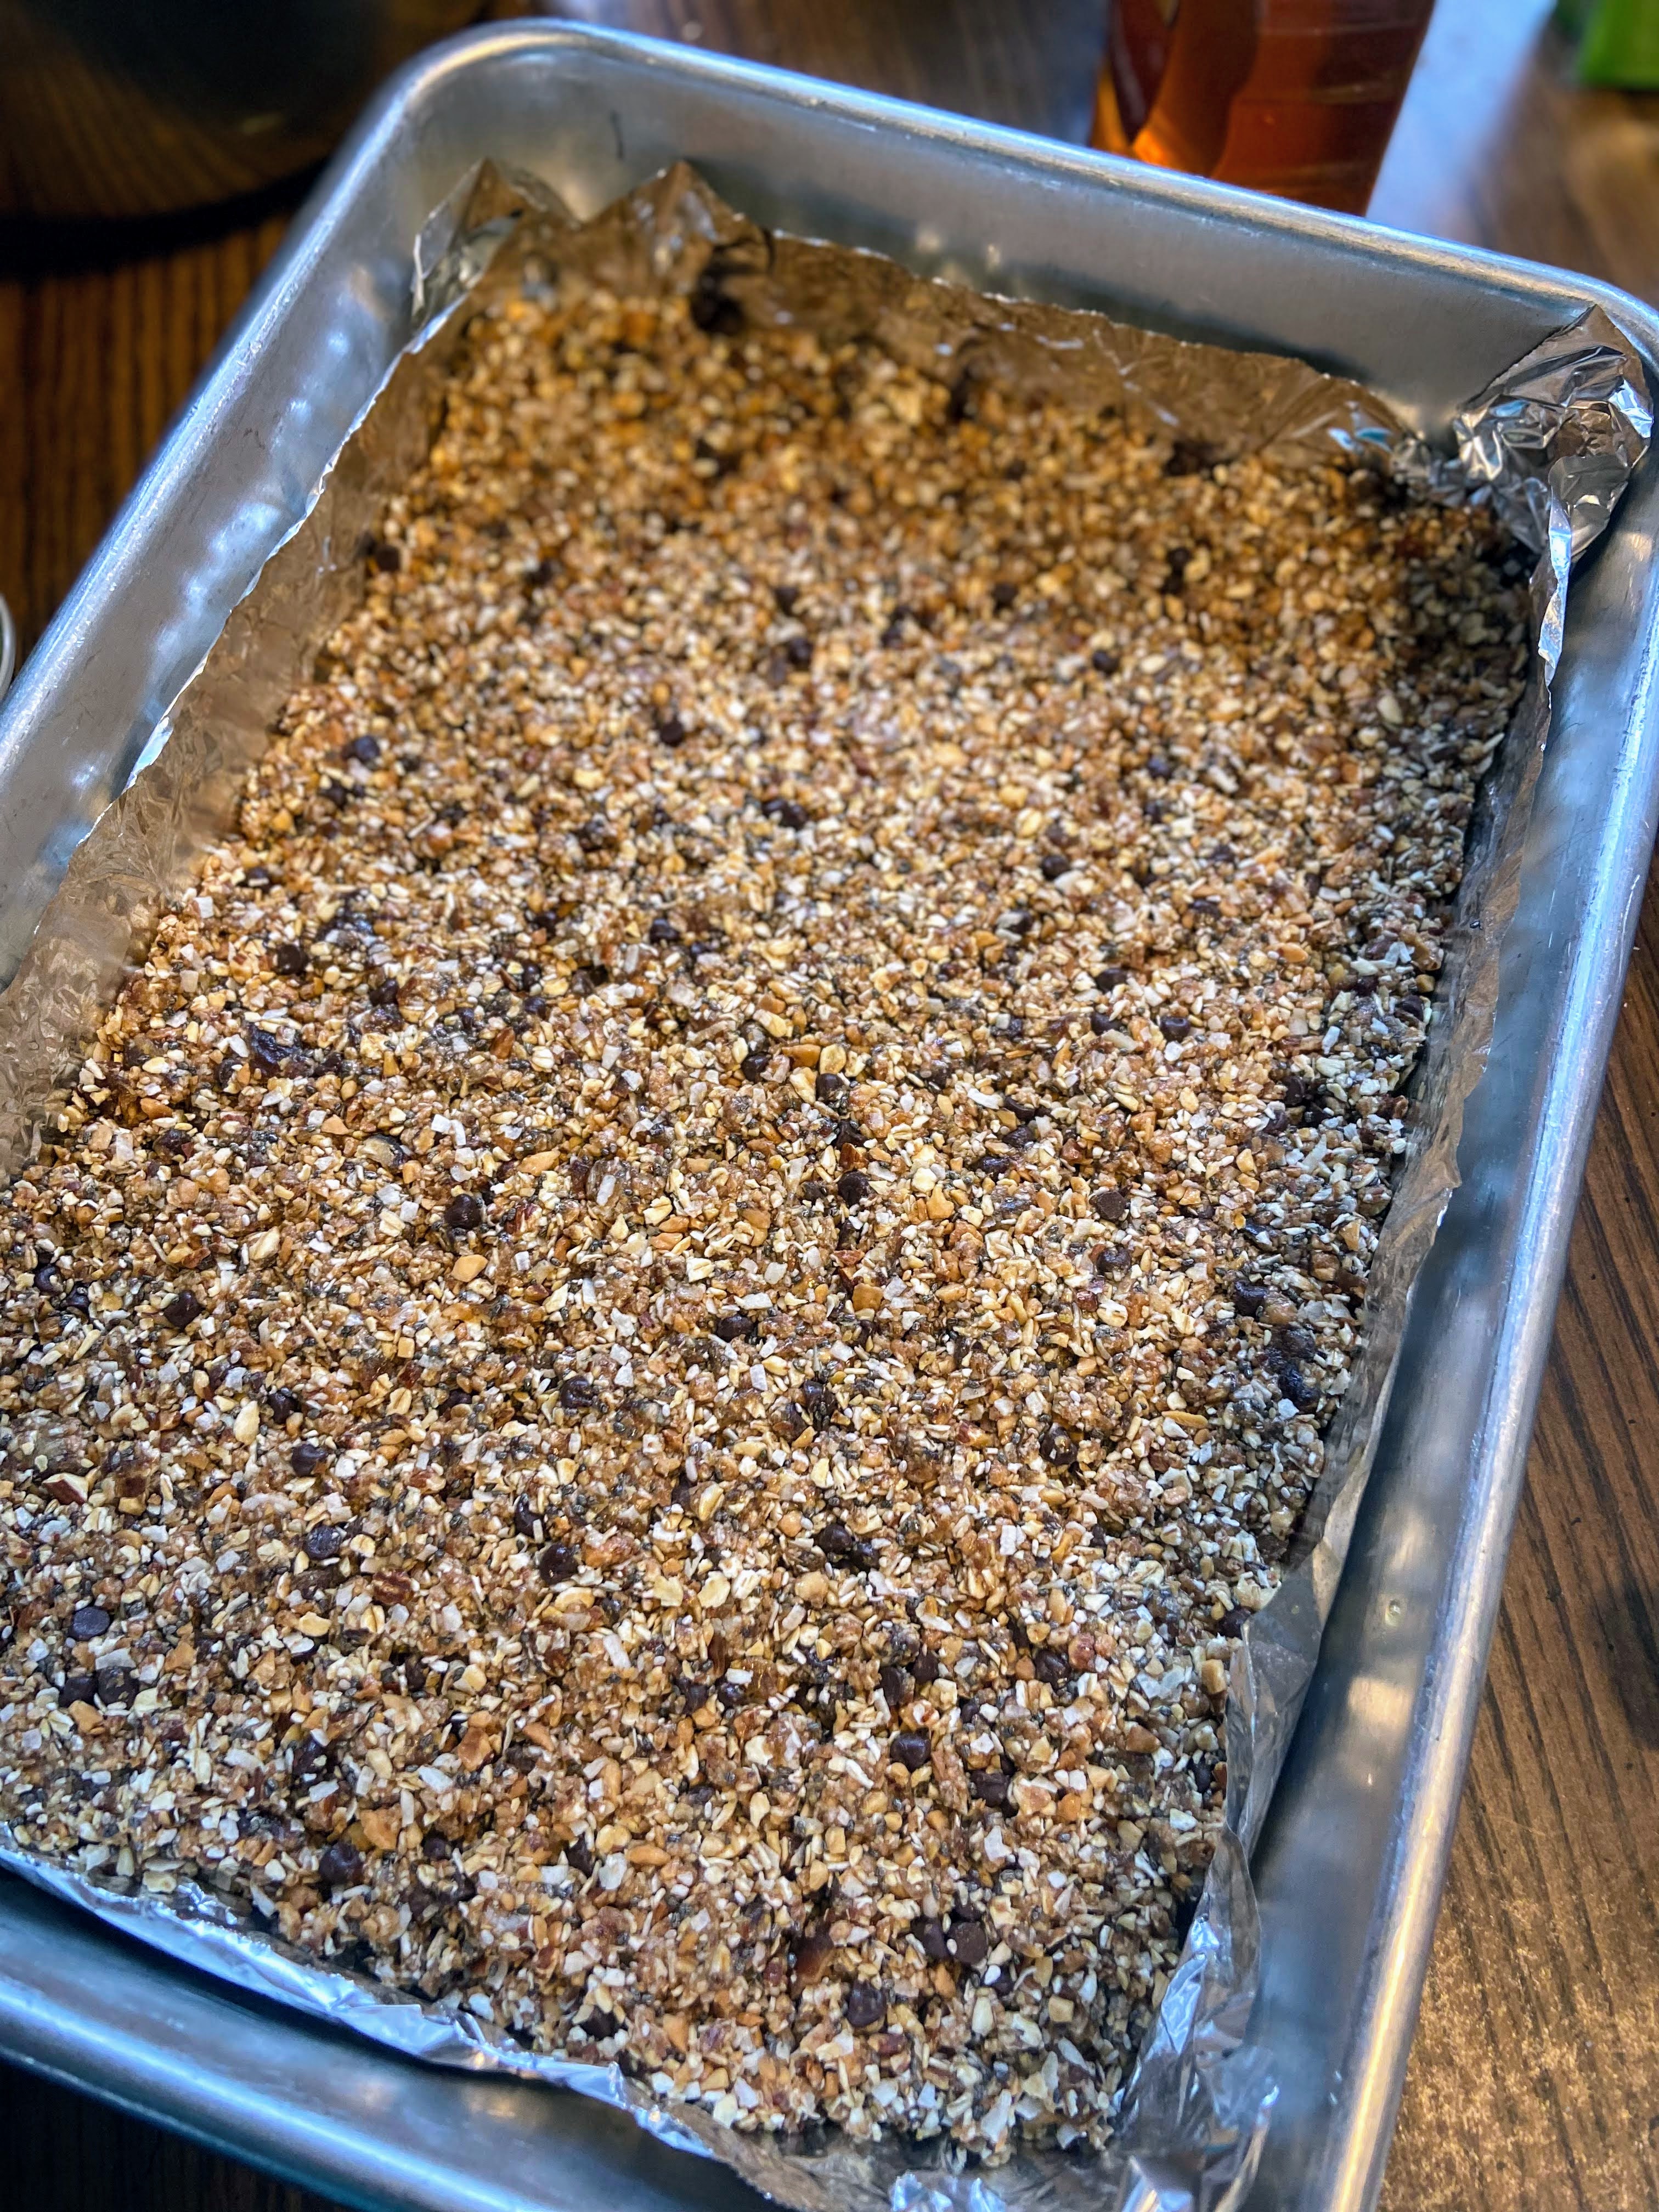
Preheat the oven to 350 degrees. Prepare a 9×13 baking dish by lining it first with foil and then spraying it with cooking spray. 

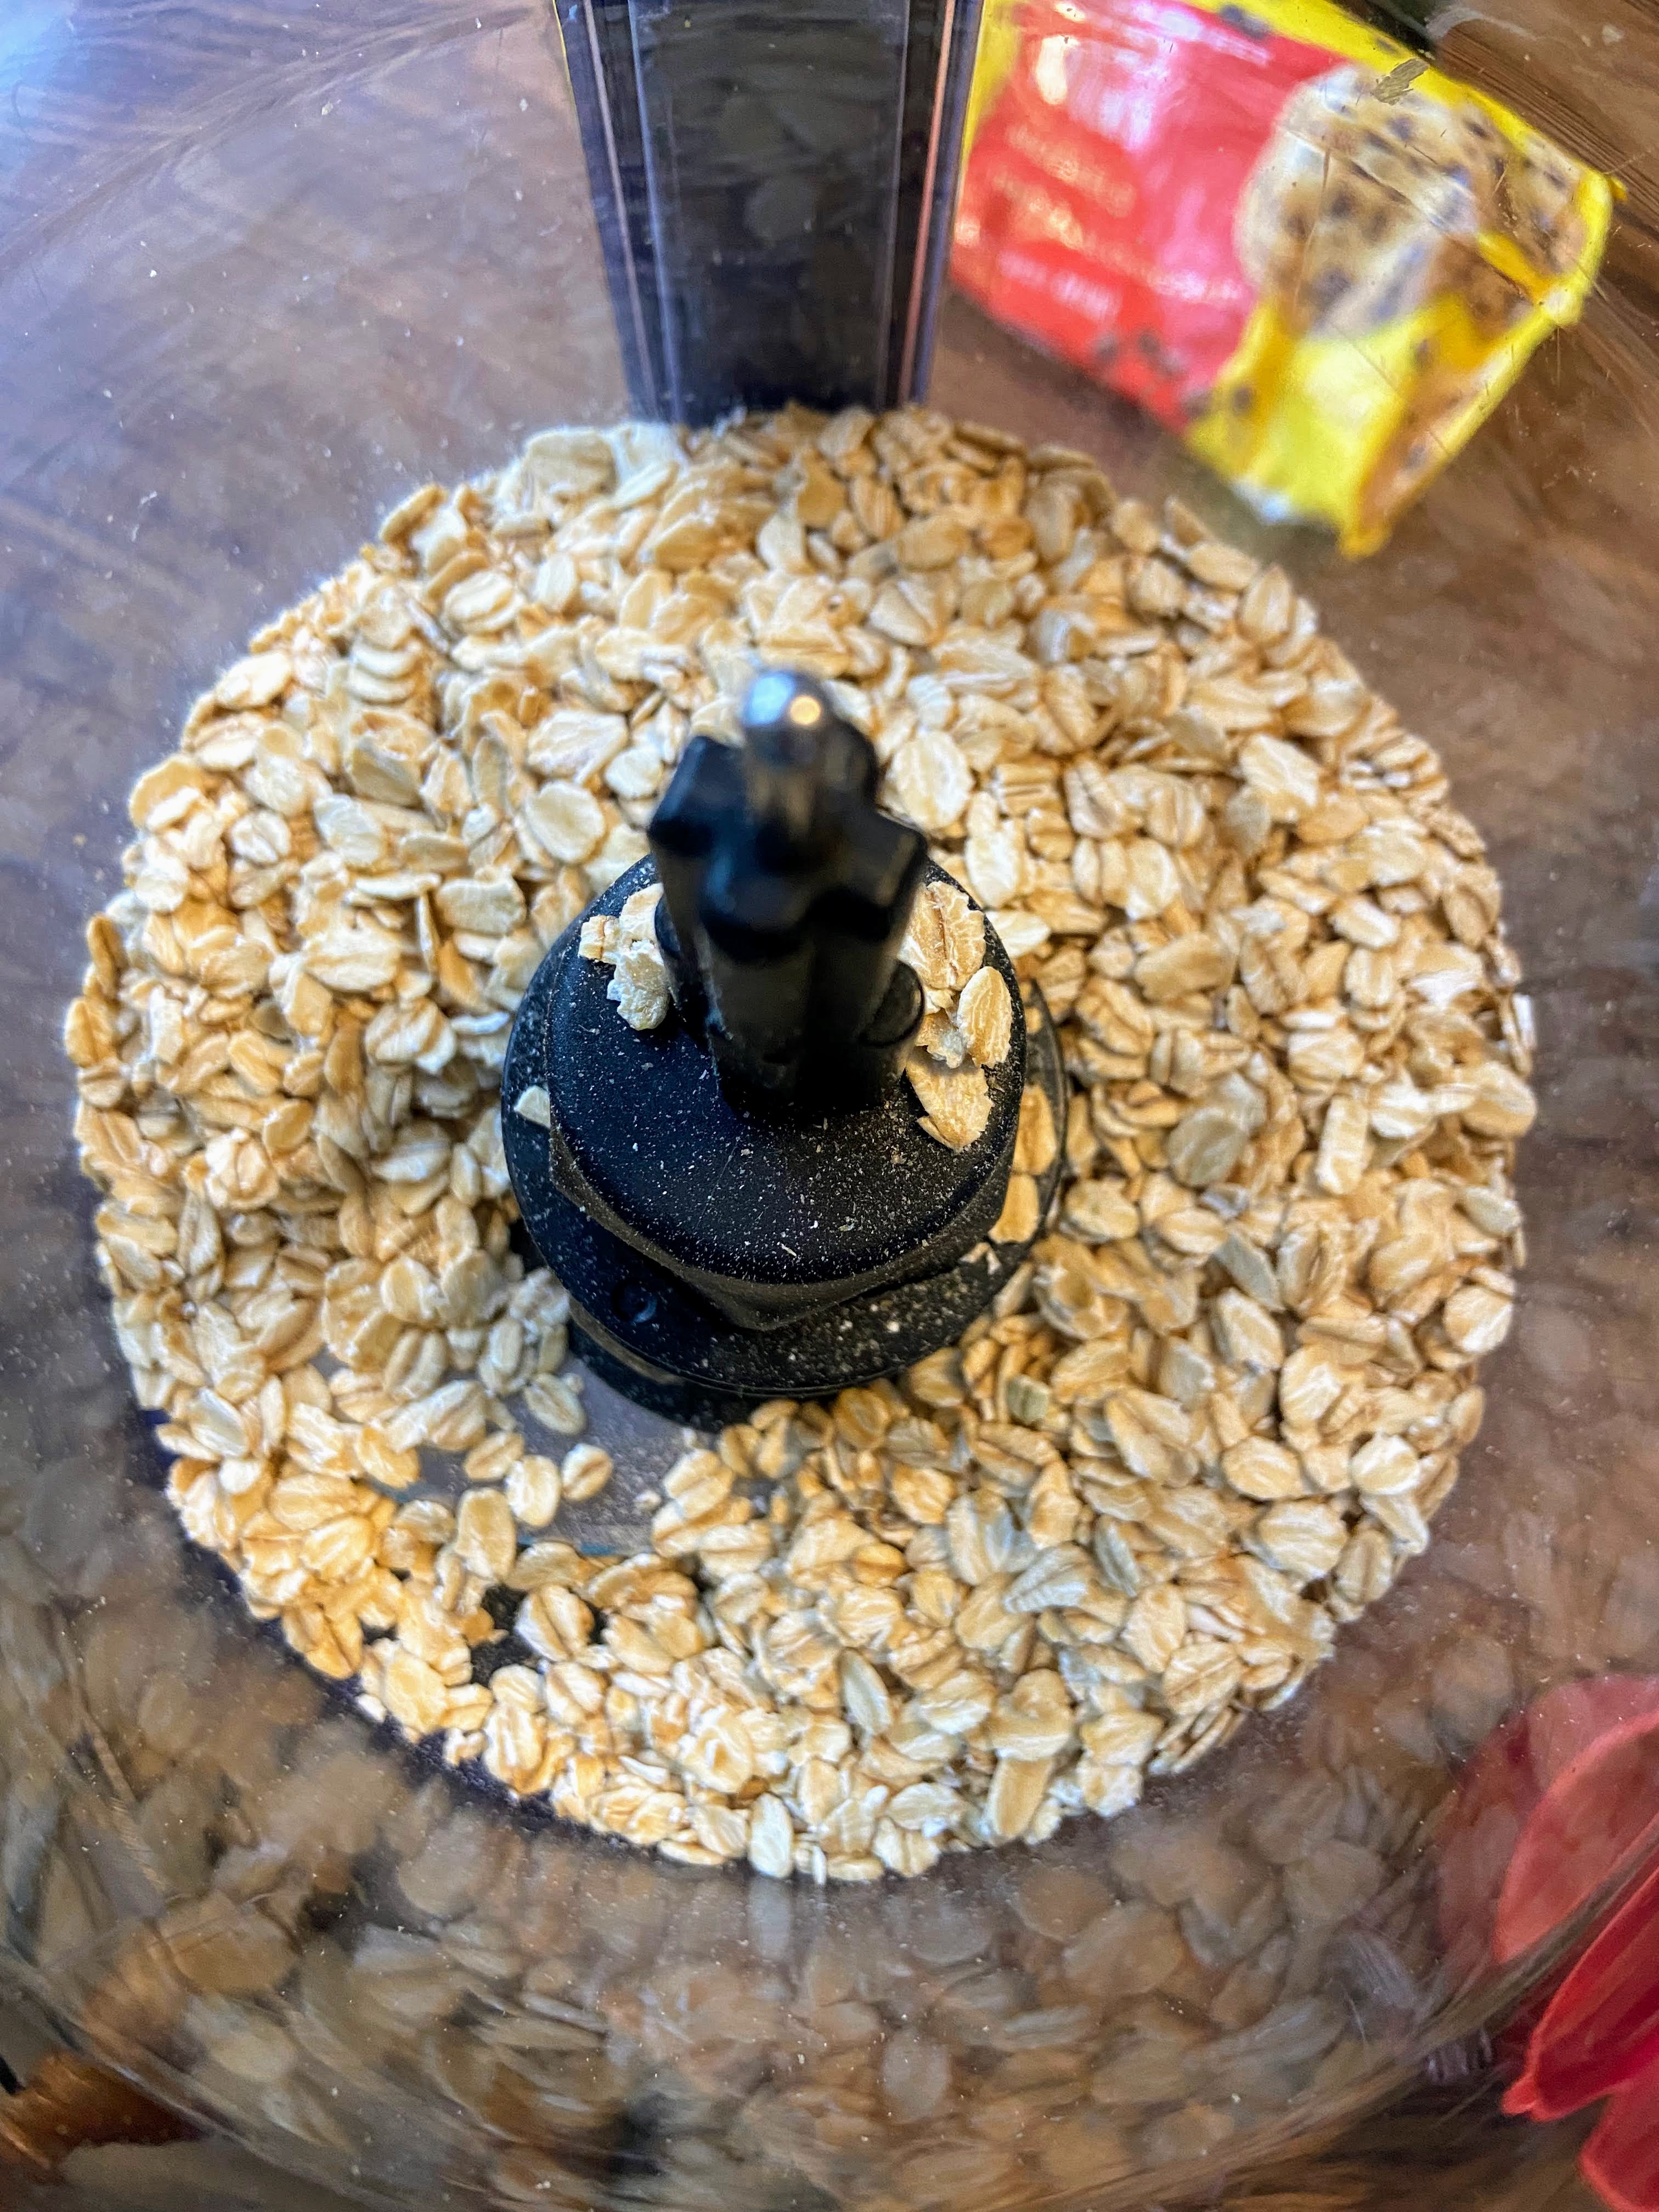
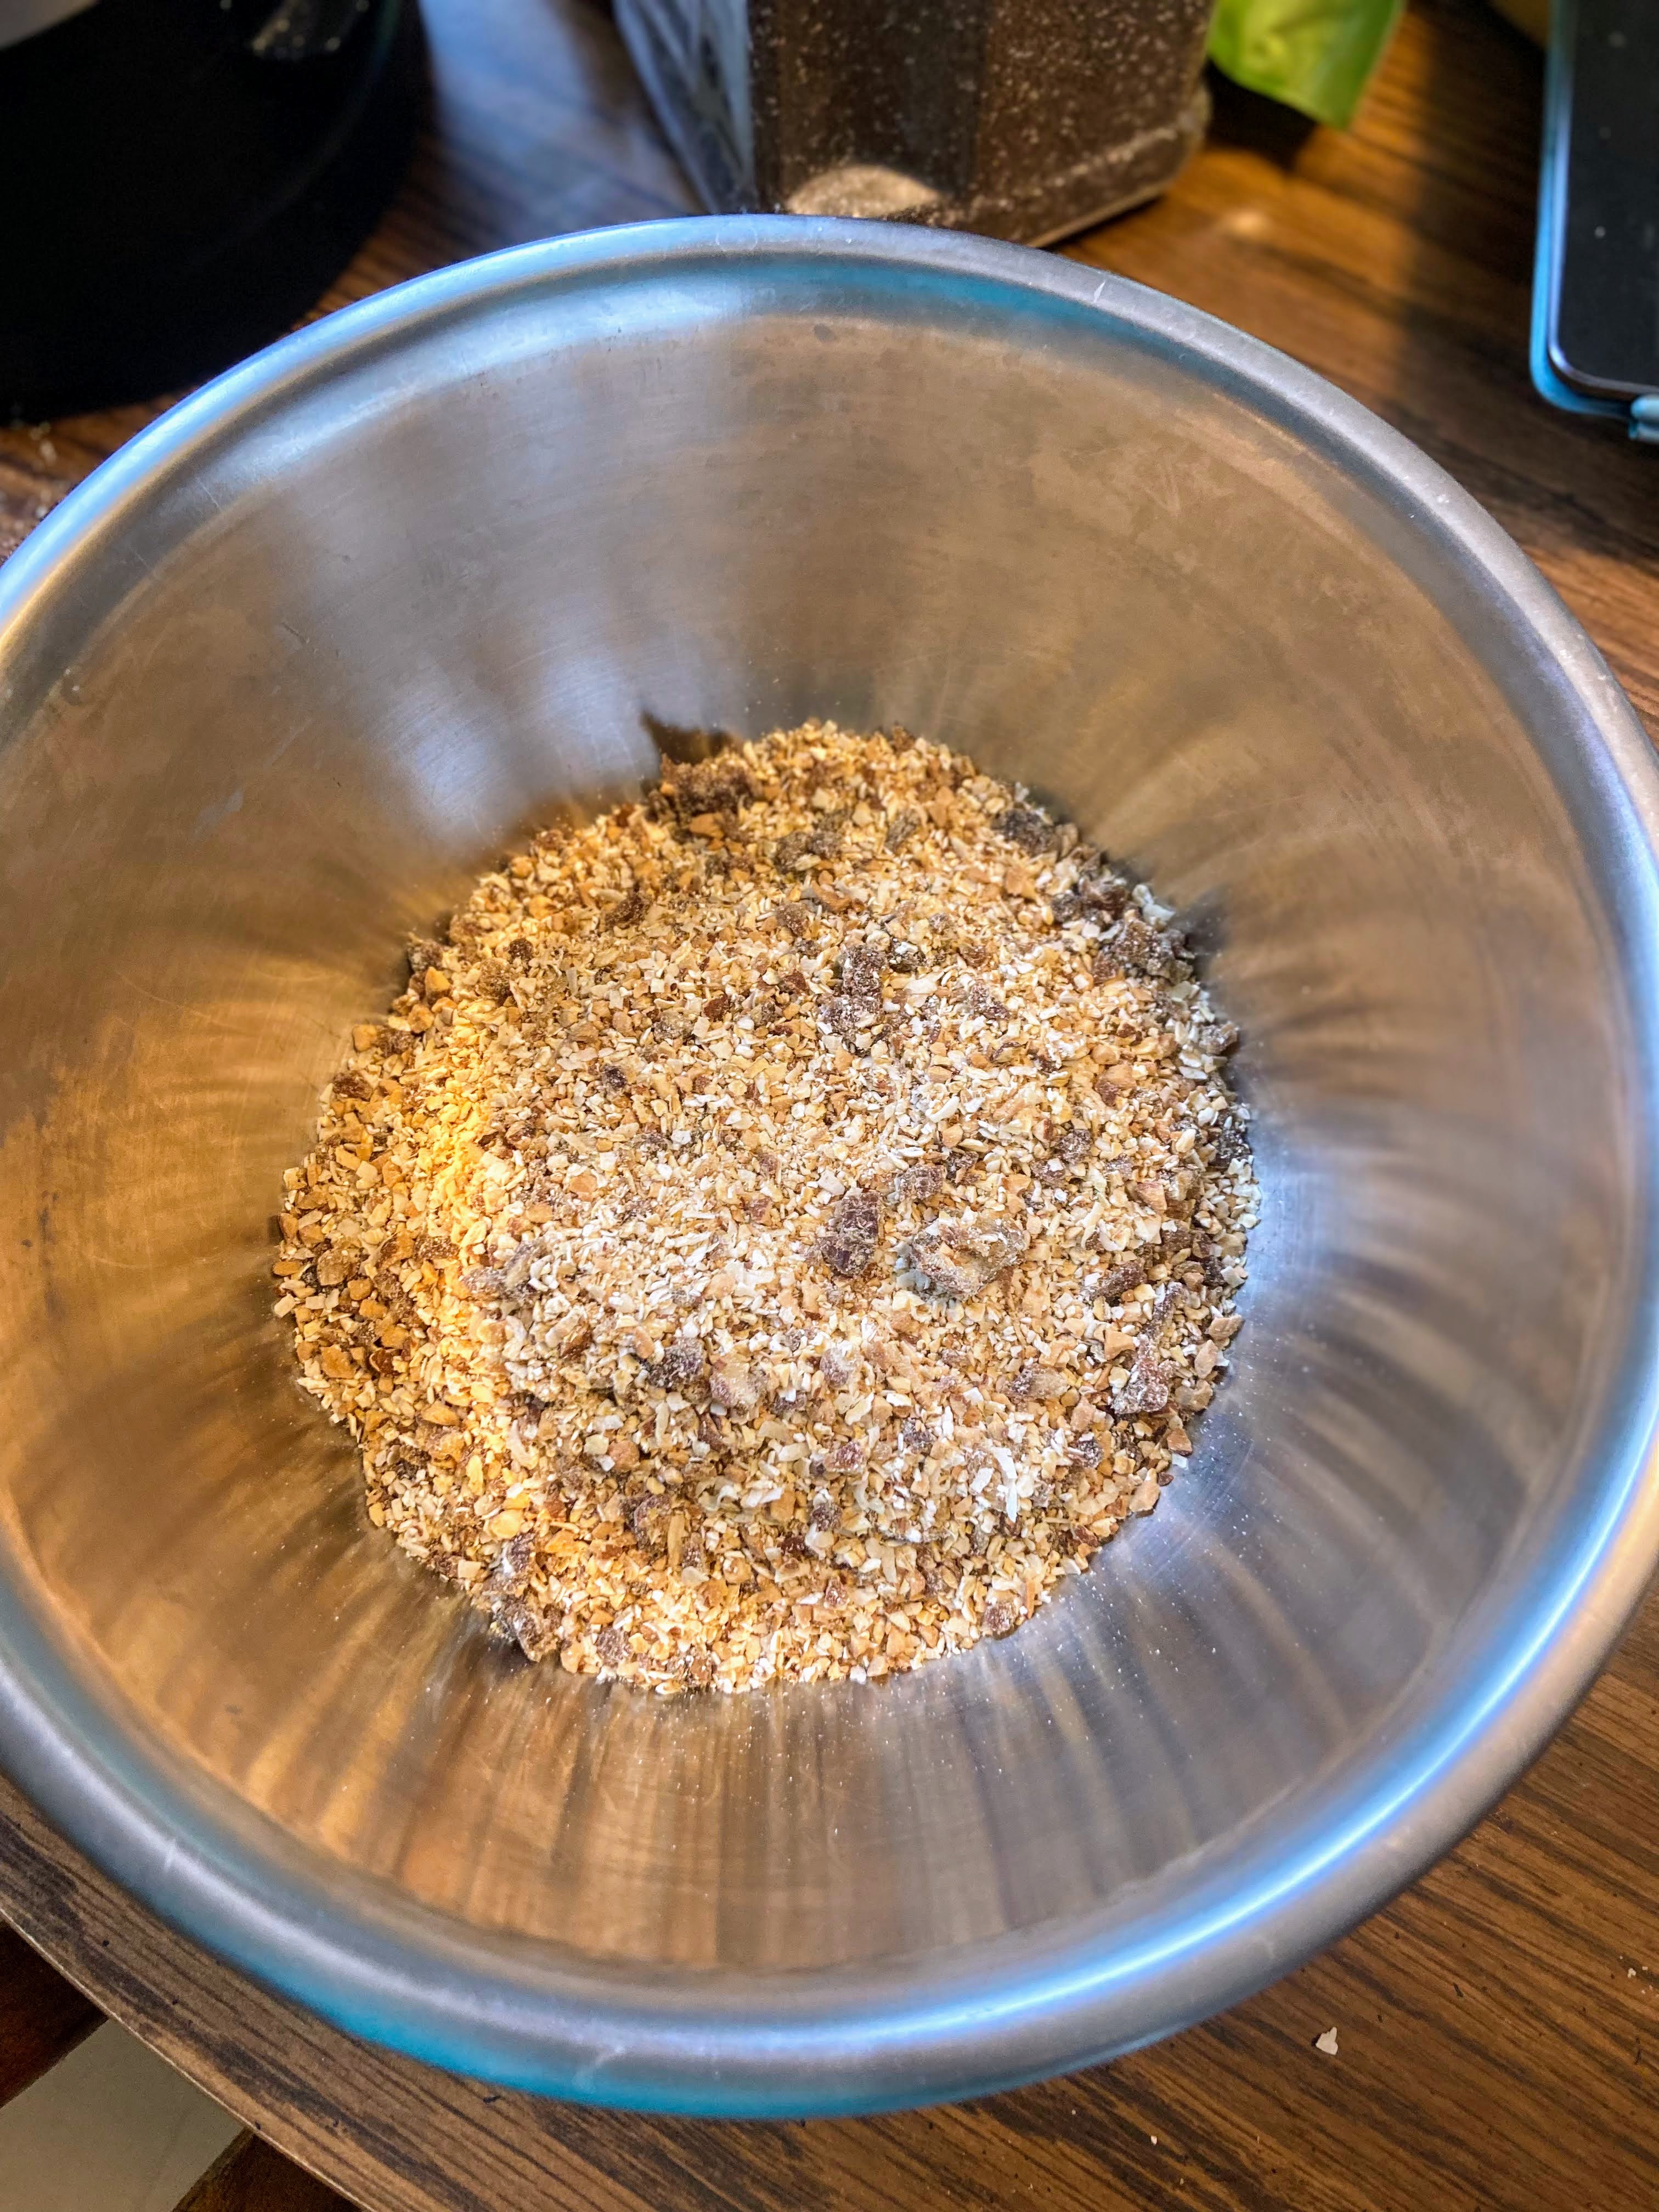
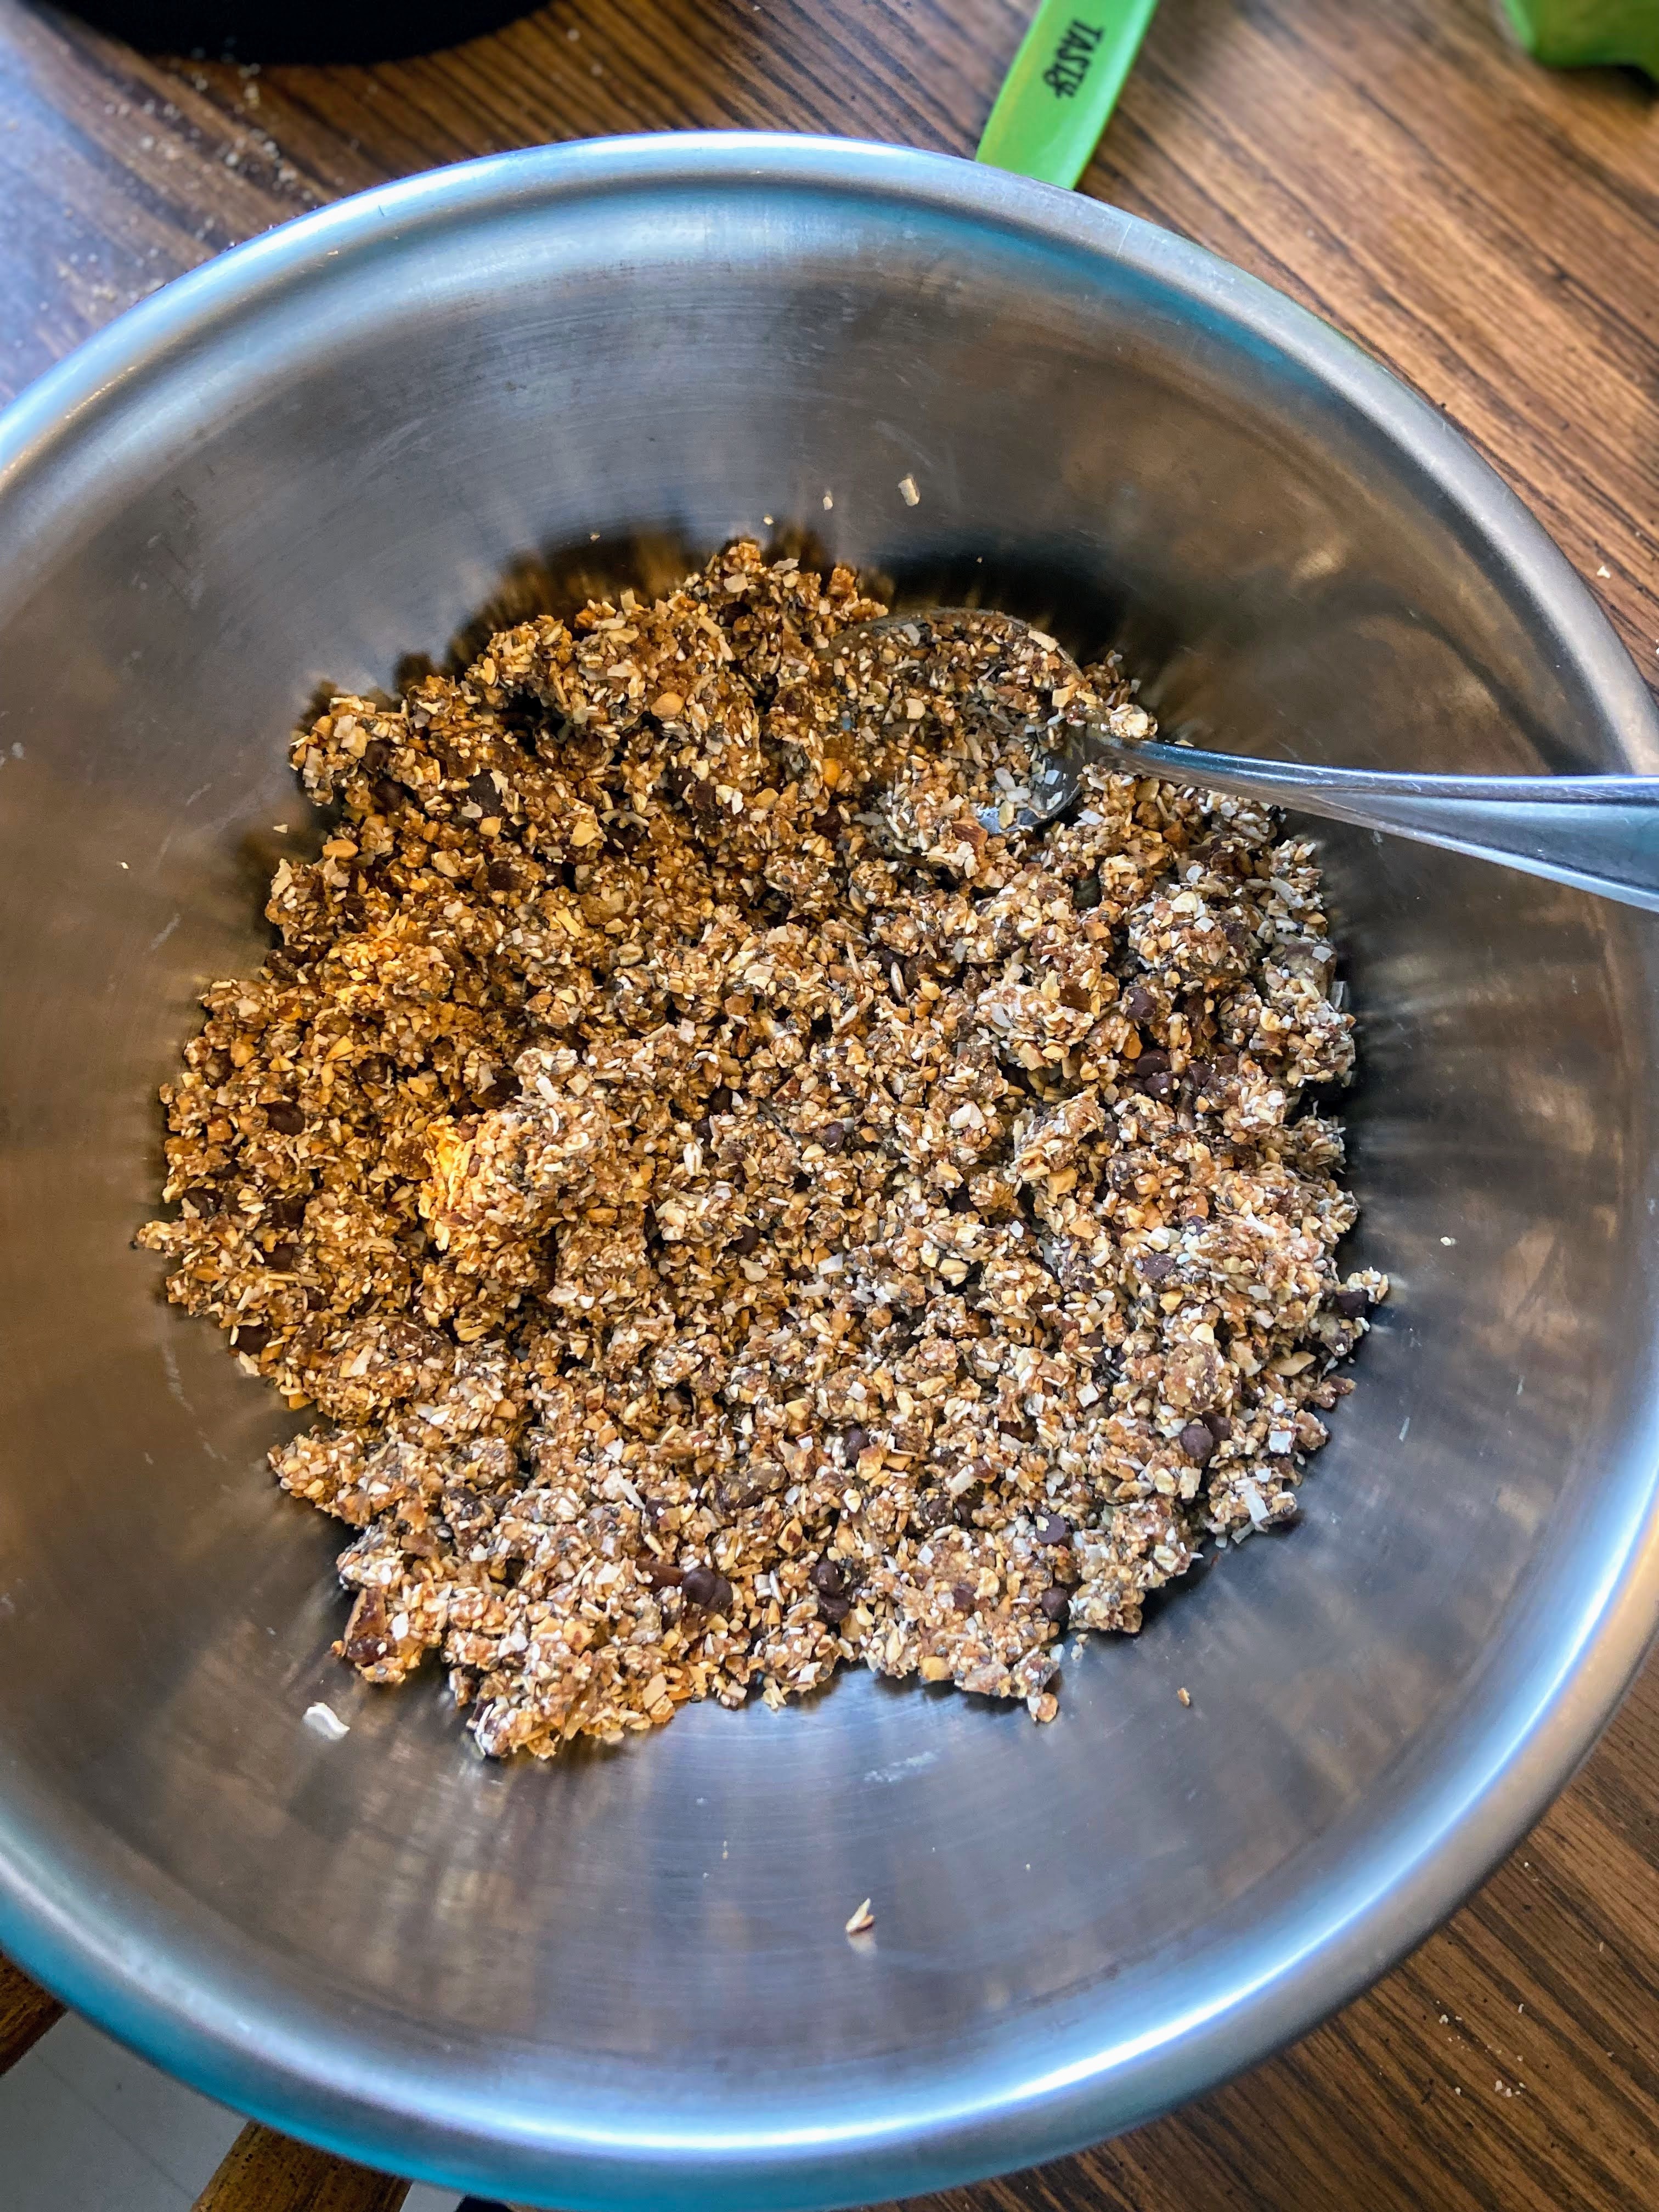
Place the old-fashioned oats in a food processor (I love my Kitchen Aid 7 cup food processor) Grind until a rough flour is formed. Add almonds and unsweetened coconut. Grind for additional 20-30 seconds. Add dates and grind once more, until the dates are broken down. Remove from the food processor and place in a medium-sized bowl.

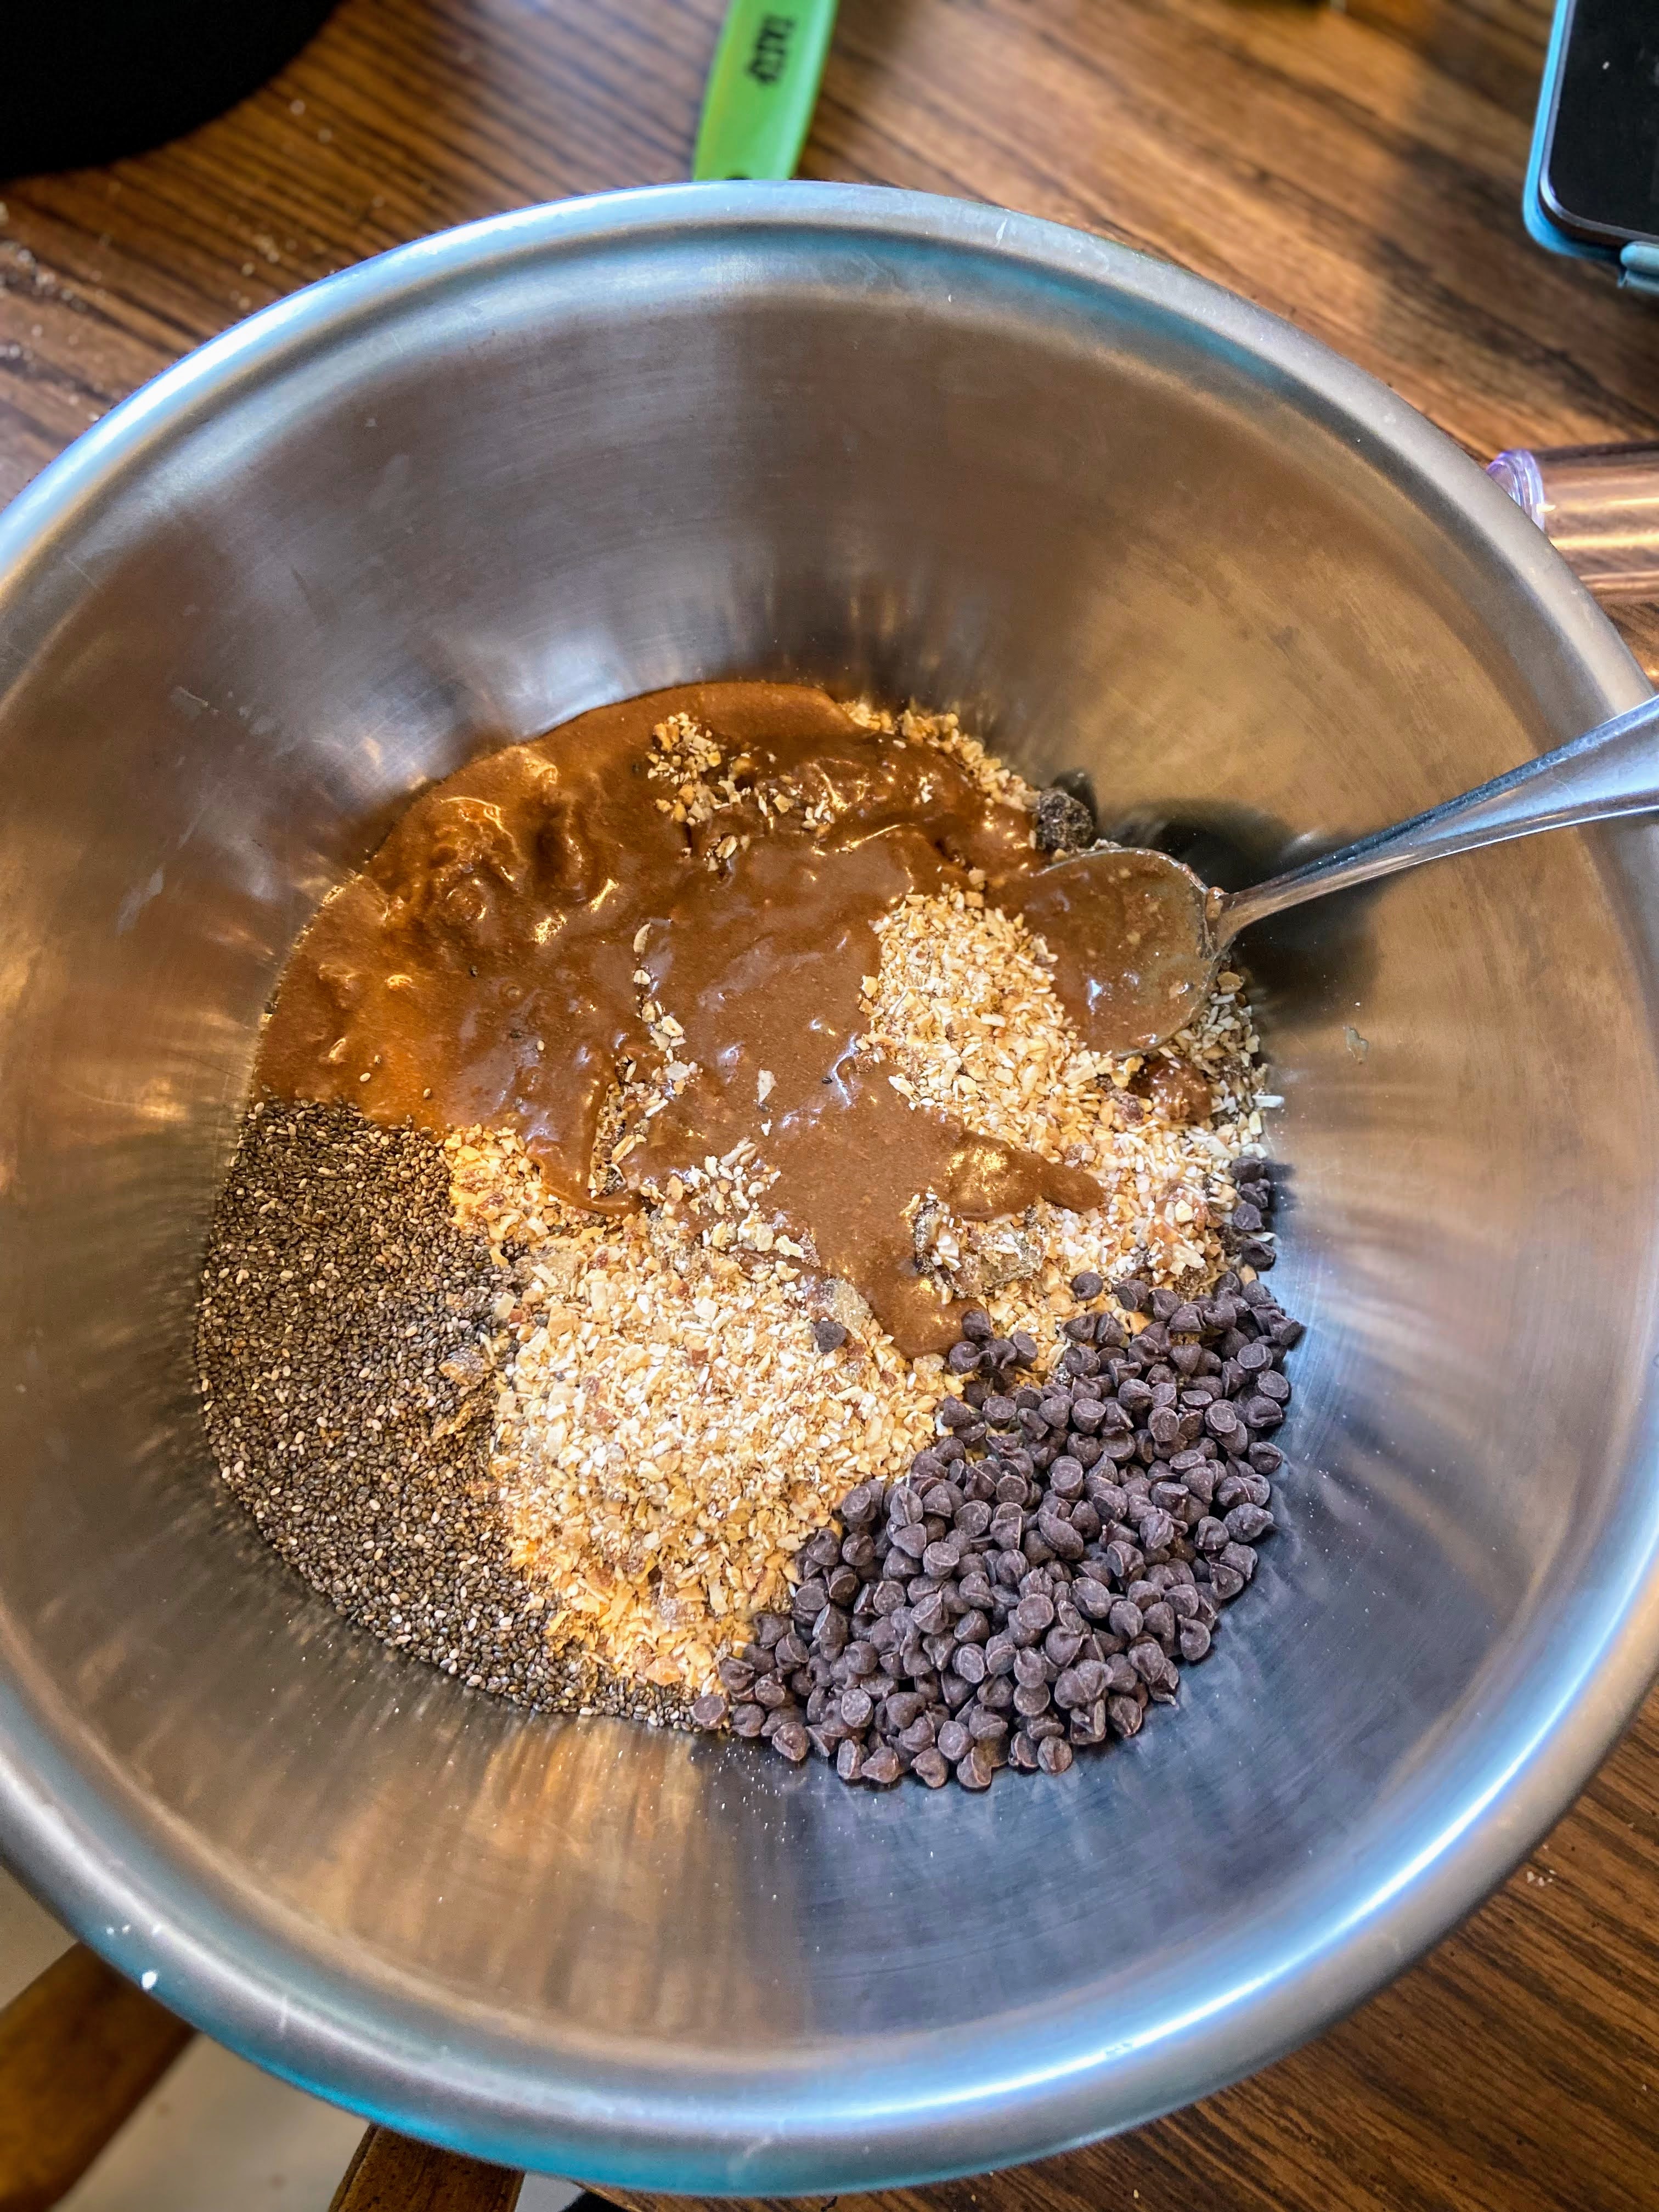
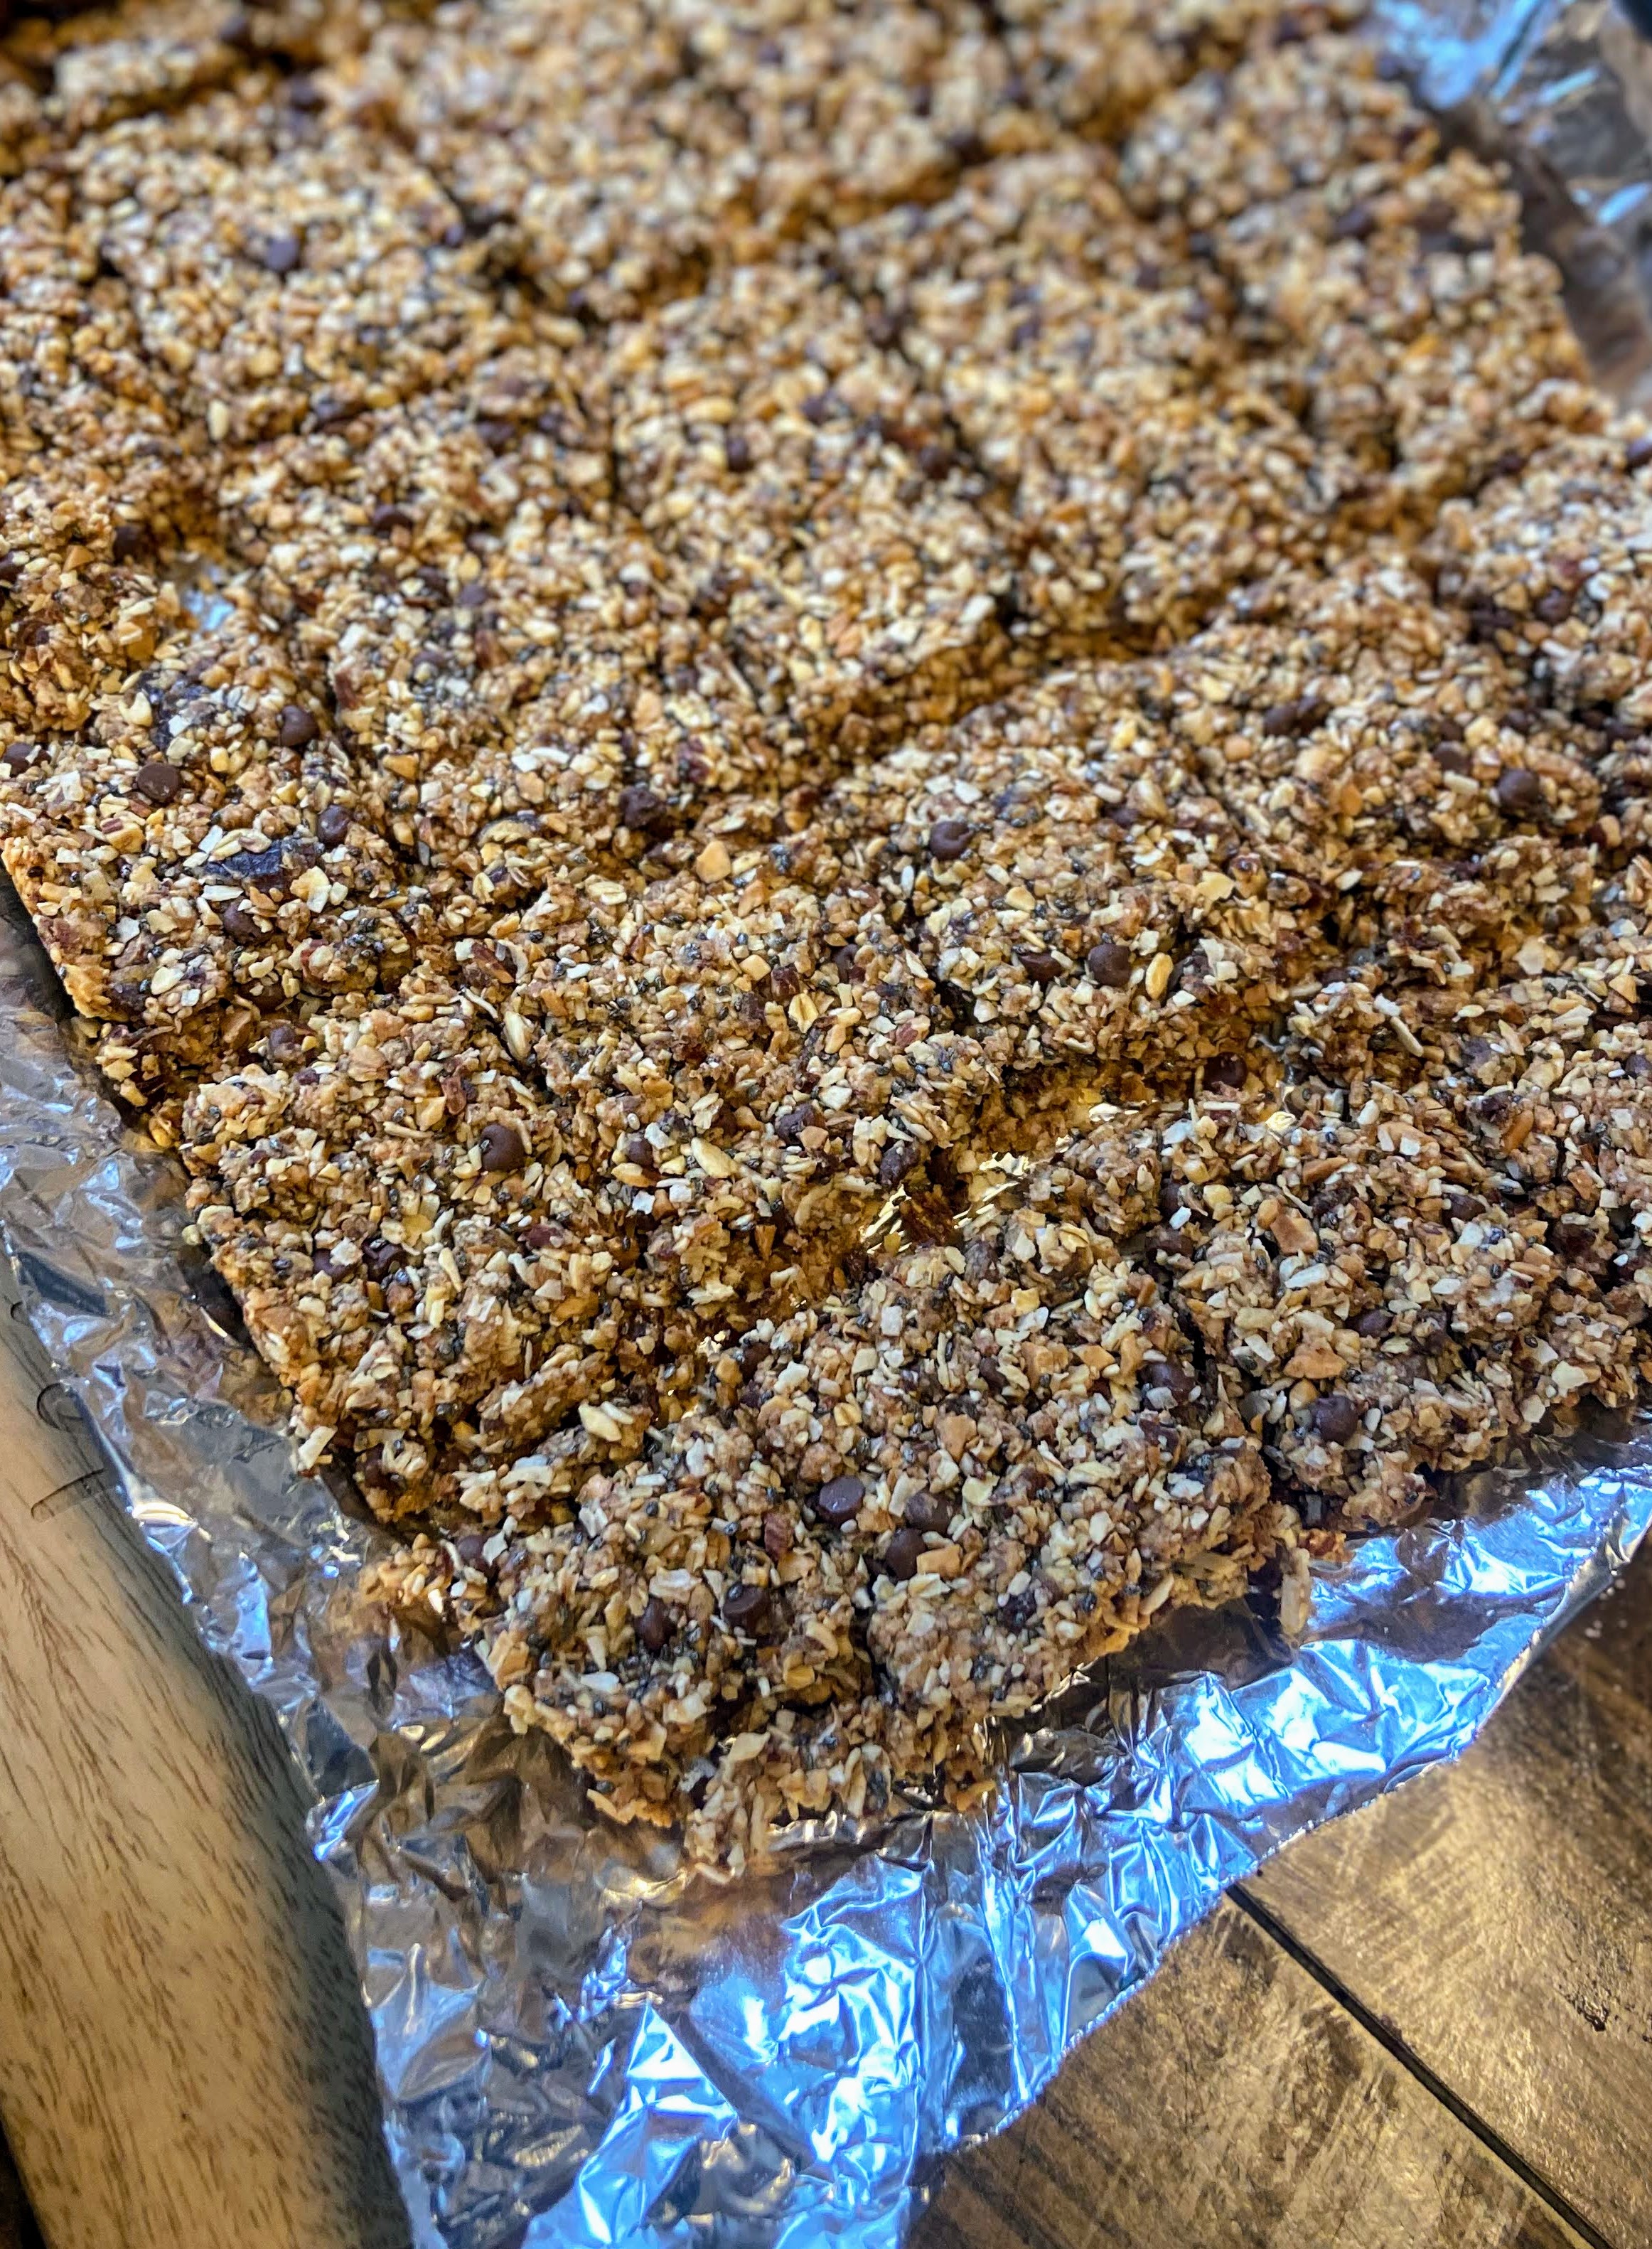
Combine almond butter and ¼ cup of honey. Microwave for 30 seconds, just to soften it. Mix well and stir into the oats mixture. Add remaining honey, salt, chia seeds, and ¼ cup (or more if you want a little more chocolate) mini chocolate chips. Add additional honey if needed, by the tablespoon. Press the mixture into the prepared pan. Bake for 13-15 minutes, cutting into bars halfway through (A steel scraper/chopper like this guy works great!).

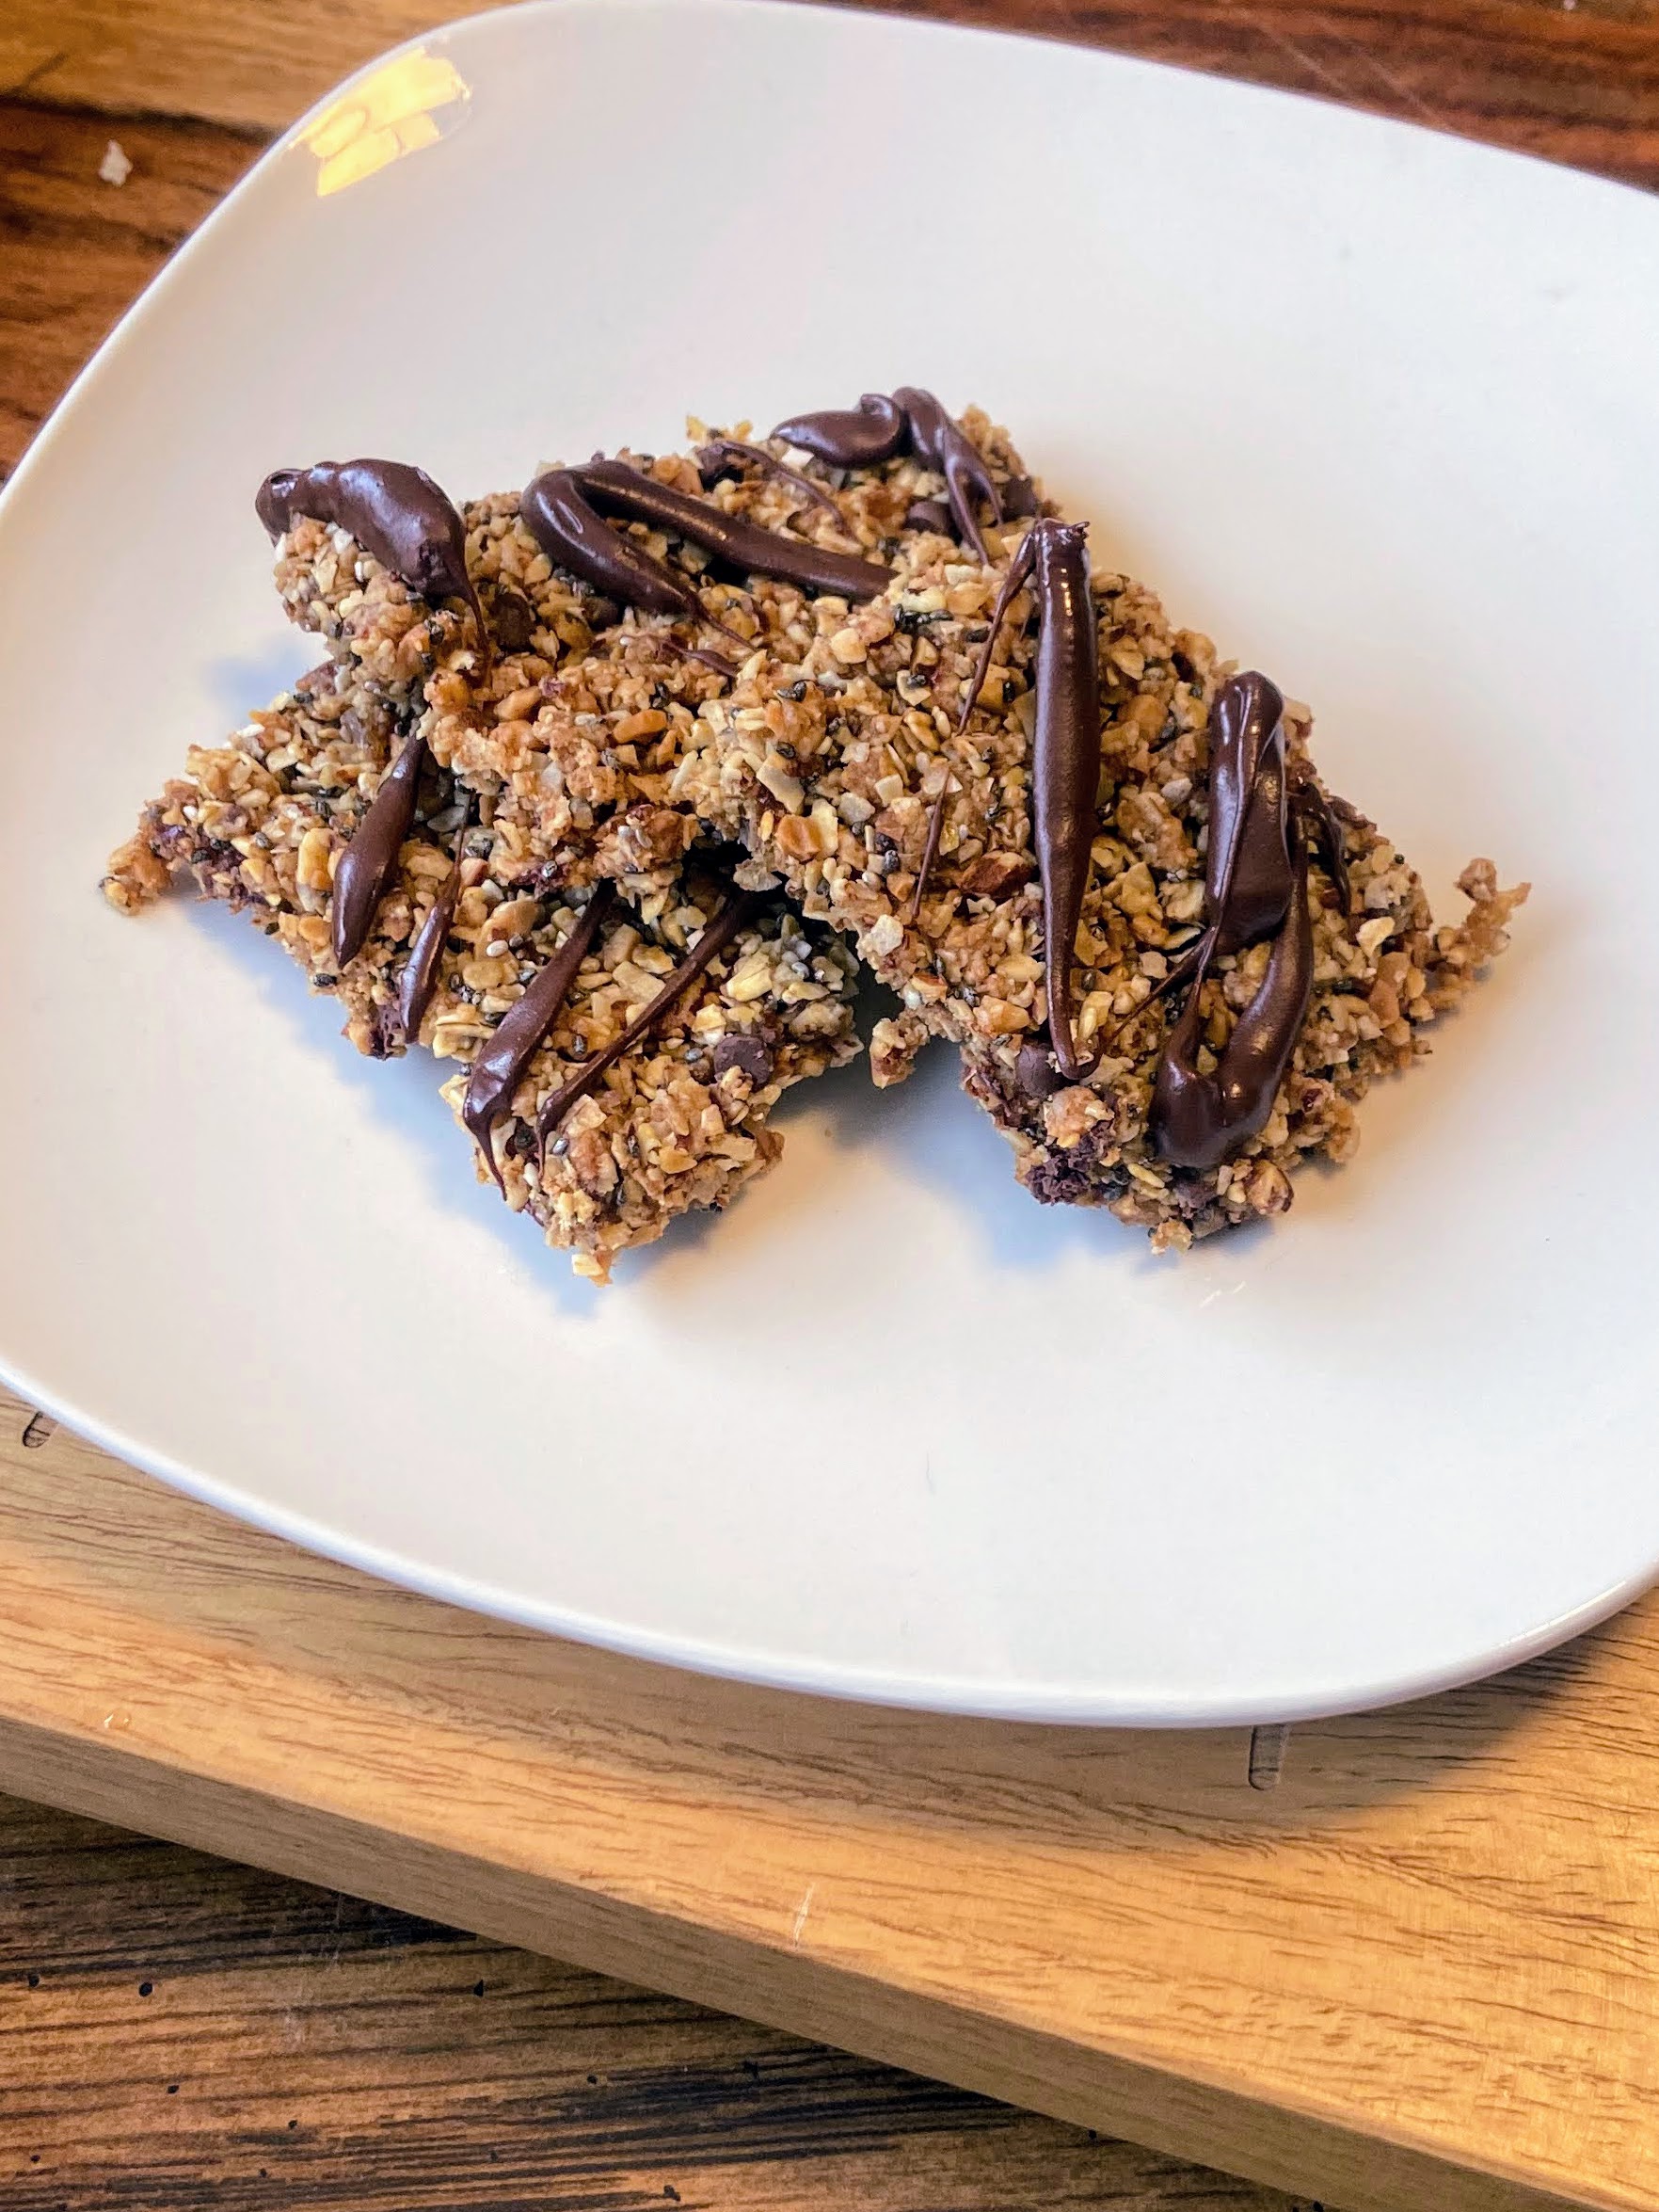
Once cooled, feel free to add a drizzle of chocolate by combining remaining chocolate chips and coconut oil in a microwave-safe container and microwaving for 30-second increments, until smooth. Spoon into a plastic baggie, snip the corner, and drizzle onto the completed bars. Be mindful not to snip the corner too large.        


Looking for some other sweet treats for your family? Check out the recipe inspiration below or head over to my baking page!

Almond Joy Granola Bars

A food processor and some simple, good for you ingredients combine to create these delicious almond joy inspired granola bars!
Prep Time 5 minutes
Cook Time 10 minutes
Course Snack
Cuisine American

Ingredients
  

  • 1 cup old fashioned oats
  • ¾ cup unsweetened coconut
  • ¾ cup lightly salted almonds
  • ¼ cup almond butter
  • ¼ cup dates
  • ½ cup honey
  • ¼ teaspoon salt
  • 2 tablespoons chia seeds
  • ½-¾ cup mini chocolate chips divided
  • 1 teaspoon coconut oil

Instructions
 

  • Preheat the oven to 350 degrees. Prepare a 9×13 baking dish by lining it first with foil and then spraying it with cooking spray.
  • Place the old-fashioned oats in a food processor. Grind until a rough flour is formed. Add almonds and unsweetened coconut. Grind for additional 20-30 seconds.
  • Add dates and grind once more, until the dates are broken down. Remove from the food processor and place in a medium-sized bowl.
  • Combine almond butter and ¼ cup of honey. Microwave for 30 seconds, just to soften it. Mix well and stir into the oats mixture.
  • Add remaining honey, salt, chia seeds, and ¼ cup mini chocolate chips. Add additional honey if needed, by the tablespoon.
  • Press the mixture into the prepared pan. Bake for 13-15 minutes, cutting into bars halfway through (A steel scraper/chopper like this guy works great!).
  • Once cooled, feel free to add a drizzle of chocolate by combining remaining chocolate chips and coconut oil in a microwave-safe container and microwaving for 30-second increments, until smooth.
  • Spoon into a plastic baggie, snip the corner, and drizzle onto the completed bars. Be mindful not to snip the corner too large.
Keyword almonds, chocolate, coconut, Gluten Free, granola bars, snacks
Tried this recipe?Let us know how it was!

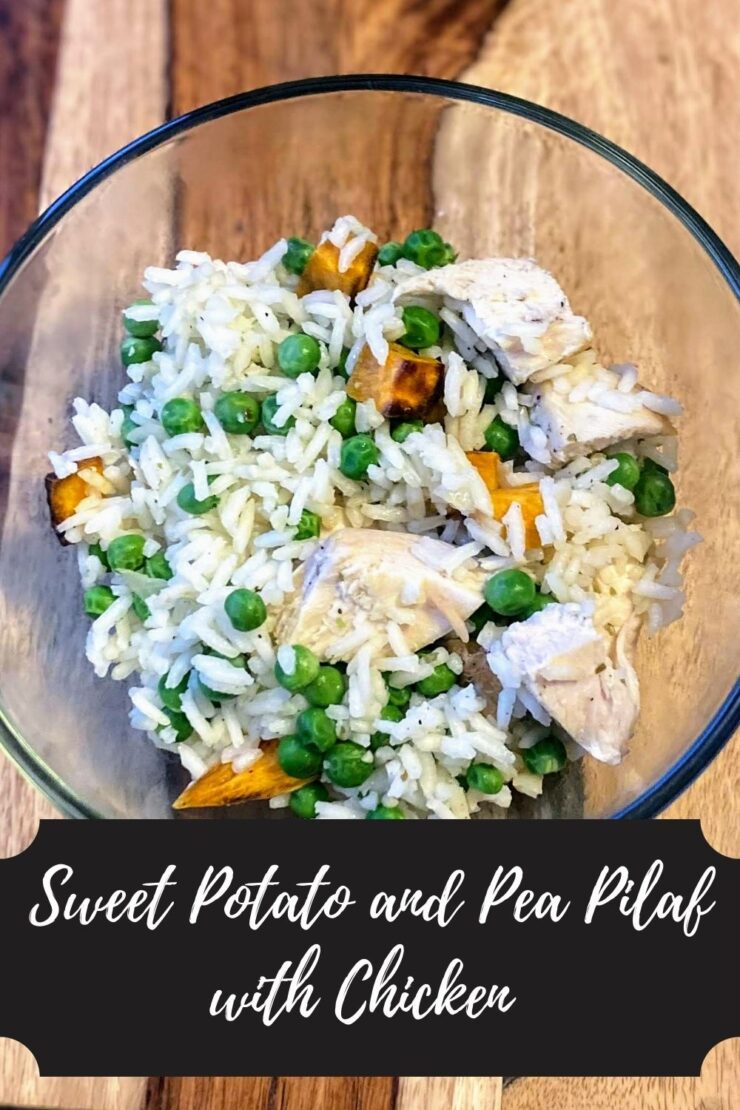
Sweet Potato and Pea Pilaf with Chicken

I live for creating meals from pantry ingredients. It’s so fun to look into my cupboards and cabinets to see what I have and what I can create from it. Case in point: this Sweet Potato and Pea Pilaf with Chicken. I have this awesome little natural food store that I get to frequent often. When I am there, I can’t help but purchase one or two fun and new bulk ingredients to try out later. Recently, it was basmati rice. 

Our lives have become consumed by basketball. Both of my babies are playing and weekends are for tournaments. That means I don’t get to meal prep the way I love to. While it’s hard for me to give up that much time each weekend, I also see my kiddos flourishing on the court and I am here for that. So the scene: Sunday afternoon. Me, thinking, I have to get some food on the table when the Mr. gets home. A few google searches and recipe magazine flipping inspired this creation from the pantry! 

And I will tell you, my son wasn’t thrilled that I did peas and sweet potatoes. He didn’t get it and complained as pre-teens do. Then he ate dinner and promptly declared he got all the leftovers and requested it again a week later. I don’t know about you, but I call that a major win in the recipe world! I am so excited for you to give it try! 

Your Ingredients 

  • 2½ tablespoons extra virgin olive oil, divided 
  • ½ medium yellow onion
  • 1 teaspoon minced garlic 
  • 2 cups white basmati rice
  • 1 teaspoon tarragon 
  • 3 cups low-sodium chicken broth, heated 
  • 1 pound chicken breast
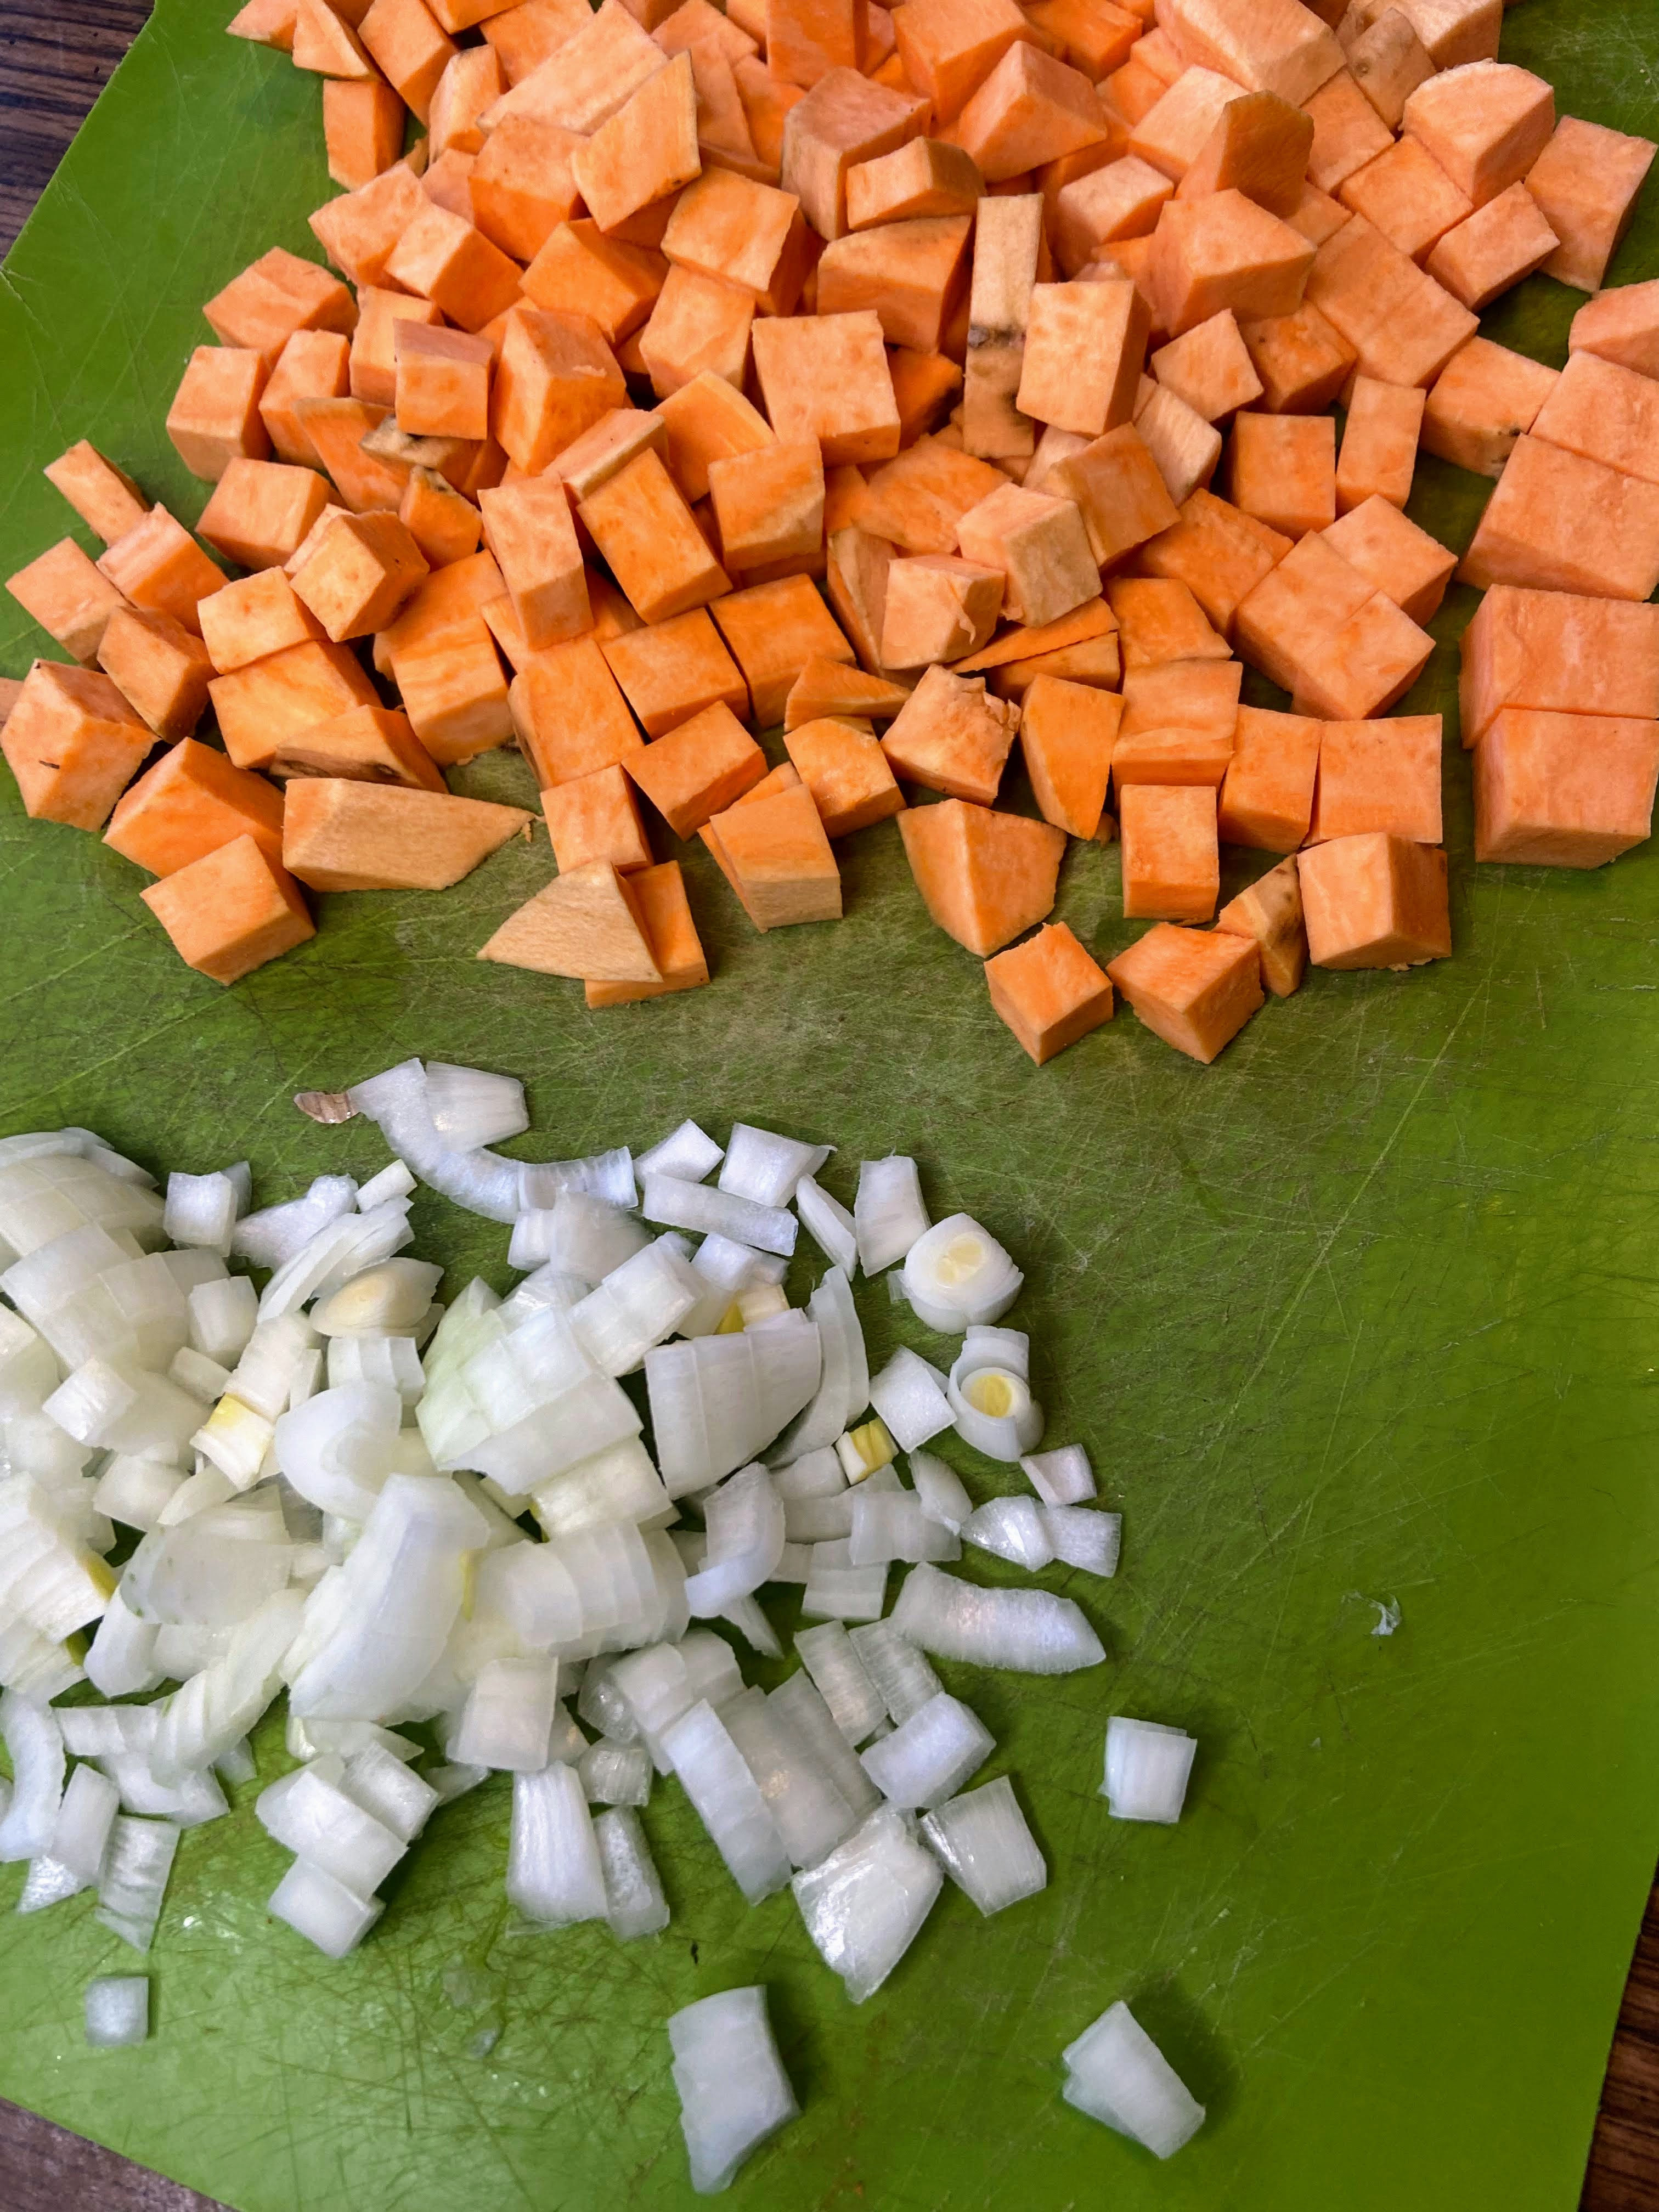
  • 1 sweet potato, peeled and diced (about 2 ¾ cups)
  • 12 ounces frozen peas (about 2 ½ cups) 
  • Salt and pepper 

Your Steps to Sweet Potato and Pea Pilaf with Chicken

Heat 1 ½ tablespoons of olive oil in a large saucepan (with a cover) over medium heat until hot. Add onion and garlic. Saute until just softened, about 8 minutes. Add rice and saute, stirring often, until just browned, maybe 3-5 minutes. Watch this carefully. You will be so sad if you burn your rice. 

Season with salt, pepper, and tarragon. Add 3 cups of hot stock. Cover lower heat to a simmer. Cook for 10 minutes. Remove the rice from the heat and allow it to sit for an additional 15 minutes. 

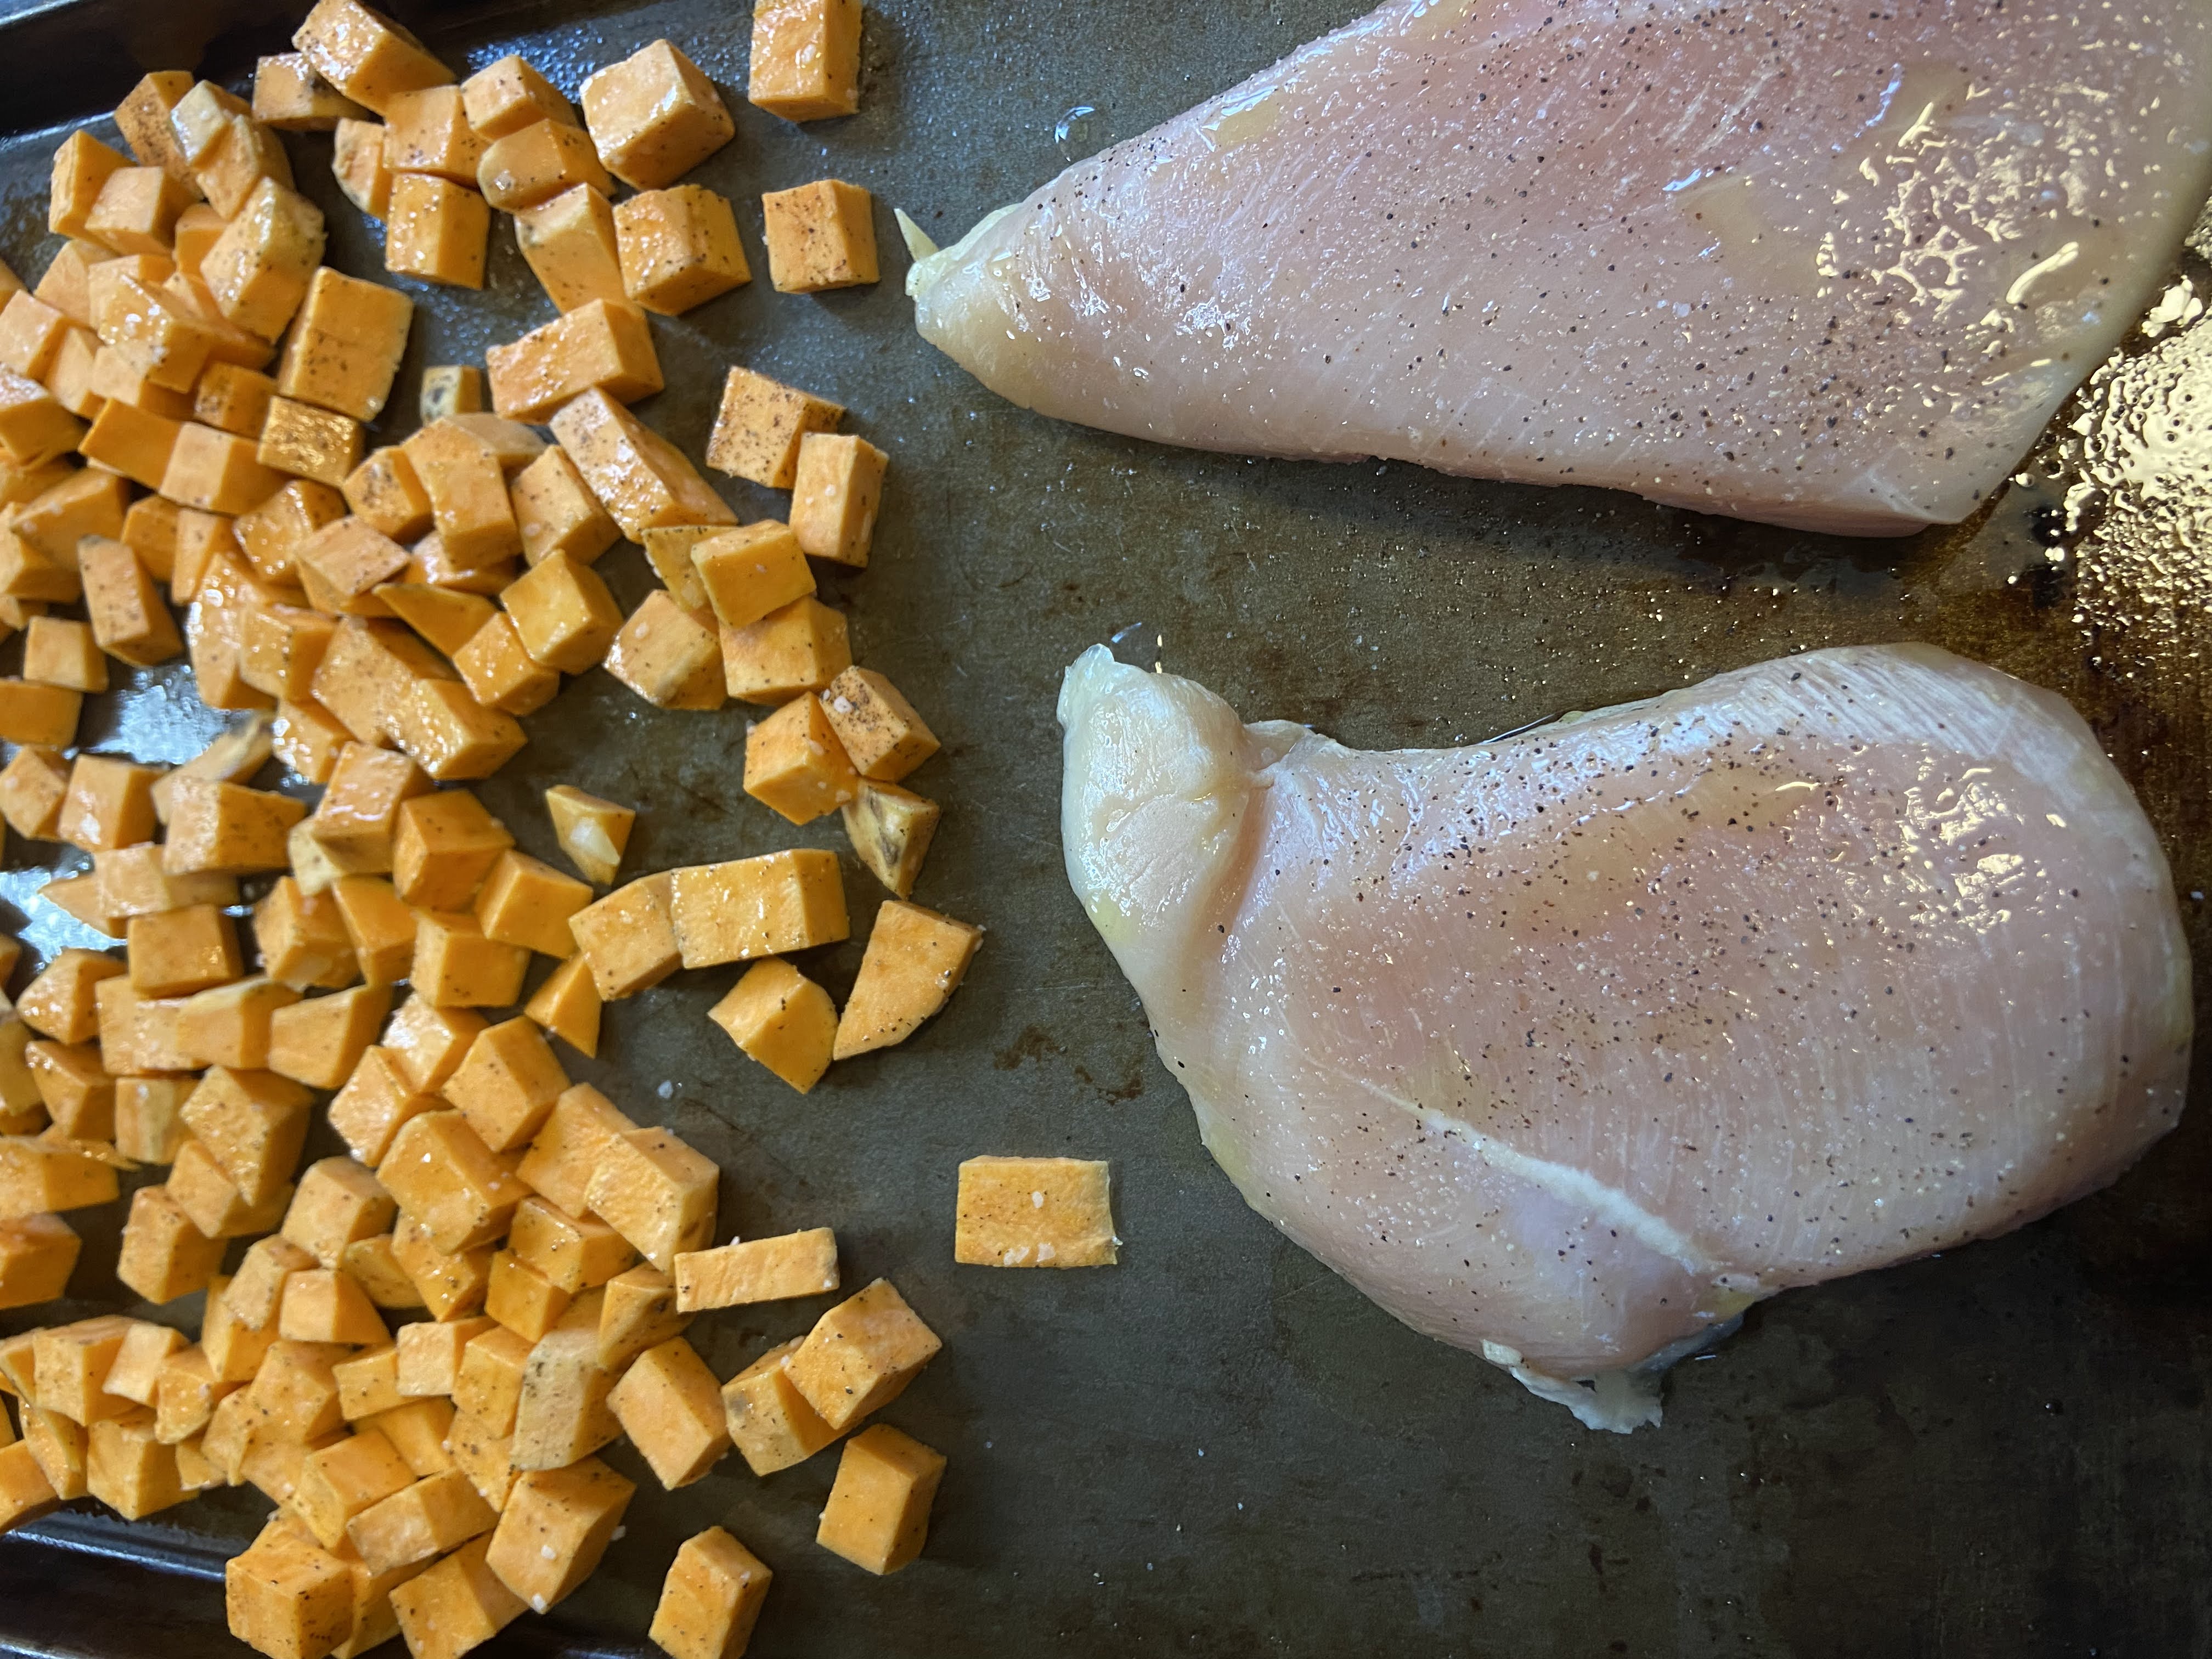
While the rice is doing its thing, preheat the oven to 425 degrees. Spray a baking sheet with non-stick cooking spray. Season the chicken with salt and pepper on each side and place on one half of the baking sheet. In a small bowl, toss the diced sweet potato with the remaining olive oil with salt and pepper, to taste. Layer on the other half of the baking sheet. Bake for approximately 20-24 minutes, until chicken is cooked through. Remove from the oven. (Do not turn off the oven). 

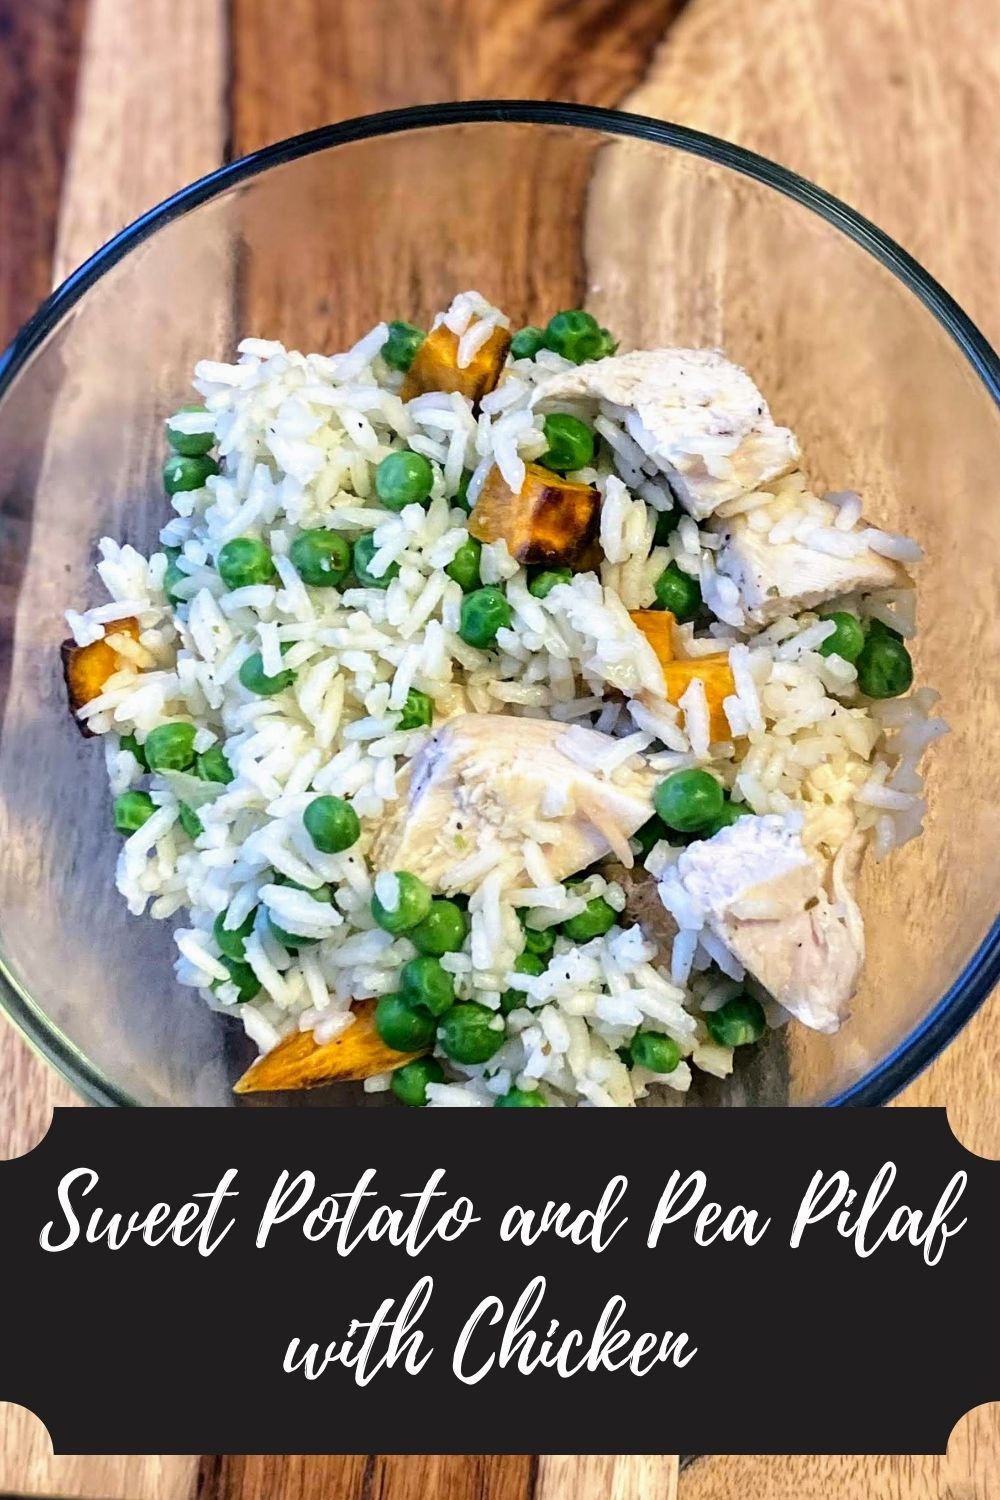
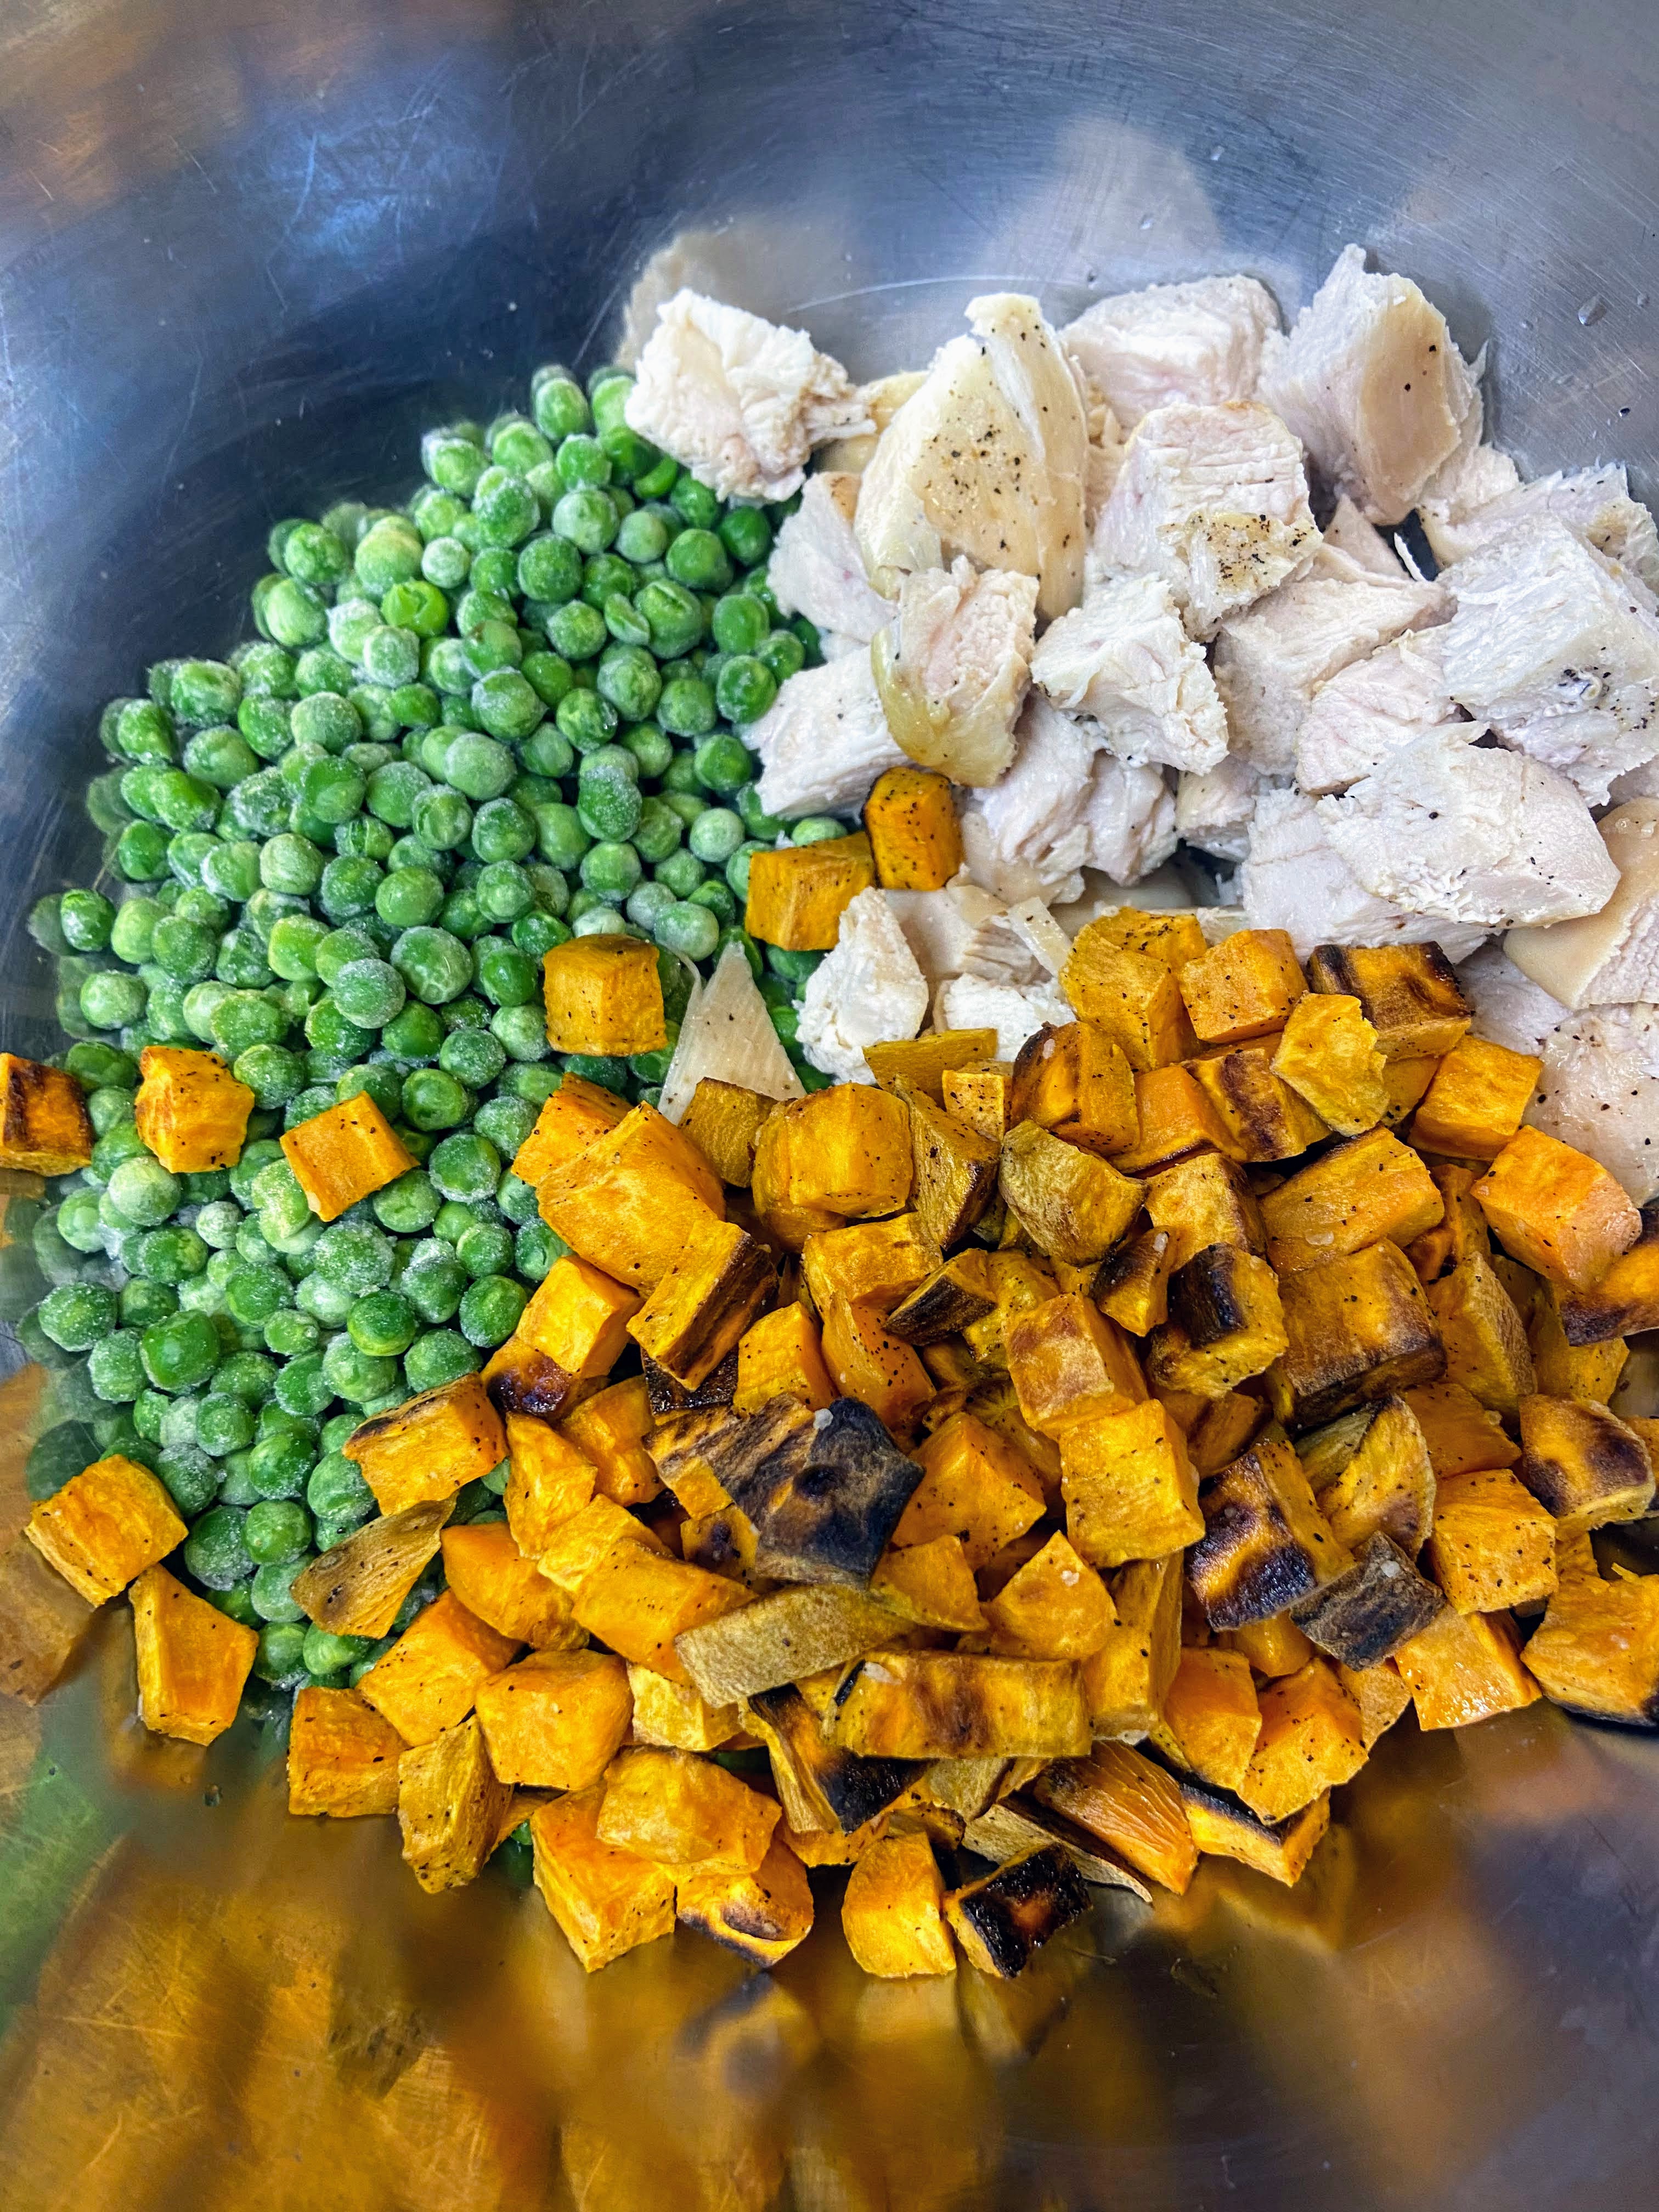
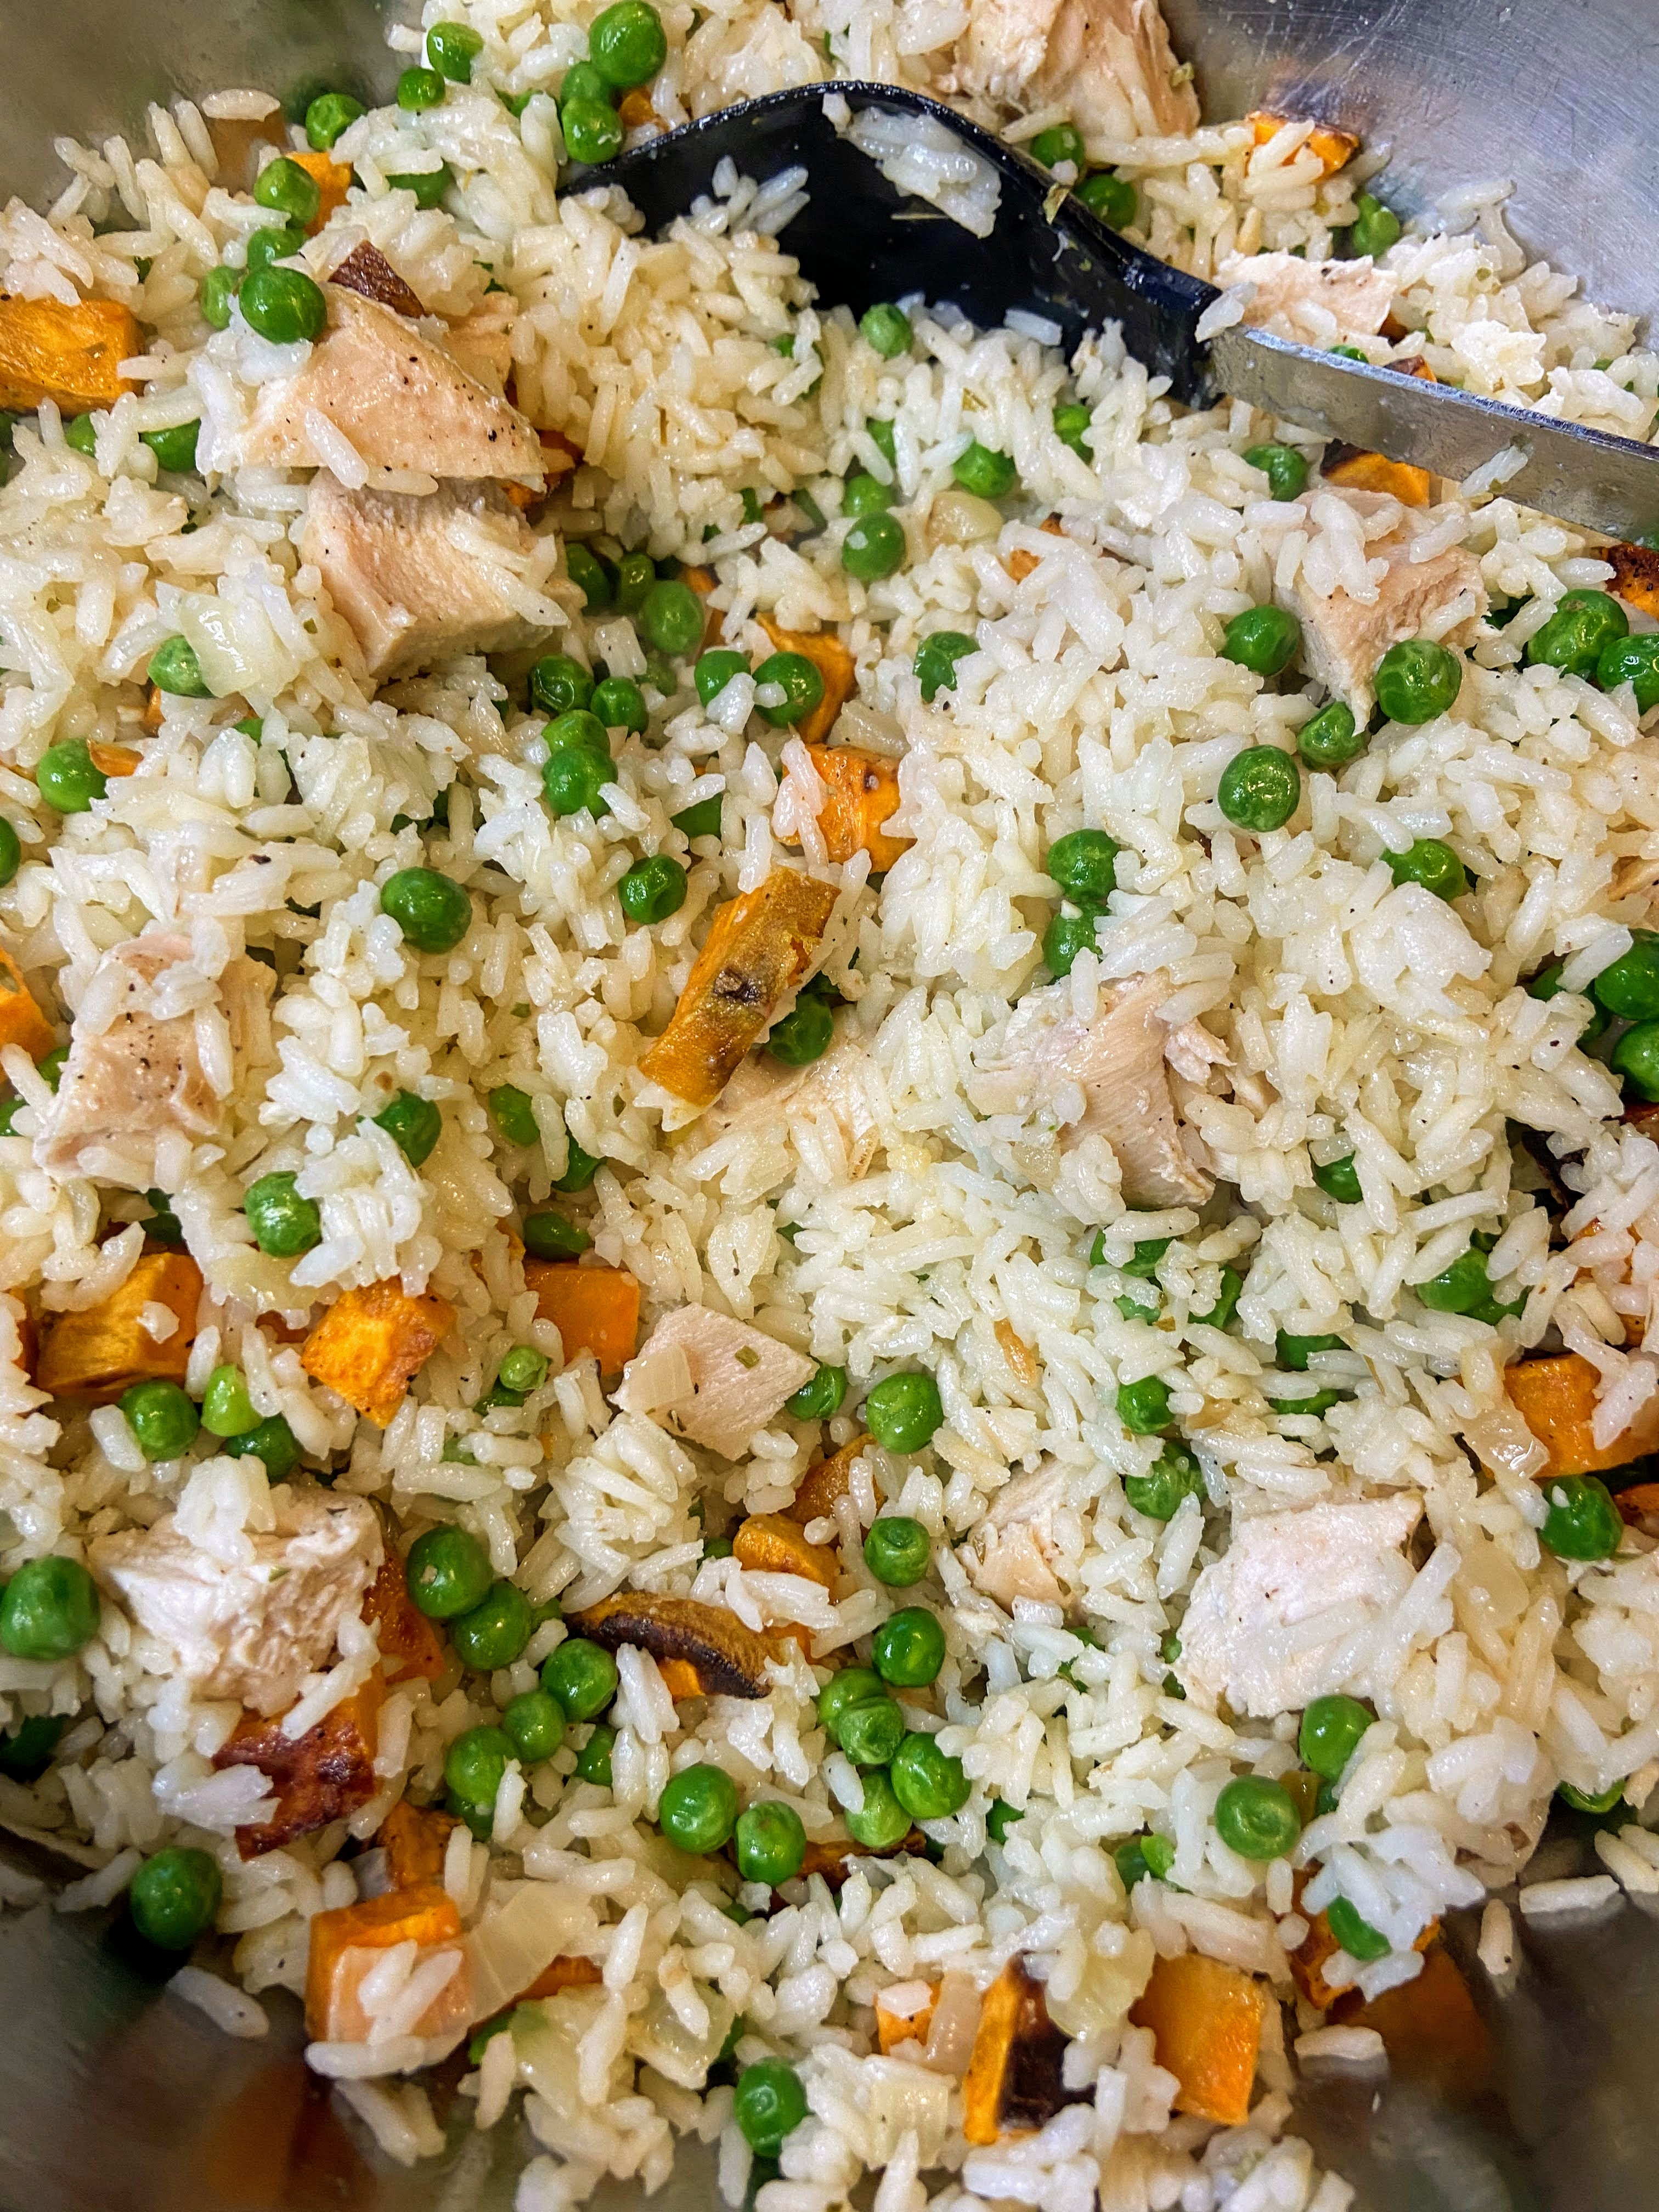
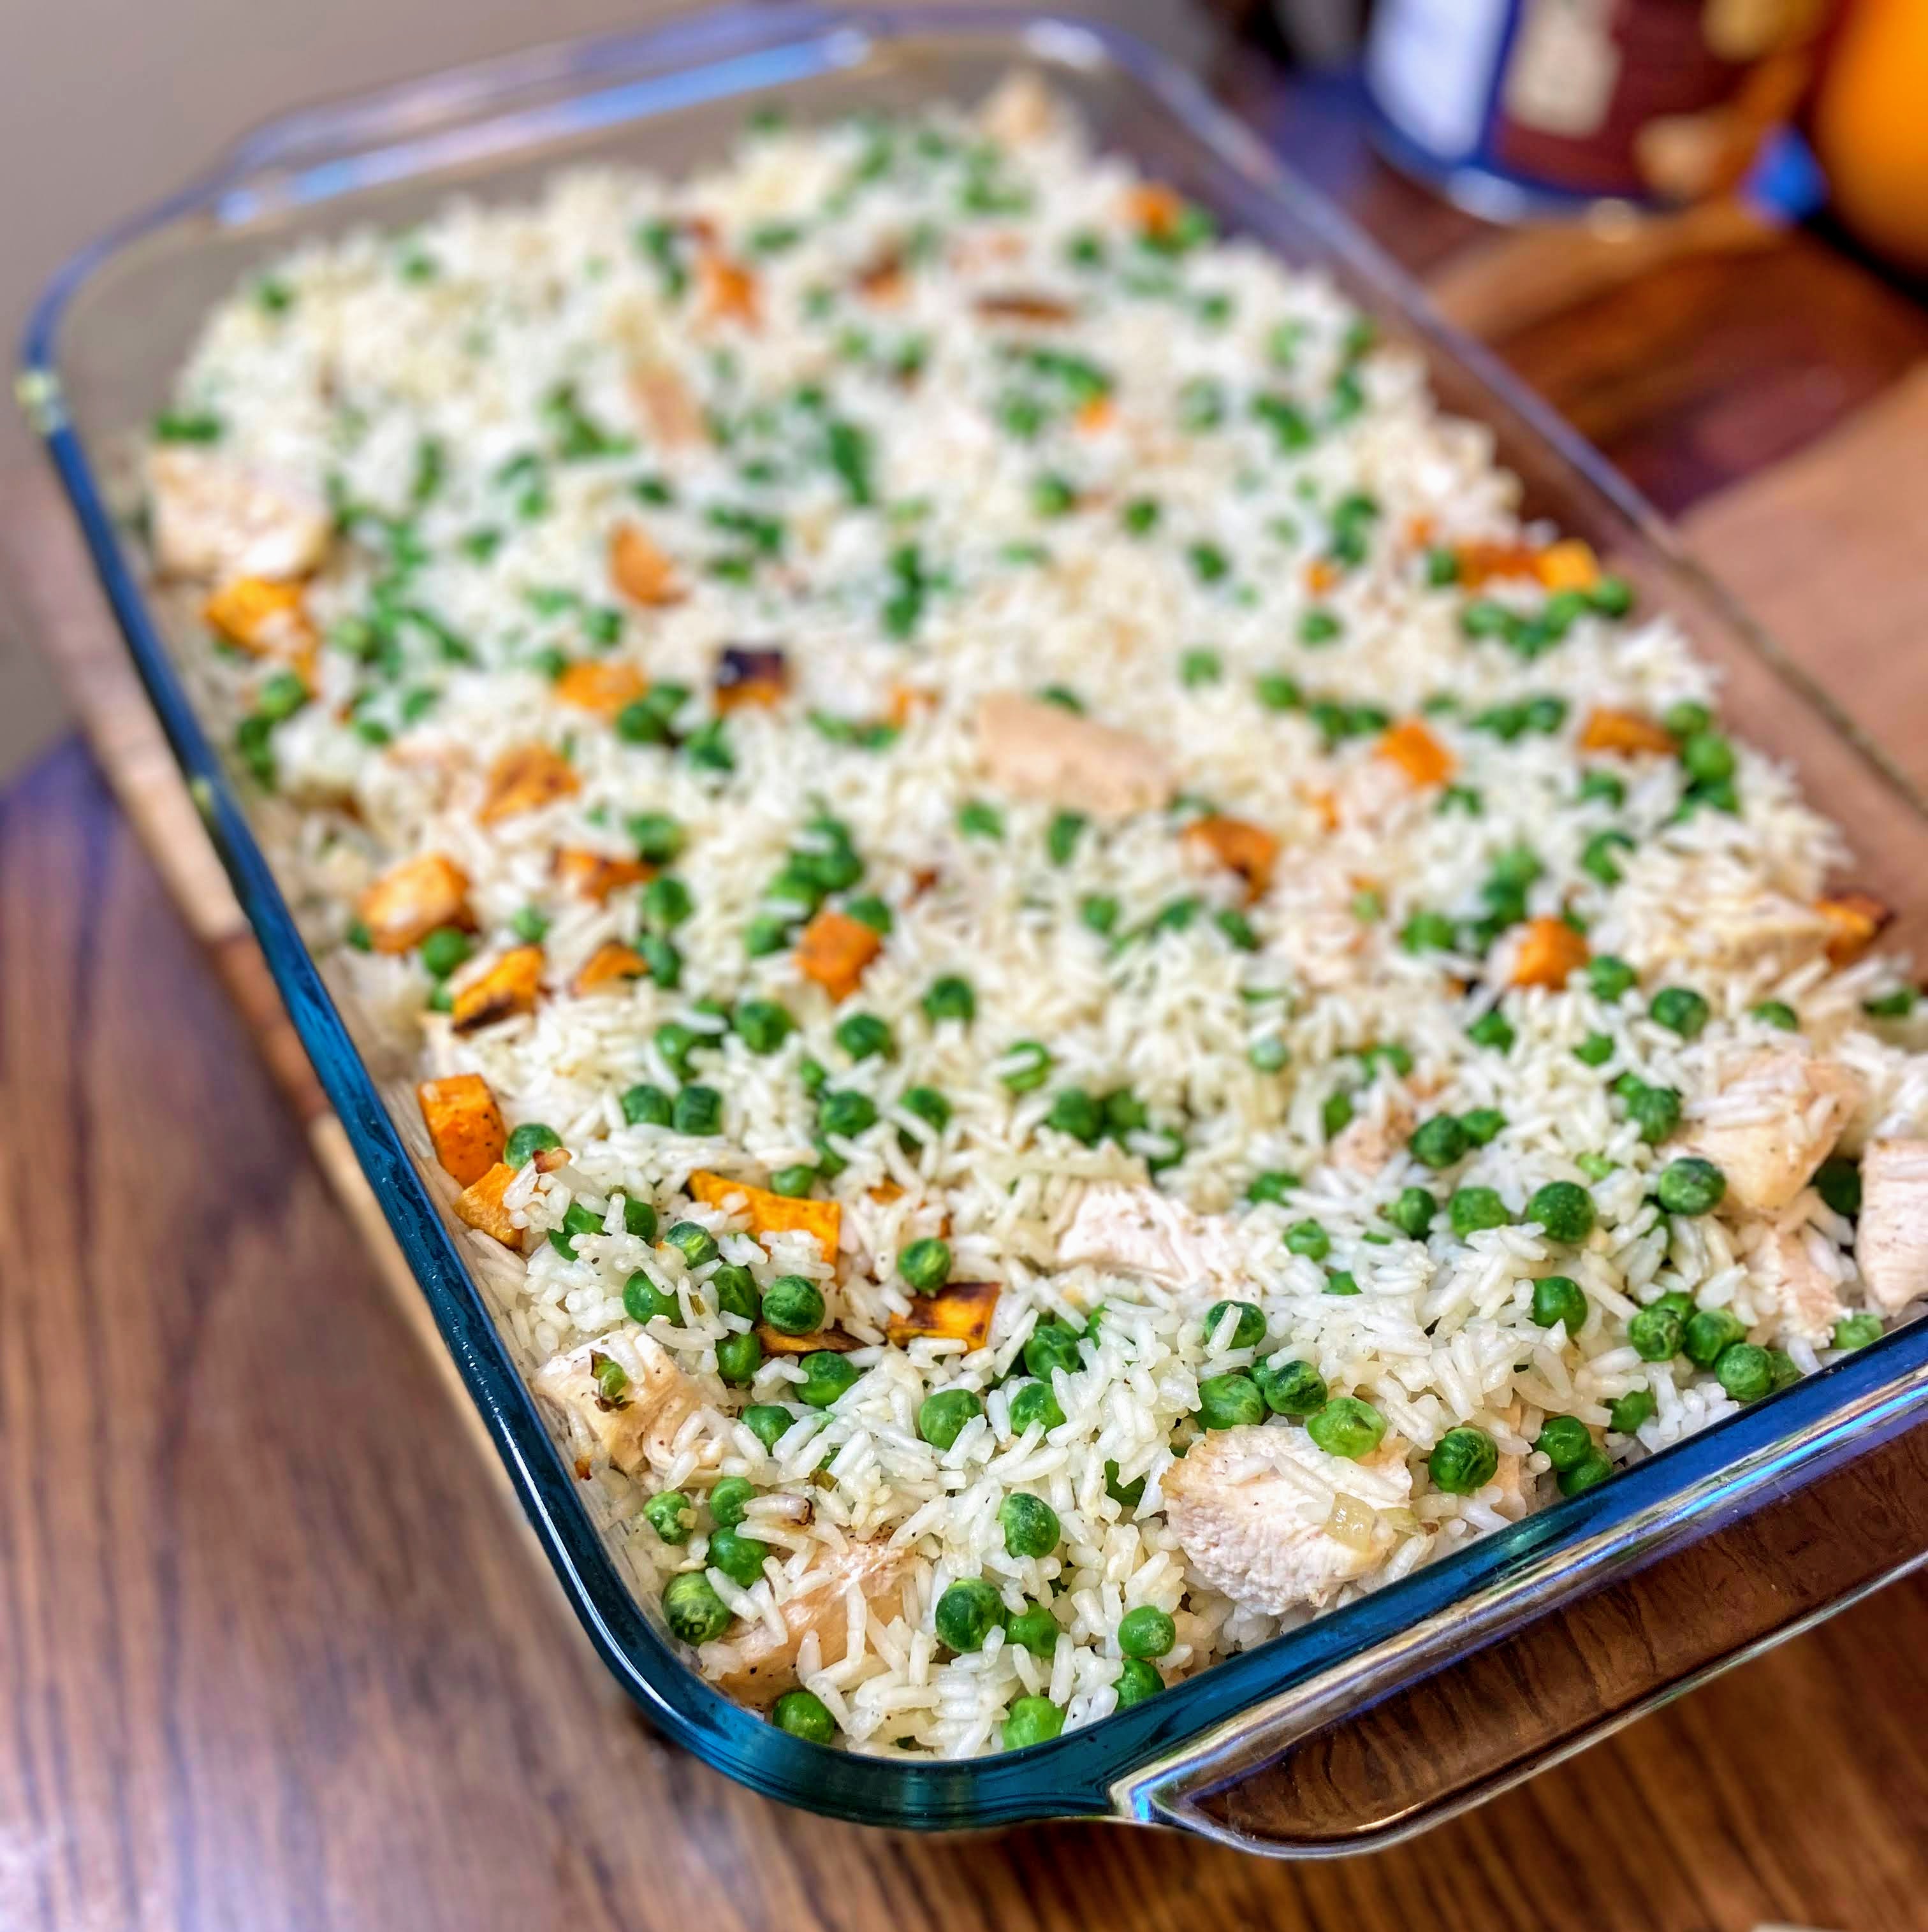
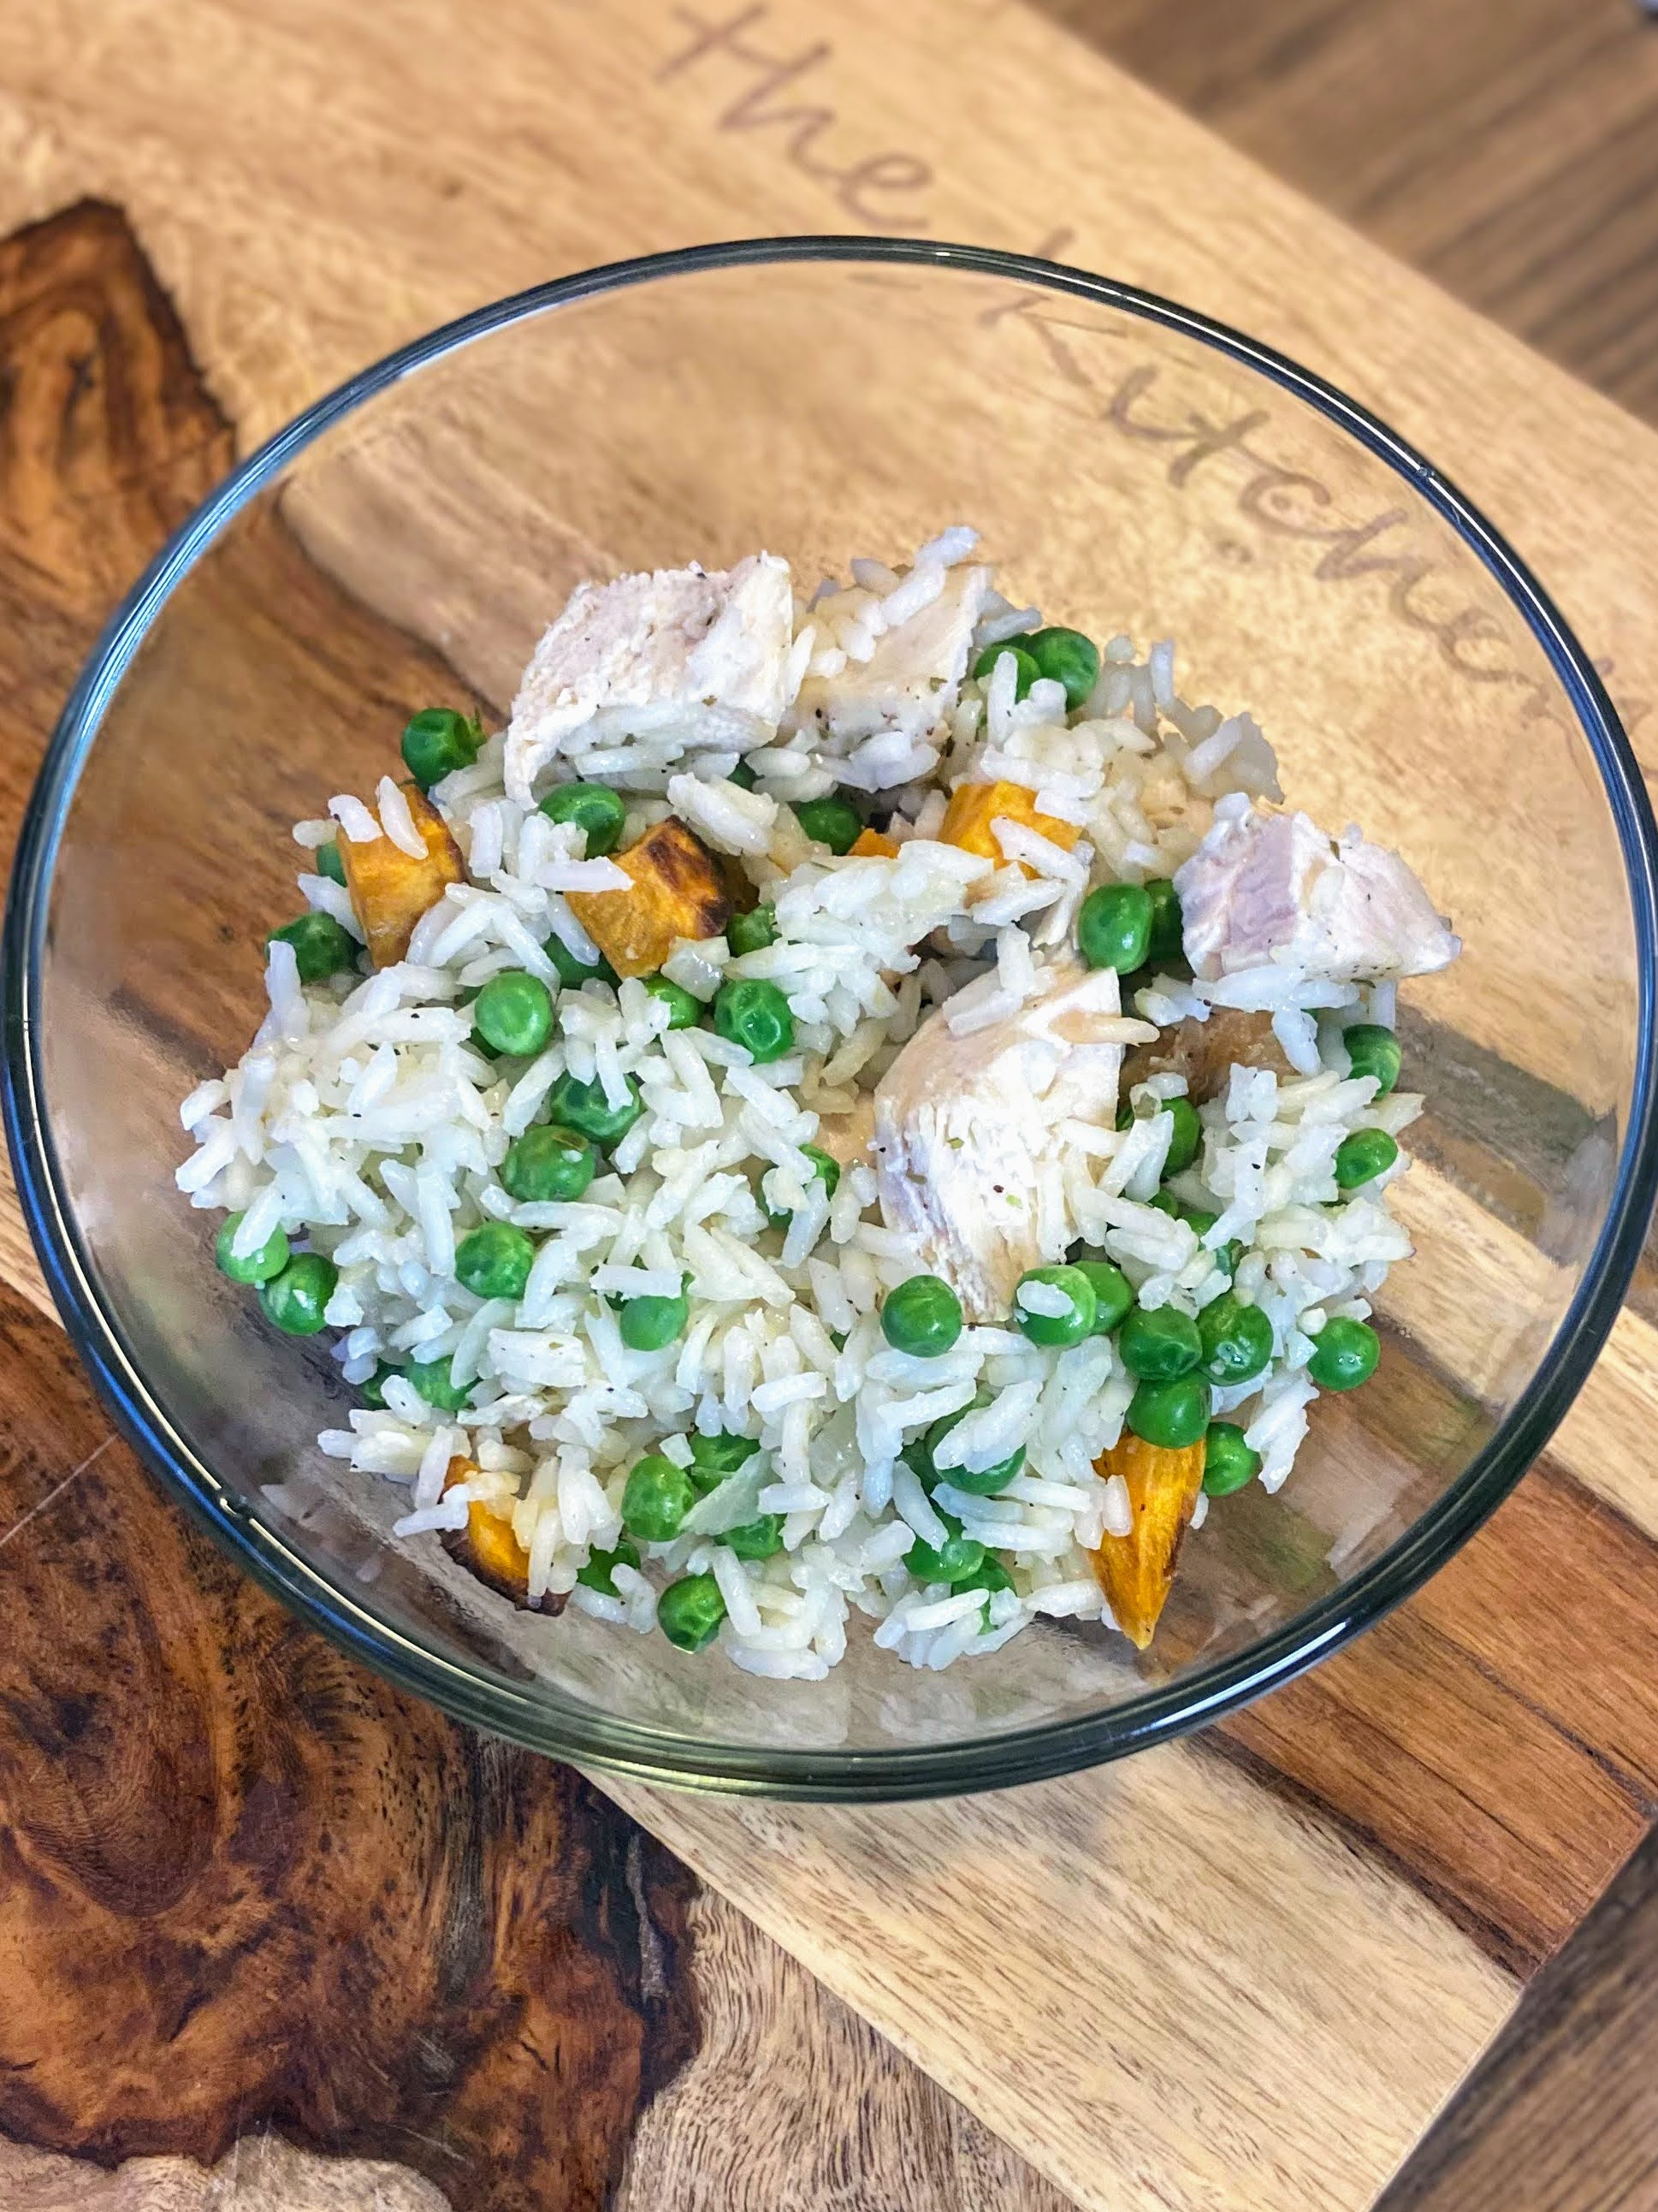
Dice chicken into bite-size pieces. Combine rice mixture, diced chicken and sweet potato and frozen peas. Taste test and see if more salt or pepper is needed. Spread into a greased 9×13 glass baking dish and place in the oven for 10-15 minutes. Serve up hot on its own or with another vegetable side (I don’t think you can ever have enough!) 

Tools of the Trade

You’ve got to love a good Pyrex baking dish and flexible cutting boards are a must!

Looking for some other meal inspiration? The recipes below are some of my favorites! If they don’t scream “make me” I recommend checking out my cooking page!

Sweet Potato and Pea Pilaf with Chicken

Pantry and freezer ingredients combine in this Sweet Potato and Pea Pilaf with Chicken for a simple and delicious complete meal the whole family will enjoy!
Prep Time 25 minutes
Cook Time 15 minutes
Course dinner, Main Course
Cuisine American
Servings 8 people

Ingredients
  

  • tablespoons extra virgin olive oil divided
  • ½ medium yellow onion
  • 1 teaspoon minced garlic
  • 2 cups white basmati rice
  • 1 teaspoon tarragon
  • 3 cups low-sodium chicken broth heated
  • 1 pound chicken breast
  • 1 sweet potato peeled and diced (about 2 ¾ cups)
  • 12 ounces frozen peas about 2 ½ cups
  • Salt and pepper

Instructions
 

  • Heat 1 ½ tablespoons of olive oil in a large saucepan (with a cover) over medium heat until hot. Add onion and garlic.
  • Saute until just softened, about 8 minutes. Add rice and saute, stirring often, until just browned, maybe 3-5 minutes. Watch this carefully for burning.
  • Season with salt, pepper, and tarragon. Add 3 cups of hot stock. Cover lower heat to a simmer. Cook for 10 minutes.
  • Remove the rice from the heat and allow it to sit for an additional 15 minutes, still covered.
  • While the rice is doing its thing, preheat the oven to 425 degrees. Spray a baking sheet with non-stick cooking spray.
  • Season the chicken with salt and pepper on each side and place on one half of the baking sheet.
  • In a small bowl, toss the diced sweet potato with the remaining olive oil with salt and pepper, to taste. Layer on the other half of the baking sheet. Bake for approximately 20-24 minutes, until chicken is cooked through. Remove from the oven. (Do not turn off the oven).
  • Dice chicken into bite-size pieces.
  • Combine rice mixture, diced chicken and sweet potato and frozen peas.
  • Taste test and see if more salt or pepper is needed. Spread into a greased 9×13 glass baking dish and place in the oven for 10-15 minutes.
Keyword Brown Rice, chicken, peas, sweet potato
Tried this recipe?Let us know how it was!

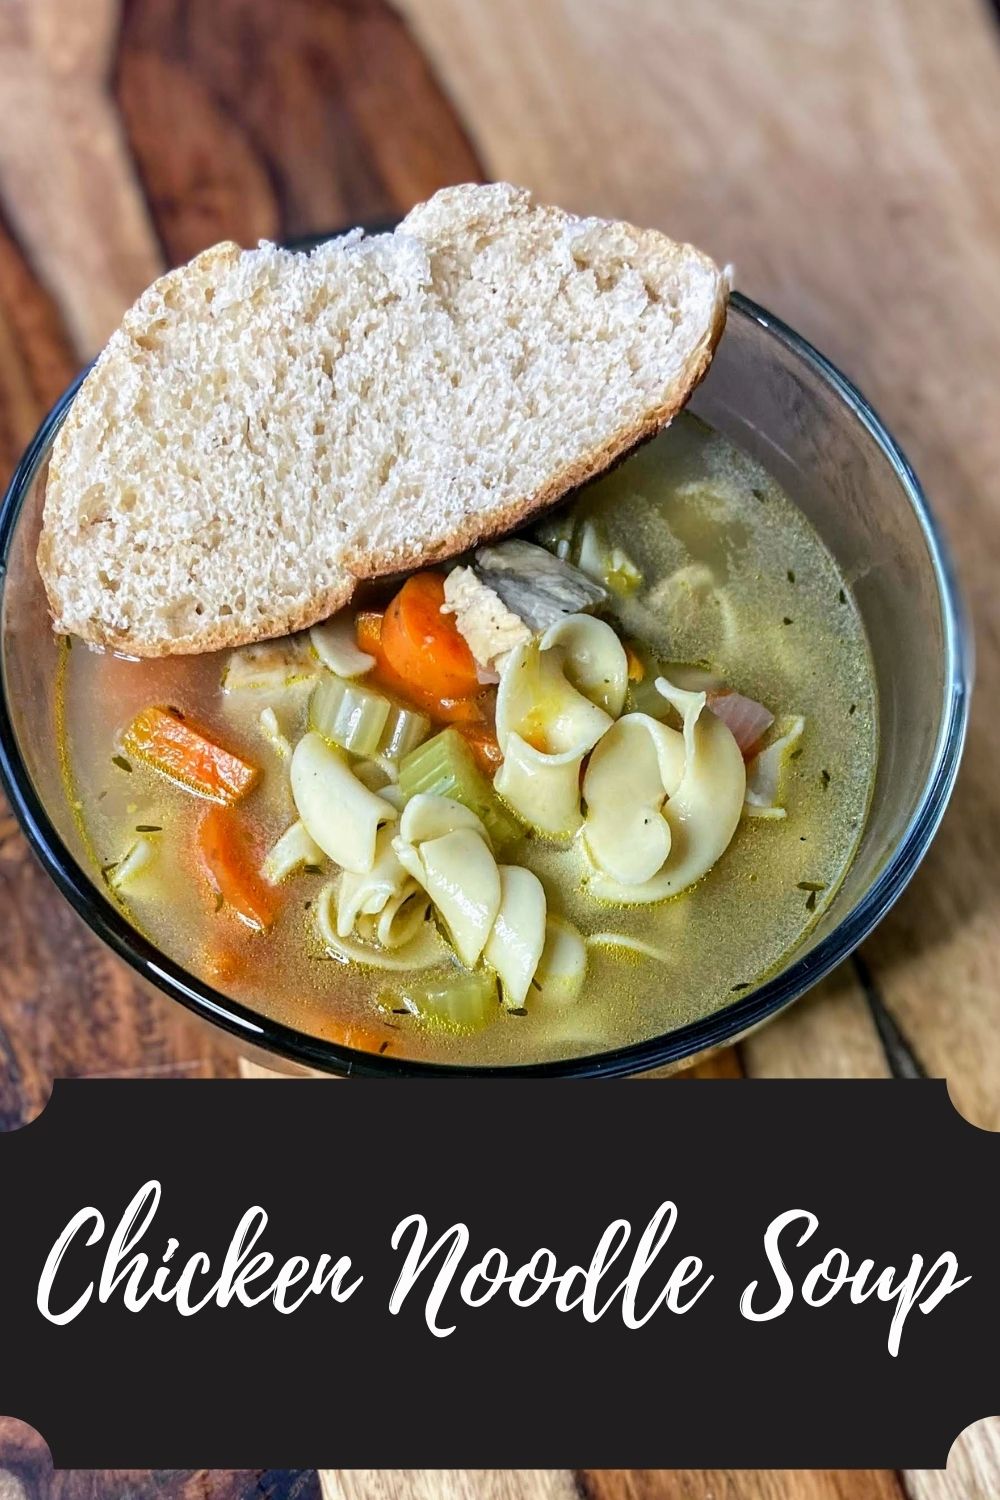
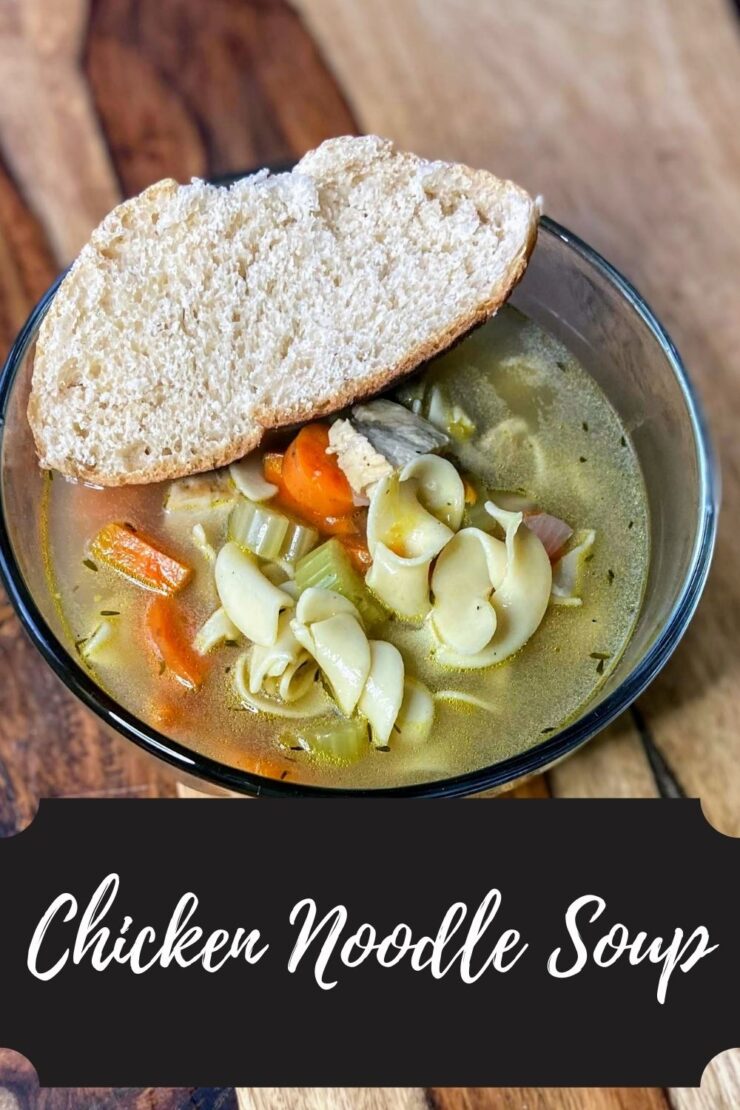
Chicken Noodle Soup

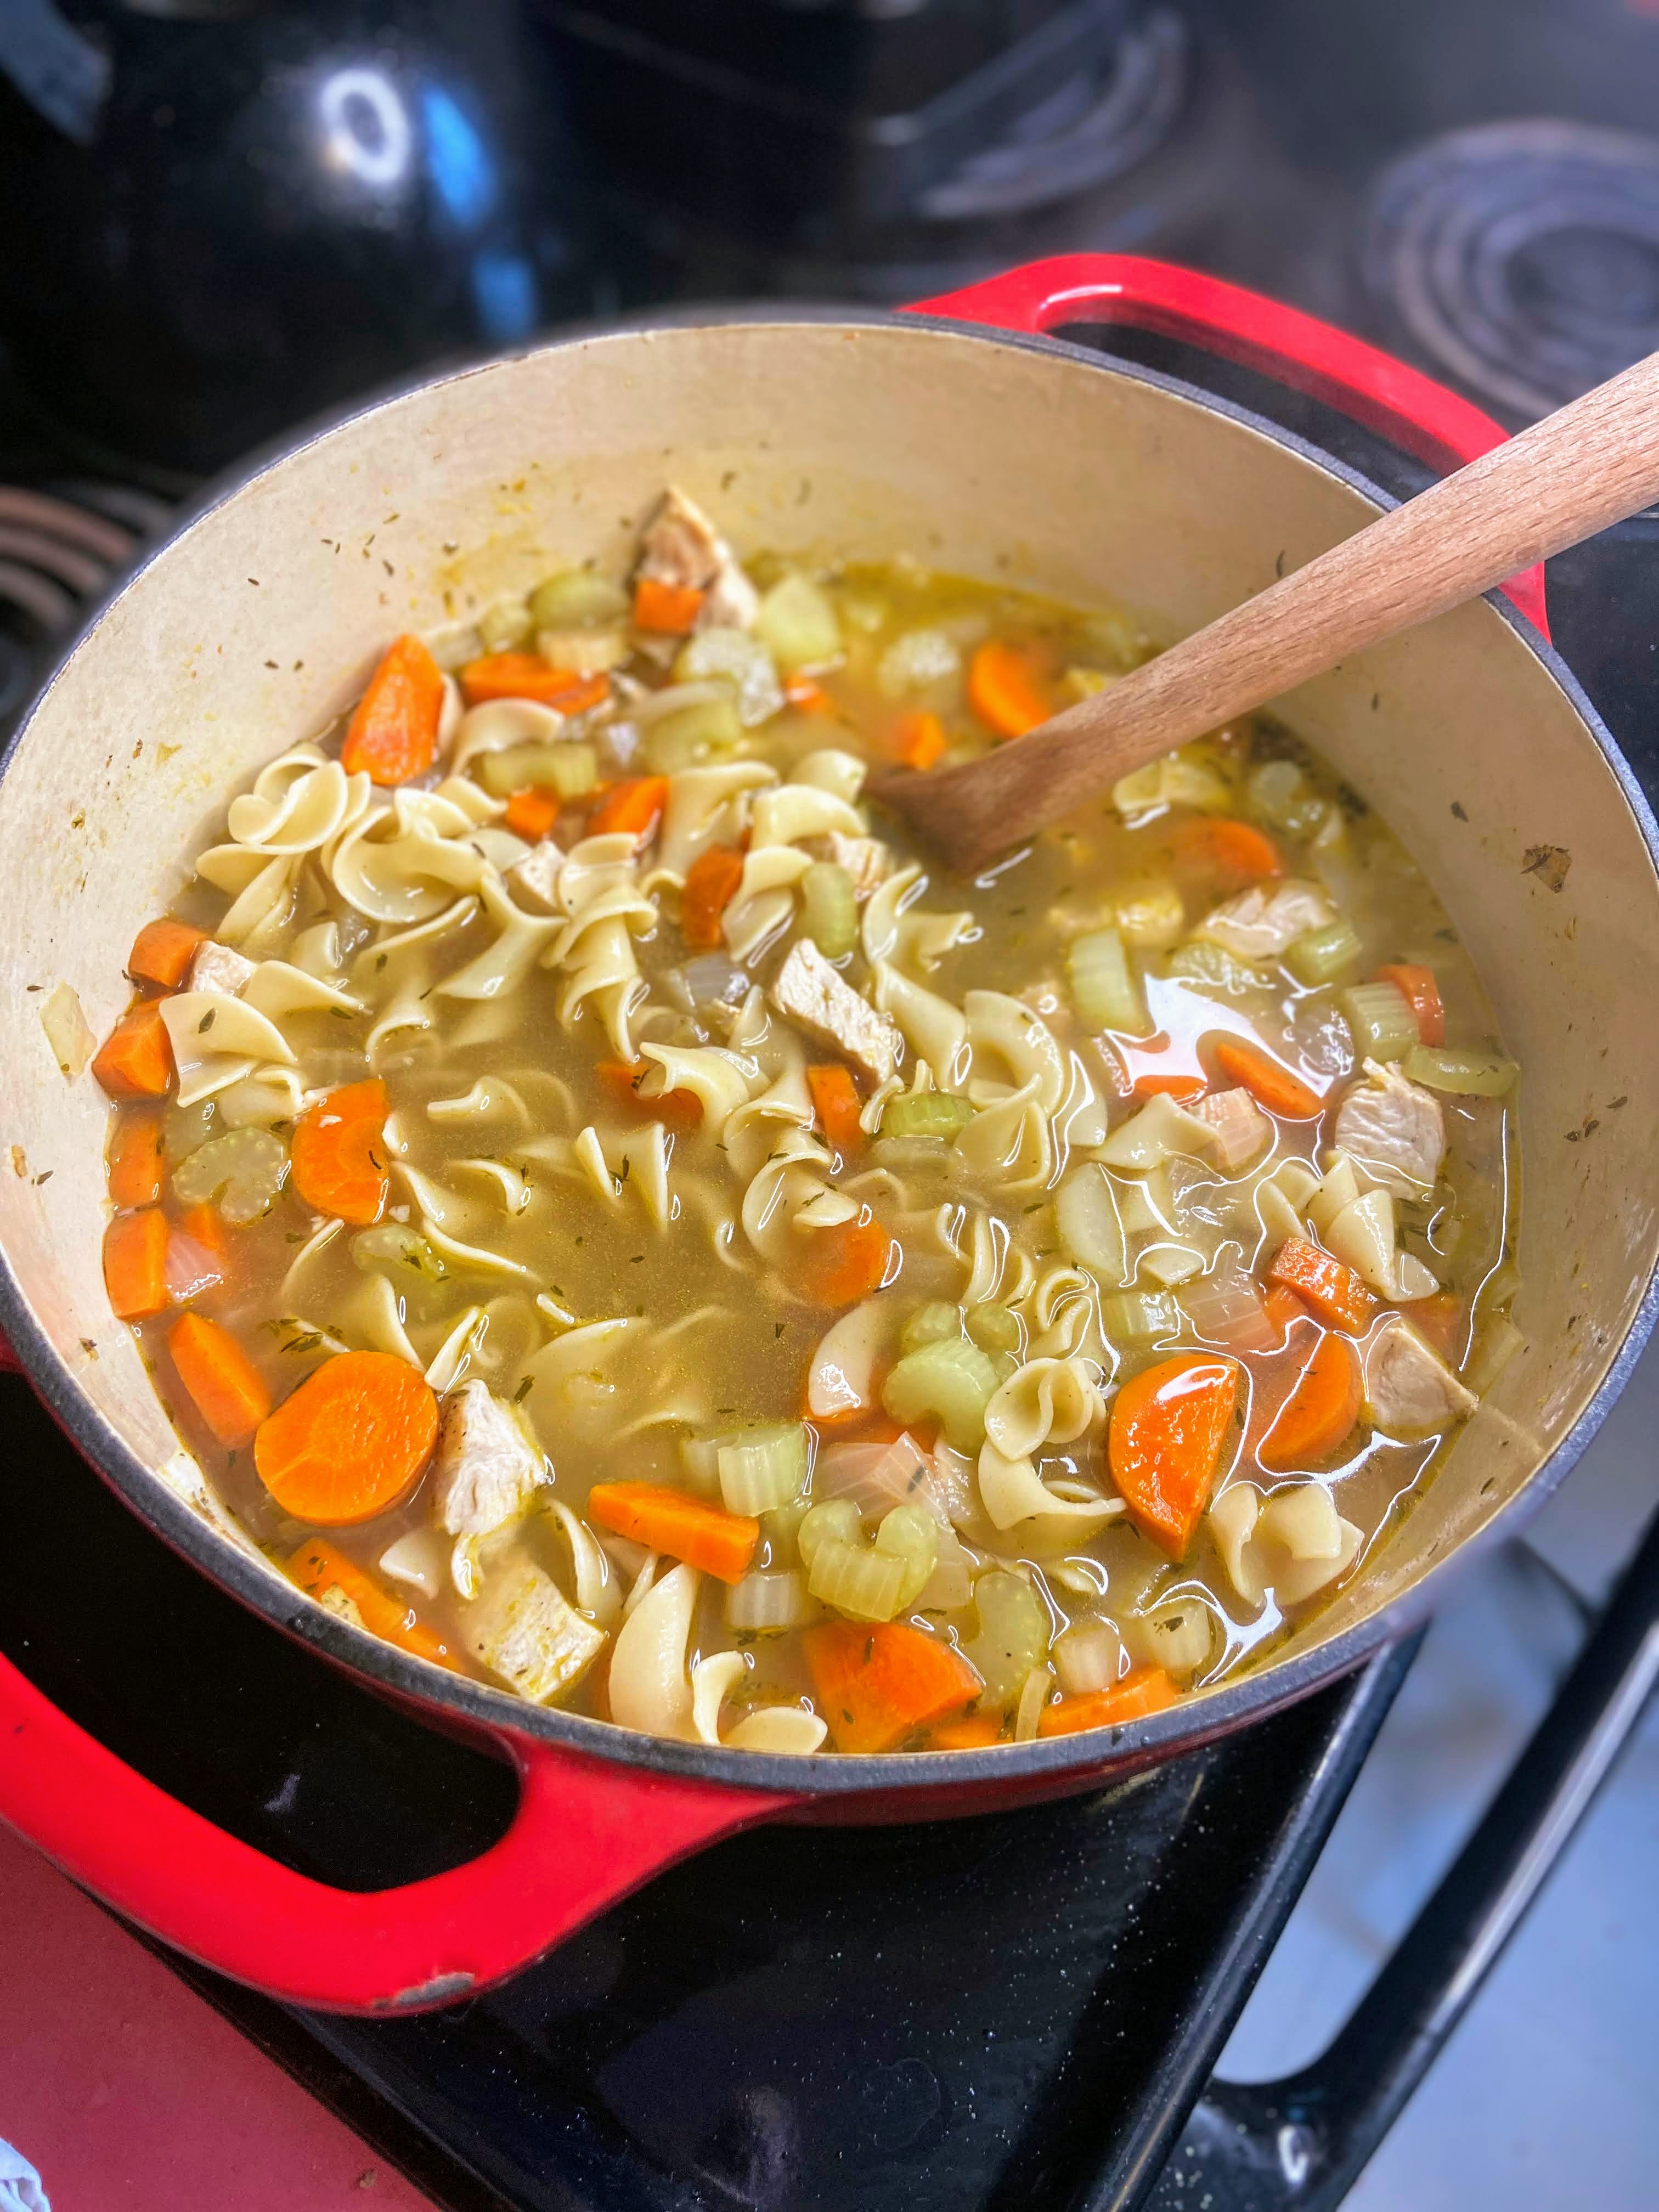
I have tried to write down my chicken noodle soup recipe countless times. I would start chopping the vegetables, cooking the chicken. The next step is grabbing the measuring cups and spoons so I could get exact measurements. The thing is, I couldn’t get to that step. I don’t measure when I make chicken noodle soup; it’s a “go by feel” kind of thing. Everytime I tried to measure, it was painful. Couldn’t do it. 

Then a friend of mine said she usually doesn’t measure, but she finally wrote it down, in her own handwriting, so that her kids would have it and would be able to duplicate it if/when she was gone. 

That hit me hard. Chicken noodle soup is my son’s favorite meal. He has had it for his birthday meal countless times (I mean, he’s only eleven, but I can’t tell you how many times he asked for it, so I am calling it countless. HA!) What if he wanted to make my soup and could never get it right? I had to write it down. 

Also, what kind of comfort food food blogger would I be if I didn’t have chicken noodle soup on my blog? Especially one that declares soup one of her favorite meals? And so, here it is! I ACTUALLY measured everything. I taste tested. My son double checked it all and gave it two thumbs up. I hope you love it as much as we do! 

Let’s get cooking! 

Your Ingredients for Chicken Noodle Soup

  • 1 pound cooked chicken (about 2 ½ cups), cubed or shredded 
  • 1 tablespoon olive oil 
  • 2 ½ cups chopped carrots (about 2-3 large) 
  • 2 ½ cups chopped celery (about 3-4 stalks)
  • 1 ½ cups chopped onion (about 1 large) 
  • ¾ teaspoon pepper 
  • ½ – 1 teaspoon salt, to taste
  • ¾ teaspoon thyme
  • 2 teaspoons minced garlic 
  • 6 cups chicken stock, see note
  • 4-6 cups water, see note
  • 1-2 teaspoons broth base and seasoning (I ADORE Orrington Farms), optional, see note
  • 3 cups egg noodles 

A couple notes before you get started

A couple notes before you get started

  • The chicken I use depends on my time. Sometimes I cook a couple breasts in a cast iron pan, starting on the stove and then putting it in the oven at 400 degrees until cooked to 165 degrees. If I have more time and bone in chicken, I will make stock while cooking the chicken.  
  • To make a stock, cover the chicken with water in a stockpot. Add a stalk of celery, a carrot, and an onion, all quartered. Add some pepper, salt, and a clove or two of garlic. Bring it to a boil and then lower to a simmer, cooking until the chicken is cooked through. Strain out vegetables and chicken. Skim off the foam. Broth can be used right away or frozen for later! That’s what I used in this recipe. Allow the chicken to cool, peel off the skin and shred chicken.
  • I love Orrington Farms Broth Base and Seasoning because I can control the flavor and sodium in my stock. Depending on the stock you use (homemade or from a box), you will have a different depth of flavor. This allows you to add a little more if needed. You can totally use a cube of bouillon or whatever you favorite broth base is. The bottom line is this for you to find YOUR taste. 
  • About the water: The egg noodles will absorb liquid as the soup sits. If you are serving the chicken noodle soup right after you finish cooking it, stick with the 4 cups of water. If you are meal prepping and serving it a day or two later, you will likely have to add an additional cup or two, depending on how you like your soup. You do you friend.

Your Steps To Homemade Chicken Noodle Soup 

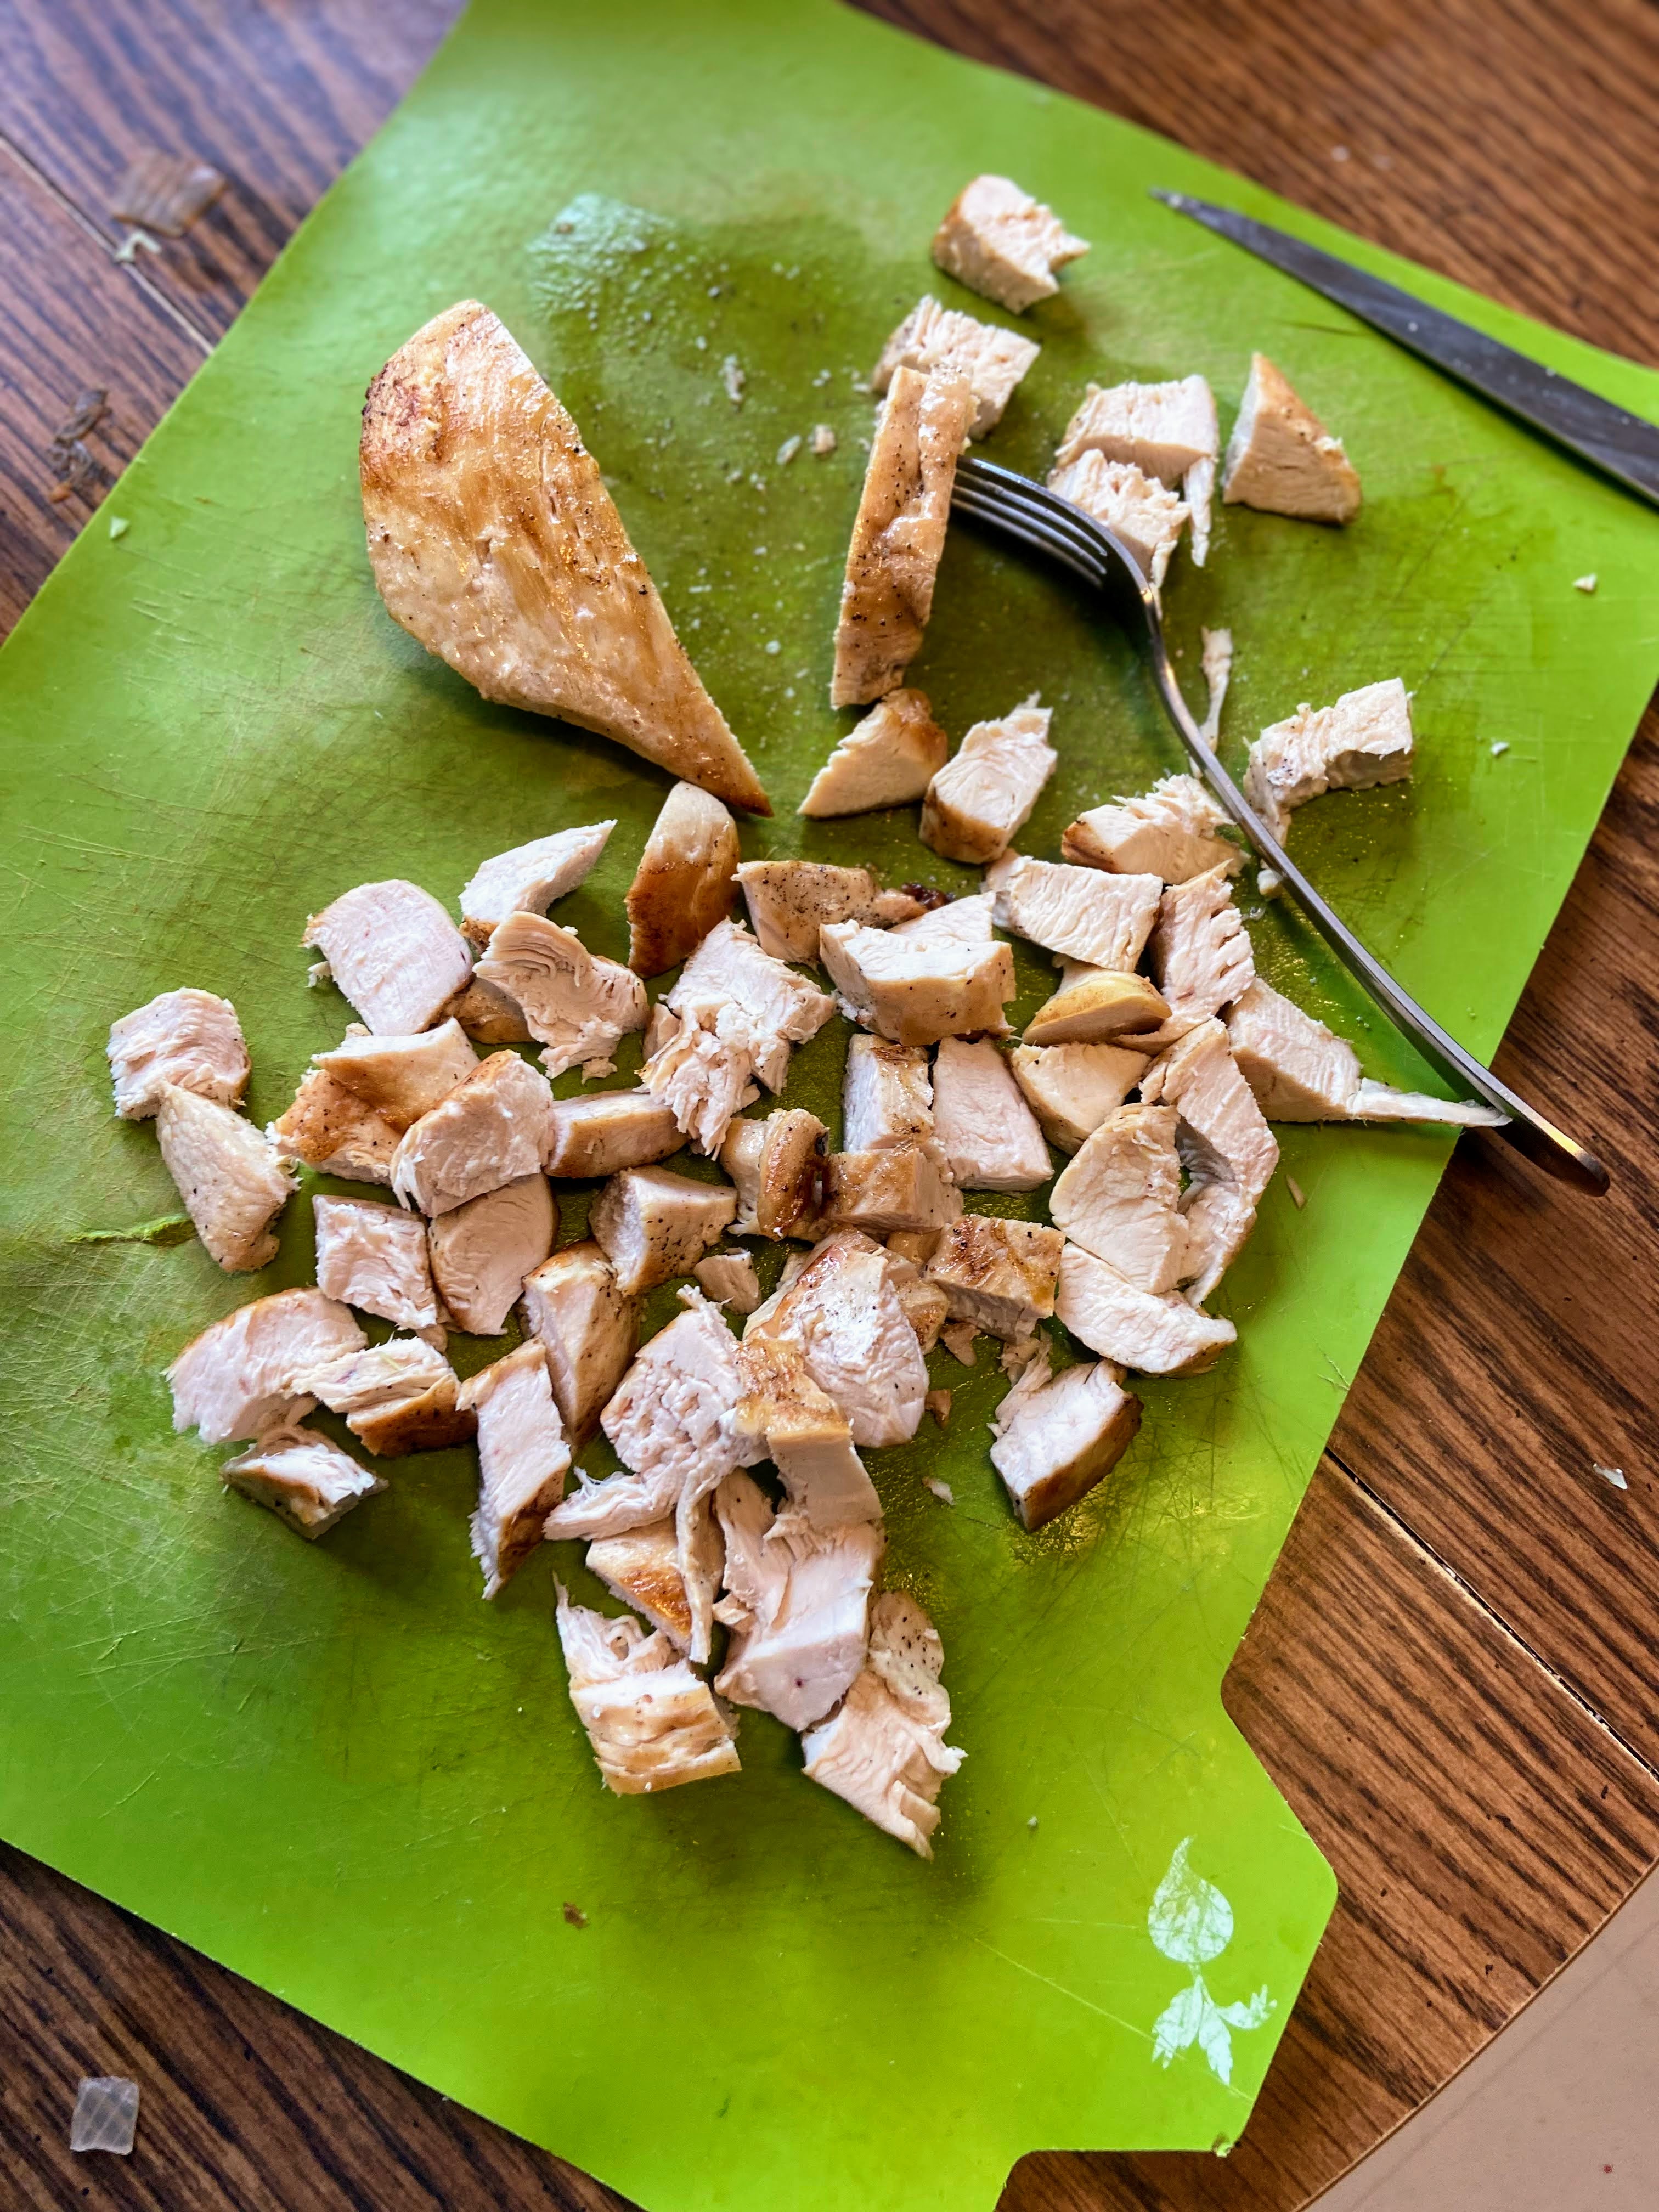
If you have not already, begin with cooking the chicken you plan on using. Short on time? Season a couple chicken breasts with salt and pepper. Heat an oven safe pan over medium heat with ½ tablespoon olive oil. Once hot, add chicken. Flip after 5 minutes, searing both sides. Once done, stick in a 400 degree oven, cooking until 165 degrees, about 14 minutes. Once cooked, cube it up and set aside. Alternatively, you could pick up a rotisserie chicken and measure 2 ½ cups of meat. (If you do this, DO NOT throw the bones away. Make a stock for later!

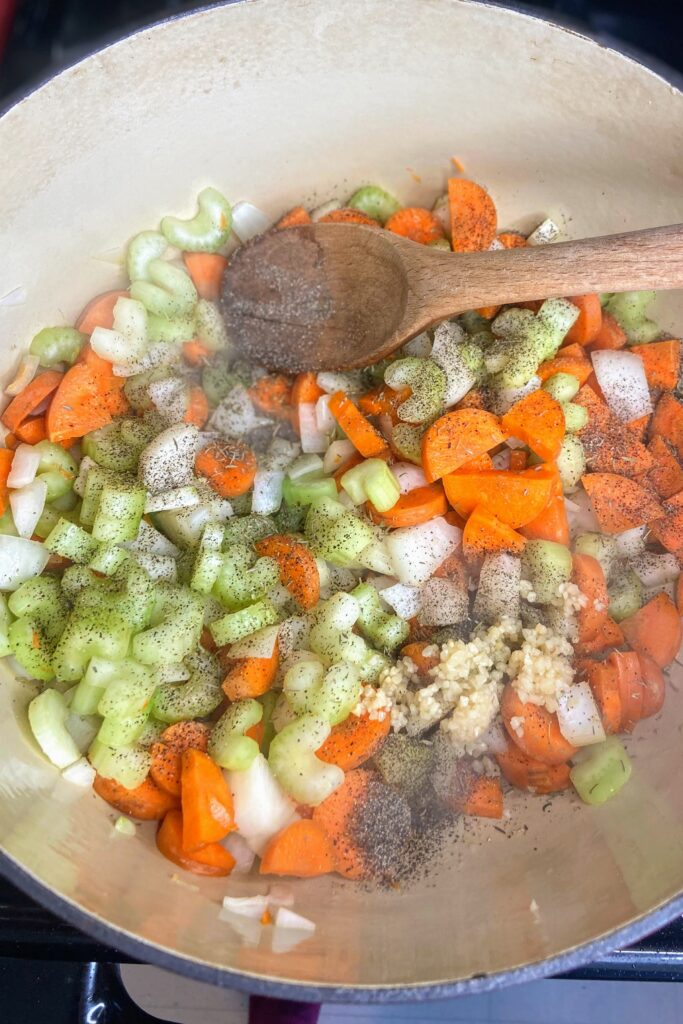
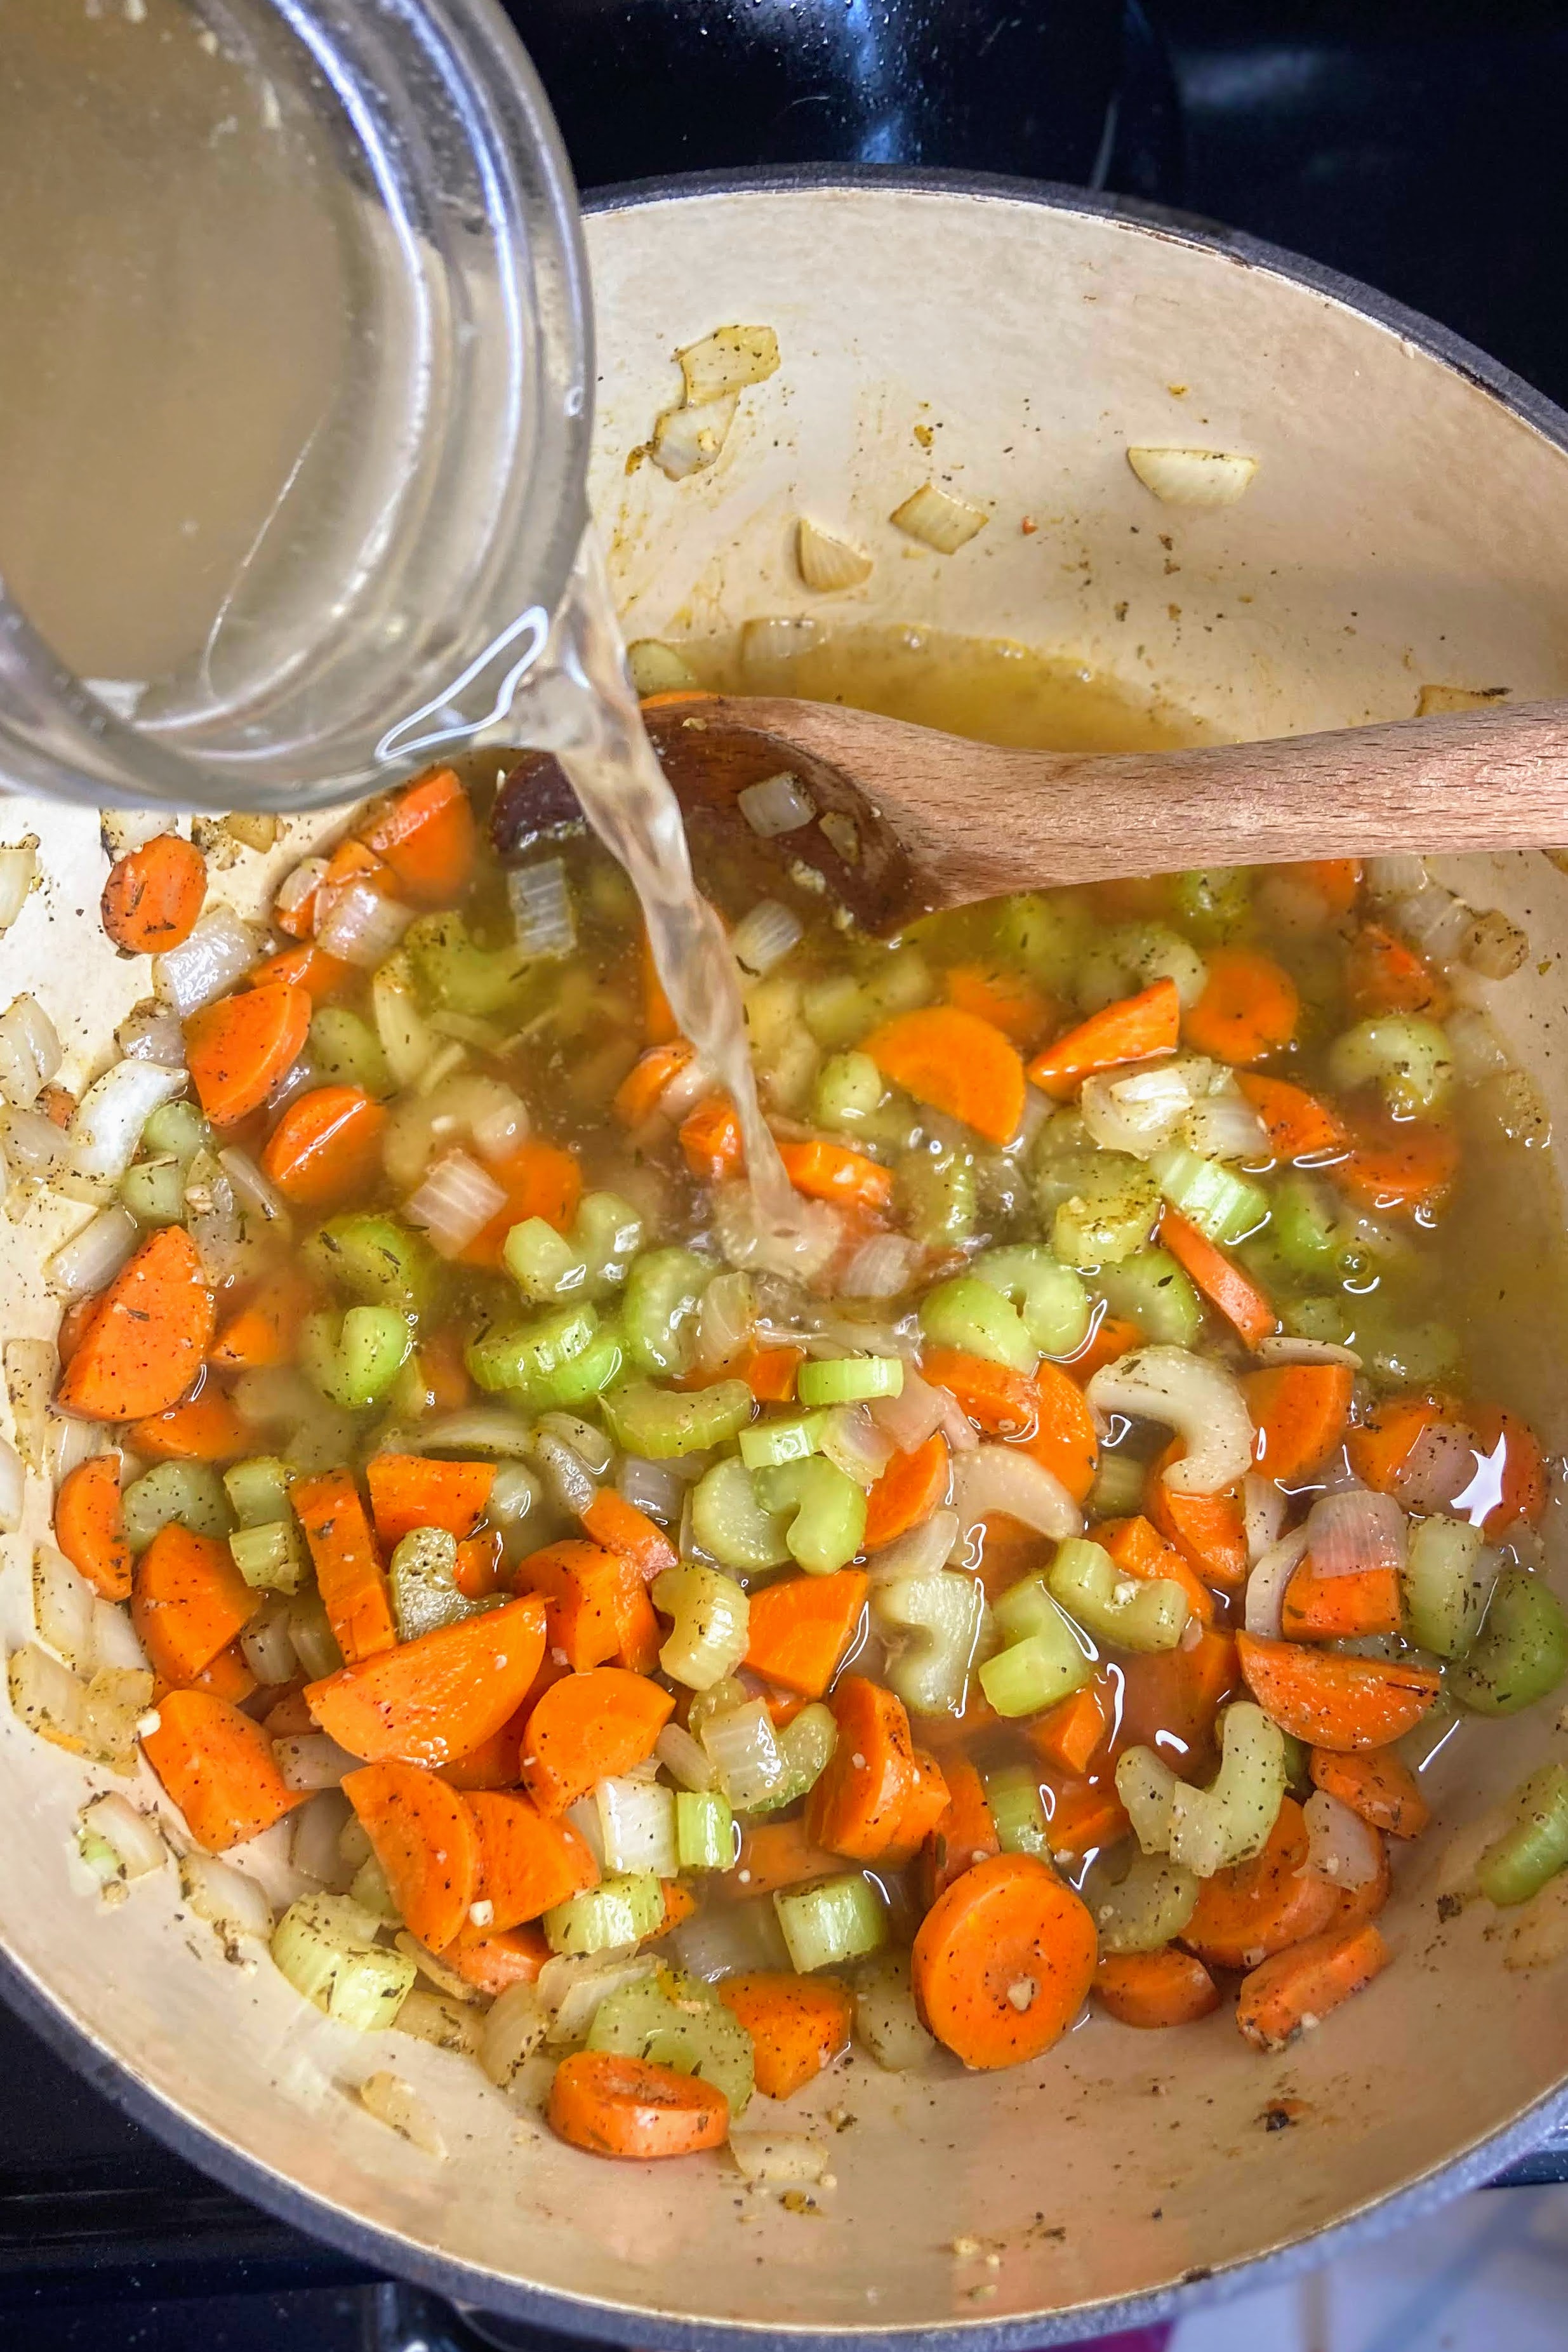
Meanwhile, heat olive oil in a soup kettle (I dig The Lodge Cast Iron Dutch Oven) over medium heat. Once hot, add carrots, celery, and onion. Season with pepper, thyme, and garlic. Cook over medium heat until softened, about 10 minutes, stirring often. Season with ½ teaspoon salt. Stir in chicken stock, 4 cups of water, and chicken. Increase the heat, bringing to a boil. Add egg noodles, lower the heat to medium and cook for seven minutes, cooking noodles to al dente. 

Almost there!

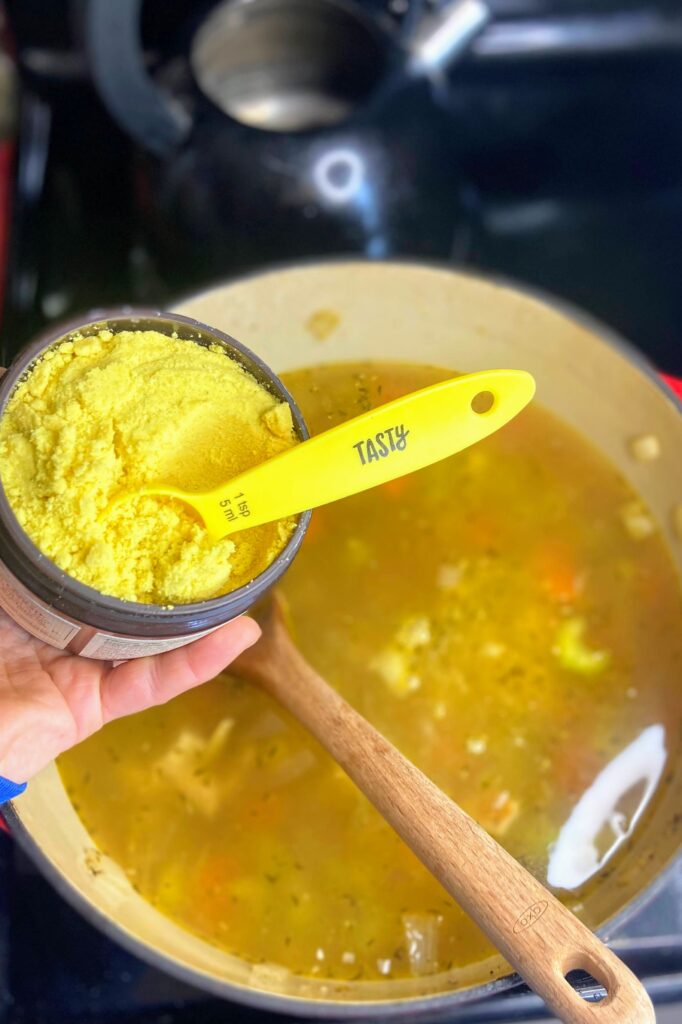
At this point, give the soup a taste. If you want more salt and chicken flavor, add the broth base, 1 teaspoon at a time. I also like to check the pepper level here but know that pepper sinks in the soup. If you add too much, the end of the soup kettle will be on the peppery side. 

Again, the noodles will absorb liquid over time. If you are serving this soup right away, 4 cups of water should be perfect. If you are serving it hours later or the next day, be prepared for a thicker soup. You may want to add that additional water. 

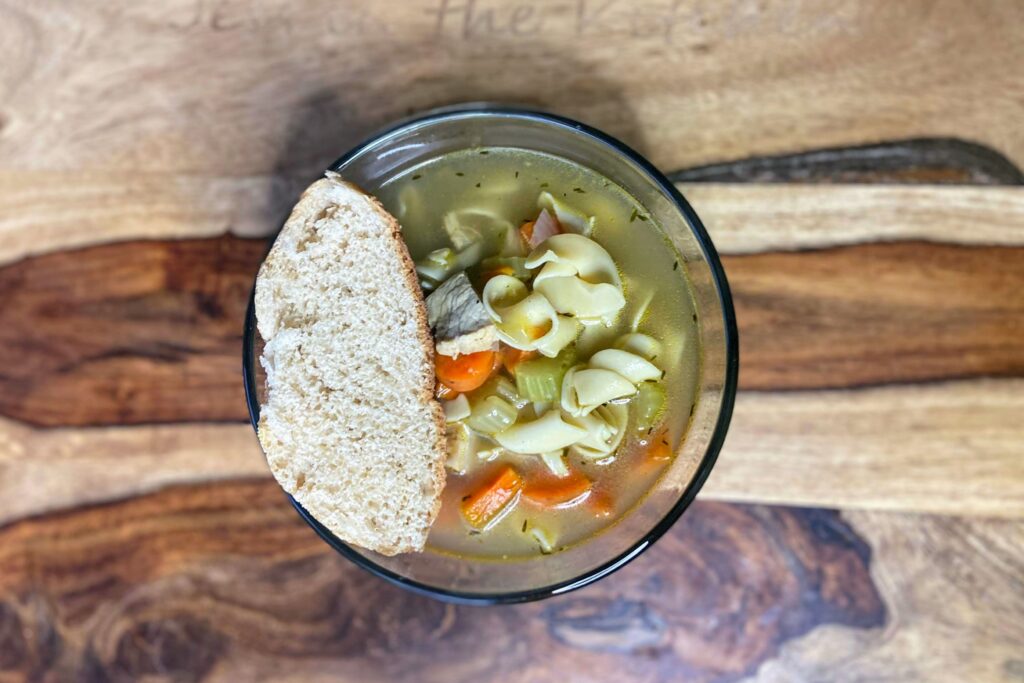
I am a firm believer that a good kettle of soup should be served with a salad (I love my homemade french dressing!) and sourdough bread (get the details here!). It hard to get something better 💕

Tools of the Trade

I keep all the flavors of Orrington Farms broth base on hand. It keeps well and allows me to season my soups and stews with just the right amount of flavor.

parts is that they go from stove top to oven so easy and you can even bake bread in them! And

And my flexible cutting boards are a go to item in the kitchen. If I am shopping for a wedding registry, I will buy them even the couple doesn’t have it on the list because I figure they just must not know how wonderful they are!

Chicken Noodle Soup

A classic soup recipe that will keep everyone coming back for seconds (and thirds!)
Prep Time 10 minutes
Cook Time 20 minutes
Course Soup
Cuisine American
Servings 8

Ingredients
  

  • 1 pound cooked chicken about 2 ½ cups, cubed or shredded
  • 1 tablespoon olive oil
  • 2 ½ cups chopped carrots about 2-3 large
  • 2 ½ cups chopped celery about 3-4 stalks
  • 1 ½ cups chopped onion about 1 large
  • ¾ teaspoon pepper
  • ½ – 1 teaspoon salt to taste
  • ¾ teaspoon thyme
  • 2 teaspoons minced garlic
  • 6 cups chicken stock see note
  • 4-6 cups water see note
  • 1-2 teaspoons broth base and seasoning optional, see note
  • 3 cups egg noodles

Instructions
 

  • Heat olive oil in a soup kettle over medium heat.
  • Once hot, add carrots, celery, and onion. Season with pepper, thyme, and garlic.
  • Cook over medium heat until softened, about 10 minutes, stirring often.
  • Season with ½ teaspoon salt. Stir in chicken stock, 4 cups of water, and chicken.
  • Increase the heat, bringing to a boil.
  • Add egg noodles, lower the heat to medium and cook for seven minutes, cooking noodles to al dente.
  • Check the flavor profile of your soup. If needed, add broth base or bouillon, 1 teaspoon or cube at a time. Add additional pepper to taste.

Notes

  • The chicken I use depends on my time. Sometimes I cook a couple breasts in a cast iron pan, starting on the stove and then putting it in the oven at 400 degrees until cooked to 165 degrees. If I have more time and bone in chicken, I will make stock while cooking the chicken.  You could also shorten time by using a rotisserie chicken and shredding the meat, discarding the skin.  
  • To make a stock, cover the chicken with water in a stockpot. Add a stalk of celery, a carrot, and an onion, all quartered. Add some pepper, salt, and a clove or two of garlic. Bring it to a boil and then lower to a simmer, cooking until the chicken is cooked through. Strain out vegetables and chicken. Skim off the foam. Broth can be used right away or frozen for later! That’s what I used in this recipe. Allow the chicken to cool, peel off the skin and shred chicken.
  • I love Orrington Farms Broth Base and Seasoning because I can control the flavor and sodium in my stock. Depending on the stock you use (homemade or from a box), you will have a different depth of flavor. This allows you to add a little more if needed. You can totally use a cube of bouillon or whatever you favorite broth base is. The bottom line is this for you to find YOUR taste. 
  • About the water: The egg noodles will absorb liquid as the soup sits. If you are serving the chicken noodle soup right after you finish cooking it, stick with the 4 cups of water. If you are meal prepping and serving it a day or two later, you will likely have to add an additional cup or two, depending on how you like your soup. 
Keyword chicken, chicken noodle, soup, soups and stews
Tried this recipe?Let us know how it was!

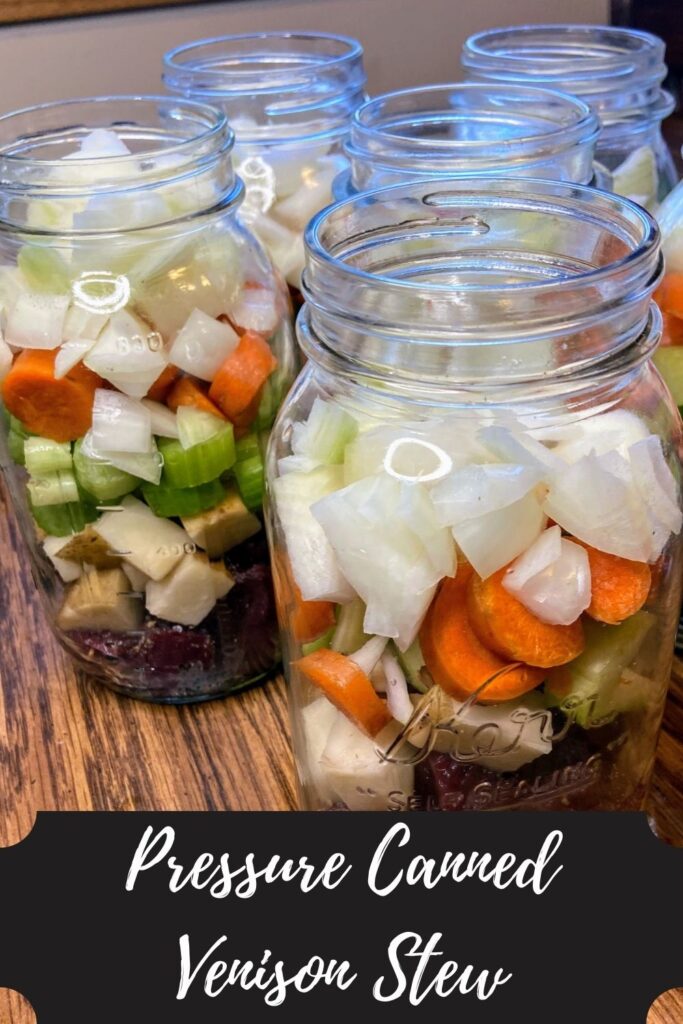
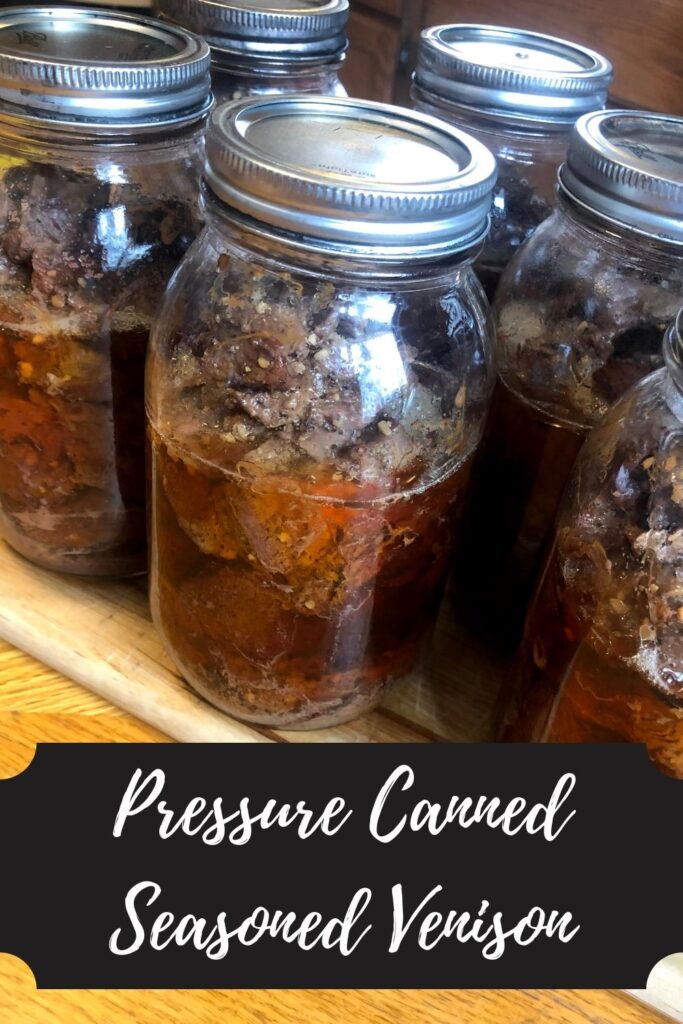
Pressure Canned Carnitas Inspired Venison

Last year, we got skunked in terms of filling our freezer with venison. I am not a hunter, but my husband is an avid hunter. This year, he has provided us with three deer that we process all on our own. That means I have been able to get my pressure canning on and perhaps the best thing to come from that is this pressure canned carnitas inspired venison. 

I would be lying if I said I wasn’t a little worried about how this would turn out. Our family has a go to crockpot carnita recipe that utilizes a pork butt. When we had a kettle of cubed venison for canning, I thought, “What if we seasoned it with the carnita seasoning? Would it take it on well? How would it go on tacos or nachos?” The answer: It’s DELICIOUS and will be added to our rotation of canning every year from here on out. 

Pressure canning is my job in our home, and I wouldn’t have it any other way. I know there are horror stories of pressure canning out there and a number of people are afraid of it. And if they aren’t afraid of the act of canning the meat, they are hesitant to eat pressure canned seasoned venison. “How can meat be self stable and room temperature and still be okay to eat?” I promise, its easier than you think and the meat is great to eat. I follow all the recommendations from the National Center for Home Preservation. Let me tell you, this stuff is GOOD. 

Why should you can venison?

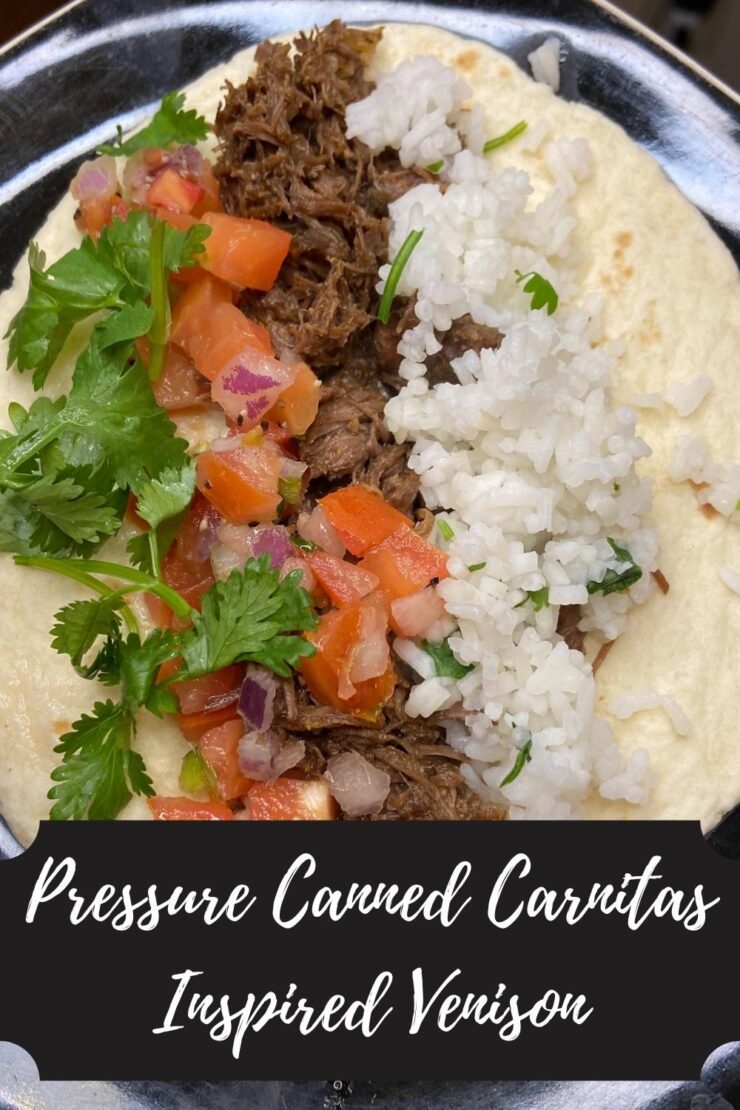
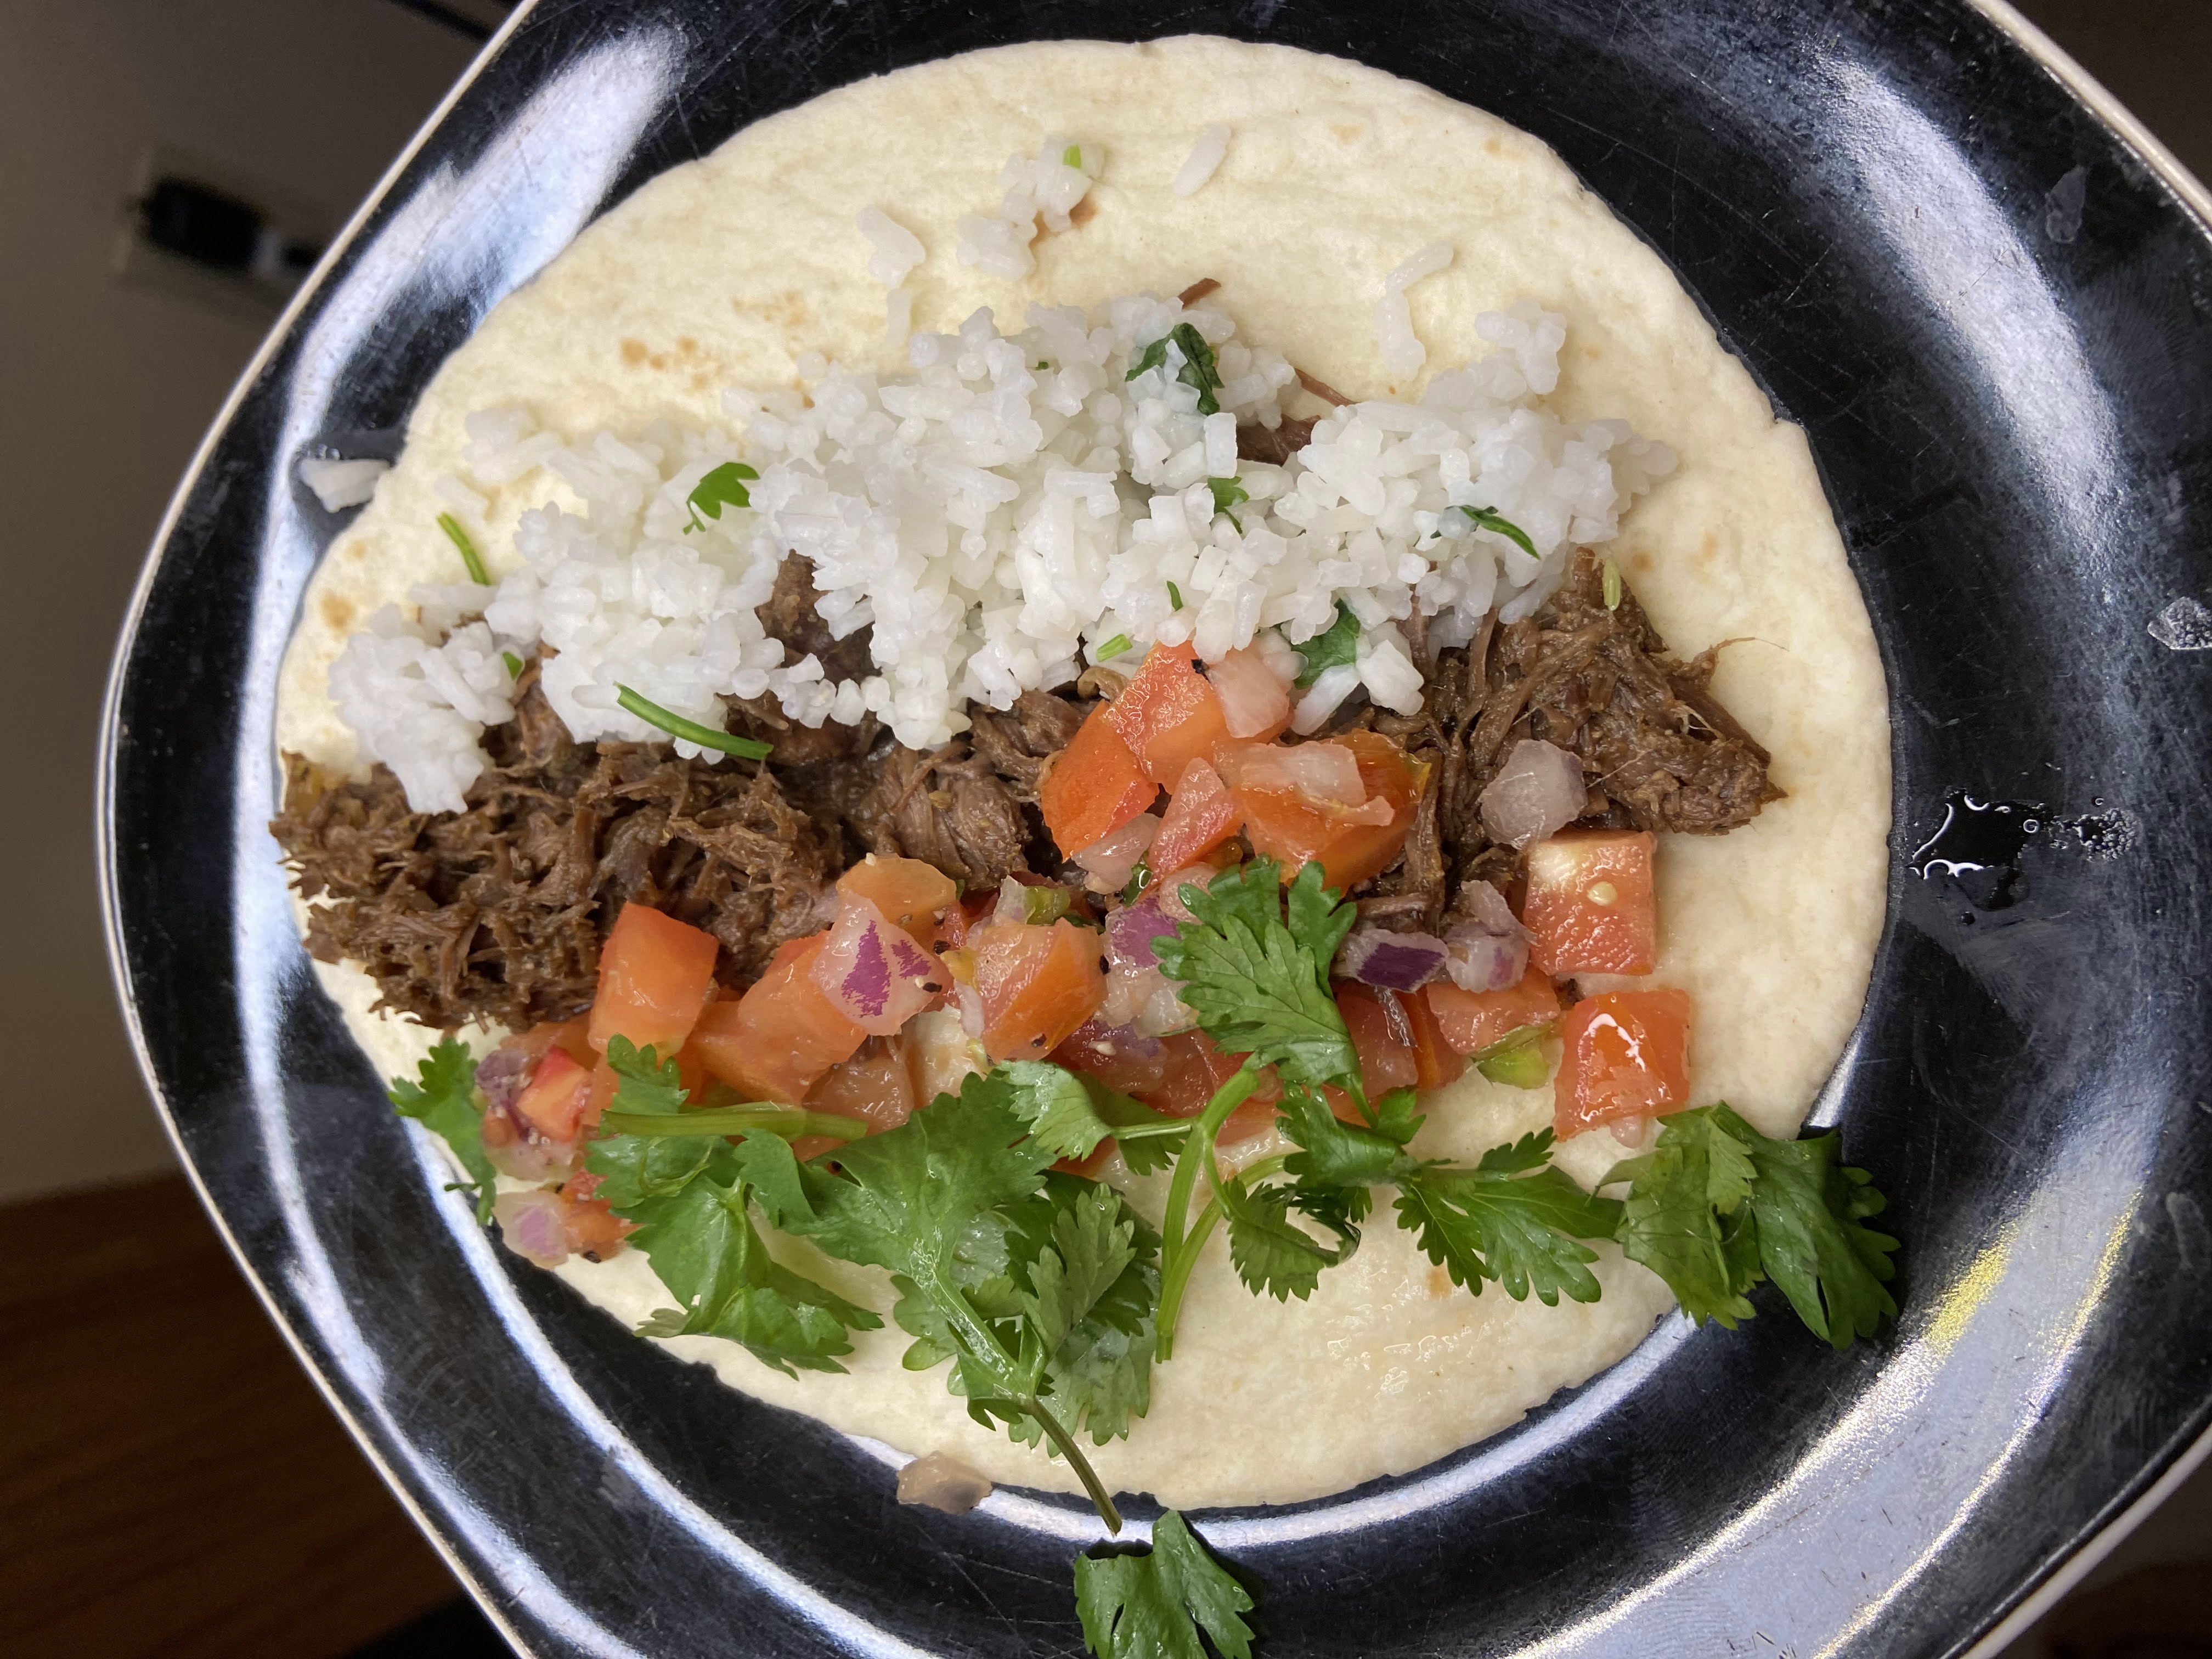
The meat is SO tender. It heats up in minutes, and you can have a meal on the table in under ten. The convenience is out of this world and you are still able to serve your family good for you food without being processed. We served this pressure canned carnitas inspired venison with some pico de gallo, lettuce, cilantro lime rice and cheese. It was loved all around. 

Bottom line? I am beyond excited to share how I prepare this pressure canned venison with all of you. I promise there is no reason to be afraid of a pressure canner. At the beginning, I was100% a novice who simply did some reading at the beginning. The only caution I want to give is that it does take time (primarily hands off) for it to cook. I would say make sure you have three hours to be around the house, but truly you can be doing other things while it cooks. Just be present. If you do want more information, read your canner’s directions or check out the NCHP

Ready to create some pressure canned venison stew? Let’s go! 

Your Ingredients (for 9 pints of Pressure Canned Carnitas Venison) 

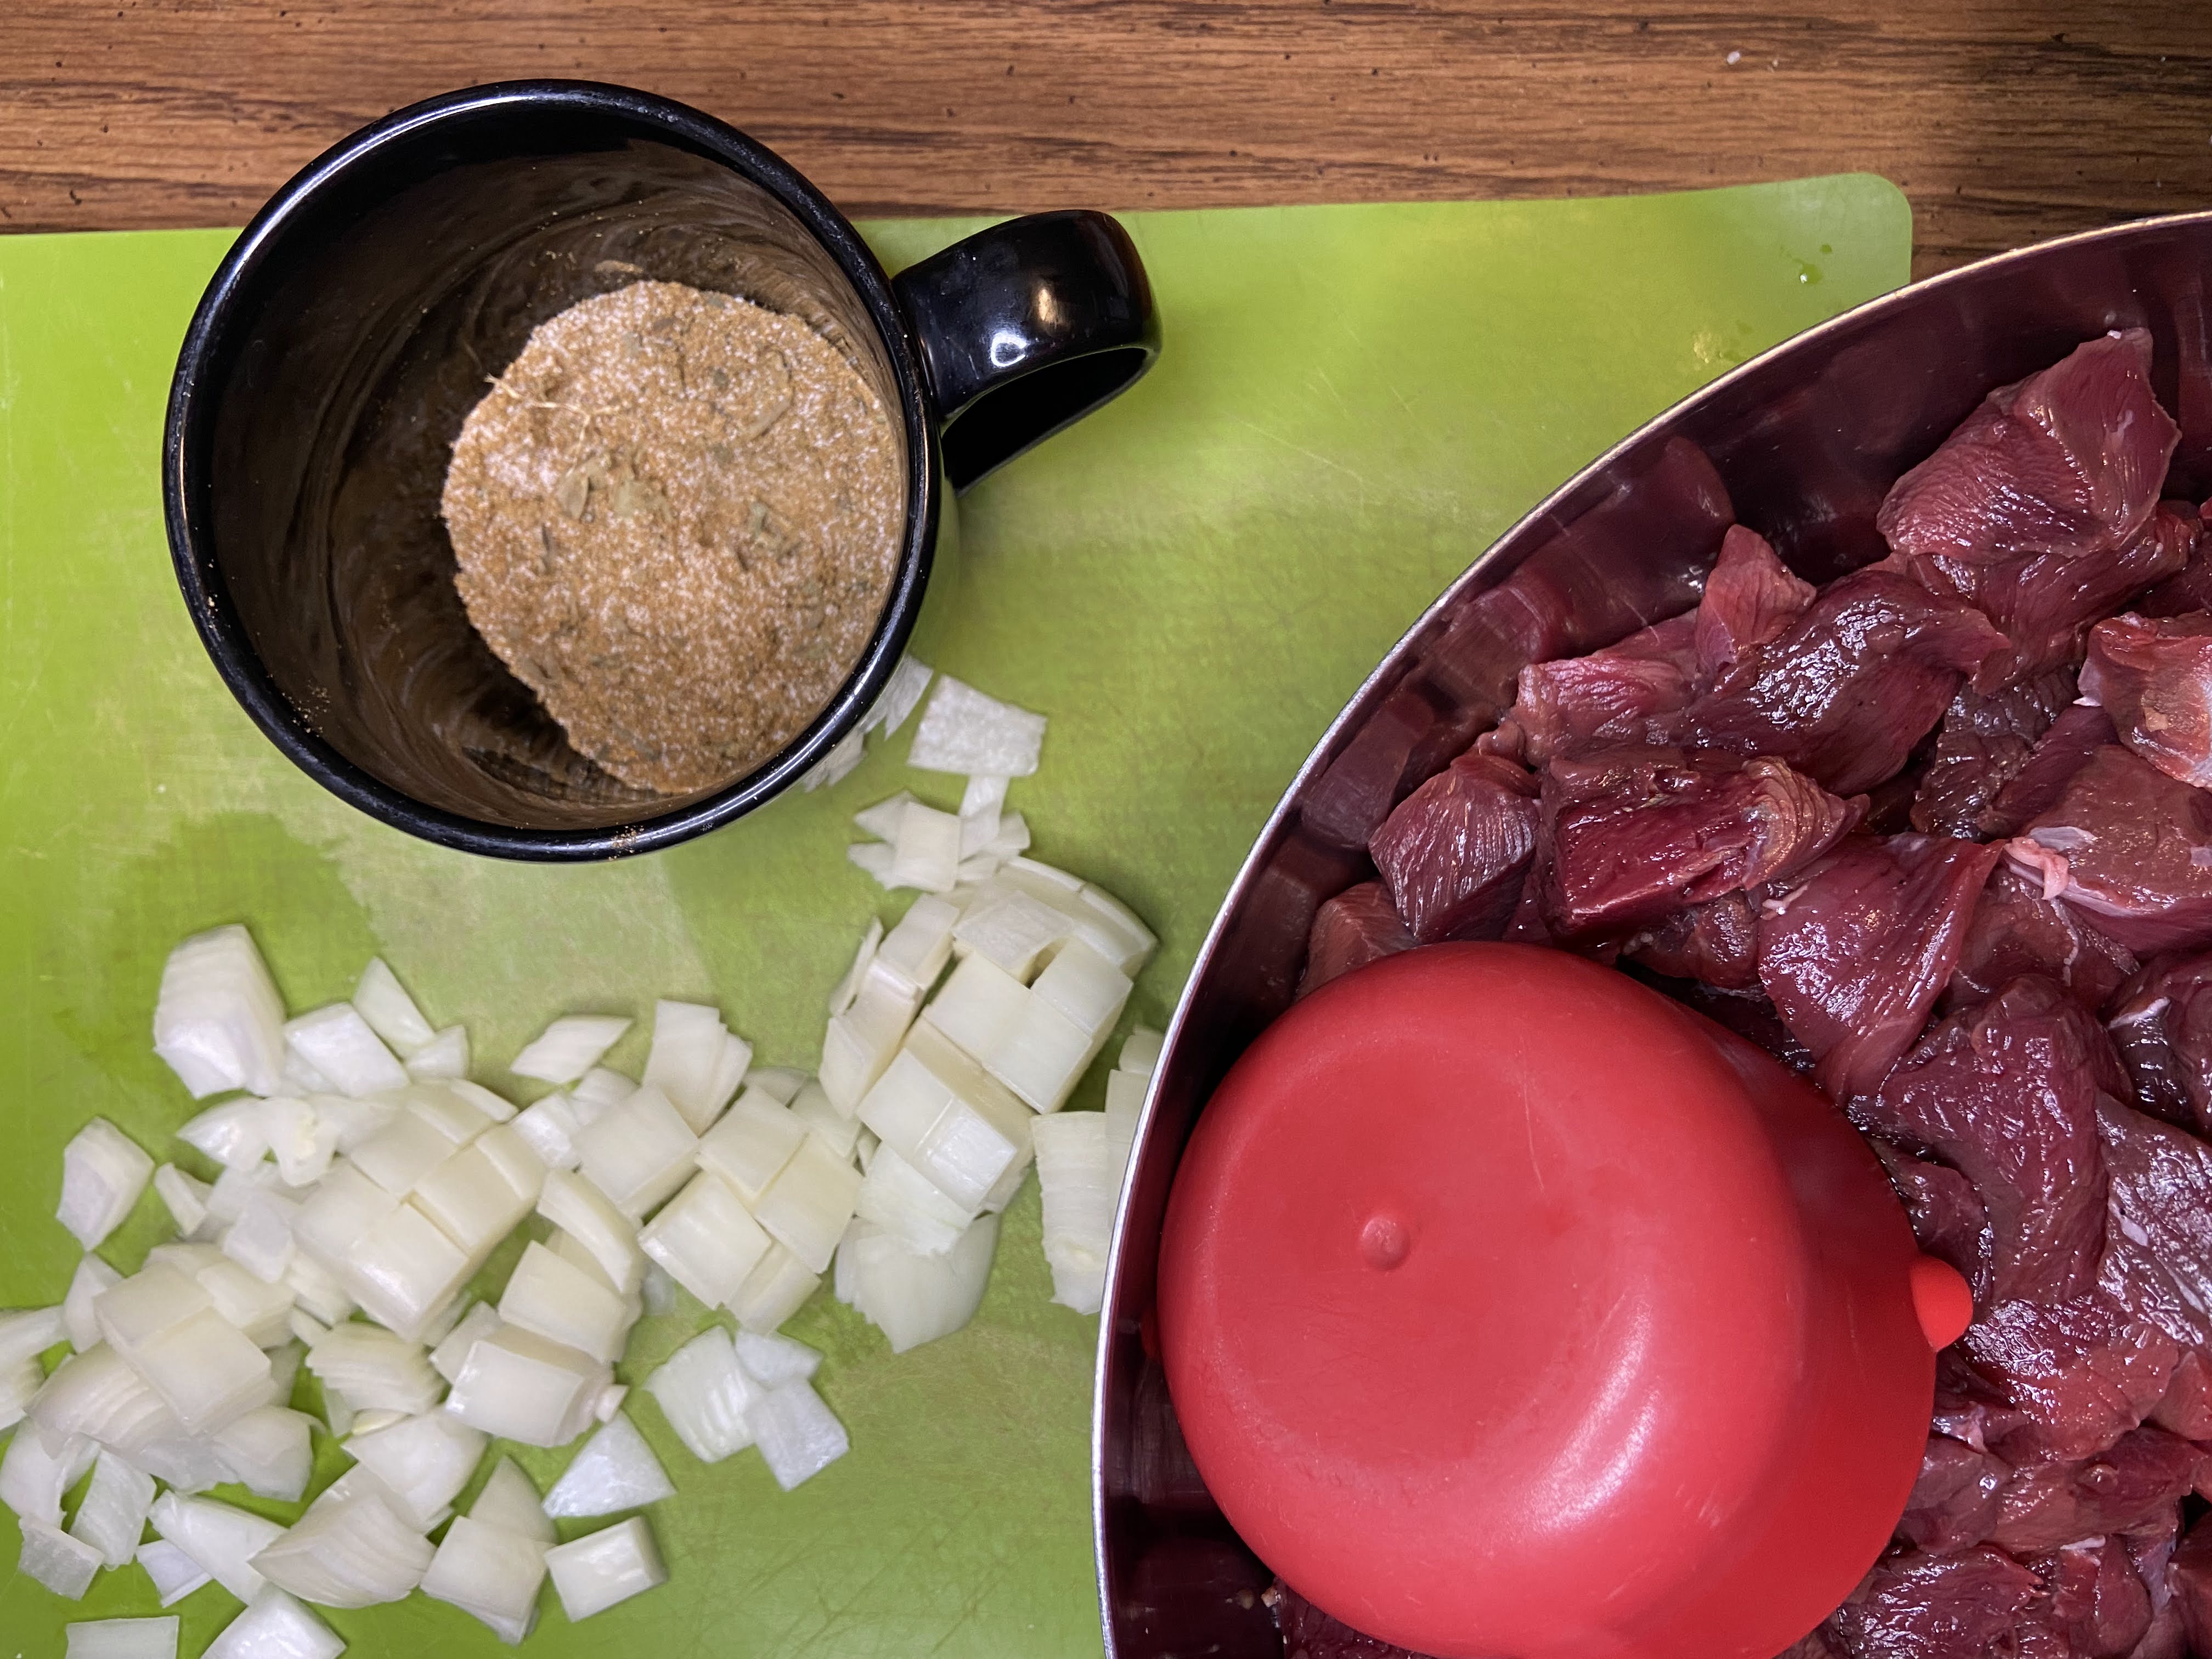
14 cups raw, cubed venison 

2 ¼ cup onion (¼ cup of onion per pint jar-you’ll want a little extra so no jar goes without) 

Seasoning (see below) 

Seasoning 

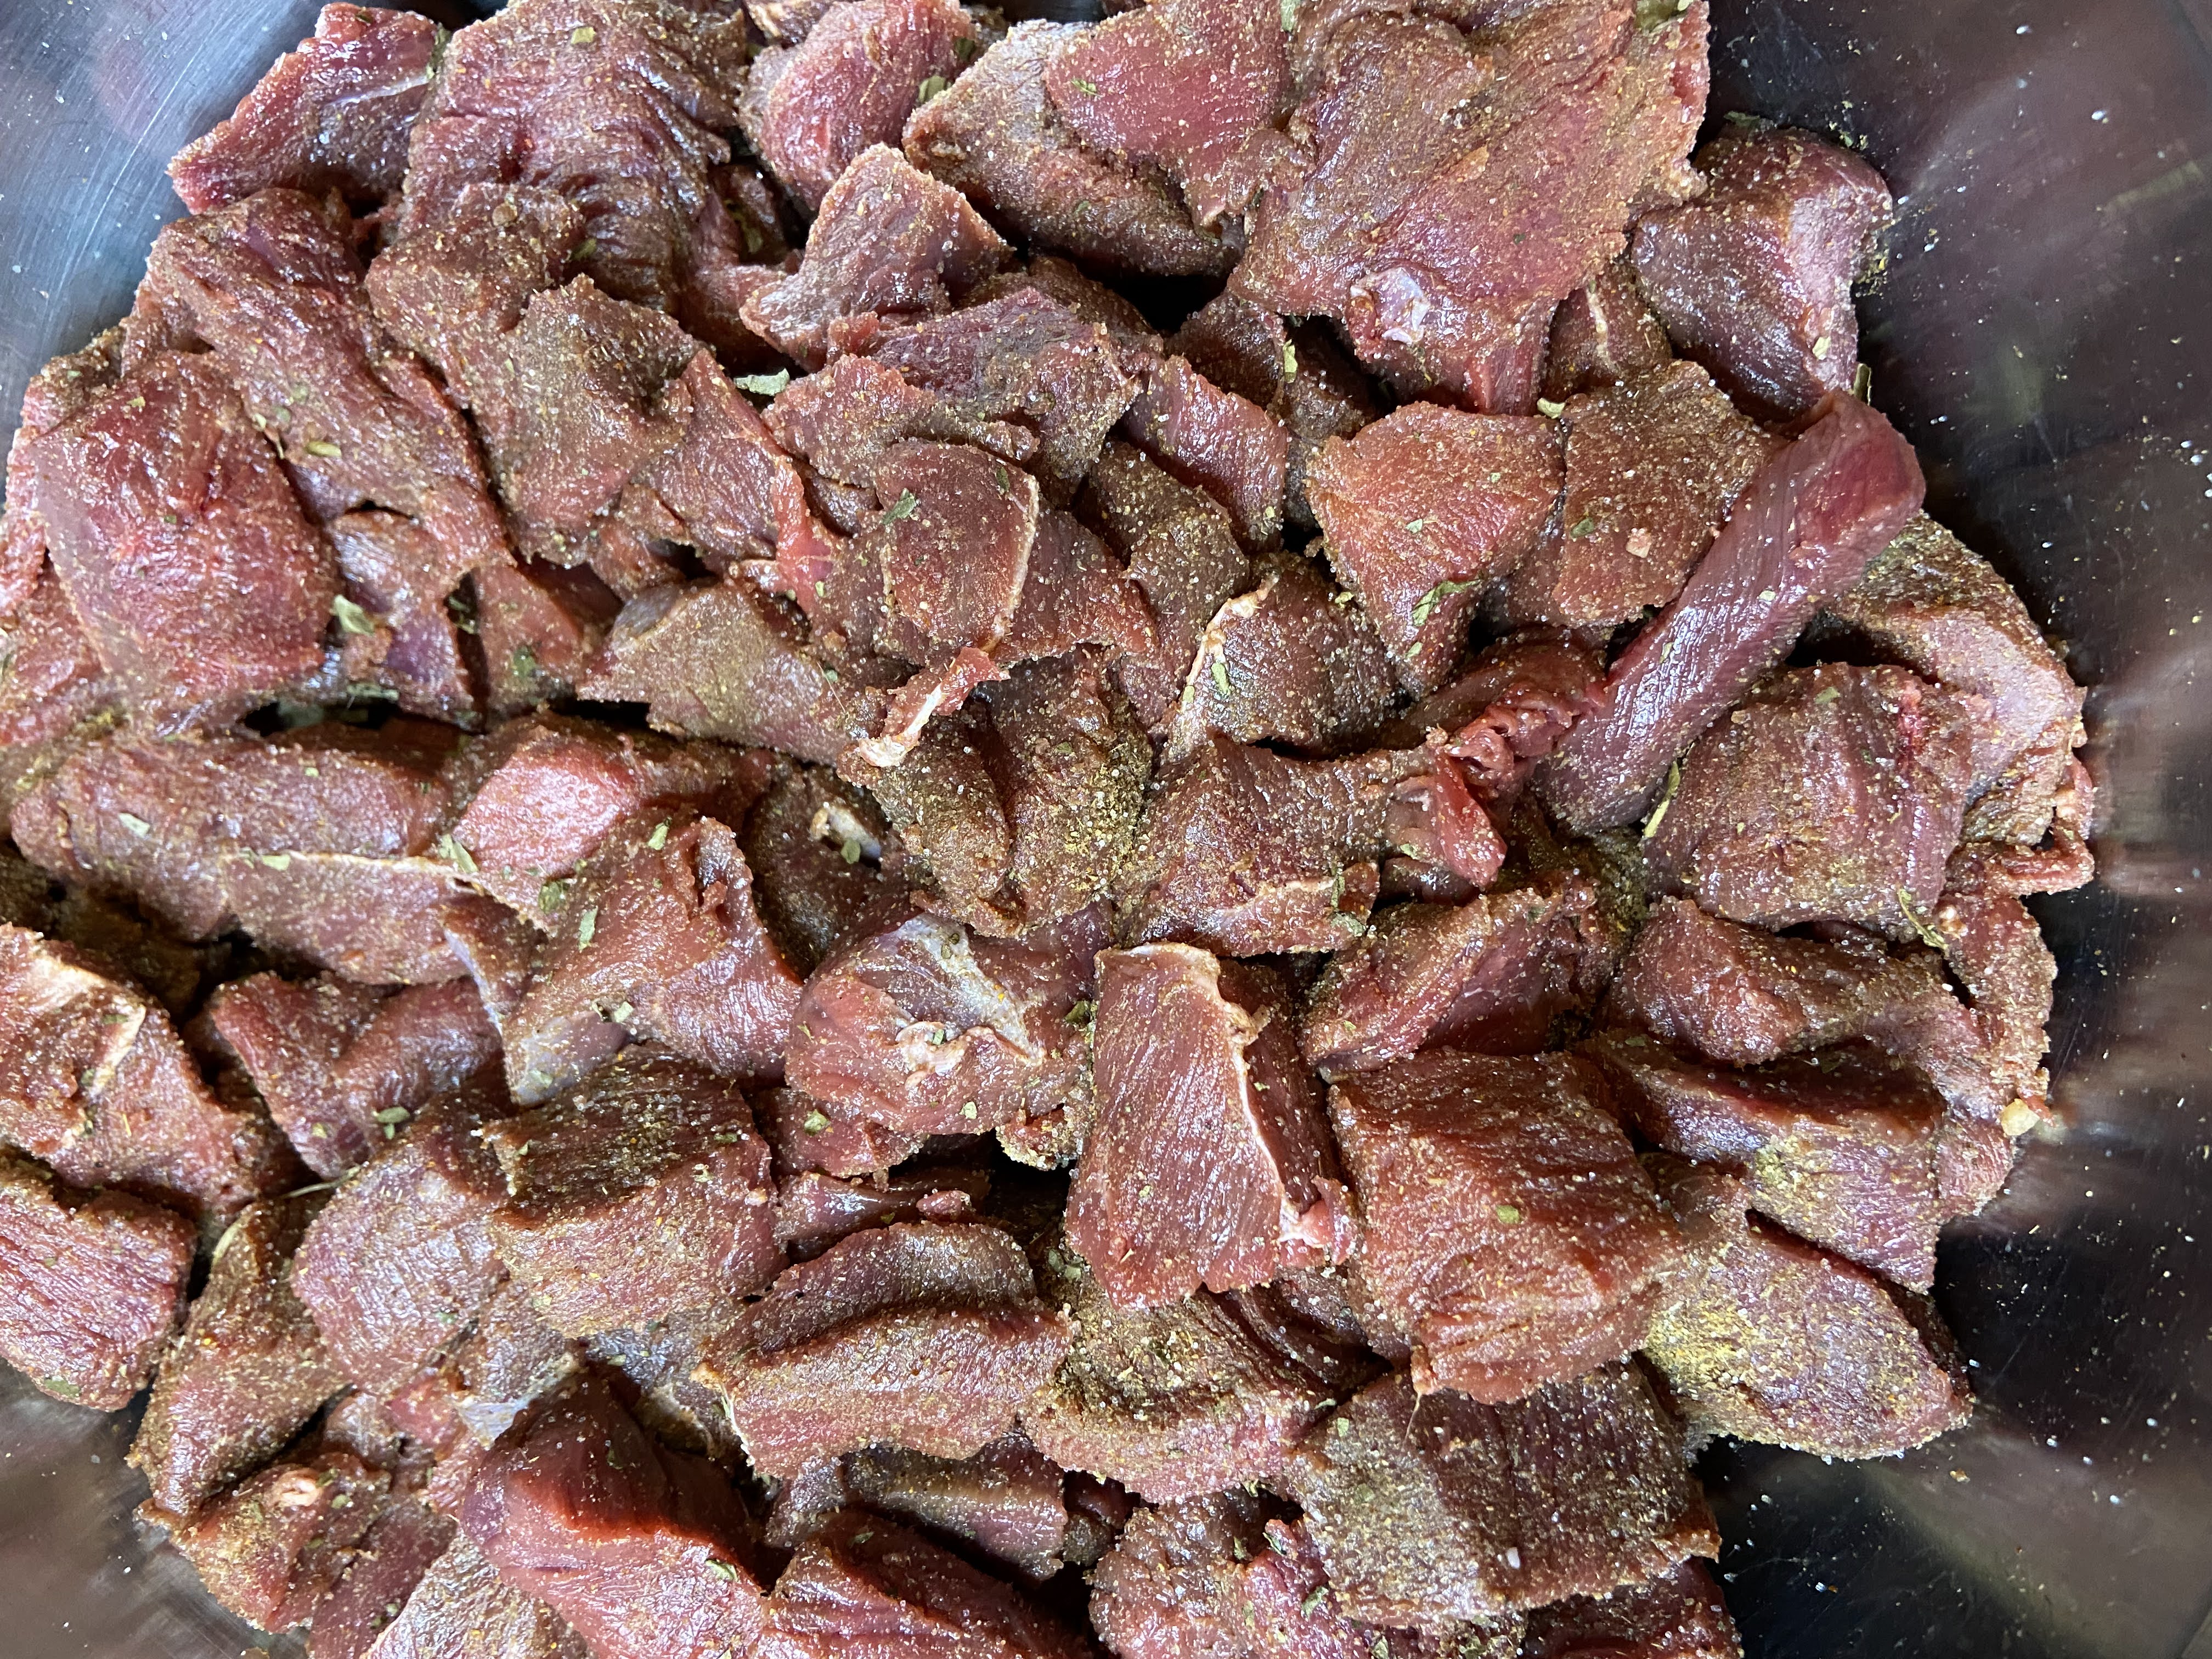
Combine 5 teaspoons salt, 3 ½  teaspoons dried oregano,  3 ½  tablespoons cumin, and ⅓-½ teaspoon cayenne pepper. (you can add more if you would like but I went with the idea that I can always add more, but I can’t take it out) 

Tools of the Trade

Normally, I put this at the end of a post, but with a pressure canner, I feel as though I should put it at the beginning. I love using my weighted pressure canner. It doesn’t stress me out and I can create so many great things with it. I also think a canning funnel is a must here. 

Before you start this process, make sure you read the general directions to your own pressure canner. They may differ from what I am sharing, and you should always follow those directions first. Also, if you are a beginner canner or even advanced, it is always a great idea to check out the National Center for Home Preservation Site for more information! 

Your Steps to Pressure Canned Carnitas Inspired Venison

Begin by preparing your canner and jars. Wash and sterilize pint jars, rings, and lids. Keep warm. Check the seal and center vent of your lid of the canner. Set aside. 

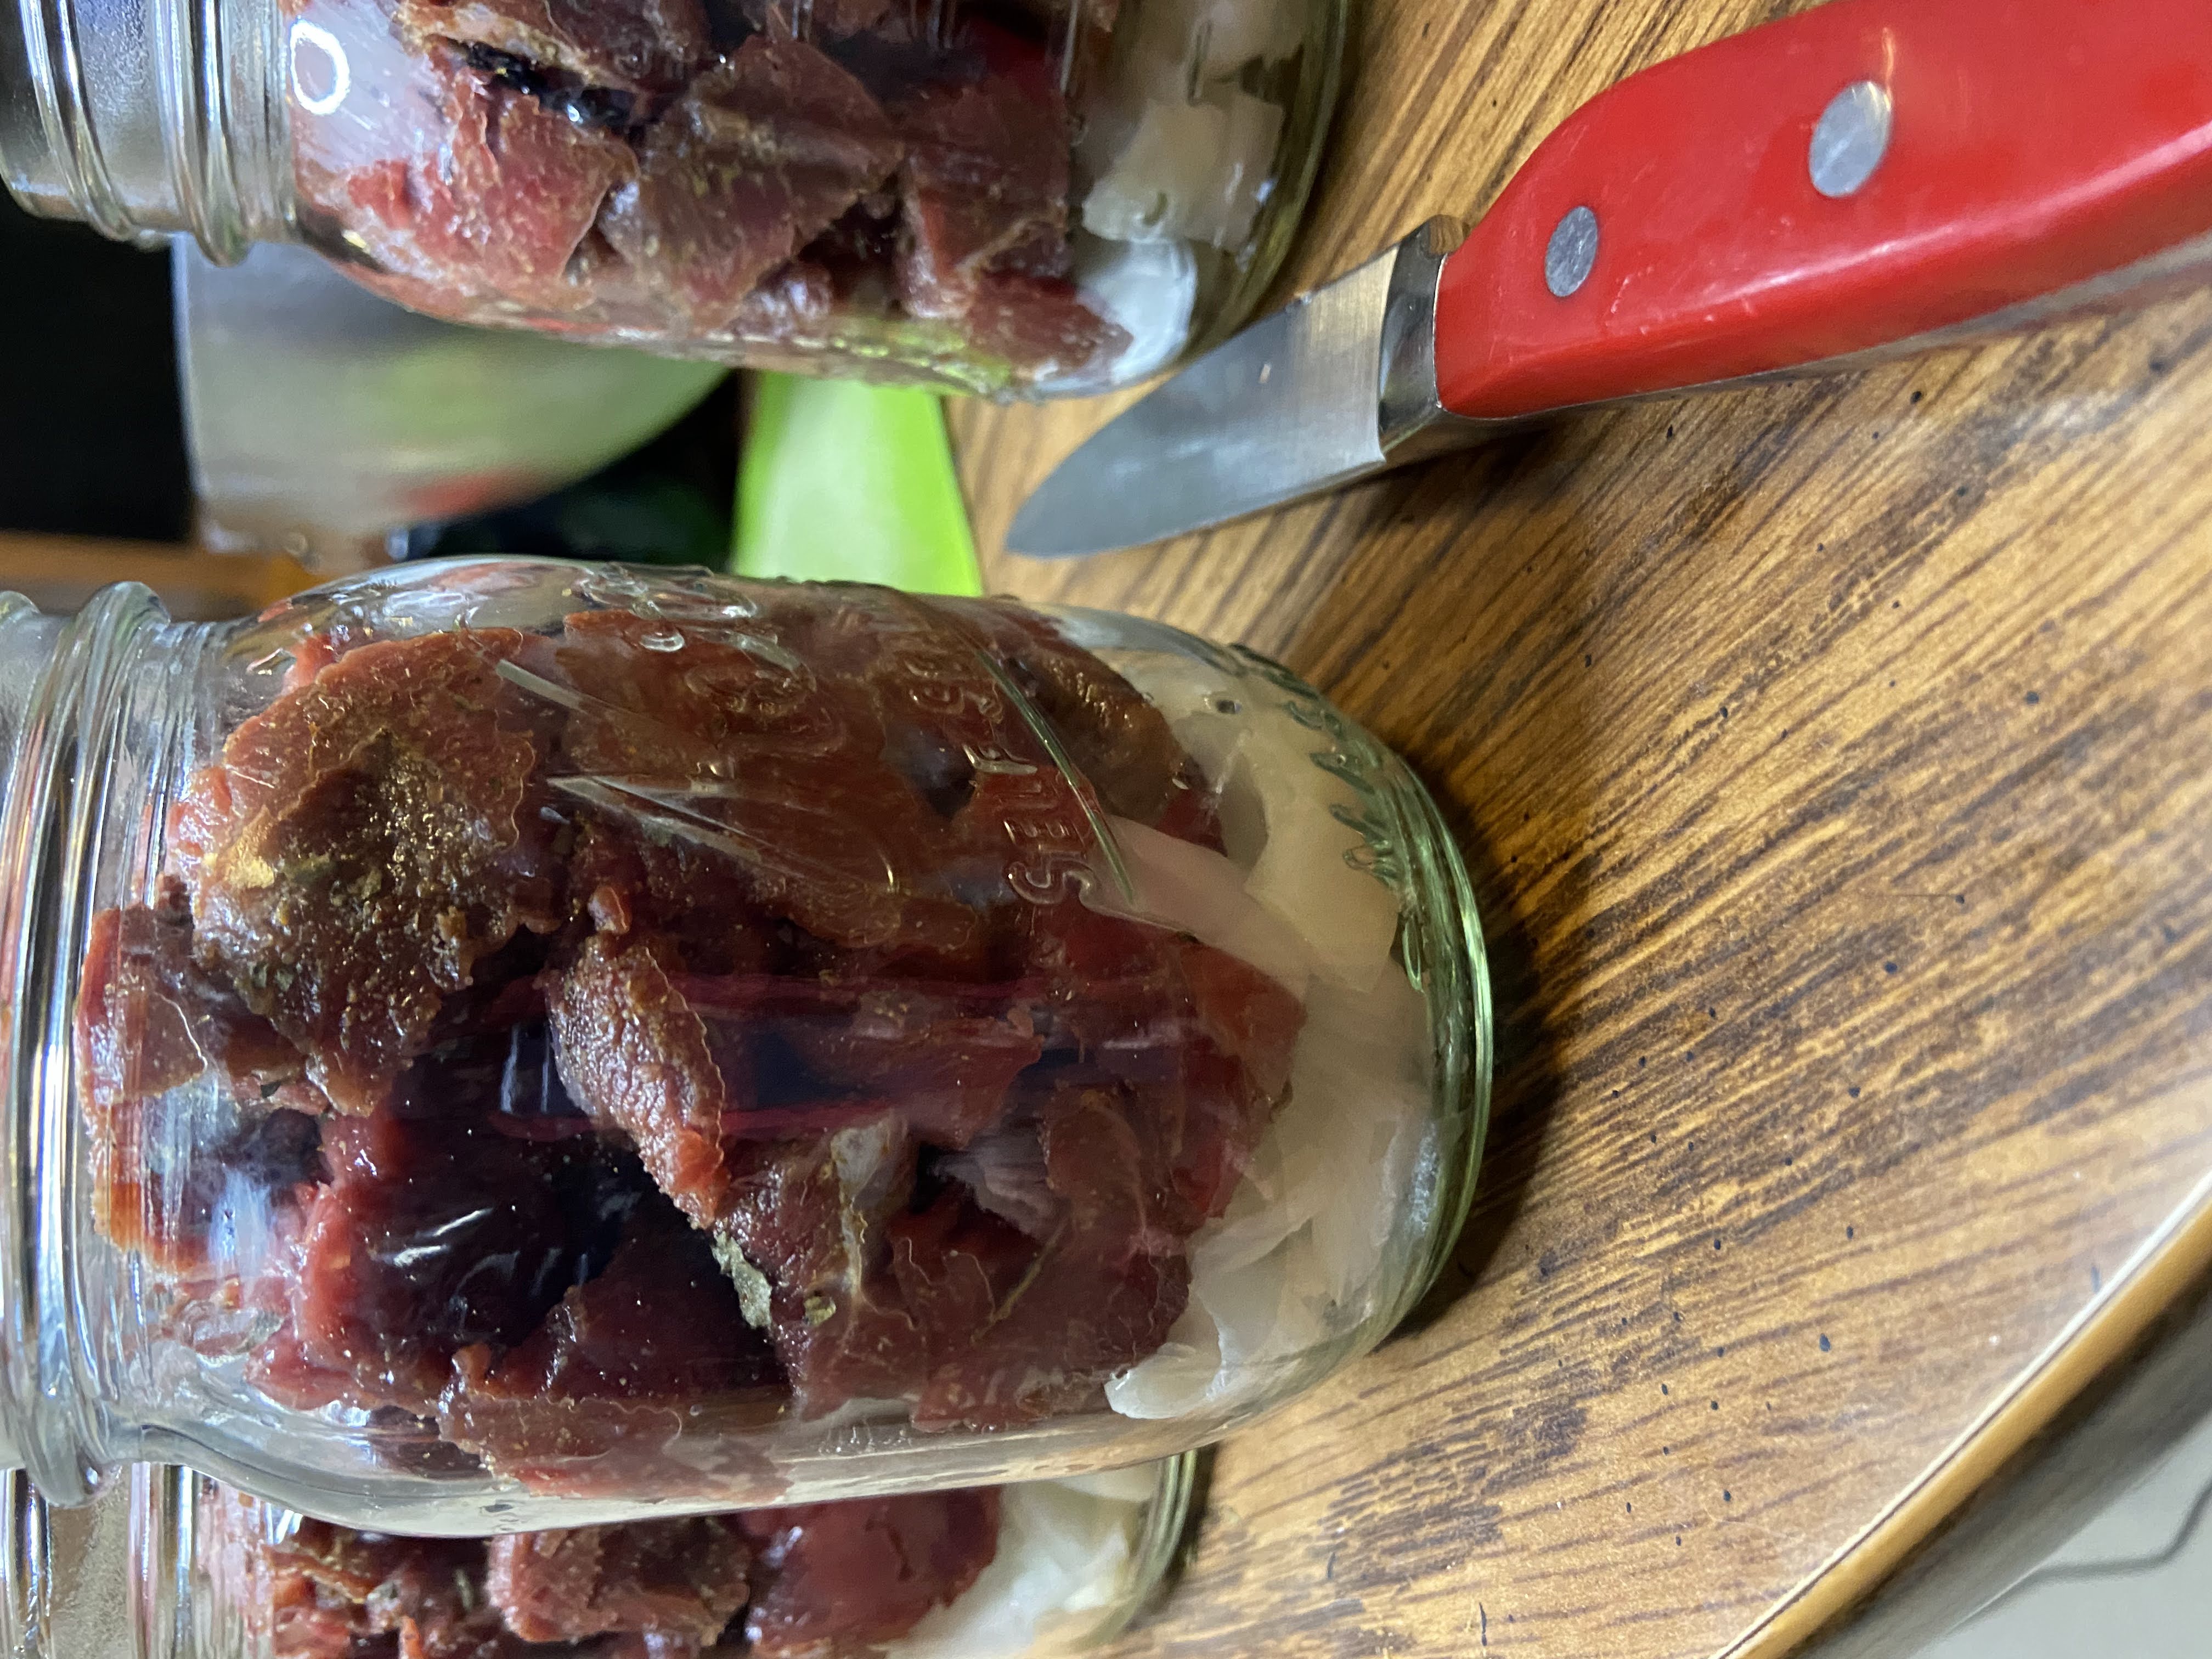
Season prepared meat with seasoning mixture. Mix well to fully coat the meat. Using a canning funnel, add ¼ cup onion in each jar. Fill the remaining space with seasoned meat, leaving 1 inch of headspace.

Wipe rims with a damp cloth, center the lid on the jar and adjust the band to fingertip tight. 

Place jars on the rack of a prepared pressure canner (mine needs 3 quarts of hot water plus a splash of vinegar). 

Place the lid on the canner and heat to high heat. Once a steady stream of steam can be seen/felt, vent for 10 minutes, adjusting the heat if needed to have a steady but not crazy stream of steam. After 10 minutes, put the weighted gauge on the vent. You will want 10 pounds if your altitude is under 1000 ft; 15 pounds if you are over 1000 ft. 

Once the weight starts to jiggle (indicating it has reached the appropriate pressure), begin timing. You will need to process pint jars for 75 minutes and quart jars for 90 minutes. Once the timer has gone off, turn off and remove the canner from heat. Allow the pressure to drop on the canner all the way (read specific canner instructions for the indicator-this takes about 45 minutes). Remove weight and allow to cool an additional 10 minutes. Remove jars from canner; do not retighten bands. Cool 12 hours, then check their seals, label, and store jars. 

Again, we served this carnitas style venison with tortillas and all the fixings: pico de gallo, lettuce, cilantro-lim lime, and cheese. Black beans would be a great addition as well!  

Looking for a video of the process of canning meat? You can check out my regular seasoned pressure canned venison recipe.

Pressure Canned Carnitas Inspired Venison

Fill your shelves with a pressure canned carnitas inspired venison for quick meals throughout the year. Full of south of the border flavor and easy to create!
Prep Time 30 minutes
Cook Time 2 hours
Course Main Course
Cuisine Canning
Servings 9 pints

Ingredients
  

  • 14 cups cubed venison stew meat (about 7 pounds)
  • 2 ½ cups chopped onion
  • 5 teaspoons canning salt
  • 3 ½ teaspoons dried oregano
  • 3 ½ tablespoons cumin
  • ⅓-½ teaspoon cayenne pepper to taste

Instructions
 

  • Begin by preparing your canner and jars. Wash and sterilize quart jars, rings, and lids. Keep warm. Check the seal and center vent of your lid the canner. Set aside.
  • Combine salt, oregano, cumin, and cayenne pepper.
  • Season prepared meat with seasoning mixture.
  • Stuff pint jars with ¼ cup onion. Finish with raw seasoned meat, leaving 1 inch of head space.
  • Wipe rims with a damp cloth, center the lid on the jar and adjust the band to fingertip tight.
  • Place jars on the rack of a prepared pressure canner (mine needs 3 quarts of hot water plus a splash of vinegar).
  • Process pint jars for 75 minutes at 10 pounds. If your altitude is greater than 1000 feet, use 15 pounds. Follow the directions of your pressure canner or see the more detailed directions in the notes.

Notes

This could be done in quart jars as well. Increase onion to 1/2 cup per jar and fill jars to the the 1 inch head space. This recipe will likely result in 3 quarts. 
Detailed Directions
Place the lid on the canner and heat to high heat. Once a steady stream of steam can be seen/felt, vent for 10 minutes, adjusting the heat if needed to have a steady but not crazy stream of steam. After 10 minutes, put the weighted gauge on the vent. You will want 10 pounds if your altitude is under 1000 ft; 15 pounds if you are over 1000 ft.
Once the weight starts to jiggle (indicating it has reached the appropriate pressure), begin timing. You will need to process pint jars for 75 minutes and quart jars for 90 minutes. Once the timer has gone off, turn off and remove the canner from heat. Allow the pressure to drop on the canner all the way (read specific canner instructions for the indicator). Remove weight and allow to cool an additional 10 minutes. Remove jars from canner; do not retighten bands. Cool 12 hours, then check their seals, label, and store jars.
Keyword Canning, carnitas, pressure canning, venison, venison recipe
Tried this recipe?Let us know how it was!

Looking for other venison inspiration?

Check out some of the posts below!

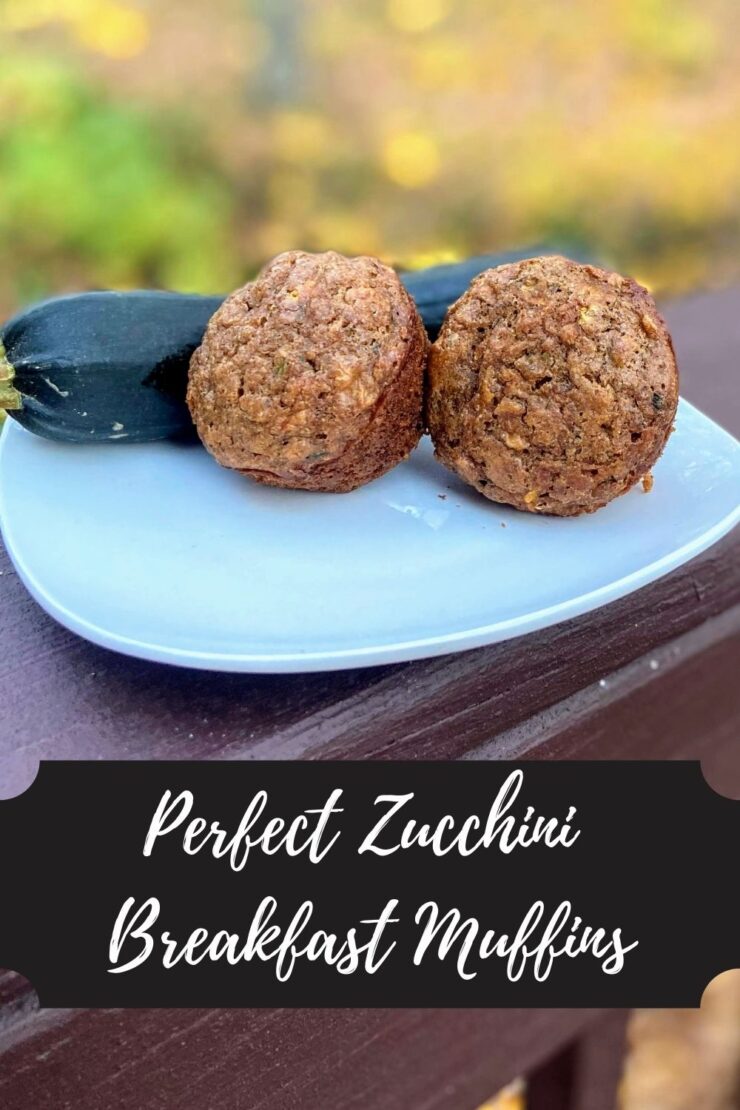
Perfect Zucchini Breakfast Muffins

Yes, I recognize that zucchini season is over this year, but maybe you’re like me and you have a summer squash or two still sitting on your counter and can’t allow them to go to waste. Our zucchini plants didn’t amount to much this year, but we had a friend who had an excessive amount of volunteer plants come up. He brought us a number of zucchini a few weeks ago, and I set about to create perfect zucchini breakfast muffins, looking for a balance between flavor and healthier ingredients. 

I think I may have hit the jackpot. The Mr. has been eating four of them for breakfast. My daughter loves them for a treat after dinner, and I have been bringing one or two for a mid morning snack. In a 24 hour period, I believe I made three batches. If that doesn’t tell you they are good, I don’t know what does. I threw about a dozen in the freezer for future snacks and we have been devouring the rest (don’t mind me while I eat two as I type). 

I knew I could likely wait until next year to share this when the timing was right. But these perfect zucchini breakfast muffins are simply too good to share. I know the growing season is finished in Wisconsin, but I am hoping my friends out of the midwest will love to put these together. 

One more thing: The Mr. has always complained when I use banana as a sweetener in baked goods that aren’t supposed to taste like banana. He doesn’t love banana bread to start with. He didn’t even notice the banana in these. Cool, right? 

Okay, enough chatter! Ready to bake? I hope so!

Your Ingredients

  • ¼ cup coconut oil, melted
  • ⅓-½ cup real maple syrup, depending on your sweetness level
  • 1 ripe banana 
  • ¼ cup plain Greek yogurt (or Triple Zero Vanilla-no added sugar), room temperature
  • 1 teaspoon vanilla 
  • 2 eggs, room temperature
  • ½ tablespoon cinnamon 
  • 1 teaspoon baking soda
  • ¾ teaspoon salt
  • ½ teaspoon baking powder
  • 1 ¾ cup whole wheat flour
  • ½ cup walnuts
  • ½ cup chocolate chips (optional)
  • 2 cups shredded zucchini, with the water rung out

Your Steps to Perfect Zucchini Breakfast Muffins

Preheat the oven to 350 degrees. Prepare 15 muffin tin vessels with liners or by greasing. 

In a large bowl, mash the ripe banana. Add maple syrup, Greek yogurt, vanilla and eggs. Combine well. Stir in the melted coconut oil. 

Place flour in the bowl. On top of that, add cinnamon, baking soda, baking powder, and salt. Stir into the wet ingredients until just combined. Add walnuts, chocolate chips, and zucchini. Mix just enough to combine, but make sure you get to the bottom of the bowl (I always miss that!). 

Fill muffin vessels ¾ of the way full. Bake for 16-20 minutes, until a toothpick can be inserted and when removed, comes out clean. 

Why did I go muffin instead of bread? I wanted to put serving size treats in the freezer. Then they could go into lunch boxes in the morning and thaw by lunch time. Not a bad idea, right? 

Looking for other sweet treats? Check out my baking page by clicking the button below:

Perfect Zucchini Breakfast Muffins

The perfect balance between good for you ingredients and flavor and texture, these perfect zucchini breakfast muffins are sure to be a hit!
Prep Time 15 minutes
Cook Time 16 minutes
Course Breakfast
Cuisine American
Servings 15 muffins

Ingredients
  

  • ¼ cup coconut oil melted
  • ⅓-½ cup real maple syrup depending on your sweetness level
  • 1 ripe banana
  • ¼ cup plain Greek yogurt room temperature
  • 1 teaspoon vanilla
  • 2 eggs room temperature
  • ½ tablespoon cinnamon
  • 1 teaspoon baking soda
  • ¾ teaspoon salt
  • ½ teaspoon baking powder
  • 1 ¾ cup whole wheat flour
  • ½ cup walnuts
  • ½ cup chocolate chips optional
  • 2 cups shredded zucchini with the water rung out

Instructions
 

  • Preheat the oven to 350 degrees. Prepare 15 muffin tin vessels with liners or by greasing.
  • In a large bowl, mash the ripe banana. Add maple syrup, Greek yogurt, vanilla and eggs. Combine well. Stir in the melted coconut oil.
  • Place flour in the bowl. On top of that, add cinnamon, baking soda, baking powder, and salt. Stir into the wet ingredients until just combined.
  • Add walnuts, chocolate chips, and zucchini. Mix just enough to combine, but make sure you get to the bottom of the bowl.
  • Fill muffin vessels ¾ of the way full. Bake for 16-20 minutes, until a toothpick can be inserted and when removed, comes out clean.
Keyword apple dessert, Breakfast, clean eating, muffins, Quick Bread, sweets, zucchini
Tried this recipe?Let us know how it was!

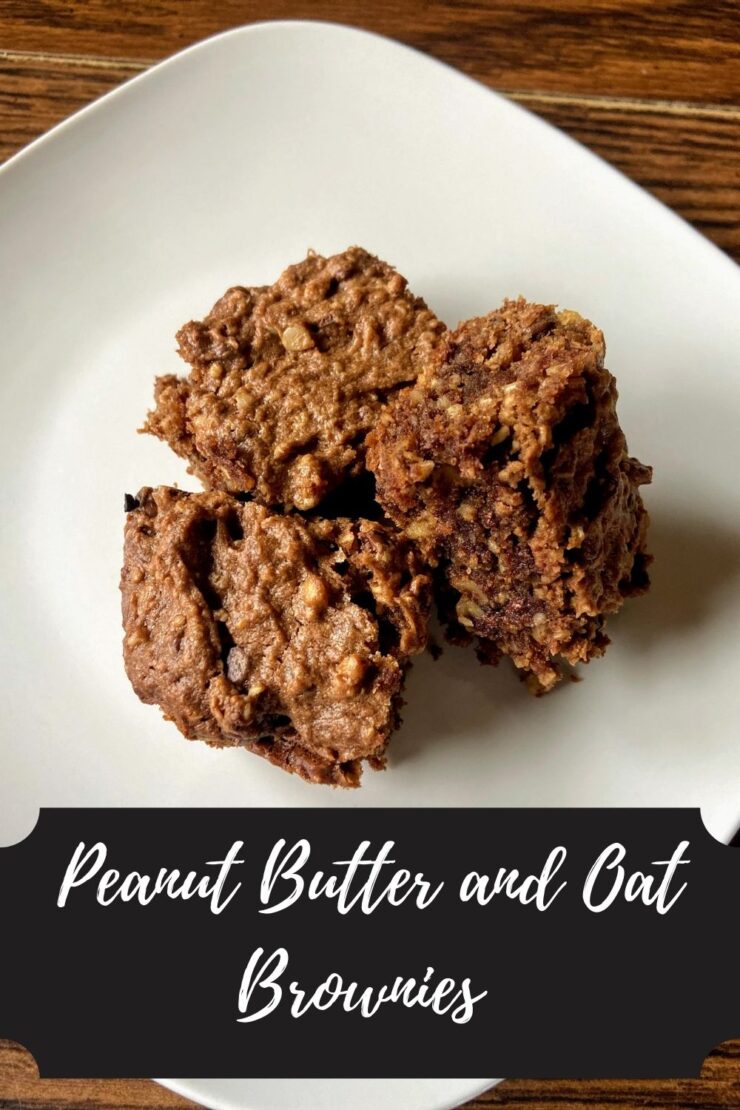
Peanut Butter and Oat Brownies

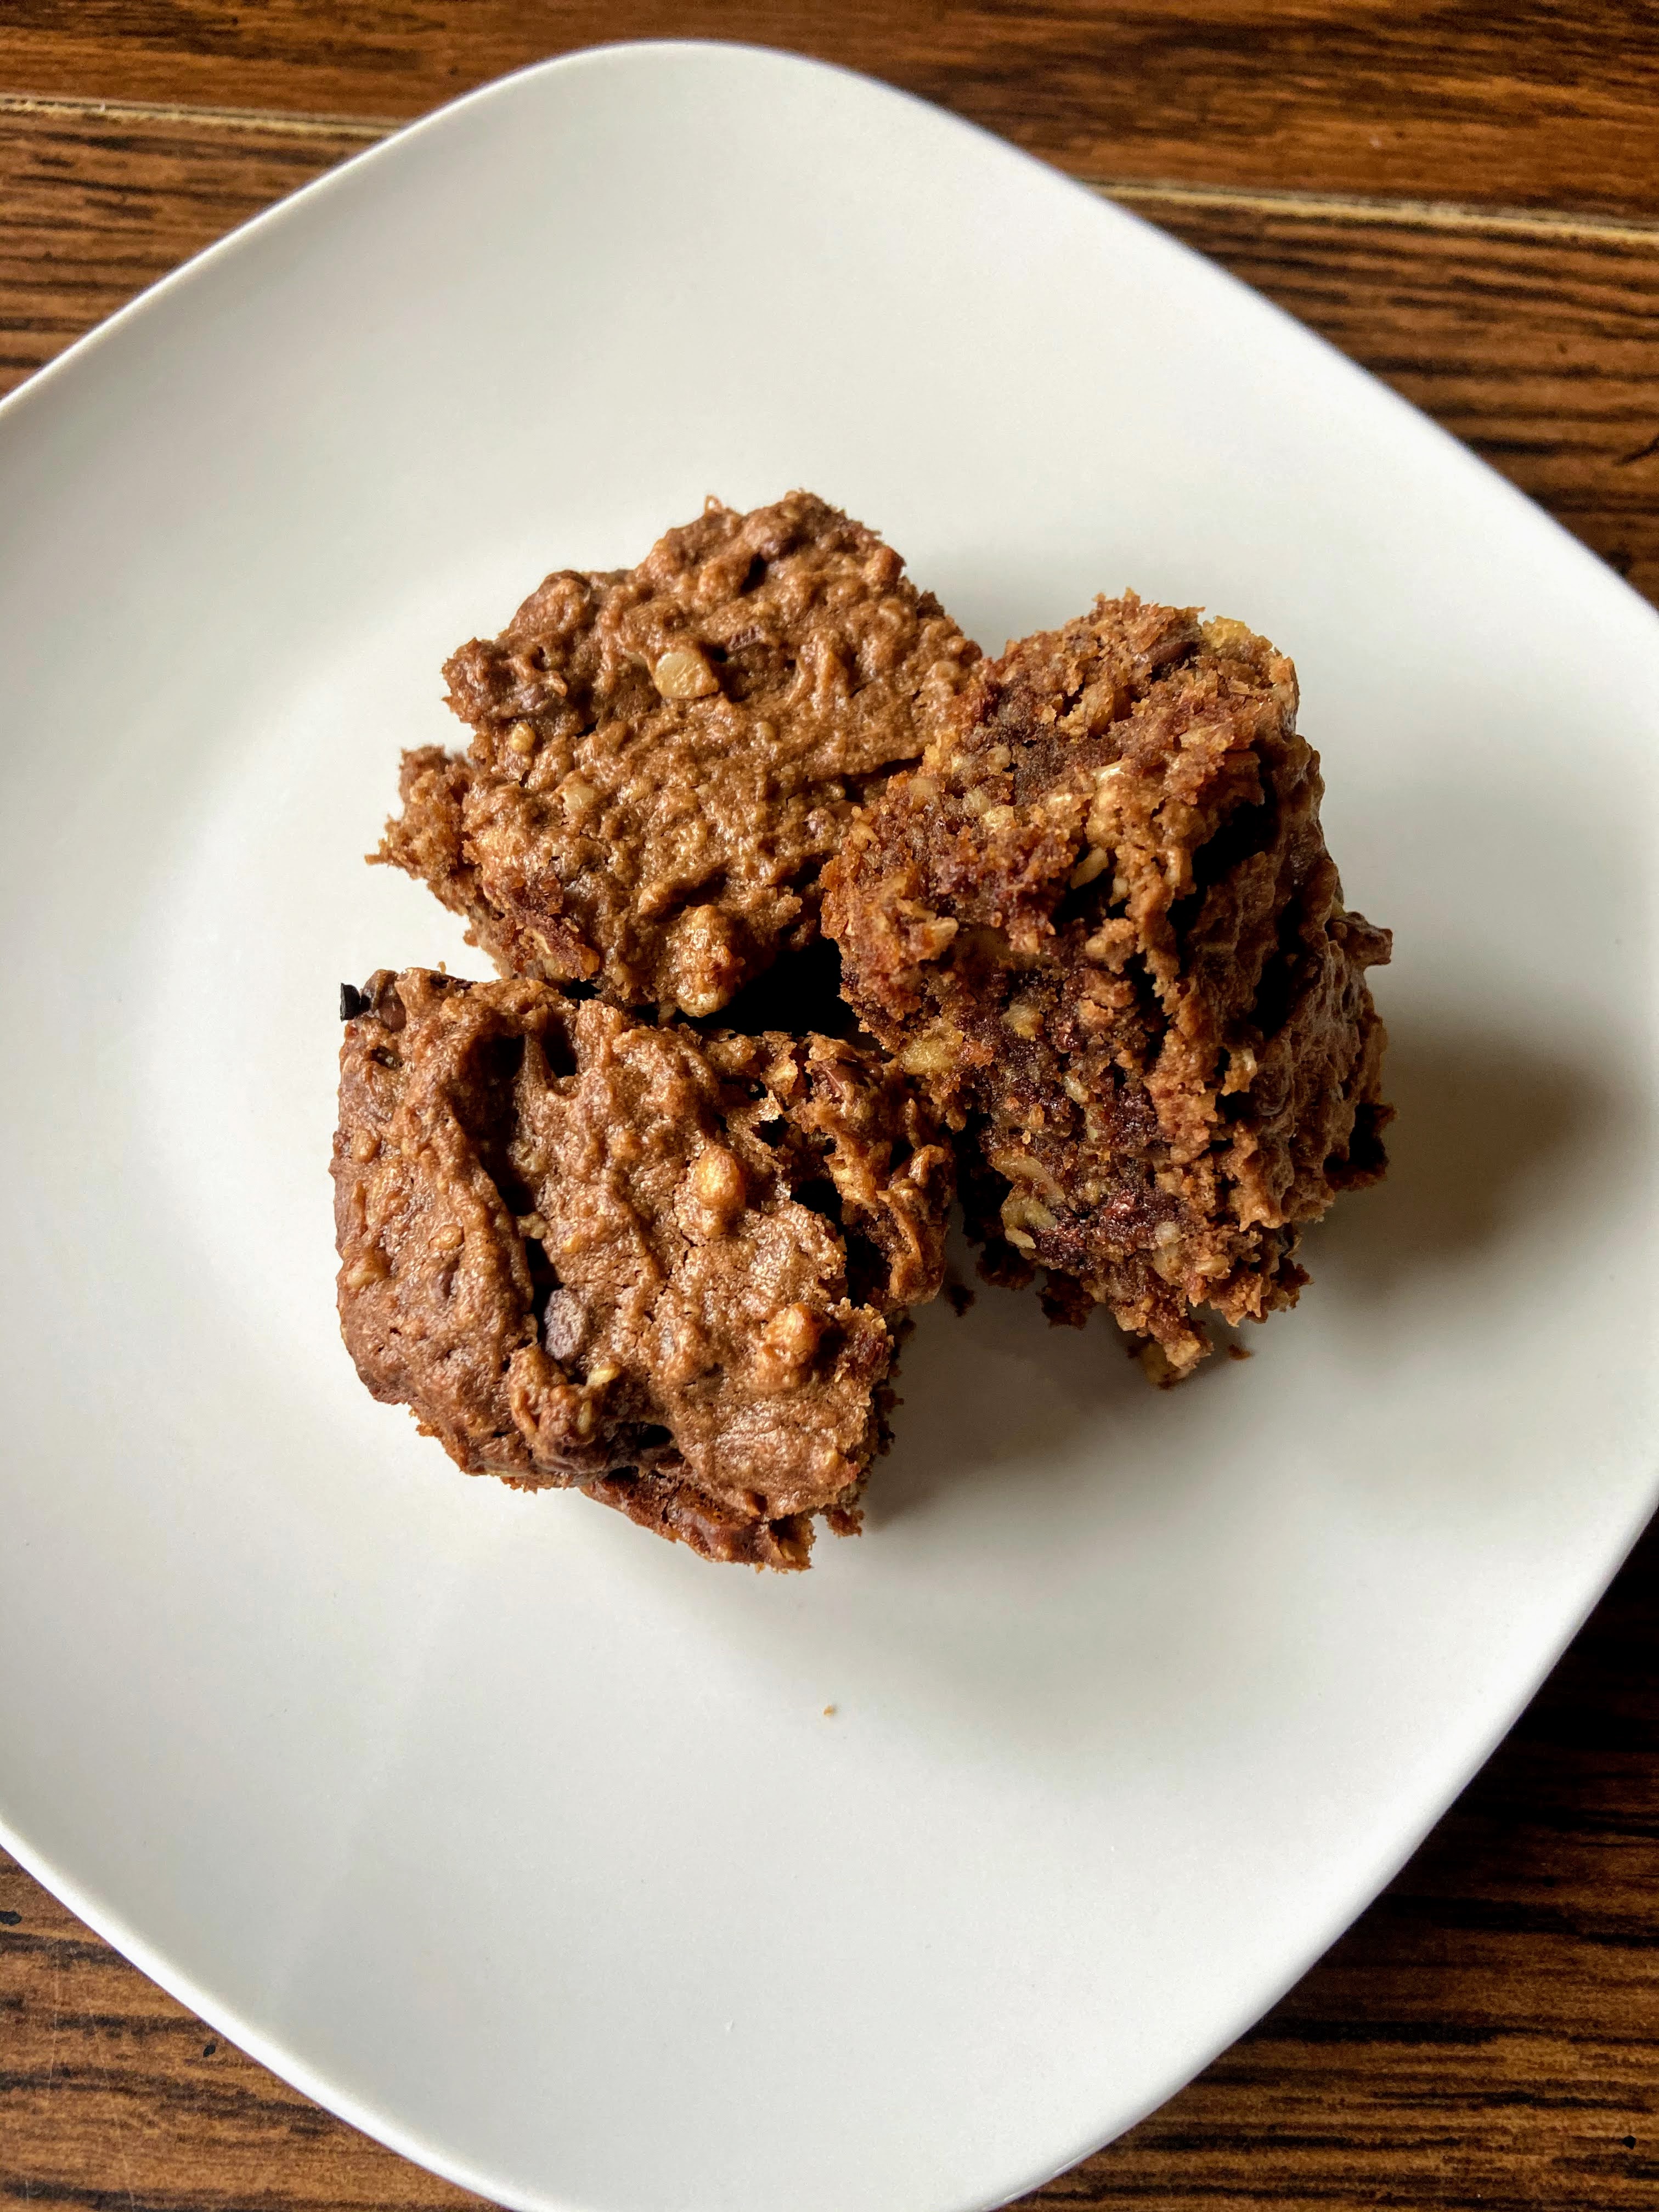
As a high school teacher, I get invited to a number of graduation parties every year. I love celebrating their accomplishments and walking through the shrine that shows them growing up through the years. ⁠I also LOVE when they have brownies for dessert. Brownies are a top treat for me, and it’s a rare day that I turn one down. I’m always looking for a new recipe. These peanut butter and oat brownies are gluten free and free of refined sugar. So good!

This recipe was inspired by a Taste of Home magazine recipe. I put my own spin on a brownie bar that I think turned out pretty darn incredible. Bonus points for them being gluten free with no refined sugar (depending on your chocolate chips!). Win, win right? Excuse me while I eat the whole pan!⁠

Ready to get baking? Let’s go!

Your Ingredients⁠

  • 1/3 cup oat flour (I grind old fashioned oats myself in a food processor)⁠
  • 2 tablespoons cocoa powder⁠
  • 1/2 teaspoon salt⁠
  • 1/2 teaspoon baking powder⁠
  • 1 teaspoon vanilla⁠
  • 1 cup nut butter (I did all natural peanut butter)⁠
  • 1/2 cup maple syrup⁠
  • 1 large egg⁠
  • 2/3 cup walnuts ⁠
  • 2/3 cup semisweet chocolate chips ⁠

Your Steps⁠ to peanut butter and oat brownies

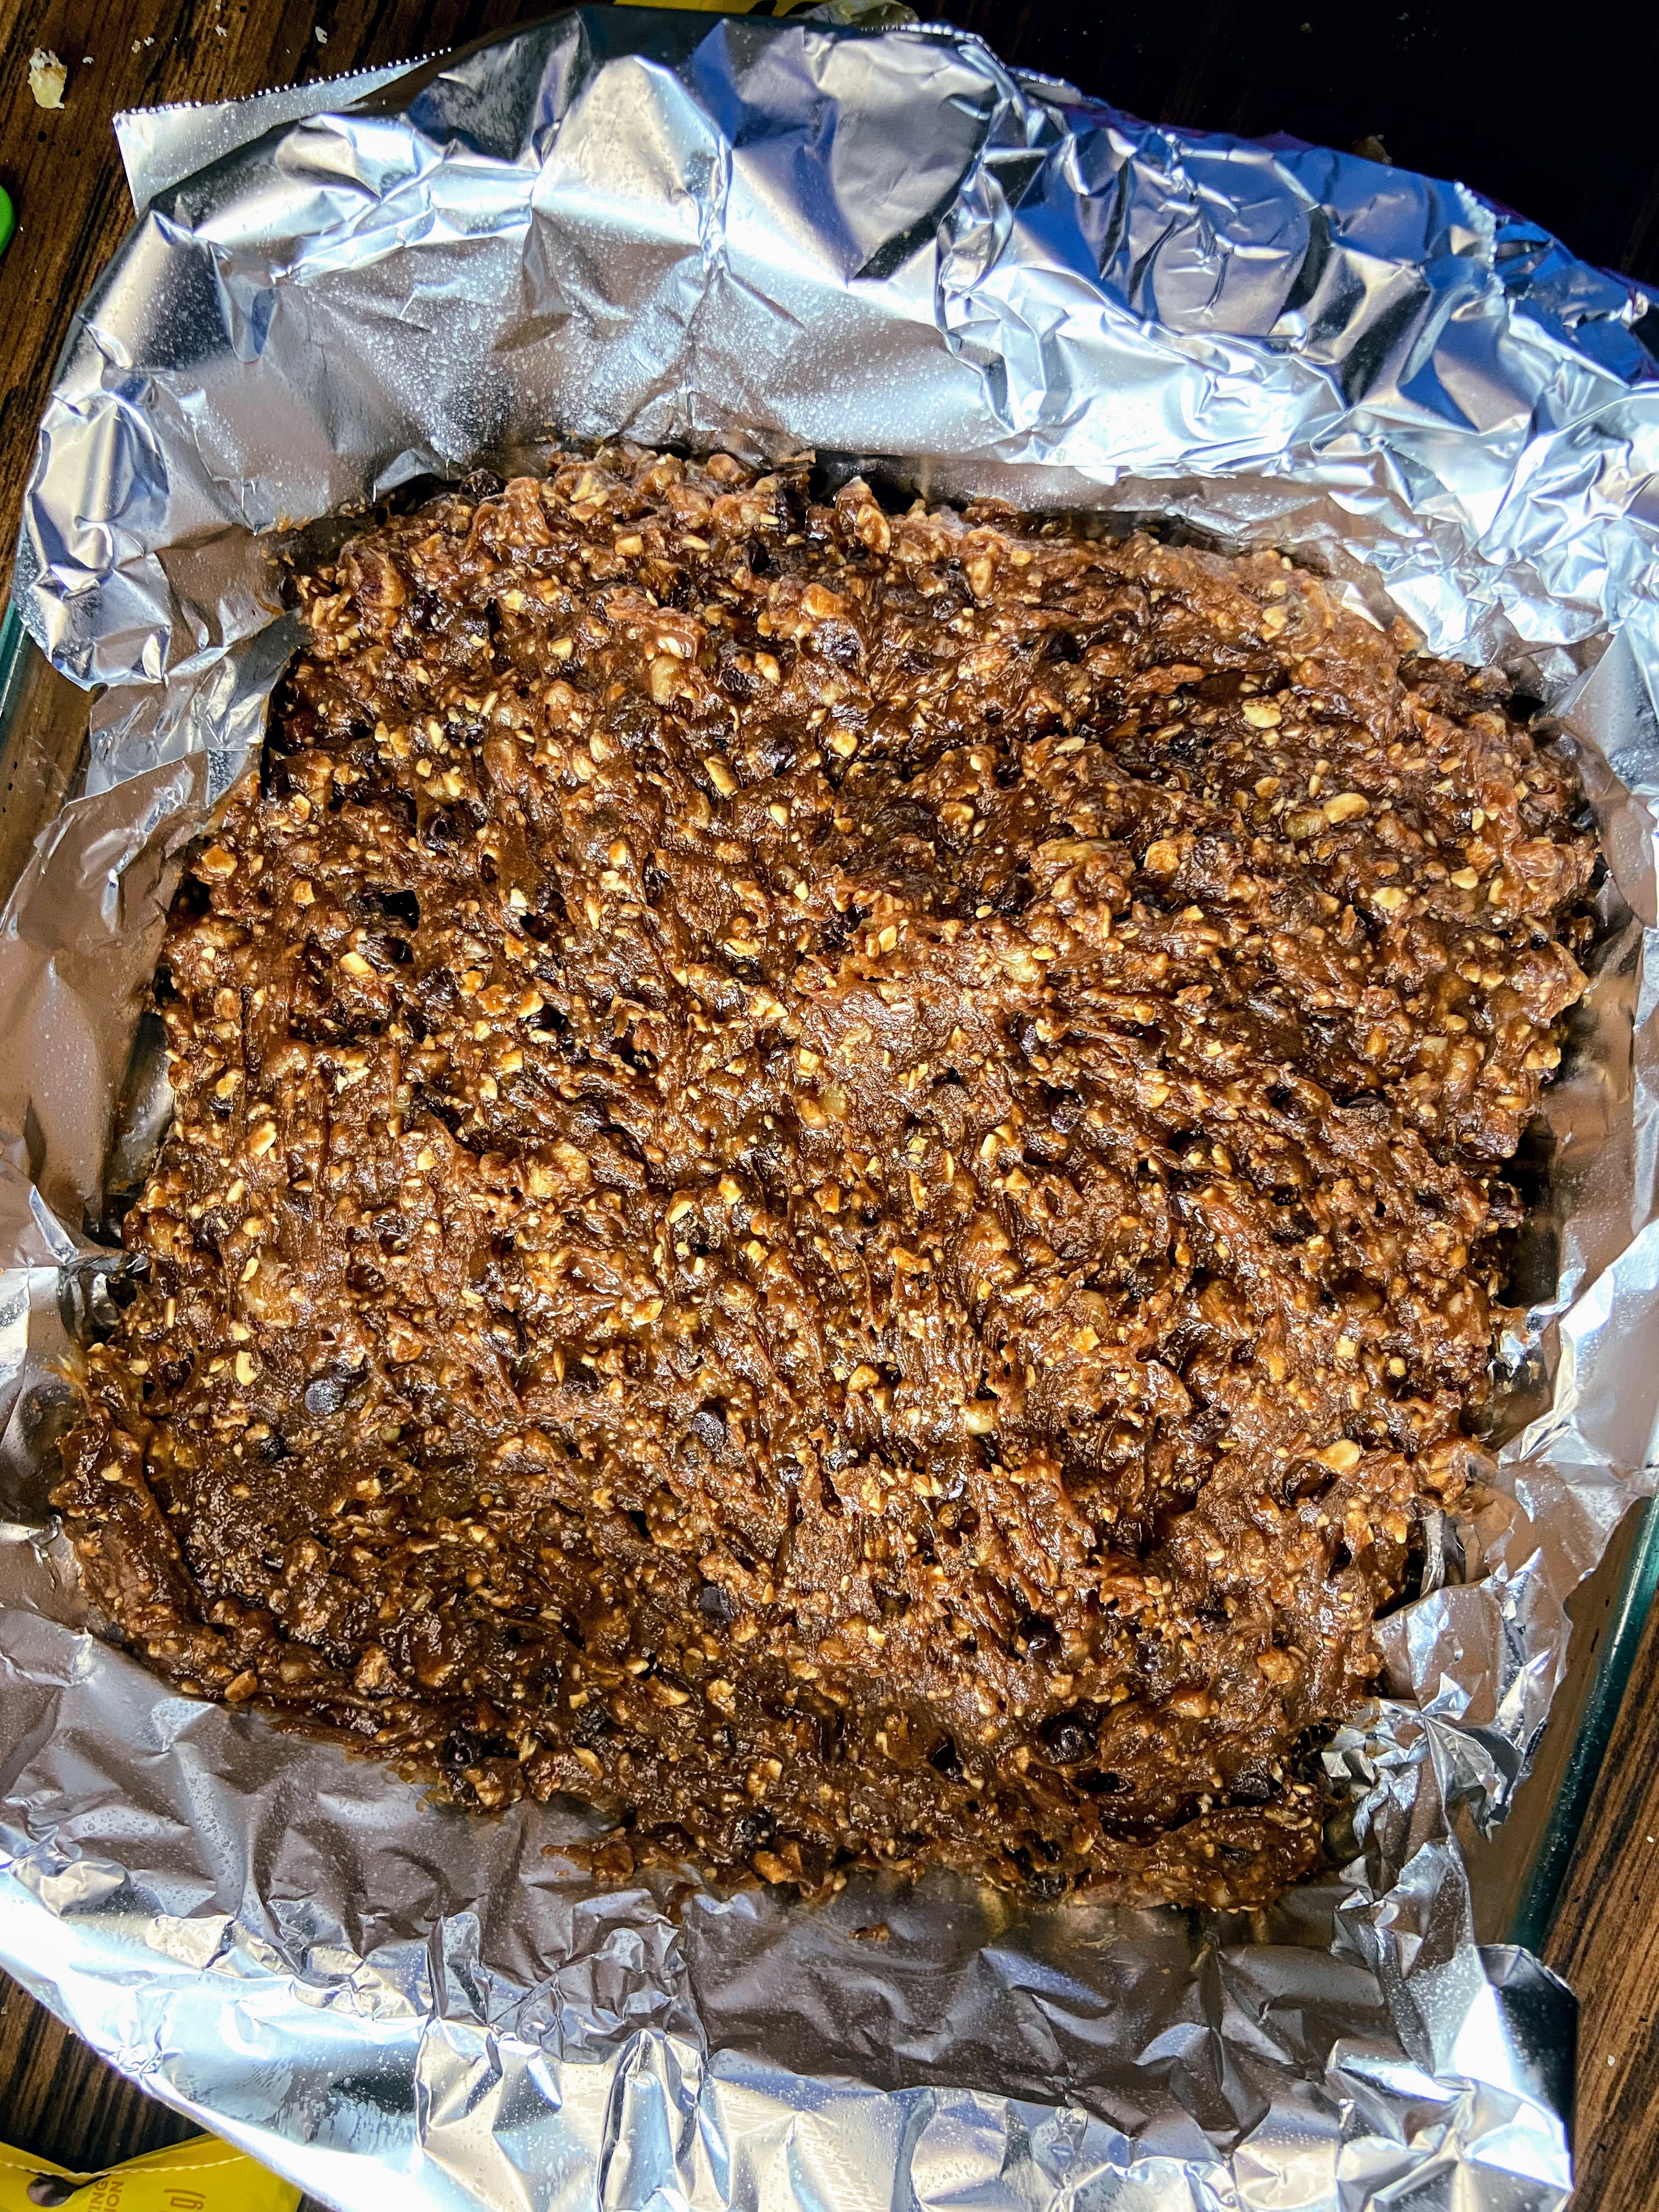
Preheat the oven to 325 degrees. Line an eight inch square baking pan with foil and then coat with cooking spray. ⁠

In a small bowl, combine flour, cocoa, salt, and baking powder. ⁠

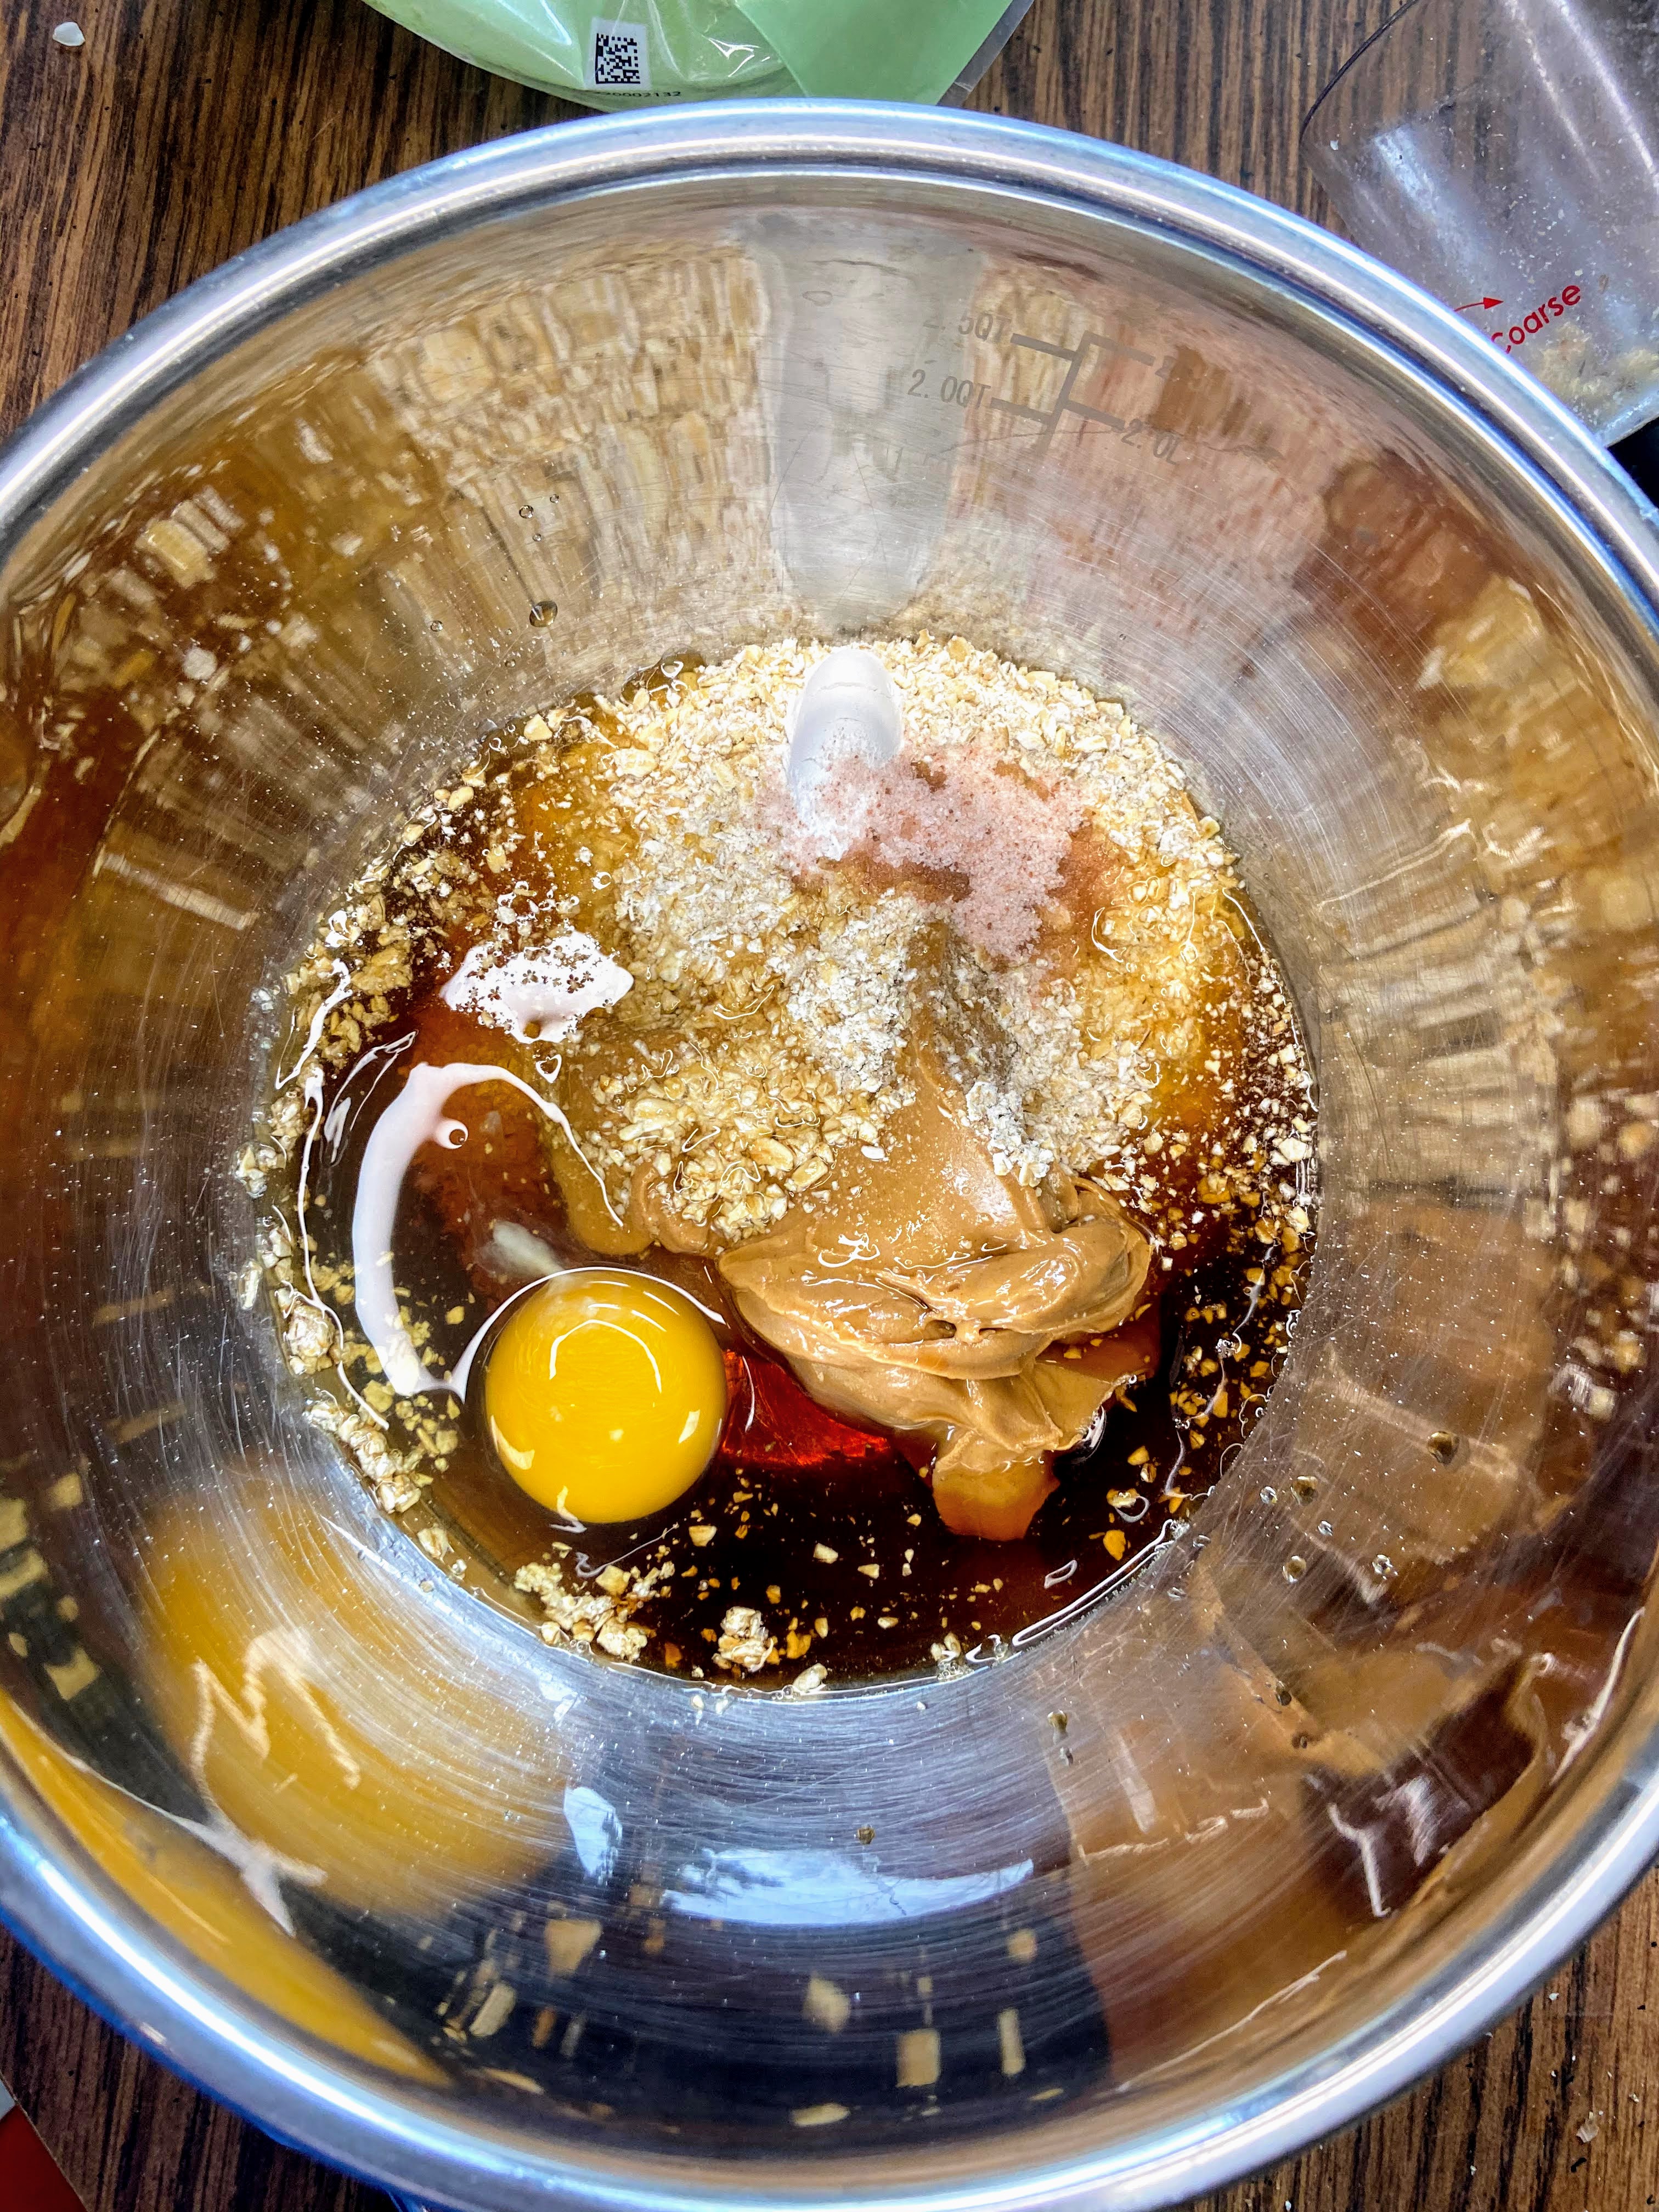
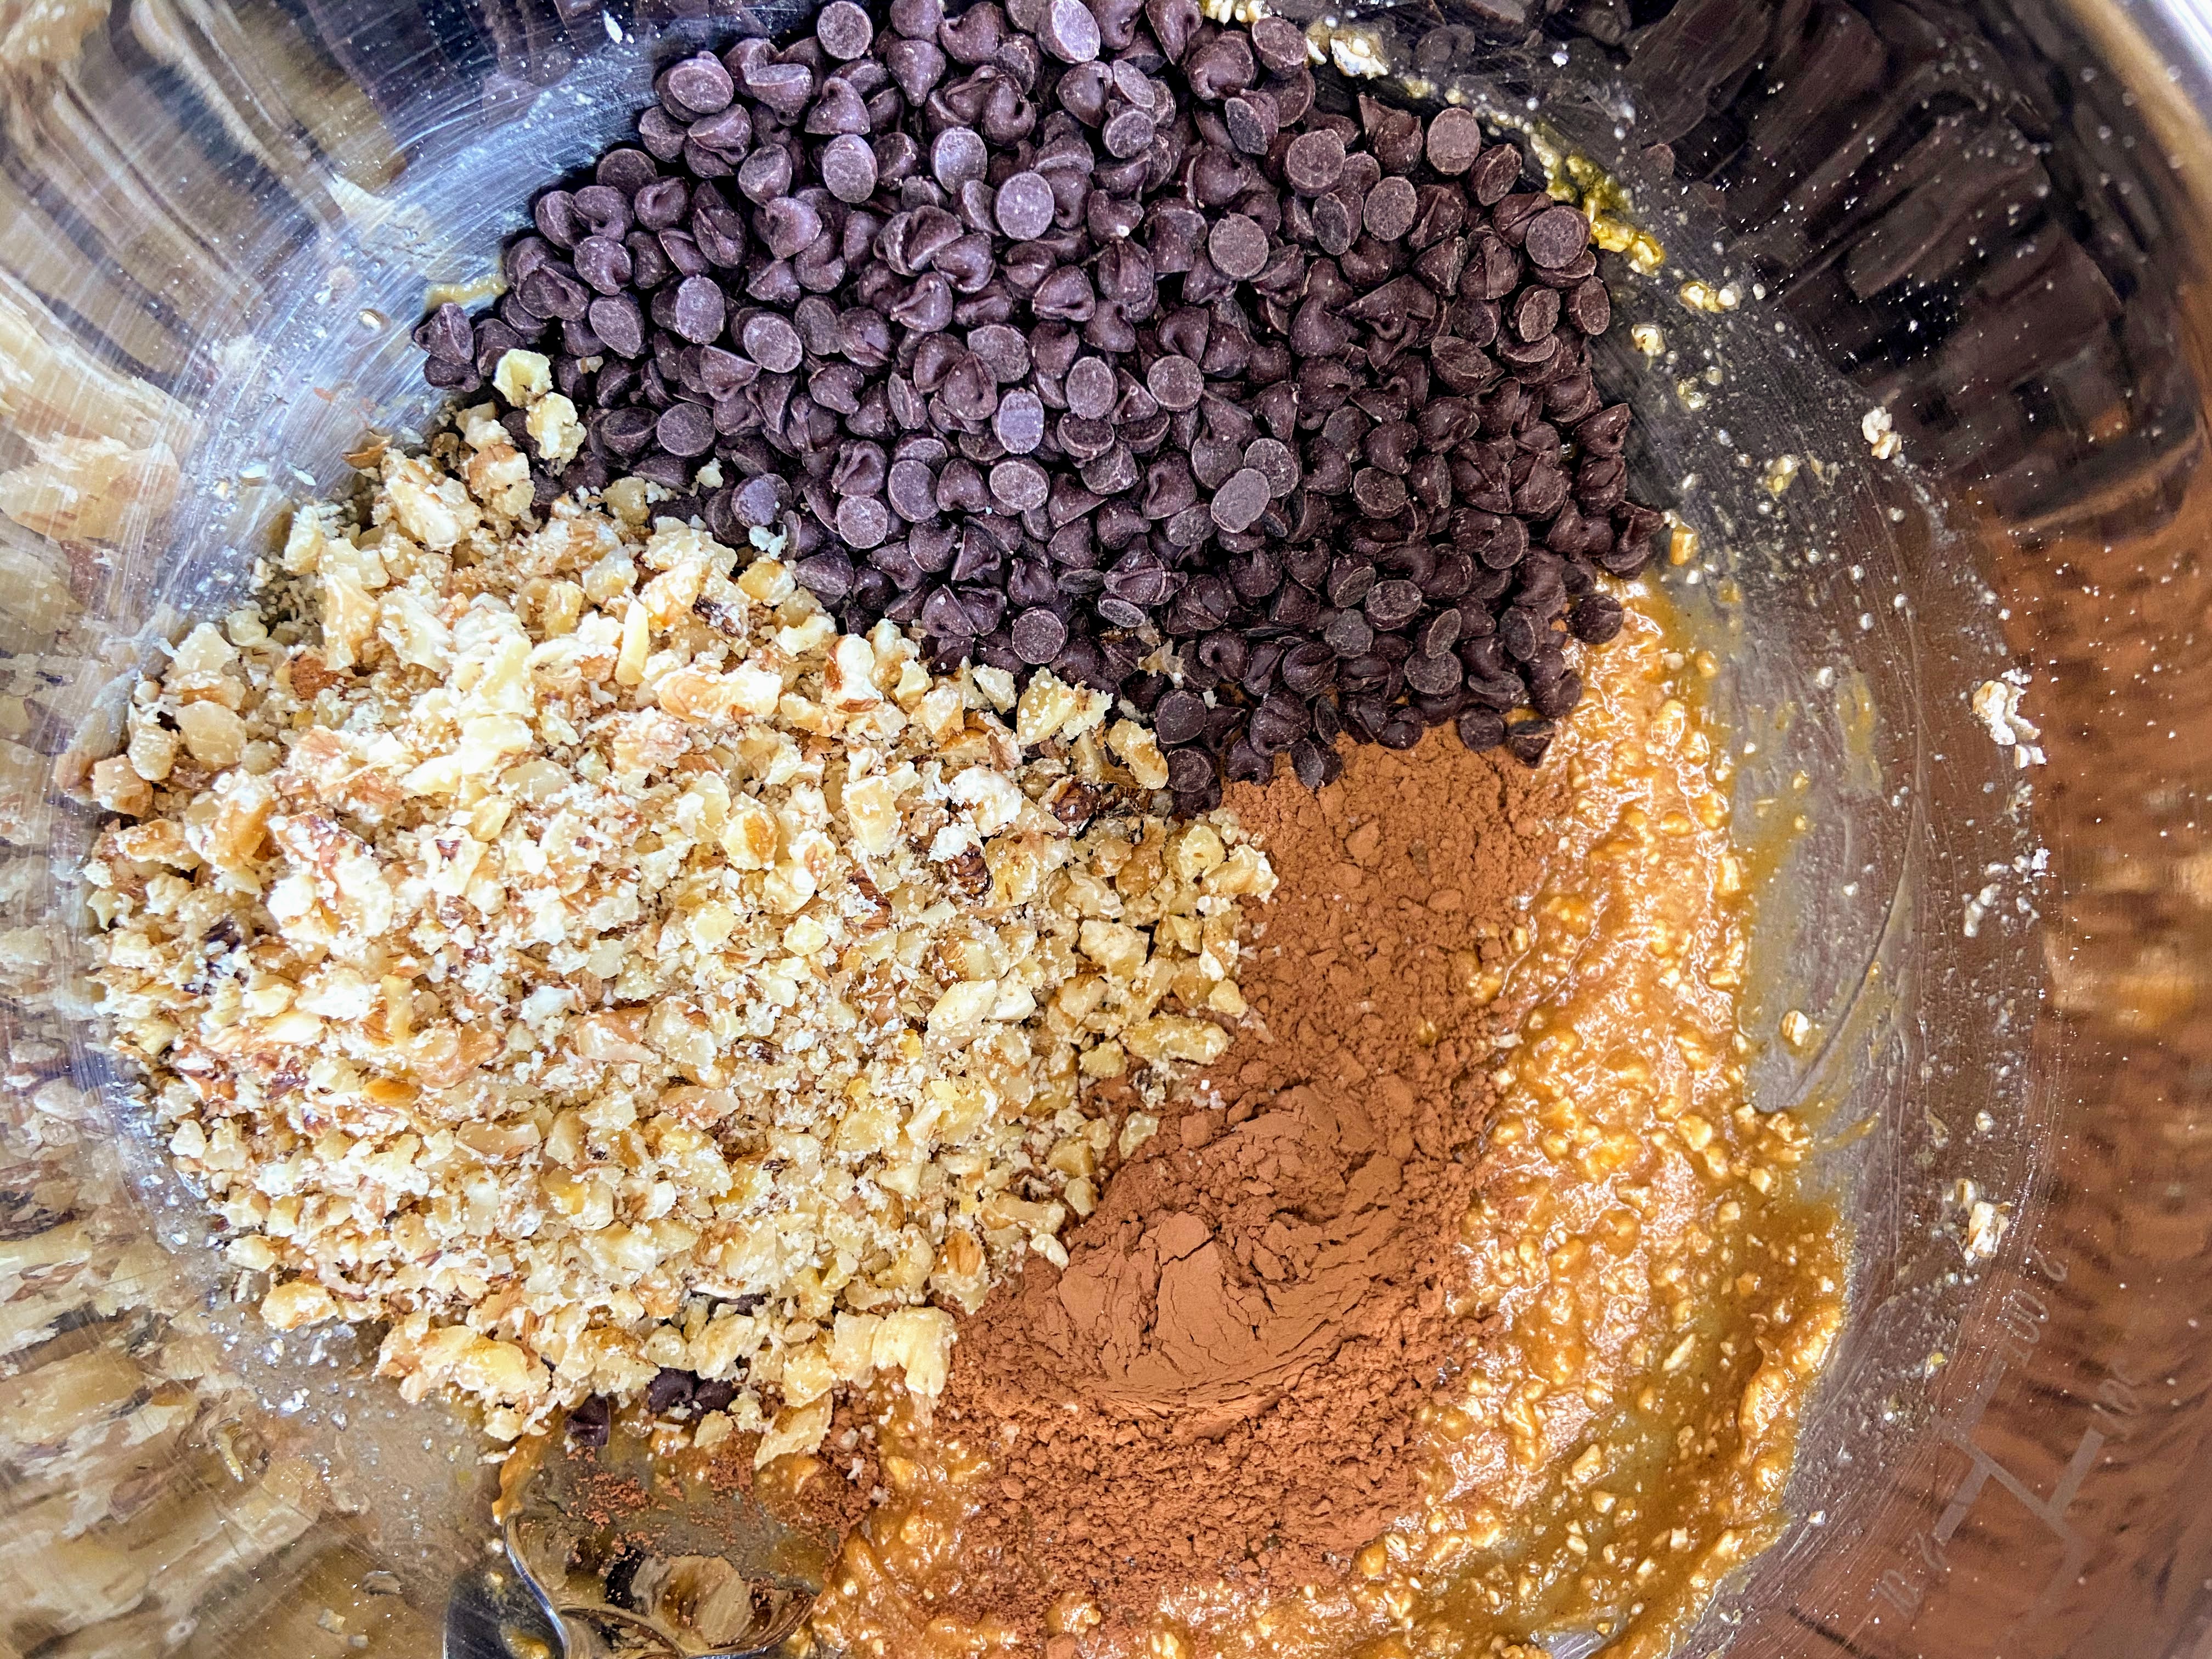
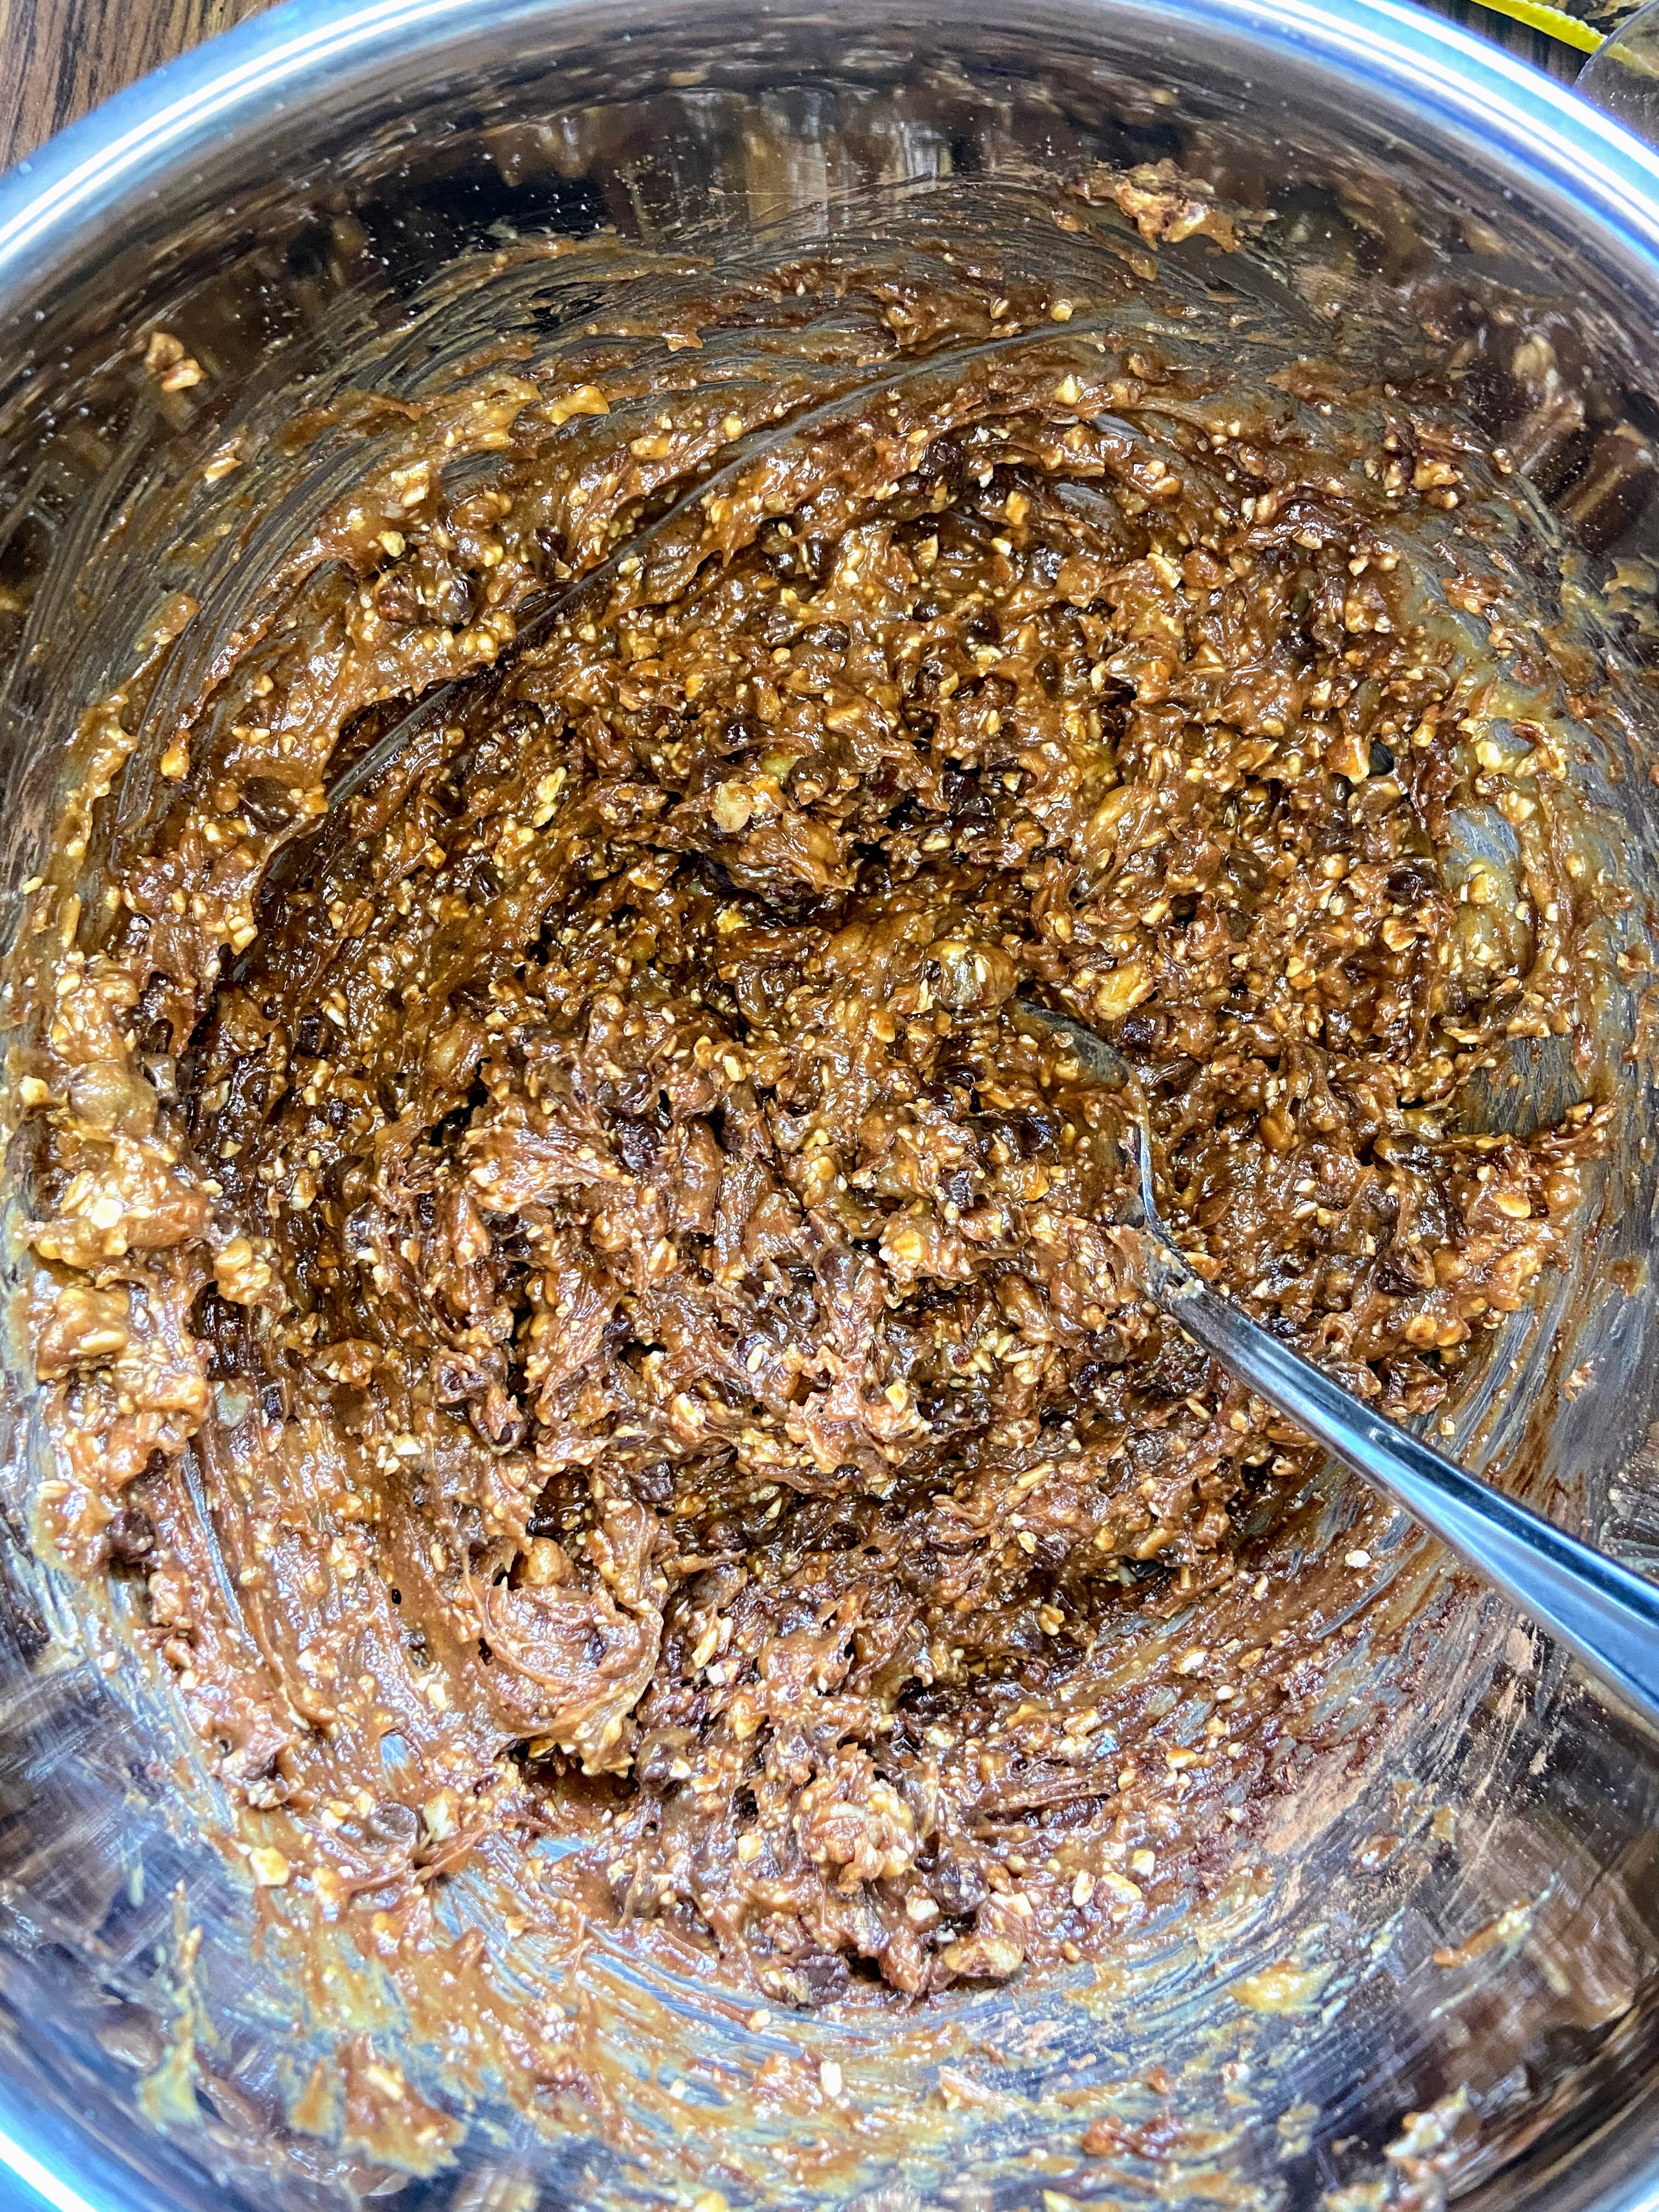
In another medium bowl, combine nut butter, maple syrup, egg, and vanilla. Stir in dry ingredients until just moistened. Fold in walnuts and chocolate chips. ⁠

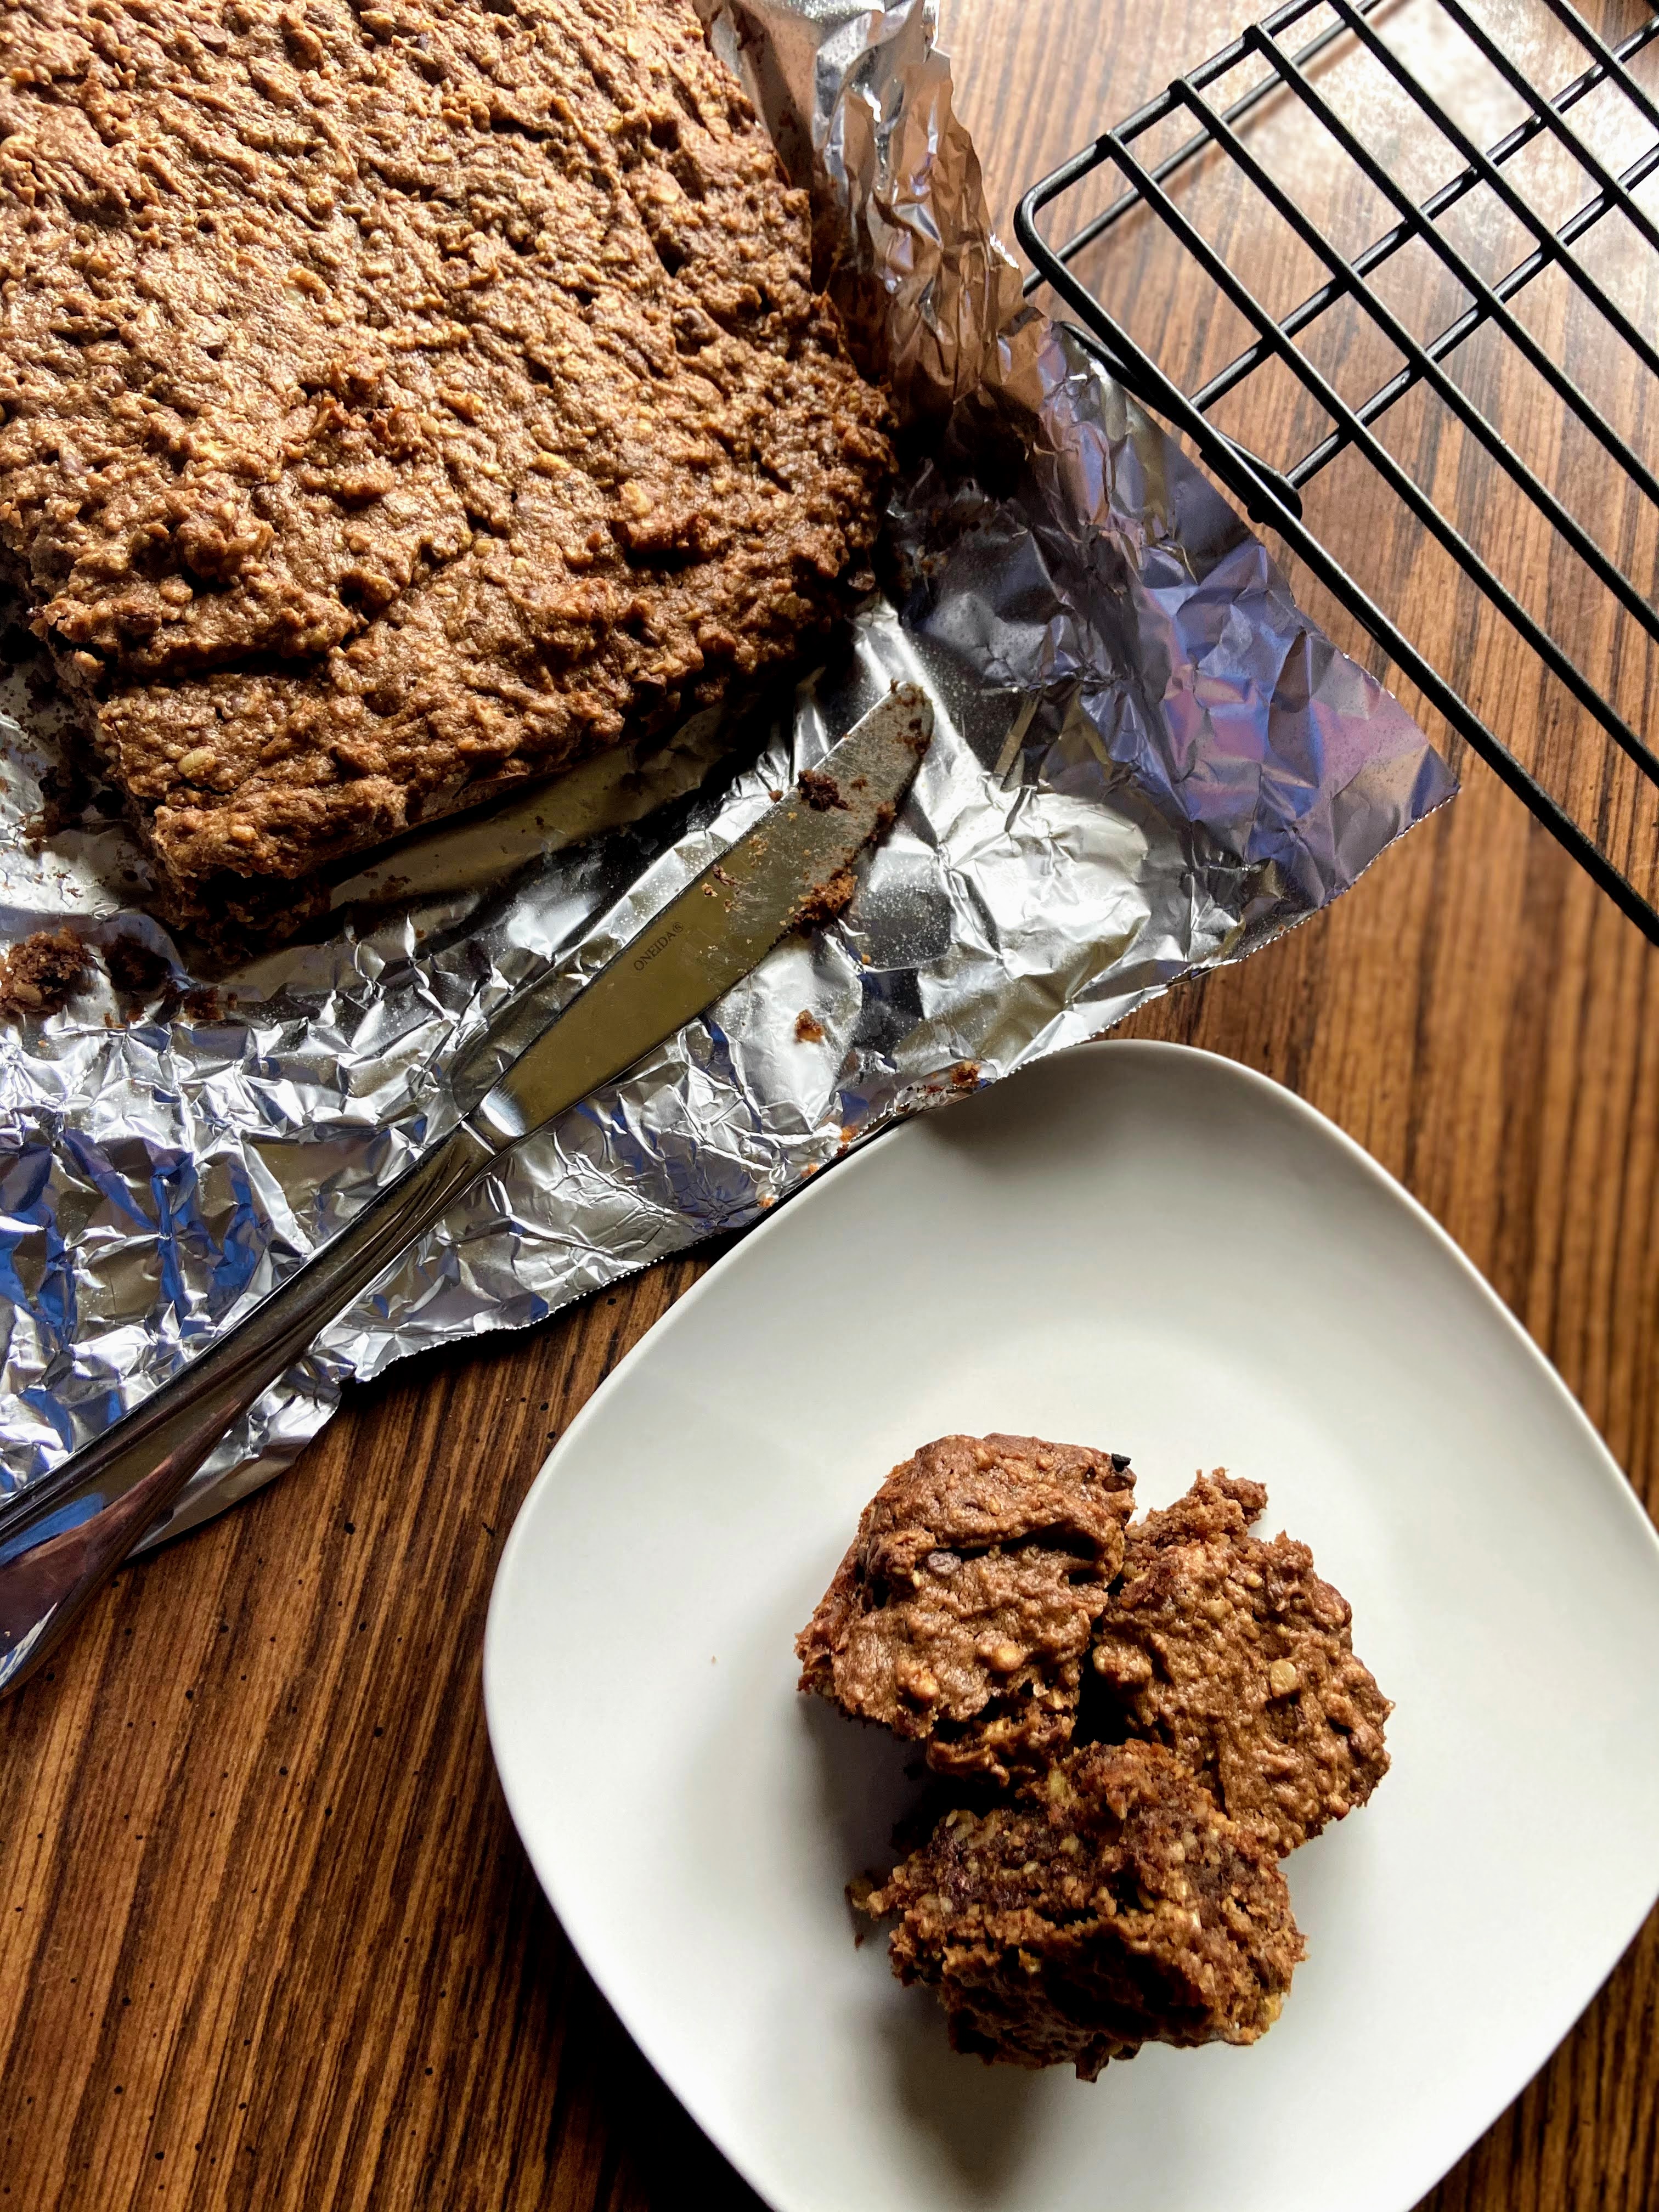
Pour into the prepared pan and bake for 30 minutes. Allow to cool in the pan before removing the foil and cutting into bars. I hope you enjoy them as much as I did! ⁠Just try not to eat the whole pan, I dare you.

Tools of the Trade

I love my large food processor. I do so much with it, including making my own oat flour!

A good Pyrex baking dish is a must!

Peanut Butter and Oat Brownies

These peanut butter and oat brownies are a quick and clean eating brownie that are full of texture and flavor! Give them a try!
Prep Time 10 minutes
Cook Time 25 minutes
Course Dessert
Cuisine American
Servings 16

Ingredients
  

  • 1/3 cup oat flour
  • 2 tablespoons cocoa powder⁠
  • 1/2 teaspoon salt⁠
  • 1/2 teaspoon baking powder⁠
  • 1 teaspoon vanilla⁠
  • 1 cup nut butter
  • 1/2 cup maple syrup⁠
  • 1 large egg⁠
  • 2/3 cup walnuts ⁠
  • 2/3 cup semisweet chocolate chips ⁠

Instructions
 

  • Preheat the oven to 325 degrees. Line a 8 in square baking pan with foil and then coat with cooking spray. ⁠
  • In a small bowl, combine flour, cocoa, salt, and baking powder. ⁠
  • In another medium bowl, combine nut butter, maple syrup, egg, and vanilla. Stir in dry ingredients until just moistened. Fold in walnuts and chocolate chips. ⁠
  • Pour into the prepared pan and bake for 30 minutes. Allow to cool in the pan before removing the foil and cutting into bars.

Notes

I grind old fashioned oats myself in a food processor. You can also purchase your own.
Keyword brownies, chocolate and peanut butter, Gluten Free, oats, peanut butter brownies
Tried this recipe?Let us know how it was!

Homemade Applesauce: Slow Cooker Style

Growing up, I don’t remember either of my parents making homemade applesauce. That isn’t to say they didn’t do it, but I certainly have no memory of it. It wasn’t until I was almost entirely through college that I even realized canning and preserving food was something commonplace. I didn’t start my own journey with homegrown and preserved food until late into my twenties, after my son was born. 

After we purchased our home in 2009, we immediately set to work to plant a garden and get trees started for our own mini orchard. At that point, I still had no idea where my future in home preservation was headed. My in-laws are avid canners and freezers of food they produce in their garden. I don’t know if it was a push by my husband or a curiosity of mine, but I became interested. Slowly, I started by canning pickles and jams. Then tomato sauce. Then my in-laws brought me bushels of apples from their own orchard (ours are JUST starting to produce enough to preserve them. For now, we eat ours and preserve gifted apples). I became interested in making homemade applesauce. Then apple jelly and apple pie filling

Now, I’ve learned that preserving homemade applesauce doesn’t have to look like canning it (although I like to do a little of both). It can look like freezing it, which is a little less daunting for many. And while I love a low simmer on the stove, a slow cooker does the trick and takes the pressure off of worrying if it’s going to burn. Big win, right? 

So if you’re ready, I am excited to share my homemade applesauce recipe for freezing. 

Your Ingredients for HOmemade AppleSauce

  • 8-9 pounds of apples (between 27-36 apples)
  • 2-3 cinnamon sticks (optional) 
  • 1 cup of water 

Note: I never add sugar. Apples are sweet enough on their own that I don’t think you need it. If you want to add sugar, I recommend starting low, say, ½ cup. You can add it later, but you can’t unsweeten applesauce after you add it. 

Directions for Slow cooker Applesauce

Gather a bowl and a 7-8 quart slow cooker. Peel, core, and slice your apples. Place the scraps in the bowl for Apple Scrap Jelly (yes, you didn’t know you were also making jelly, but here you are, getting ready to!). Set aside (or compost them if you must.) 

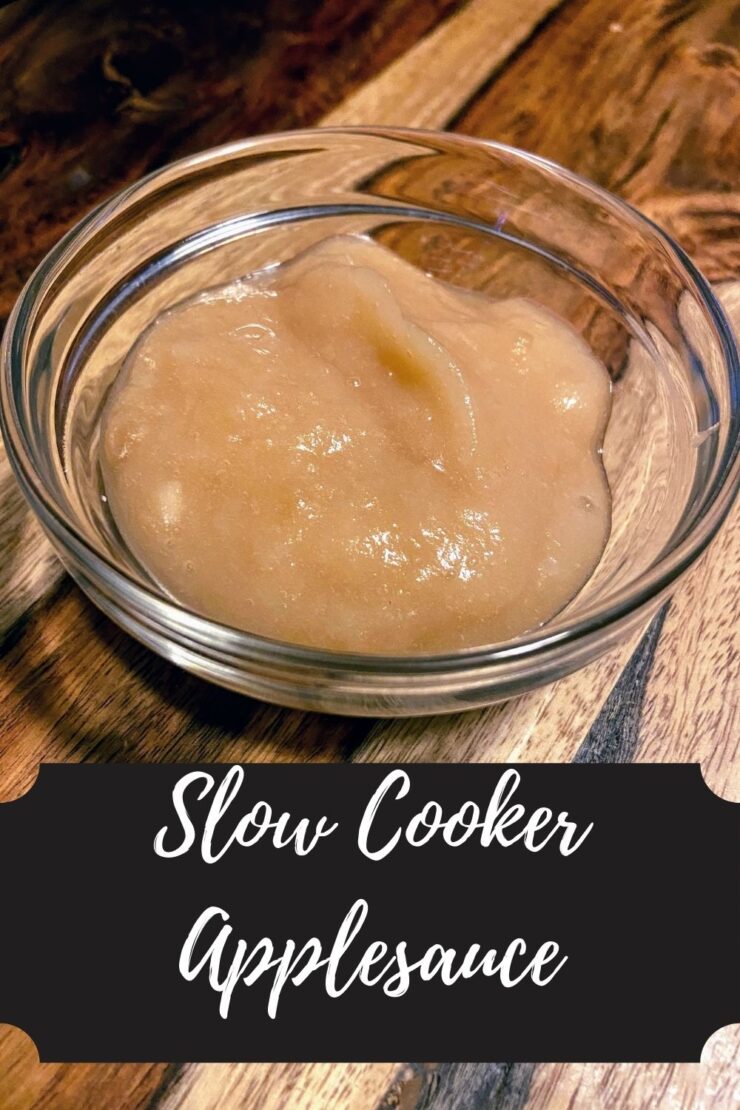
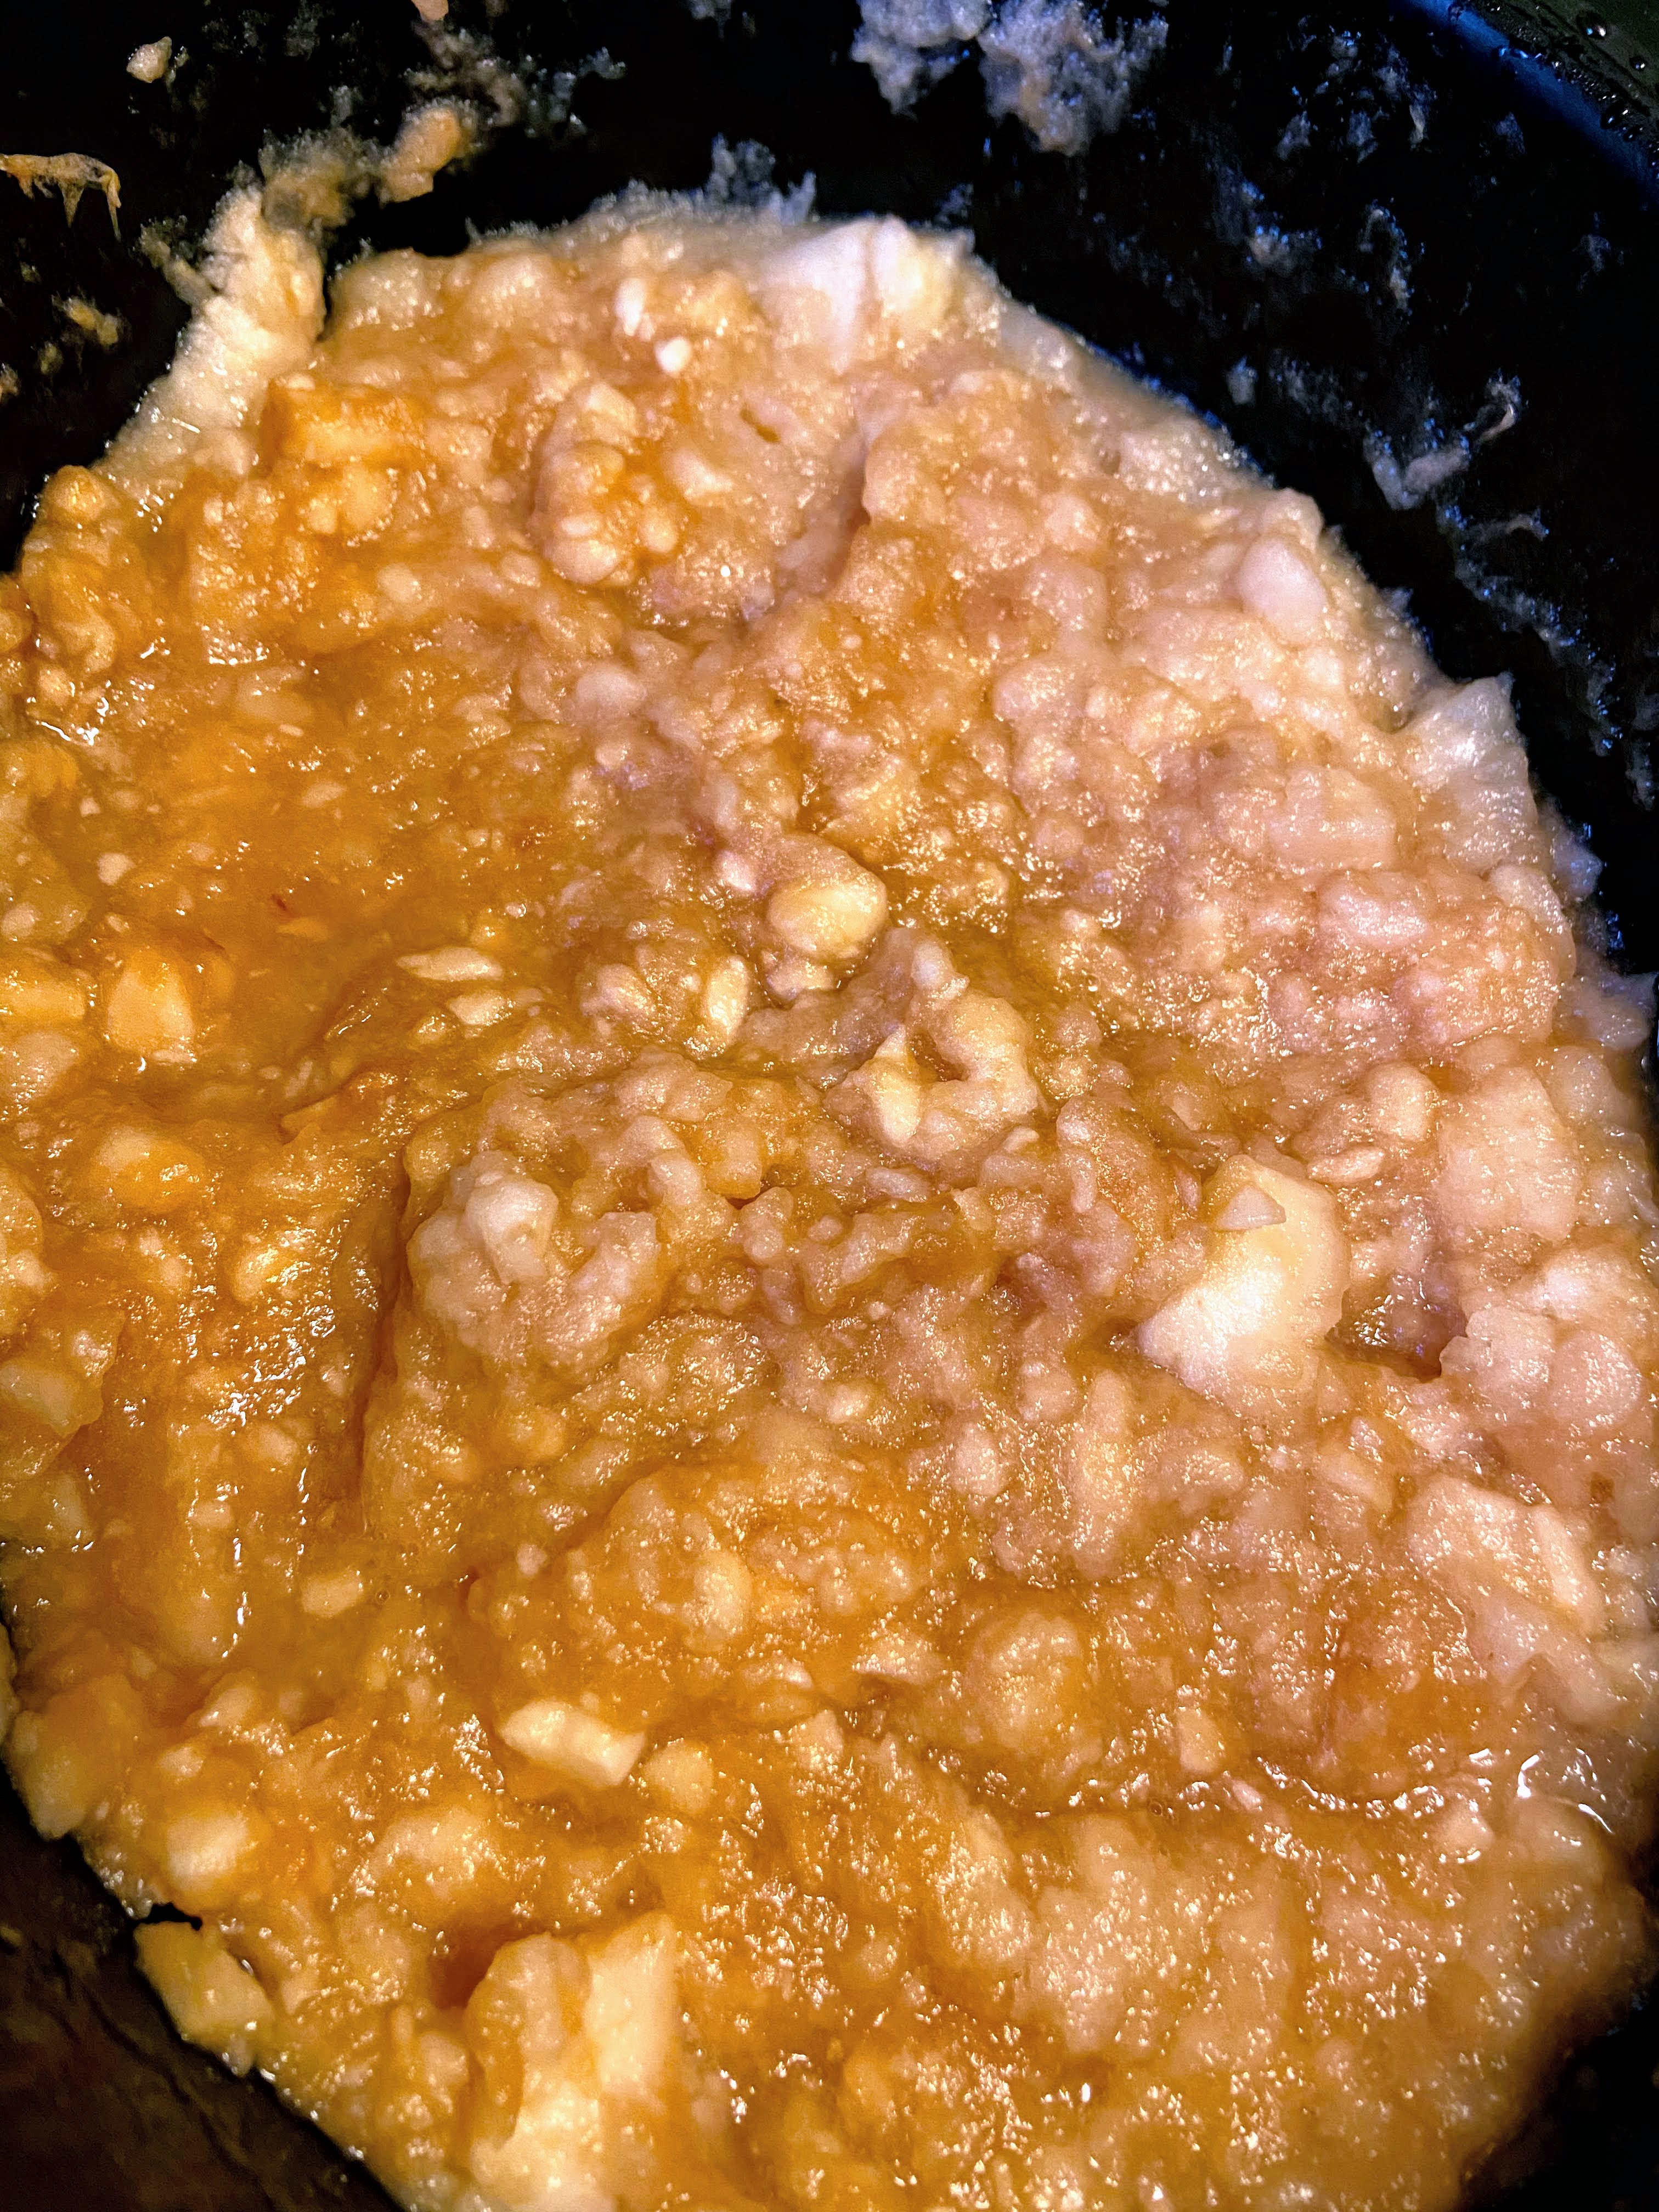
Place the sliced apples in the slow cooker. Add cinnamon sticks and water. Set on high for 3-4 hours. Every 30 minutes or so, stir and mash a bit with a potato masher or pastry cutter to break down the apples. Cook until apples are soft. 

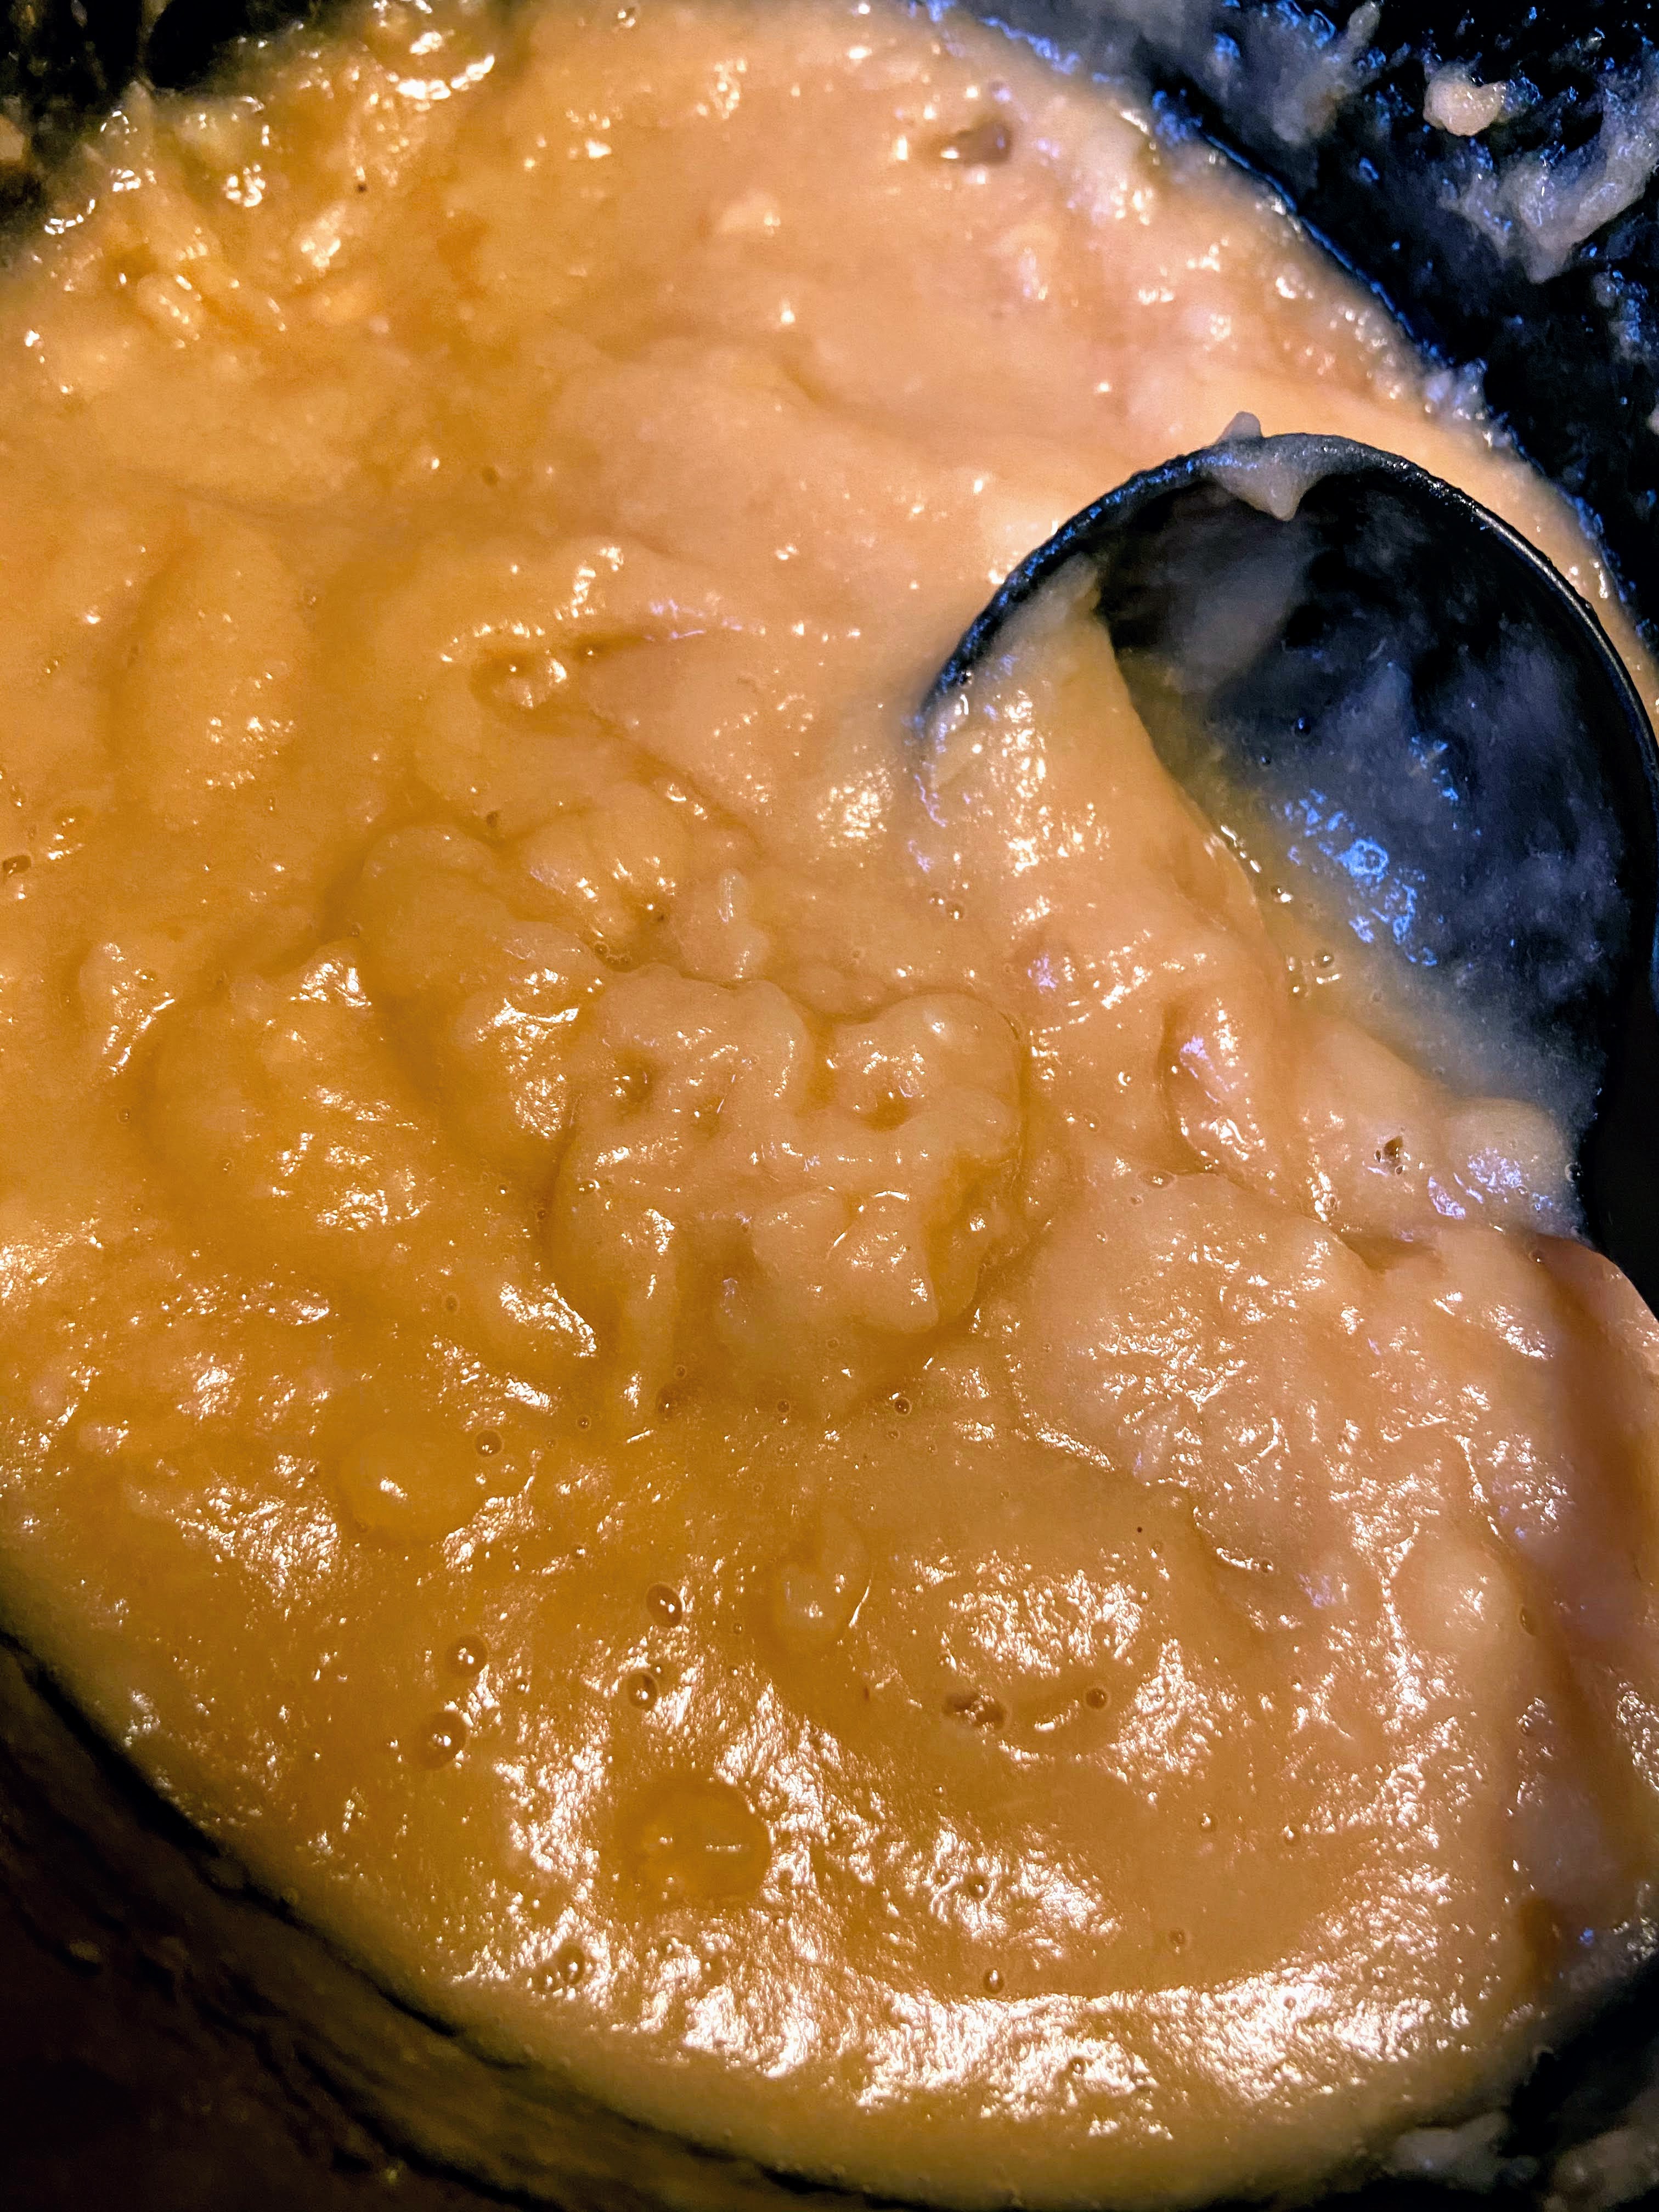
Remove the cinnamon sticks. Now, you have a decision to make: chunky or smooth? 

Chunky Applesauce? Continue to mash with the potato masher until you like the texture. 

Smooth Applesauce? Hit it with an immersion blender until you get the texture you love. 

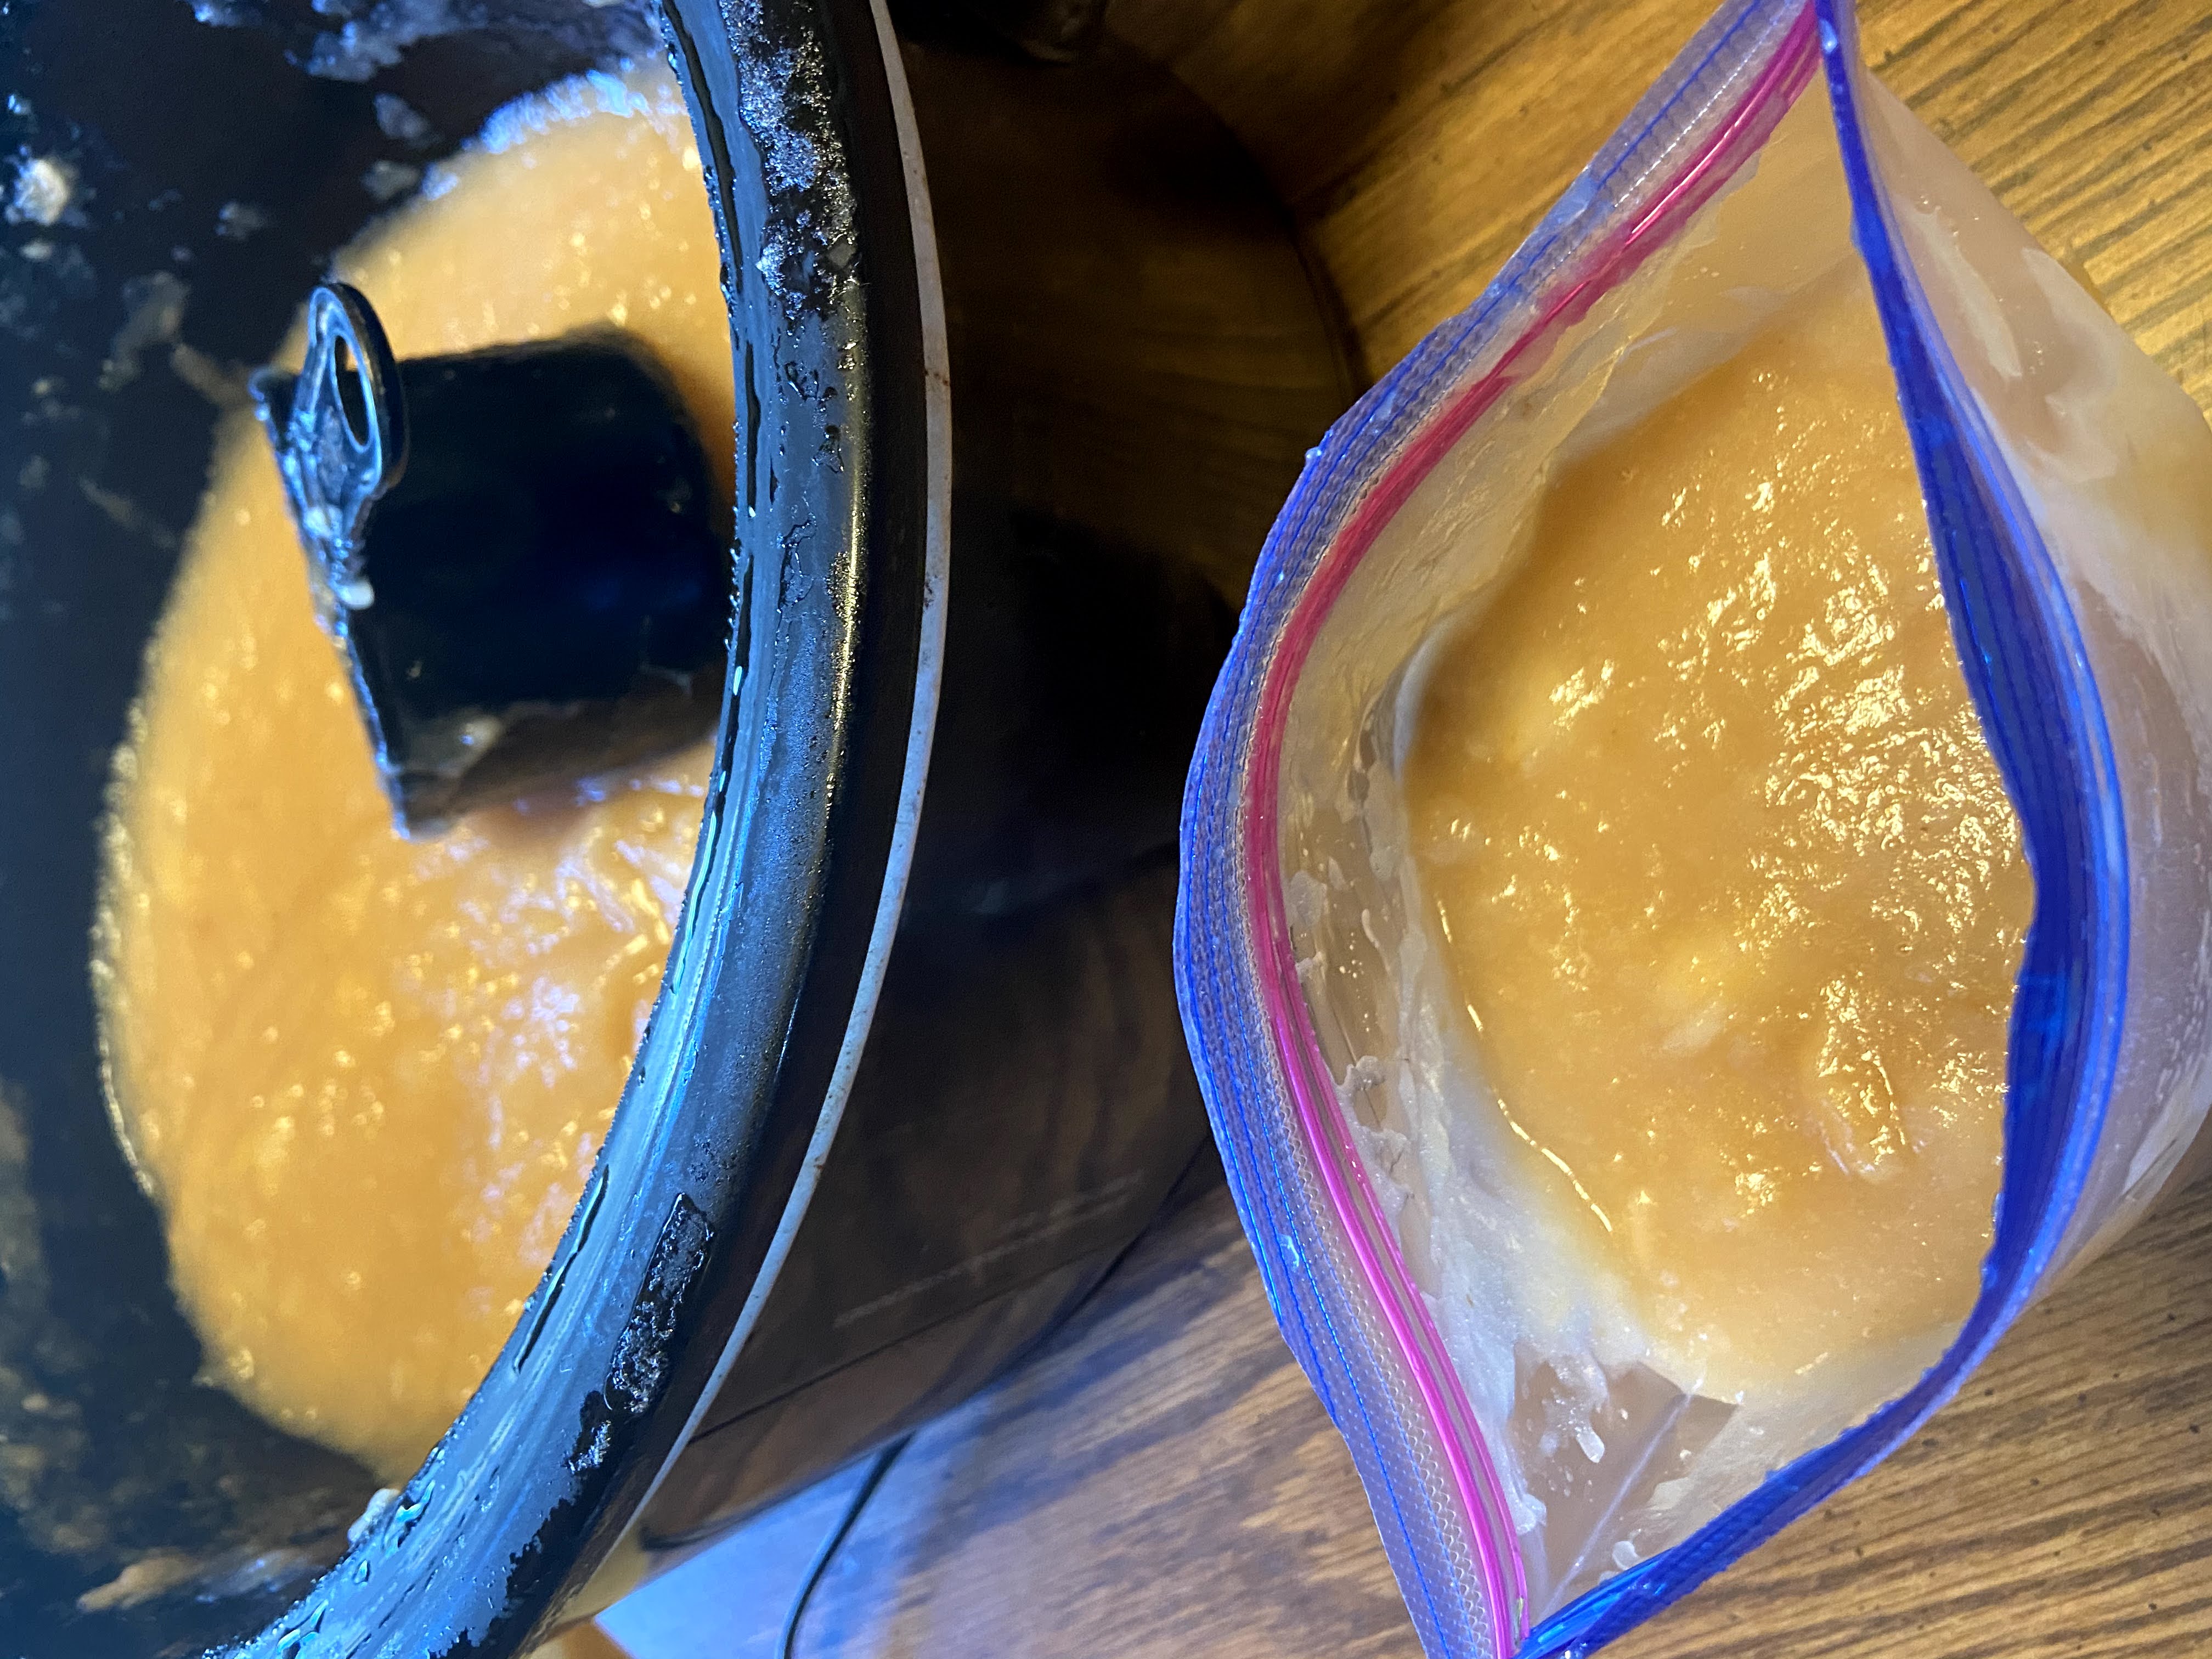
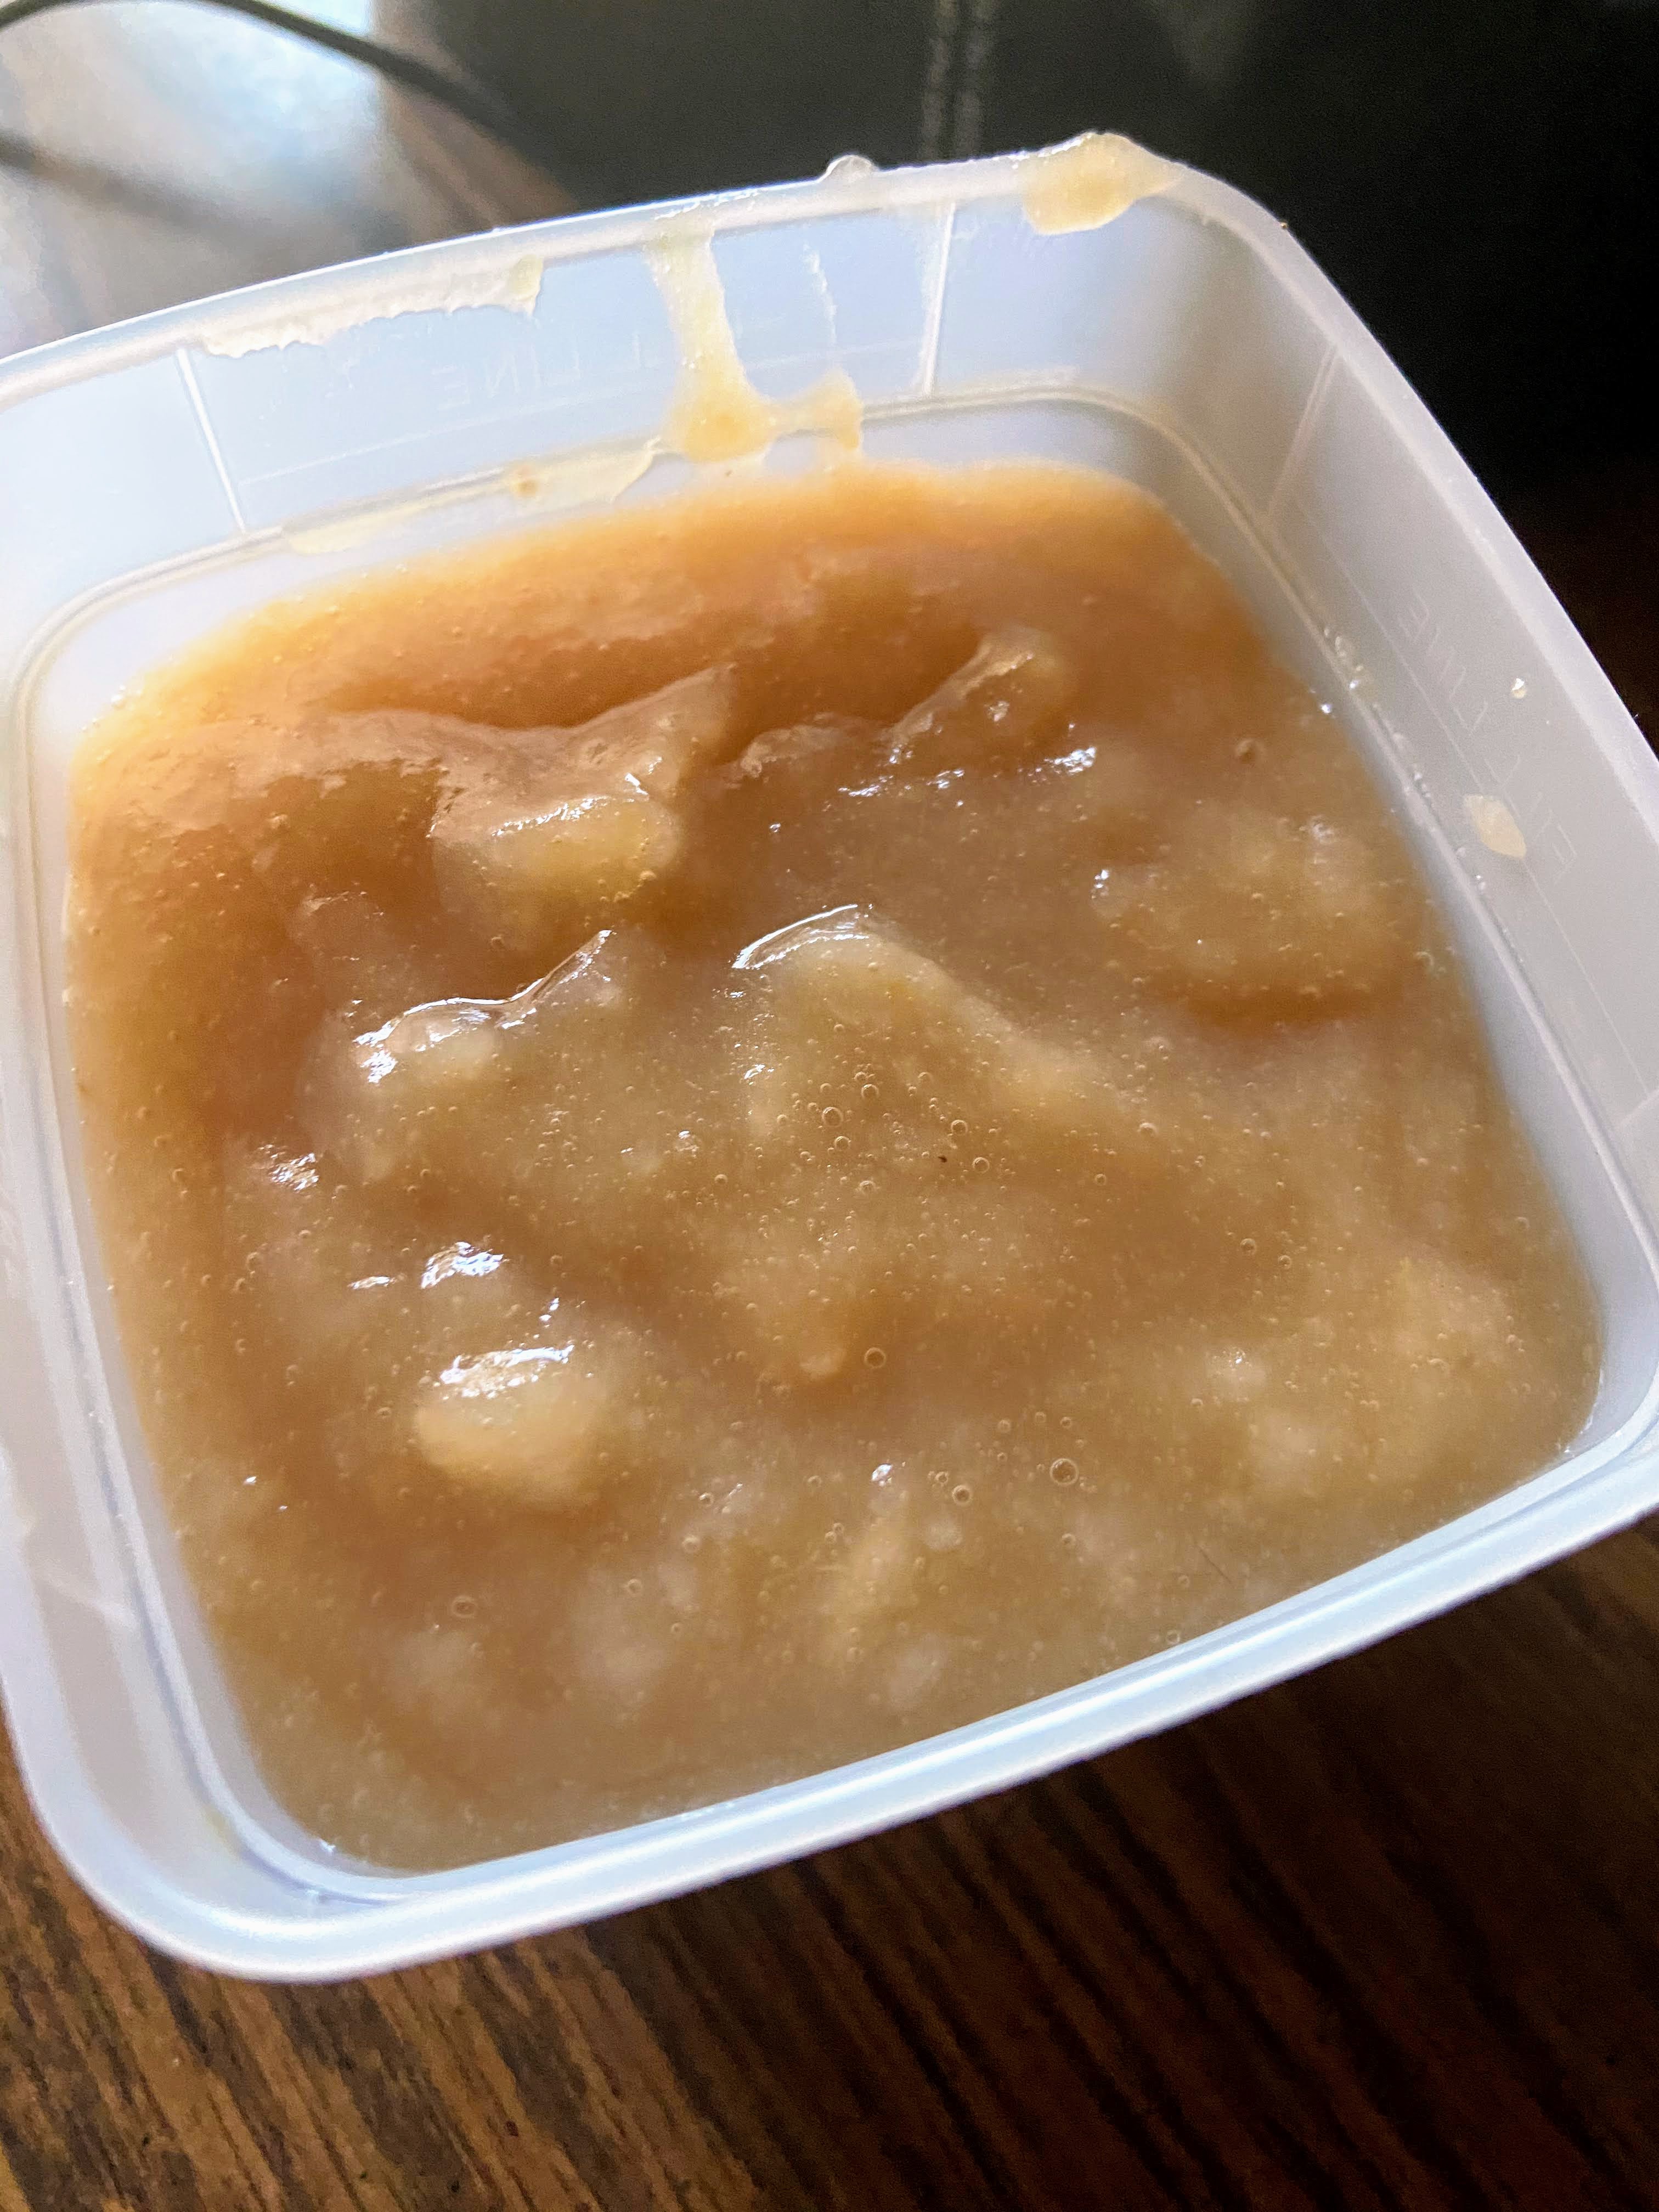
Allow to cool for approximately an hour. Ladle cooled applesauce into freezer safe containers (I love these container from Arrow). Label and store in the freezer. My mom likes to ladle her applesauce into freezer bags. She likes that they lay flat in the freezer. You do you. (Yes, I know I started by saying my mom didn’t preserve food. She does now. Maybe I inspired her?) 

This recipe should result in about 6 pints of applesauce. 

Tools of the Trade

In my post, I talk about my immersion blender (a favorite tool of mine!), my Arrow freezer containers (a go to for apples, portioned leftovers, apple pie filling, and so much more!), and I love my Crock pot. I mean, you can’t go wrong!

Slow Cooker Applesauce

Apple season equals time for homemade applesauce! Get out the slow cooker and some freezer safe containers and get set to create!
Prep Time 30 minutes
Cook Time 4 hours
Course Side Dish
Cuisine Preserving
Servings 6 pints

Ingredients
  

  • 8-9 pounds of apples between 27-36 apples
  • 2-3 cinnamon sticks optional
  • 1 cup of water

Instructions
 

  • Peel, core, and slice your apples. Place in the slow cooker.
  • Add cinnamon sticks and water. Set on high for 3-4 hours.
  • Every 30 minutes or so, stir and mash a bit with a potato masher or pastry cutter to break down the apples. Cook until apples are soft.
  • Remove the cinnamon sticks.
  • If you prefer chunky applesauce, continue to mash with the potato masher until preferred texture. If you prefer smooth applesauce, blend with an immersion blender.
  • Allow to cool for approximately an hour. Ladle cooled applesauce into freezer safe containers. Label and freeze.

Notes

I never add sugar. Apples are sweet enough on their own that I don’t think you need it. If you want to add sugar, I recommend starting low, say, ½ cup. You can add it later, but you can’t unsweeten applesauce after you add it.
Keyword apple and cinnamon, apples, applesauce, freezer meals, preserving
Tried this recipe?Let us know how it was!