Before I get to the raspberry jalapeño jam recipe, I want to share a little of my history. For as long as I can remember, raspberries have been my very favorite fruit. When I was little, I would go with my dad to bait deer stands (very Wisconsin, right?) and I could eat wild raspberries to my heart’s content while I wasted time in the woods. I am certain part of my love started there. I always had the rule that you couldn’t eat them until you were done picking. If you started eating, it was just impossible to stop.
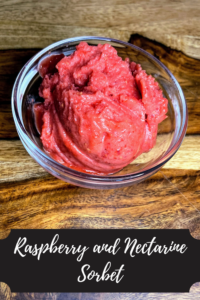
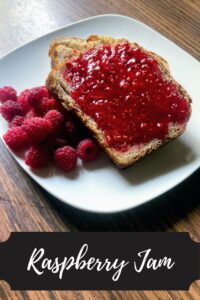
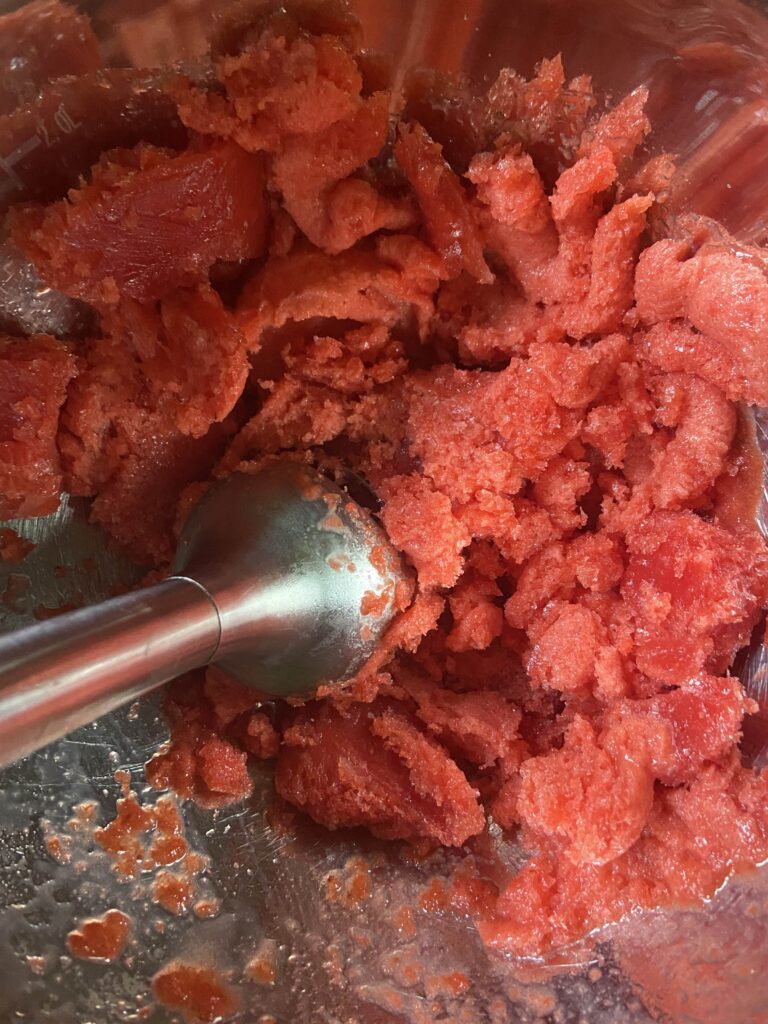
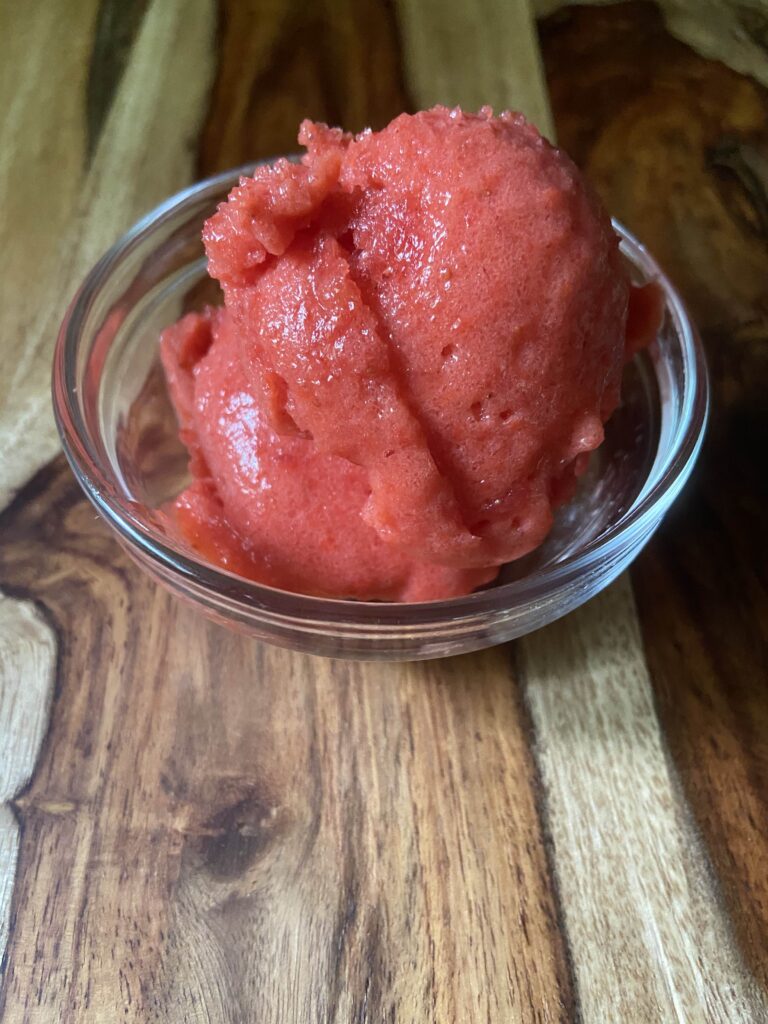
Now that I am an adult with a larger than life raspberry patch, I still hold true to that rule. A few years ago, we had the biggest bumper crop we had ever had. First, I made regular jam. After that, I froze them straight. I made raspberry sorbet (Check out that recipe here!). I even made raspberry salsa. The salsa inspired me to try mixing jalapeños and raspberries in a different way. Raspberry jalapeño jam was born. If you have ever had pepper jelly, this has a similar spicy-sweet flavor. This is better, of course 😉
How would you eat a raspberry jalapeño jam? It’s great spread on top of cream cheese (or the healthier cousin, Neufchatel) and served with wheat crackers. If you have never had this, oh my goodness, you need to give it a try! I like to put it on burgers, replacing barbecue sauce. It even goes well on a PB and J, believe it or not. It isn’t so much spicy as it simply has a depth to the flavor. Serious yum factor.
Okay, enough talking. Let’s get canning and make this delicious treat!
The Supplies
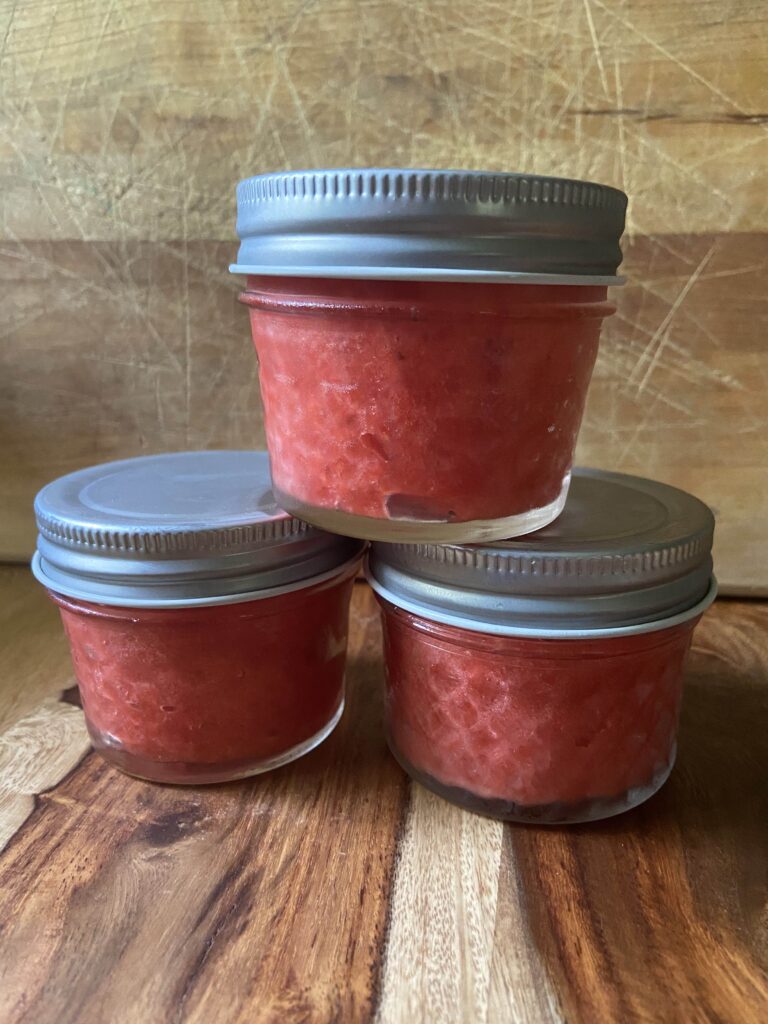
This recipe will result in approximately eight 8 ounce jelly jars. You can use wide mouth or narrow mouth jars. Just be sure you have rings and lids for them and that they will all fit in your canner at once.
You will need a water bath canner or large stock pot with a lid. The jars need to be off the bottom of the pot. A water bath canner will have a rack to use if you go that route. If you use a stock pot, I would invest in canning racks. Alternatively, you can also put a towel down in a pinch, but it is MESSY in terms of getting water everywhere.
It is also helpful to have the tools in a canning kit like this, but it isn’t necessary. Canning would be crazy challenging without the jar funnel and jar tongs. The lid lifter is also very handy.
New to canning? Check out the Ball’s Book of Canning or The National Center for Home Food Preservation for more detailed information. I will give you the low down, but it will be short and sweet. You will want to read up more, I promise 🙂
Your Ingredients
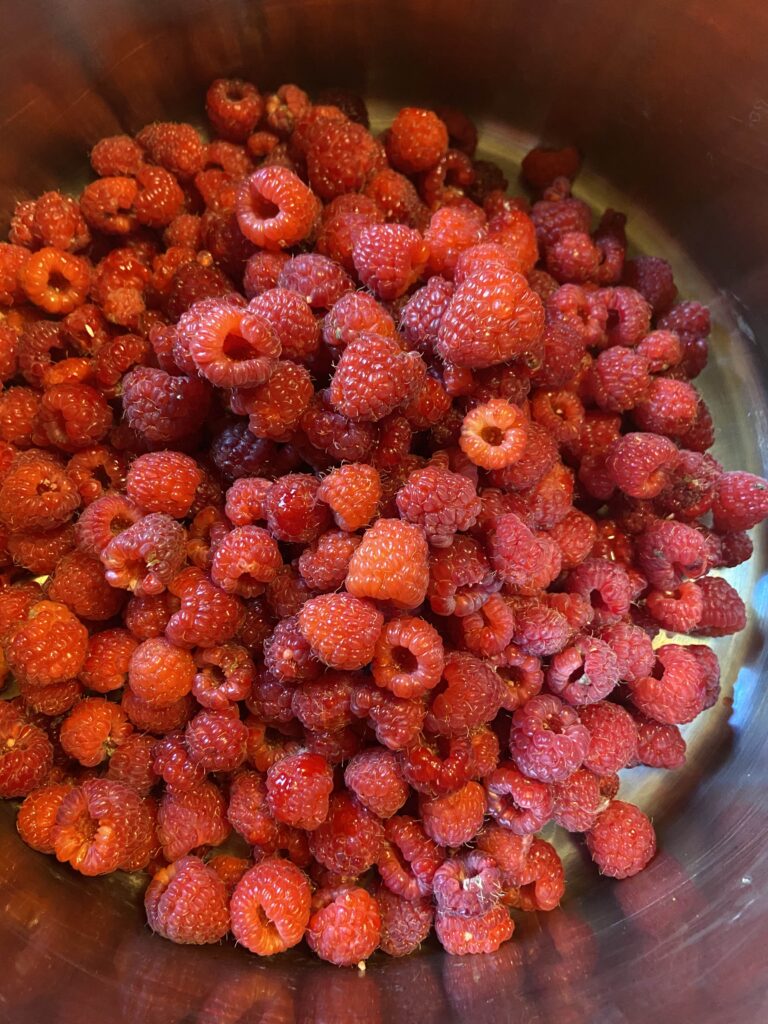
- 6 ½ cups raspberries
- 5 cups sugar
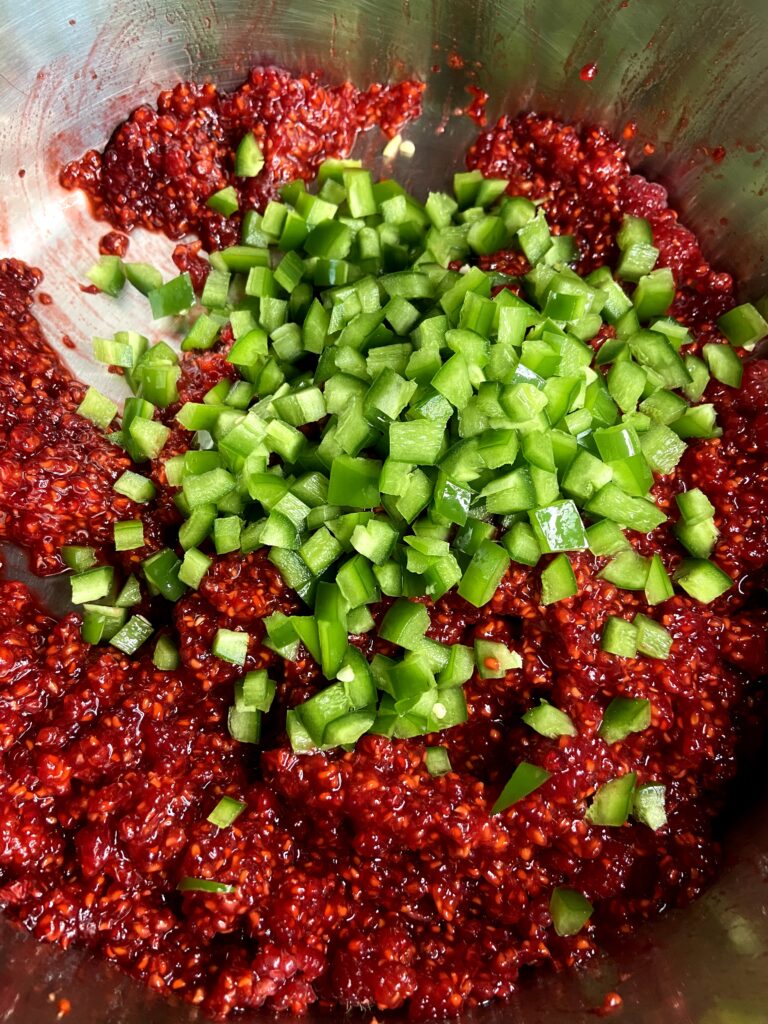
- 2 jalapenos, finely chopped (between ¾-1 cup)
- 4 ½ tablespoons powder pectin (or one packet)
Your Steps
Prep Work
To begin, prepare your water bath canner. Be sure to fill the canner with enough water so that once the jars are in the canner, they will be covered by at least one inch of water. Too much water is better than not enough, but remember that some water will be displaced by the jars. Cover and begin to heat over a medium-high heat.
Meanwhile, measure out the sugar. Set aside. You want to do this ahead of time because the process of canning is slow until it hits “go time” and then you need to be prepared. You will stir this in when you hit a rolling boil.
It’s Cooking time
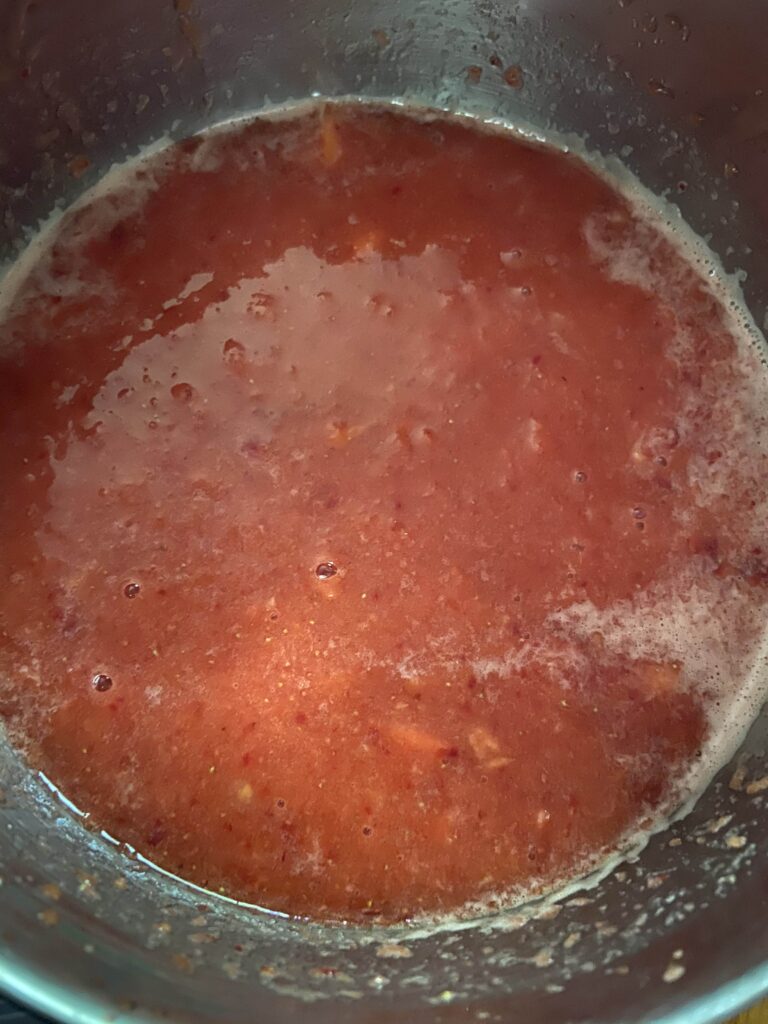
First, place the raspberries in a large, non reactive kettle. Crush them. I like to use a potato masher for this task. Stir in the jalapeños. Add ¼ teaspoon of butter, if desired. This will reduce the foaming. Sprinkle and stir in the pectin. Cook over high heat until a rolling boil is reached, stirring consistently.
At this point, stir in sugar. You will want to do this slowly. If you pour it all in at once, you will likely get clumps. Continue to stir until you reach another rolling boil that can not be stirred down. (I try to rush this and think it rolling before it really is. Be better than me 🙂 ). Once a rolling boil is reached, cook for 1 minute, stirring constantly.
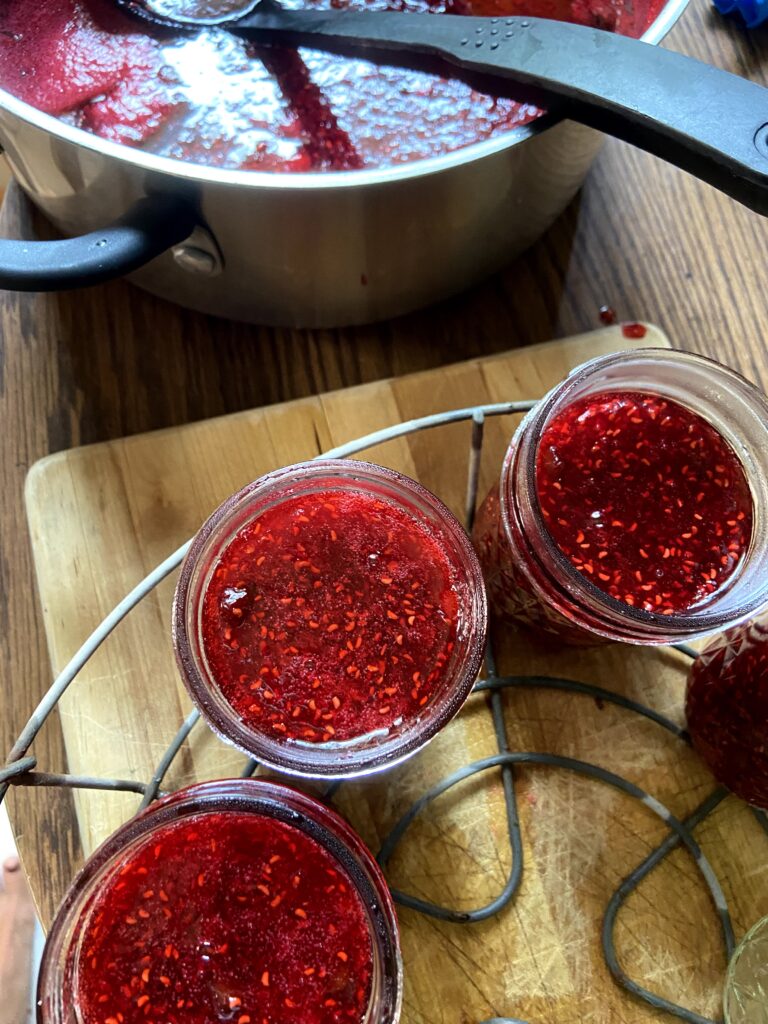
Finally, ladle jelly into prepared jelly jars, wipe the rims with a damp cloth, add lids, and tighten rings to fingertip tight. Put into the water bath canner and process for 10 minutes. Once the jelly is done processing, remove the canner from heat and let jars rest in the water for an additional 5 minutes. Finally, remove jars from the canner and allow to cool for 12-24 hours before moving. Listen for the ping of the lids (best part of canning…apart from the eating of the beautiful food you create).
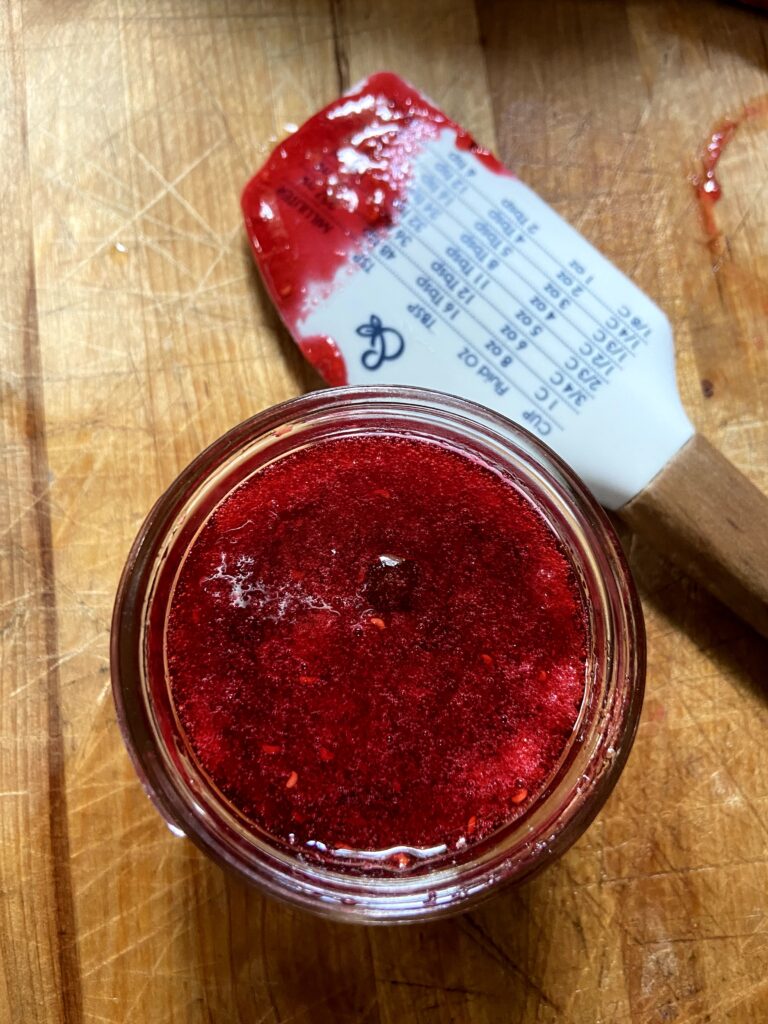
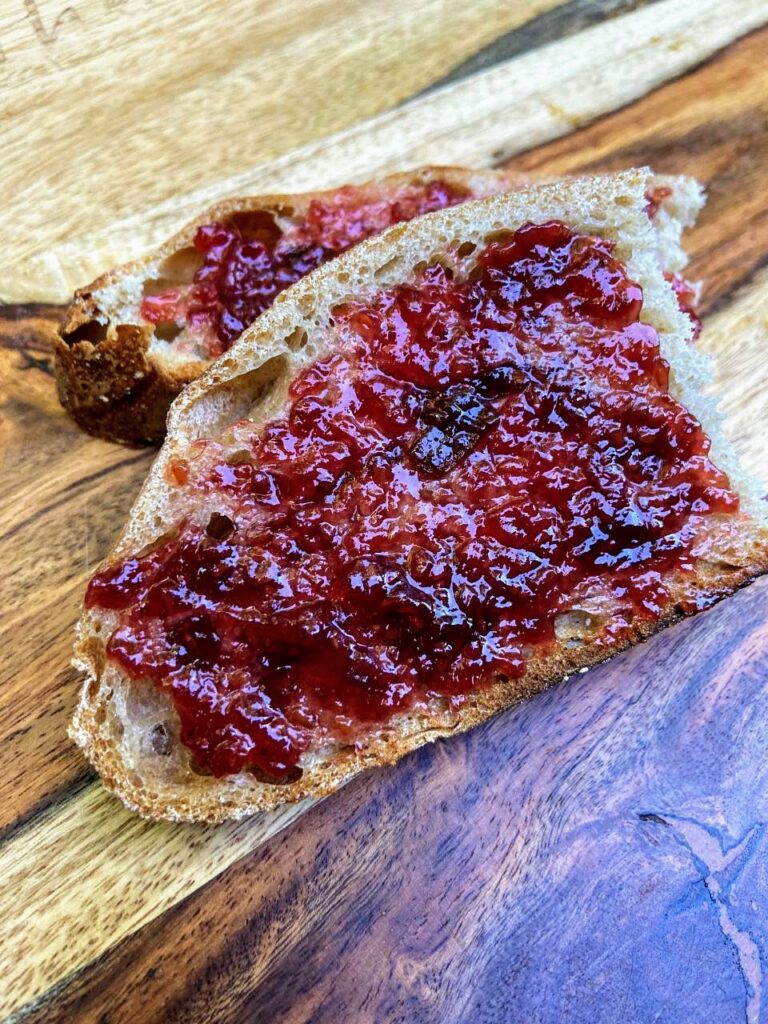
Oh, and don’t forget to just try your jelly on the sides of the kettle after the jars are in the canner. It’s SO good. Trust me, you may want to make sure you have some homemade bread handy.

A few notes:
- Make sure you are using powdered pectin rather than liquid pectin. They do not set the same. Early in my canning career I didn’t know the difference and had a few batches of jelly never set.
- If you have never canned, you can reference the instructions within the pectin box for additional, more detailed directions.
- Sealed jars are shelf-stable, meaning they can be stored on a shelf unrefrigerated. If your jars don’t ping (a sign that they have sealed), they are still good. You will just need to store them in the refrigerator.
- Most sources recommend removing the rings from jars for storage so that you will know if they unseal for any reason. When I know they have sealed, I generally just loosen them as much as I can without removing them.
Looking for other canning and preserving recipes? Check out the page below!

Raspberry Jalapeño Jam
Ingredients
- 6 ½ cups raspberries
- 5 cups sugar
- 2 jalapenos finely chopped (between ¾-1 cup)
- 4 ½ tablespoons powder pectin or one packet
Instructions
- Prepare your water bath canner. Fill the canner with enough water so that once the jars are in the canner, they will be covered by at least one inch of water. Cover and begin to heat over a medium-high heat.
- Measure out sugar. Set aside.
- Place the raspberries in a large, non reactive kettle. Crush them. Stir in jalapeños. Add ¼ teaspoon of butter, if desired, to reduce foaming.
- Sprinkle and stir in the pectin. Cook over high heat until a rolling boil is reached, stirring consistently.
- Once a rolling boil is reached, slowly stir in sugar.
- Continue to stir until you reach another rolling boil that can not be stirred down. Once a rolling boil is reached, cook for 1 minute, stirring constantly.
- Ladle jelly into prepared jelly jars, wipe the rims with a damp cloth, add lids, and tighten rings to fingertip tight. Put into the water bath canner. When the canner has a steady boil going, time and process for 10 minutes.
- Once the jelly is done processing, remove the canner from heat and let jars rest in the water for an additional 5 minutes. Finally, remove jars from the canner and allow to cool for 12-24 hours before moving.
Notes
- Make sure you are using powdered pectin rather than liquid pectin. They do not set the same.
- If you have never canned, you can reference the instructions within the pectin box for additional, more detailed directions.
- Sealed jars are shelf-stable, meaning they can be stored on a shelf unrefrigerated. If your jars don’t ping (a sign that they have sealed), they are still good. You will just need to store them in the refrigerator.
- Most sources recommend removing the rings from jars for storage so that you will know if they unseal for any reason. I generally just loosen them as much as I can without removing them.
Here are some of my other favorite ways to use Raspberries!