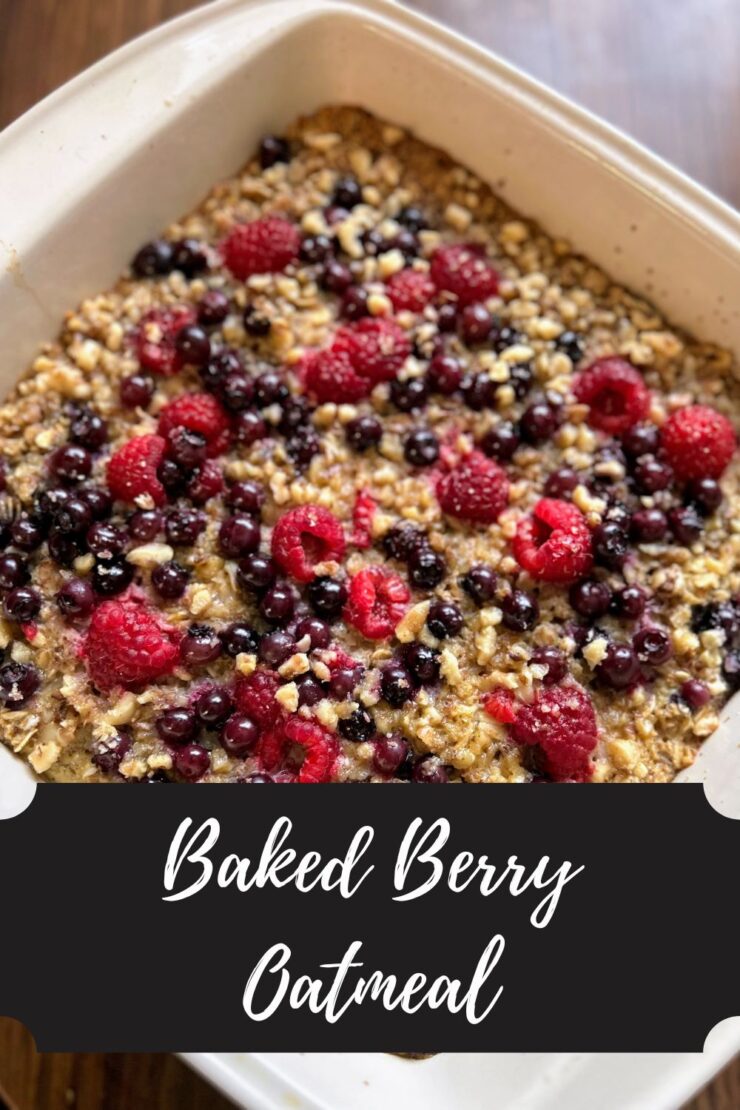
Baked Berry Oatmeal

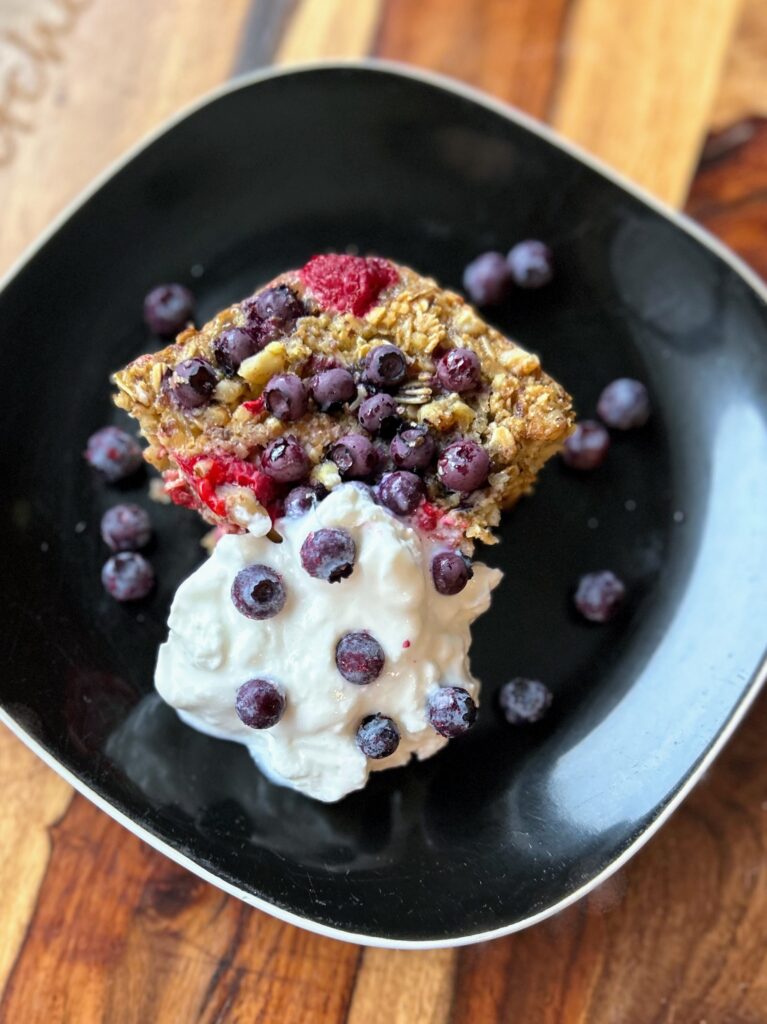
I’ve entered the stage in parenting where I get to get my big kiddo to the weight room by 6:30 am multiple times a week. I am proud of him for working hard to become a stronger athlete, but man, it messes with my morning routine. I need a breakfast with minimal prep, but is still nutrient dense. At first, I was doing protein oatmeal. However, I prefer a breakfast that isn’t pre-packaged. Enter Baked Berry Oatmeal with Greek yogurt. 

Initially, I had been cooking from my collab “one book, three recipes” with my Instagram friends and gave a baked oatmeal a try. Yum! However, I didn’t love the extra refined sugar and thought “I can do better.” This is my own take: a maple syrup sweetened baked oatmeal that can be prepped on a Sunday and you’ll have at least six servings for the rest of the week. 

I love how nicely this Baked Berry Oatmeal reheats. I pop my portion into the microwave with a few frozen berries sprinkled on top and let it go for about 40 seconds. Then I’ll top it with some Oikos Triple Zero Vanilla Greek Yogurt and add a side of breakfast sausage or ham with some fruit. It’s a full meal to be sure, but one I can feel really good about eating. 

Not a fan of eating the same thing every day like I am? This makes a great brunch or weekend breakfast. It mixes up quick and can leave you time to enjoy a cup of coffee or tea and chat the morning away. Ready to start creating? Let’s go! 

Your Ingredients

  • 3 cups old fashioned oats
  • ⅓ cup real maple syrup 
  • 2 tablespoons coconut oil, melted
  • ¾ cup ground walnuts, divided 
  • 1 ½ teaspoons baking powder
  • 1 teaspoon cinnamon 
  • ½ teaspoon salt
  • 1 ½ cups + 2 tablespoons milk 
  • 2 large eggs 
  • 1 teaspoon vanilla
  • ½ tablespoon brown sugar
  • ½ cup fresh or frozen raspberries
  • ½ cup fresh or frozen blueberries

Your Steps to Bake Berry Oatmeal 

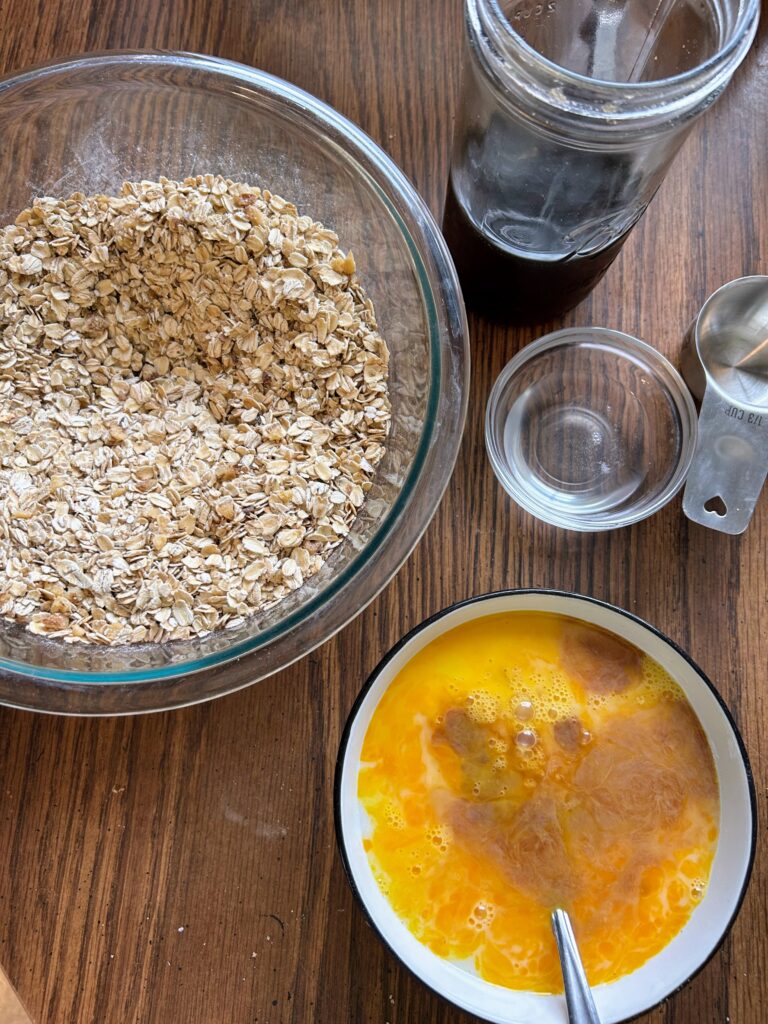
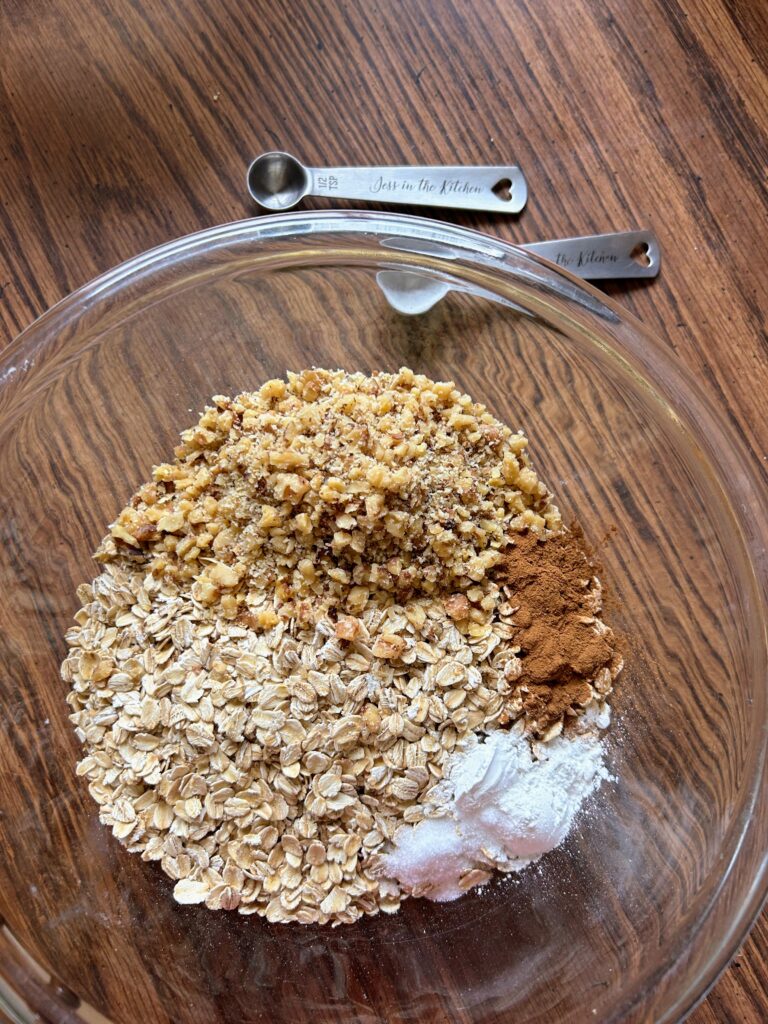
Preheat the oven to 350 degrees F. Grease an 8 by 8 inch baking dish. In a large bowl, combine oats, baking powder, cinnamon, salt, and ½ cup walnuts. 

Stir in maple syrup and melted coconut oil. In another bowl, combine milk, eggs, and vanilla. Stir the milk mixture into the oat mixture until well combined. Pour into the prepared pan. 

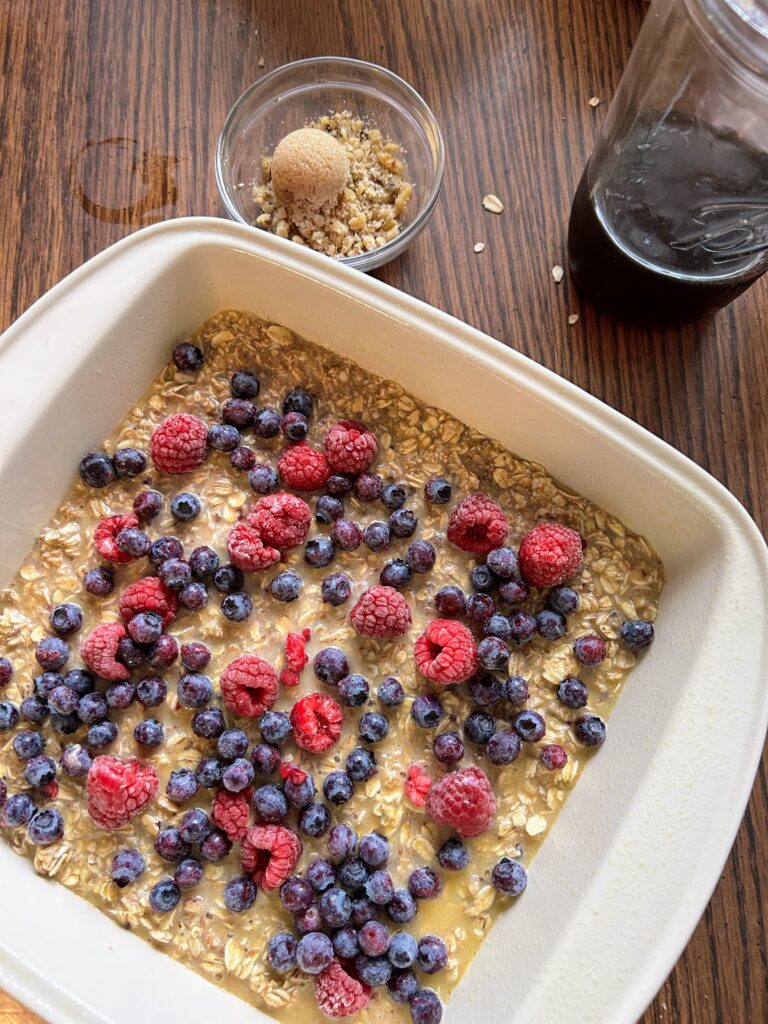
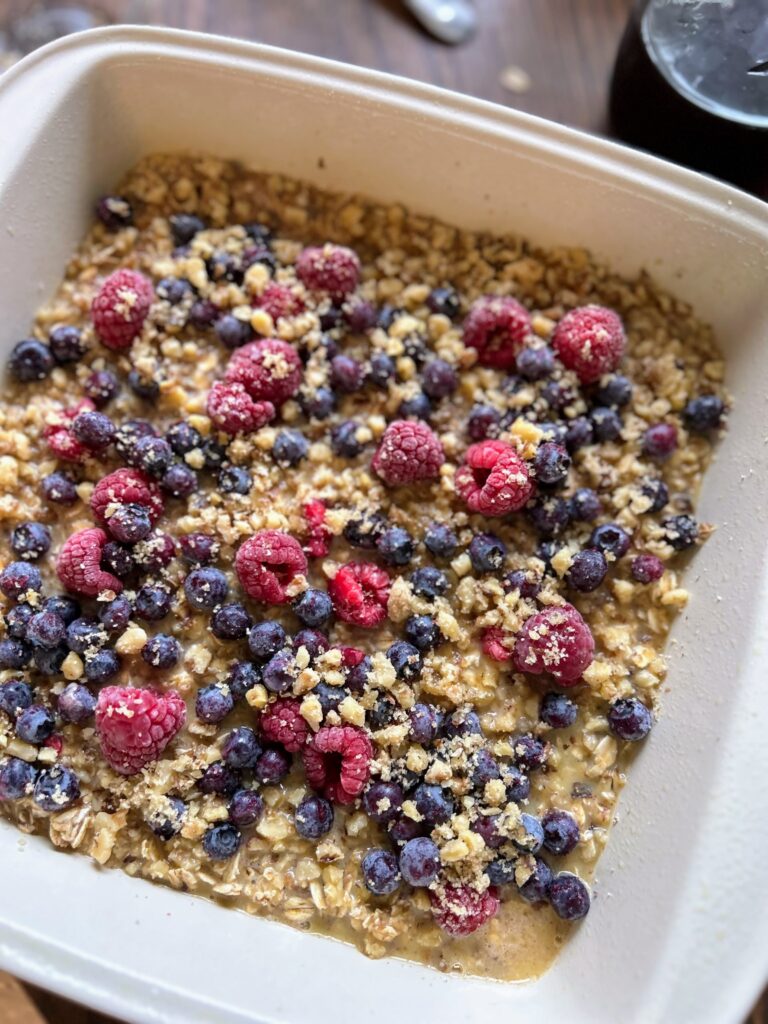
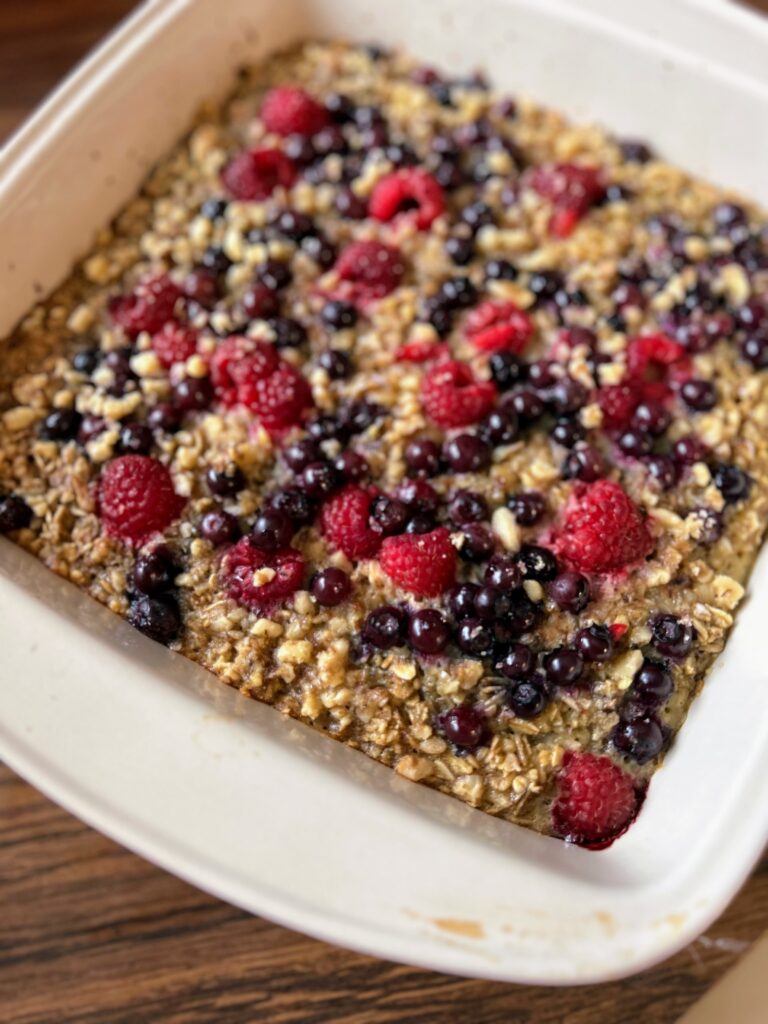
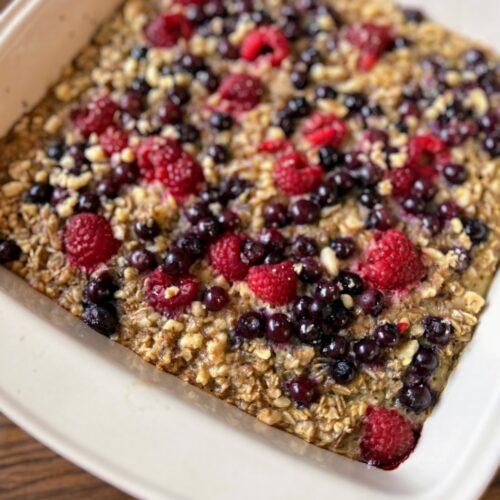
Top with raspberries and blueberries. In a small bowl, combine the remaining ¼ cup of walnuts with the brown sugar and sprinkle on top of the berries. Bake for 40 minutes. Serve with Greek yogurt and additional berries, if desired. 

Baked Berry Oatmeal

This baked berry oatmeal is a delightful and tasty dish, perfect for meal prep or a special weekend breakfast!
Prep Time 10 minutes
Cook Time 40 minutes
Course Breakfast
Cuisine American
Servings 6 servings

Ingredients
  

  • 3 cups old fashioned oats
  • cup real maple syrup
  • 2 tablespoons coconut oil melted
  • ¾ cup ground walnuts divided
  • 1 ½ teaspoons baking powder
  • 1 teaspoon cinnamon
  • ½ teaspoon salt
  • 1 ½ cups + 2 tablespoons milk
  • 2 large eggs
  • 1 teaspoon vanilla
  • ½ tablespoon brown sugar
  • ½ cup fresh or frozen raspberries
  • ½ cup fresh or frozen blueberries

Instructions
 

  • Preheat the oven to 350 degrees F. Grease an 8 by 8 inch baking dish. In a large bowl, combine oats, baking powder, cinnamon, salt, and ½ cup walnuts.
  • Stir in maple syrup and melted coconut oil. In another bowl, combine milk, eggs, and vanilla. Stir the milk mixture into the oat mixture until well combined. Pour into the prepared pan.
  • Top with raspberries and blueberries. In a small bowl, combine the remaining ¼ cup of walnuts with the brown sugar and sprinkle on top of the berries. Bake for 40 minutes. Serve with Greek yogurt and additional berries, if desired.
Keyword baked oatmeal, blueberries, Breakfast, breakfast prep, meal prep, oatmeal, raspberries
Tried this recipe?Let us know how it was!

Looking for other delicious breakfast ideas?

I’d love it if you checked out my breakfast page for more inspiration, but if you want to see some of my favorites, check out the recipes below!
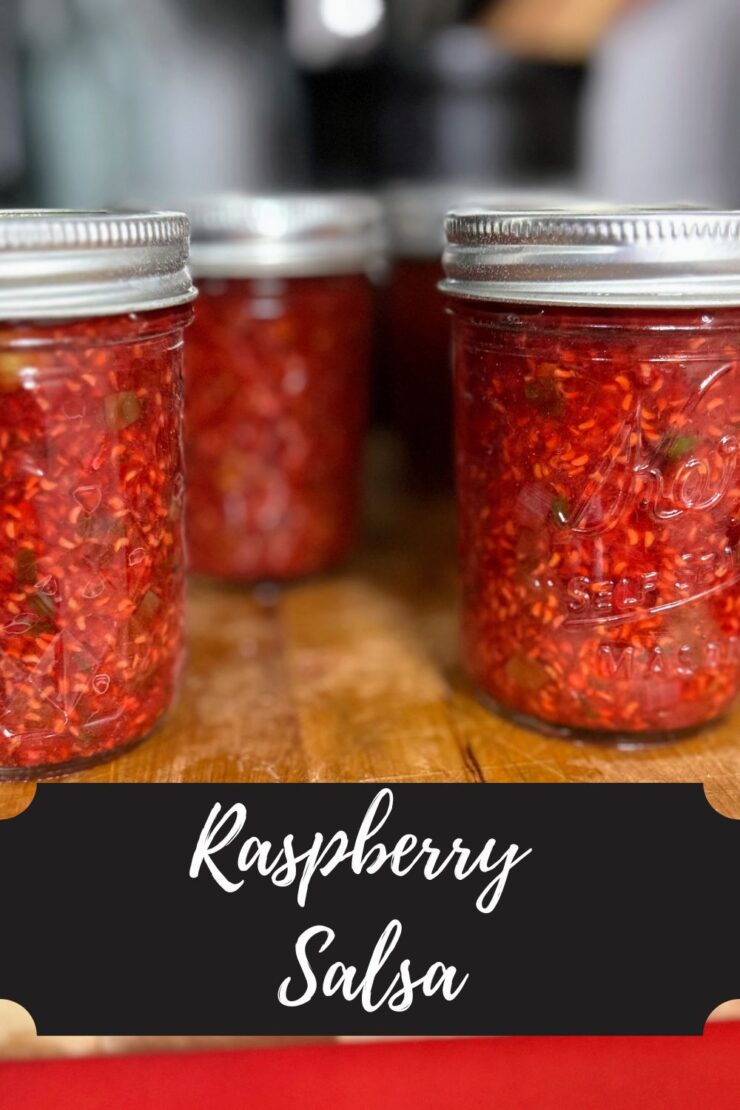
Raspberry Salsa

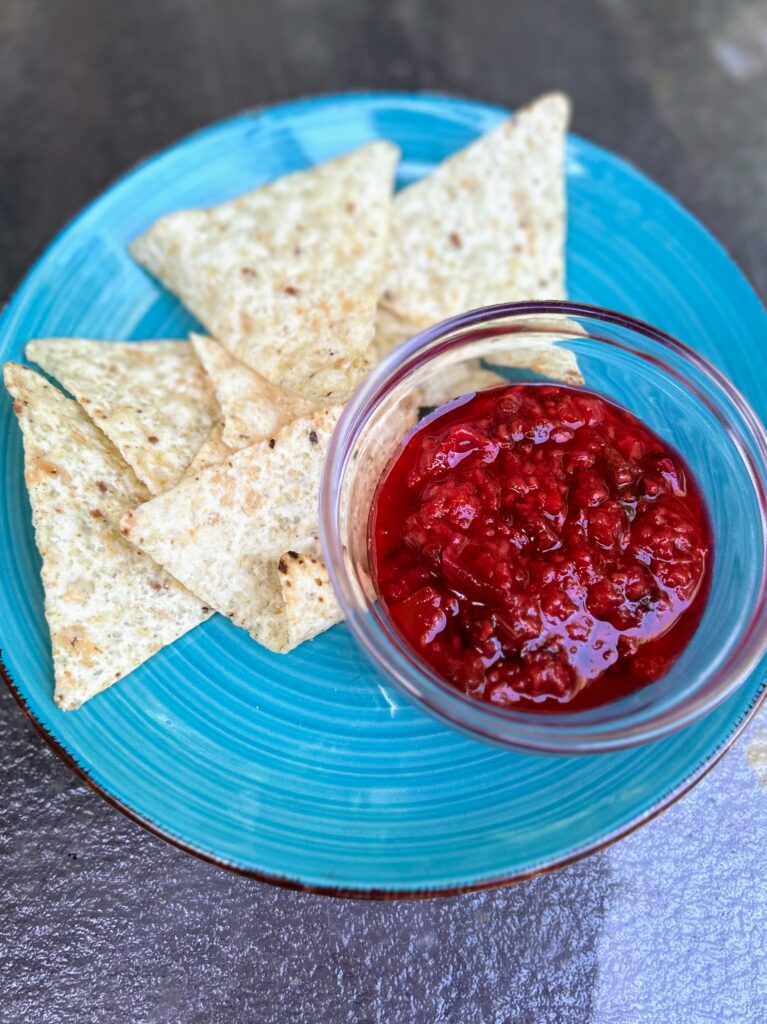
Stop whatever you’re doing right now, and gather the ingredients for this Raspberry Salsa and get ready to prepare it! 

Okay, that was a bit demanding and strongly worded, but I am telling you, that’s what you’ll want to do once you see the recipe. 

Each year, I travel to Door County, Wisconsin, for a weeklong vacation with my dad’s side of the family. If you aren’t from Wisconsin, there’s a chance you’ve not heard of Door County. It’s been described as the Martha’s Vineyard of the Midwest. Just lovely, quaint, and full of so much to do. 

The county itself has five state parks within it and provides a perfect climate for orchards, most notably cherry trees. It is full of wineries, fun shops, and culinary delights. Once such delight is cherry and raspberry salsa that can be found at many wineries and roadside stands. And my goodness, I LOVE it. 

There’s something about slightly sweet, slightly spicy pairings that are just so dang good. And if you’ve been around Jess in the Kitchen much, you know that I have an abundance of raspberries; it seems I should try to make some salsa from them, right? 

The problem?

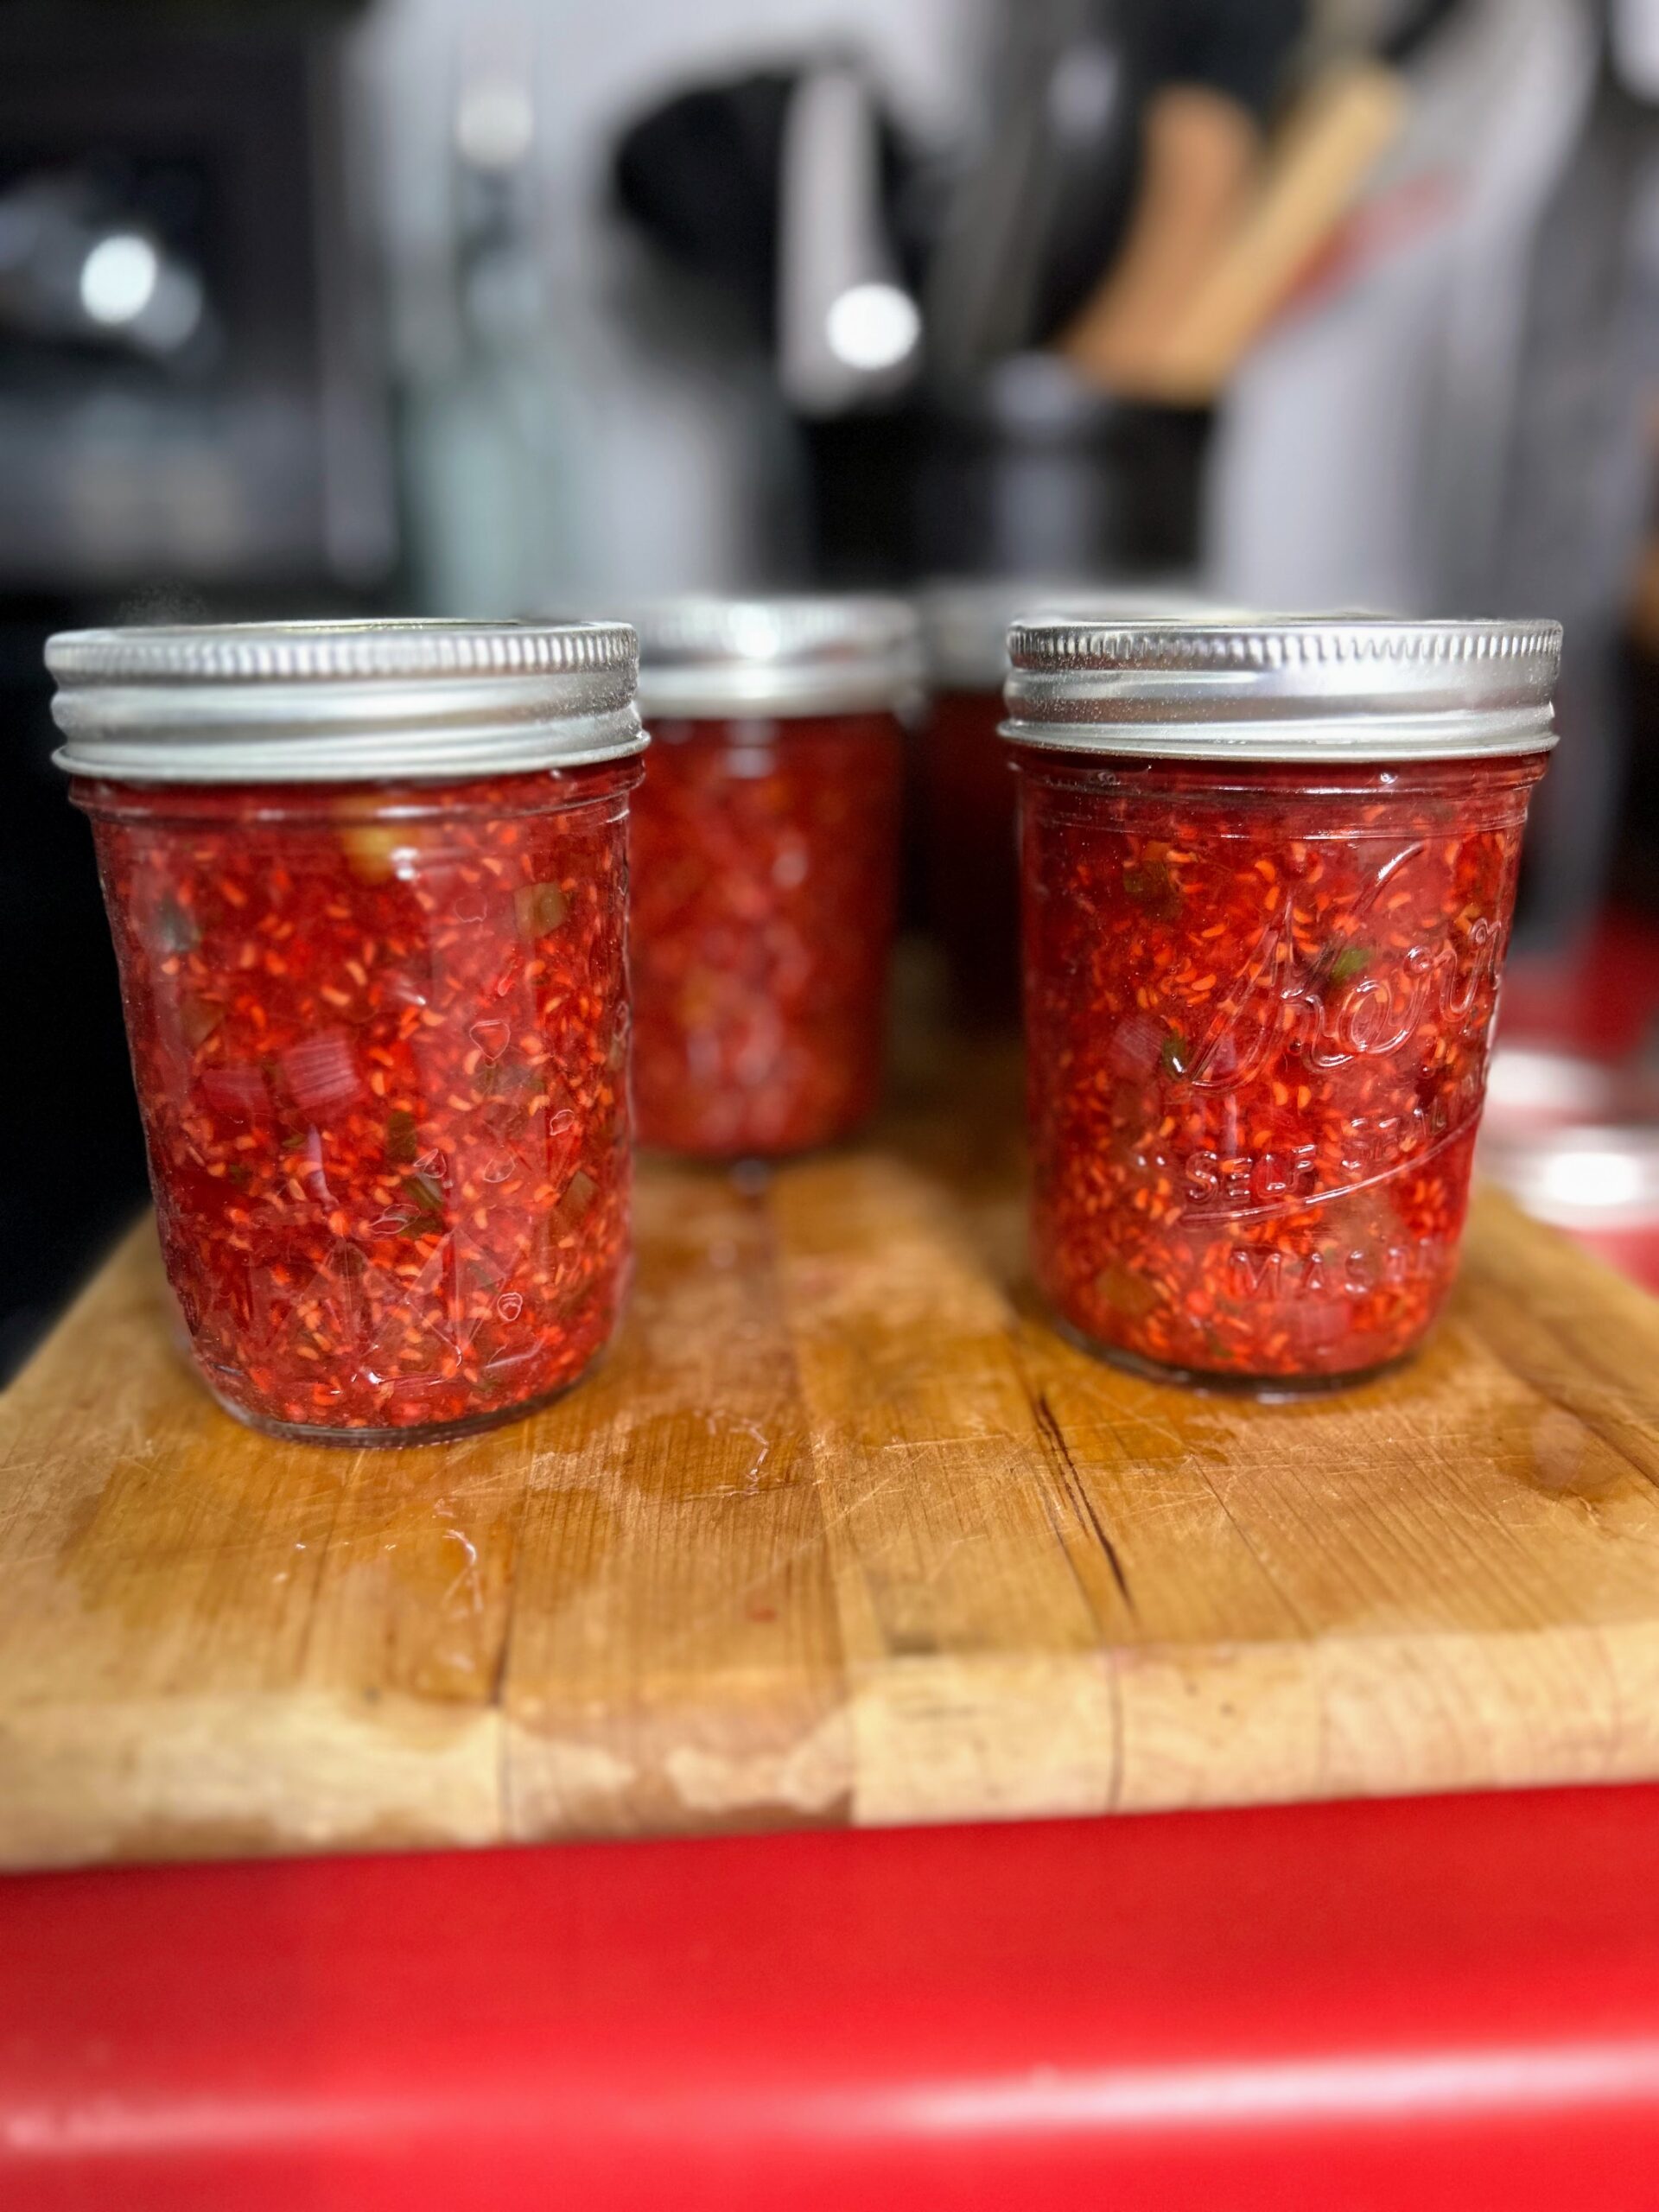
There really aren’t raspberry salsa recipes out there. If I did find one, it wasn’t written for canning. That is what I wanted to do. So research started, acidity levels of fruits checked, and a recipe was born using the ideas from a peach salsa recipe. And it’s just so good. I can’t wait for you to give it a try! And if you aren’t a canner, simply half the recipe (this will result in about three cups of salsa rather than six) and eat it fresh! 

My Canning Story 

I do want to share that I did not grow up in a canning household. I learned about ten years ago, as soon as we bought our home and started our first garden. And while I had some support from my mother in law (thank you so much!), I learned SO MUCH from reading. If you are a first generation canner like I was, let me share some of my favorite resources: 

Ball Complete Book of Home Canning: This book gives you a good idea of all the basics from the people who know canning forwards and backwards. I love that I can dig in and get just what I need. 

Not Your Mama’s Canning Book: Modern Canned Goods and What to Make with Them: This book is SO FUN. It has some out of the ordinary recipes. We especially love the tomato soup and seasoned black bean recipes. 

And finally, the National Center for Home Food Preservation has all the information you need for all sorts of food preservation, not just canning. I reference it often! 

But enough about resources, you want to make raspberry salsa, right? (But seriously, I am going to give you the basics. If you are a newbie (Yay!), head to any of those resources for more detailed information)

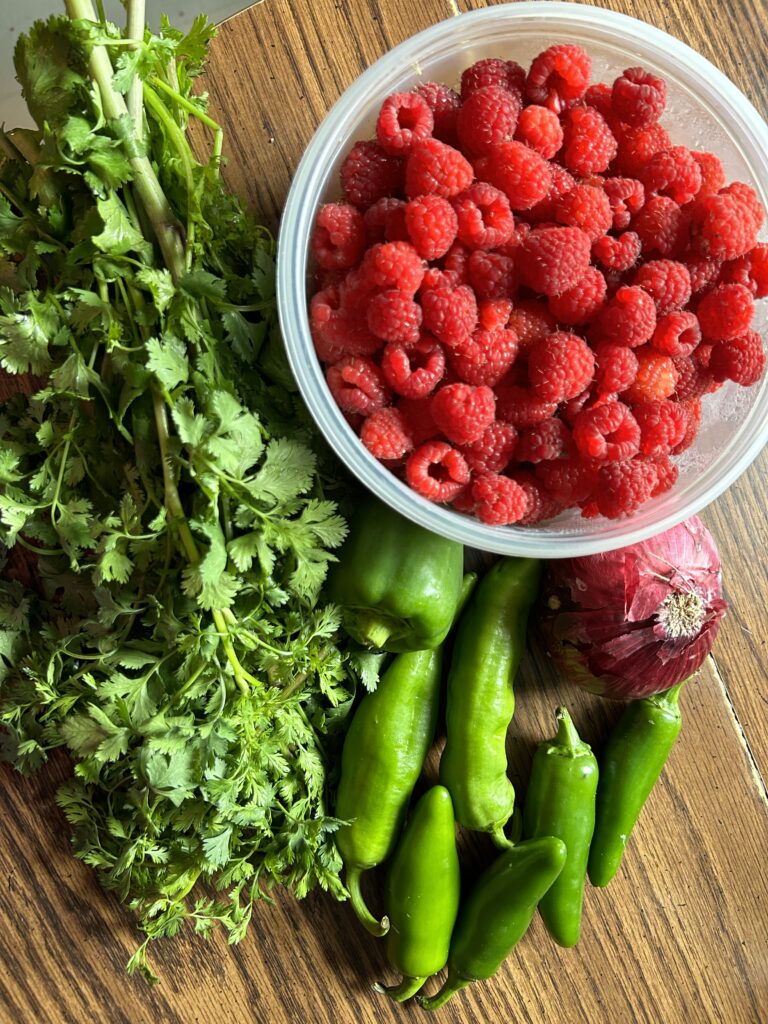
Your Ingredients for raspberry salsa

For approximately 6 half-pints, gather: 

  • 6 cups red raspberries 
  • 1 medium sweet pepper (green, red, orange, yellow, any will work), diced
  • 4-5 jalapeños, finely diced (remember to wear gloves!)
  • ½ cup loosely packed cilantro, chopped
  • 1 medium red onion, diced 
  • ½ cup vinegar, 5% acidity
  • ½ teaspoon salt 
  • 1 clove garlic, minced
  • ½ teaspoon cayenne pepper
  • 2 tablespoons sugar 

The Prep Work

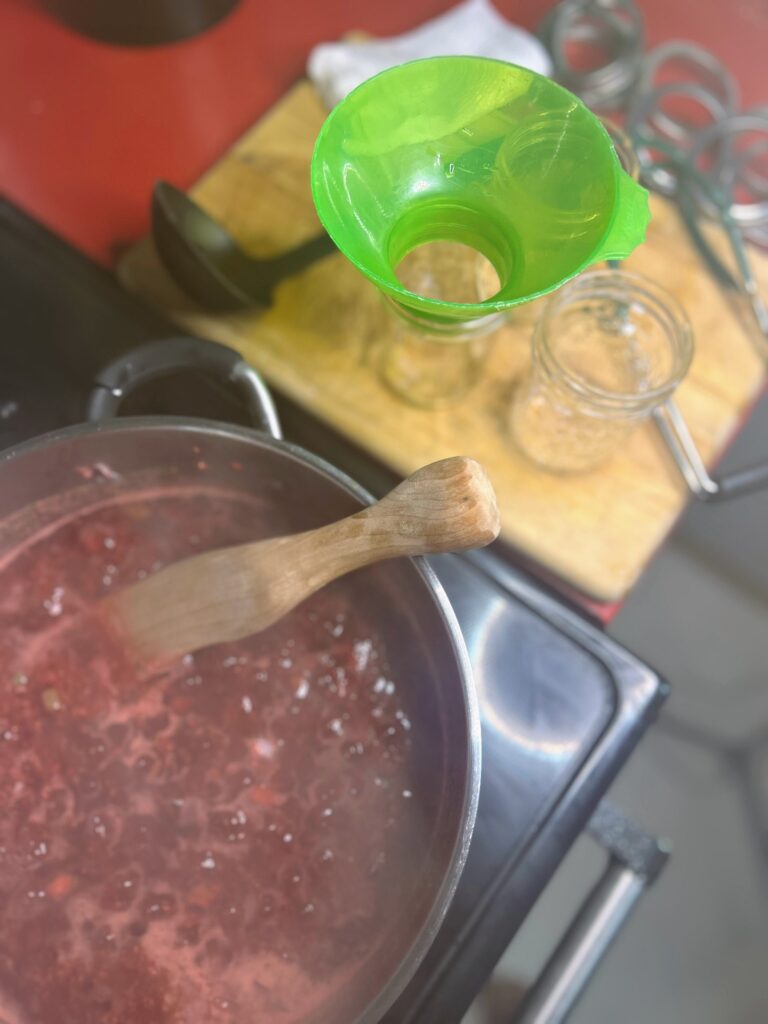
Fill the canning kettle with enough water that the jars will be covered by at least 2 inches of water. More is better in this case so over estimate. Begin to heat over high heat. Place the canning rack so that it is hooked over the side of the canner and put clean jars on it to keep them warm. Note: You don’t have to keep the jars in the rack, although it is helpful to keep them warm. You want the jars warm to prevent breaking when they are being filled. 

Set the clean rings aside. I like to simmer my lids on low low heat in a small saucepan. Not necessary, but I like to think it helps them seal better. 

The raspberry Salsa Making

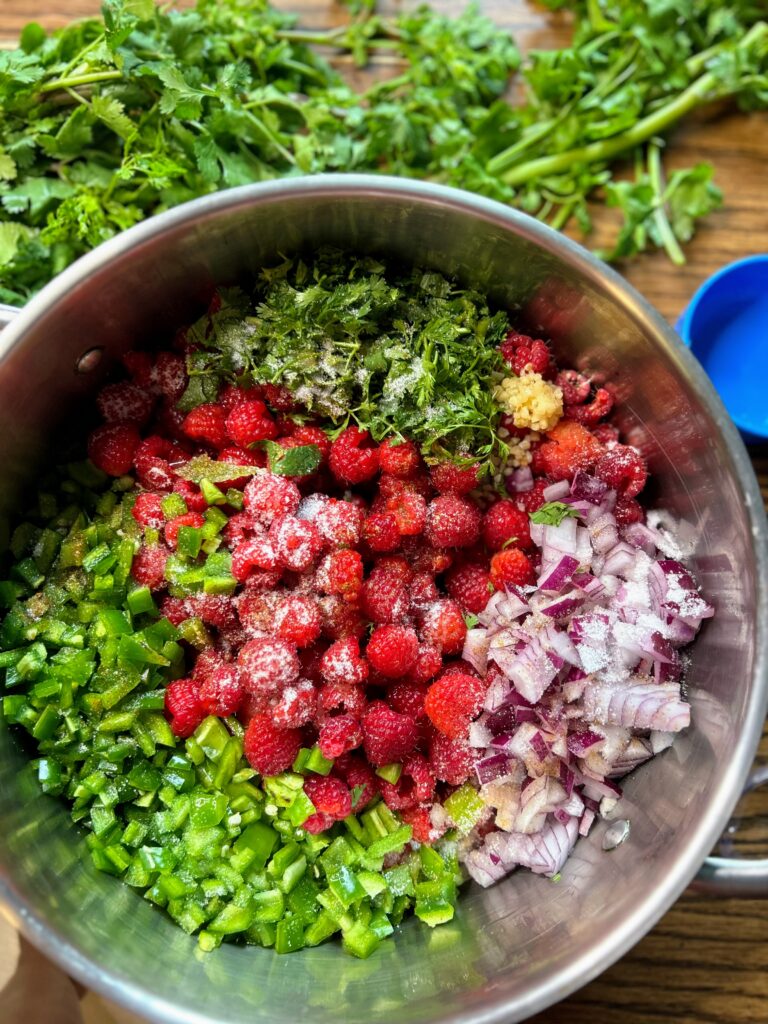
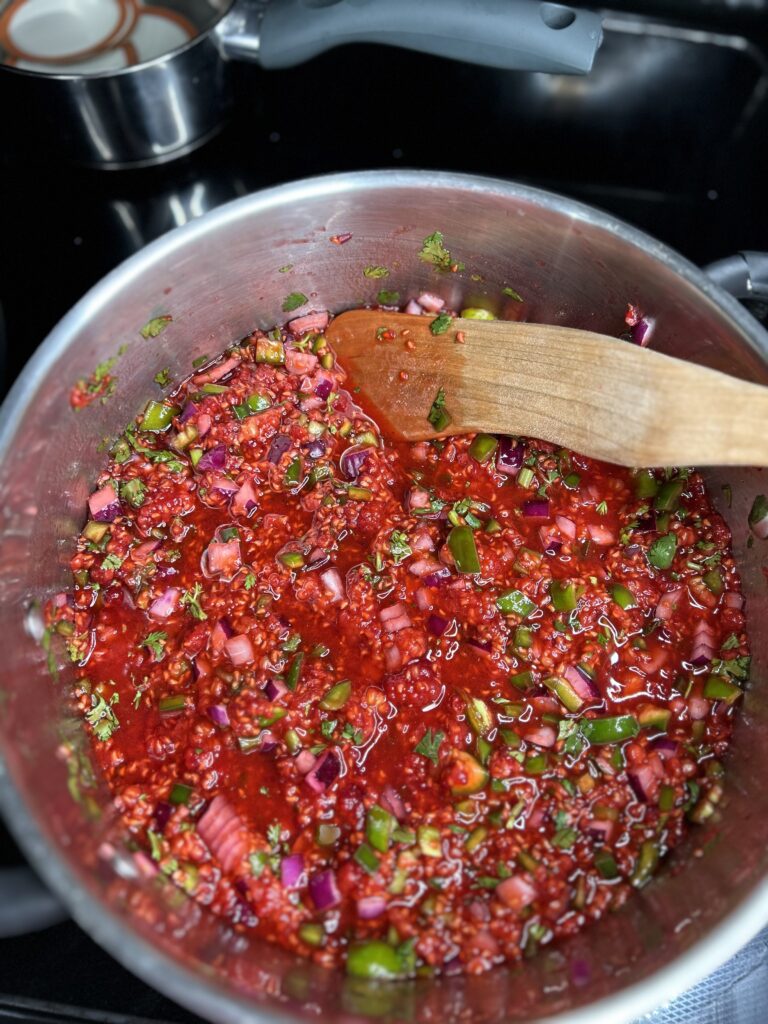
If you have not already done so, dice, measure out, and combine all the ingredients in a shallow, wide kettle. Smash the fruit with a potato masher or with a fermentation tamper. (I LOVE the tamper and honestly have never fermented anything. It works great for smashing berries). Begin to heat over medium-high heat, stirring often. I like to smash the berries more as they are cooking down. Bring the salsa to a boil and then simmer for five minutes, to thicken just a bit. 

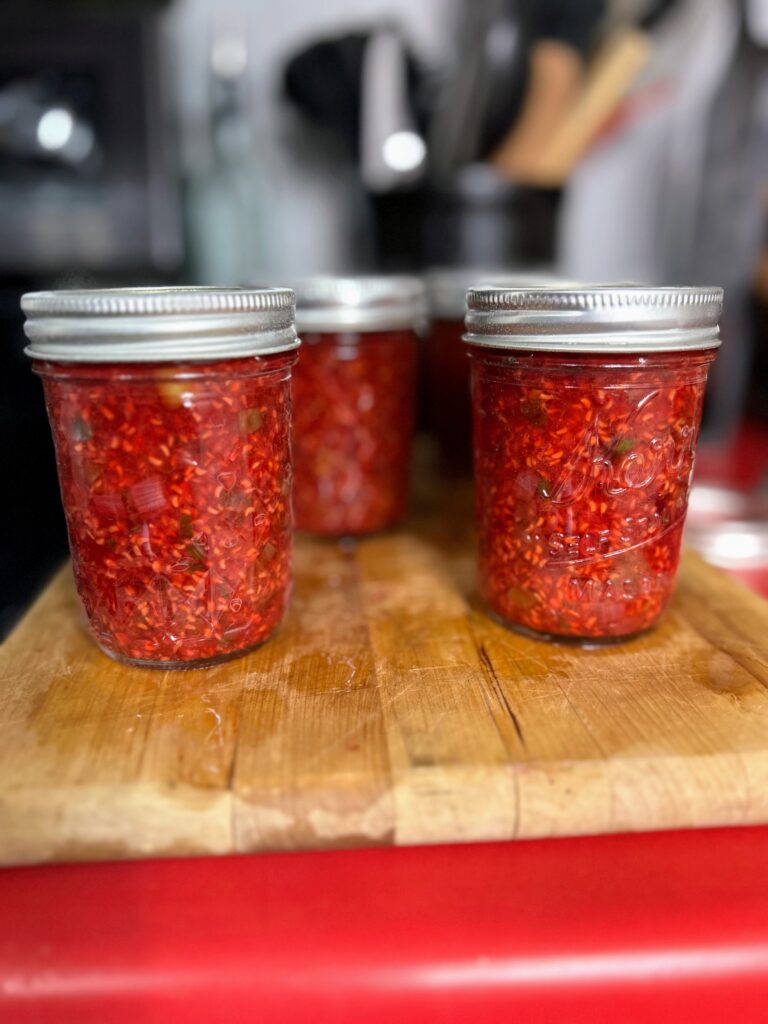
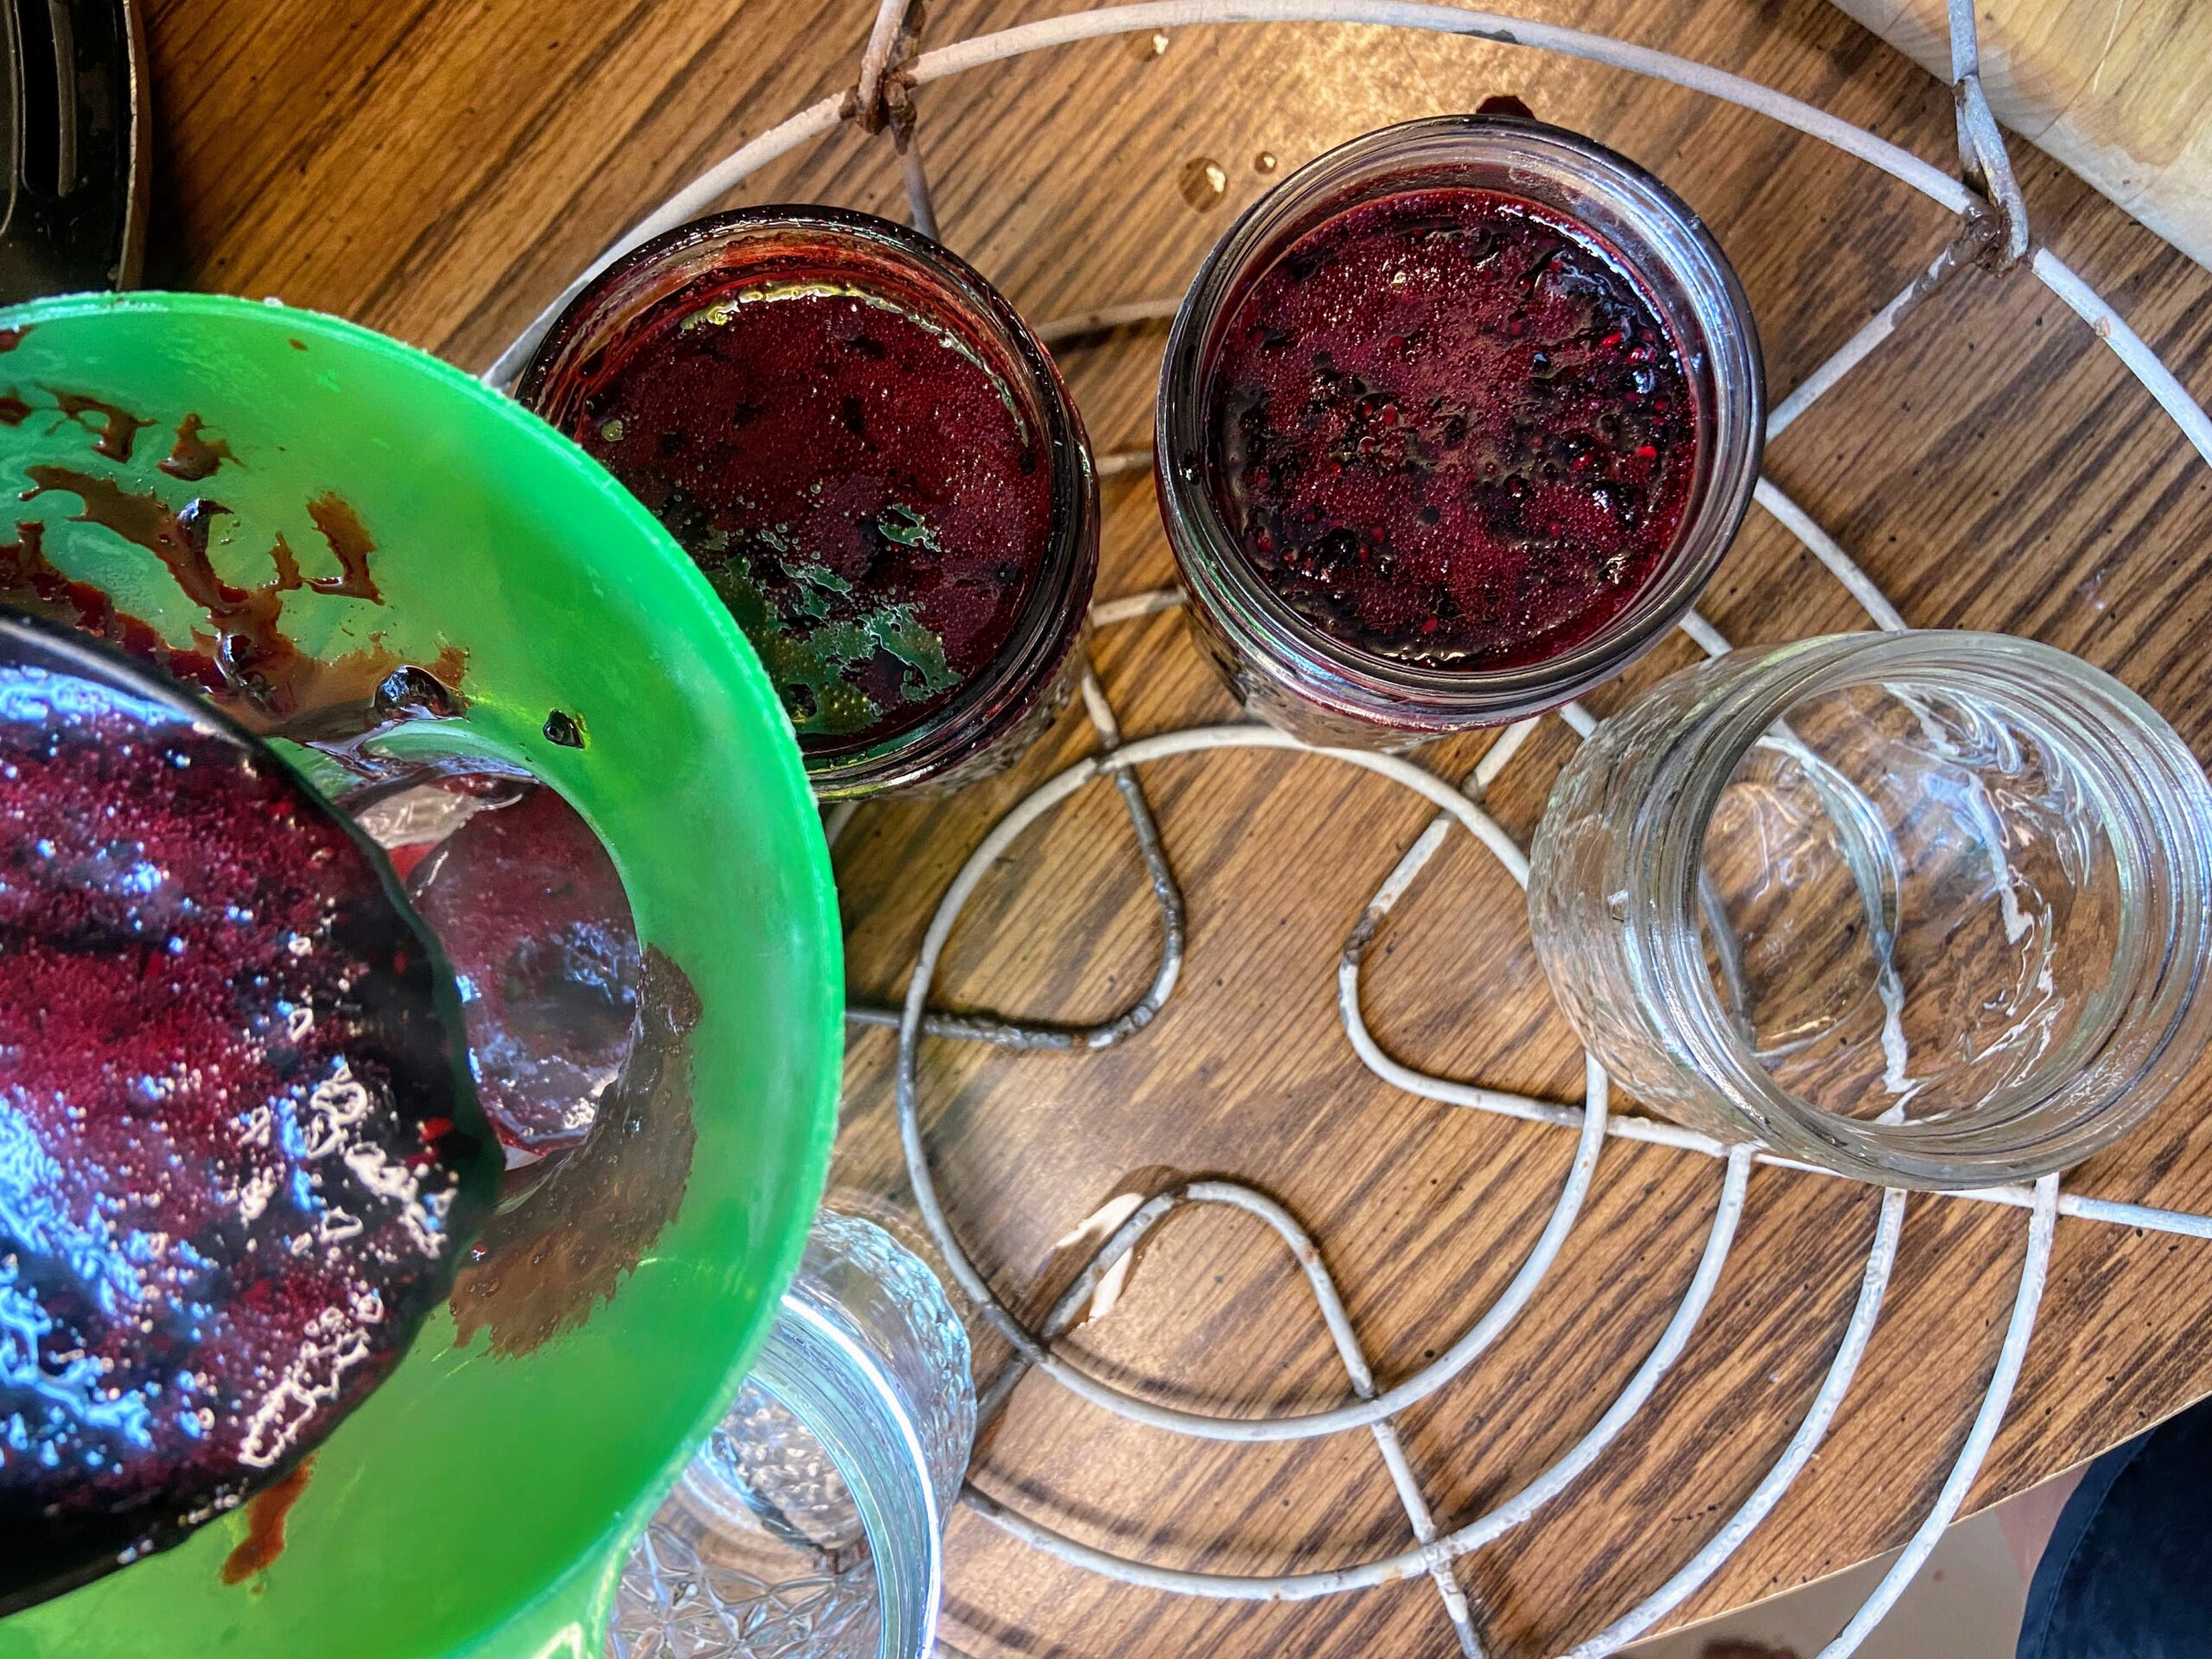
Once the salsa has thicken, remove from heat. Ladle into prepared jars, leaving ½ inch head space. Wipe rims of the jars with a damp, clean cloth, add lids and rings, tightening to fingertip tight. Place in the canner, increasing the heat to high. Once the canner reaches a boil, process for 15 minutes. Remove from heat and allow jars to cool in the canner over 5 minutes. Remove from canner, placing on the counter. Listen for the ping of the lids over the next 12 hours. Sealed jars are self stable. If any jar doesn’t seal, simply place it right in the refrigerator. 

Note: You can skip the processing step all together if you feel more comfortable. If you do so, the salsa will need to be stored in the refrigerator. The process of water bath canning creates a self-stable salsa. That is, a salsa that can be stored on the shelf. 

Raspberry Salsa

This raspberry salsa has the sweet taste of summer in the berries and cilantro paired with the spicy kick from jalapeños. A taste sensation you’re sure to love!
Prep Time 20 minutes
Cook Time 1 hour
Course Snacks
Cuisine Canning
Servings 6 1/2 pint jars

Ingredients
  

  • 6 cups red raspberries
  • 1 medium sweet pepper green, red, orange, yellow, any will work, diced
  • 4-5 jalapeños finely diced (remember to wear gloves!)
  • ½ cup loosely packed cilantro chopped
  • 1 medium red onion diced
  • ½ cup vinegar 5% acidity
  • ½ teaspoon salt
  • 1 clove garlic minced
  • ½ teaspoon cayenne pepper
  • 2 tablespoons sugar

Instructions
 

  • Fill the canning kettle with enough water that the jars will be covered by at least 2 inches of water. More is better in this case so over estimate. Begin to heat over high heat. Place the canning rack so that it is hooked over the side of the canner and put clean jars on it to keep them warm. Note: You don’t have to keep the jars in the rack, although it is helpful to keep them warm. You want the jars warm to prevent breaking when they are being filled.
  • Set the clean rings aside. I like to simmer my lids on low low heat in a small saucepan. Not necessary, but I like to think it helps them seal better.
  • If you have not already done so, dice, measure out, and combine all the ingredients in a shallow, wide kettle. Smash the fruit with a potato masher or with a fermentation tamper.
  • Begin to heat over medium-high heat, stirring often. I like to smash the berries more as they are cooking down. Bring the salsa to a boil and then simmer for five minutes, to thicken just a bit.
  • Once the salsa has thickened, remove from heat. Ladle into prepared jars, leaving ½ inch head space.
  • Wipe rims of the jars with a damp, clean cloth, add lids and rings, tightening to fingertip tight.
  • Place in the canner, increasing the heat to high. Once the canner reaches a boil, process for 15 minutes. Remove from heat and allow jars to cool in the canner over 5 minutes. Remove from the canner, placing them on the counter. Listen for the ping of the lids over the next 12 hours. Sealed jars are self stable. If any jar doesn’t seal, simply place it right in the refrigerator.

Notes

You can skip the processing step all together if you feel more comfortable. If you do so, the salsa will need to be stored in the refrigerator. The process of water bath canning creates a self-stable salsa. That is, a salsa that can be stored on the shelf.
Keyword black raspberry, Canning, raspberries, raspberry salsa, salsa, salsa recipe, Waterbath Canning
Tried this recipe?Let us know how it was!

Looking for other ways to use up those raspberries?

Be sure to check out my canning and preserving page for all sorts of inspiration. Or perhaps I can recommend a few of my favorites below?

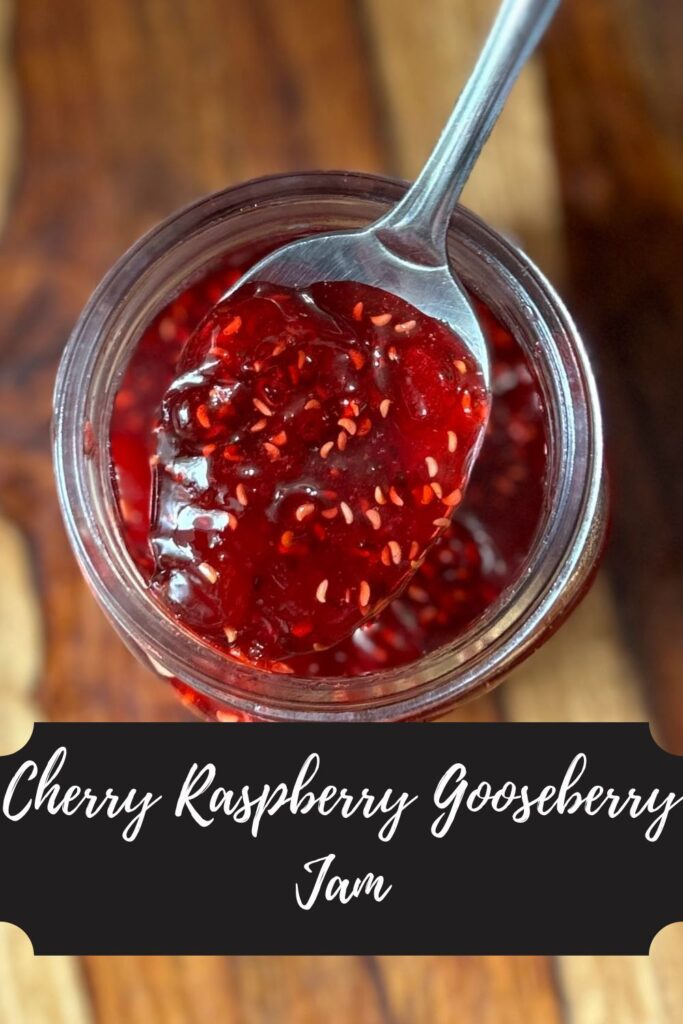
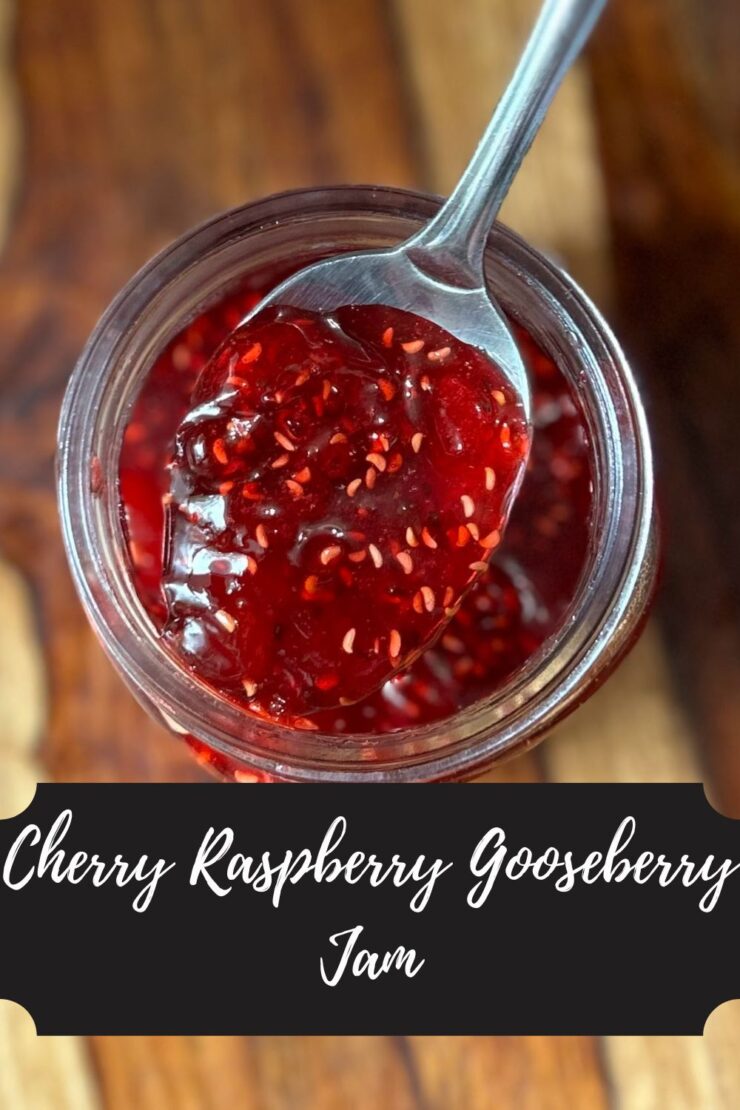
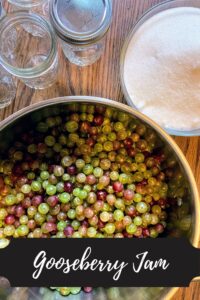
Cherry Raspberry Gooseberry Jam

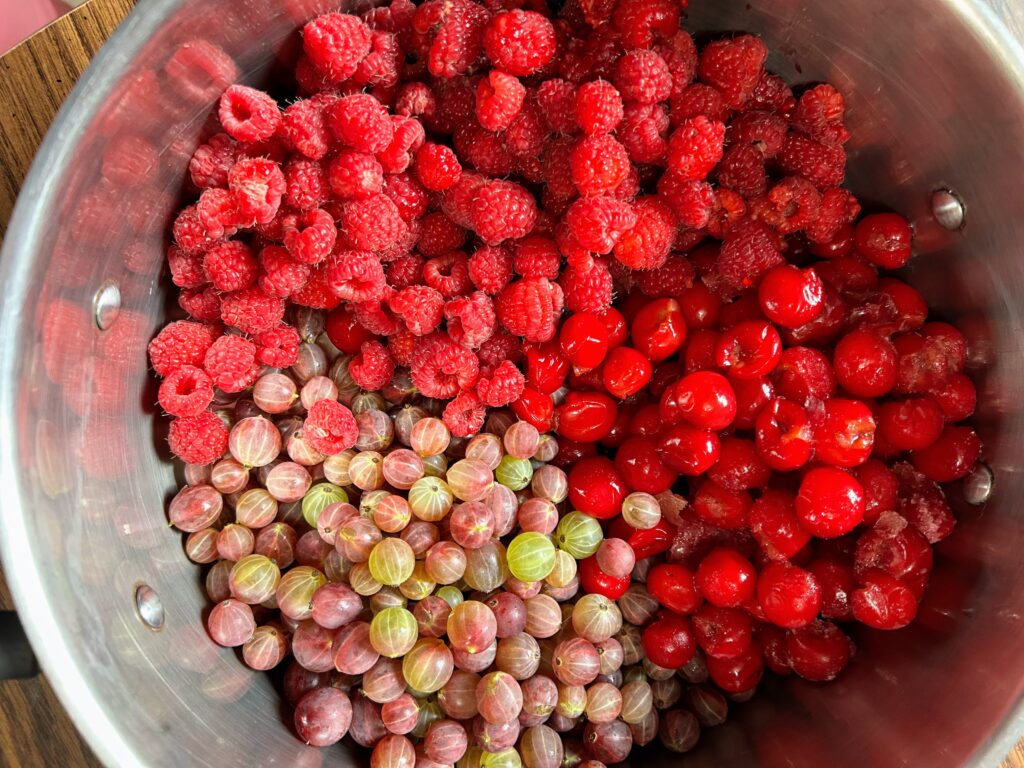
Last year, I had a hodgepodge of berries left after making jams, sorbets, and the like. Specifically, I had some sour cherries, red raspberries, and gooseberries. Of course, there wasn’t enough of any of them to make a full batch of jam, but together, I did! I didn’t take any pictures and hardly wrote anything down because it was really an experiment of sorts. But then, I gave one lick of the kettle when I was finished and wow! That Cherry Raspberry Gooseberry Jam was out of this world! I declared it the best I had ever made. Of course, it was just a couple jars, but that’s okay!

Then, earlier this year, I asked the Mr to make me a peanut butter and jelly sandwich for lunch. He had to open a new jar of jam, but I never saw what he picked. I took one bite of the sandwich and immediately thought, “Whatever jam this is, it’s the best stuff I have ever made!” 

Once I got home and looked in the fridge and saw it was cherry raspberry gooseberry jam. I knew I HAD to redo that recipe and share it with you all because, dang it, it’s awesome. The flavor is top notch (The Mr says, “There’s a lot going on in that jam…”) and you just need a few simple ingredients: the fruit, sugar, and lemon juice. You see, gooseberries have natural pectin so you don’t need to add any commercial pectin, which I always love. 

My Canning Story 

I do want to share that I did not grow up in a canning household. I learned about ten years ago, as soon as we bought our home and started our first garden. And while I had some support from my mother in law (thank you so much!), I learned SO MUCH from reading. If you are a first generation canner like I was, let me share some of my favorite resources: 

Ball Complete Book of Home Canning: This book gives you a good idea of all the basics from the people who know canning forwards and backwards. I love that I can dig in and get just what I need. 

Not Your Mama’s Canning Book: Modern Canned Goods and What to Make with Them: This book is SO FUN. It has some out of the ordinary recipes. We especially love the tomato soup and seasoned black bean recipes. 

And finally, the National Center for Home Food Preservation has all the information you need for all sorts of food preservation, not just canning. I reference it often! 

But enough about resources, you want to can right? (But seriously, I am going to give you the basics. If you are a newbie (Yay!), head to any of those resources for more detailed information)

Your Ingredients

For approximately 6 half-pints, gather: 

  • 3 cups red raspberries
  • 3 cups gooseberries, cleaned
  • 3 cups sour cherries, pitted
  • 4 ½  cups sugar 
  • ¼ cup lemon juice 

(Yes, that’s it! No, you can’t change out the sugar for a different sweetener. Canning is finicky like that)

The Prep Work

Fill the canning kettle with enough water that the jars will be covered by at least 2 inches of water. More is better in this case so over estimate. Begin to heat over high heat. Place the canning rack so that it is hooked over the side of the canner and put clean jars on it to keep them warm. Note: You don’t have to keep the jars in the rack, although it is helpful to keep them warm. You want the jars warm to prevent breaking when they are being filled. 

Set the clean rings aside. I like to simmer my lids on low low heat in a small saucepan. Not necessary, but I like to think it helps them seal better. 

If you have not already done so, measure out the sugar and the berries. 

The Cherry Raspberry Gooseberry Jam Making

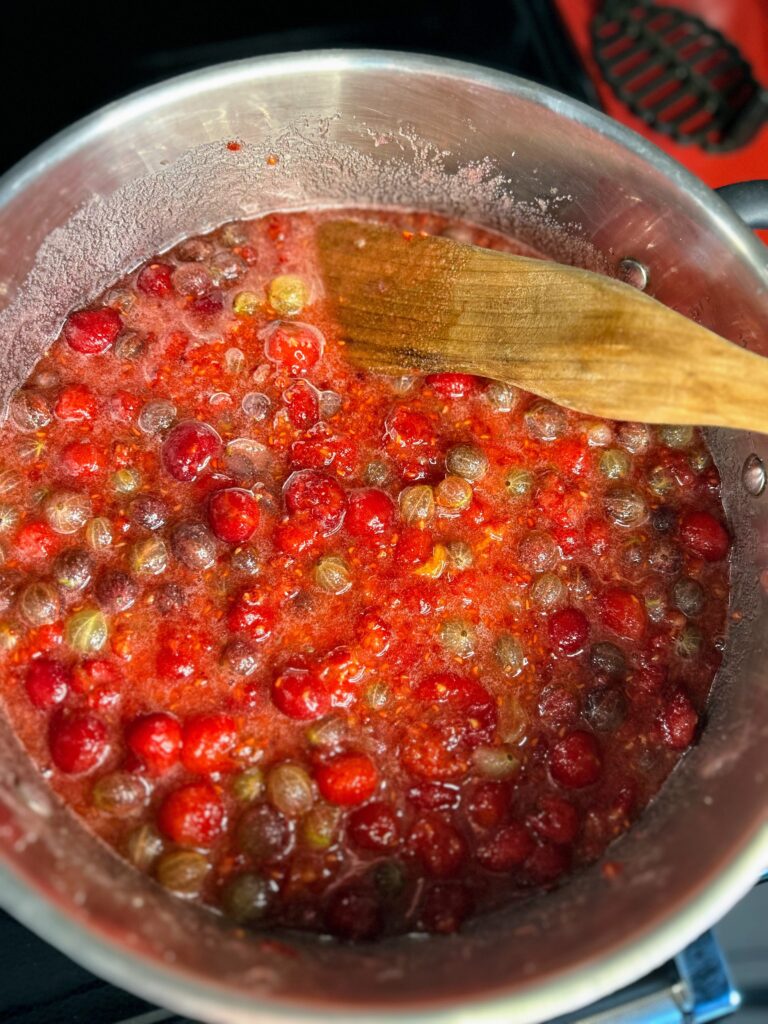
In a large, preferably shallow kettle, smash the fruit with a potato masher. Stir in the sugar and lemon juice. Begin to heat over medium-high heat, stirring often. I like to smash the berries more as they are cooking down. 

Your end goal is to reach the gelling point. There are lots of tests for this, but I prefer the temperature test. If you are at sea level, the gelling point is at 220 degrees. For every 1000 feet of elevation, you subtract 2 degrees. For me, the gelling point is 218 degrees. Don’t have a decent food thermometer? Check out the National Center for Home Preservation website for other ways of testing for the gelling point. 

It takes longer to reach the gelling point than I think it should. It also goes from needing 3 degrees to reaching the gelling point fast. You can get complacent while you are waiting and suddenly hit the temperature, so I am trying to warn you 🙂 

You’ve hit the Gelling POint

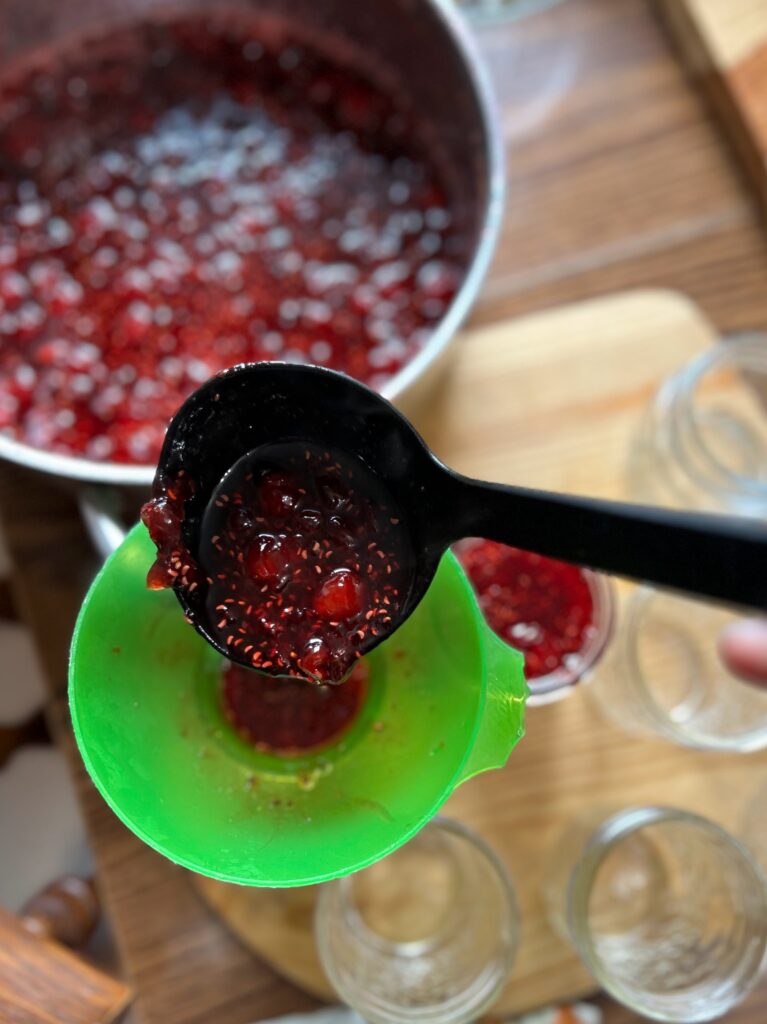
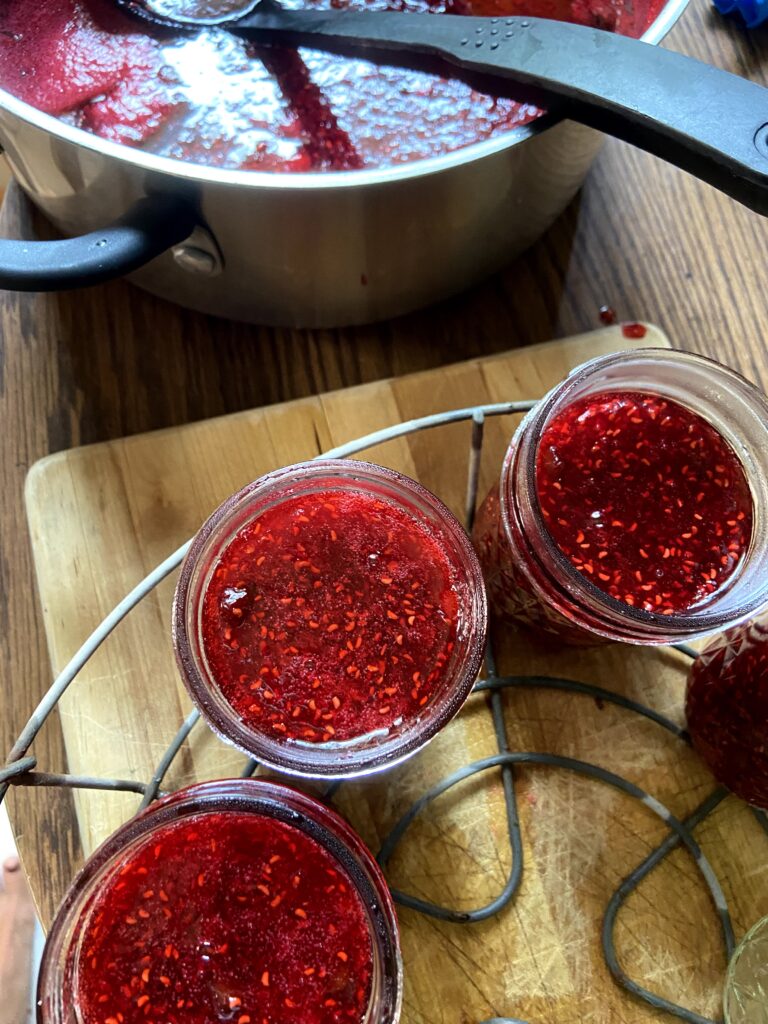
Once the jam has reached the gelling point, remove from heat. Ladle into prepared jars, leaving ½ inch head space. Wipe rims of the jars with a damp, clean cloth, add lids and rings, tightening to fingertip tight. Place in the canner, increasing the heat to high. Once the canner reaches a boil, process for 15 minutes. Remove from heat and allow jars to cool in the canner over 5 minutes. Remove from canner, placing on the counter. Listen for the ping of the lids over the next 12 hours. Sealed jars are self stable. If any jar doesn’t seal, simply place it right in the refrigerator. You’ve got yourself delicious Cherry Raspberry Gooseberry Jam.

Note: You can skip the processing step all together if you feel more comfortable. If you do so, the jam will need to be stored in the refrigerator. The process of water bath canning creates a self-stable jam. That is, a jam that can be stored on the shelf.

Tools of the Trade

There are some tools I love for canning! Of course, you need a canner. And the tools, while not necessary, are SUPER helpful as you prepare the jam. Finally, I always work on wooden cutting boards. The board I put the jars while I ladle it in becomes the resting spot for my jam after I have pulled it from the canner.

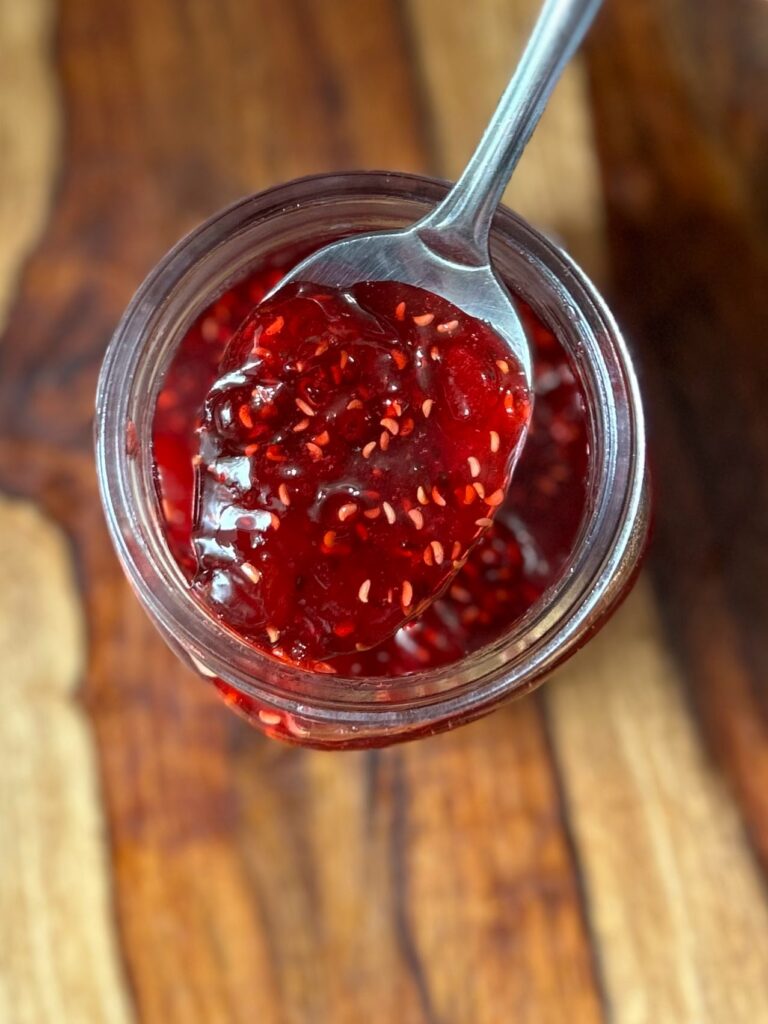
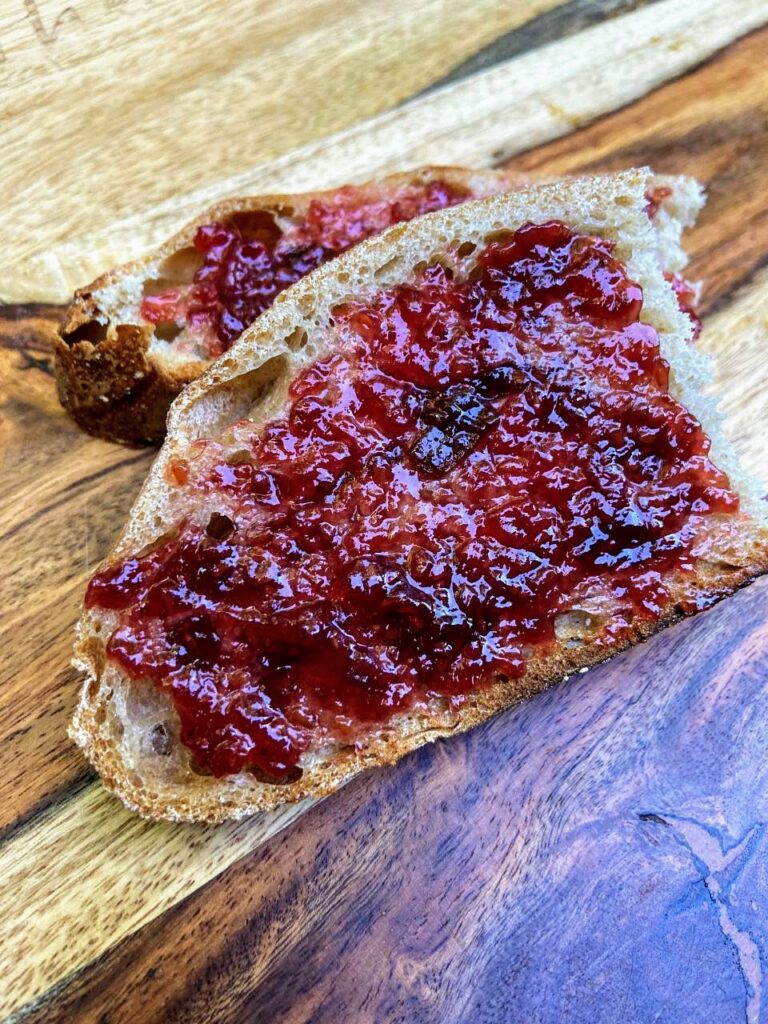
Cherry Raspberry Gooseberry Jam on Toast

Cherry Raspberry Gooseberry Jam

Summer in a jar! This cherry raspberry gooseberry jam pops with color and flavor that is sure to become a favorite!
Prep Time 10 minutes
Cook Time 1 hour
Course Breakfast
Cuisine Canning
Servings 6 1/2 pint jars

Ingredients
  

  • 3 cups red raspberries
  • 3 cups sour cherries, pitted
  • 3 cups gooseberries, cleaned
  • 4 ½ cups sugar
  • ¼ cup lemon juice

Instructions
 

  • If you have not done so, measure out berries and sugar.
  • Wash and sanitize 6 ½ pint jars, rings, and lids. Keep warm. Fill the canner with enough water to cover the jars by at least 2 inches of water. Cover and heat on high. Watch the temperature, you want a simmer but not a boil when you place the jars in the water.
  • In a large, shallow kettle, smash berries with a potato masher. Stir in sugar and lemon juice. Begin to heat over medium-high heat, stirring often. Smash more as they are cooking down.
  • Heat to 8 degrees above the boiling point of water. If you are at sea level, the gelling point is at 220 degrees. For every 1000 feet of elevation, you subtract 2 degrees.
  • Once the jam has reached the gelling point, remove from heat. Ladle into prepared jars, leaving ½ inch head space. Wipe rims of the jars with a damp cloth, add lids and rings, tightening to fingertip tight. Place in the canner, increasing the heat to high. Once the canner reaches a boil, process for 10 minutes. Remove from heat and allow jars to cool in the canner over 5 minutes. Remove from canner and allow to rest for 12 hours before storing.

Notes

You can skip the processing step all together if you feel more comfortable. If you do so, the jam will need to be stored in the refrigerator. The process of water bath canning creates a self-stable jam. That is, a jam that can be stored on the shelf.
Keyword cherries, cherry jam, gooseberries, gooseberry jam, Jam, Jam Recipes, Jellies and Jams, raspberries, raspberry jam
Tried this recipe?Let us know how it was!

Cherry Raspberry Gooseberry jam not enough?

Check out some of the recipes below!
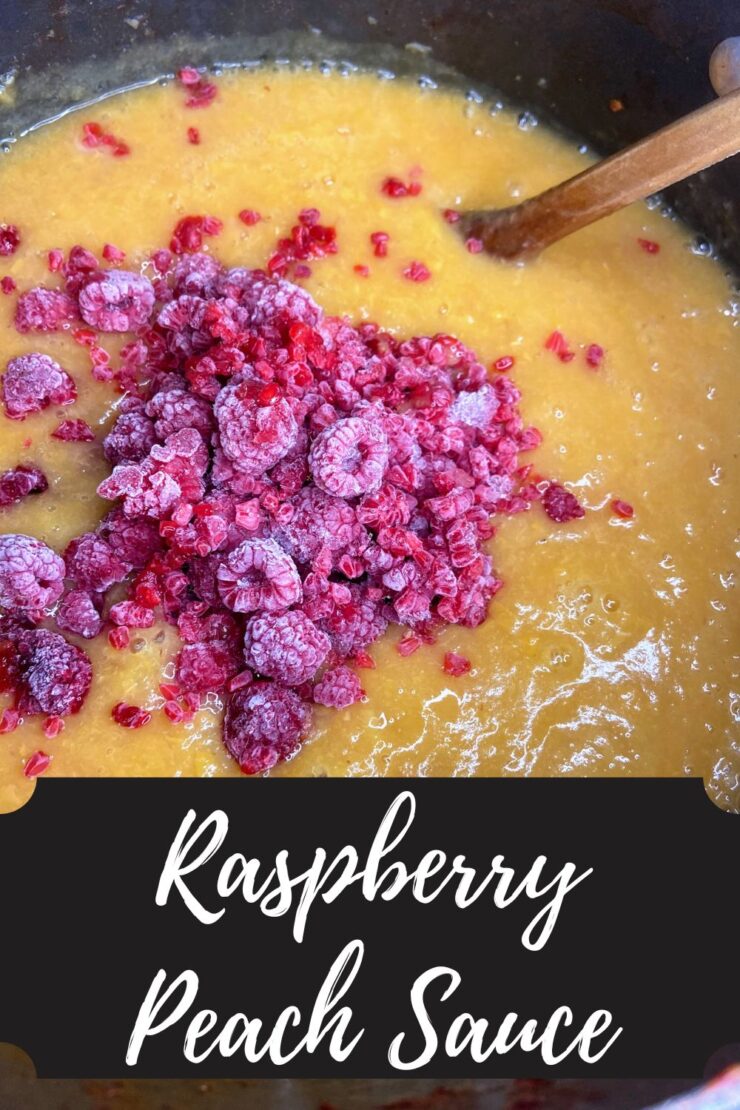
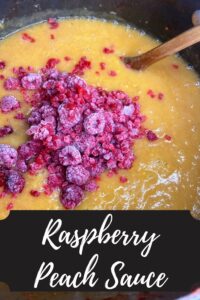
Raspberry Peach Sauce

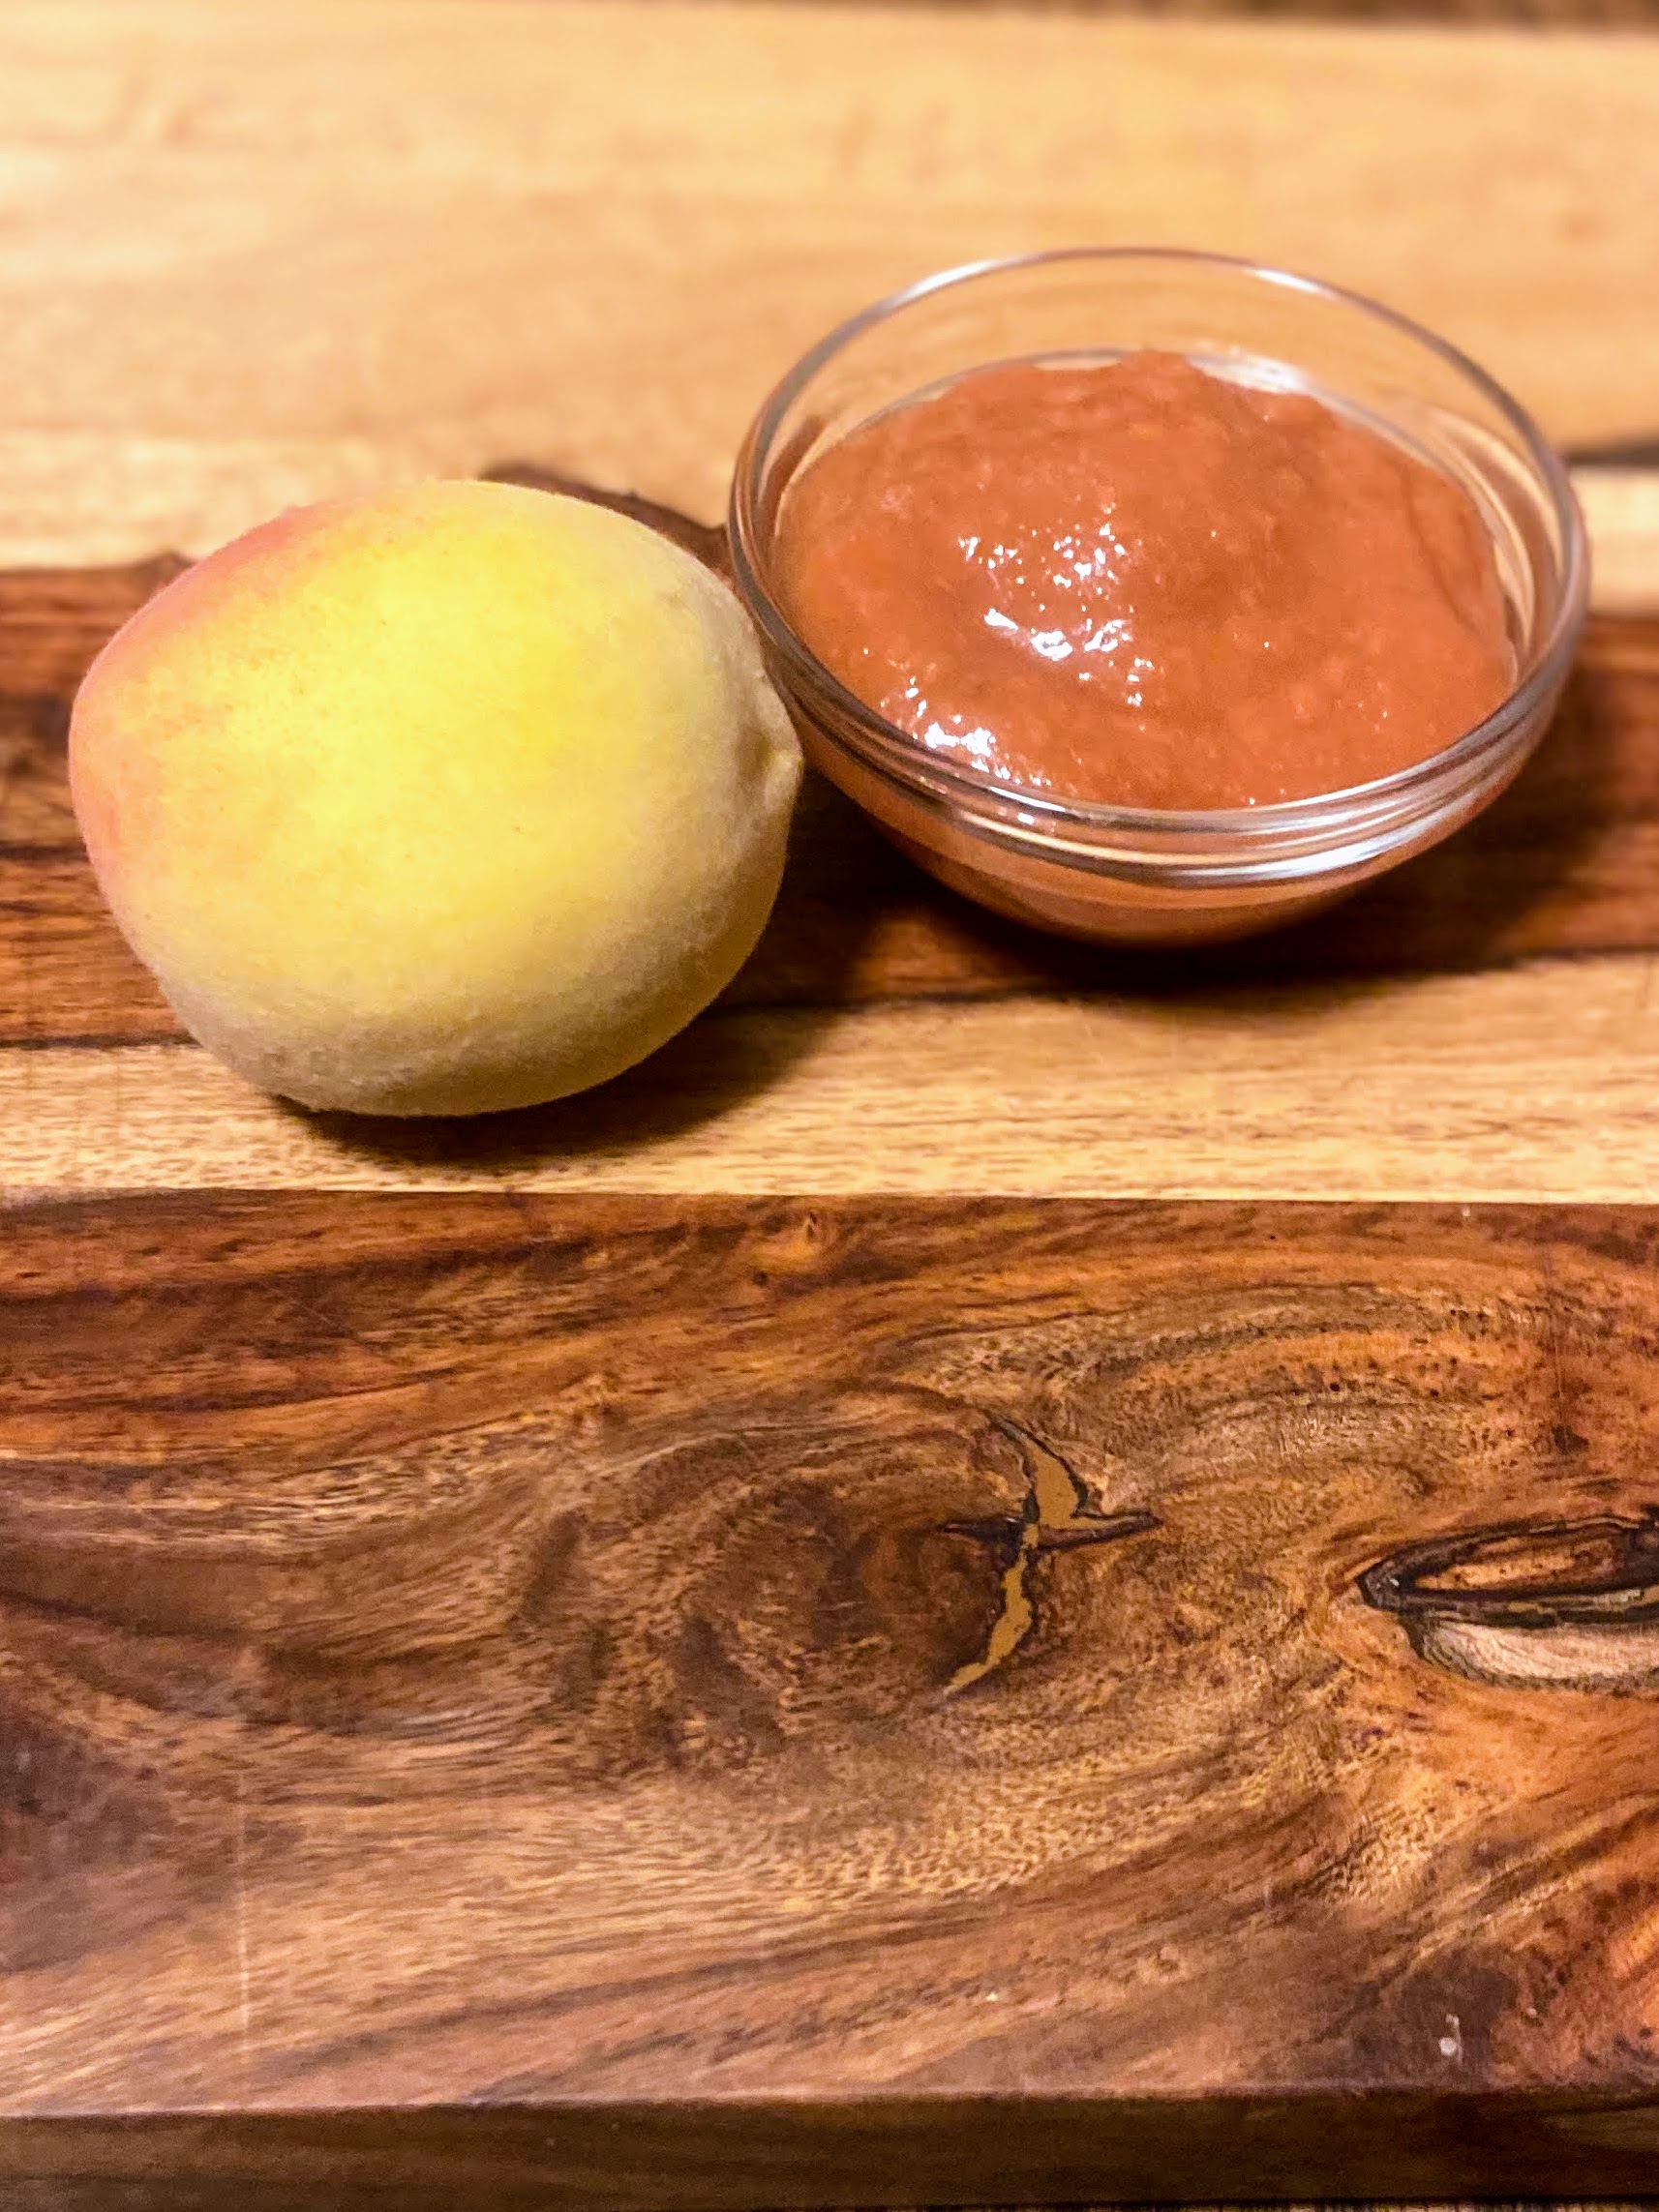
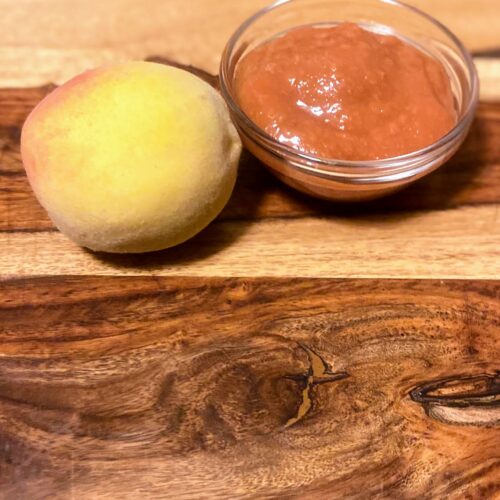
I know, I know. Making raspberry peach sauce sounds like baby food. That’s what people tell me, anyway. But I counter that with, “What do you call applesauce?” And then they shrug. But I win and I have them try it and they don’t care what you call it…it’s darn good. 

The idea of peach sauce was born out of my hatred of blanching and peeling tomatoes, peaches, and the like. Honestly, I don’t have an issue with blanching beans for freezing. But the extra step of peeling? NO THANK YOU. They stay on when I make tomato sauce and it turns out just fine. So why not give it a try with peaches? And let me tell you, it works! 

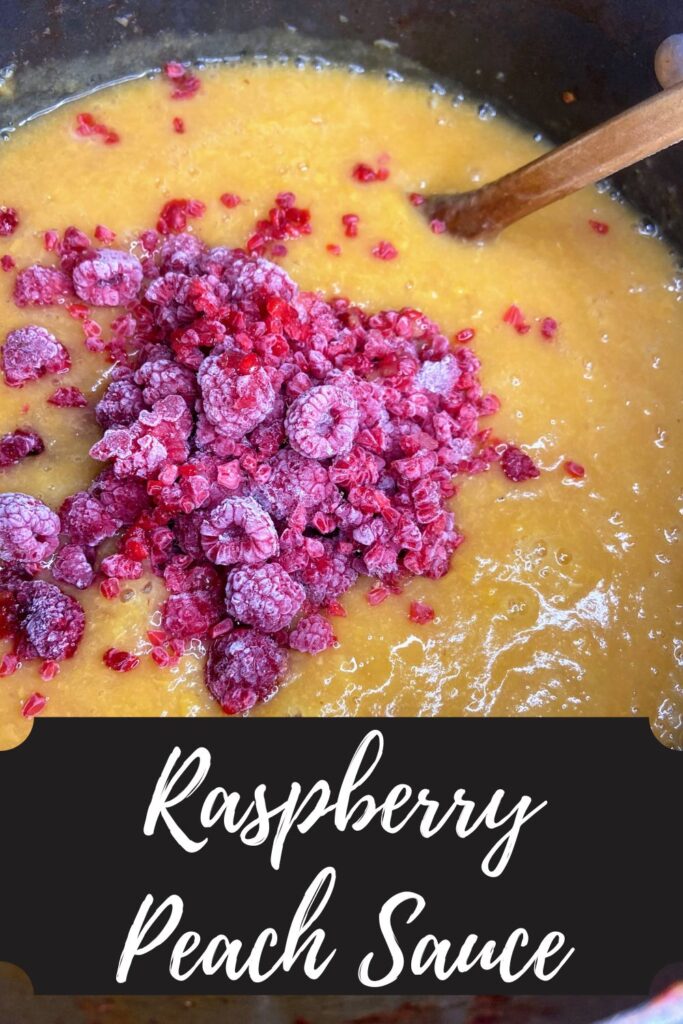
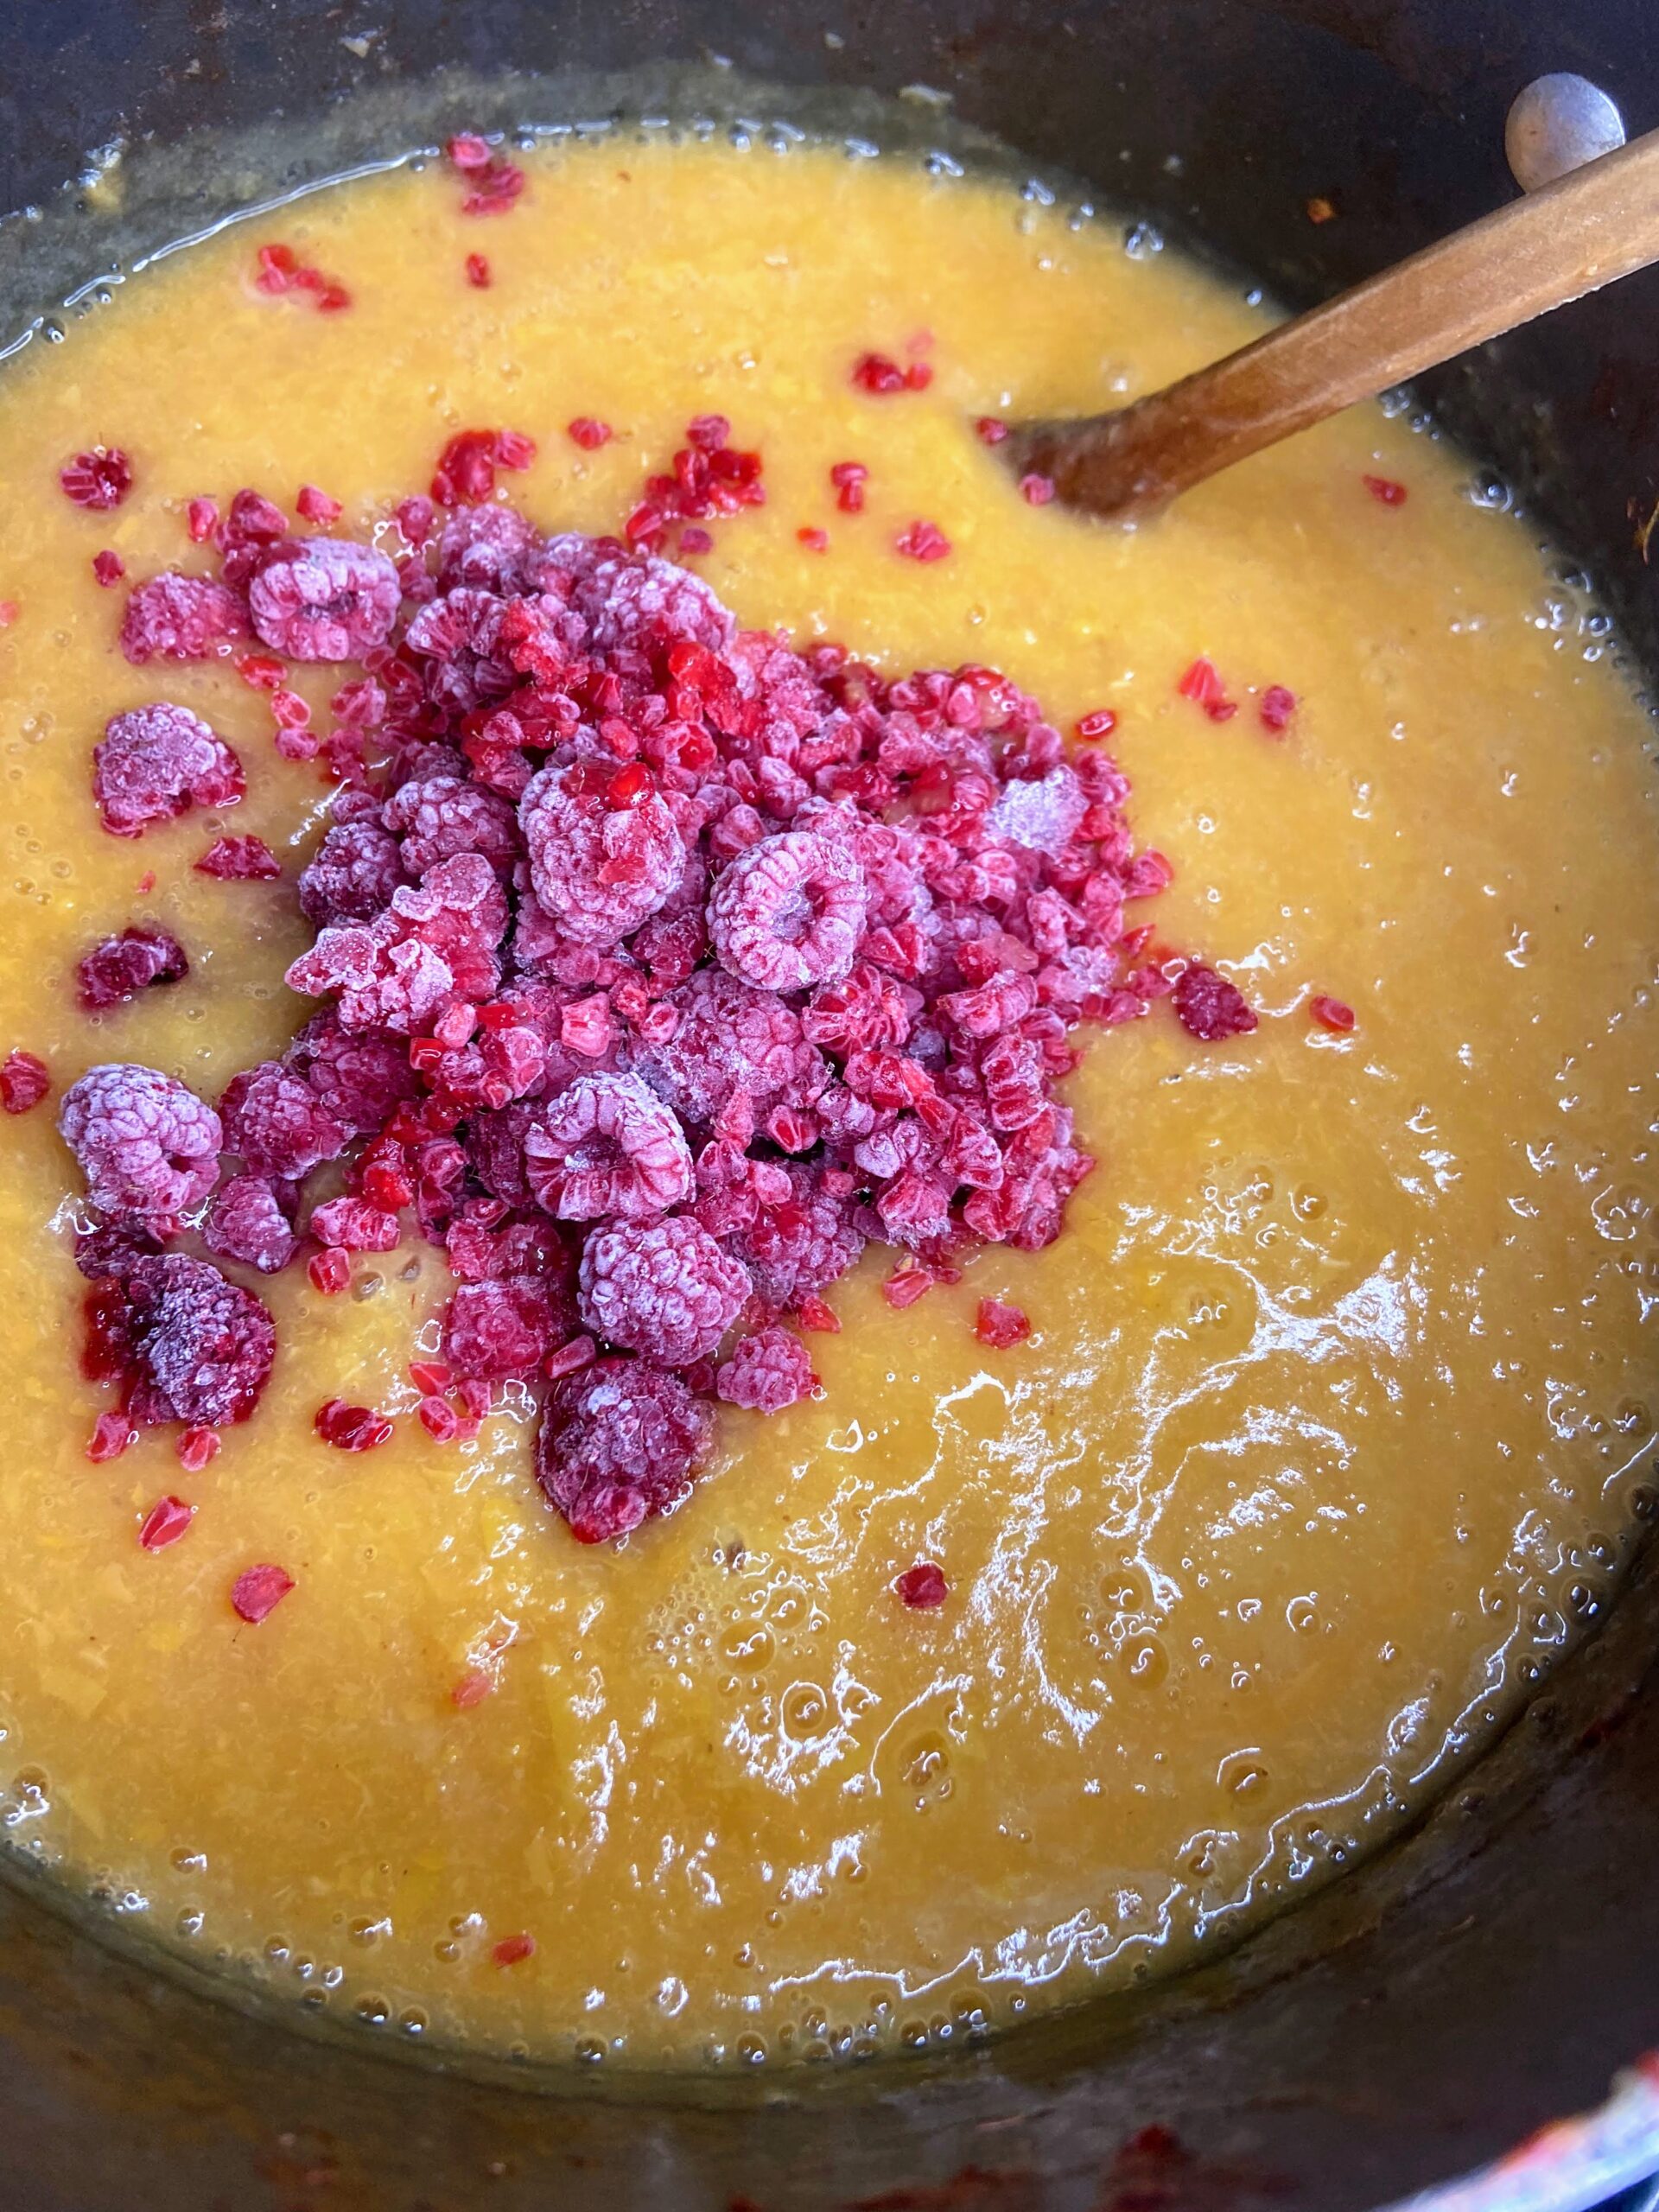
Most years, I simply wash, quarter, cook down, blend, can. This year, I added an extra layer of adding frozen raspberries from my garden to combine the flavors. Oh my. It was definitely an addition worthwhile and it was determined that I needed to share this raspberry peach sauce.

Enough talking, right? Let’s start creating peach sauce (and maybe raspberries? You get to decide!). Before you do though, you have to make a decision…are you going to can it or freeze it? (More on this later!)

Your Ingredients

  • 1 ½ cups water
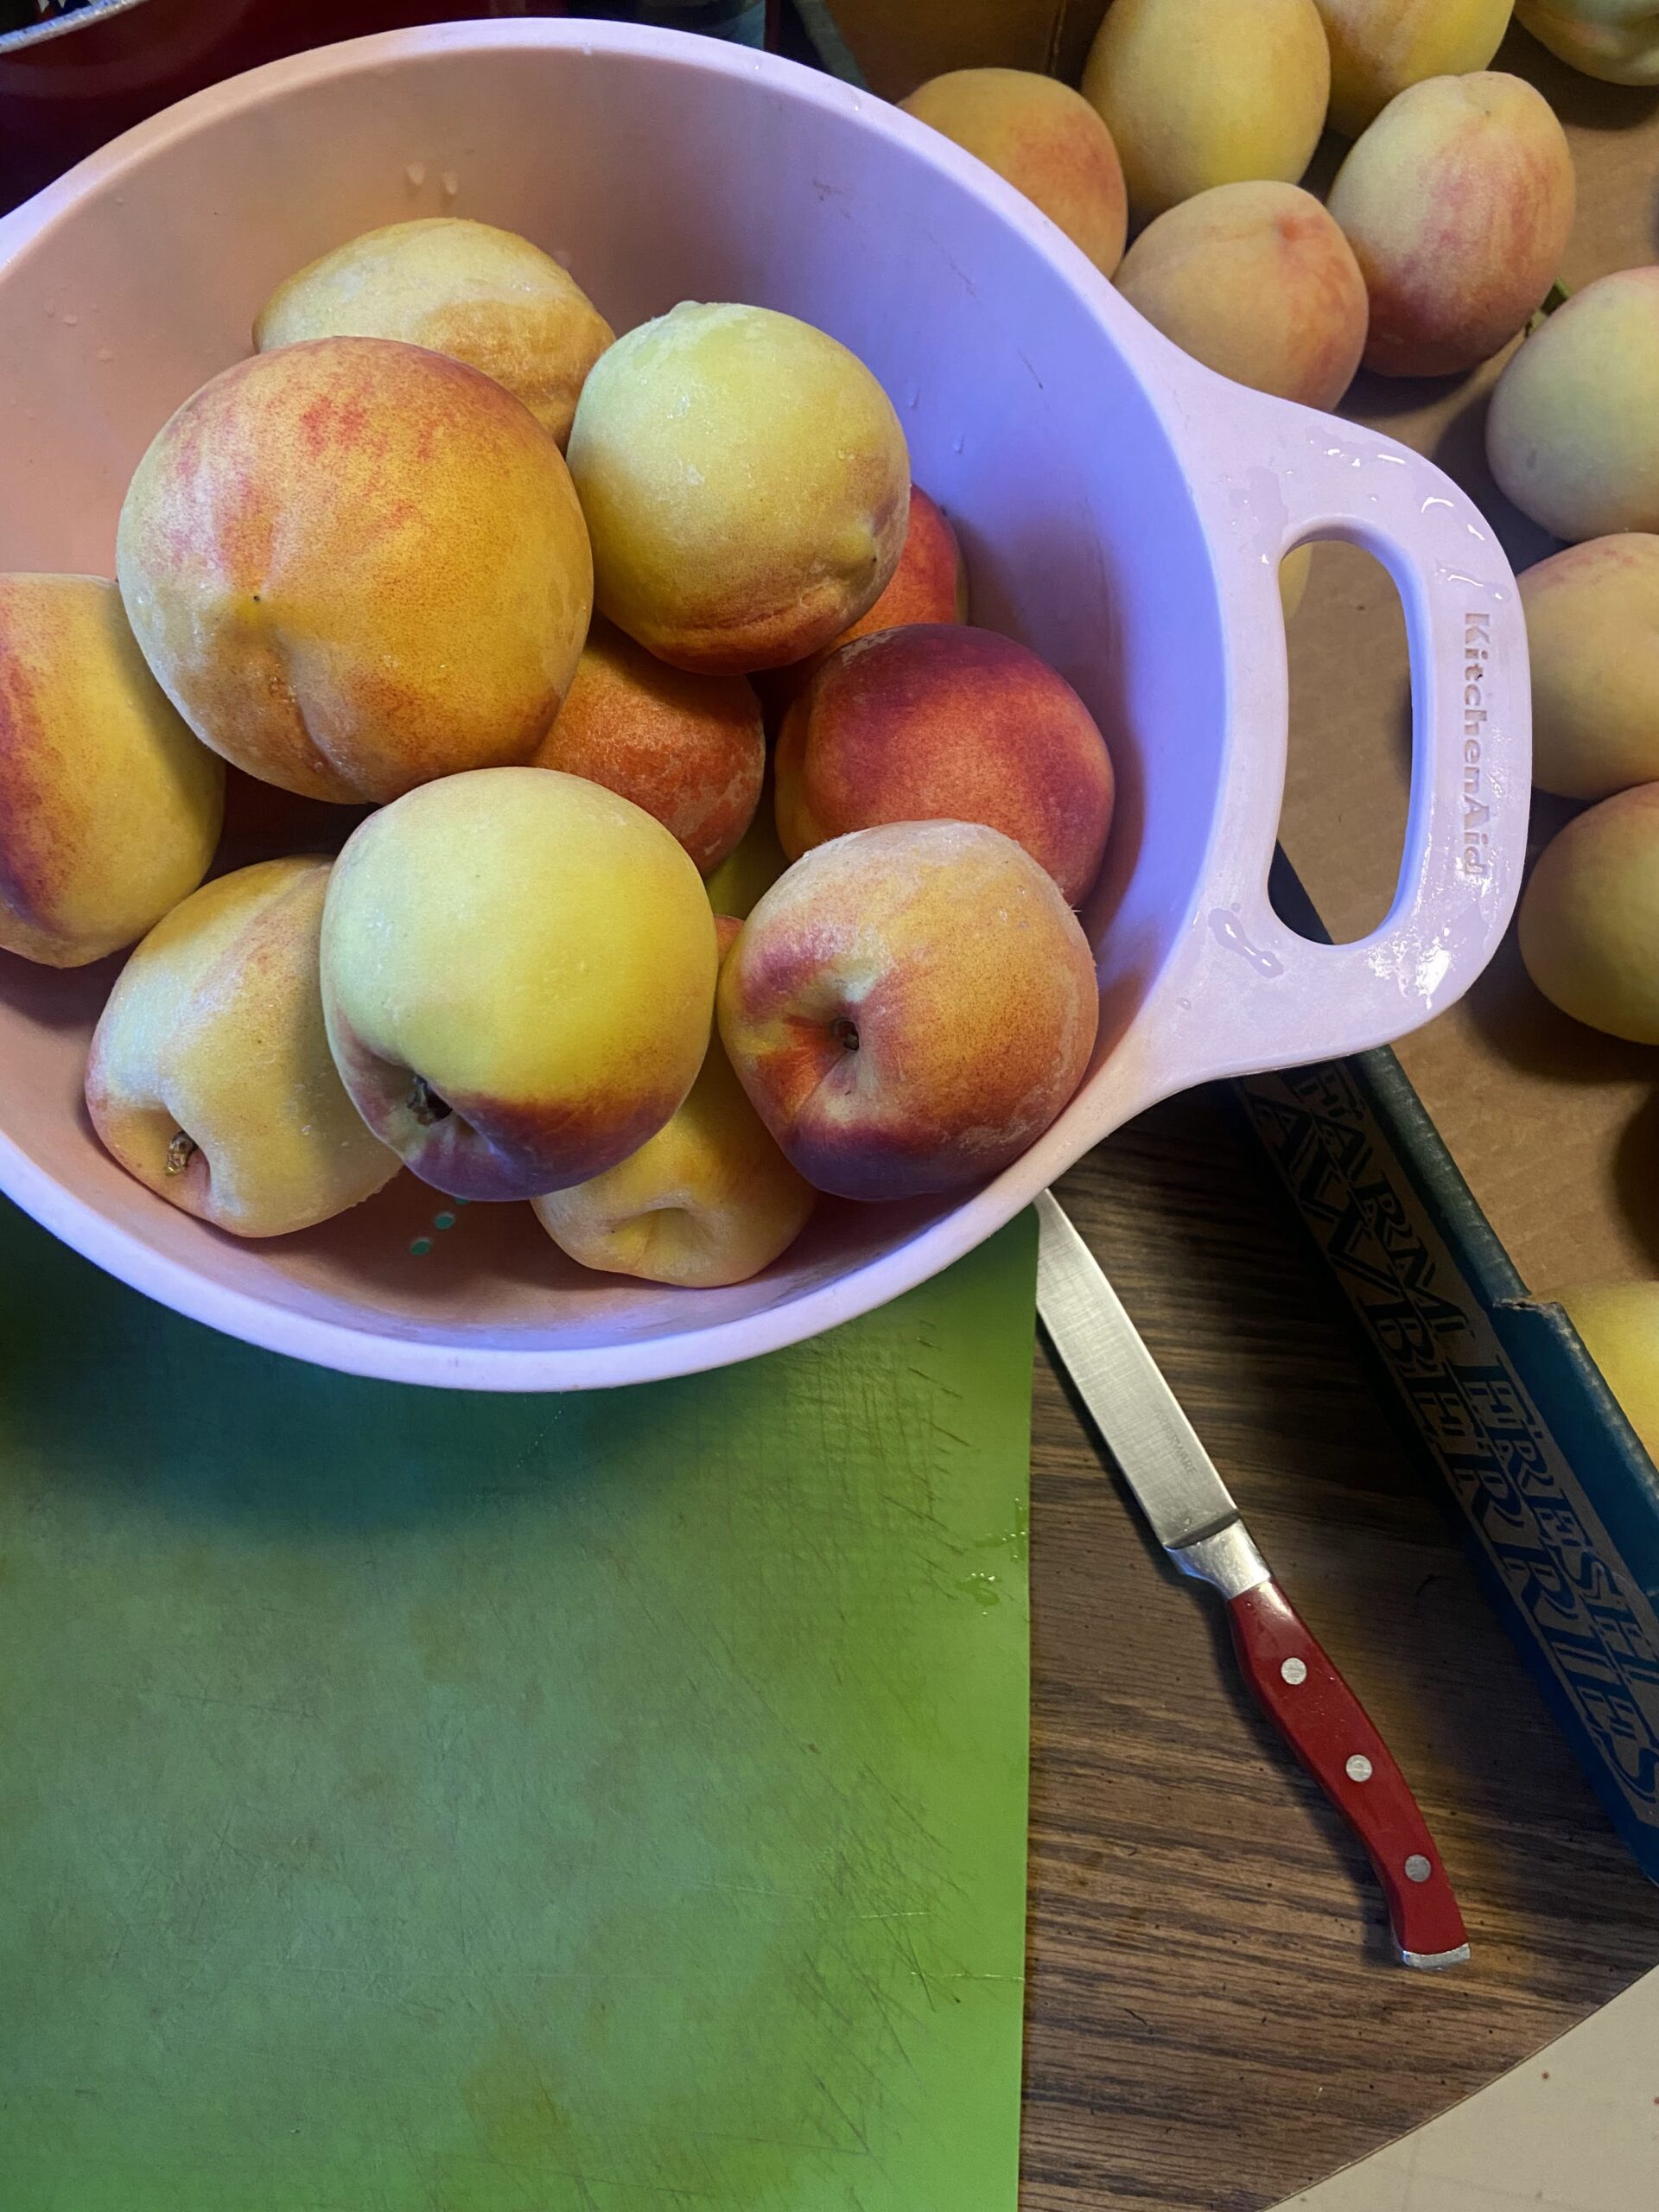
  • 20-25 peaches, washed well 
  • 1-3 cups frozen raspberries (optional) 
  • ½-1 cup sugar, if desired
  • Fruit fresh, if freezing

Prepping the Raspberry Peach Sauce

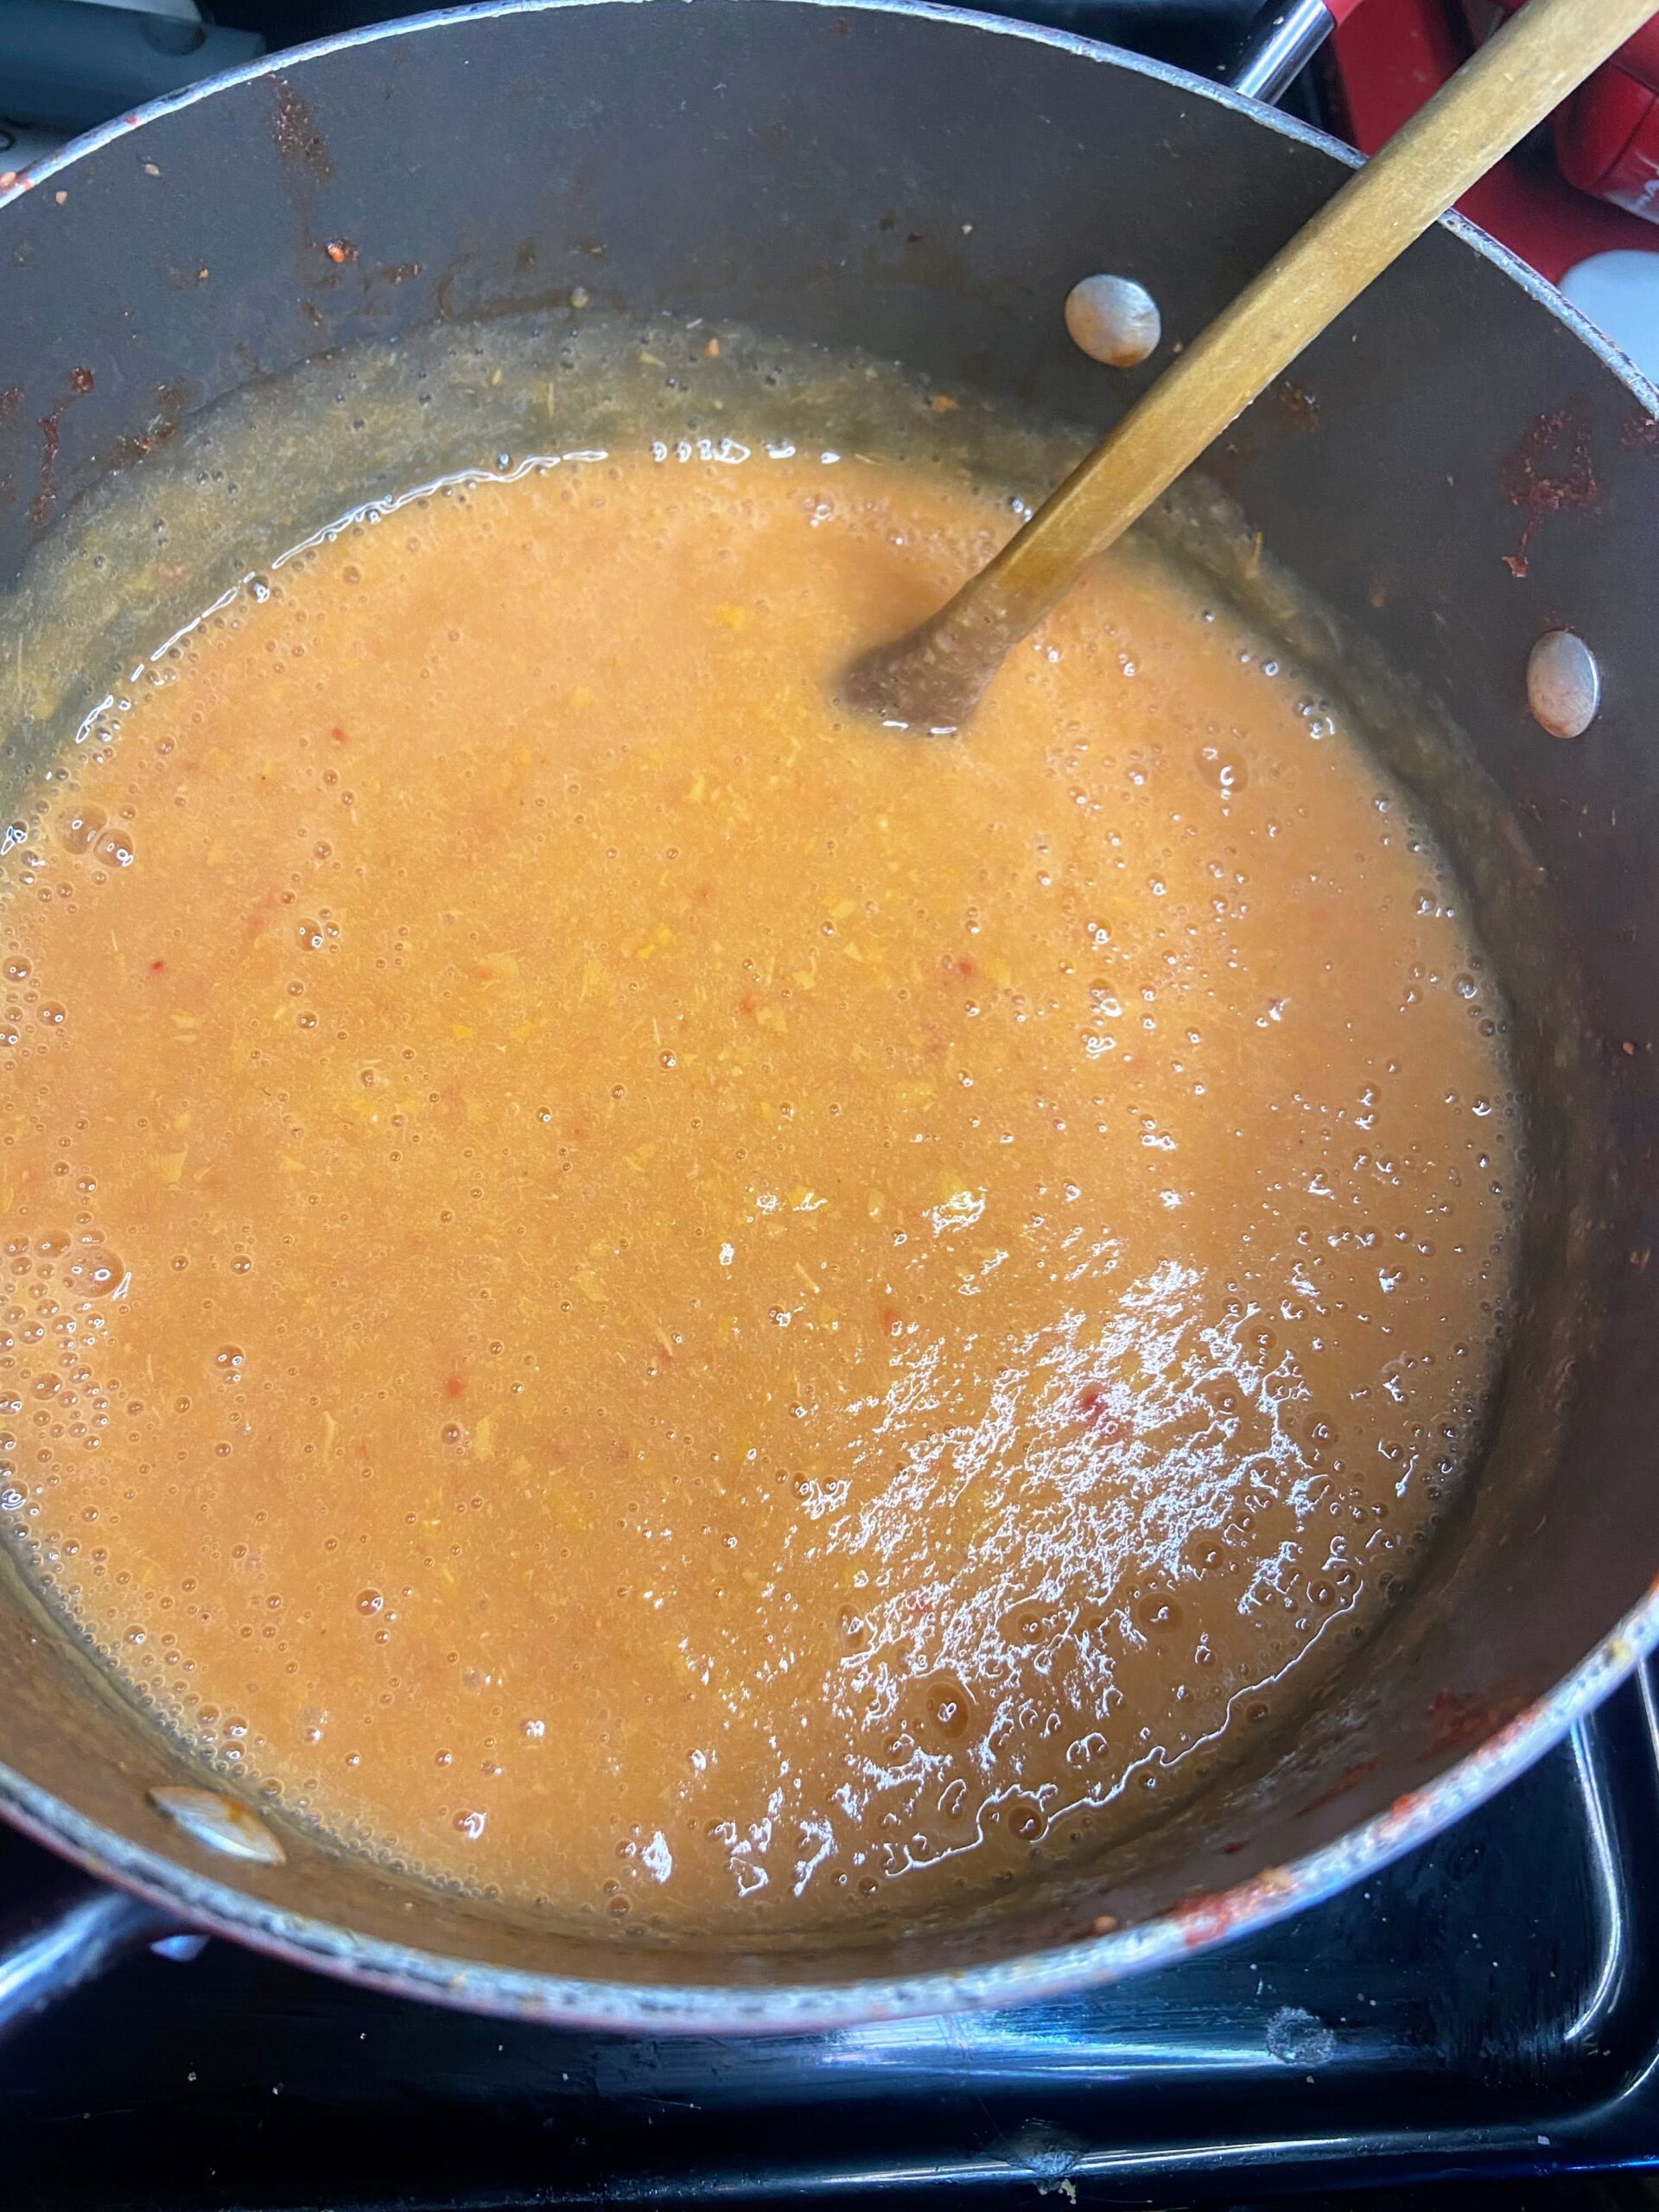
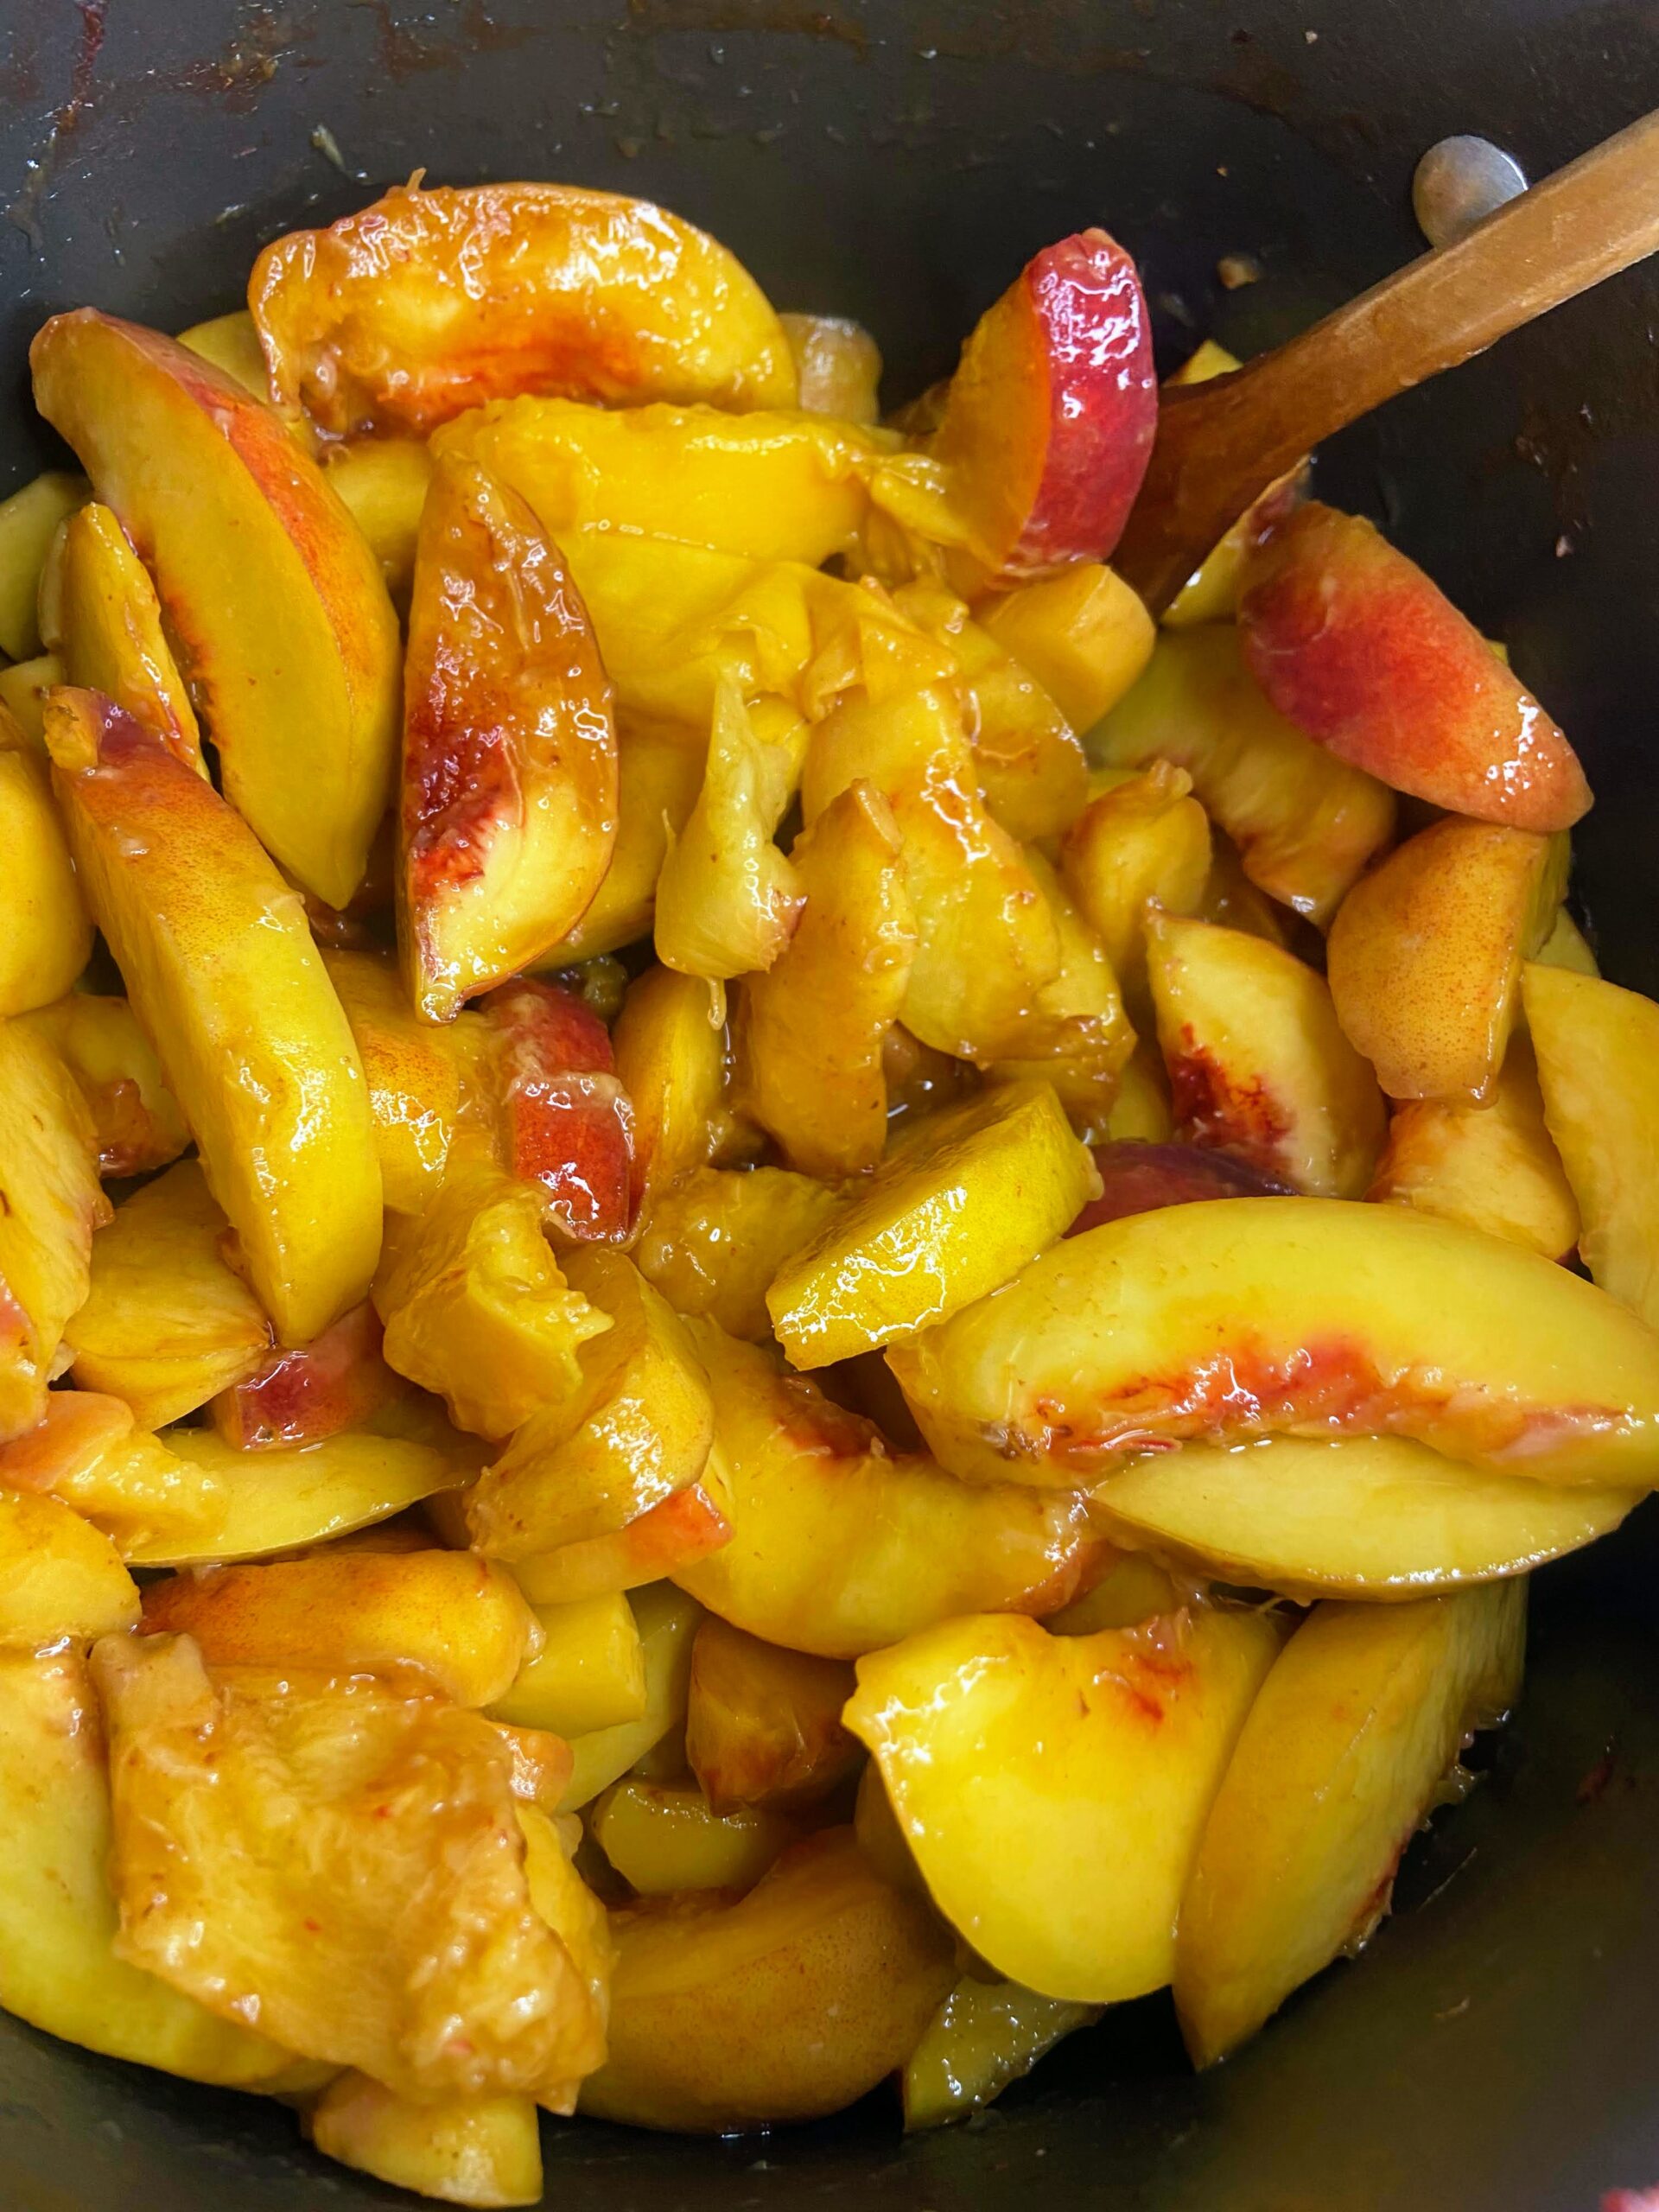
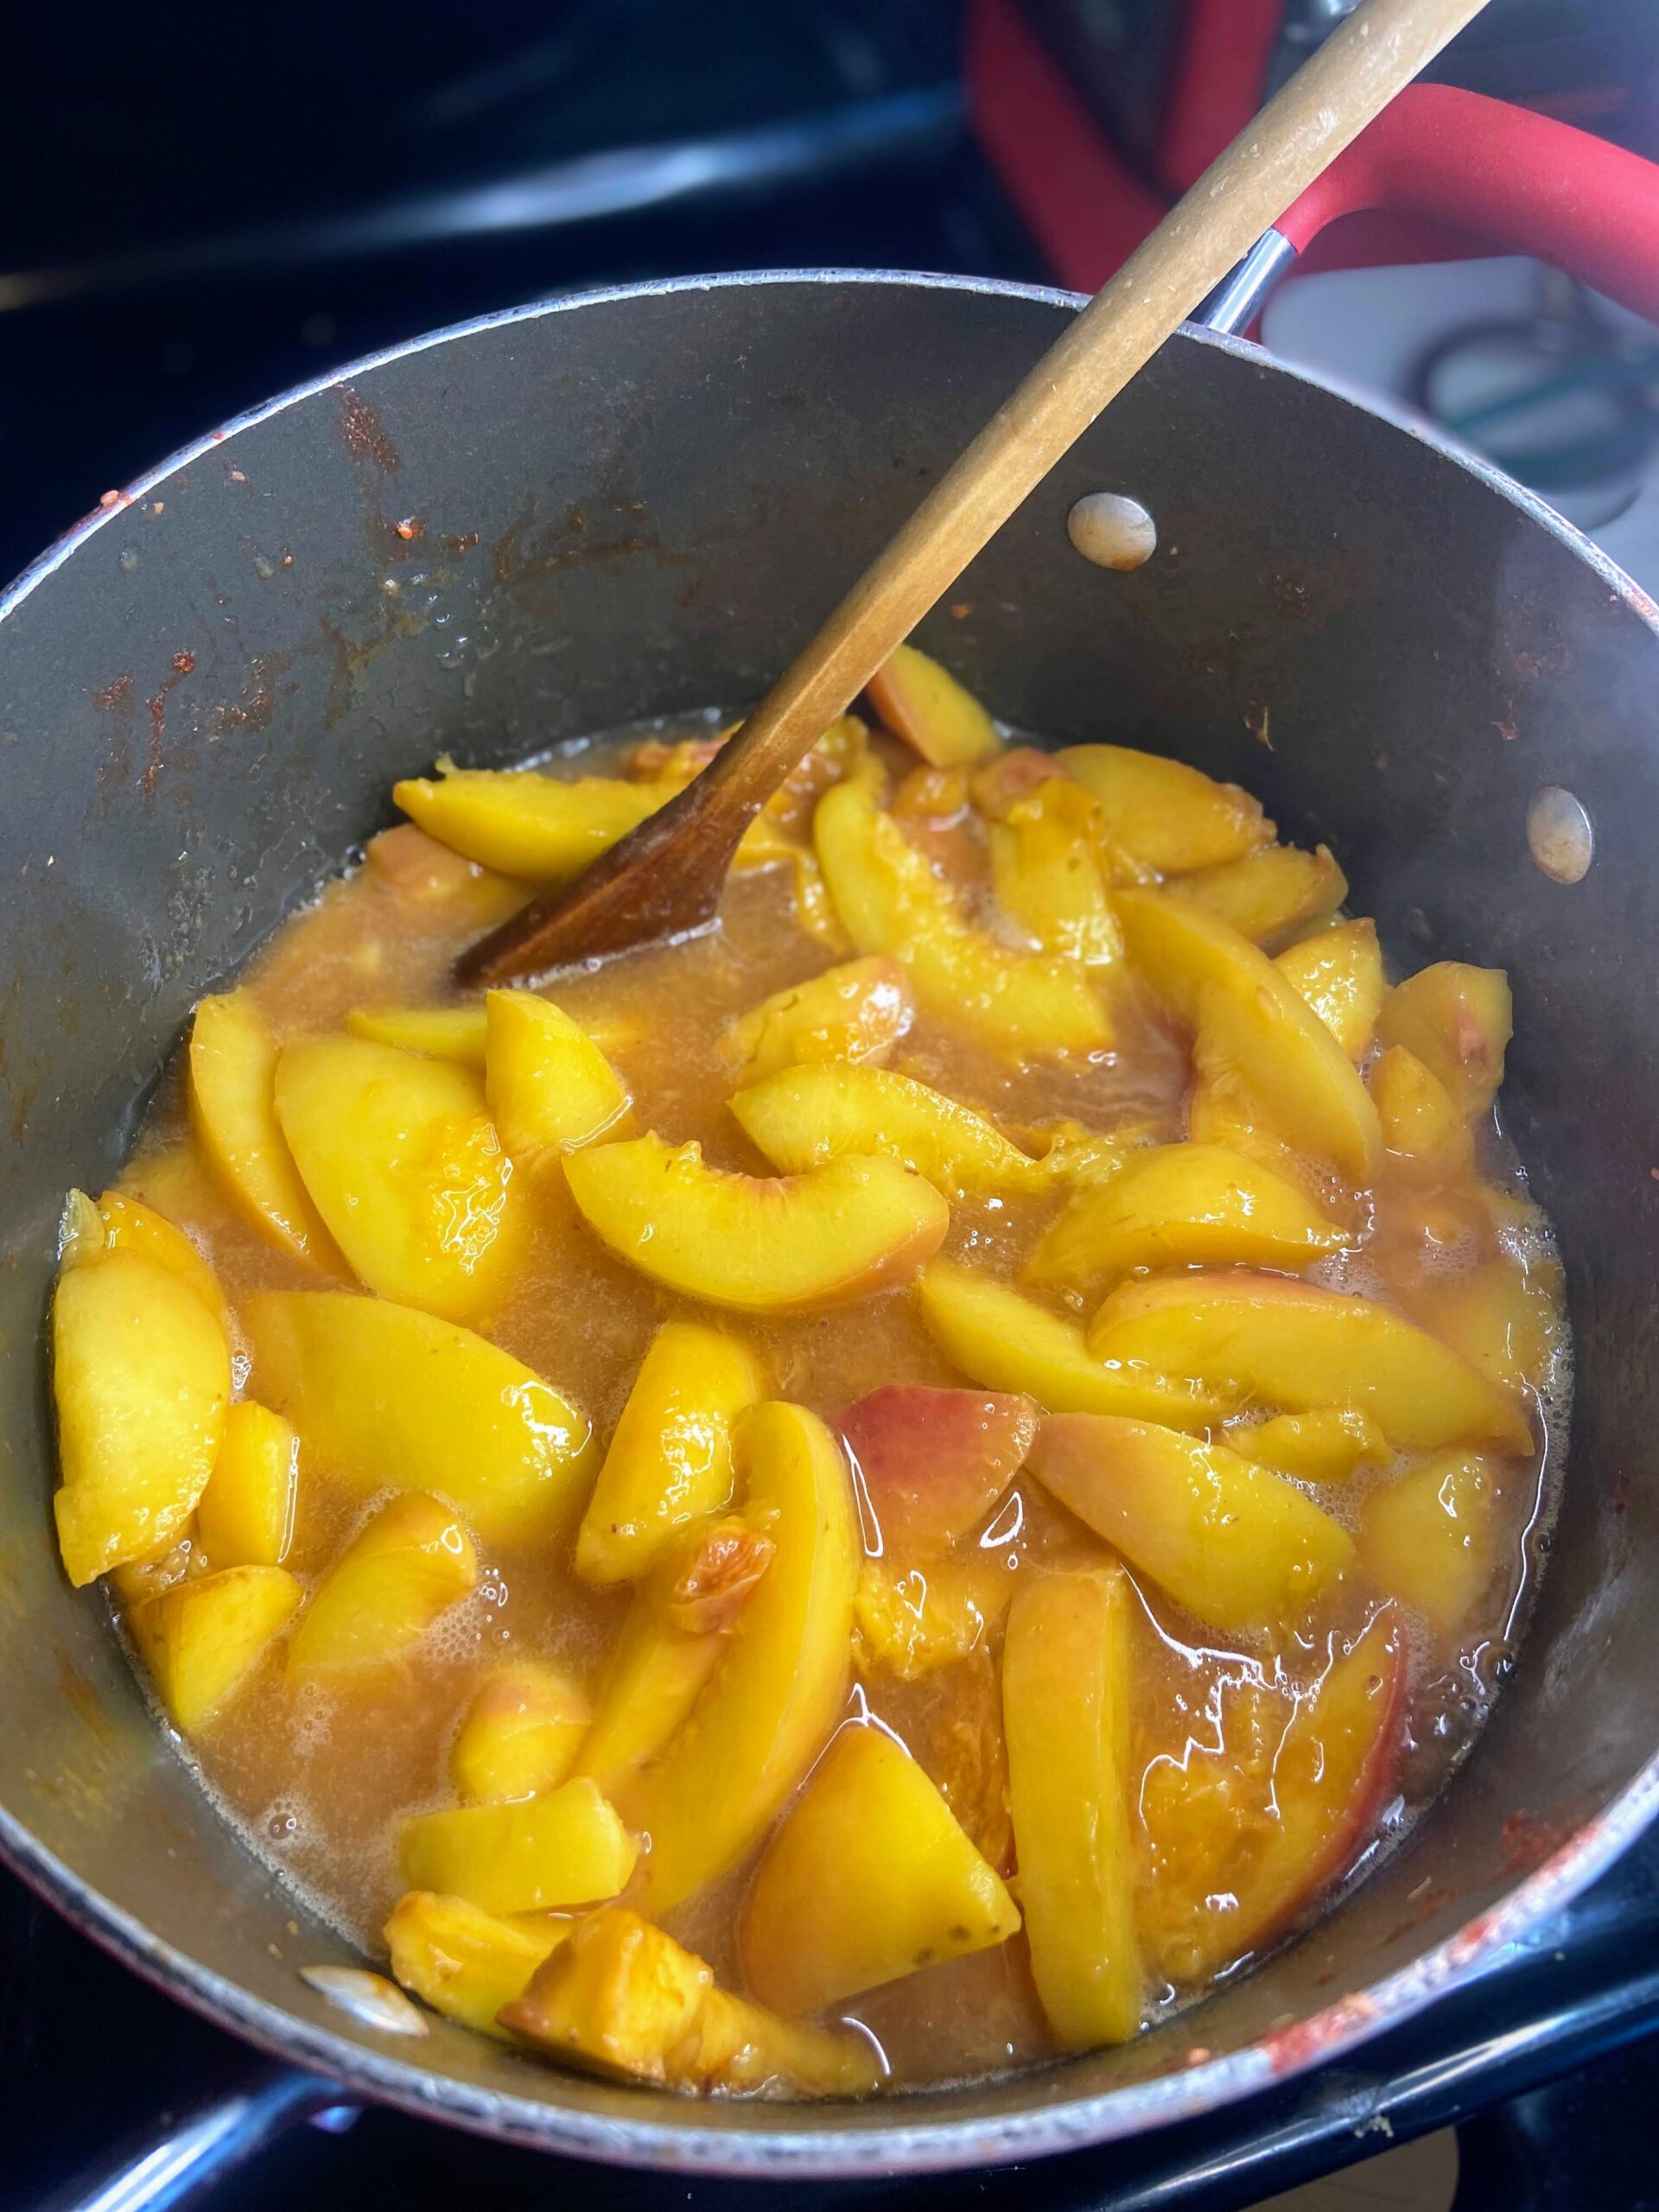
Wash your peaches well. Halve, pit, and quarter the peaches. Place in a large kettle with water. Begin to cook over medium heat, smashing periodically using a potato masher. As the peaches cook down, stir and mash. When the peaches have softened significantly, use an immersion blender or food mill to break down the peaches to a sauce. If you prefer to add raspberries, add 2-3 cups of frozen raspberries. Cook an additional 3-4 minutes and then blend again. Test the fruit at this point for sweetness. Add sugar by the ¼ cup, until desired sweetness is found. 

Canning Your Raspberry Peach Sauce?

If you want to water bath can it, you have some prep.  When your sauce is almost ready begin to prepare your water bath canner and jars if you plan on processing them. 

Wash and sanitize jars, rings, and lids. Keep warm. Fill the canner with enough water to cover the jars by at least 2 inches of water. Cover and heat on high. Watch the temperature, you want a simmer but not a boil when you place the jars in the water. 

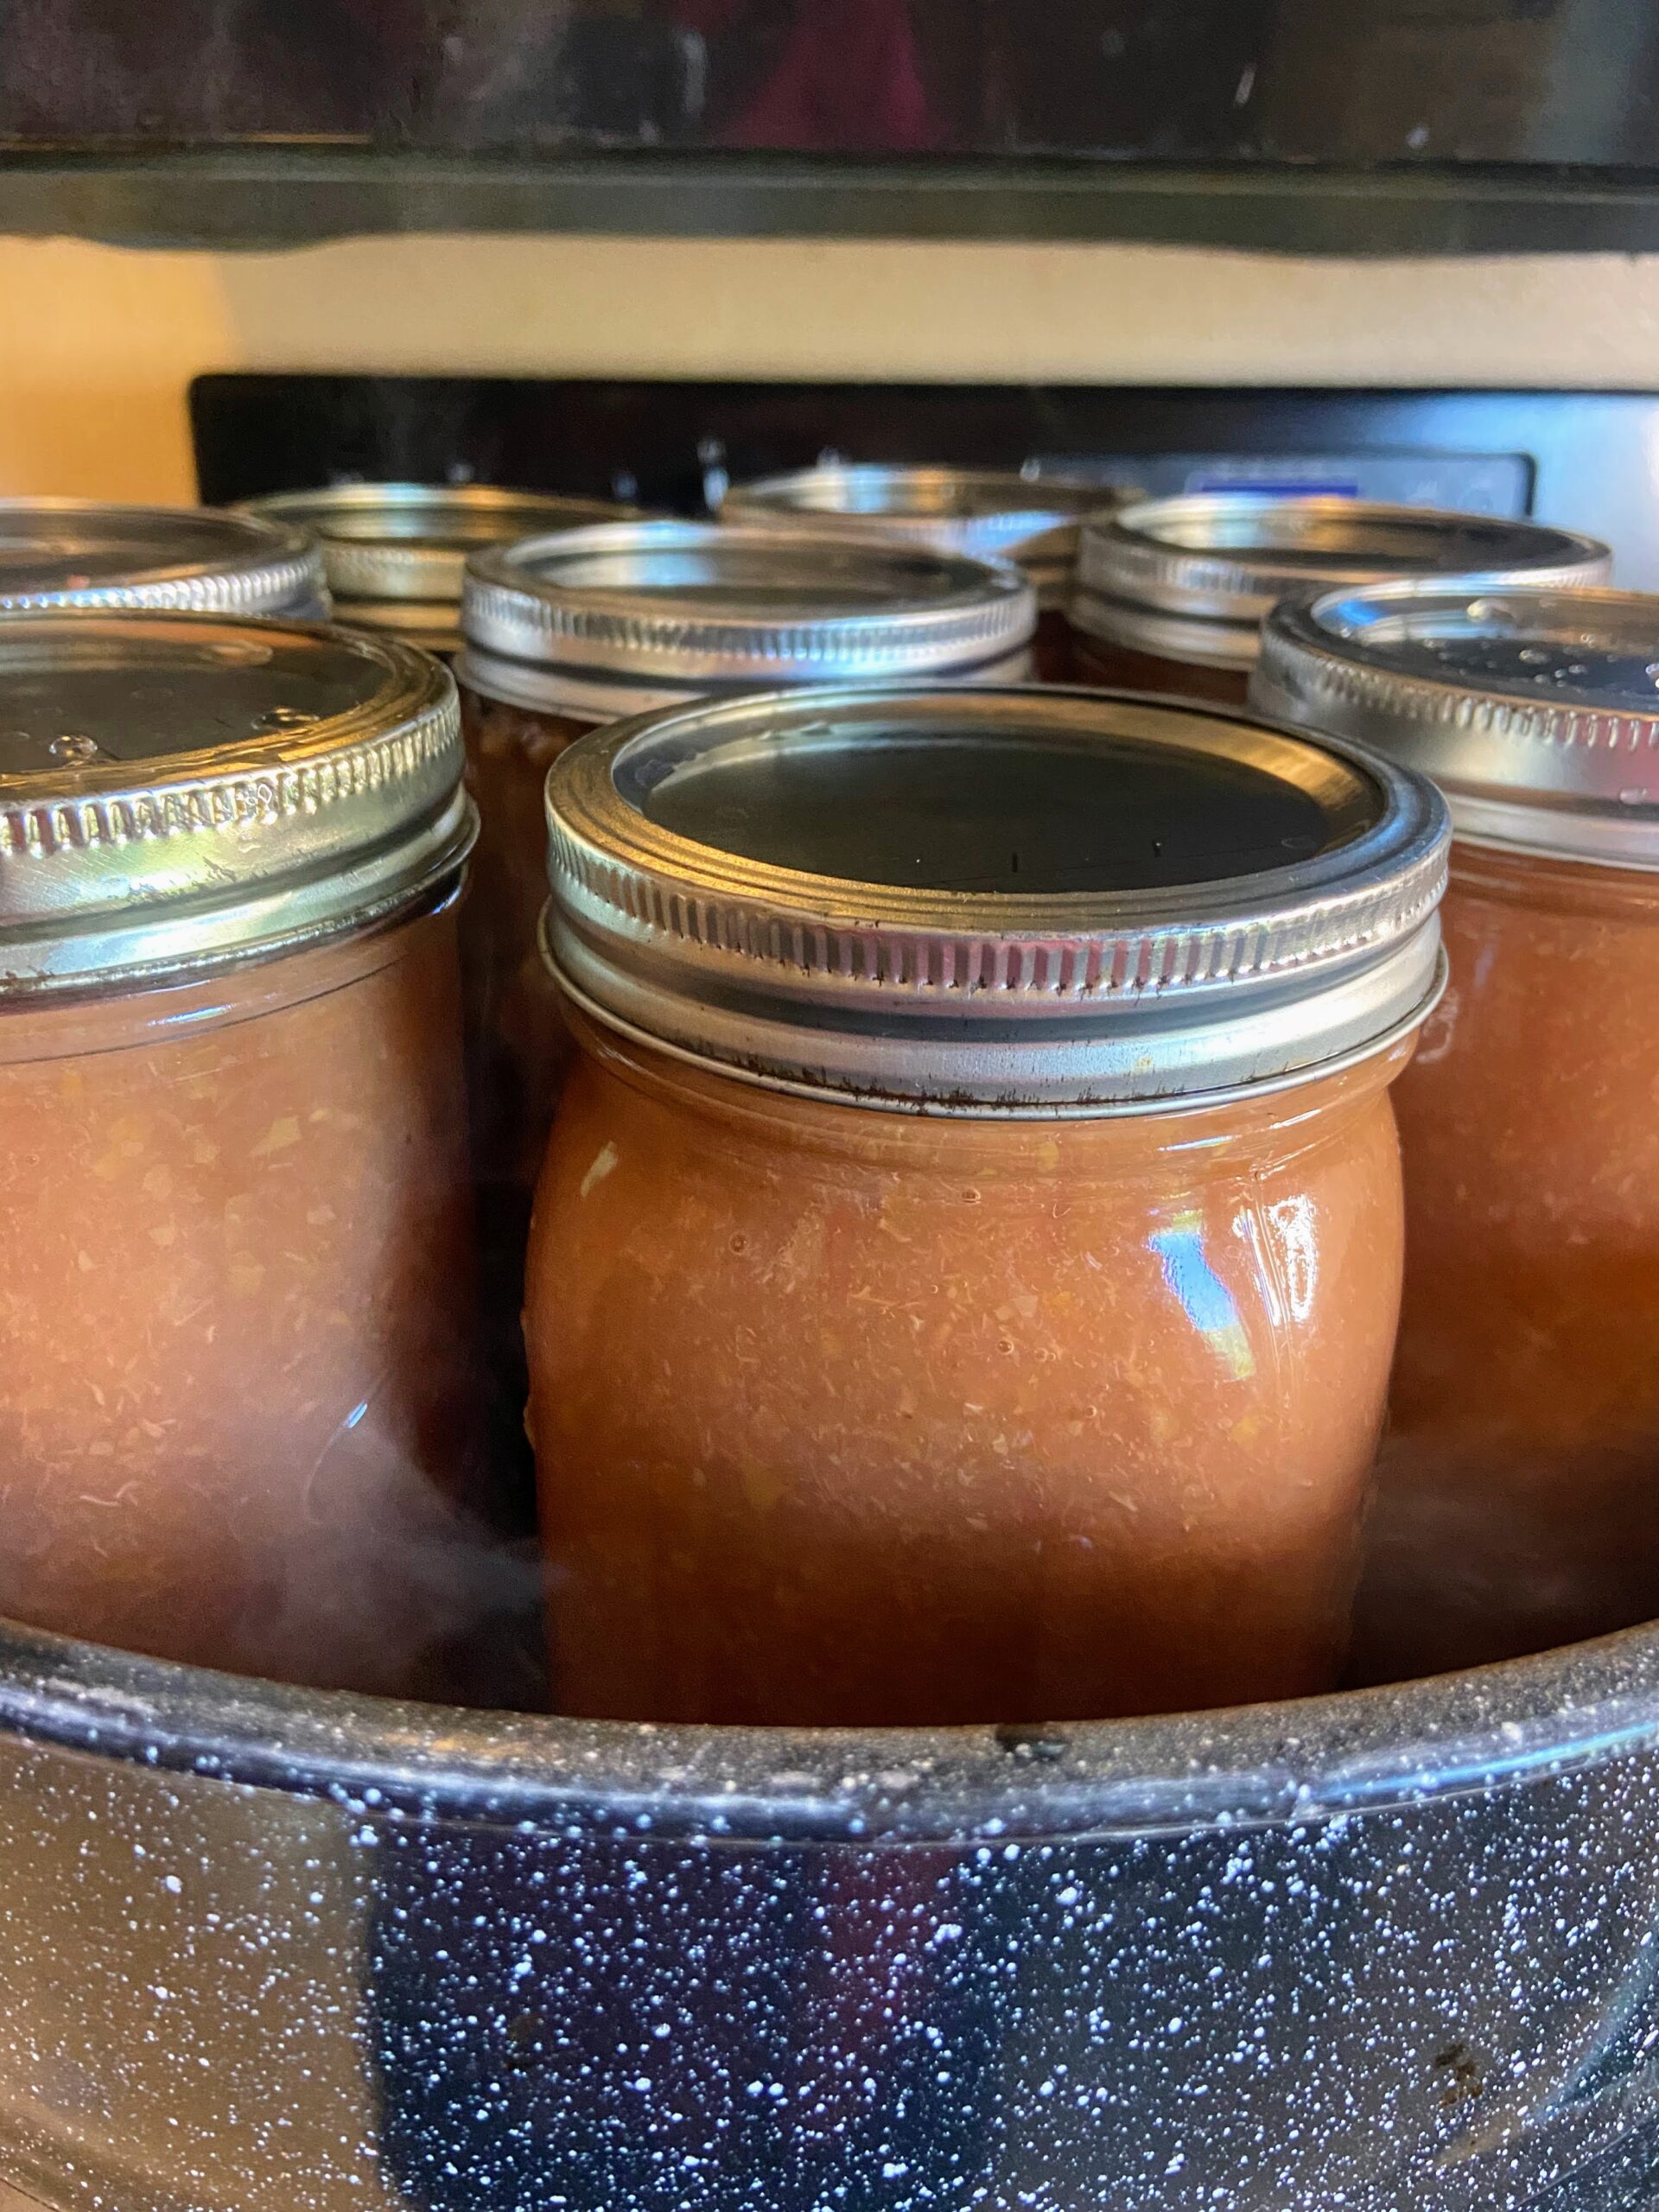
Bring peach sauce to a boil. Once you have reached a boil ladle into prepared jars, leaving ½ inch head space, maintaining the boil on the kettle as you go. Wipe rims of the jars with a damp cloth, add lids and rings, tightening to fingertip tight. Place in the canner, increasing the heat to high. Once the canner reaches a boil, process pint jars 20 minutes and quart jars 25 minutes (adjusting for altitude). Remove from heat and allow jars to cool in the canner over 5 minutes. Remove from canner, placing on the counter. Listen for the ping of the lids over the next 12 hours. Sealed jars are self stable. If any jar doesn’t seal, simply place it right in the refrigerator. 

Freezing it? 

Once your sauce has reached a boil, allow to cool for an hour, stirring periodically. Ladel into freezer safe containers, leaving ½ inch head space. Cover, label, and freeze. Additionally, you can treat with fruit fresh to keep from browning. Add ¾ teaspoon per cup of fruit. 

Looking for more information about canning? I highly recommend checking out the National Center for Home Preservation for information at your fingertips!

Raspberry Peach Sauce

Fresh ripe peaches and frozen raspberries create this delicious and unique raspberry peach sauce for summer flavors all year long!
Prep Time 40 minutes
Cook Time 25 minutes
Course Side Dish
Cuisine Canning, Homesteading, Preserving
Servings 6 quarts

Ingredients
  

  • 1 ½ cups water
  • 20-25 peaches washed well
  • 1-3 cups frozen raspberries optional
  • Fruit fresh if freezing
  • ½-1 cup sugar if desired

Instructions
 

  • Wash your peaches well. Halve, pit, and quarter the peaches. Place in a large kettle with the water.
  • Begin to cook over medium heat, smashing periodically using a potato masher. As the peaches cook down, stir and mash.
  • When the peaches have softened significantly, use an immersion blender or food mill to break down the peaches to a sauce.
  • If you prefer to add raspberries, add 2-3 cups of frozen raspberries.
  • Cook an additional 3-4 minutes and then blend again.
  • Test the fruit at this point for sweetness. Add sugar by the ¼ cup, until desired sweetness is found.
  • Wash and sanitize six quart jars, rings, and lids. Keep warm. Fill the canner with enough water to cover the jars by at least 2 inches of water. Cover and heat on high. Watch the temperature, you want a simmer but not a boil when you place the jars in the water.
  • Bring peach sauce to a boil. Once you have reached a boil ladle into prepared jars, leaving ½ inch head space, maintaining the boil on the kettle as you go.
  • Wipe rims of the jars with a damp cloth, add lids and rings, tightening to fingertip tight.
  • Place in the canner, increasing the heat to high. Once the canner reaches a boil, process pint jars 20 minutes and quart jars 25 minutes (adjusting for altitude).
  • Remove from heat and allow jars to cool in the canner over 5 minutes. Remove from canner, placing on the counter. Listen for the ping of the lids over the next 12 hours.

Notes

Freezing it?
Once your sauce has reached a boil, allow to cool for an hour, stirring periodically. Ladel into freezer safe containers, leaving ½ inch head space. Cover, label, and freeze. Additionally, you can treat with fruit fresh to keep from browning. Add ¾ teaspoon per cup of fruit.
Keyword applesauce, canned peaches, peach sauce, peaches, raspberries, raspberry peach, Waterbath Canning
Tried this recipe?Let us know how it was!

Looking for more delicious fruit recipes?

Check out my canning and preserving page! Or maybe you can find something you like below!

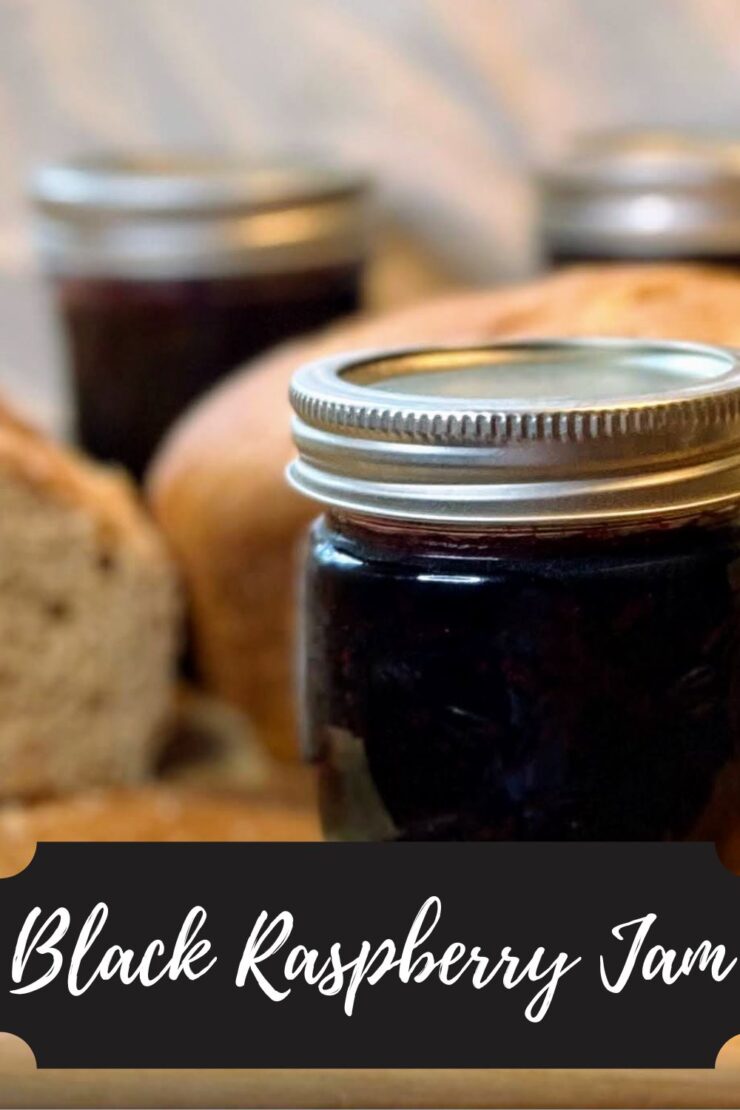
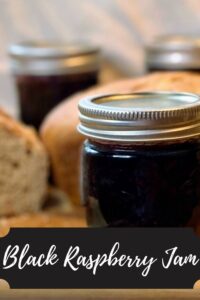
Black Raspberry Jam

It is black raspberry season and with that comes black raspberry jam creating! 

Growing up, I have fond memories of harvesting wild red raspberries while my dad set up deer stands, checked for hunting activity, and the like. My sister and I would keep containers with us and would harvest away, swatting bugs and getting scratched by the branches. It wasn’t until I met the Mr. that I even knew black raspberries were a thing. 

Around our home, the red raspberries are referred to as “mama’s raspberries” and the black are “daddy’s raspberries.” As I started to learn to can early in our marriage, the first thing my husband requested was black raspberry jam. Of course, I had to oblige. 

I do want to share that I did not grow up in a canning household. I learned about ten years ago, as soon as we bought our home and started our first garden. And while I had some support of my mother in law (thank you so much!), I learned SO MUCH from reading. If you are a first generation canner like I was, let me share some of my favorite resources: 

Ball Complete Book of Home Canning: This book gives you a good idea of all the basics from the people who know canning forwards and backwards. I love that I can dig in and get just what I need. 

Not Your Mama’s Canning Book: Modern Canned Goods and What to Make with Them: This book is SO FUN. It has some out of the ordinary recipes. We especially love the tomato soup and seasoned black bean recipes. 

And finally, the National Center for Home Food Preservation has all the information you need for all sorts of food preservation, not just canning. I reference it often! 

But enough about resources, you want to can right? (But seriously, I am going to give you the basics. If you are a newbie (Yay!), head to any of those resources for more detailed information)

Your Ingredients for Black Raspberry Jam

For approximately 4 half-pints, gather: 

  • 5 cups black raspberries
  • 3 cups sugar 

(Yes, that’s it! No, you can’t swap out the sugar for a different sweetener. Canning is finicky like that)

The Prep Work

Fill the canning kettle with enough water that the jars will be covered by at least 2 inches of water. More is better in this case so overestimate. Begin to heat over high heat. Place the canning rack so that it is hooked over the side of the canner and put clean jars on it to keep them warm. Note: You don’t have to keep the jars in the rack, although it is helpful to keep them warm. You want the jars warm to prevent breaking when they are being filled. 

Set the clean rings aside. I like to simmer my lids on low low heat in a small saucepan. Not necessary, but I like to think it helps them seal better. 

If you have not already done so, measure out the sugar and the berries. 

The black raspberry Jam Making

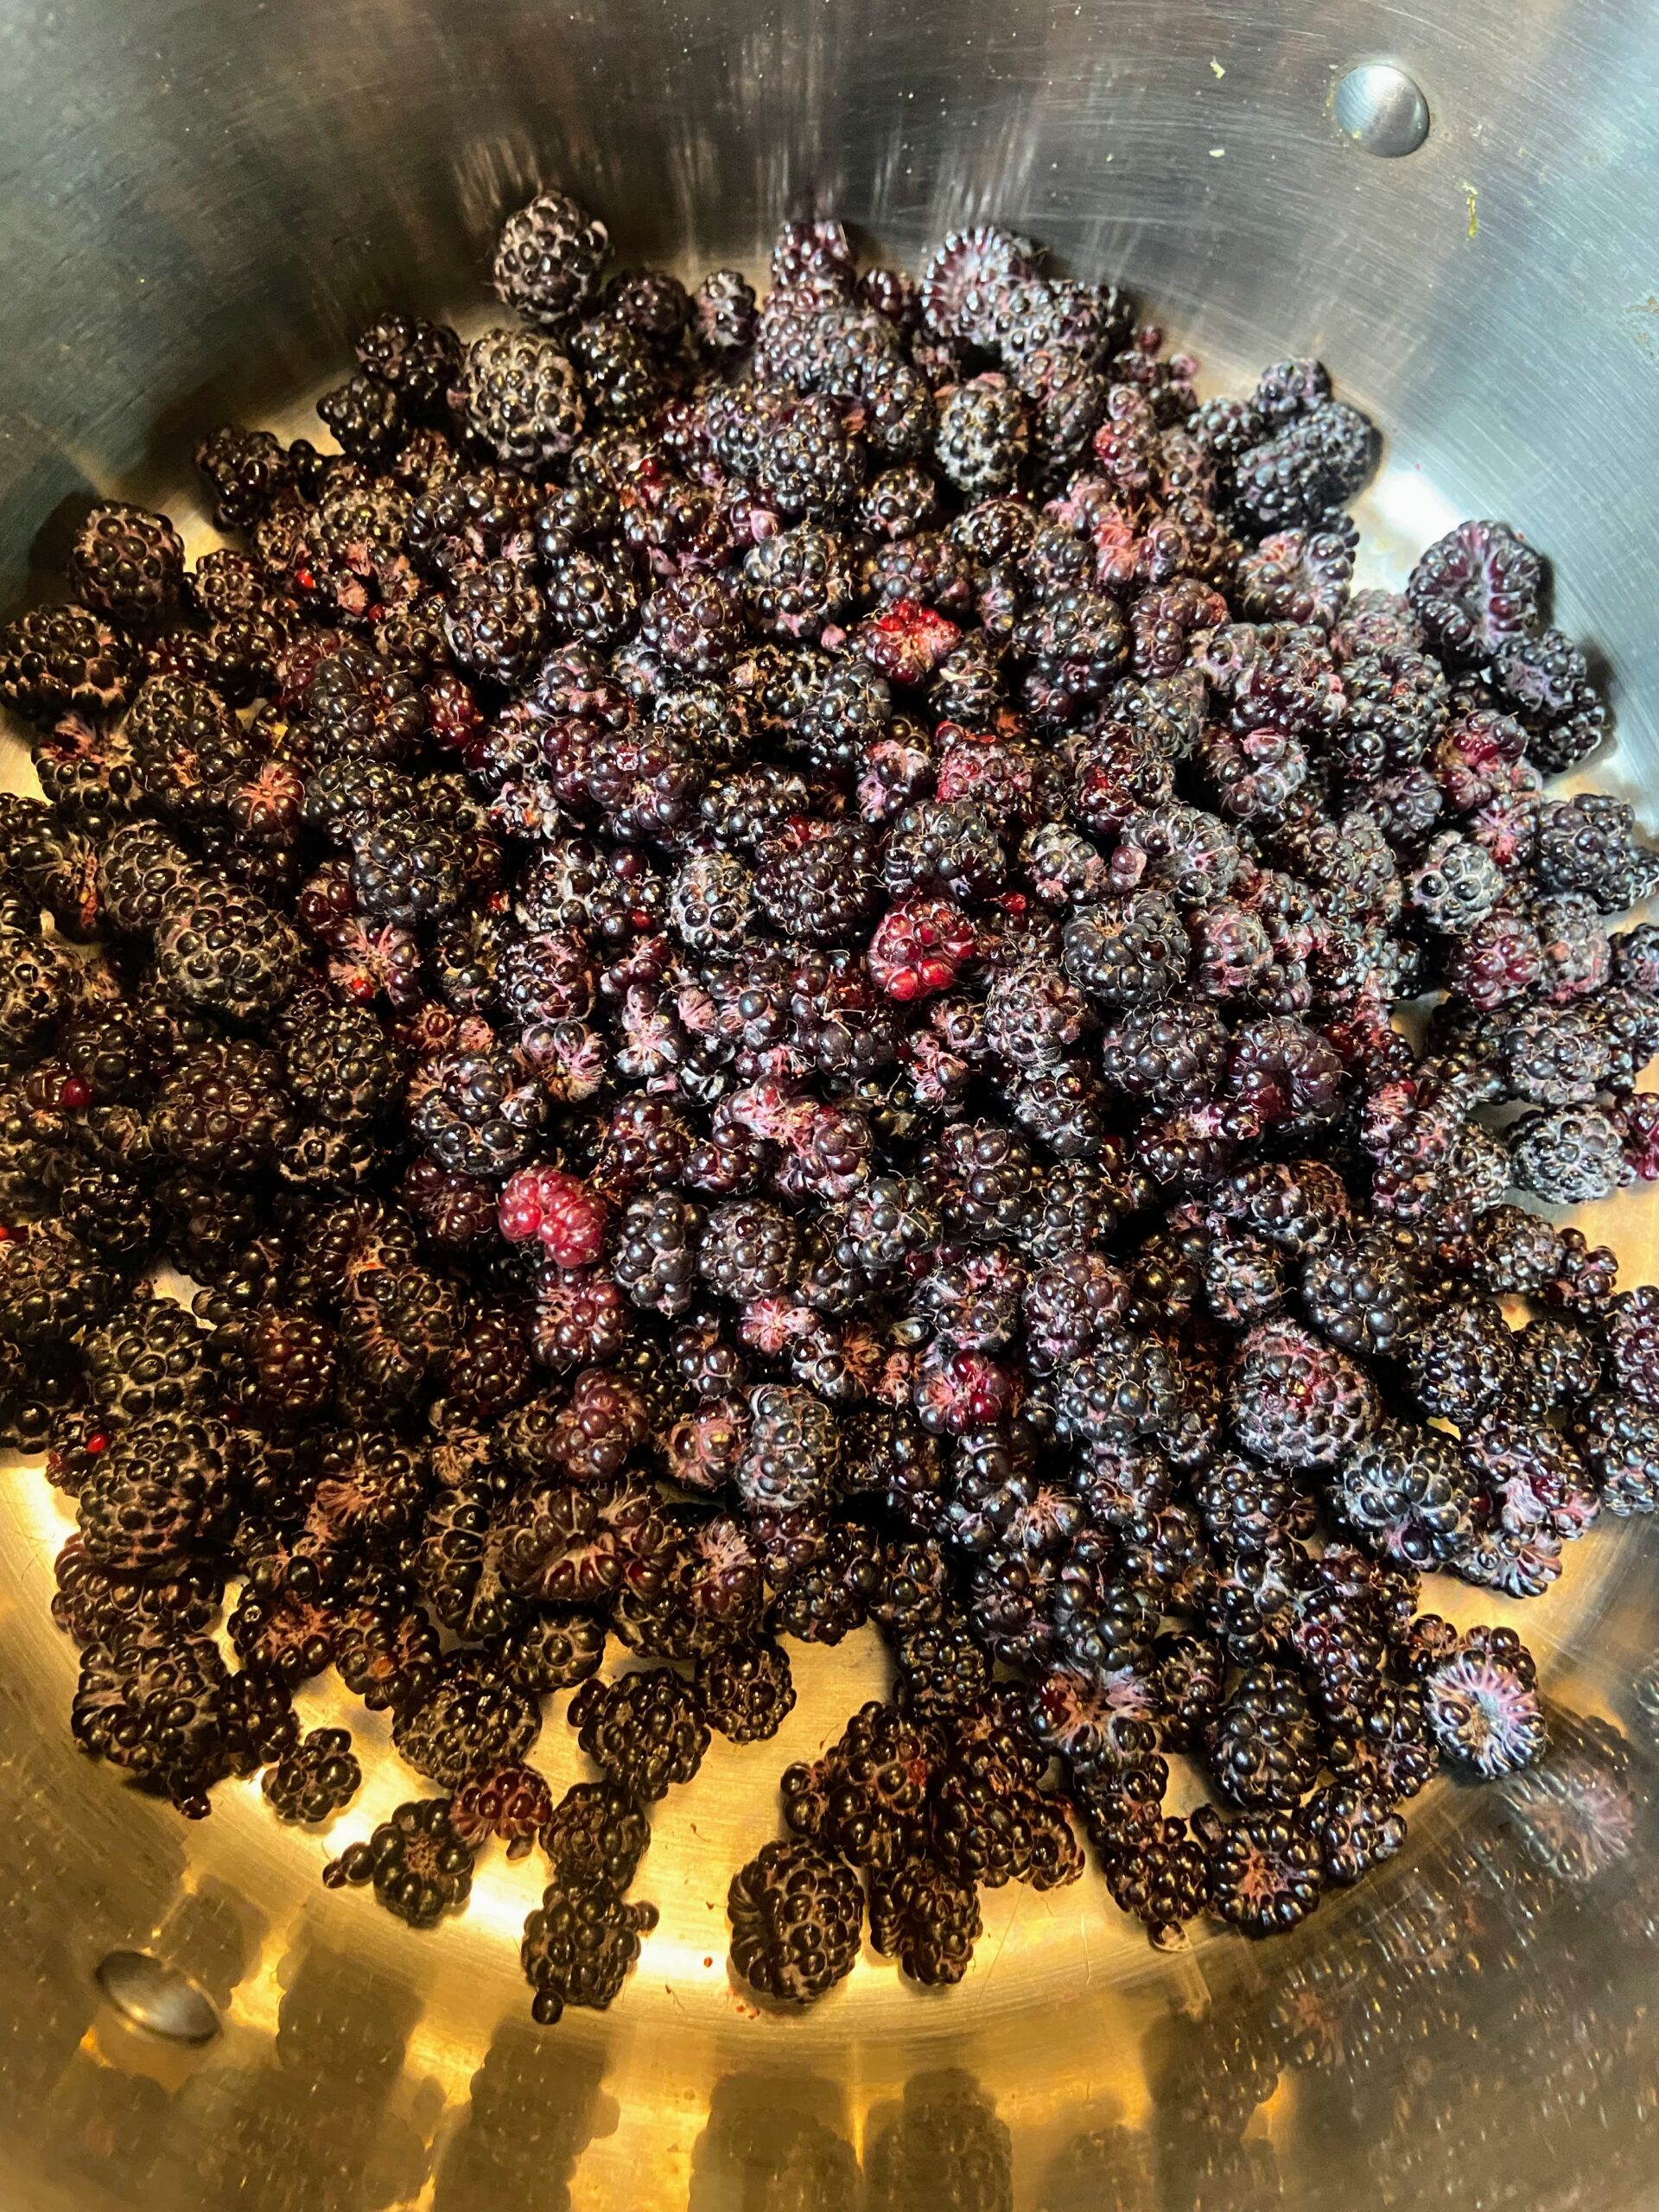
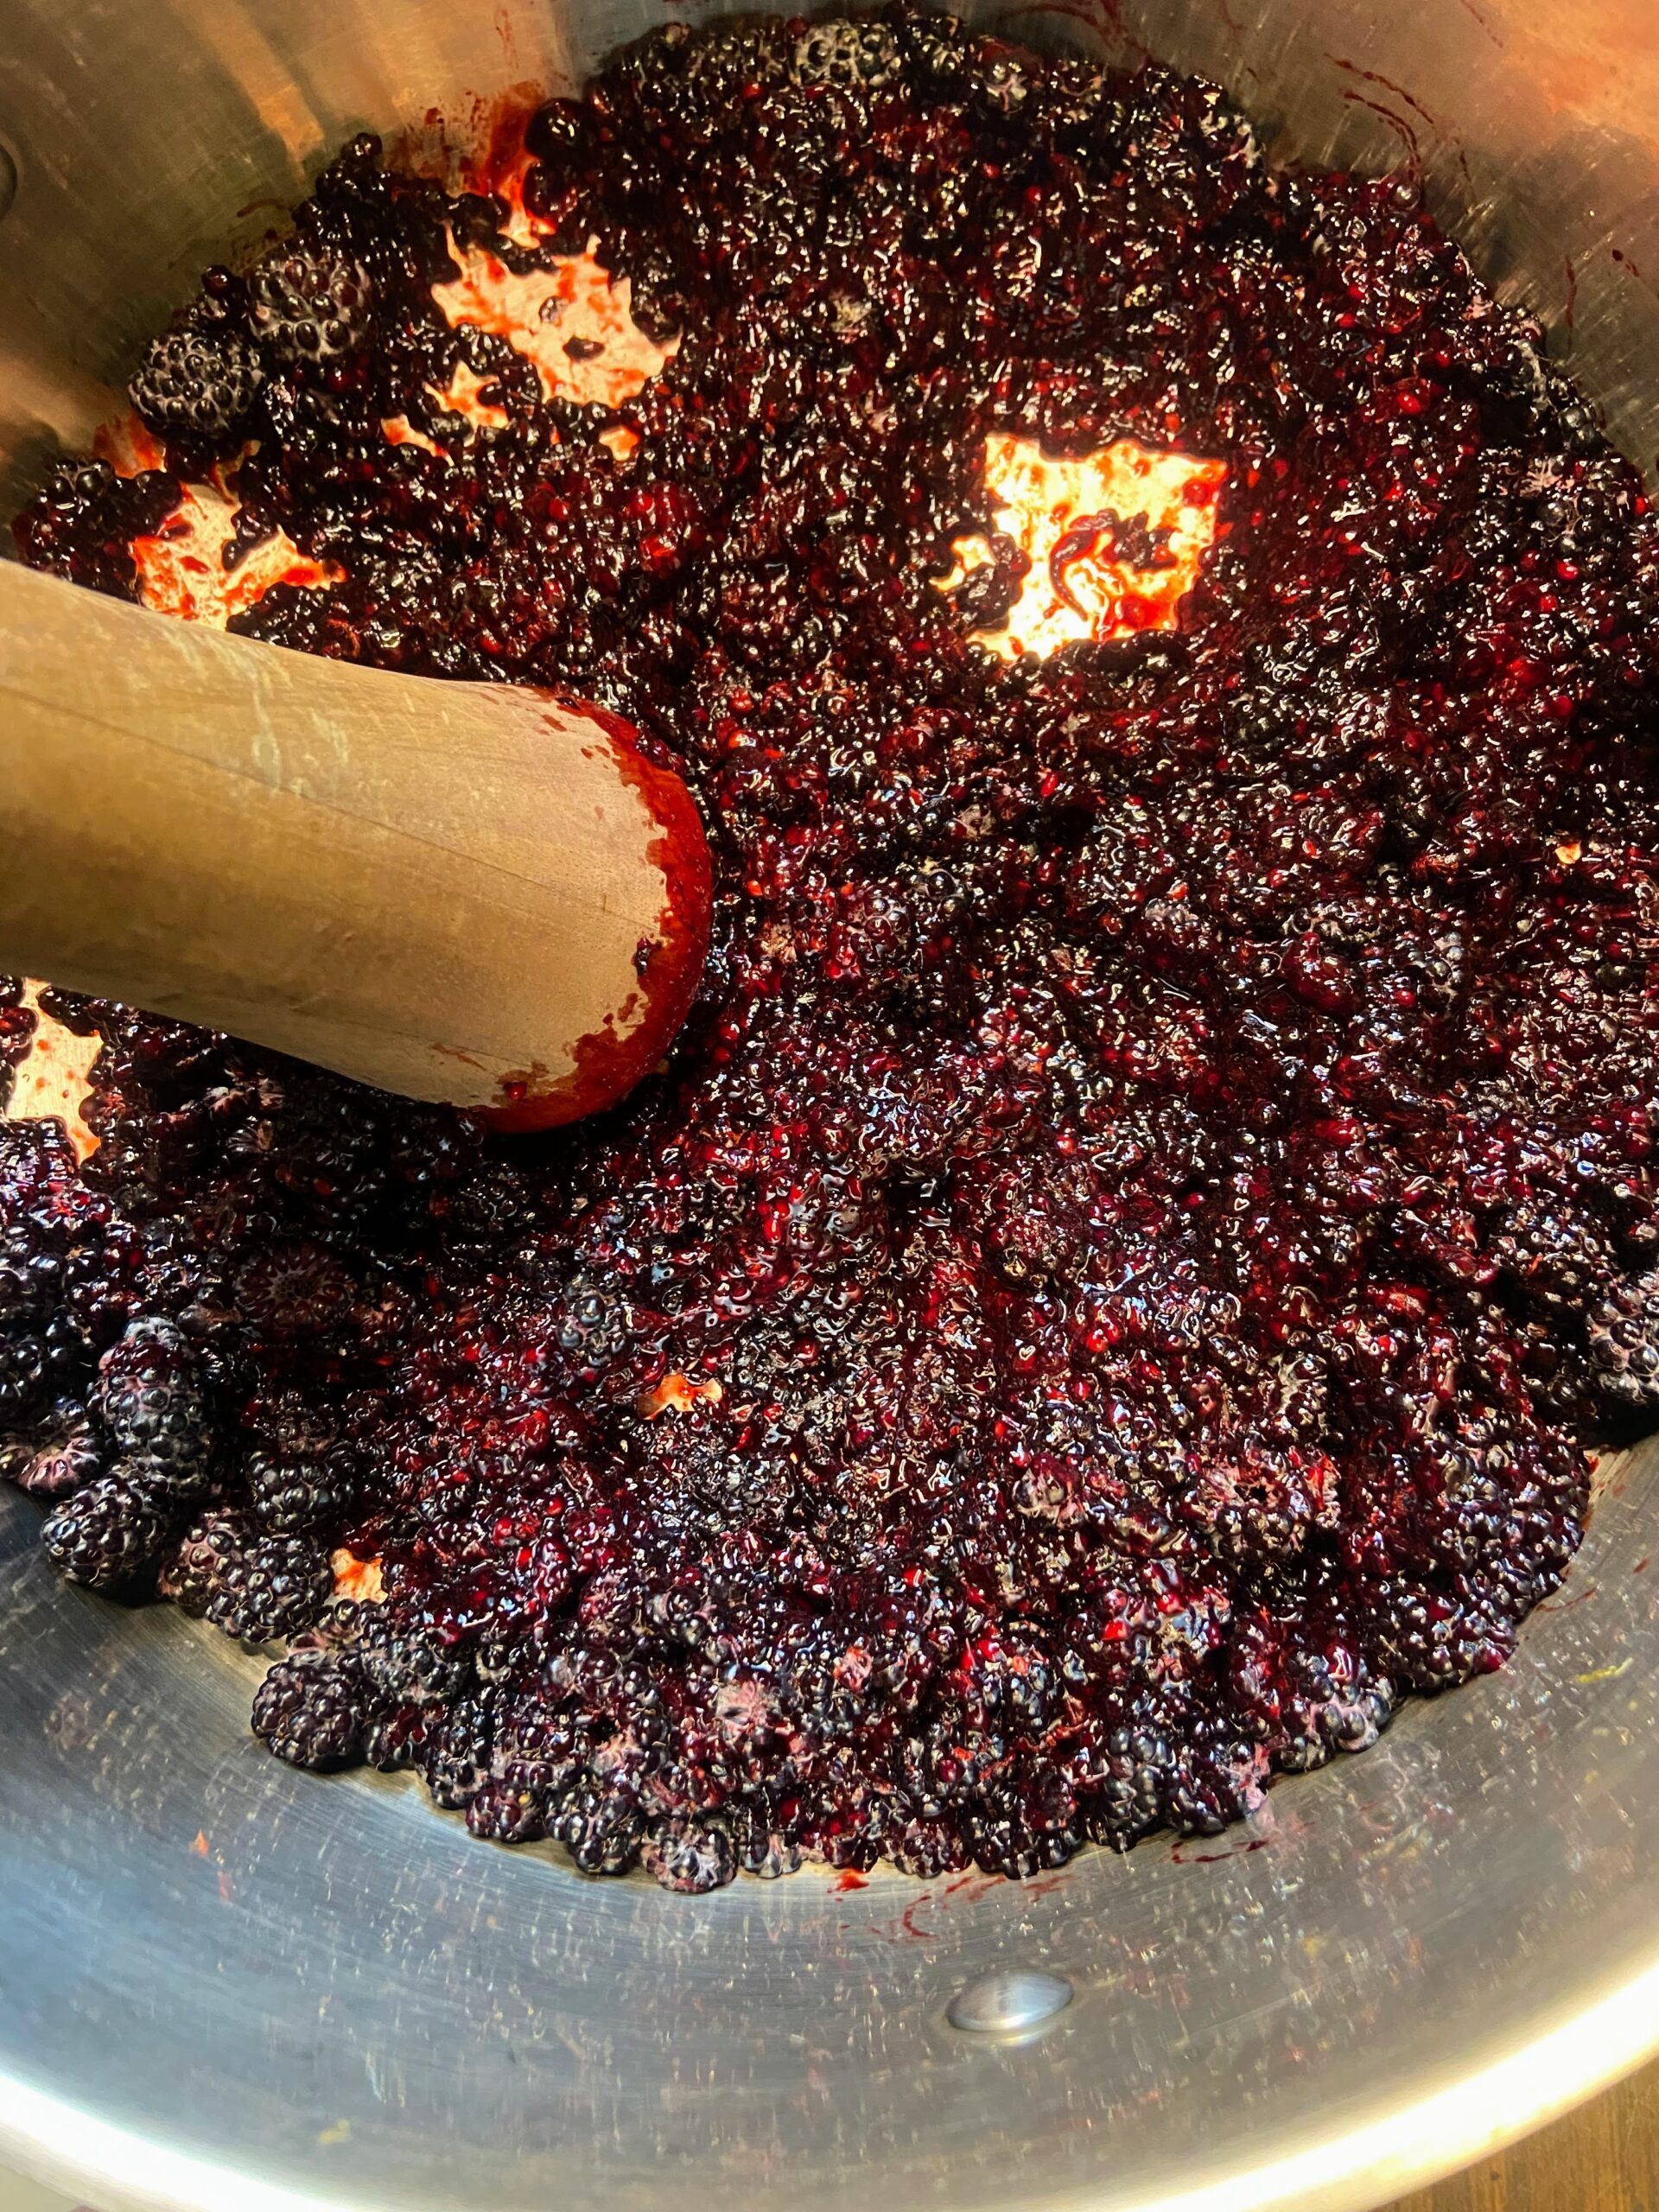
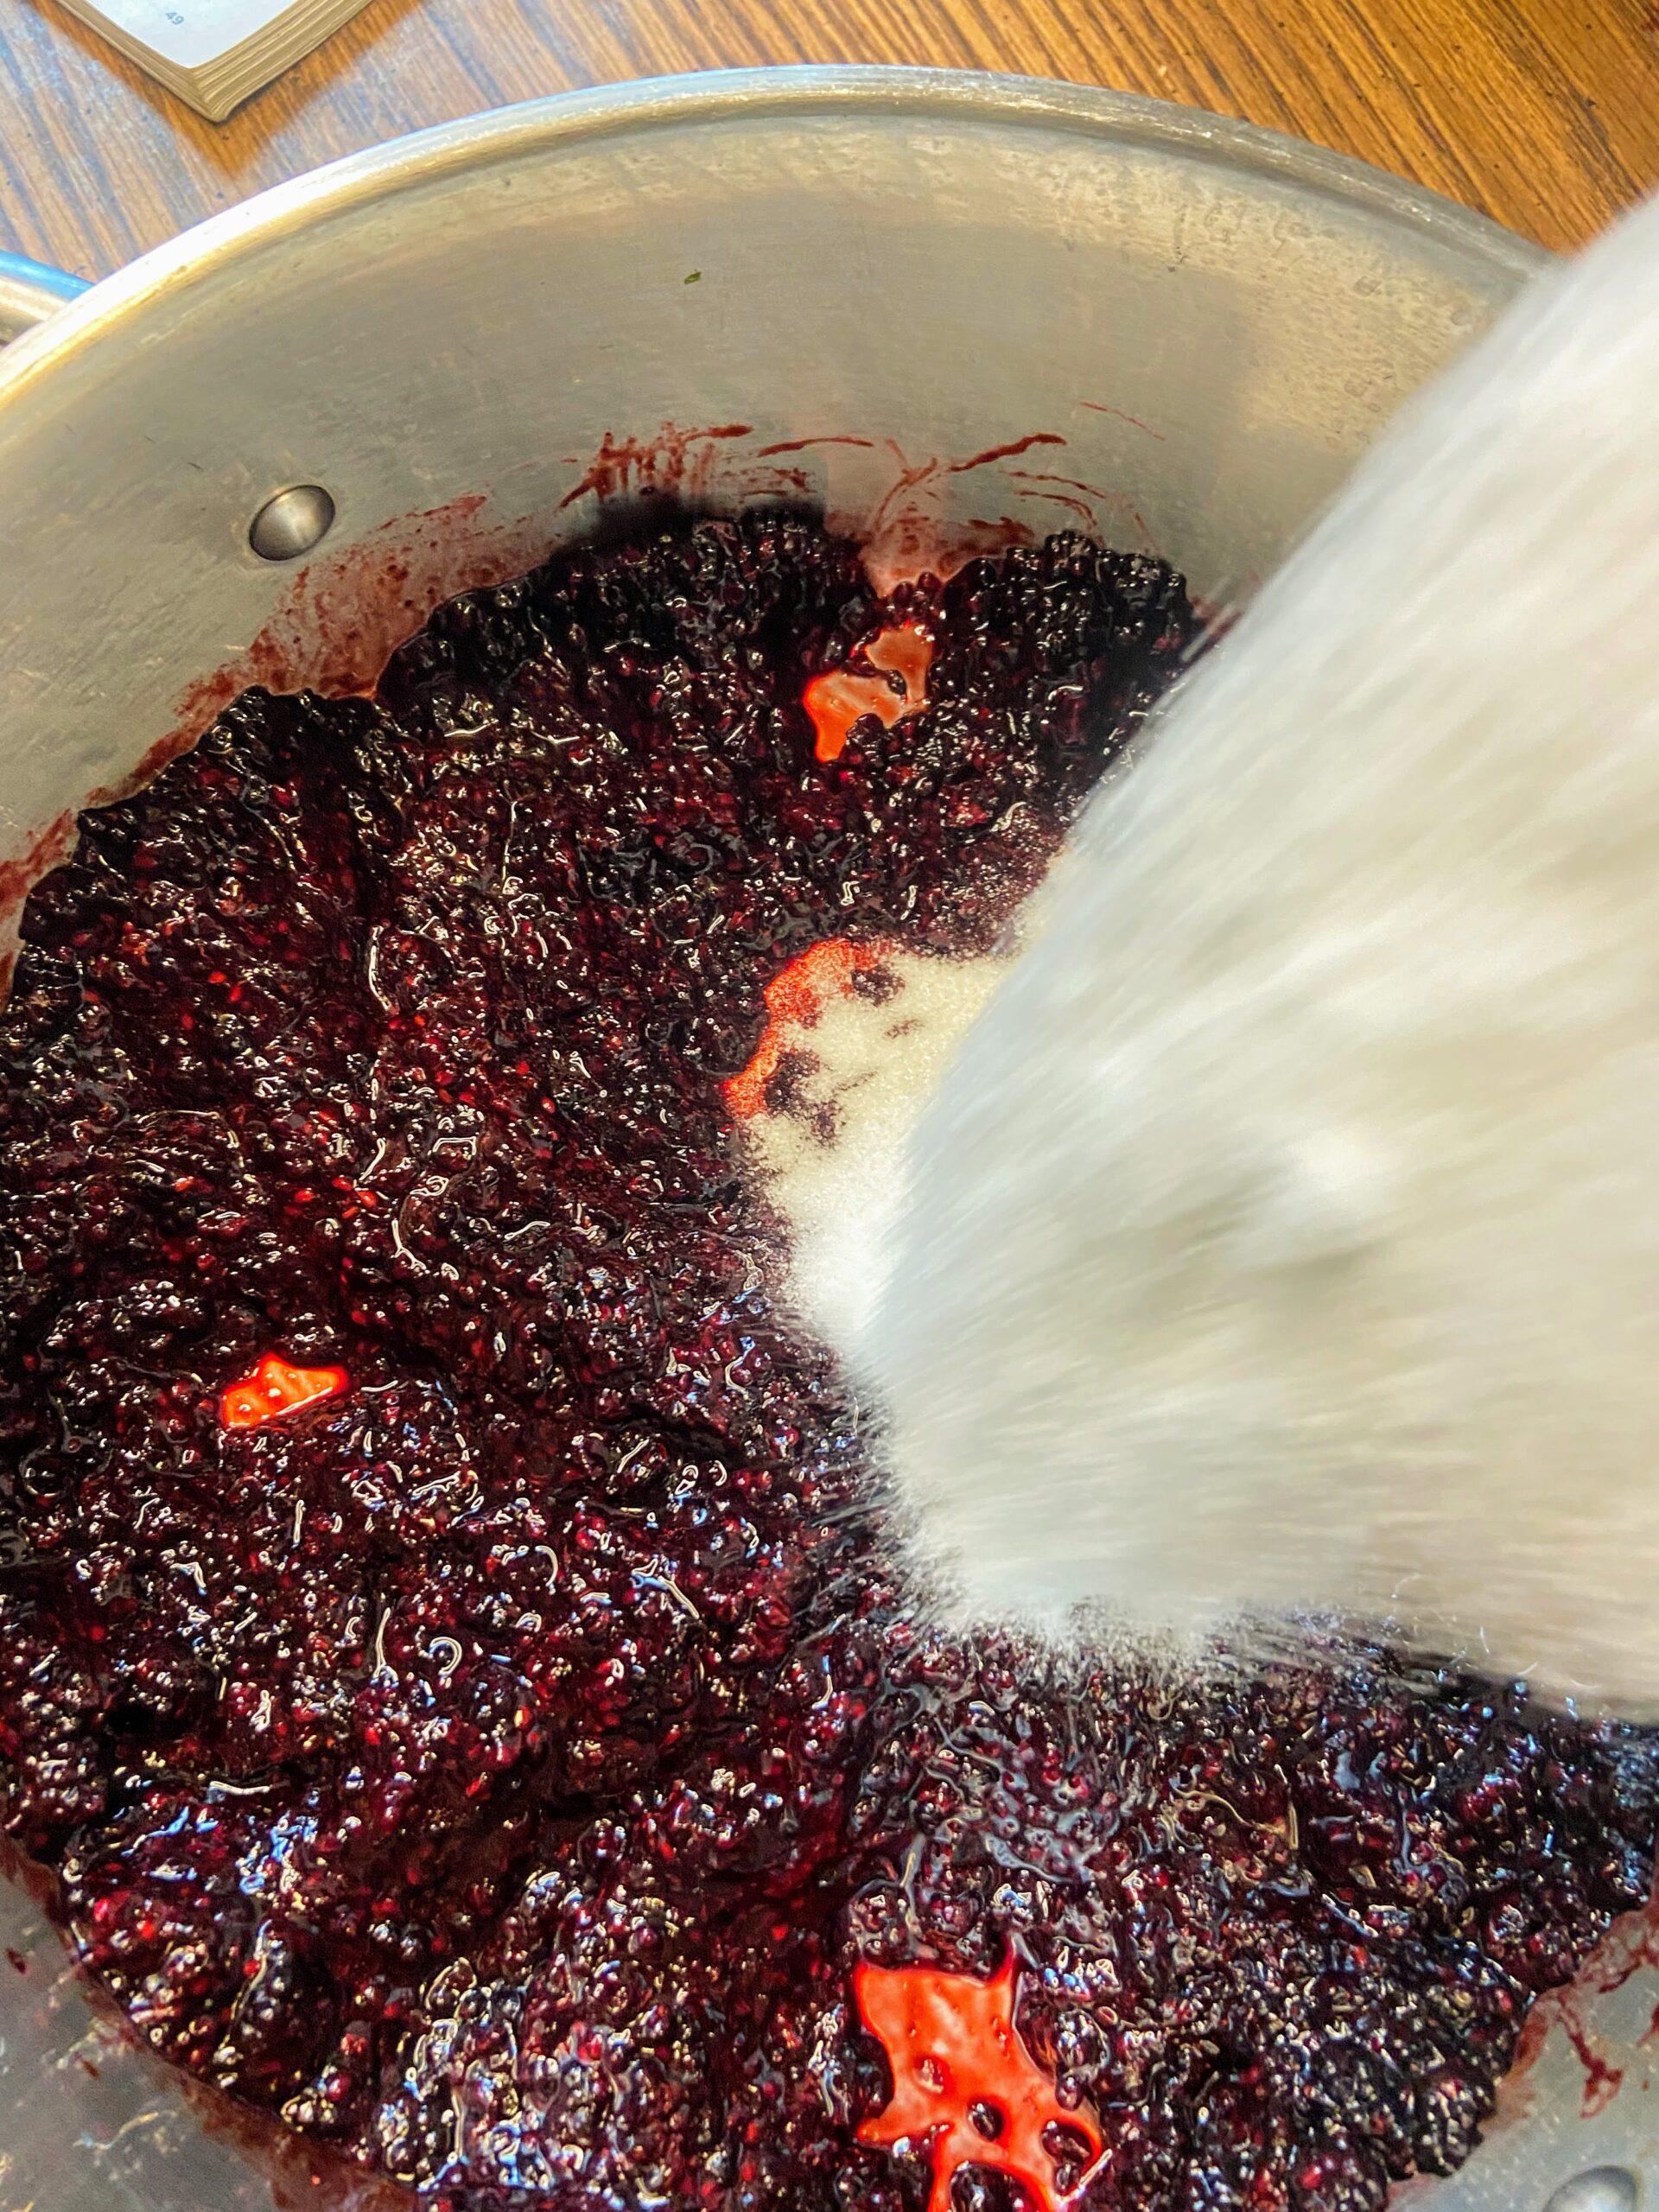
In a large, preferably shallow kettle, smash the black raspberries with a potato masher. Stir in the sugar. Begin to heat over medium-high heat, stirring often. I like to smash the berries more as they are cooking down. 

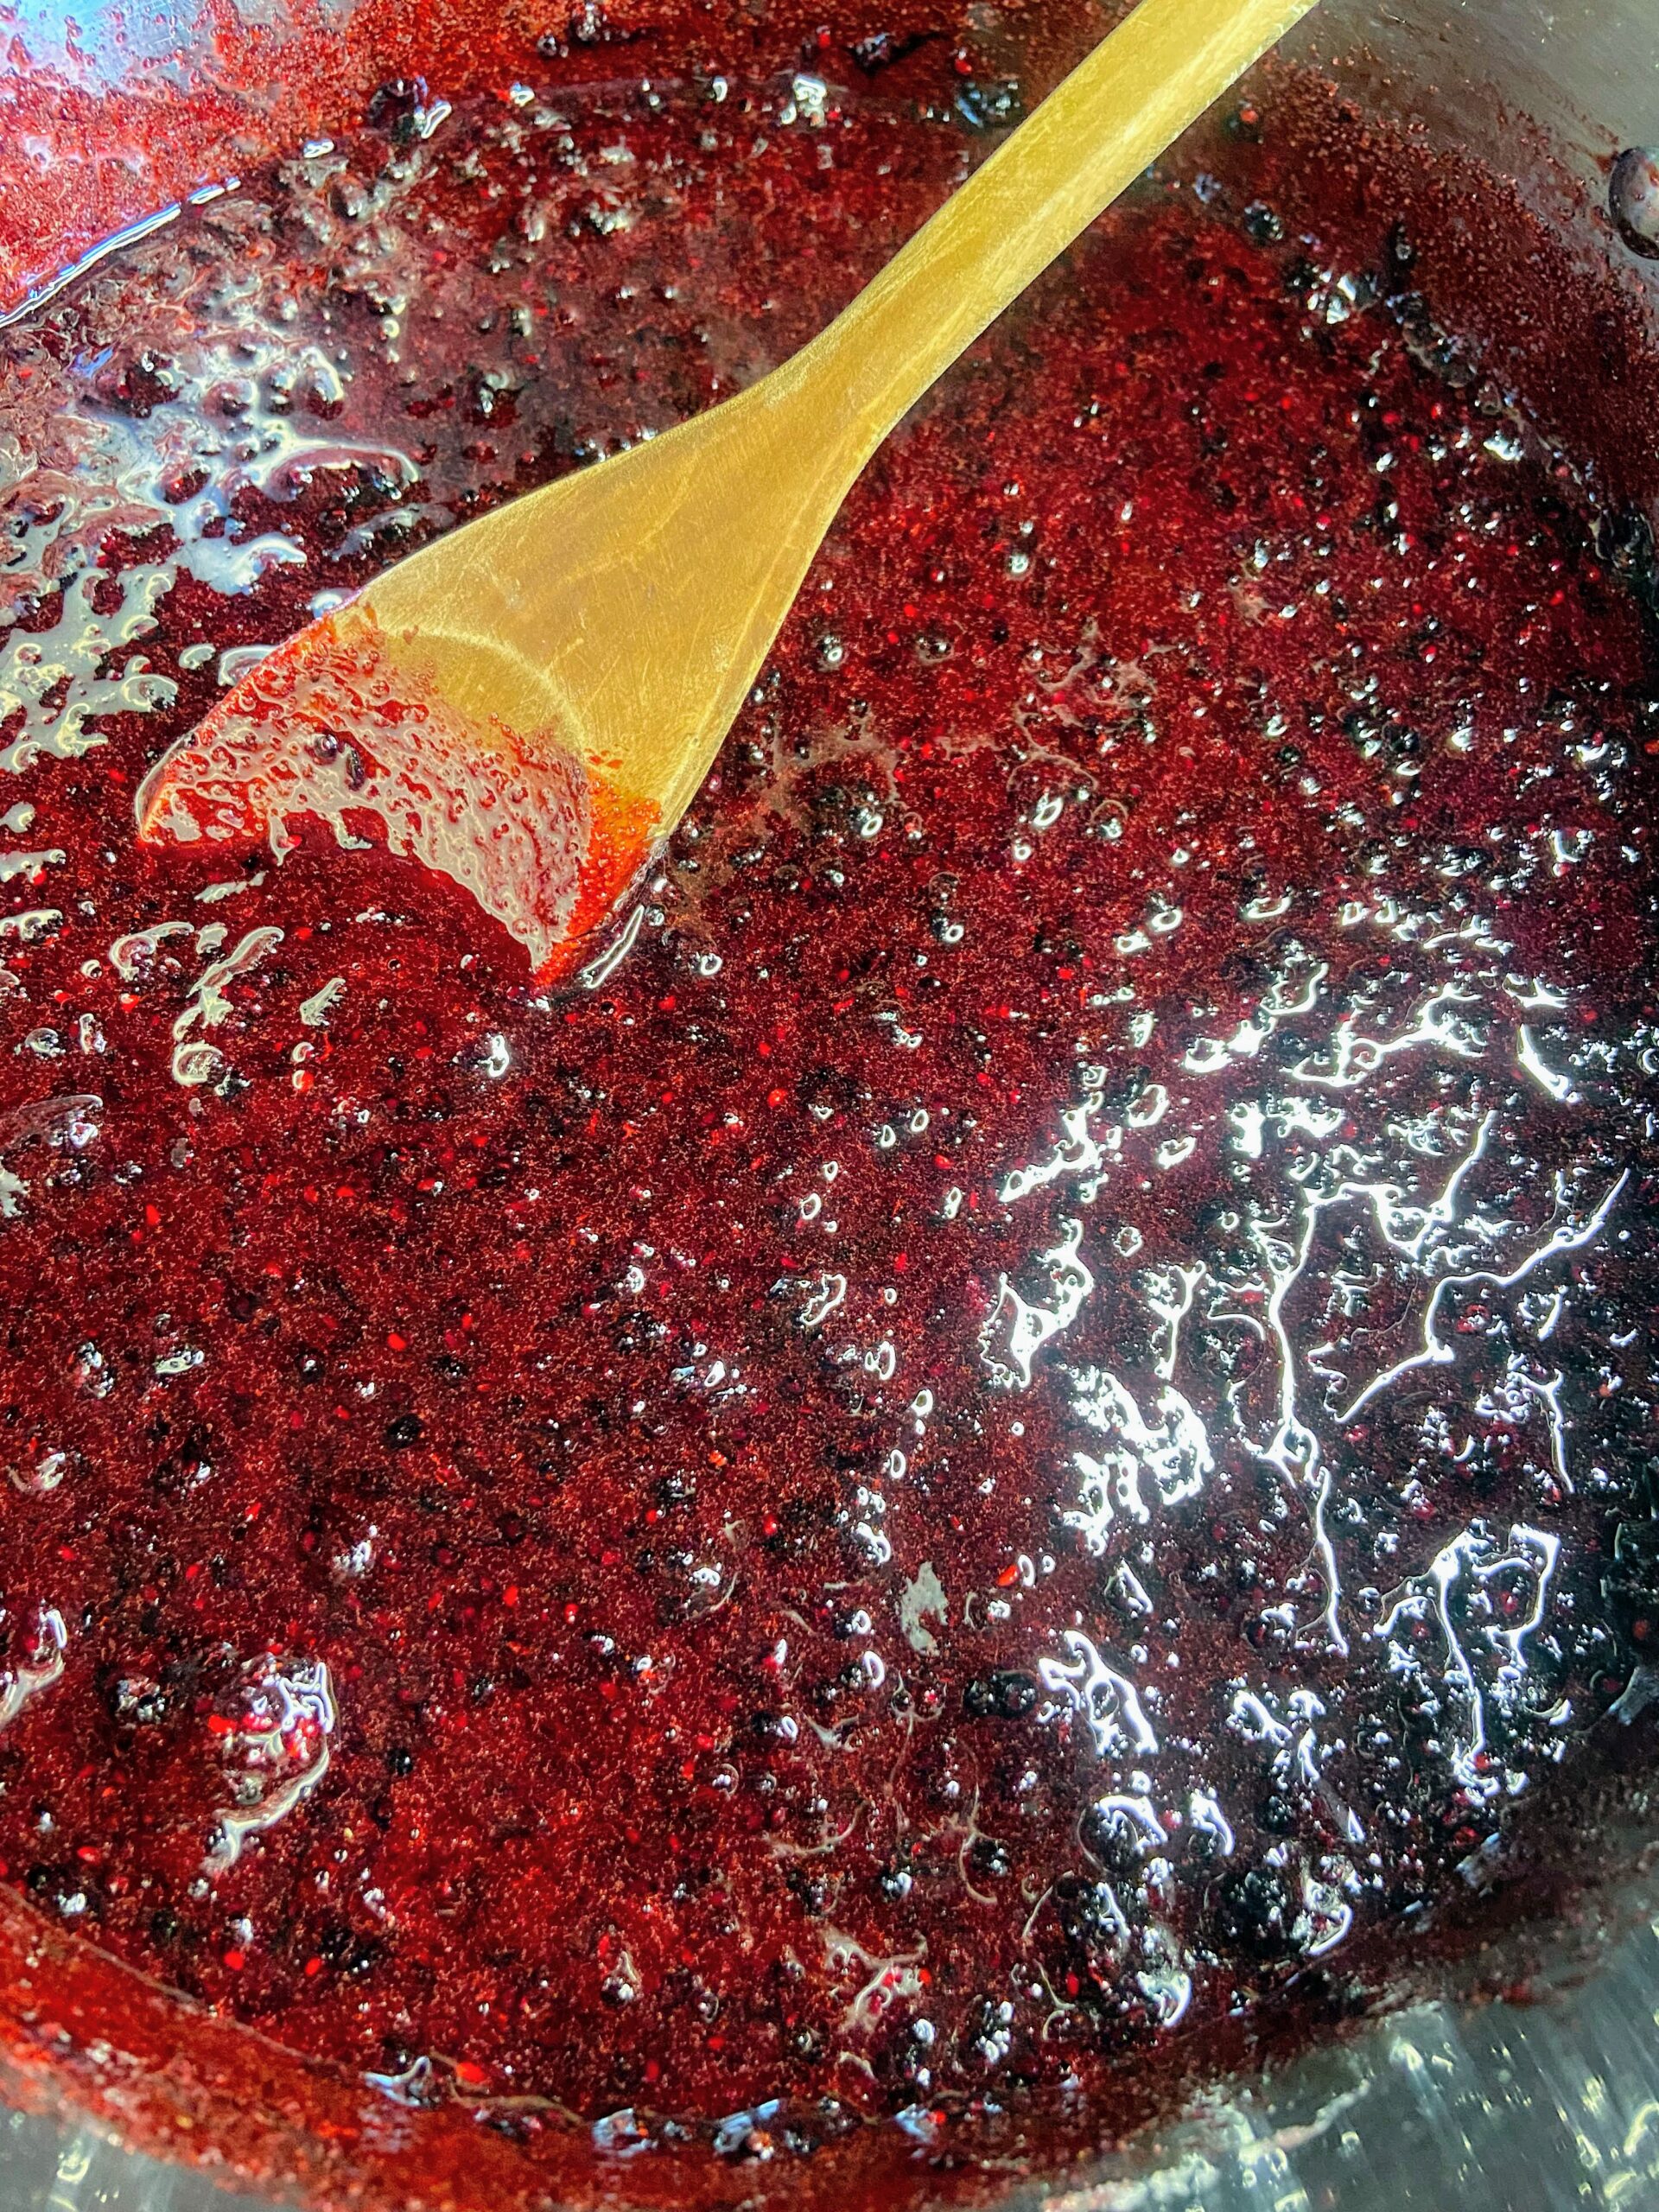
Your end goal is to reach the gelling point. There are lots of tests for this, but I prefer the temperature test. If you are at sea level, the gelling point is at 220 degrees. For every 1000 feet of elevation, you subtract 2 degrees. For me, the gelling point is 218 degrees. Don’t have a decent food thermometer? Check out the National Center for Home Preservation website for other ways of testing for the gelling point. 

It takes longer to reach the gelling point than I think it should. It also goes from needing 3 degrees to reaching the gelling point fast. You can get complacent while you are waiting and suddenly hit the temperature, so I am trying to warn you 🙂 

Once the jam has reached the gelling point, remove from heat. Ladle into prepared jars, leaving ½ inch head space. Wipe rims of the jars with a damp, clean cloth, add lids and rings, tightening to fingertip tight. Place in the canner, increasing the heat to high. Once the canner reaches a boil, process for 15 minutes. Remove from heat and allow jars to cool in the canner over 5 minutes. Remove from canner, placing on the counter. Listen for the ping of the lids over the next 12 hours. Sealed jars are self stable. If any jar doesn’t seal, simply place it right in the refrigerator. 

Note: You can skip the processing step all together if you feel more comfortable. If you do so, the black raspberry jam will need to be stored in the refrigerator. The process of water bath canning creates a self-stable jam. That is, a jam that can be stored on the shelf. 

Black Raspberry Jam

Two little ingredients (sugar and black raspberries) combine to make this wonderful taste of summer treat!
Prep Time 10 minutes
Cook Time 1 hour
Course Breakfast
Cuisine Canning
Servings 4 1/2 pint jars

Ingredients
  

  • 5 cup black raspberries
  • 3 cups sugar

Instructions
 

  • If you have not done so, measure out raspberries and sugar.
  • Wash and sanitize 4 1/2 pint jars, rings, and lids. Keep warm. Fill the canner with enough water to cover the jars by at least 2 inches of water. Cover and heat on high. Watch the temperature, you want a simmer but not a boil when you place the jars in the water.
  • In a large, shallow kettle, smash raspberries with a potato masher. Stir in sugar. Begin to heat over medium-high heat, stirring often. Smash more as they are cooking down.
  • Heat to 8 degrees above the boiling point of water. If you are at sea level, the gelling point is at 220 degrees. For every 1000 feet of elevation, you subtract 2 degrees.
  • Once the jam has reached the gelling point, remove from heat. Ladle into prepared jars, leaving ½ inch head space. Wipe rims of the jars with a damp cloth, add lids and rings, tightening to fingertip tight. Place in the canner, increasing the heat to high. Once the canner reaches a boil, process for 10 minutes. Remove from heat and allow jars to cool in the canner over 5 minutes. Remove from canner and allow to rest for 12 hours before storing.

Notes

You can skip the processing step all together if you feel more comfortable. If you do so, the jam will need to be stored in the refrigerator. The process of water bath canning creates a self-stable jam. That is, a jam that can be stored on the shelf.
Keyword black raspberry, Jam, Jam Recipes, Jellies and Jams, raspberries
Tried this recipe?Let us know how it was!

Looking for other canning inspiration?

Click here to head to my canning page or click any of the recipes below!
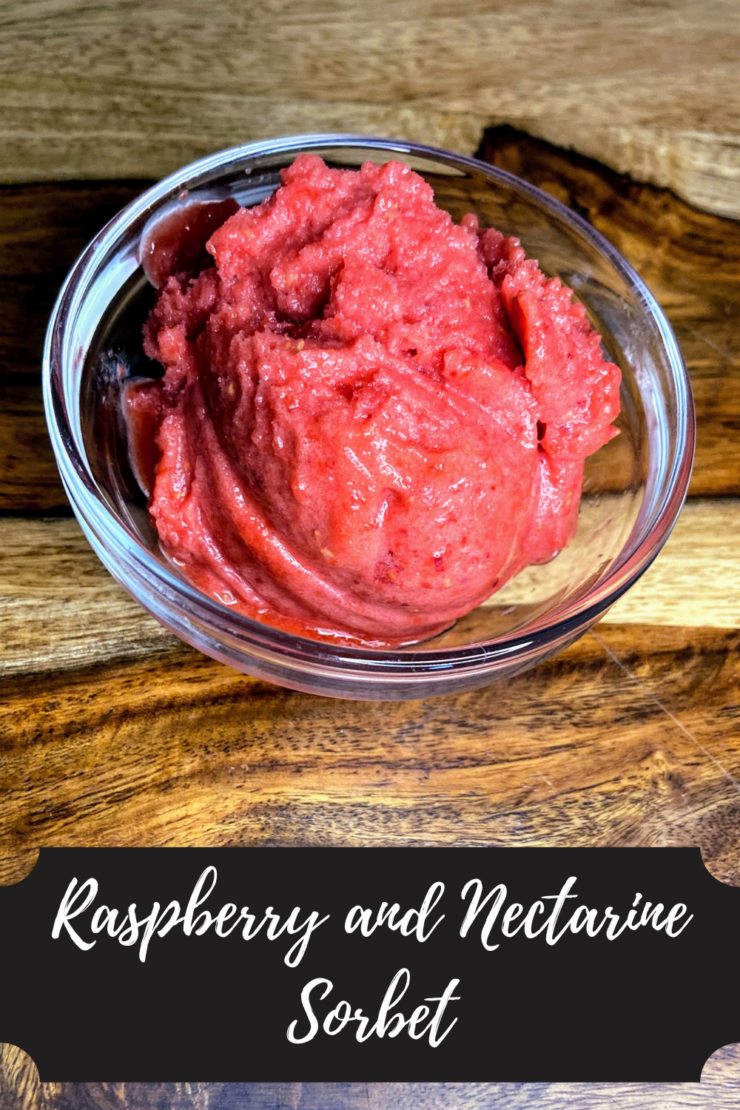
Raspberry and Nectarine Sorbet

Oh my goodness friends. I think you may be to the point of, “Enough with the raspberries!” But this year, they just keep coming and I’m beyond grateful for the harvest and all I have created using them. If you have missed it, you can check out regular raspberry jam, raspberry cherry jam, and raspberry jalapeño jam by clicking their links. Now, it’s raspberry and nectarine sorbet. Let me tell you, it’s a heavenly summertime treat. 

As a long distance runner (Training for my 5th marathon this summer!), I need a snack that will provide a quick refuel but will also cool me down when I get done with a long run. These little guys have been the answer to that need. I have been known to make a training partner’s stomachs growl as I describe raspberry and nectarine sorbet as we near mile 20. Sorry, not sorry, right? 

Beyond myself, my kids love sorbet and will default to that even at the best ice cream shops. But I also love being able to control the amount of sugar they consume, and while this does still have some added sugar, it is far less than I have seen in a number of recipes. You can cut it even further if you care to, which I do from time to time.

The color alone brings me immense joy. It is simply summer in a jar. Even in the bitter cold of Wisconsin winters, I crave little jars of sorbet to bring back that “sunburned lips and summer” feeling. I hope you enjoy these jars of sunshine as much as my family does! 

PS…Don’t have raspberries or nectarines? I have such good news! This recipe is totally moldable to your favorite flavor combination. Ultimately, you will need 4 cups of chopped soft fruit. Think berries, peaches, nectarines, etc. 

Your Ingredients for Raspberry Nectarine Sorbet

  • 2 cups raspberries
  • 2 cups diced nectarines, about 2 nectarines
  • ½ cup orange juice
  • 2 tablespoons lemon juice 
  • ¼ – ½ cup sugar 

Your steps to Sorbet

Combine fruit. Use a blender or immersion blender to break fruit down. I use an immersion blender and blend right in the kettle I will be heating them in. Add remaining ingredients. Use the immersion blender to mix everything together once more. Once combined, heat over medium heat until the mixture is beginning to simmer, stirring often. Pour into a 9×13 pan, cover, and place in the freezer and allow to freeze solid. I generally wait overnight.

Once fully frozen, remove and allow to sit at room temperature for 5 minutes. This will make it easier to remove the sorbet. Working in small batches, puree frozen sorbet. There are lots of options for this. You can use a blender, a food processor, or an immersion blender. I dig the immersion blender because clean up is so easy. Scoop the puree into freezer safe containers, leaving ½ inch headspace at the top. I like to use 4 ounce jelly jars for ½ cup servings ready to go! Be sure to label and return to the freezer until you’re ready to enjoy them! 

A few notes

When I initially found this recipe, I wanted to cut the second blending of the sorbet. It is critical to complete if you want fluffy sorbet that you remember from childhood. It’s worth the extra step. Don’t skip it! 

I did love this with freshly picked raspberries so feel free to mix it up in terms of fruit. Ultimately, you need 4 cups of chopped/crushed fruit so let your taste buds do the work here. 

Looking for an adult version? I found that adding ½ cup of lime twisted gin was a delight to the raspberry sorbet! Be mindful of how much alcohol you add as it will affect the ability of the sorbet to freeze. 

Have a sweeter tooth? The recipe originally calls for 2 cups of sugar. Feel free to add more to suit your own tastes. I think the fruit flavor is great the way it is and doesn’t need the extra sugar. 

Hoping to use some of the tools I love for creating these? Here’s the link for the 4 ounce jelly jars I used as well as an immersion blender. Seriously, the immersion blender is an underrated tool in the kitchen and it hardly takes up any storage space! If you don’t have one yet, I highly recommend investing. You’ll thank me! 

Raspberry and Nectarine Sorbet

A "Summer in a jar" treat no matter the time of year
Prep Time 30 minutes
Freeze Time 4 hours
Course Dessert
Cuisine Canning
Servings 6 1/2 cup servings

Ingredients
  

  • 2 cups raspberries
  • 2 cups nectarines diced
  • ½ cup orange juice
  • 2 tablespoons lemon juice
  • ¼-½ cup sugar to taste

Instructions
 

  • Combine fruit.
  • Use a blender or immersion blender to break fruit down into a puree.
  • Add remaining ingredients. Blend once more to fully break down the fruit and incorporate added ingredients.
  • Once combined, heat over medium heat until the mixture is beginning to simmer, stirring often.
  • Pour into a 9×13 pan, cover, and place in the freezer and allow to freeze solid.
  • Once fully frozen, remove and allow to sit at room temperature for 5-10 minutes to make it easier to remove from pan. Working in small batches, puree frozen sorbet using food processor, blender or immersion blender.
  • Scoop the puree into freezer safe containers, leaving ½ inch headspace at the top. Label and return to freezer if not enjoying immediately.

Notes

This recipe works for any soft fruit so feel free to combine strawberries, blueberries, peaches, the options are endless! 
You may be tempted to skip the second blend step. Don’t! It’s critical for the sorbet to be fluffy, just the way you remember it. 
Keyword nectarines, Raspberry, sorbet, sweets
Tried this recipe?Let us know how it was!

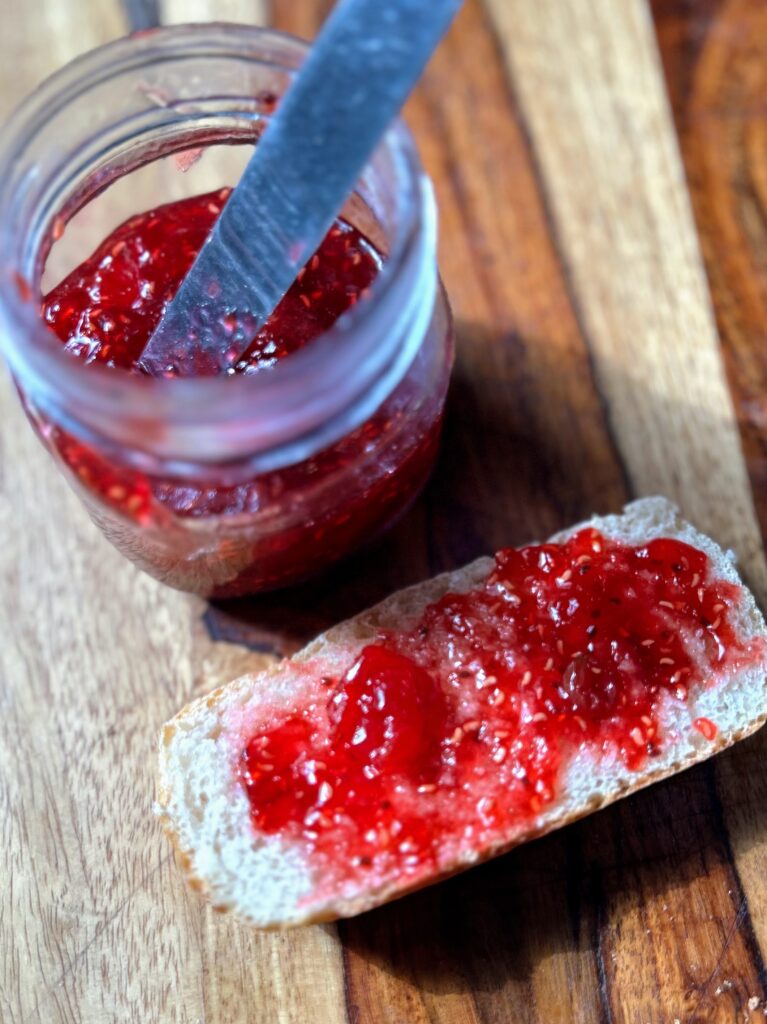
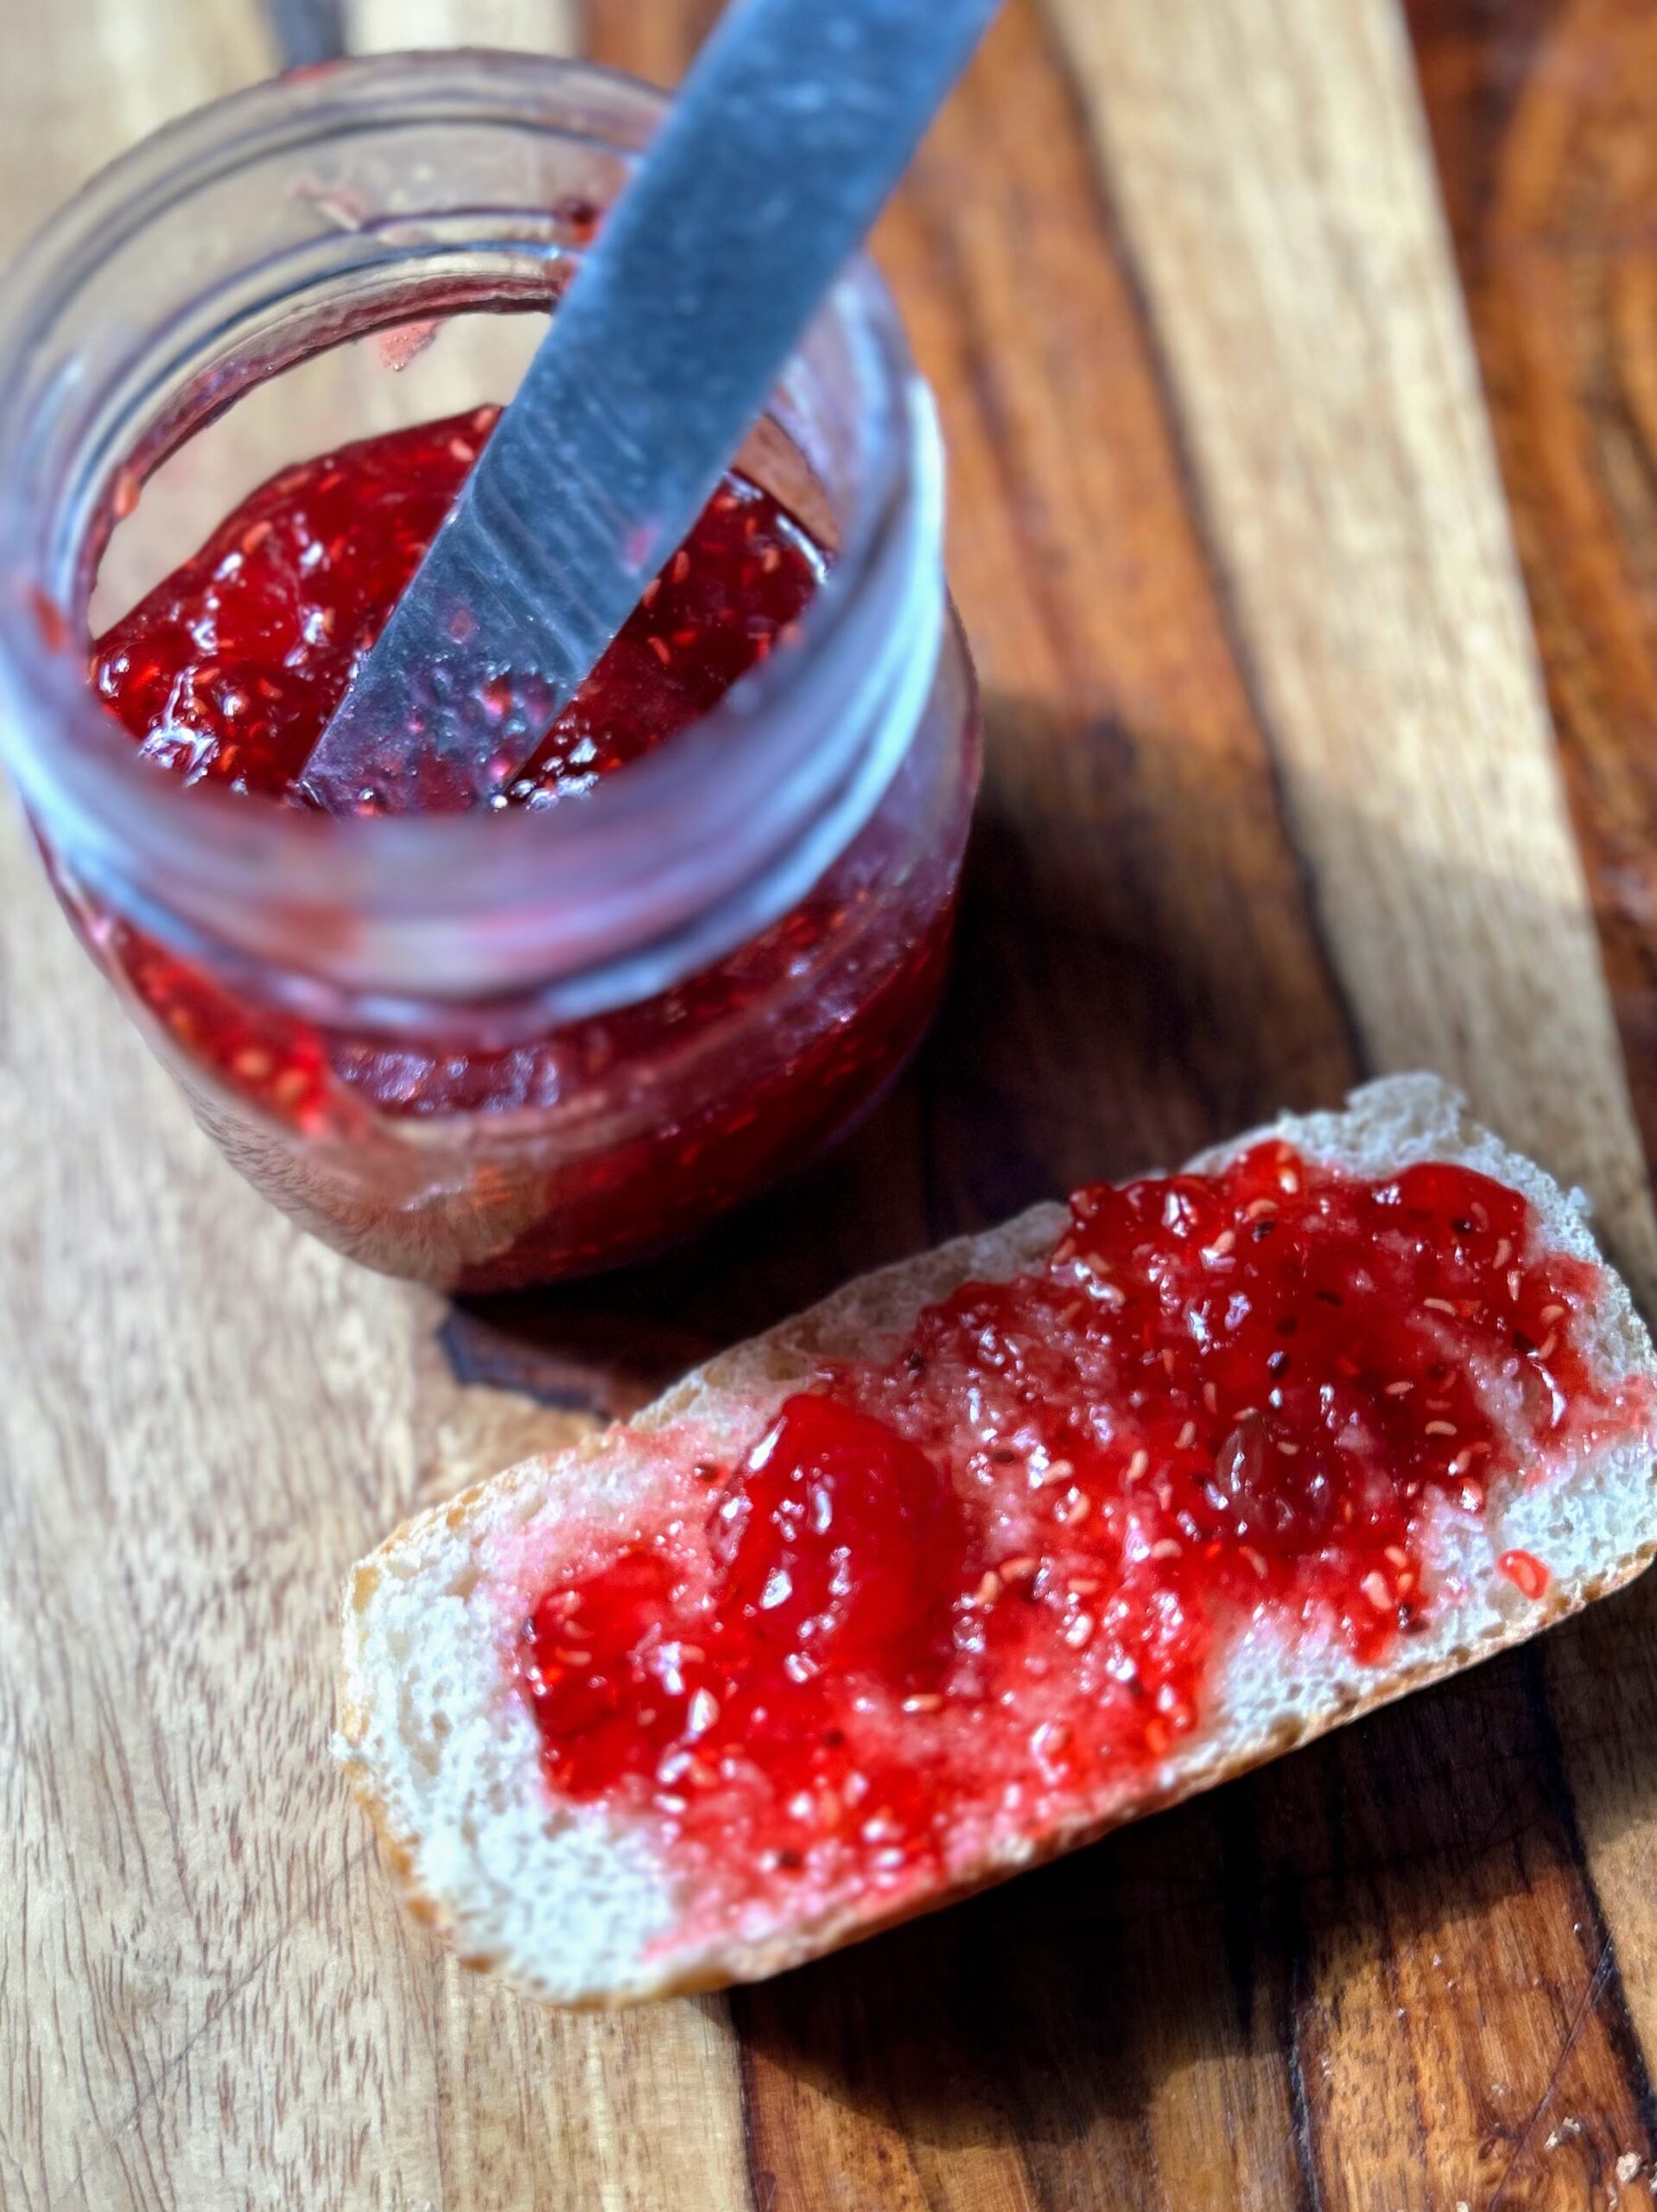
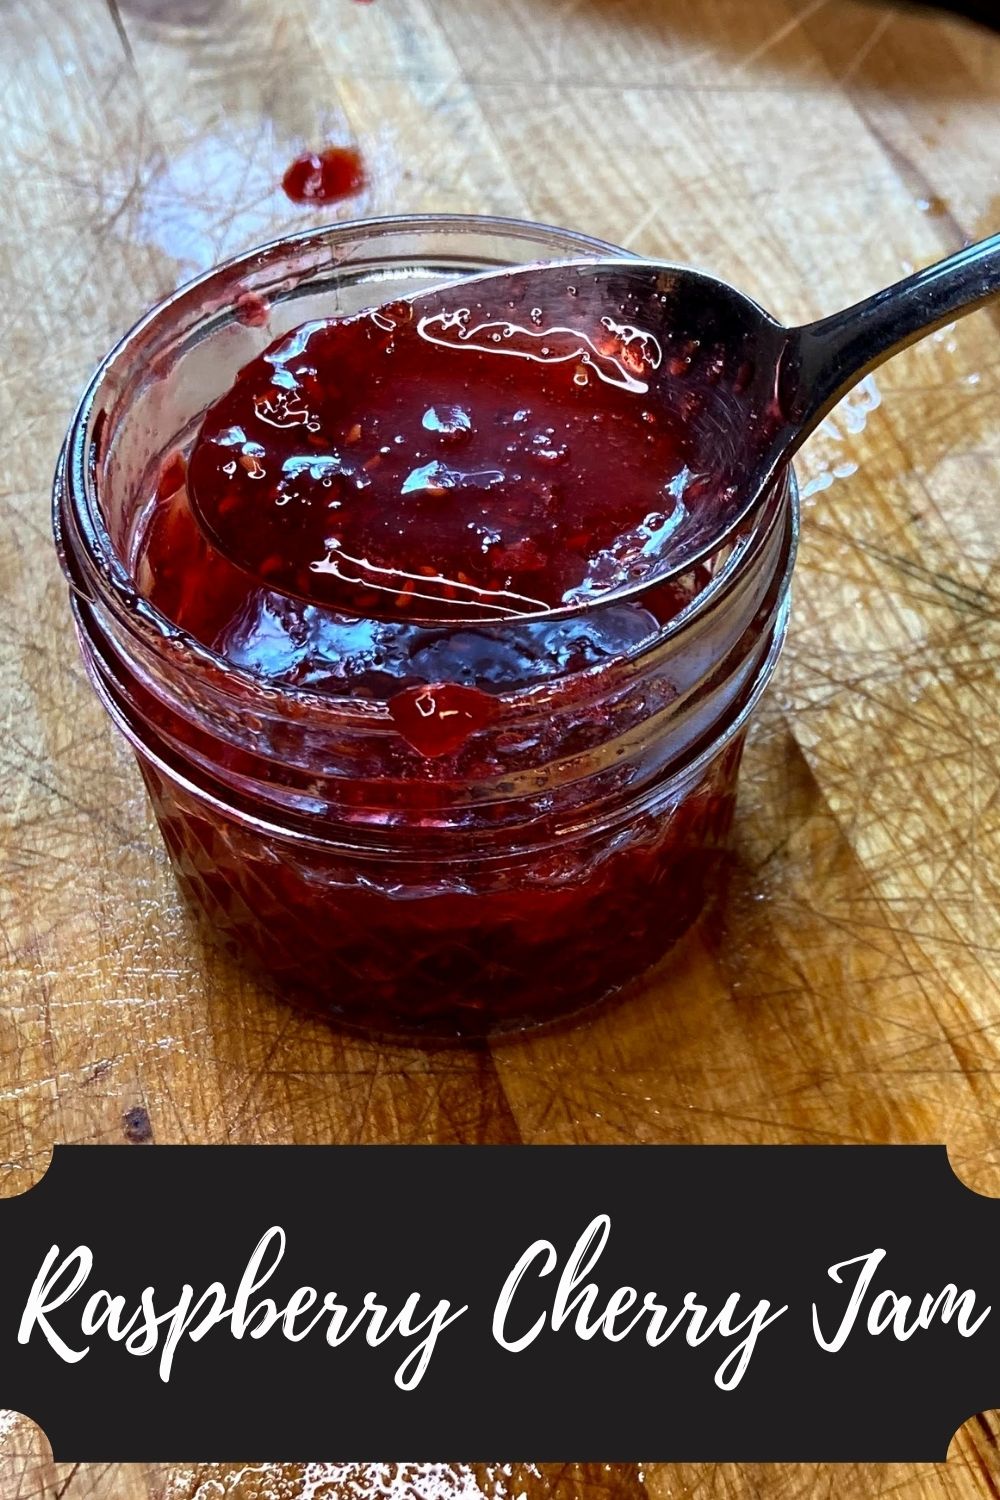
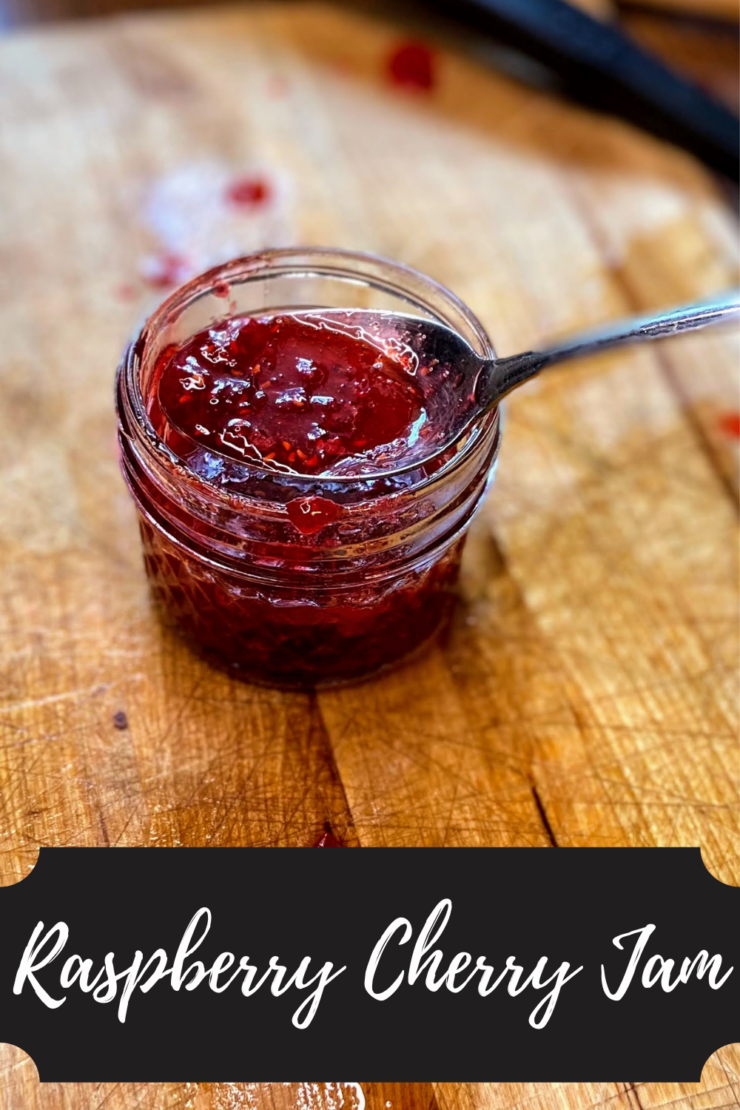
Raspberry Cherry Jam

We are knee deep into berry season around our garden. The red and black raspberries are in full force. The blueberries are starting, and I just stripped the gooseberries and the naking cherries (which are super versatile! Learn more by clicking here!) Normally, the cherries grow in abundance, but with the near drought we have experienced this year, they just didn’t produce as much. That meant we had some to eat, and just a little to process. Enter a beautiful raspberry cherry jam.

Don’t worry if you don’t have access to naking cherries (but seriously, a great plant that is low maintenance with fun tart cherries that grow through zone 3!). Any tart cherry will do. I recommend using fresh red raspberries so the two fruits blend together nicely. I made the mistake of mixing red and black raspberries in a jam once, and let me just say, it looked as though there were some insects I didn’t quite clean out of the berries. Yuck! 

While we are here, I will give you all the information you need to successfully can a batch of jam. However, if you are new to canning, you may likely want to gather additional information. My favorite places to learn more are The Ball’s Book of Canning or the National Center for Home Food Preservation

Your Supplies

This recipe will result in approximately nine 8 ounce jelly jars. Be sure you have rings and lids for them.

You will need a water bath canner or large stock pot with a lid. The jars need to be off the bottom of the pot. A water bath canner will have a rack to use if you go that route. If you use a stock pot, I would invest in canning racks. You can also put a towel down in a pinch, but it is MESSY in terms of getting water everywhere.  

It is also helpful to have the tools in a canning kit like this, but it isn’t necessary. Canning would be crazy challenging without the jar funnel and jar tongs. The lid lifter is also very handy. 

Your Ingredients

  • 4 cups raspberries (If frozen, measure first. Then thaw)
  • 1 ½ cups pitted tart cherries
  • 4 cups sugar 
  • 6 tablespoons powdered pectin 
  • ¼ teaspoon butter, optional

Your Steps to Raspberry Cherry Jam

Begin by measuring out your sugar in a large bowl and set aside. It’s important to have all your ingredients prepared before beginning the canning process so don’t skip this step. I also highly recommend reading through the steps more than once before beginning (I know that we are all guilty of flying by the seat of our pants when cooking). 

Fill the canning kettle with enough water that the jars will be covered by at least ½” water. More is better in this case so over estimate. Begin to heat over high heat. Place the canning rack so that it is hooked over the side of the canner and put clean jars on it to keep them warm. Note: You don’t have to keep the jars in the rack, although it is helpful to keep them warm. You want the jars warm to prevent breaking when they are being filled. 

Set the clean rings aside. I like to simmer my lids on low low heat in a small saucepan. Not necessary, but I like to think it helps them seal better. 

Now to Create the Raspberry Cherry Jam 

In a large, preferably shallow kettle, smash the raspberries and cherries with a potato masher. Stir in powder pectin. Add butter if desired. It will decrease foaming while the jam is cooking, but is not necessary. The foam isn’t bad. It just makes the jam a little less pretty. 

Heat raspberries and pectin over medium high heat, stirring consistently. Once it is close to a boil, stir constantly until you cannot stir down a rolling boil. On more than one occasion, I have thought I reached this point only to go a little longer and see what a “real rolling boil” looked like. 

Once a rolling boil has been reached, quickly stir in the sugar. I find a strong whisk is helpful to make sure there are no clumps of sugar in the jam. Continue to heat over medium-high heat until a rolling boil is reached again, stirring constantly. Once the roiling boil is reached, time for EXACTLY one minute. Remove from heat. 

Ladle hot jam into jars using the canning funnel, leaving ¼” head space. Wipe rims of the jars as you go, top with a lid, and put on a ring so that it is finger tip tight. Finger tip tight means you know its tight but you aren’t sealing it so much so that it wouln’t leak on it’s side, if that makes sense. (Any leftover jam can go in a small container and get placed in the fridge to be enjoyed immediately)

Place jars in JUST about boiling water bath canner. Place the cover on the kettle and raise heat until a rolling boil is reached. Cook jam for 10 minutes (adjusting for your altitude…under 1000 feet, you’re good. Over? Add 5 minutes for every 1000 feet). Once the time is complete, remove canner from heat and remove the cover. Allow the jam to sit in the canner an additional 5 minutes. Then remove and place on a towel on the counter. 

Afterward

Listen for the ping as the jars seal and just let them be for 24 hours. I know it will be hard to let them be because you’ll be so proud, but it’s recommended to make sure you get a good seal. Any jars that do not seal can be refrigerated and enjoyed right away. Note: It is recommended to store canned goods with their rings removed so that you can know if a false seal occurs. I generally just loosen them as loose as they can go. 

Looking for other canning and preserving recipes? Check out my page below!
Raspberry Cherry Jam

The flavor of summer in a jar: raspberries and cherries, oh my!
Prep Time 10 minutes
Cook Time 40 minutes
Course Appetizer
Cuisine Canning

Equipment

Ingredients
  

  • 4 cups raspberries
  • 1 ½ cups pitted cherries
  • 4 cups sugar
  • ¼ teaspoon butter optional
  • 4 ½ tablespoons powder pectin

Instructions
 

  • Prepare your water bath canner. Fill the canner with enough water so that once the jars are in the canner, they will be covered by at least one inch of water. Cover and begin to heat over a medium-high heat.
  • Measure out sugar. Set aside.
  • Place the raspberries and cherries in a large, non reactive kettle. Crush them with potato masher. Add ¼ teaspoon of butter, if desired, to reduce foaming.
  • Sprinkle and stir in the pectin. Cook over high heat until a rolling boil is reached, stirring consistently.
  • Once a rolling boil is reached, slowly stir in sugar.
  • Continue to stir until you reach another rolling boil that can not be stirred down. Once a rolling boil is reached, cook for 1 minute, stirring constantly.
  • Ladle jam into prepared jelly jars, wipe the rims with a damp cloth, add lids, and tighten rings to fingertip tight. Put into the water bath canner. When the canner has a steady boil going, time and process for 10 minutes.
  • Once the jam is done processing, remove the canner from heat and let jars rest in the water for an additional 5 minutes. Finally, remove jars from the canner and allow to cool for 12-24 hours before moving.

Notes

  • Make sure you are using powdered pectin rather than liquid pectin. They do not set the same. 
  • If you have never canned, you can reference the instructions within the pectin box for additional, more detailed directions. 
  • Sealed jars are shelf-stable, meaning they can be stored on a shelf unrefrigerated. If your jars don’t ping (a sign that they have sealed), they are still good. You will just need to store them in the refrigerator. 
  • Most sources recommend removing the rings from jars for storage so that you will know if they unseal for any reason. I generally just loosen them as much as I can without removing them.
Keyword Canning, Jalapeño, Jam, Jam Recipes, Raspberry
Tried this recipe?Let us know how it was!

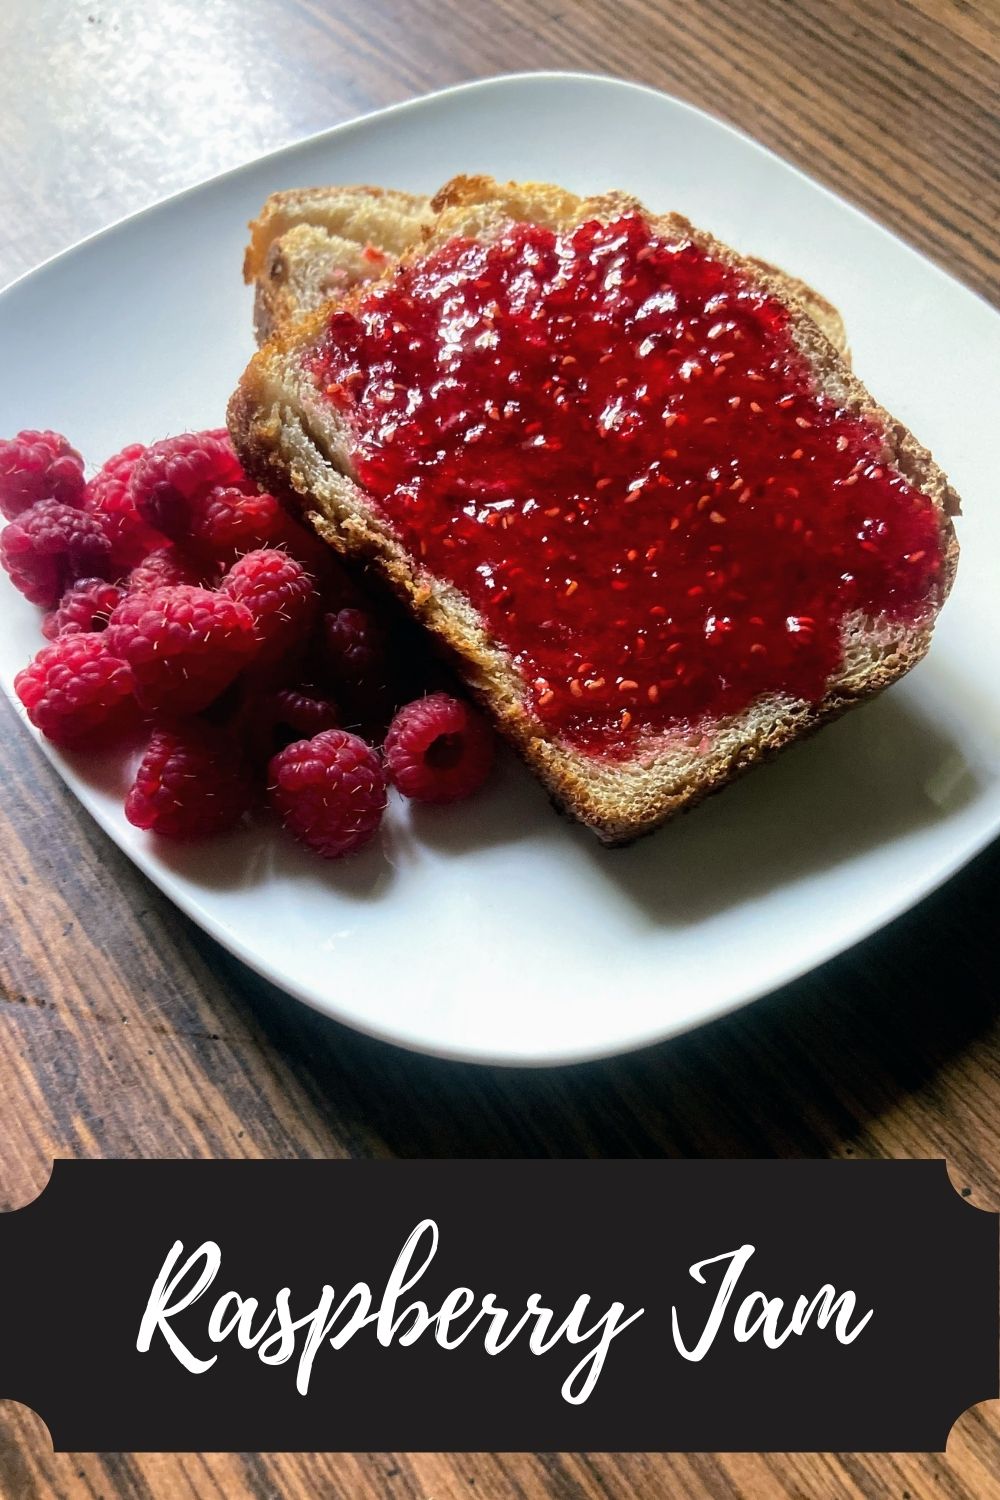
Razzle Dazzle Raspberry Jam

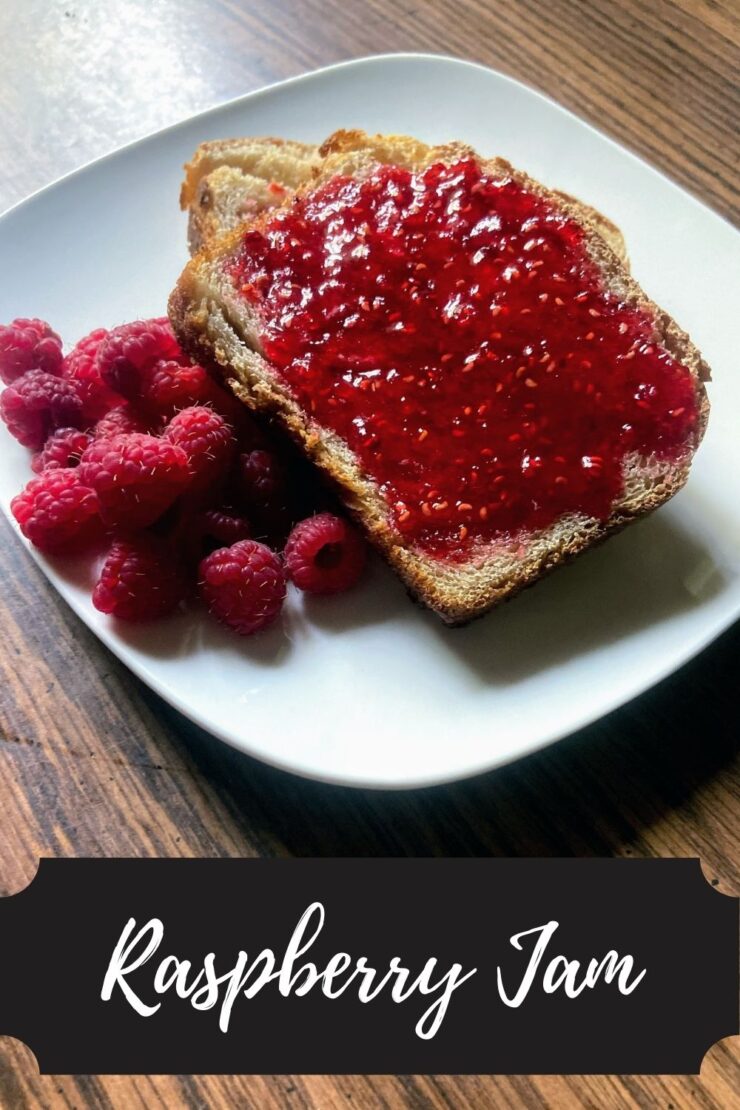
That’s our pet name for “my” raspberries. The red raspberries. I love red raspberries with my entire soul and there isn’t much better than fresh from the kettle razzle dazzle raspberry jam. Put that on freshly baked sourdough bread and guys, my taste buds sing. 

I have a long history with raspberries. Some of my earliest memories are going to scout for deer hunting areas with my dad, containers in tow, harvesting wild raspberries along the hidden dirt road. I always had a rule that I couldn’t try one until I finished harvesting. If I broke that rule, I was sure I would eat ALLL the berries. I still try to follow that silly rule to this day. 

Raspberries are also a favorite fruit of my grandma’s, who is quite possibly my biggest cheerleader and closest relative. For so many holidays, She would bake schaum torte (apparently a specialty in Wisconsin! I never knew! Check it out here!), and we topped it with raspberries. Needless to say, it was the dessert I always chose growing up. 

Now, I have a larger than life patch of raspberries that are my babies. I find it almost meditative to harvest them alone and silently. Weaving and ducking through the leaves to make sure I don’t miss a ripe berry. And that patch? It produces like none other. That means I eat a ton. Freeze a ton. And oh my gosh, the jam! I do both this razzle dazzle raspberry jam. I also do a raspberry jalapeño jam for a little fun. You can find it by clicking here if you need a little kick! 

For now, let’s get canning some beautiful raspberry jam! Oh quick…

New to canning? Check out the Ball’s Book of Canning or The National Center for Home Food Preservation for more detailed information. I will give you the low down, but it will be short and sweet. You will want to read up more, I promise 🙂 

Your Ingredients:

  • 8 cups fresh or frozen raspberries (If frozen, measure first. Then thaw)
  • 7 cups sugar
  • 1 box powder pectin 
  • ¼ teaspoon butter (optional)

Your Supplies

This recipe will result in approximately nine 8 ounce jelly jars. Be sure you have rings and lids for them.

You will need a water bath canner or large stock pot with a lid. The jars need to be off the bottom of the pot. A water bath canner will have a rack to use if you go that route. If you use a stock pot, I would invest in canning racks. You can also put a towel down in a pinch, but it is MESSY in terms of getting water everywhere.  

It is also helpful to have the tools in a canning kit like this, but it isn’t necessary. Canning would be crazy challenging without the jar funnel and jar tongs. The lid lifter is also very handy. 

Your Steps to Razzle Dazzle Raspberry Jam

Begin by measuring out your sugar in a large bowl and set aside. It’s important to have all your ingredients prepared before beginning the canning process so don’t skip this step. 

Fill the canning kettle with enough water that the jars will be covered by at least ½” water. More is better in this case so over estimate. Begin to heat over high heat. Place the canning rack so that it is hooked on the side of the canner and put clean jars on it to keep them warm. Note: You don’t have to keep the jars in the rack, although it is helpful to keep them warm. You want the jars warm so that when you fill them to prevent breaking. 

Set the clean rings aside. I like to simmer my lids on low low heat in a small saucepan. Not necessary, but I like to think it helps them seal better. 

Now to create the jam

In a large, preferably shallow kettle, smash the raspberries with a potato masher. Stir in powder pectin. Add butter if desired. It will decrease foaming while the jam is cooking, but is not necessary. The foam isn’t bad. It just makes the jam a little less pretty. 

Heat raspberries and pectin over medium high heat, stirring consistently. Once it is close to a boil, stir constantly until you cannot stir down a rolling boil. On more than one occasion, I have thought I reached this point only to go a little longer and see what a “real rolling boil” looked like. 

Once a rolling boil has been reached, quickly stir in the sugar. I find a strong whisk is helpful to make sure there are no clumps of sugar in the jam. Continue to heat over medium-high heat until a rolling boil is reached again, stirring constantly. Once the roiling boil is reached, time for EXACTLY one minute. Remove from heat. 

Ladle hot jam into jars using the canning funnel, leaving ¼” head space. Wipe rims of the jars as you go, top with a lid, and put on a ring so that it is finger tip tight. Finger tip tight means you know its tight but you aren’t sealing it so much so that it wouln’t leak on it’s side, if that makes sense. (Any leftover jam can go in a small container and get placed in the fridge to be enjoyed immediately)

Place jars in JUST about boiling water bath canner. Cover and raise heat until a rolling boil is reached. Cook jam for 10 minutes (adjusting for your altitude…under 1000 feet, you’re good. Over? Add 5 minutes for every 1000 feet). Once the time is complete, remove canner from heat and remove the cover. Allow the jam to sit in the canner an additional 5 minutes. Then remove and place on a towel on the counter. 

Afterward…

Listen for the ping as the jars seal and just let them be for 24 hours. I know it will be hard to let them be because you’ll be so proud, but it’s recommended to make sure you get a good seal. Any jars that do not seal can be refrigerated and enjoyed right away. Note: It is recommended to store canned goods with their rings removed so that you can know if a false seal occurs. I generally just loosen them as loose as they can go. 

Raspberry Jam

The flavor of summer in a jar ready for your next breakfast or peanut butter and jelly.
Prep Time 10 minutes
Cook Time 40 minutes
Course Appetizer
Cuisine Canning
Servings 12

Equipment

Ingredients
  

  • 8 cups raspberries
  • 6 cups sugar
  • ¼ teaspoon butter optional
  • 1 box powder pectin

Instructions
 

  • Prepare your water bath canner. Fill the canner with enough water so that once the jars are in the canner, they will be covered by at least one inch of water. Cover and begin to heat over a medium-high heat.
  • Measure out sugar. Set aside.
  • Place the raspberries in a large, non reactive kettle. Crush them with potato masher. Add ¼ teaspoon of butter, if desired, to reduce foaming.
  • Sprinkle and stir in the pectin. Cook over high heat until a rolling boil is reached, stirring consistently.
  • Once a rolling boil is reached, slowly stir in sugar.
  • Continue to stir until you reach another rolling boil that can not be stirred down. Once a rolling boil is reached, cook for 1 minute, stirring constantly.
  • Ladle jelly into prepared jelly jars, wipe the rims with a damp cloth, add lids, and tighten rings to fingertip tight. Put into the water bath canner. When the canner has a steady boil going, time and process for 10 minutes.
  • Once the jelly is done processing, remove the canner from heat and let jars rest in the water for an additional 5 minutes. Finally, remove jars from the canner and allow to cool for 12-24 hours before moving.

Notes

  • Make sure you are using powdered pectin rather than liquid pectin. They do not set the same. 
  • If you have never canned, you can reference the instructions within the pectin box for additional, more detailed directions. 
  • Sealed jars are shelf-stable, meaning they can be stored on a shelf unrefrigerated. If your jars don’t ping (a sign that they have sealed), they are still good. You will just need to store them in the refrigerator. 
  • Most sources recommend removing the rings from jars for storage so that you will know if they unseal for any reason. I generally just loosen them as much as I can without removing them.
Keyword Canning, Jalapeño, Jam, Jam Recipes, Raspberry
Tried this recipe?Let us know how it was!

Raspberry Jalapeño Jam

Before I get to the raspberry jalapeño jam recipe, I want to share a little of my history. For as long as I can remember, raspberries have been my very favorite fruit. When I was little, I would go with my dad to bait deer stands (very Wisconsin, right?) and I could eat wild raspberries to my heart’s content while I wasted time in the woods. I am certain part of my love started there. I always had the rule that you couldn’t eat them until you were done picking. If you started eating, it was just impossible to stop. 

Now that I am an adult with a larger than life raspberry patch, I still hold true to that rule. A few years ago, we had the biggest bumper crop we had ever had. First, I made regular jam. After that, I froze them straight. I made raspberry sorbet (Check out that recipe here!). I even made raspberry salsa. The salsa inspired me to try mixing jalapeños and raspberries in a different way. Raspberry jalapeño jam was born. If you have ever had pepper jelly, this has a similar spicy-sweet flavor. This is better, of course 😉 

How would you eat a raspberry jalapeño jam? It’s great spread on top of cream cheese (or the healthier cousin, Neufchatel) and served with wheat crackers. If you have never had this, oh my goodness, you need to give it a try! I like to put it on burgers, replacing barbecue sauce. It even goes well on a PB and J, believe it or not. It isn’t so much spicy as it simply has a depth to the flavor. Serious yum factor. 

Okay, enough talking. Let’s get canning and make this delicious treat! 

The Supplies 

This recipe will result in approximately eight 8 ounce jelly jars. You can use wide mouth or narrow mouth jars. Just be sure you have rings and lids for them and that they will all fit in your canner at once. 

You will need a water bath canner or large stock pot with a lid. The jars need to be off the bottom of the pot. A water bath canner will have a rack to use if you go that route. If you use a stock pot, I would invest in canning racks. Alternatively, you can also put a towel down in a pinch, but it is MESSY in terms of getting water everywhere.  

It is also helpful to have the tools in a canning kit like this, but it isn’t necessary. Canning would be crazy challenging without the jar funnel and jar tongs. The lid lifter is also very handy. 

New to canning? Check out the Ball’s Book of Canning or The National Center for Home Food Preservation for more detailed information. I will give you the low down, but it will be short and sweet. You will want to read up more, I promise 🙂 

Your Ingredients 

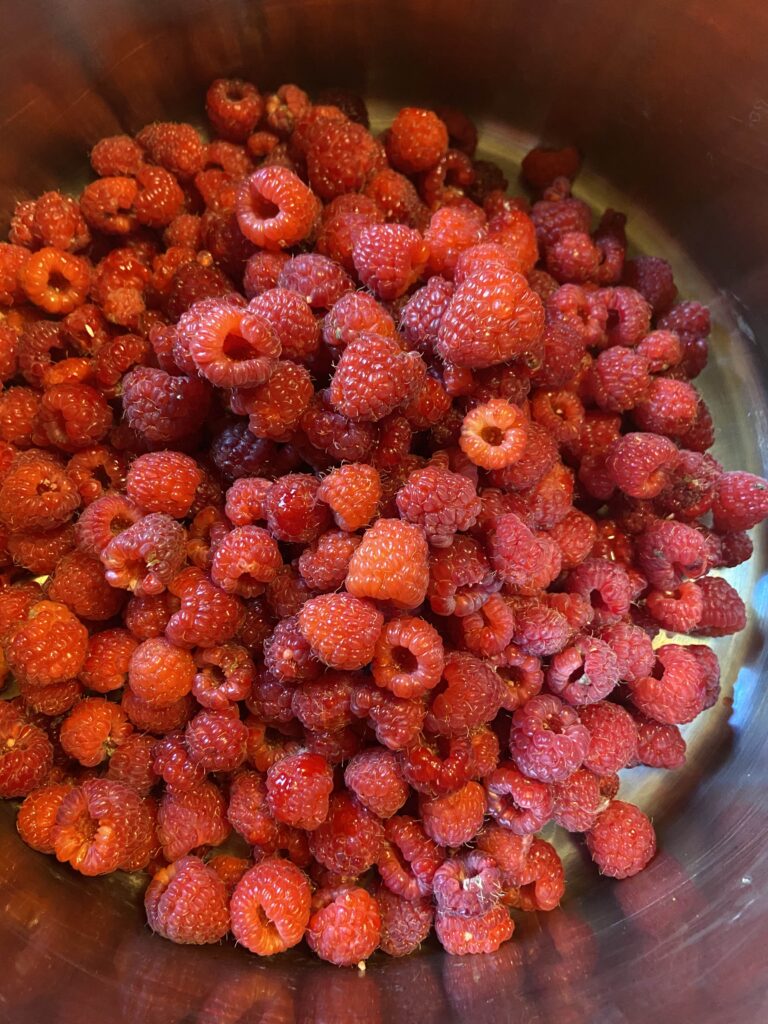
  • 6 ½ cups raspberries 
  • 5 cups sugar 
  • 2 jalapenos, finely chopped (between ¾-1 cup) 
  • 4 ½ tablespoons powder pectin (or one packet) 

Your Steps 

Prep Work

To begin, prepare your water bath canner. Be sure to fill the canner with enough water so that once the jars are in the canner, they will be covered by at least one inch of water. Too much water is better than not enough, but remember that some water will be displaced by the jars. Cover and begin to heat over a medium-high heat. 

Meanwhile, measure out the sugar. Set aside. You want to do this ahead of time because the process of canning is slow until it hits “go time” and then you need to be prepared. You will stir this in when you hit a rolling boil. 

It’s Cooking time

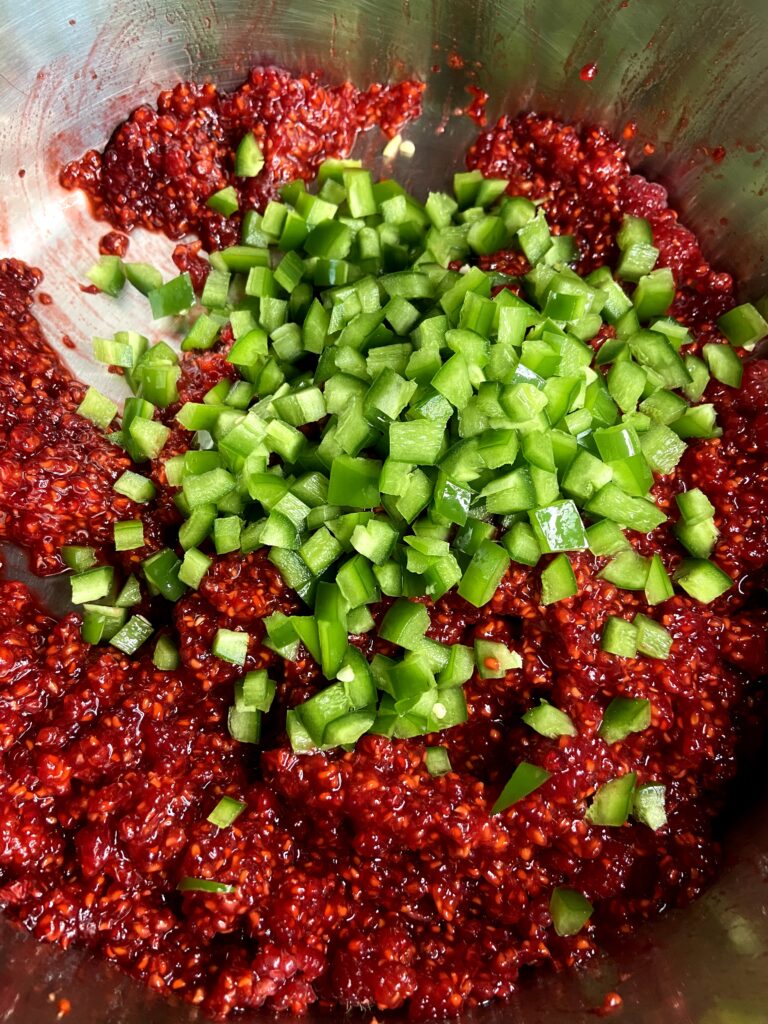
First, place the raspberries in a large, non reactive kettle. Crush them. I like to use a potato masher for this task. Stir in the jalapeños. Add ¼ teaspoon of butter, if desired. This will reduce the foaming. Sprinkle and stir in the pectin. Cook over high heat until a rolling boil is reached, stirring consistently. 

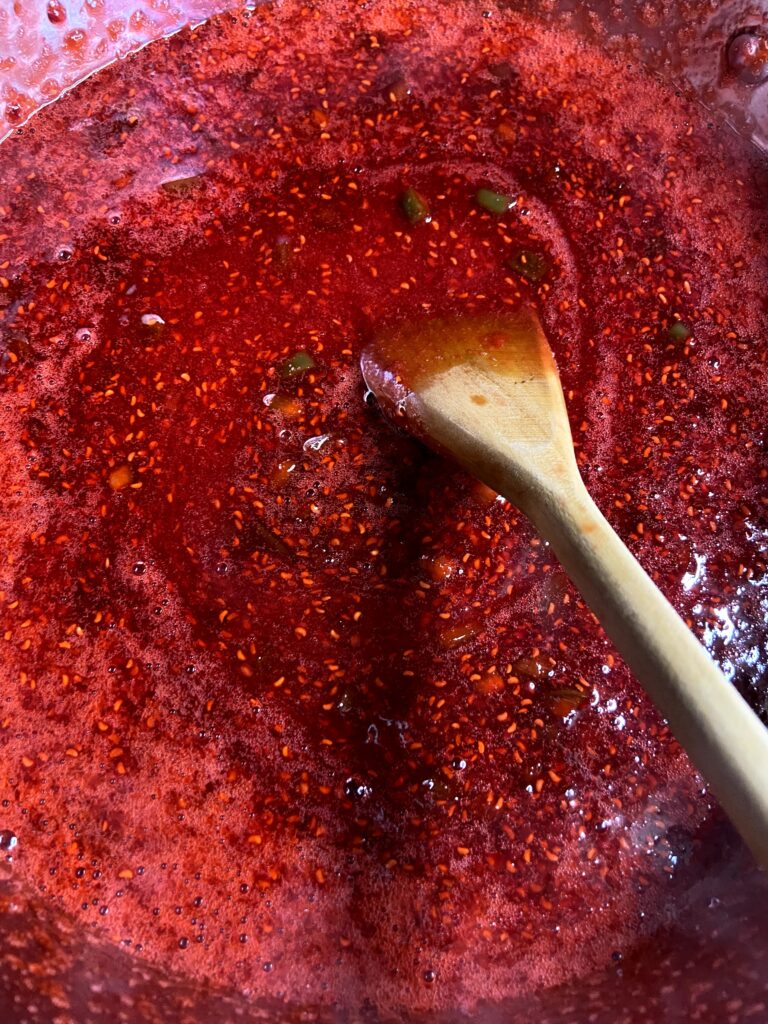
At this point, stir in sugar. You will want to do this slowly. If you pour it all in at once, you will likely get clumps. Continue to stir until you reach another rolling boil that can not be stirred down. (I try to rush this and think it rolling before it really is. Be better than me 🙂 ). Once a rolling boil is reached, cook for 1 minute, stirring constantly. 

Finally, ladle jelly into prepared jelly jars, wipe the rims with a damp cloth, add lids, and tighten rings to fingertip tight. Put into the water bath canner and process for 10 minutes. Once the jelly is done processing, remove the canner from heat and let jars rest in the water for an additional 5 minutes. Finally, remove jars from the canner and allow to cool for 12-24 hours before moving. Listen for the ping of the lids (best part of canning…apart from the eating of the beautiful food you create). 

Oh, and don’t forget to just try your jelly on the sides of the kettle after the jars are in the canner. It’s SO good. Trust me, you may want to make sure you have some homemade bread handy. 

A few notes: 

  • Make sure you are using powdered pectin rather than liquid pectin. They do not set the same. Early in my canning career I didn’t know the difference and had a few batches of jelly never set. 
  • If you have never canned, you can reference the instructions within the pectin box for additional, more detailed directions. 
  • Sealed jars are shelf-stable, meaning they can be stored on a shelf unrefrigerated. If your jars don’t ping (a sign that they have sealed), they are still good. You will just need to store them in the refrigerator. 
  • Most sources recommend removing the rings from jars for storage so that you will know if they unseal for any reason. When I know they have sealed, I generally just loosen them as much as I can without removing them. 

Looking for other canning and preserving recipes? Check out the page below!
Tools of the trade

Raspberry Jalapeño Jam

A little bit spicy. A little bit sweet. This raspberry jalapeño jam is great way to use your bountiful harvest this summer!
4.25 from 4 votes
Prep Time 10 minutes
Cook Time 40 minutes
Course Appetizer
Cuisine Canning
Servings 12

Equipment

Ingredients
  

  • 6 ½ cups raspberries
  • 5 cups sugar
  • 2 jalapenos finely chopped (between ¾-1 cup)
  • 4 ½ tablespoons powder pectin or one packet

Instructions
 

  • Prepare your water bath canner. Fill the canner with enough water so that once the jars are in the canner, they will be covered by at least one inch of water. Cover and begin to heat over a medium-high heat.
  • Measure out sugar. Set aside.
  • Place the raspberries in a large, non reactive kettle. Crush them. Stir in jalapeños. Add ¼ teaspoon of butter, if desired, to reduce foaming.
  • Sprinkle and stir in the pectin. Cook over high heat until a rolling boil is reached, stirring consistently.
  • Once a rolling boil is reached, slowly stir in sugar.
  • Continue to stir until you reach another rolling boil that can not be stirred down. Once a rolling boil is reached, cook for 1 minute, stirring constantly.
  • Ladle jelly into prepared jelly jars, wipe the rims with a damp cloth, add lids, and tighten rings to fingertip tight. Put into the water bath canner. When the canner has a steady boil going, time and process for 10 minutes.
  • Once the jelly is done processing, remove the canner from heat and let jars rest in the water for an additional 5 minutes. Finally, remove jars from the canner and allow to cool for 12-24 hours before moving.

Notes

  • Make sure you are using powdered pectin rather than liquid pectin. They do not set the same. 
  • If you have never canned, you can reference the instructions within the pectin box for additional, more detailed directions. 
  • Sealed jars are shelf-stable, meaning they can be stored on a shelf unrefrigerated. If your jars don’t ping (a sign that they have sealed), they are still good. You will just need to store them in the refrigerator. 
  • Most sources recommend removing the rings from jars for storage so that you will know if they unseal for any reason. I generally just loosen them as much as I can without removing them.
Keyword Canning, Jalapeño, Jam, Jam Recipes, Raspberry
Tried this recipe?Let us know how it was!

Here are some of my other favorite ways to use Raspberries!