Sweet potatoes. I was in my thirties when I discovered just how much I loved them. Maybe they are a relatively new “mainstream” phenomenon like Brussels sprouts. Either way, I have developed a deep love for them in all forms. Roasted. Mashed. Baked. They are SO GOOD. A few years ago, I got to host my very first Thanksgiving for the Mr’s side of the family and you know we had to have a great sweet potato casserole.
As I was looking at recipes, I saw your typical “overly sweet” sweet potatoes. I didn’t want to serve that to my family. That’s what dessert is for, right?
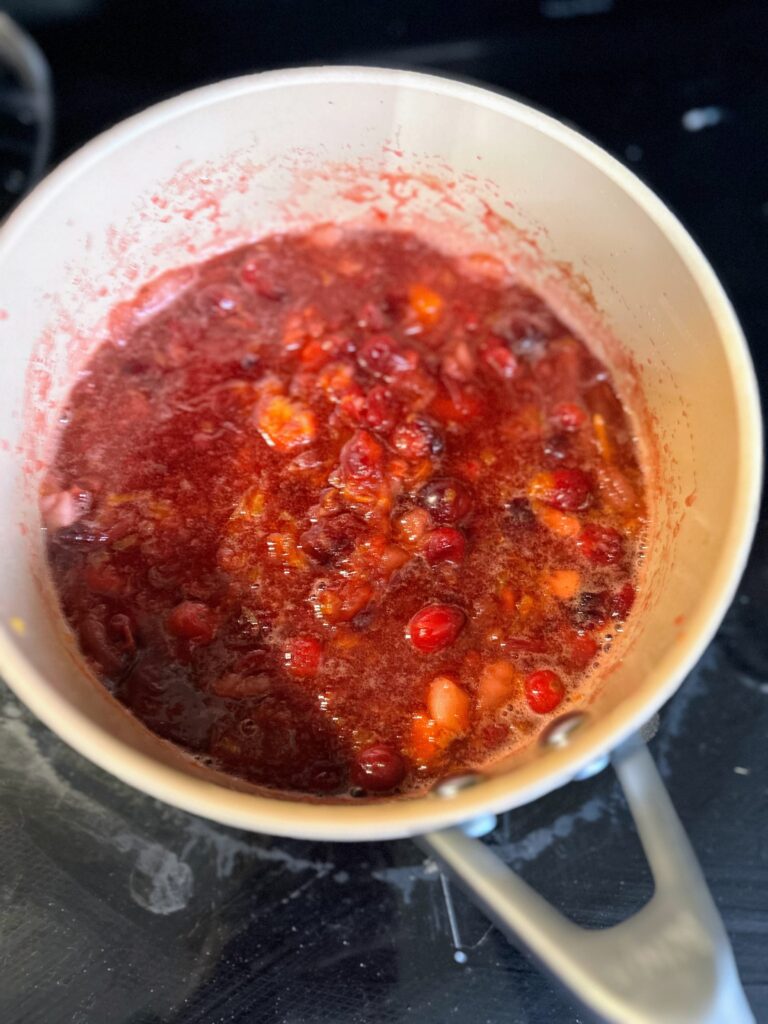
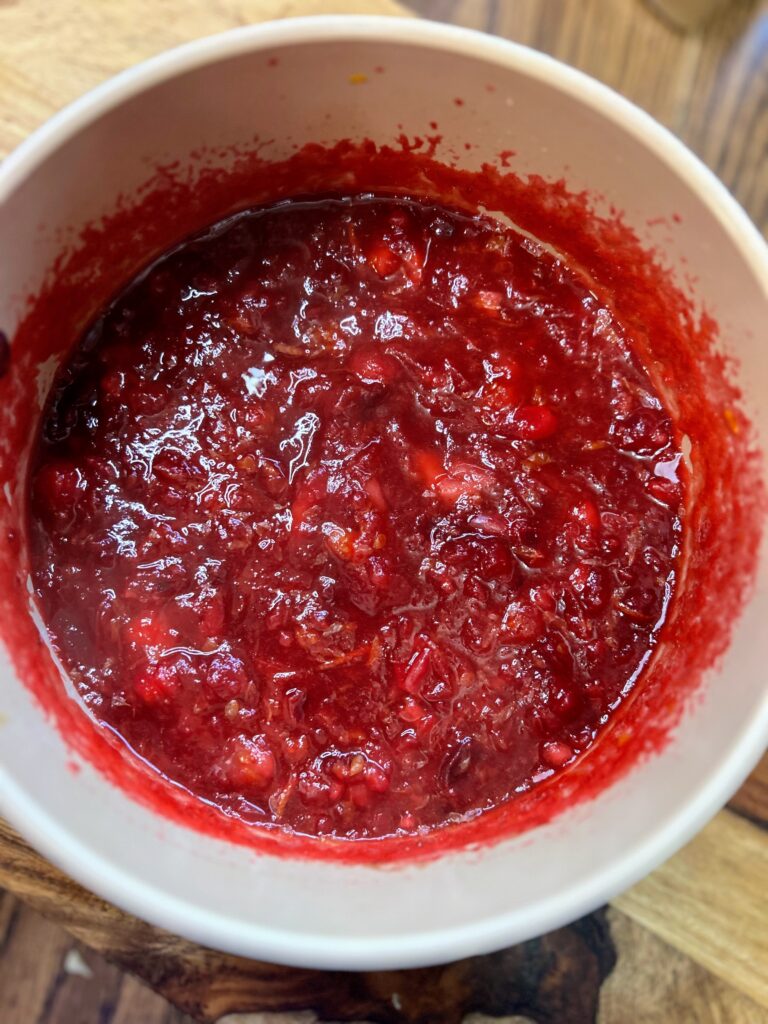
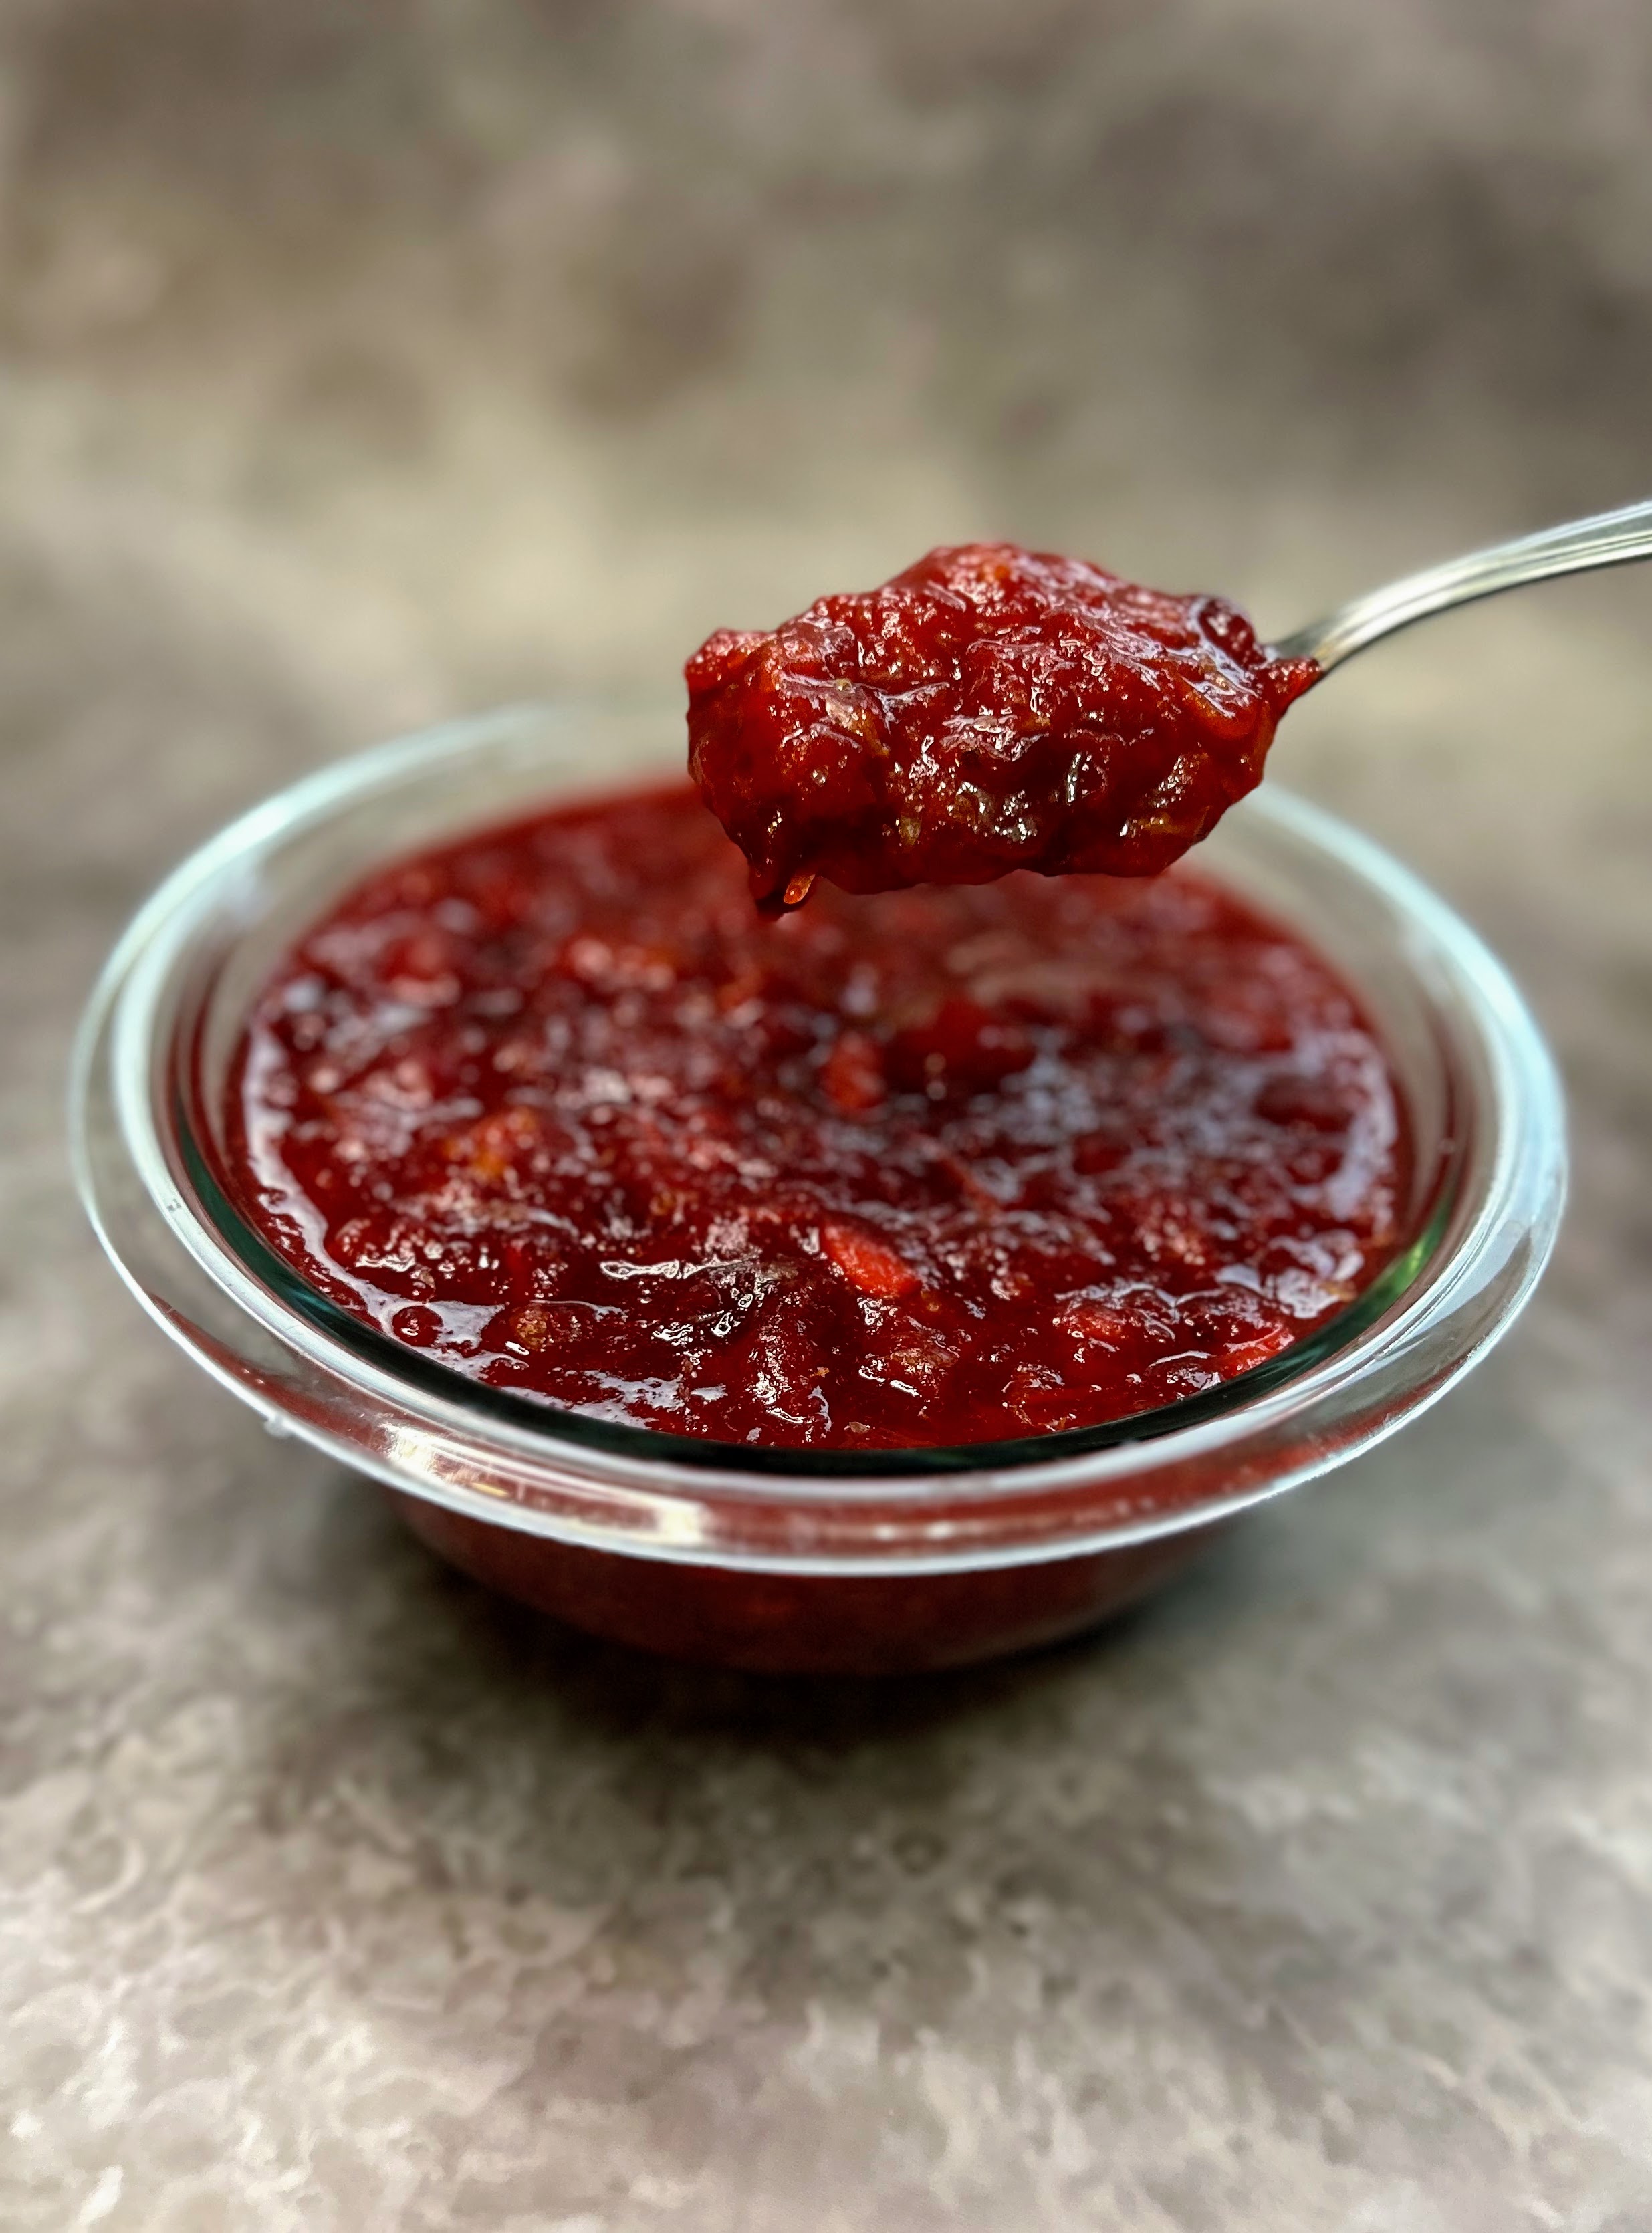
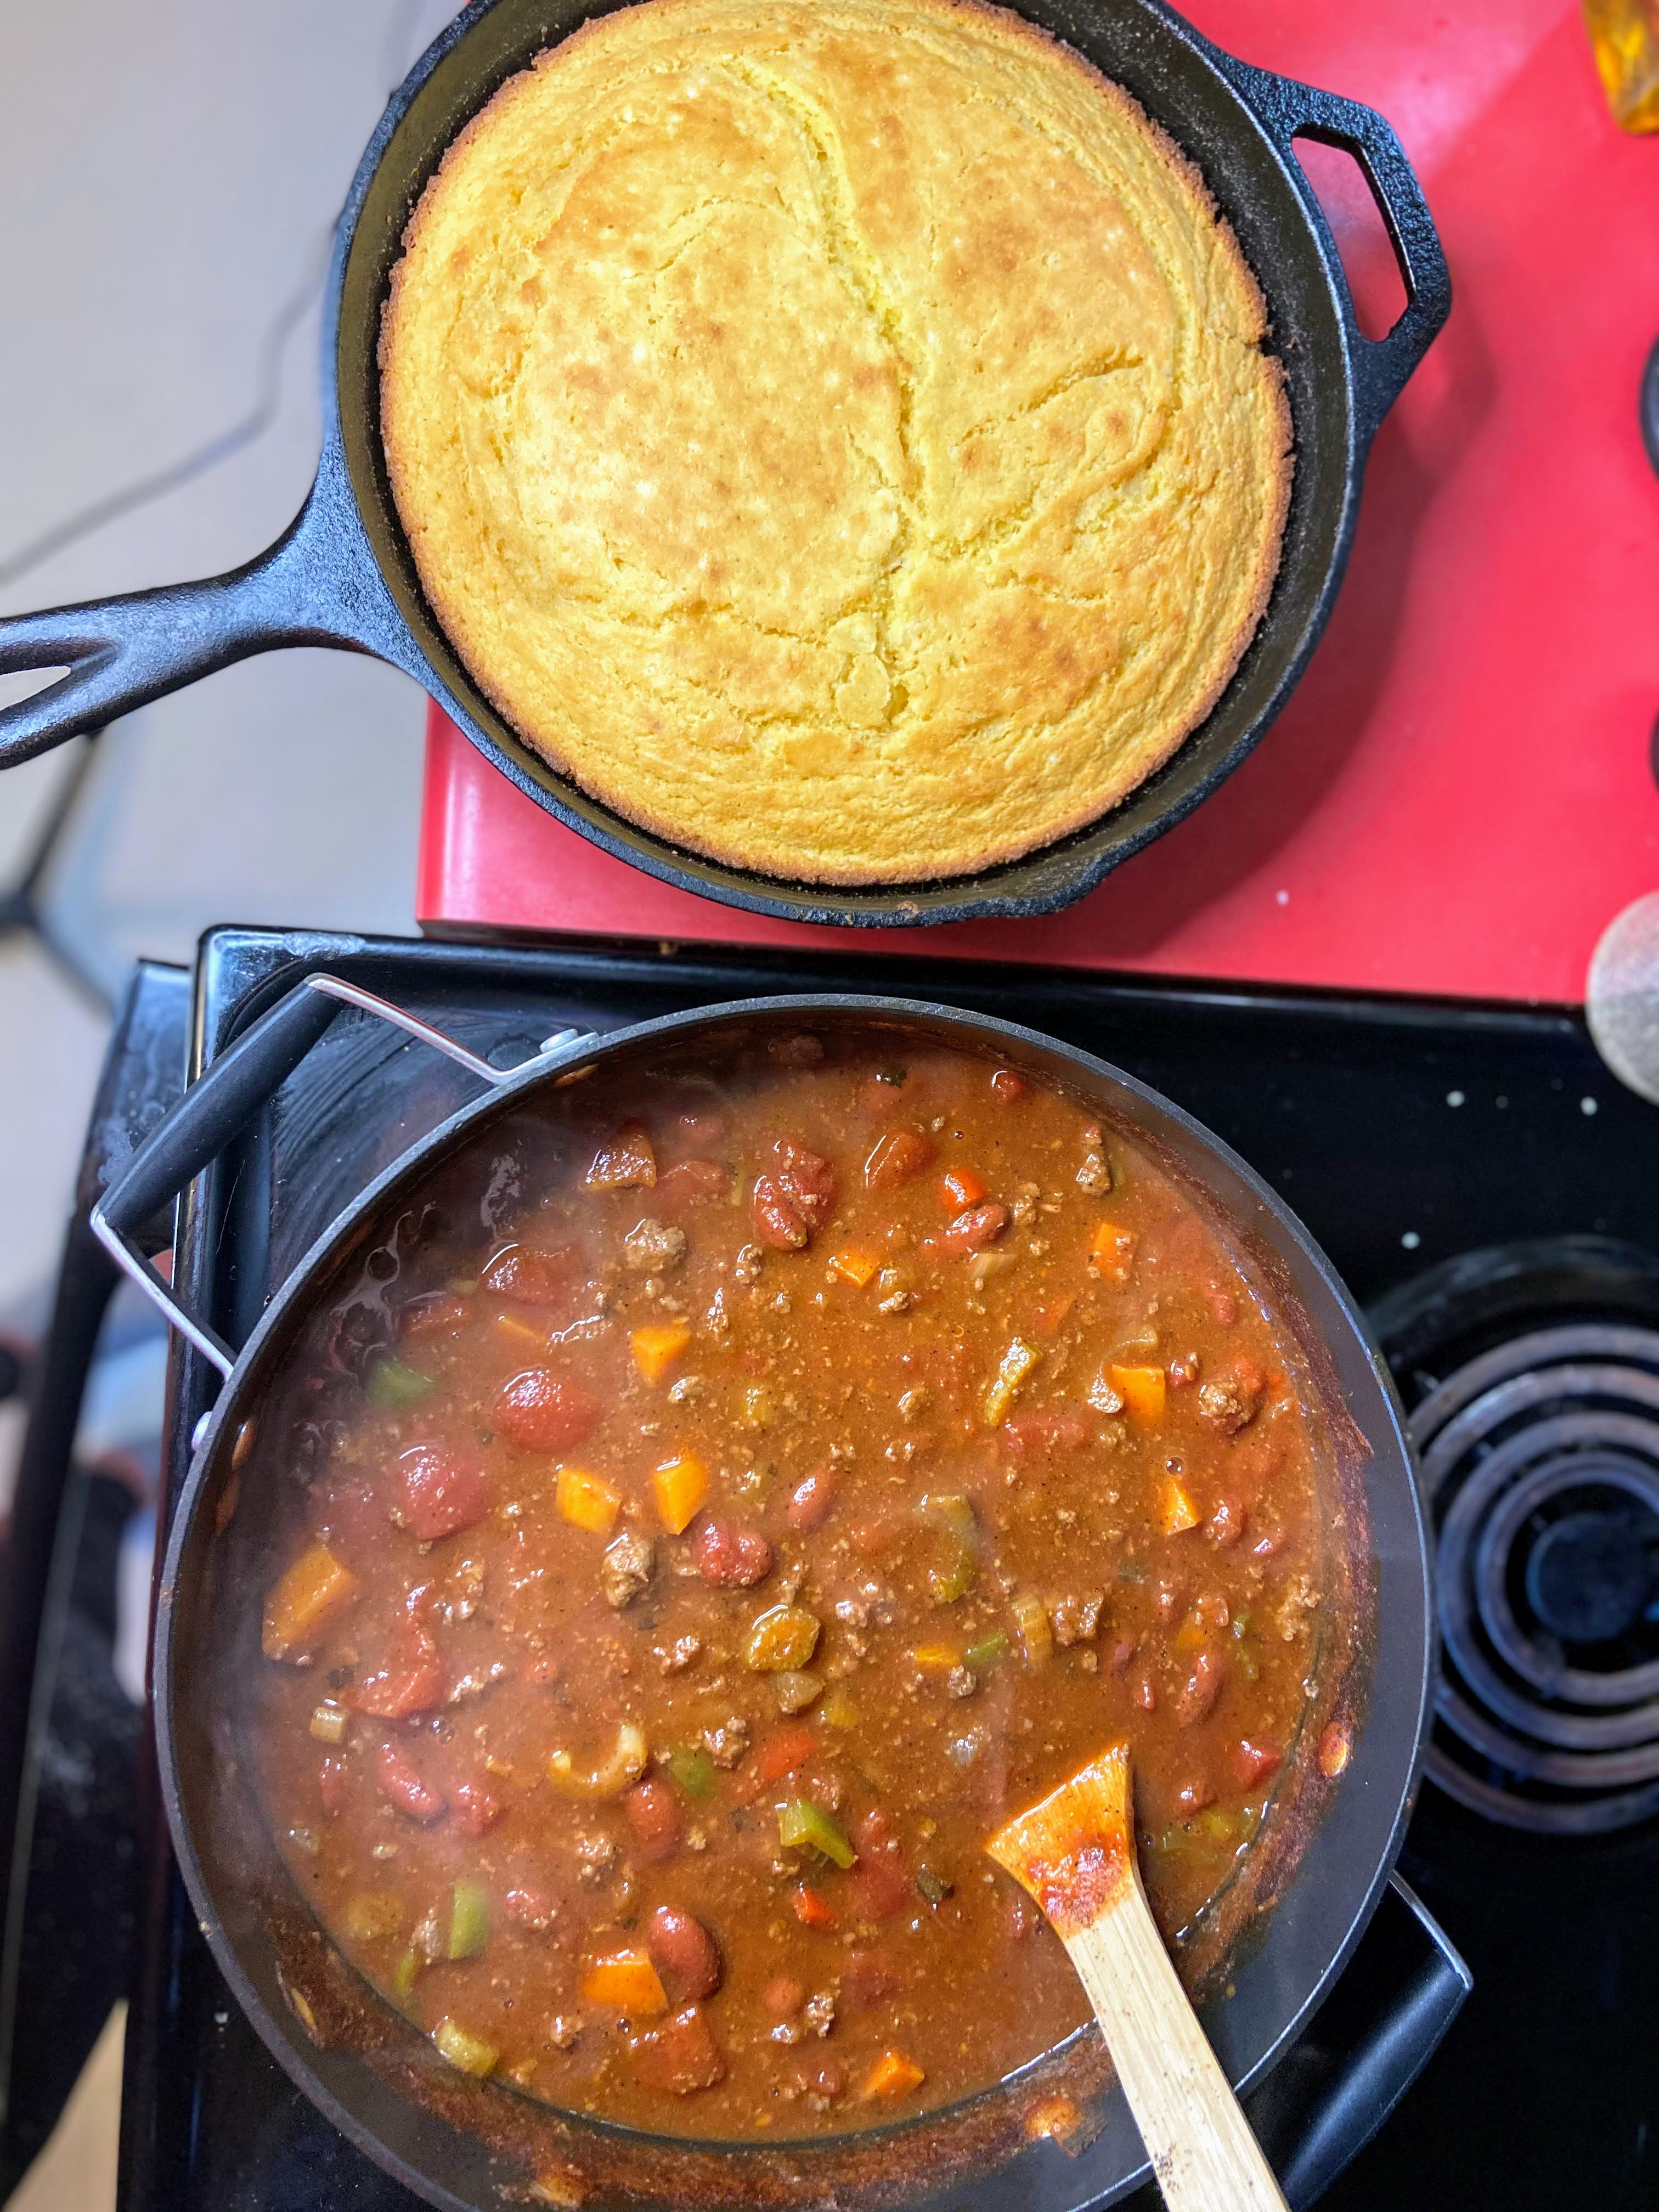
What I developed was a blend of sweet potatoes with just a touch of sweetness in brown sugar to satisfy those “sweet” sweet potato lovers without going overboard. Let me tell you, I could sit and eat an entire dish of these in nearly a sitting. I have loved baking up a batch nowhere near Thanksgiving and using it for my meal prep vegetables when I am packing my lunches for school. It’s comfort in a dish and SO good. But if you are making it for Thanksgiving, let me recommend you pair it with my homemade cranberry sauce too!
Now, I try to keep the conversation to a minimum in my blog and get us to the cooking. Are we ready for the recipe? Let’s go!
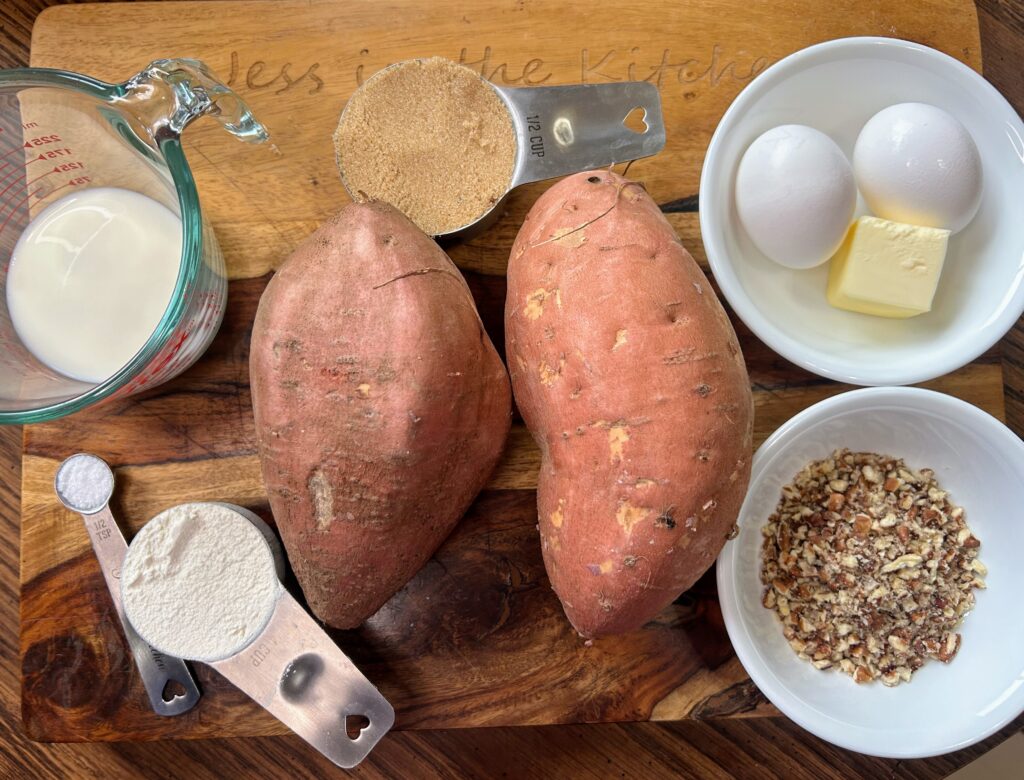
Your Ingredients for Sweet Potato Casserole
- 2 ½ pounds of sweet potatoes, peeled and roughly cubed
- ½ cup brown sugar, divided
- ⅓ cup milk (I did whole)
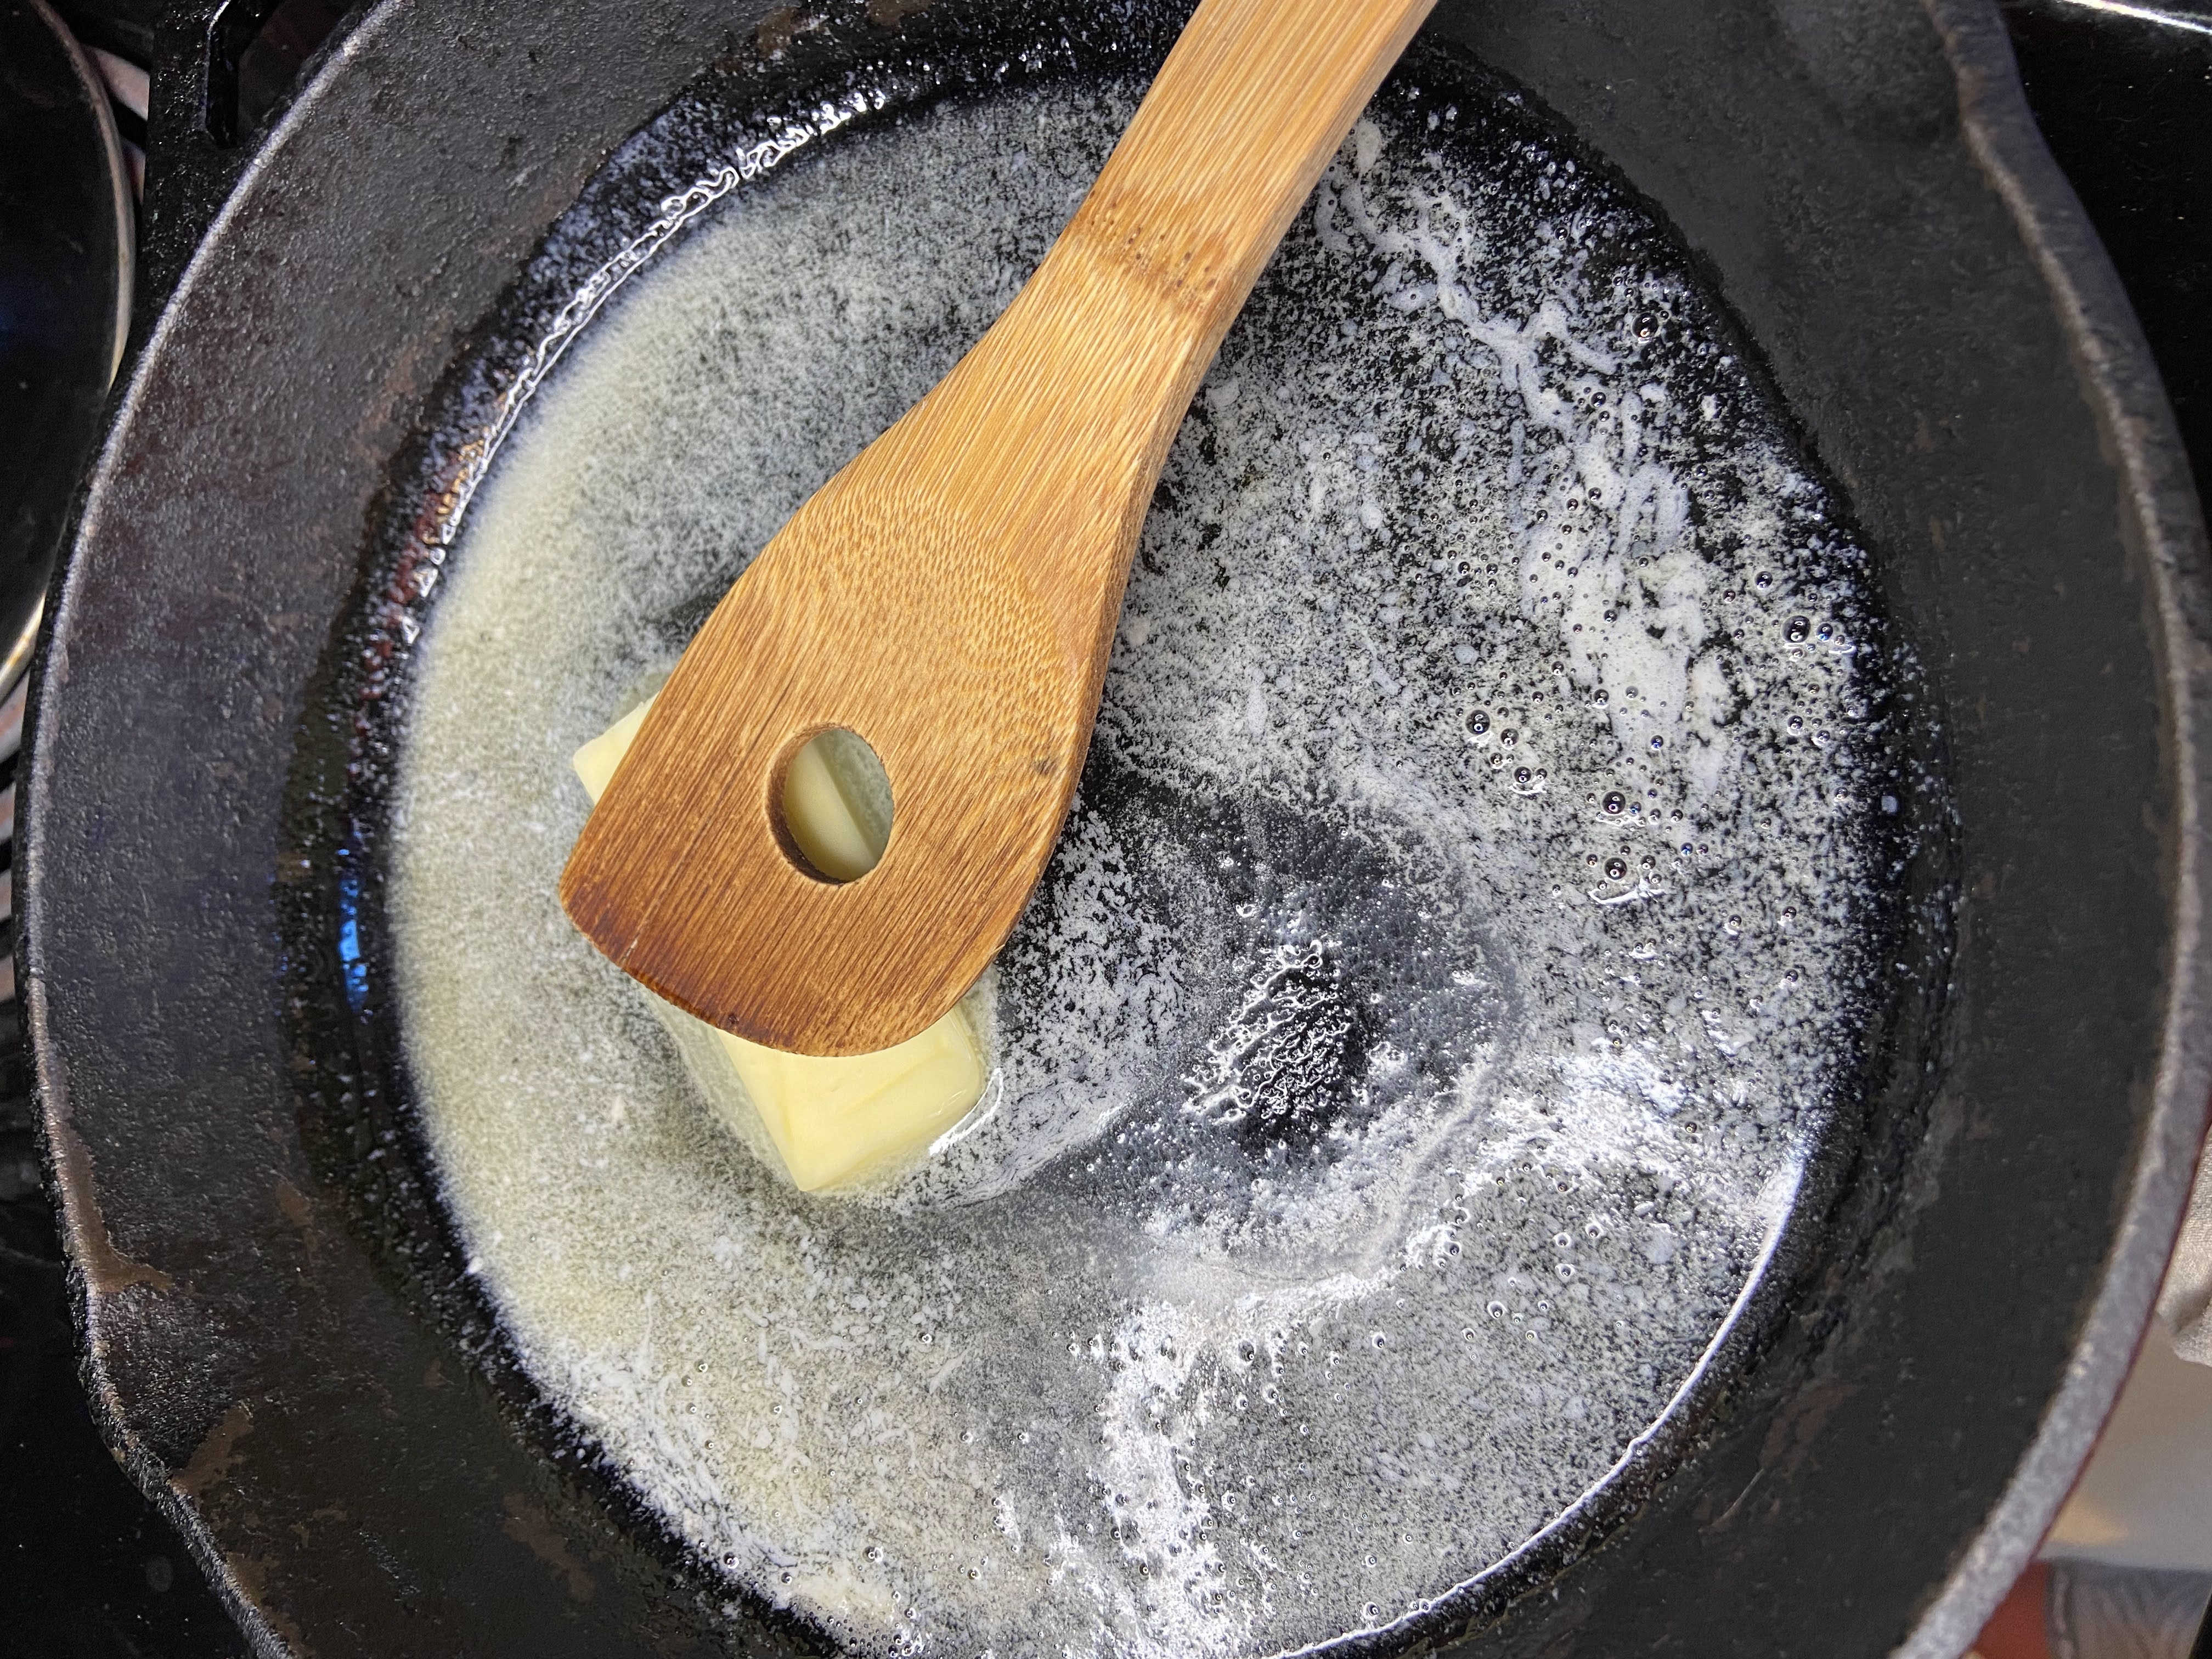
- 2 tablespoons butter, divided
- 2 eggs, beaten
- ½ teaspoon salt
- ¼ cup flour
- ⅓ cup chopped pecans
Your Steps
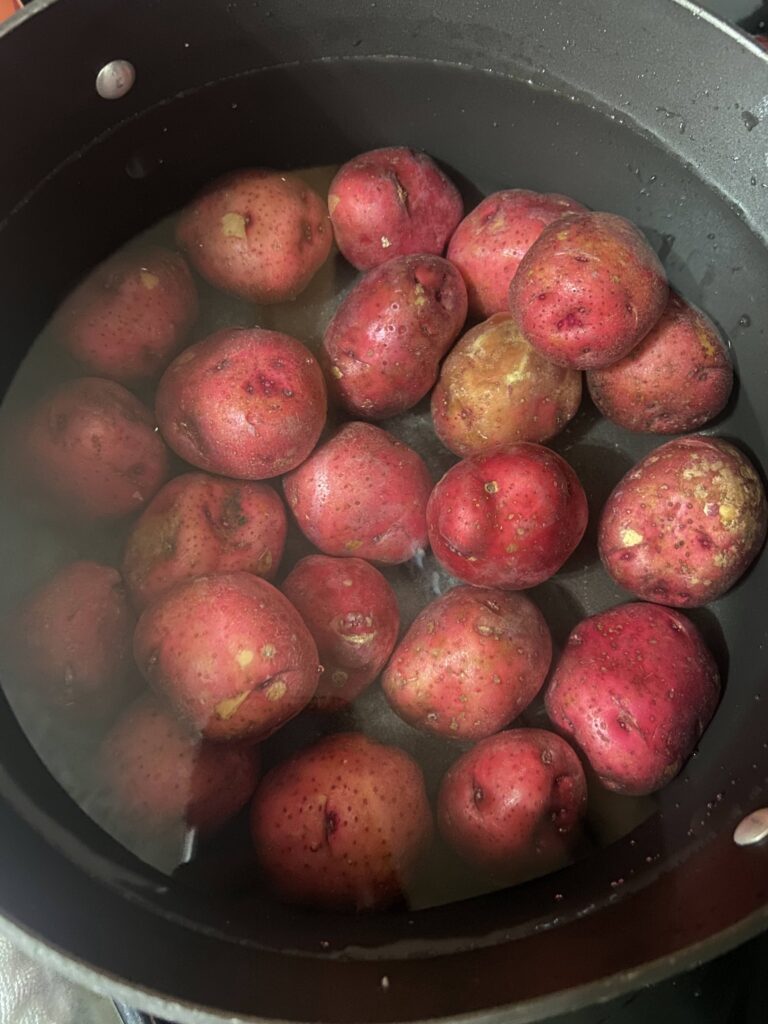
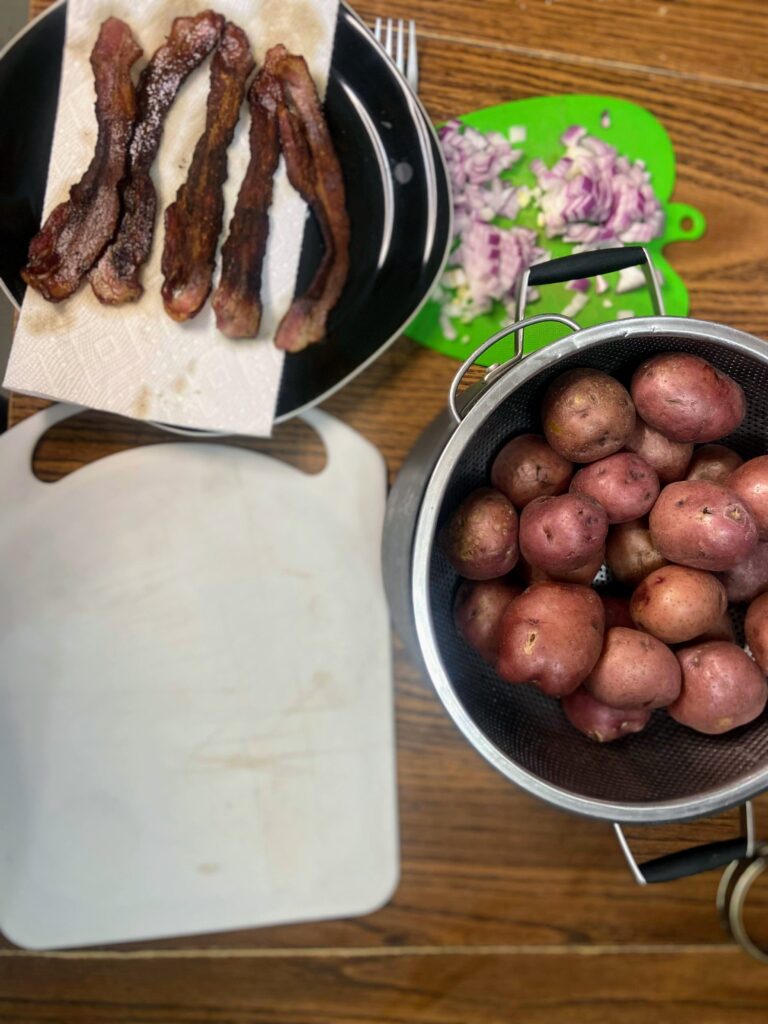
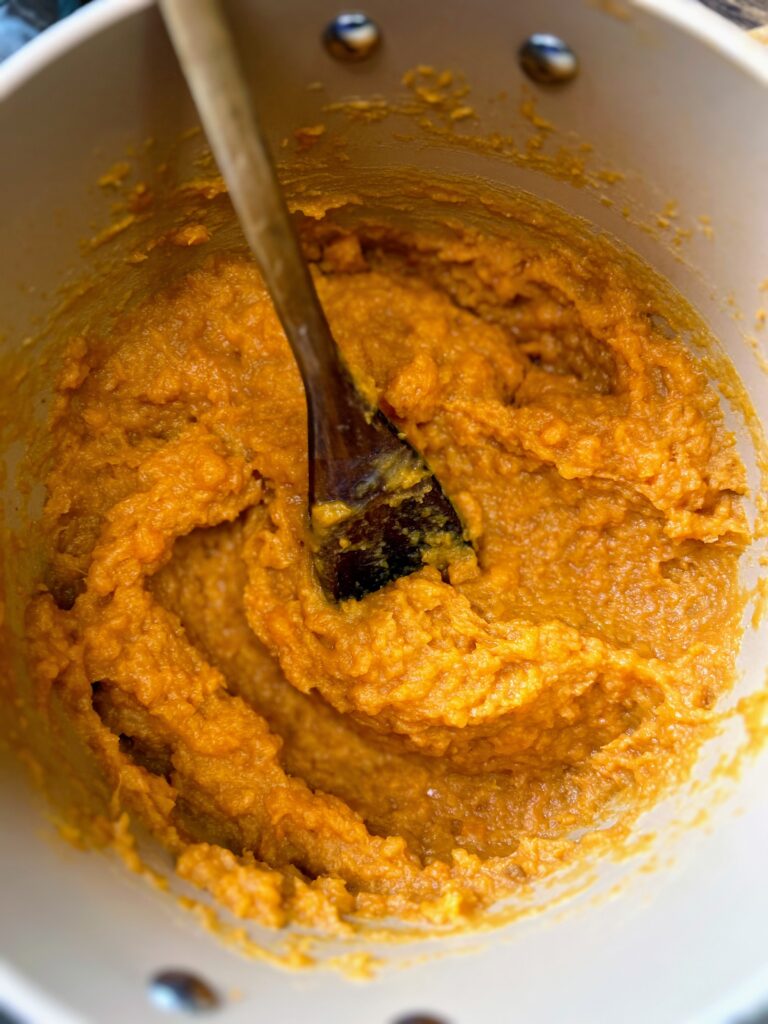
Place the potatoes in a large kettle and cover with water. Bring to a boil and cook until tender, about 25 minutes. Drain and mash with a potato masher.
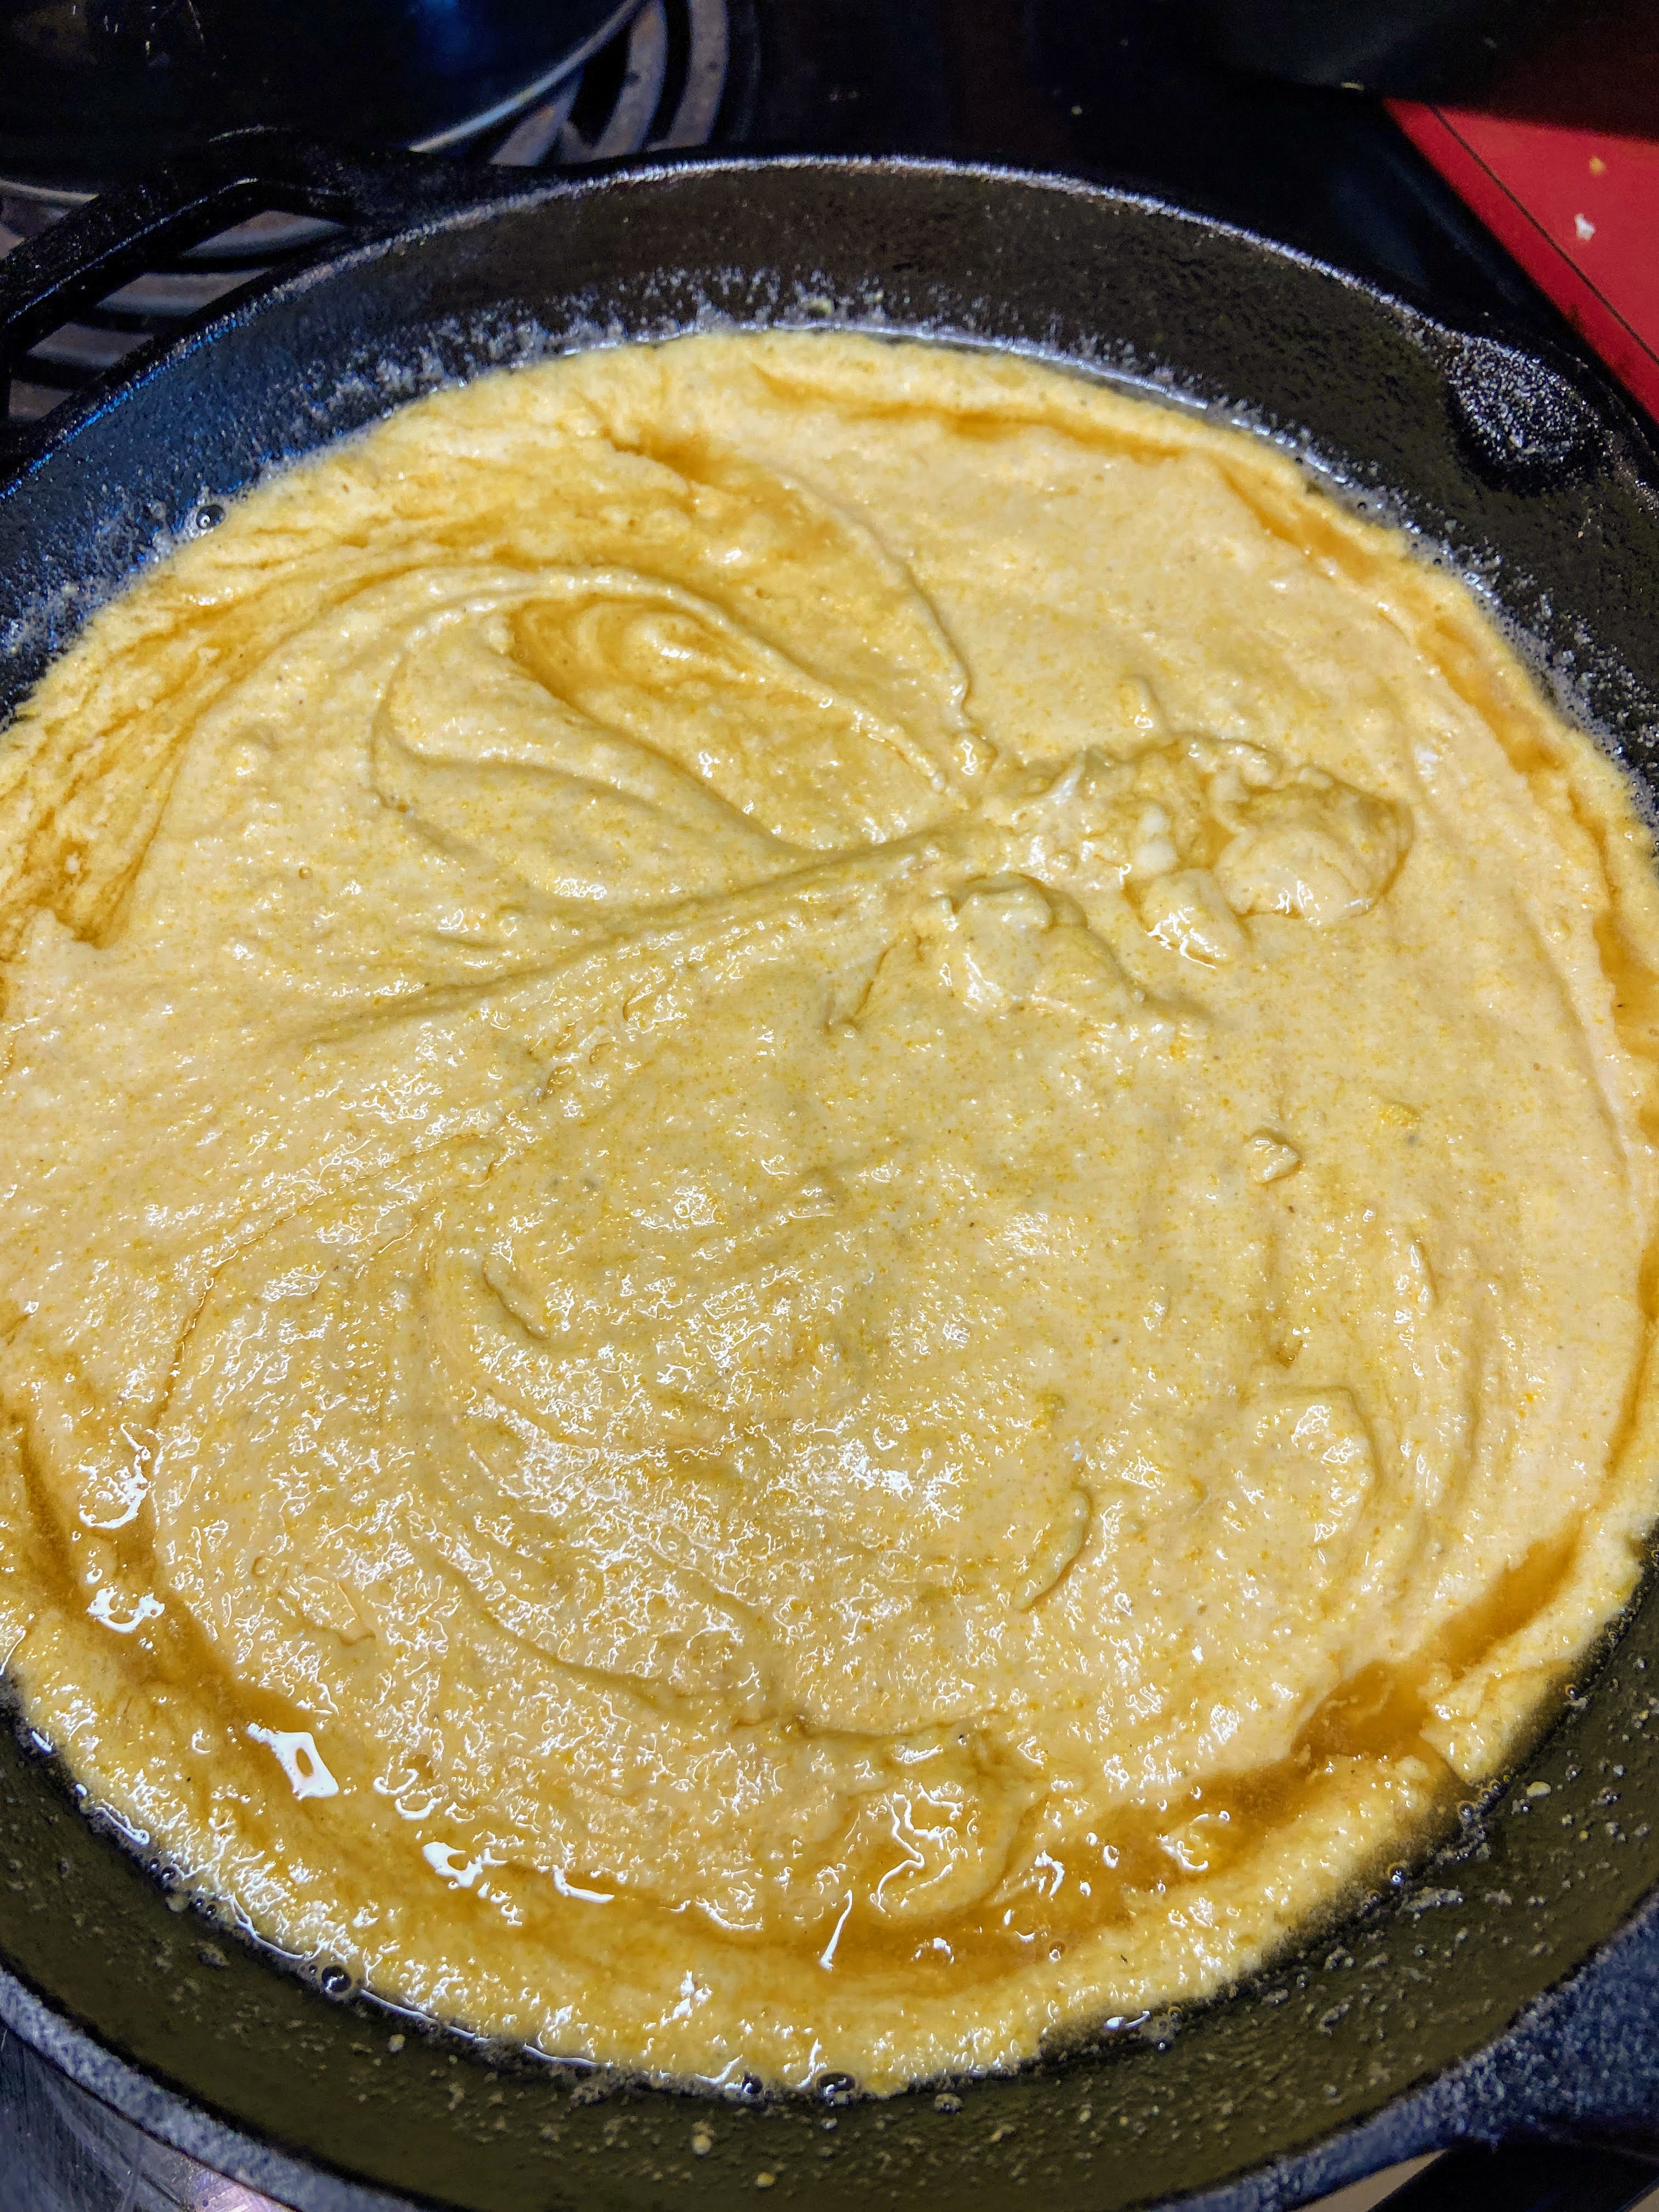
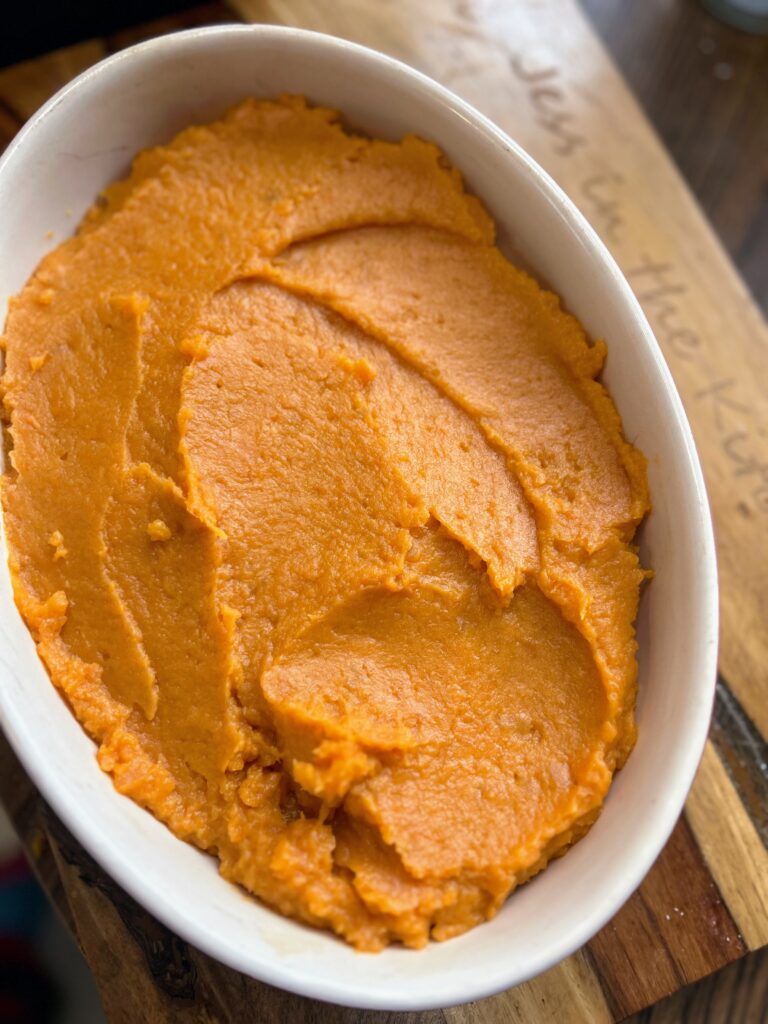
Preheat the oven to 350 degrees F. Allow the sweet potatoes to cool slightly (I always worry about “scrambling” eggs when I add them so I am careful to make sure the potatoes are cool enough). Stir in the milk, 1 tablespoon of butter (reserving 1 tablespoon for the topping), and sugar (reserving 3 tablespoons for the topping). Add the salt and eggs. Stir well.
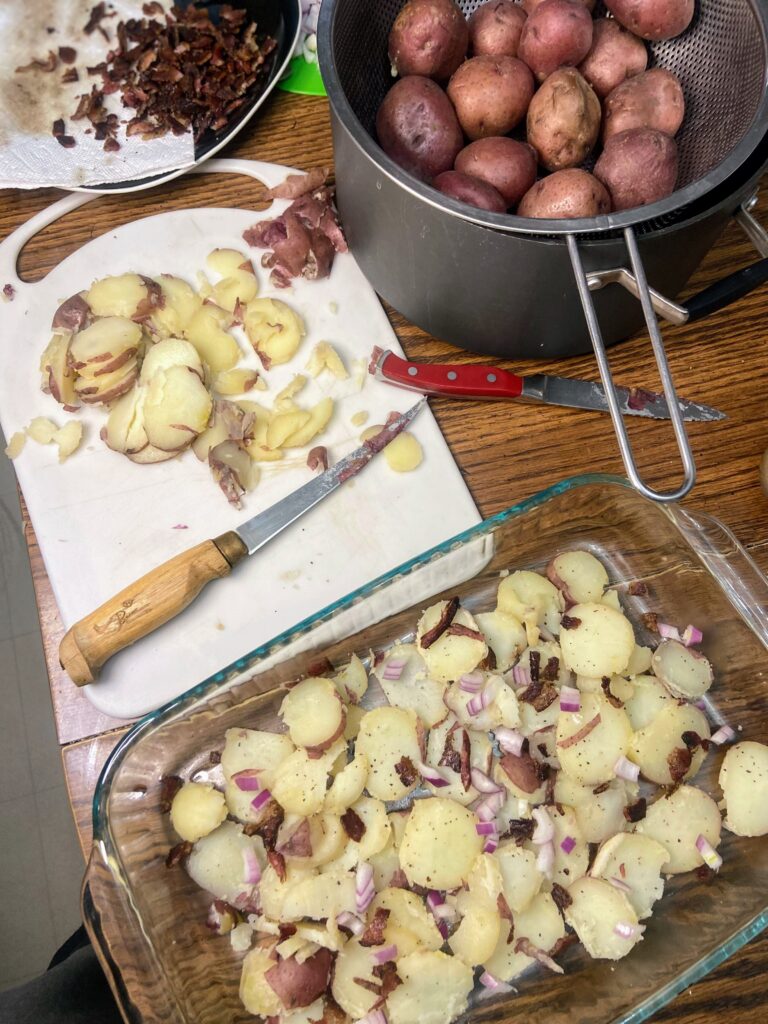
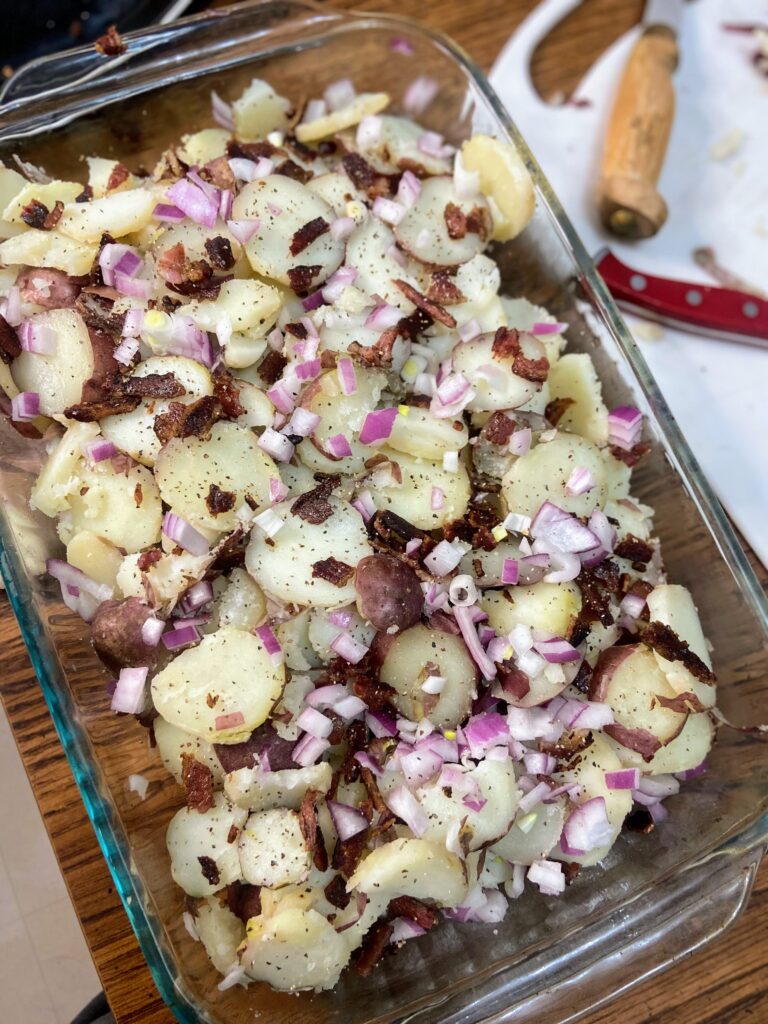
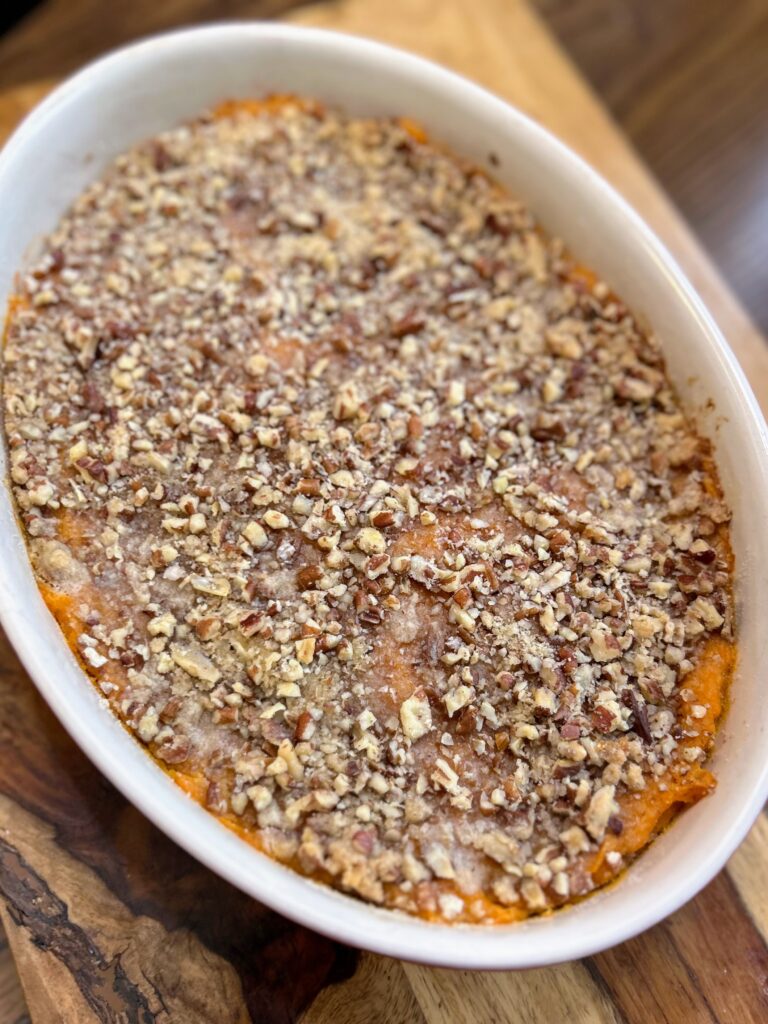
Spoon the mixture into an 8 in. by 8 in. casserole dish. In a small bowl, combine the reserved brown sugar, flour and butter. Cut with a pastry cutter until it looks like coarse sand. Alternatively, you can simply crumble with your fingers until it looks like coarse sand. Mix in the pecans. Sprinkle over the sweet potato mixture.
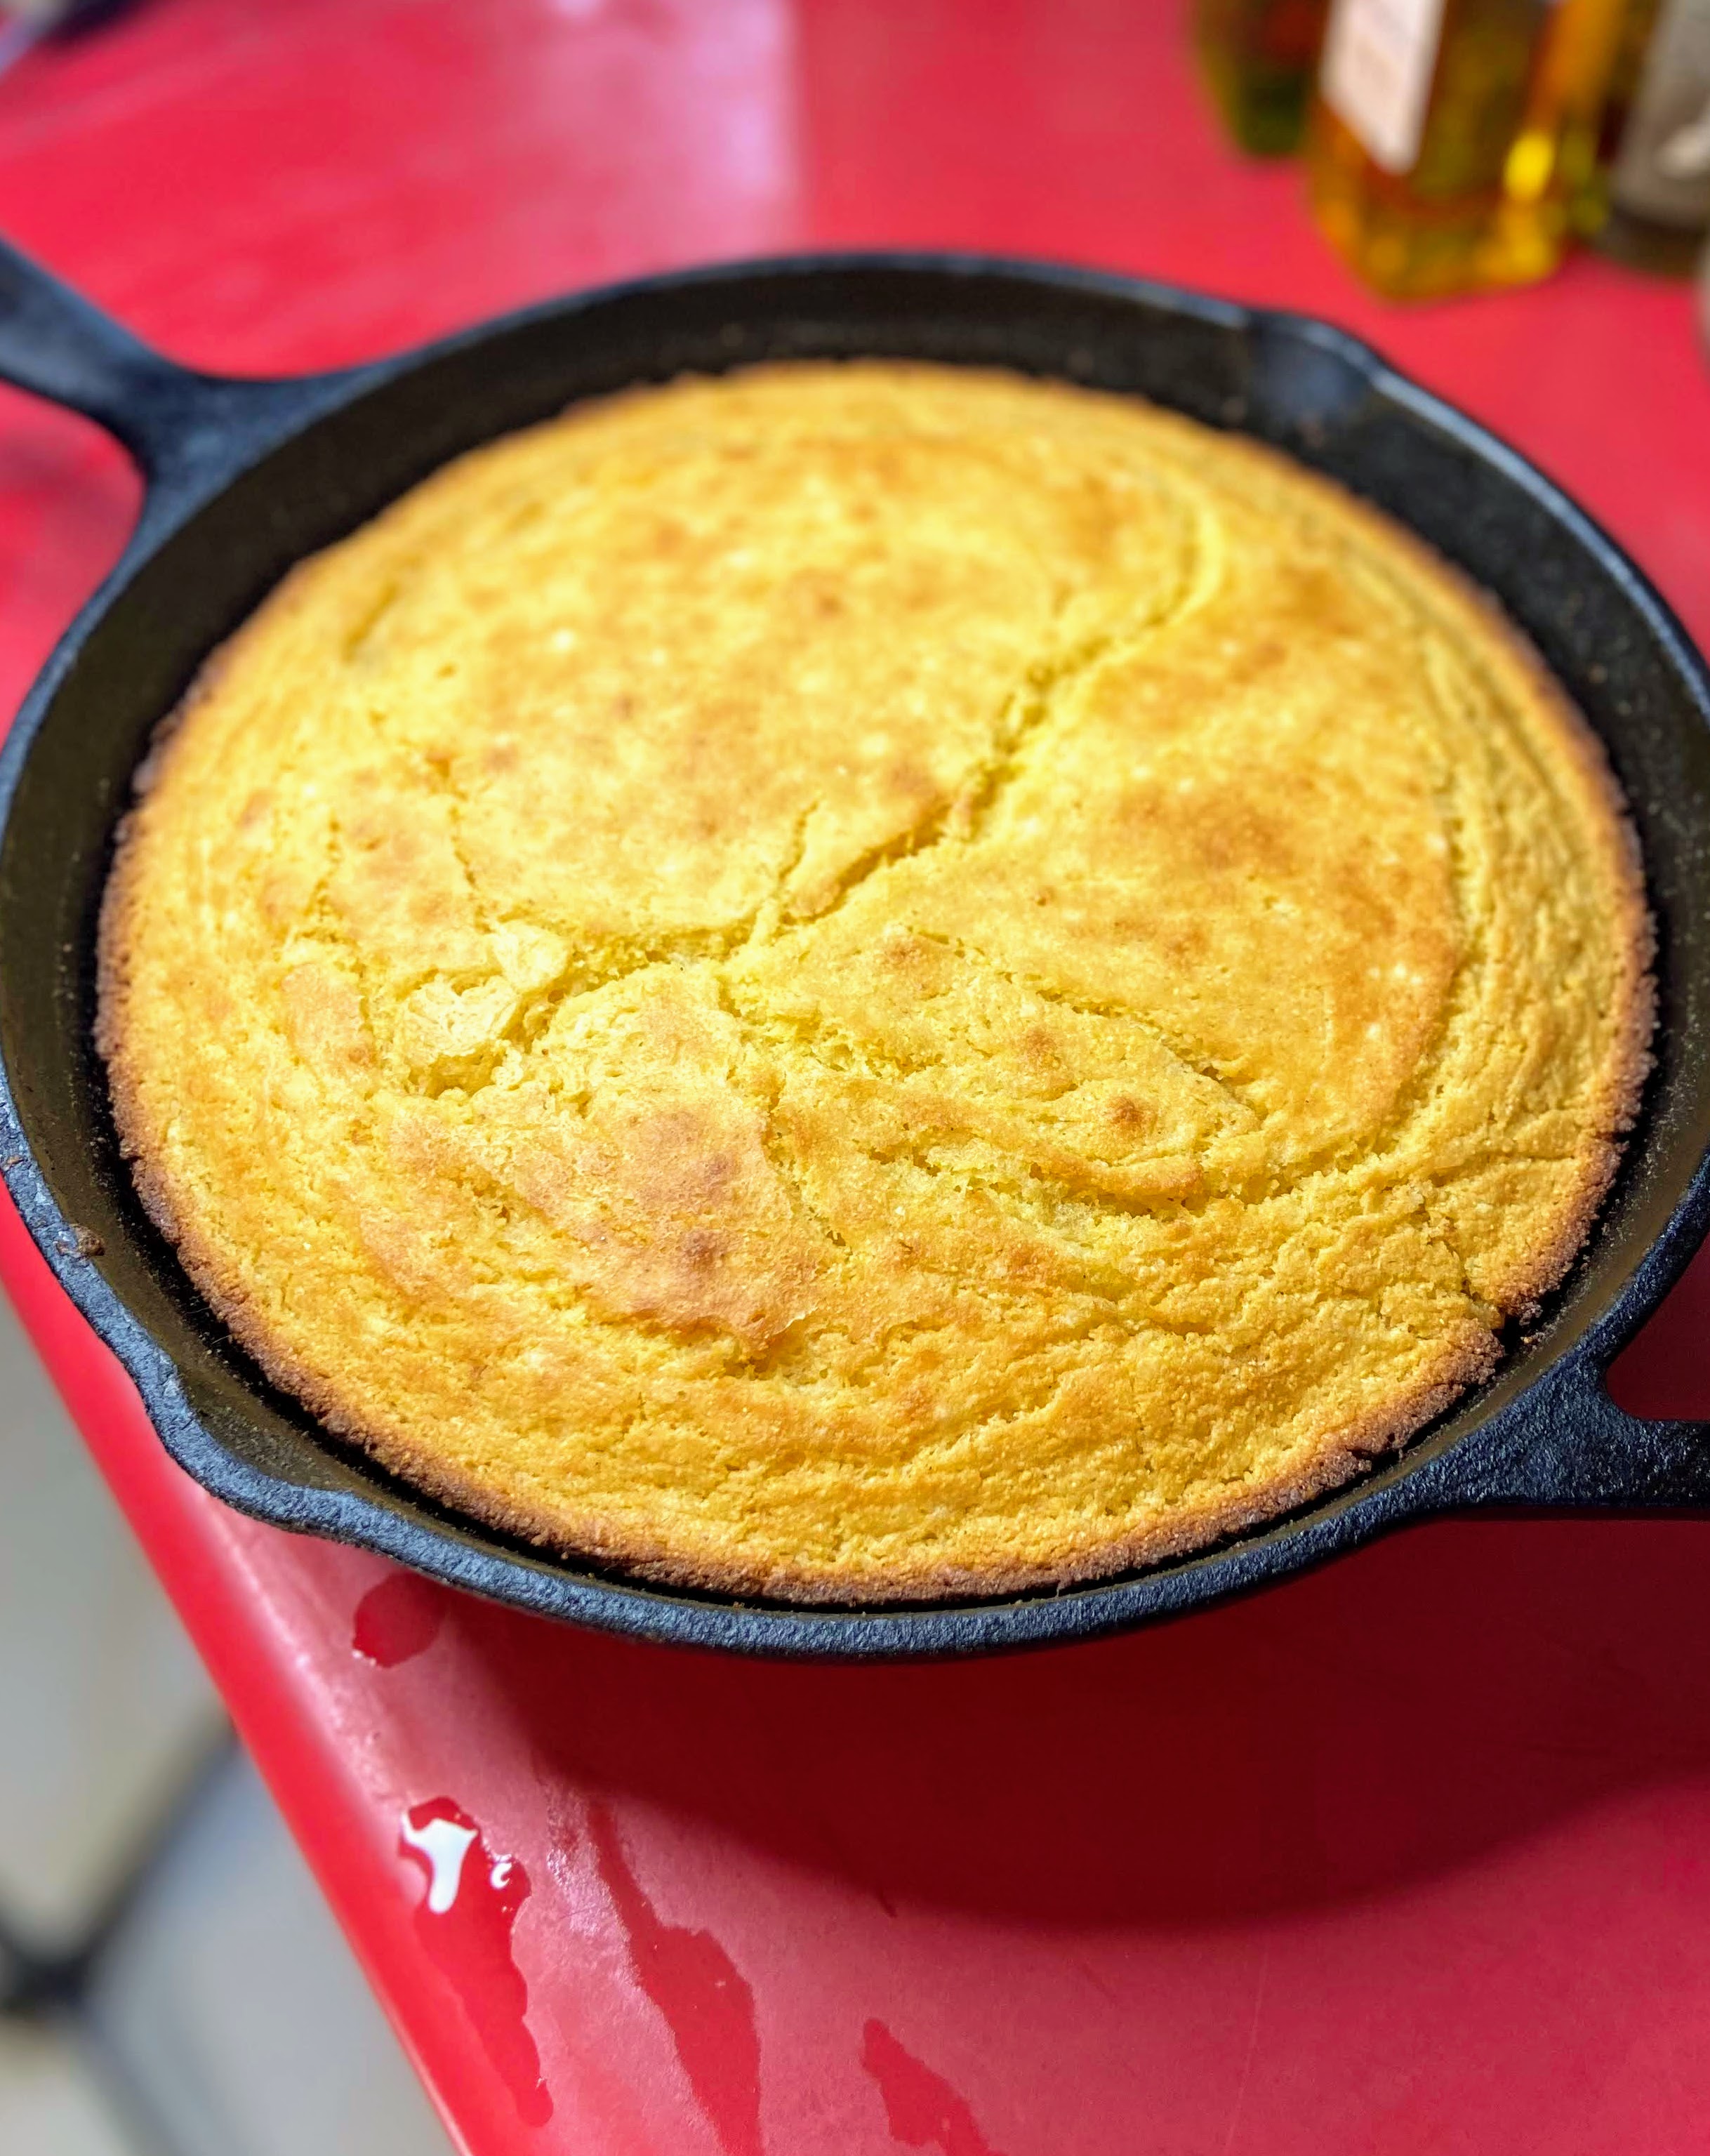
Bake for 45-50 minutes, until the mixture is heated through and the topping is slightly browned.

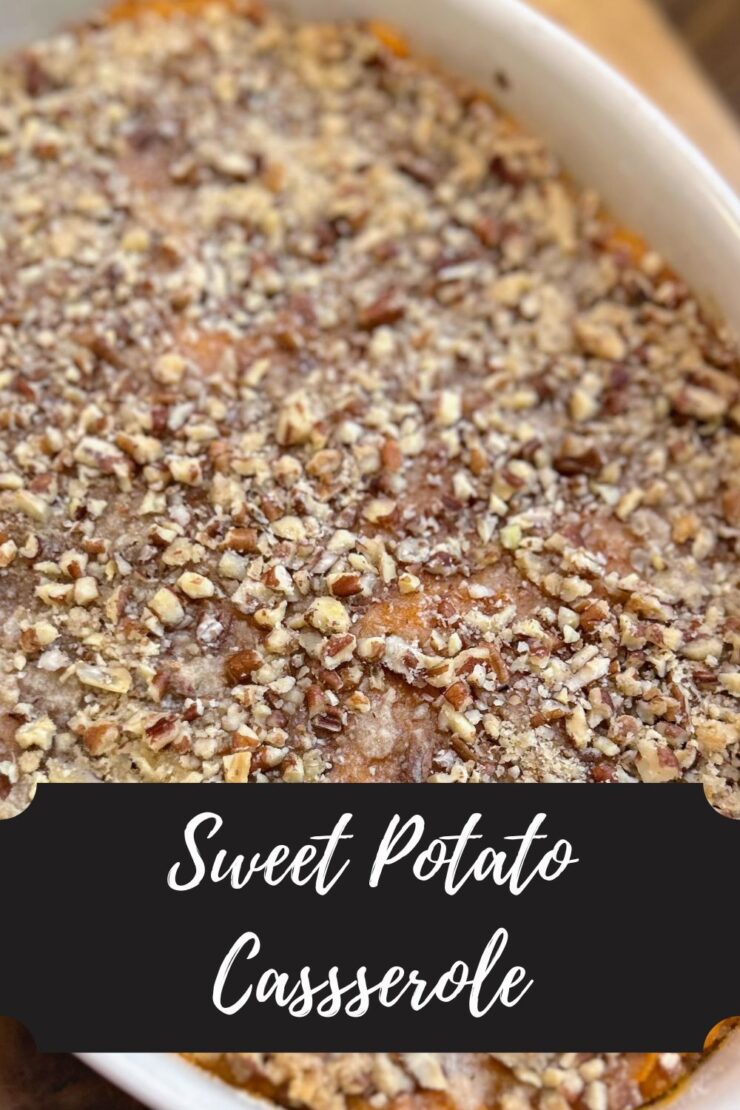
Sweet Potato Casserole
Equipment
- casserole dish
Ingredients
- 2 ½ pounds of sweet potatoes peeled and roughly cubed
- ½ cup brown sugar divided
- ⅓ cup milk I did whole
- 2 tablespoons butter divided
- 2 eggs beaten
- ½ teaspoon salt
- ¼ cup flour
- ⅓ cup chopped pecans
Instructions
- Place the potatoes in a large kettle and cover with water. Bring to a boil and cook until tender, about 25 minutes. Drain and mash with a potato masher.
- Preheat the oven to 350 degrees F. Allow the sweet potatoes to cool slightly. Stir in the milk, 1 tablespoon of butter (reserving 1 tablespoon for the topping), and sugar (reserving 3 tablespoons for the topping). Add the salt and eggs. Stir well.
- Spoon the mixture into an 8 in. by 8 in. casserole dish. In a small bowl, combine the reserved brown sugar, flour and butter. Cut with a pastry cutter until it looks like coarse sand. Alternatively, you can simply crumble with your fingers until it looks like coarse sand. Mix in the pecans. Sprinkle over the sweet potato mixture.
- Bake for 45-50 minutes, until the mixture is heated through and the topping is slightly browned.
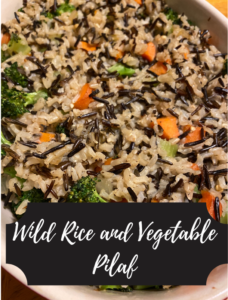
Looking for other dishes to pass?
Let’s be honest, Sweet Potato Casserole is one of those “family get togethers” dishes. Maybe you need another dish to pass too! Check out some of my favorites below!