I believe so many great recipes get created out of necessity or the cleaning of the fridge. A cook looks through the pantry, sees the ingredients they have on hand and simply create. Or perhaps they have a recipe in mind, but forgot to pick up an item or two so they create on the fly. This breakfast tortilla bake is a product of both of these. I couldn’t believe just how good it turned out!
Most breakfast bakes make huge cake pans worth of food. Too much for most families unless you are cooking for a huge crowd. The recipes I have also often start with crescent rolls. I don’t mind them, but sometimes I struggle with getting it cooked all the way through. The crescent rolls can also make the bake a little heavy. The tortillas in this bake help lighten it up a little.
We are a family of four and this was perfect for us with guests of another family four. It cooked up quick, had just a few dirty dishes, and everyone cleaned their plates. Hey, and notice that I snuck a few vegetables in too (you wouldn’t expect anything less from me, would you?!). Let’s get cooking!
Your Ingredients for a Breakfast Tortilla Bake
- 4 round flour tortillas (10 inches)
- 1 pound ground breakfast sausage
- 1 ½ tablespoon olive oil
- ½ cup diced onion
- 1 cup diced sweet peppers (any color)
- ½ cup diced button mushrooms
- 1 teaspoon minced garlic
- ½ teaspoon pepper
- 3 cups frozen shredded hash browns
- 8 eggs
- ¼ cup milk
- ¼ teaspoon each of: pepper, salt, onion powder, paprika
- 1 ½ cups shredded cheese
- 3 green onions, thinly sliced
Your Steps to Breakfast Tortilla Bake
Preheat the oven to 350 degrees. Line a shallow 2 ½ quart casserole dish with 2 of the flour tortillas. Add ½ tablespoon olive oil to a deep saute pan. Heat over medium-high heat. Once hot, add breakfast sausage. Break apart and brown until just cooked. Remove from the pan, but leave the oil.
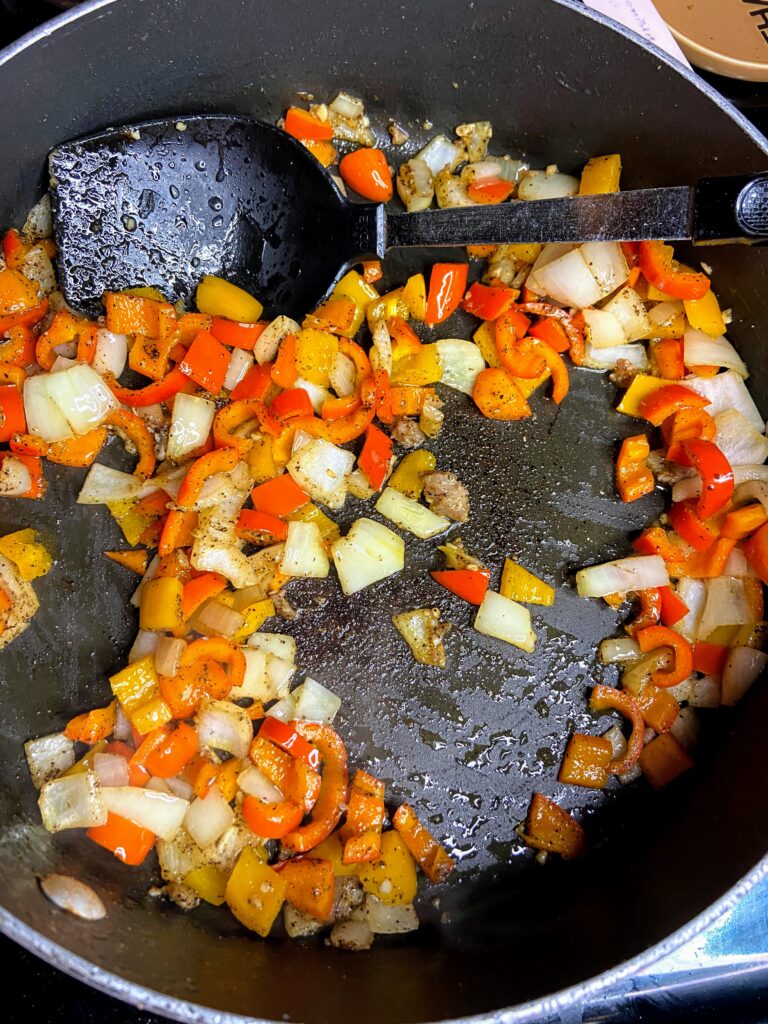
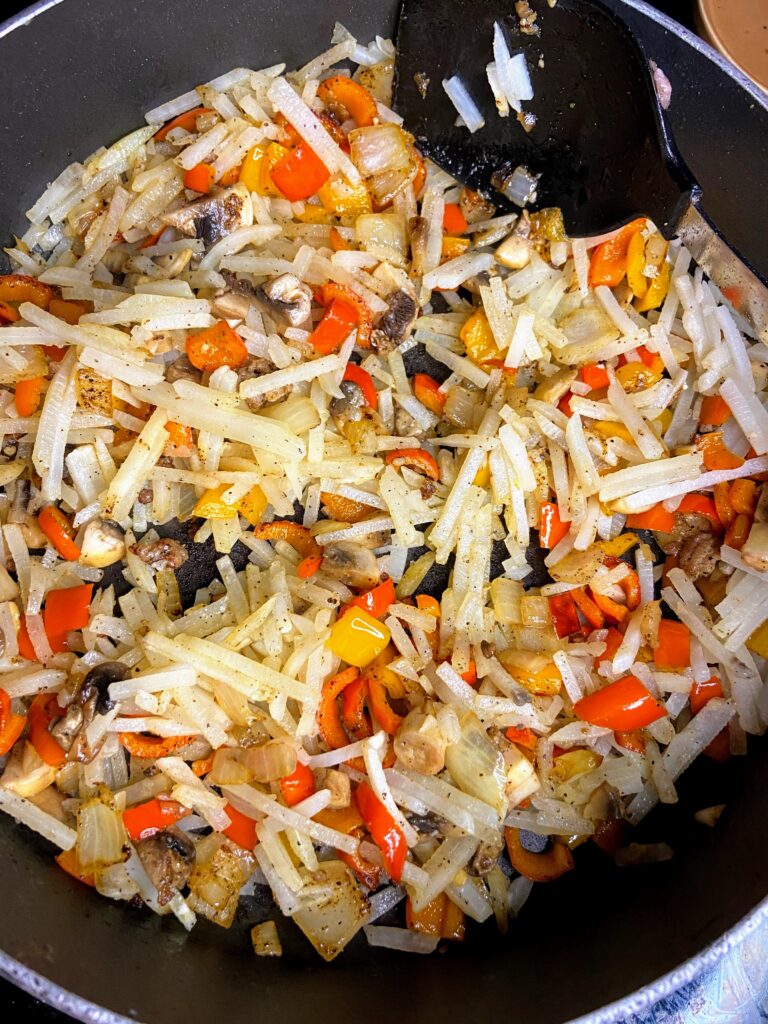
Add diced peppers, onions, and garlic. Cook over medium heat until softened, about 6 minutes. While the peppers are cooking, thaw the hash browns in the microwave on the defrost setting. Add hashbrowns to softened peppers and onions. Cook for 5-10 minutes, until they are cooked through and hot, but not browned.
Remove peppers and hash browns from the pan. If enough oil remains, great. If not, add ½-1 more tablespoons of oil to grease the pan for the eggs. Whisk eggs, milk and pepper, salt, onion powder, and paprika. Add to a hot pan and scramble the eggs. Cook until JUST cooked through. Leave them with more moisture than not. Remove from the pan.
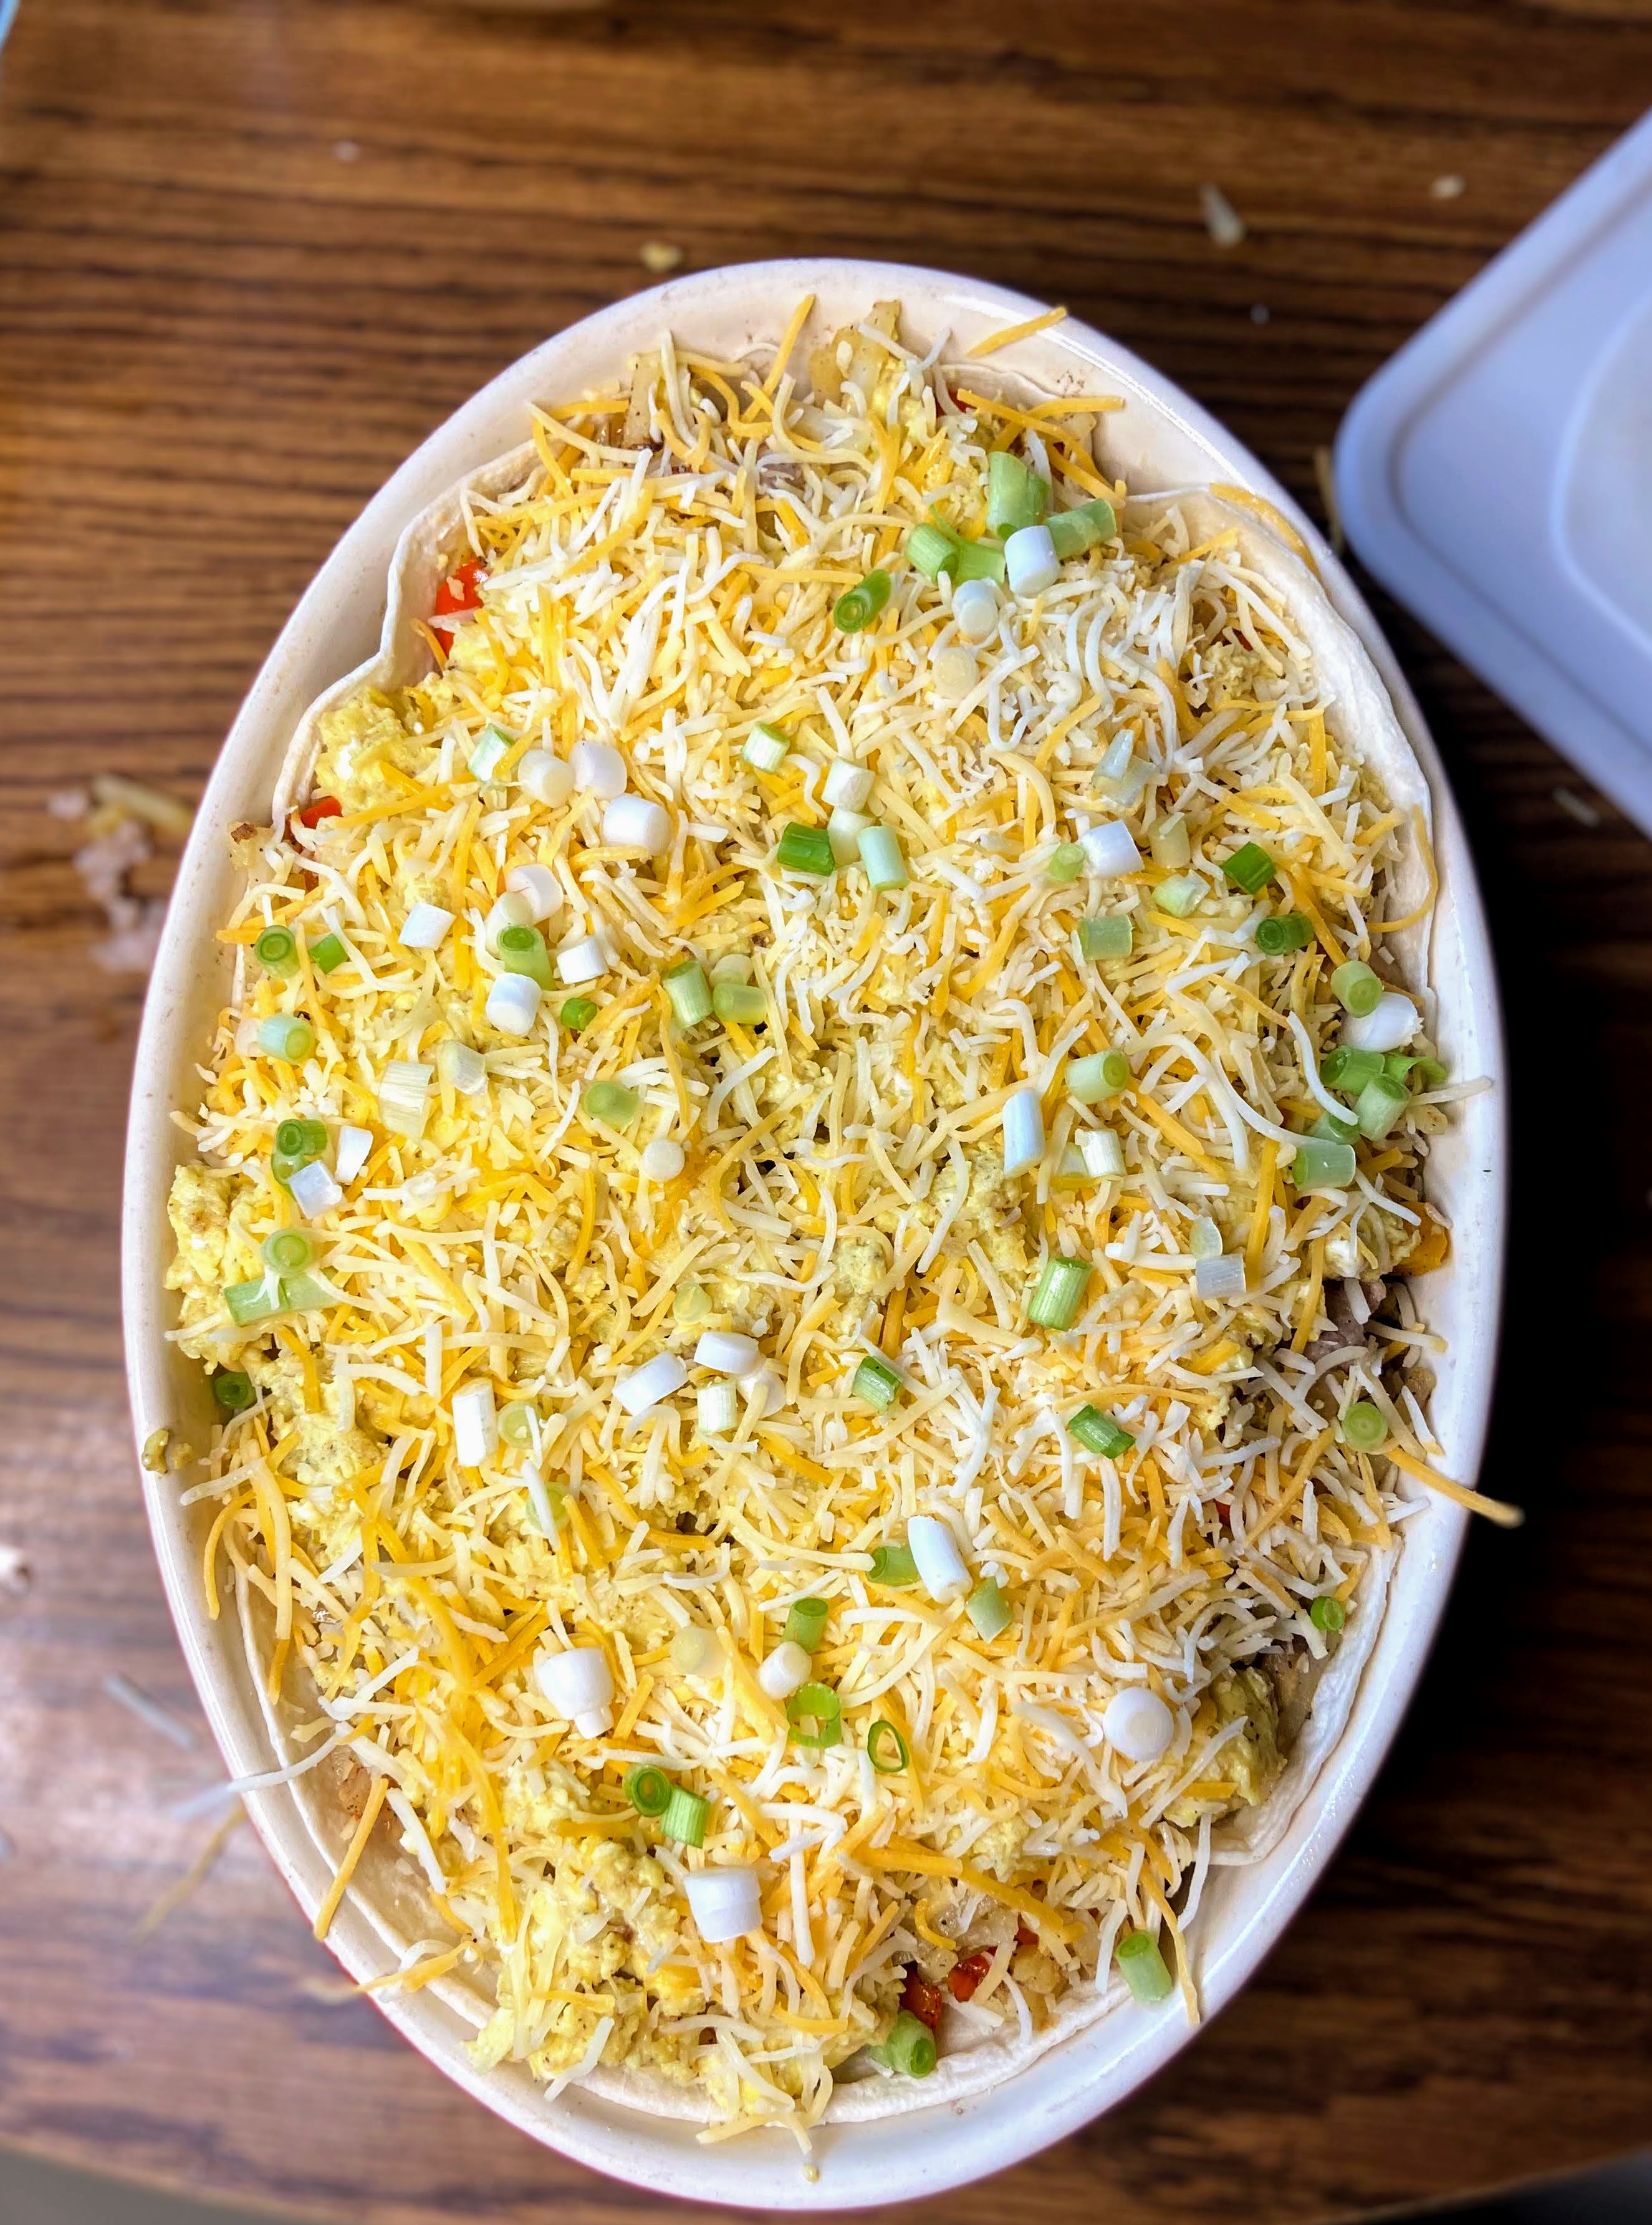
Layer sausage, hash browns and peppers, and eggs in the casserole dish. Add ½-¾ cup cheese. Top with remaining tortillas. Layer sausage, hash browns and peppers, and eggs once more. Top with remaining cheese and sliced green onions.
Bake, uncovered, for 35-40 minutes, until cheese is melted. Serve it up!

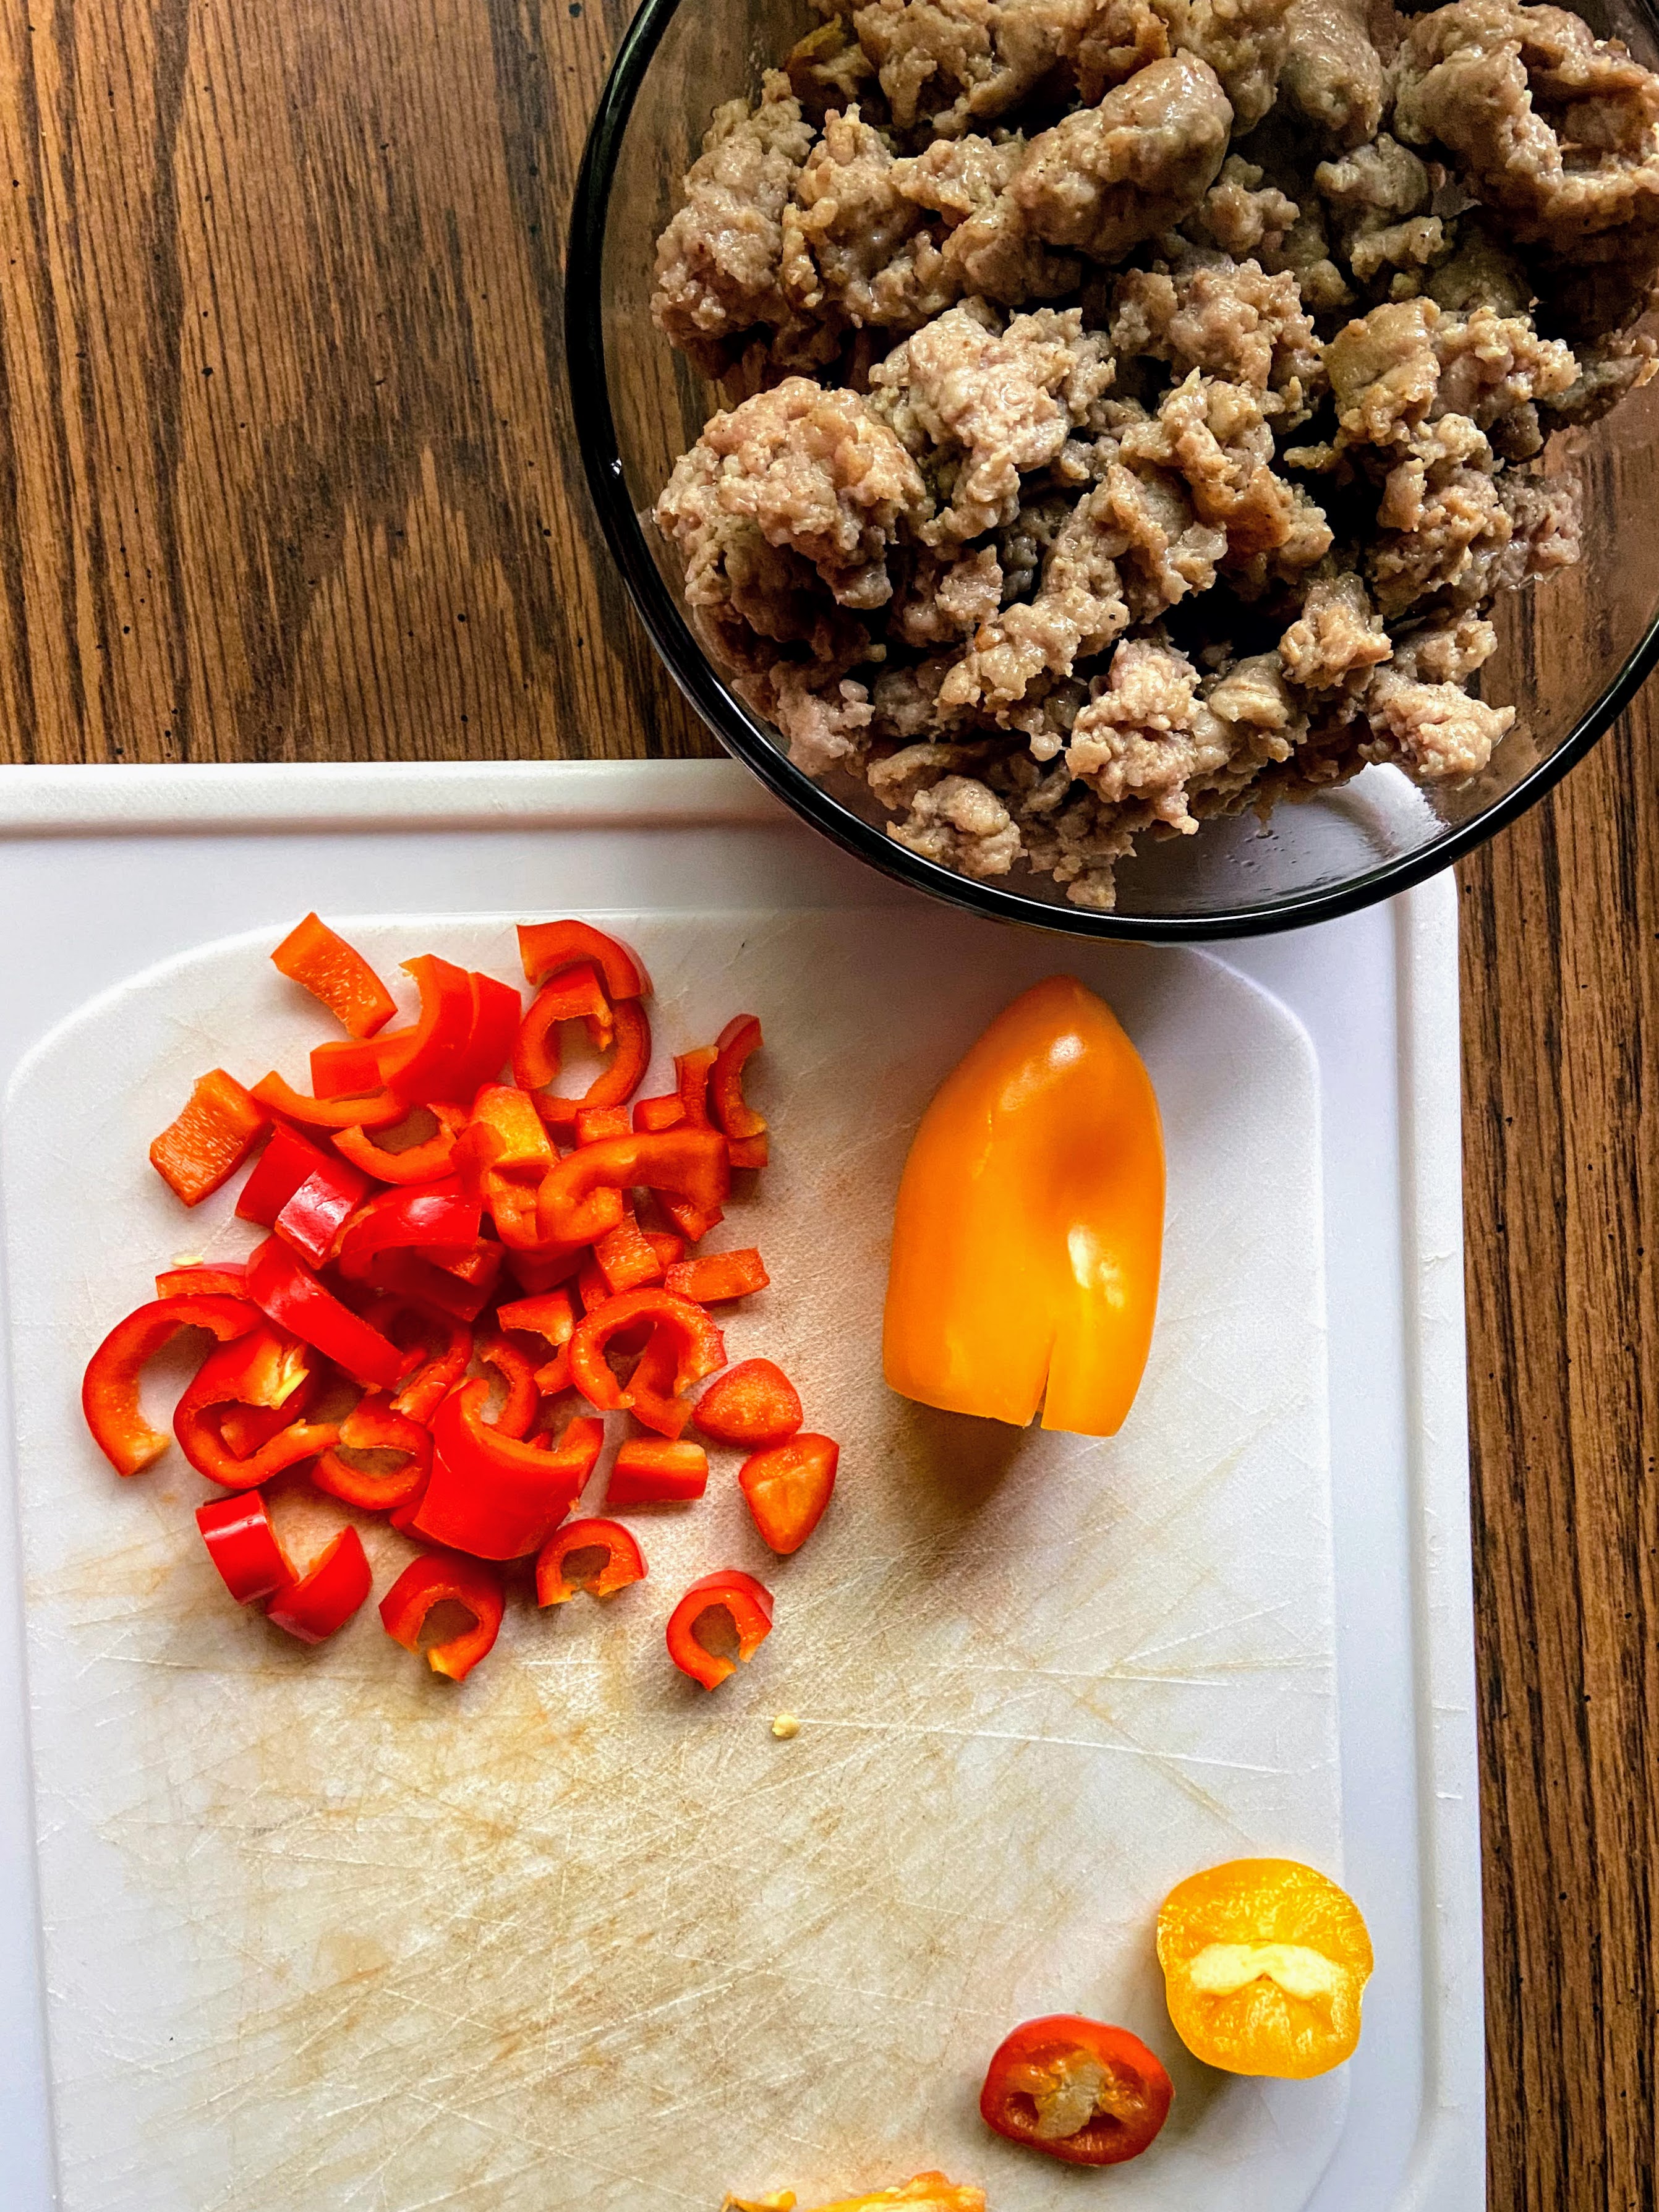
Browned sausage! 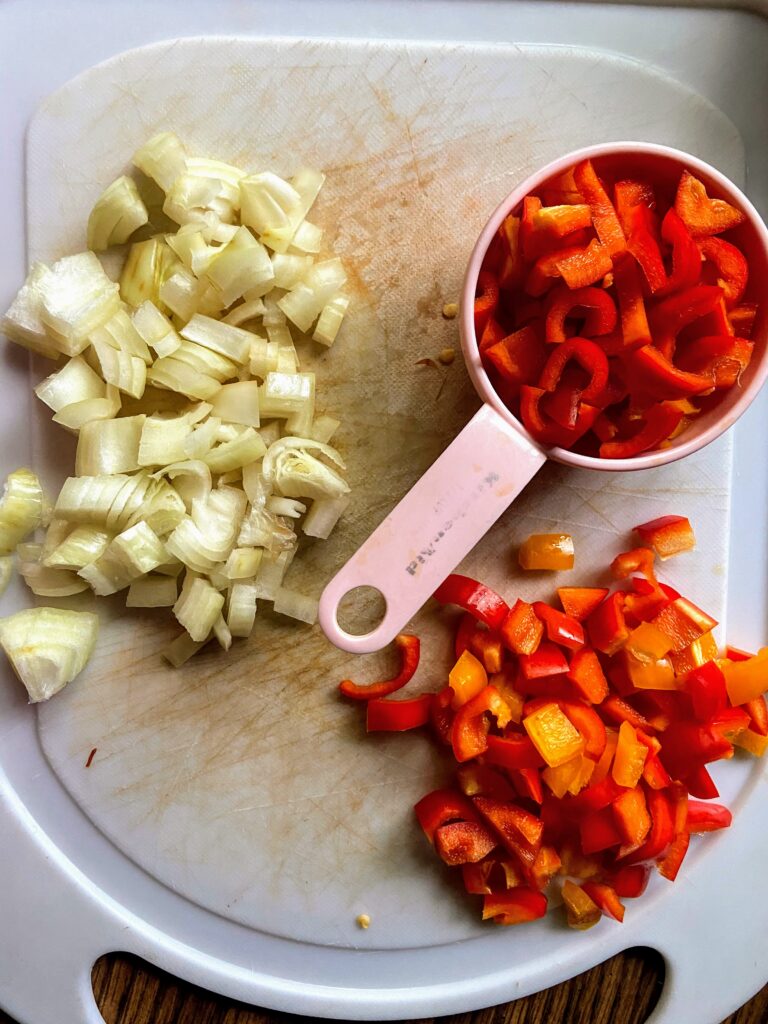
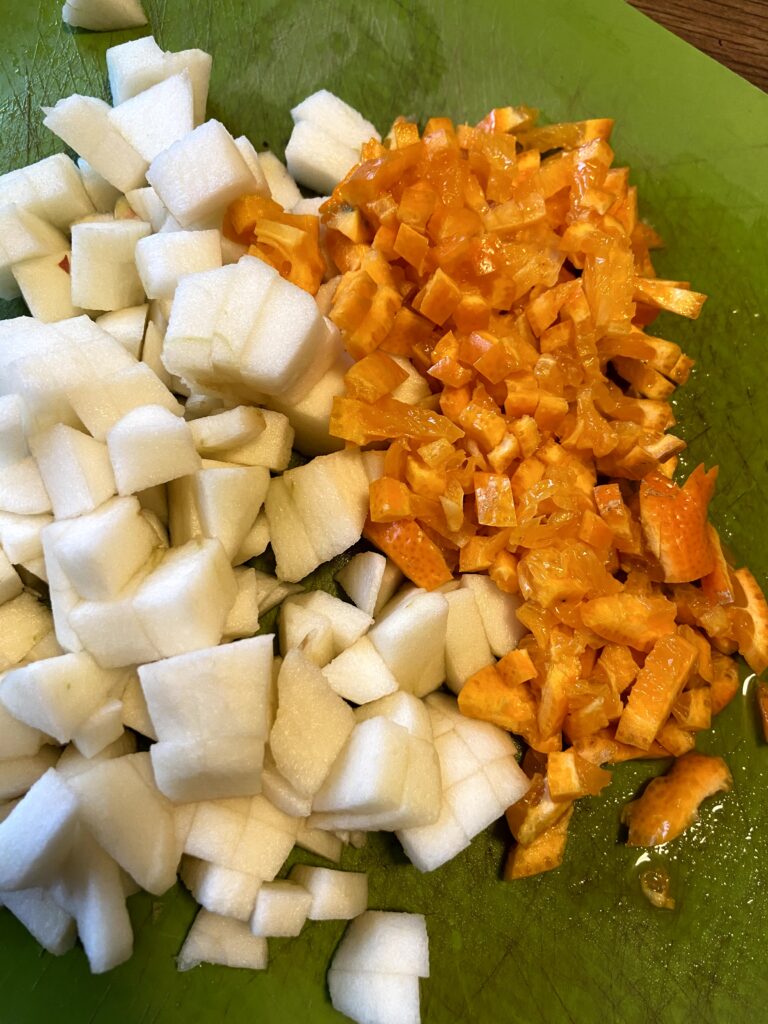
I just love a cutting board picture! Soften up the vegetables… and then stir in the hash browns. Time to layer it up! Layer one! Layer two plus all the cheese! Baked… and ready to dig in!


Looking for some other breakfast inspiration? Check out my cooking or baking page by clicking the buttons below:

Easy Breakfast Tortilla Bake
Ingredients
- 4 round flour tortillas 10 inches
- 1 pound ground breakfast sausage
- 1 ½ tablespoon olive oil
- 1 cup diced sweet peppers any color
- ½ cup diced onion
- ½ cup diced button mushrooms
- 1 teaspoon minced garlic
- ½ teaspoon pepper
- 3 cups frozen shredded hash browns
- 8 eggs
- ¼ cup milk
- ¼ teaspoon each of: pepper salt, onion powder, paprika
- 1 ½ cups shredded cheese
- 3 green onions thinly sliced
Instructions
- Preheat the oven to 350 degrees. Line a shallow 2 ½ quart casserole dish with 2 of the flour tortillas.
- Add ½ tablespoon olive oil to a deep saute pan. Heat over medium-high heat. Once hot, add breakfast sausage. Break apart and brown until just cooked. Remove from the pan, but leave the oil.
- Add diced peppers, onions, and garlic. Cook over medium heat until softened, about 6 minutes.
- While the peppers are cooking, thaw the hash browns in the microwave on the defrost setting. Add hash browns to softened peppers and onions. Cook for 5-10 minutes, until they are cooked through and hot, but not browned.
- Remove peppers and hash browns from the pan. If enough oil remains, great. If not, add ½-1 more tablespoons of oil to grease the pan for the eggs. Whisk eggs, milk and pepper, salt, onion powder, and paprika. Add to the hot pan and scramble the eggs. Cook until JUST cooked through. Leave them with more moisture than not. Remove from the pan.
- Layer sausage, hash browns and peppers, and eggs in the casserole dish. Add ½-¾ cup cheese. Top with remaining tortillas. Layer sausage, hash browns and peppers, and eggs once more. Top with remaining cheese and sliced green onions.
- Bake, uncovered, for 35-40 minutes, until cheese is melted.