Homemade Applesauce: Slow Cooker Style

Growing up, I don’t remember either of my parents making homemade applesauce. That isn’t to say they didn’t do it, but I certainly have no memory of it. It wasn’t until I was almost entirely through college that I even realized canning and preserving food was something commonplace. I didn’t start my own journey with homegrown and preserved food until late into my twenties, after my son was born. 

After we purchased our home in 2009, we immediately set to work to plant a garden and get trees started for our own mini orchard. At that point, I still had no idea where my future in home preservation was headed. My in-laws are avid canners and freezers of food they produce in their garden. I don’t know if it was a push by my husband or a curiosity of mine, but I became interested. Slowly, I started by canning pickles and jams. Then tomato sauce. Then my in-laws brought me bushels of apples from their own orchard (ours are JUST starting to produce enough to preserve them. For now, we eat ours and preserve gifted apples). I became interested in making homemade applesauce. Then apple jelly and apple pie filling

Now, I’ve learned that preserving homemade applesauce doesn’t have to look like canning it (although I like to do a little of both). It can look like freezing it, which is a little less daunting for many. And while I love a low simmer on the stove, a slow cooker does the trick and takes the pressure off of worrying if it’s going to burn. Big win, right? 

So if you’re ready, I am excited to share my homemade applesauce recipe for freezing. 

Your Ingredients for HOmemade AppleSauce

  • 8-9 pounds of apples (between 27-36 apples)
  • 2-3 cinnamon sticks (optional) 
  • 1 cup of water 

Note: I never add sugar. Apples are sweet enough on their own that I don’t think you need it. If you want to add sugar, I recommend starting low, say, ½ cup. You can add it later, but you can’t unsweeten applesauce after you add it. 

Directions for Slow cooker Applesauce

Gather a bowl and a 7-8 quart slow cooker. Peel, core, and slice your apples. Place the scraps in the bowl for Apple Scrap Jelly (yes, you didn’t know you were also making jelly, but here you are, getting ready to!). Set aside (or compost them if you must.) 

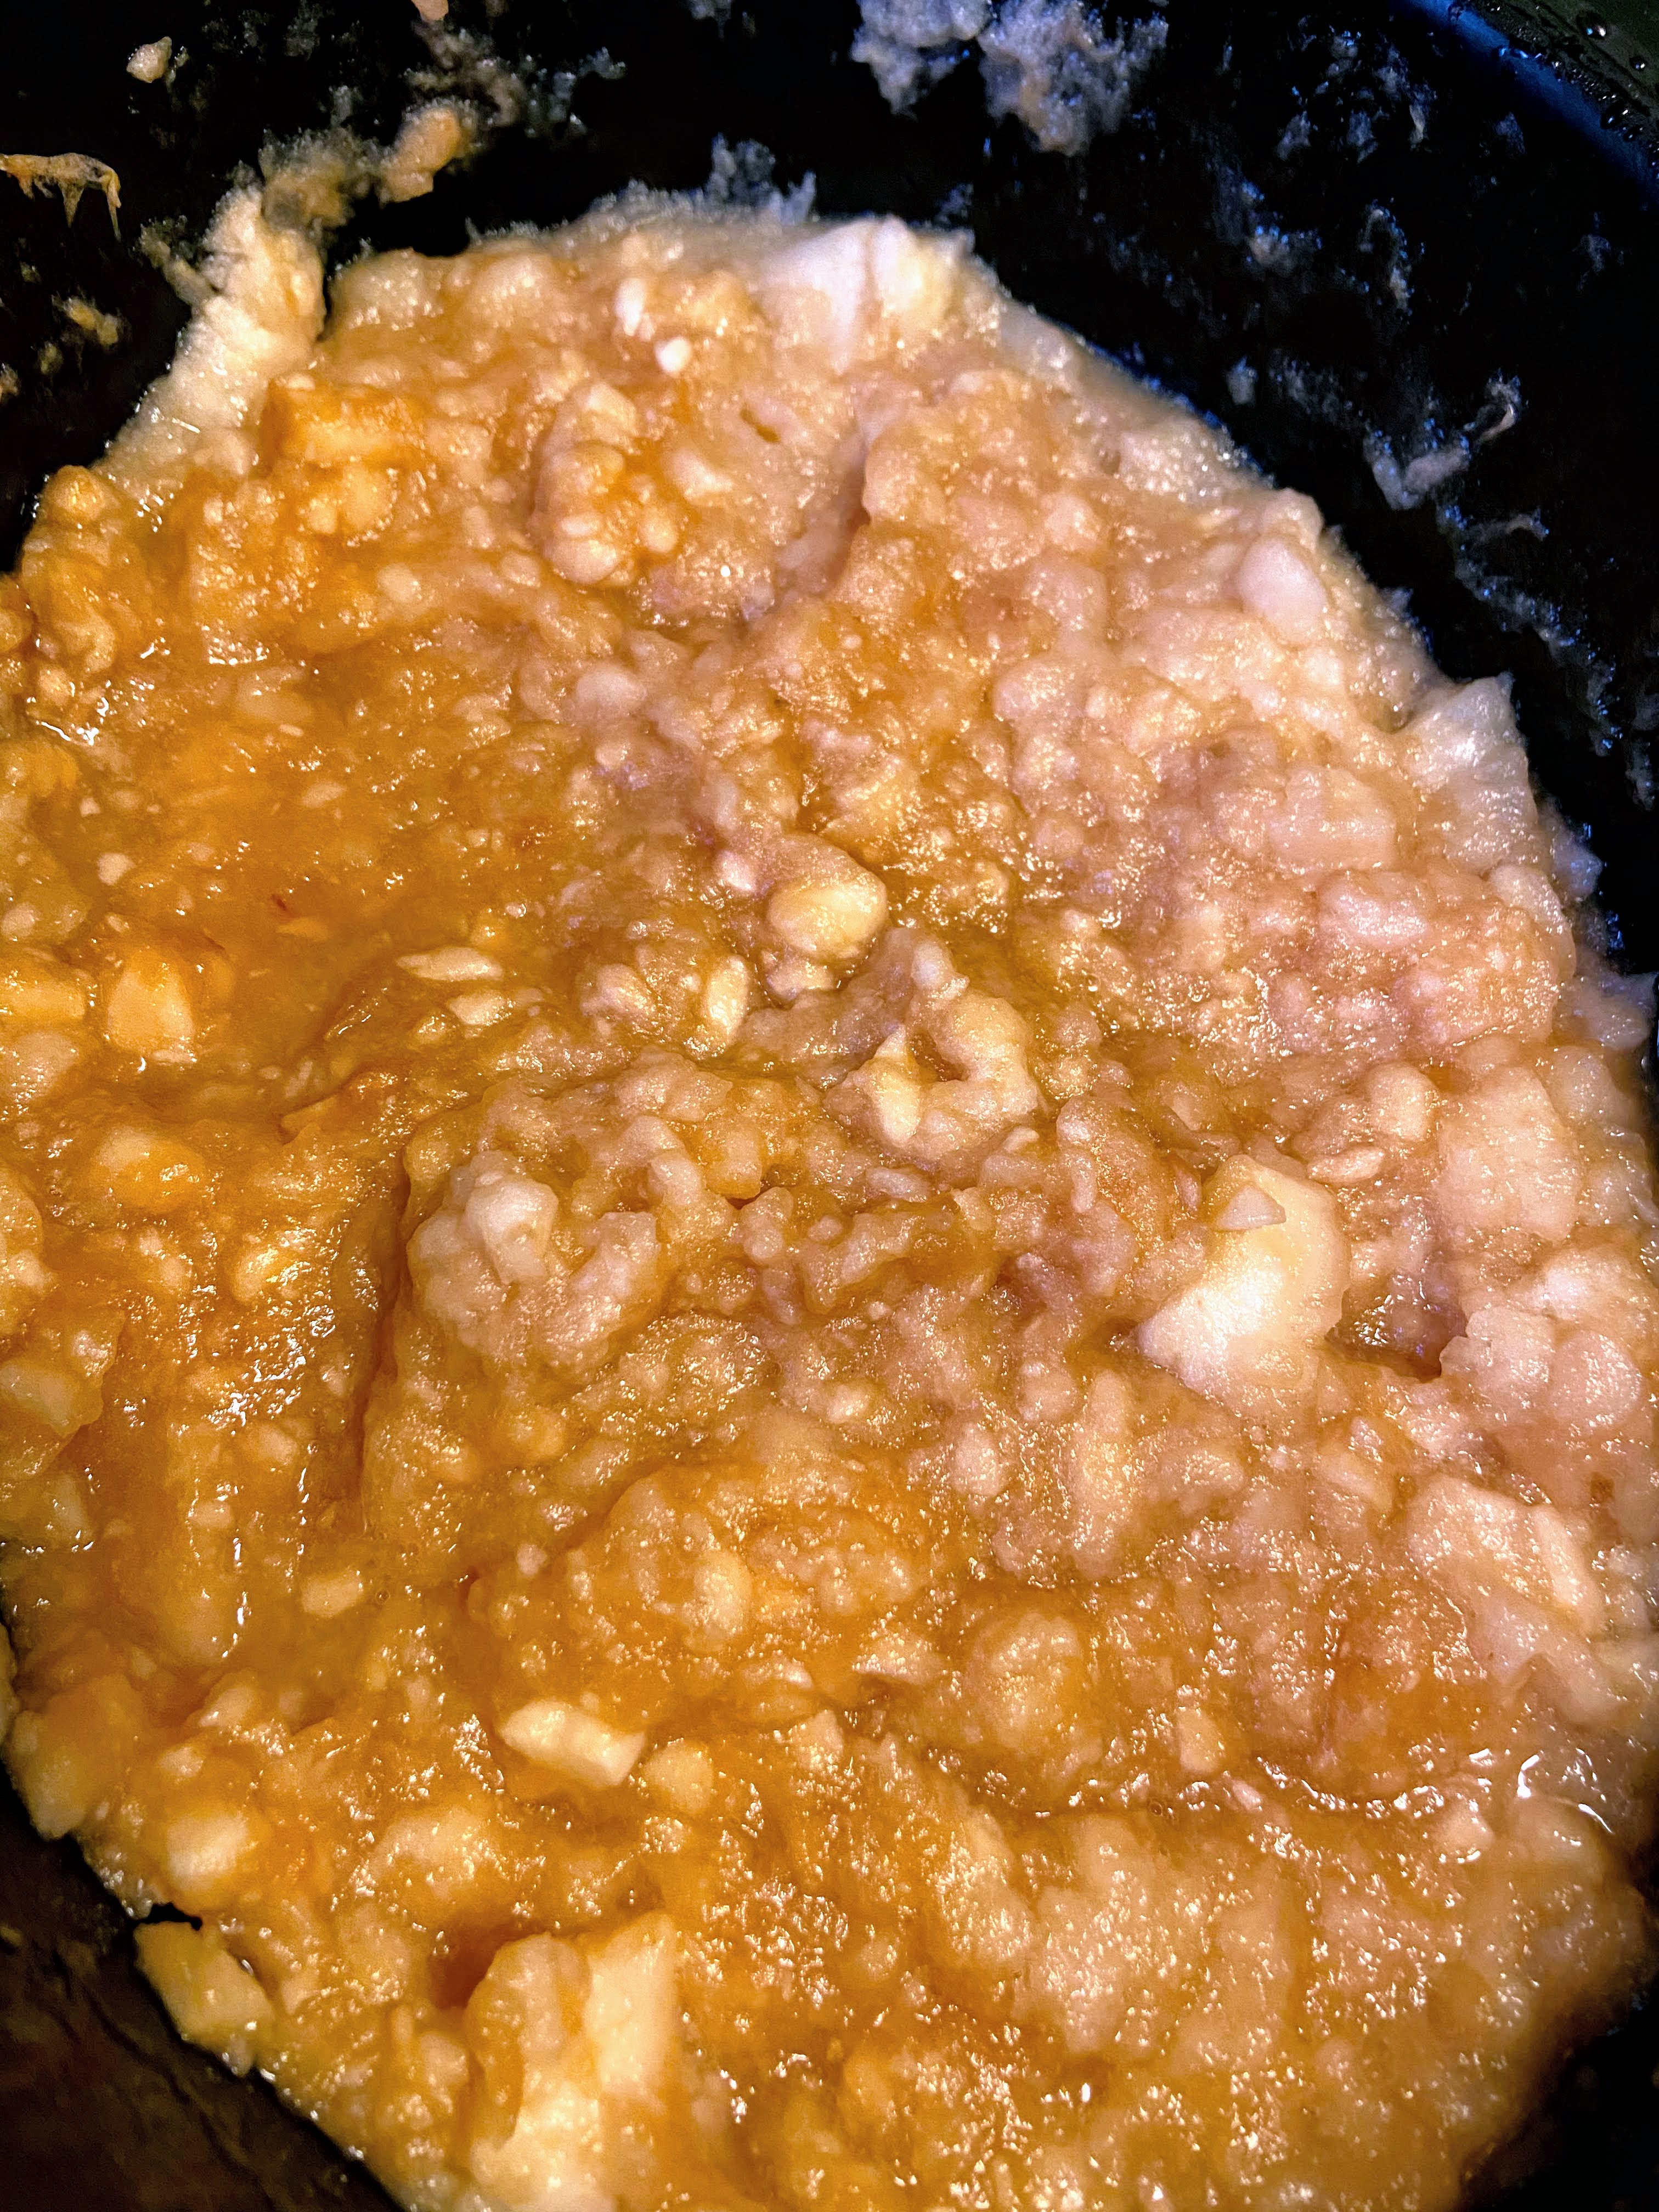
Place the sliced apples in the slow cooker. Add cinnamon sticks and water. Set on high for 3-4 hours. Every 30 minutes or so, stir and mash a bit with a potato masher or pastry cutter to break down the apples. Cook until apples are soft. 

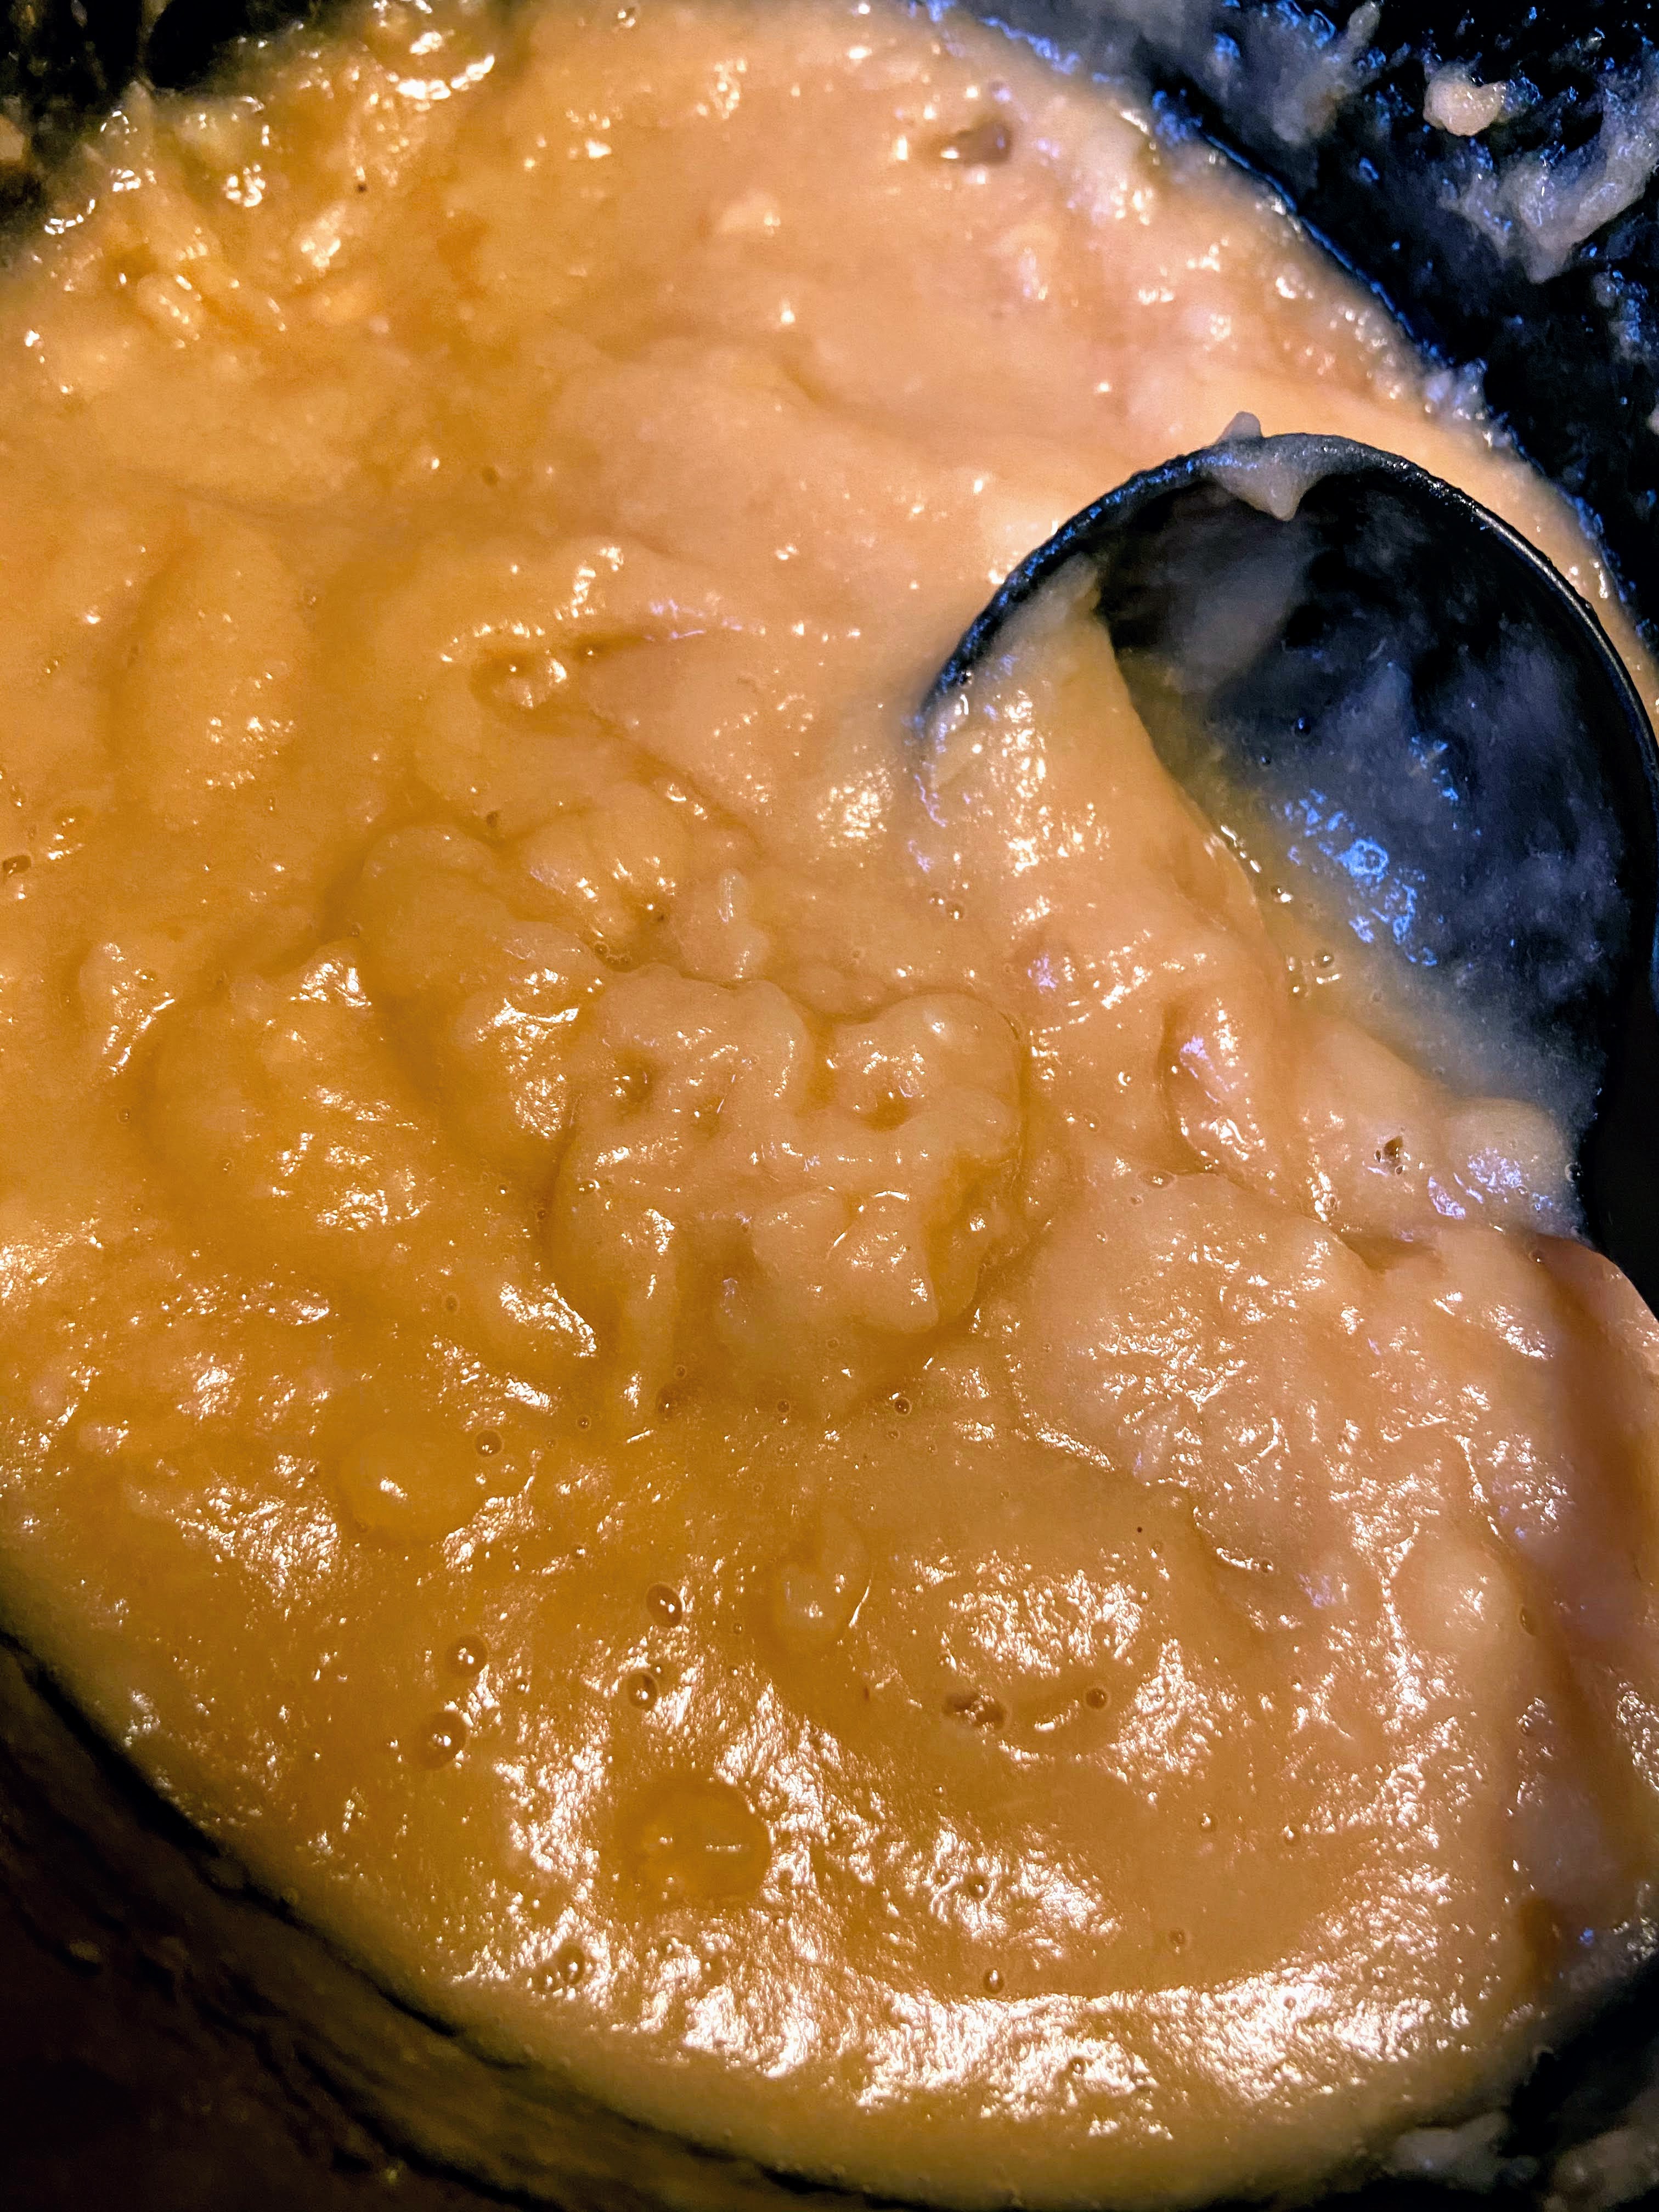
Remove the cinnamon sticks. Now, you have a decision to make: chunky or smooth? 

Chunky Applesauce? Continue to mash with the potato masher until you like the texture. 

Smooth Applesauce? Hit it with an immersion blender until you get the texture you love. 

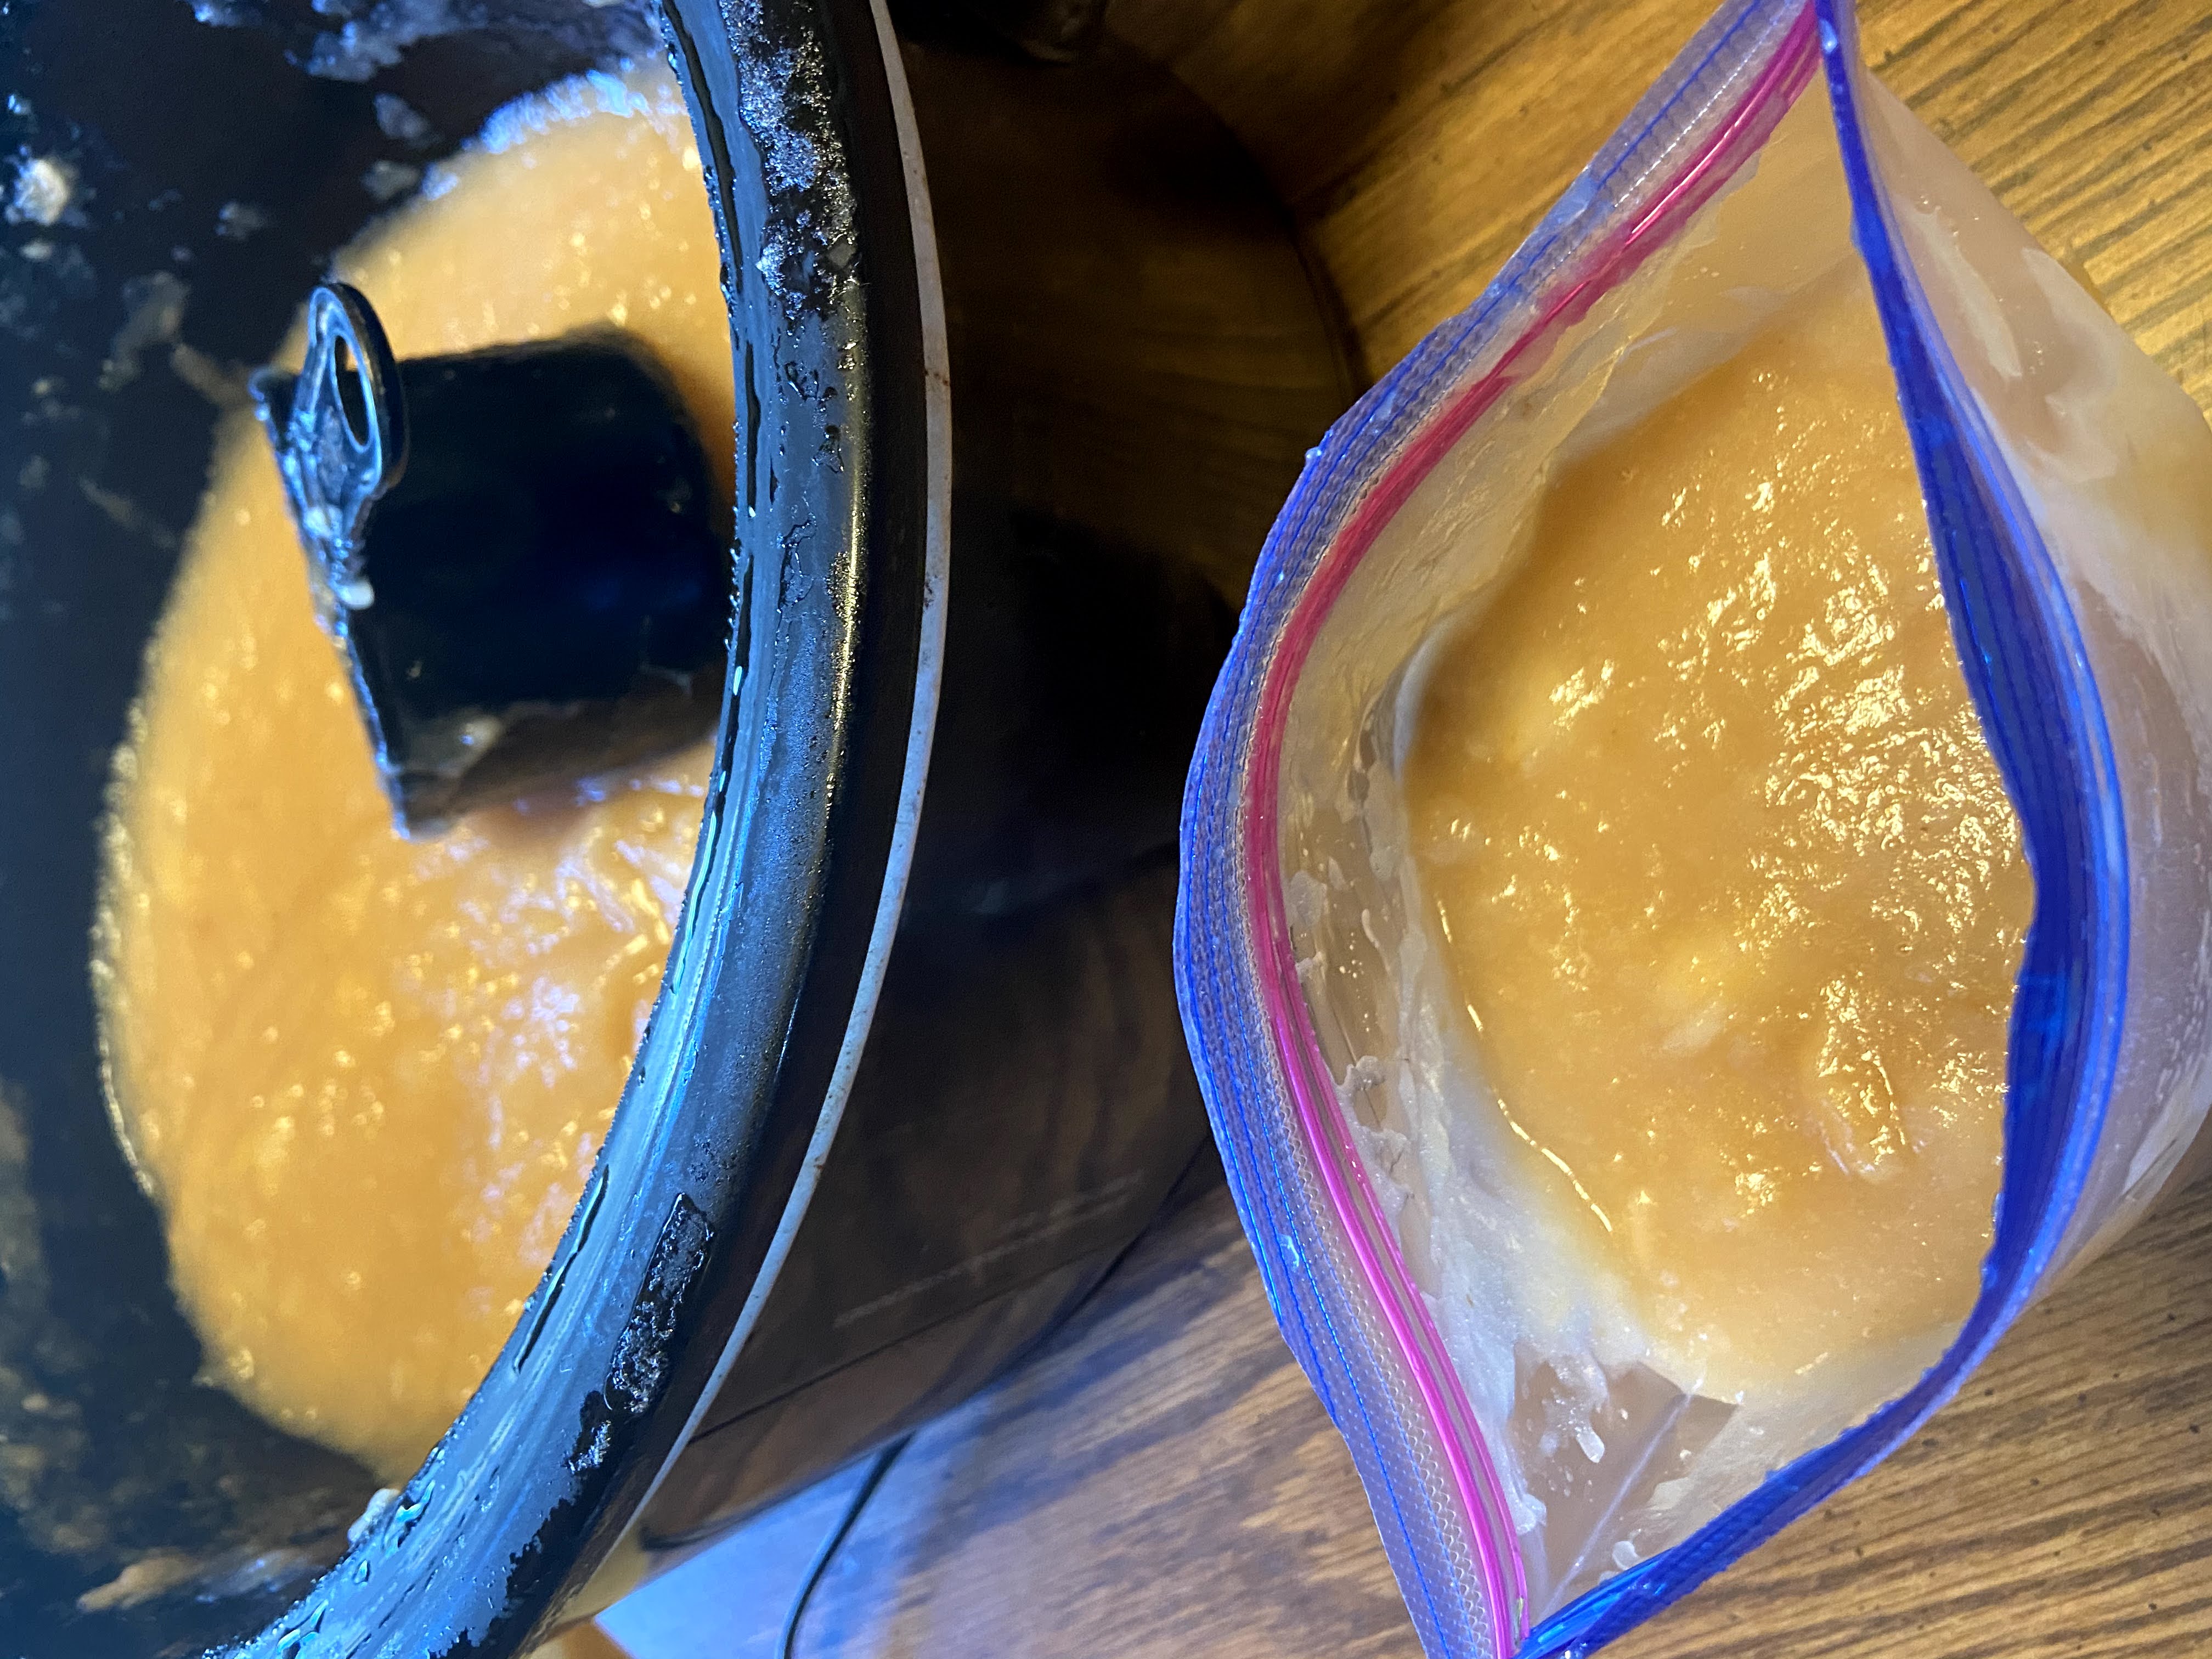
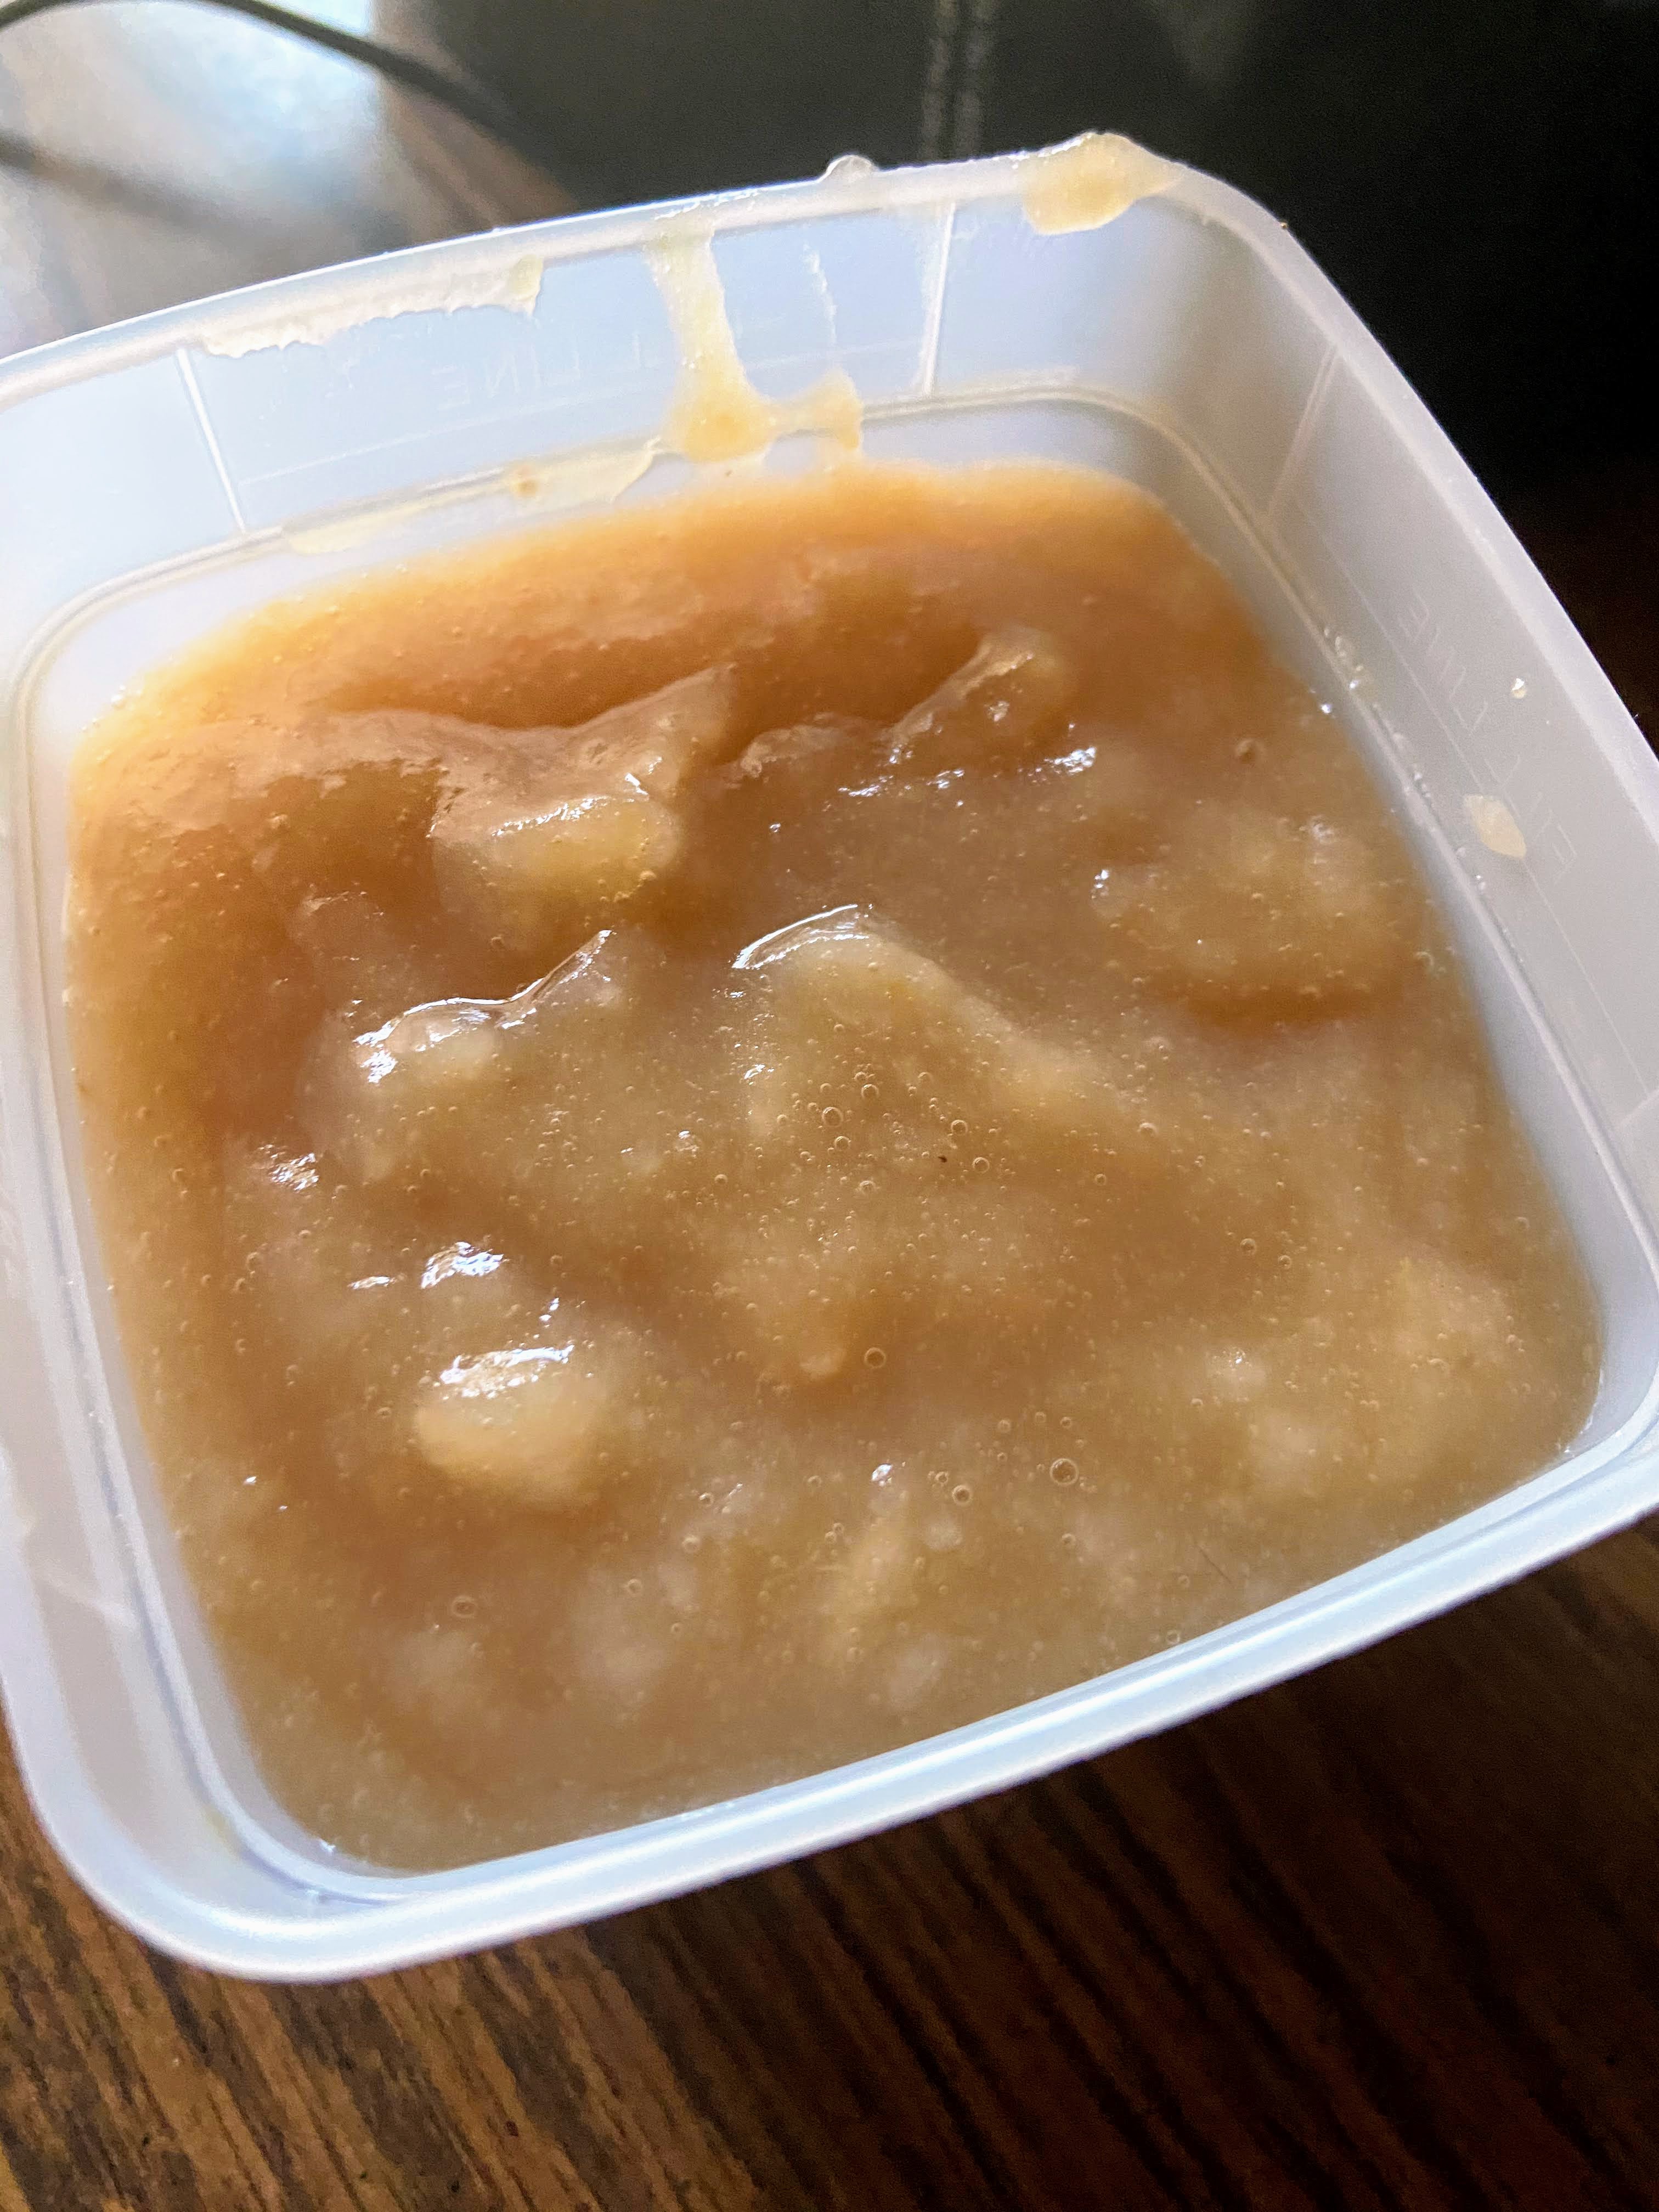
Allow to cool for approximately an hour. Ladle cooled applesauce into freezer safe containers (I love these container from Arrow). Label and store in the freezer. My mom likes to ladle her applesauce into freezer bags. She likes that they lay flat in the freezer. You do you. (Yes, I know I started by saying my mom didn’t preserve food. She does now. Maybe I inspired her?) 

This recipe should result in about 6 pints of applesauce. 

Tools of the Trade

In my post, I talk about my immersion blender (a favorite tool of mine!), my Arrow freezer containers (a go to for apples, portioned leftovers, apple pie filling, and so much more!), and I love my Crock pot. I mean, you can’t go wrong!
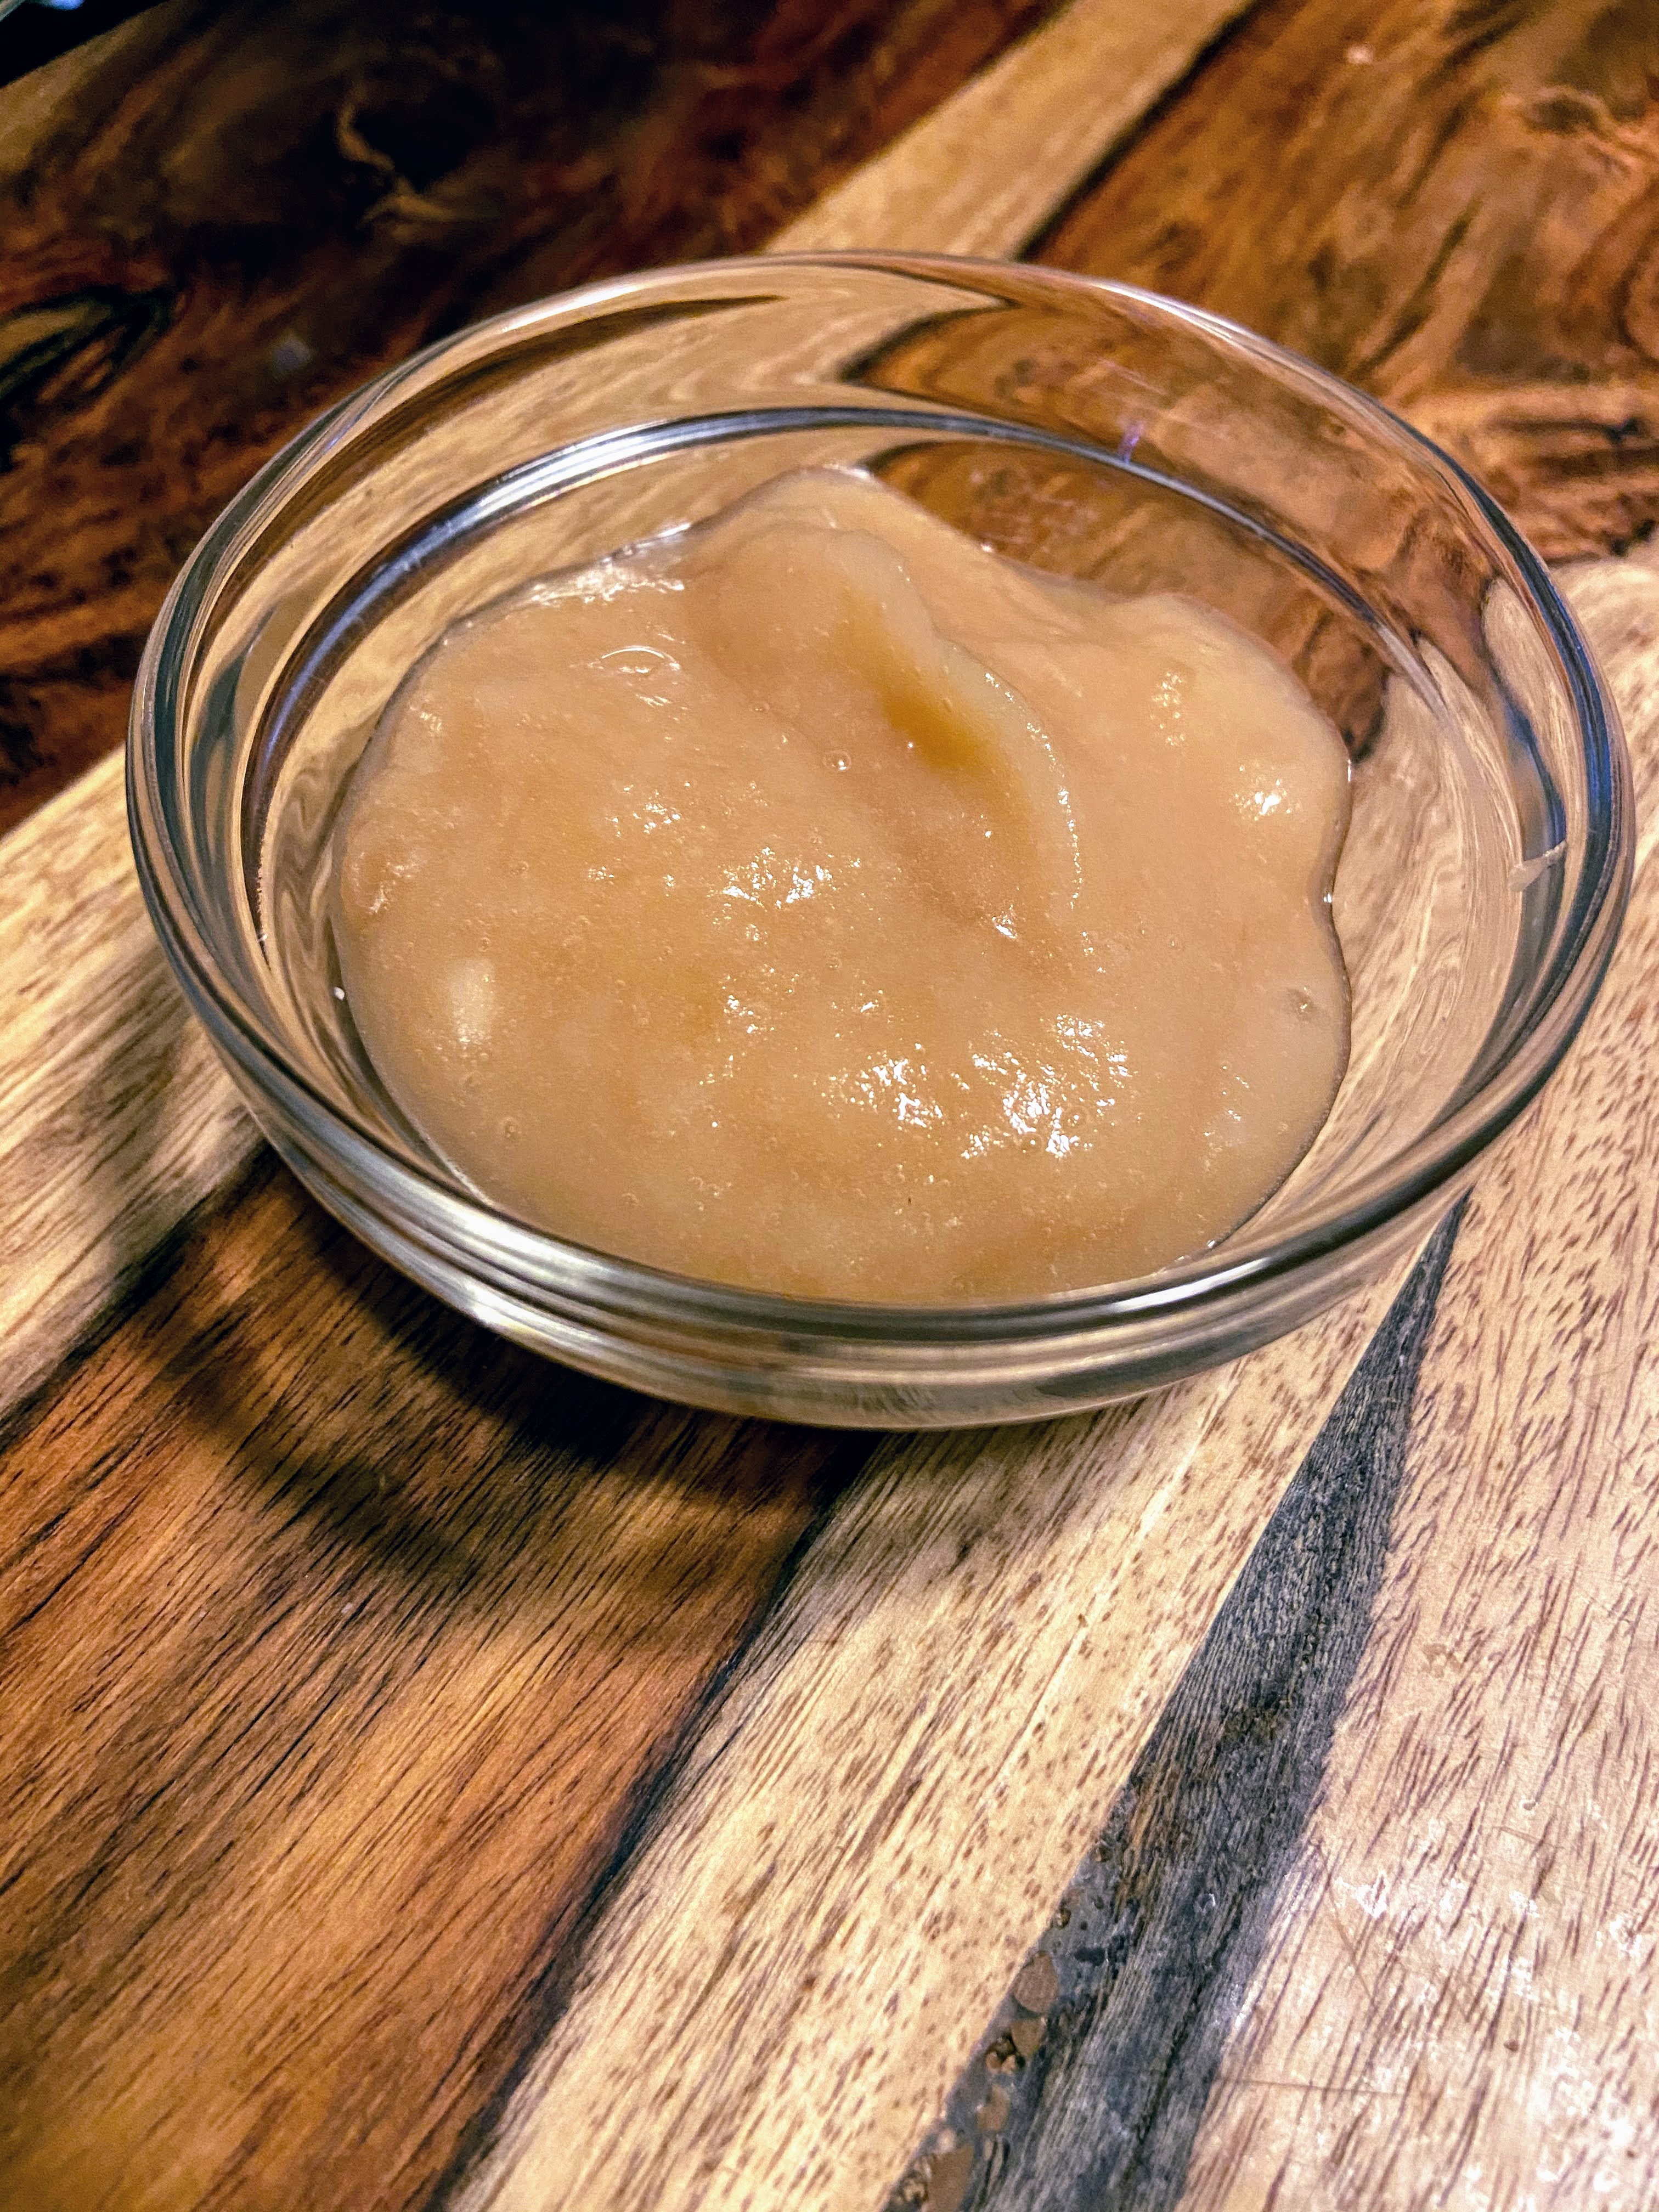
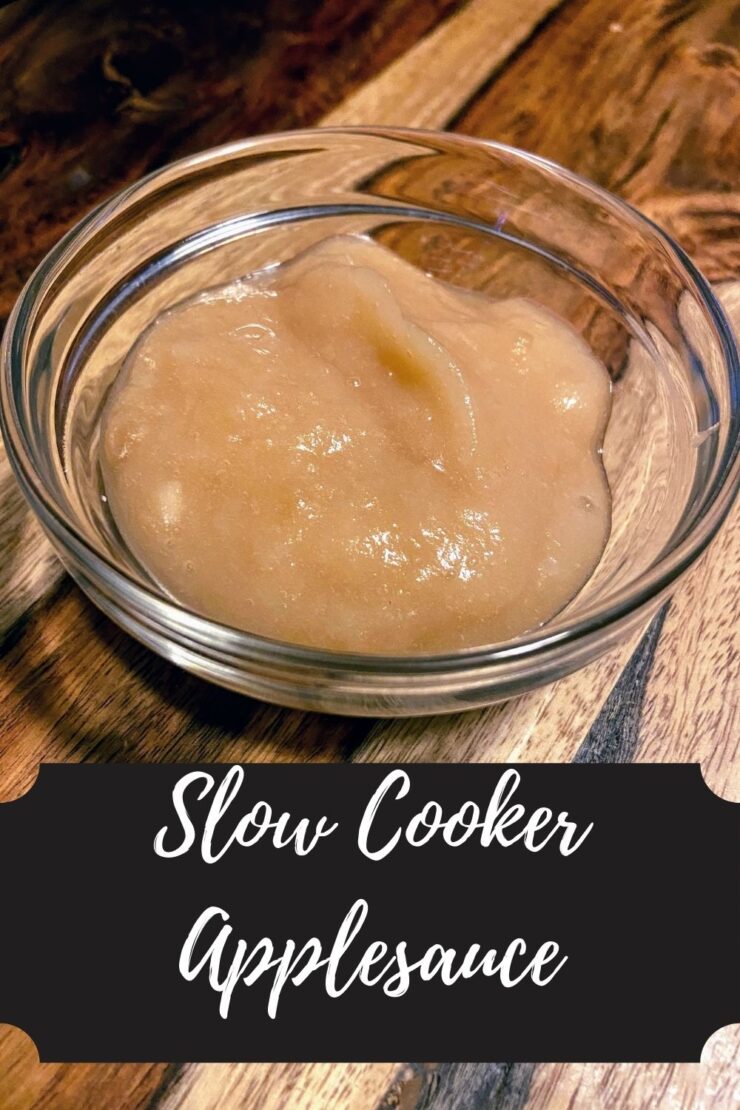
Slow Cooker Applesauce

Apple season equals time for homemade applesauce! Get out the slow cooker and some freezer safe containers and get set to create!
Prep Time 30 minutes
Cook Time 4 hours
Course Side Dish
Cuisine Preserving
Servings 6 pints

Ingredients
  

  • 8-9 pounds of apples between 27-36 apples
  • 2-3 cinnamon sticks optional
  • 1 cup of water

Instructions
 

  • Peel, core, and slice your apples. Place in the slow cooker.
  • Add cinnamon sticks and water. Set on high for 3-4 hours.
  • Every 30 minutes or so, stir and mash a bit with a potato masher or pastry cutter to break down the apples. Cook until apples are soft.
  • Remove the cinnamon sticks.
  • If you prefer chunky applesauce, continue to mash with the potato masher until preferred texture. If you prefer smooth applesauce, blend with an immersion blender.
  • Allow to cool for approximately an hour. Ladle cooled applesauce into freezer safe containers. Label and freeze.

Notes

I never add sugar. Apples are sweet enough on their own that I don’t think you need it. If you want to add sugar, I recommend starting low, say, ½ cup. You can add it later, but you can’t unsweeten applesauce after you add it.
Keyword apple and cinnamon, apples, applesauce, freezer meals, preserving
Tried this recipe?Let us know how it was!

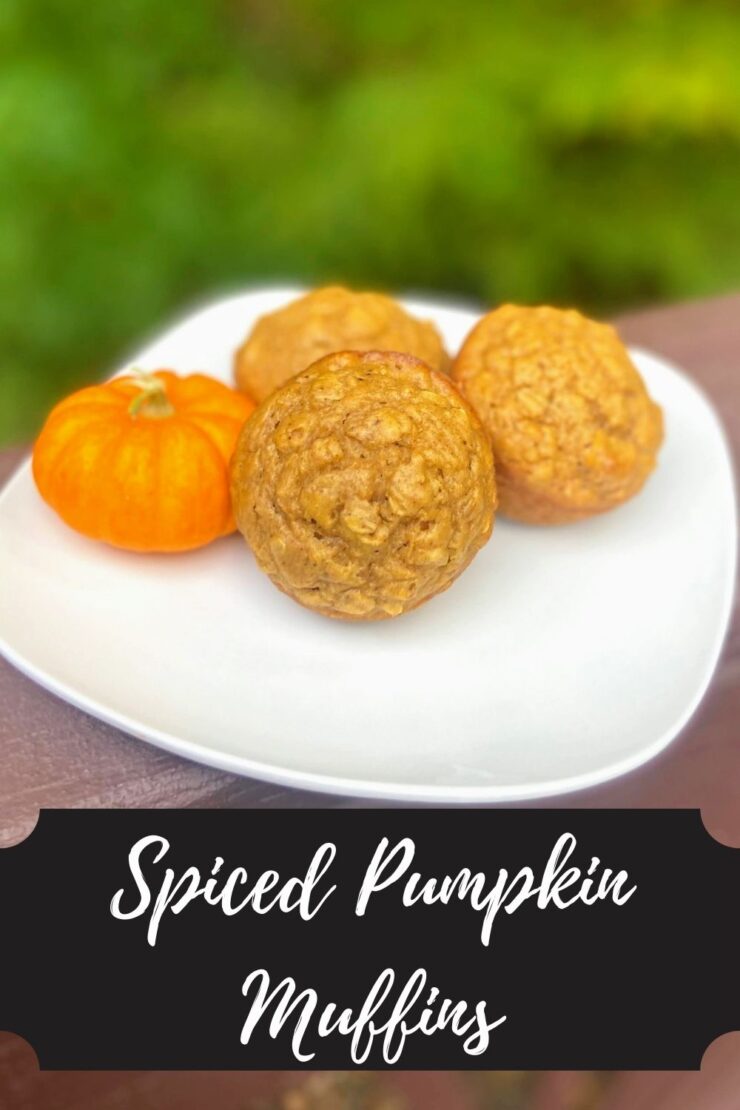
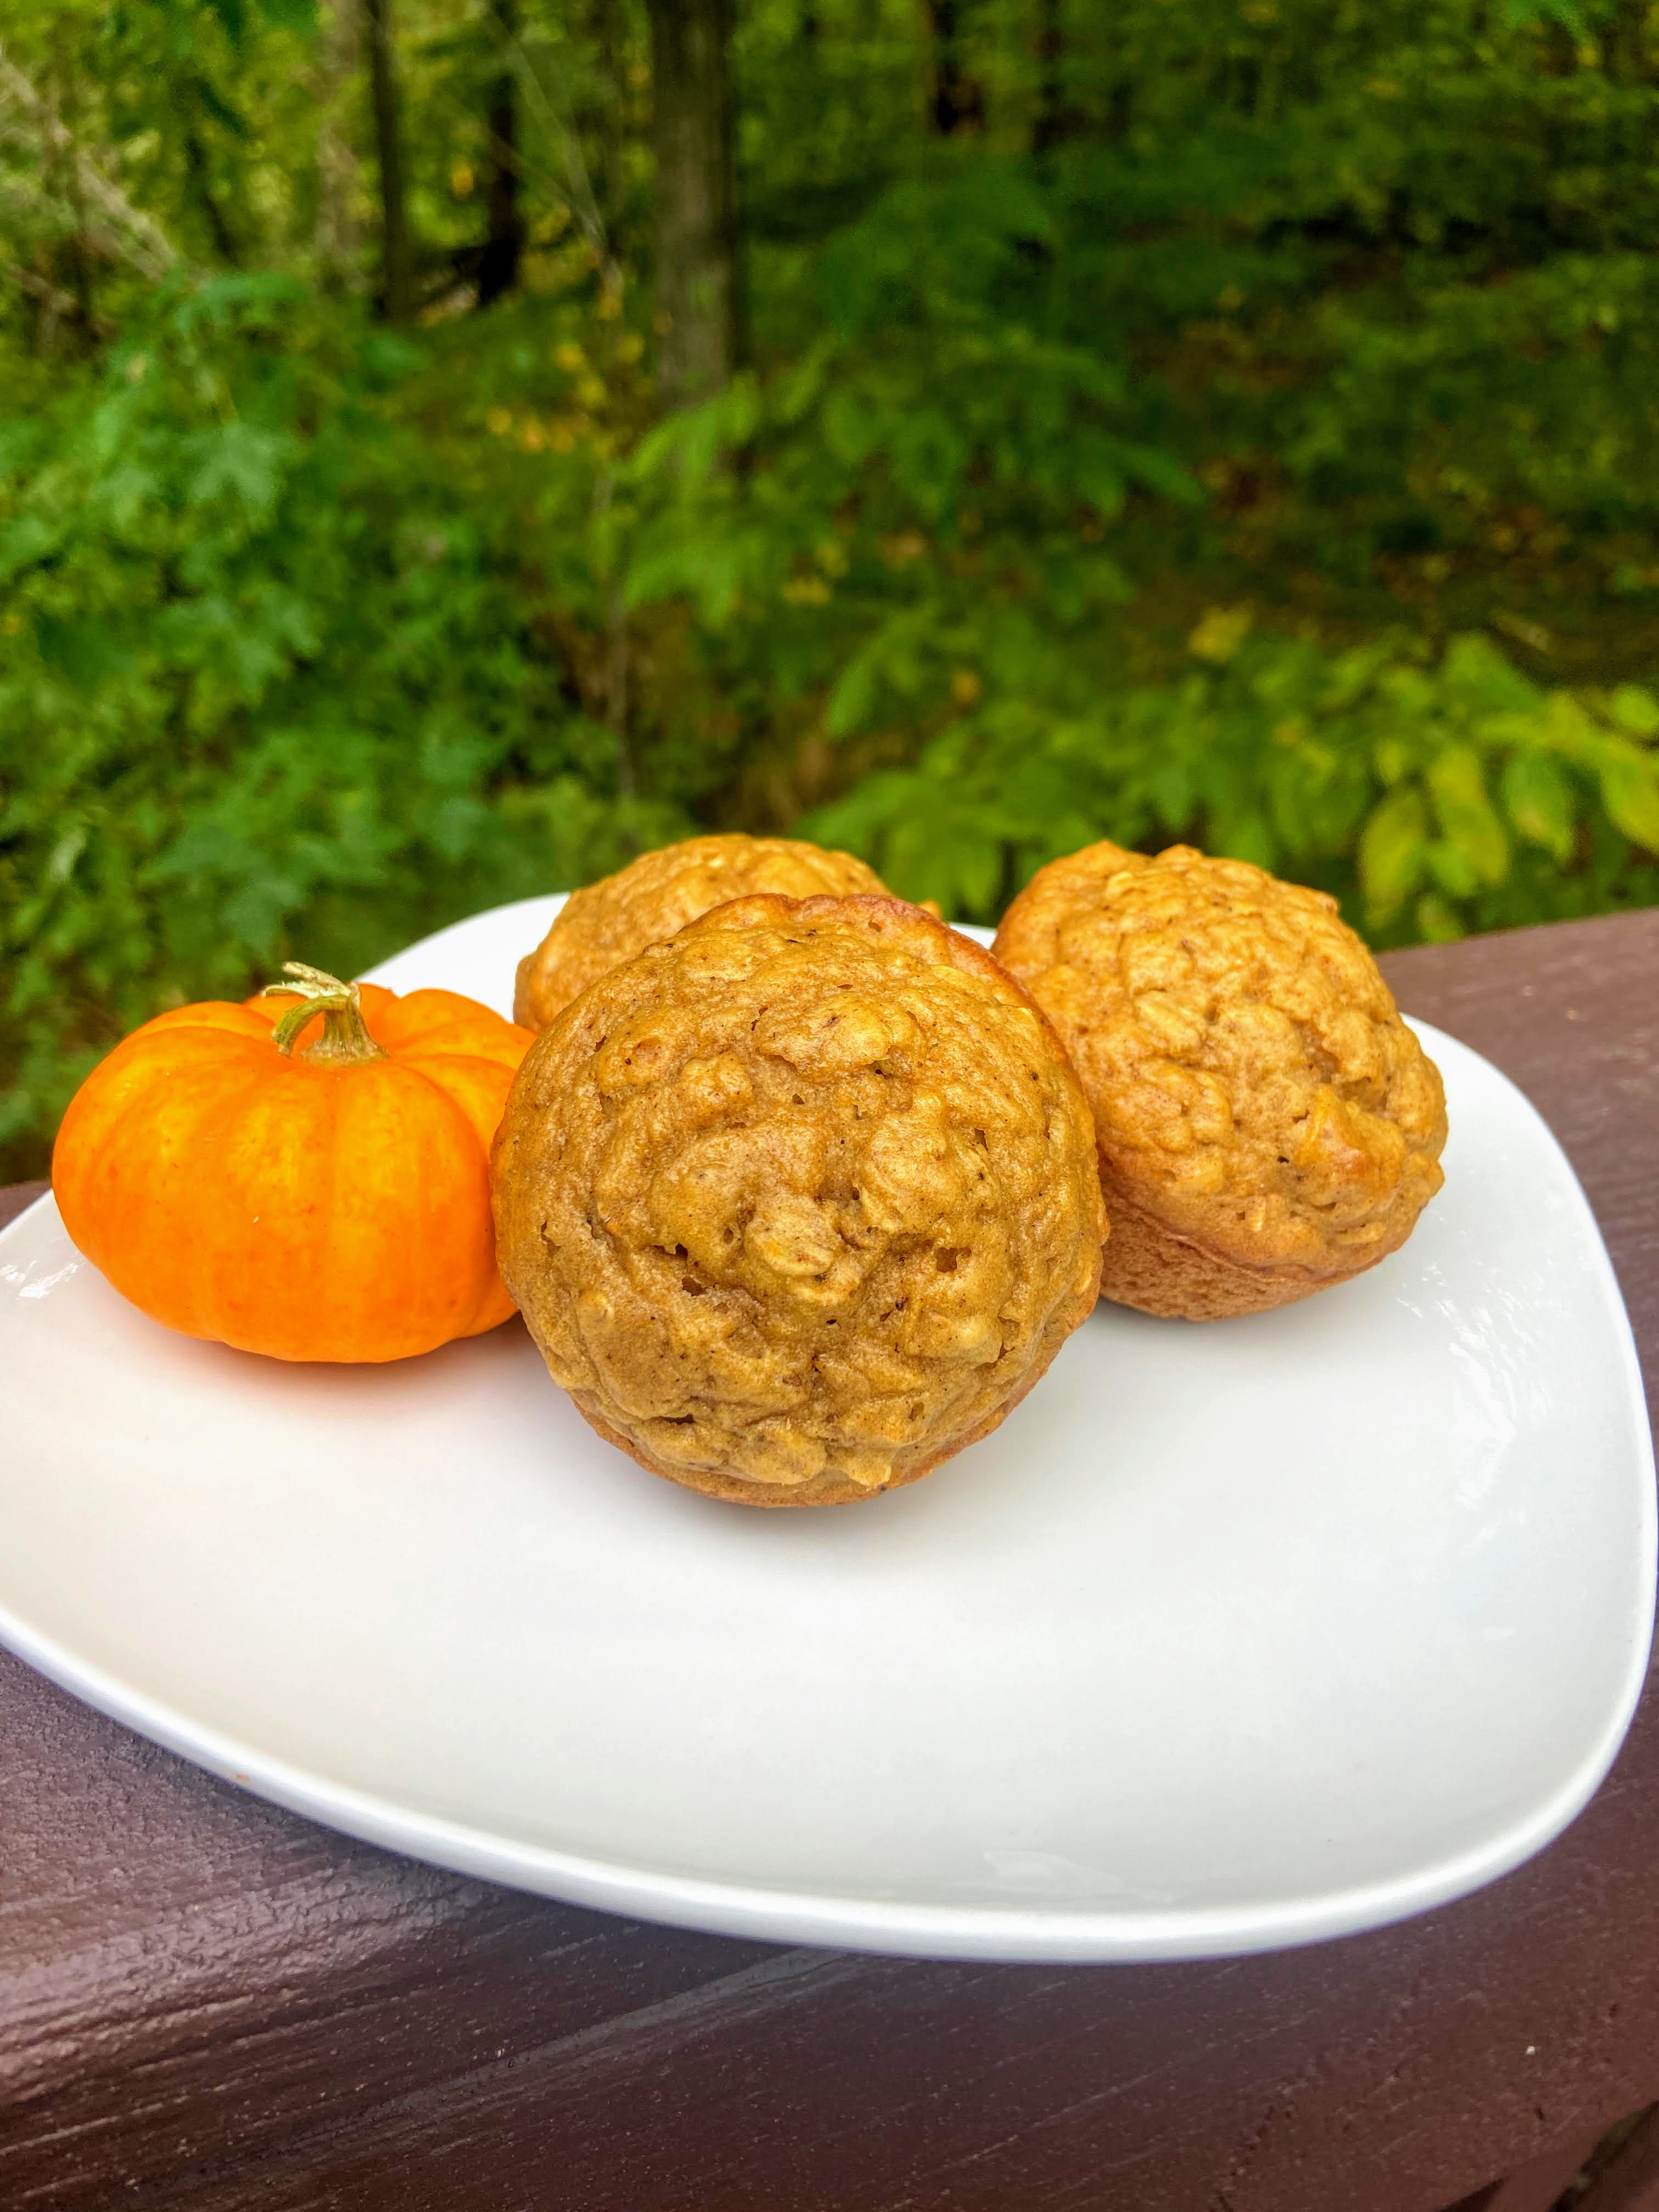
Spiced Pumpkin Muffins

Gosh, I have to tell you, fall is my favorite season. I love the change in colors. Jeans and sweatshirt weather while the sun is still shining. Brisk mornings and sort of warm afternoons. All wonderful, right? And the flavors! It’s soup season and apples are ripening. So many wonderful things, including these spiced pumpkin muffins. 

If you’ve followed me for a while, you know I dig making a recipe a touch healthier by substituting maple syrup for regular sugar. I love homegrown ingredients, so of course this was made from pumpkin I roasted (Have you never? You must try! Get the recipe for Roasted Pumpkin here!). And the warming spices. So good in the fall, right? And I don’t know about you, but there’s something so autumn about baking fresh goodies for your friends and family on the weekends.

Okay, enough chatter, let’s get baking some delicious spiced pumpkin muffins! 

Your Ingredients

  • 1 cup pumpkin puree, canned or home roasted
  • 2 eggs
  • 2 tablespoons oil 
  • ⅓ cup maple syrup 
  • ½ teaspoon vanilla 
  • 1 ½ cups all purpose flour
  • ¾ cup oats 
  • ½ teaspoon salt
  • 1 teaspoon baking soda
  • ½ teaspoon cinnamon
  • ¼ teaspoon nutmeg 
  • ¼ teaspoon ginger
  • ⅛ teaspoon ground cloves 
  • ½ cup chocolate chips or nuts (optional) 

Your Directions to Spiced Pumpkin Muffins

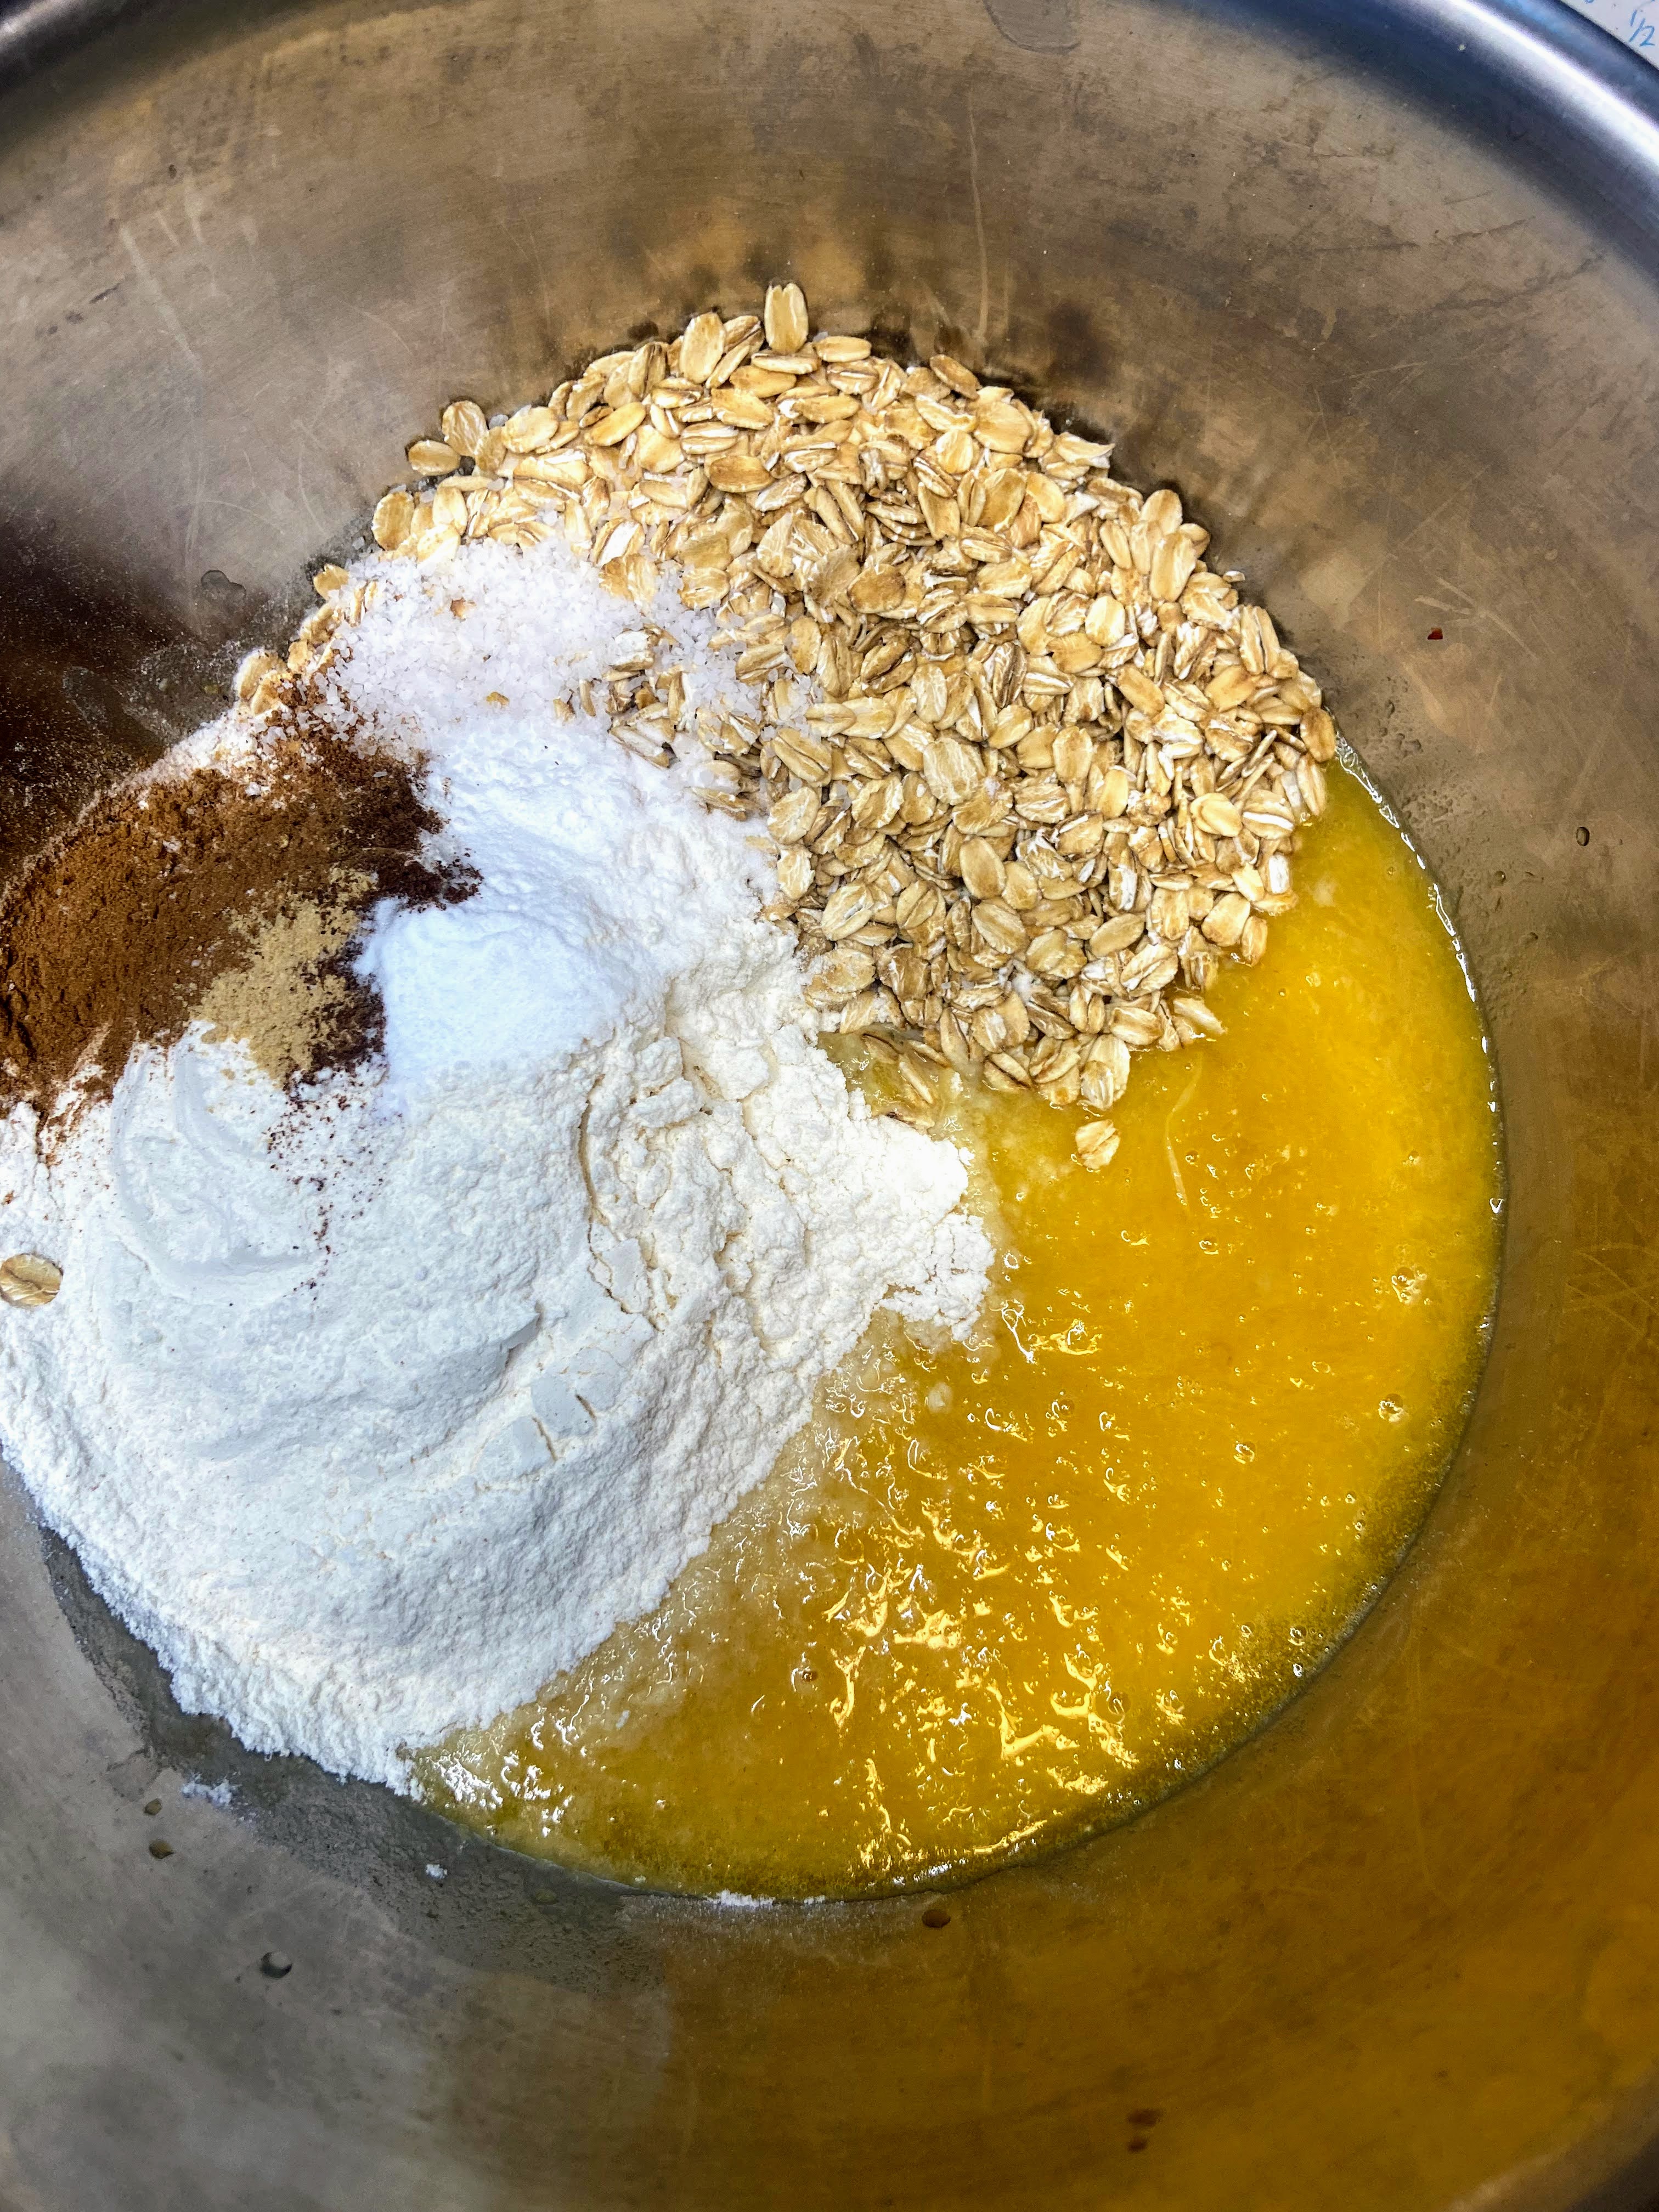
In a large bowl, combine pumpkin puree, eggs, oil, and maple syrup. Whisk until well combined. Add flour, oats, salt, baking soda, cinnamon, nutmeg, ginger, and cloves. Mix until just combined. Fold in chocolate chips or nuts if adding. 

Spoon into greased muffin tins, approximately ⅓ cup in each, about ¾ of the way full. Bake at 350 degrees for 15-20 minutes, until muffins spring back when touched. Allow to cool five minutes in the pan. Then remove and place on a cooling rack to finish.

Spiced Pumpkin Muffins

Simple and zero refined sugar, these spiced pumpkin muffins are a great recipe for a fall baking weekend!
Prep Time 10 minutes
Cook Time 15 minutes
Course Breakfast
Cuisine American
Servings 12 muffins

Ingredients
  

  • 1 cup pumpkin puree canned or home roasted
  • 2 eggs
  • 2 tablespoons oil
  • cup maple syrup
  • ½ teaspoon vanilla
  • 1 ½ cups all purpose flour
  • ¾ cup oats
  • ½ teaspoon salt
  • 1 teaspoon baking soda
  • ½ teaspoon cinnamon
  • ¼ teaspoon nutmeg
  • ¼ teaspoon ginger
  • teaspoon ground cloves
  • ½ cup chocolate chips or nuts optional

Instructions
 

  • Preheat oven to 350 degrees. Line or spray muffin tin with non stick cooking spray.
  • In a large bowl, combine pumpkin puree, eggs, oil, and maple syrup. Whisk until well combined.
  • Add flour, oats, salt, baking soda, cinnamon, nutmeg, ginger, and cloves. Mix until just combined.
  • Fold in chocolate chips or nuts if desired.
  • Spoon into muffin tins, approximately ⅓ cup in each, about ¾ of the way full.
  • Bake at for 15-20 minutes, until muffins spring back when touched.
Keyword Breakfast, muffins, pumpkin, quick breads
Tried this recipe?Let us know how it was!

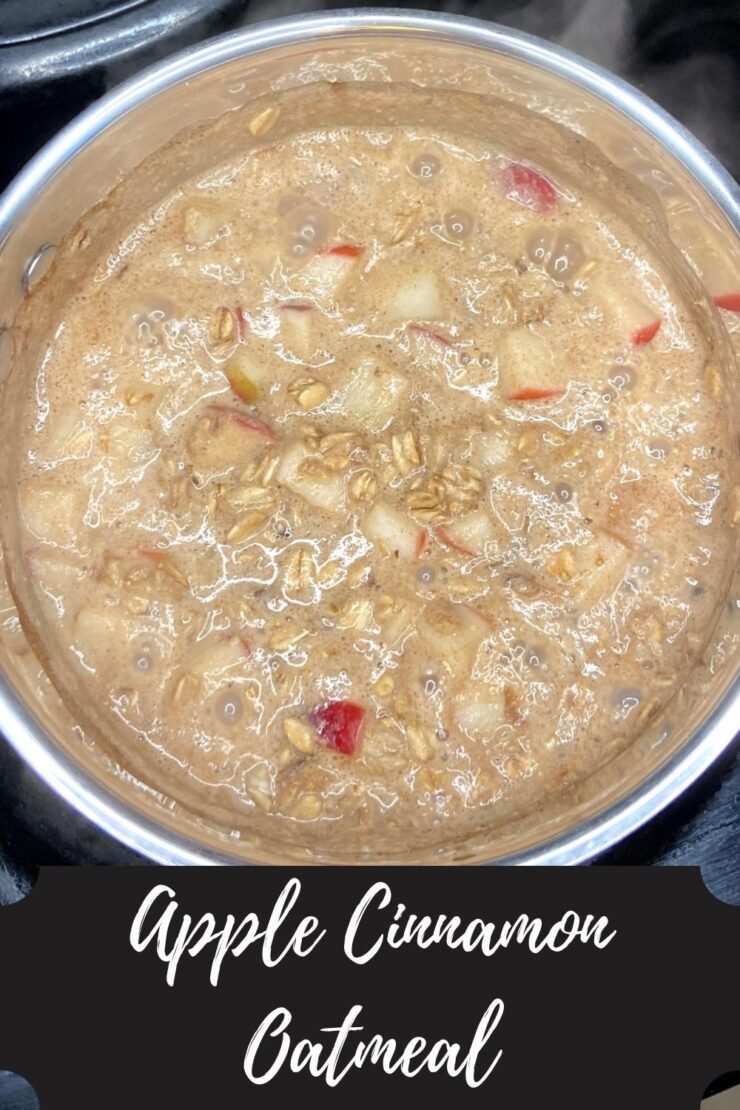
Warm Your Soul apple Cinnamon Oatmeal

Generally speaking, I am an overnight oatmeal kind of gal. I love that you can prep five servings in five minutes flat on a Sunday evening and be set for the work week. There are so many good for you ingredients in overnight oatmeal: old fashioned oats, chia seeds, honey, cinnamon, almond milk. But sometimes, a good old fashioned bowl of warm, cooked on the stove top oatmeal hits the spot, especially on the weekends. This warm your soul apple cinnamon oatmeal still has the simplicity in terms of mixing together, but is full of big flavor and is perfect as the weather gets cooler. 

While I am going to give you the measurements and all the ingredients, please know that this is a great recipe to play around with. Have some blueberries laying around? Toss those in. Want to give almond extract a try instead of vanilla? Do it! Want to skip the crunch of walnuts? Hey, go for it, I won’t judge.
Here’s the low down on the ingredients to Warm Your Soul Apple Cinnamon Oatmeal!

Your Ingredients (for one serving)

  • ¾ cup unsweetened vanilla almond milk (or your favorite milk of choice)
  • 1 tablespoon pure maple syrup 
  • ¼ teaspoon vanilla extract
  • Pinch of salt 
  • ¼ teaspoon cinnamon 
  • ⅓ cup diced apples
  • ½ cup old fashioned oats

Your Steps to Apple Cinnamon Oatmeal

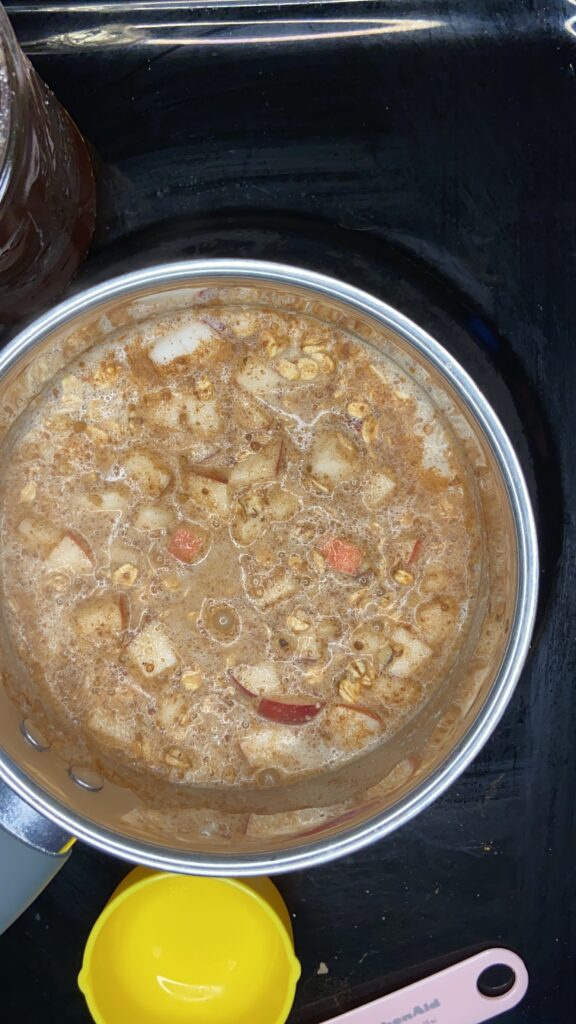
In a small soup kettle, combine the almond milk, syrup, vanilla, and walnuts. Bring to a boil over medium high heat. Lower to a simmer. Stir in the apples, oats, and cinnamon. Simmer for five minutes and serve. 
Pro tip: Start the milk mixture on medium heat, go finish your bathroom routine (makeup and the like), and then add the oatmeal. By the time the rest of your breakfast is done, you’ll be done too!

Apple Cinnamon Oatmeal

Seven ingredients combine in this warm your soul apple cinnamon oatmeal perfect for cool mornings. Let's get cooking these classic flavors!
Prep Time 1 minute
Cook Time 8 minutes
Course Breakfast
Cuisine American
Servings 1 serving

Ingredients
  

  • ¾ cup unsweetened vanilla almond milk or your favorite milk of choice
  • 1 tablespoon pure maple syrup
  • ¼ teaspoon vanilla extract
  • Pinch of salt
  • ¼ teaspoon cinnamon
  • cup diced apples
  • ½ cup old fashioned oats

Instructions
 

  • In a small soup kettle, combine the almond milk, syrup, vanilla, walnuts, and pinch of salt.
  • Bring to a boil over medium high heat.
  • Lower to a simmer. Stir in the apples, oats, and cinnamon. Simmer for five minutes and serve.
Keyword apple and cinnamon, apples, Breakfast, dairy free, Gluten Free, oatmeal
Tried this recipe?Let us know how it was!

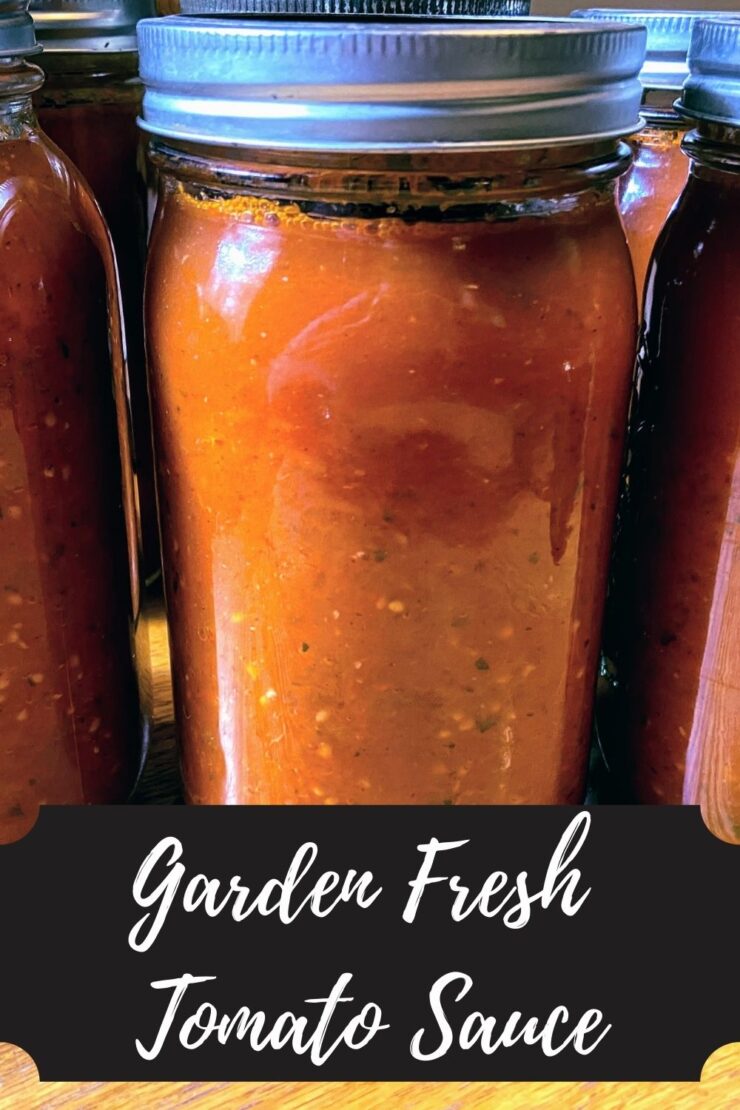
Garden Fresh Tomato Sauce

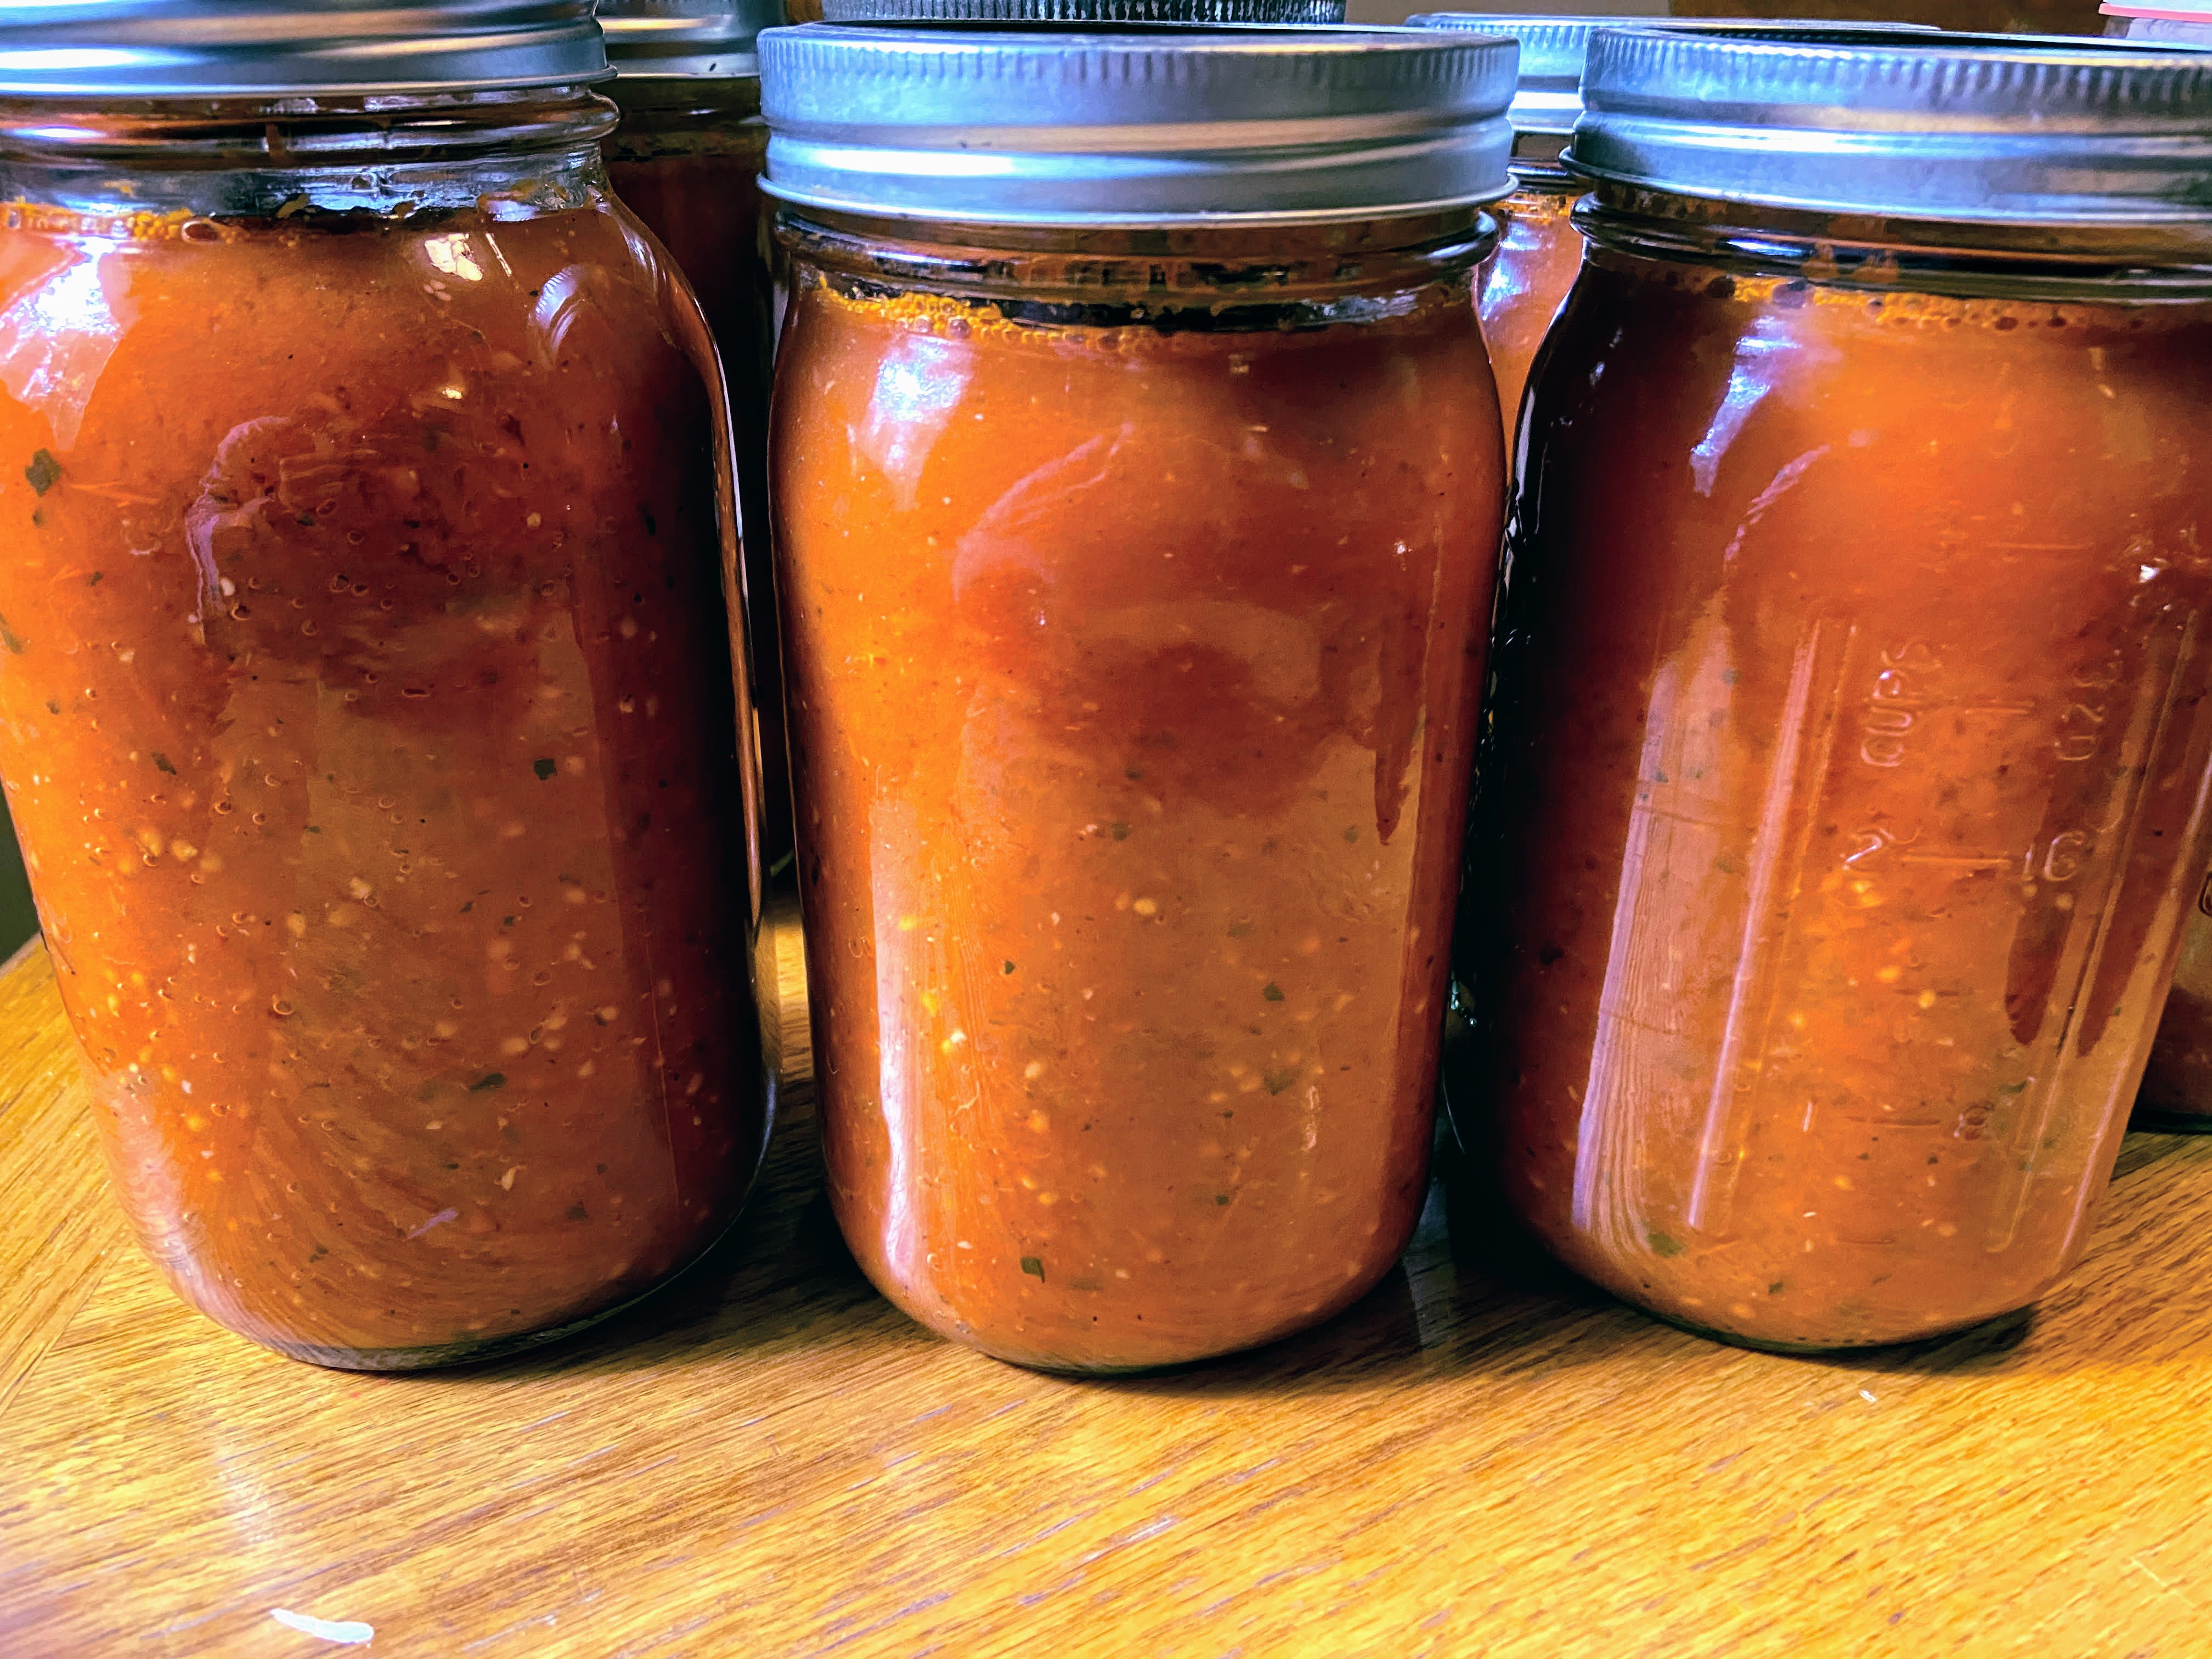
Canning and preserving from my garden is my jam all summer long. I love the color, the flavor, the dirt under my nails and ALLL the mason jars. Seriously, there isn’t much better than a line of mason jars that are full of the garden’s bounty. I remember when I first started planting our garden, my theory was, “Plant all the plants. The worst thing that happens is that some of the food goes to the chickens, our friends, or the compost pile.” But I love to fill our shelves and freezer with food we grew, so it rarely goes to waste. One of my favorite things to preserve is garden fresh tomato sauce. 

After trying a few different recipes, I developed this lower yield recipe (15 pounds really is a lower yield! Check out any Ball Canning Book to see!). I hear you saying, “But Jess! I don’t have 15 pounds of tomatoes ready at any time and I don’t go to the farmer’s market!”. I’ve got your back with a great solution: The freezer.

The Hack

I rarely have enough tomatoes ripe at one time for 15 pounds. If you are like me, let me share the trick that was an immediate love for me: When you have a large amount of ripe tomatoes on the counter, stem, wash, and dry them. From here, place the tomatoes in a freezer safe container or bag. I like to label them with their weight ahead of time. When you are ready for canning, simply take the bags out a day or two ahead of time to thaw (or you can place them in the sink with warm water to speed up the process). 

This method is awesome for two reasons: 

  1. You can use your own tomatoes, even if you don’t have a ton of plants. They won’t rot on your counter waiting. 
  2. When the tomatoes thaw, the skins come right off. I like to can my sauce with the skin (so many of the nutrients are there!), but it is nice to get rid of a few of them. 

Regardless of how you come by your tomatoes (friends, farmer’s market, your own dirt), let’s get going with some great garden fresh tomato sauce! Oh, and if you plan on canning it and are new to it, check out the National Center for Home Preservation Site for more information! 

Your Ingredients For Garden Fresh Tomato Sauce

  • 15 pounds of tomatoes, cleaned and roughly chopped
  • 2 tablespoons olive oil 
  • 2 cups onions
  • 3 tablespoons minced garlic
  • 1 cup fresh basil, chopped
  • ½ cup fresh oregano
  • 1 ½ teaspoons pepper 
  • 1 tablespoon canning salt 

Your Steps to Garden Fresh Tomato Sauce

Cooking

Begin by heating olive oil over medium heat in a sauté pan. Add onions and garlic. Cook until translucent and soft, about ten minutes, stirring often. 

In a large kettle, combine onion mixture, chopped tomatoes, basil, oregano, salt, and pepper. Continue to simmer over medium heat, stirring often. 

Pro tip

As the sauce is cooking down, you will have a lot of liquid that you are simmering off. You can cut your cook time significantly by bailing out this liquid using a colander and measuring cup. Push the colander down onto the tomatoes, forcing the liquid up. Then use the measuring cup to ladle it out. You can simply dump it or save it as a light tomato juice. I ladle it into mason jars and save it in the fridge for my husband. 

After the tomatoes have begun to break down (about 30-60 minutes later), puree them. I like to use my stick blender to do this. It means less dishes to clean! Alternatively, you can transfer it to a food mill to puree. Once totally in sauce form, continue to cook down until the volume of the sauce has reduced to about one-half the original amount. 

Canning

While the tomatoes are cooking down, you can begin to prepare your canner and jars if you plan on processing them. (If you want to simply place the sauce in the freezer, that’s totally okay. You can transfer it to freezer safe containers or bags and freeze once cool.)

Wash and sanitize pint or quart jars, rings, and lids. Keep warm. Fill the canner with enough water to cover the jars by at least 2 inches of water. Cover and heat on high. Watch the temperature, you want a simmer but not a boil when you place the jars in the water. 

Once the sauce and canner are ready, you can begin to fill the jars. To be sure there is enough acid to have self stable jars, you must add citric acid or bottled lemon juice. 

  • Add ¼ teaspoon citric acid or 1 tablespoon lemon juice to pint jars. 
  • Add ½ teaspoon citric acid or 2 tablespoons lemon juice to quart jars. 

Finish it up!

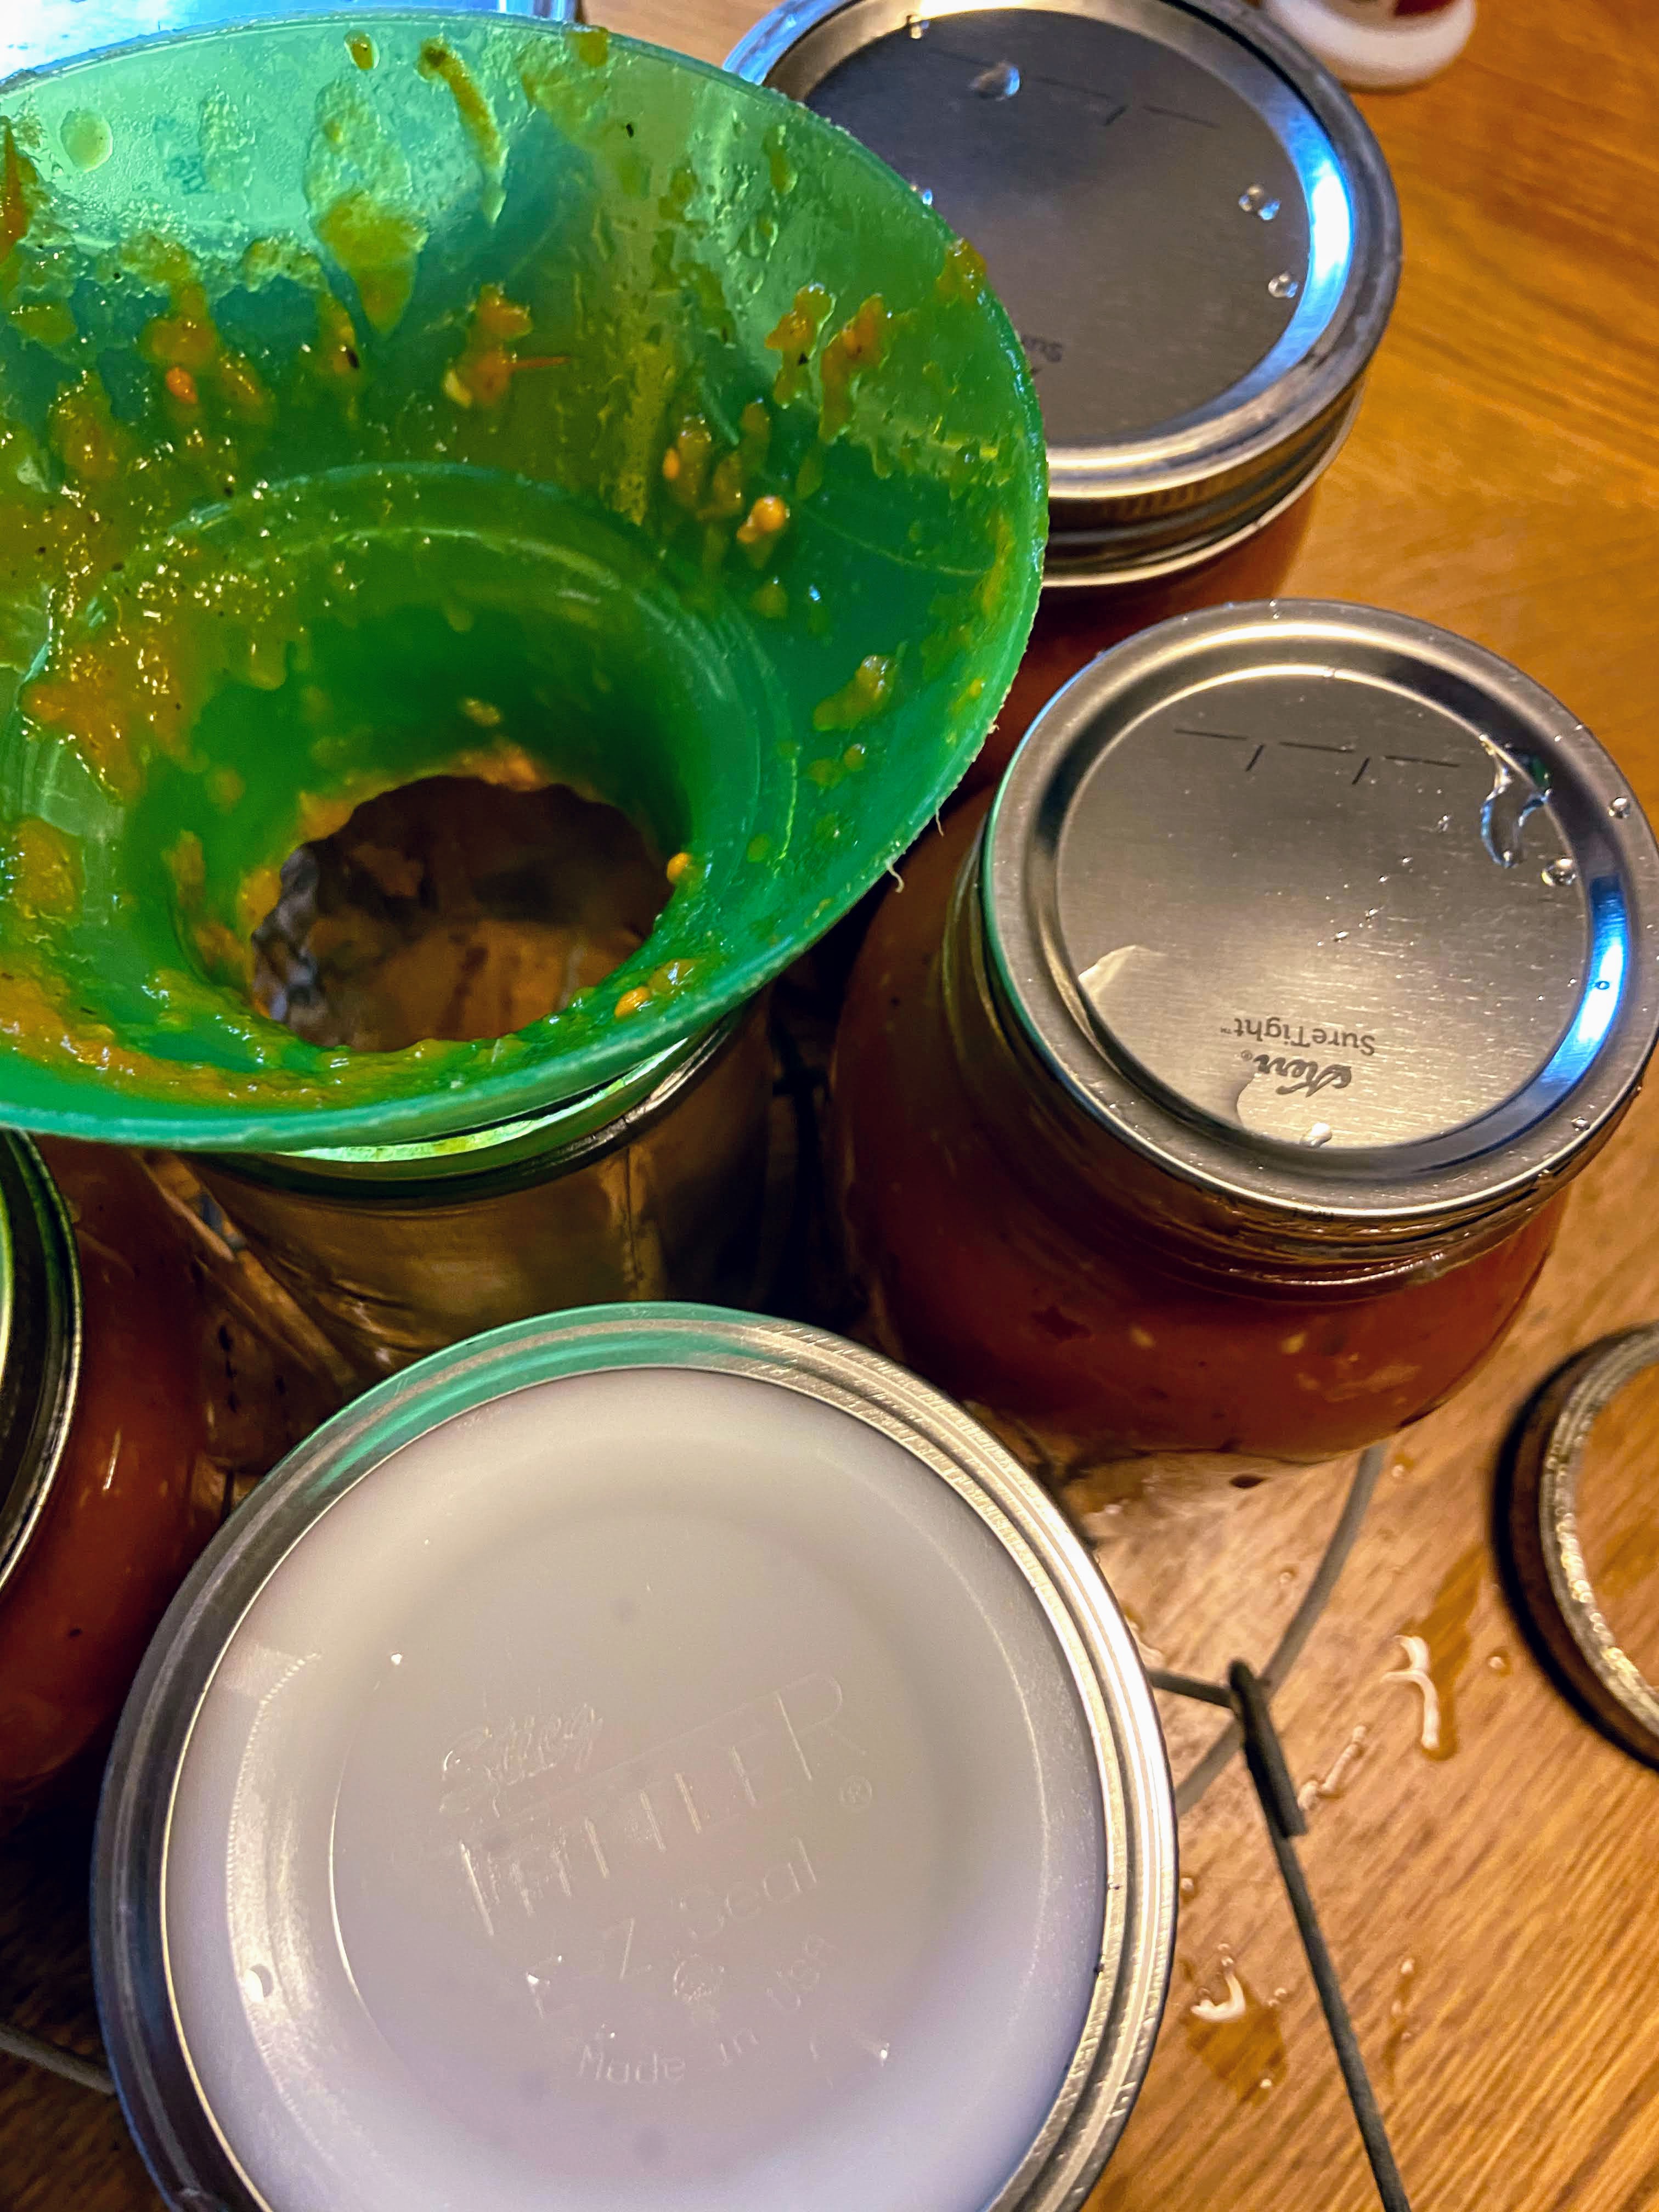
Ladle the hot tomato sauce into jars, leaving ½ inch headspace. Wipe rims of the jars with a damp cloth, add lids and rings, tightening to fingertip tight. Place in the canner, increasing the heat to high. Once the canner reaches a boil, process pint jars 35 minutes or quart jars 40 minutes. Remove from heat and allow jars to cool in the canner over 5 minutes. Then remove jars from the canner, placing them on the counter. Listen for the ping of the lids over the next 12 hours. Sealed jars are self-stable. If any jar doesn’t seal, simply place it right in the refrigerator and enjoy over the next week or so. 

Looking to preserve more of your garden? Check out my canning and preserving page by clicking the button!

Tools of the Trade

I adore my immersion blender for all things canning when I need to blend. Canning tools are a must and what is canning if you don’t have a waterbath canner?

Garden Fresh Tomato Sauce

Basil, oregano, and garlic flavor this great tomato sauce
Prep Time 30 minutes
Cook Time 2 hours
Processing Time 40 minutes
Course dinner
Cuisine Canning
Servings 3 quarts

Equipment

Ingredients
  

  • 15 pounds of tomatoes cleaned and roughly chopped
  • 2 tablespoons olive oil
  • 2 cups onions
  • 3 tablespoons minced garlic
  • 1 cup fresh basil chopped
  • ½ cup fresh oregano
  • 1 ½ teaspoons pepper
  • 1 tablespoon canning salt

Instructions
 

  • Begin by heating olive oil over medium heat in a sauté pan. Add onions and garlic. Cook until translucent and soft, about ten minutes, stirring often.
  • In a large kettle, combine onion mixture, chopped tomatoes, basil, oregano, salt, and pepper. Continue to simmer over medium heat, stirring often.
  • After the tomatoes have begun to break down (about 30-60 minutes later), puree them. A stick blender or food mill works well. Once totally in sauce form, continue to cook down until the volume of the sauce has reduced to about one-half the original amount.
  • While the tomatoes are cooking down, you can begin to prepare your canner and jars if you plan on processing them. (If you want to simply place the sauce in the freezer, that’s totally okay. You can transfer it to freezer safe containers or bags and freeze once cool.)
  • Wash and sanitize pint or quart jars, rings, and lids. Keep warm. Fill the canner with enough water to cover the jars by at least 2 inches of water. Cover and heat on high. Watch the temperature, you want a simmer but not a boil when you place the jars in the water.
  • Once the sauce and canner are ready, you can begin to fill the jars. To be sure there is enough acid to have self stable jars, you must add citric acid or bottled lemon juice.
  • Add ¼ teaspoon citric acid or 1 tablespoon lemon juice to pint jars. Add ½ teaspoon citric acid or 2 tablespoons lemon juice to quart jars.
  • Ladle the hot tomato sauce into jars, leaving ½ inch headspace.
  • Wipe rims of the jars with a damp cloth, add lids and rings, tightening to fingertip tight. Place in the canner, increasing the heat to high.
  • Once the canner reaches a boil, process pint jars 35 minutes or quart jars 40 minutes.
  • Remove from heat and allow jars to cool in the canner over 5 minutes. Then remove jars from the canner, placing them on the counter.

Notes

As the sauce is cooking down, you will have a lot of liquid that you are simmering off. You can cut your cook time significantly by bailing out this liquid using a colander and measuring cup. Push the colander down onto the tomatoes, forcing the liquid up. Then use the measuring cup to ladle it out. You can simply dump it or save it as a light tomato juice.
Keyword Canning, from the garden, preserving, tomato sauce, tomatoes
Tried this recipe?Let us know how it was!

Honey and Soy Marinated Chicken Bites

Are you ever the person who feels like they are always late to the party, intentional or not? I certainly am. I’m the girl who decides not to read Harry Potter or buy an Instapot simply because it’s what everyone else is doing and I want to be unique…or something. It doesn’t always work in my favor, but we all have our quirks, right? For me, I was late to the party with the air fryer. But friends, I bought one and now I can’t stop using it. And here, I am so excited to share honey and soy marinated chicken bites. 

Initially, I had boneless, skinless chicken thighs to cook up. I marinated them and cooked them whole. My family RAVED about them. Unfortunately, I don’t generally have thighs on hand; however, I almost always have chicken breasts on hand. My son gets frustrated with chicken because it can be dry, but he was head over heels for these honey and soy marinated chicken bites. He even requested I bring the air fryer on vacation with us so we could share this recipe with our whole extended family. That didn’t happen, but these will be on our “go to meals” list as the school year gets underway! 

YOUR INGREDIENTS⁠

  • 2-3 boneless, skinless chicken breasts, cut into 1 inch chunks⁠
  • 1/4 cup honey ⁠
  • 3 tablespoons soy sauce⁠
  • 1 tablespoon water⁠
  • 1 1/2 tablespoons minced garlic⁠
  • 2 tablespoons vegetable oil ⁠
  • 1 tablespoon vinegar⁠
  • 1 teaspoon sesame oil ⁠
  • 1/2 teaspoon ground ginger⁠
  • 1/2 teaspoon dried minced onion ⁠
  • a shake or two of red pepper flakes⁠

Your Steps to Honey and Soy Marinated Chicken Bites

Combine all marinade ingredients in a liquid measuring cup. Whisk together until well blended. Place cubed chicken in a 1 gallon plastic bag. Massage the chicken slightly and allow to marinate in the refrigerator for at least 3 hours. ⁠

When you are ready to cook chicken, preheat the air fryer to 380 degrees. Cook for 10-15 minutes, flipping halfway through. ⁠

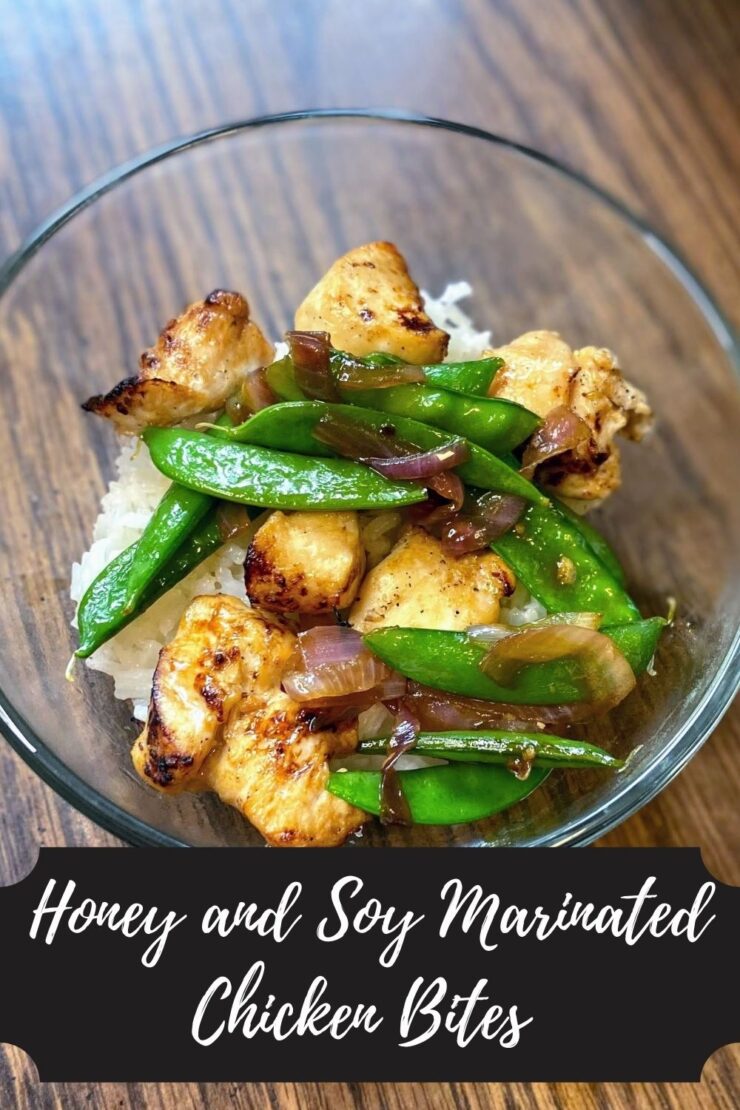
I served this chicken with jasmine rice (so good!) that was seasoned with some salt and pepper. I also did a quick stir fry in sesame oil of some red onions and snap peas from the garden. Those got a small shake of soy sauce with a little cornstarch to thicken it mixed with minced garlic and ground ginger and red pepper flakes. So good! ⁠

Tools of the Trade

I am telling you, I was slow the the air fryer game, but I absolutely adore mine. I also love a good filet knife for ease in cutting up anything from fish to chicken. These are my favorites!

Looking for other dinner inspiration? Check out my cooking page here!

Finished dinner

Honey and Soy Marinated Chicken Bites

A quick eat for weeknight meals: Use your air fryer to cook up some delicious and healthy honey and soy marinated chicken bites!
Prep Time 10 minutes
Cook Time 15 minutes
Rest Time 3 hours
Total Time 3 hours 25 minutes
Course Main Course
Cuisine Chinese
Servings 4 people

Equipment

Ingredients
  

  • 2-3 boneless skinless chicken breasts, cut into 1 inch chunks⁠
  • 1/4 cup honey ⁠
  • 3 tablespoons soy sauce⁠
  • 1 tablespoon water⁠
  • 2 tablespoons vegetable oil ⁠
  • 1 1/2 tablespoons minced garlic⁠
  • 1 tablespoon vinegar⁠
  • 1 teaspoon sesame oil ⁠
  • 1/2 teaspoon ground ginger⁠
  • 1/2 teaspoon dried minced onion ⁠
  • a shake or two of red pepper flakes⁠

Instructions
 

  • Combine all marinade ingredients in a liquid measuring cup. Whisk together until well blended. Place cubed chicken in a 1 gallon plastic bag.
  • Massage the chicken slightly and allow to marinate in the refrigerator for at least 3 hours. ⁠
  • When you are ready to cook chicken, preheat the air fryer to 380 degrees.
  • Cook for 10-15 minutes, flipping halfway through.
  • ⁠Serve with jasmine rice and some quick stir fried vegetables of your choice such as broccoli, red onions, or sugar snap peas.
Keyword air fryer, chicken, chicken breast, marinated chicken
Tried this recipe?Let us know how it was!

Homemade Baked Granola Bars

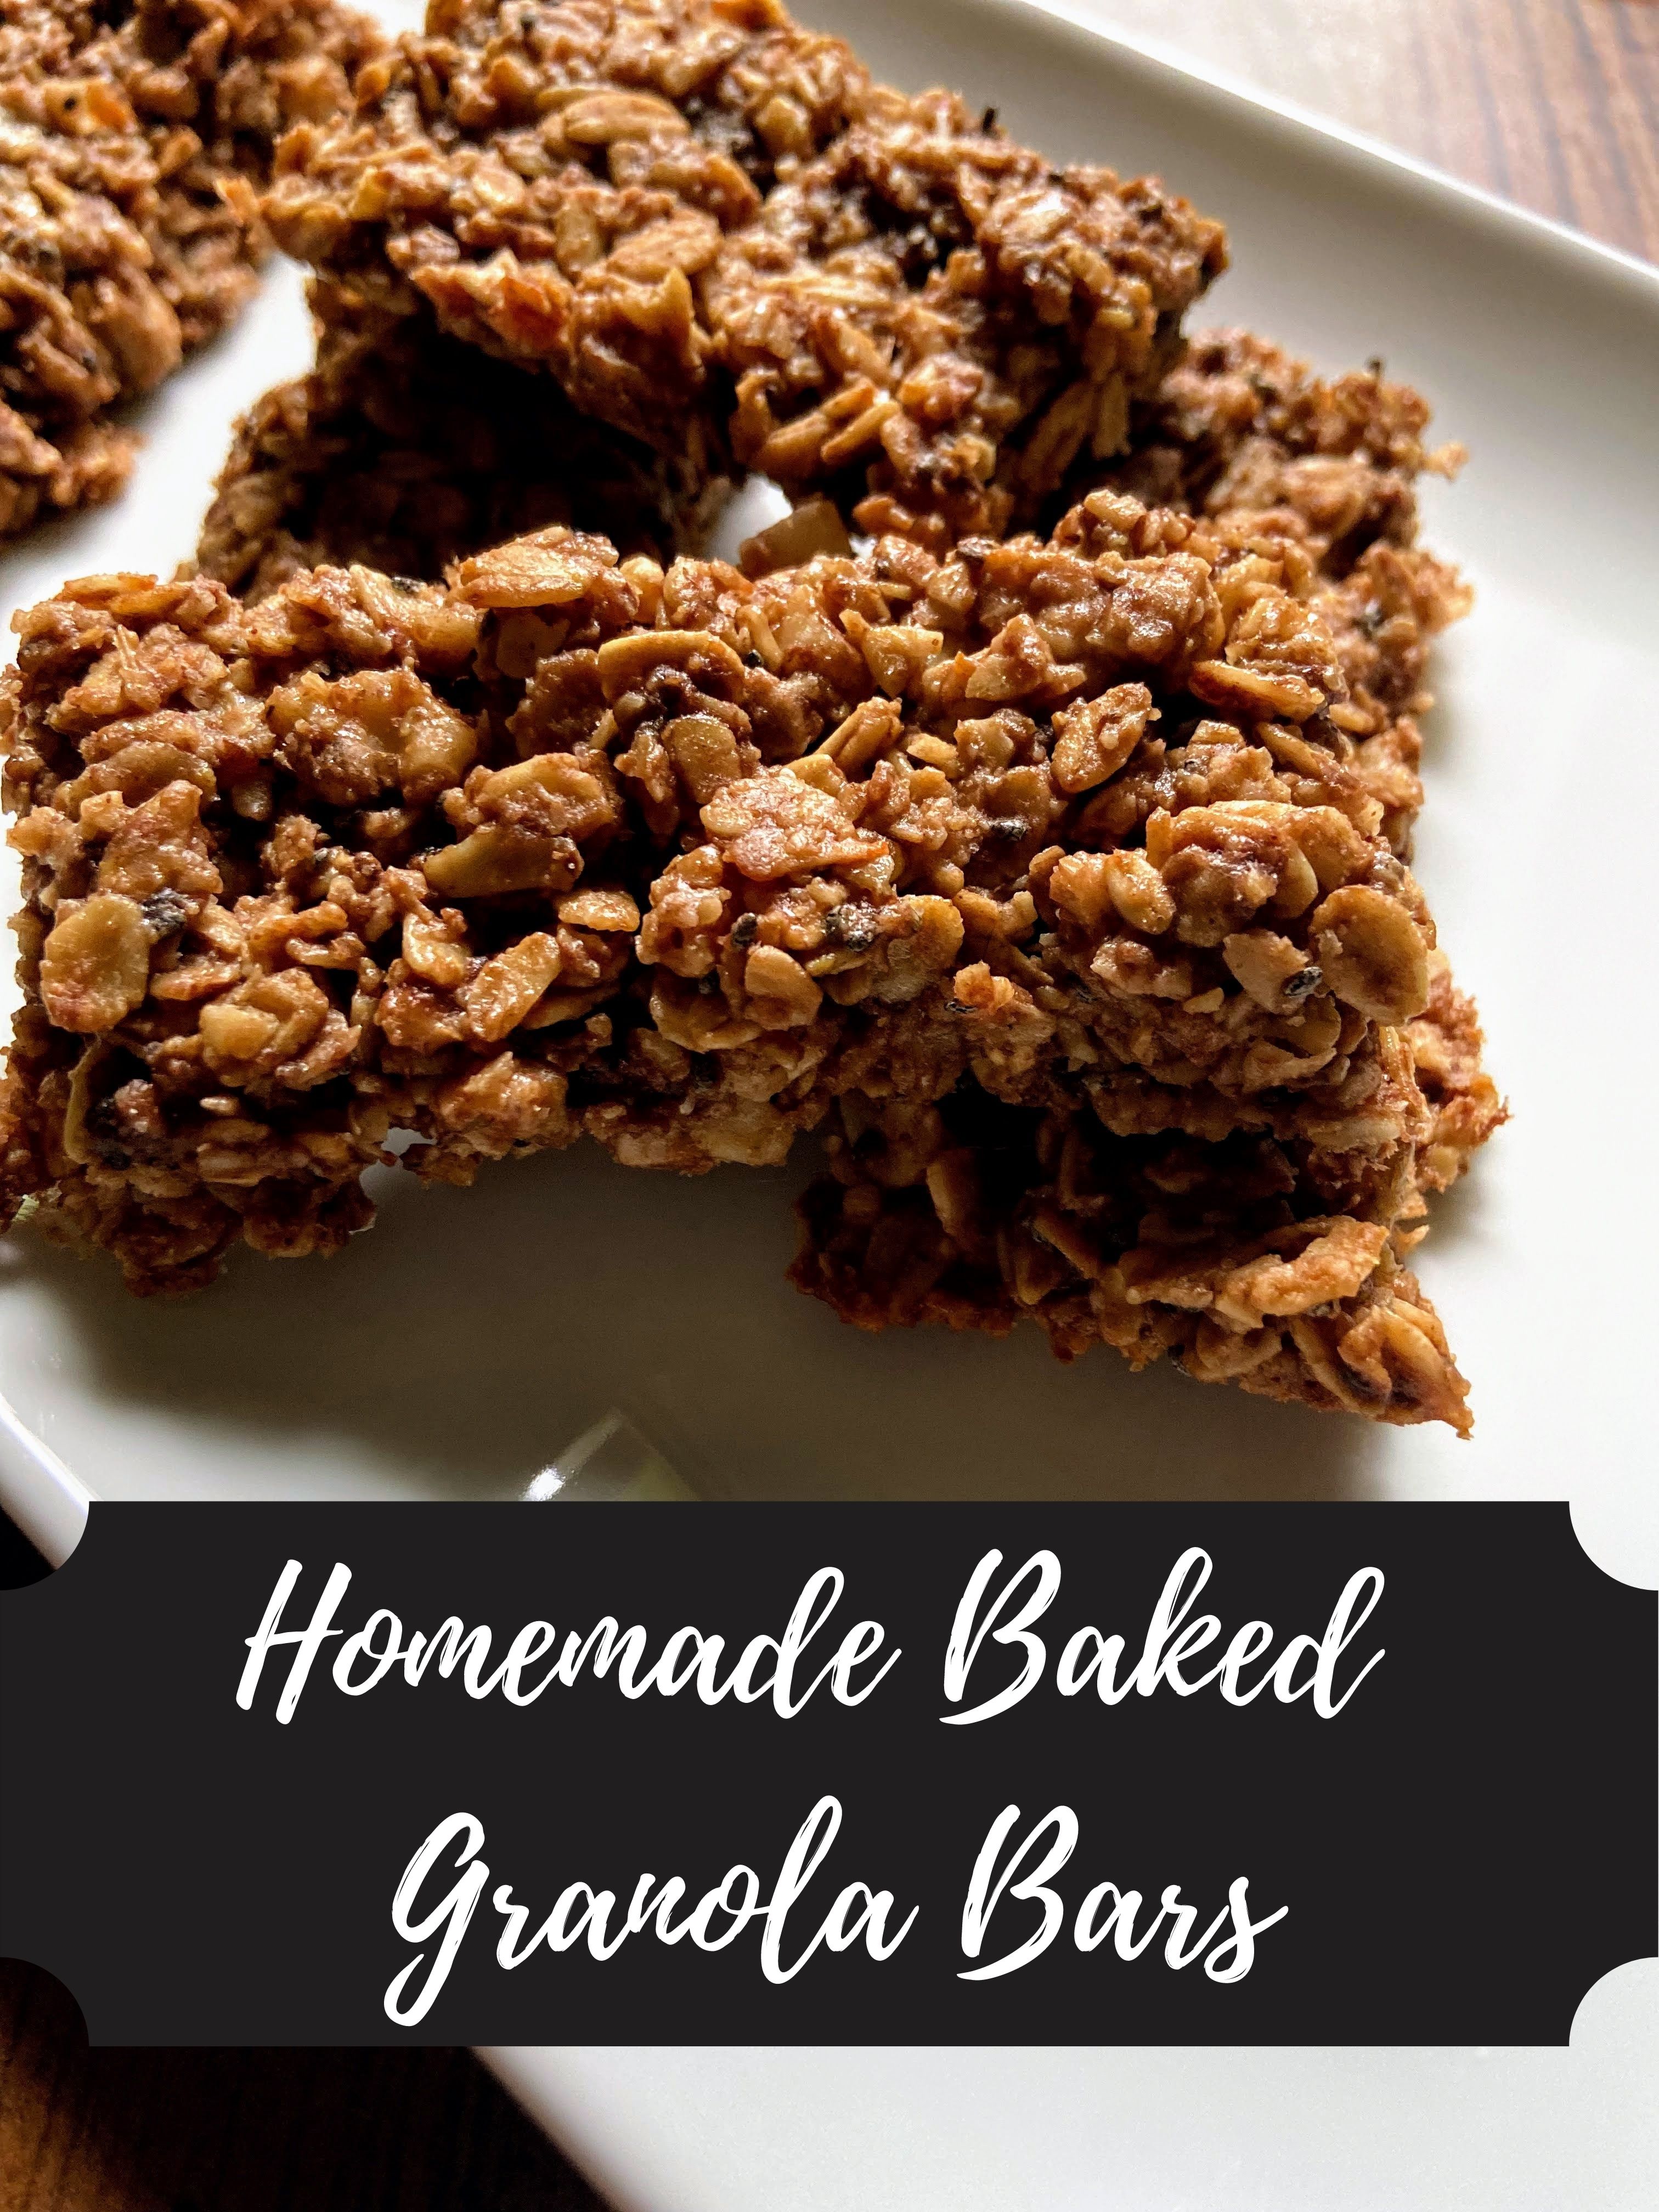
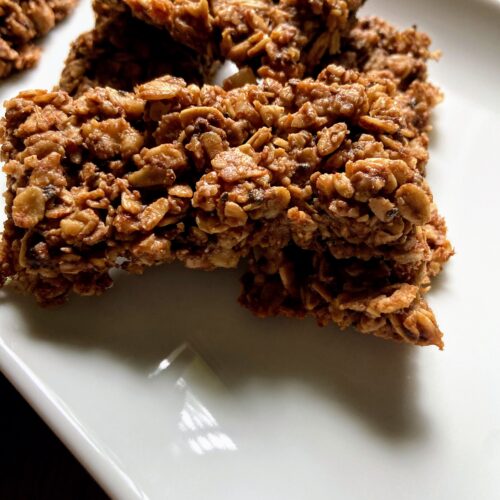
The internet is full of no bake energy balls, granolas, you name it. And don’t get me wrong, I dig them. I mean, I have my own recipe for energy balls that is dynamite. However, no bake energy balls and granola bars typically need to be refrigerated, and as an active runner, this isn’t always ideal. So of course I set out to create my own homemade baked granola bars. And oh my goodness, these are a delight. 

These homemade baked granola bars are full of simple, clean eating ingredients that are likely to be in your pantry if you are a homemade granola kind of friend. They also come together quickly, with a total bake time of under 30 minutes and all your work can be done in the first 8 minutes or so. How great is that? And friends, they pair a little peanut butter and chocolate without being overwhelming. All the winning, am I right? Let’s get baking!

Your Ingredients for Homemade Baked Granola Bars

  • 1 cup old fashioned oats
  • 1 cup oat flour (store bought, or better yet, just processed in your food processor)
  • ½ cup unsweetened, shredded coconut
  • ½ cup chopped nuts (walnuts, almonds, peanuts, etc)
  • ¼ cup creamy peanut butter
  • ½ cup honey 
  • ¼ teaspoon salt
  • ¼ cup chocolate chips 
  • 1 tablespoon ground flaxseed
  • 1 tablespoon chia seeds

Your Steps

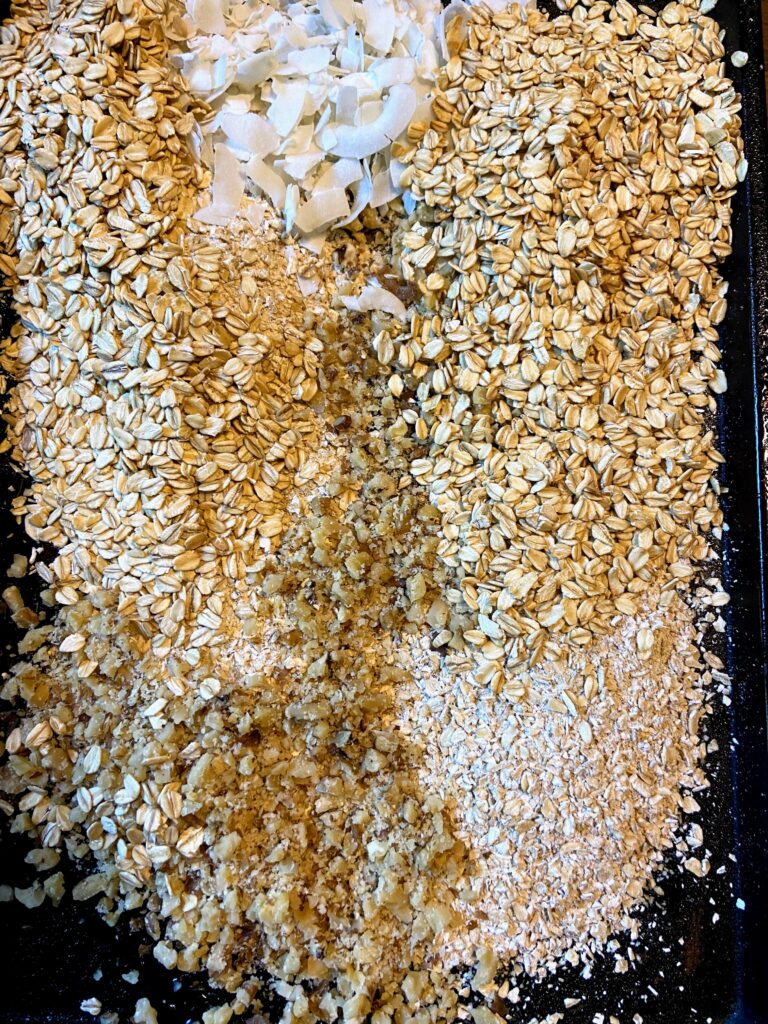
Preheat oven to 350 degrees. Spray a baking sheet with nonstick cooking spray. Spread oats, oat flour, coconut, and nuts on the sheet. Bake in the oven for 8 minutes, until just becoming toasted (I sprayed the top of mine with some olive oil cooking spray as well). Remove from the oven and immediately place in a large mixing bowl. 

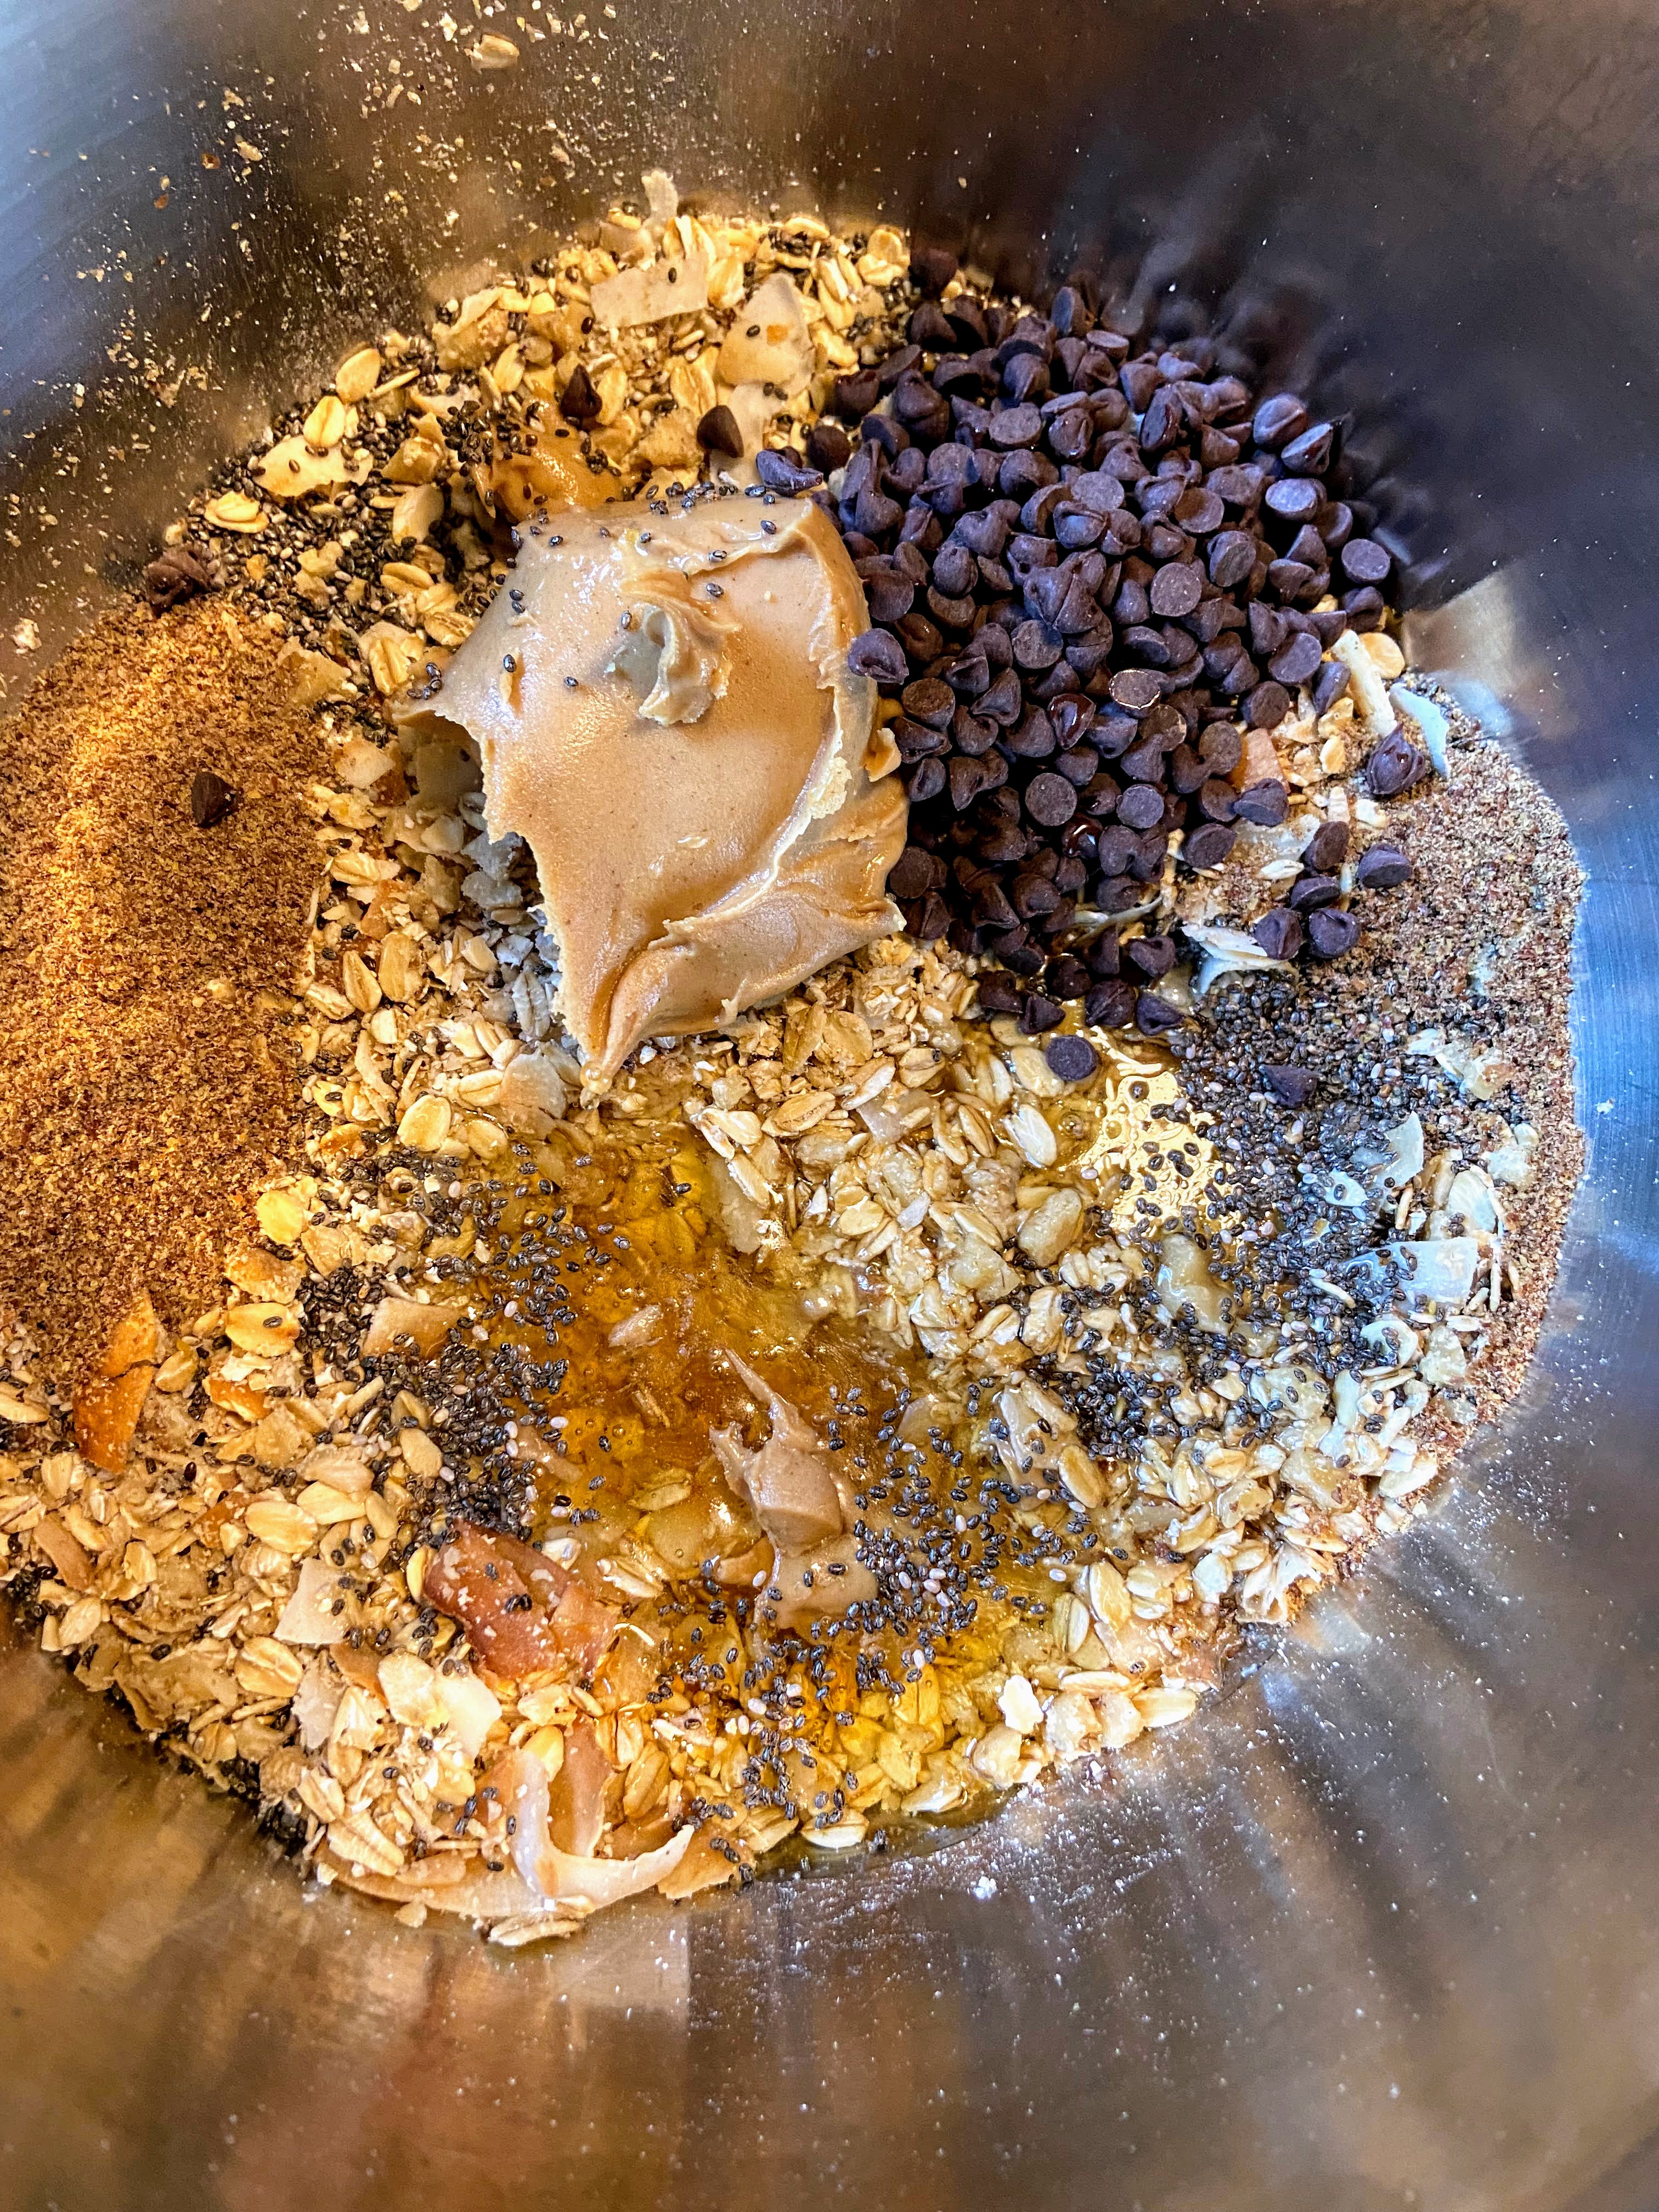
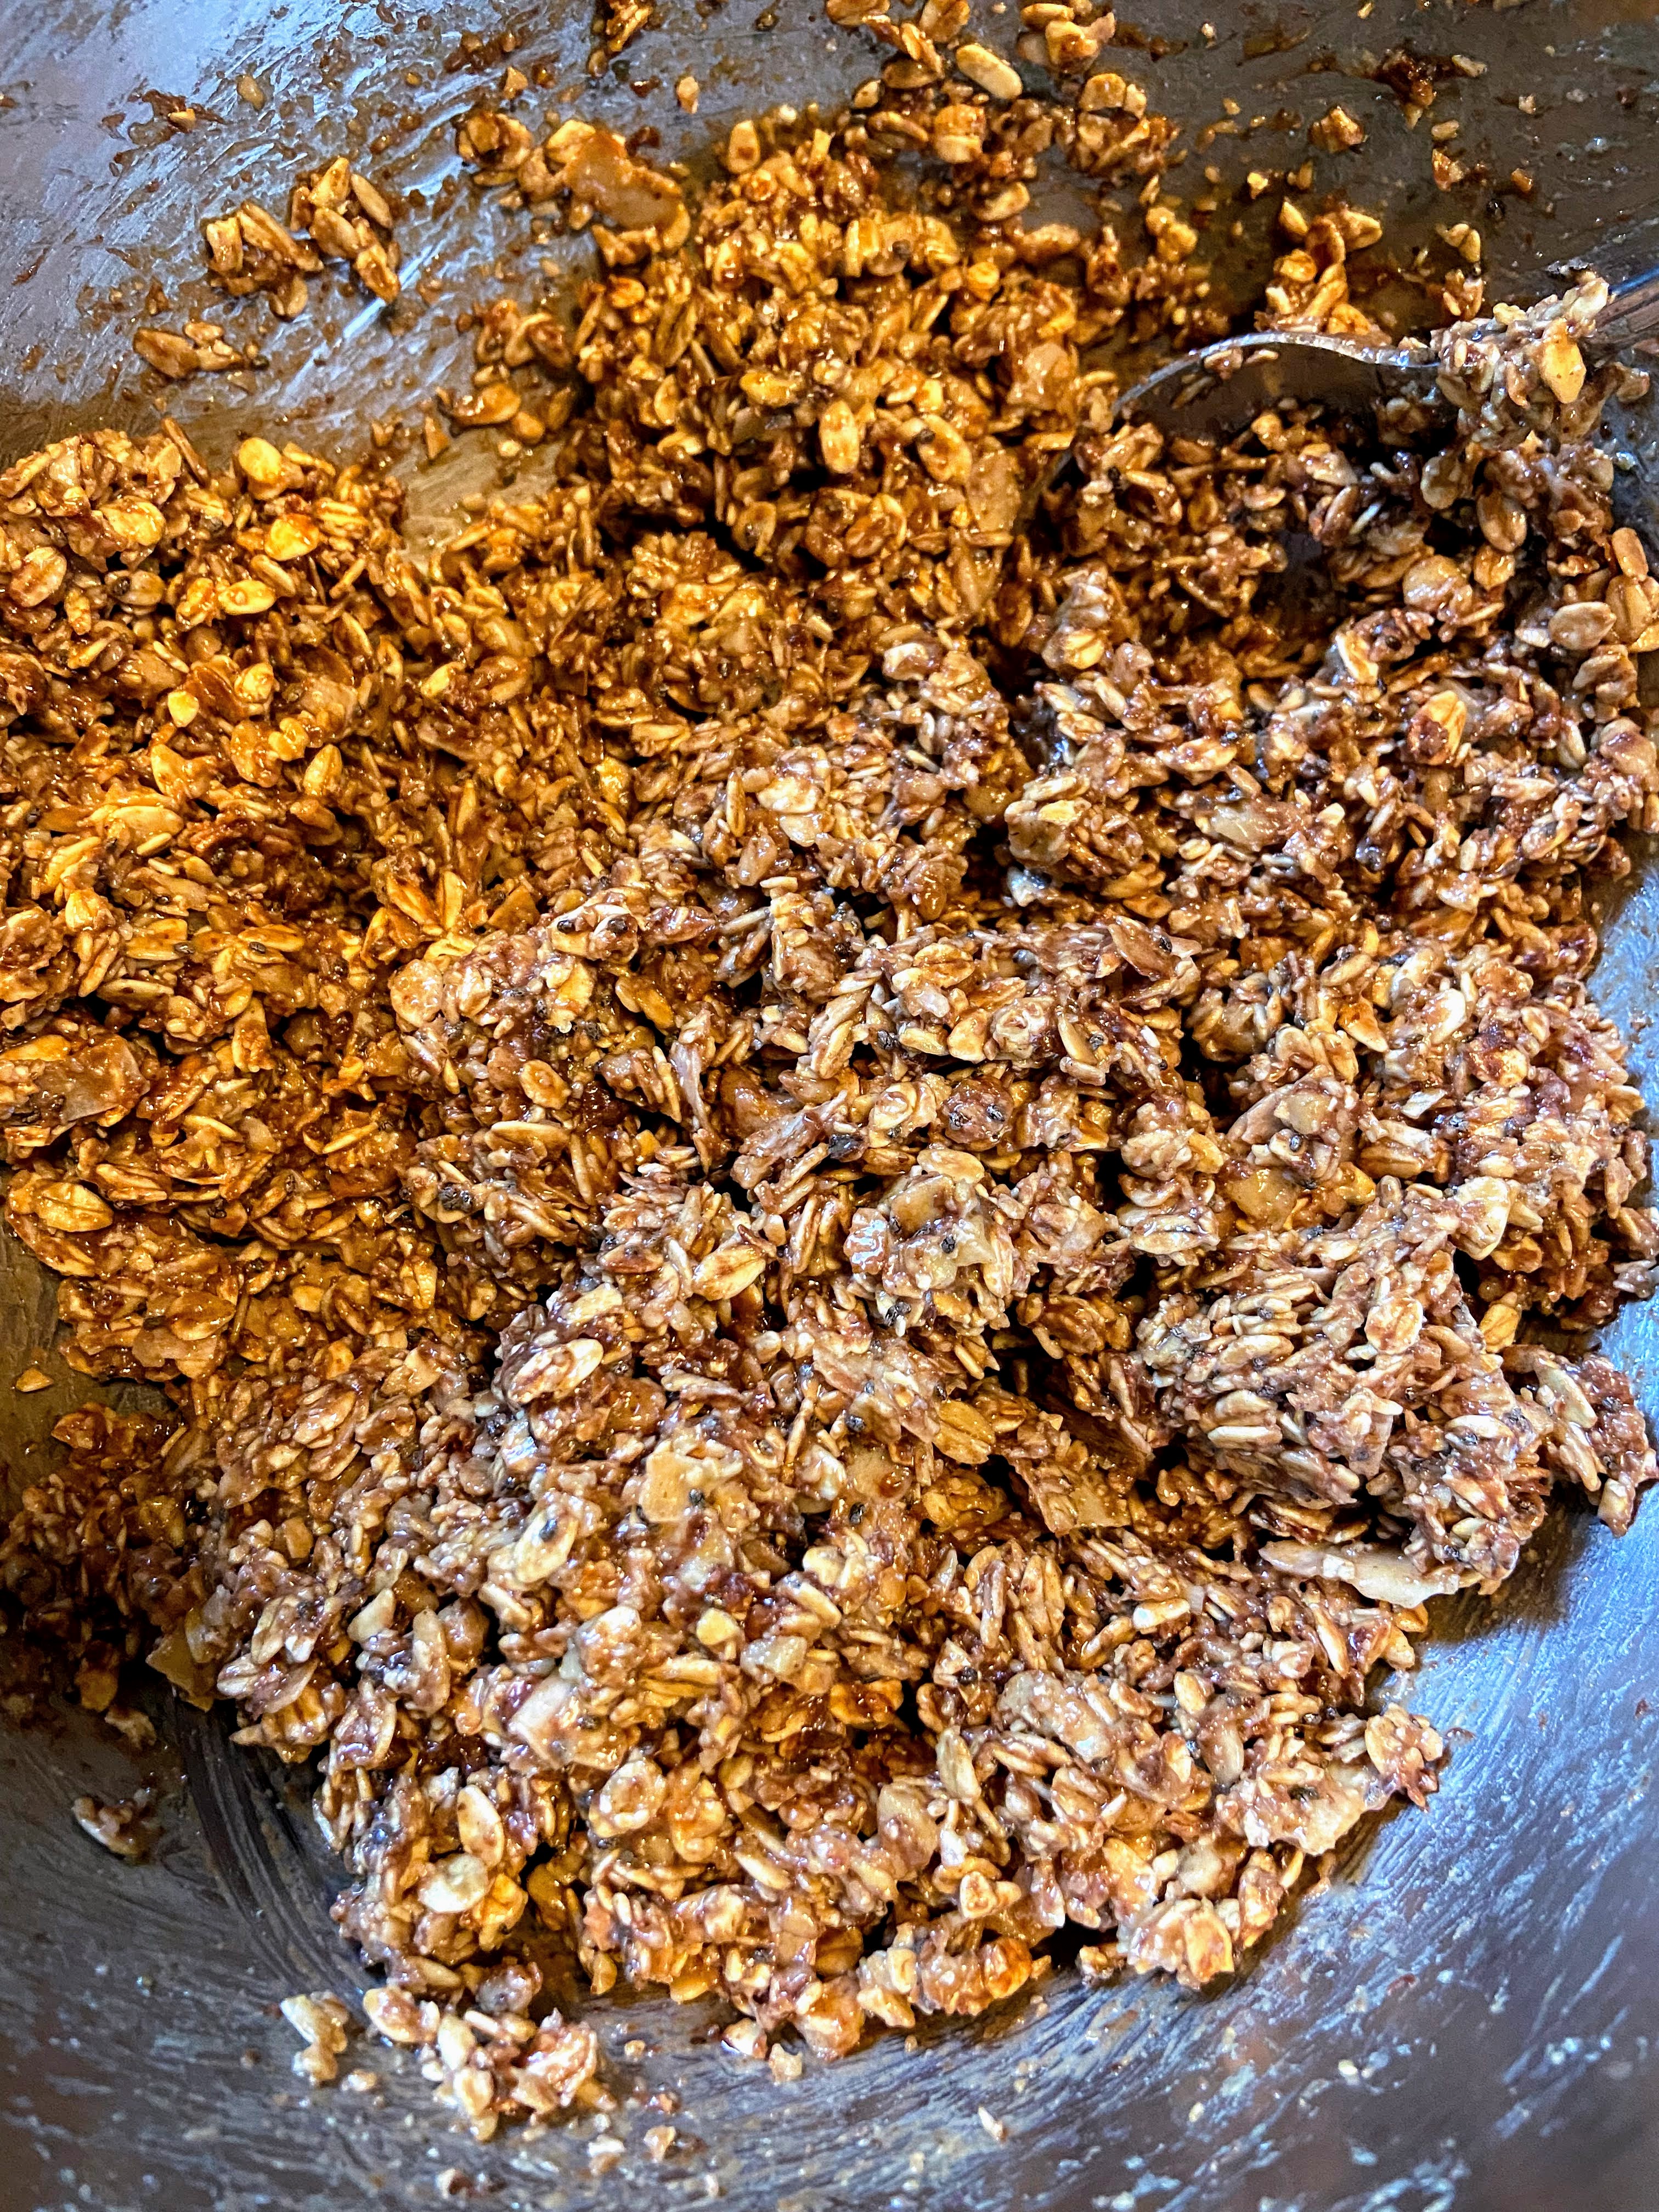
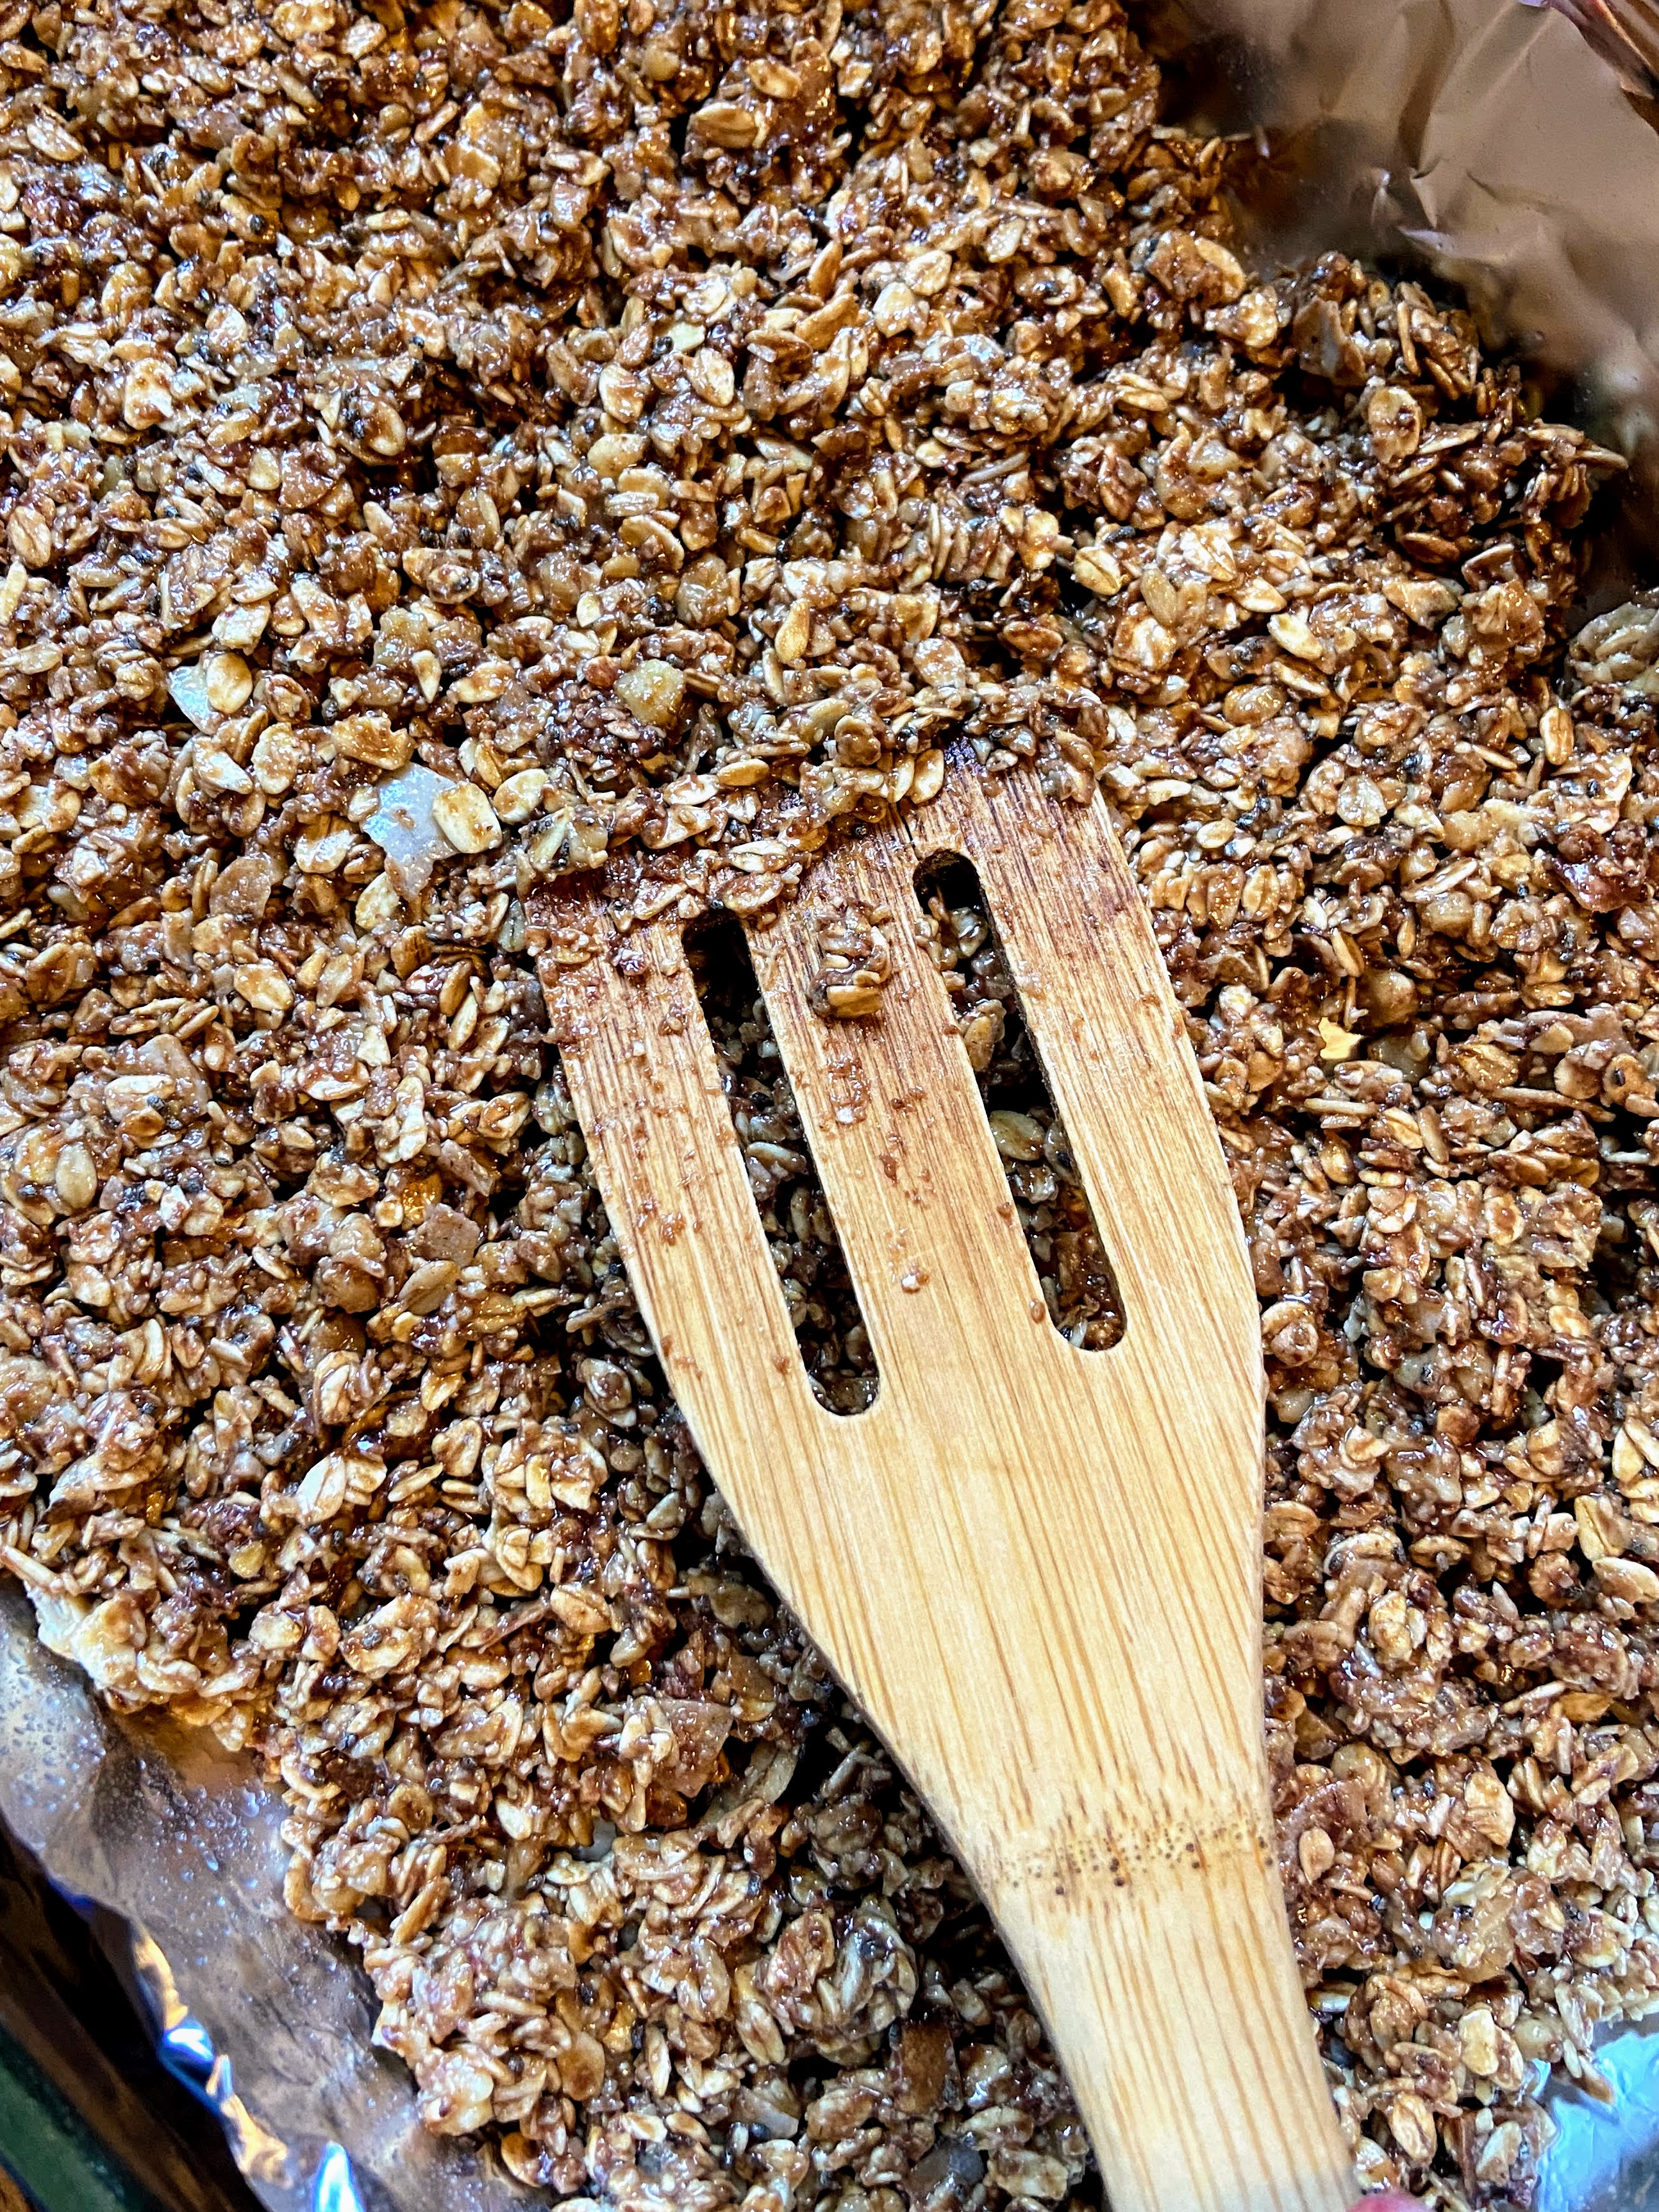
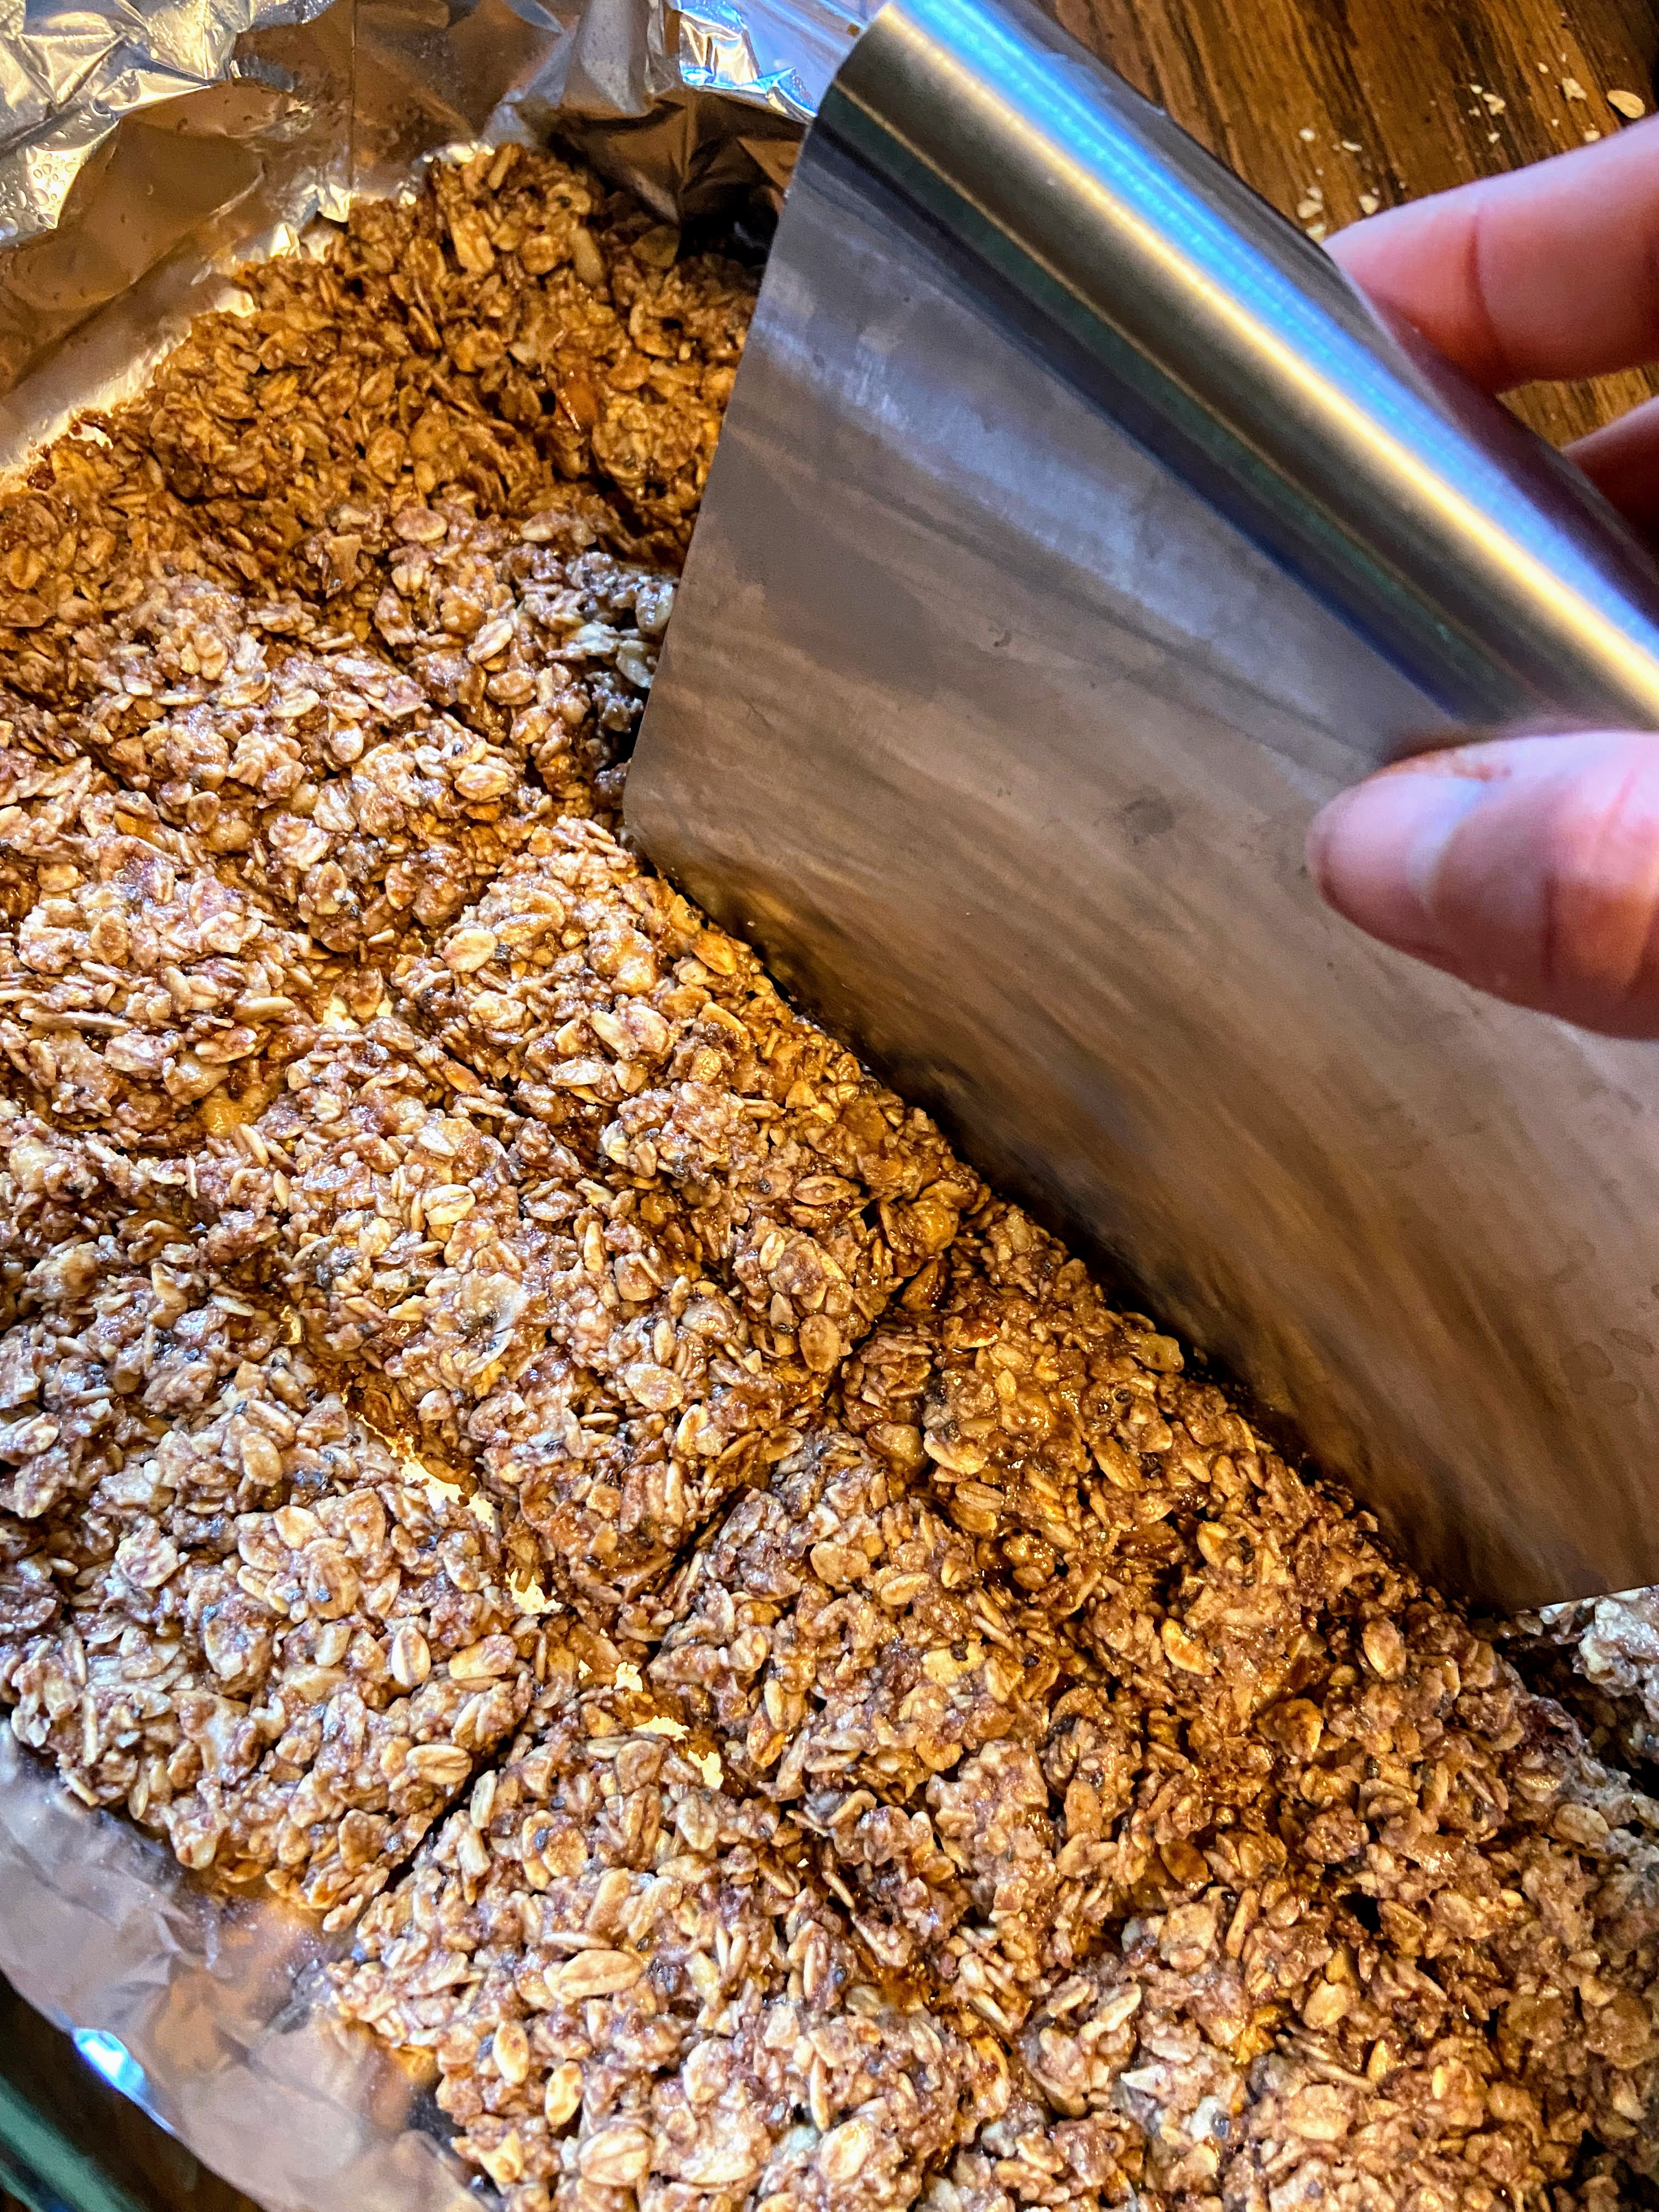
Add remaining ingredients to oatmeal mixture. Stir until well combined. Set aside. Line a 9×12 glass baking dish with foil. Spray with nonstick cooking spray. Press the granola mixture into the pan. Bake for 13-18 minutes at 350 degrees, cutting into bars halfway through (A steel scraper/chopper like this guy works great!). If you want them softer, less crunchy, stick with the 13-15 minute range. Dig a crunchier granola bar, shoot for 15-18 minutes.  

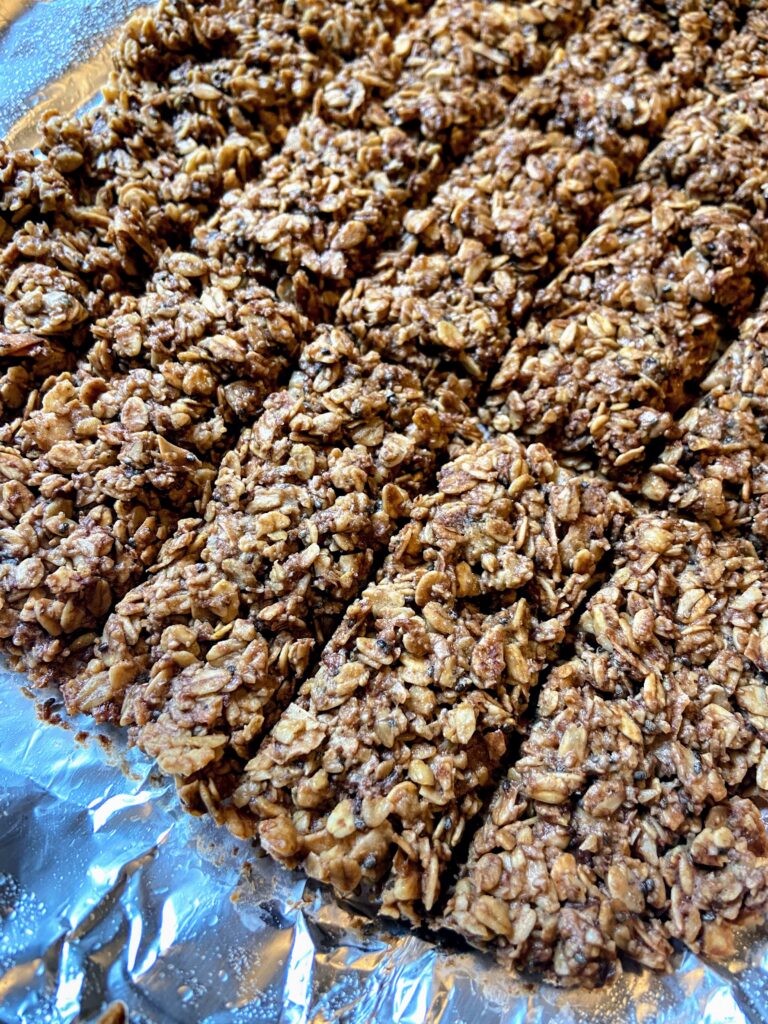
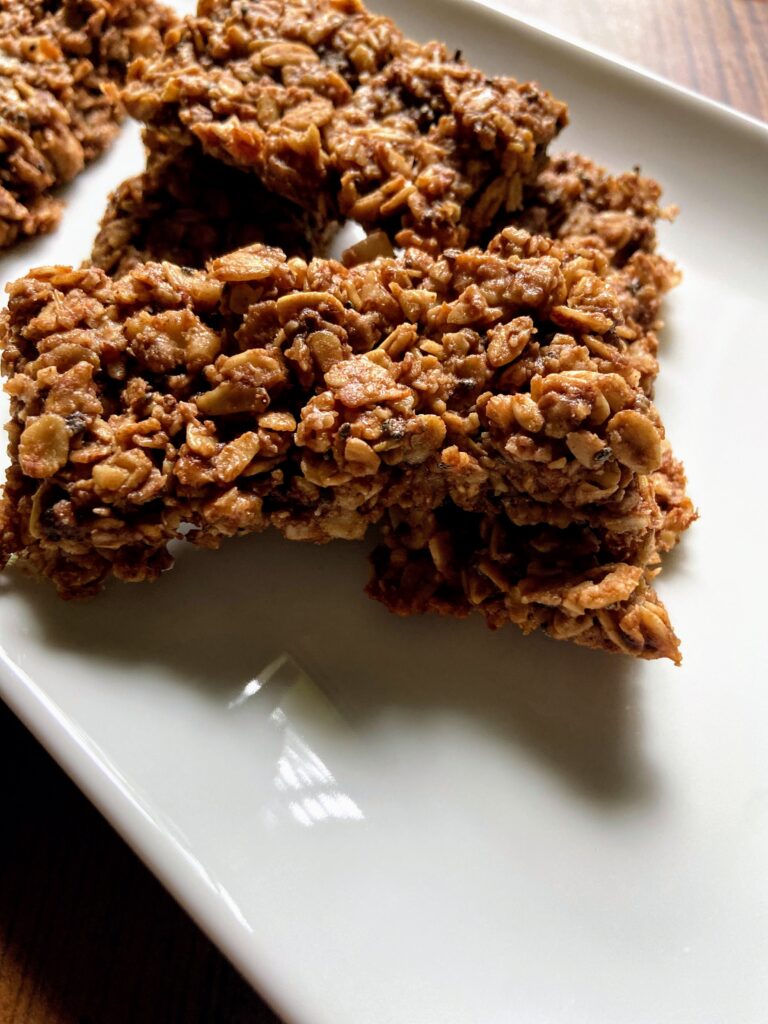
Once bars are done baking, cut on the lines once more. Allow to cool completely in the pan. Remove by lifting the foil. Break bars apart and store in an airtight container. 

Looking for other great breakfast baked goods? Check out my baking page by clicking the button below!

Homemade Baked Granola Bars

Why eat packaged granola bars when you can make your own homemade baked granola bars! Create your own with items from your pantry!
Prep Time 5 minutes
Cook Time 25 minutes
Course Breakfast
Cuisine American
Servings 20 bars

Ingredients
  

  • 1 cup old fashioned oats
  • 1 cup oat flour store bought or just processed in your food processor
  • ½ cup unsweetened shredded coconut
  • ½ cup chopped nuts
  • ¼ cup creamy peanut butter
  • ½ cup honey
  • ¼ teaspoon salt
  • ¼ cup chocolate chips
  • 1 tablespoon ground flaxseed
  • 1 tablespoon chia seeds

Instructions
 

  • Preheat oven to 350 degrees. Spray a baking sheet with nonstick cooking spray.
  • Spread oats, oat flour, coconut, and nuts on the sheet. Bake in the oven for 8 minutes, until just becoming toasted.
  • Remove from the oven and immediately place in a large mixing bowl.
  • Add remaining ingredients to oatmeal mixture. Stir until well combined.
  • Set aside. Line a 9×12 glass baking dish with foil. Spray with nonstick cooking spray.
  • Press the granola mixture into the pan. Bake for 13-18 minutes at 350 degrees, cutting into bars halfway through.
  • For a softer granola bar, bake for 13-15 minutes. For a crunchier granola bar, bake 15-18 minutes.
  • Once bars are done baking, cut on the lines once more.
  • Allow to cool completely in the pan. Remove by lifting the foil. Break bars apart and store in an airtight container.
Keyword granola, granola bar, oatmeal, snacks
Tried this recipe?Let us know how it was!

Banana Oat Muffins

I have an eleven year old boy this summer. If you have ever had an eleven year old, you know this means he’s eating CONSTANTLY. We try to encourage healthy foods for his forever snacking, and generally begin our sentences with “have a banana or a string cheese.” Then he eats three of them. What’s a mom to do? This also means we buy bananas in bulk. Most of the time we are making second trips to the grocery store for more. But sometimes we end up with some overly ripe ones. When that happens, I make banana bread, banana ice cream, or banana oat muffins. 

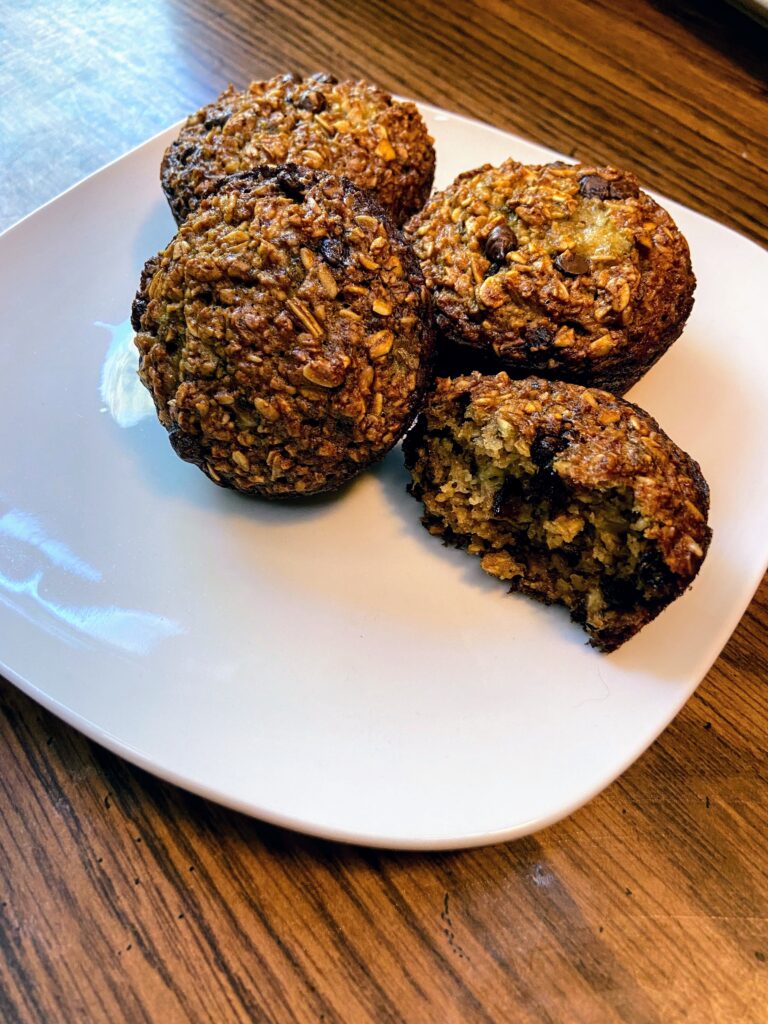
This banana oat muffin recipe is everything you would hope for. They are beautifully dense. Perfectly sweet using maple syrup for the sweetener. They have texture and the right amount of chocolate chips to make anyone happy. And friends, it’s gluten free to boot. It’s full of good for you ingredients and only two tablespoons of oil. How can you go wrong, right? 

These muffins will pair great with your coffee in the morning, as a mid morning snack to get you to lunch time or for a guilt free dessert (although I totally believe in not feeling bad about dessert, but that’s another story for another time). I’m excited for you to give them a try and share them with your littles or your bigs or better yet, keep them to yourself. (You did hear I have an eleven year old right? I have to start hiding my favorite foods and treats from him!) 

Let’s get baking some banana oat muffins

YOUR INGREDIENTS FOR THE BANANA Oat Muffins

  • 2 cups old fashioned oats
  • 1 teaspoon baking soda
  • 1/2 teaspoon salt
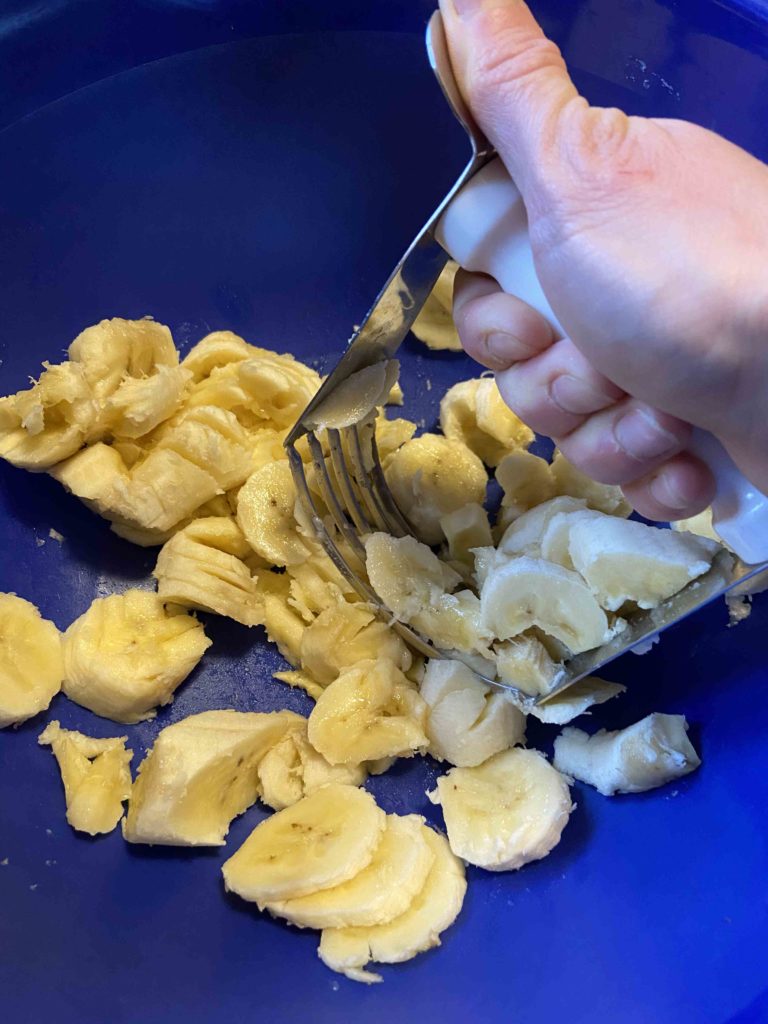
  • 3 very ripe bananas, mashed (My go to tool for this? A pastry cutter. It works great AND young kids can easily get involved and do this step for you)
  • 2 eggs
  • 1/4 cup real maple syrup
  • 2 tablespoons melted coconut oil
  • 1/4 mini chocolate chips

Your Steps to the banana Oat Muffins

First, preheat the oven to 350 degrees. Prepare a 12 muffin tin with non stick cooking spray. Then measure out and combine:

  • 2 cups old fashioned oats
  • 1 teaspoon baking soda
  • 1/2 teaspoon salt

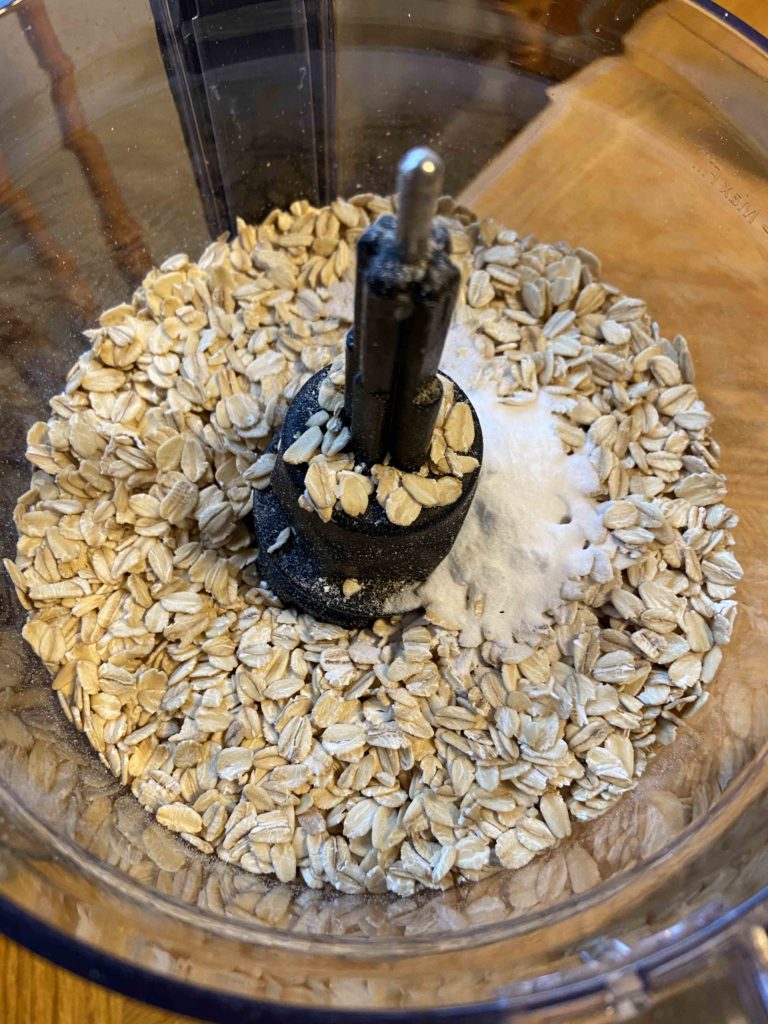
Pulse these three ingredients in a food processor until they are a coarse flour texture.

In an additional bowl, combine:

  • 3 very ripe bananas, mashed (My go to tool for this? A pastry cutter. It works great AND young kids can easily get involved and do this step for you)
  • 2 eggs
  • 1/4 cup real maple syrup

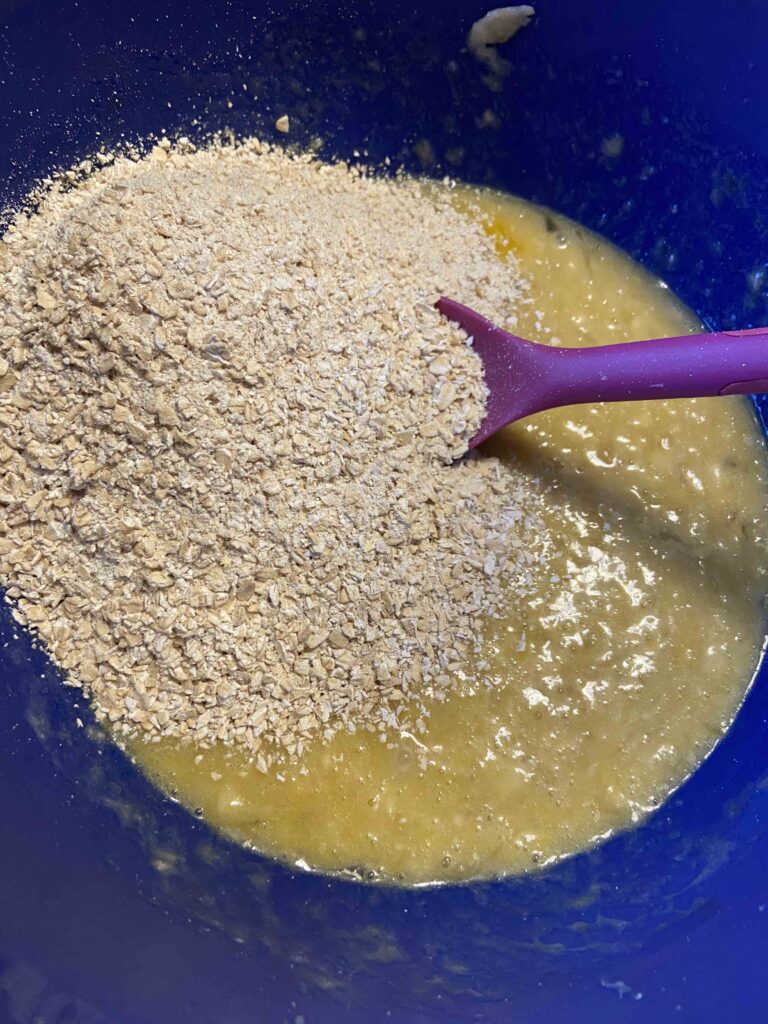
Once mixed, stir in the oat mixture until just combined. Finally, fold in the melted coconut oil and 1/4 cup mini chocolate chips. Fill each muffin using a 1/4 cup measuring cup. Bake for 22-25 minutes, until cooked through.

I love that I can enjoy a good breakfast bread that is filling and the perfect amount of sweetness without overdoing it on the added sugar. It is also a perfect mid morning snack to get you to lunch! Give it a try!

A few Notes…

I always thought that a small, 2 cup food processor was good enough. It’s what my mom used growing up, and if it was good enough for her, it was good enough for me. However, a few holidays ago, I asked for a 7 cup Kitchen Aid Mixer. It’s AMAZING and I can’t tell you how often I use it. Highly recommend the investment. It’s great for chopping veggies for salsa, making oat flour, or even mixing banana ice cream. Click the image below to check out a similar model!

Banana Oat Muffins

Simple wholesome ingredients come together with a food processor to make these gluten free and perfectly sweet banana oat muffins
Prep Time 10 minutes
Cook Time 25 minutes
Total Time 1 hour
Course Breakfast
Cuisine American
Servings 12 muffins

Ingredients
  

  • 2 cups old fashioned oats
  • 1 teaspoon baking soda
  • 1/2 teaspoon salt
  • 3 bananas very ripe
  • 2 eggs
  • 1/4 cup maple syrup
  • 2 tablespoons coconut oil melted
  • 1/4 cup mini chocolate chips

Instructions
 

  • Preheat oven to 350° F. Prepare a muffin tin by spraying with non-stick cooking spray.
  • Combine oats, salt, and baking soda in a food processor. Pulse until a coarse flour texture is obtained.
  • In a large bowl, mash bananas. Add honey and eggs. Mix well.
  • Stir oat mixture into mashed bananas. Add chocolate chips and coconut oil. Mix until just combined.
  • Place about 1/4 cup batter in each cup. Bake for 22-25 minutes, until cooked through
Keyword Banana Bread, Breakfast, Gluten Free
Tried this recipe?Let us know how it was!

Looking for other Tasty treats?

Check out my baking page or maybe my breakfast page. Or perhaps you want to check out one of my favorites below?

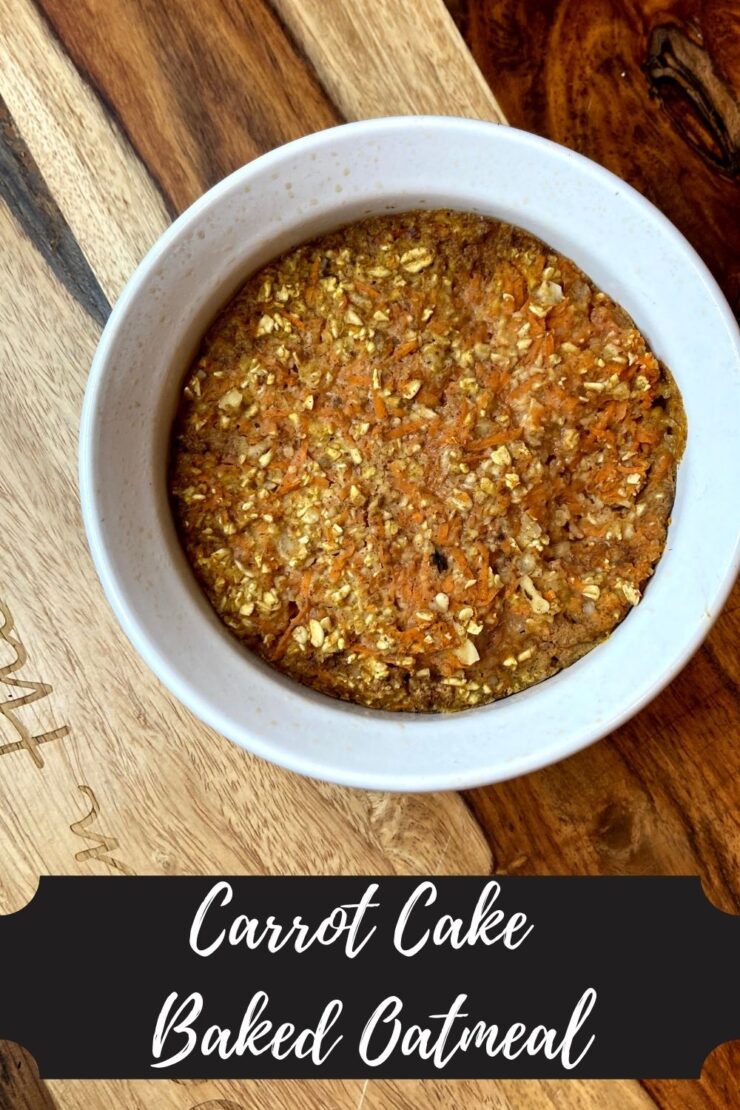
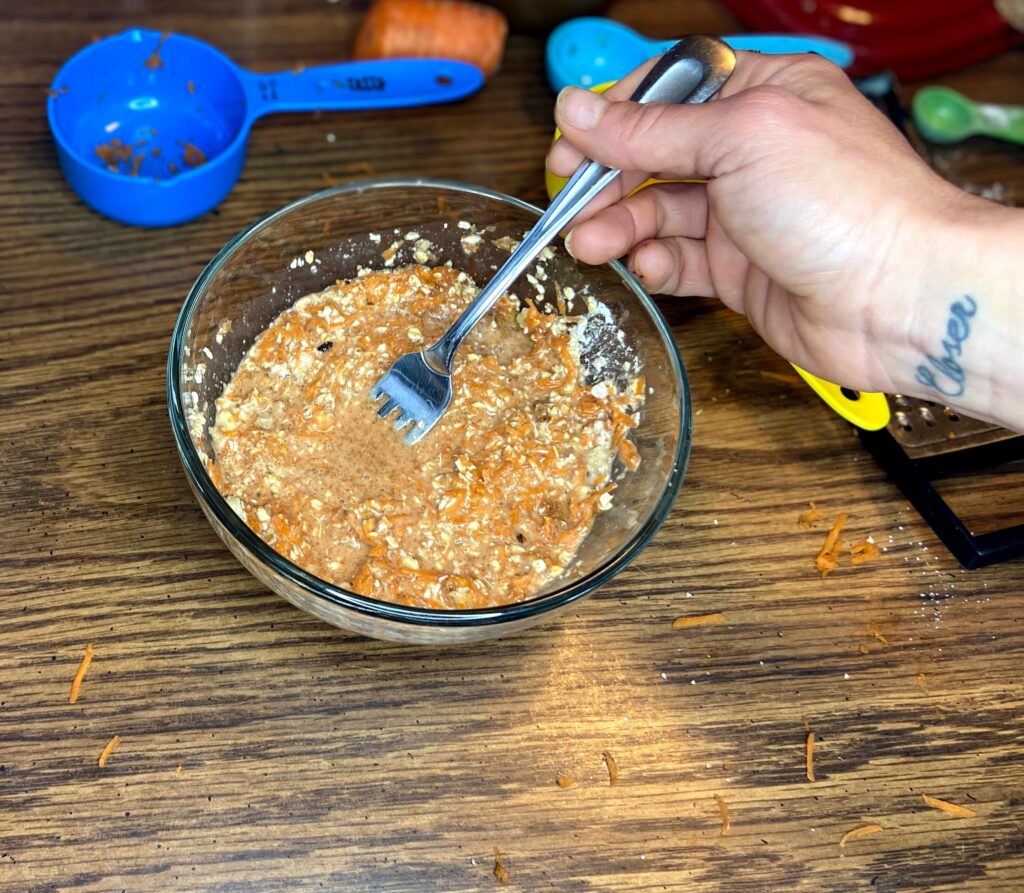
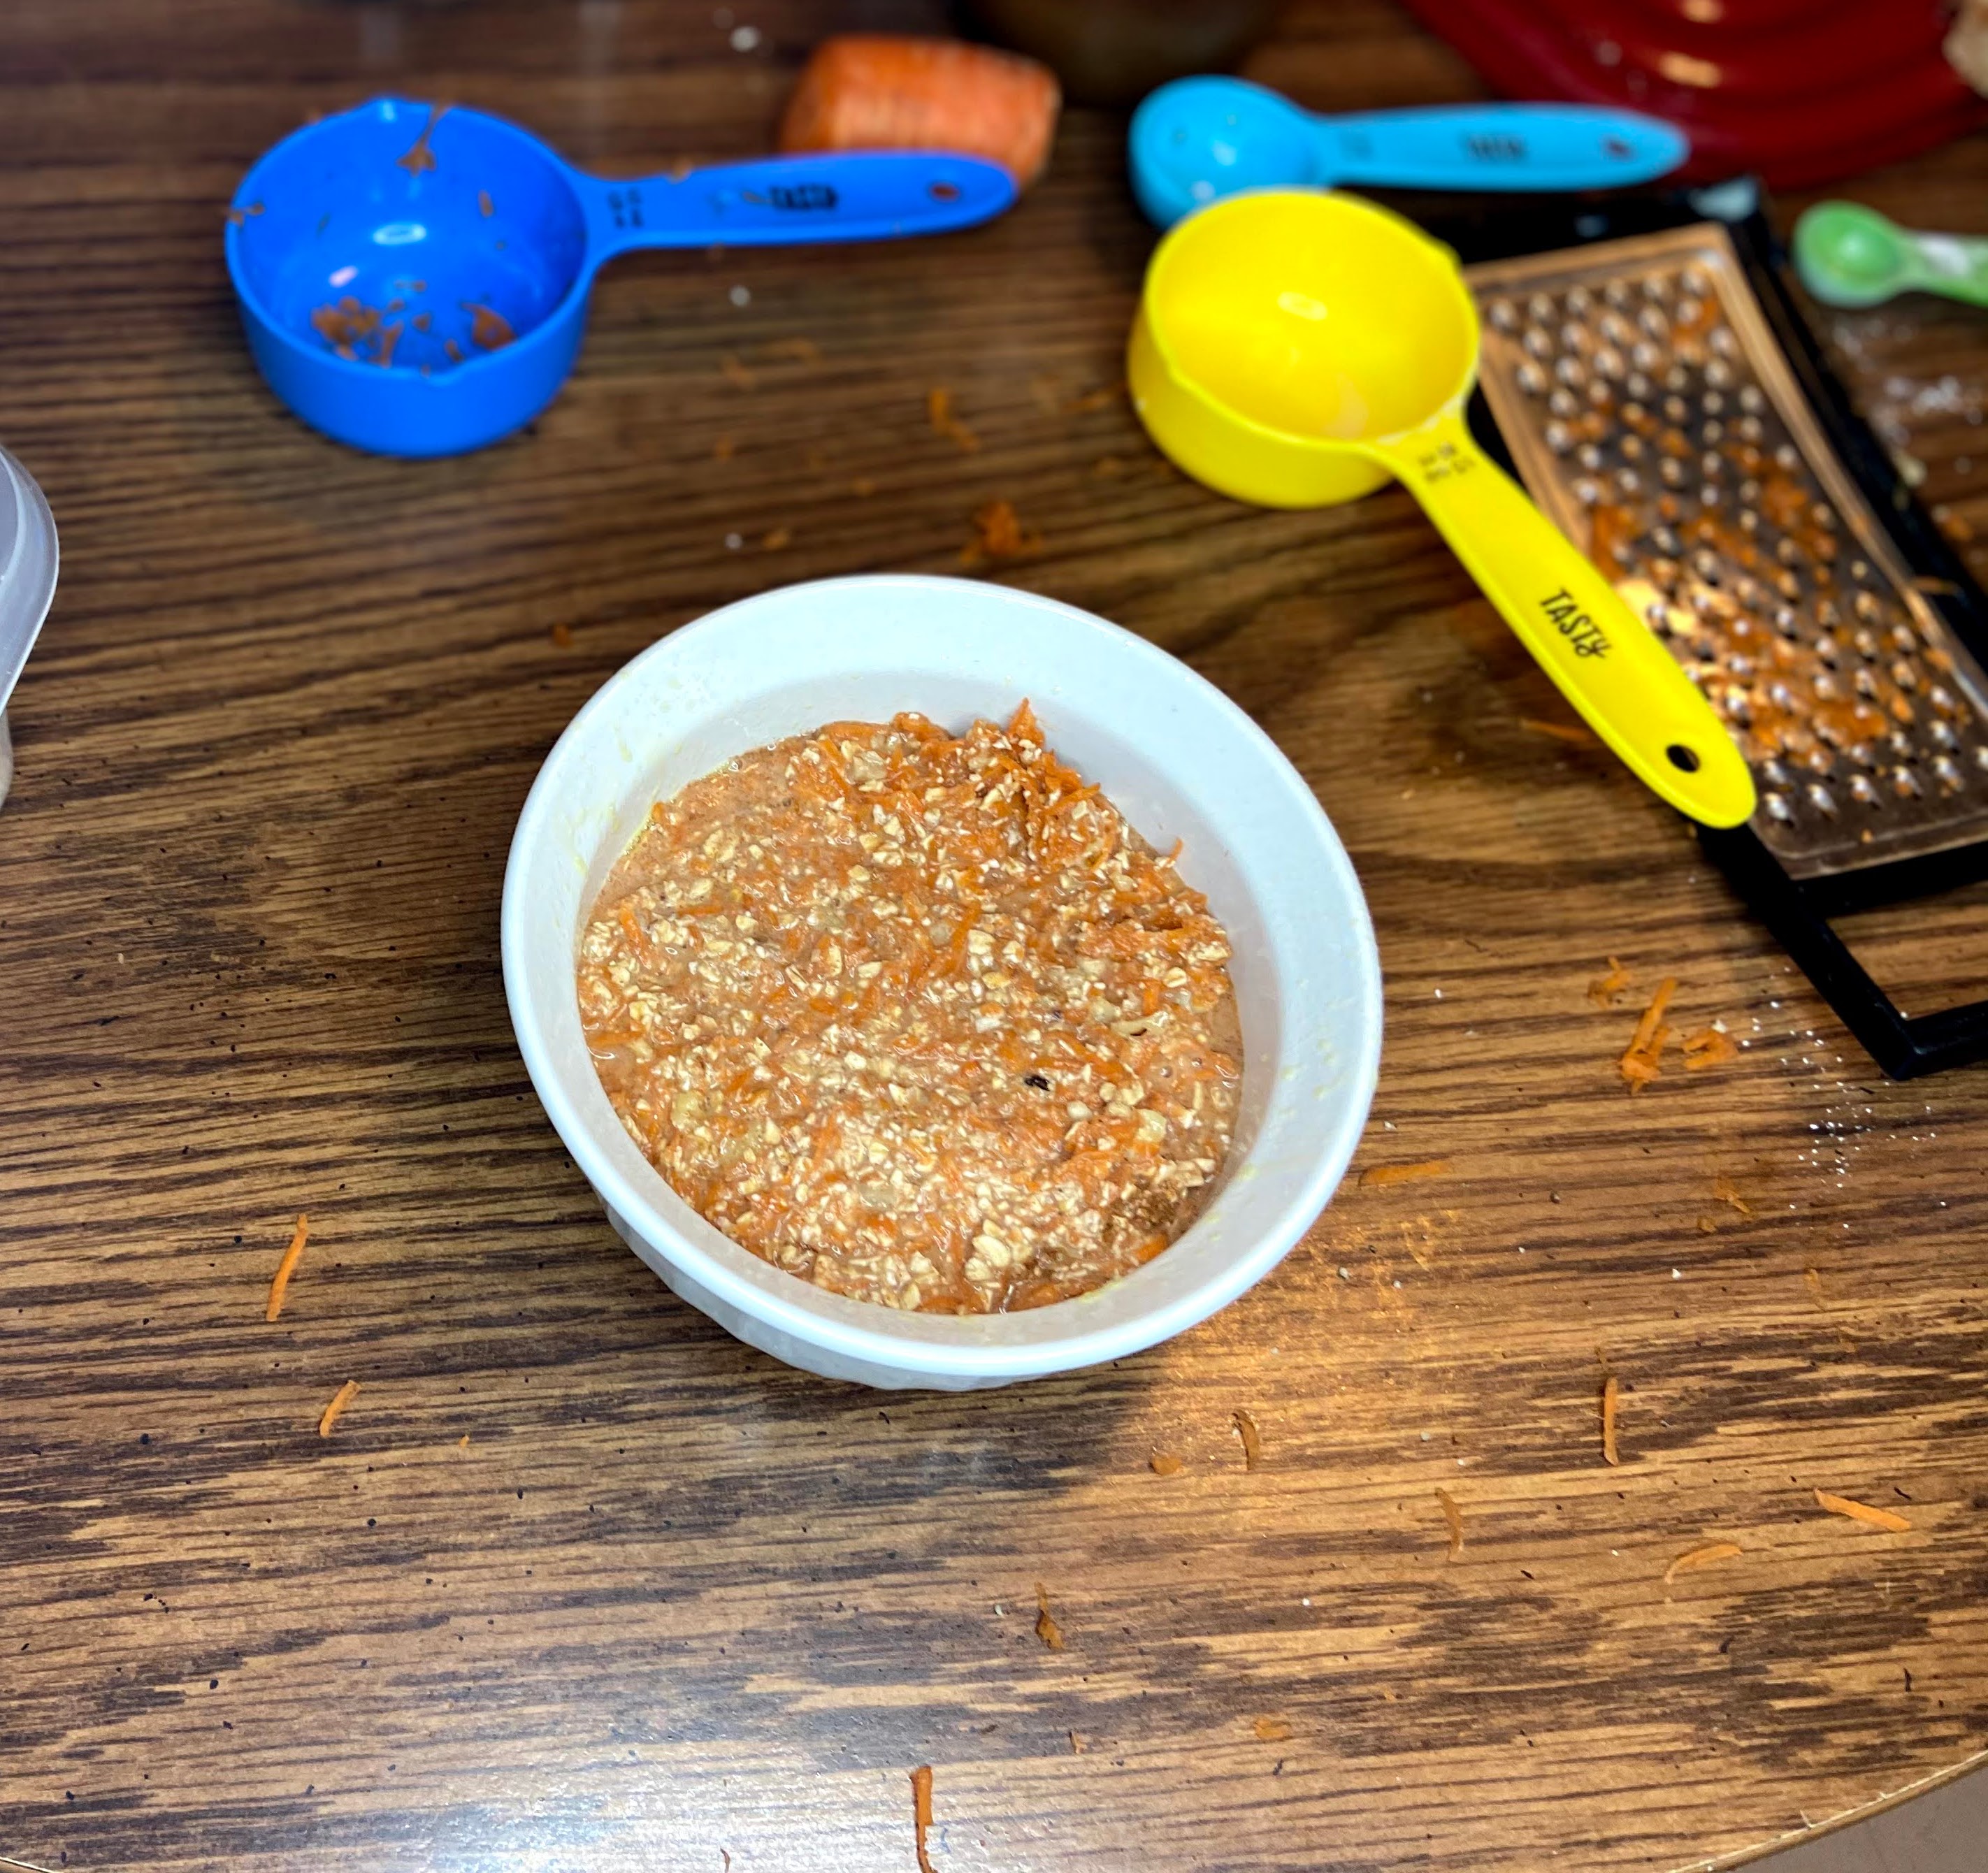
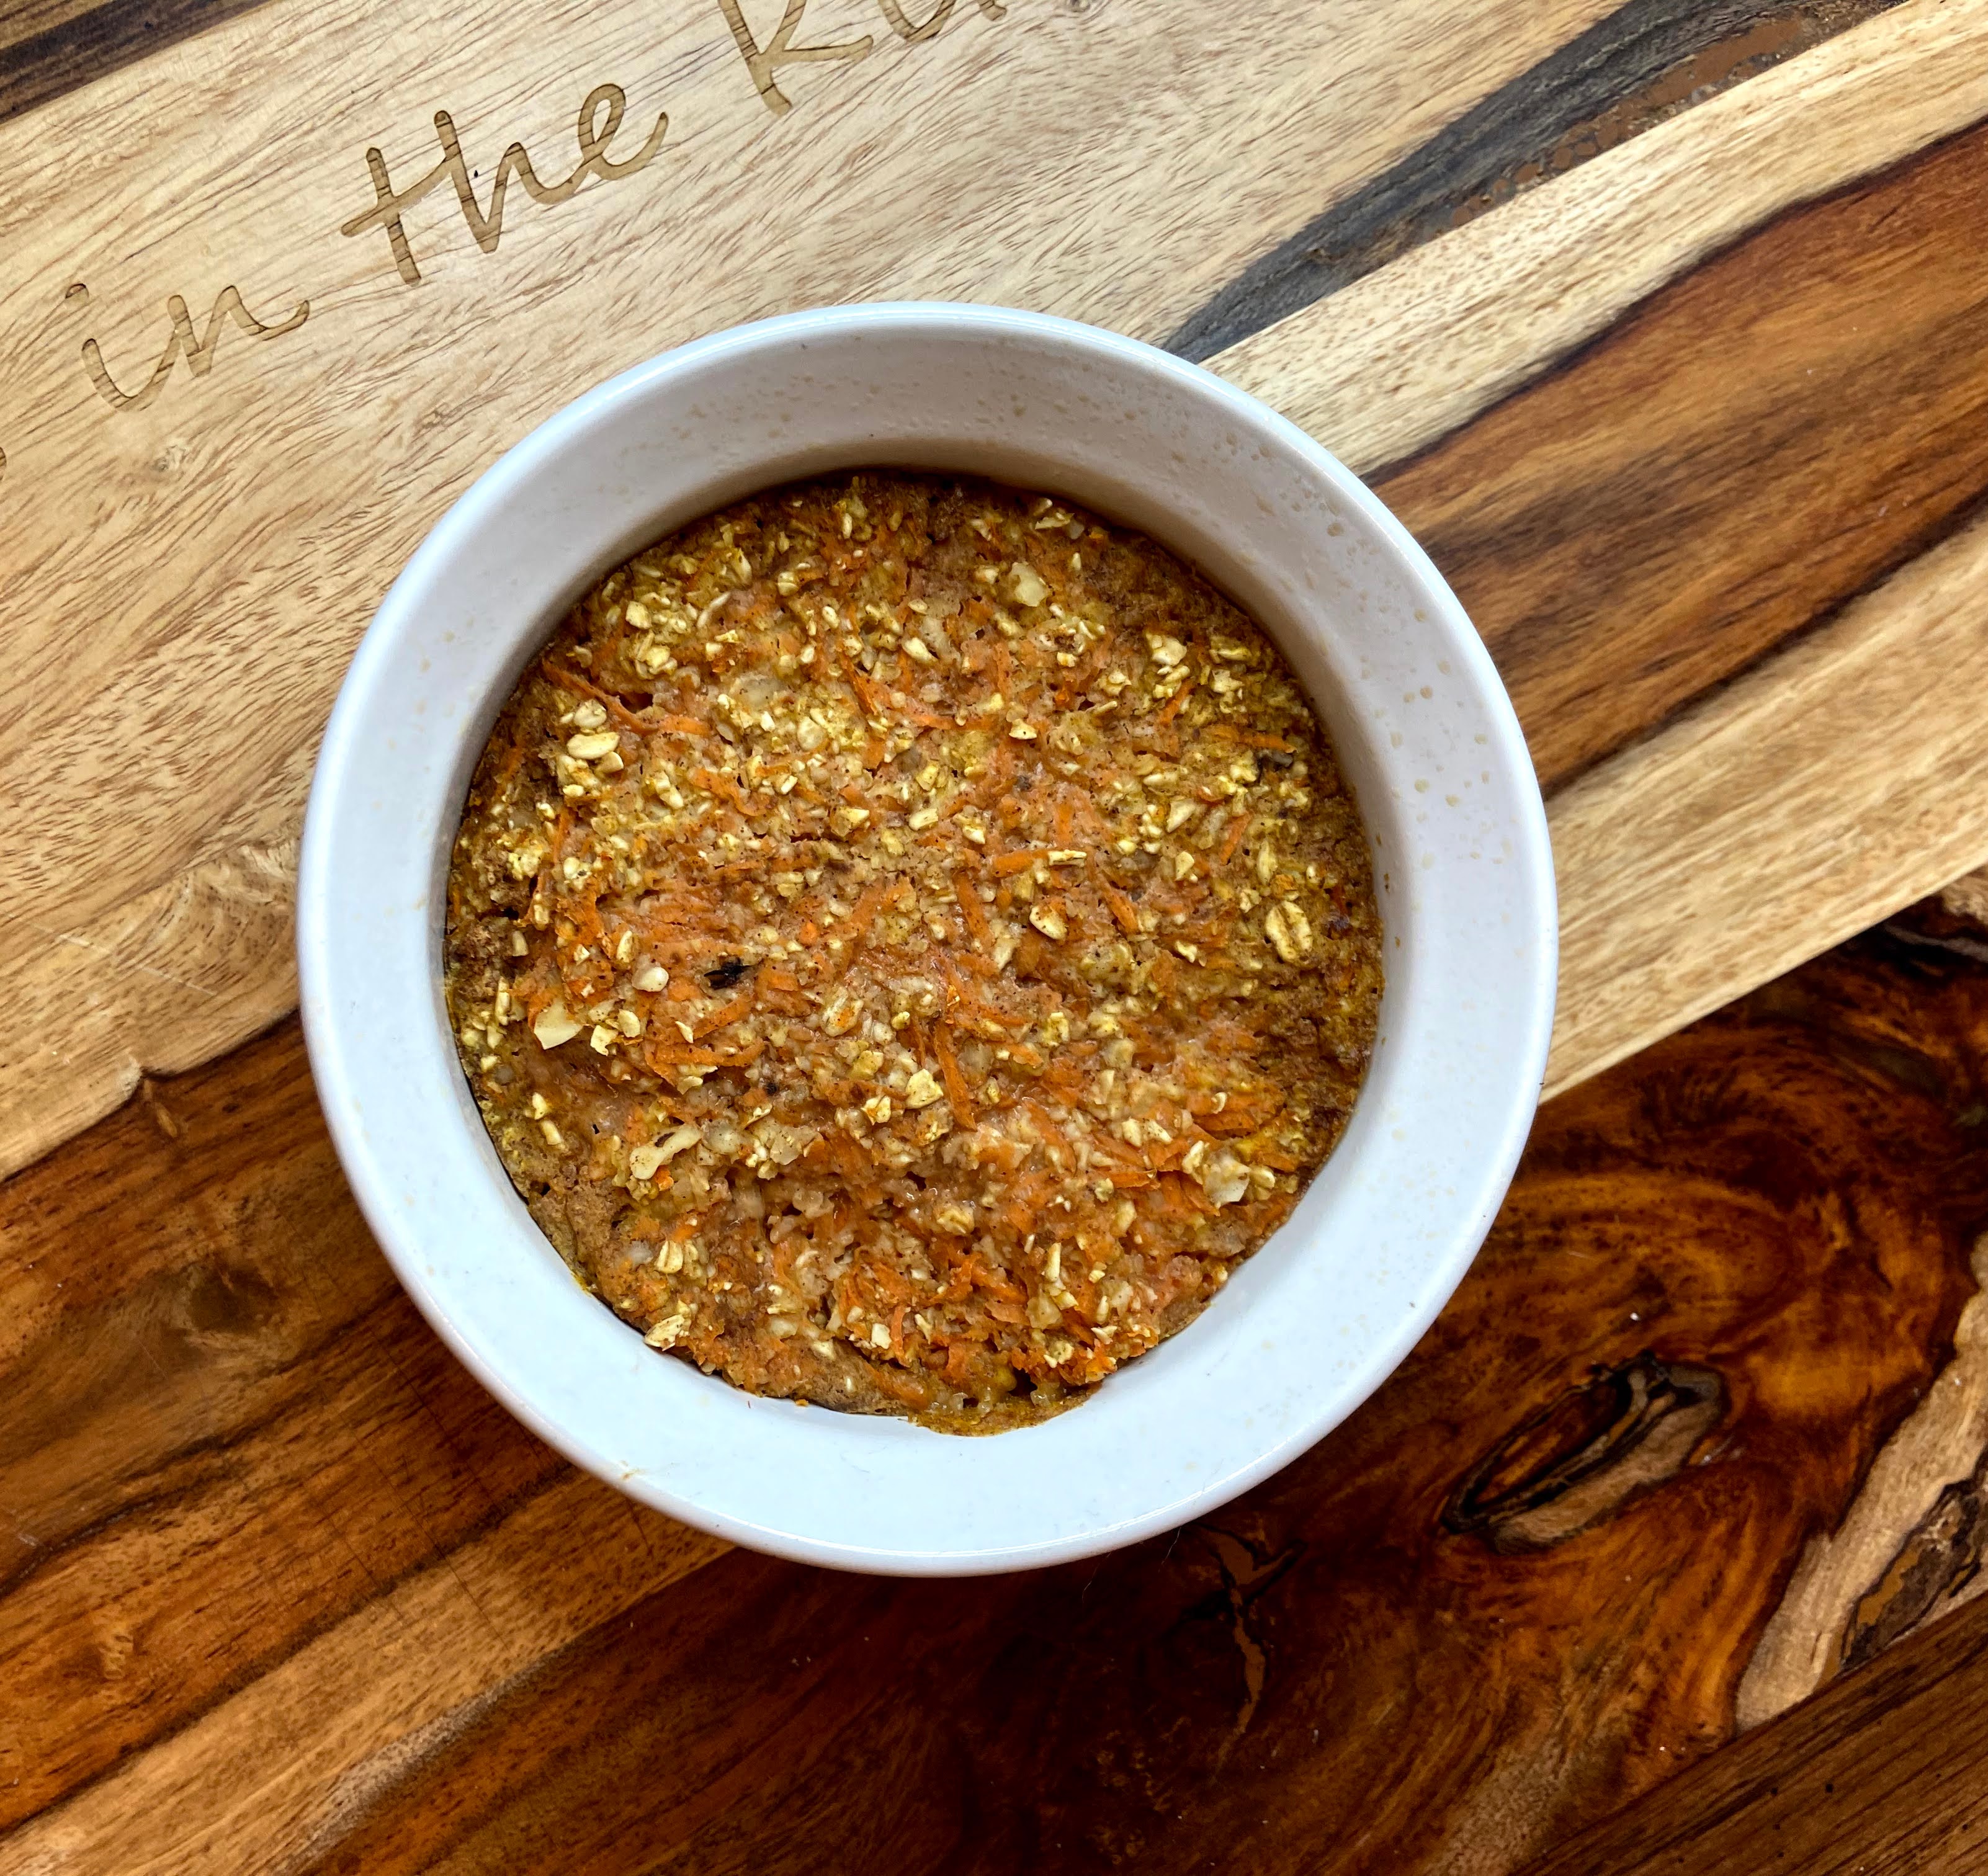
Carrot Cake Baked Oatmeal

I am back with another baked oatmeal recipe: carrot cake baked oatmeal! After I tried my first baked oatmeal recipe, I was itching to try another. I generally say that I don’t love breakfast. I have a few stand by things I eat and that’s it. When I ate at McDonald’s, I used to be so annoyed when I got there 20 minutes before their breakfast menu switched to lunch and I had to get breakfast. Now, I still don’t dig breakfast, but I am starting to branch out and discover new, healthy meals!

In a recent post, I talked about my favorite things: cooking from scratch, using what is on hand, and finally, inserting vegetables whenever I can. Which I did here, but we will call it a cake to trick our brains, right? 🙂 

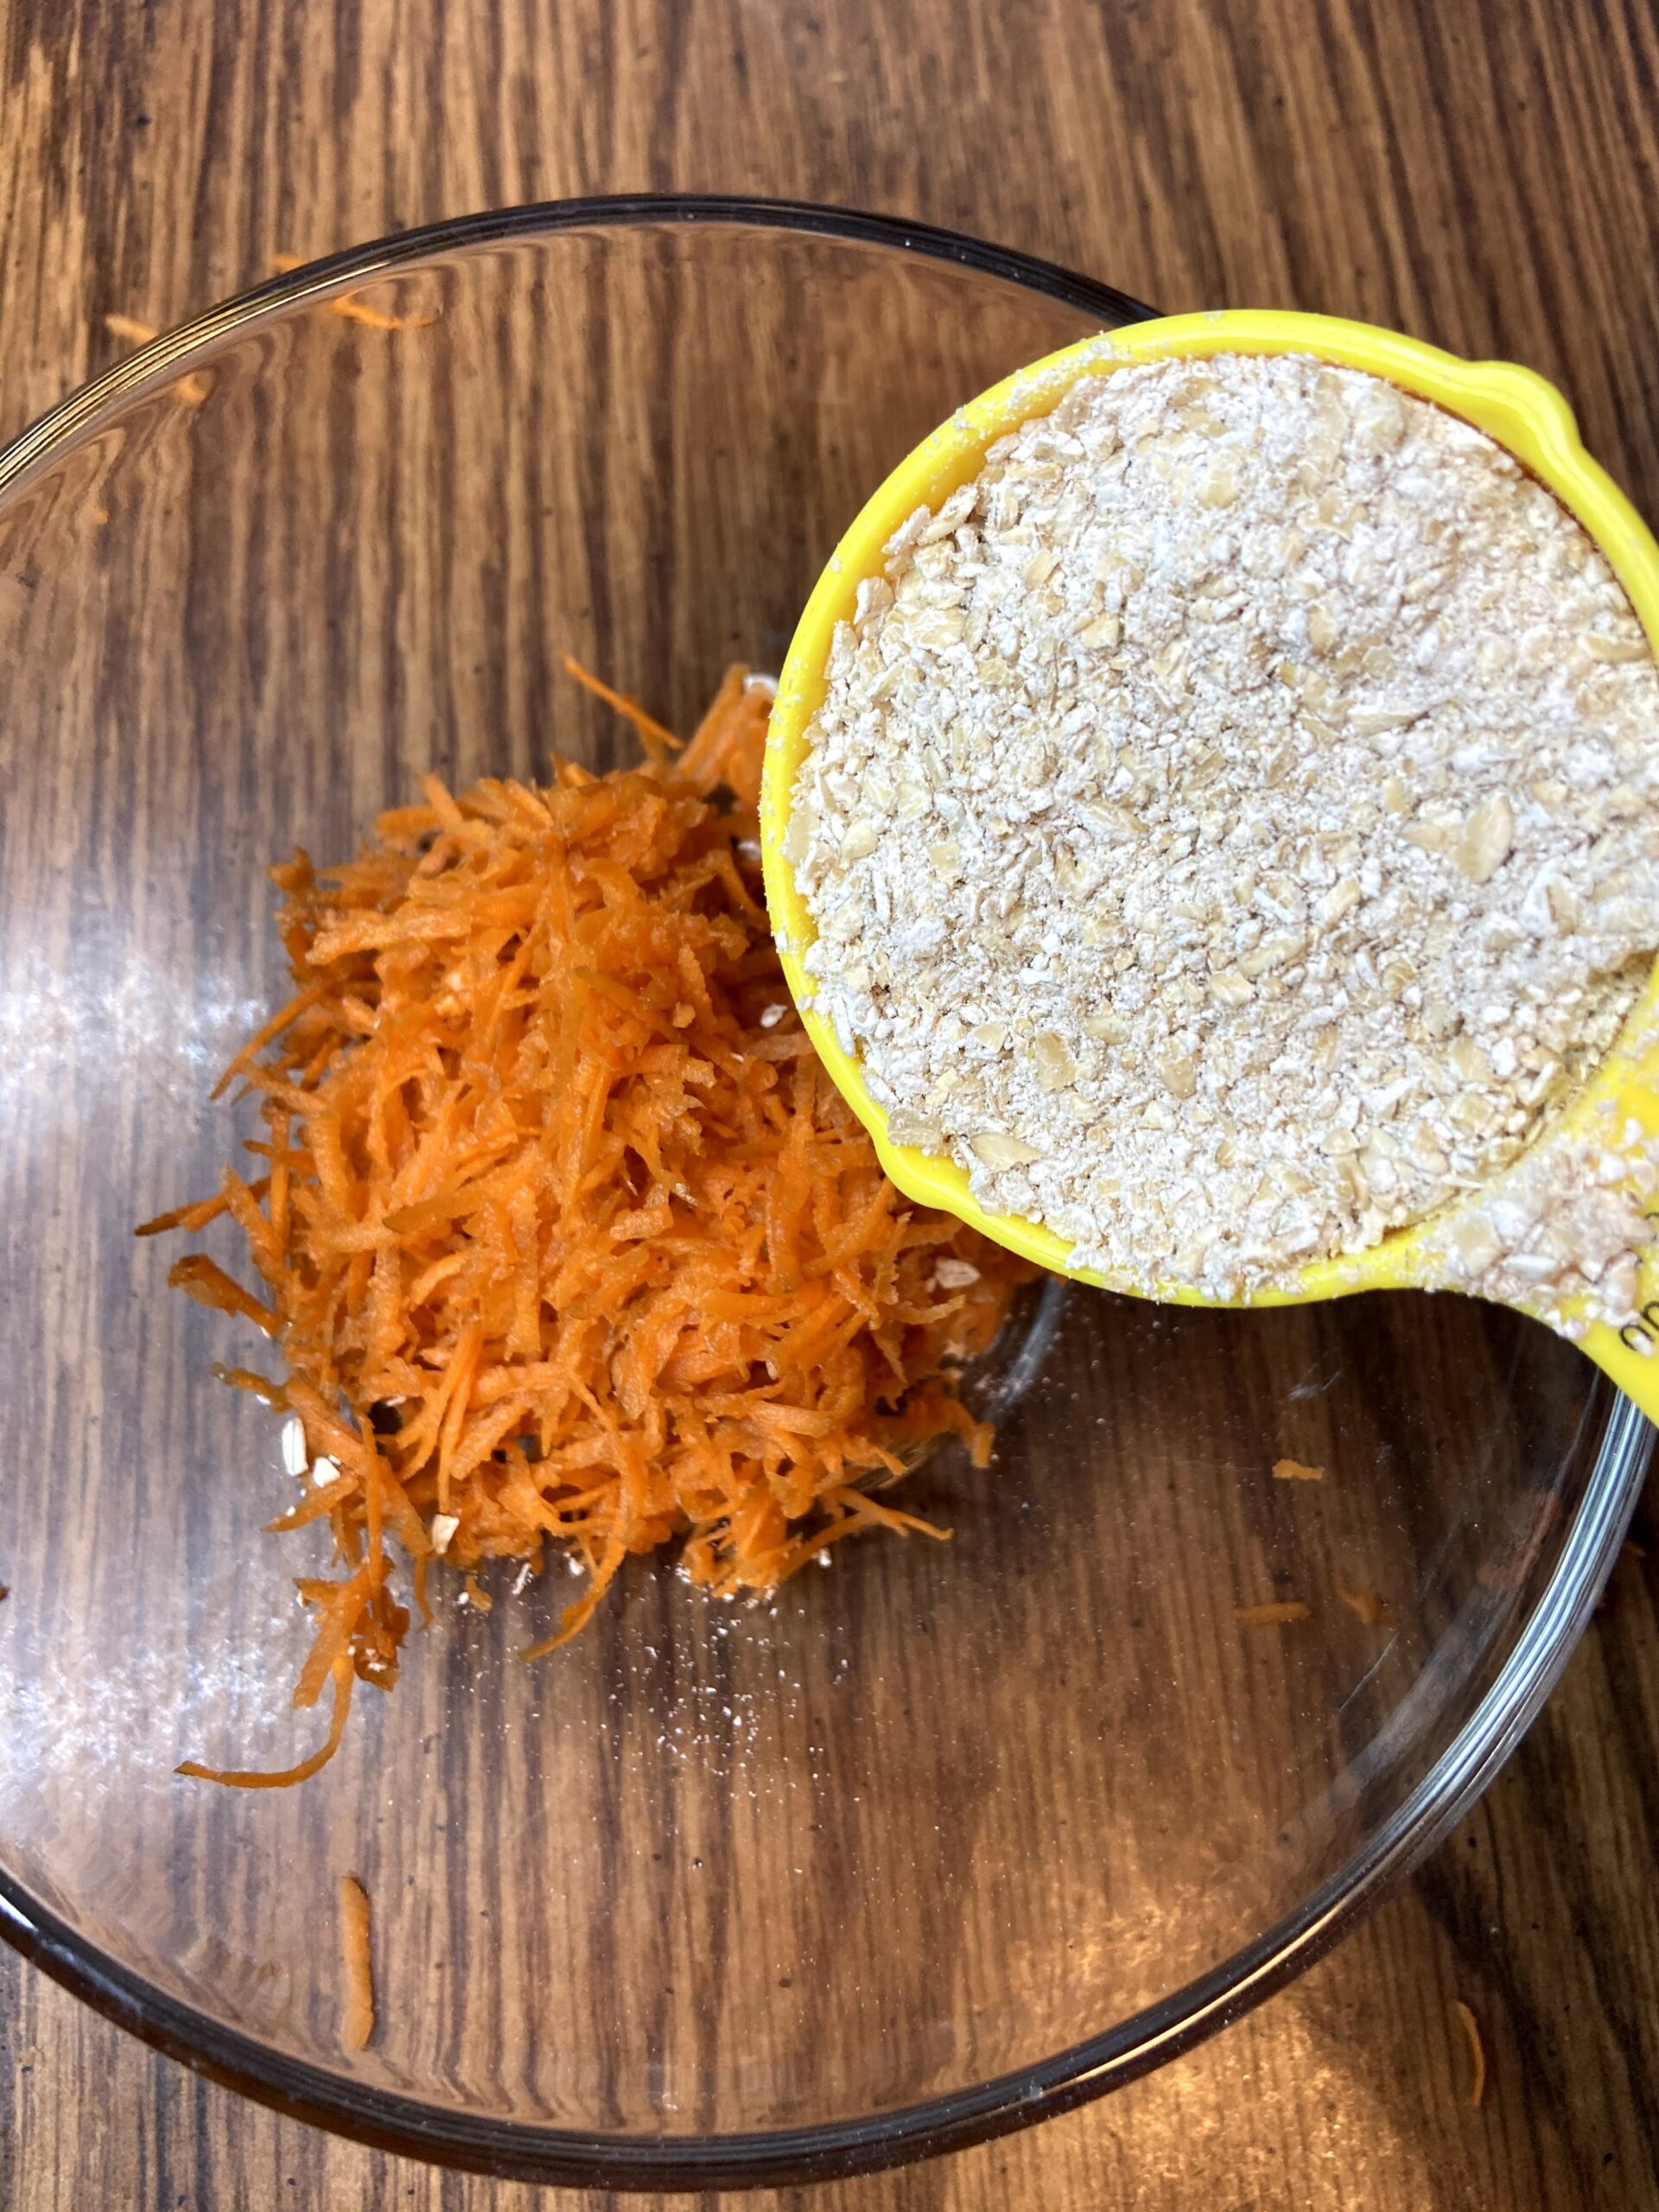
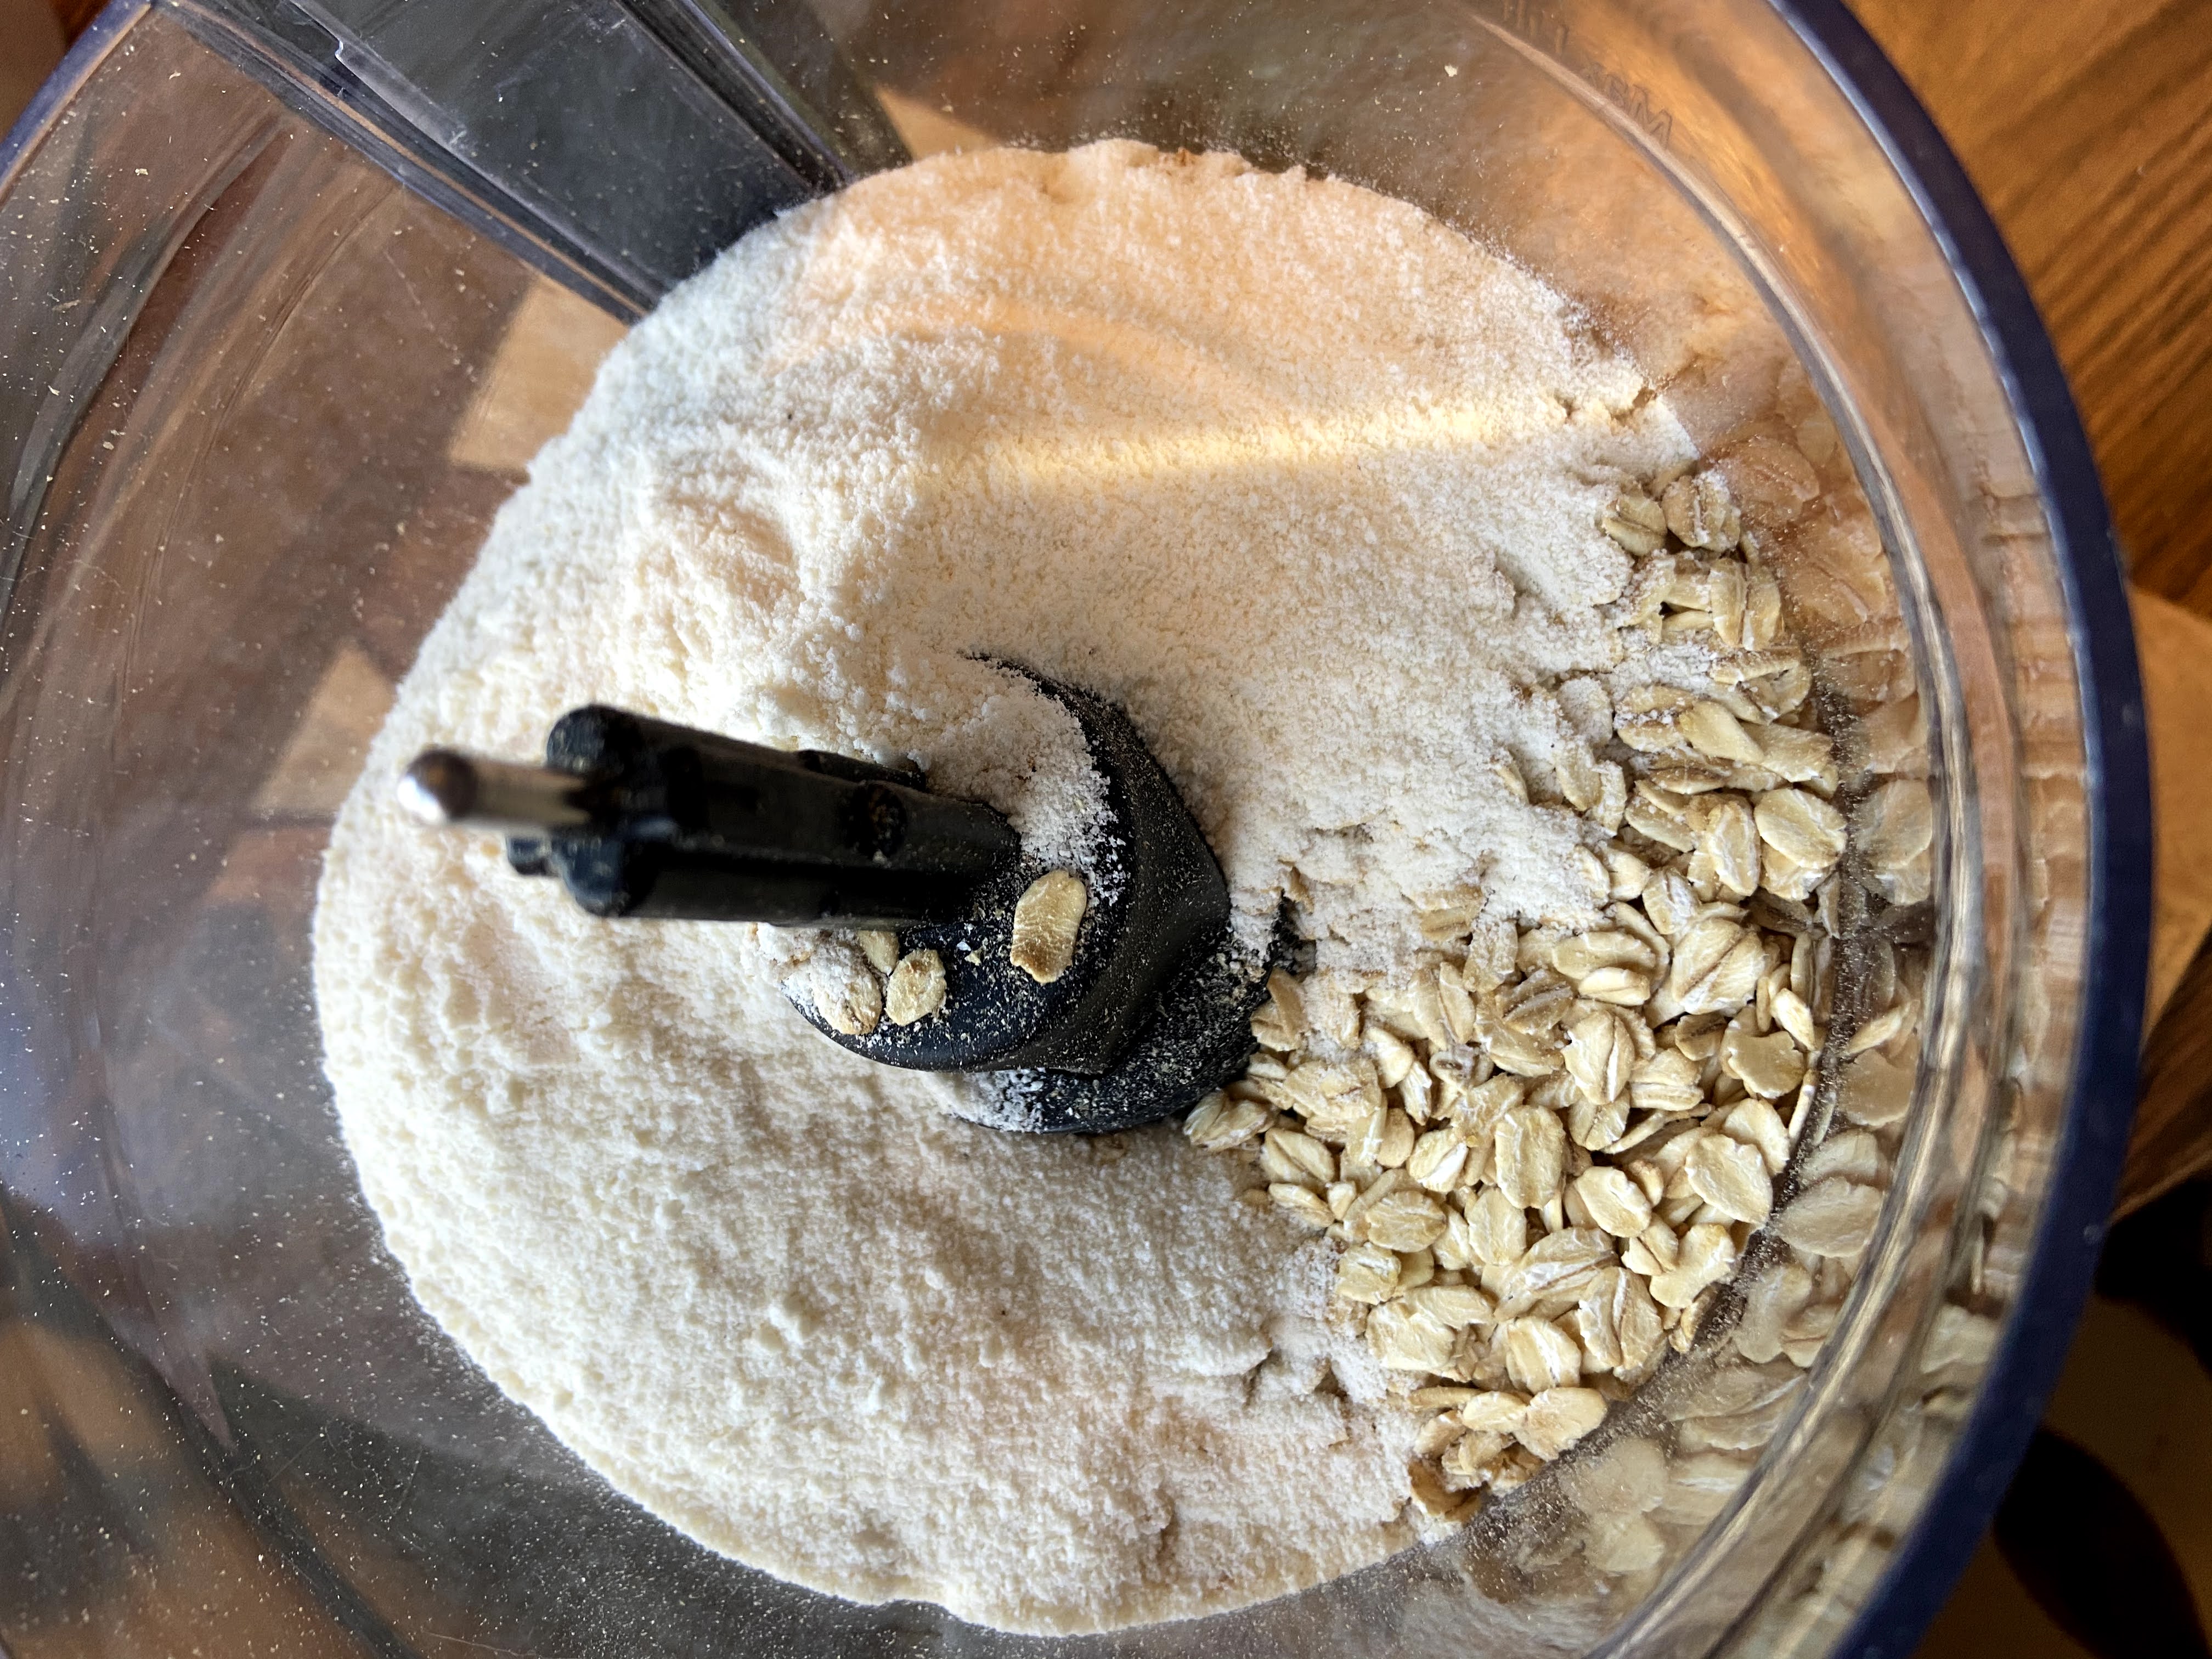
Rather than buy oat flour, I made my own using my food processor. It’s so simple my friends. Just put some old fashioned oats into your processor and hit blend until your texture is very coarse flour (I use my Kitchen Aid 7 Cup and it’s grand!). I poured a few cups of oats into my mixture, ground them up, and stored them in an air tight container. 

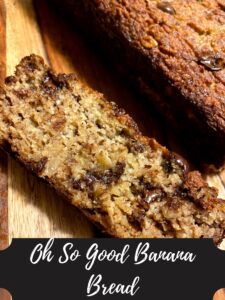
I have a few other recipes that call for ground oats like these simple energy balls, banana nut baked oatmeal, and this great banana bread, so having some on hand isn’t a bad idea. 

Ready to get mixing and baking? I hope so! Let’s make some carrot cake baked oatmeal!

Your Ingredients for Carrot Cake Baked Oatmeal 

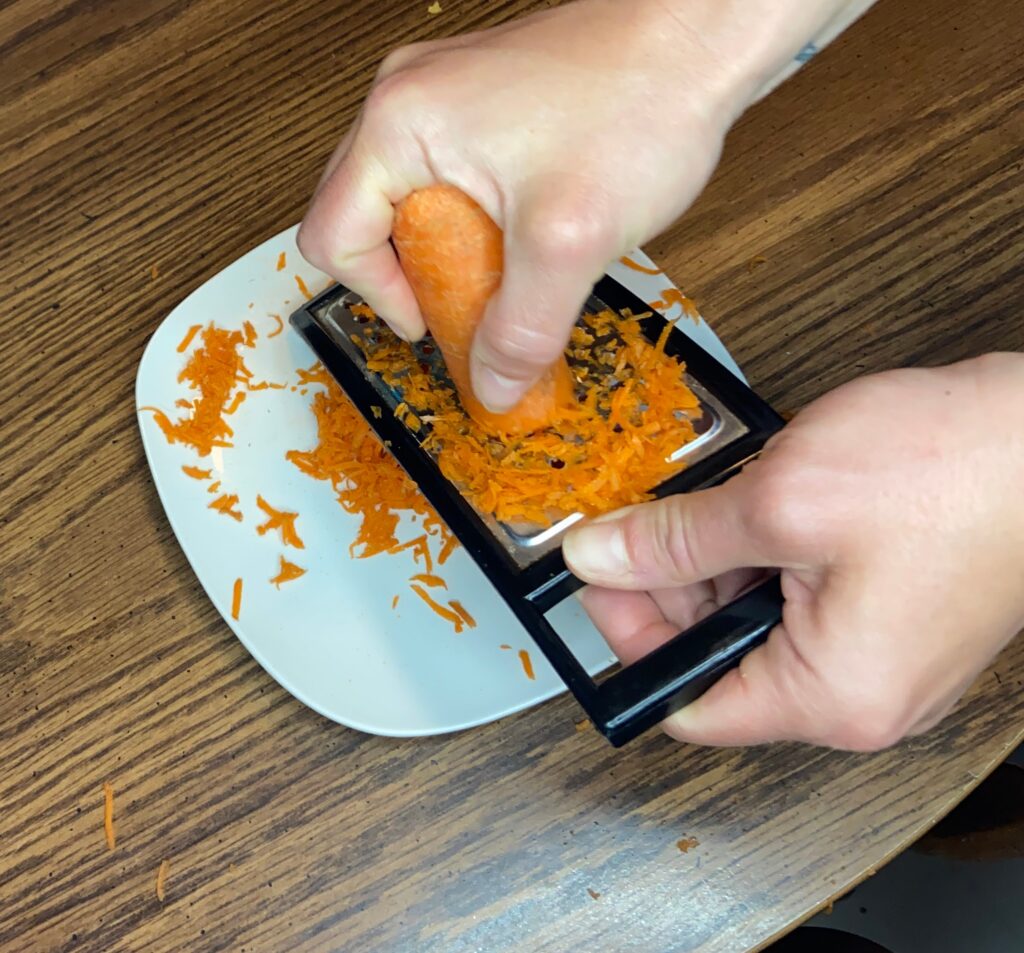
  • ⅓ to ½ cup grated carrot 
  • ⅓ cup oat flour
  • 1 tablespoon maple syrup 
  • ½ teaspoon cinnamon
  • ½ teaspoon baking powder
  • 2 tablespoons chopped walnuts
  • ⅓ cup unsweetened almond milk 
  • ⅛-¼ teaspoon vanilla extract, optional 

Your Steps to Banana Nut Baked Oatmeal 

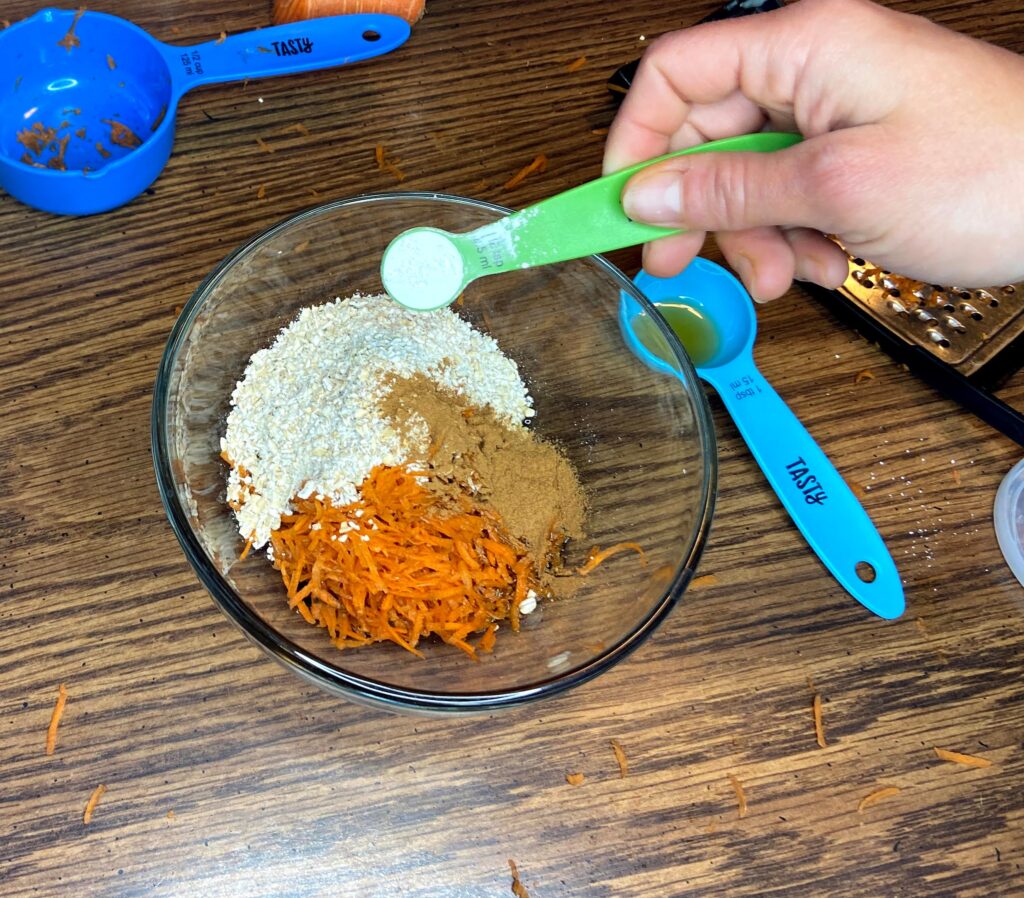
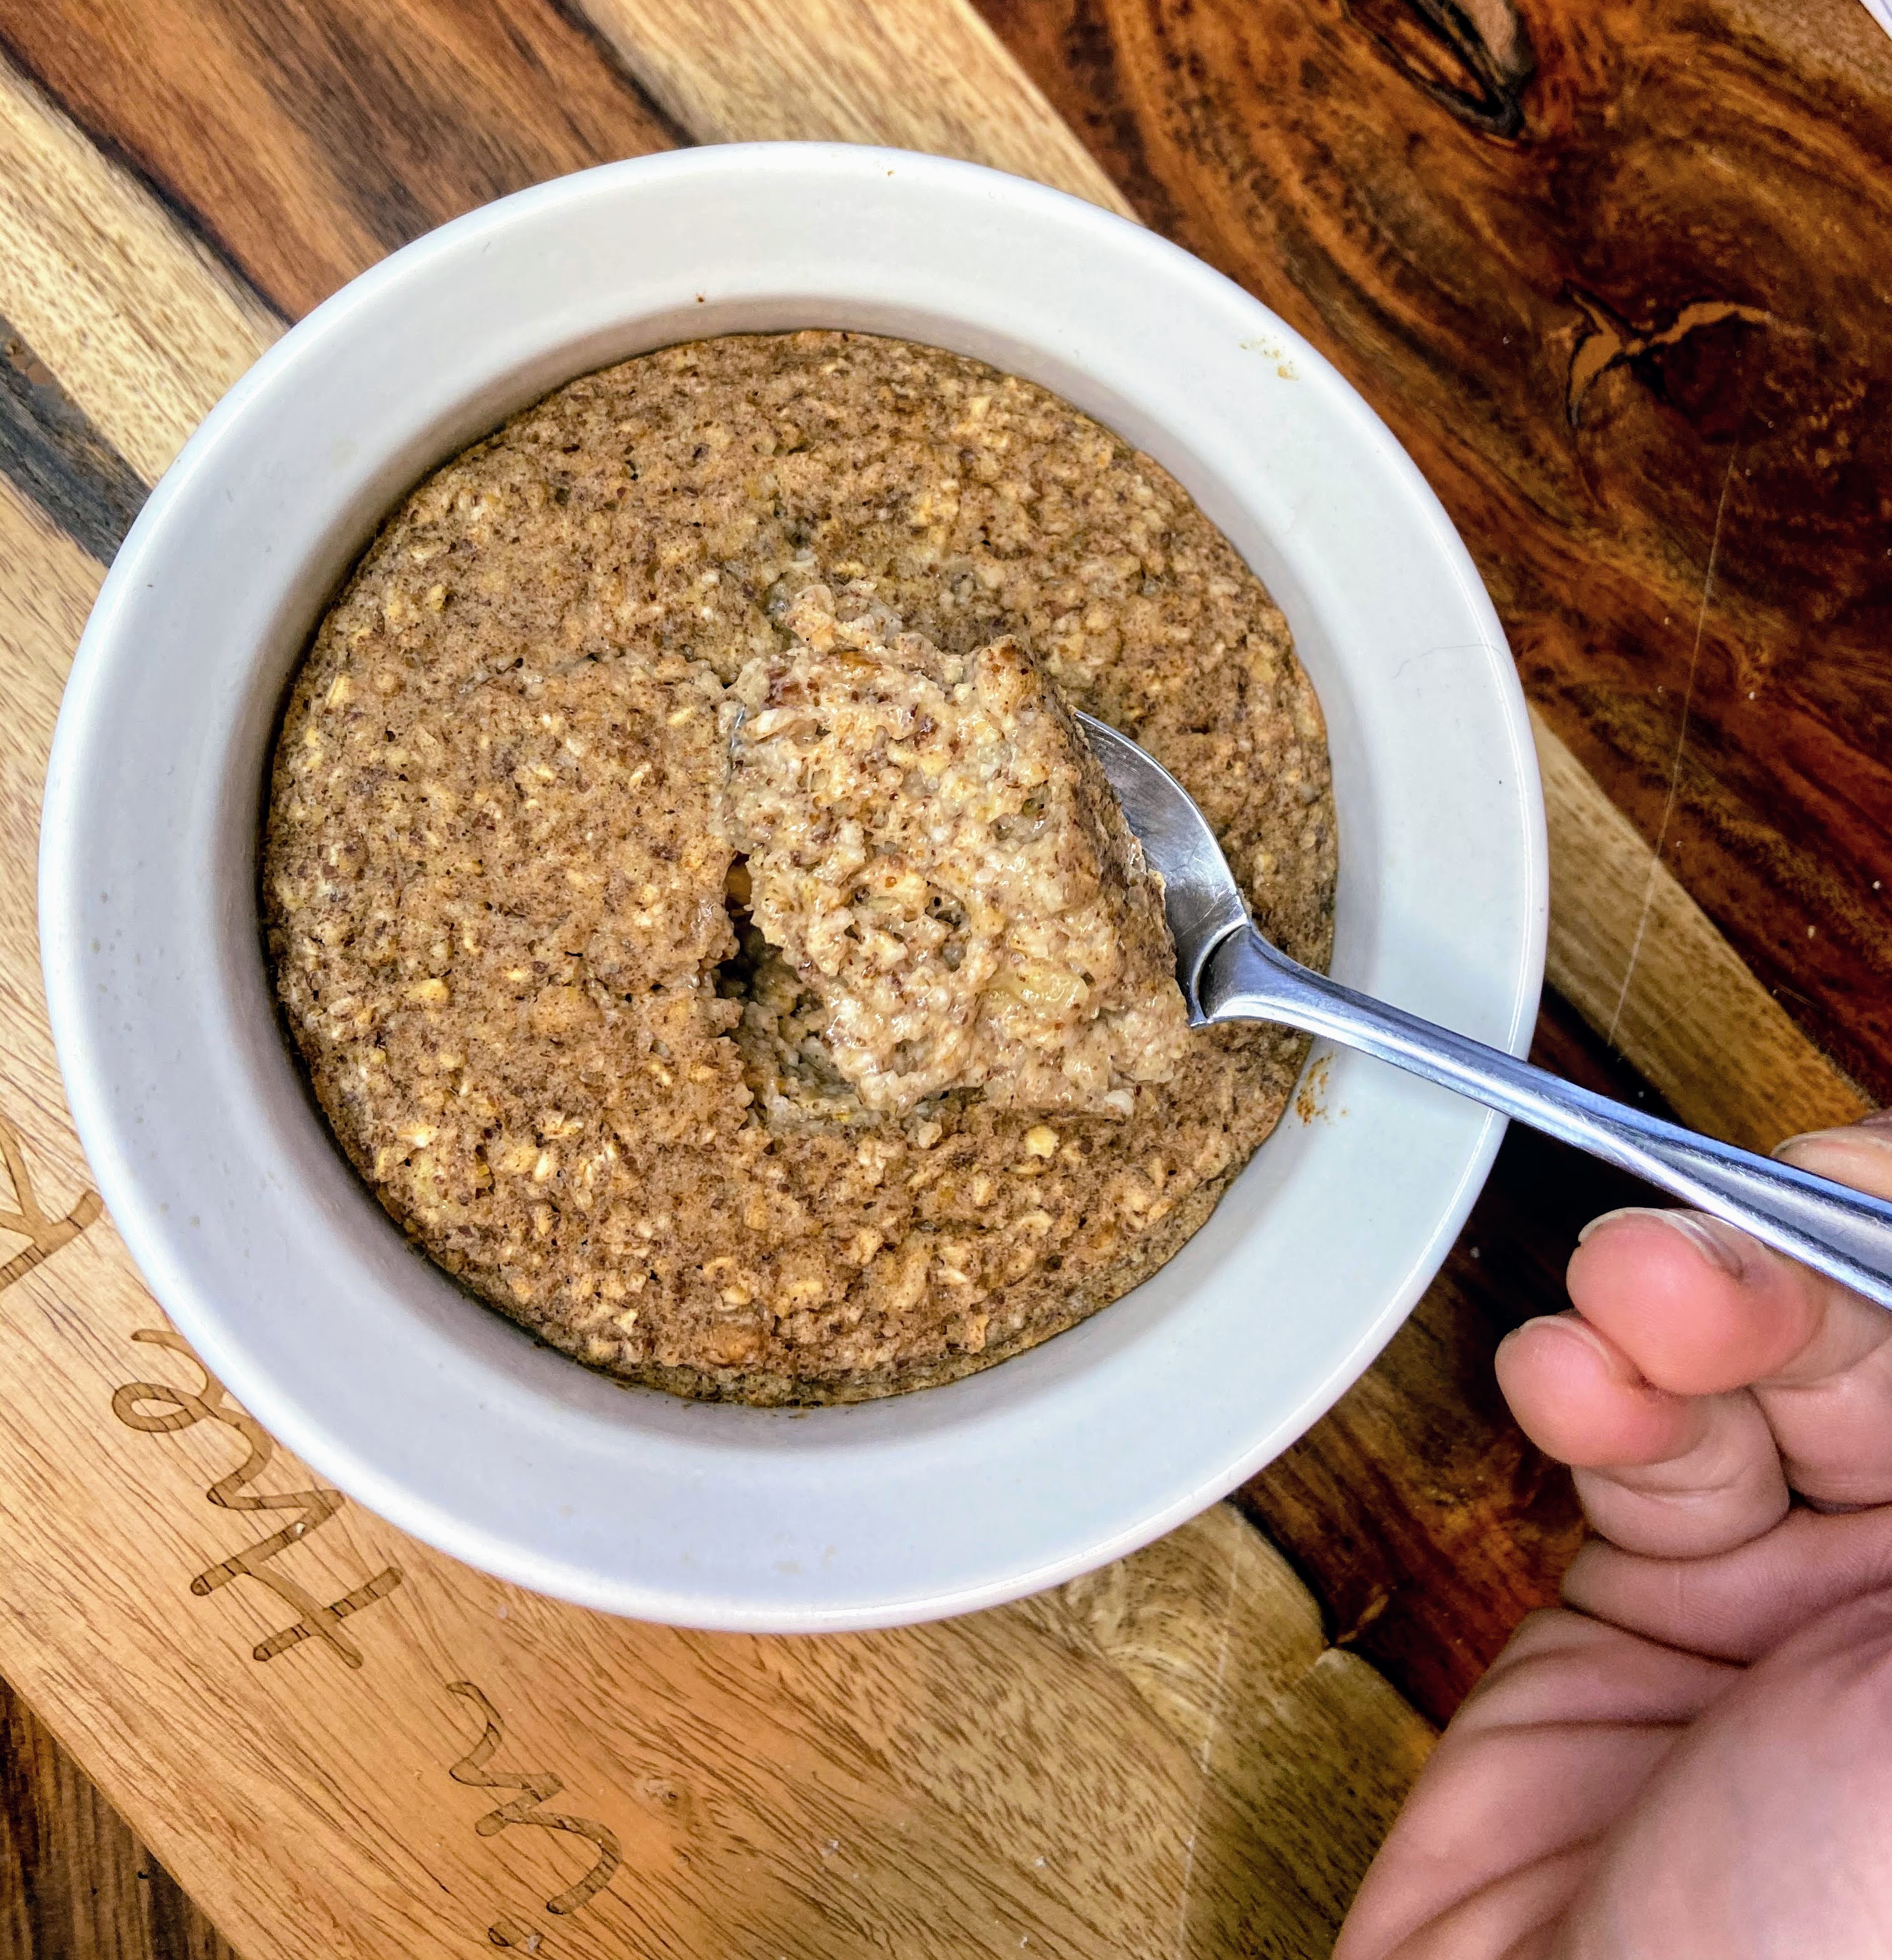
Preheat the oven to 375 degrees. Grease a ramekin with non-stick cooking spray. Combine all ingredients in a small bowl, mixing until well combined. Pour into greased ramekin. Bake on the middle shelf for 15-20 minutes, depending on the texture you want your oatmeal to be. I like it to feel more like a bread than goo-ey, so I shoot for the 20 minute mark. 

Carrot Cake Baked Oatmeal

Cake and vegetables for breakfast?! Why not?
Course Breakfast
Cuisine American
Servings 1

Ingredients
  

  • ⅓ to ½ cup grated carrot
  • cup oat flour
  • 1 tablespoon maple syrup
  • ½ teaspoon cinnamon
  • ½ teaspoon baking powder
  • 2 tablespoons chopped walnuts
  • cup unsweetened almond milk
  • ⅛-¼ teaspoon vanilla extract optional

Instructions
 

  • Preheat the oven to 375 degrees. Grease a ramekin with non-stick cooking spray.
  • Combine all ingredients in a small bowl, mixing until well combined.
  • Pour into greased ramekin. Bake on the middle shelf for 15-20 minutes, depending on your texture preference.
Keyword baked oatmeal, Breakfast, carrot, carrot cake
Tried this recipe?Let us know how it was!

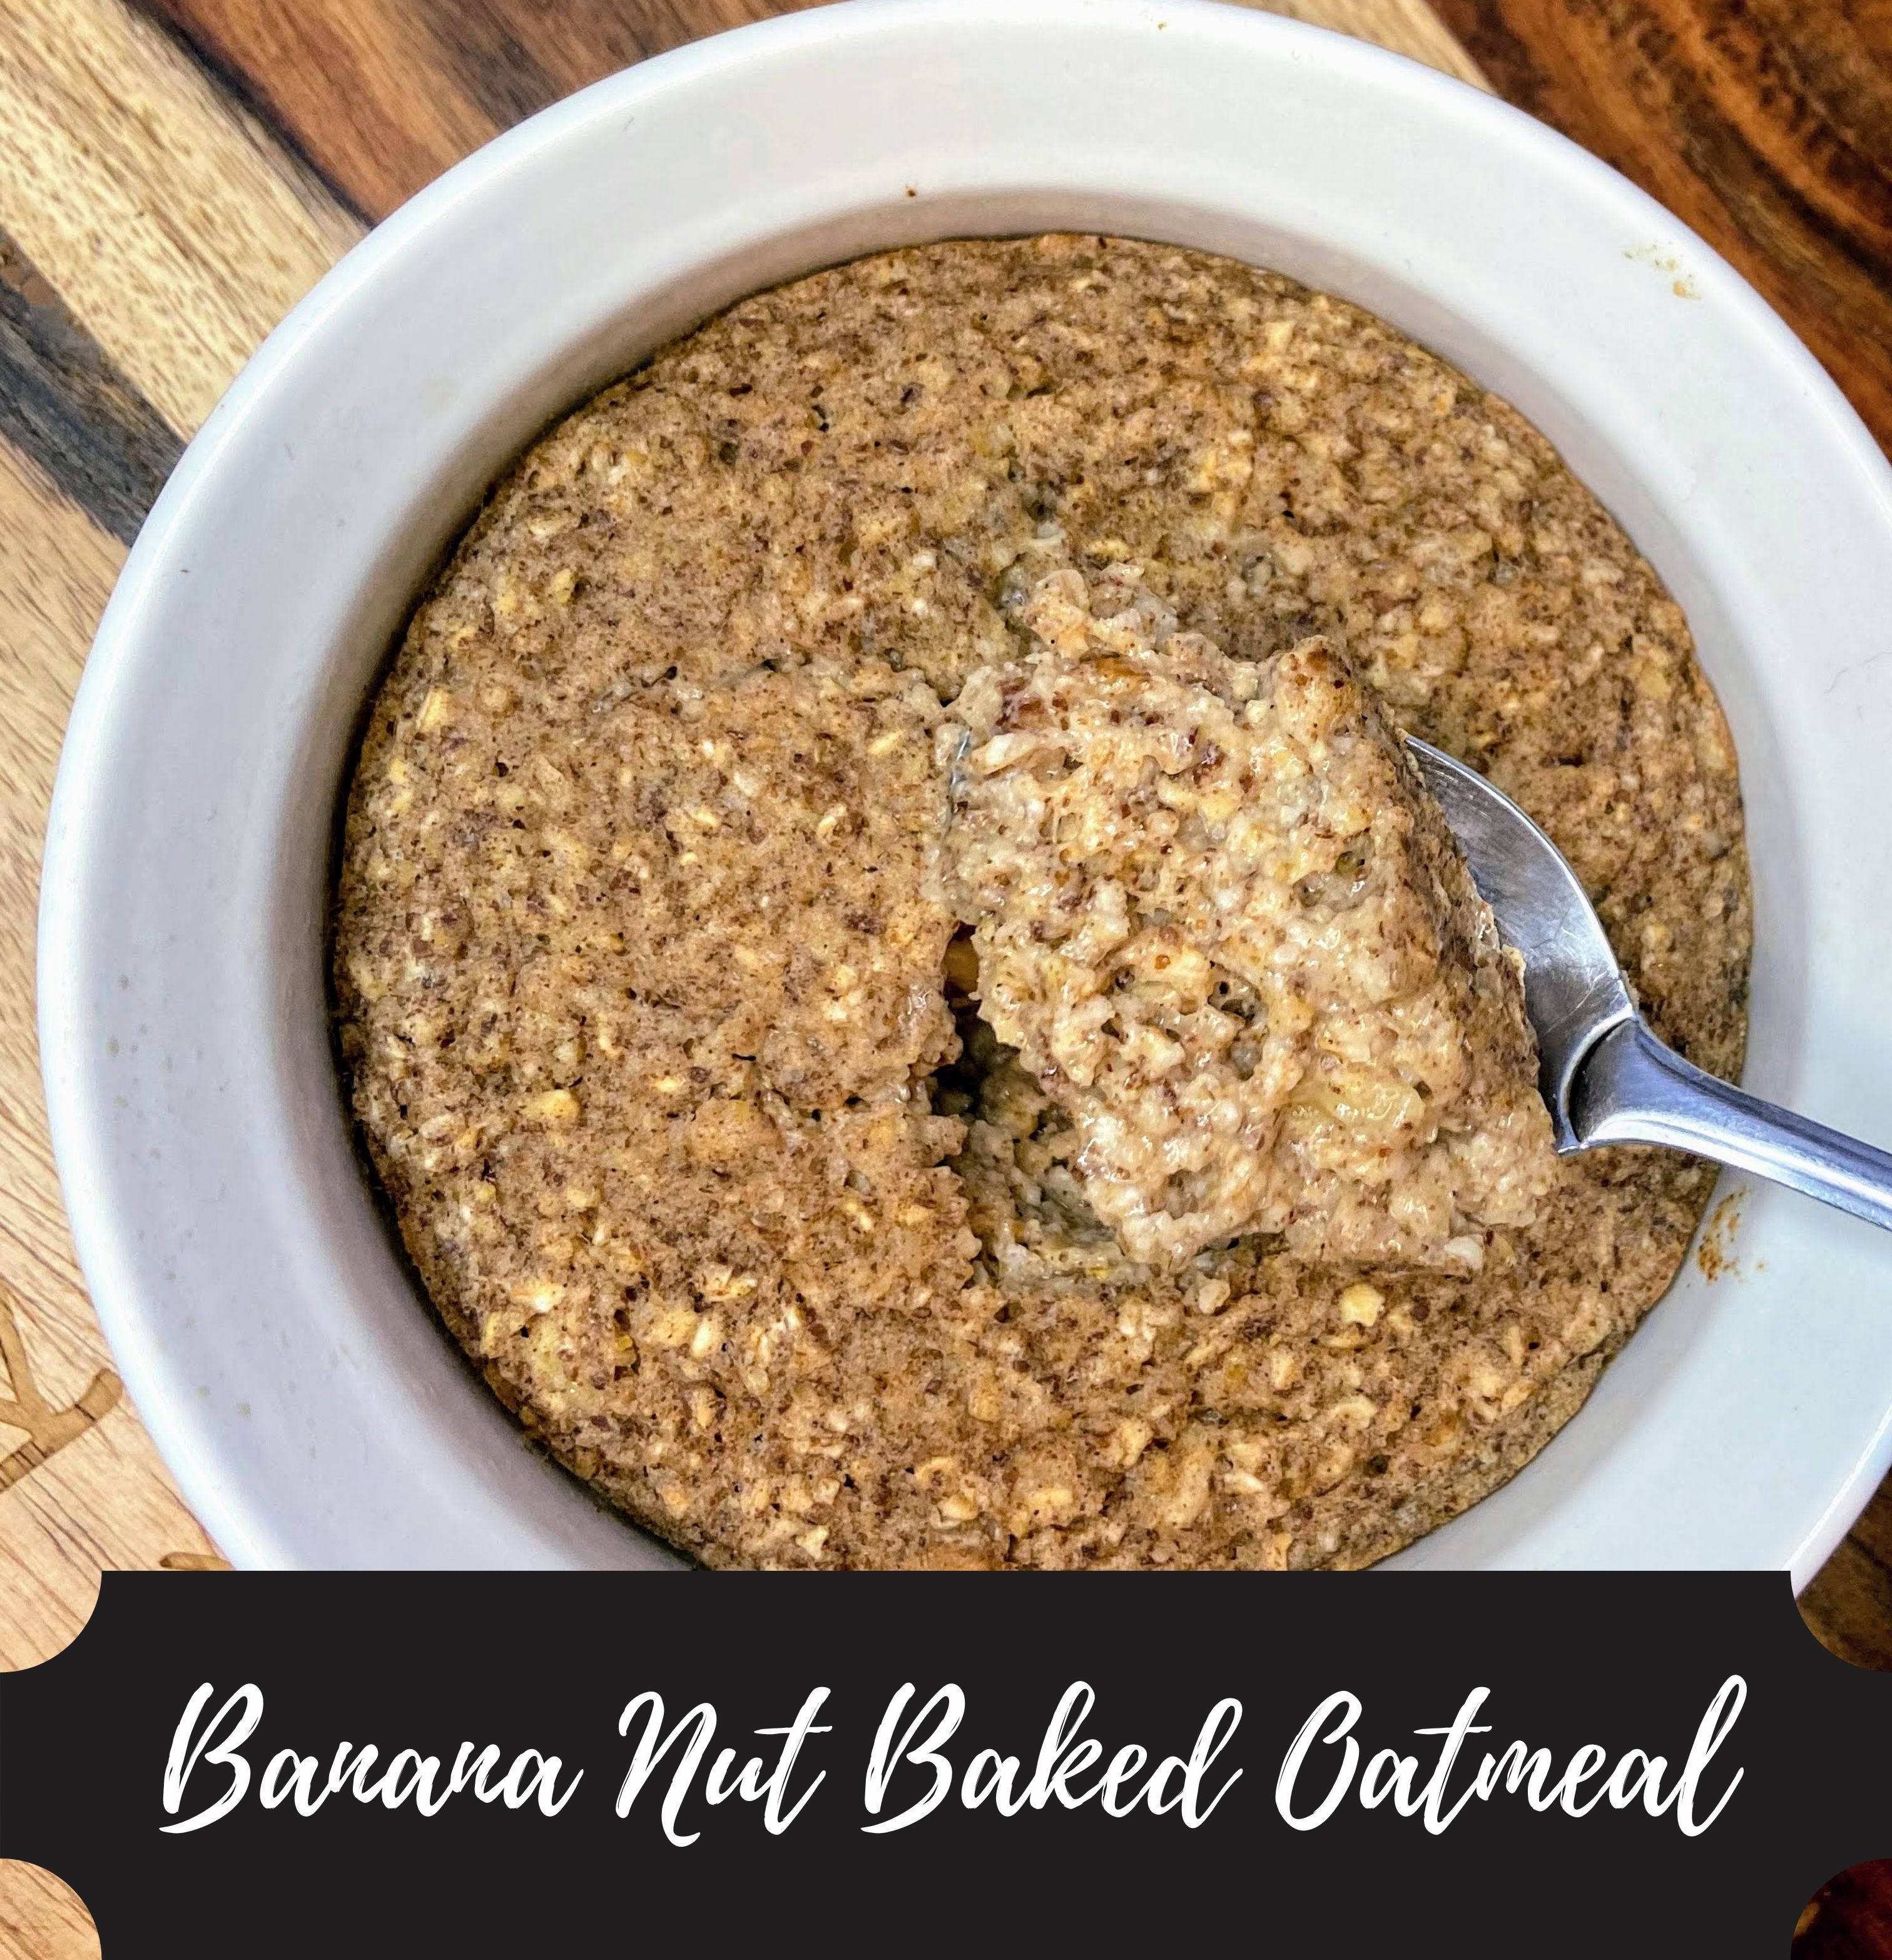
Banana Nut Baked Oatmeal

Well friends, I jumped on the bandwagon. I had to give the single serving baked oatmeal a try, and boy, I was not disappointed! After looking through a few different recipes, I came up with my own take it. I don’t love chocolate in the morning (after lunch, totally different story), so I went with a banana nut baked oatmeal. Holy…yum. 

If you haven’t noticed or you’re new to my little cozy corner of the Internet (Welcome!), you know I am a fan of a couple things: food from scratch and cooking with what I have on hand. Generally speaking, you won’t find nichy ingredients here, and I think this recipe holds true. 

Rather than buy oat flour, I made my own using my food processor. It’s so simple my friends. Just put some old fashioned oats into your processor and hit blend until your texture is very coarse flour (I use my Kitchen Aid 7 Cup and it’s grand!). I poured a few cups of oats into my mixture, ground them up, and stored them in an air tight container. 

I have a few other recipes that call for ground oats like these simple energy balls or my banana bread, so having some on hand isn’t a bad idea. 

Anywho, banana nut baked oatmeal is quickly becoming my go to breakfast on the weekend when I have a touch more time. That doesn’t mean it isn’t a great weekday breakfast; I am just a fine oiled machine in the morning during the week, and overnight oats are my jam. 

Ready to get mixing and baking? I hope so! Let’s make some banana nut baked oatmeal!

Your Ingredients for Banana Nut Baked Oatmeal

  • ½ banana, mashed
  • ⅓ cup oat flour
  • 1 tablespoon maple syrup 
  • 1 tablespoon flax seed
  • ½ teaspoon cinnamon
  • ½ teaspoon baking powder
  • 2 tablespoons chopped walnuts
  • ⅓ cup unsweetened almond milk 
  • ⅛-¼ teaspoon vanilla extract, optional 

Your Steps to Banana Nut Baked Oatmeal 

Preheat the oven to 375 degrees. Grease a ramekin with non-stick cooking spray. Combine all ingredients in a small bowl, mixing until well combined. Pour into greased ramekin. Bake on the middle shelf for 15-20 minutes, depending on the texture you want your oatmeal to be. I like it to feel more like a bread than goo-ey, so I shoot for the 20 minute mark. Either way, it’s filling and delicious; something you can feel good about putting into your body. Yum!

Banana Nut Baked Oatmeal

A wholesome, simple breakfast sure to fill your belly with good for you food and make your tastebuds do a little dance!
Prep Time 5 minutes
Cook Time 15 minutes
Course Breakfast
Cuisine American
Servings 1

Ingredients
  

  • ½ banana mashed
  • cup oat flour
  • 1 tablespoon maple syrup
  • 1 tablespoon flax seed
  • ½ teaspoon cinnamon
  • ½ teaspoon baking powder
  • 2 tablespoons chopped walnuts
  • cup unsweetened almond milk
  • ⅛-¼ teaspoon vanilla extract optional

Instructions
 

  • Preheat the oven to 375 degrees. Grease a ramekin with non-stick cooking spray.
  • Combine all ingredients in a small bowl, mixing until well combined.
  • Pour into greased ramekin.
  • Bake on the middle shelf for 15-20 minutes, depending on the texture you want your oatmeal to be.
Keyword baked oatmeal, Banana, banana nut, oatmeal
Tried this recipe?Let us know how it was!

Quick Peanut Butter Oat Energy Balls

I am an avid runner and overall fitness nut. As such, I am always looking for healthy ways to fuel my body quickly and easily. I also enjoy snacking….a lot. My sister and I were just talking about how there has to be a snack break between breakfast and lunch. We can’t make it otherwise–and these quick peanut butter oat energy balls are perfect for that!

When I am cooking and meal prepping, I can tell I have a winning clean eating recipe when my husband approves. With this recipe, he has been known to say, “You know what we are almost out of…thos yummy energy balls. You need to make more!”

Guys, that’s a big deal. He is generally the biggest critic of my “overly-healthy” recipes so when he said that, you can bet I got into the kitchen and made another batch! I hope you enjoy them as much as we do! (This version is inspired by Rachel from Clean Food Crush, but has been modified by me to meet our needs at home)

Here are your ingredients

  • 1/2 cup coconut flour ( It smells so delightful!)
  • 2 cups ground old-fashioned oatmeal (see details in the recipe)
  • 1/2 cup real maple syrup (honey would work too!)
  • 1/2 cup natural peanut butter
  • 1/4 t kosher salt
  • 1 tablespoons coconut oil, melted
  • 1/3 cup semisweet chocolate chips
  • 1/2 teaspoon almond extract (I LOVE the flavor this brings in)

Your Steps to Quick Peanut Butter Oat Energy Balls

First, grind the oats to make a sort of oatmeal flour. To do this, place the old fashioned oats and coconut flour into a food processor and pulse them until you have a very coarse flour like texture.

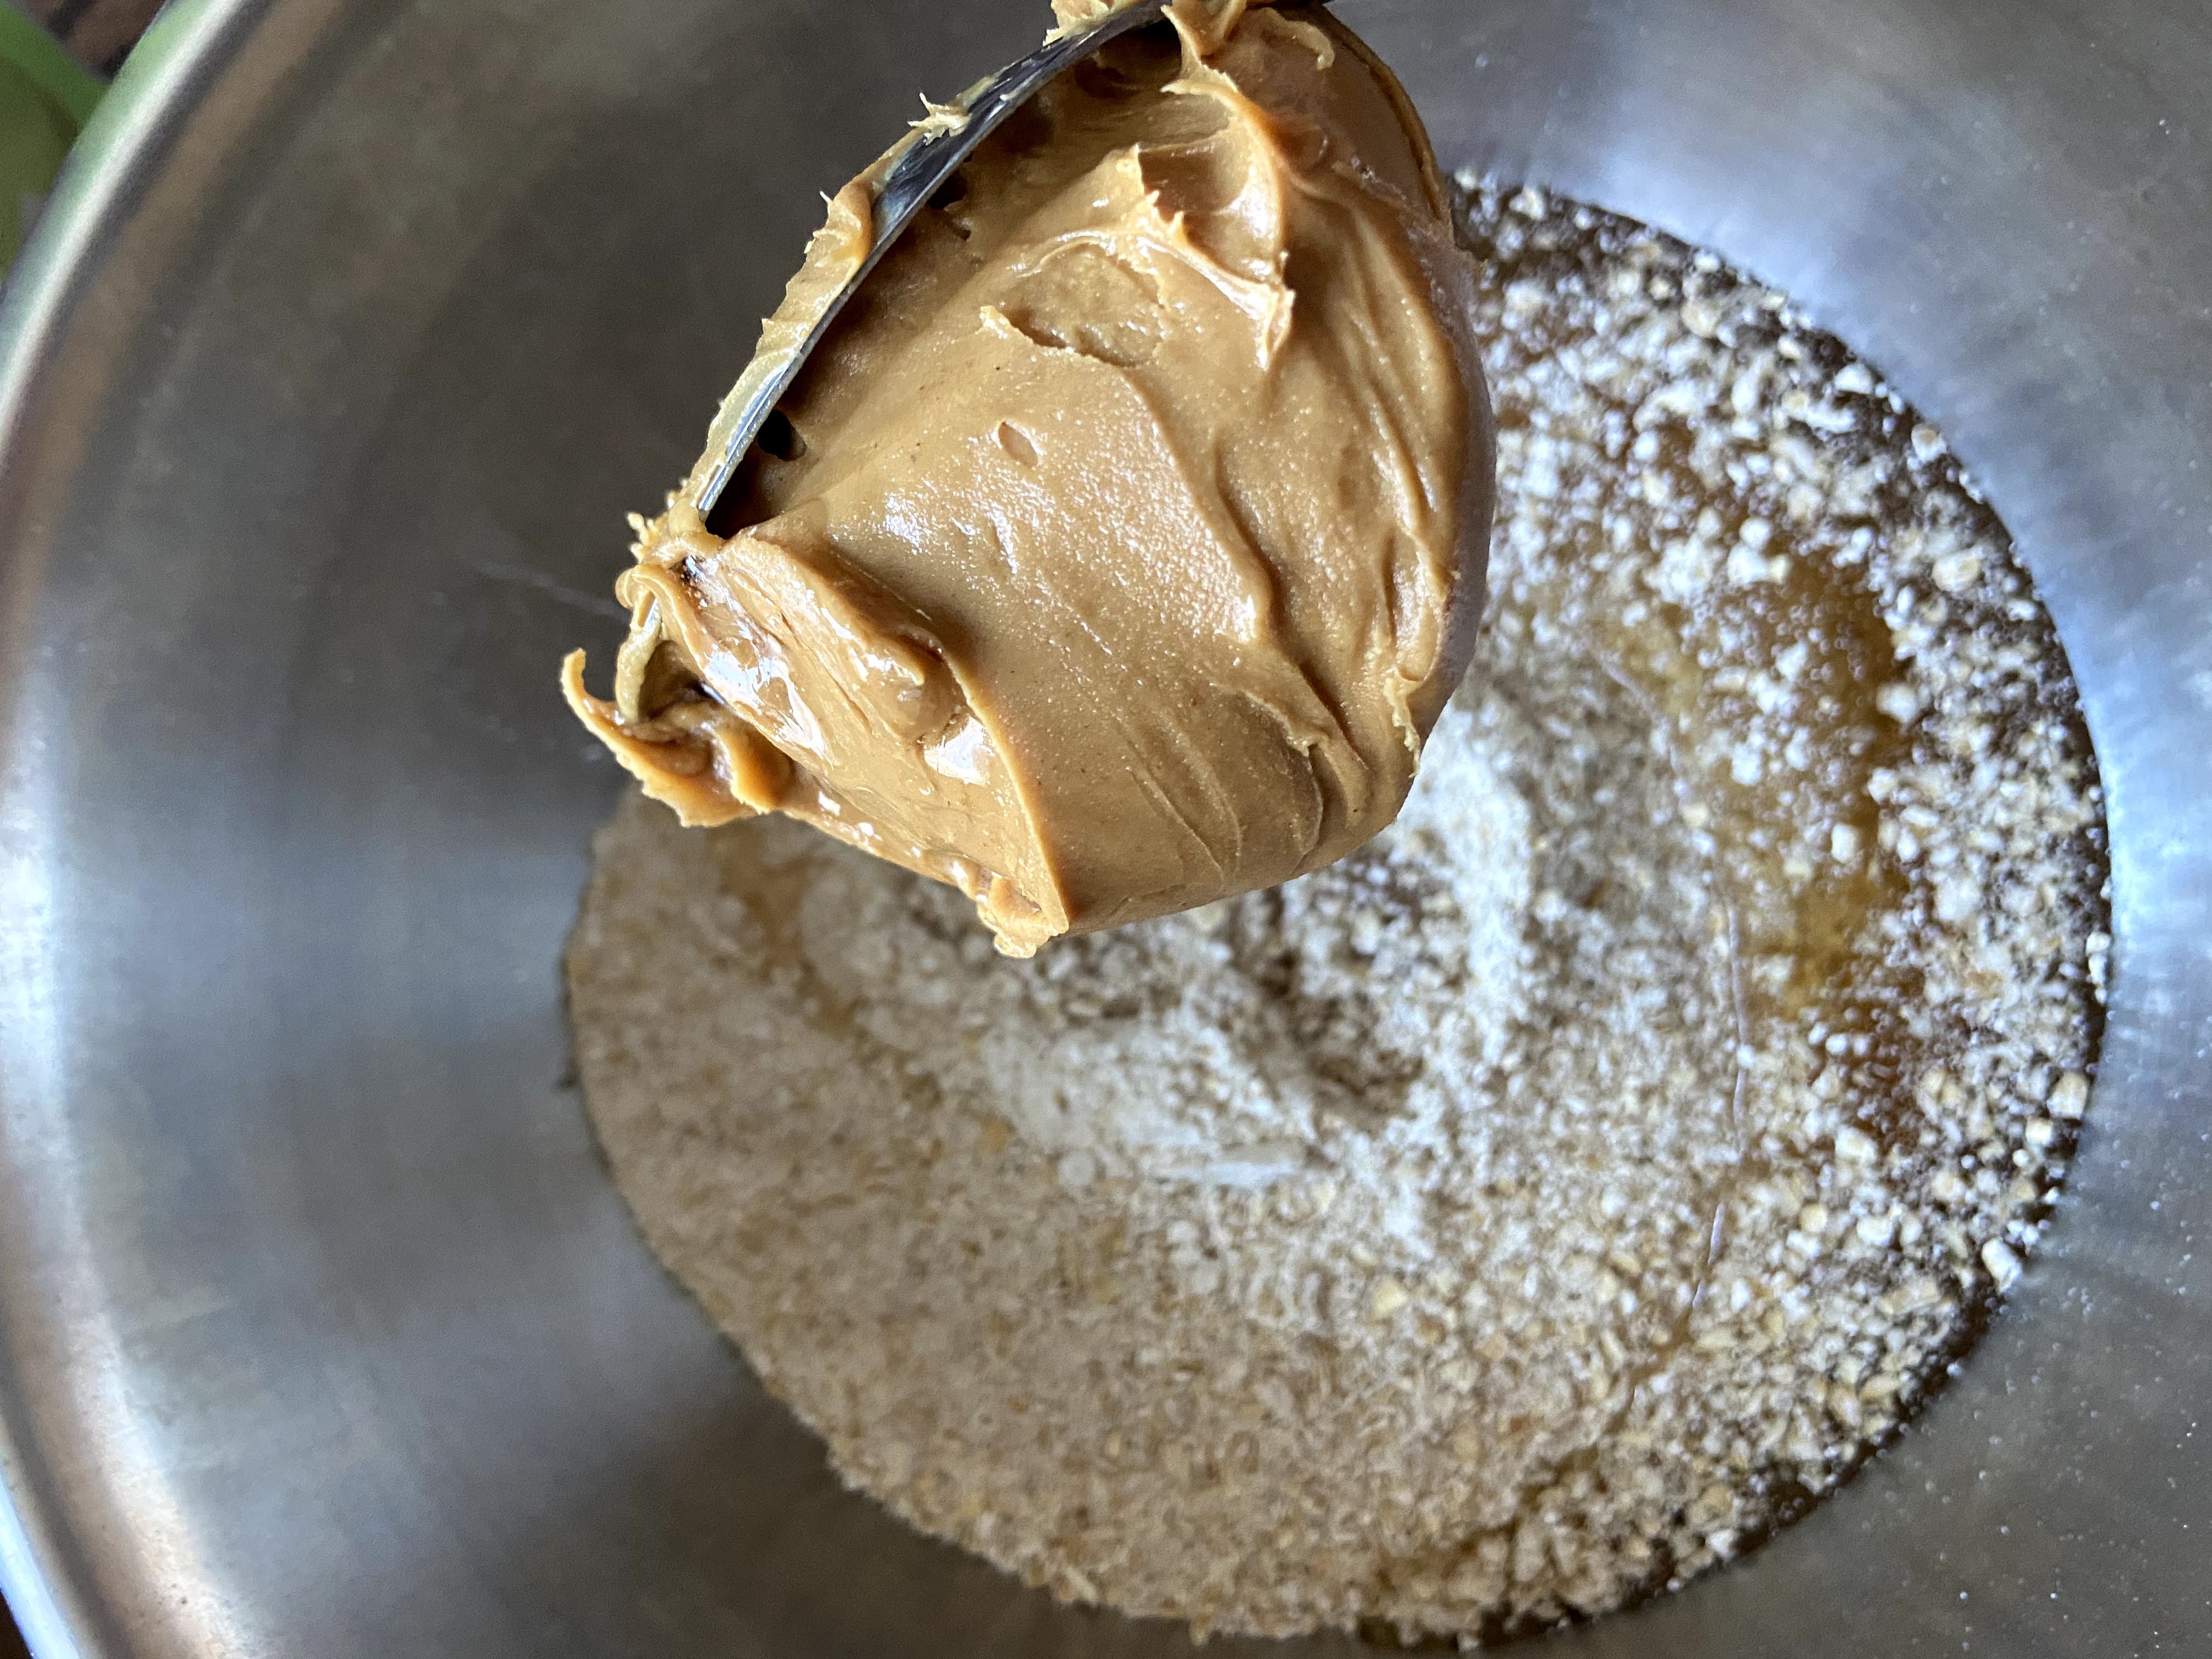
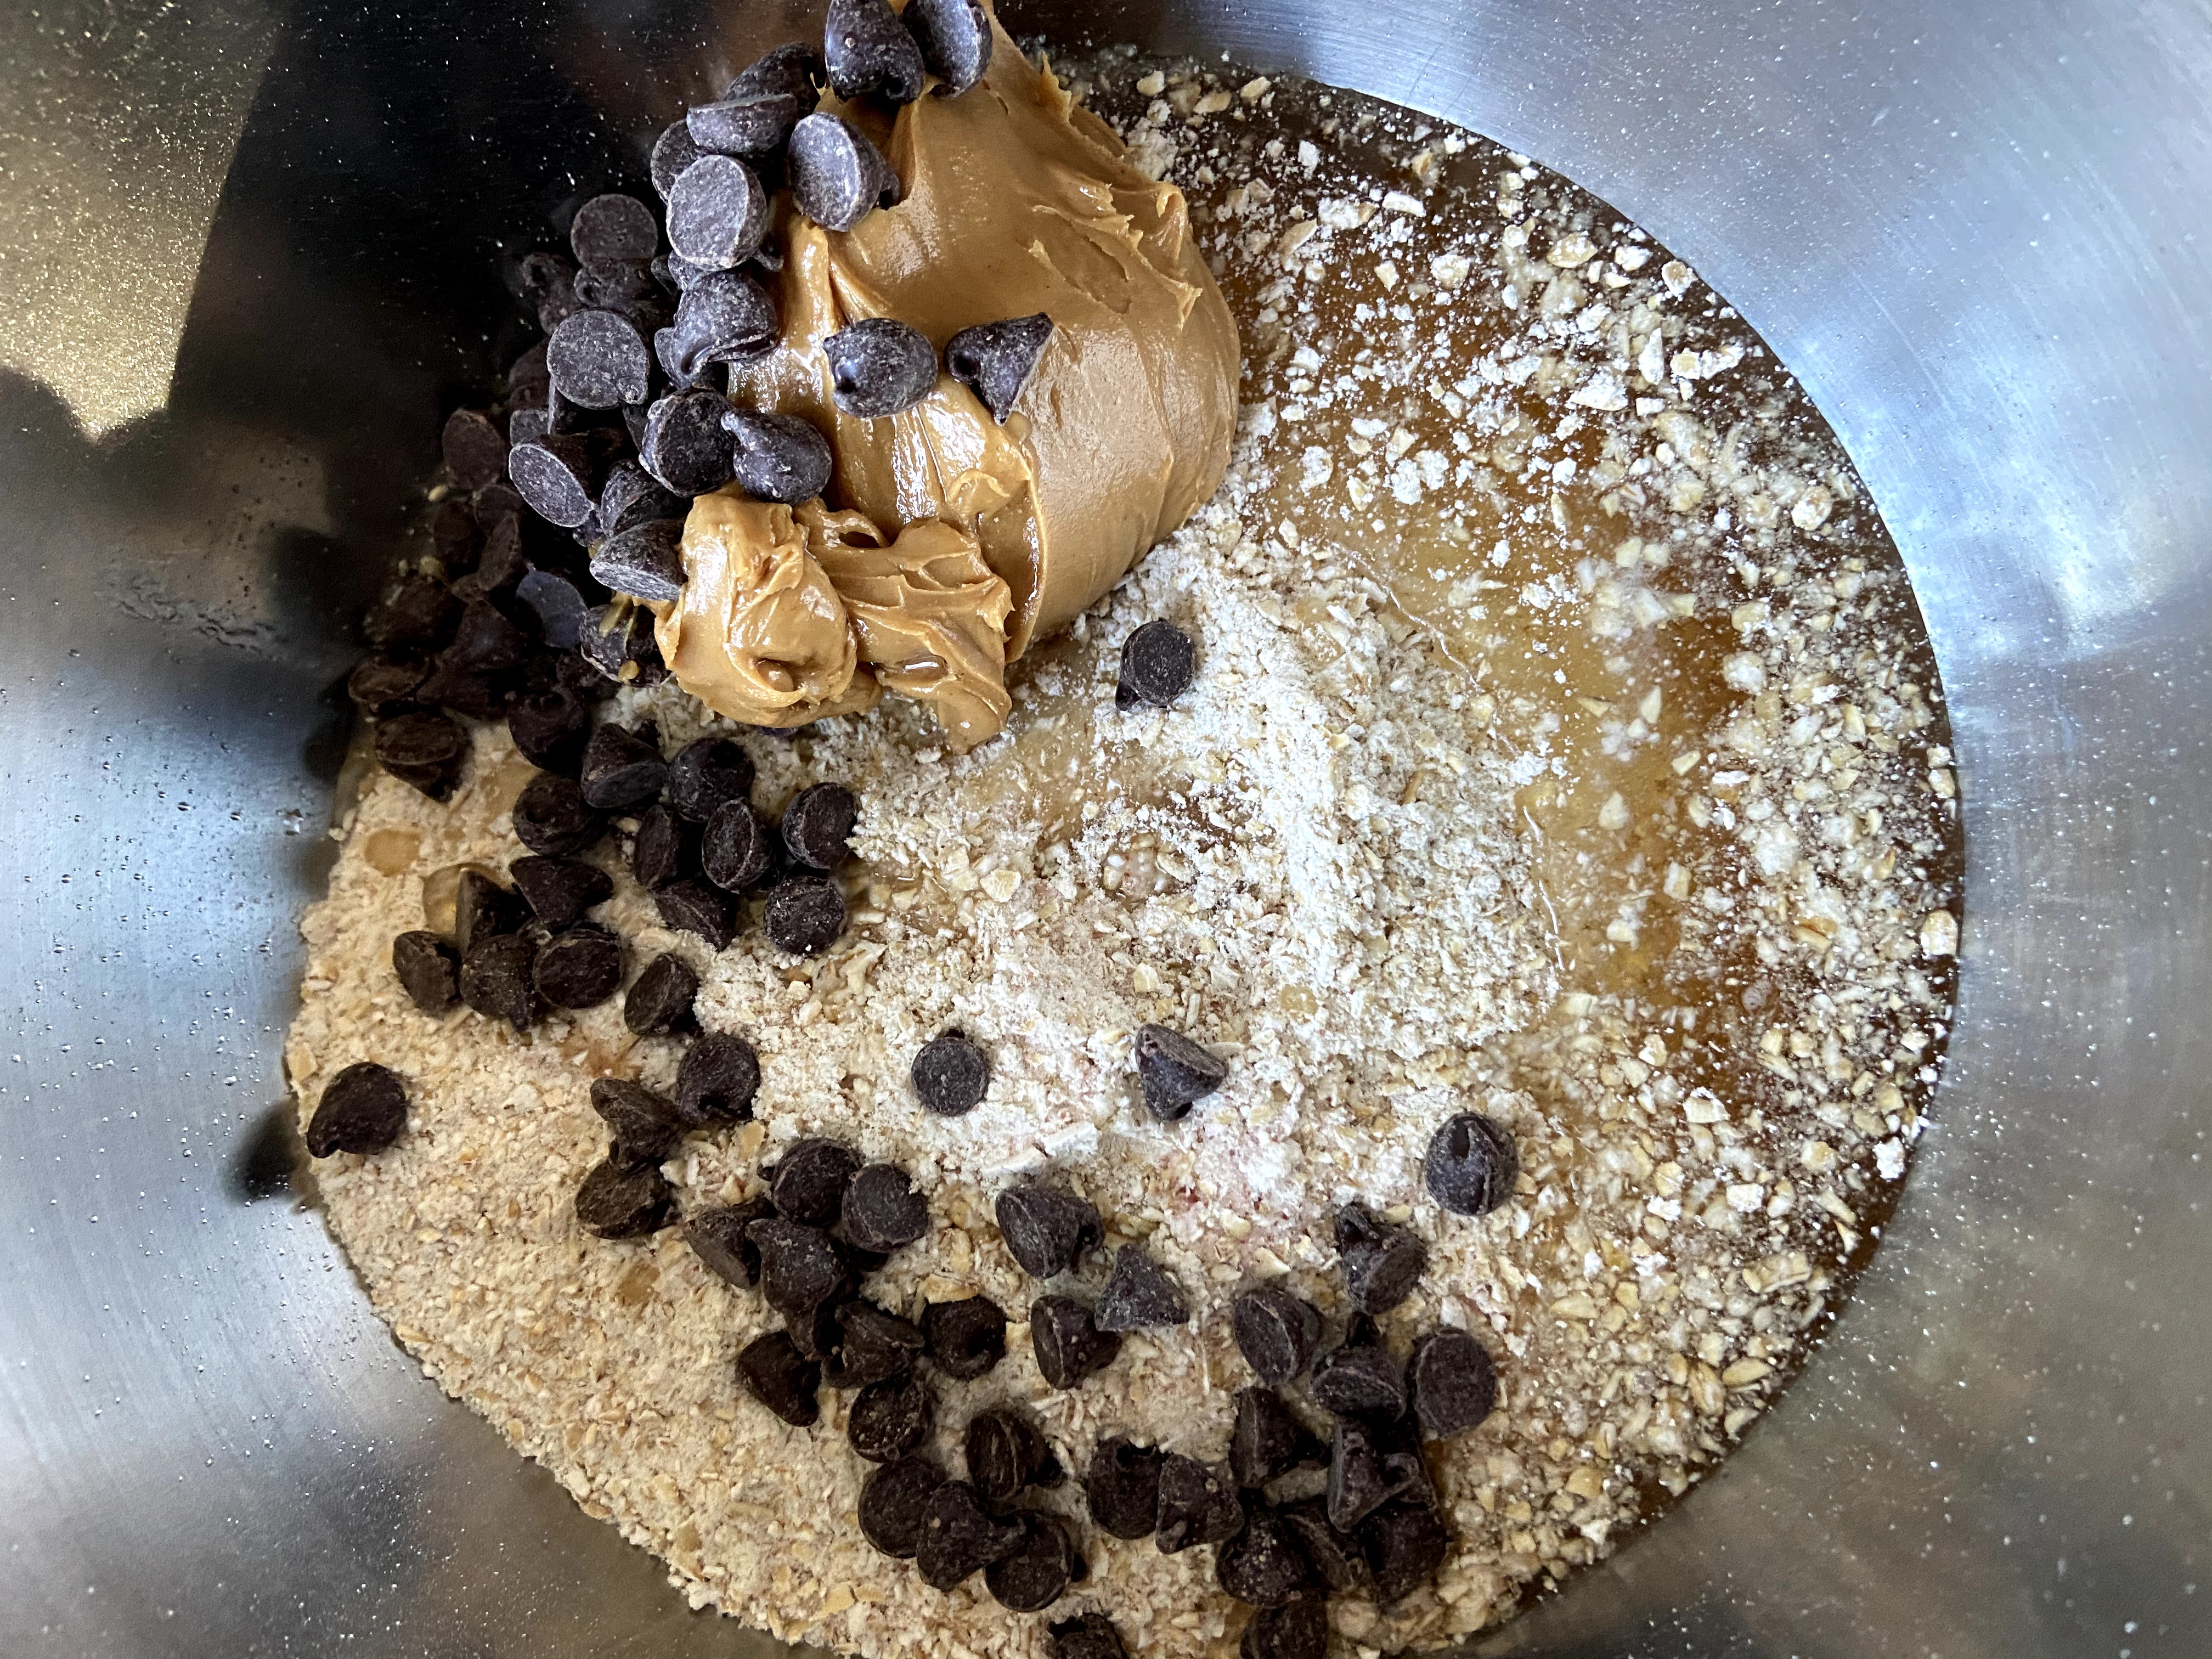
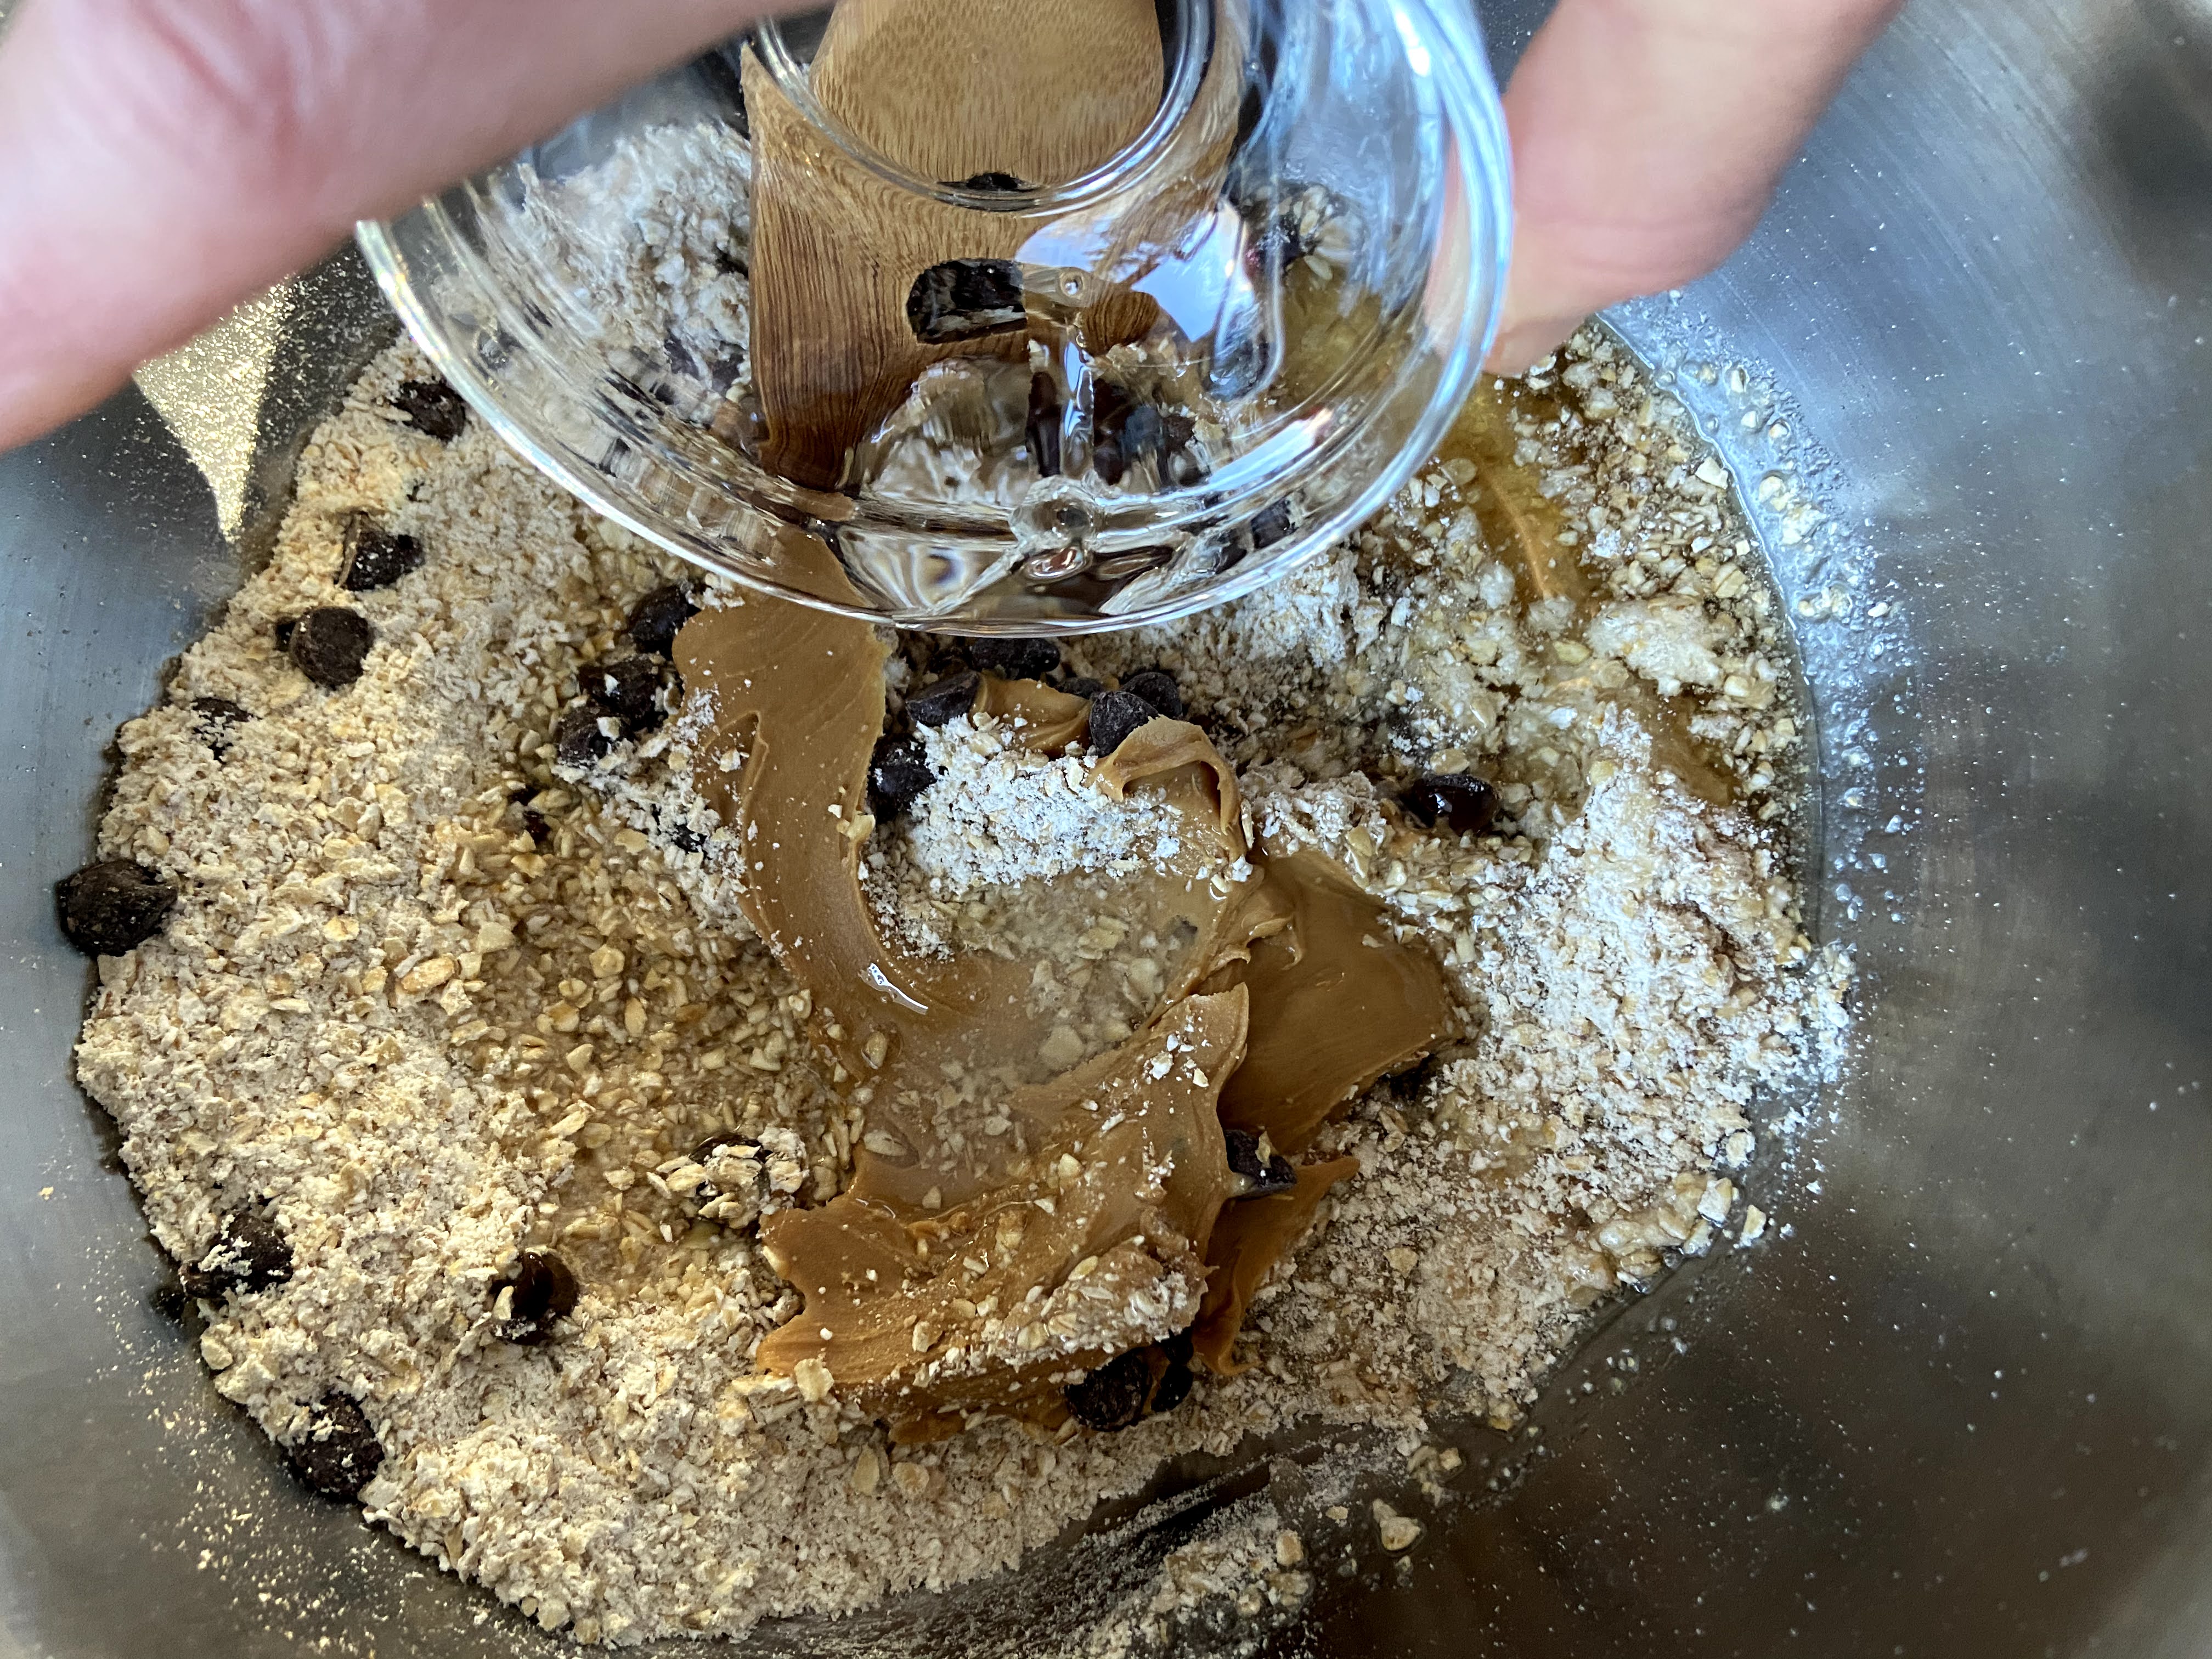
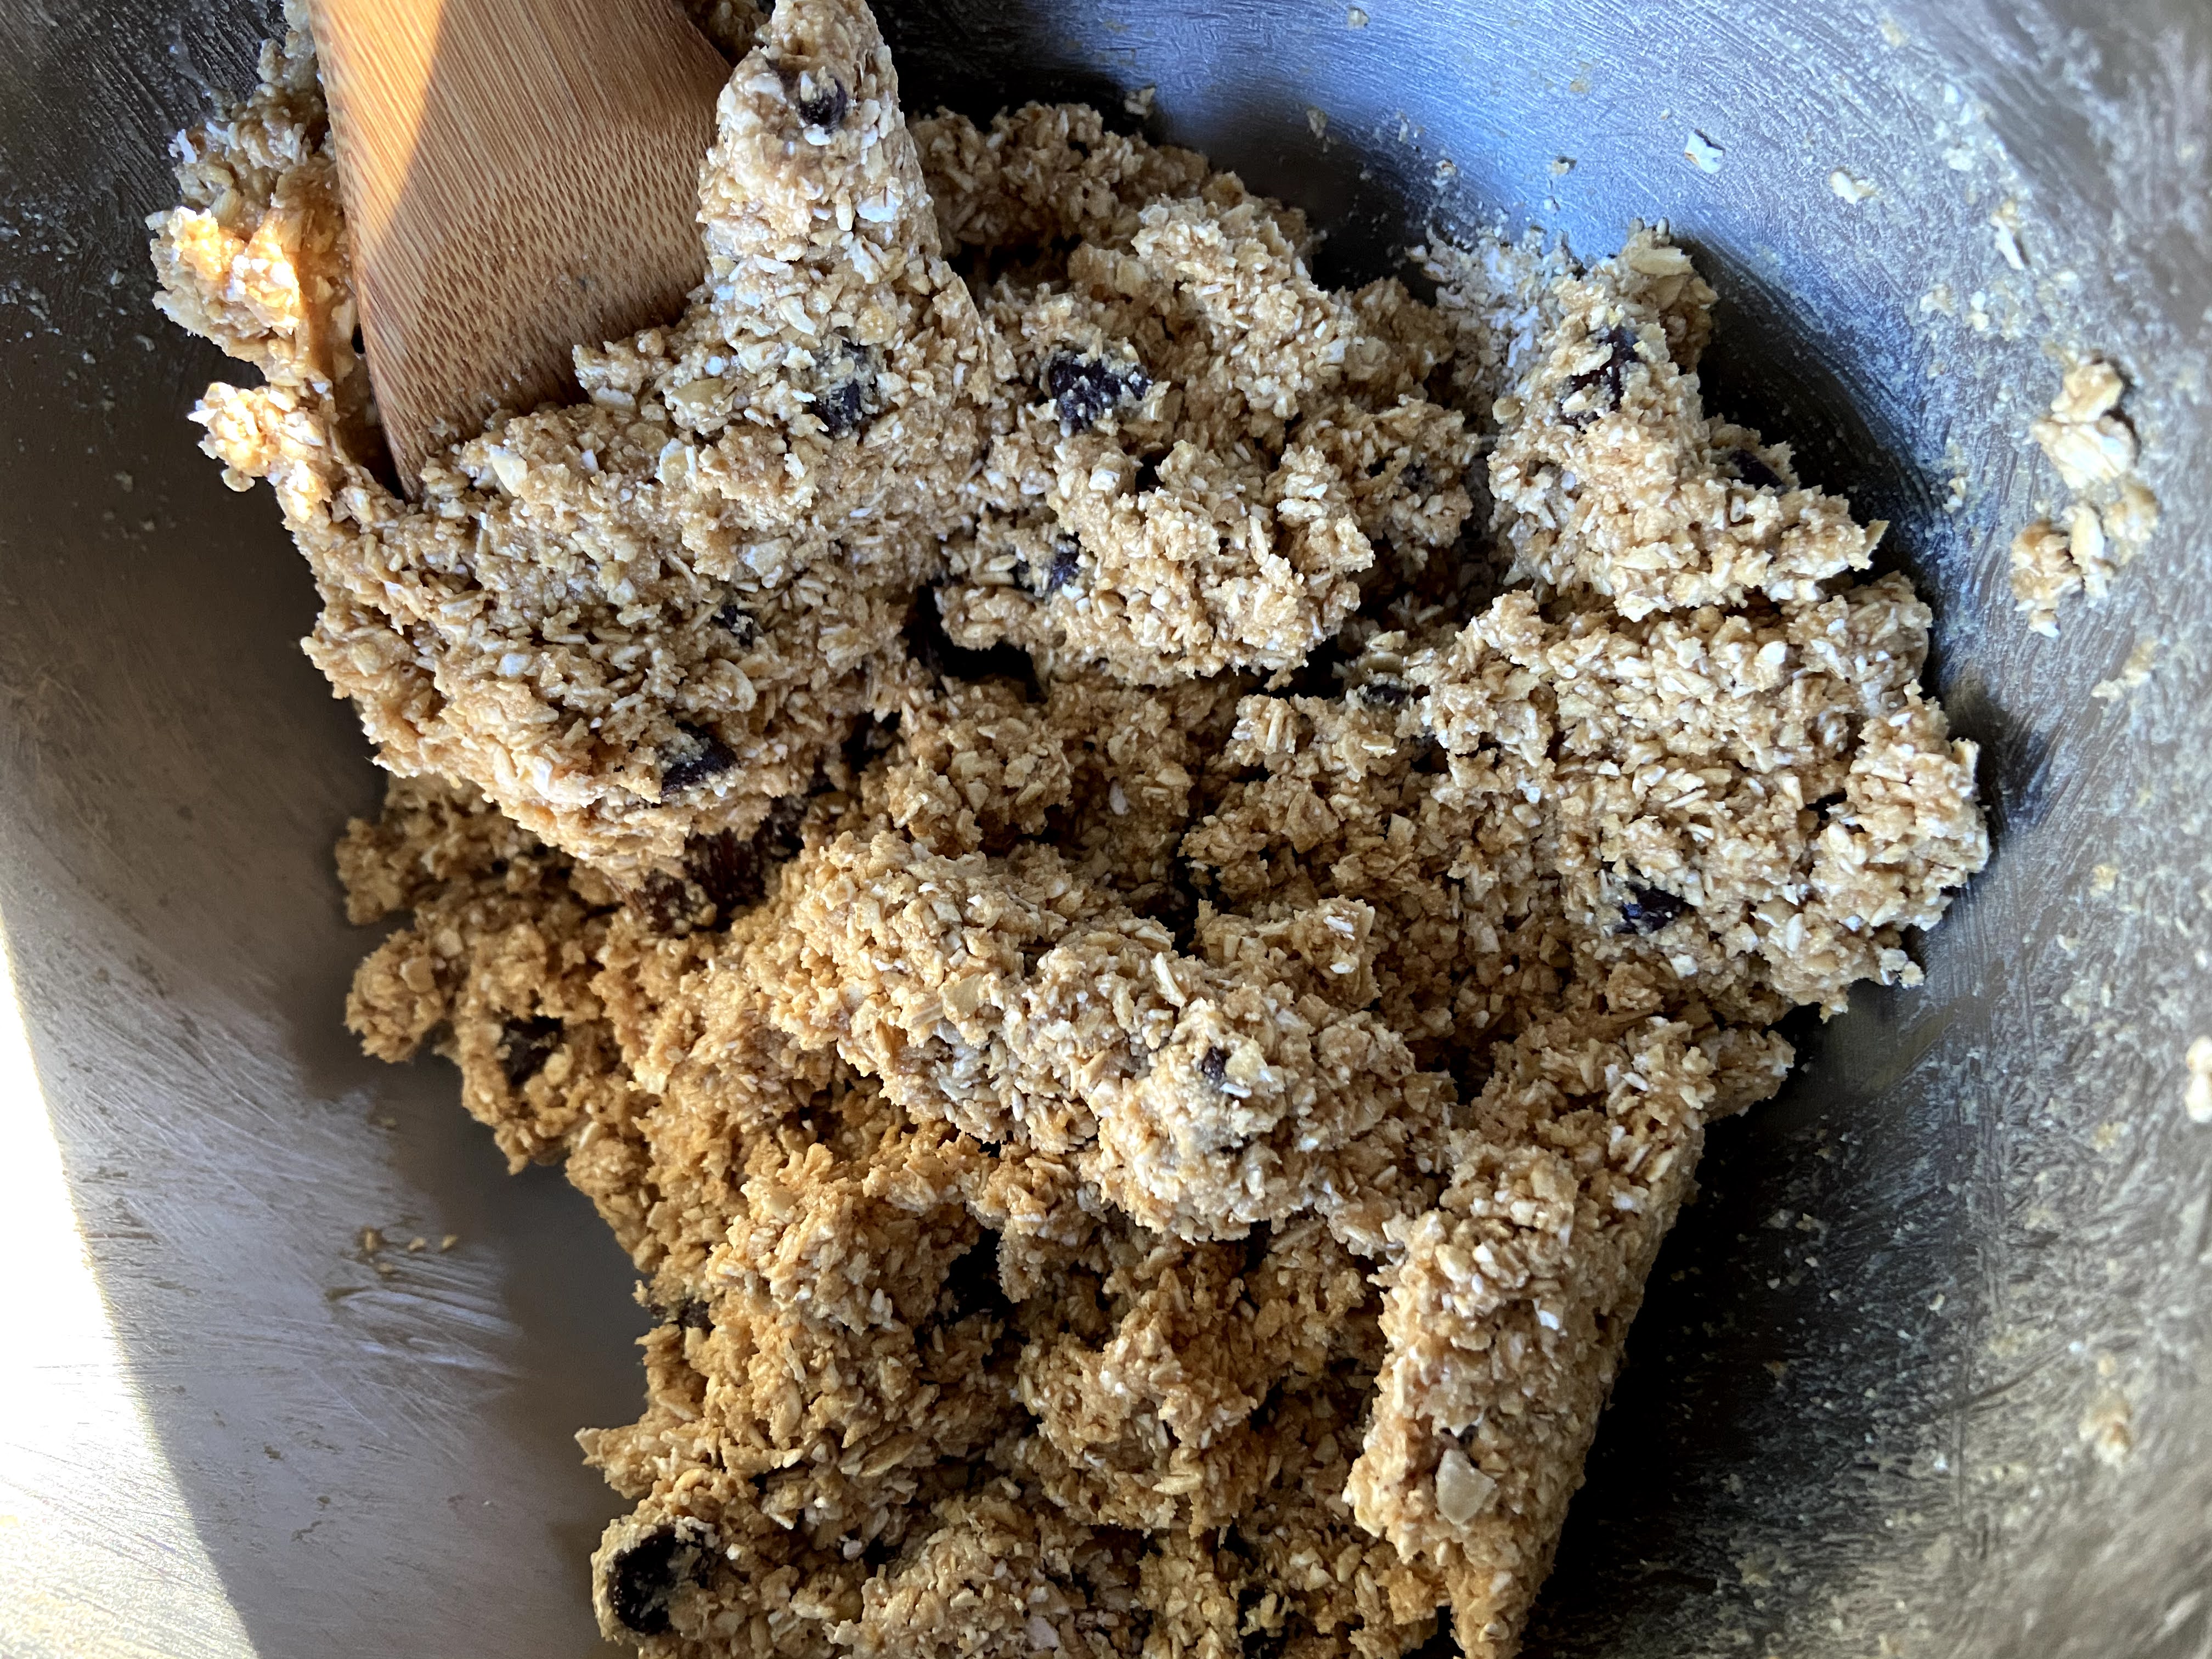
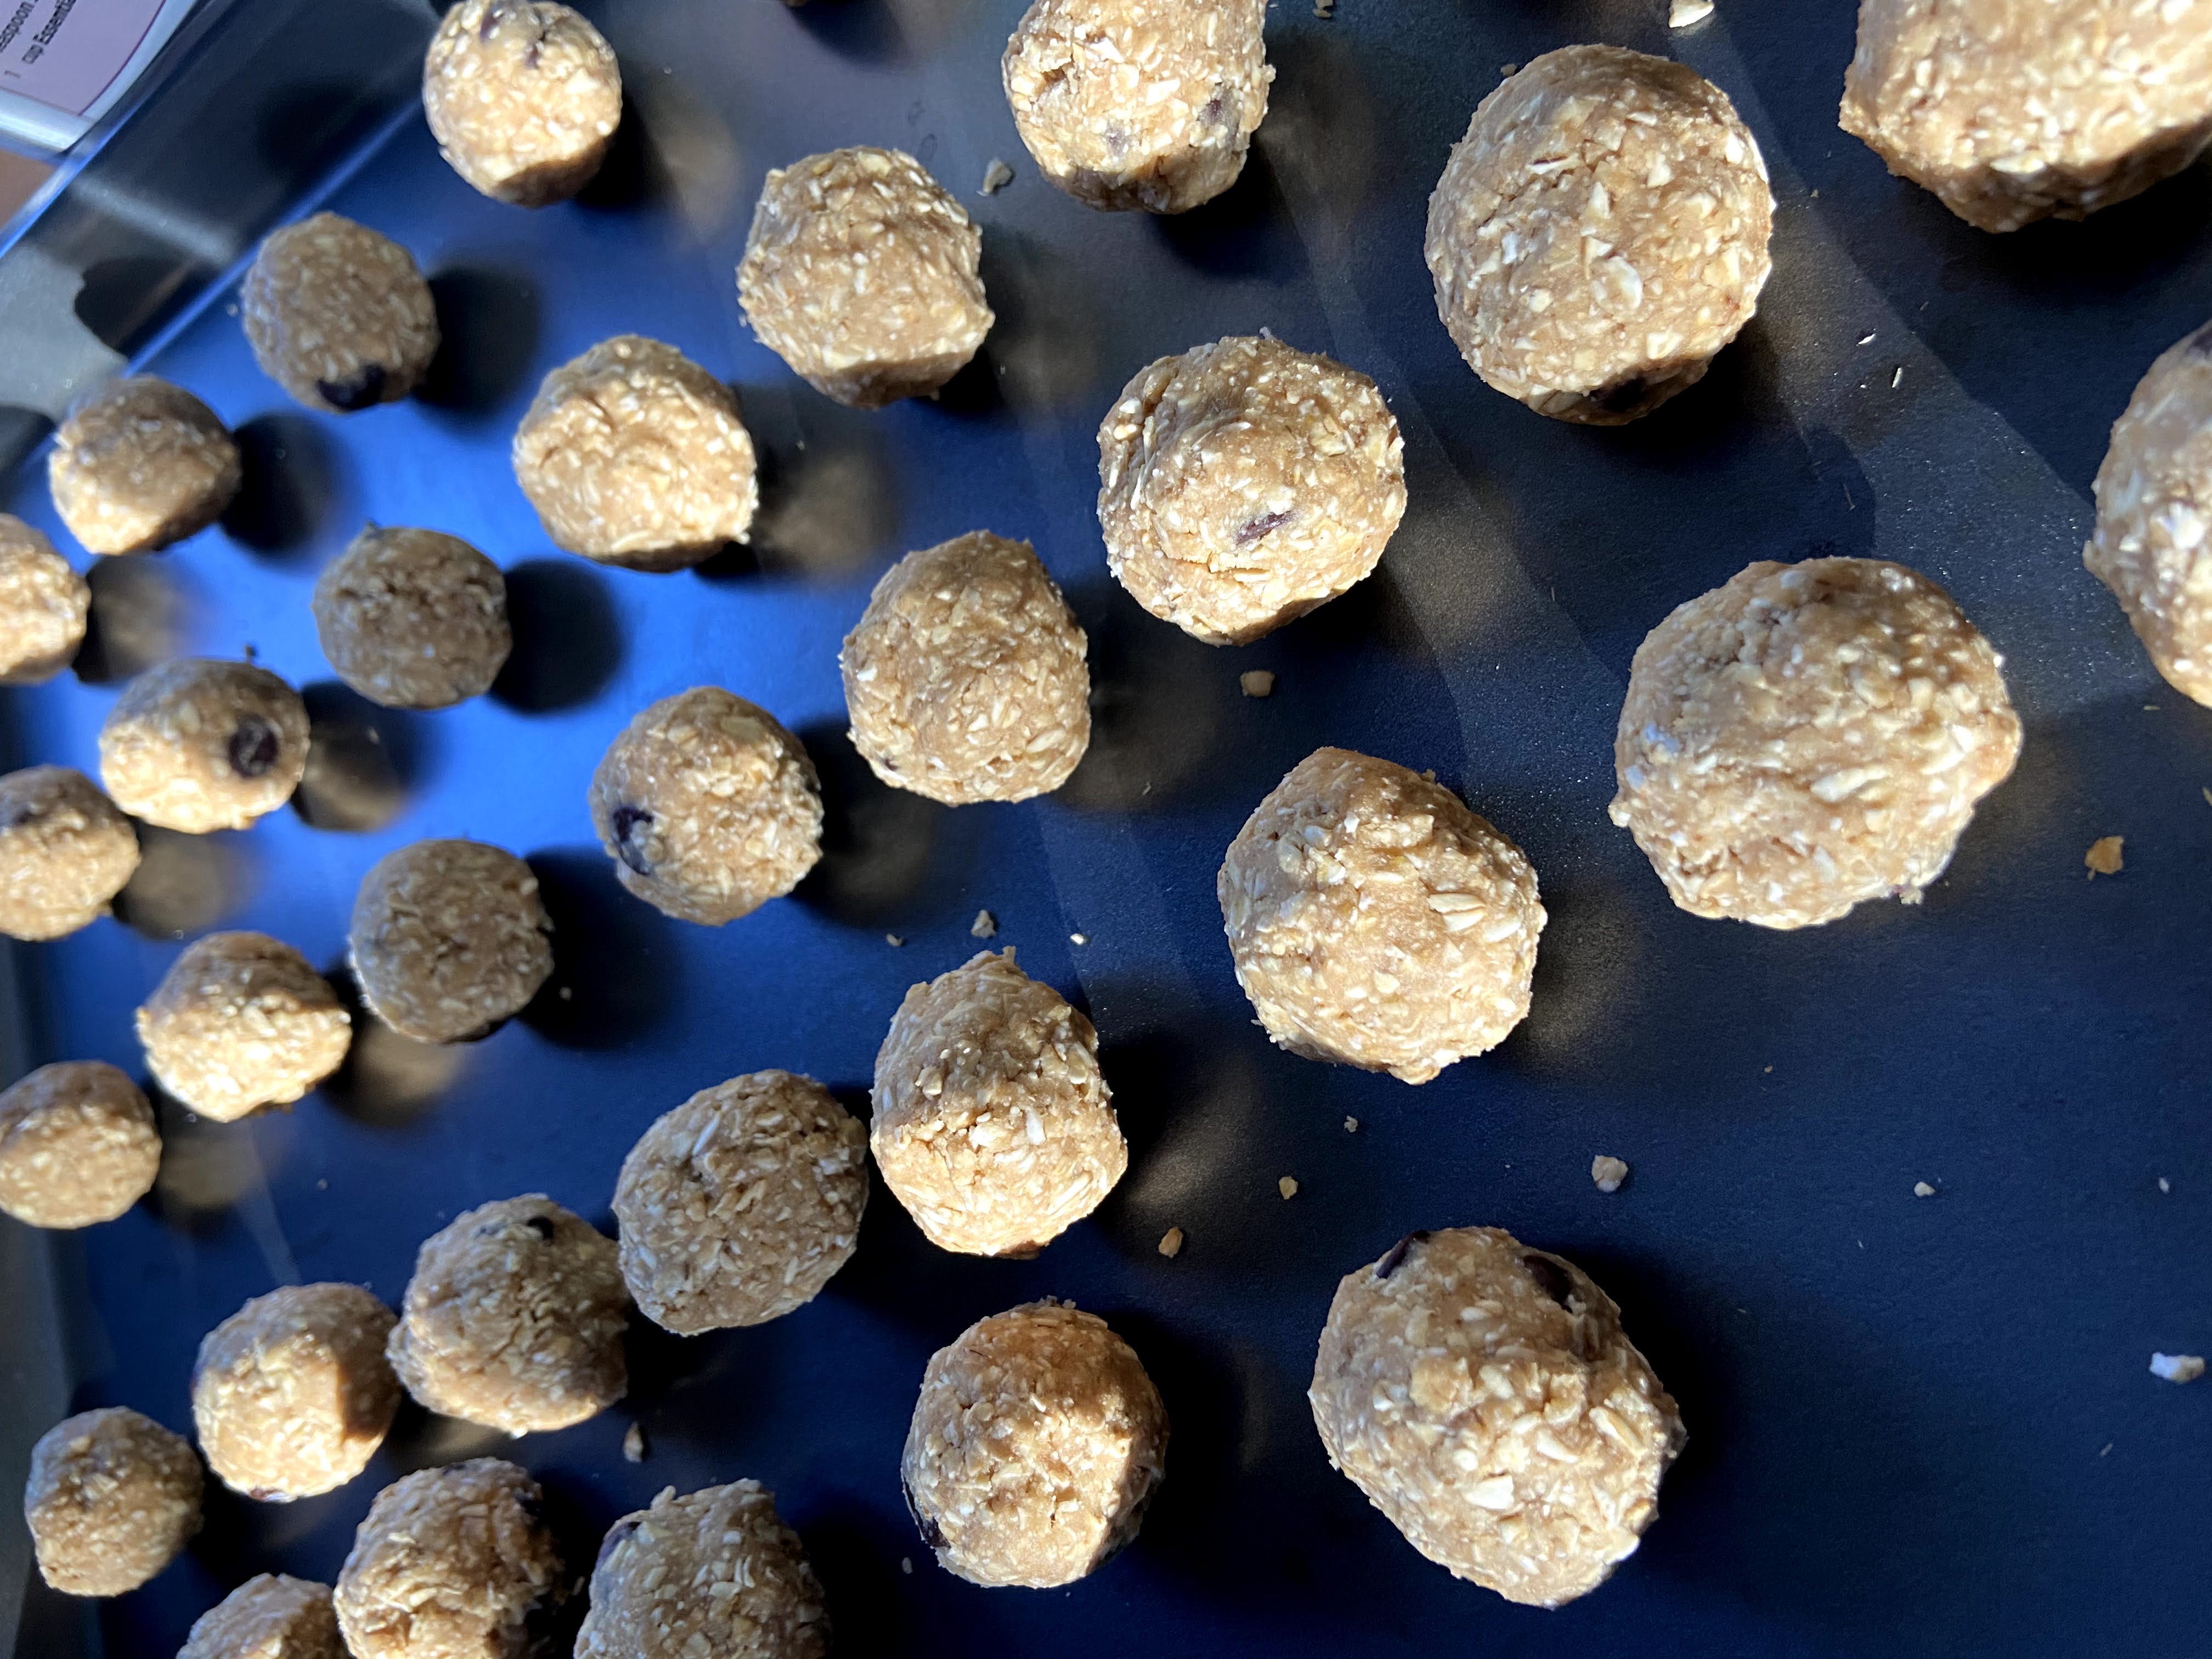
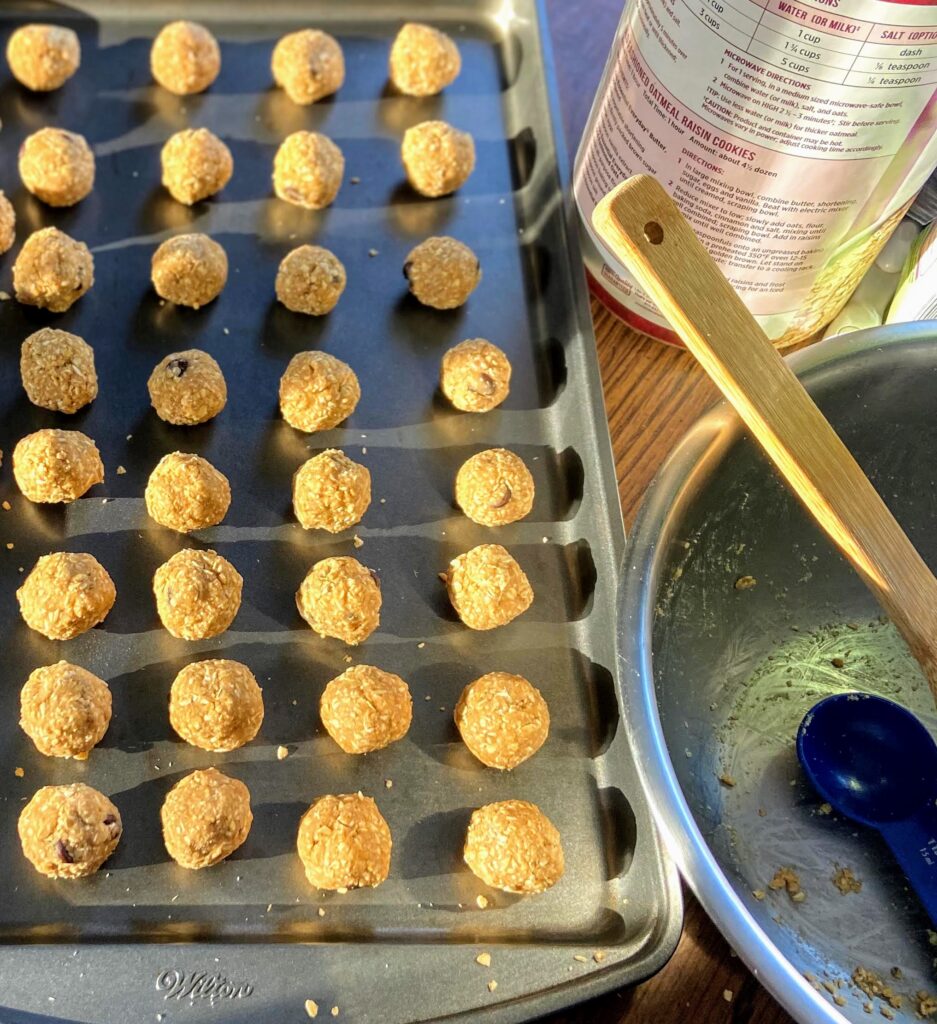
Then, combine all the ingredients in a large bowl and mix them with a wooden spoon until well mixed. Form them into 1-2 inch balls (whatever suits your family. We like 1 inch energy balls around here so I used a tablespoon to measure out the the dough.). Place on a cookie sheet. Place the cookie in the fridge for approximately an hour to harden. Remove from the pan, place in an airtight container, and store them back in the fridge.

These are great to make a few batches up and store for later. Perhaps whip up a few batches and put them in the freezer for a grab and go snack that can thaw over a few hours. (I’m thinking they would be great packed in a lunch and used for that sweet treat at the end to finish up your meal. As for me, I like to pack a few for my morning and afternoon snacks at work (See, I love all the snacks. My husband calls me a squirrel because I always have some food on hand…). As for my kids, they eat them like an after dinner treat, so I think I am winning. I hope you enjoy! –Jess

Tool of the Trade

Honestly, there is only one thing you really need for this recipe. A large food processor. Maybe you’re like me and think you don’t need it (Who needs ANOTHER kitchen gadget?!) But this guy gets a lot of use at our home and is perfect for fun sweet recipes like this one, but also is great in this cranberry jalapeño dip. I can’t recommend it enough, even if you do have to find a spot for it 😉

Quick Peanut Butter Oat Energy Balls

After school or between meals, we all can use a snack to satisfy our hunger cravings. These quick peanut butter oat energy balls fit the ticket! Bite size, easy to make, and tasty on all levels!
Prep Time 19 minutes
Chill Time 1 hour
Course Snack
Cuisine American
Servings 3 dozen

Ingredients
  

  • 1/2 cup coconut flour
  • 2 cups ground old-fashioned oatmeal see details in the recipe
  • 1/2 cup real maple syrup honey would work too!
  • 1/2 cup natural peanut butter
  • 1/4 t kosher salt
  • 1 tablespoons coconut oil melted
  • 1/3 cup semisweet chocolate chips
  • 1/2 teaspoon almond extract

Instructions
 

  • First, grind the oats to make a sort of oatmeal flour. To do this, place the old fashioned oats into a food processor and pulse them until you have a very coarse flour like texture.
  • Combine all remaining ingredients in a large bowl and mix them with a wooden spoon until well mixed.
  • Form them into 1 inch balls using a tablespoon to measure.
  • Place on a cookie sheet and then chill in the fridge for approximately an hour to harden.
  • Remove from the pan, place in an airtight container, and store them back in the fridge
Keyword chocolate and peanut butter, energy balls, oatmeal, peanut butter
Tried this recipe?Let us know how it was!

Looking for other delicious recipes?

Give some of these a try!